[Guide] Fobia St. Dinfna Hotel : Full walkthrough
Fobia – St. Dinfna Hotel, our walkthrough to survive the main story. Fobia is a survival-horror and like any game of this genre you will have to be careful with your inventory. Use only your pistol to defend yourself. Keep all special equipment such as shotguns or submachine guns aside for the Bosses. We recommend using the goal display. Note that the presence of handprints in the game means that interaction is possible with your camera. Please note that some codes may vary depending on your game.
All chapters of Fobia St. Dinfna Hotel
Prologue
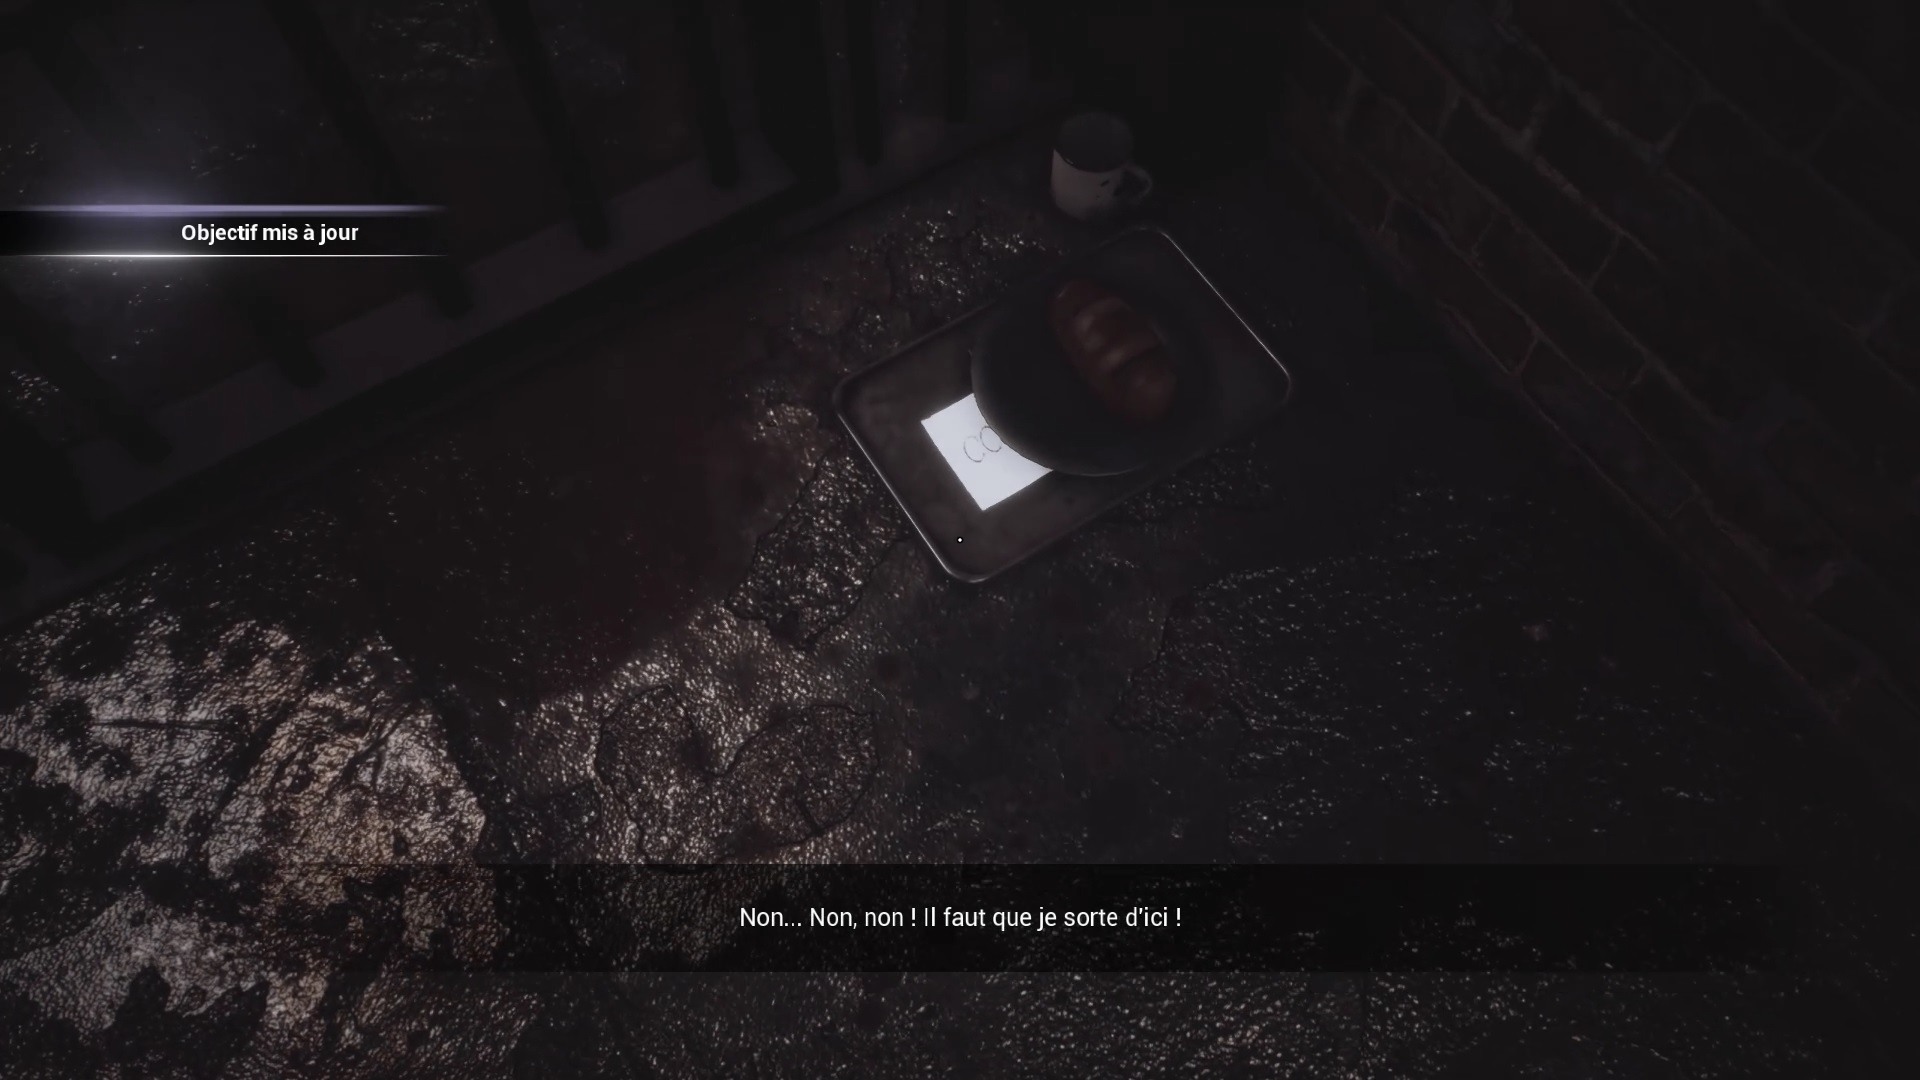
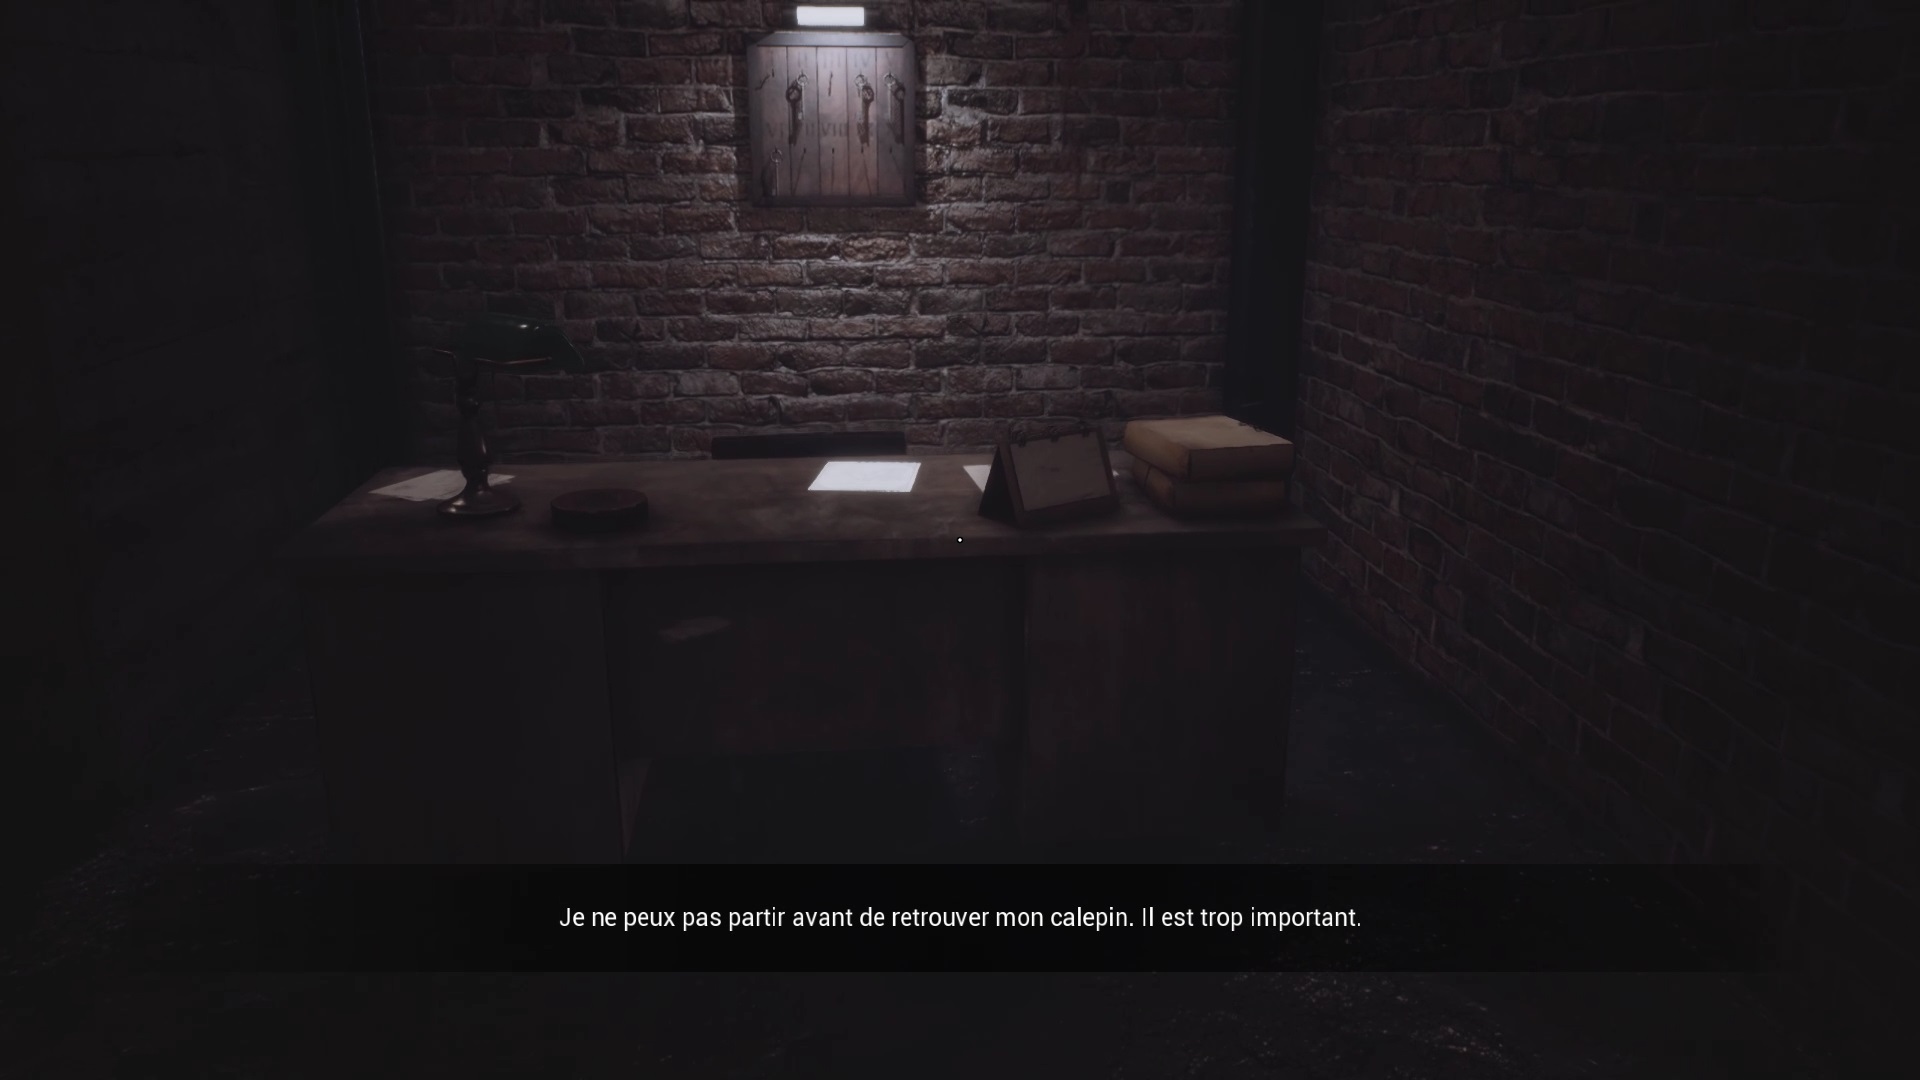
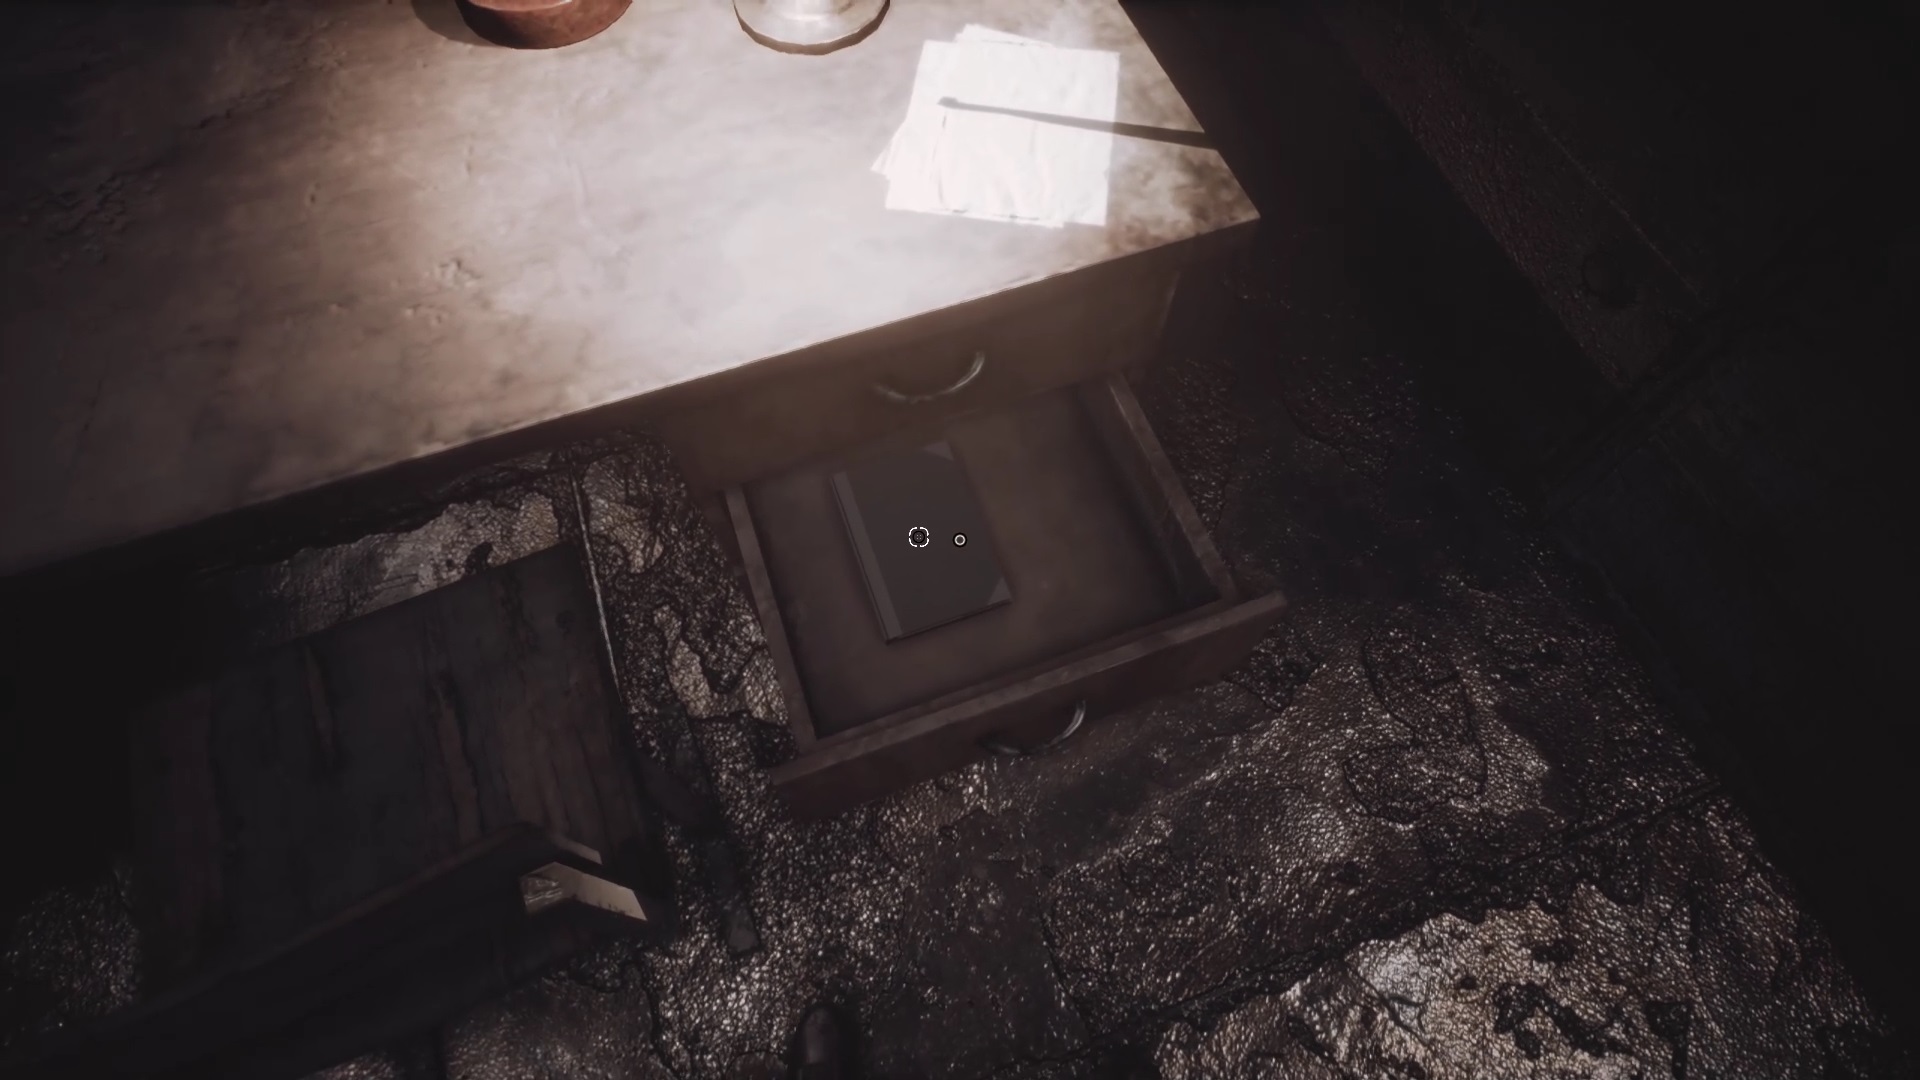
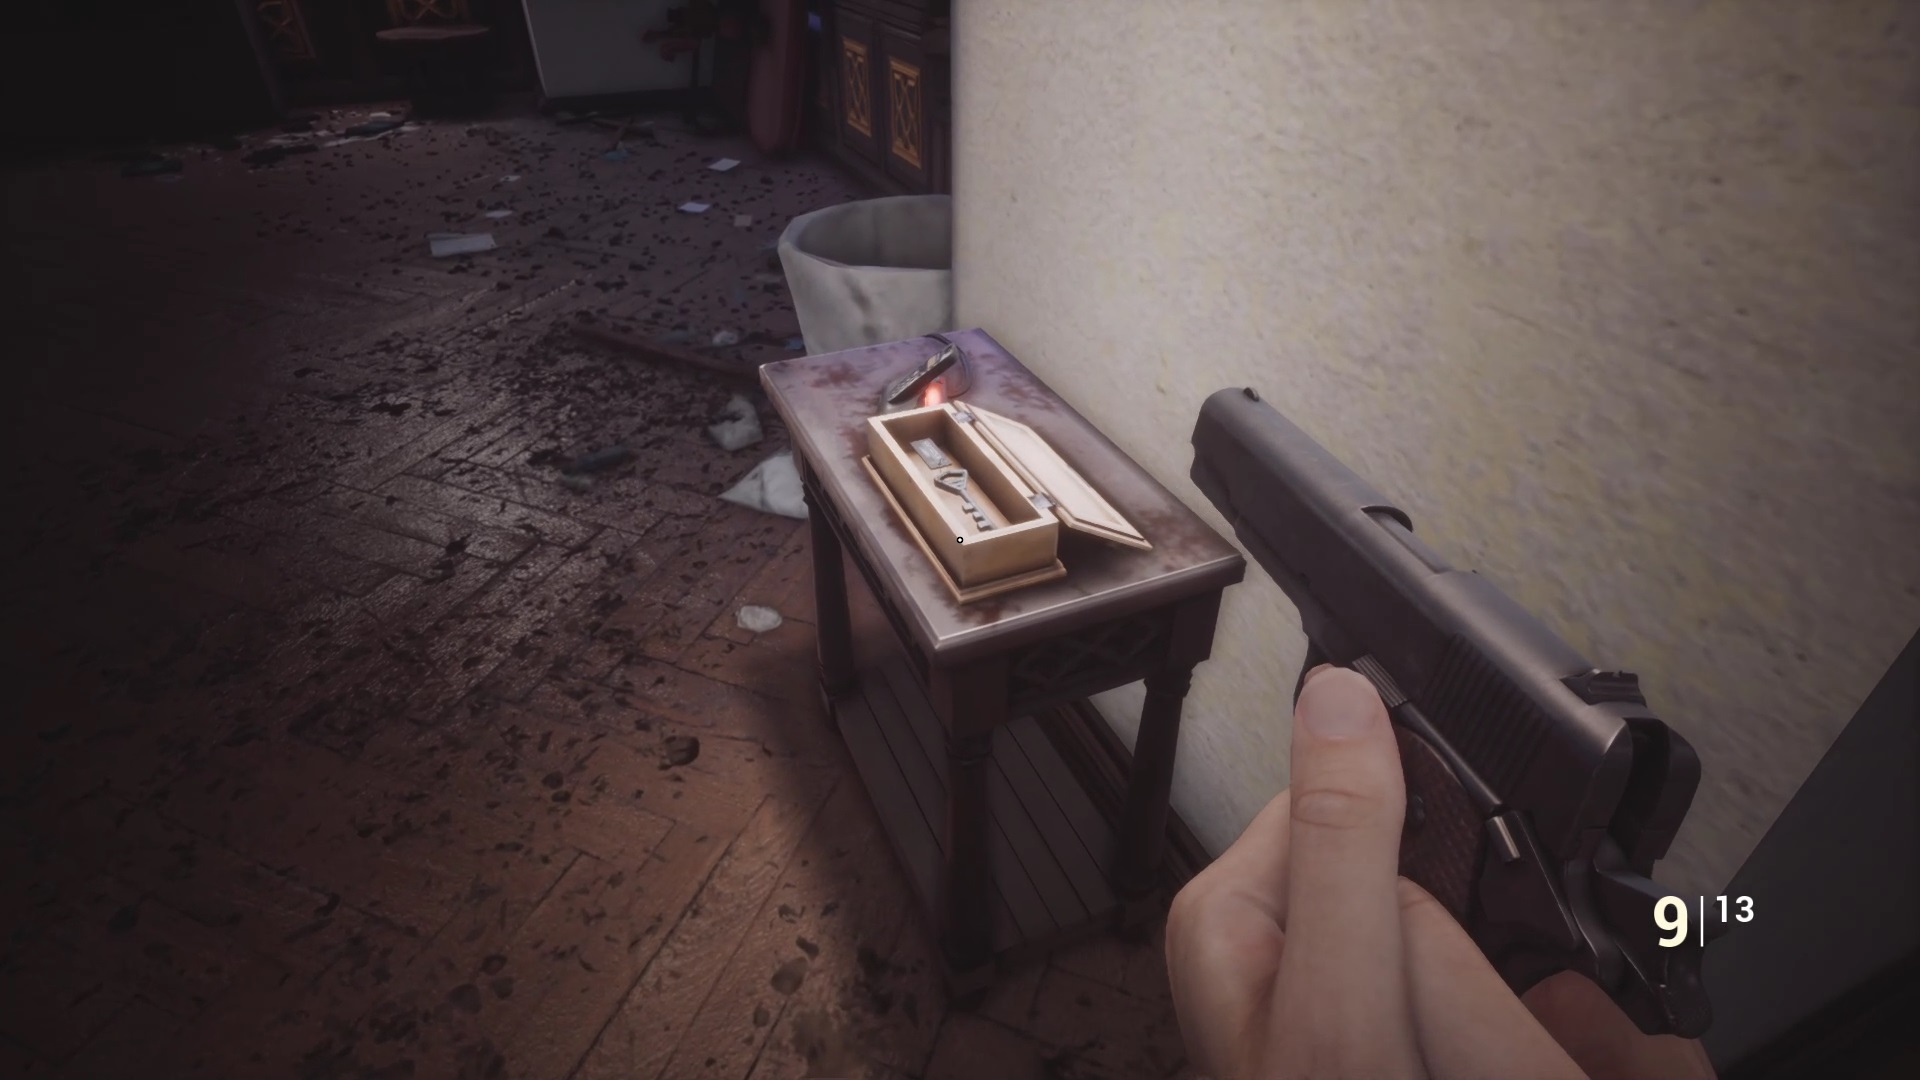
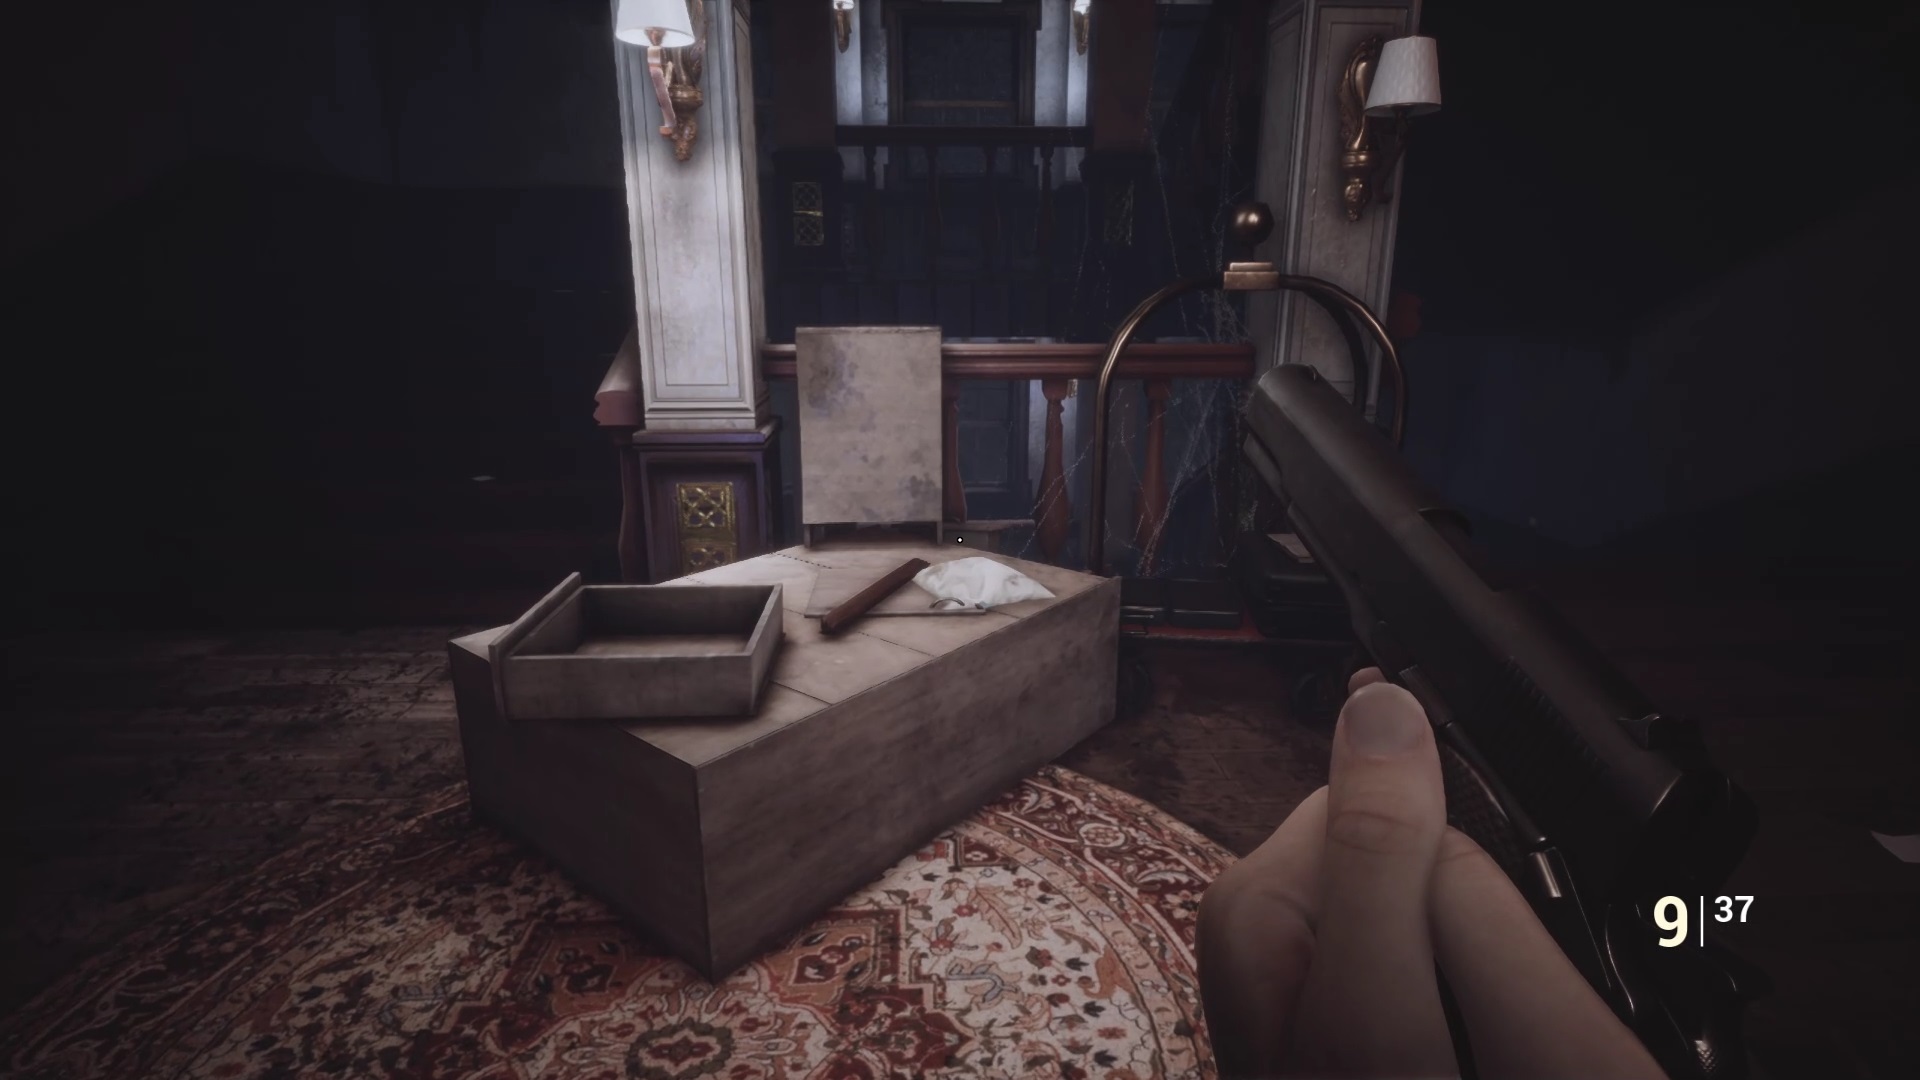
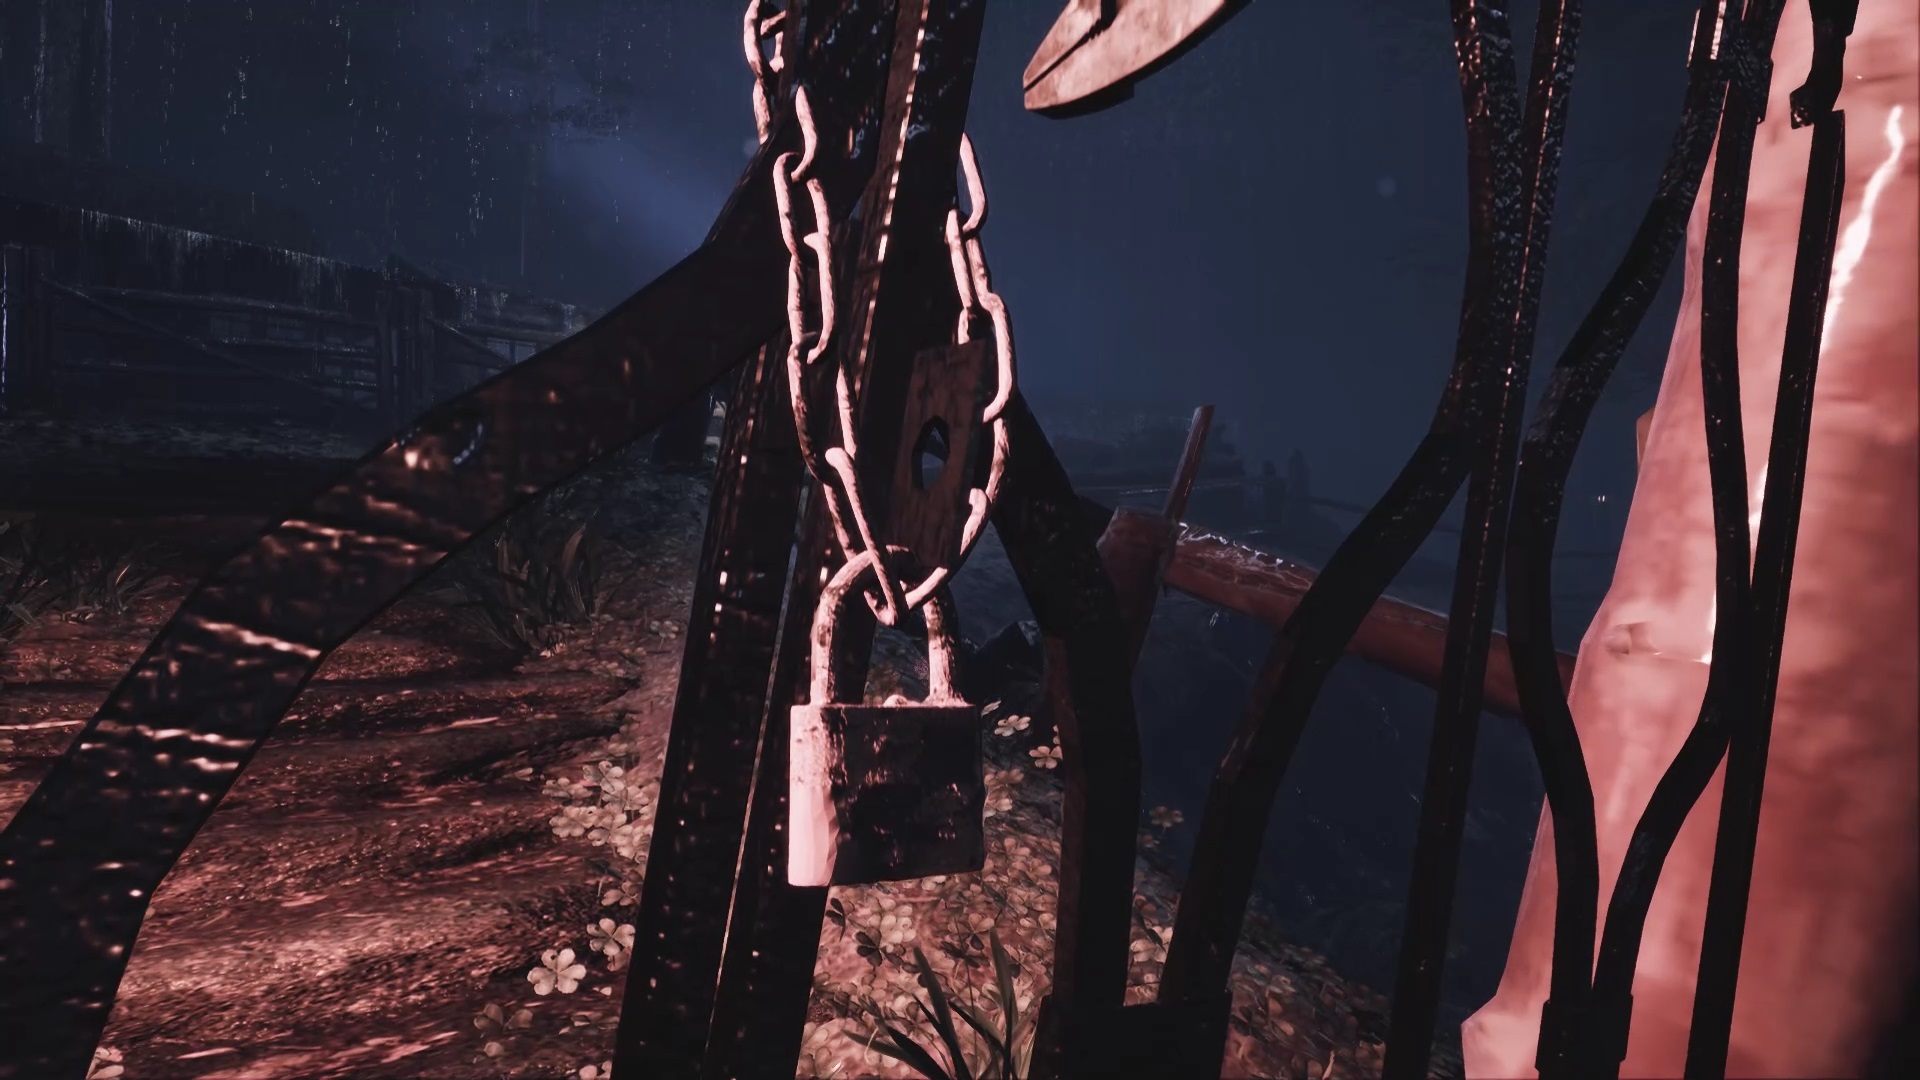
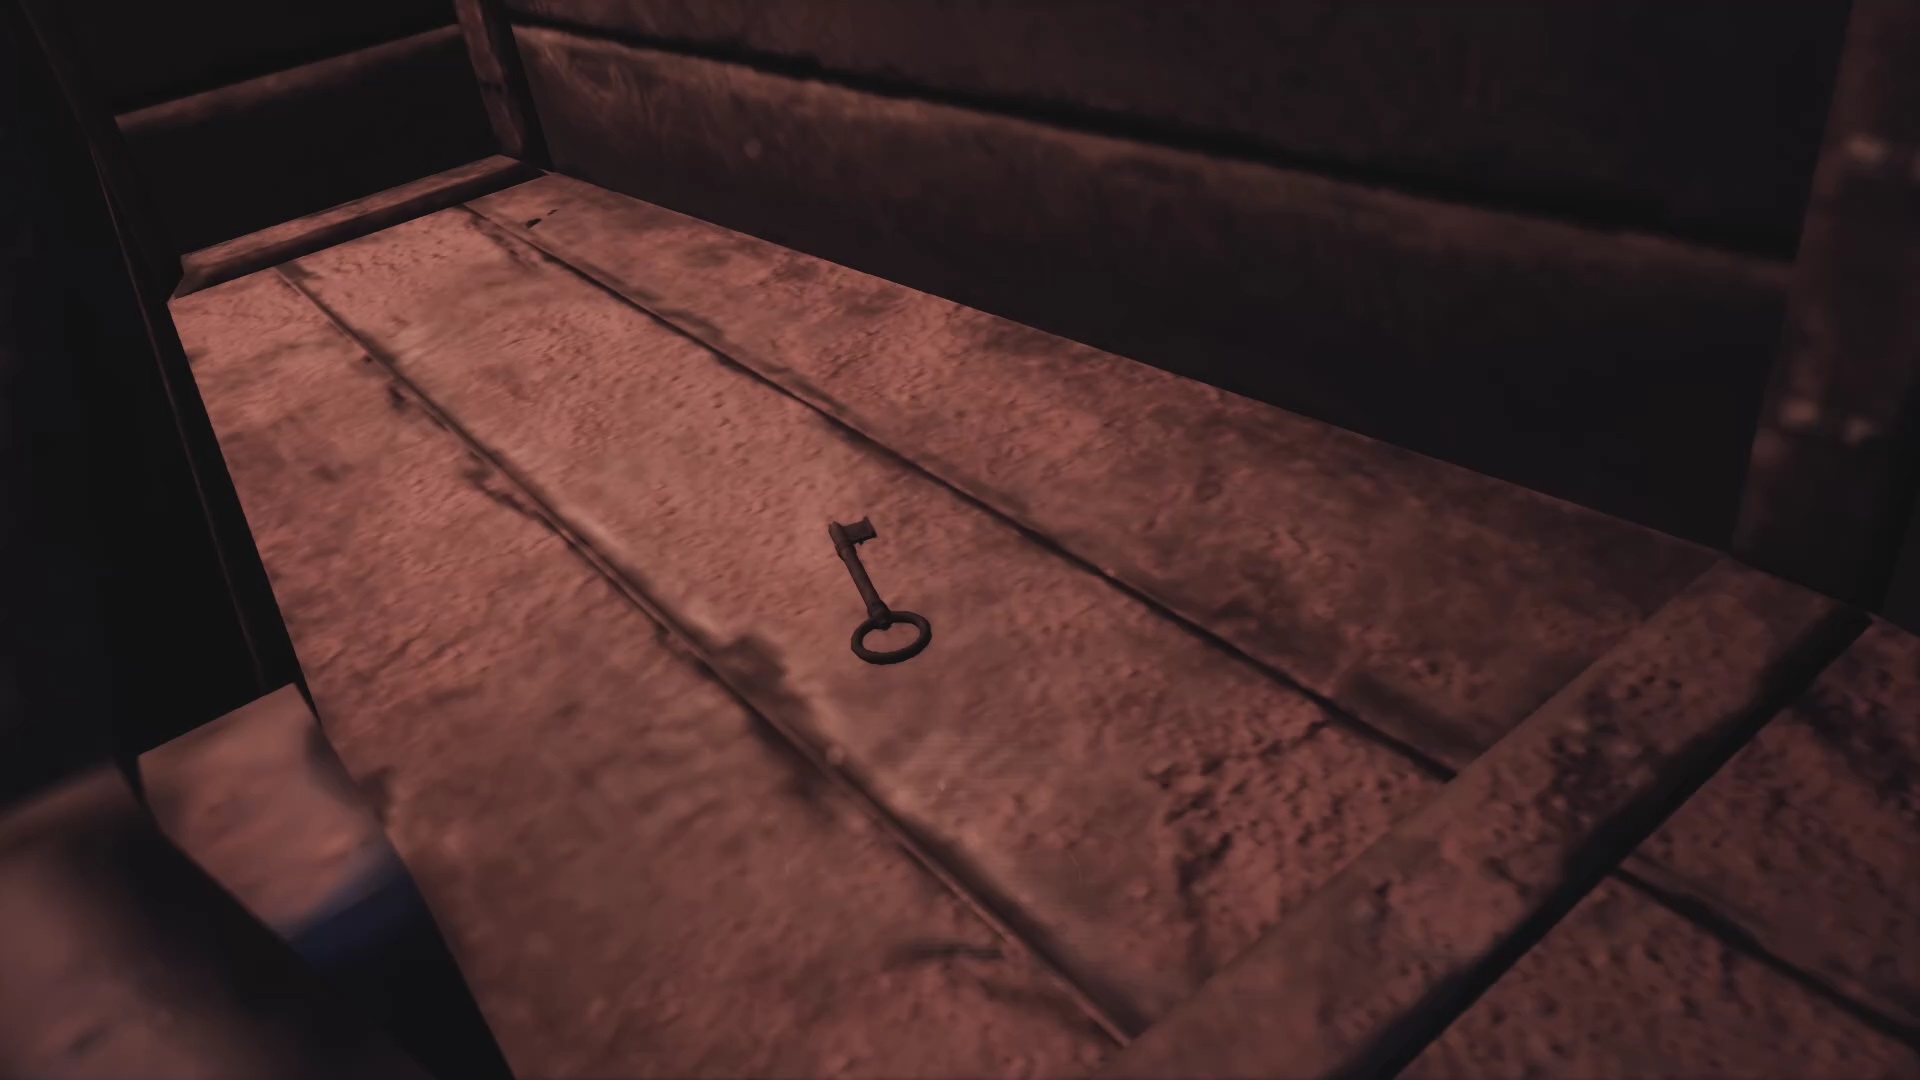
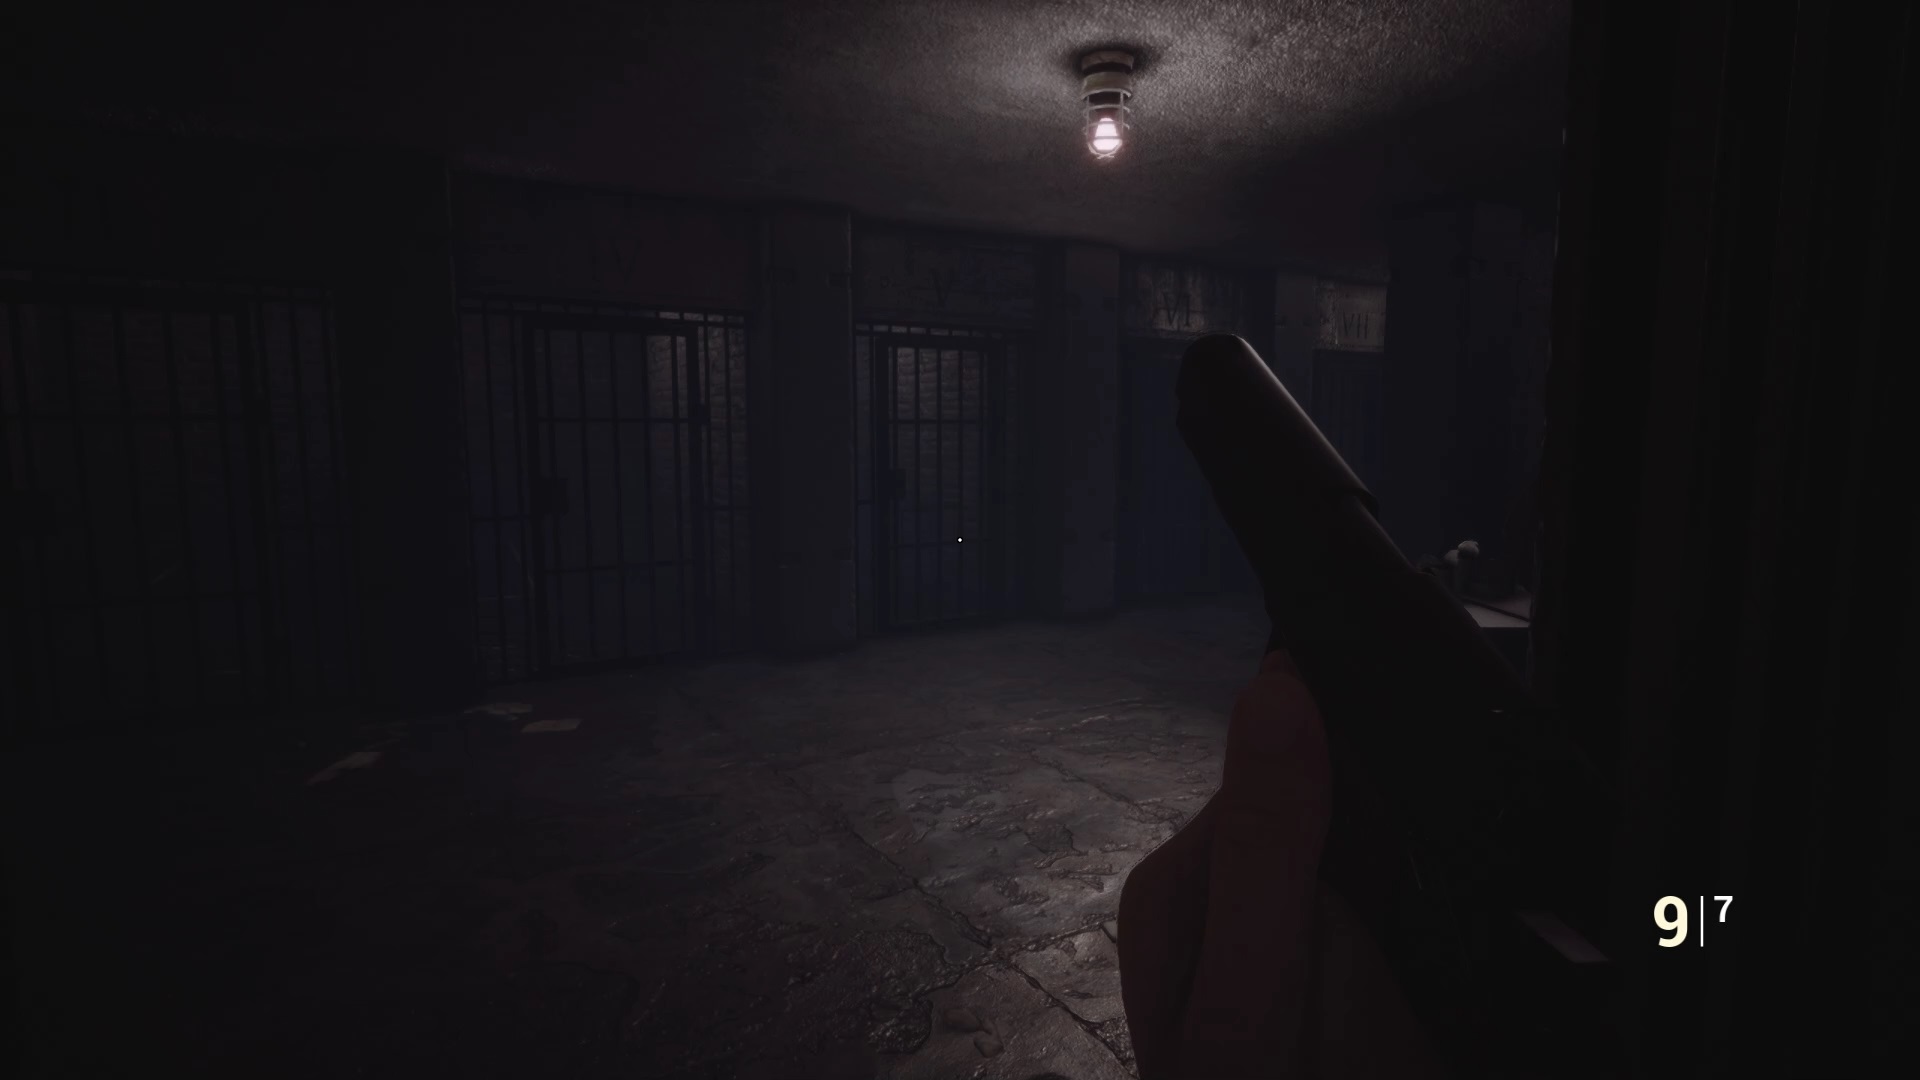
In the cell, head near the door to find a meal tray. Move the plate to find a metal key and a message. Use the metal key to get out of the cell. Before leaving the room, your character wants to hide his diary. Go to the office to retrieve the keys hanging behind and take the diary in one of the drawers.
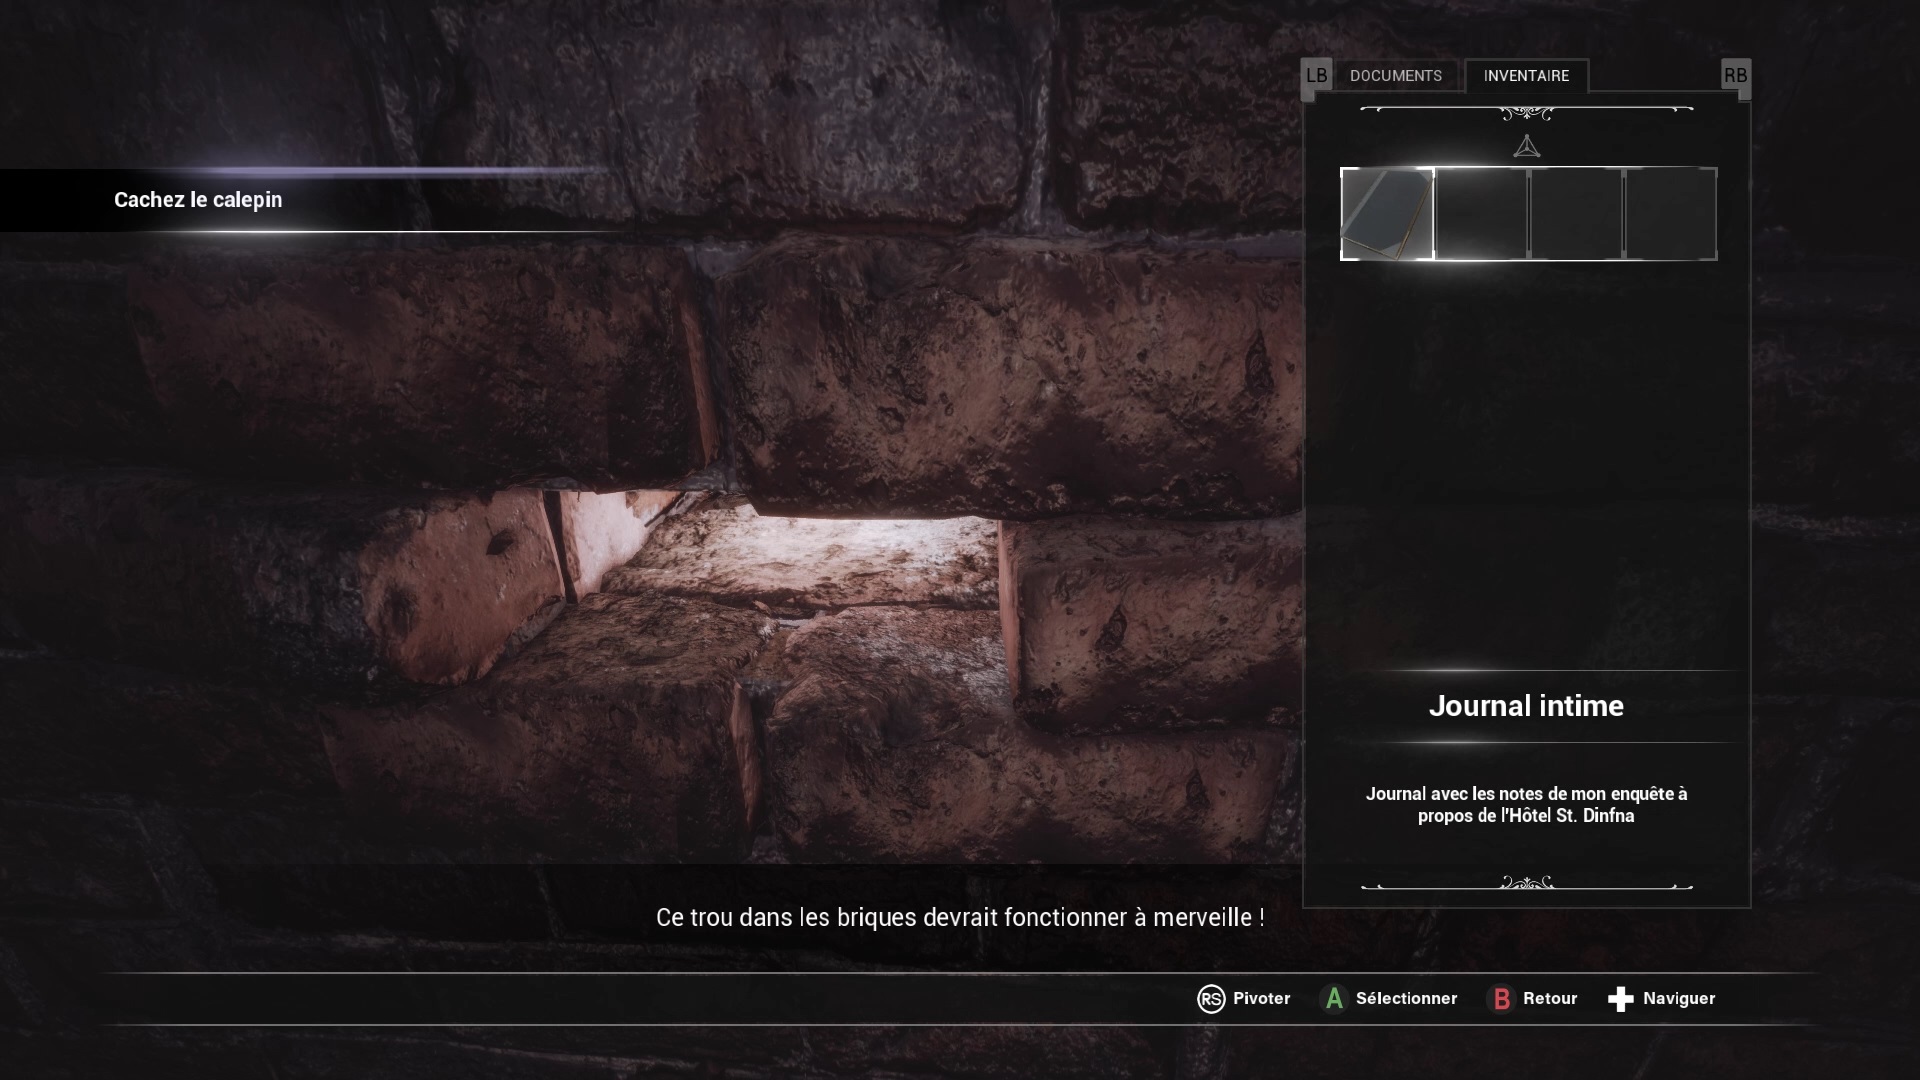

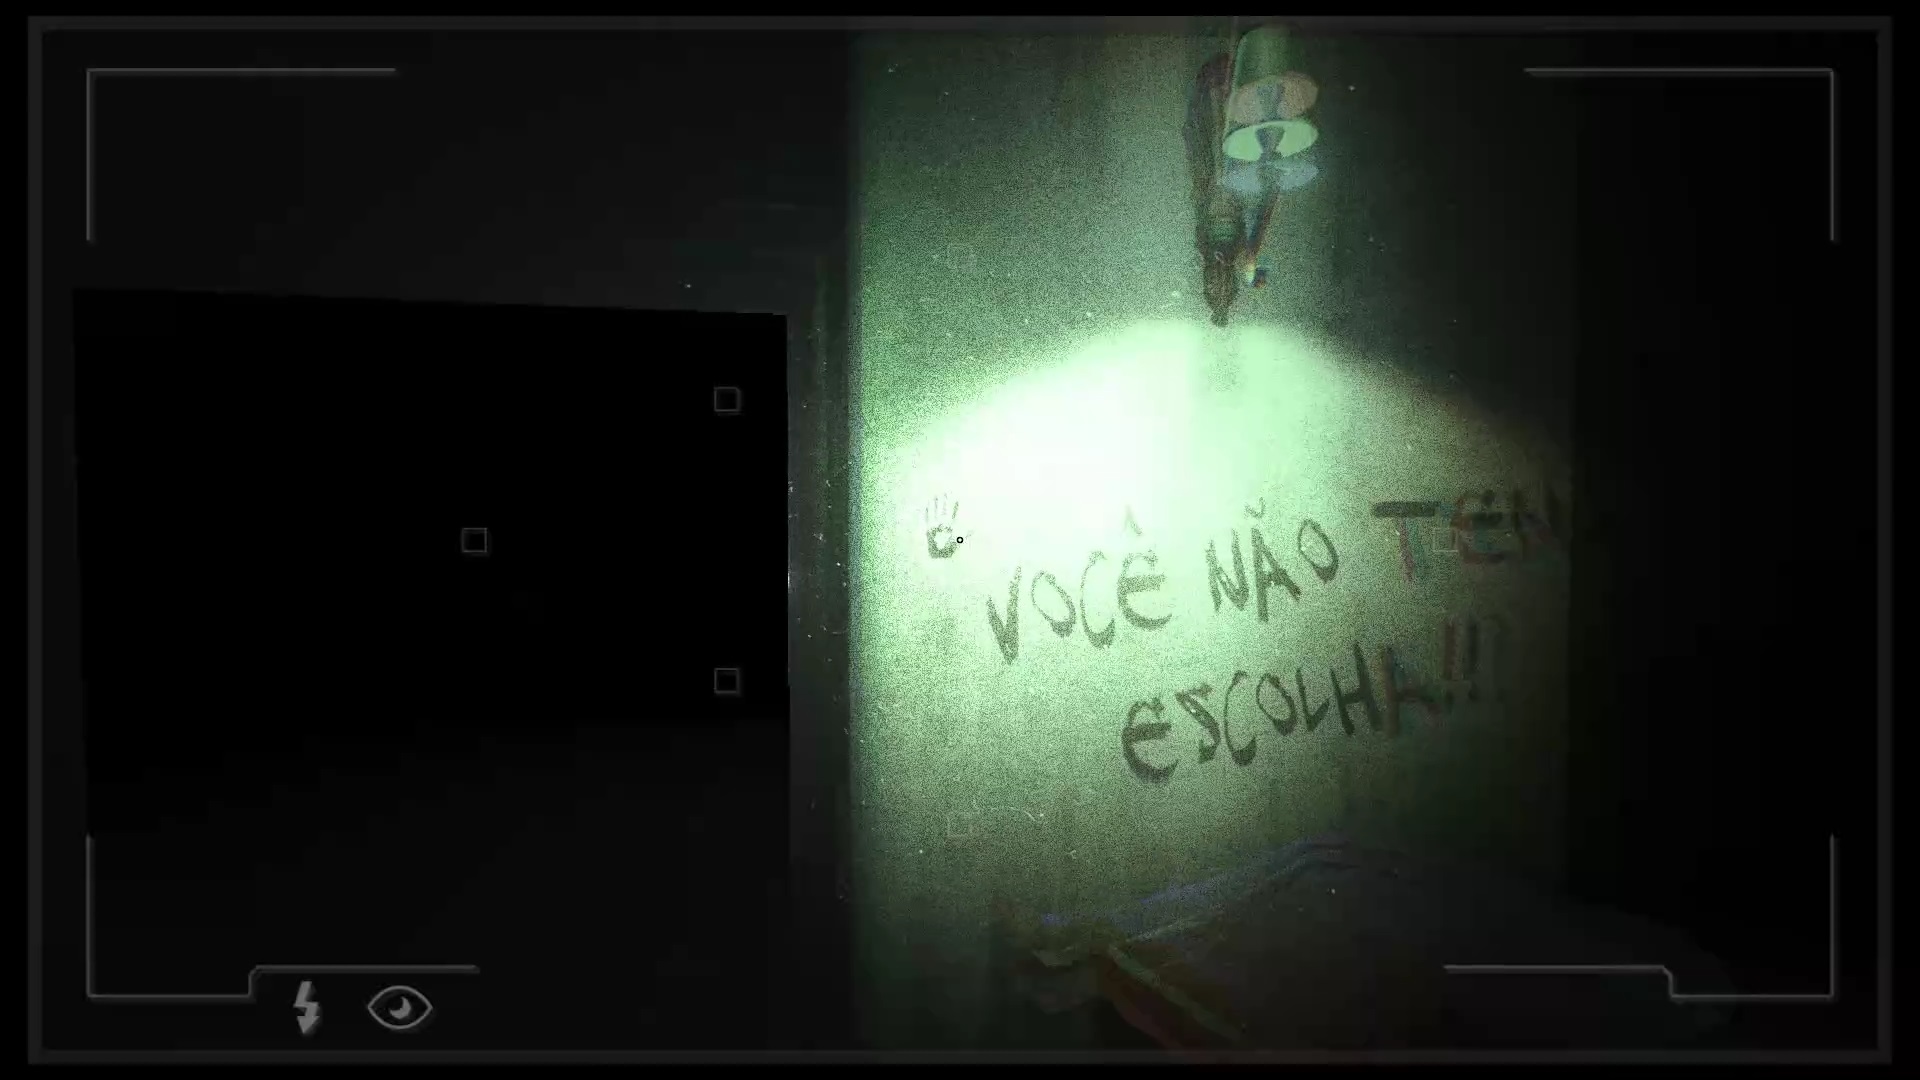
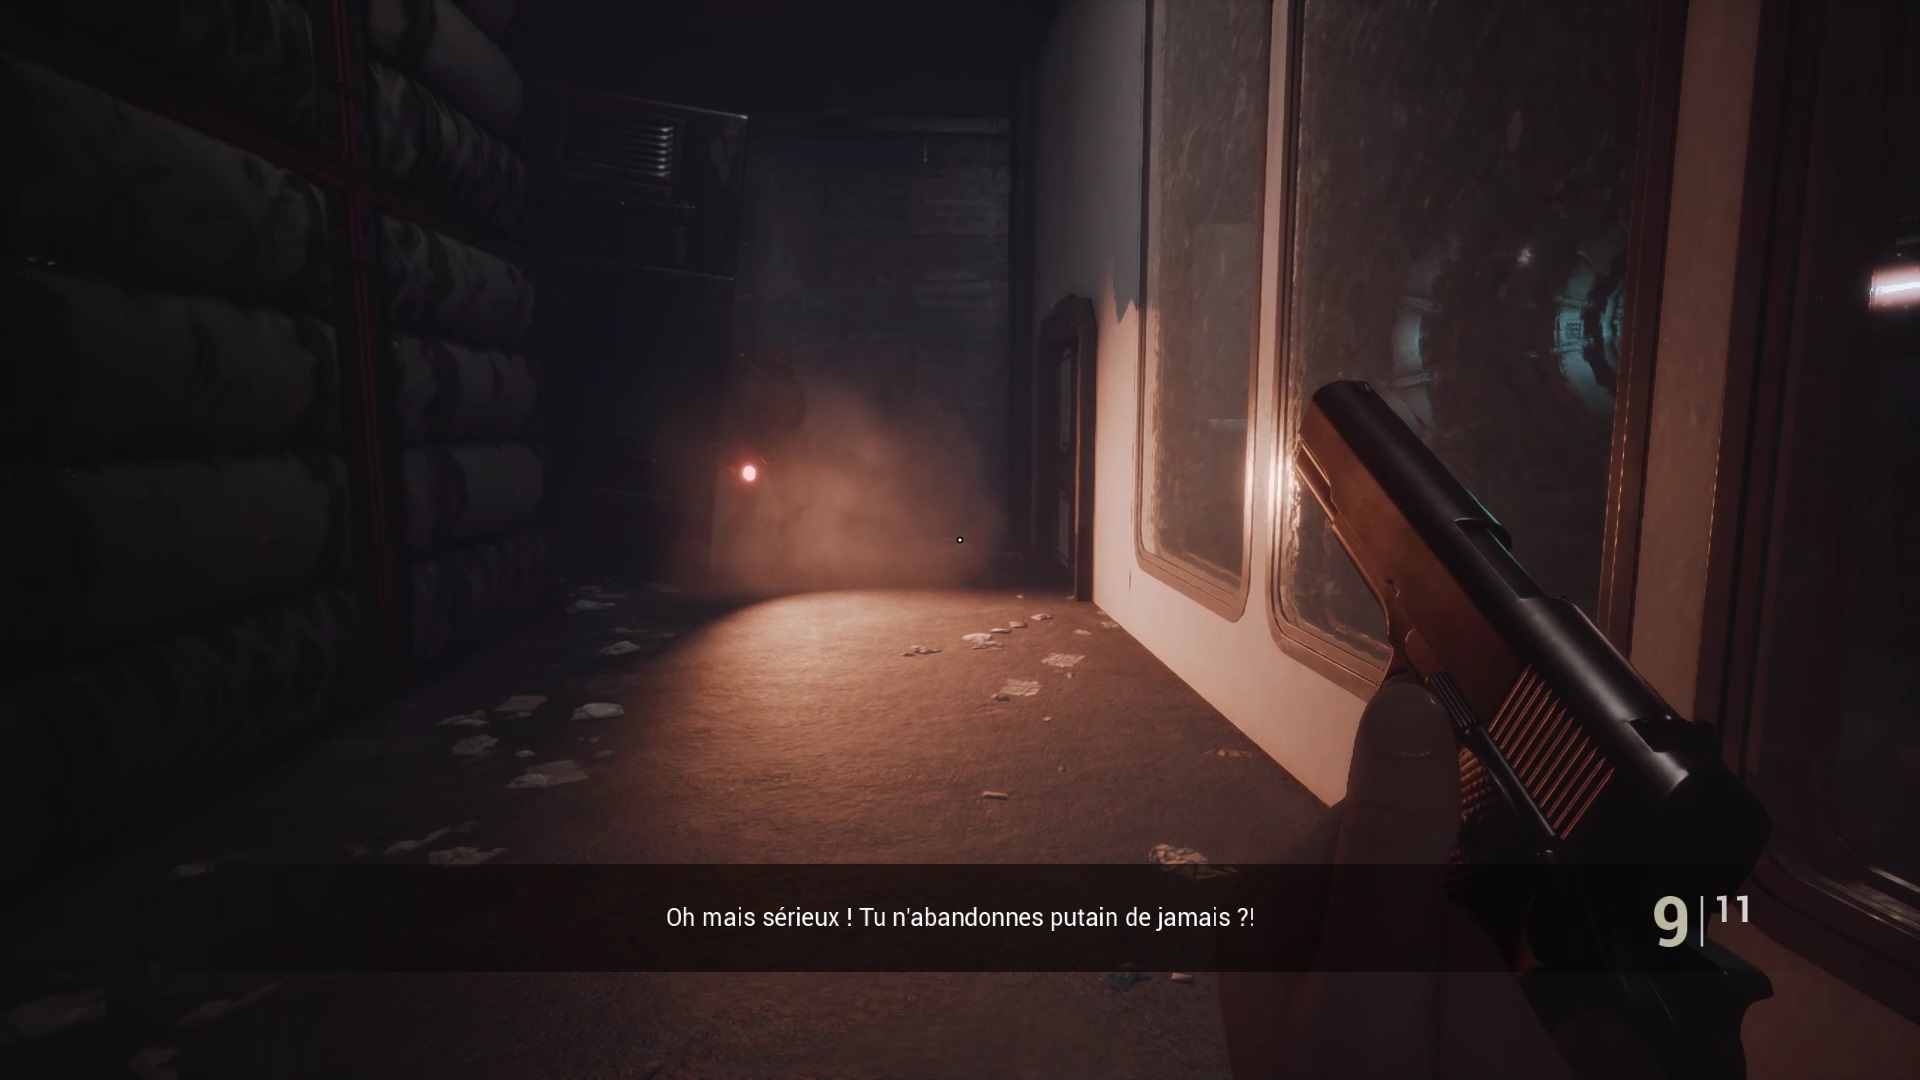
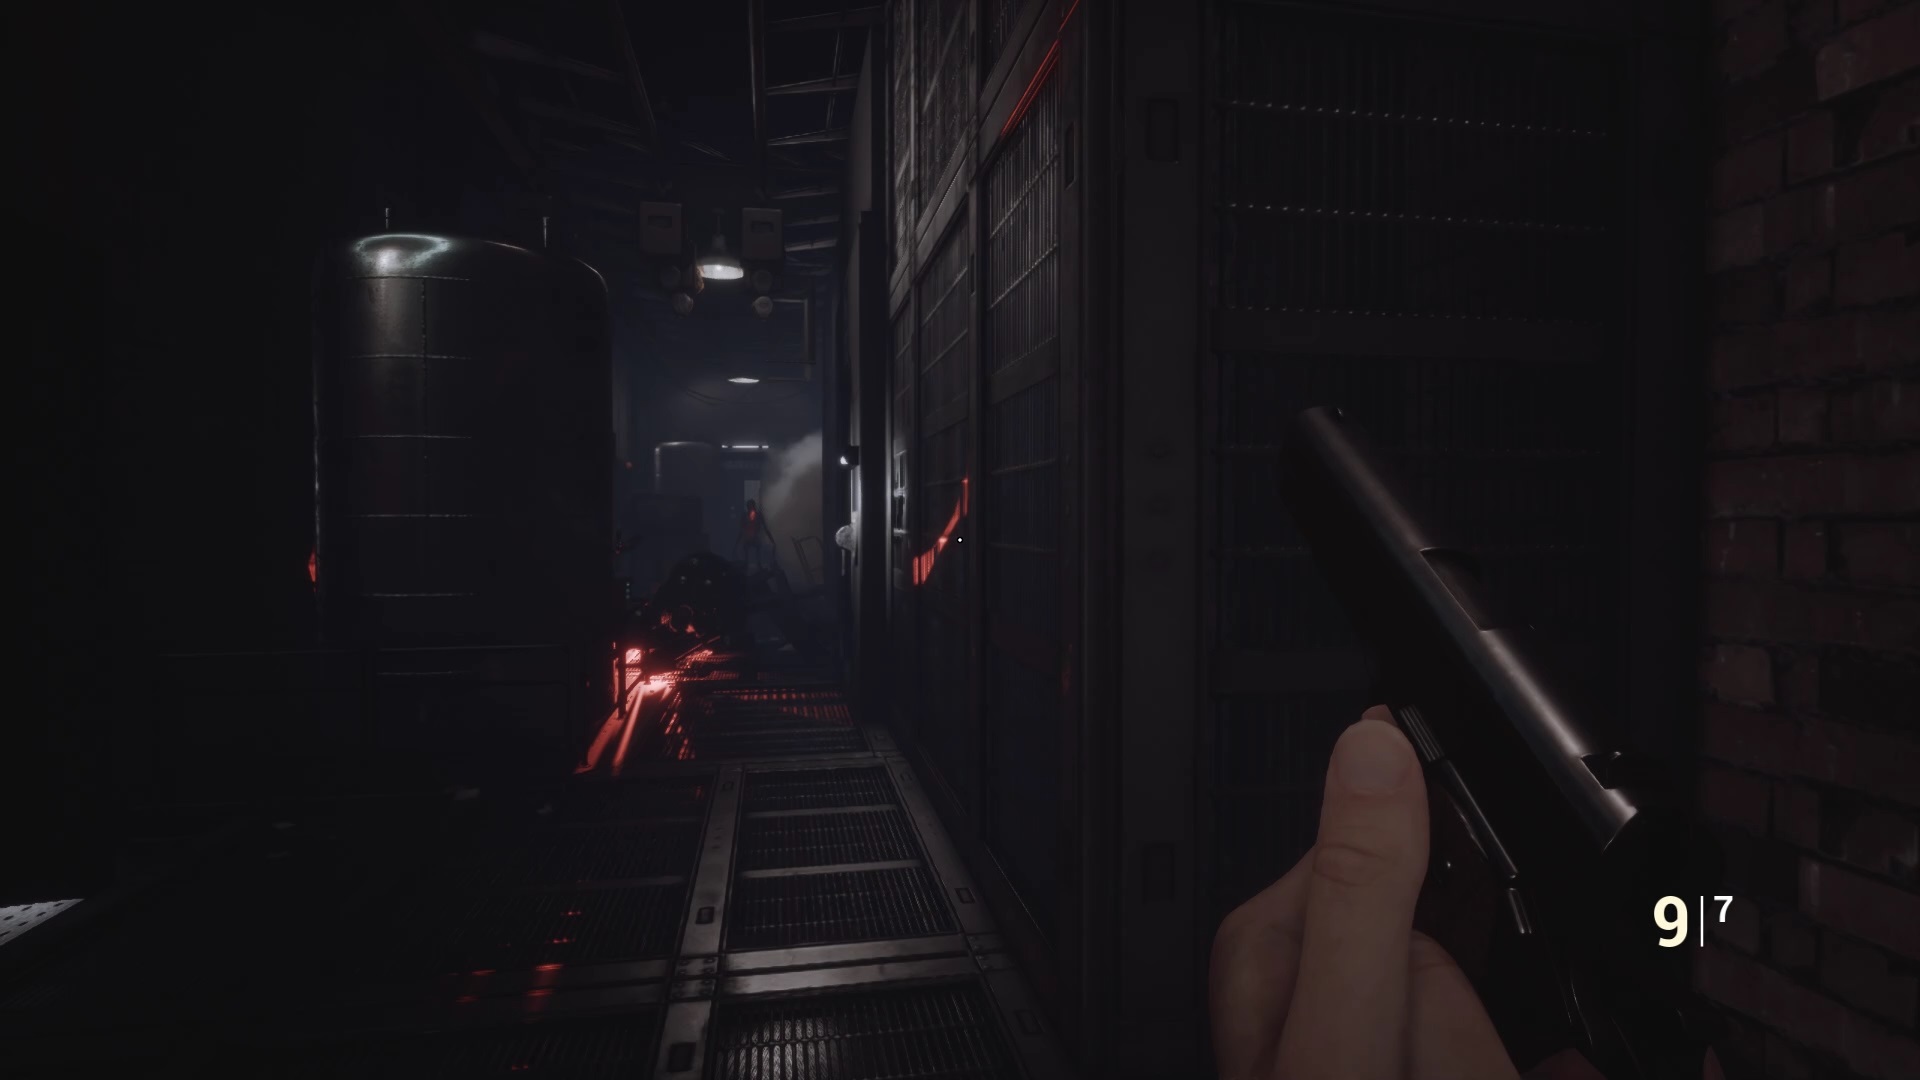
Open the cell number IV and interact with the hole in the wall to hide the diary. You can now exit the room by pulling the lever. Run down the hall towards the light to try to survive your attacker.
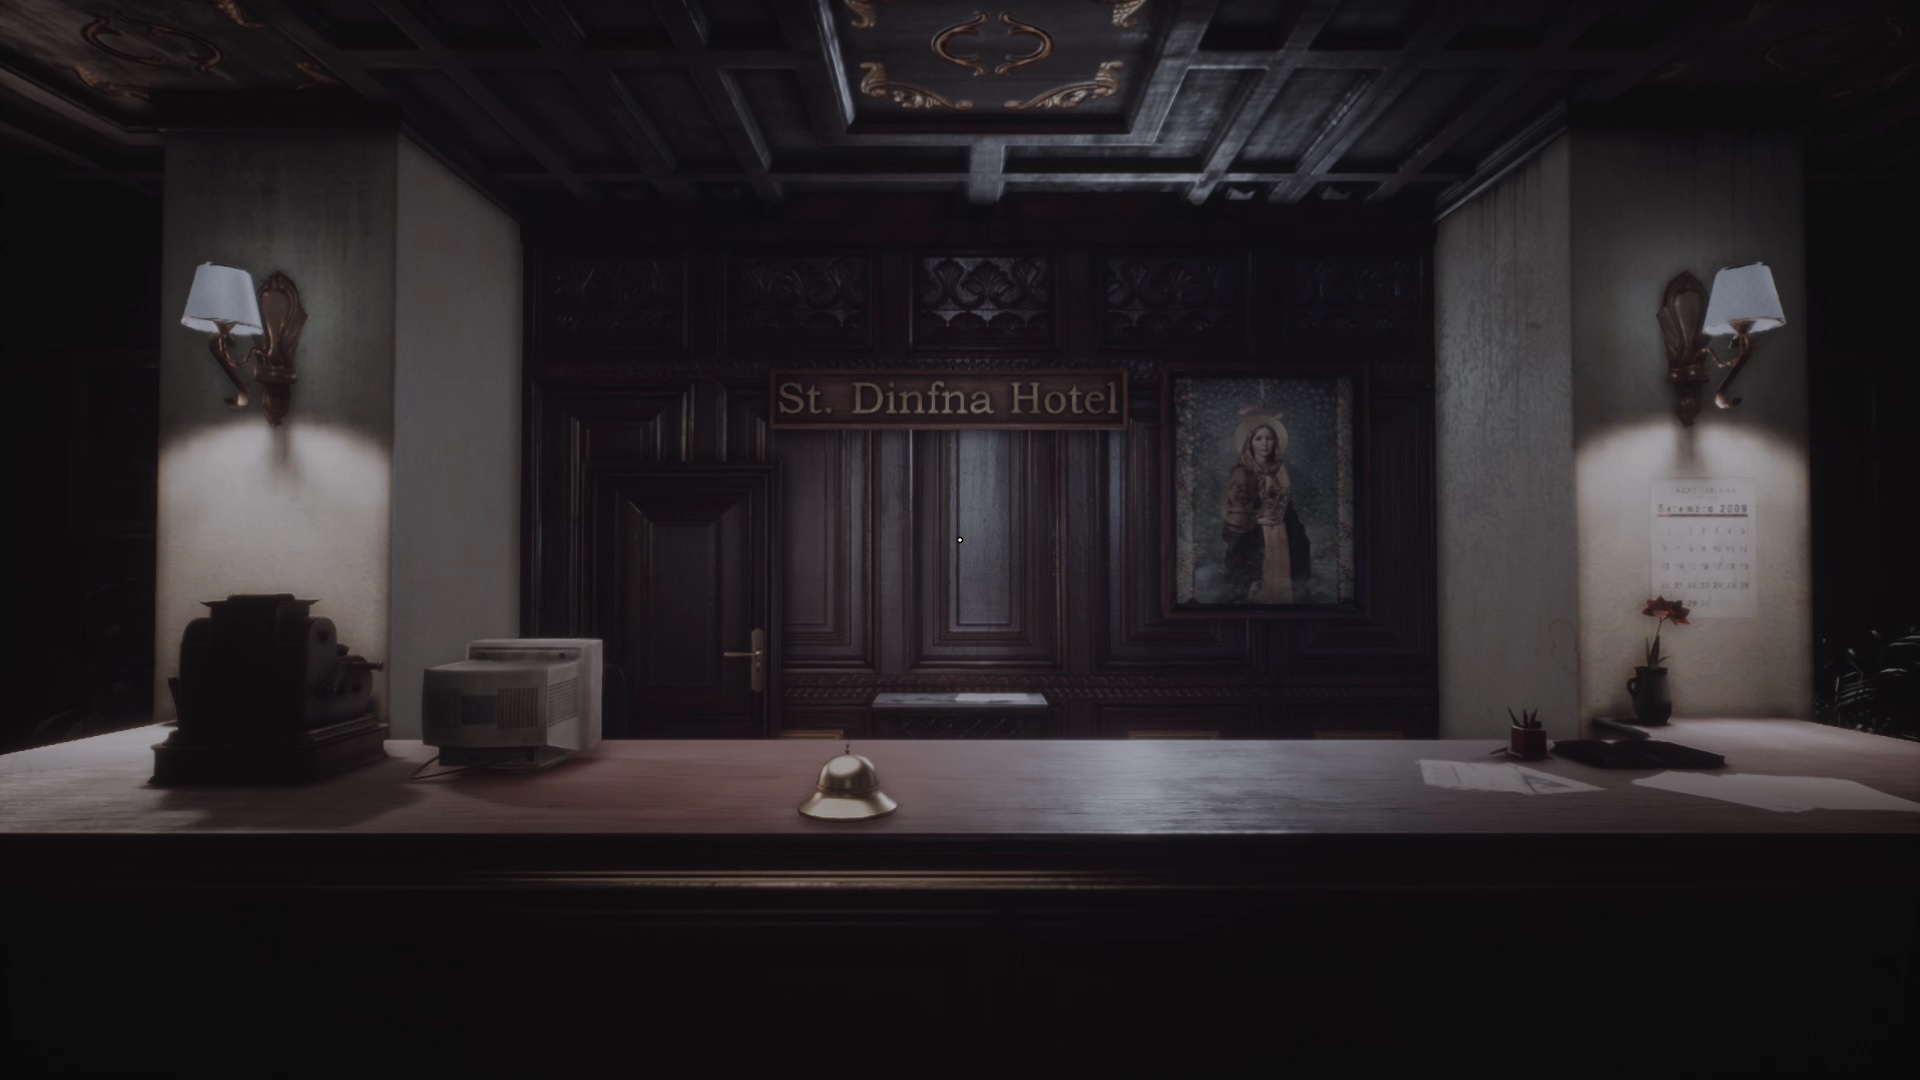
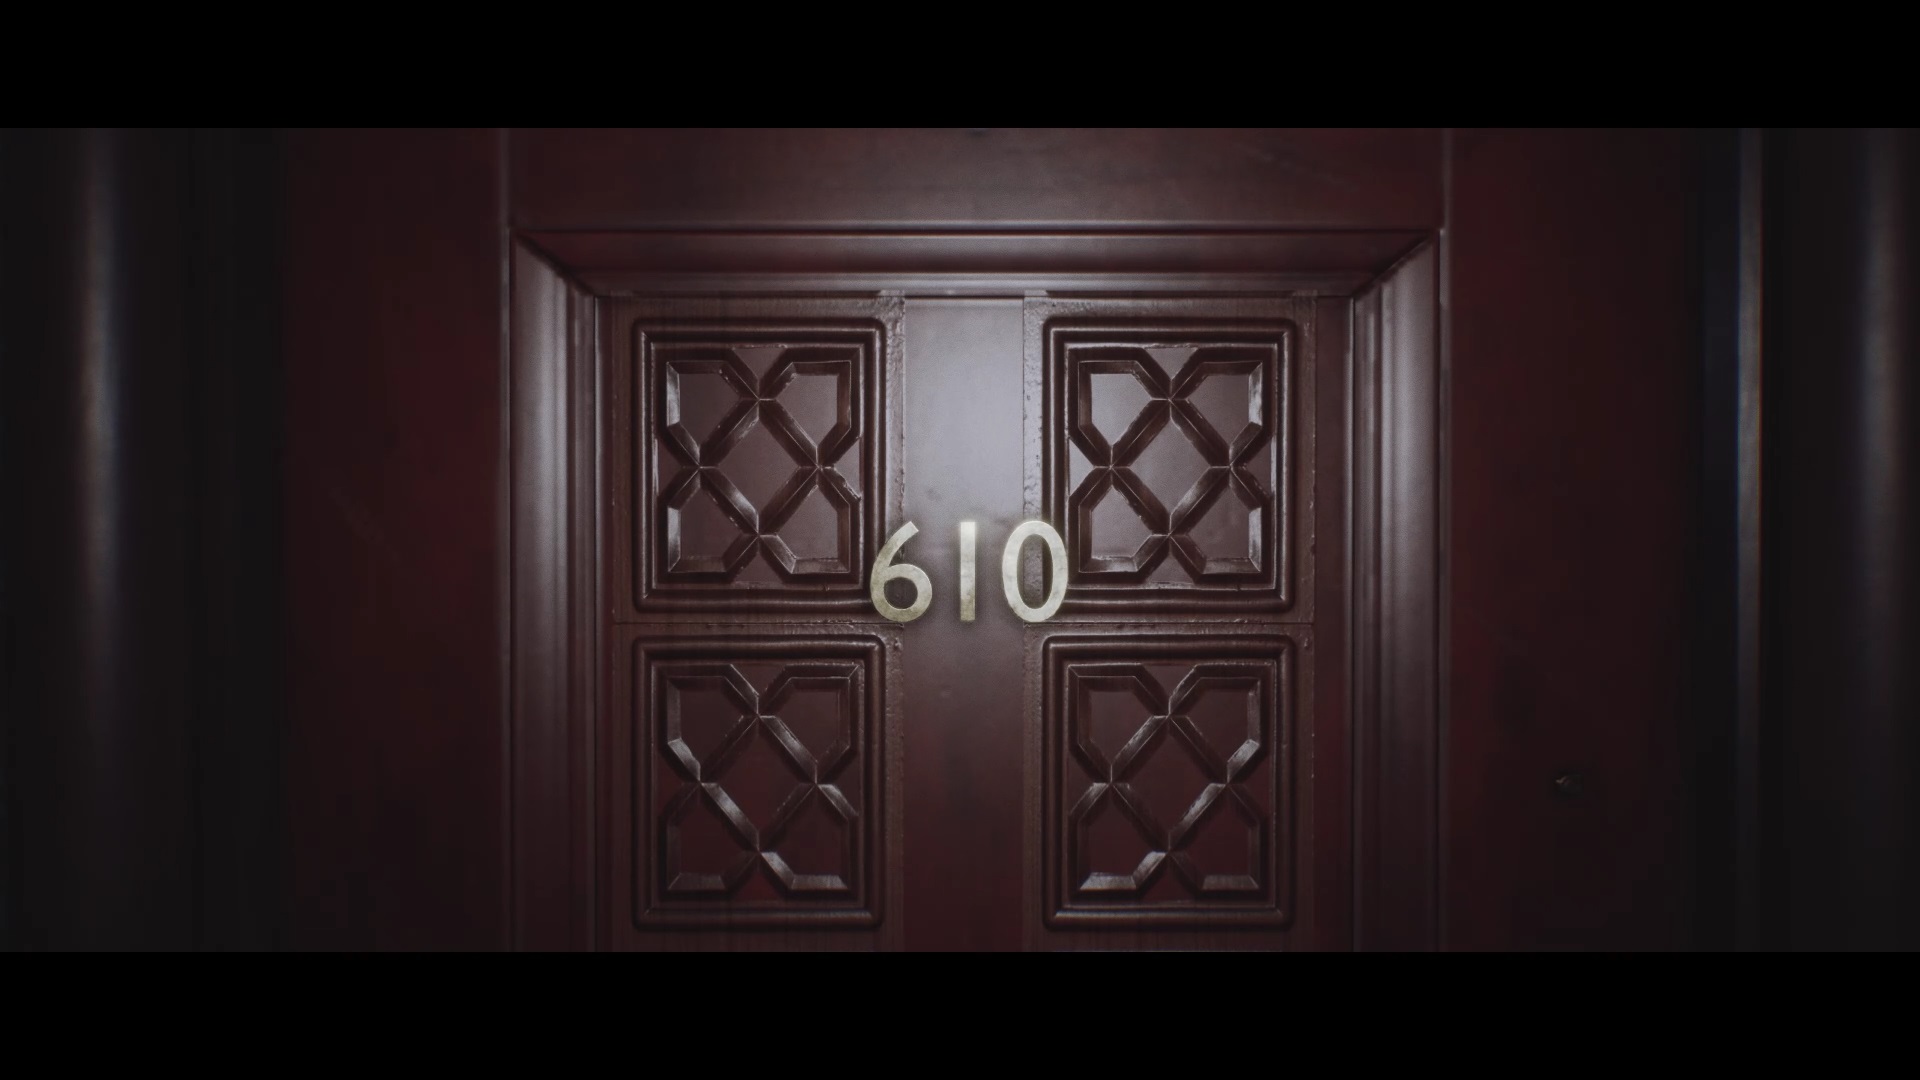
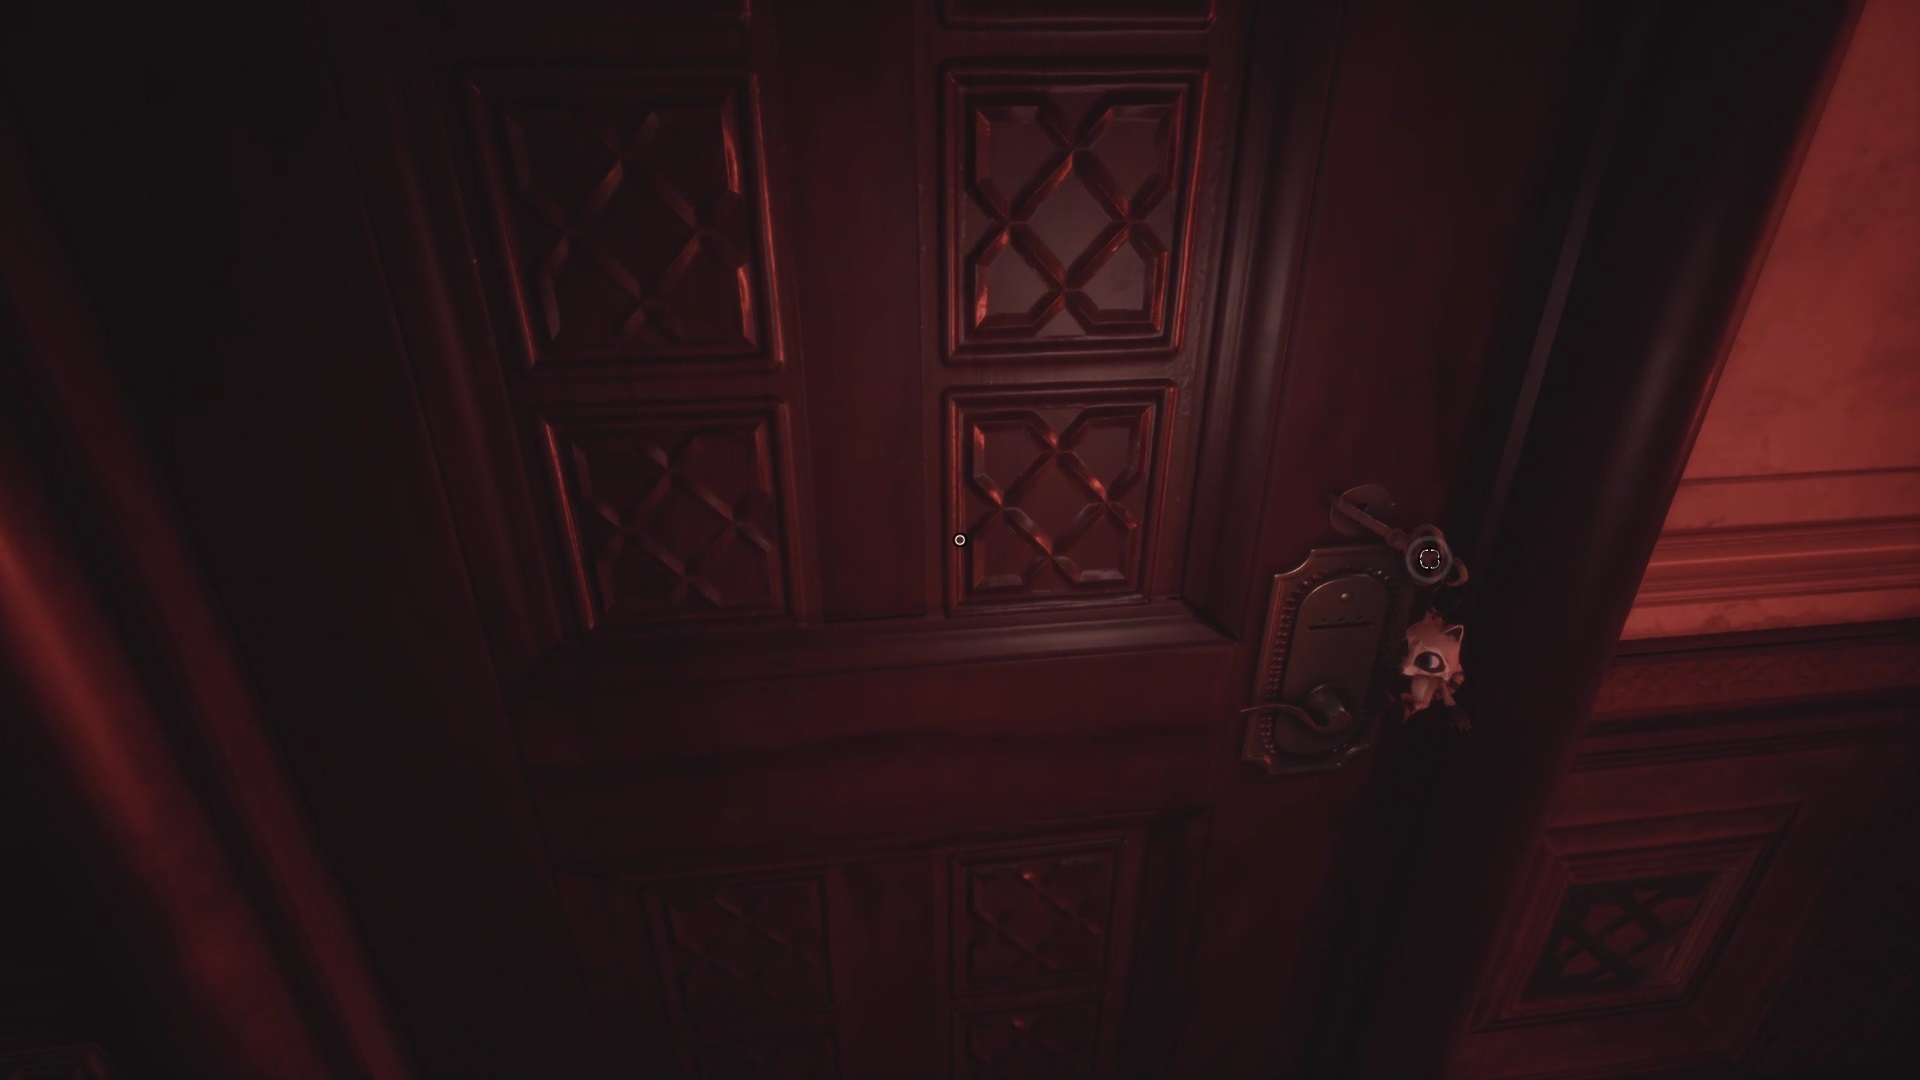
Upon arrival at Hotel St. Dinfna, interact with the doorbell to speak to the receptionist. Collect the keys for room 610 and go to the right side of the hall to get on the elevator. A cutscene begins.
The hotel
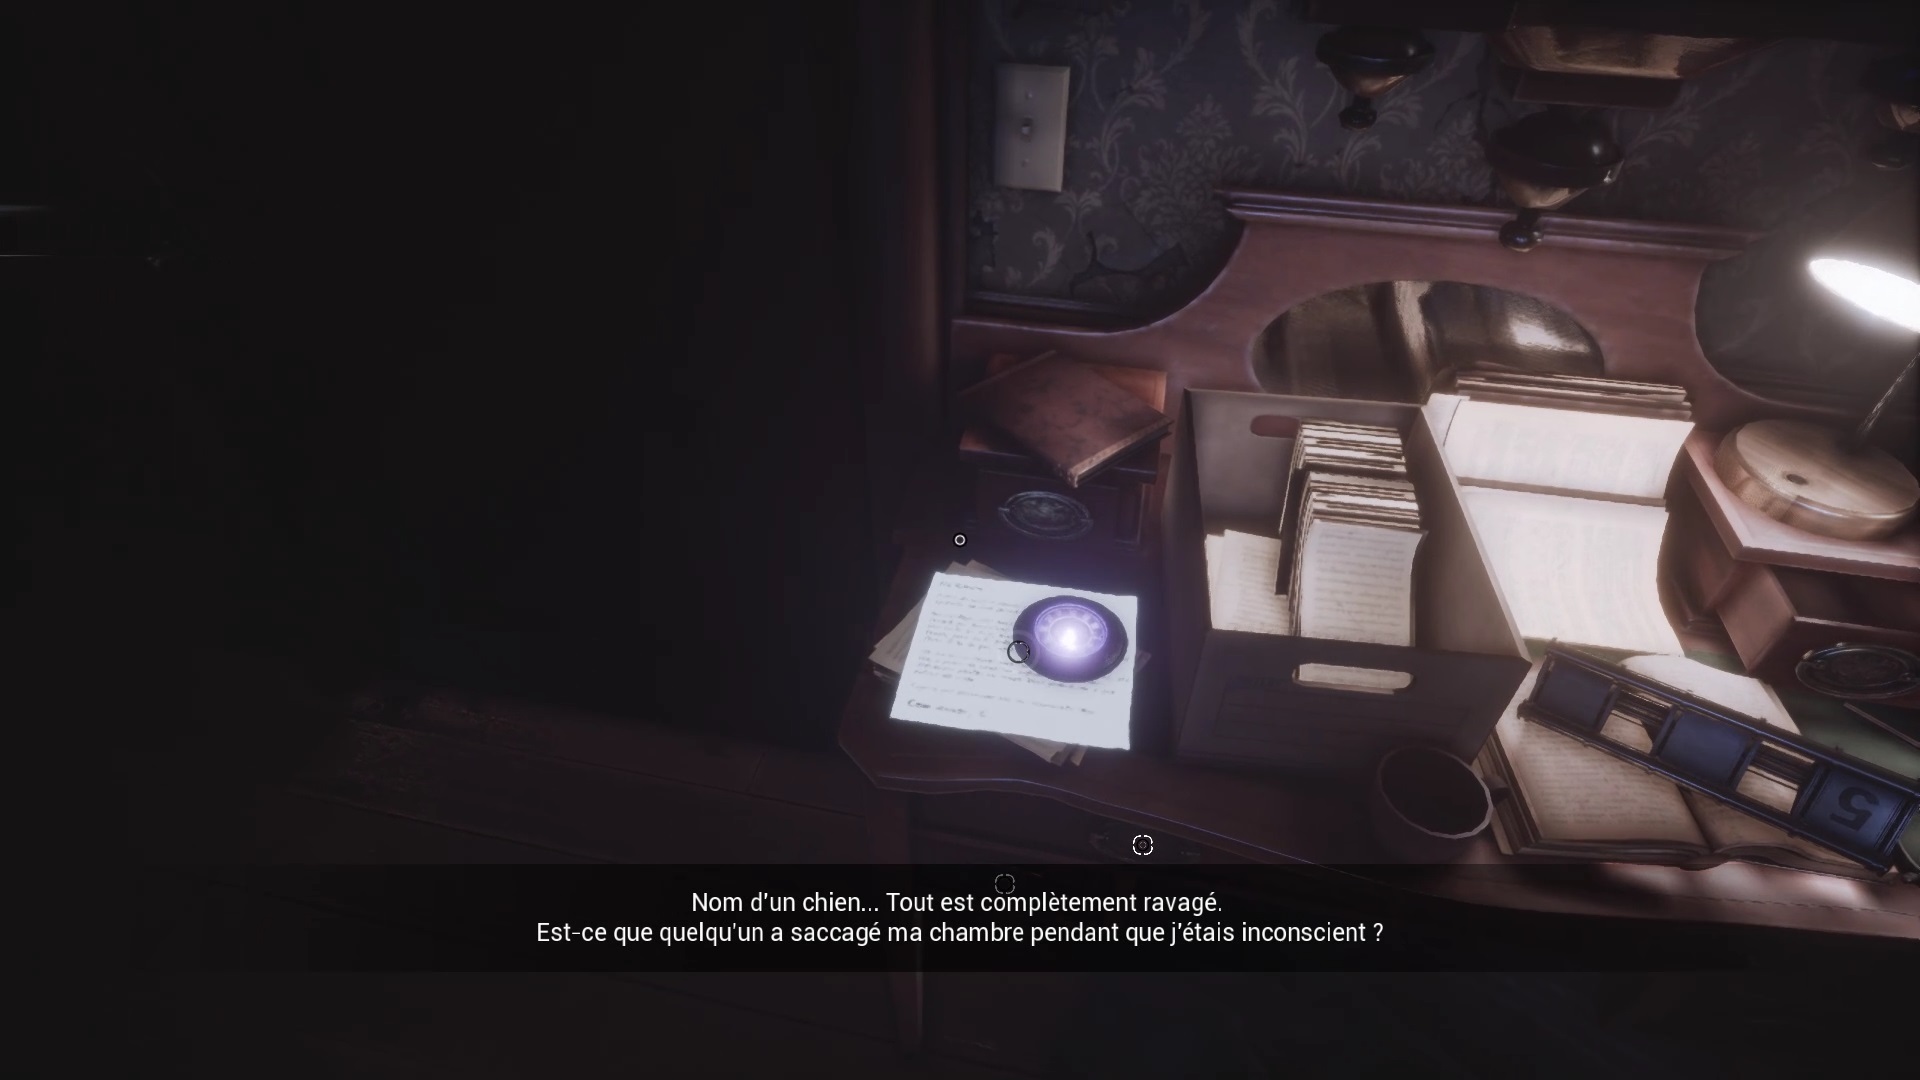
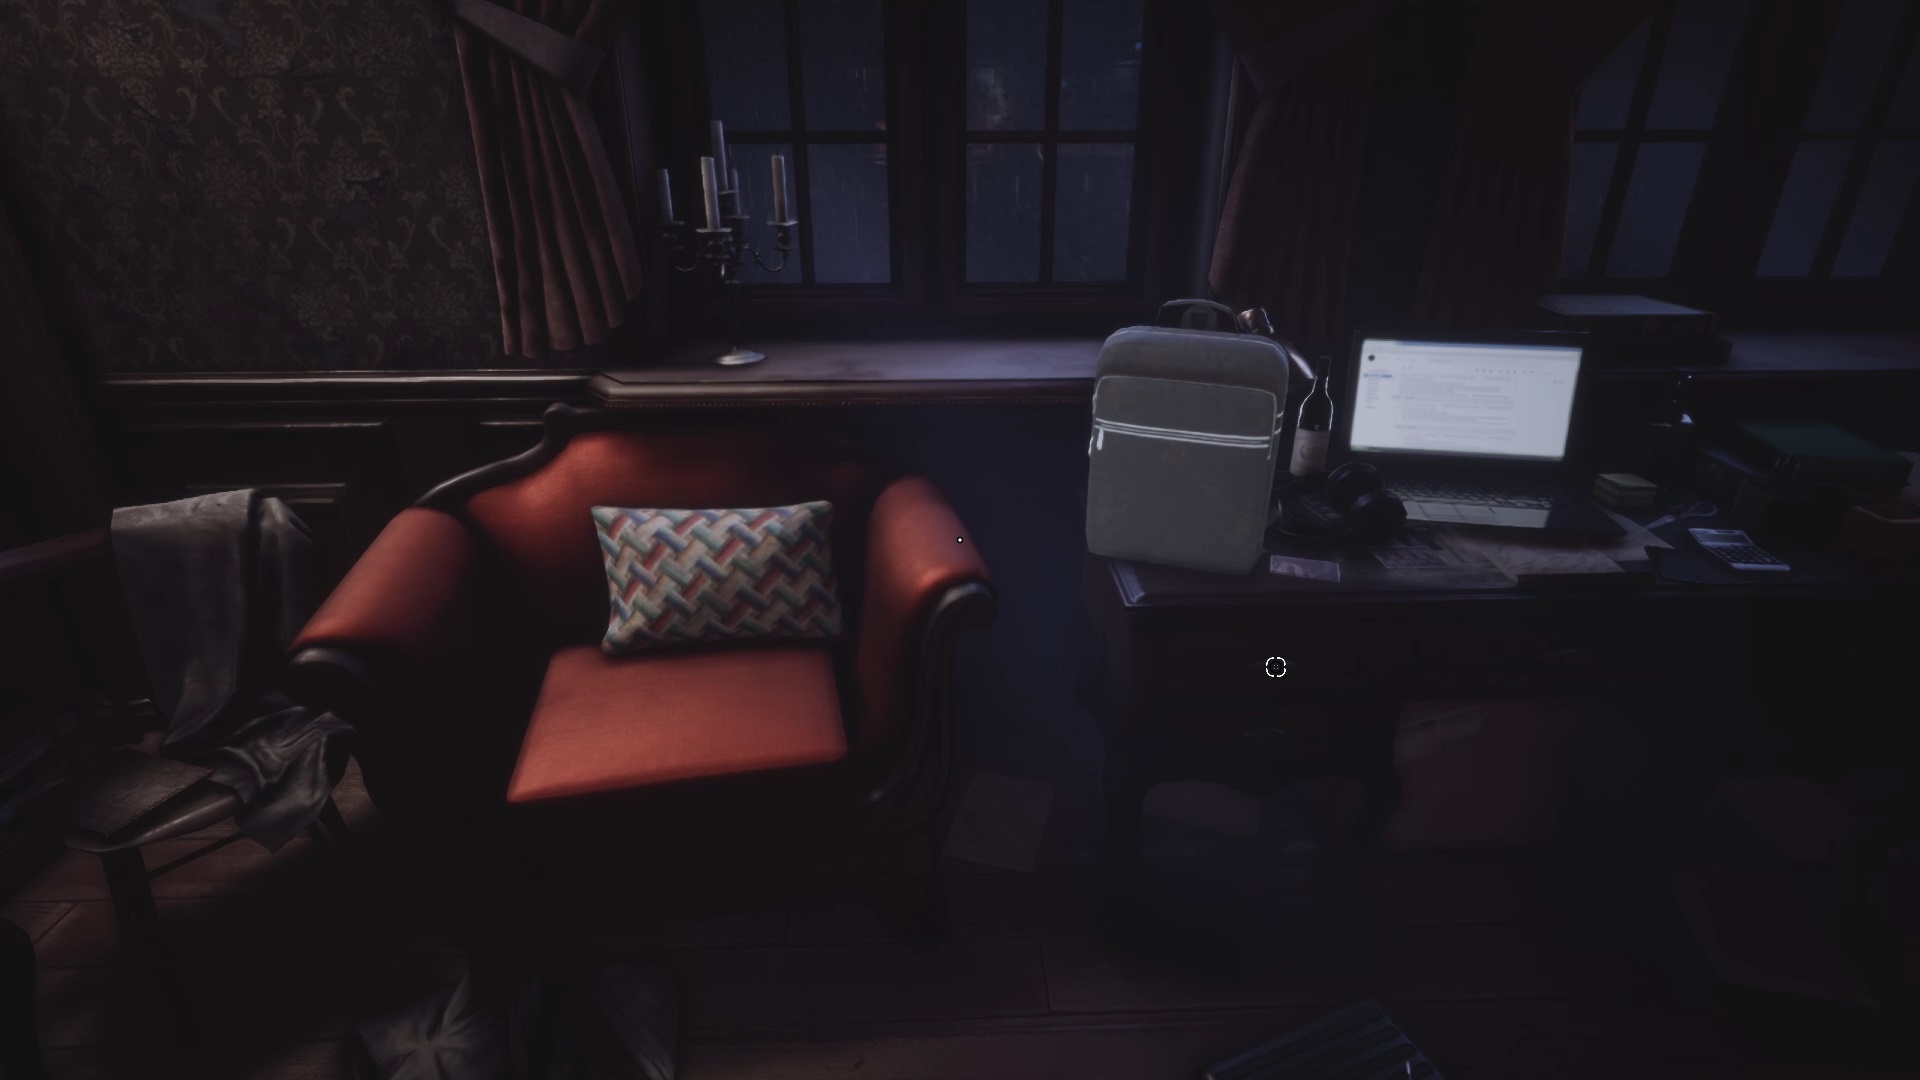
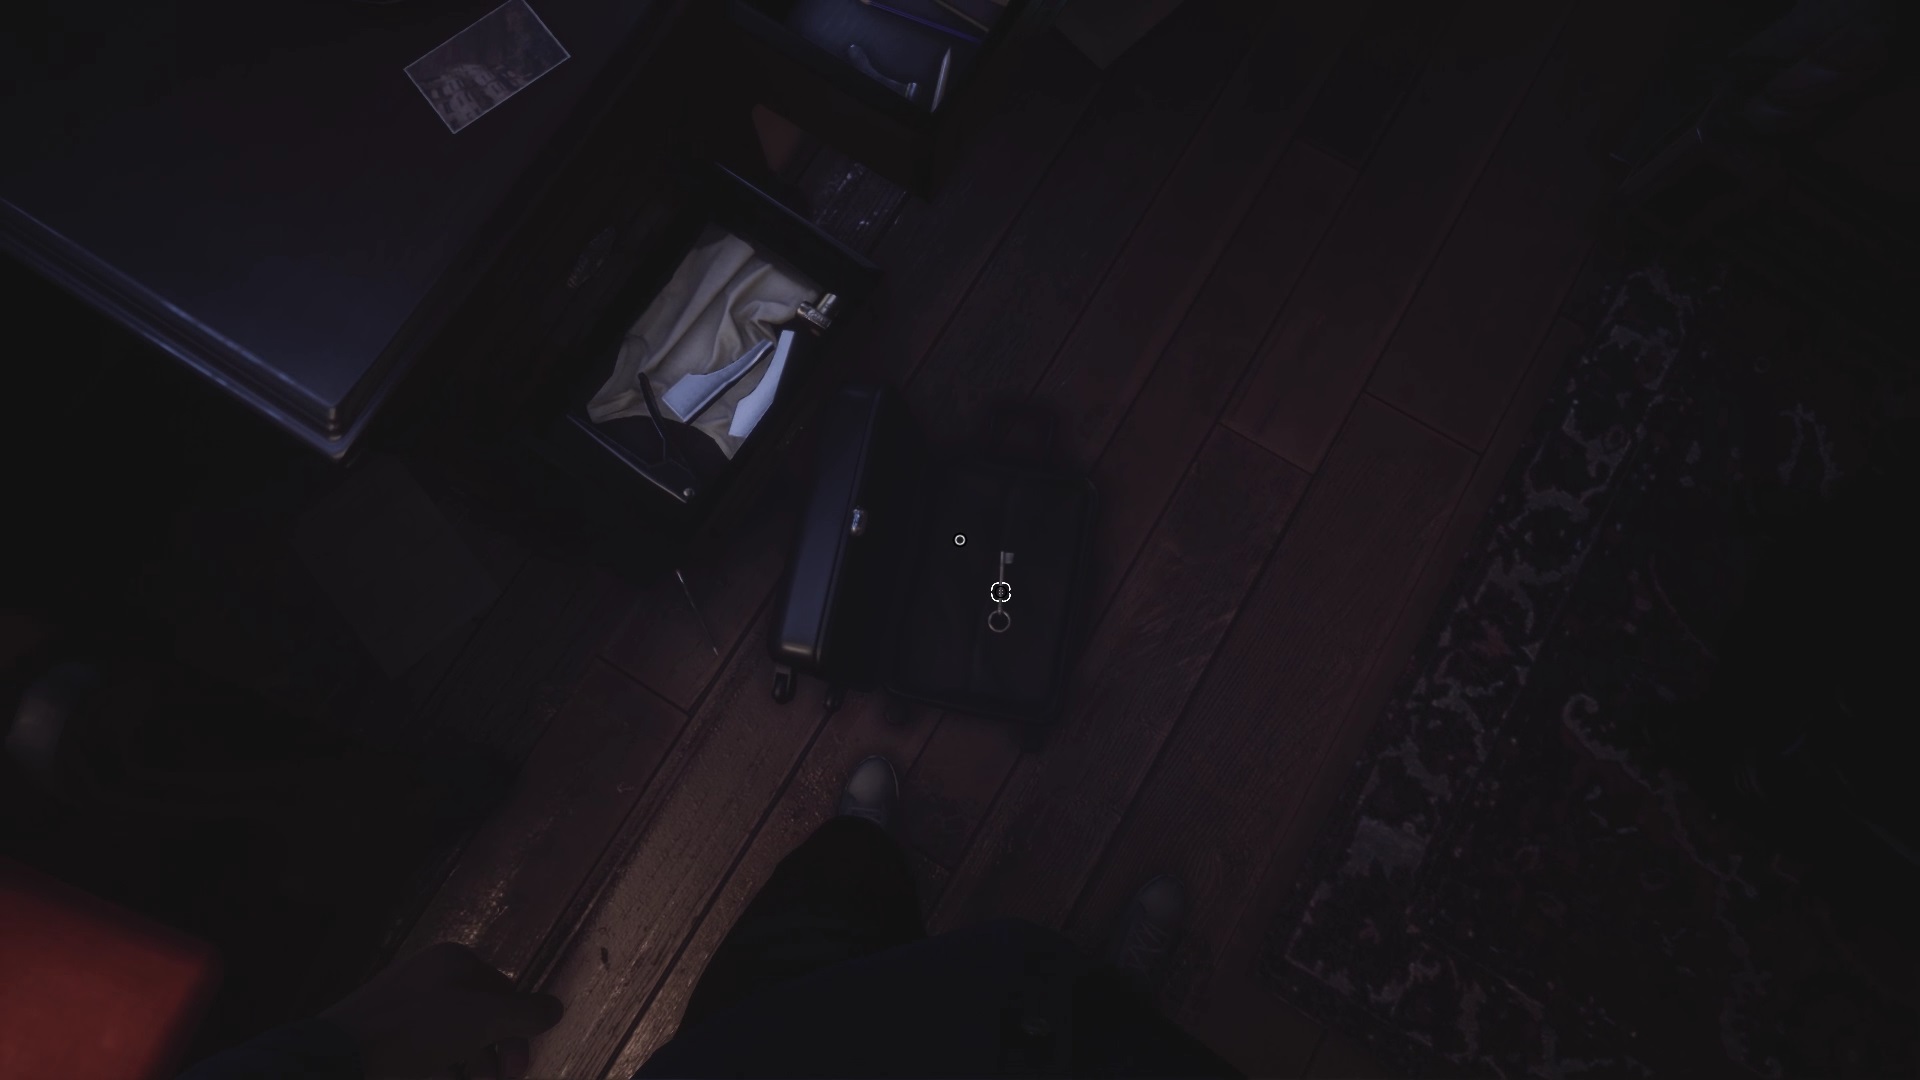
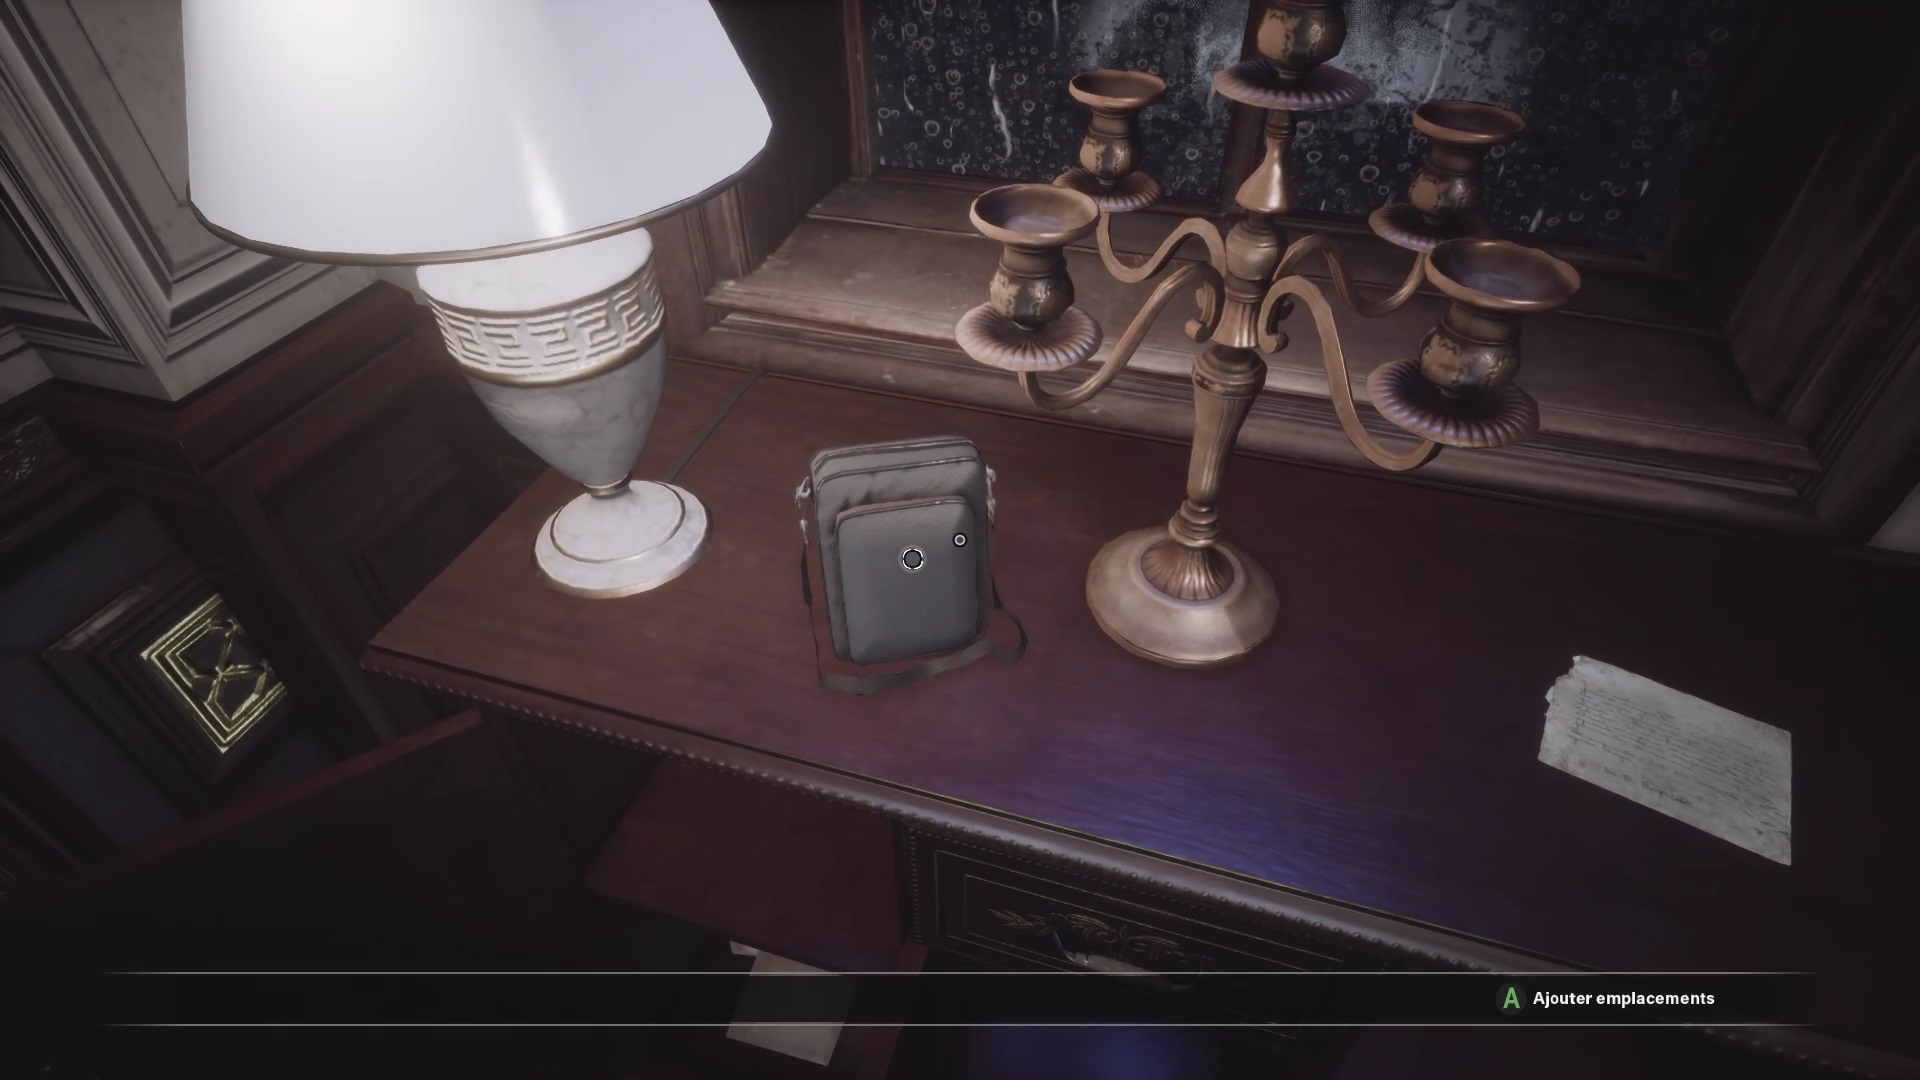
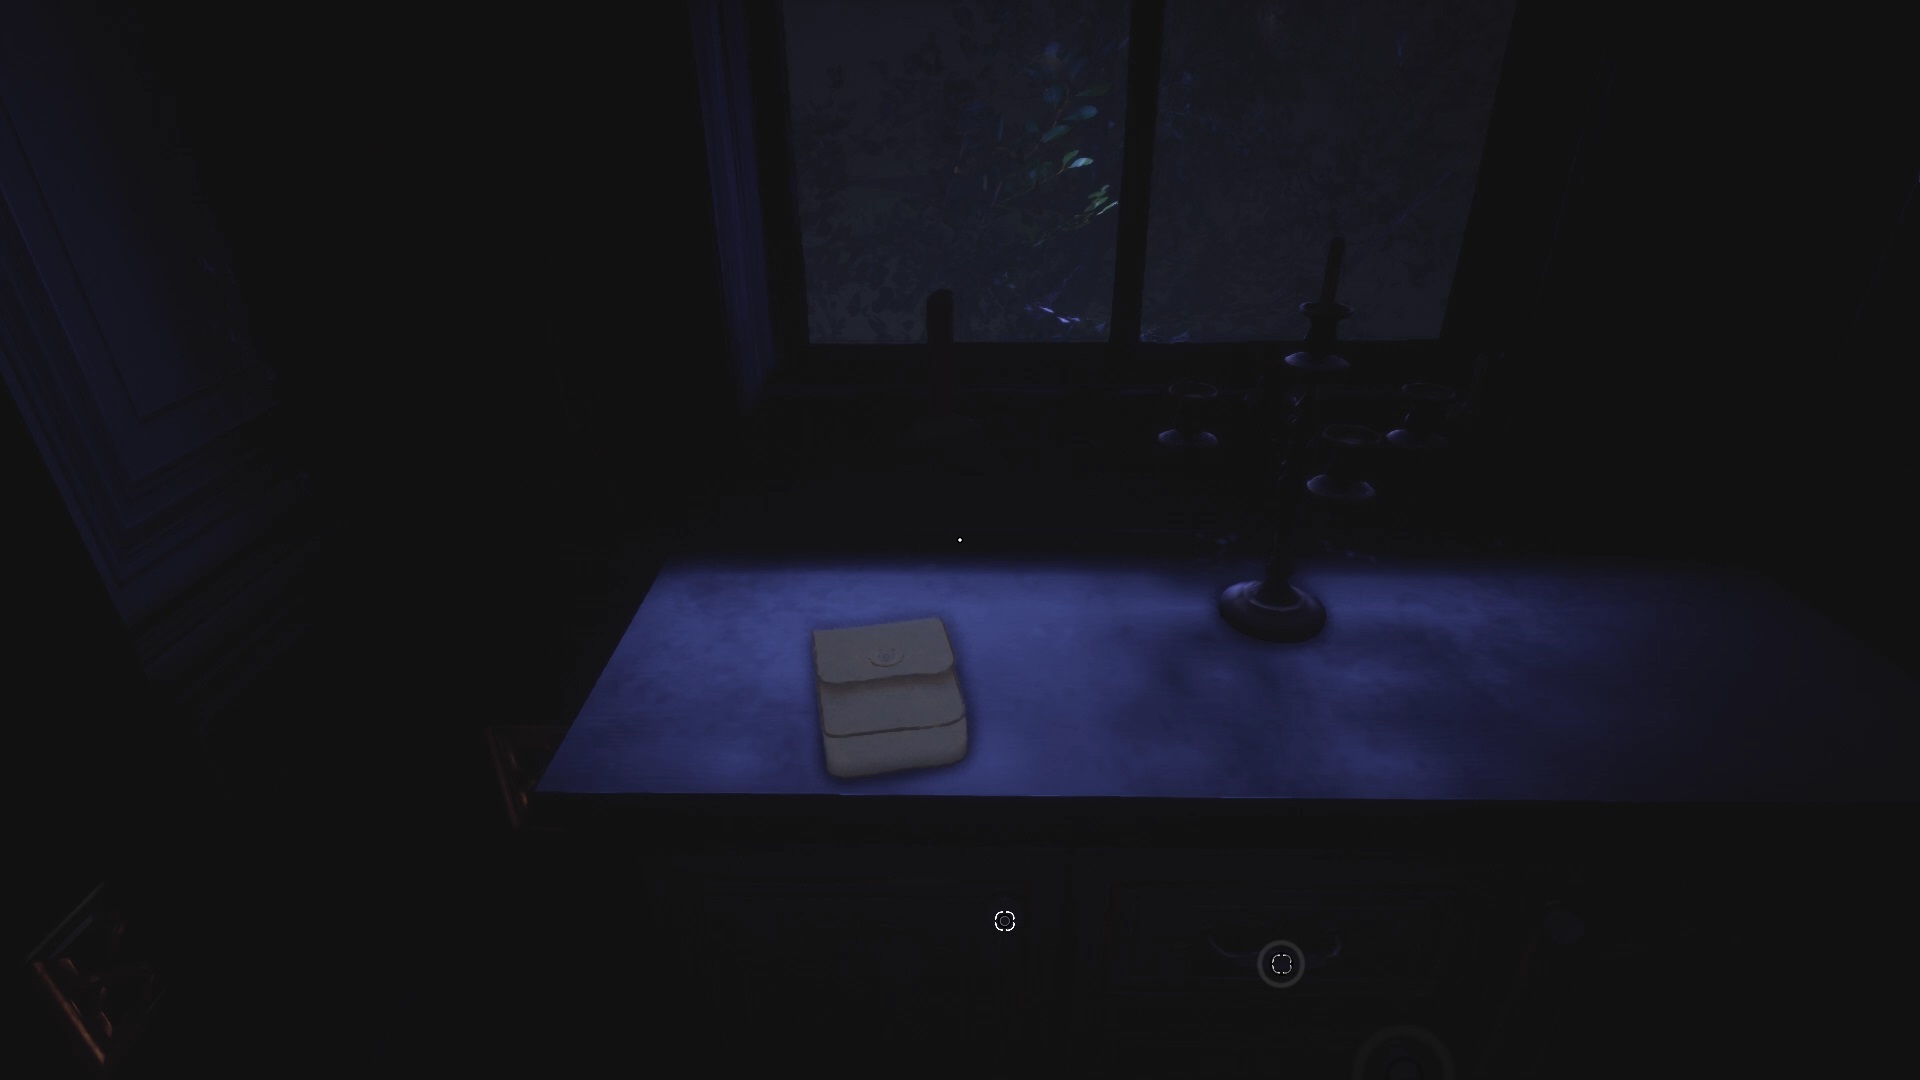
When you wake up, turn around to pick up a metal object and a pocket watch on a table. On the other side is a bag to give you more space in your inventory. Note the presence of a suitcase just in front on the ground. Examine the metal object to identify a code. Use the code on the padlock of the suitcase to unlock it and take a key inside.
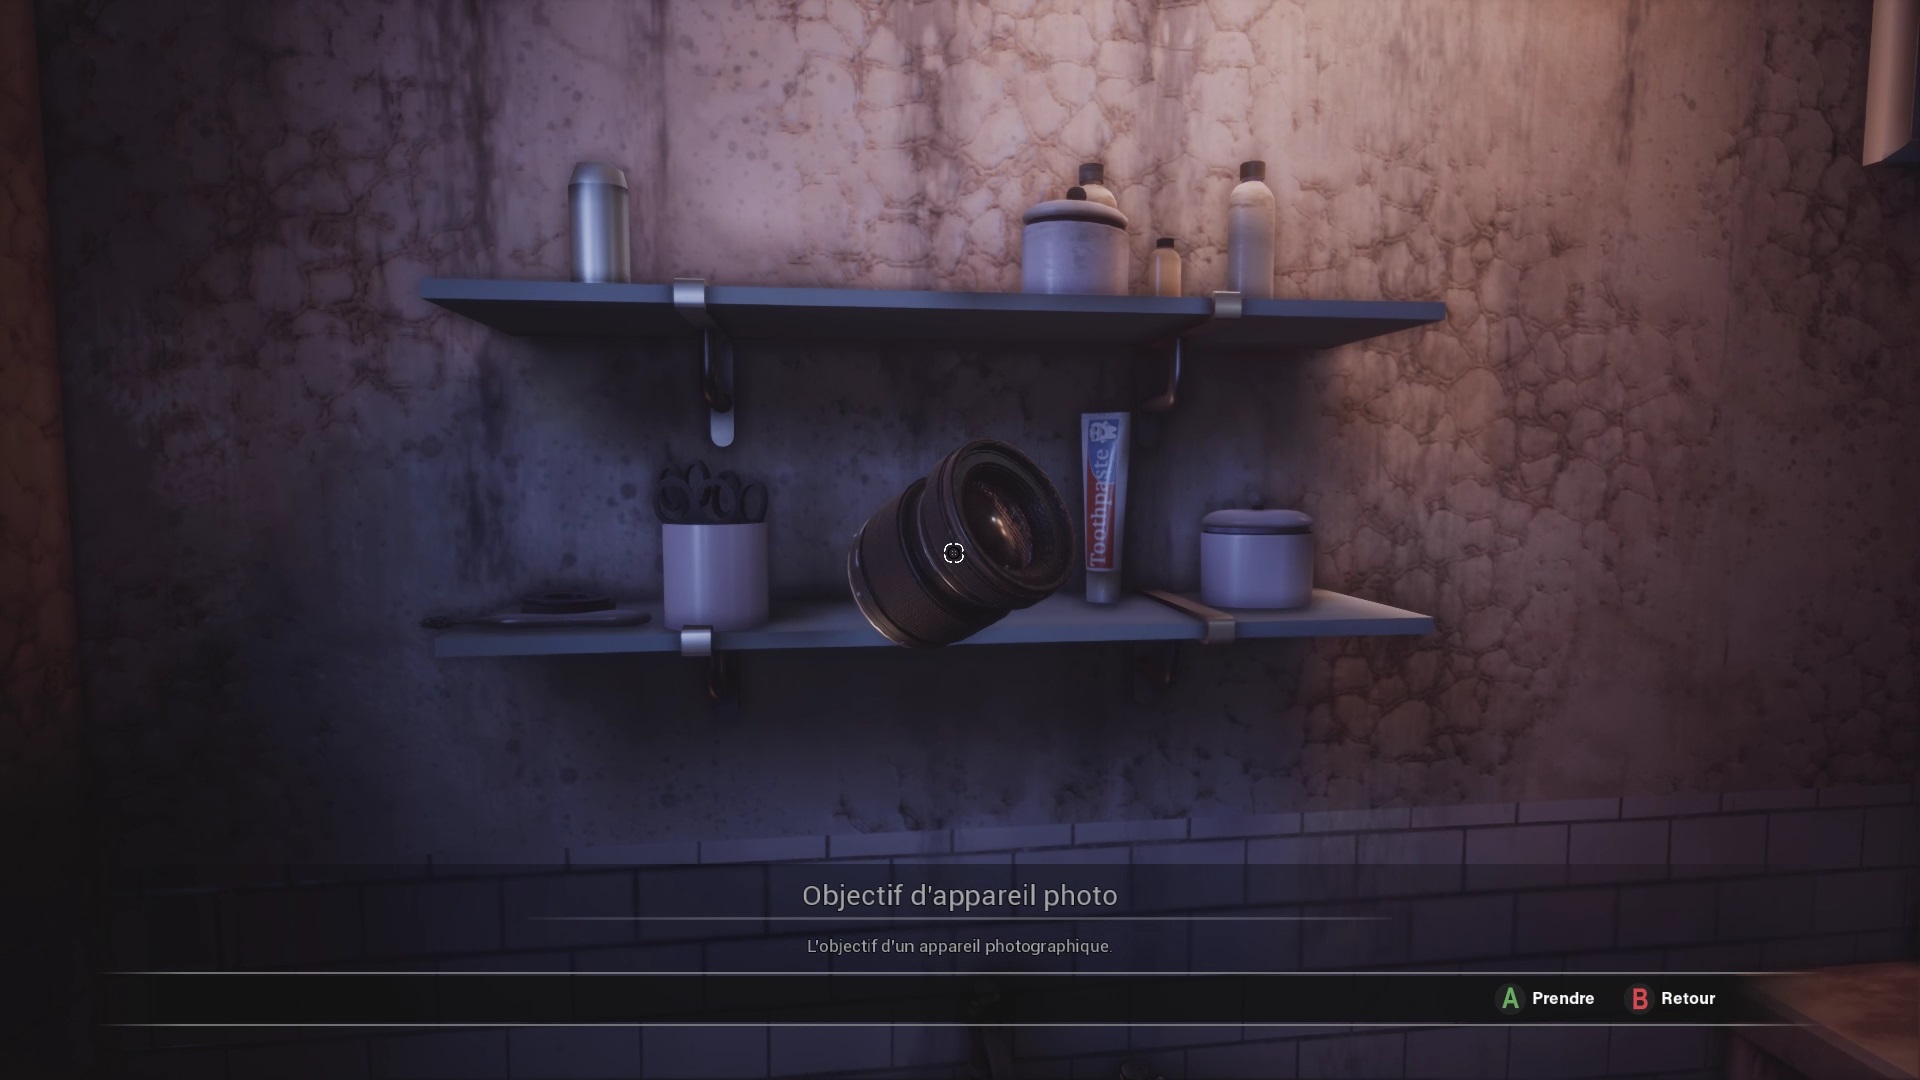

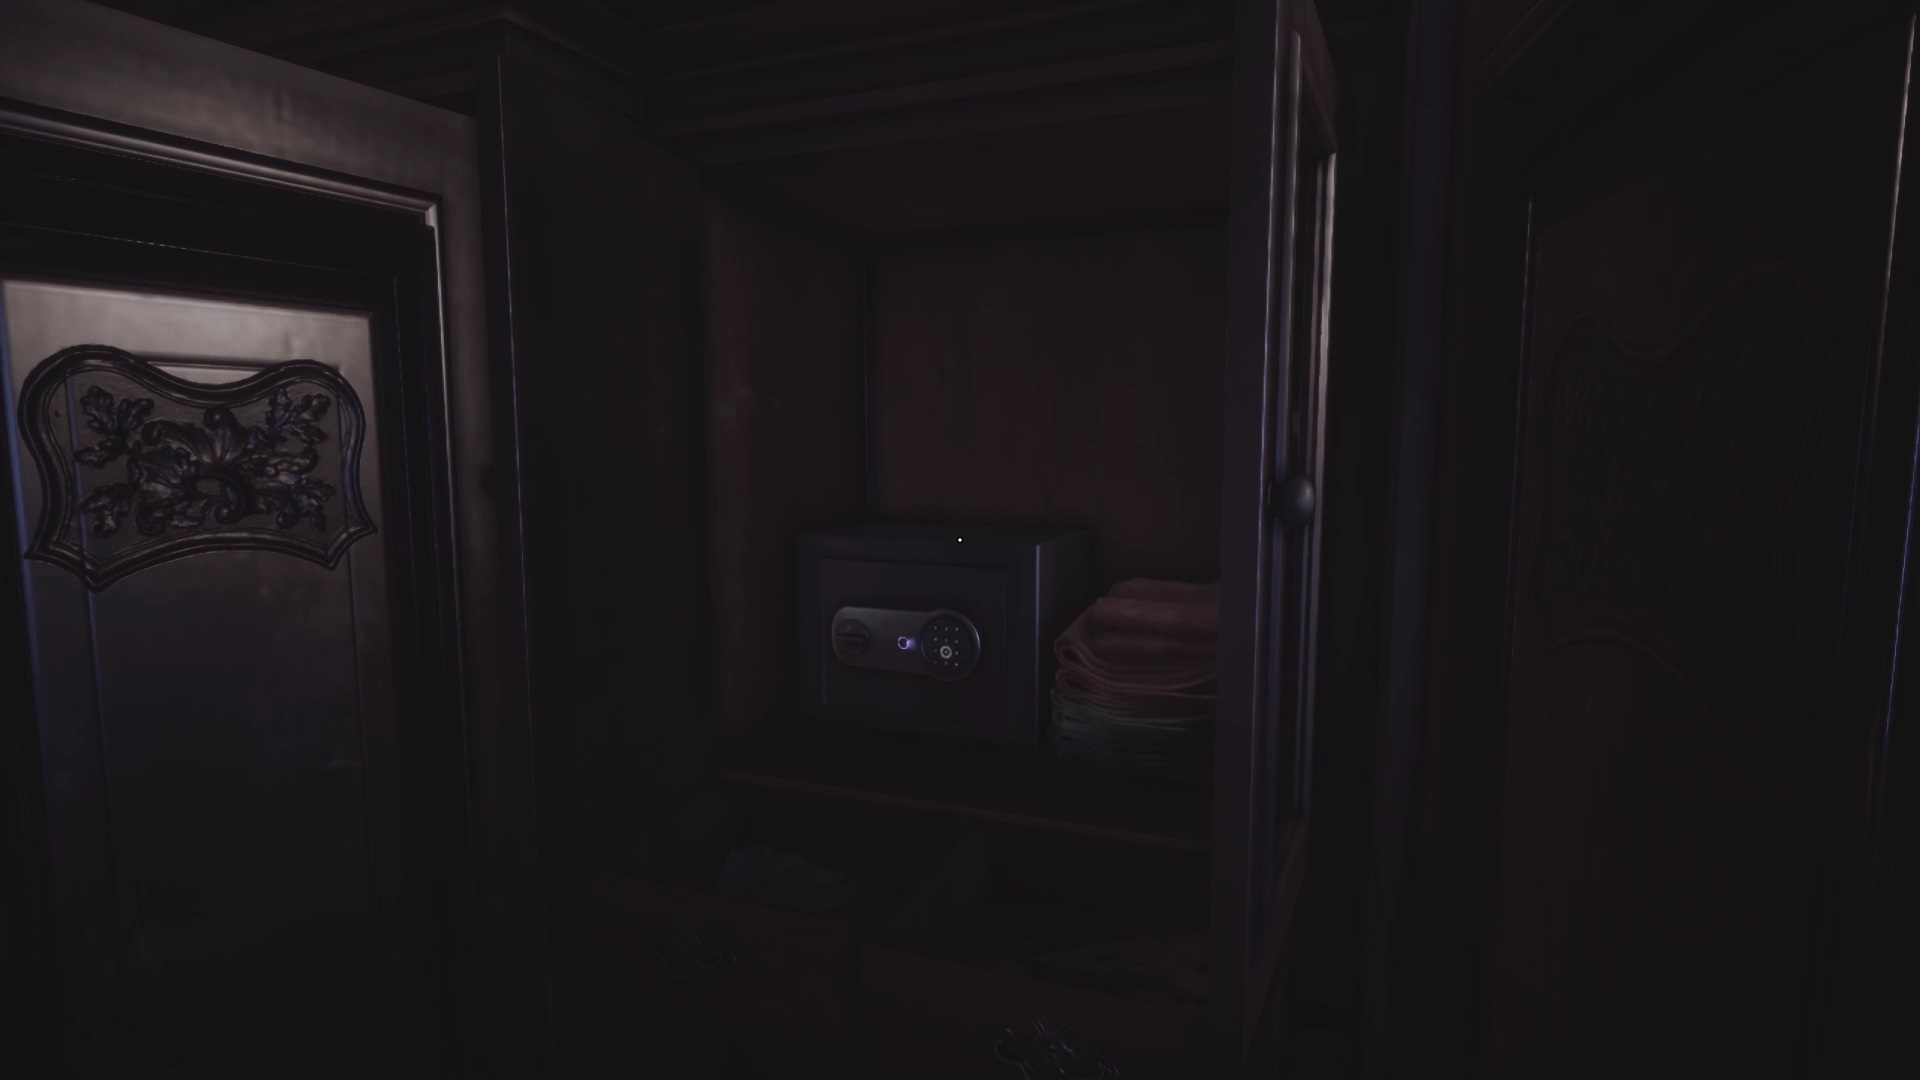
Use the key on the bathroom door to open it. Take the camera lens above the lever and examine the edge of the tub to find a second suitcase. A document is inside with the code 37251. Return to the living room to find a safe in the cupboard. Use the code on the safe to unlock it. It contains a camera body. Combine the body with the lens to get a functional camera. Return to the bathroom with the device to trigger a cutscene.
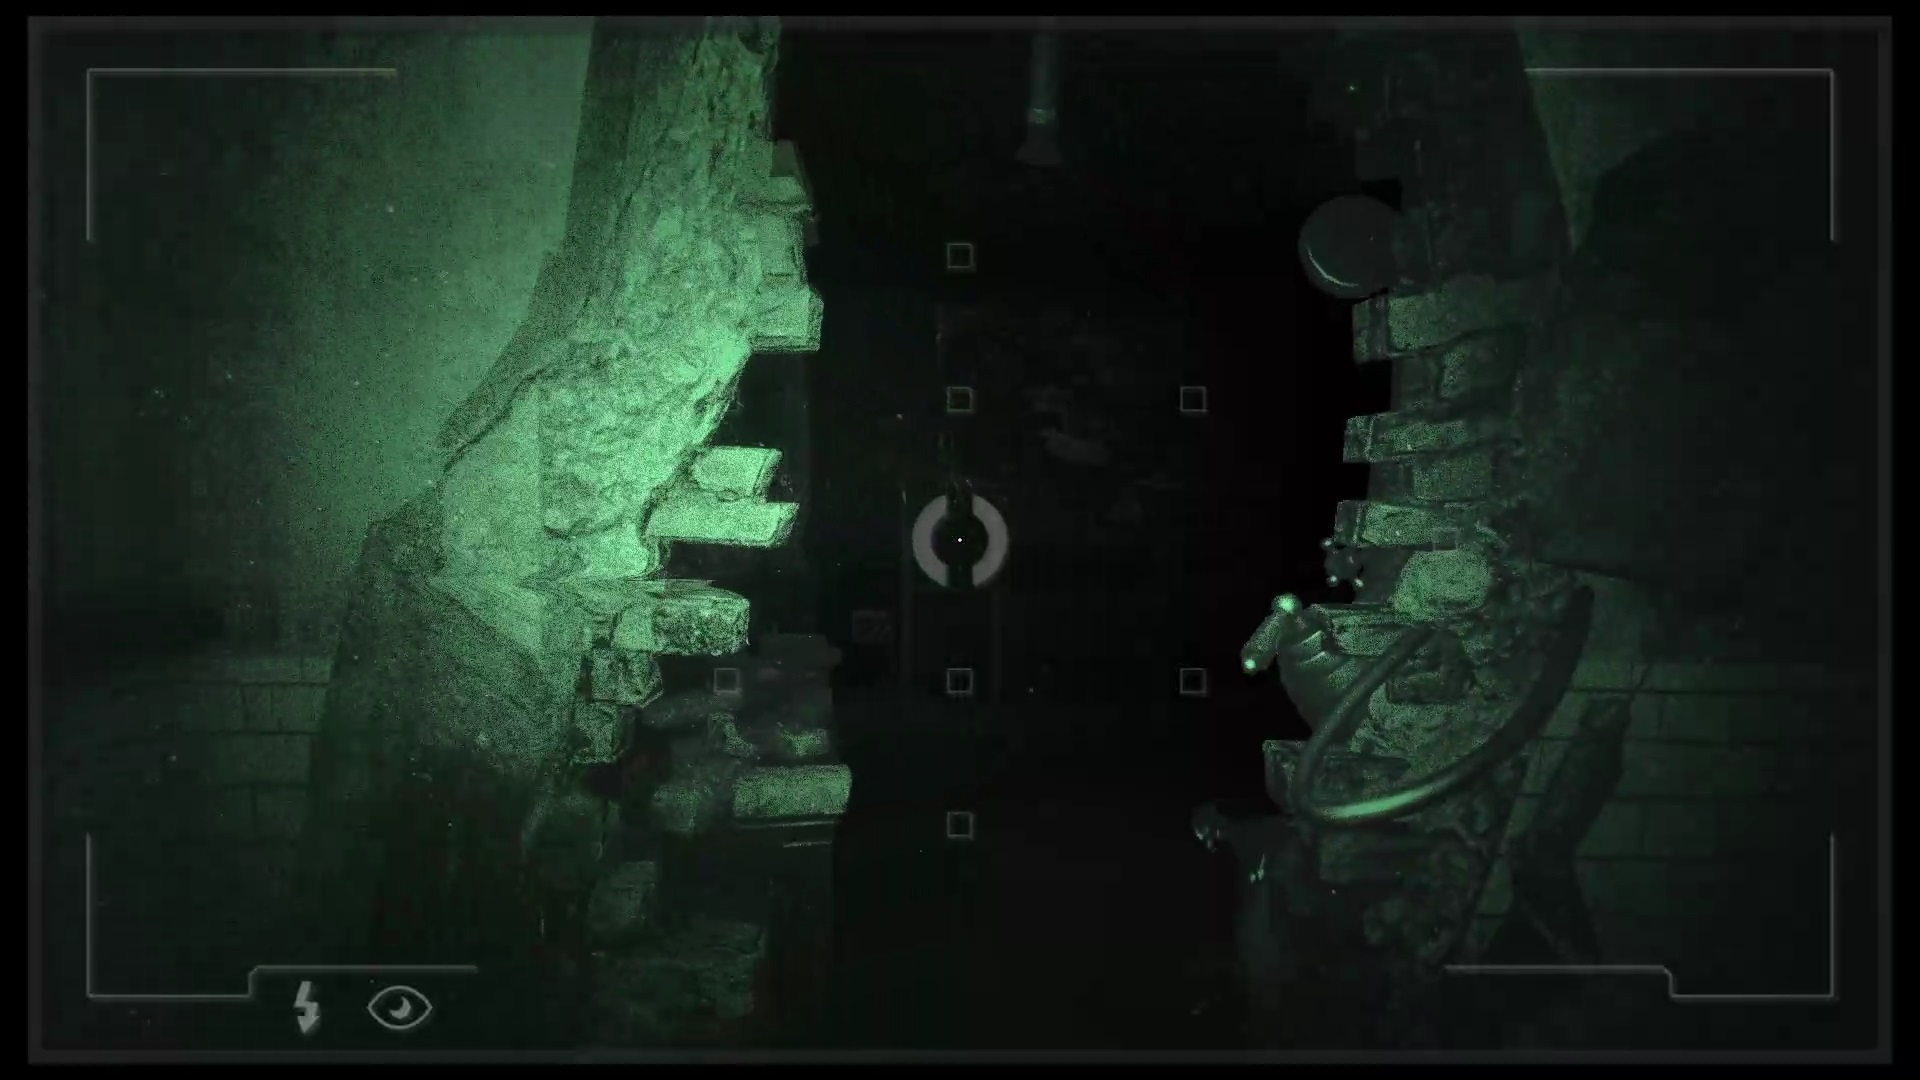
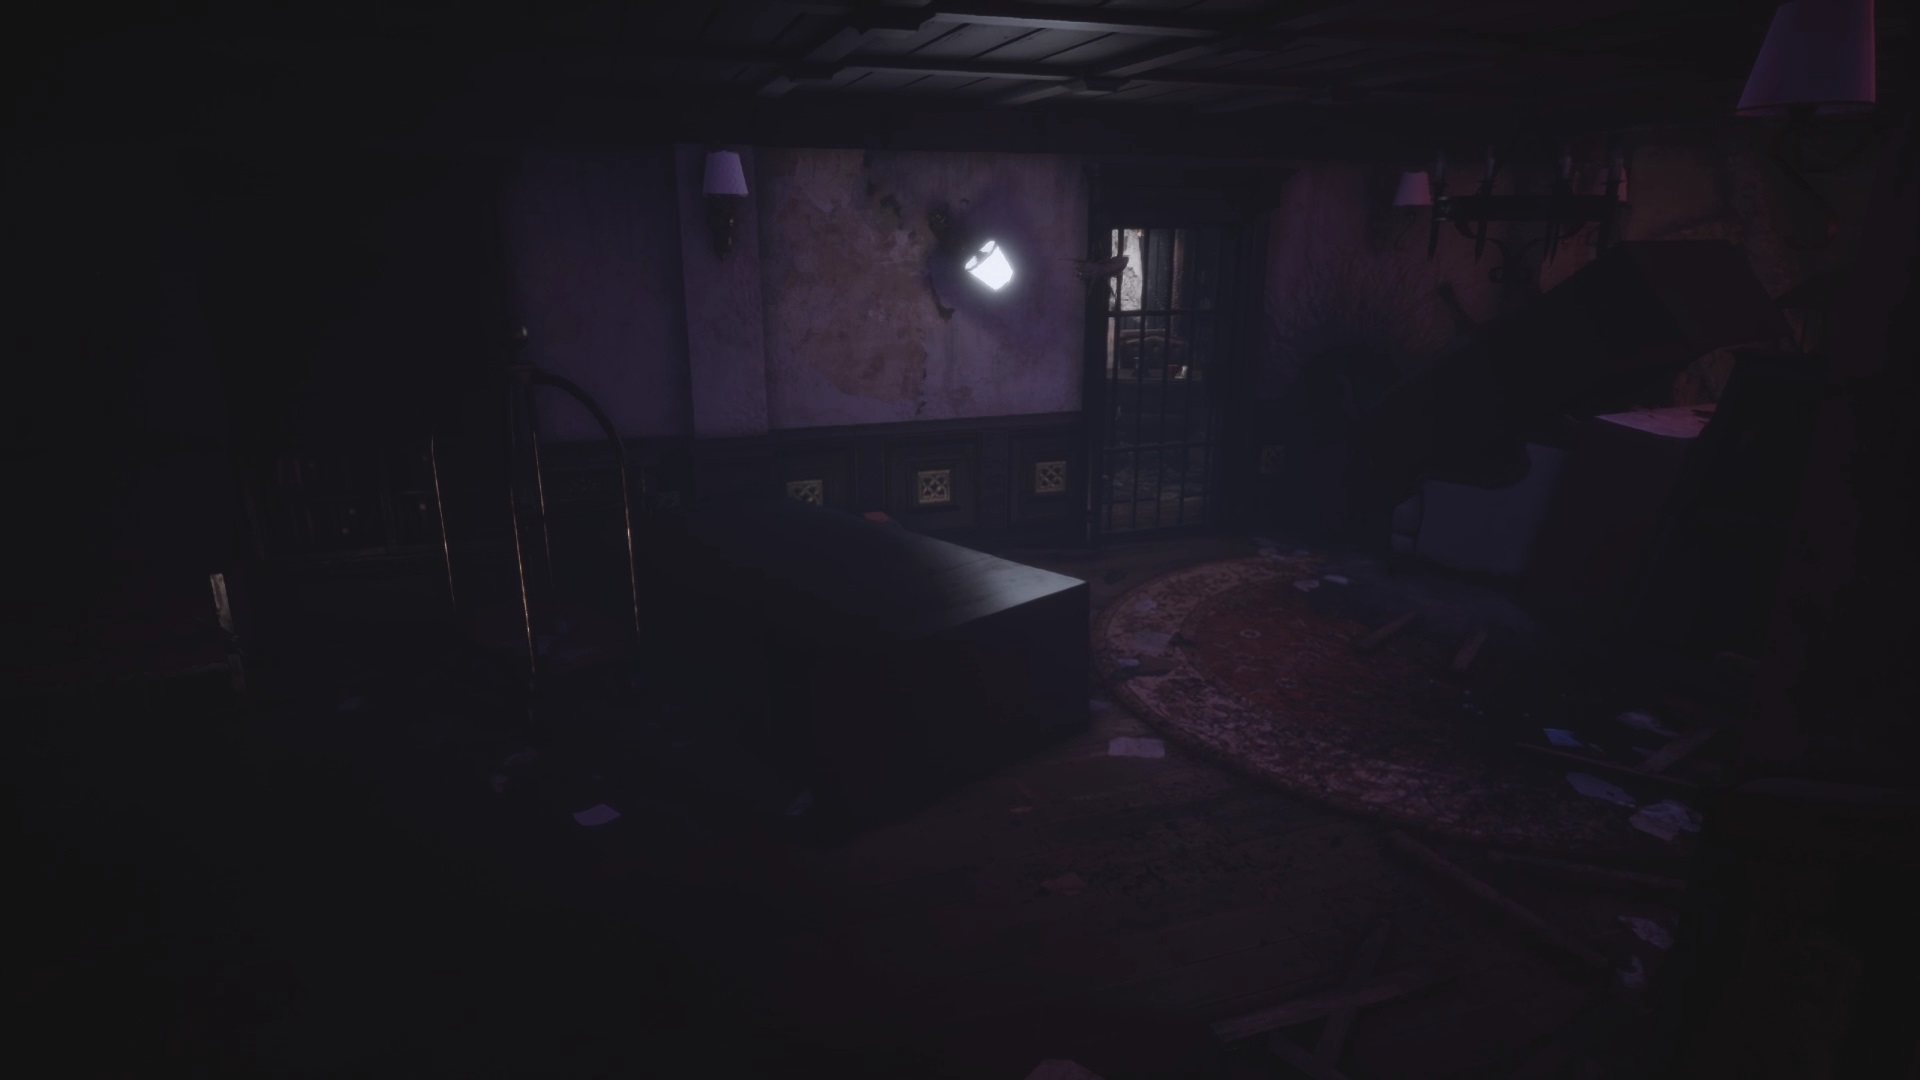
The bedroom door unlocked. Exit into the hallway. A bag is waiting for you on the right on a table. Note that the table drawer is locked. Go into room 611 opposite. Go to the bathroom and use the camera against the wall to make a passage appear.
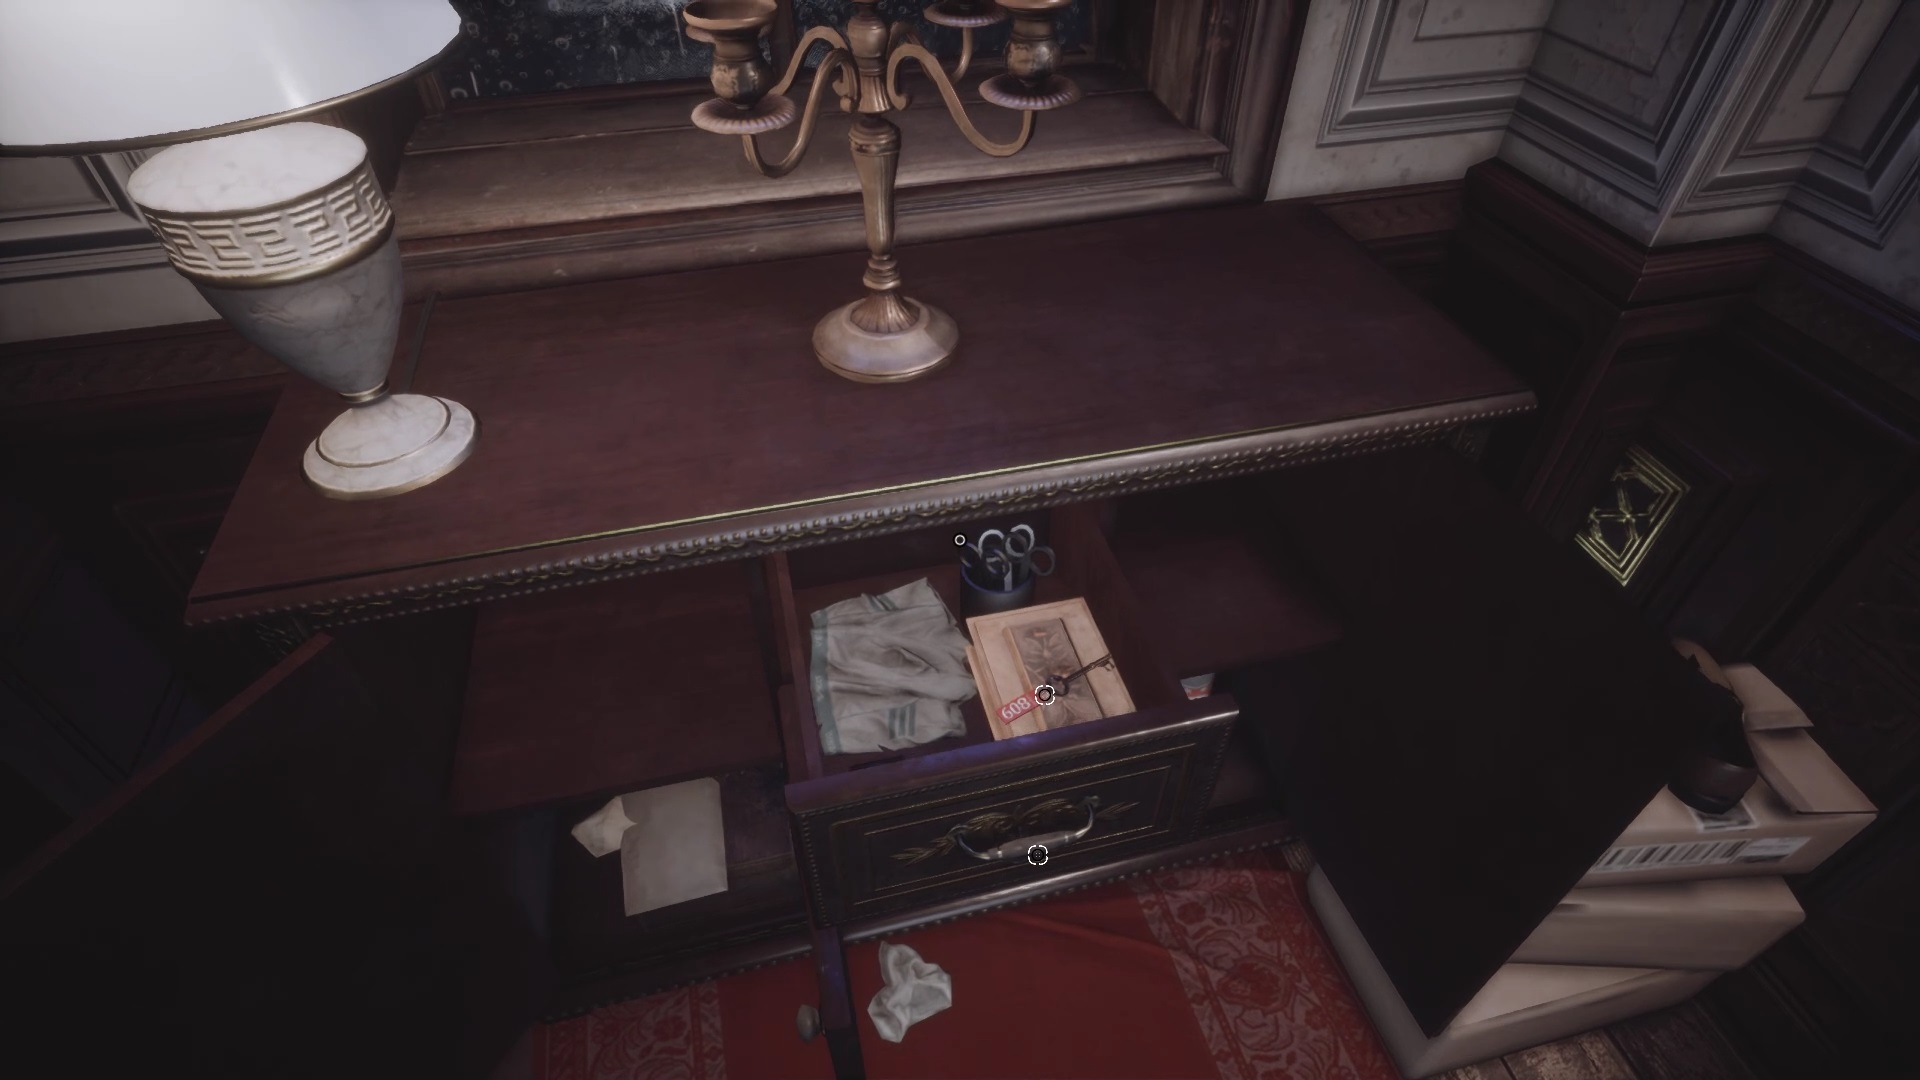

In the hallway, collect the small key on the door to room 608. Go back to the table where the second bag was located to unlock its drawer with the key you just picked up. The drawer contains the key to room 608. Return to room 608 to open it. Inside the chamber crawl under a passage to get to the other side.
Use the camera against the bedroom wall to find a safe. Open it to retrieve a key to exit the room where you are. In the hallway, go to the dark corner at the back to find a new bag. Go back to the middle of the hallway to go down the stairs.
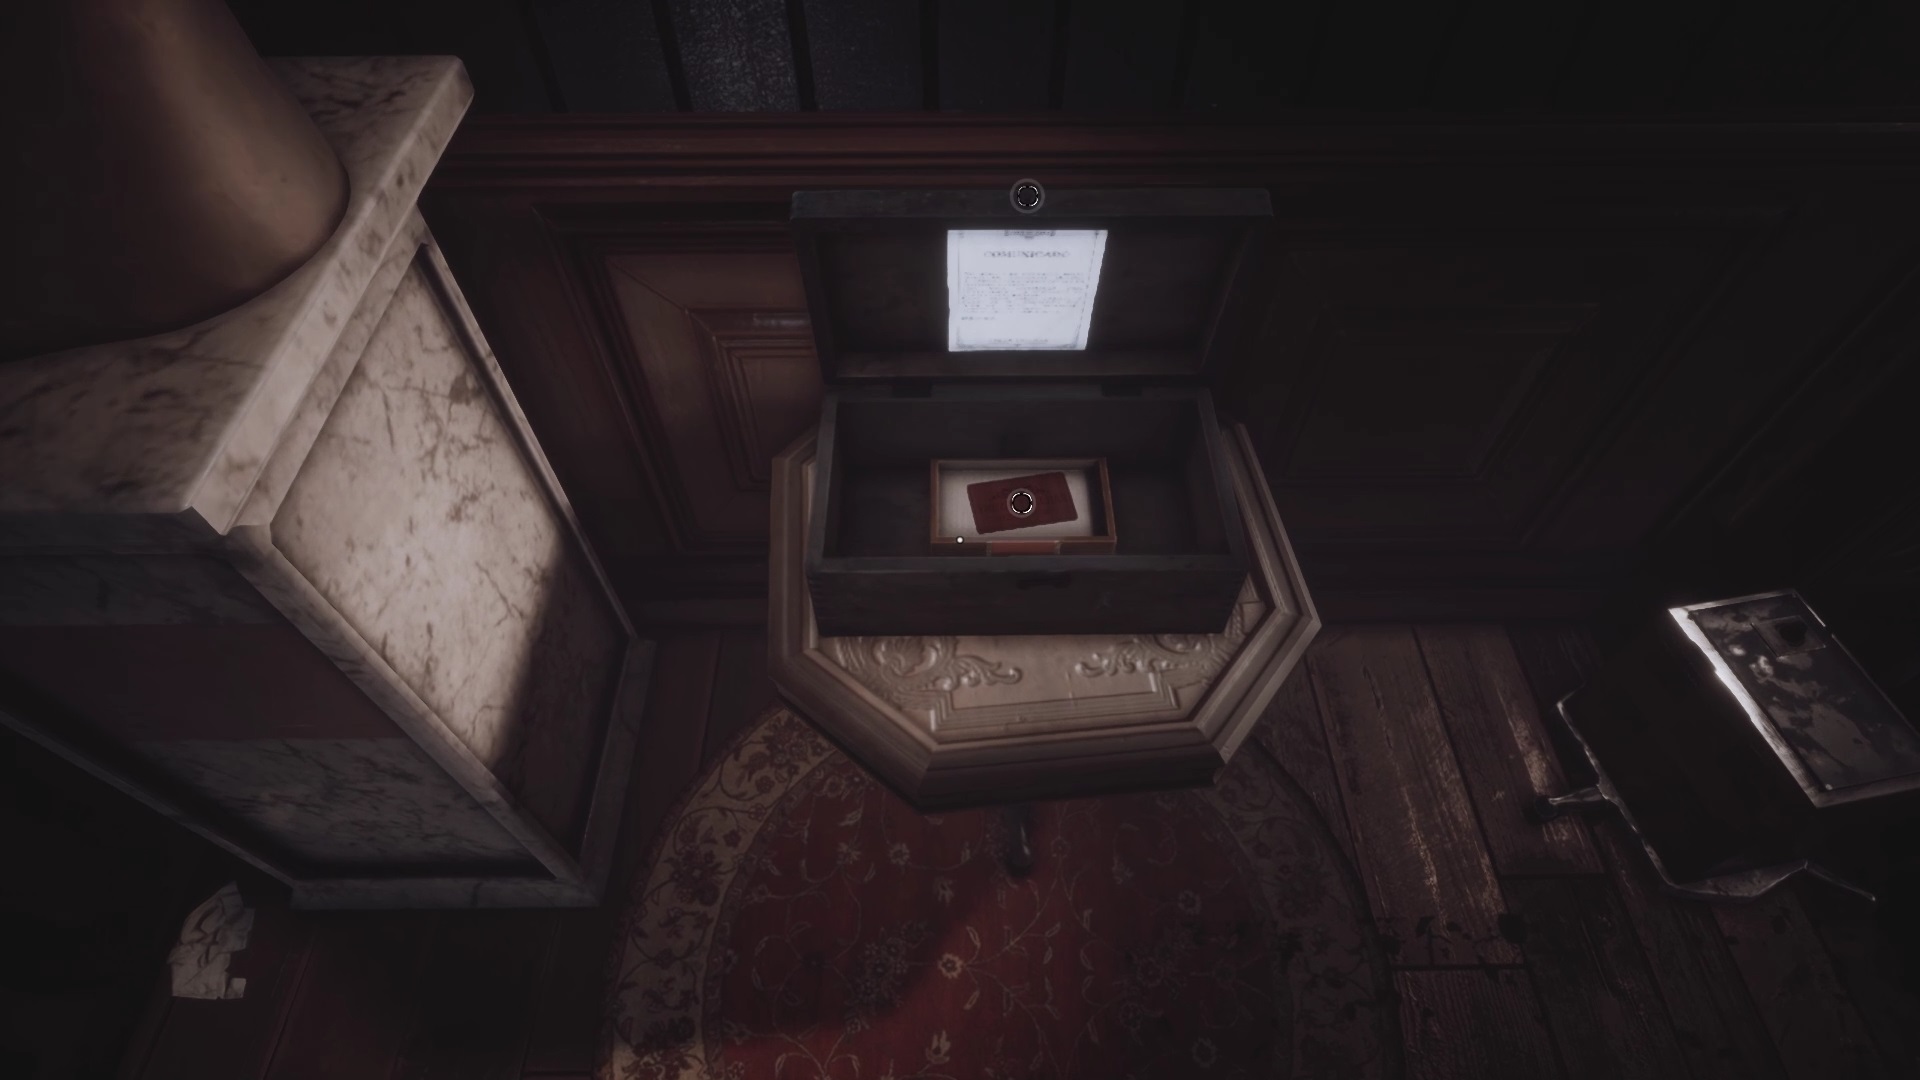
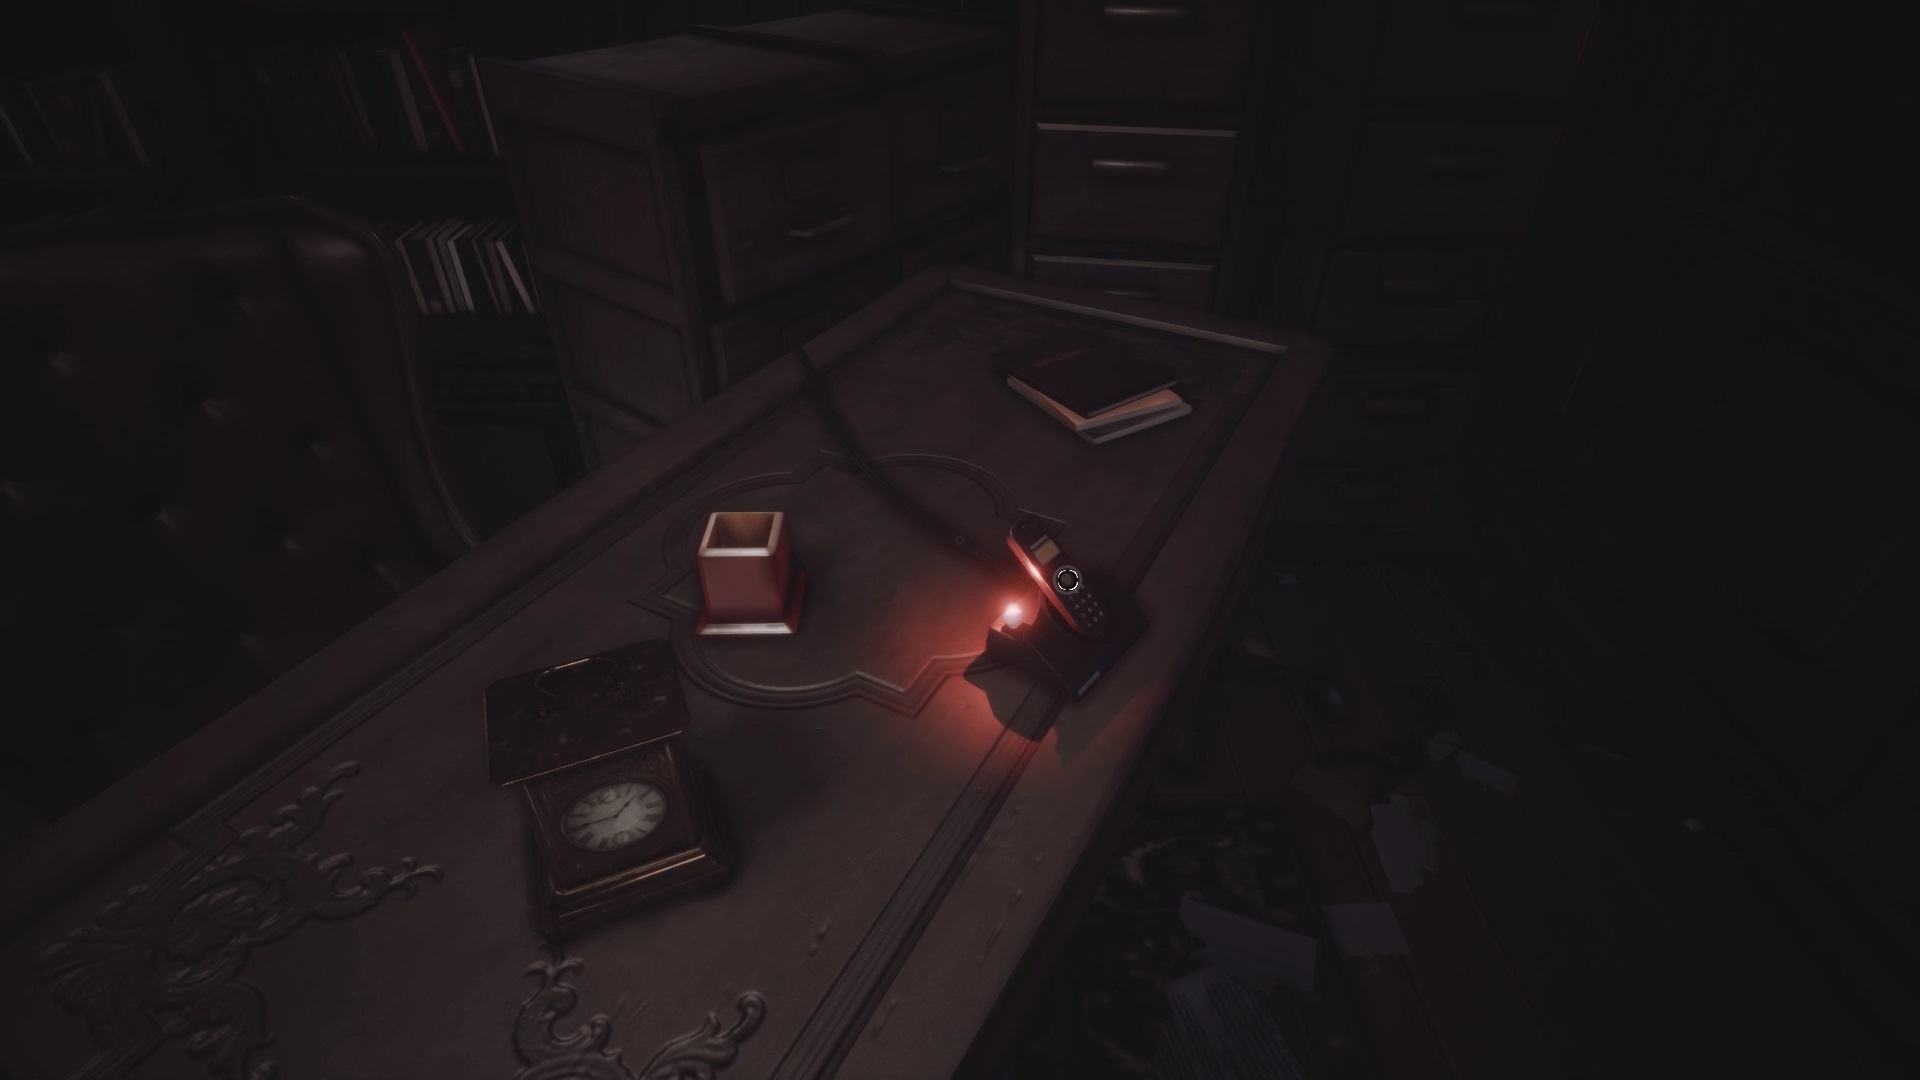
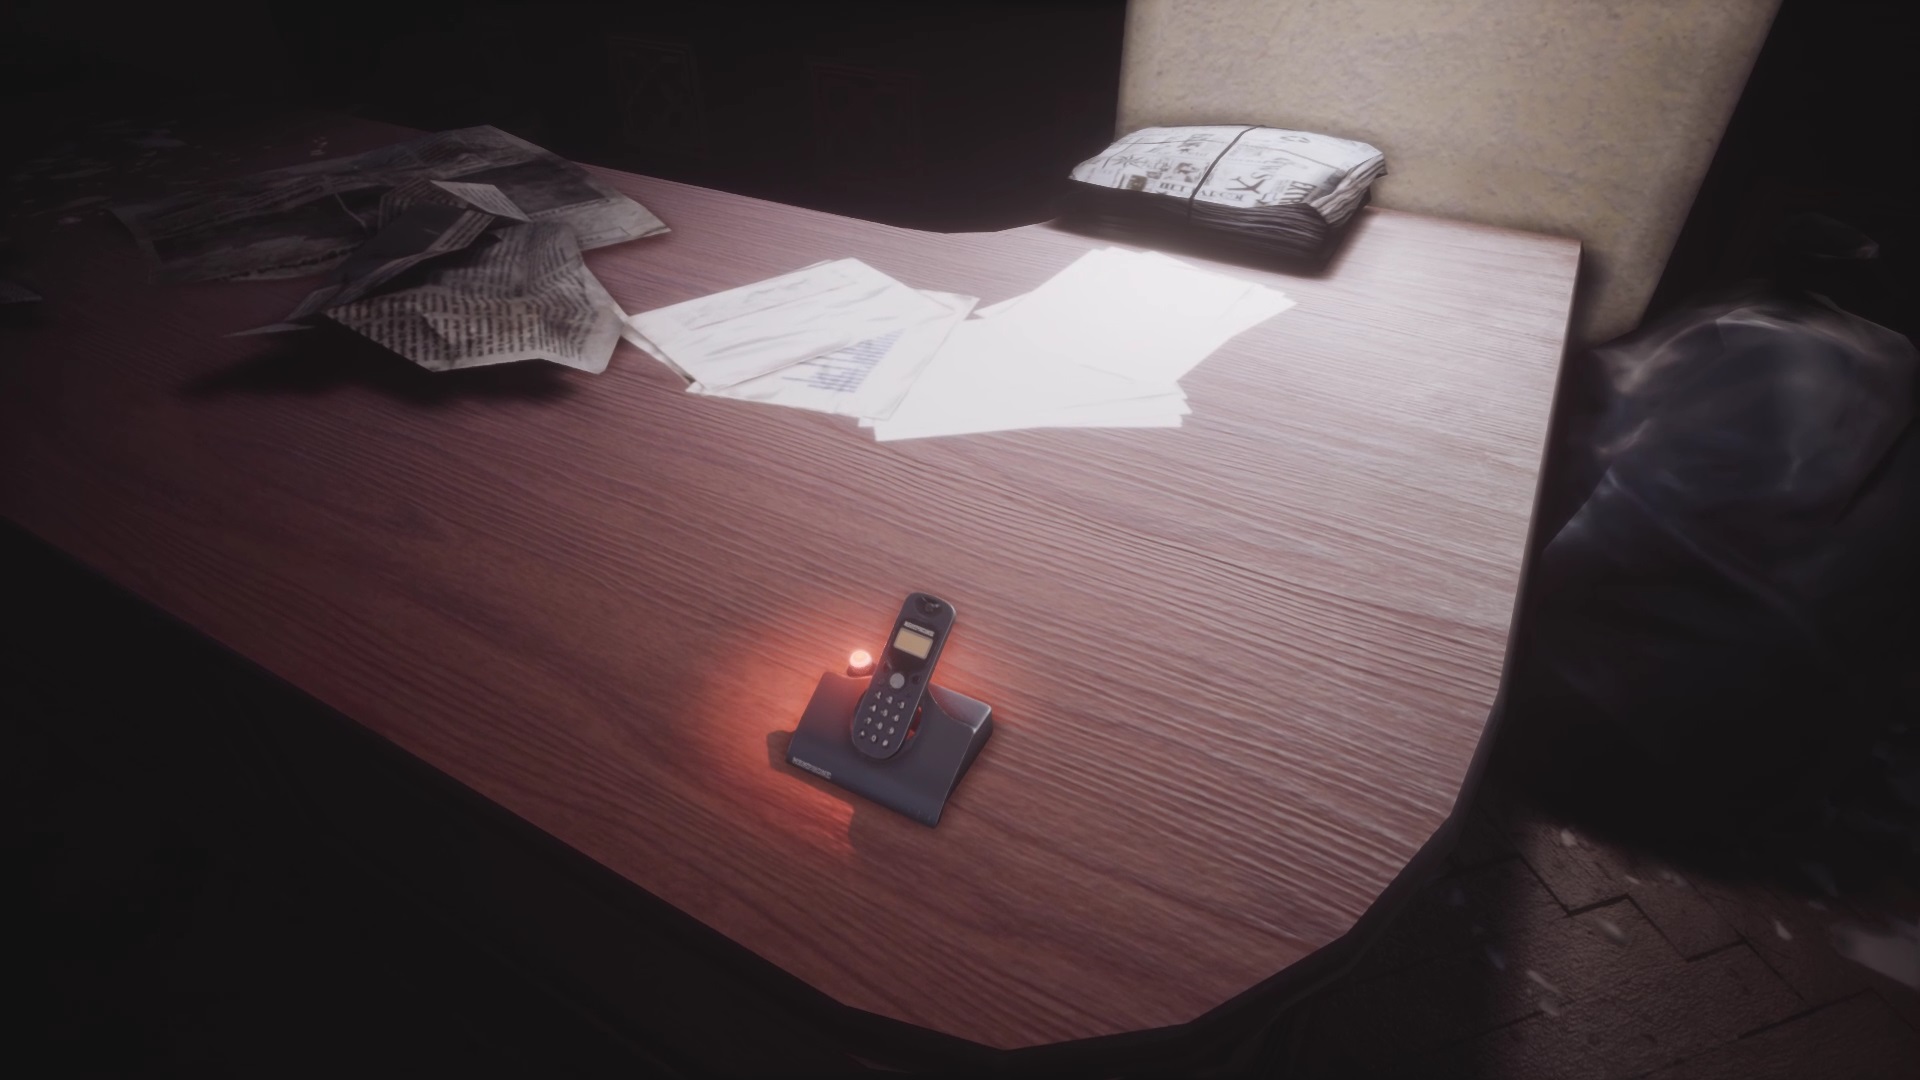
On the floor below, go through the gate in front of the stairs. You will find at the end of the corridor a box containing a red card. A phone starts ringing at the entrance to the room. Pick up the phone.
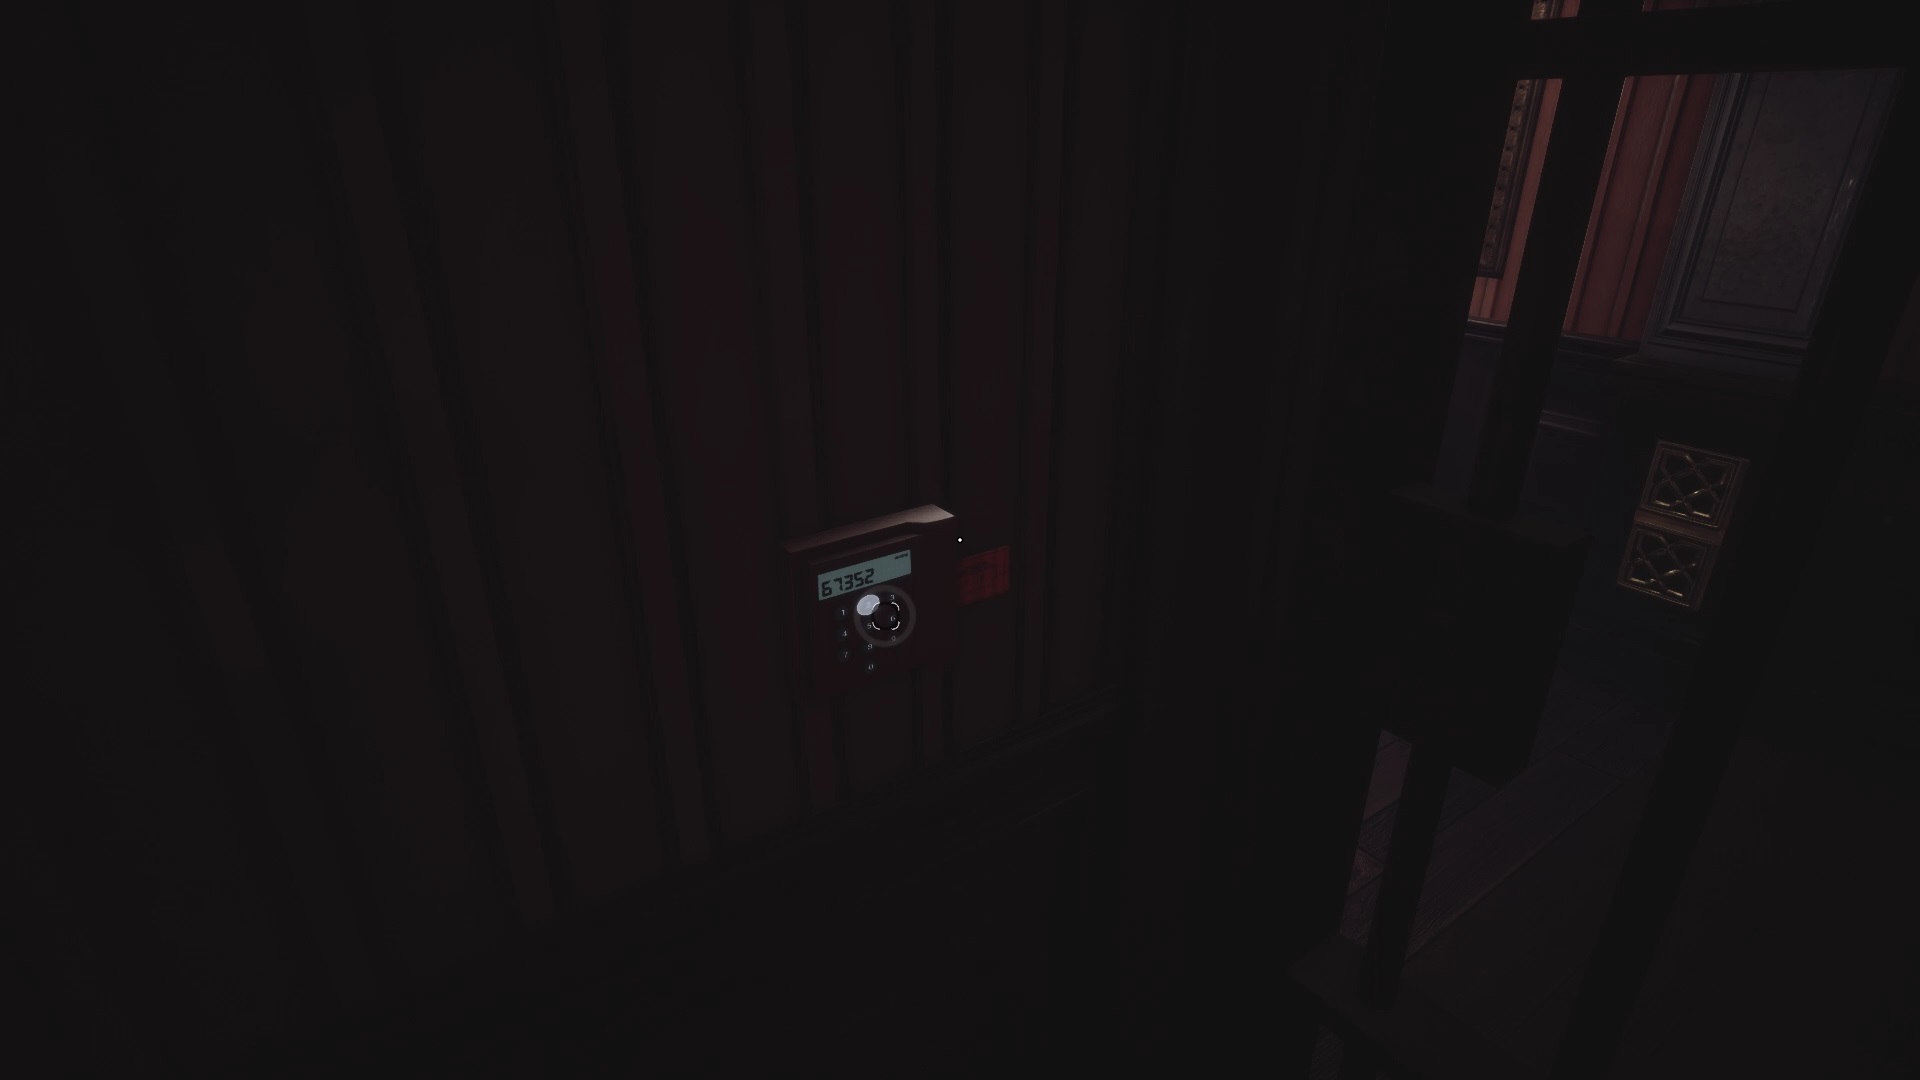
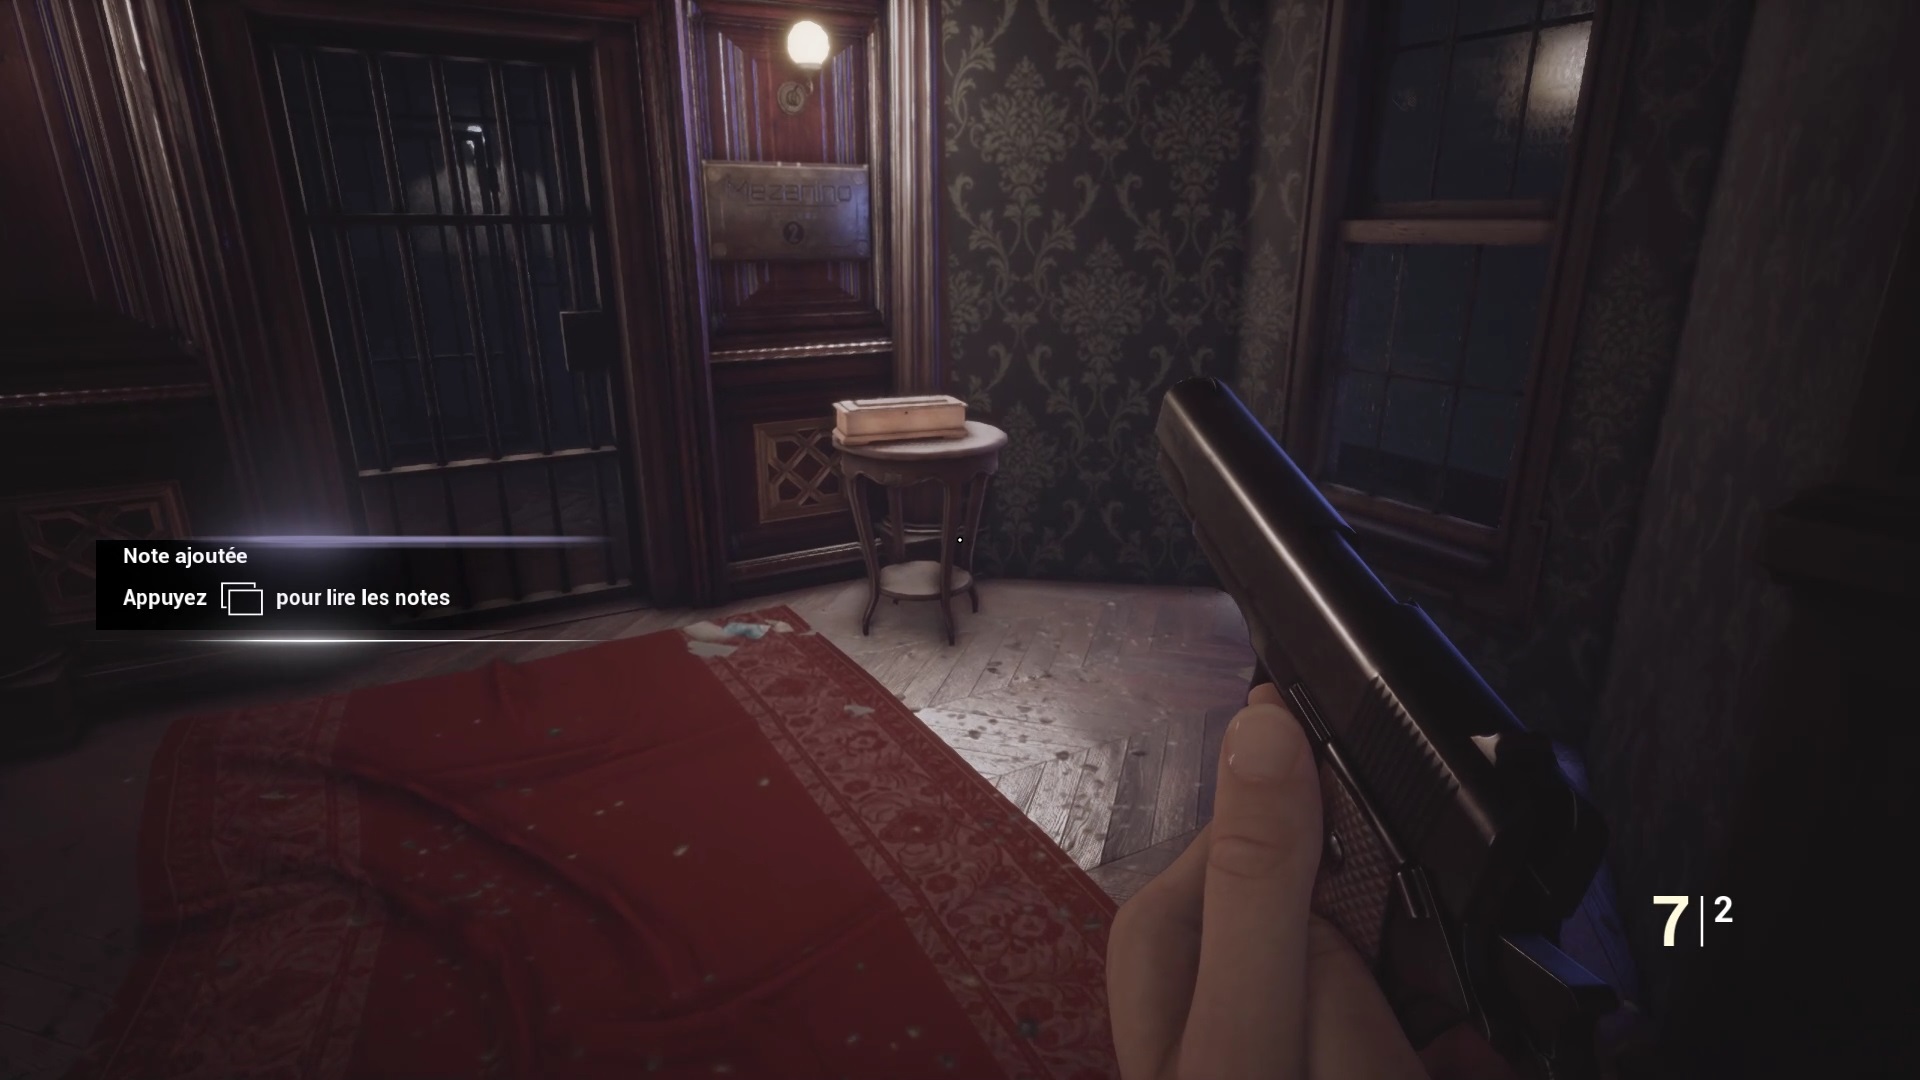
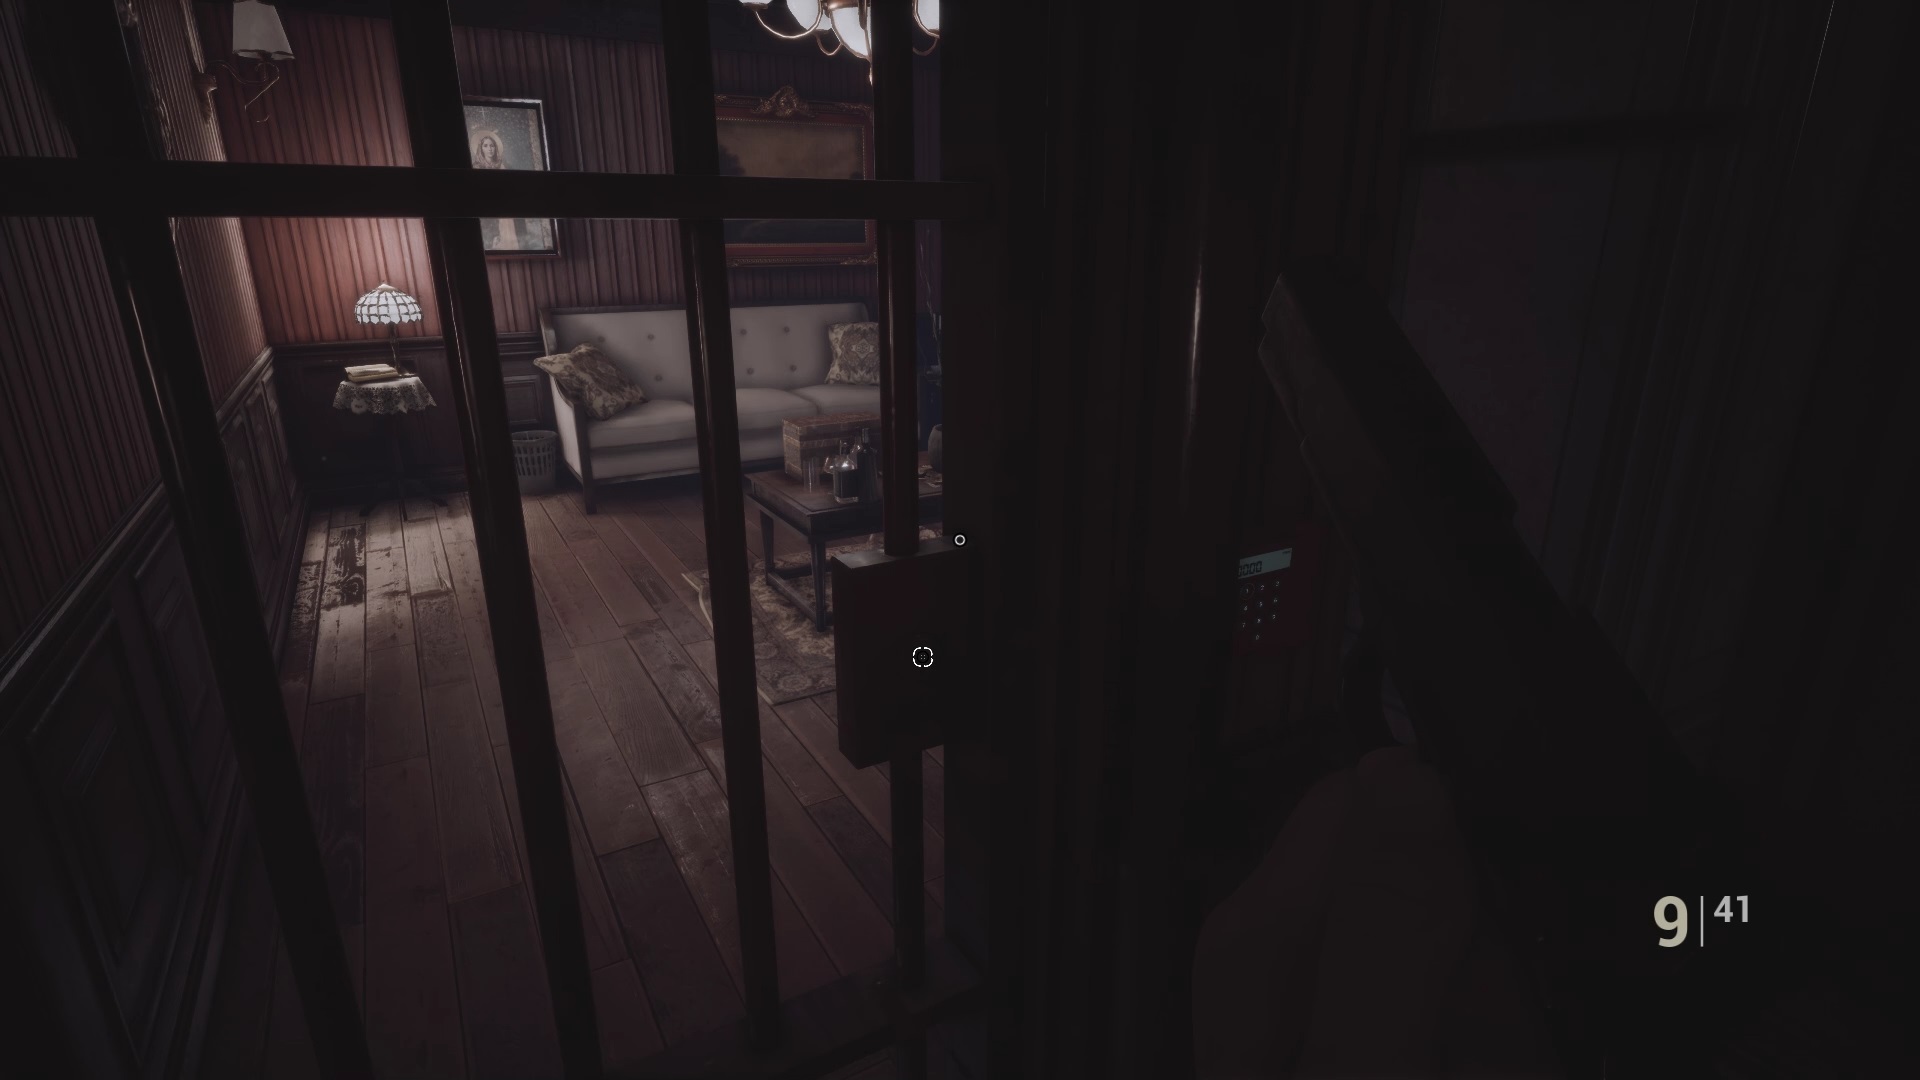
Go upstairs to open a new gate in the middle of the hallway. Take the document on the table and interact with the red box near the right grid. Use the card and enter the document code: 67352 to unlock it.
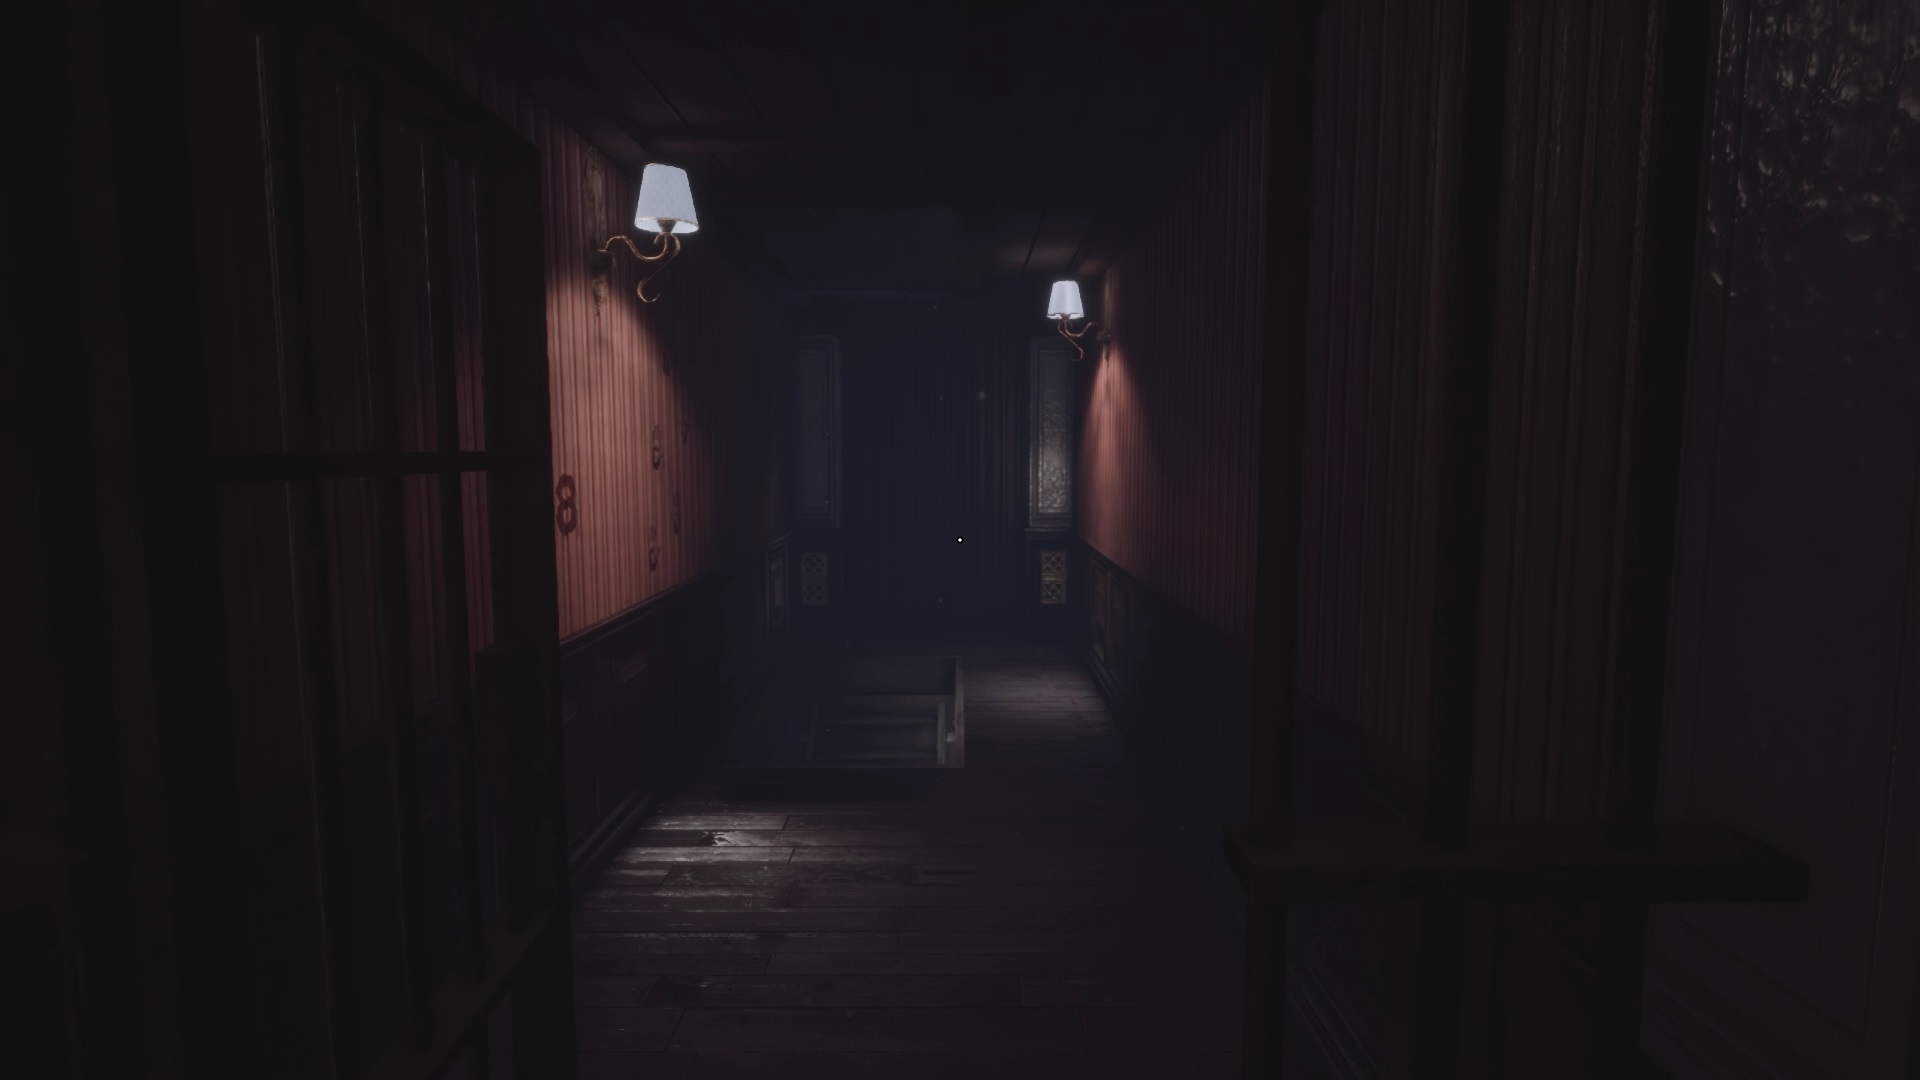
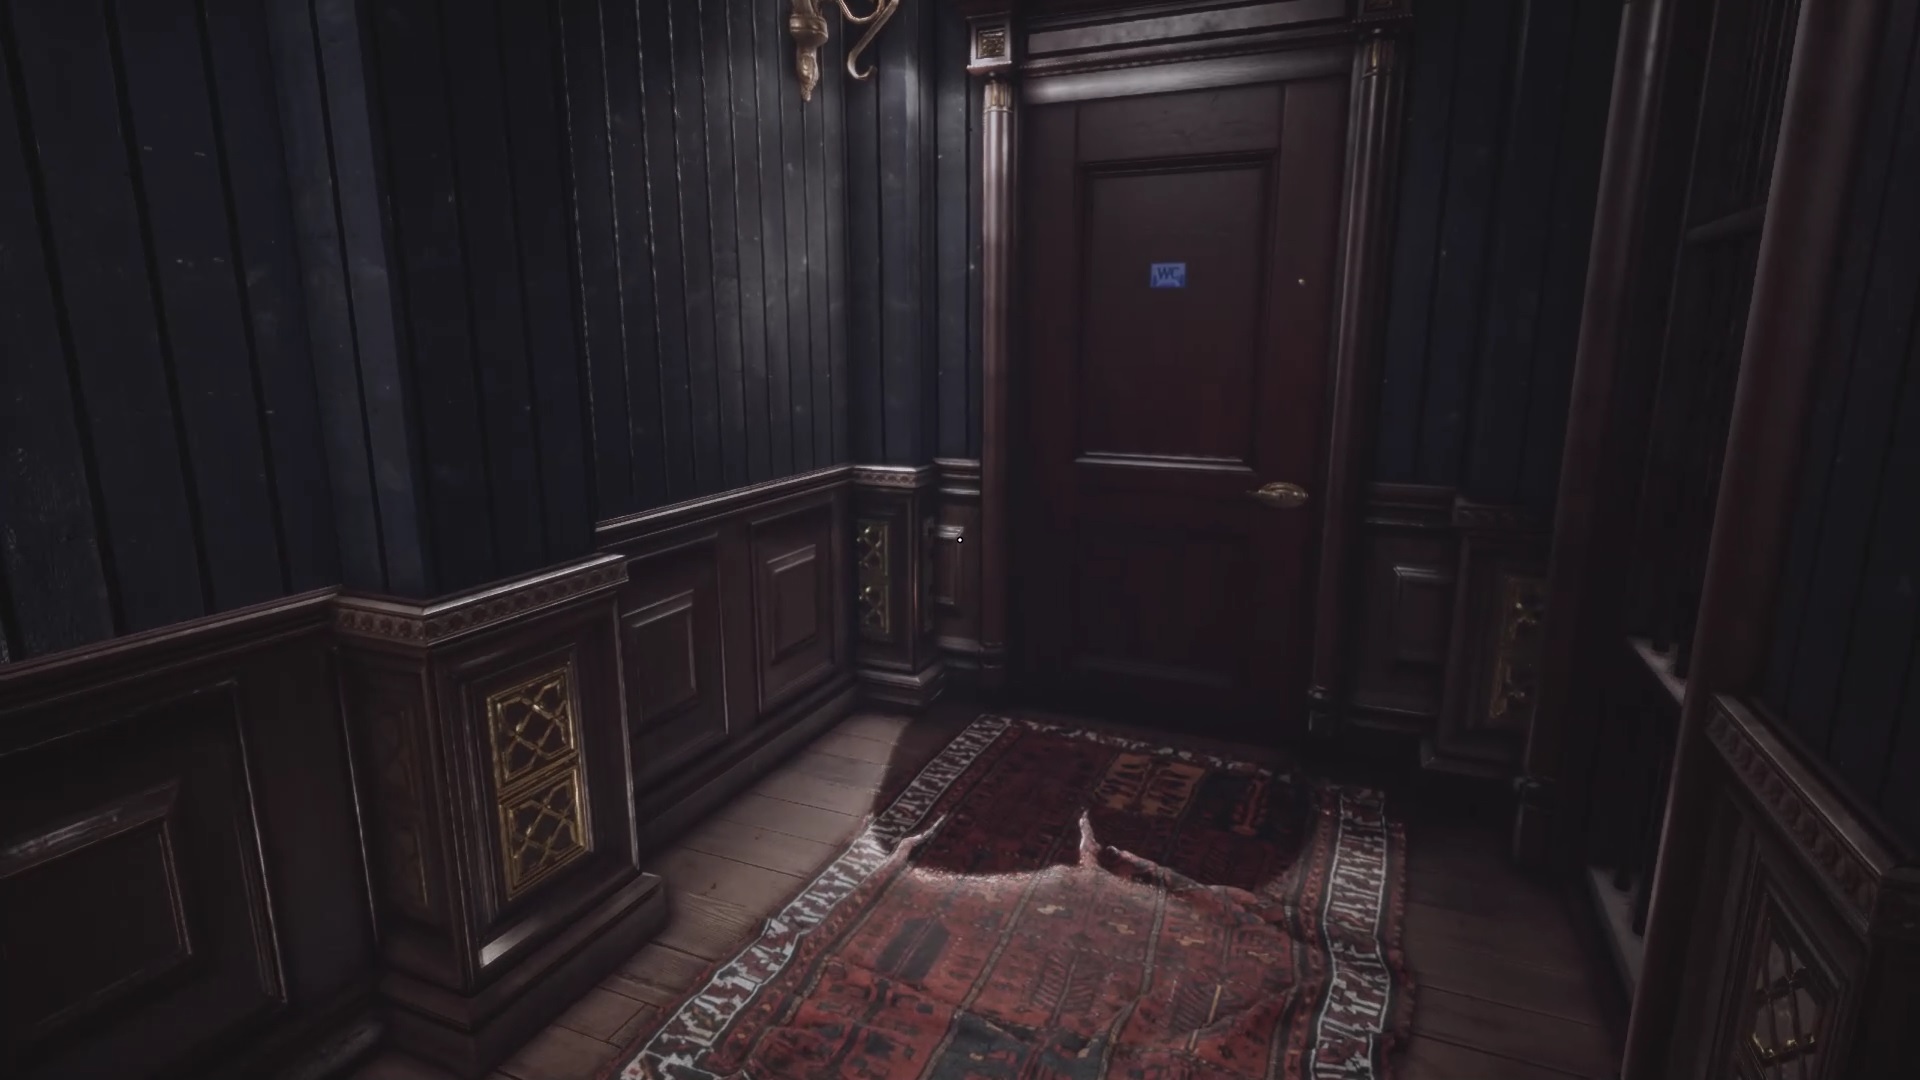
Go through the gate and turn down the hall to find a new gate that leads you to a staircase. Go down the stairs to find a box in a locker. To find the code, use the note on the left to understand that each letter corresponds to a number (example A=1). Use the code 164-871 to open it. Collect the toilet key and the balls inside. You can pick up a flashlight from the locker on the right. Go up the stairs to return to the 5th floor in the room where you found the red card. You will find in the corridor the door of the WC, use the key on this one.
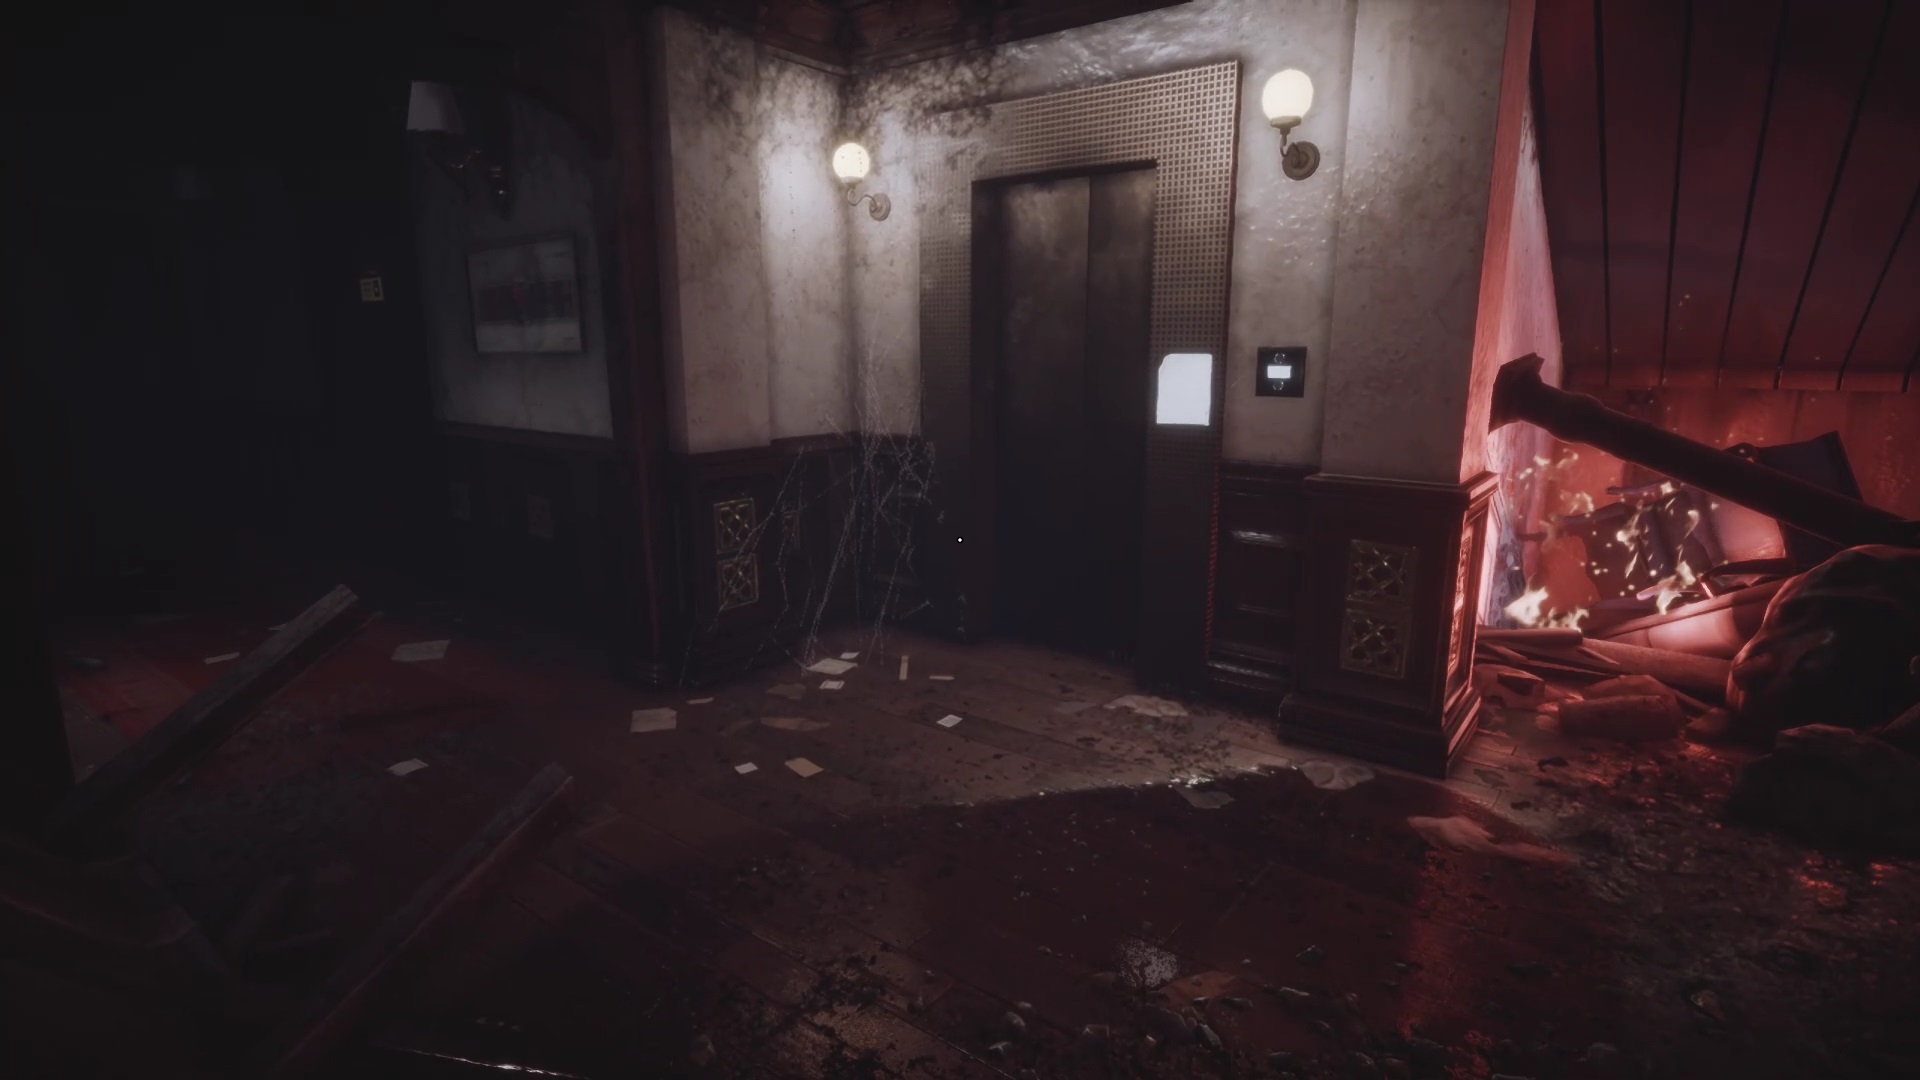
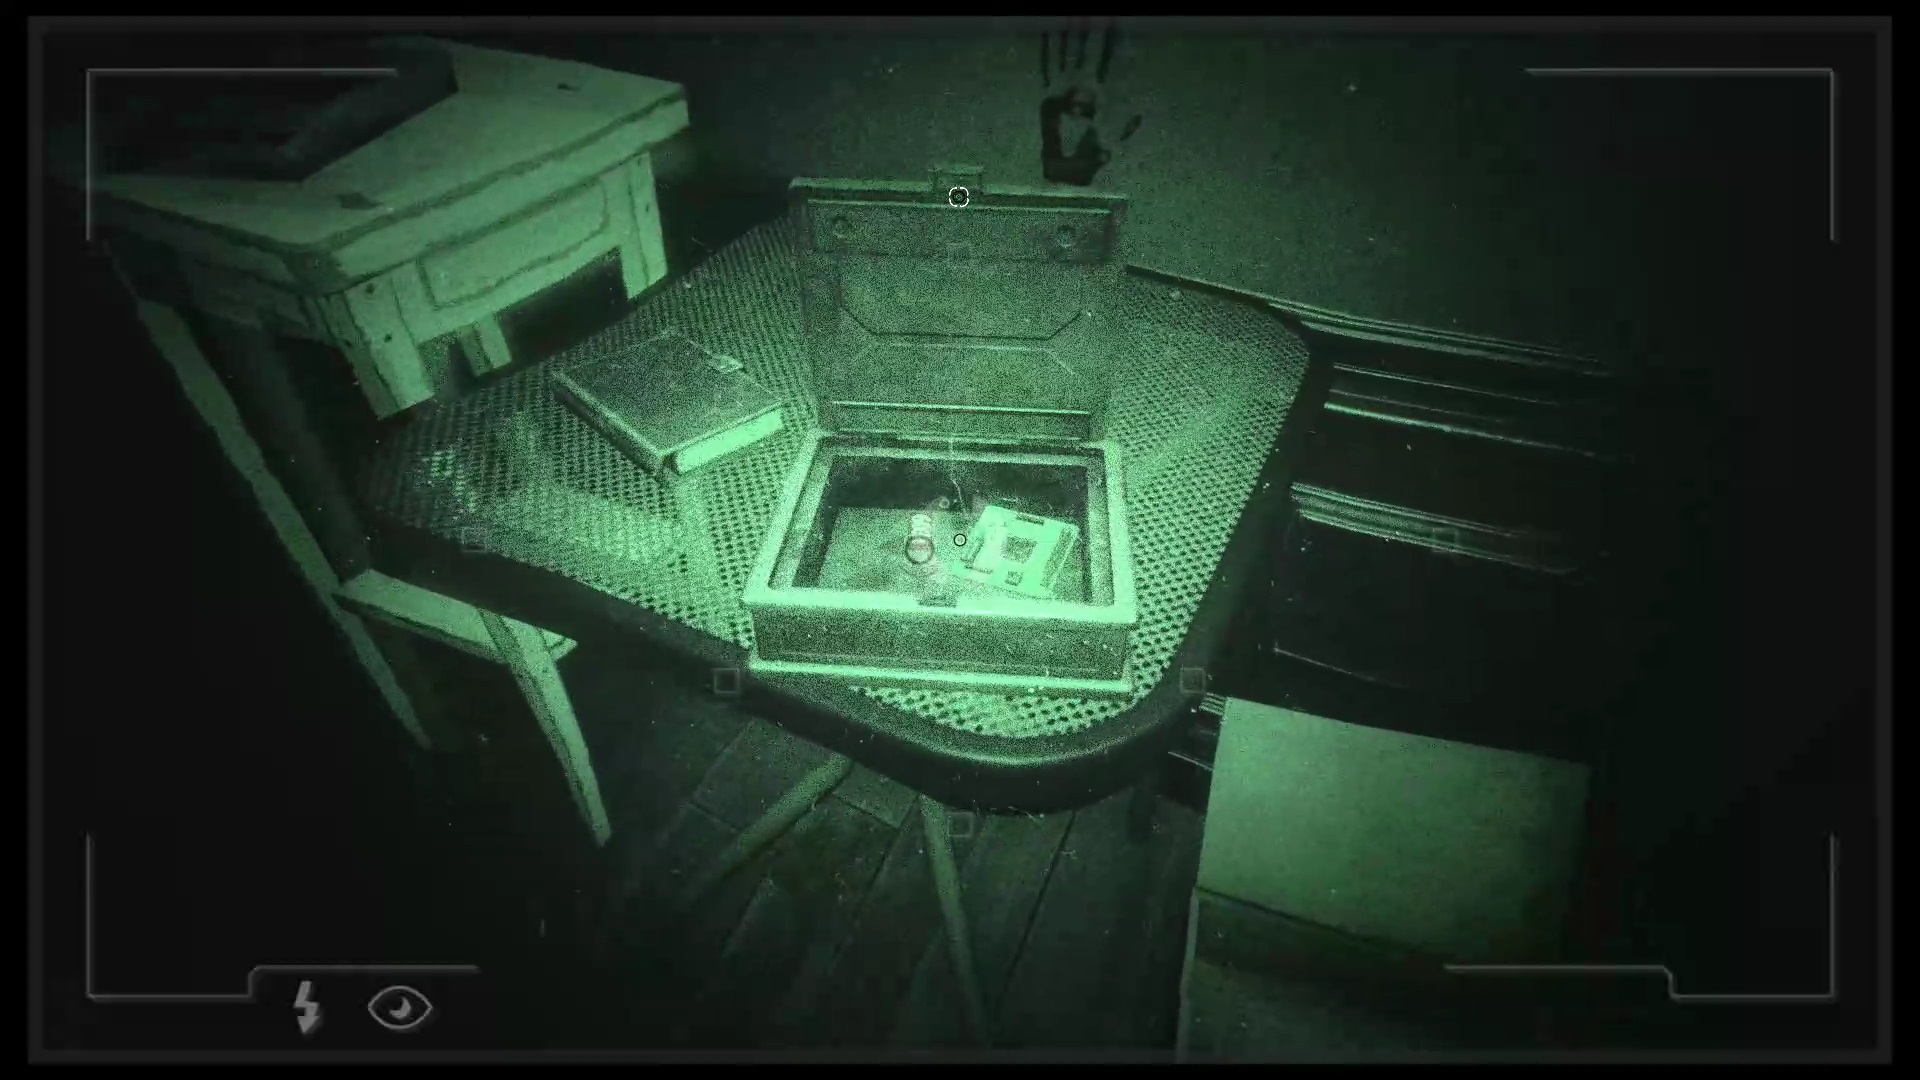
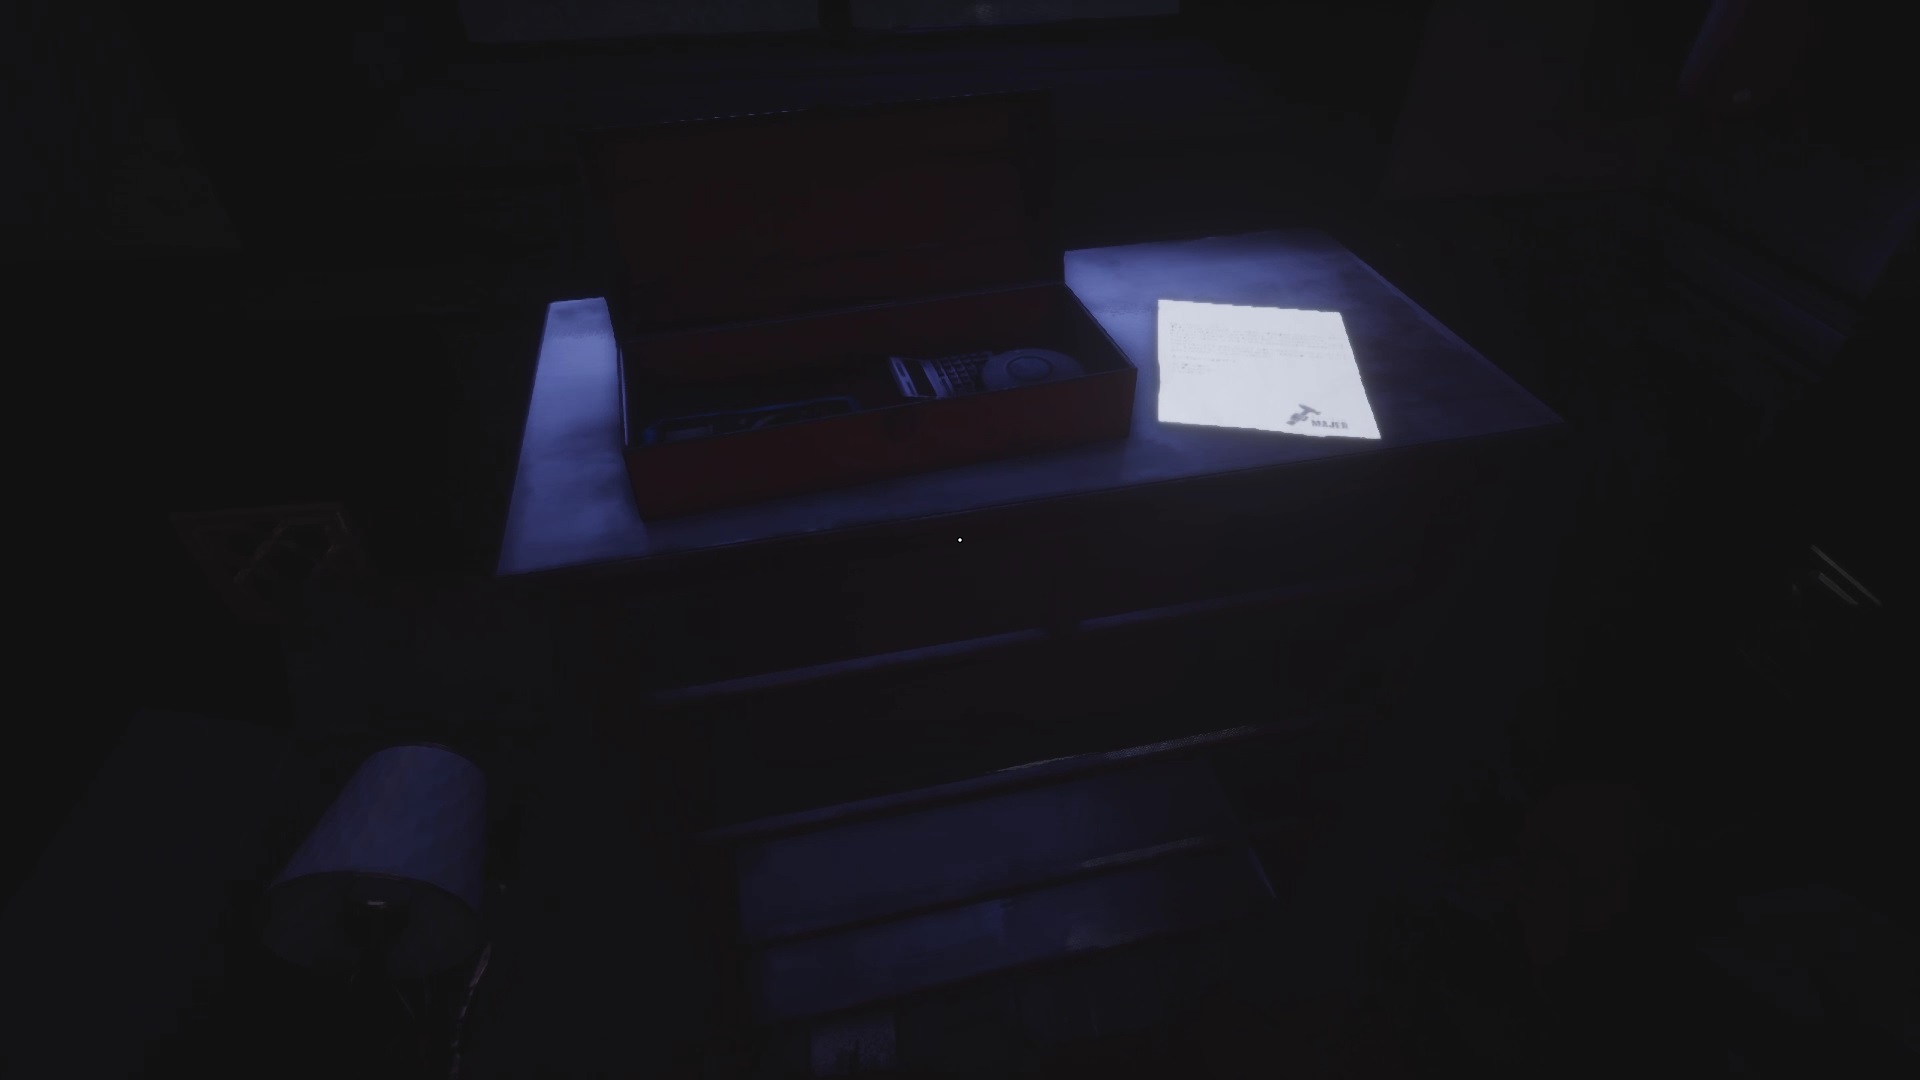
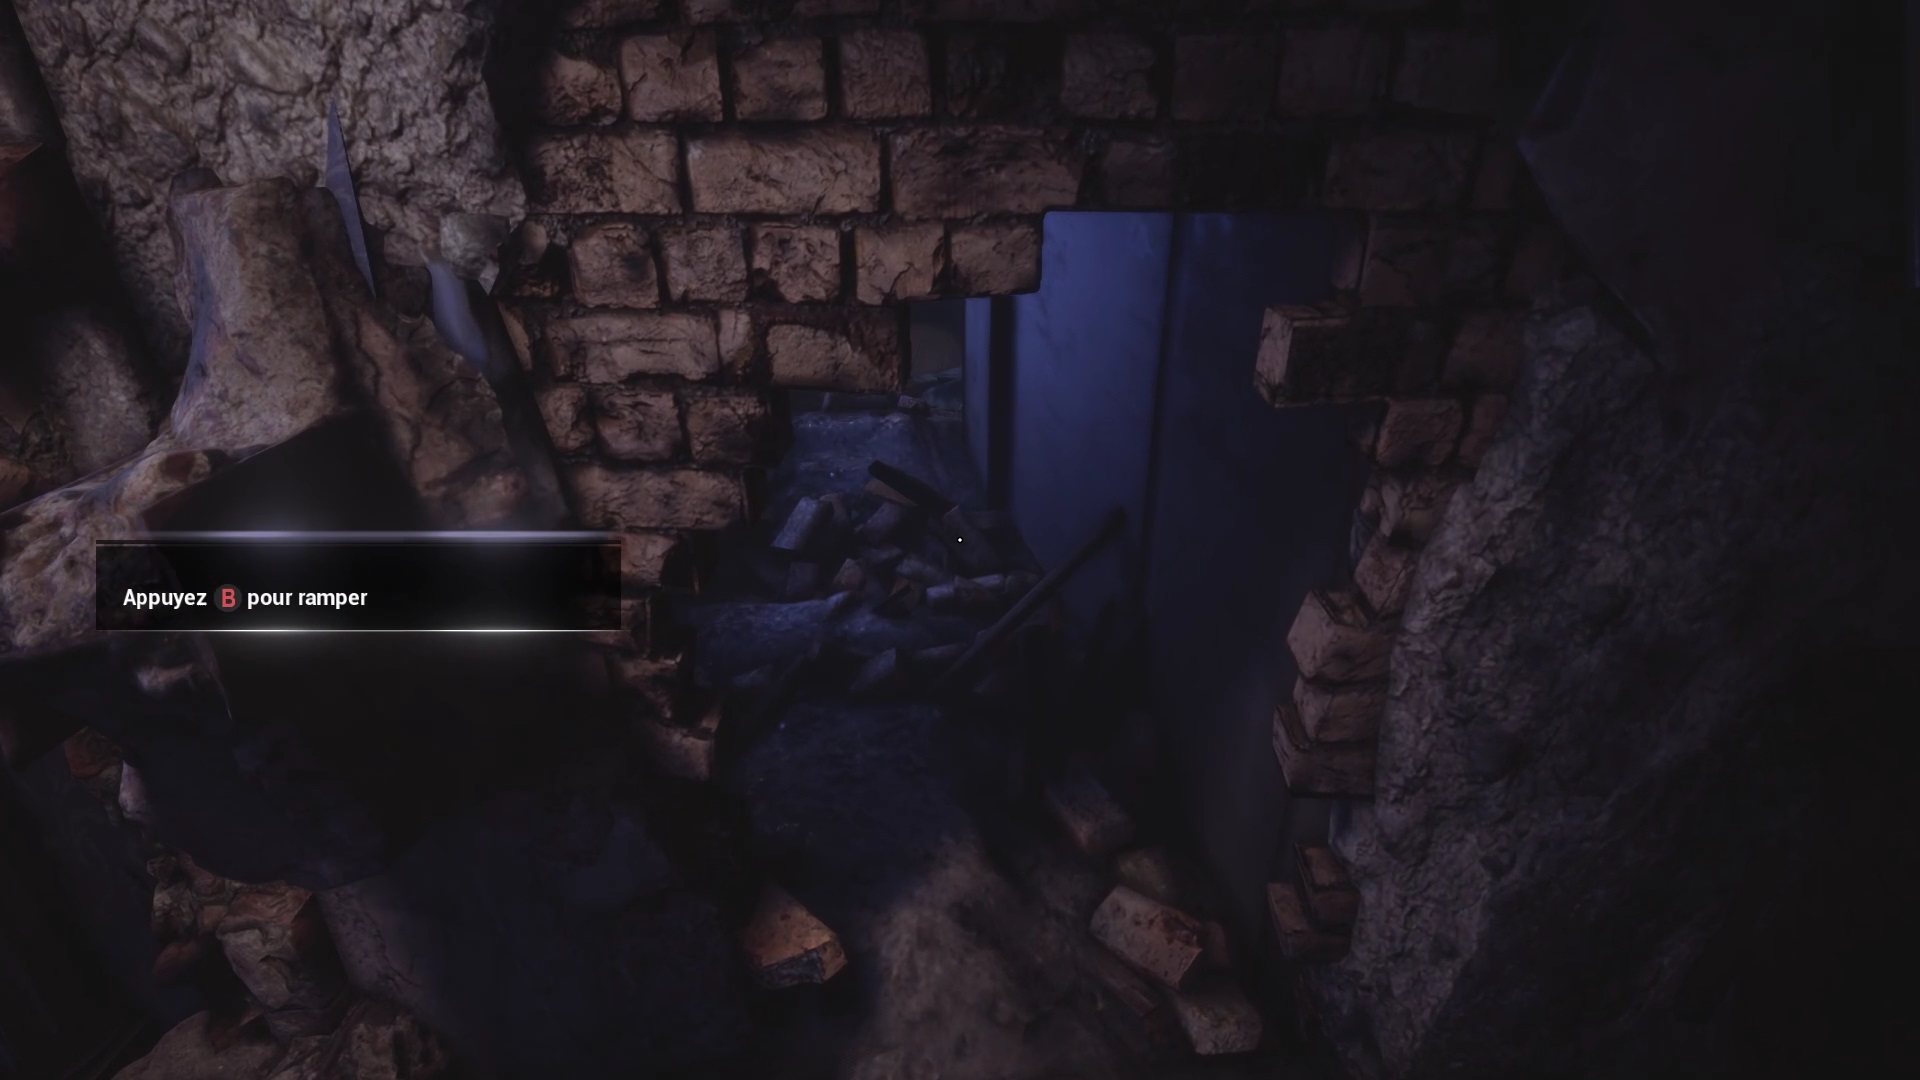
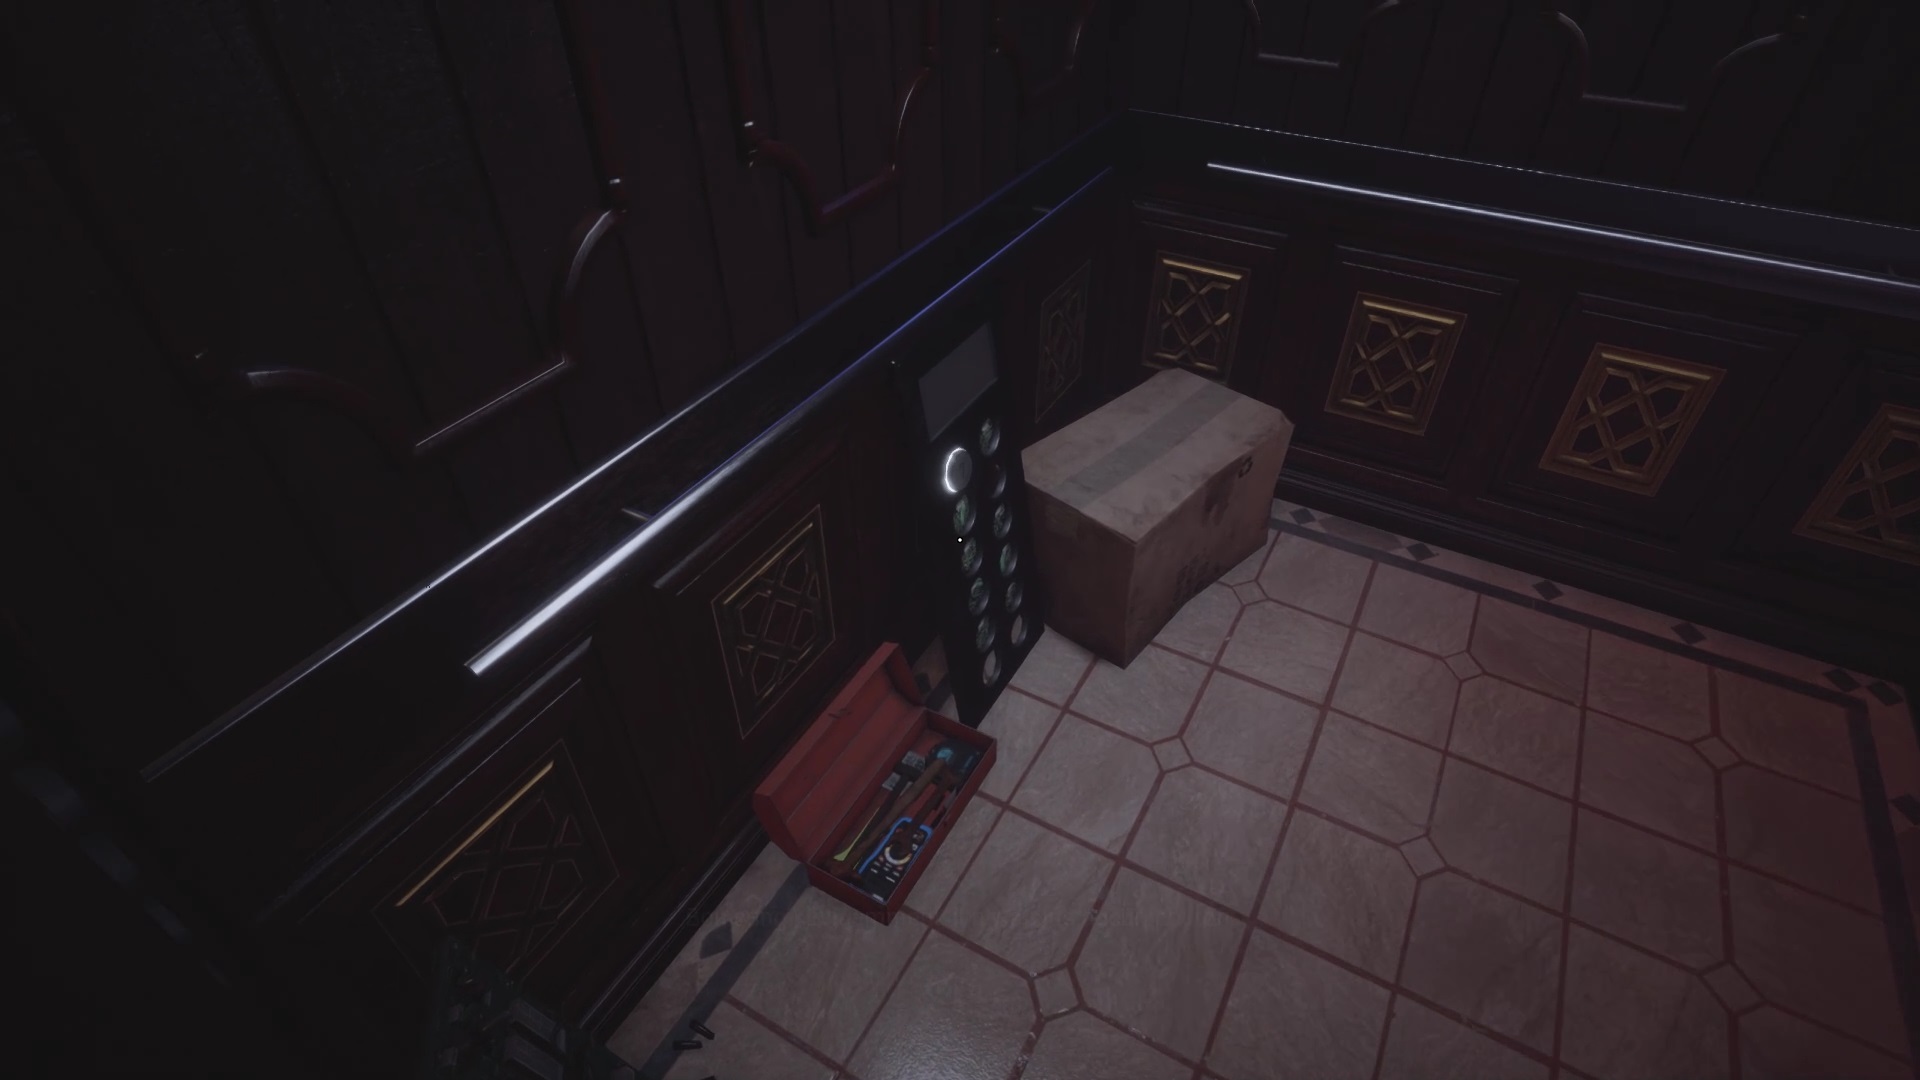
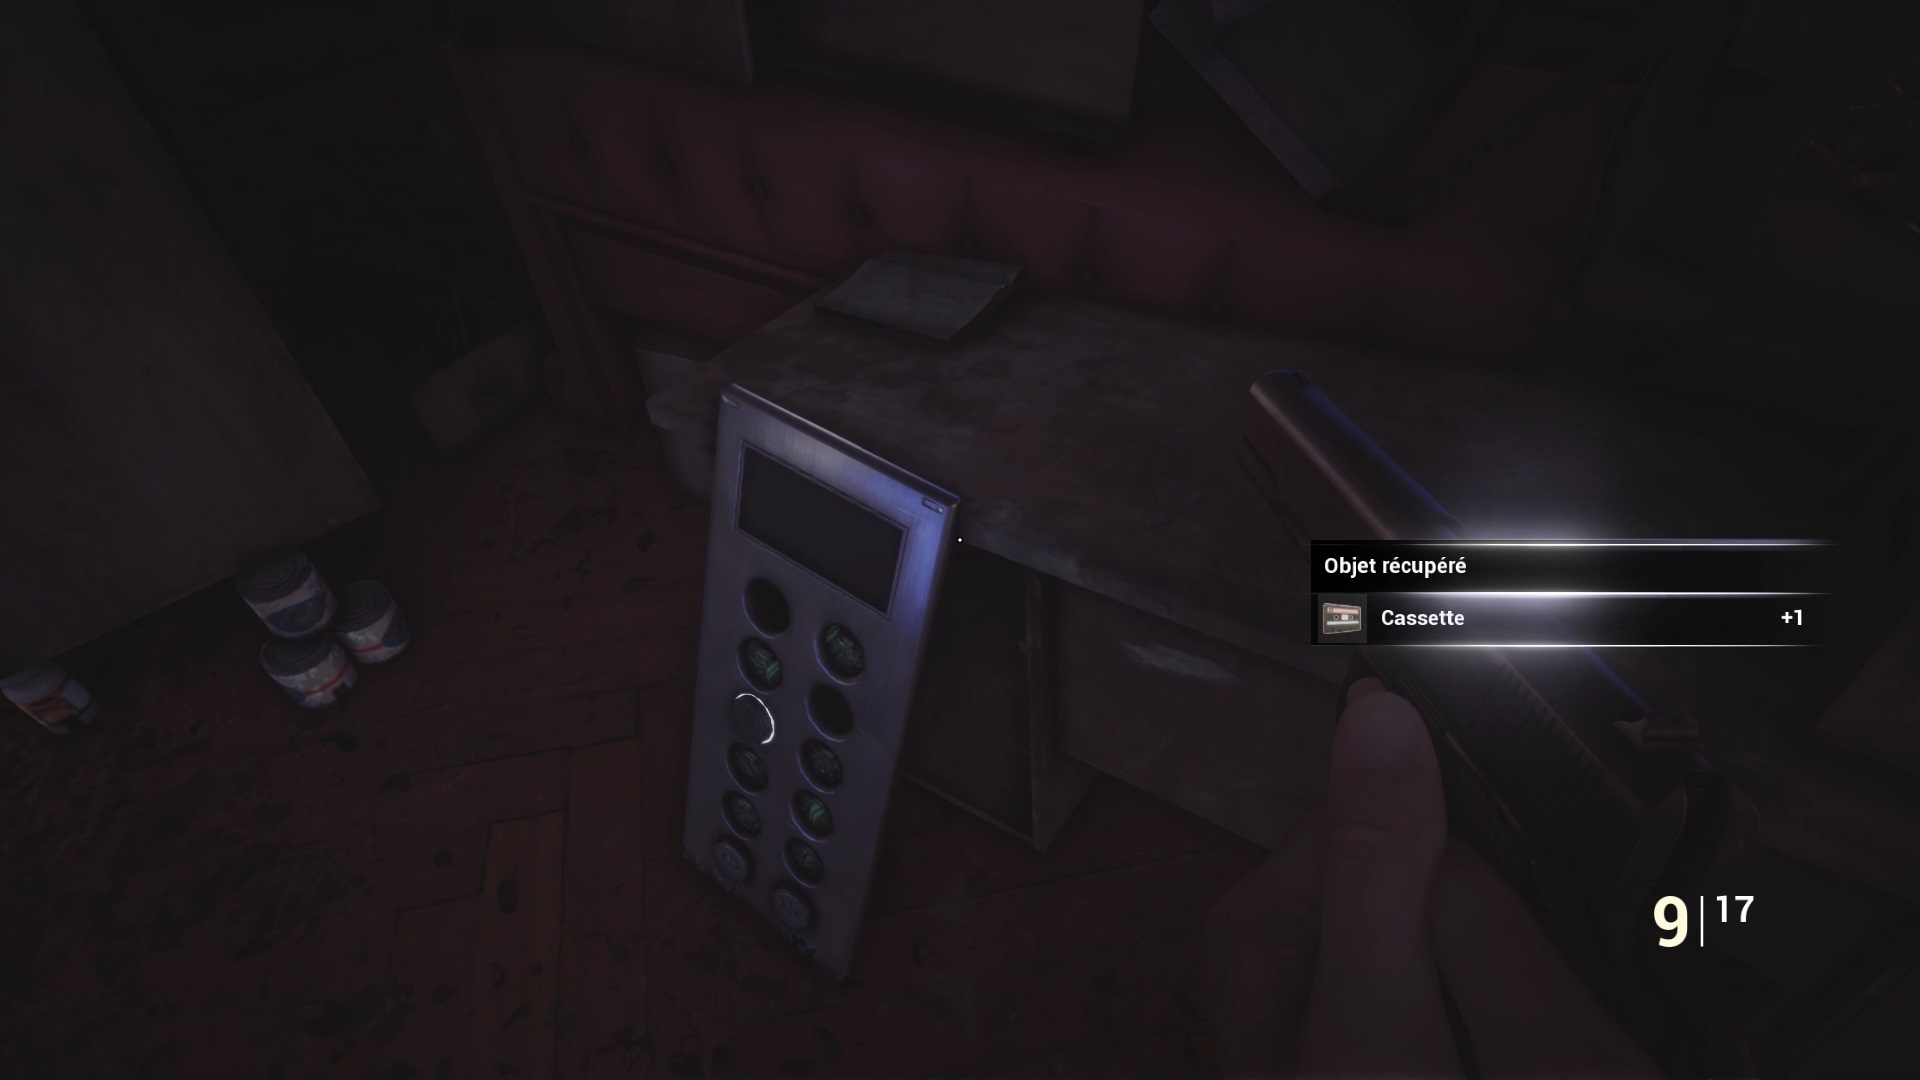
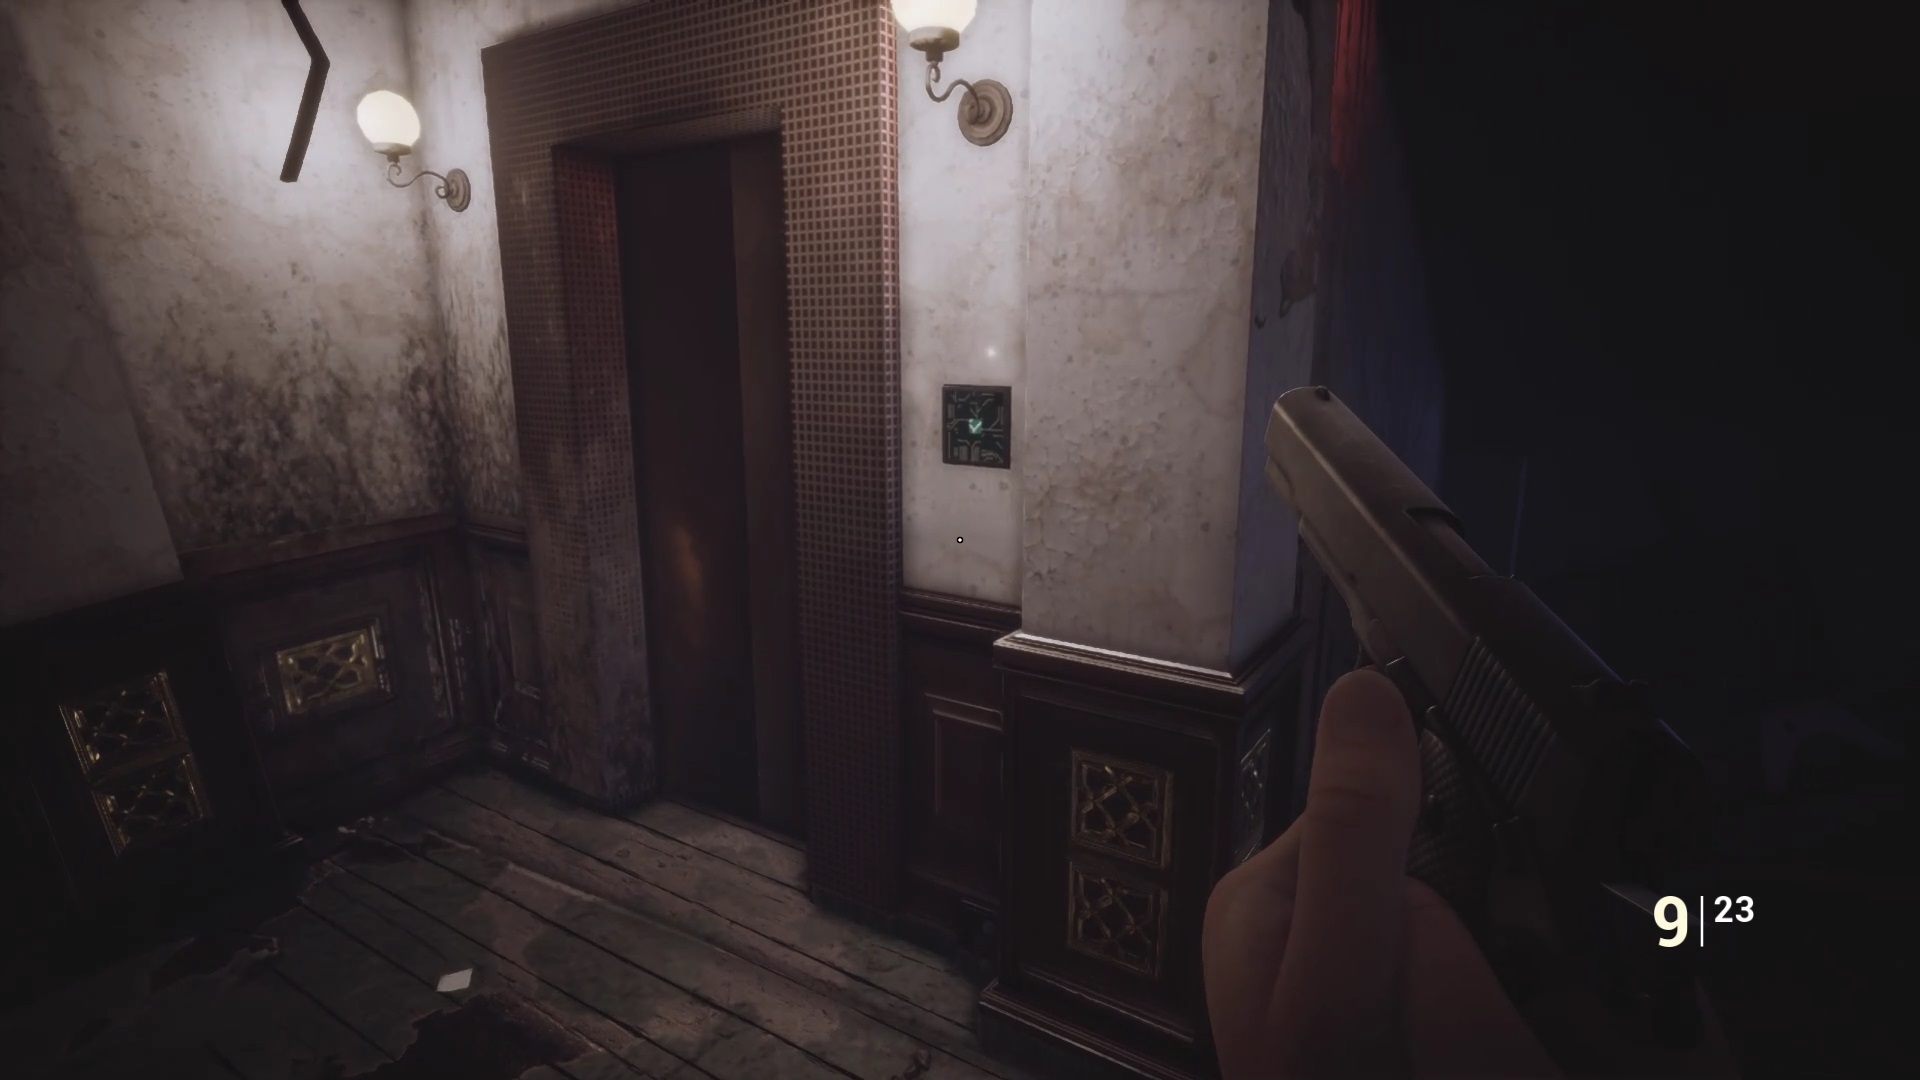
You find a broken elevator. Read the note on the doors to understand how to fix it. Enter the service room to the left of the elevator to find a save point. Use the camera to find a box containing an electrical circuit and a key to room 603. Exit the room and go down the hall to the left. Crawling under a piece of furniture to meet the little girl again. Be careful, keep your distance so that you don’t get hit by his attack. At the bottom you will find an empty toolbox with a code for a repair box. Retrace your steps via the toilets to go to room 603 on the floor above.
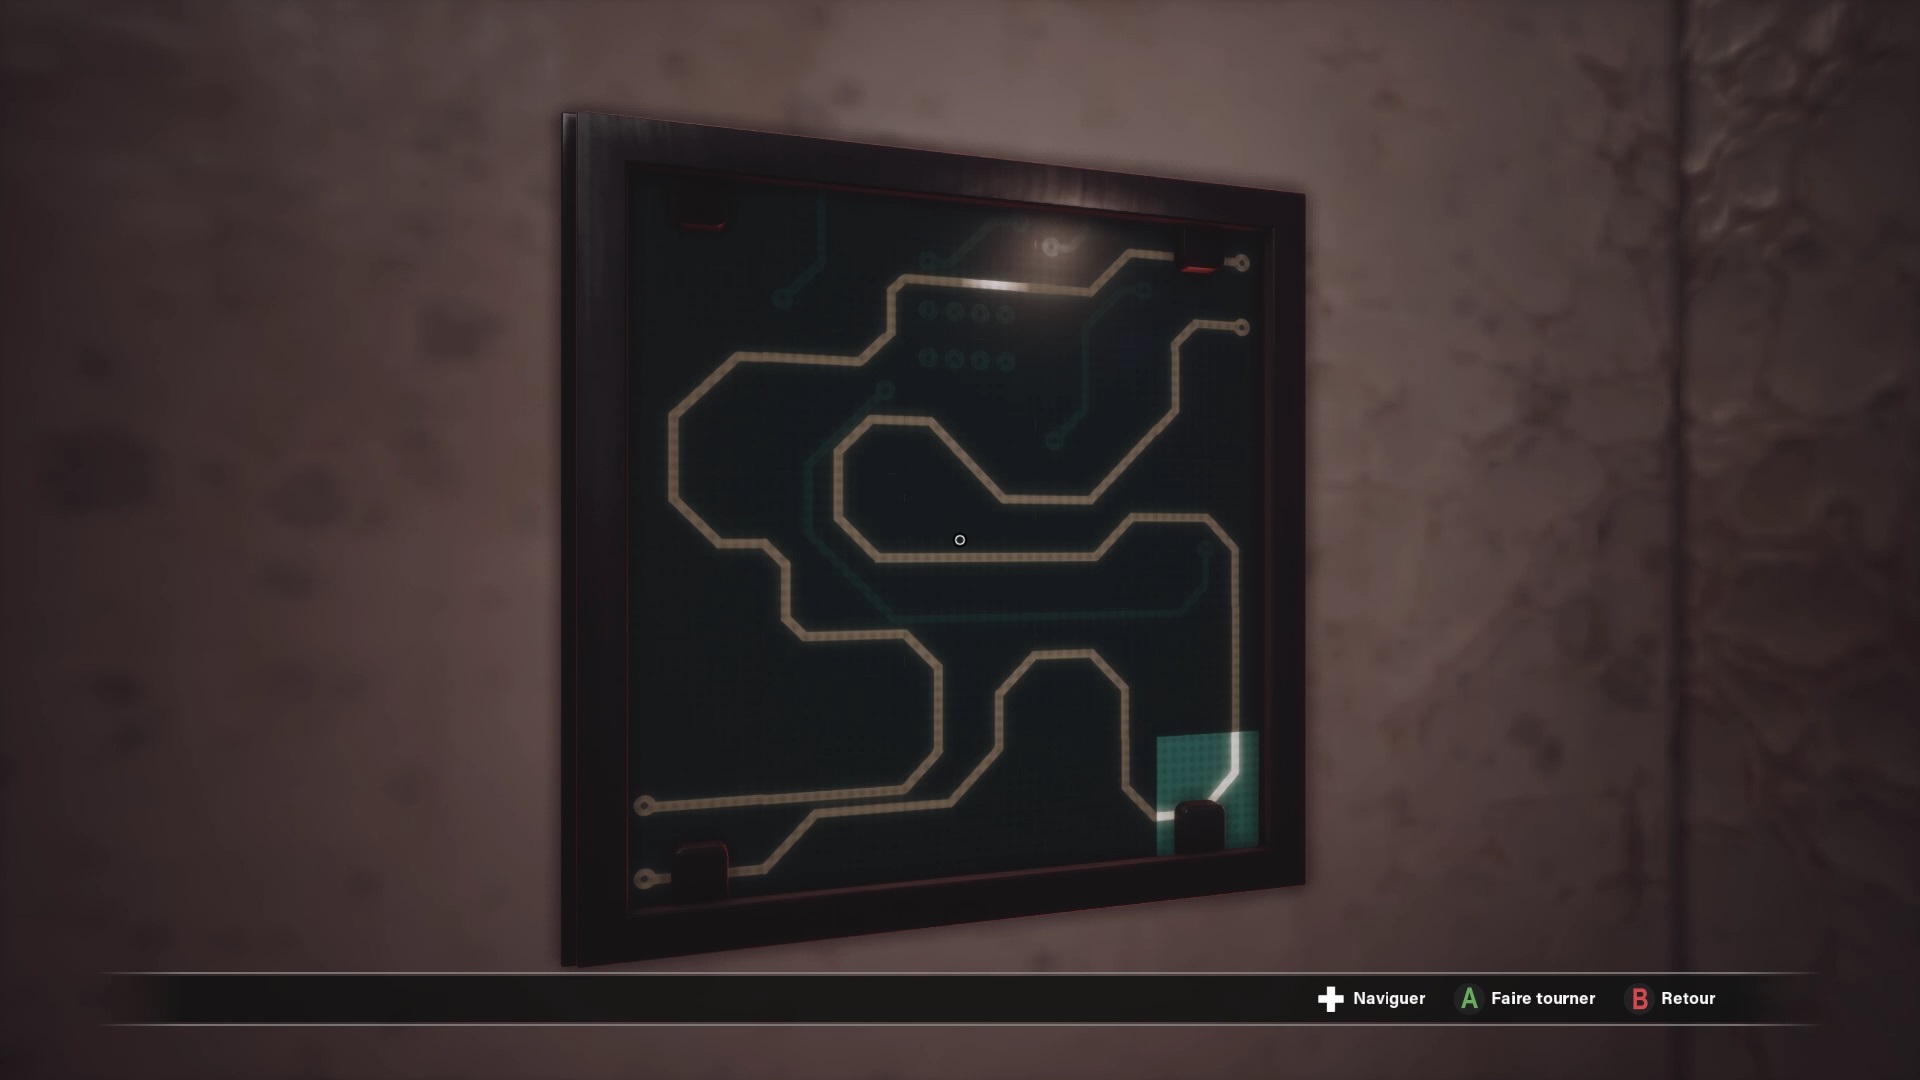
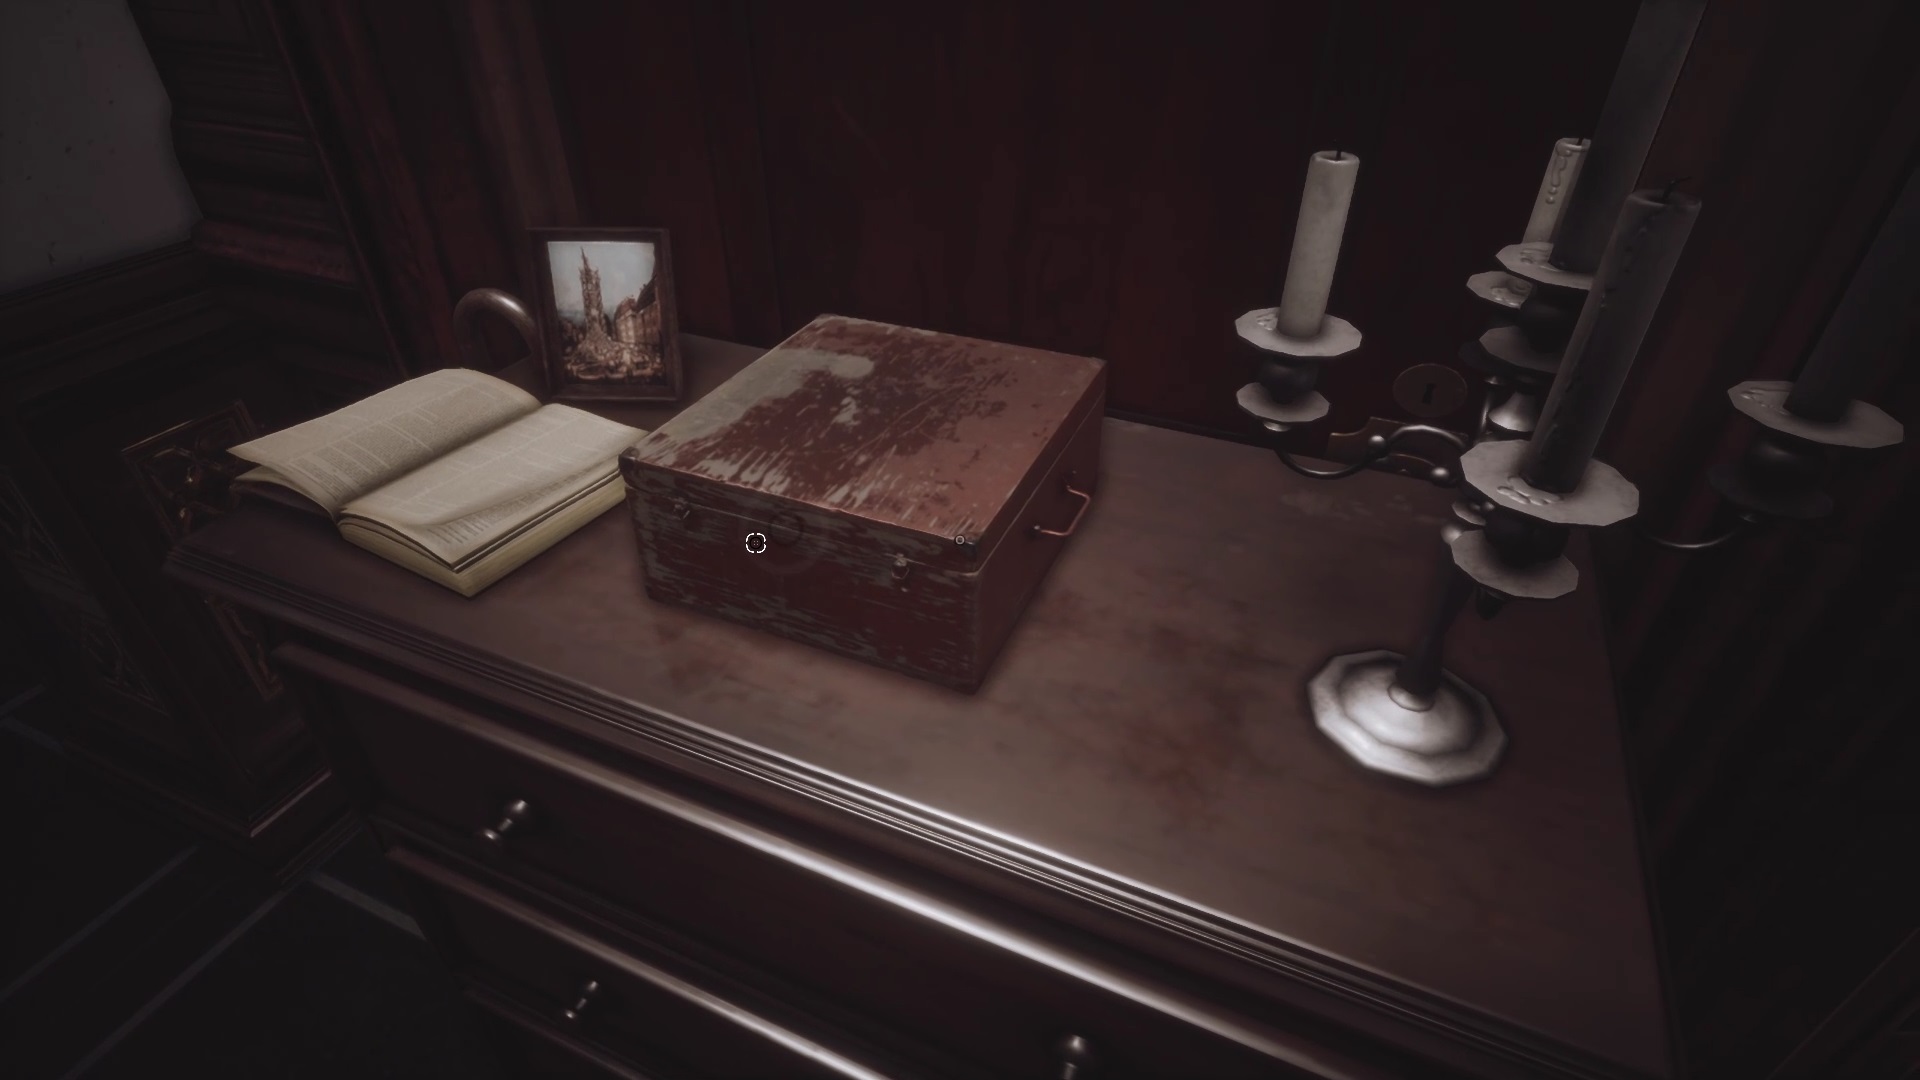
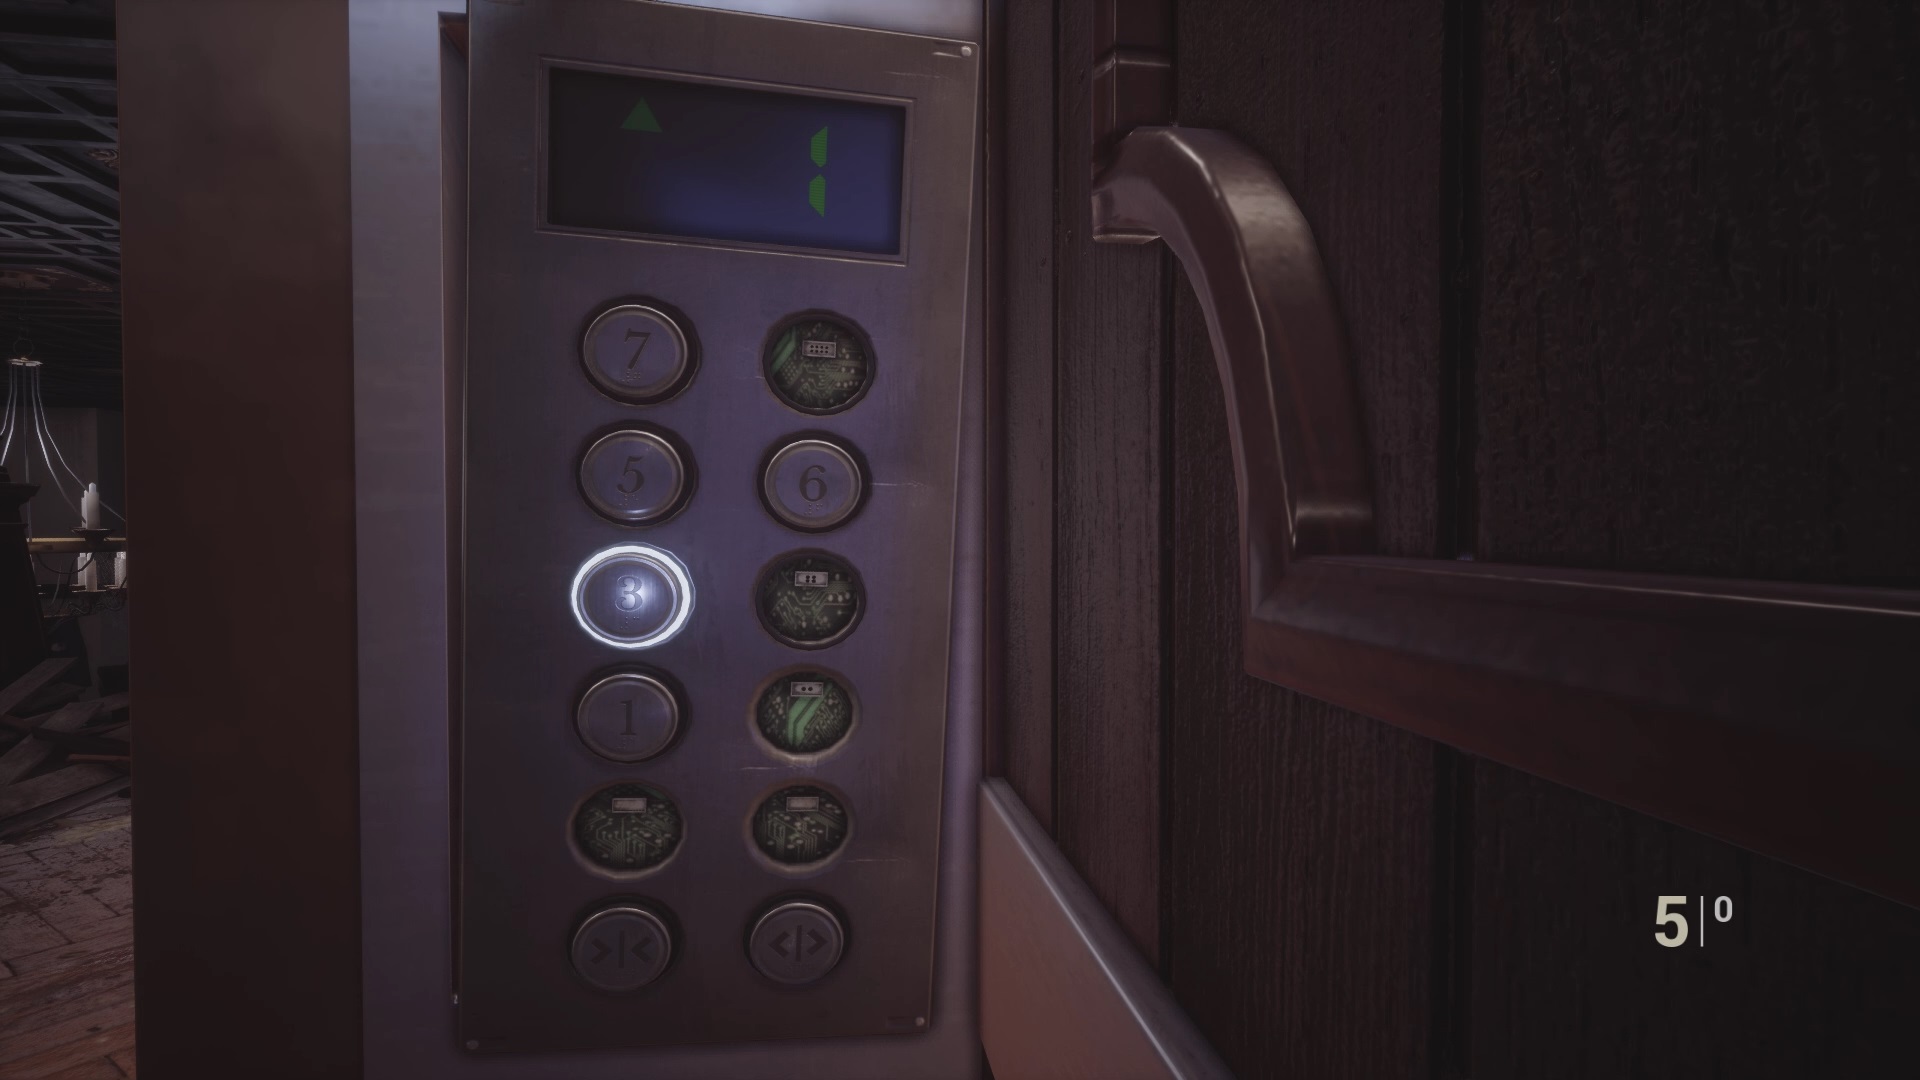
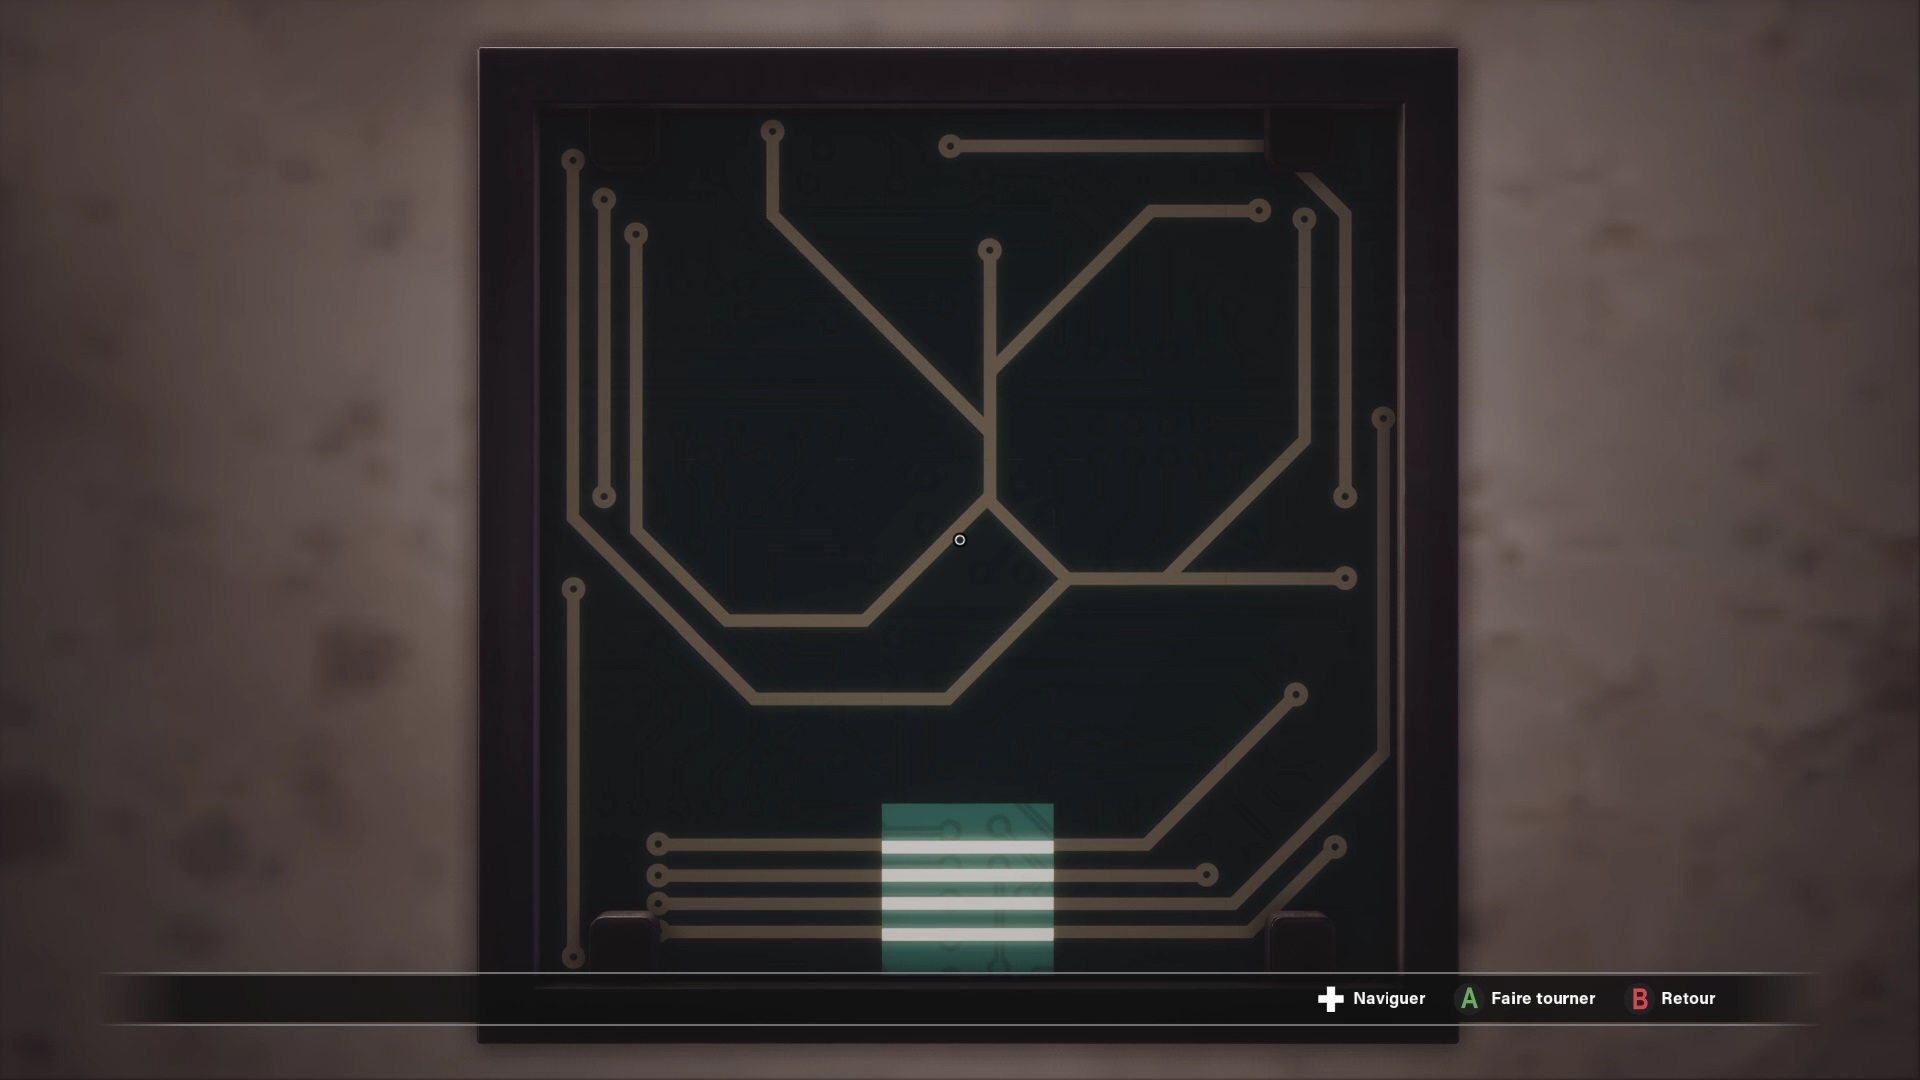
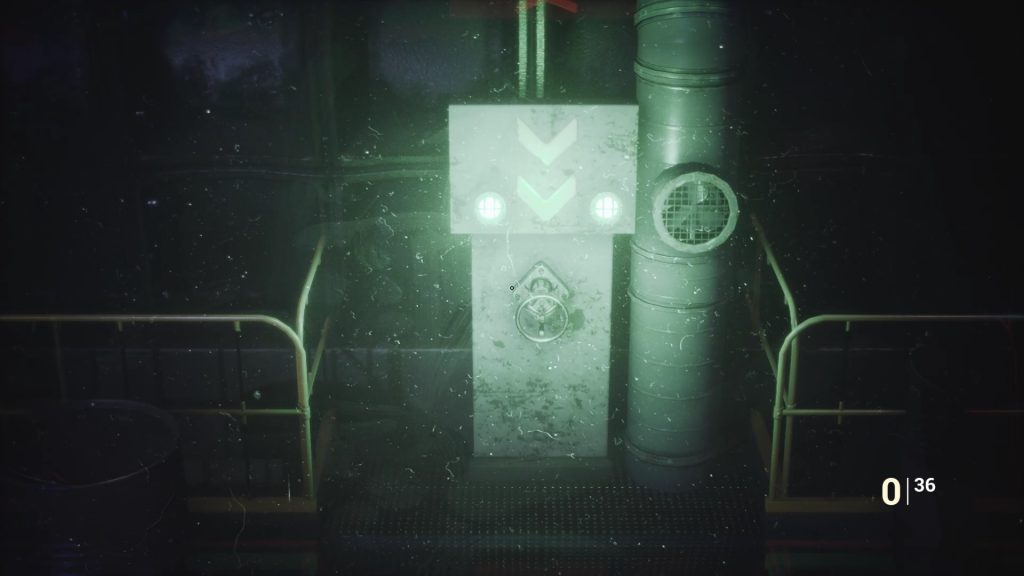
Inside room 603 is a box with a tape recorder allowing you to play the cassette documents. The toolboxe is on the desk. Use the code provided previously to open it : 30 right -10 left -5 right. You get a new circuit and an Allen key. Head to the 5th floor elevator to fix it. Interact with the Allen key on the switch to unscrew it. Use the new electrical circuit to solve a puzzle. Follow the image above to pass it (can be different). Once successful go up inside the elevator and take the 7th floor button on the floor panel. Use the 7th floor button on the elevator panel to go up there.
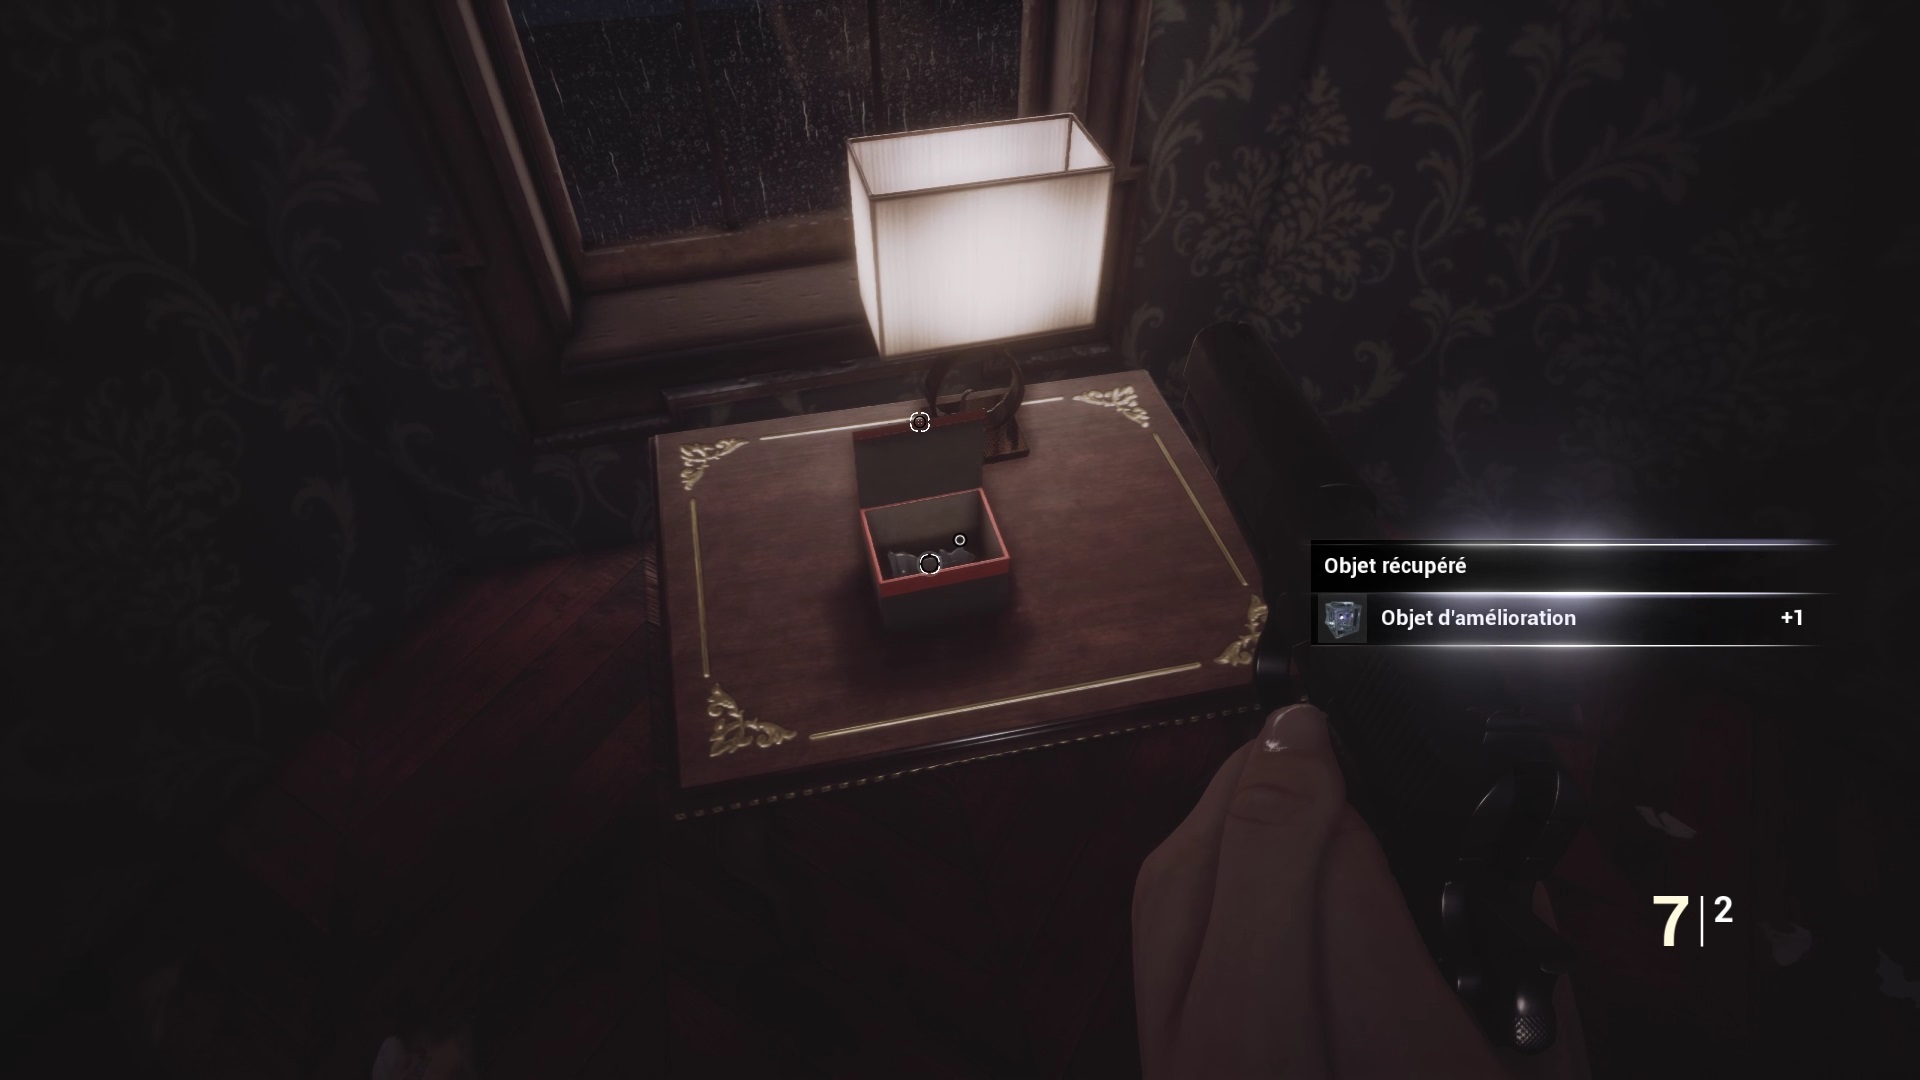
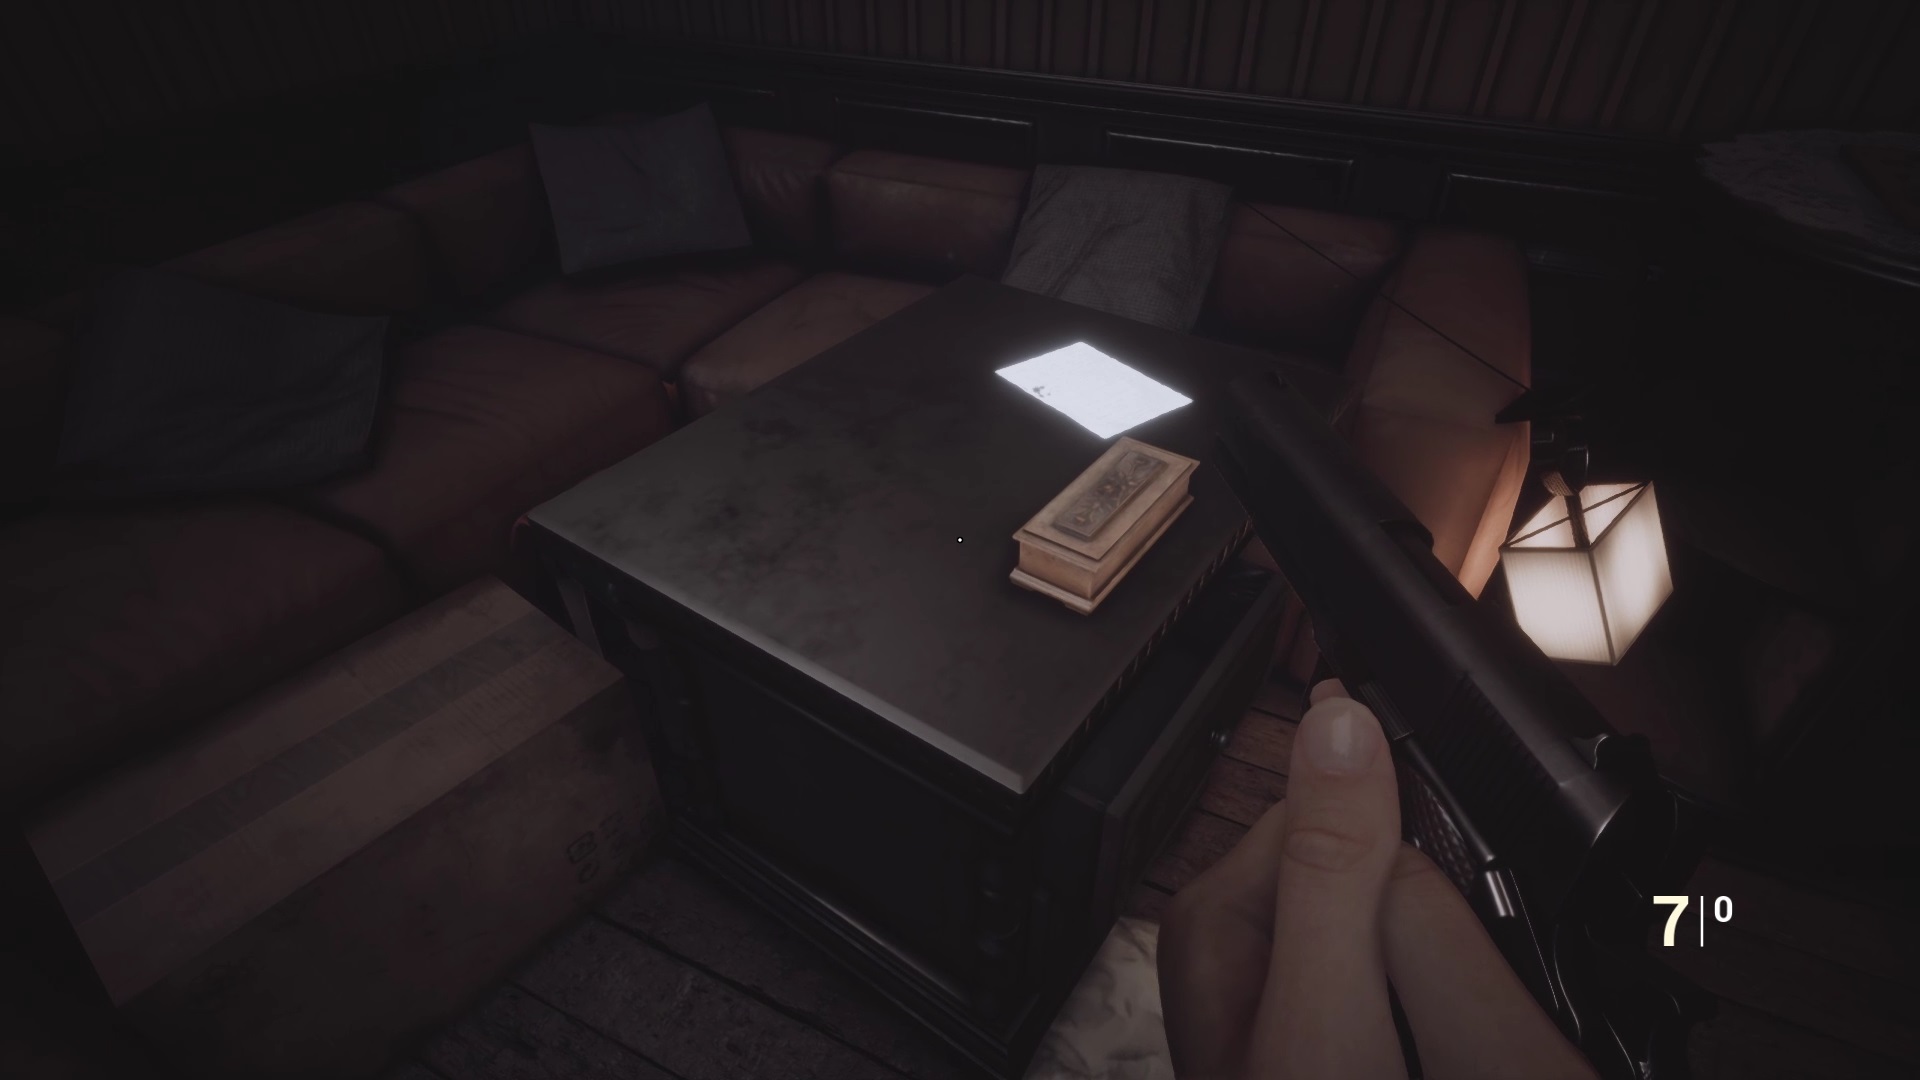
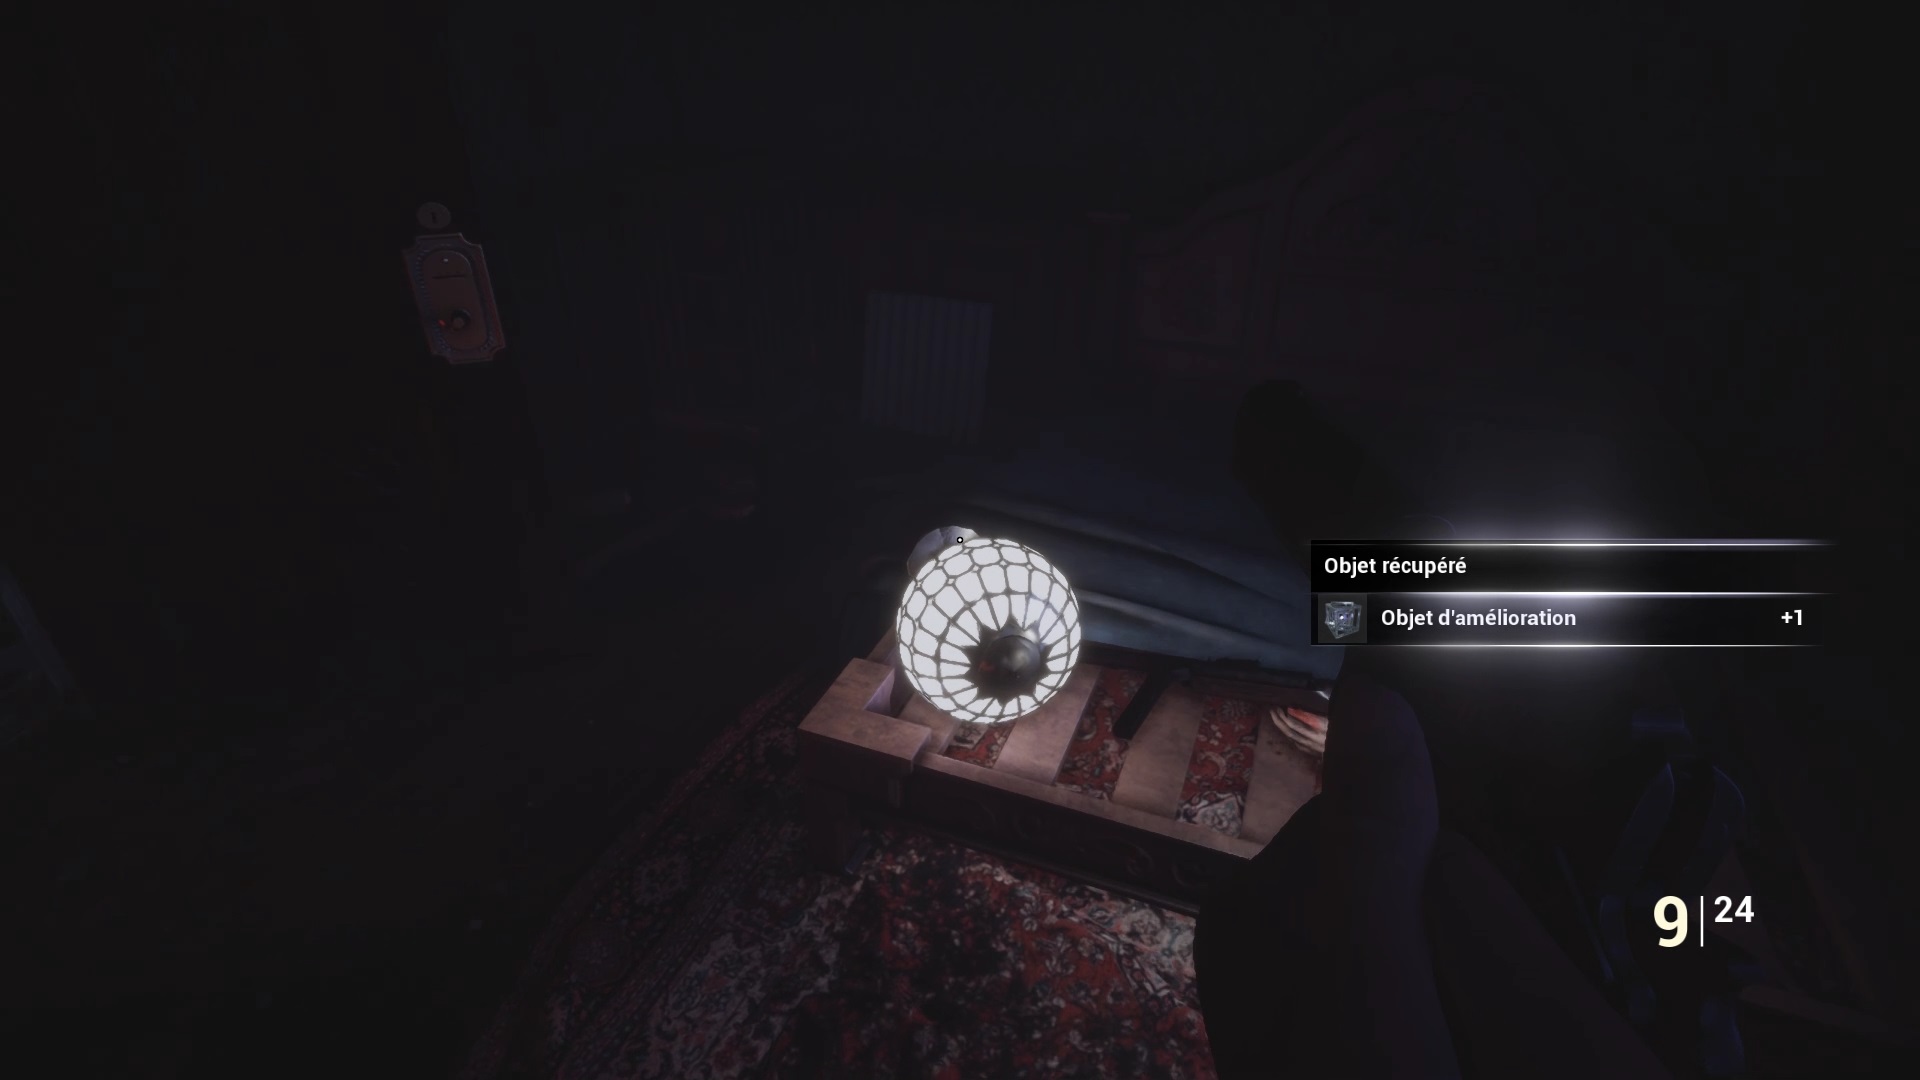
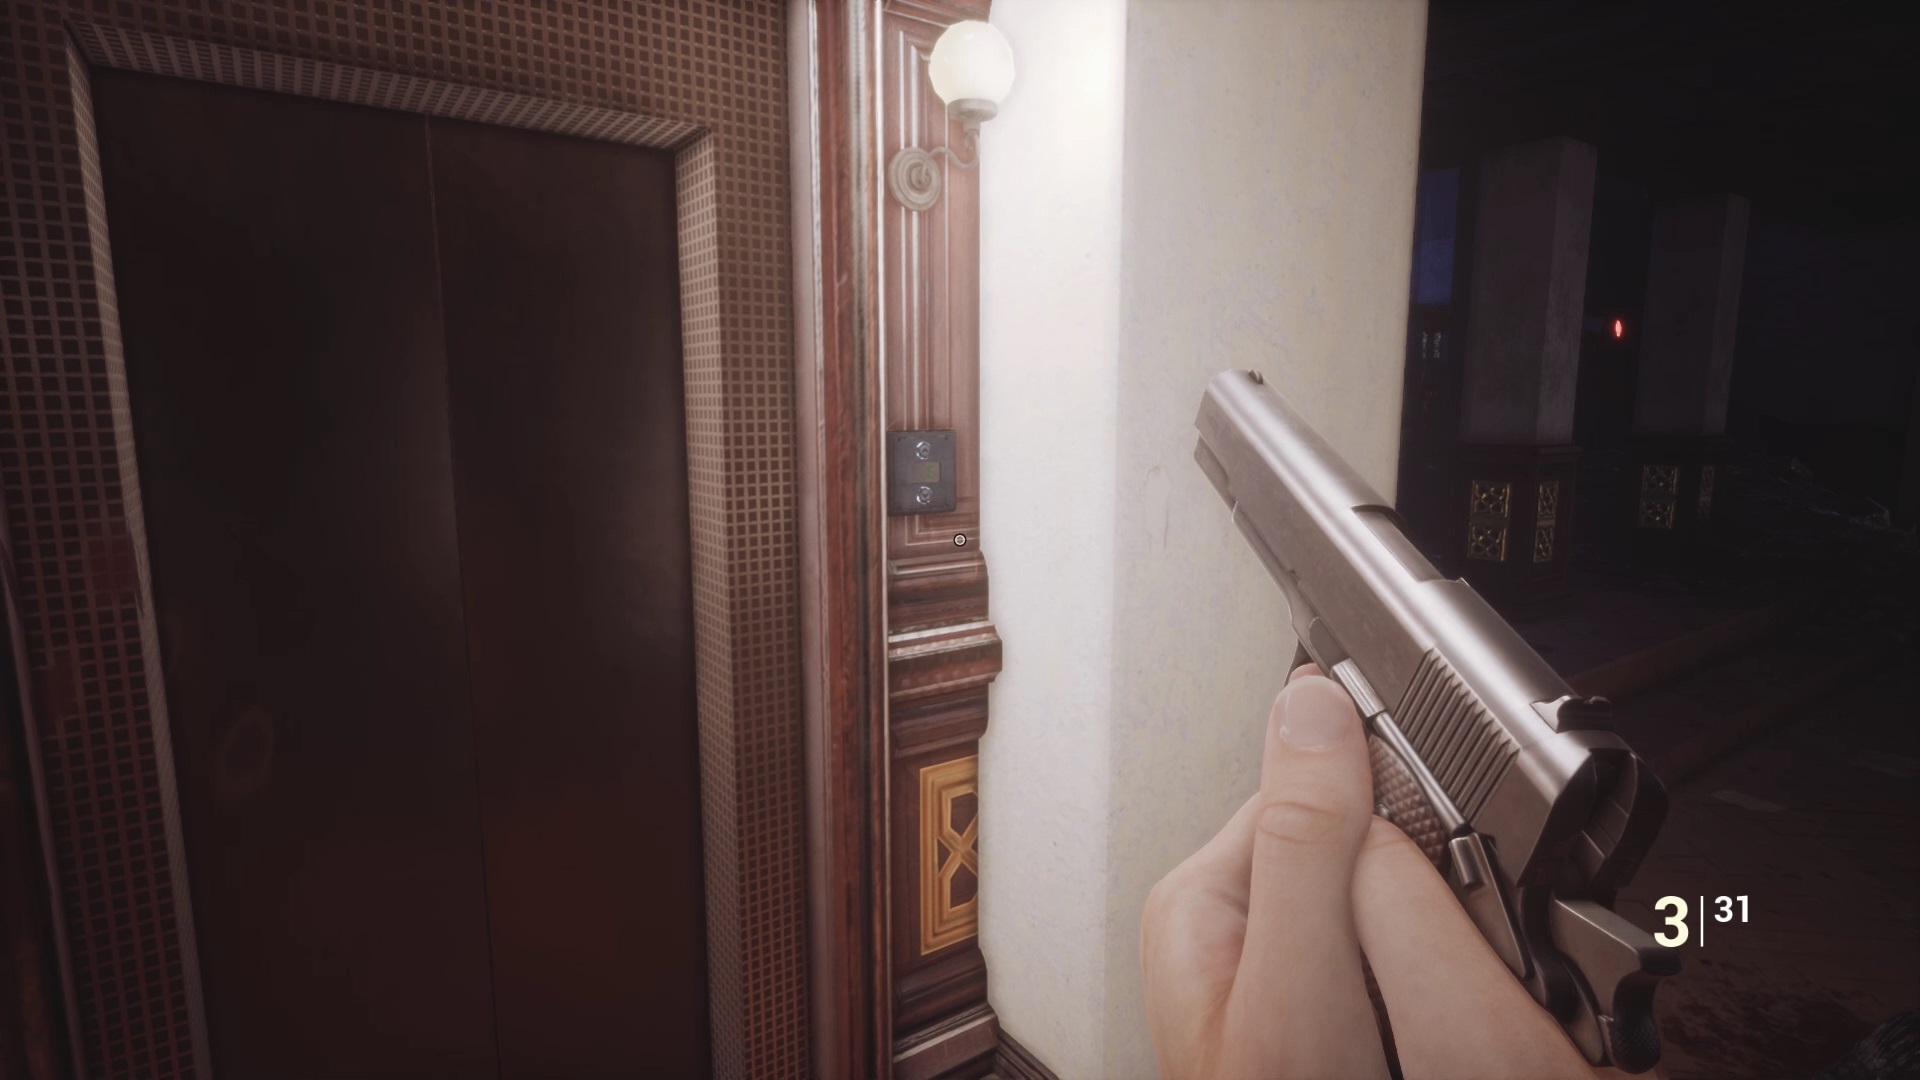
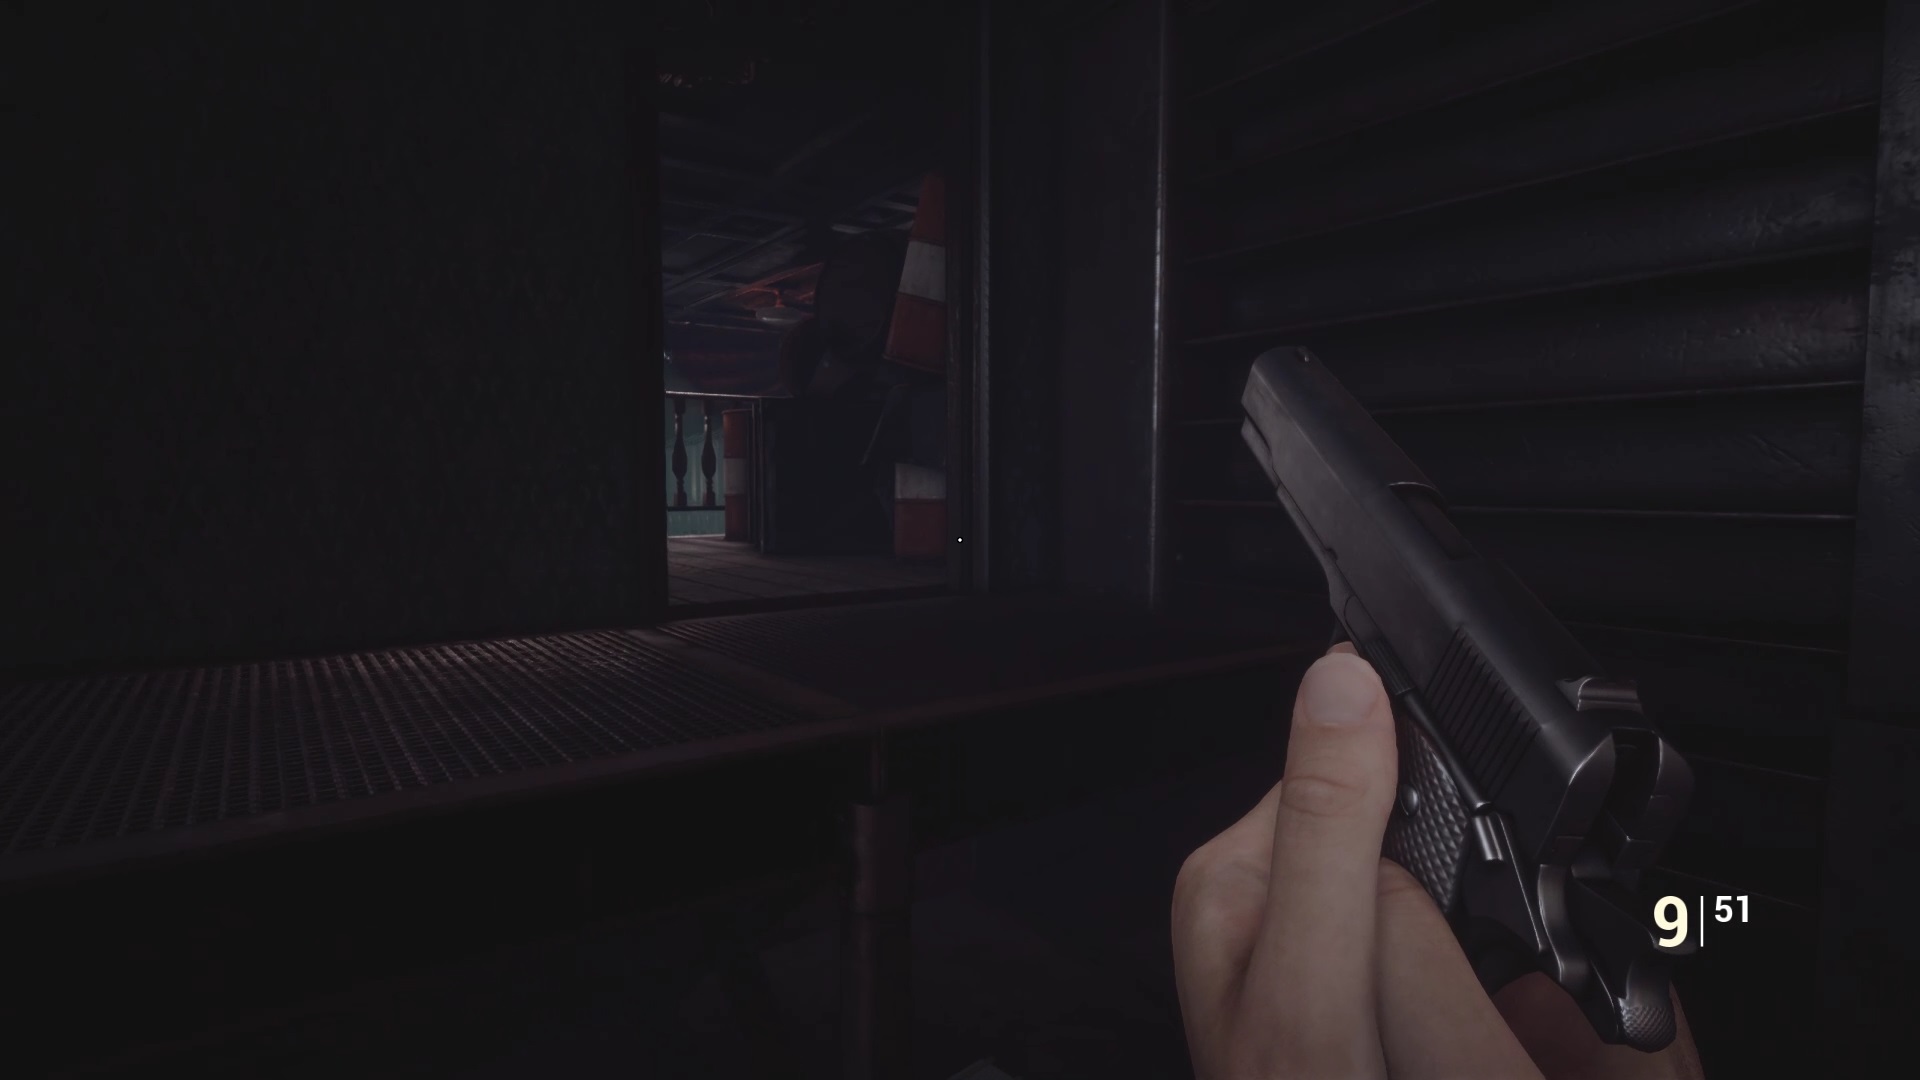
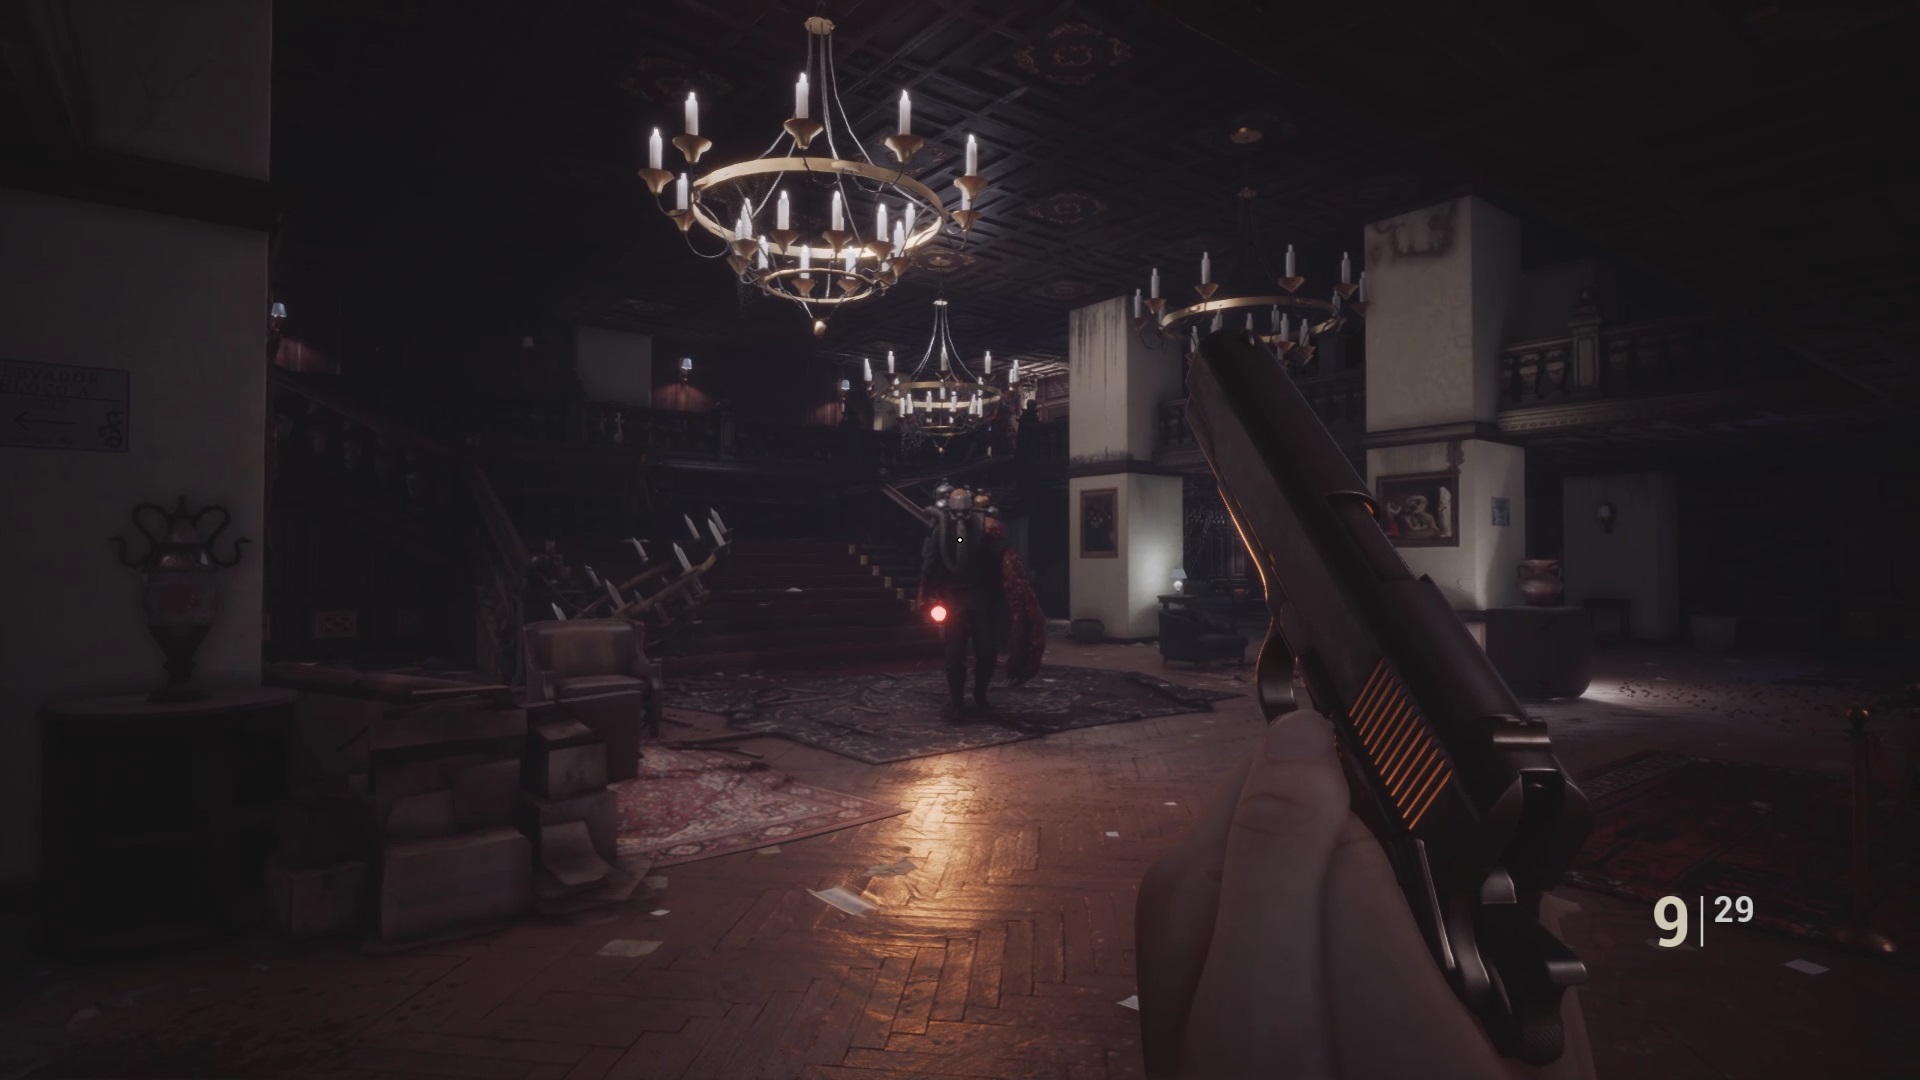
From the 7th floor you can access the upper floors via the stairs. Climb the stairs and open the box on a piece of furniture to find a pistol. A tutorial is triggered, kill the monster by aiming for the heart in front of you to continue. Move forward in the balcony on the right to find a new box containing a metal key. Go to the balcony on the left to use the key you just found. You will find behind a box containing a piece of chess, white Queen.
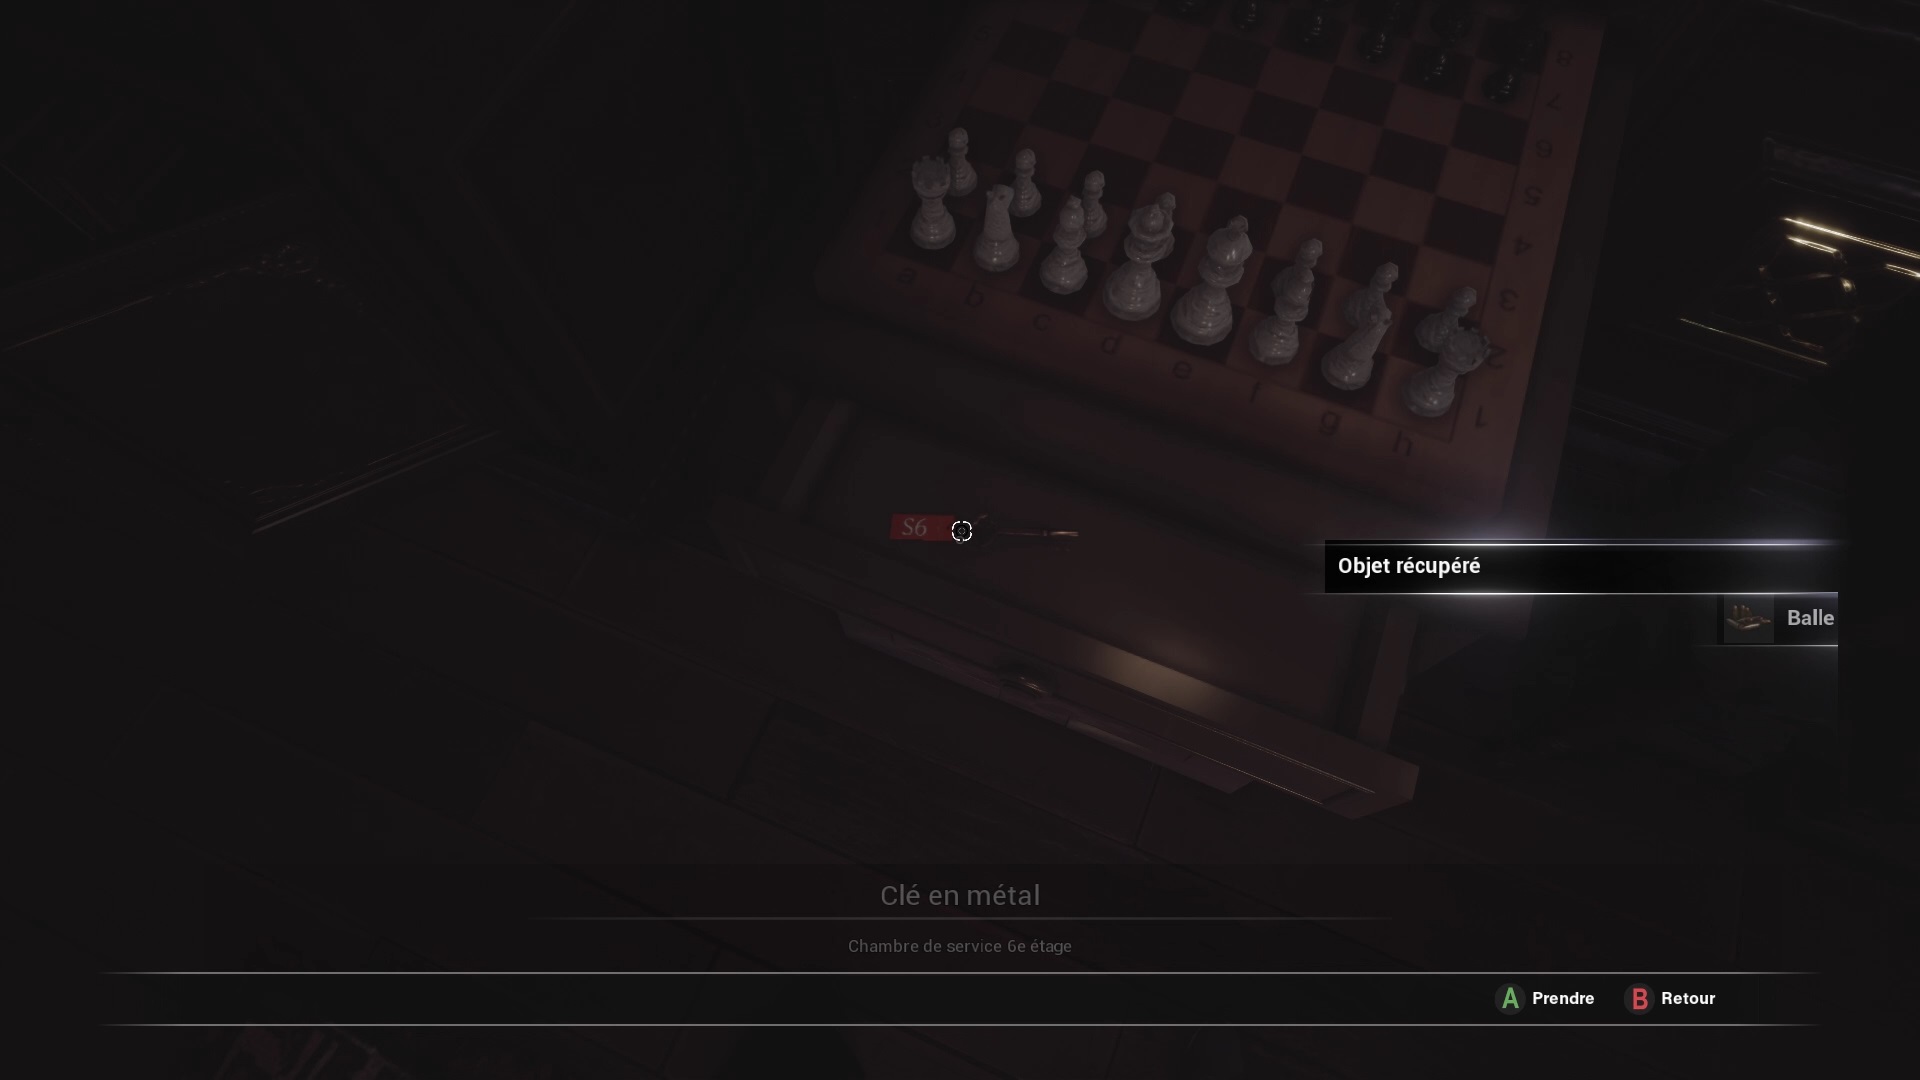

Return to the 7th floor hallway to interact with a chessboard. Put the White Queen on it to get a key to the 6th Floor Service Room. Return to the 6th floor via the elevator on the 5th floor. Beware of new monsters appearing. Open the service door next to the faulty elevator to find the button for floor 1. Once outside in the hallway a new monster appears and chases you. Bypass it and run away as quickly as possible to the elevator via the WC on the floor below. In the elevator, use the number 1 button to descend into the lobby.
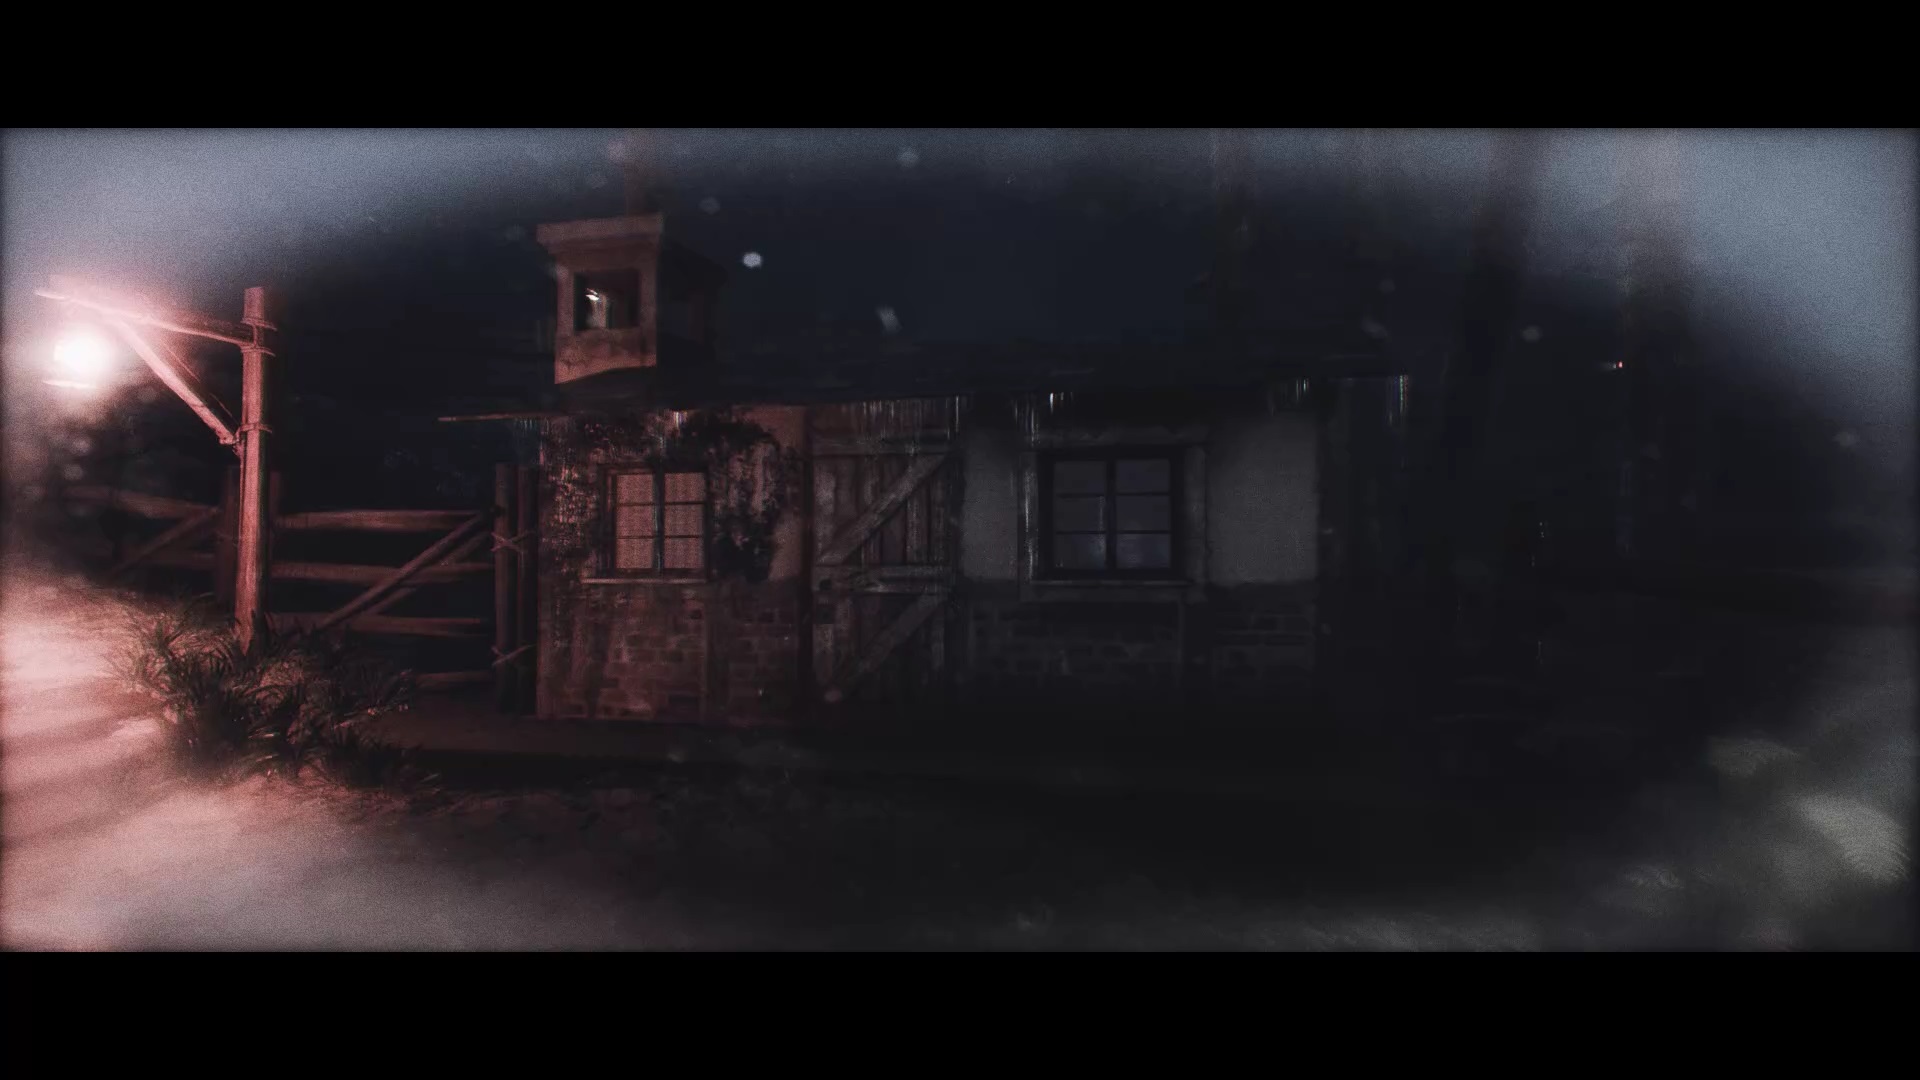
The house in the woods

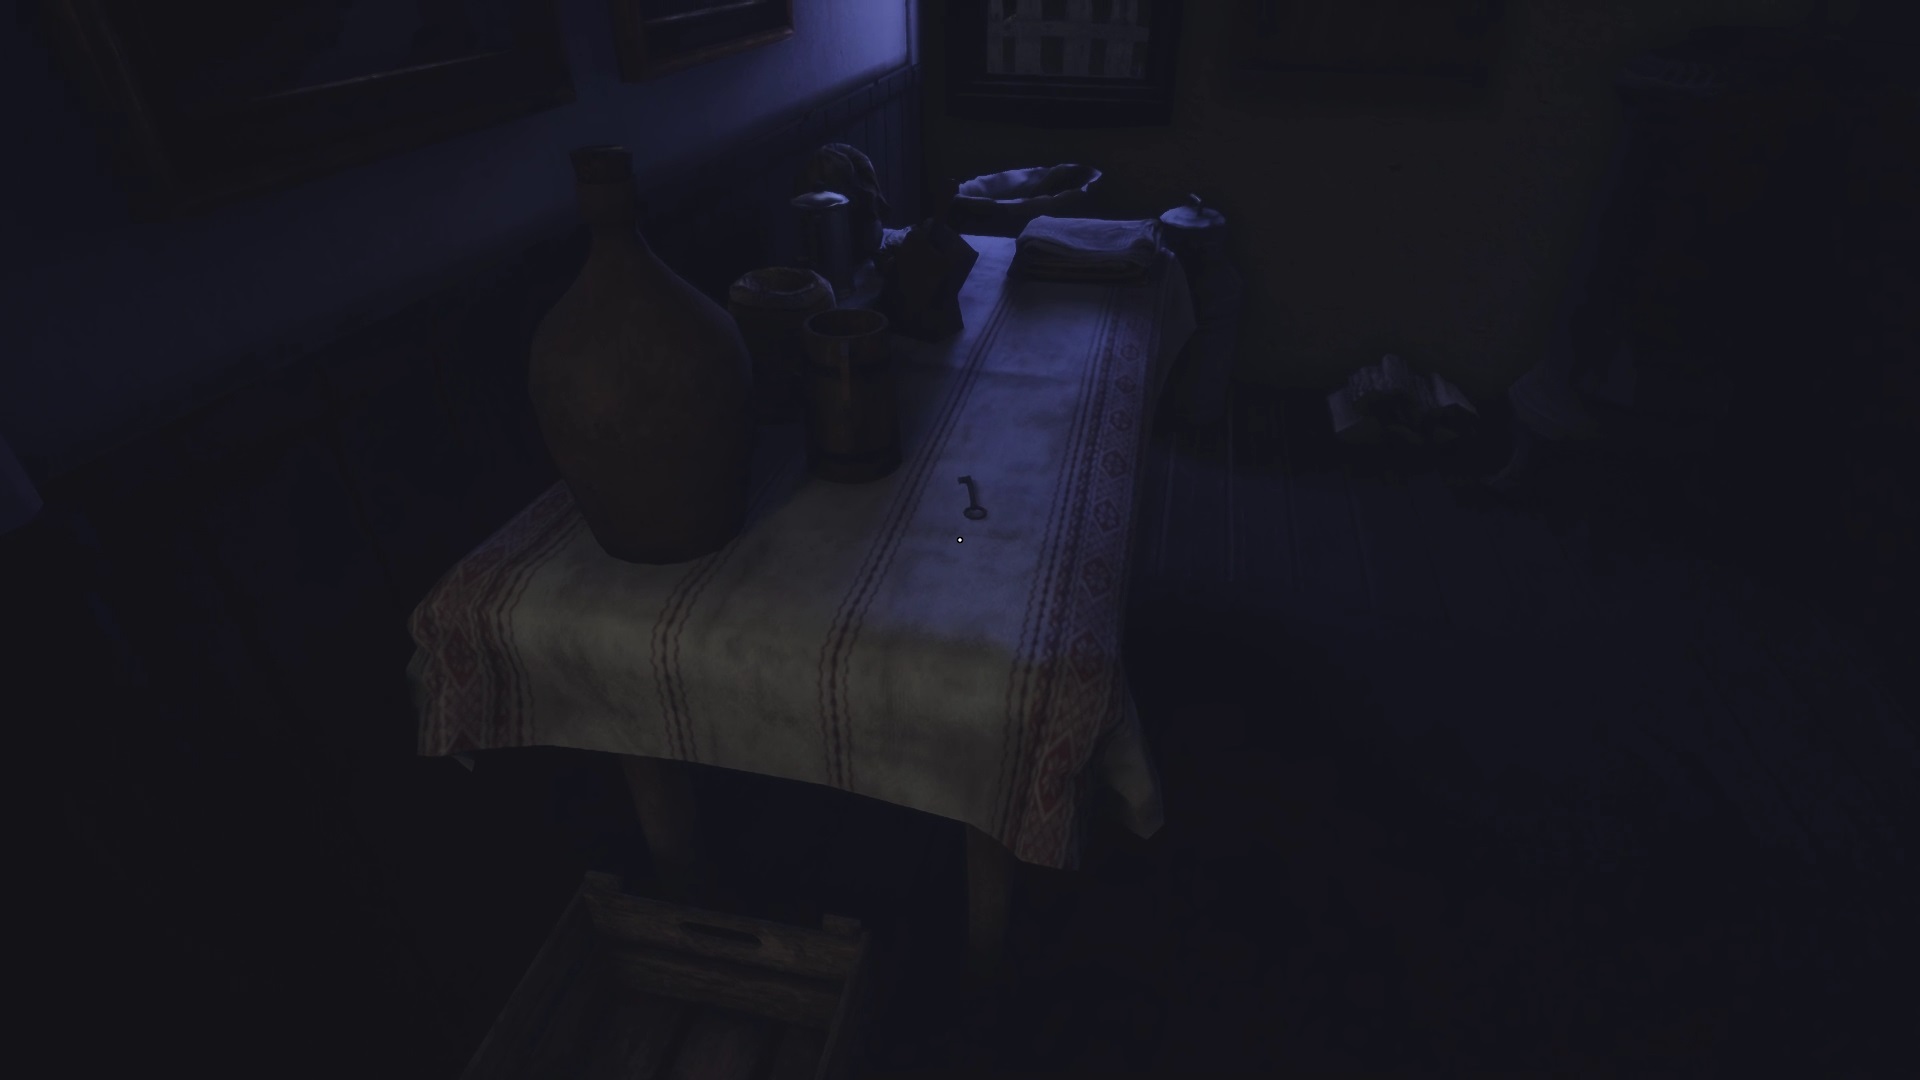

In this level, you play as a new character in another era. To start, exit the bedroom and go down the stairs. Take the second door to the right of the stairs to enter the bathroom. Get a metal key from the bathroom cabinet. Use the key with the first door near the stairs to unlock it. You find a new key on the dining table. Go upstairs by the stairs to open the door opposite. You will find a golden key and three pieces in a box. Collect all the pieces and combine them.
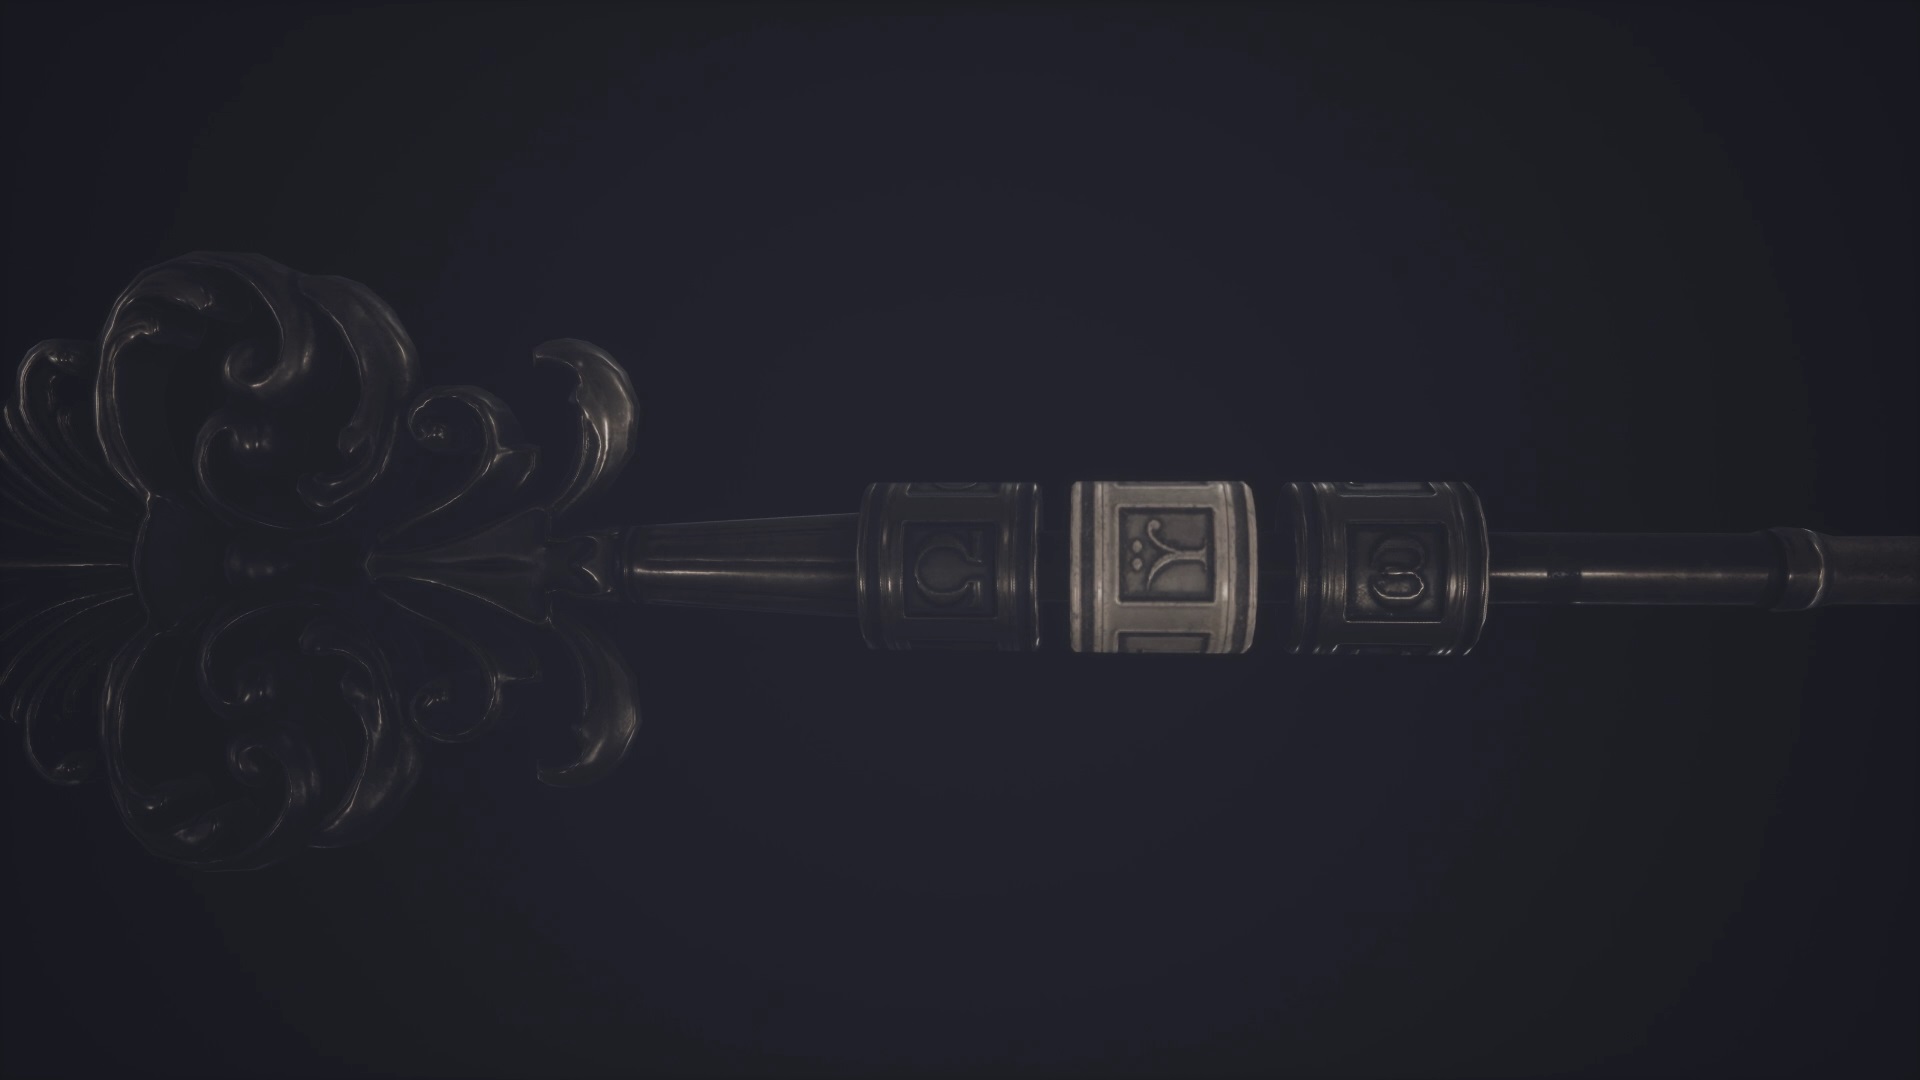
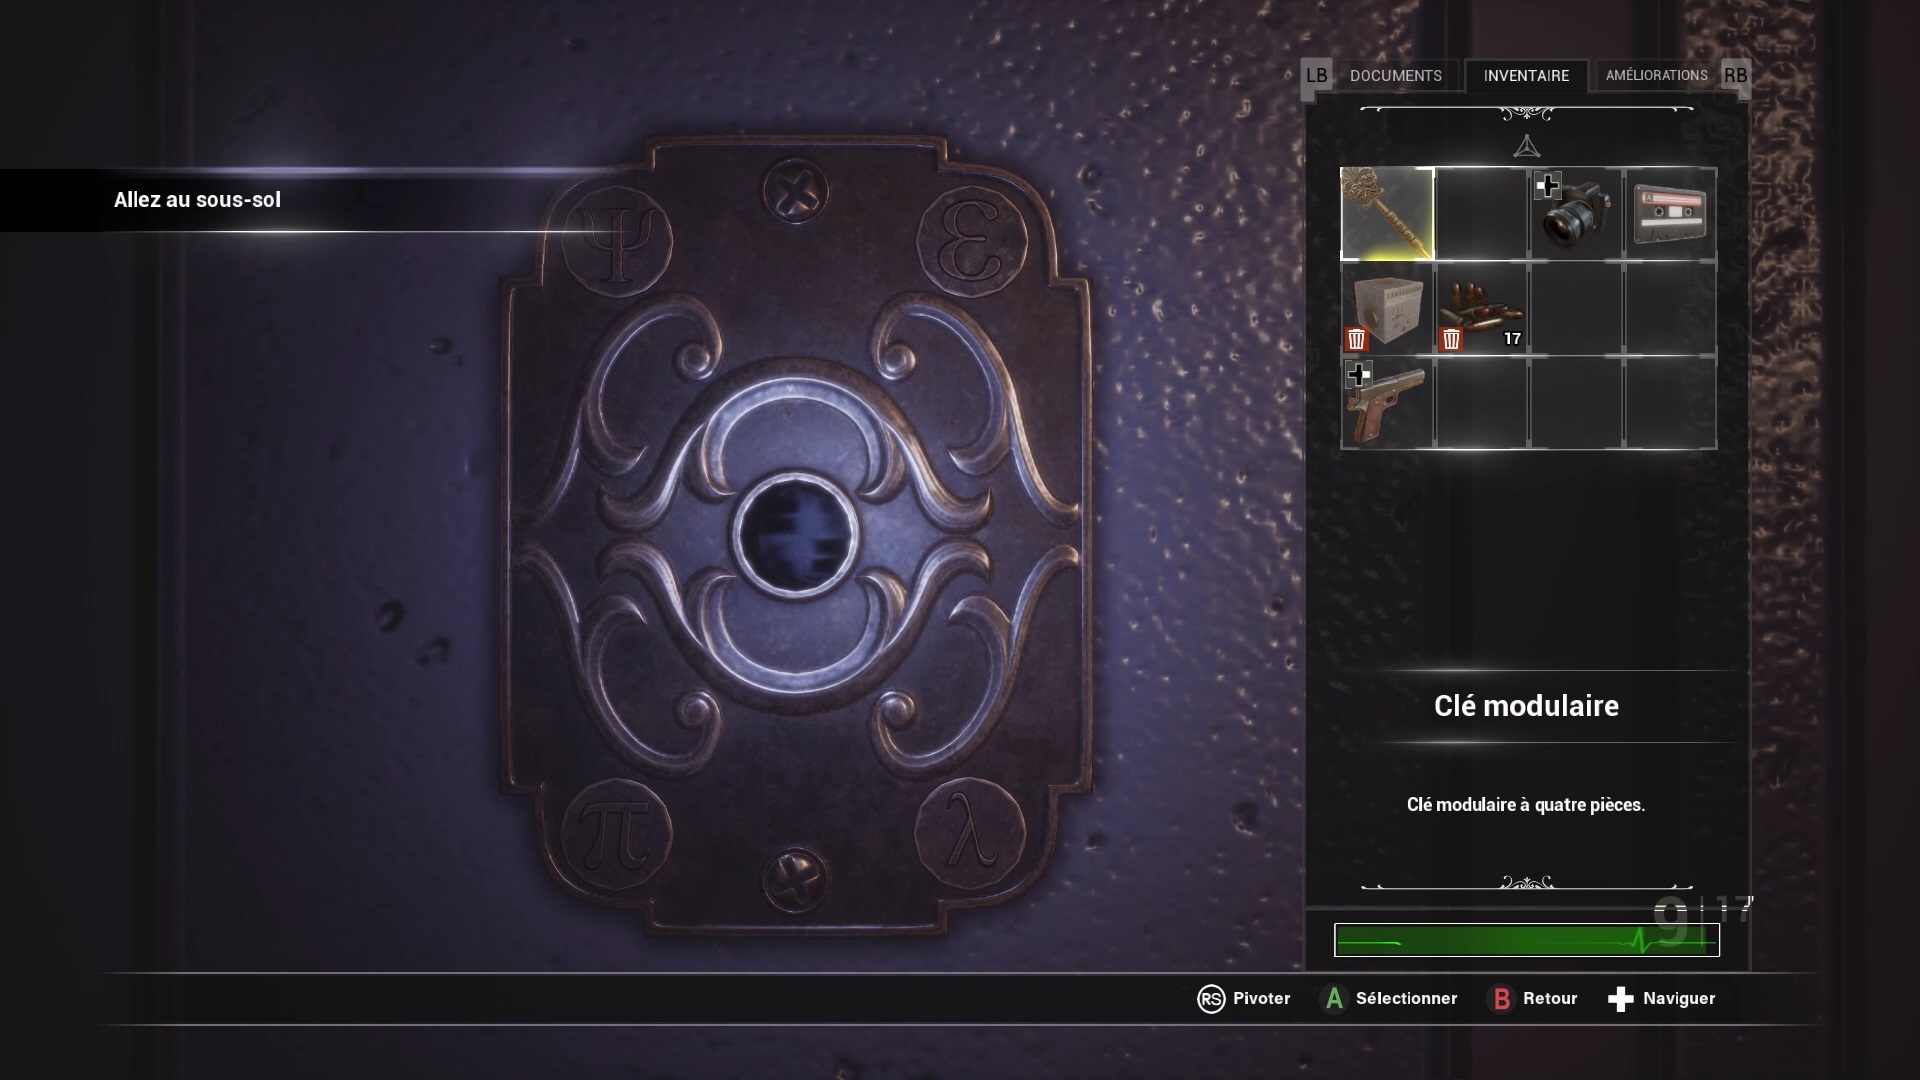
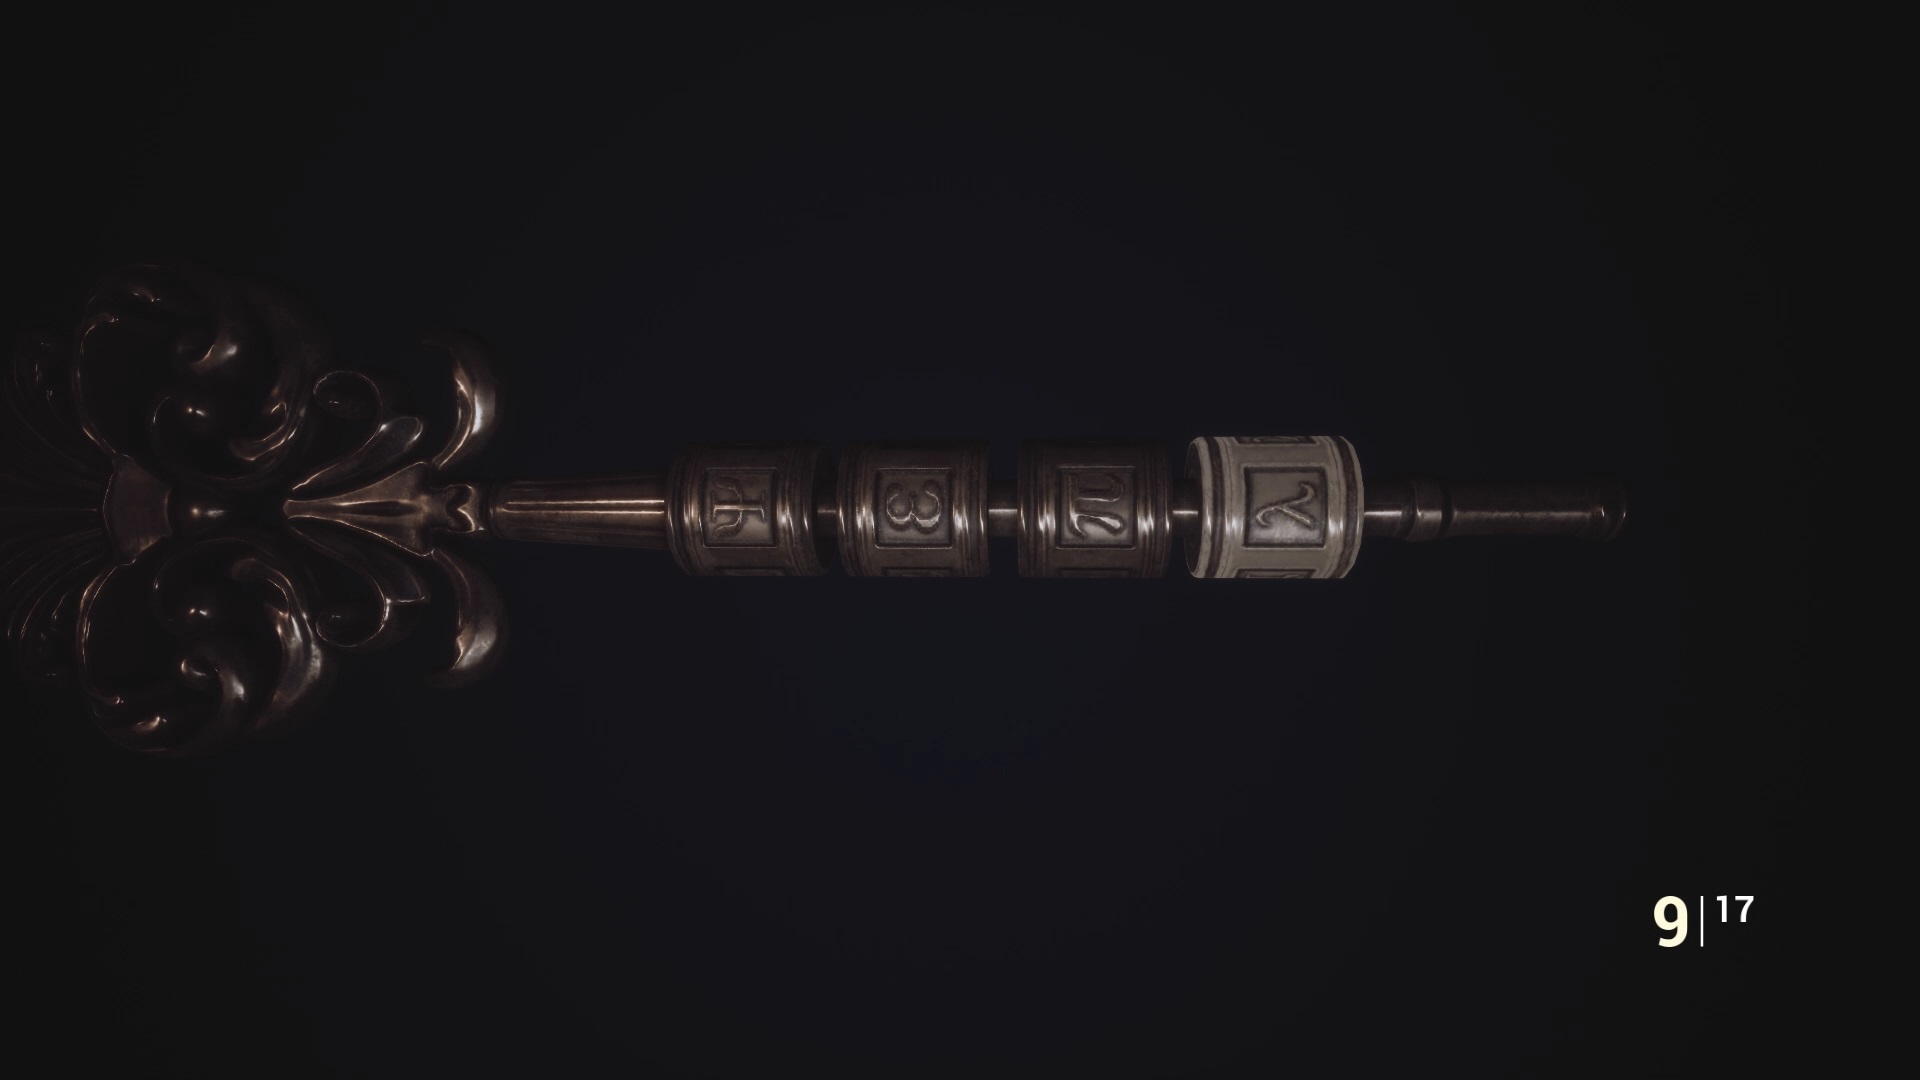
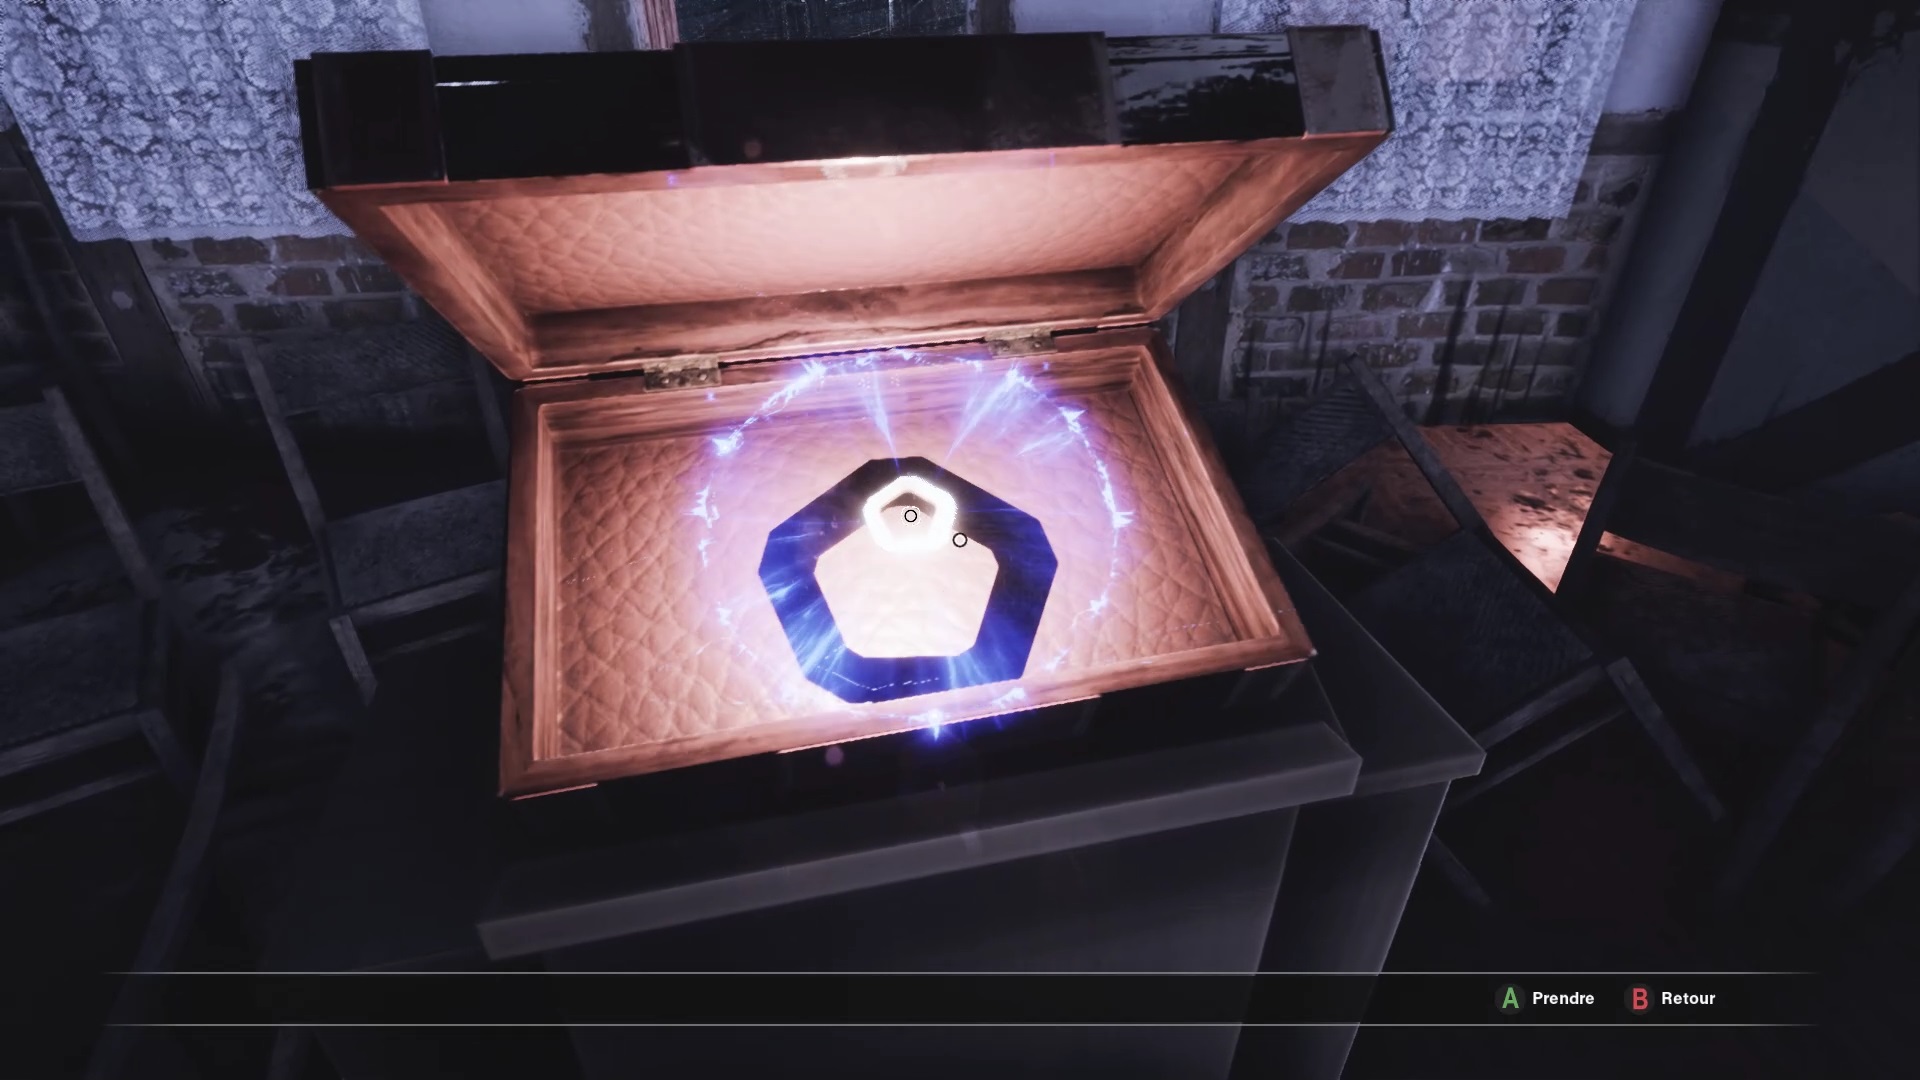
Return to the bottom of the stairs to find an armory. Use the golden key to unlock the door by inserting the correct symbols . You get a fourth piece for the golden key, combine it.
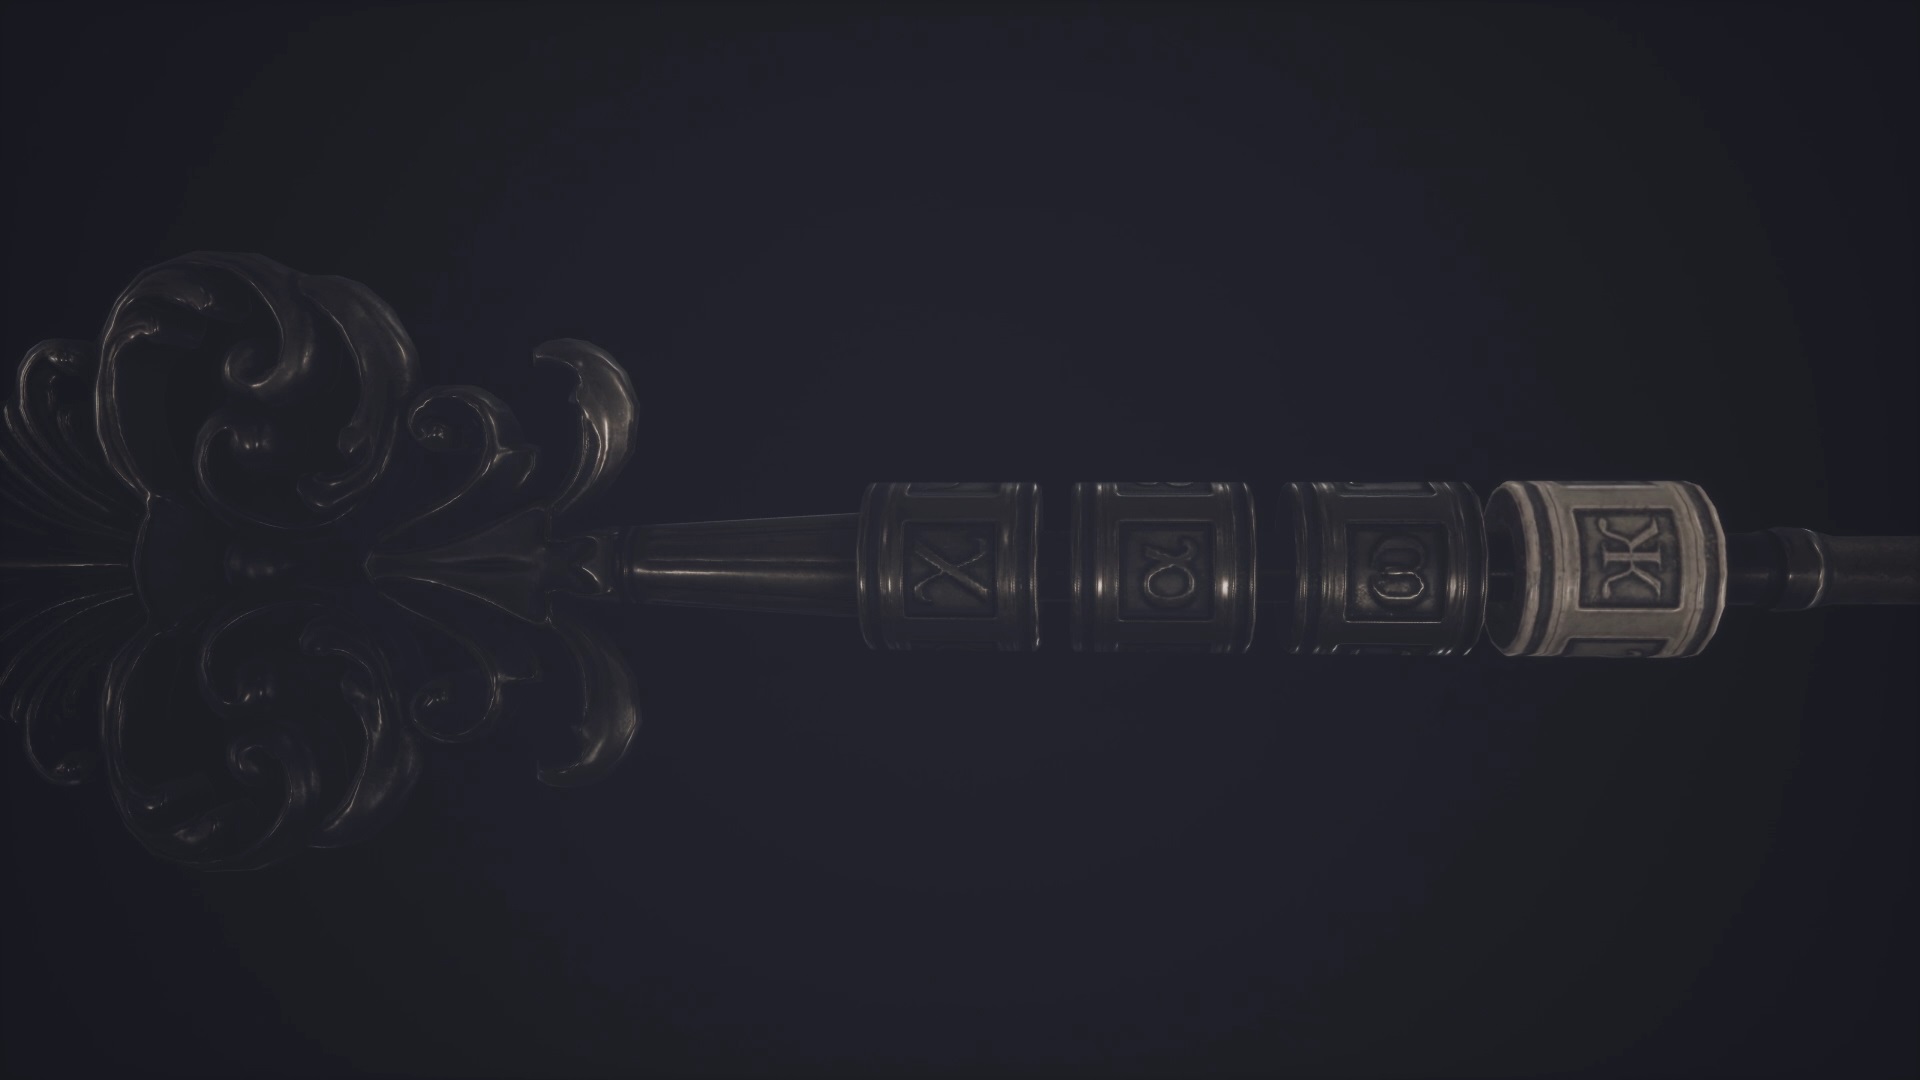
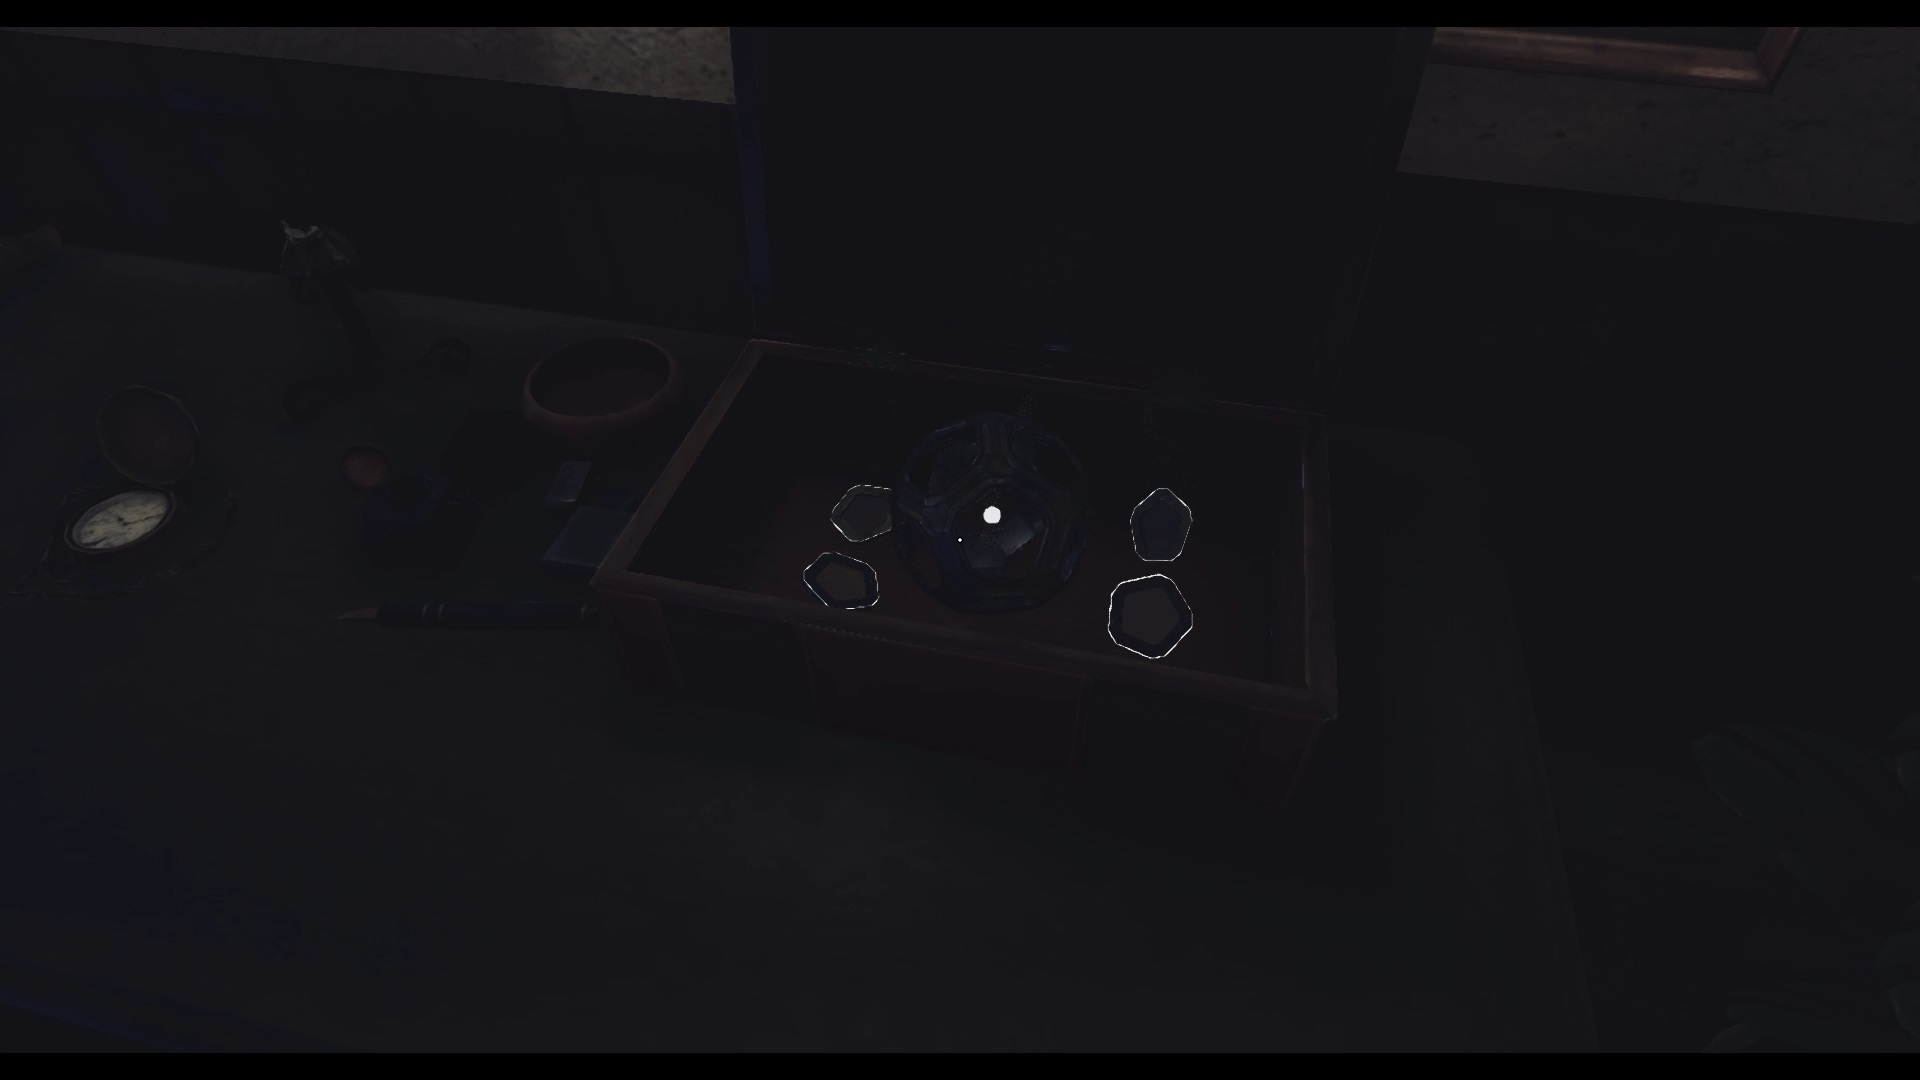
Go back up to the starting room to insert the key with a box on the desk. Insert the correct symbols to open it and take the sphere. Go down the stairs and go through the front door to finish the level.
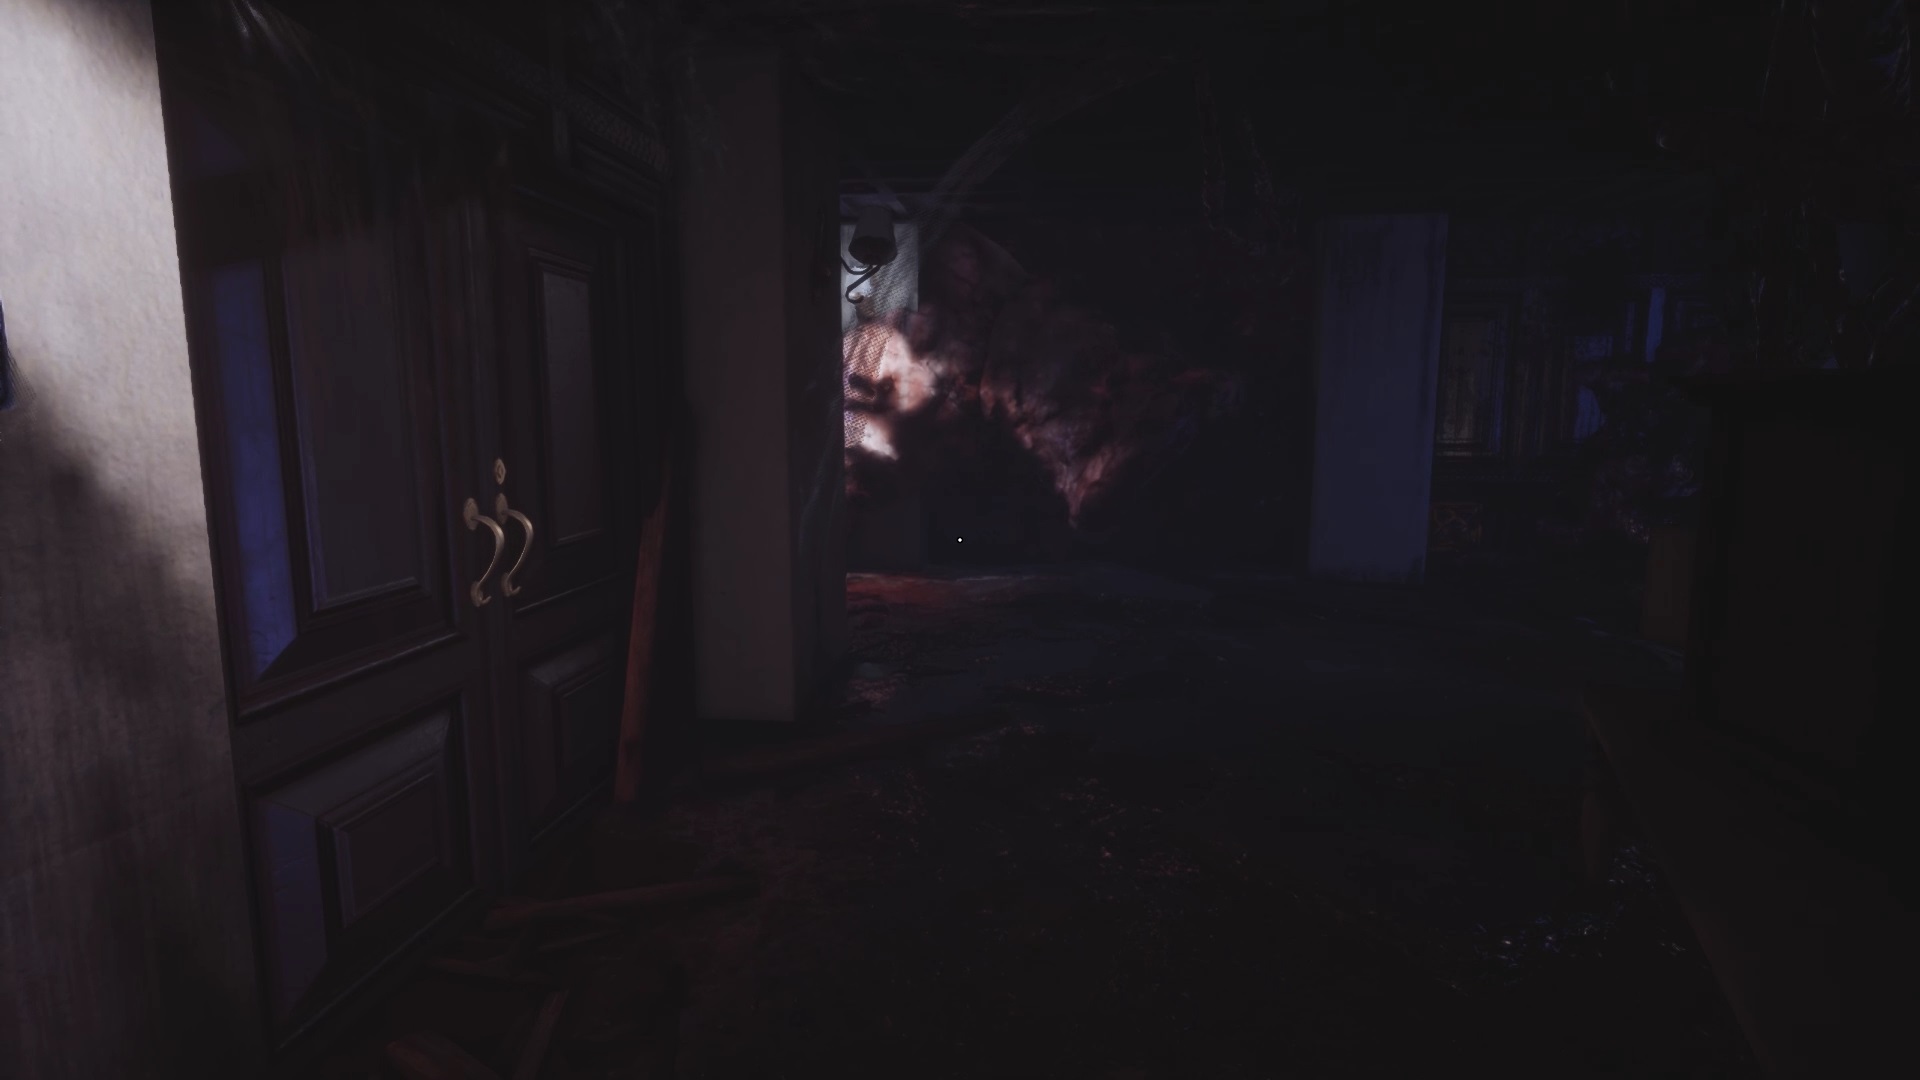
The Great hall
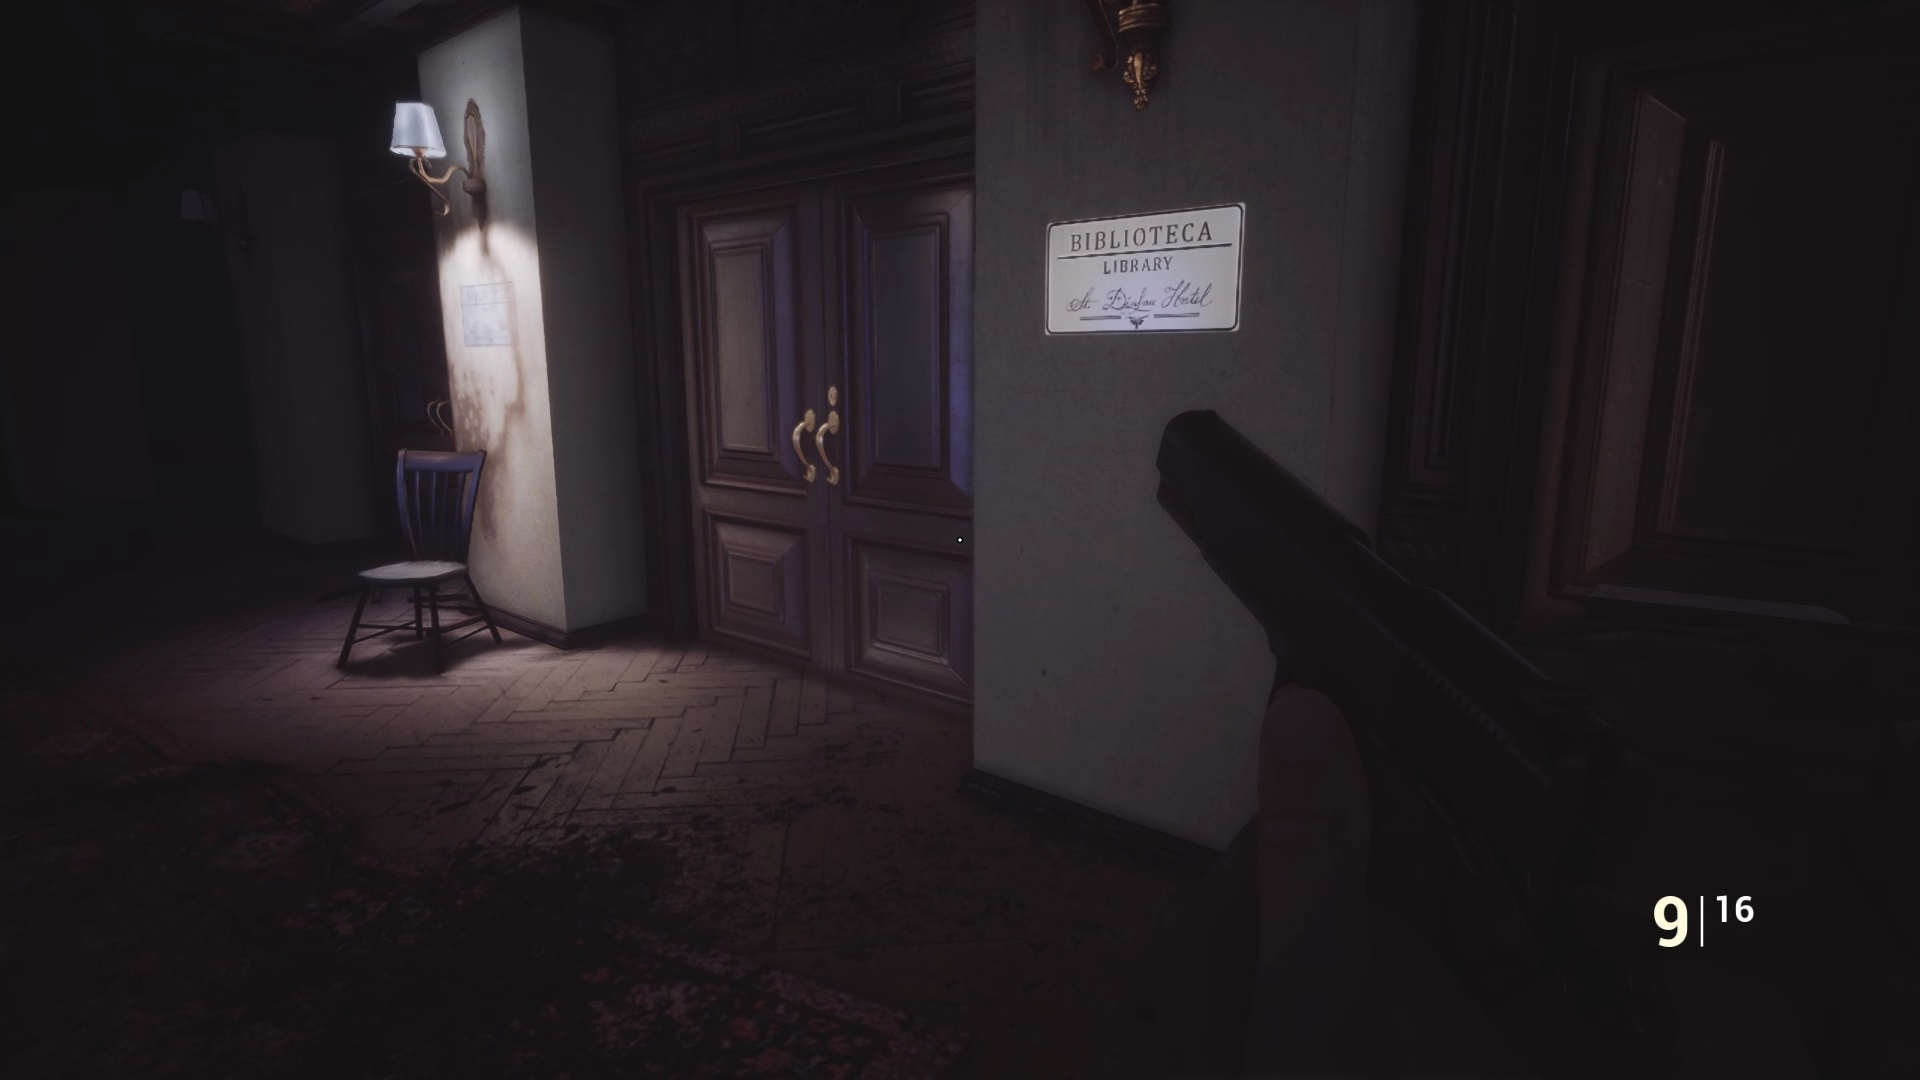
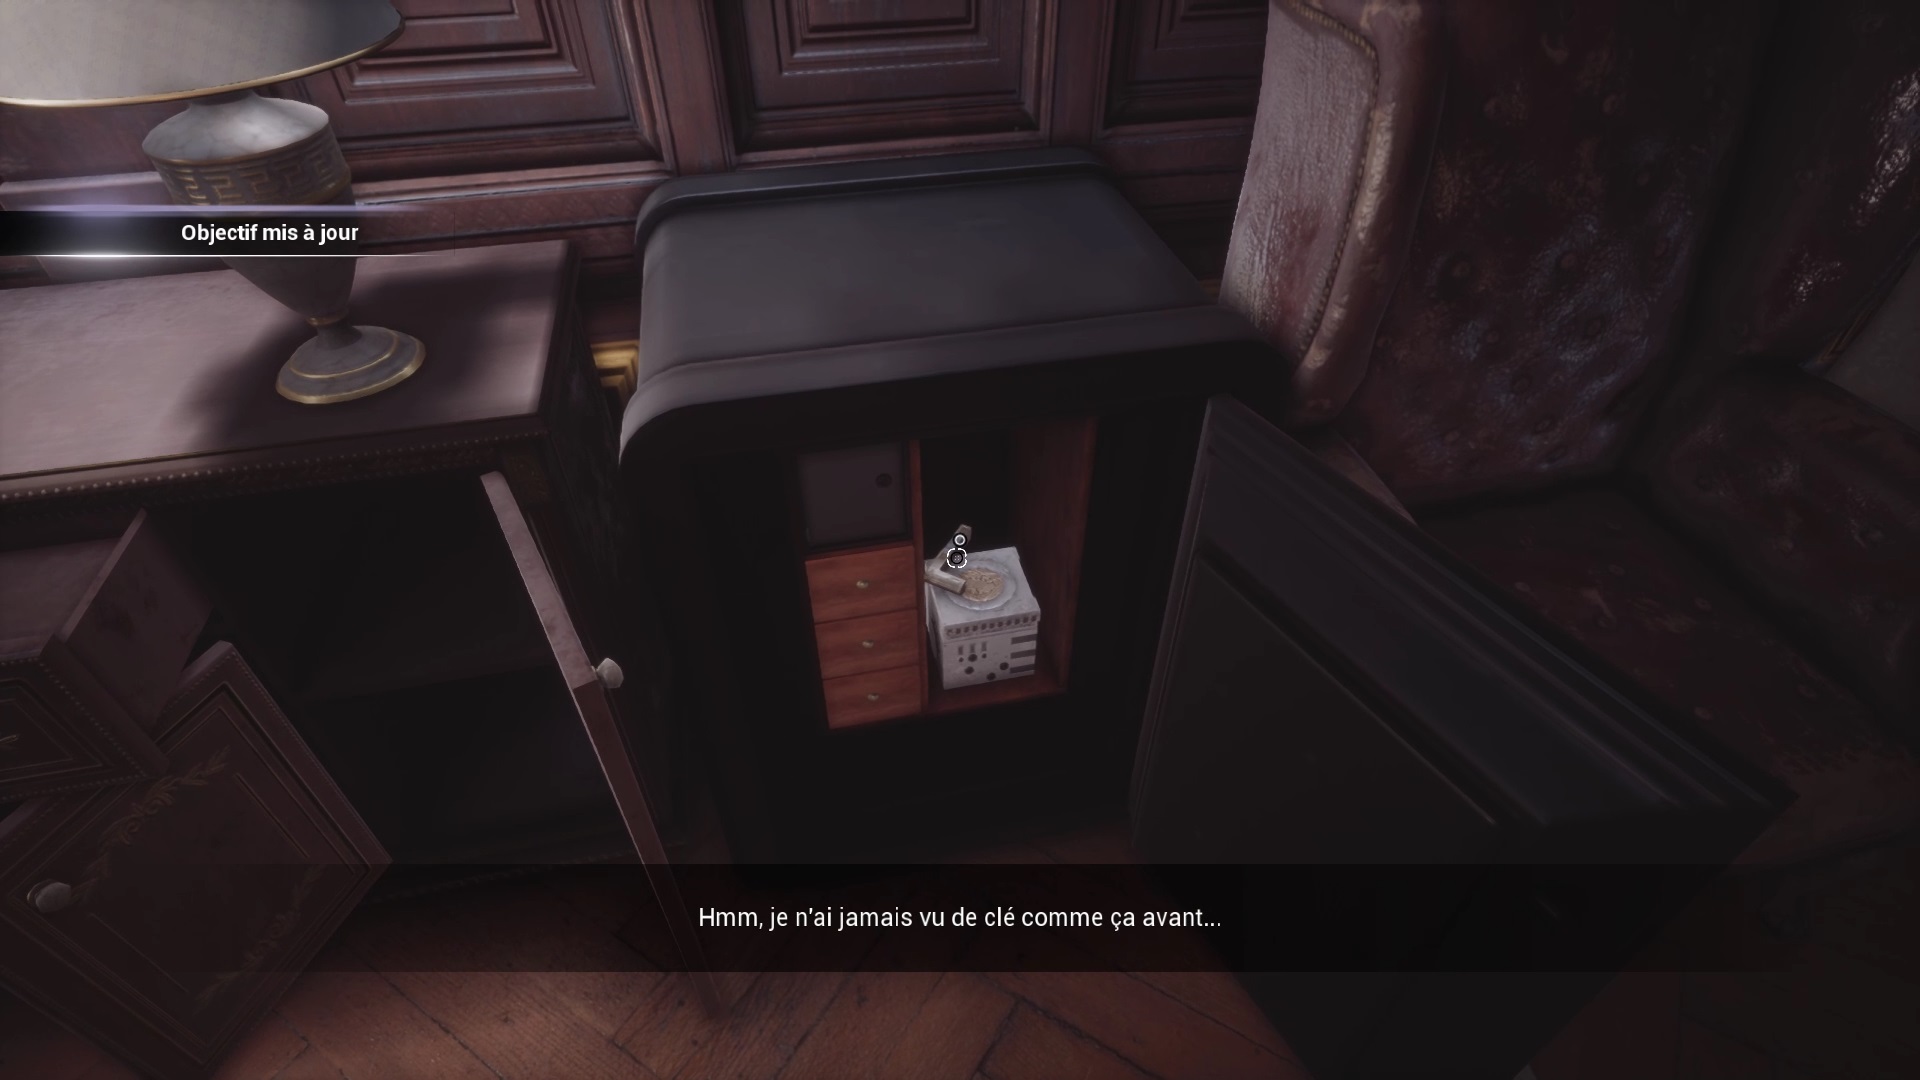
You’re back in the lobby, but more ravaged than last time. Attention, the hall is occupied by some monsters, do not hesitate to use your pistol to free the room. Start by going down the stairs to reception to hear a phone ringing. Head to the ringer to pick it up. Also get the metal key from the library next to the phone. Go upstairs in the hallway to the right of the elevator to find and open the library.
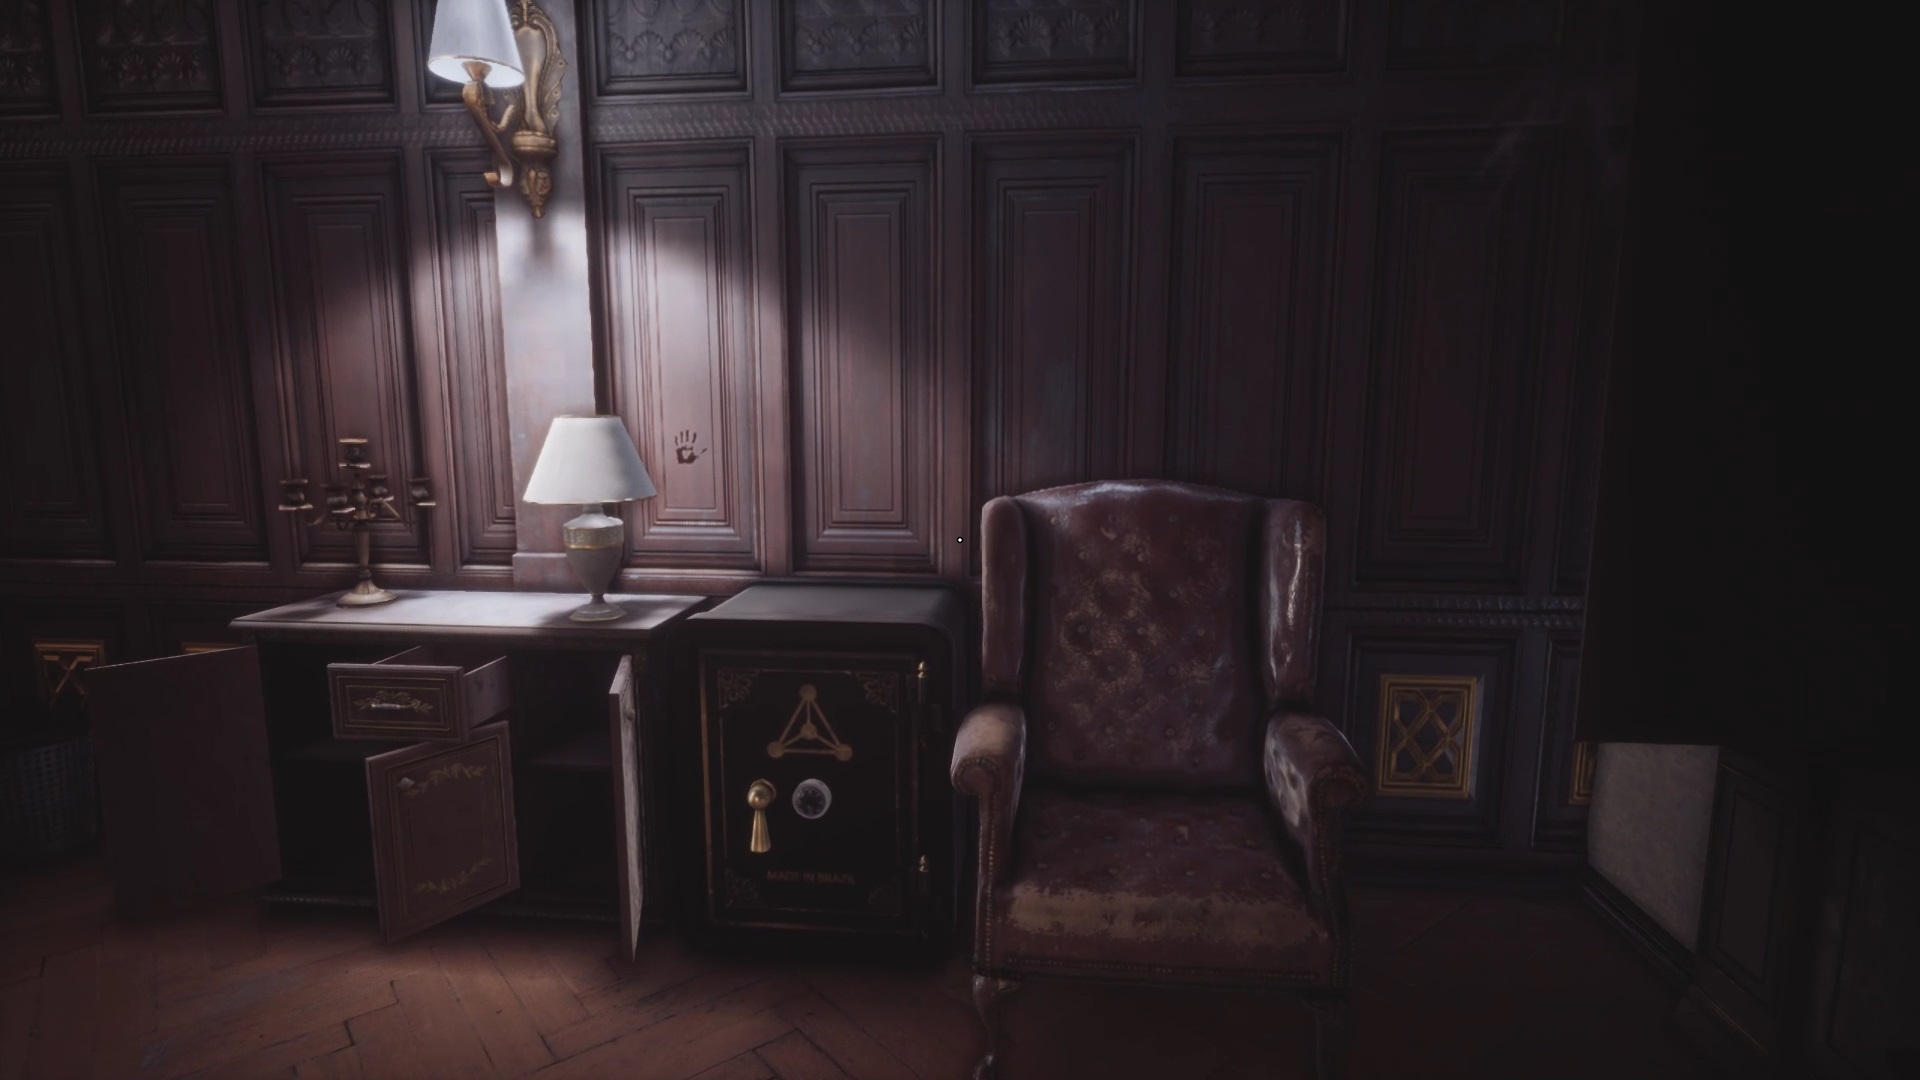
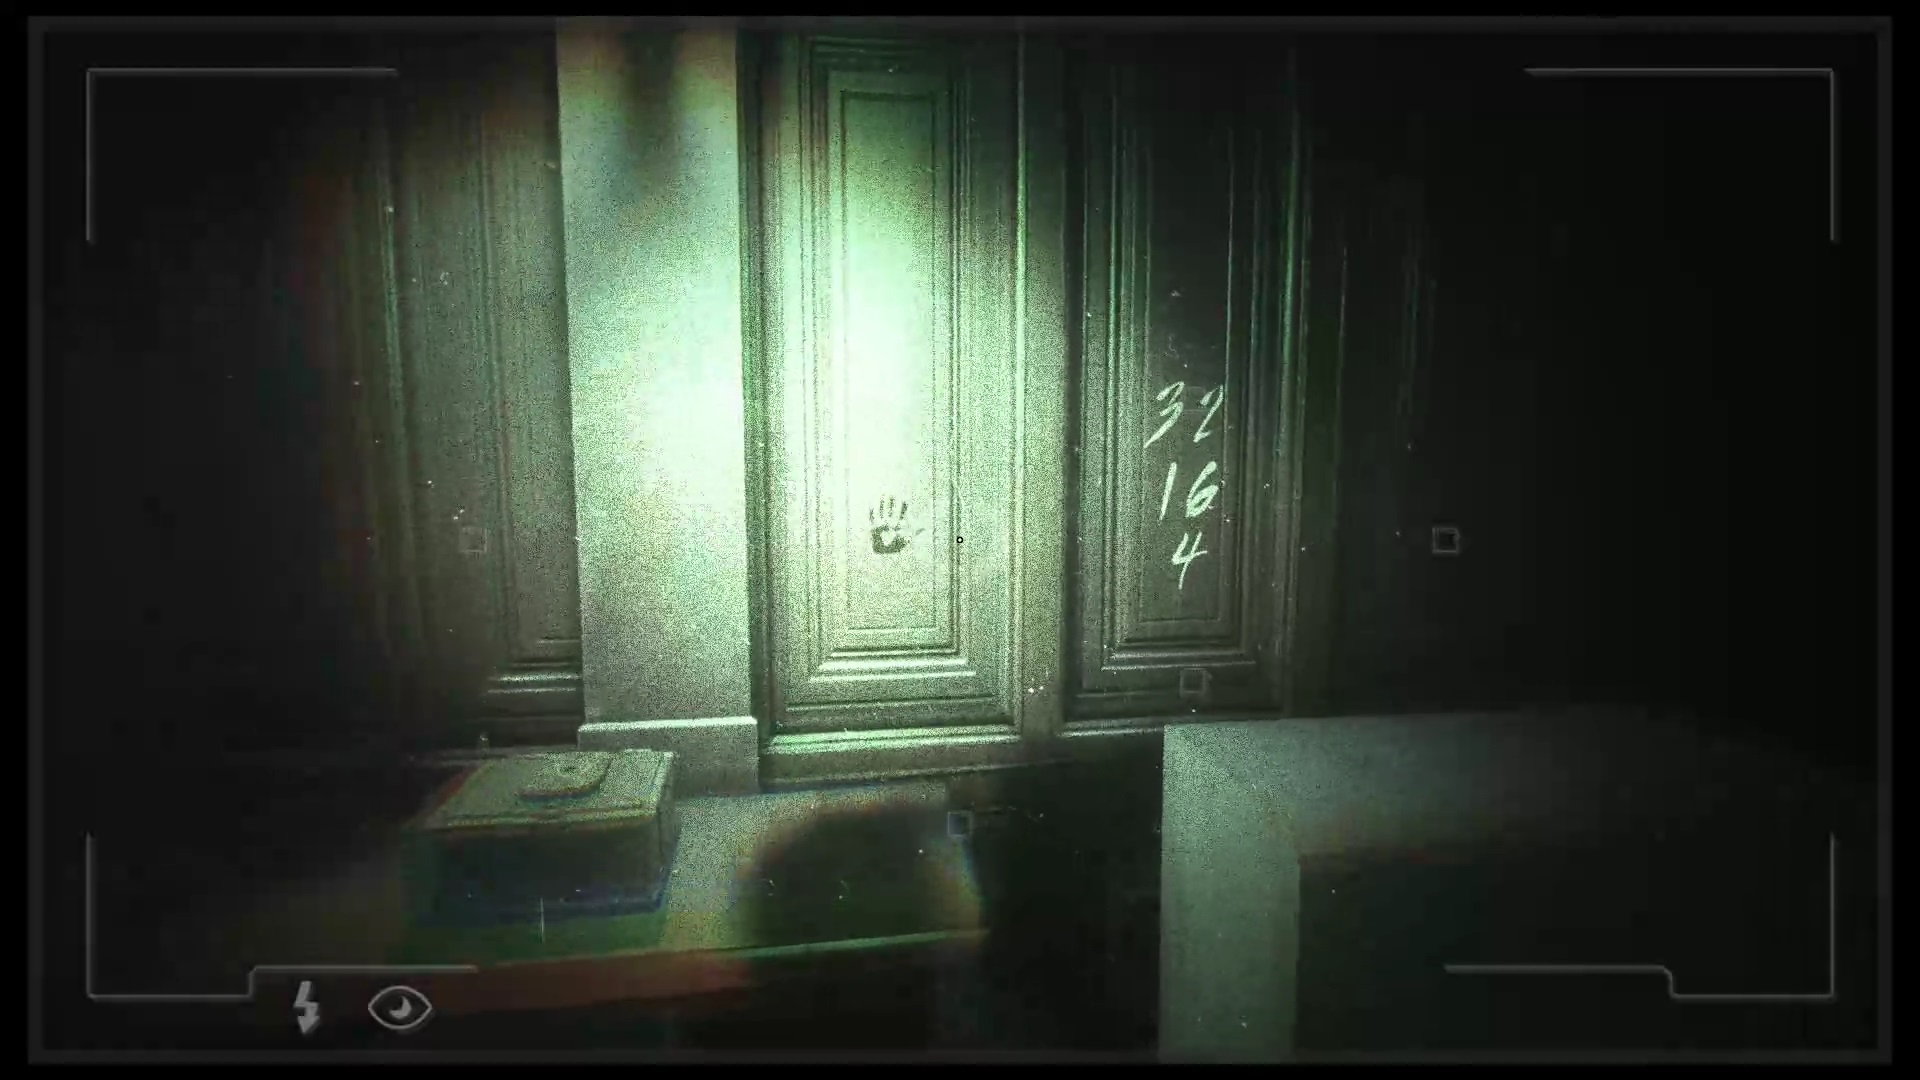
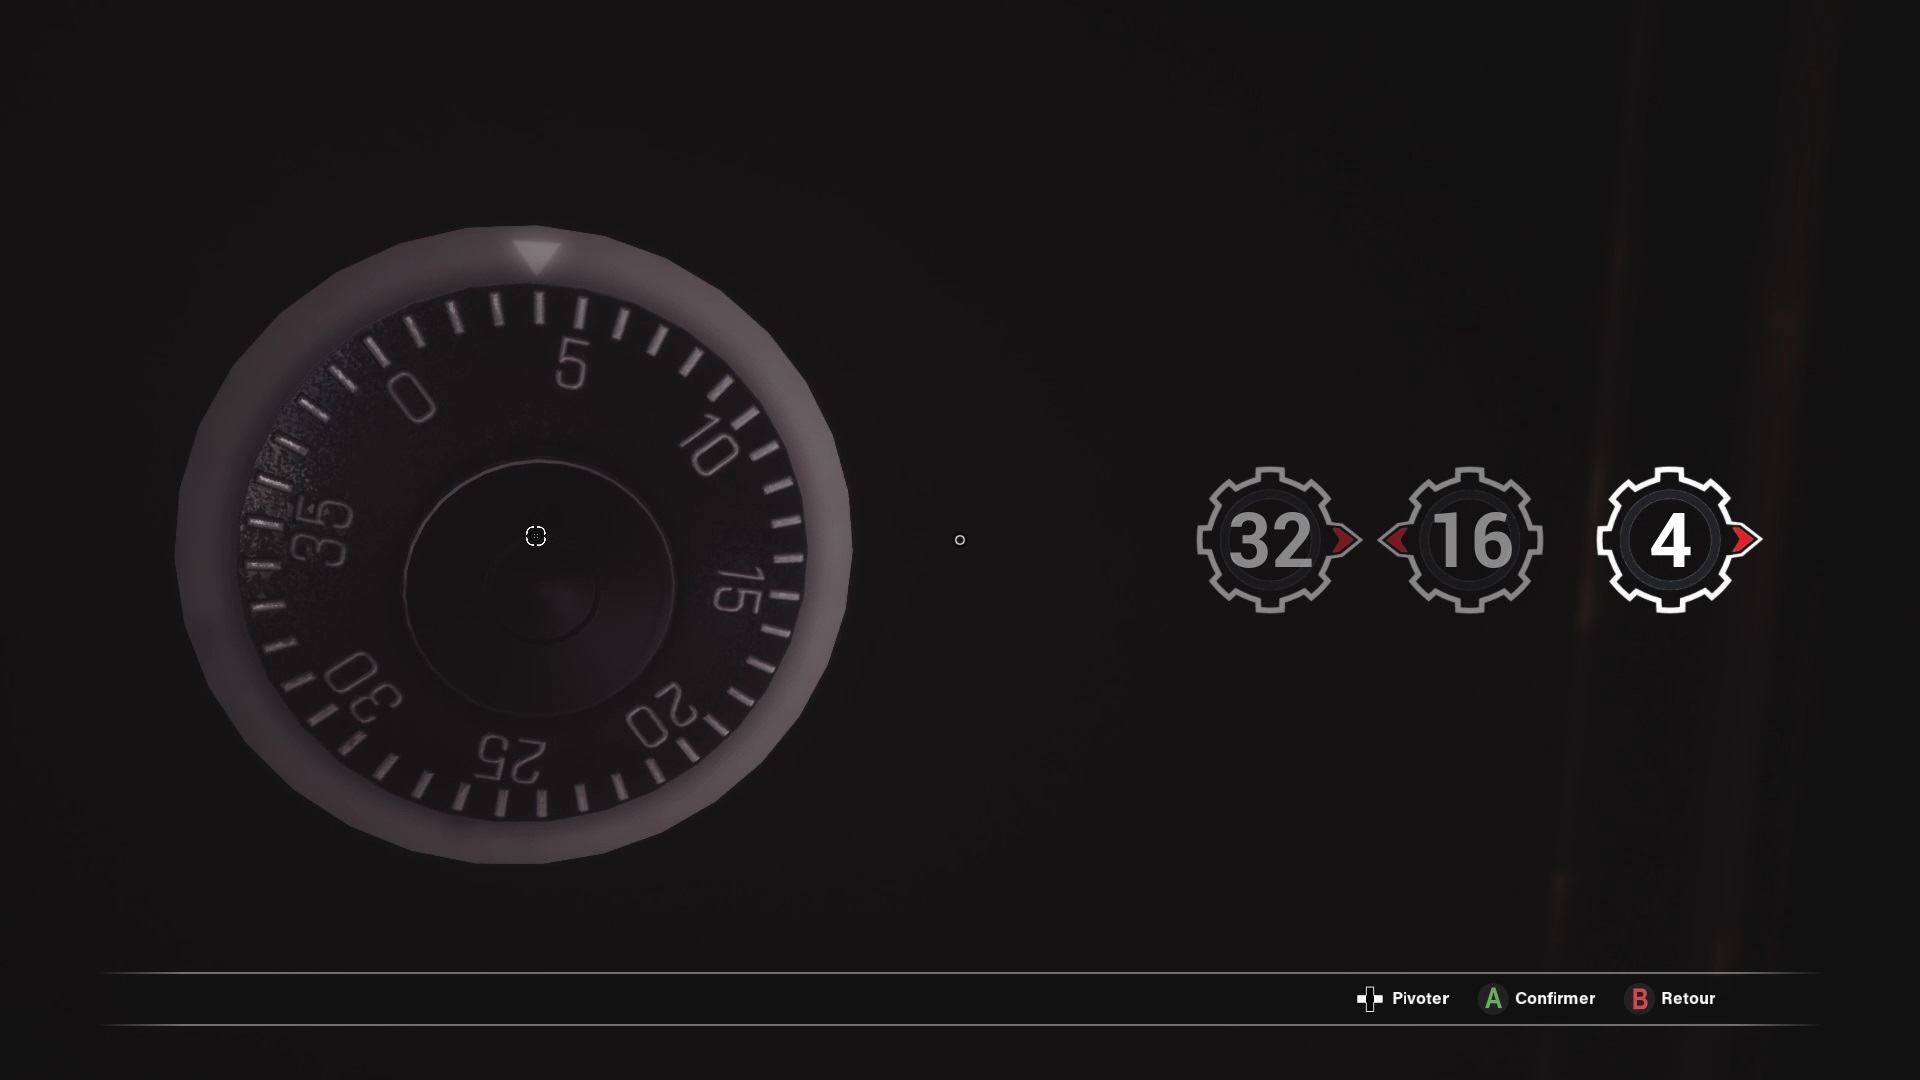
Go forward in the library to find a safe near an armchair. Use your camera to identify a code: 32,16,4. Remove your device and open the safe with this combination. 32 right, 16 left and 4 right.
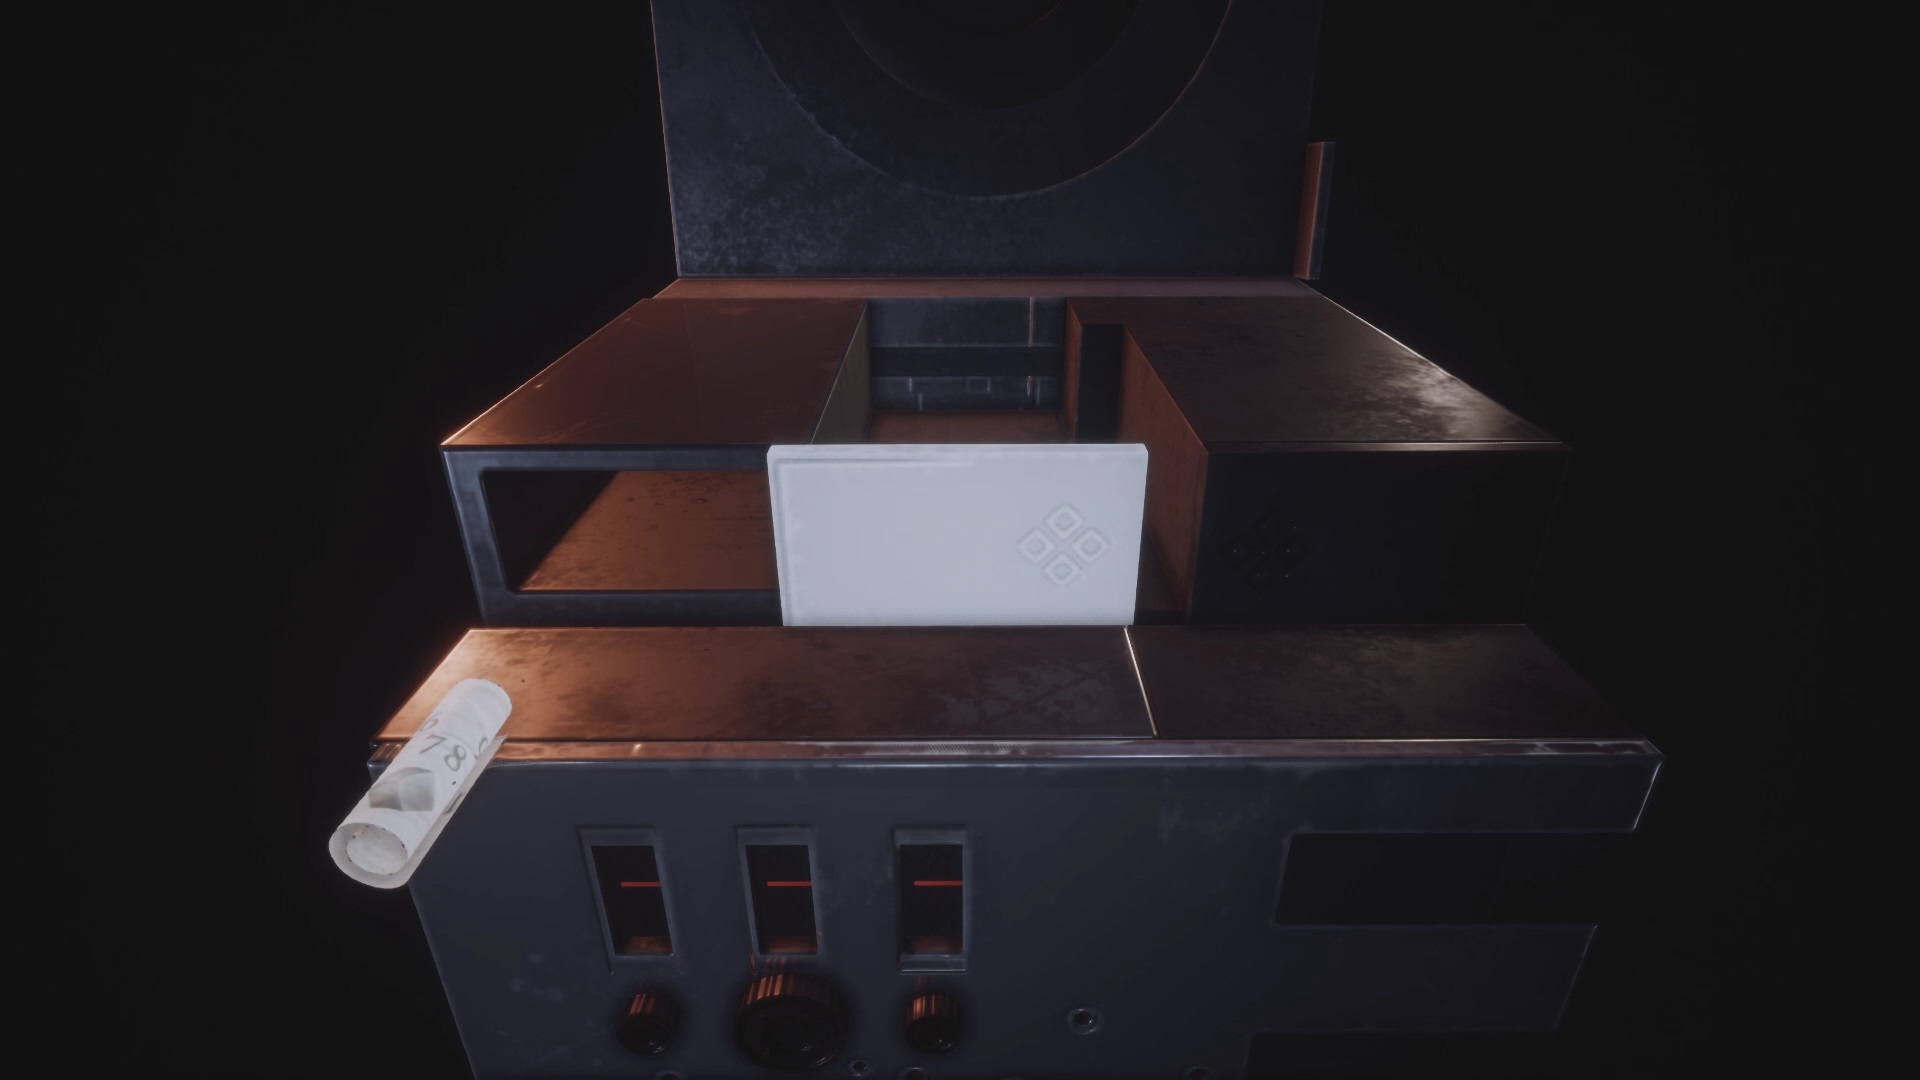
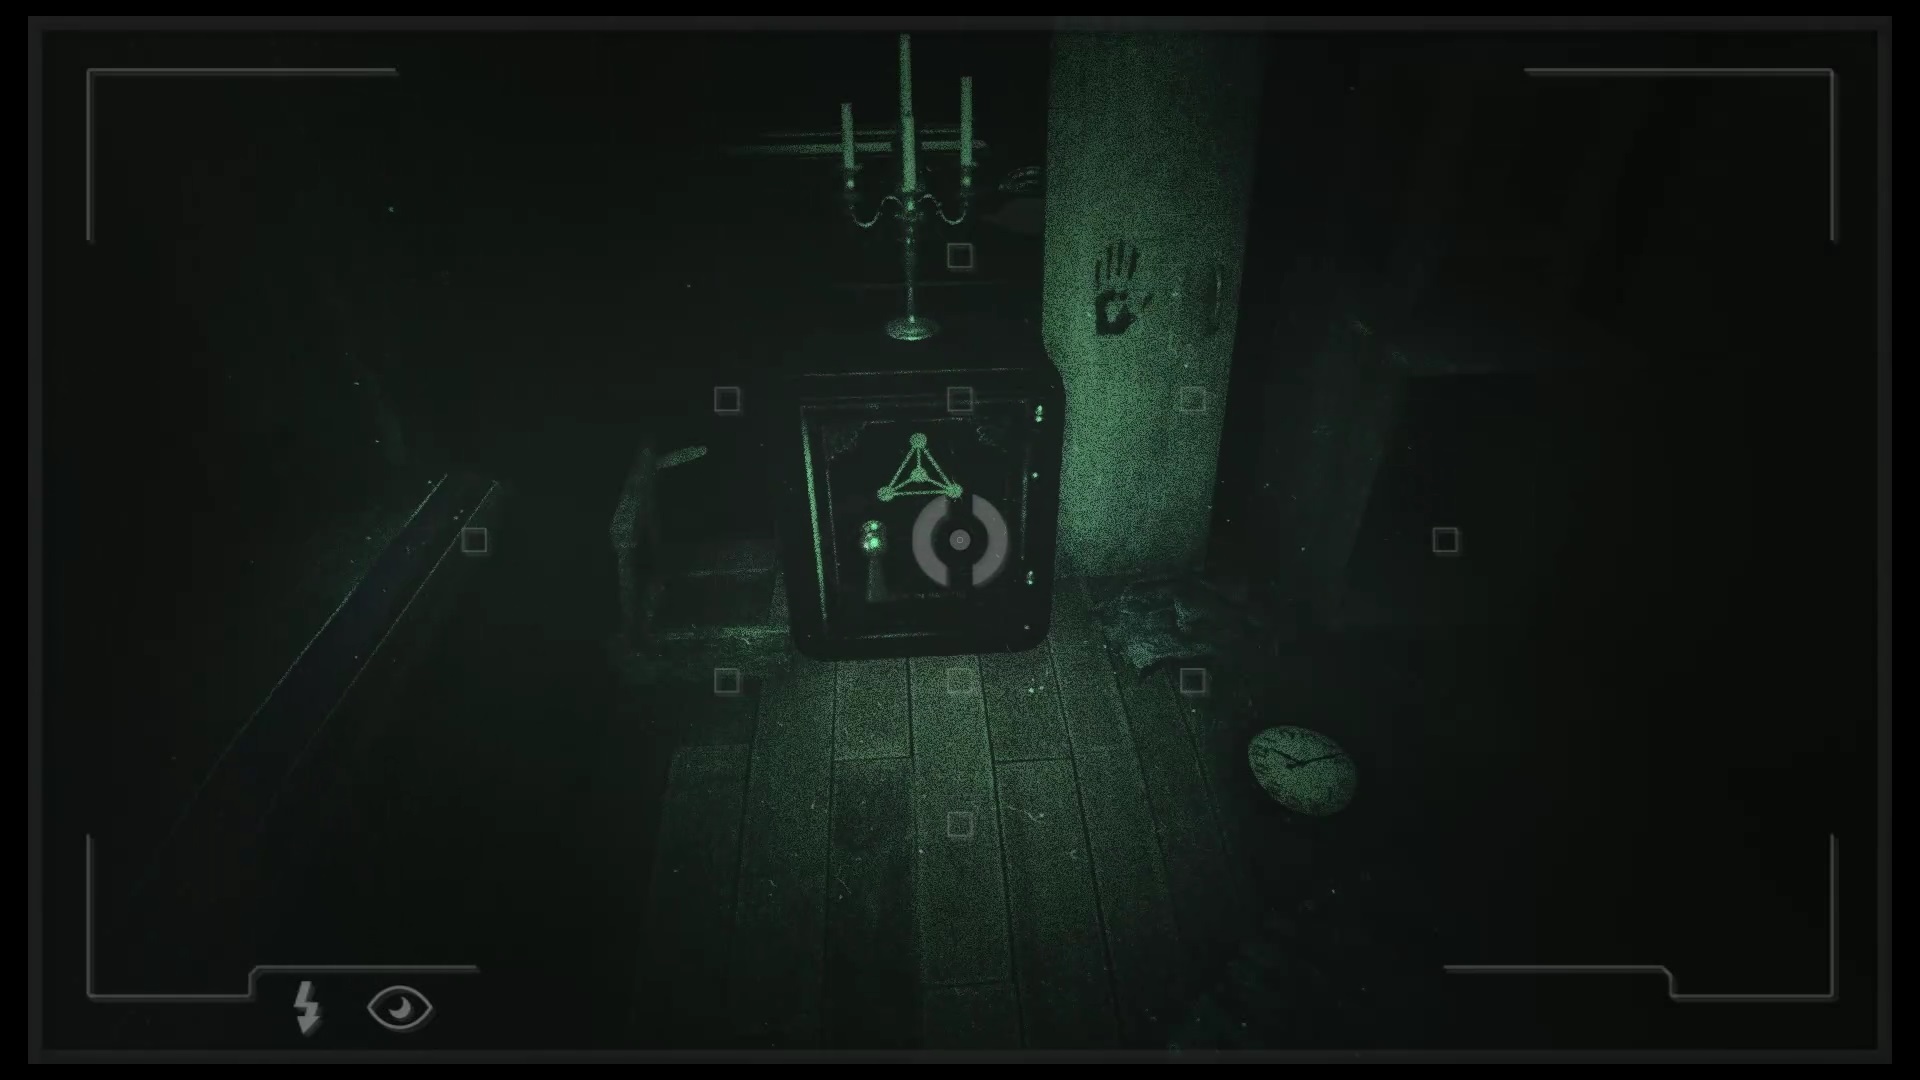
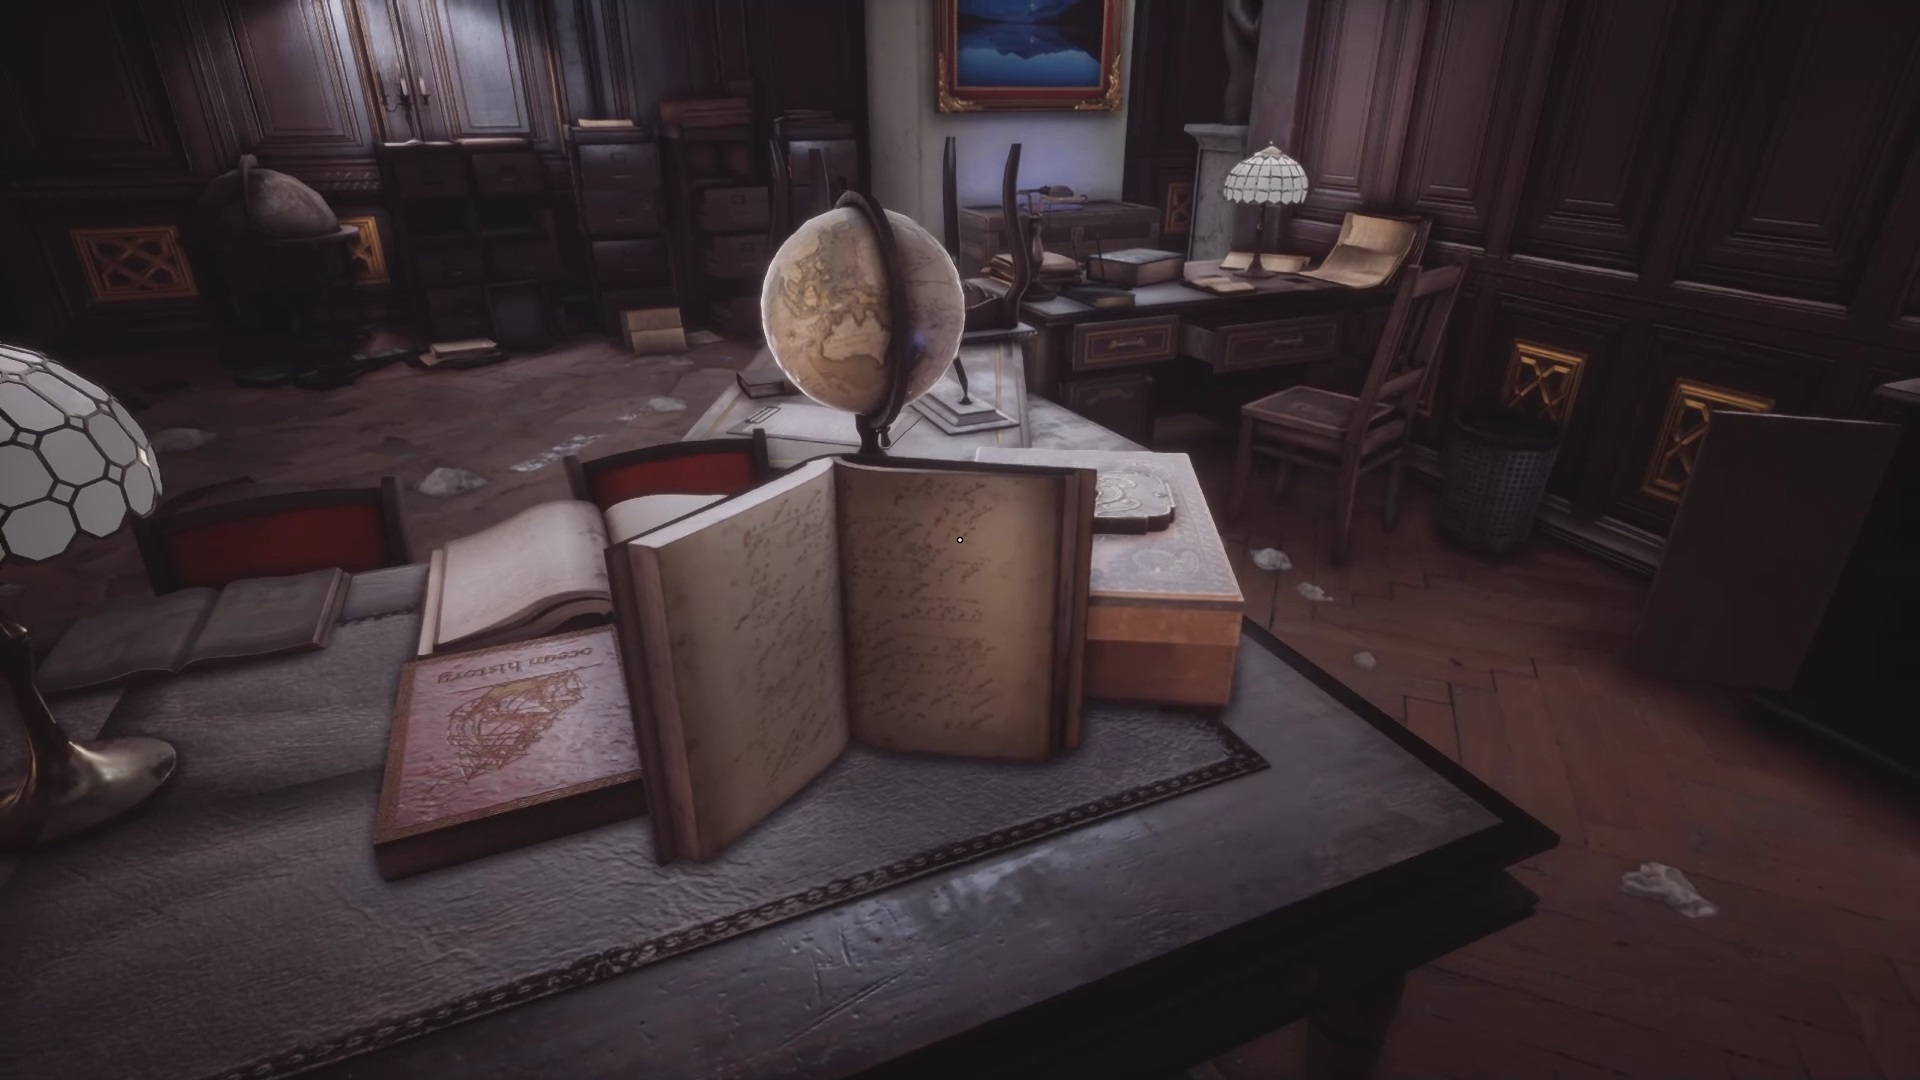
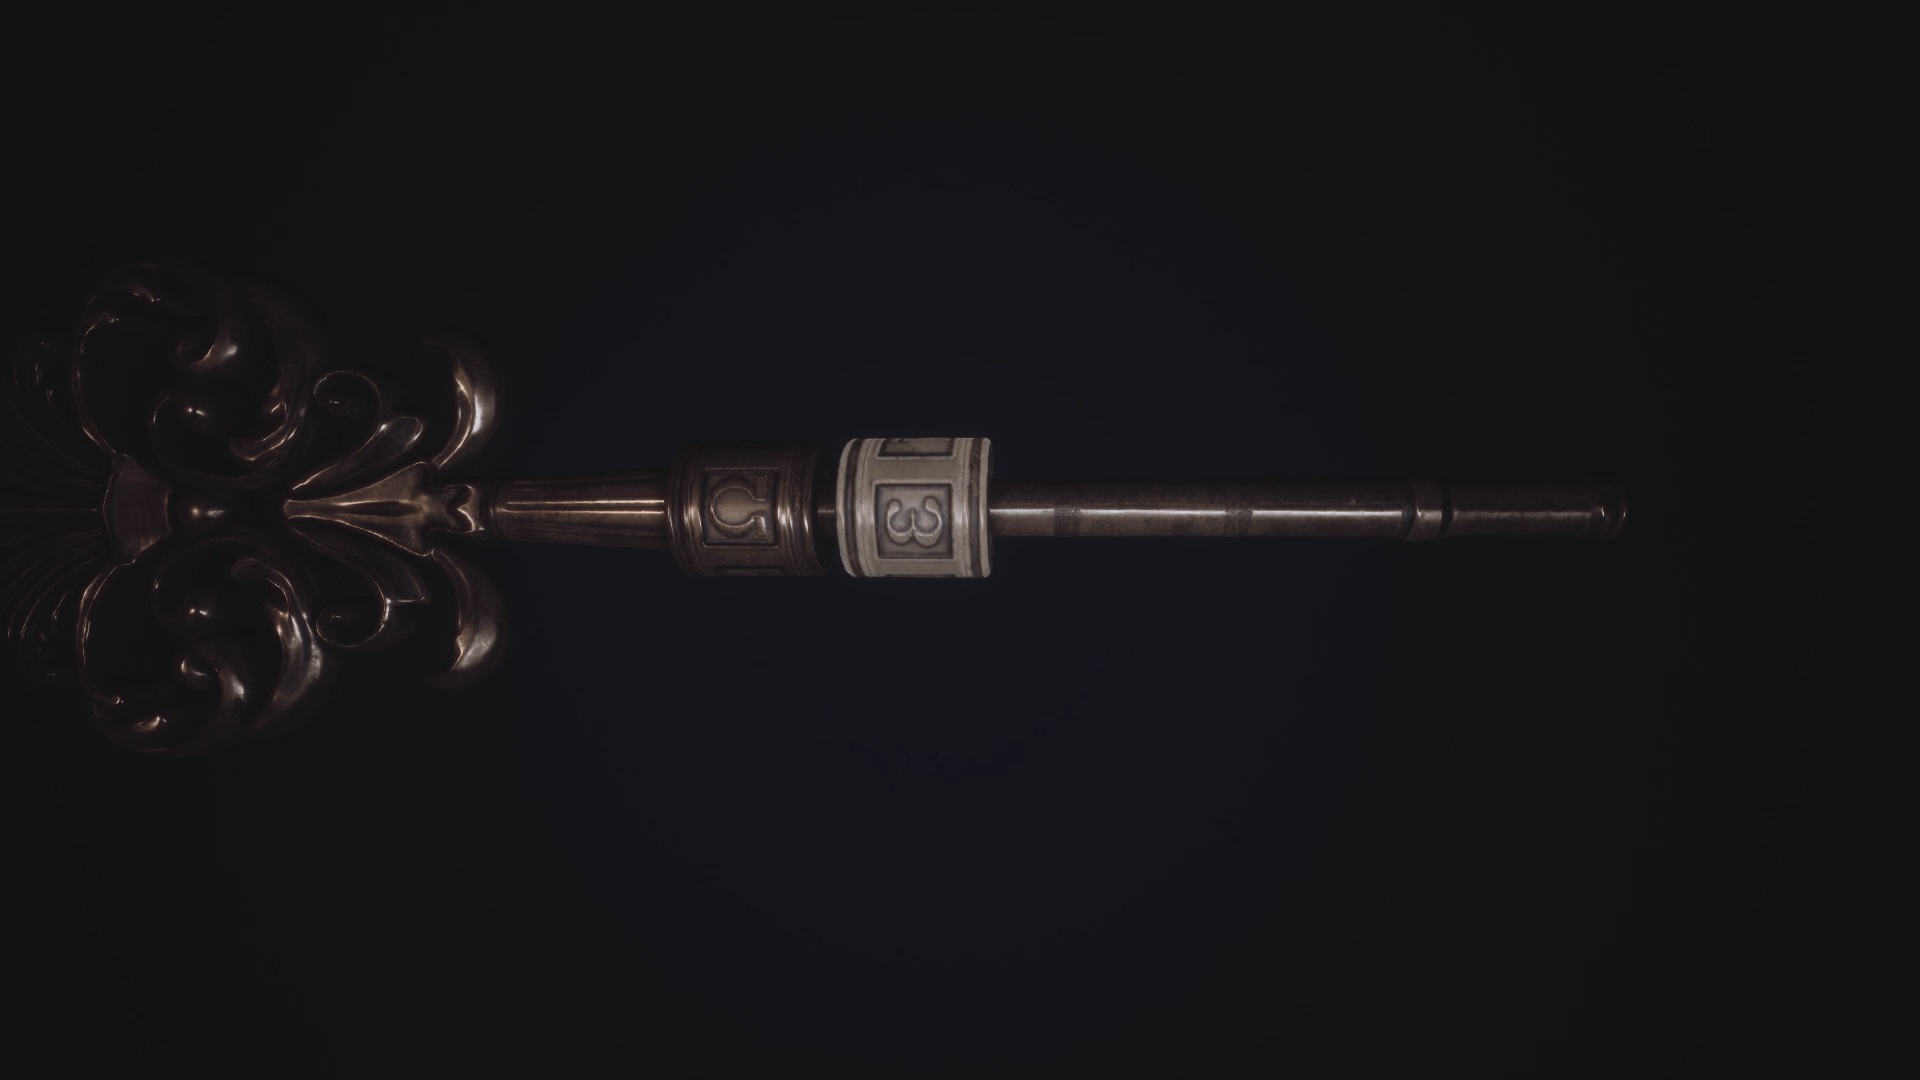
Inside the chest you will find a metal cube and a handle. Combine the cube with the handle. Then use the cube to solve a first puzzle. You will need to align the circles to display a symbol. Start from smallest to largest to get a piece of metal. In the second part of the puzzle, open the two compartments of the cube to get a clue to the third puzzle and the ornate key in the second compartment.
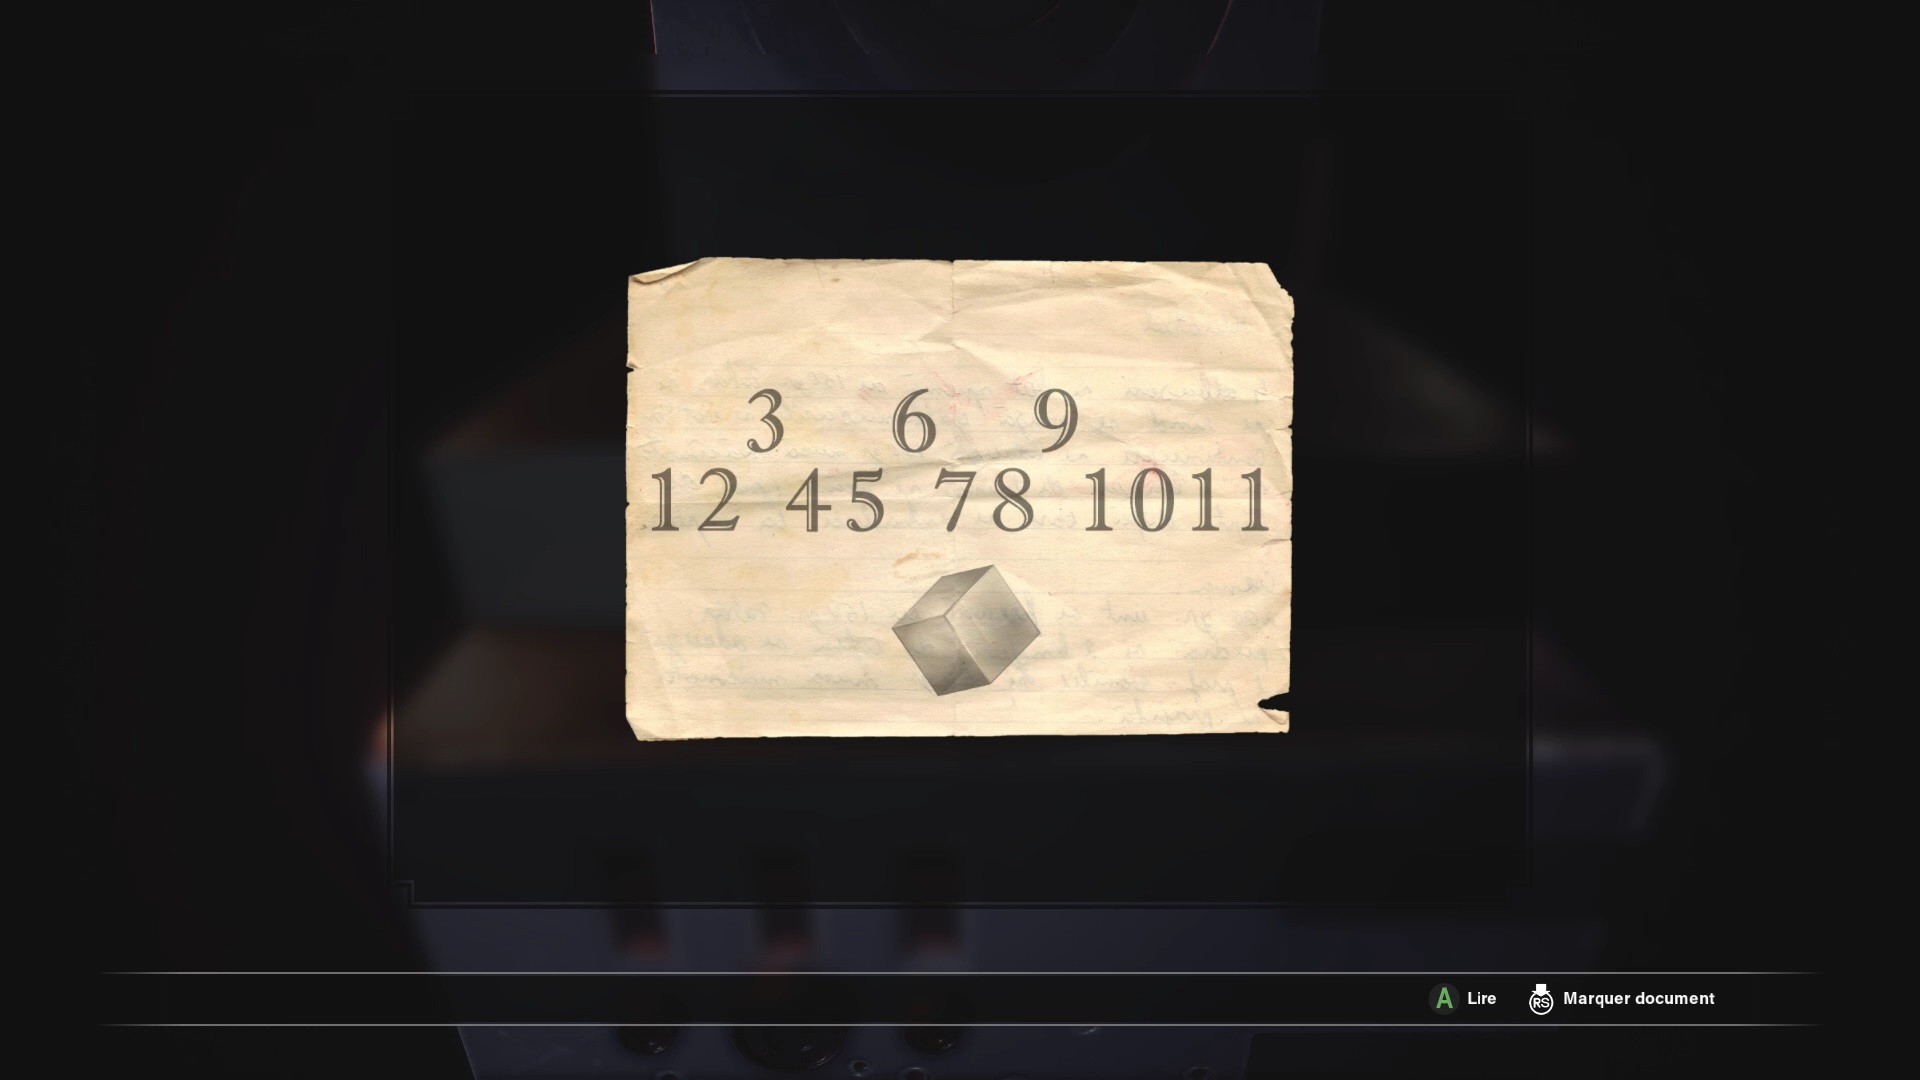
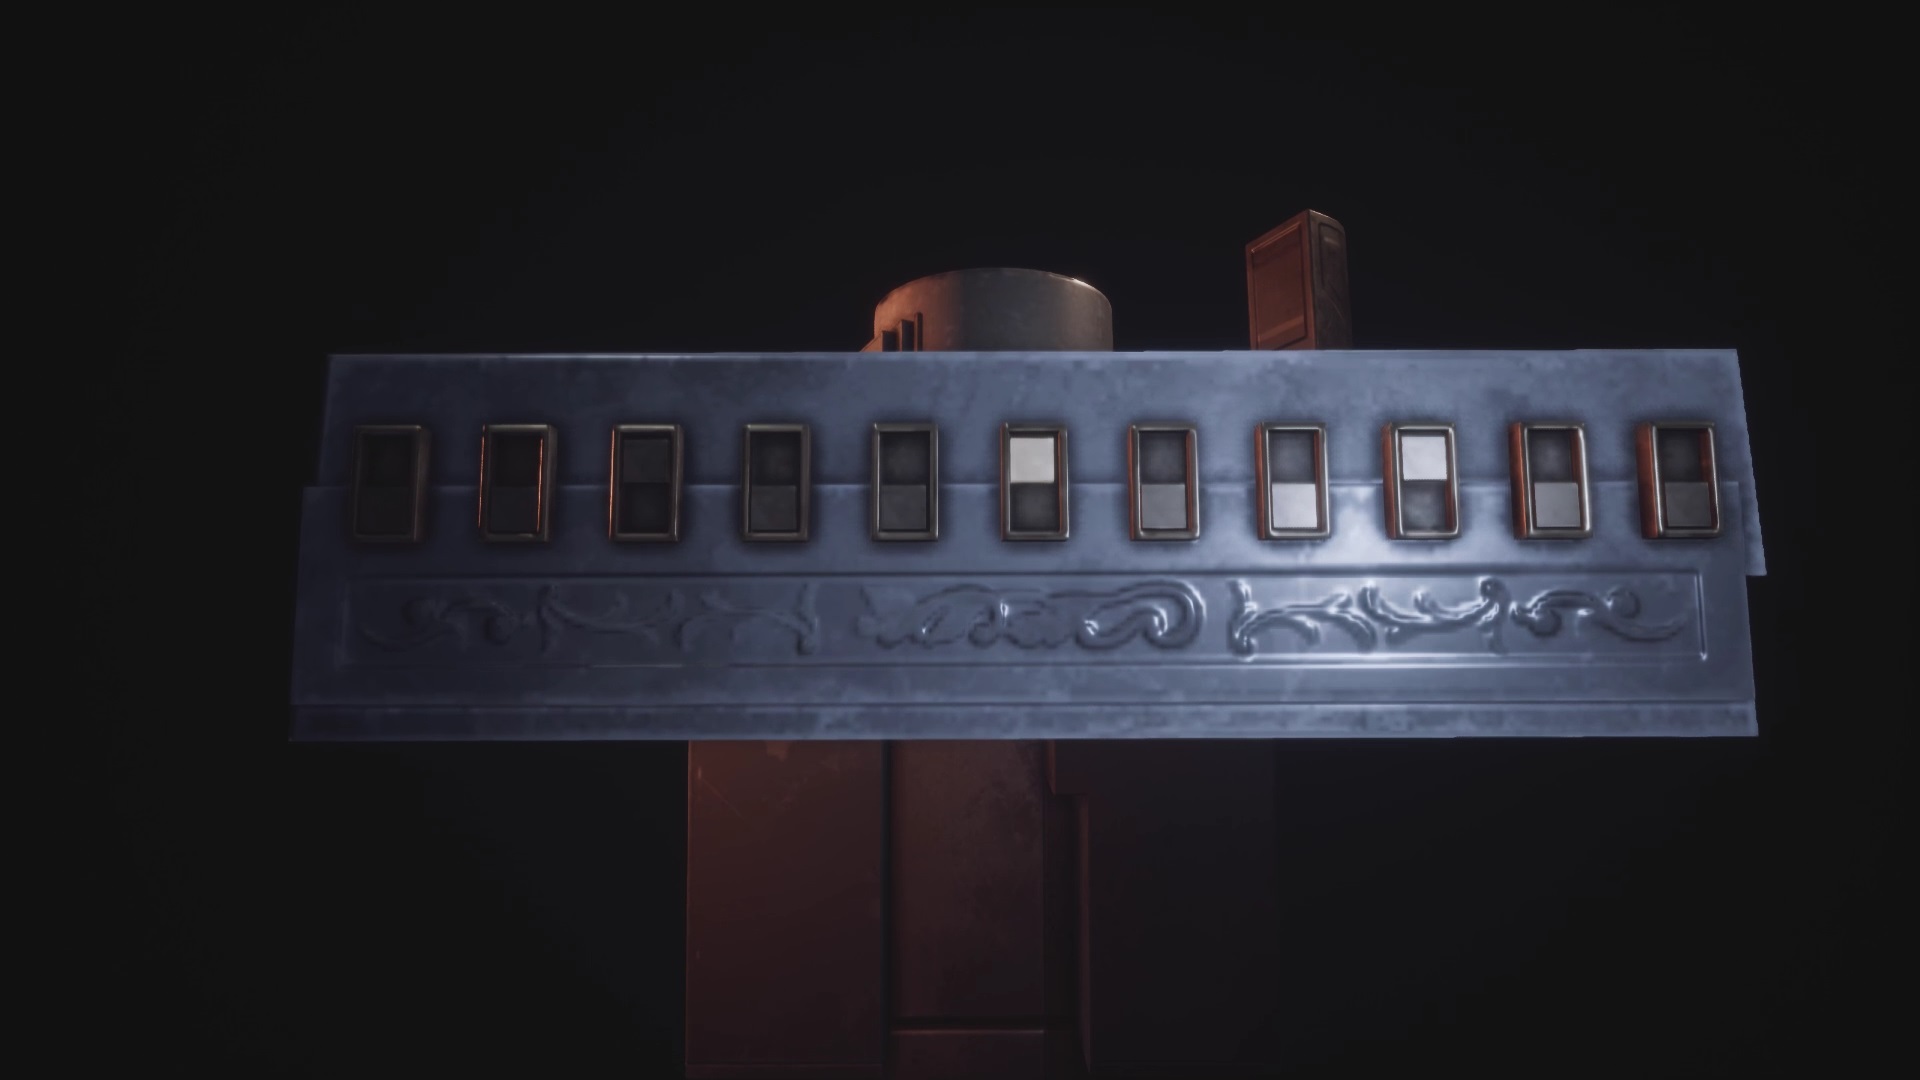
To solve the third puzzle, arrange the buttons according to the clue you have just collected. In our example, only buttons 3,6,9 are in height. Once the other piece of metal has been obtained, combine the two pieces with the ornate key.
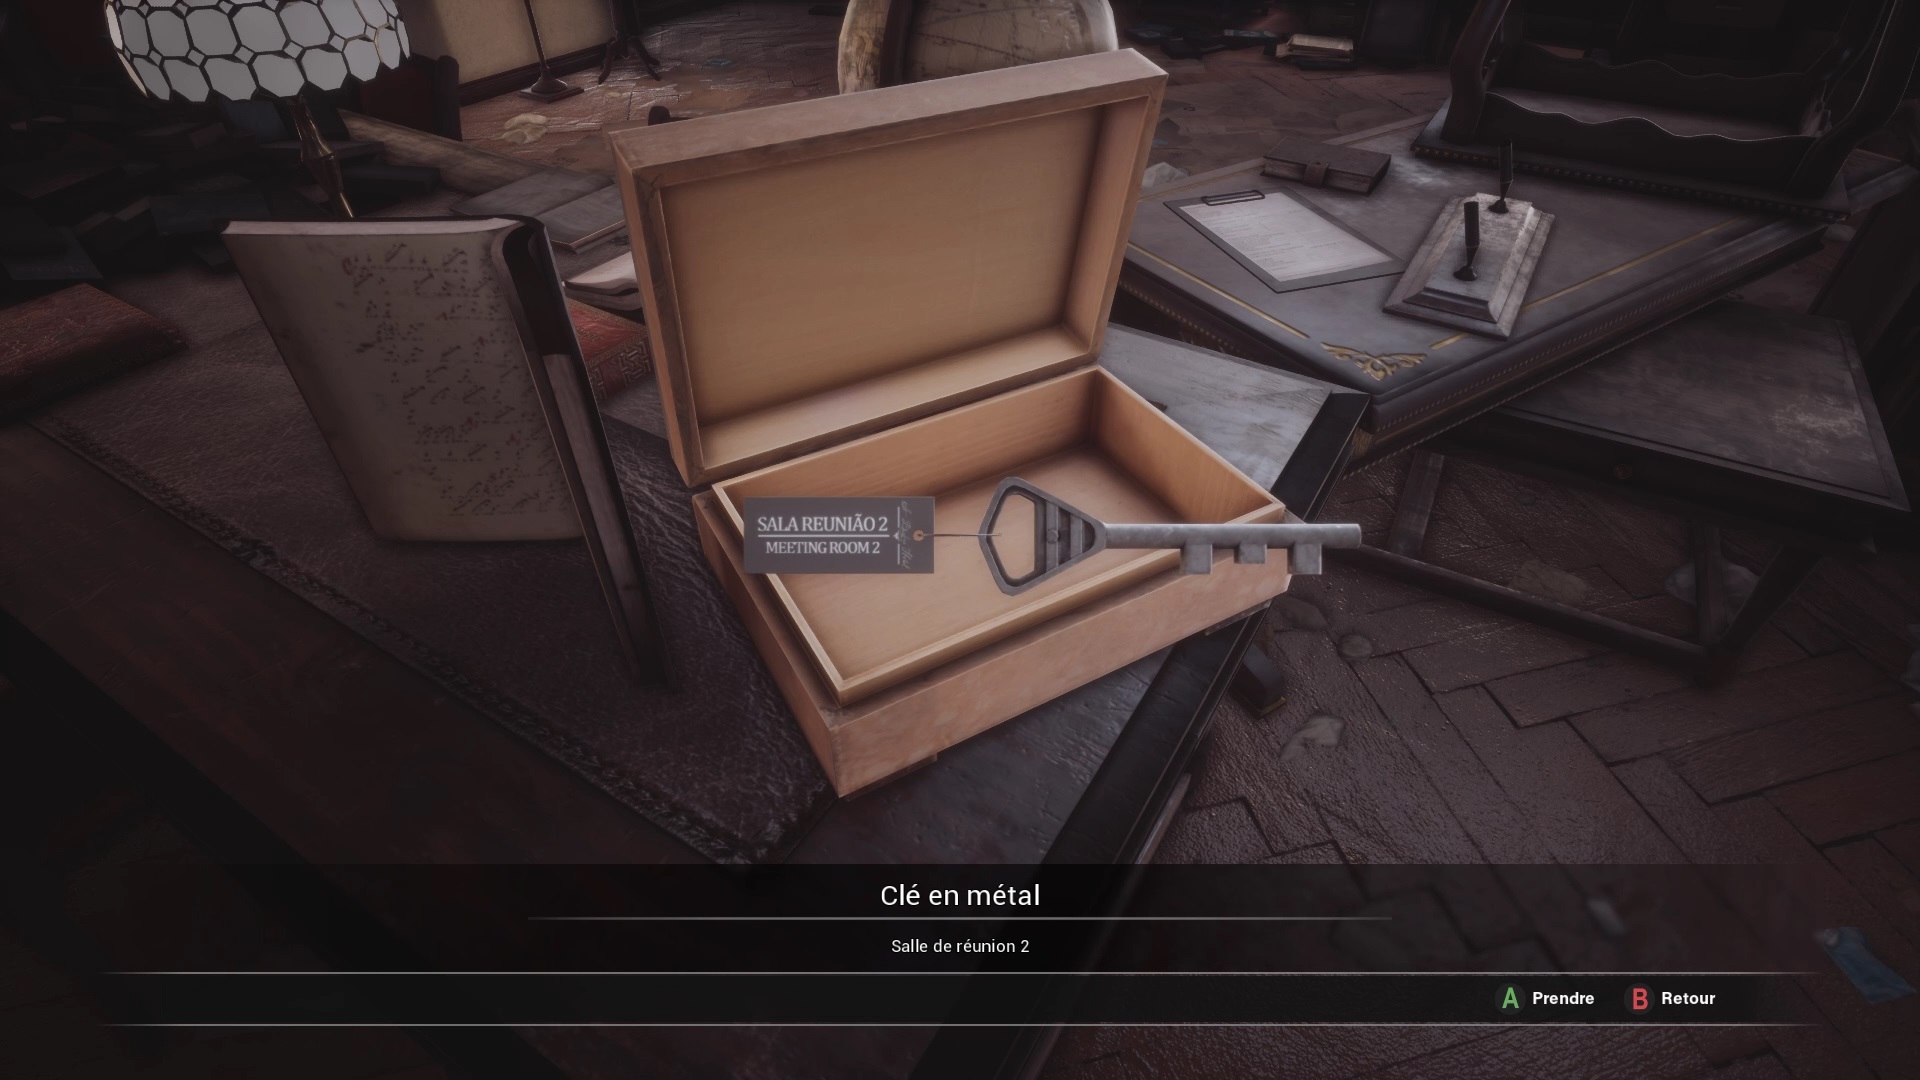
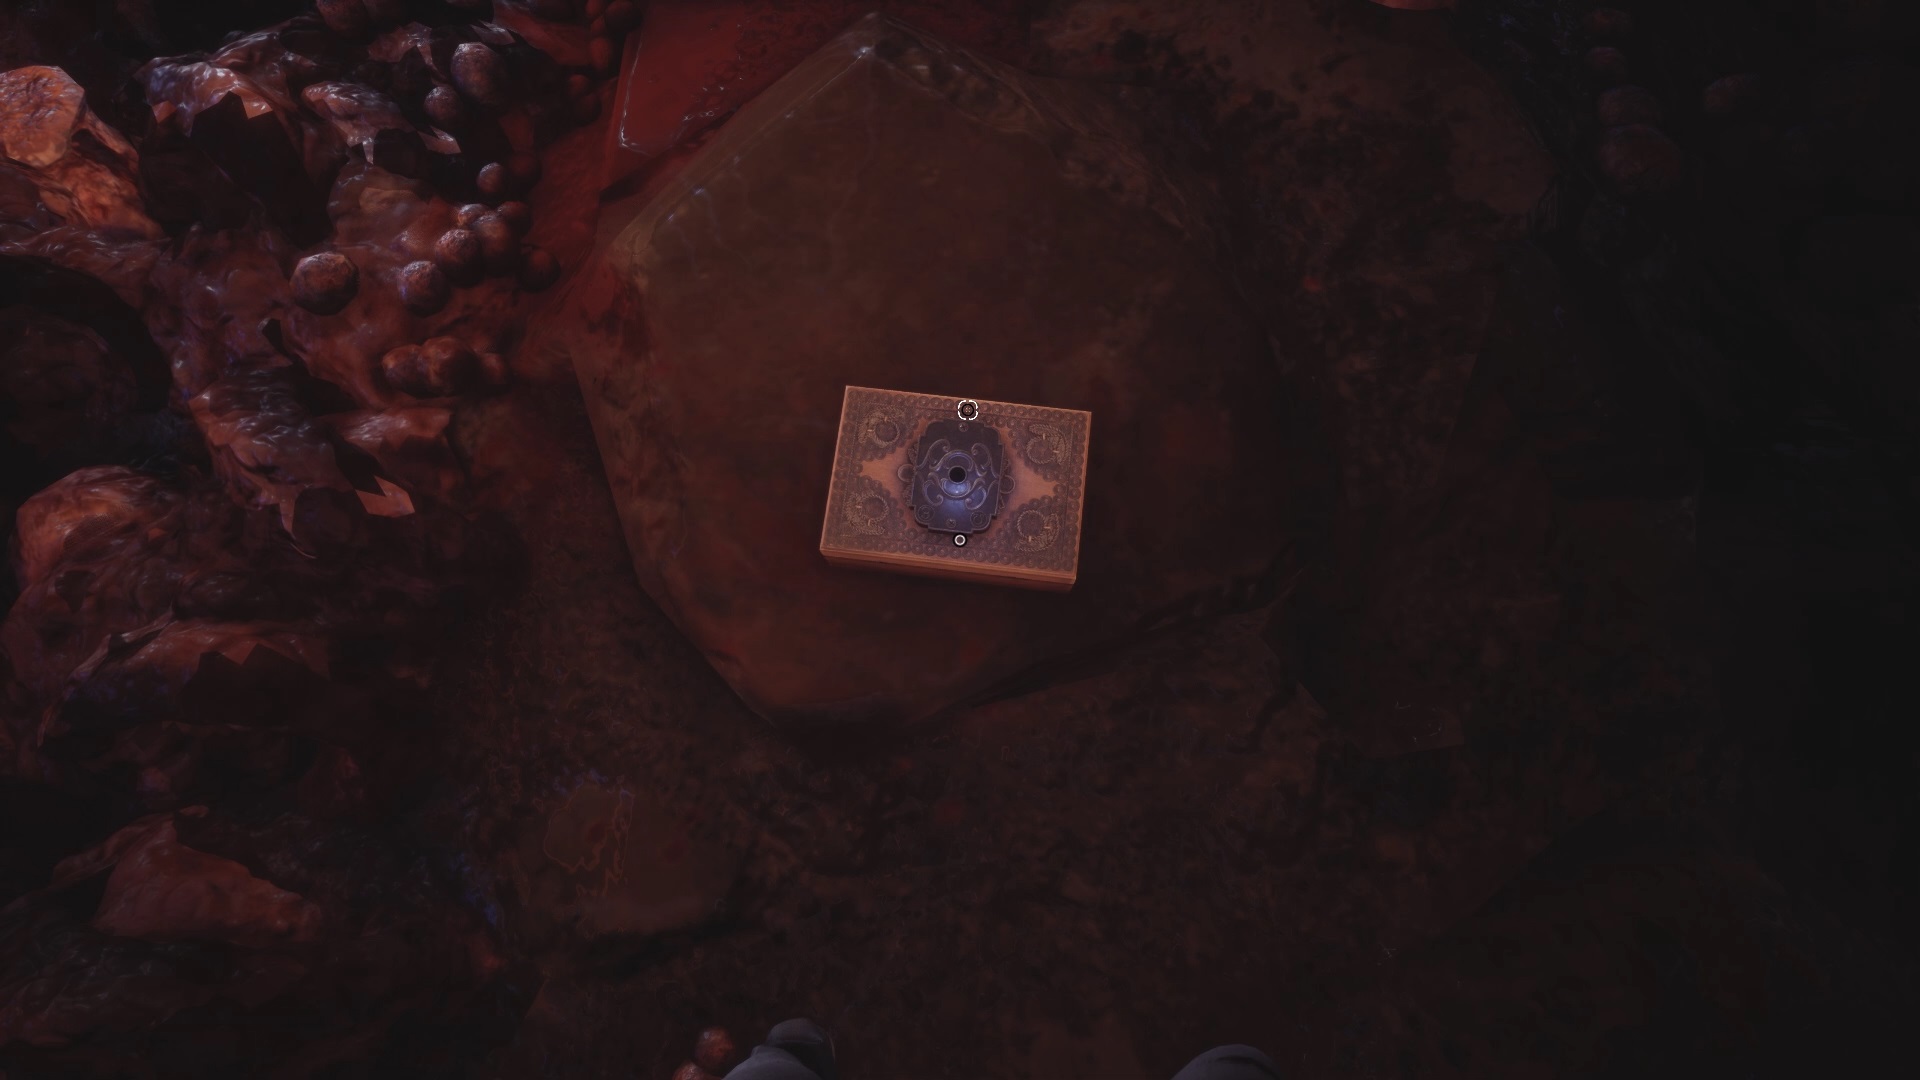
Interact with the box in front of the safe and insert the key with the correct symbols to open it. You get the meeting room key.

Return to the hall and take the bloody hallway. Beware of threats in the way be careful. You will find at the end of the hallway the door of the meeting room. Use the key to unlock the door. Go inside the room to find an elevator panel with the number 3 button. Go back to the elevator being careful of the monsters and use the number 3 to access the third one.
On the third floor of the hotel, search the room in front of the elevator to find a new weapon: the shotgun. Just to the left on a piece of furniture is a new bag and a box containing the conference room key. Take the elevator back to the first floor.
Be careful, a boss fight awaits you, prepare your shotgun and its ammunition. Continue down the bloody hallway at the back to find the conference room. Once in the room, interact with the box on the ground and open it with the orante key with the correct symbols. It contains a screen and a clue for the puzzle cube.
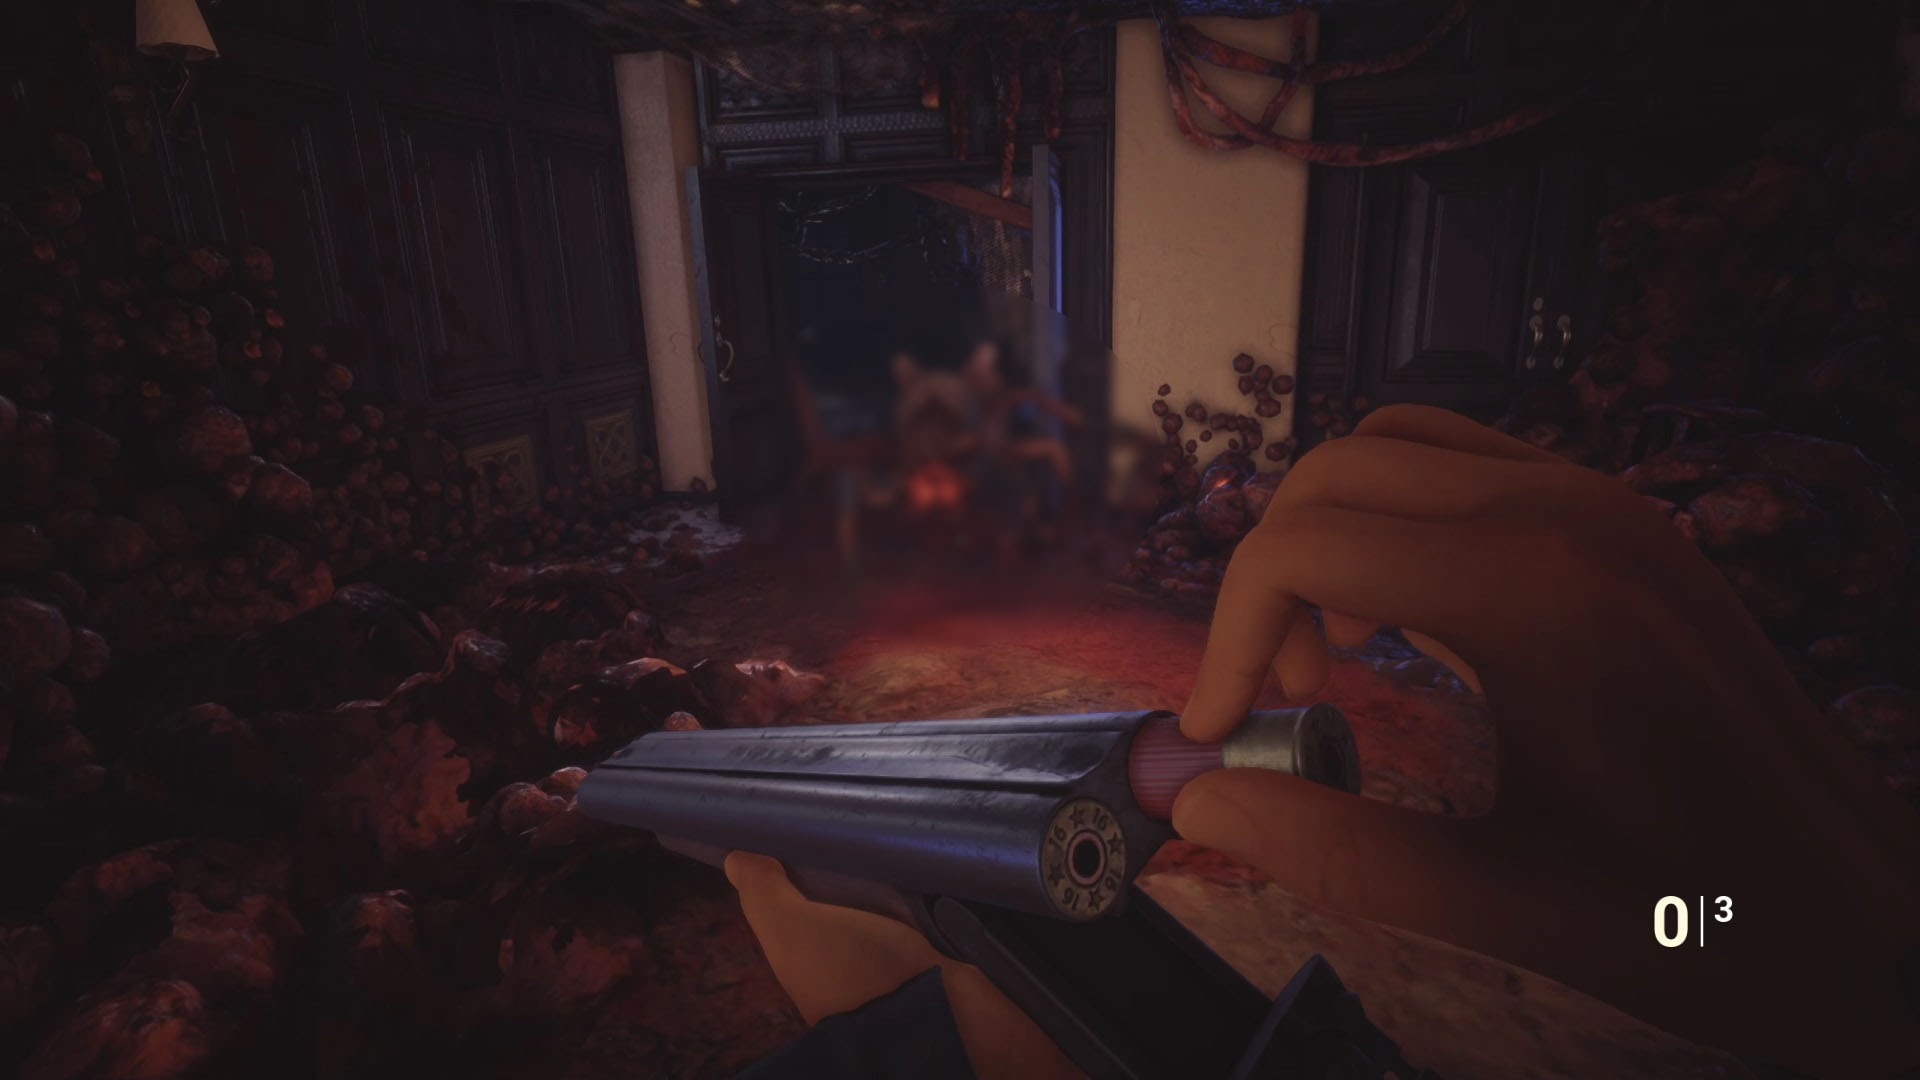
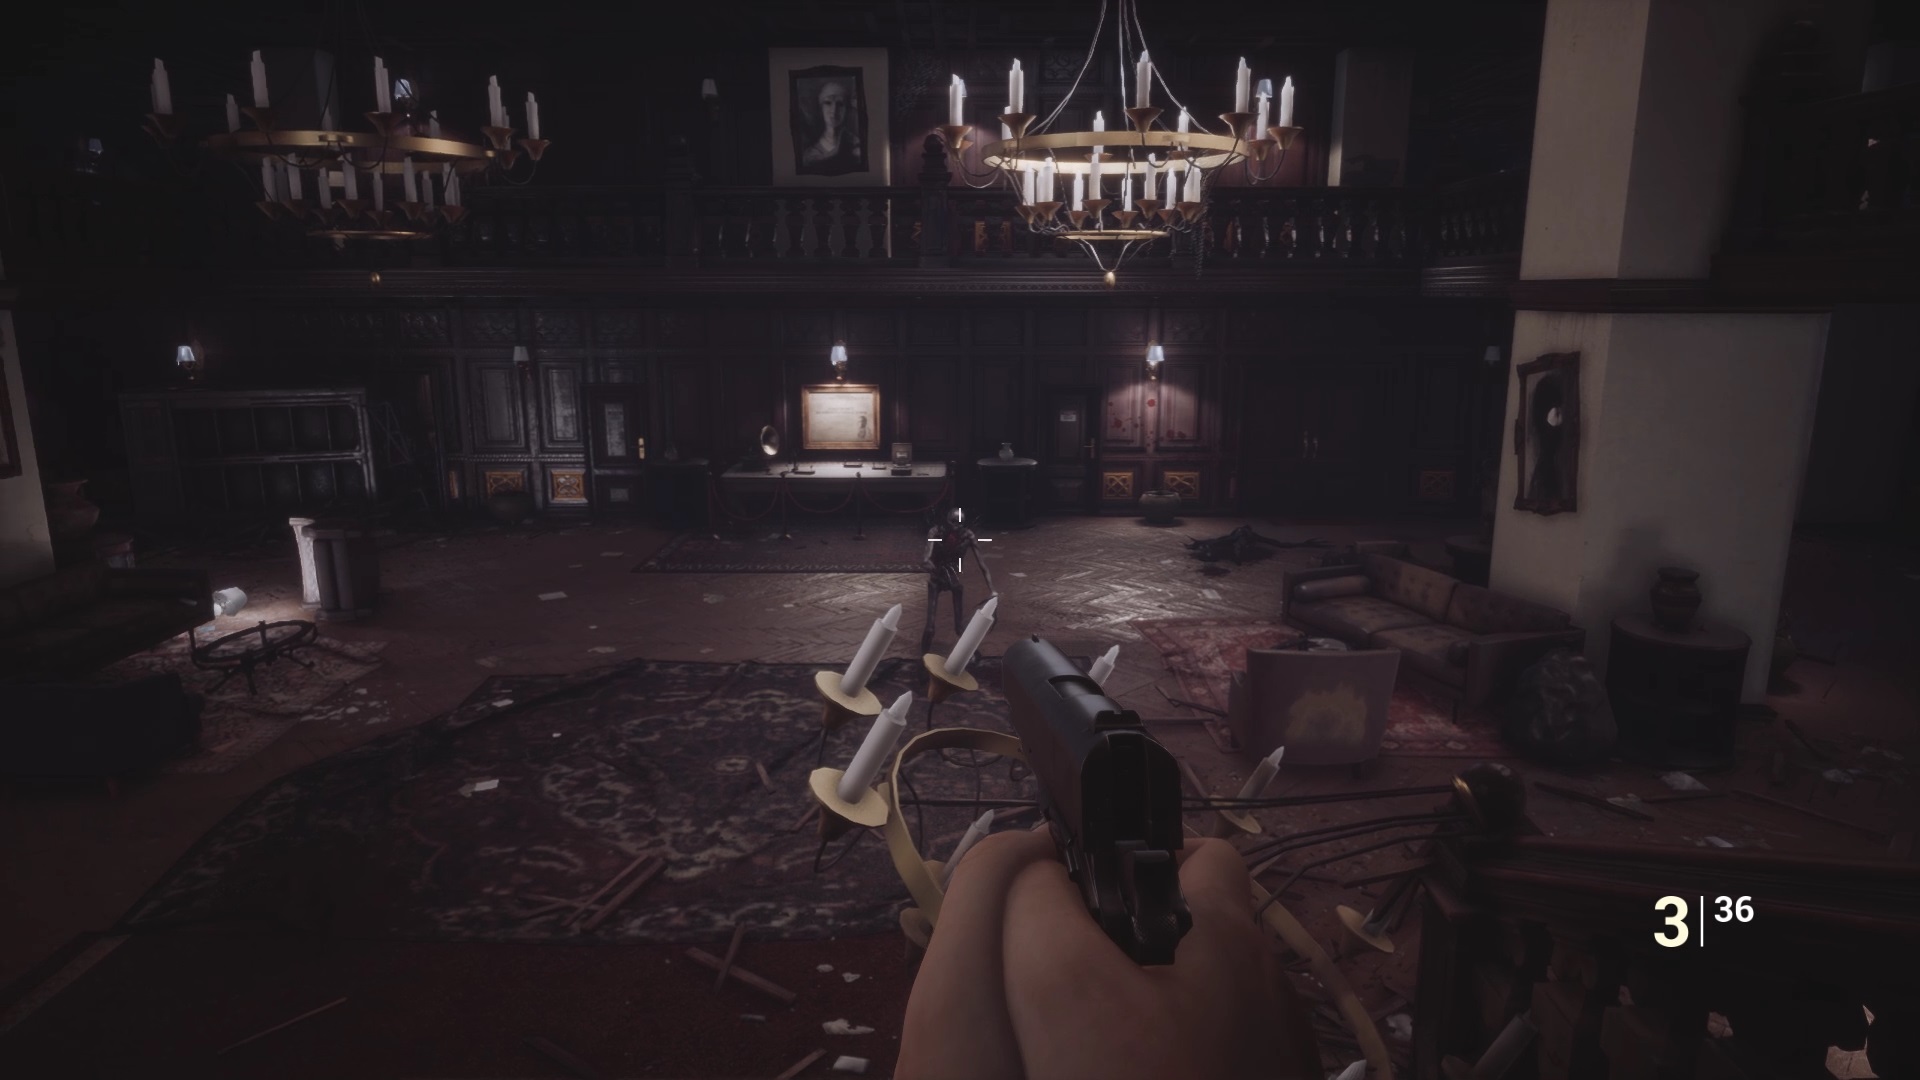
Exit the room to reveal the first Fobia boss. Use your shotgun while keeping your distance. After two to three gunshots, the boss retreats to another room. You have to go find her to flush her out. It can reappear on the floor as well as on the ceiling. Repeat your attacks to finish off the giant spider.
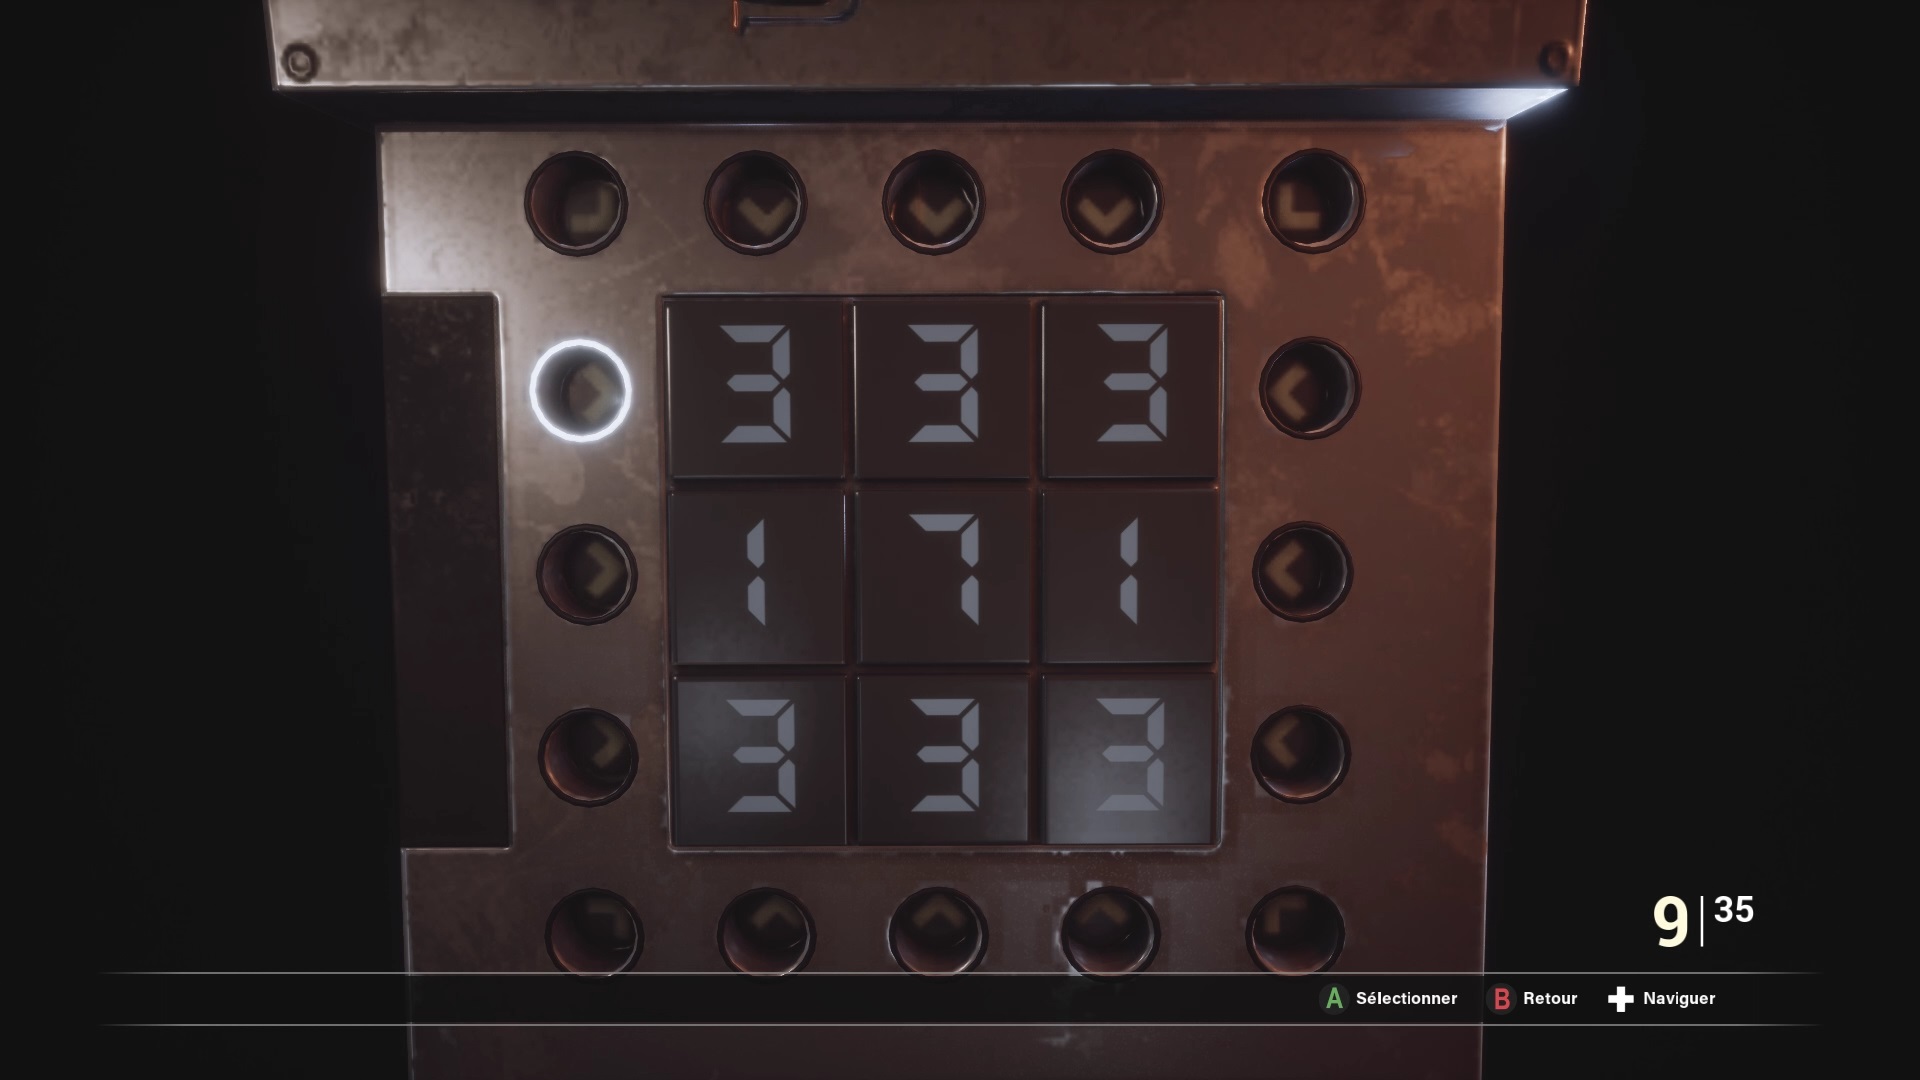
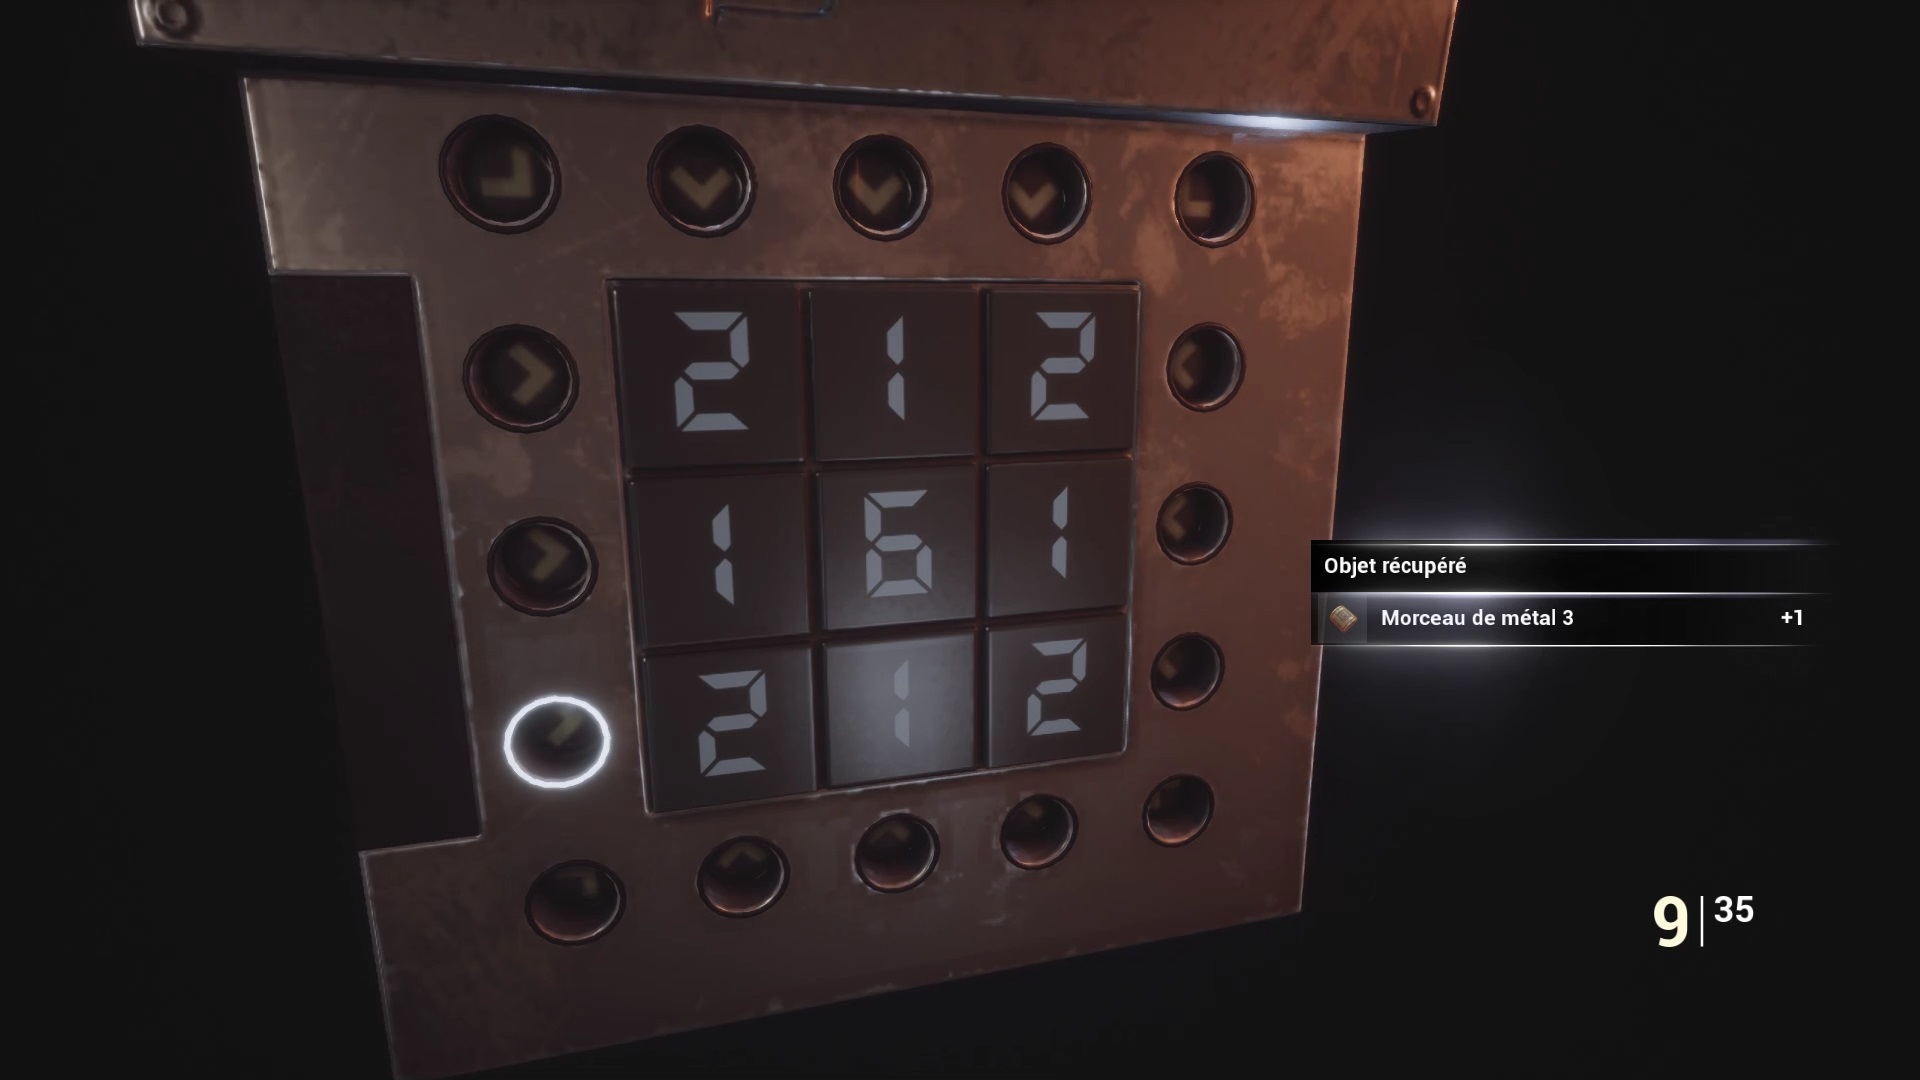
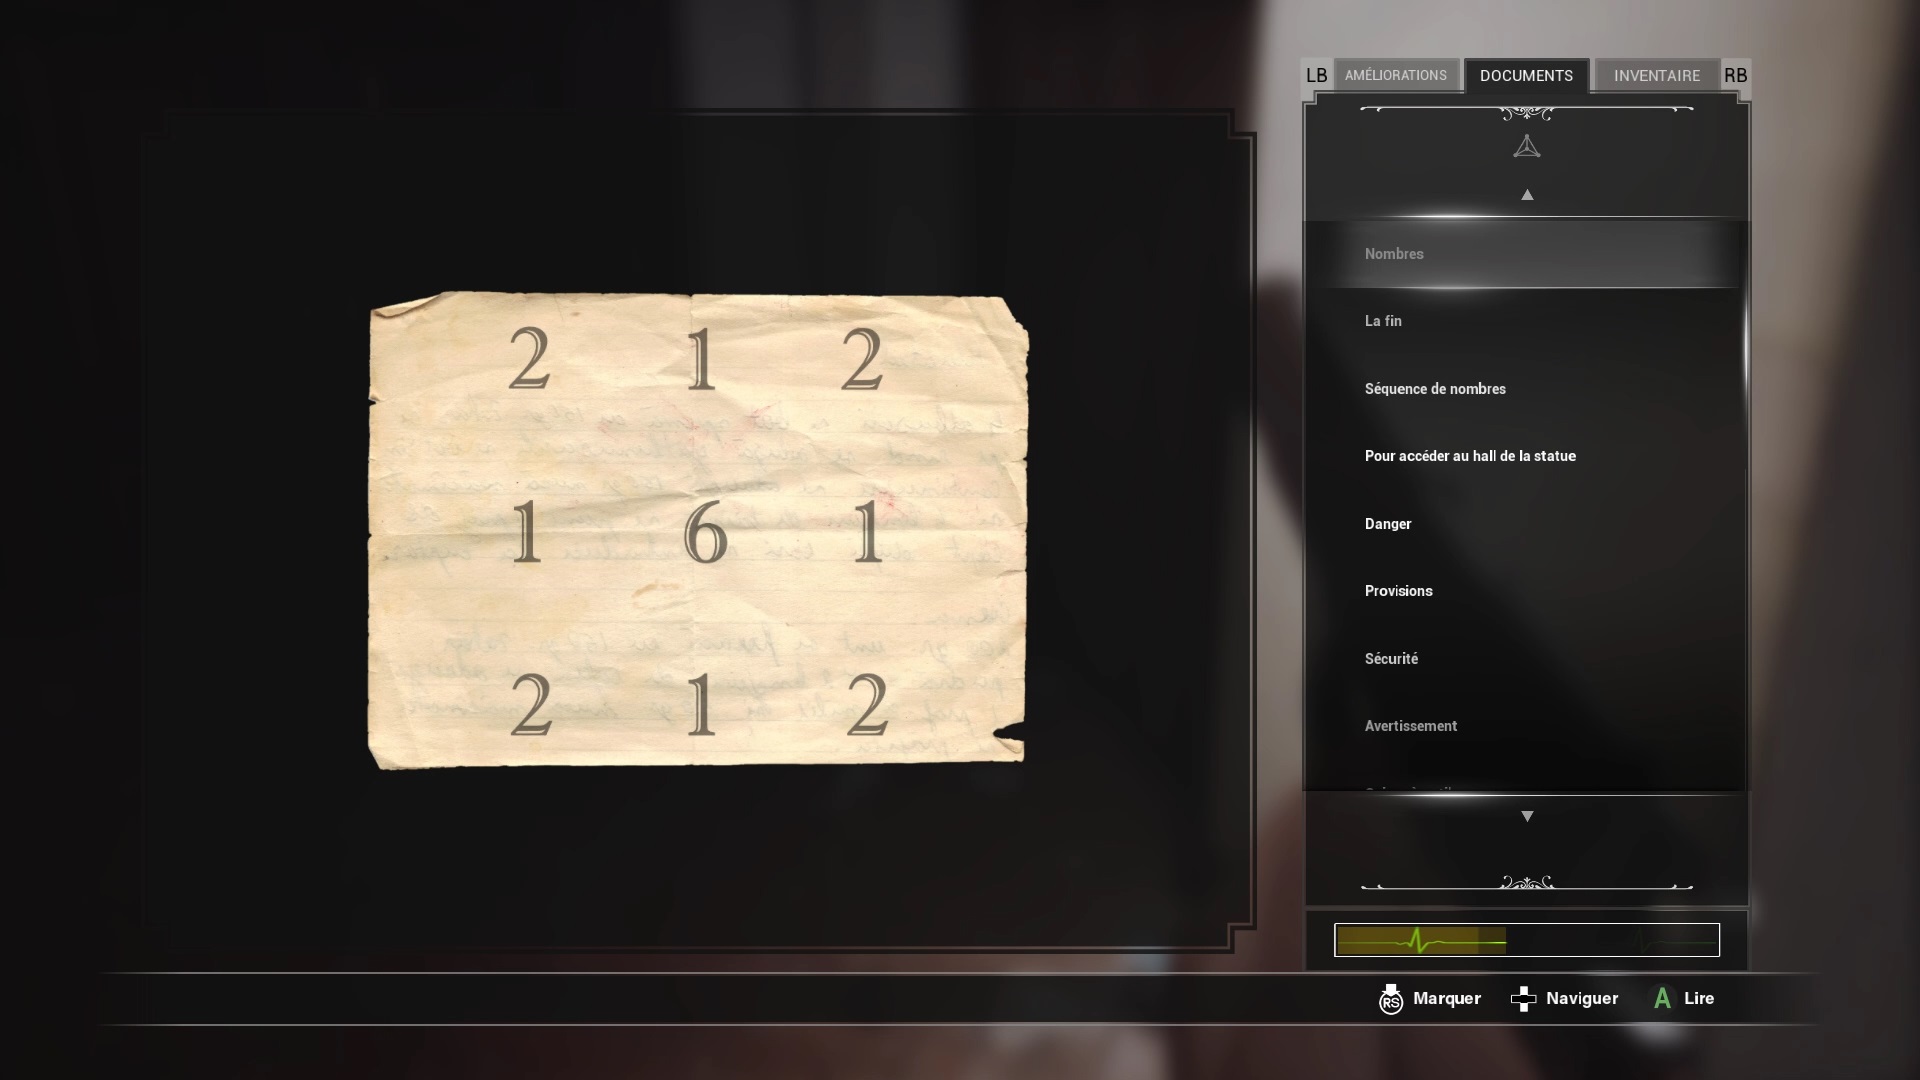
The hall is accessible again. Combine the screen with the cube to unlock a fourth puzzle. The objective is simple. You must match each digit with the index alignment. Each button adds a value per horizontal, vertical or diagonal line. You can only activate one button at a time. In our example, we started by getting the number 7 in the middle by adding seven buttons towards the center. We raised the top and bottom lines to 333 and the middle line to 171. We just had to subtract the corresponding lines to get the same result as on the index. By successfully completing this new puzzle, you get a piece for the golden key. Combine it with the golden key and return to the seventh floor.
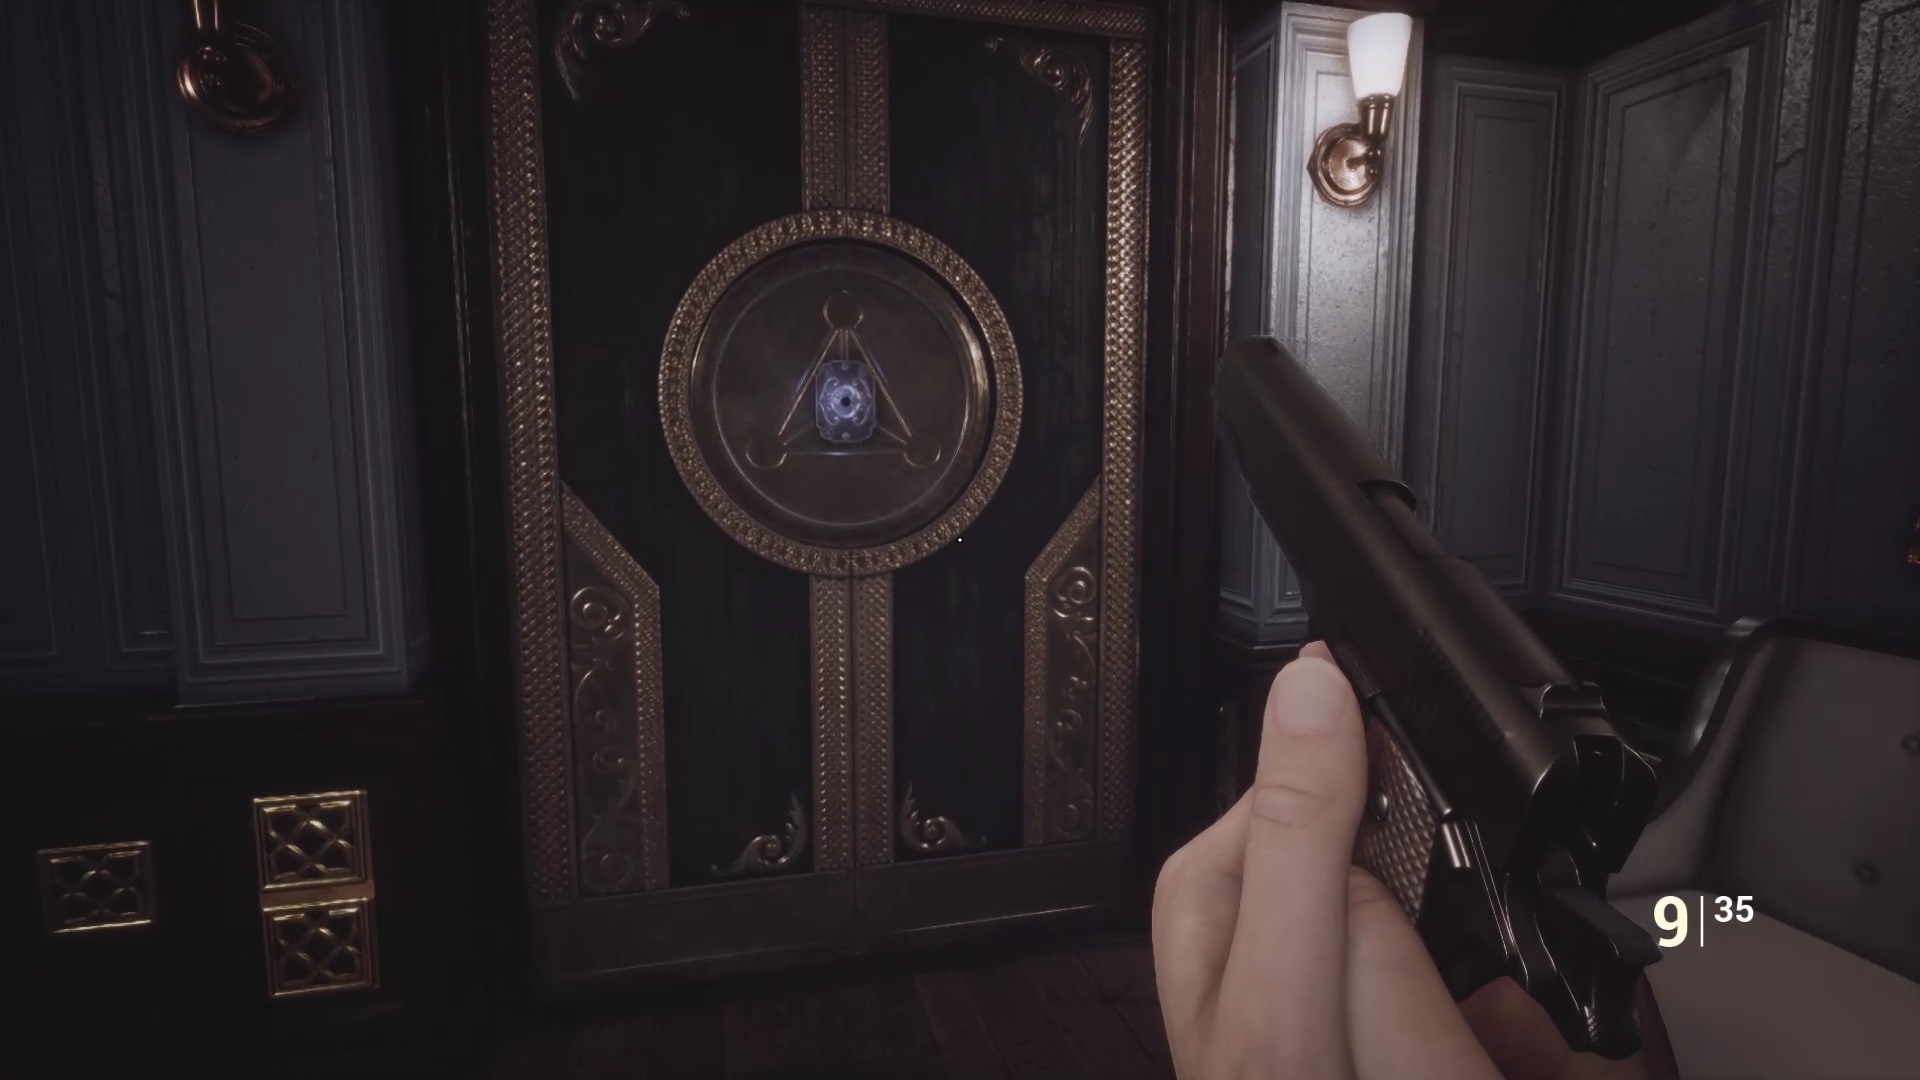
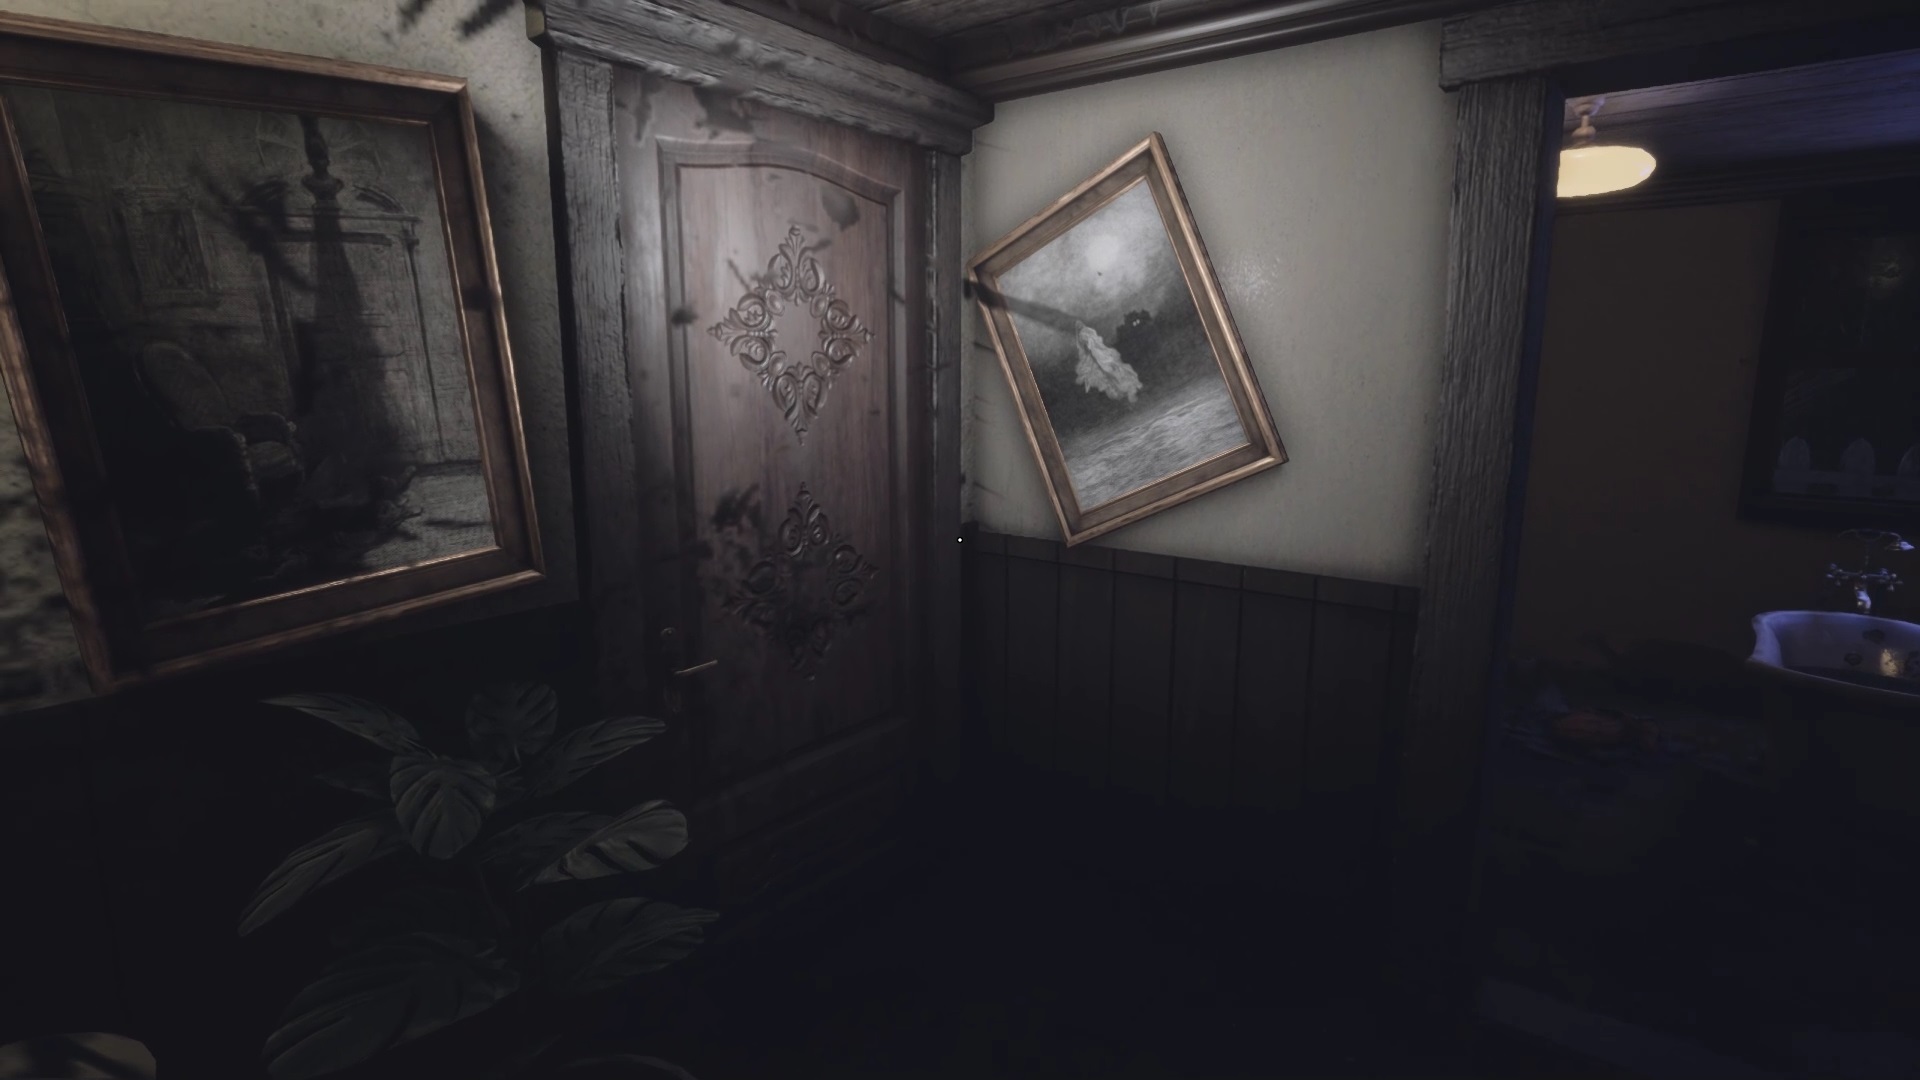
On the 7th floor, you are now able to unlock the golden doors. Align the correct symbols on the ornate key to unlock the two corridors. Each hallway contains a puzzle with paintings. The left corridor has paintings invisible to the naked eye. You must equip your device to see them. To solve this puzzle, you must activate the painting in the order of the poem just below. Activate tables in the following order:
- Painting n°3 (Sword)
- Painting n°4 (Man who prays)
- Painting n°2 (Lone woman)
- Painting n°5 (Man lying down with a man on top of him)
- Painting n°1 (Hanged)
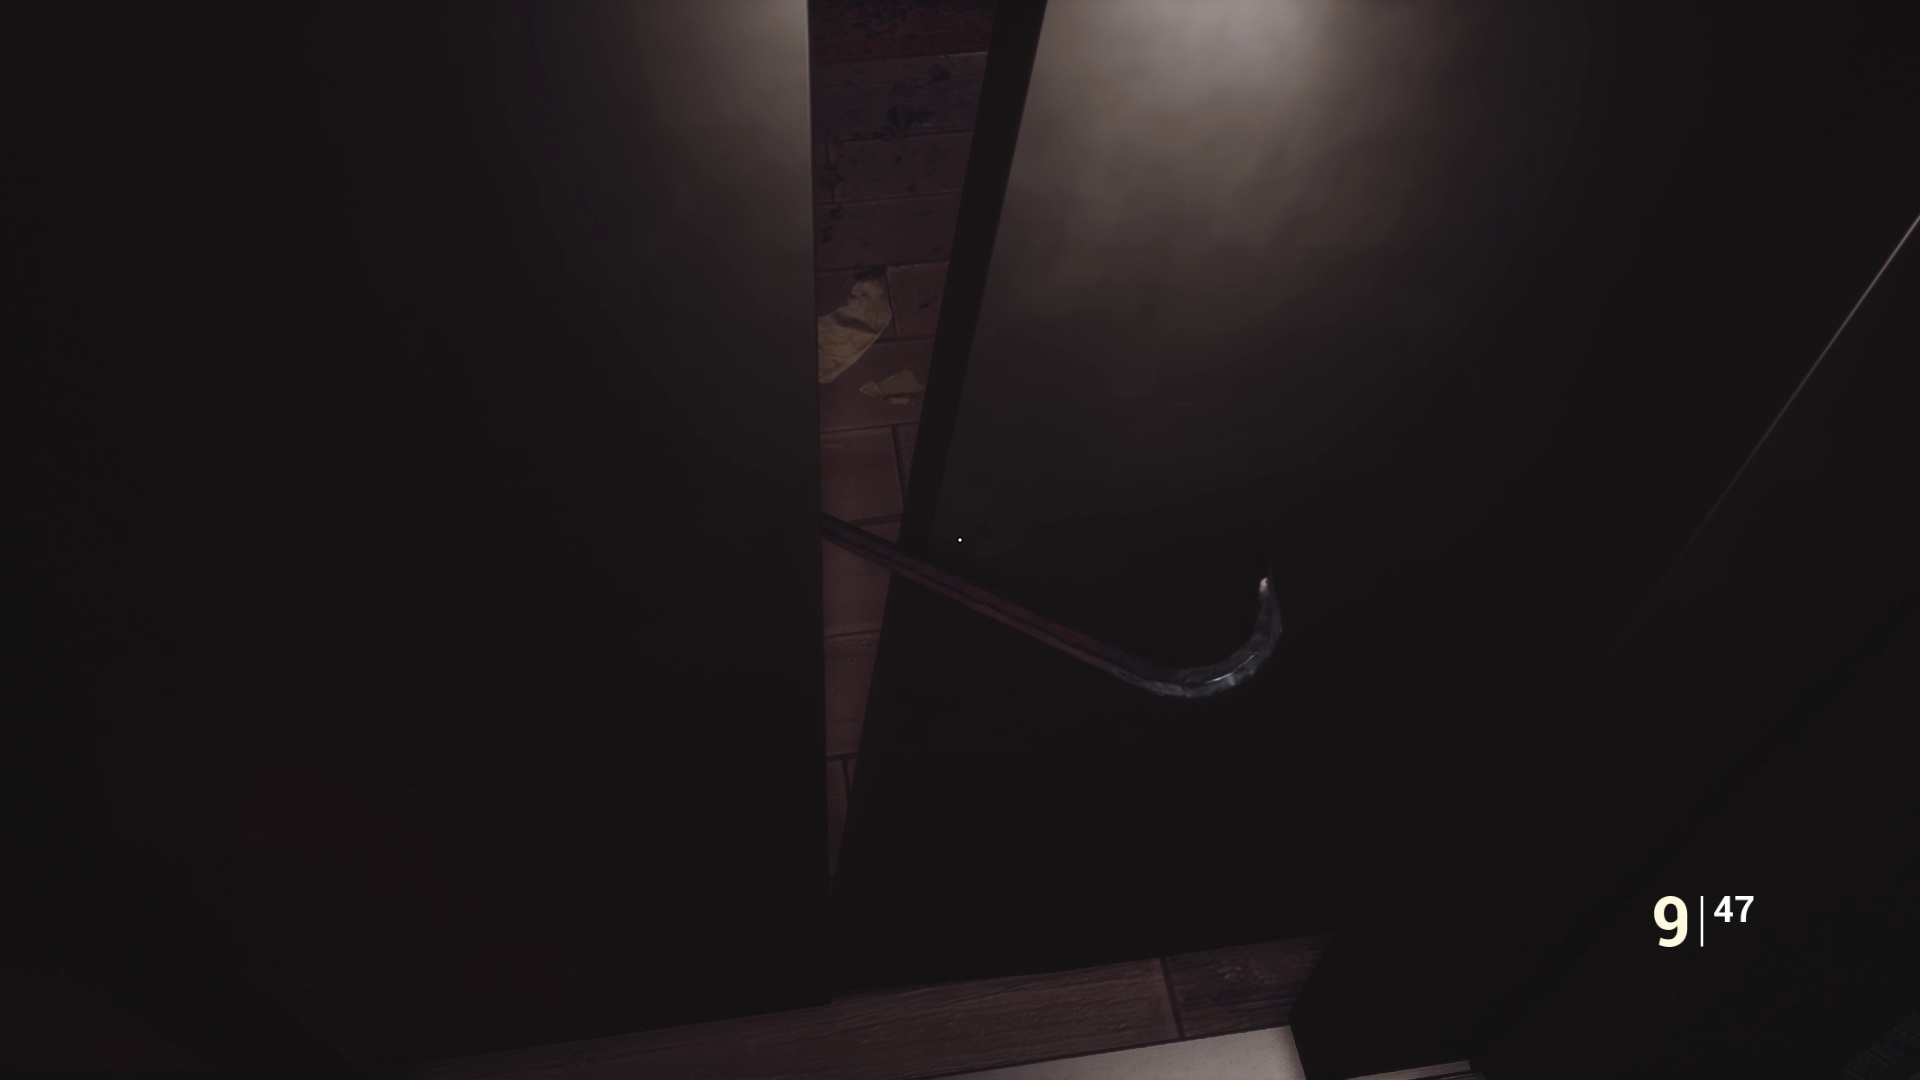
Take advantage of your camera to go down the hall and get a crowbar.
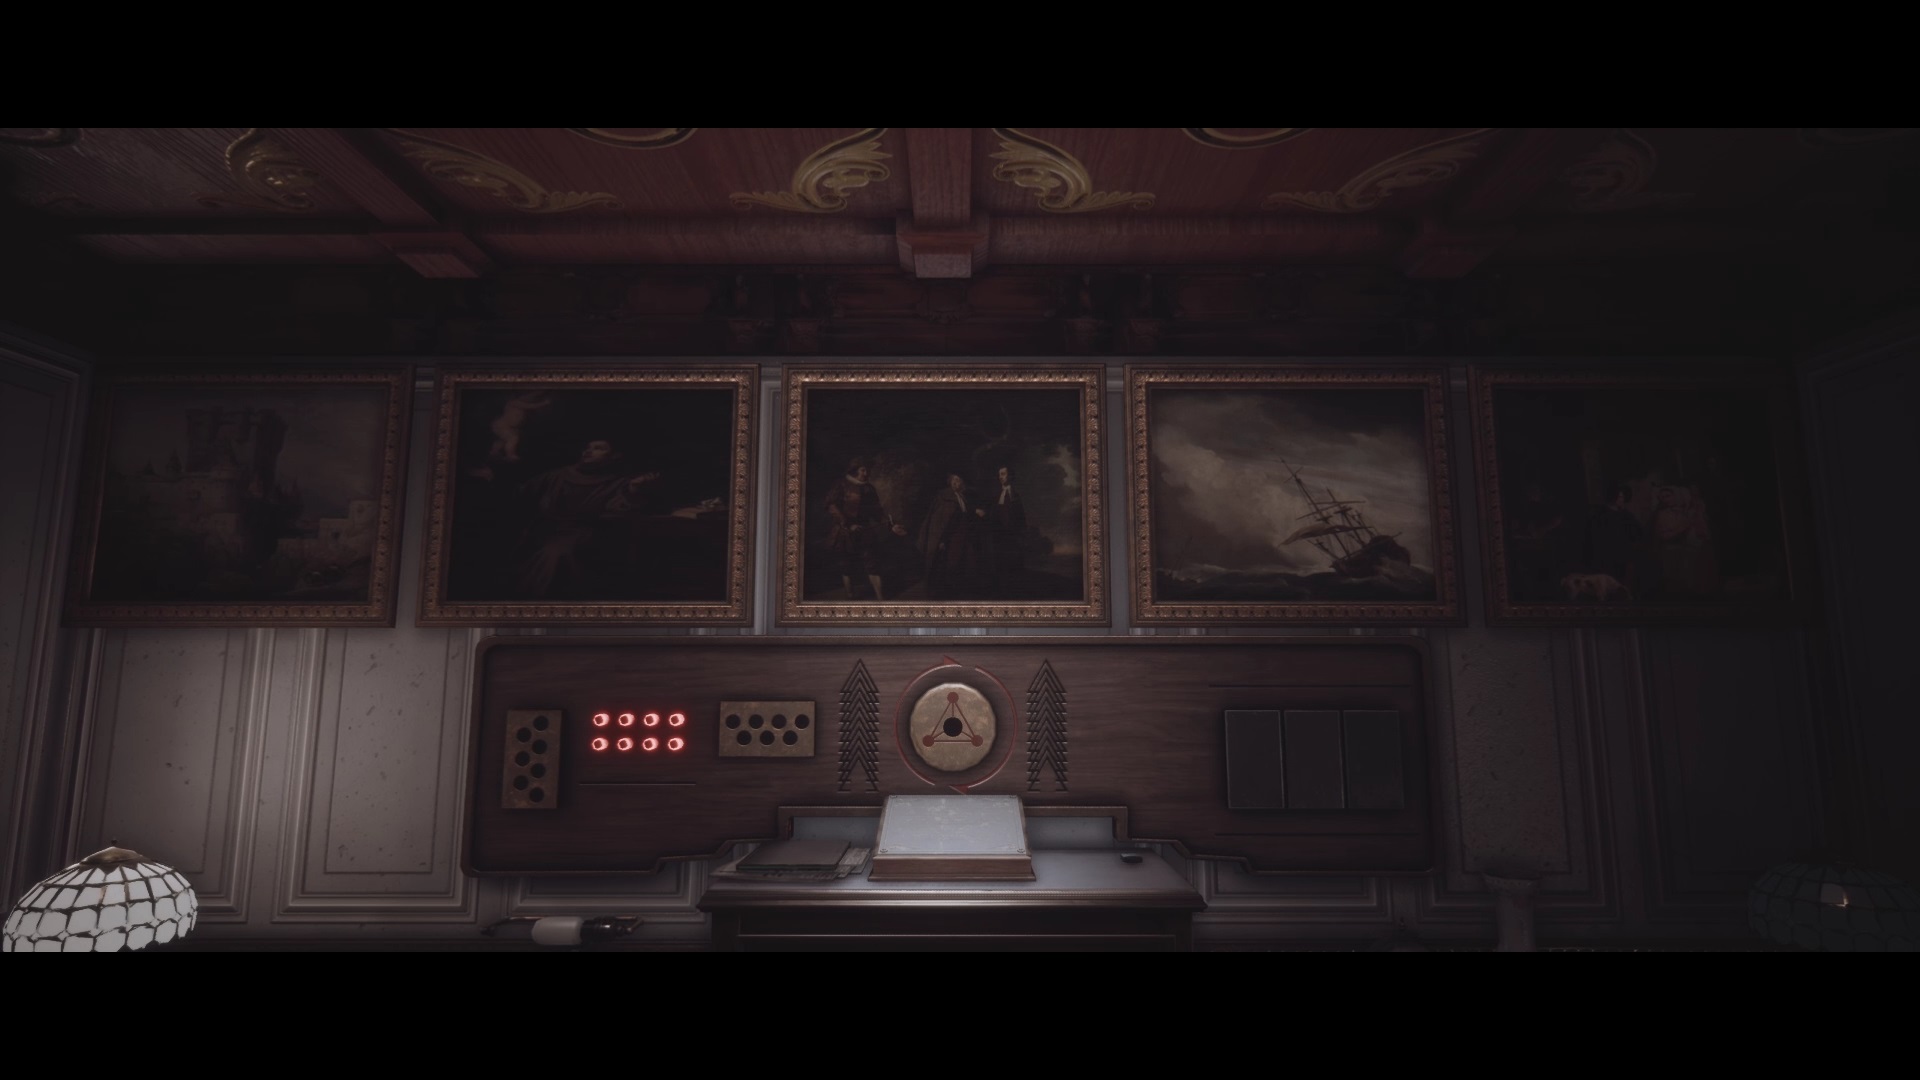
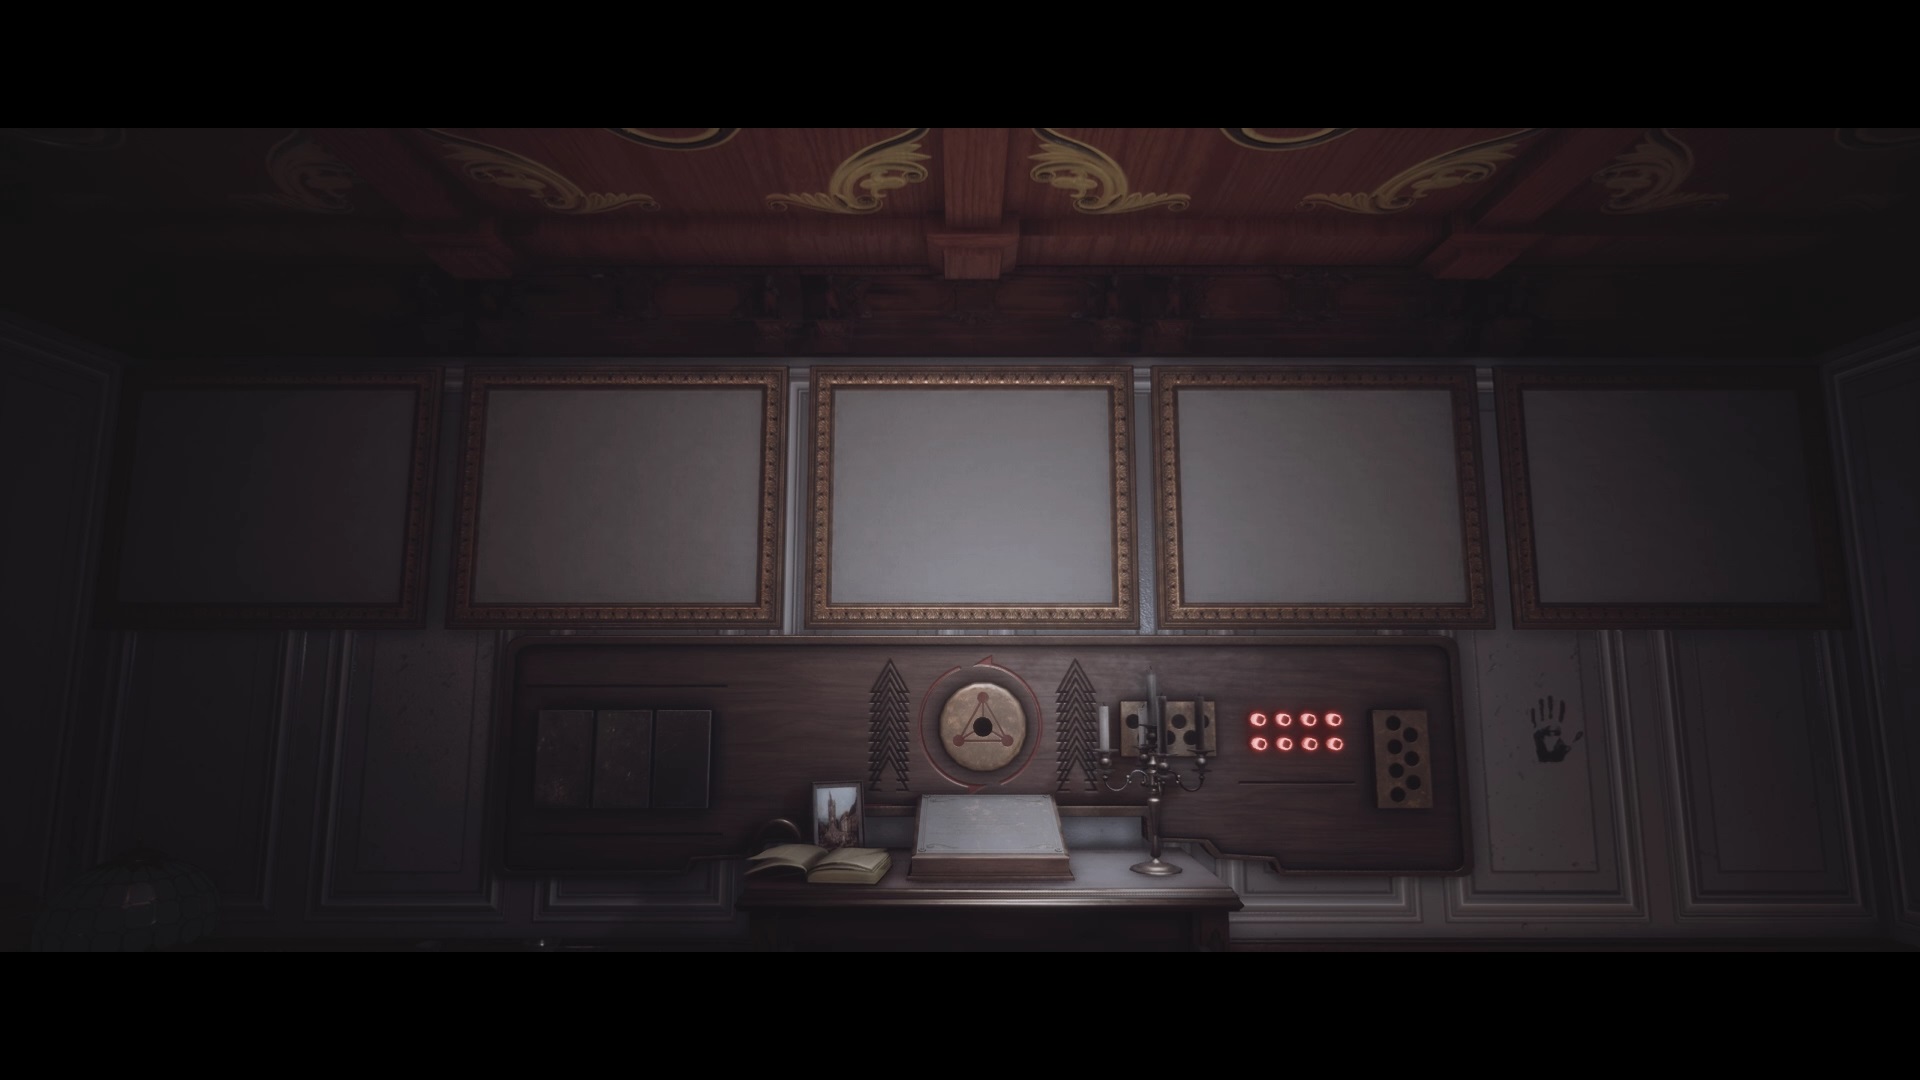
In the hallway on the right, the paintings are visible, but you still need to take your camera to activate them. Enable them in the following order:
- Painting n°1 (Castle)
- Painting n°5 (Family)
- Painting n°3 (Three men)
- Painting n°2 (Man talking to an angel)
- Painting n°4 (Boat)
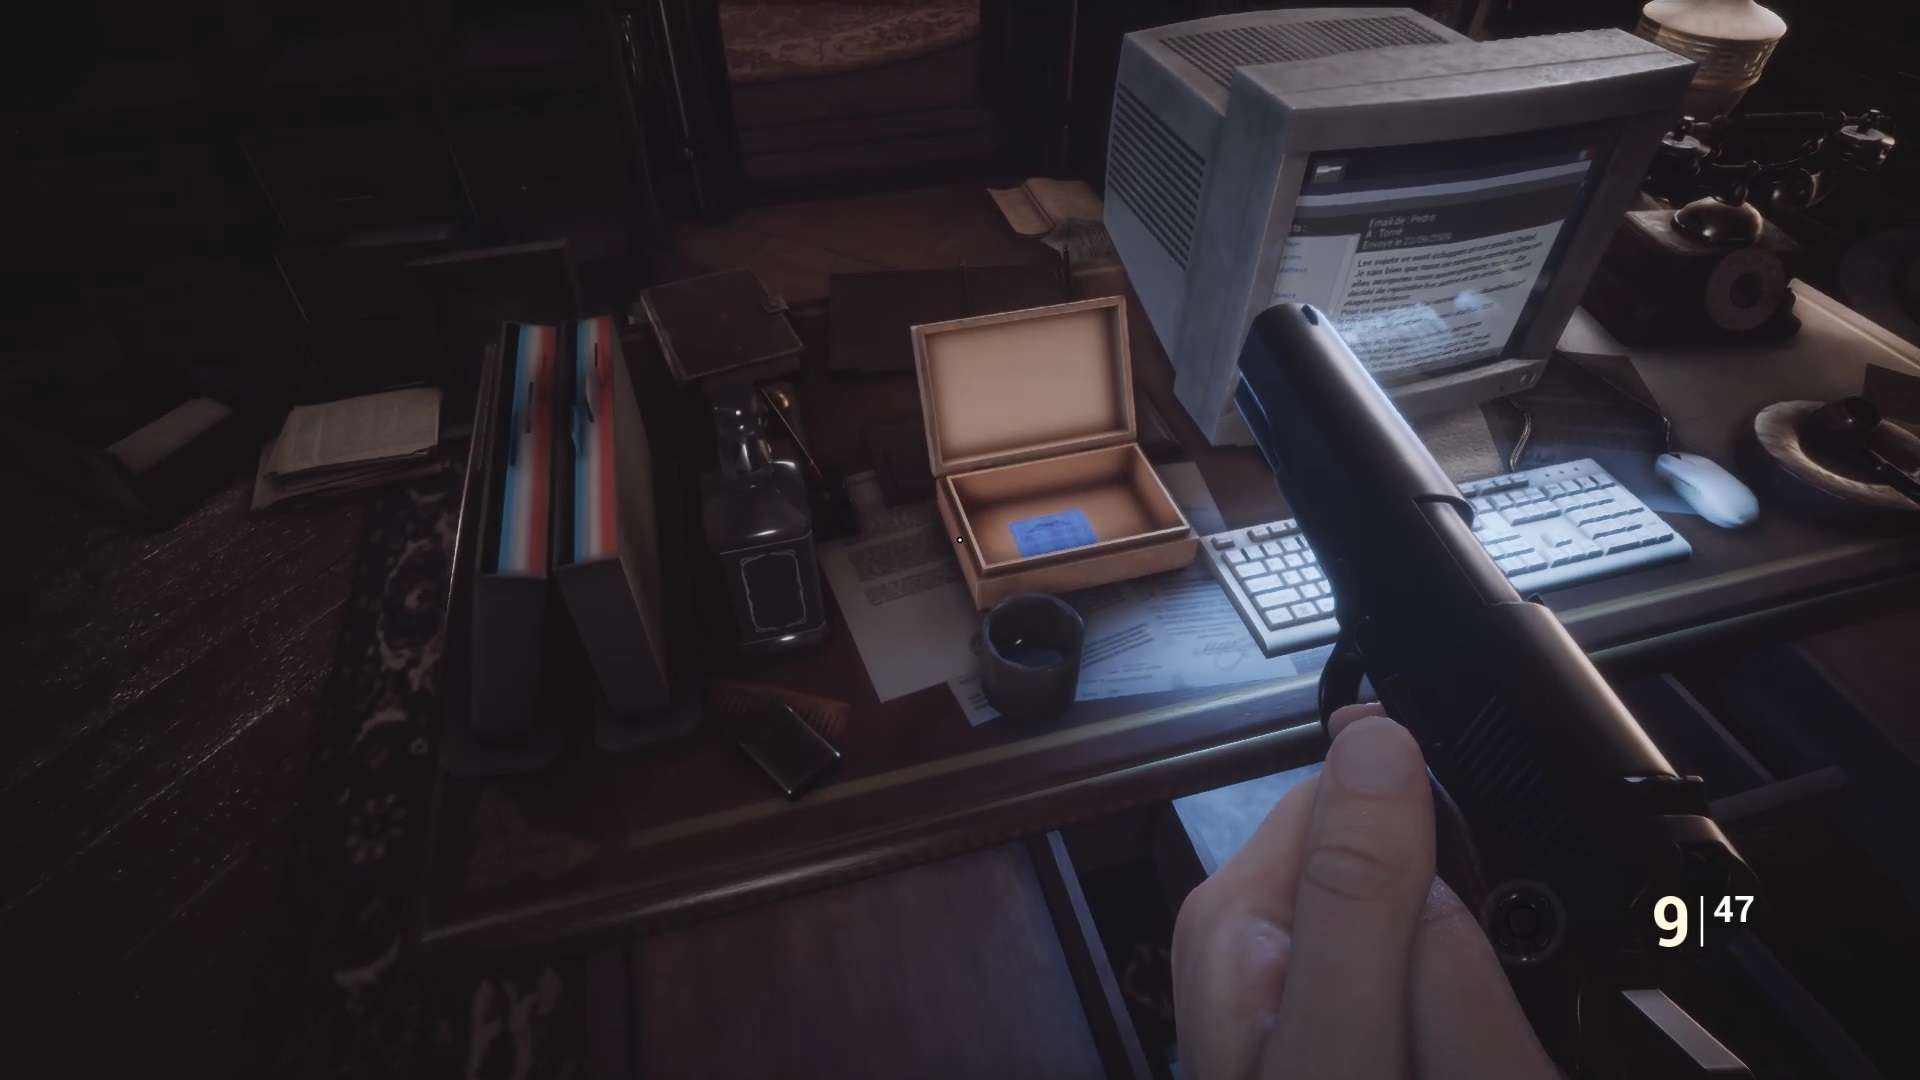
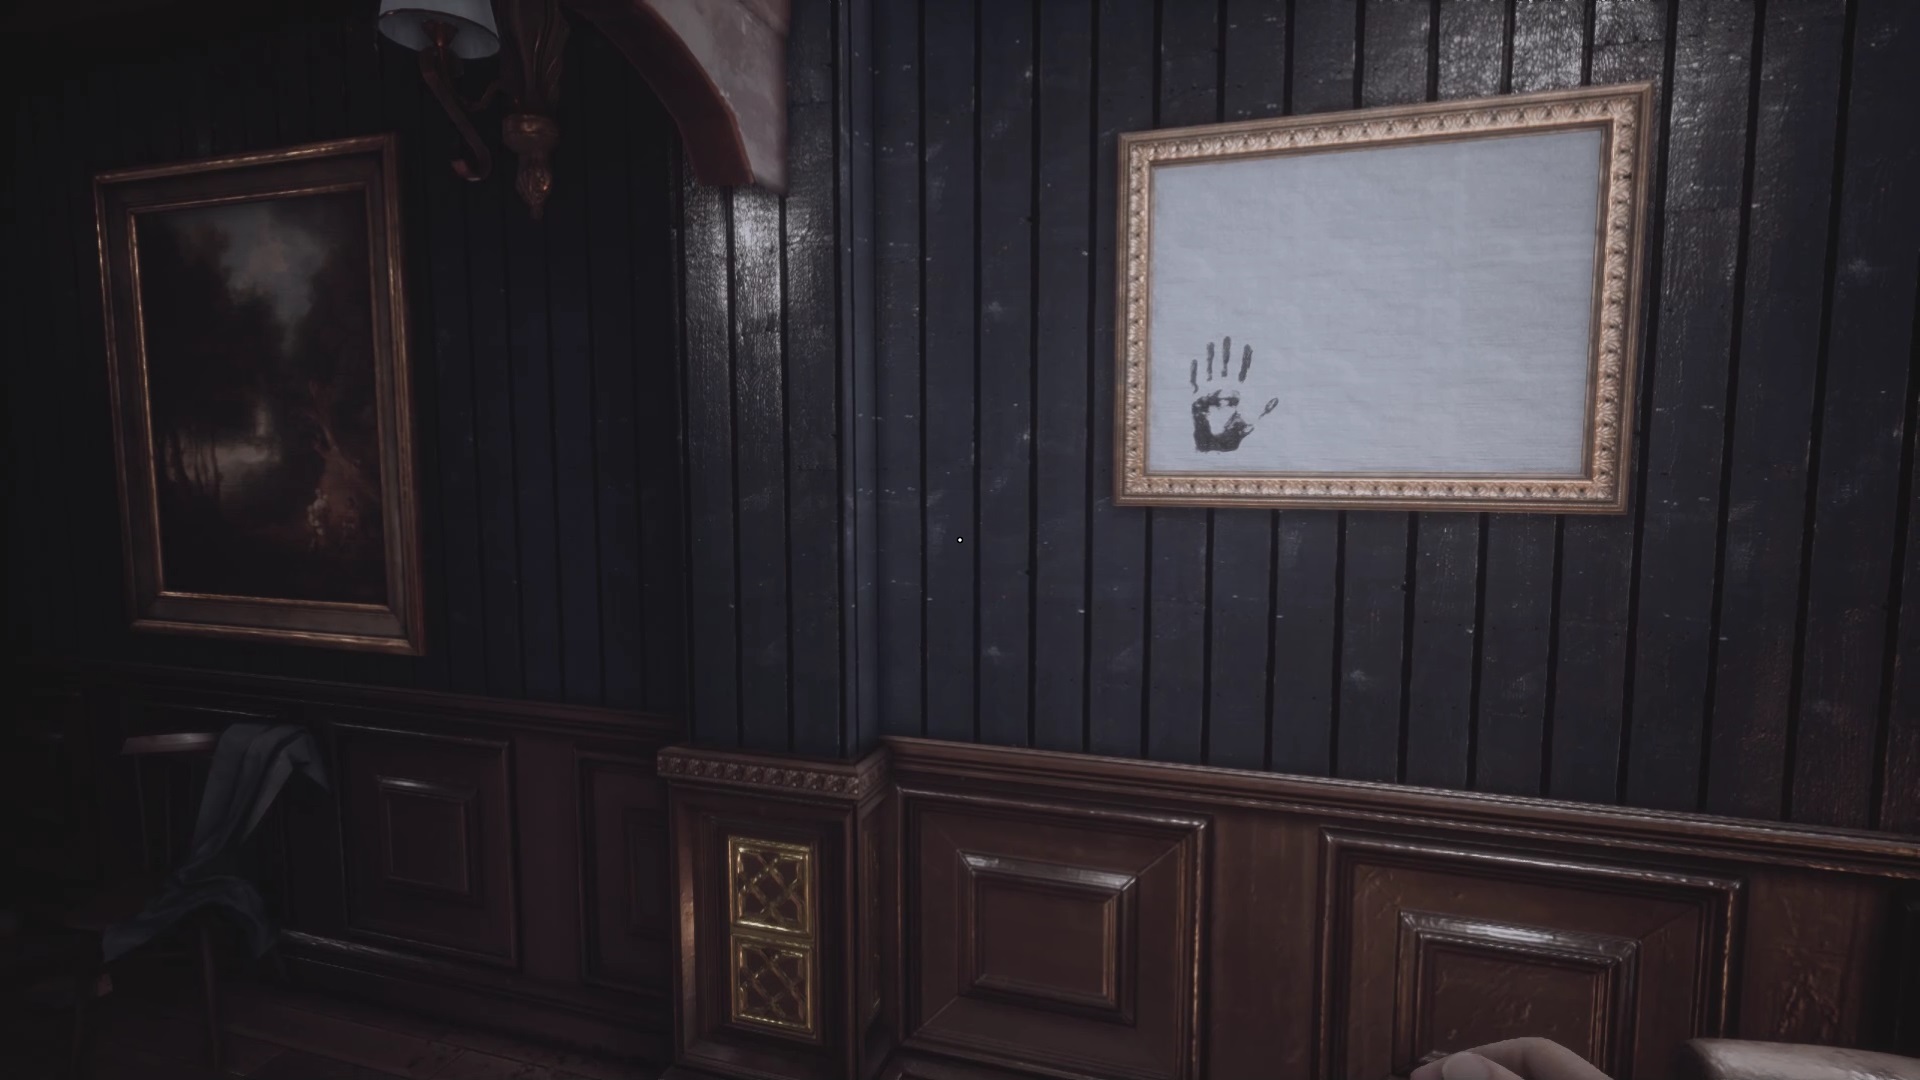
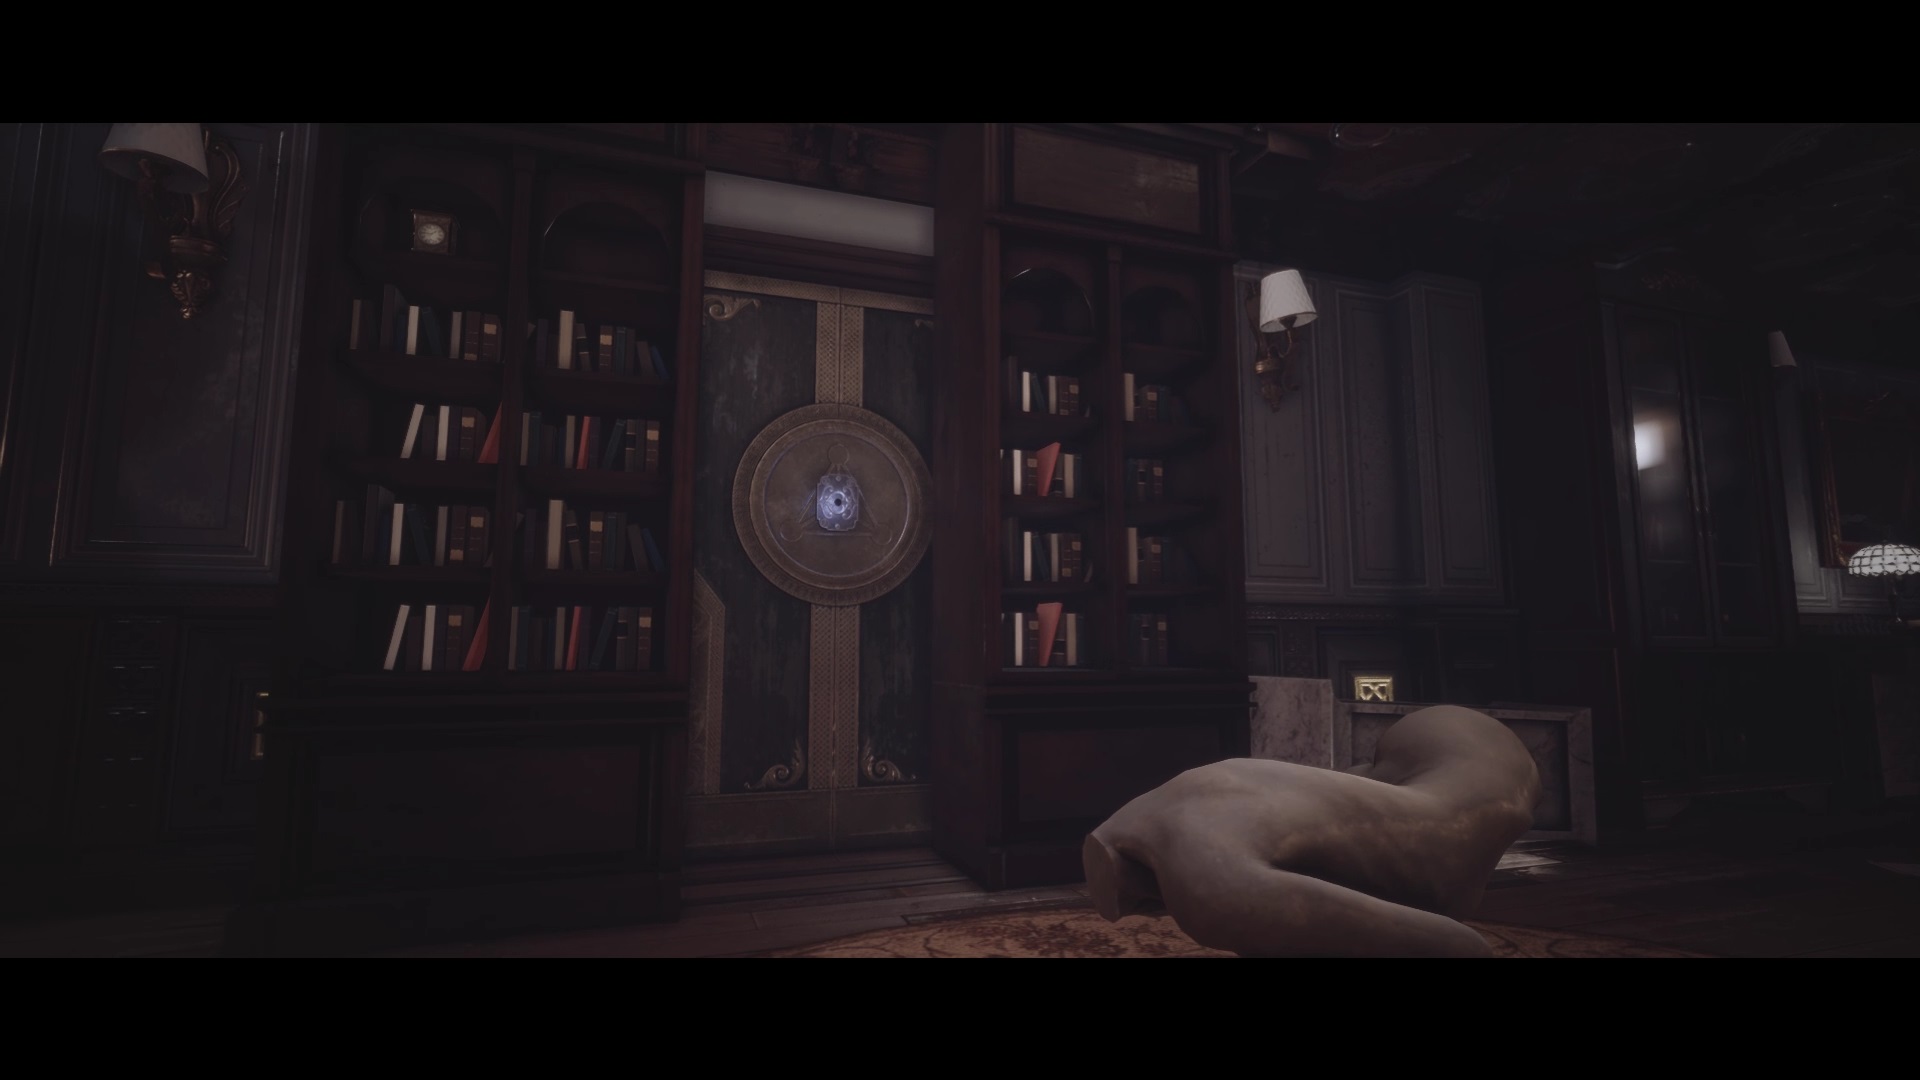
A secret room opens in the middle of the hallway. Go to the front with your modular key to unlock it with the correct symbols. Once inside, grab the document to the left of the monitor and open the box below to get a blue card. Return to the elevator and go to the 6th floor. Unblock the elevator using your crowbar. Beware of enemies lurking around. Go down the stairs from the 6th floor to reach the 5th floor. Go down the hall where you find the red card, to find an empty painting with a trace of hand. Use your camera to find a secret passage to a gate secured by the the blue card. To unlock the gate, insert the card and use the document password from the office corresponding to floor 5 to open it. In our game, the password is: 645820.
You unlock a new staircase for the 4th and 6th floor. On the 6th floor you can use the floor 6 password and the red card to unlock the passage. The password in our game was: 775492 To continue the adventure go down to the 4th floor.
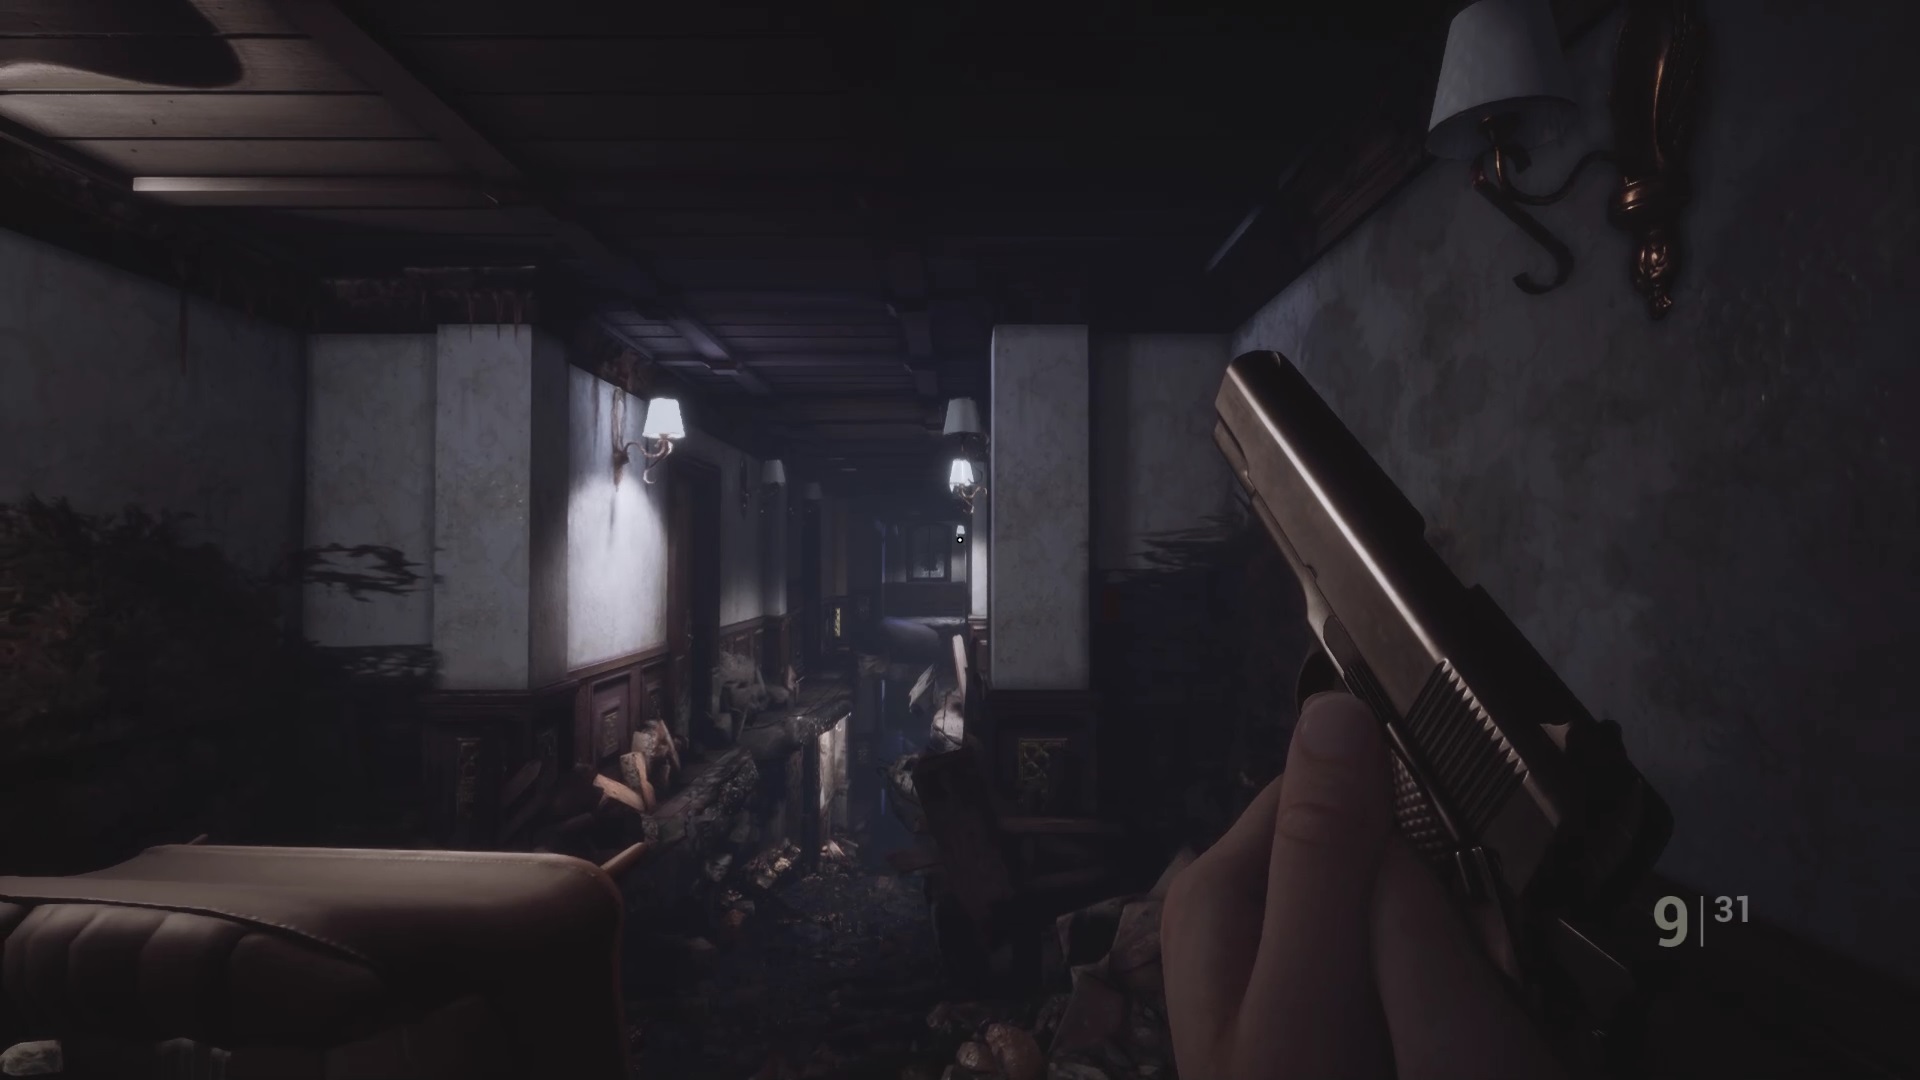
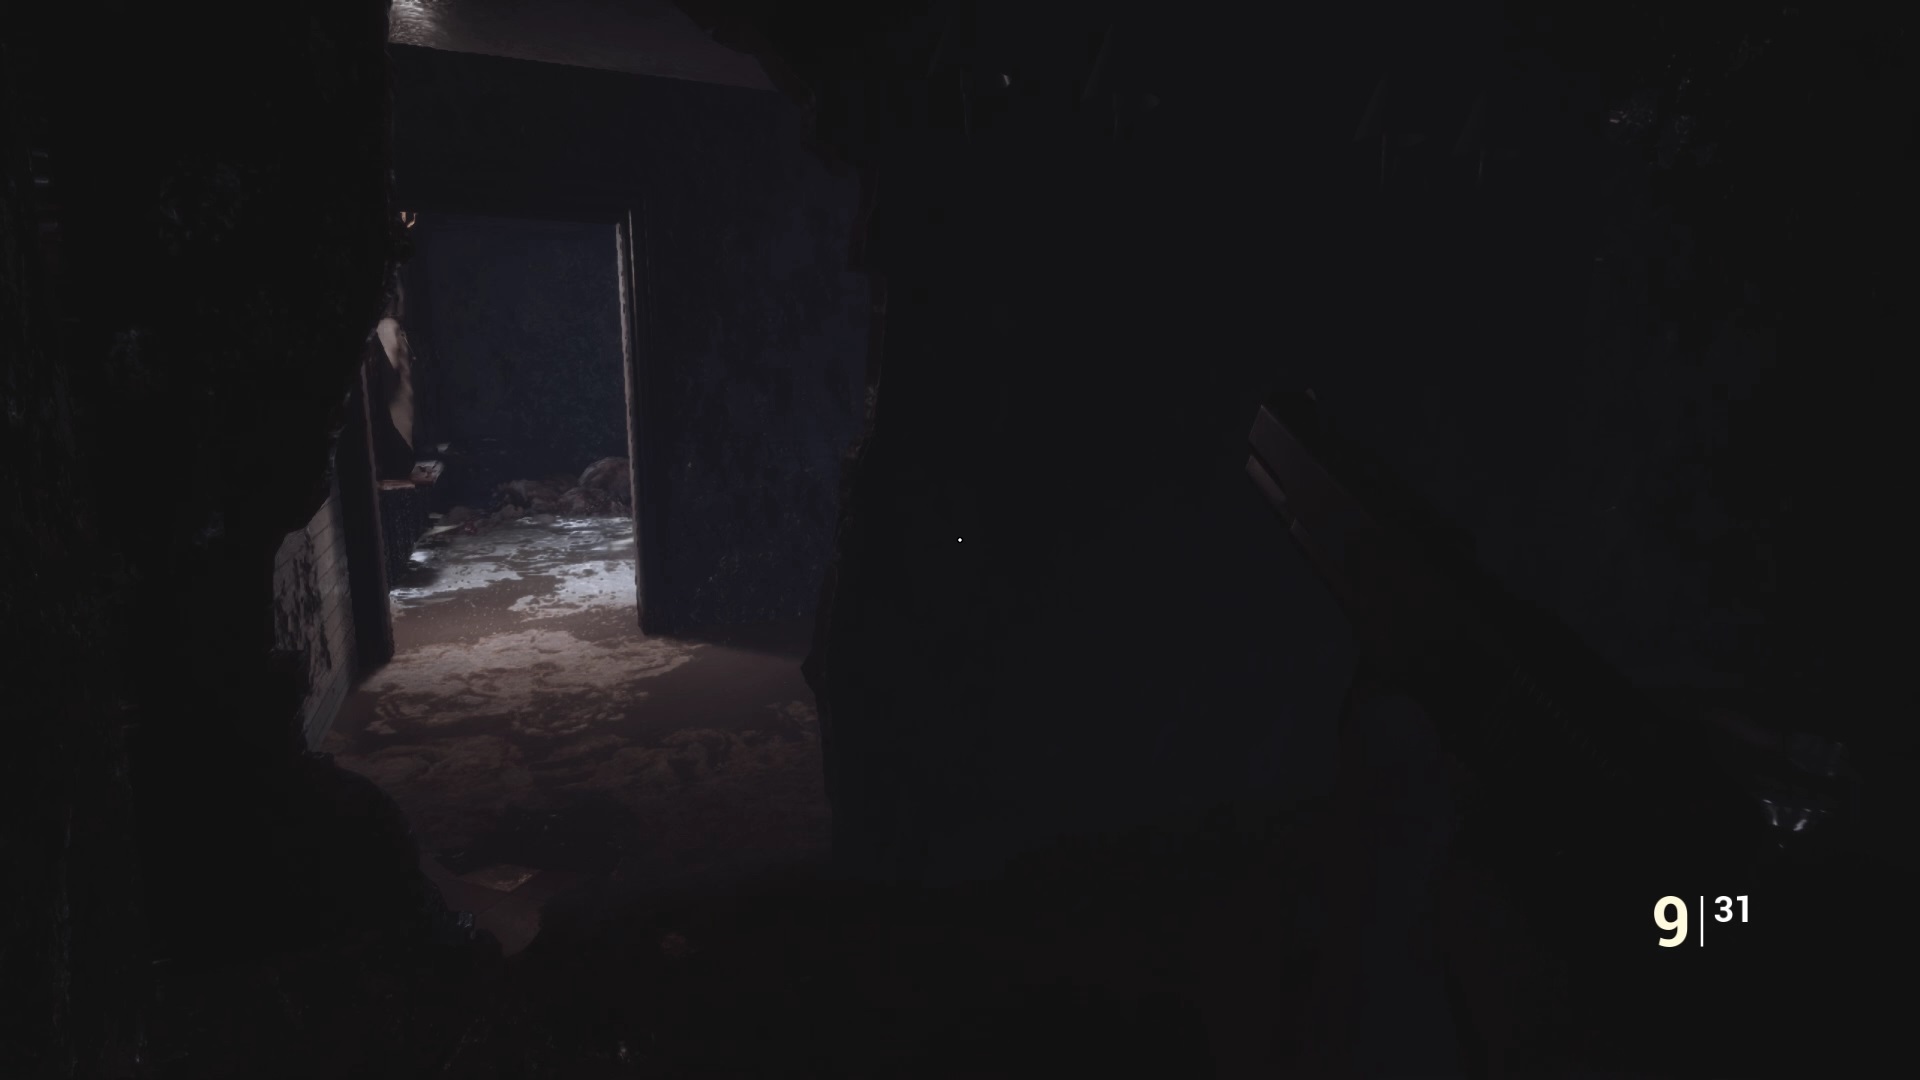
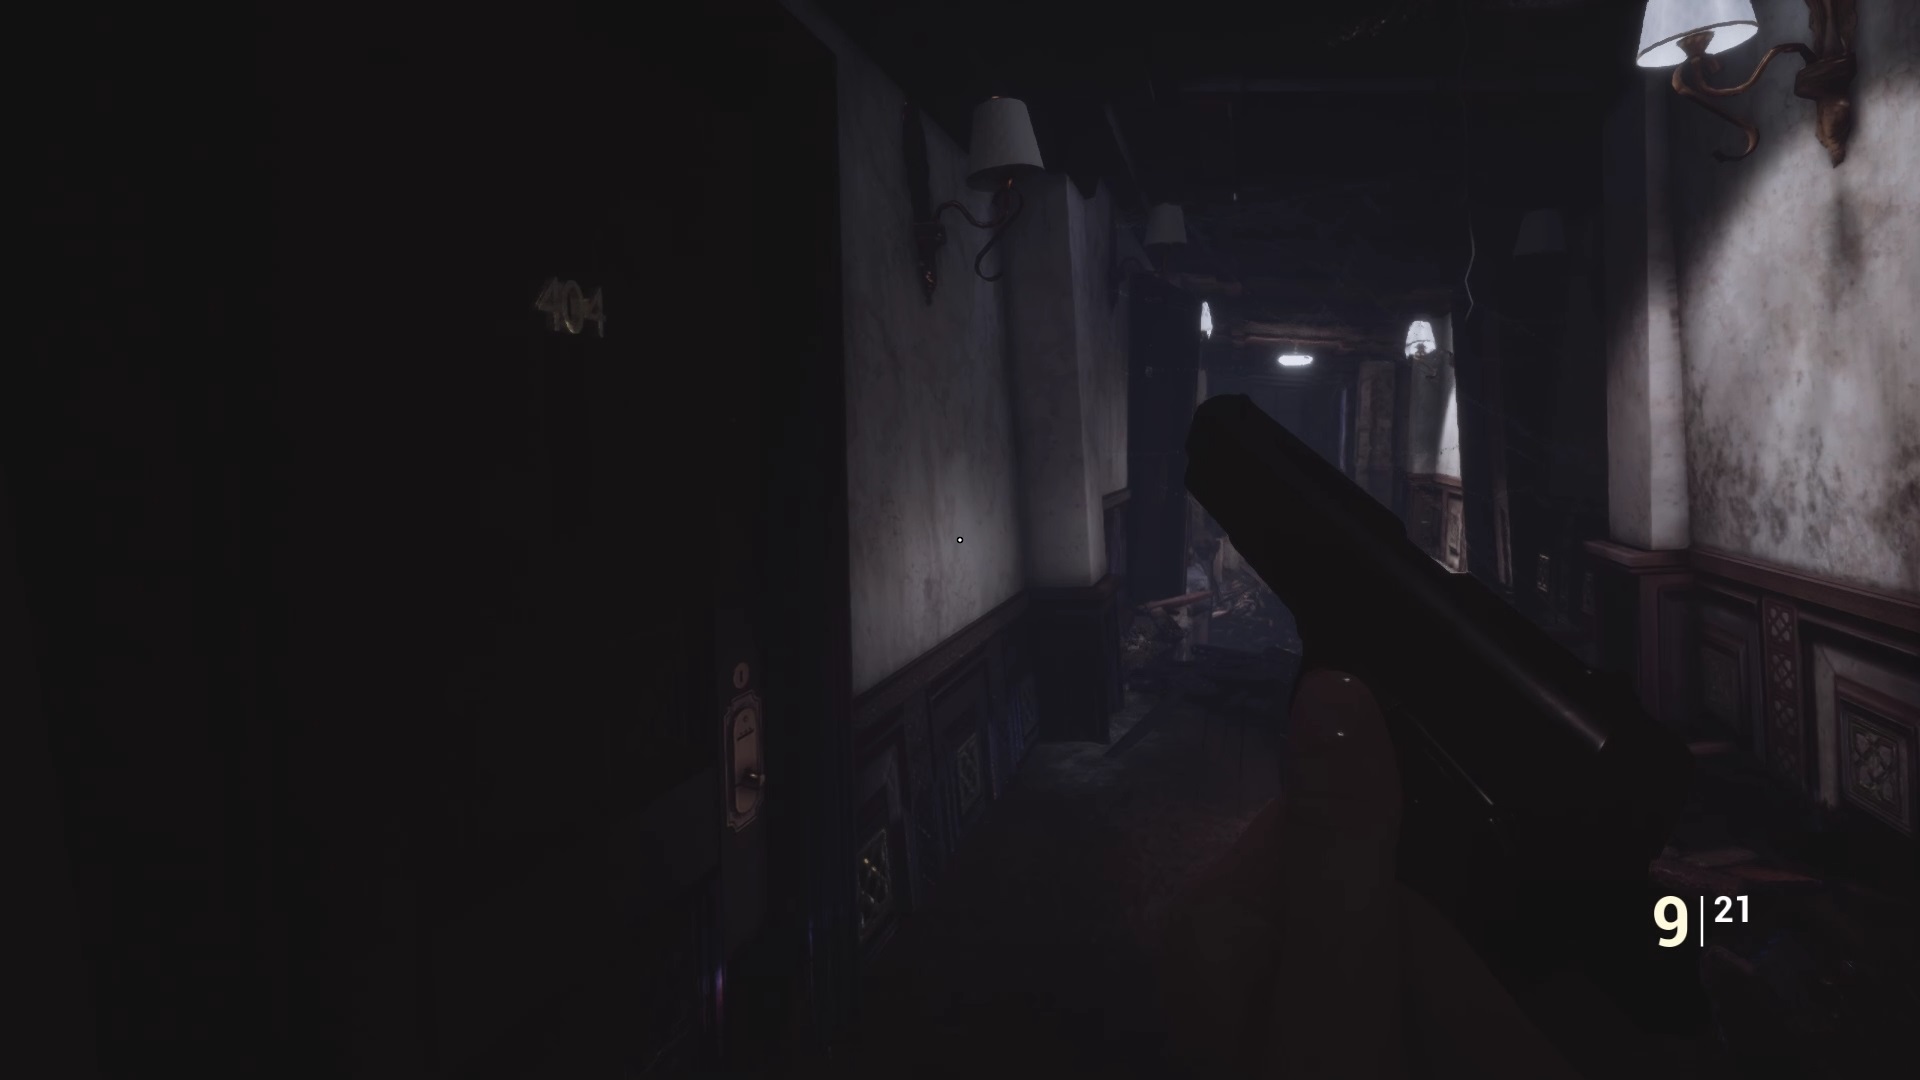
Go down the stairs to encounter monsters. Get rid of them with a few bullets through the heart. Go through the rooms to reach the opposite staircase and approve a cutscene. After the cutscene go down a ravaged slope behind the sofa. You will find the door to room 210 open at the end of the slope. Go into the bathroom and use your camera to reveal a passage to room 208. Exit room 208 to reach a new sloping hallway with some enemies.
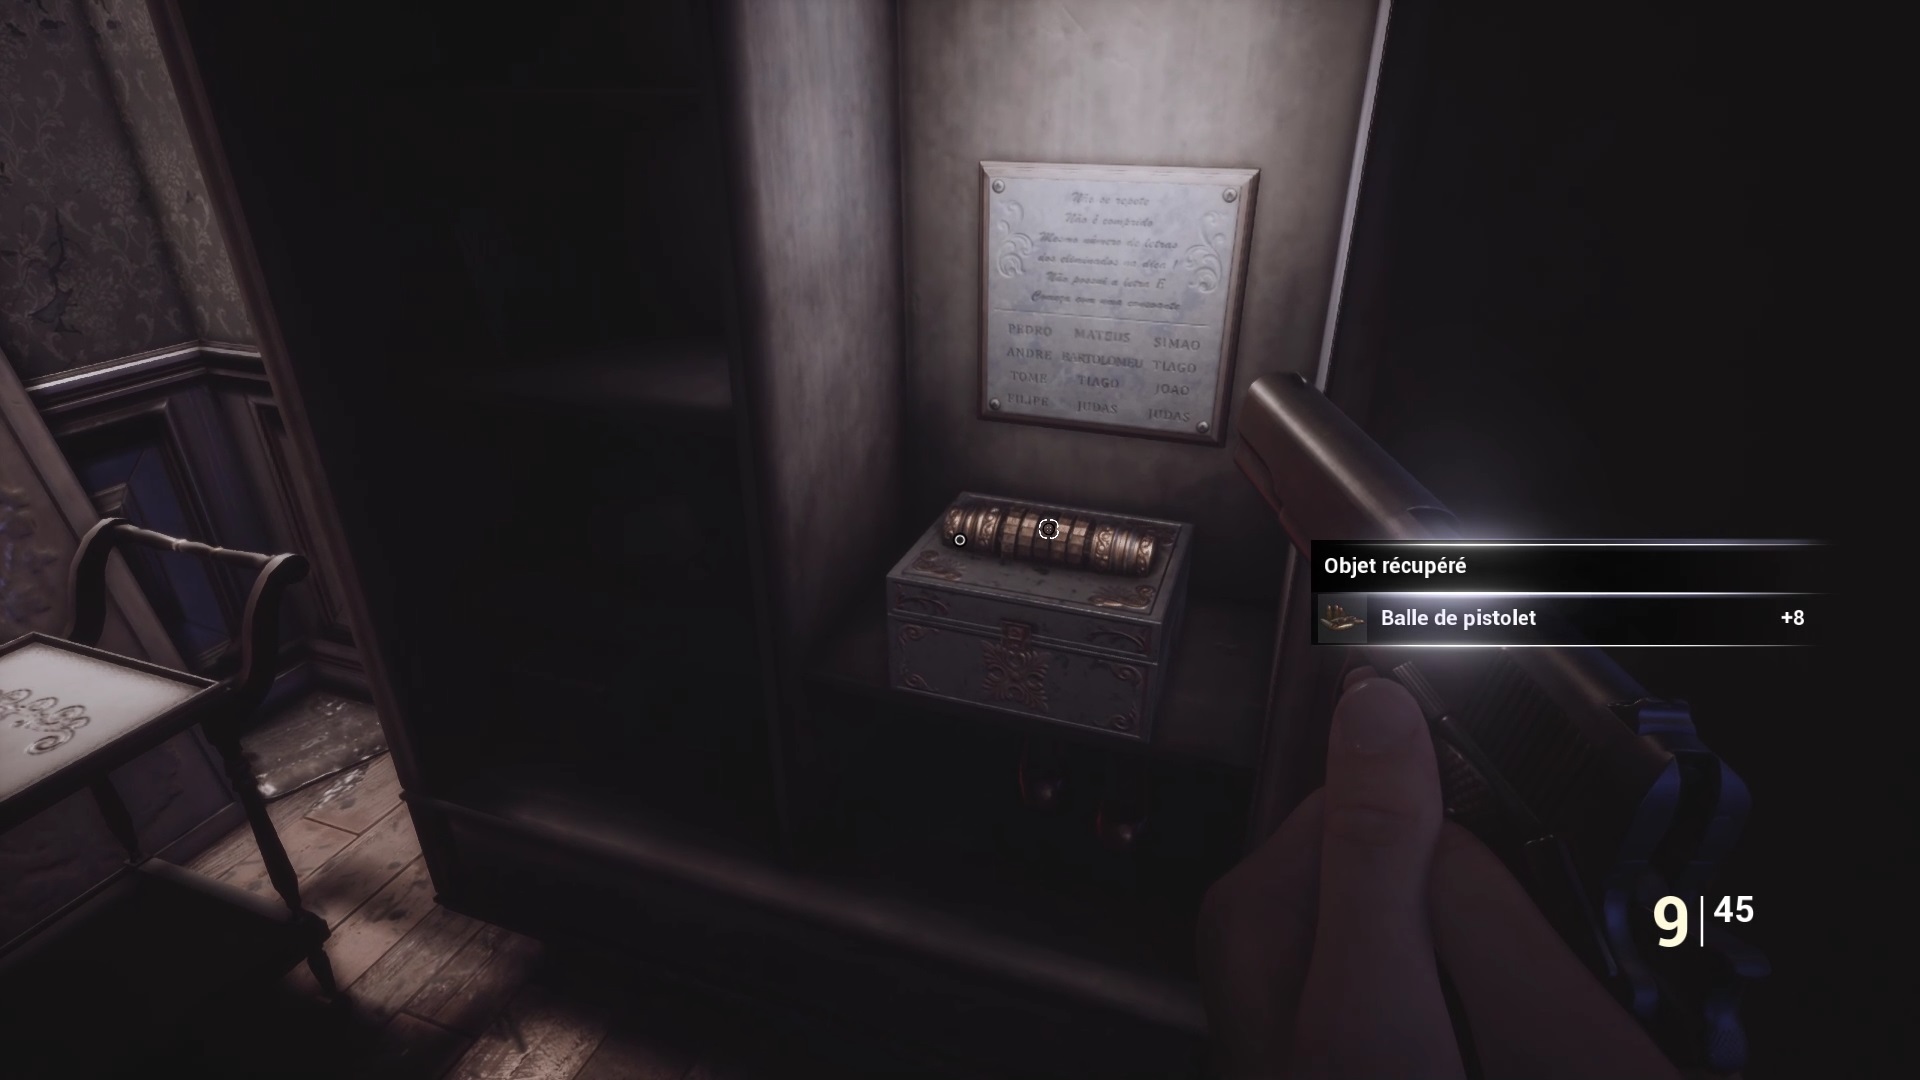
Go down the hall to find room 300 open. Go inside to reach room 302 by the bathroom. You will find a machine gun on the bed near the severed hand. Go into the room opposite to find an open wardrobe. A chest is in the wardrobe. If you read the document alongside you will quickly understand that the password is SIMAO. Use the letters to open the box and get the key for room 404 and a piece of metal for room 709. Return to the sloping hallway. Beware of enemies appear including Aquilles.
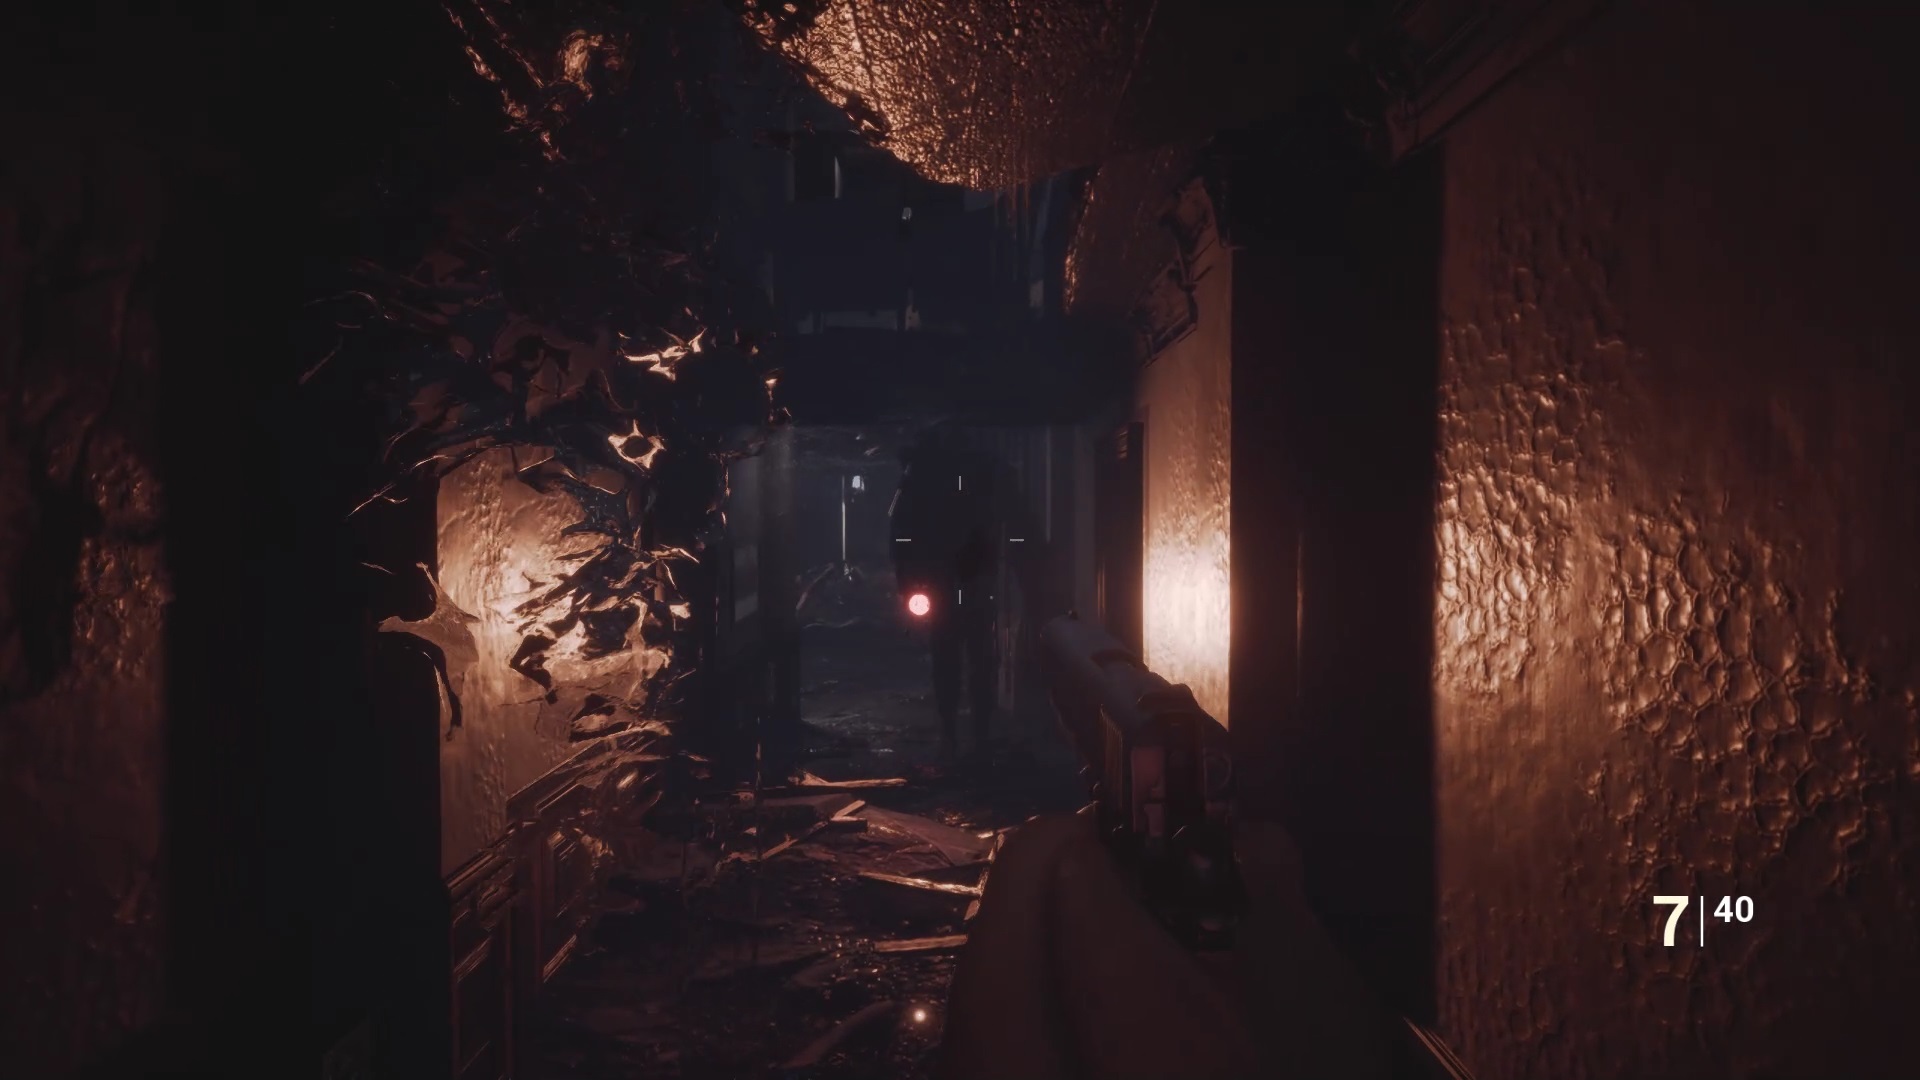
In the hallway, lean against one of the walls and shoot him 9 to 10 bullets to bring him to his knees. If you are well tackled you should have enough space to pass him. Go back to the middle of the 2nd floor hallway to trigger a cutscene on the bottom staircase. The little girl cleared the way to the hall. Go for the elevator to call it but it takes its time. Go around the hall to dodge Aquilles and return to the elevator once opened and go up to the third floor.
The Aquilles threat should now be averted. This objective is optional, but it can help you explore the hotel in more depth. Return to the hall and go up through room 210 with the secret passage in the bathroom to reach room 404 on the 4th floor. Use the key to open the door. You will find a clamp in the cupboard which allows you to explore multiple rooms. To continue the story, go to the 7th floor.
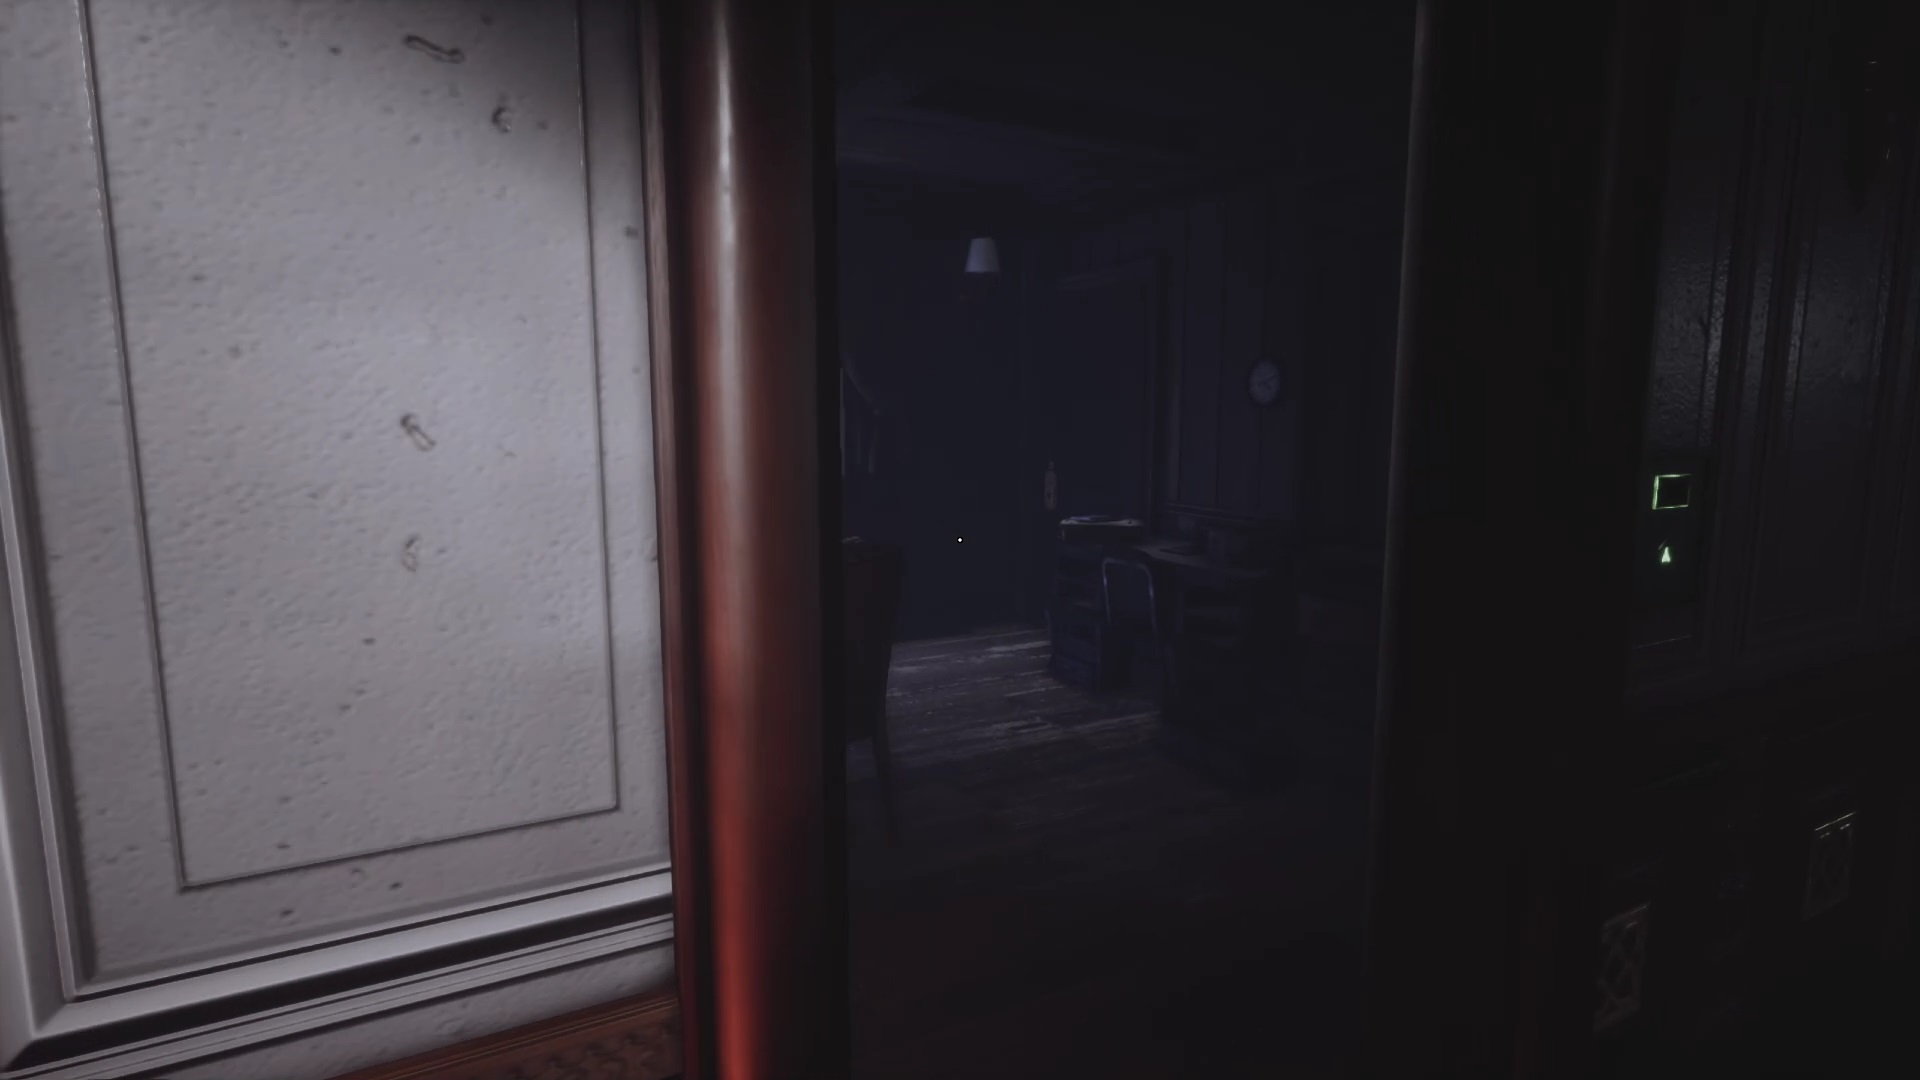
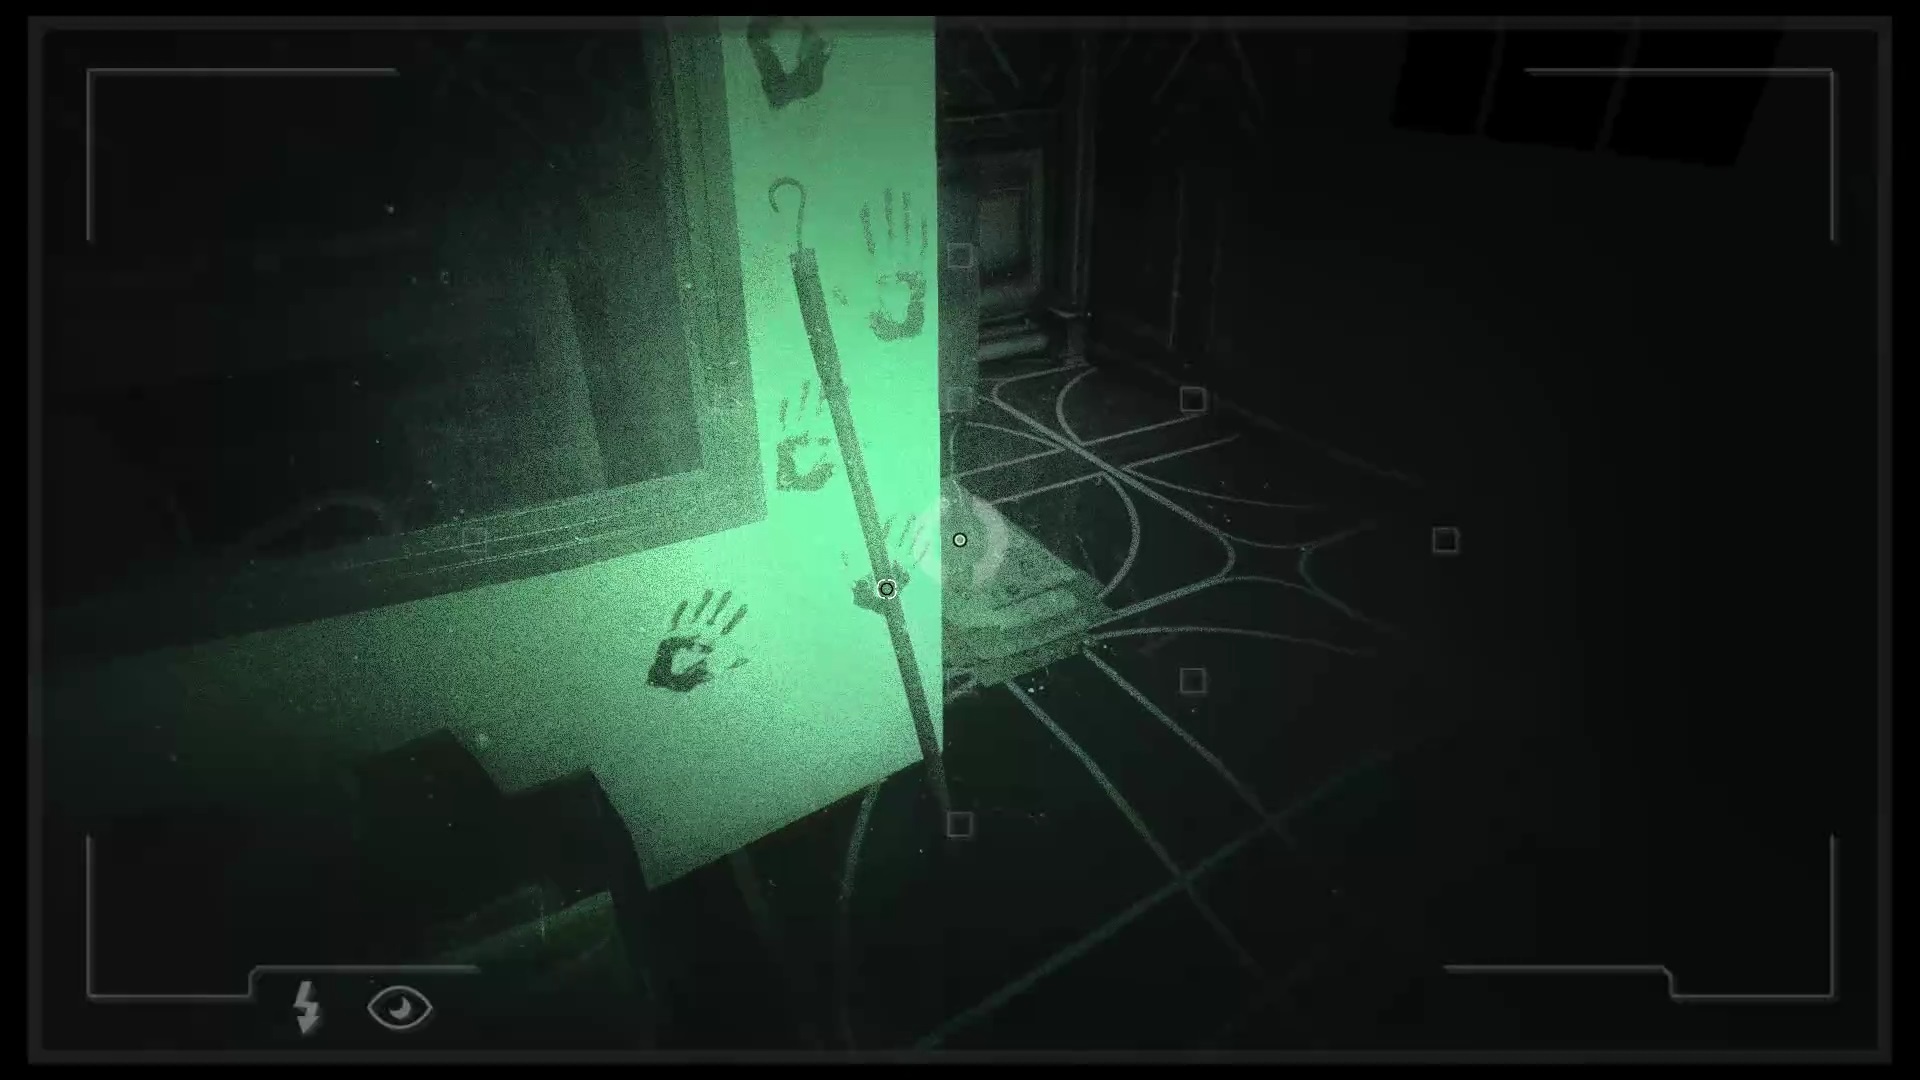
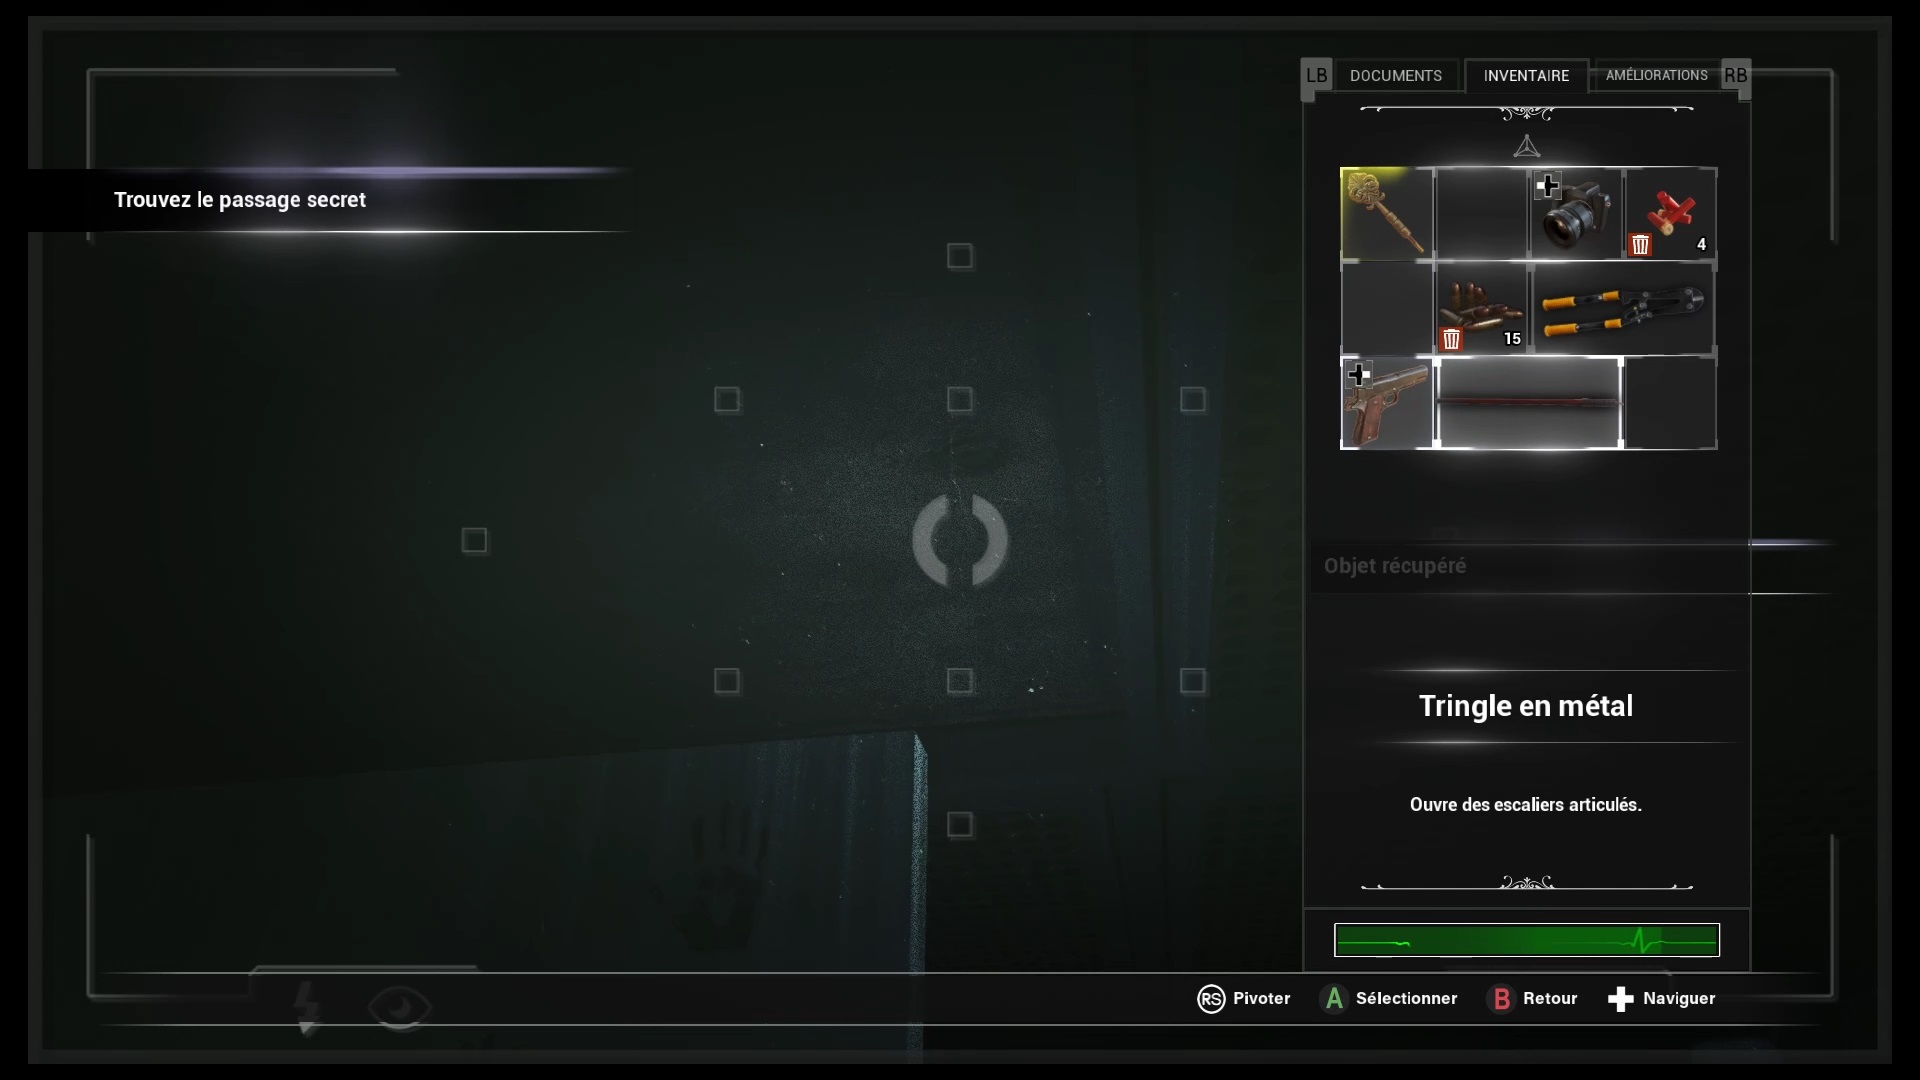
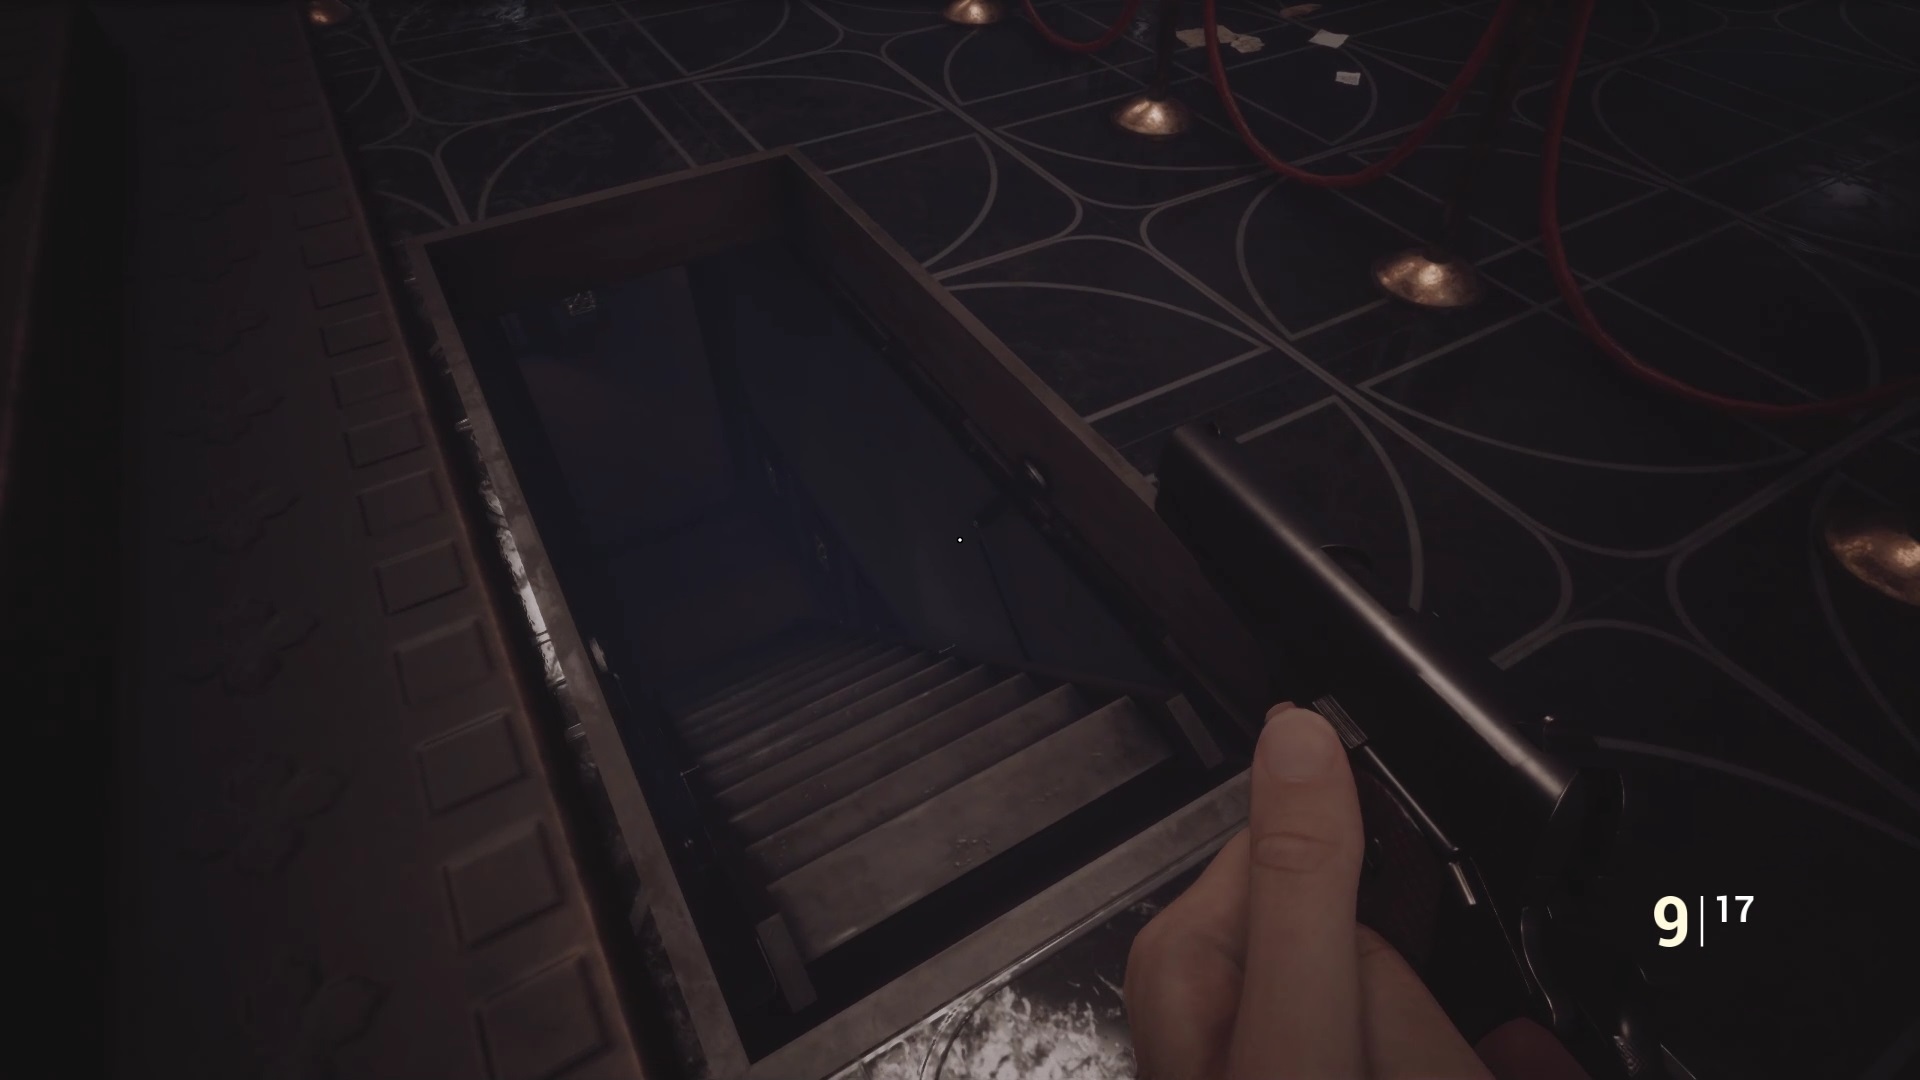
On the 7th floor, use the piece of metal with the switch in room 709 to open the door. Inside the chamber, equip the camera. A metal rod sits against the wall near the door. Use the metal rod on the ceiling near the handprints to open a articulated stairs.

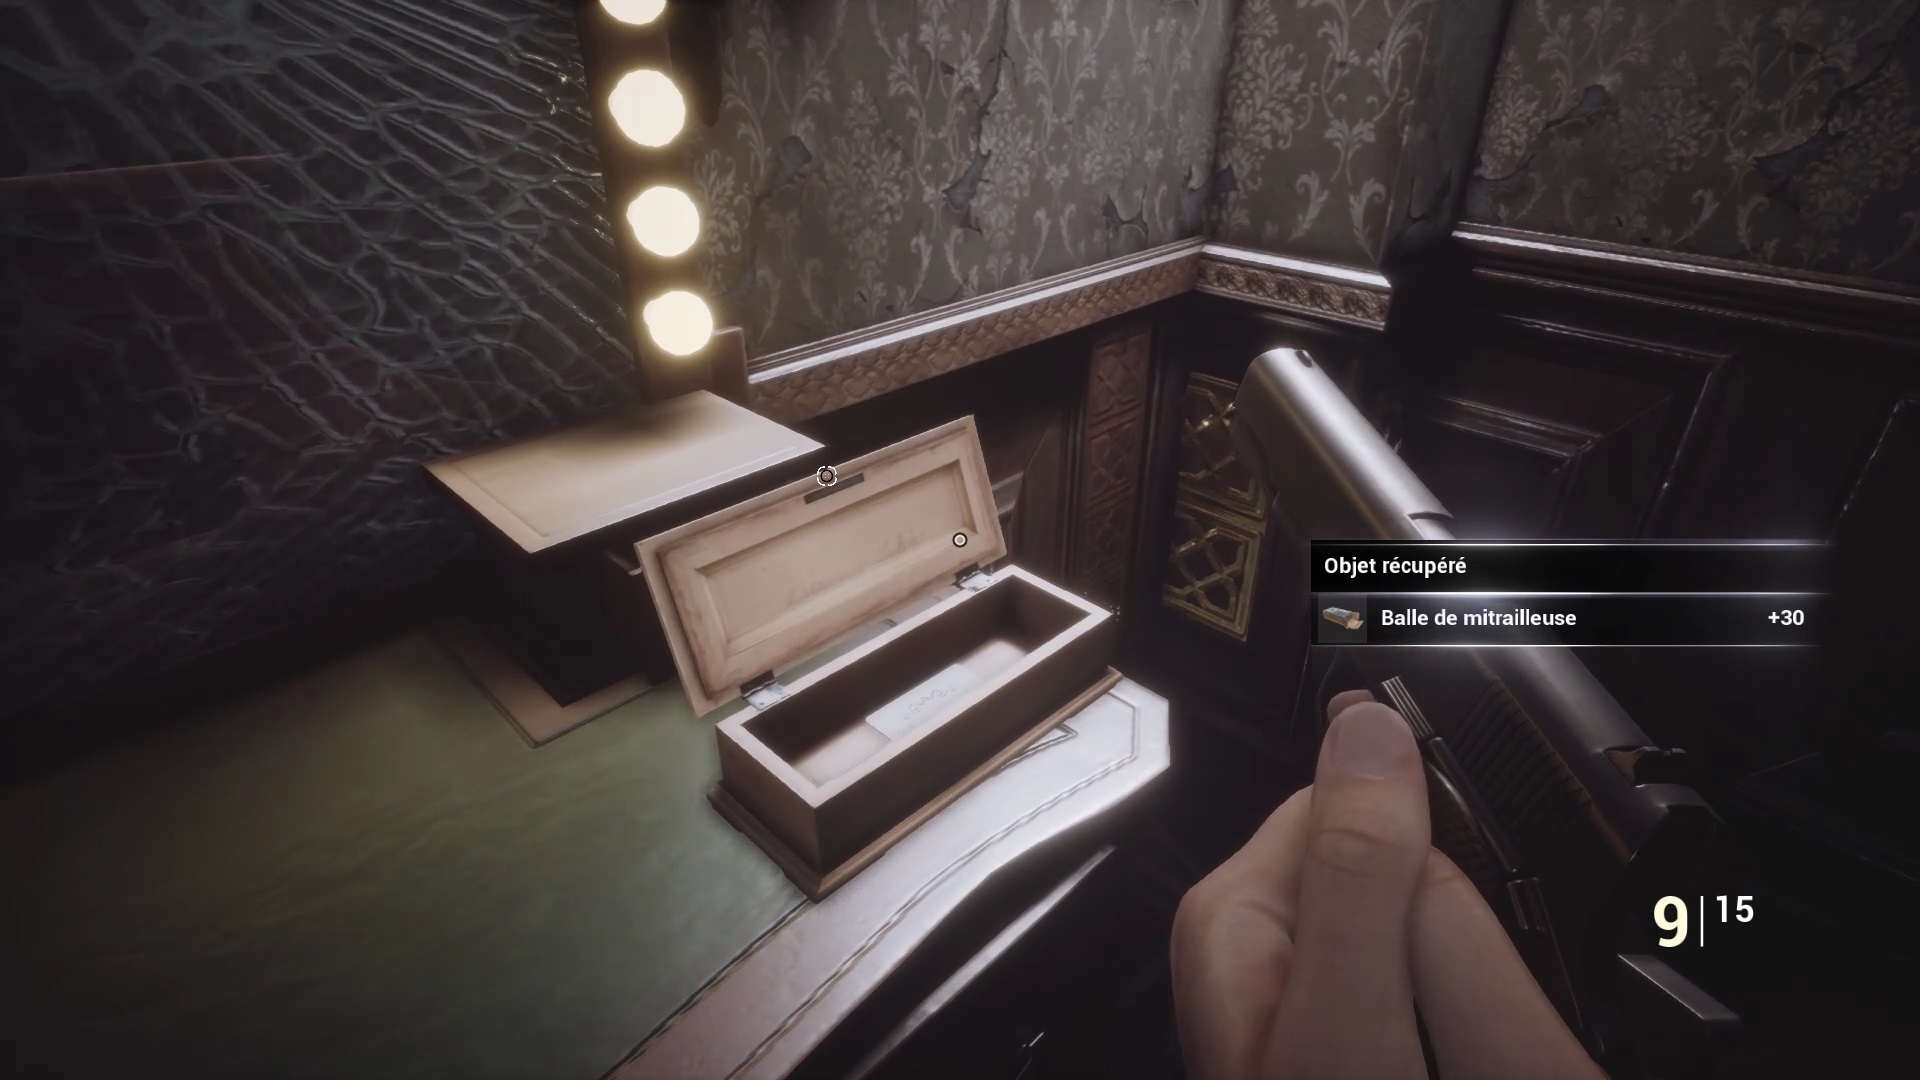
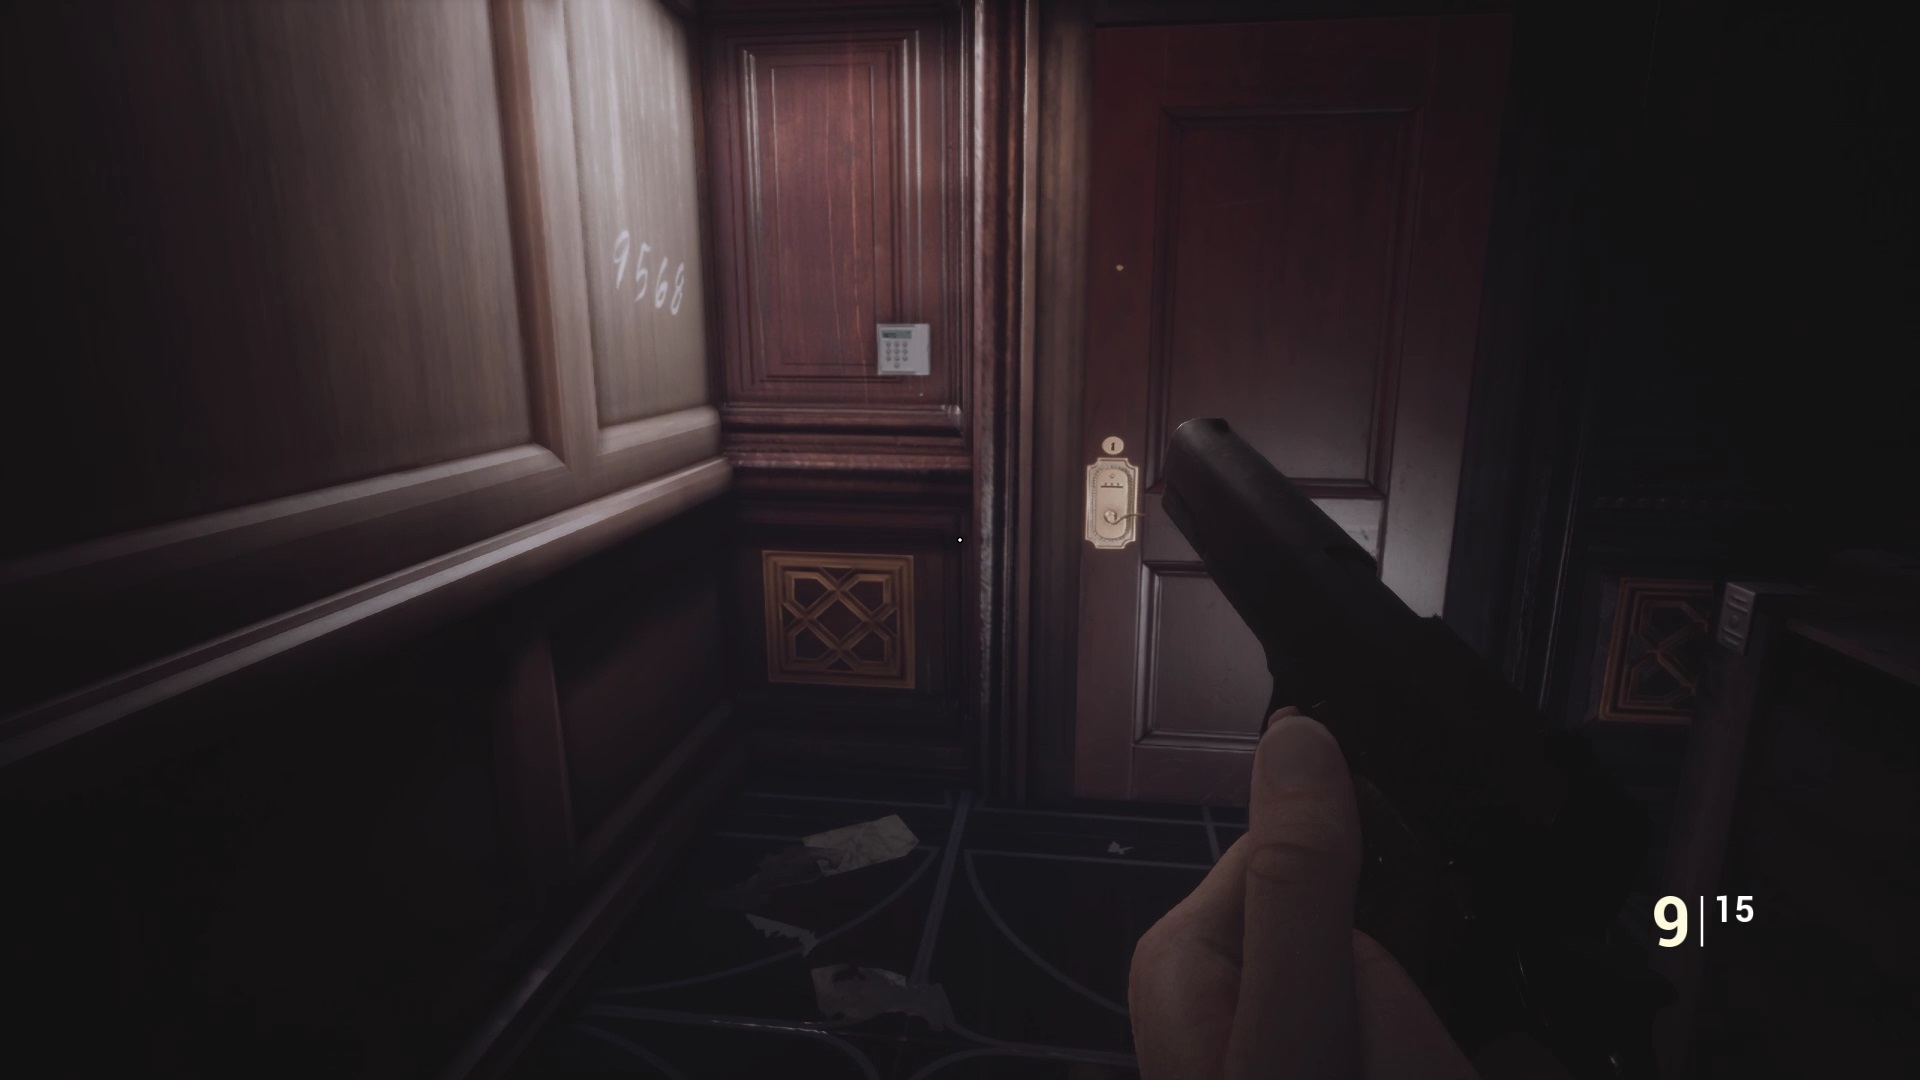
On the 8th floor, go through the door near the save point in the hallway. In a dressing room, open the box to find a white card. Go back near the hatch to find a second safe door. Be careful, the next room hides a boss, get ready with your shotgun. Use the white card on the white box and enter the code marked on the left against the wall: 9568.
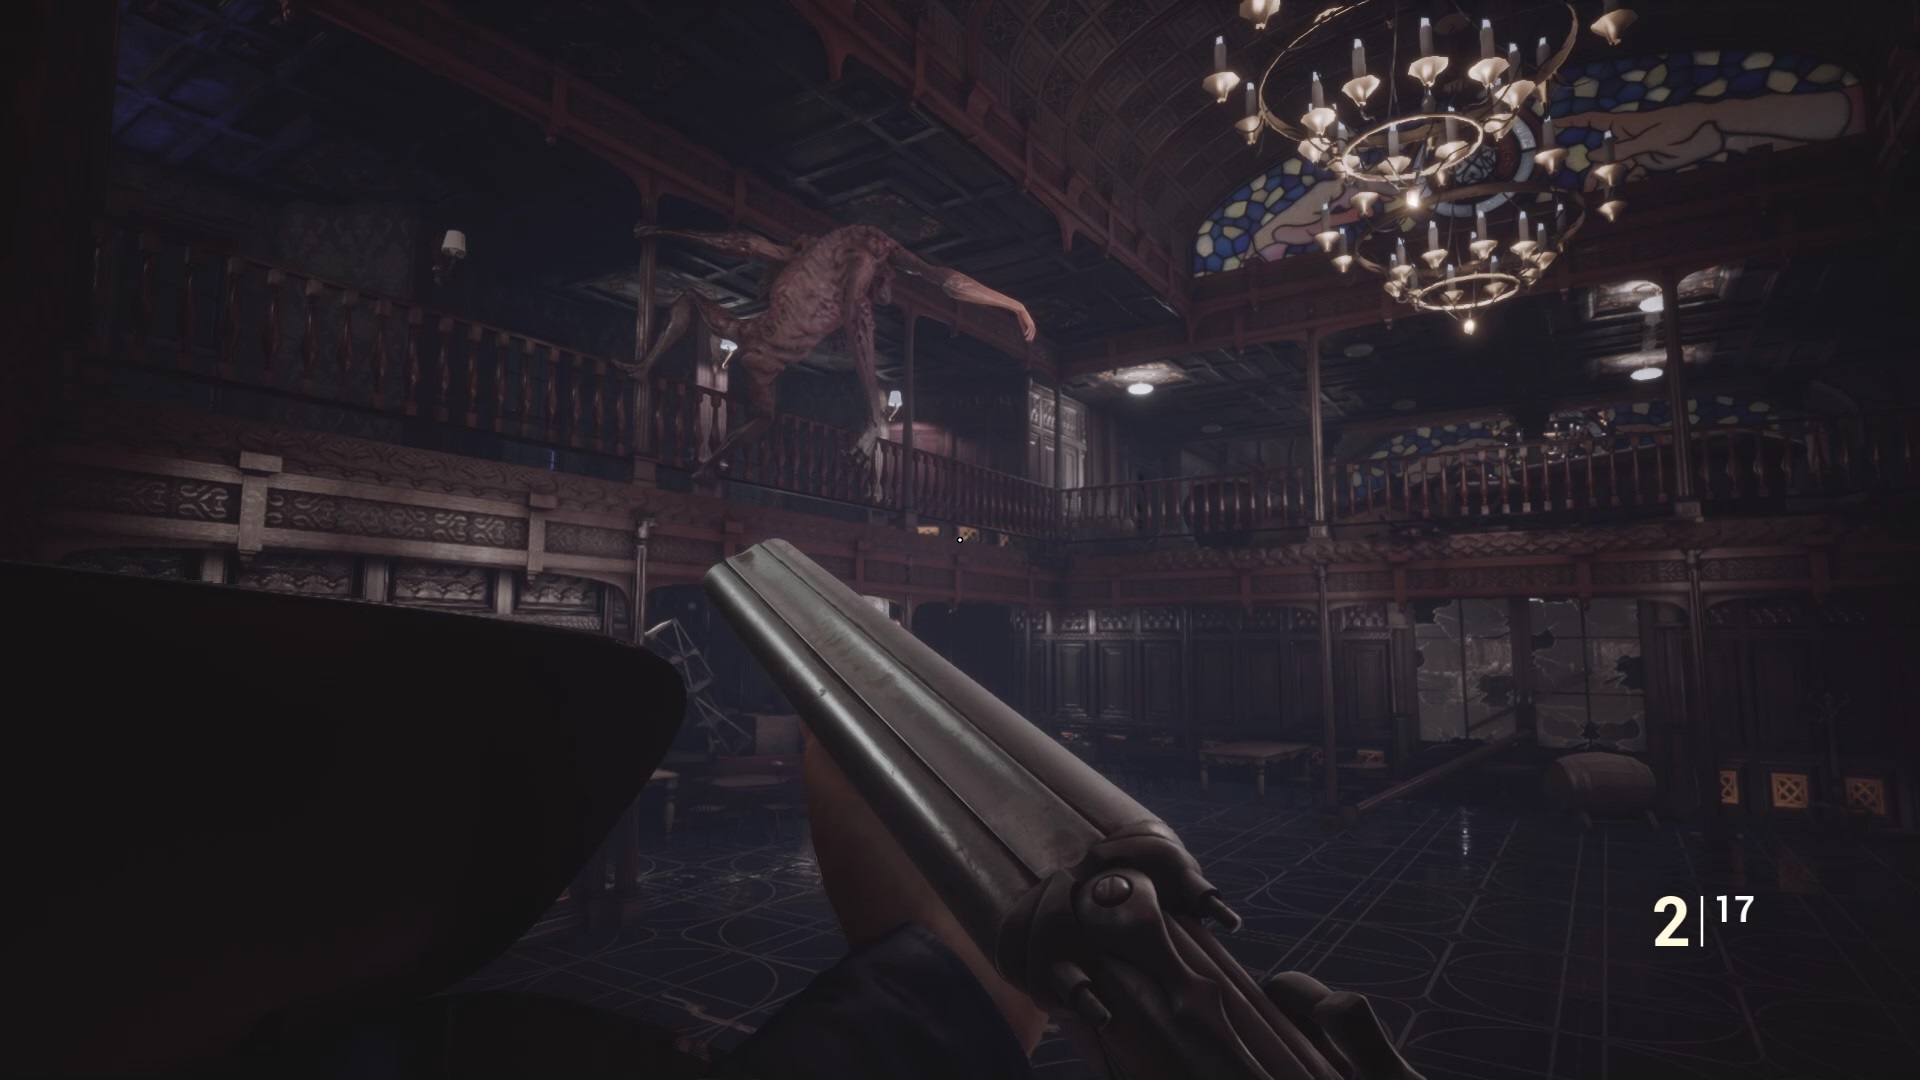
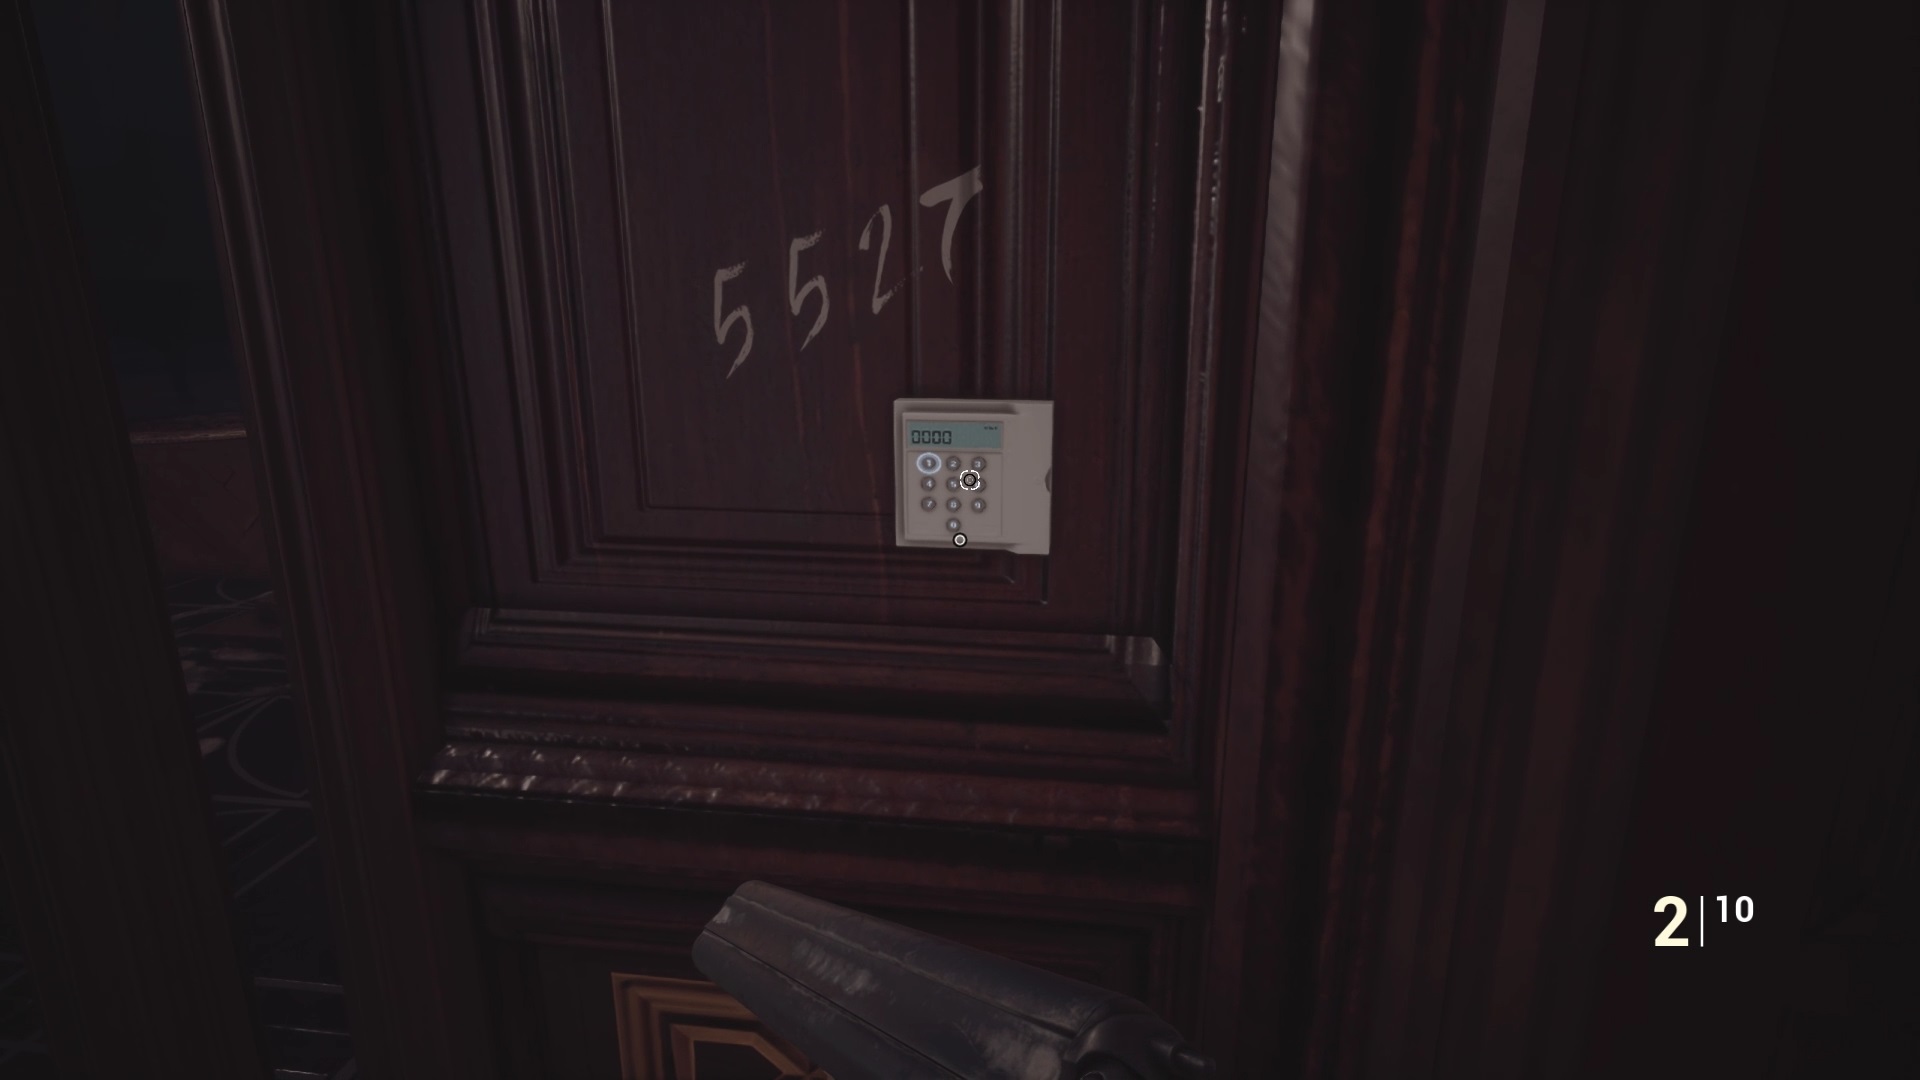

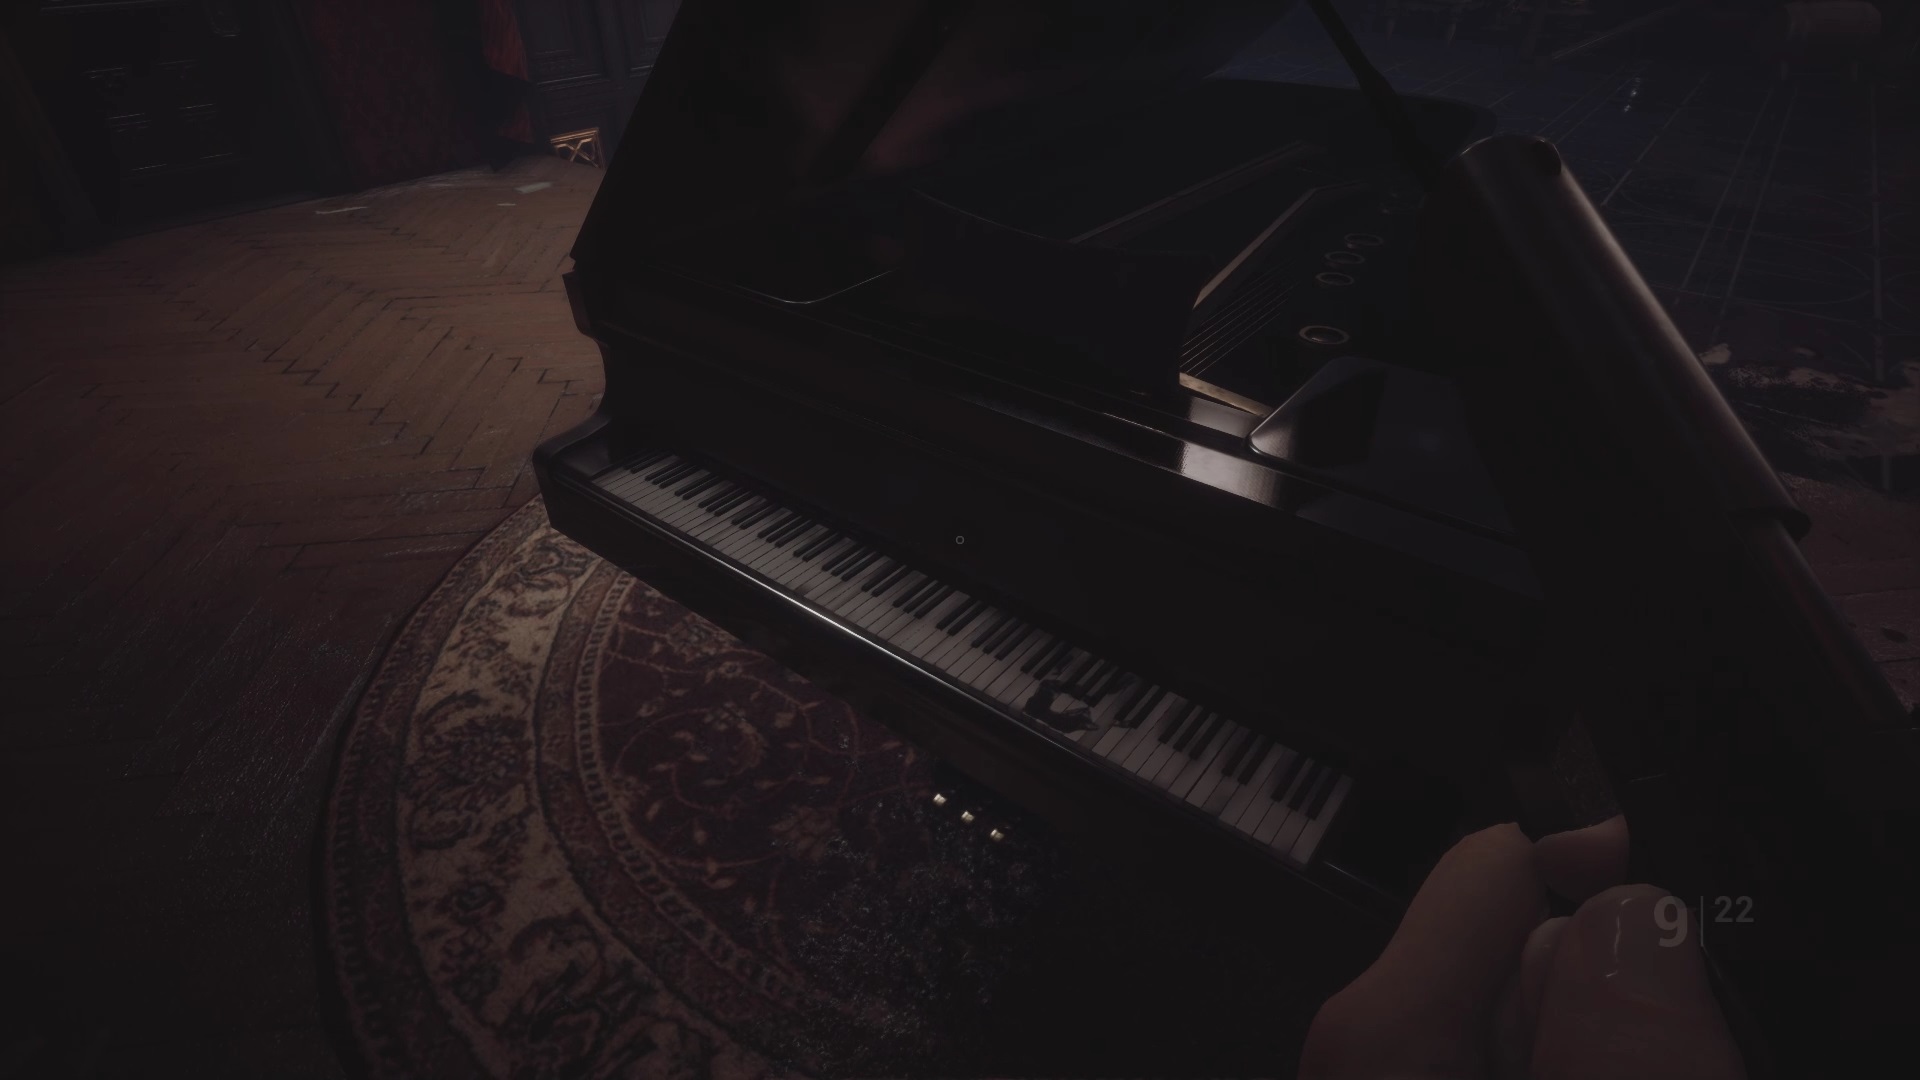
Shoot the beast keeping your distance. Make sure you are never near her to avoid her seismic waves. After a few hits, the beast dies. Go to the door near the piano to use your white card again. Again, the code is against the wall : 5527. In the corridor, push the cart to unlock the way to the previous save point. Once unlocked, go up the stairs behind.
Go up the small staircase to reach the balcony of the theatre. Keep moving forward to reach a hallway with an elevator panel in a chest. Remove the 8th floor button and use the nearby metal key to quickly reach the 7th floor elevator. Be careful other enemies reappear on the way.
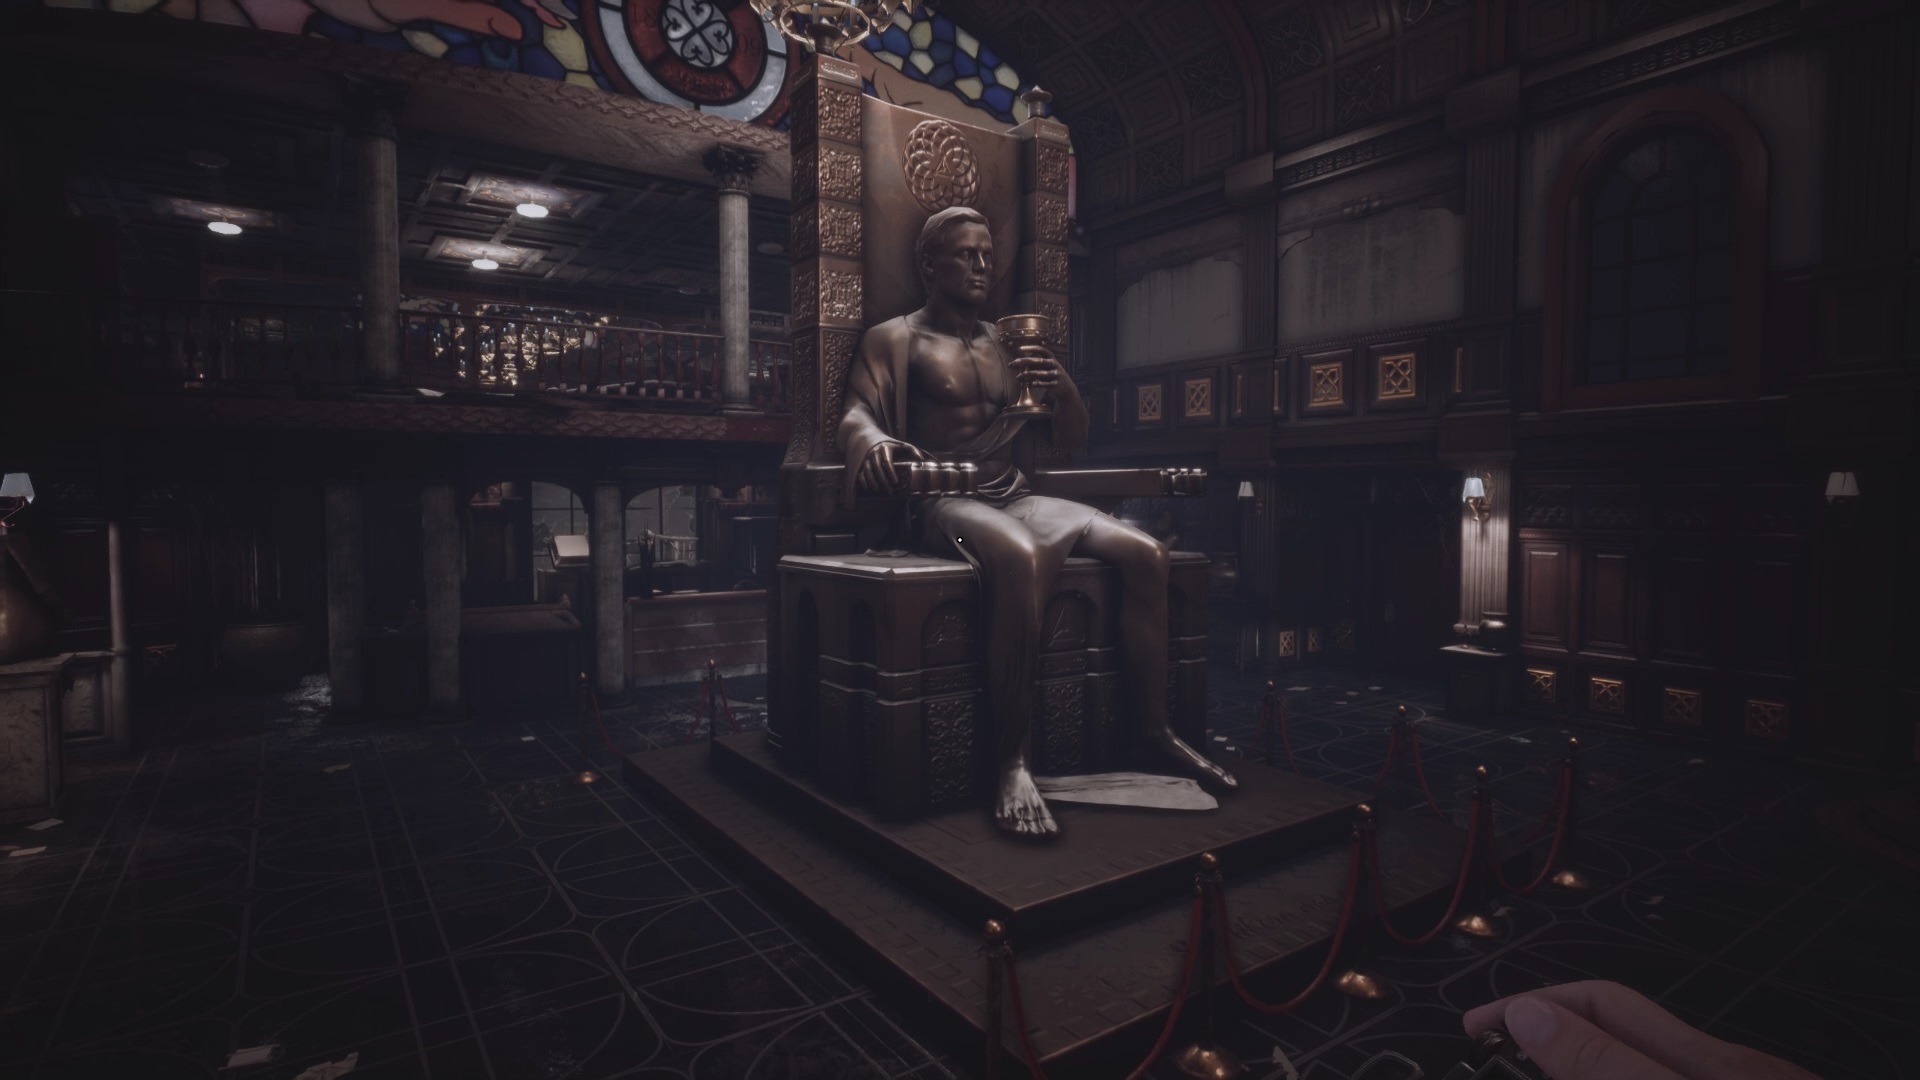
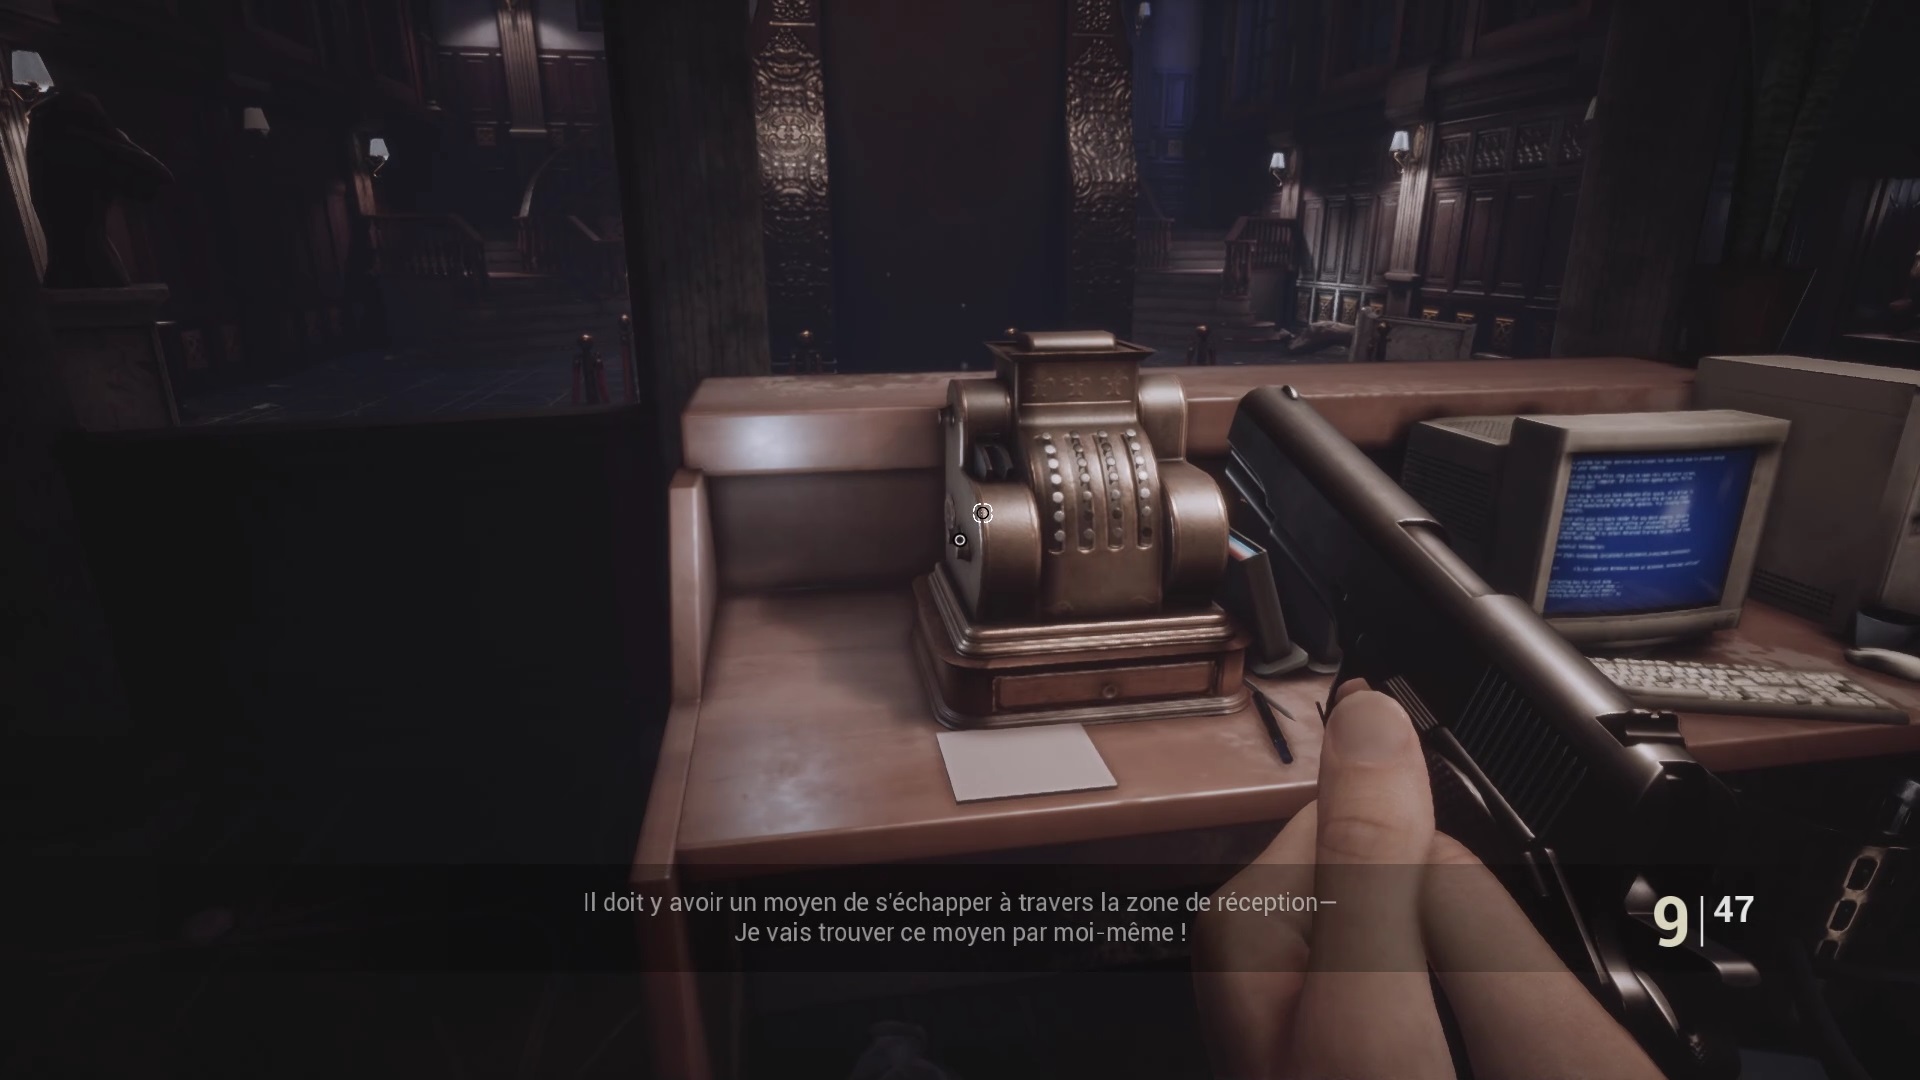
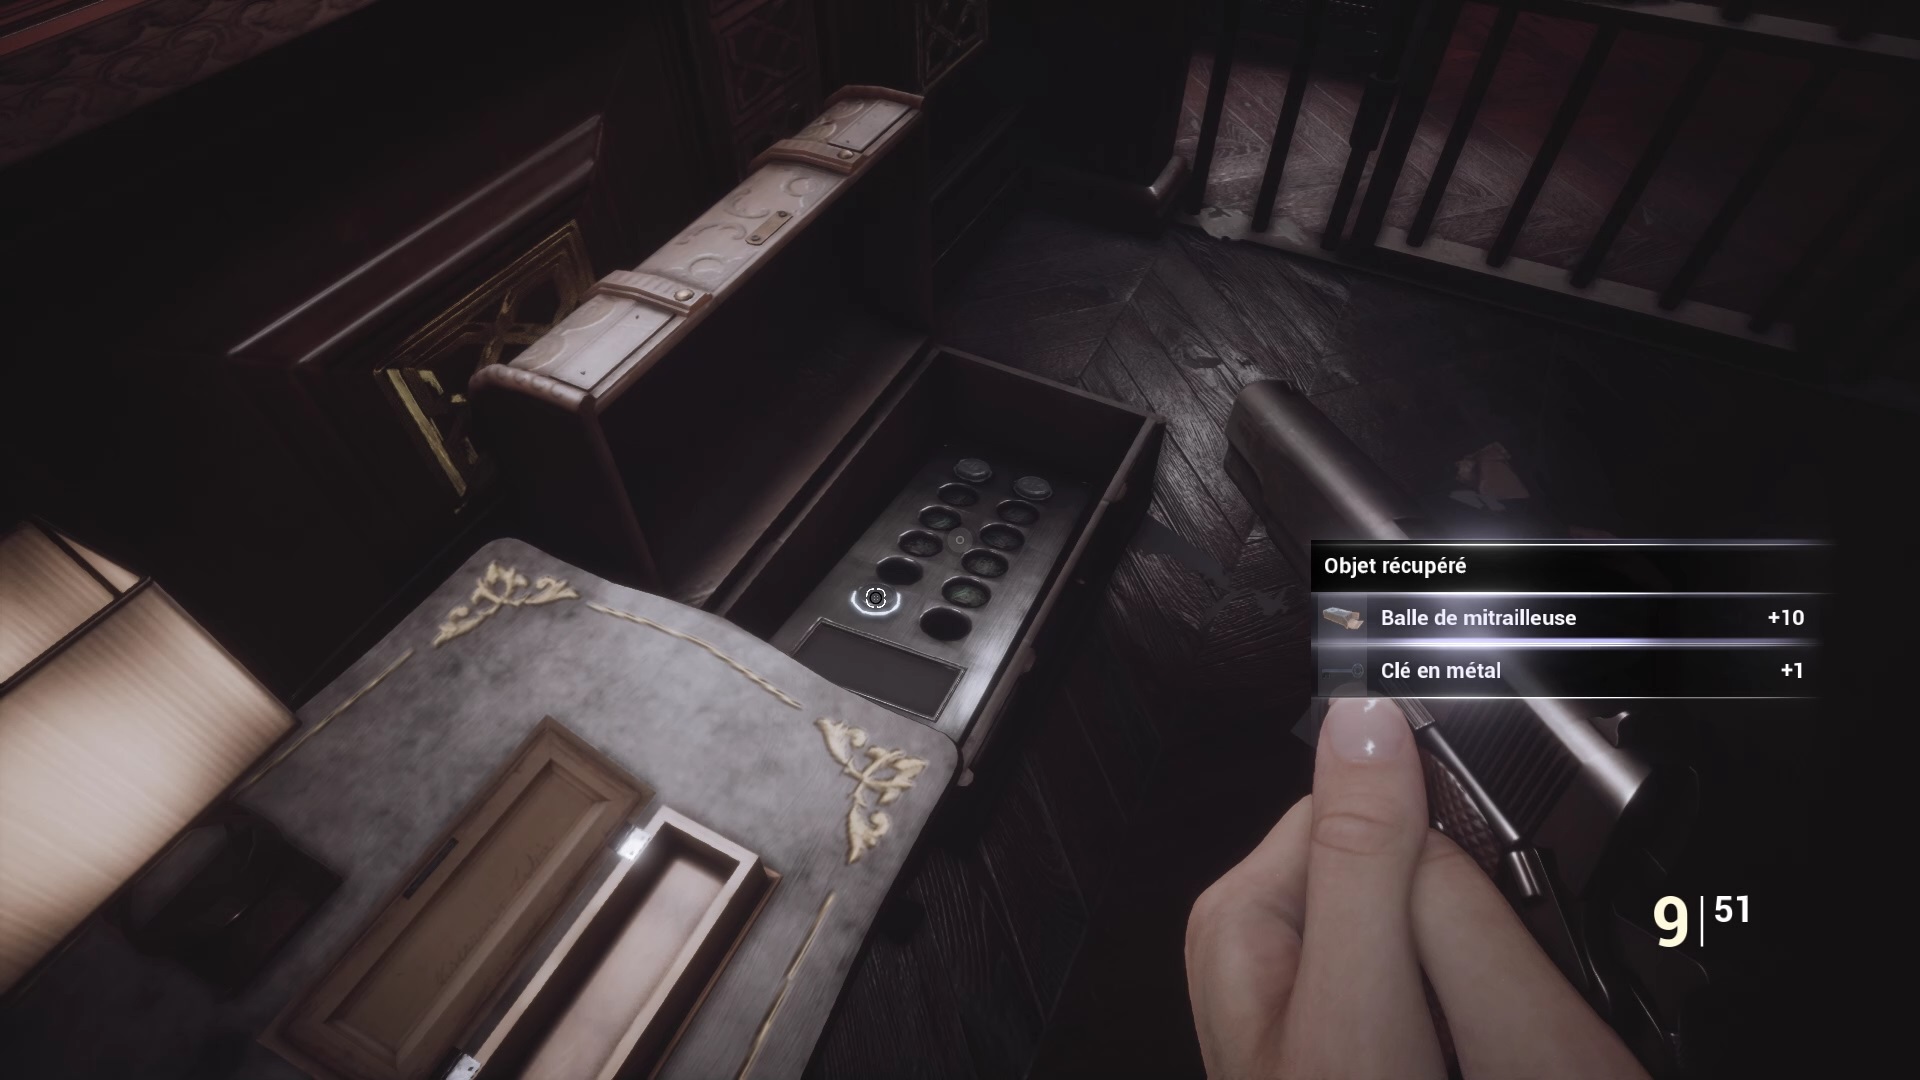
Use the 8th floor button in the elevator to reach the floor. Inside, go up the stairs in front of the statue to find a message from Stephanie and a handle. Go back down the stairs and go behind the statue to find a cash register. Use the handle with the cash register to open a drawer containing a key from Mezzanine 2. To the right of the cash register is a new secure door. Its code can be found thanks to the note to the right of the door. Refer to the date of the case to obtain the code : 1102.
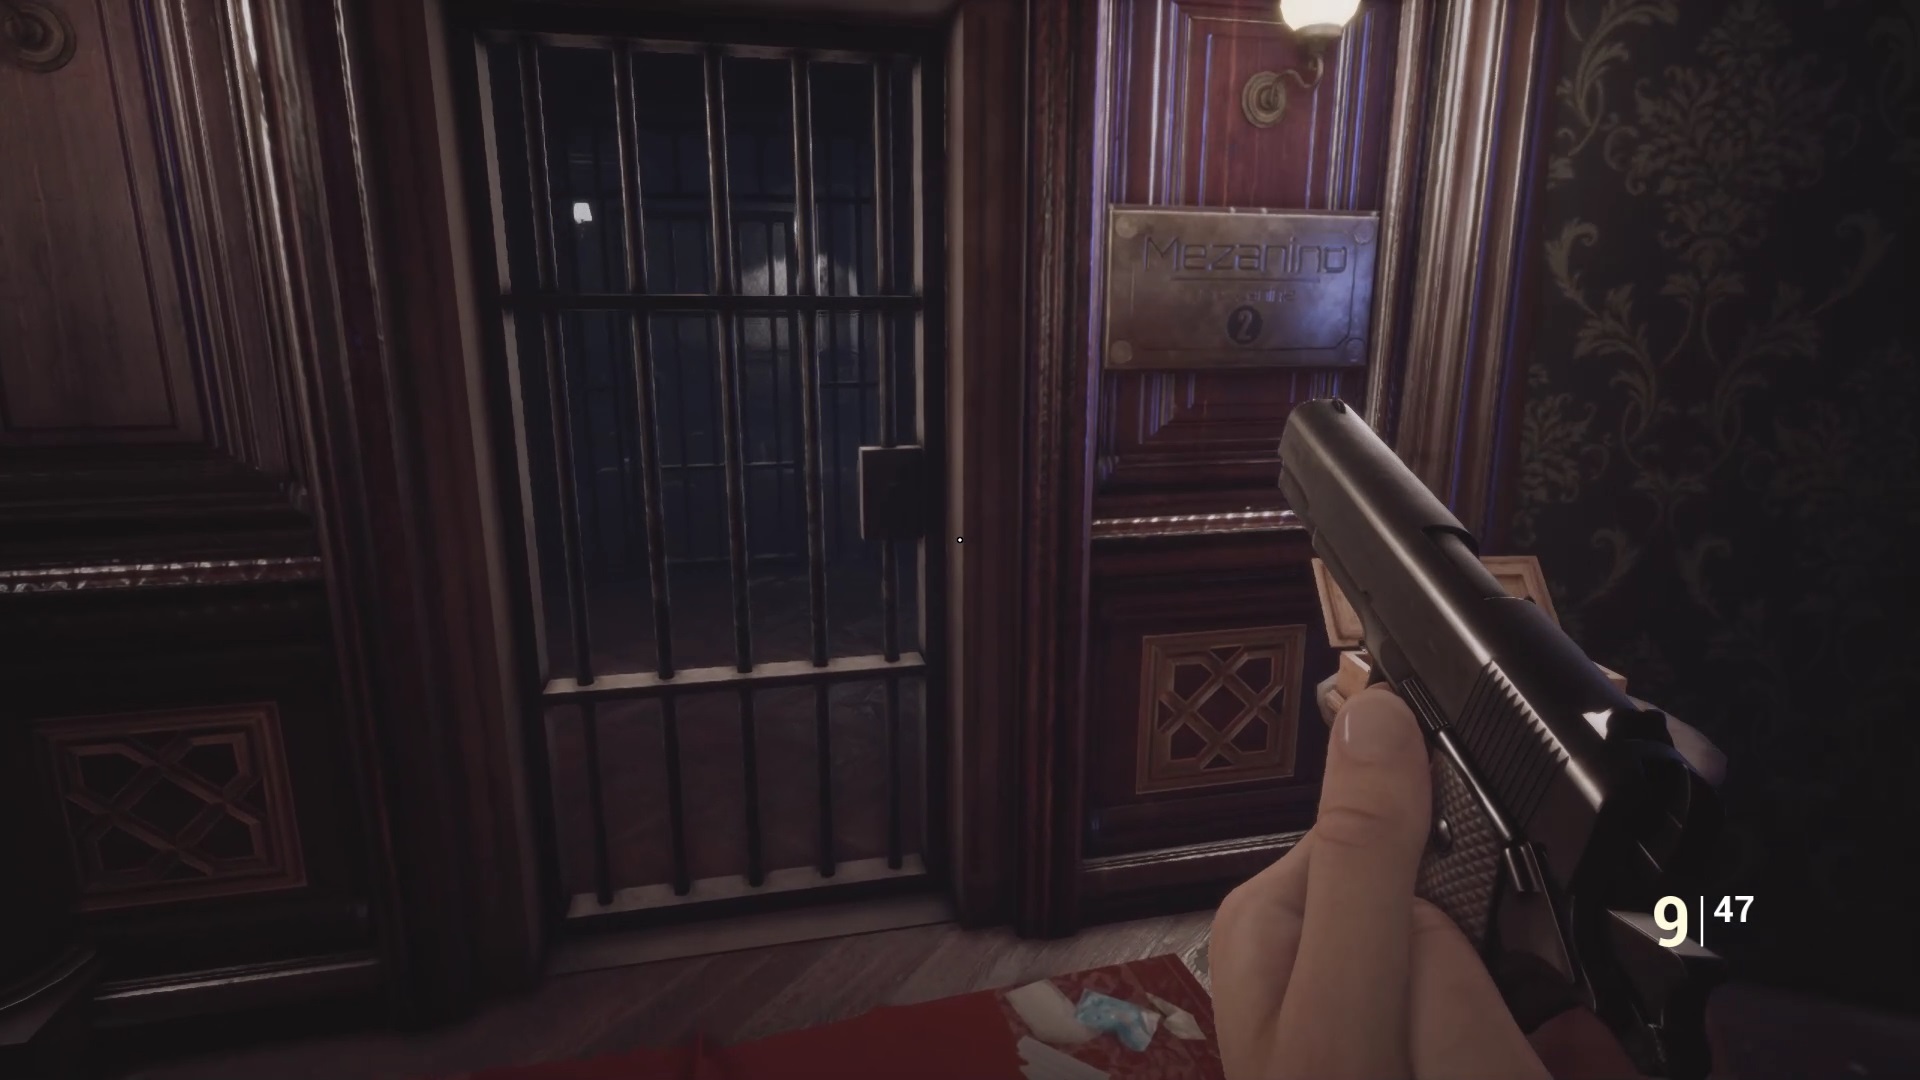
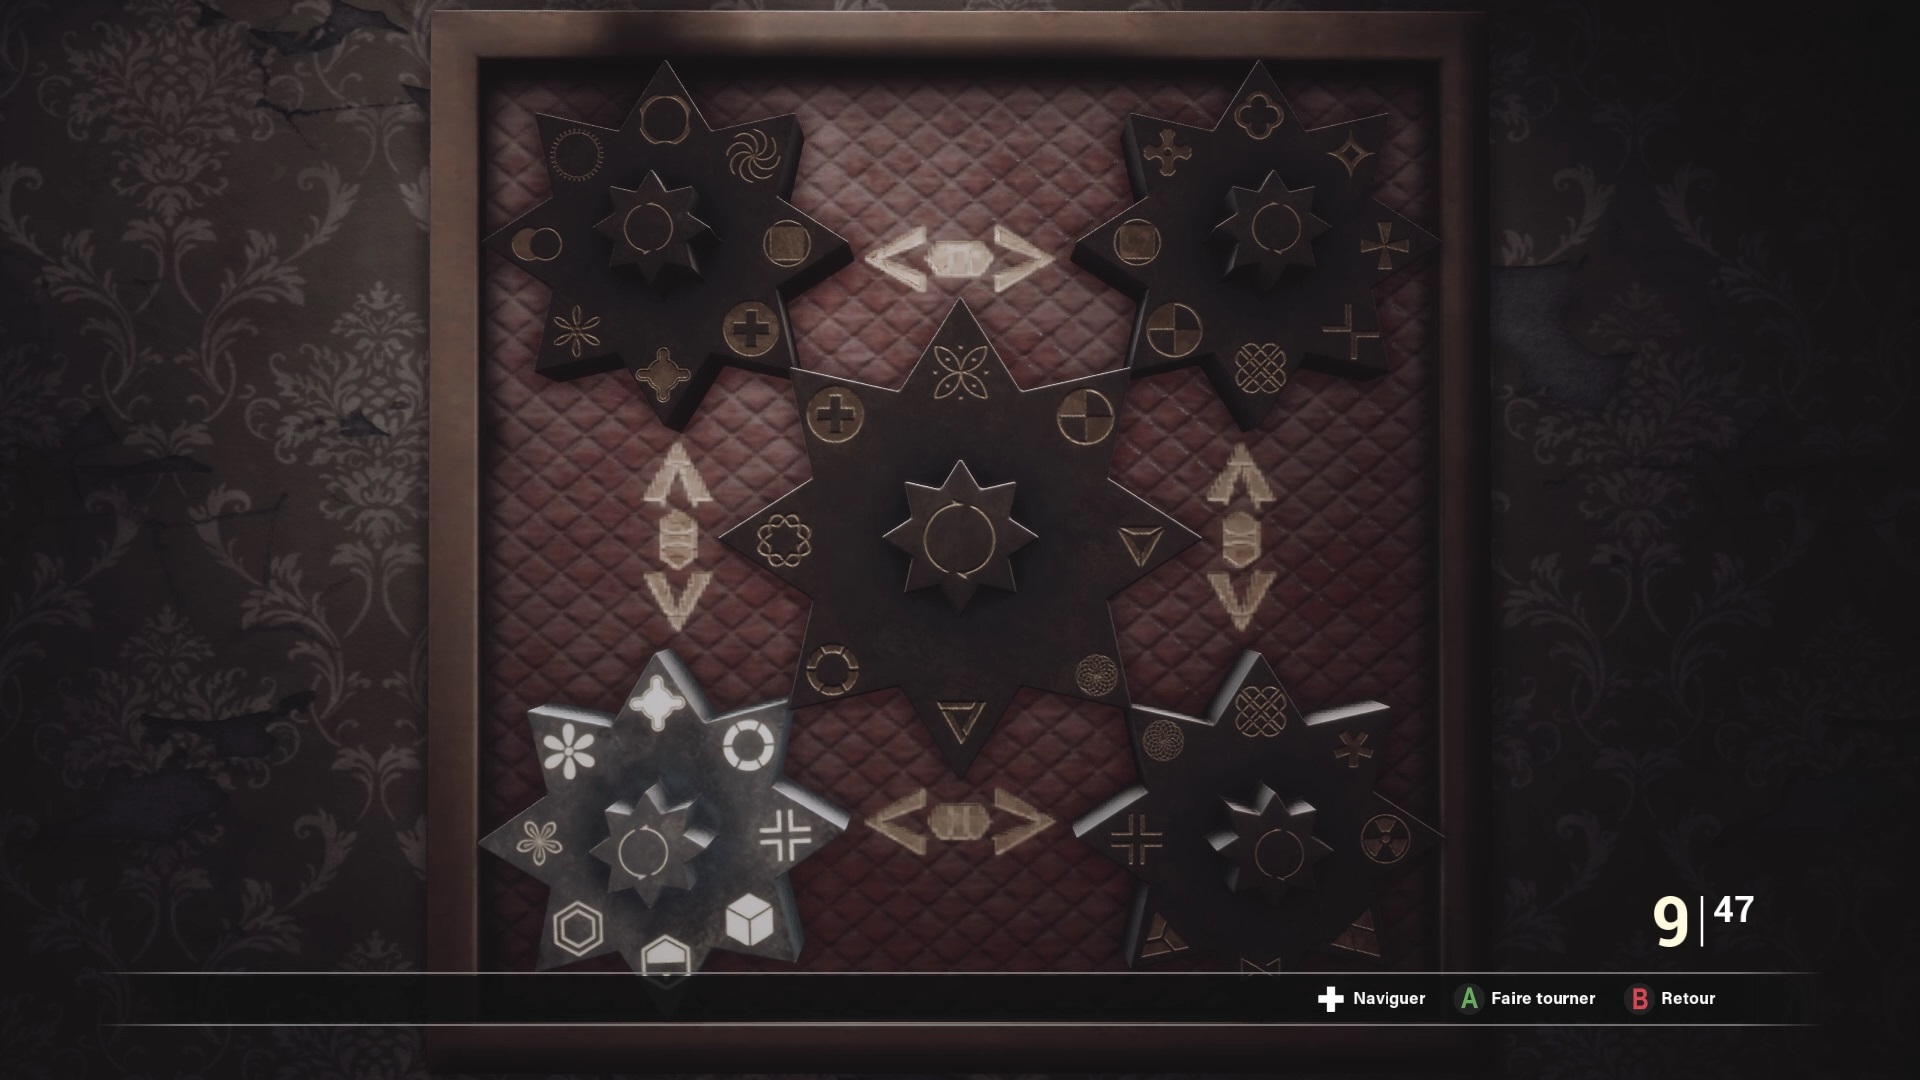
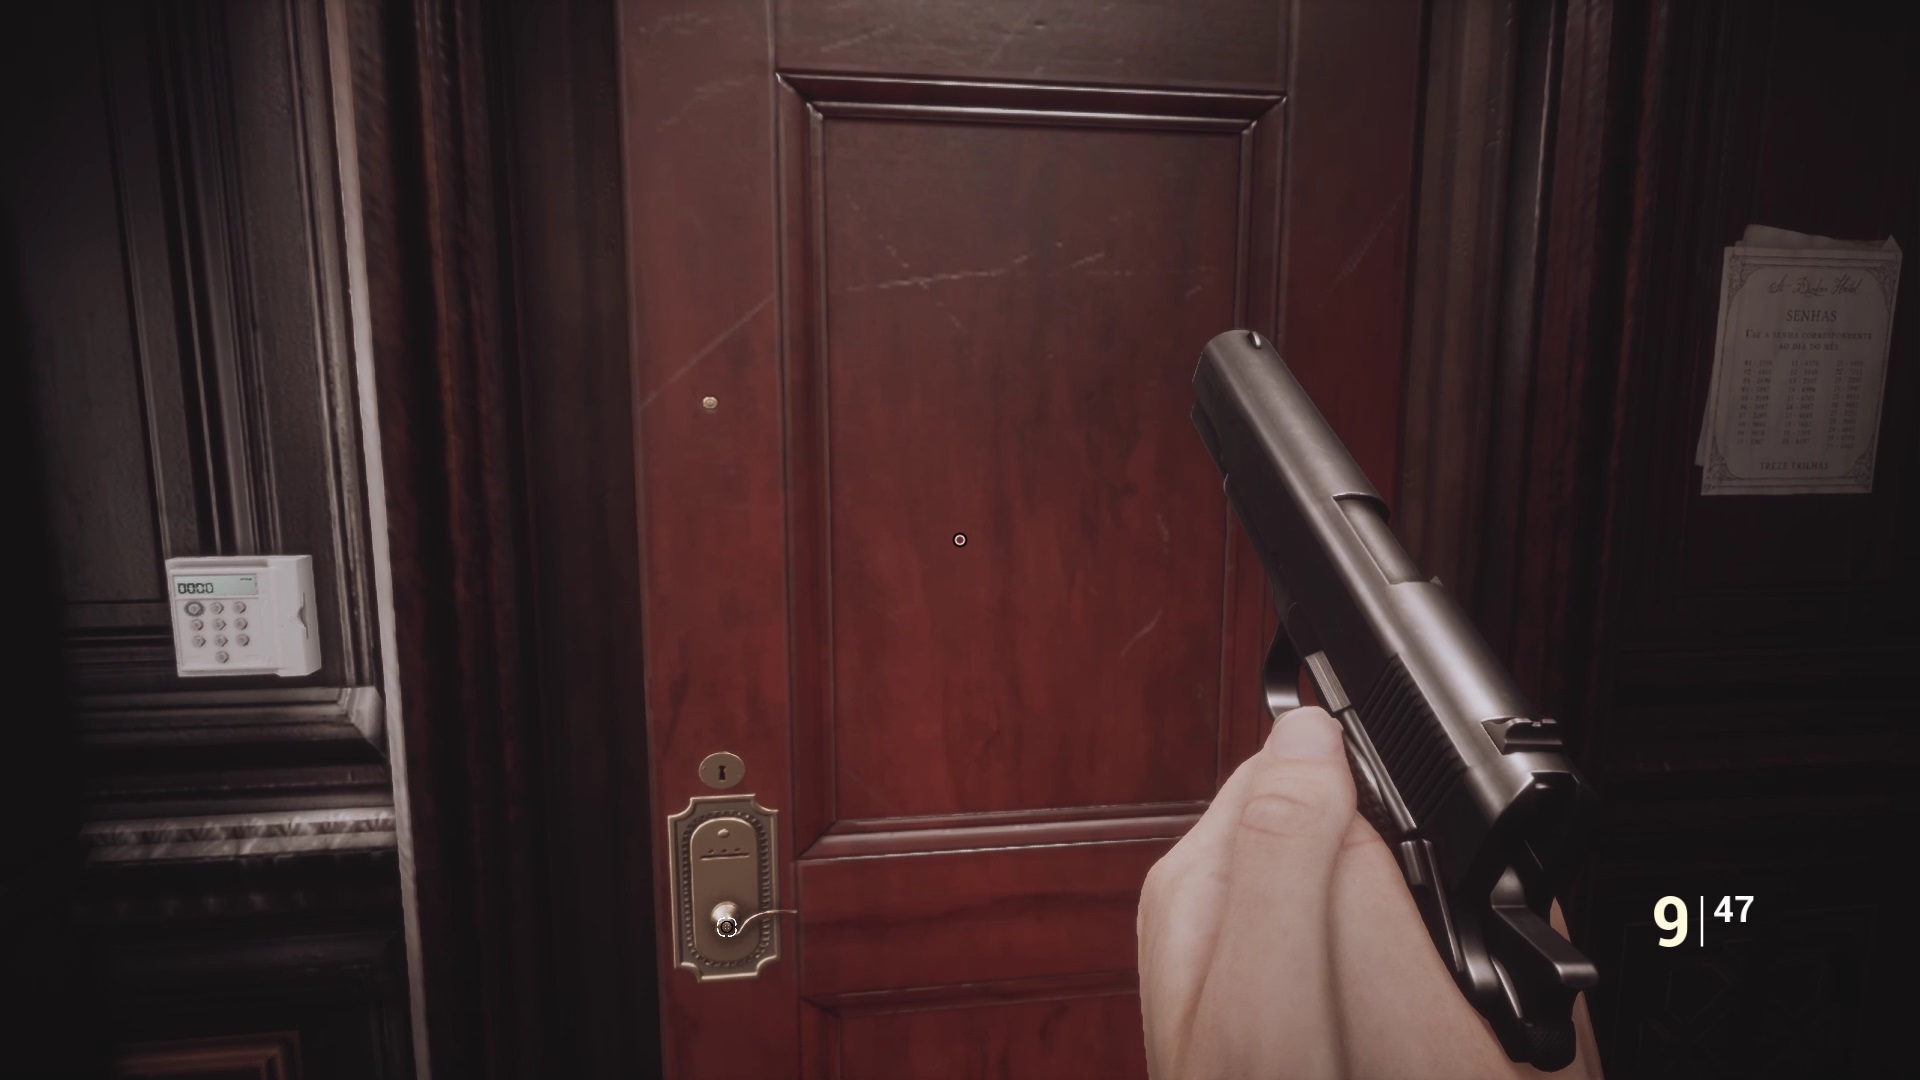
Go up through this new passage to the Mezzanine 2 door. Once through the grate, you’ll find a new puzzle. You will need to match the symbols between the cogs to unlock the box in front. This gives you the key to the reception. Return via the elevator to the lobby on the 1st floor. Open the door to the right of reception with your key.

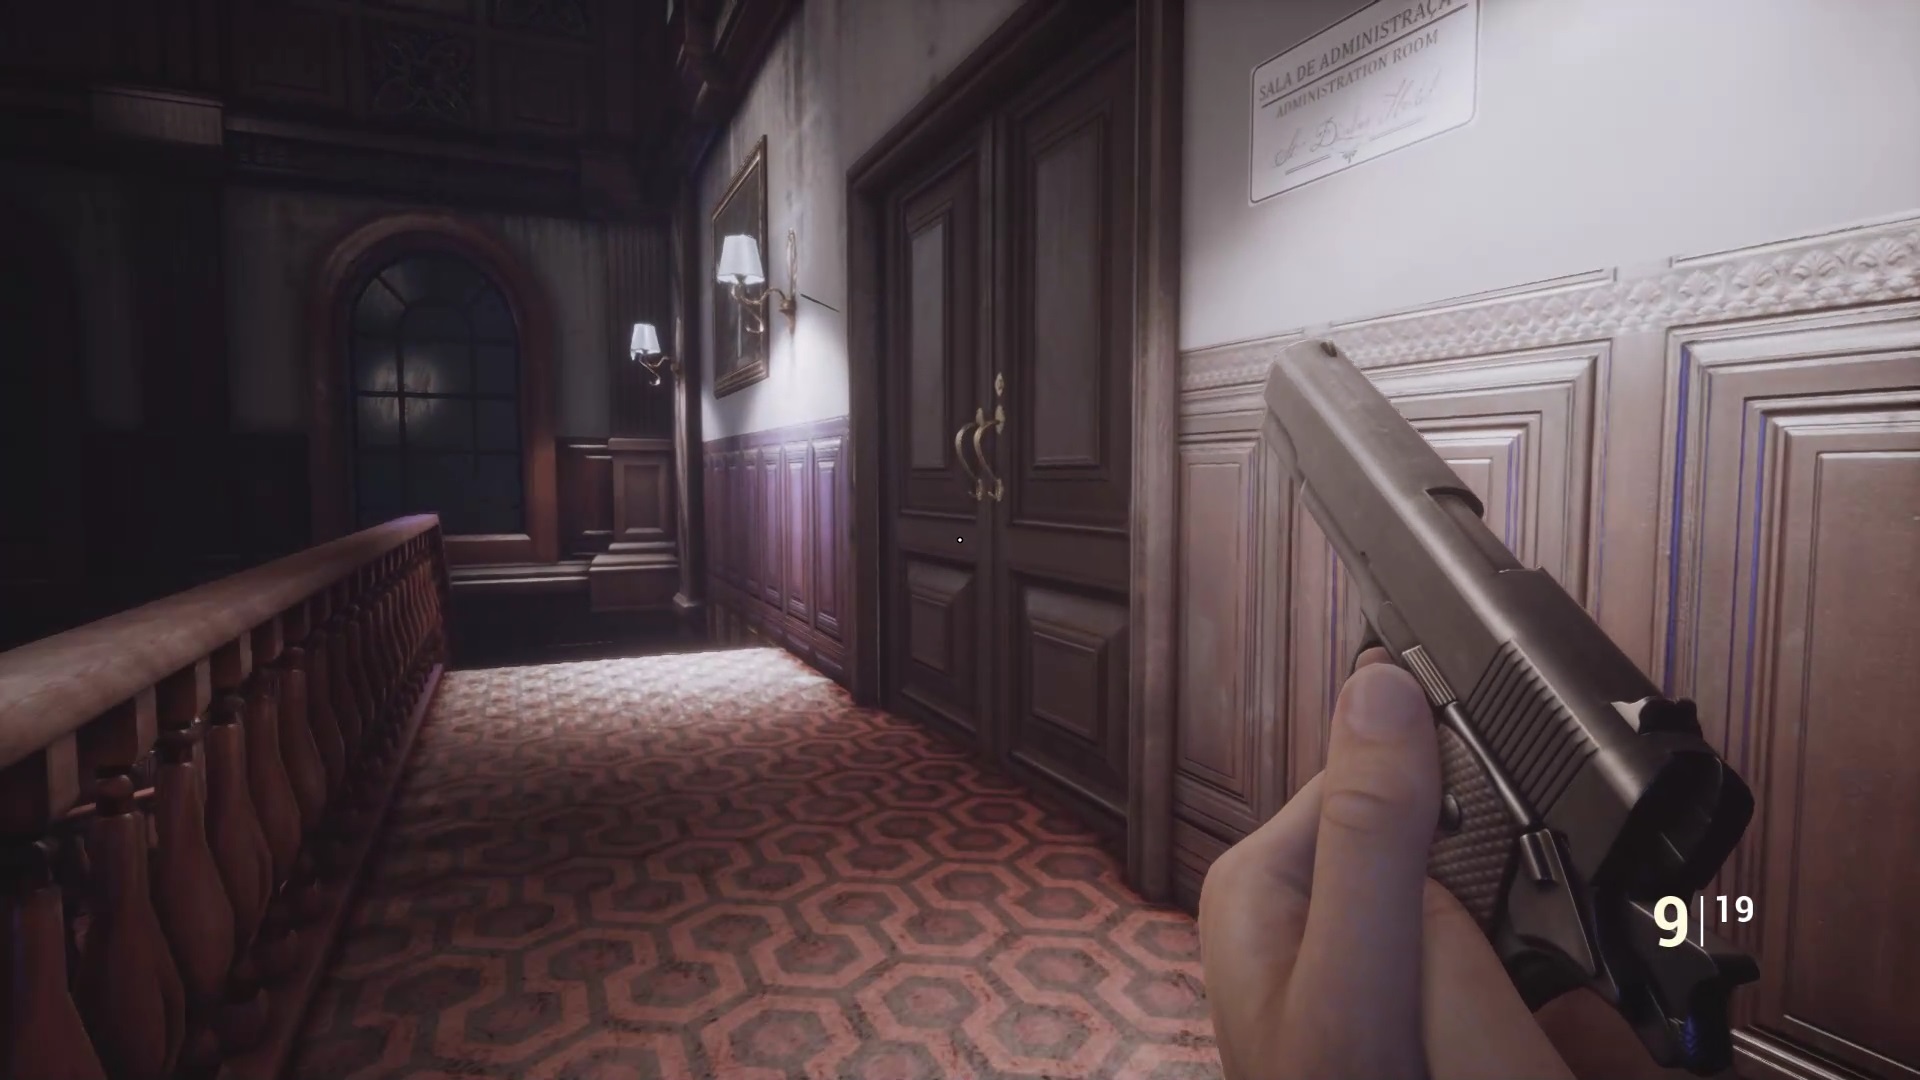
On the other side, go forward and use your device against the trace of hand to open a passage. You will find a box to unlock with your modular key and the correct symbols. It contains an electronic circuit for the 3rd floor and a key for the administration room. A call from Stephanie awaits you in the other room. Be careful when returning to the hall Aquilles is back.
Make your way to the 3rd floor via the secret bathroom passage in room 210. Go around the hall to reach the stairs. Don’t waste your time with the elevator this one doesn’t work. Dodge all opponents and reach the elevator on the 3rd floor. Use the electronic circuit and solve the puzzle to fix the elevator. Go to the 8th floor.
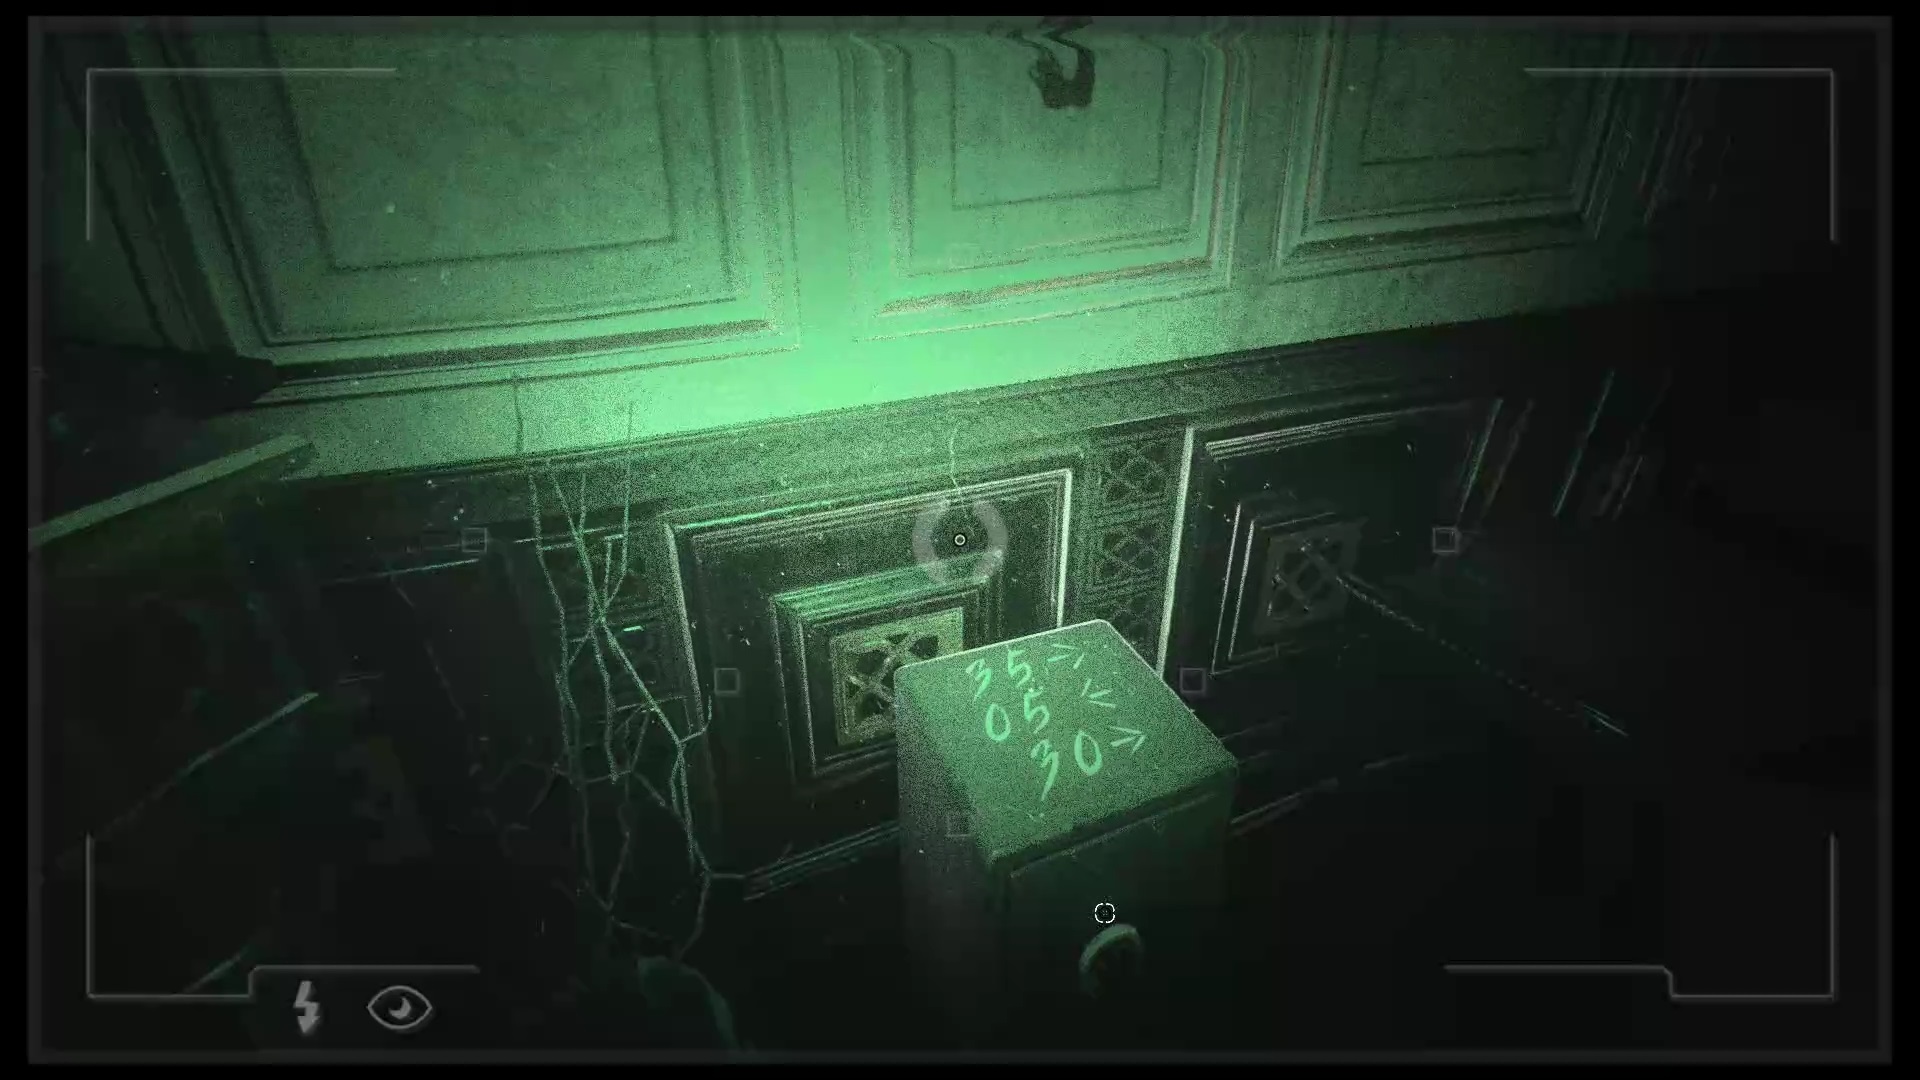
Be careful, monsters are waiting for you at the exit. Unlock the admin room with the key. Look at the safe against the wall. Use your camera to reveal the combination to open it: 35 to the right, 05 to the left and 30 to the right. Collect a piano key, a document with the Fibonacci sequence and a small gear for the puzzle cube.
Go to the theater where you beat the previous boss via the passage near the cashier. You will find a piano on the stage, use the piano key on it. Thanks to the Fibonacci note, you can solve the puzzle. All you have to do and press the number notes according to the document is: 0, 1, 1, 2, 3, 5, 8, 1, 3, 2, 1,3,4,5,5 of bottom to top. A secret passage is revealed under the statue on the 8th floor.
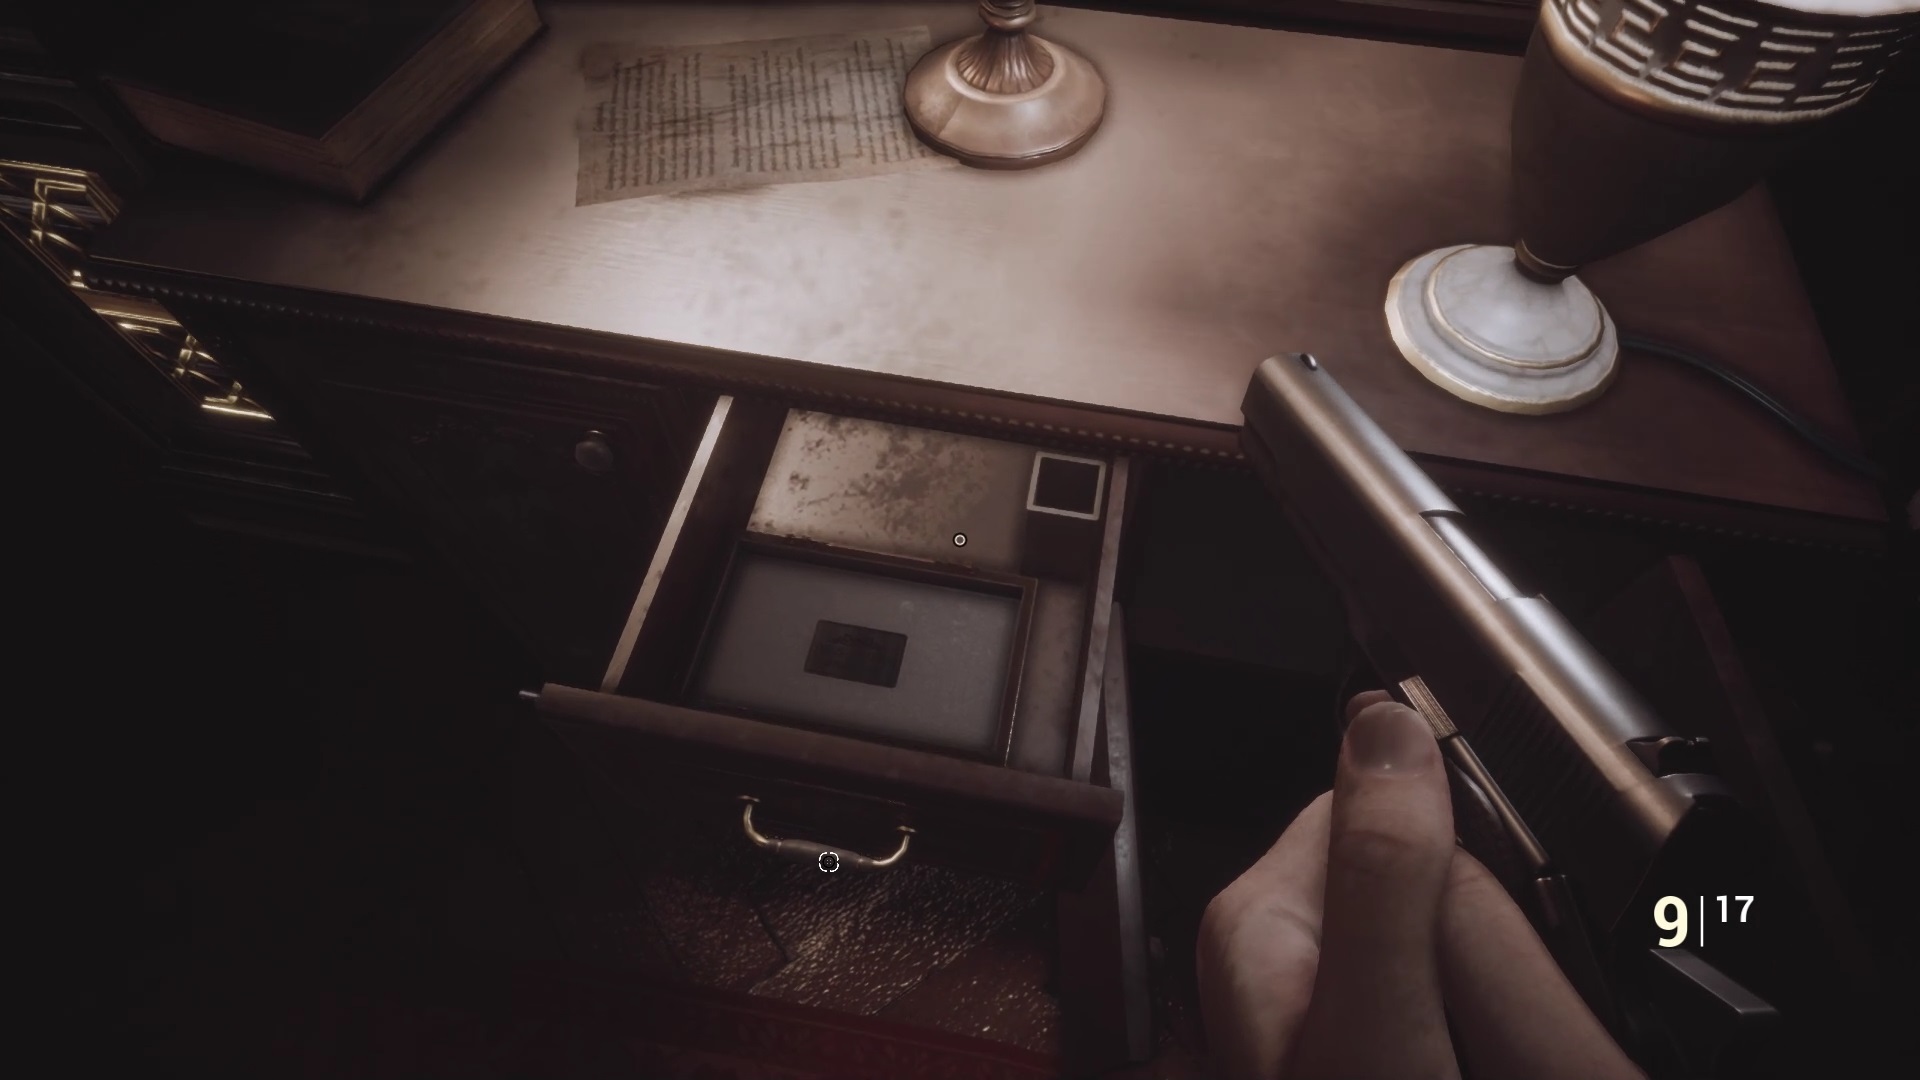

Go down the stairs to trigger a cutscene. After the cutscene, search the cabinet in the hallway to find a black card in one of the drawers. At the end of the corridor is a gate secured by a black casing. Insert the card and use the 7th floor password in the previous found document to open it : 400233. It allows you to reach the 7th floor staircase. In your inventory, combine the small gear with the cube.
To complete the fifth puzzle, you must arrange the gears to activate each column. Follow the pictures above to complete the fifth puzzle. You get the last piece of metal for the modular key.
Combine the piece with the modular key and go to the secret elevator under the statue. Use the golden key with the correct symbols to reach the underground.
The Forest
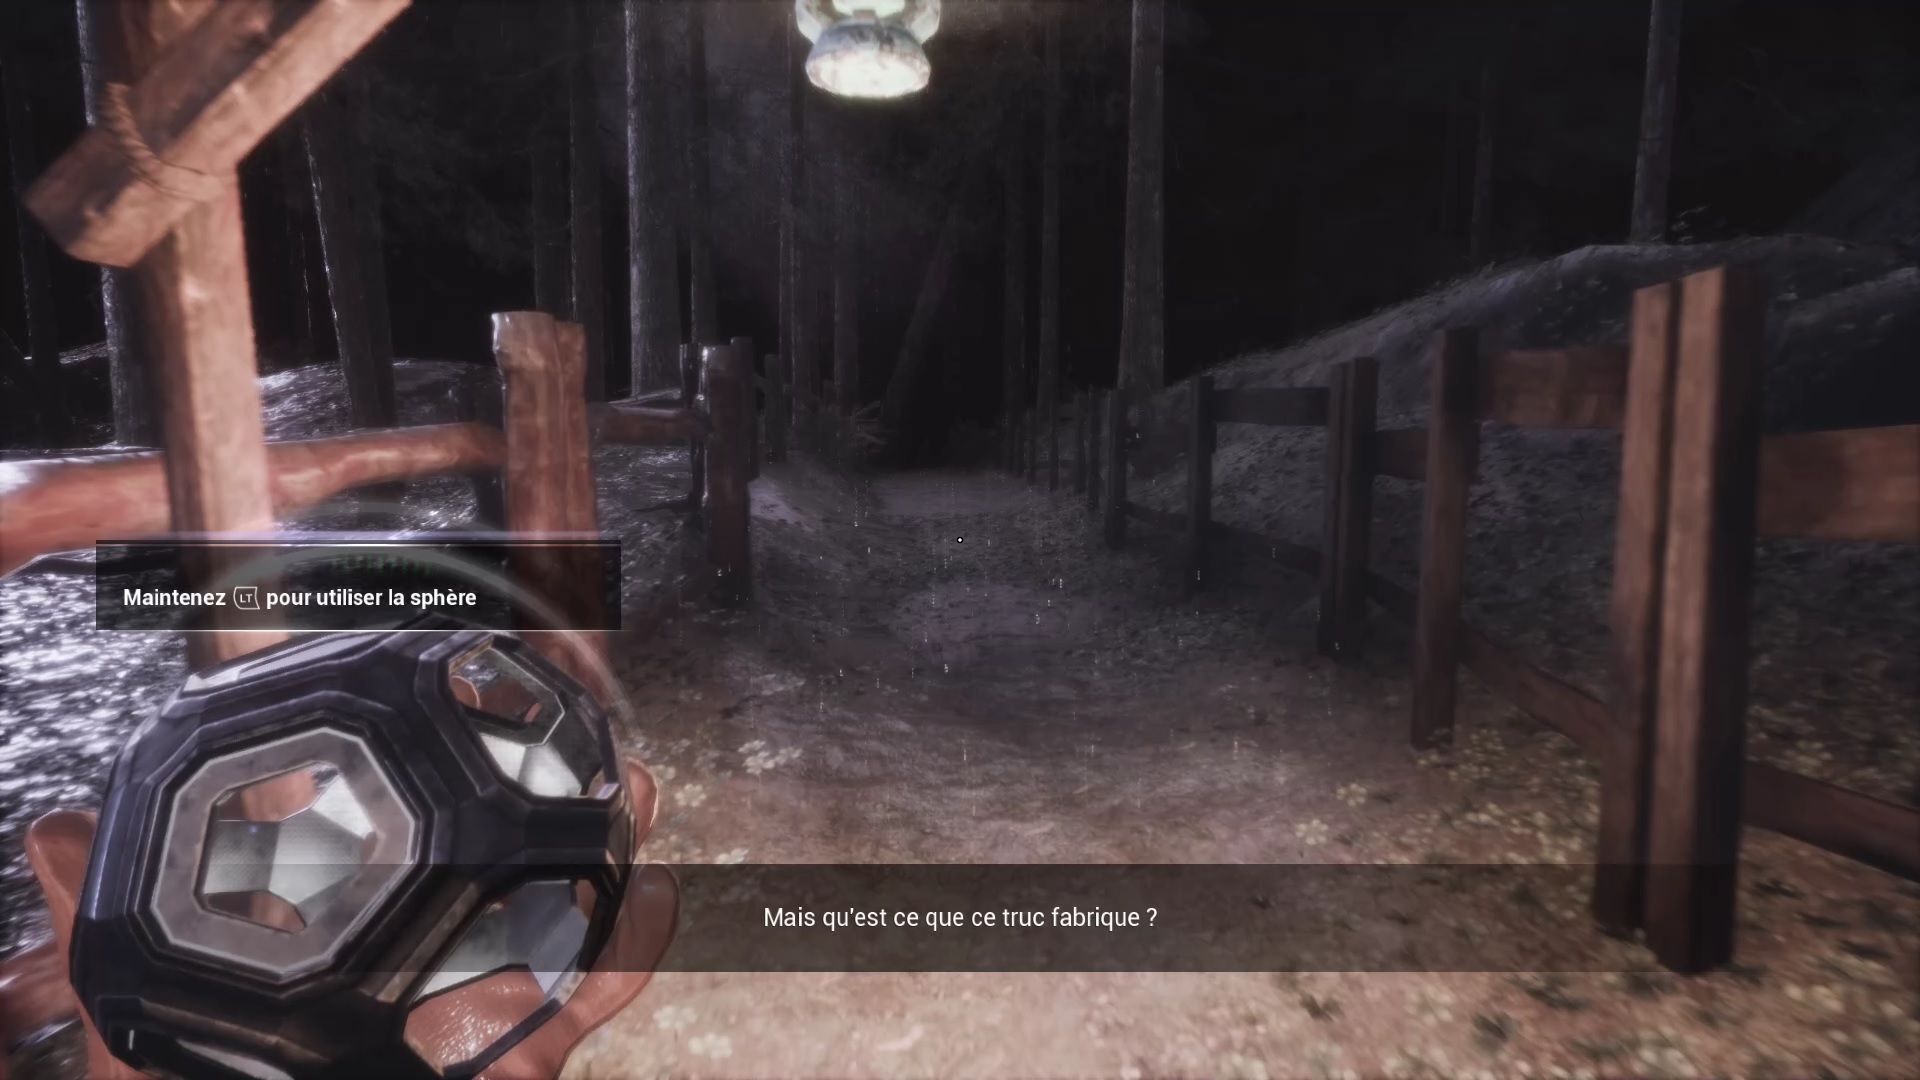
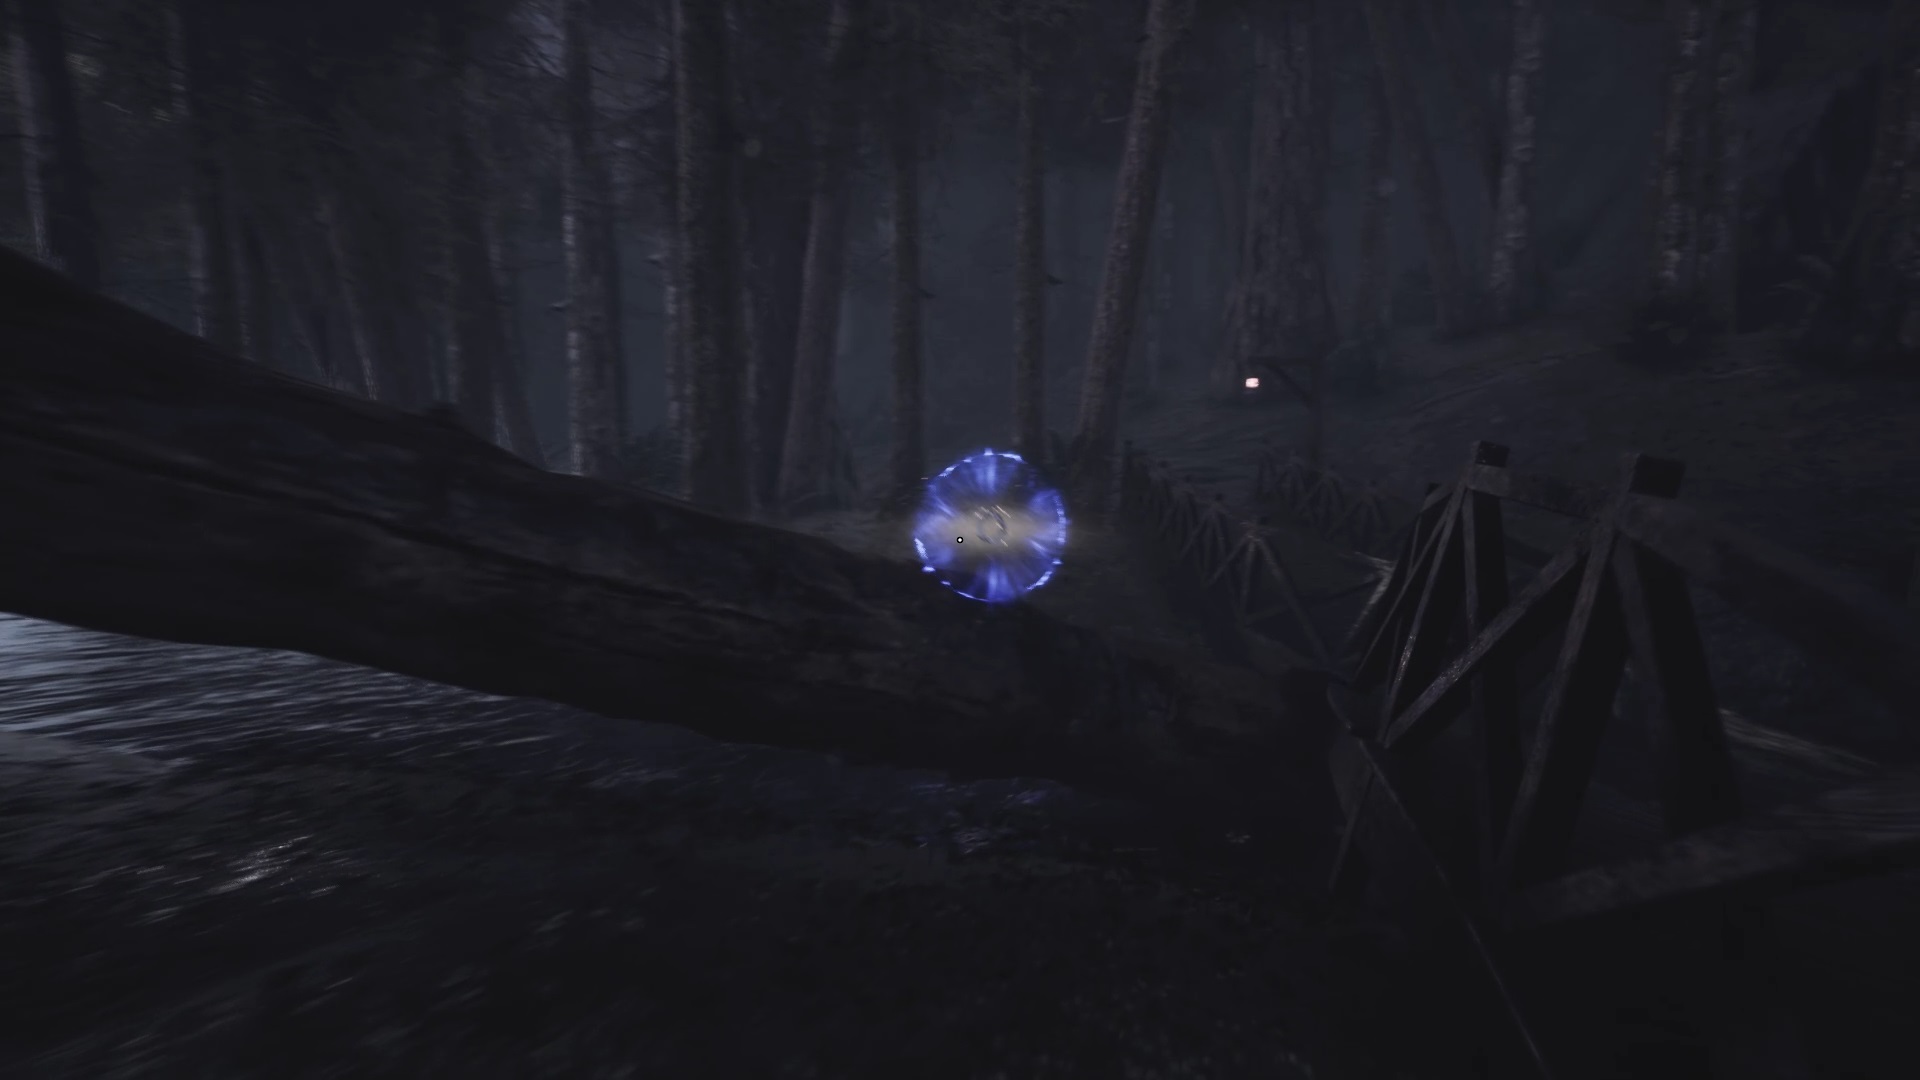
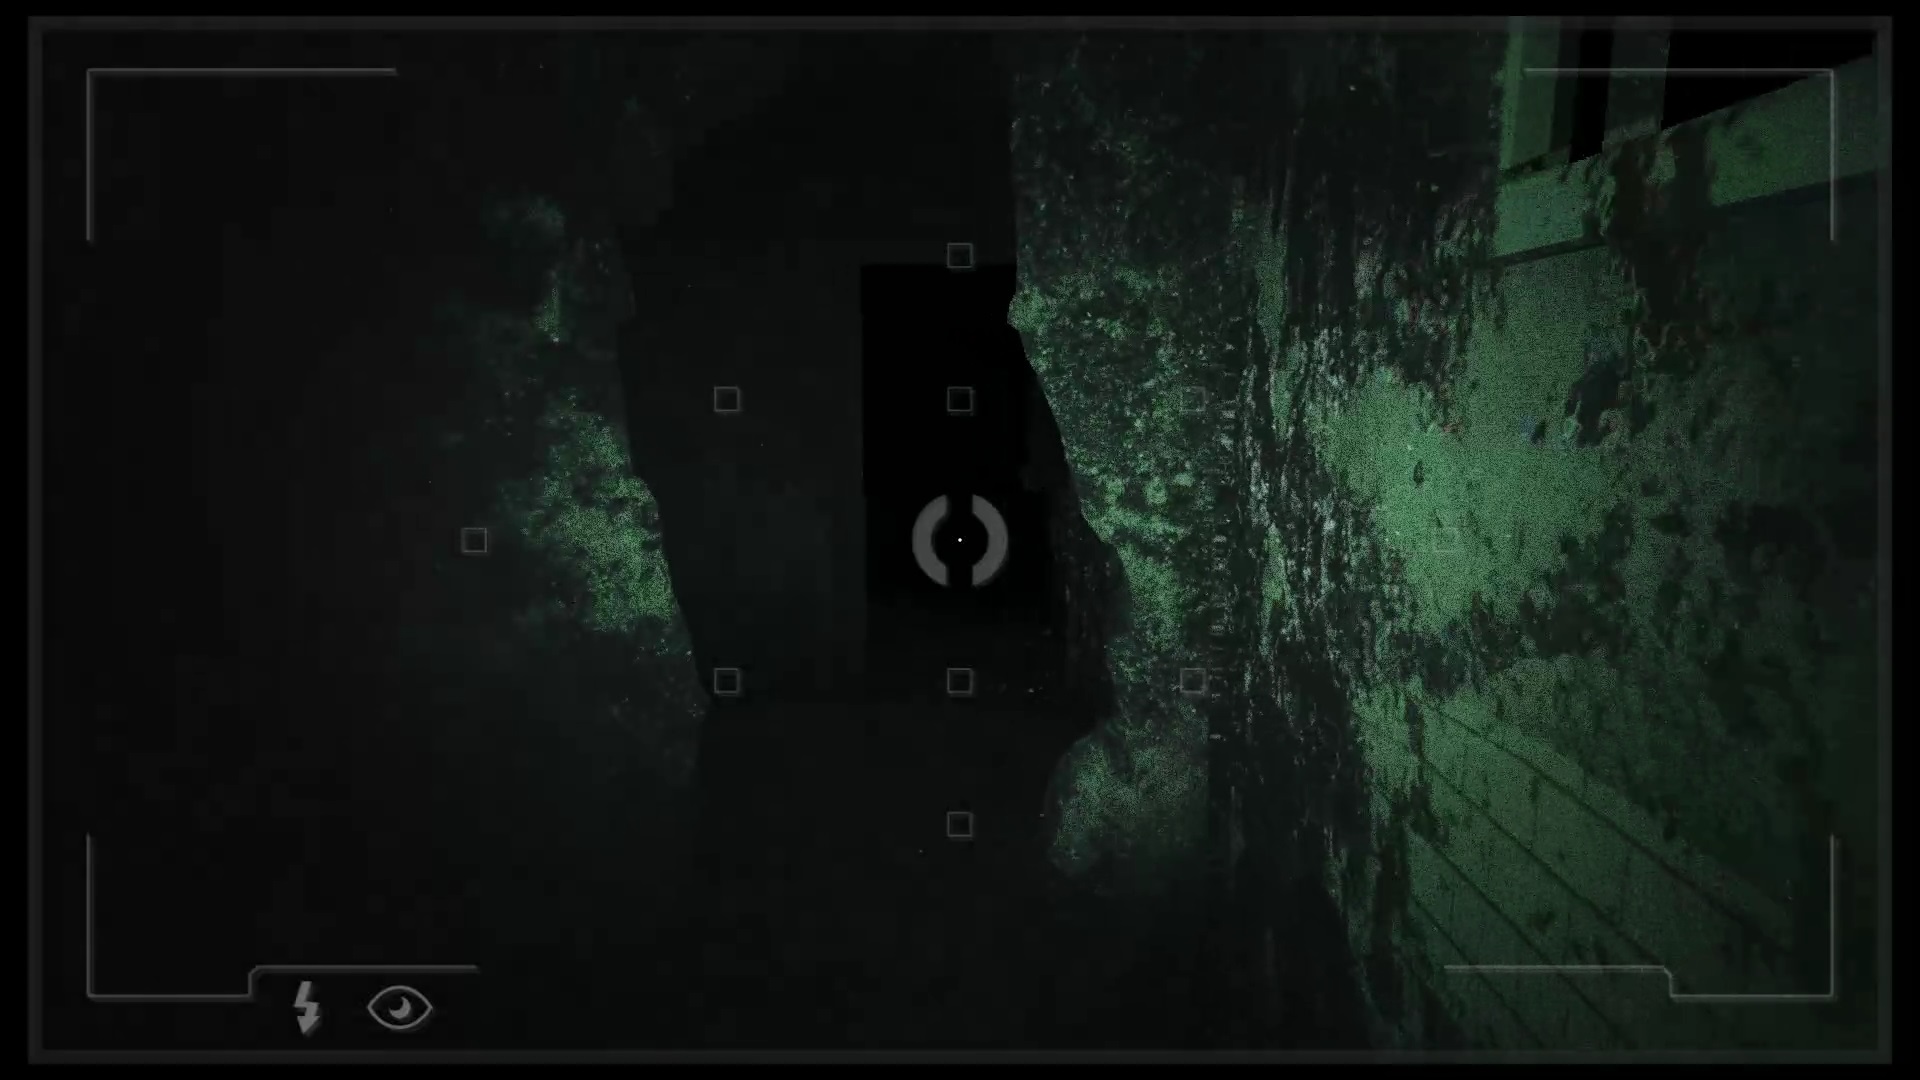
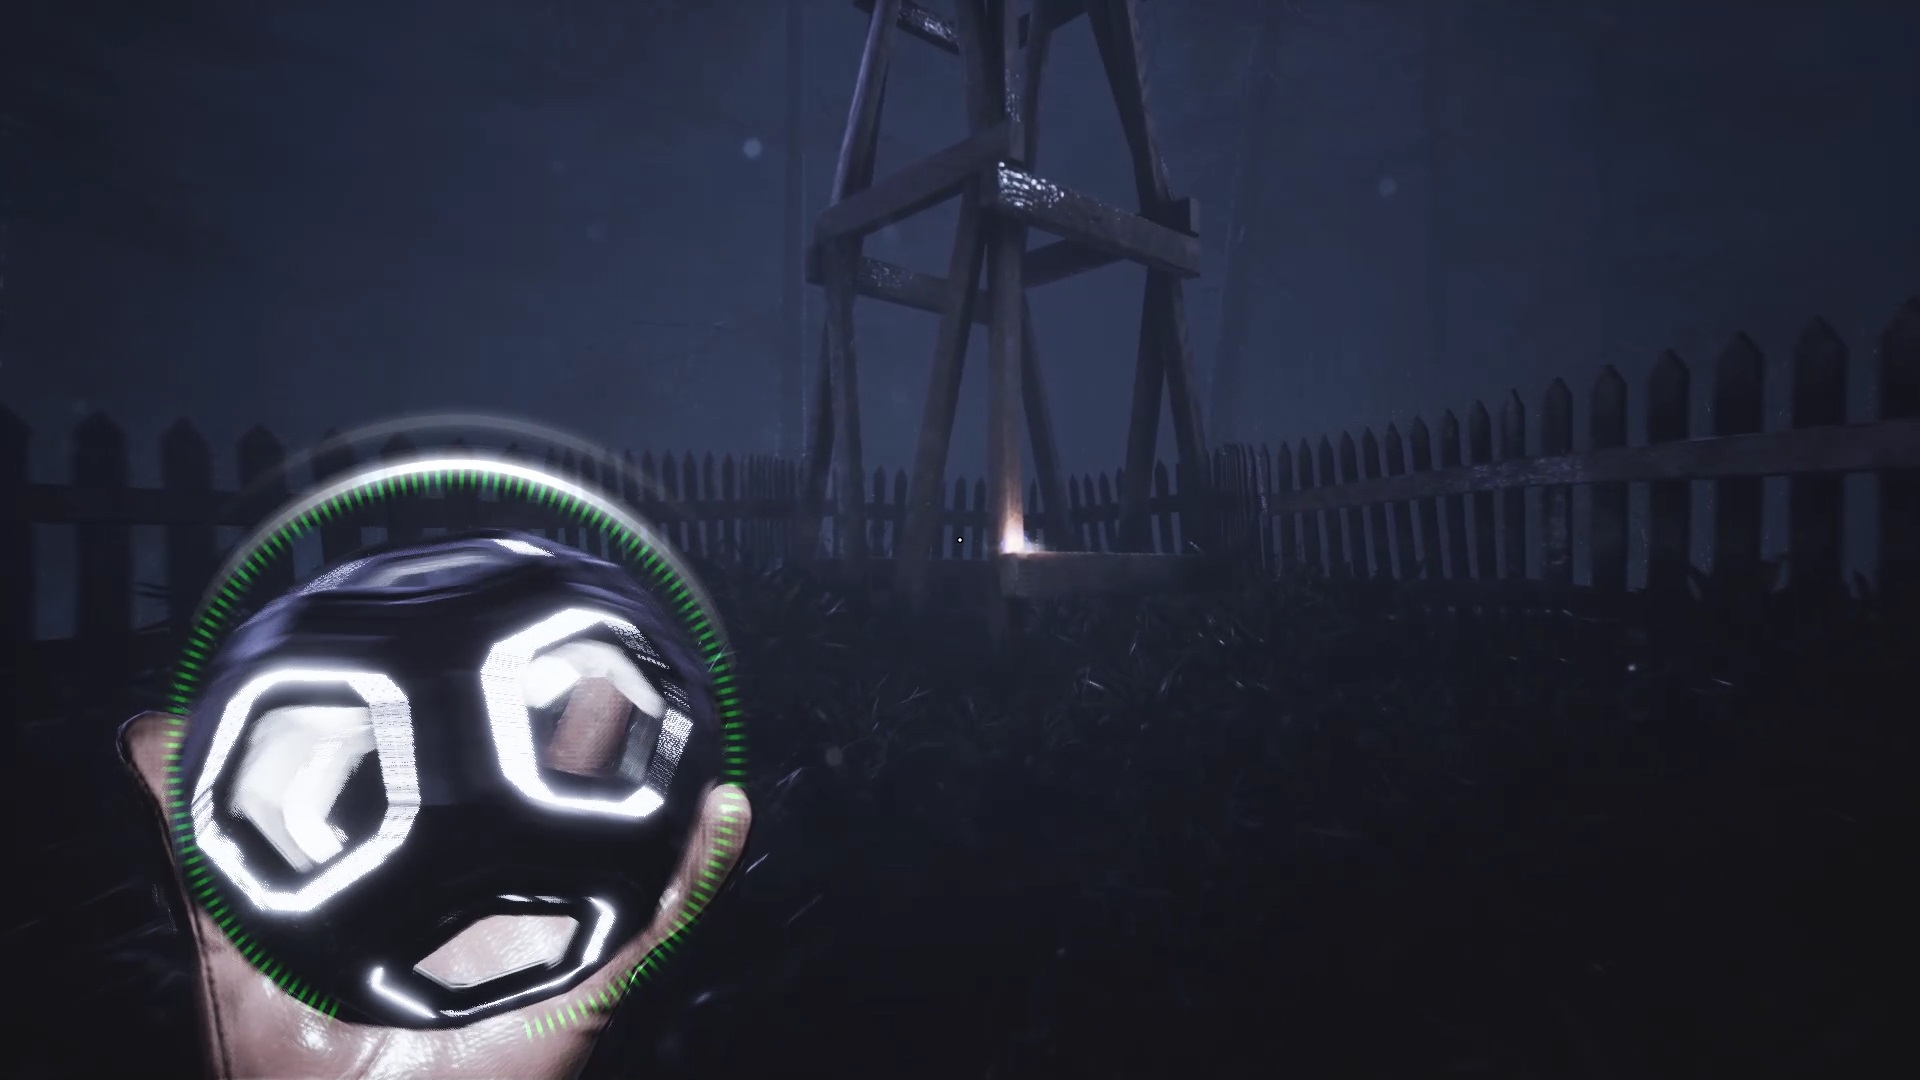
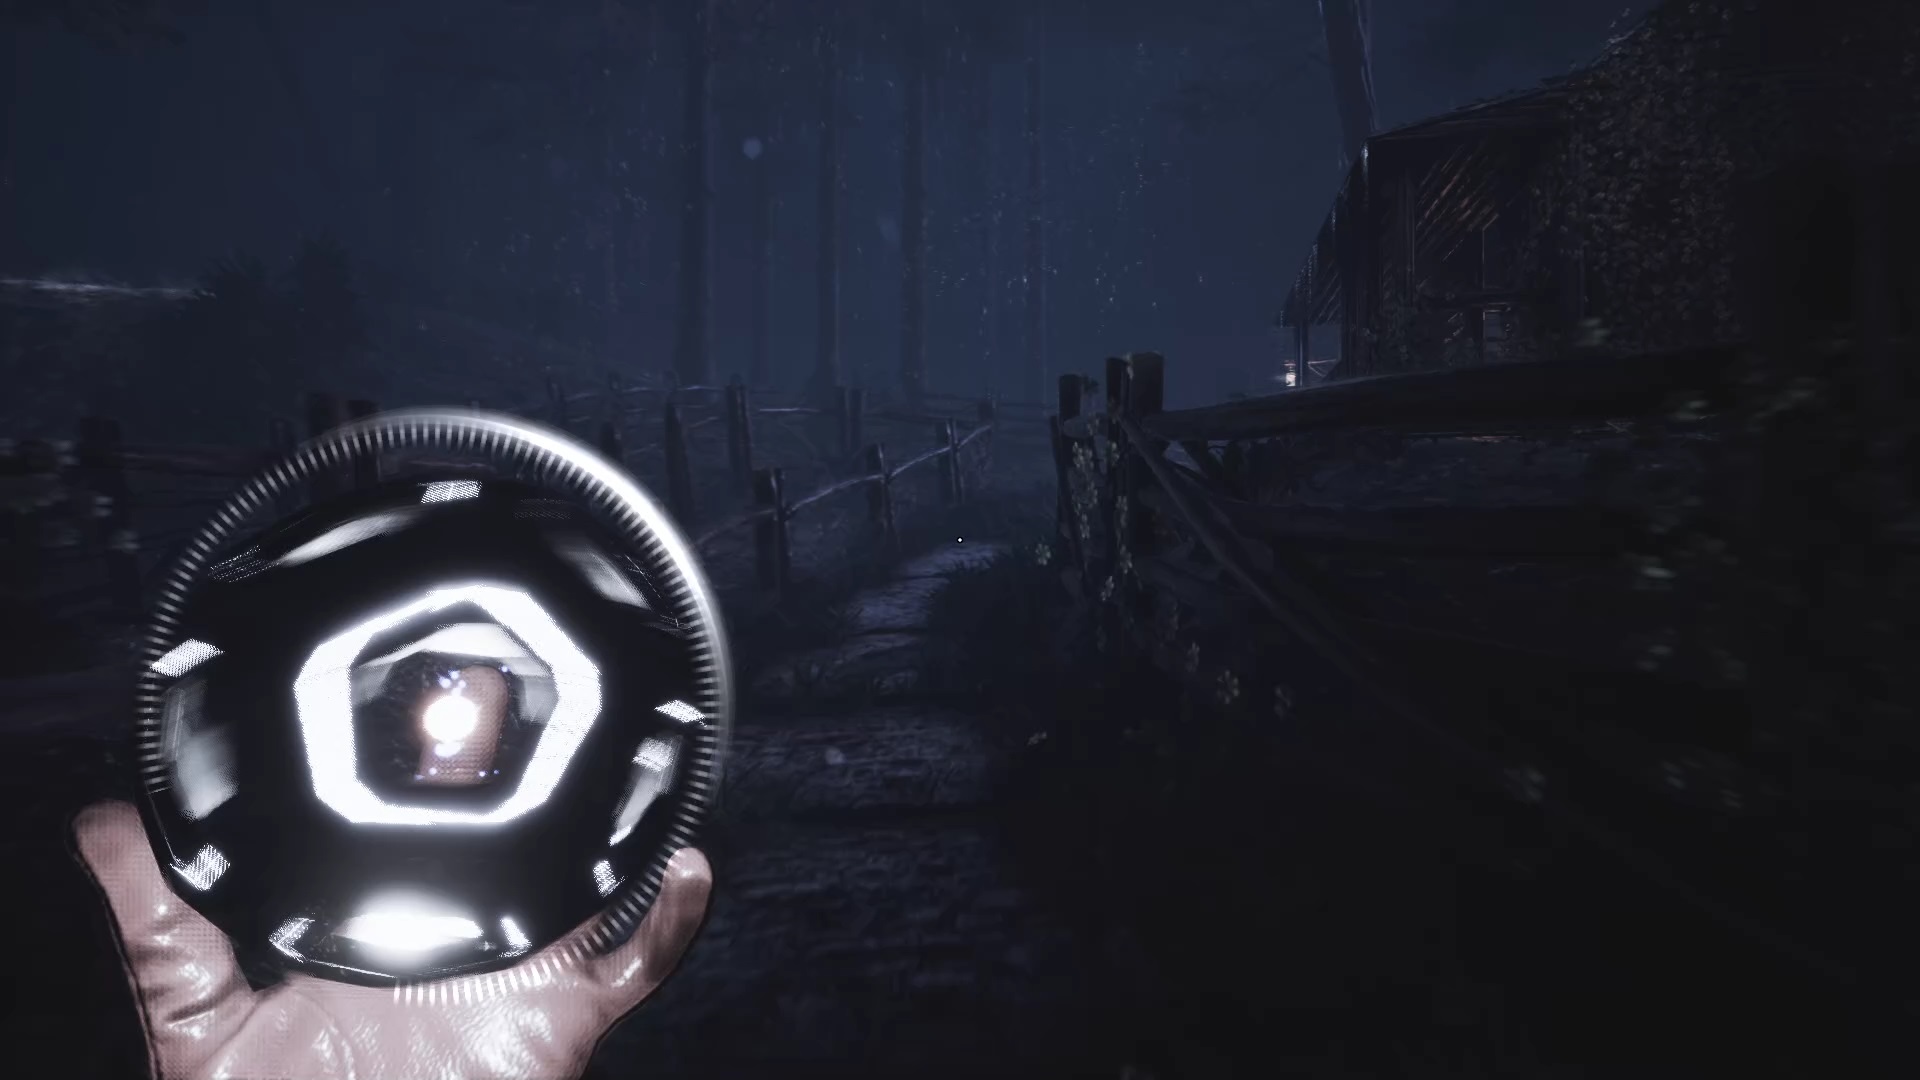
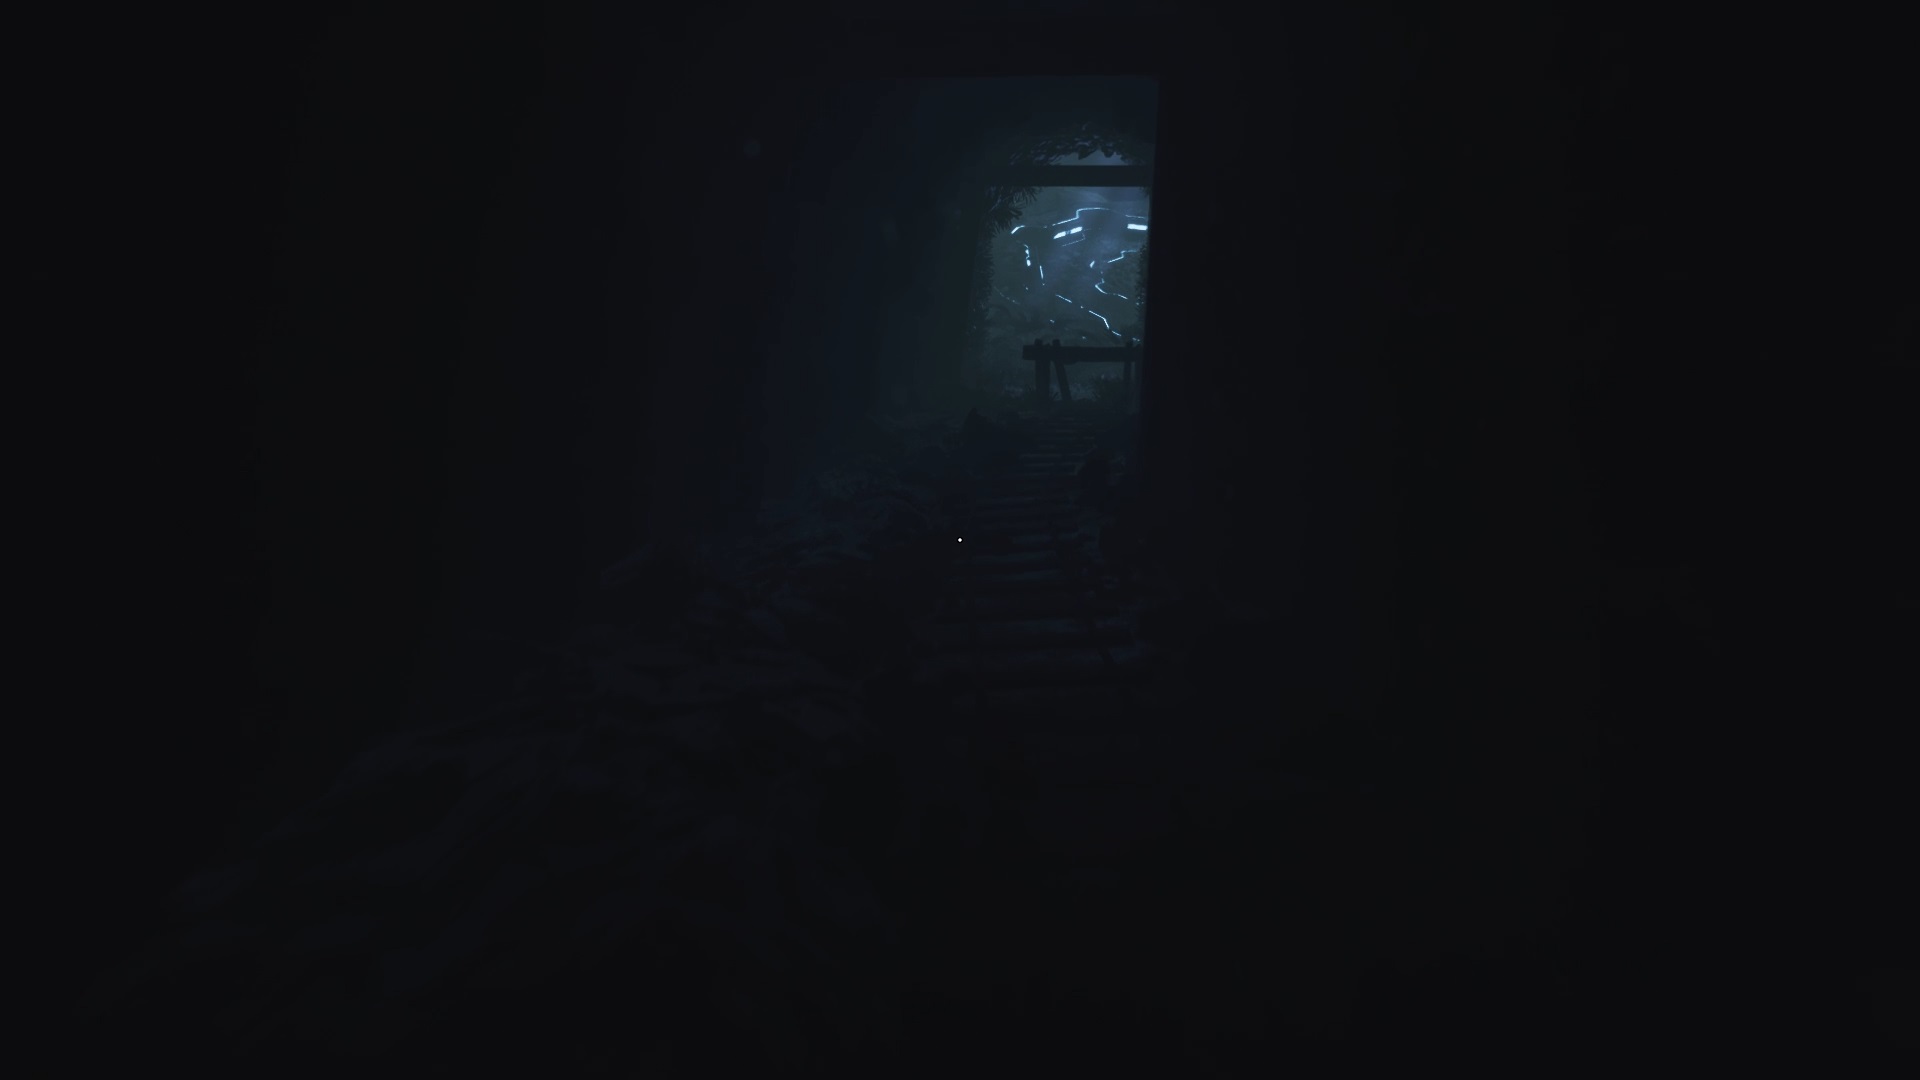
In the forest, you are again in the shoes of Christopher who is in possession of the sphere. Your starting point is outside the house in the woods. Use the sphere to identify the direction of the goal. Follow the halo of light to find a piece of the sphere to the left of a bridge. Take the piece of metal. Retrace your steps towards the house in the woods for the sphere to reactivate. Use the sphere to know your new direction.
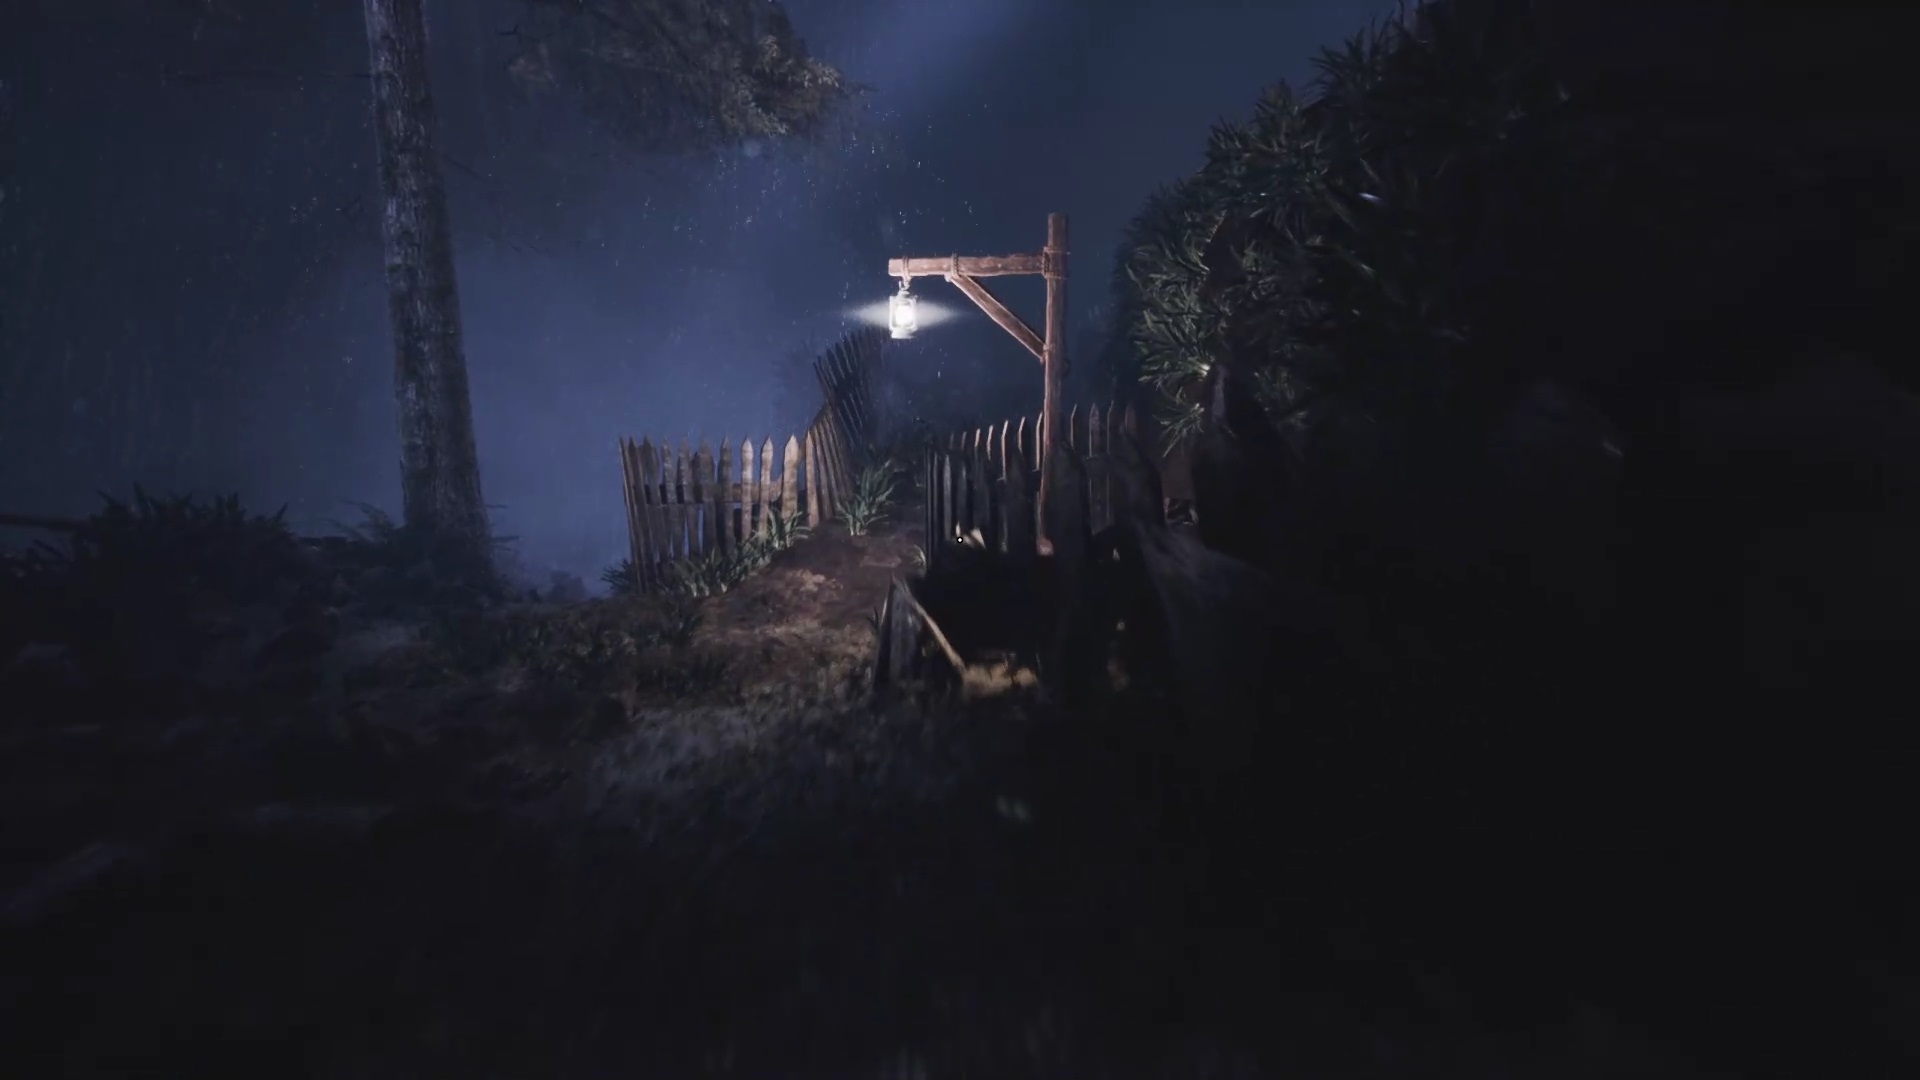
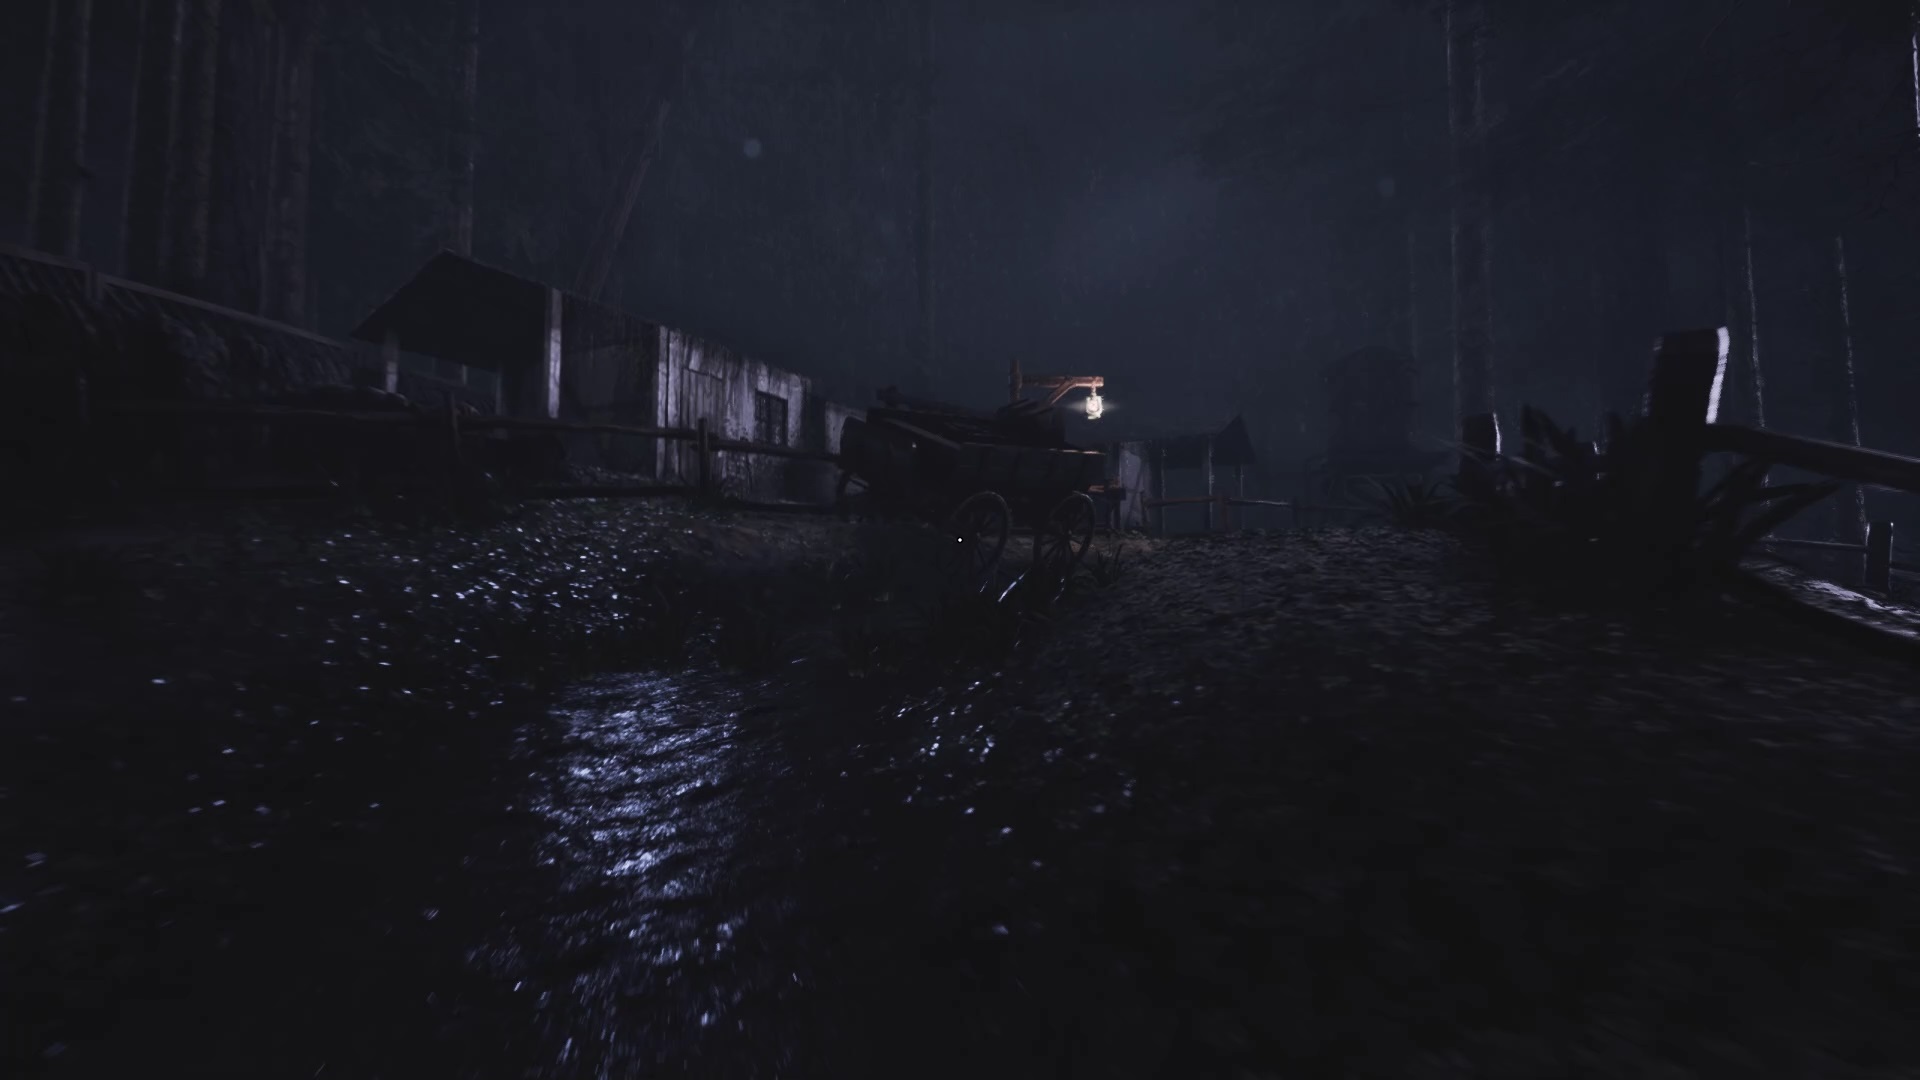
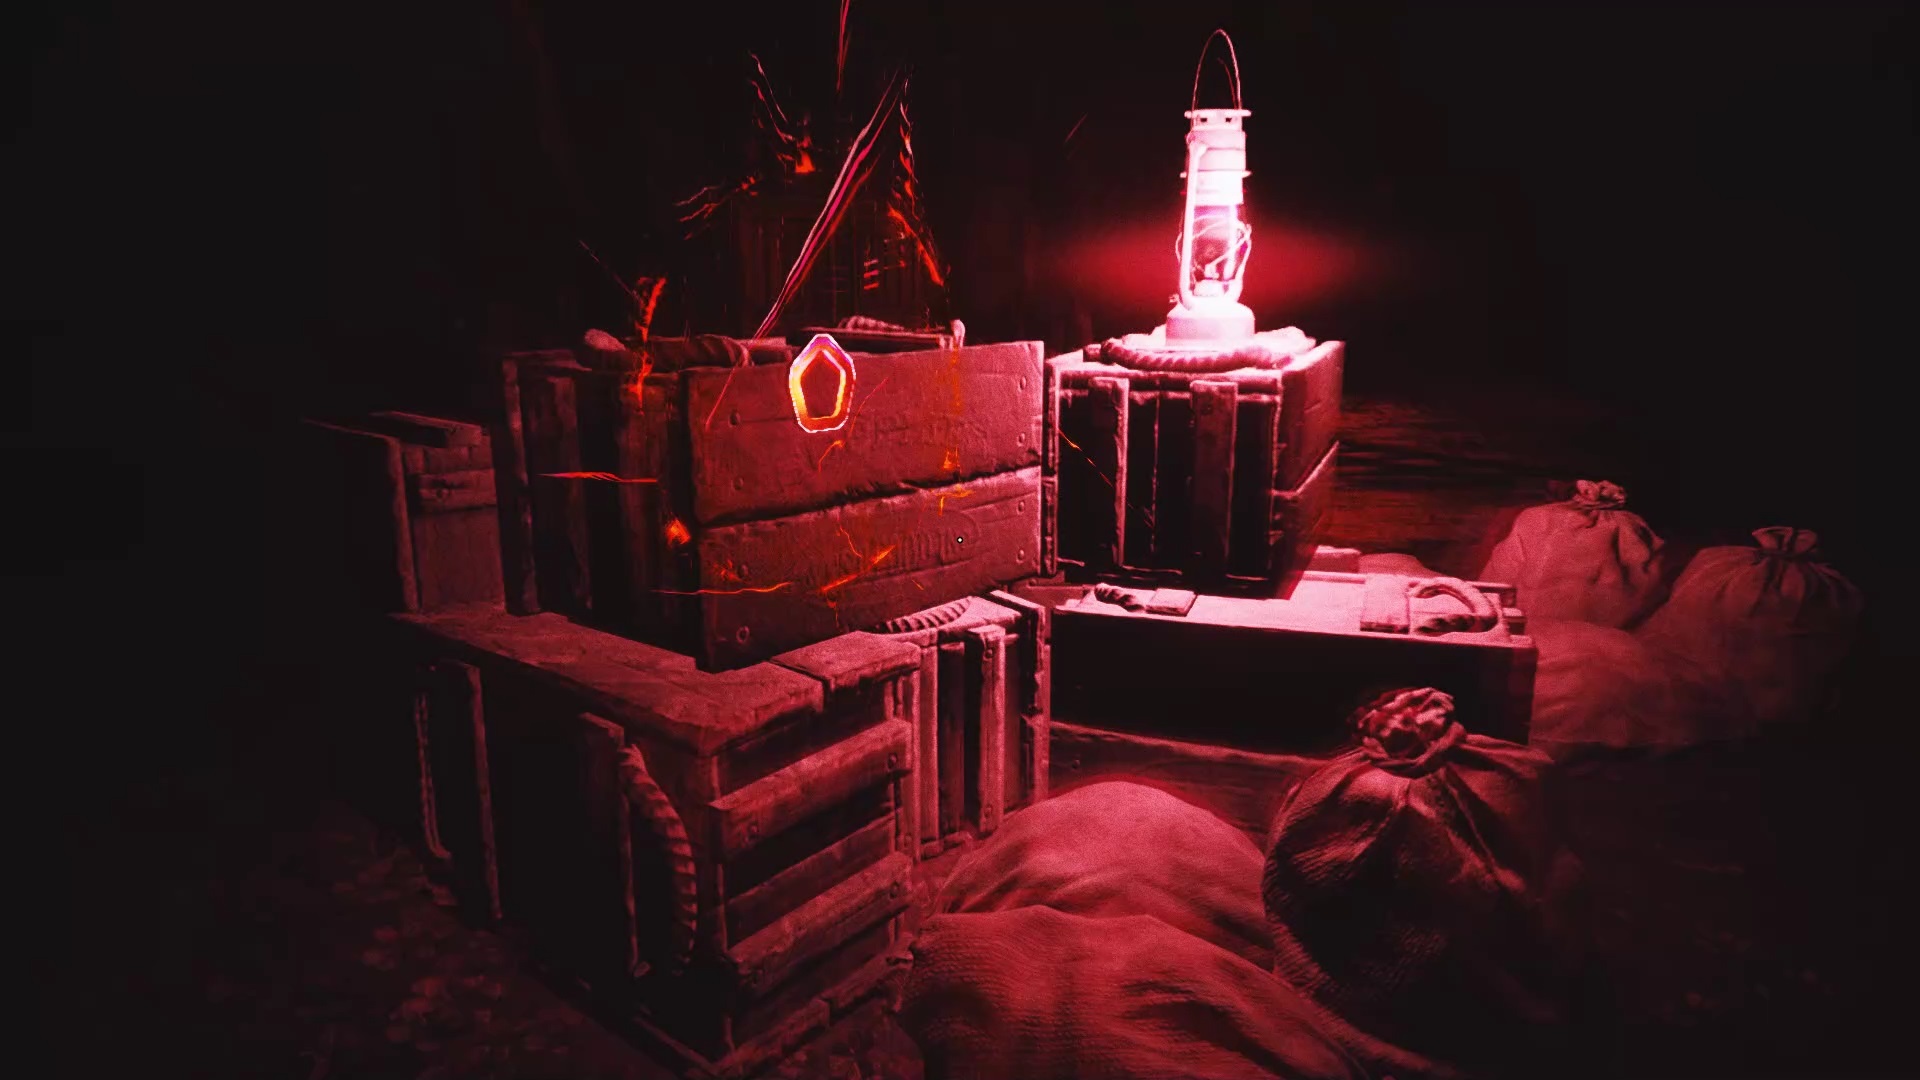
On the way up, take a small path near a hanging lantern to climb up to a windmill. Collect a piece of the sphere at the foot of the structure. Go back down and continue the path.
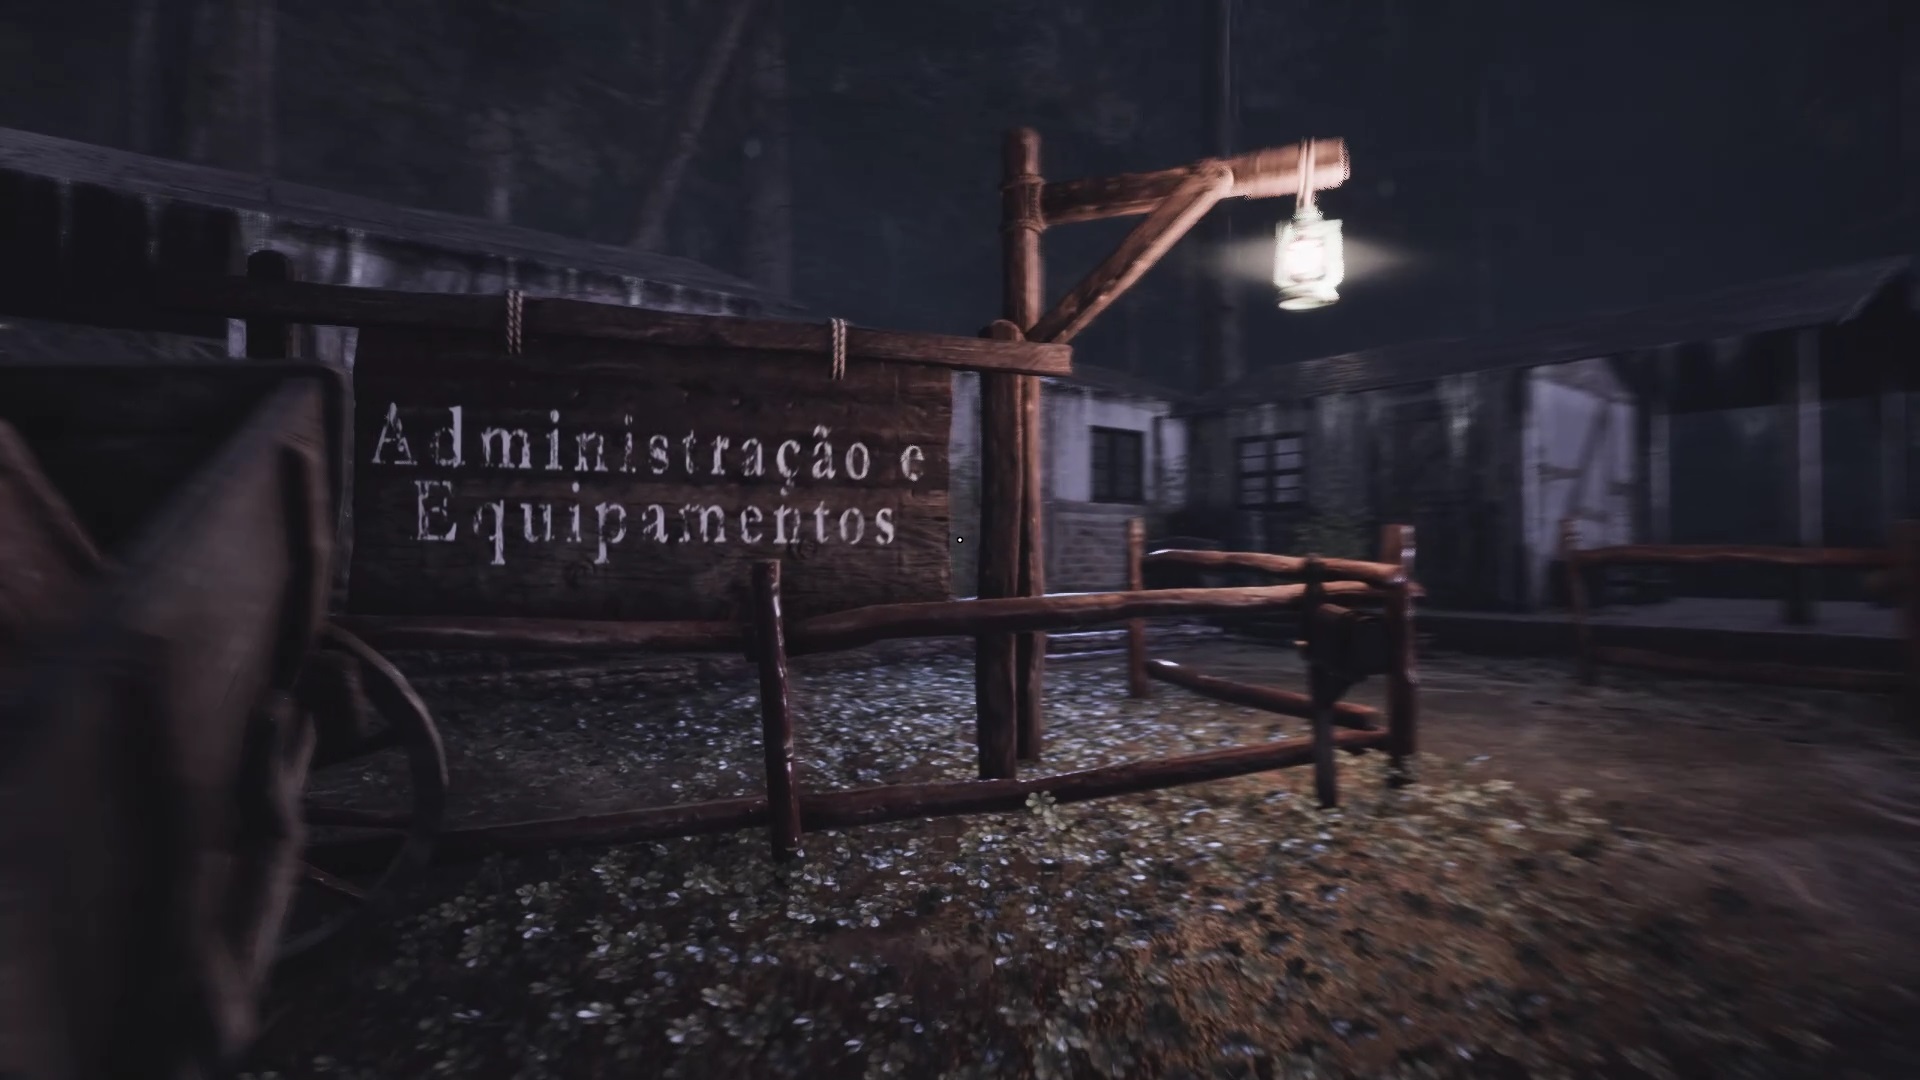
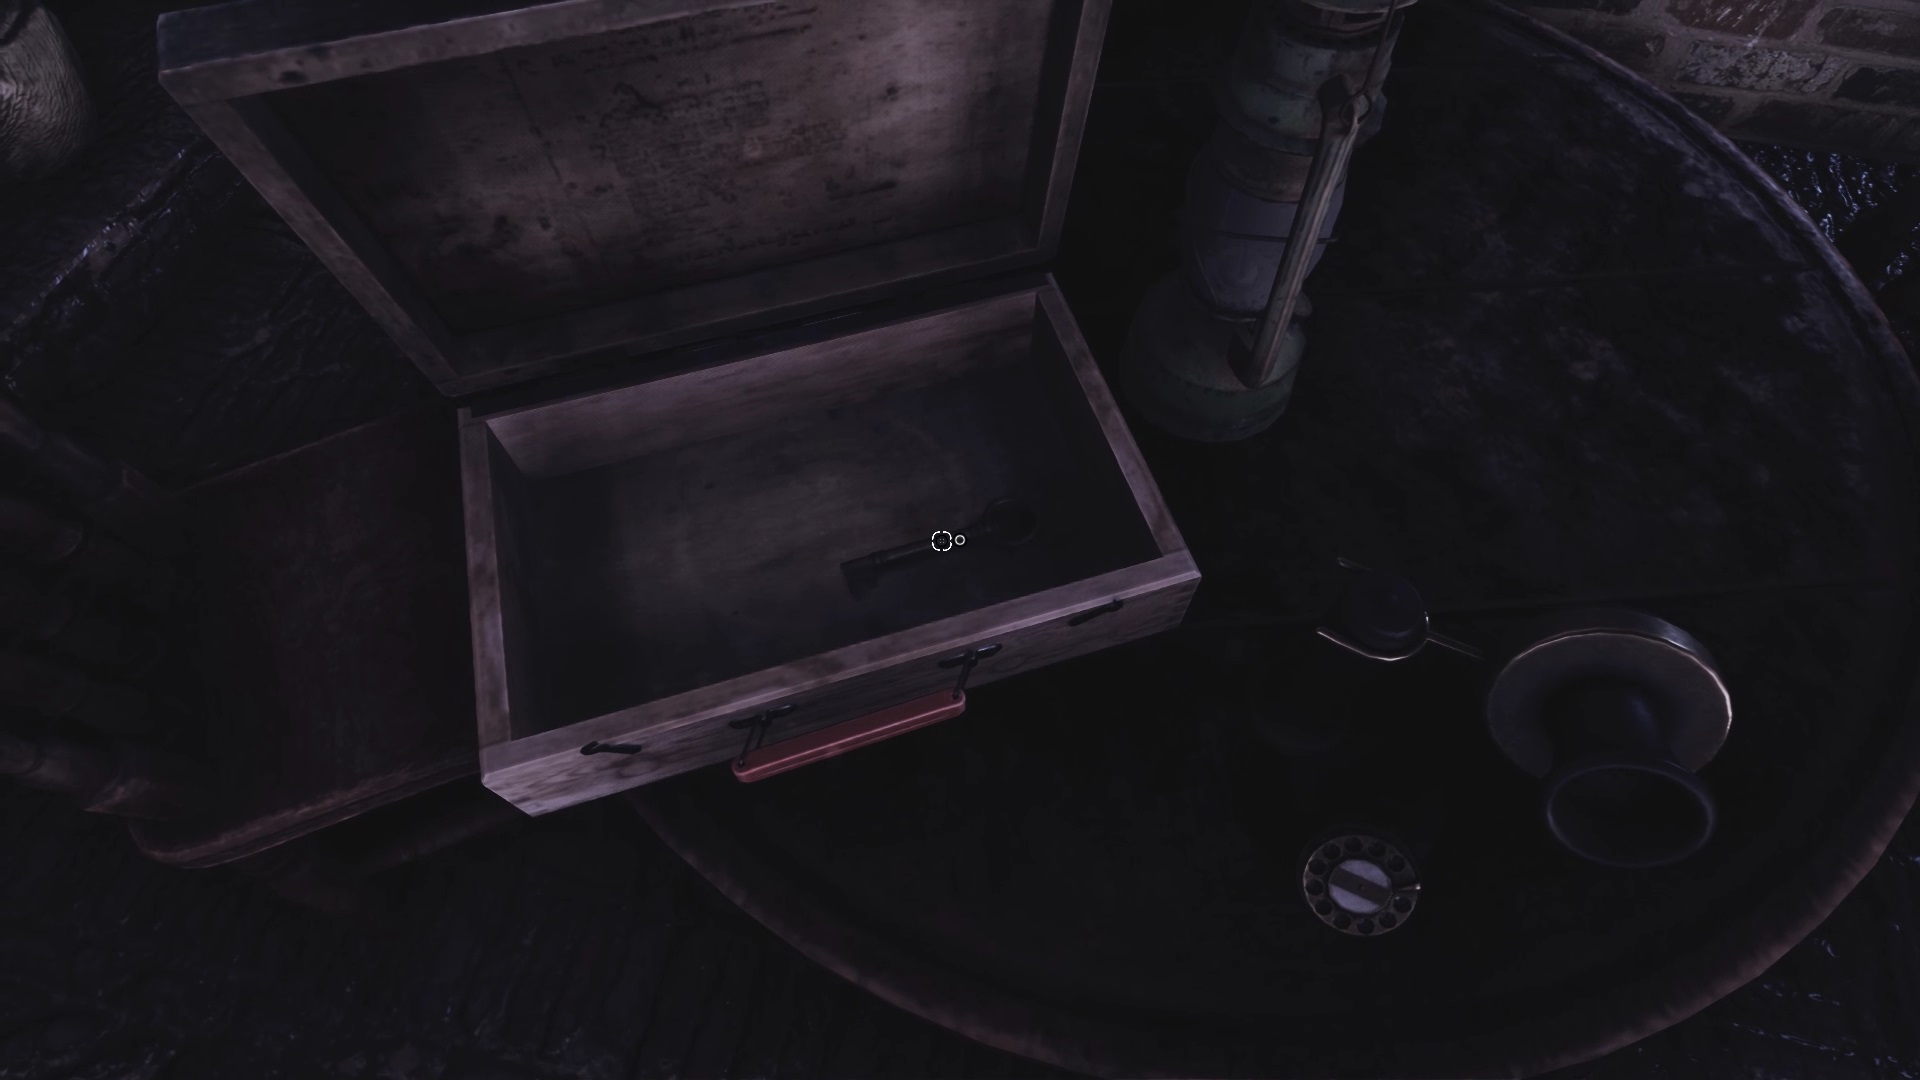
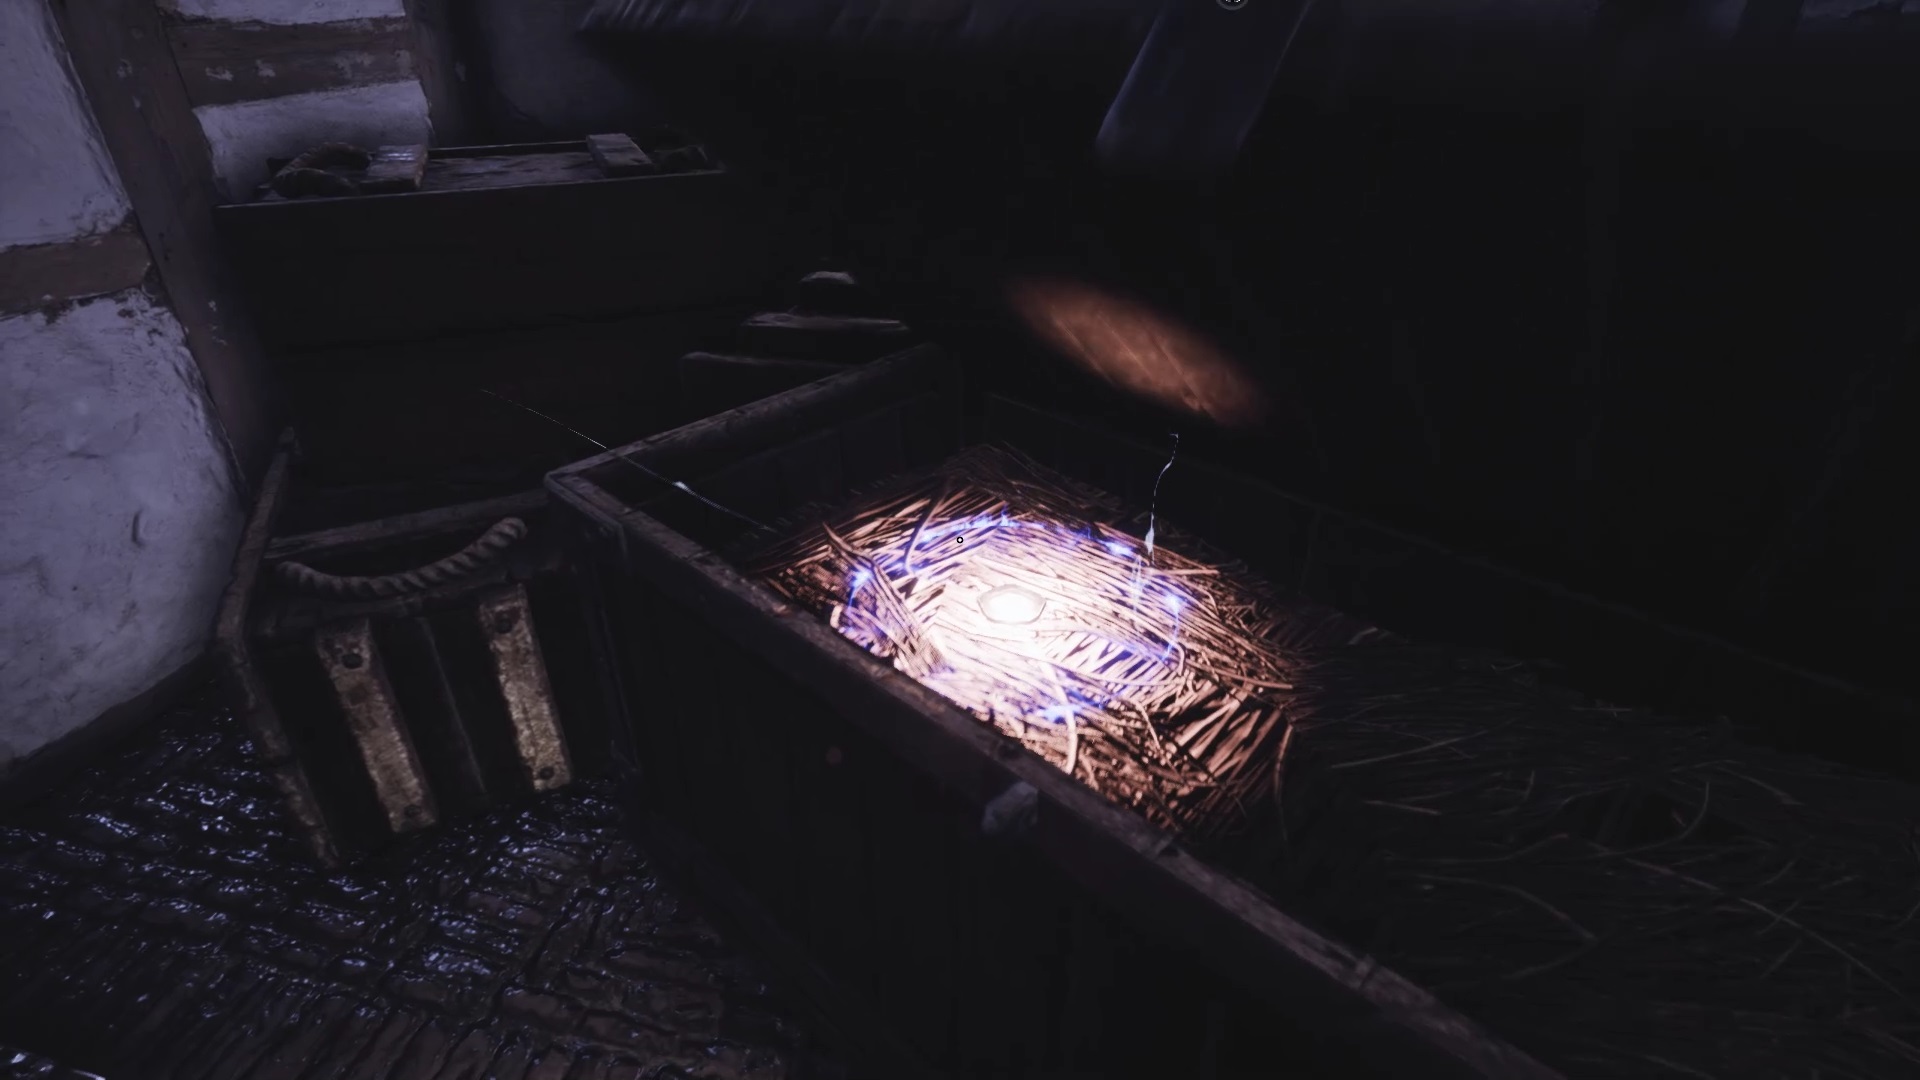
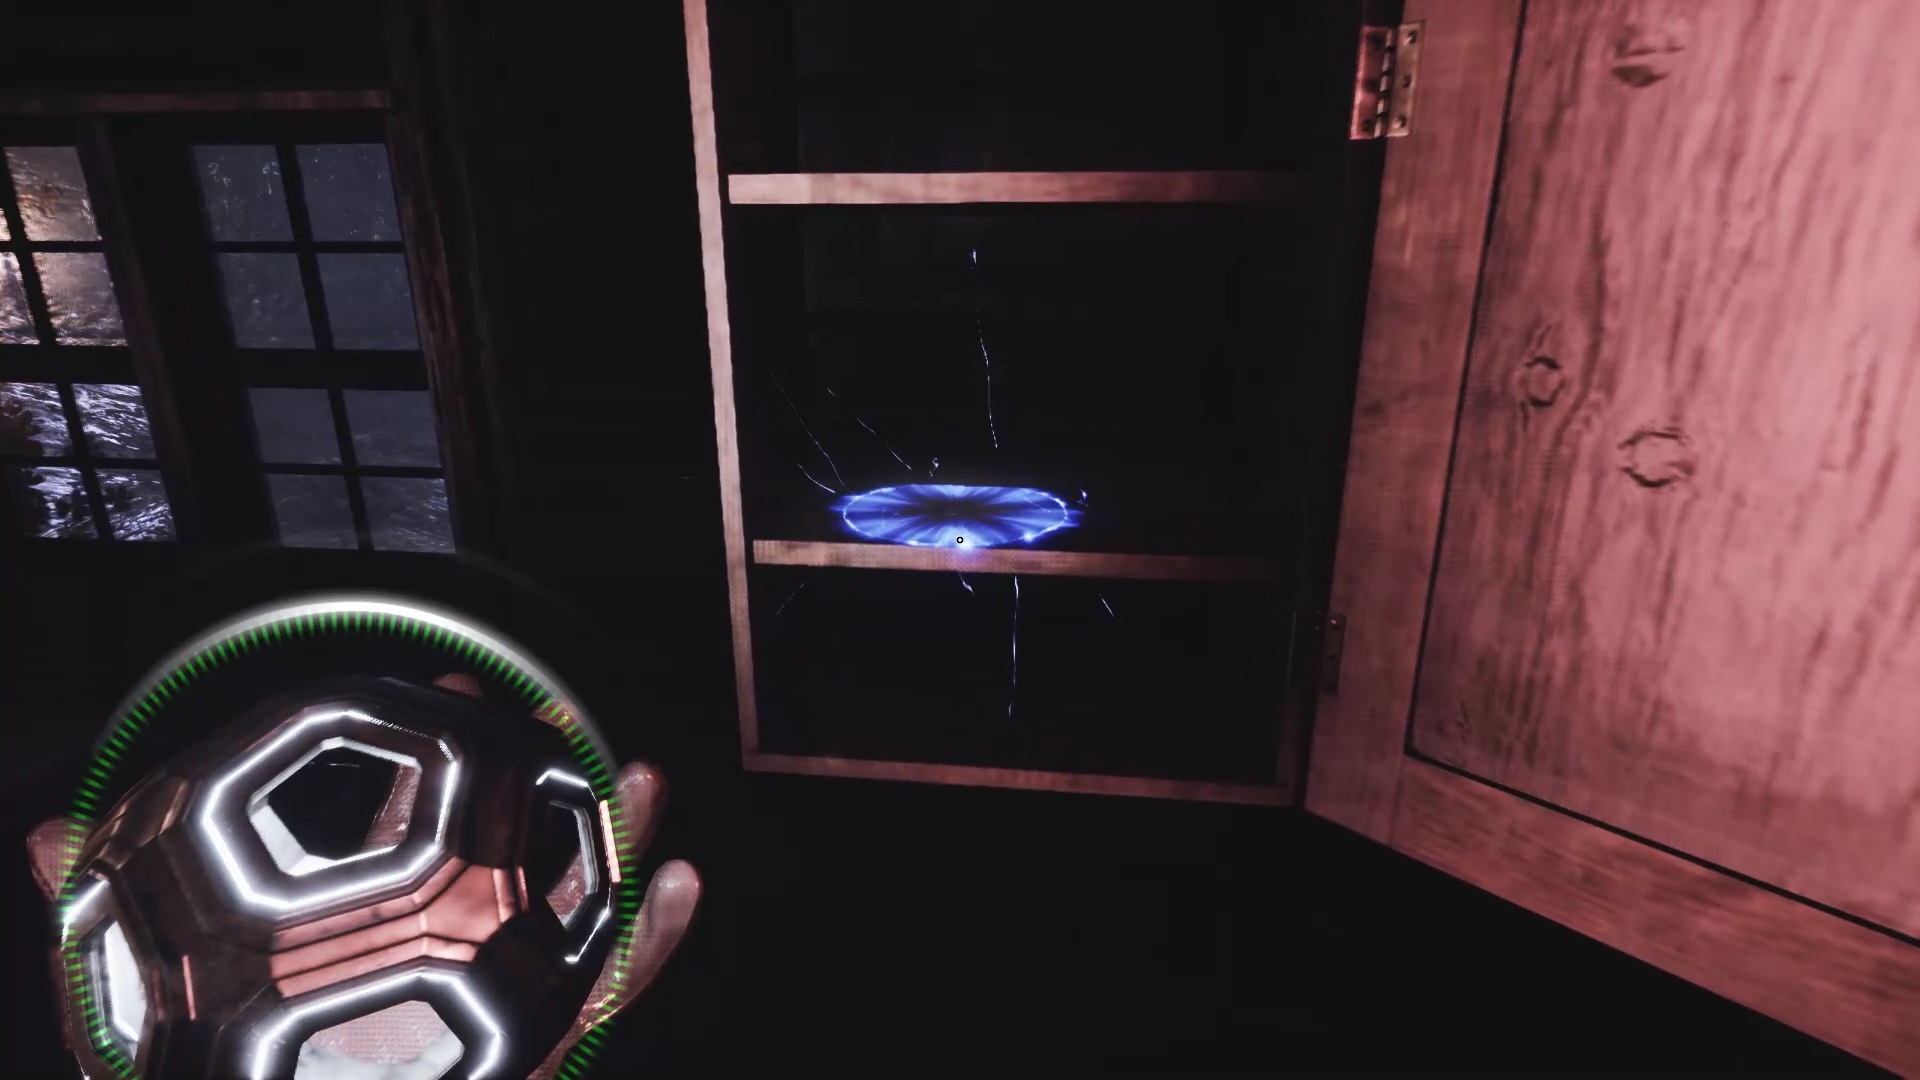
Continuing on the path, you should encounter the administration. Enter through the door to find a sealed box on a table. Use the ornate key to unlock it and find a metal key. Exit outside the administration to find a door on the left near barrels. Use the acquired key to open it. A new piece of the sphere can be found in a chest.
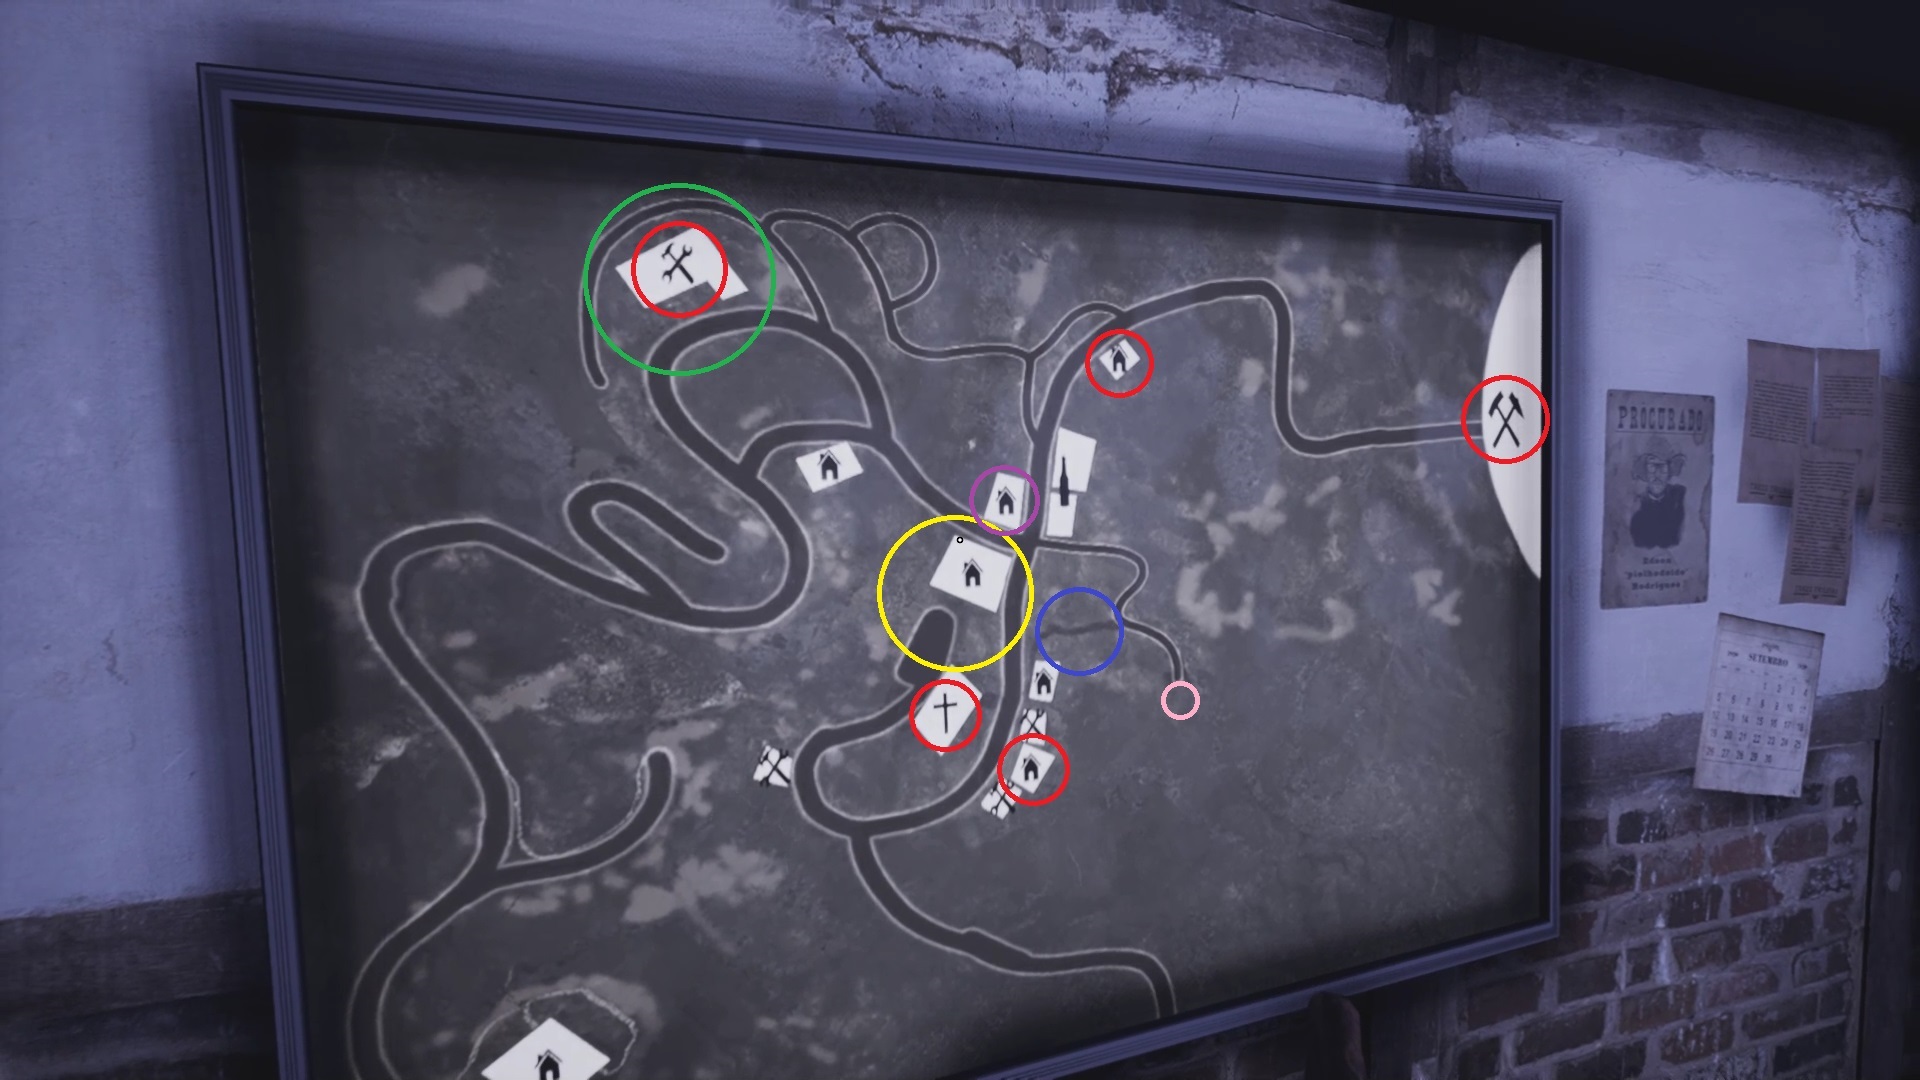
To simplify the rest of our solution, we have listed all the key locations on a map above. To guide you, here is what the different colors correspond to.
- Green Circle: Administration
- Red Circle: Piece of the sphere
- Yellow circle: Passage to the chapel
- Blue circle: Passage of the water towers
- Pink Circle: The Cemetery
- Purple Circle : Passage behind the wind turbine
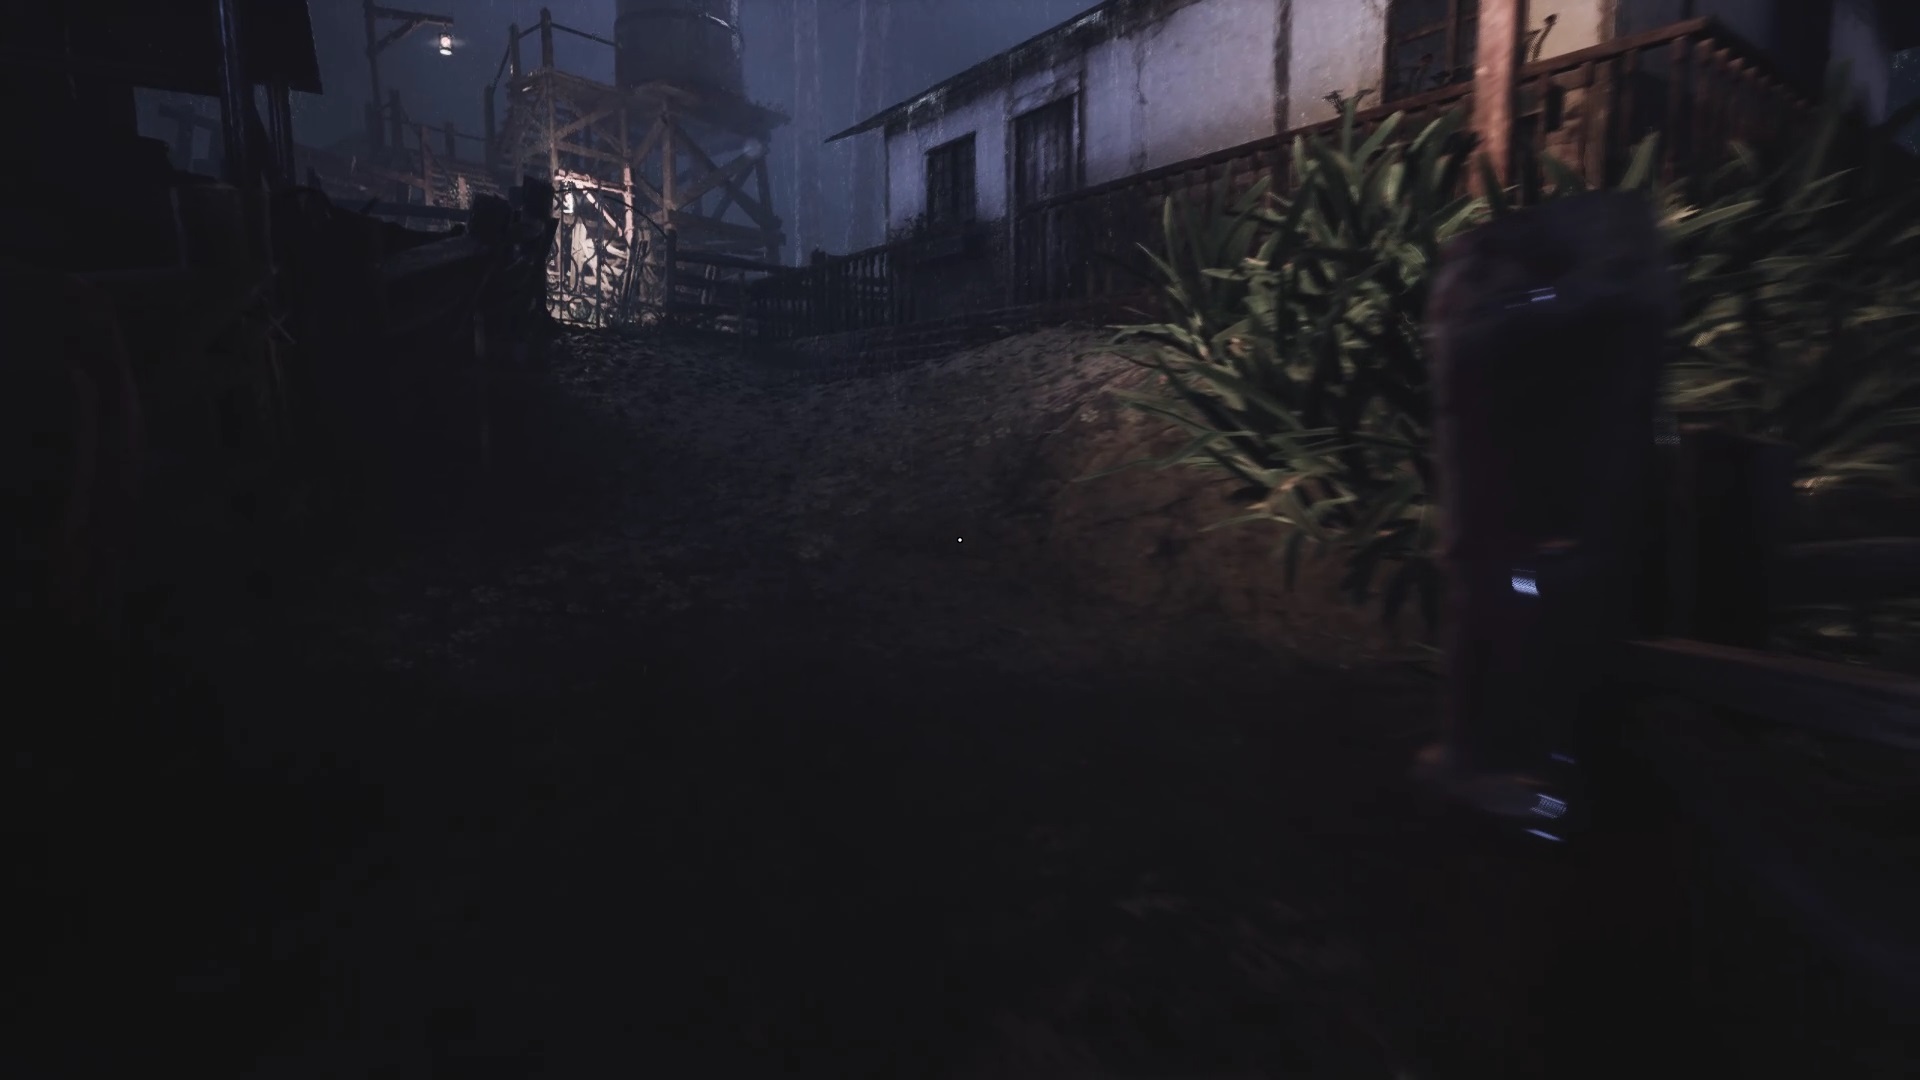
Exit the administration by following the direction of the chapel to descend towards a house in front of a closed fence. Go into the house on the right to find a passage to the chapel. The chapel is currently closed. Go down the path at the bottom of the chapel to find a group of houses where a tree is falling, preventing you from continuing.
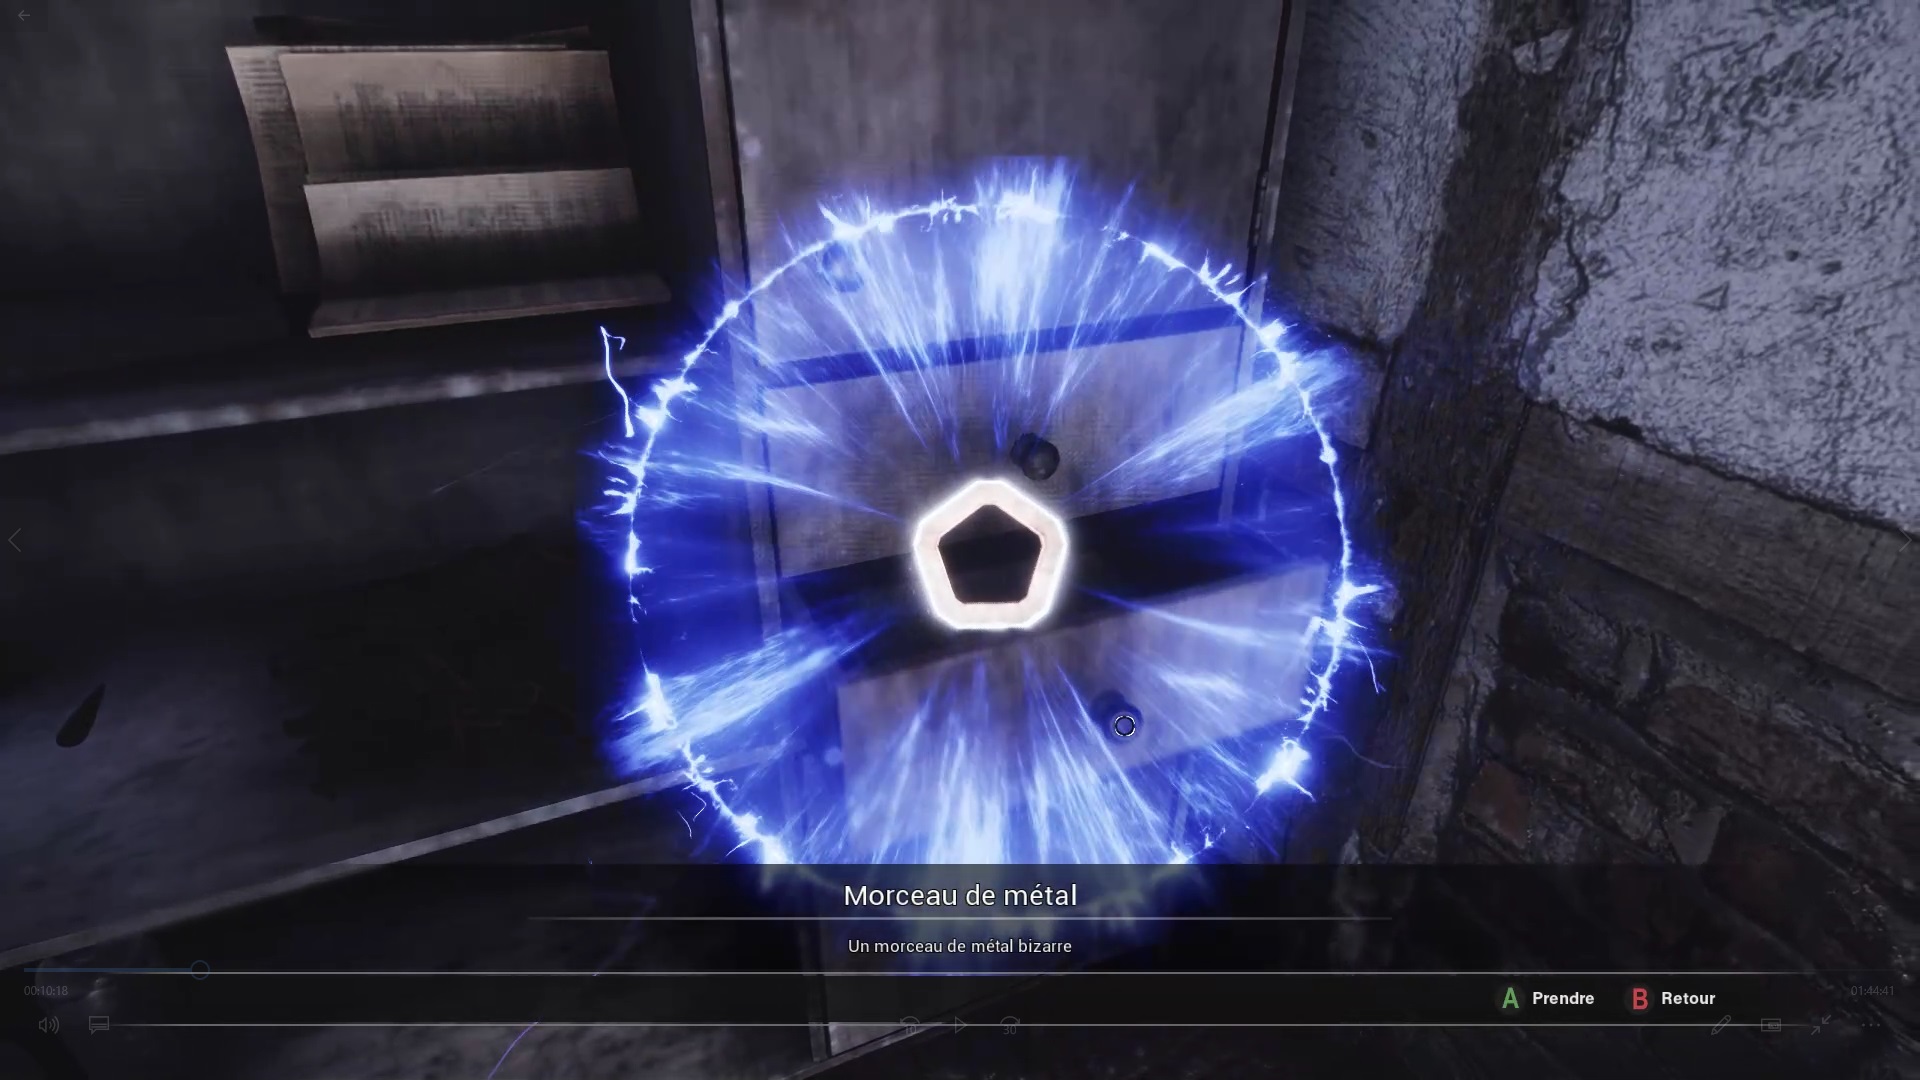
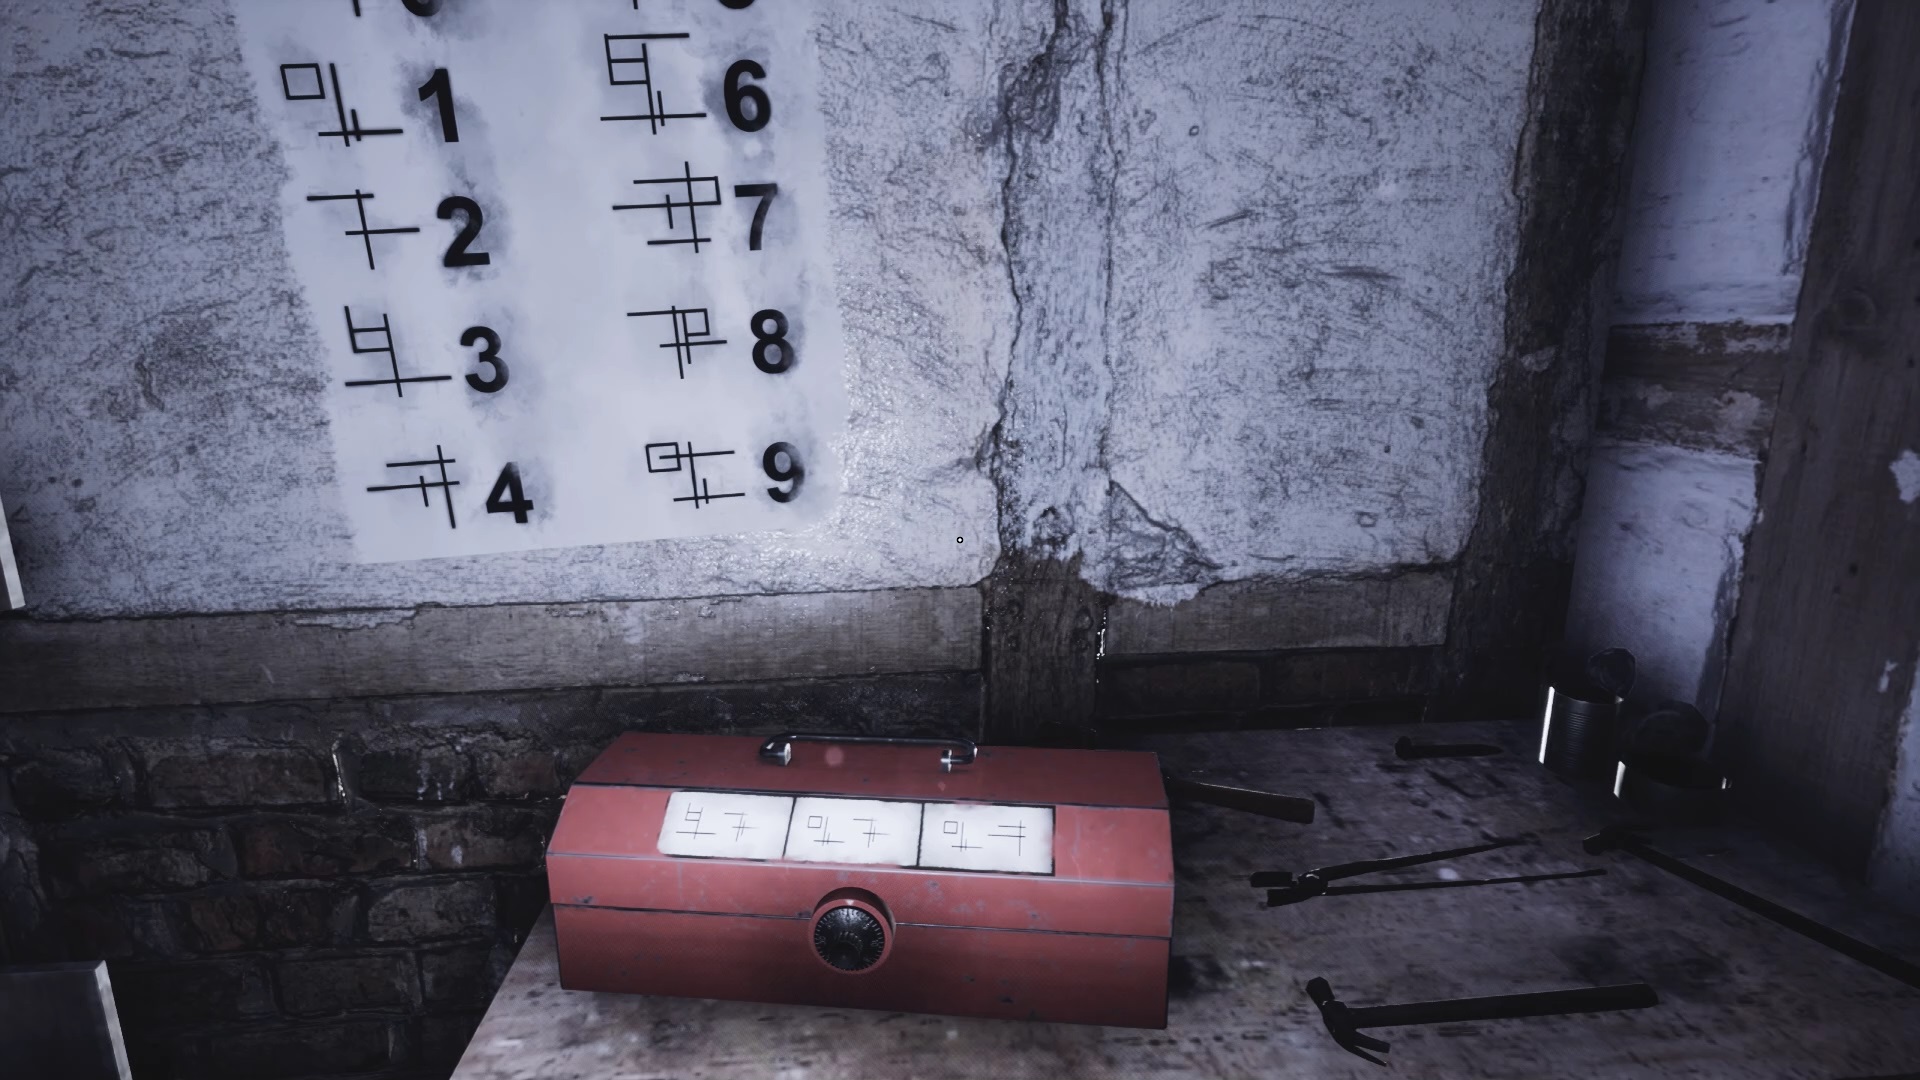
Enter the last house to find a piece of metal in a drawer. Interact with the tool box inside the house. To open the box you must decipher the code using the numbers written on the wall. In our game, the code was: 35 right, 15 left, 10 right. You get pliers.
With the pliers in your possession return to the chapel to open the gate to pass behind the tree trunk. Continue to find the passage of the water towers. Climb on the platform to descend on a path. Follow the trail to find a cemetery near a well. Pick up the key to the chapel inside a coffin.
Thanks to the key, return to the chapel to find a piece of the sphere on the altar.

Once you have the piece of sphere in your possession, go to the passage behind the wind turbine (see map above). Open the gates with pliers to move forward. The penultimate piece of sphere is in the isolated house before the grid leading to the mine. Go inside to retrieve it.

With all the pieces in hand, open the gate to the mine to find the last piece and complete the level.
The underground
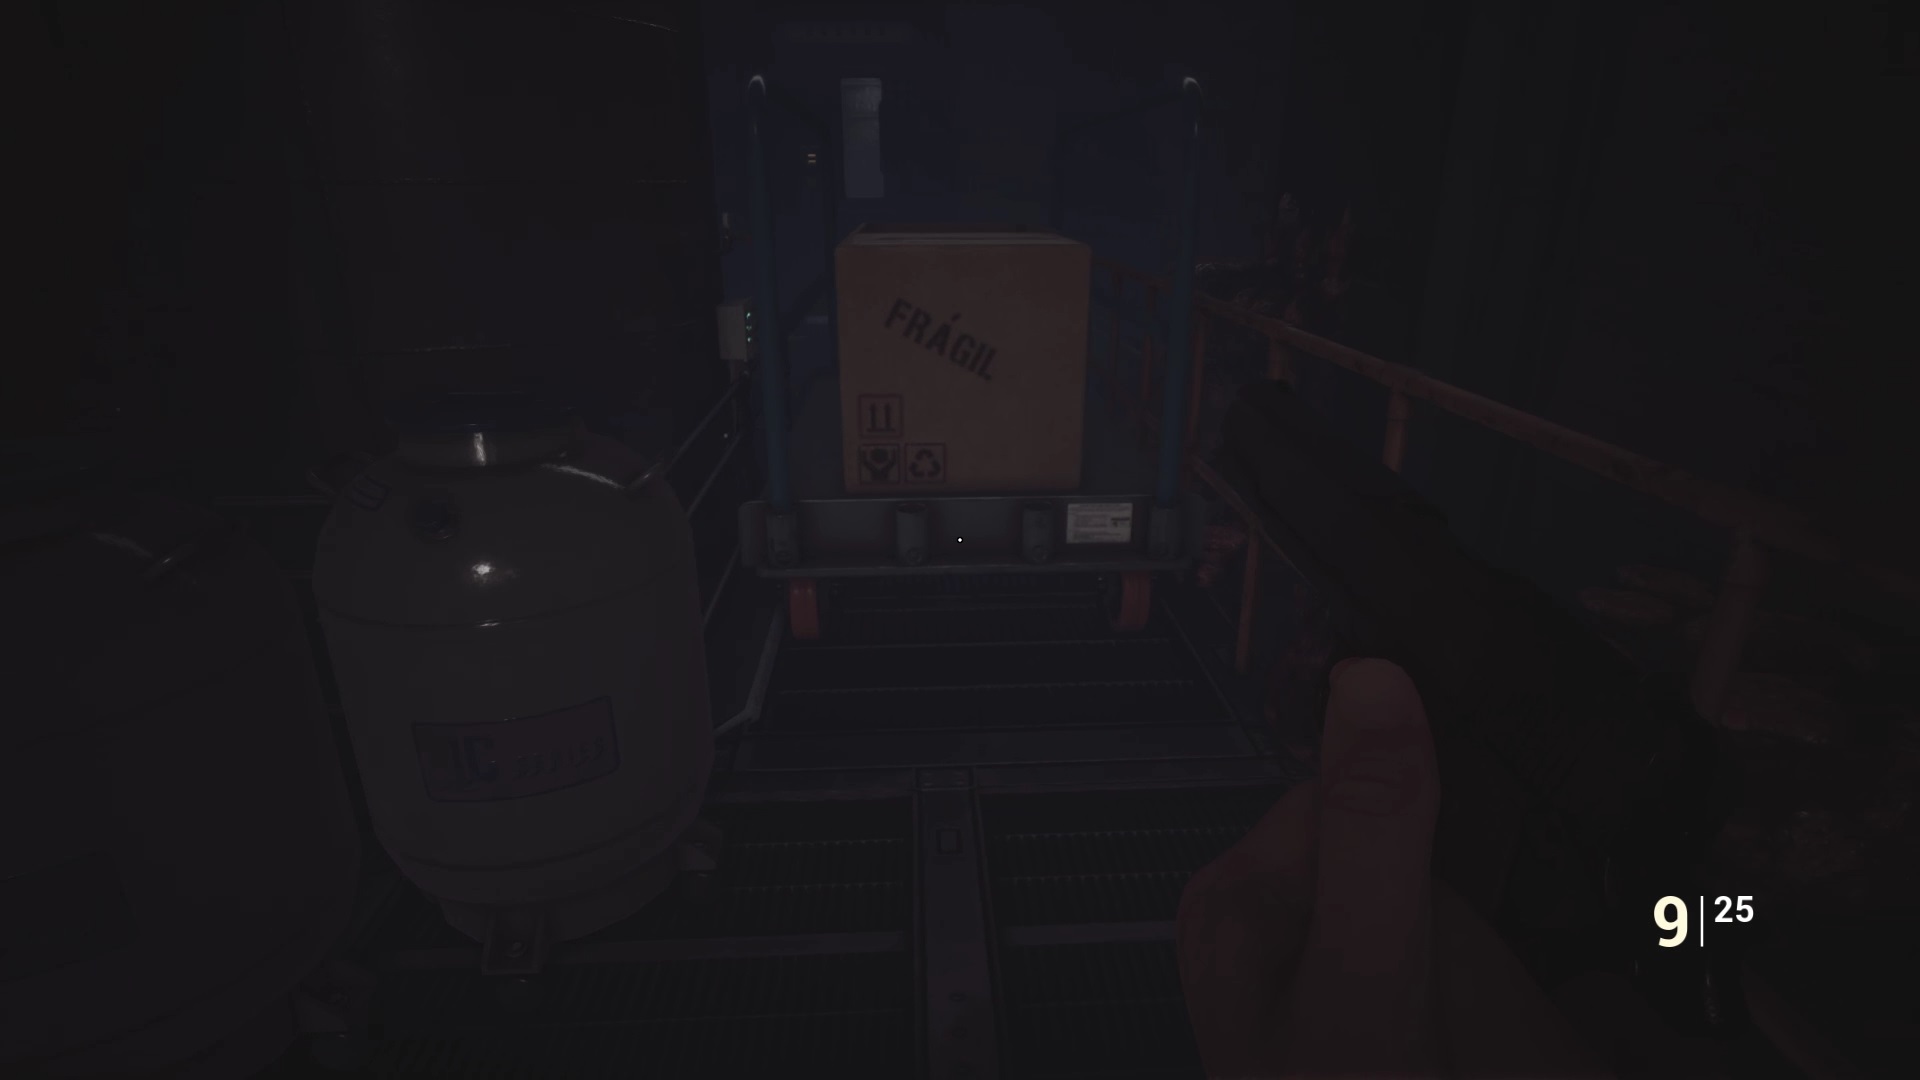
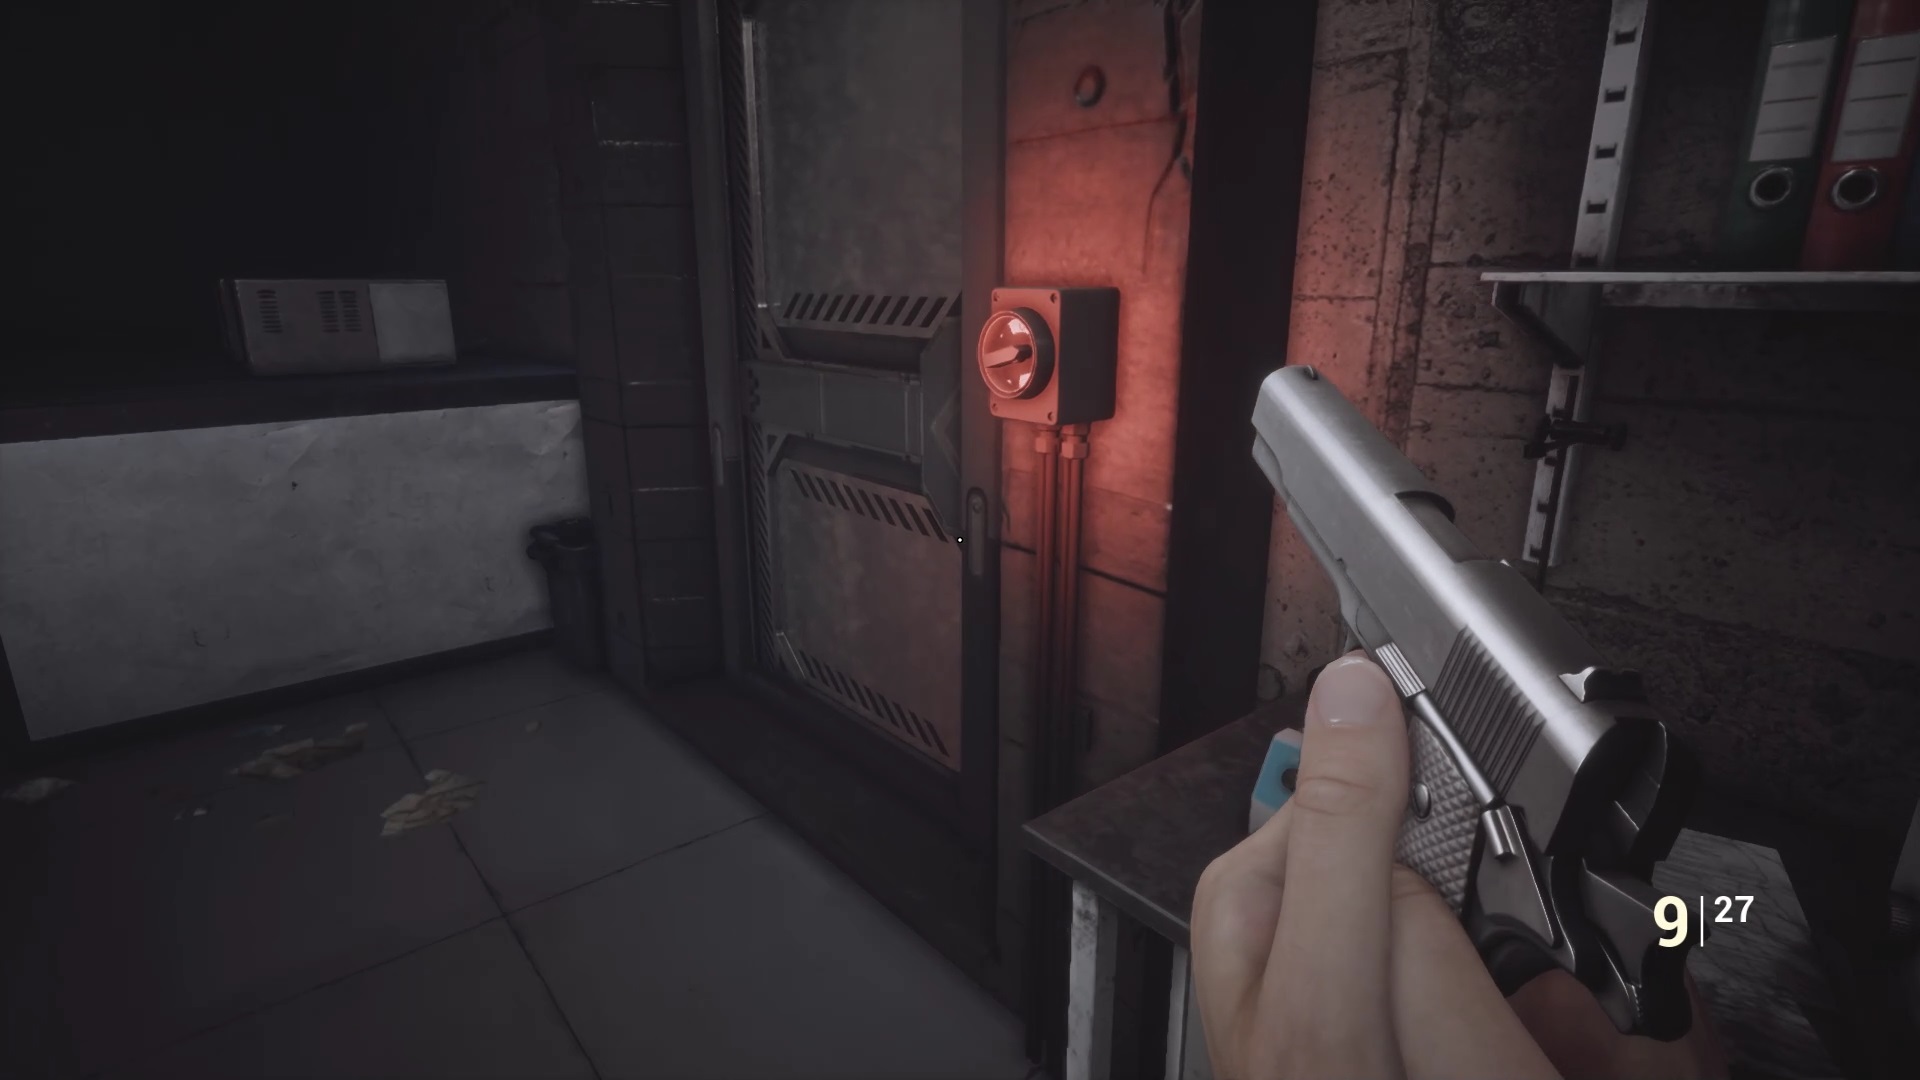
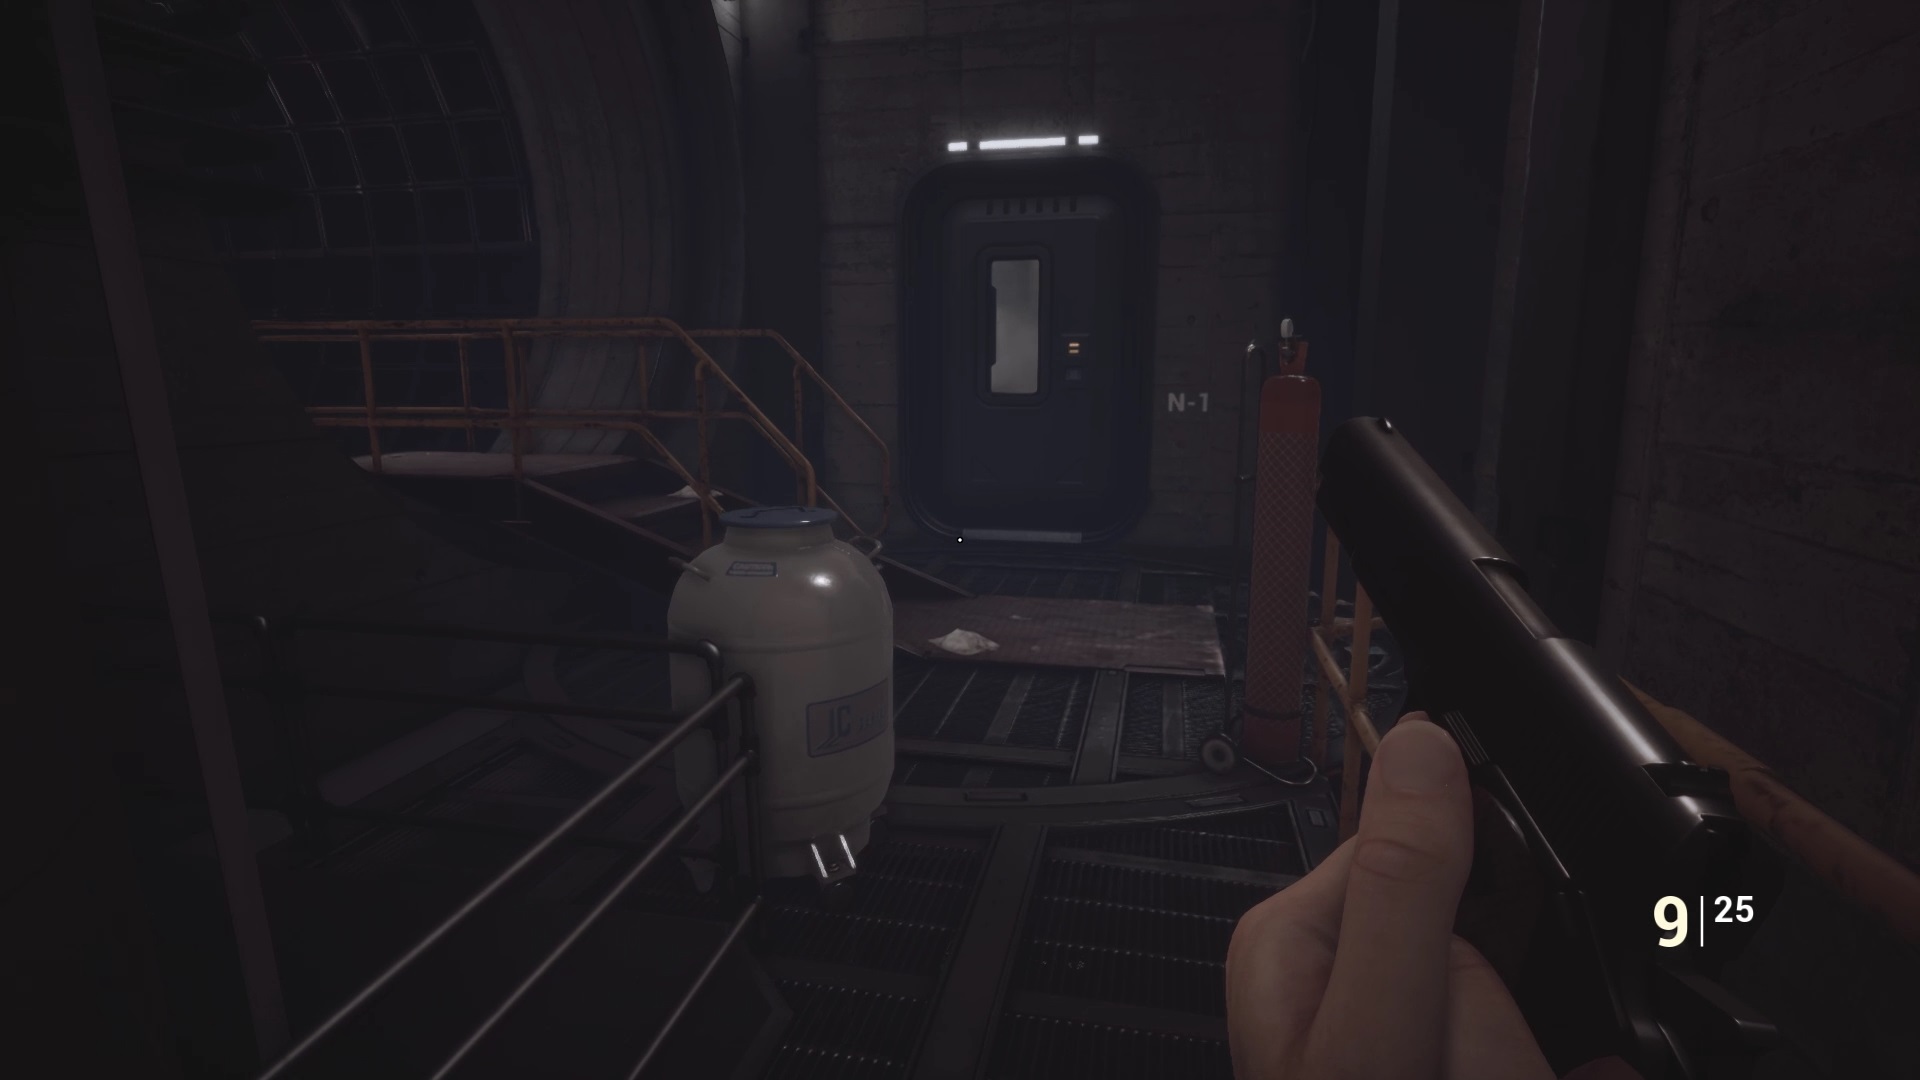
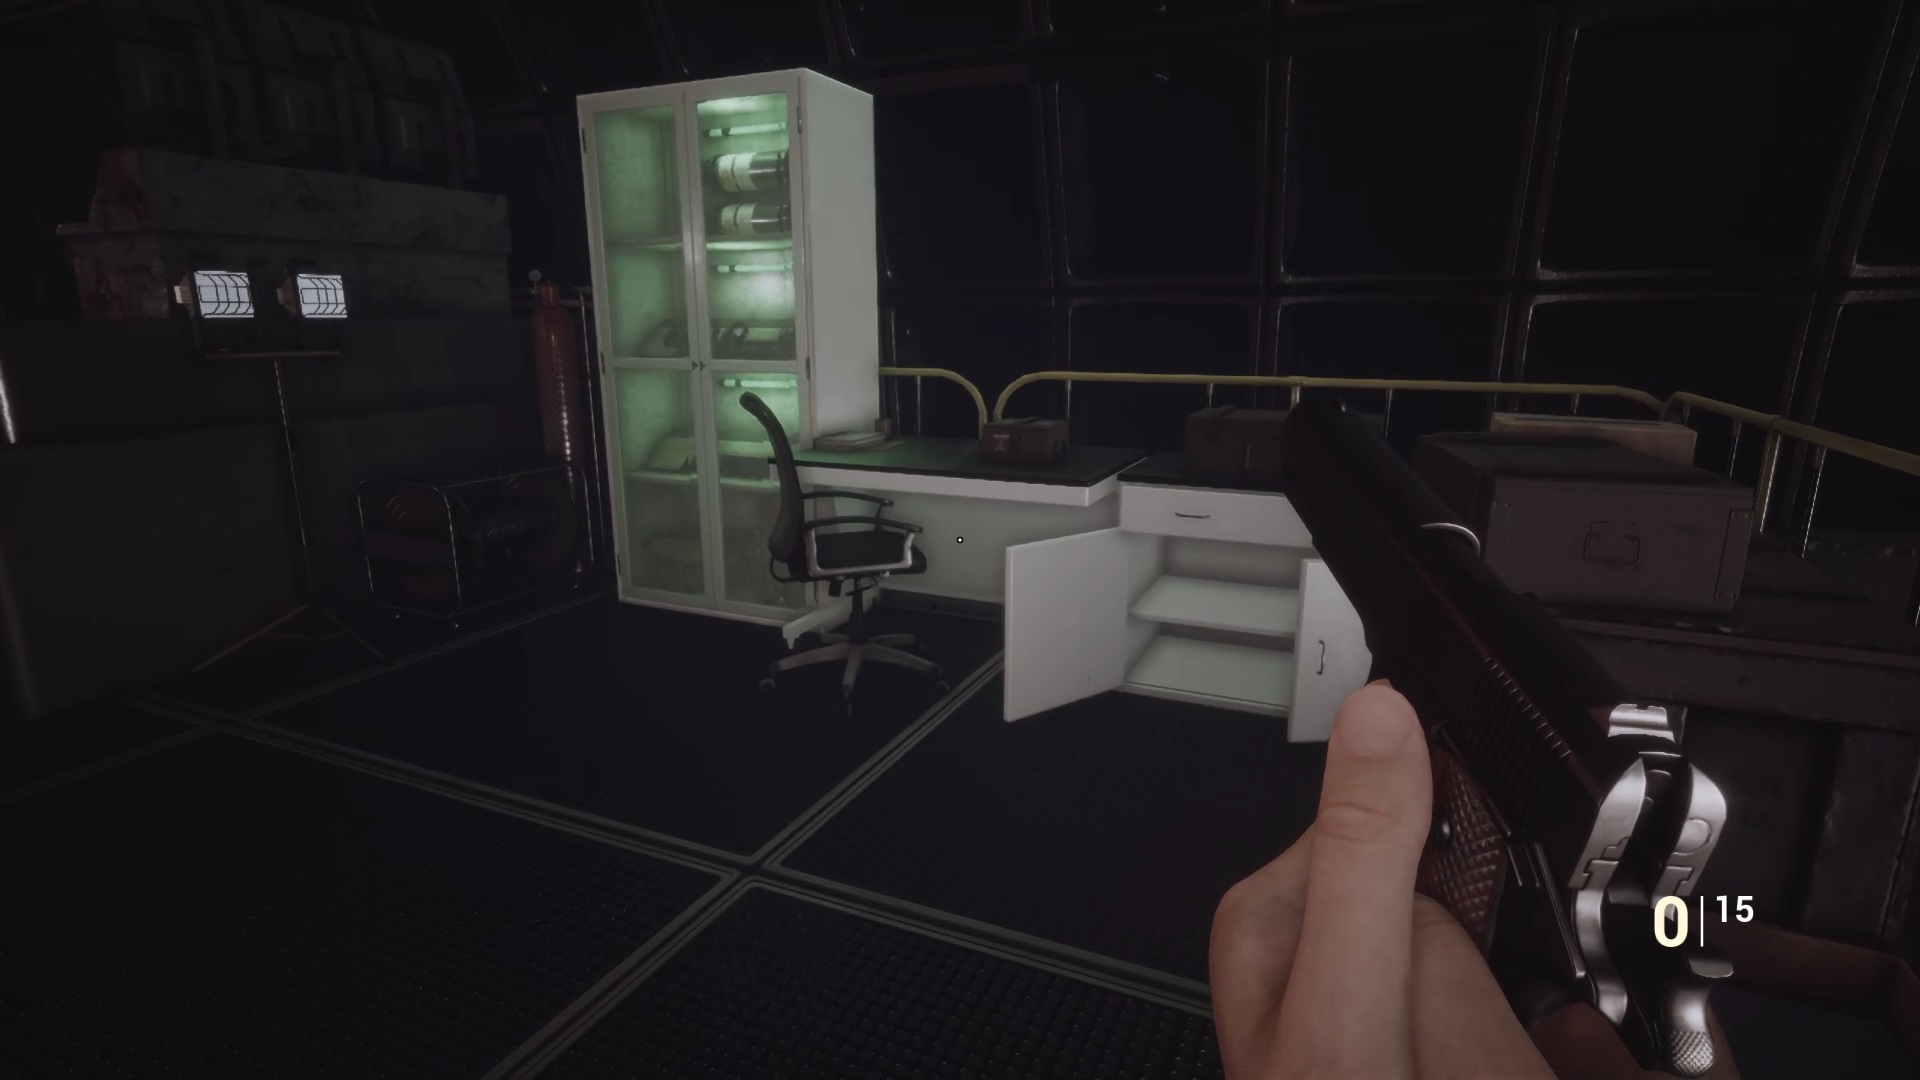
Tribute to Resident Evil obliges, here you are in the laboratory. When you leave, you will only have access to level 0 rooms : N-0, but some doors can be locked manually. Start by exploring the hallway on the left to find a cart with a flimsy box. Pull the trolley opposite to clear the way. Go ahead and enter through the door of Lab 01 B. Be careful, an enemy is inside. Kill the enemy and unlock the Lab 01 door with the switch next to it.
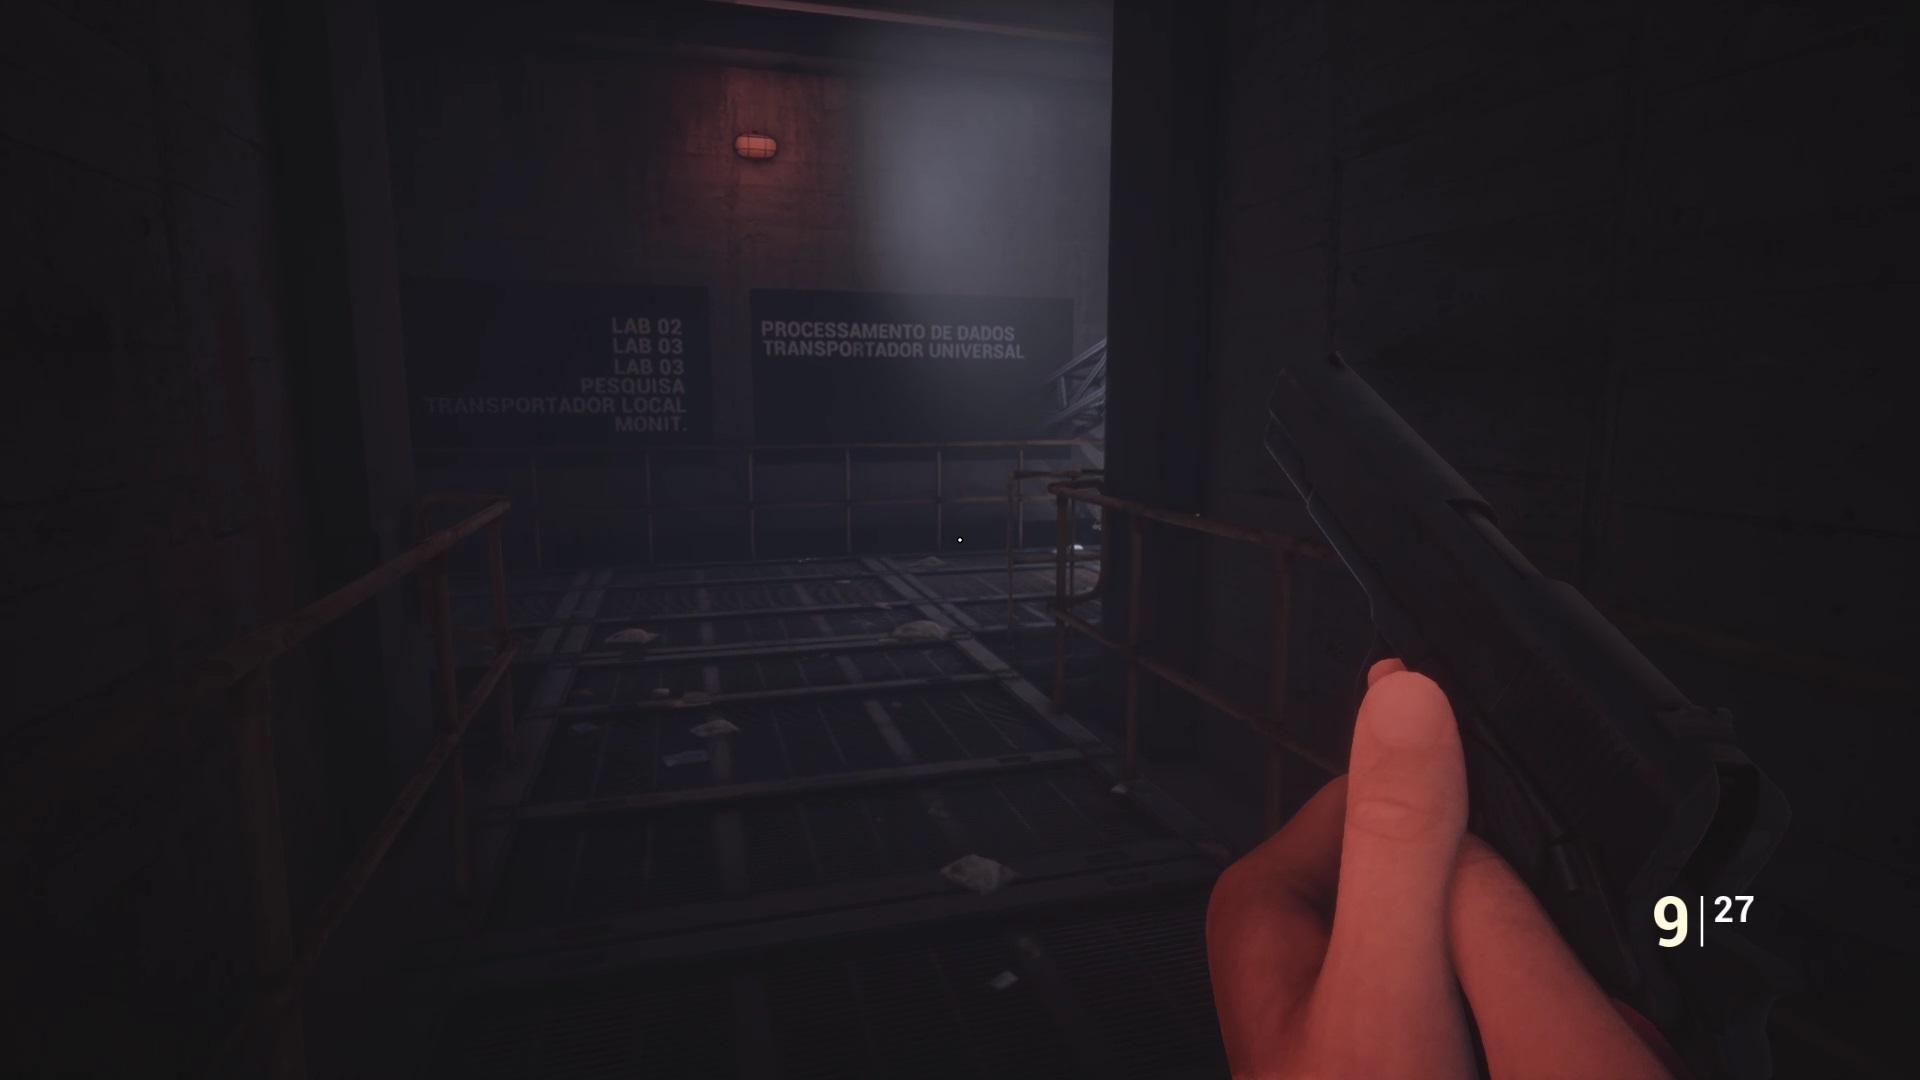
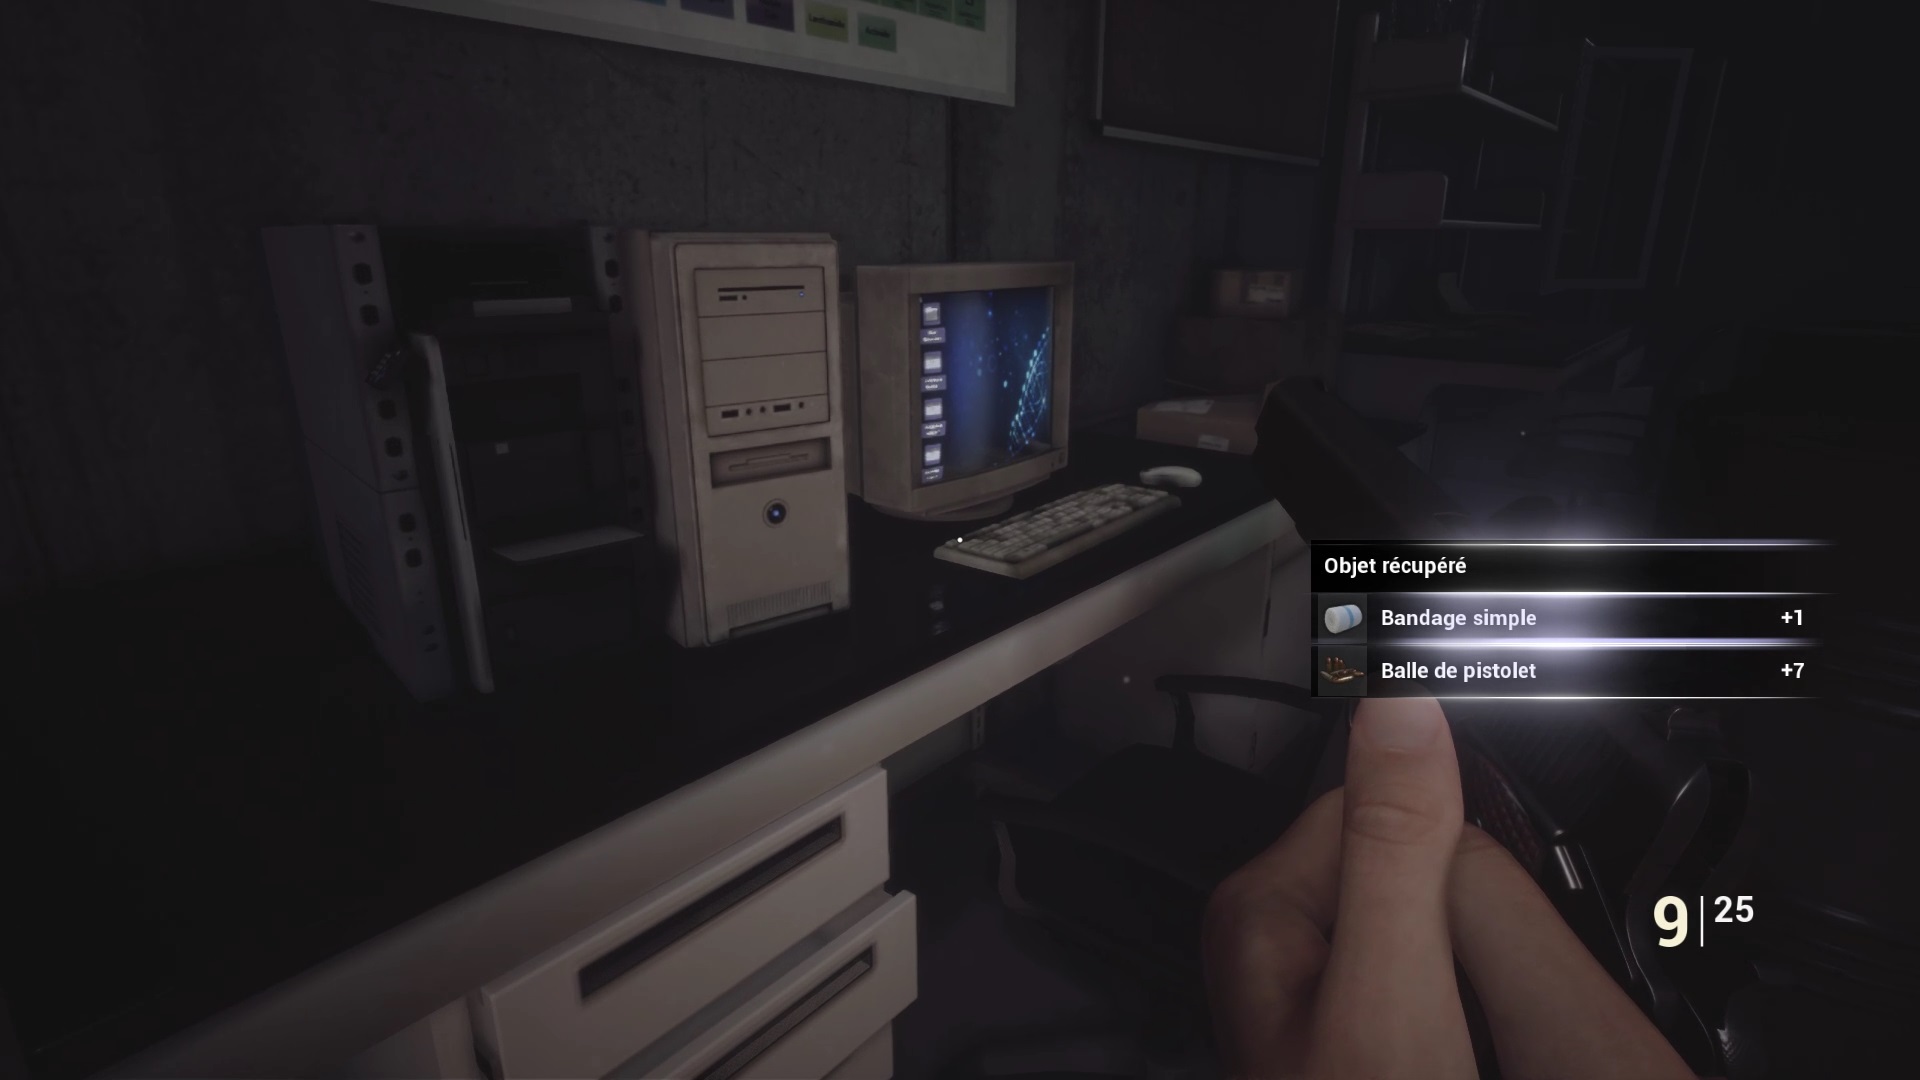
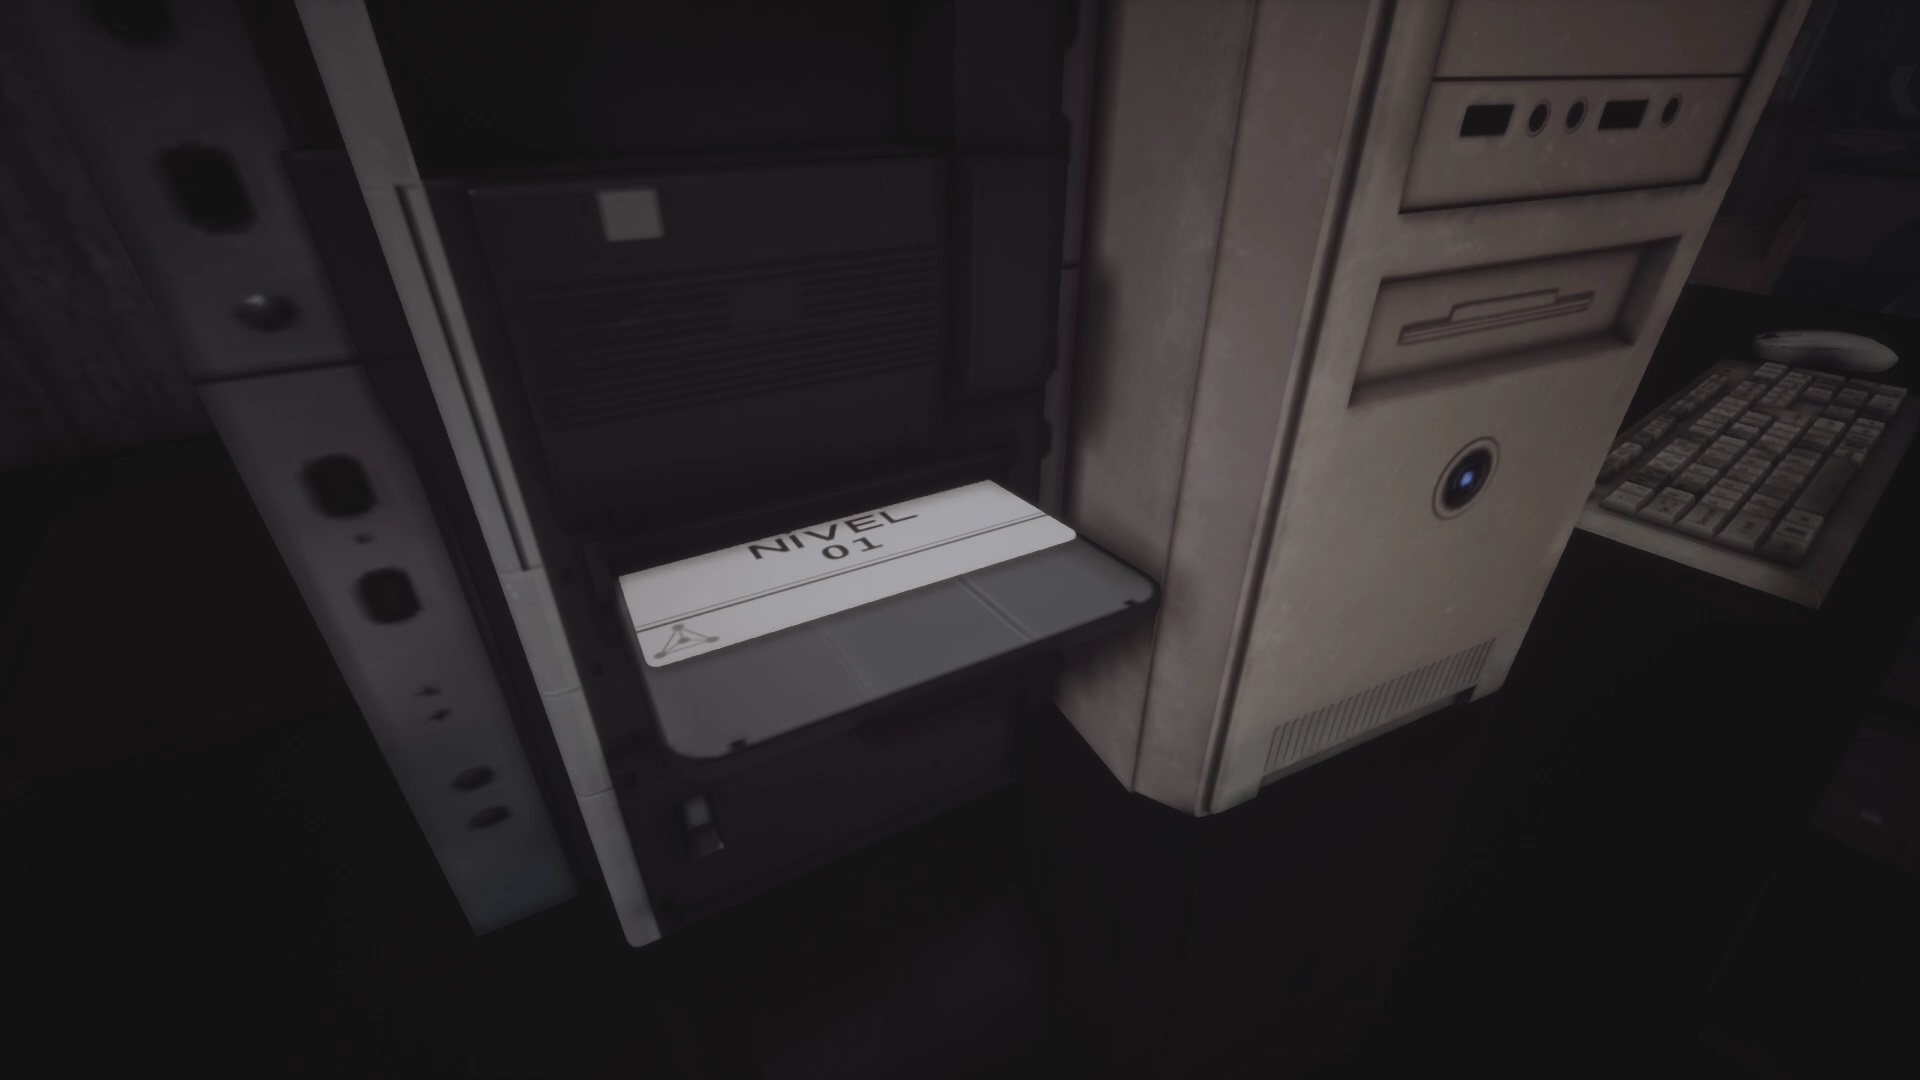
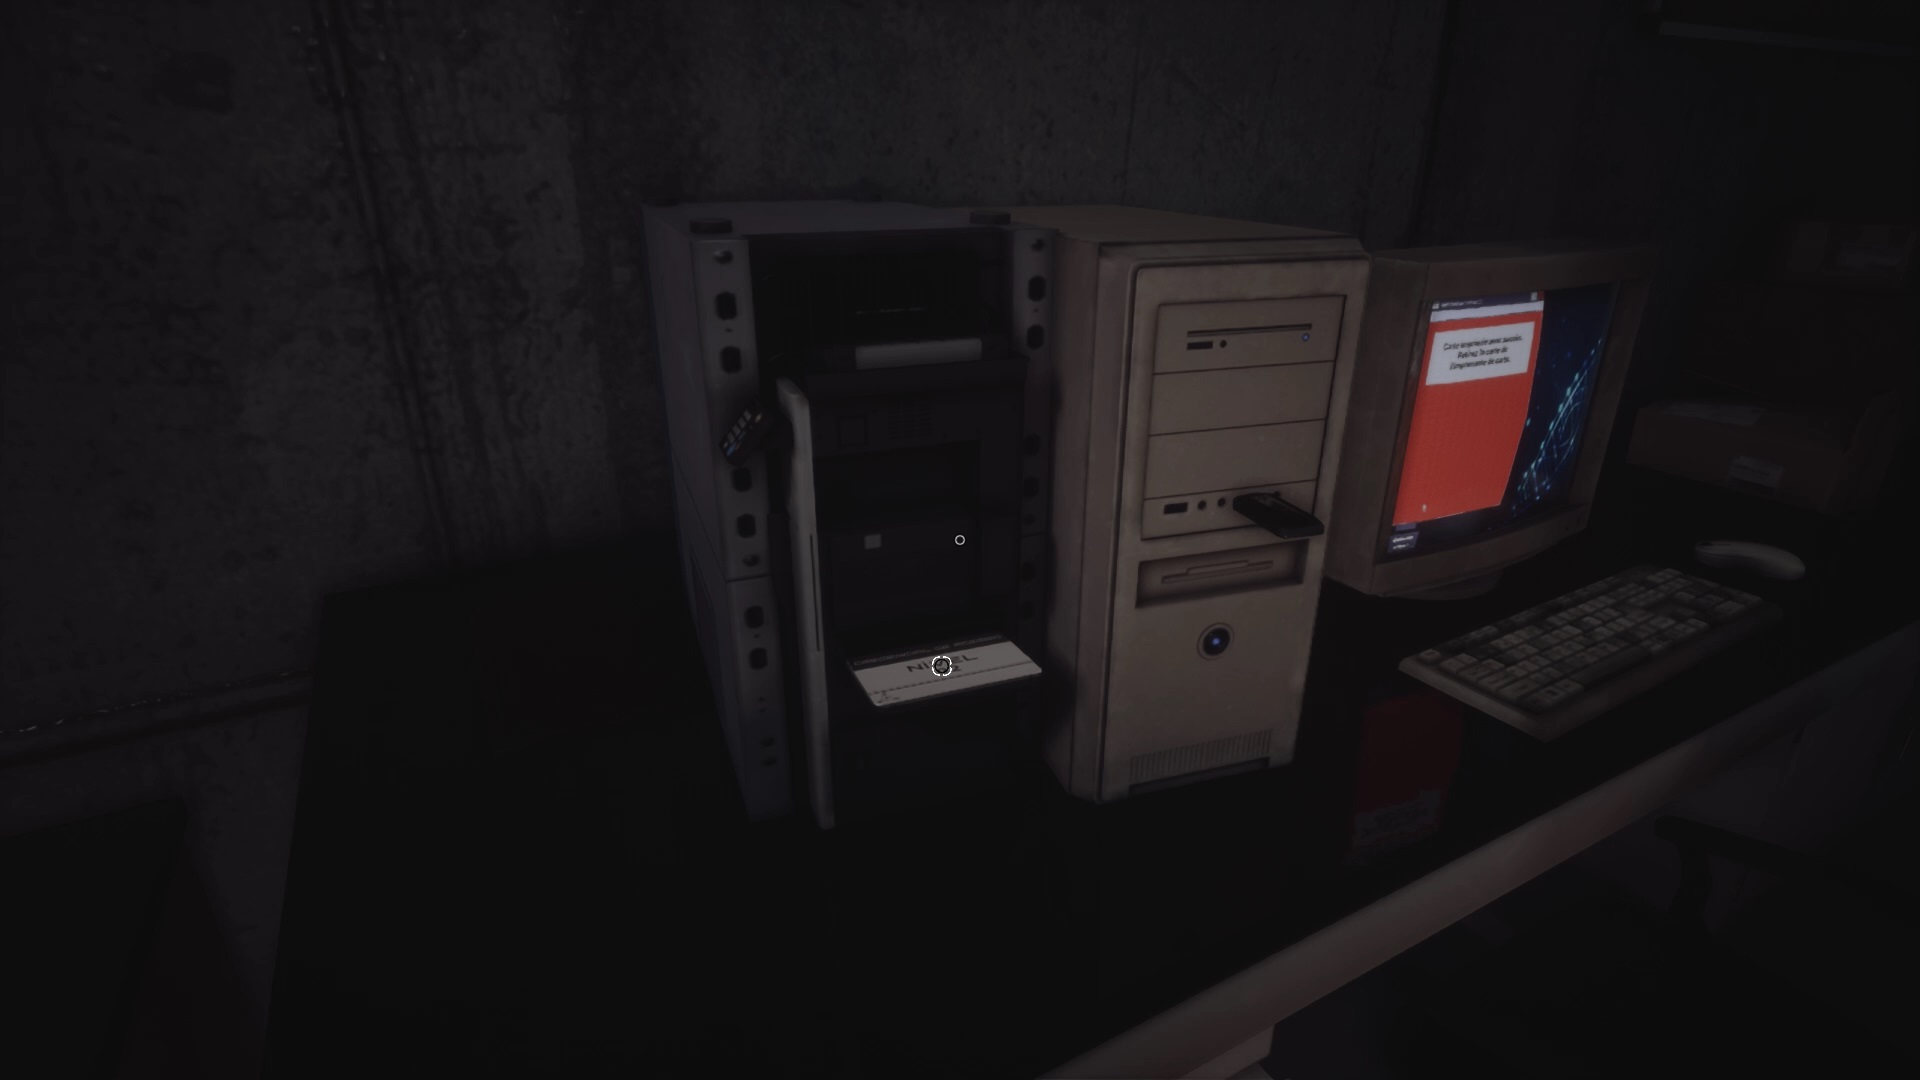
Continue the exploration towards the bottom of the corridor. Beware of enemies may be on the walls. Use your camera to clear the path of debris to the data processing room on the right. Enter the Data Processing B door. Draw your pistol to defeat the enemy inside. Interact with the computer against the left wall to find various documents and map generator software. Click on Level 1 Generator to create a level 1 accreditation card : N-01. The card comes out of a printer to the left of the monitor.
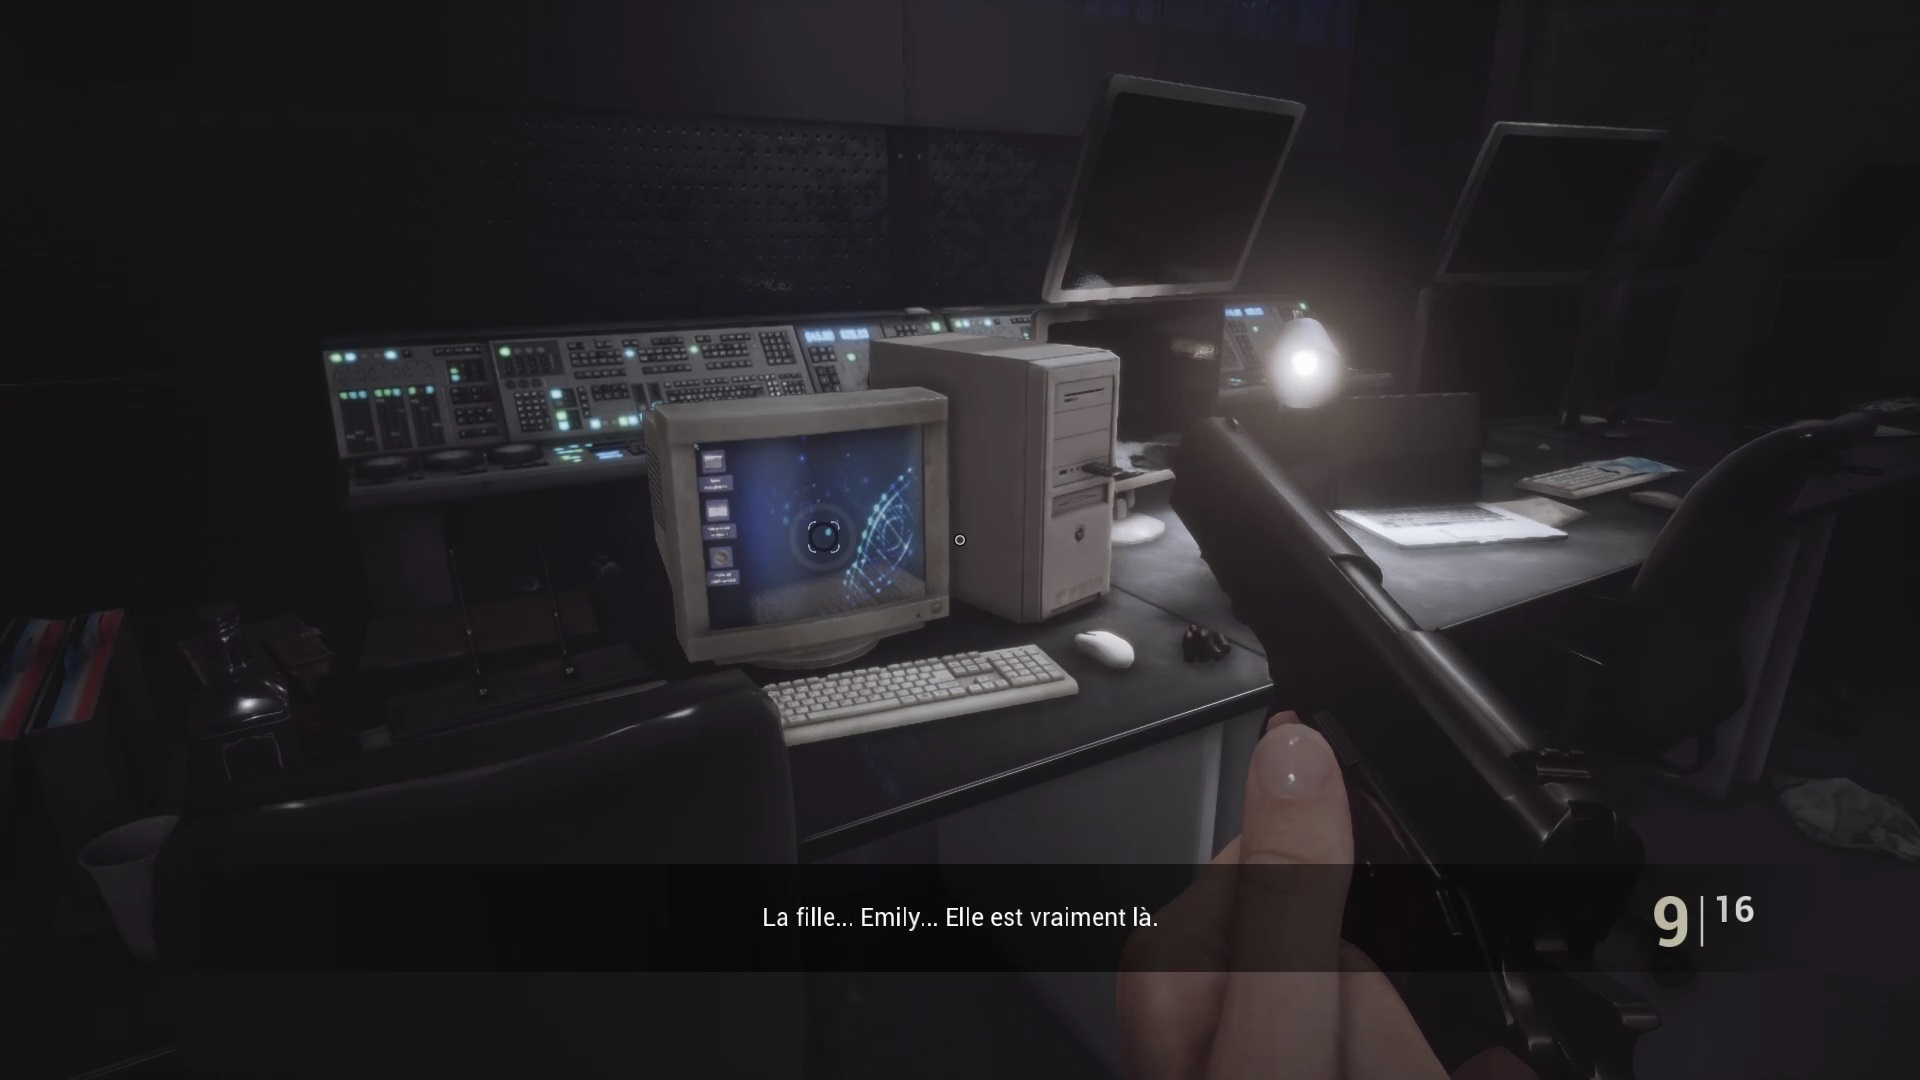
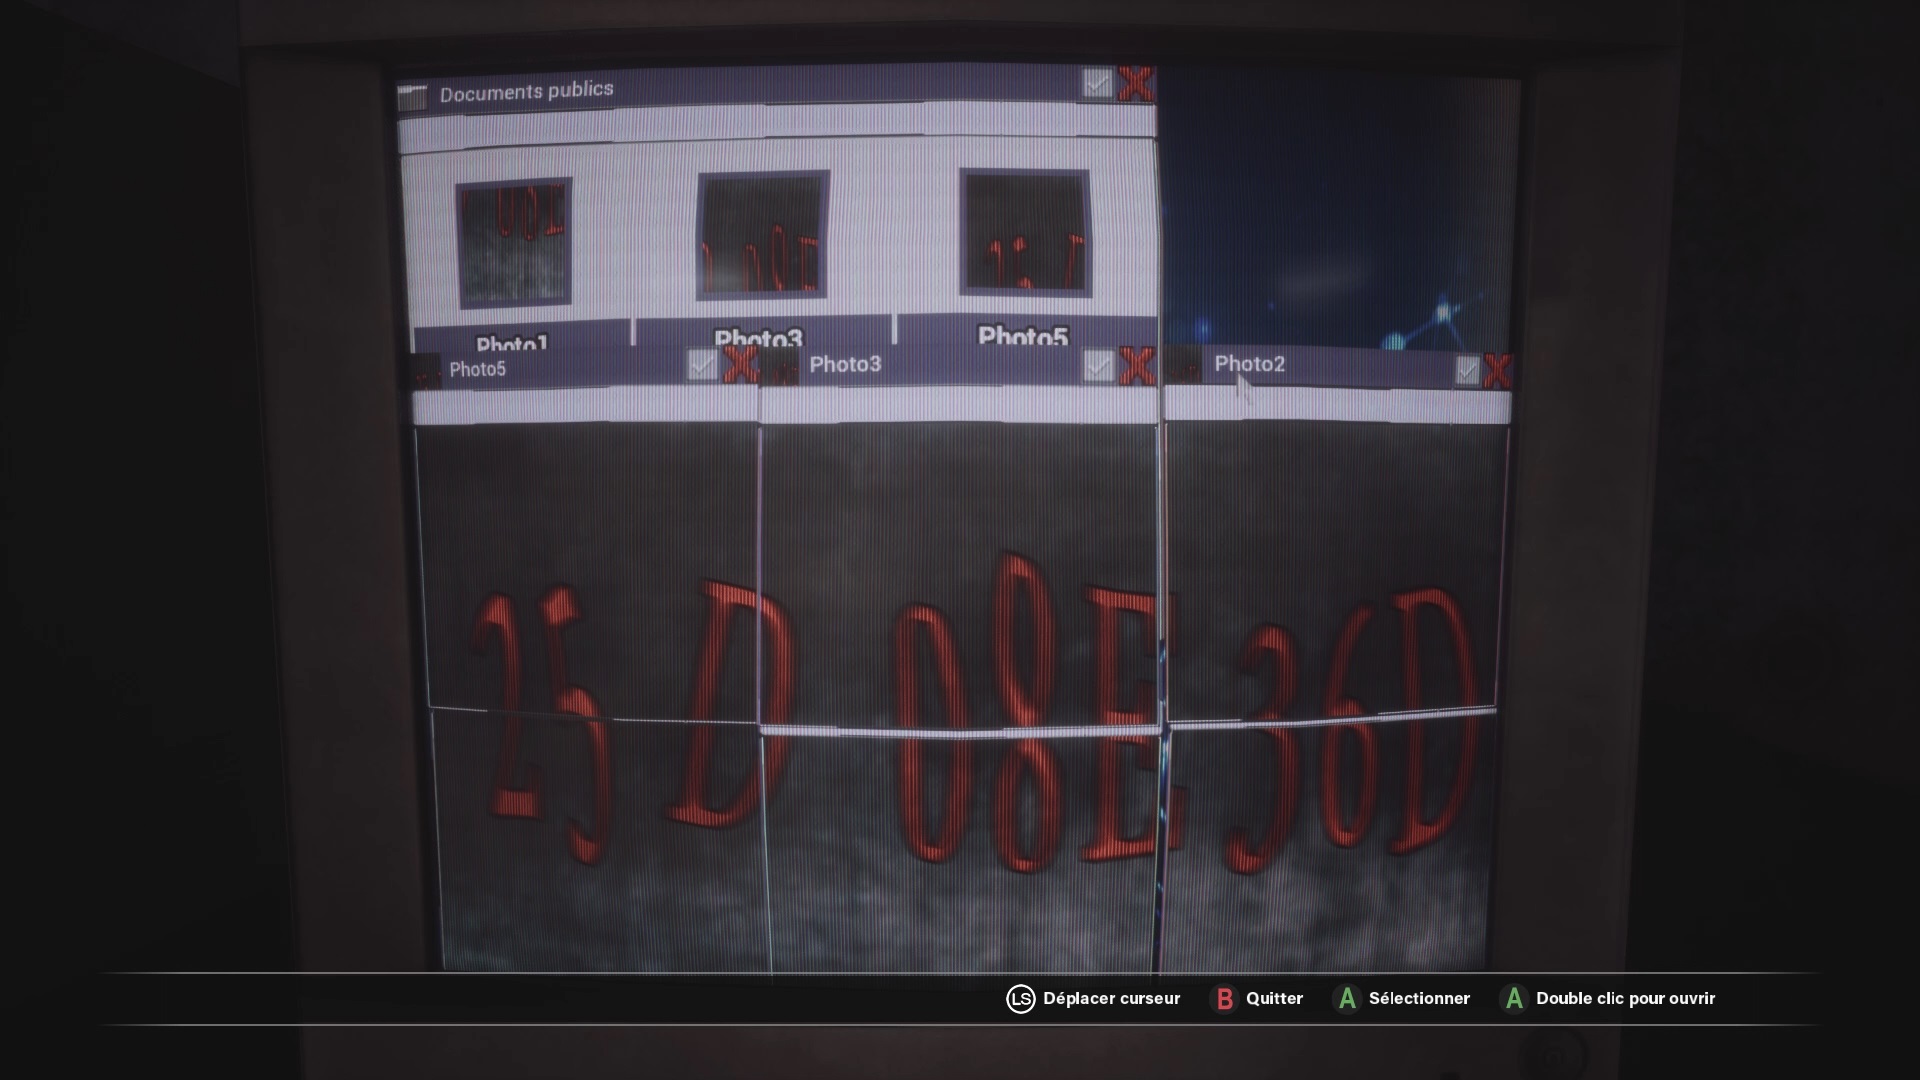
With the level 01 map in your possession return to the starting elevator to open a door on the right. Enemies are behind the corridor. Directly to the right enter the surveillance room to find a monitor. Use the monitor to generate the level 02 map code on a USB stick. When finished, remove the USB key and return to the data processing room.
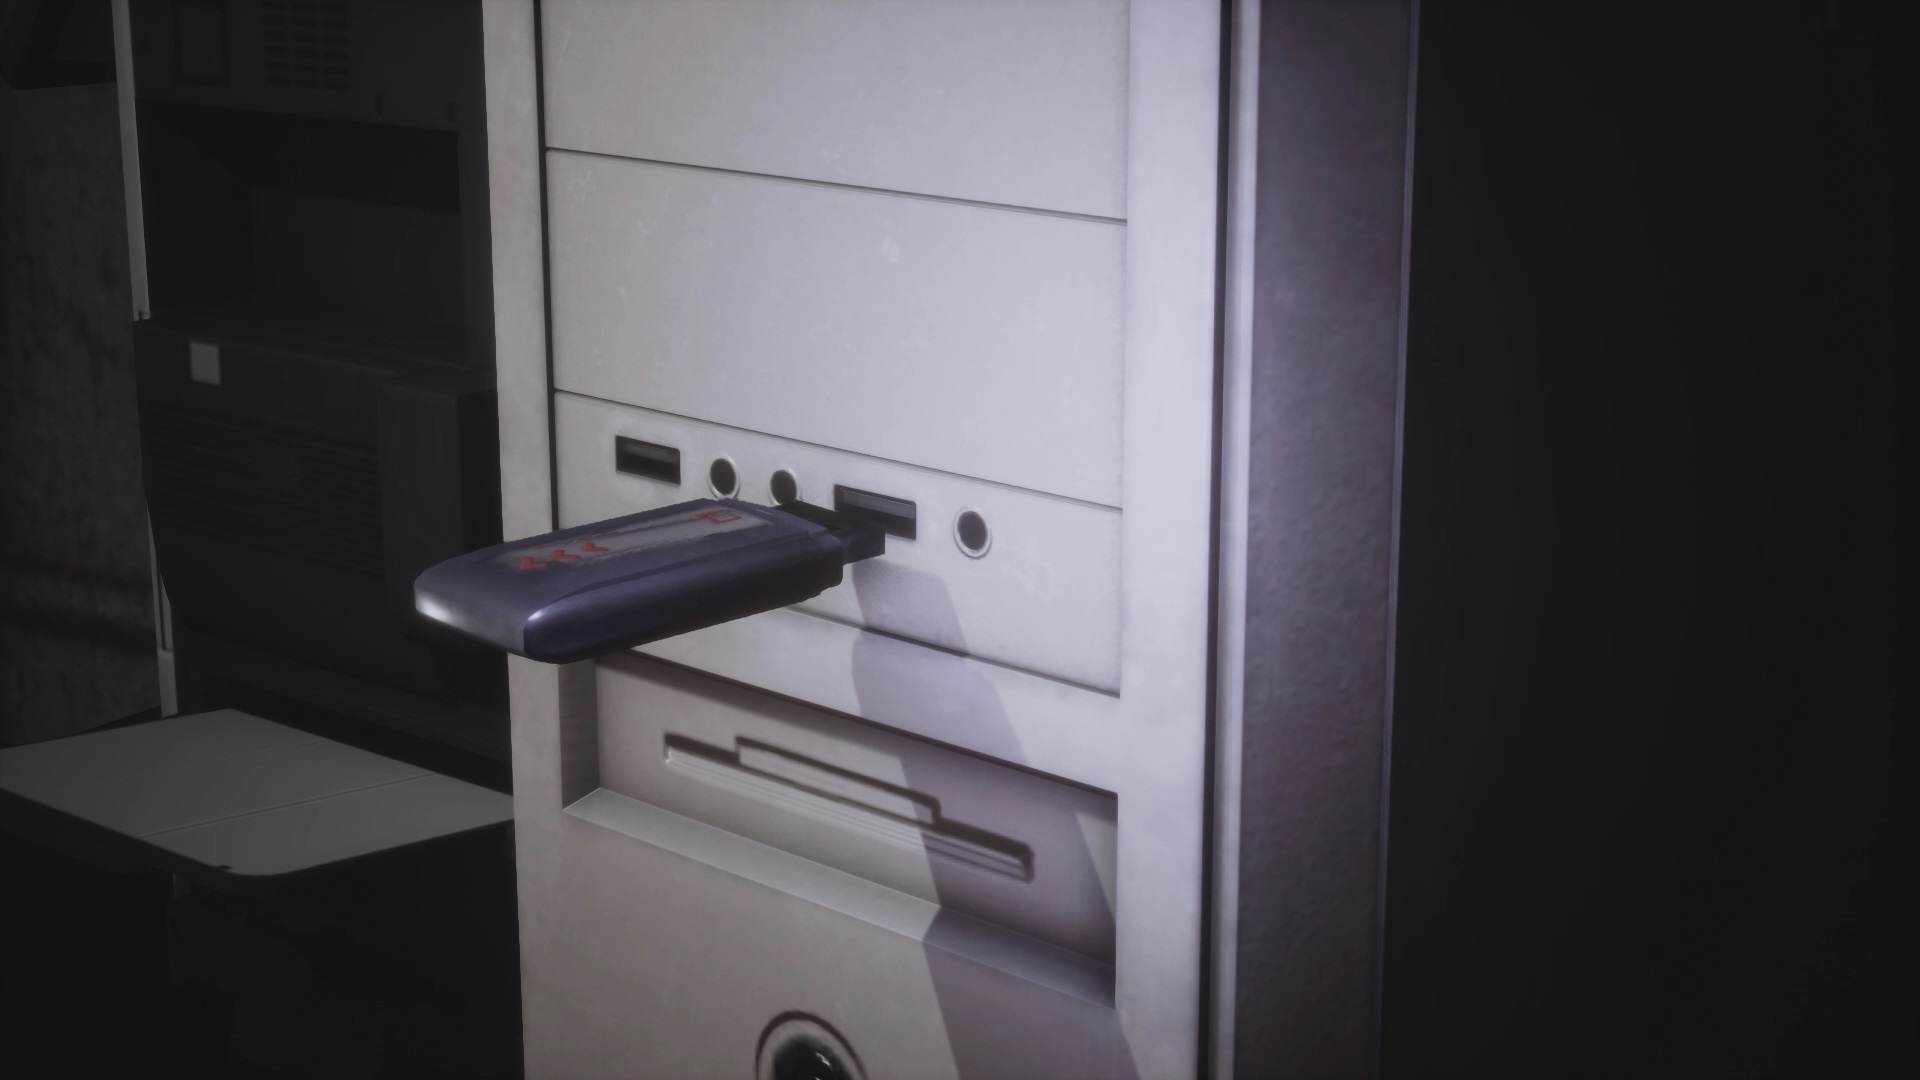
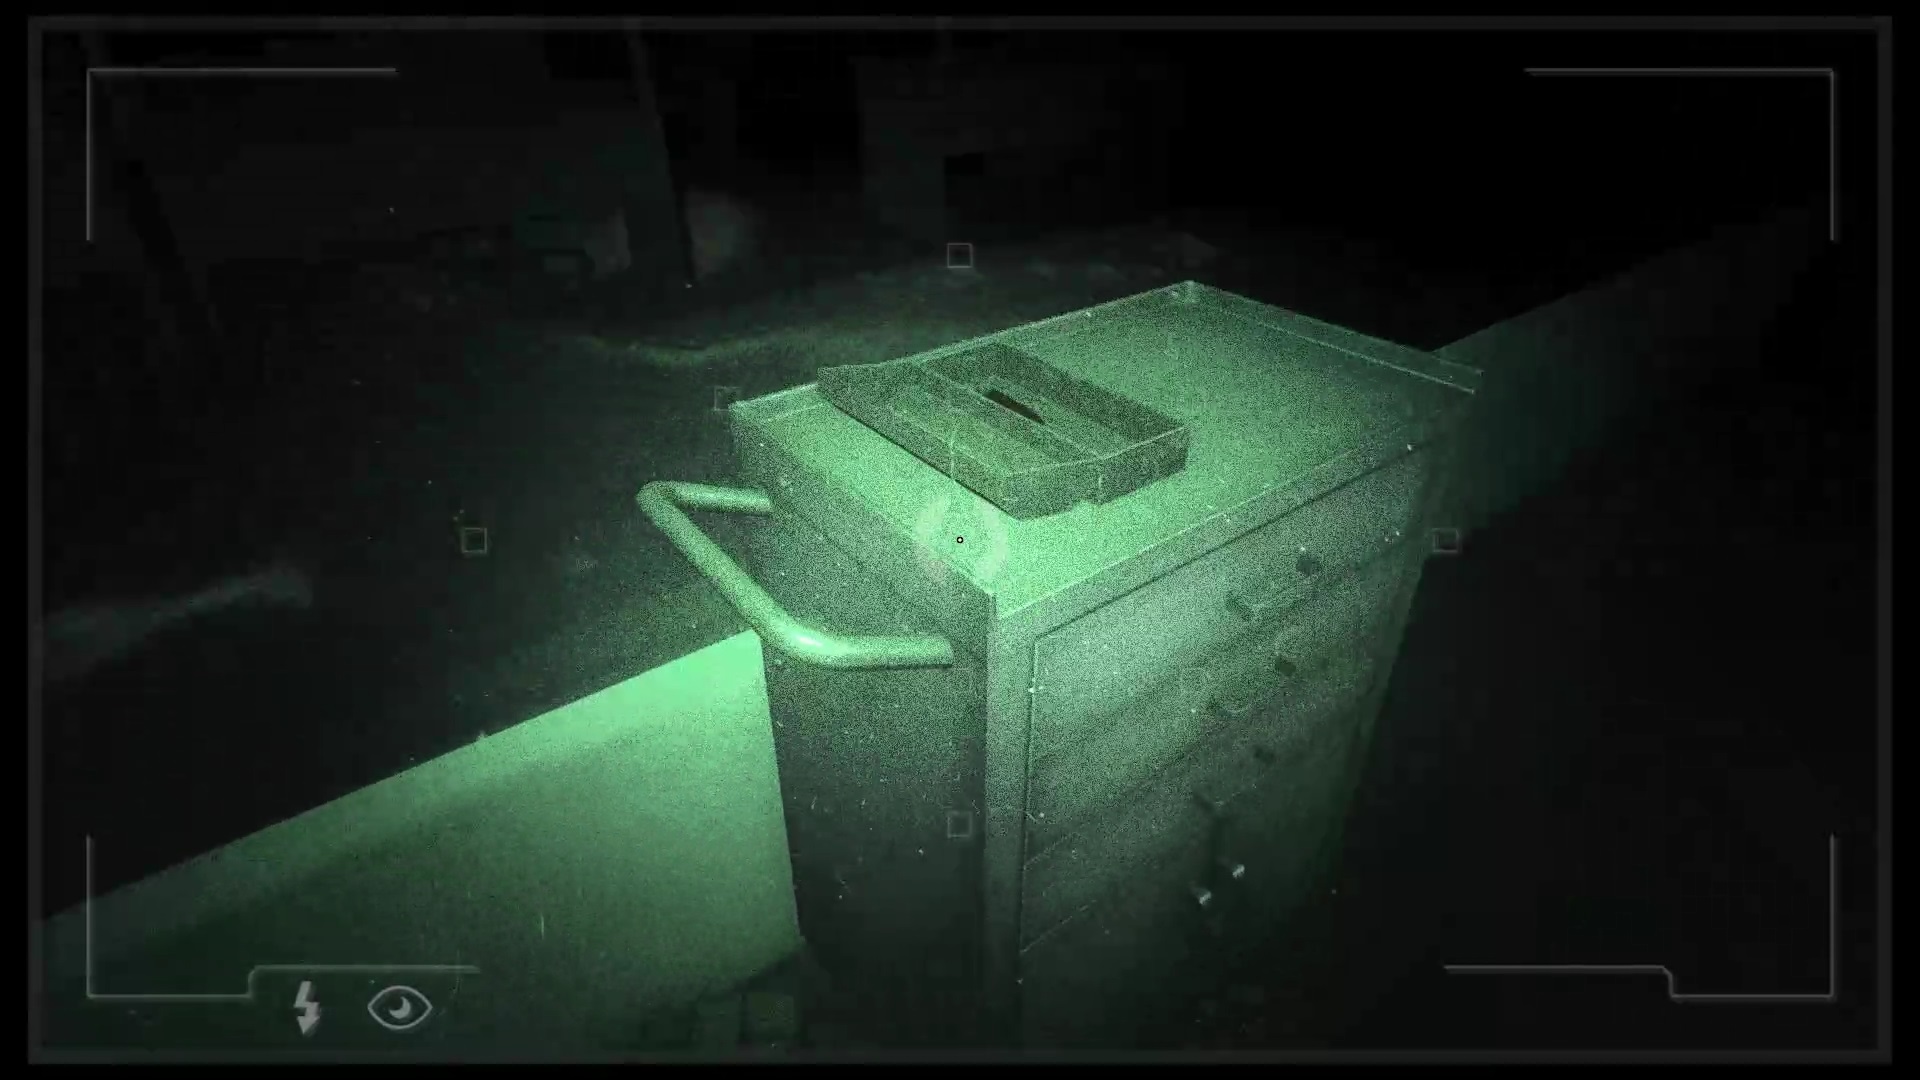
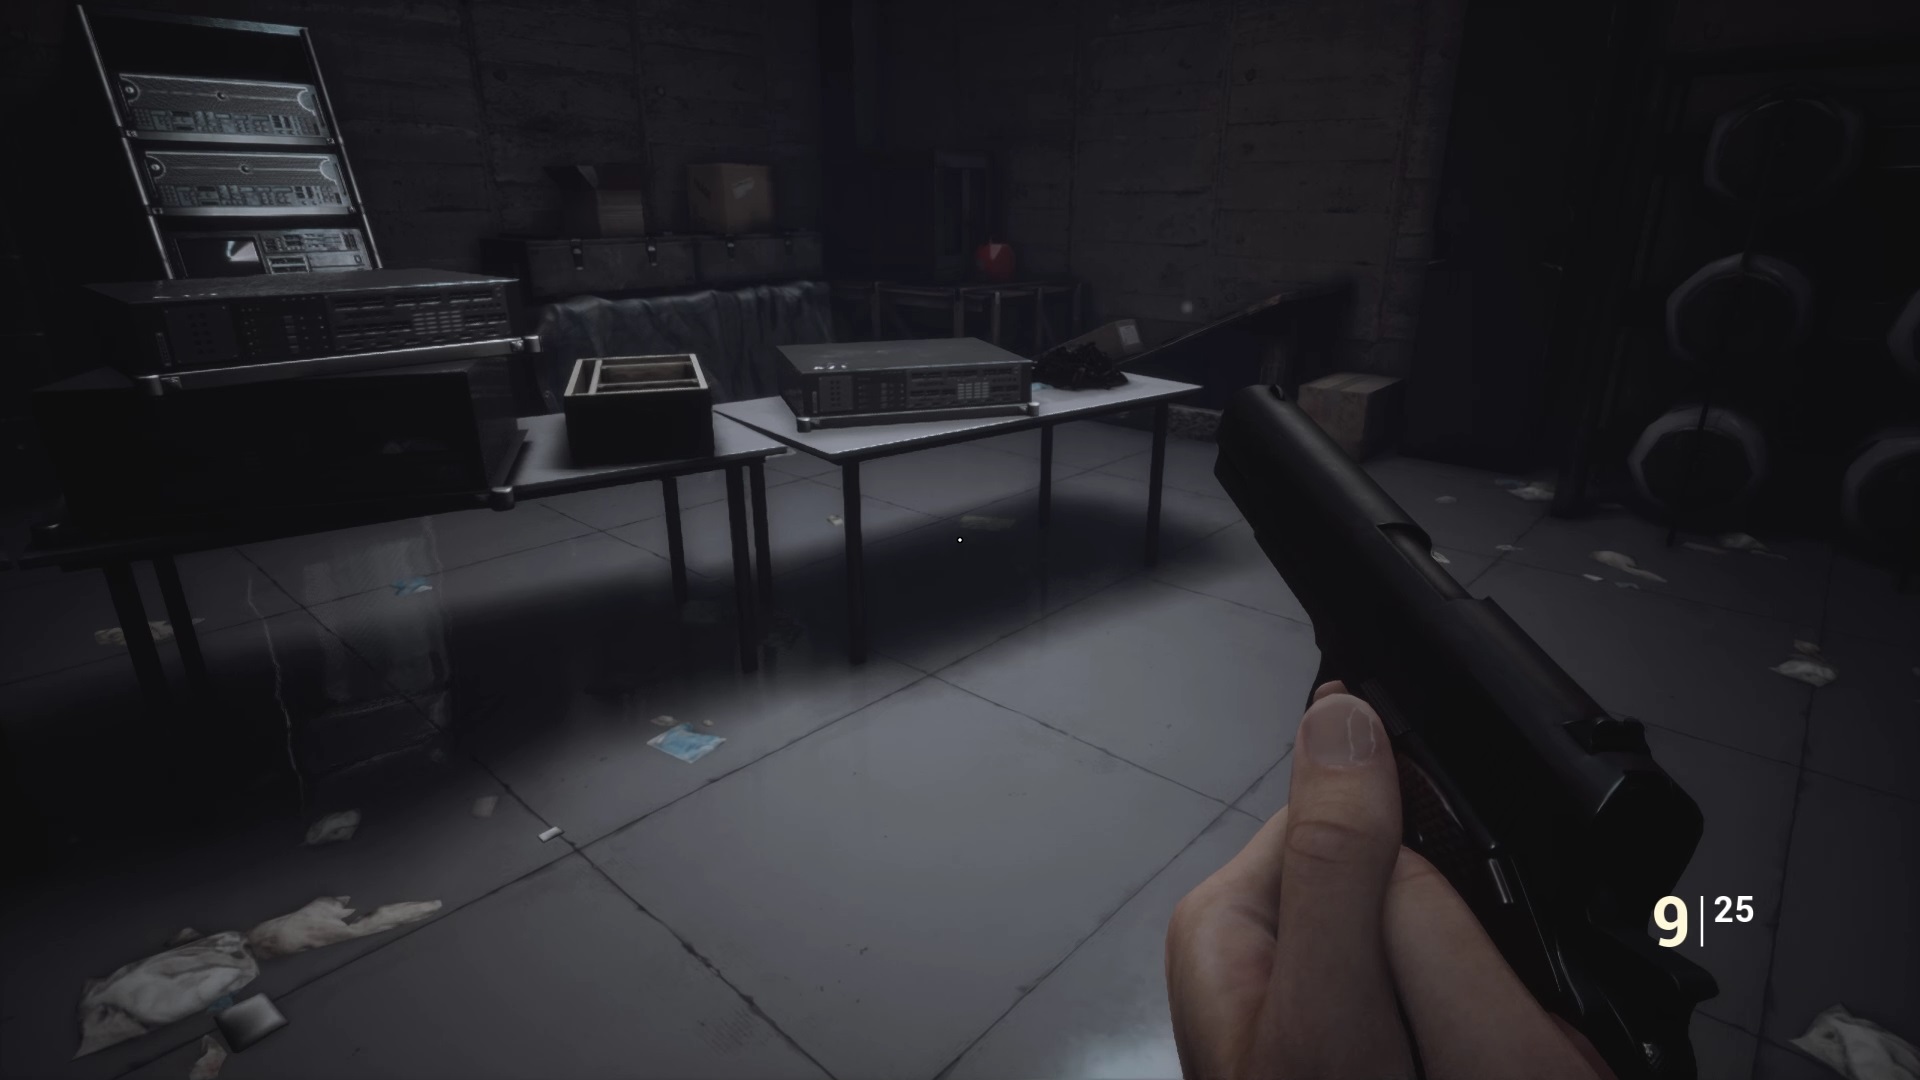
Insert the USB into the computer and attempt to create a level 02 map. An unexpected problem occurs in the server room behind. Go to the server room and use your camera to reveal a screwdriver on a crate.
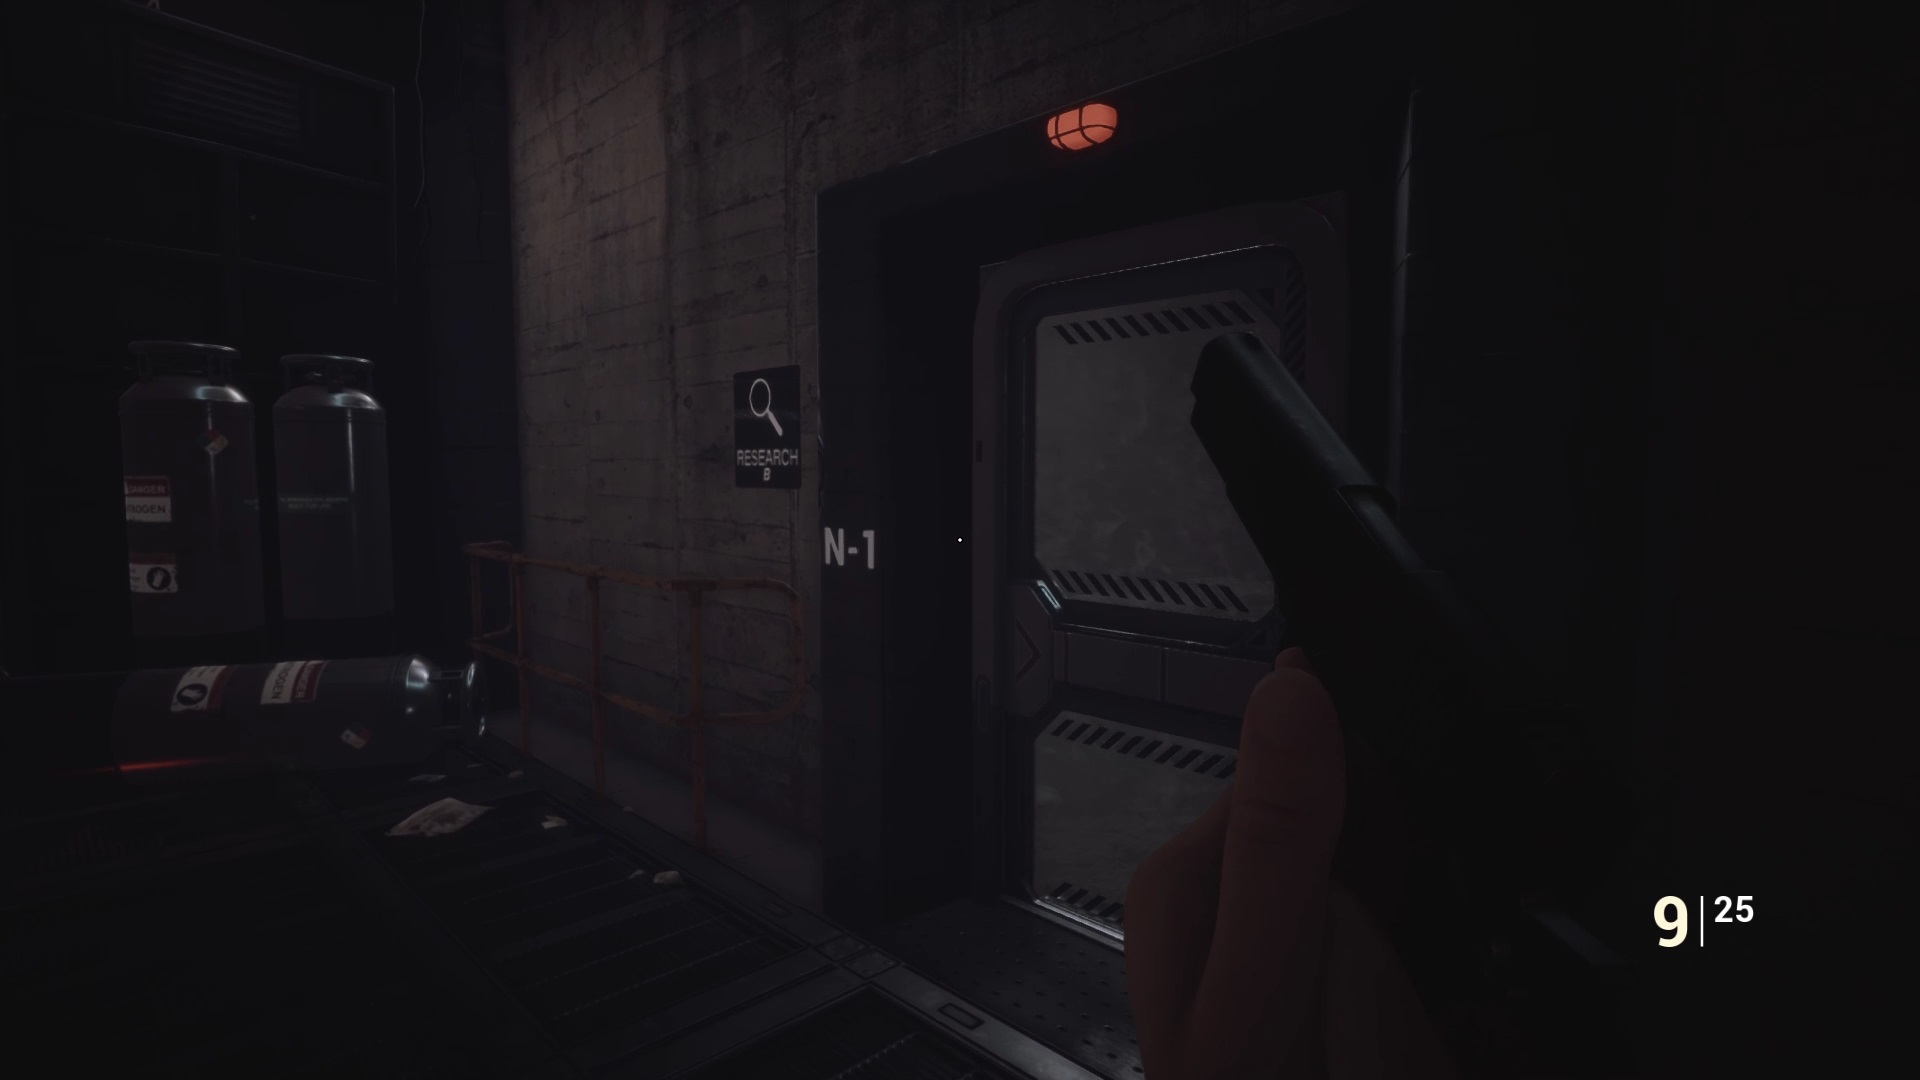
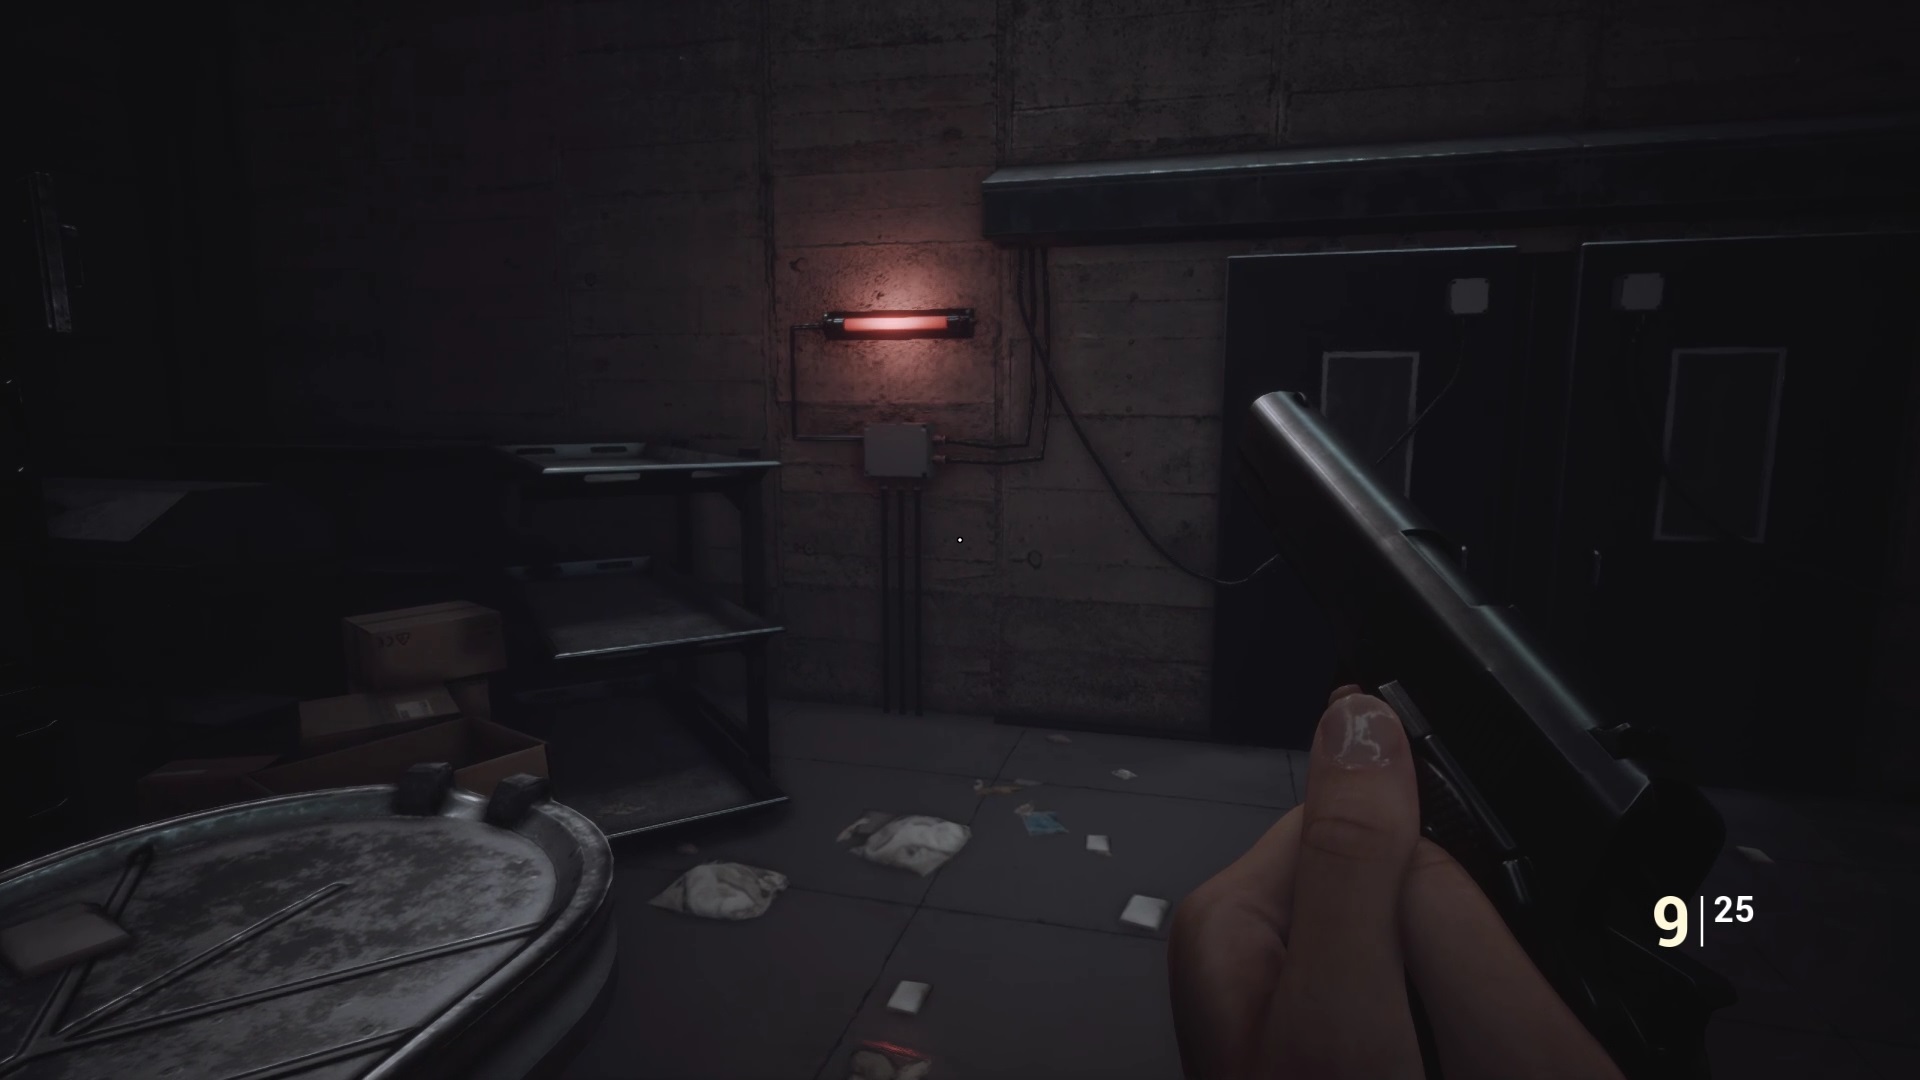
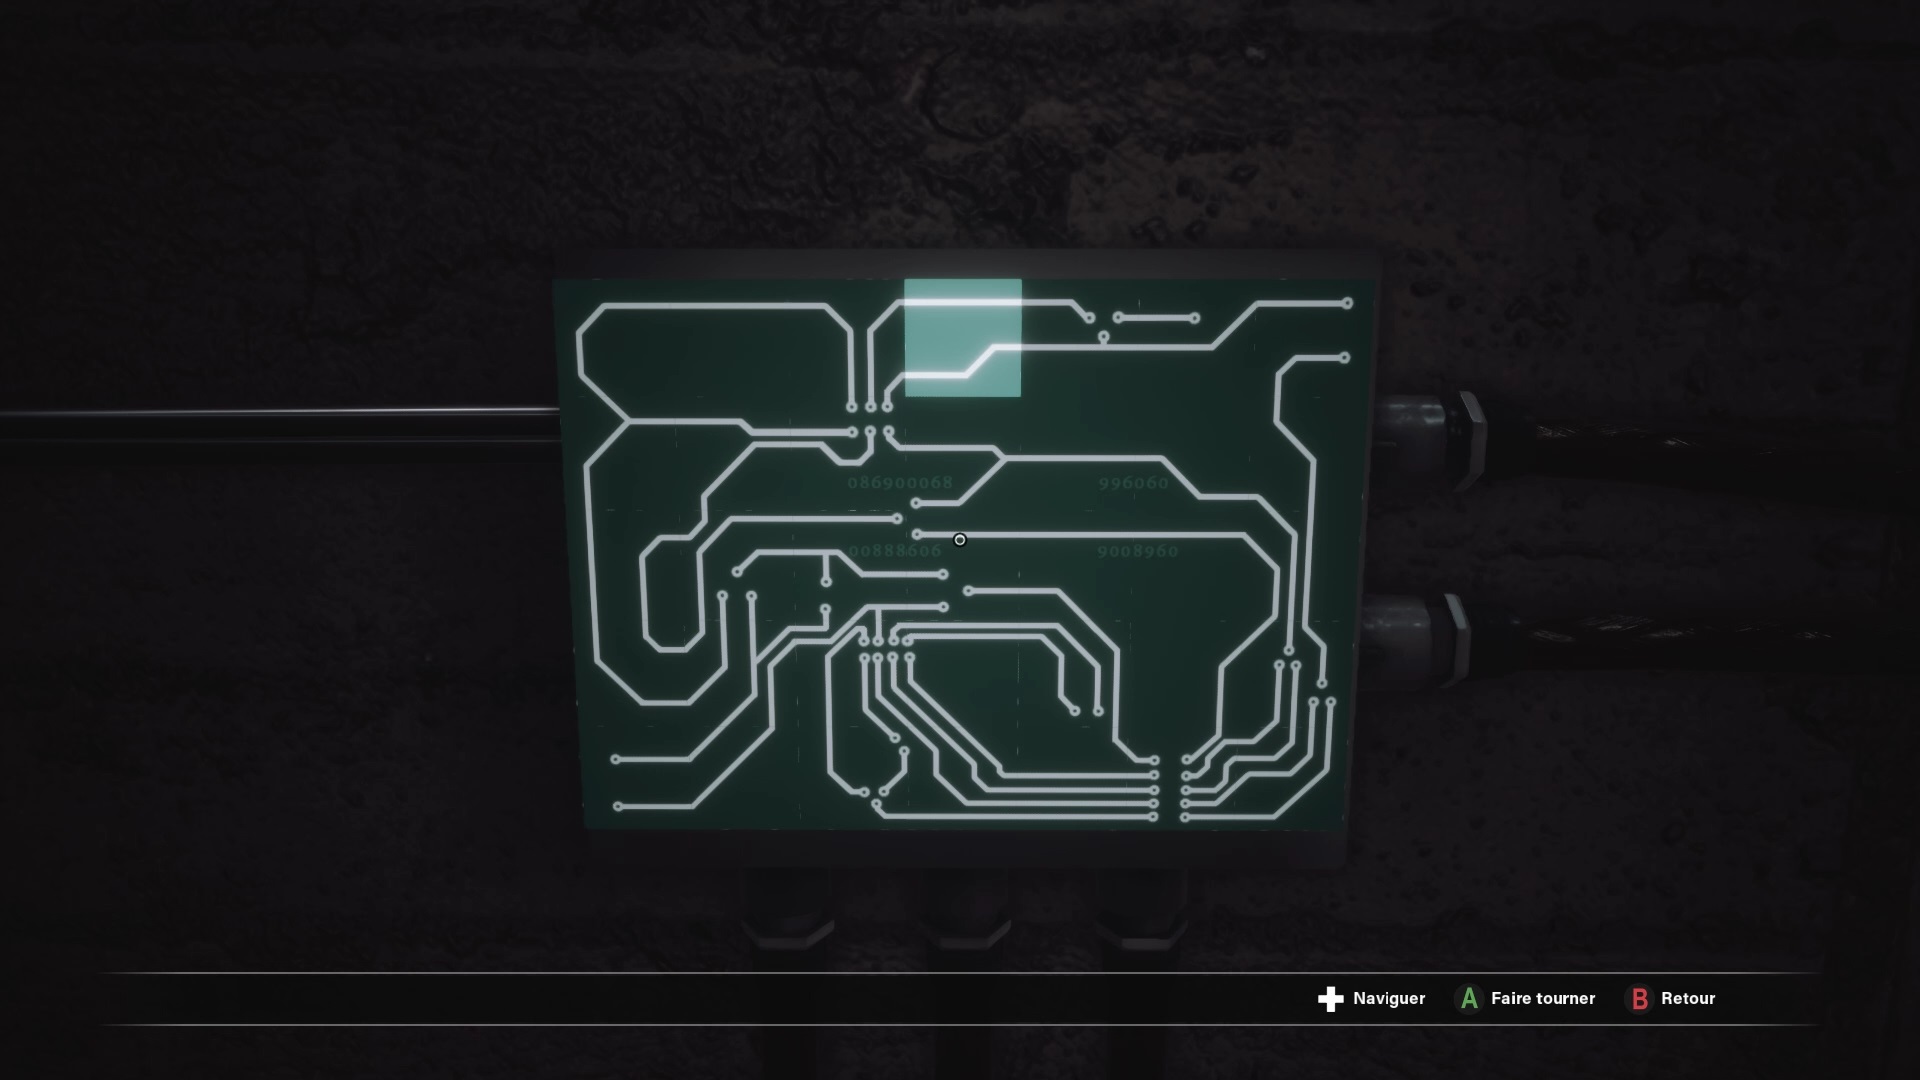
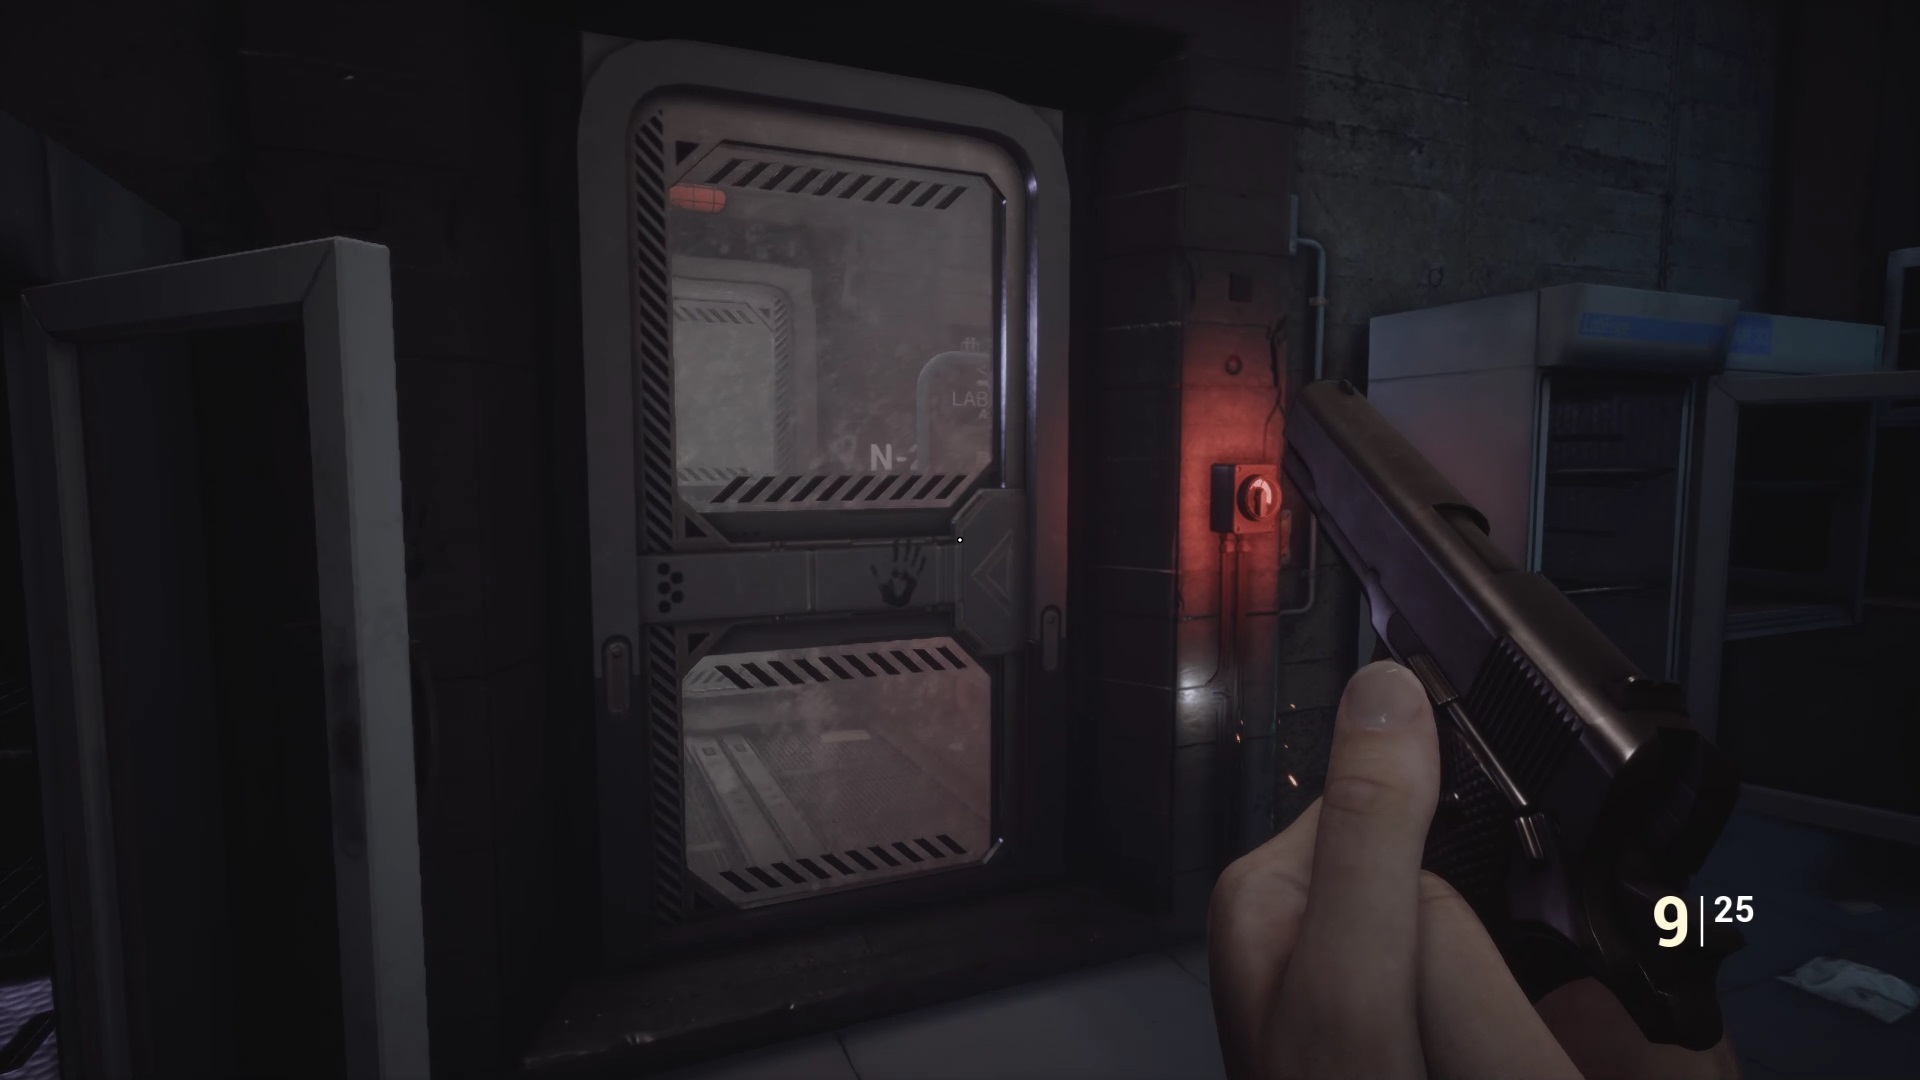
Return to the hallway to the right of the elevator to find the research room. Go inside to see that he has a problem with an automatic door. Use the screwdriver on the box to the left of the door to gain access to its electronic circuit. Solve the puzzle to open the door. Collect the A19 server and place it in the server room to create a level 02 access card on the computer in the data processing room. Don’t forget to remove the USB key before leaving.
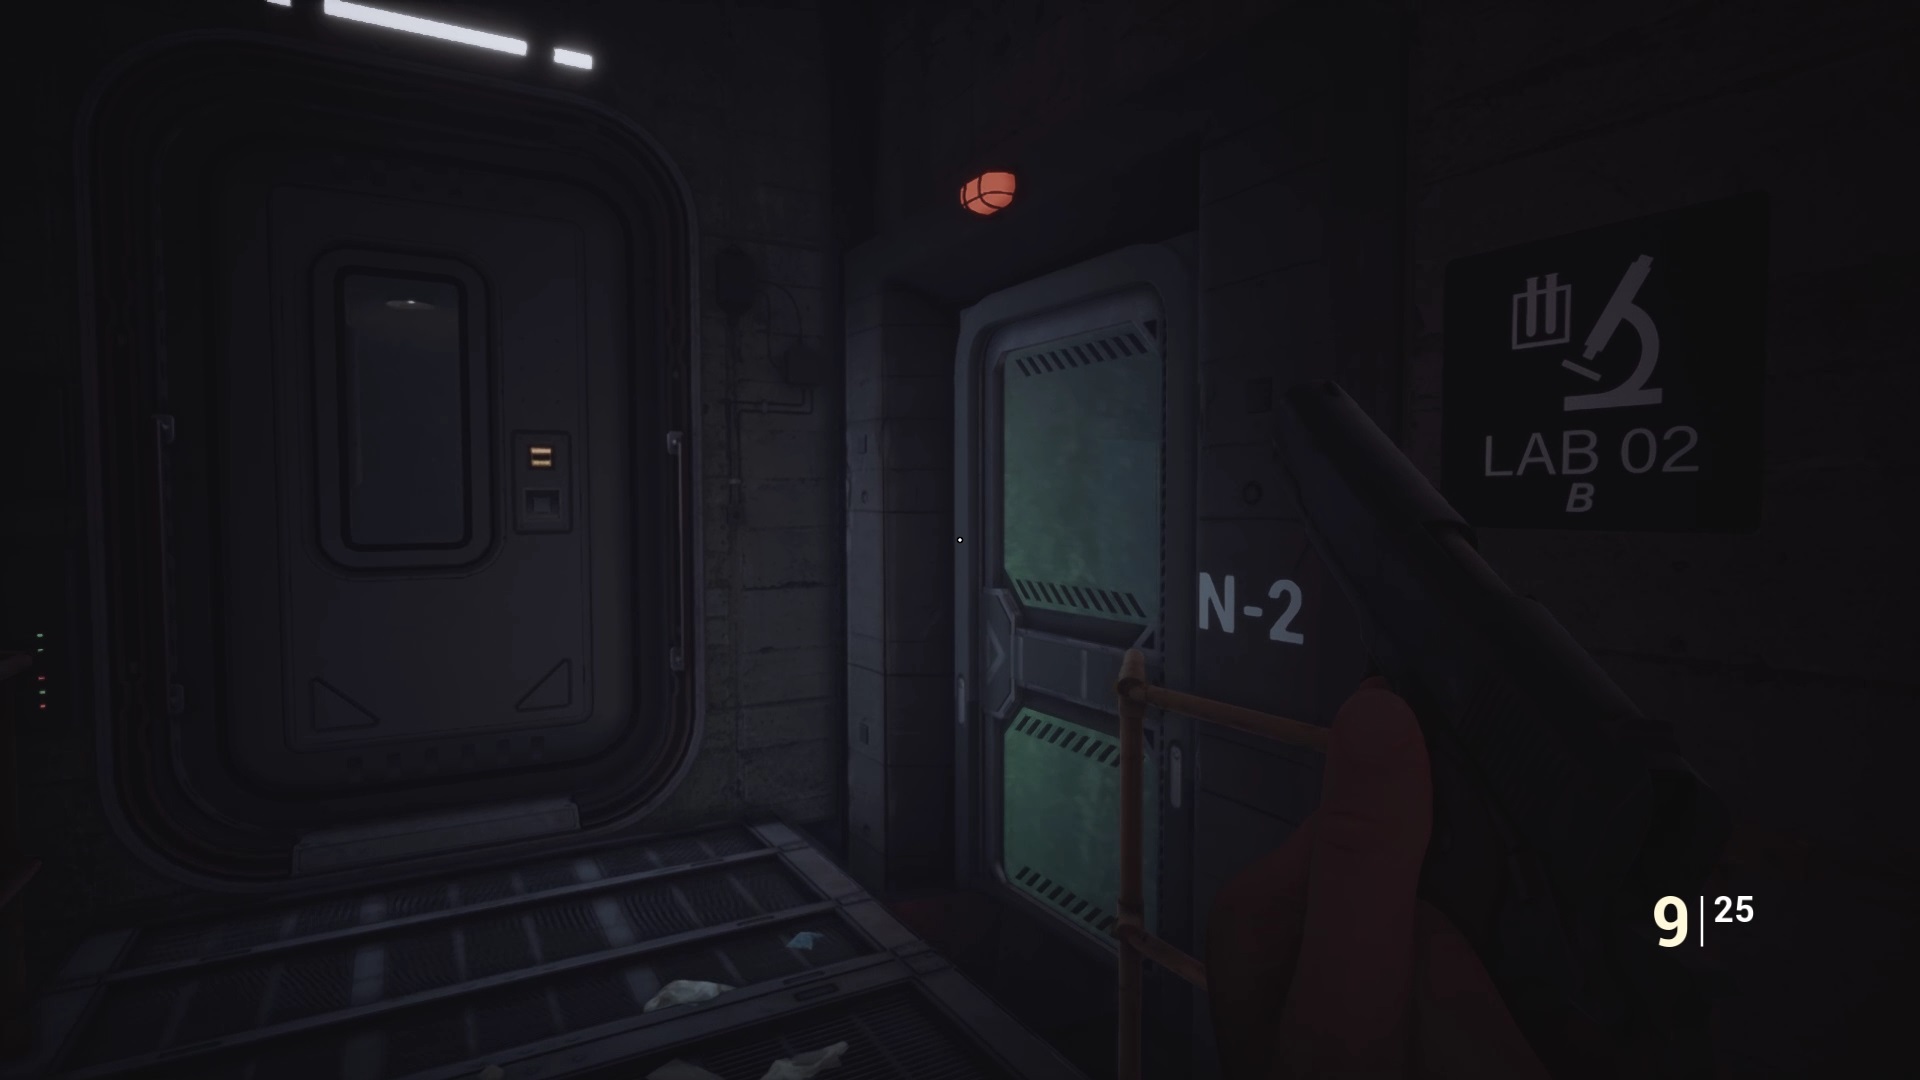
Using the map, enter Research Lab 02 near the Treatment Room Debris.
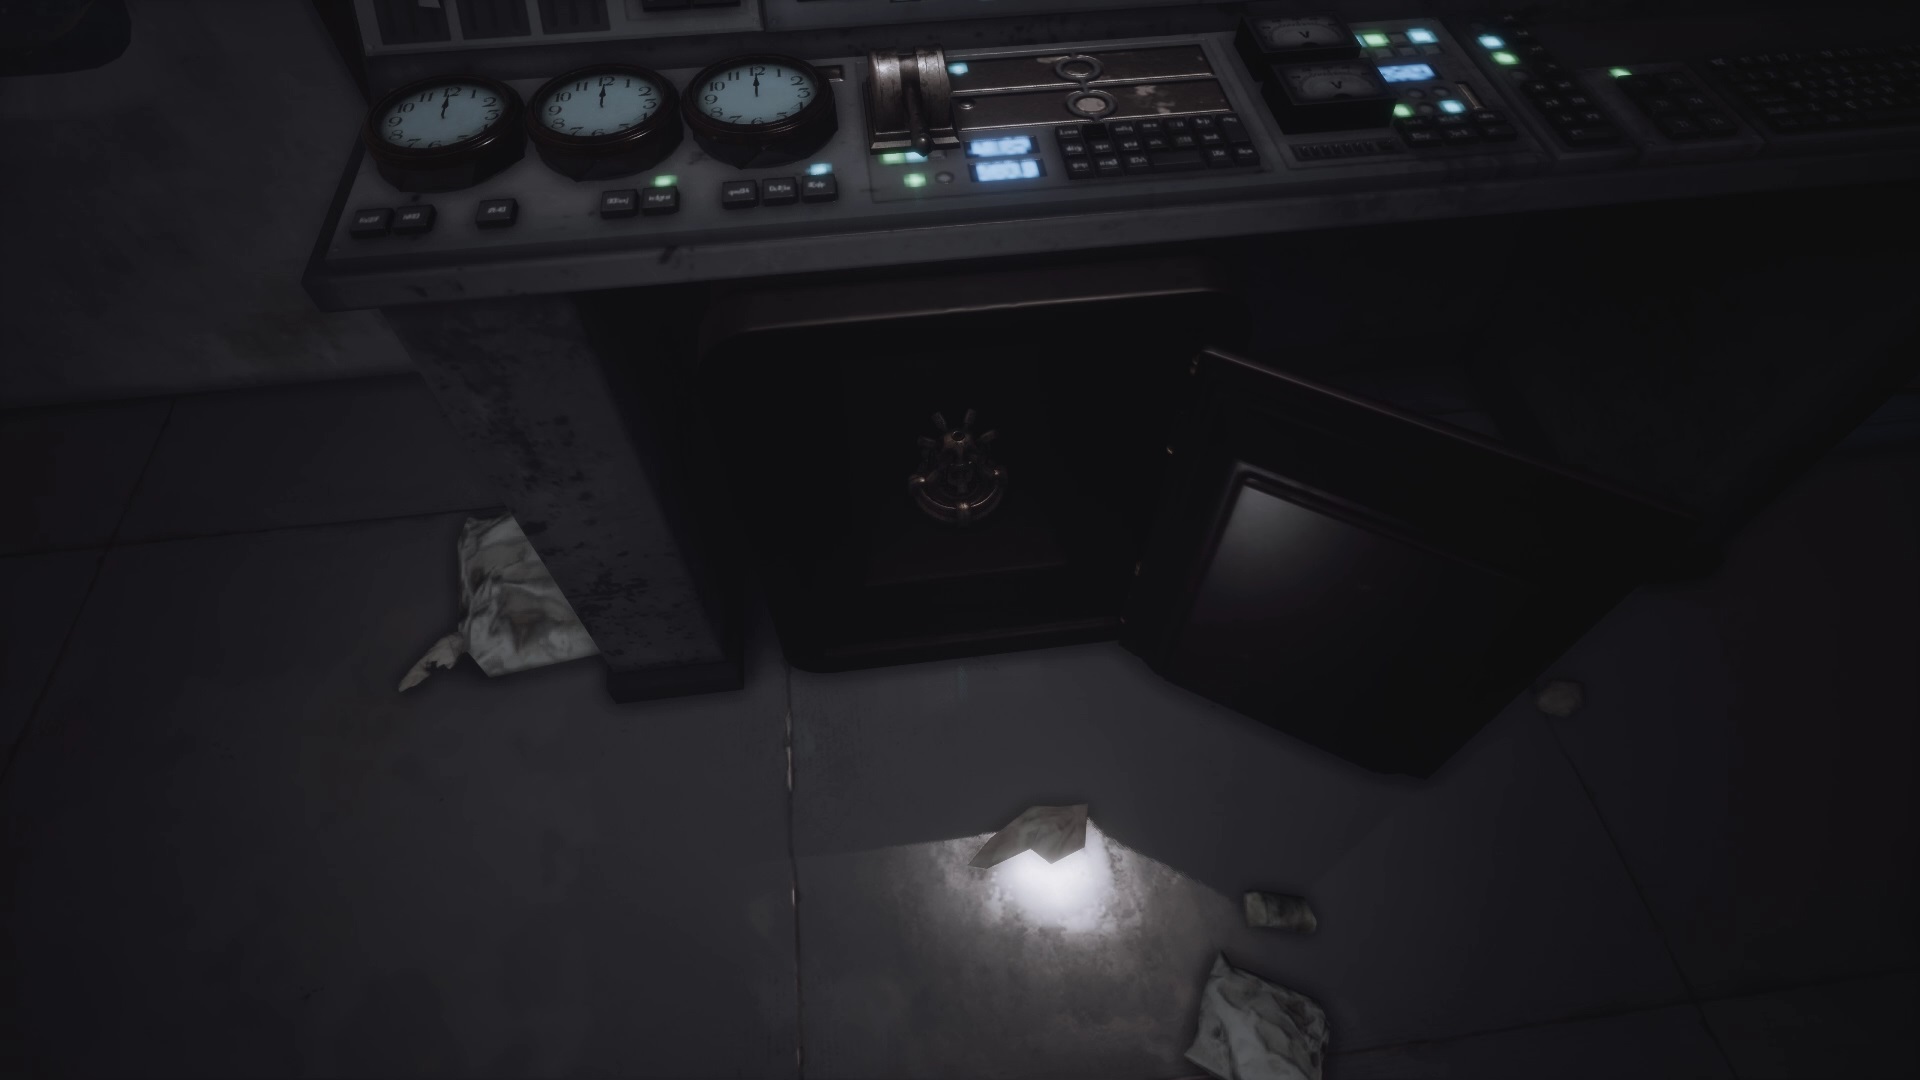

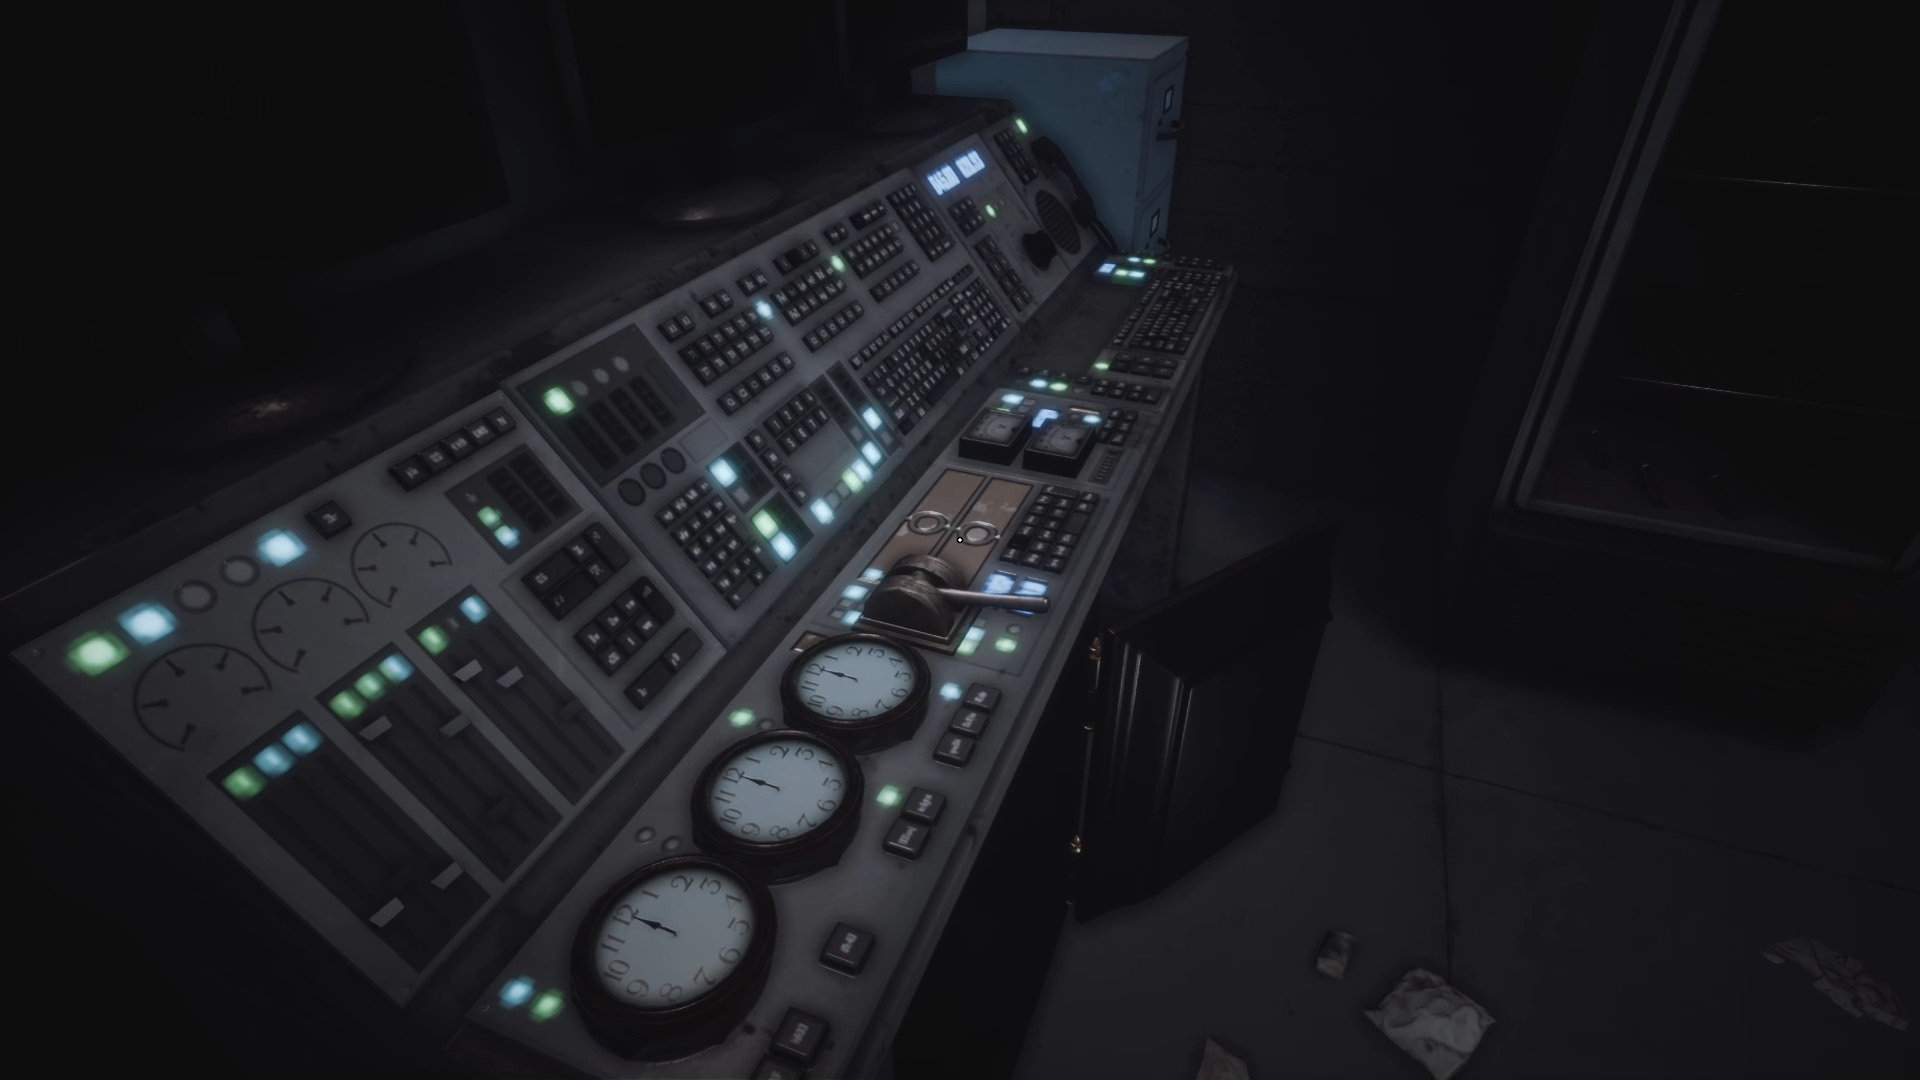
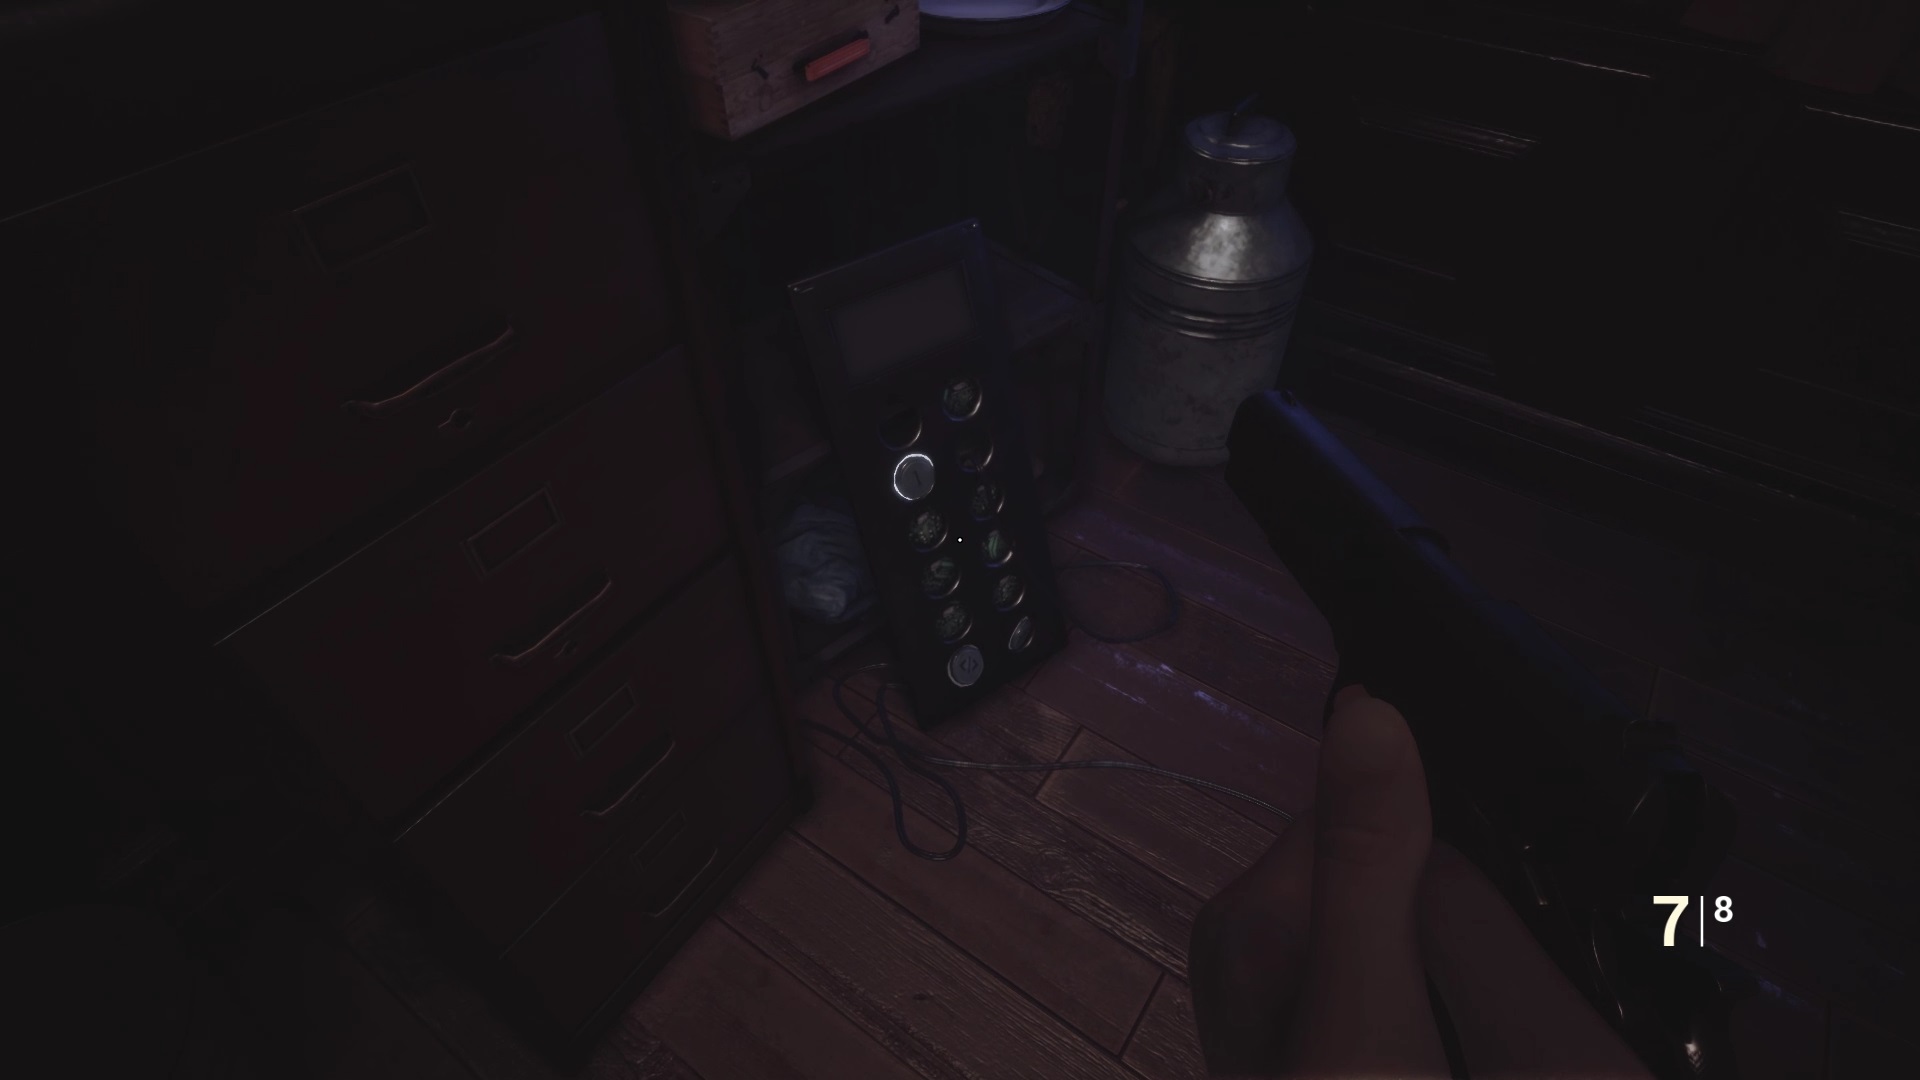
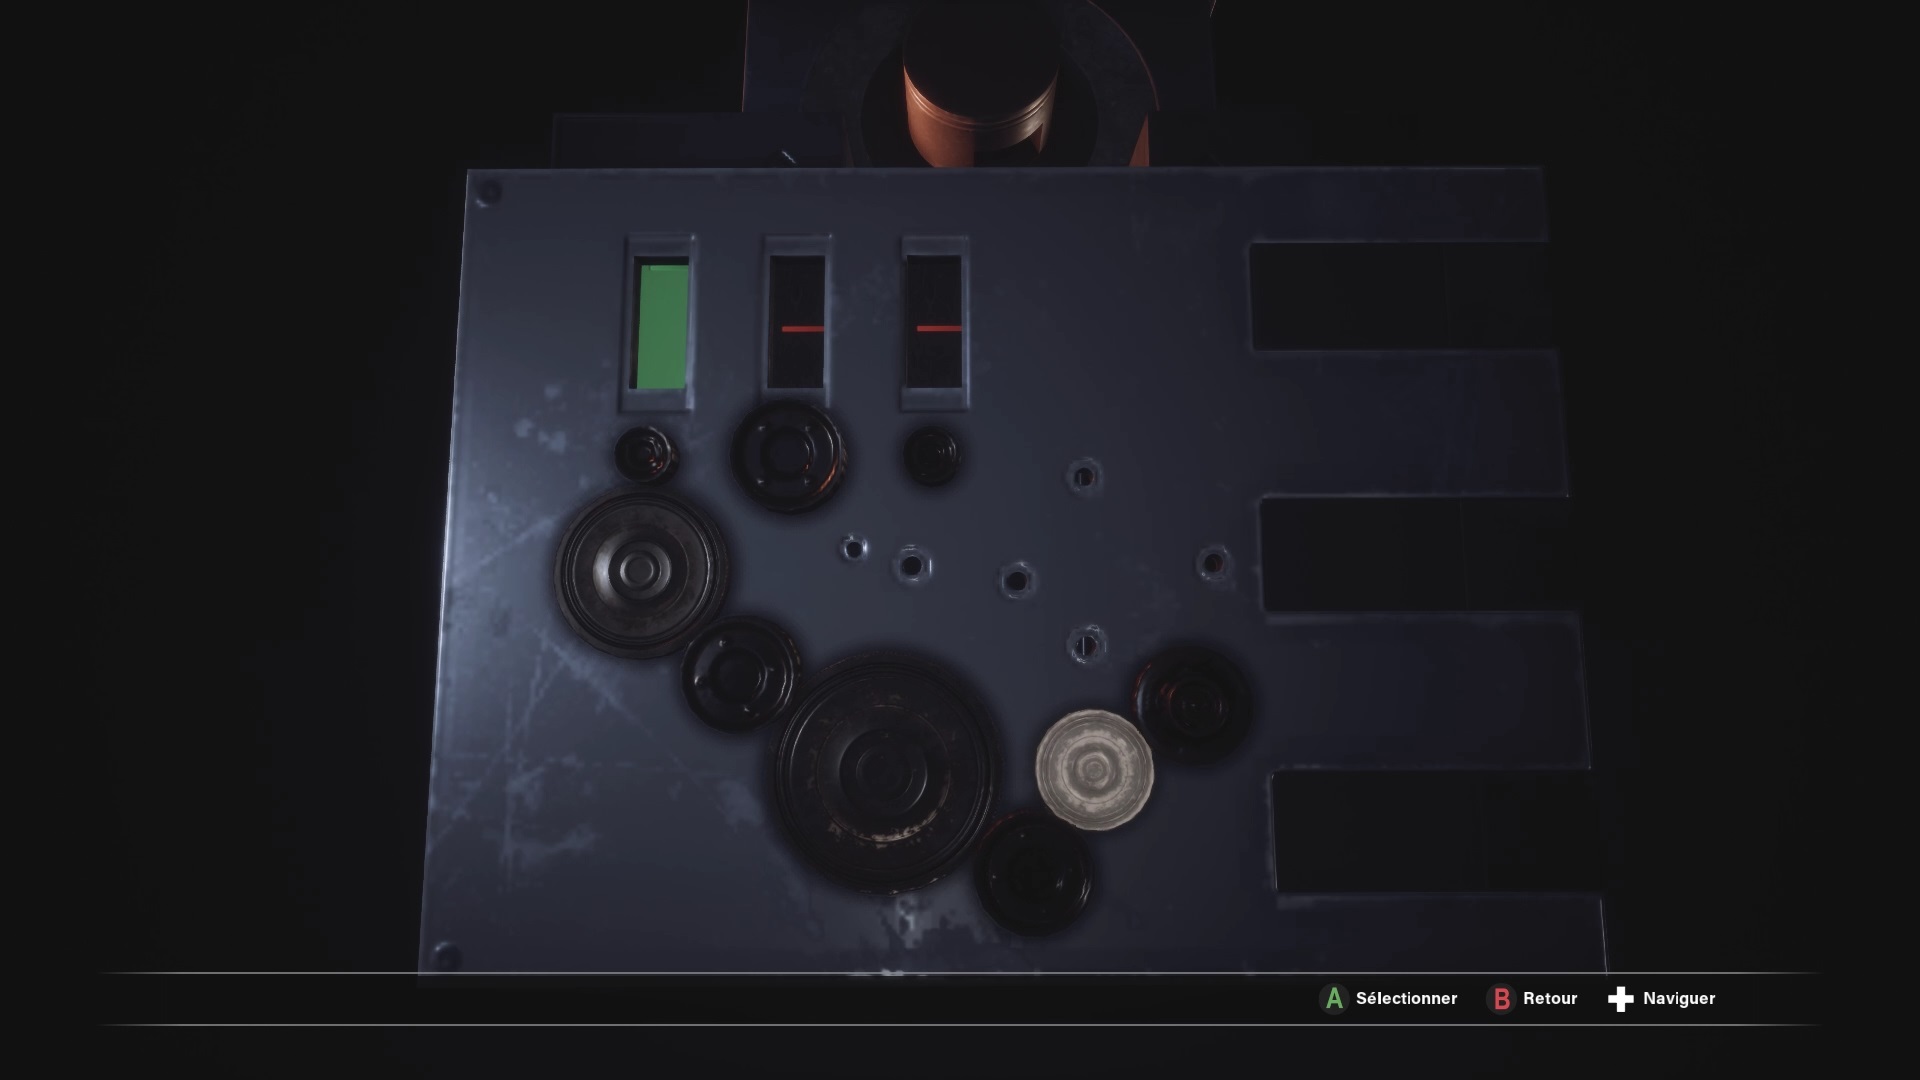
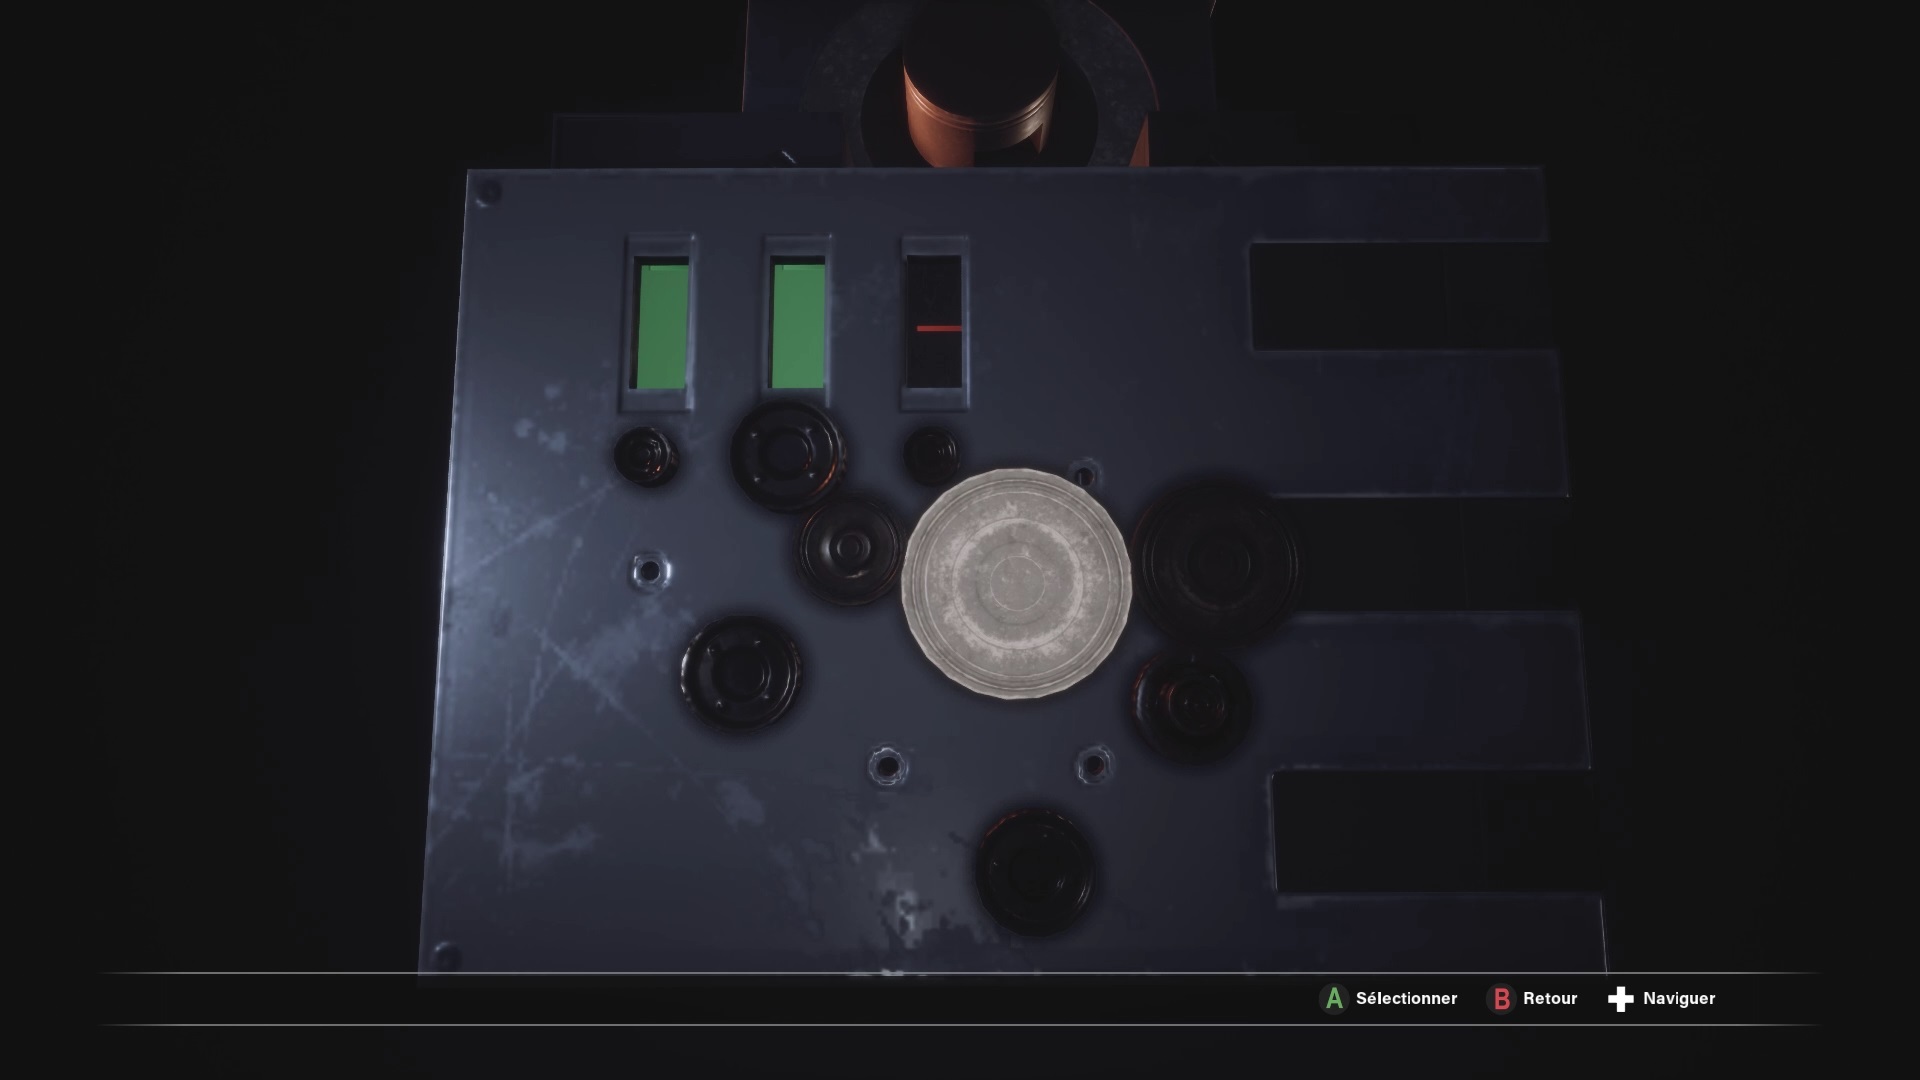
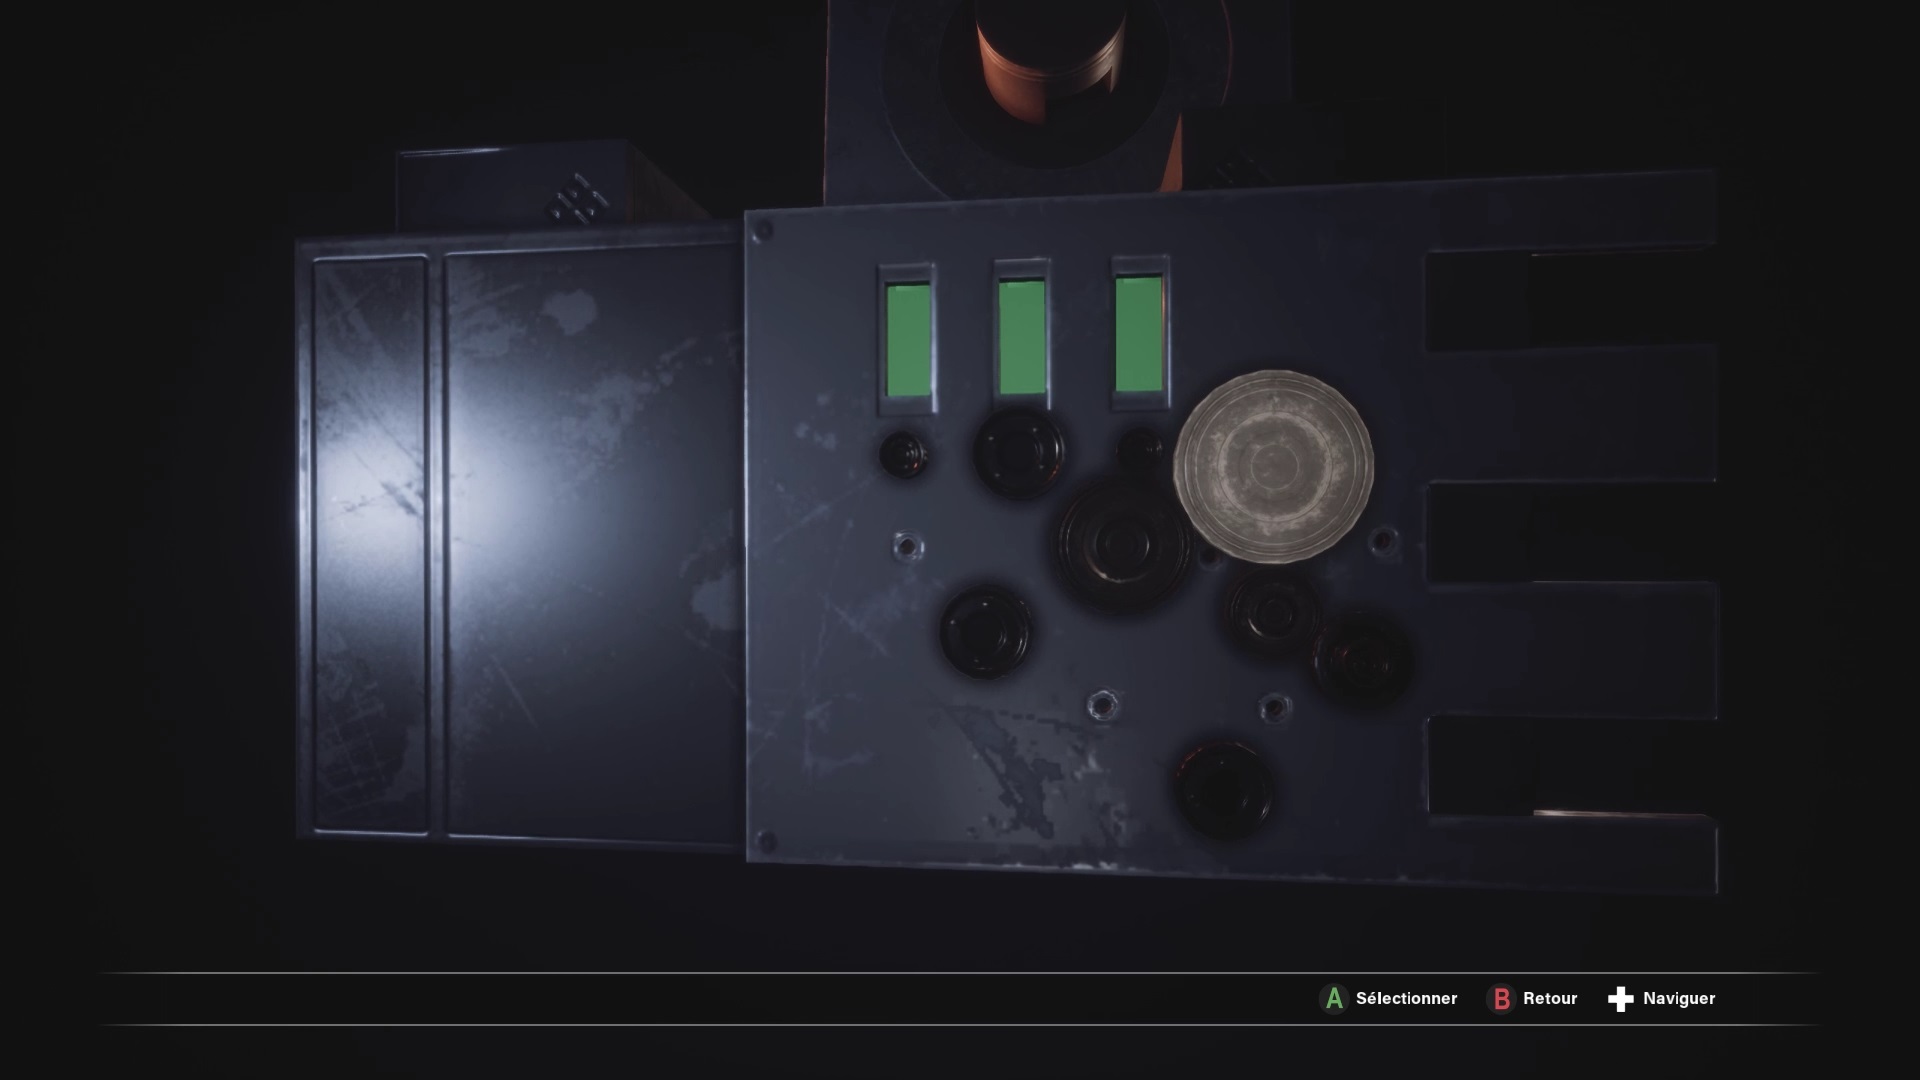
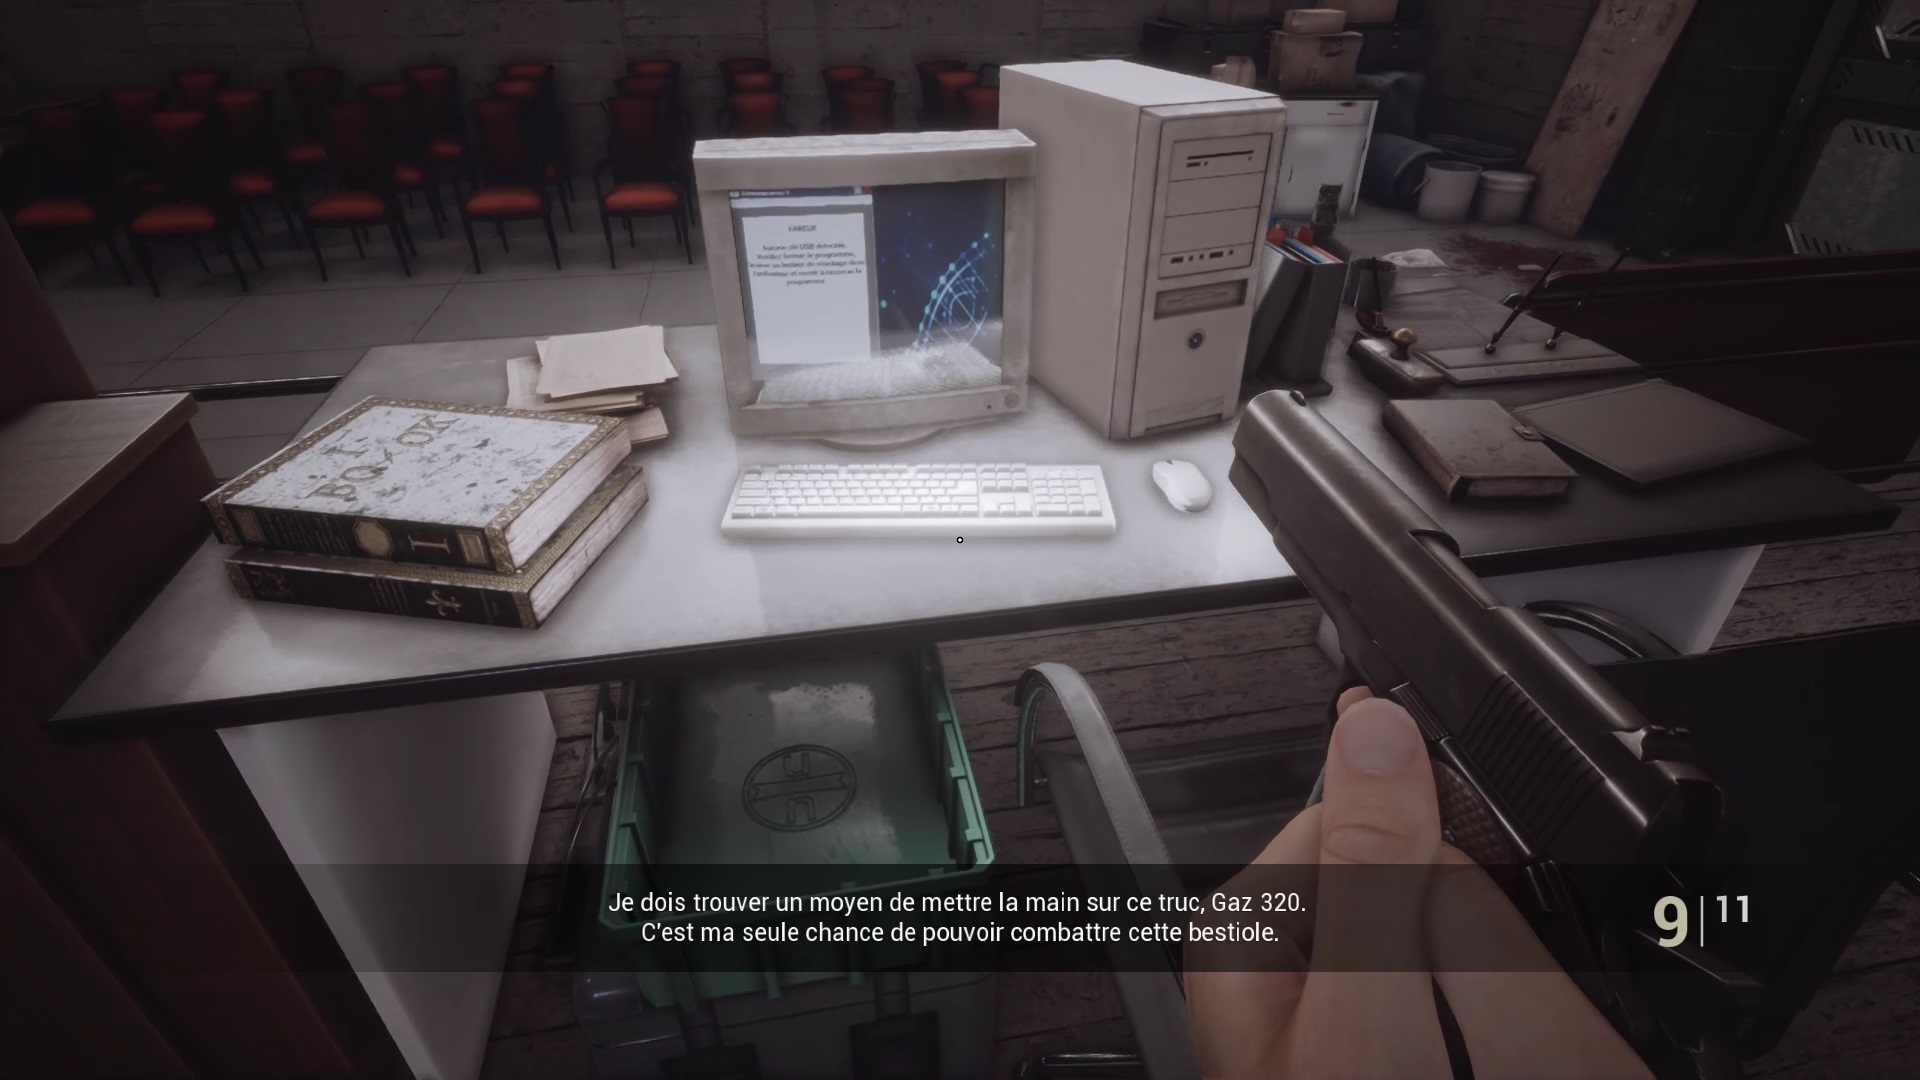
These objectives are optional. A safe is located under a desk. Use the code for the treatment room to open its contents: 25 right, 08 left, 36 right. A control panel with clocks can be unlocked through another document. Use the code 8, 11, 4 And pull the lever to get a secret object.
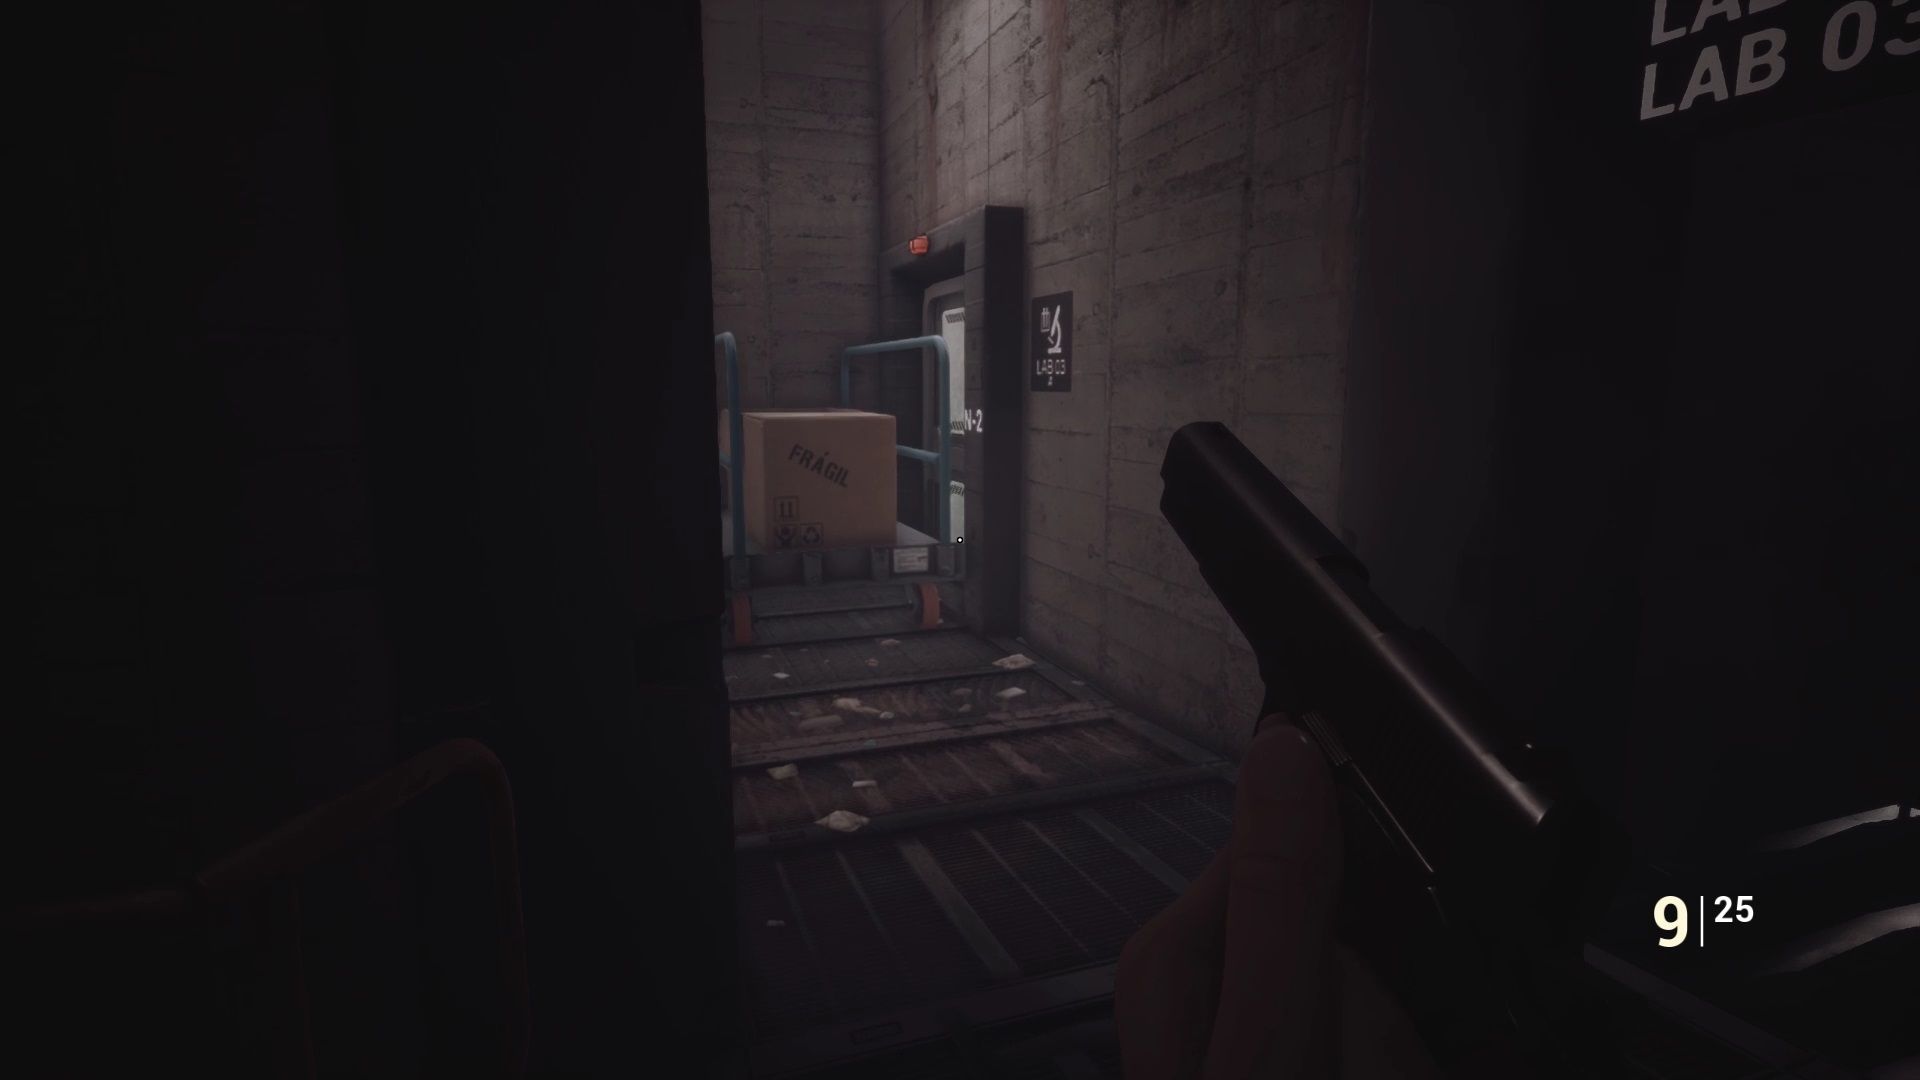
To continue the story, exit and go around research room 02 to find a crate blocking a passage. Pull the crate towards you and go back inside the research room 02 to take the passage freed with your camera. Enemies await you in research room 03. Interact with the monitor with your USB key to generate a level 03 code. Return to the data processing room with the USB key to create a level 03 access card.

Damn, the door gets stuck. Go to the opposite path. Move forward to reveal Aquilles. As in a hotel, lean against the wall of one of the corridors with a space wide enough to get around Aquilles. Research Room 03 is perfect for that. Dash towards the data processing room while dodging or killing the enemies in your path. Create the Level 03 Map with the Data Processing Room Monitor. A puzzle asking you to link identical symbols allows you to create the map. Returning to the corridor, a cutscene eliminates Aquilles for you. Go down the stairs to the right of Aquilles’ body.

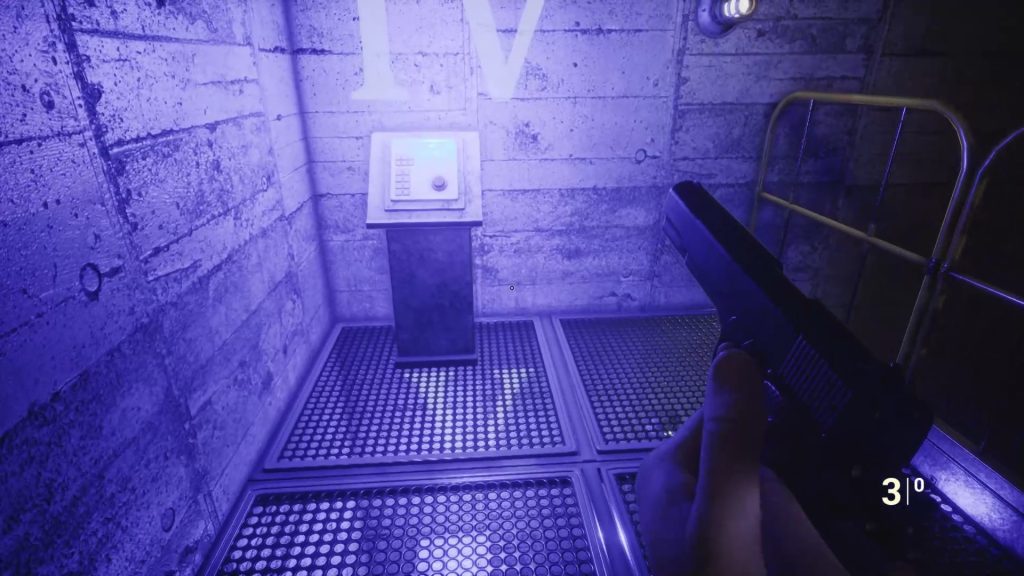
At the bottom of the stairs, you should reach the preview cells during the prologue. Collect the key IV behind the desk with your camera. Use the keys to open the cells and more particularly the one in the middle to take the diary hidden in the wall.
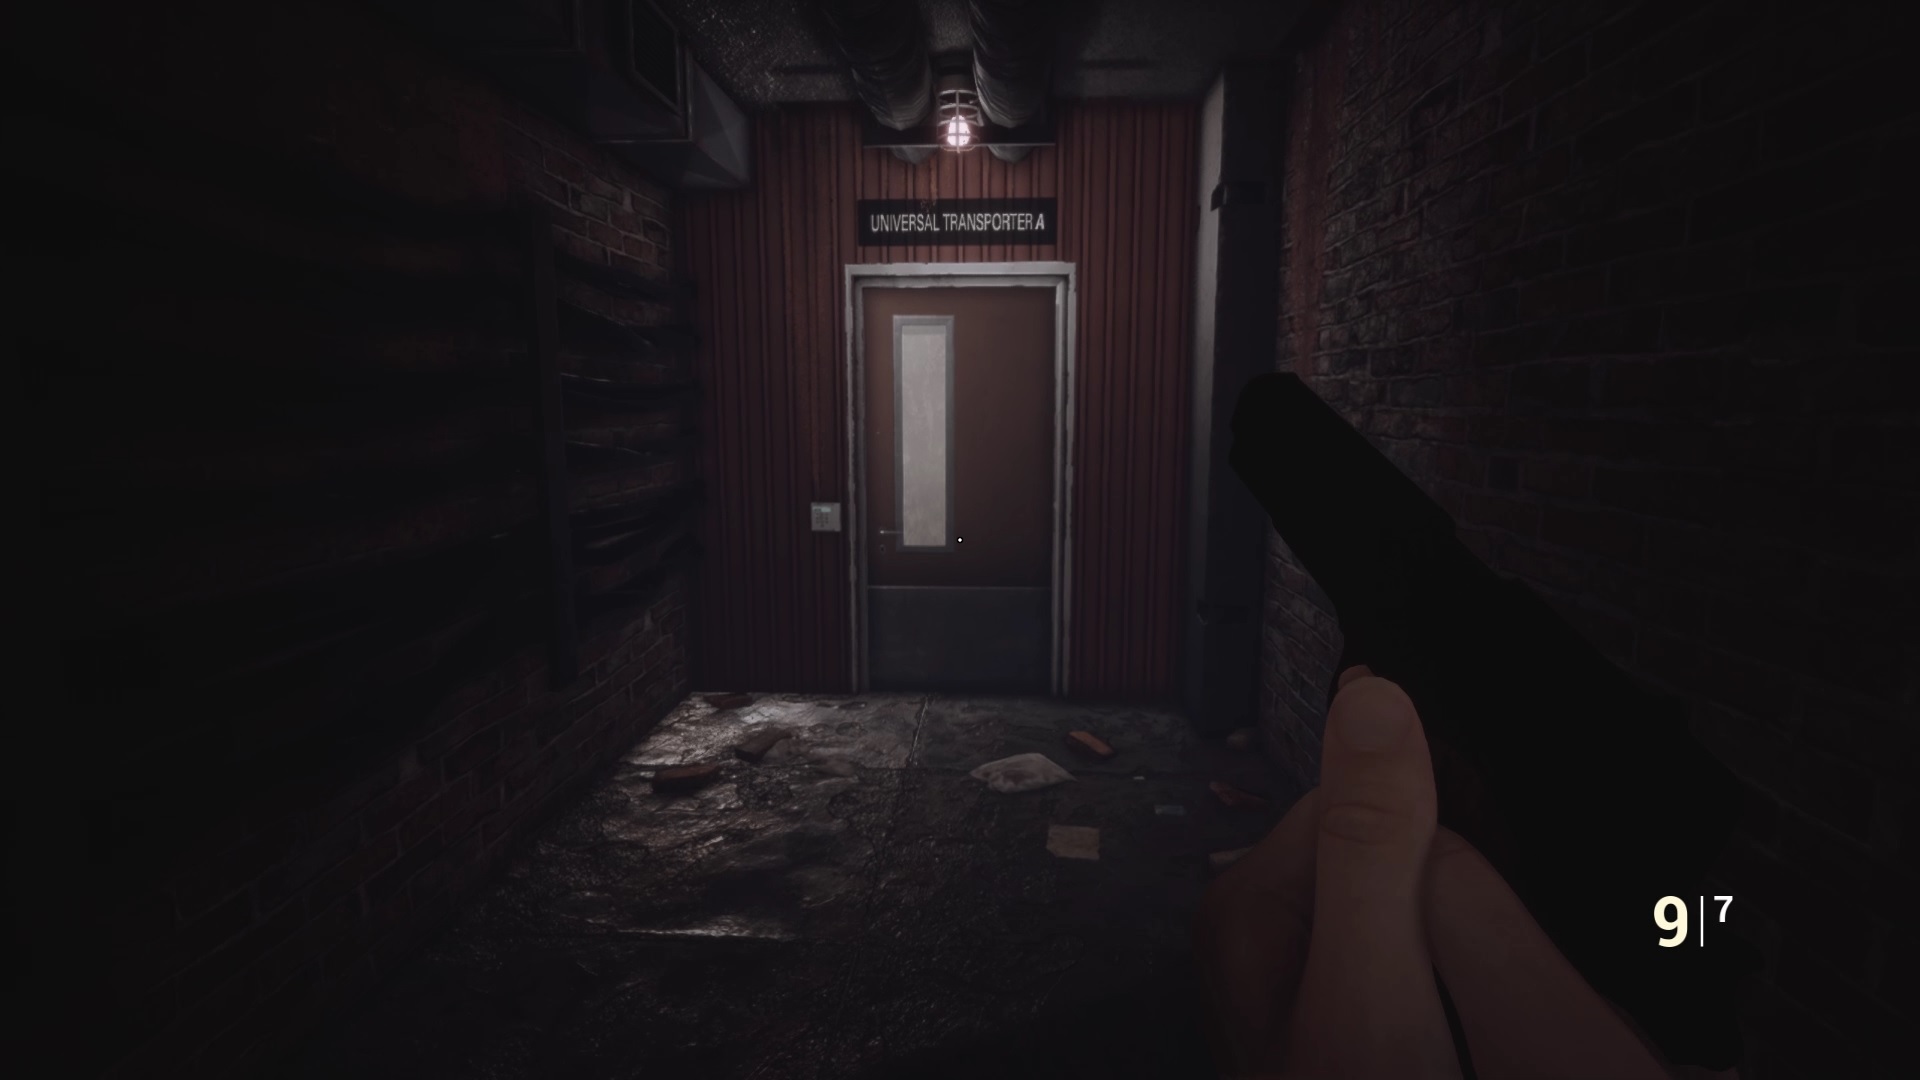
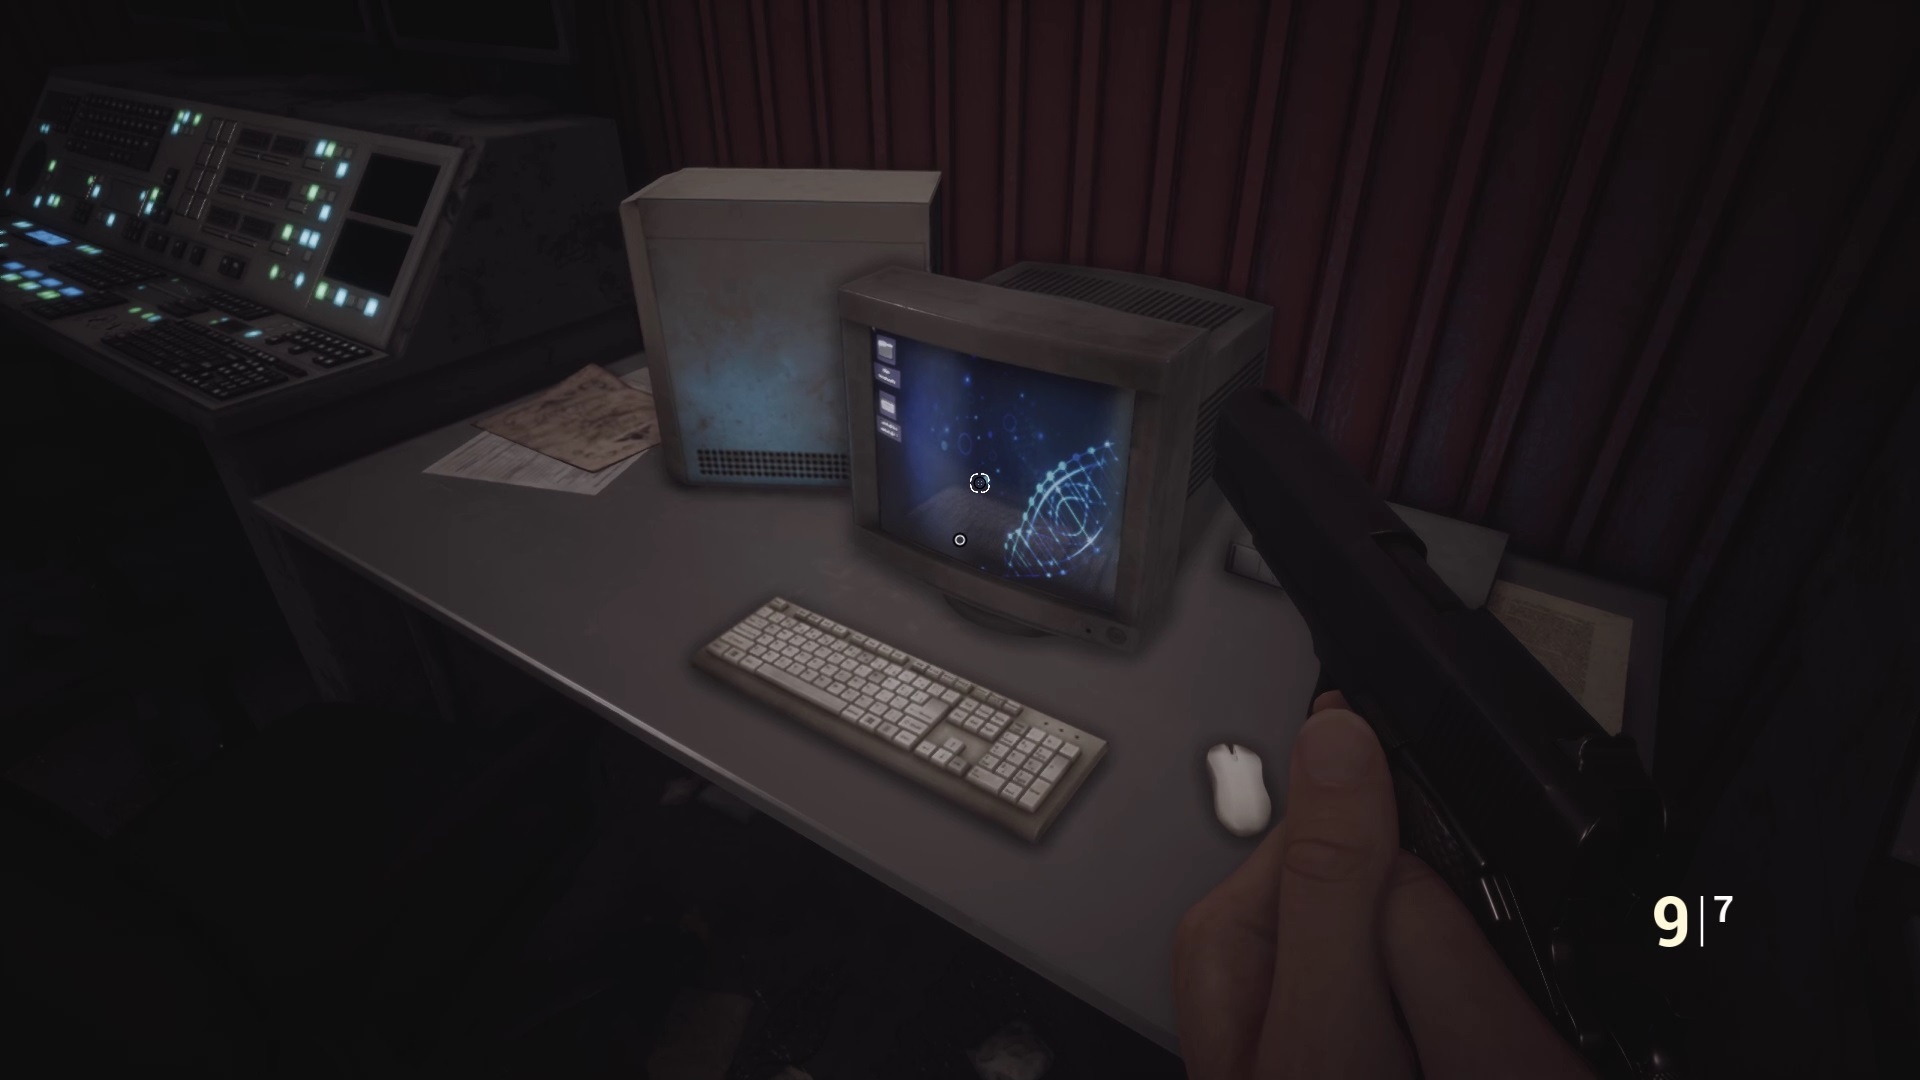
After reading the information in the diary, head down the hall to find Universal Transporter Room A. To open the door insert the level 03 card and type in the password listed in the diary either : 852369. Inside the room is a computer near the wall. Use the computer to unlock access to Underground Lab 02.
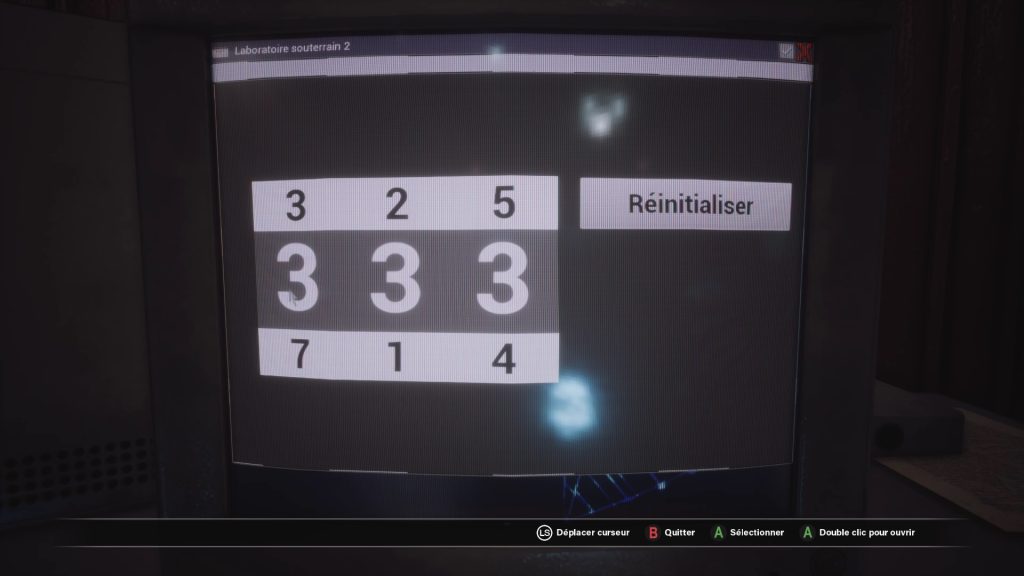

To open access, you must add the two digits on the top lines with a value from 0 to 9 to reach the result on the bottom line. In our game, we must achieve the result 7,1,4. We stopped the counter on the following numbers: 4,9,9 because 4+3=7, 9+2=1, 5+9=4.
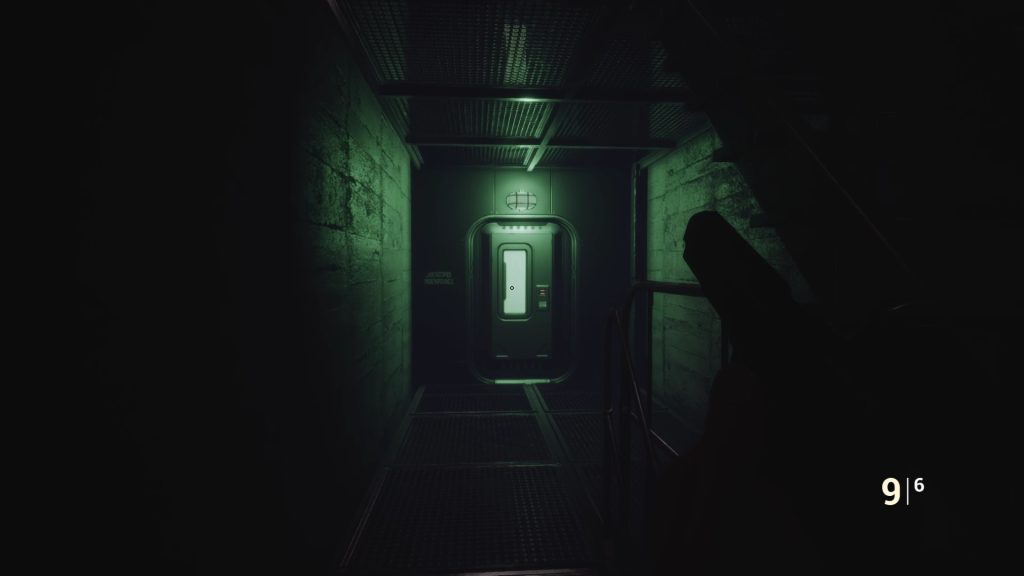
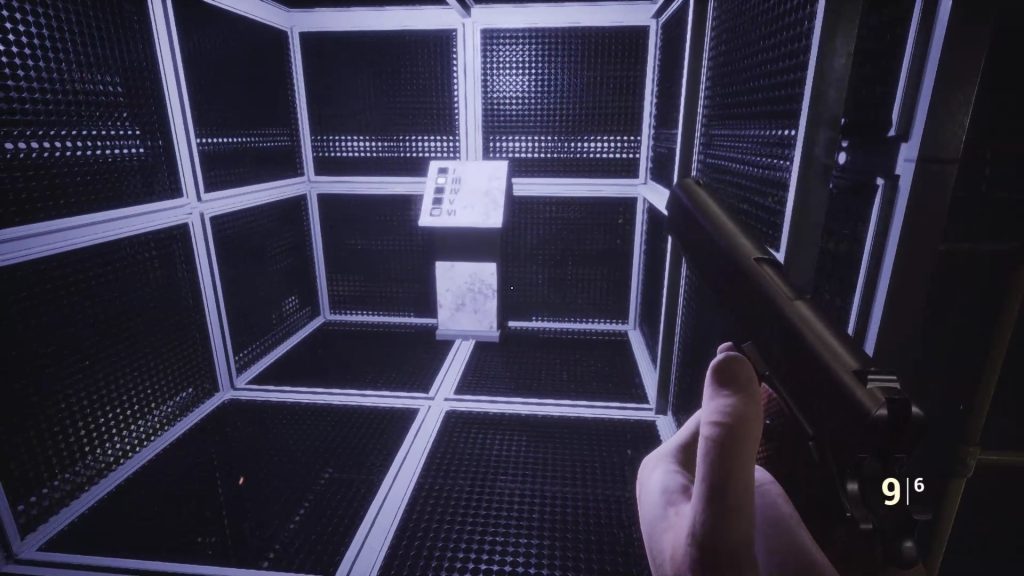
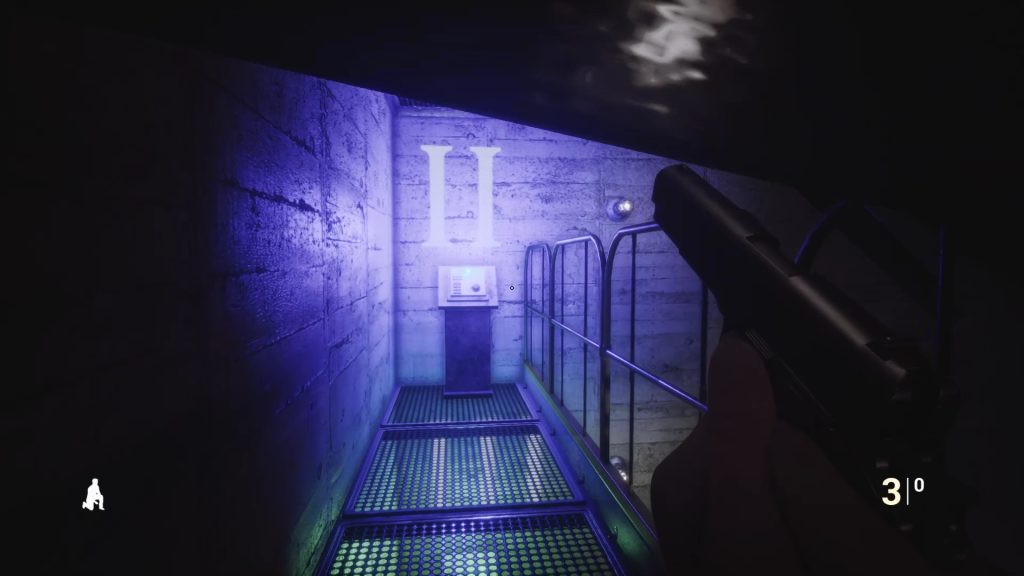
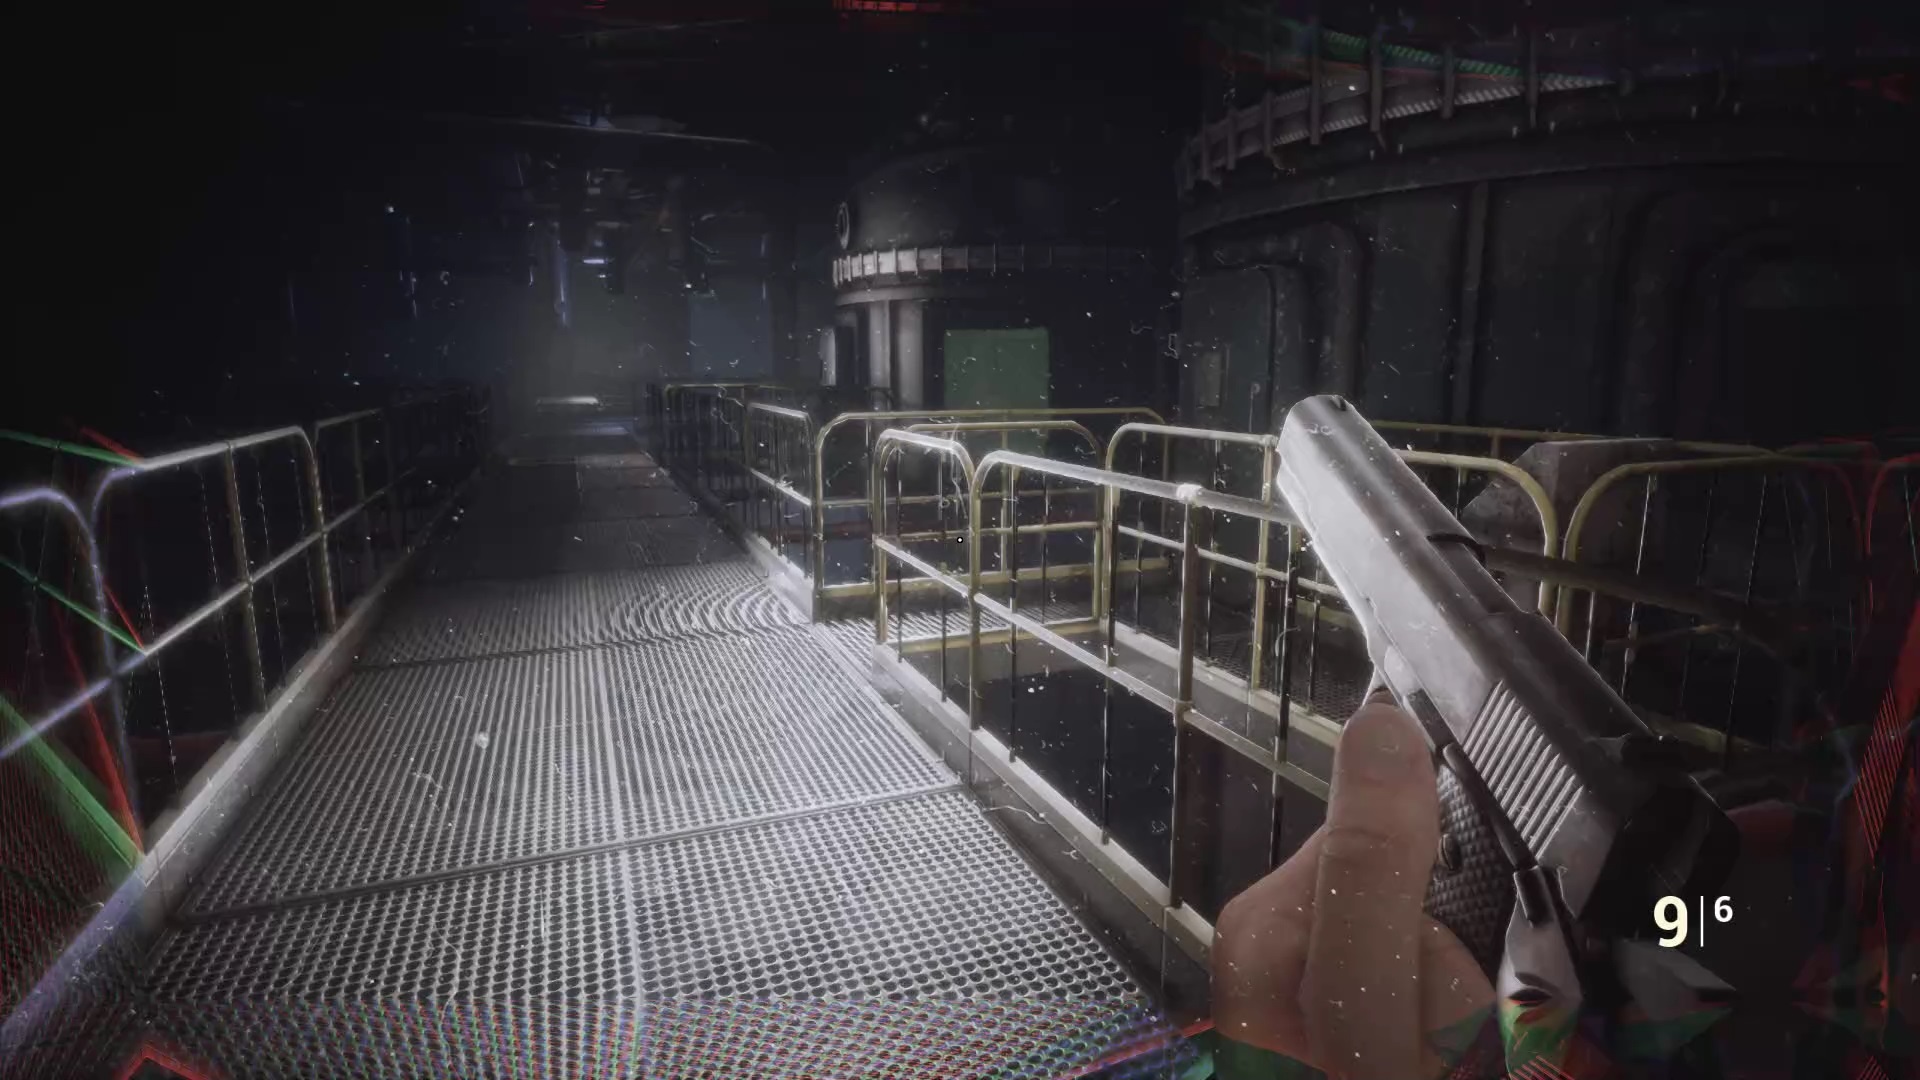
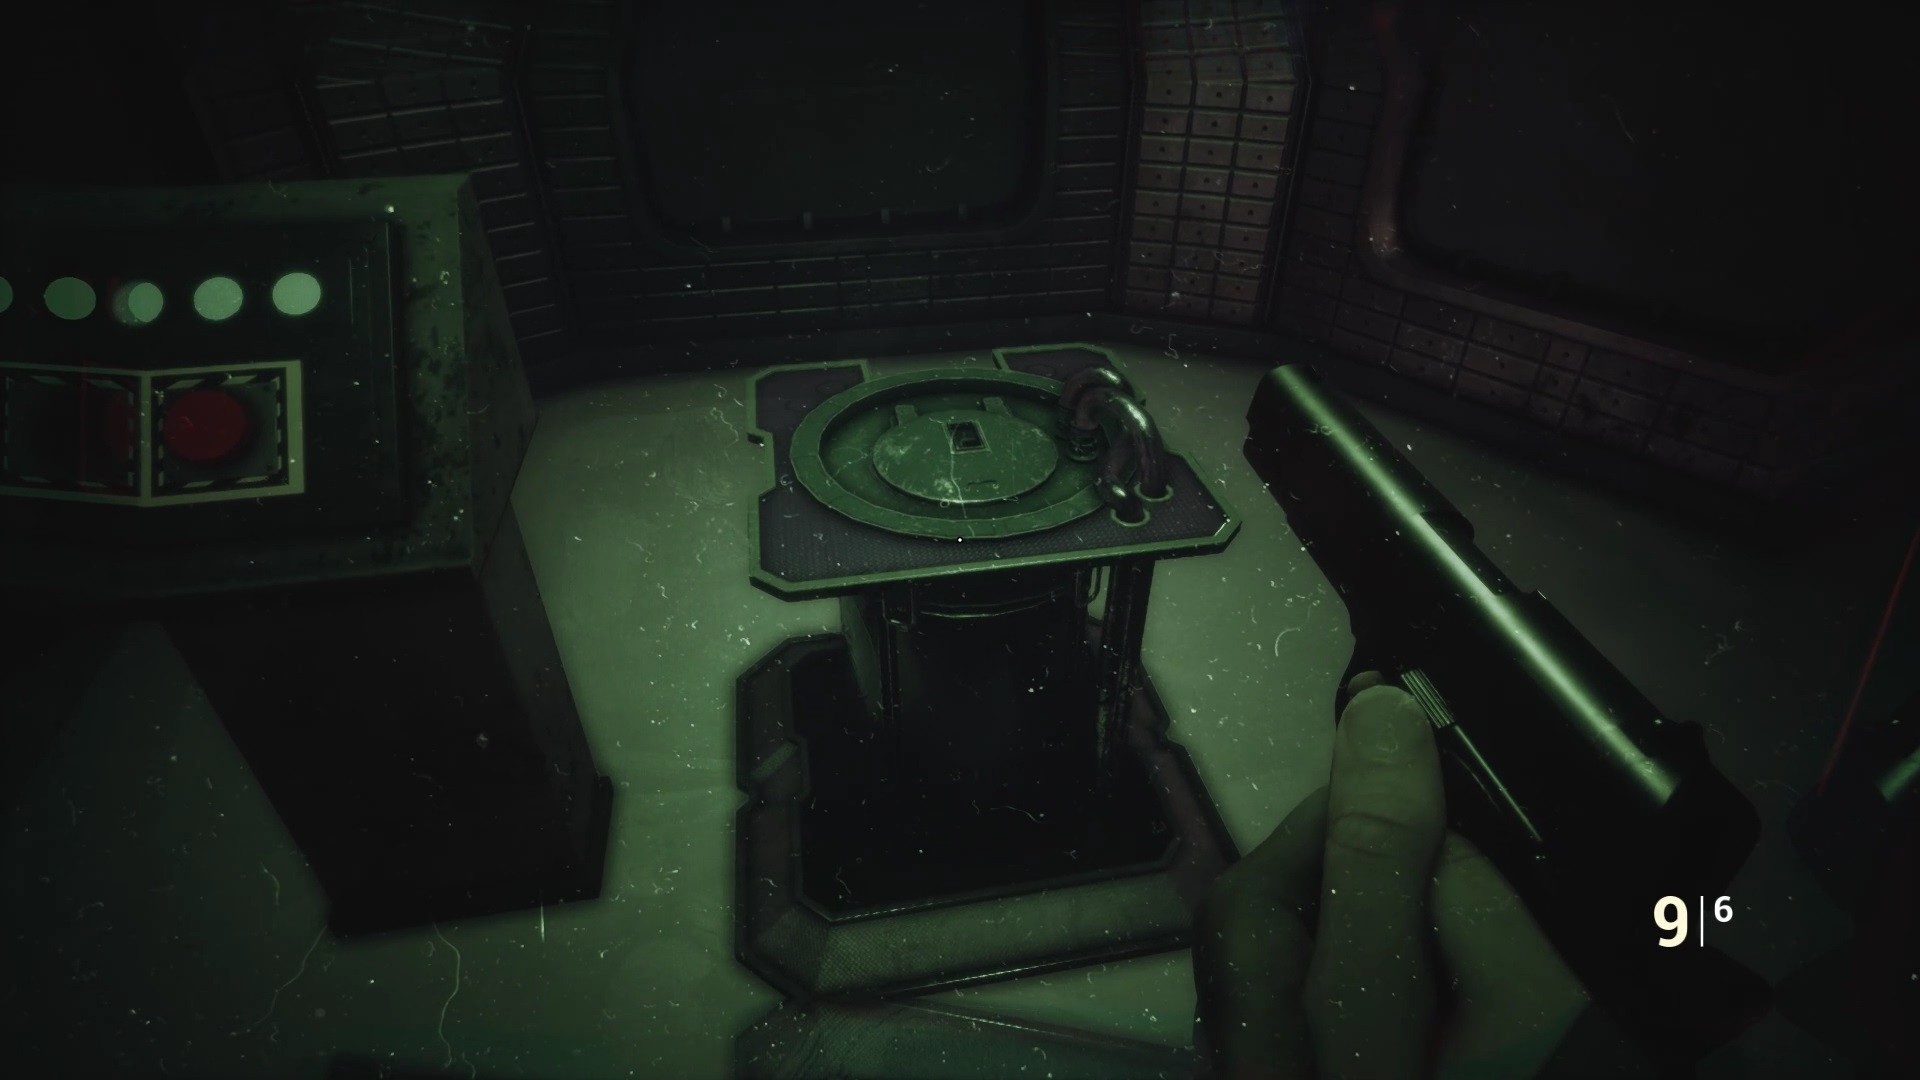
Once Underground Lab 02 is activated, return to the stairs behind the cells to find the entrance. Climb the catwalk to reach the elevator. Go to gateway n°III by pressing the elevator button and activate control panel n°III against the wall.
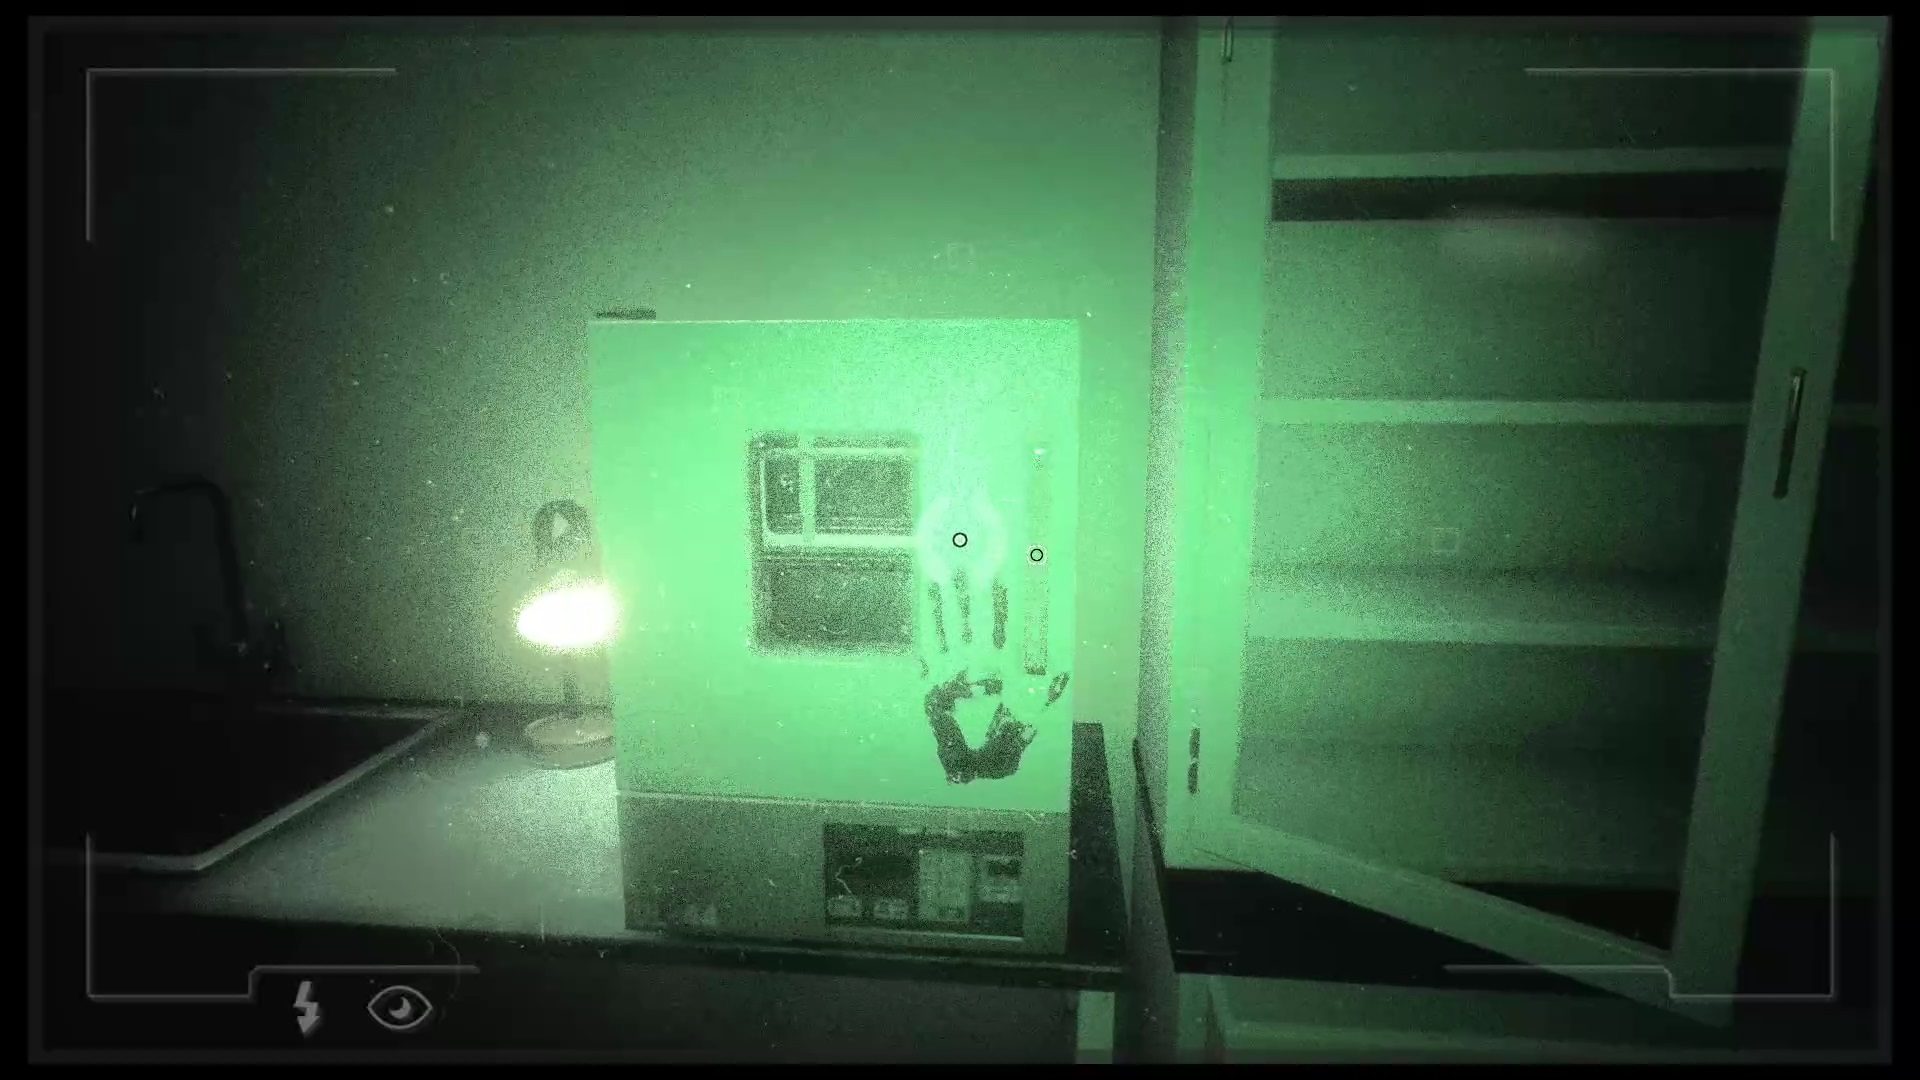
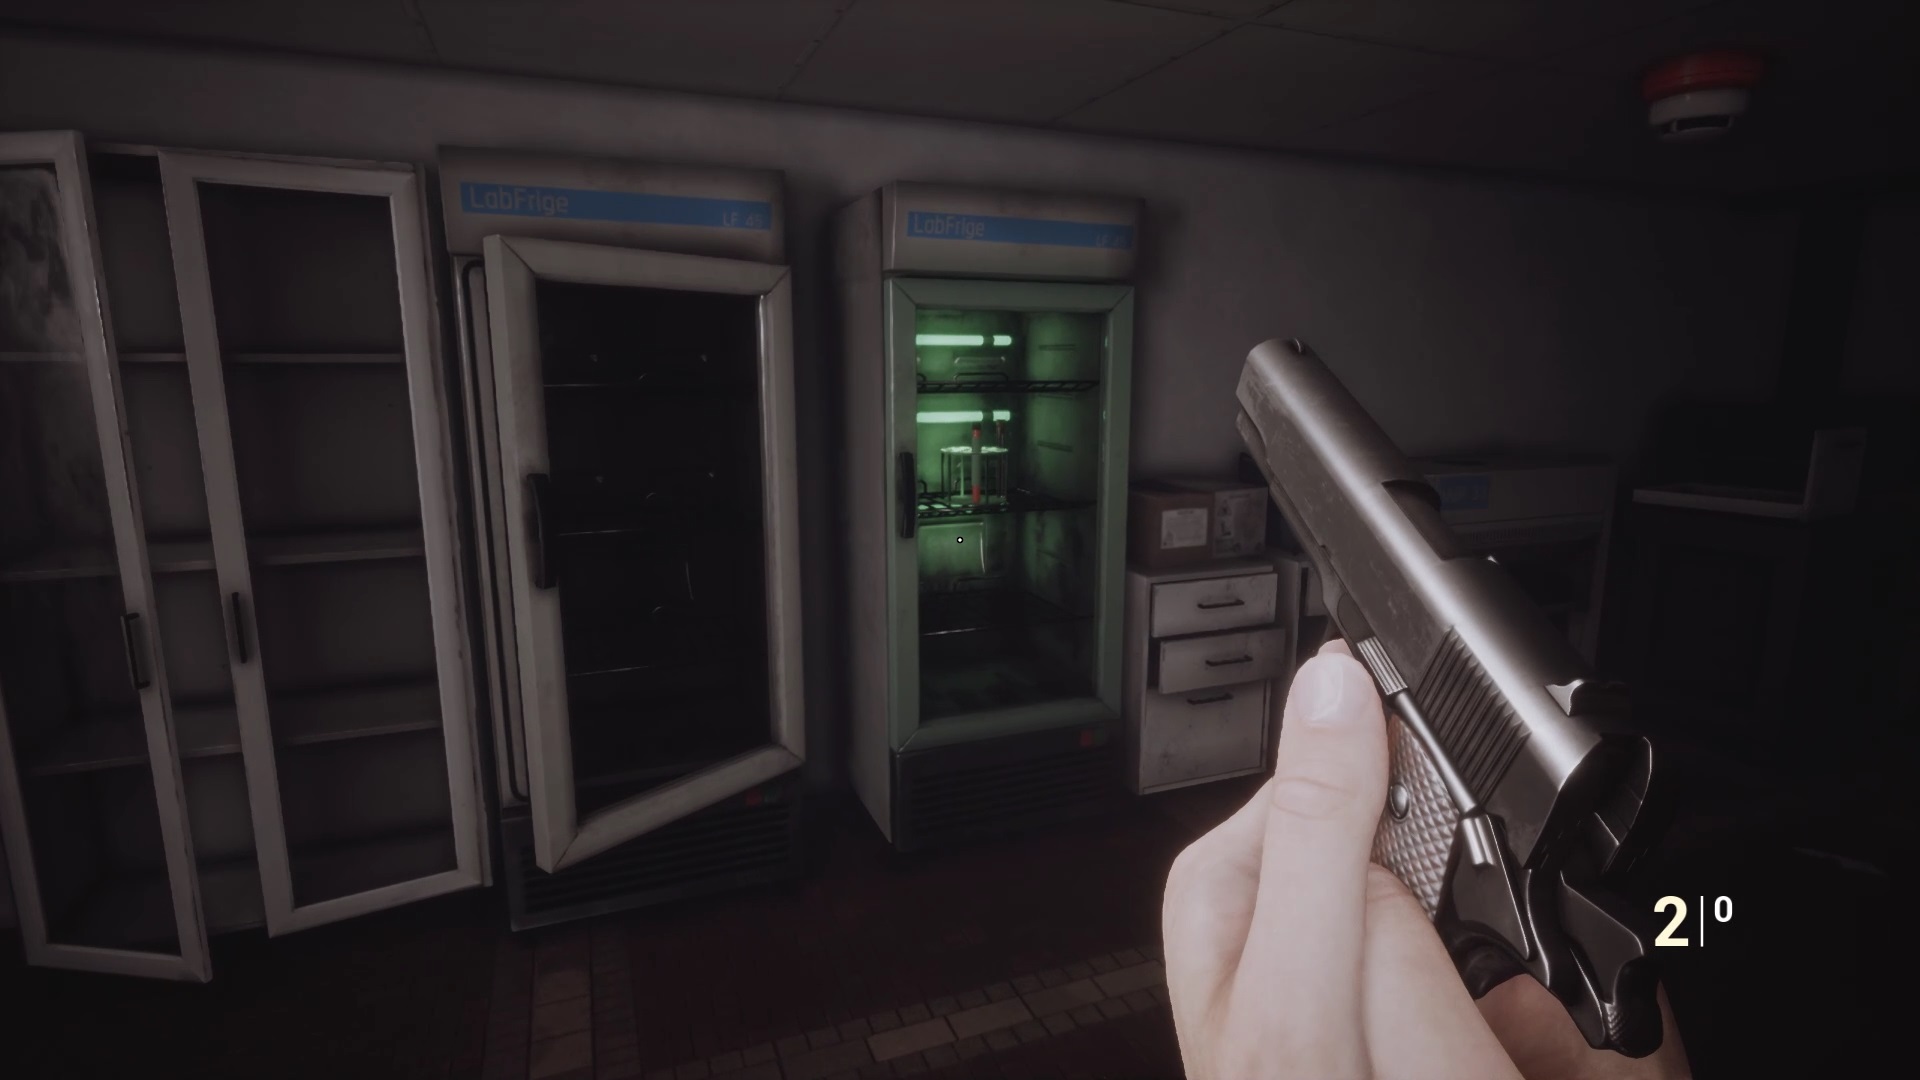
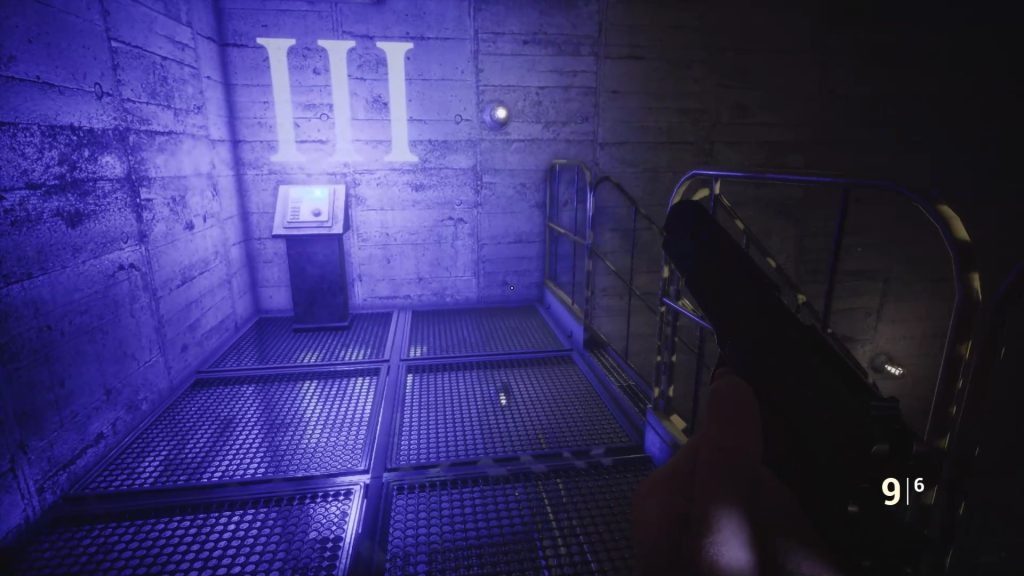
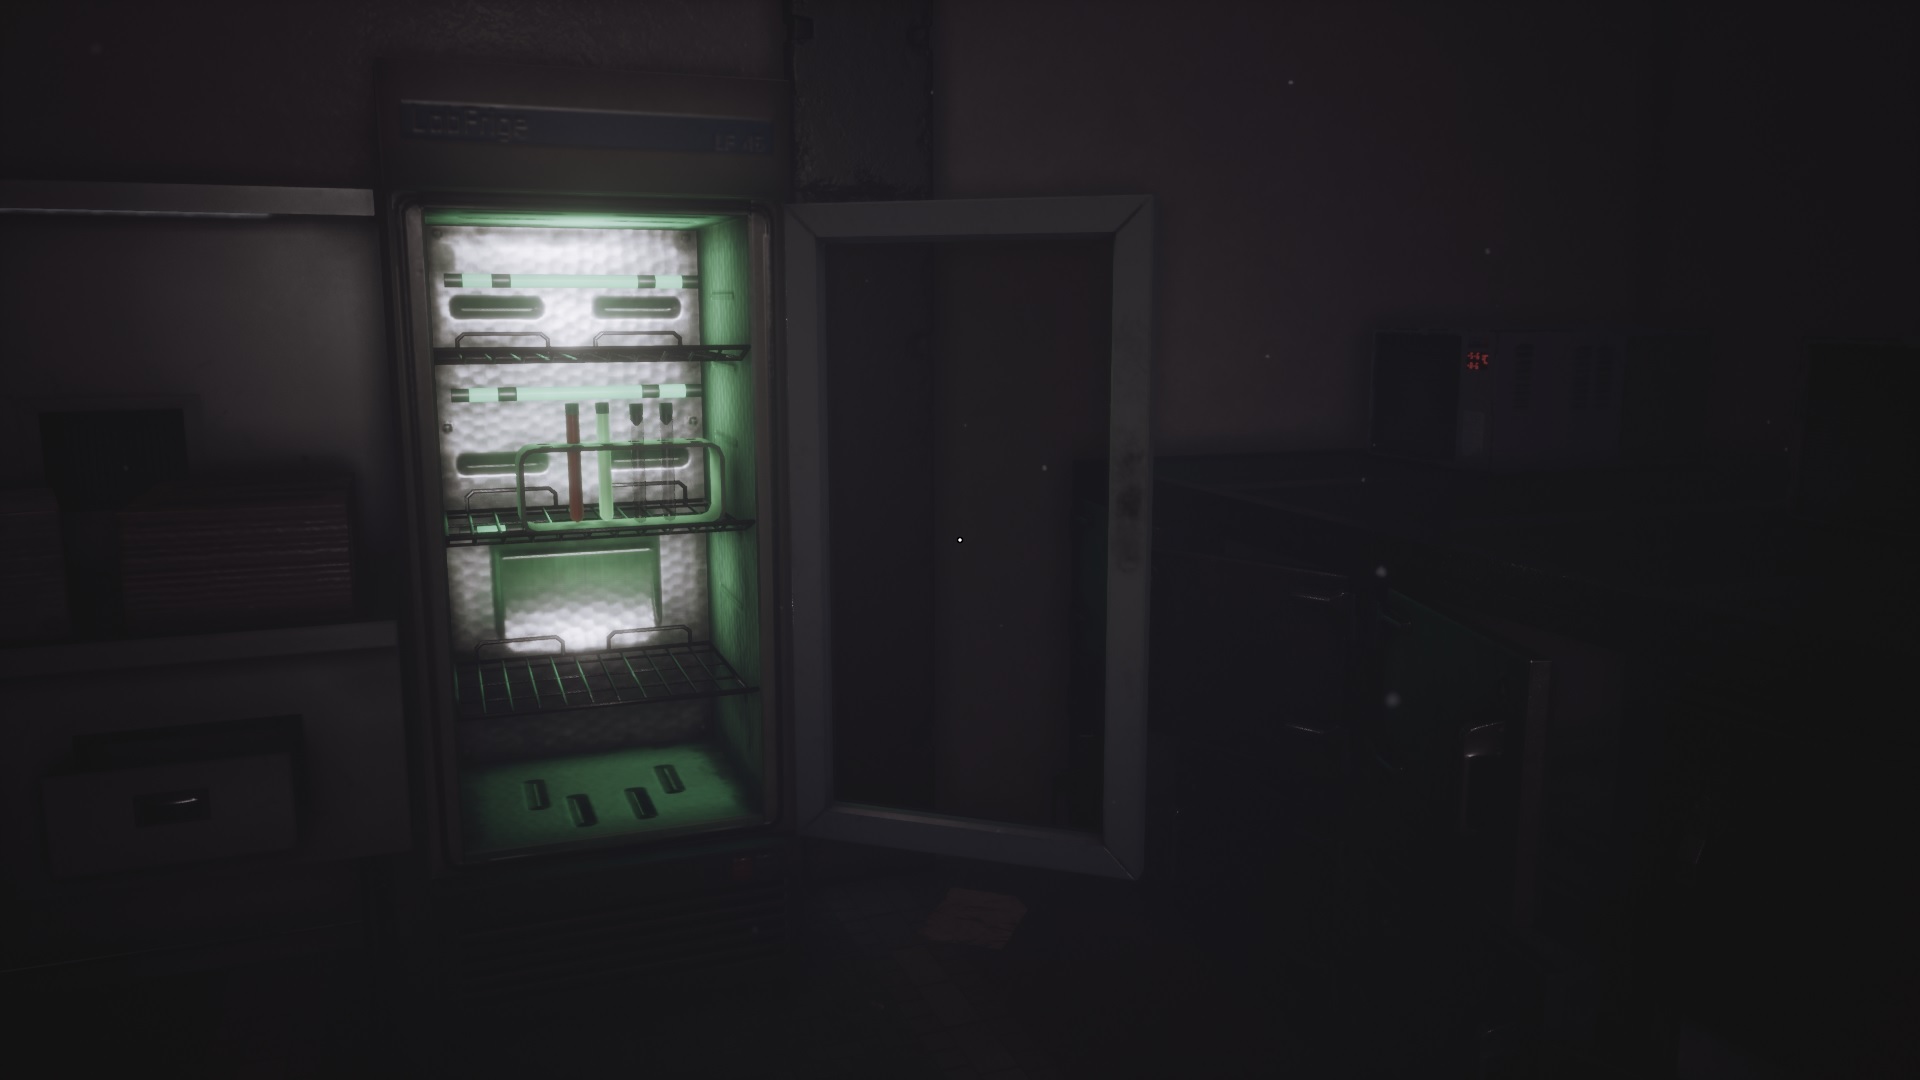
Go down the stairs to the right of panel No. III to reach a laboratory. Watch out, a monster is hiding inside. Use your camera to free the passage in the laboratory and recover one of the gas components in a fridge. When leaving, climb the stairs to join the bridge n°I and activate the control panel n°I. Take advantage of being on bridge n°I to access the nearby laboratory. Enemies are inside. Go to the bottom of the laboratory to recover another component of the virus in a fridge.
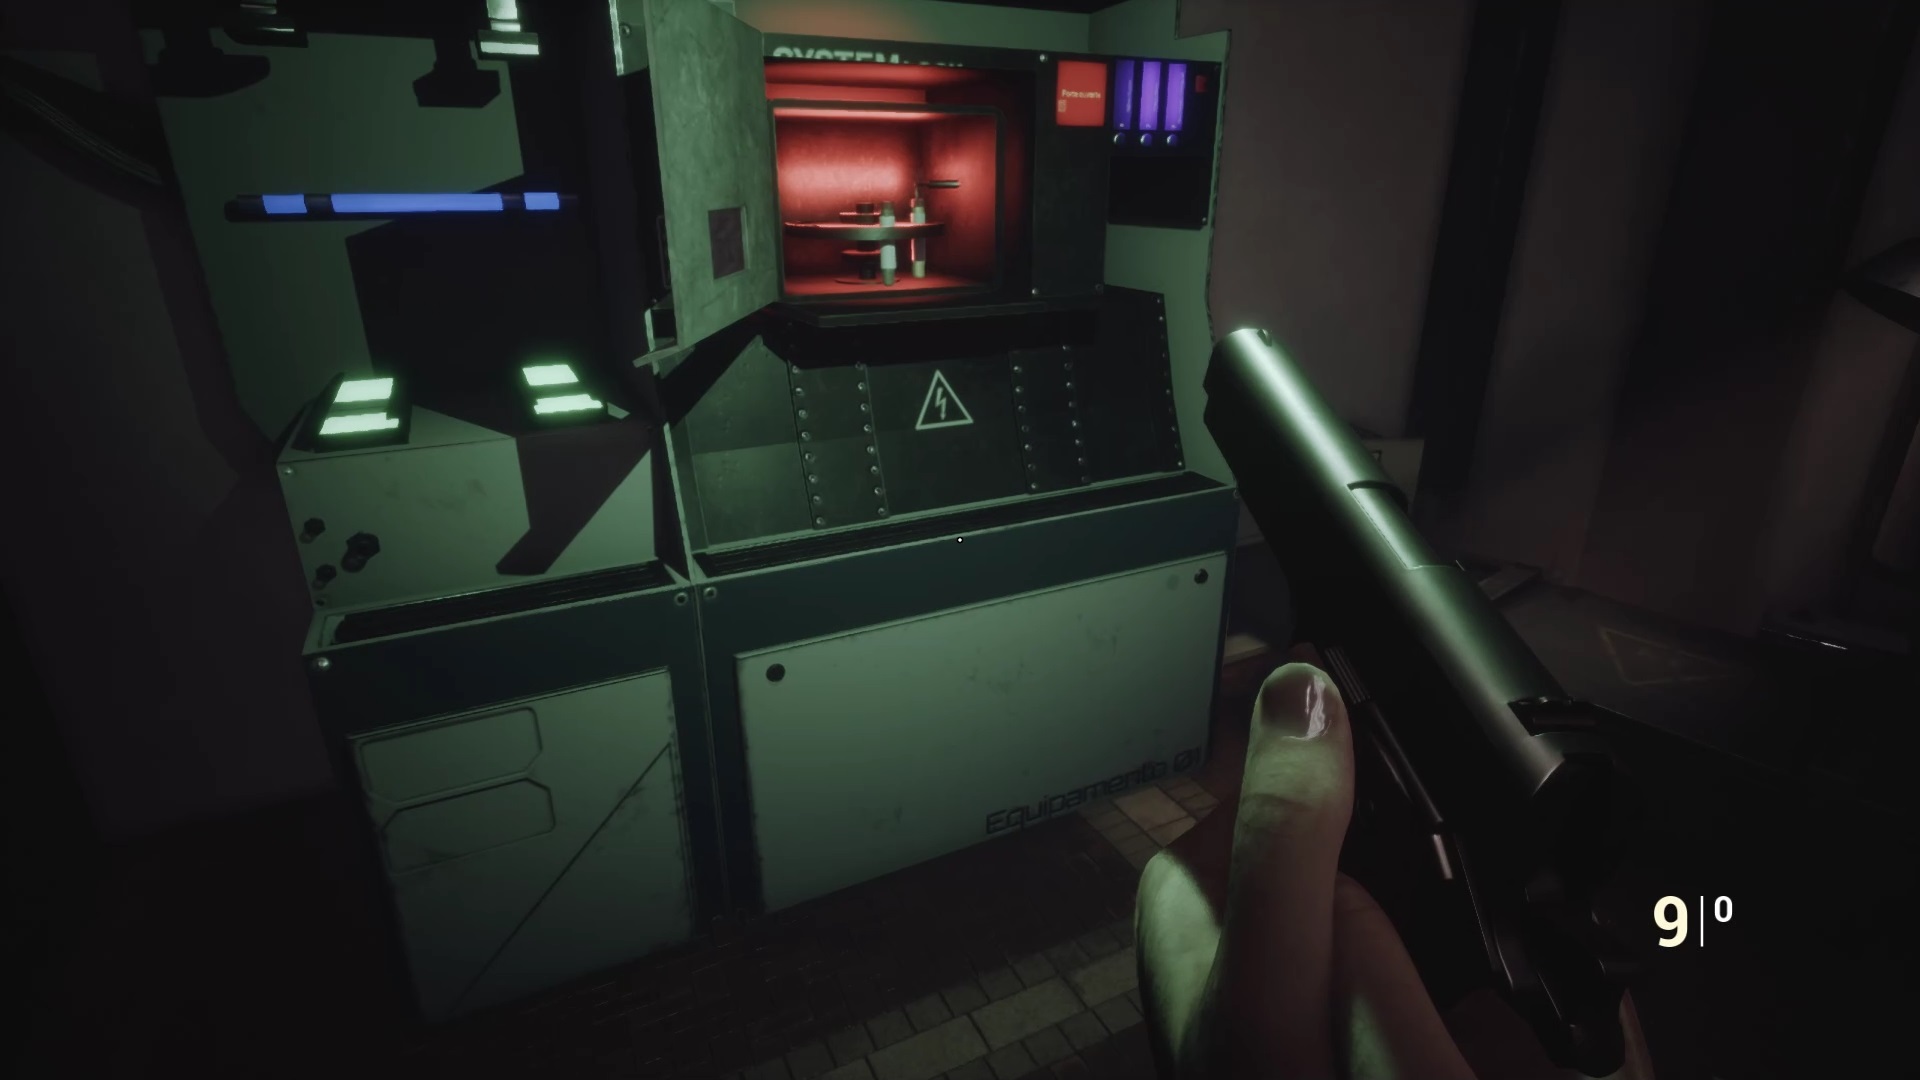
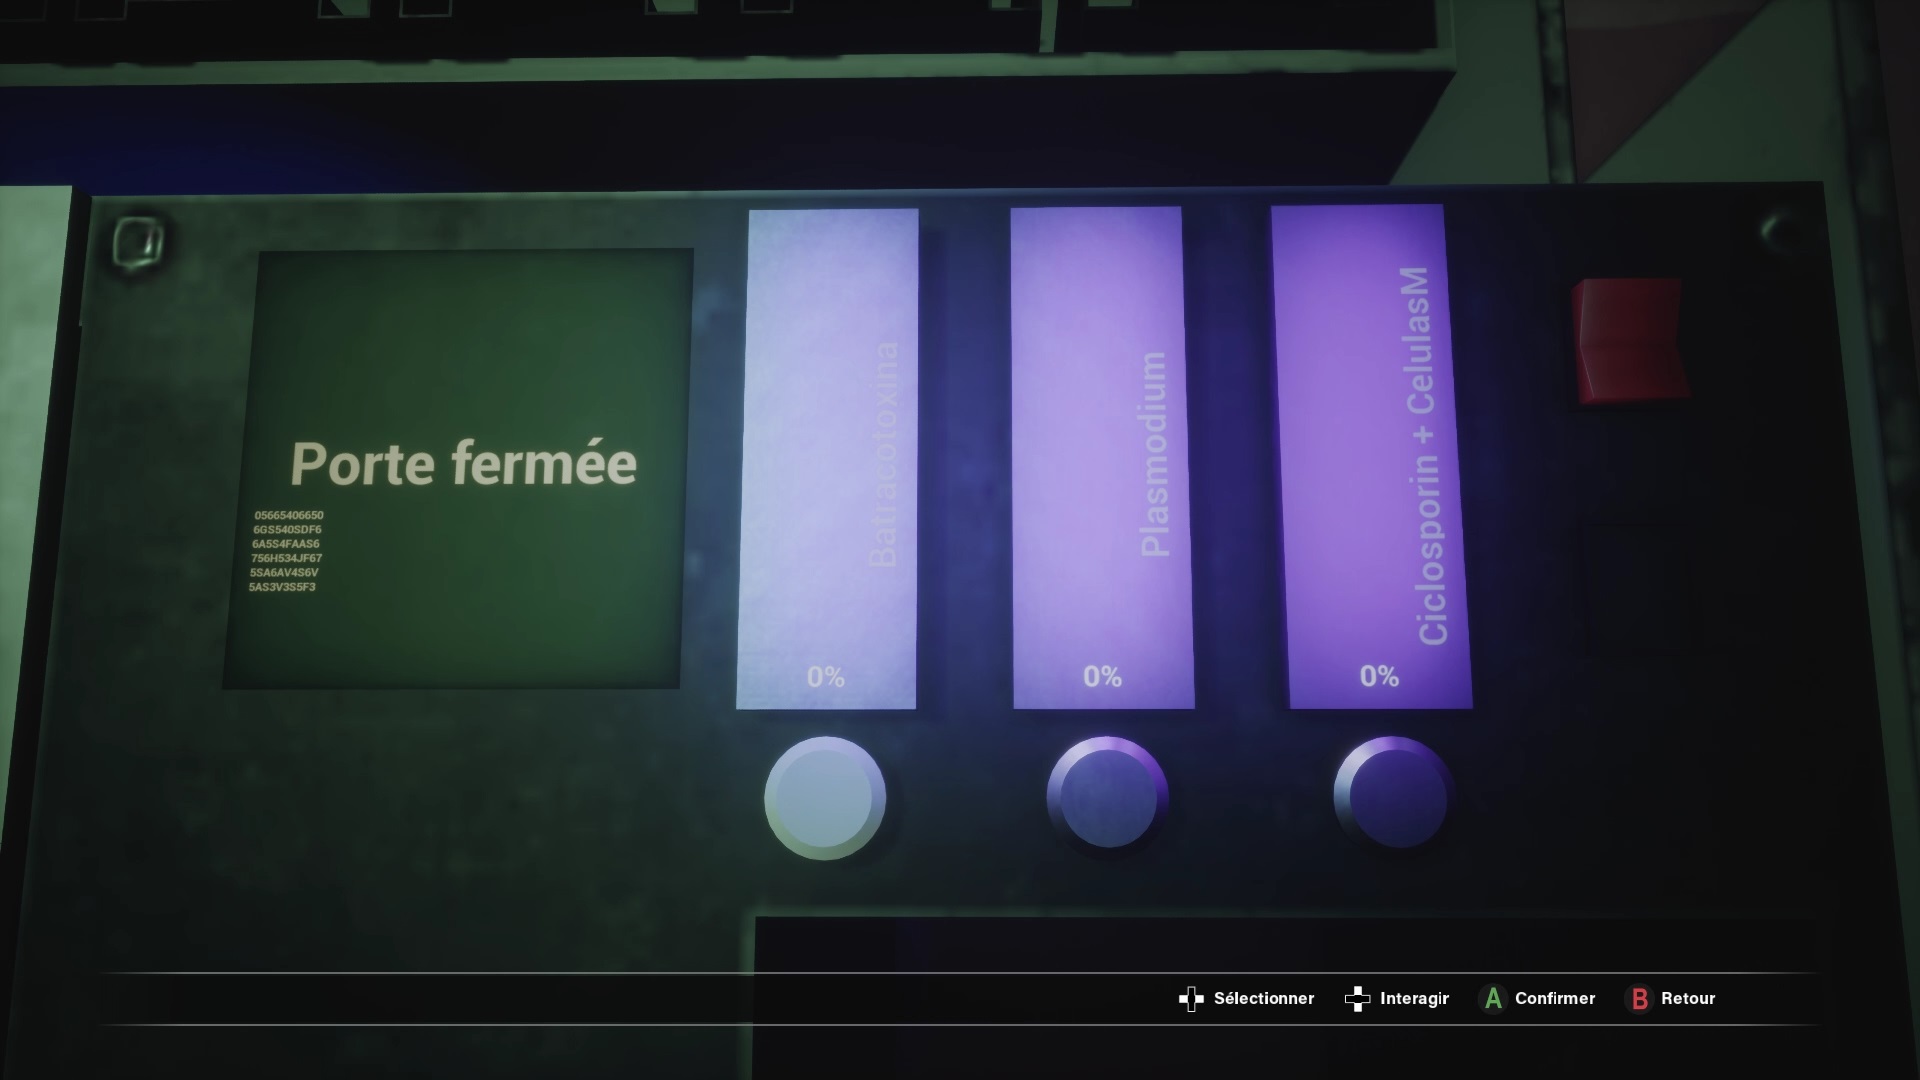
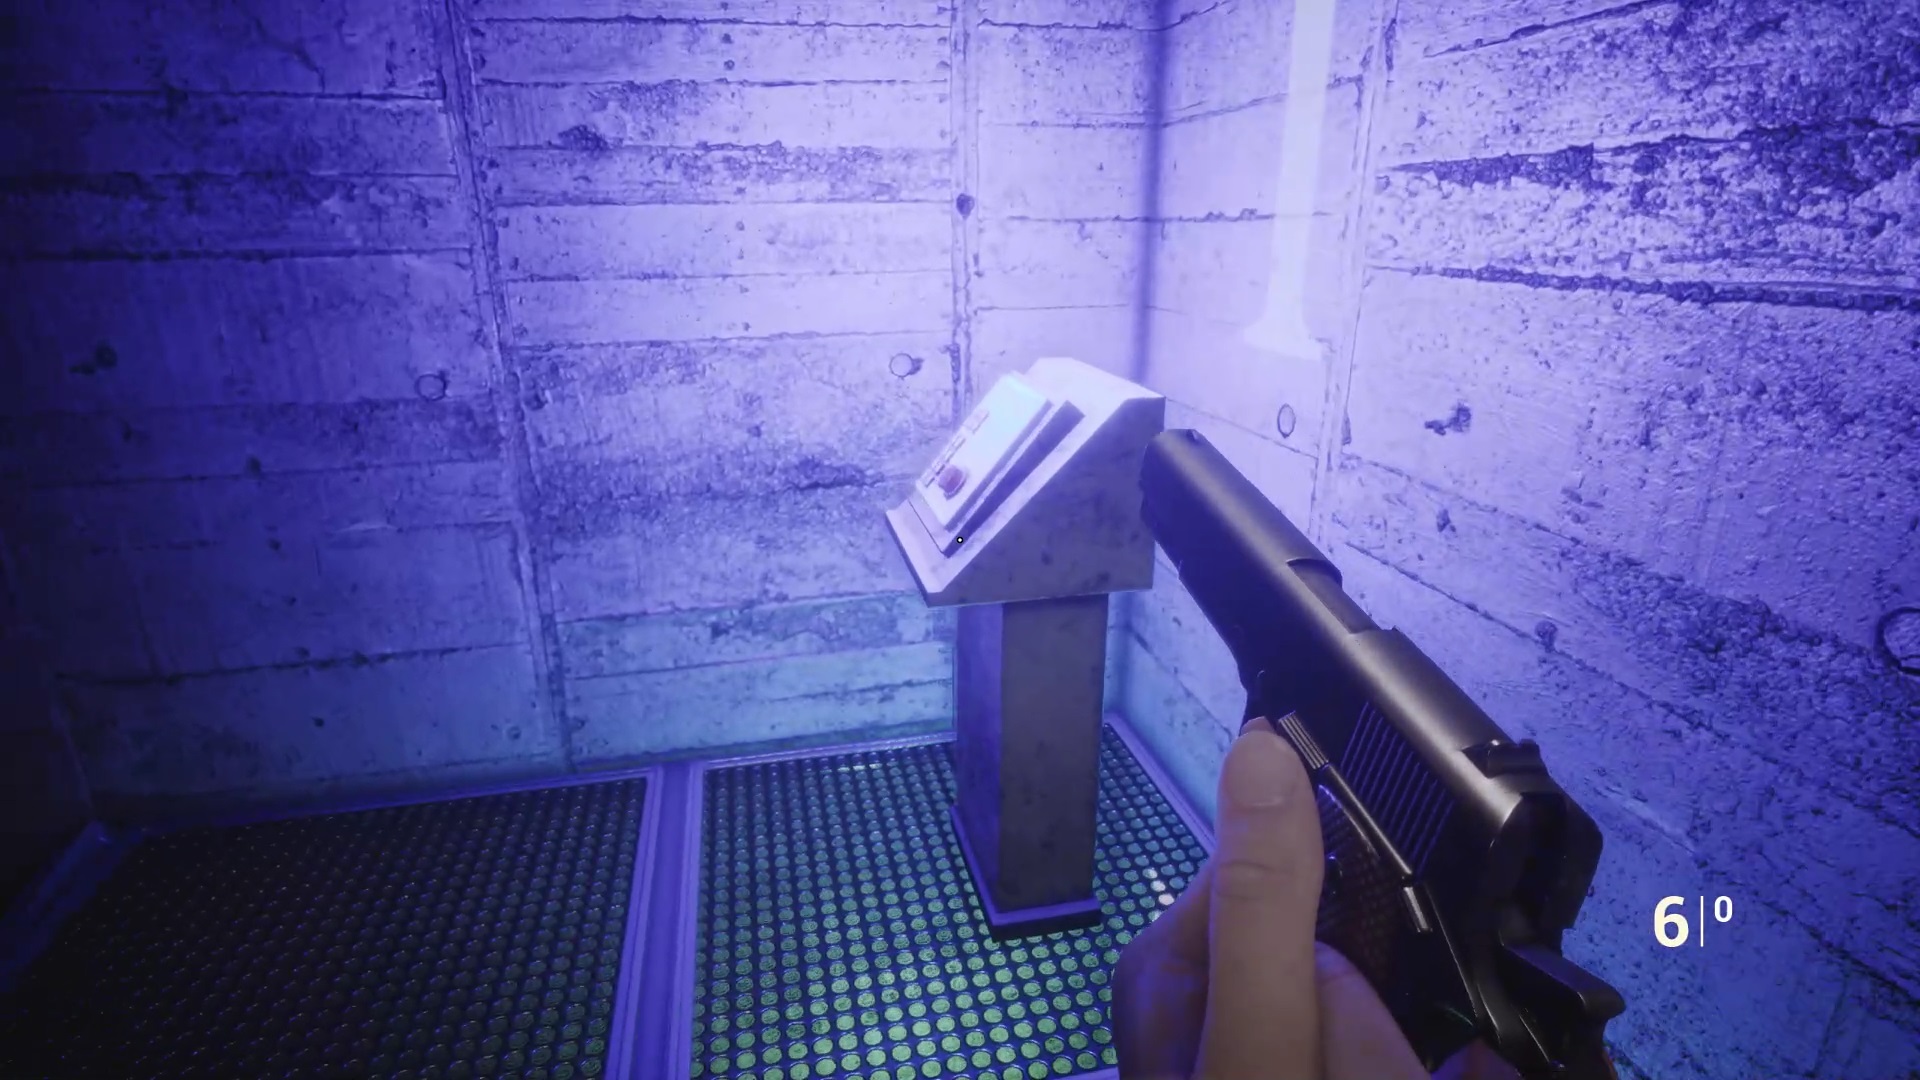
Exit the lab and continue down the stairs to find a final lab. Head inside to find a crafting machine. To the left of the machine near the wall is the final crafting component in a fridge. Collect two empty tubes on the left on the flashing platforms. Place a tube and the three components inside the machine. Close the machine door to start manufacturing. Thanks to the notes of the diary, you will be able to adjust via the buttons on the right the quantity of the three elements to create two mixtions.
Mixtures #1
- Batrachotoxine 30%
- Plasmodium 20%
- Ciclosporine 50%
Mixtures #2
- Batrachotoxine 80%
- Plasmodium 15%
- Ciclosporine 5%
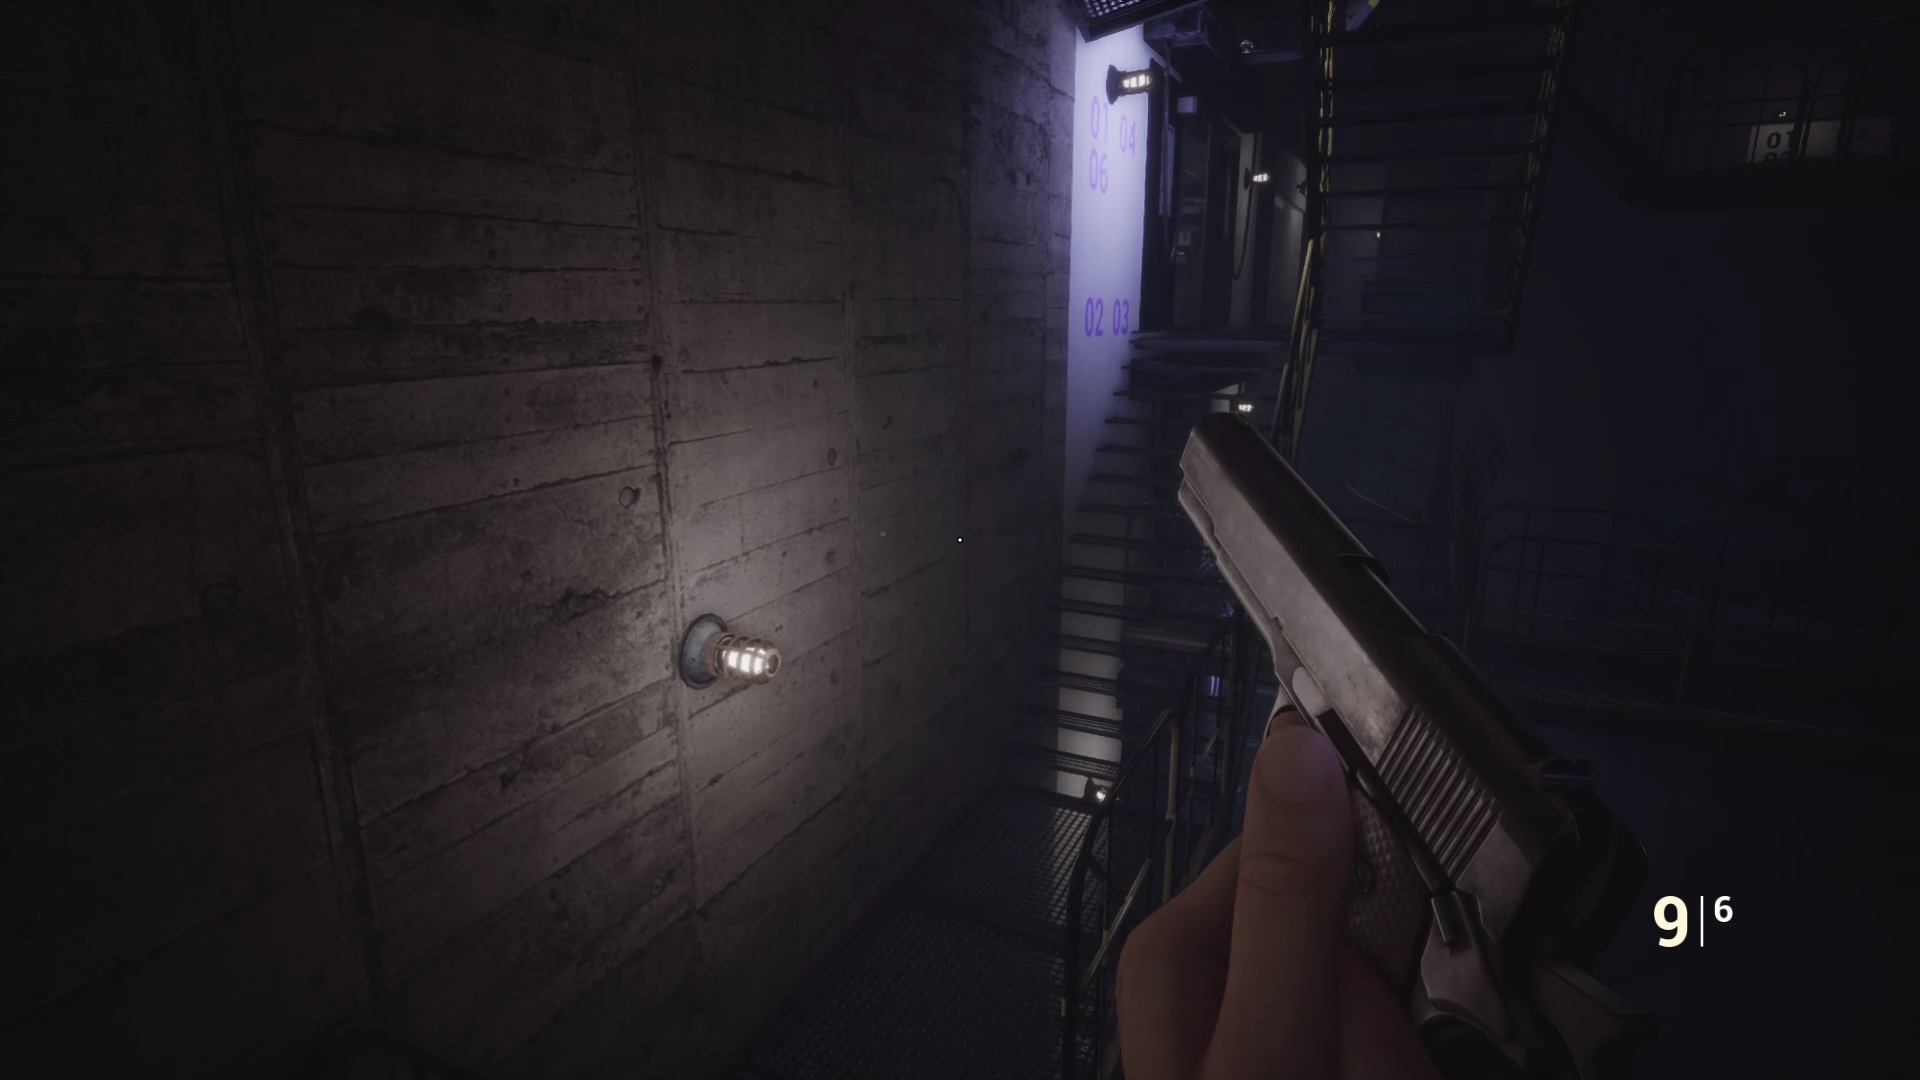
Go back to the elevator to reach the footbridge n°IV thanks to the button. Activate Control Panel #IV. Head behind the sign to find a stairway to catwalk #II. Beware of crawling enemies are on the way. Go up and activate the bridge n ° II by crawling under debris. Go back to the elevator and go down to level V using the elevator button.

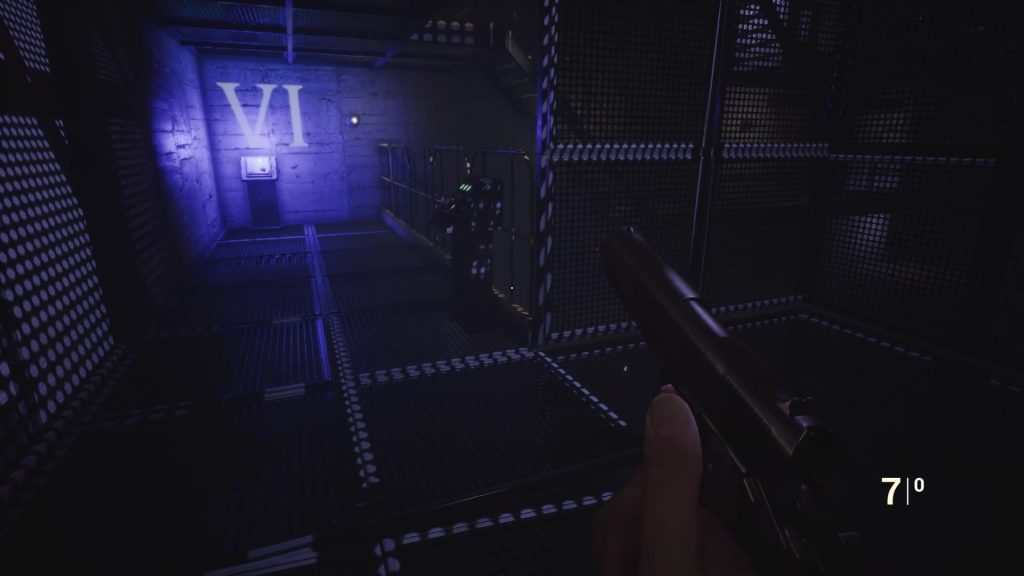
On Gateway V, activate Control Panel #V. Use the stairs from Walkway #V to the right of the panel to reach Walkway VI and activate Panel #VI. Watch out for enemy attacks.


Retrace your steps to the elevator at the start of the level. Beware of enemies have reappeared on the way. Passing through the data processing room and laboratory 01, return to the monitoring room. Use the computer where you generated the level 02 password to open the containment door. Once the containment doors are open, prepare your character with the shotgun and all of its ammo. The final fight awaits you behind these doors.

Go to the lab elevator to find the open containment doors. We strongly advise you to make a save at this exact moment to be able to perform the alternate endings. Stock up on ammo if needed with consumables in the room. When ready remove the gas mask from the cabinet. Move towards the two tanks to open them and place the mixtures inside. Press the button on the platform to raise a bridge to an arena. Head to the arena for the final fight.
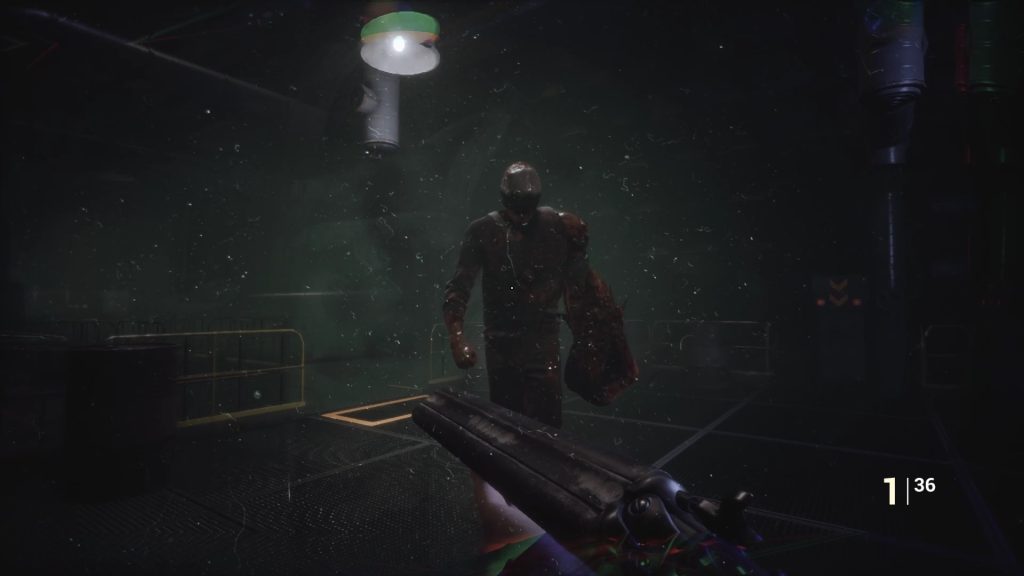

Our good old Aquilles is not dead. But it will be soon. Use all your shotgun ammo to take him down. Keep your distance and go around the arena so he doesn’t catch you. If Aquilles grabs a barrel, immediately shoot him to make it explode. The fight takes place in three phases. You need to weaken Aquilles to bring him to his knees. Once on the ground activated the valve lit in green to diffuse the gas. Start the phase again to reach the third phase, the fight to the death. Strafe Aquilles with your bullets to finish it off.
The Mine
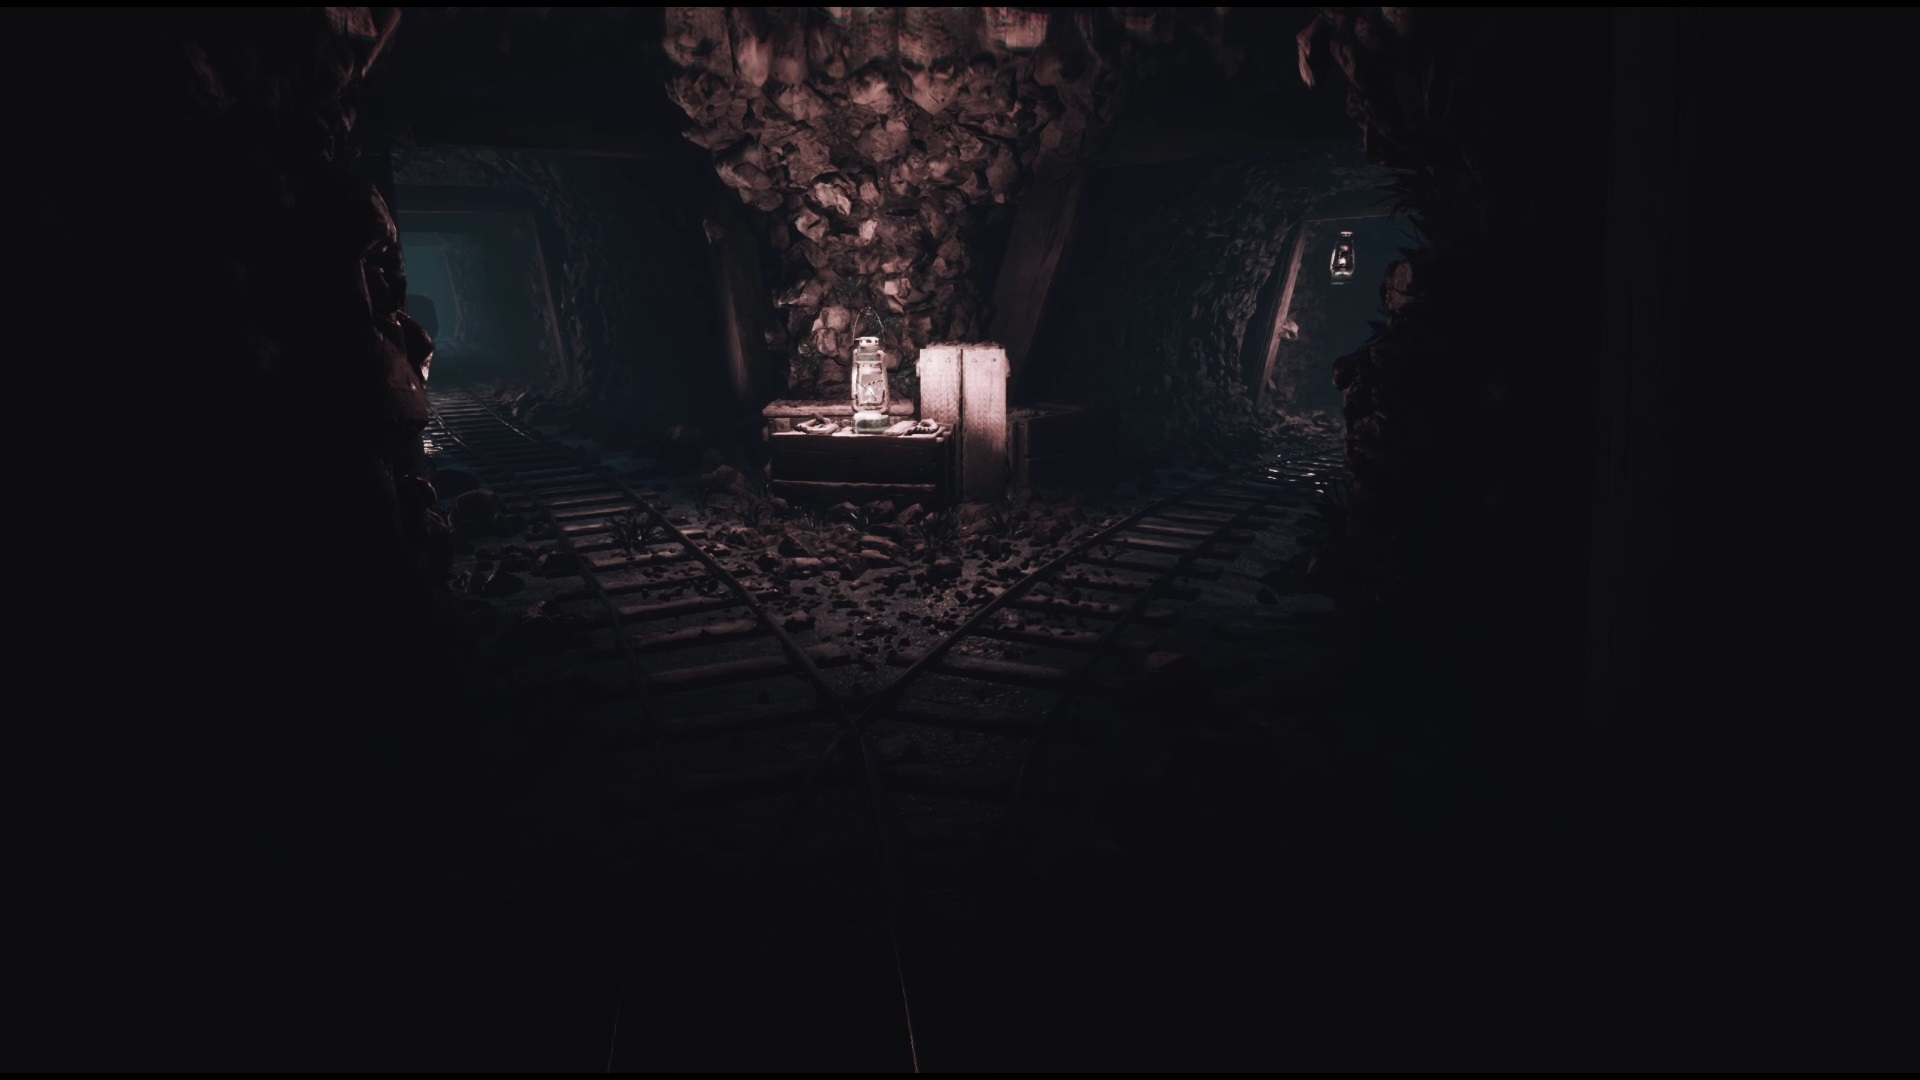
In the mines, all you have to do is move forward. Once at the fork, you can pick up a crucial document from the ground to understand the motivations of one of the game’s characters. Once read, proceed to the tunnel on the right to complete the level.
The choice
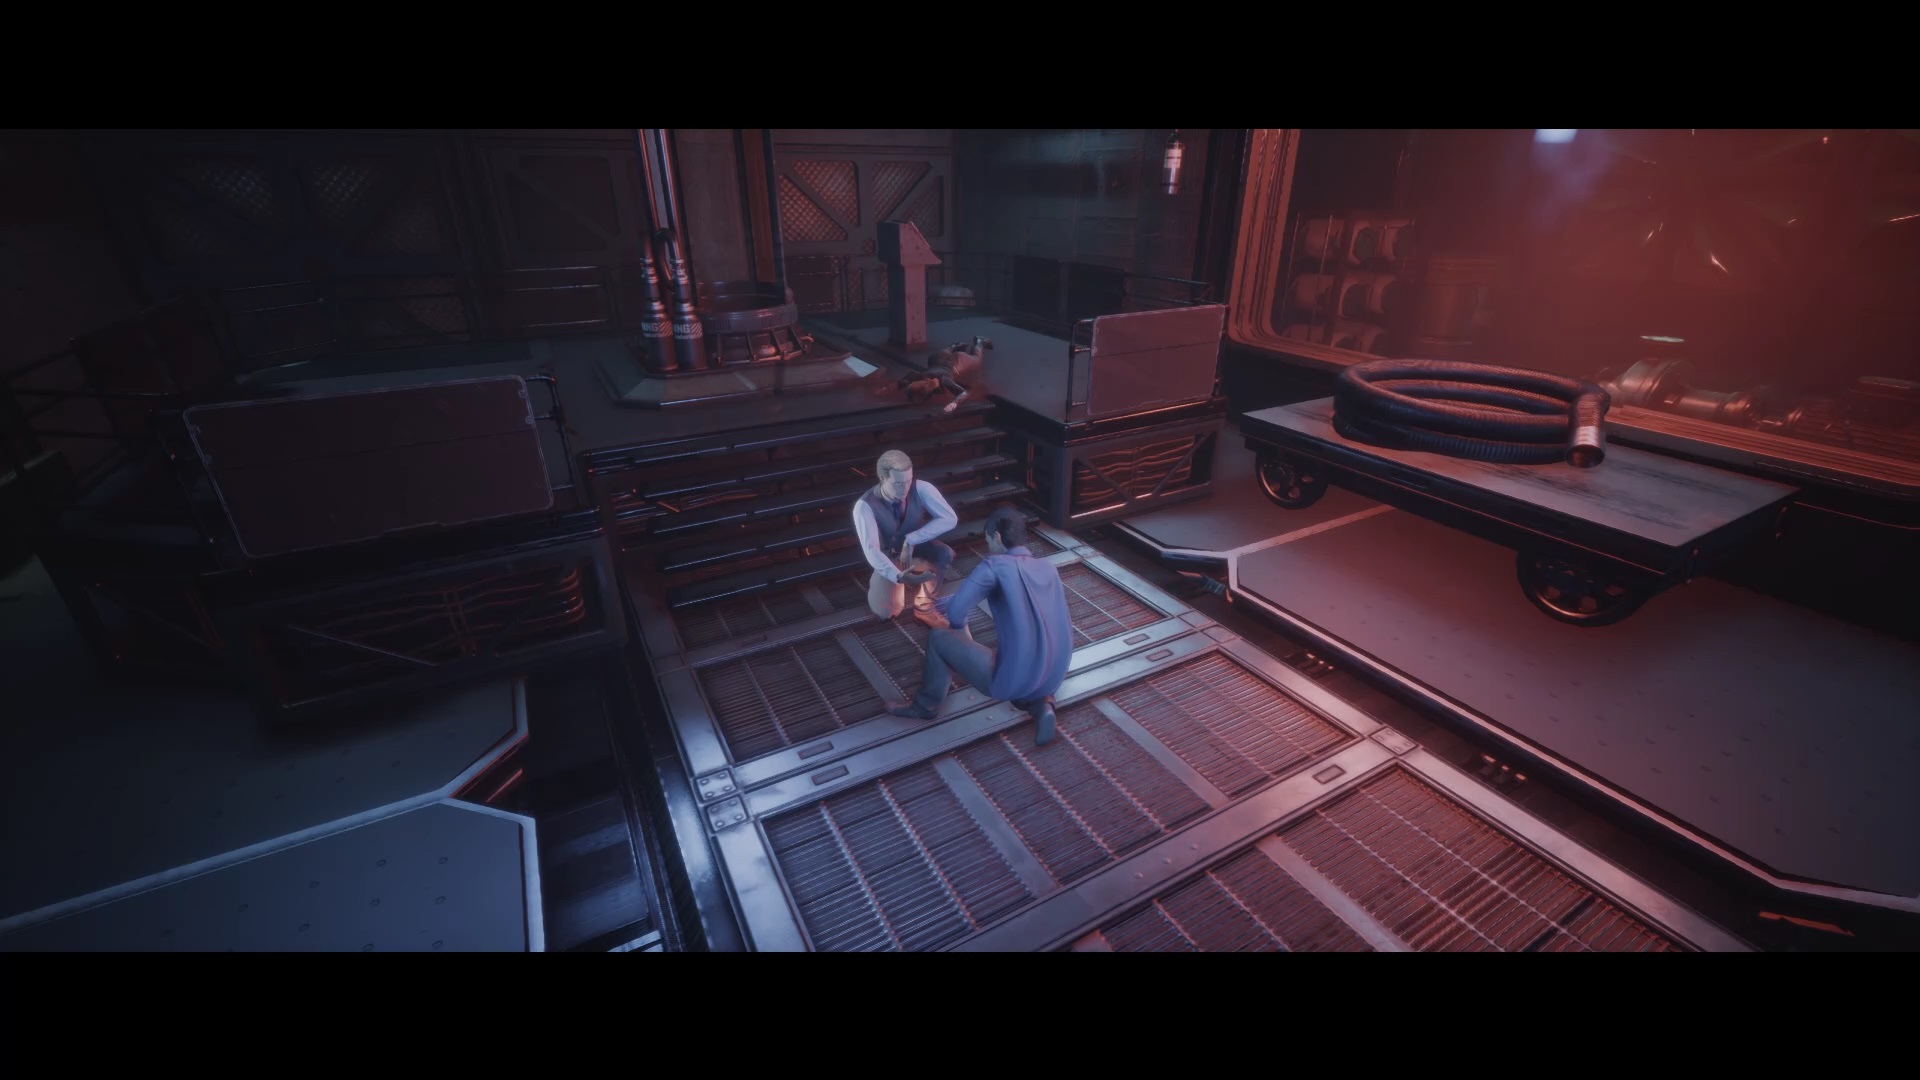
For the last chapter move forward to trigger a cutscene. The cutscene ends with a choice. You can reach out to Christopher or brandish a pistol at him to defend yourself. Each decision leads to a different ending. You are free to explore these endings to uncover the secrets of Fobia St. Dinfna Hotel.

Journaliste gameactuality.com

very thanks
Thanks for not mentioning to run to the end of the hall after meeting the new monster so it can throw me past it. Stating only to bypass the monster. Not helpful at all. You ****.
You are ***.