[Walkthrough] Alan Wake 2: Guide All Missions [EN]
Discover our complete guide to the walkthrough of the main missions of Alan Wake 2 from Remedy. Our solution will take you through all the missions in the game, with tips for solving puzzles and defeating enemies. Walk through our detailed step-by-step walkthrough with images to help you succeed in each mission.
Summary
- Introduction
- Return 1: Invitation
- Return 2: The Heart
- Return 3: Local girl
- Return 4: No Chance
- Return 5: Old Gods
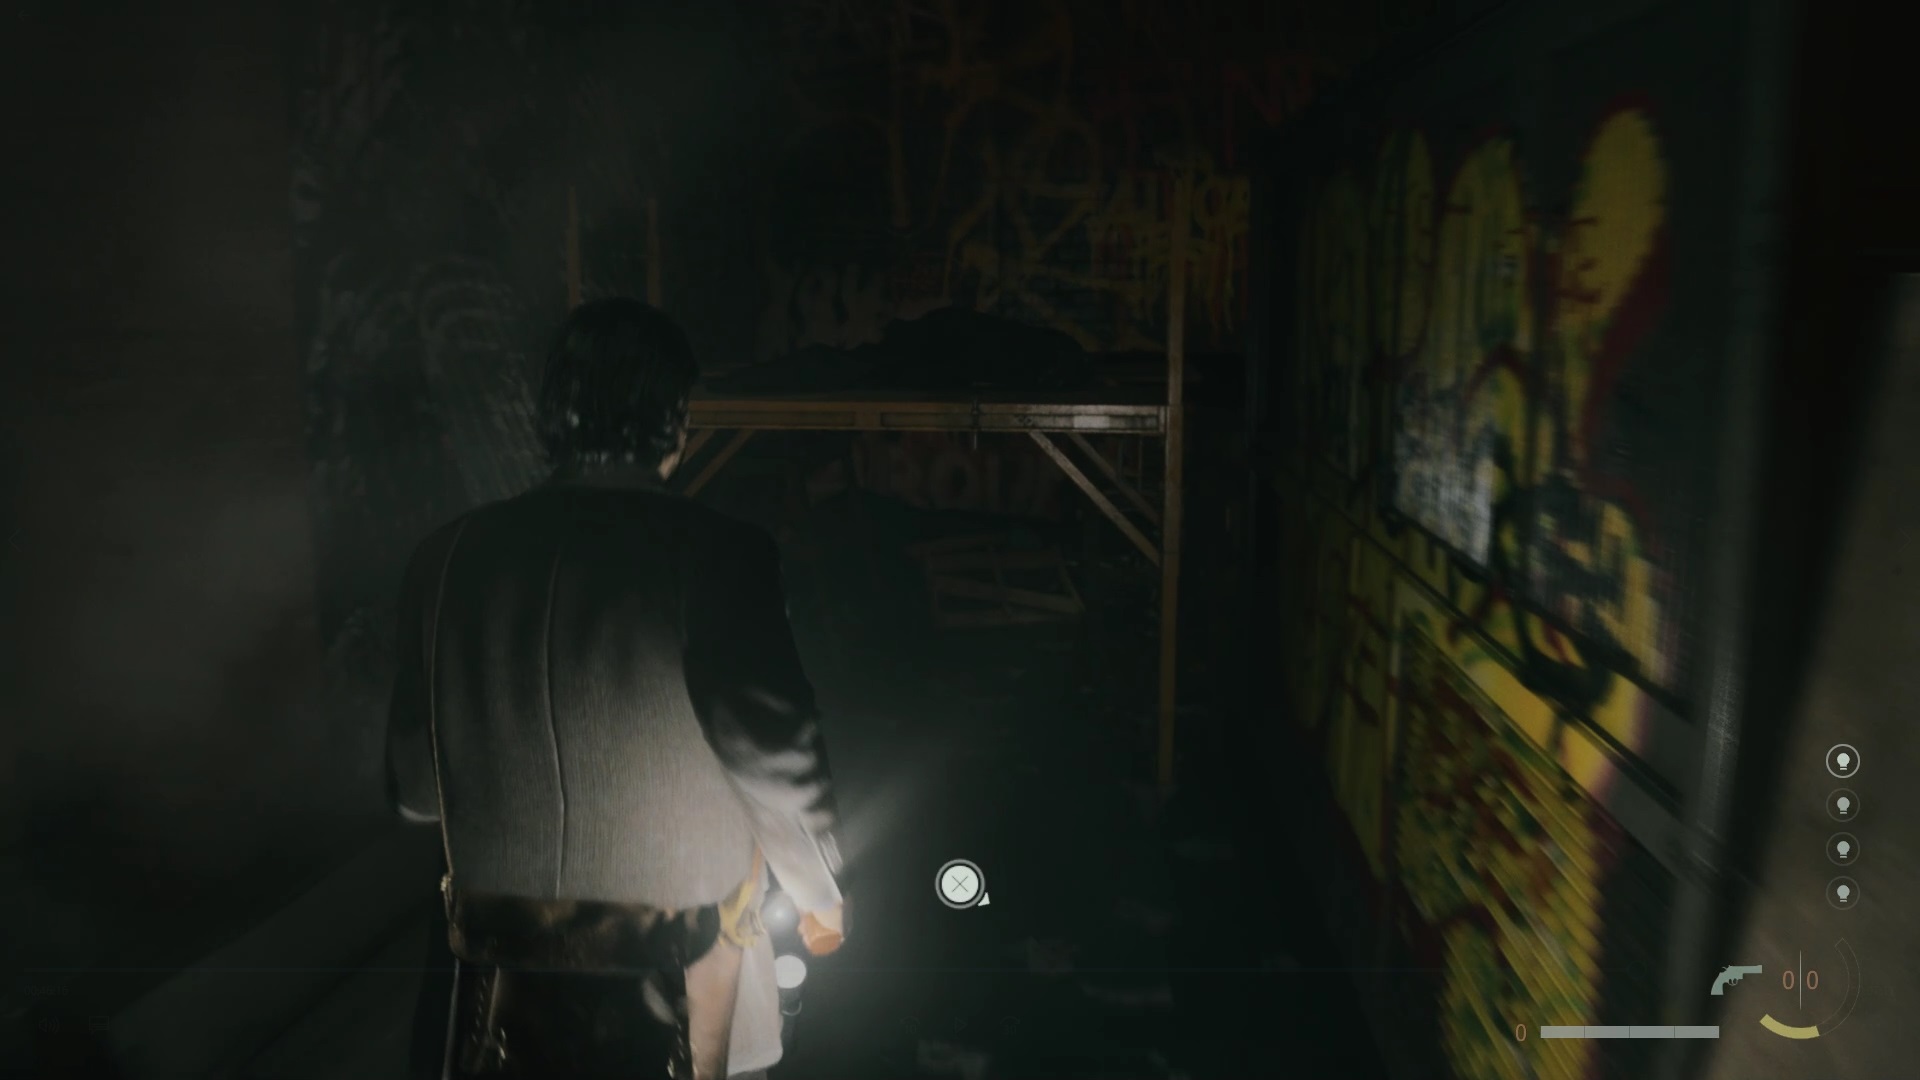
- Return 6: Scratch
- Return 7: Invocation
- Return 8: DeerFest
- Return 9: Come back
- Initiation 1: Talk Show
- Initiation 2: Casey
- Initiation 3: Haunted
- Initiation 5: Chamber 665
- Initiation 6: Return
- Initiation 7: Masks
- Initiation 8: Zane’s movie
- Initiation 9: Escape
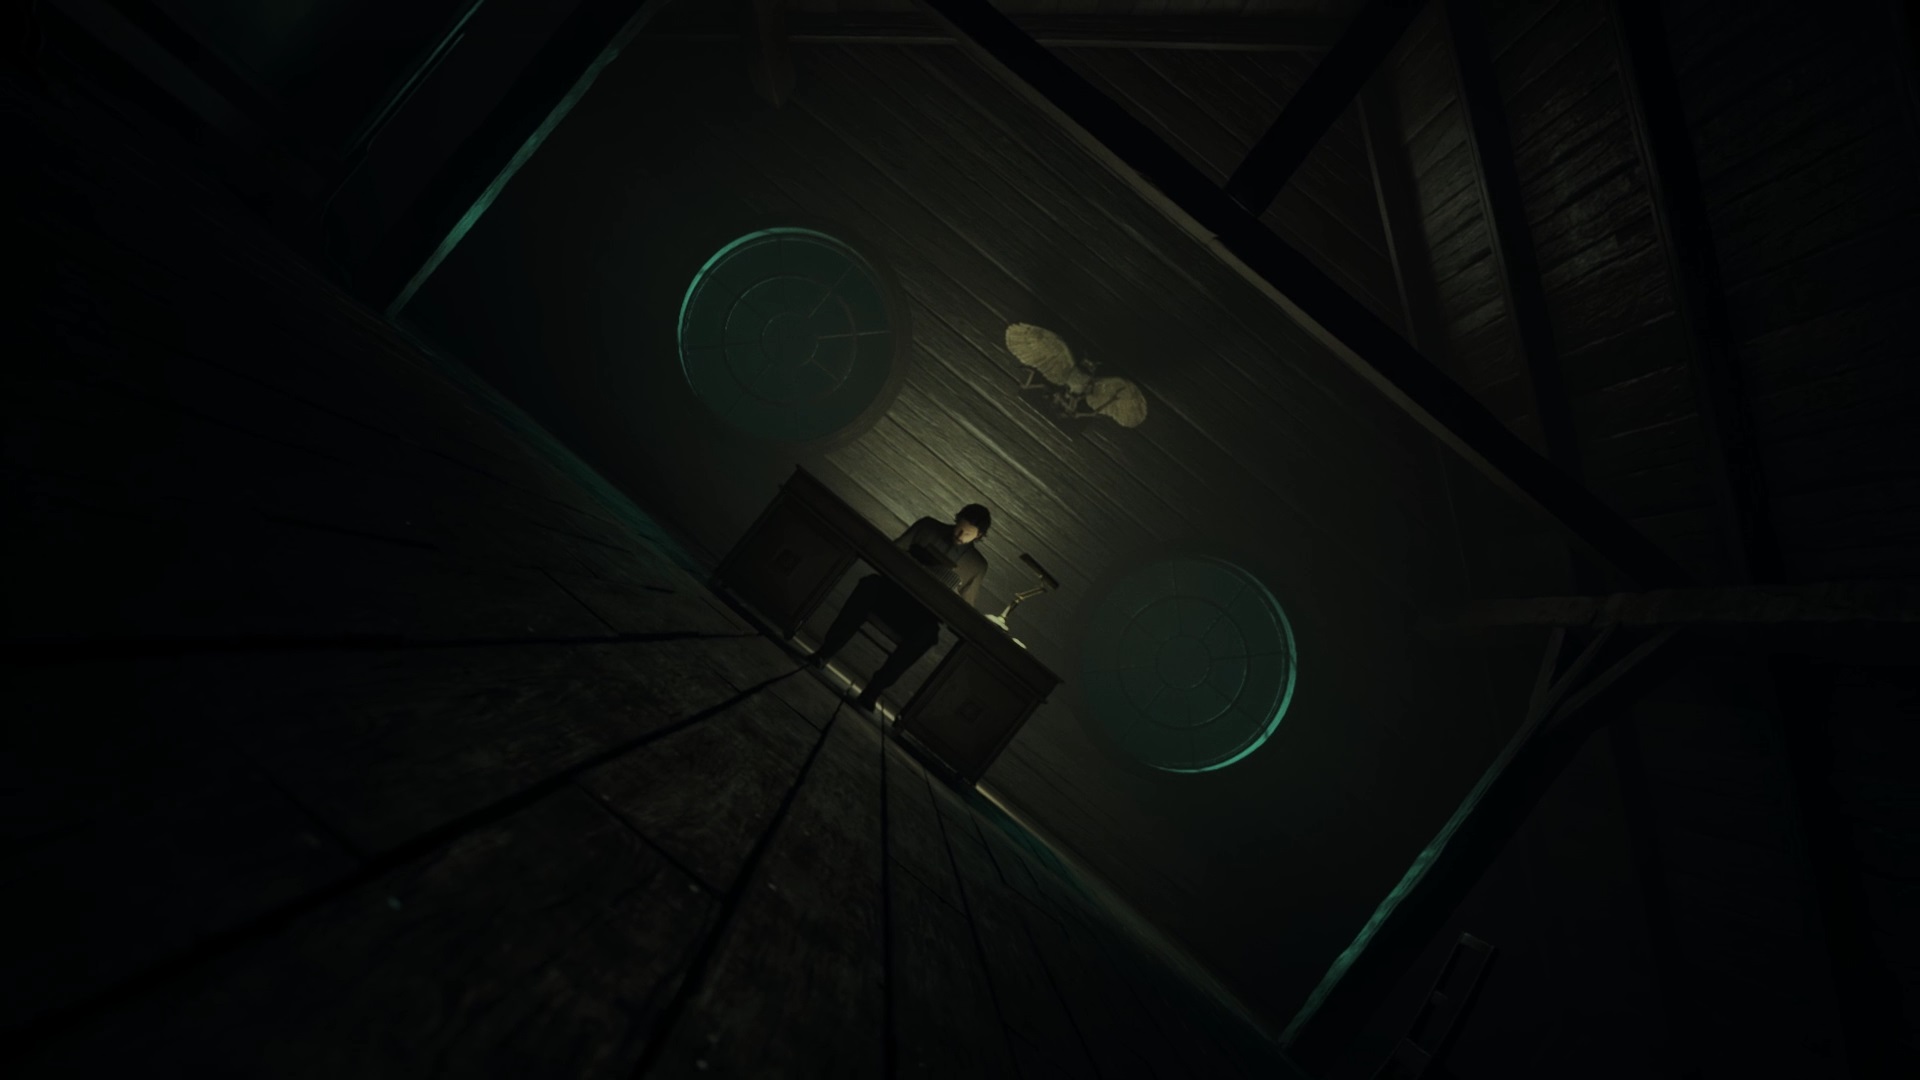
Introduction
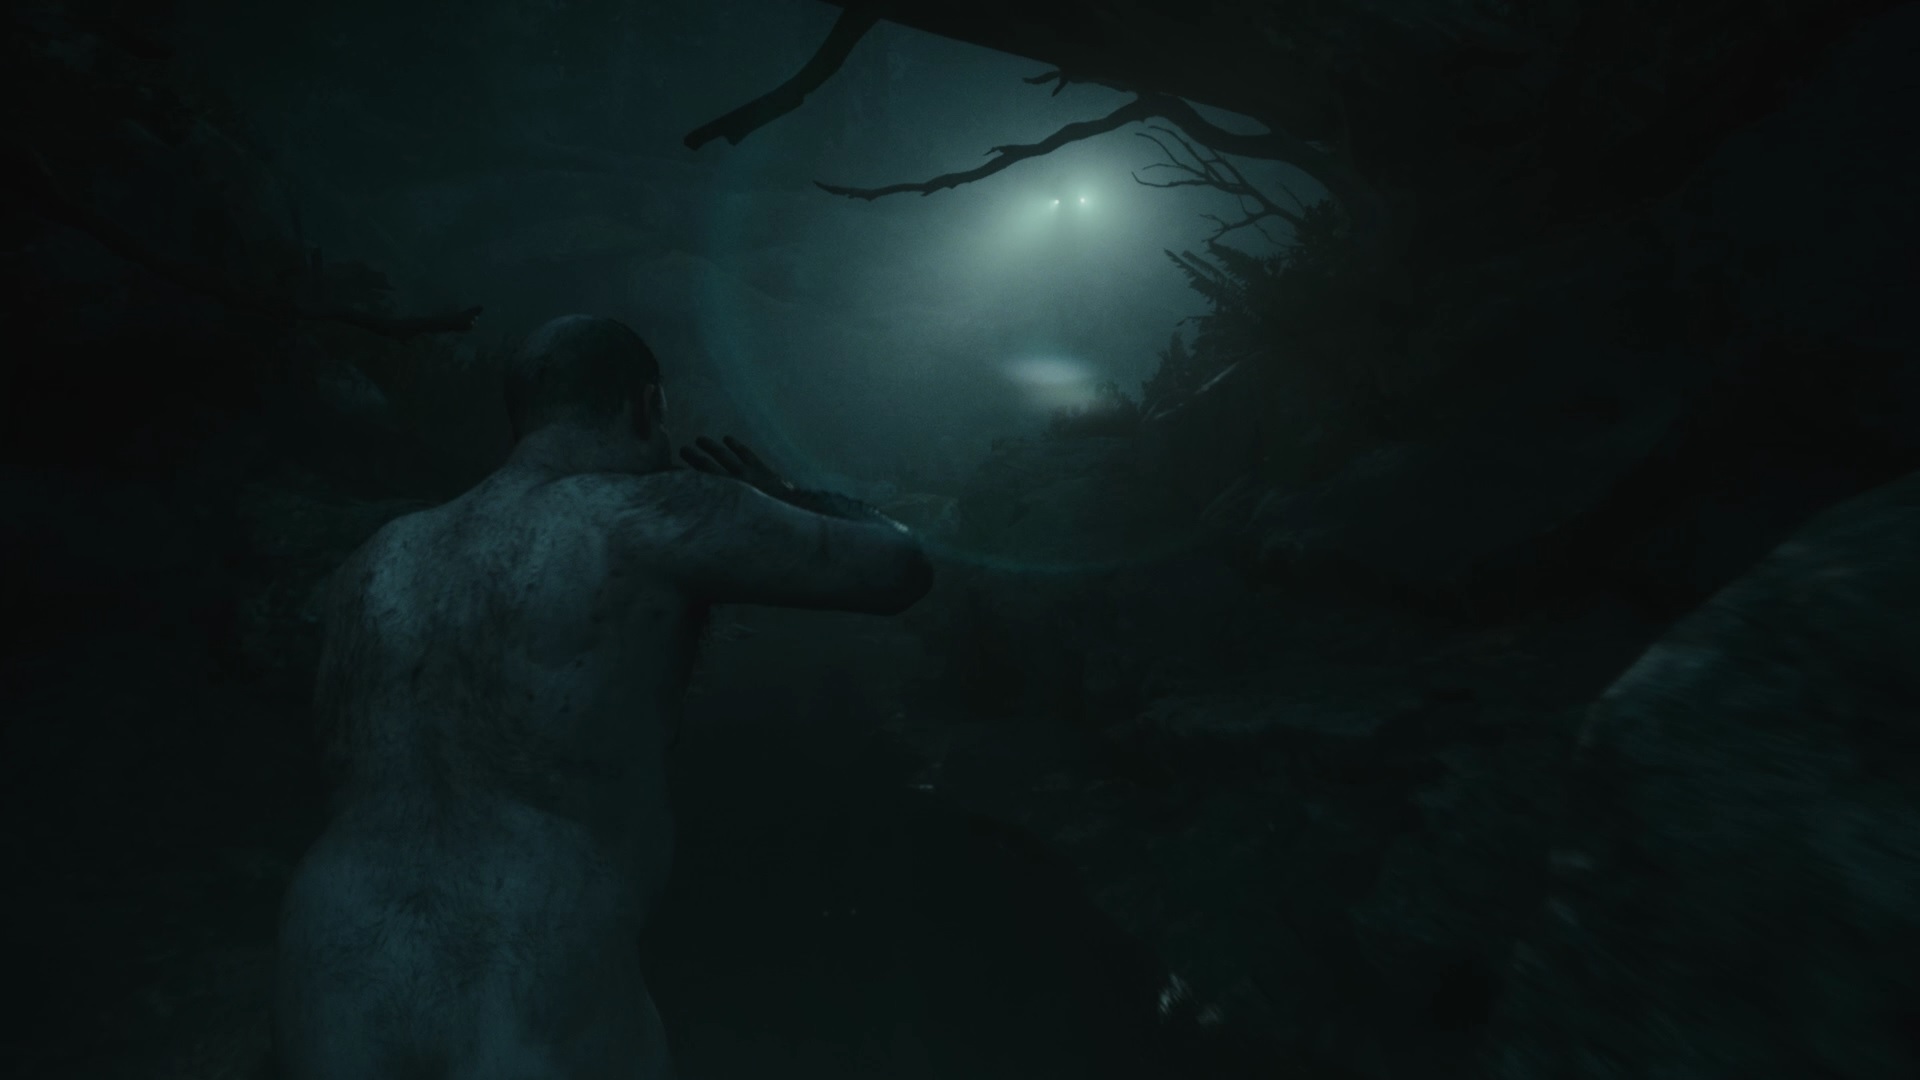
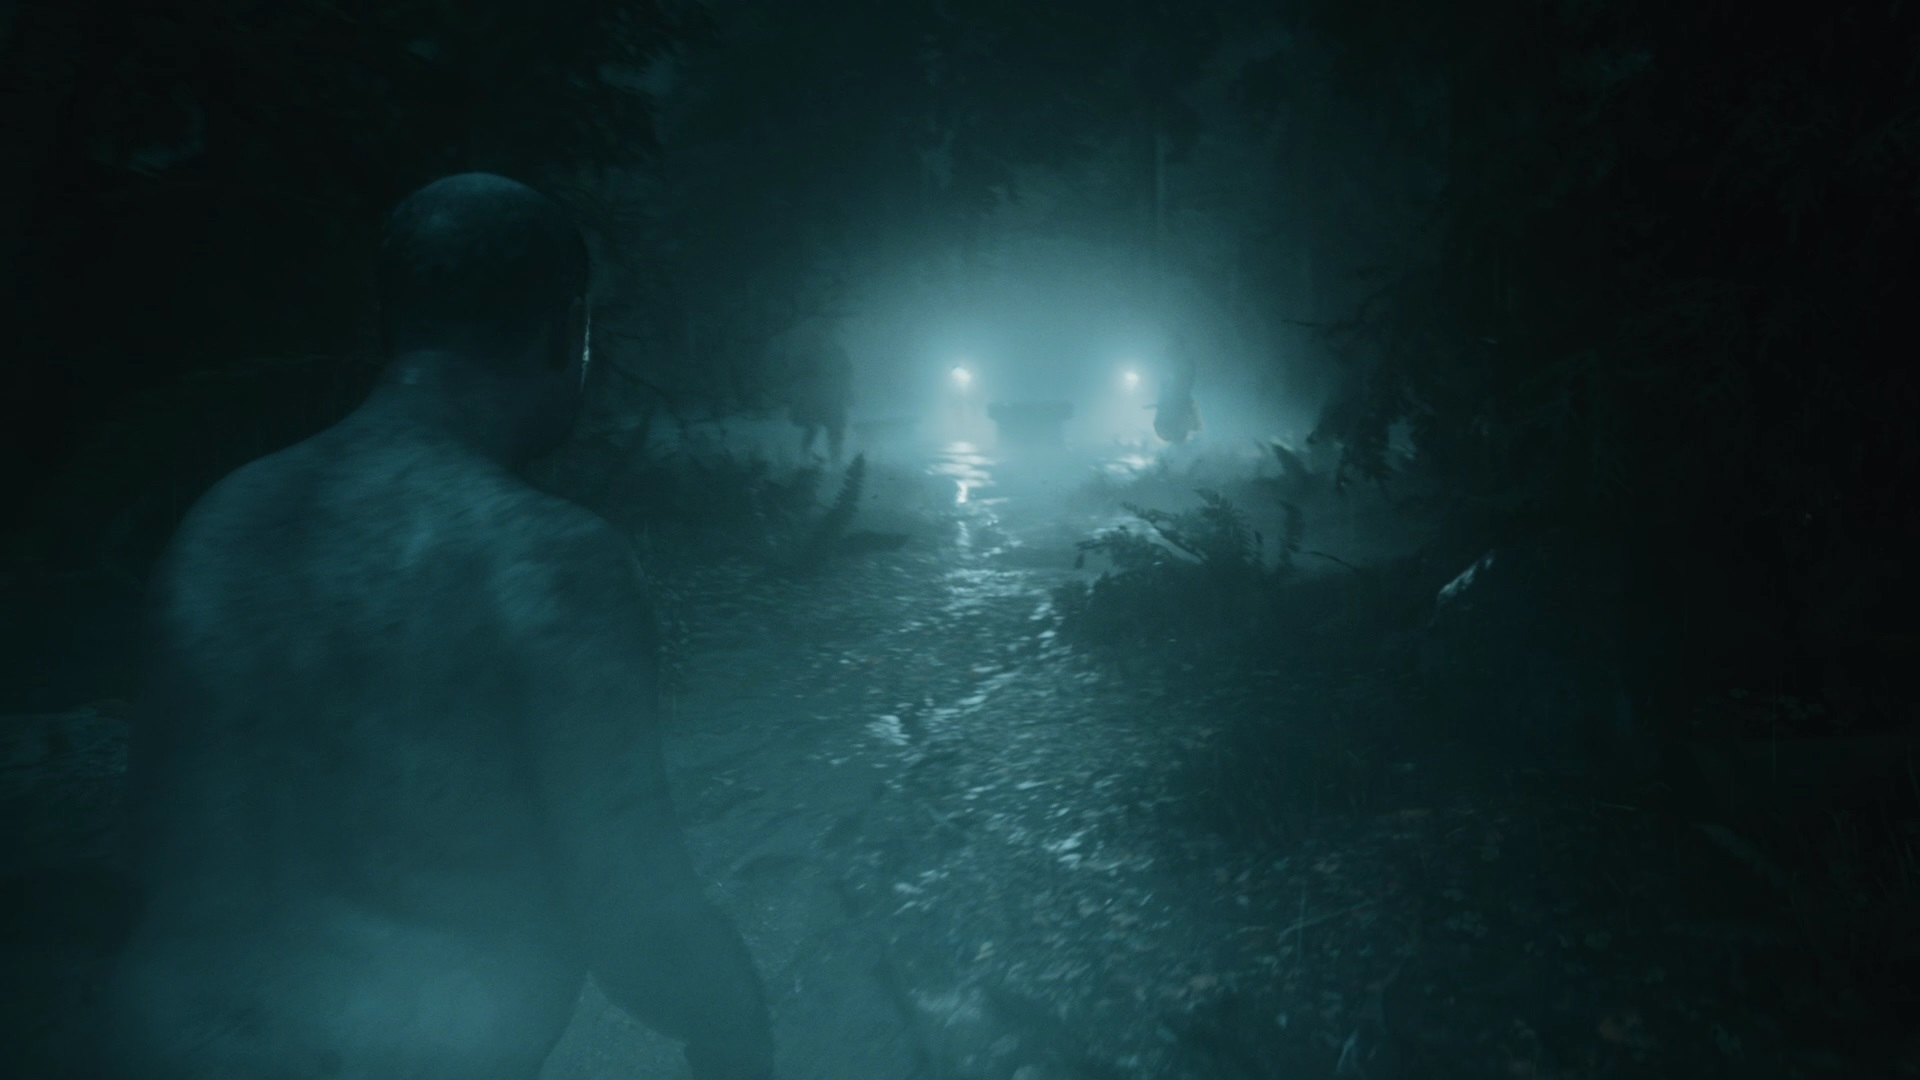
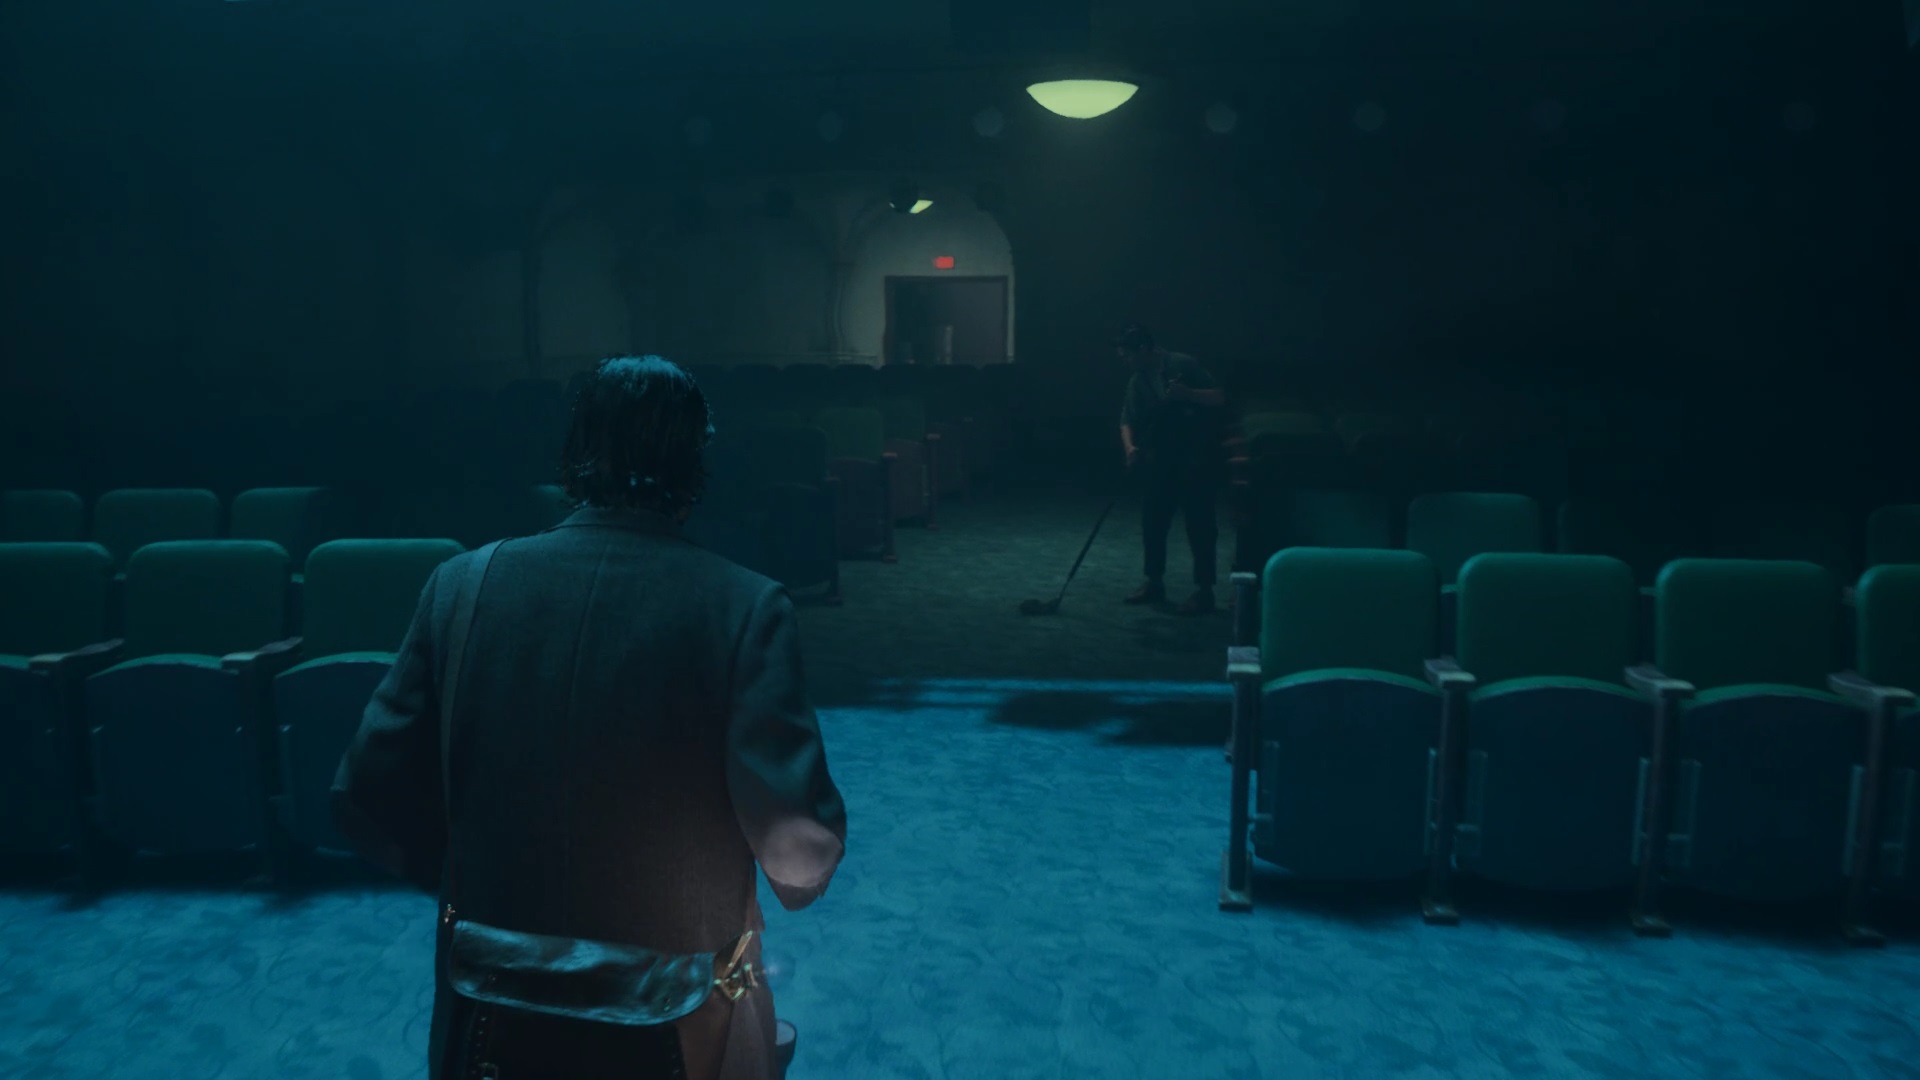
Here you are in the shoes of an unknown man. Proceed along the path to reach the summit where a group of men awaits you.
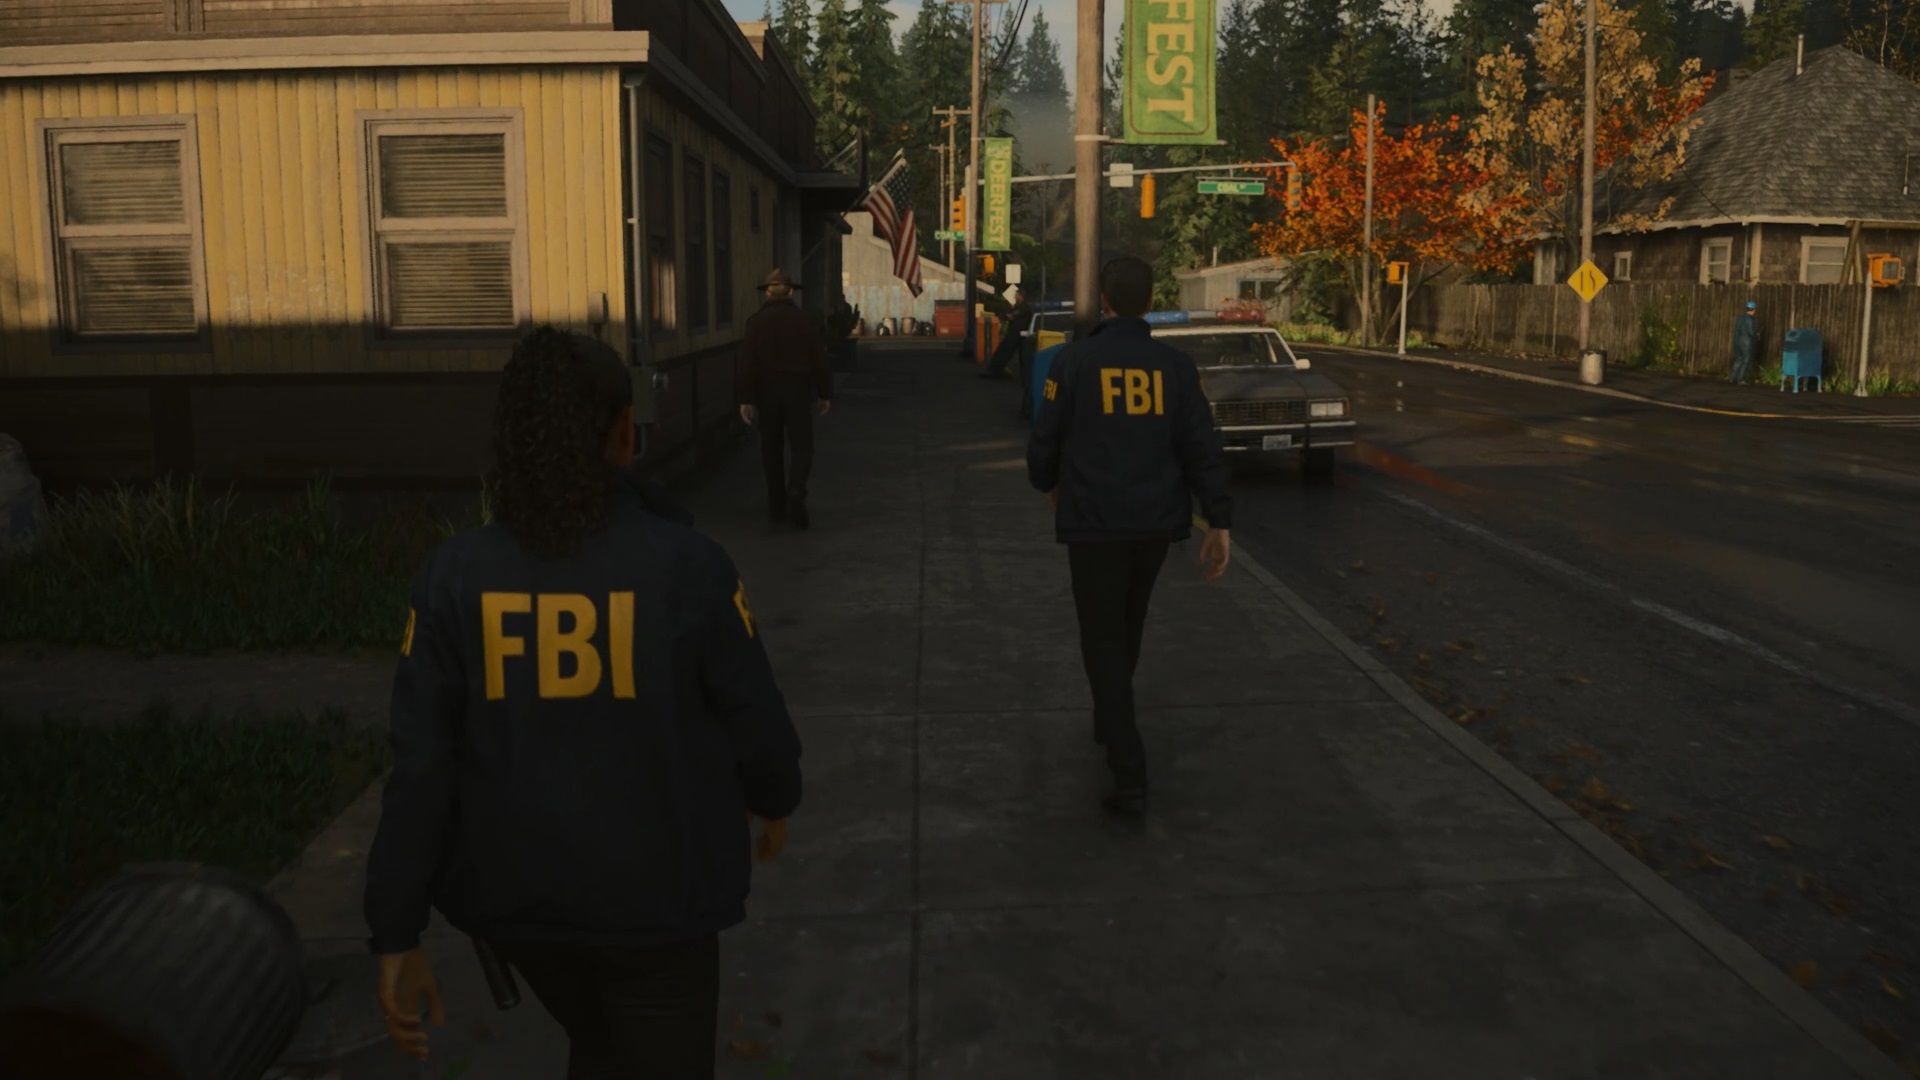
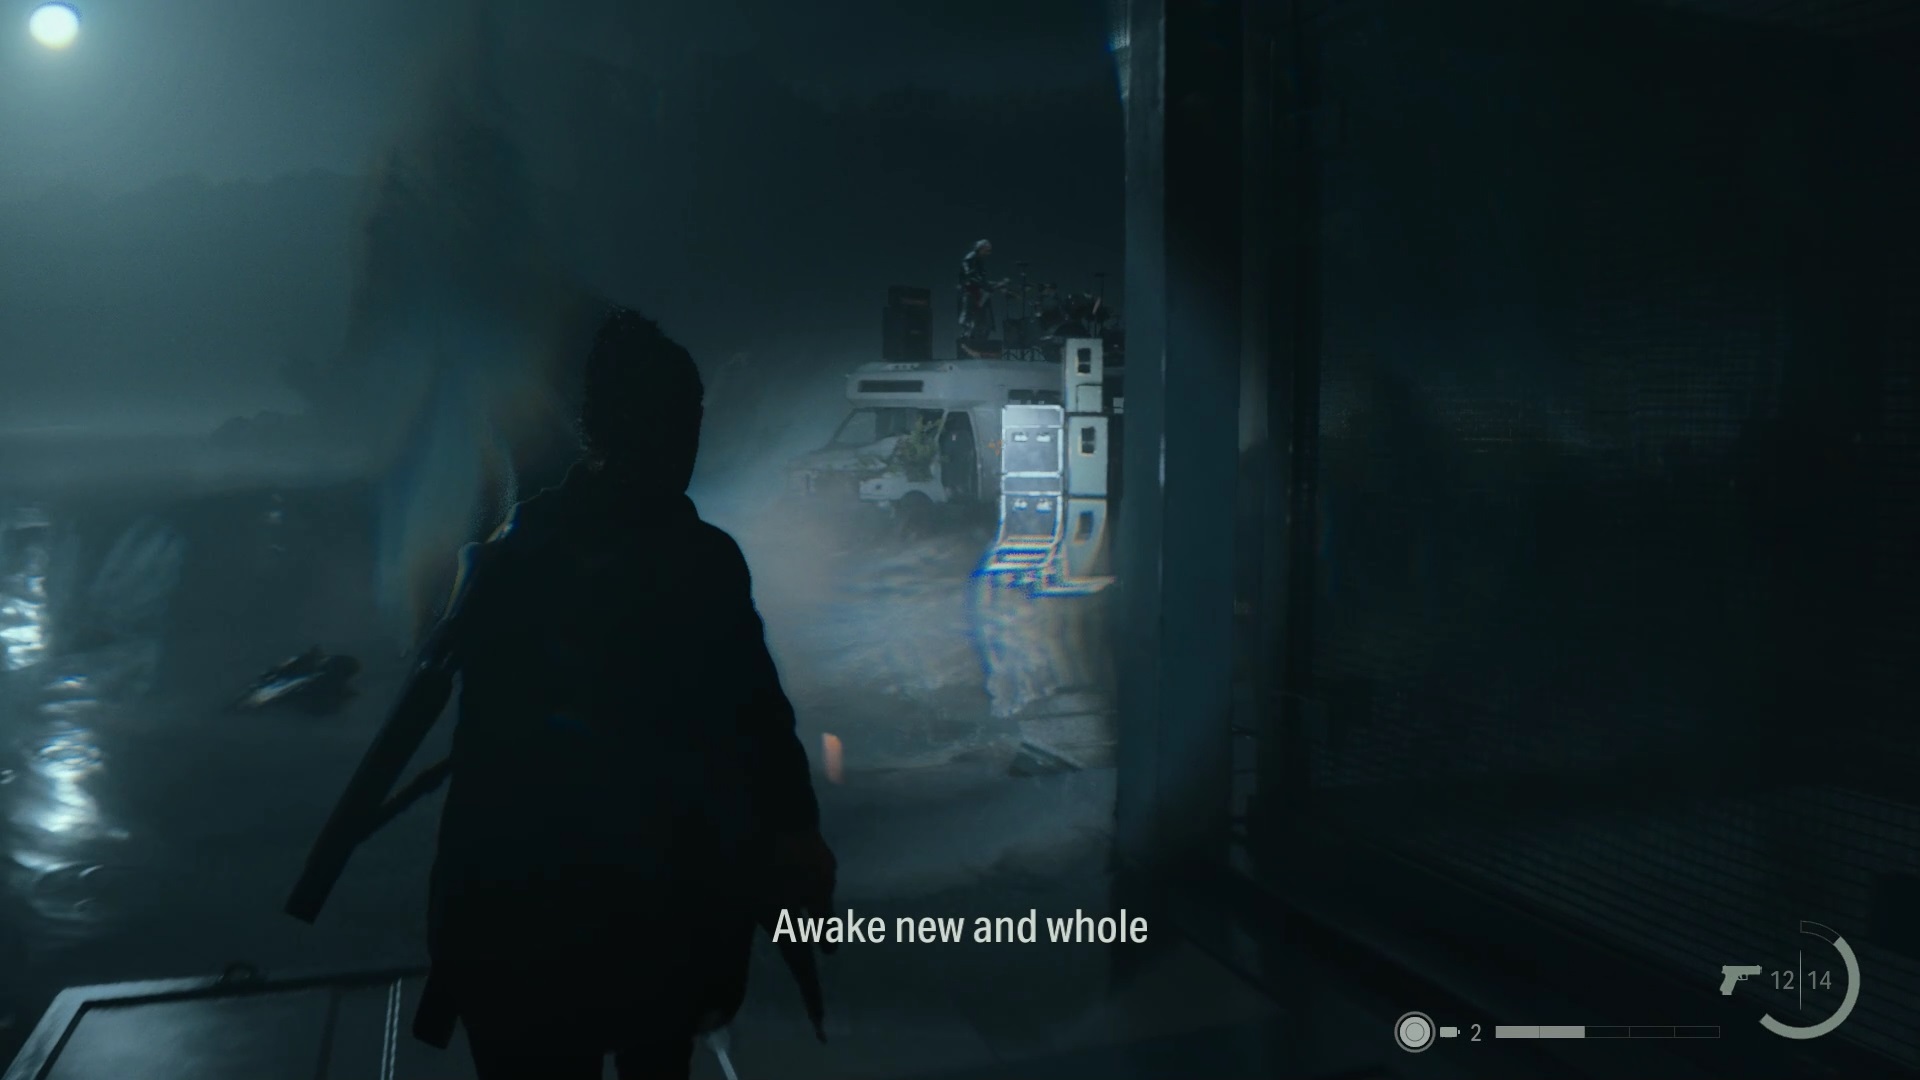
Return 1 – Invitation
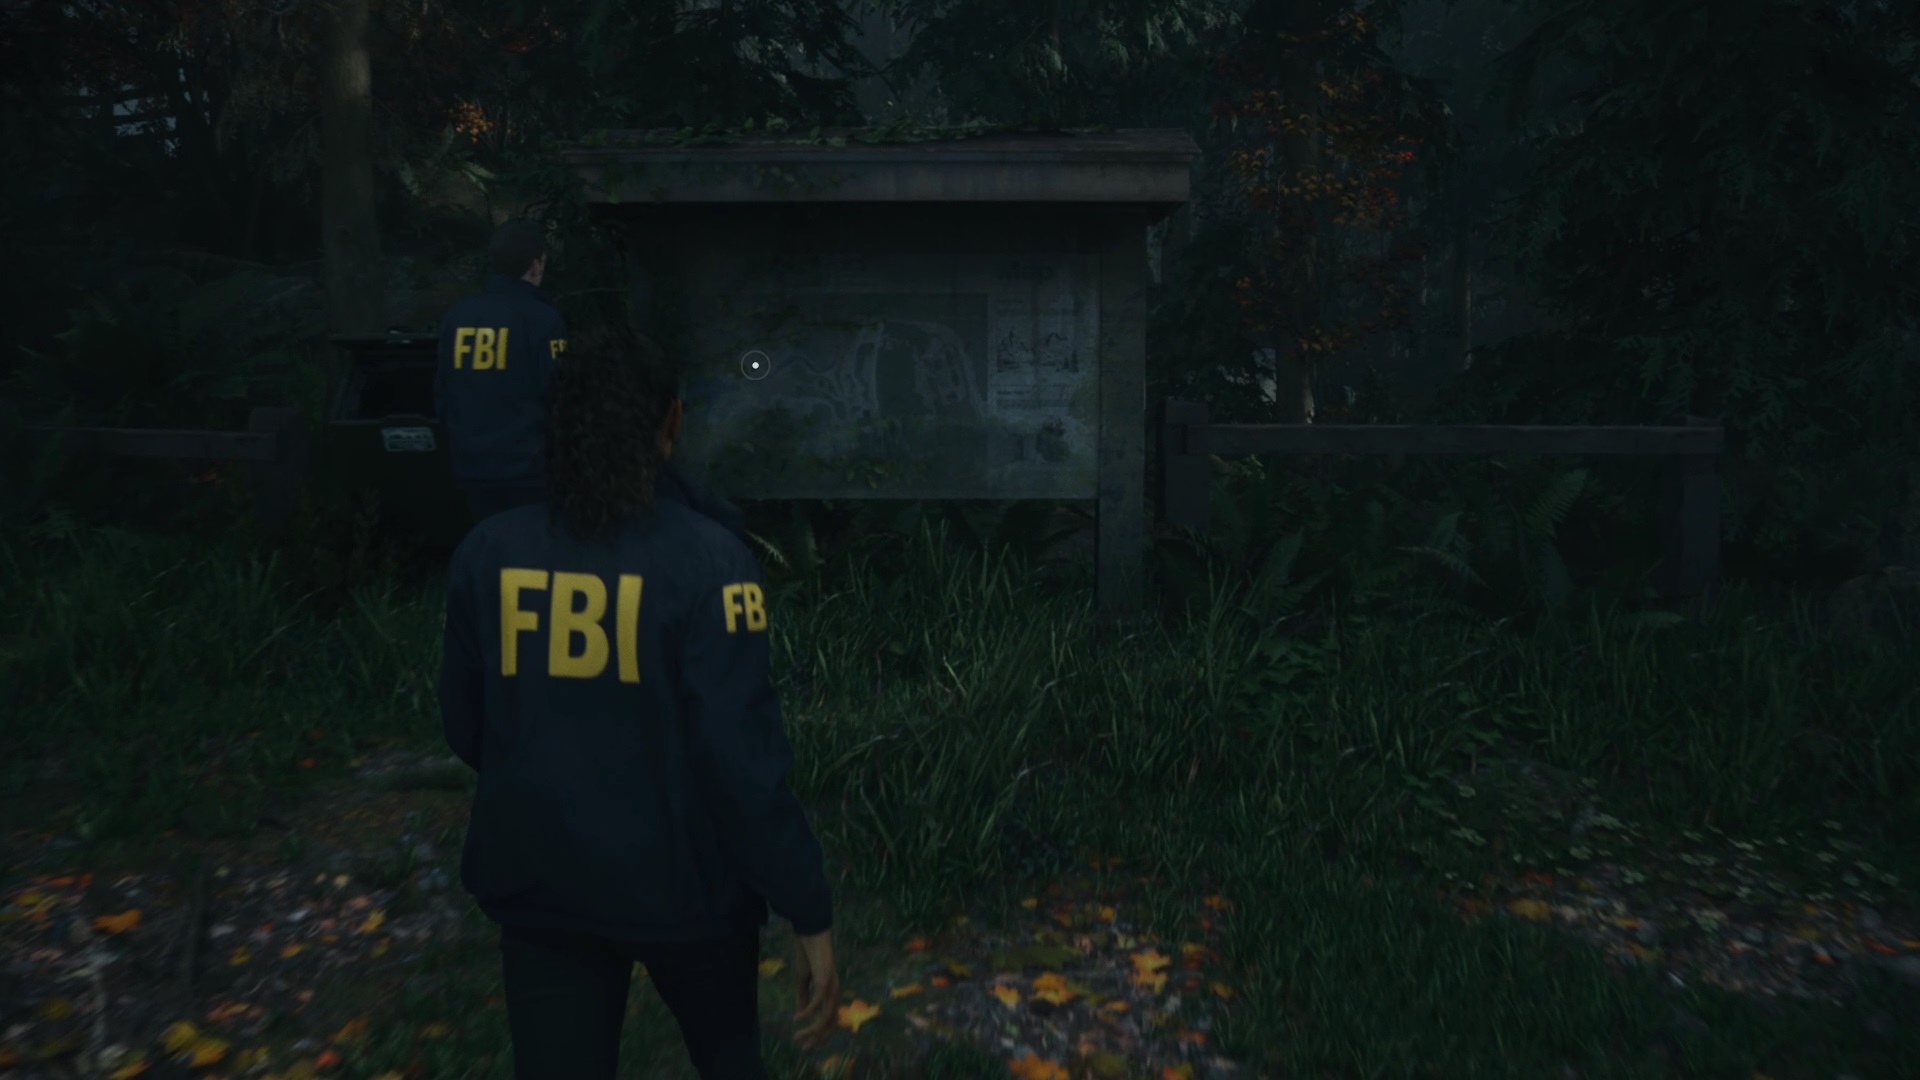
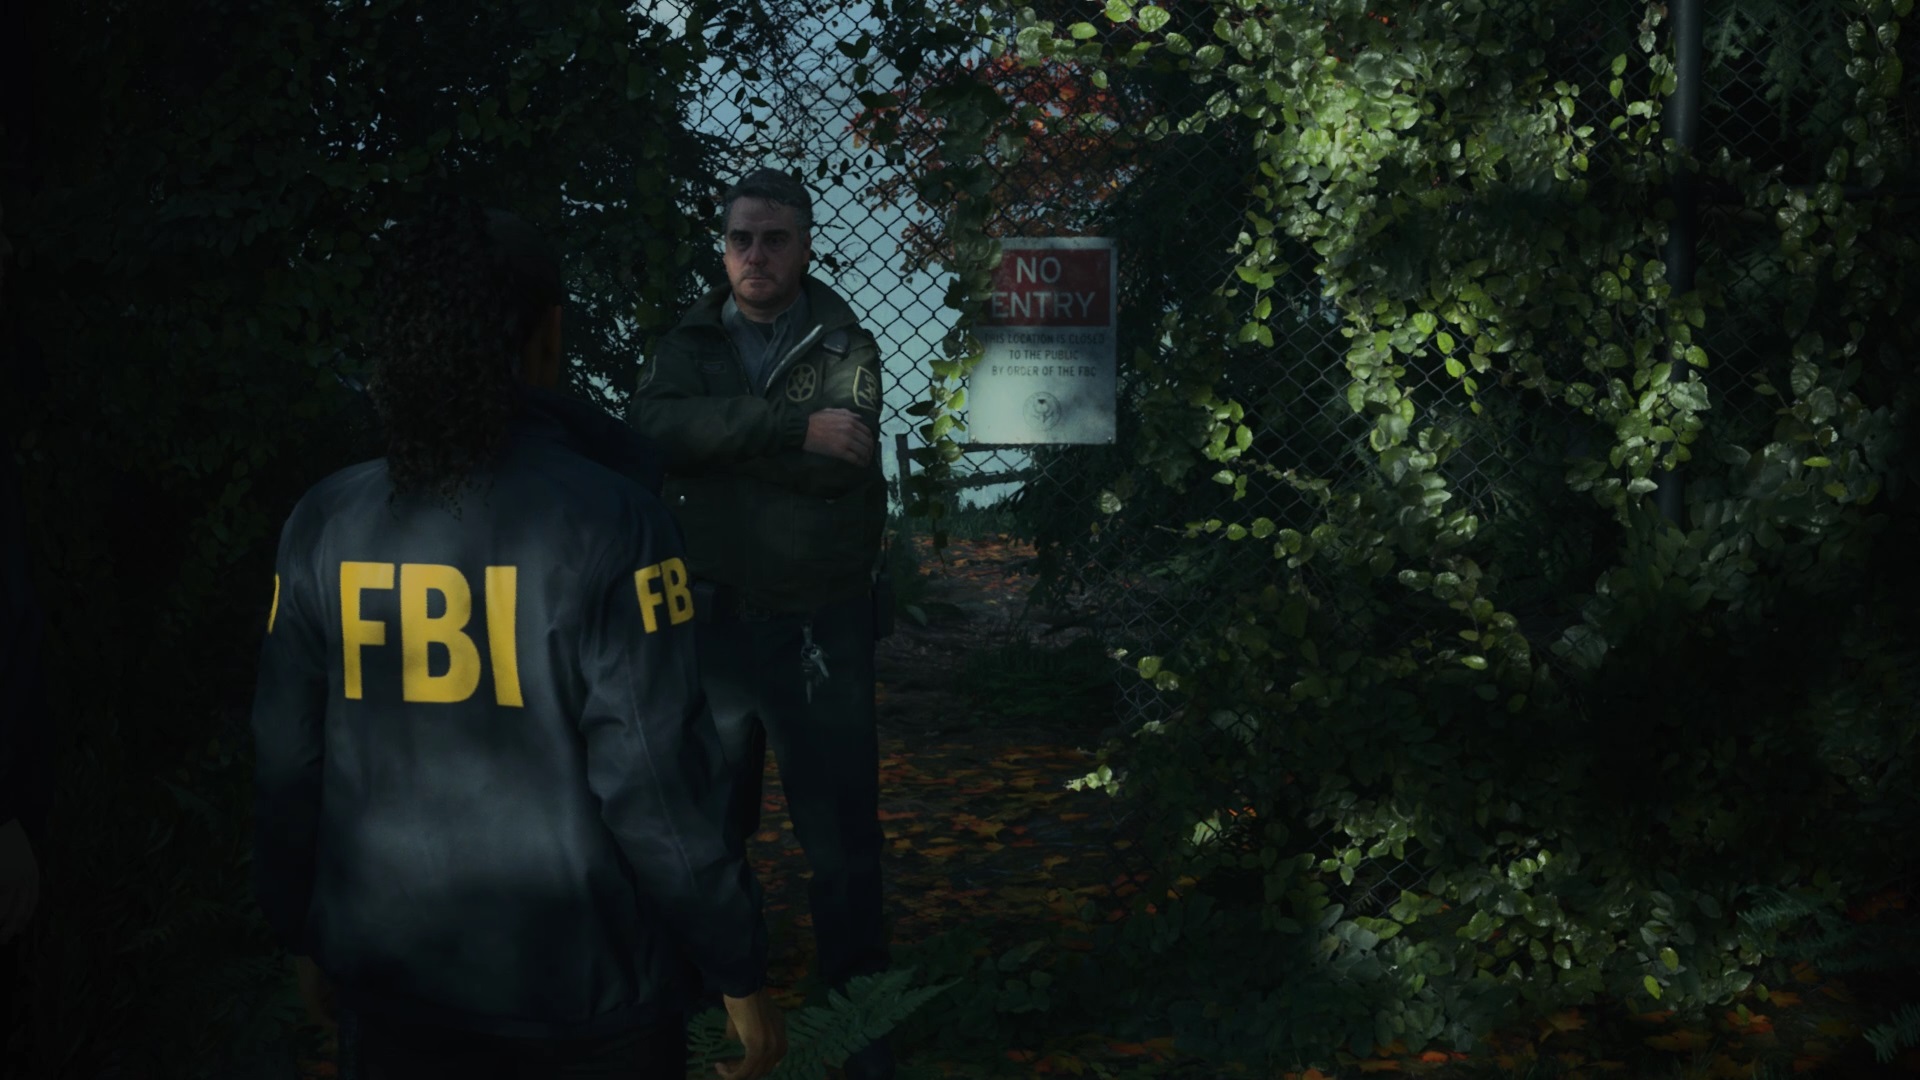
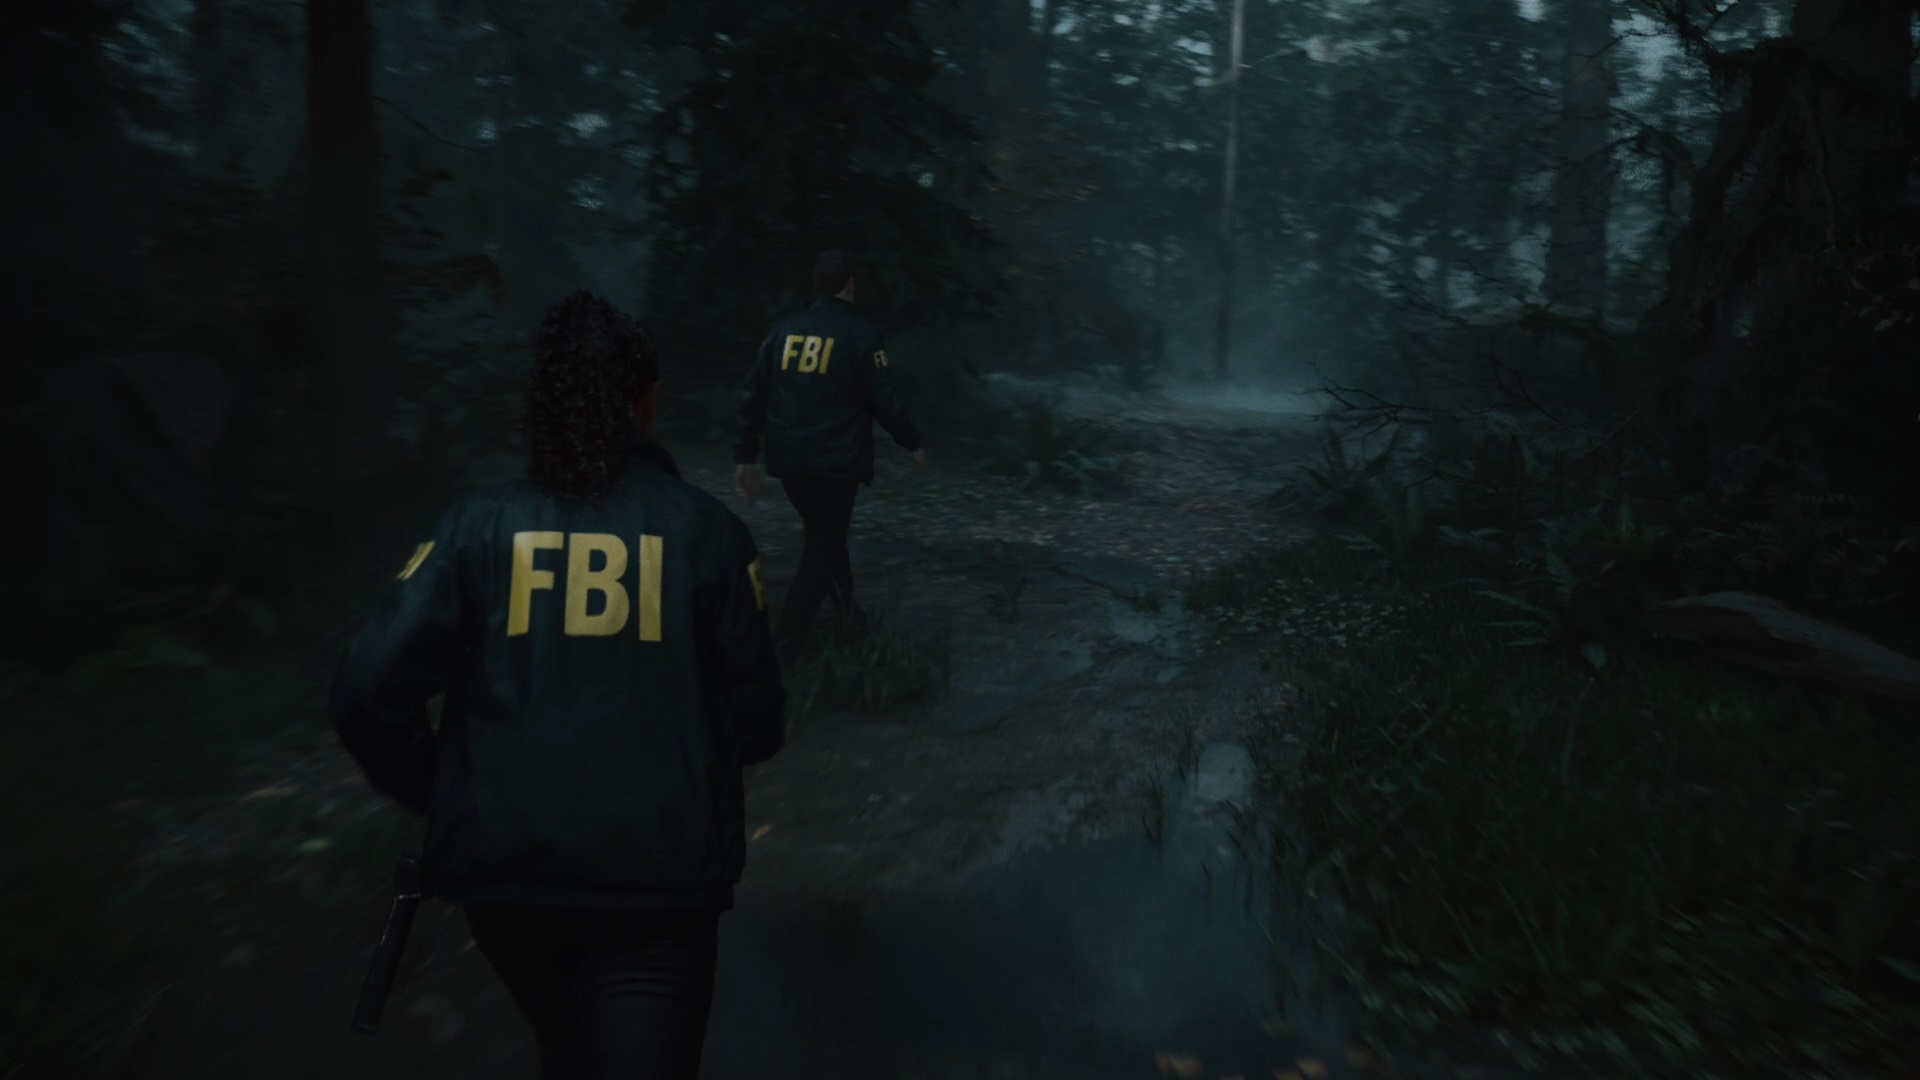
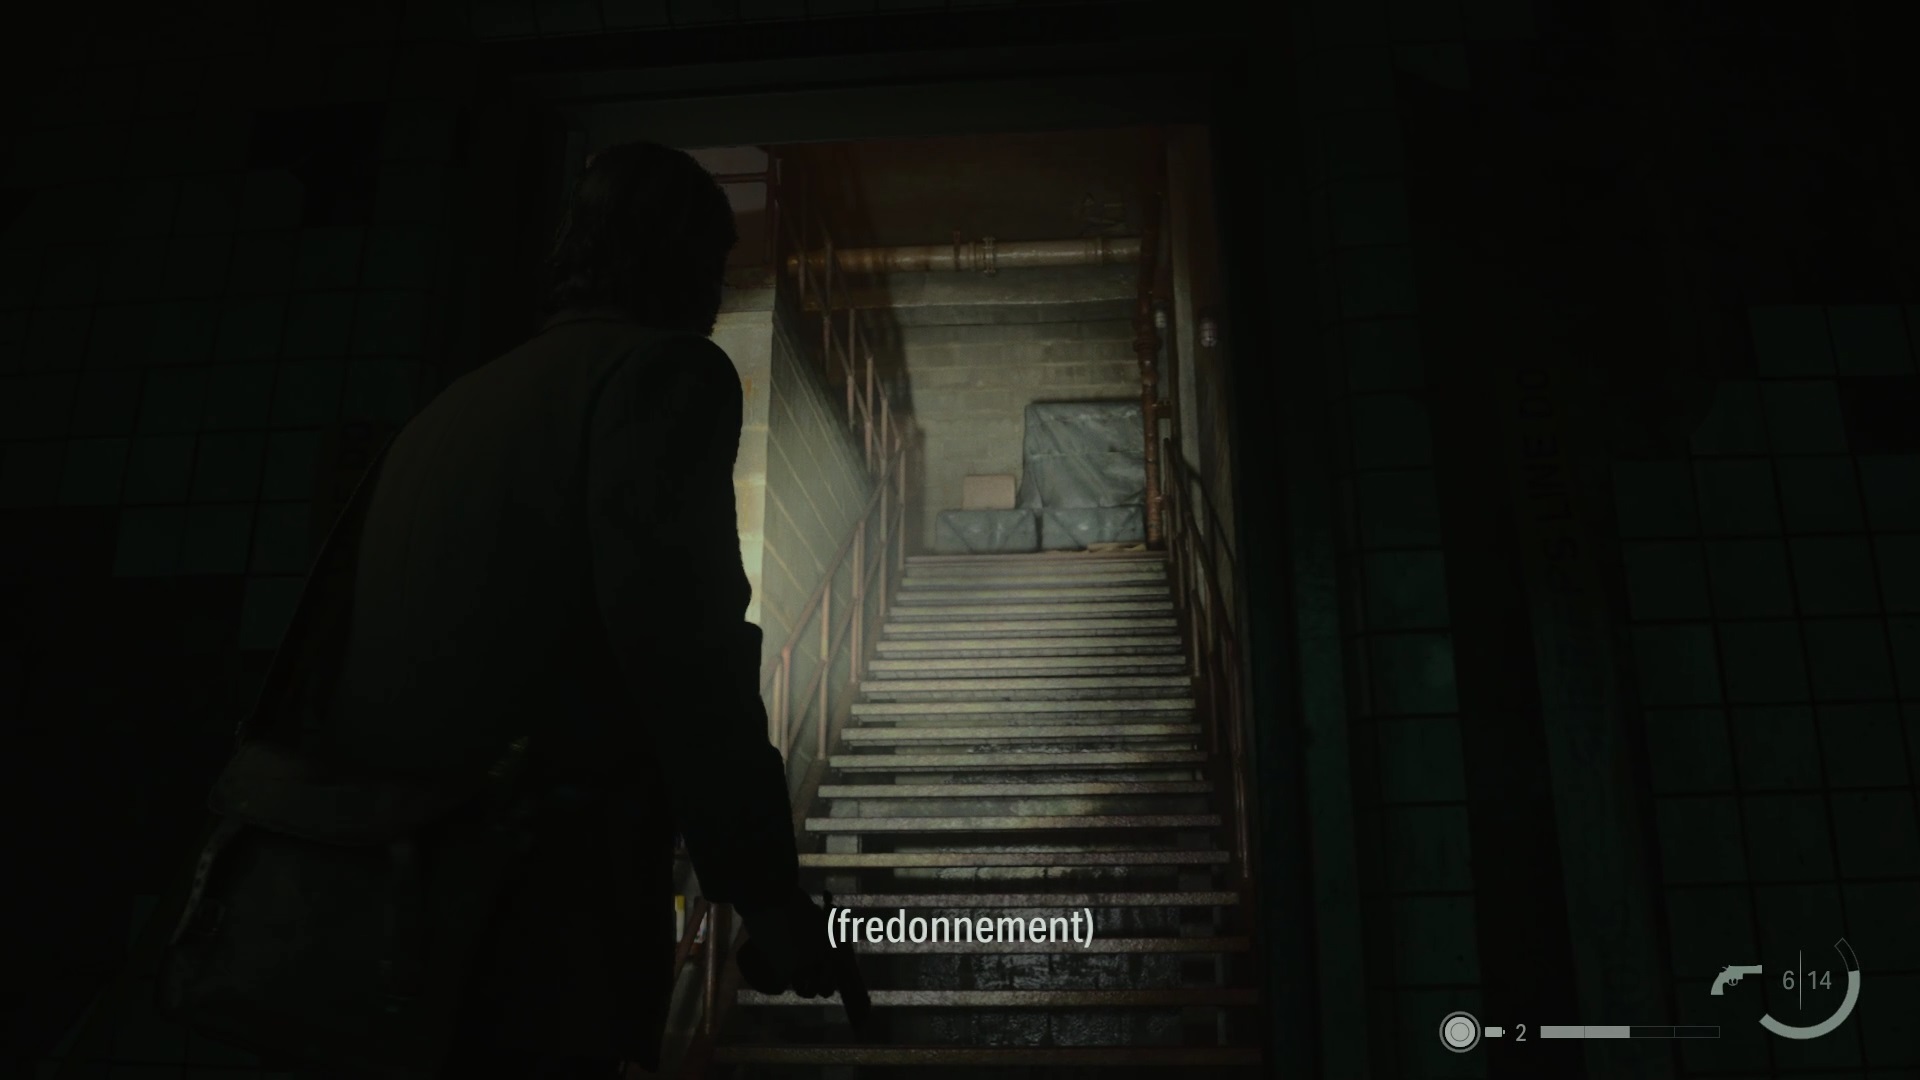
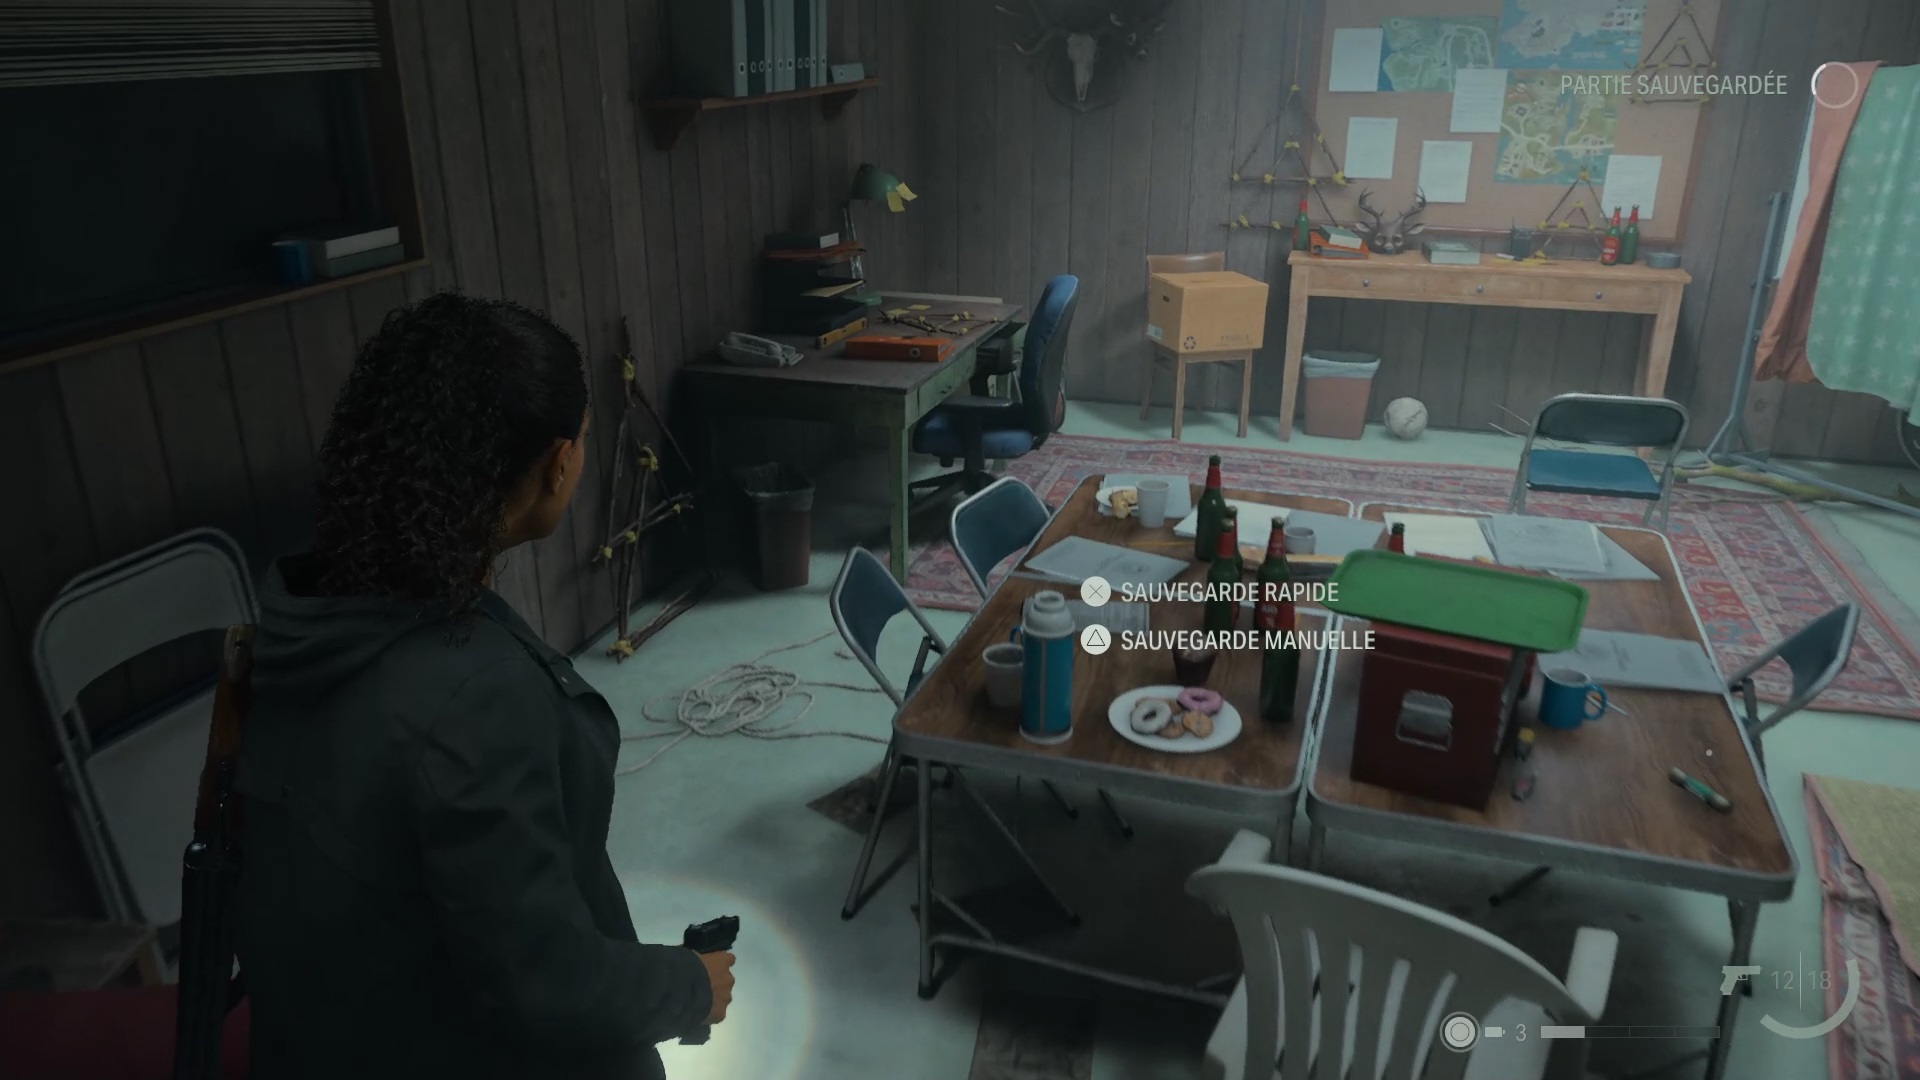
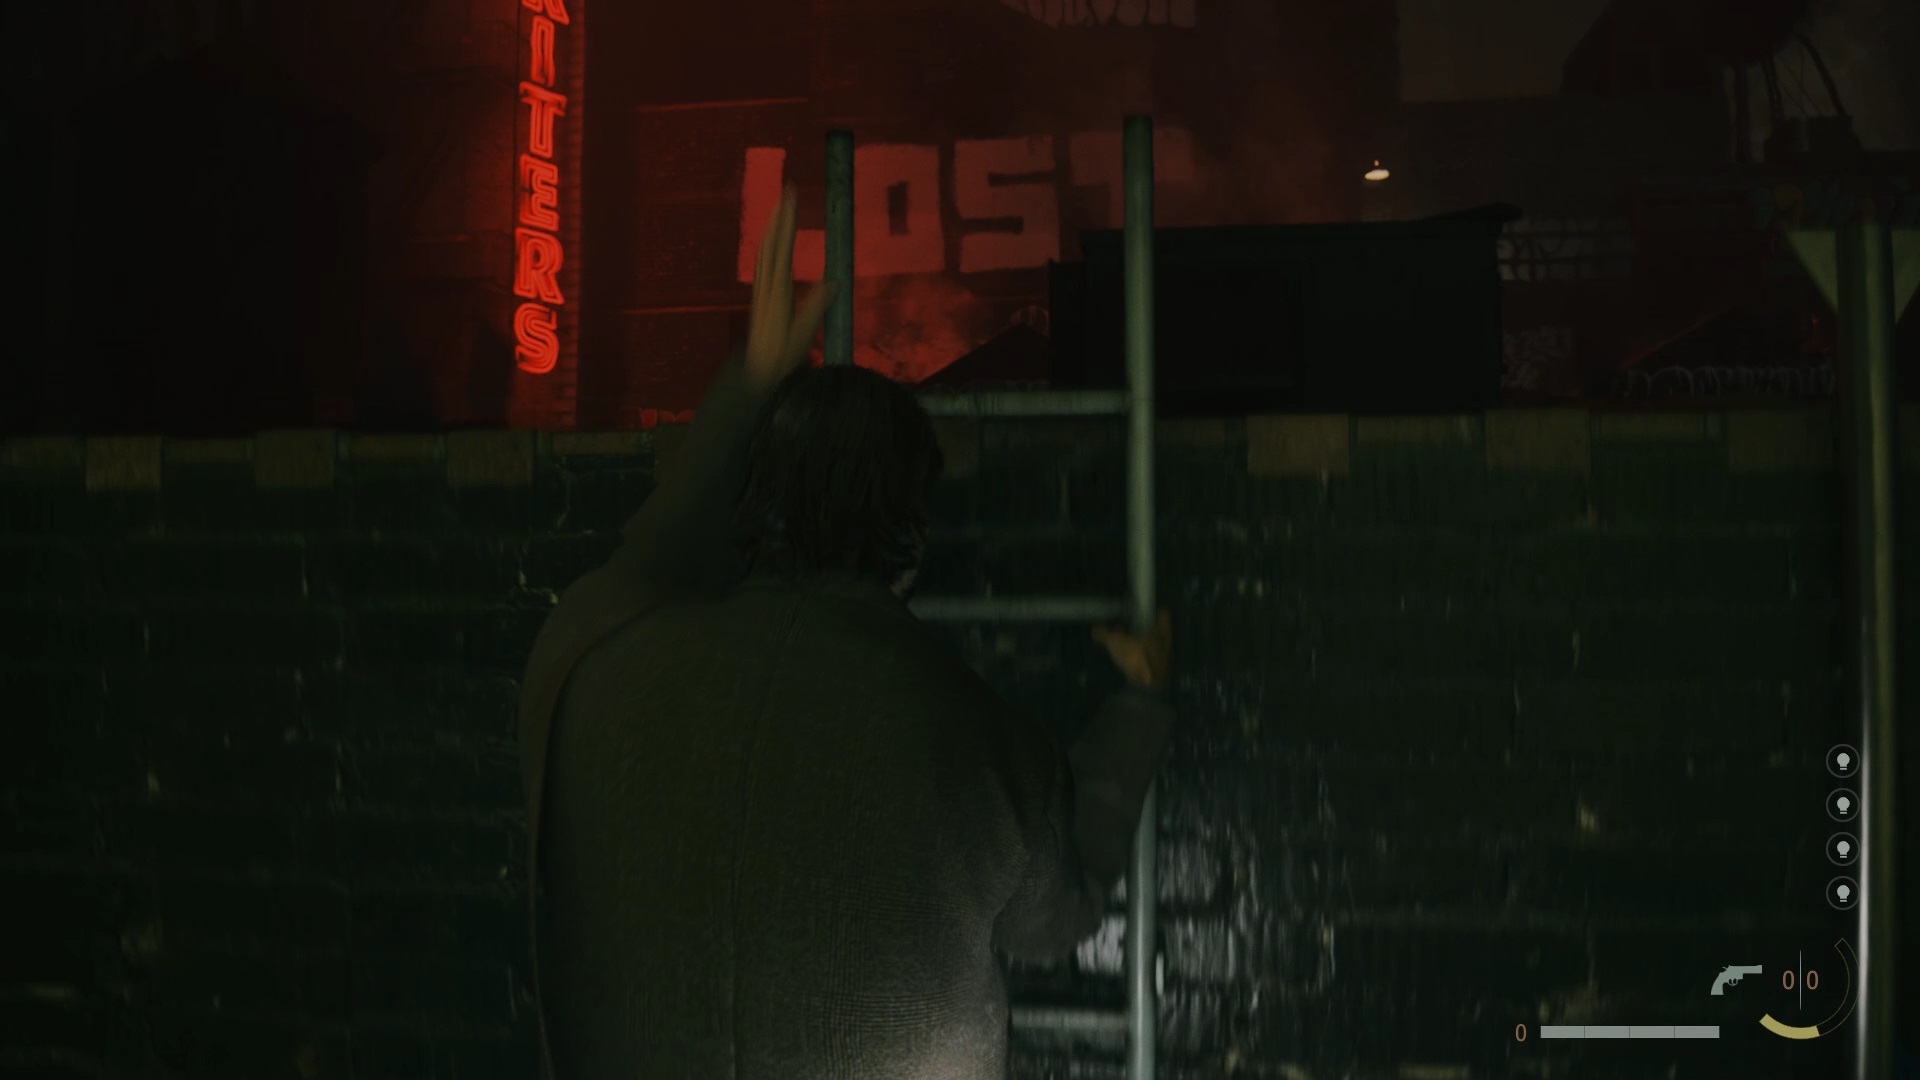
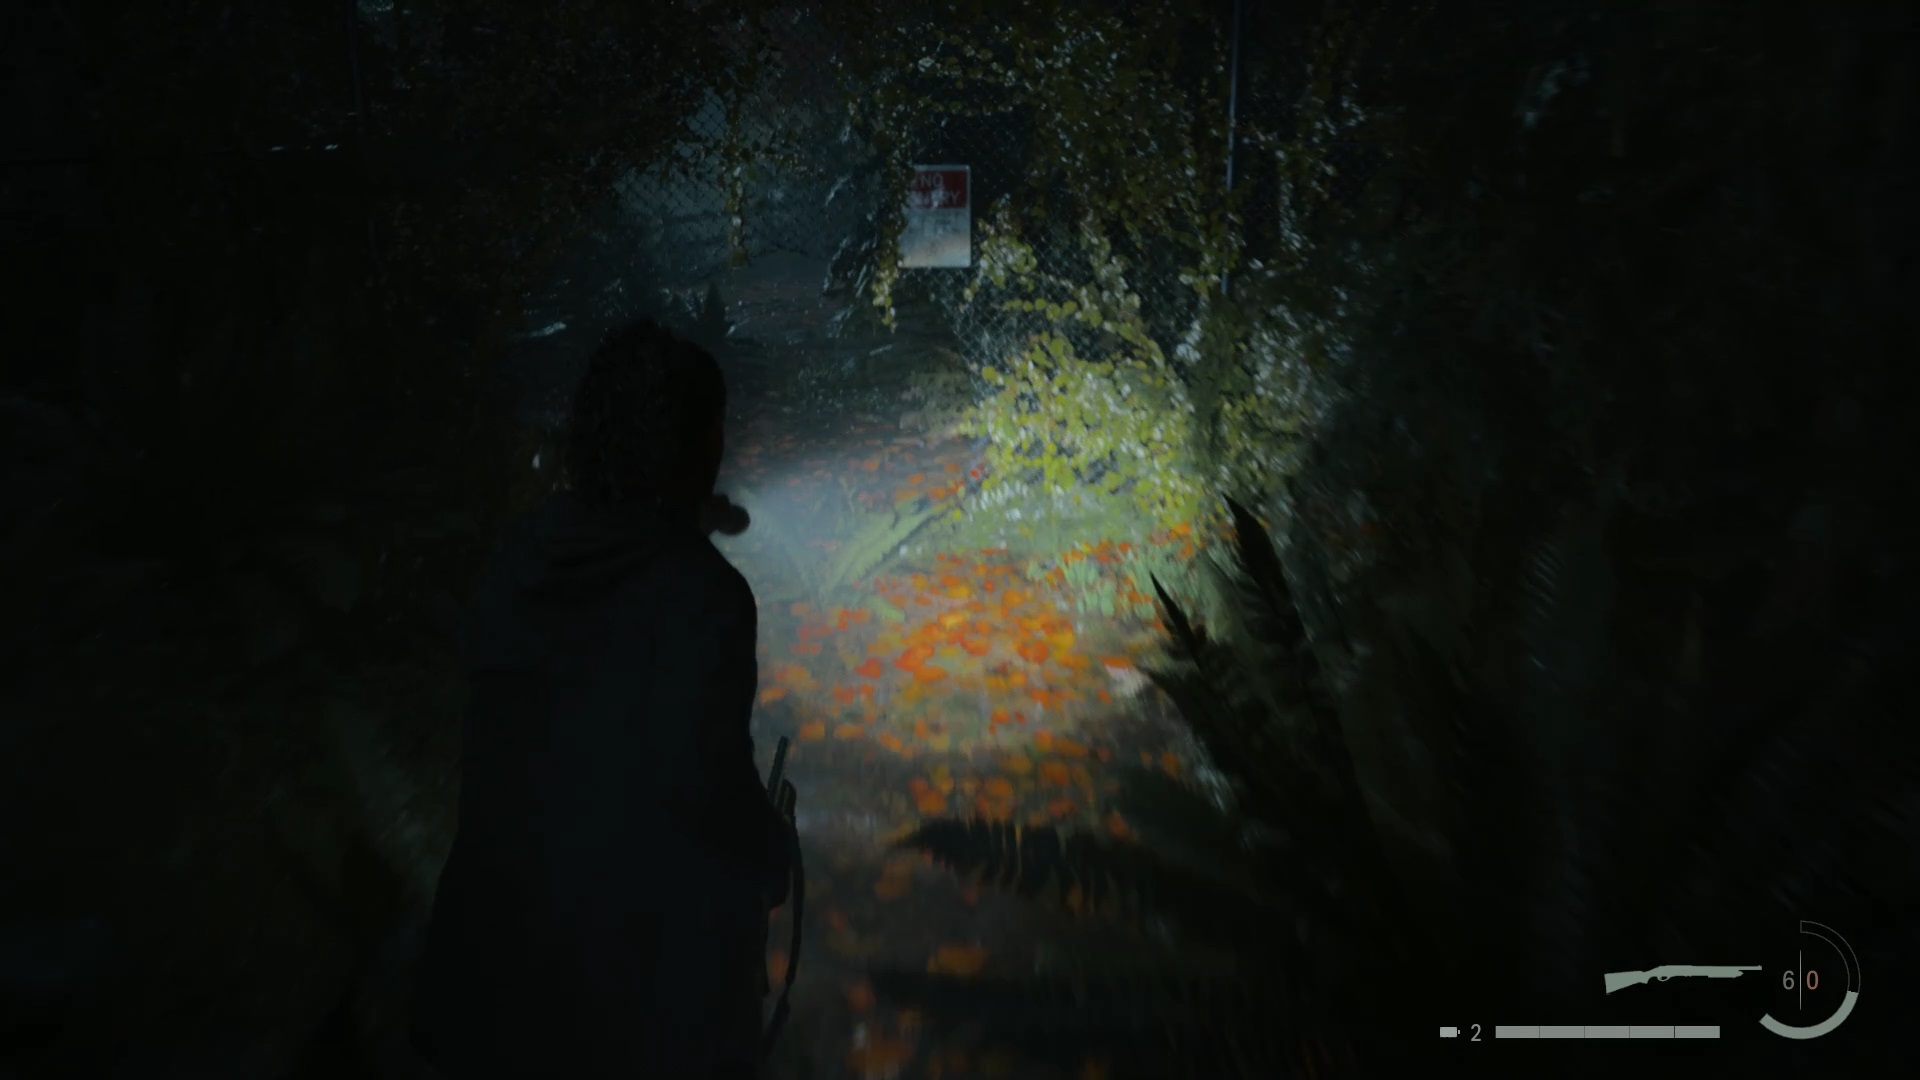
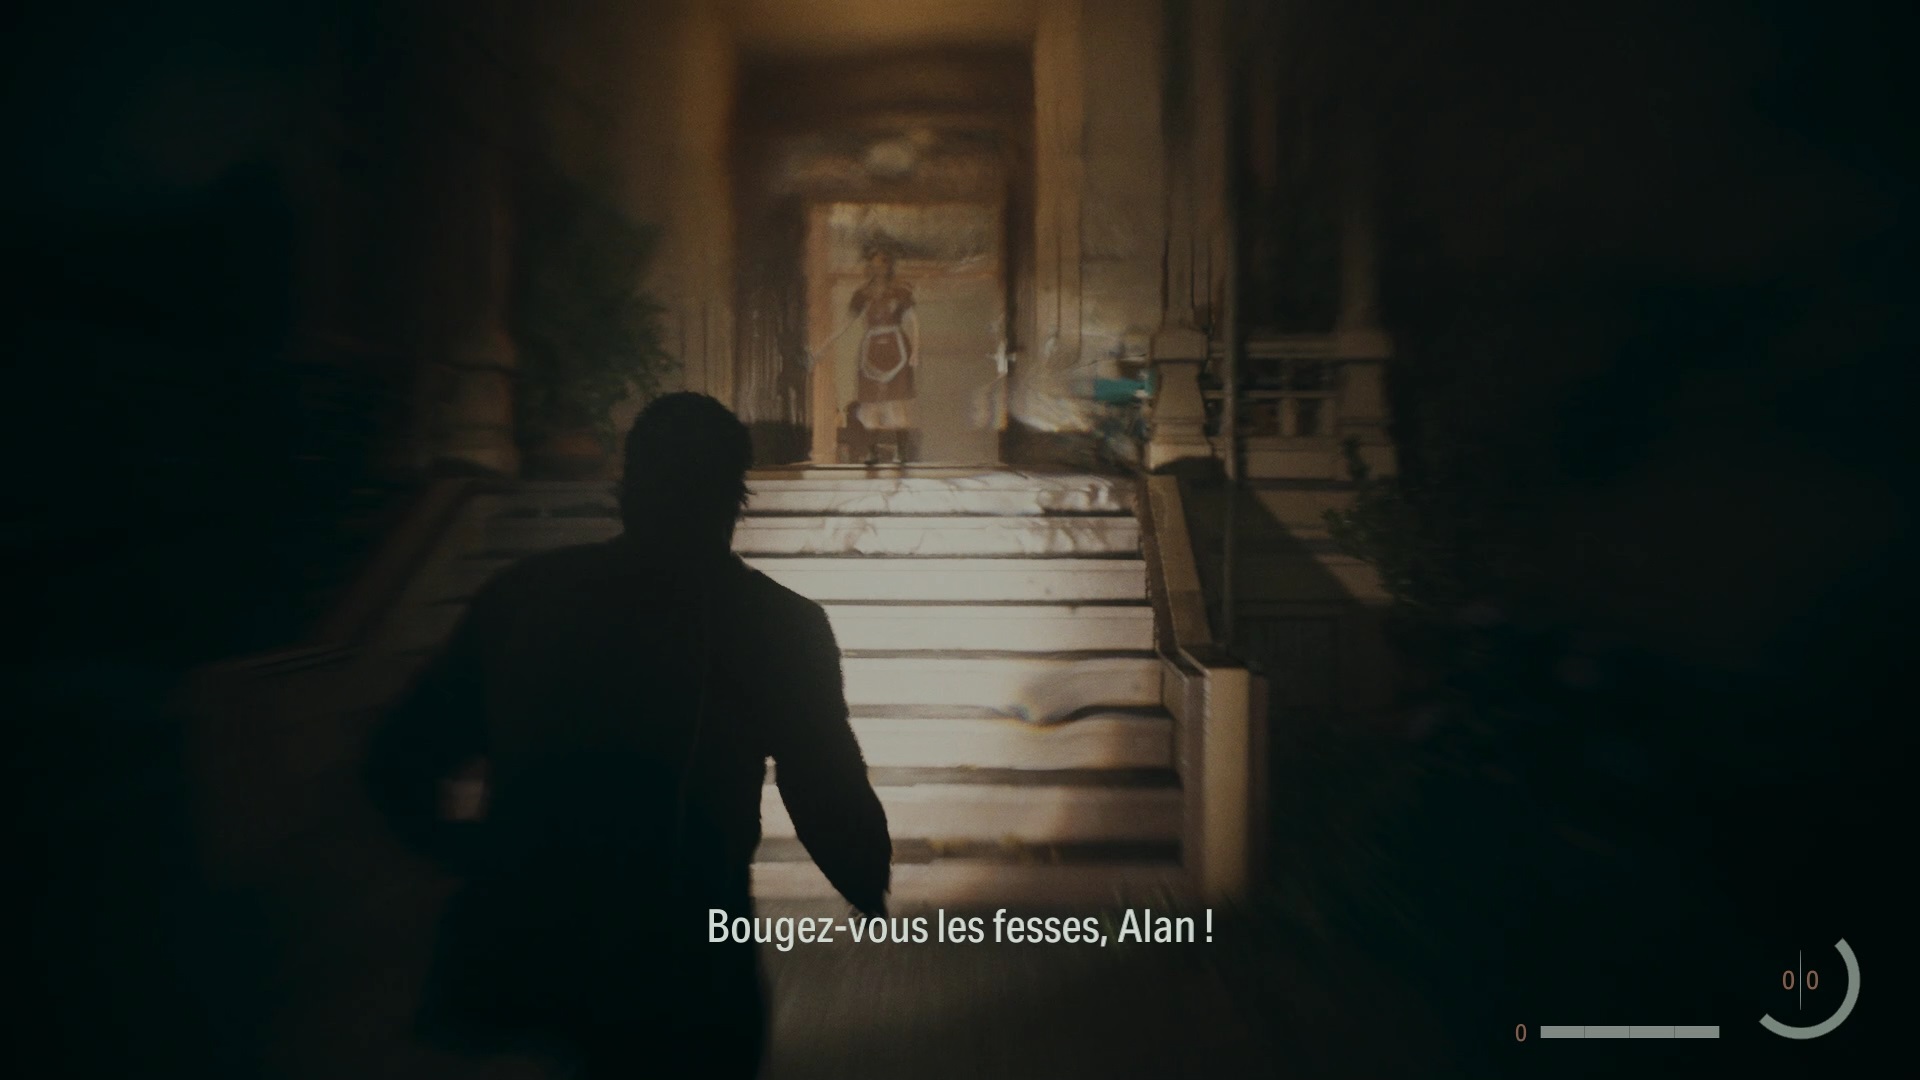
After the cutscene, you play as Saga Anderson. Walk towards the map in front of you to collect the Cauldron Lake map. Then follow Inspector Alex Casey to meet Deputy Mulligan. Talk to the agent, then go under the fence behind him. Follow the path to enter the Mind Place. Follow the on-screen tutorial to familiarize yourself with the menu. Back at Cauldron Lake, continue following Agent Alex Casey down to Thornton.
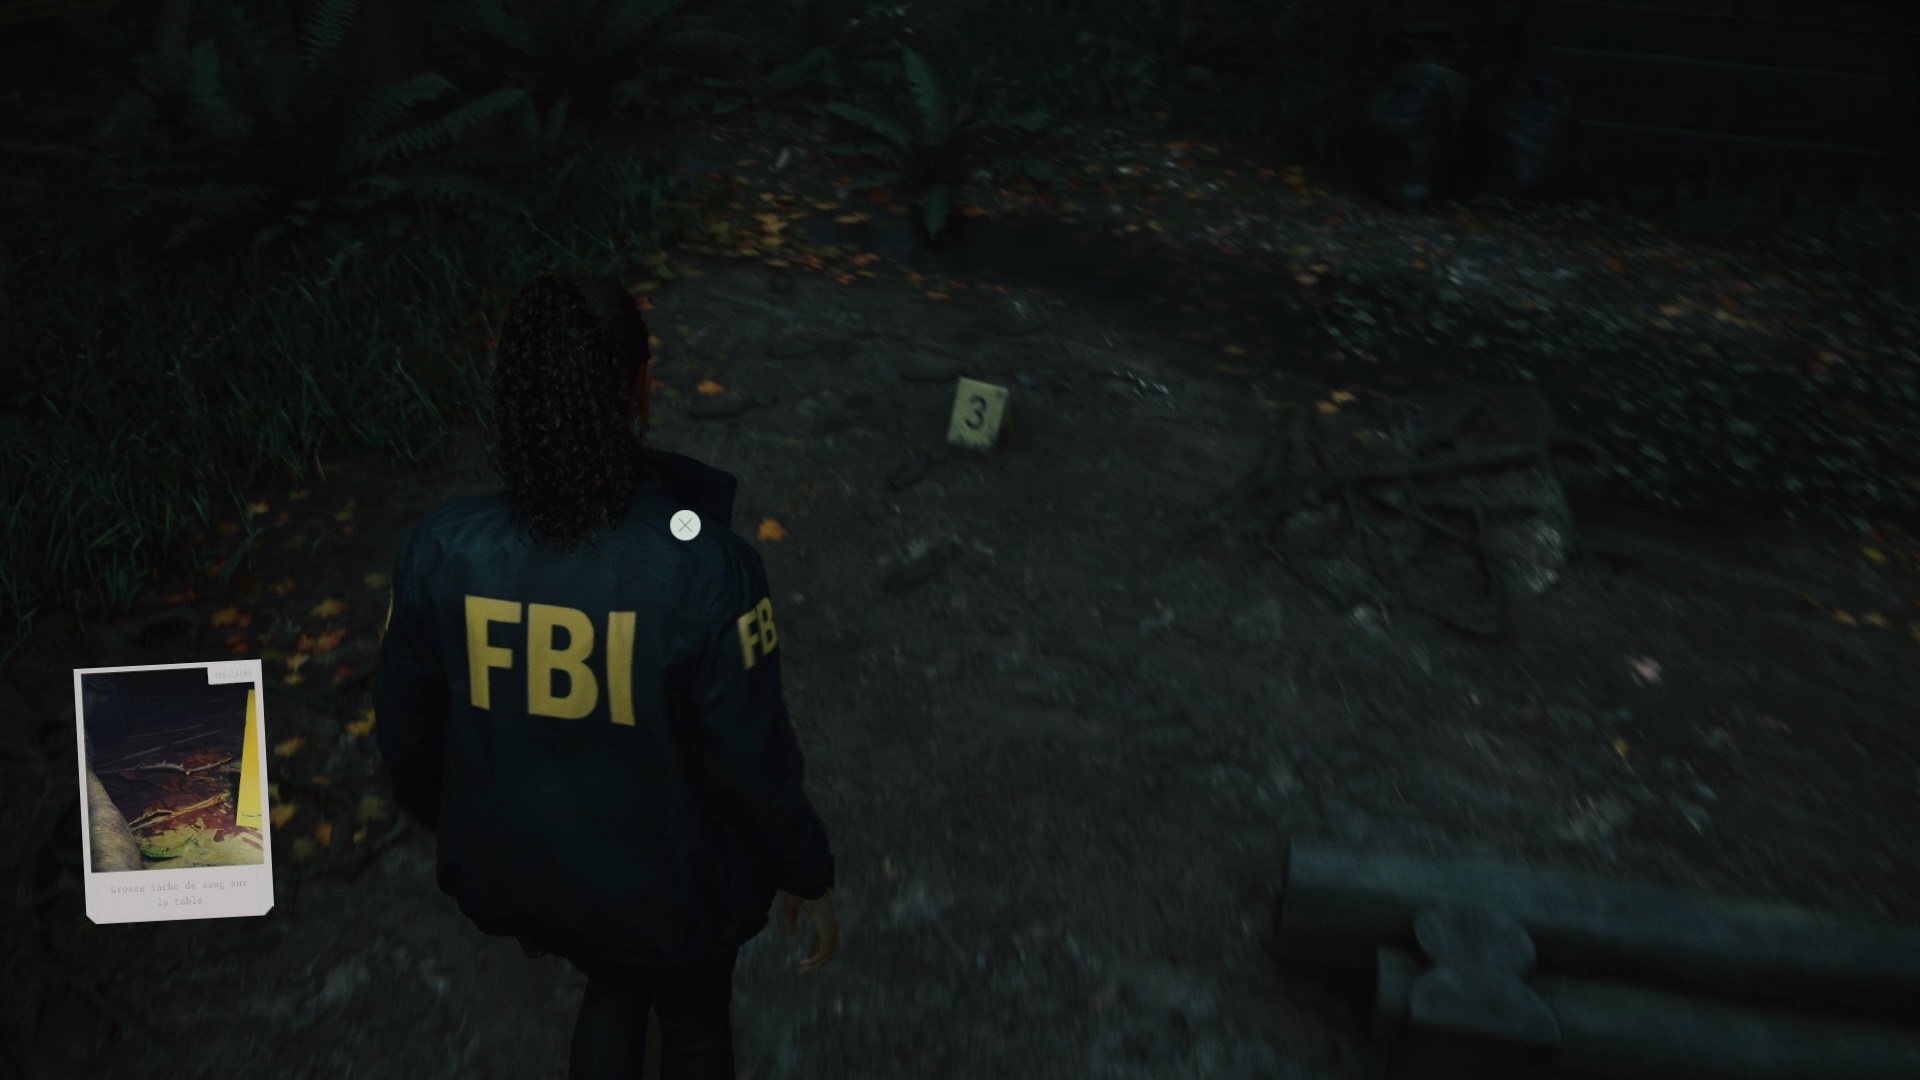
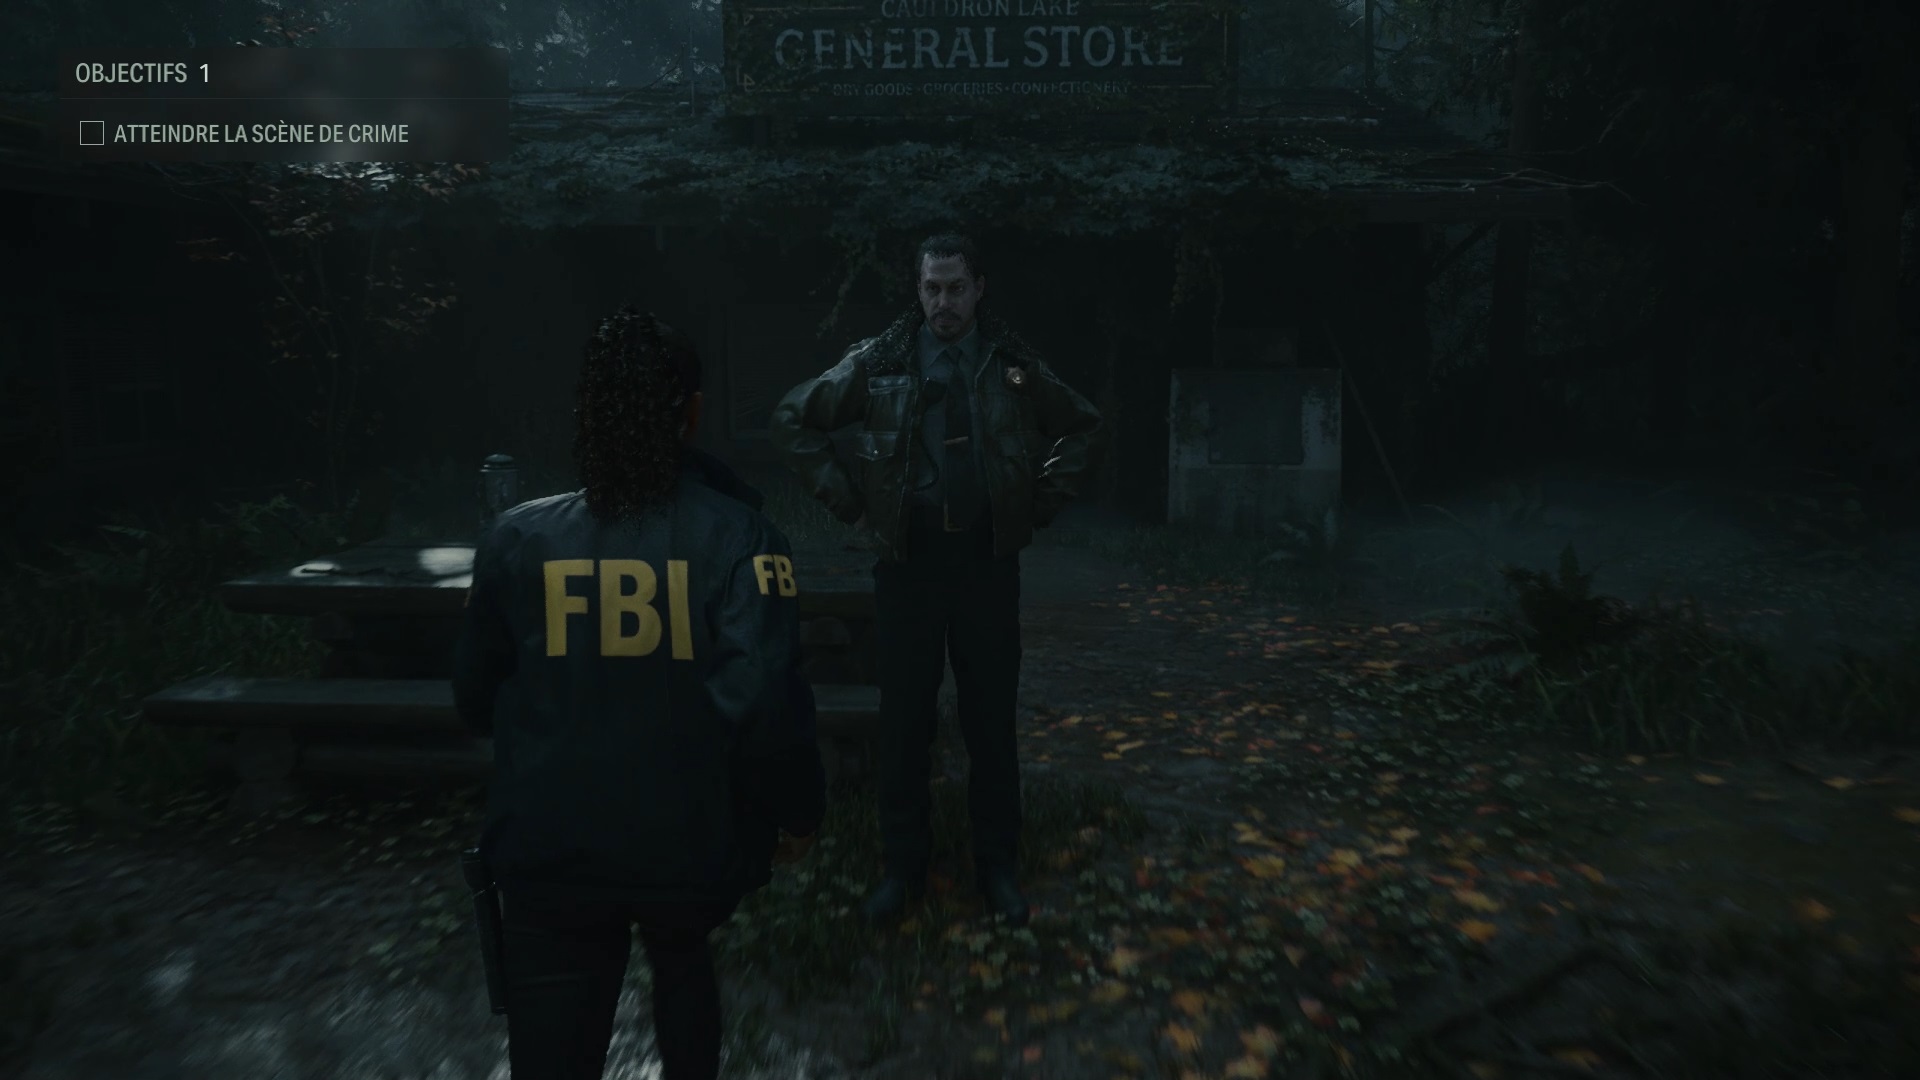
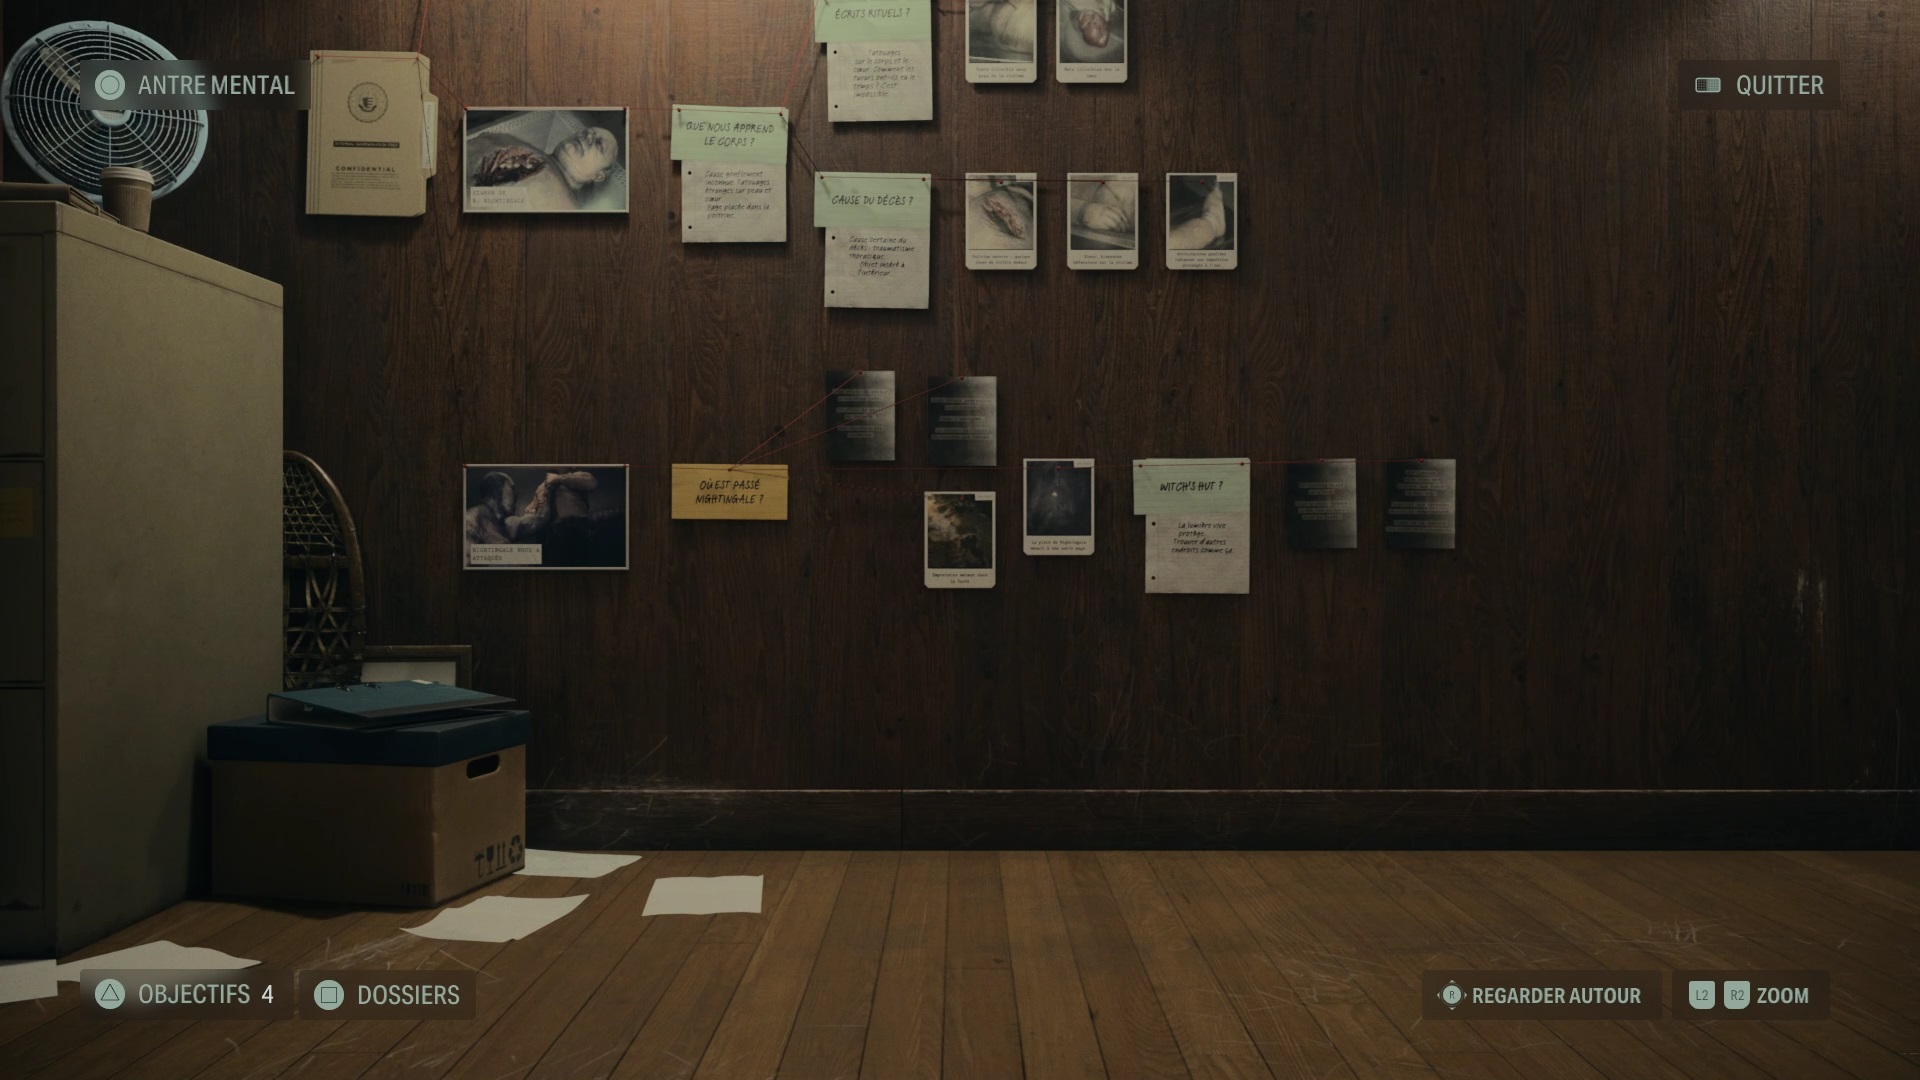
Follow the officer to reach the crime scene. Interact with the body to start a new investigation. Start by examining the chest, heart and wrists. In the mind’s place, match the evidence with the question « Consistent with previous murders? » » to answer. Now you need to know more about the killer and the victim. To do this, interact at the crime scene with item number one, two, four and the tripod next to it. Then interrogate Thornton and Alex to retrieve information about the victim.
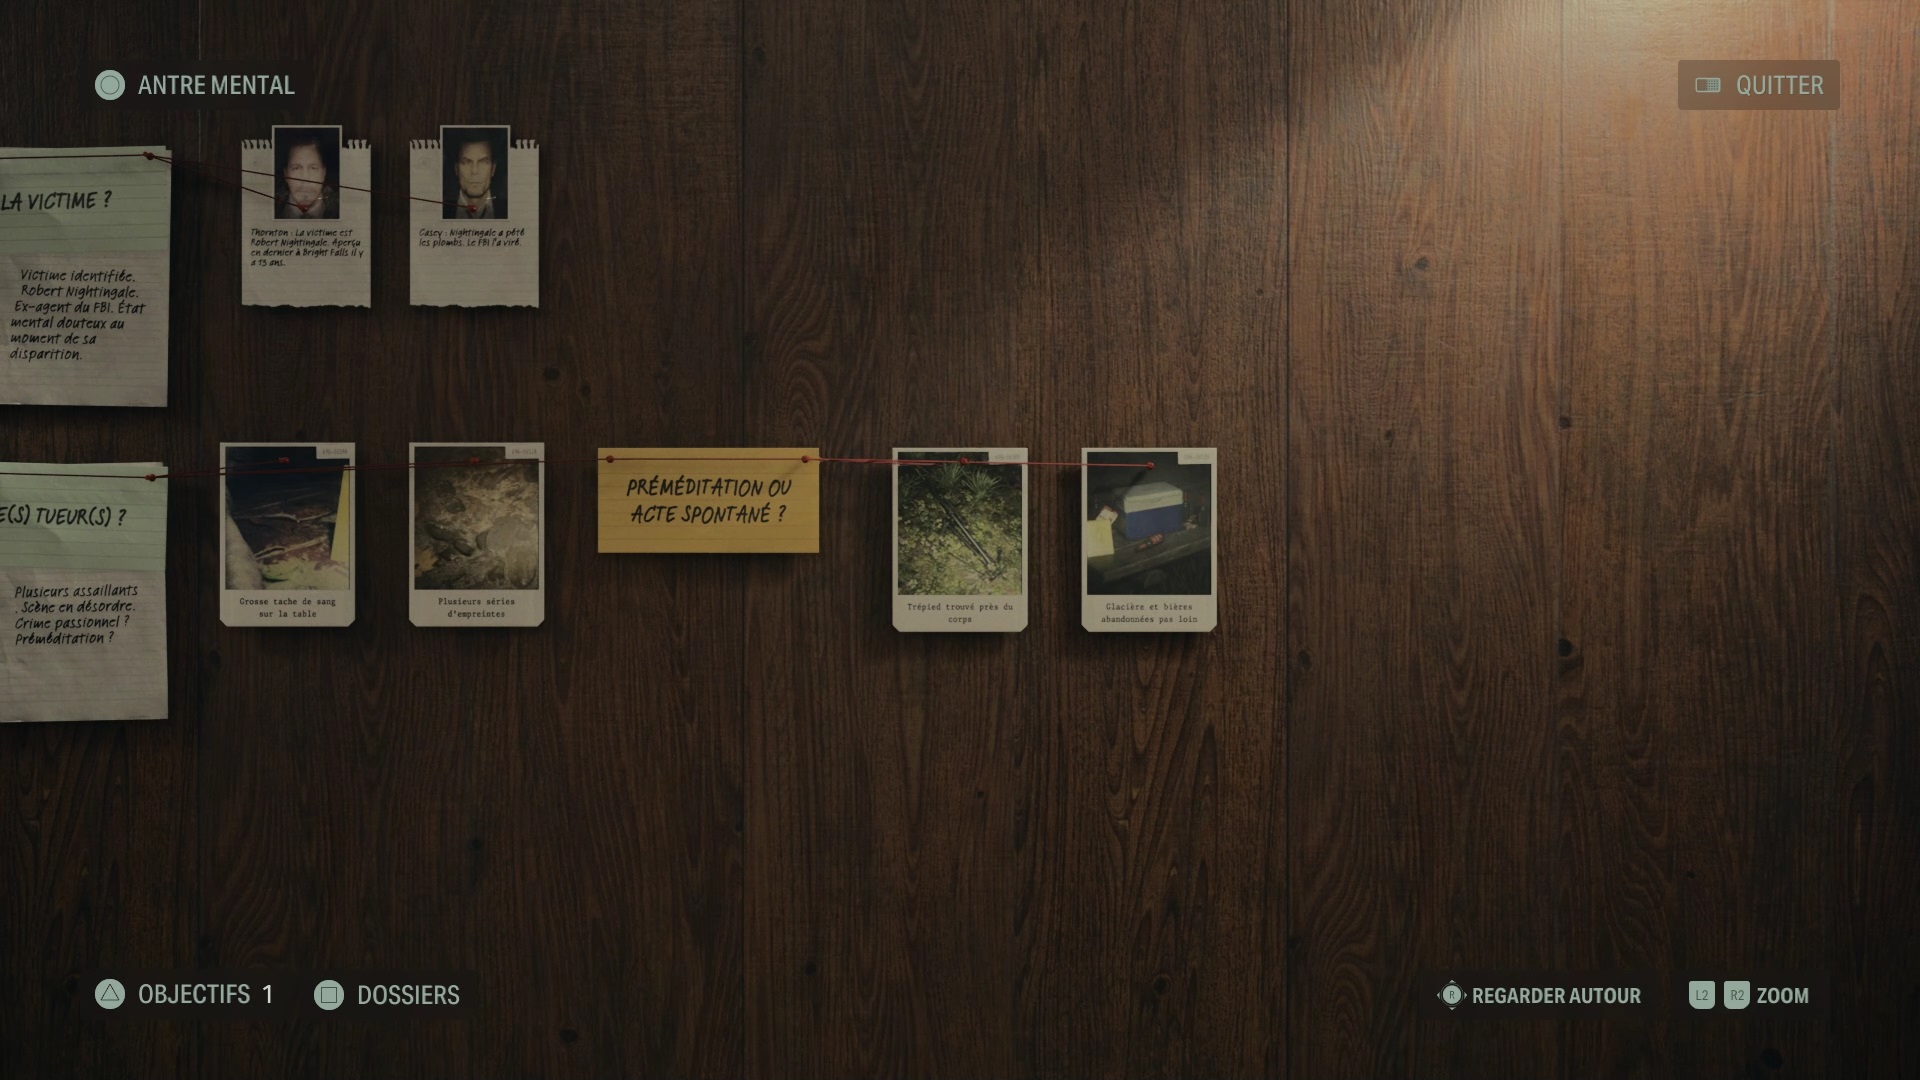
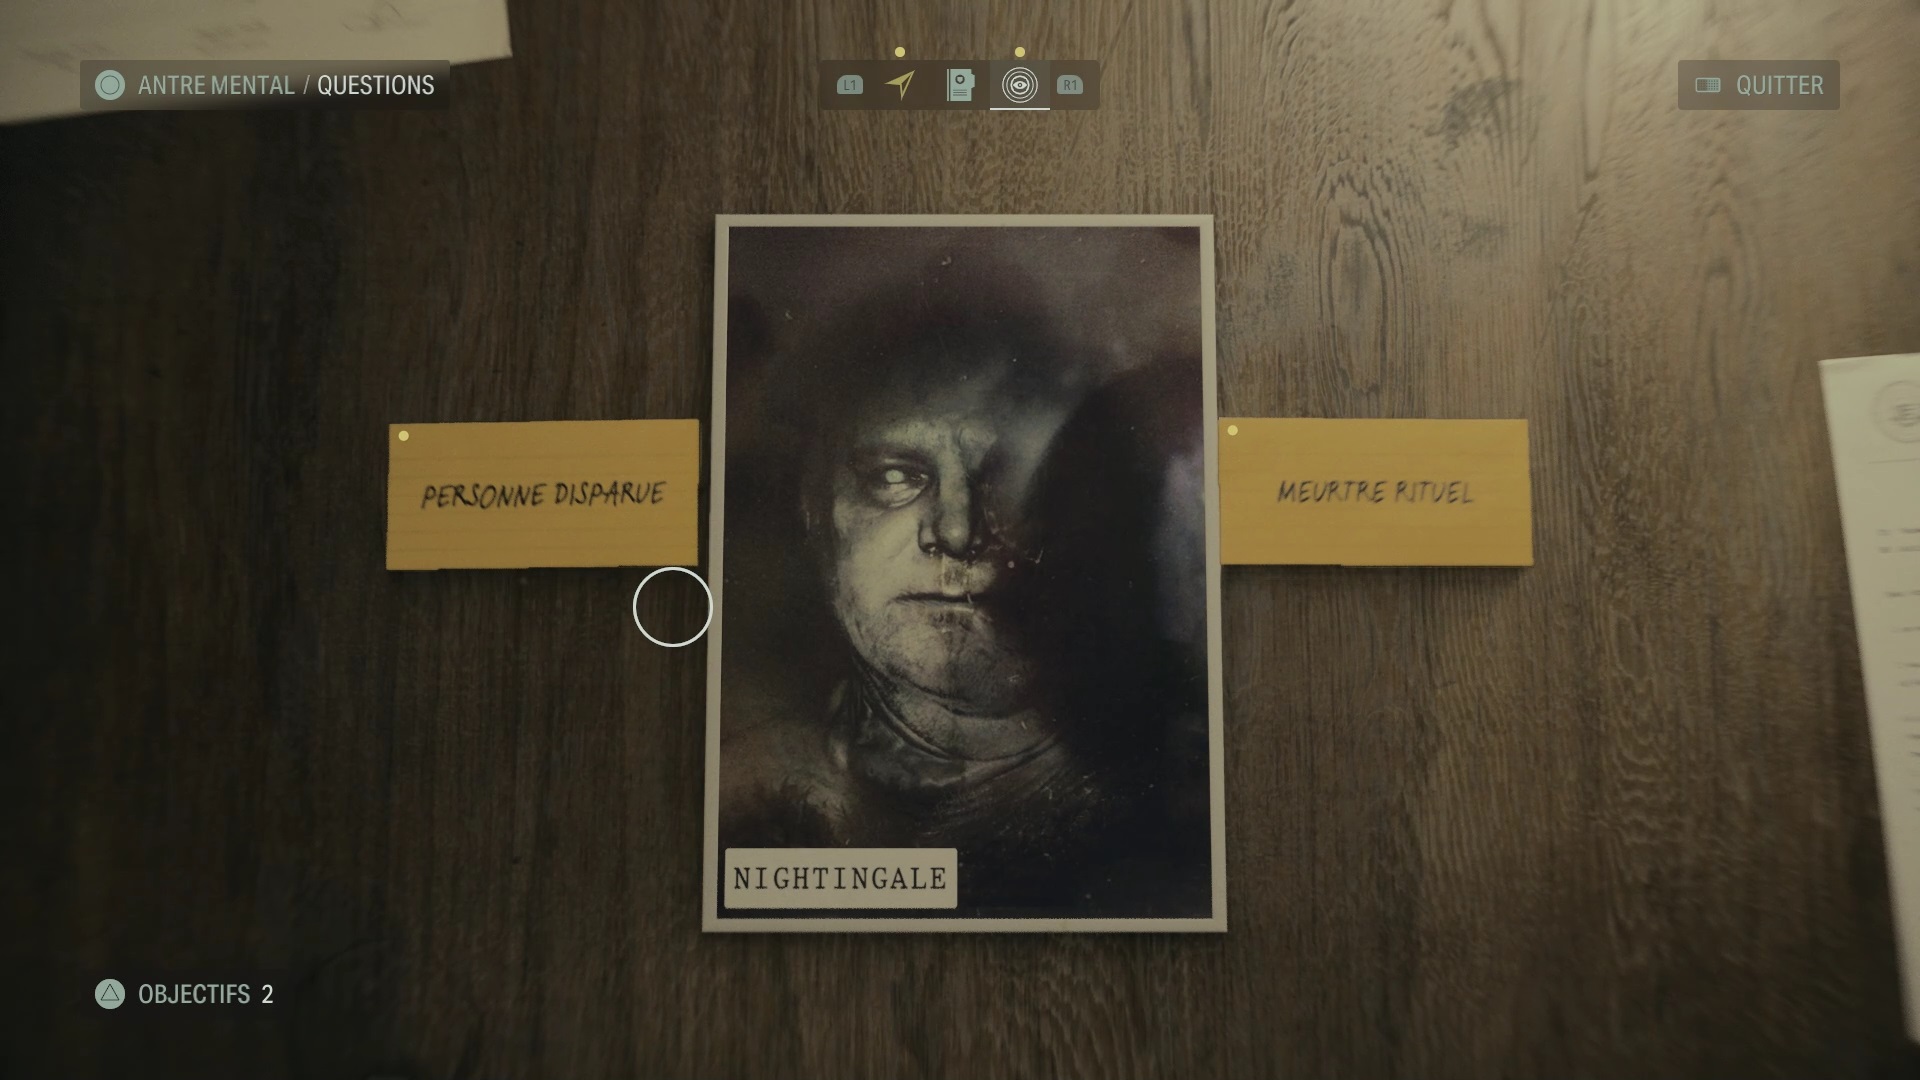
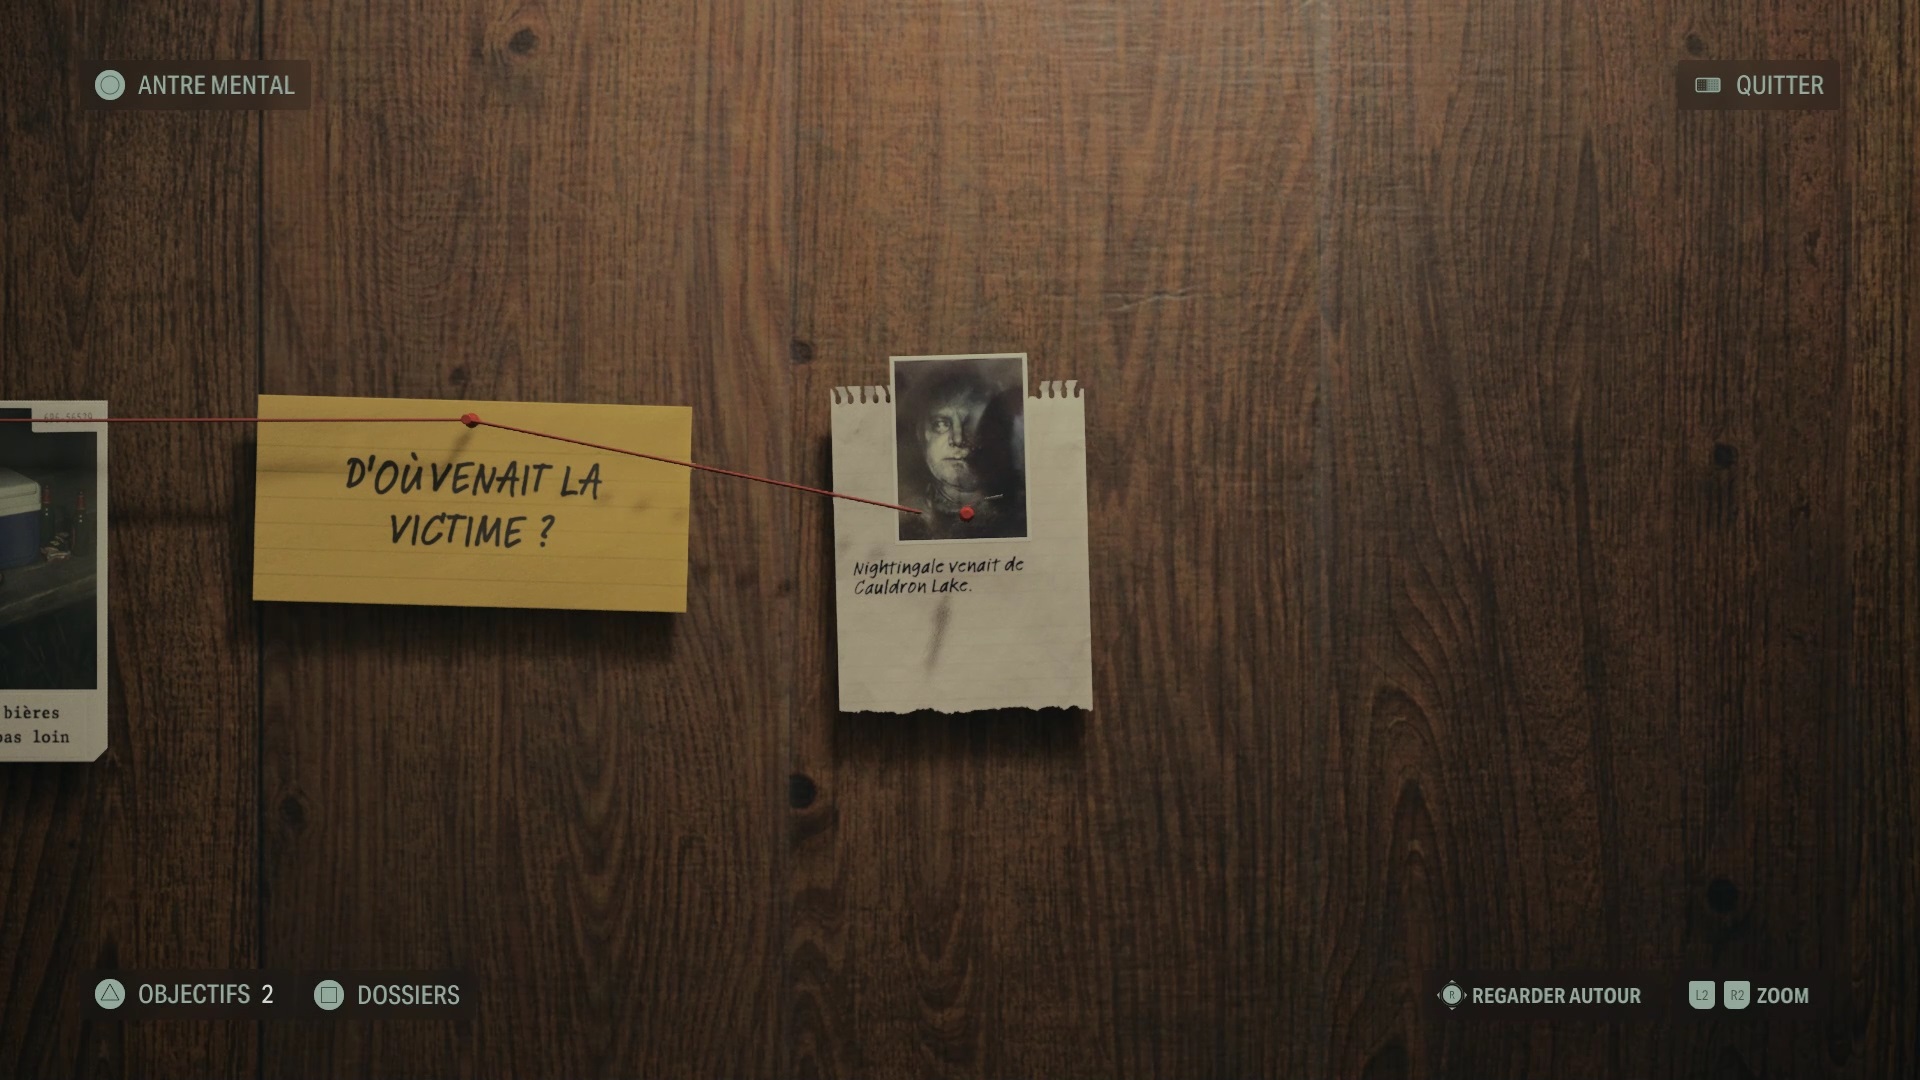
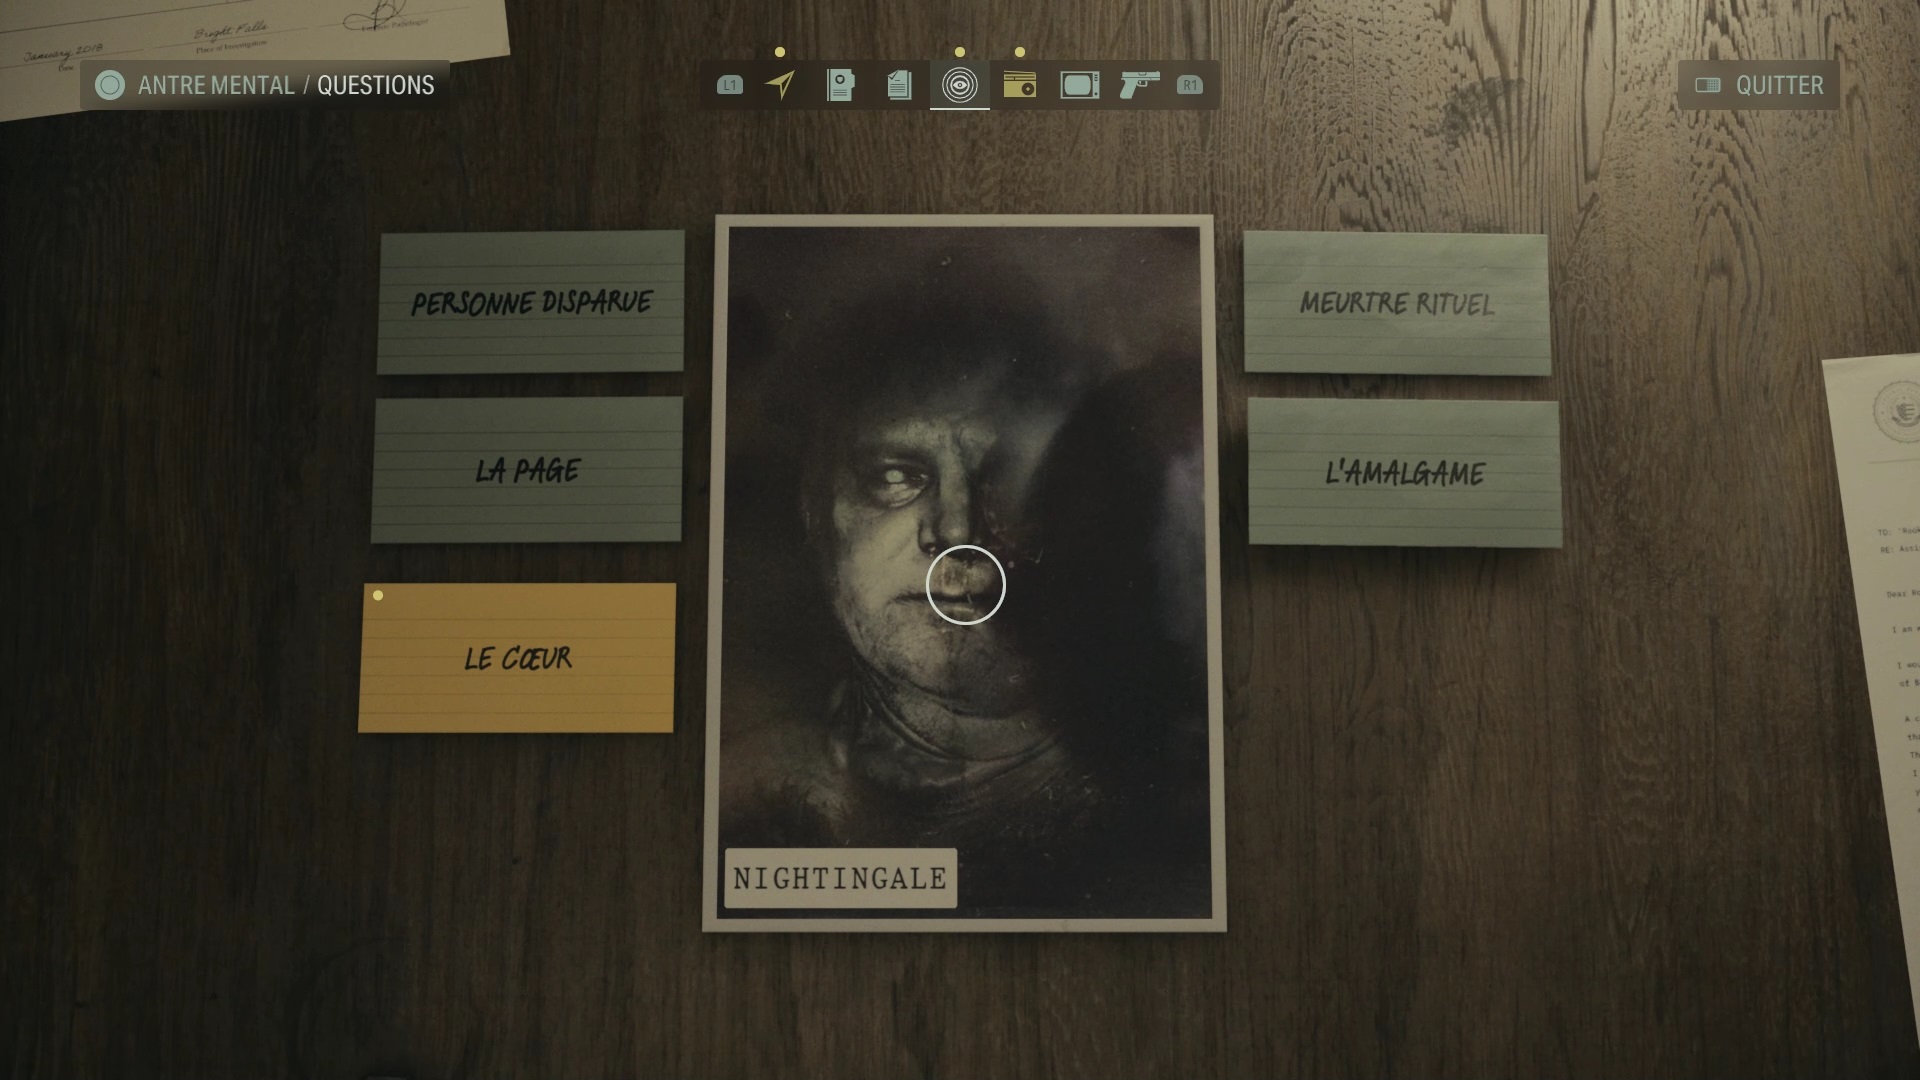
You have all the elements to answer the questions on the investigation board in the mental den. Place the interrogations of Alex Casey and Thornton on the question « The victim? » « . Then put evidence one and four on the question “The Killers”. A new question arises: “Premeditation or spontaneous act? » Place evidence from the tripod and evidence number four on this question to answer it. Profiling is now available. Ask Nightingale about “Missing Person” and “Ritual Murder”. You get a new item for the investigation board. Place it on the question “Where was the victim from?” » to continue.
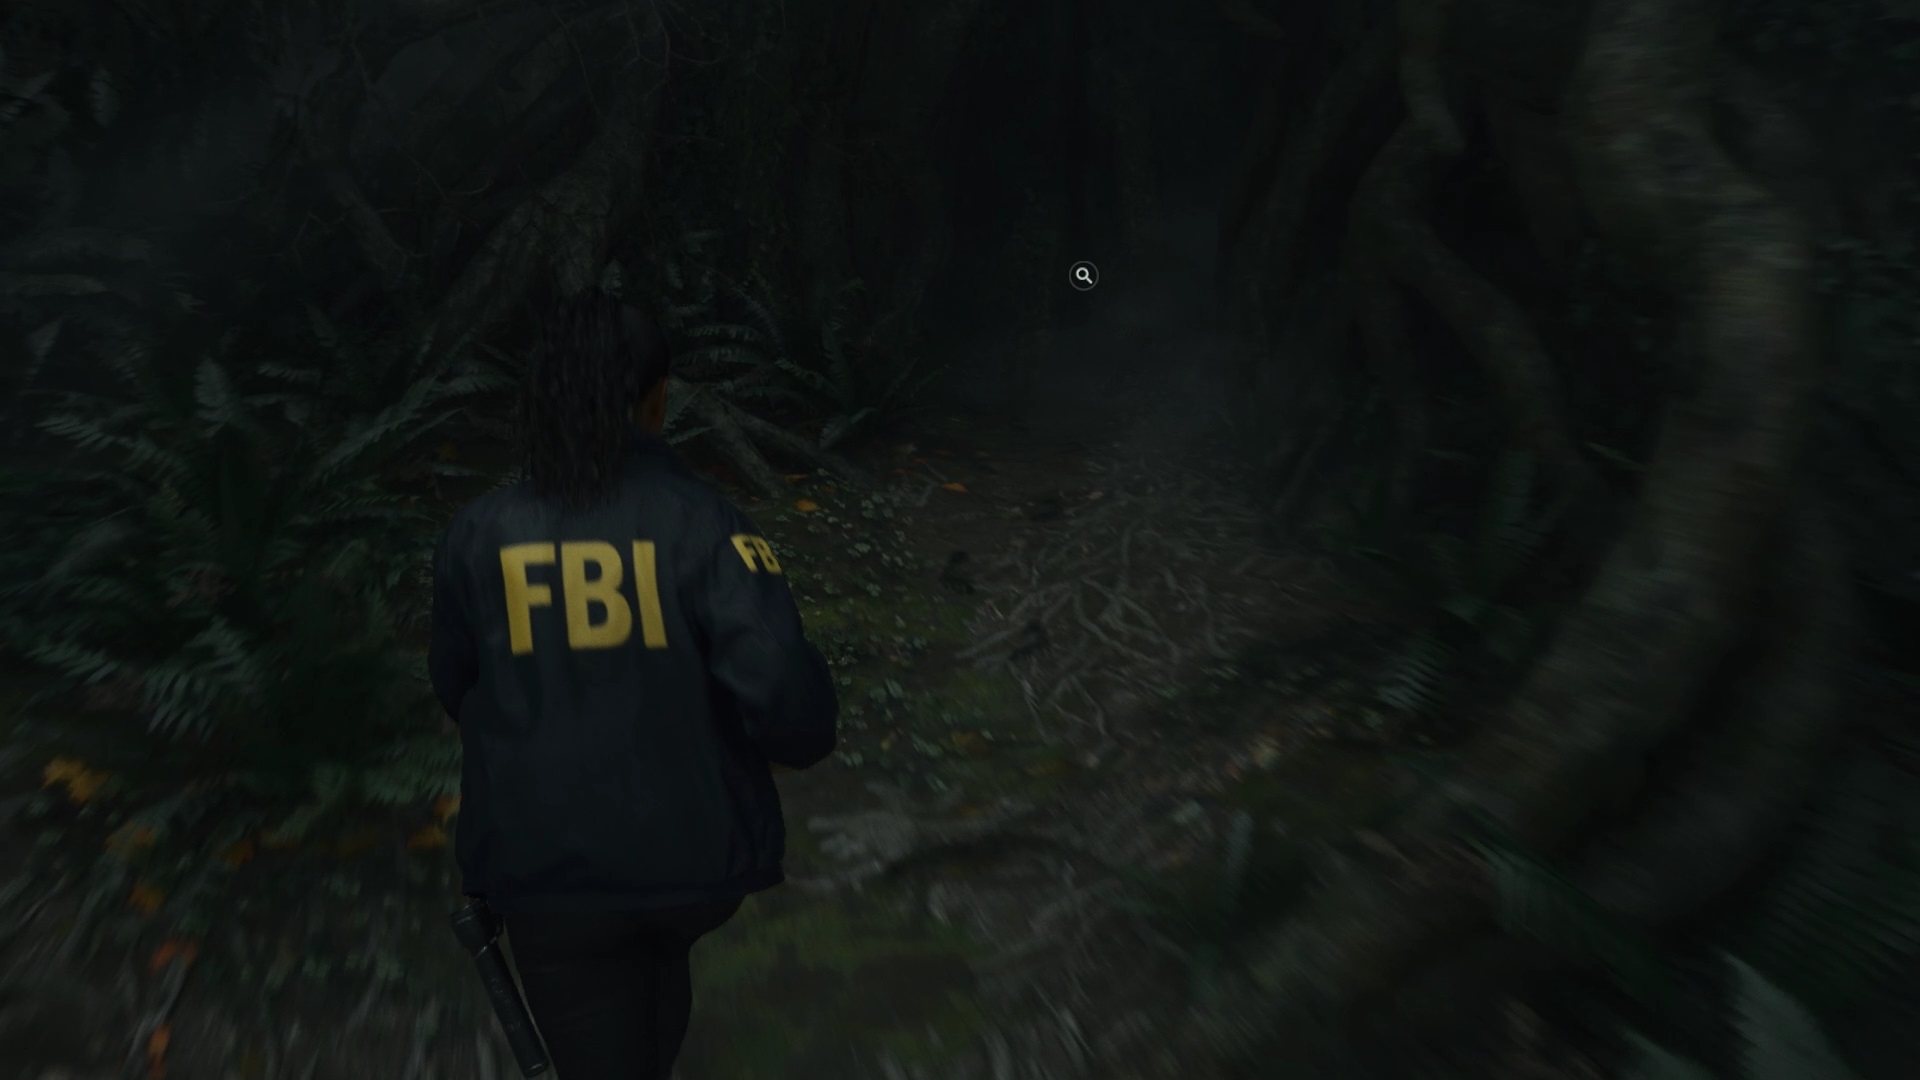
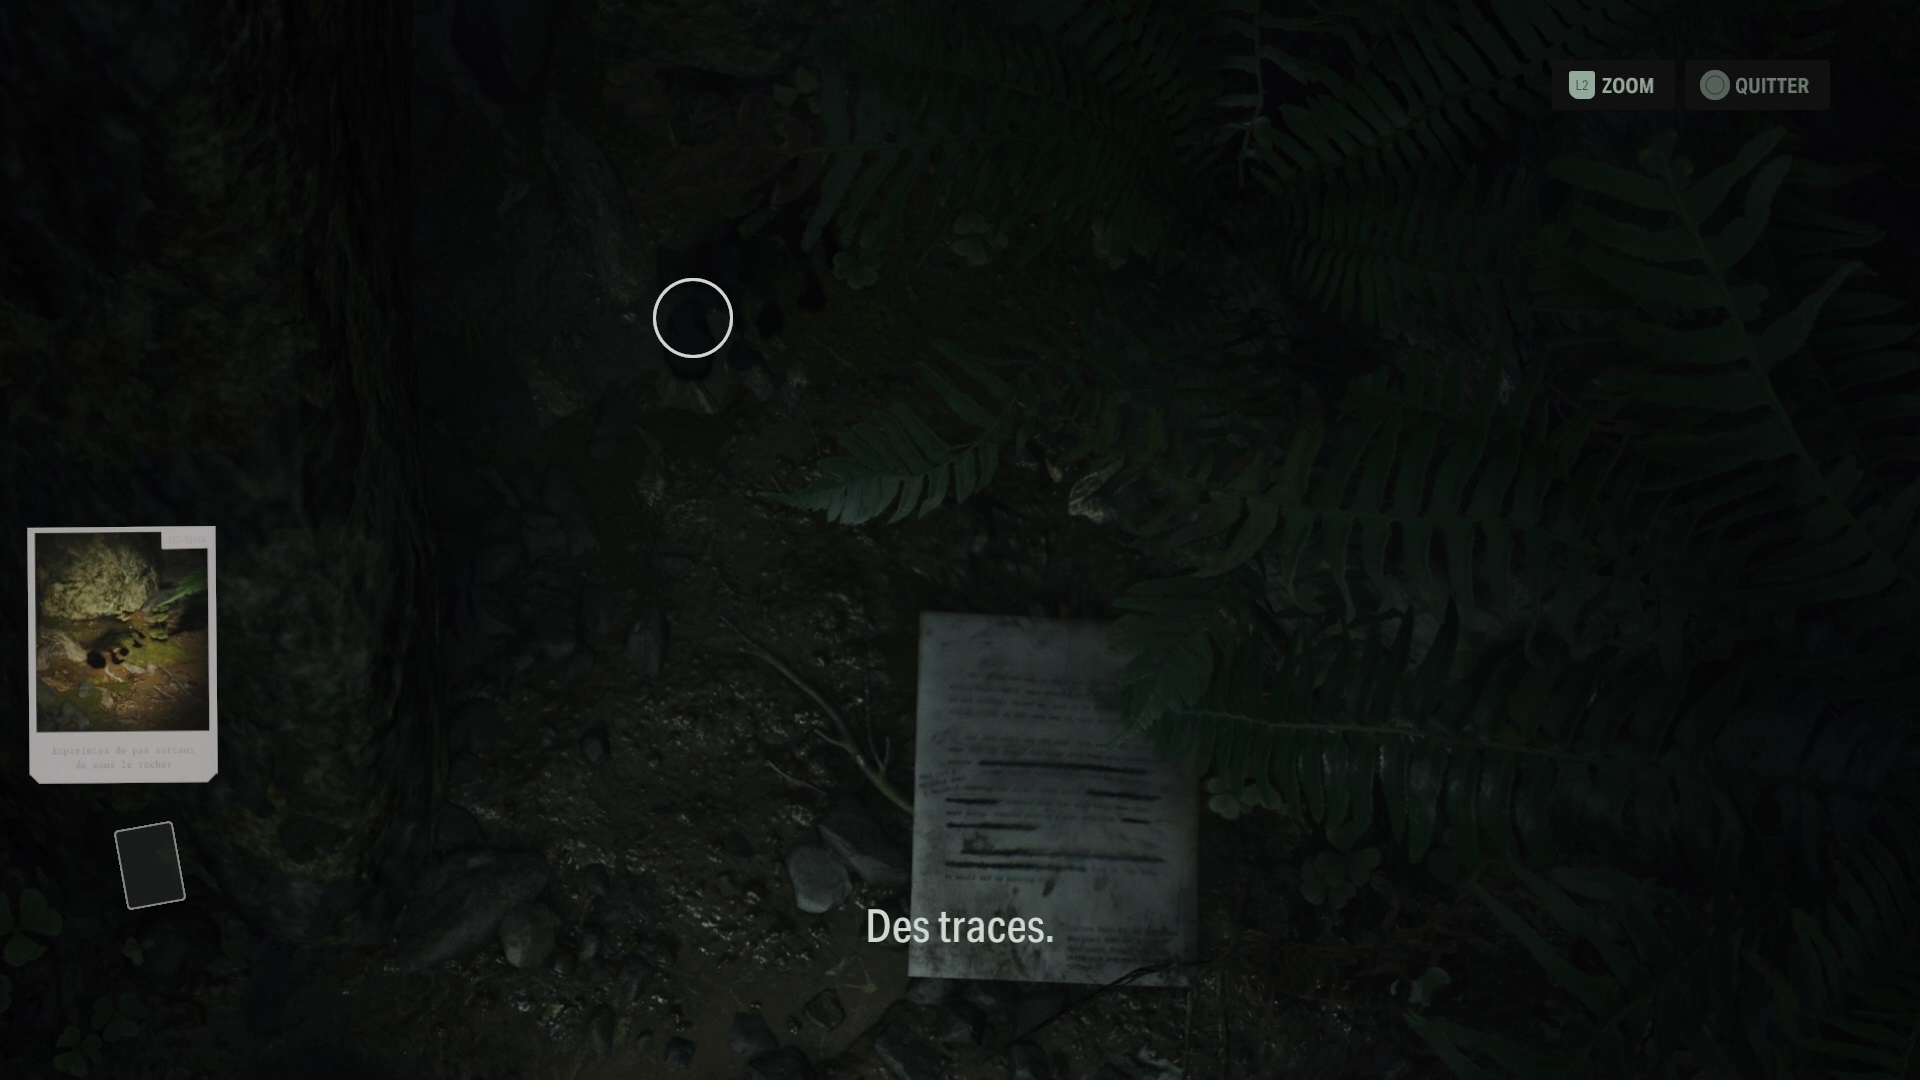

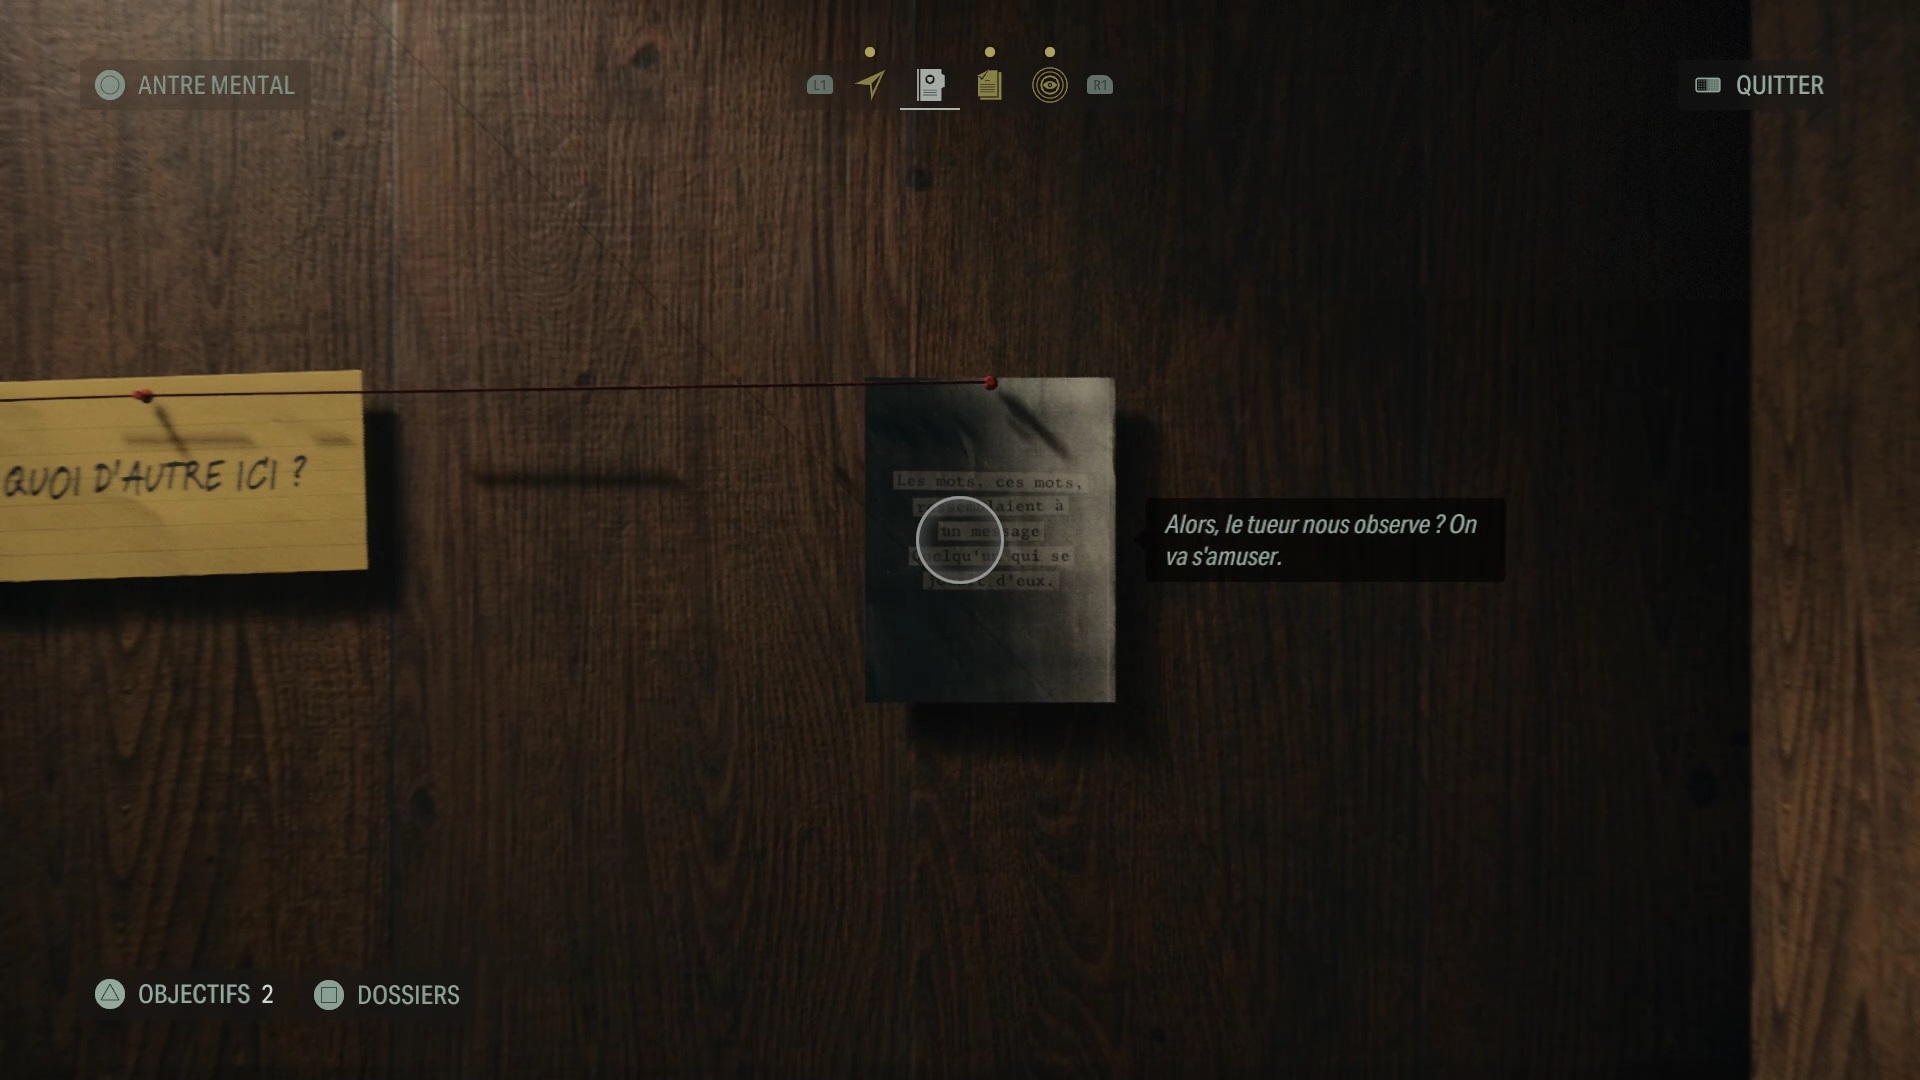
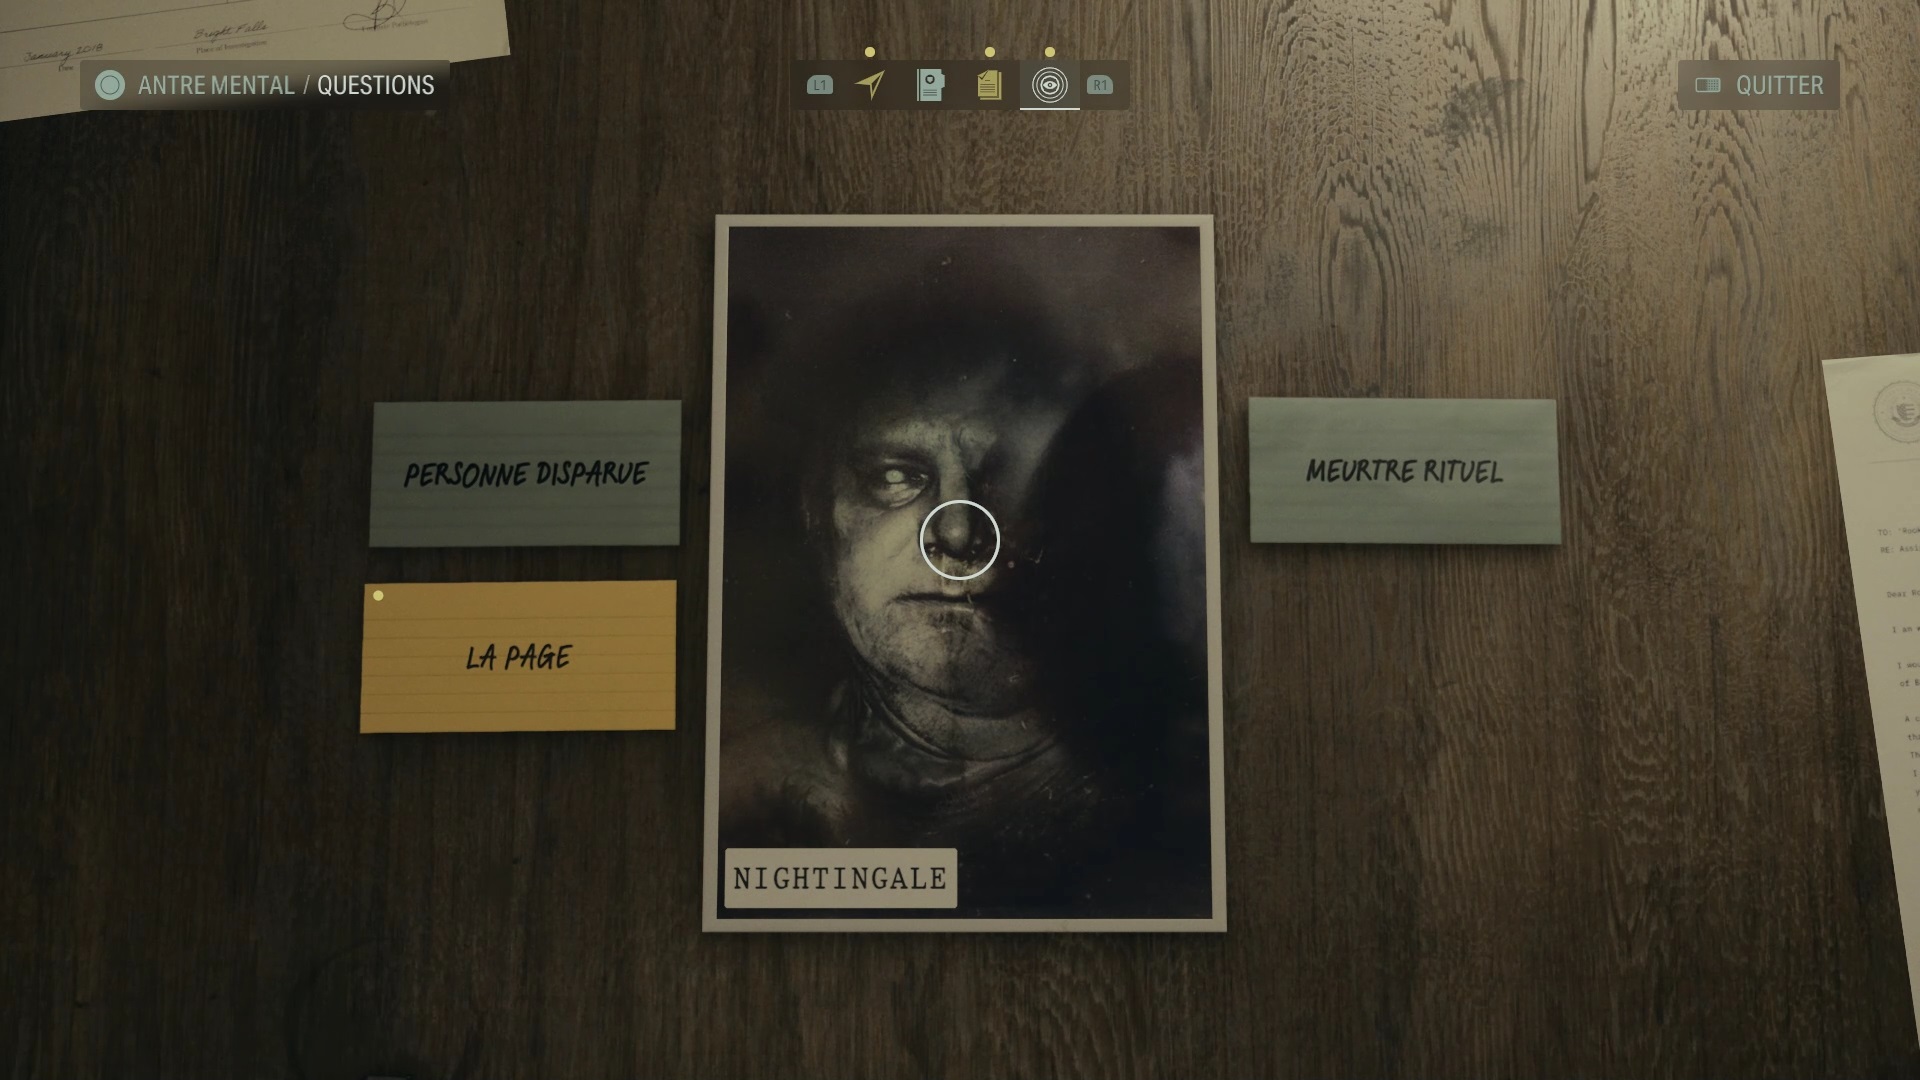
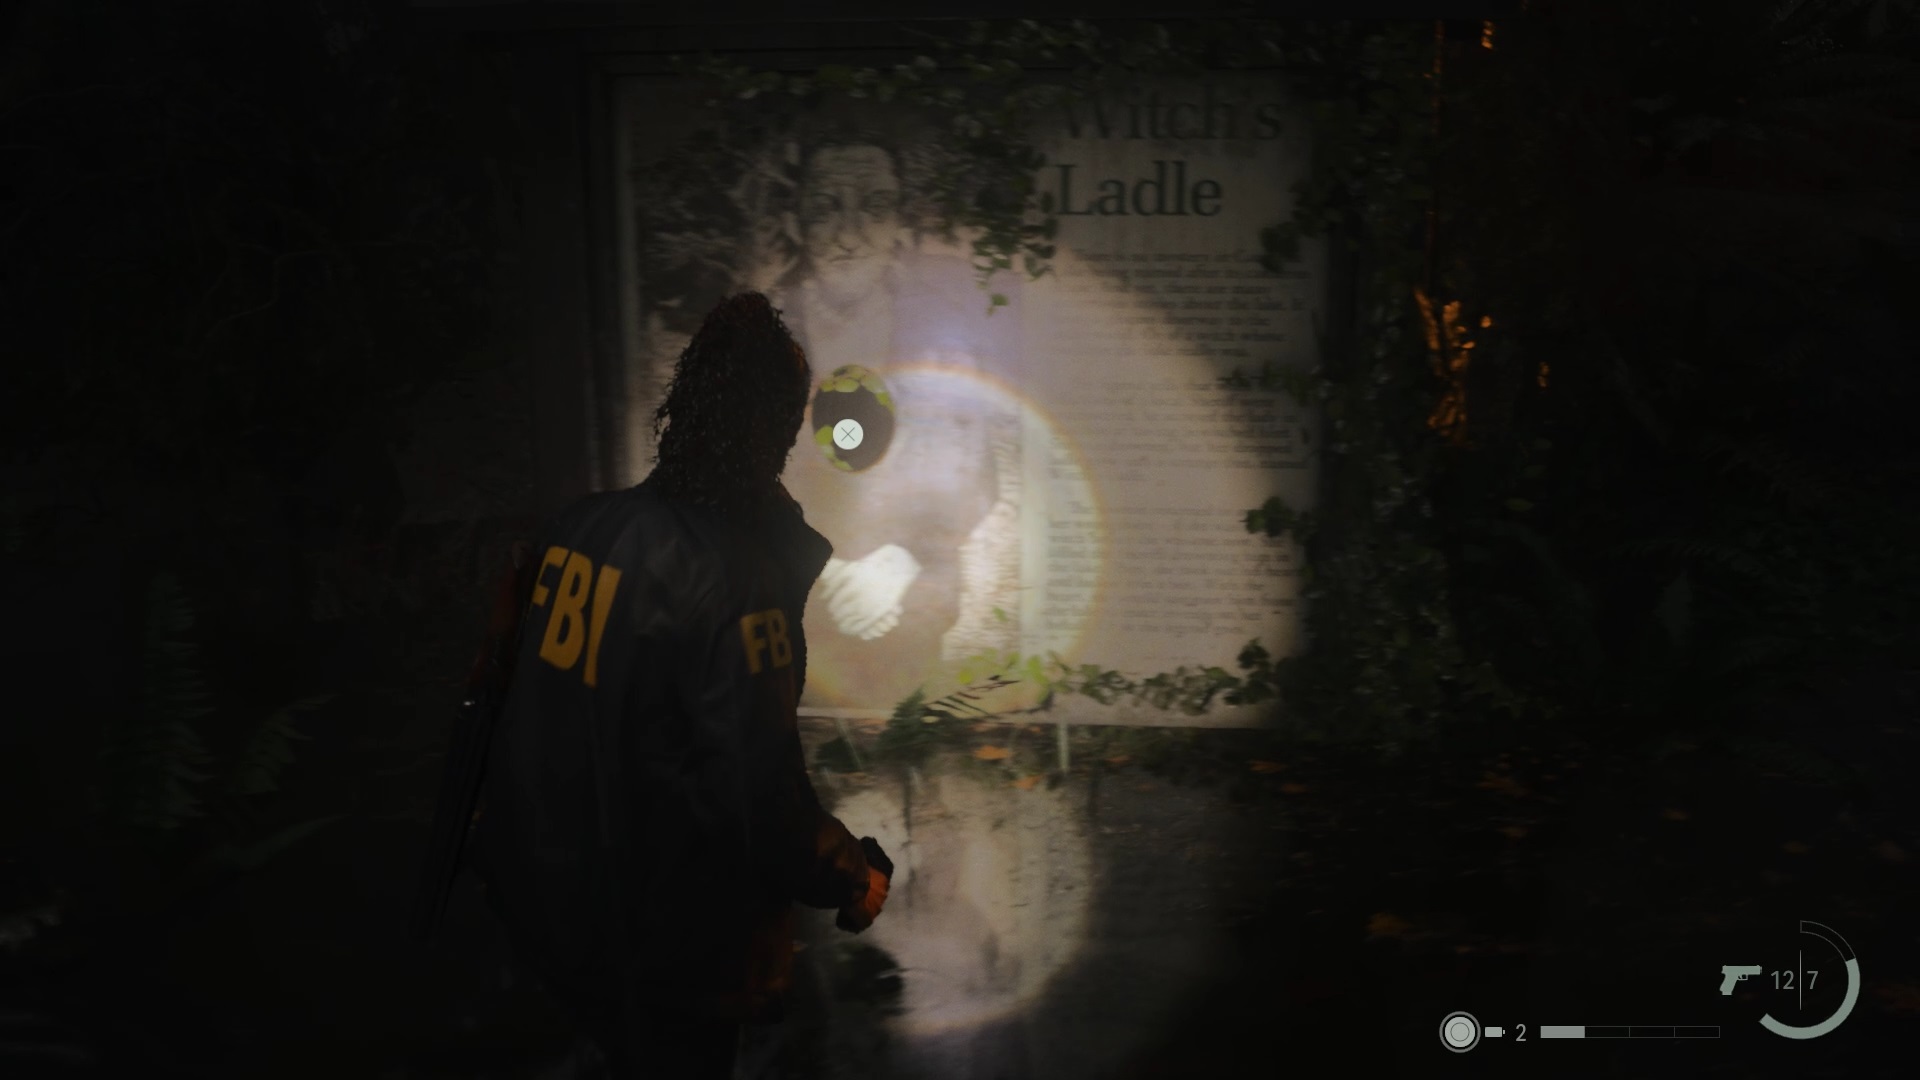
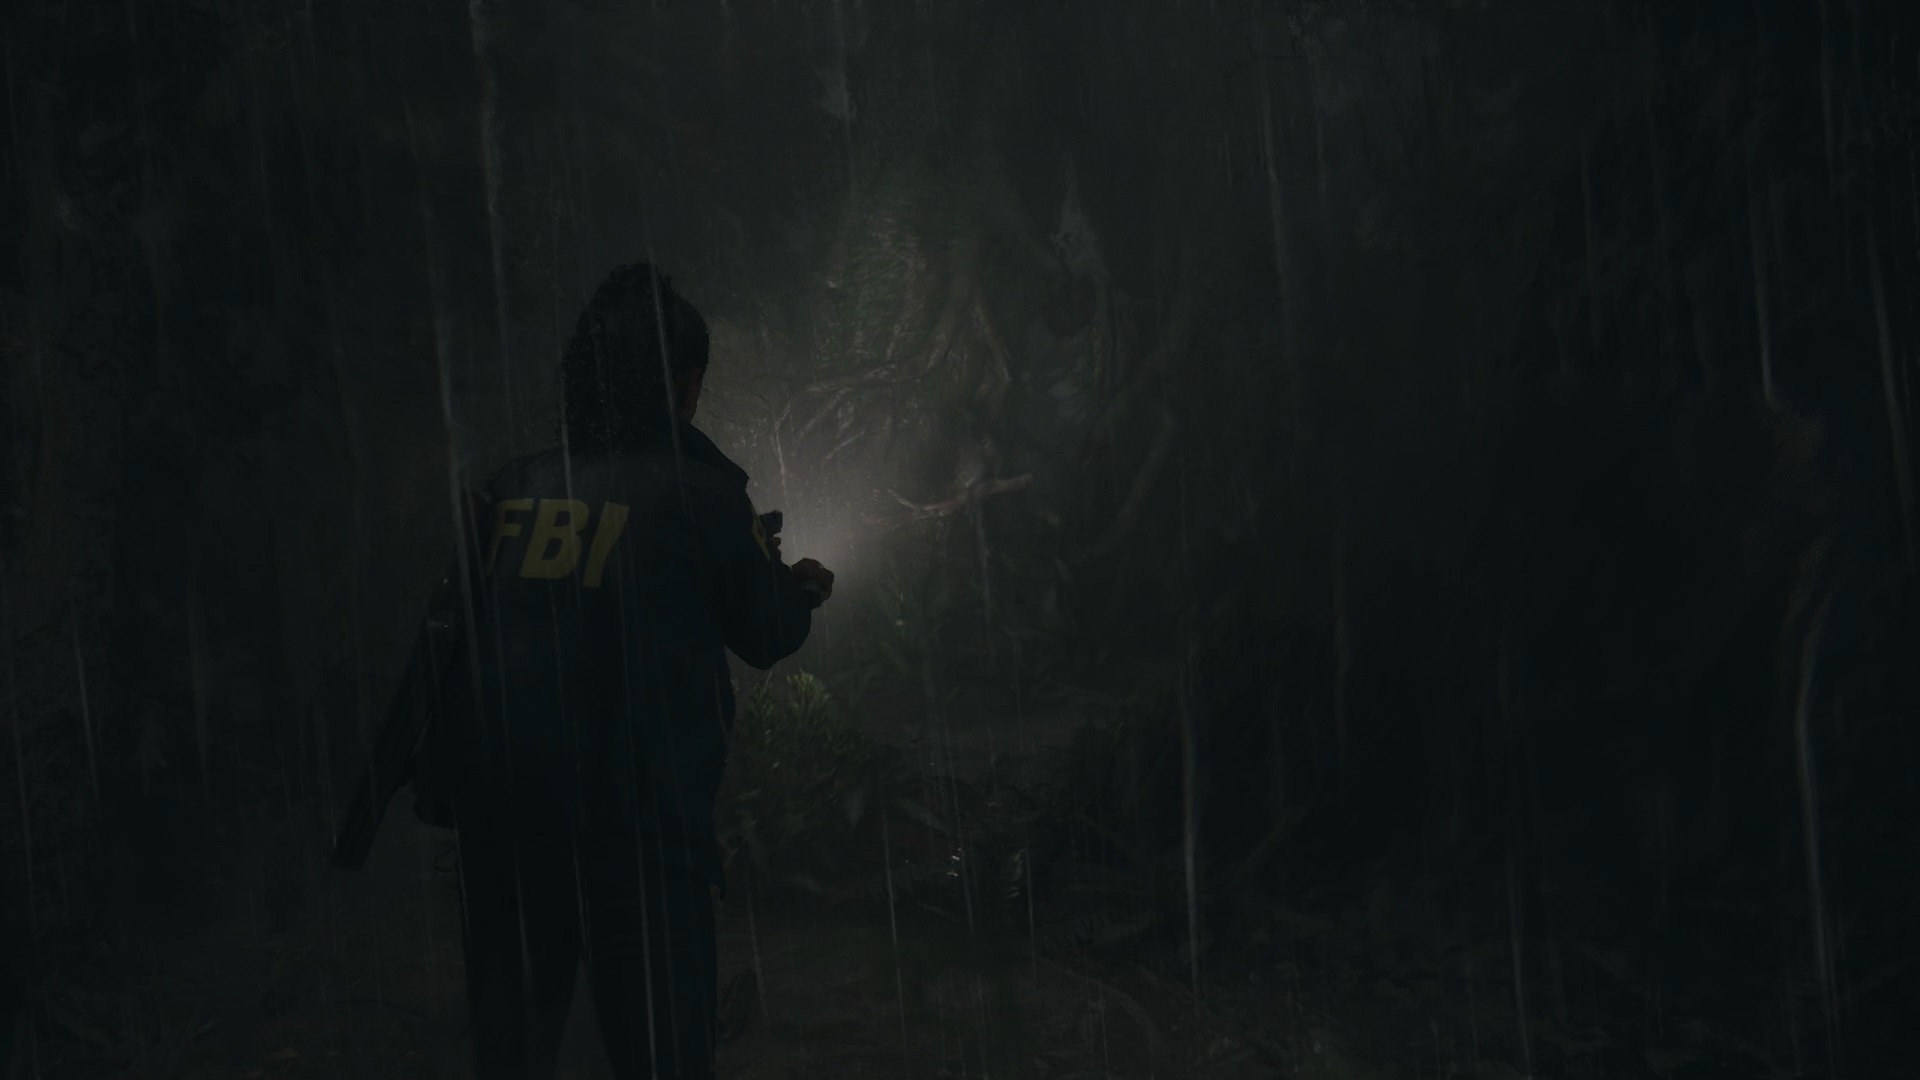
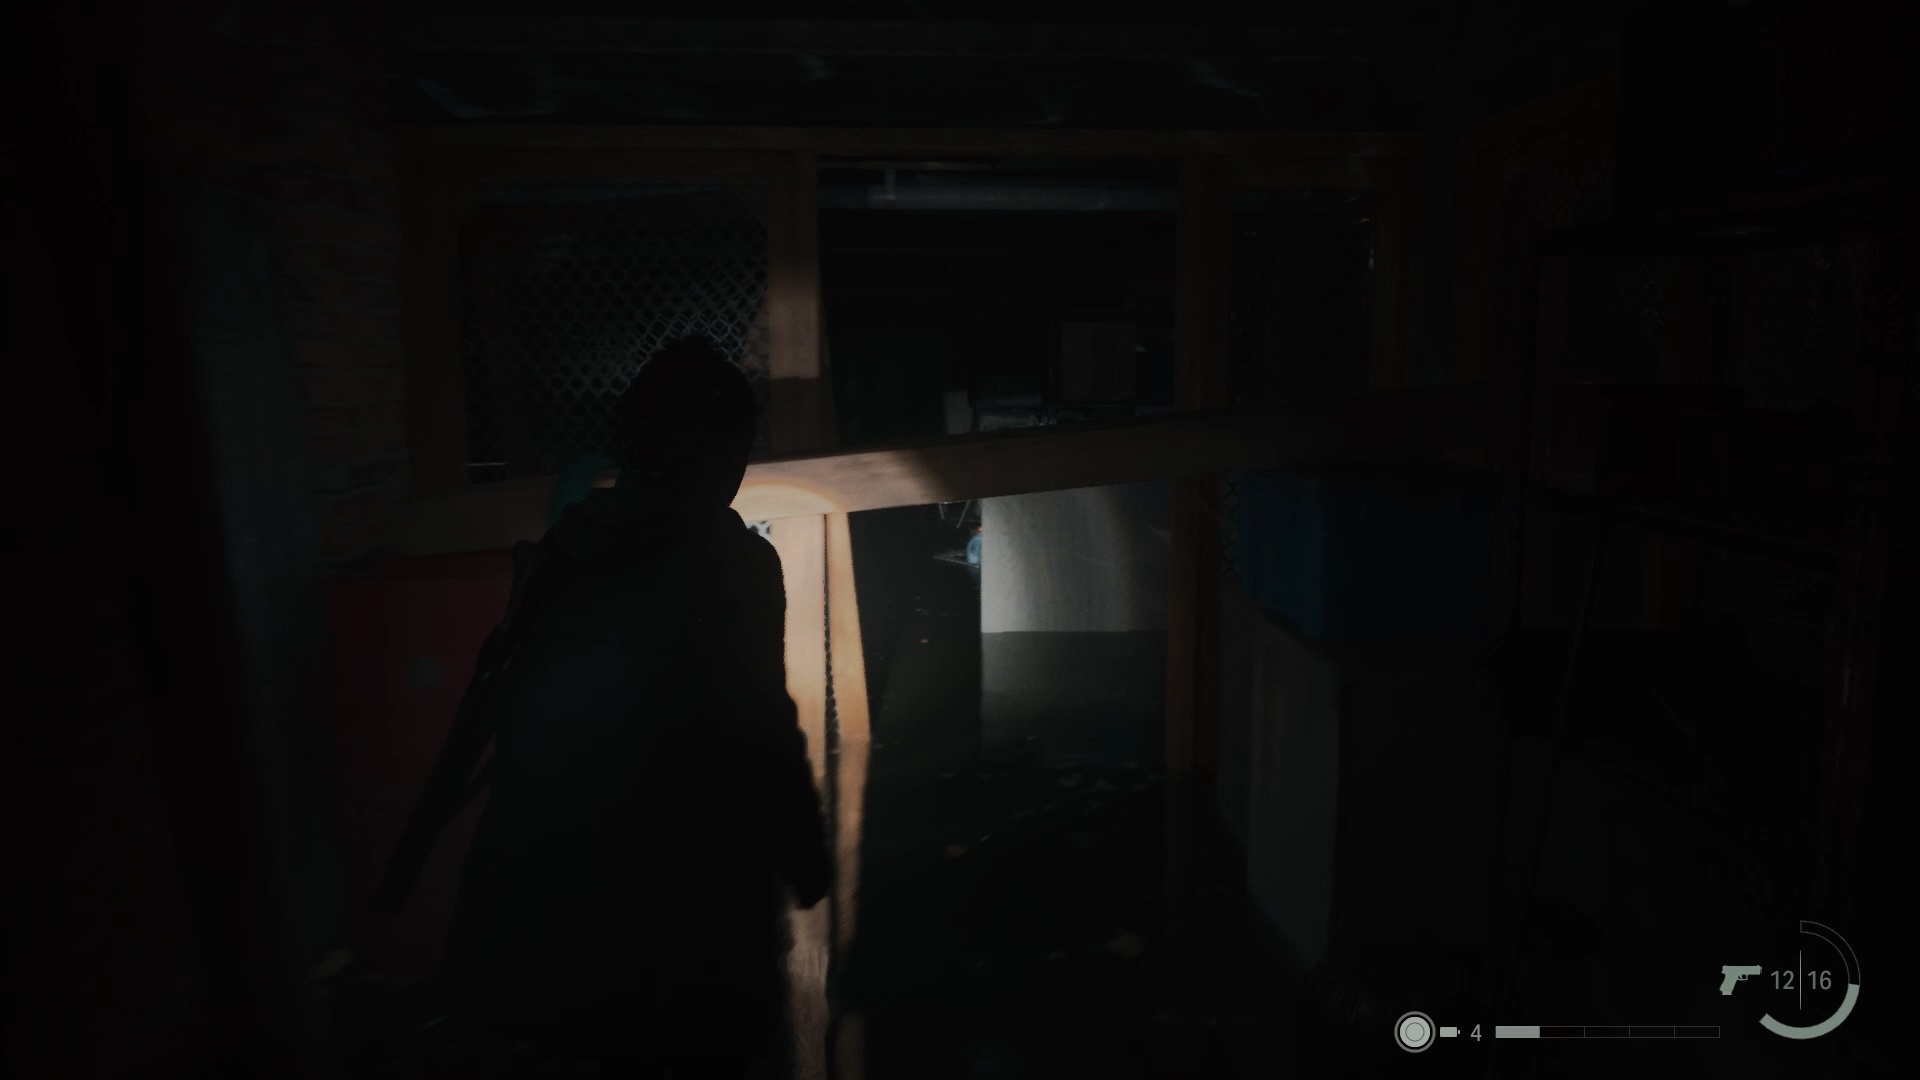
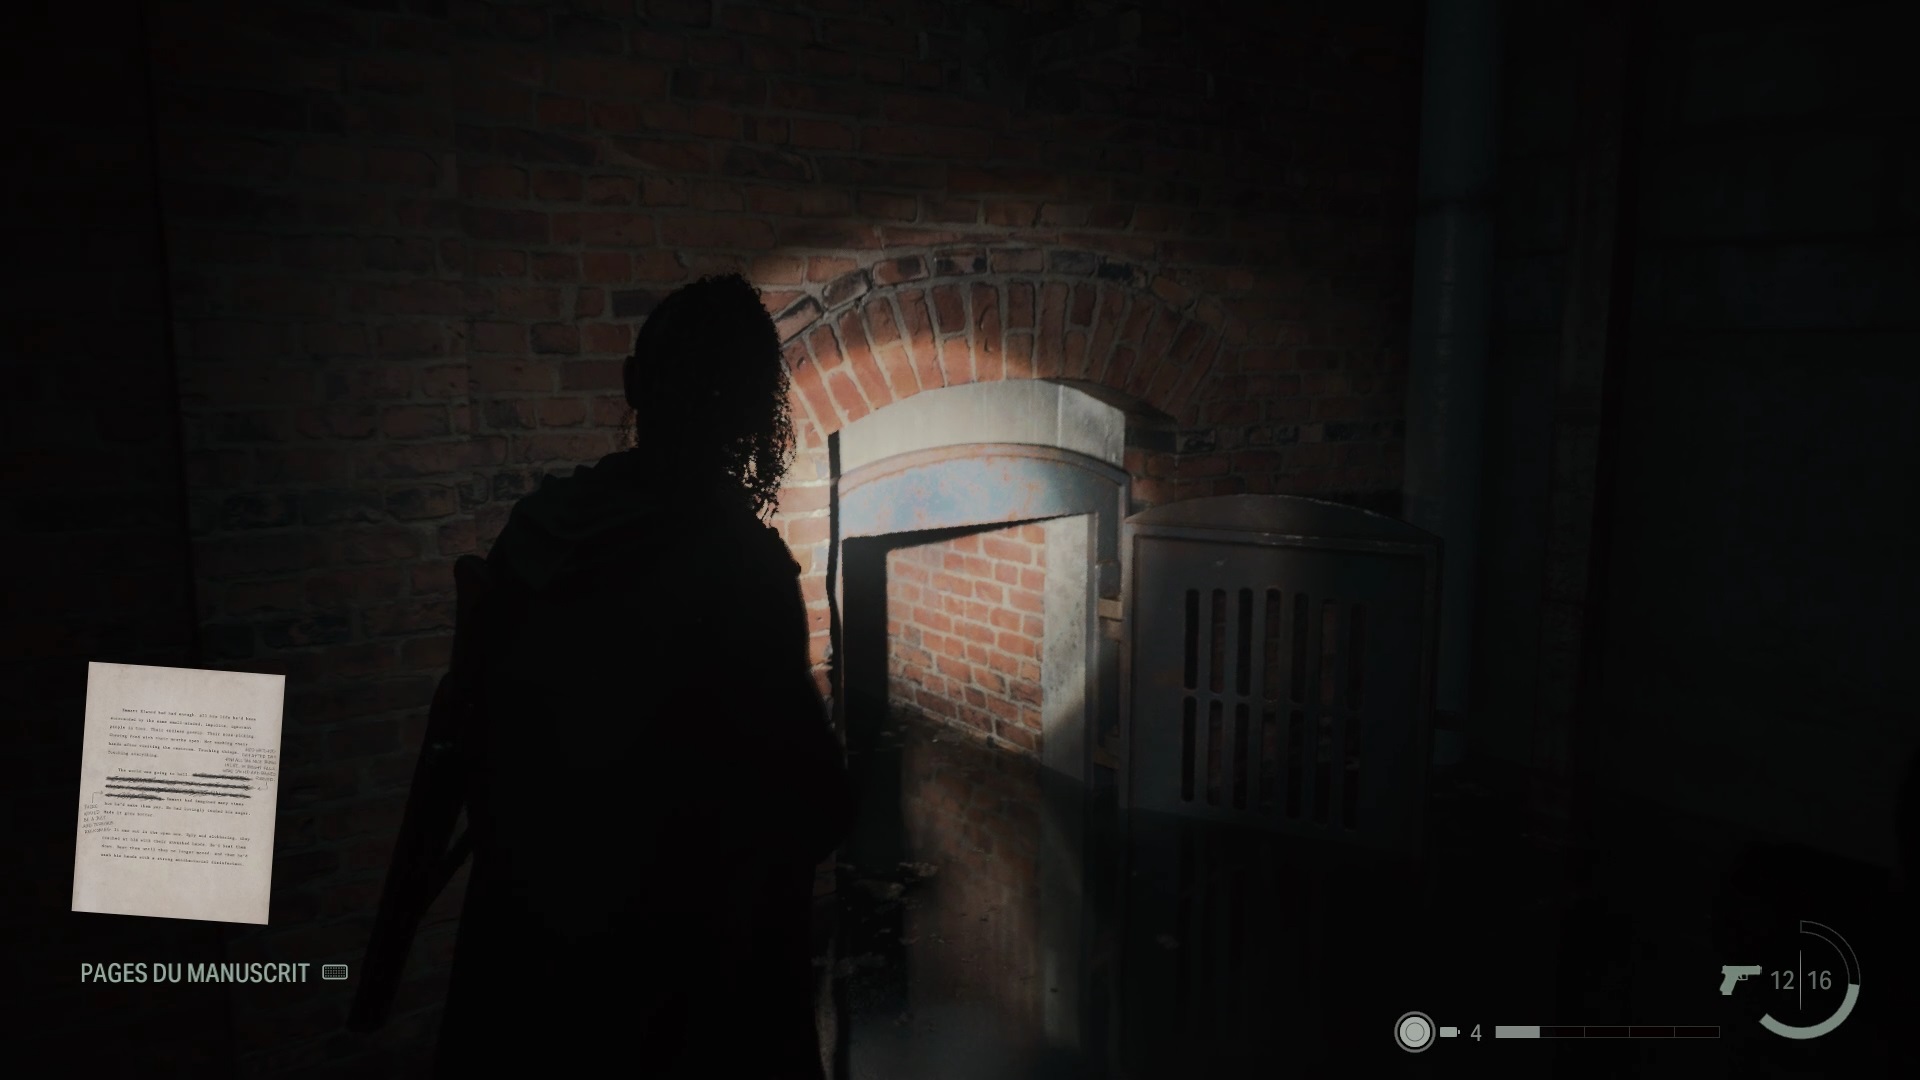
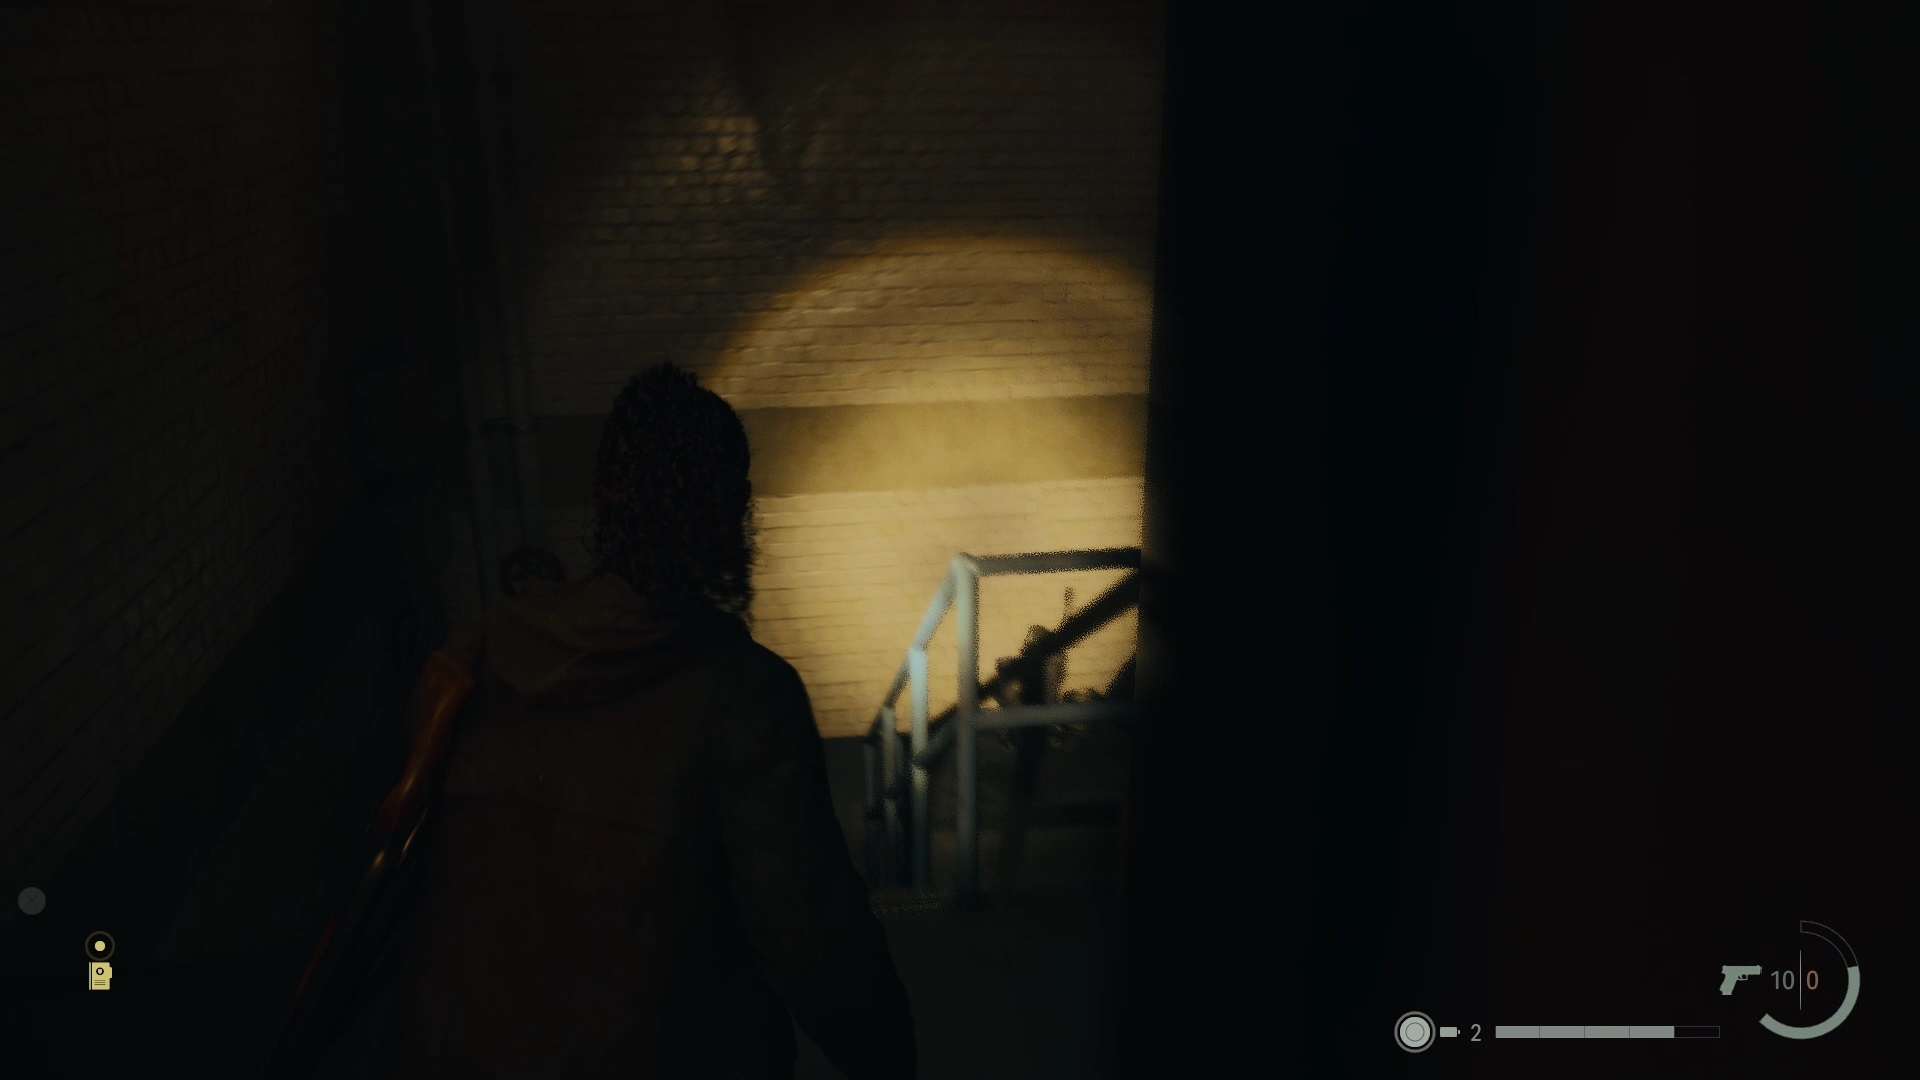
Follow Alex Casey towards the lake to find the Witch’s Ladle tree. Examine the hollow of the tree to find a manuscript page and some prints. Use the elements “The cold trail” and “The footprints” on the question “Where did the victim come from?” » to get a new question. Place the “manuscript” on the question “What else here?” « . You can now ask Nightingale about “The Page” in the Profiling section.
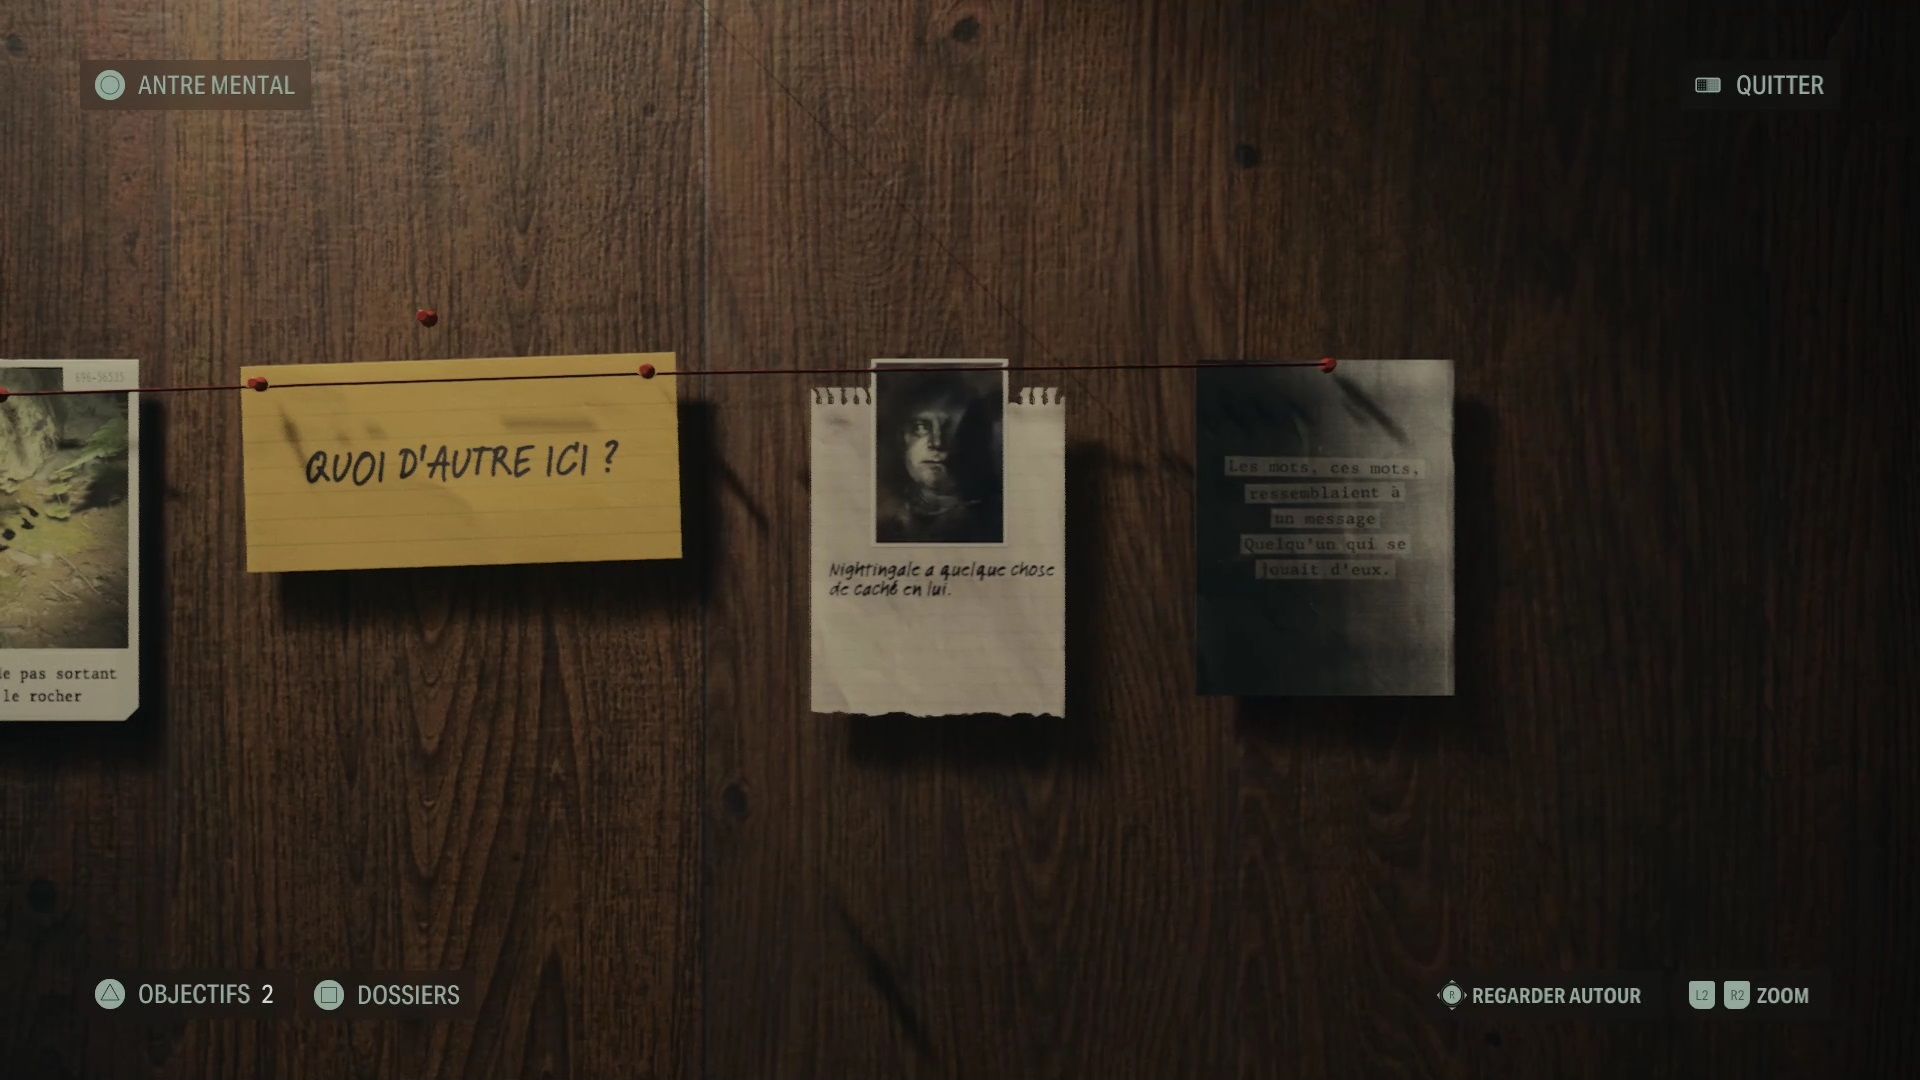

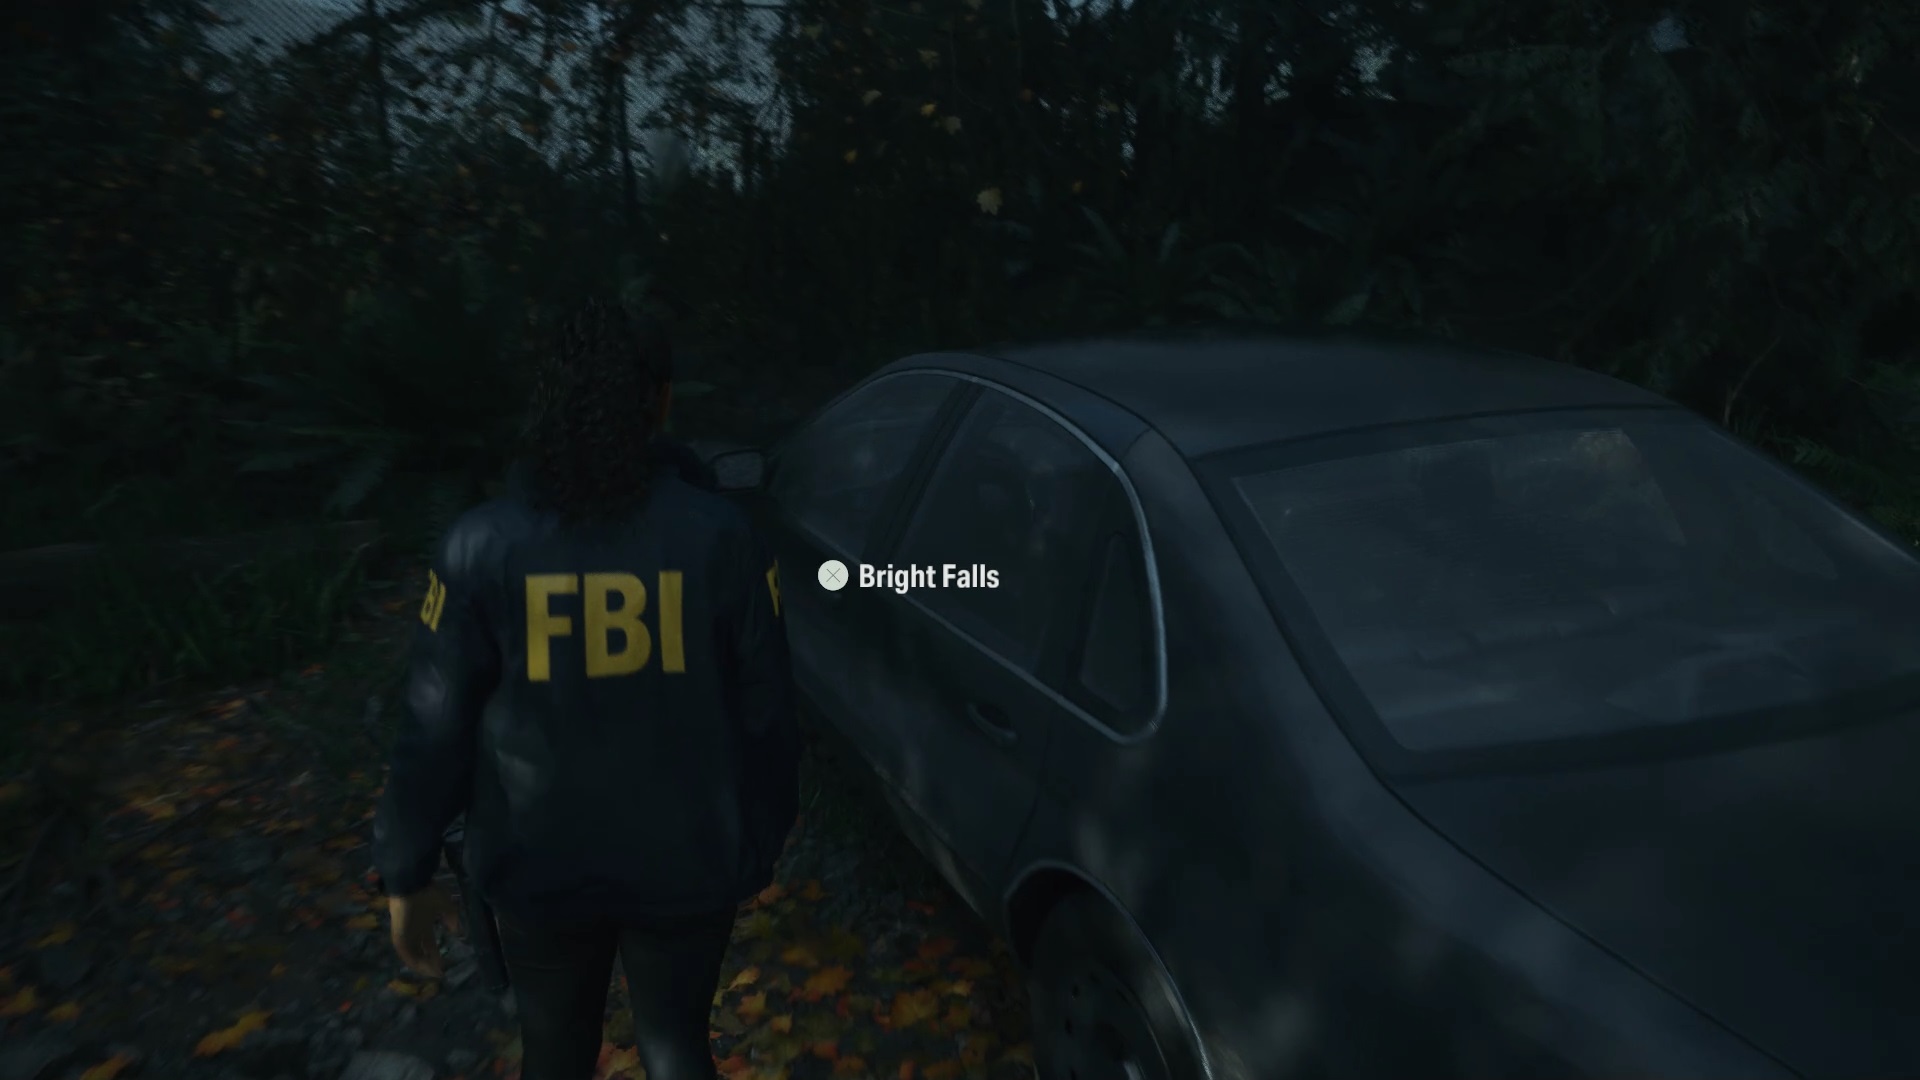
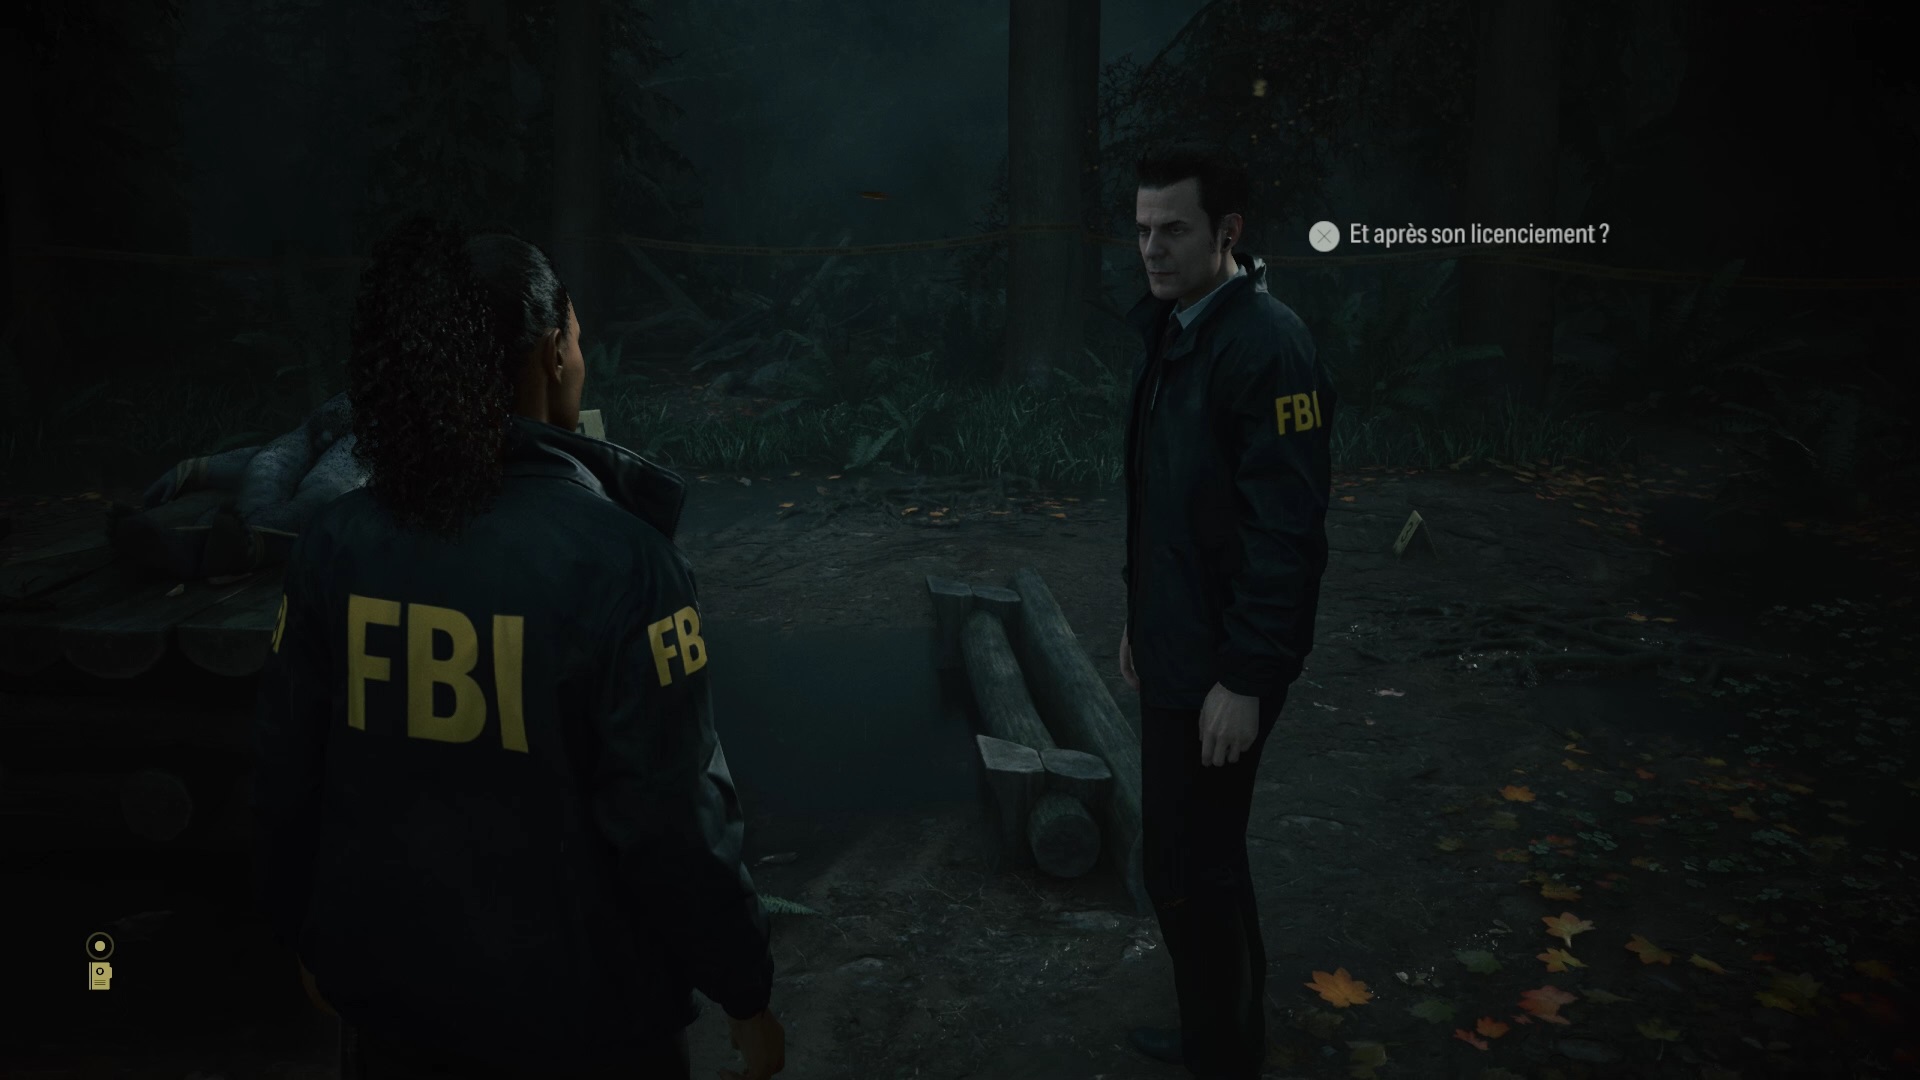
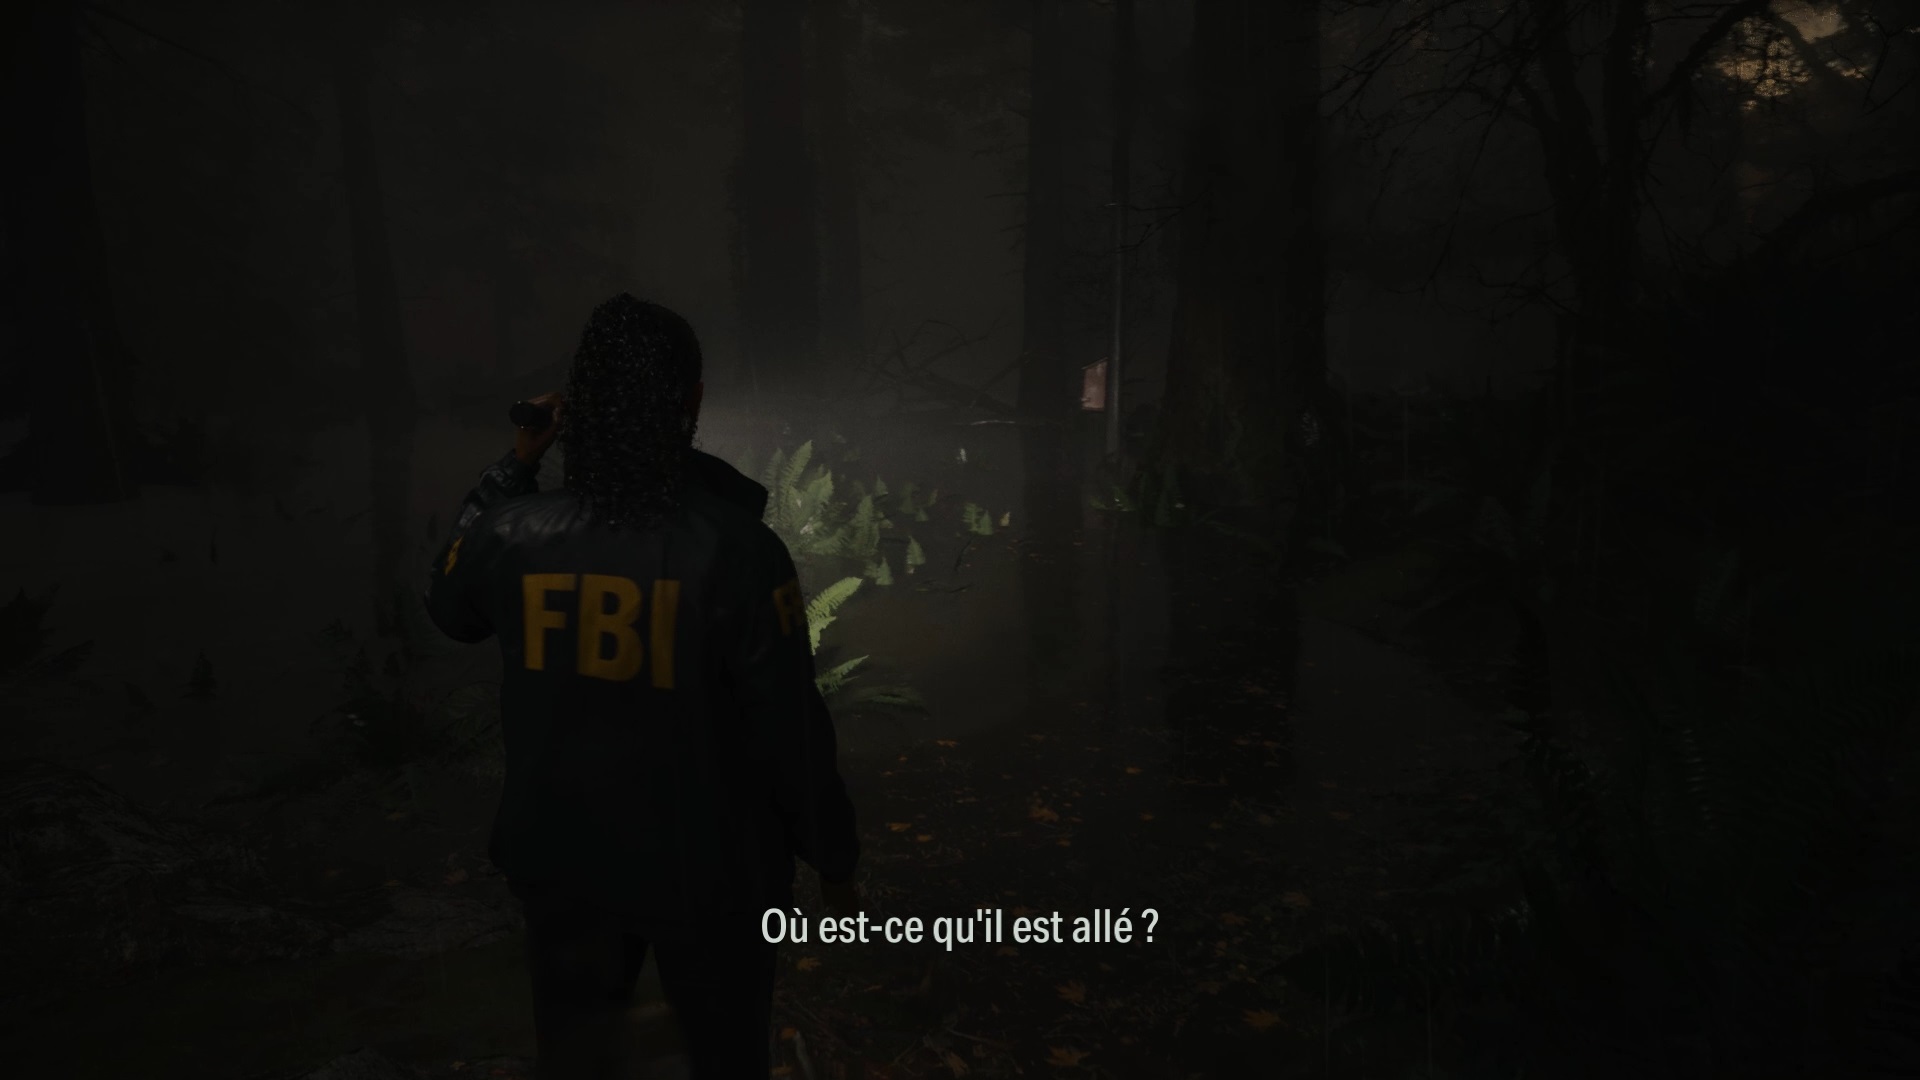
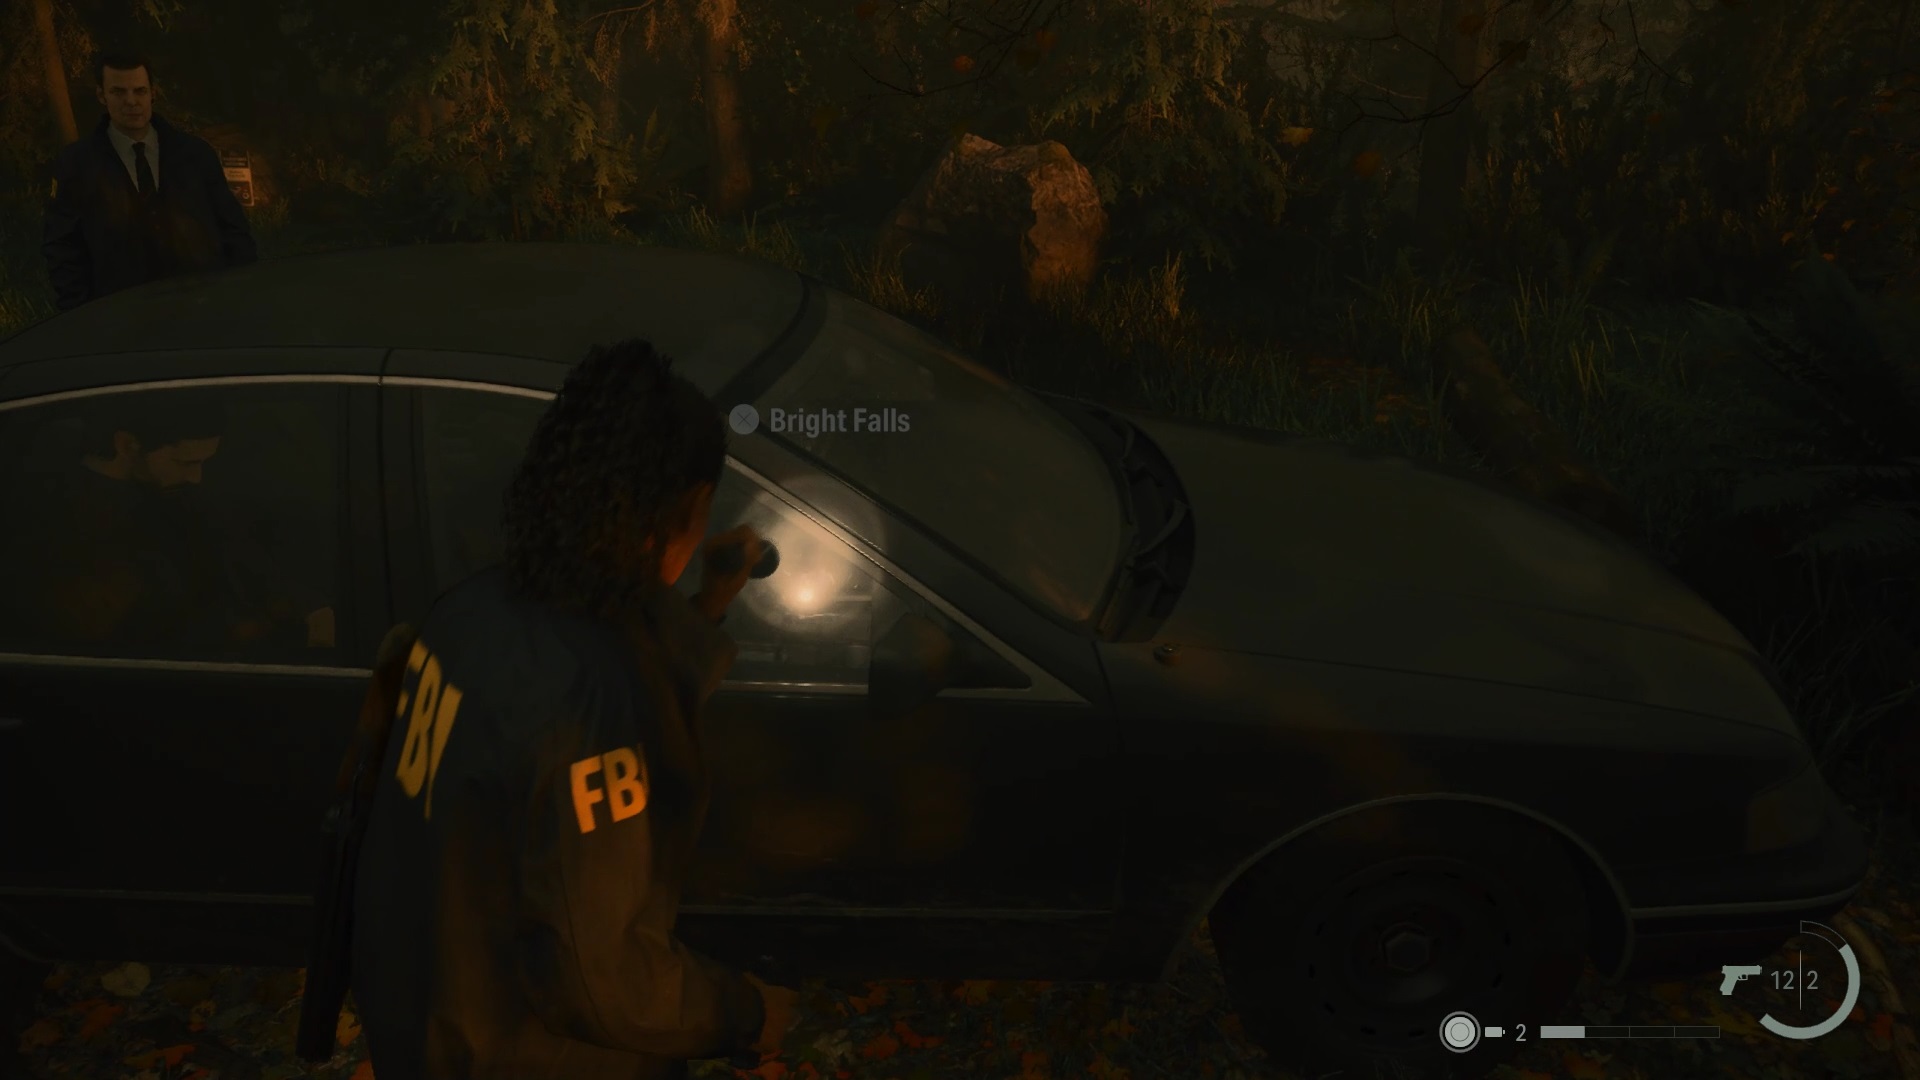
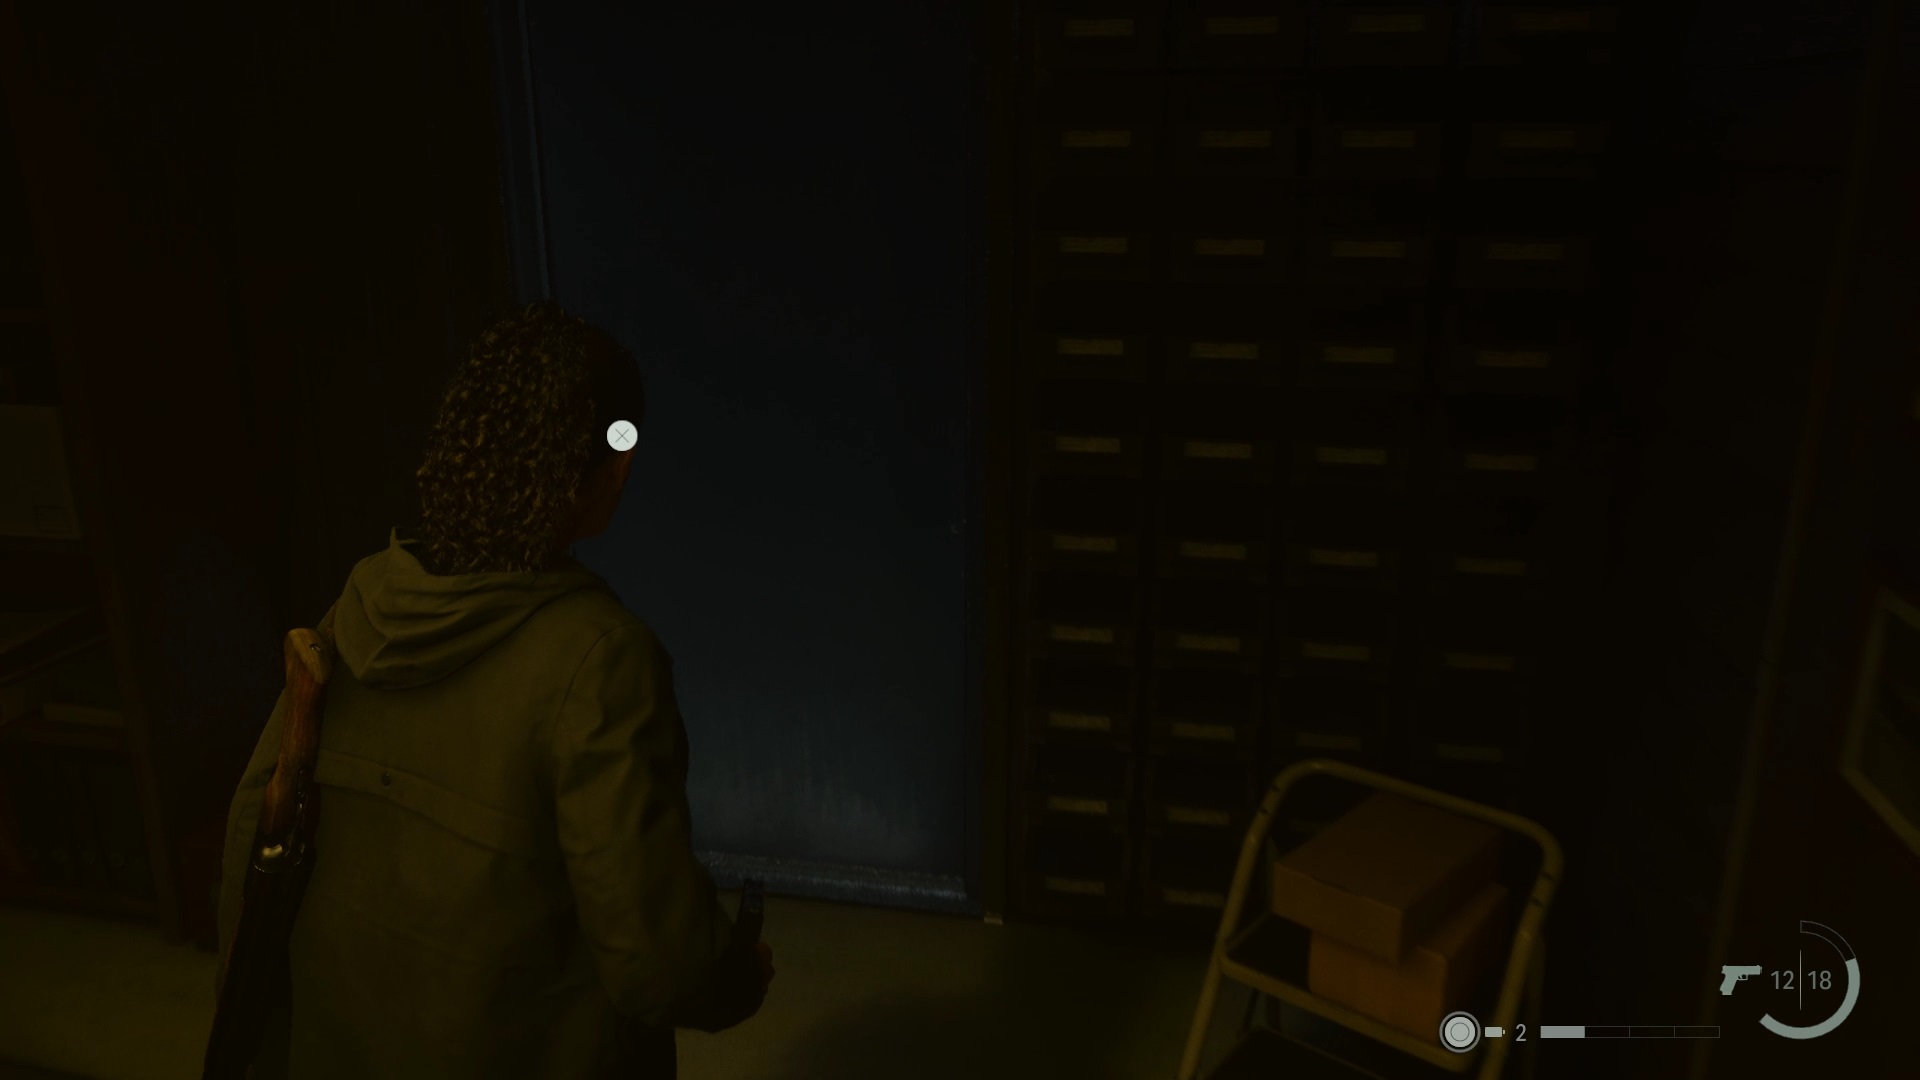
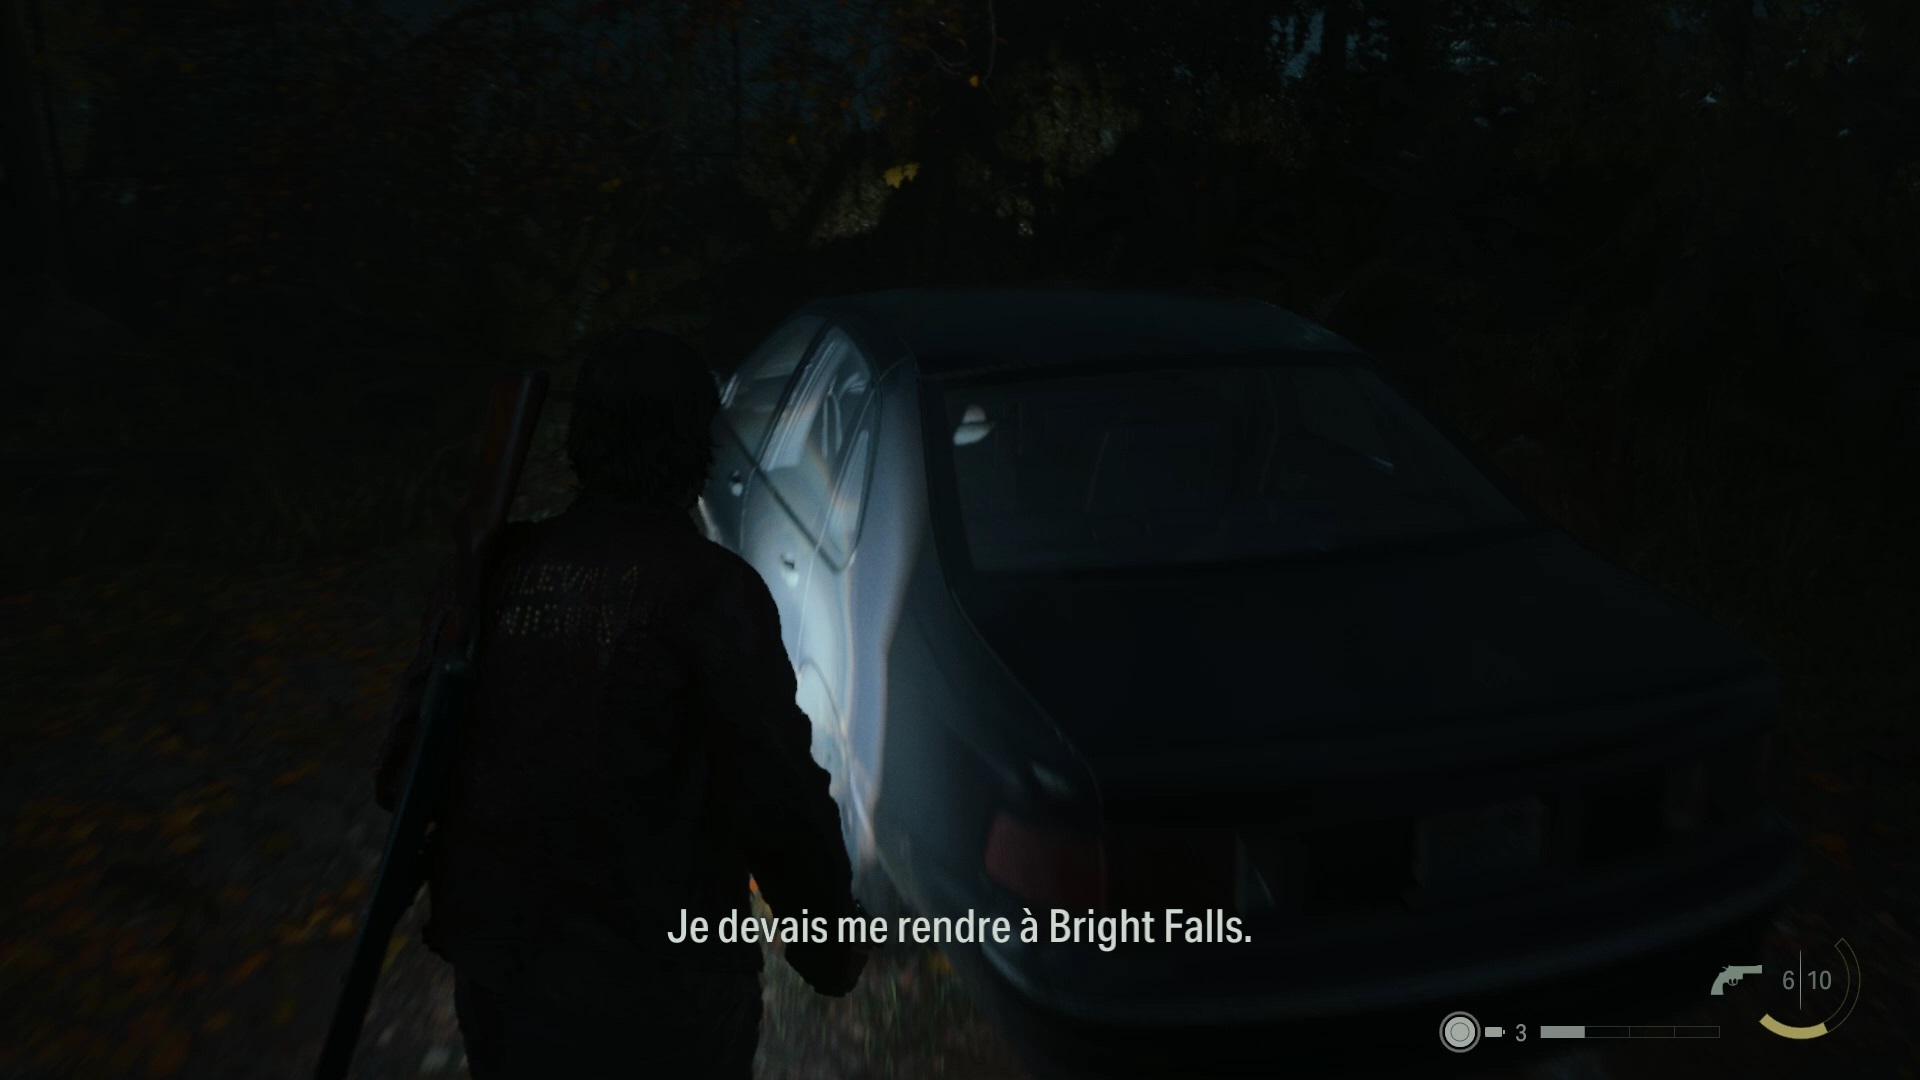
After the interrogation, place the item « Nightingale has something hidden inside him » on the question « What else here? » » to continue the investigation. Return to Deputy Thornton to collect the shortcut key. Follow Alex back to the car to reach Bright Falls.
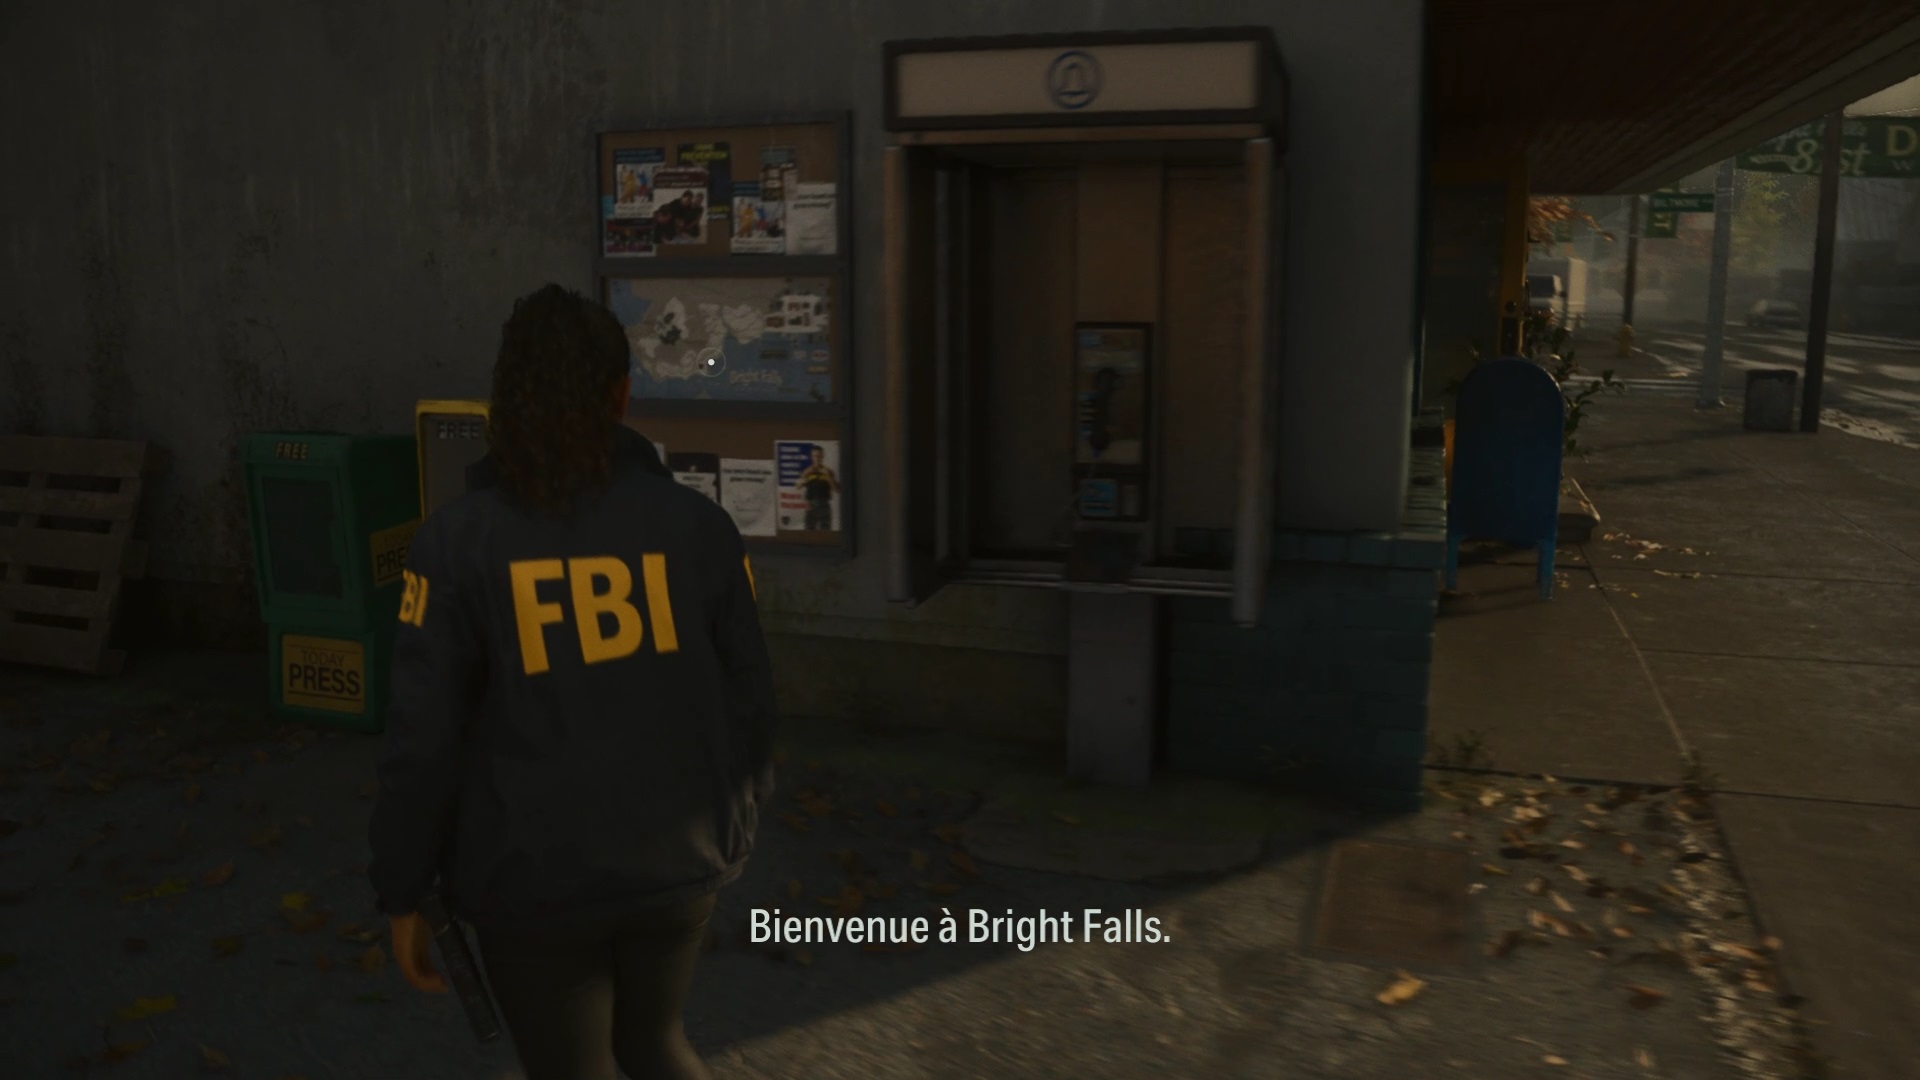
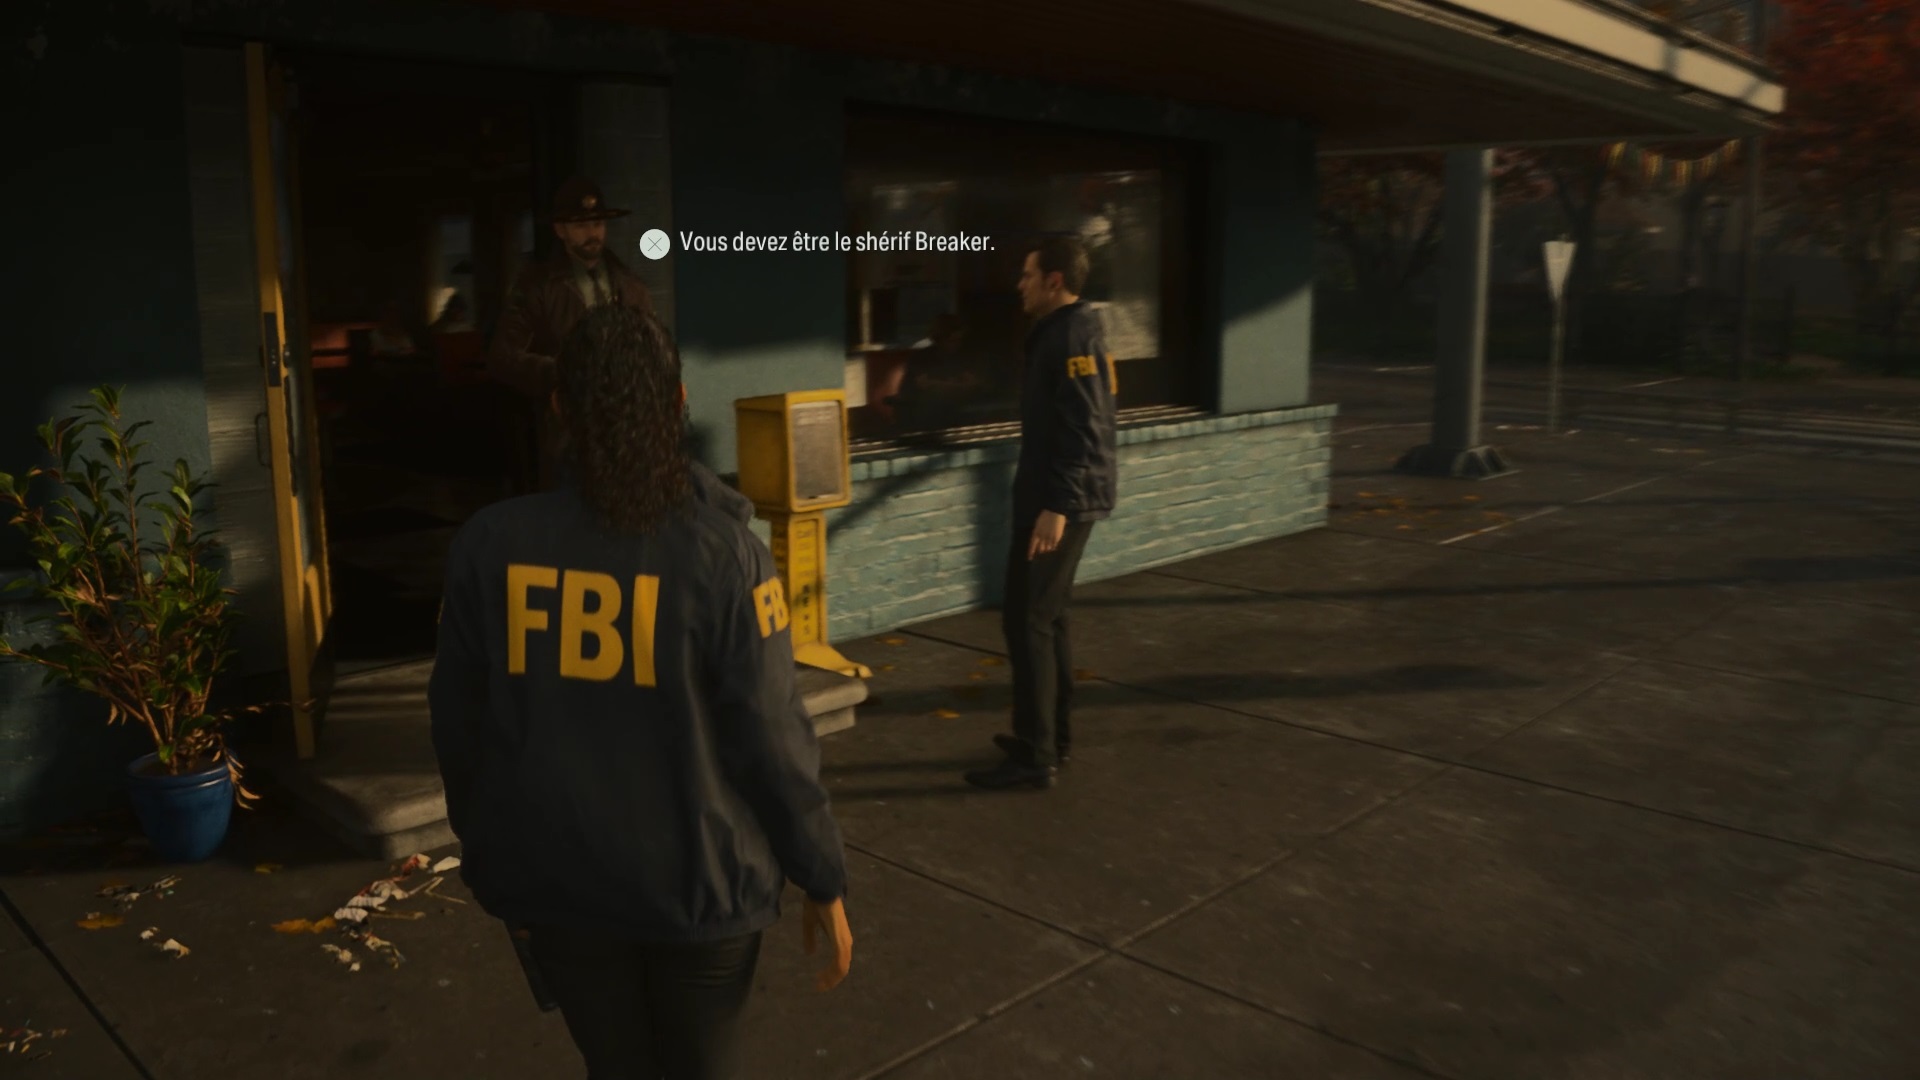
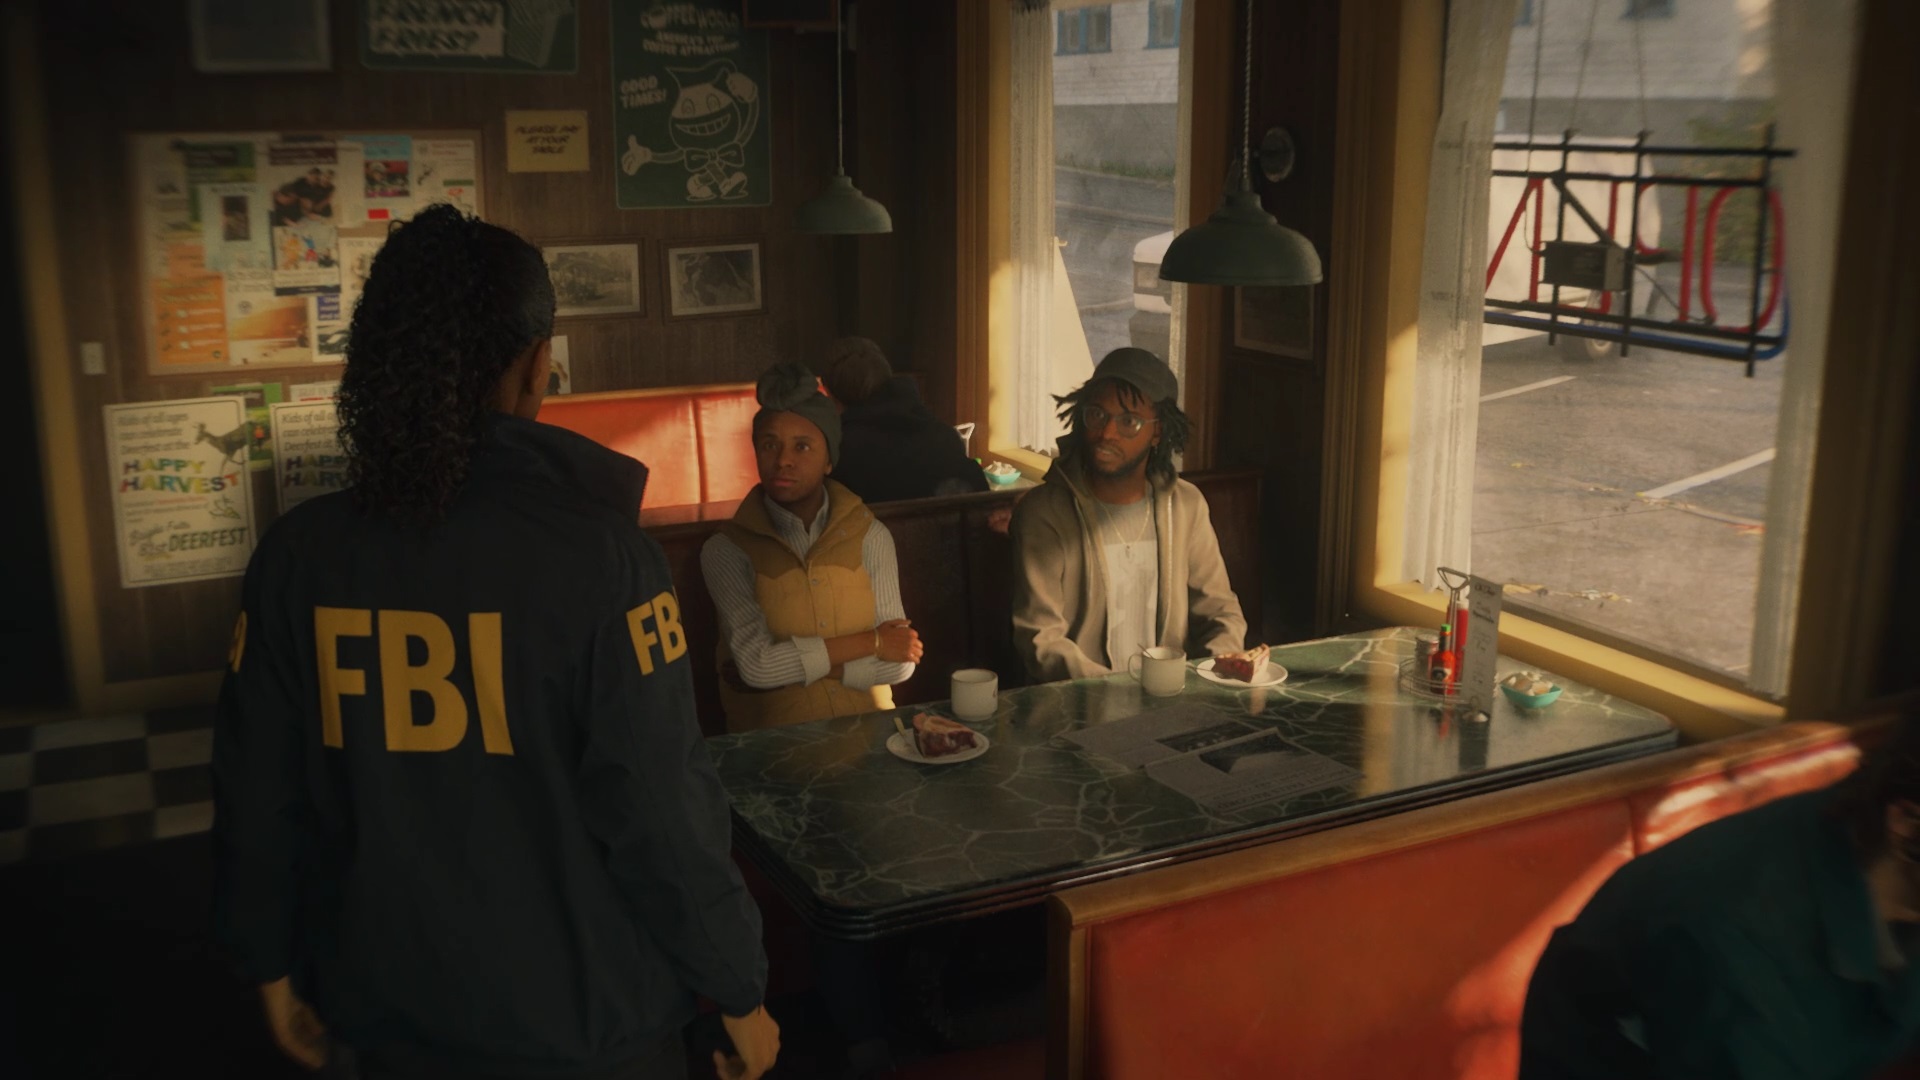
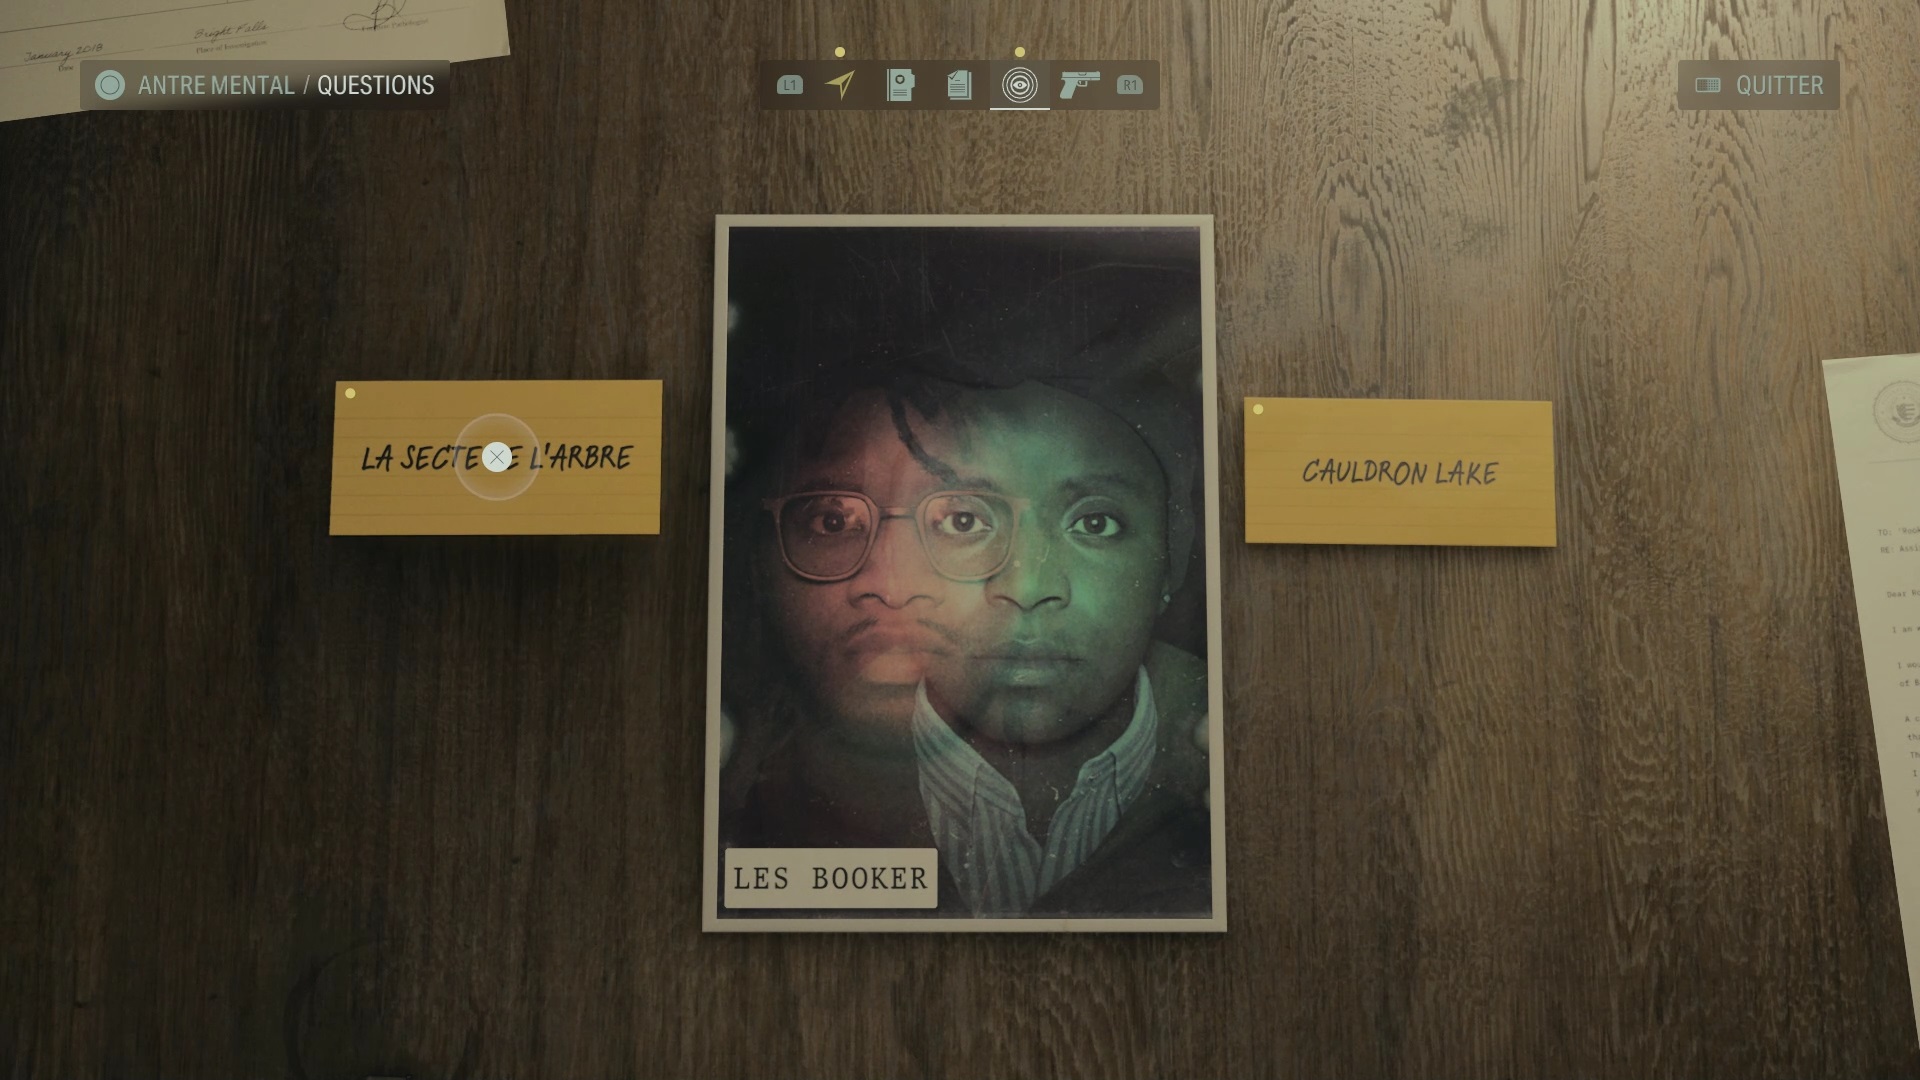
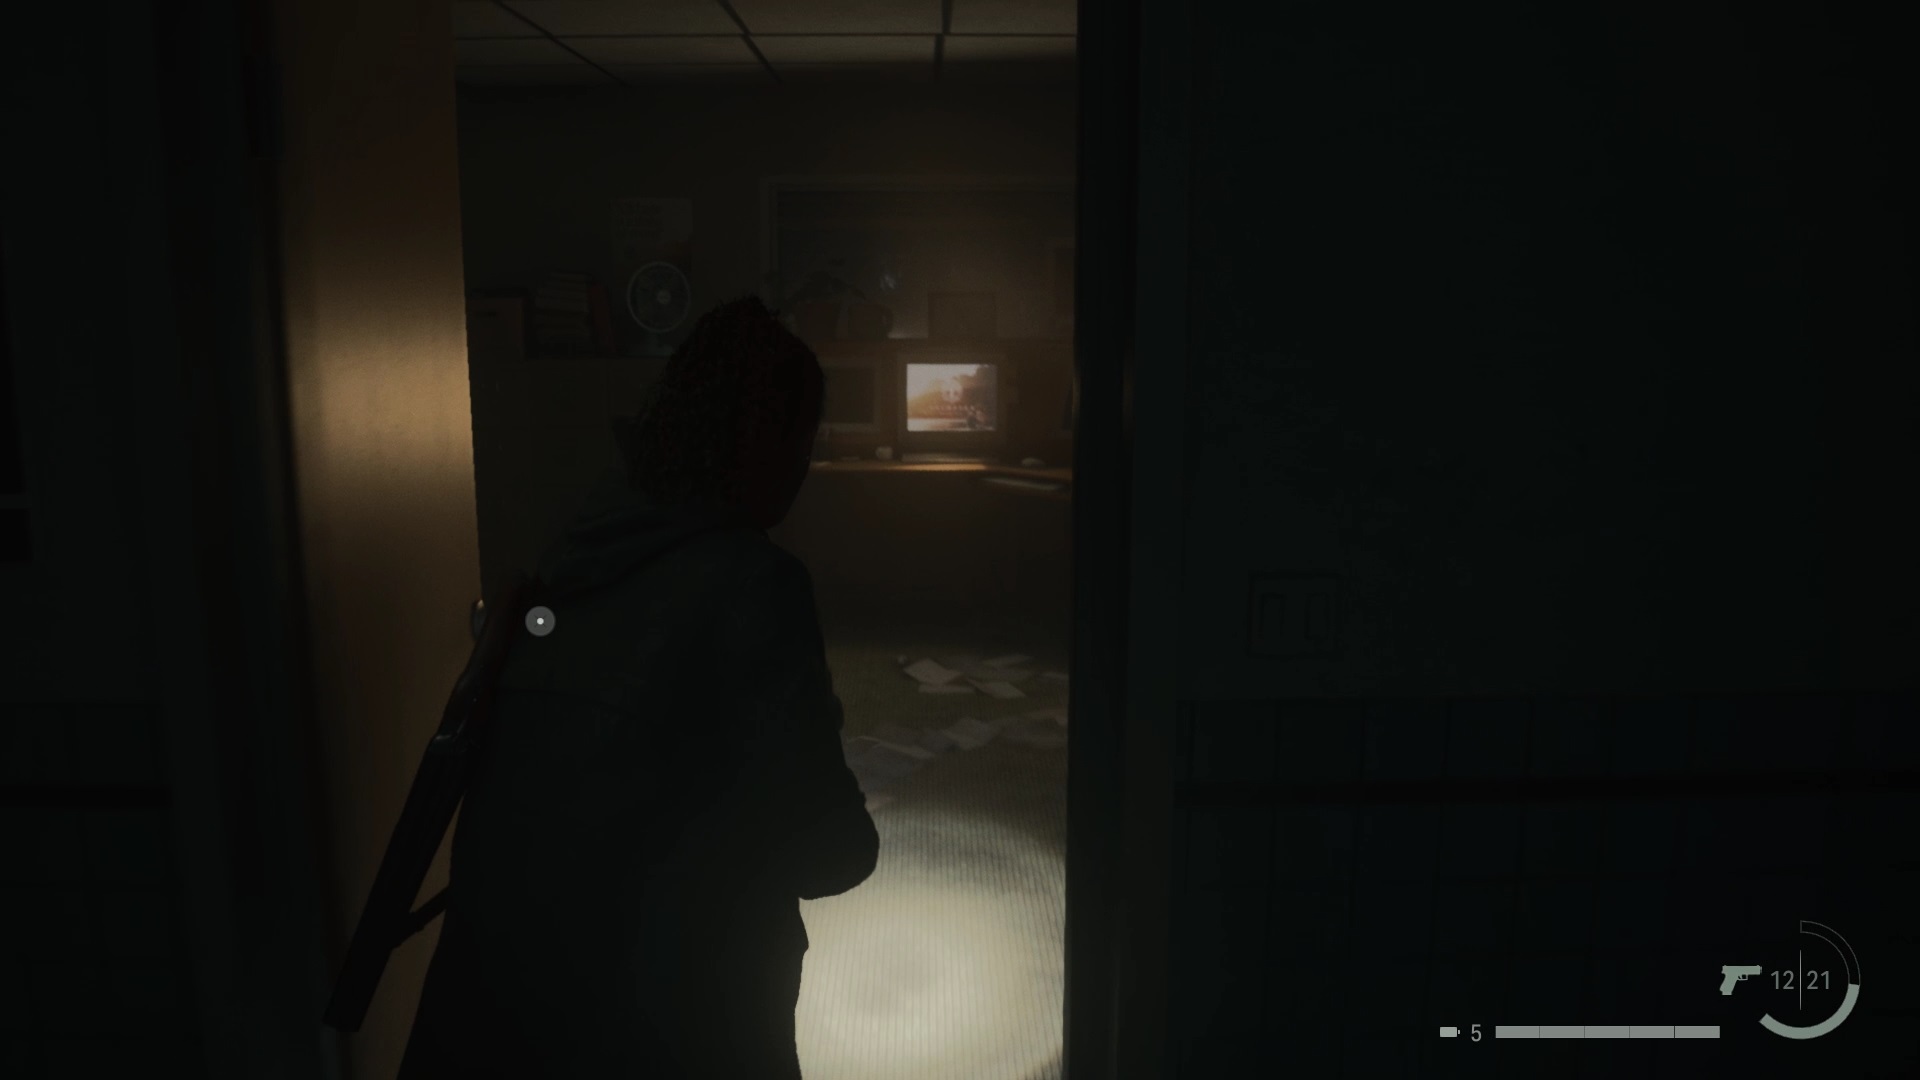
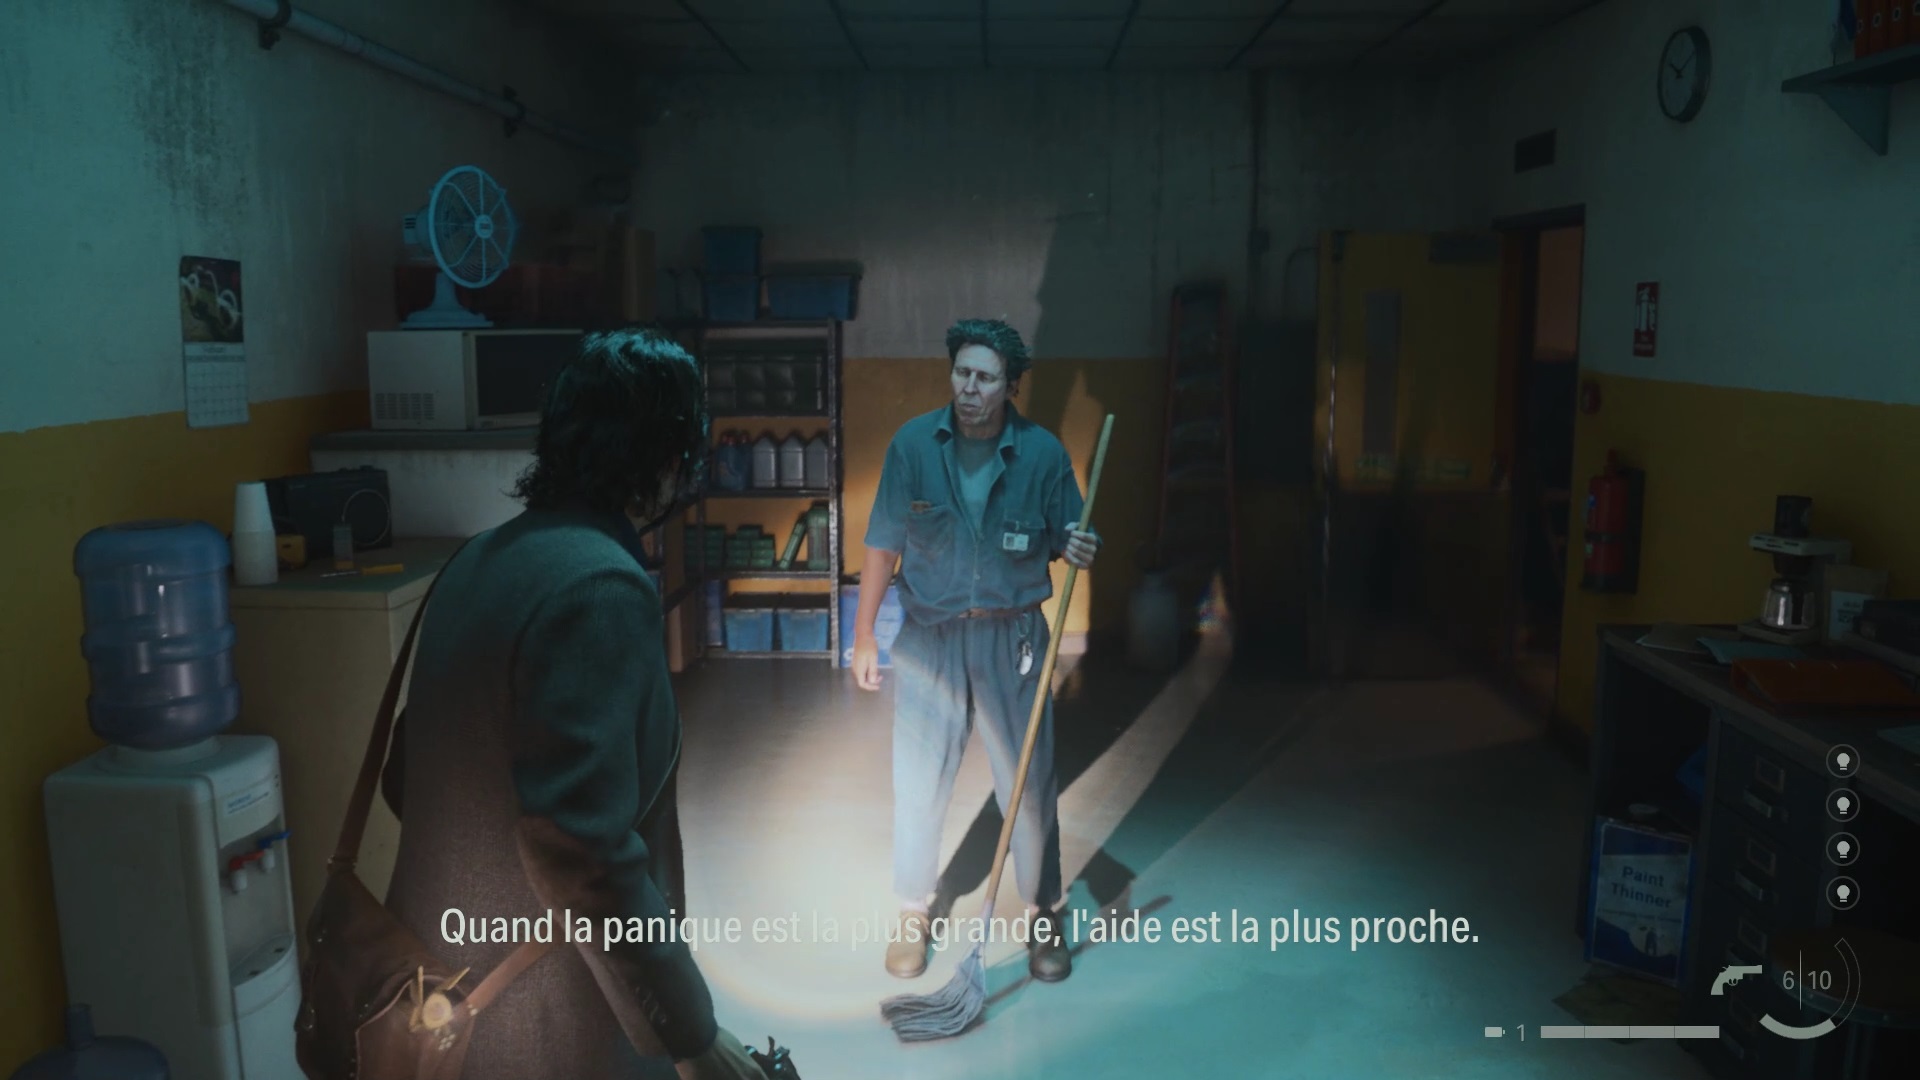
In town, follow Agent Casey to meet Tim Breaker. Remember to examine the walls of the Diner to retrieve a map of Bright Falls. Then enter the diner to question the witnesses, Booker. After a few questions, you have enough material to interrogate them in the mental den, in the Profiling section
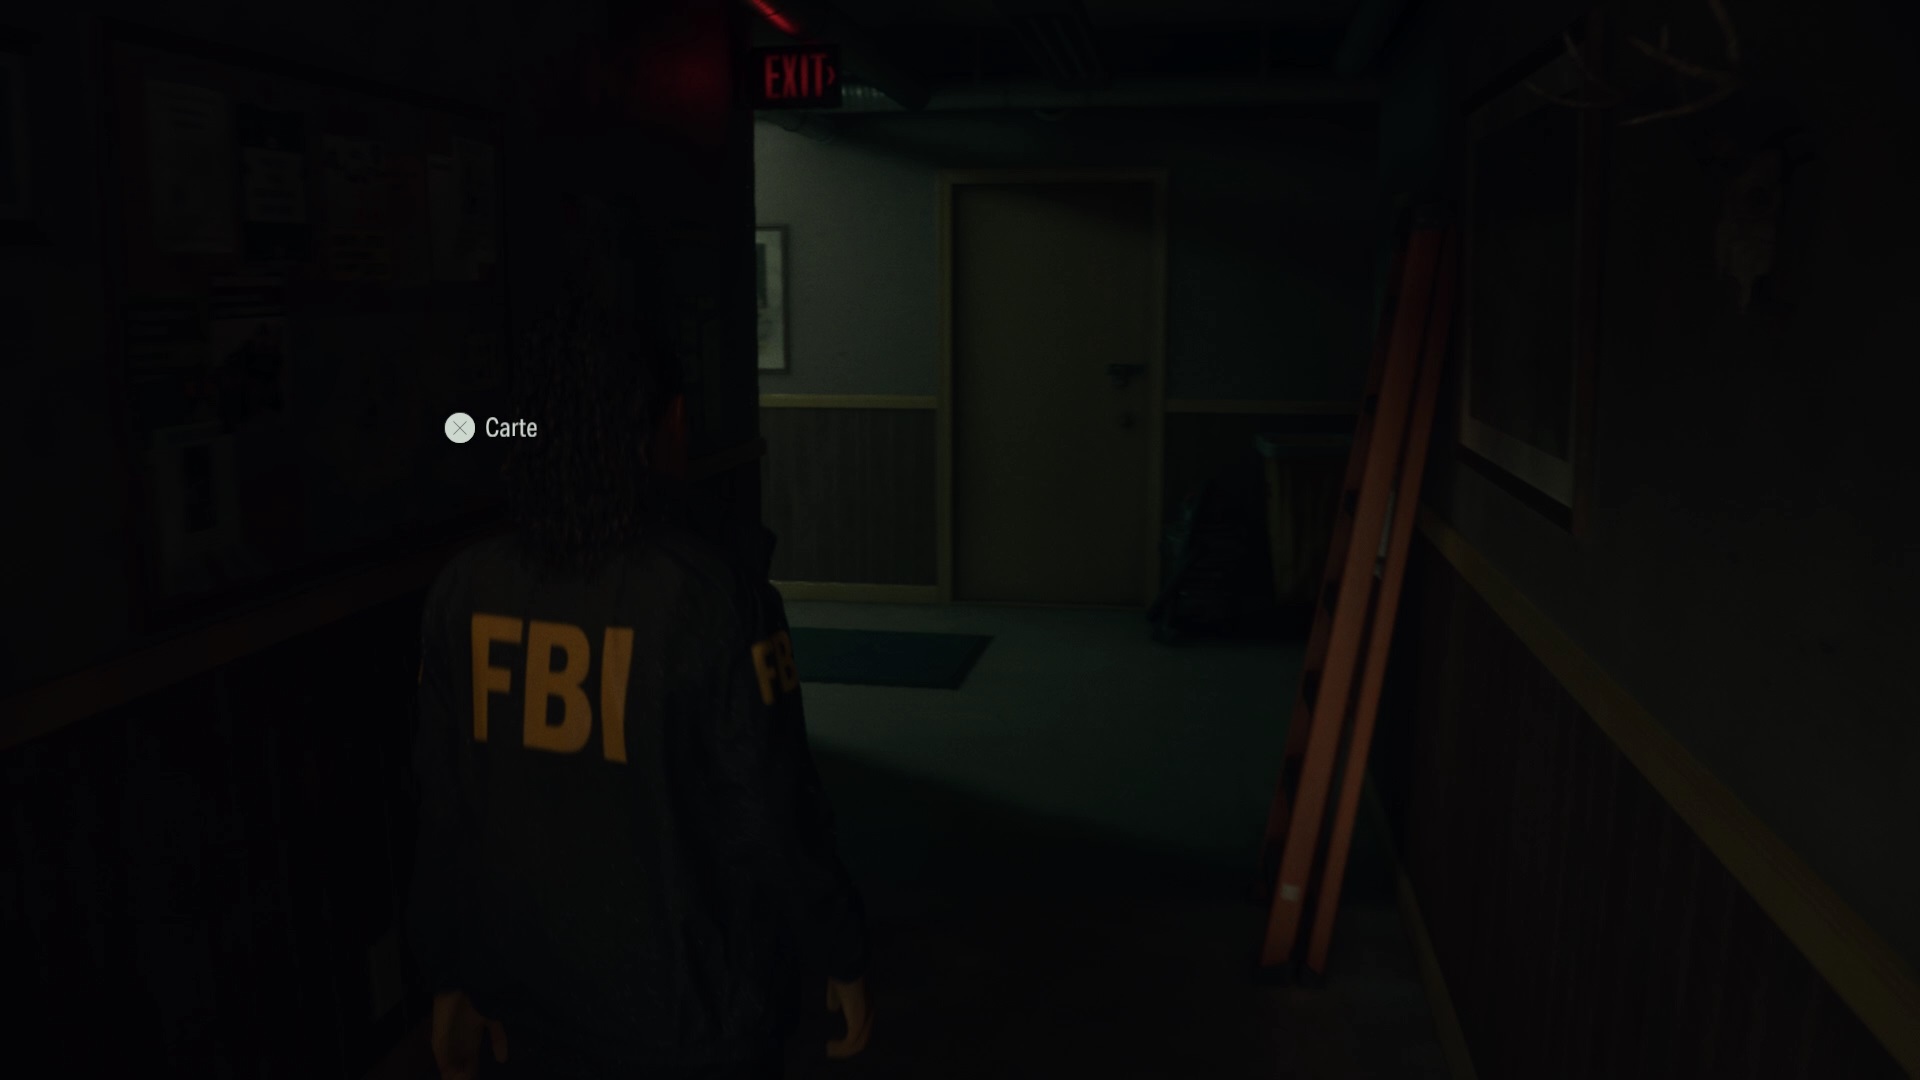
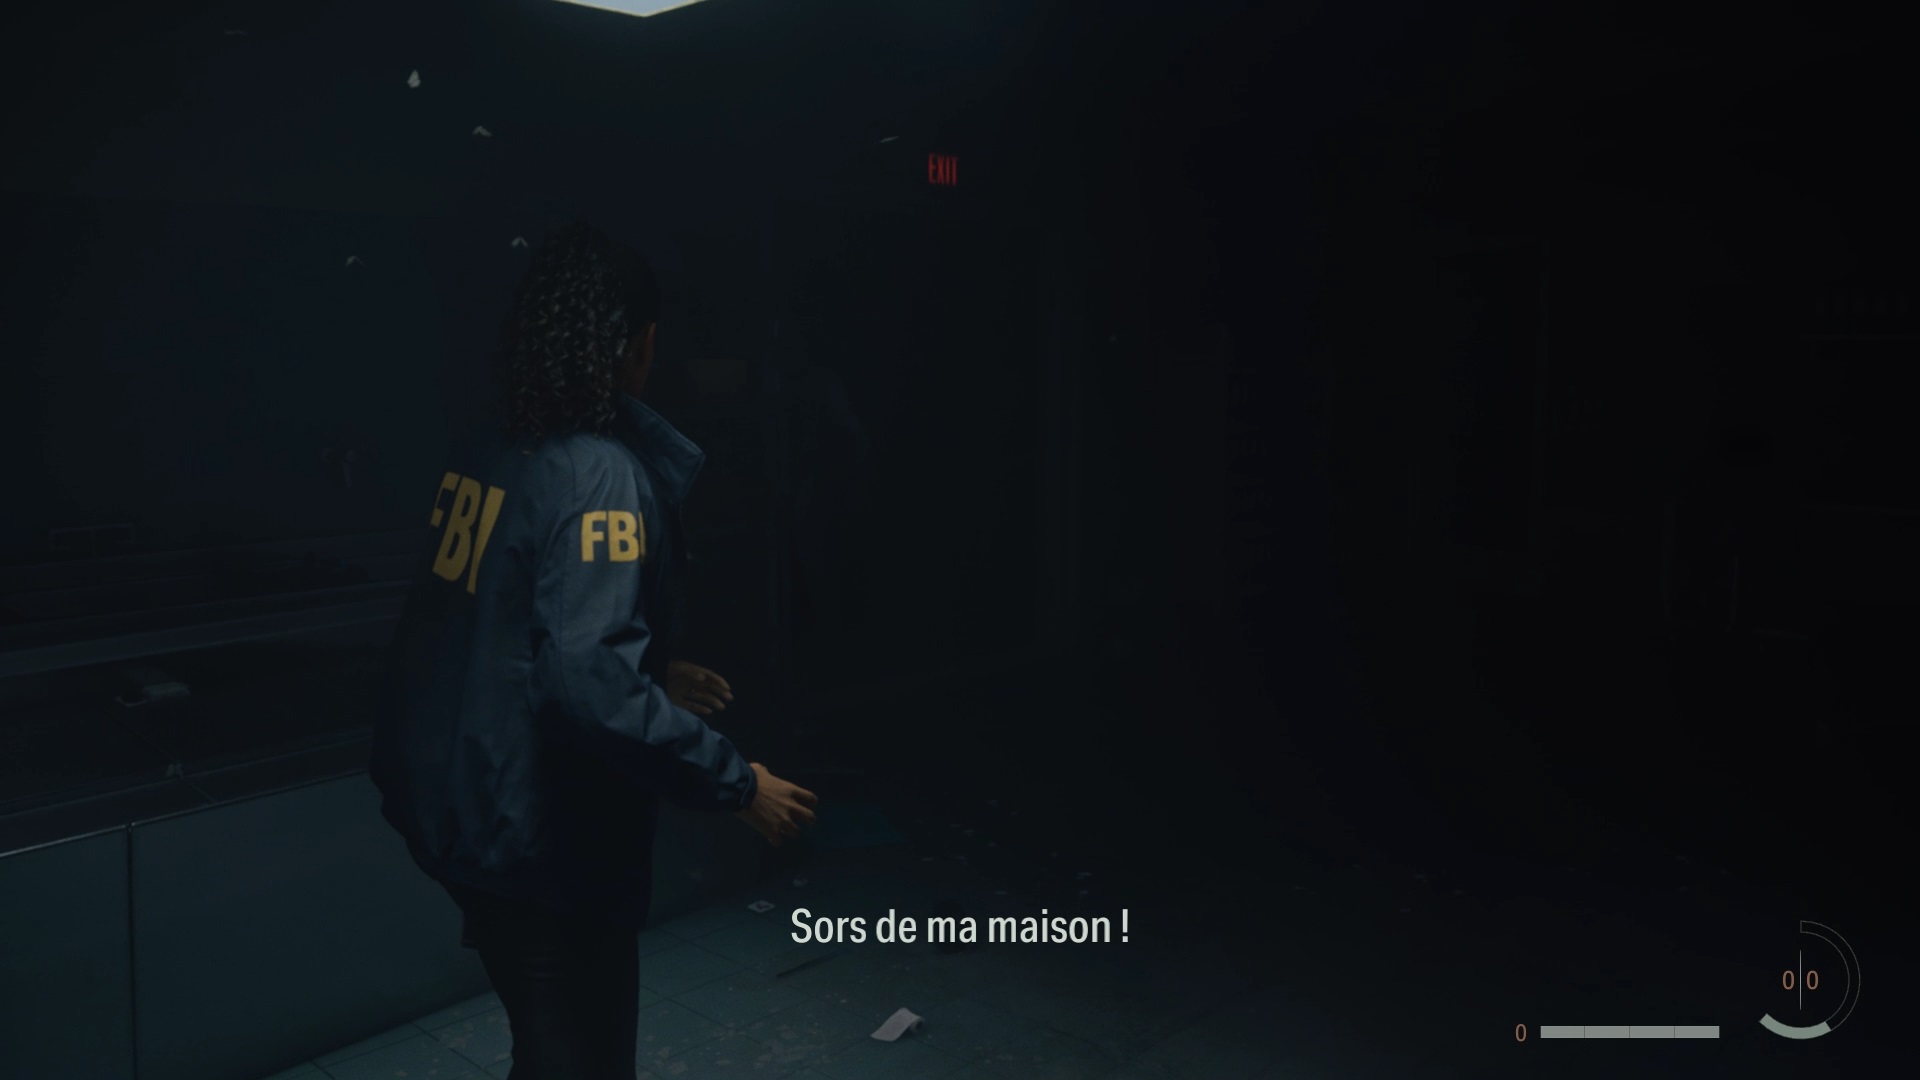
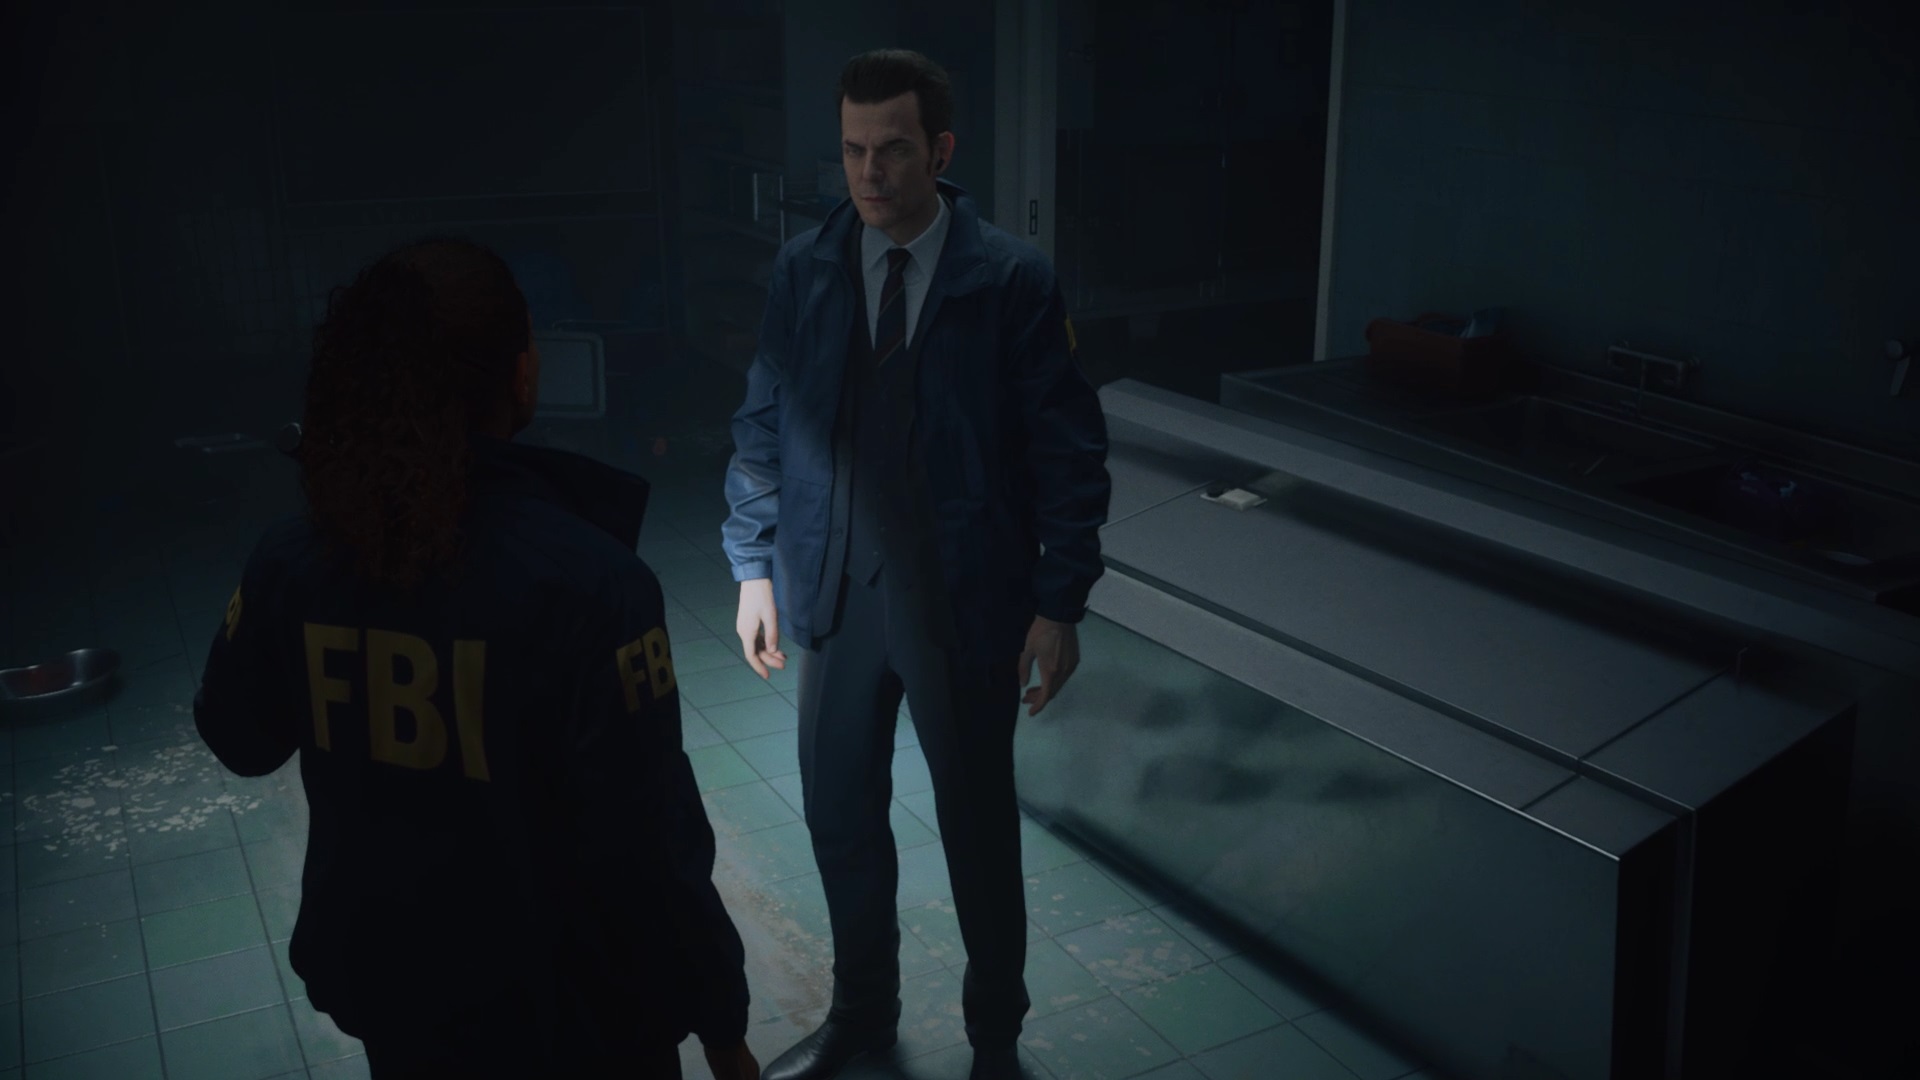
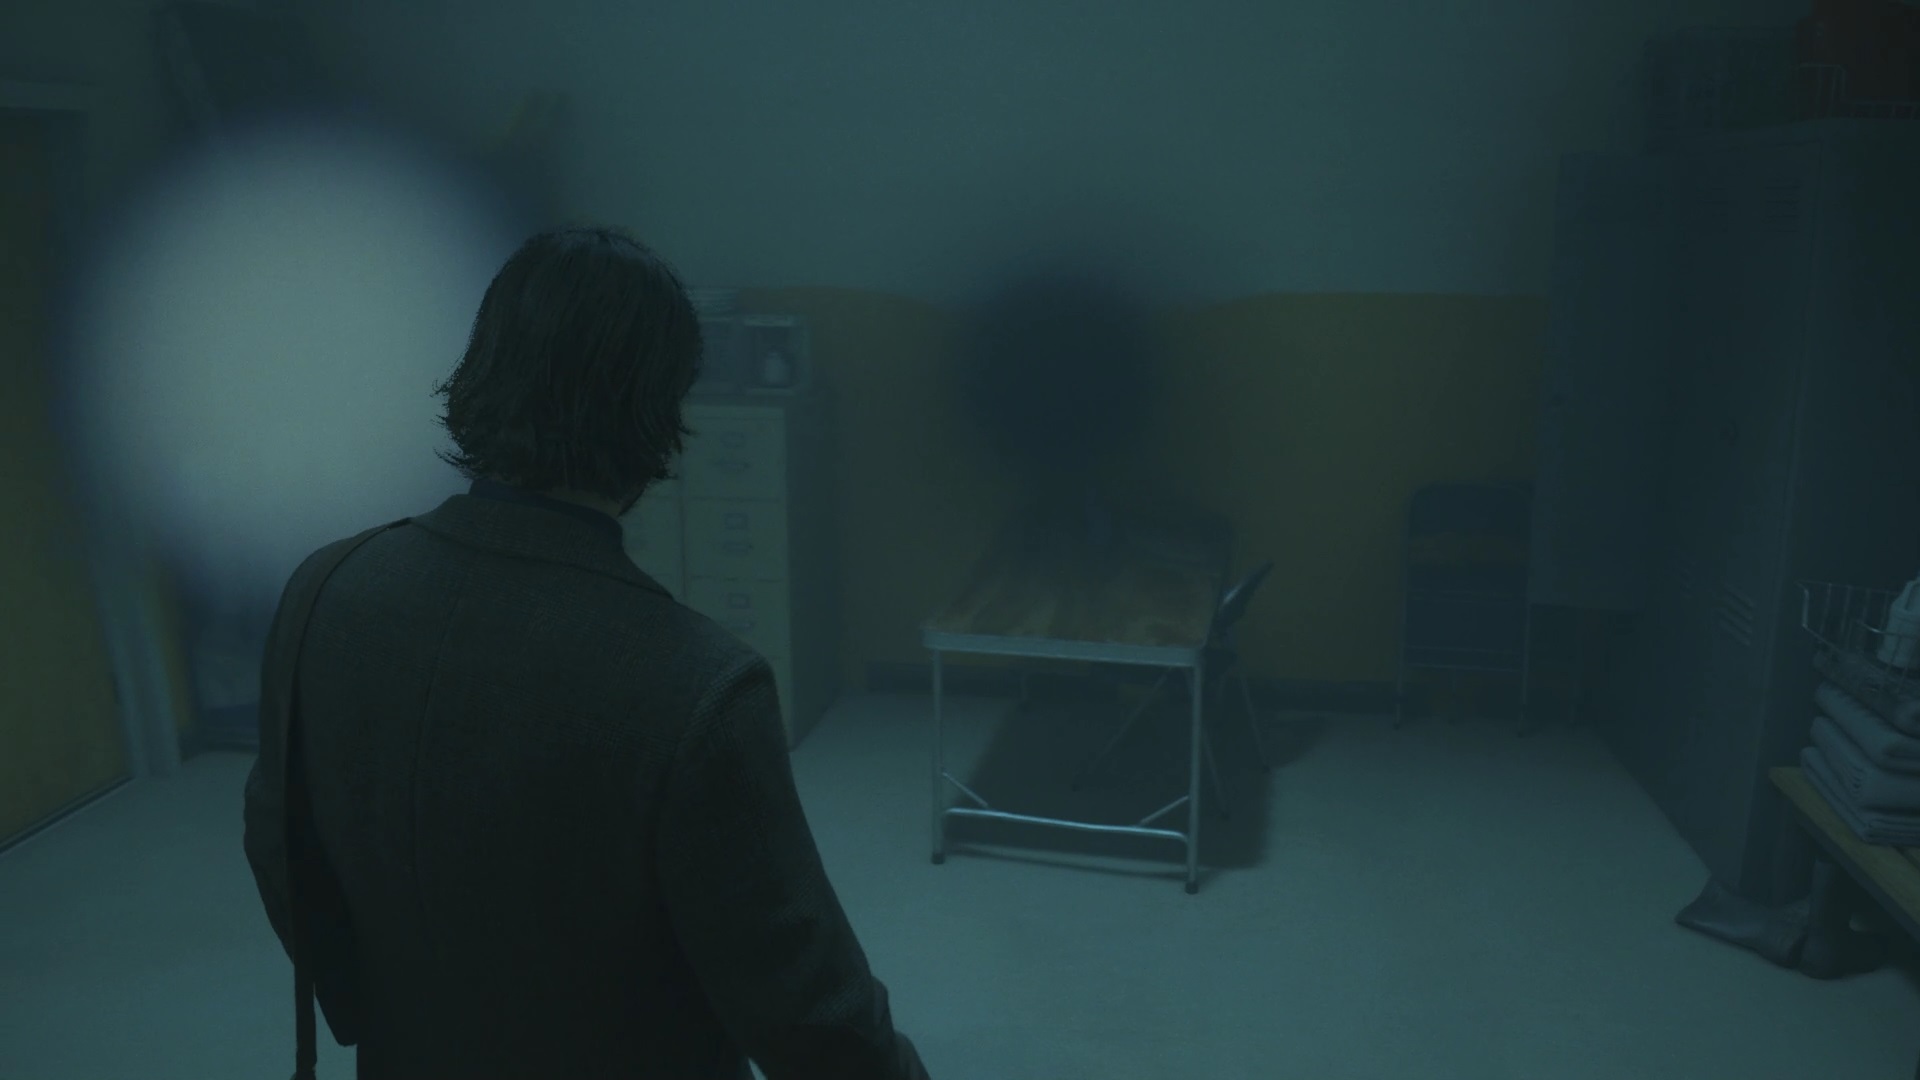
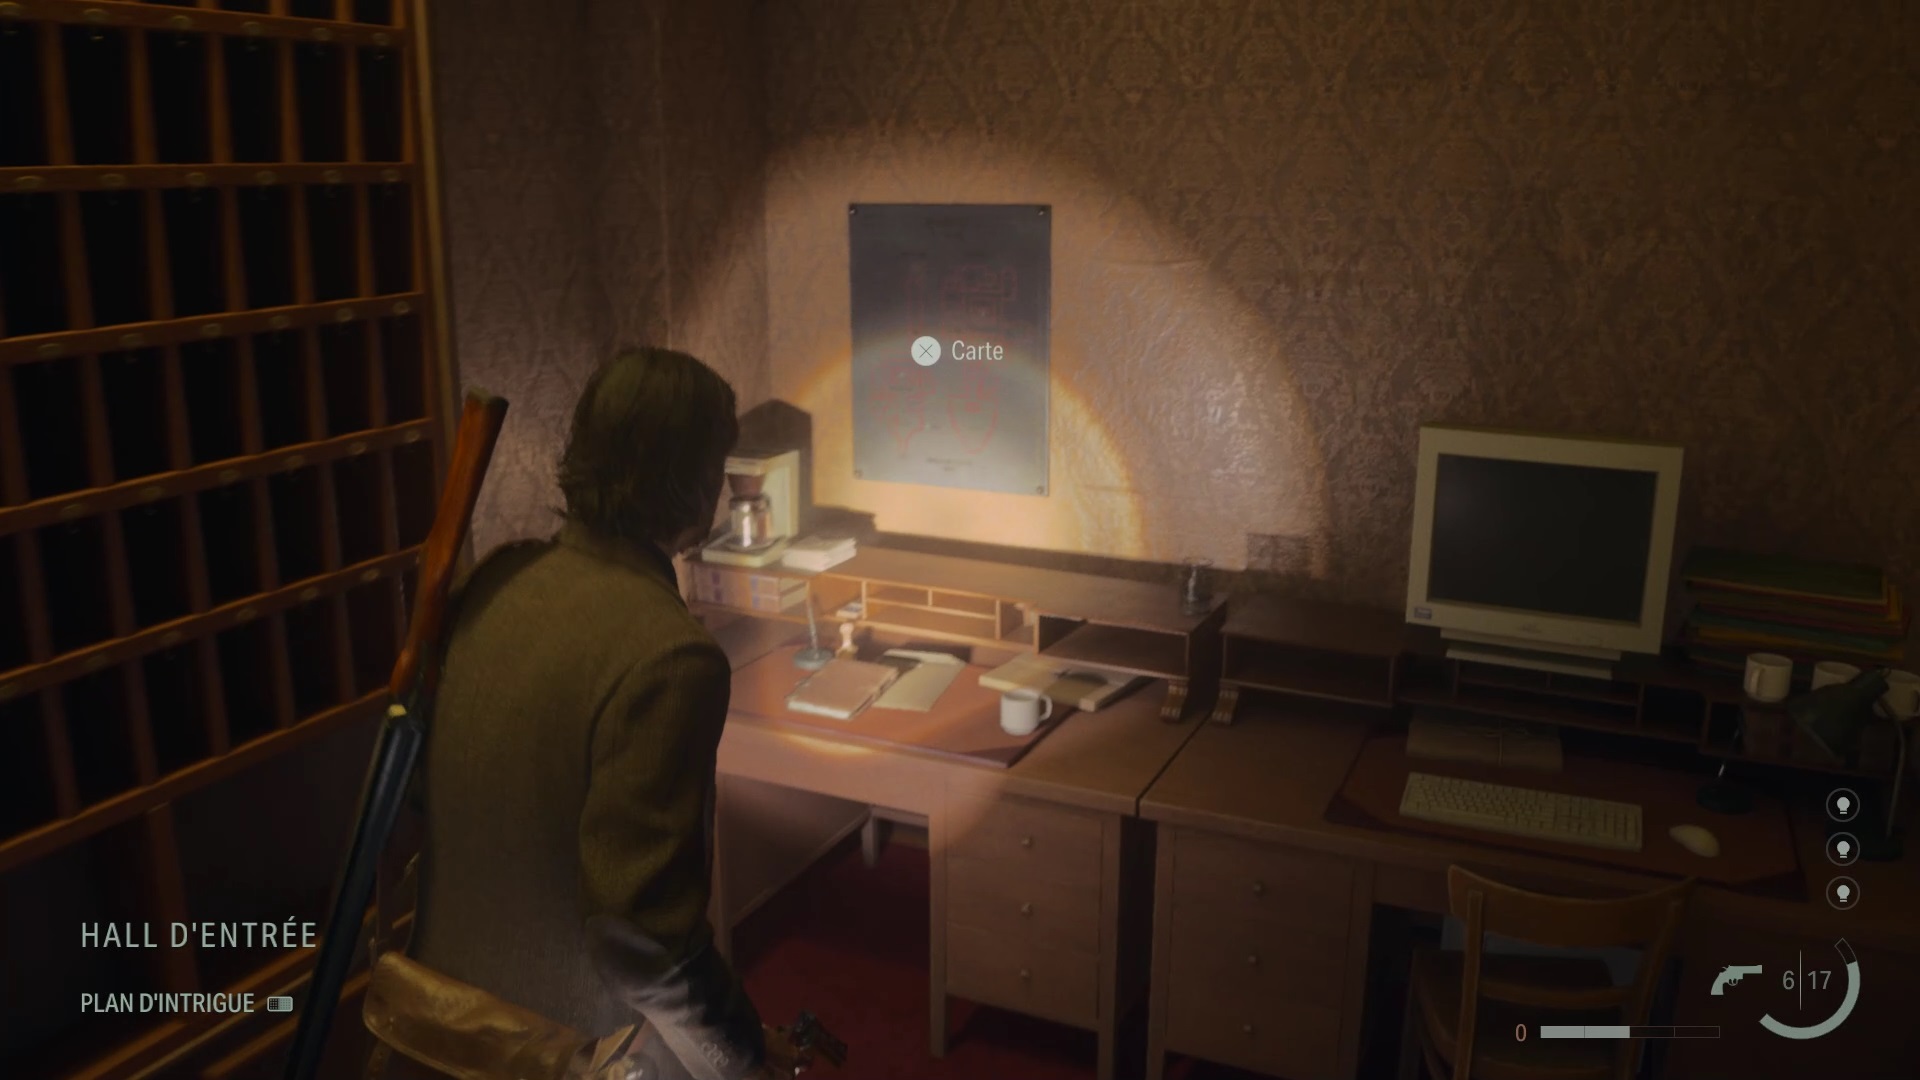
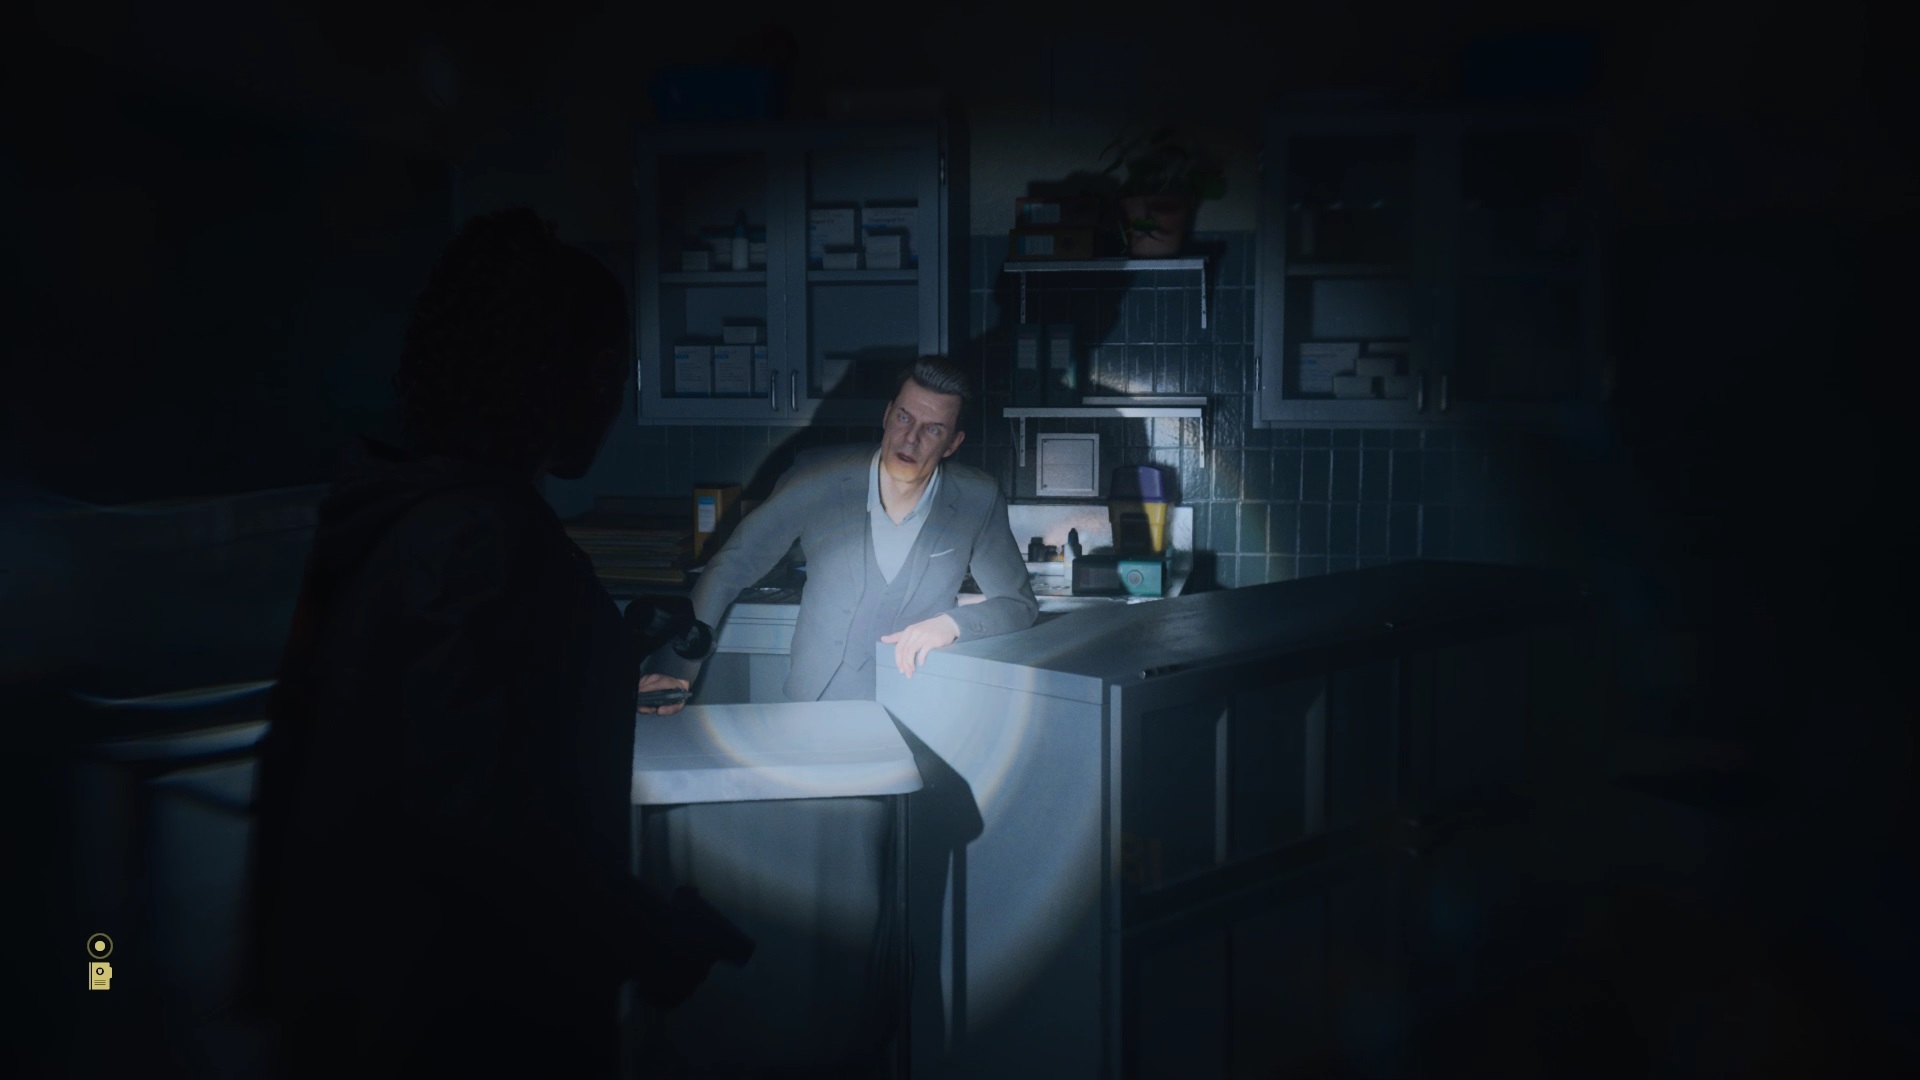
Talk to the Bookers at dinner to find out what they’re hiding. After the cutscene, go to the hallway at the back of the diner to get a card. Then go outside to join Casey at the sheriff’s office. In the morgue, examine Nightingale’s body by interacting with the head, chest, heart and arm.
In the mental den, place one of the items on the question “Anything to learn frm the body?” » to open two questions. Associate “Ritual writing?” » with the evidence “Illegible text under the victim’s skin” and “Illegible words on the heart”. Associate with the question “Cause of death”: “Bruises”, “Chest ripped open” and “Bloating of joints”. You can now search Nightingale’s insides
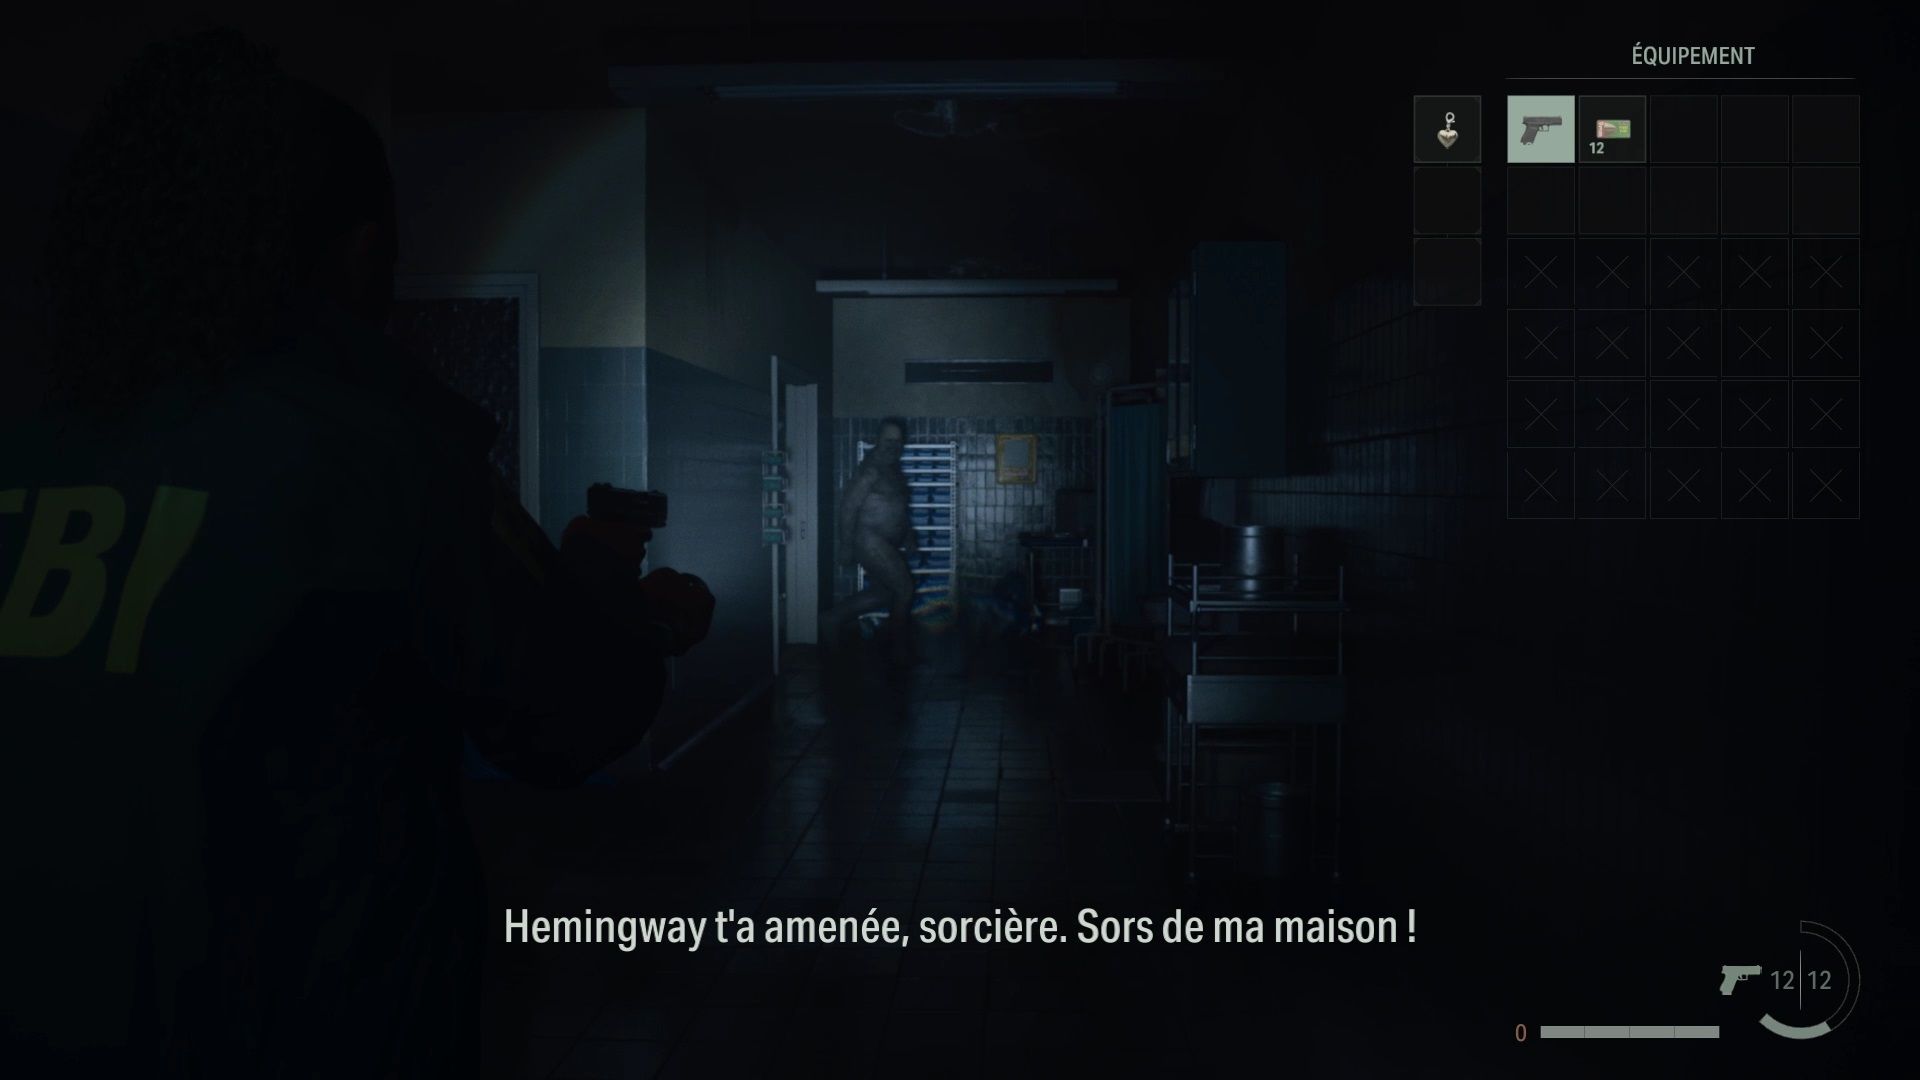
After the cutscene, the monster wakes up. Go into the light to protect yourself. Run down the exit corridor to collect your weapon from the ground. Shoot the monster to end the chapter.
Return 2 – The heart
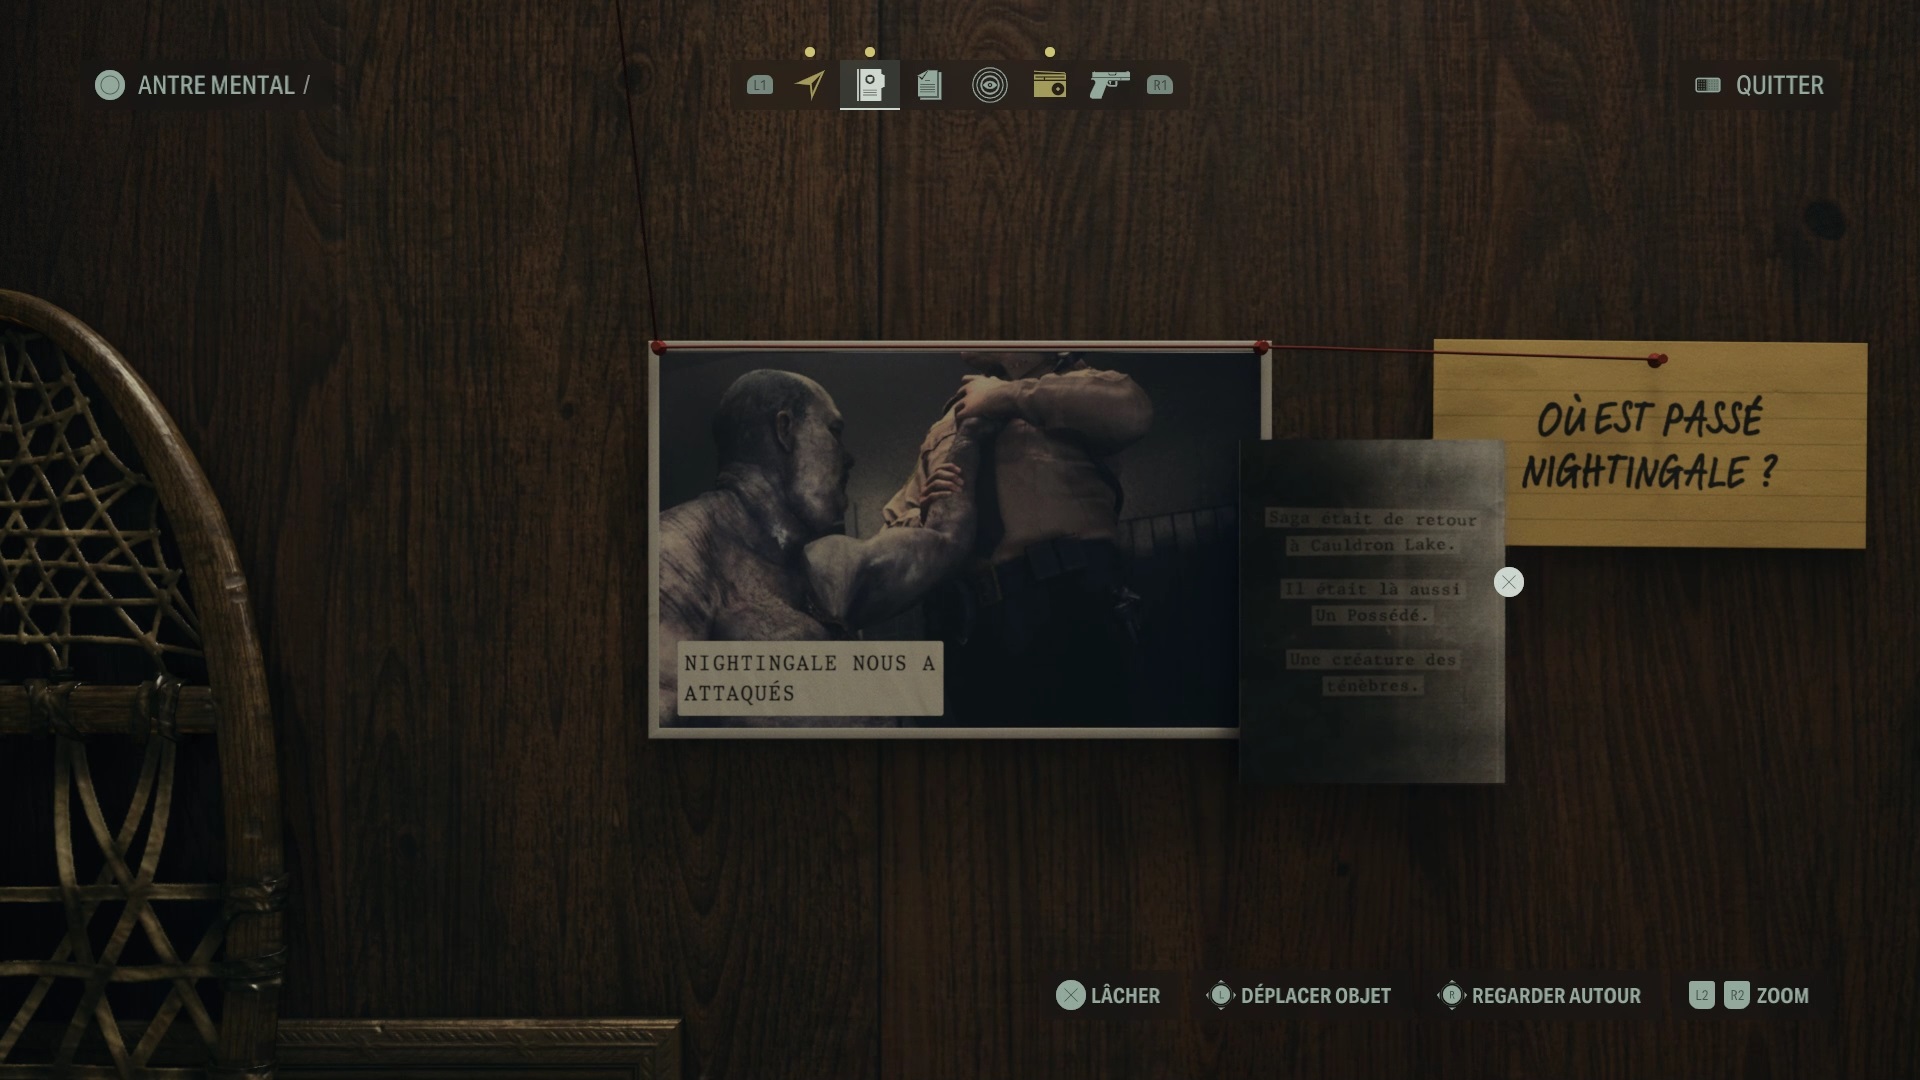
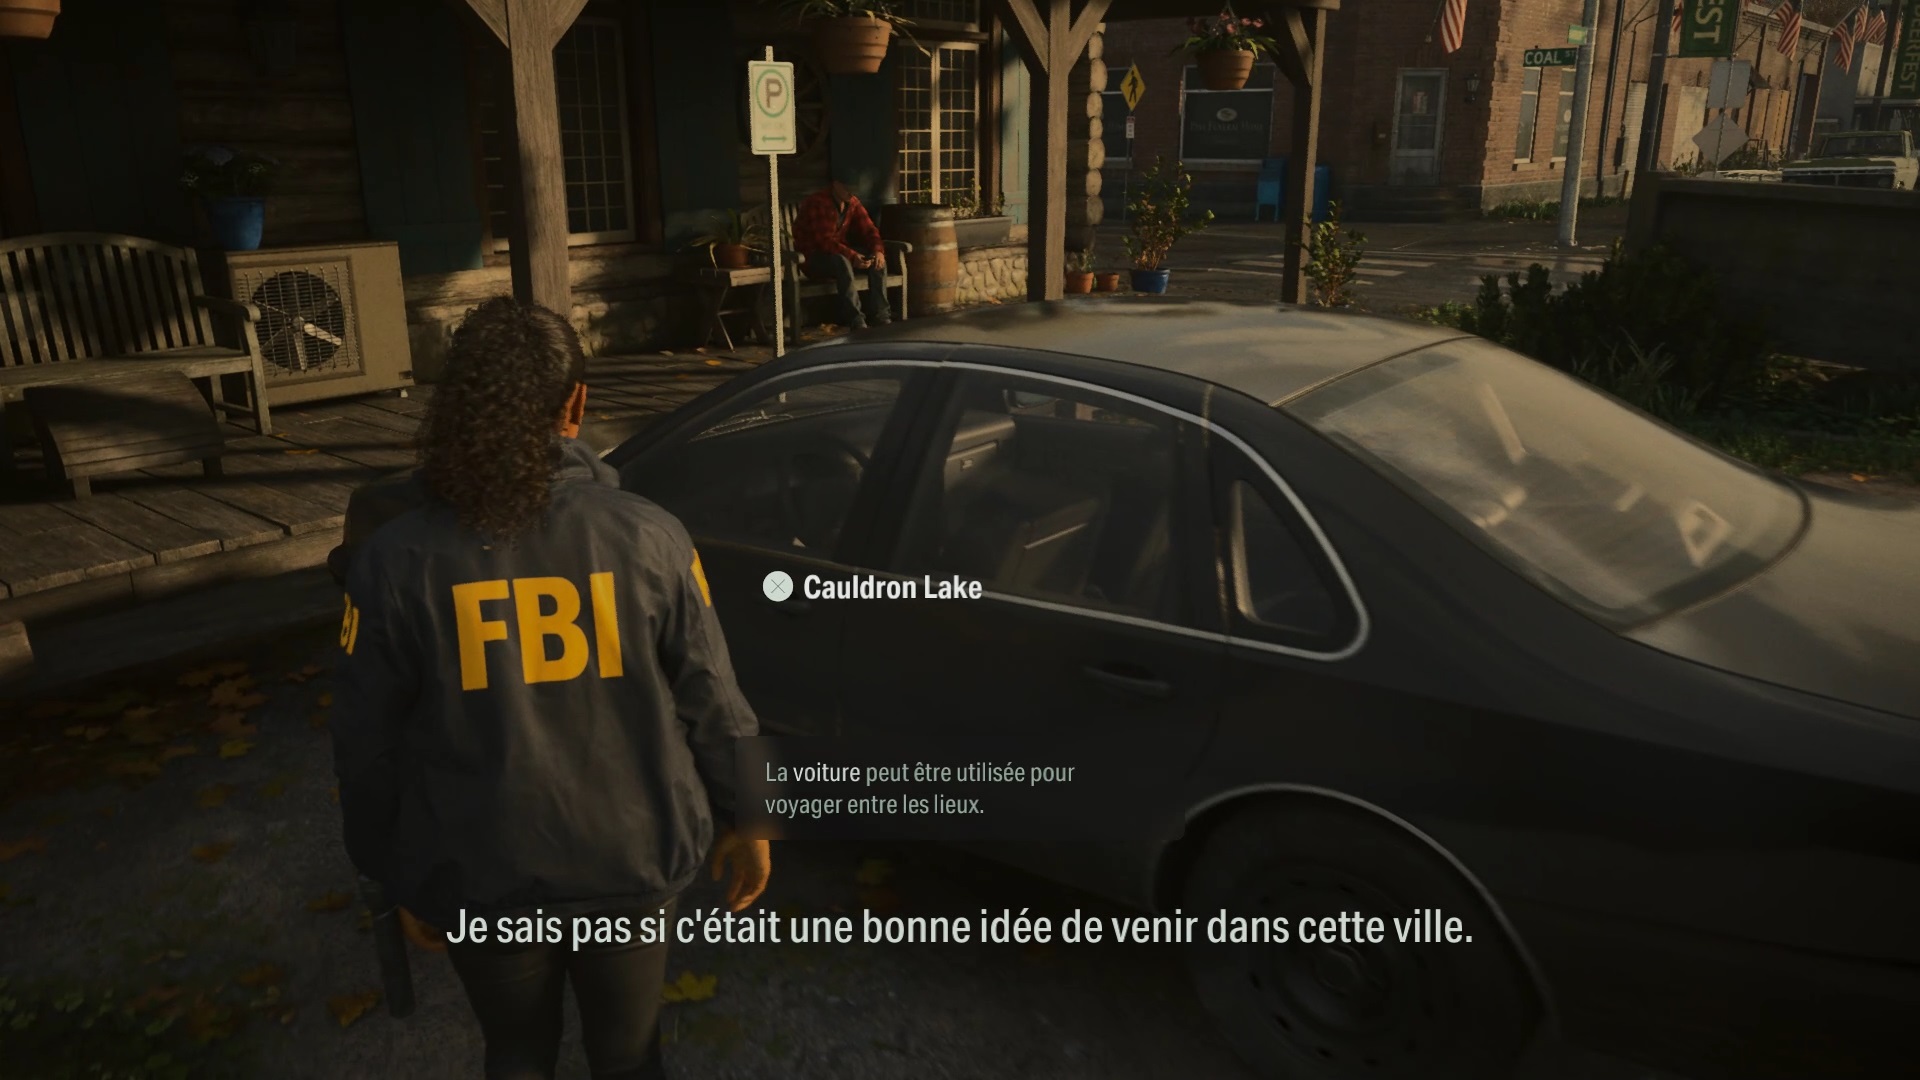
When you return, search the floor behind Alex Casey near the sink to find a page from the manuscript. Let’s move on to the « Cauldron Lake Murders » file in the mind place. Place “Nightingale attacked us” on the board and match the writings to the new question “Where did Nightingale go?” « . Talk to Casey about returning to Cauldron Lake. Exit the Sheriff’s office and follow the officer to your vehicle. Take the vehicle to arrive at Cauldron Lake.
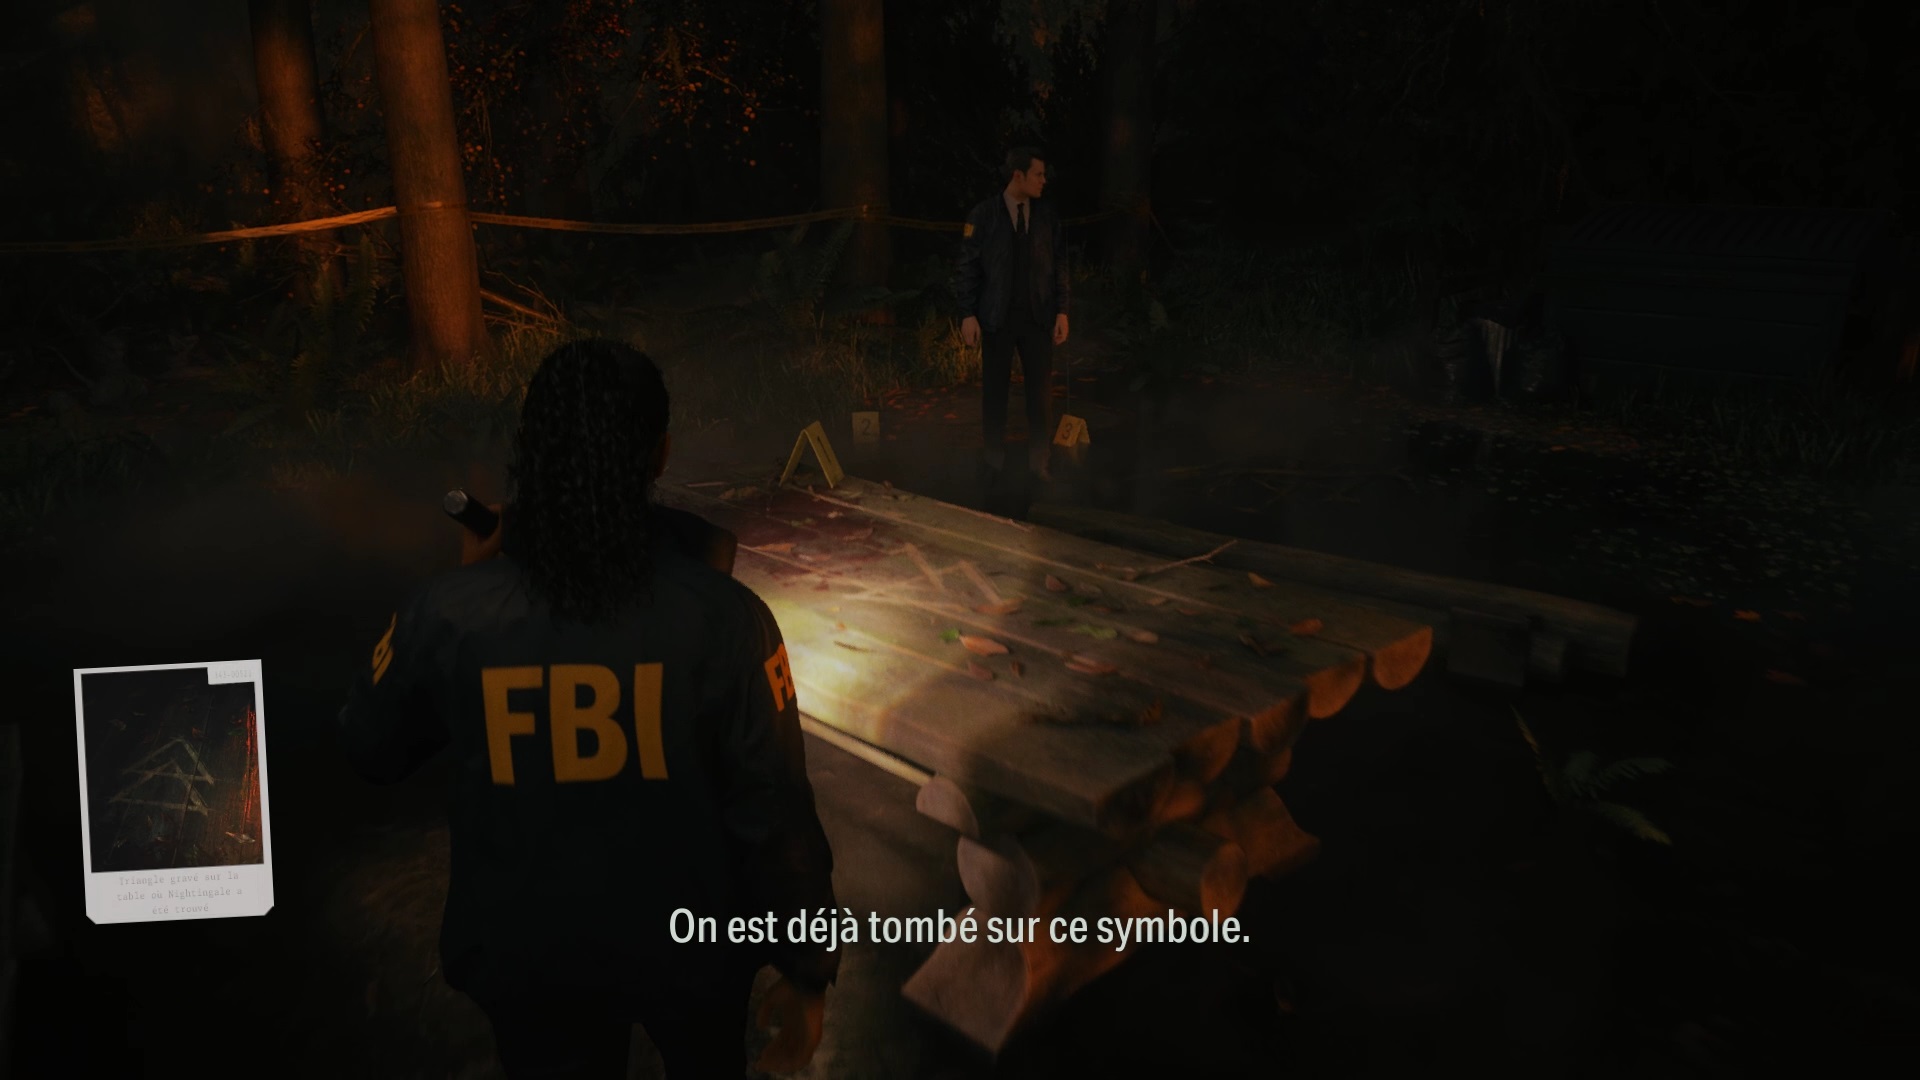
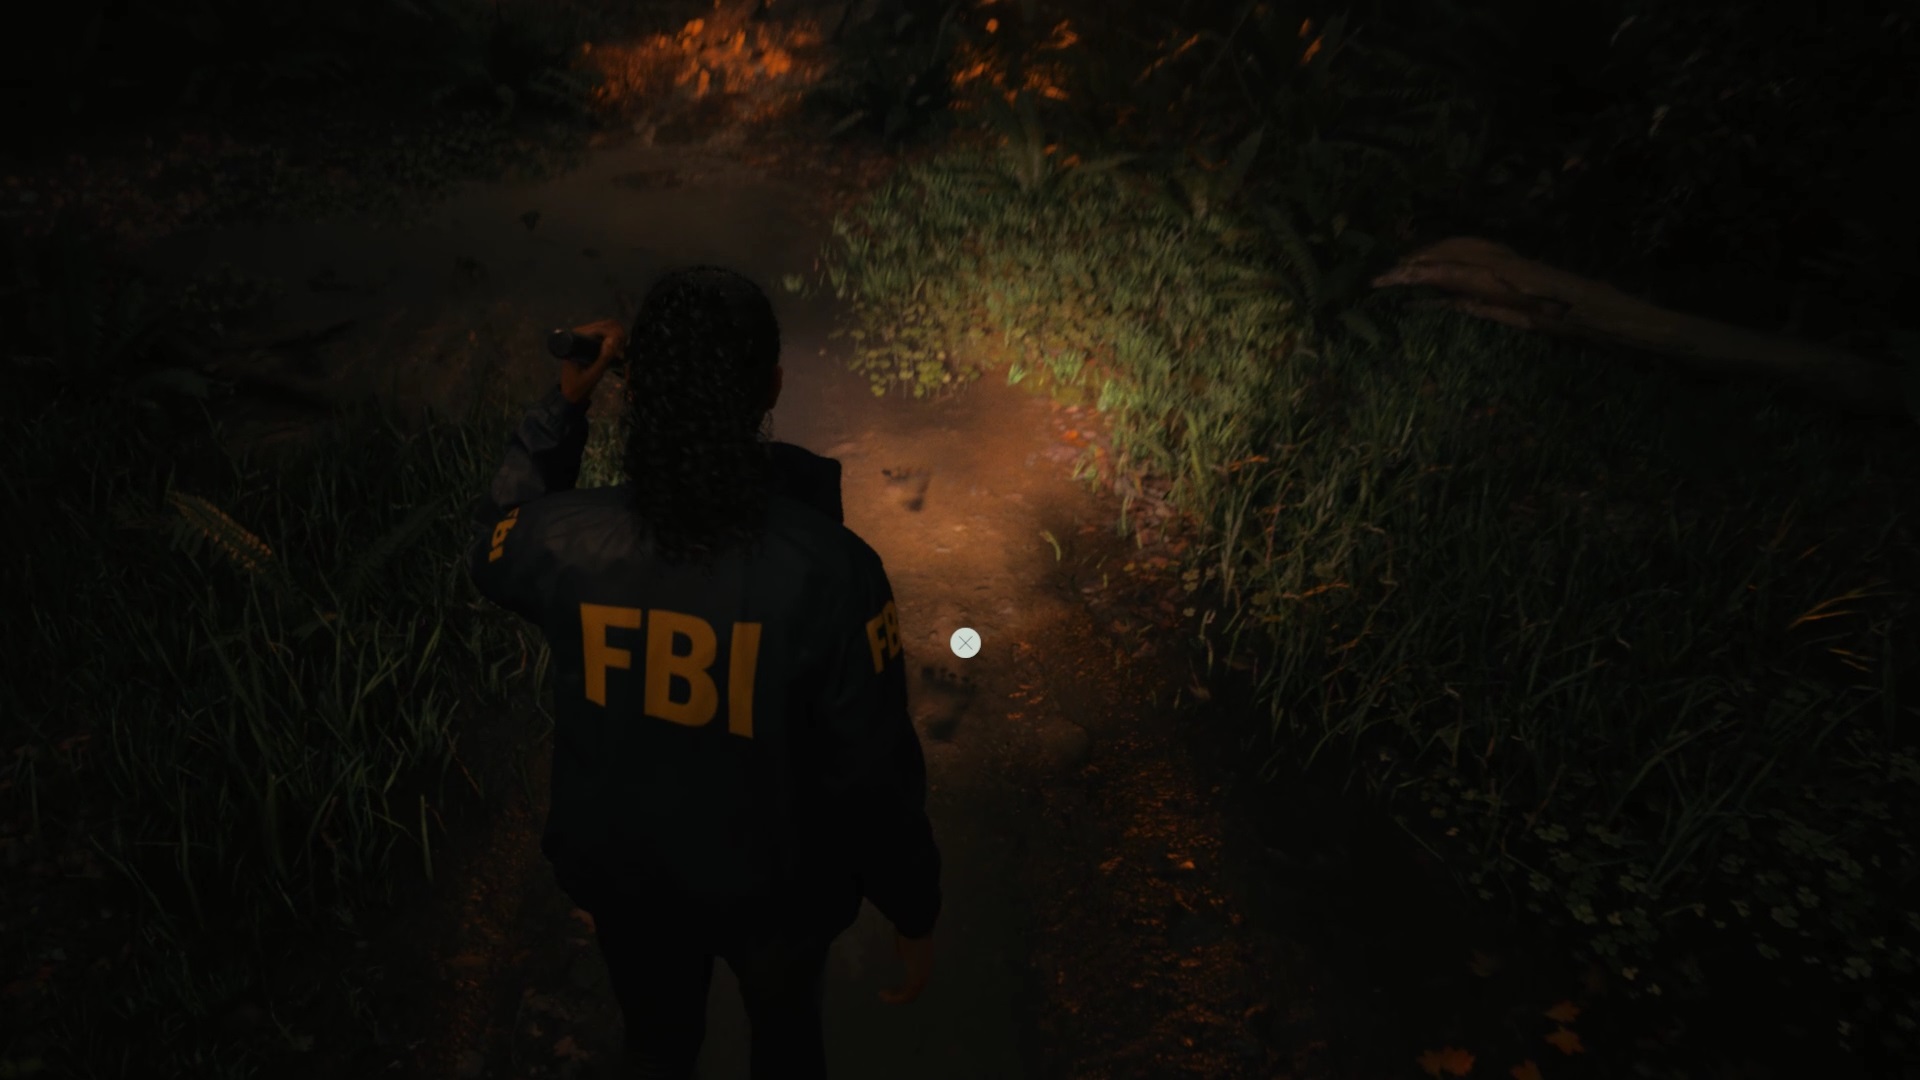
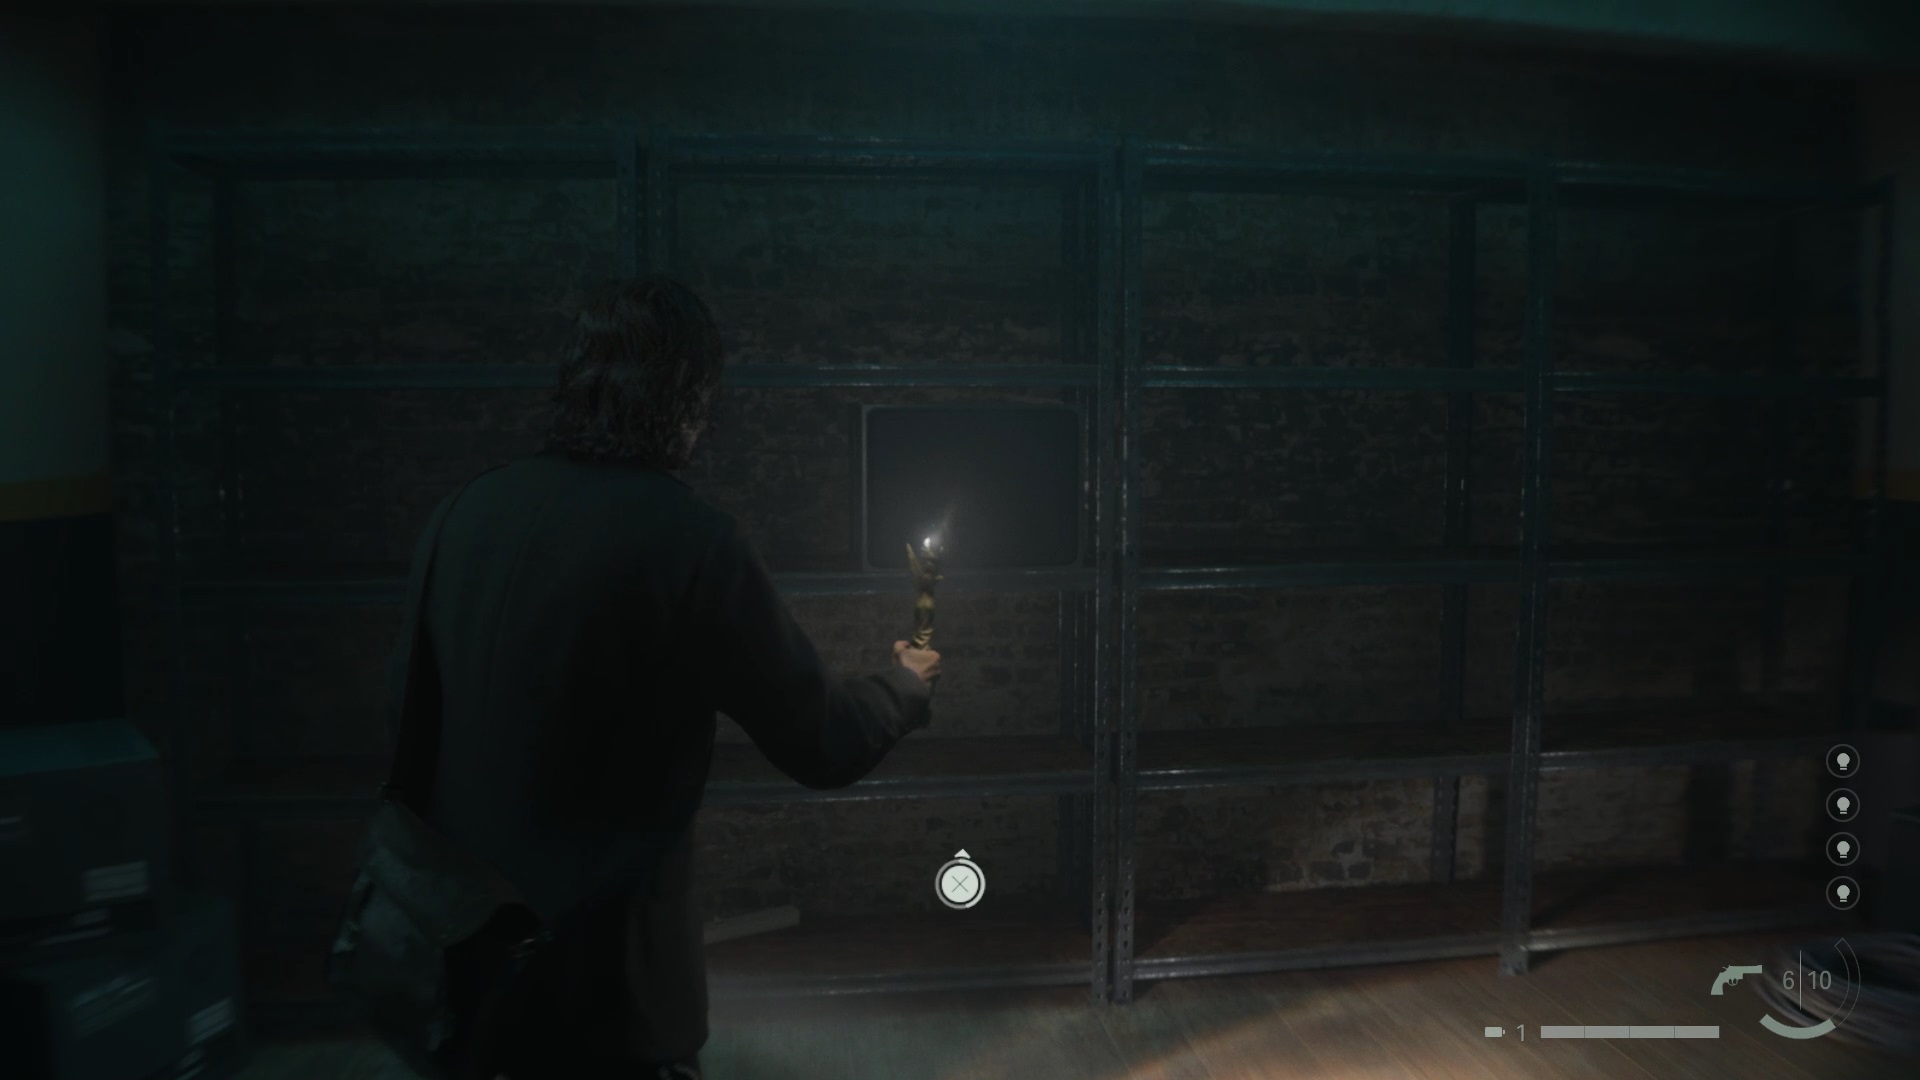
Follow Casey back to the crime scene. Interact with the table to obtain an item in the Mind Place. Search the scene on the path behind the table to find new footprints. Follow the footprints back to Witch’s Ladle. Examine the hollow of the tree for a shadow. Use your flashlight to dispel it and retrieve a page.

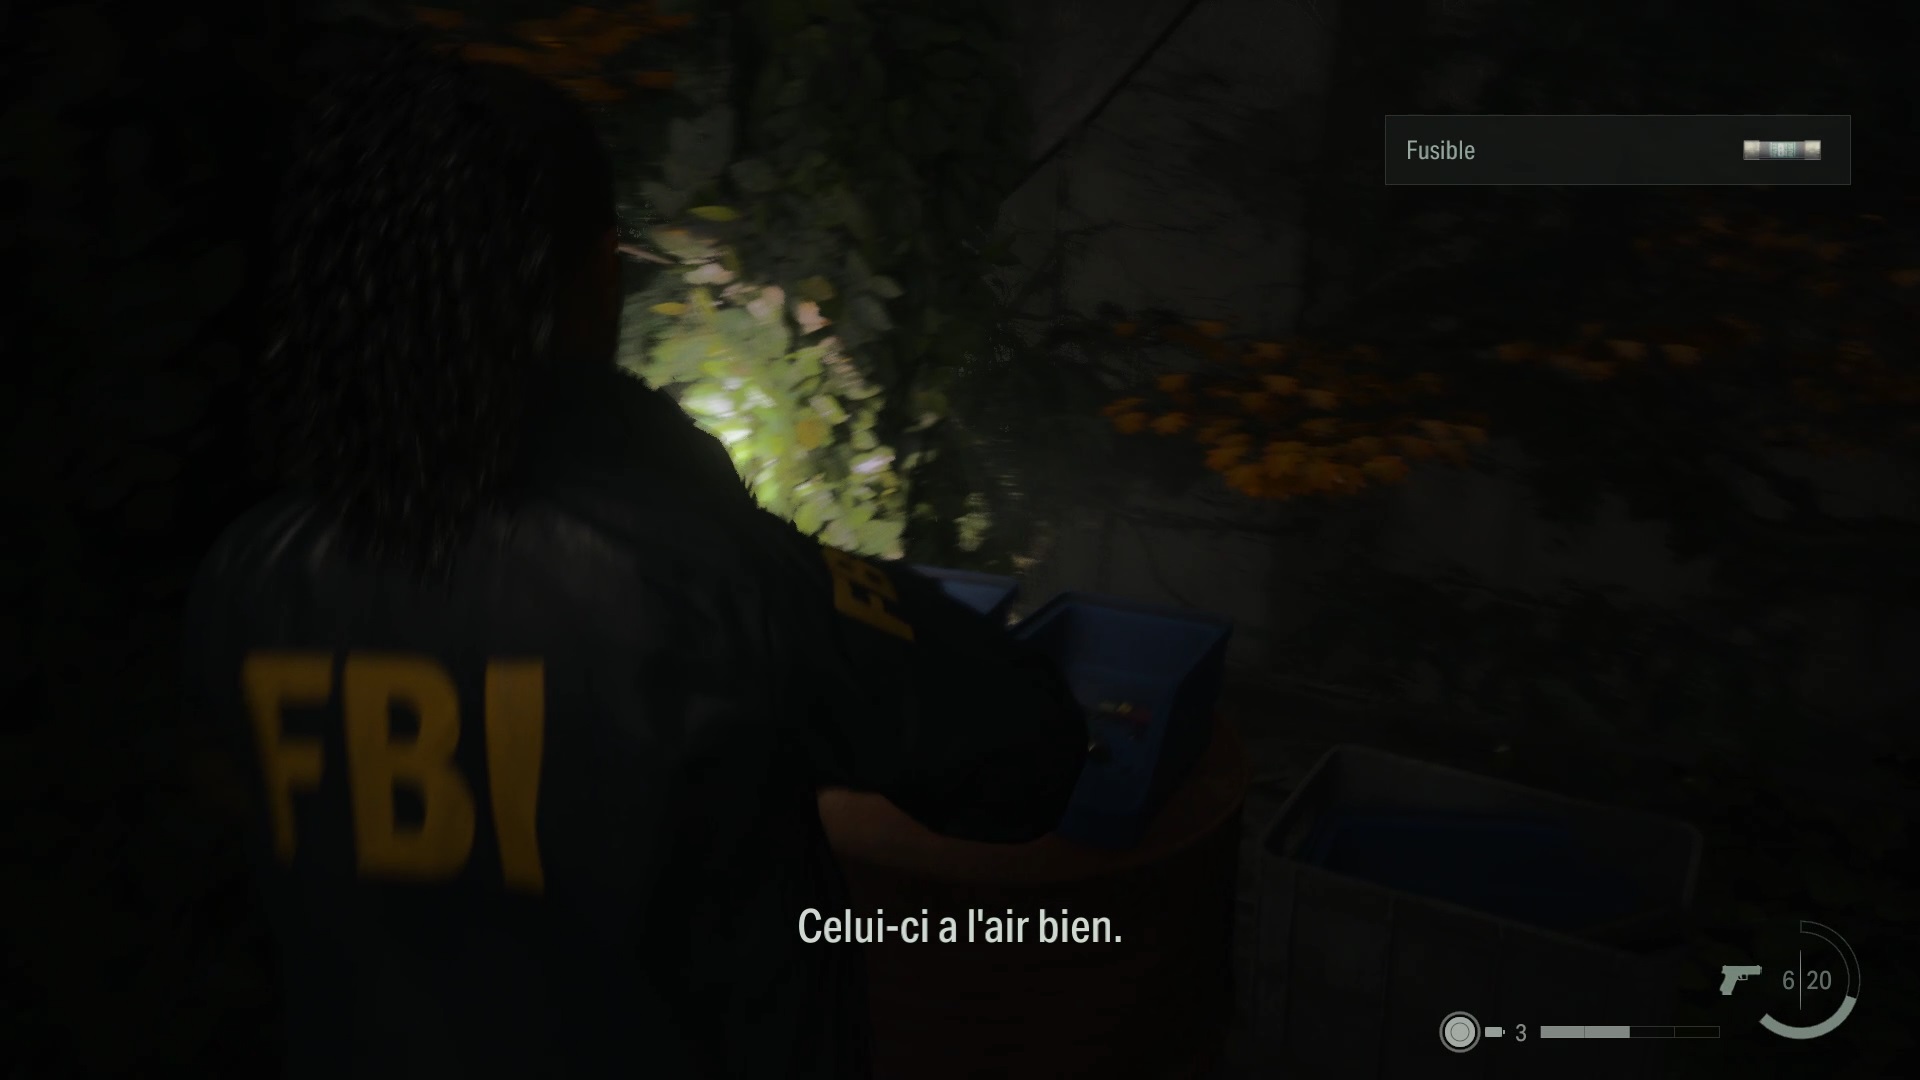
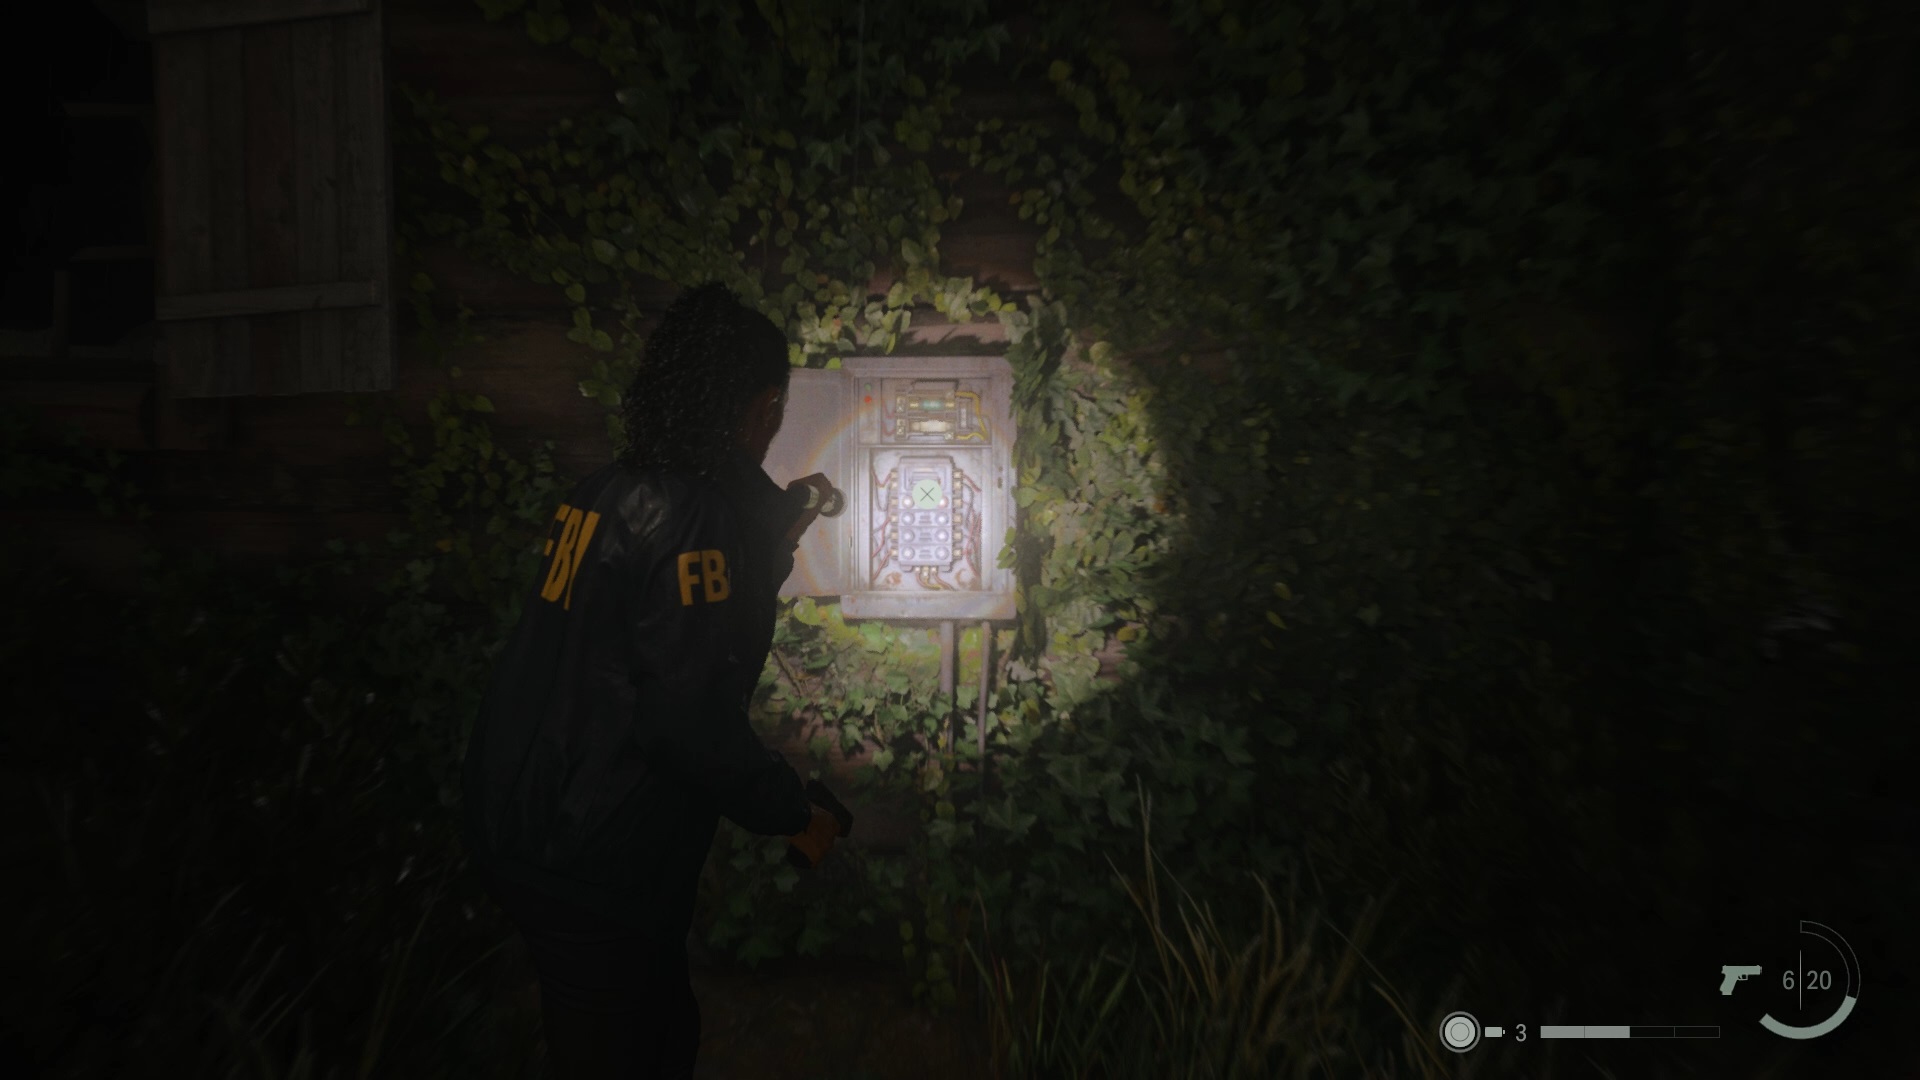
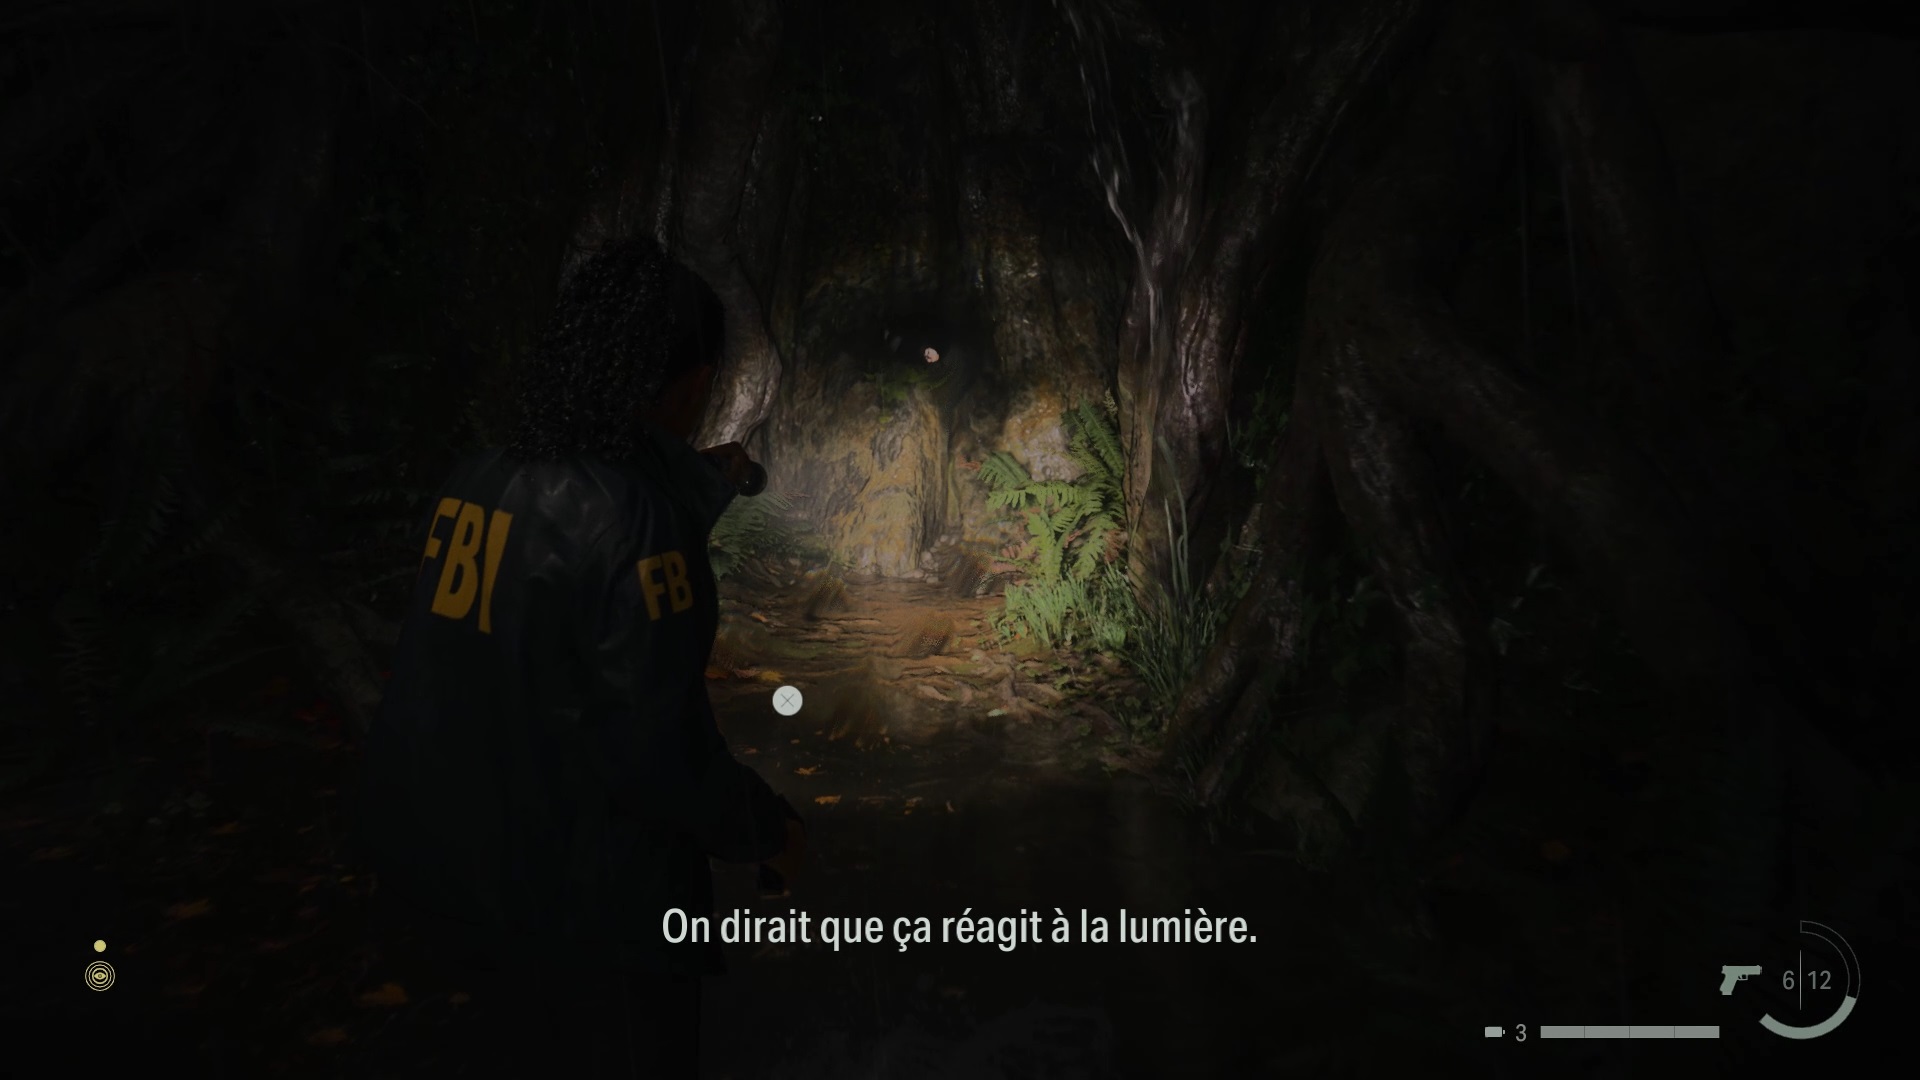
In the mind place, place the elements « Nightingale’s trail » and the « footprints » on the question « Where has Nightingale gone? » « . Then place the two elements of the manuscript to answer the question « Witch’s Hut? » « . Retrace your steps by following the footprints backwards to find an unexplored path. Go up to find the Witch’s hut. Nearby is a path. Explore it to find a fuse in a blue bin. Use the fuse on the Witch’s Hut to activate the light.
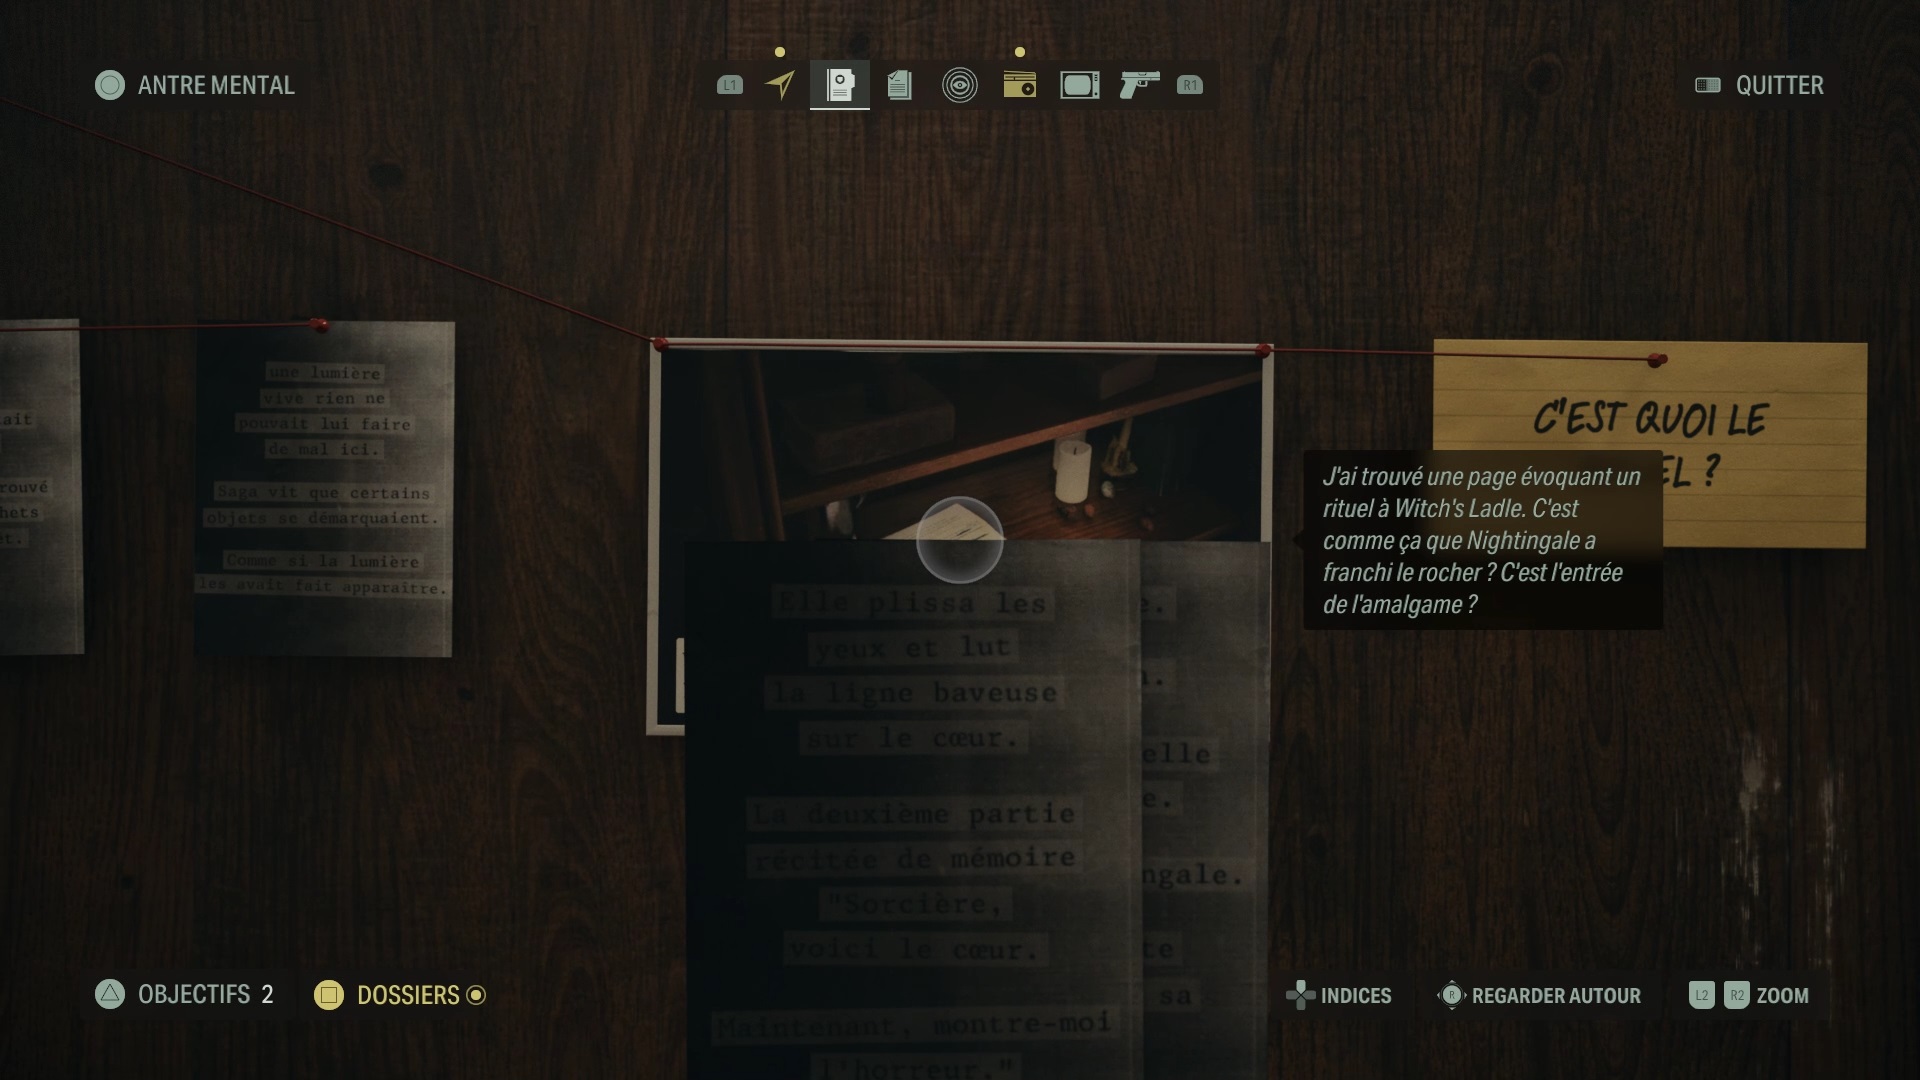
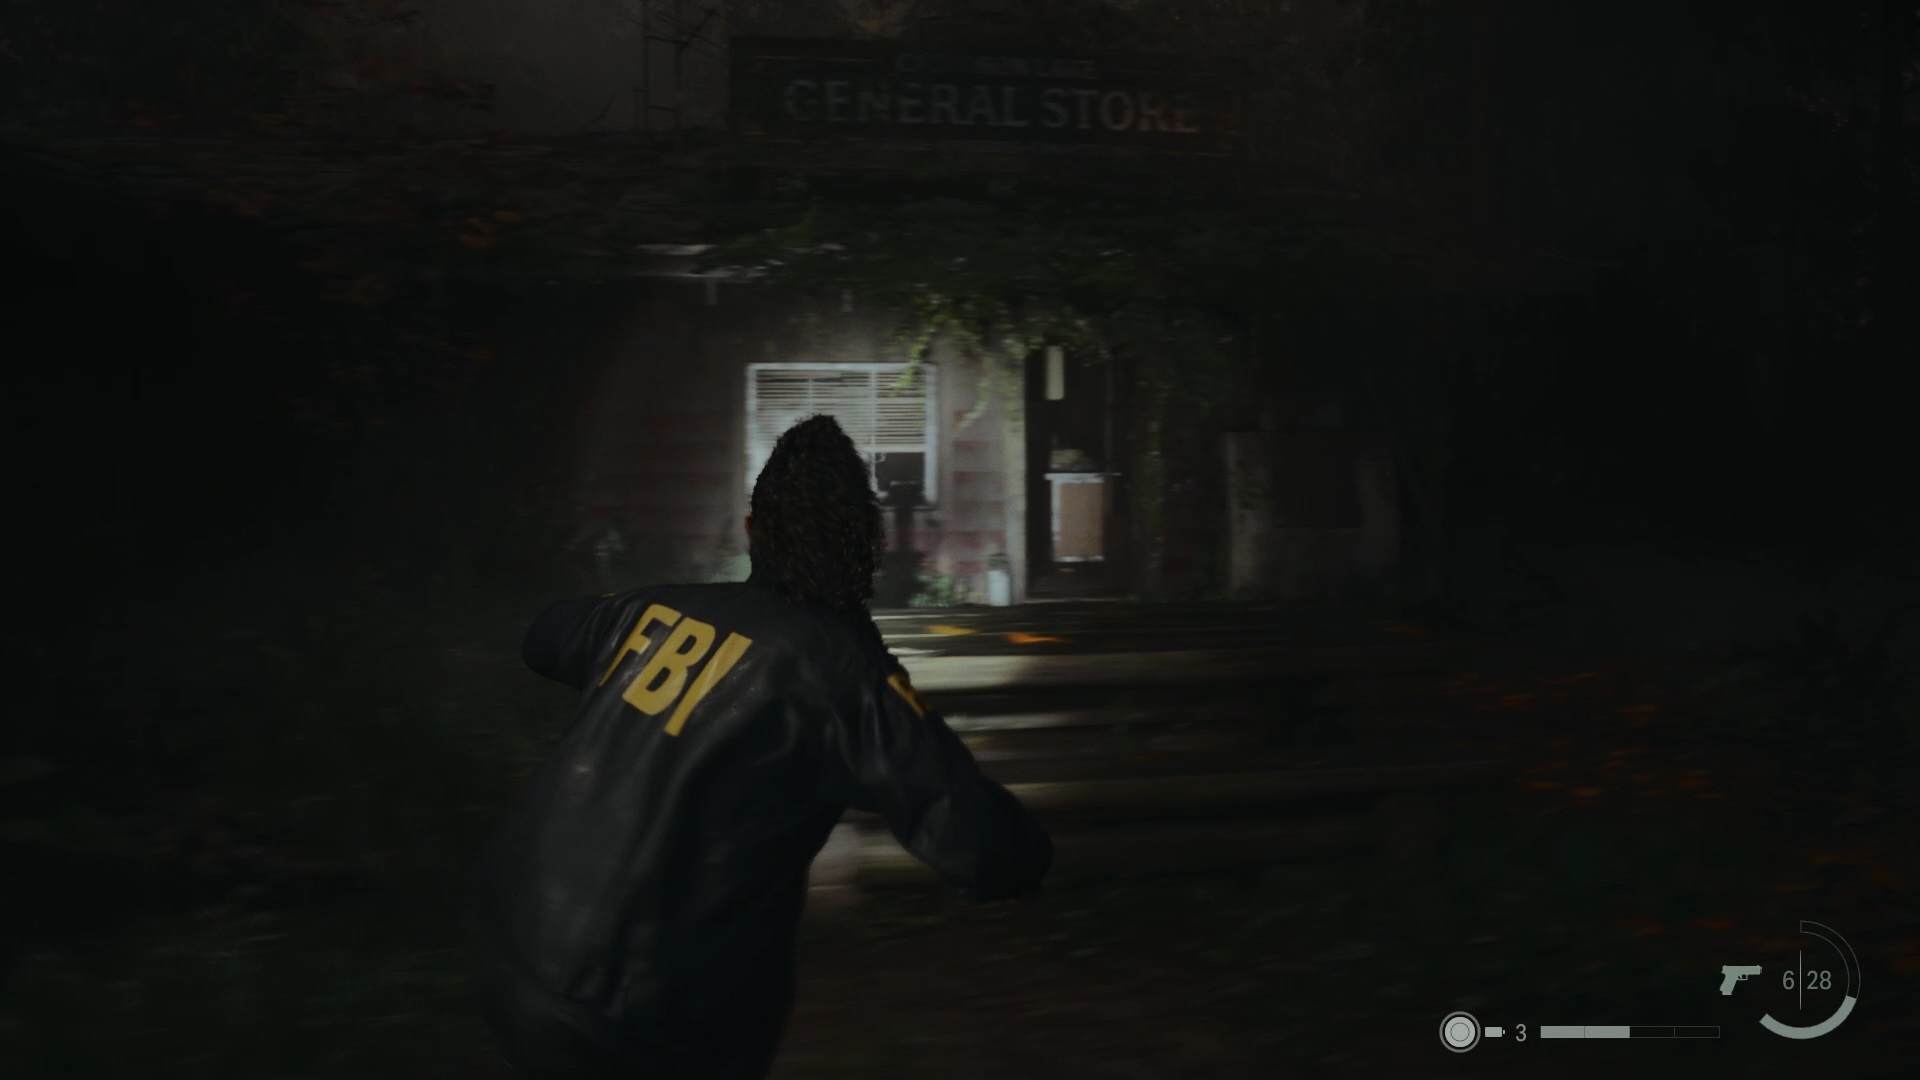
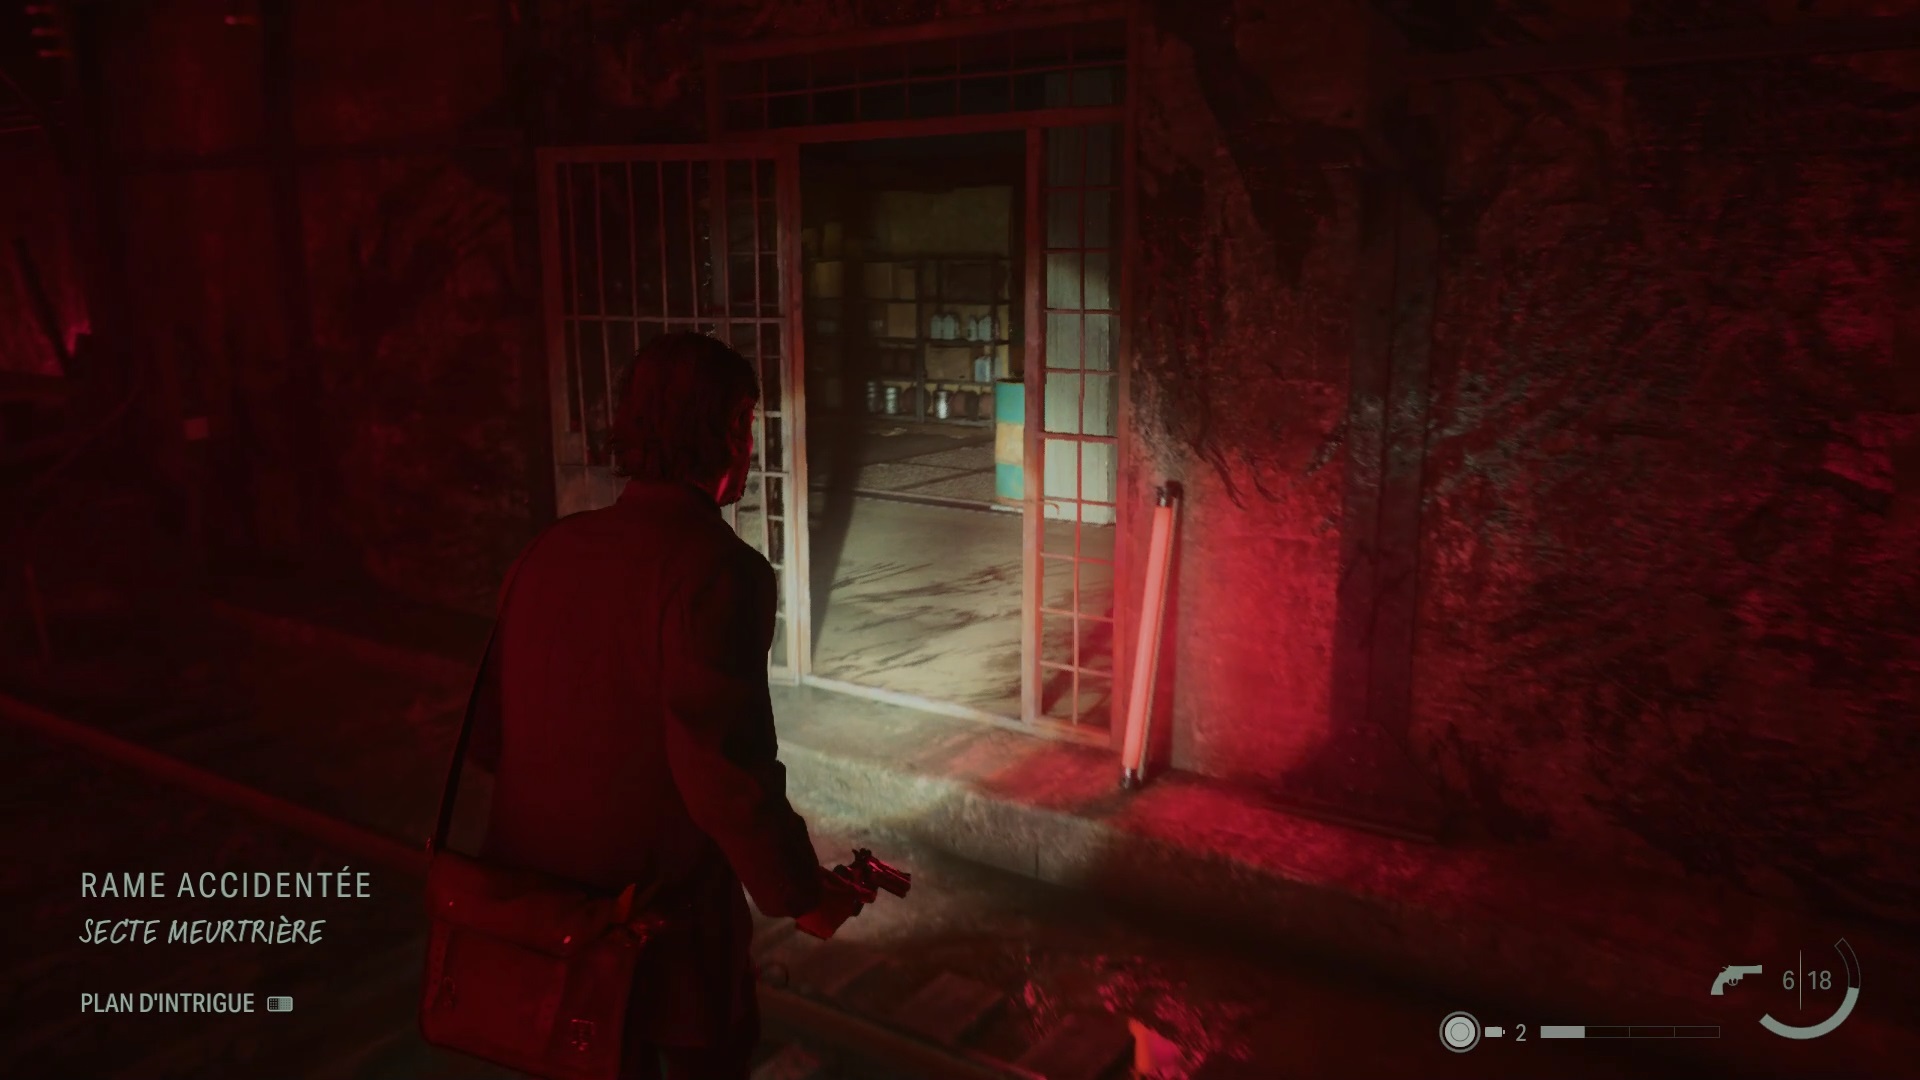
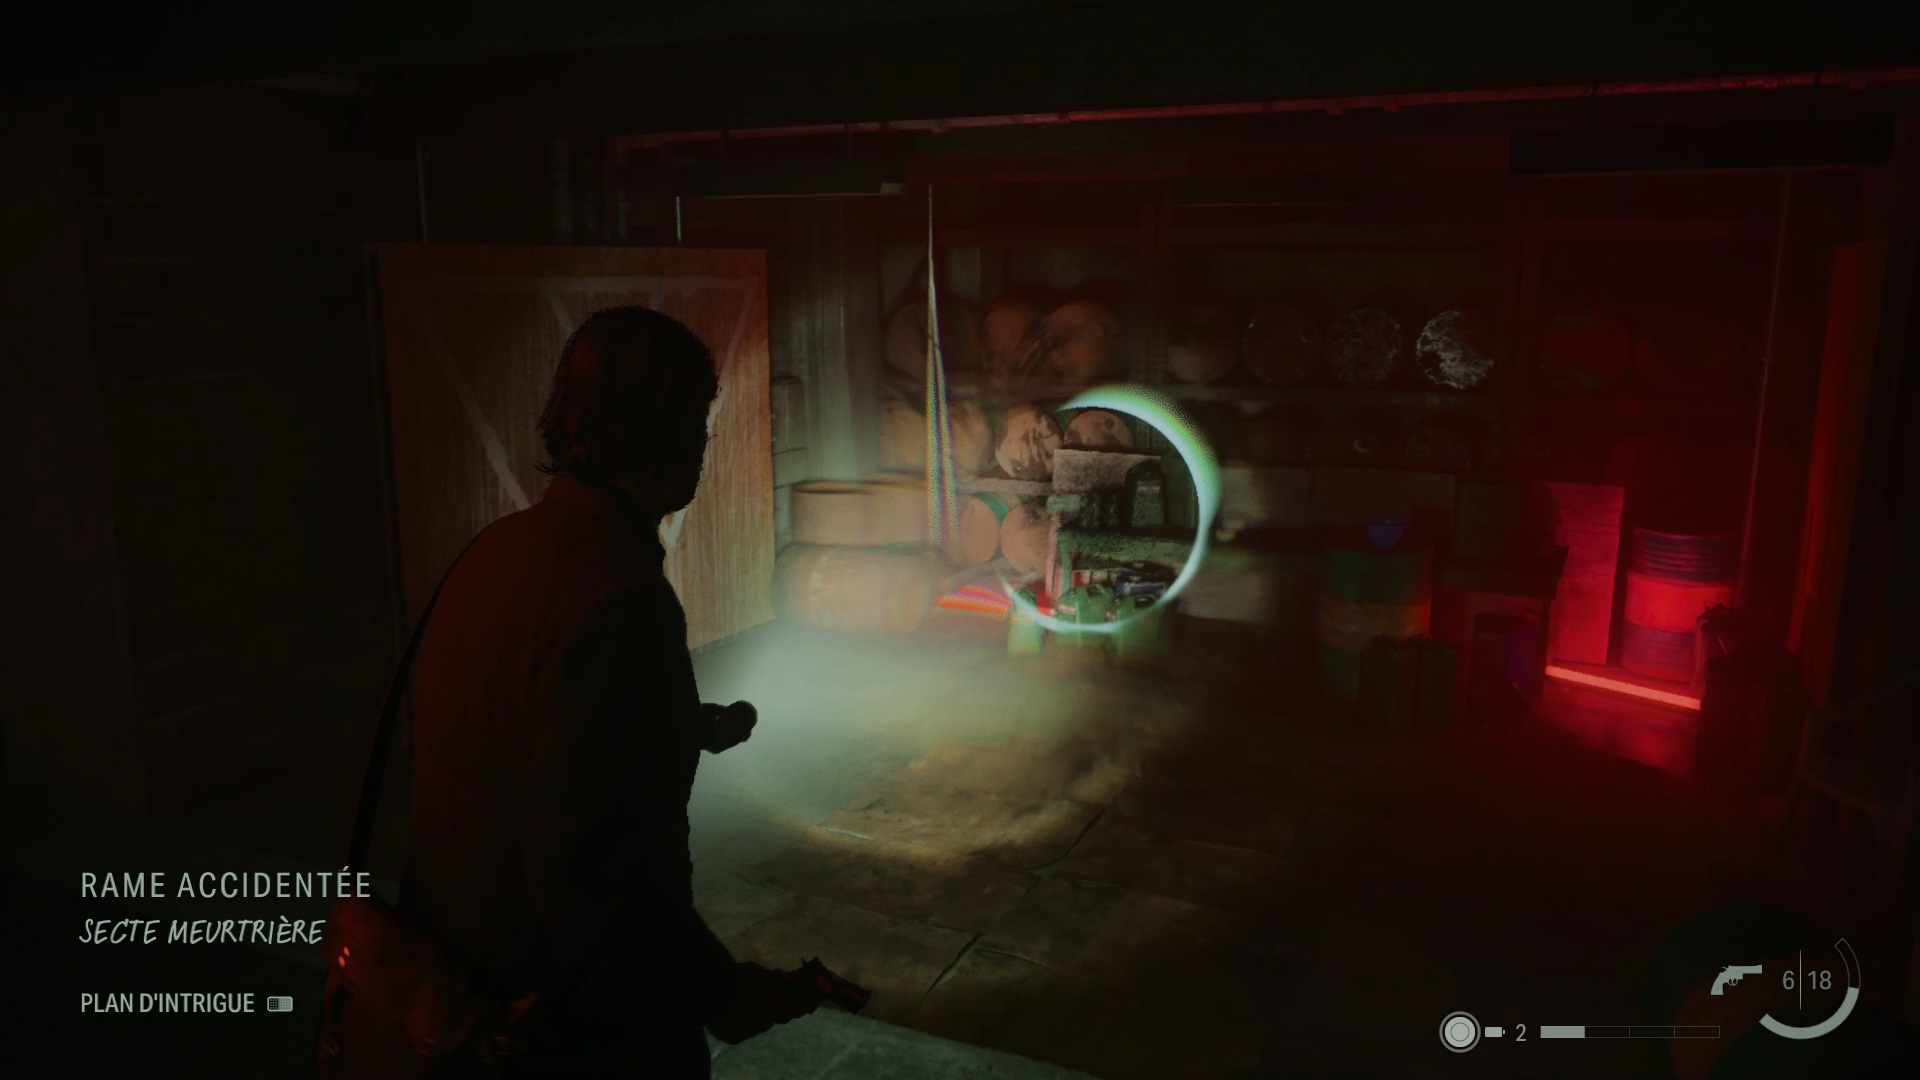
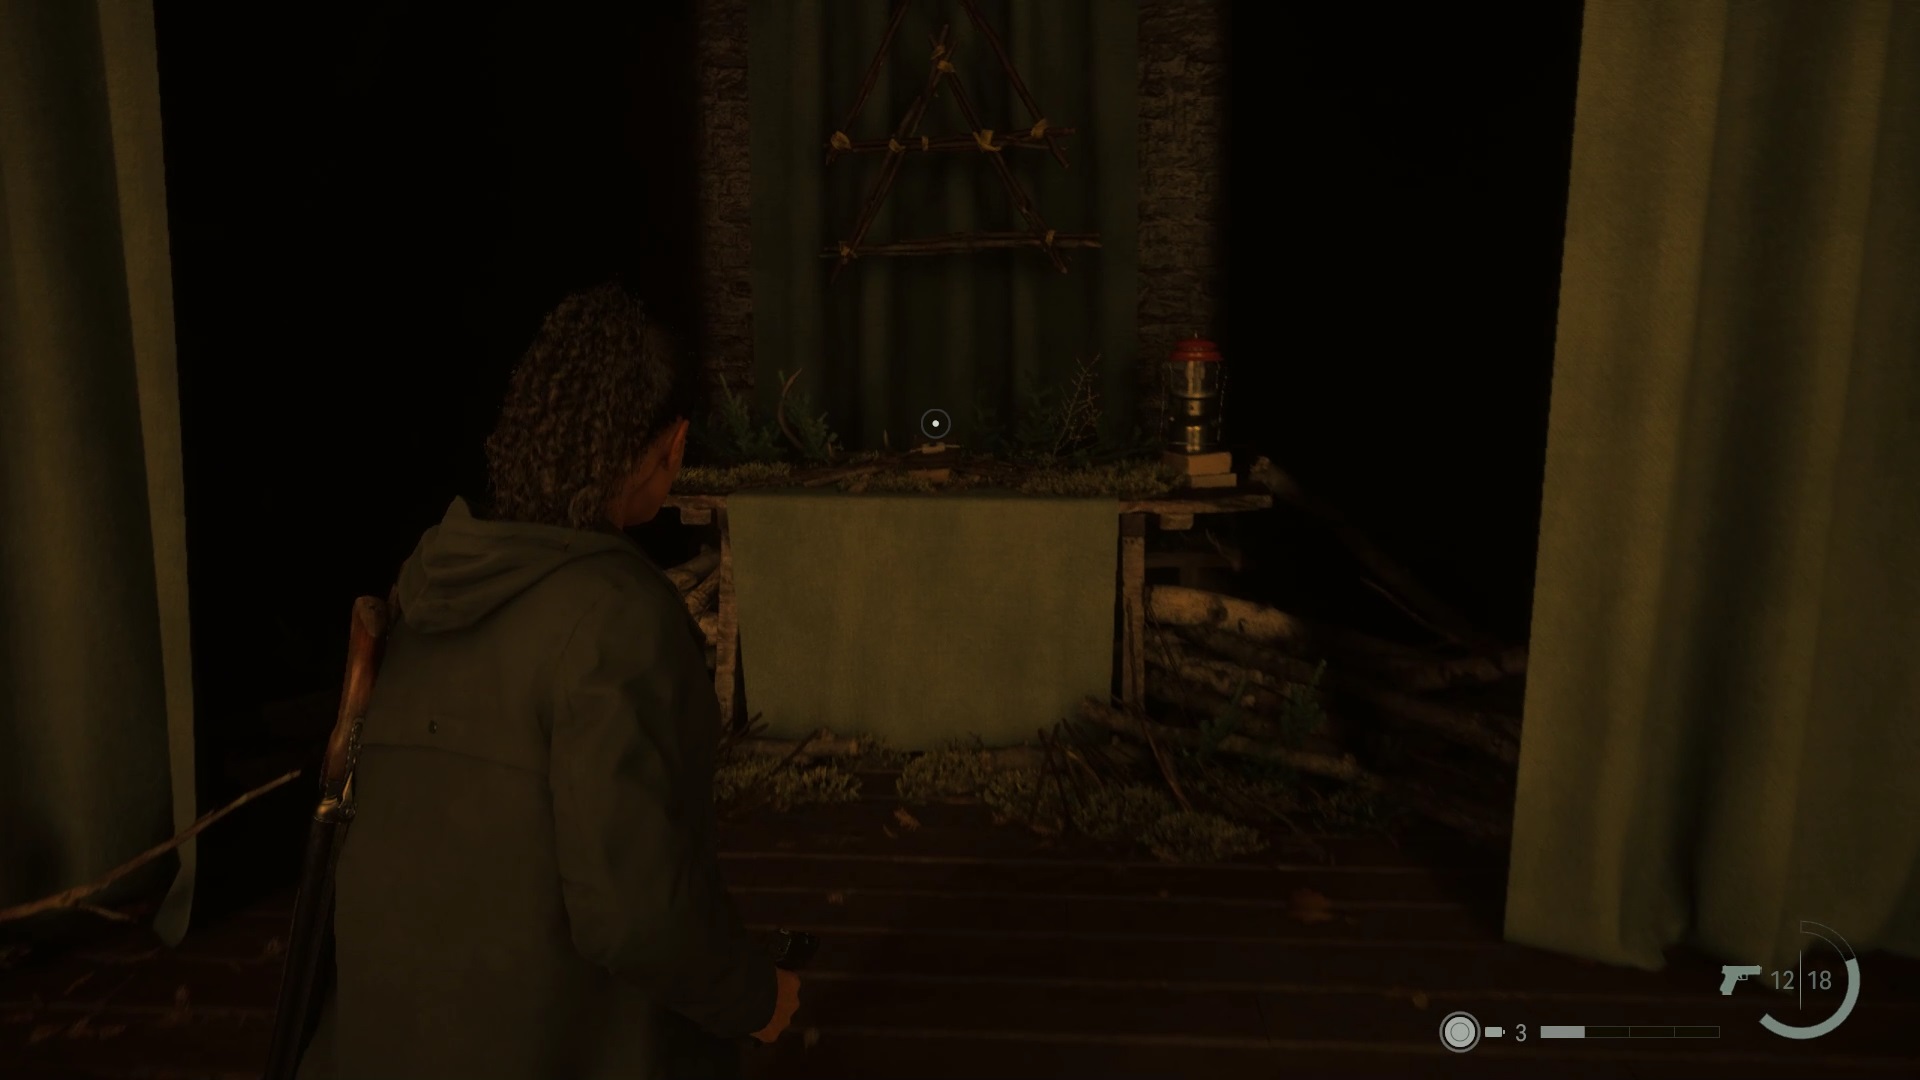
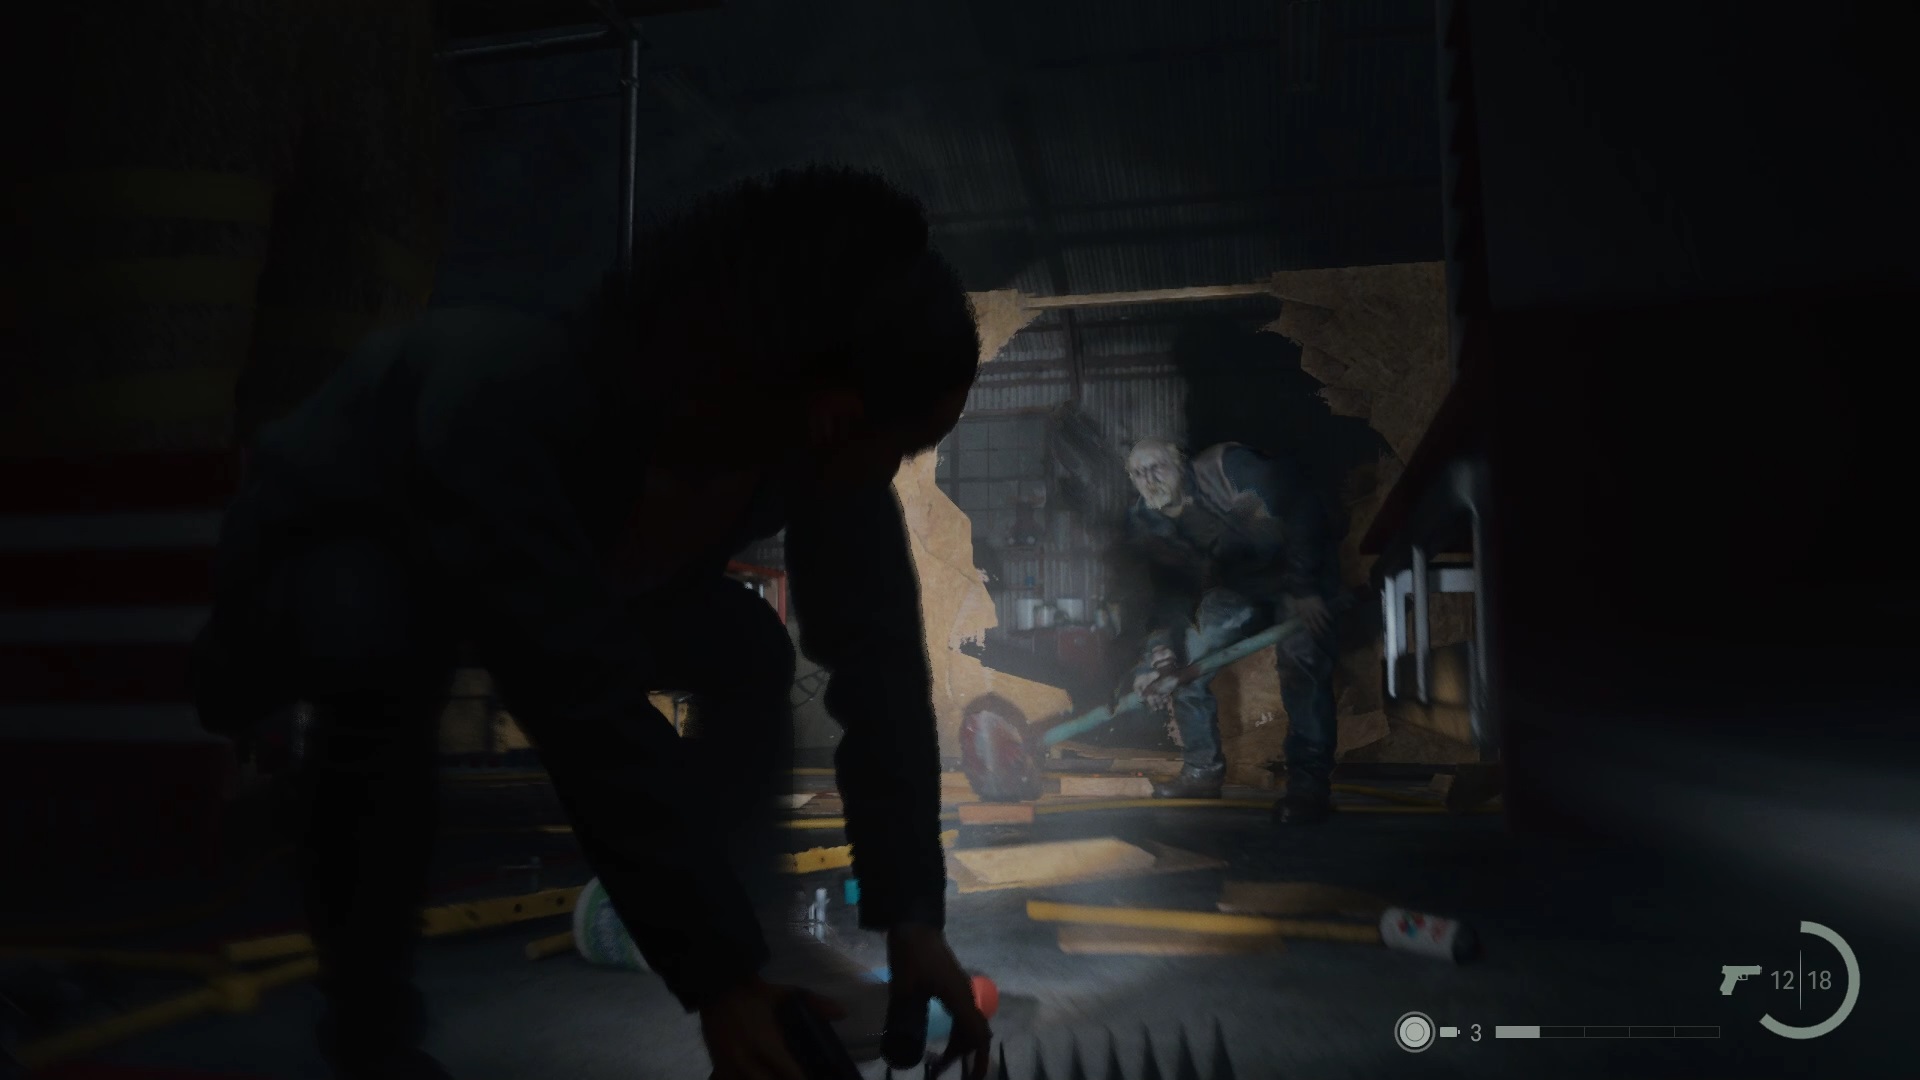
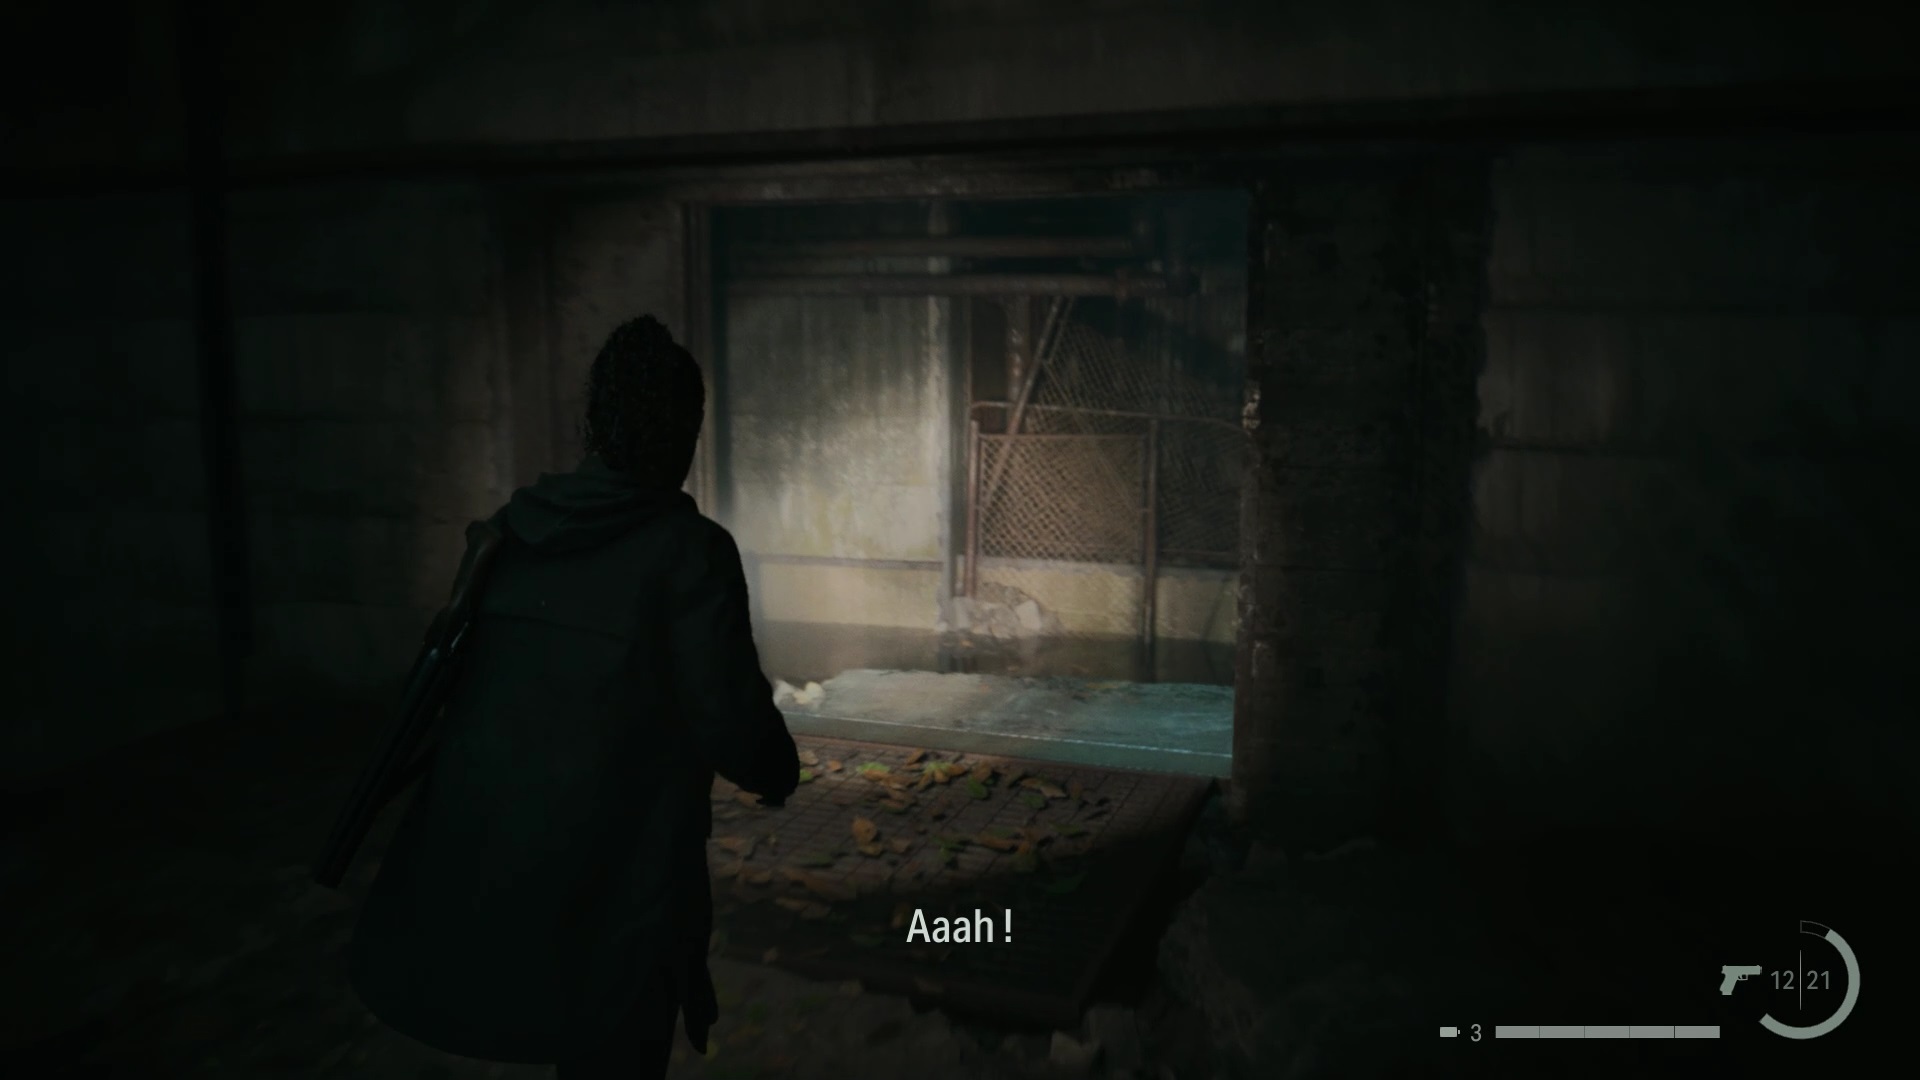
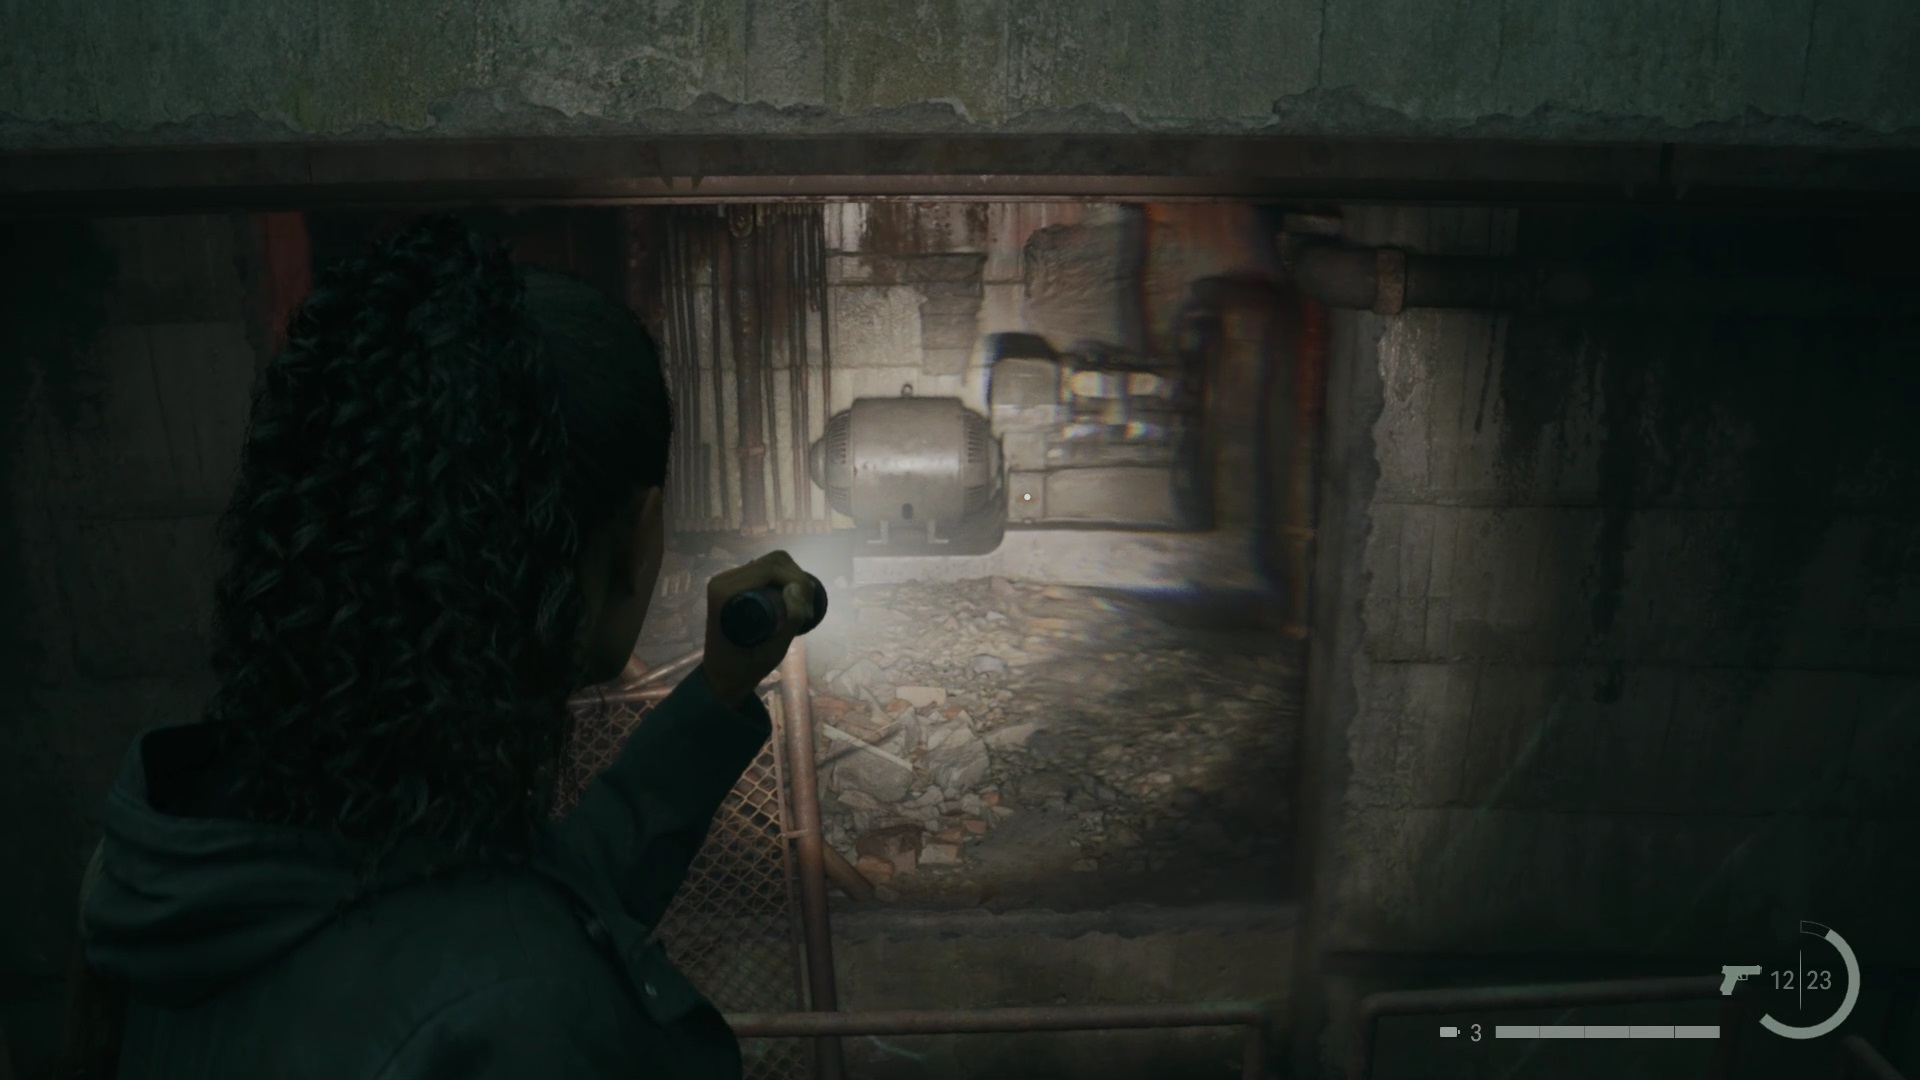
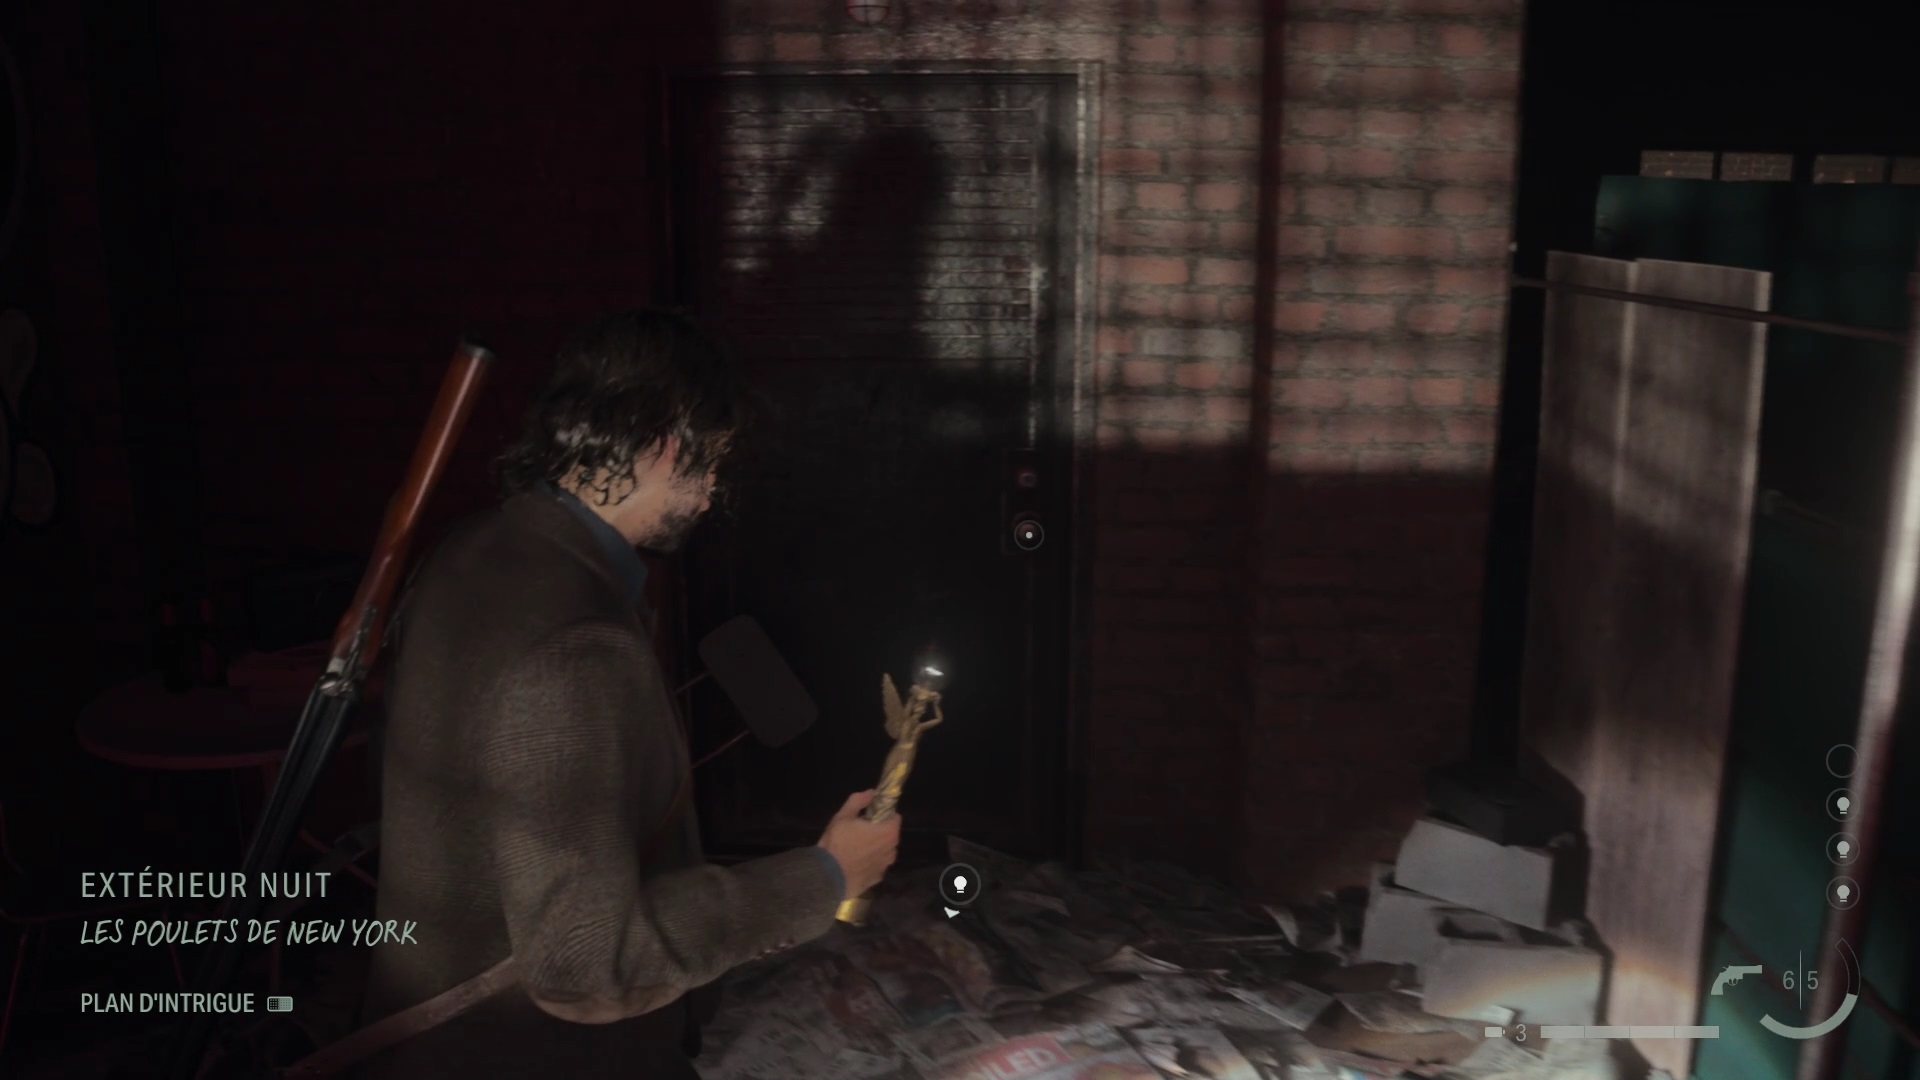
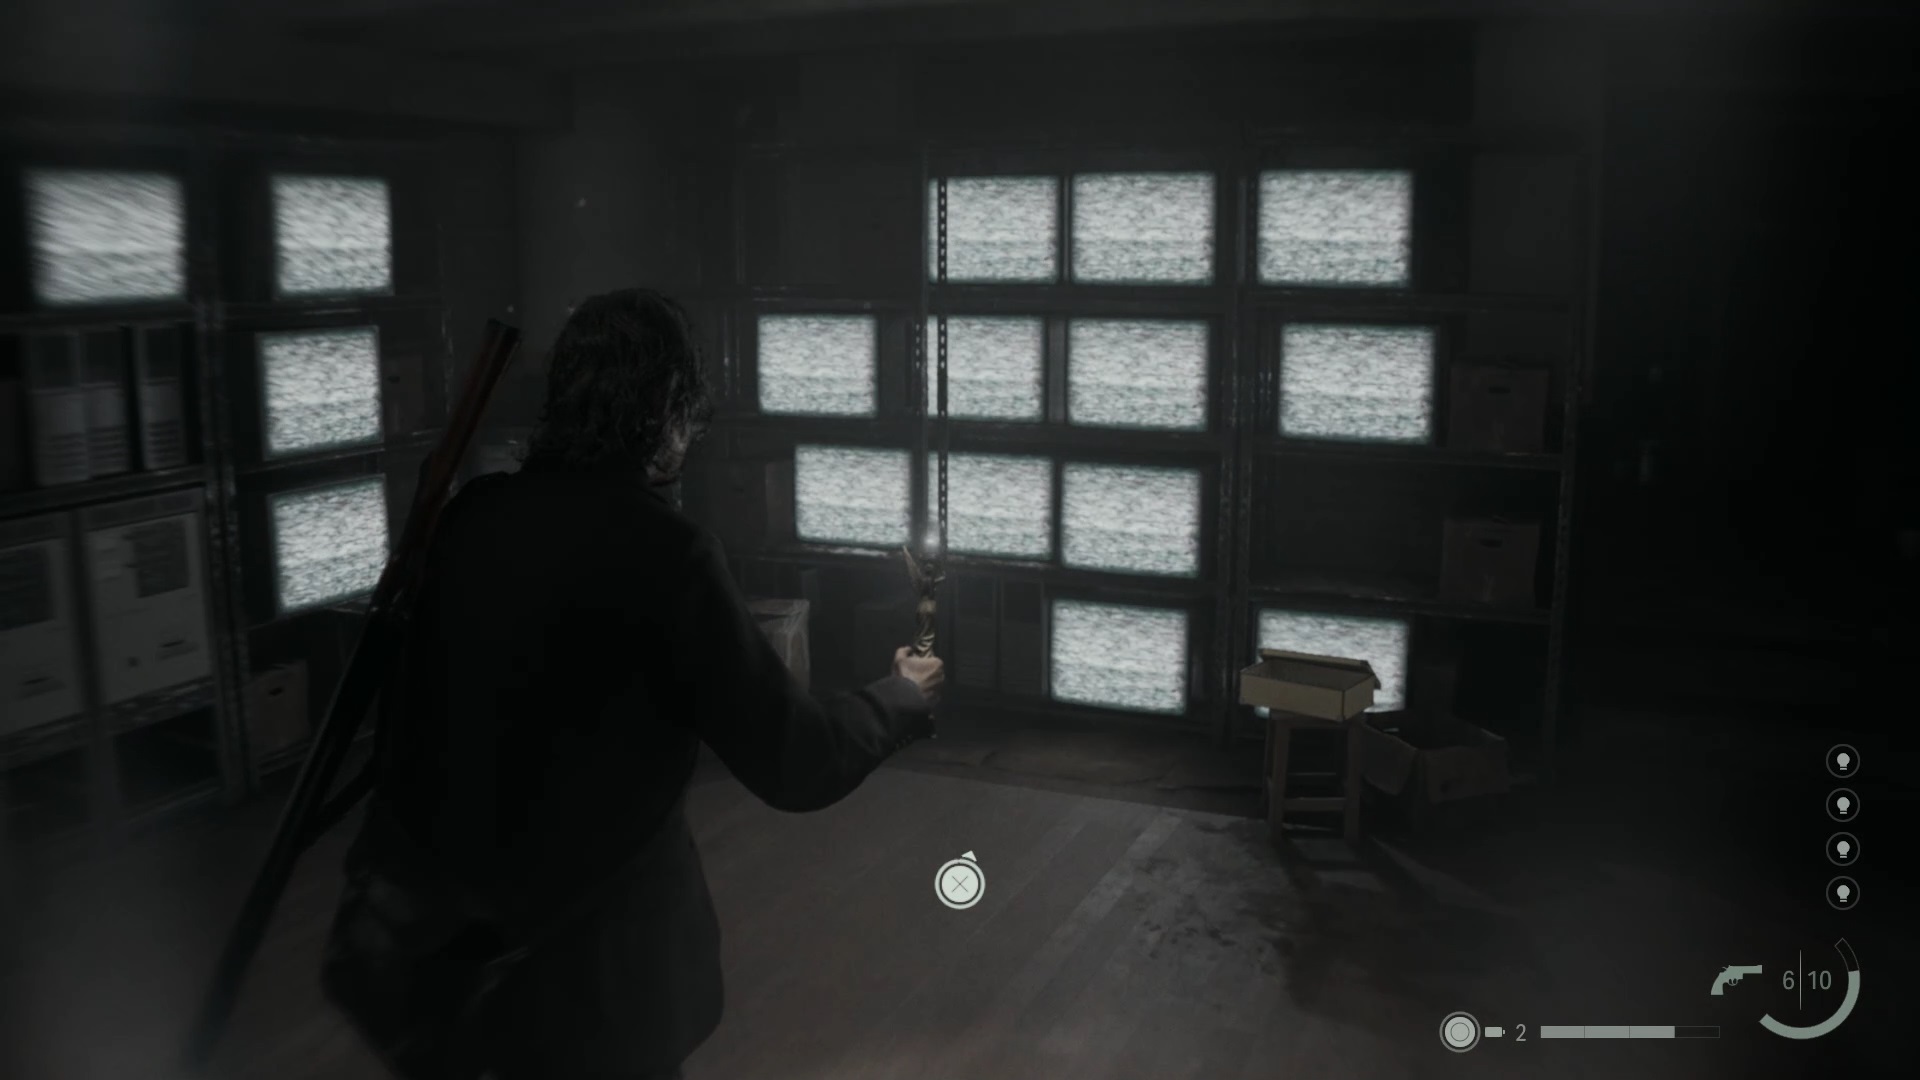
Enter the hut to find a handwritten page in the cabinet. Open the mental cave to answer the question “What is the ritual?” » with the two handwritten pages collected. Then ask Nightingale in Profiling about amalgamation and the heart with emphasis. You get the location of the heart in the grocery store. Return near the crime scene to find the grocery store. You can use the map in the mental place to find your way. Inside, a cult member attacks you. Eliminate the threat. Then go to the back of the grocery store to dispel the shadow in the fridge and collect the heart.
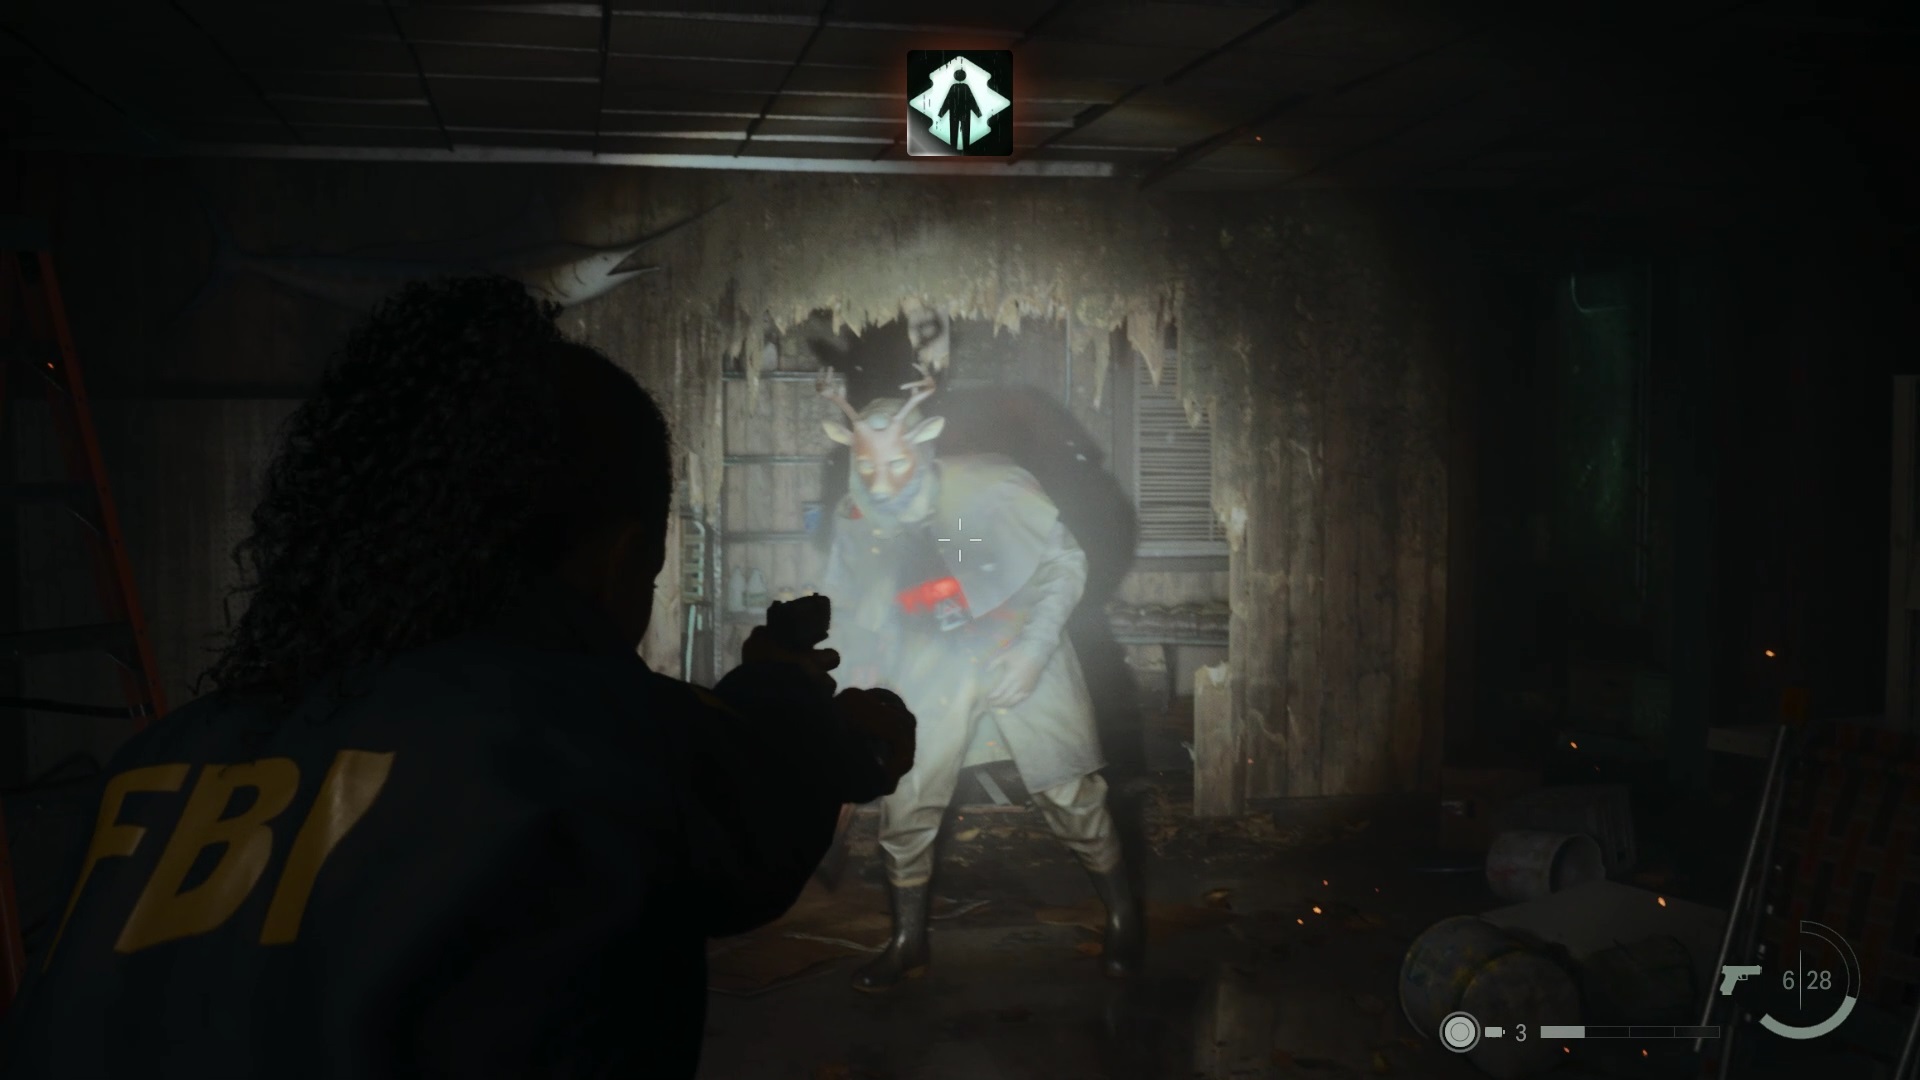
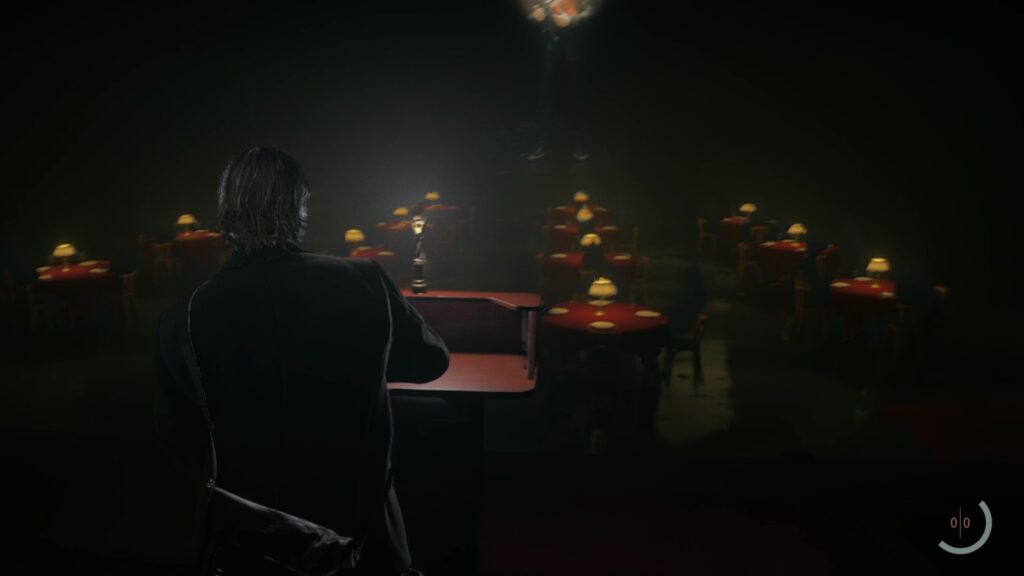
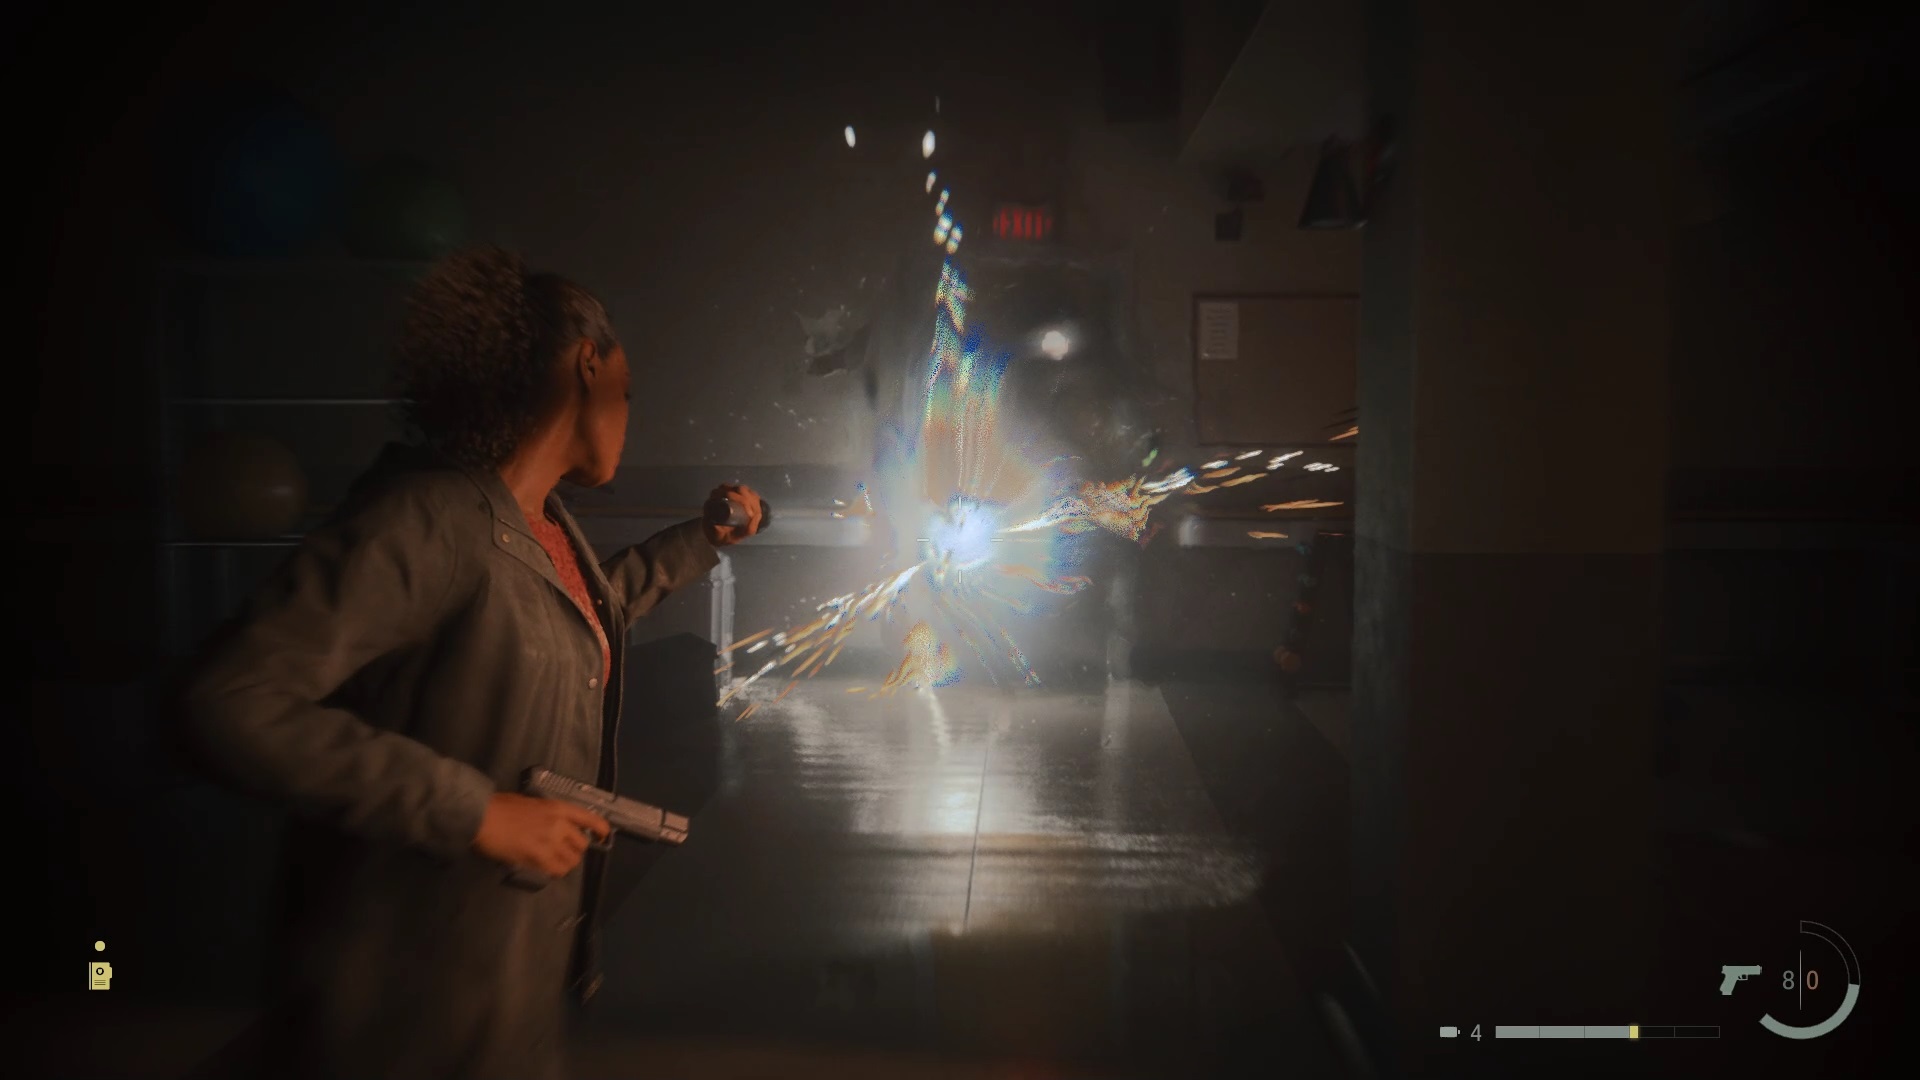
Go back down to Witch’s Ladle Pool for a group of possessed people to ambush you. Fight the monsters to reach the sign near the tree. Insert the heart to open the amalgam.
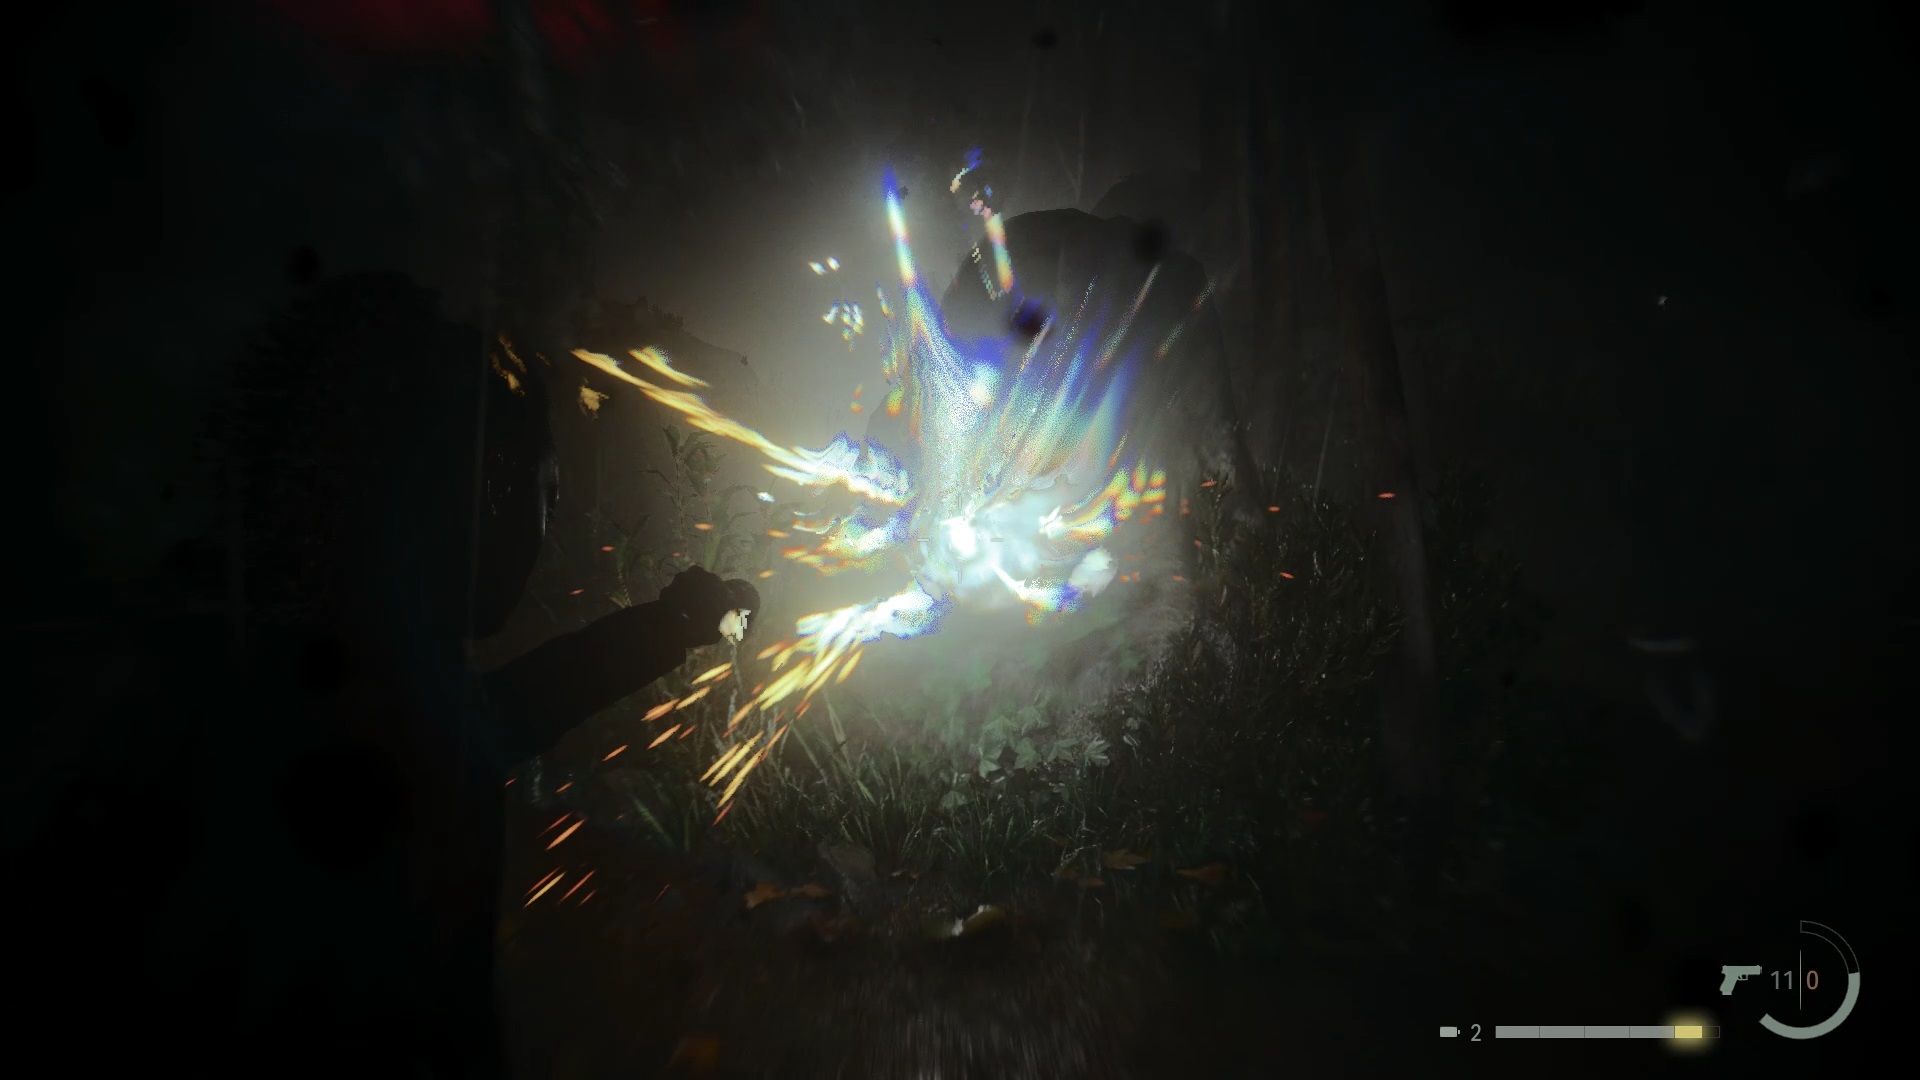
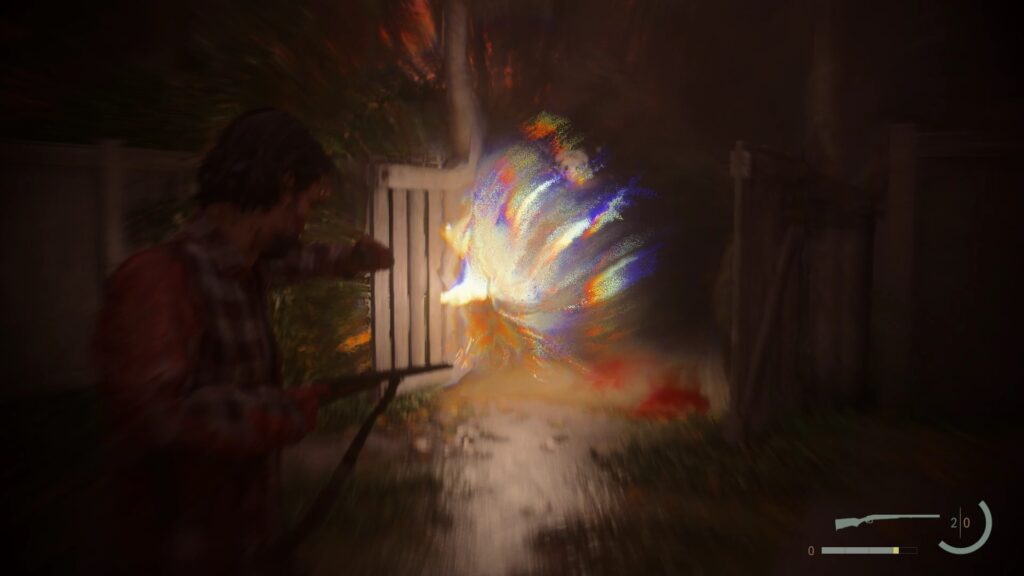
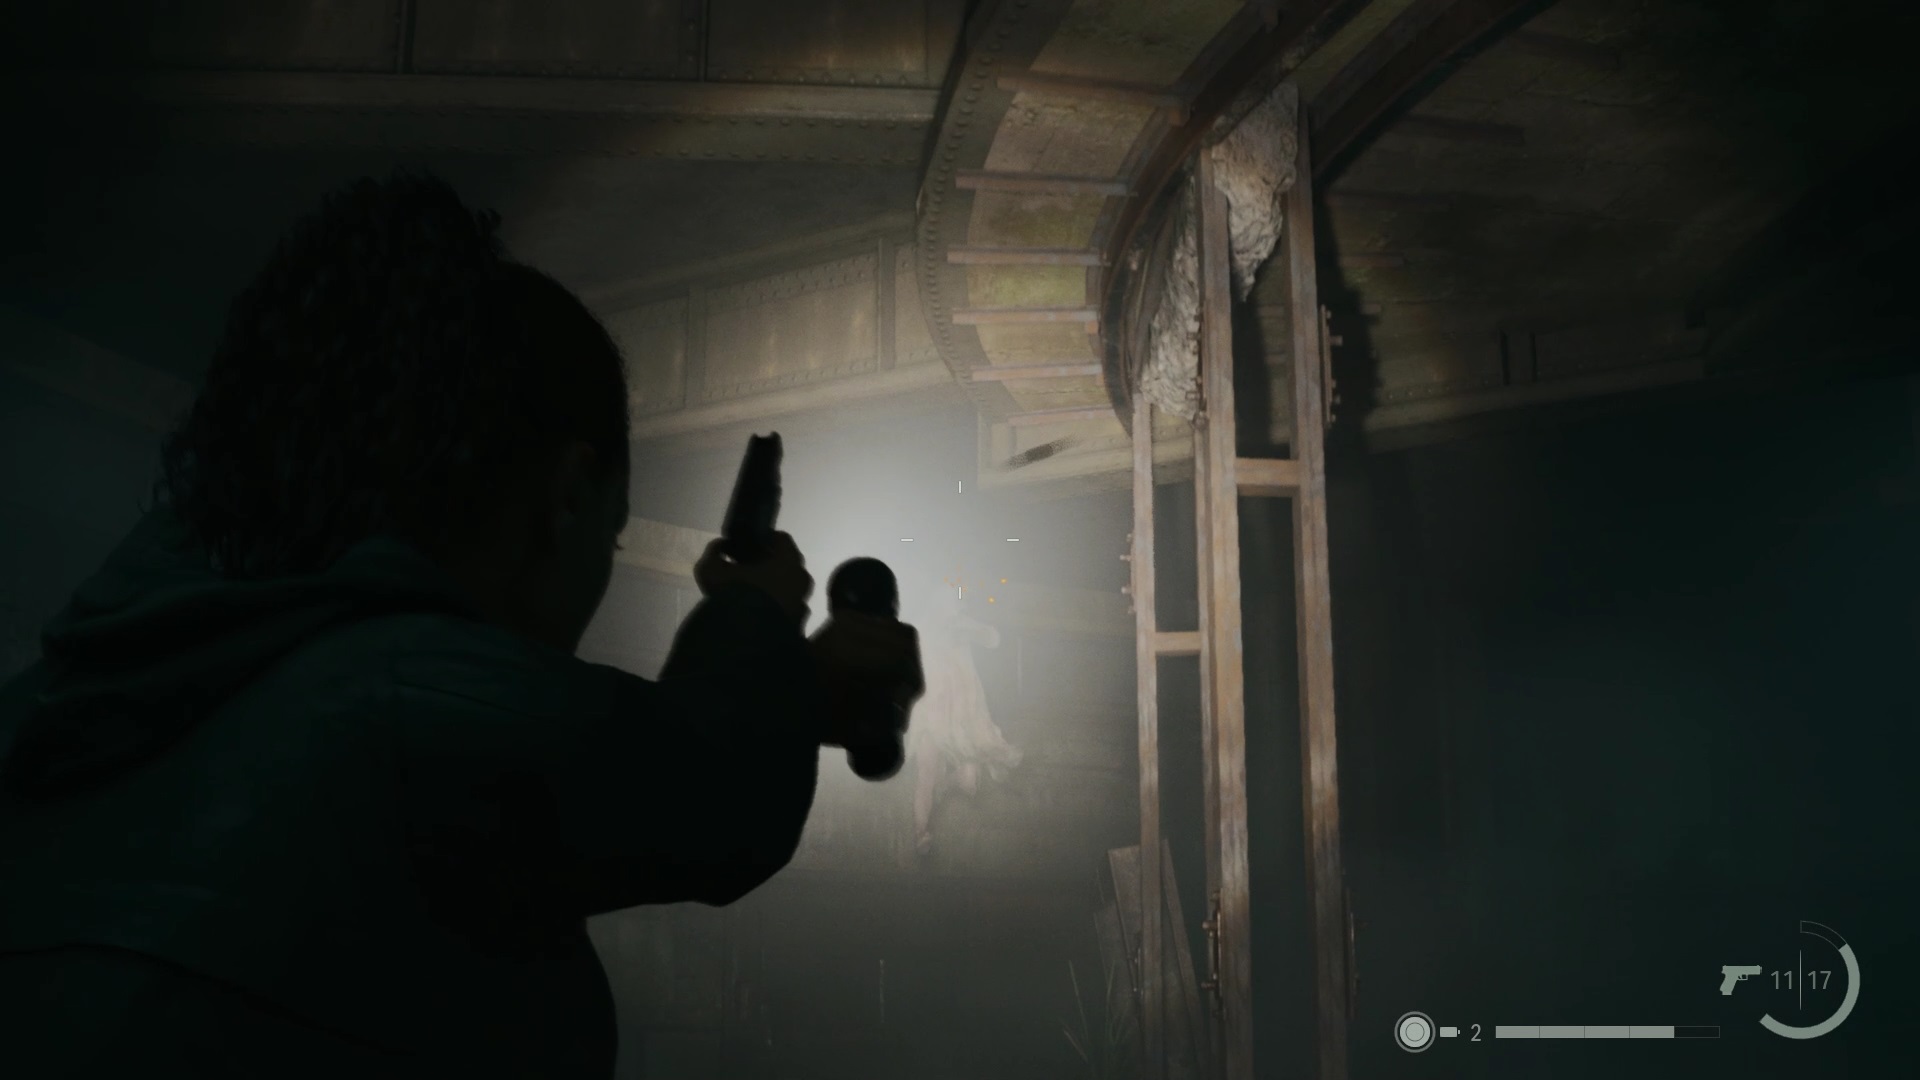
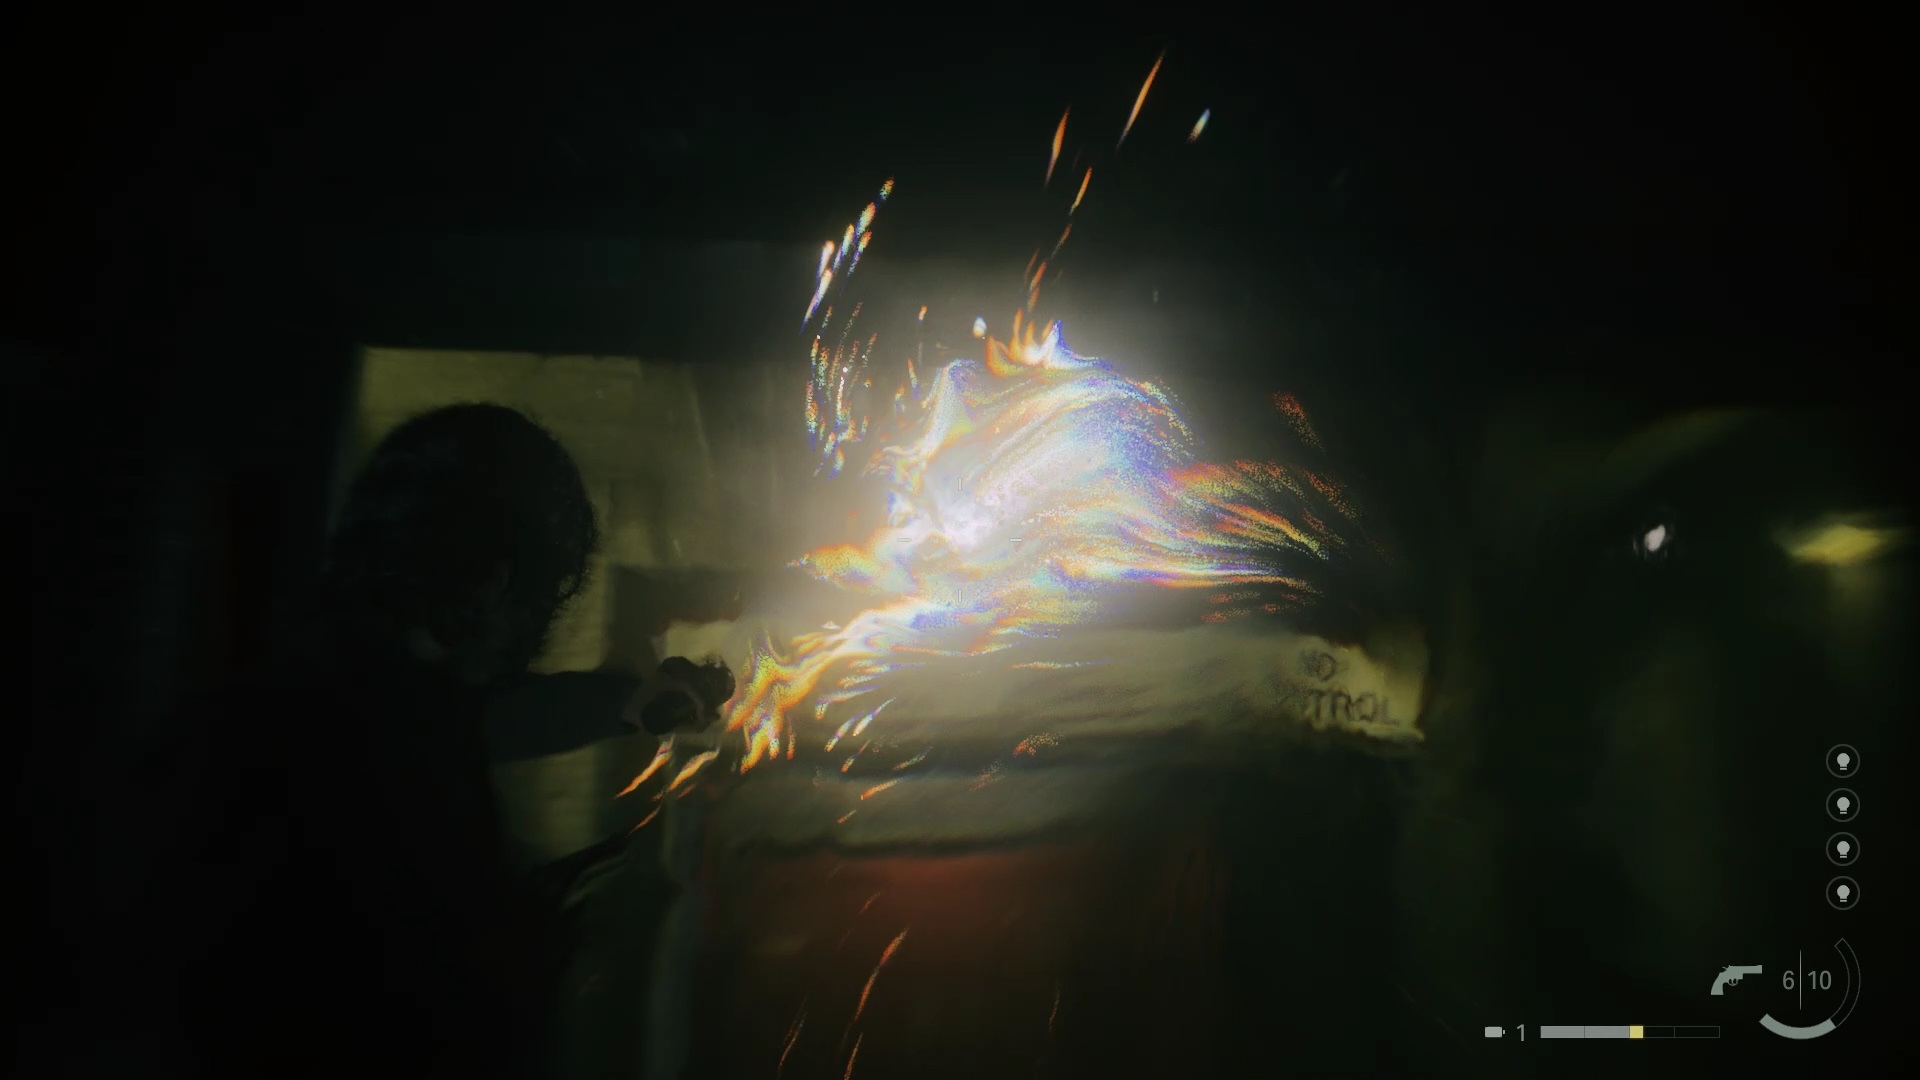
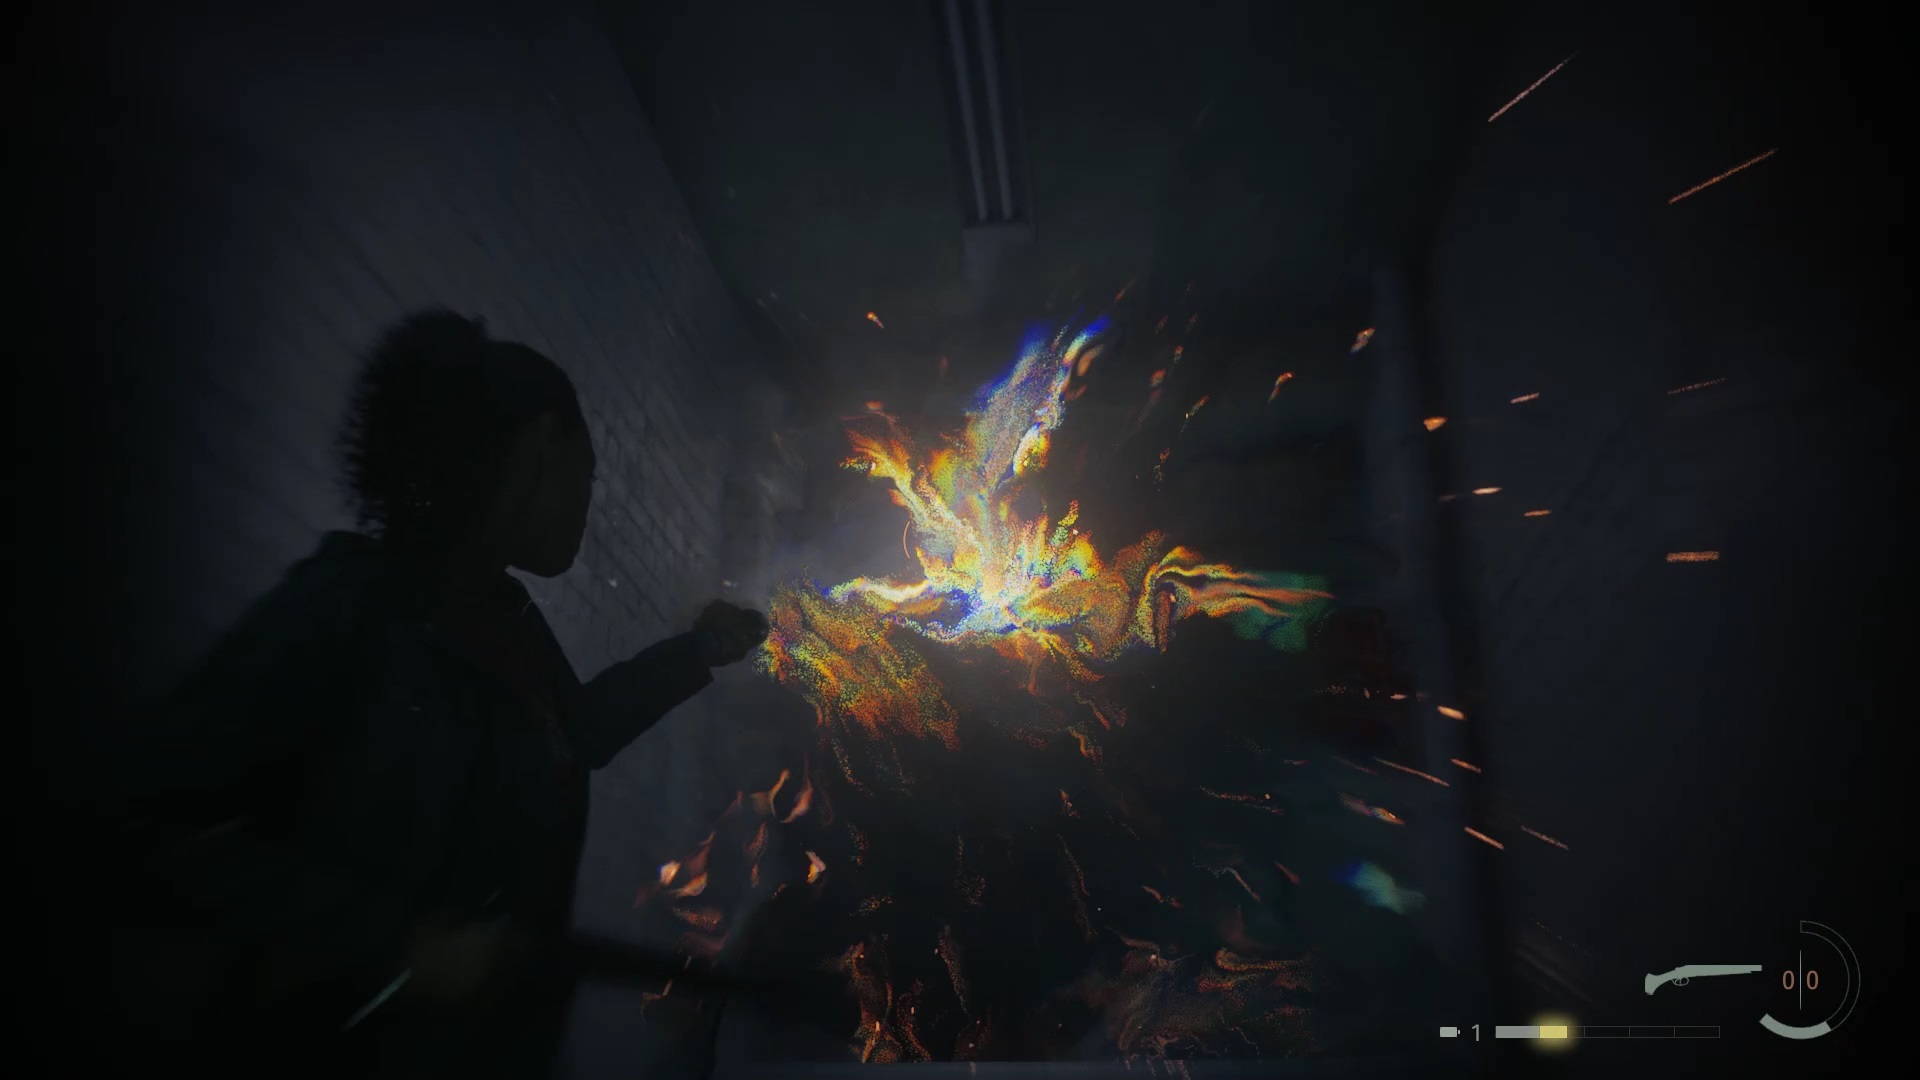
Head into the amalgam loop for Nightingale to appear. Dispel Nightingale’s shadow with your flashlight to make him vulnerable. Shoot Nightingale to weaken her. Aim at his weak points to cause him big damage. After the first phase, Nightingale sends you a wave of shadows, run away! When everything calms down, Nightingale reappears. Repeat the technique from the first phase to defeat him. If you don’t have resources, weapon caches are located throughout the arena.
Initiation 1: Talk Show
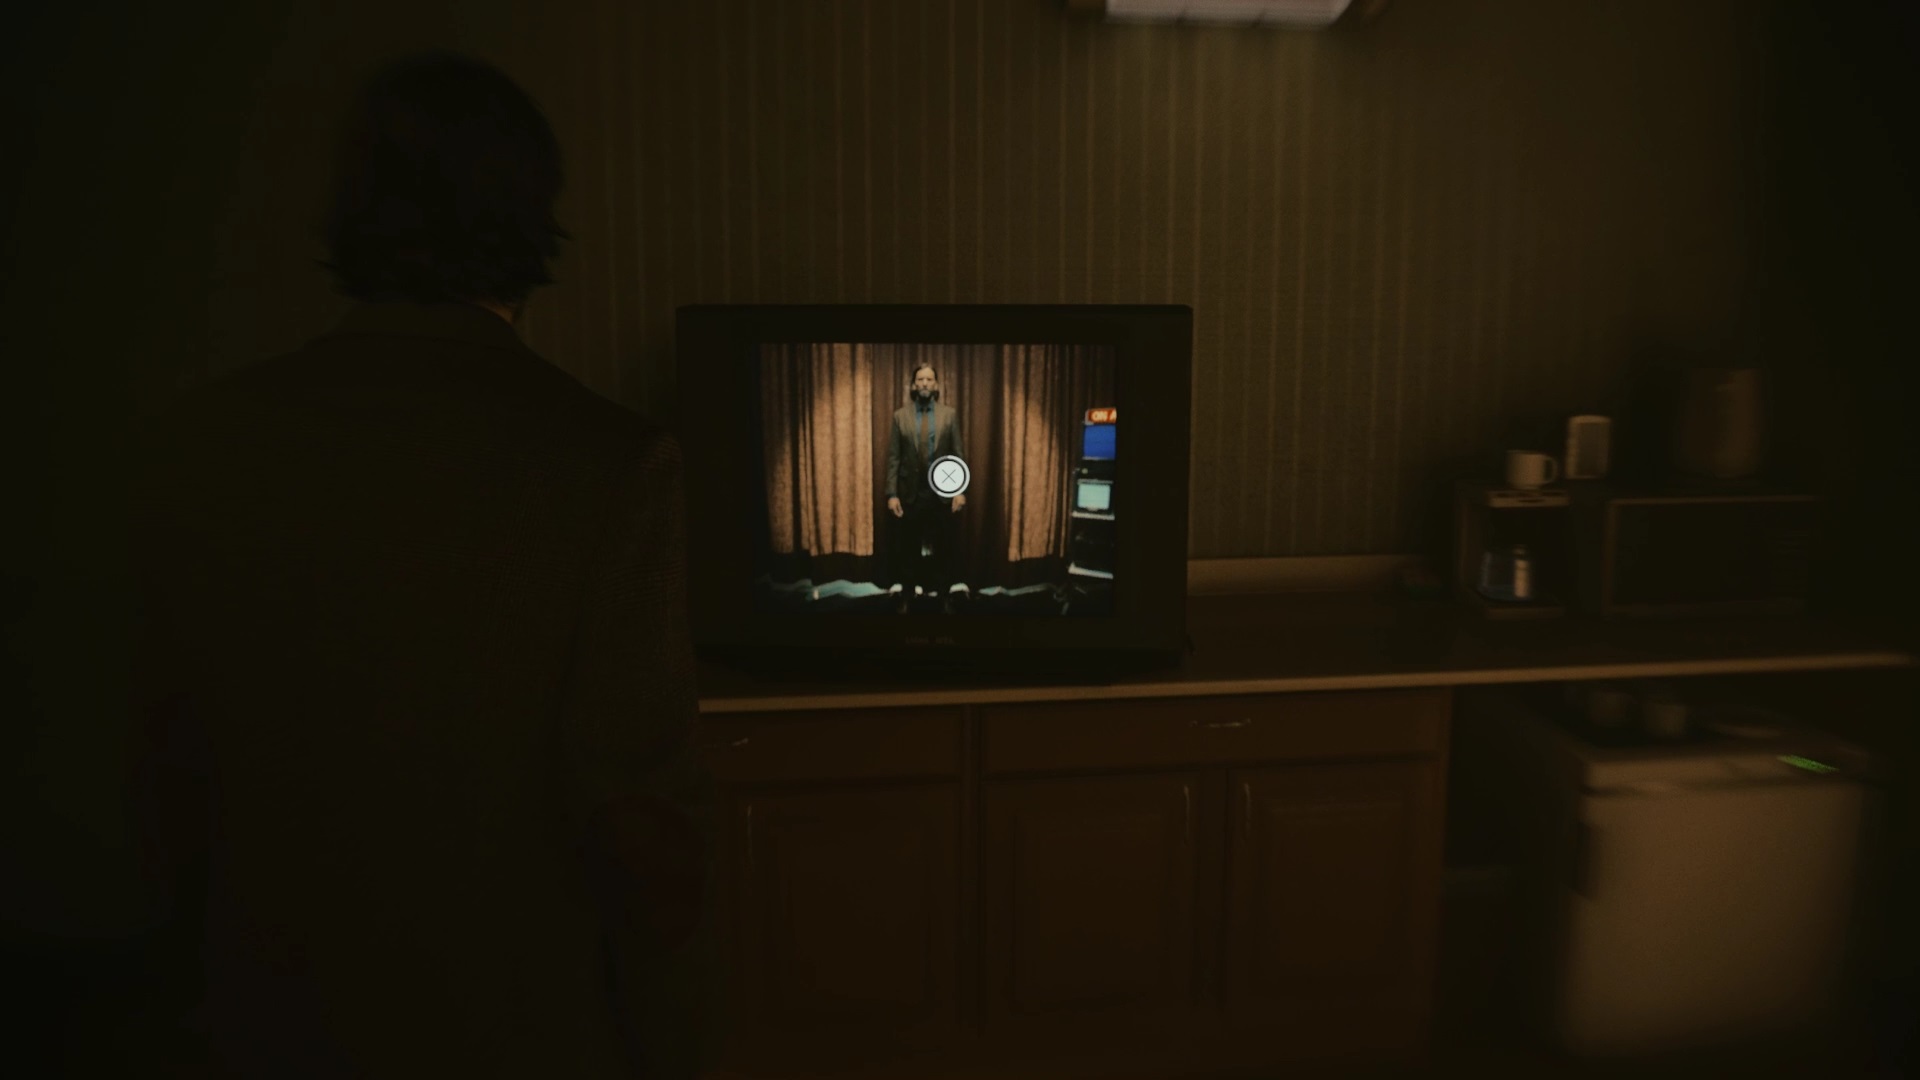
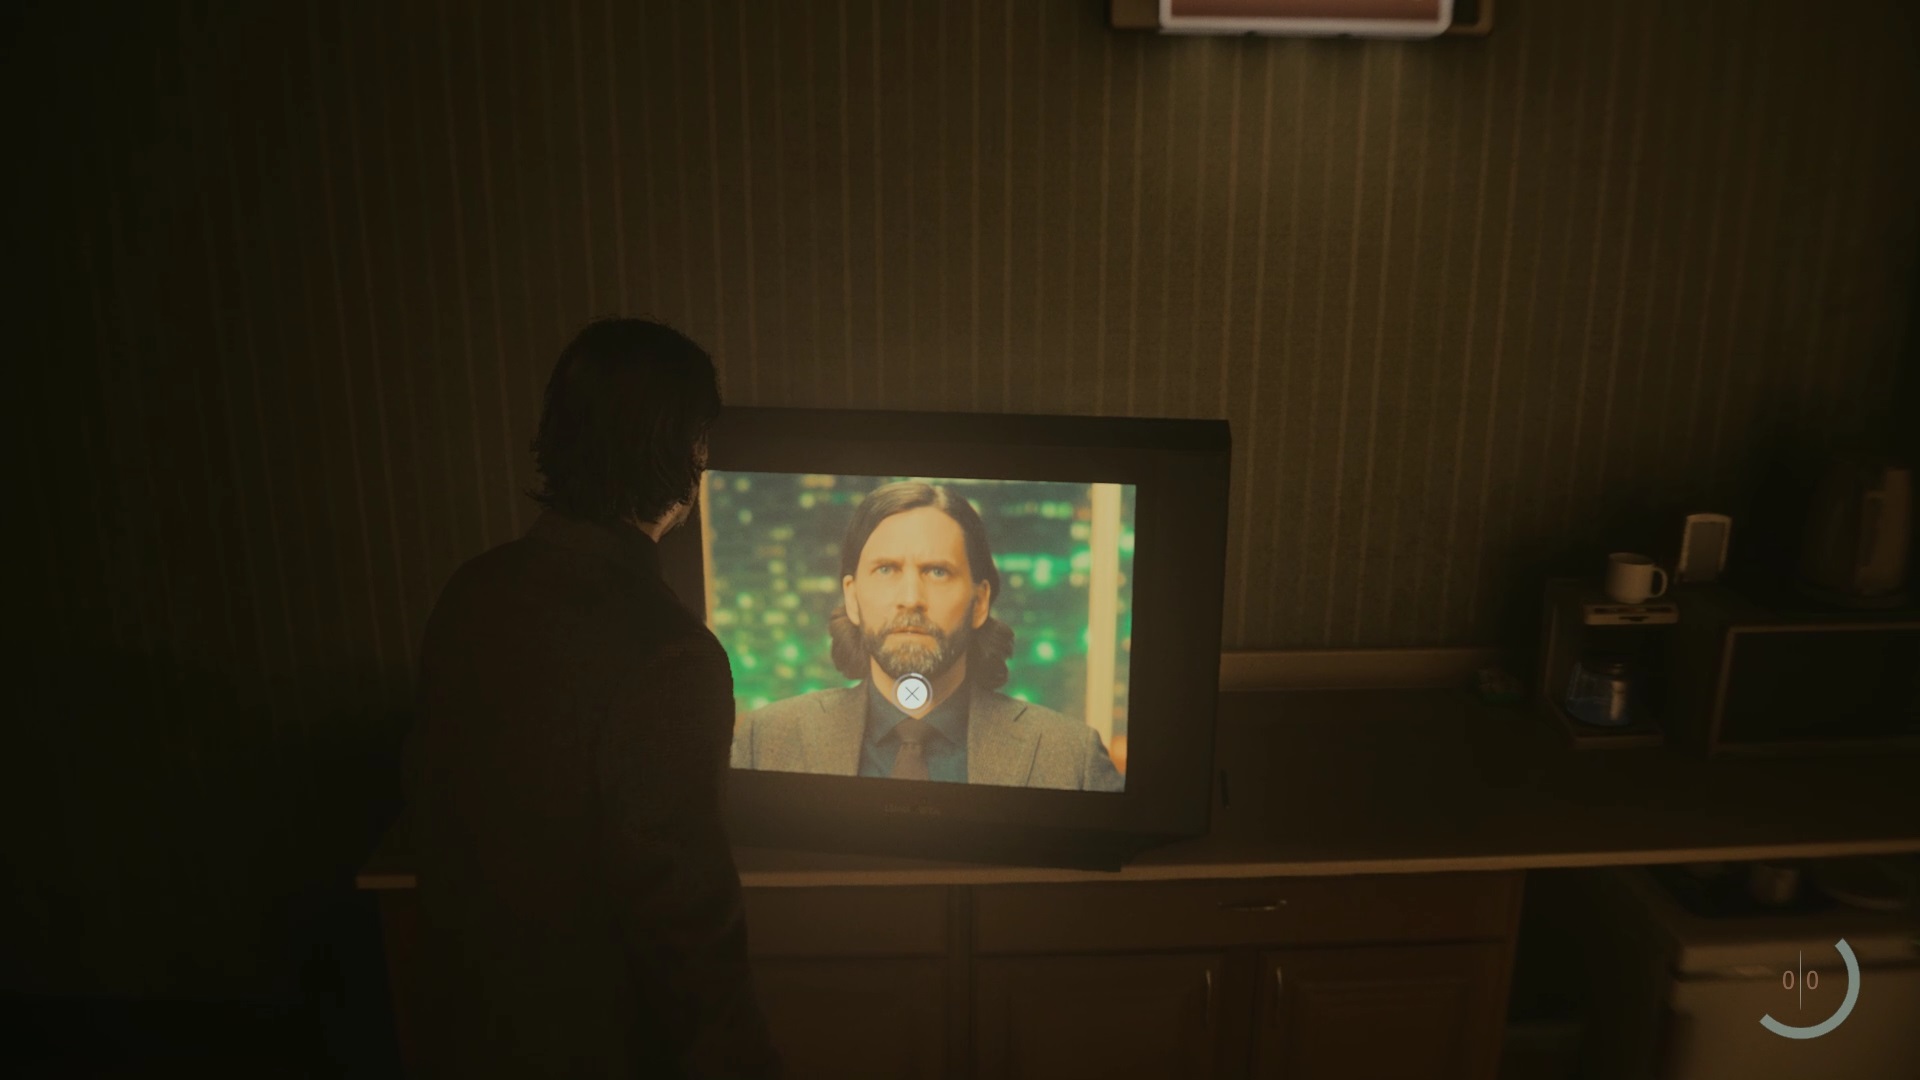
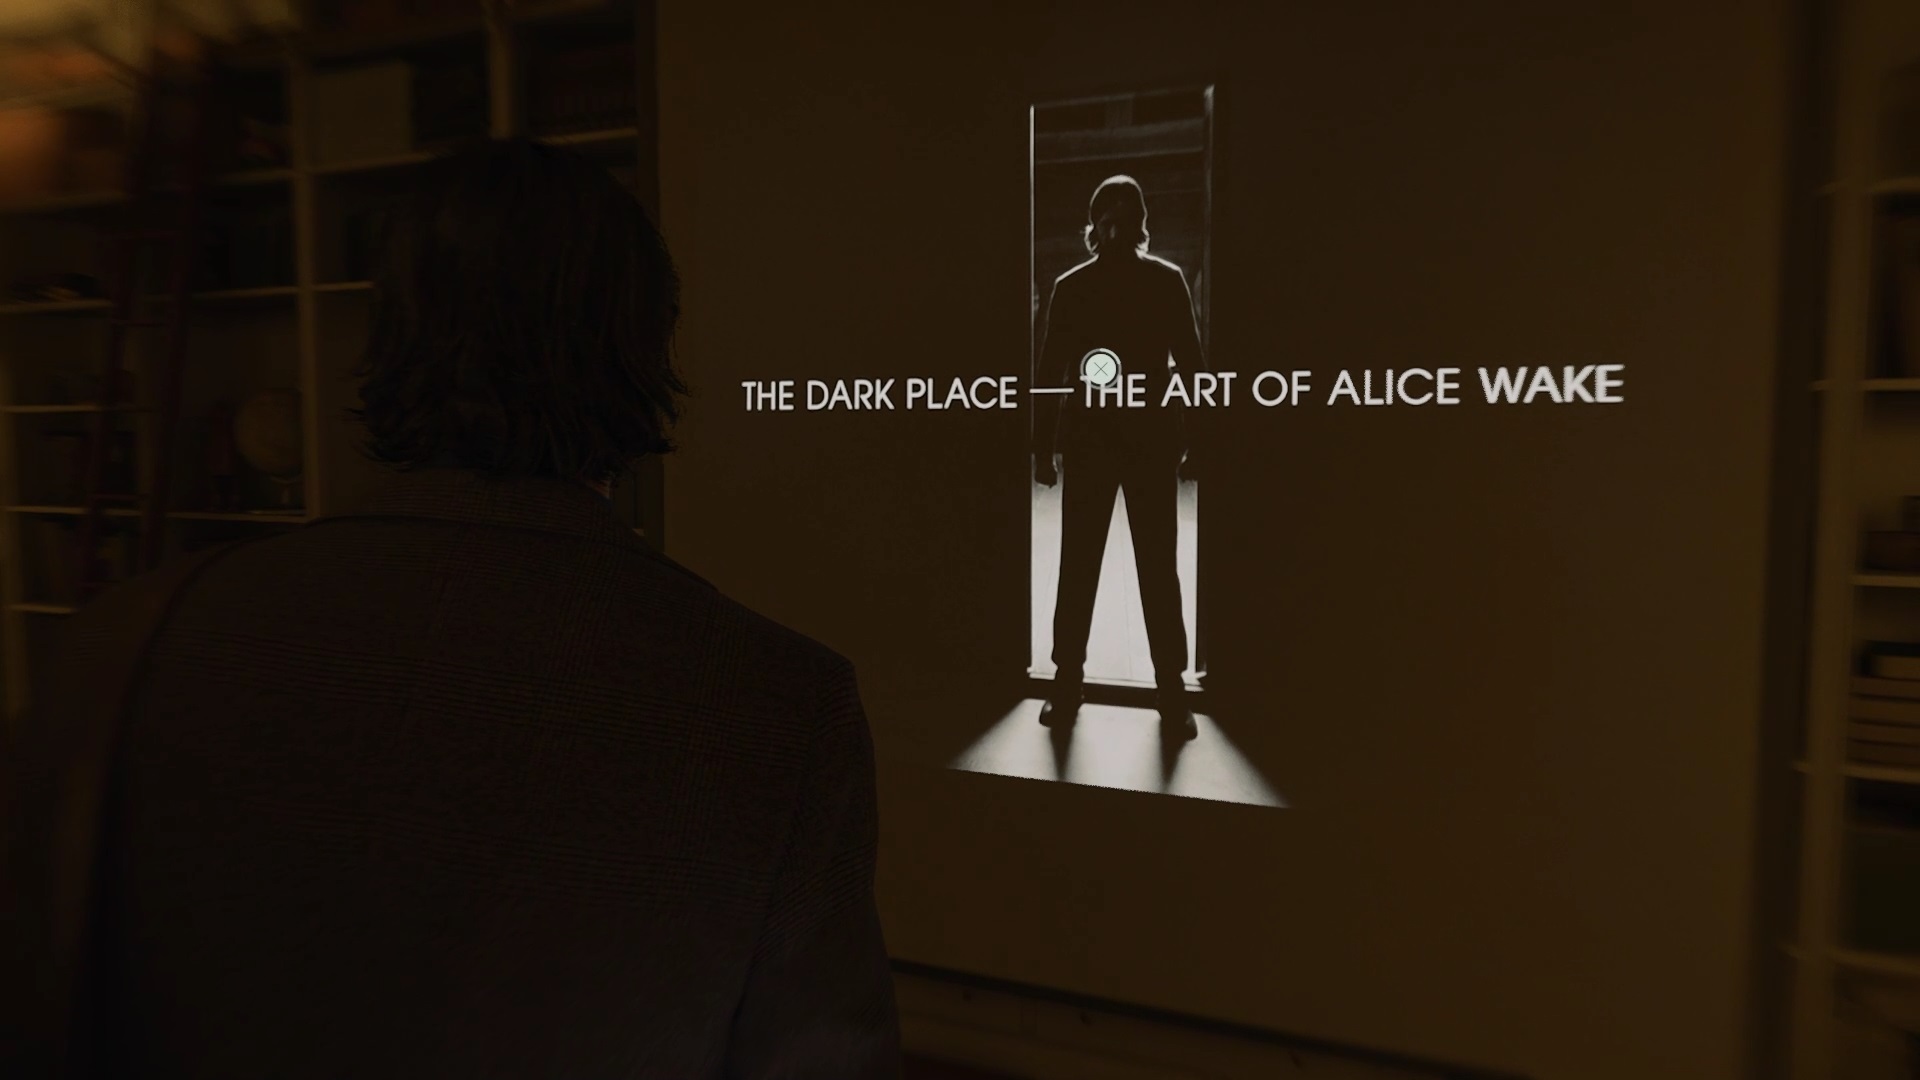
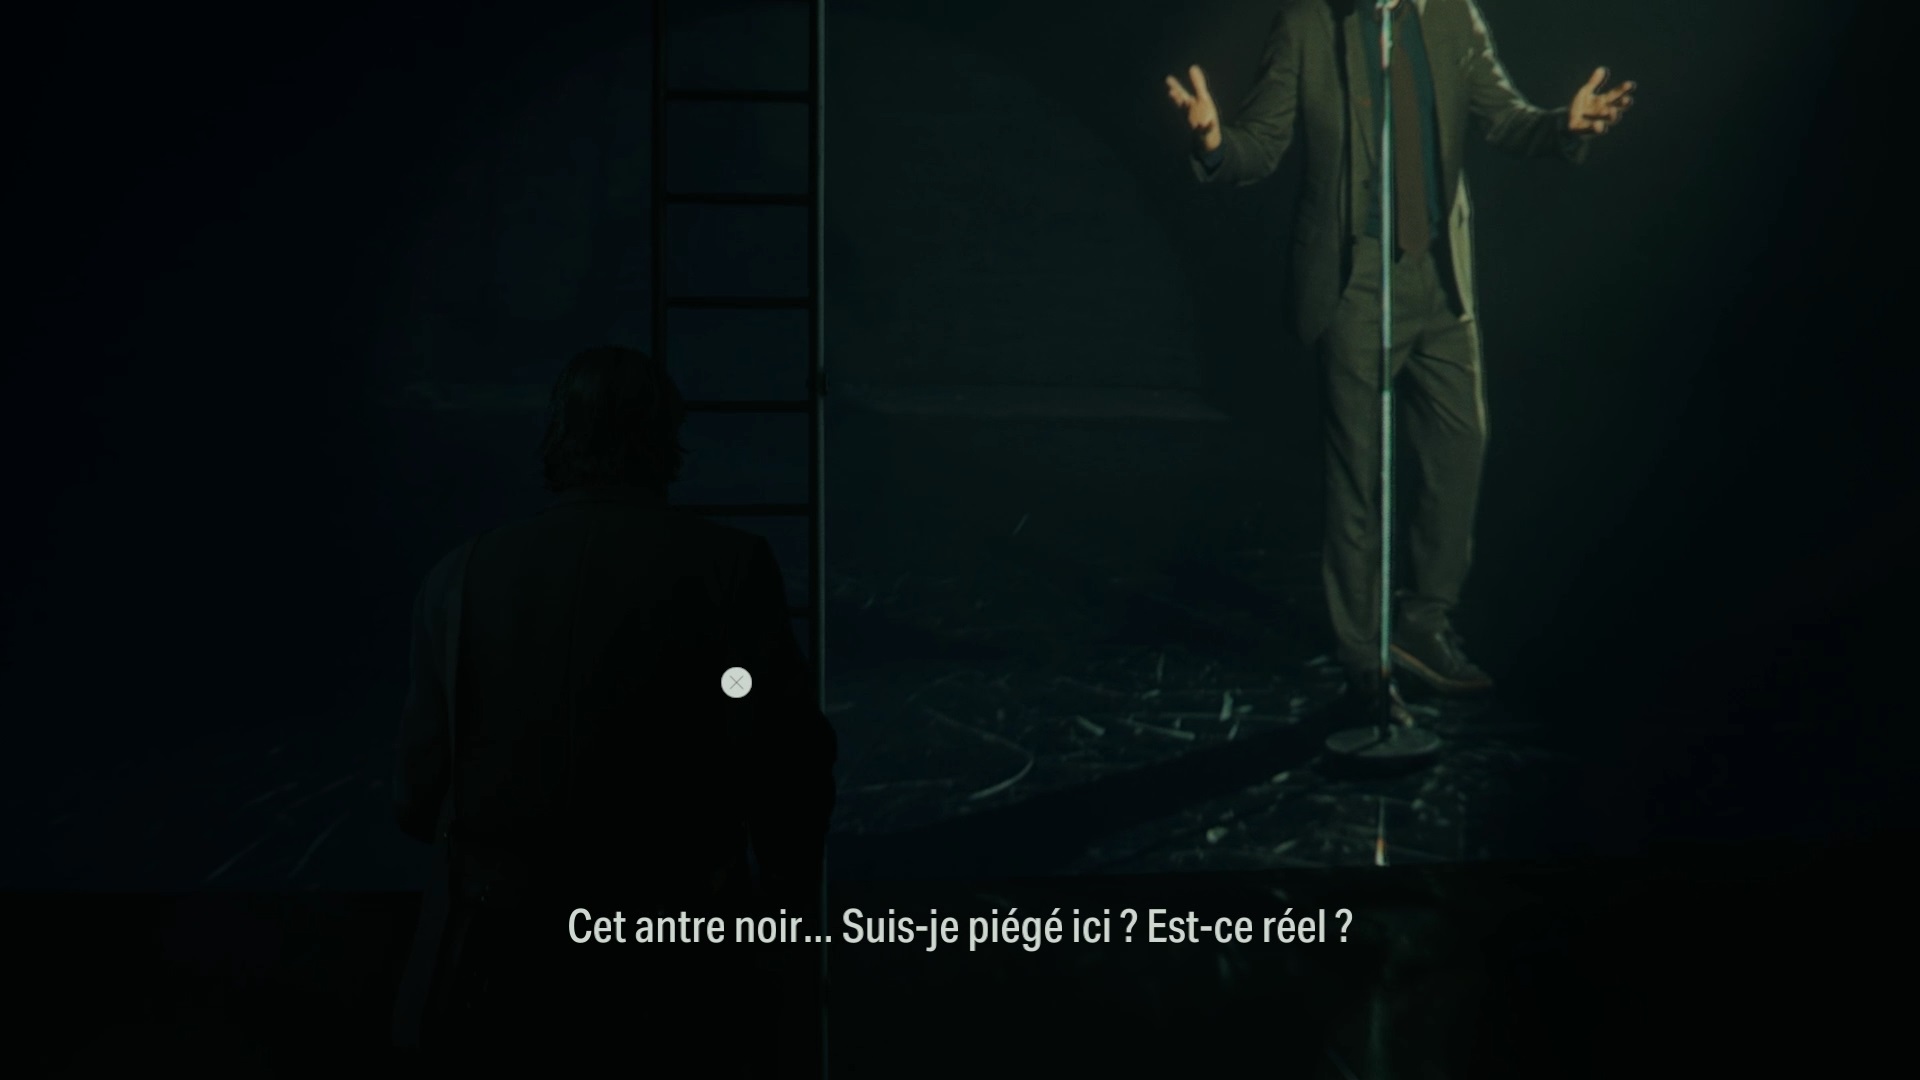
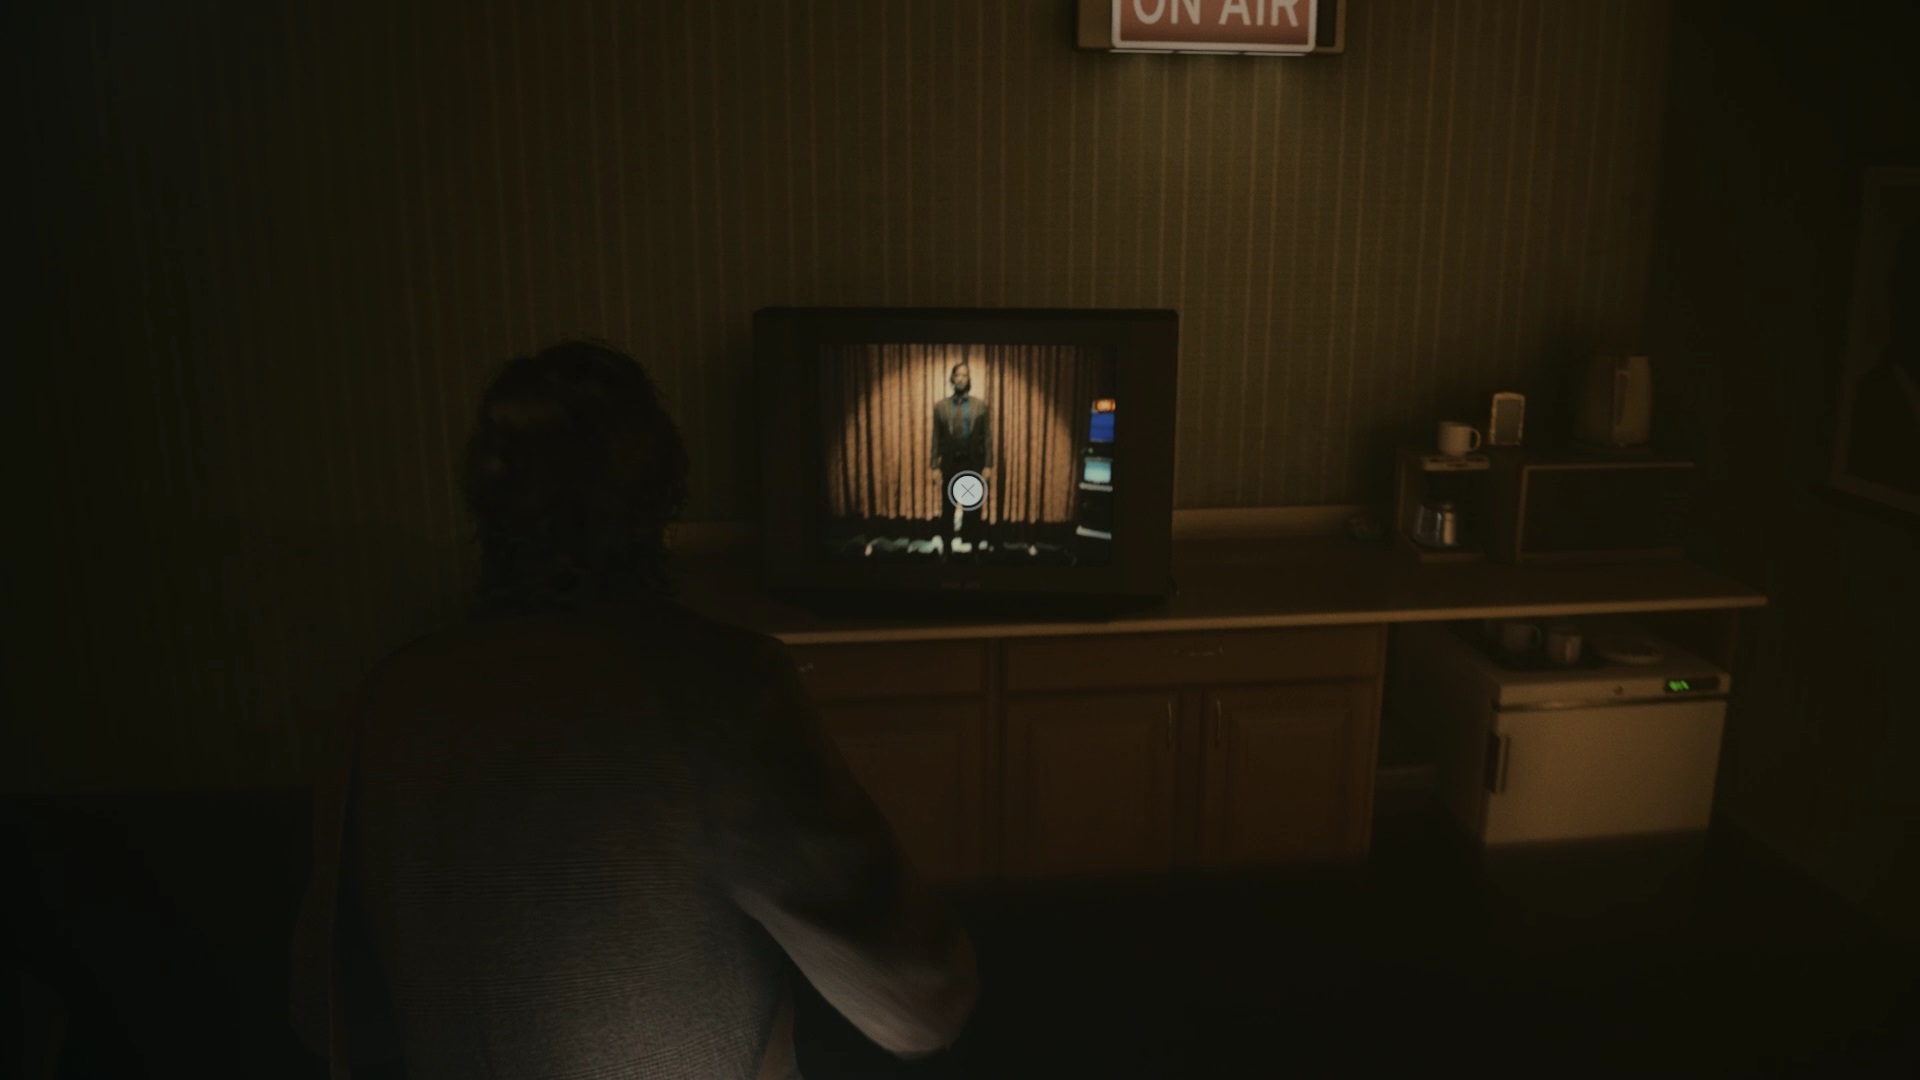
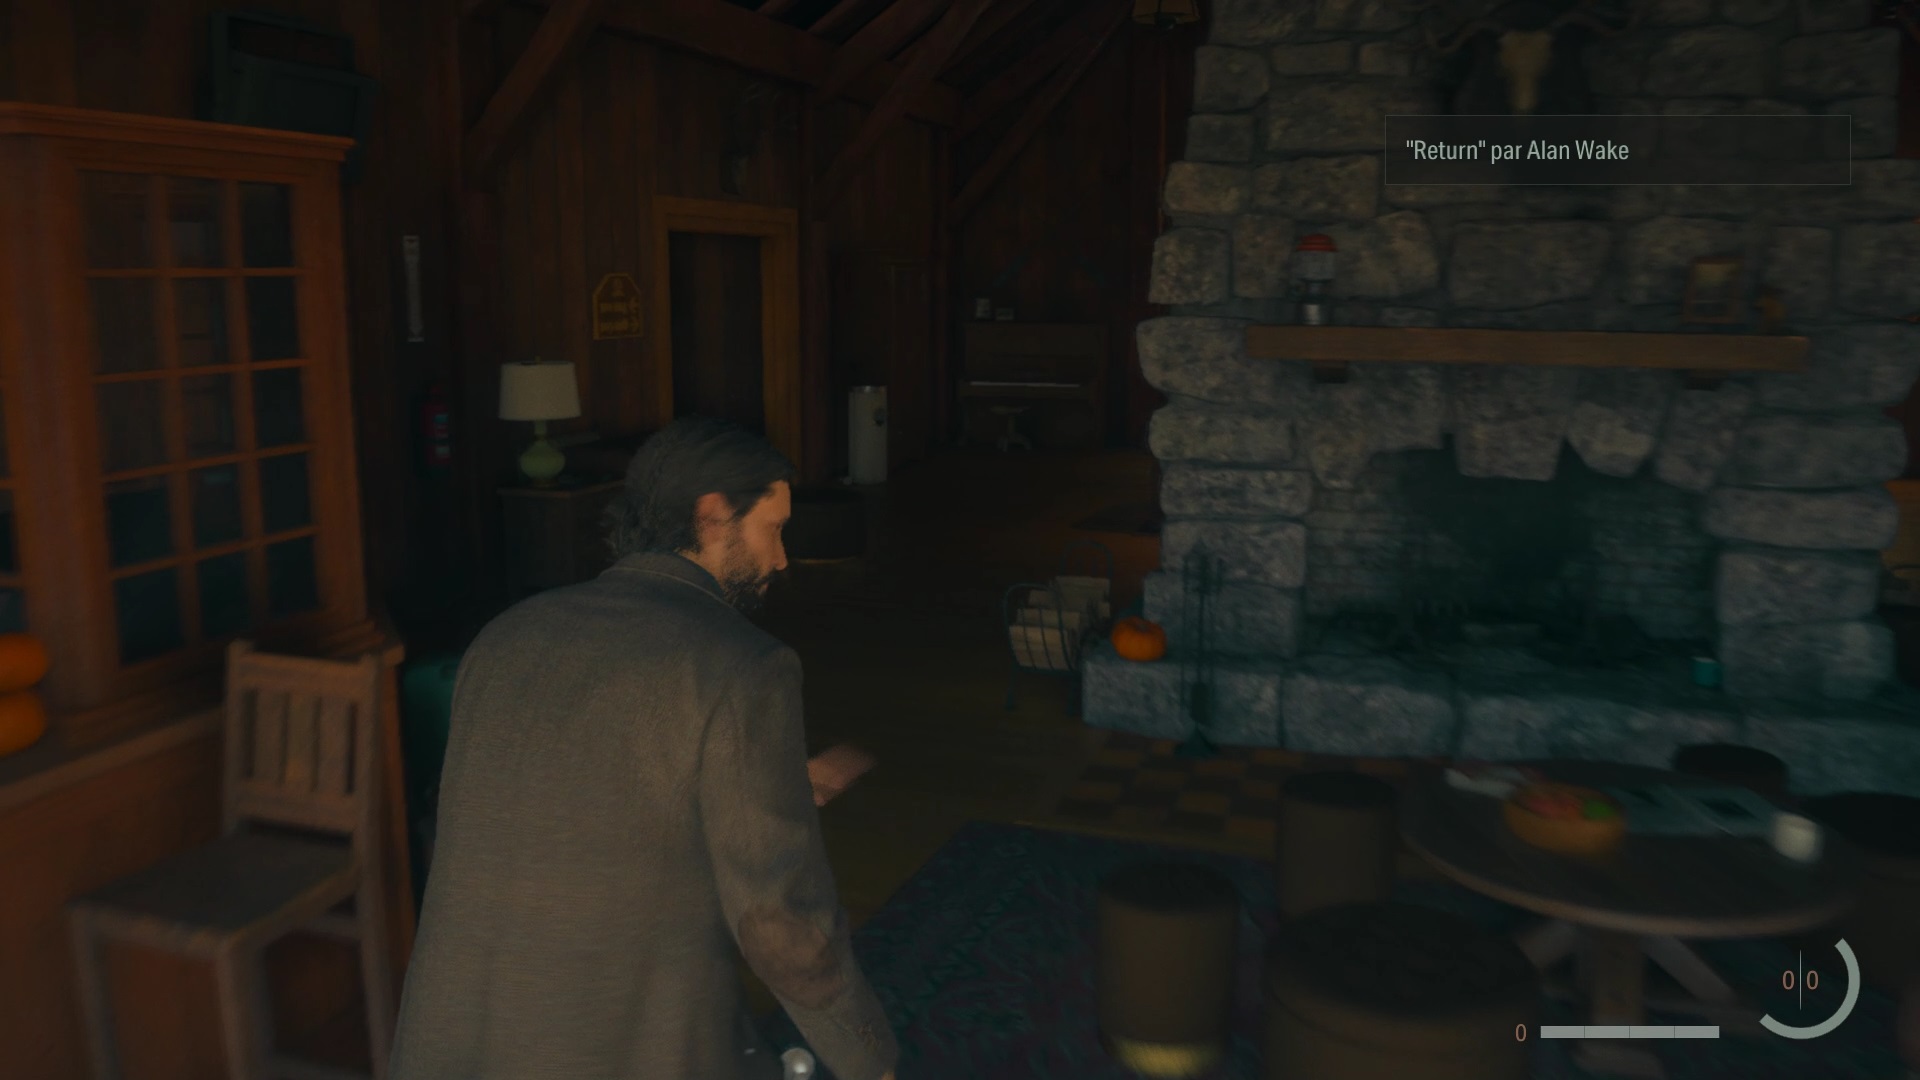
At the start of the chapter, talk to Casey and Wake on the beach. Then go back to the top of Cauldron Lake to reach the parking lot where you left the car. Interact with the car to head towards Bright Falls and, after the cutscene, switch into the shoes of Alan Wake. Get up from the couch and interact with the screen to immerse yourself in the scene.
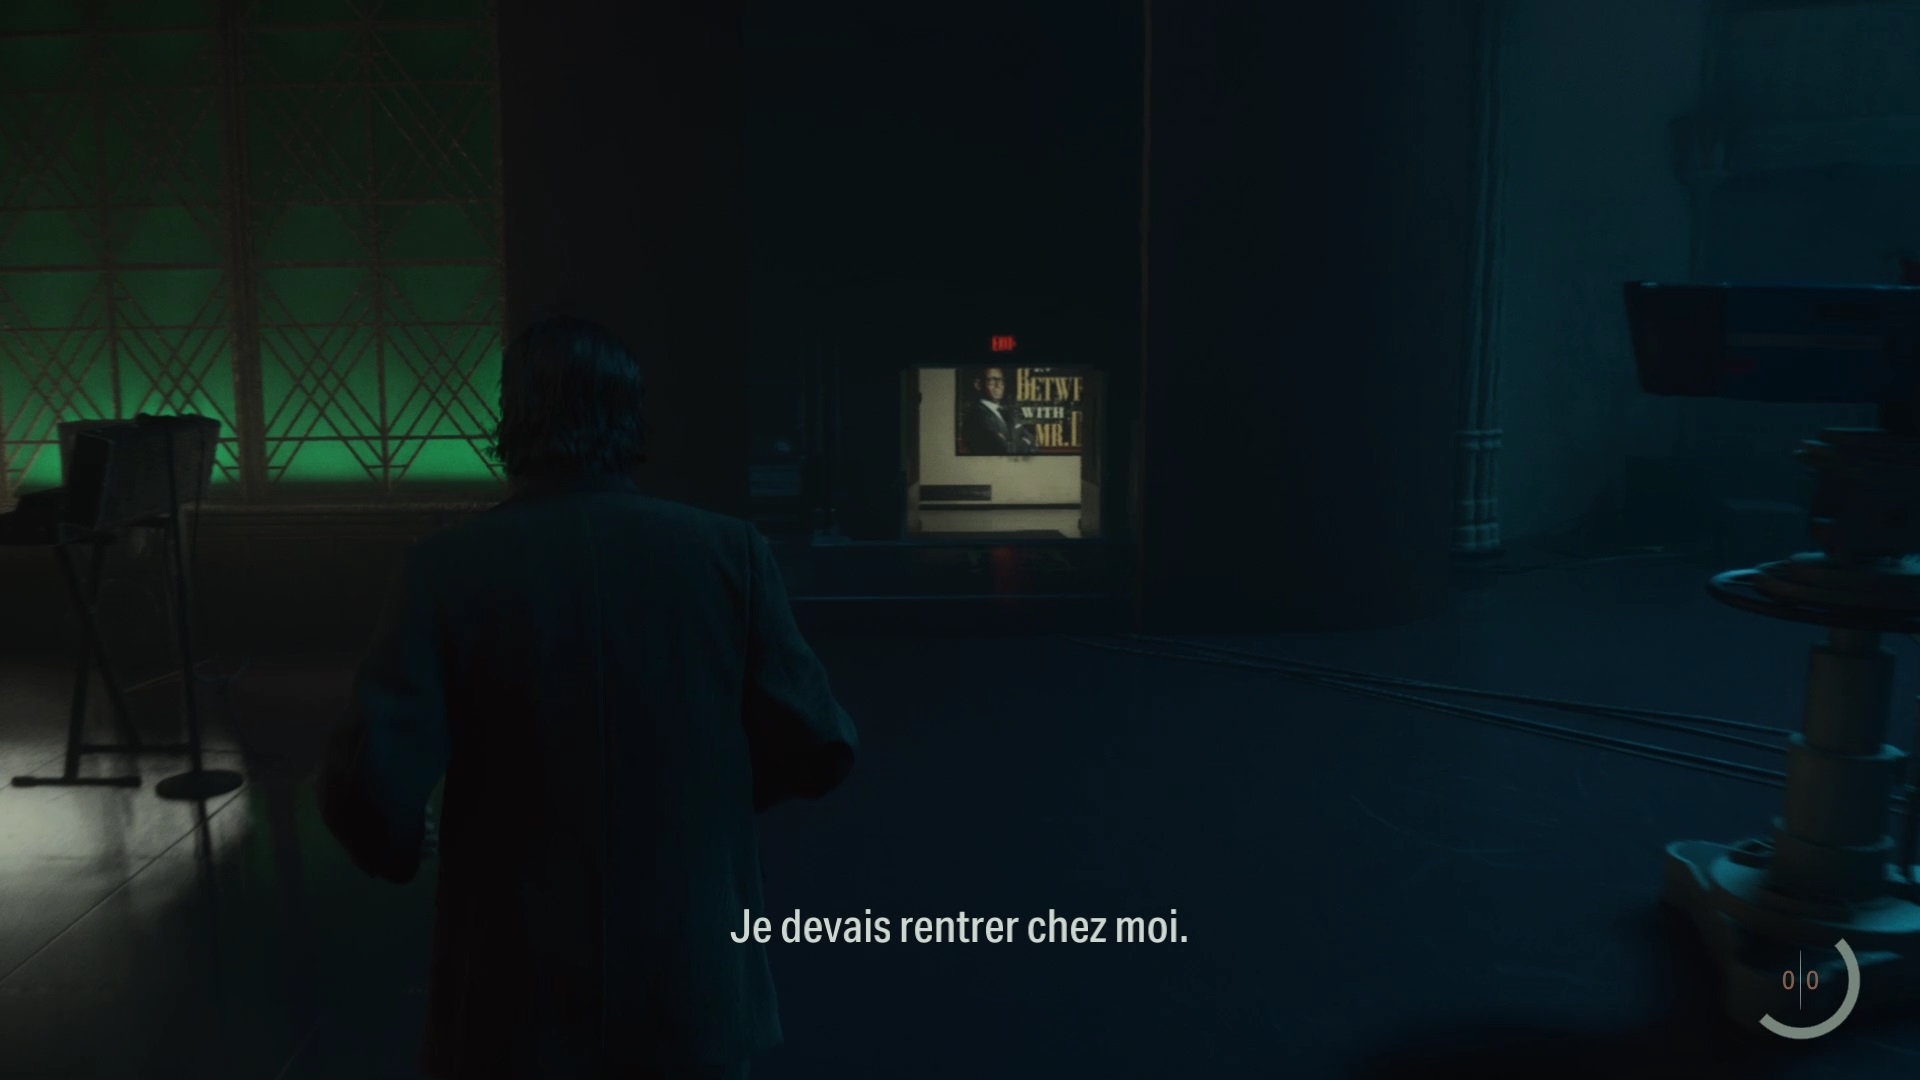
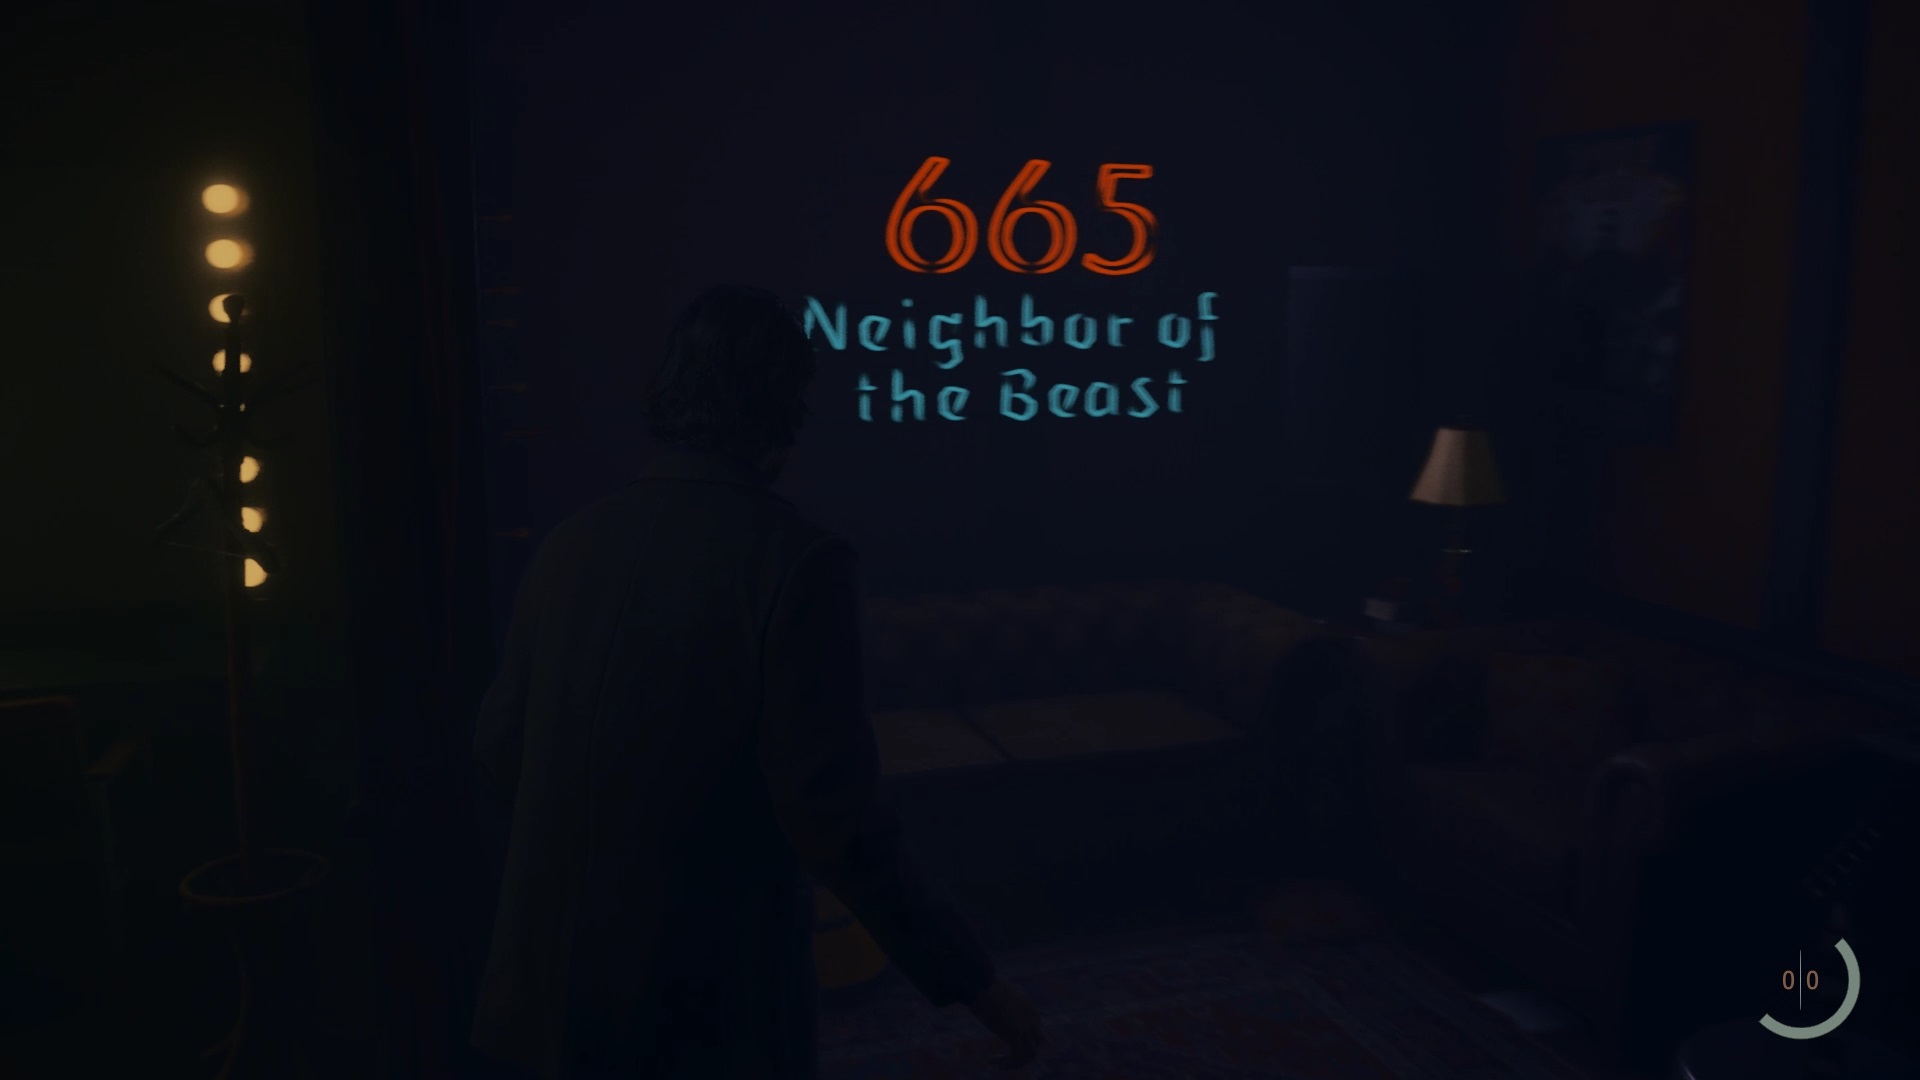
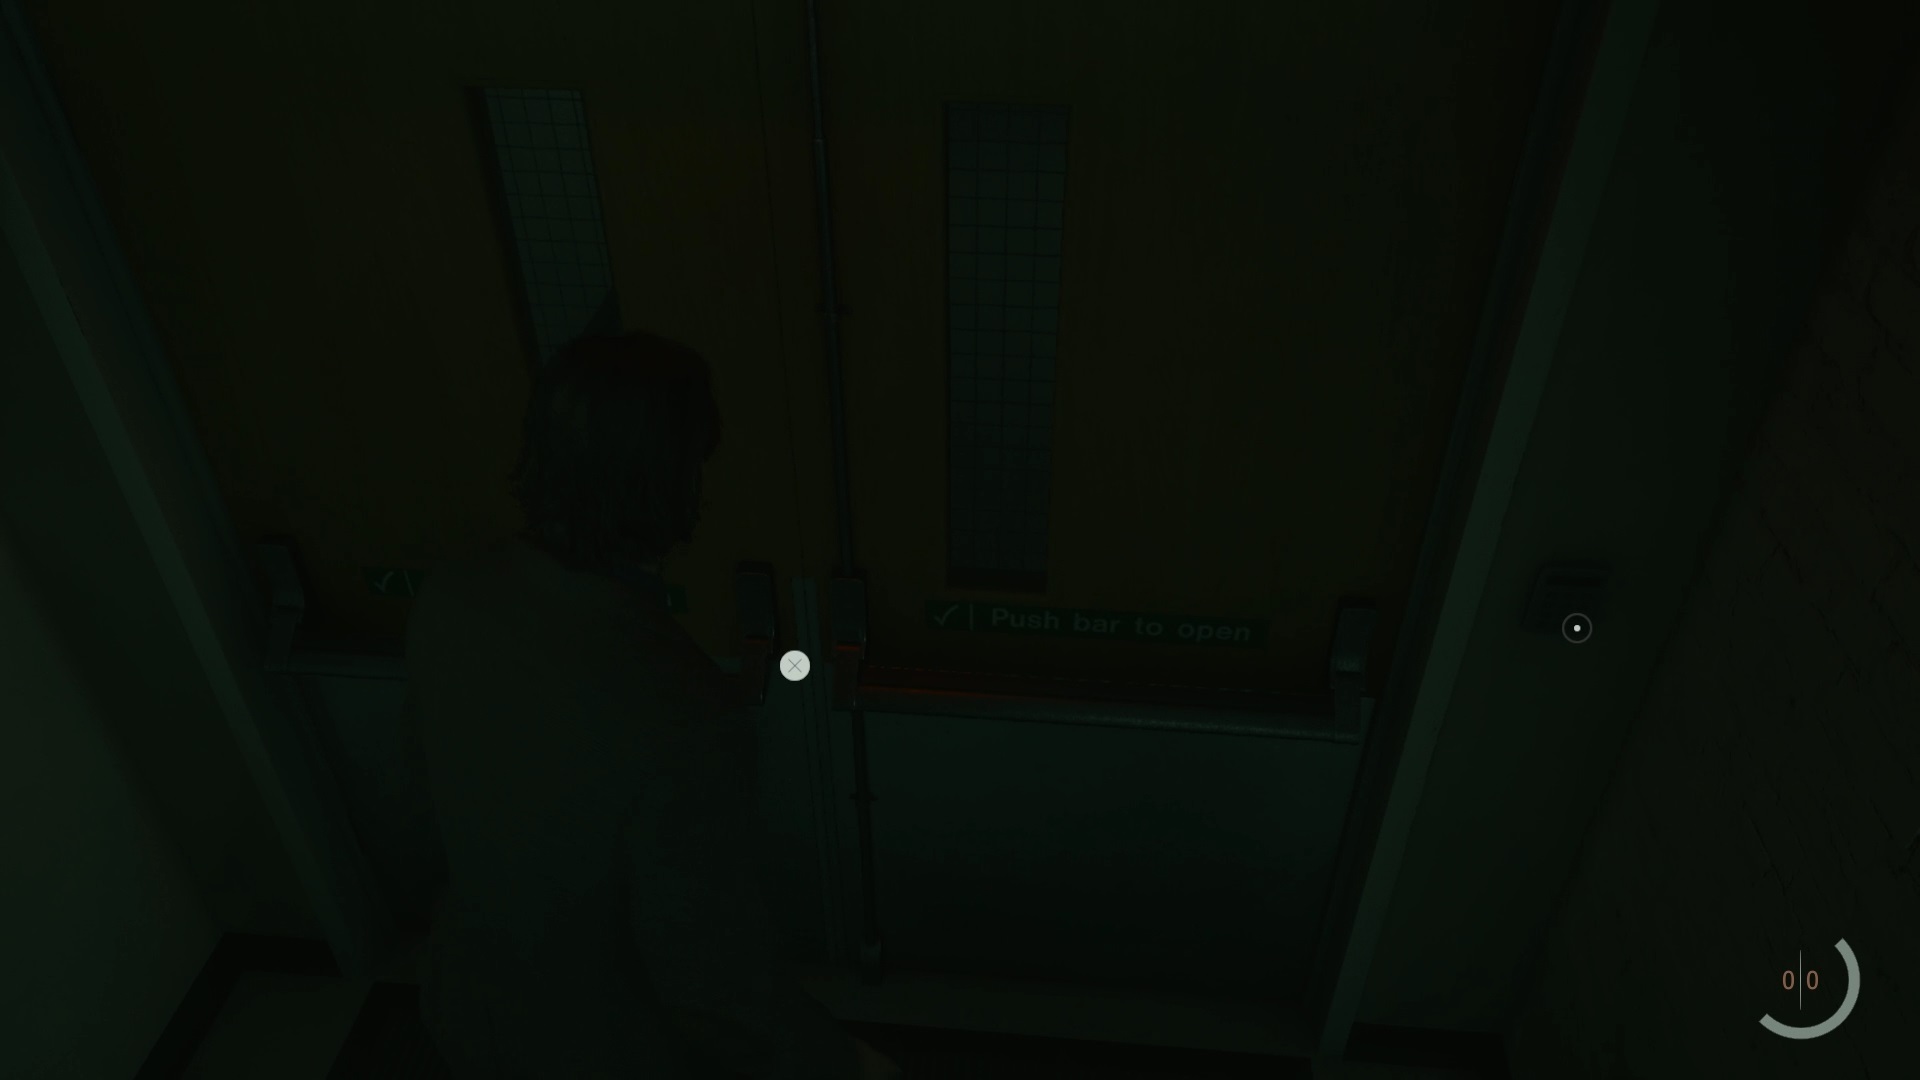
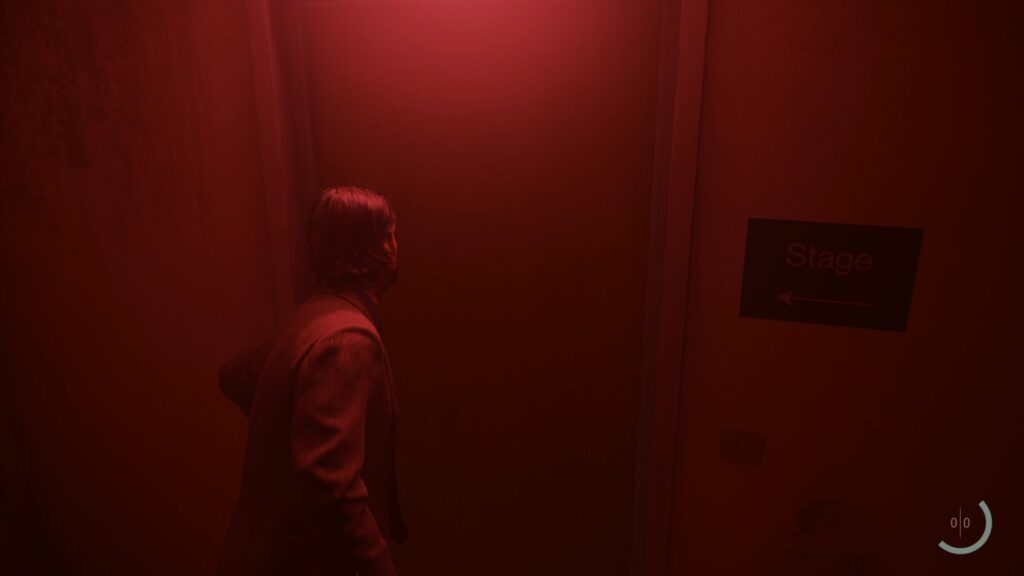
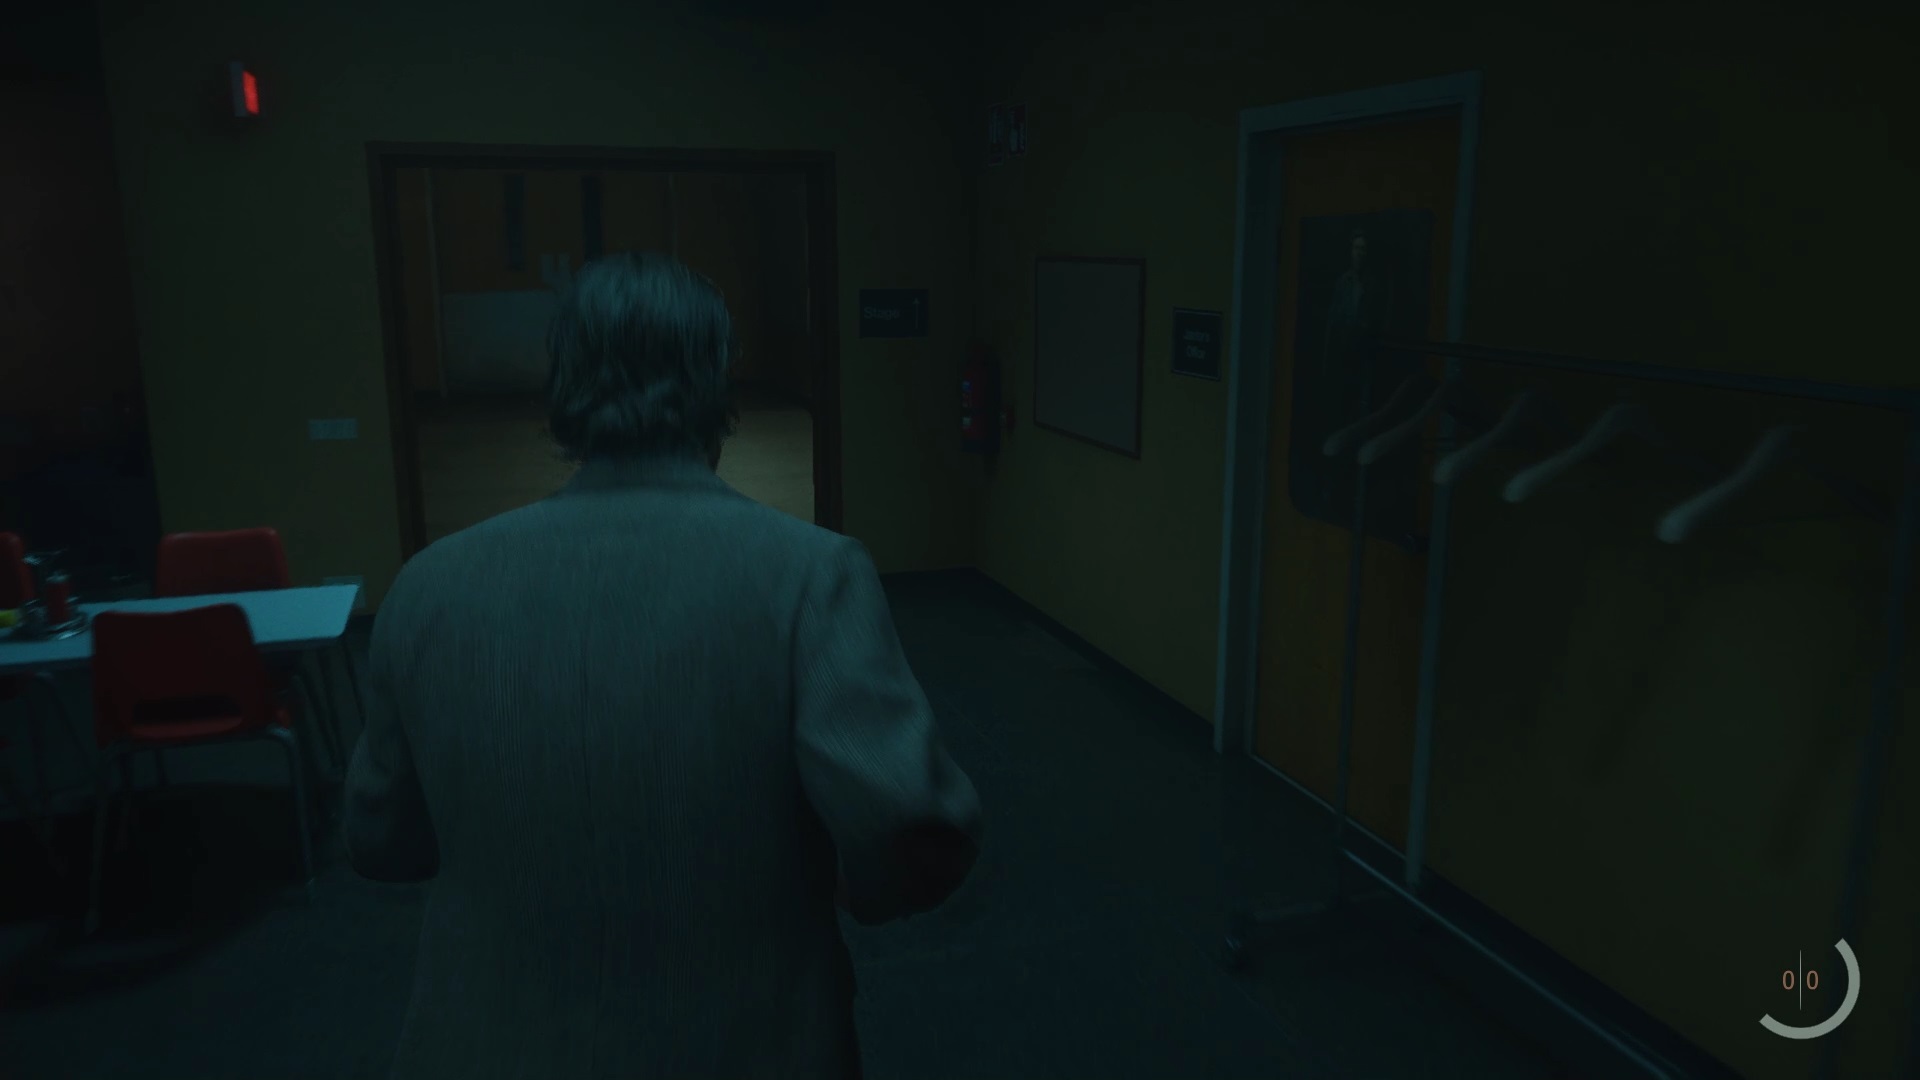
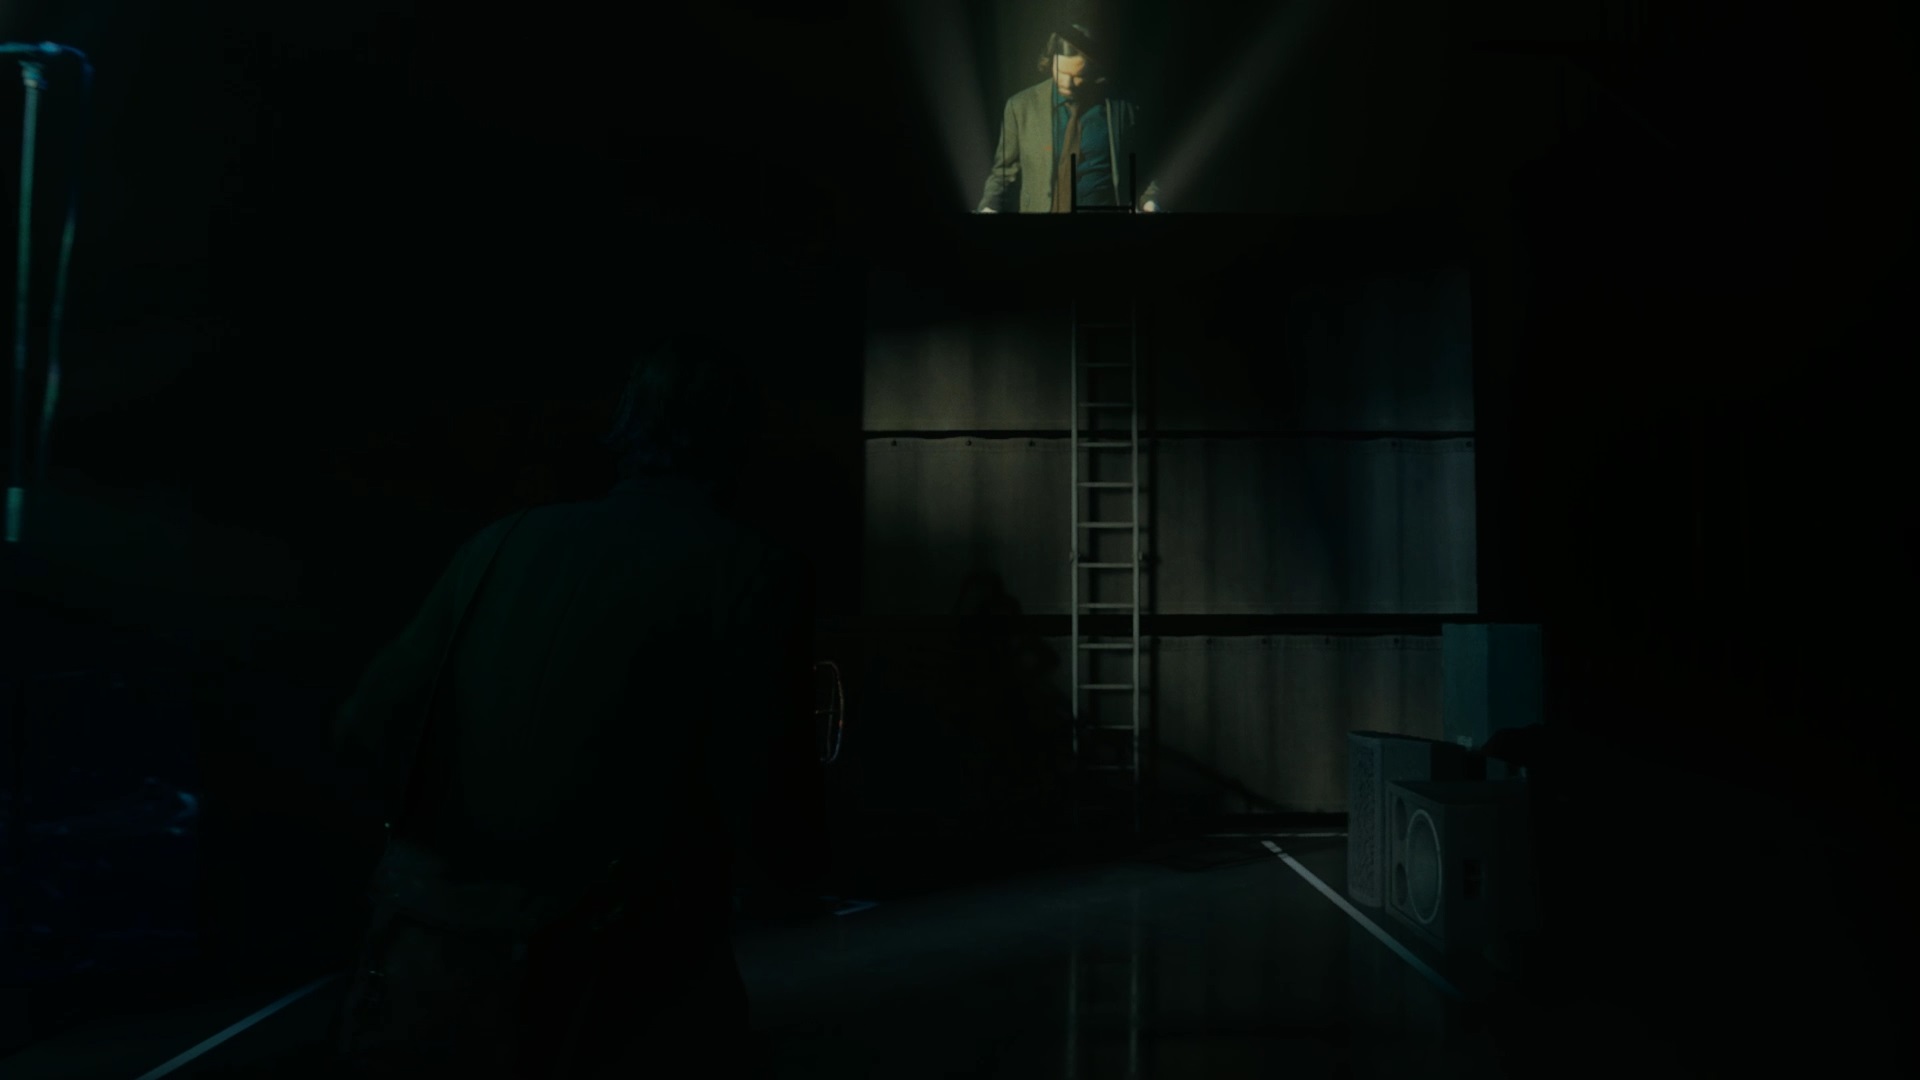
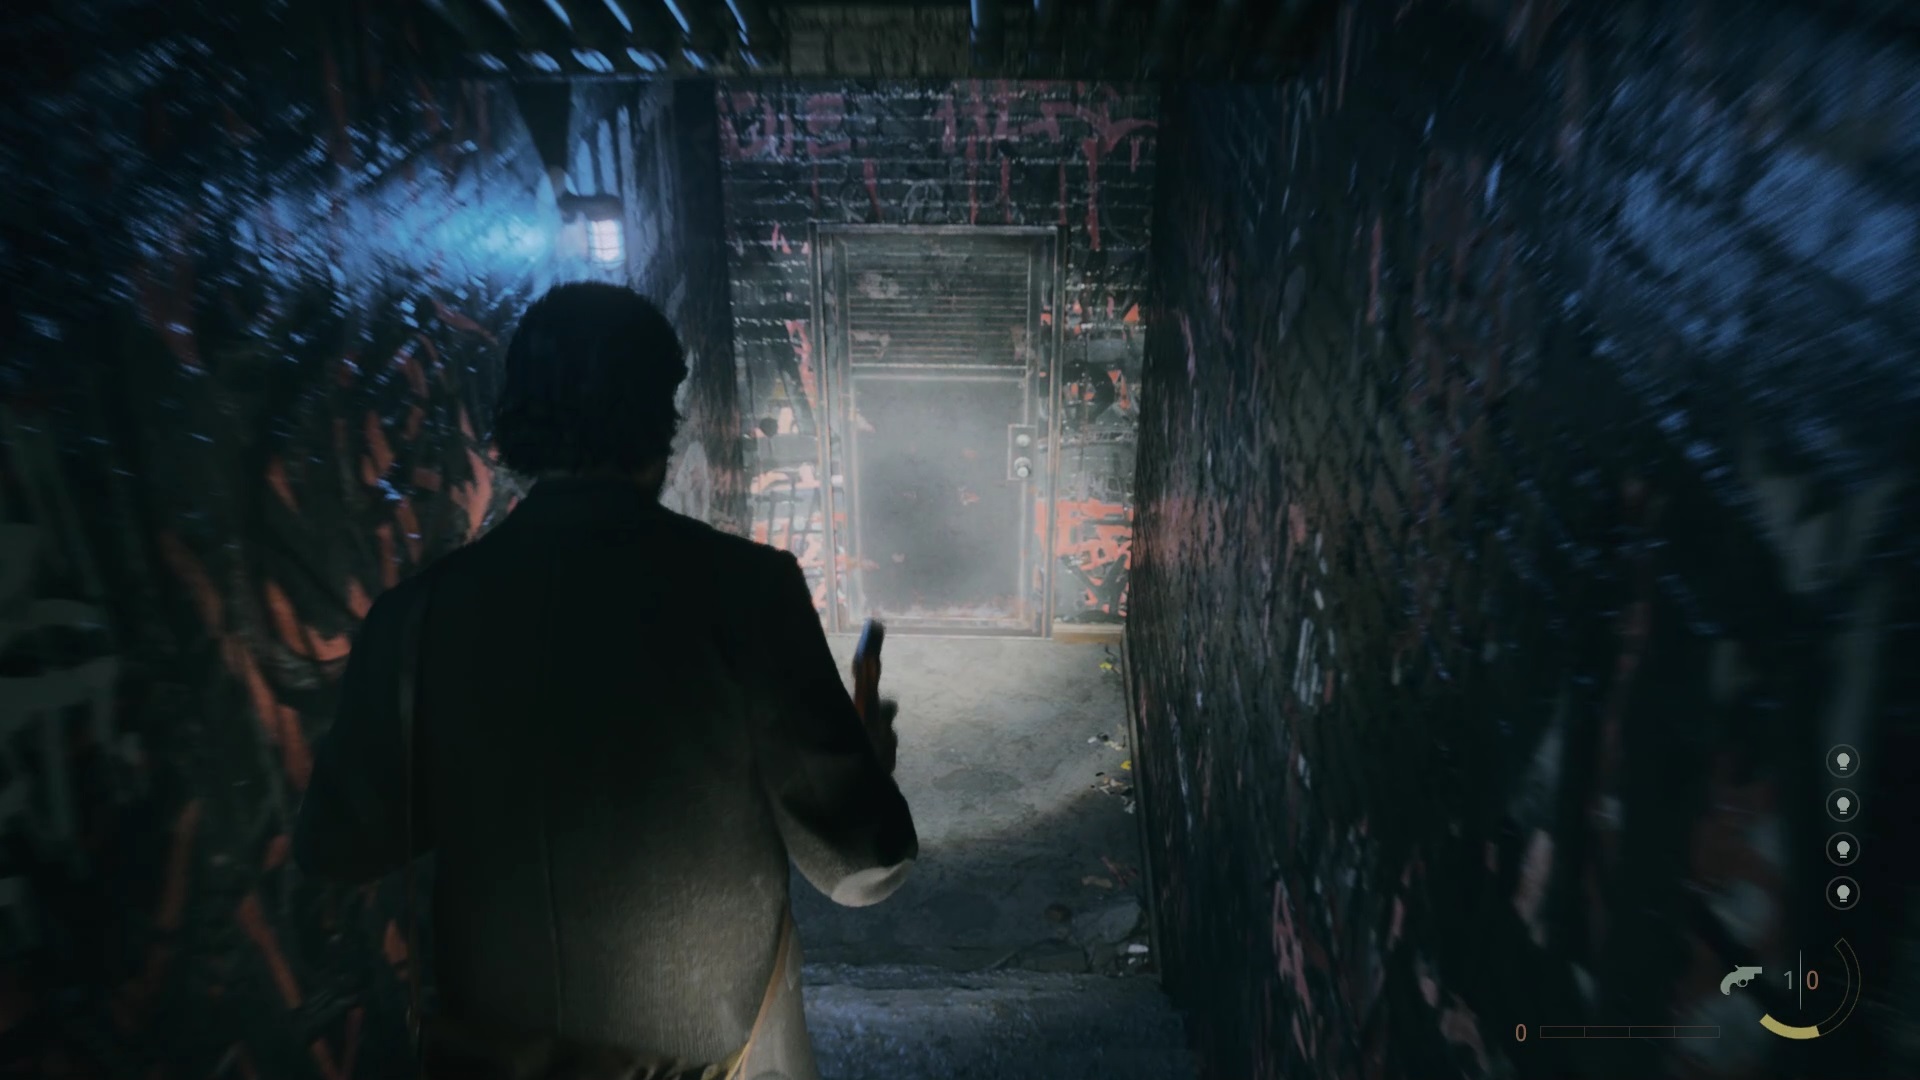
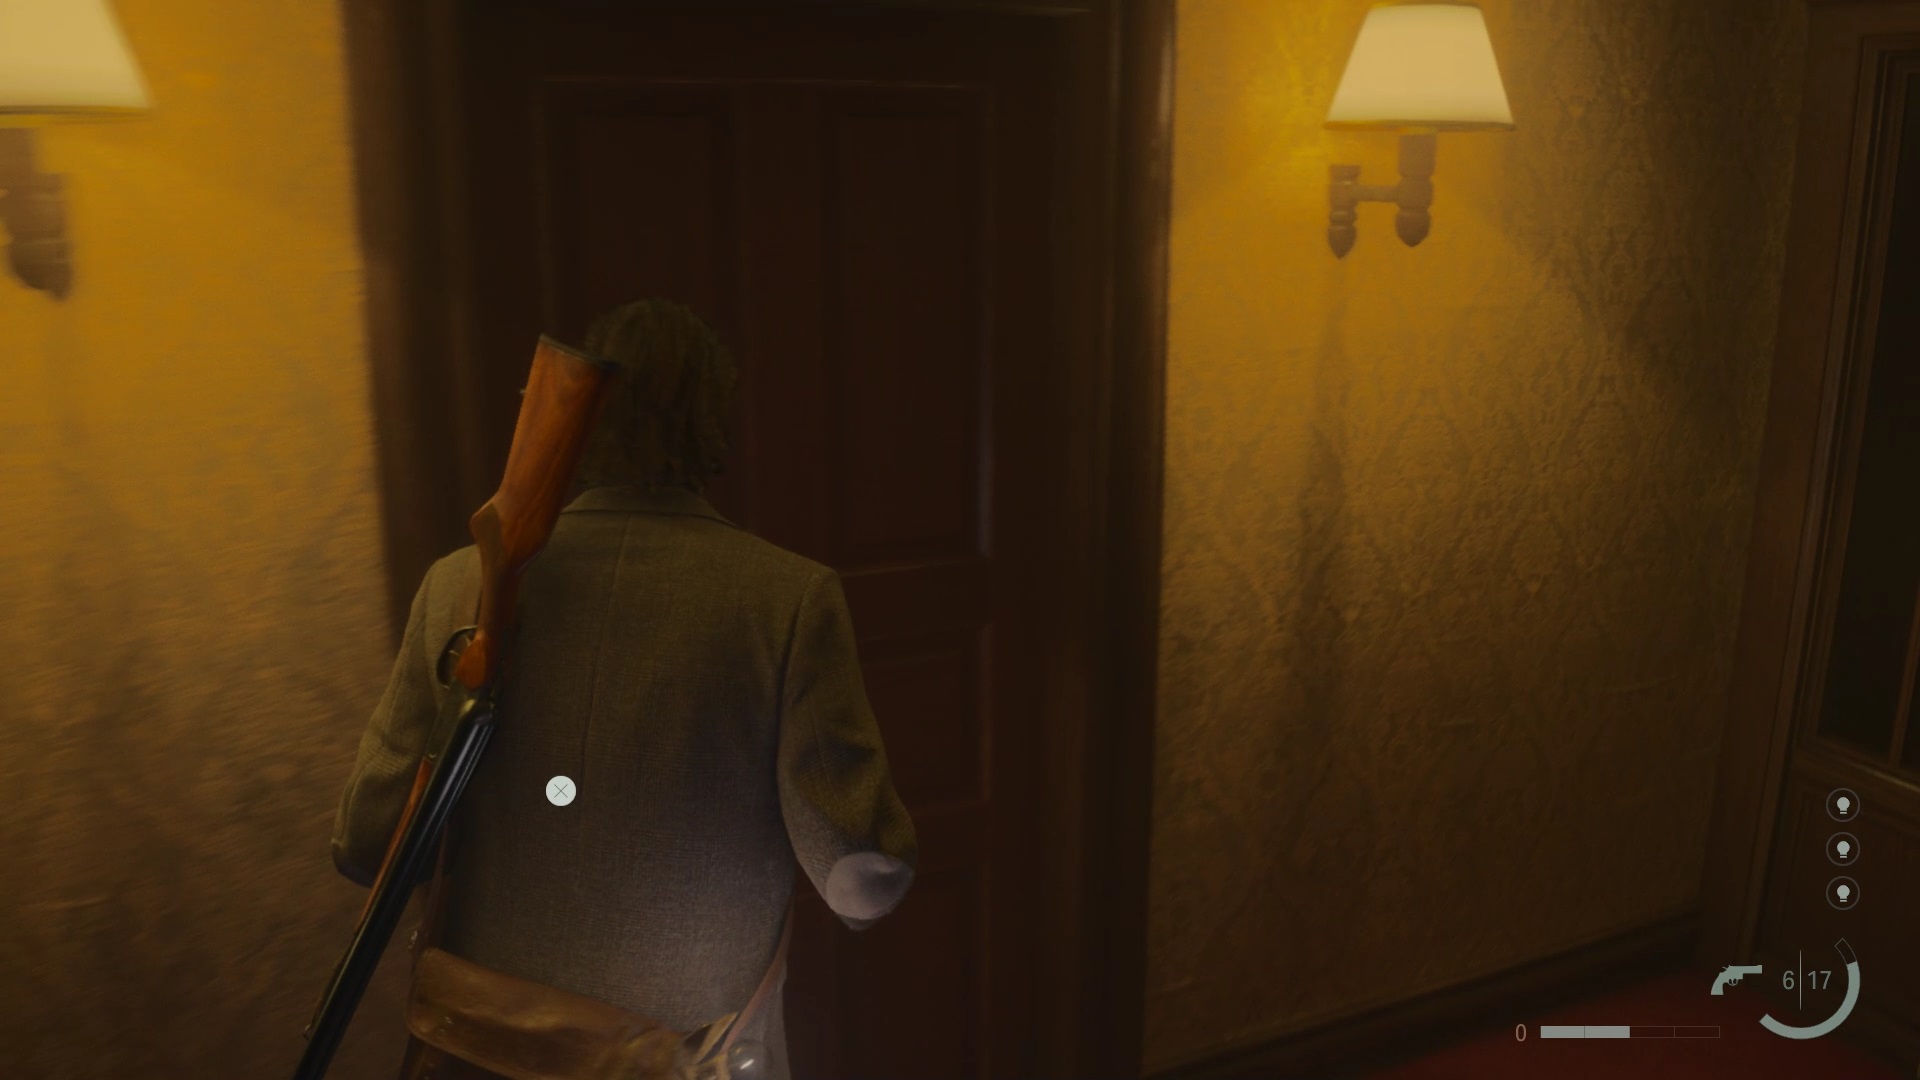
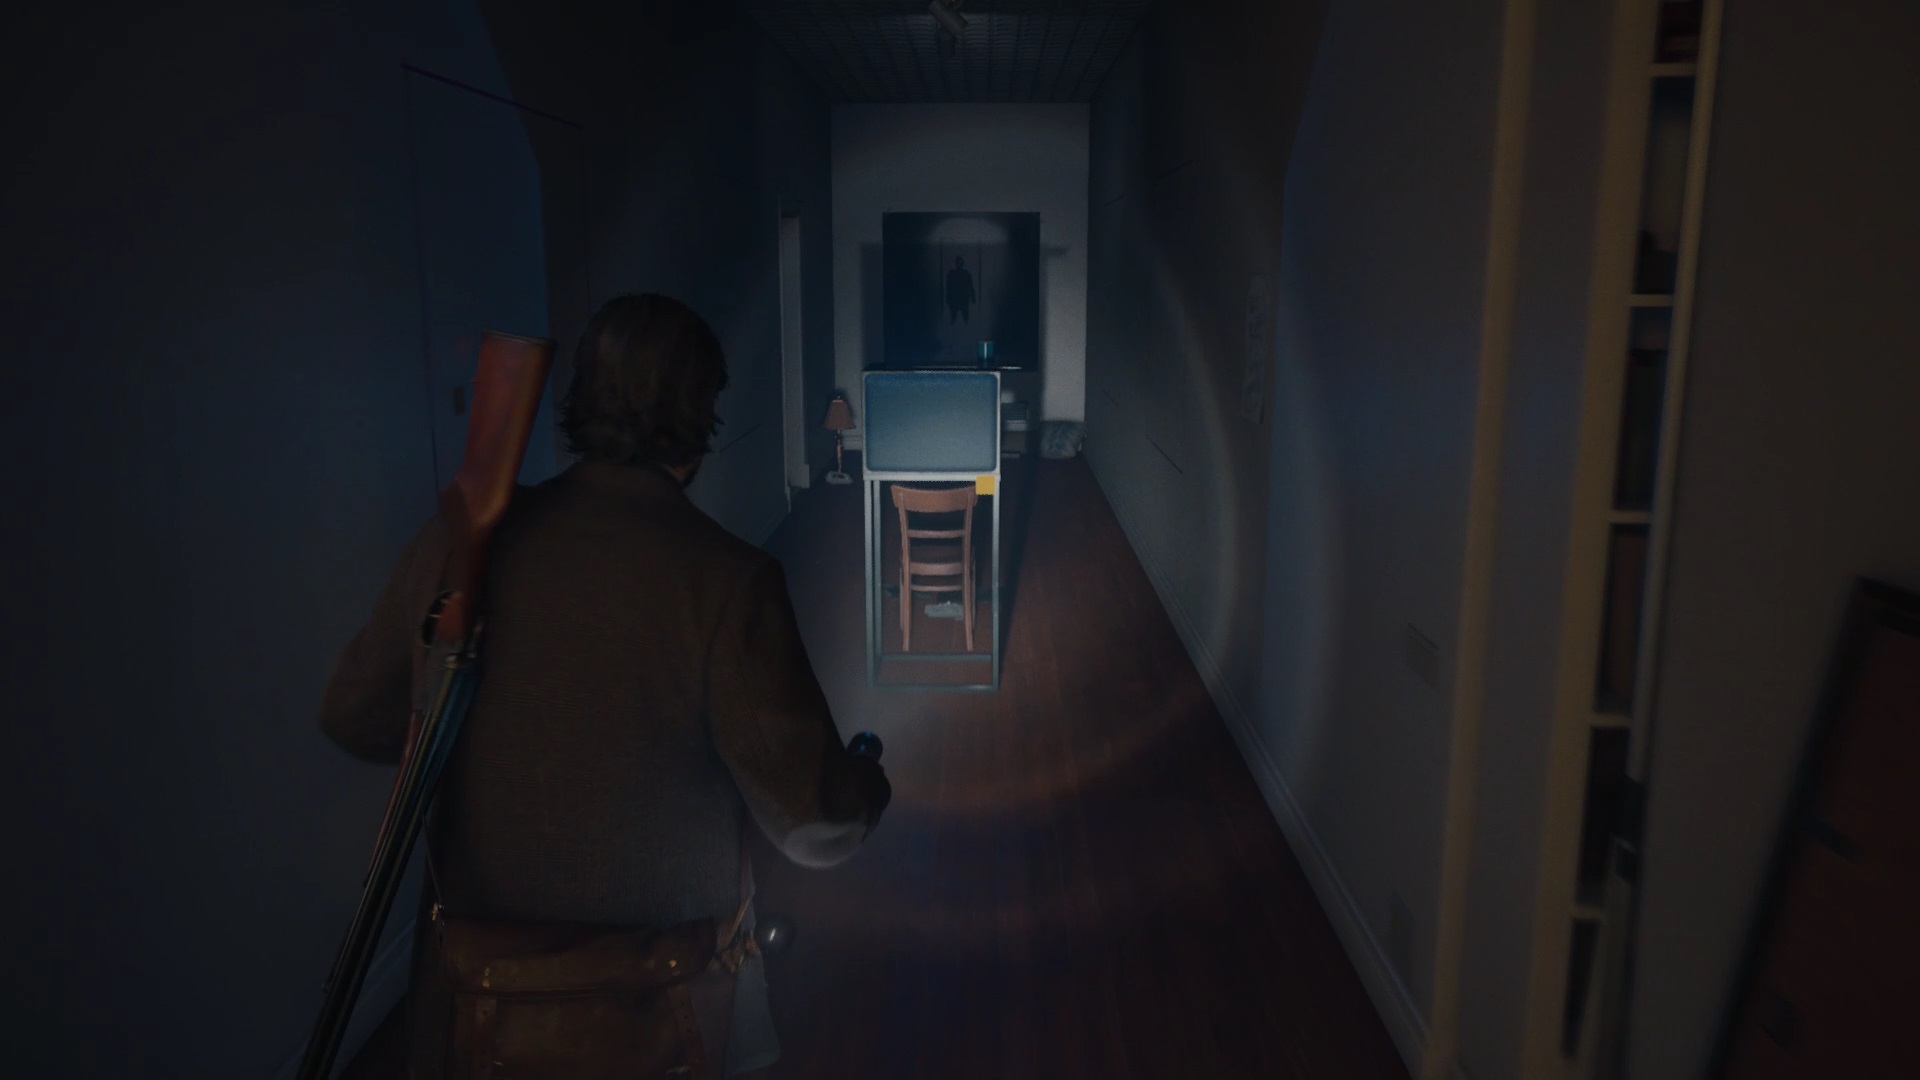
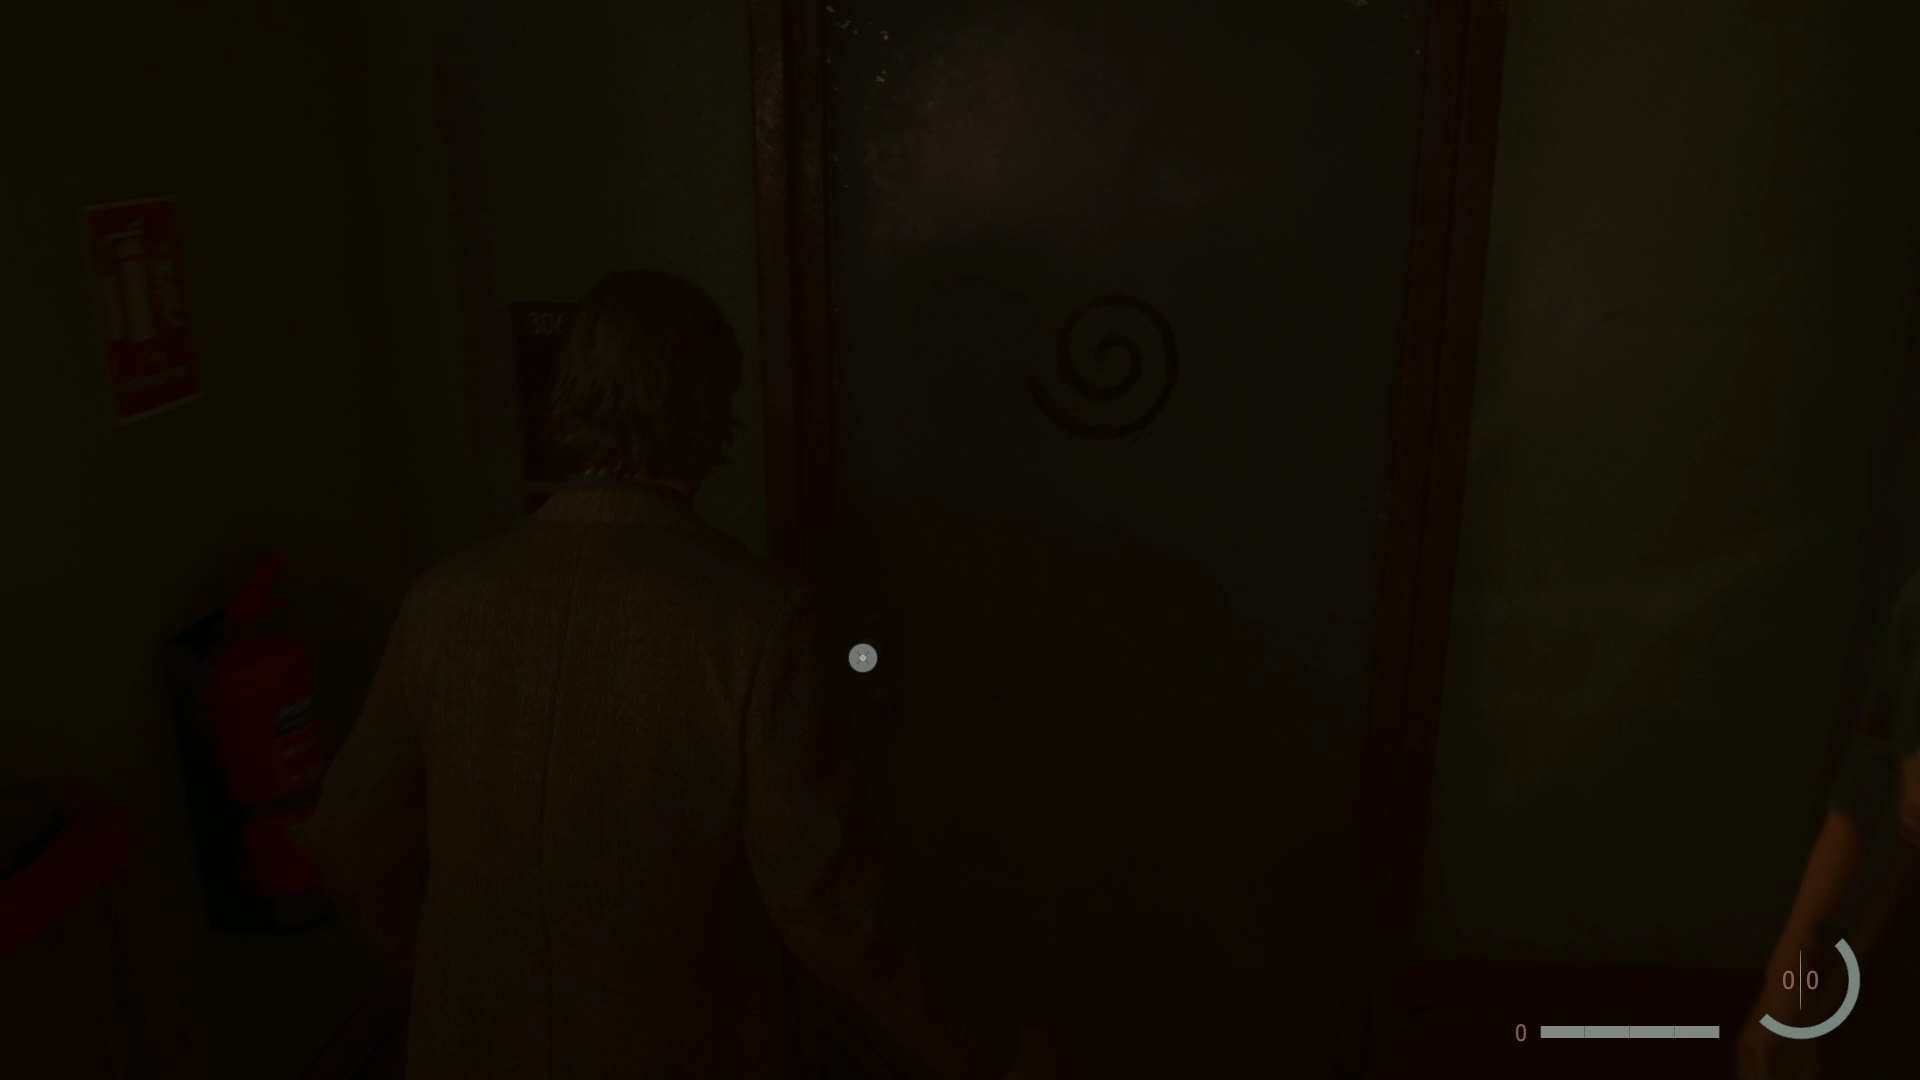
On stage, go to the nearby exit to enter the corridors. A double door stops your progress. Use the code 665 corresponding to the code in one of the nearby dressing rooms to unlock the double doors. Then continue through the half-open door. Try to exit through the door at the back to trigger a cutscene.
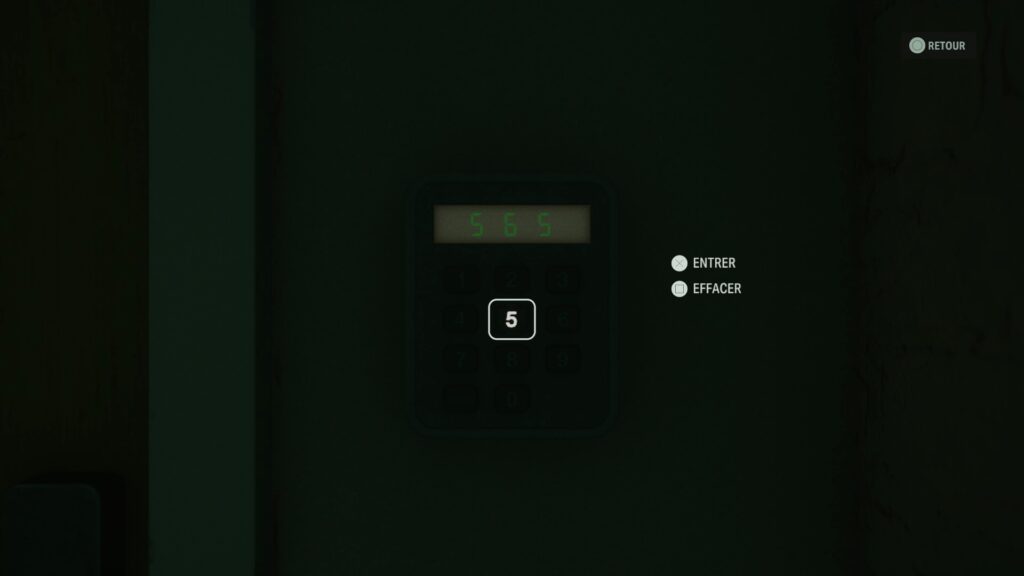
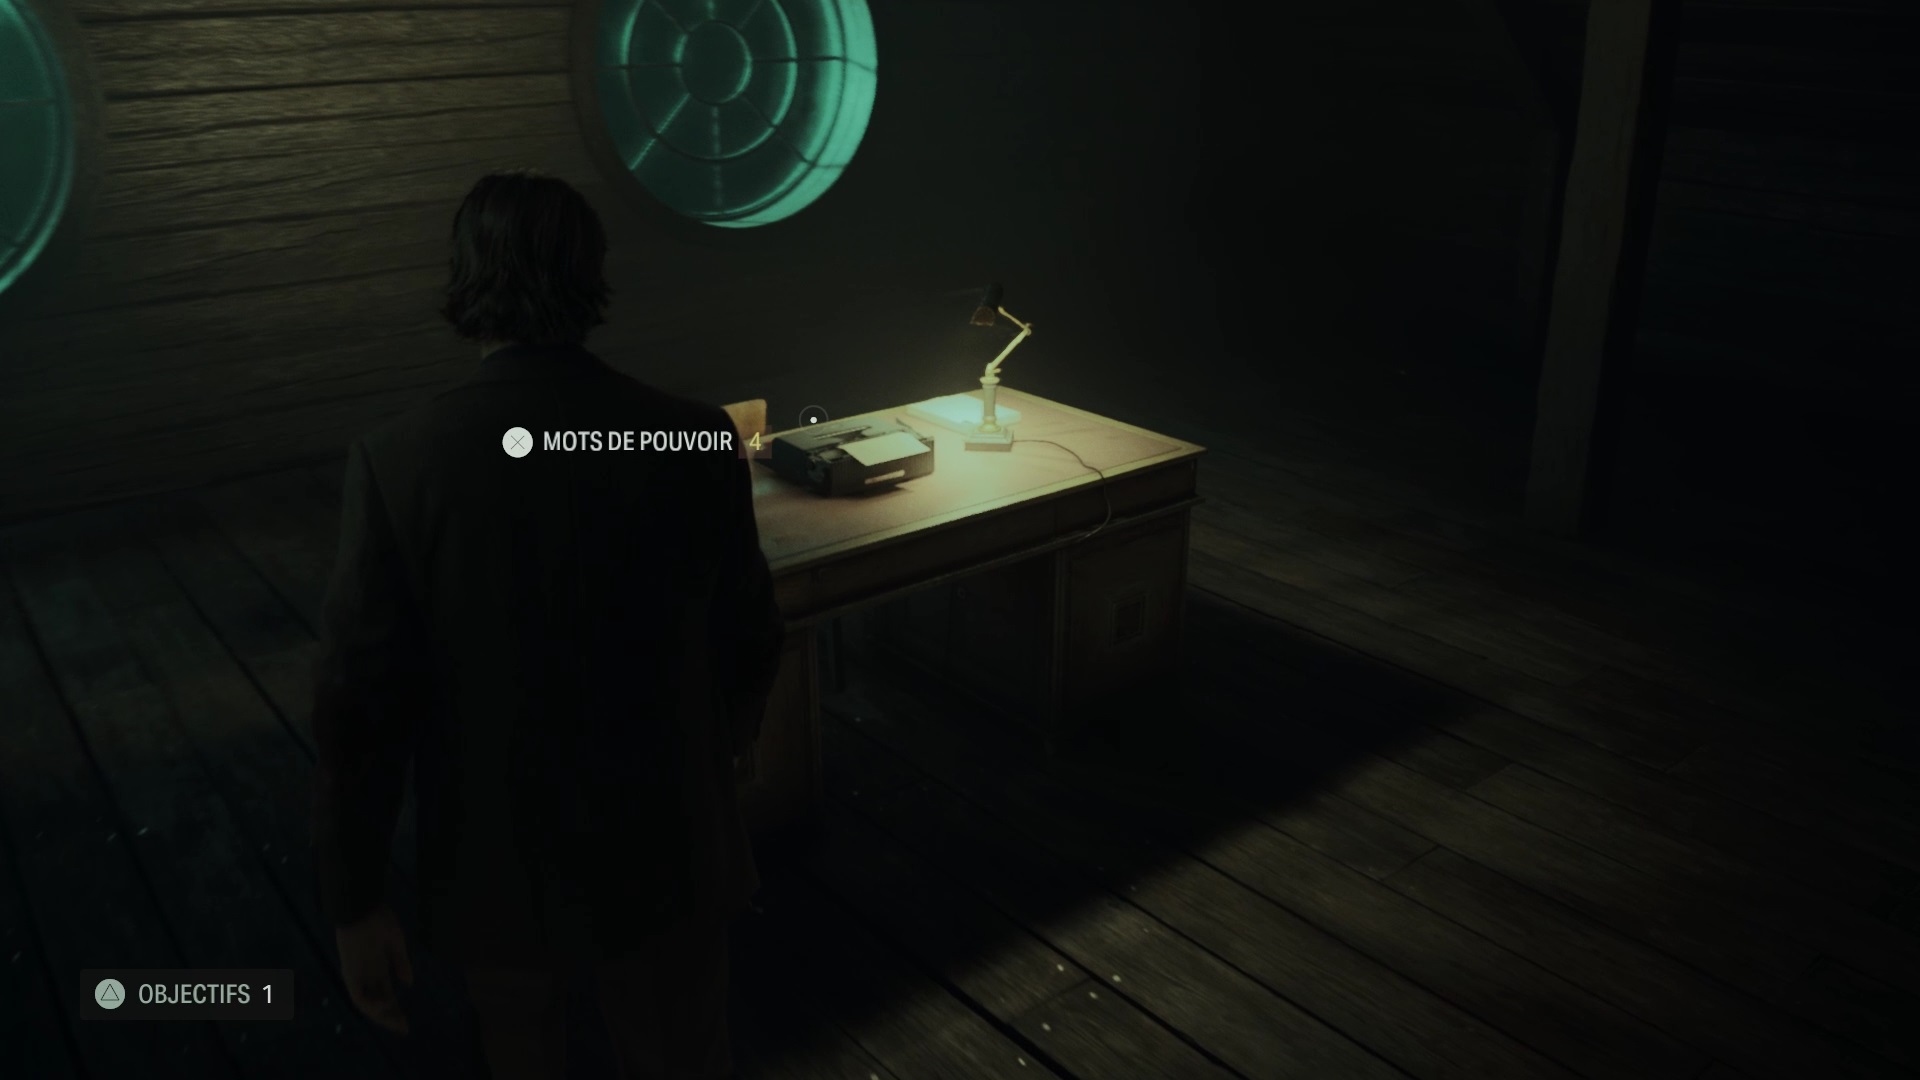
In the Dark Place, interact first with the plot outline, then with the typewriter to get back on track. Dive into the screen again to launch a new scene. Search the exit again, but use the code 565 to open the double doors. Try to exit through the door at the back, which this time opens.

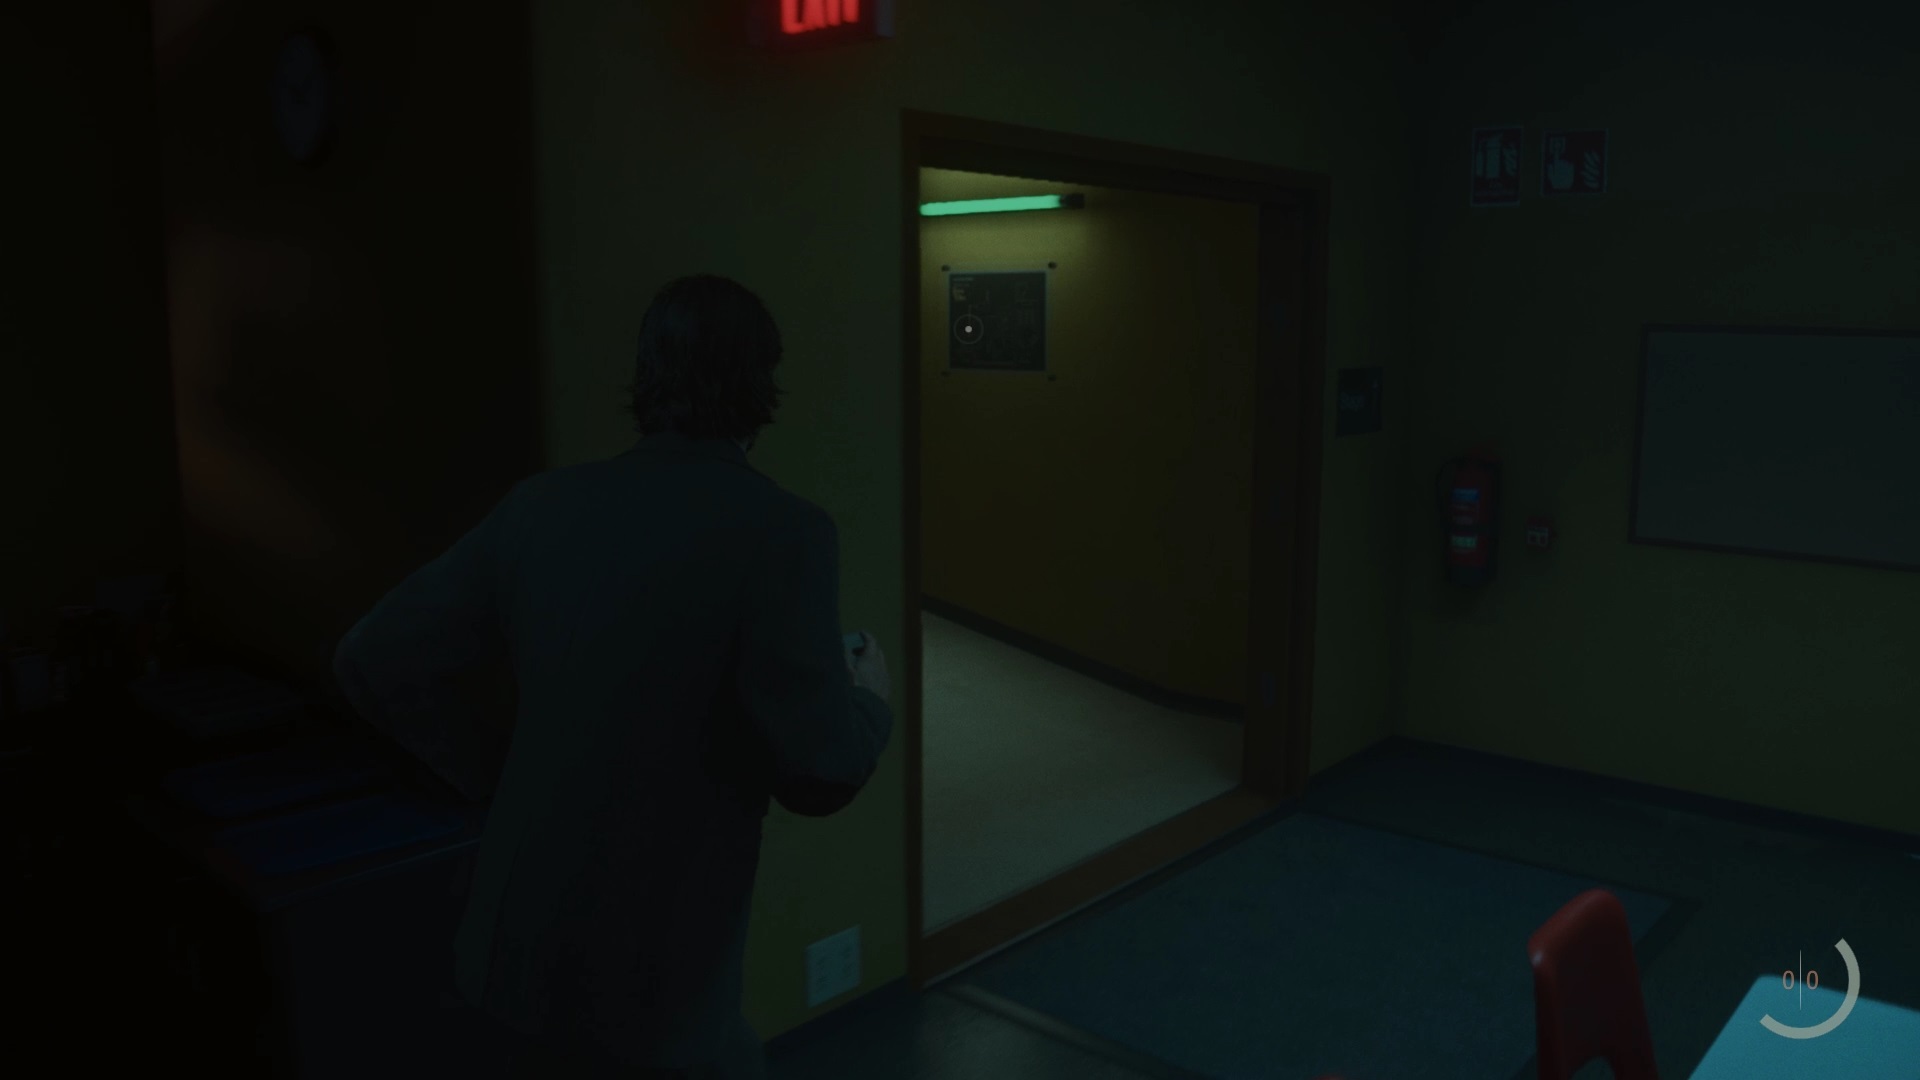
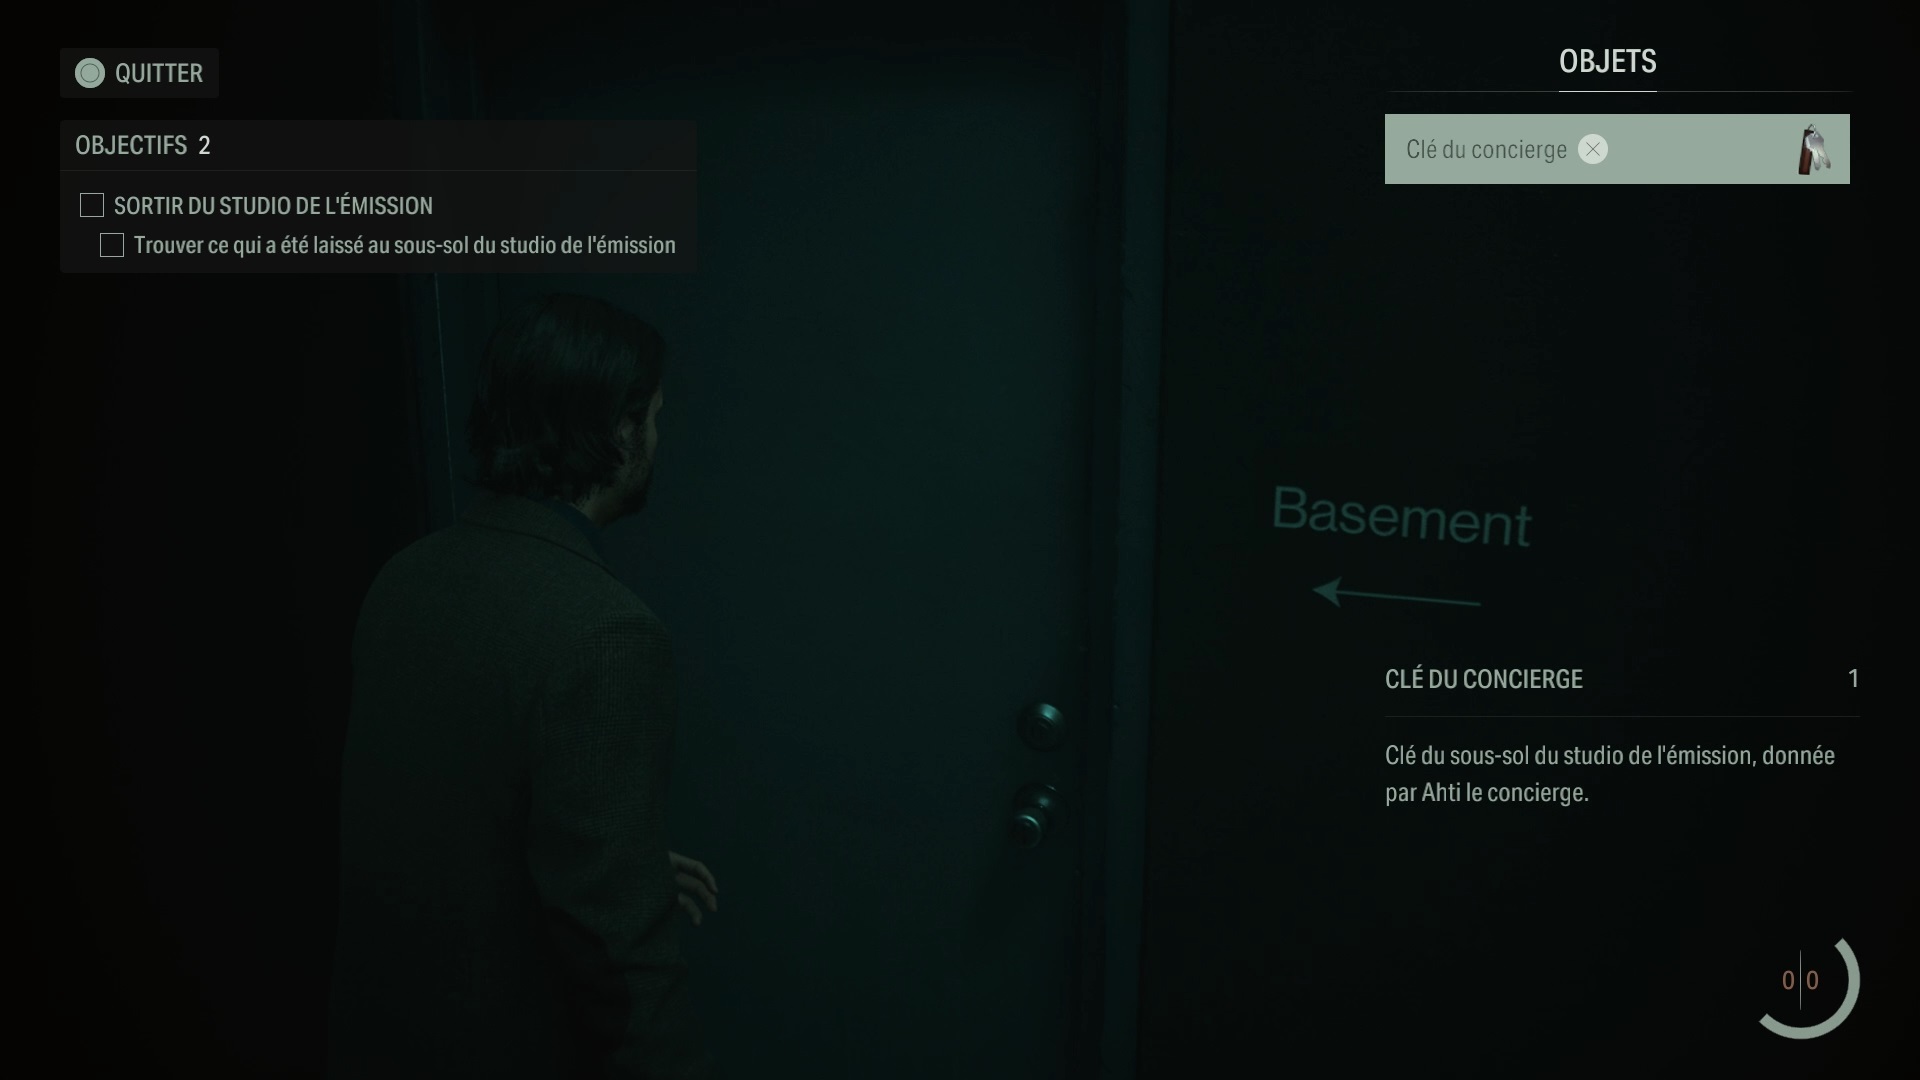
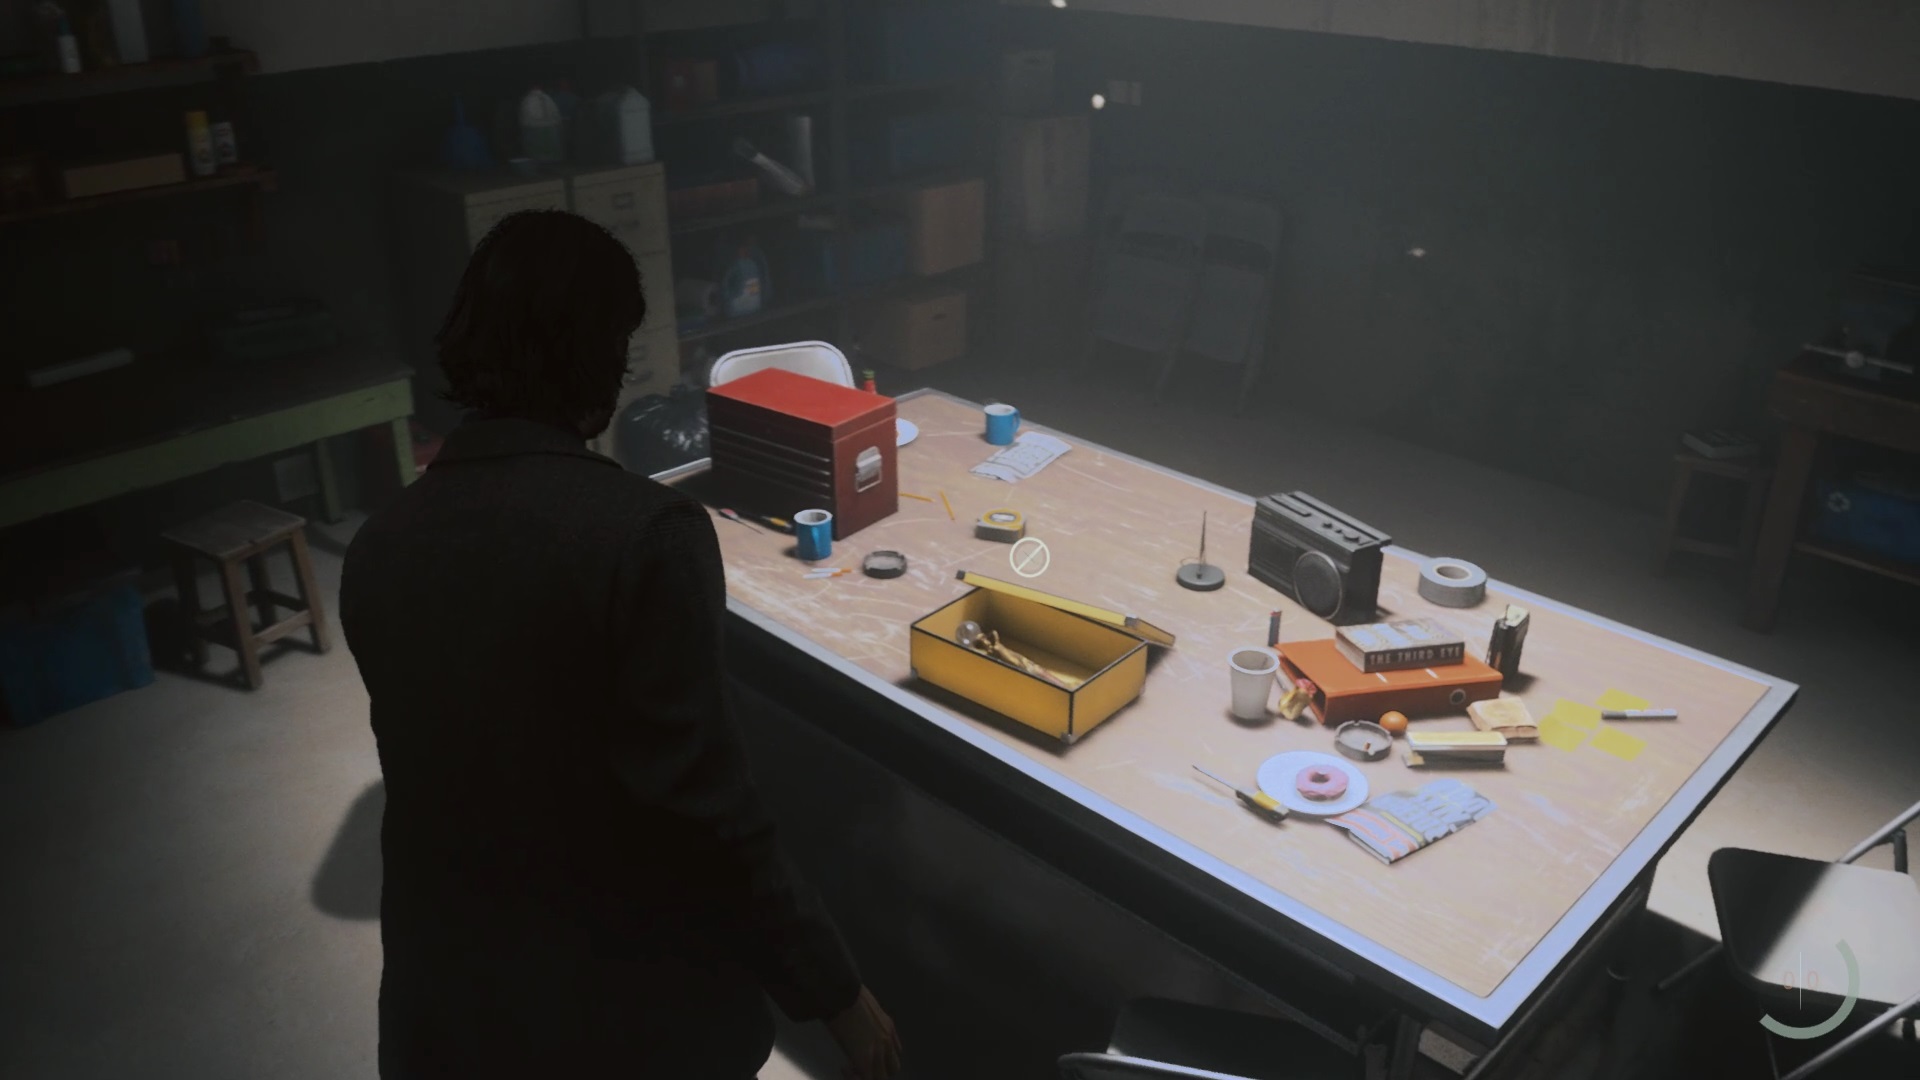
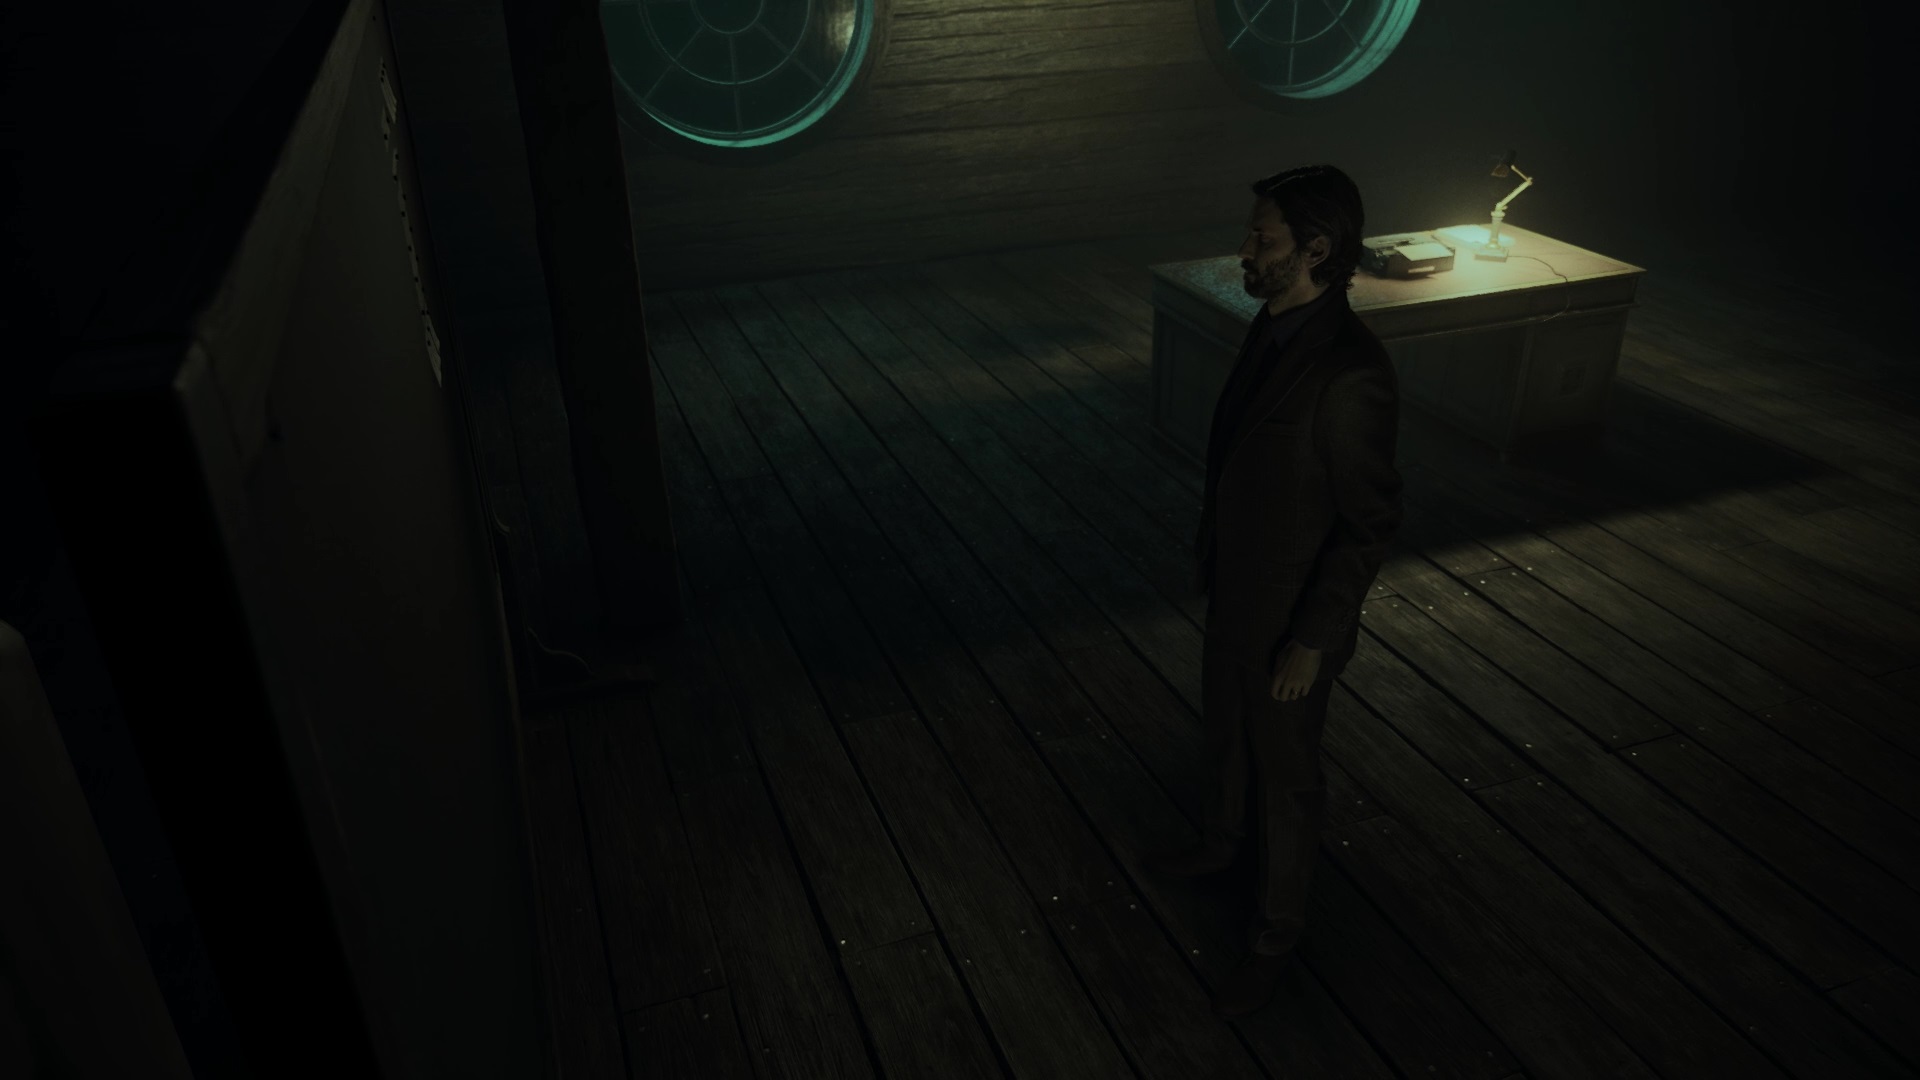
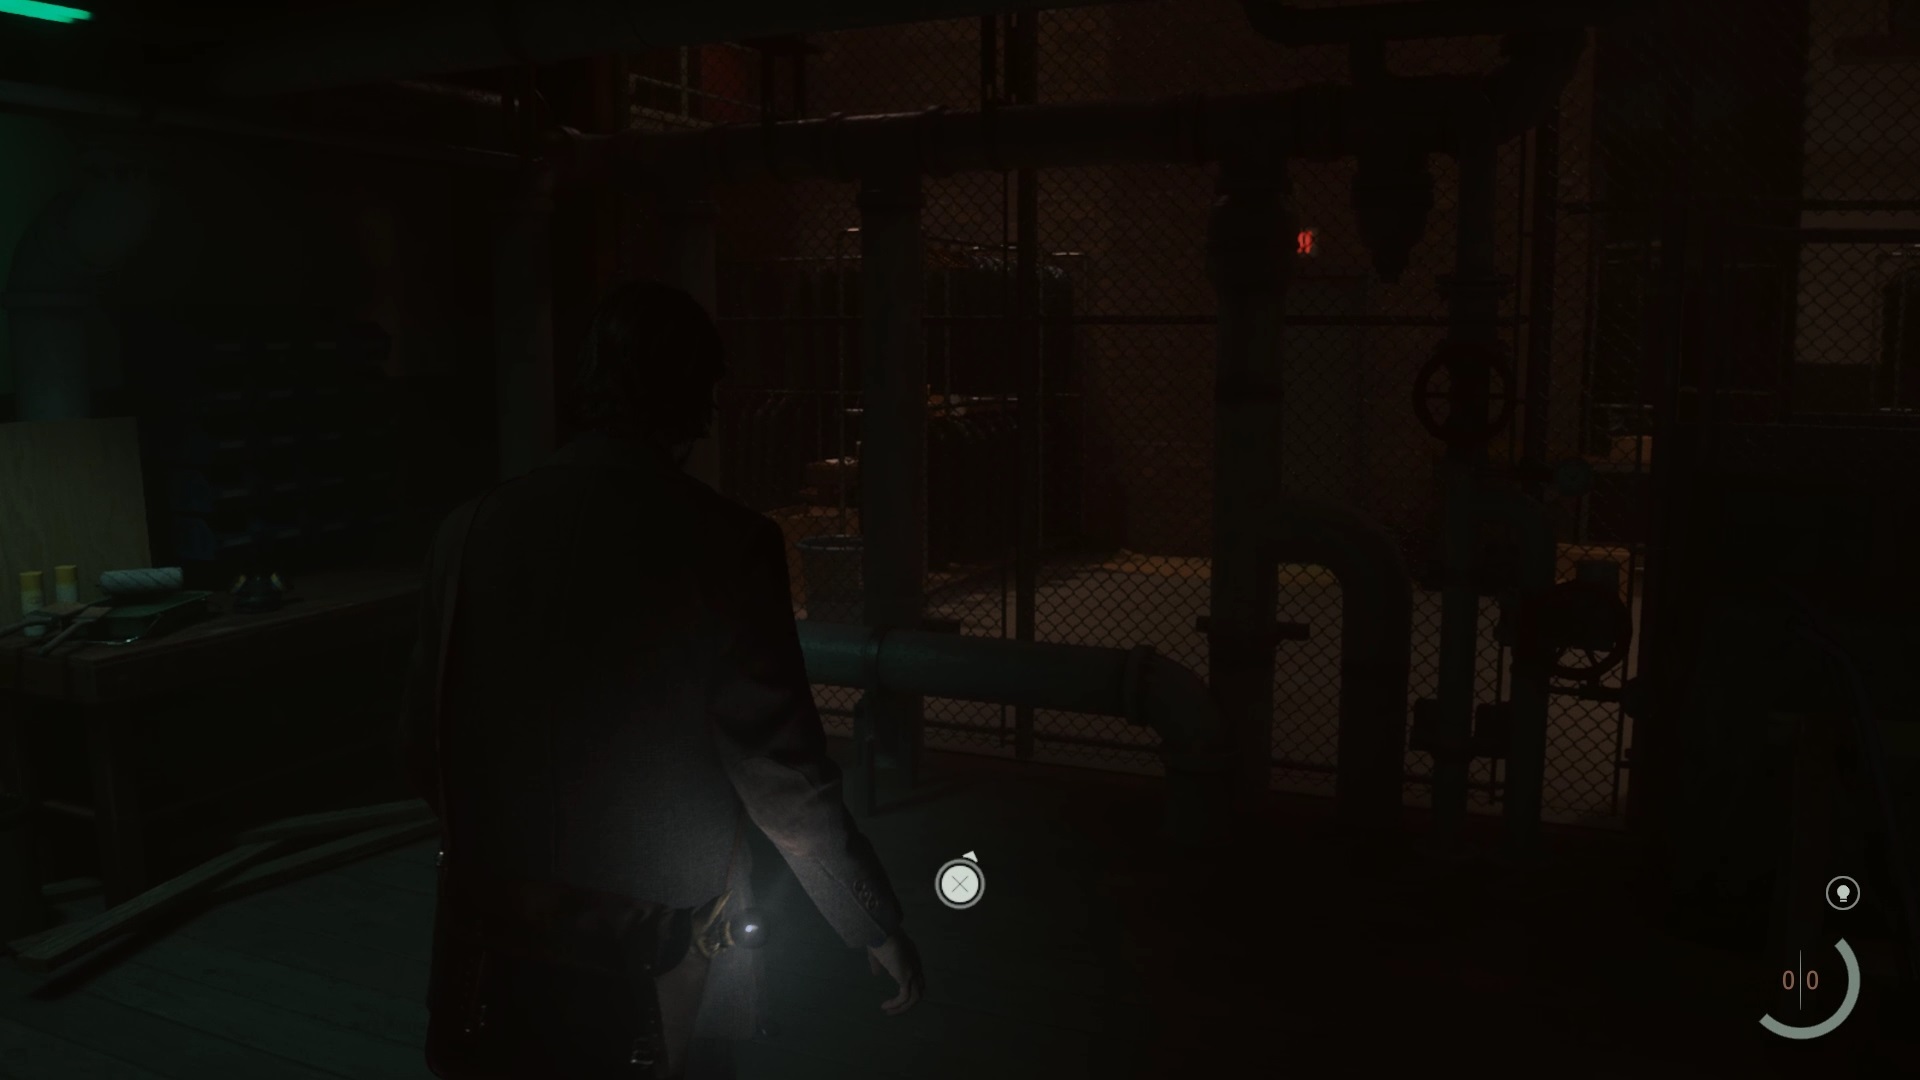
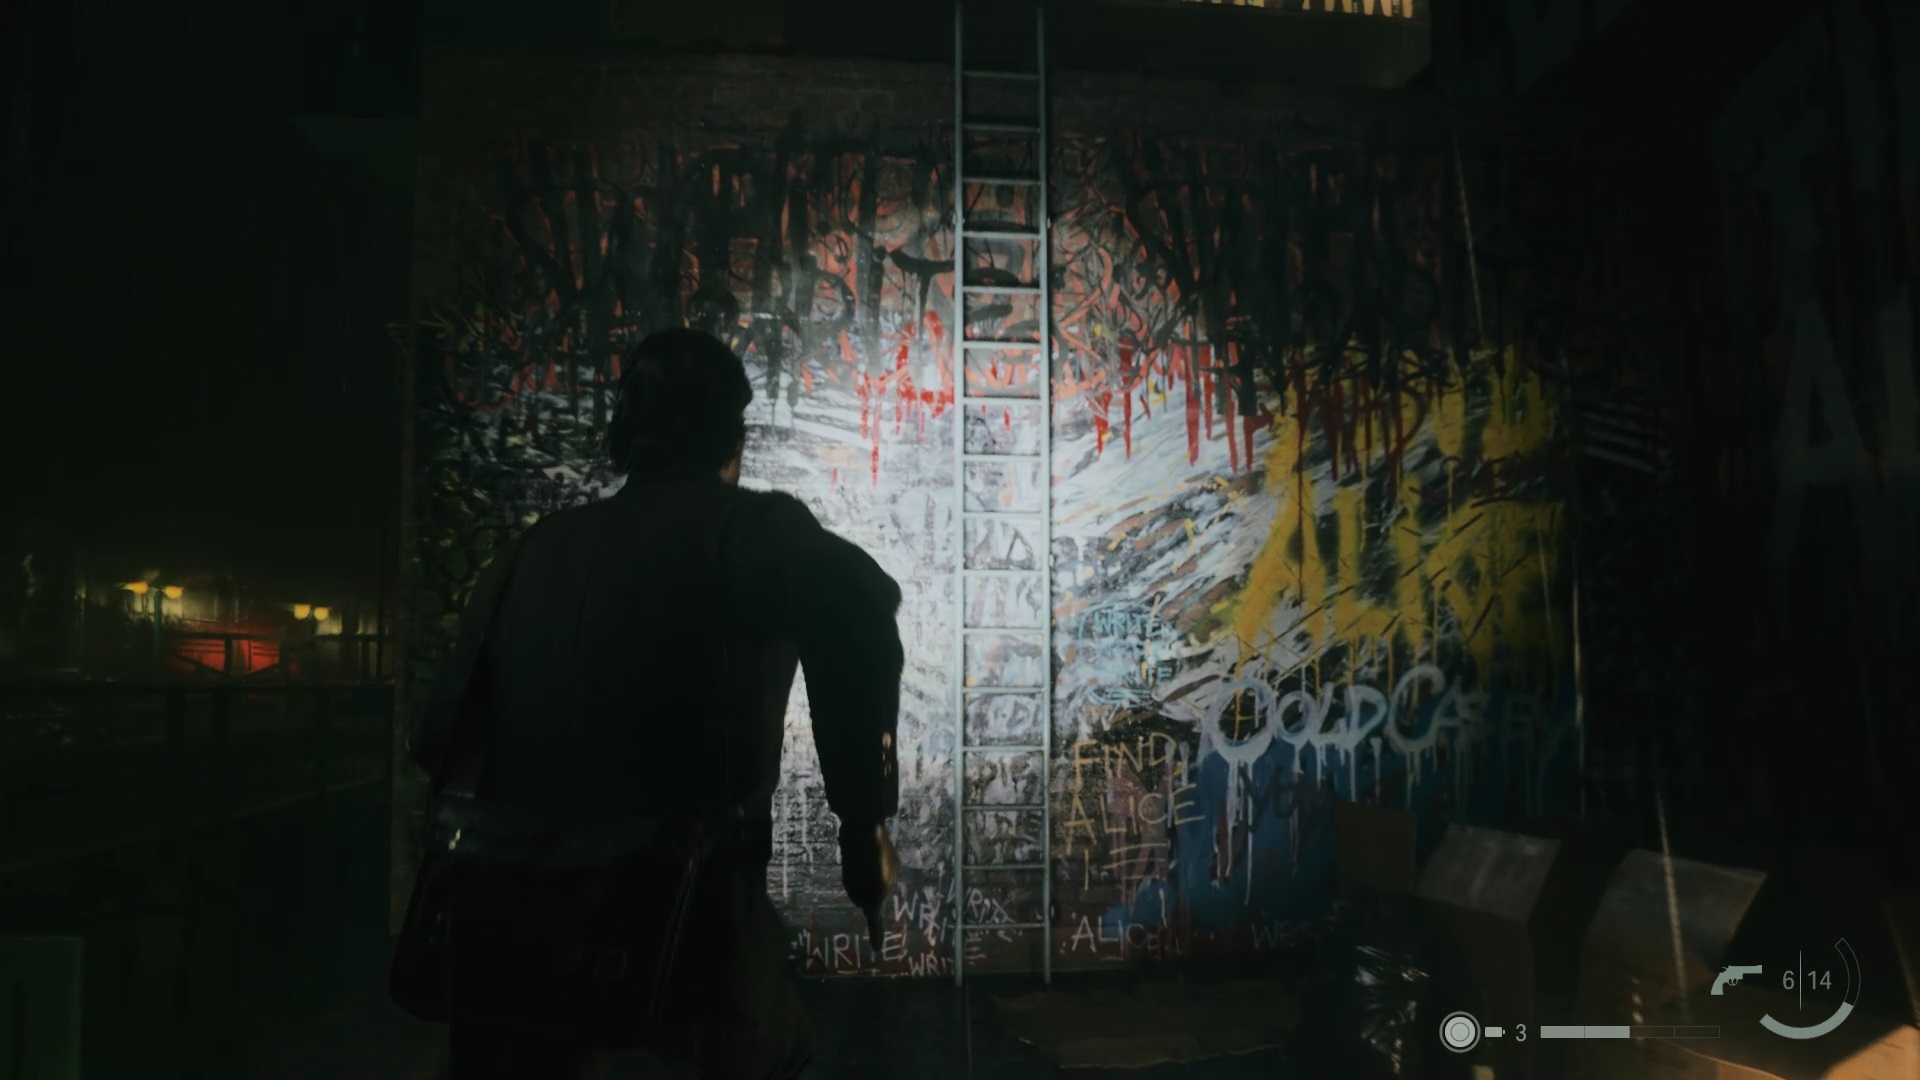
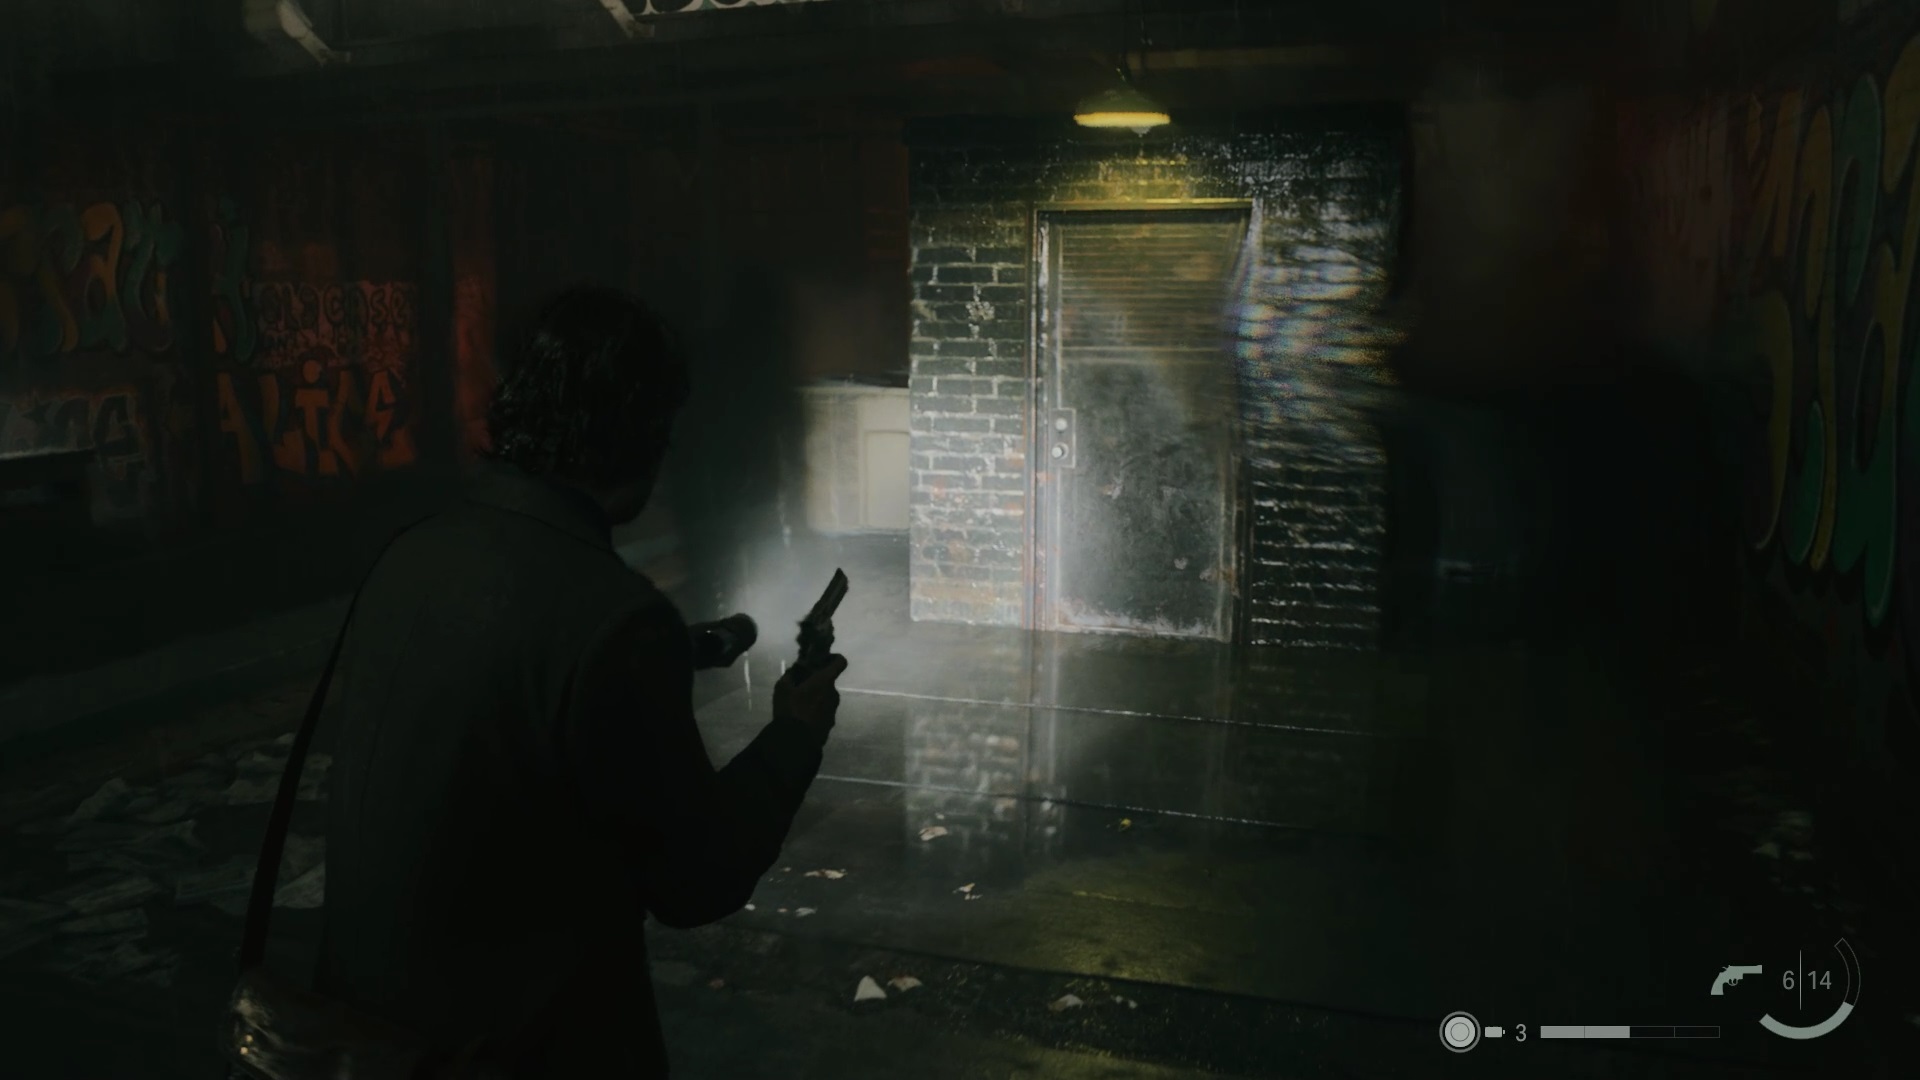
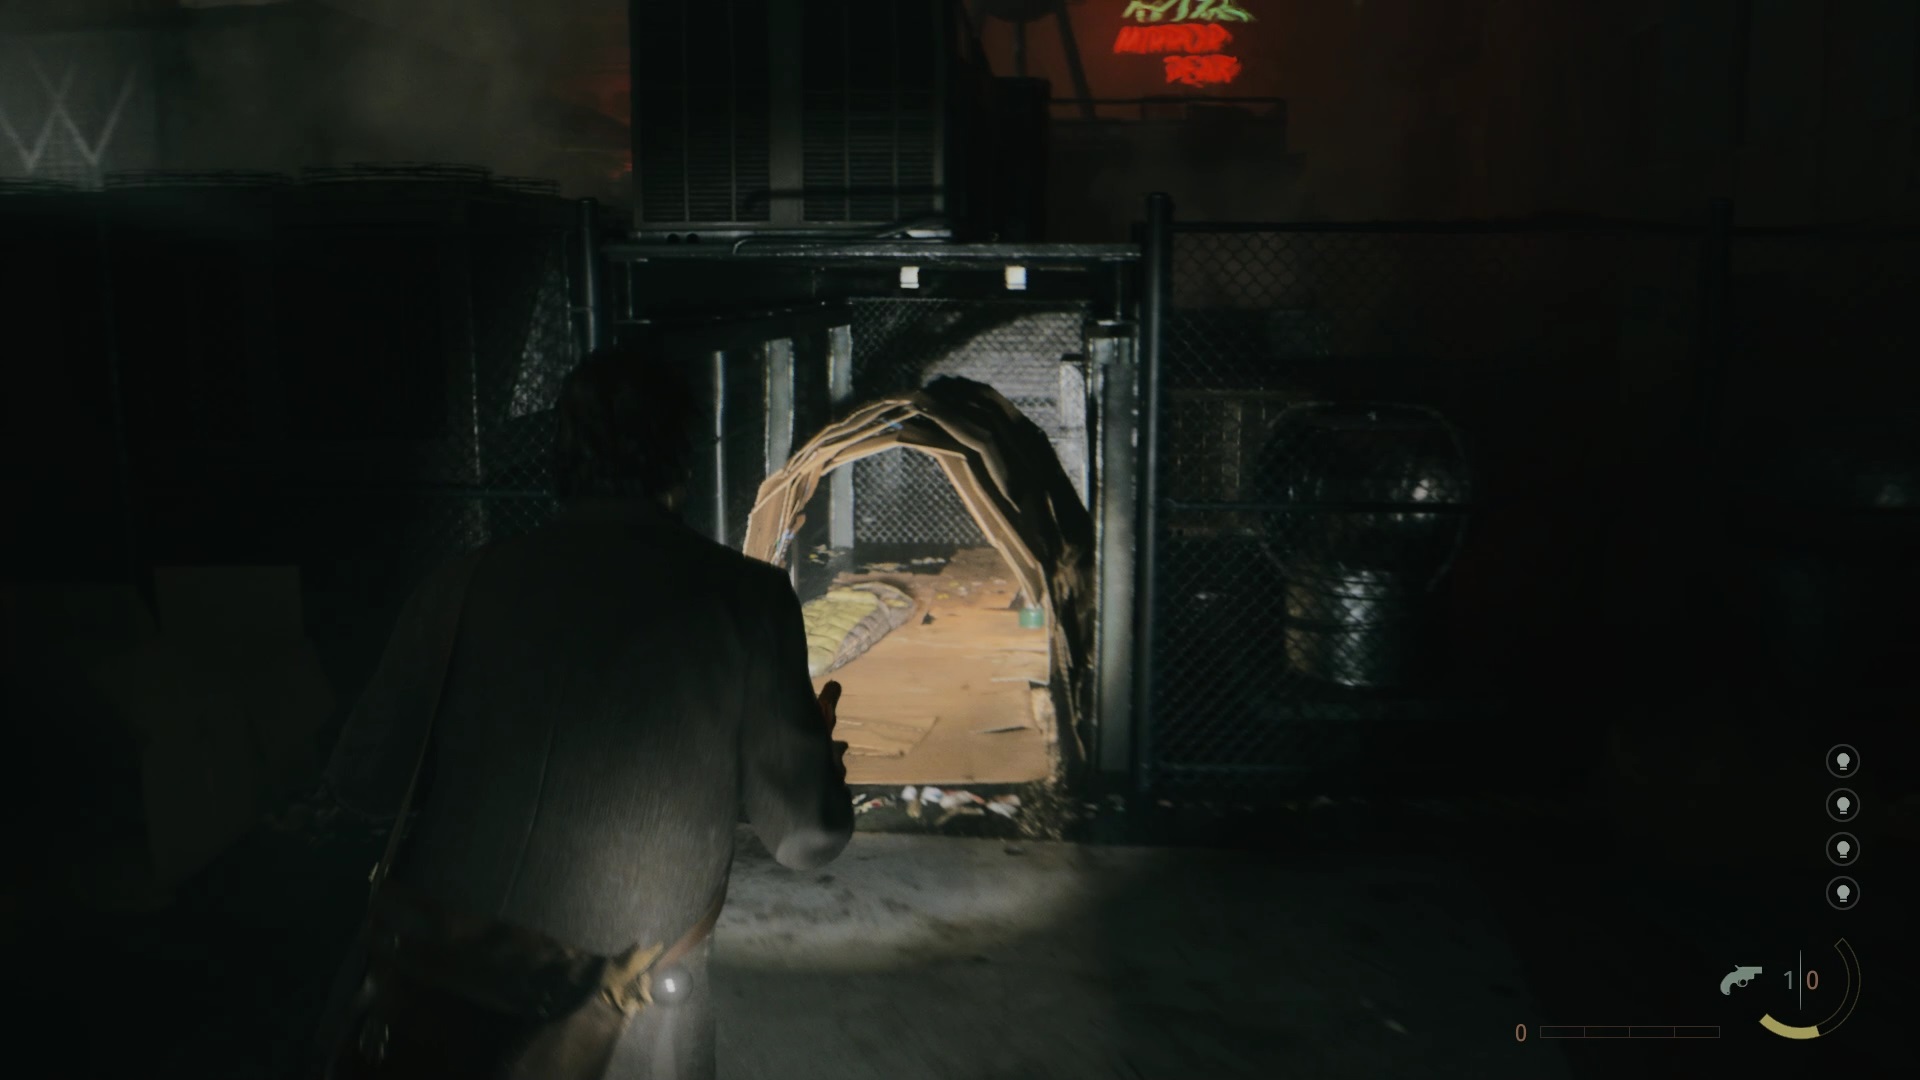
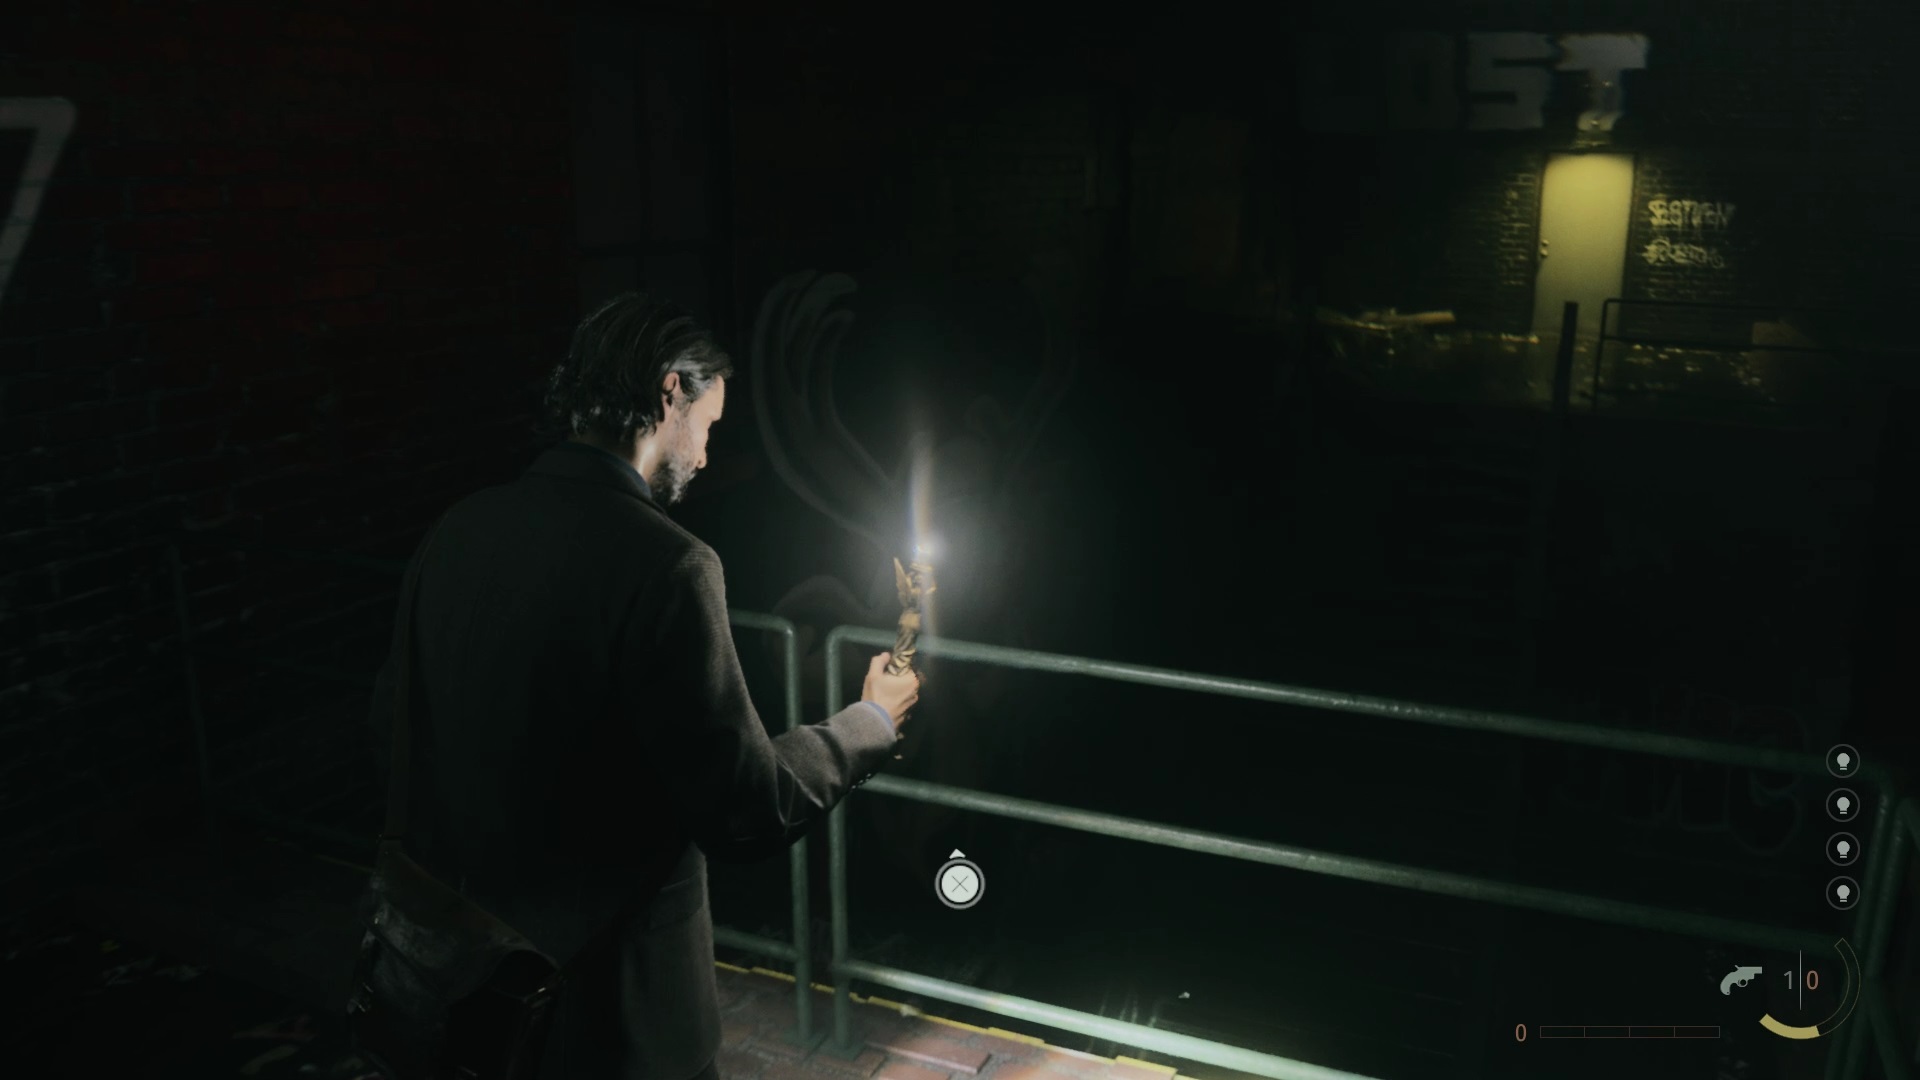
On the other side, go through the concierge door so Ahti, a familiar face from the video game Control, gives you his key. Then go into the next corridor to collect a card against the wall and reach the exit. Use the key to open the door. Go down into the depths of the basement to find a lamp in a shoebox.
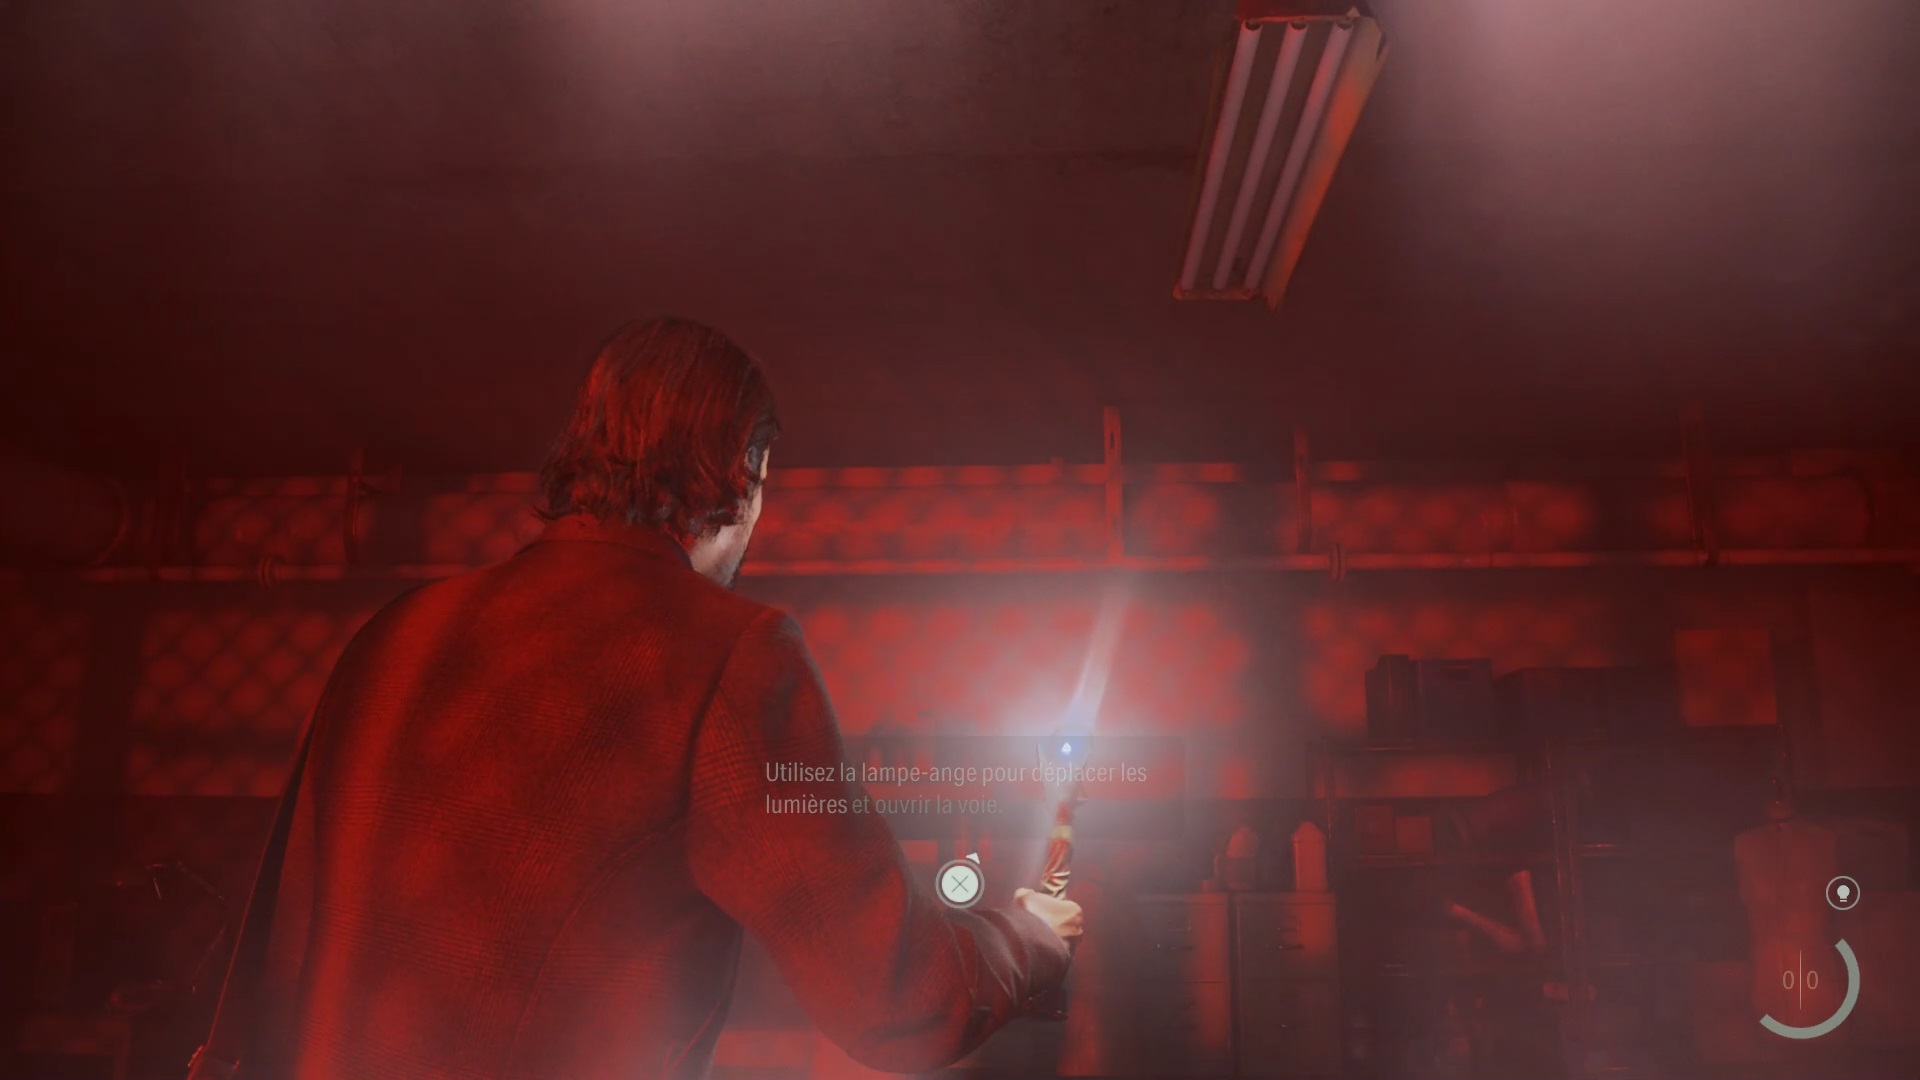

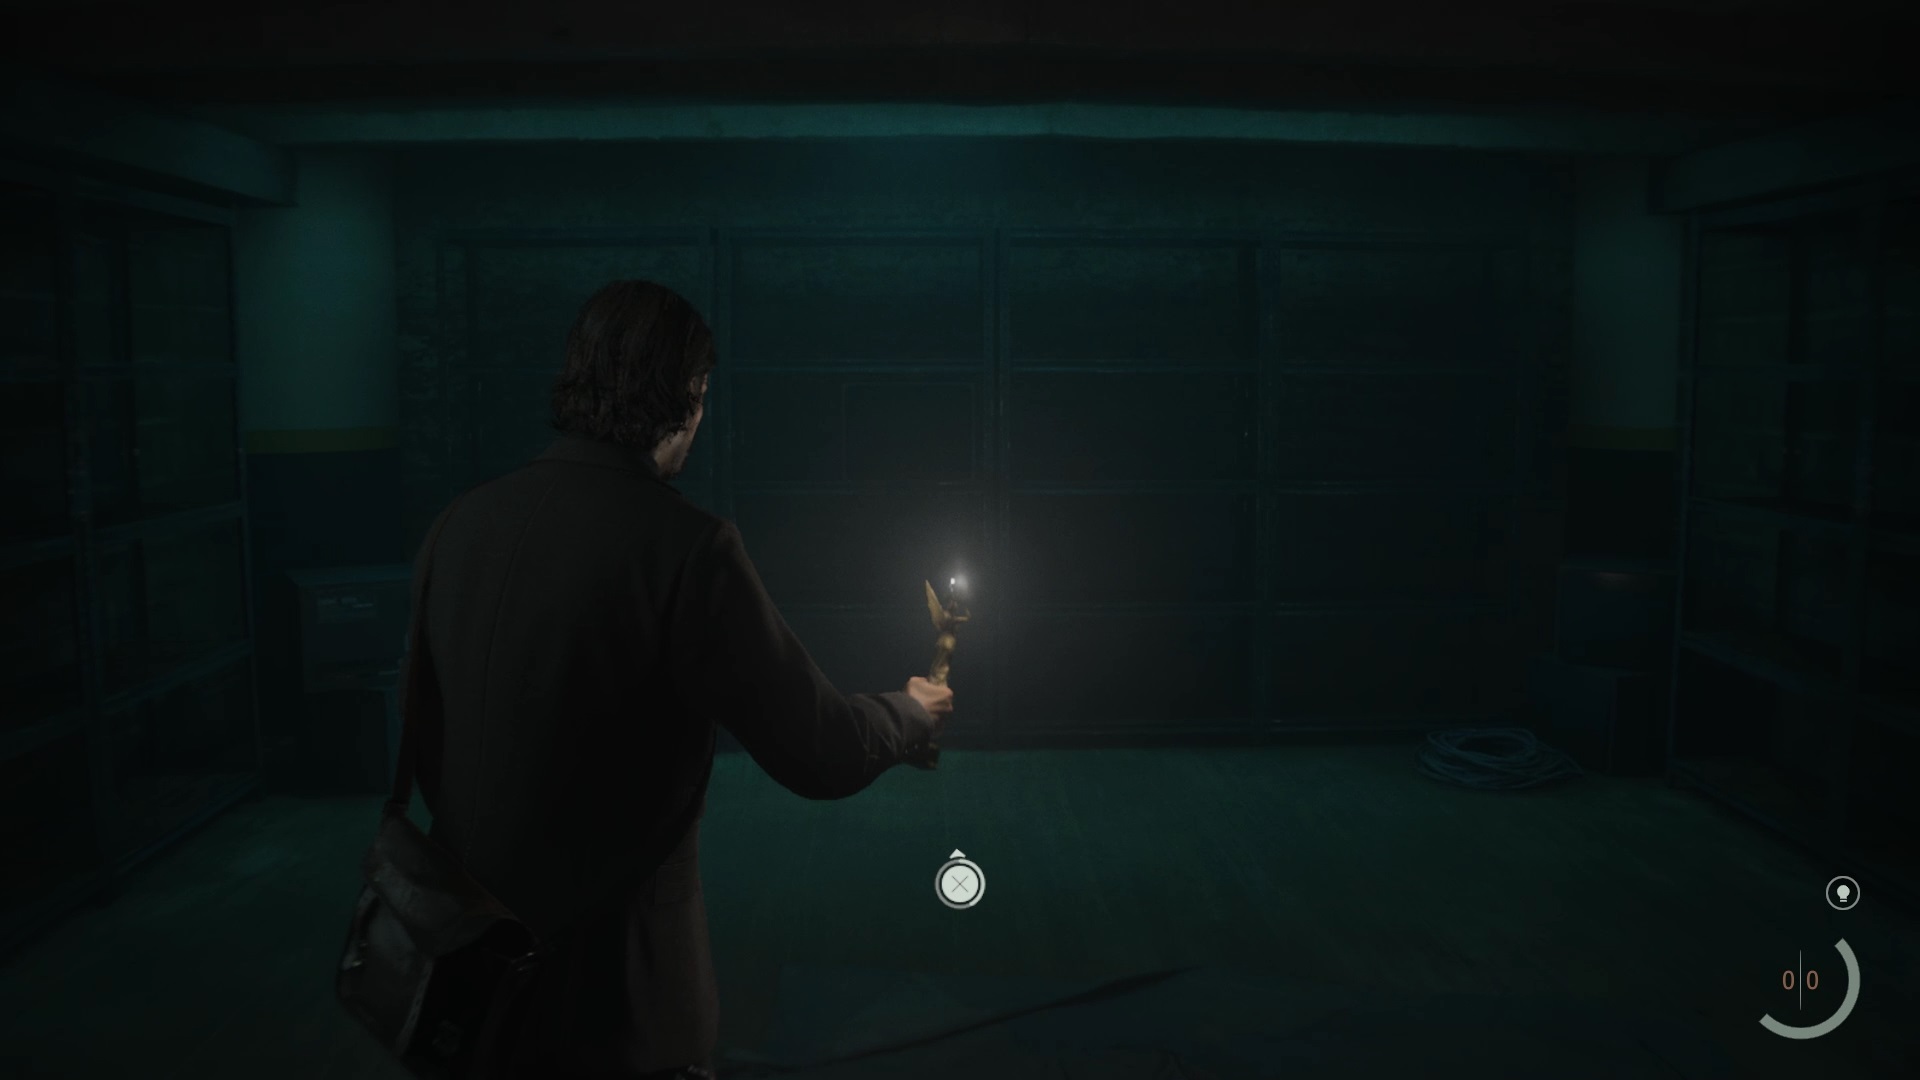
Use the lamp to collect light in the room. Note that a light symbol has appeared on your HUD to the right. Retrace your steps so that Alan feels the power of the lamp calling to him through a fence. Release the light from your lamp to remove the grille. Go to the other side and brandish your lamp again to make the exit door reappear.
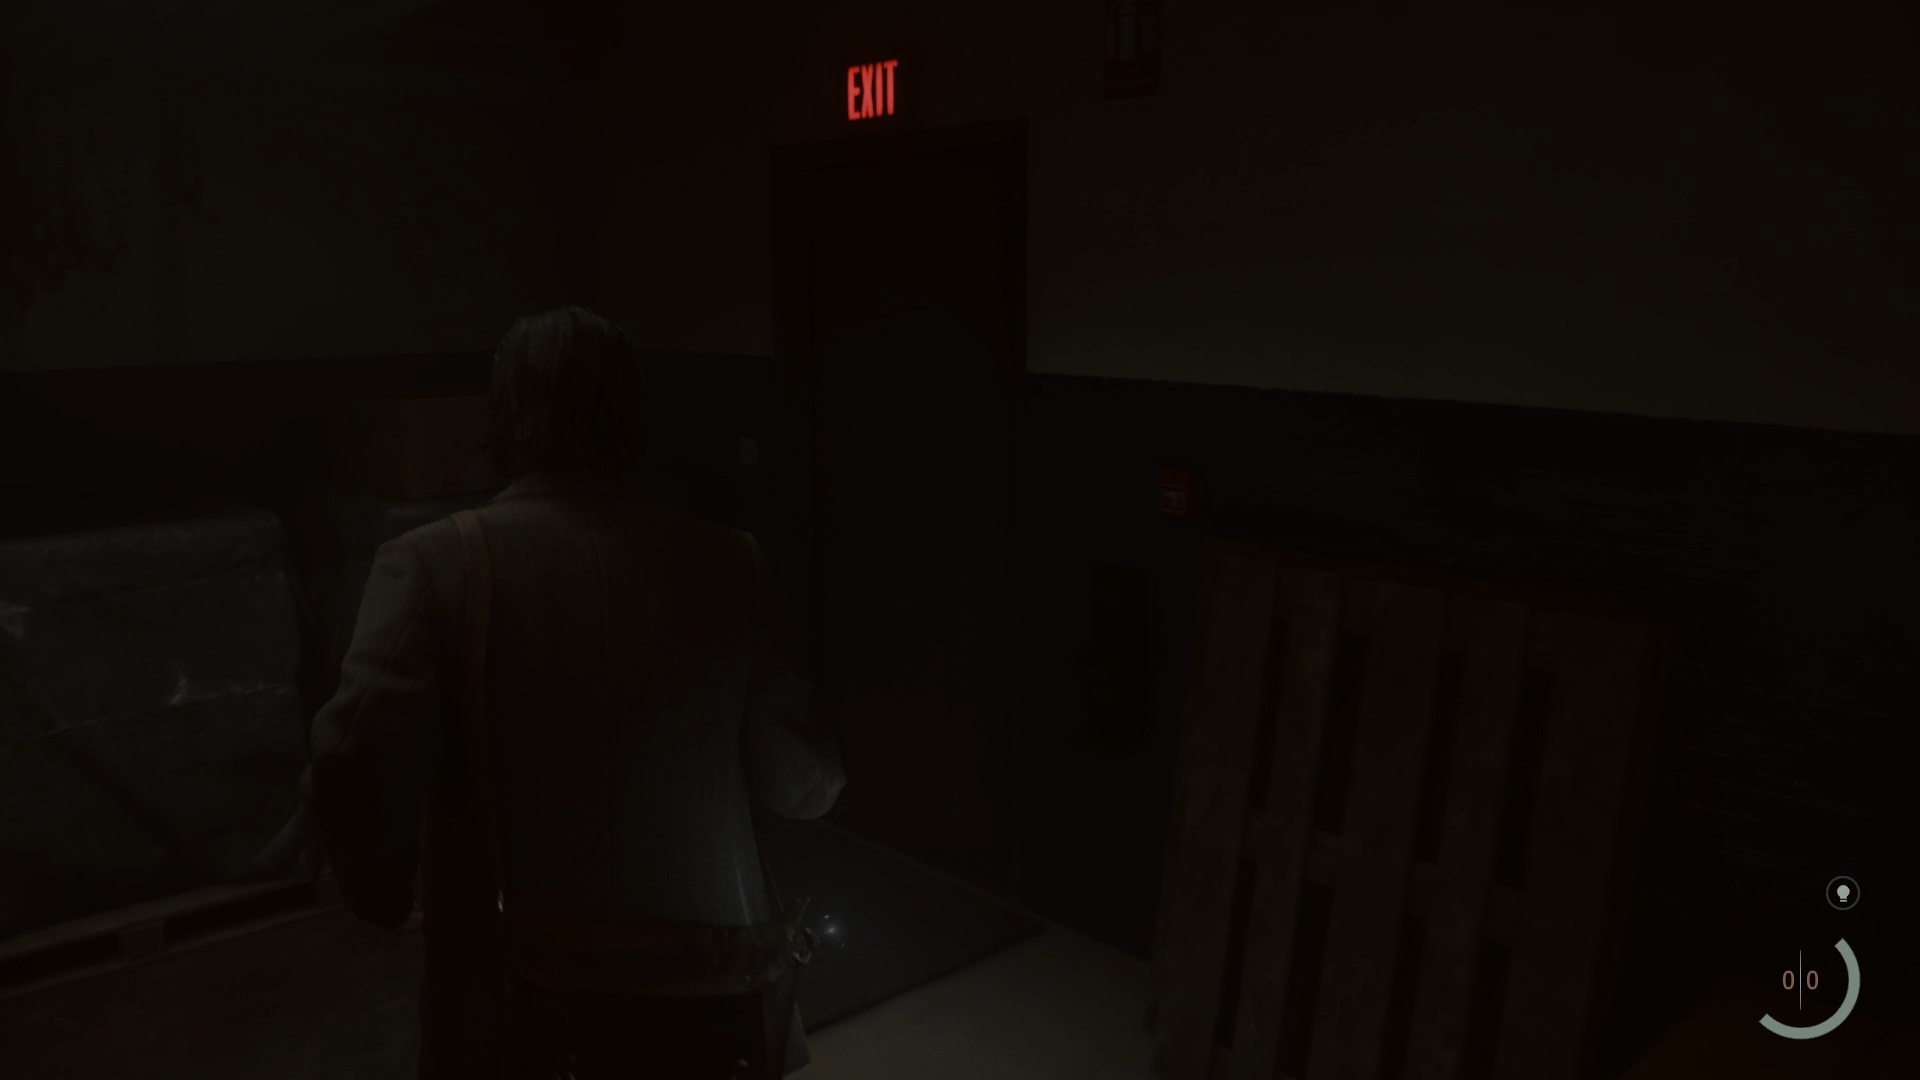
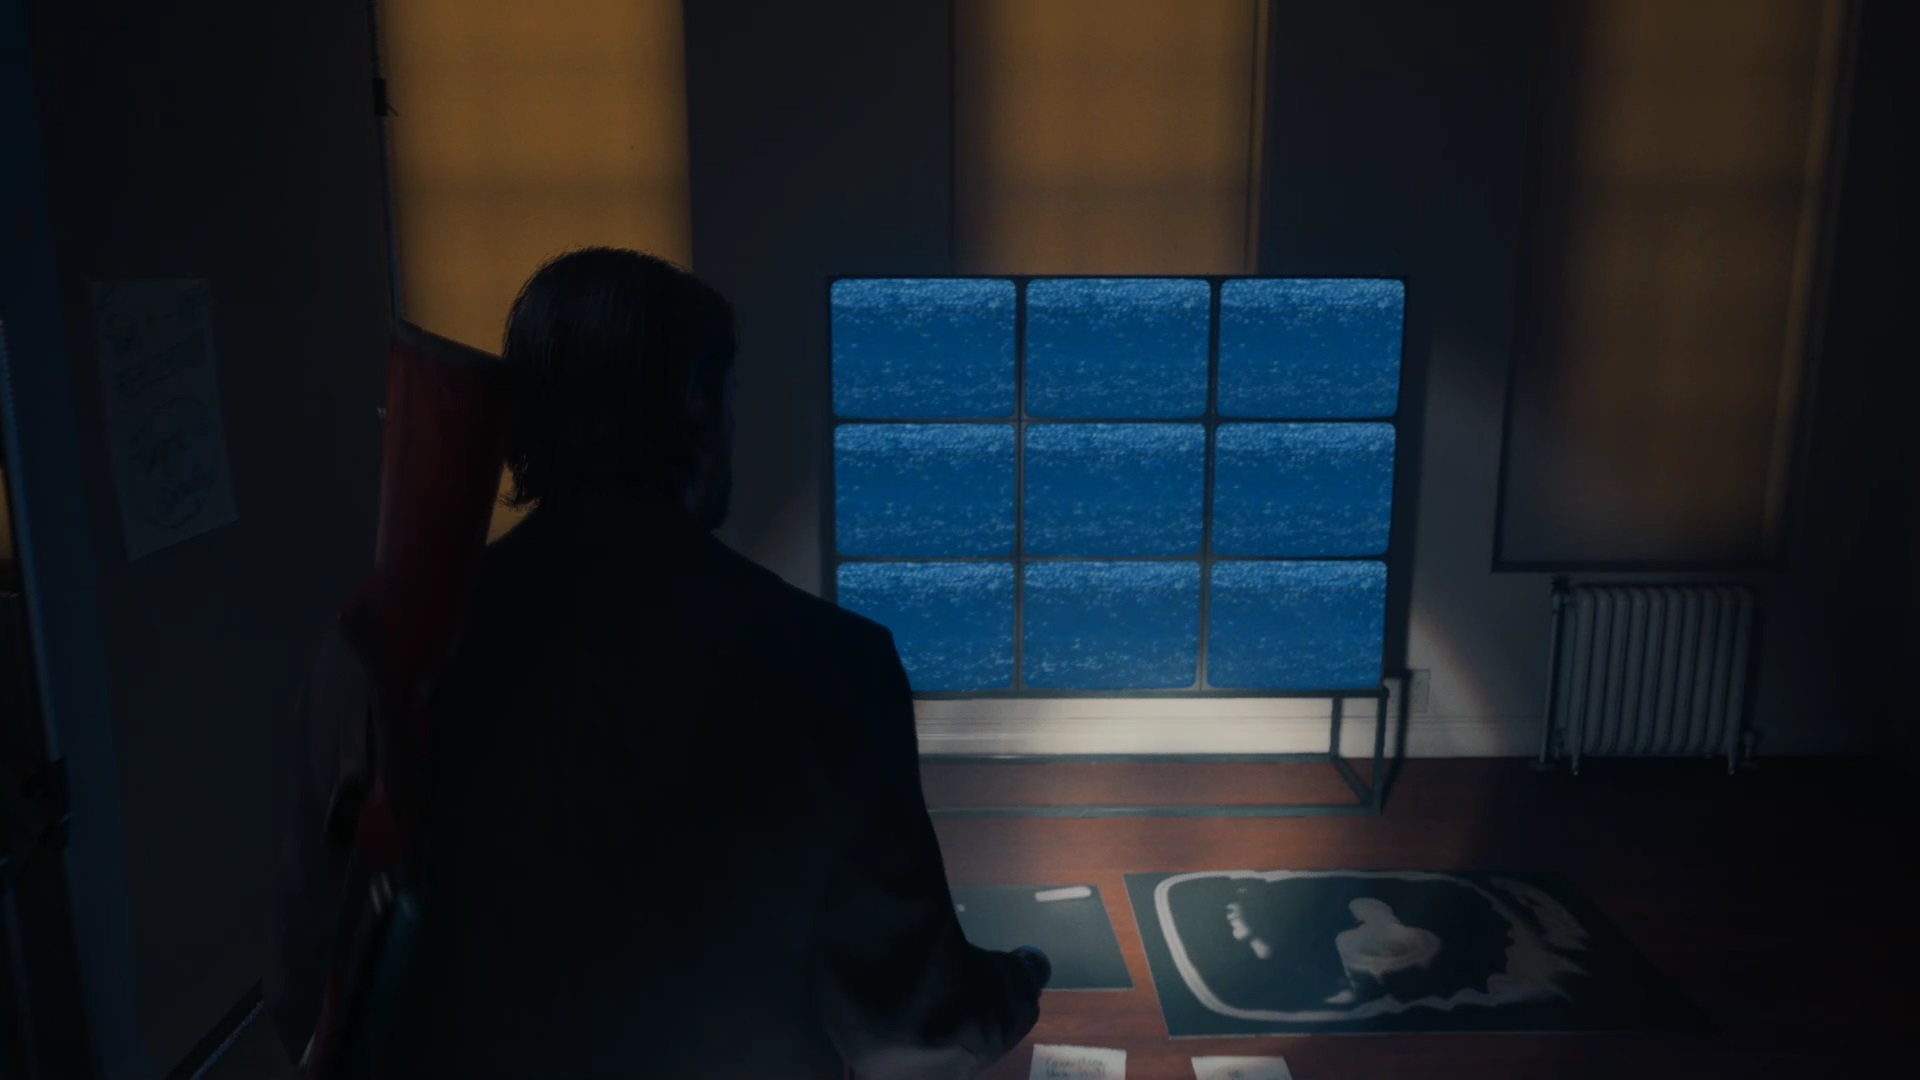
Go through the exit door, up some stairs, and turn right down a hallway to find a new exit door with a strange screen inside. Collect the light from the screen to complete the chapter.
Initiation 2: Casey
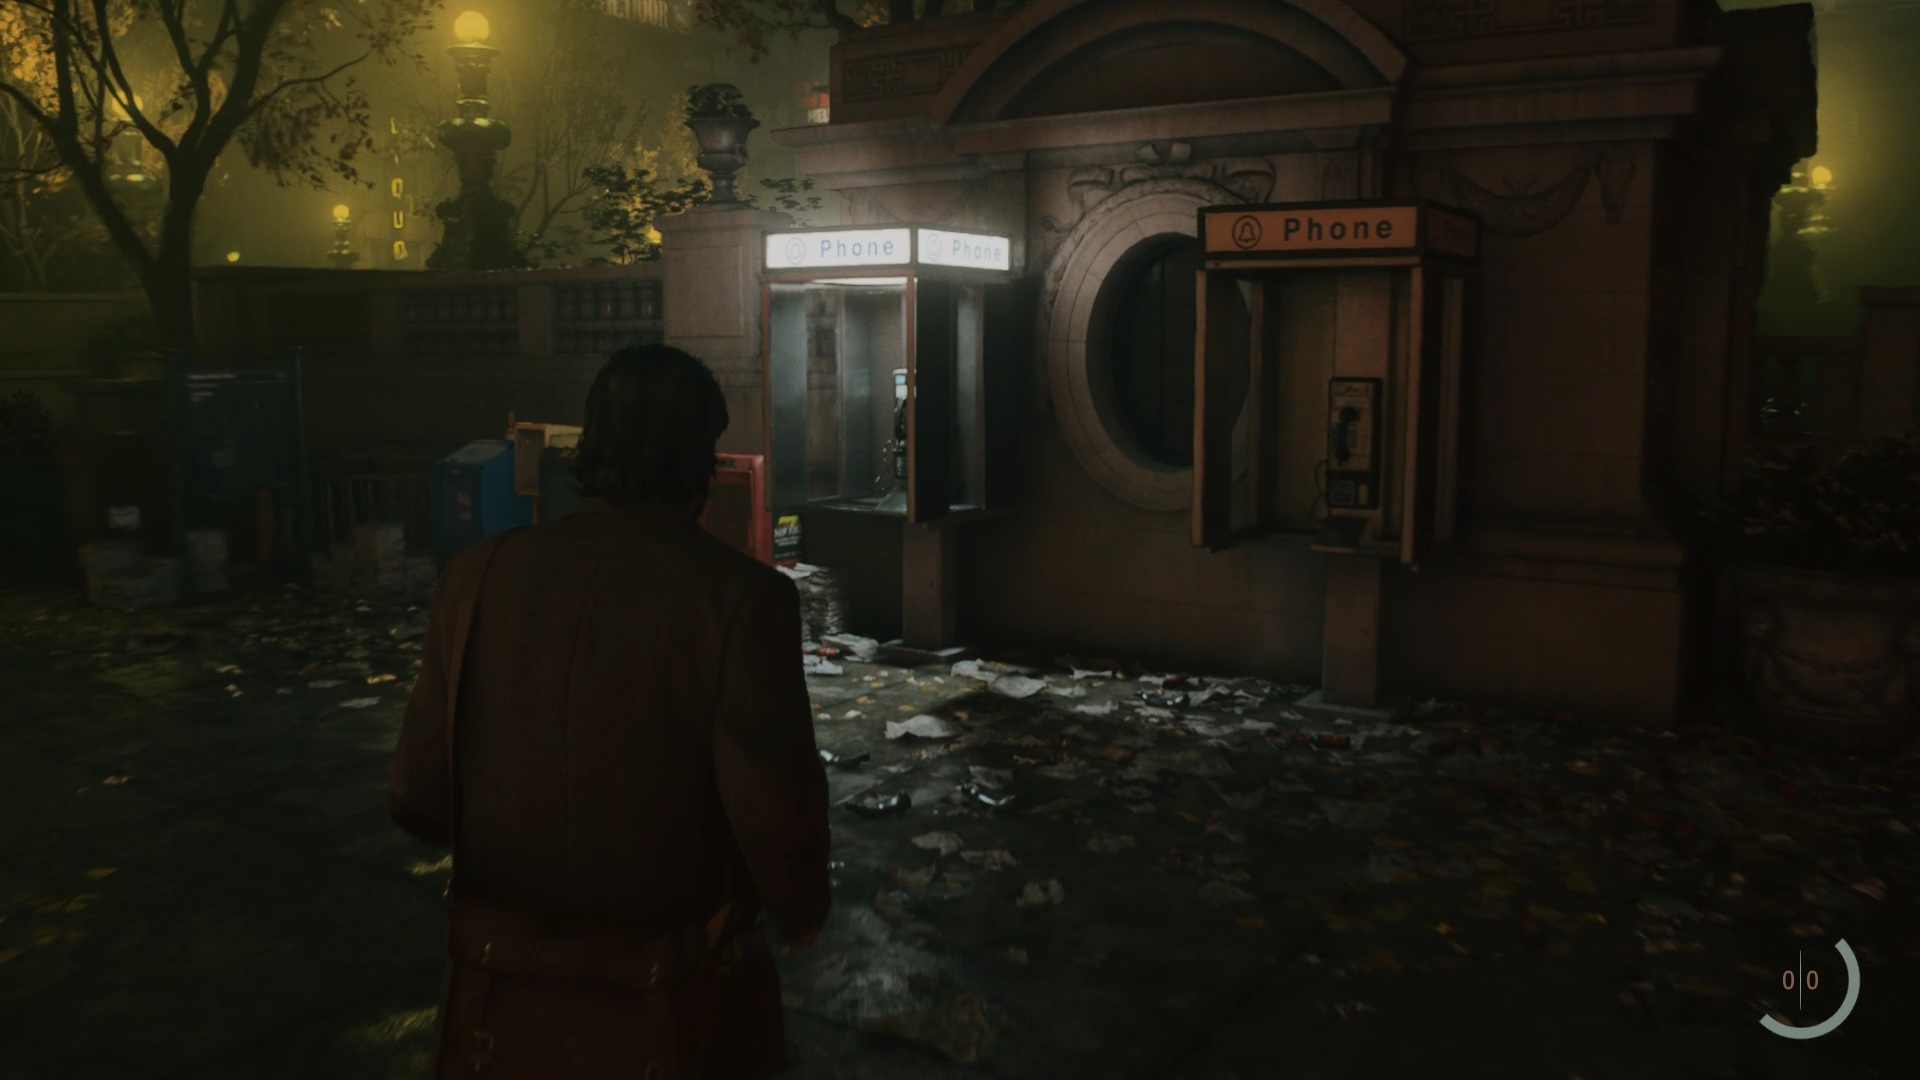
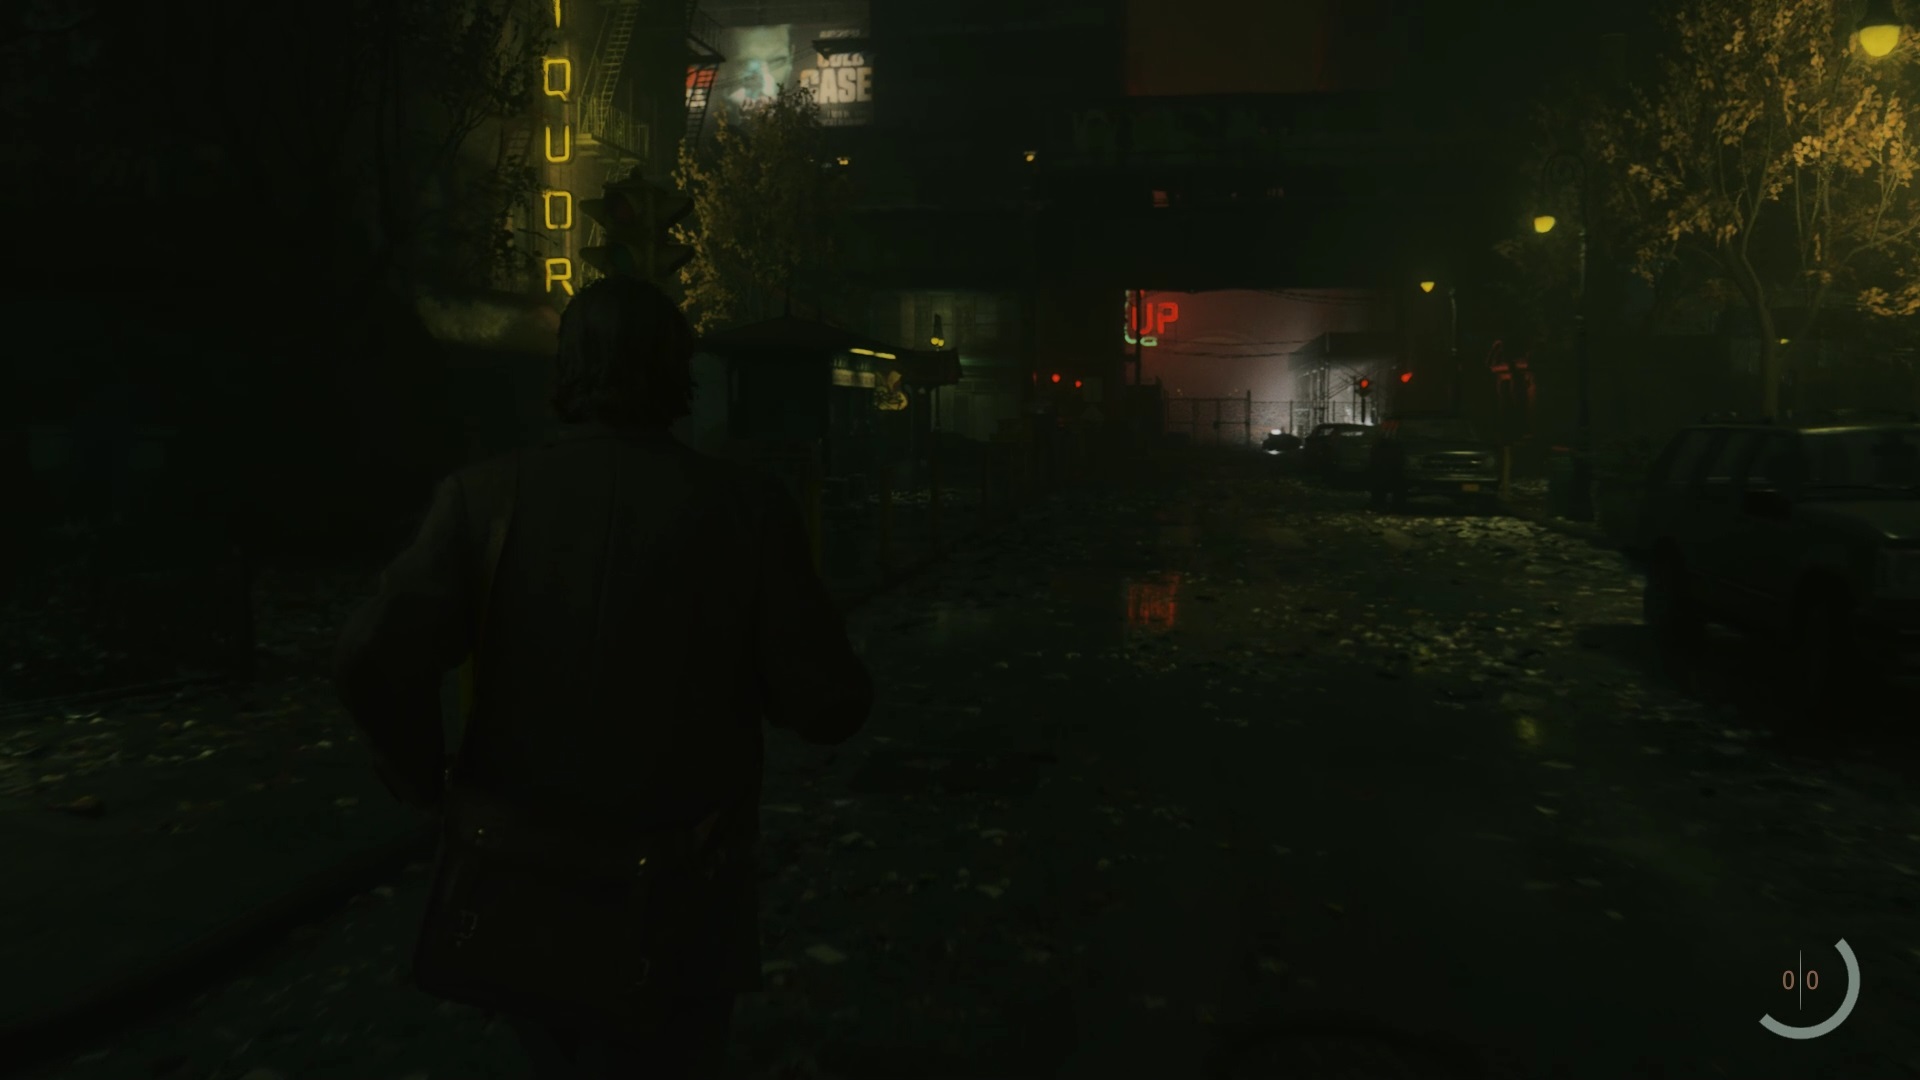
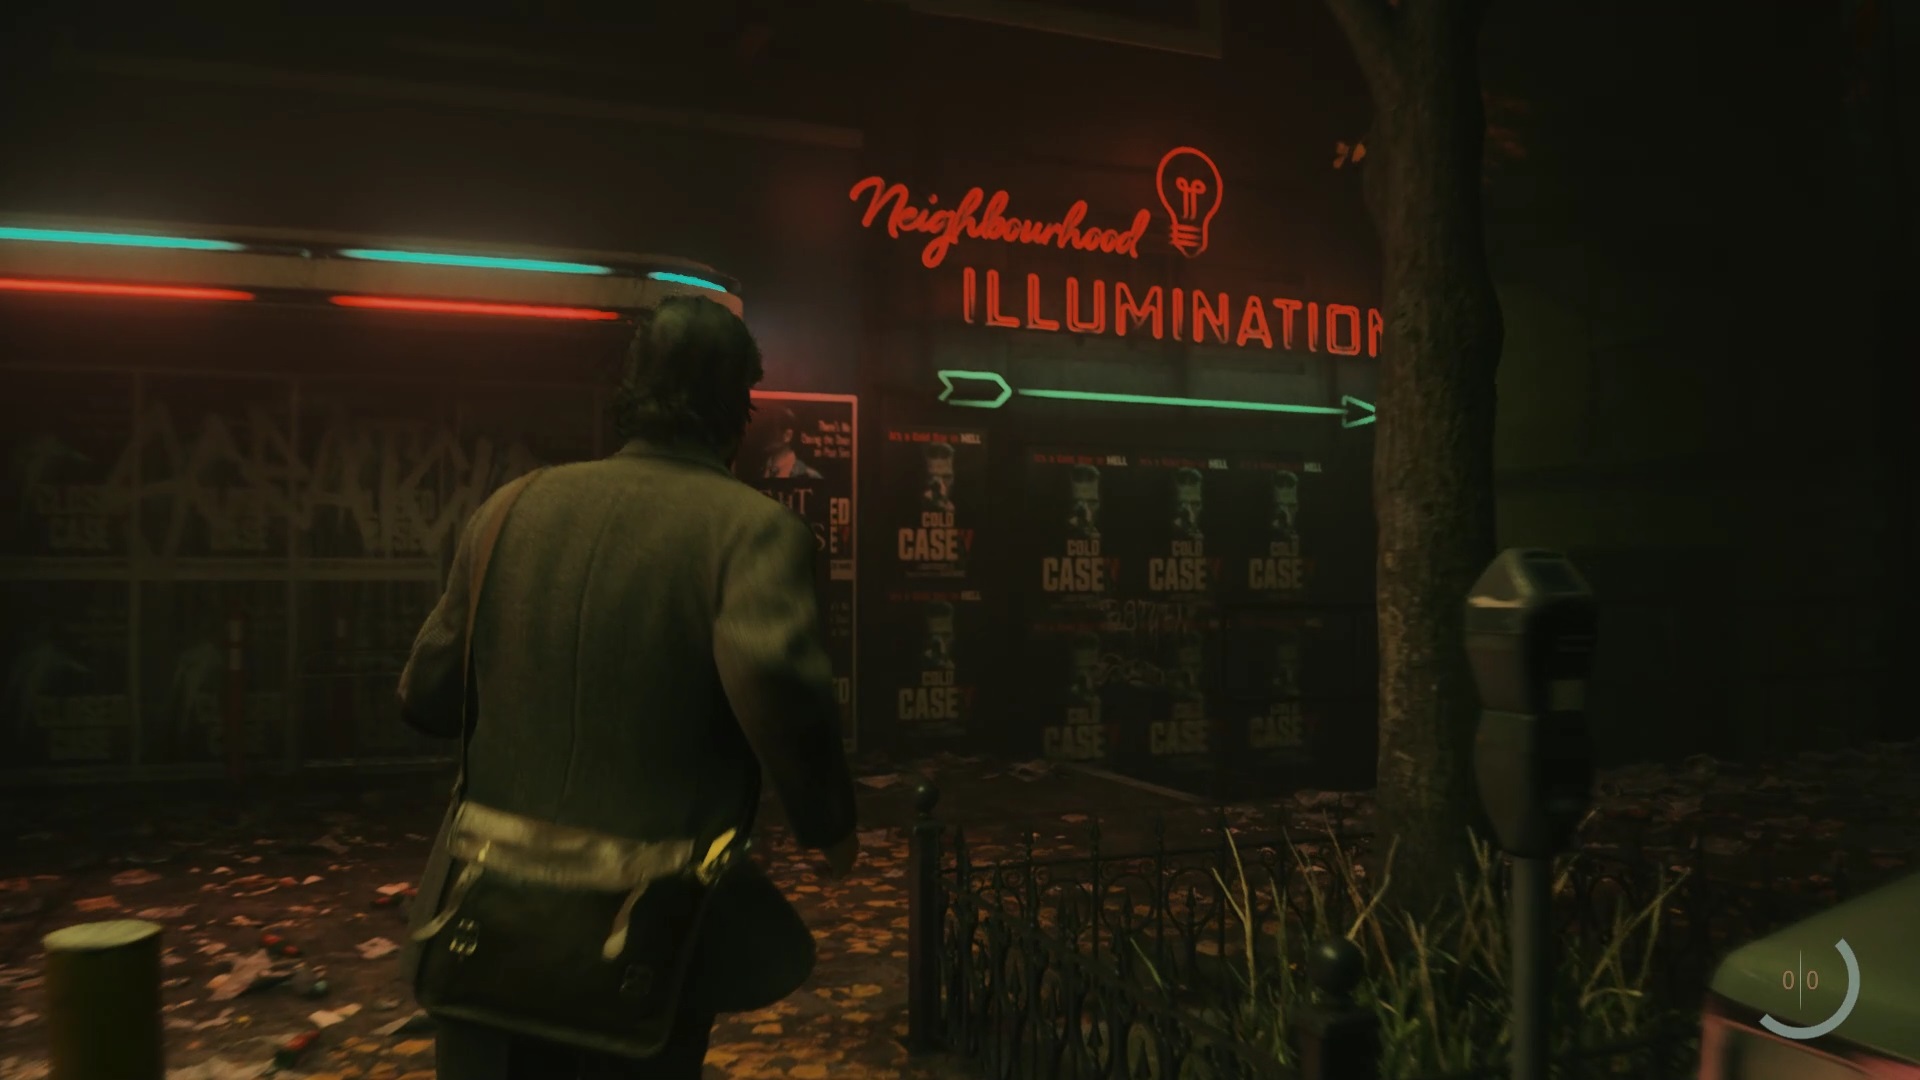

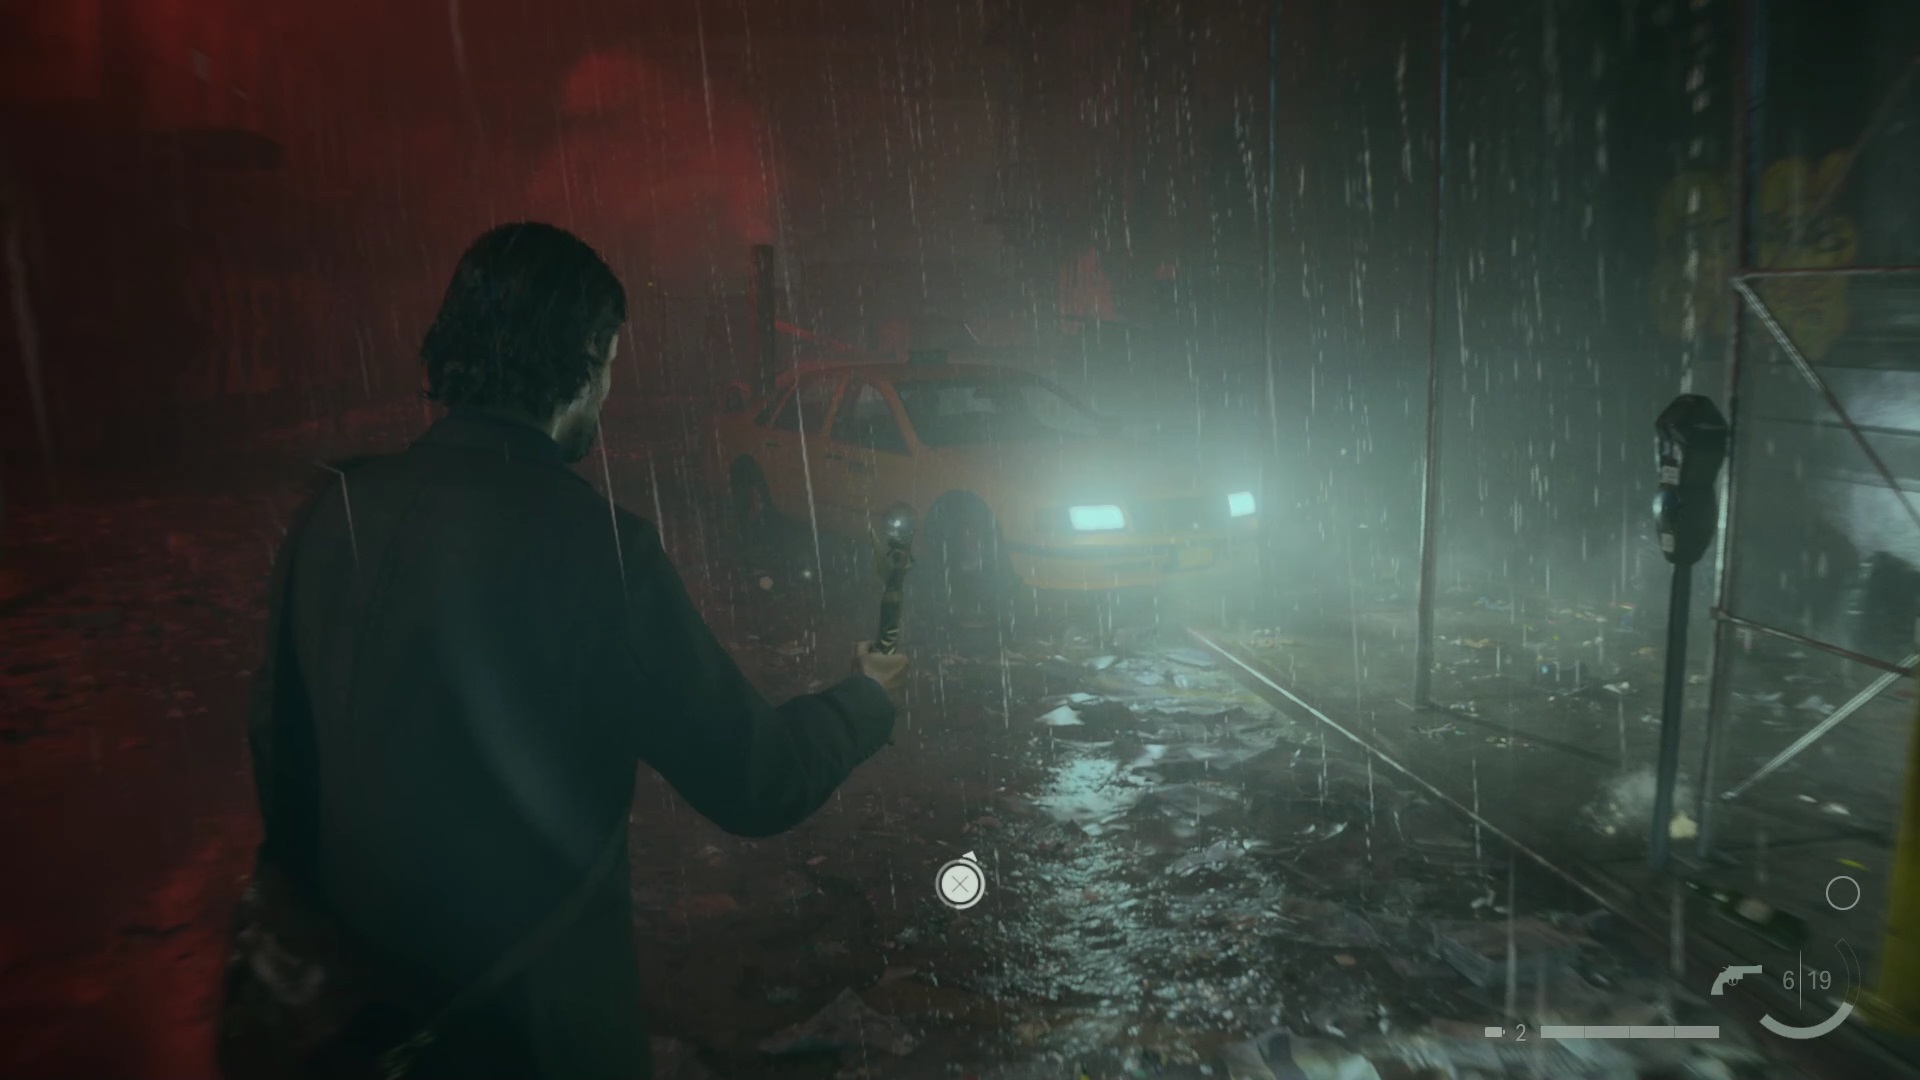
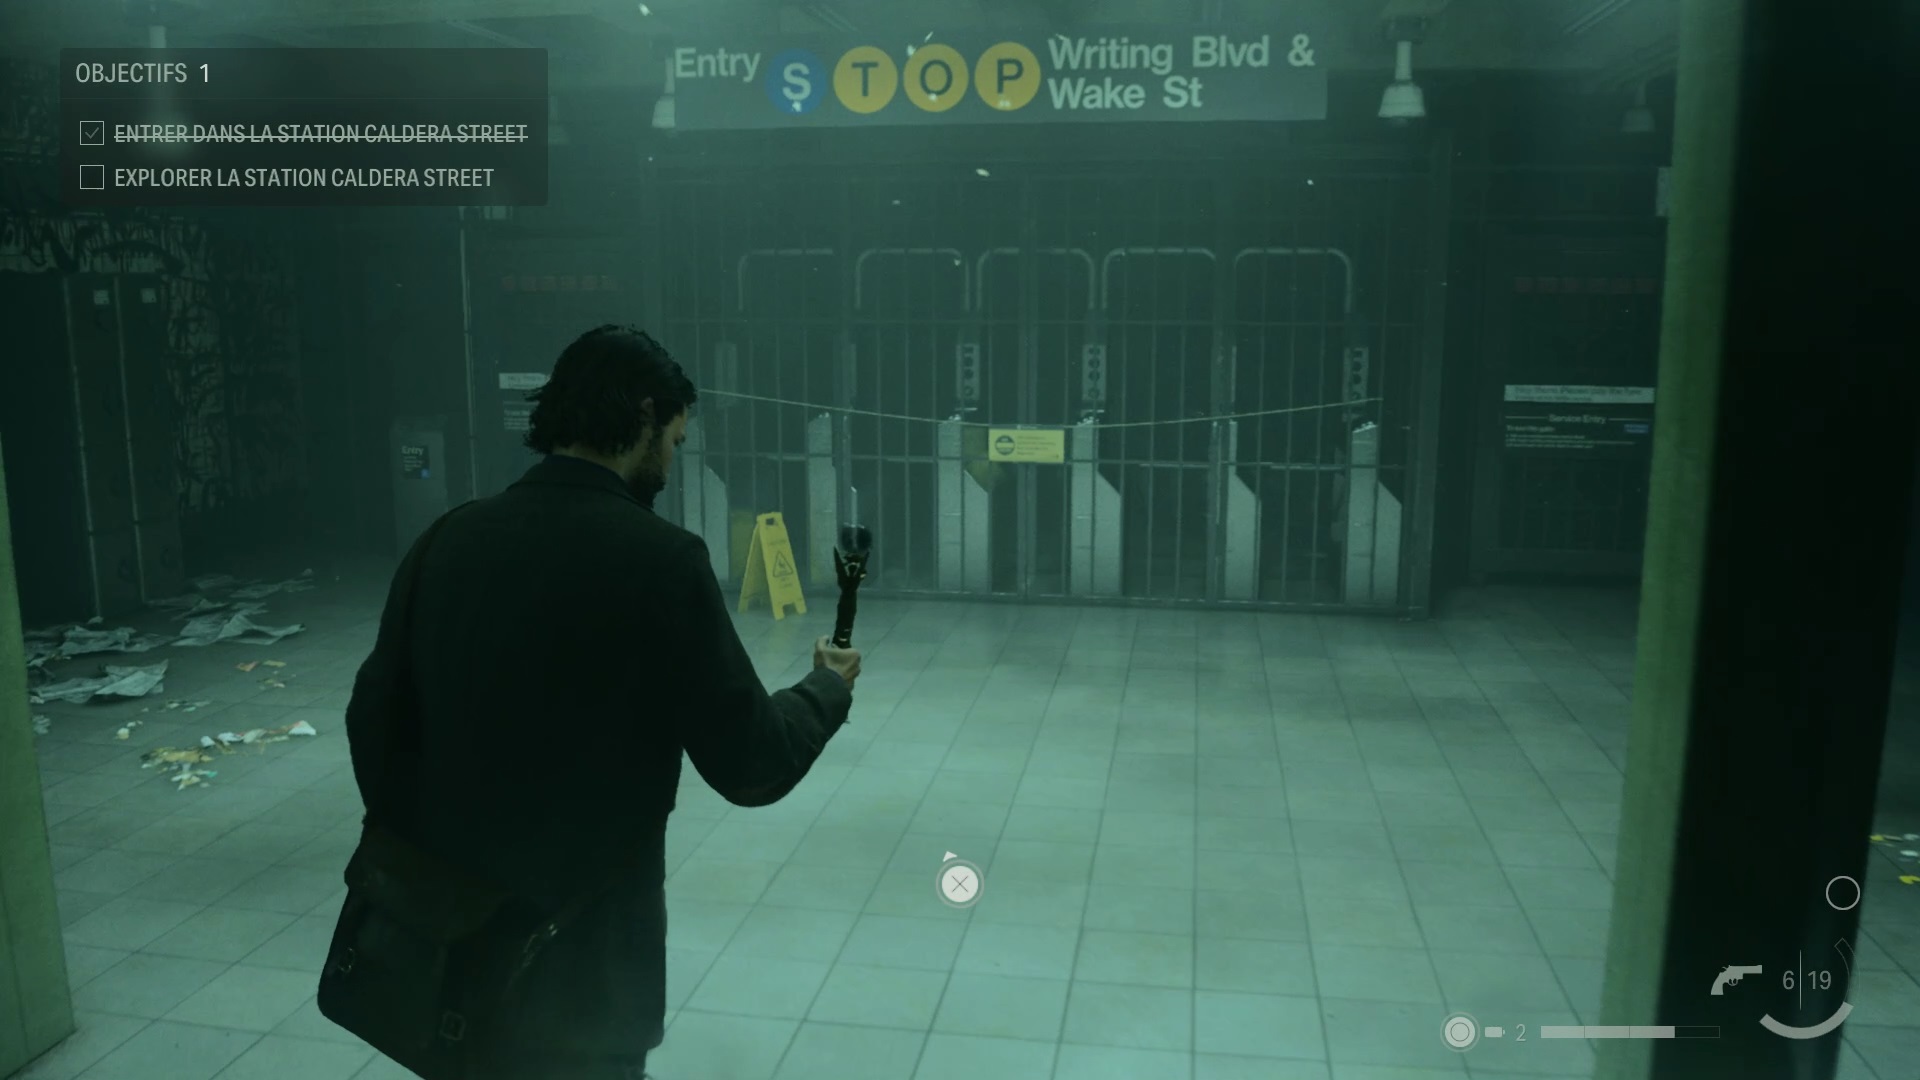
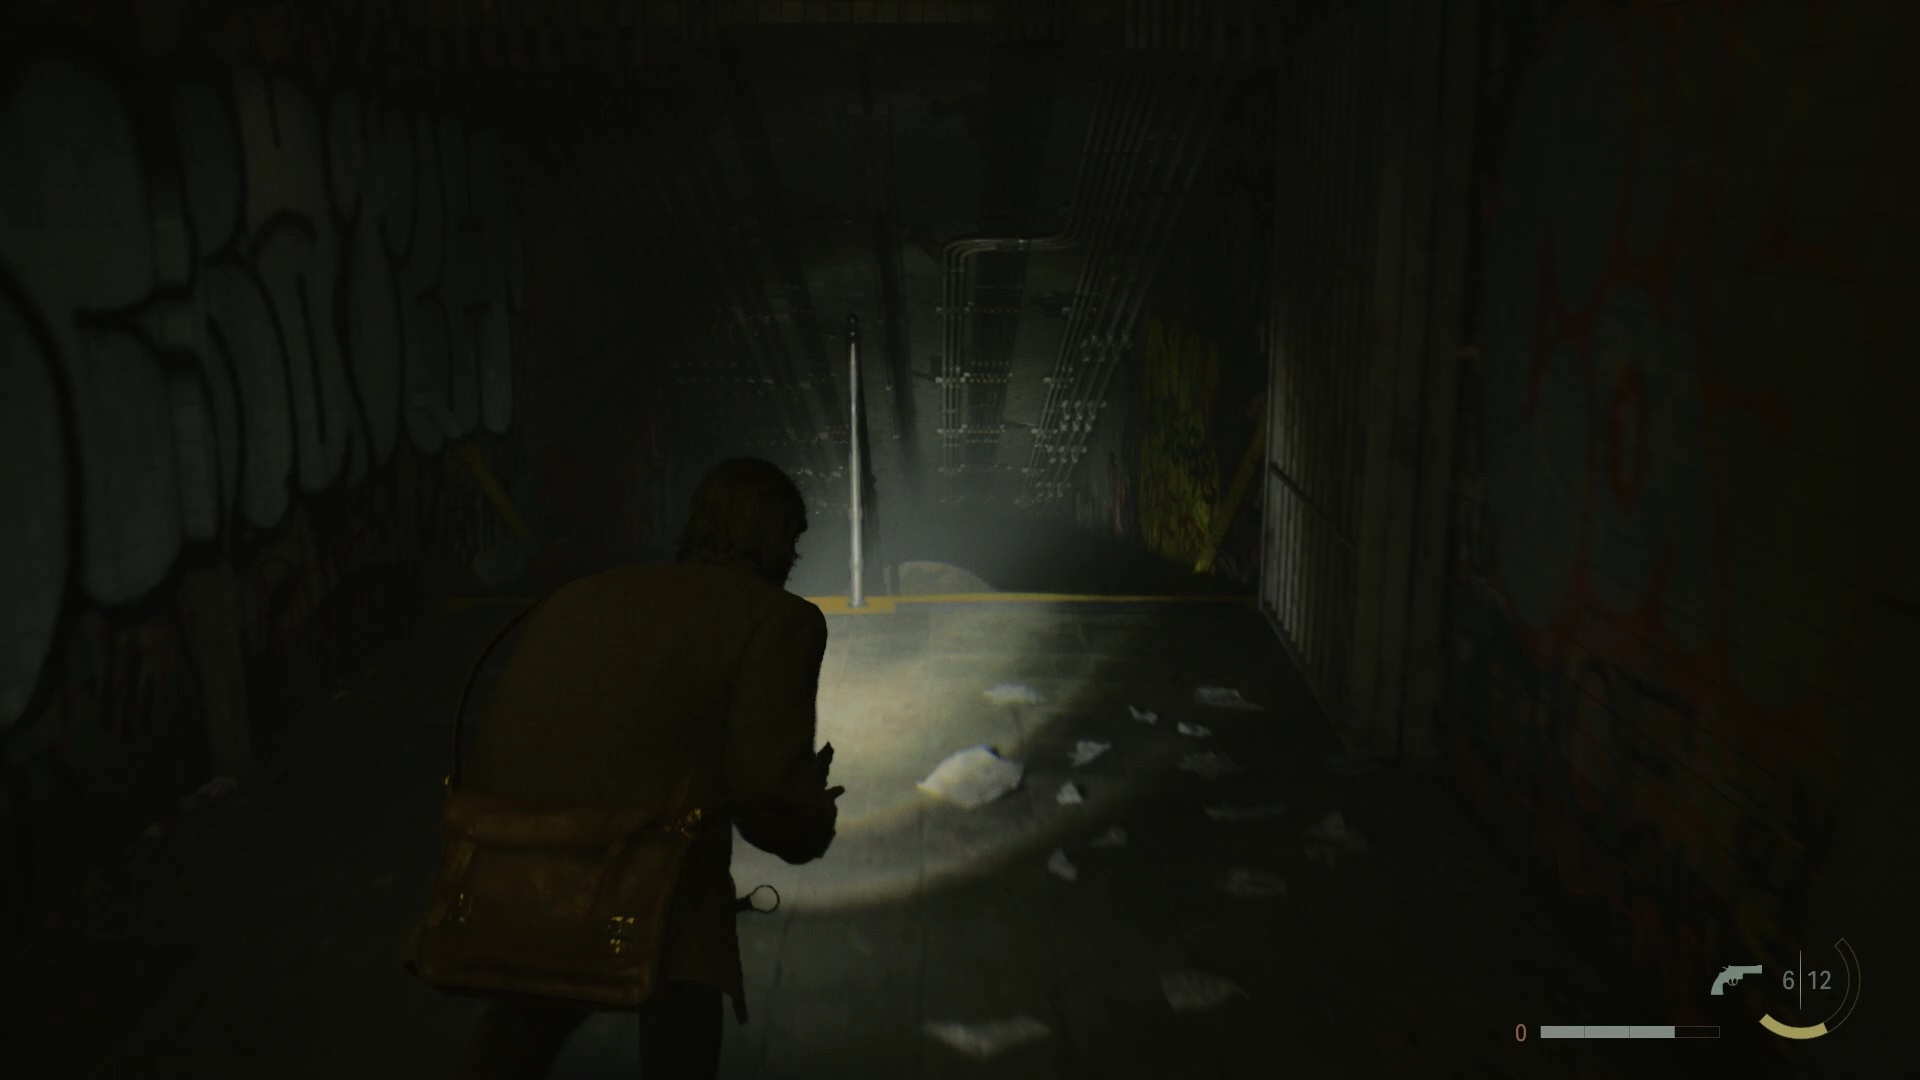
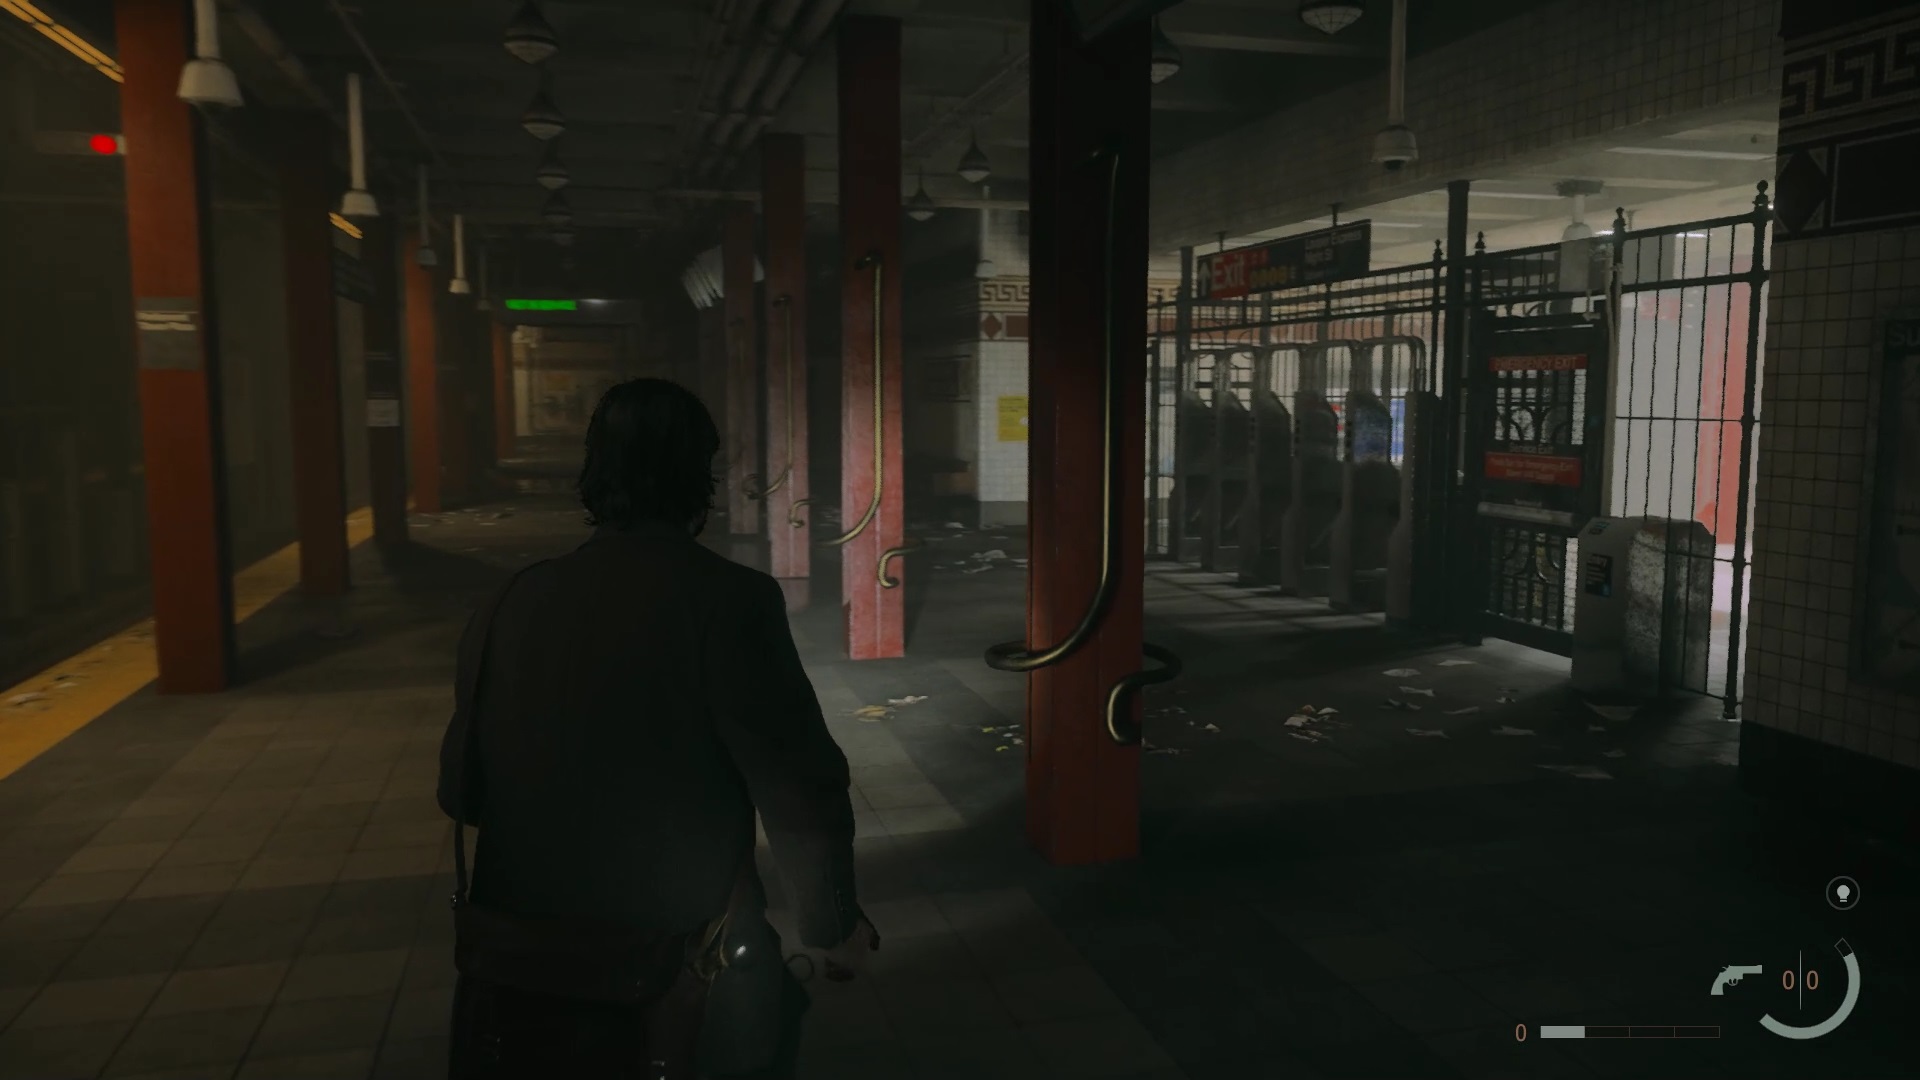
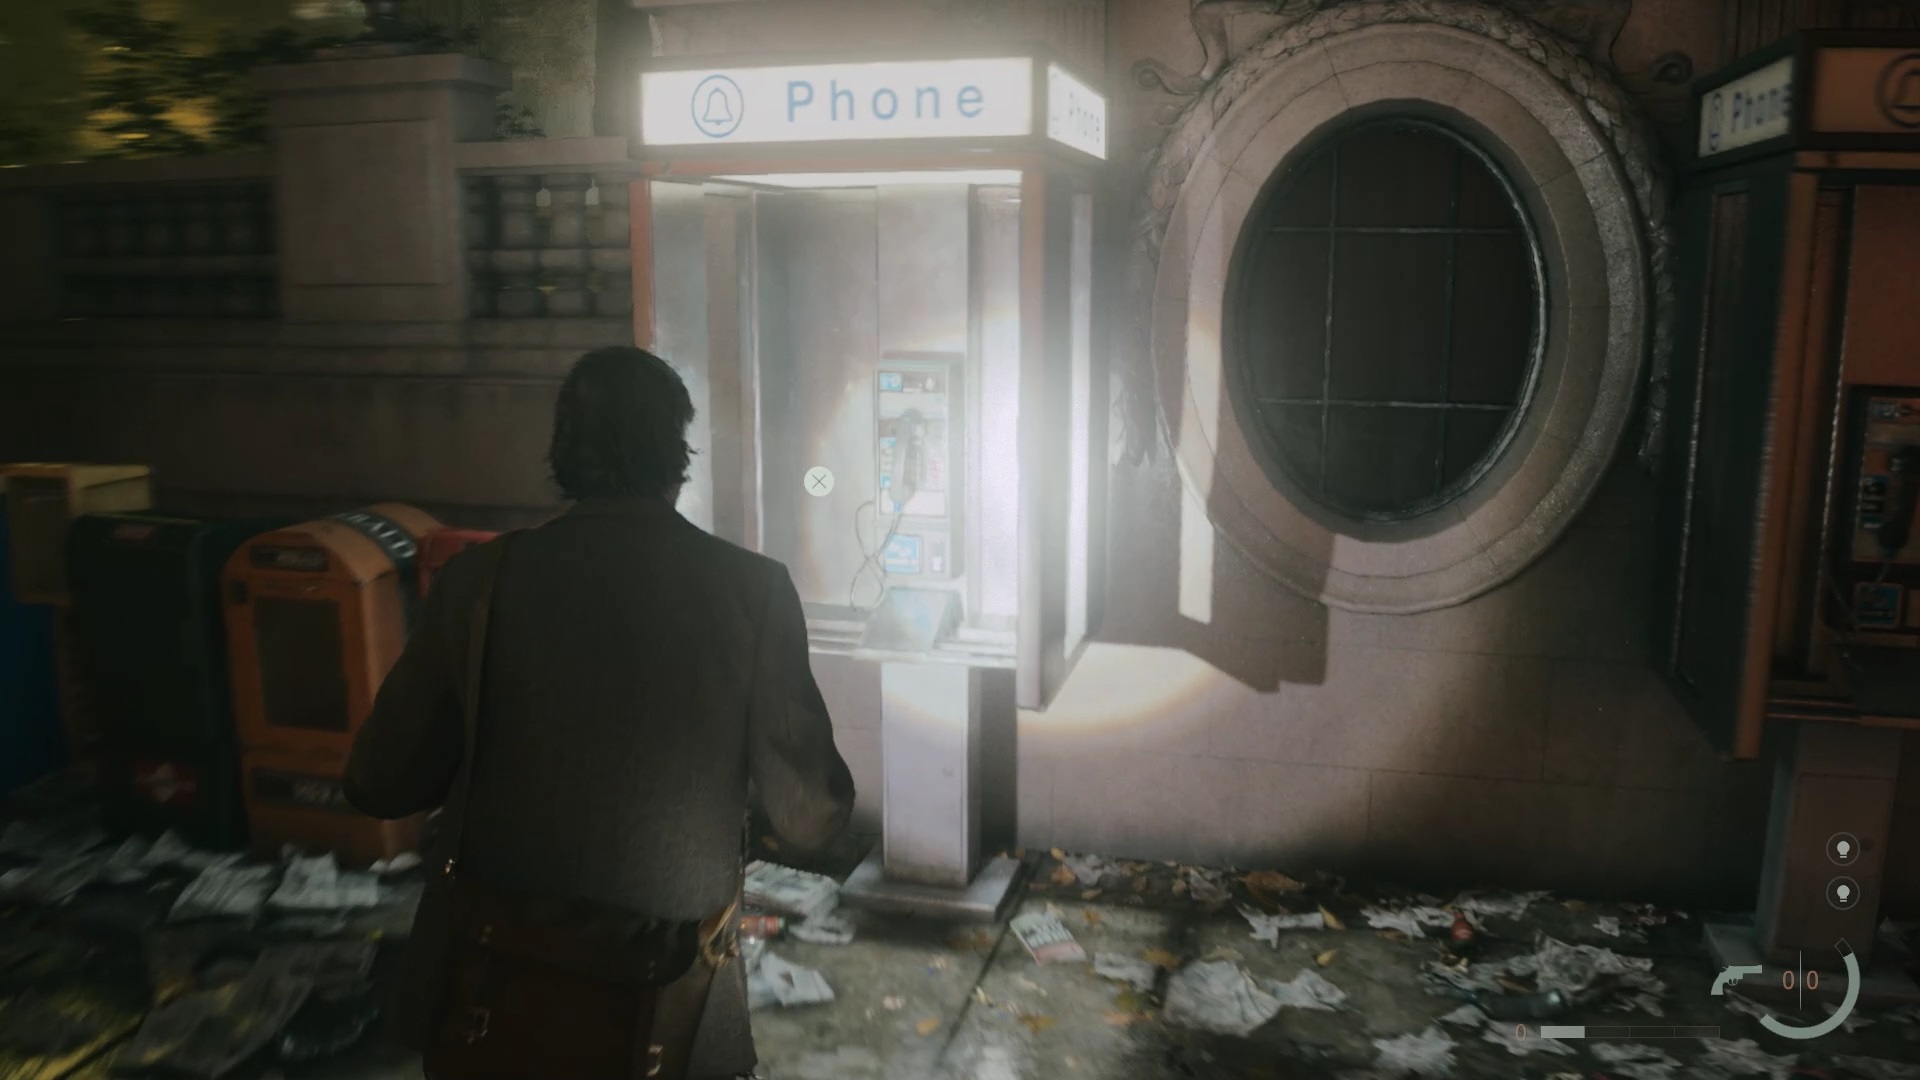
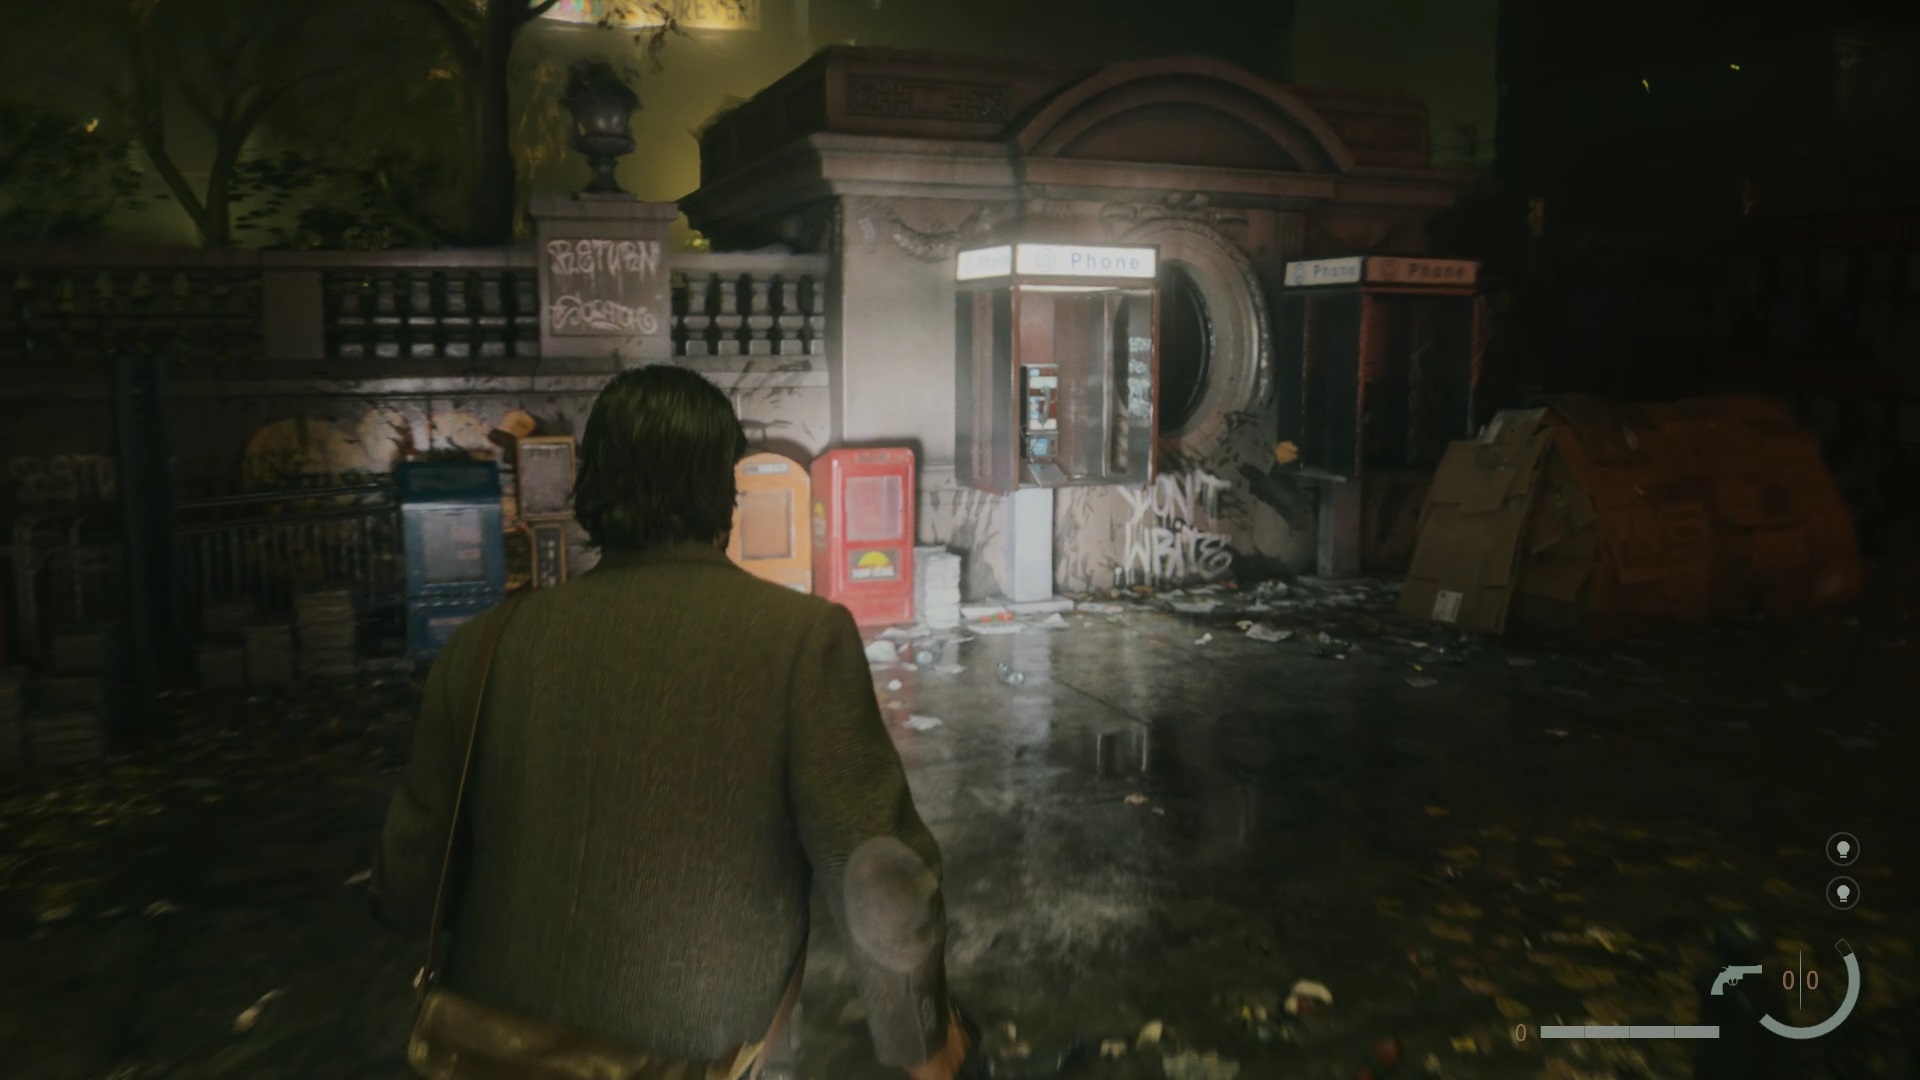
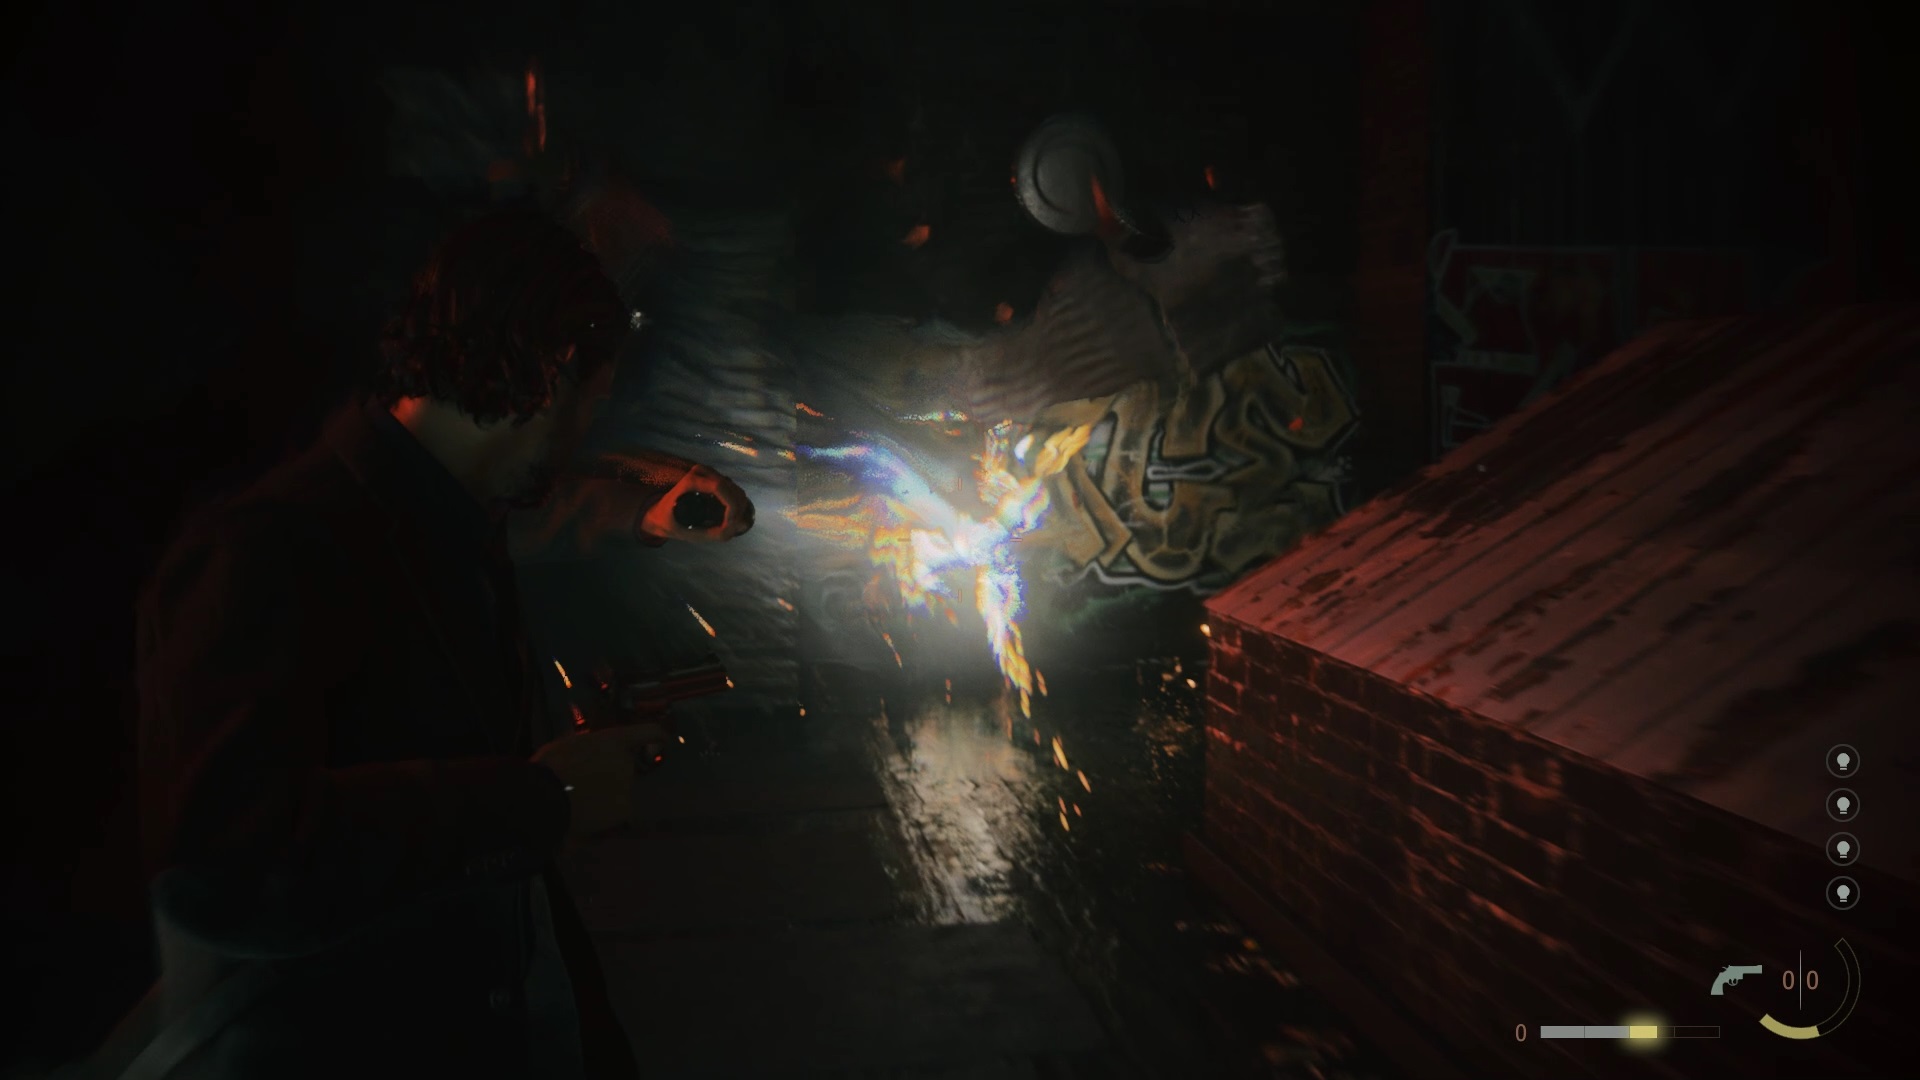
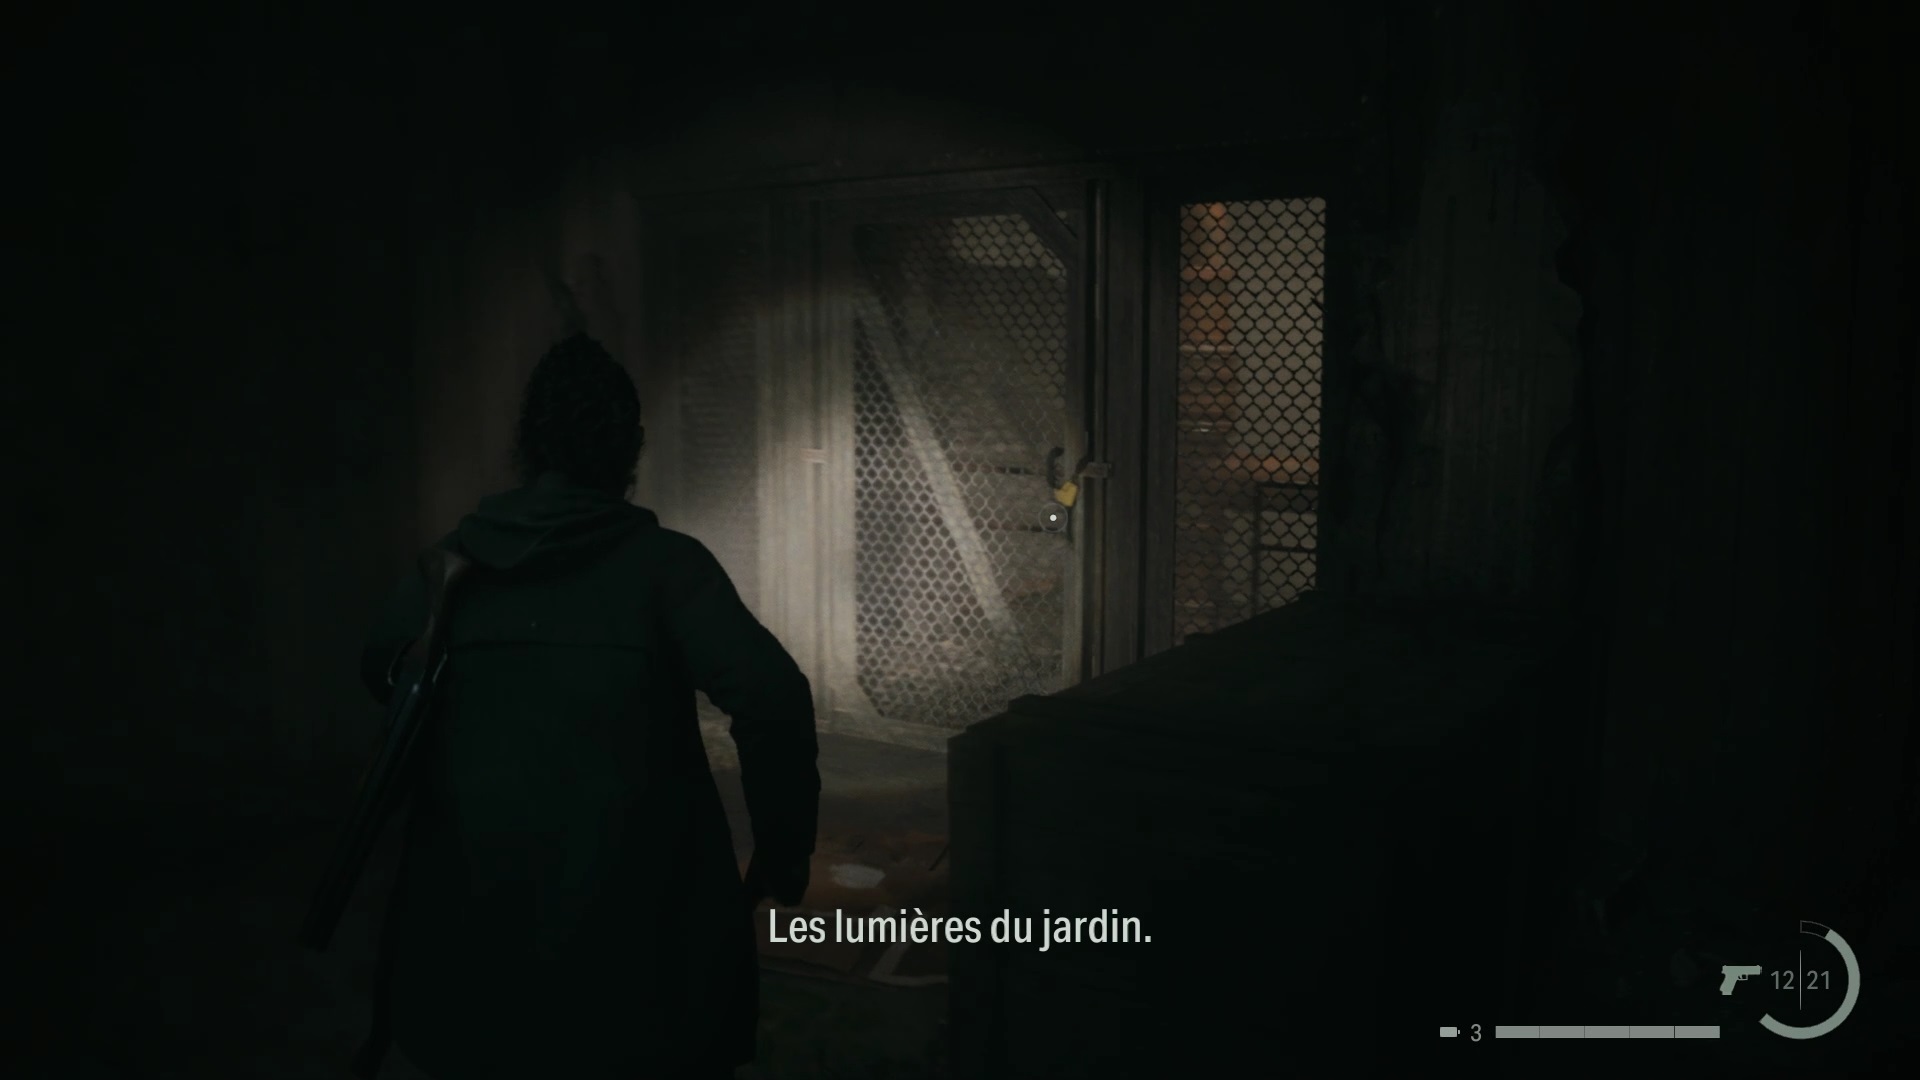
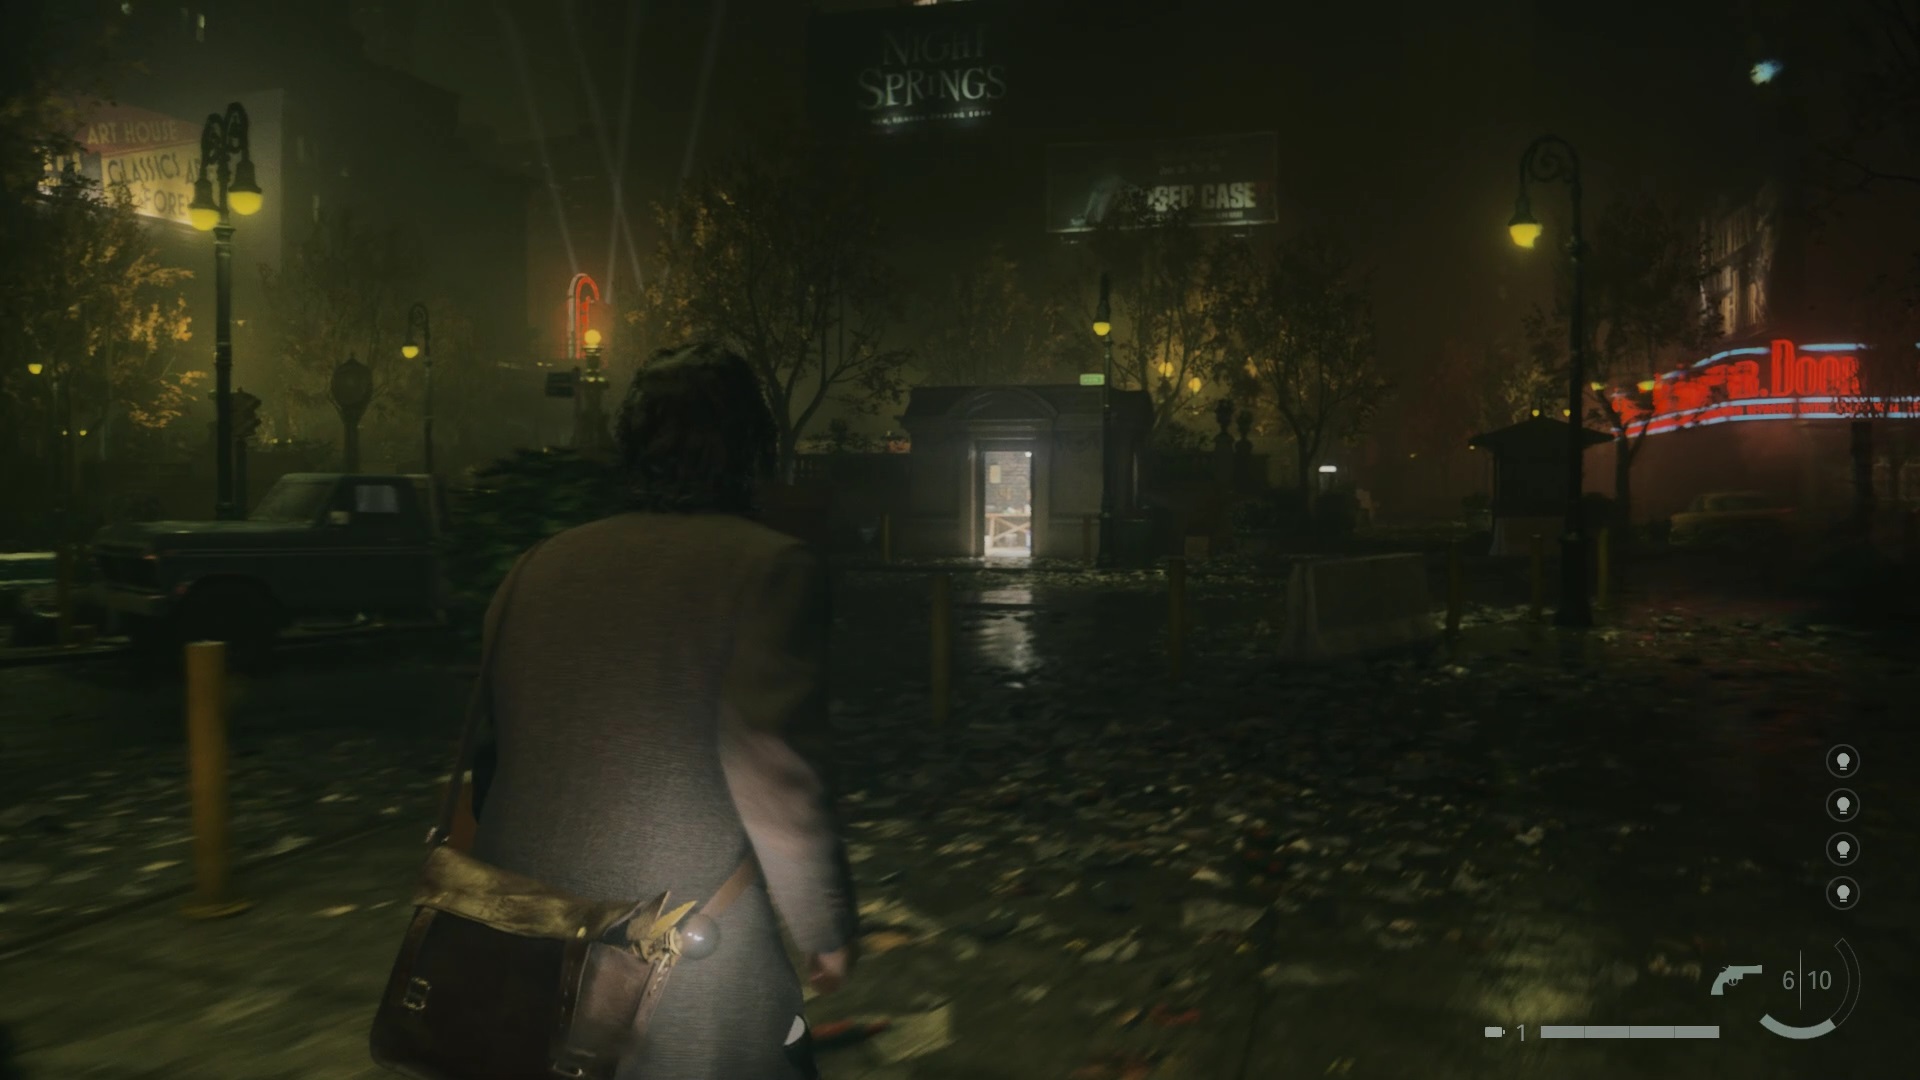
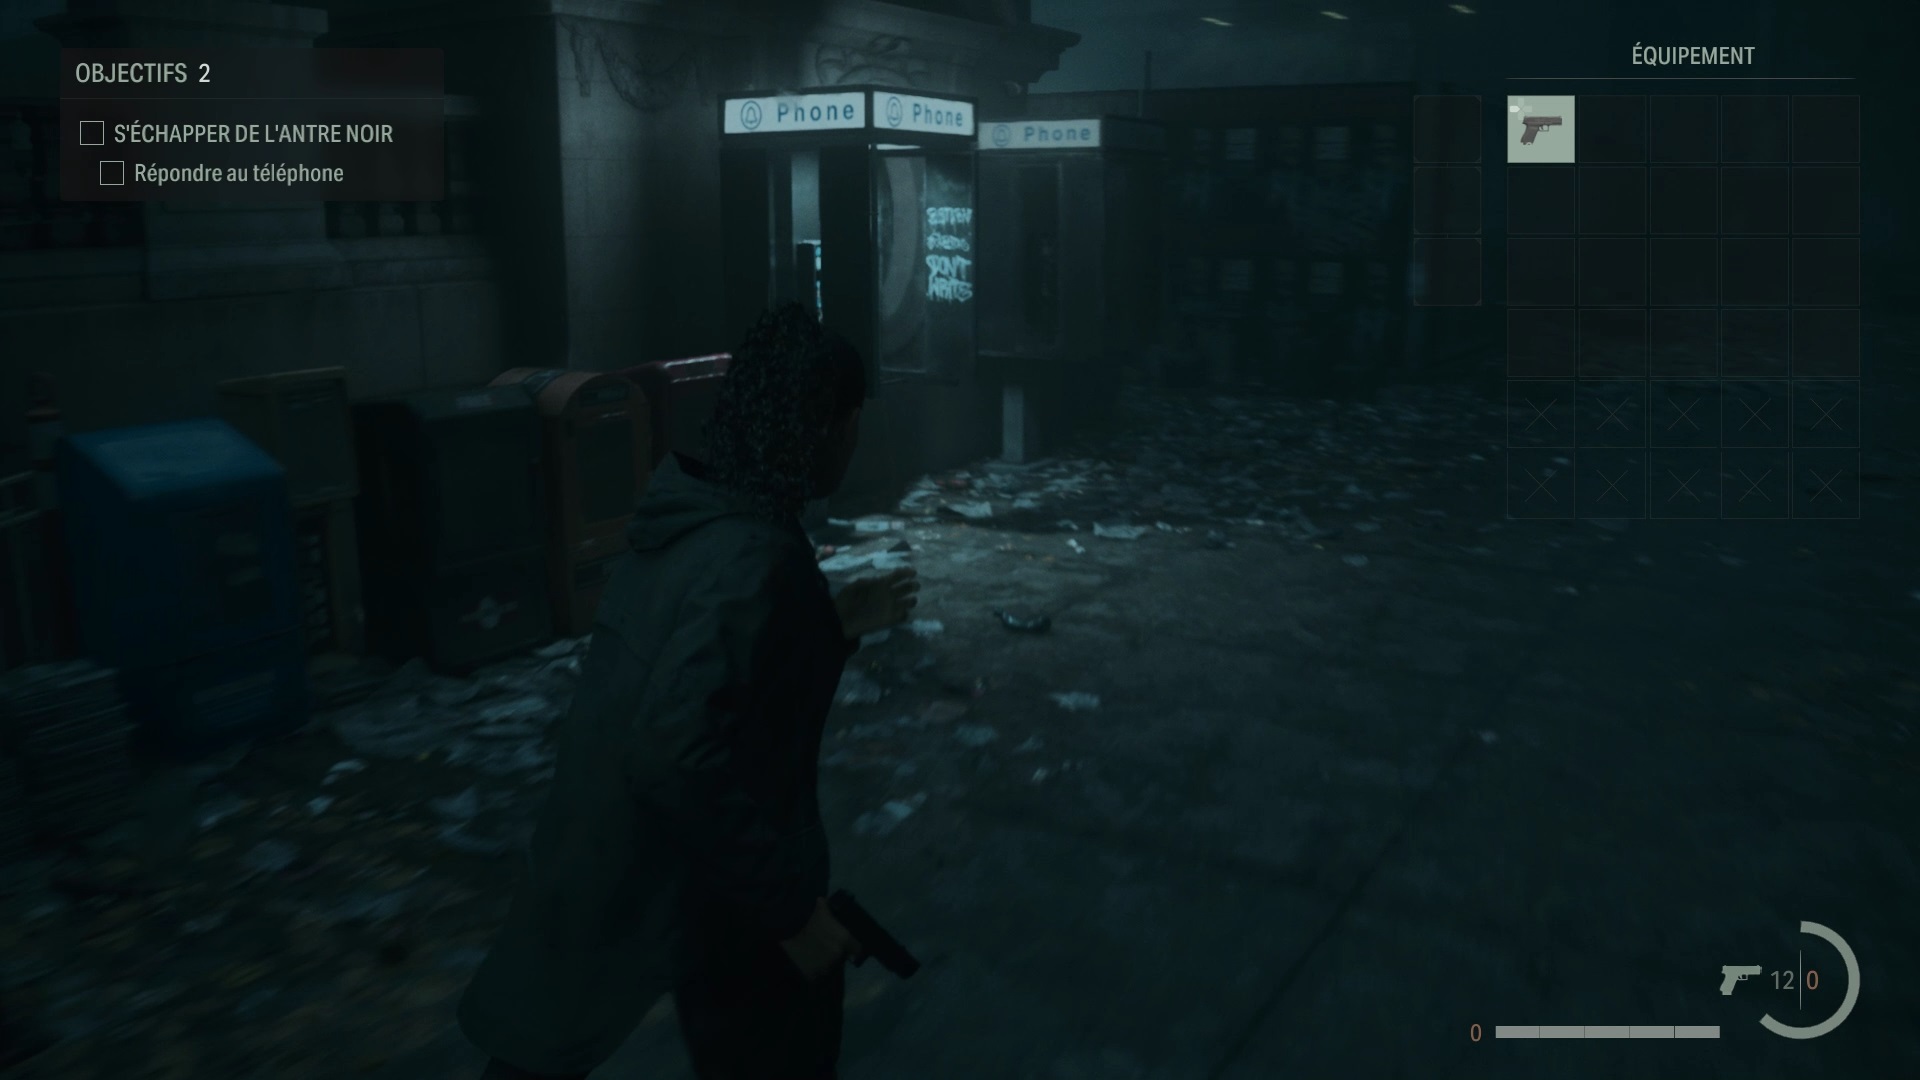
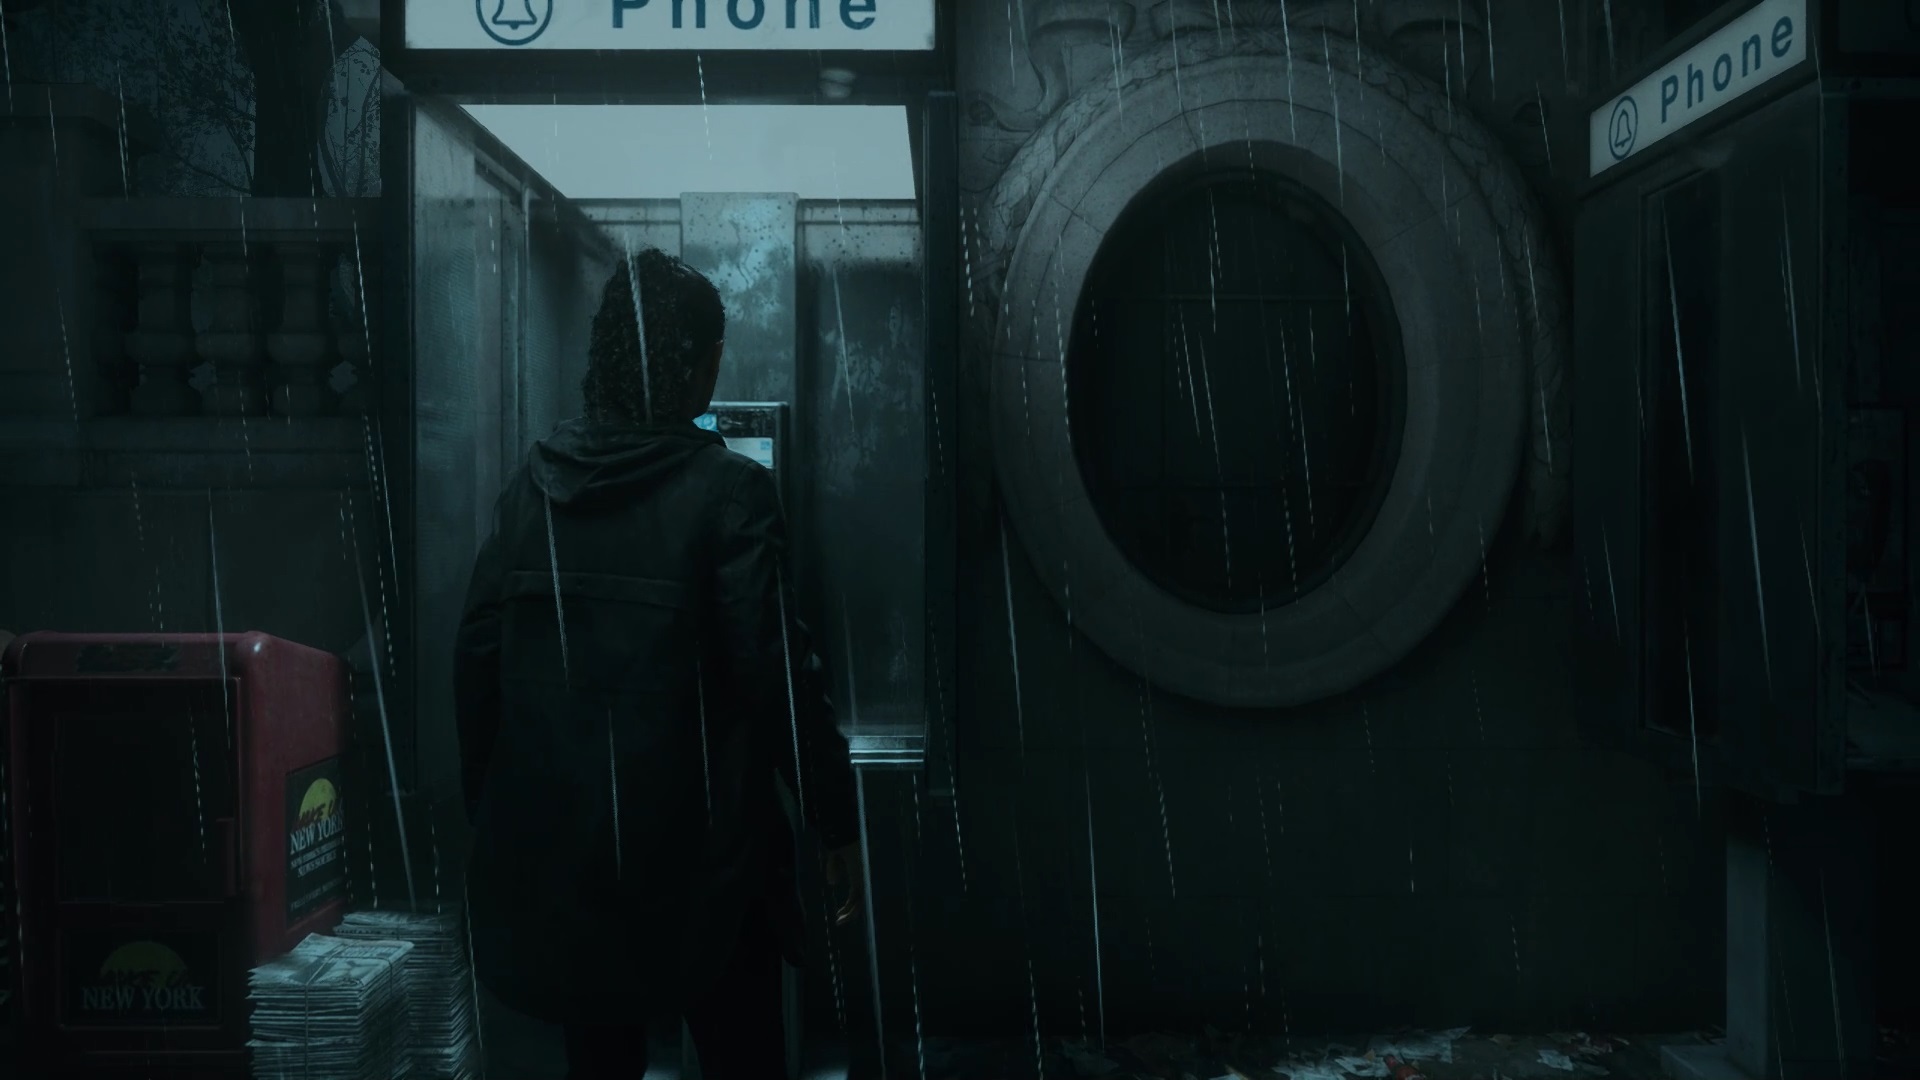
Go out to the square outside to hear a phone ringing. Go to the phone booth to trigger a cutscene. You need to find the Caldera metro station. To do this, locate the Skytrain station and approach the kiosk. Currently the entrance to the station is closed. You need a new light source to open it. A neon light lights up nearby with the inscription “Neighborhood Illumination”. Follow the signs to go down an alley. A new cutscene triggers. Collect the flashlight and the gun near the body. Collect the nearby light source with your lamp.

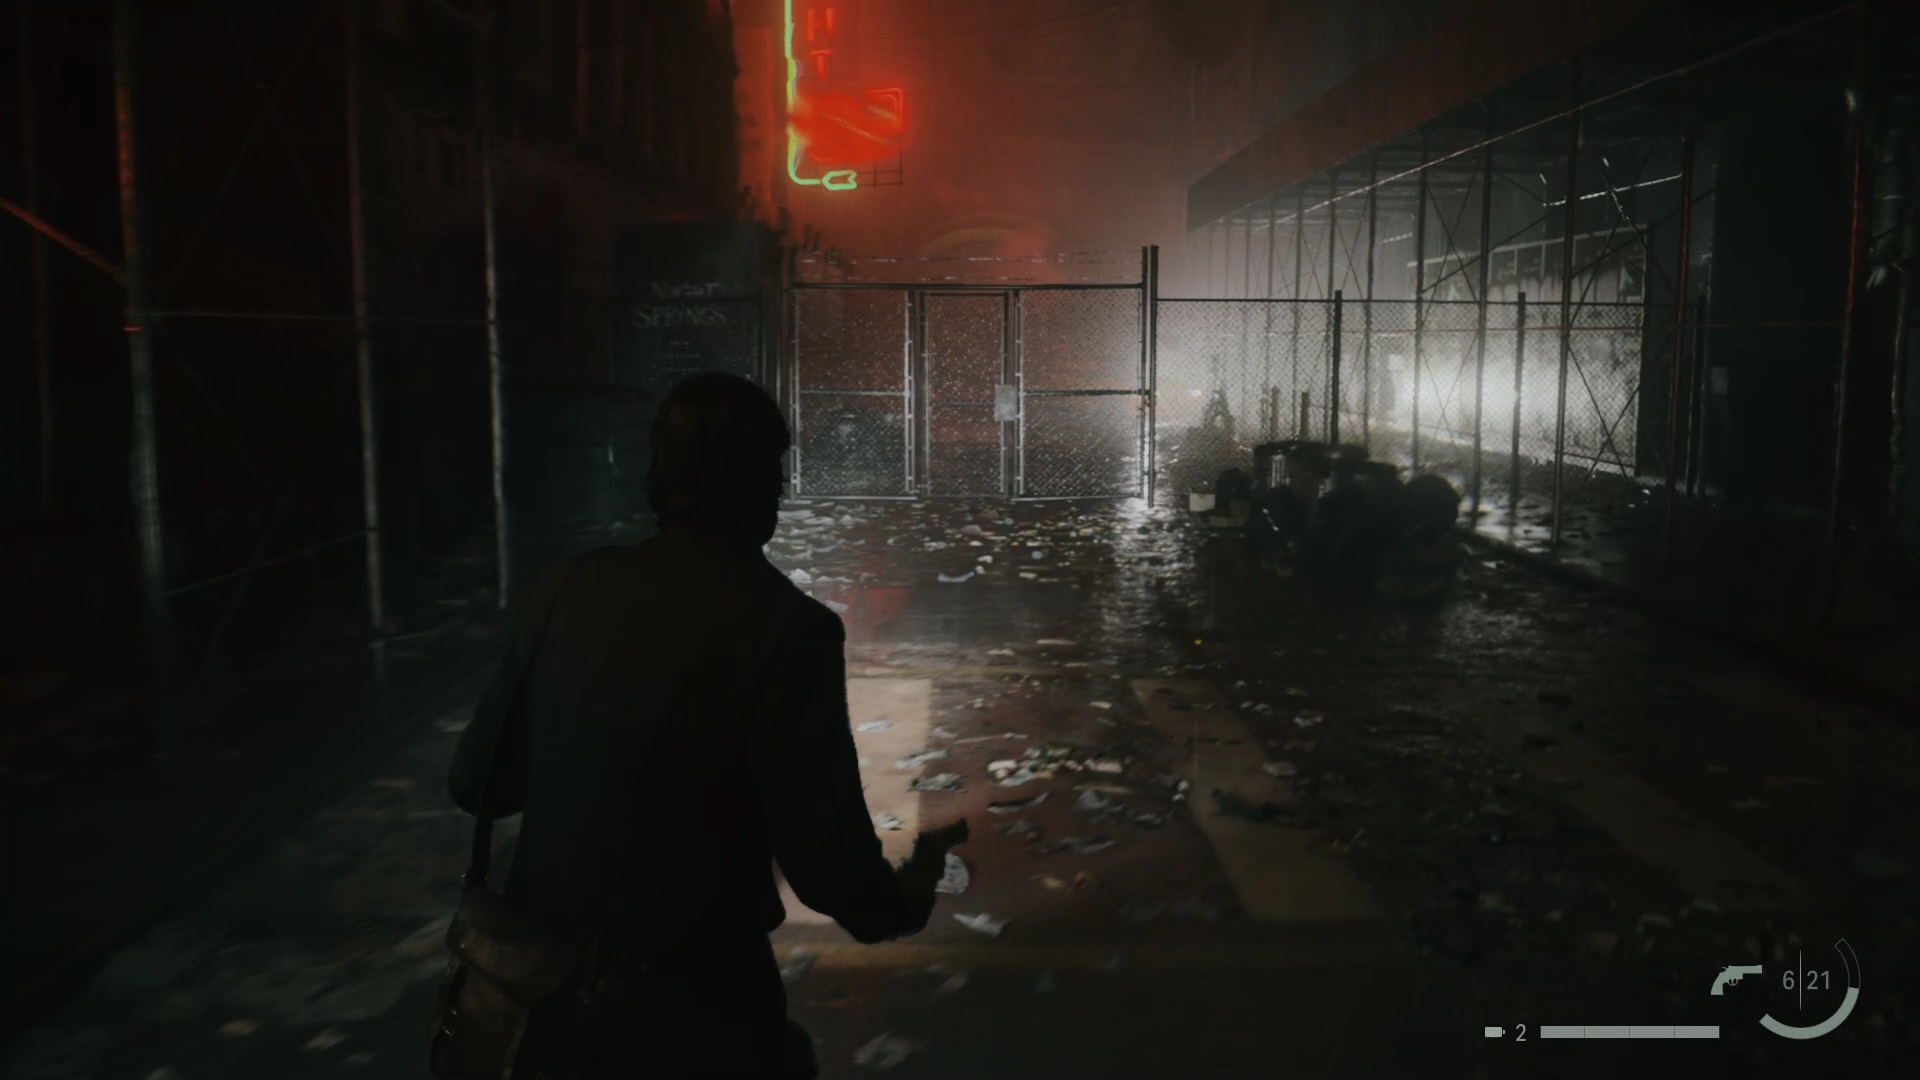
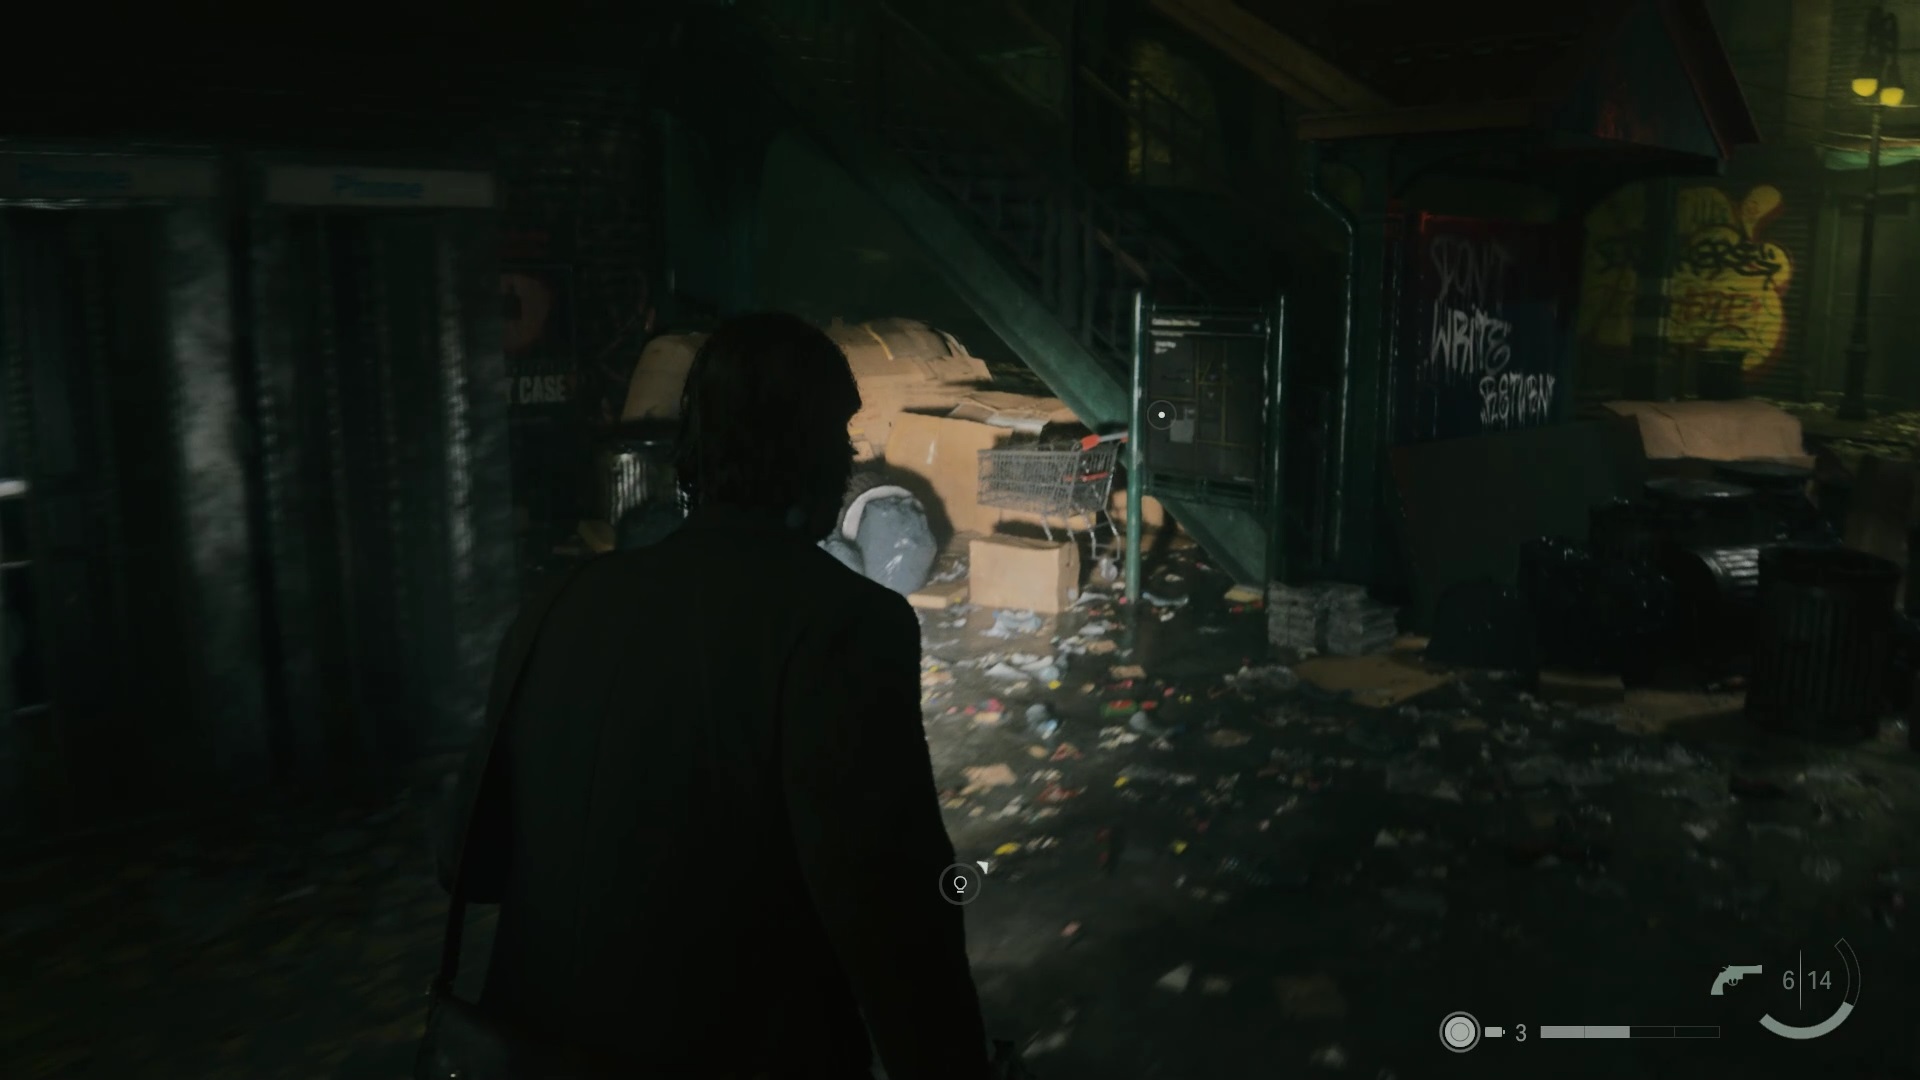
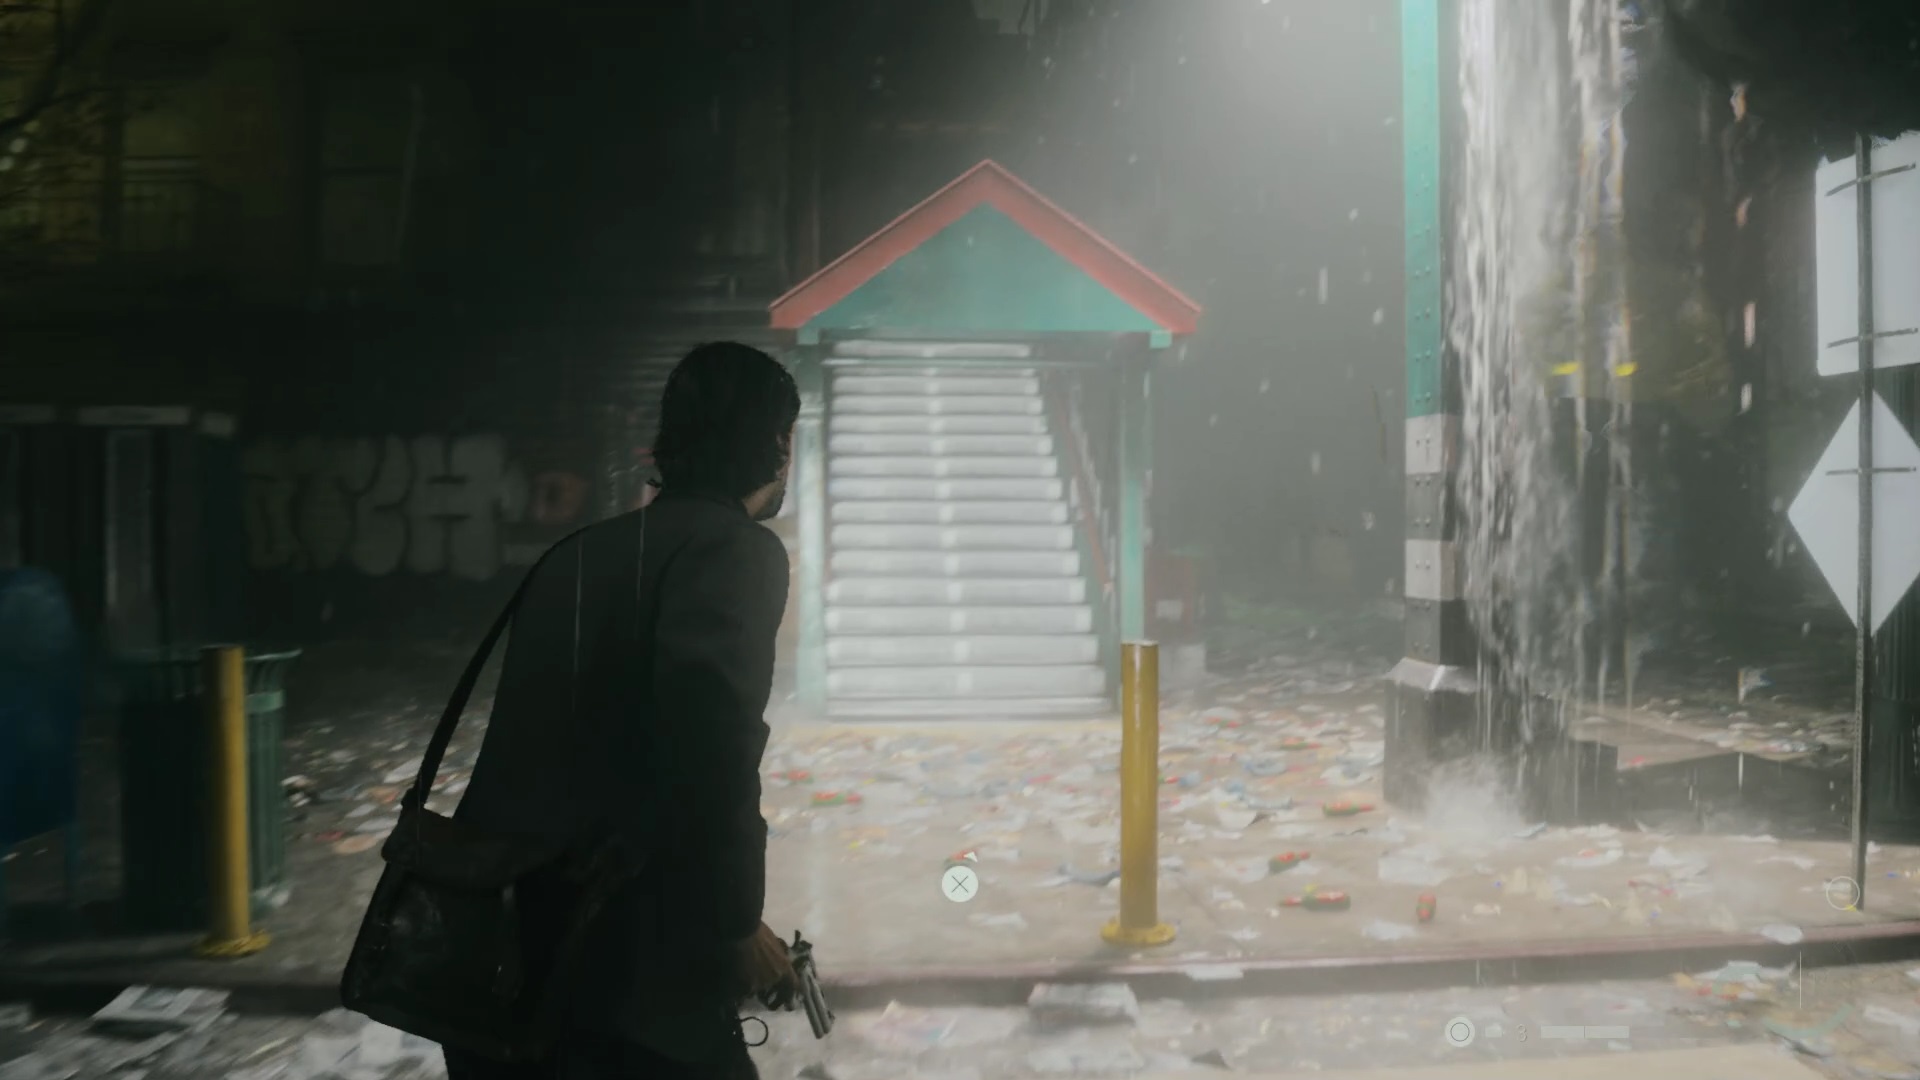
Return to the kiosk near the air station to use your lamp. Dive inside the station until a wall stops you. You need a light source to move the wall. Go outside, closing the station, to collect your light. To the east of the station, locate a source of light behind a grate. Approach the air station and collect the map from the side. Use your light source to reveal an entrance to the air station.
Enter the air station to reach the rails. Climb a nearby ladder to reach the rooftops. Use the door to go down to a second roof. Go through the scaffolding to reach the street that interests us. Approach the taxi vehicle to collect the light source. Go through the gate to return to Caldera Station. Collect the light source at the air station to have two light sources.


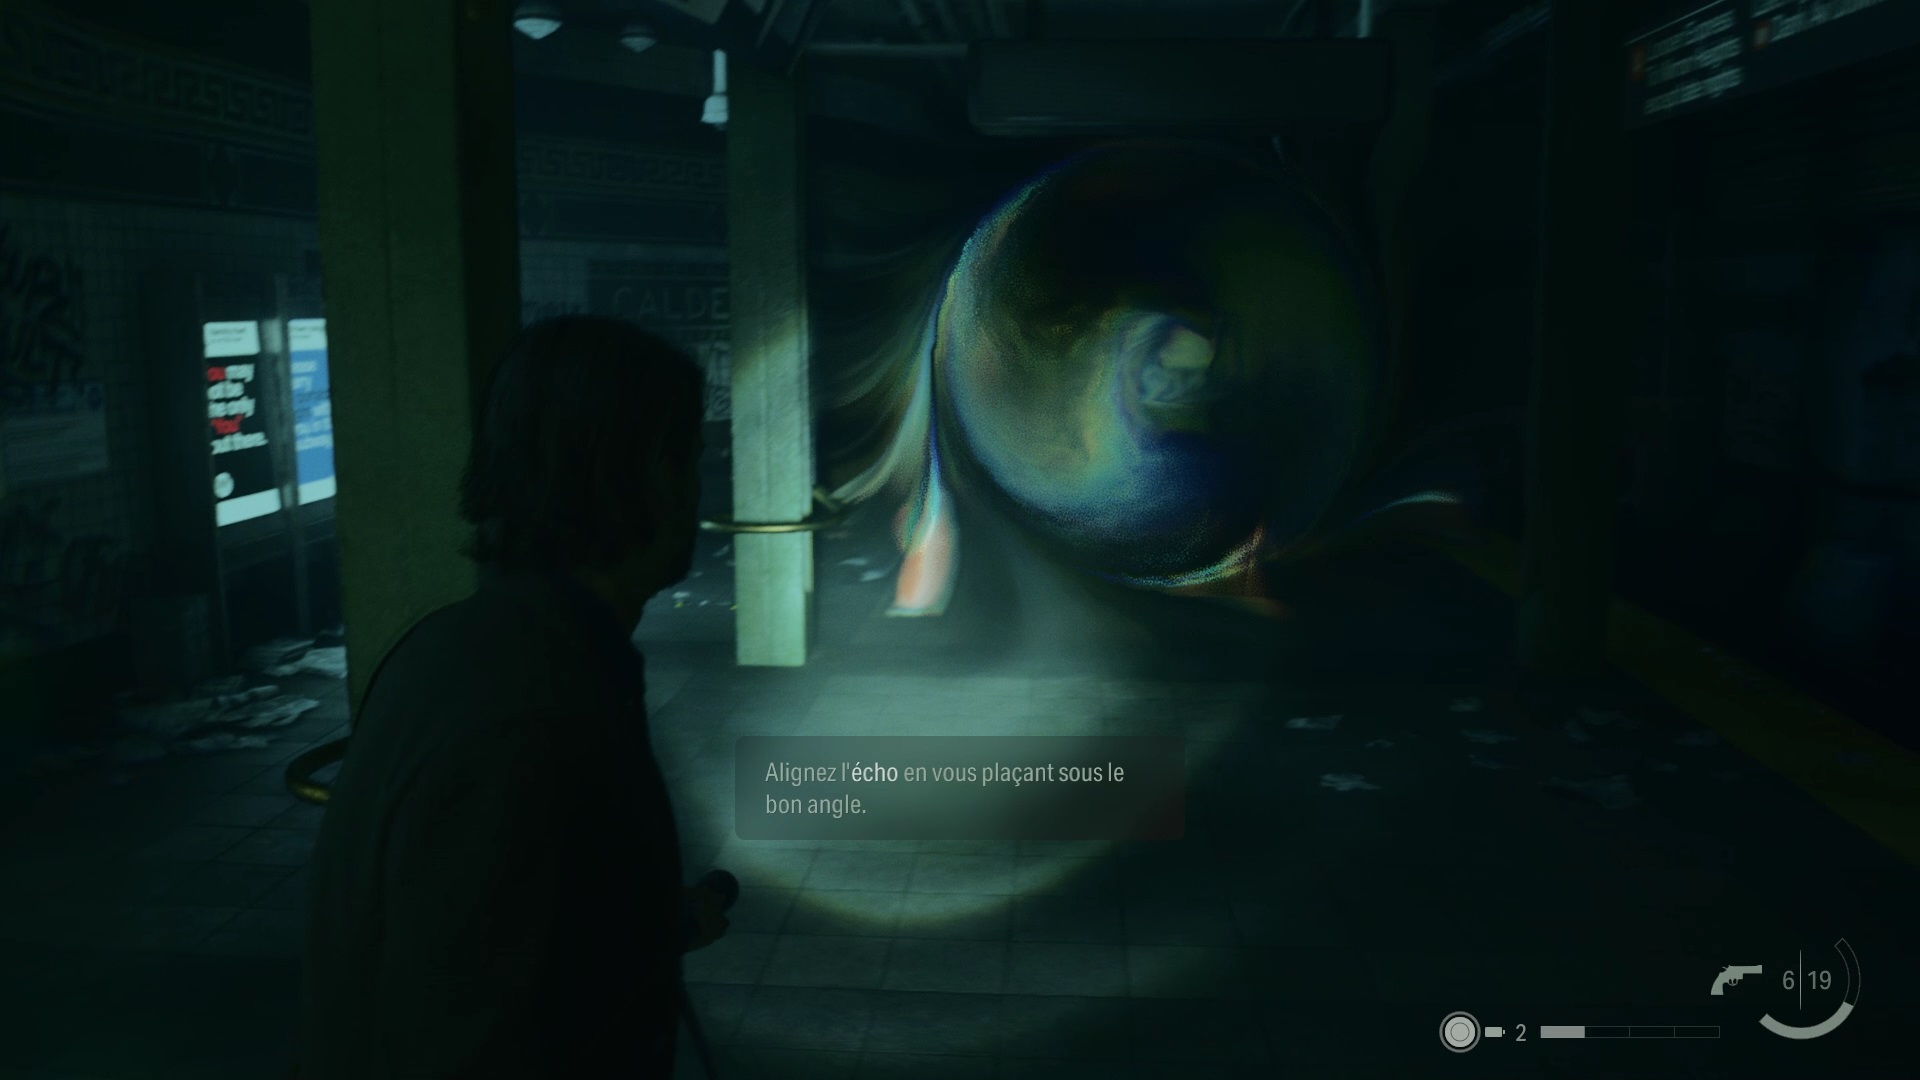
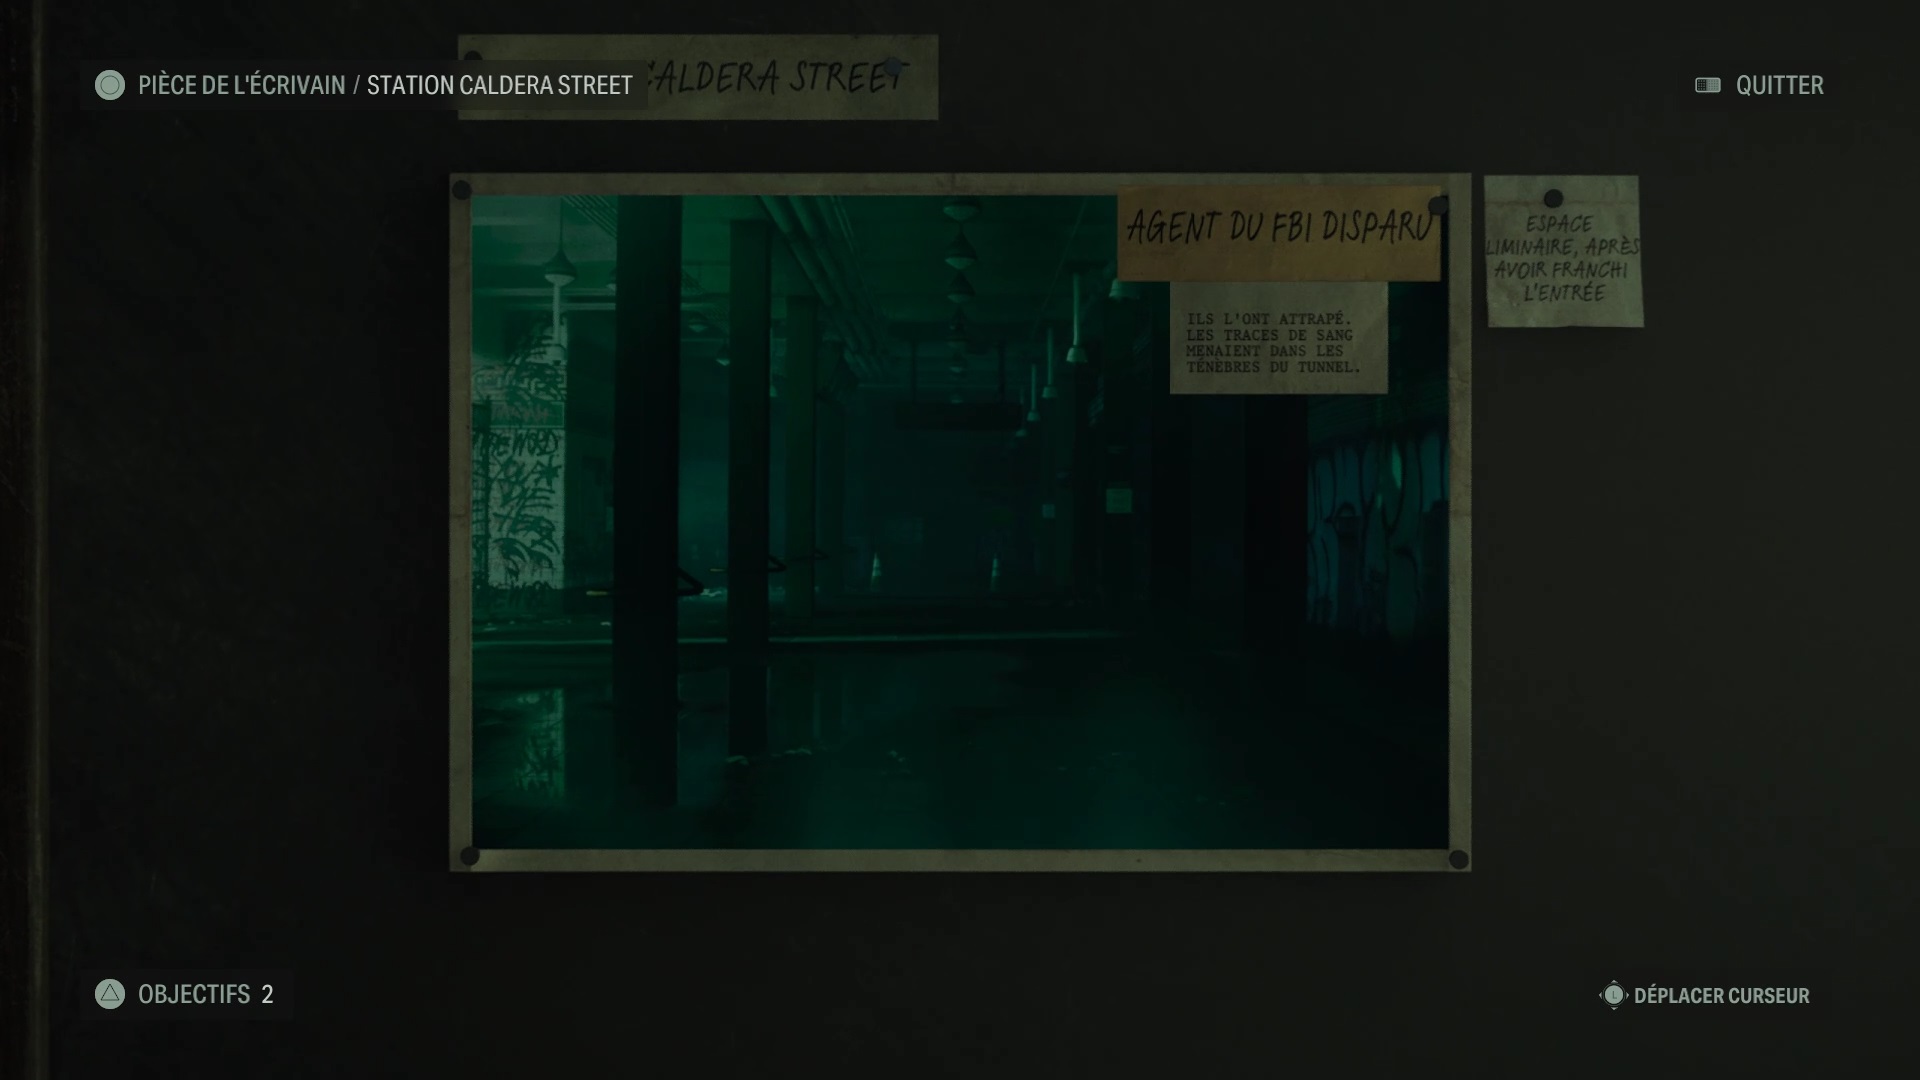
Make the entrance to Caldera Station appear, then make the wall disappear. Use your ticket at the emergency exit ticket window to get inside. Two orbs float on the dock. Go to the end of the dock to merge the two orbs so that a new idea emerges for Alan in an echo. Head to the plot board in the Dark Place to use the idea with the Caldera Station scene. Interact with the “Missing FBI Agent” idea to change the scenery.
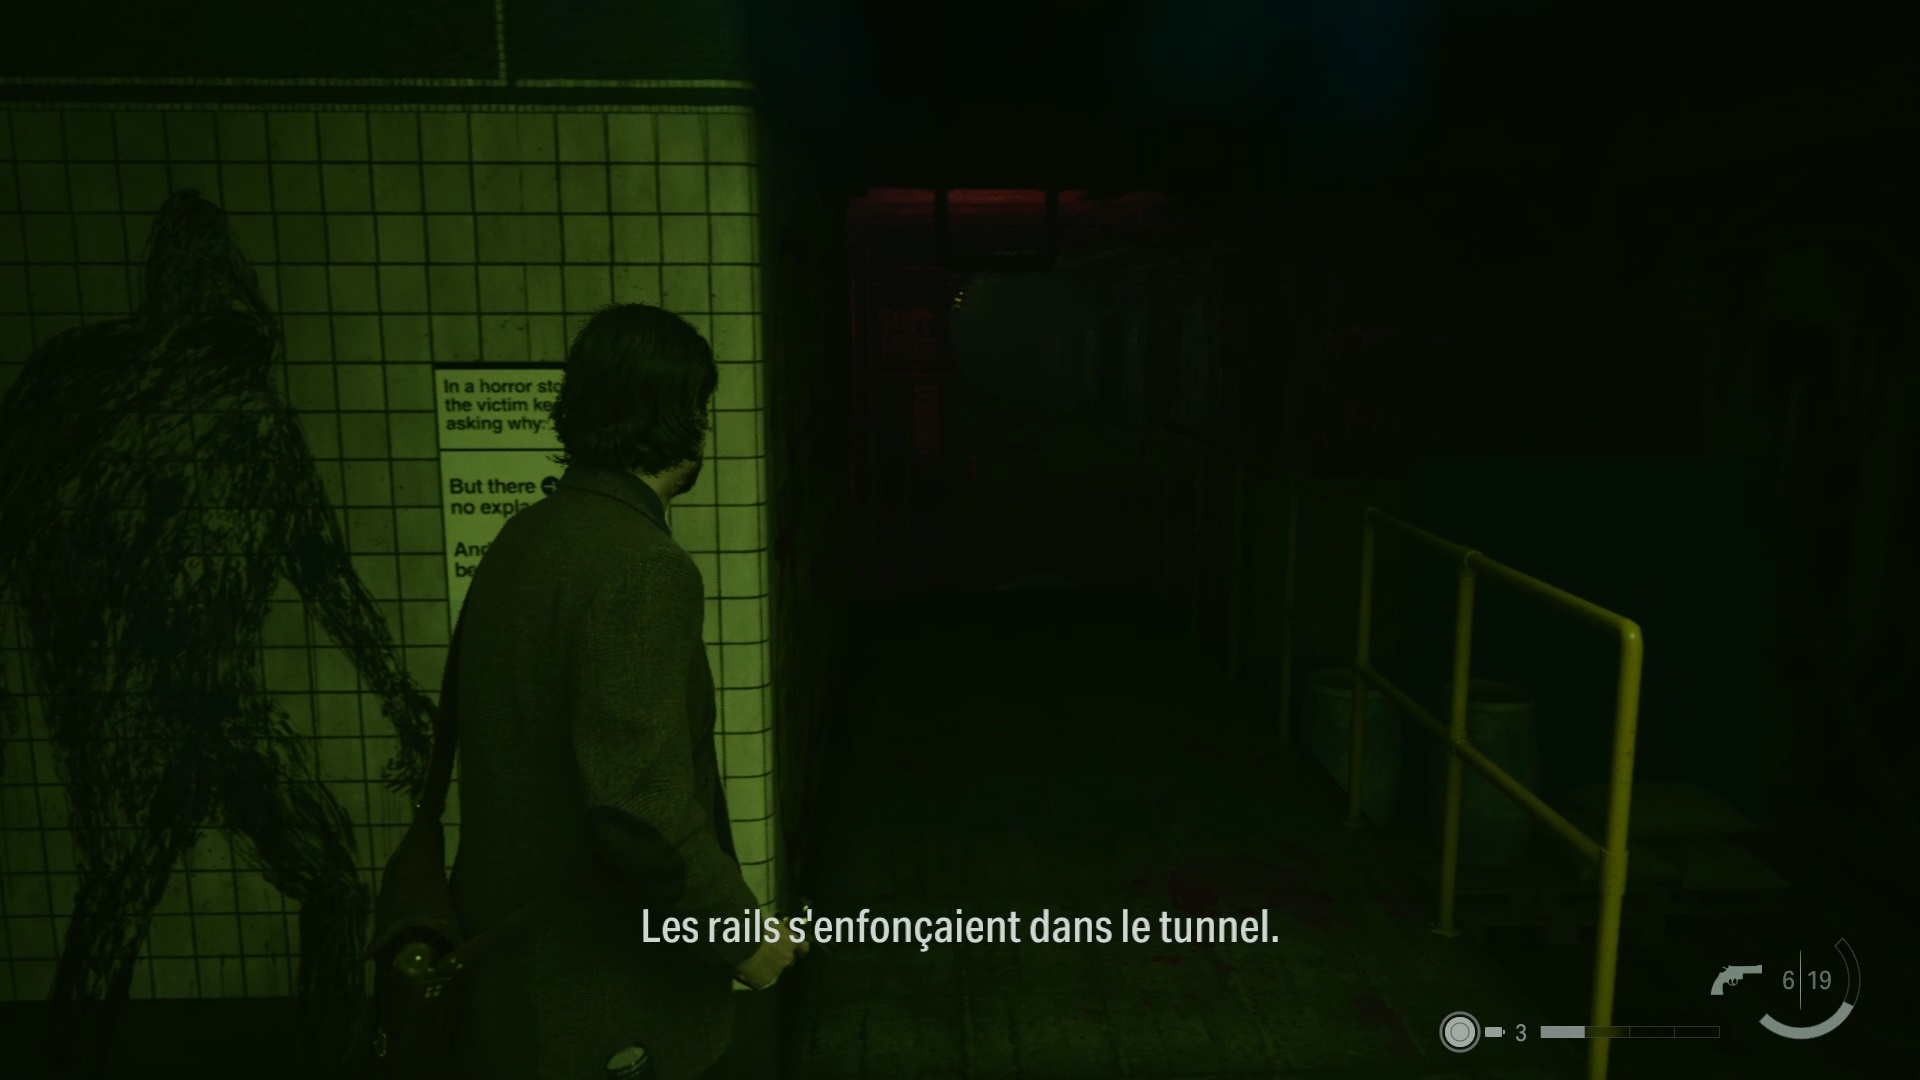

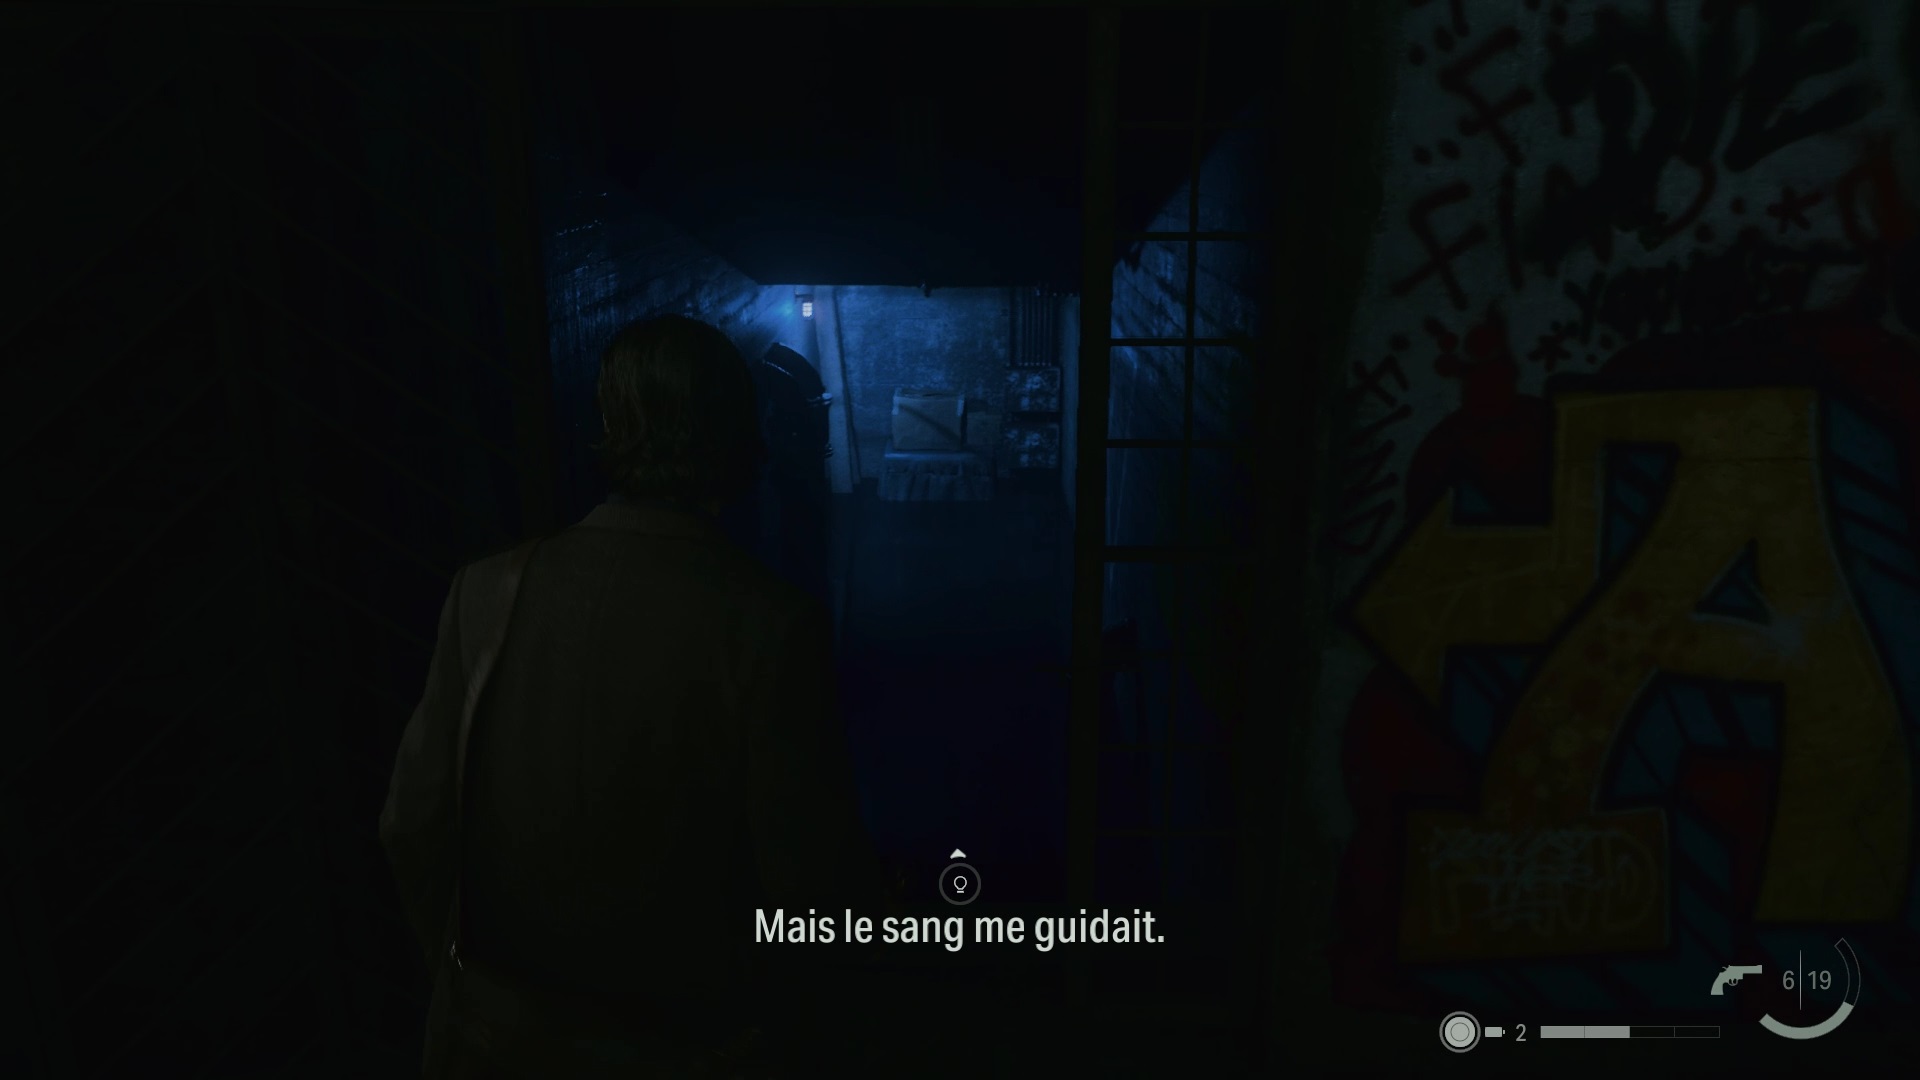
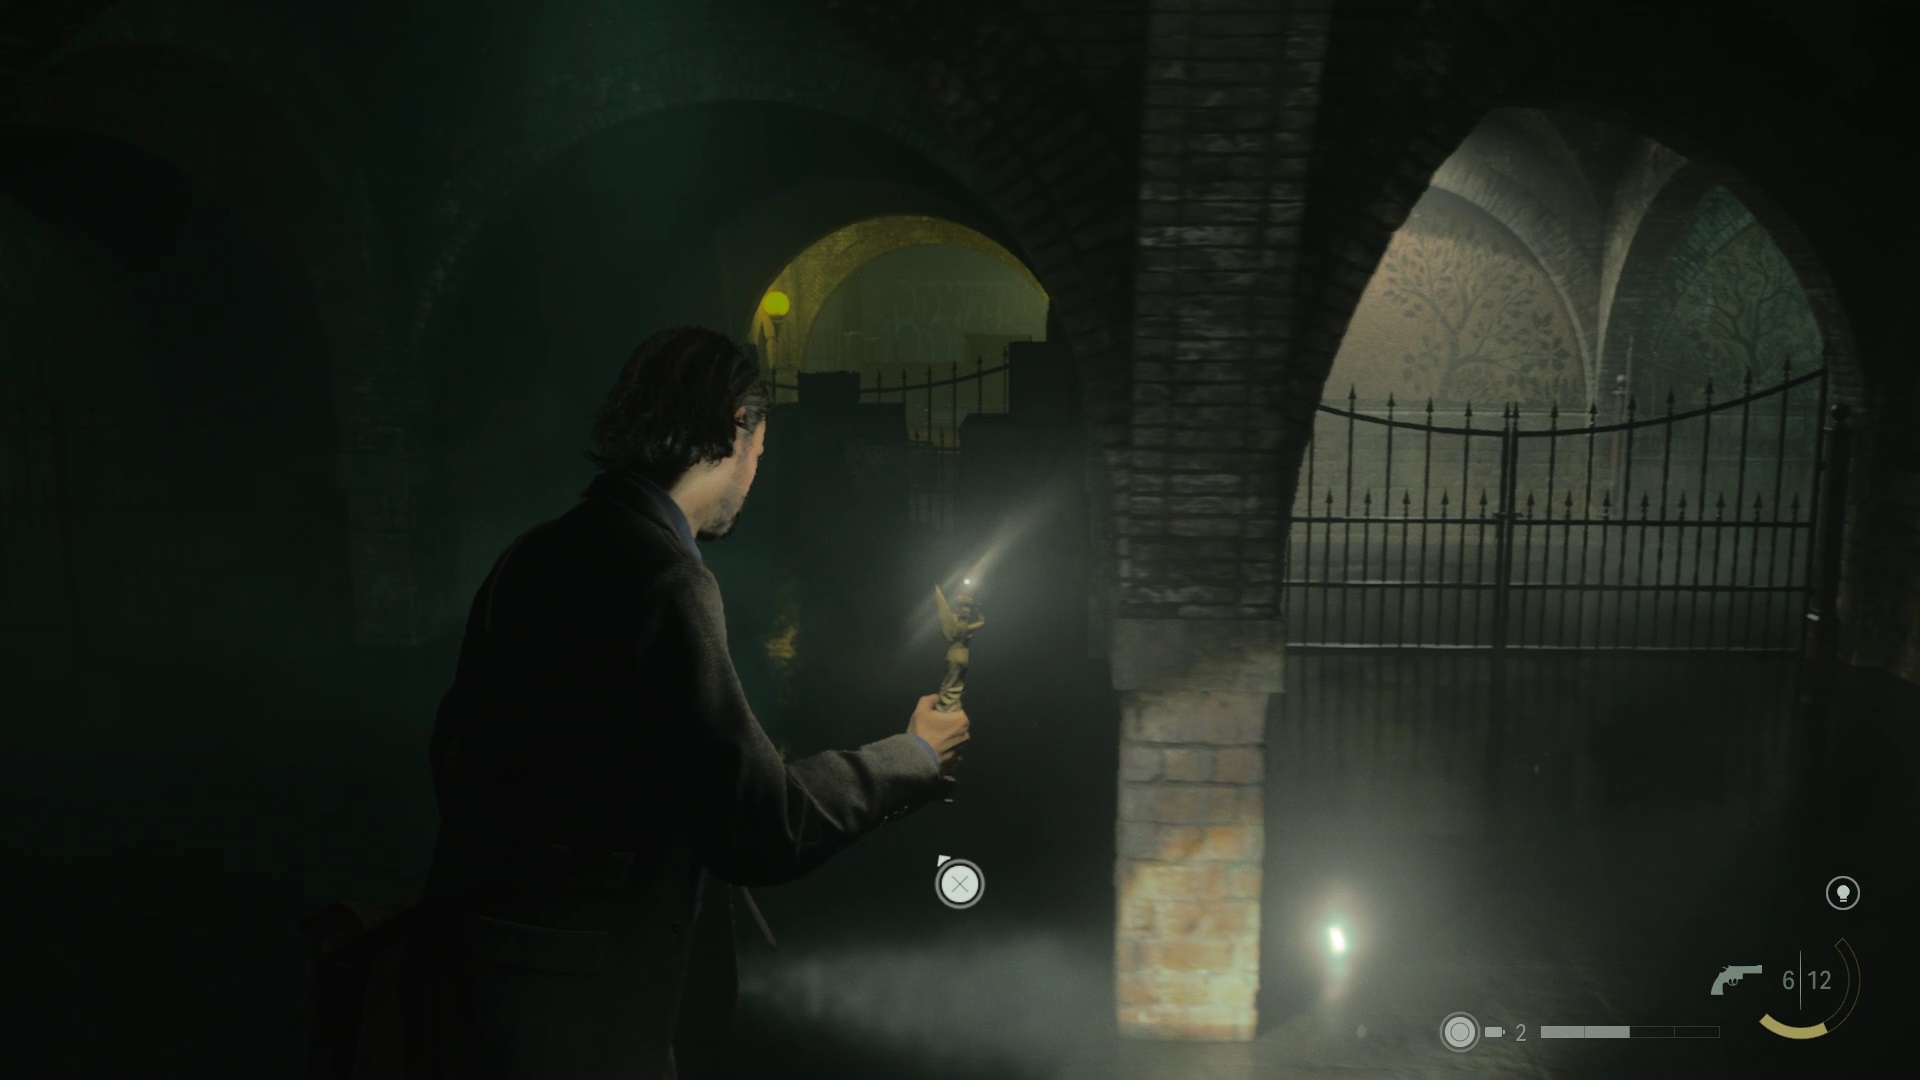
Go deeper into the tunnels to follow the blood trails. Enter the maintenance door in the tunnel to reach another rail. In this new tunnel, enter the wagon to go to the other side. Locate a flooded access against the wall for later.
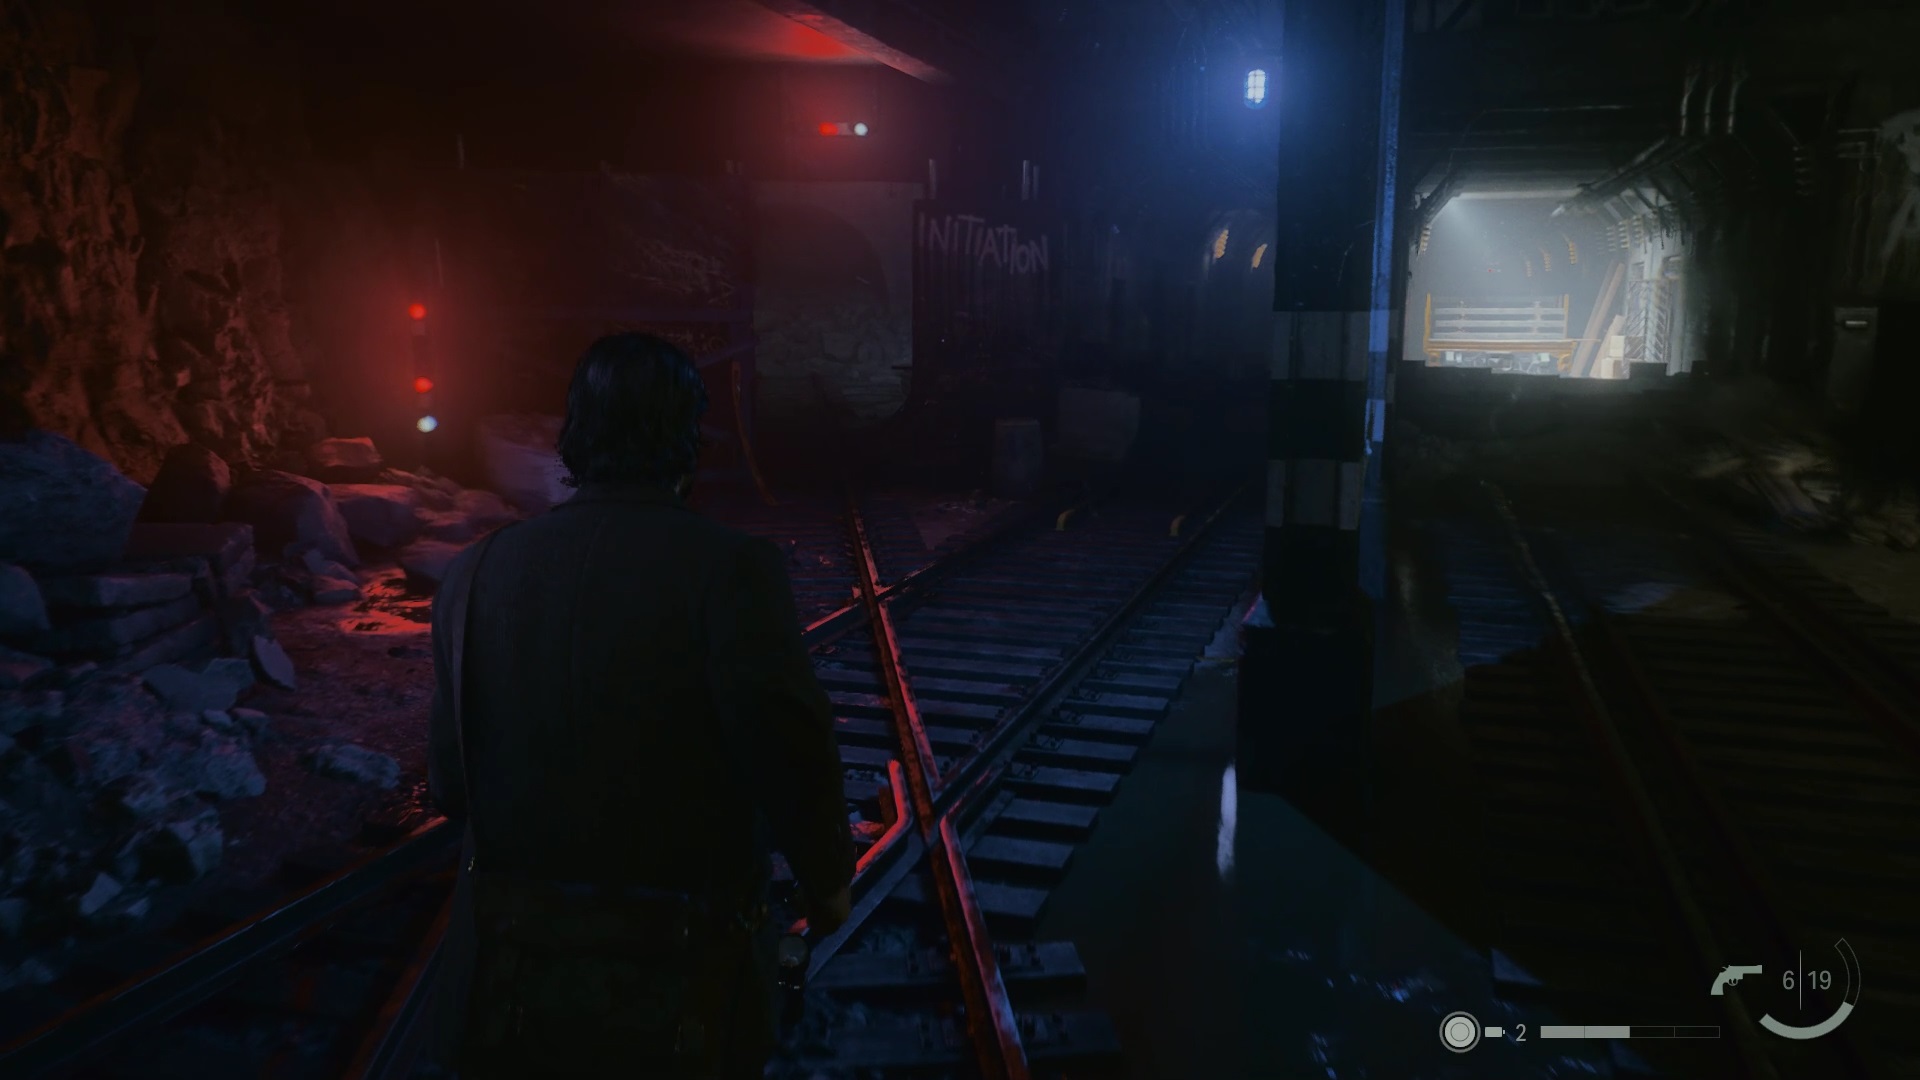
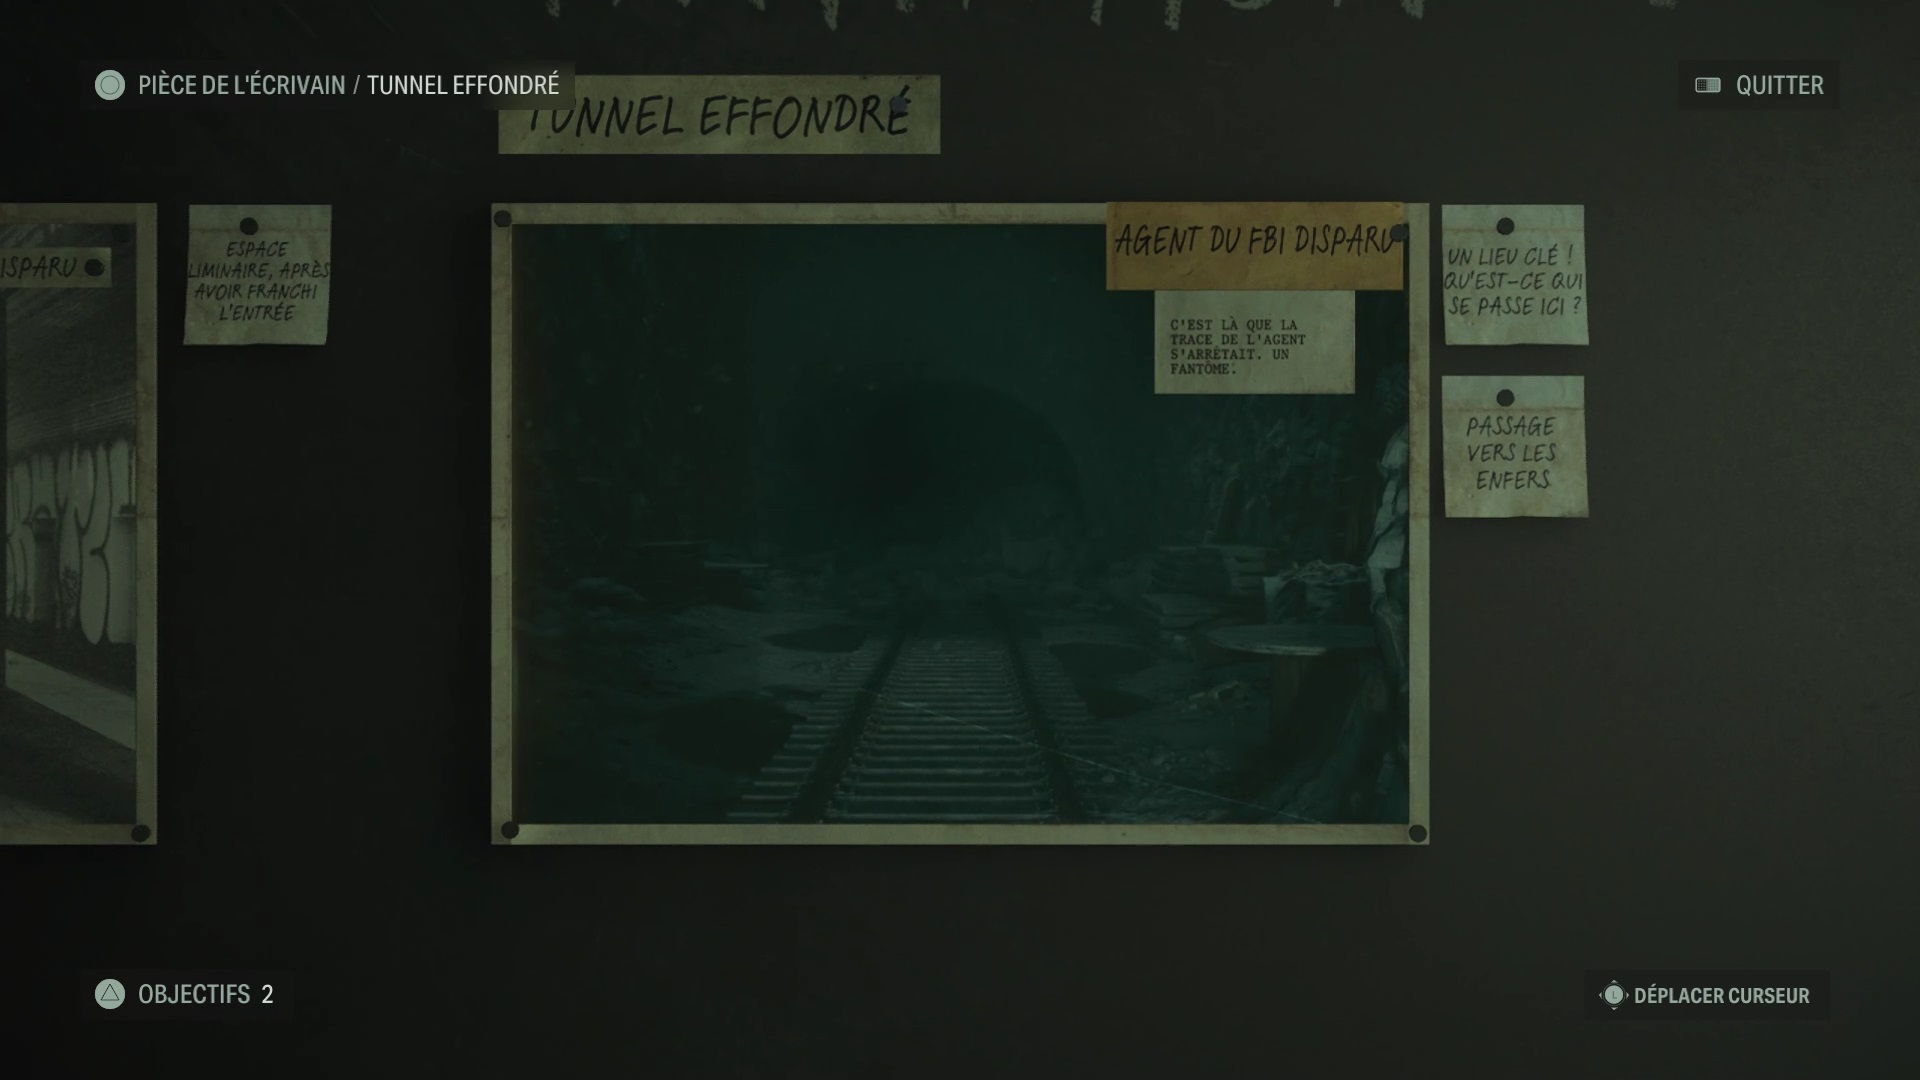
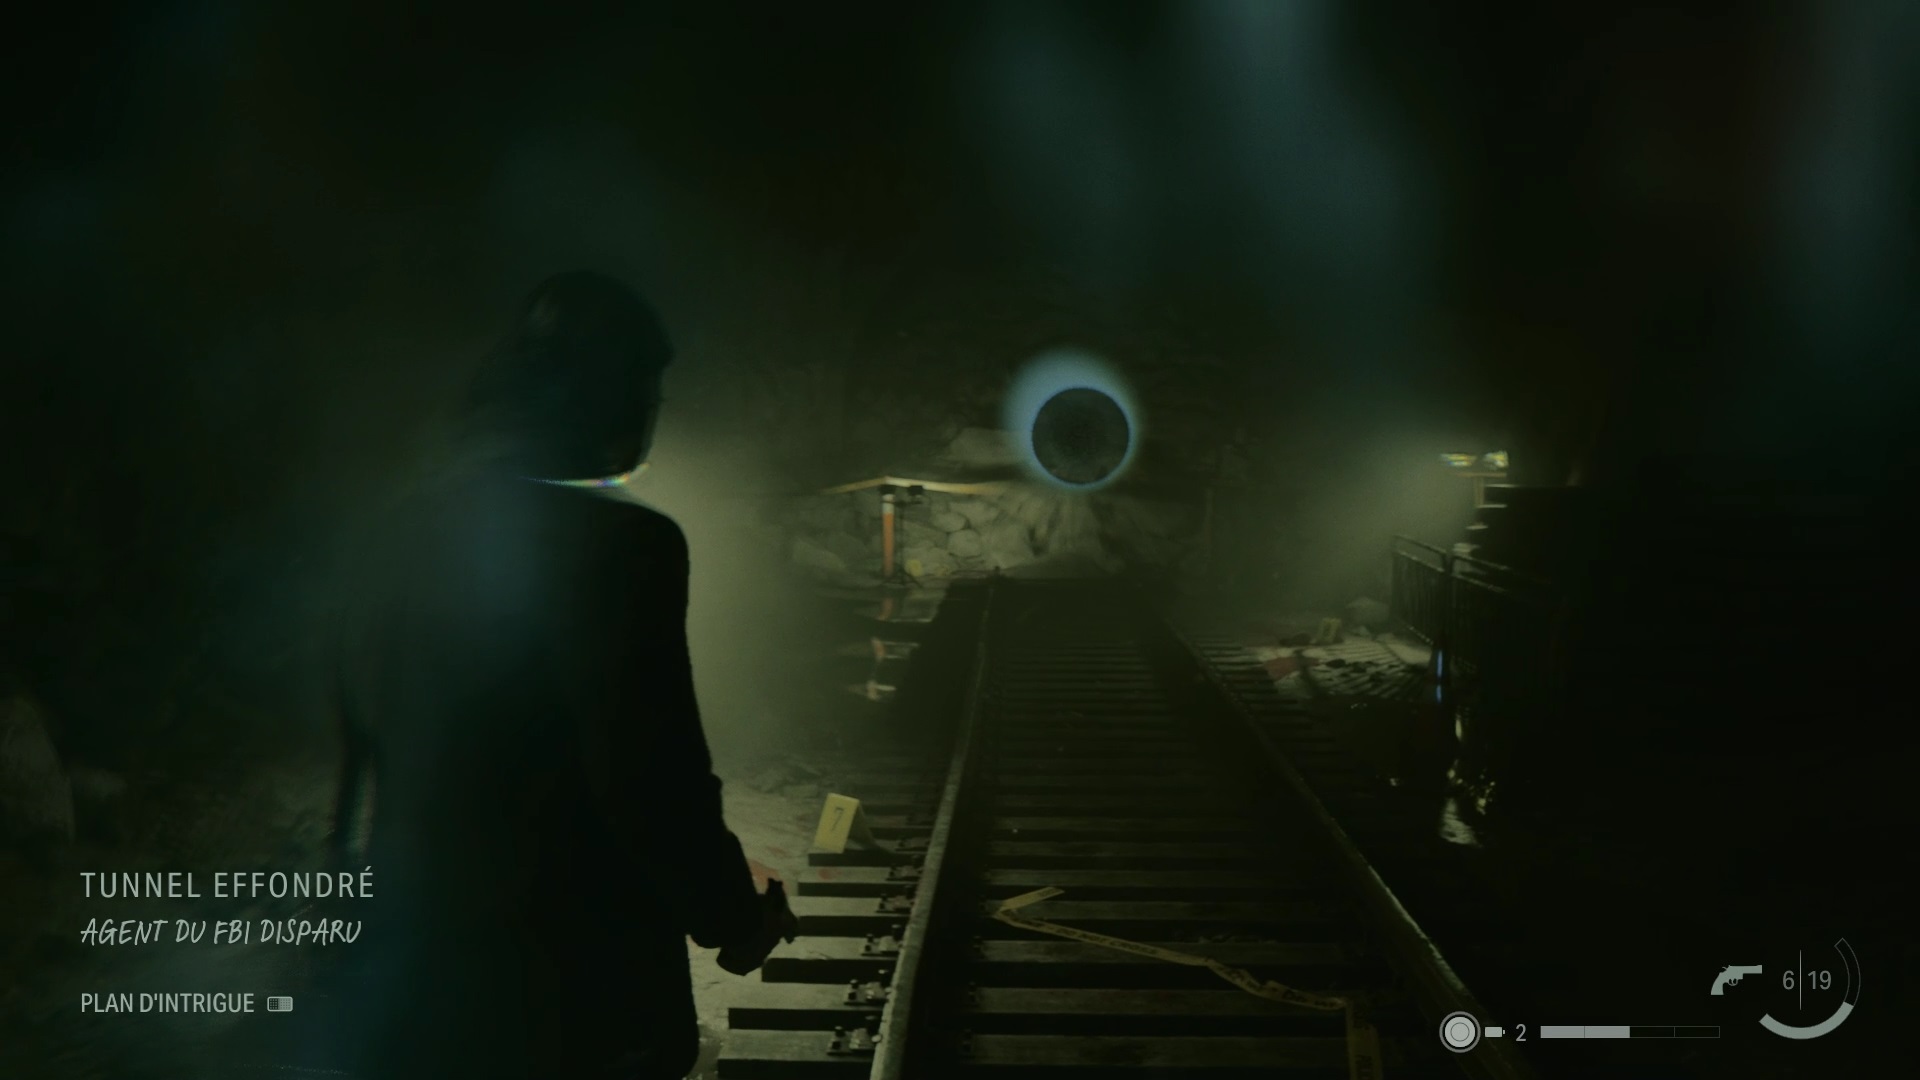
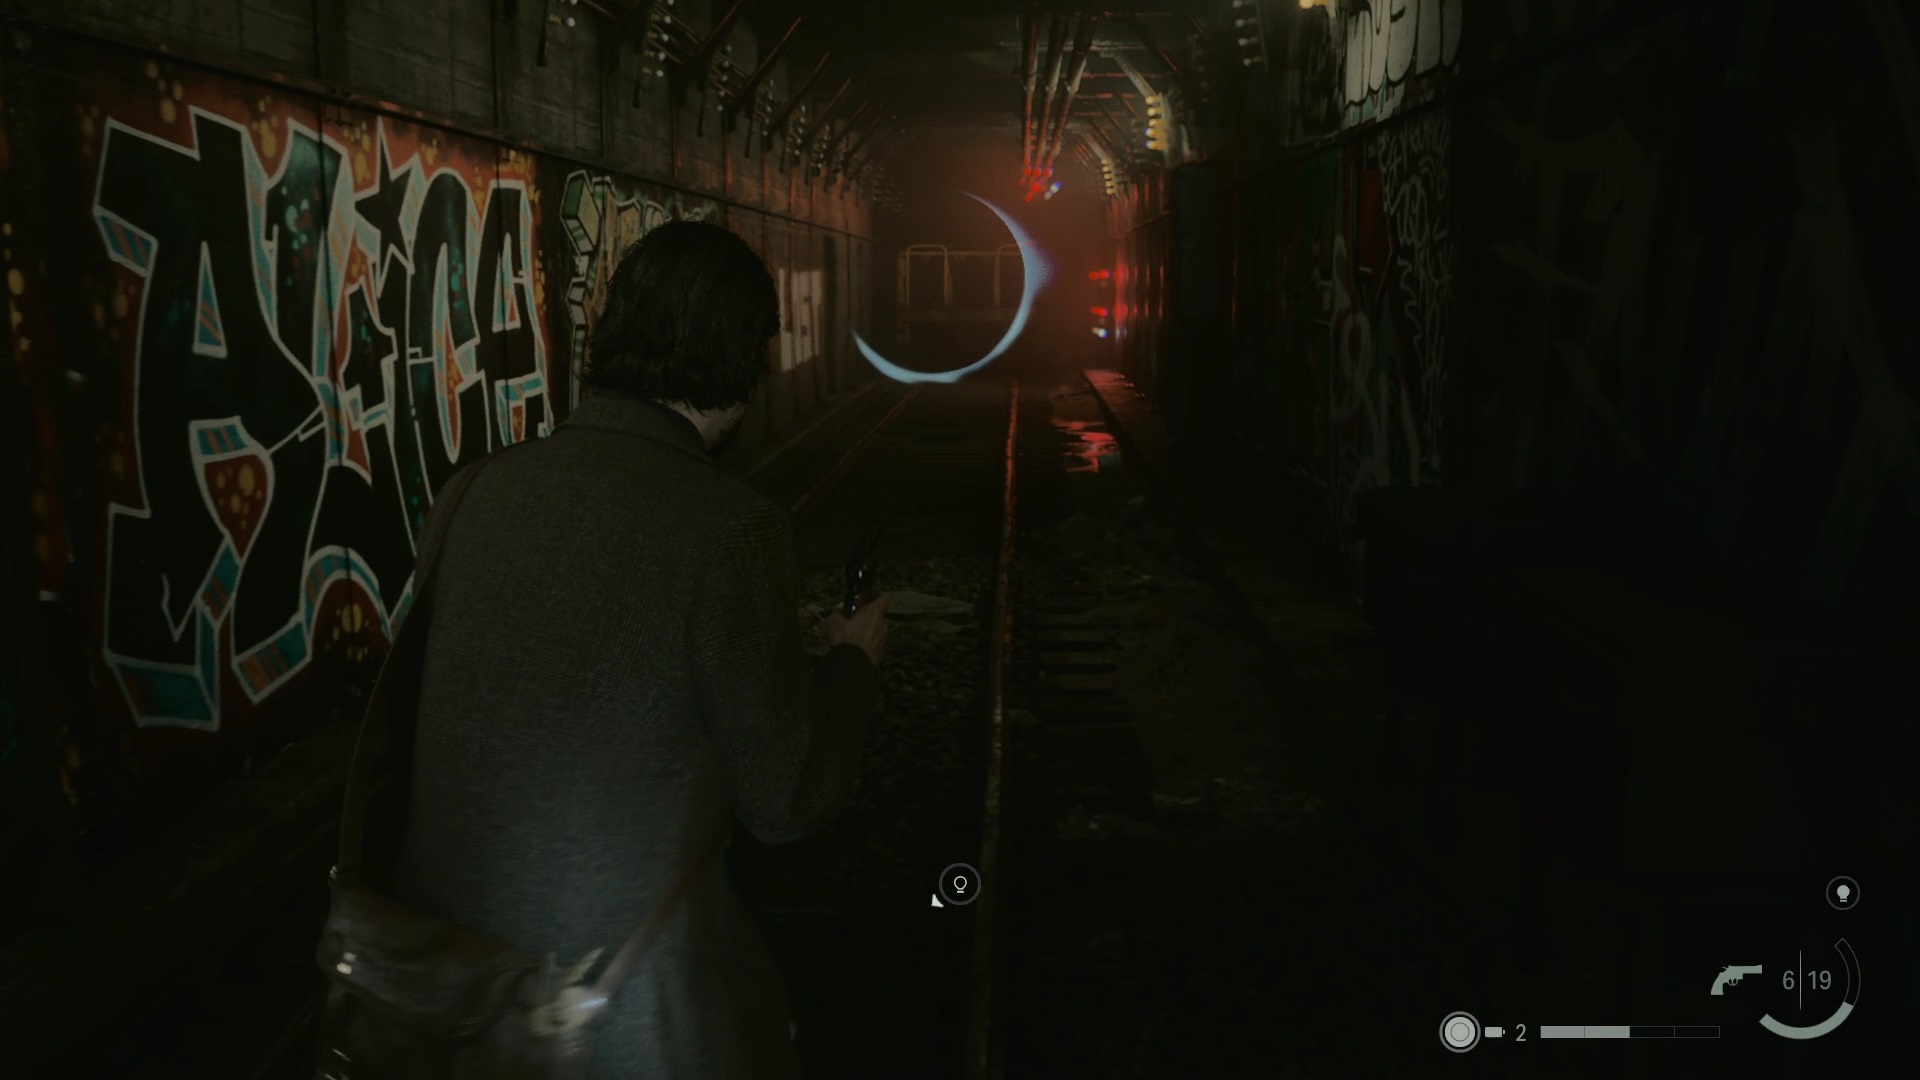
At the bottom of the tunnel, you can spot a new light source and a collapsed tunnel. Enter the collapsed tunnel to use the missing FBI agent theme. An echo appears, align the orbs to unfold the plot. Join the light source behind the wall. Collect the light source to make a new echo appear. Align the orbs so that an idea for “The Murderous Cult” germinates. You can use the theme in the collapsed tunnel for later.
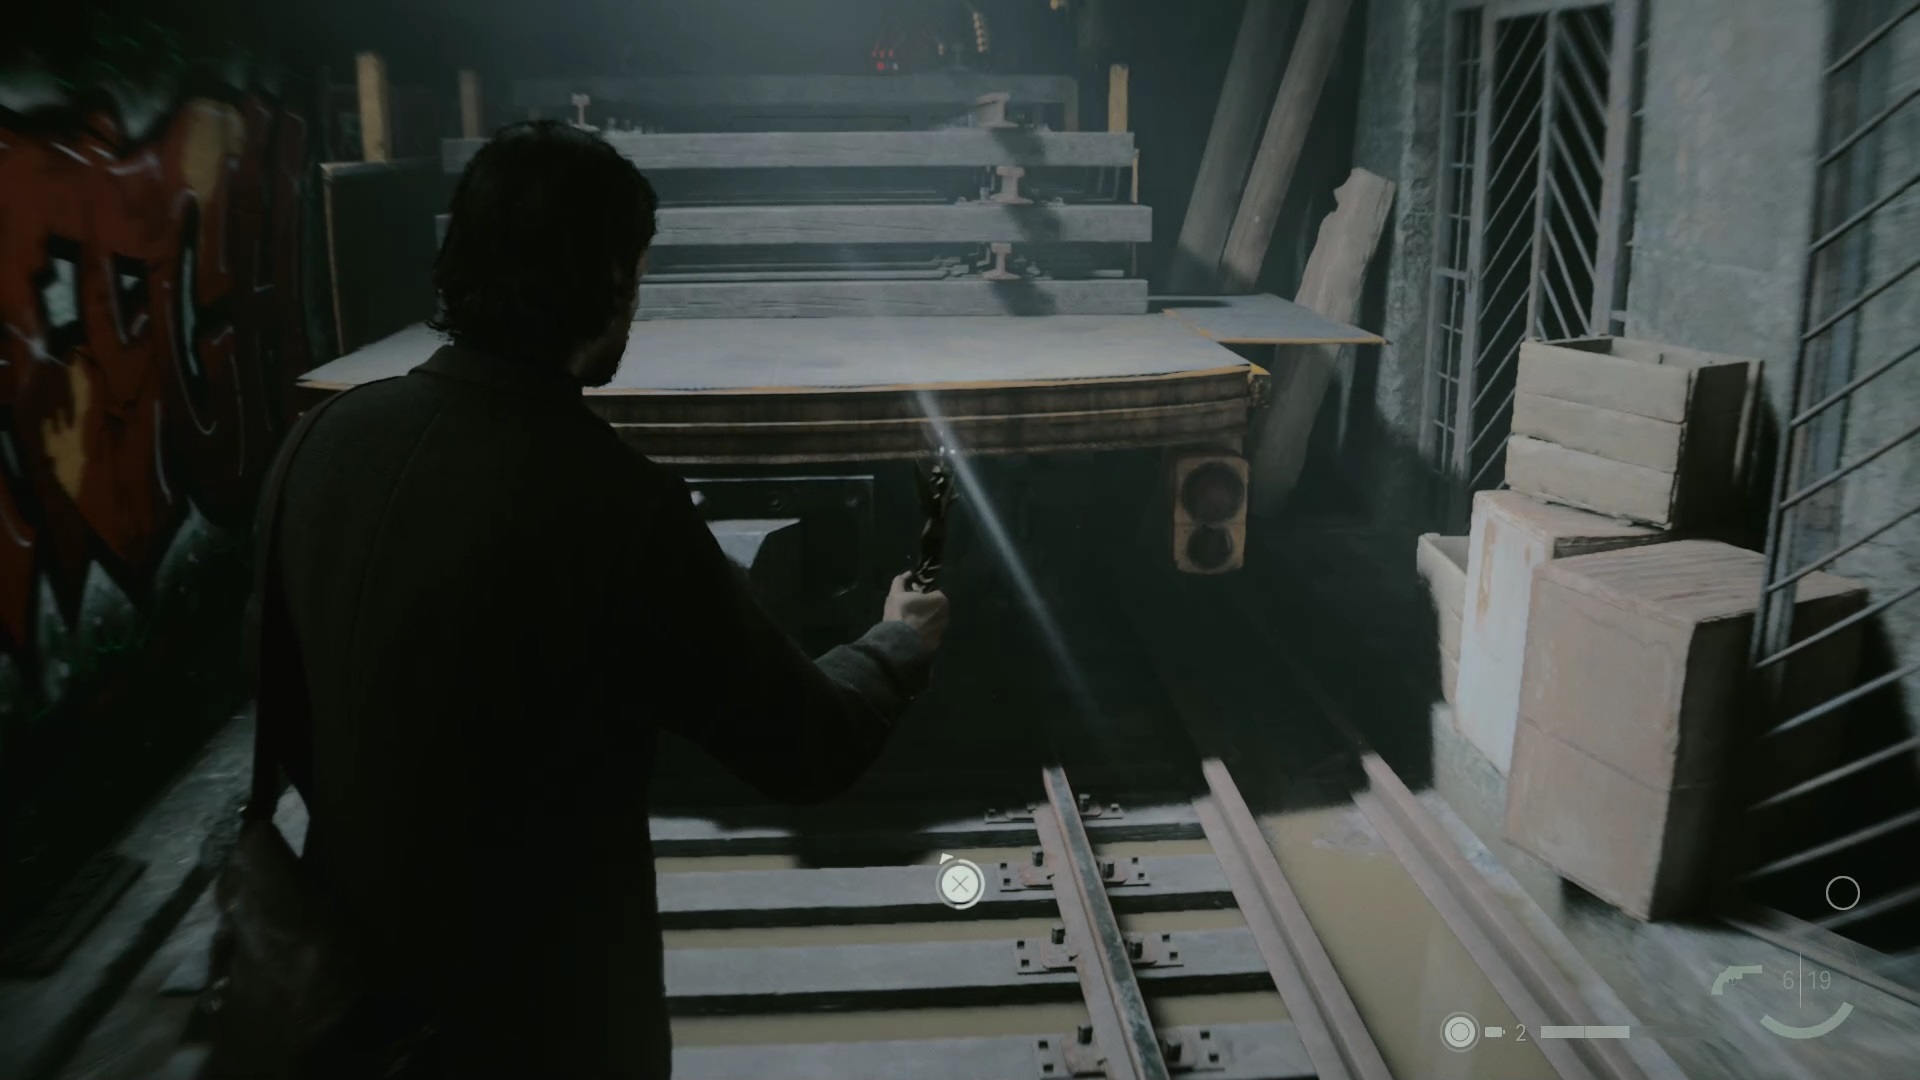
Return to the previous flooded access, near the wagon, to use the light source and create a passage. In the hallway, go through the humming door to meet Tim Breaker. Talk to him and collect the map from the wall. Then return to the corridor.

Go to the end of the hallway to find a save room. Inside, climb the ladder to reach the damaged train. Enter to the right of the wagon to find a room. Line up the orbs so the idea of “Torchbearers” is born. In the plot table, use the new theme to change the setting of the wrecked train. Enter the wagon to get to the other side.

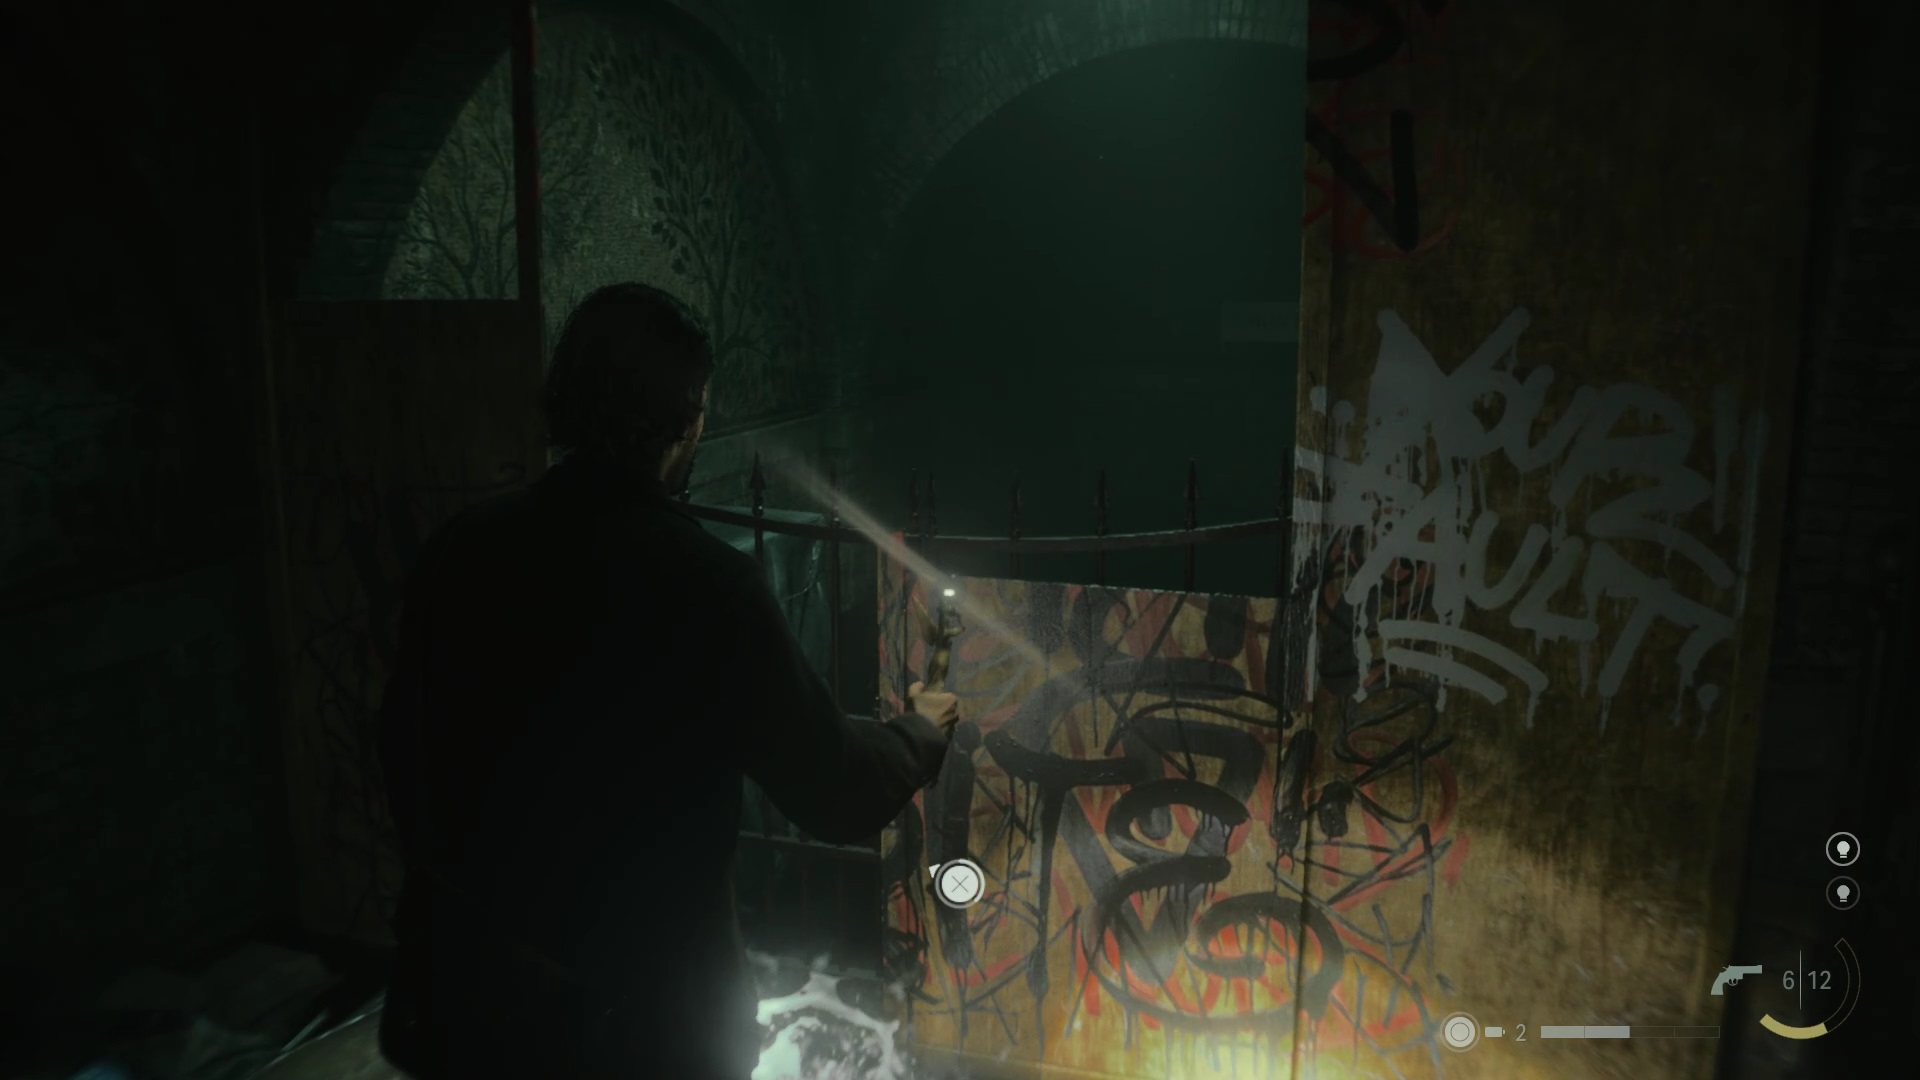
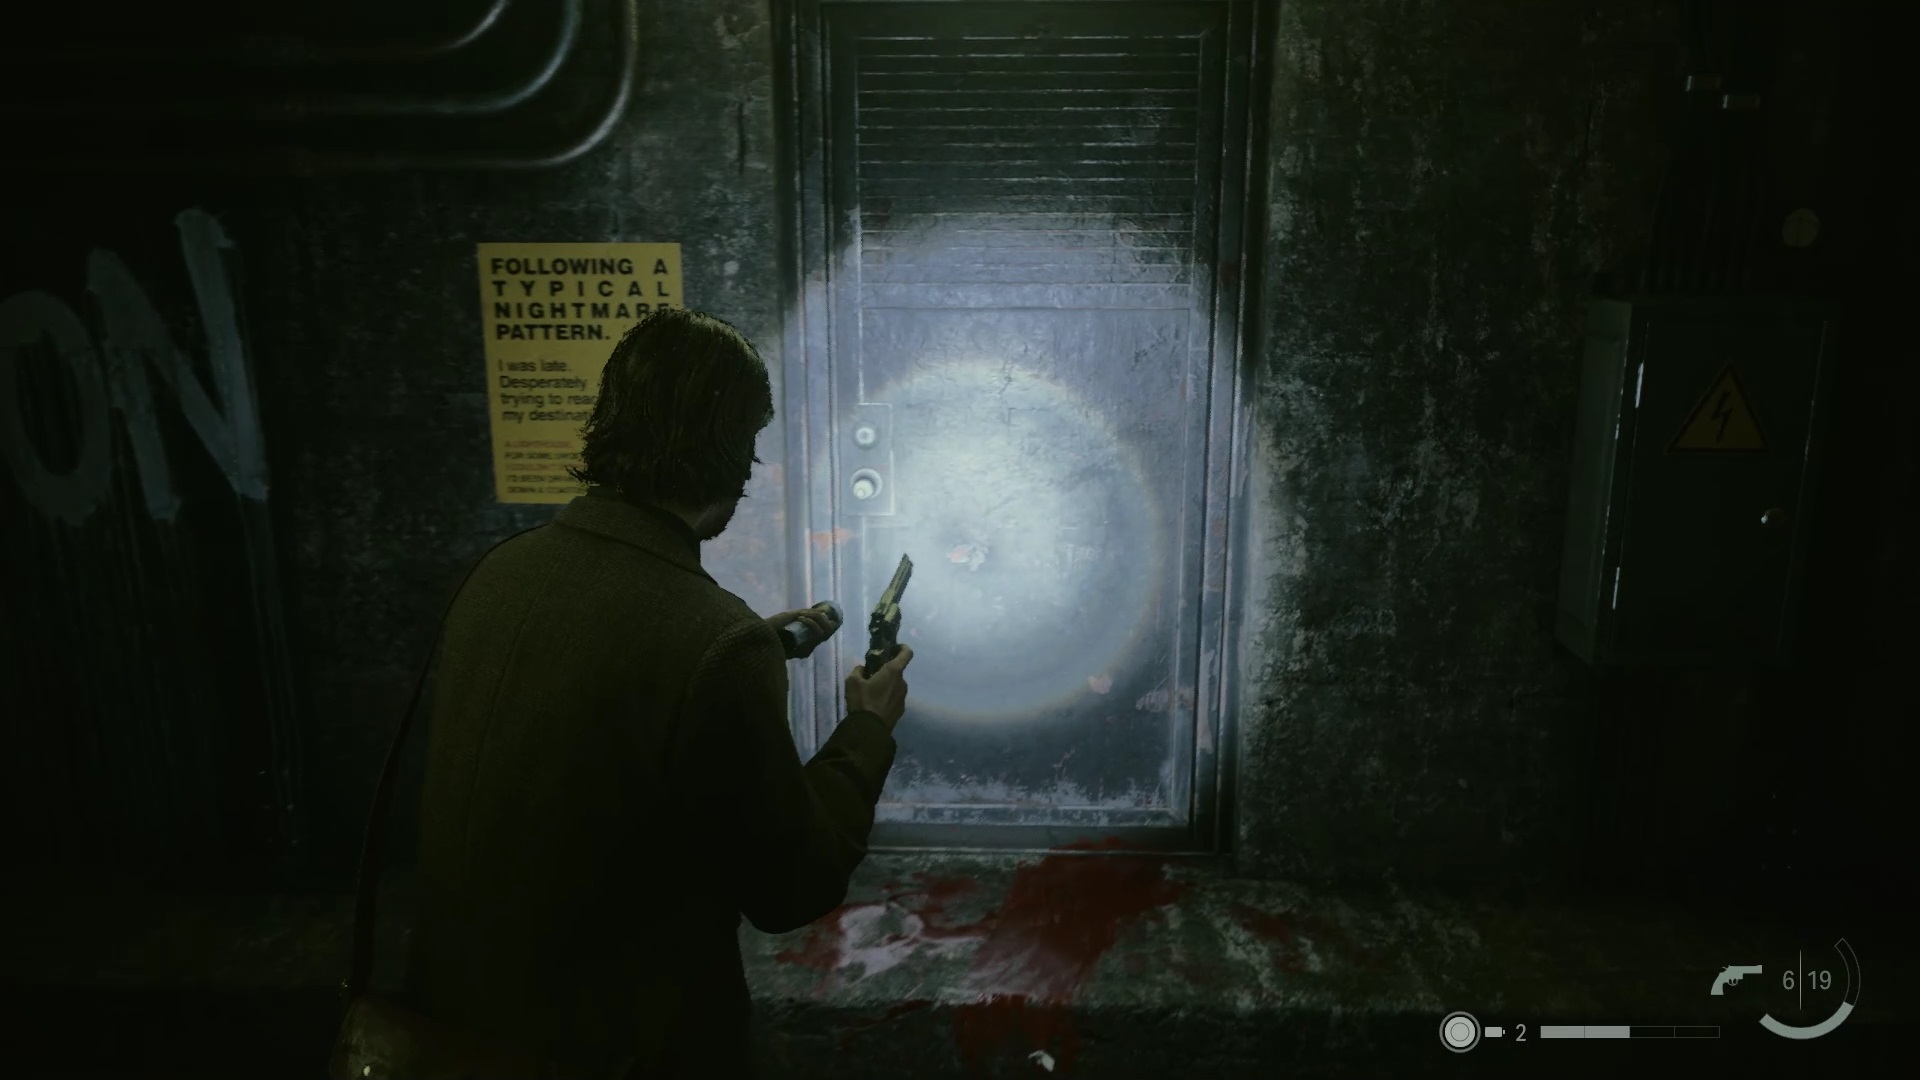
Go through the door to find a ladder inside. Go down to reach an access to Shrine St station. Go down the stairs quickly to avoid the shadows and get into the light. Use the lamp to reveal a blocked passage. A portal is blocked by boxes, and a second is blocking your way to the right. Use the lamp to open a path to the right. Enter and use the lamp again to pass.
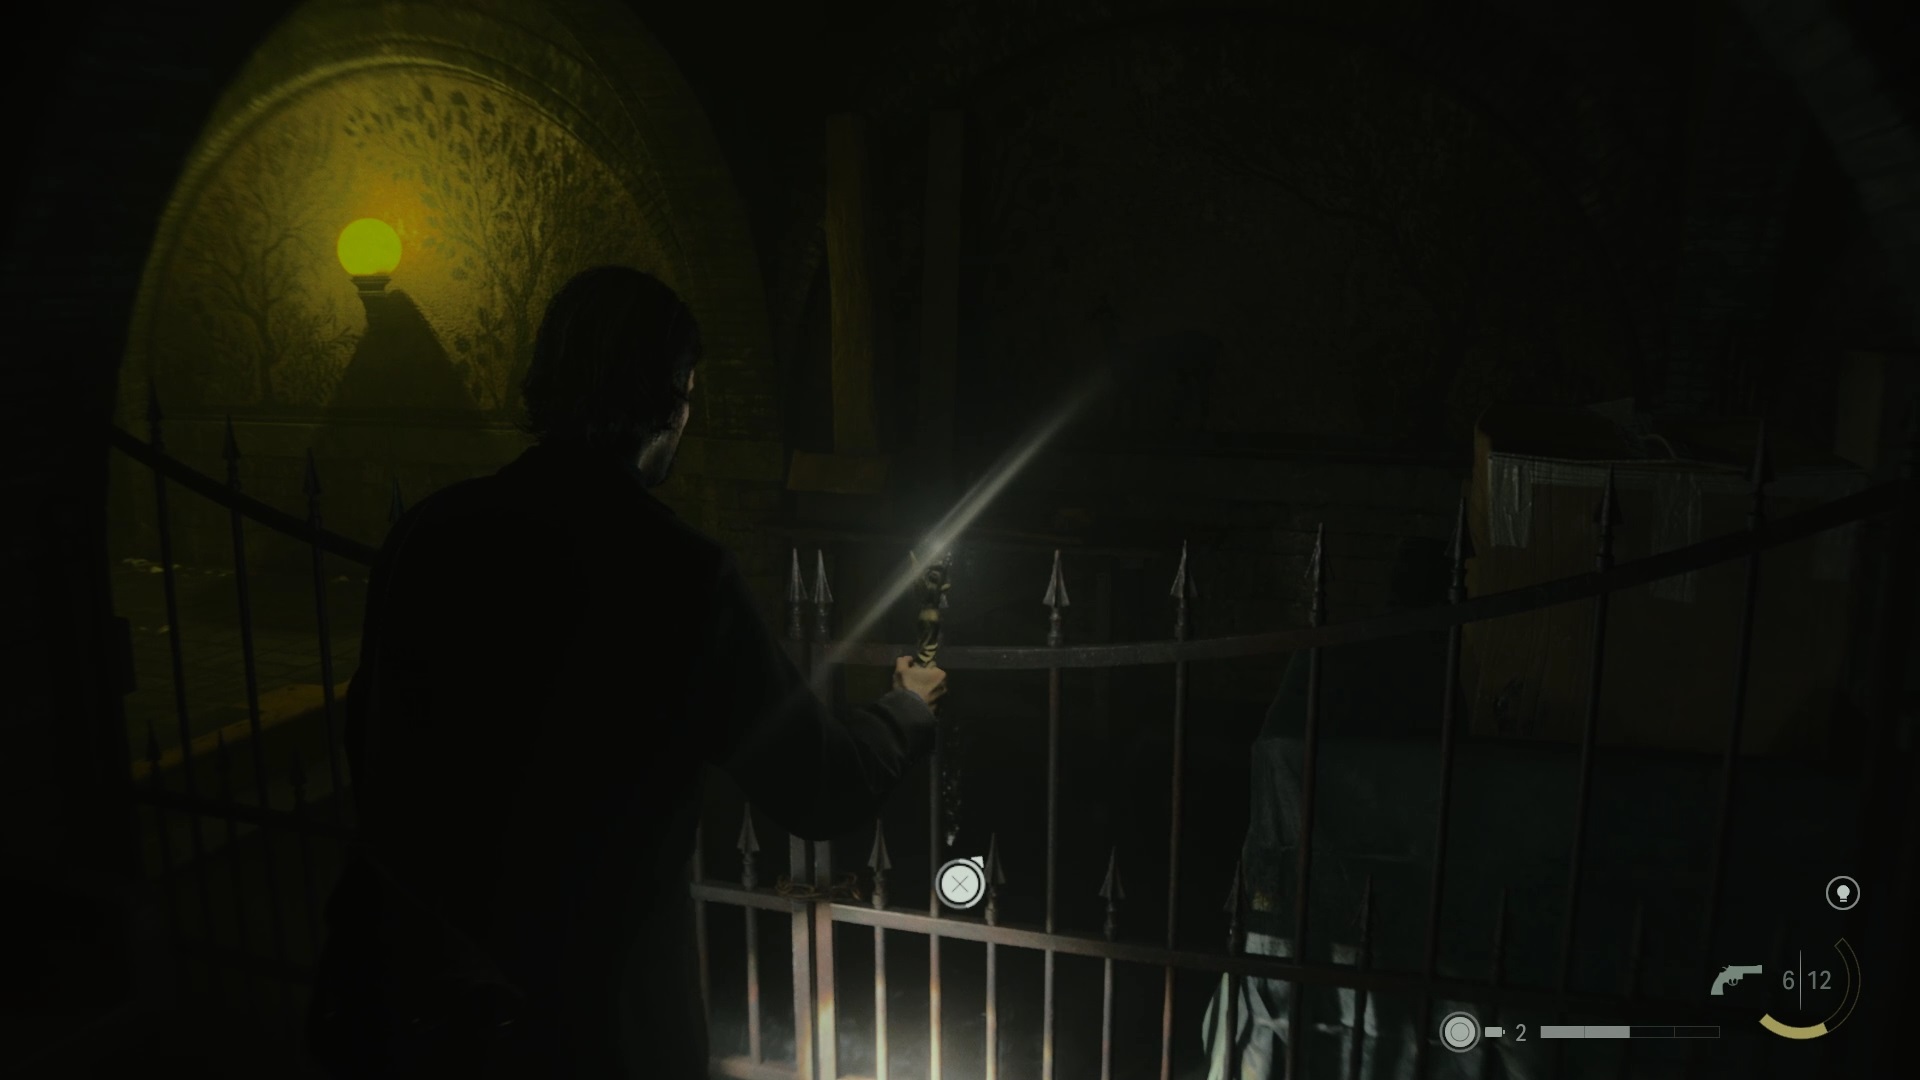
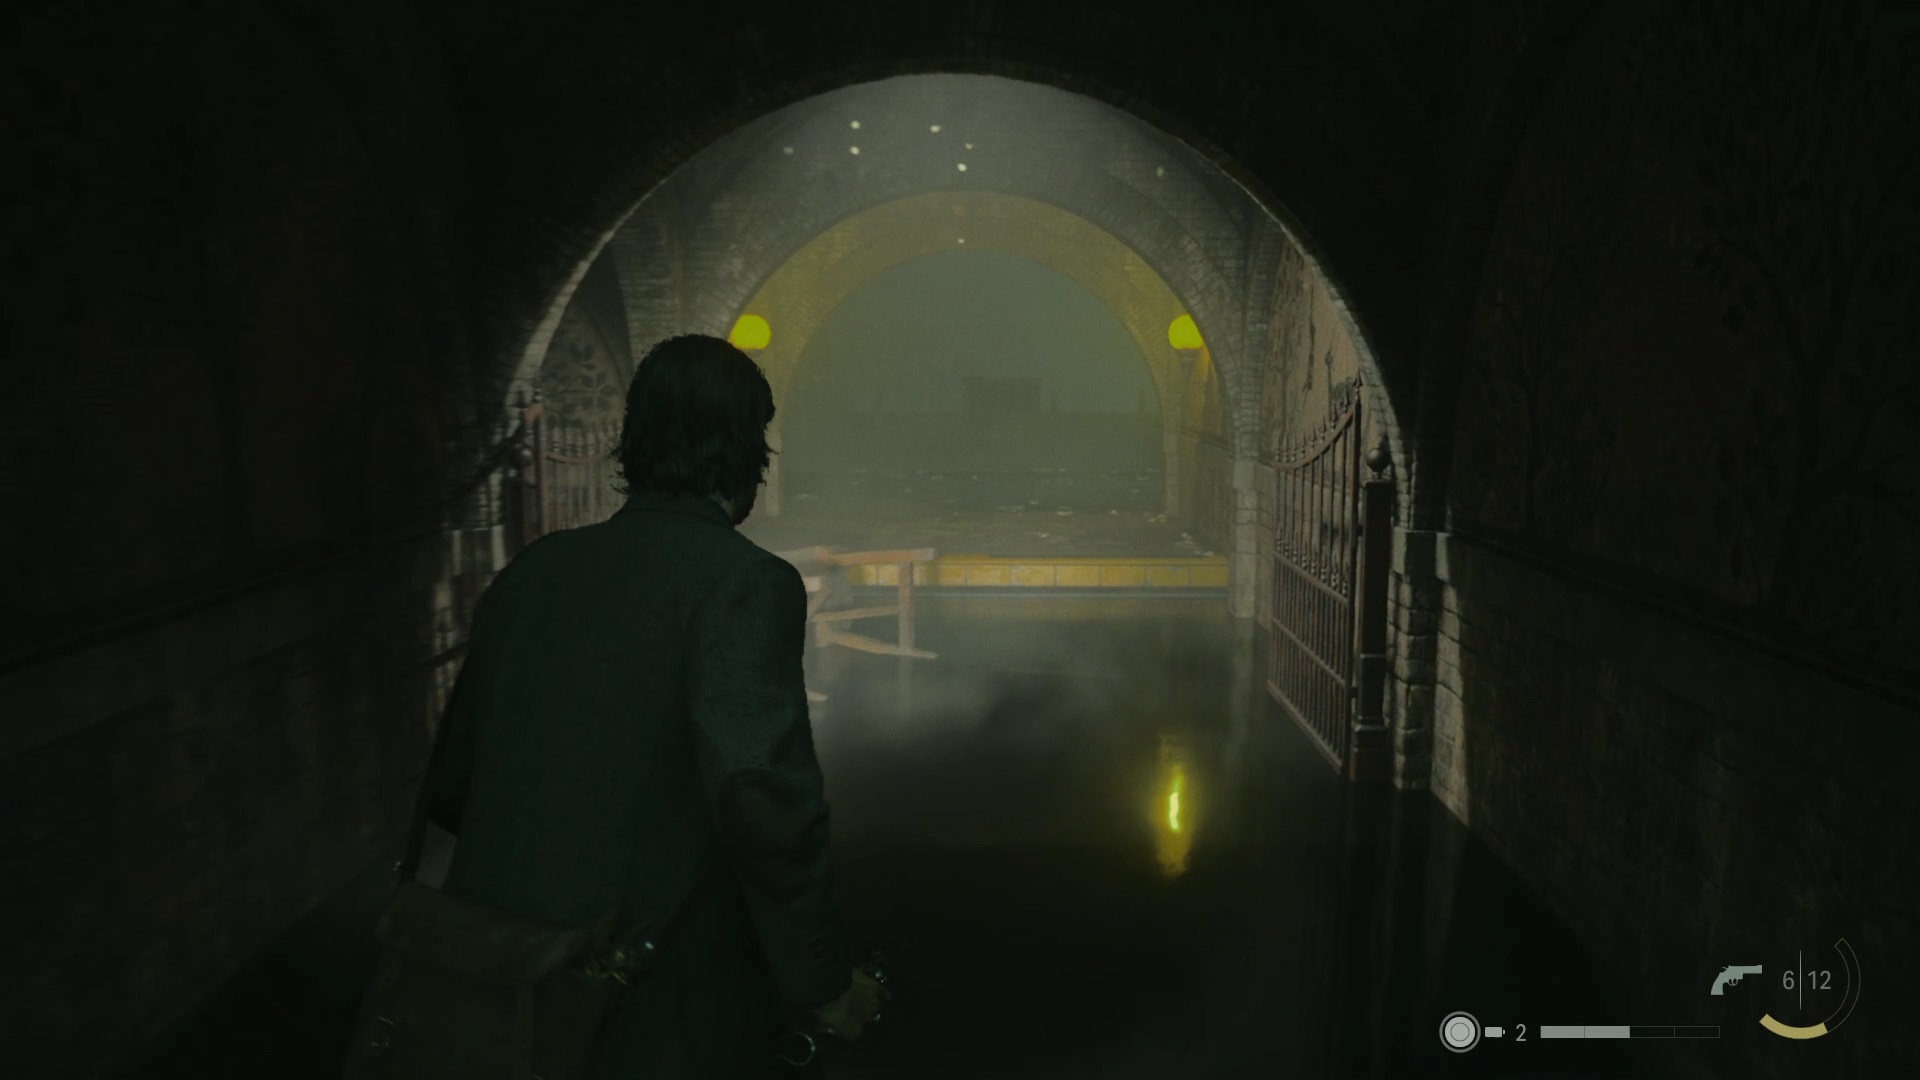
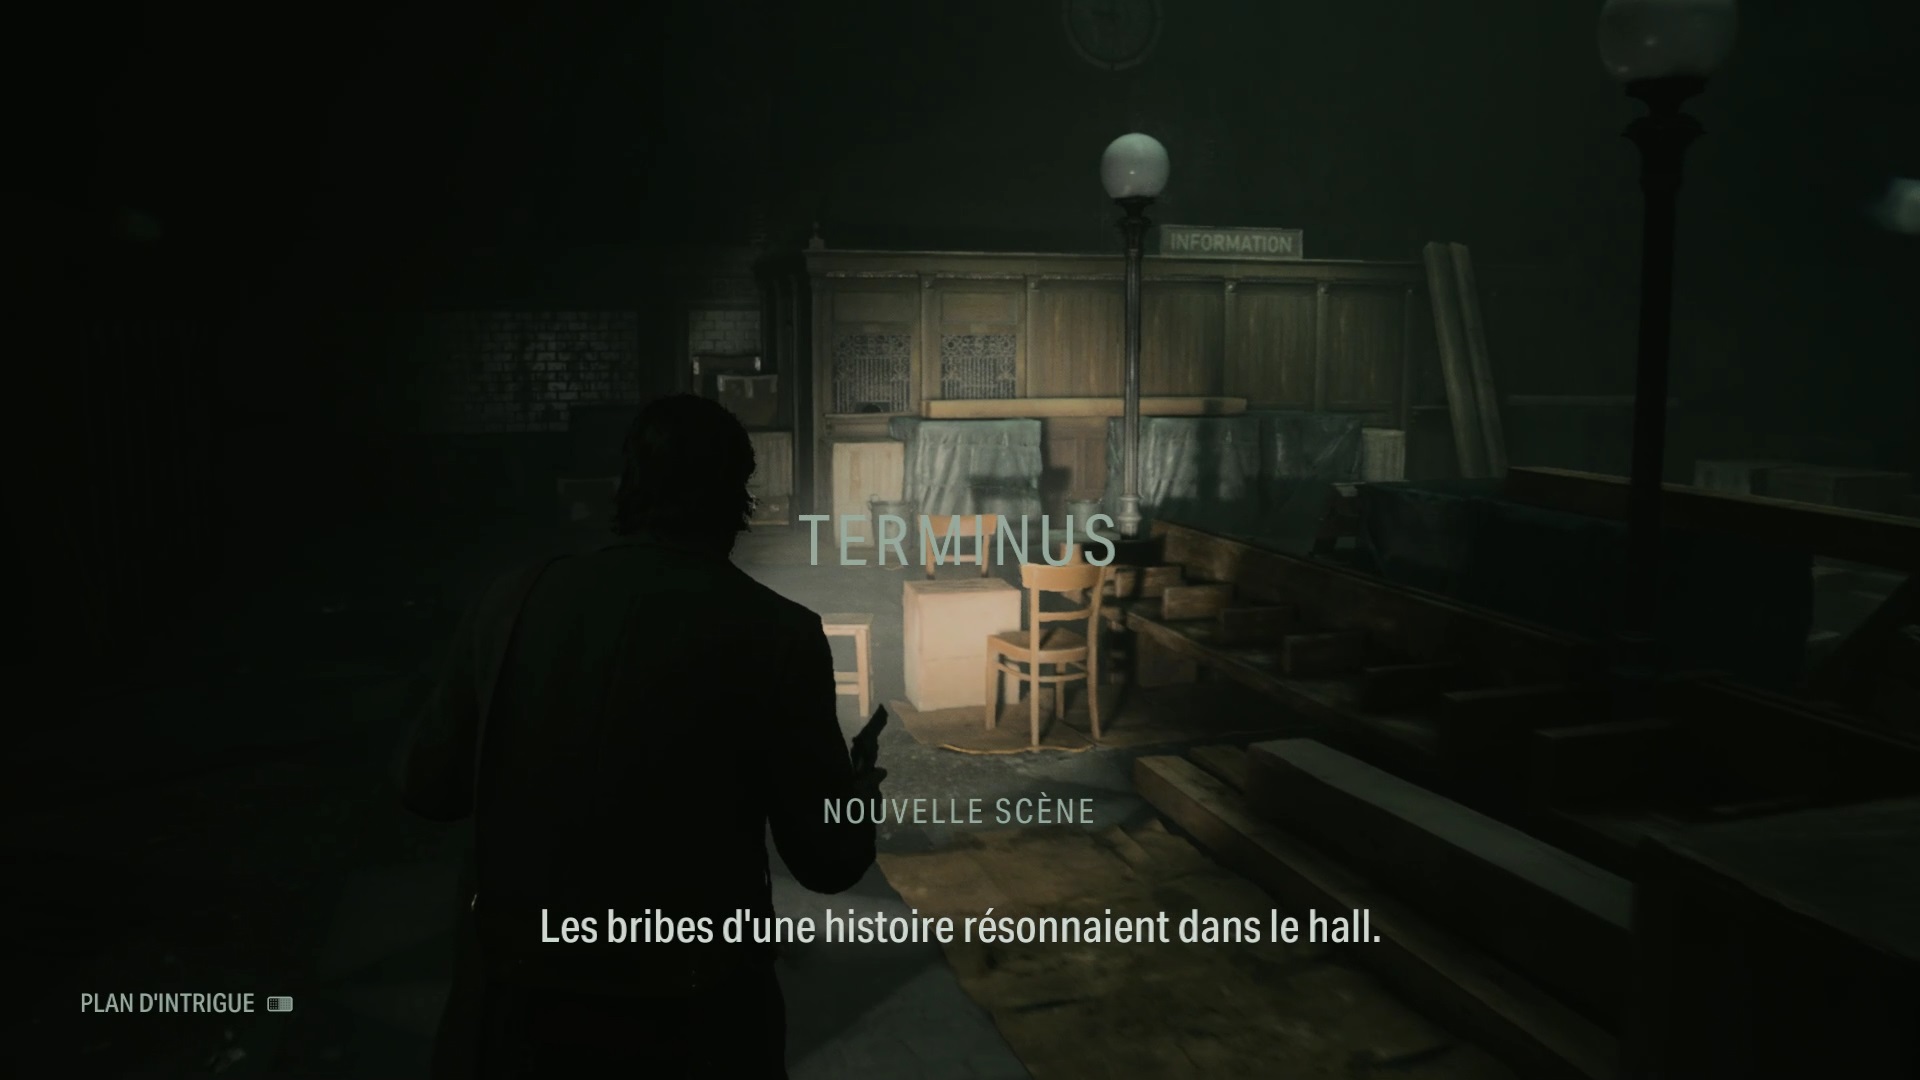
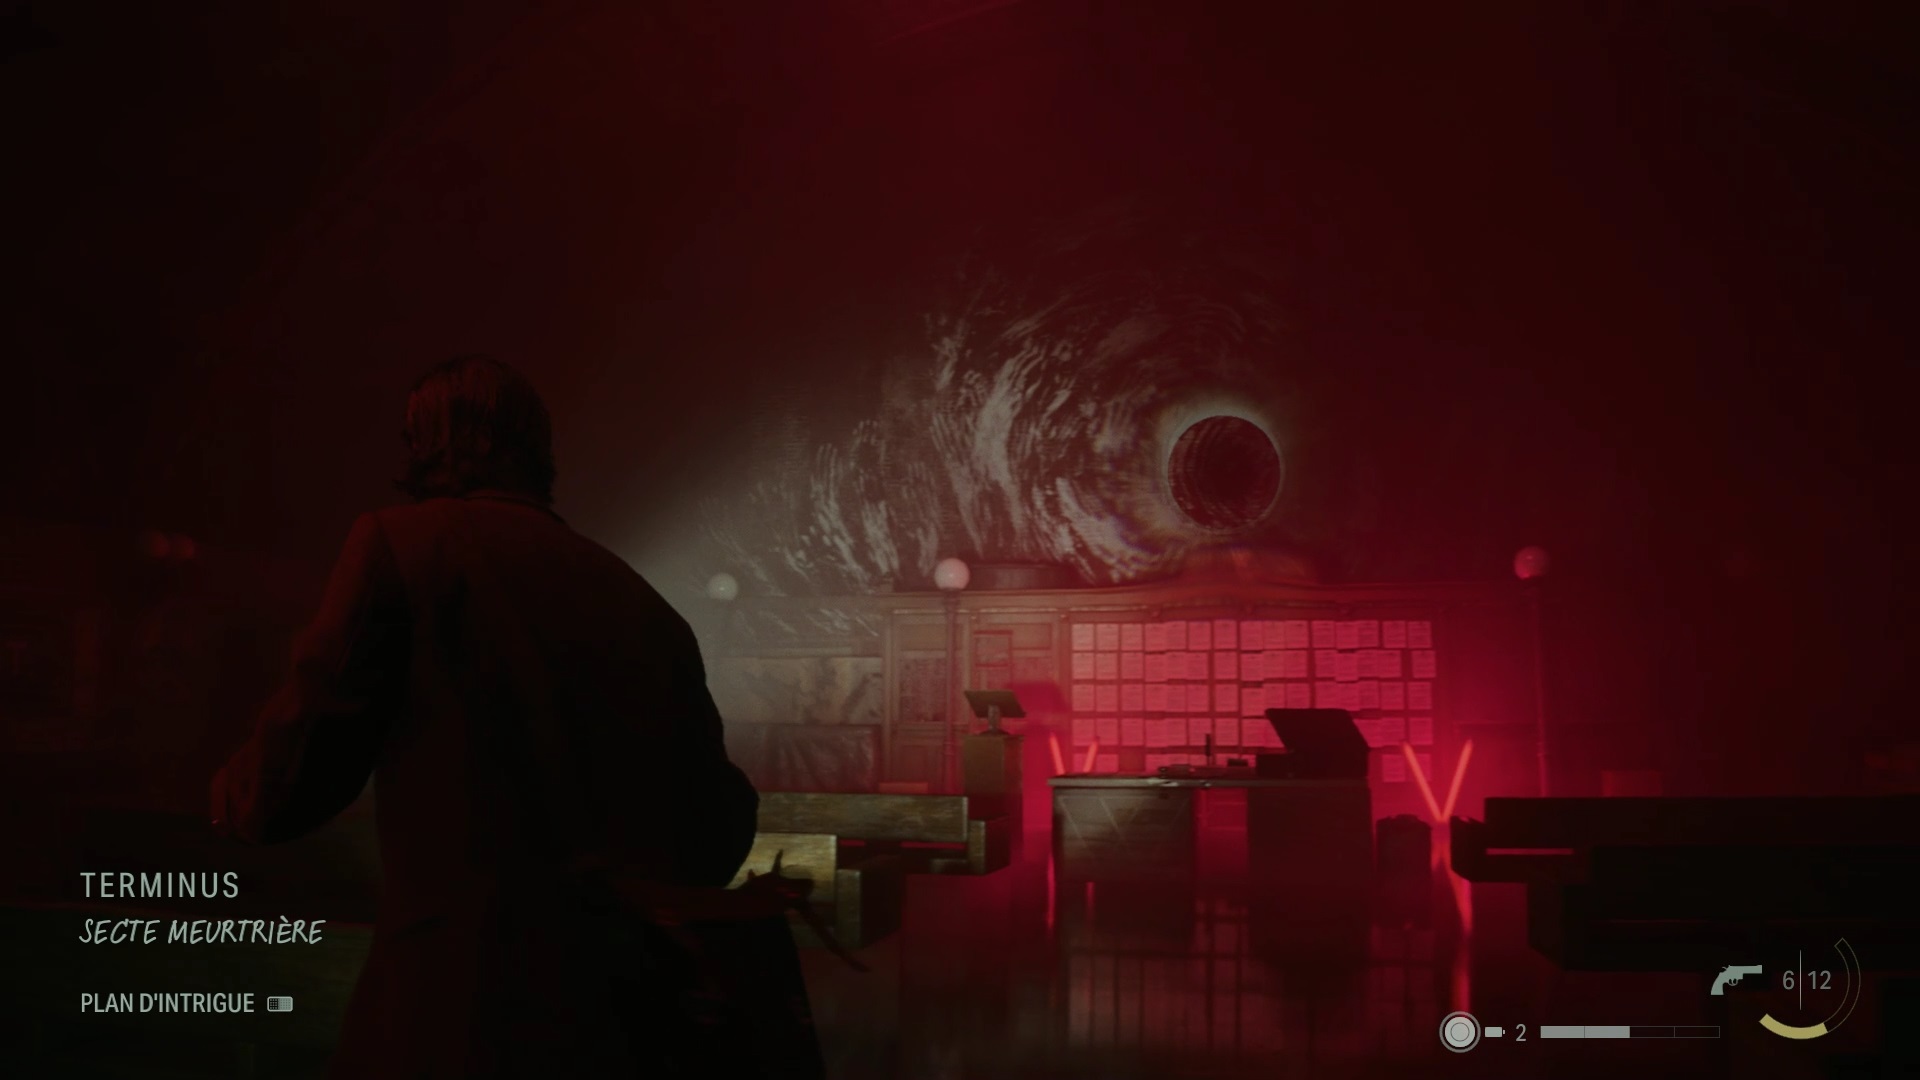
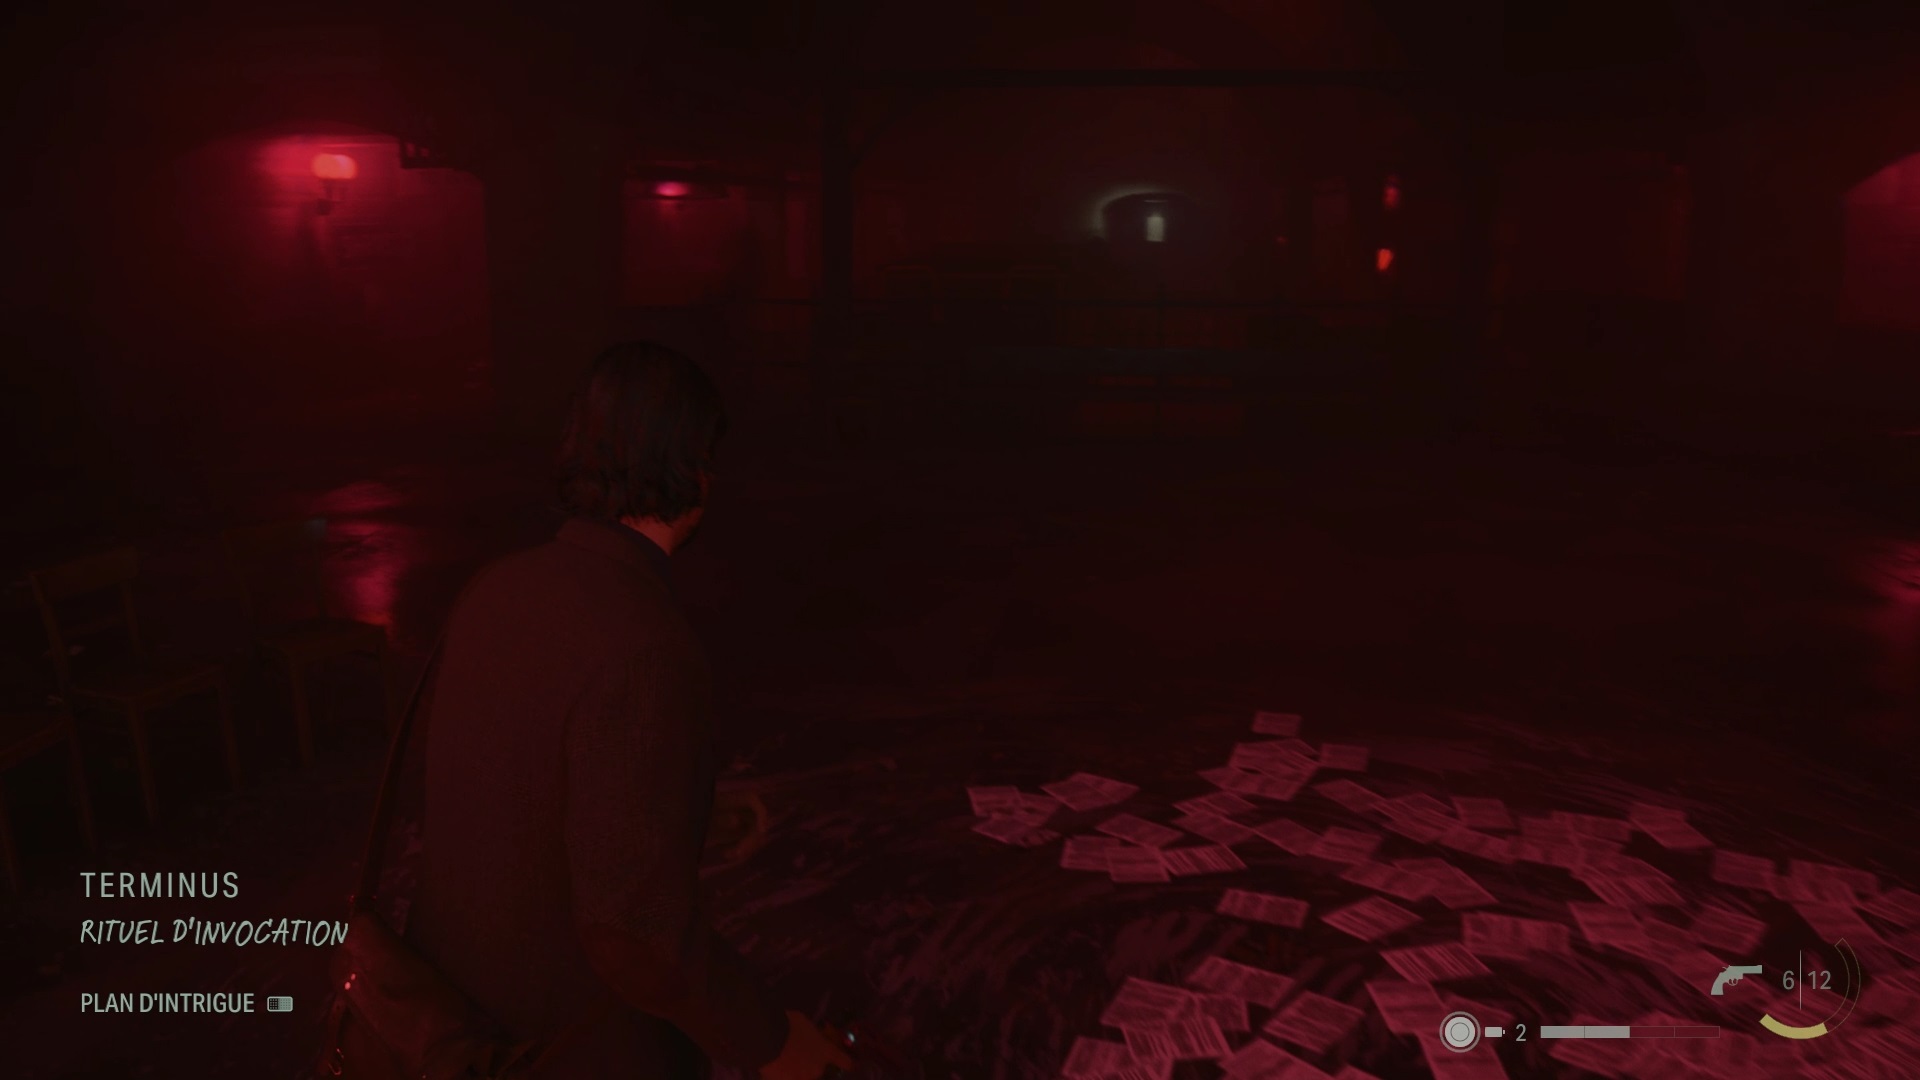
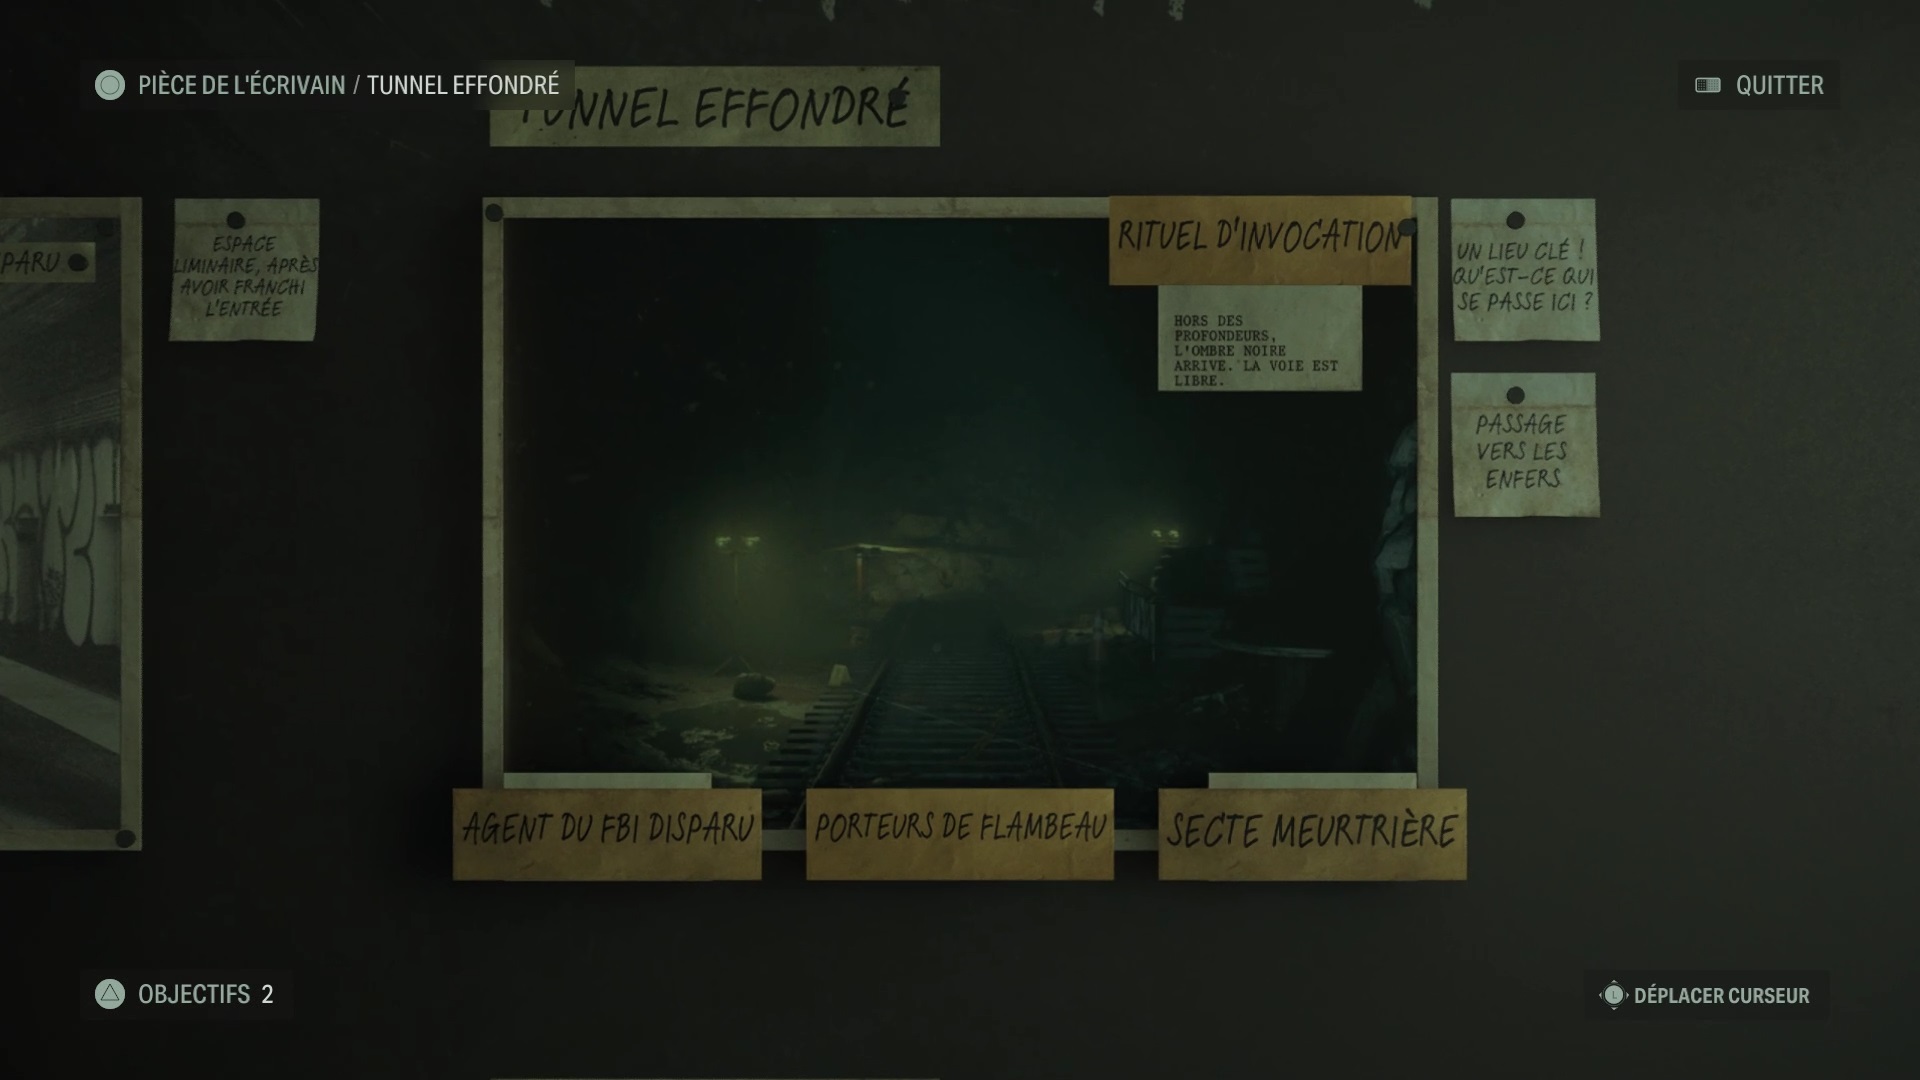
Go to the end of the corridor to use your lamp and remove the boxes. It’s actually the same portal. Return to the portal so that this time it is open without cardboard. Go to the end of the terminus to find a new scene. Use the theme of the murderous cult to find the idea of the “Invocation Ritual” to germinate in an echo. Use the new theme with the terminus.
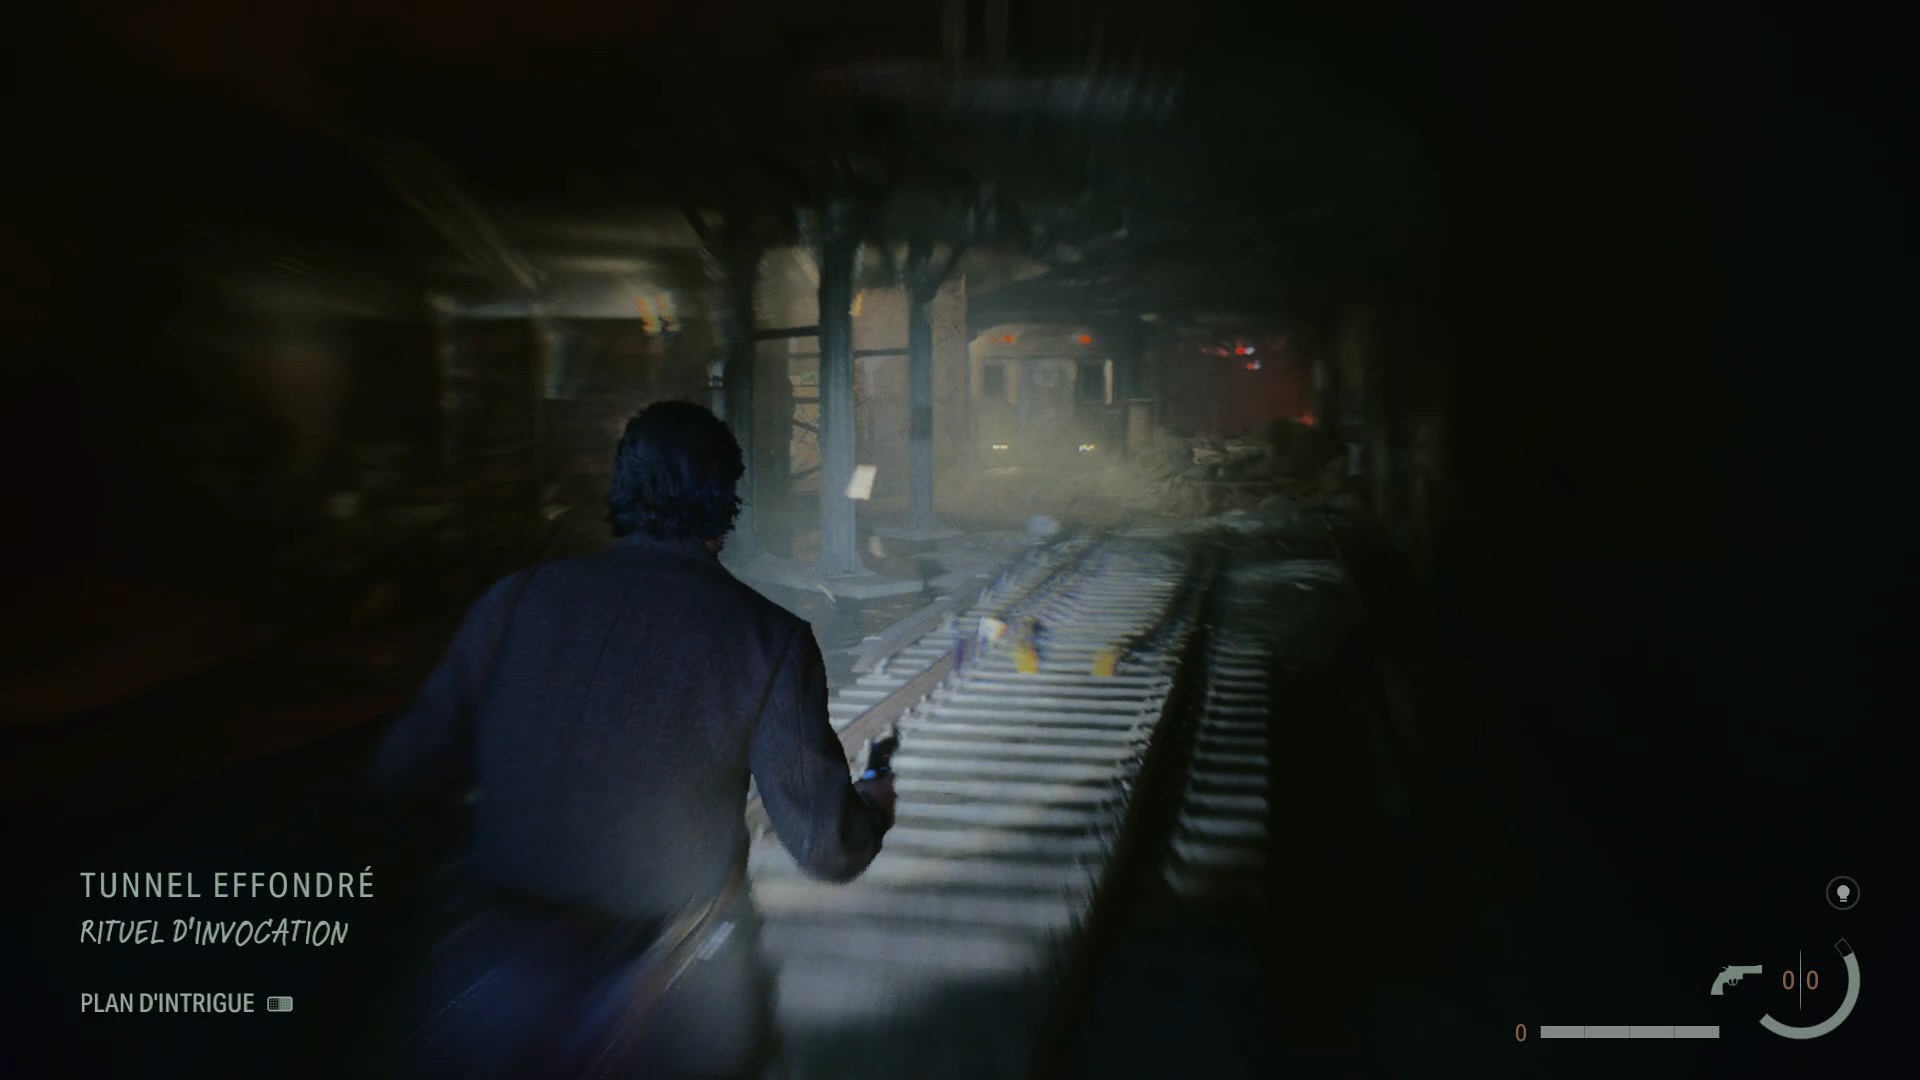
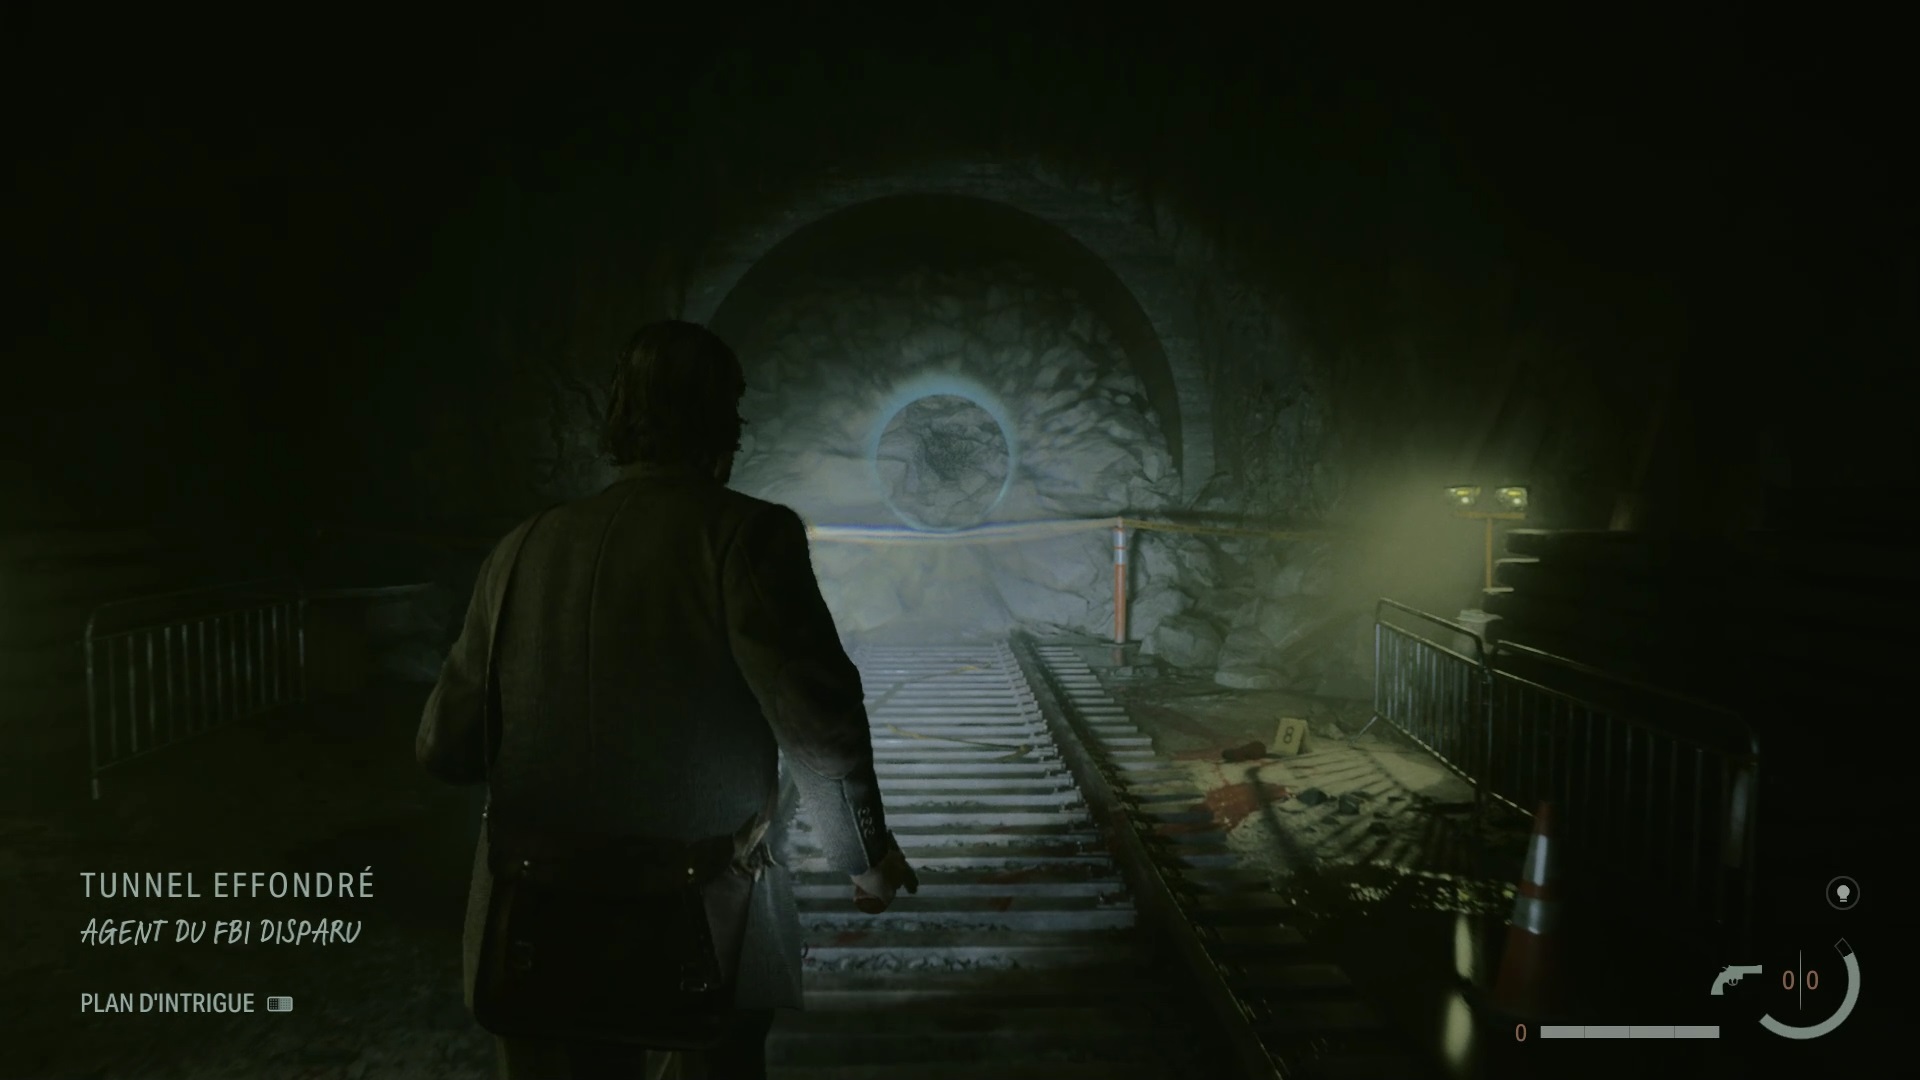
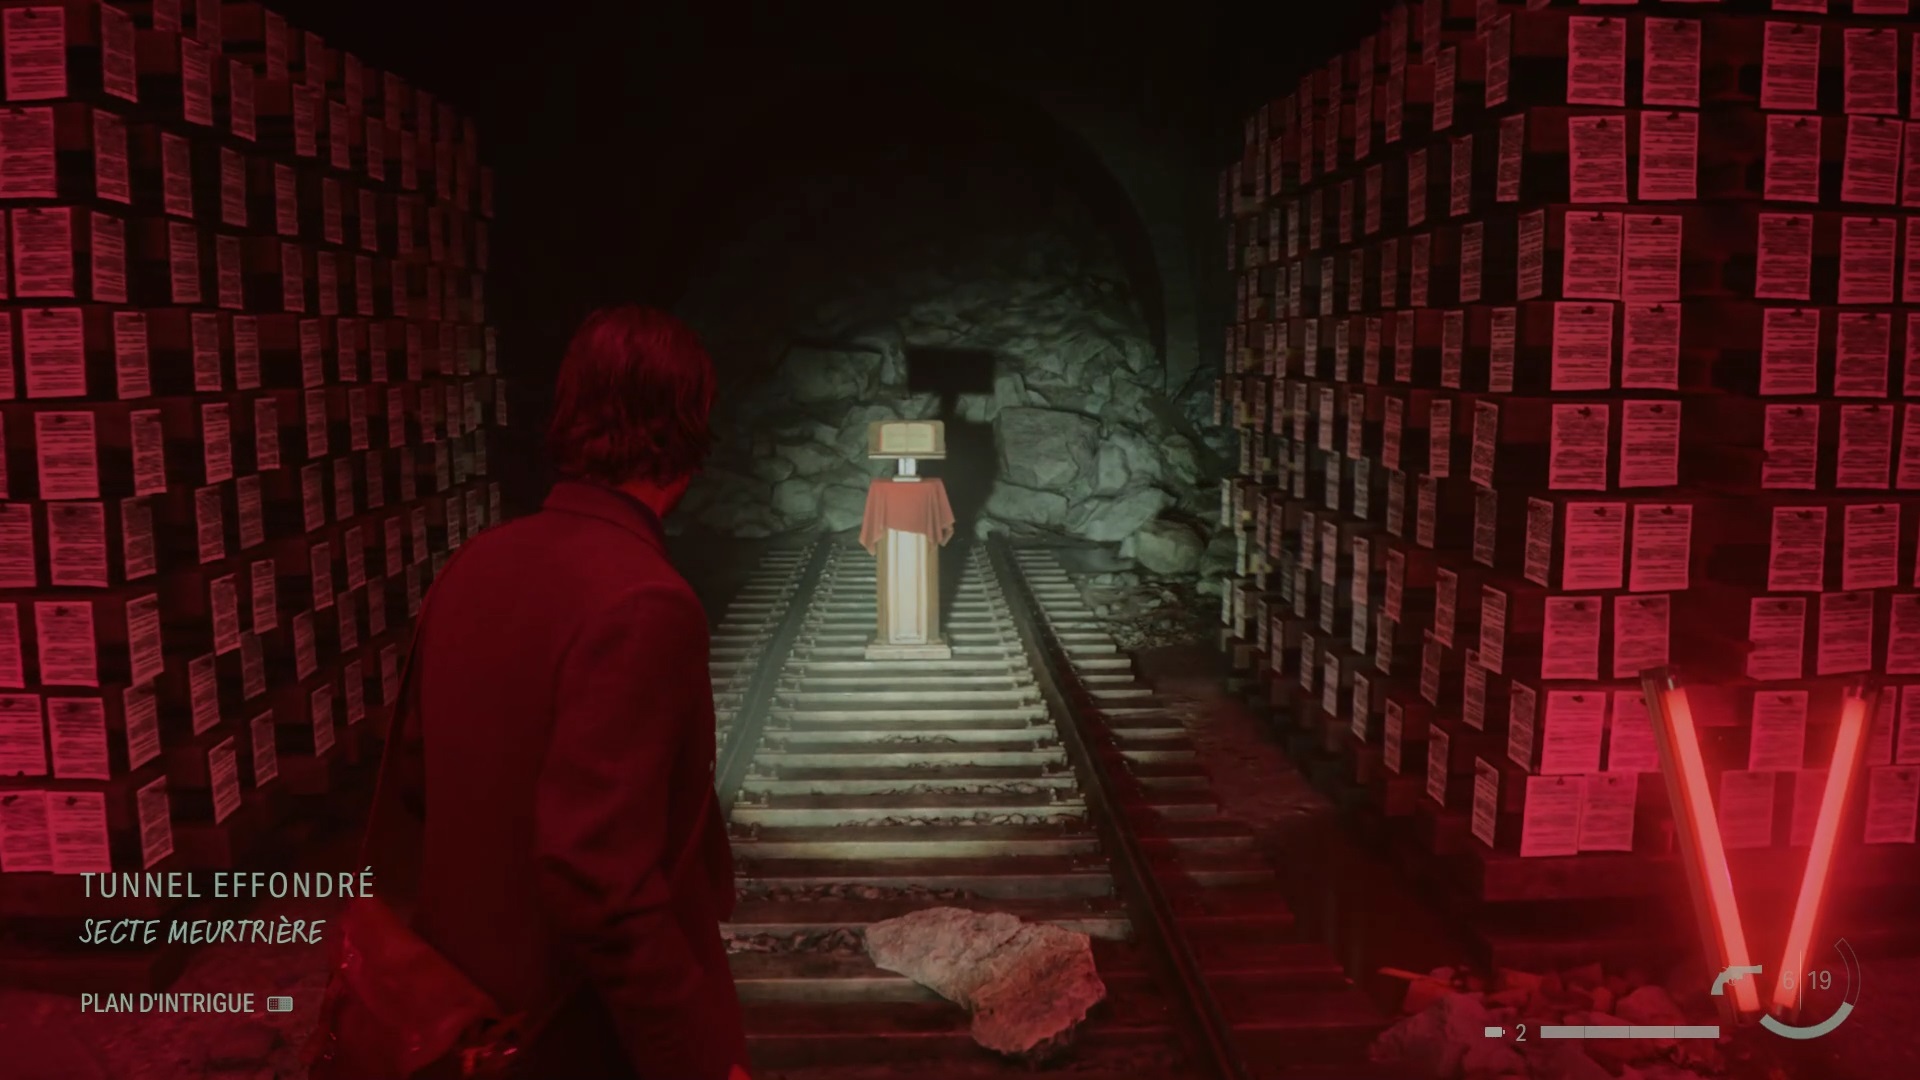
Retrace your steps to the previous collapsed tunnel where the flooded entrance was to use the summoning ritual theme. The black shadow arrives. Rush towards the wagon to take cover in the save room. Then return to the collapsed tunnel to change the theme with something other than the ritual. Stand in front of the tunnel and change the theme with the summoning ritual. Rush to the end of the tunnel and interact with the crime scene to end the chapter.
Initation 3: Haunted
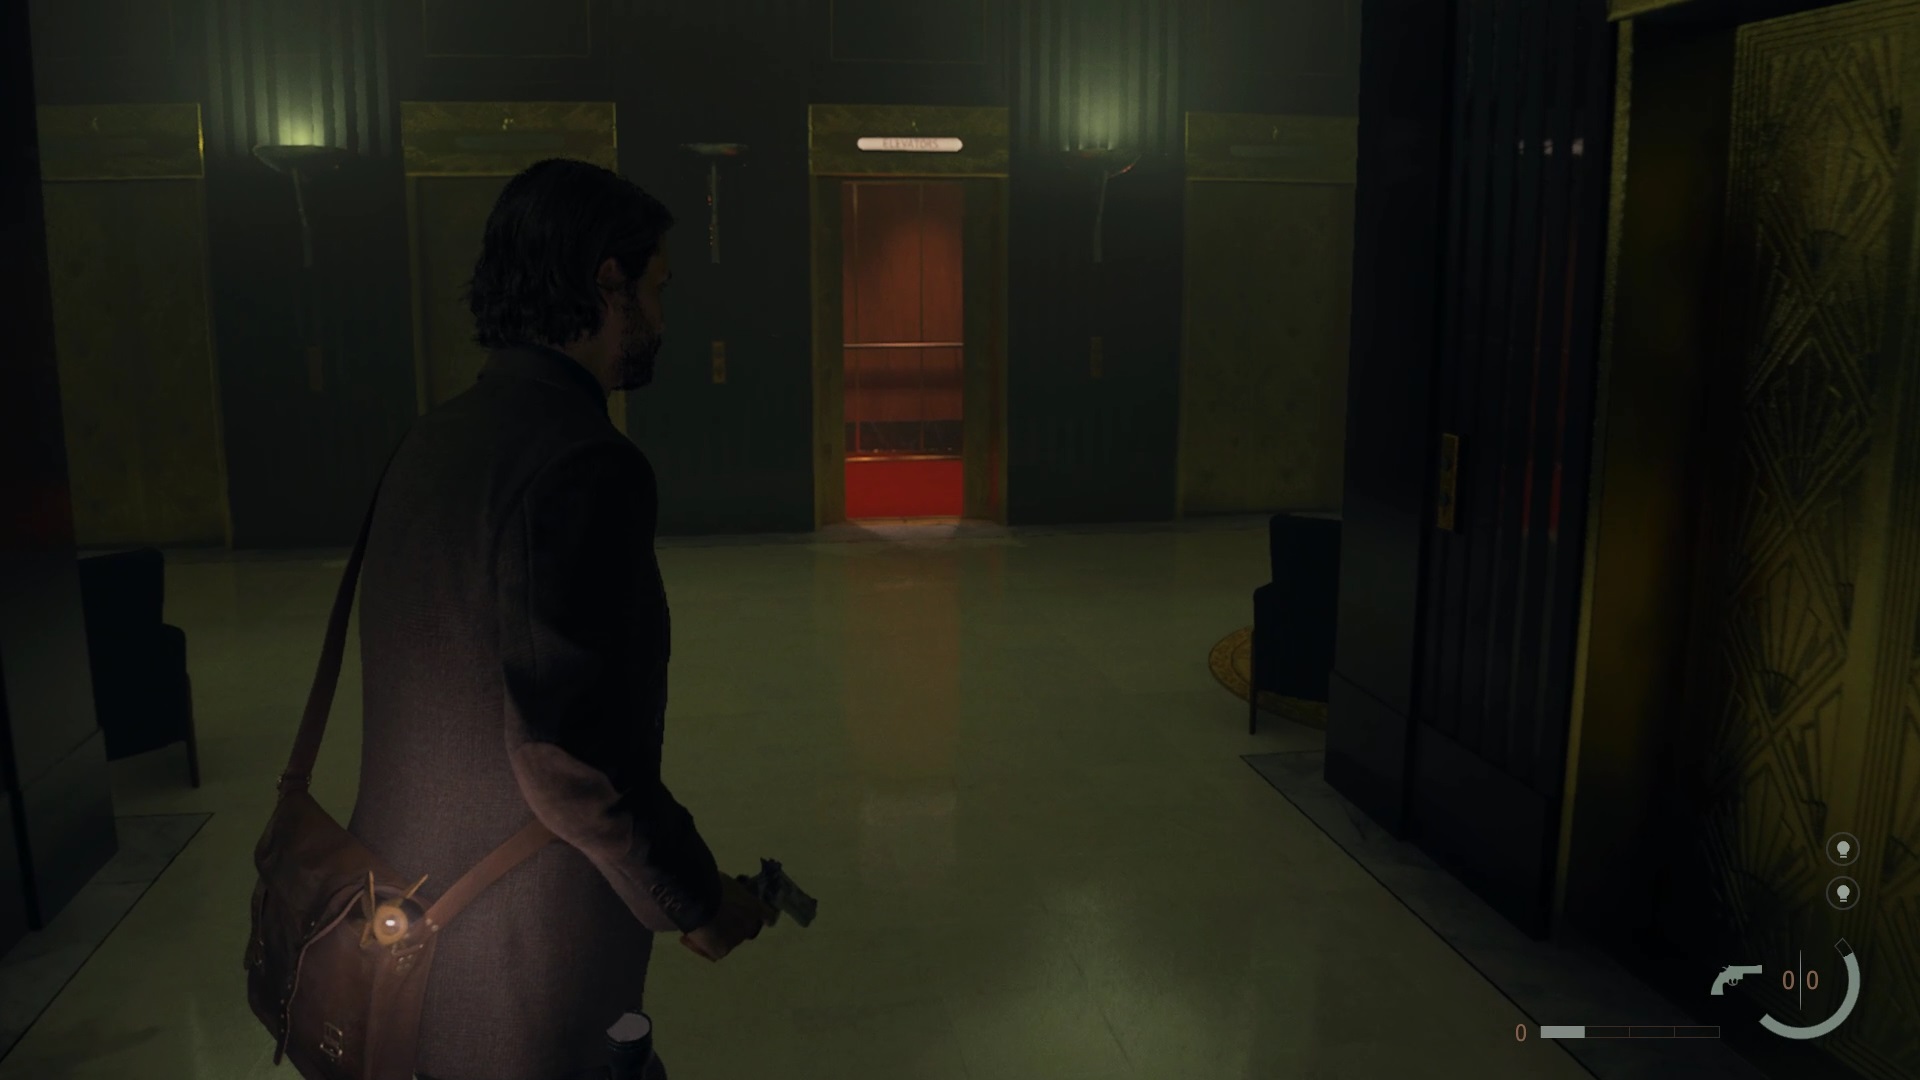
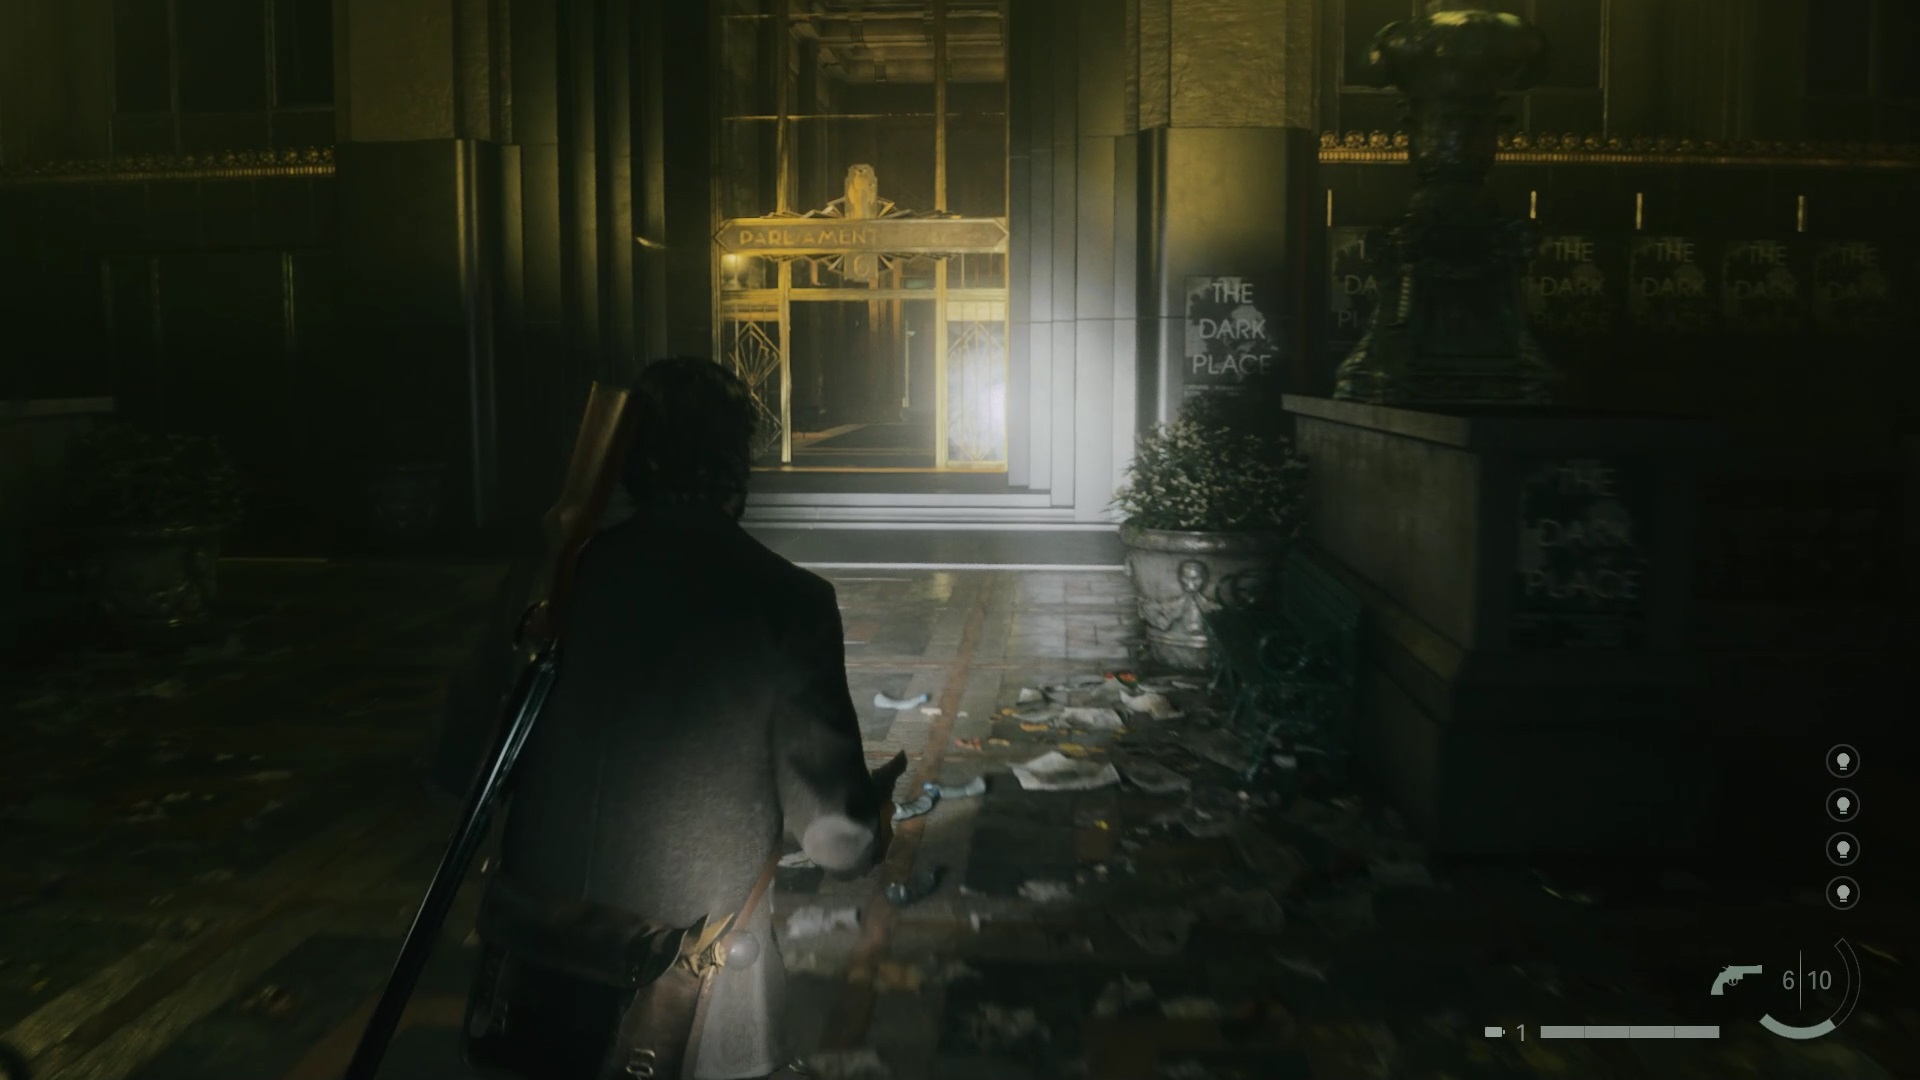
Head through the gap to pass through the gates and reach Parliament Tower Plaza station. Go through the emergency exits to reach the outside. In the square, the phone starts ringing again. Use the phone to start a cutscene. Next, enter Parliament Tower and use the elevator to go up.
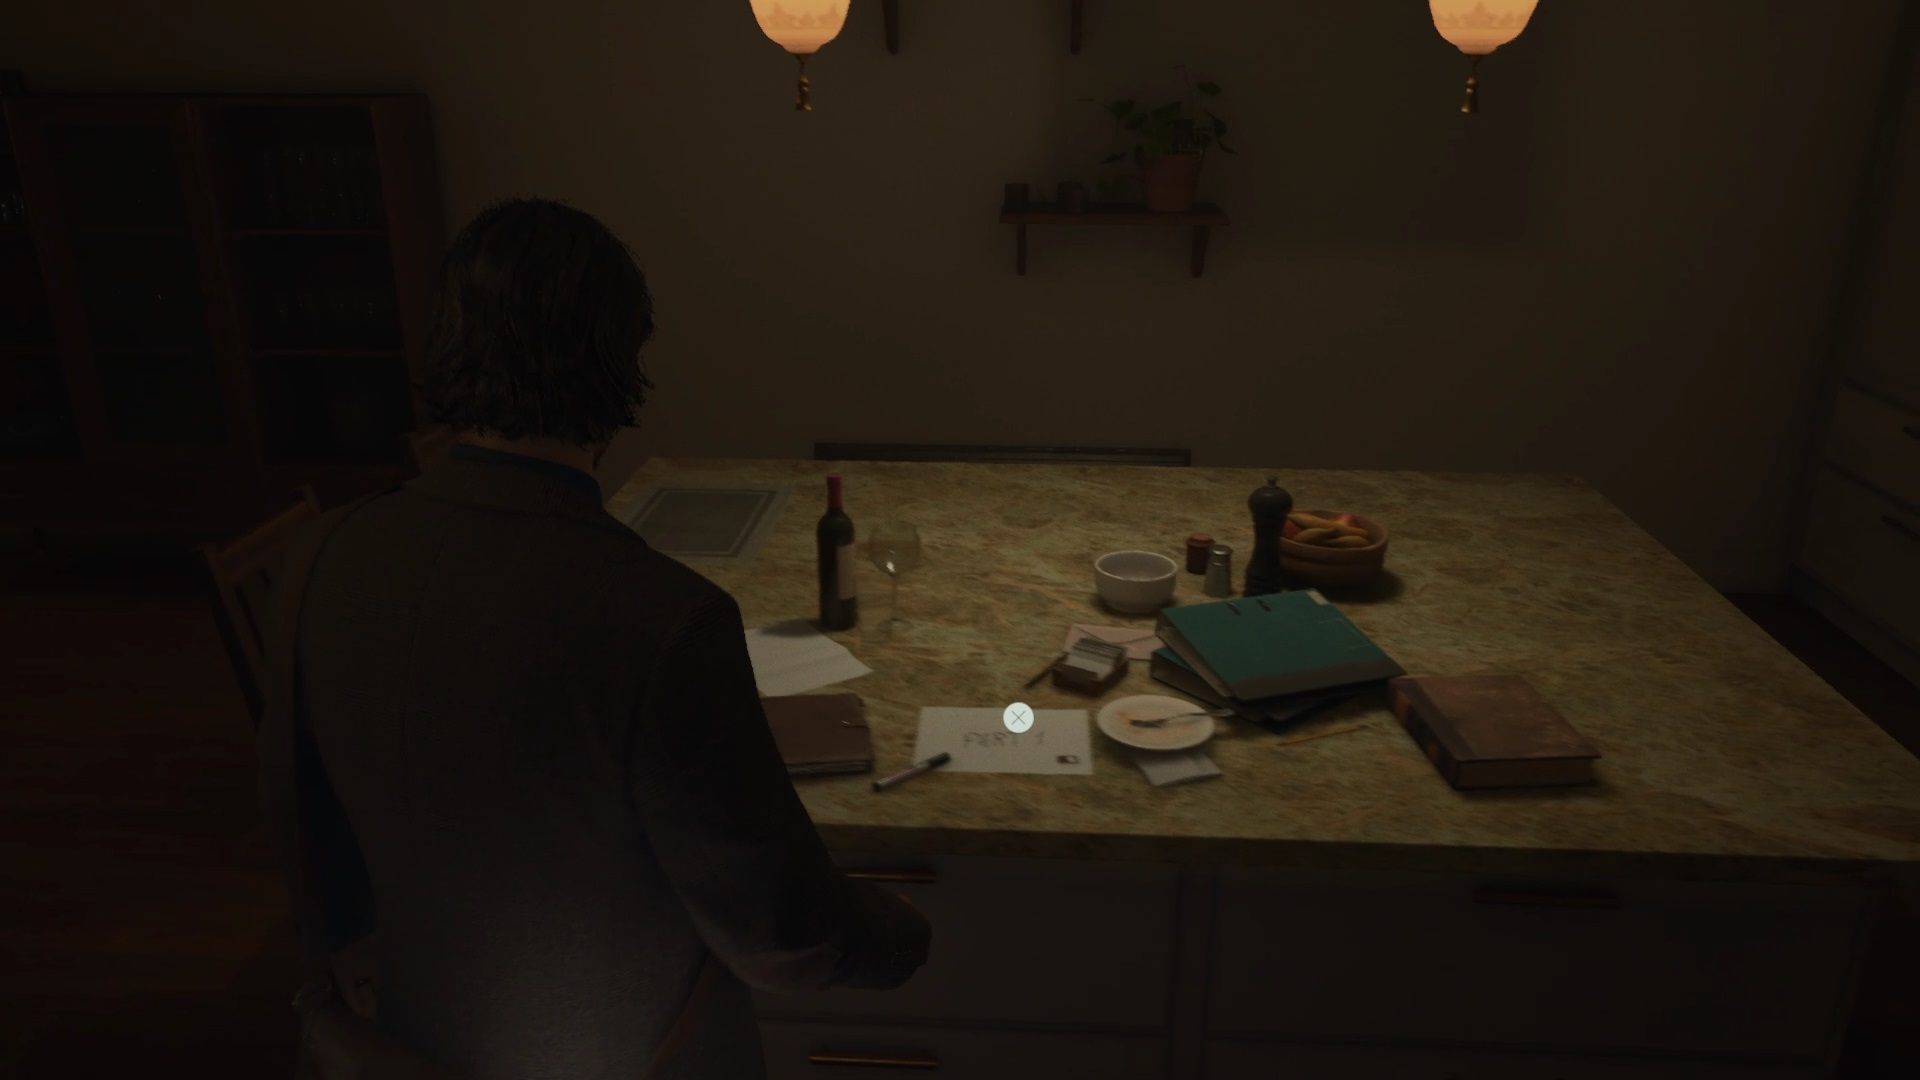
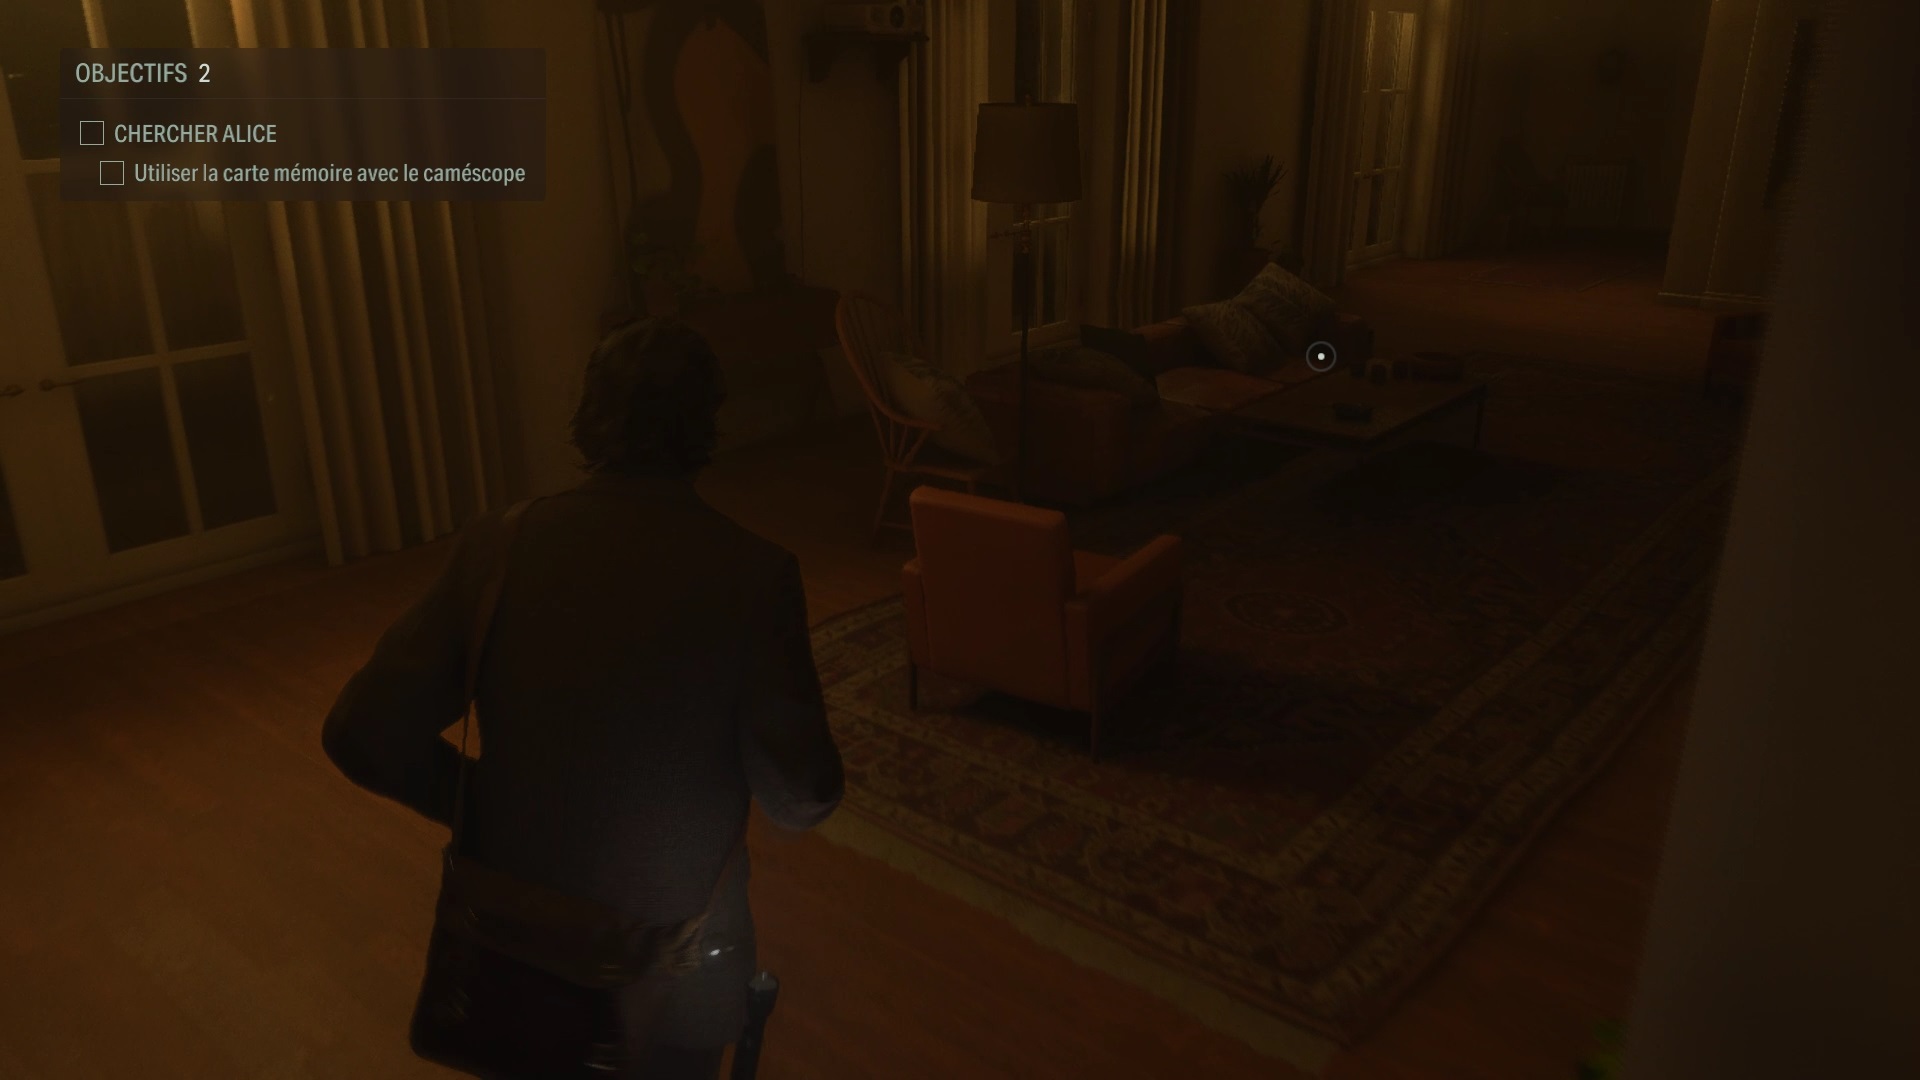
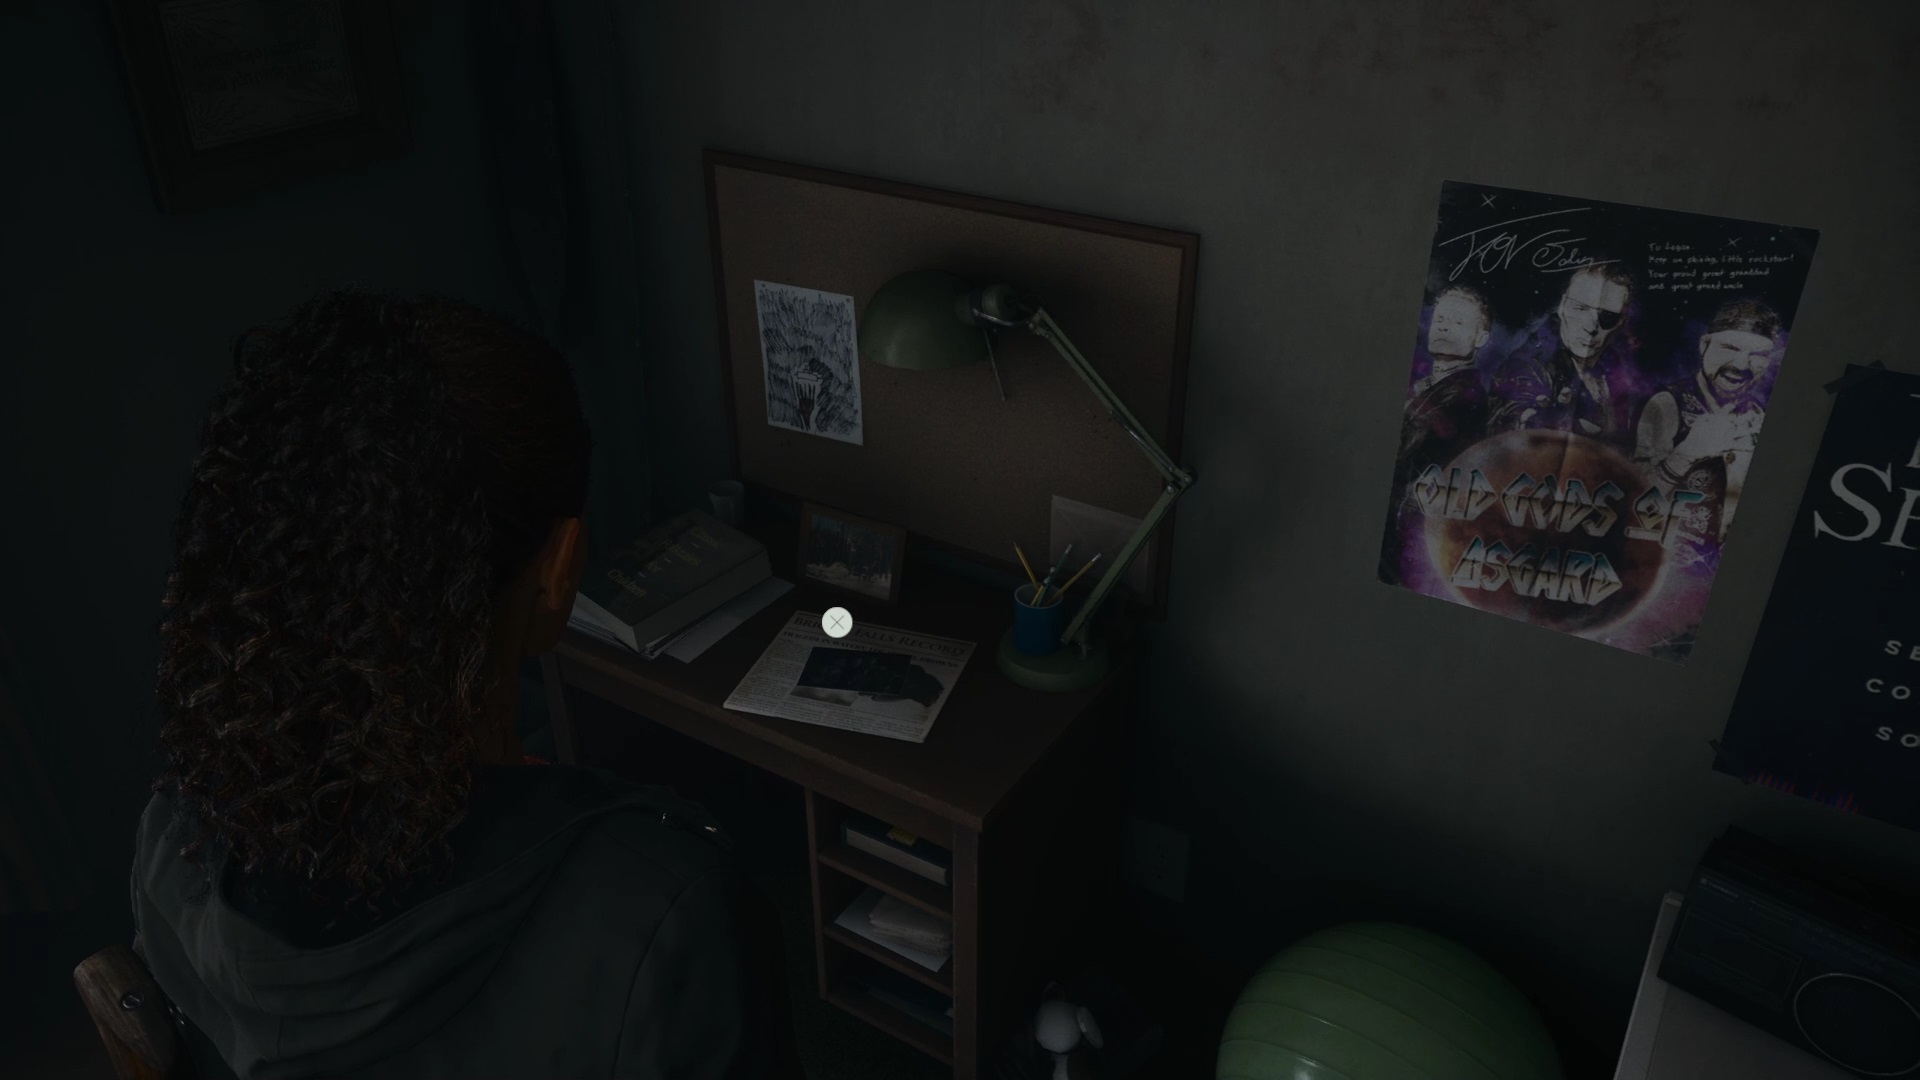
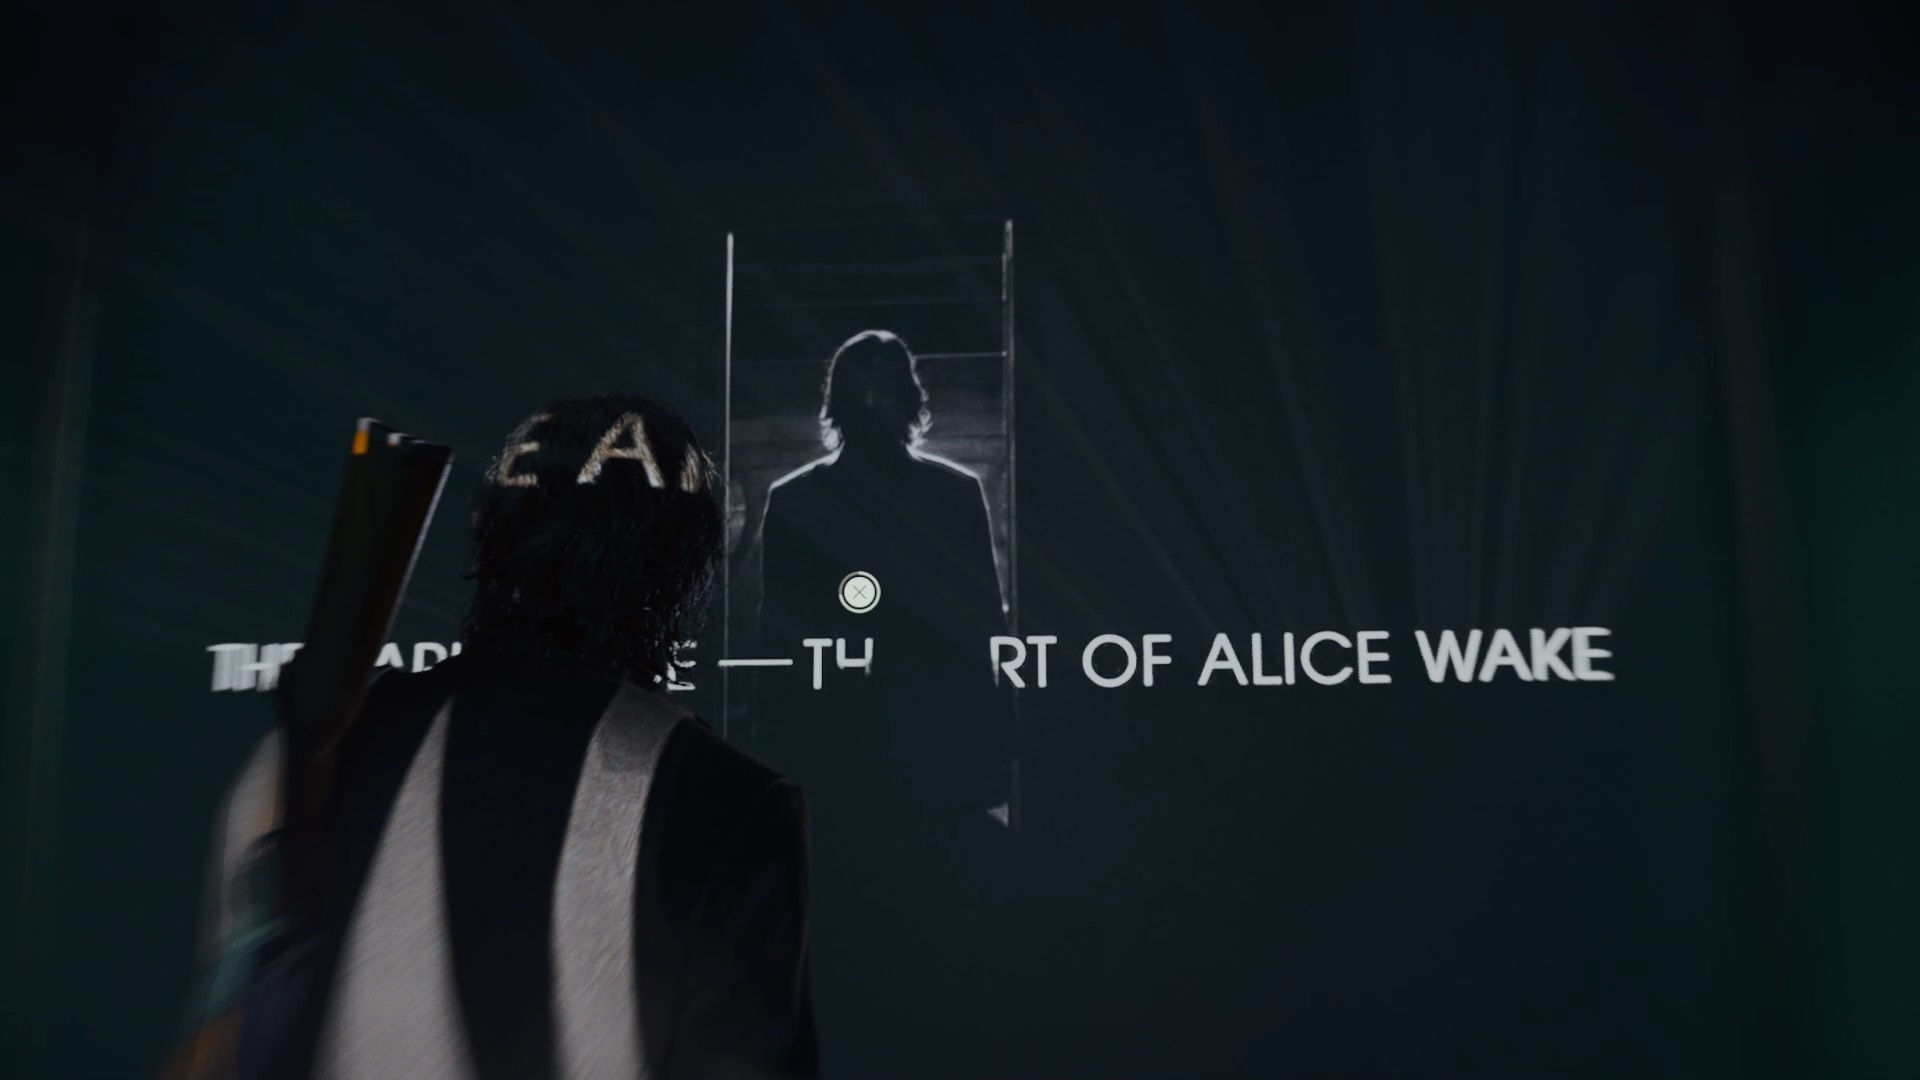
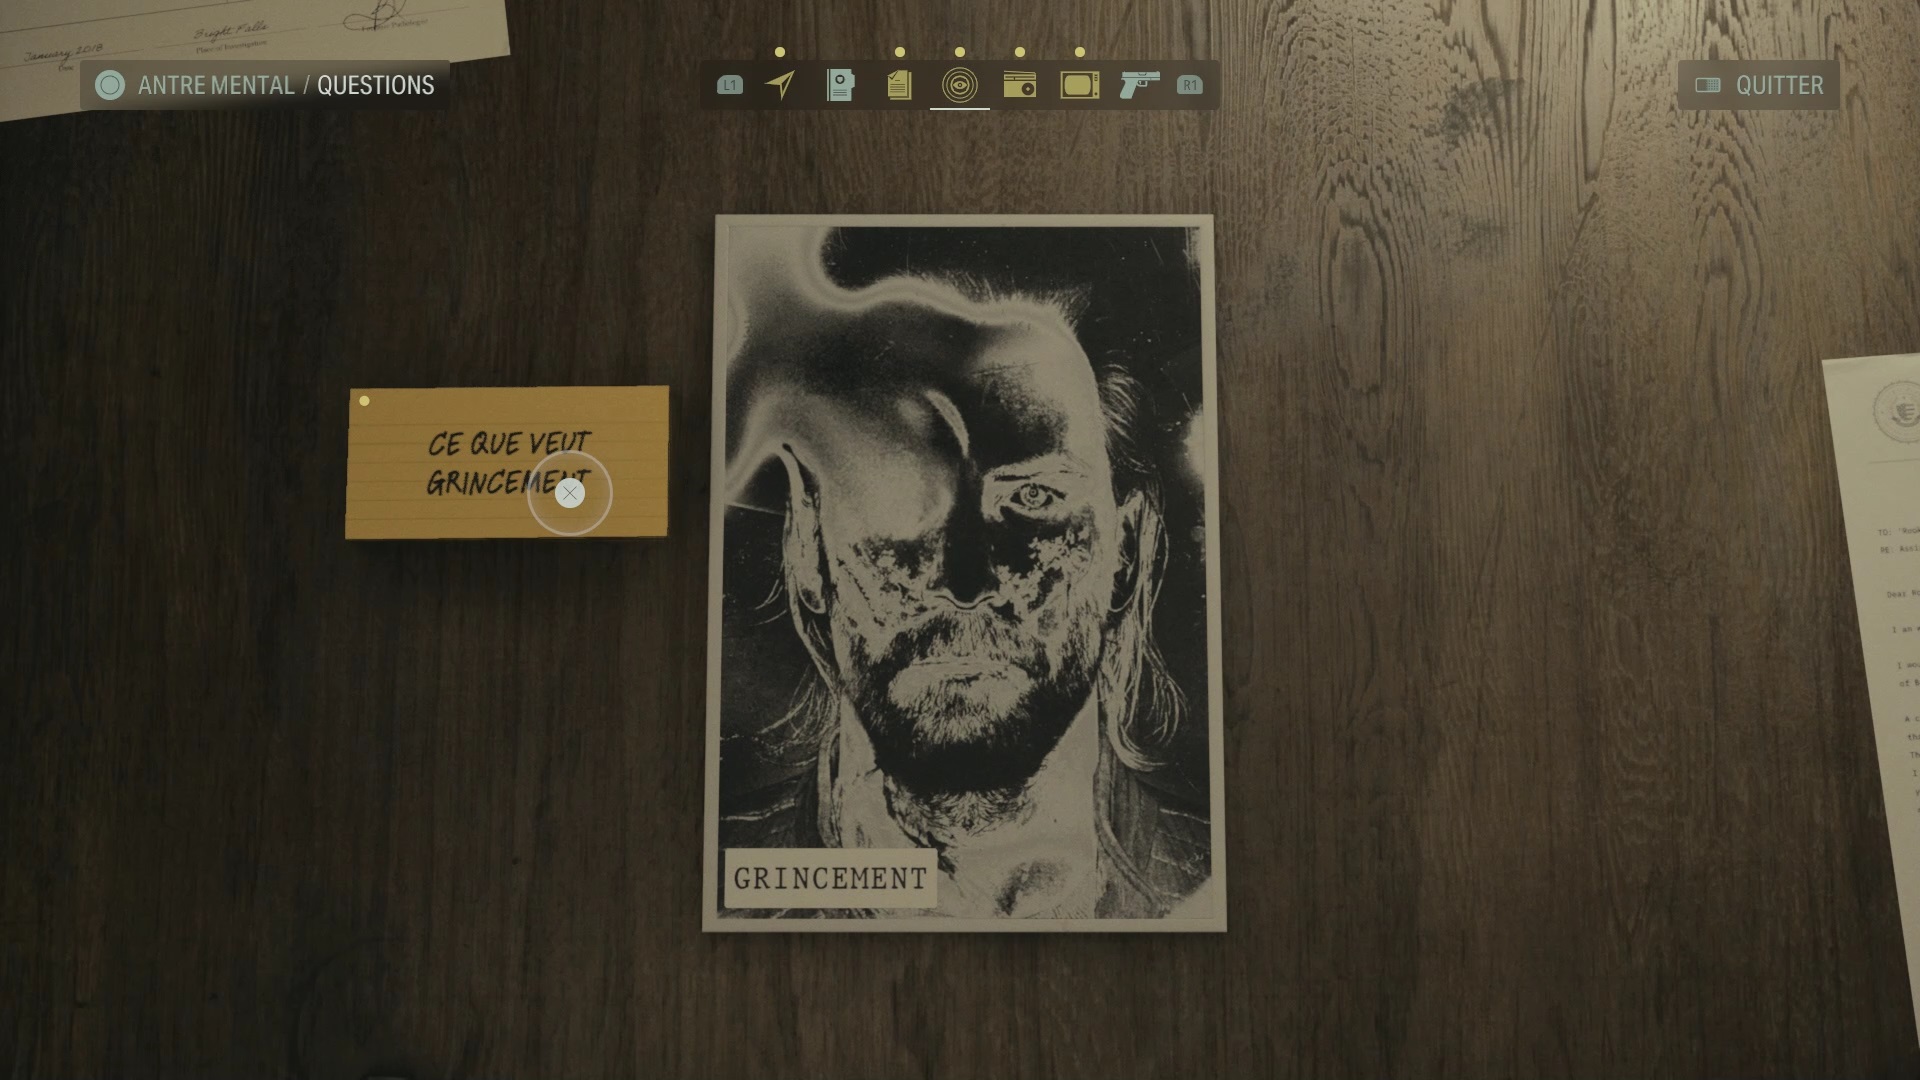
Once inside the apartment, examine the dining room to collect an SD card. Then use the map on the camera in the living room. After the sequence with Alice, interact with the image of Grinding to play it.
Initiation 4: Let’s sing
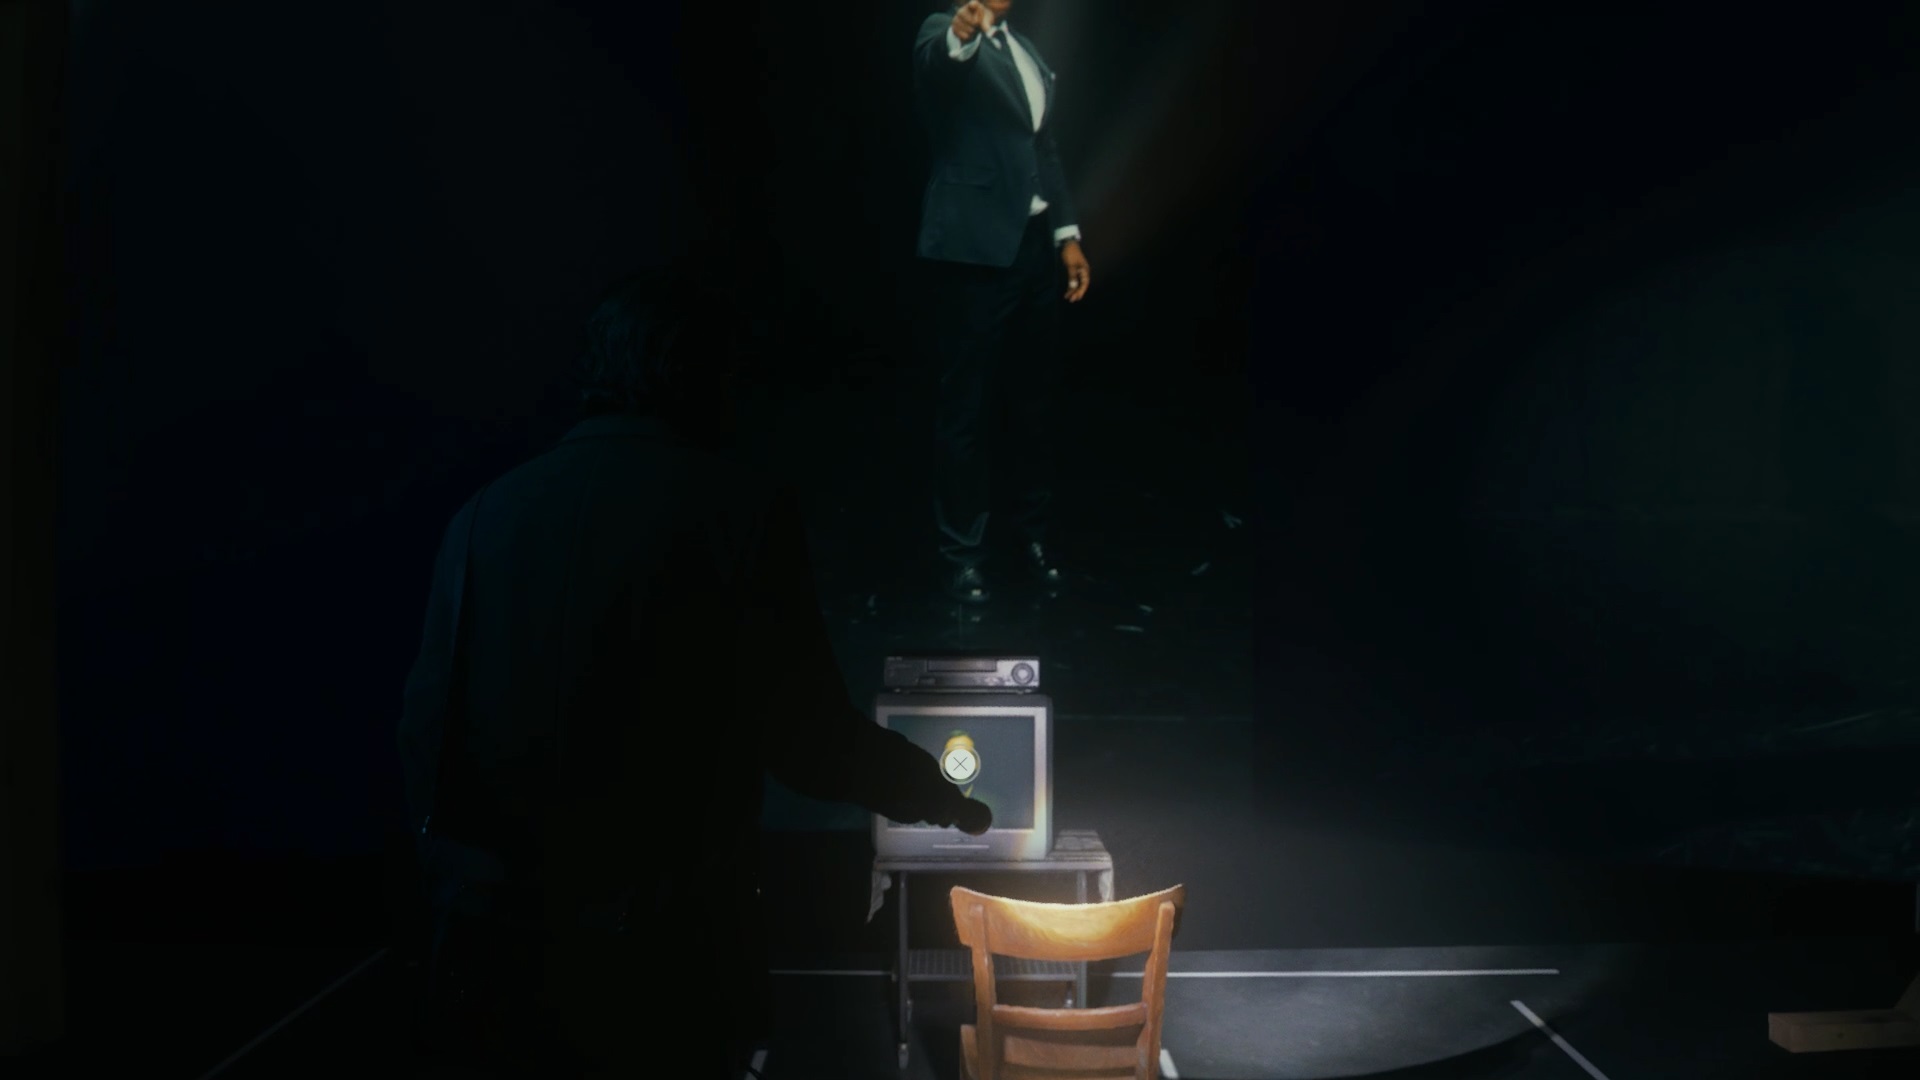
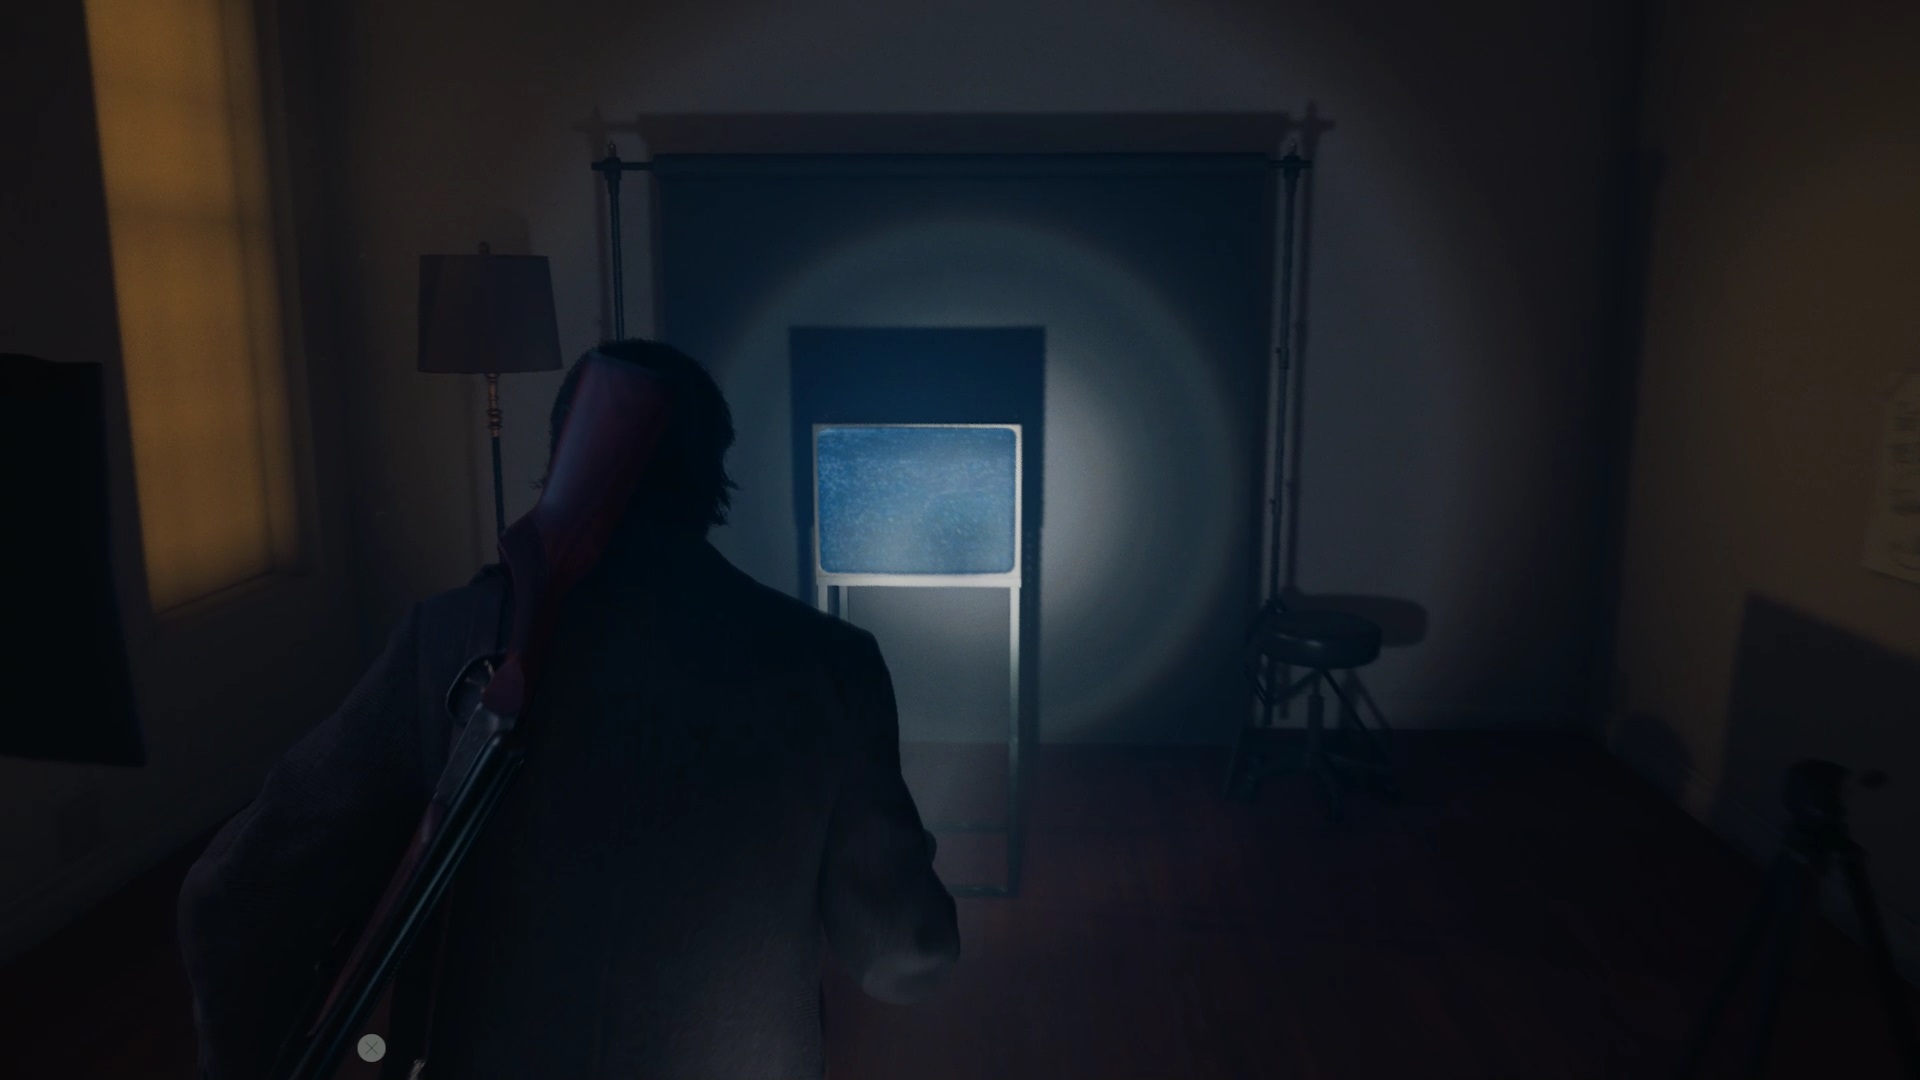
Interact with the screen to enter the scene. Go up the stairs to reach a giant screen at the top. Wait for the screen to drop so that it reveals a descending staircase. Follow the floor markings to find a new screen to interact with. On the other side, collect the lamp.
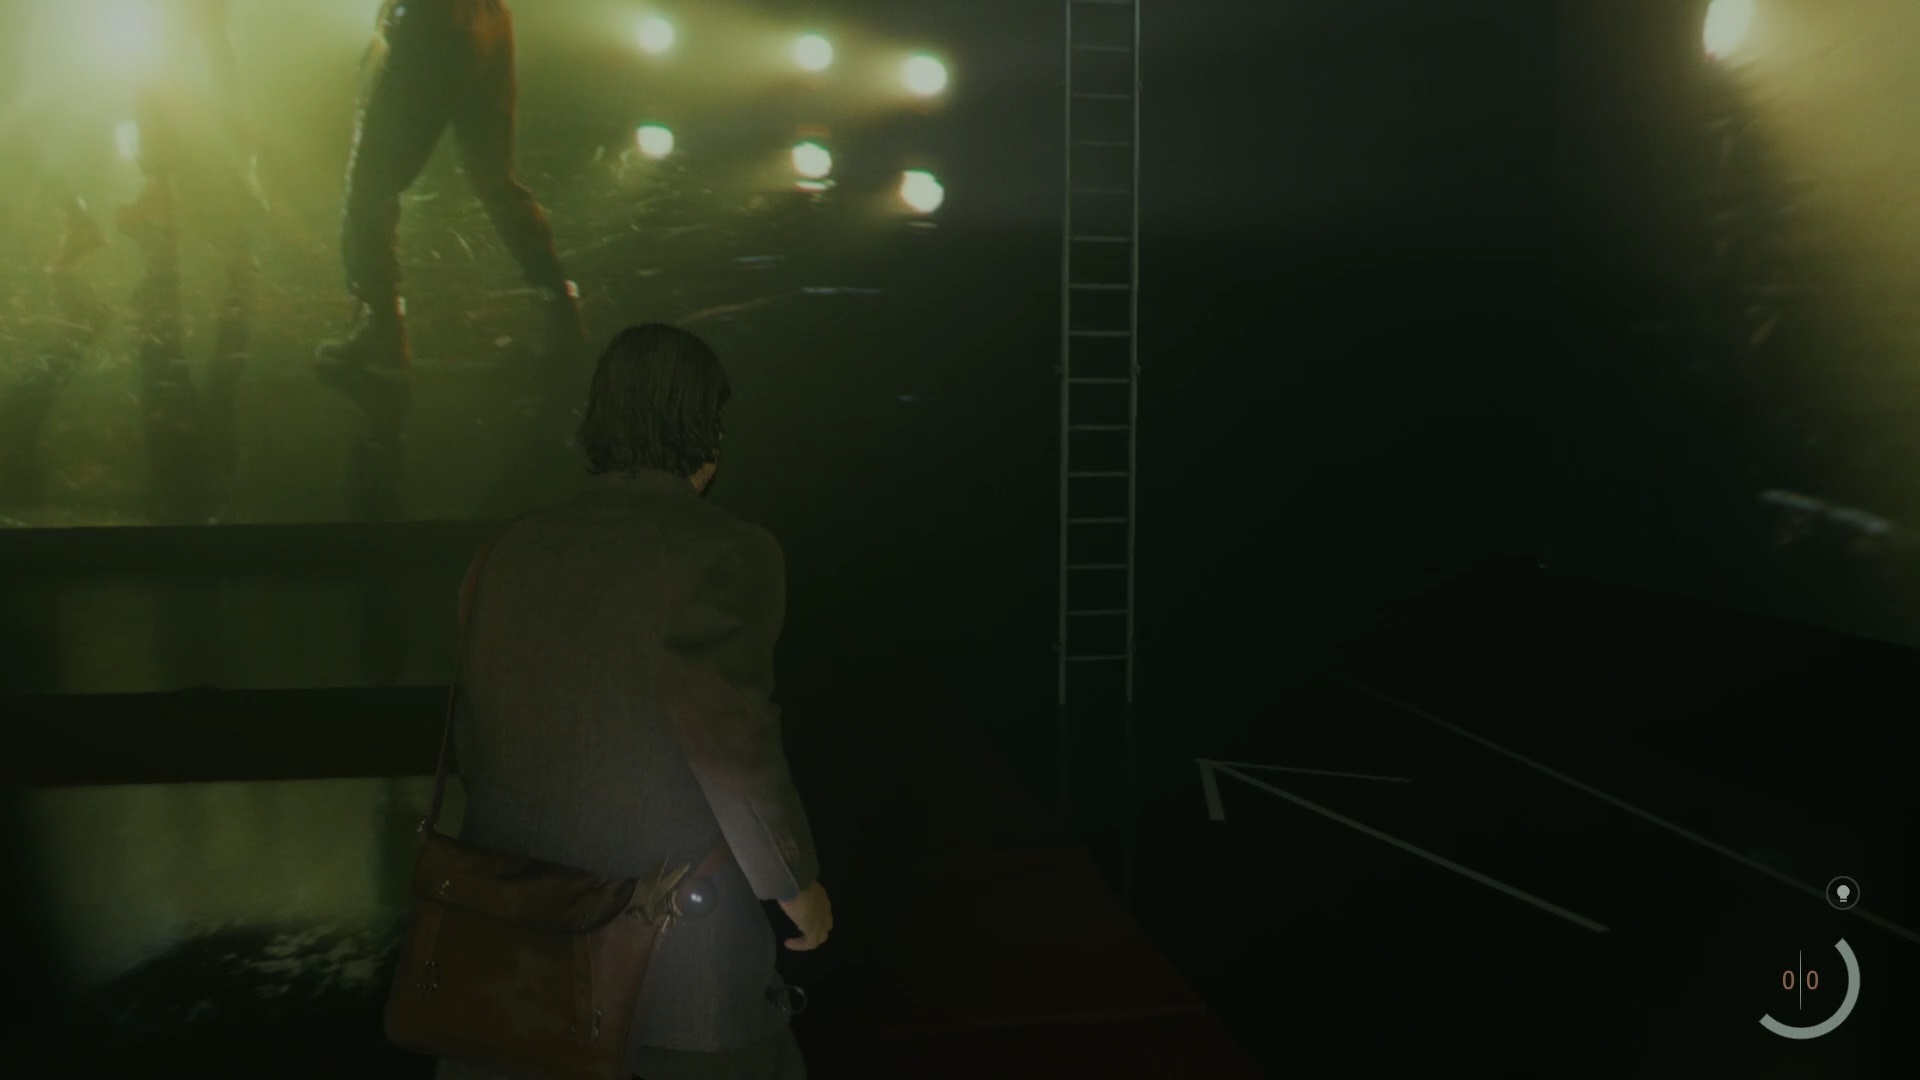
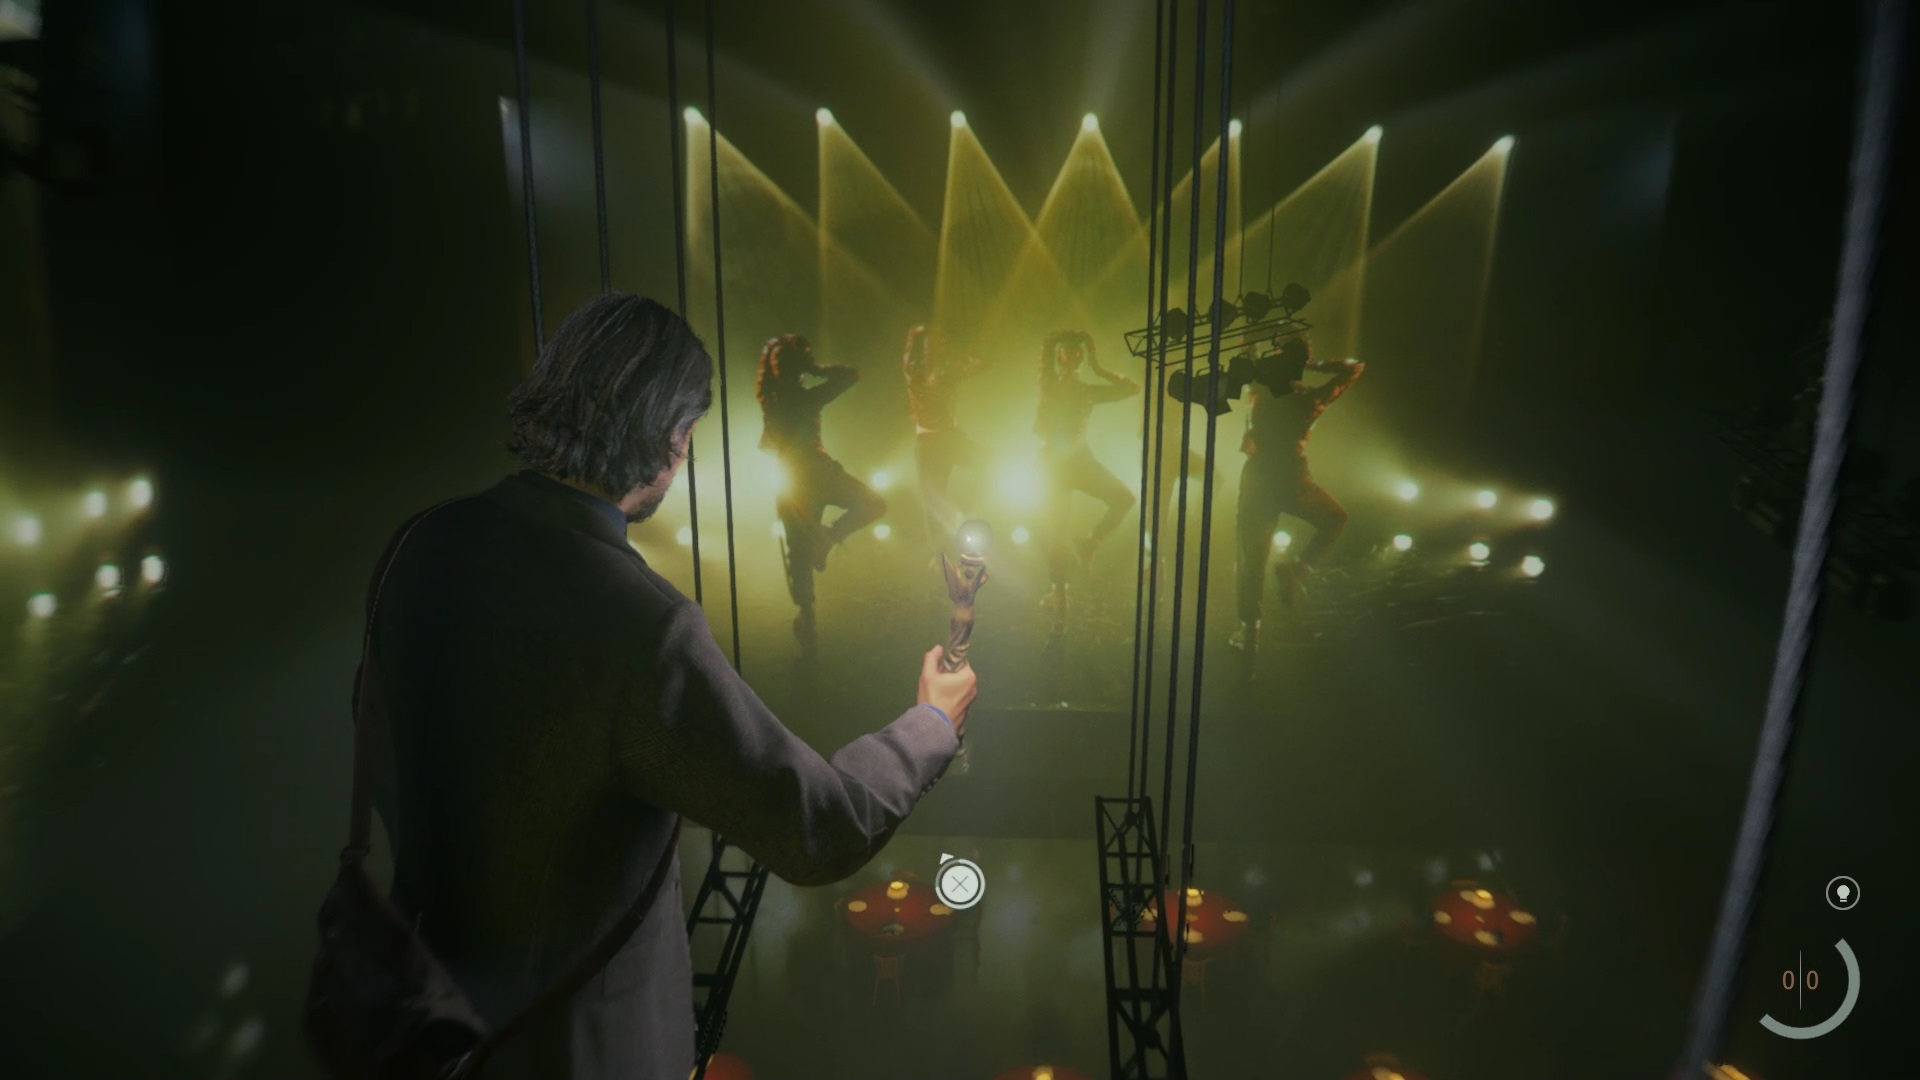
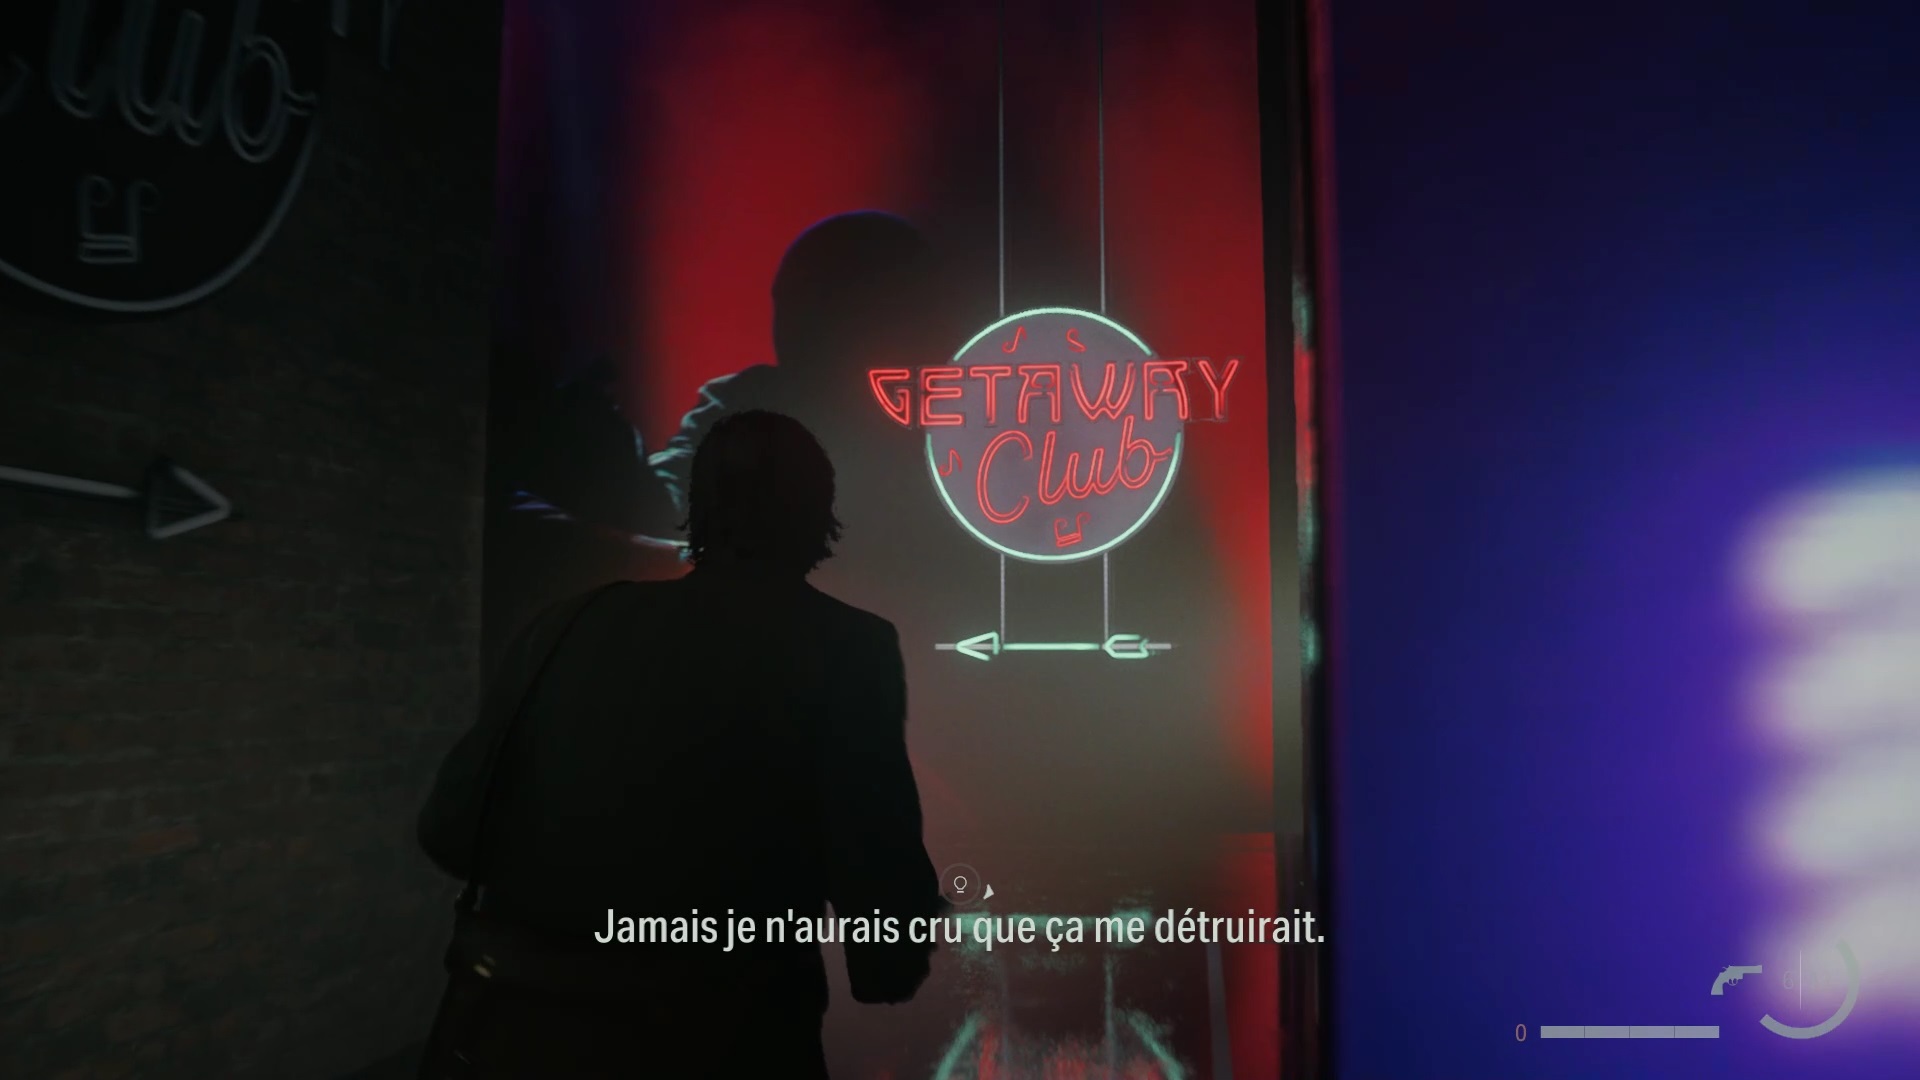
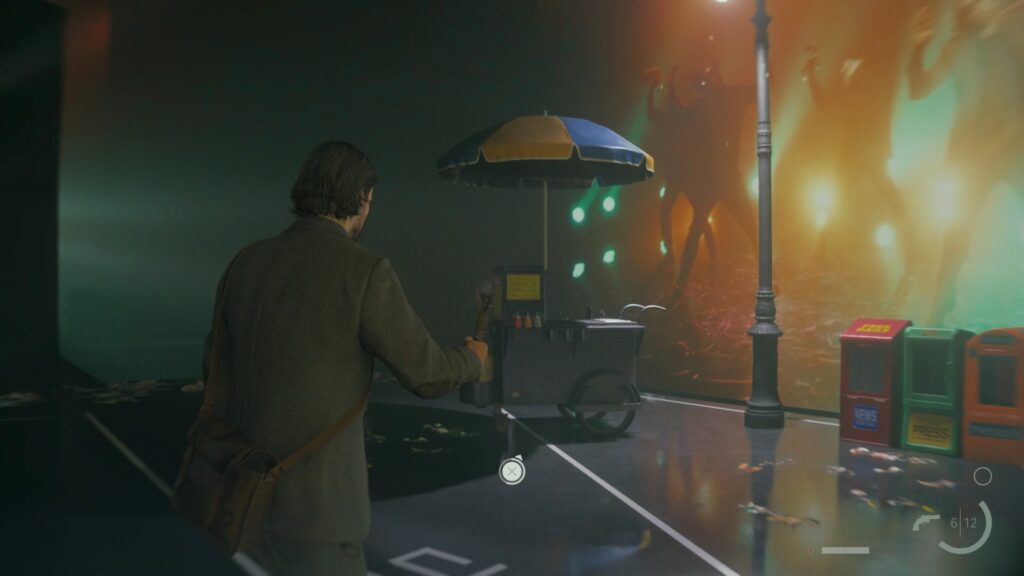
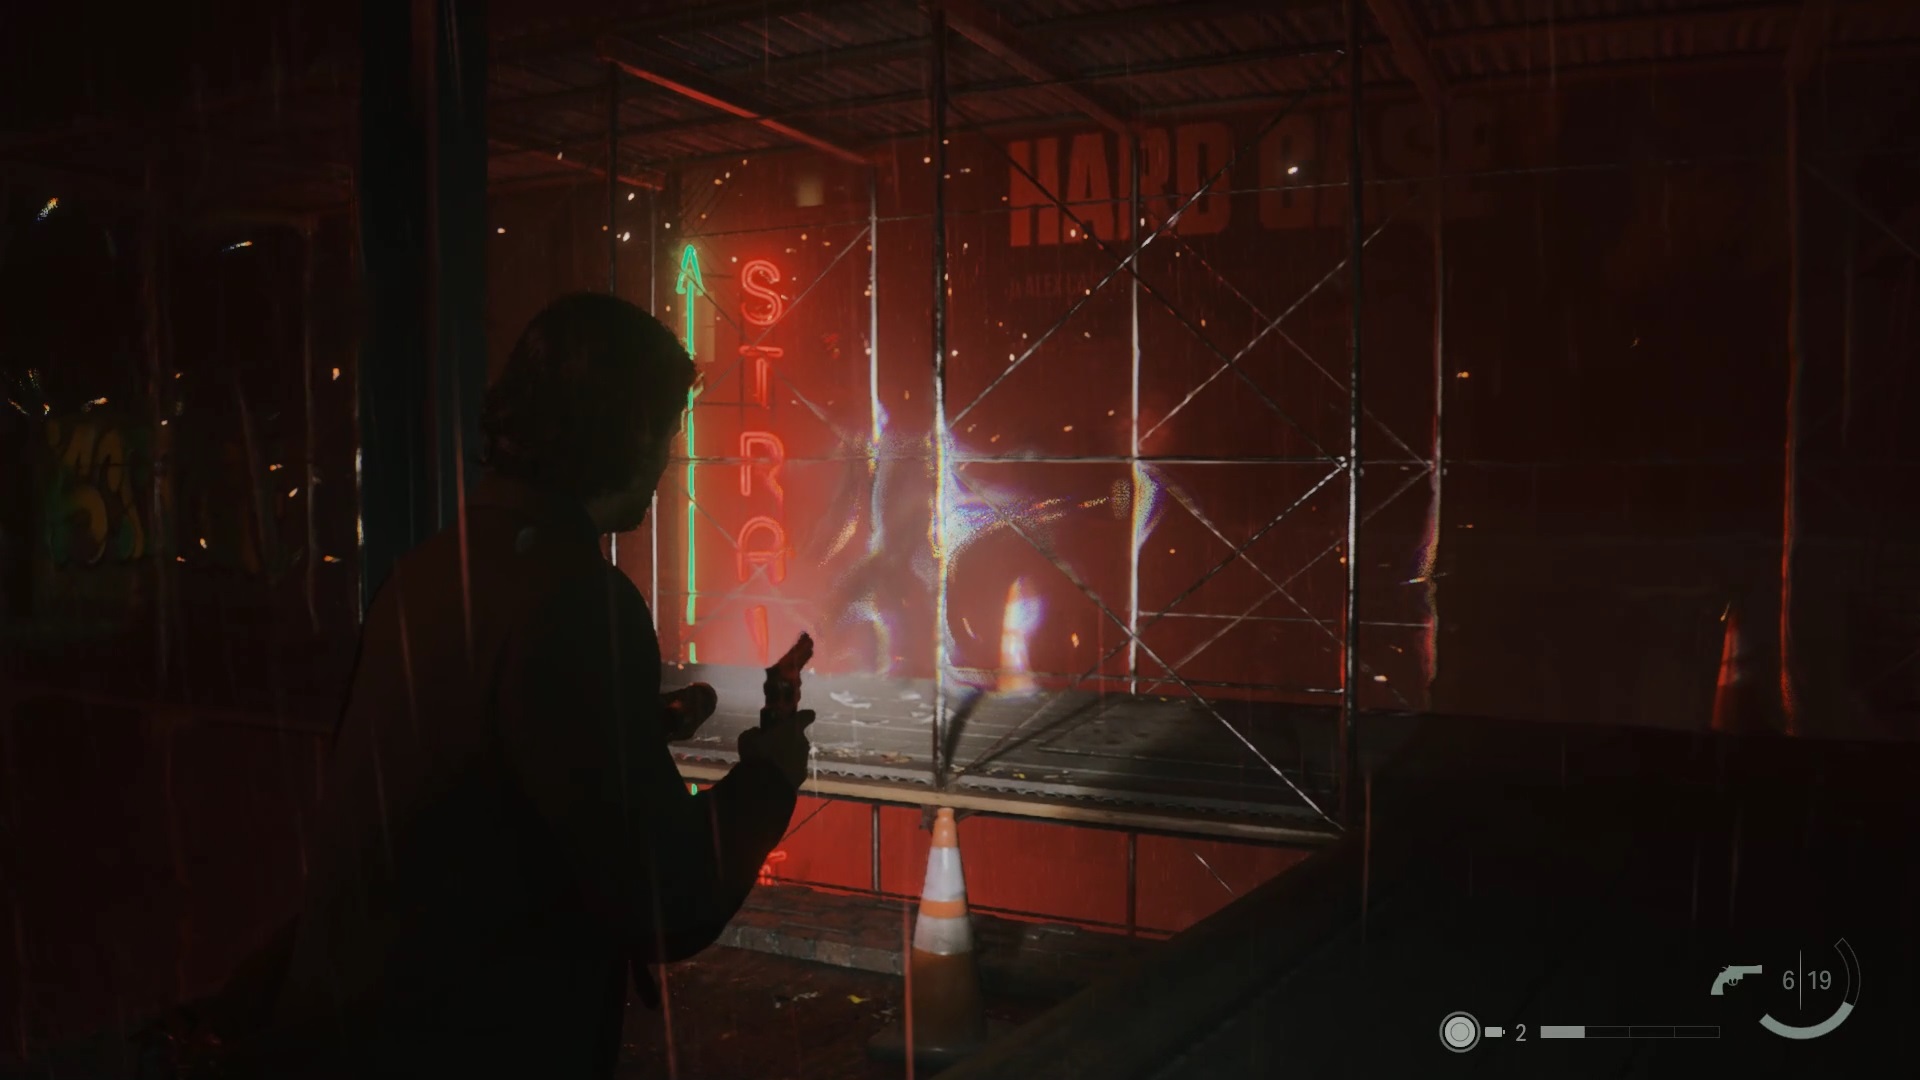
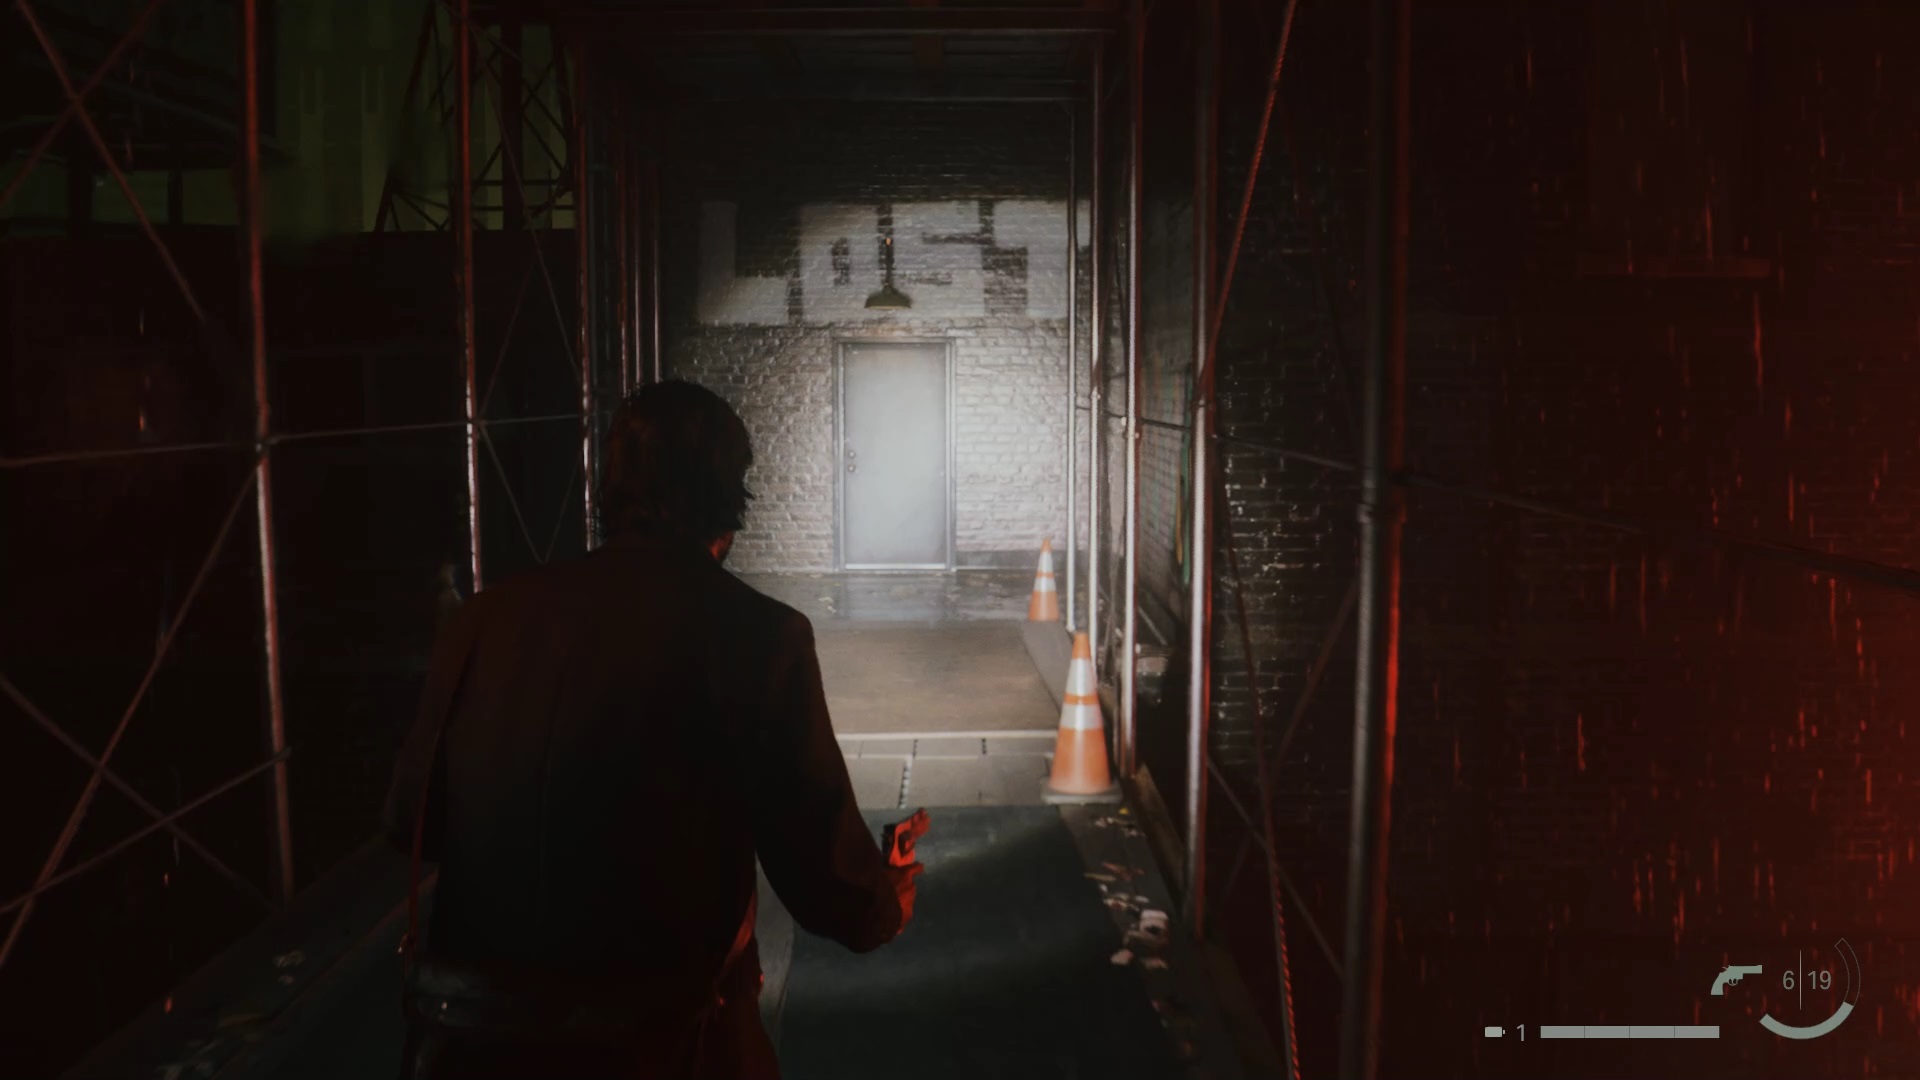
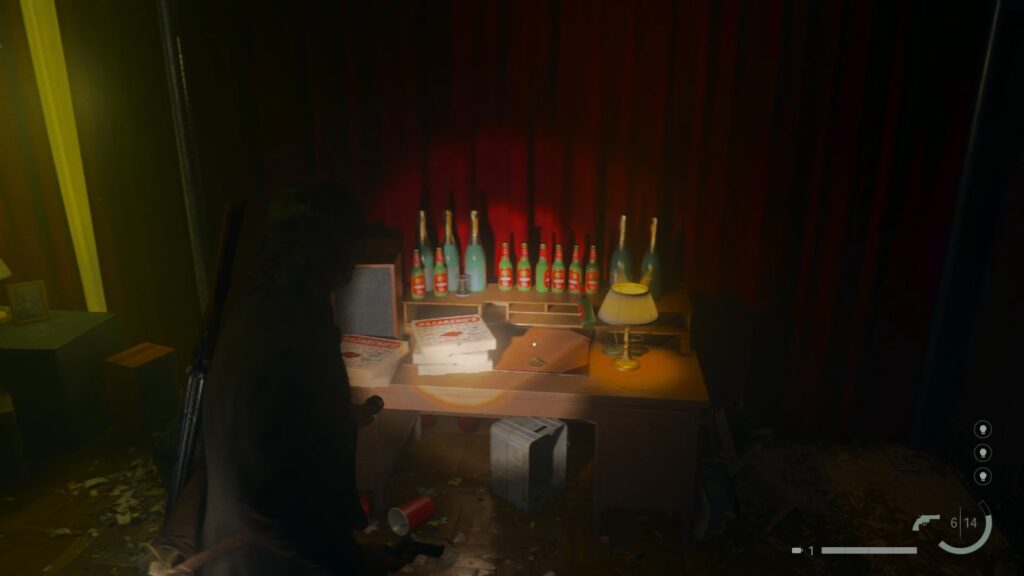
Get off the stage to climb a ladder. At a height, use the lamp to change the scenery and go down a ladder. Follow the ground markings to find a flashlight near a crime figure. Then continue following the neon signage: “Getaway club”. Following the path, you will find a Hot Dog stand. Collect the light source with your lamp.
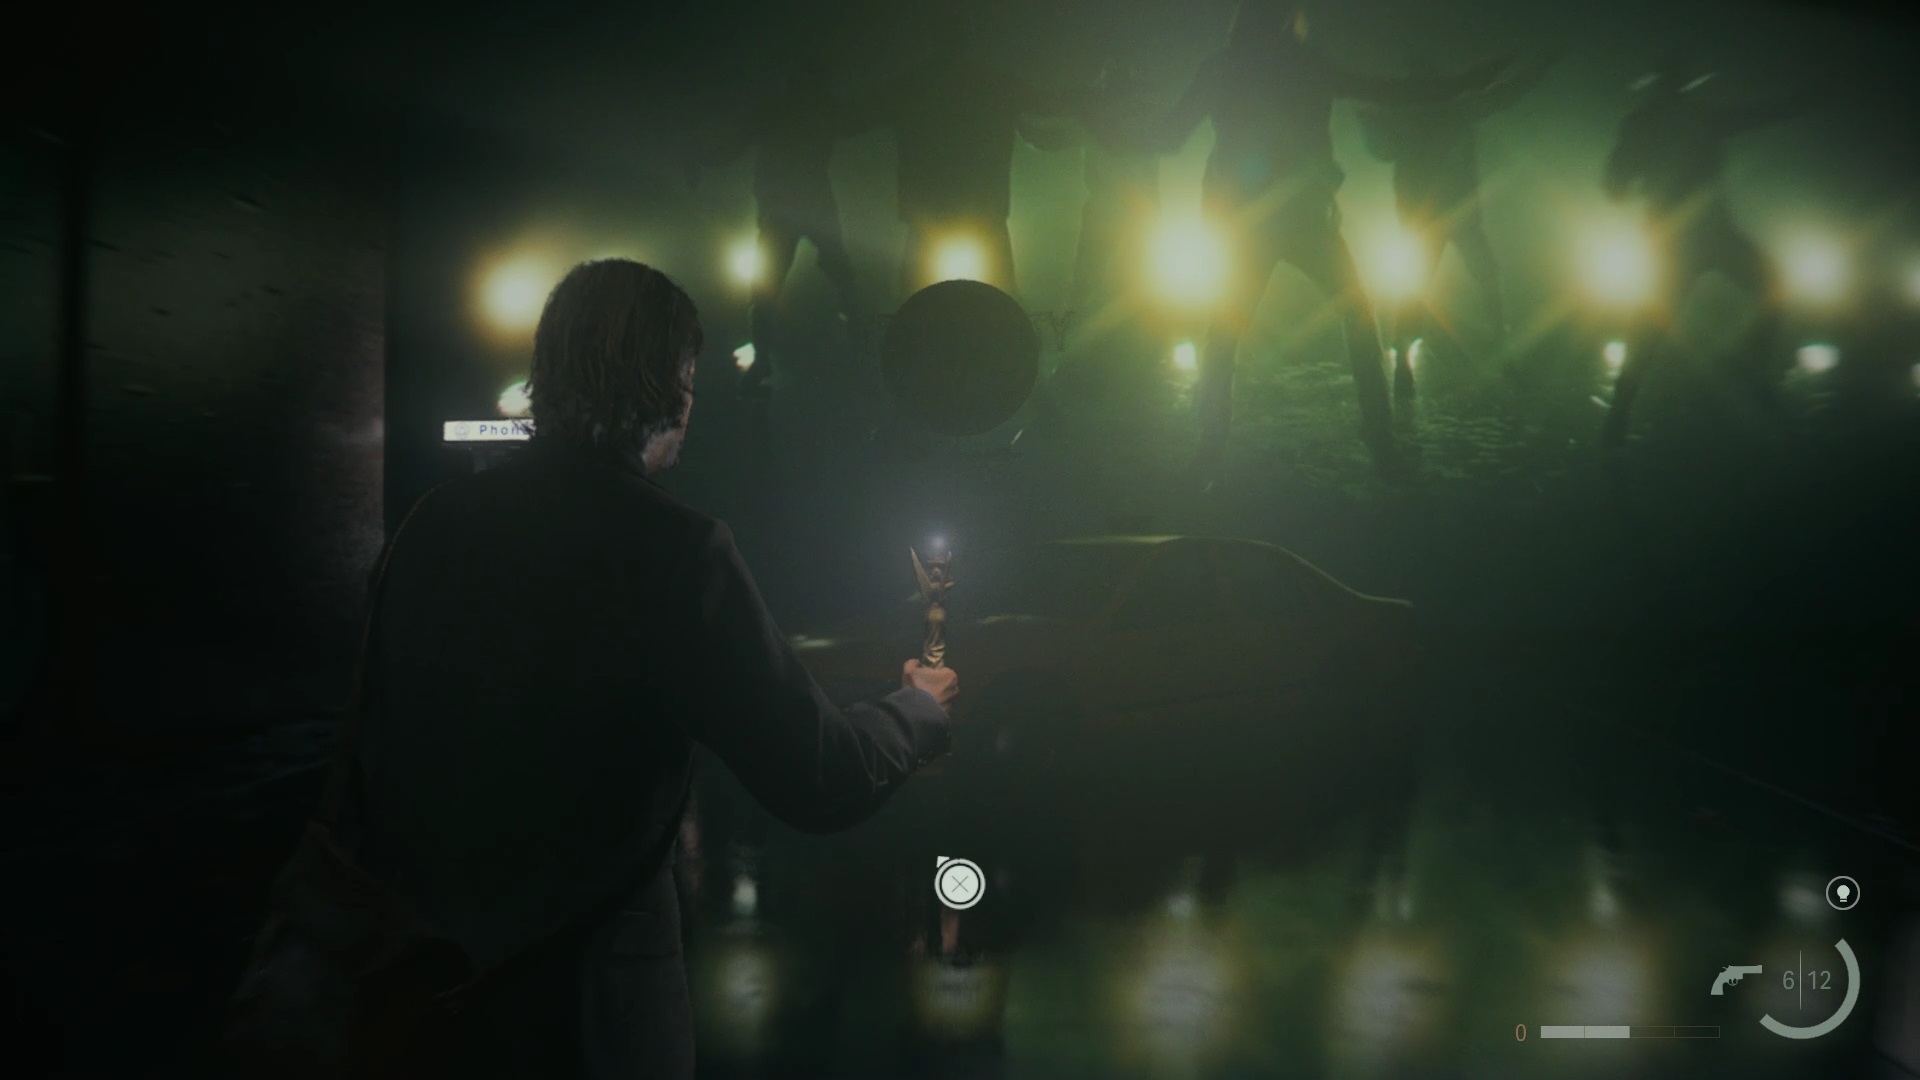
Use the light source against the taxi vehicle to bring up a screen to interact with. Follow the markings again to climb a ladder. Take the emergency gun and move forward as soon as the screen falls, following the markings on the ground.
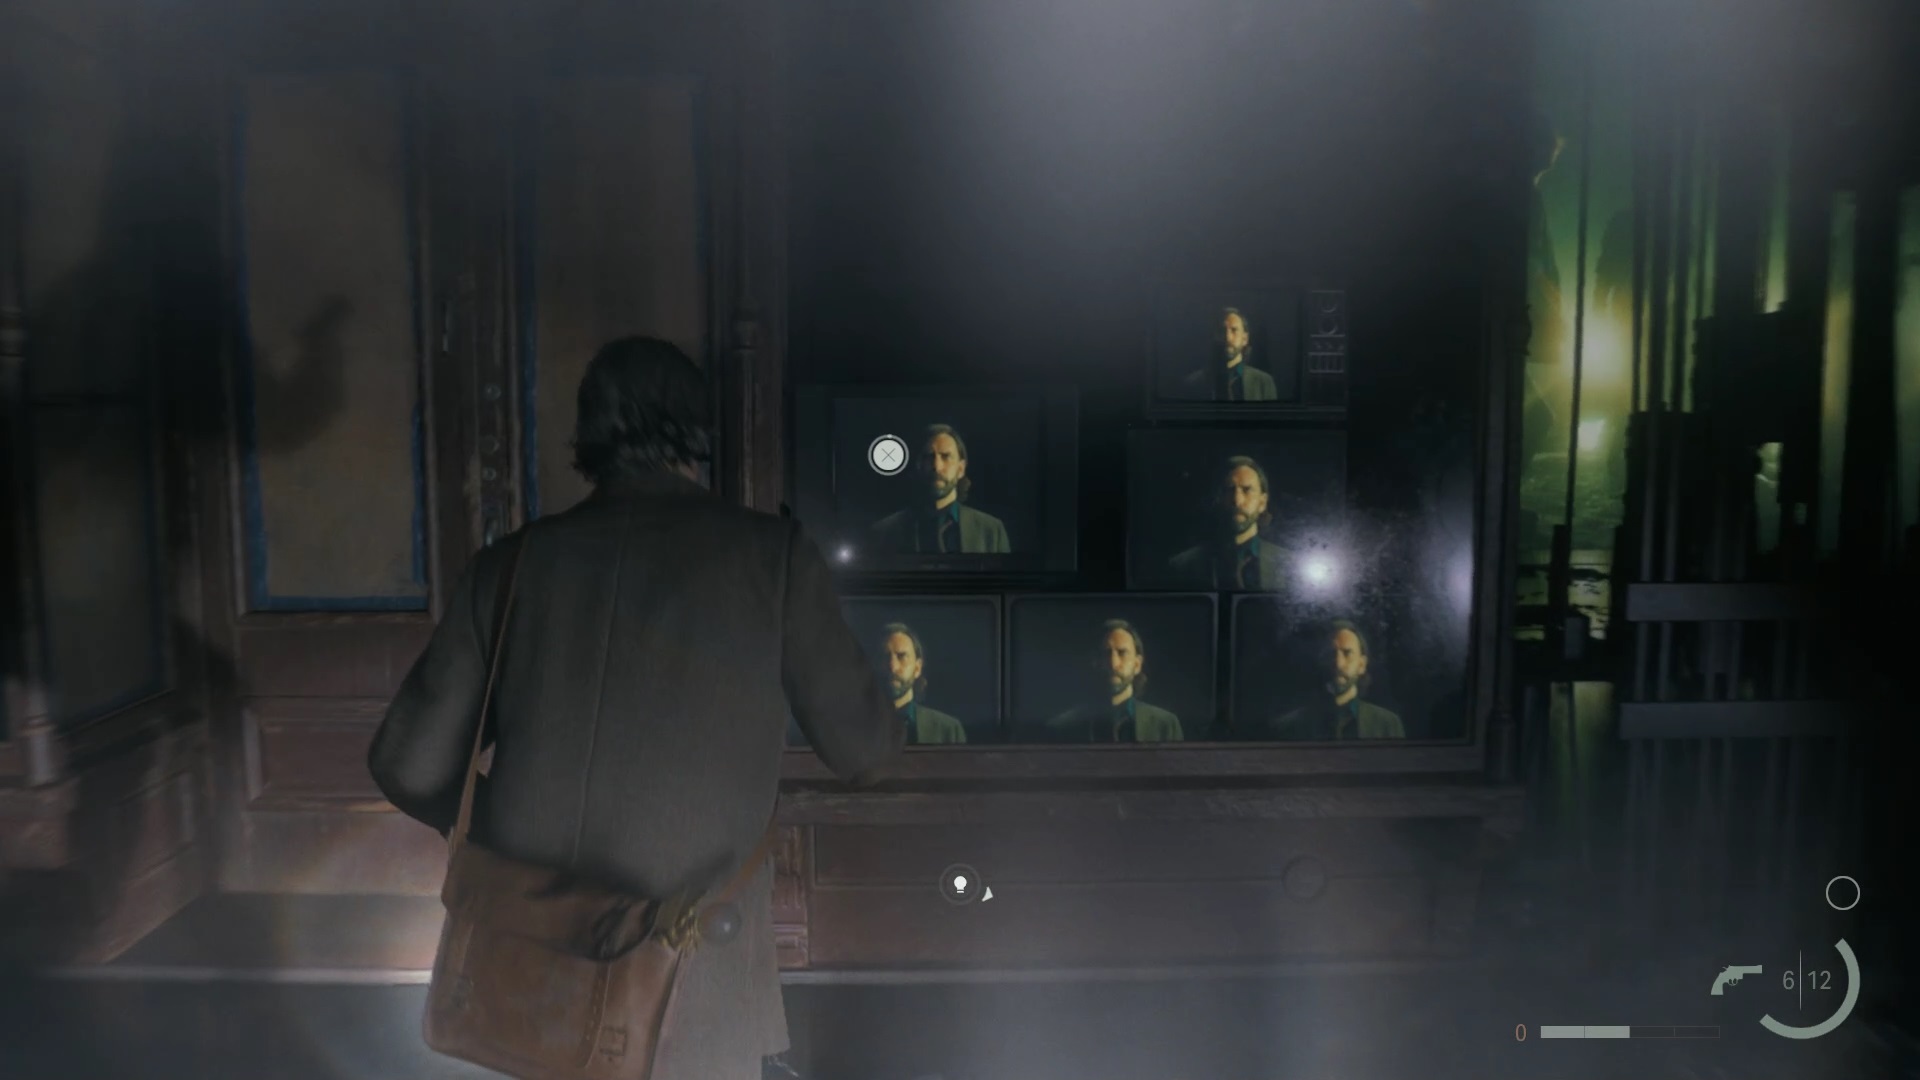
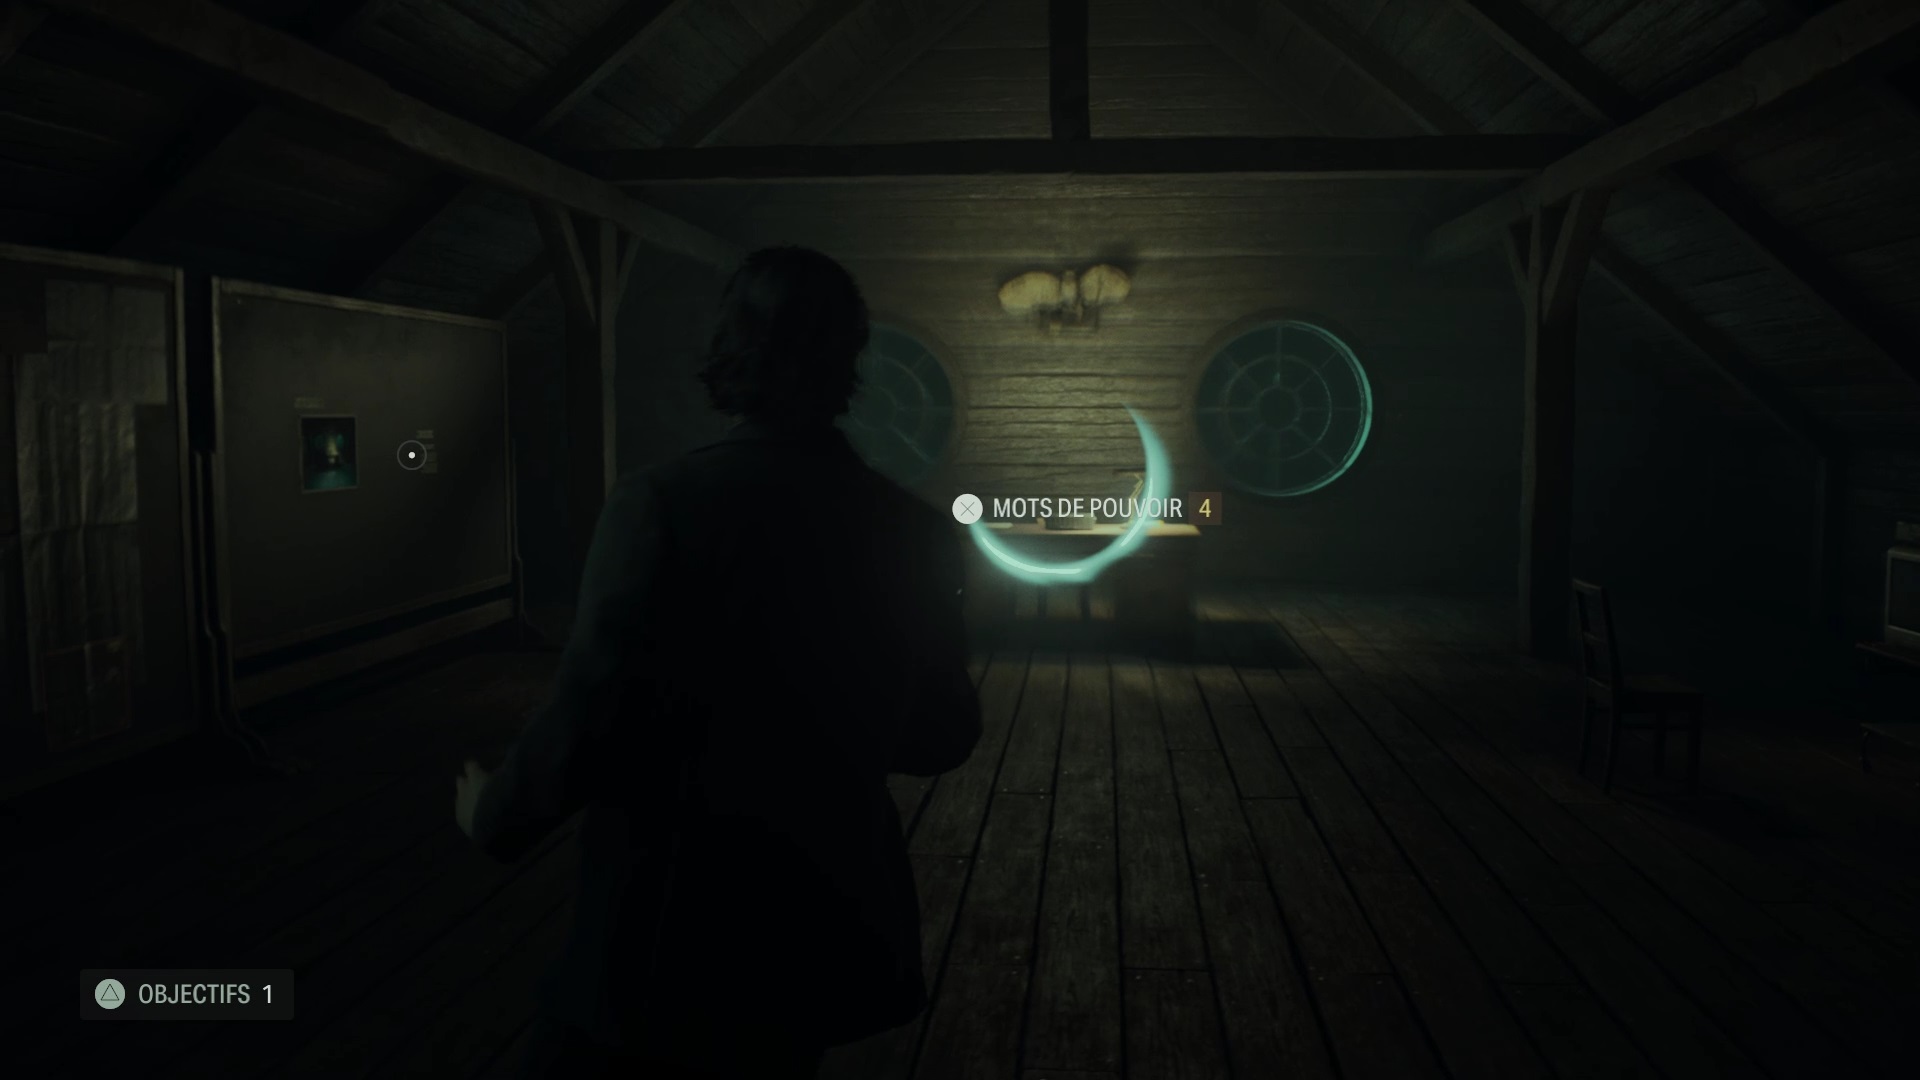
Use the gun to defend yourself. Collect the ammo from the emergency caches and continue to find a new screen. In the lodge, go through the door and line up the orbs to go down. Climb the ladder to find the Intrigue Board. Use the end-of-song theme for a change of scenery.
Interact with the screen to exit and join the stage. Join the exit behind the audience to end the chapter.
Return 3: Local girl
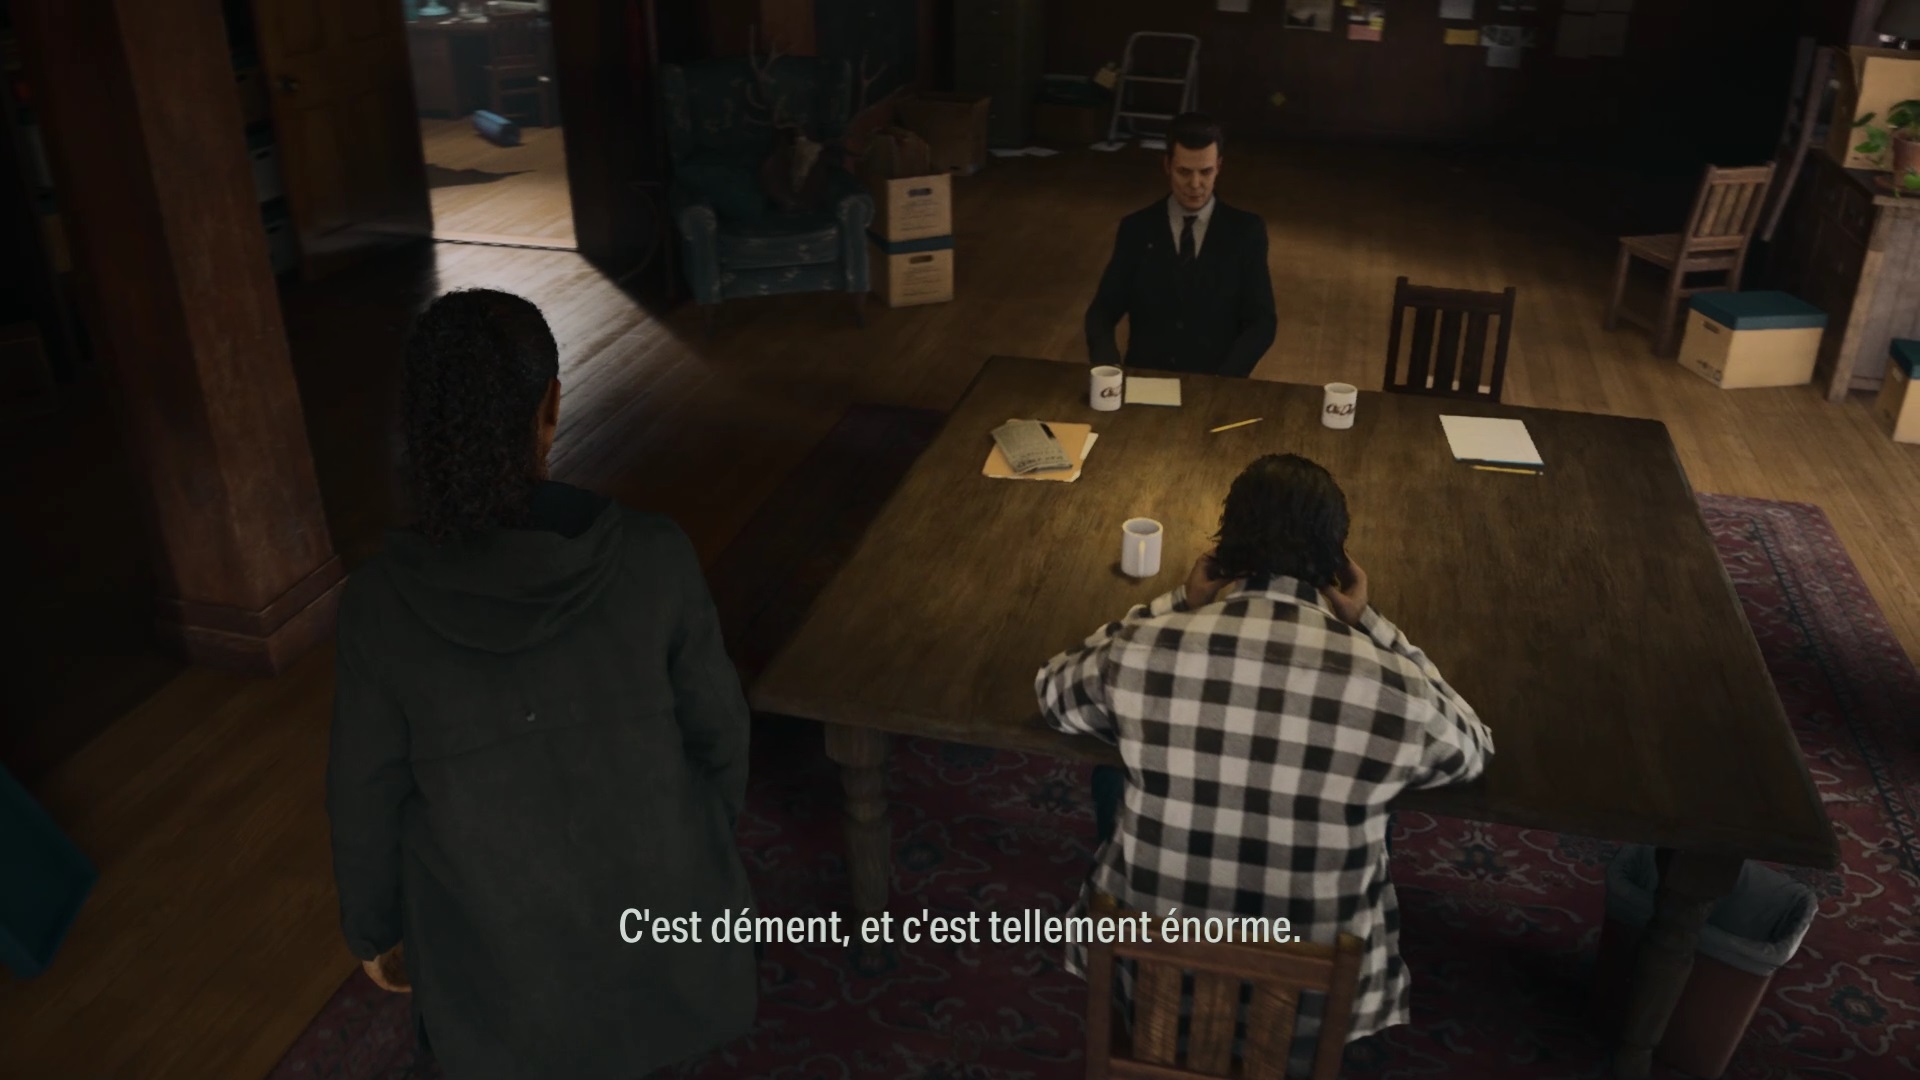
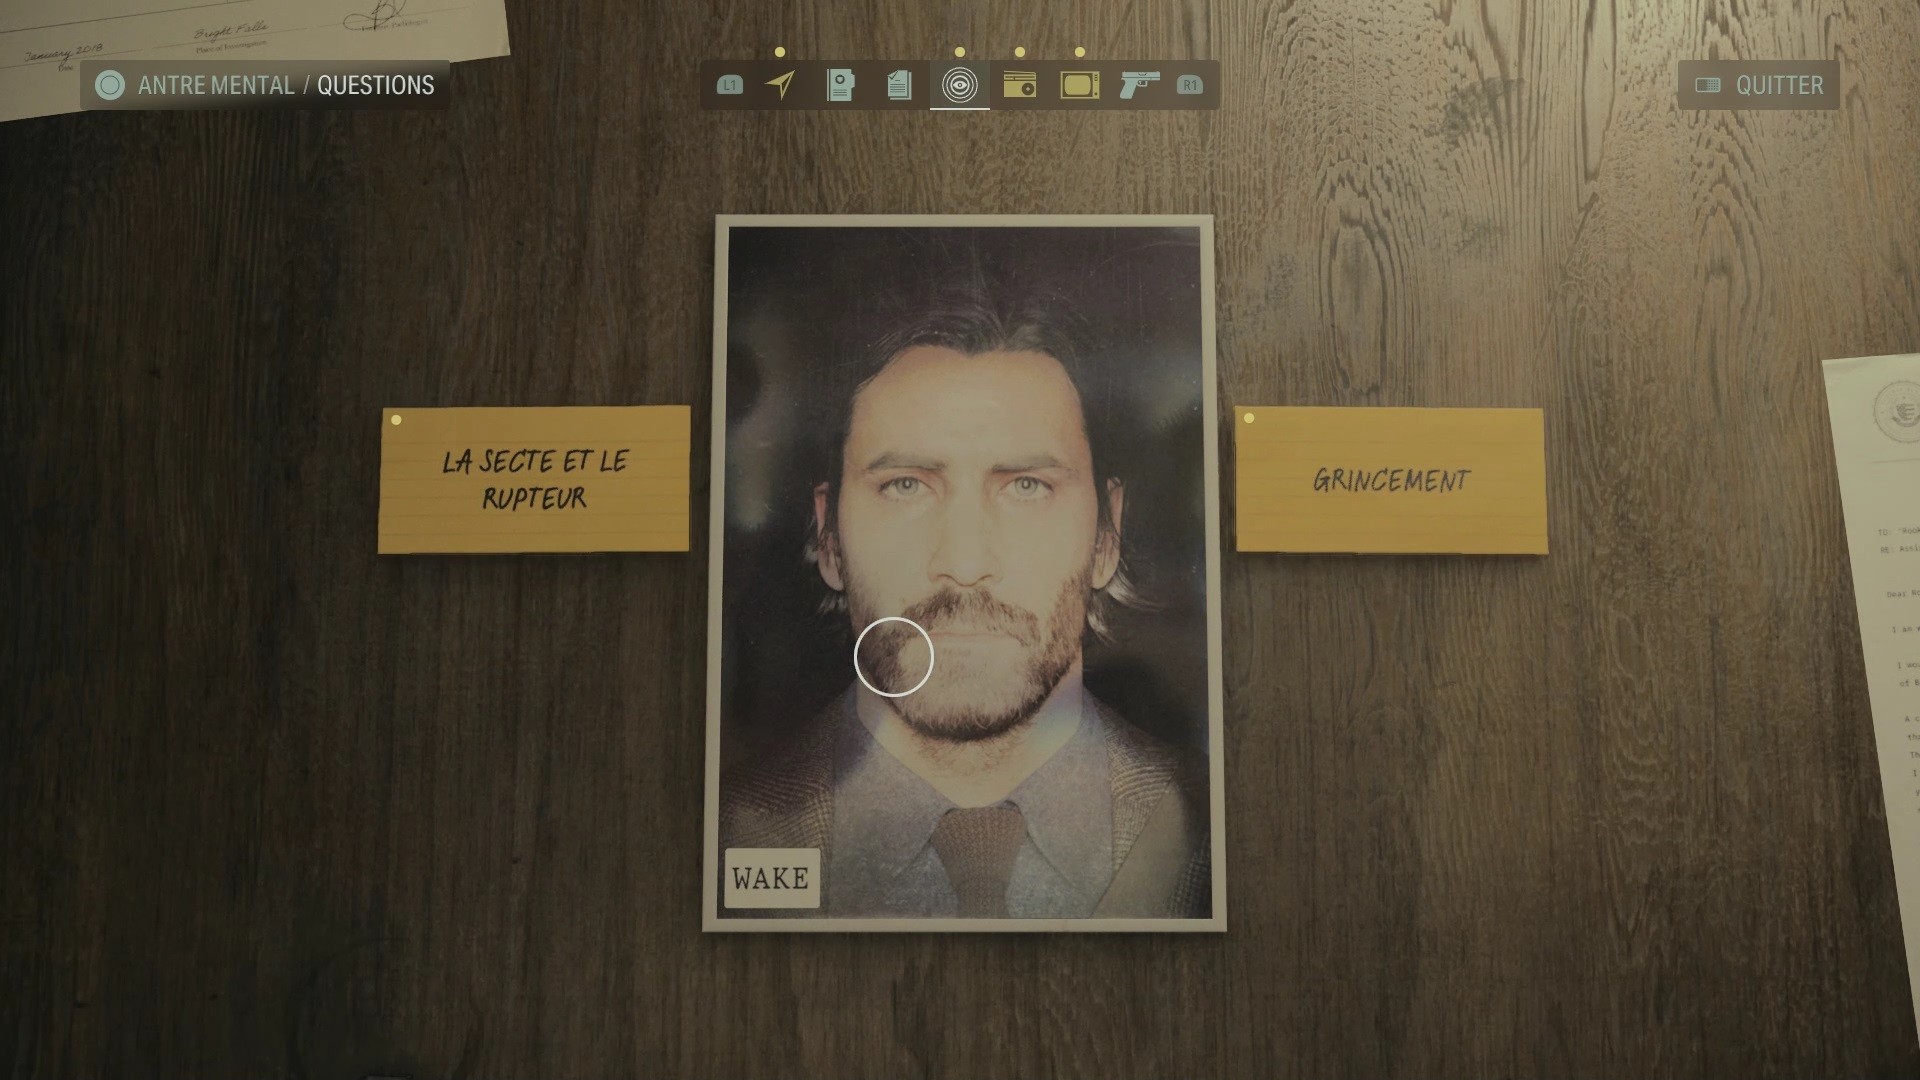
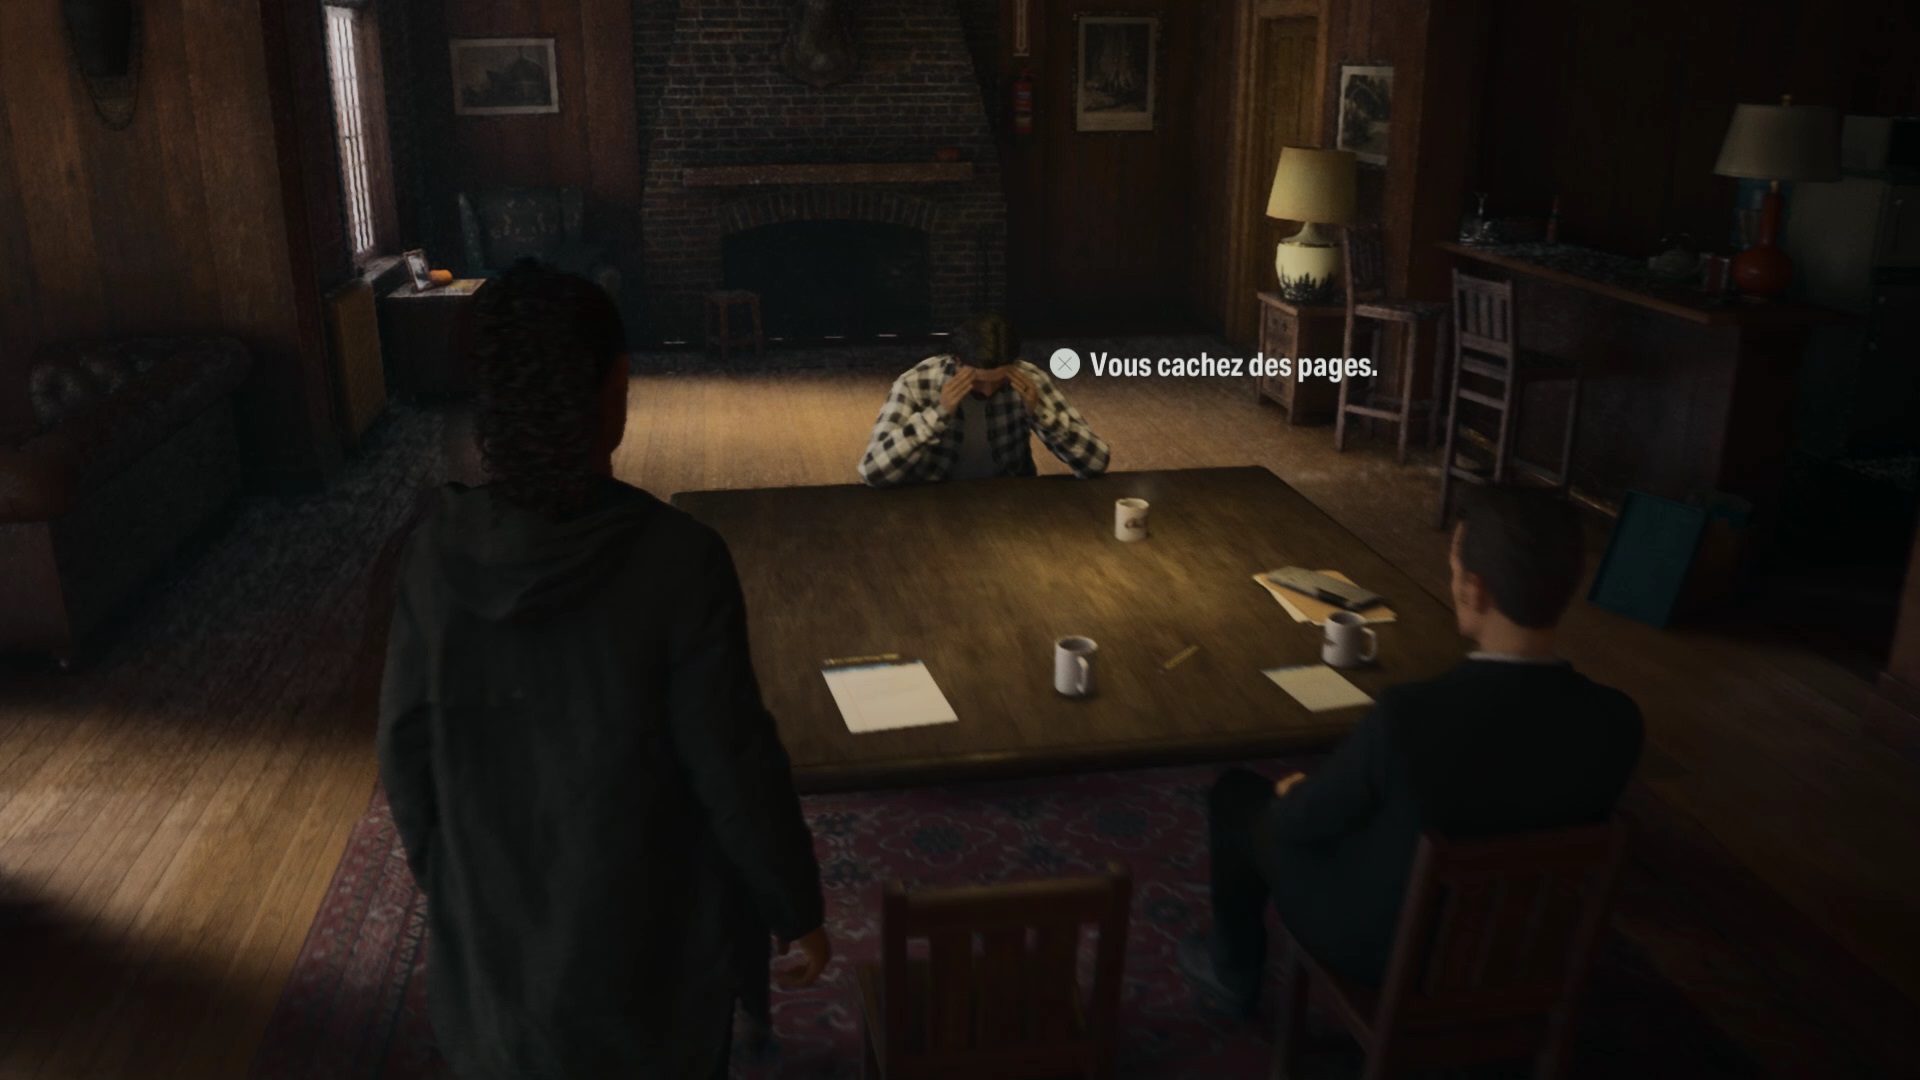
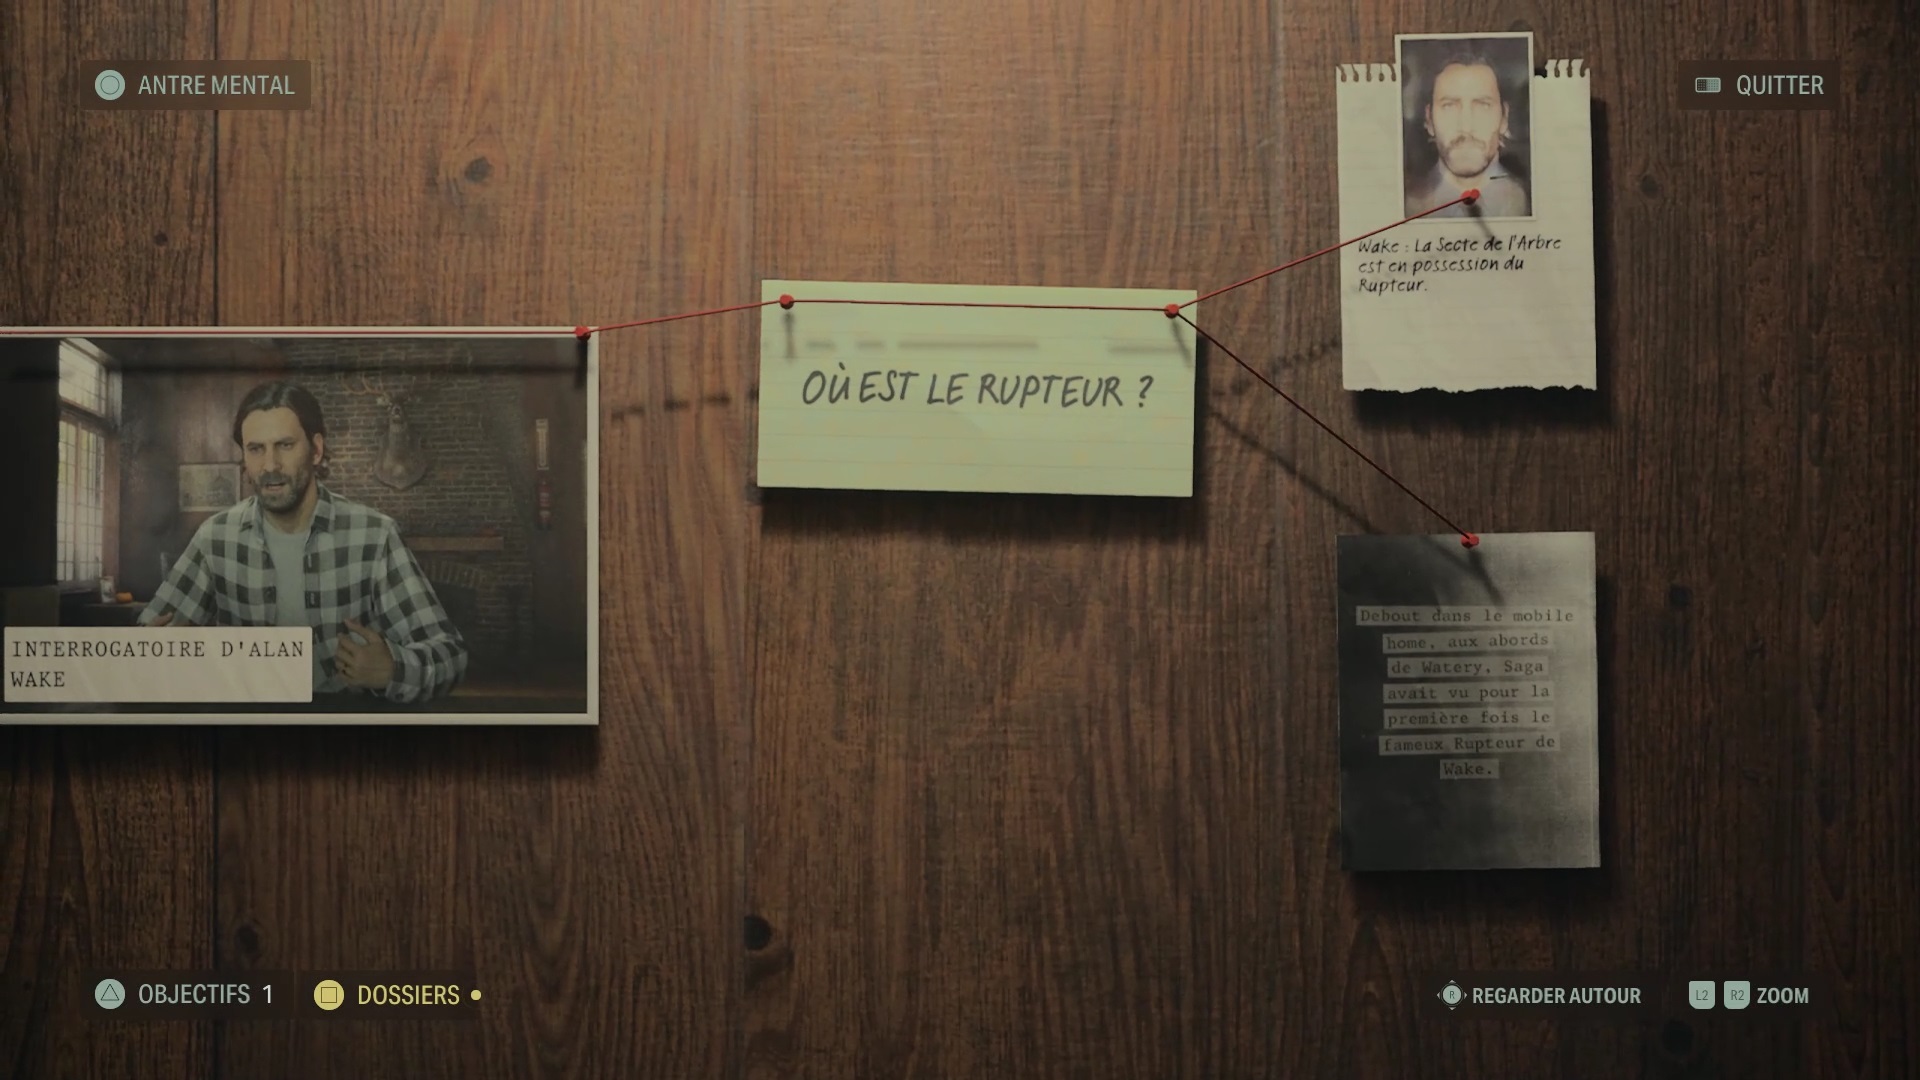
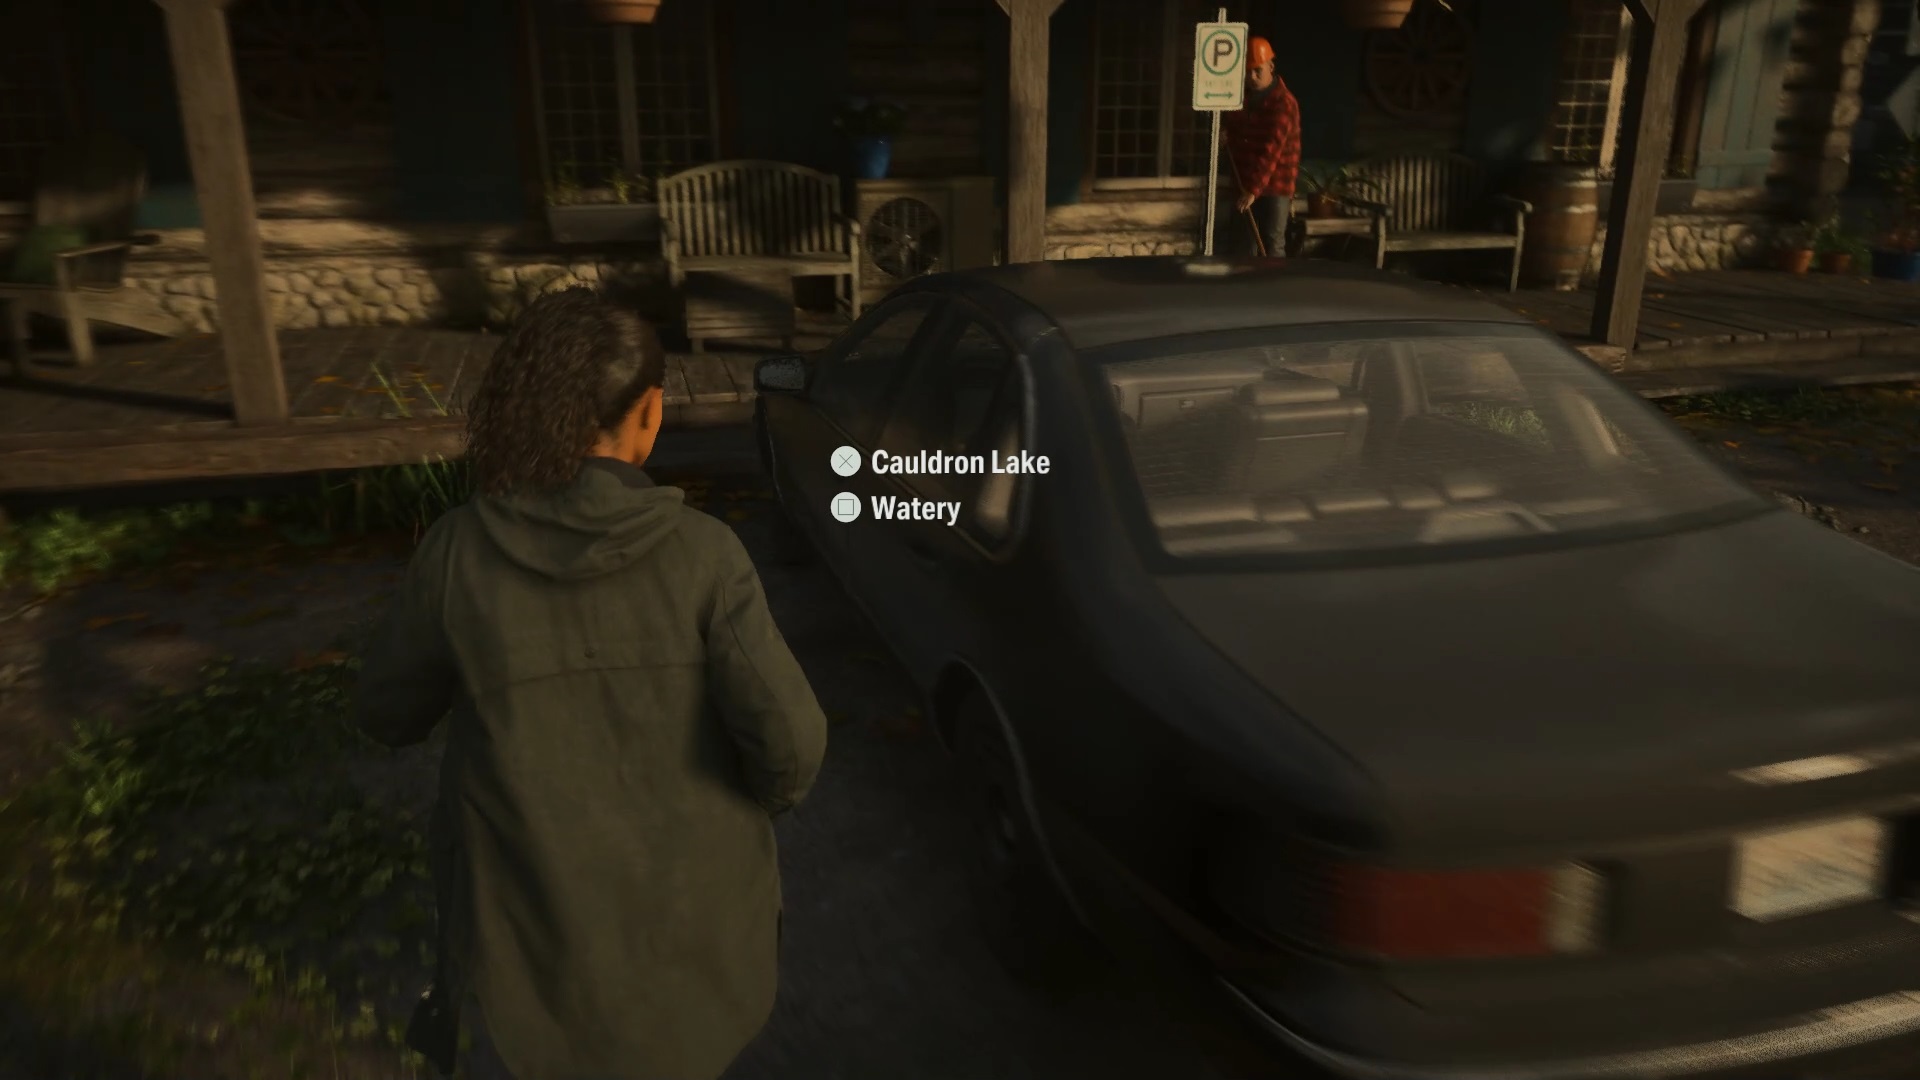
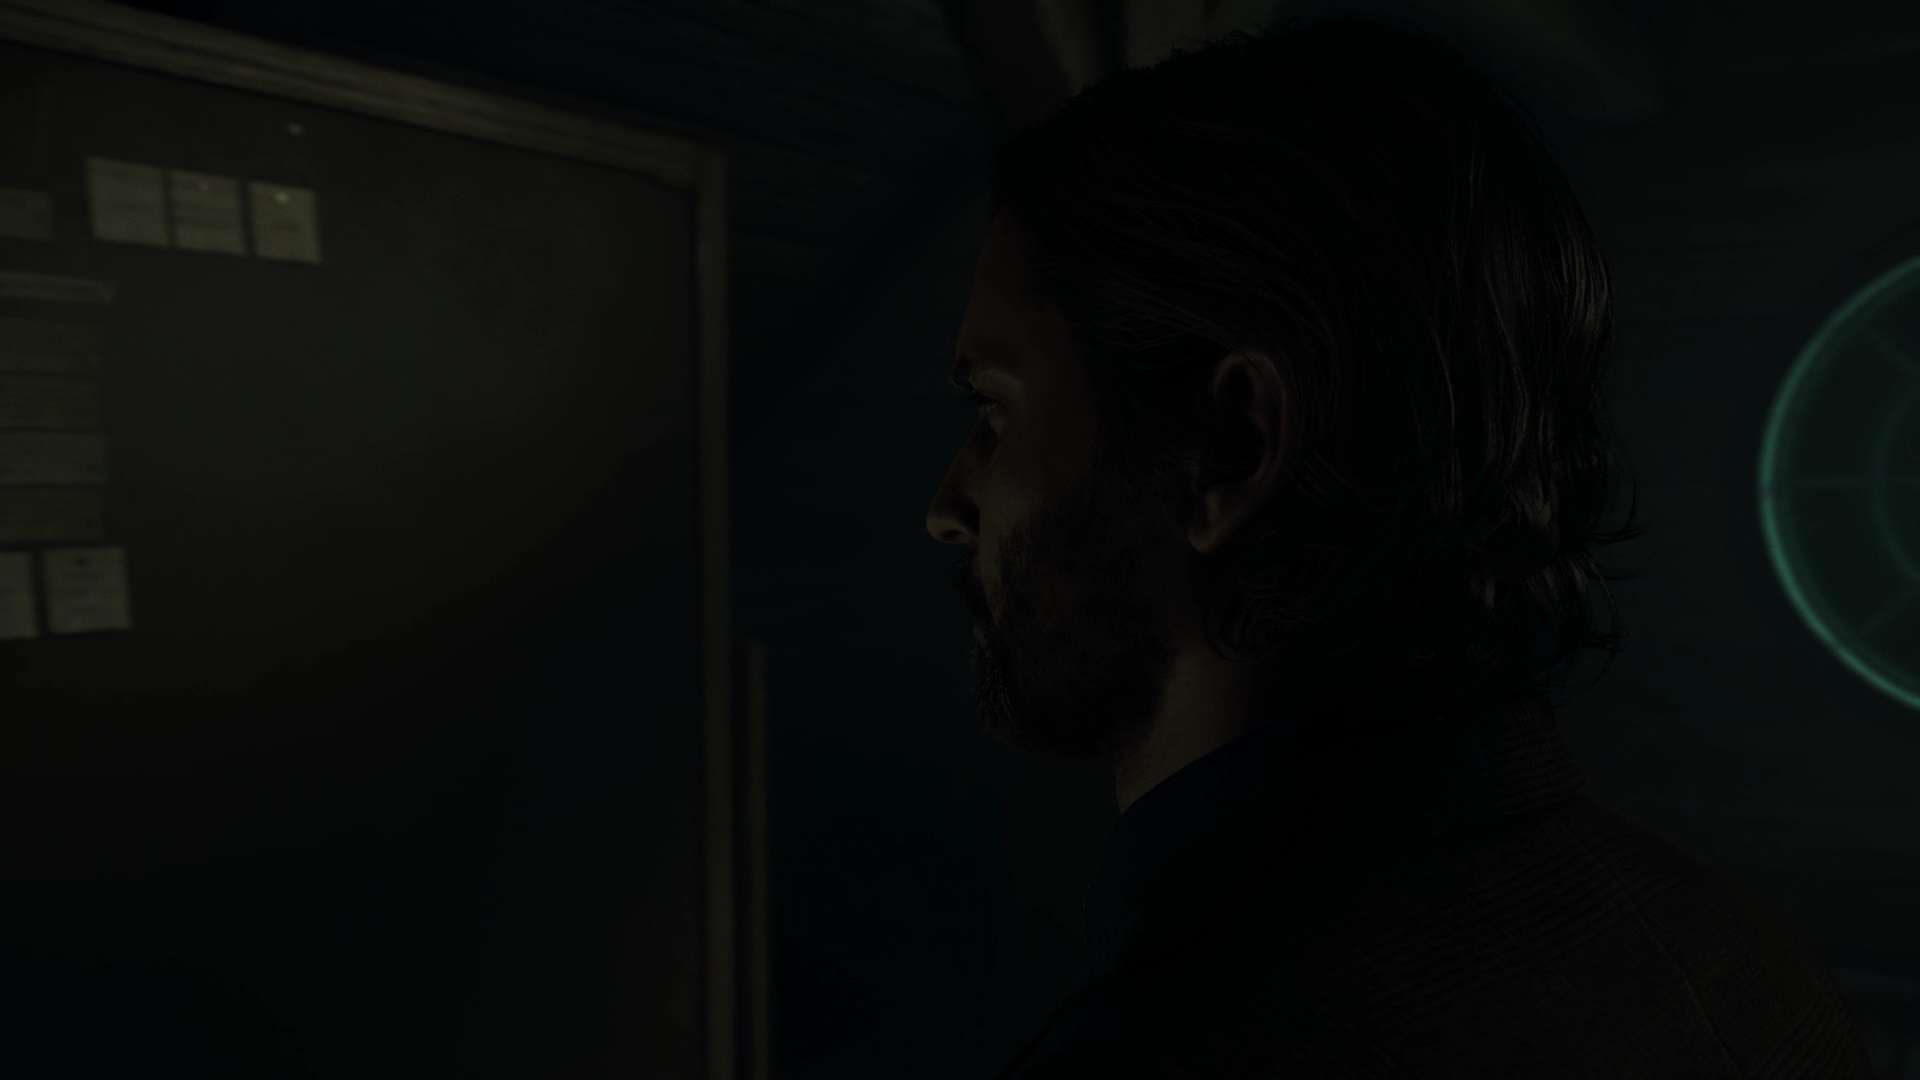
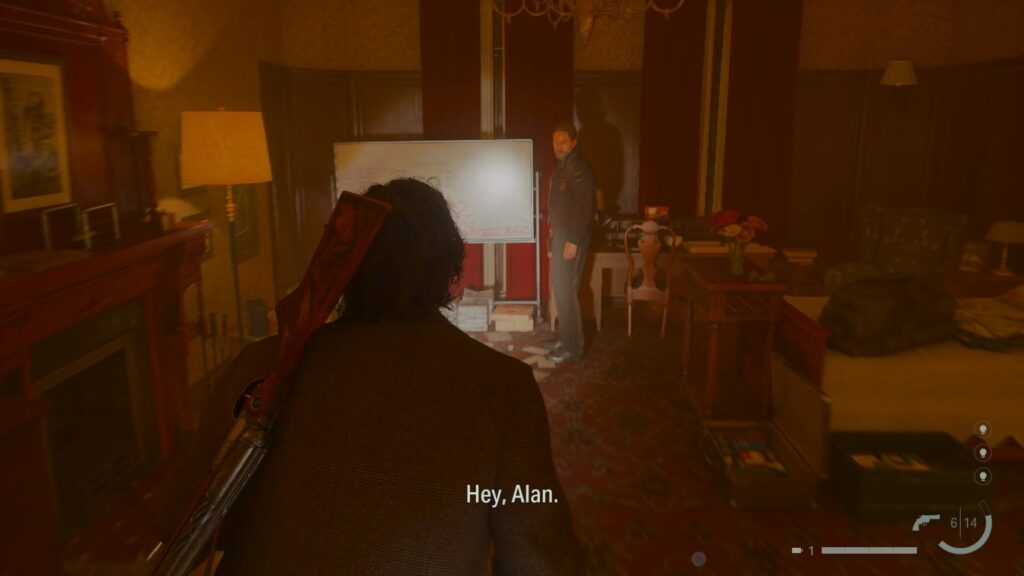
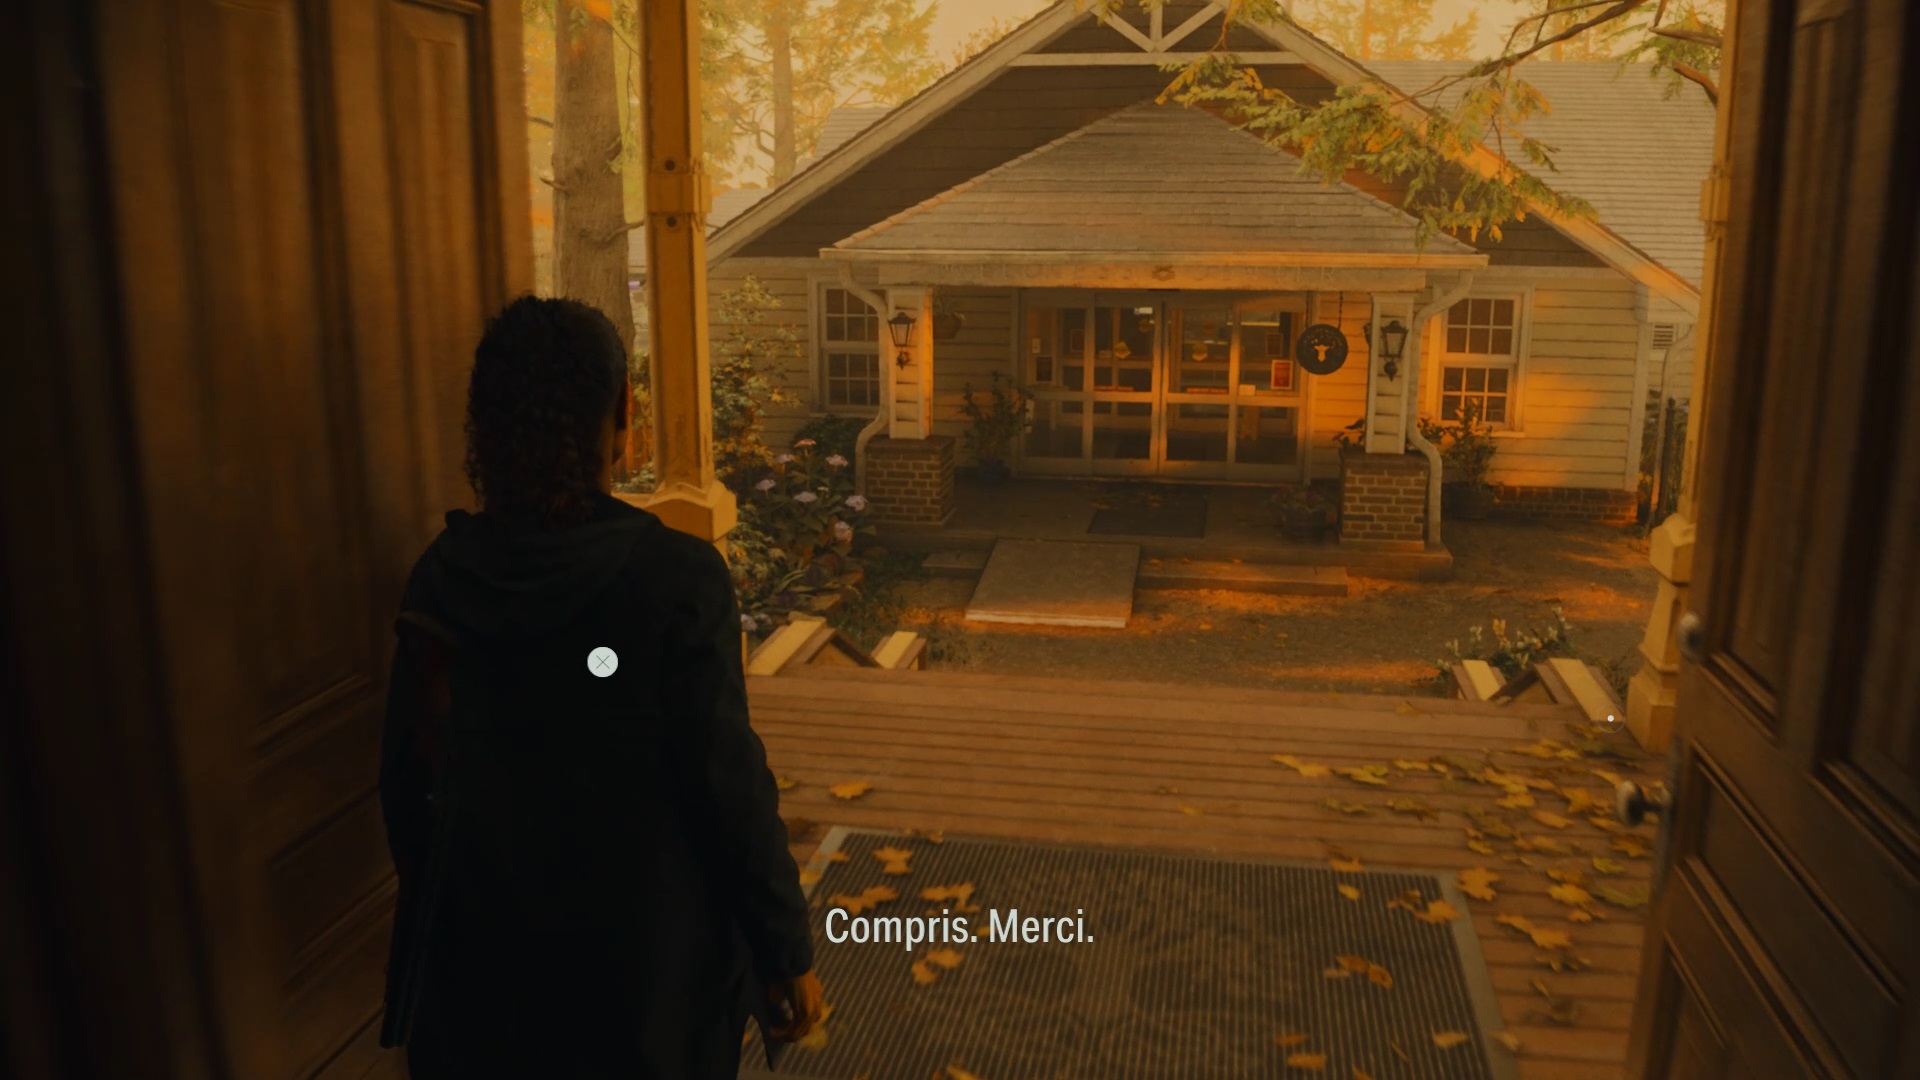
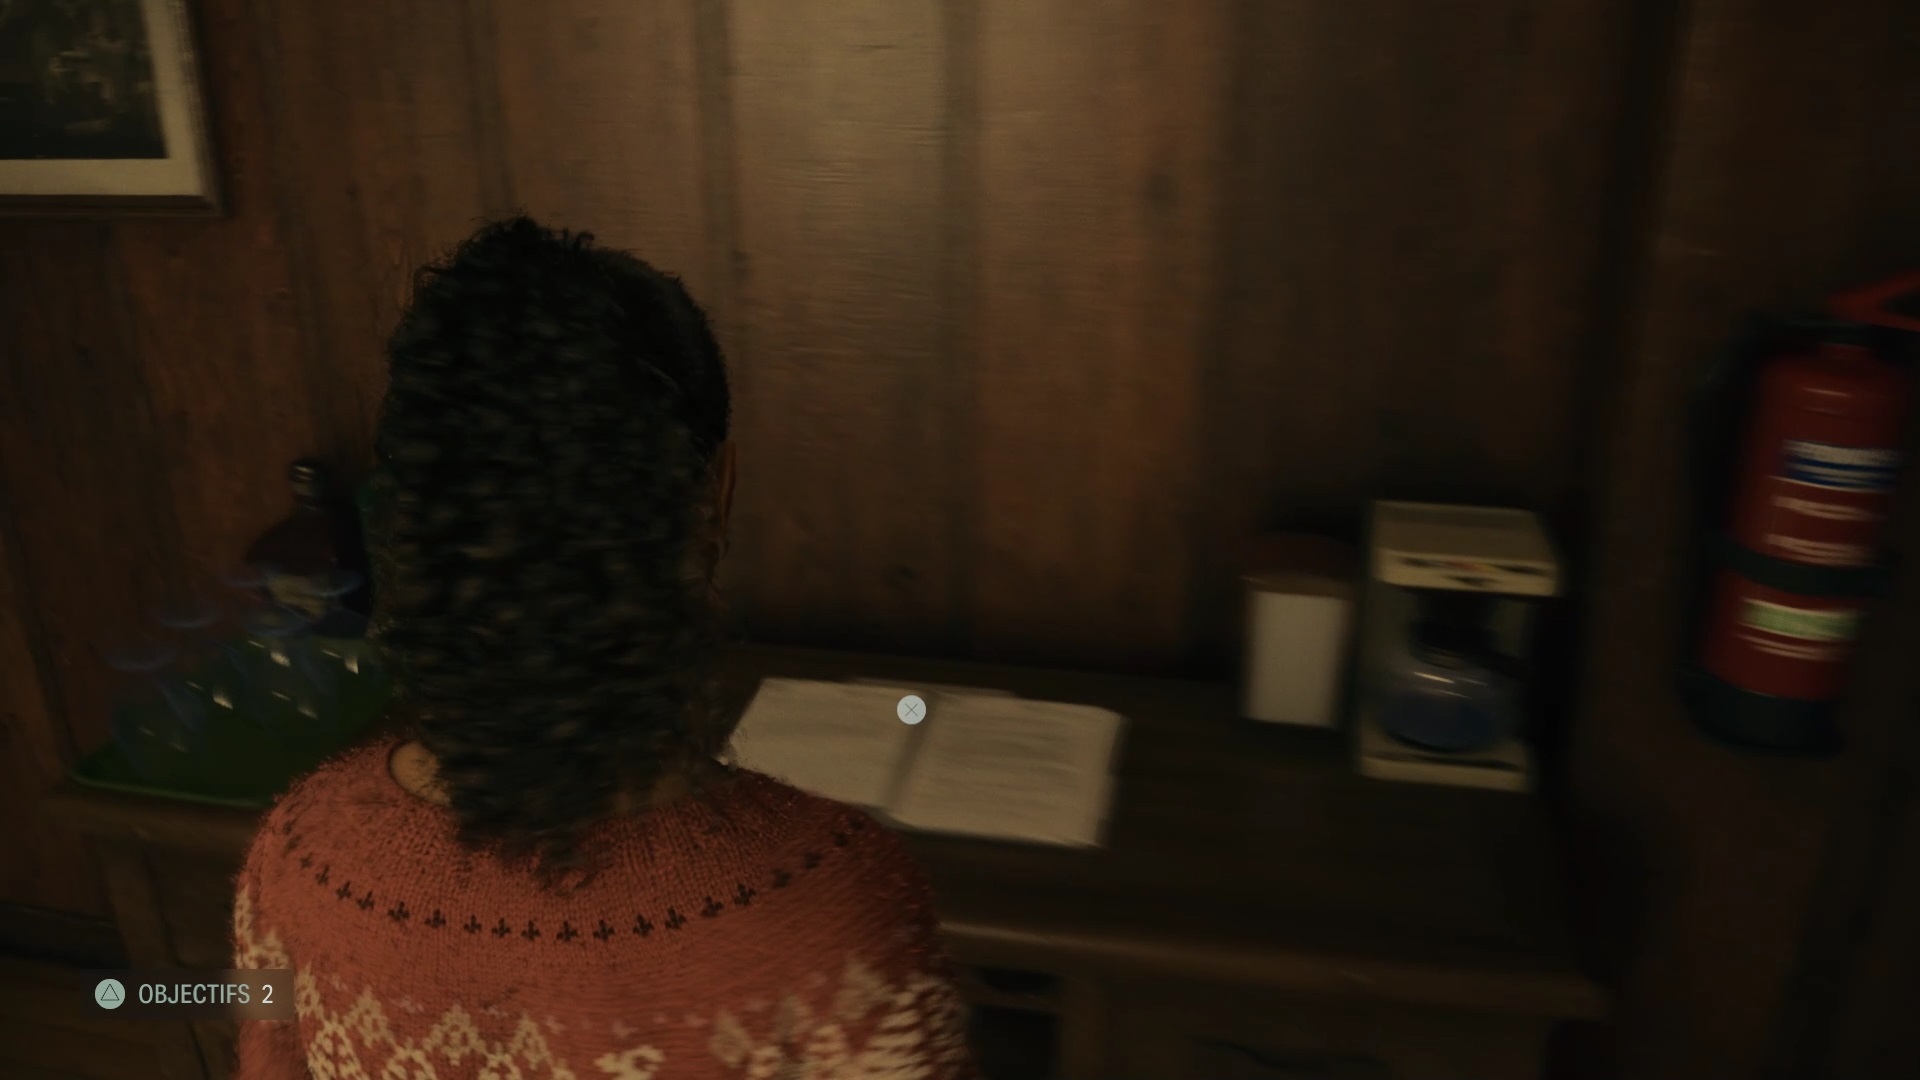
As Saga, interview Alan Wake to obtain items in the Profiling section. Once obtained, query Wake in the Profiling section to deduce that it is hiding pages. Interrogate Wake in the hotel and go into the mental place to open the trail of the cult file. Use the new elements to answer the question “Where is the Clicker?” « . Return to the hotel to obtain your new objective. Take the car in front of the hotel to go to Watery.
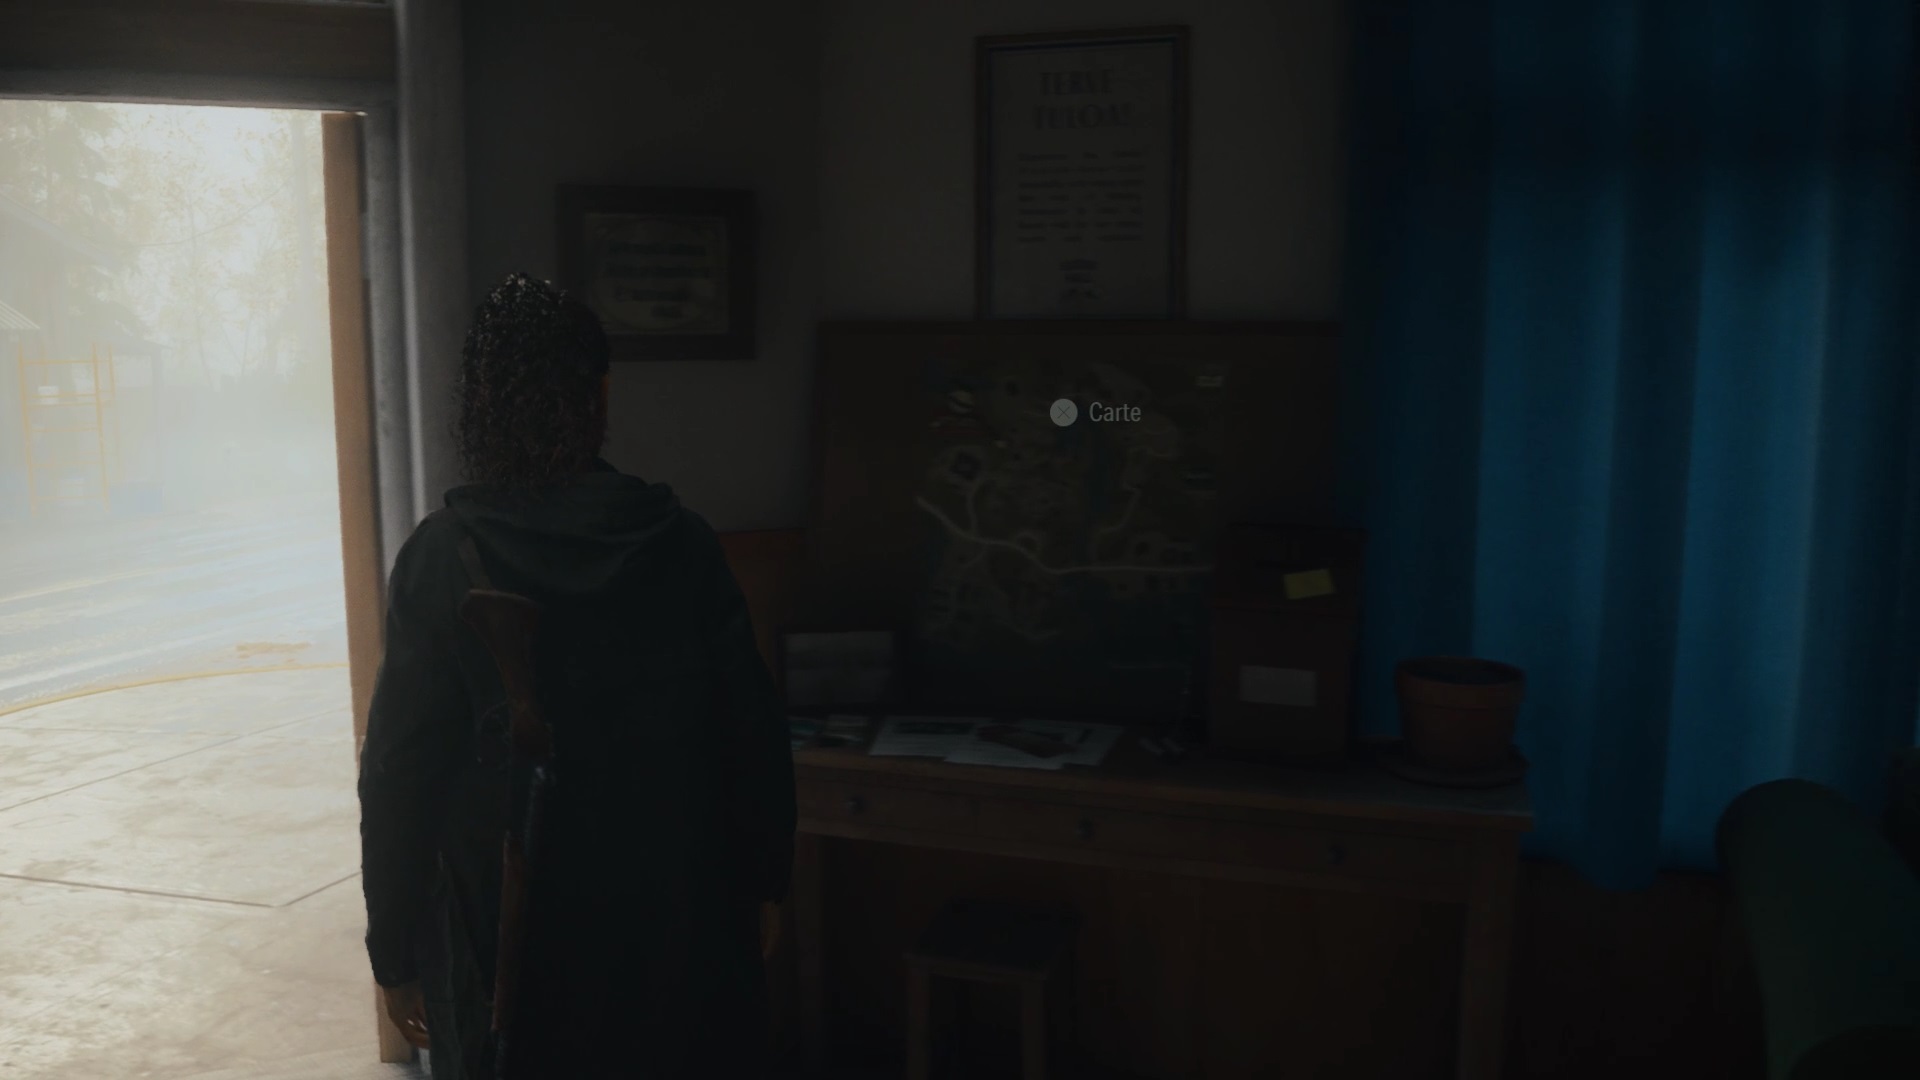
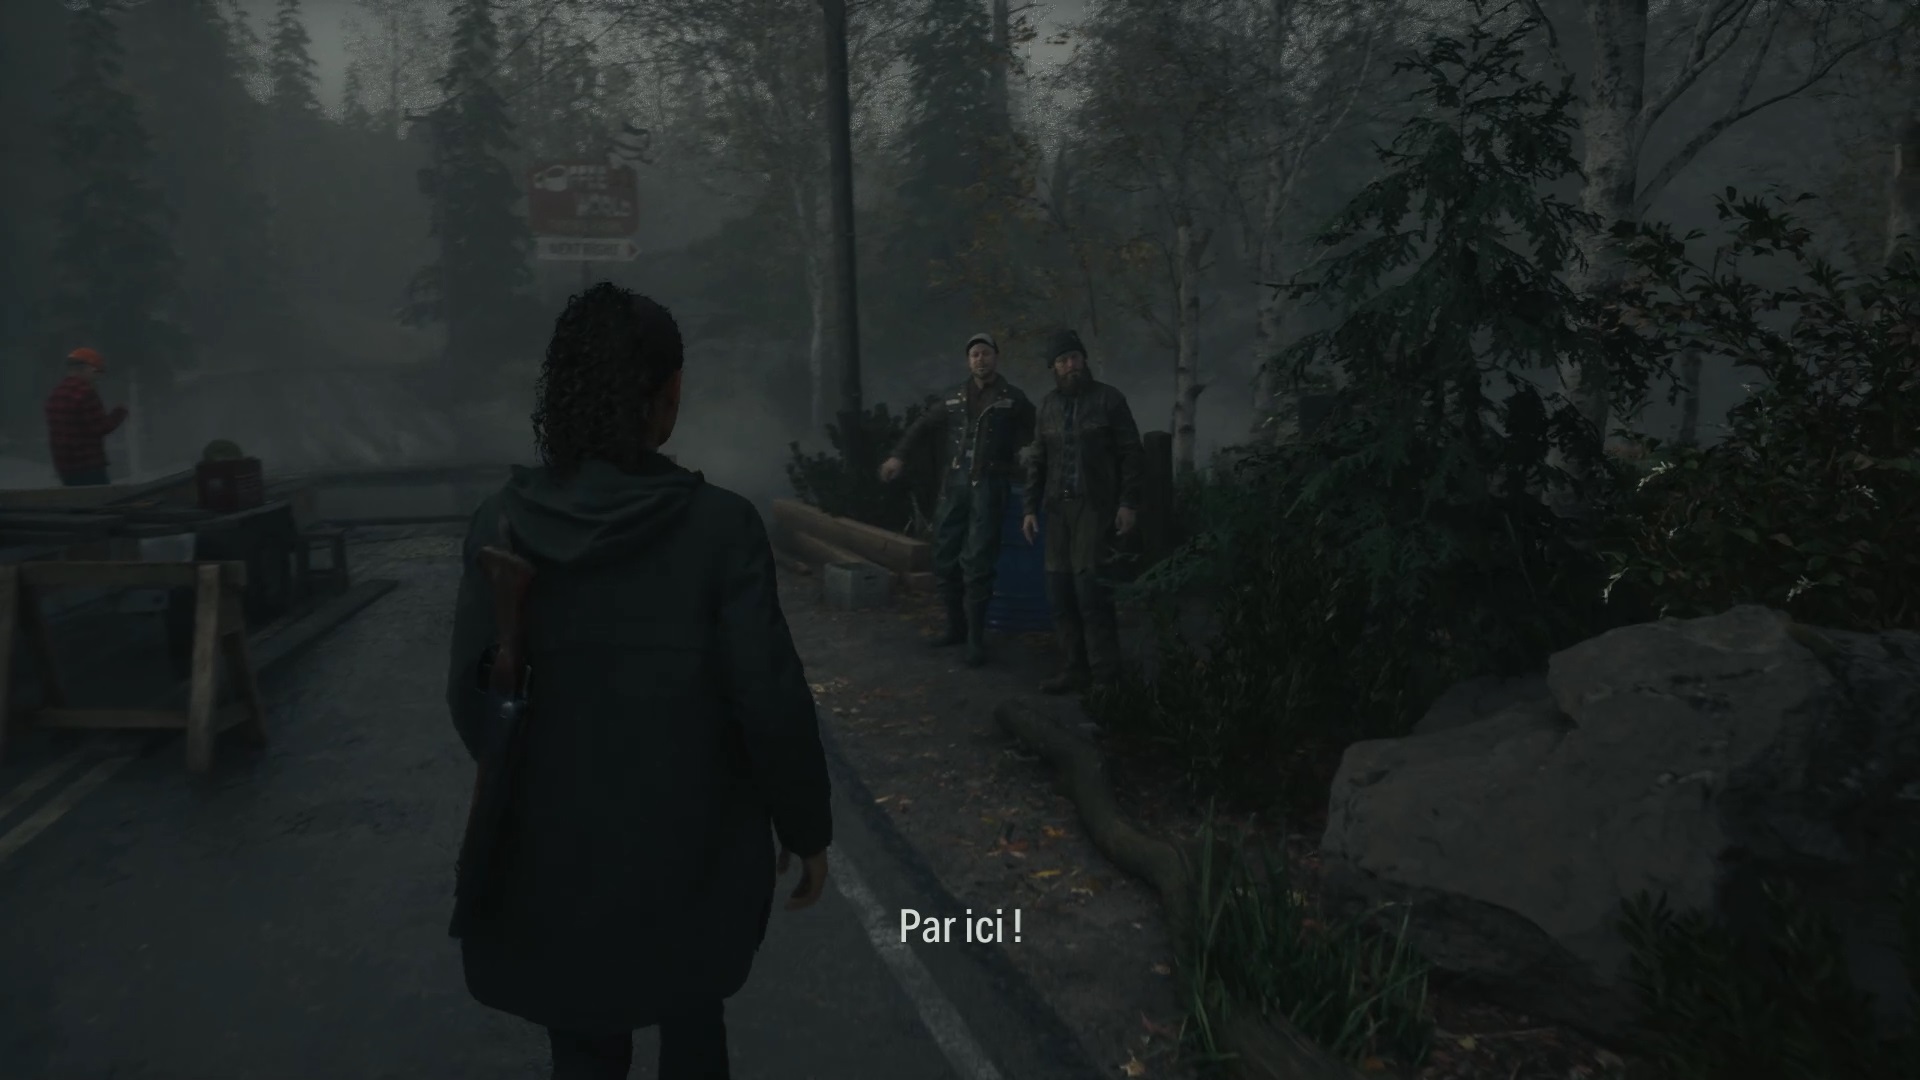
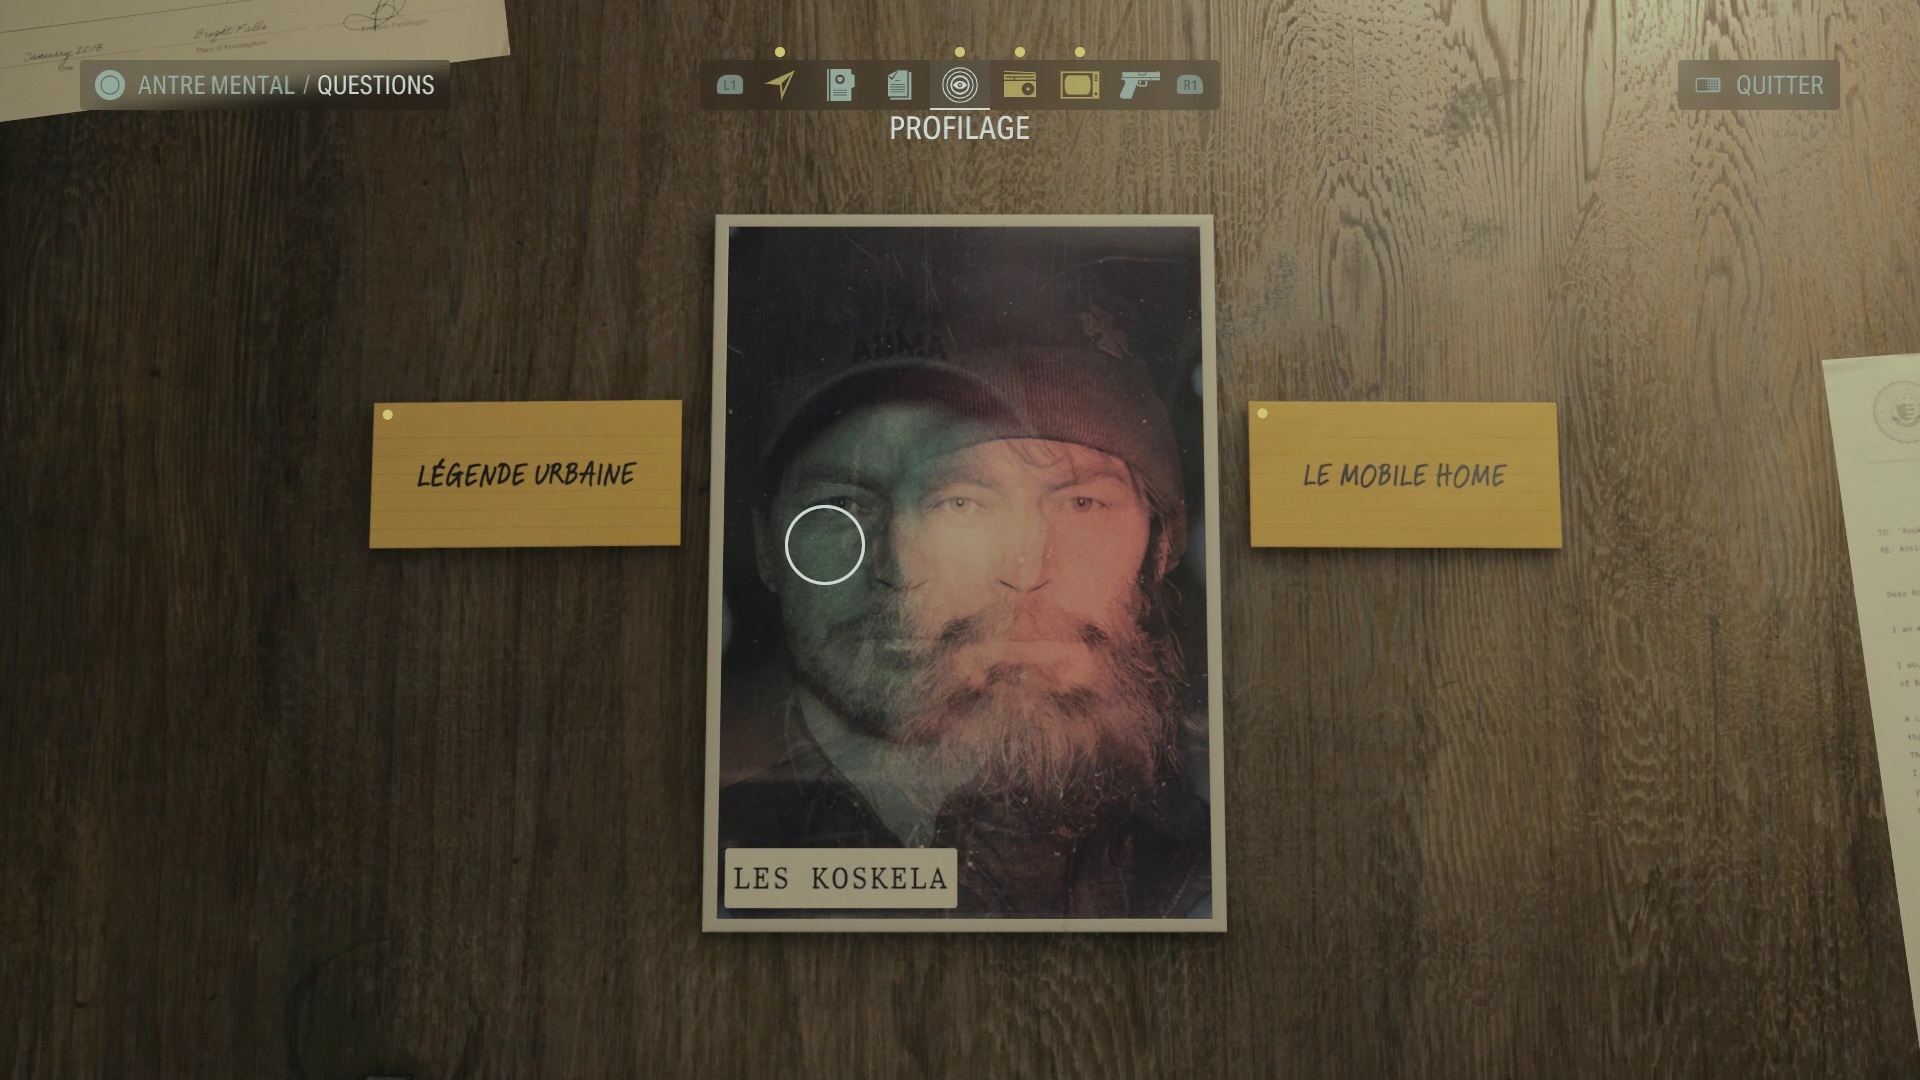
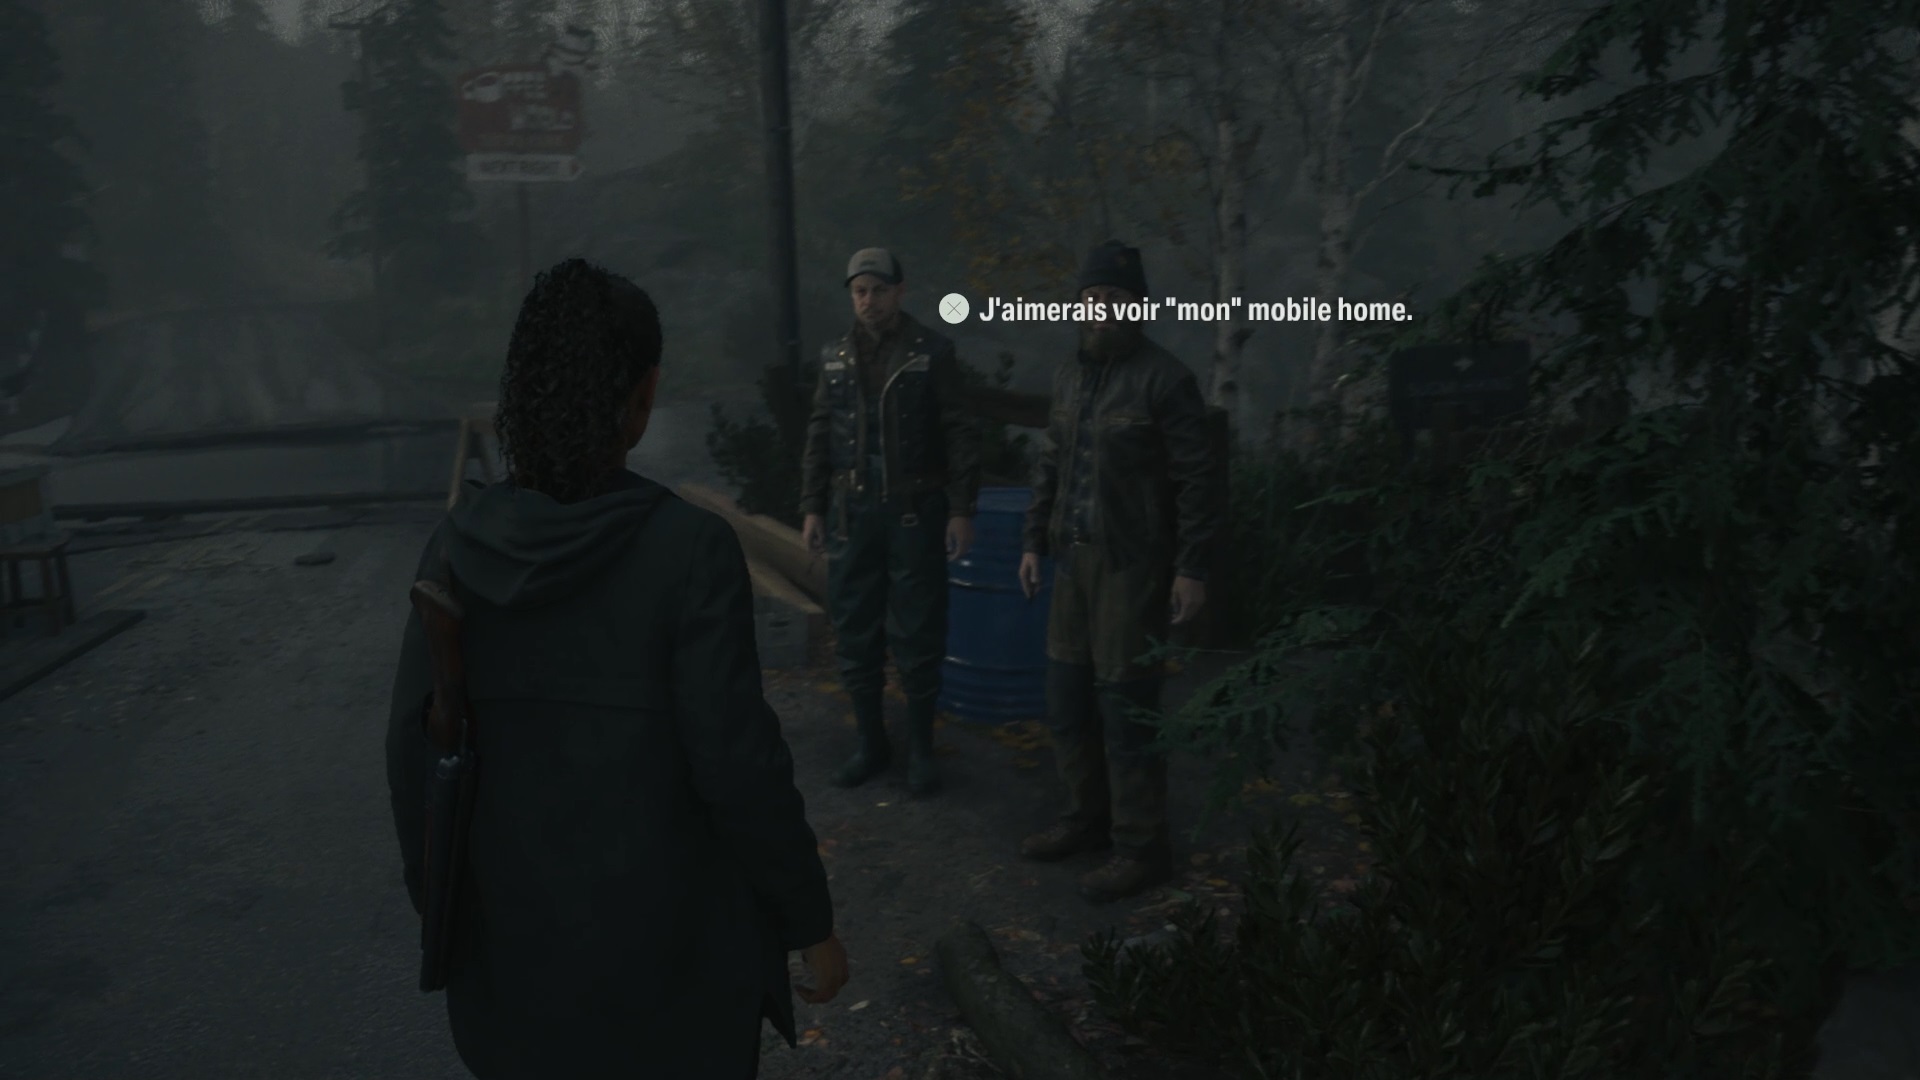
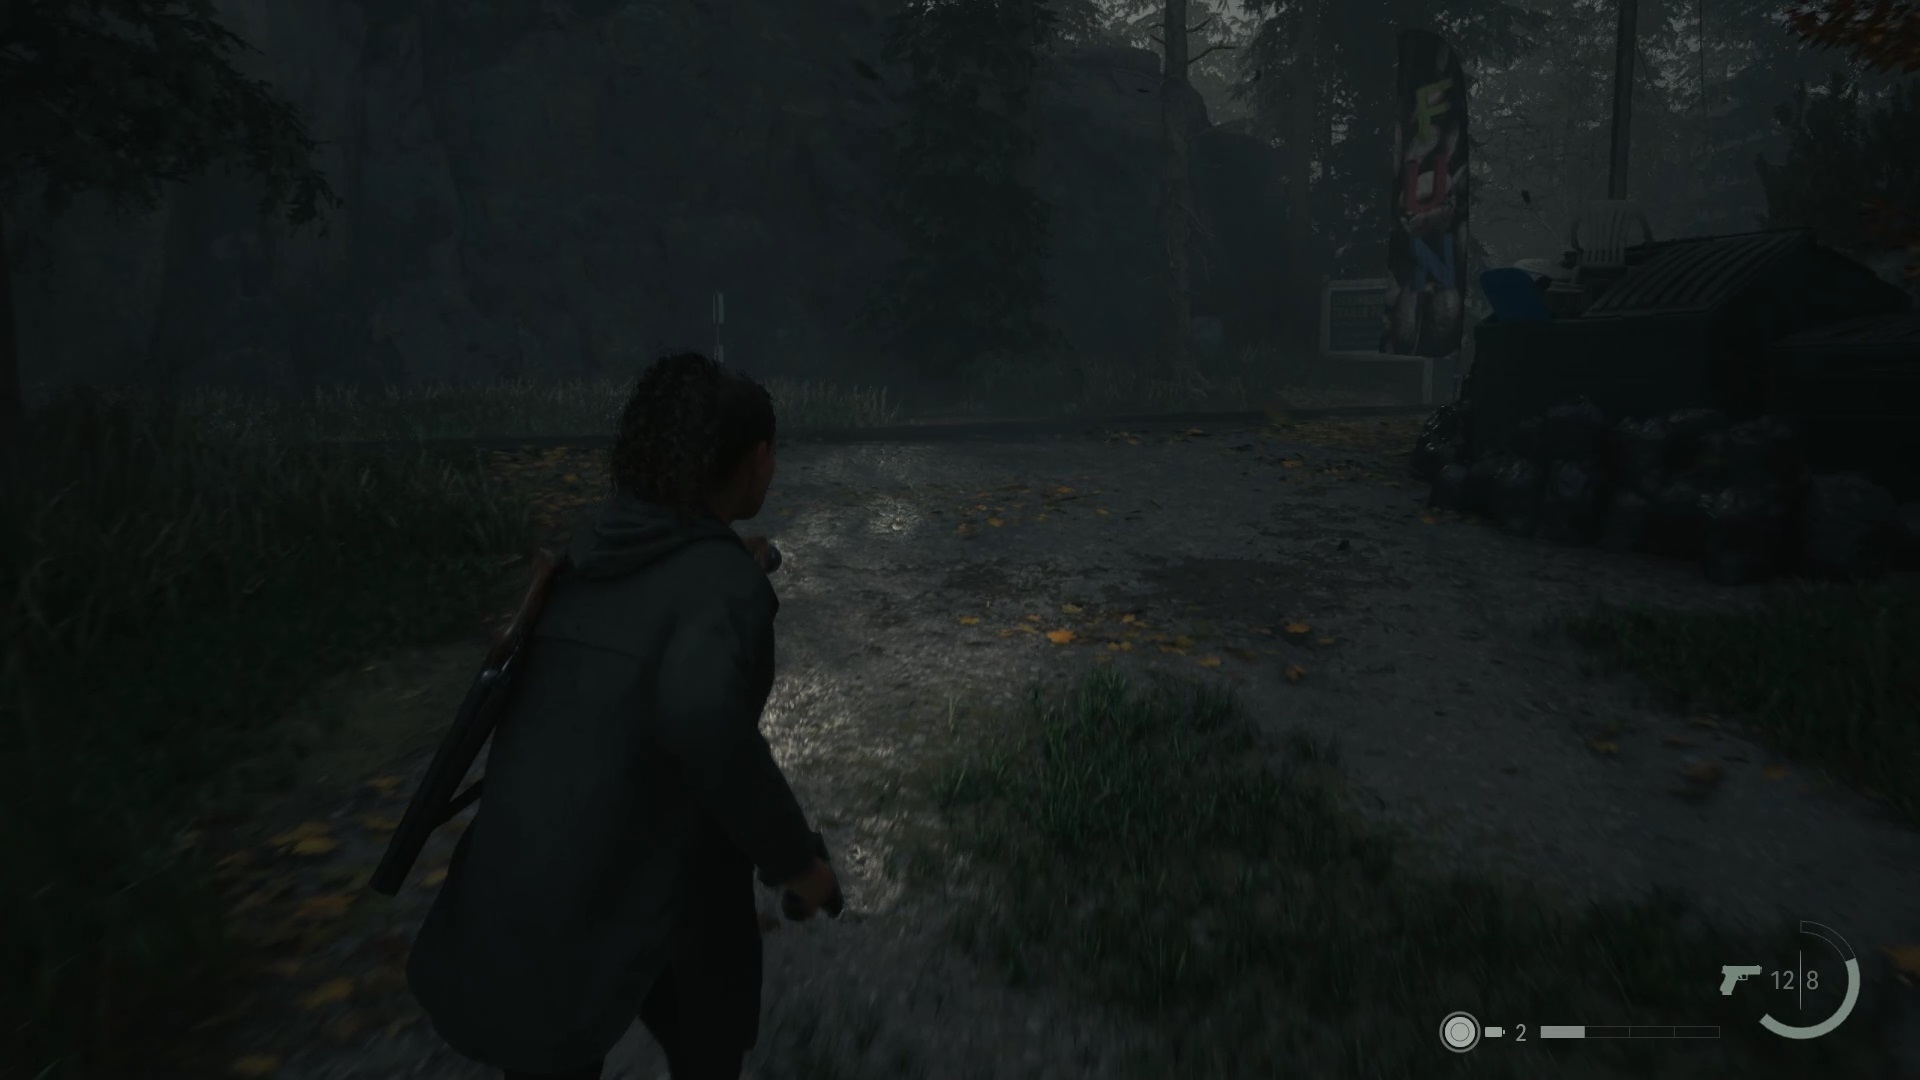
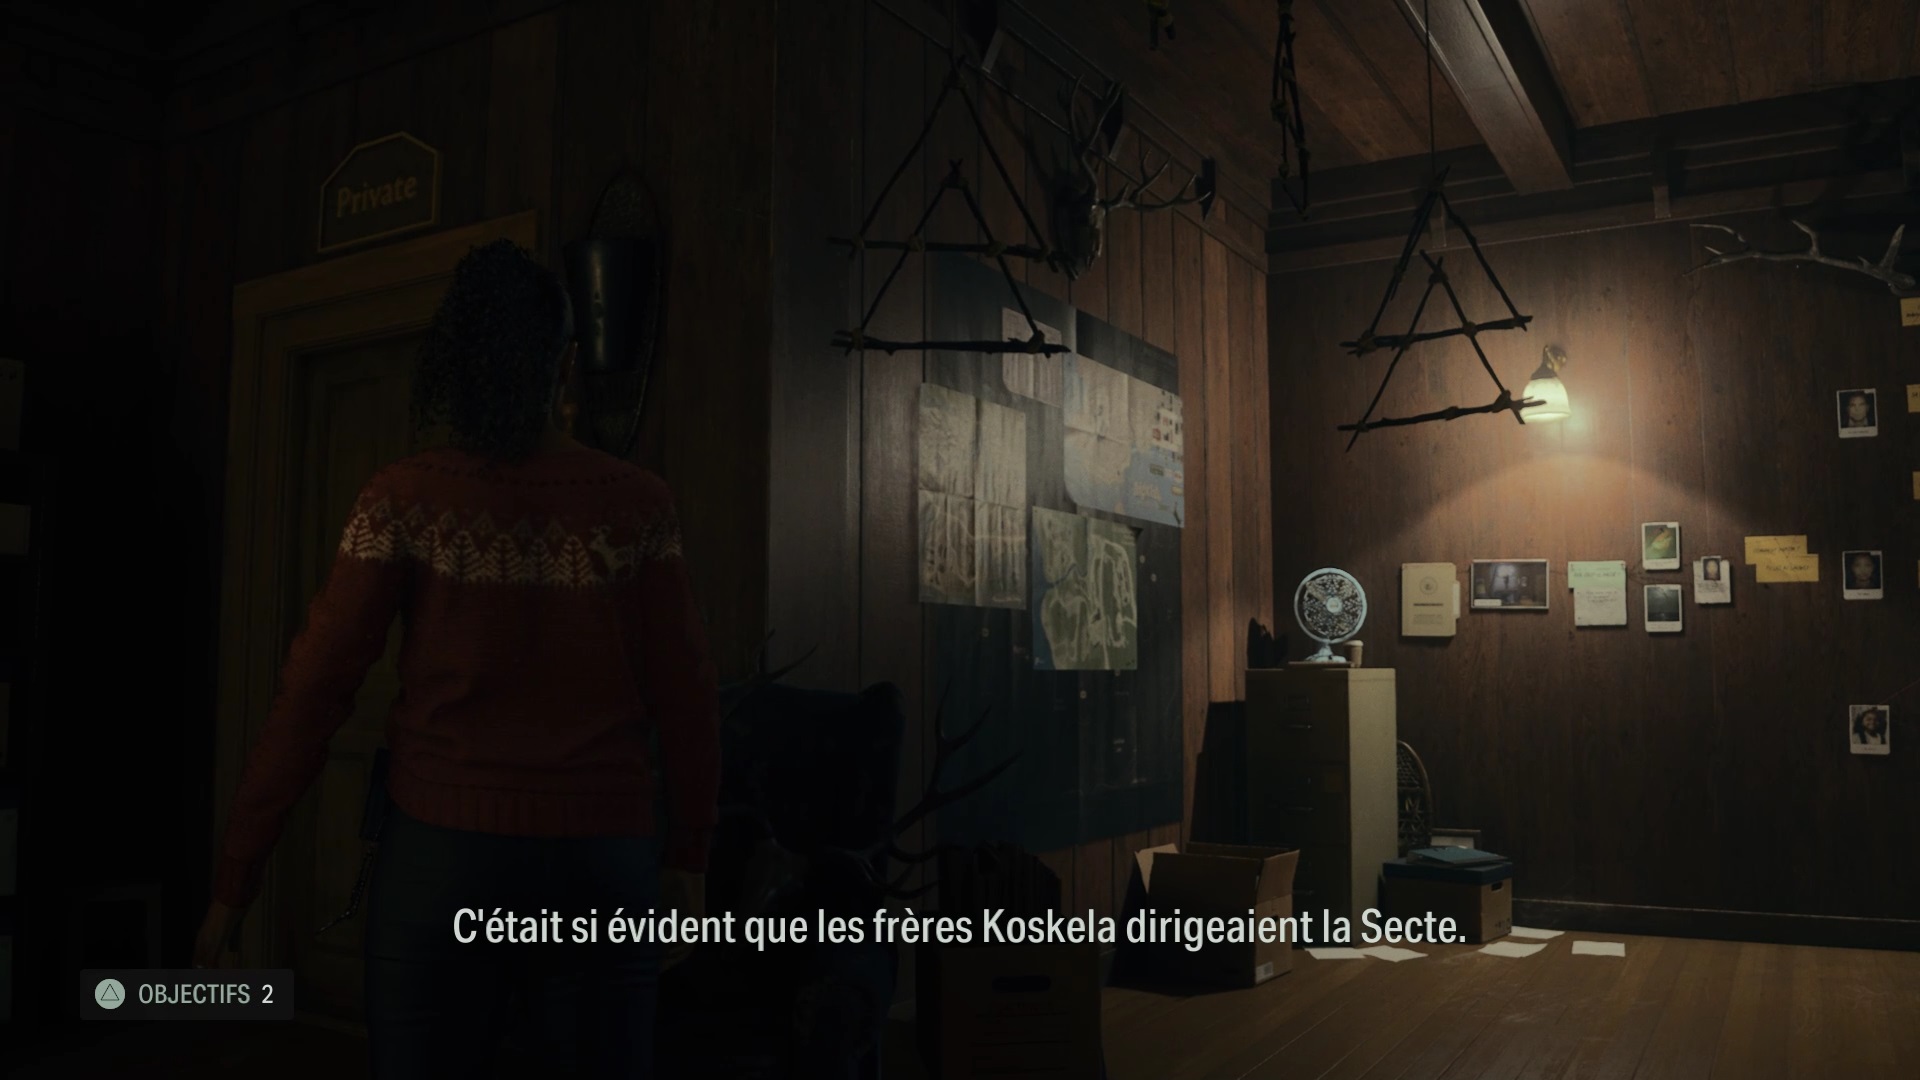
Once there, enter the bar to pick up a map of the neighborhood for later. Then go to the bottom of the road, beyond the construction barriers to speak to Ilmo. After the first questions, go to the Profiling section to interview the Koskela brothers. Return to Watery and talk to the brothers to get your new objective. Take the path near the brothers to get there.
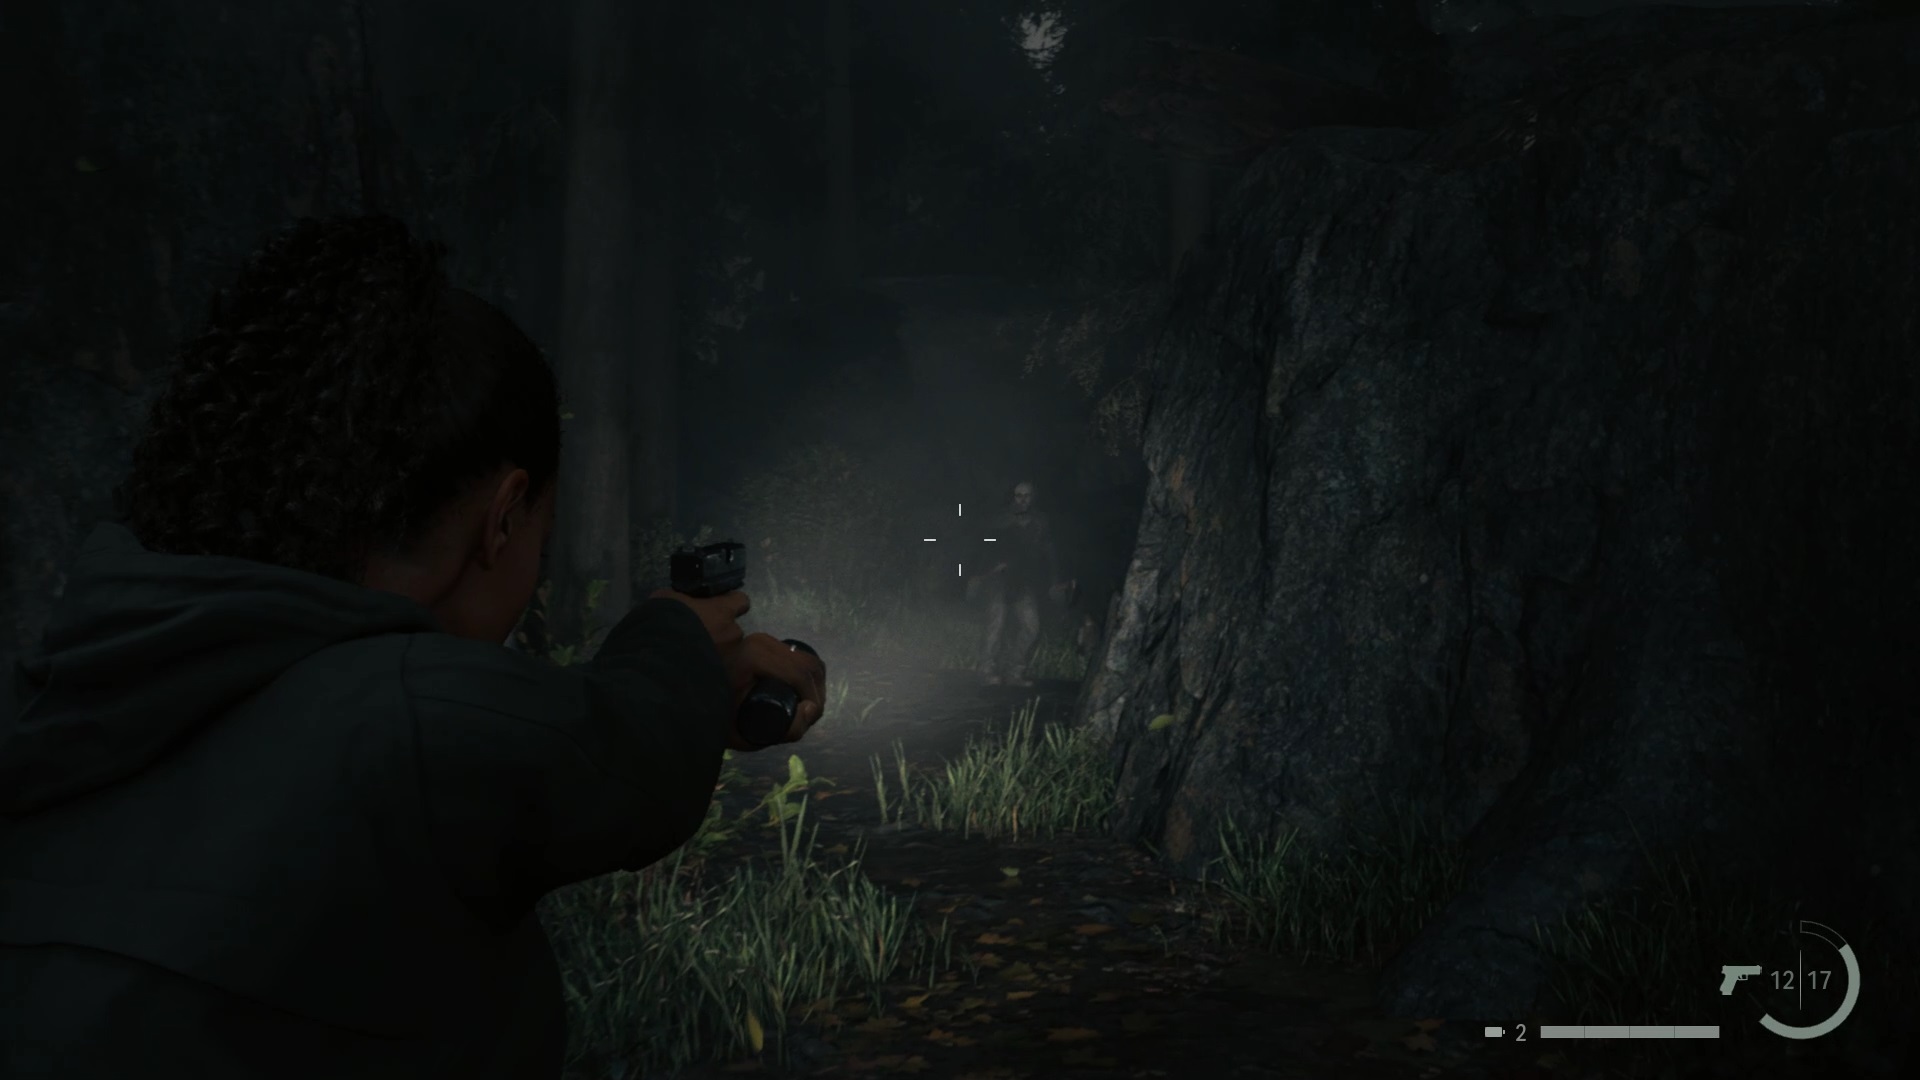
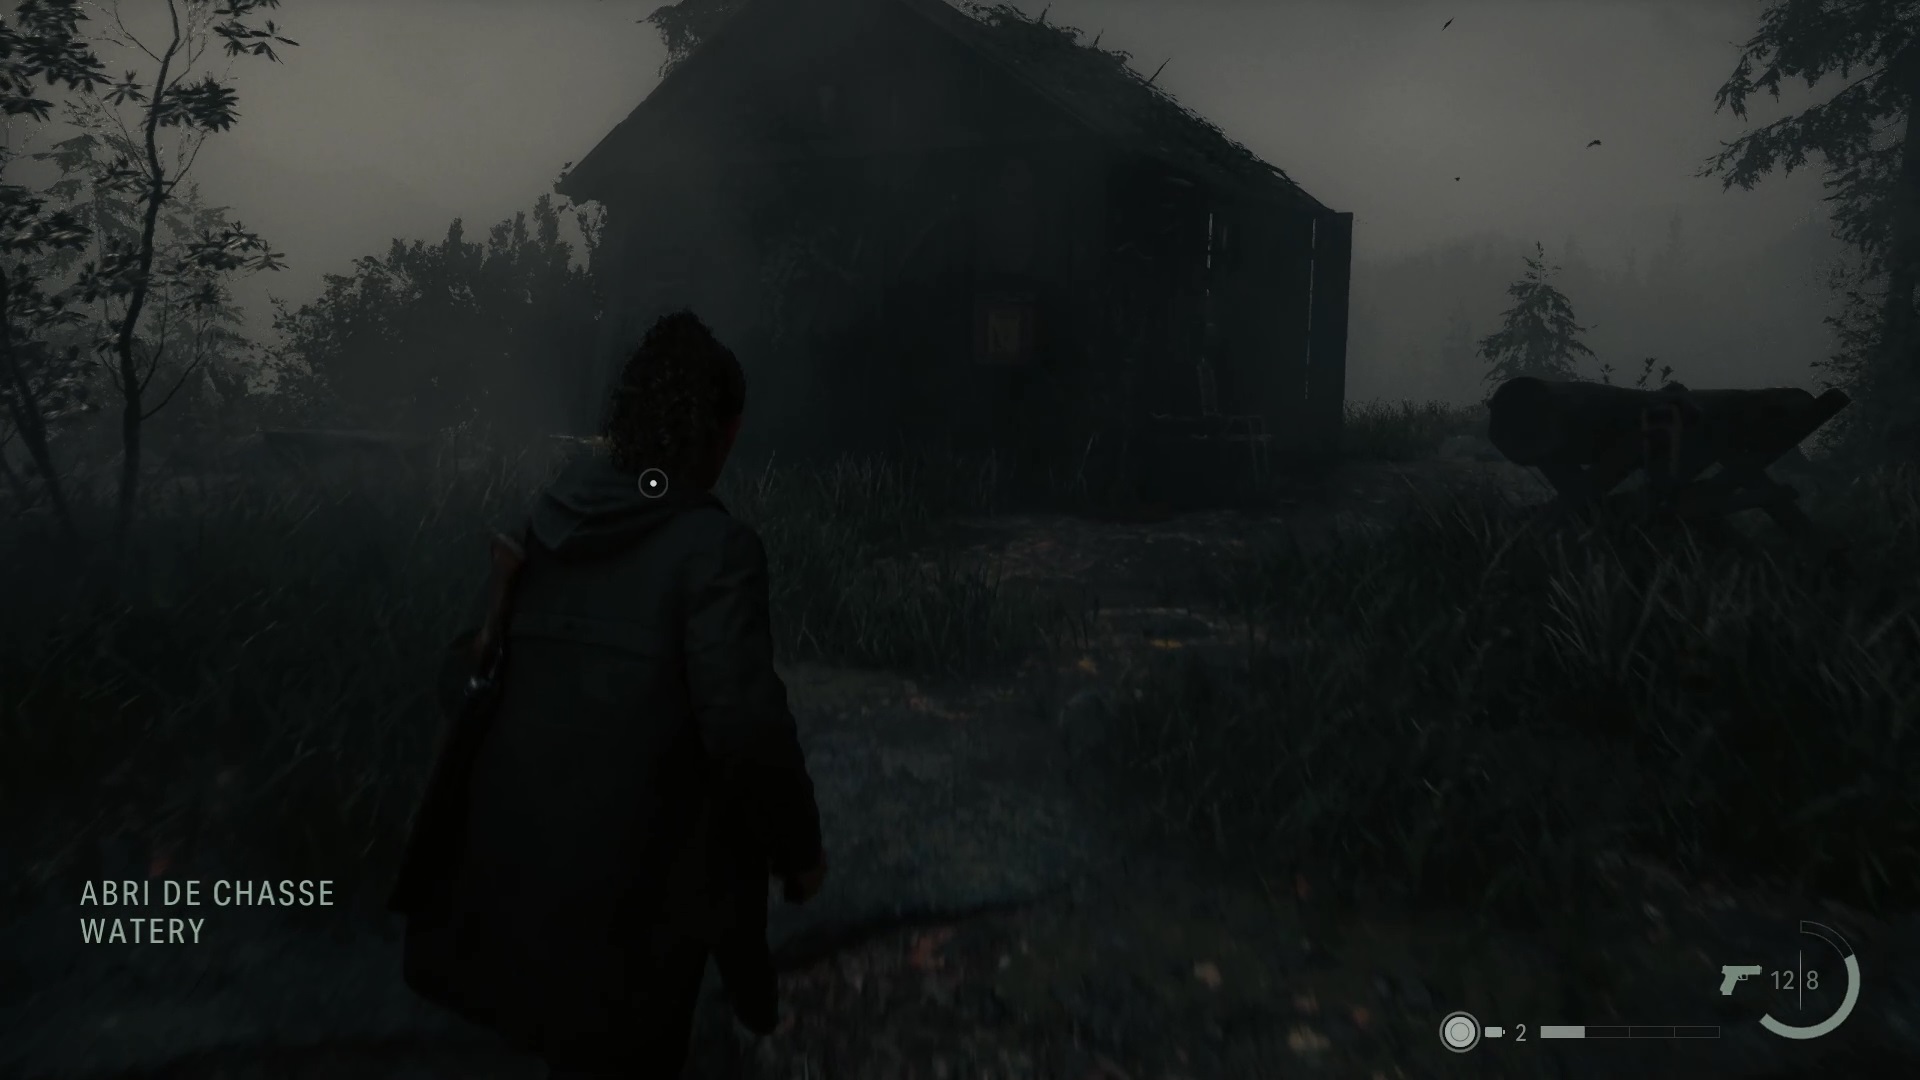
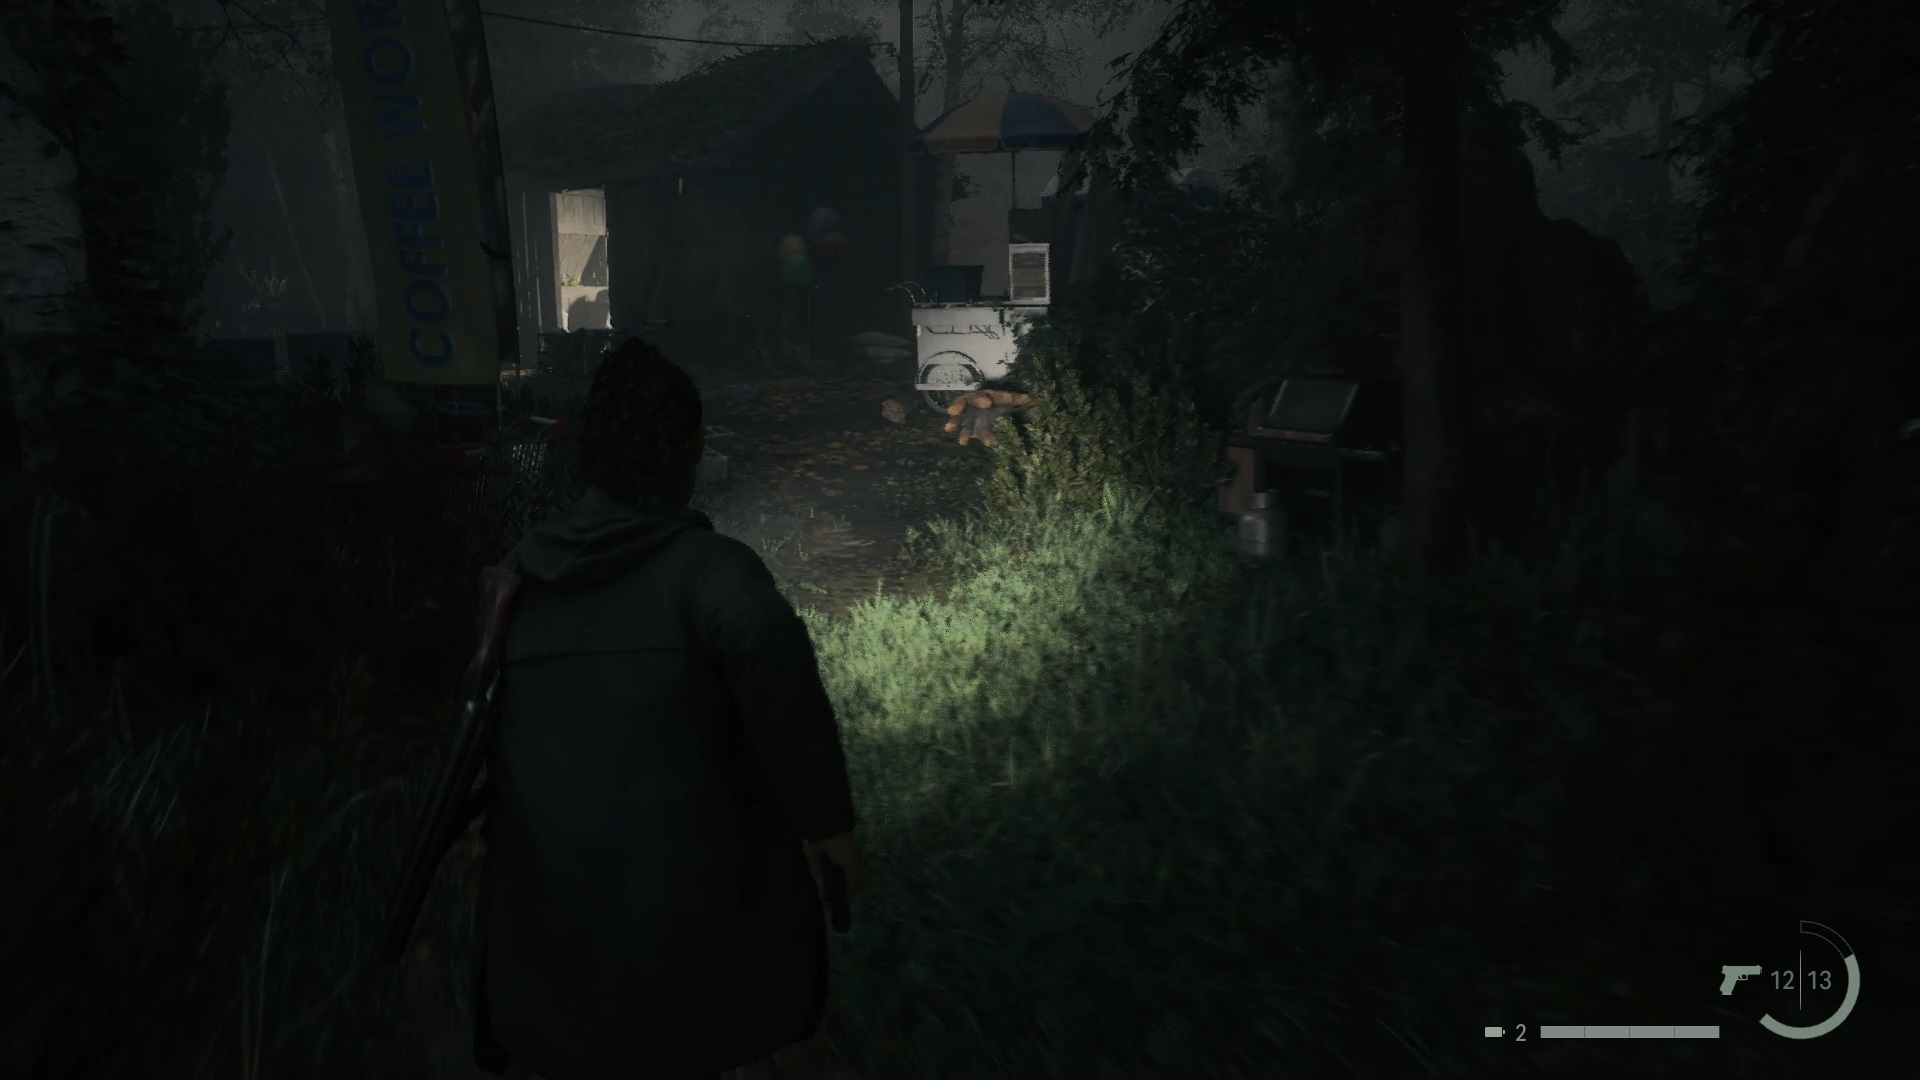
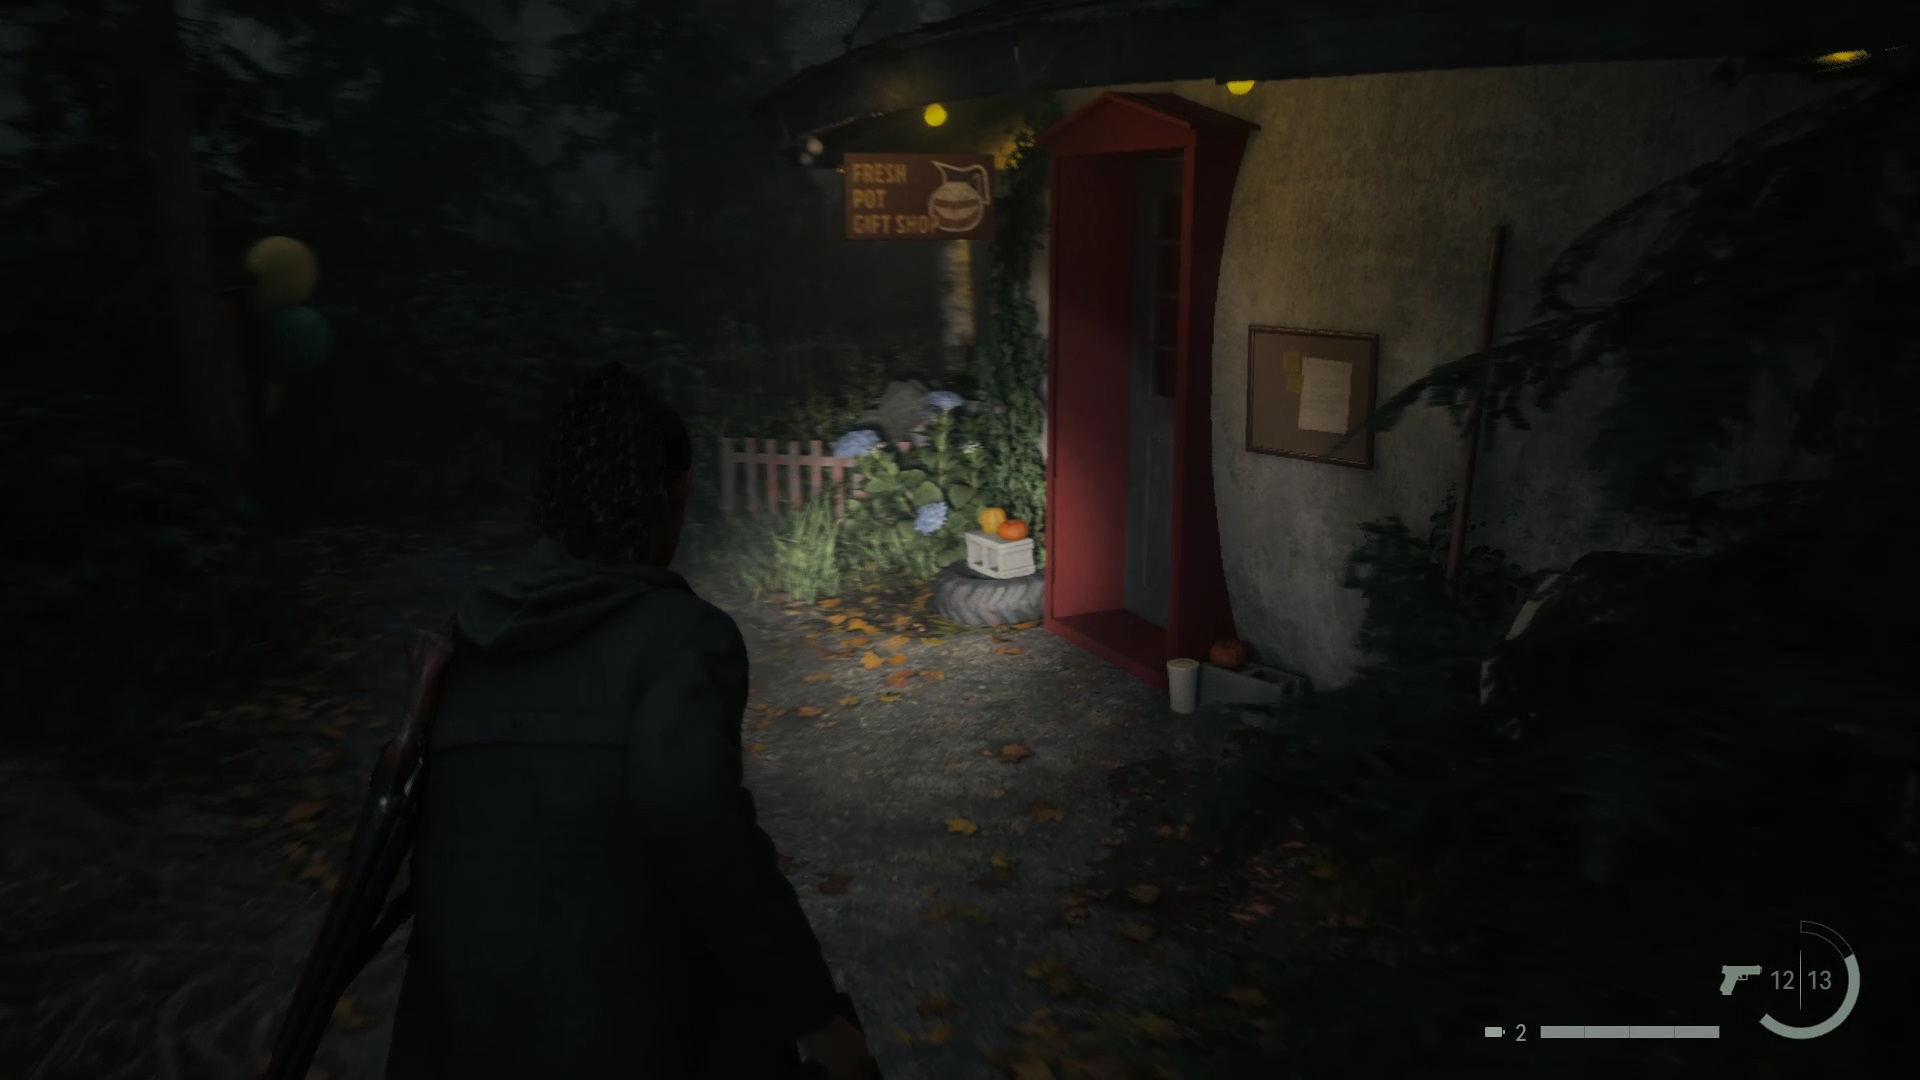
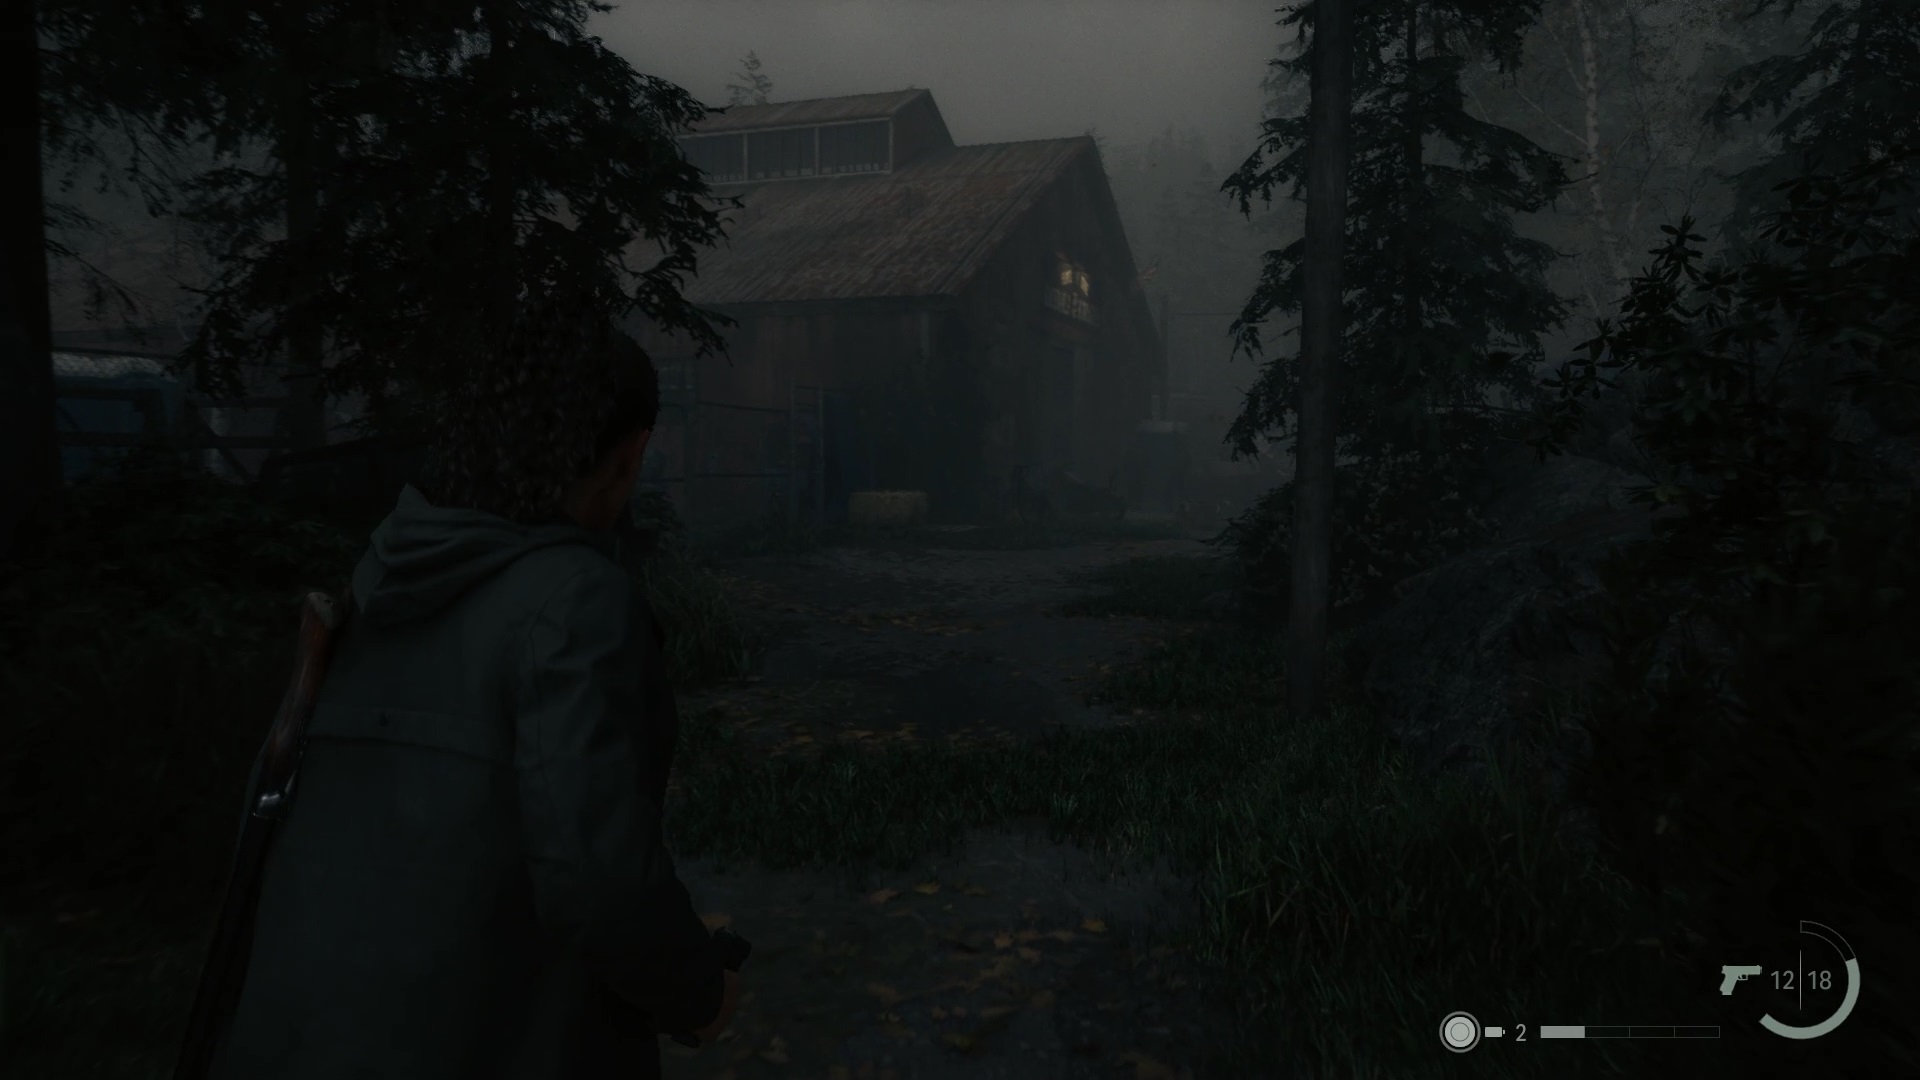
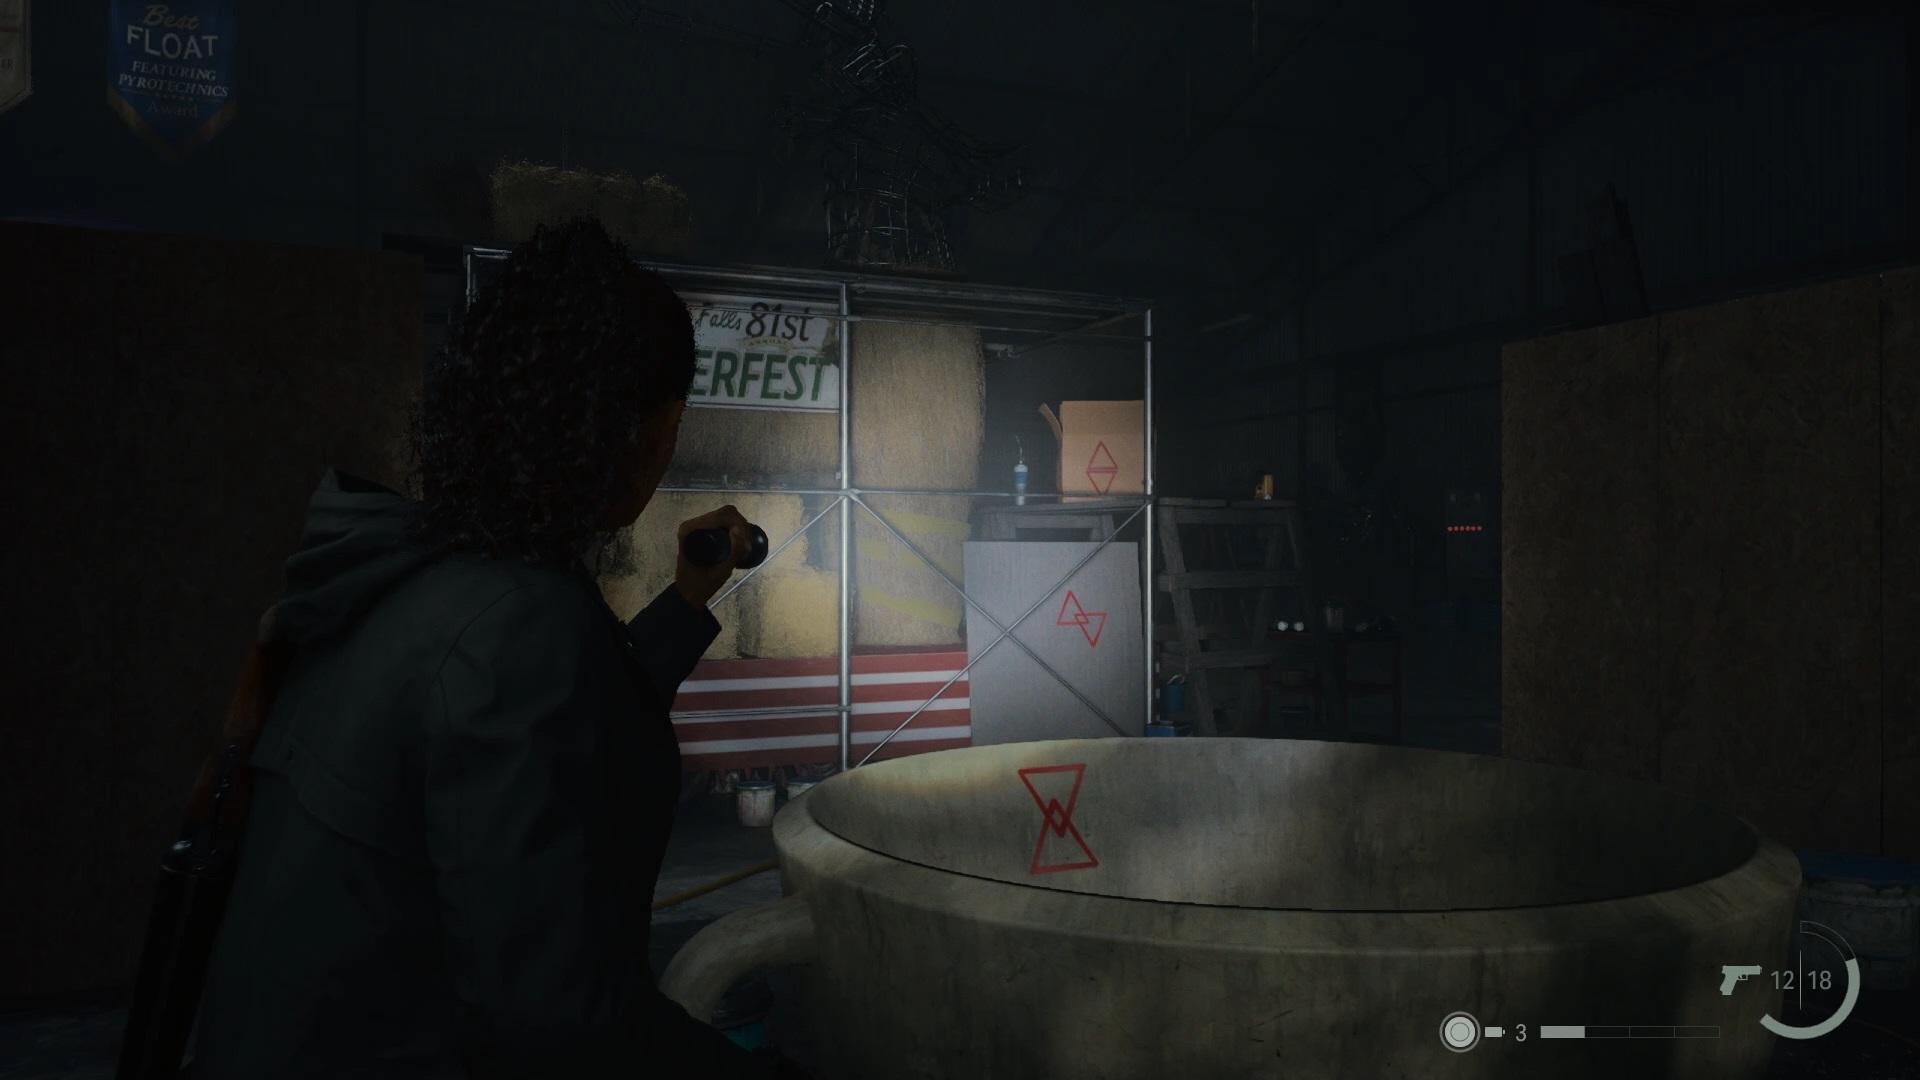
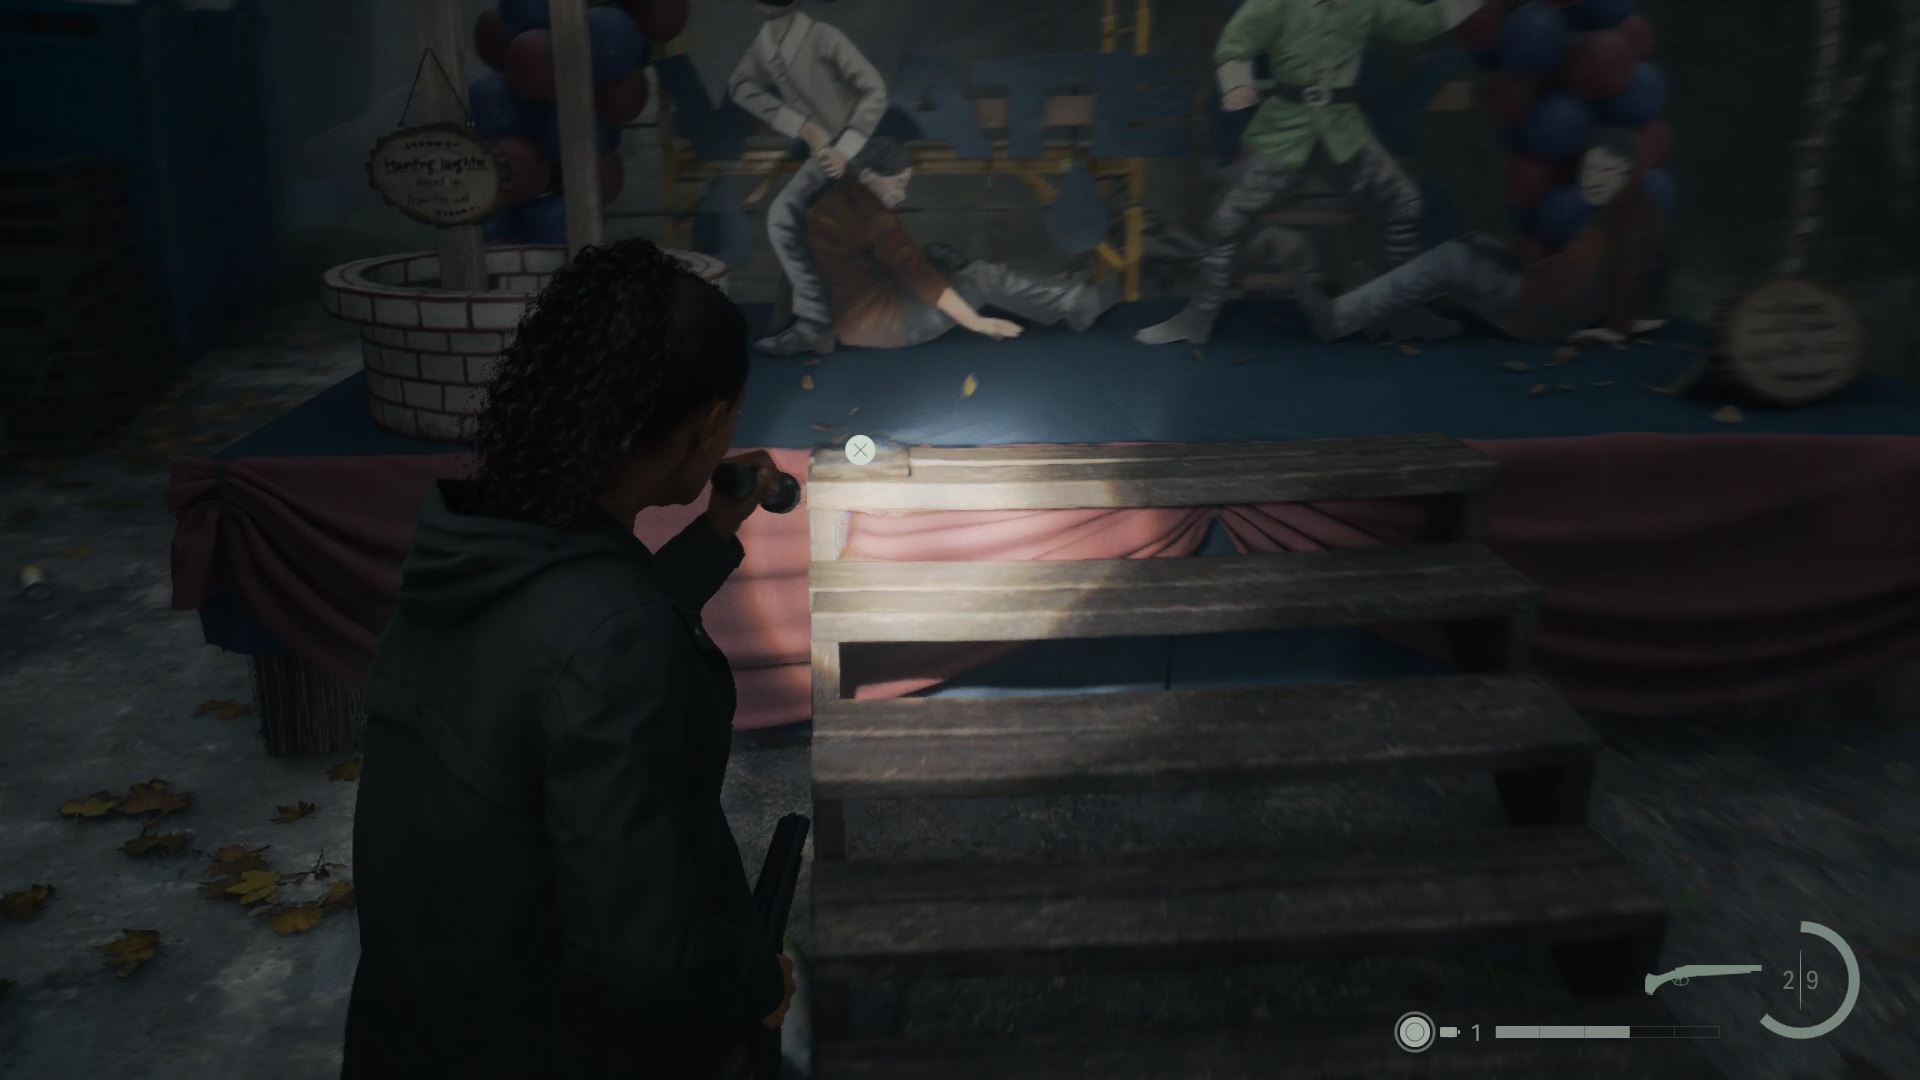
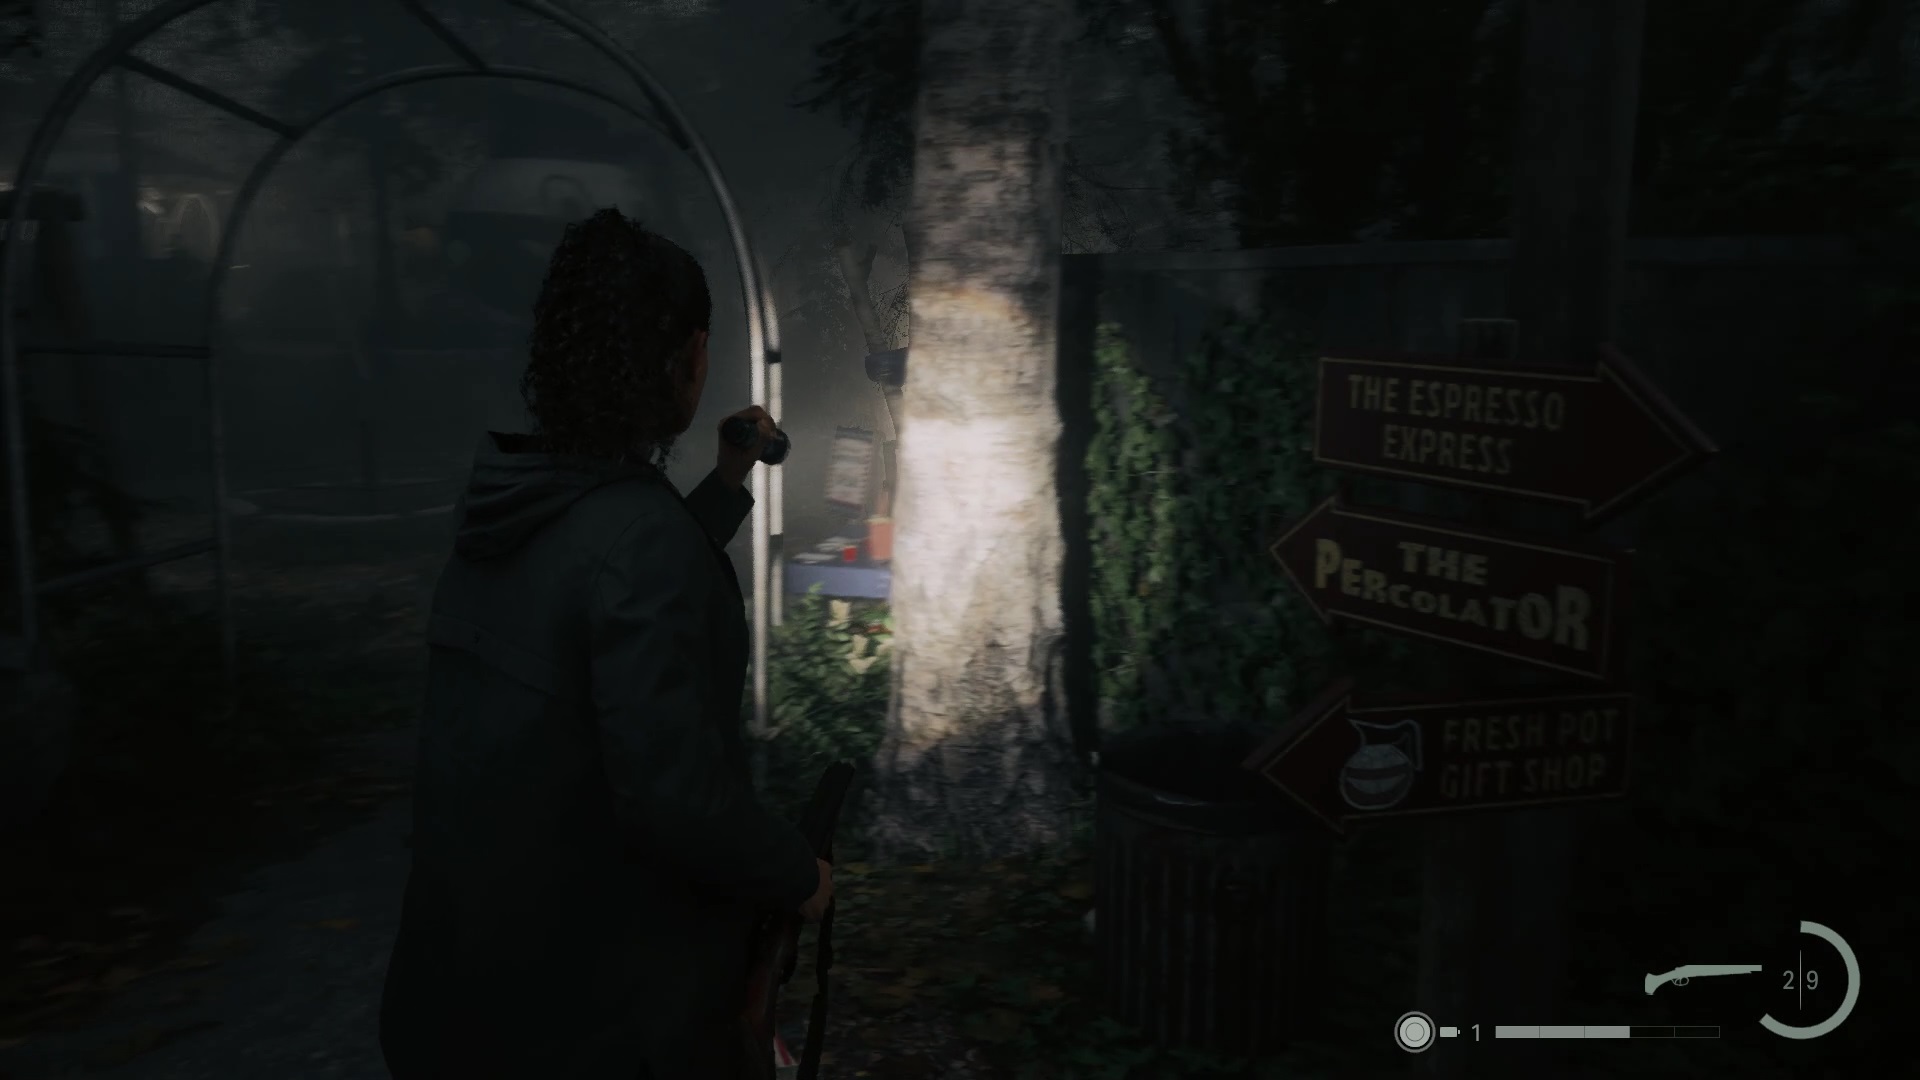
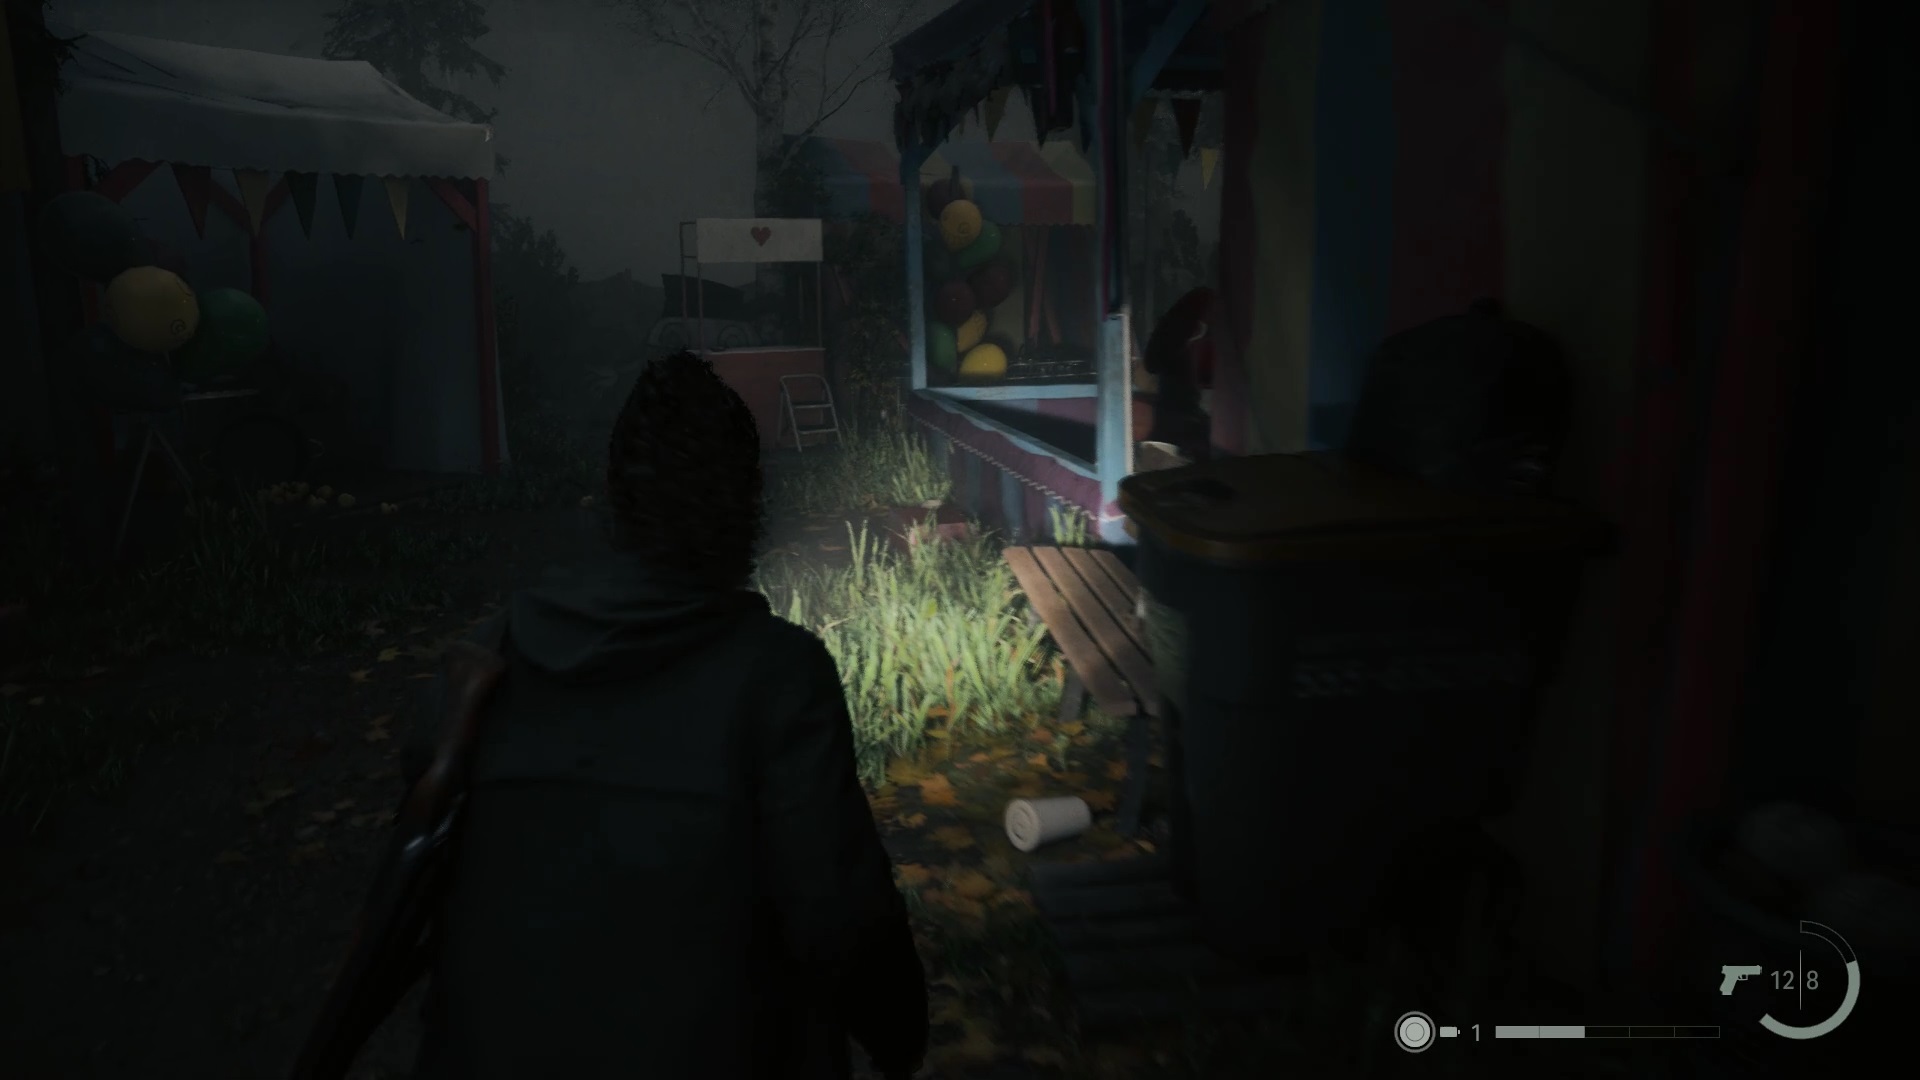
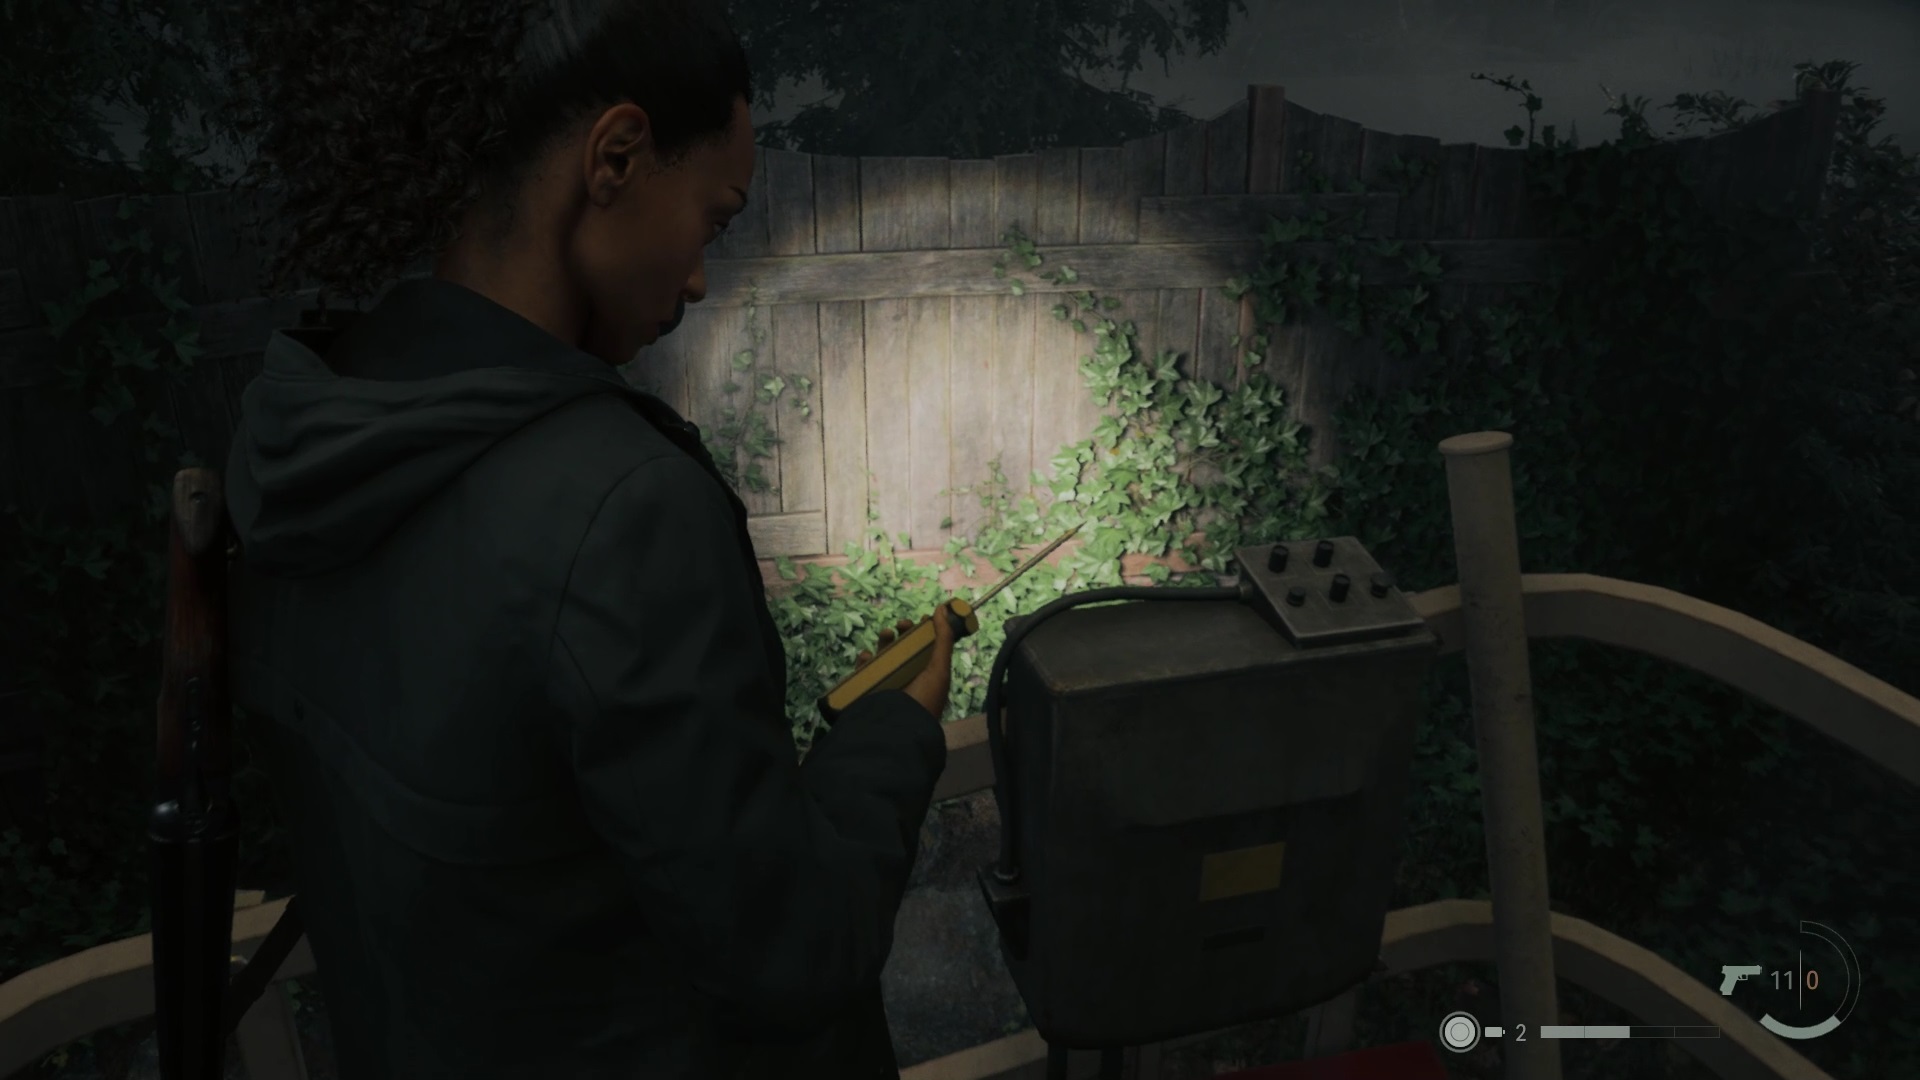
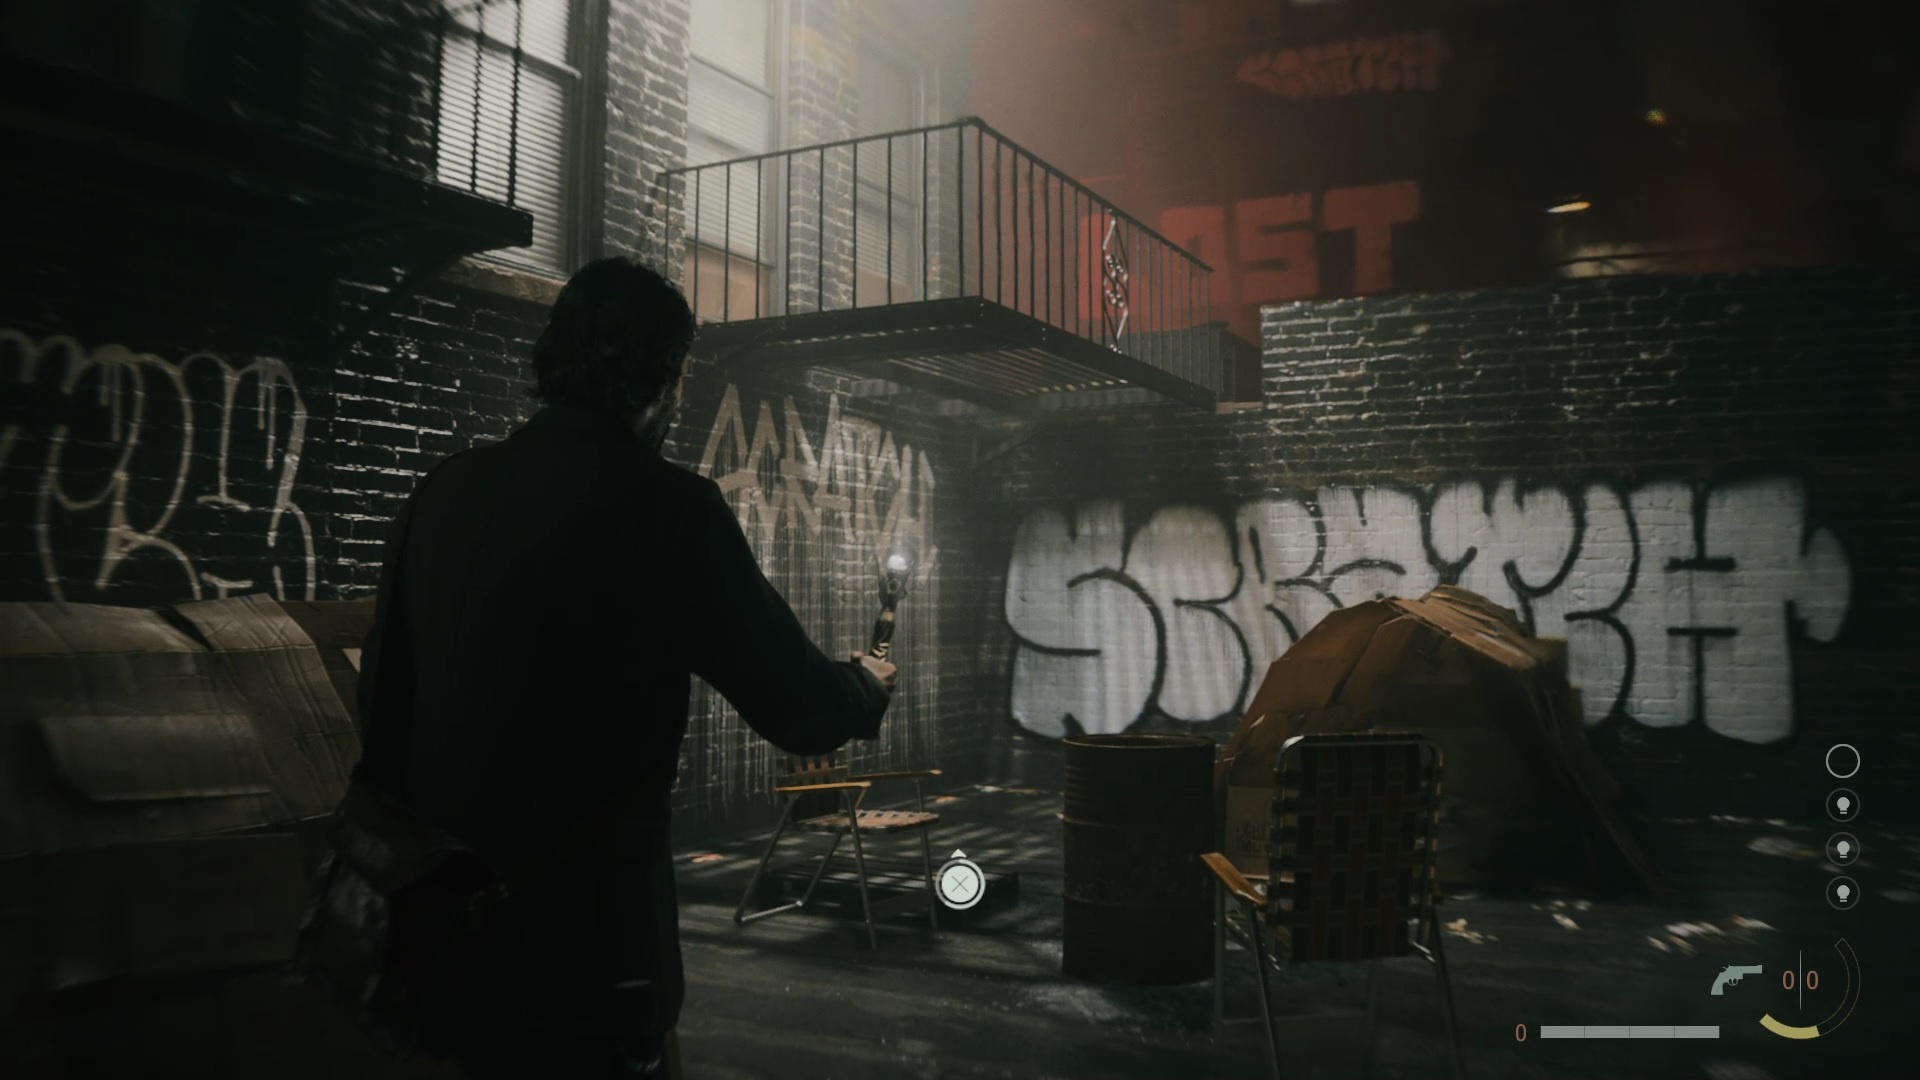
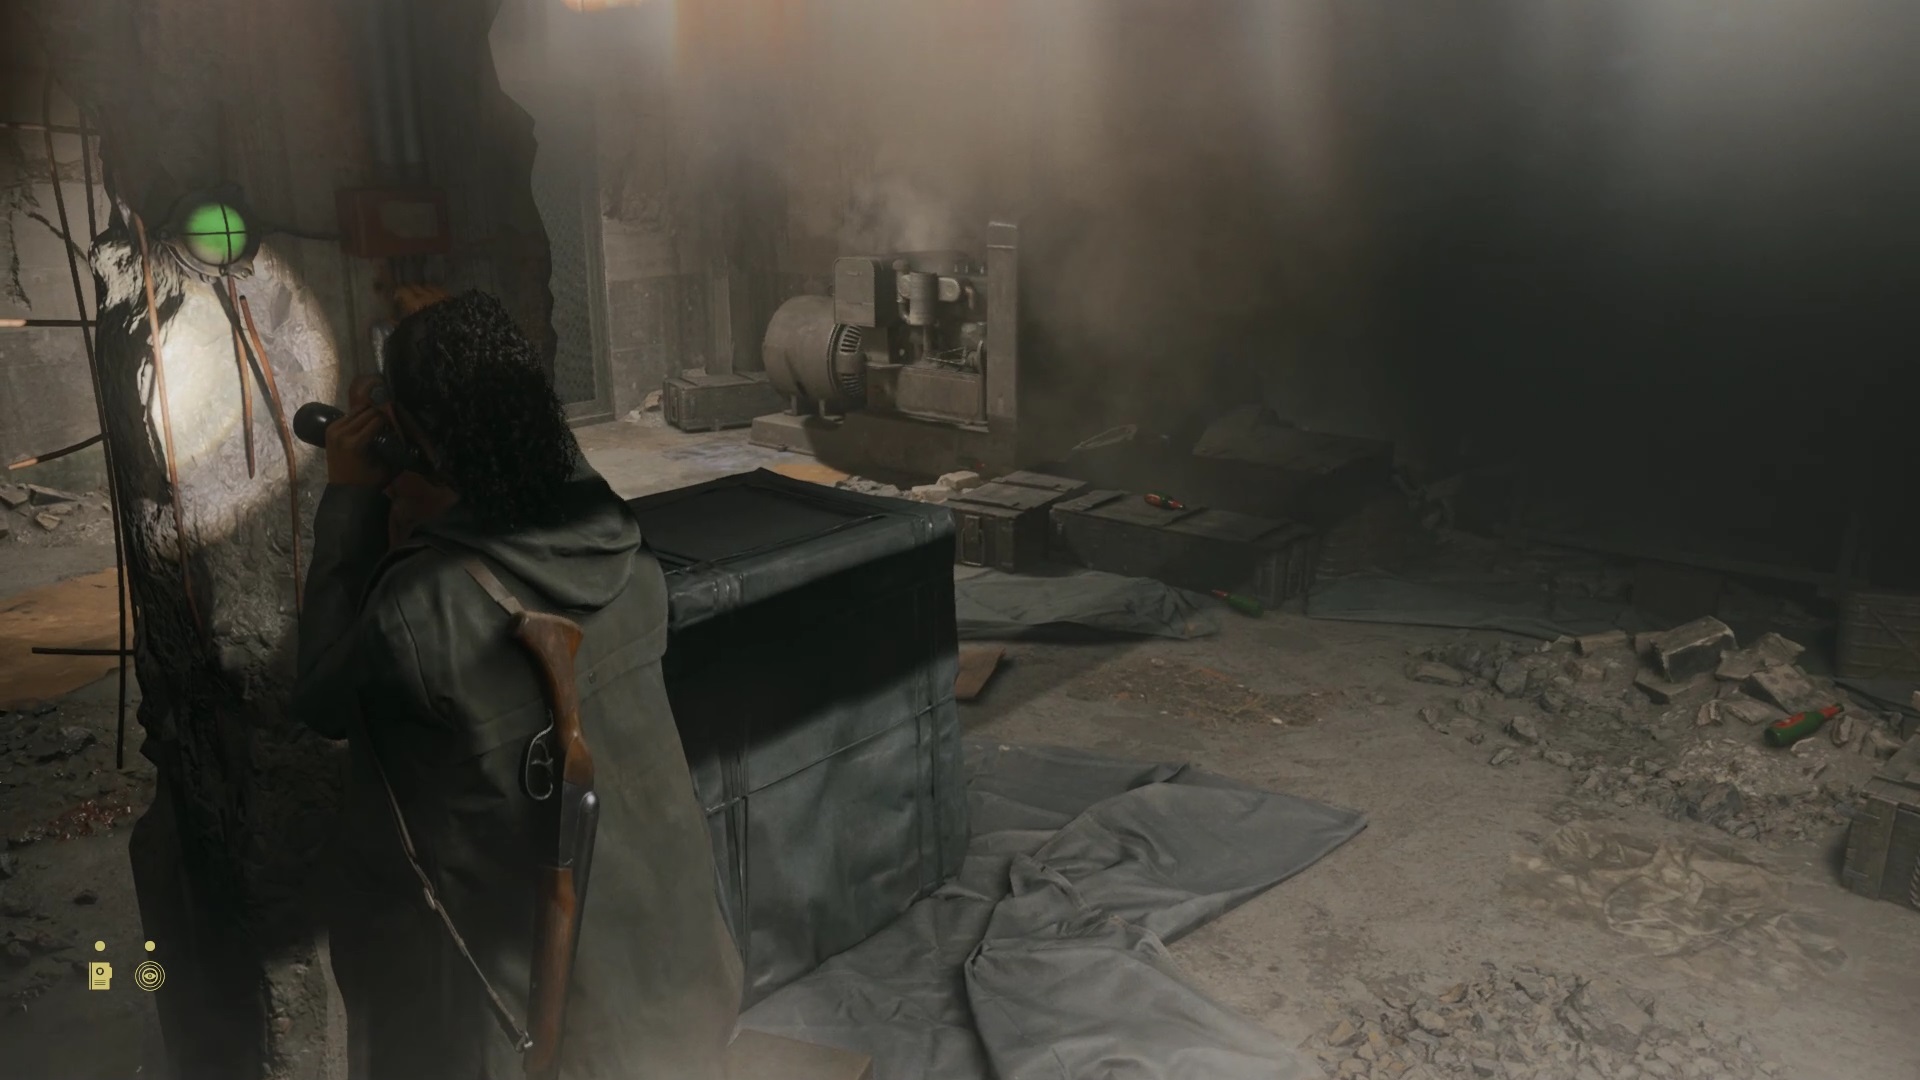
Follow the path to be attacked by possessed people. Defend yourself and advance to the heights to find a hunting shelter. Power the generator to turn on the shelter. Go down towards the amusement park to reach the entrance. Follow the “Fresh pot Gift shop” signs to find the gift shop.

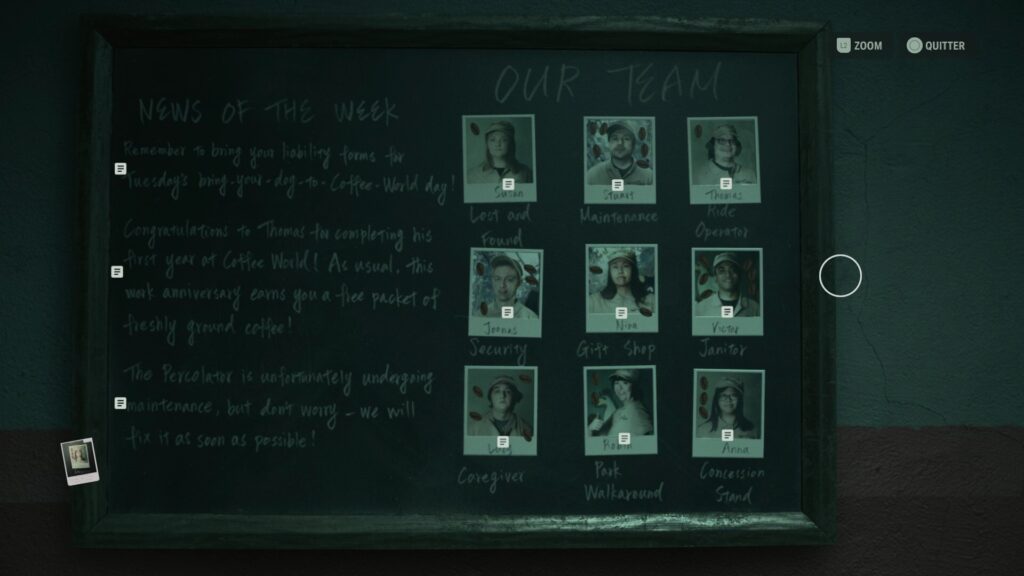
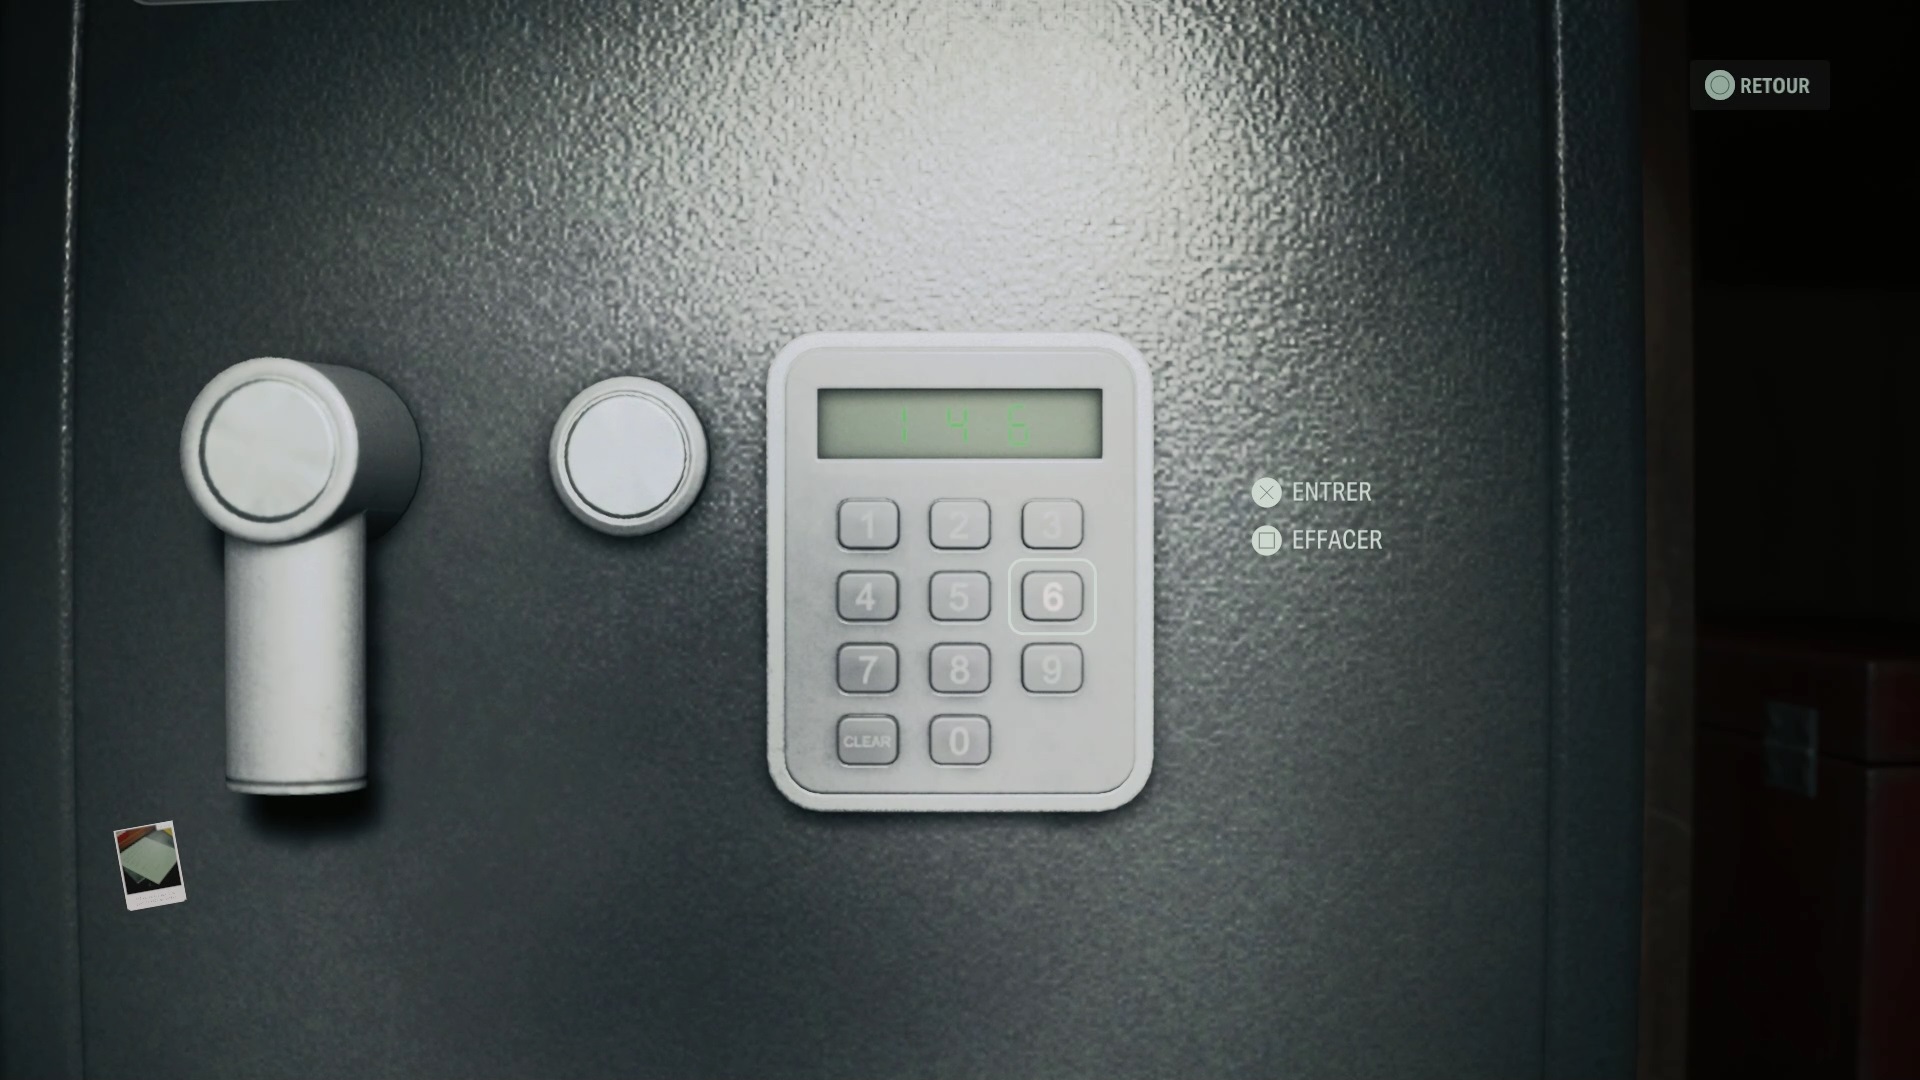
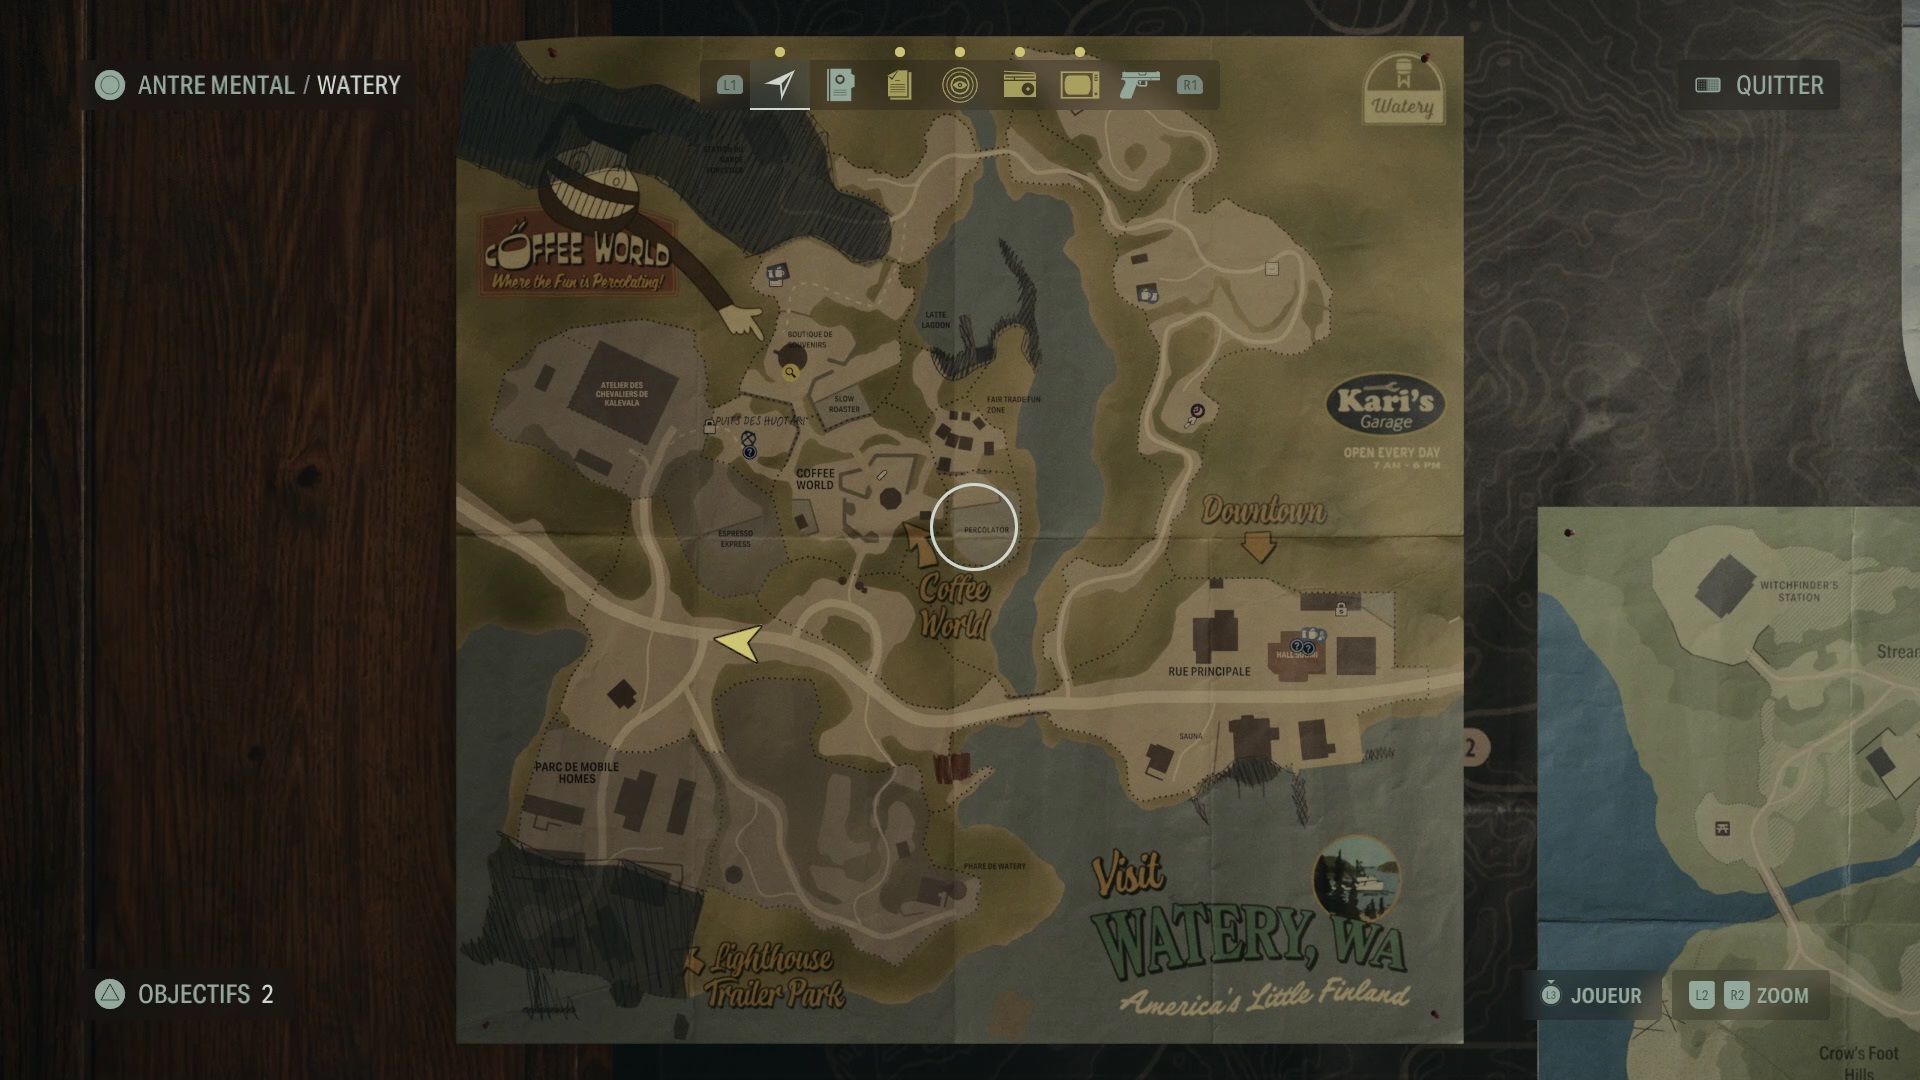
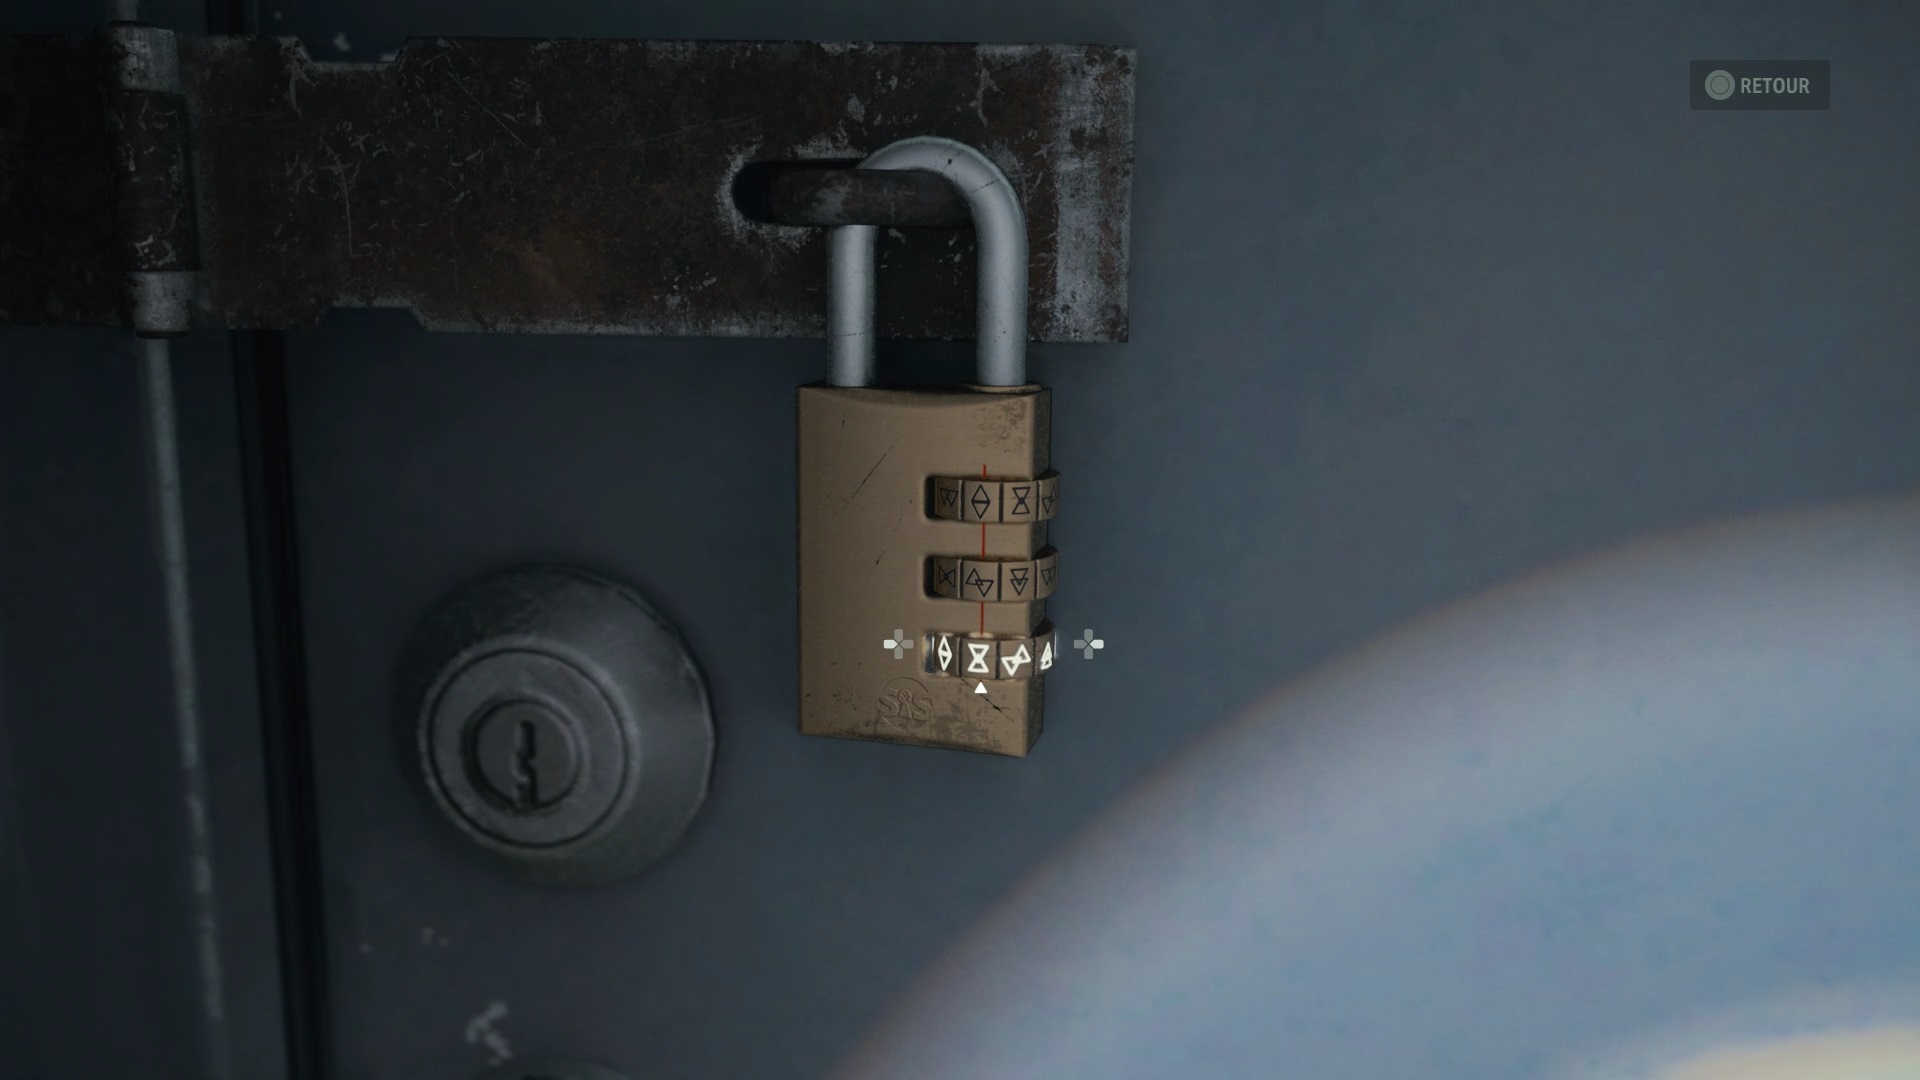
Behind the counter you will find a safe. To solve this riddle, you need to look for numbers corresponding to “Searcher, Watcher and Cleaner”. If you look at the employee table, each one has associated coffee beans. Count the coffee beans of the Researcher, the Watcher and the Cleaner, that is to say Susan, Joonas and Victor, to obtain the code: 146. Collect the key to the mobile home. Exit the amusement park to reach a nearby road. You can use the map to find your way and find the mobile home park.
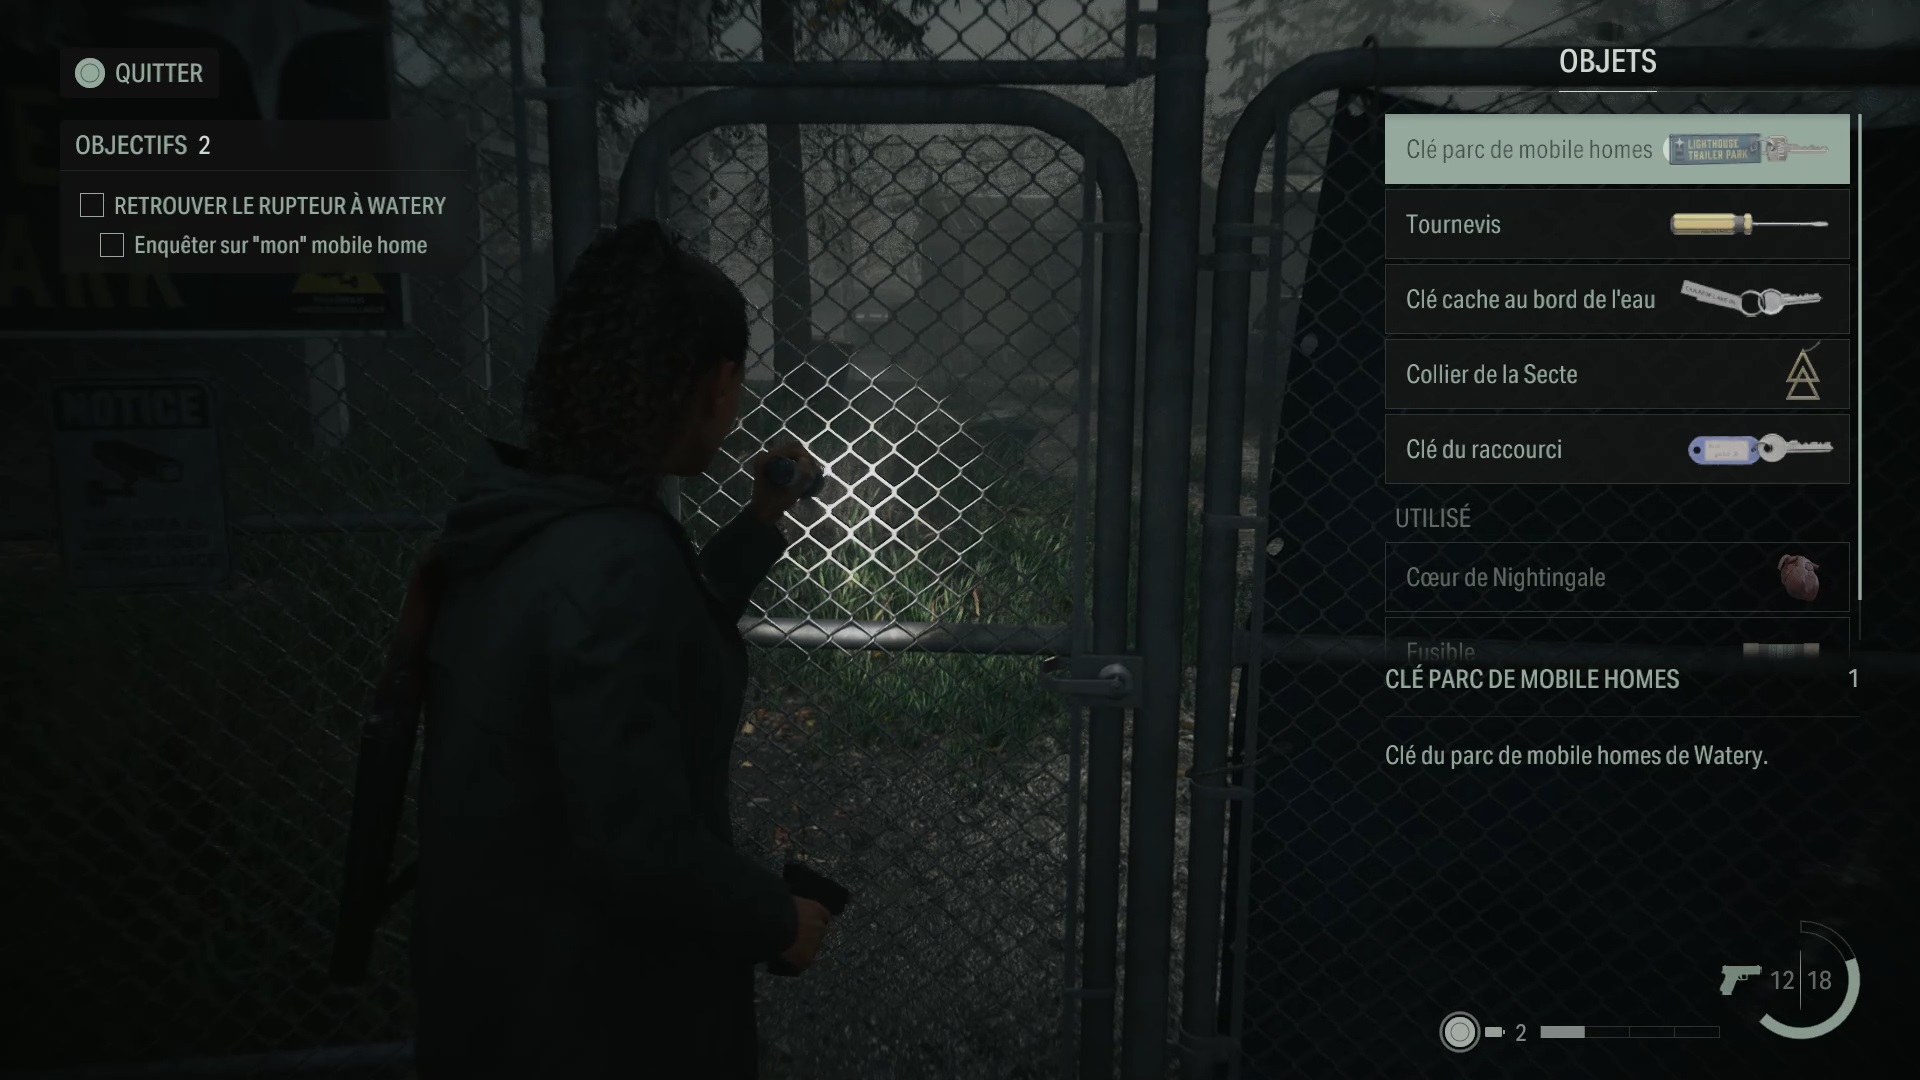
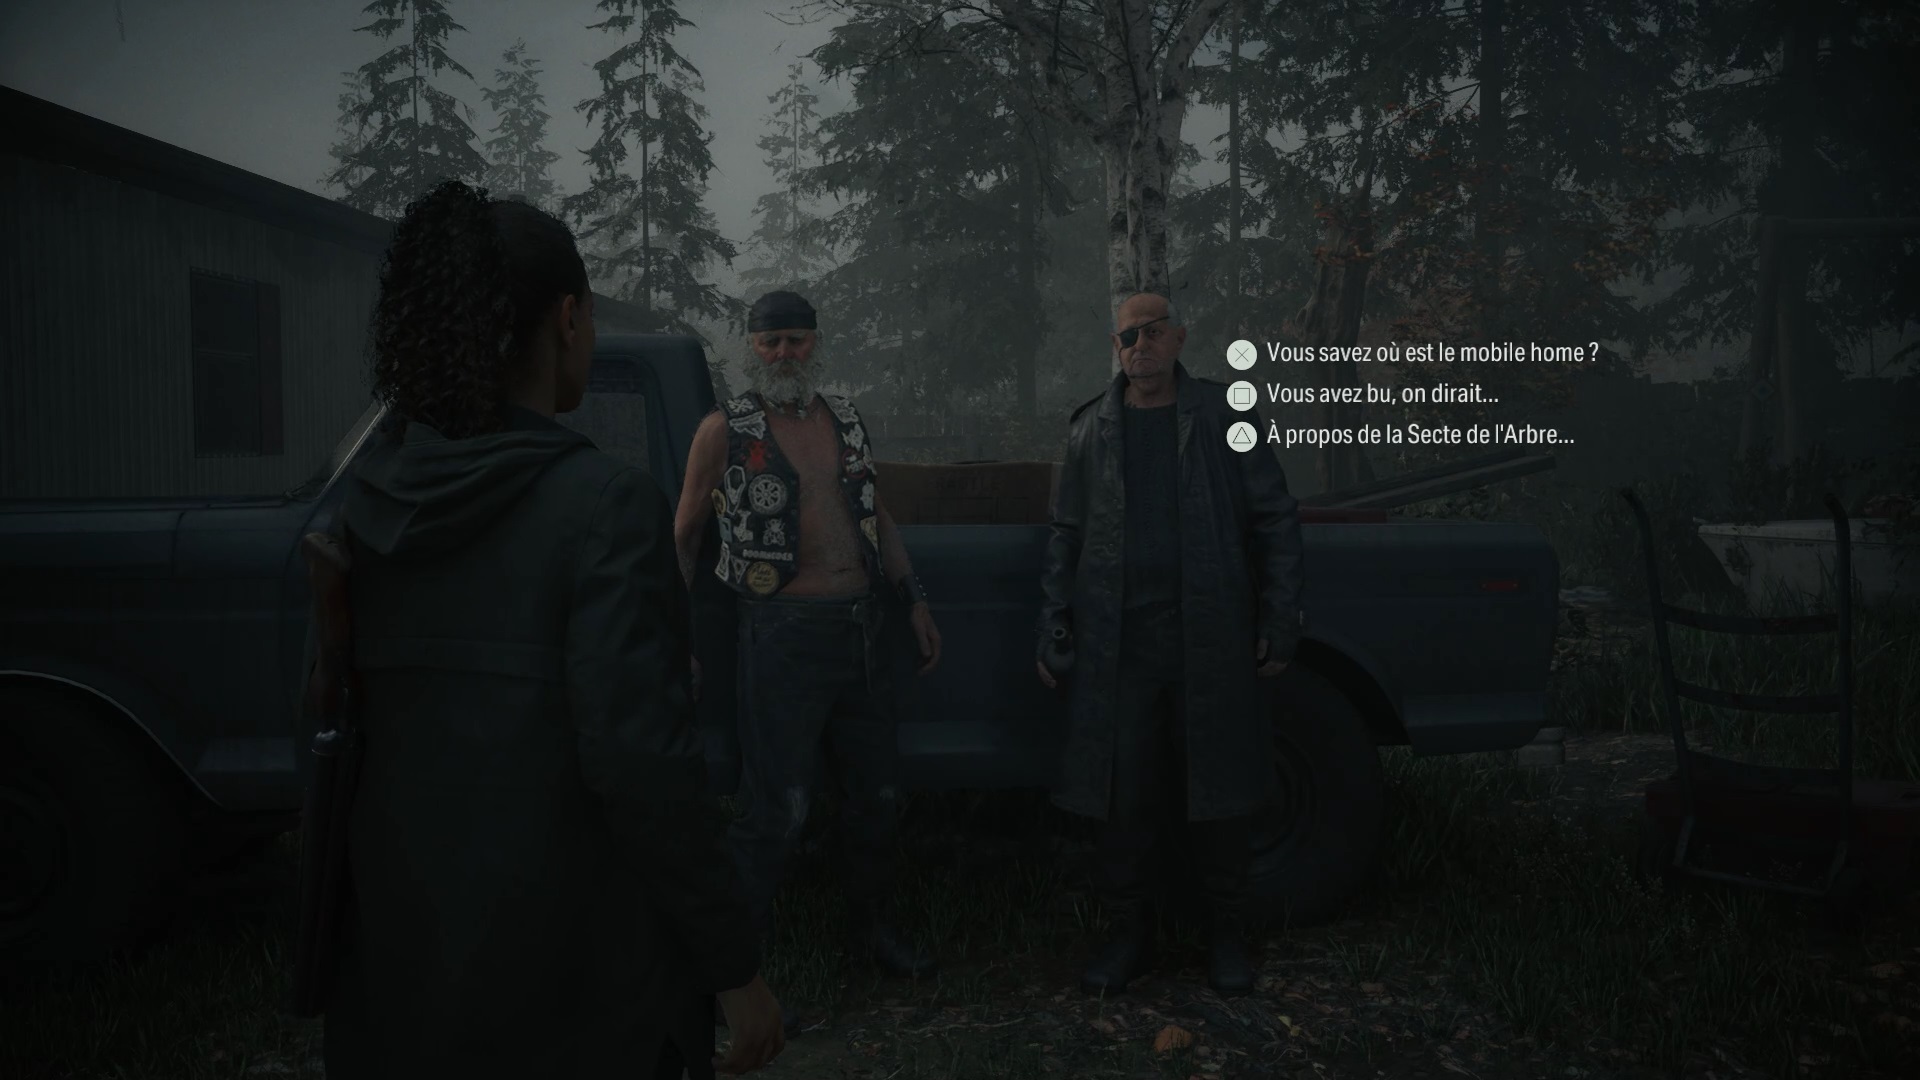
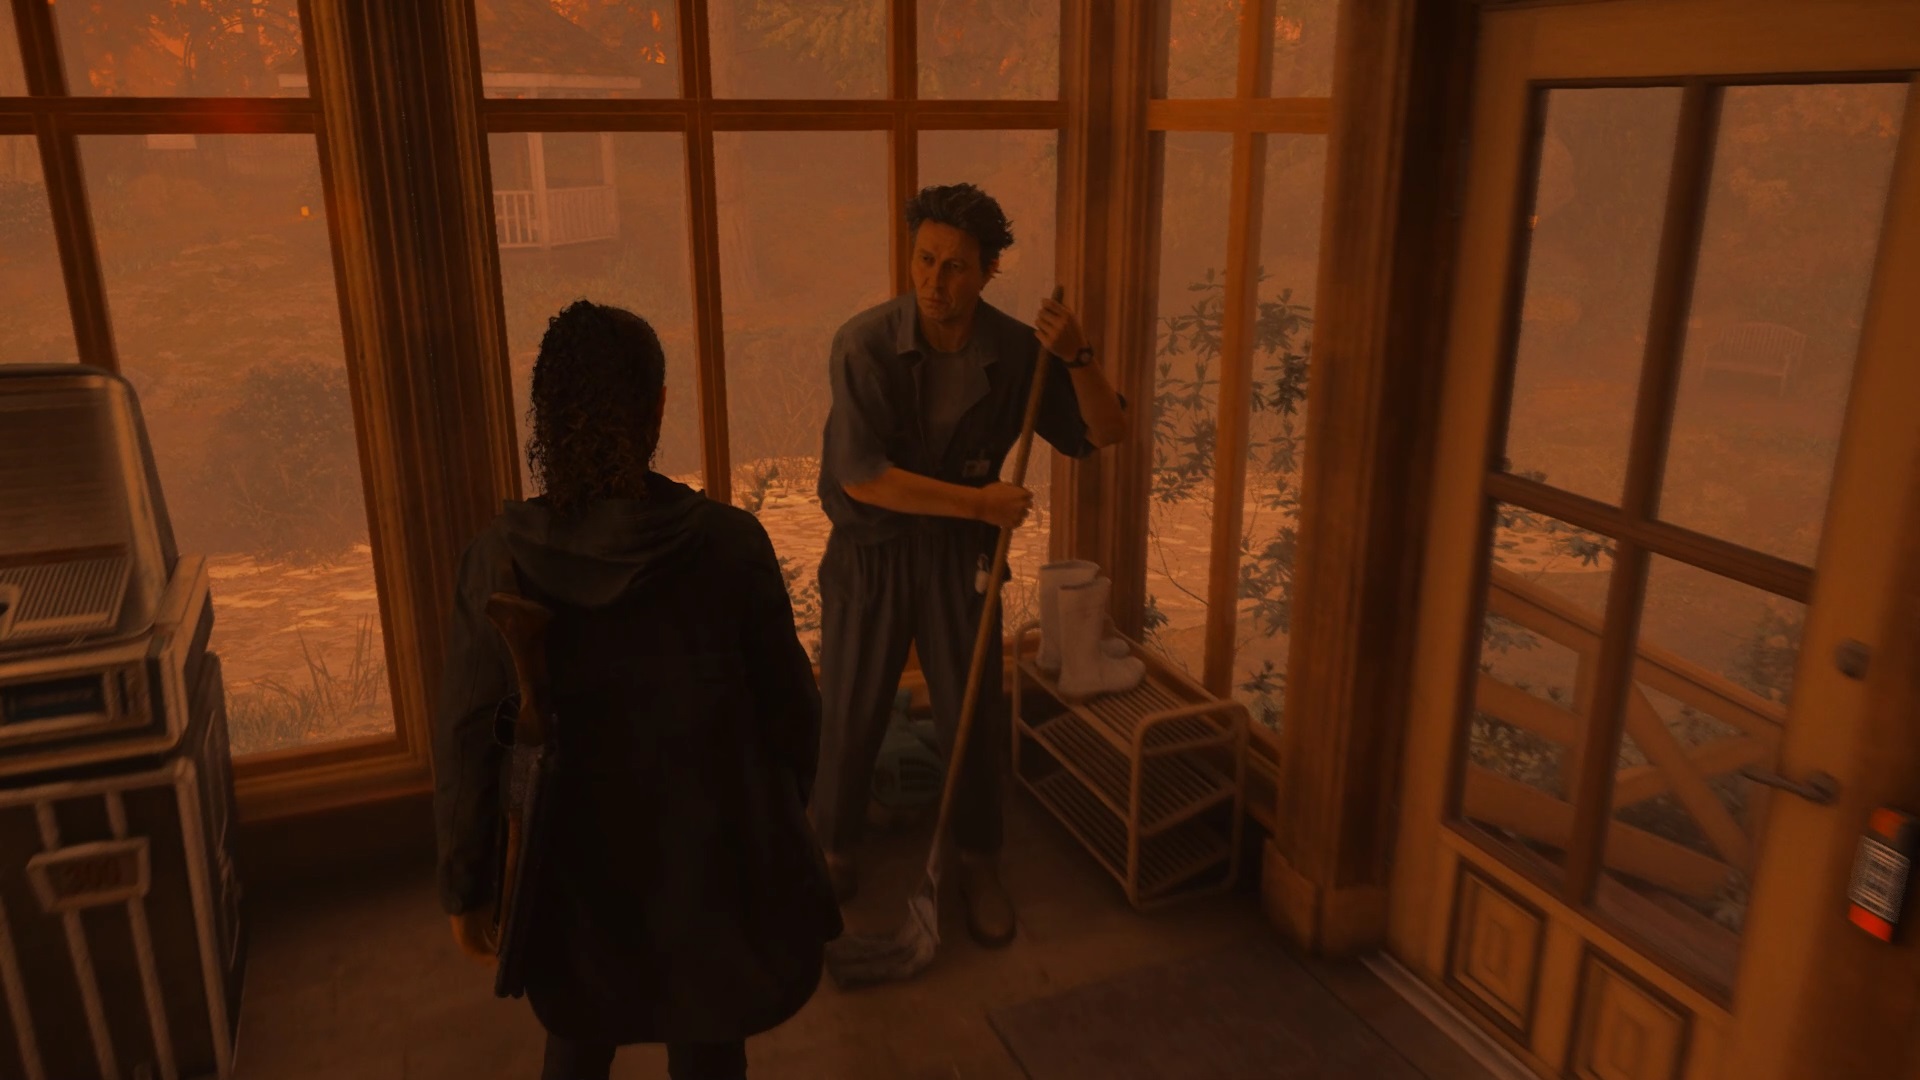
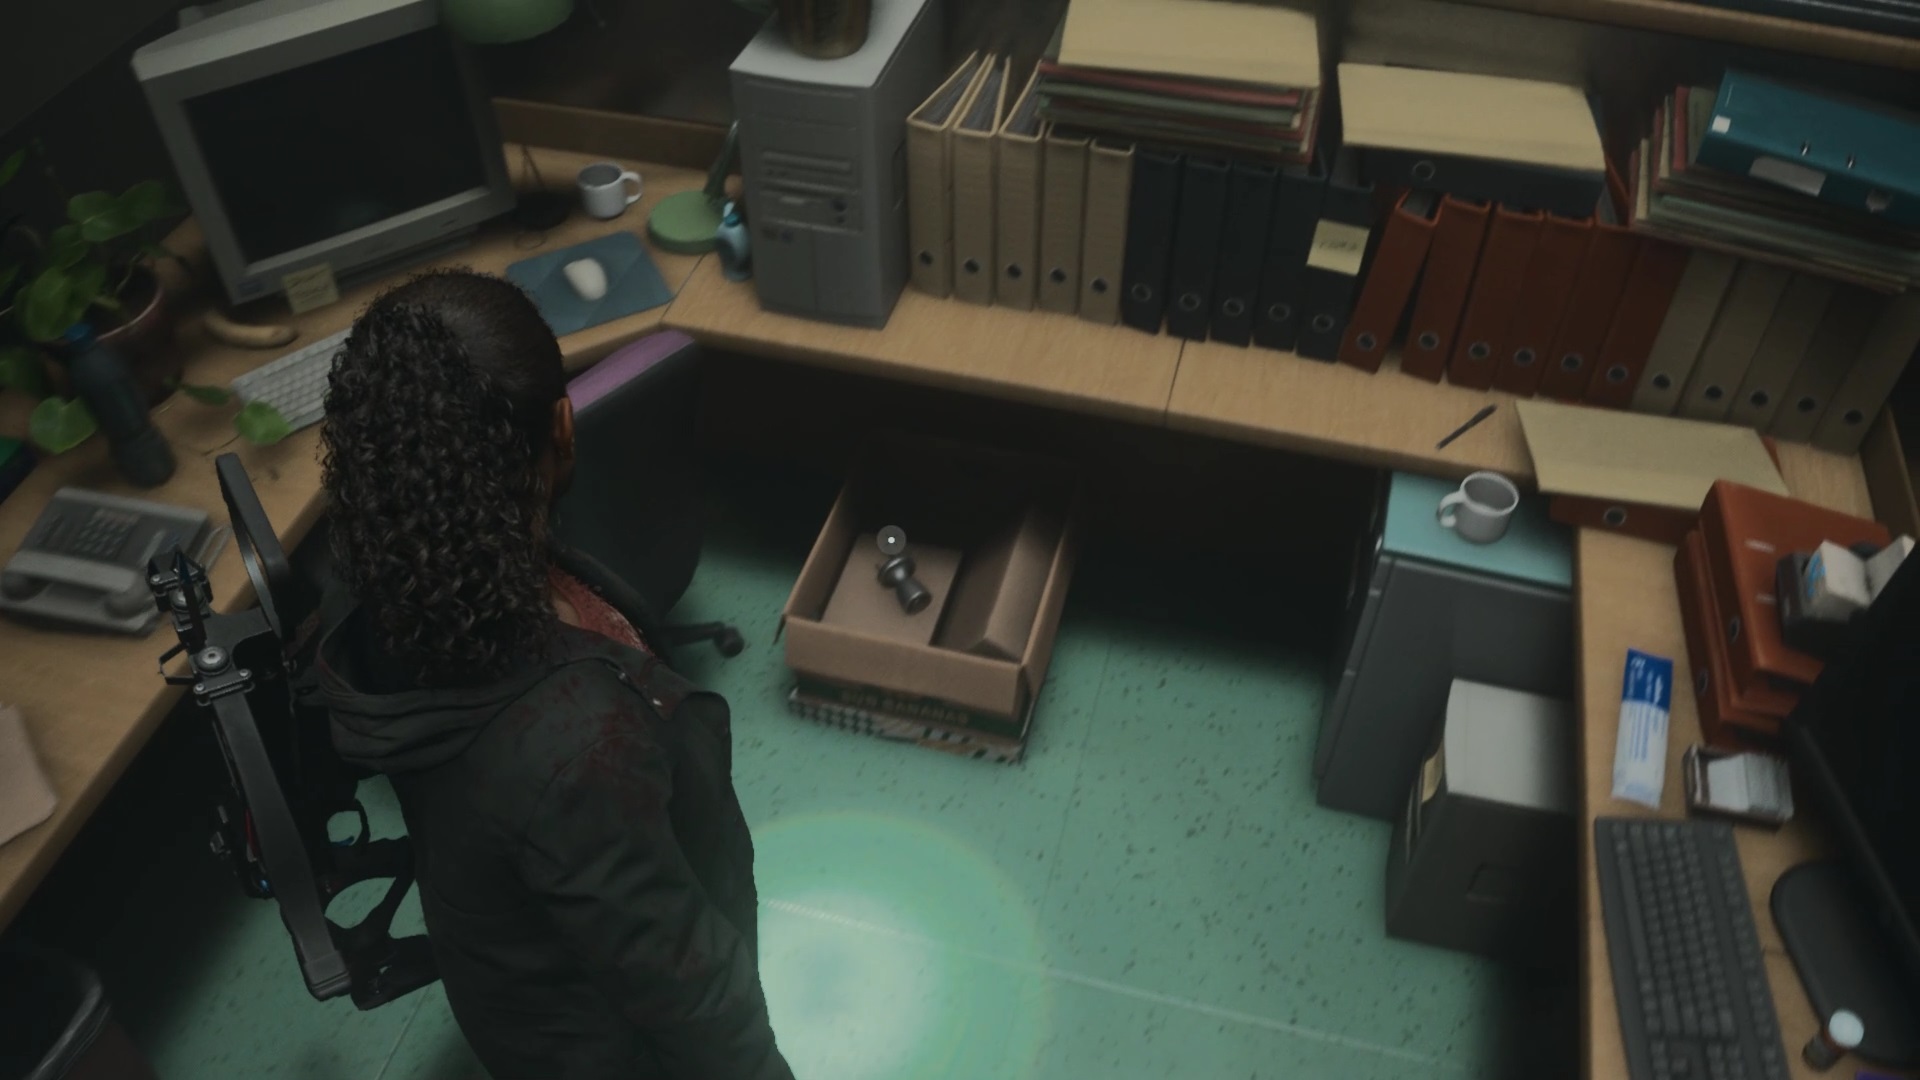
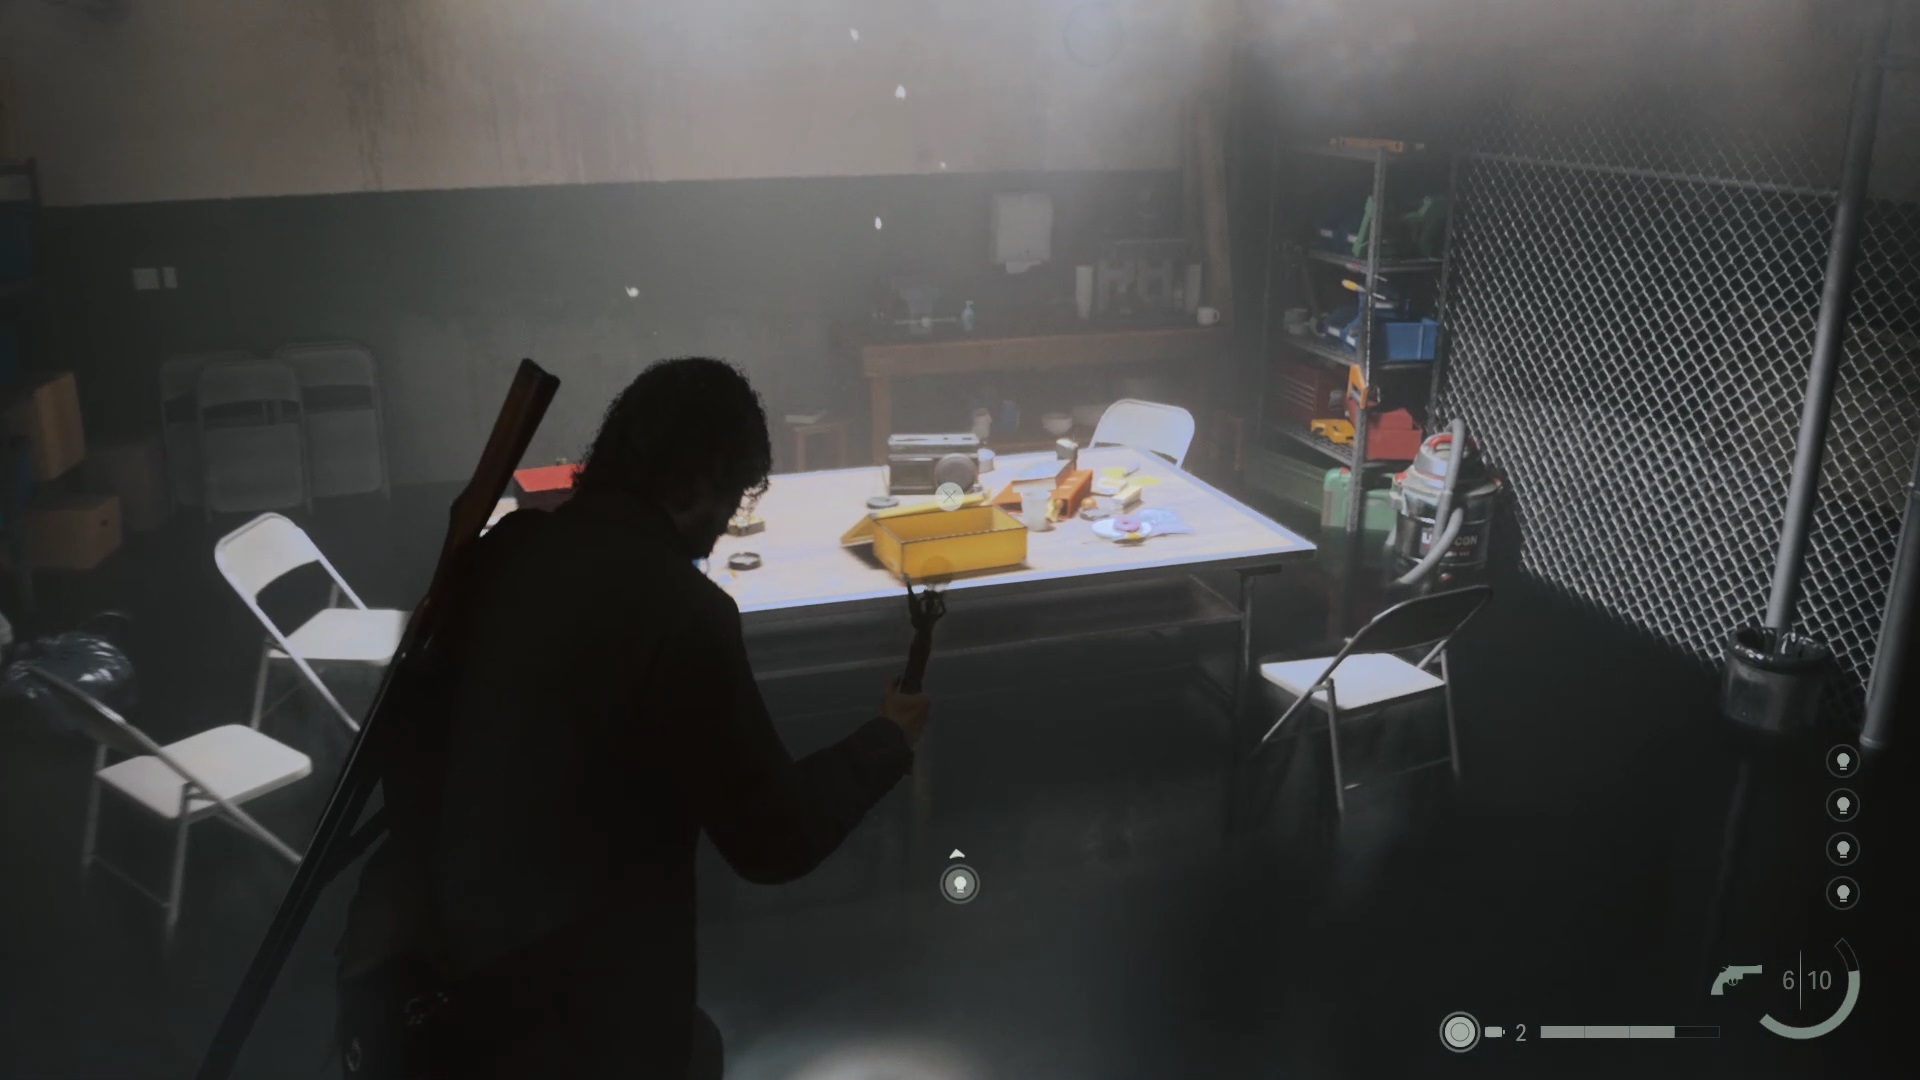
Against the fence, use the mobile home key to unlock it and trigger a cutscene. Talk to Odin and Thor, then enter the mobile home behind. Examine the dining table, bedside table and photo in the nursery. Then follow Mulligan to find a hangar.
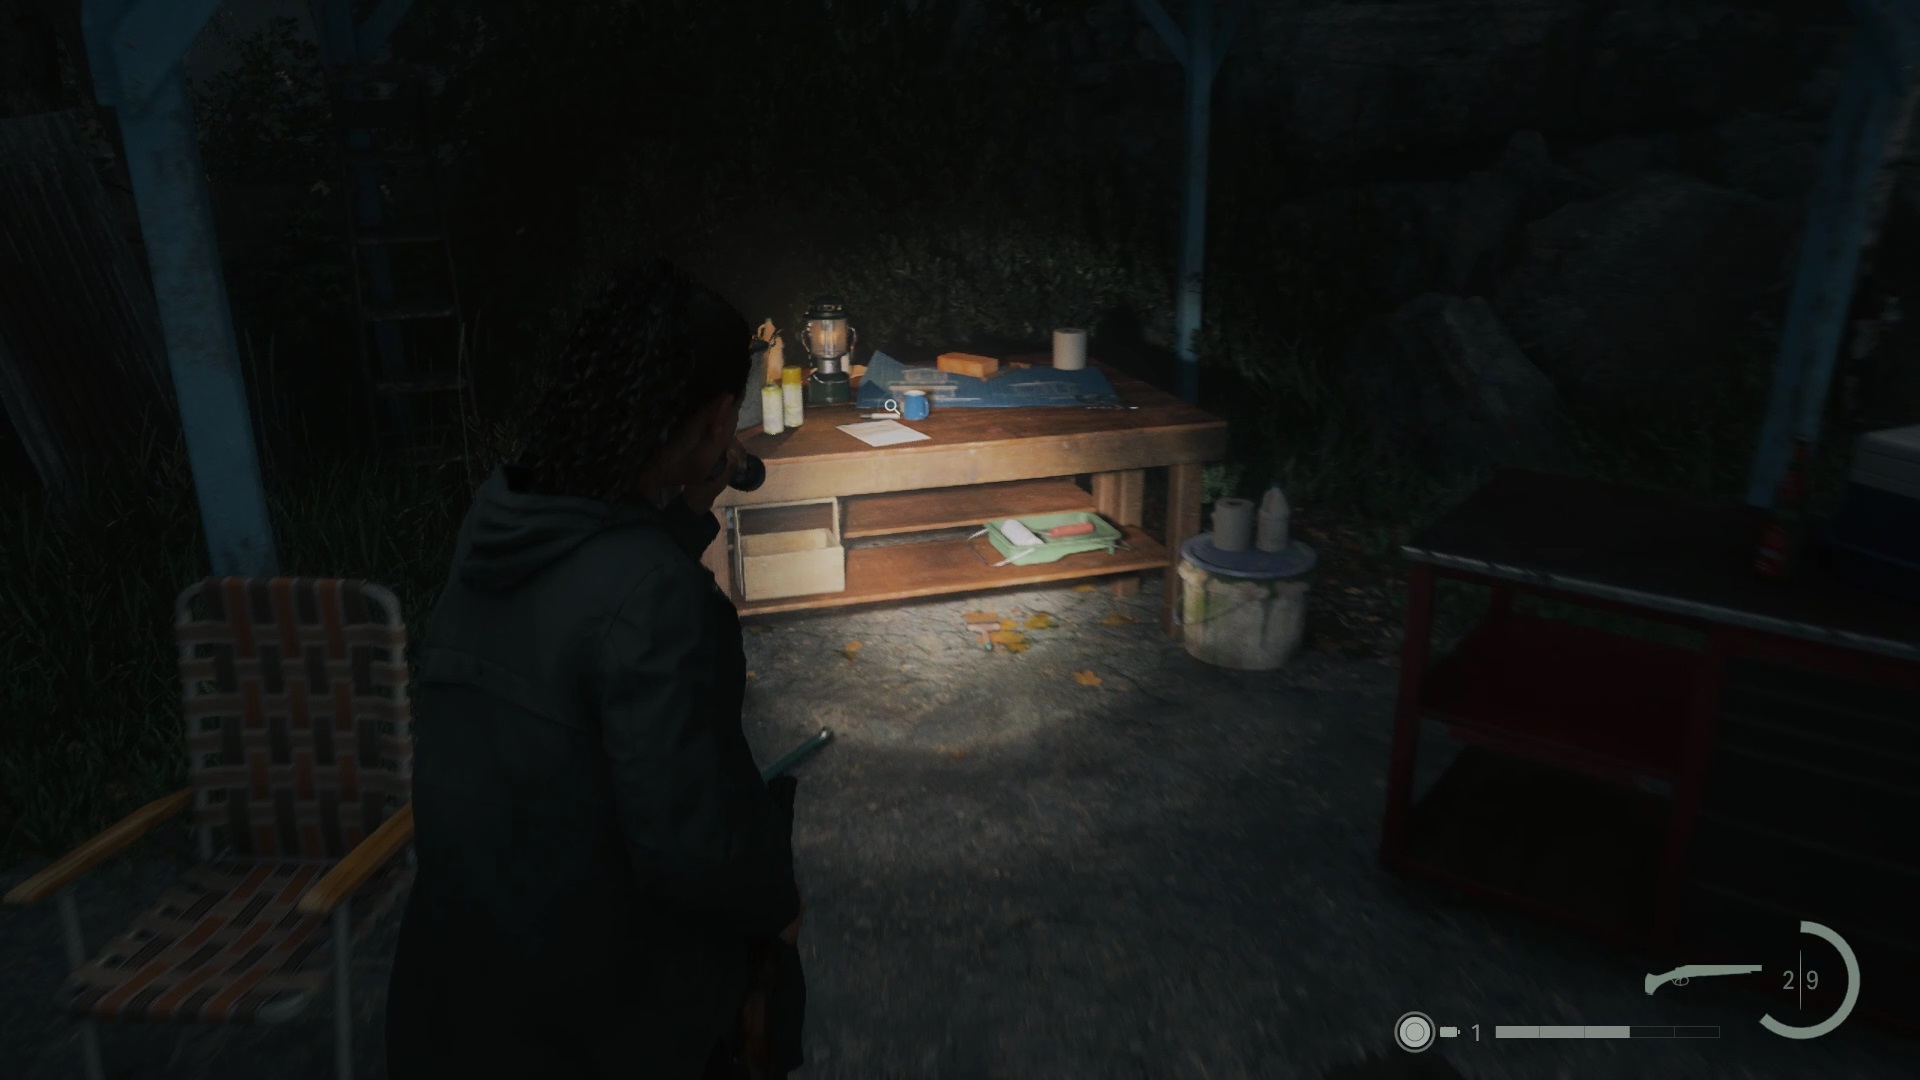
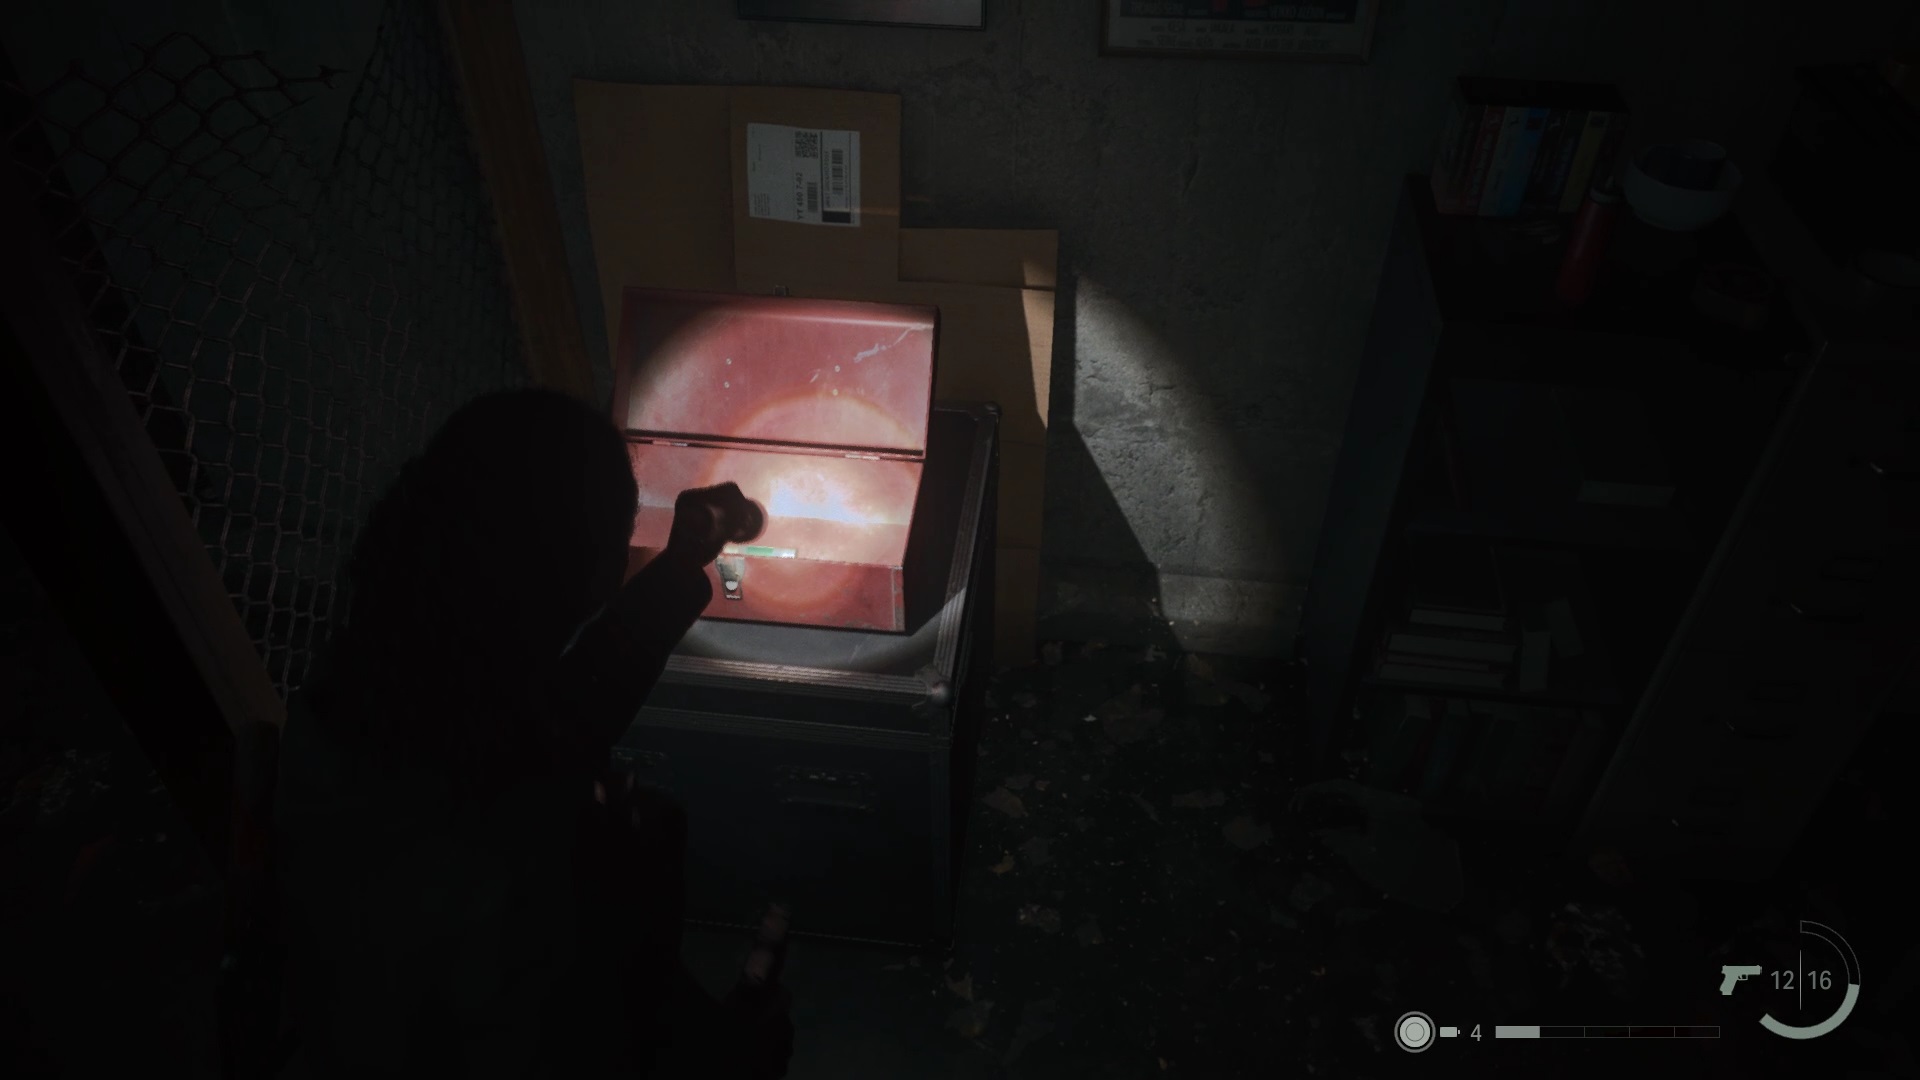
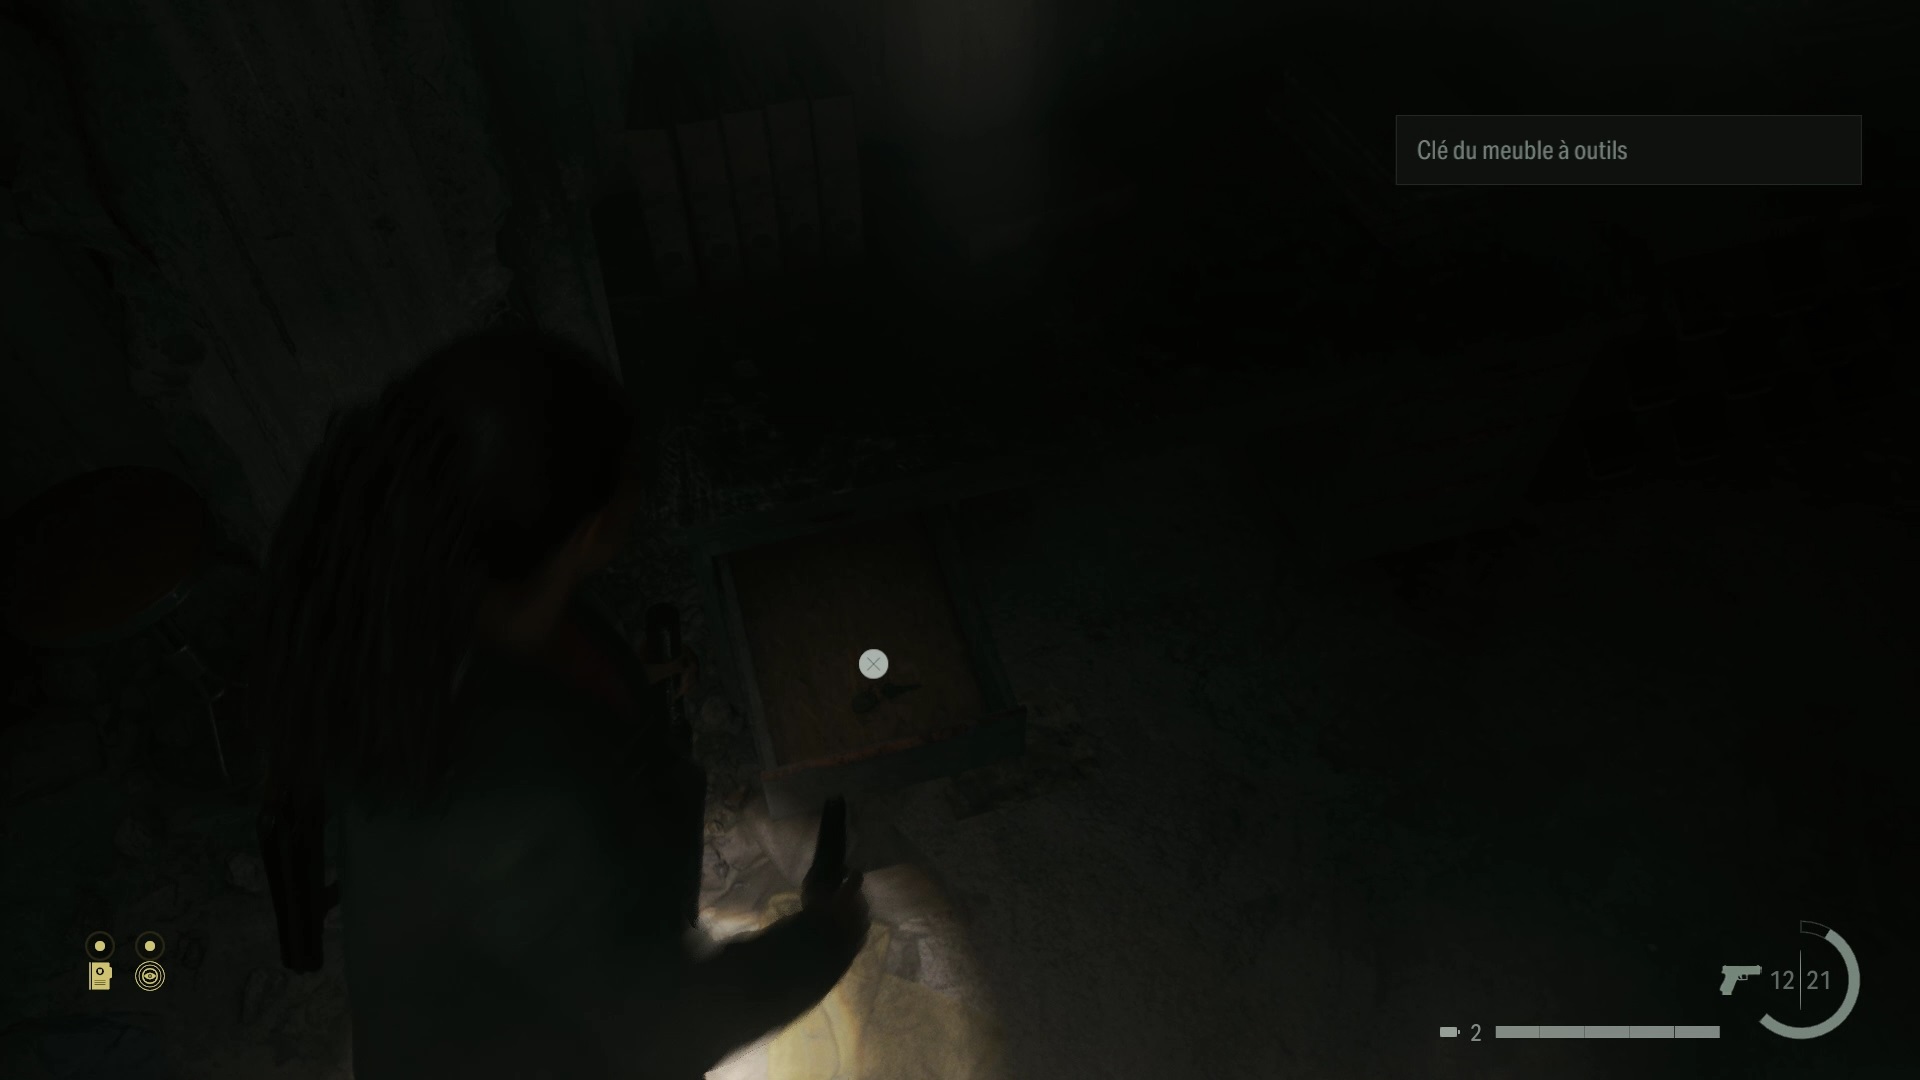
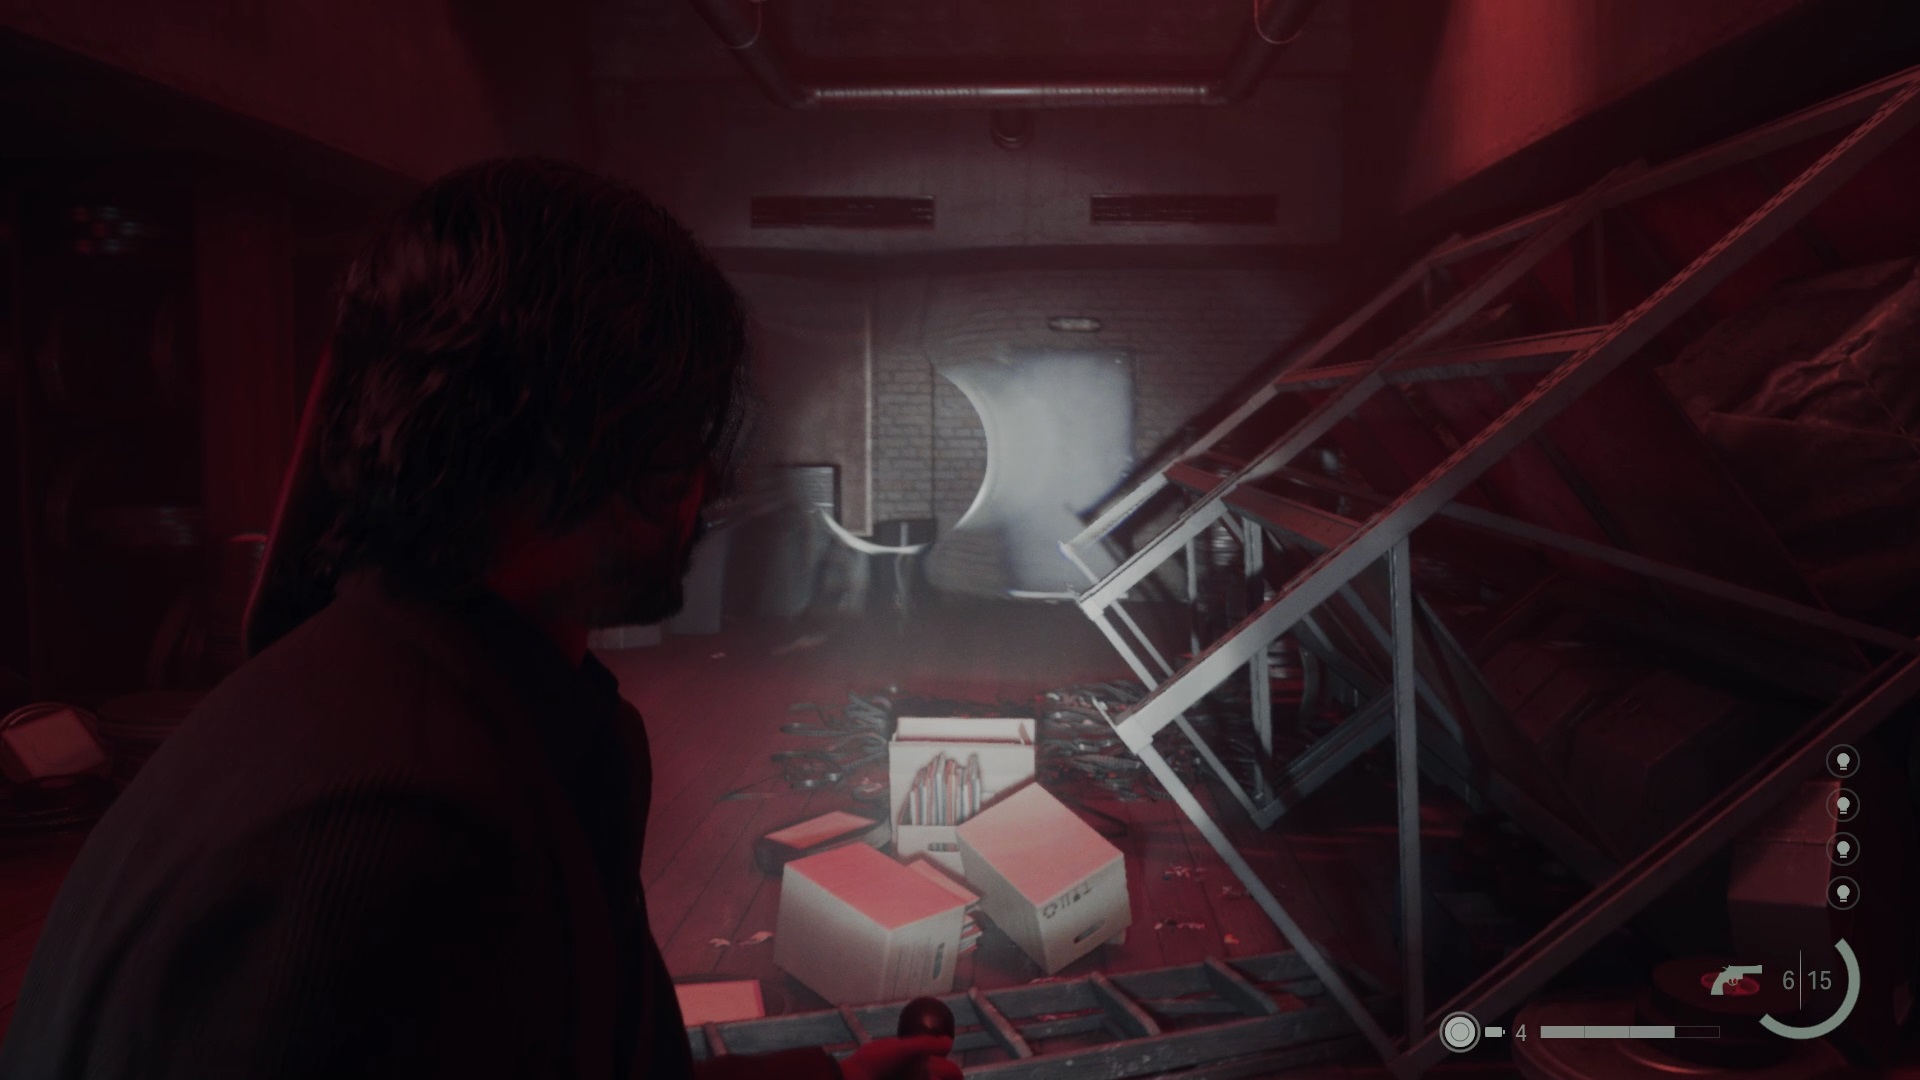
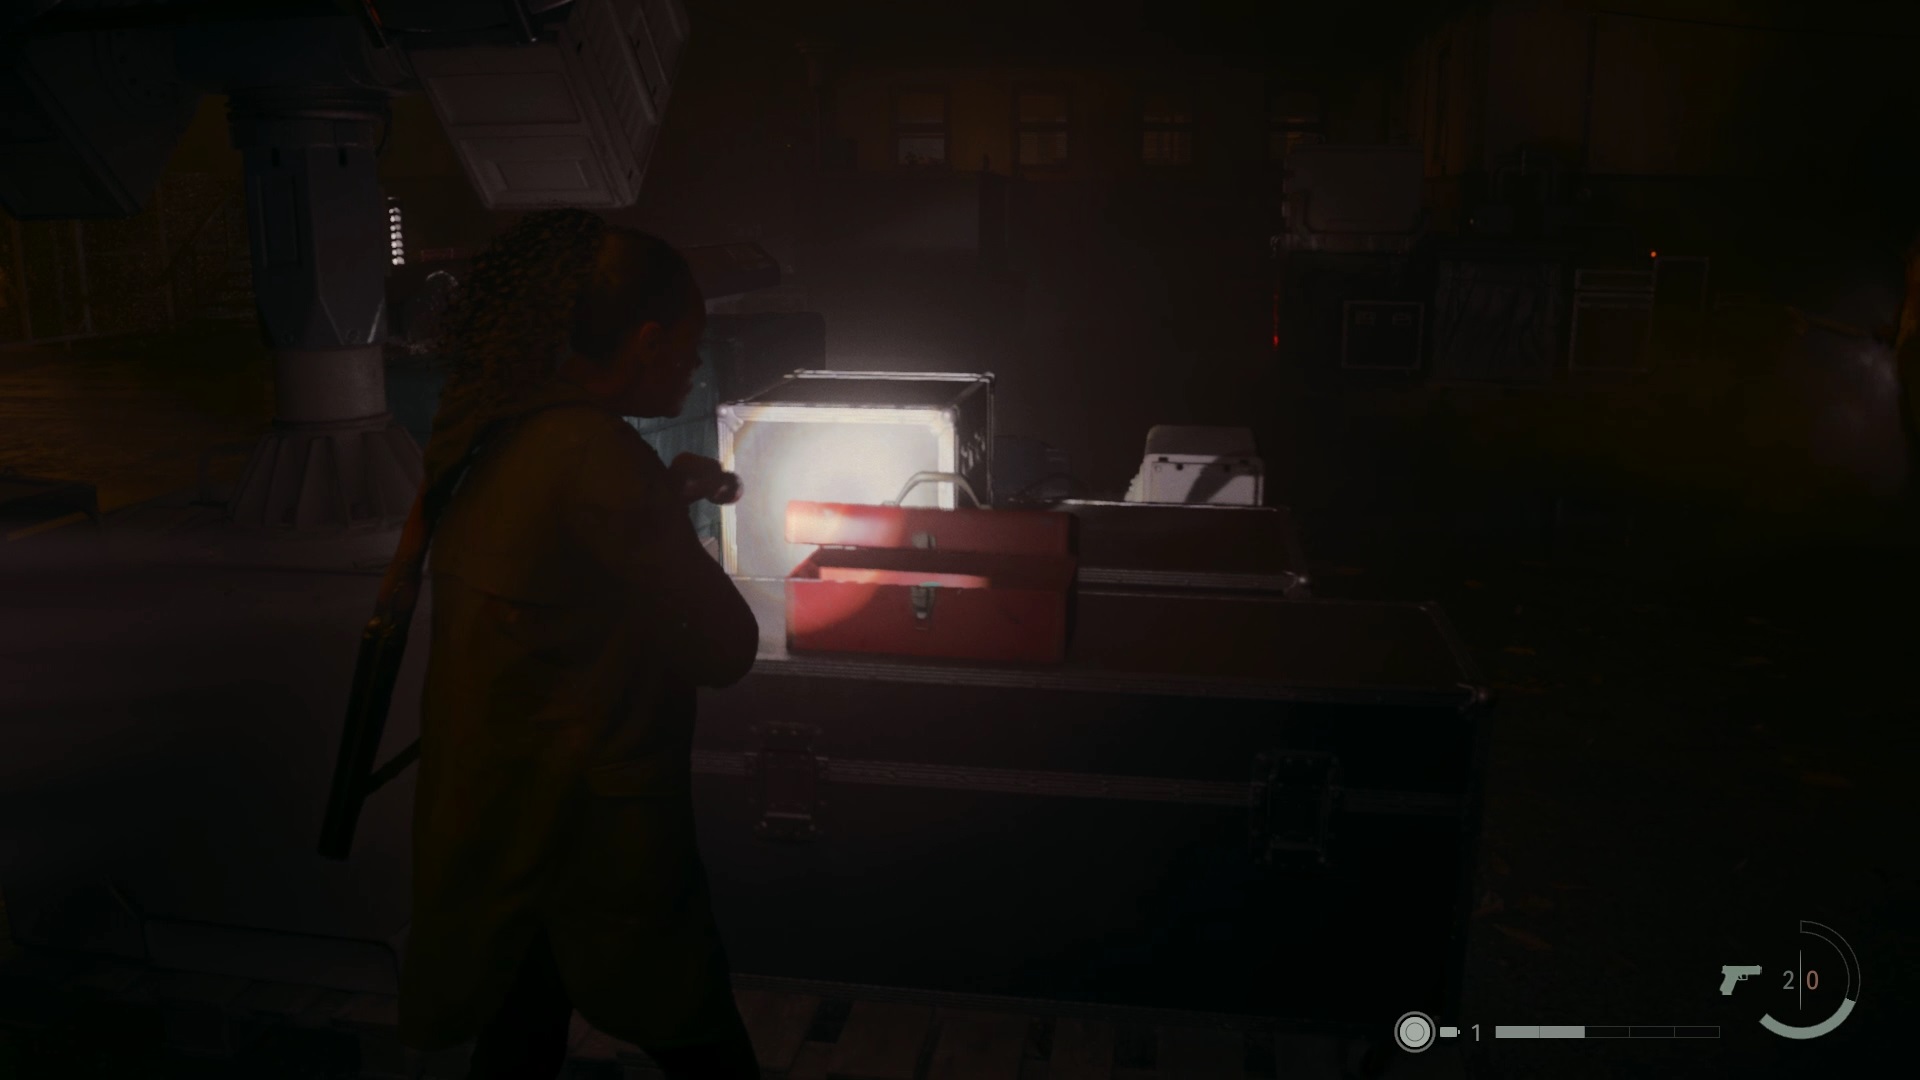
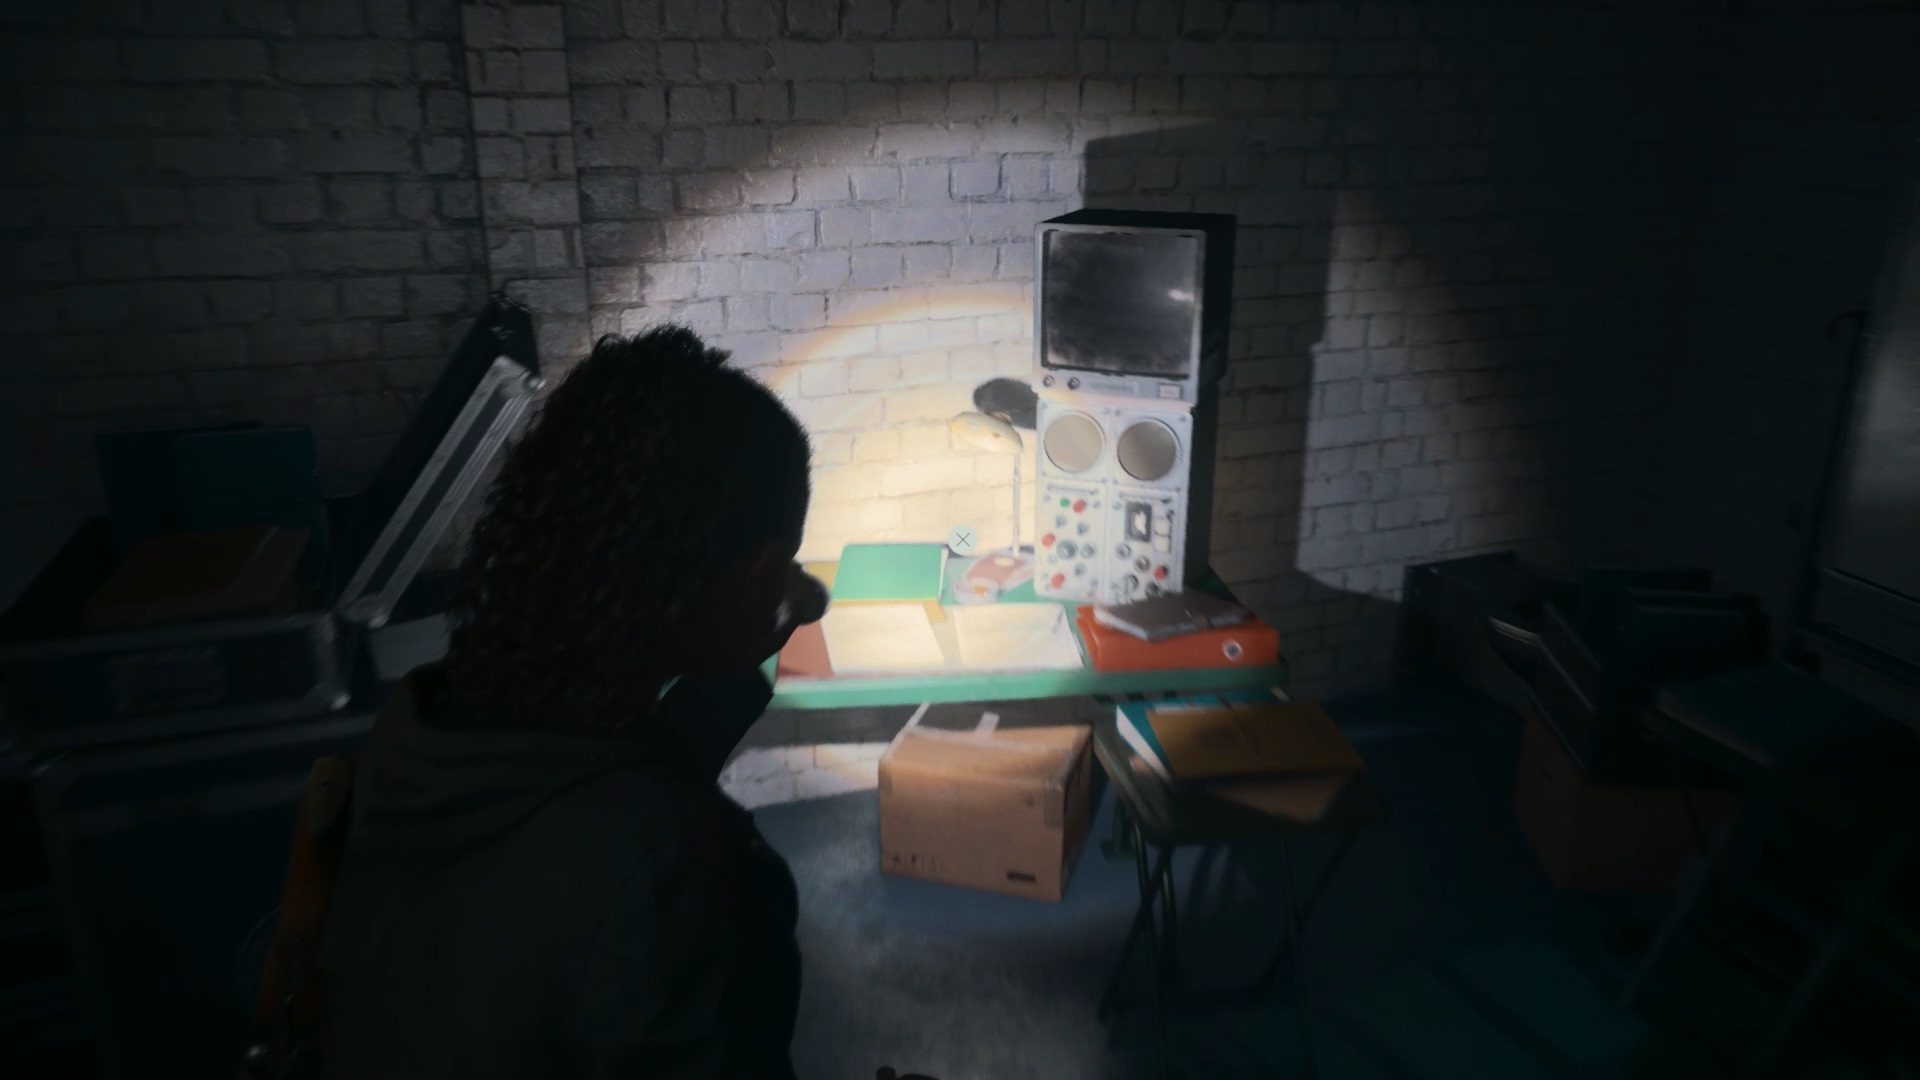
In the hangar, search the cabin to find a closed door. If you look at the messages on the computer, a clue sends you to the coffee mug. Search the coffee cup in the hangar to find the code to the padlock. Open the lock in the cabin to collect a fuse on the save table and the locations of all the caches against the wall. Then, go down the trapdoor.

Try to recover the clicker behind the door and go back into the hangar. Possessed people ambush you. Eliminate the threats and move outside to collect a page from the tank. You get your new goal. Examine the different parts of the tank to determine which items are missing. Check the list in the nearby booth for their locations.
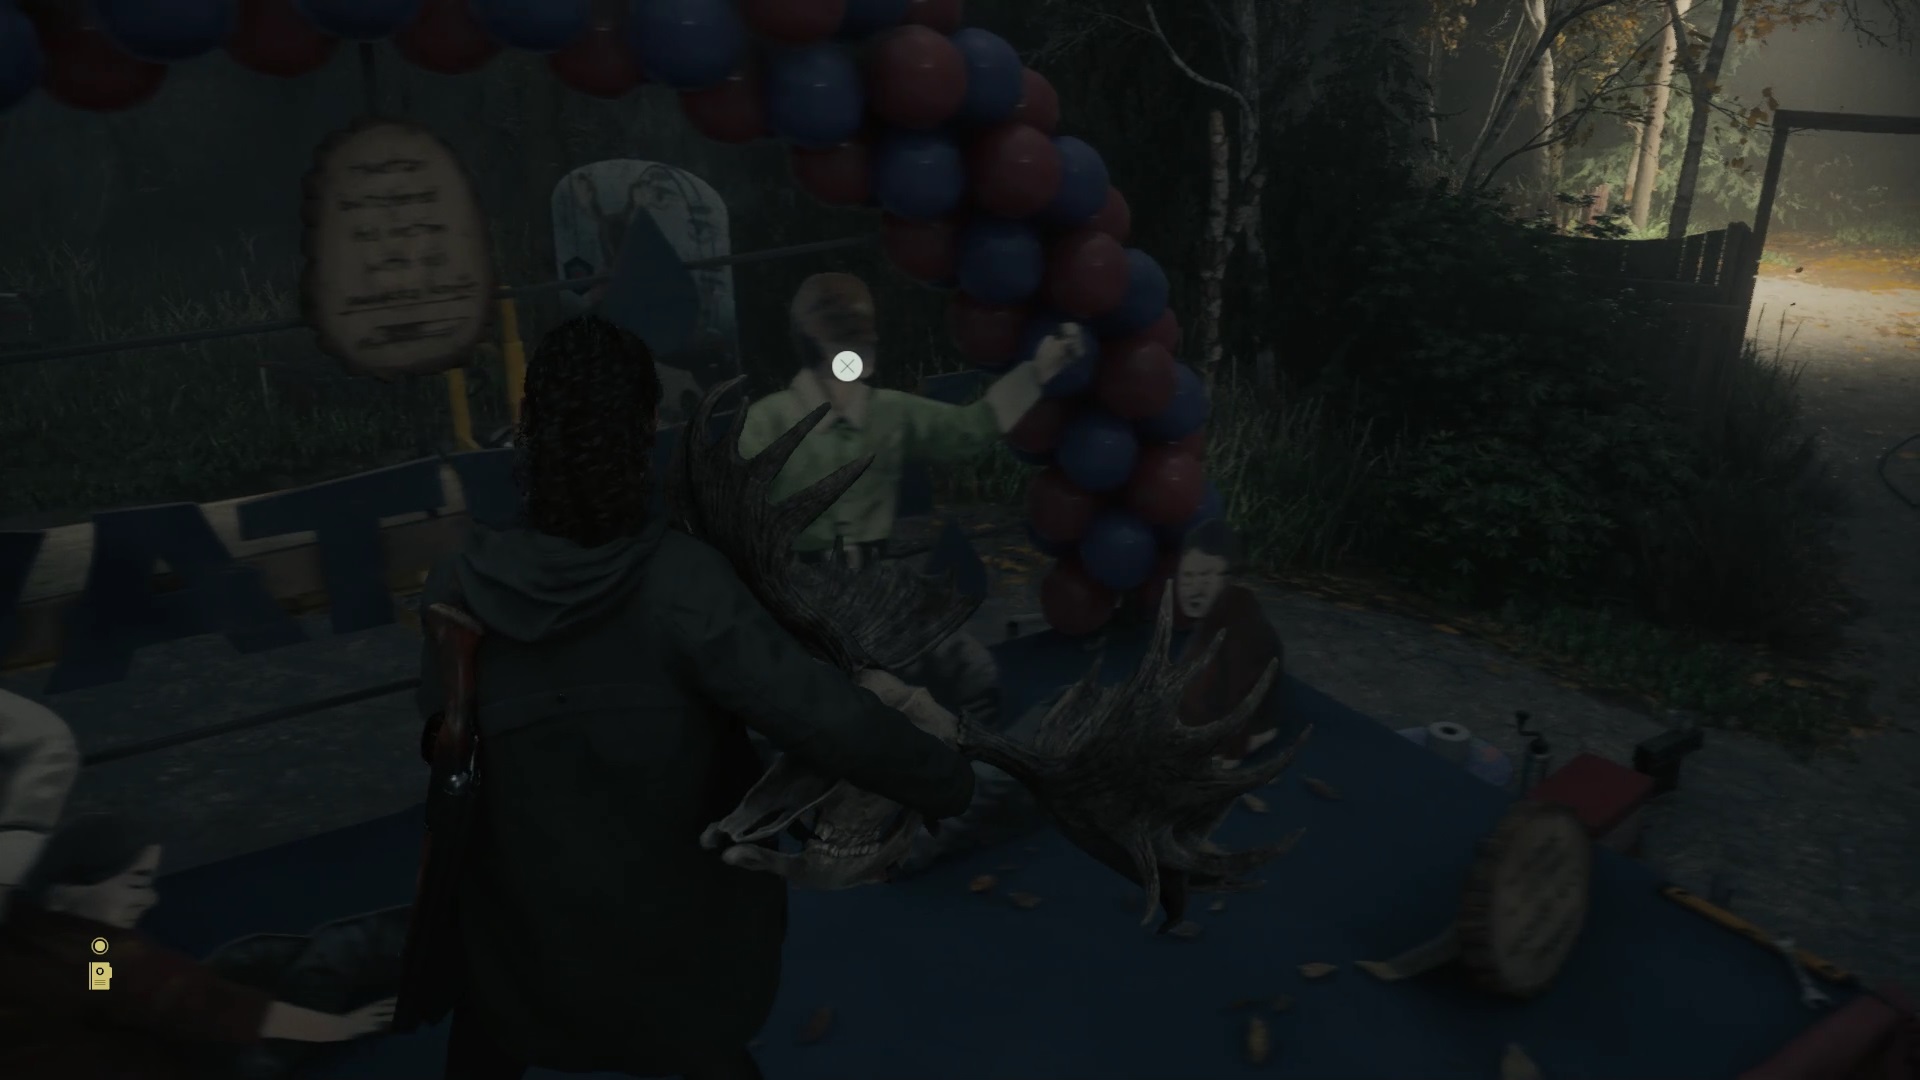
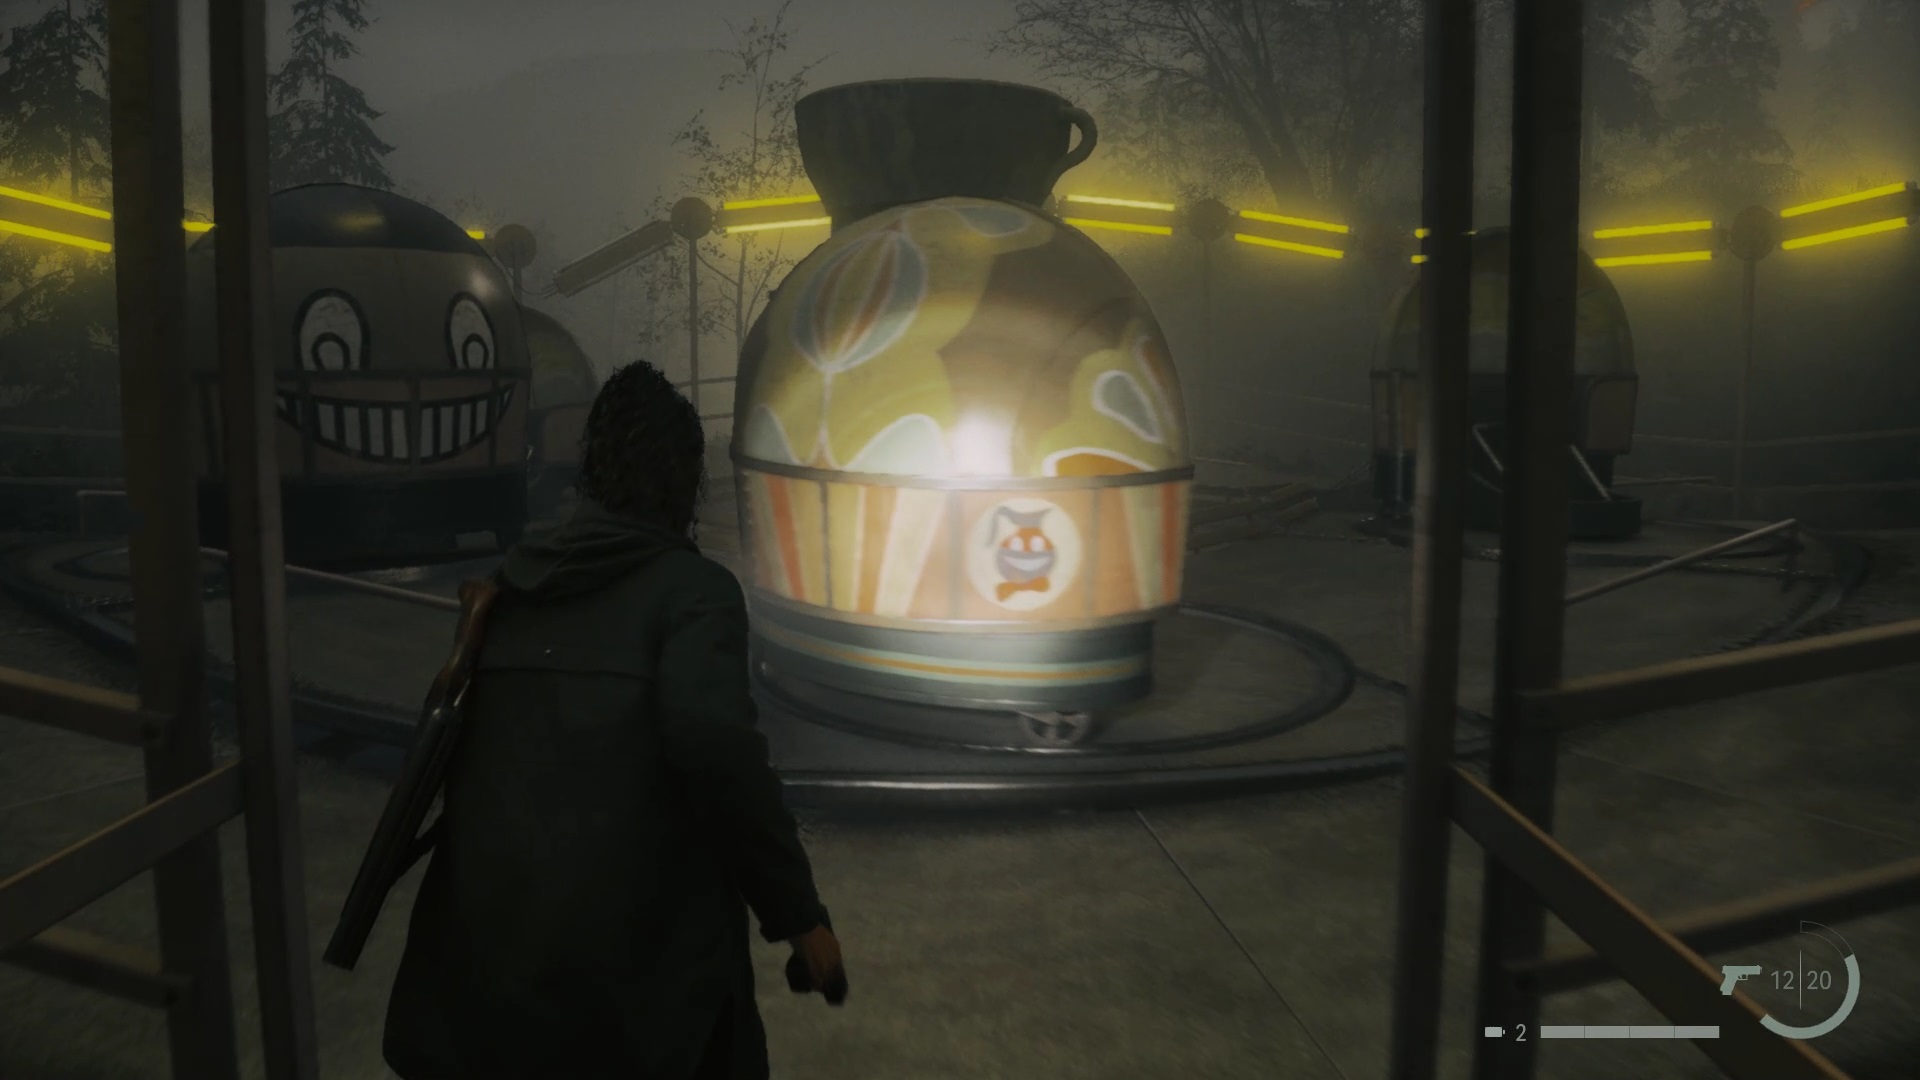
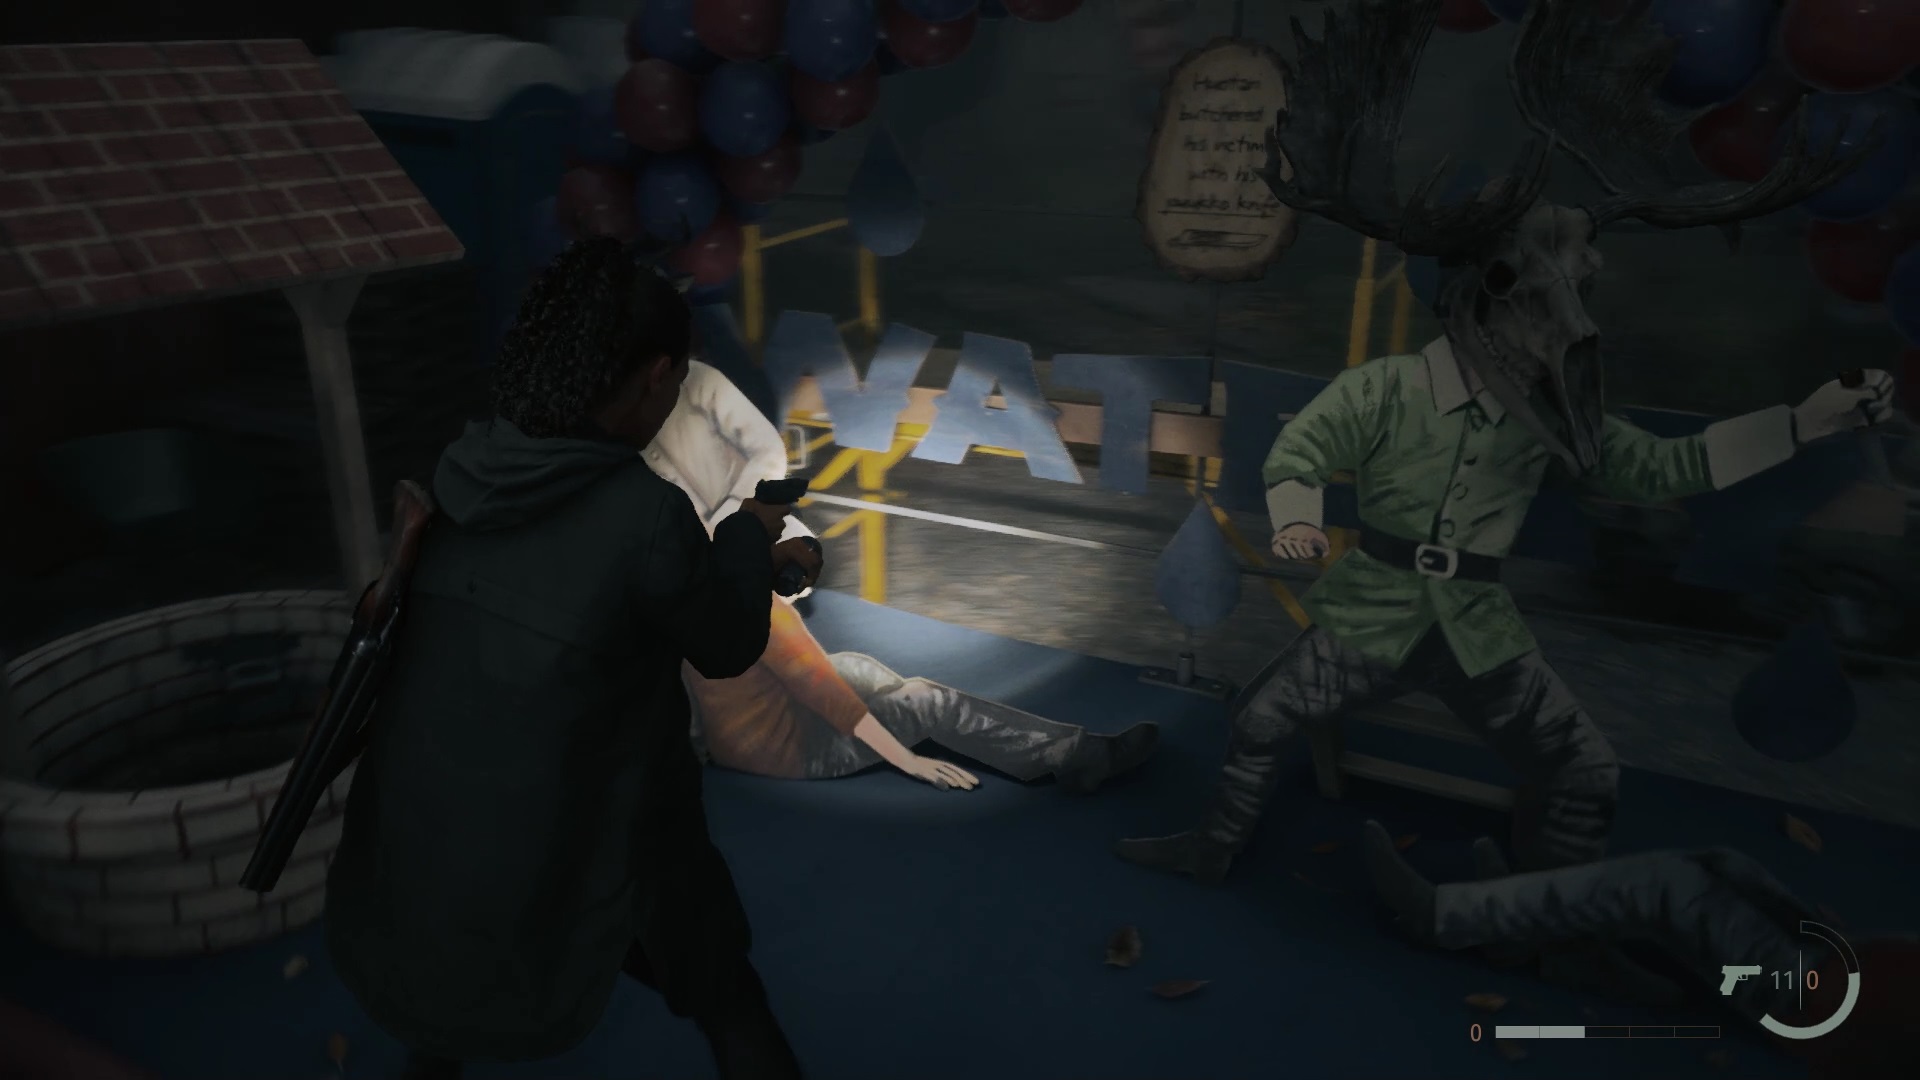
Interrogate the deputies in the mind den to determine the location of the deer mask. Exit through the wooden gate leading to the amusement park to come face to face with the mask. Collect the mask and place it on the tank. Then, return to the park and follow the signs that guide you to the Expresso Express. Search the area around the attraction to find a fuse box. Use the fuse you found earlier to power the attraction.
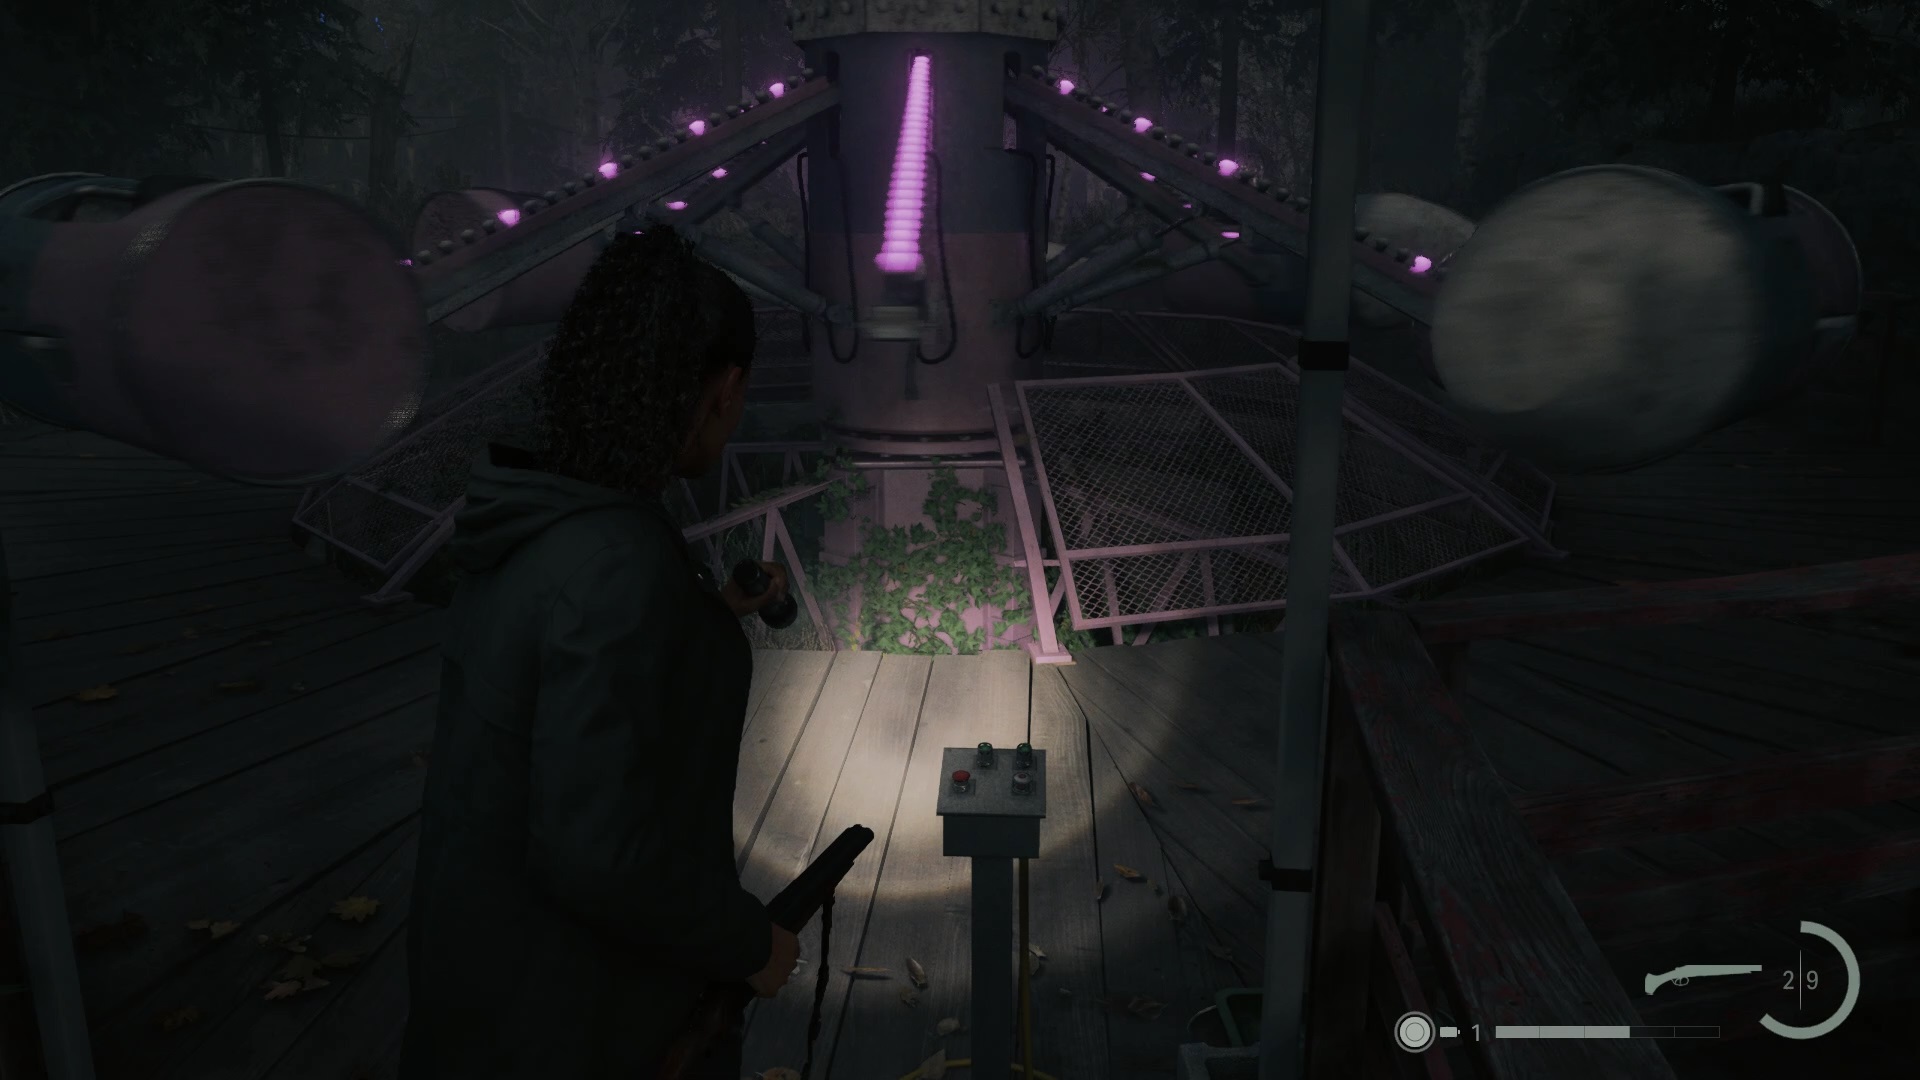
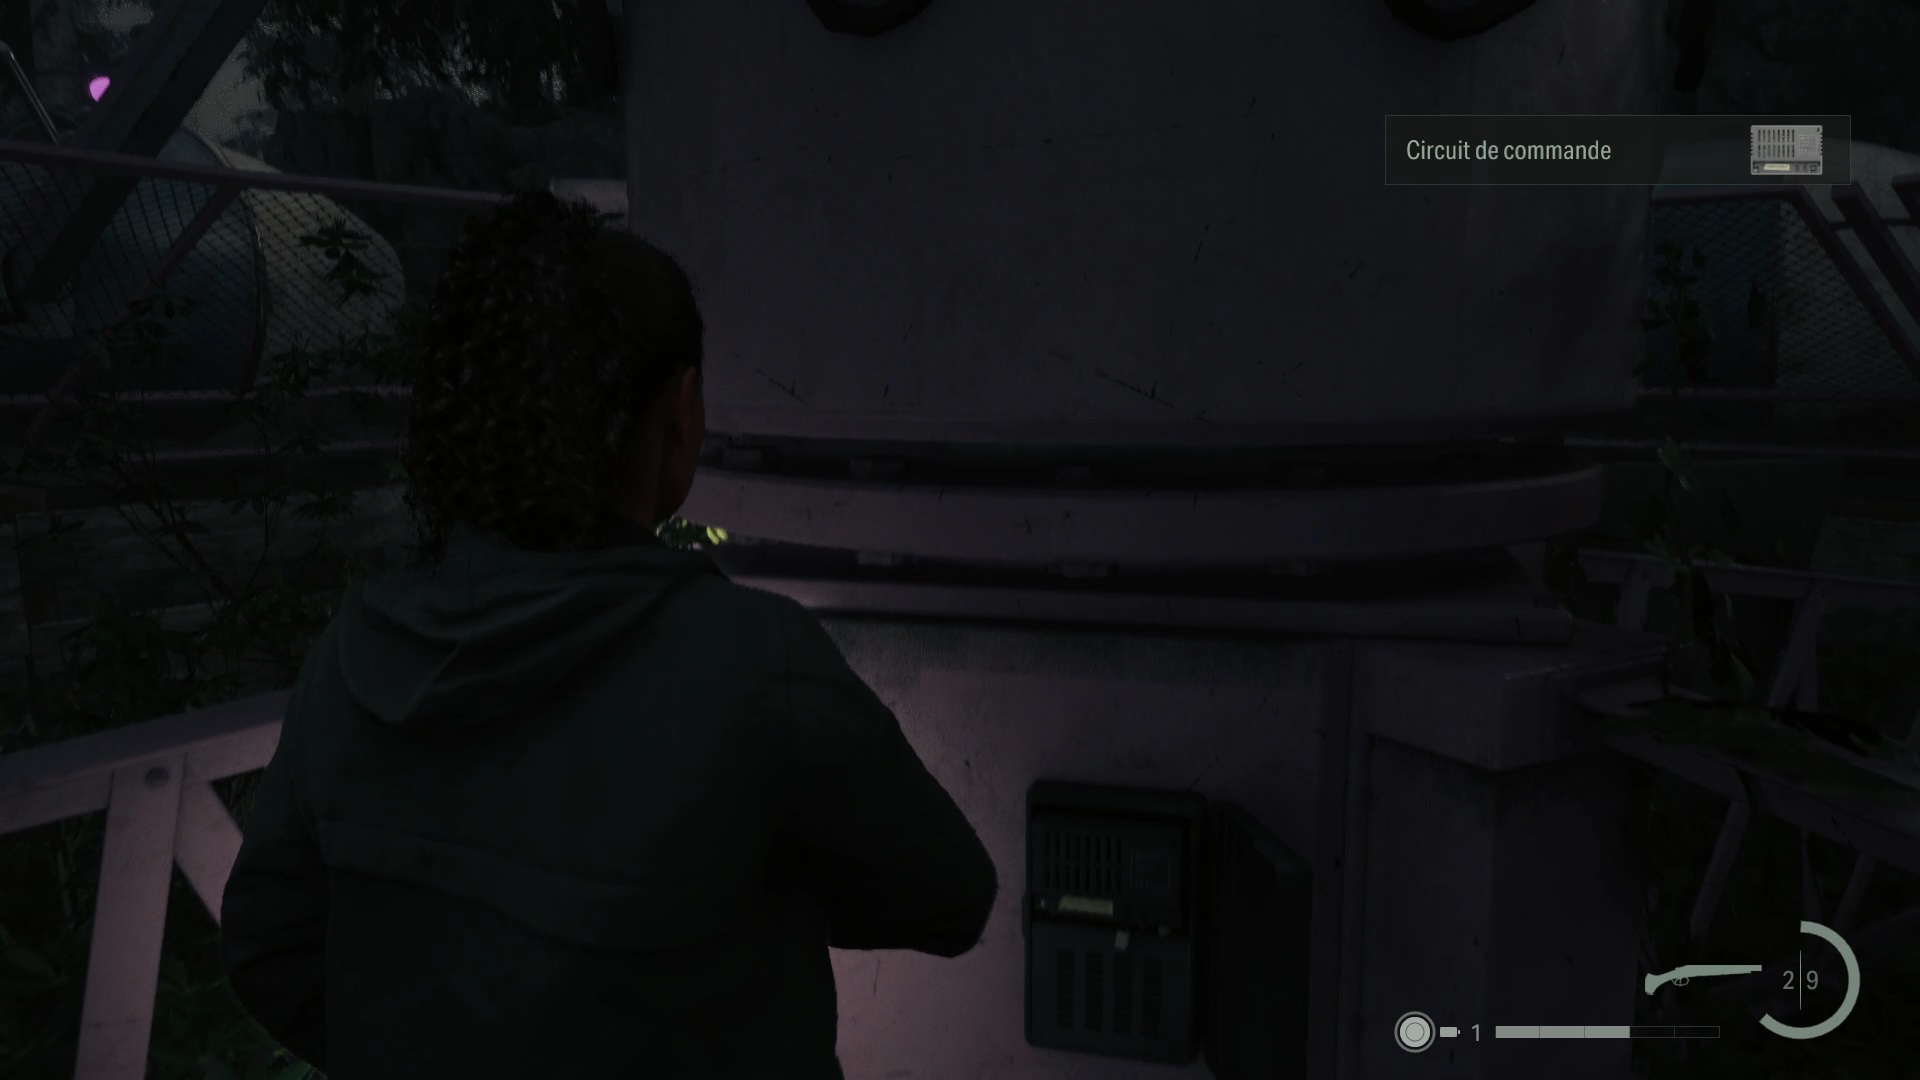
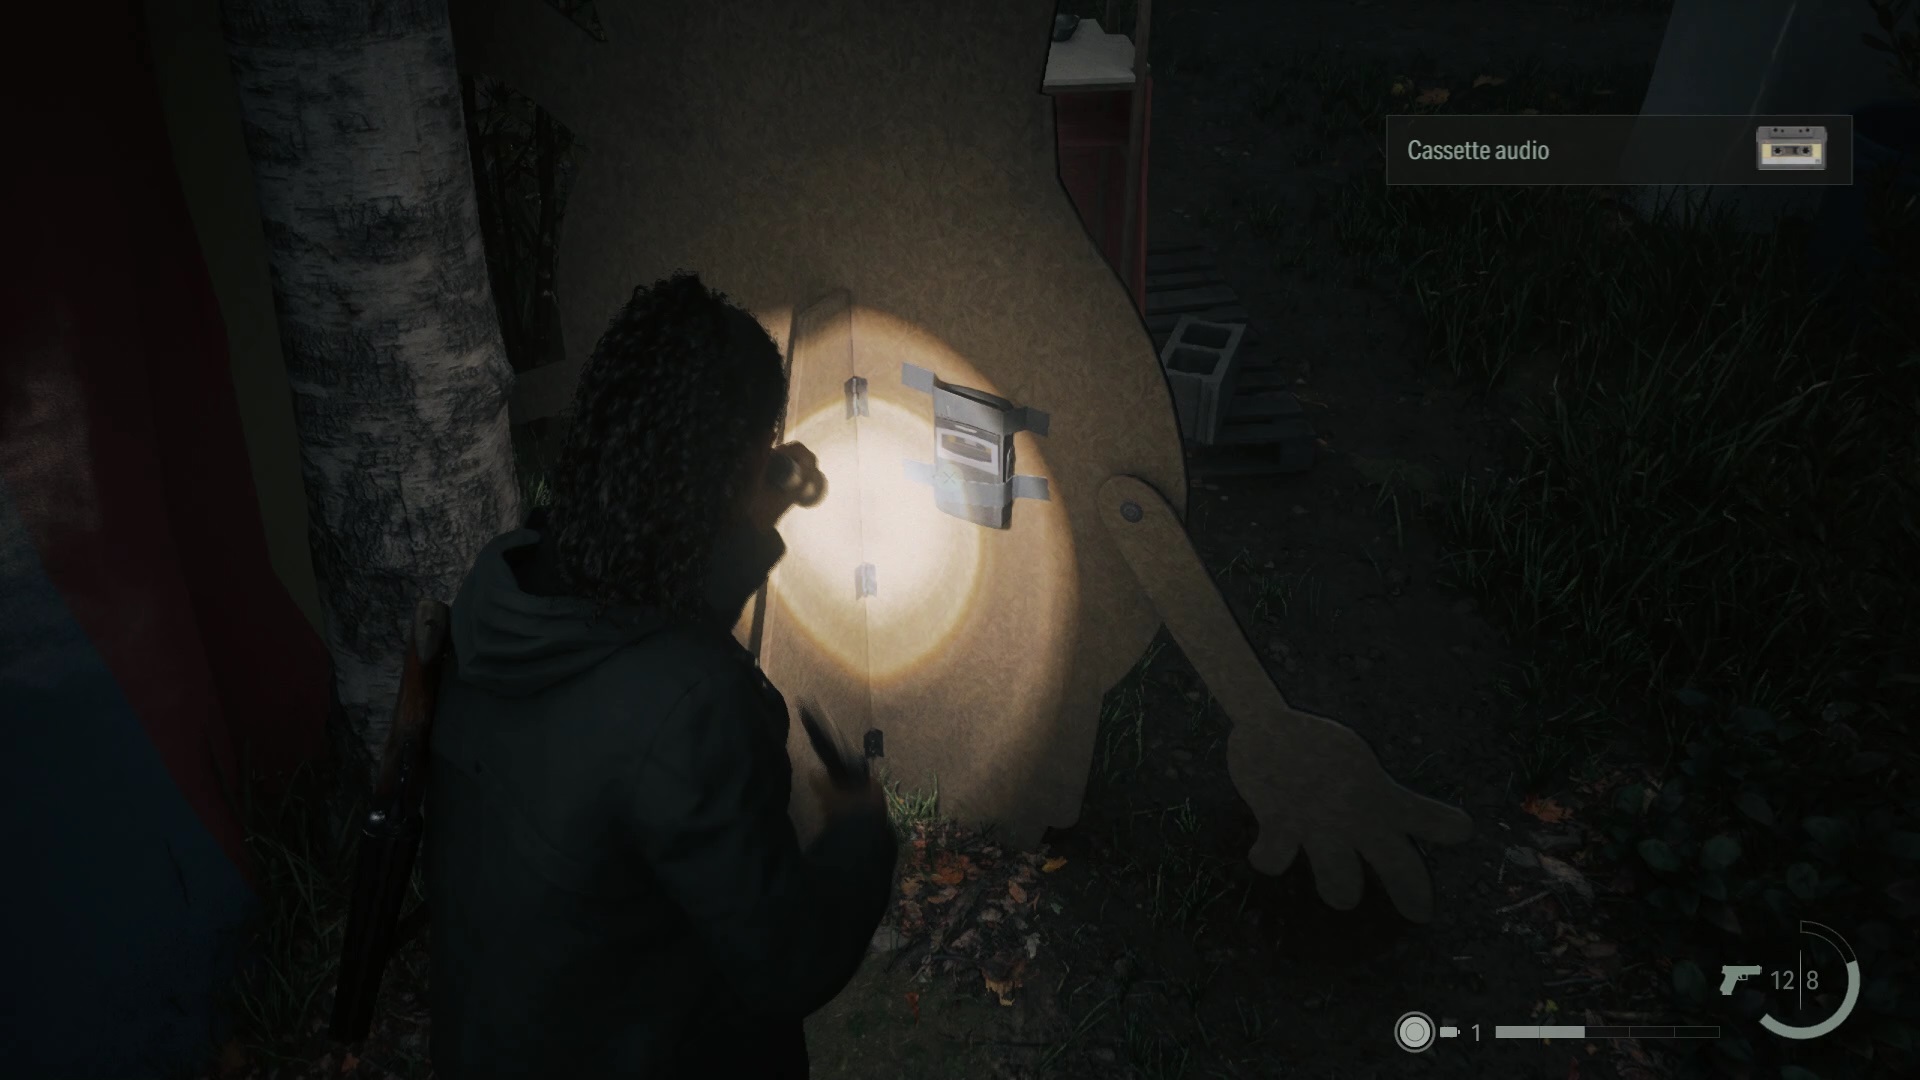
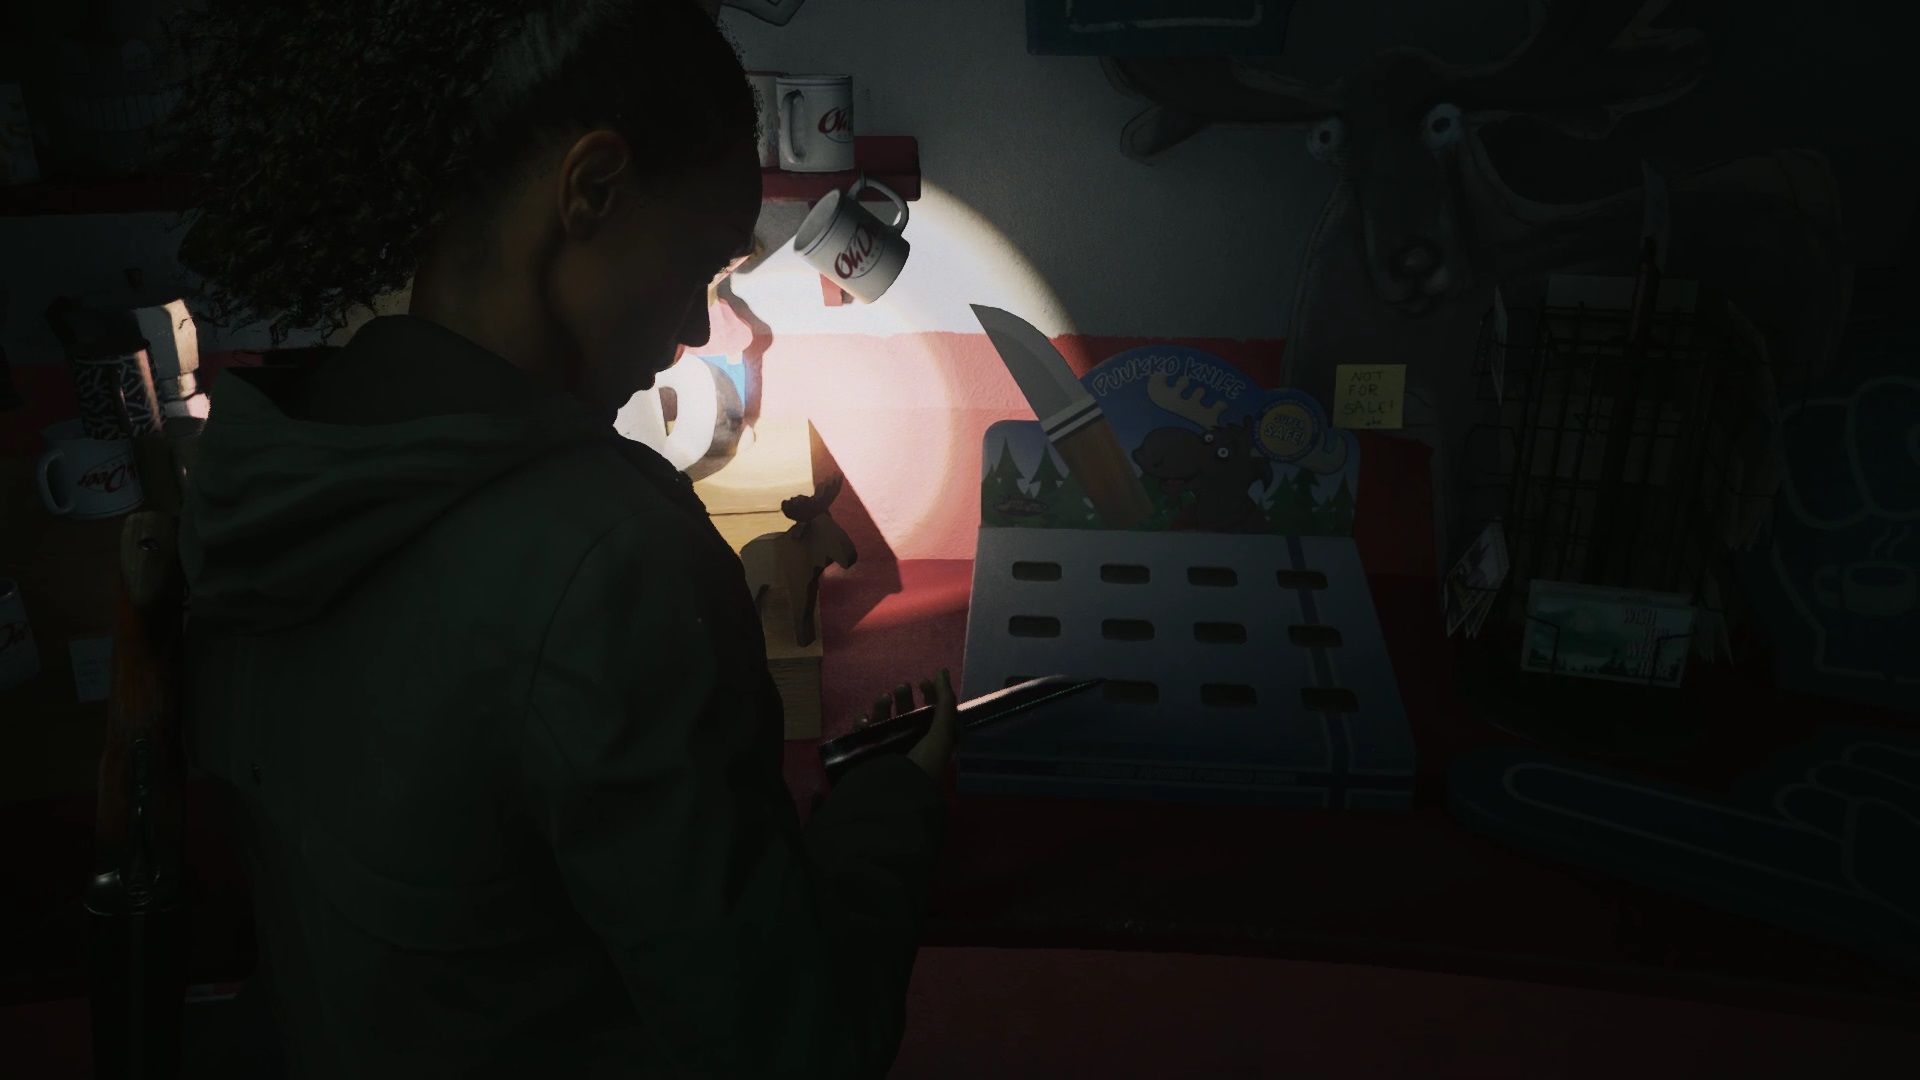
Get on the attraction and press the launch button to activate the ride. You will need to stop the ride at the right time to create an opening. Press the button when the branch of the non-rocket ride is in front of you. Once the opening is created, go inside and collect the control circuit. Next, head to the Percolator to find the entertainment area. Position yourself behind one of the animated panels to collect an audio cassette. Finally, return to the previous gift shop to collect a plastic knife.
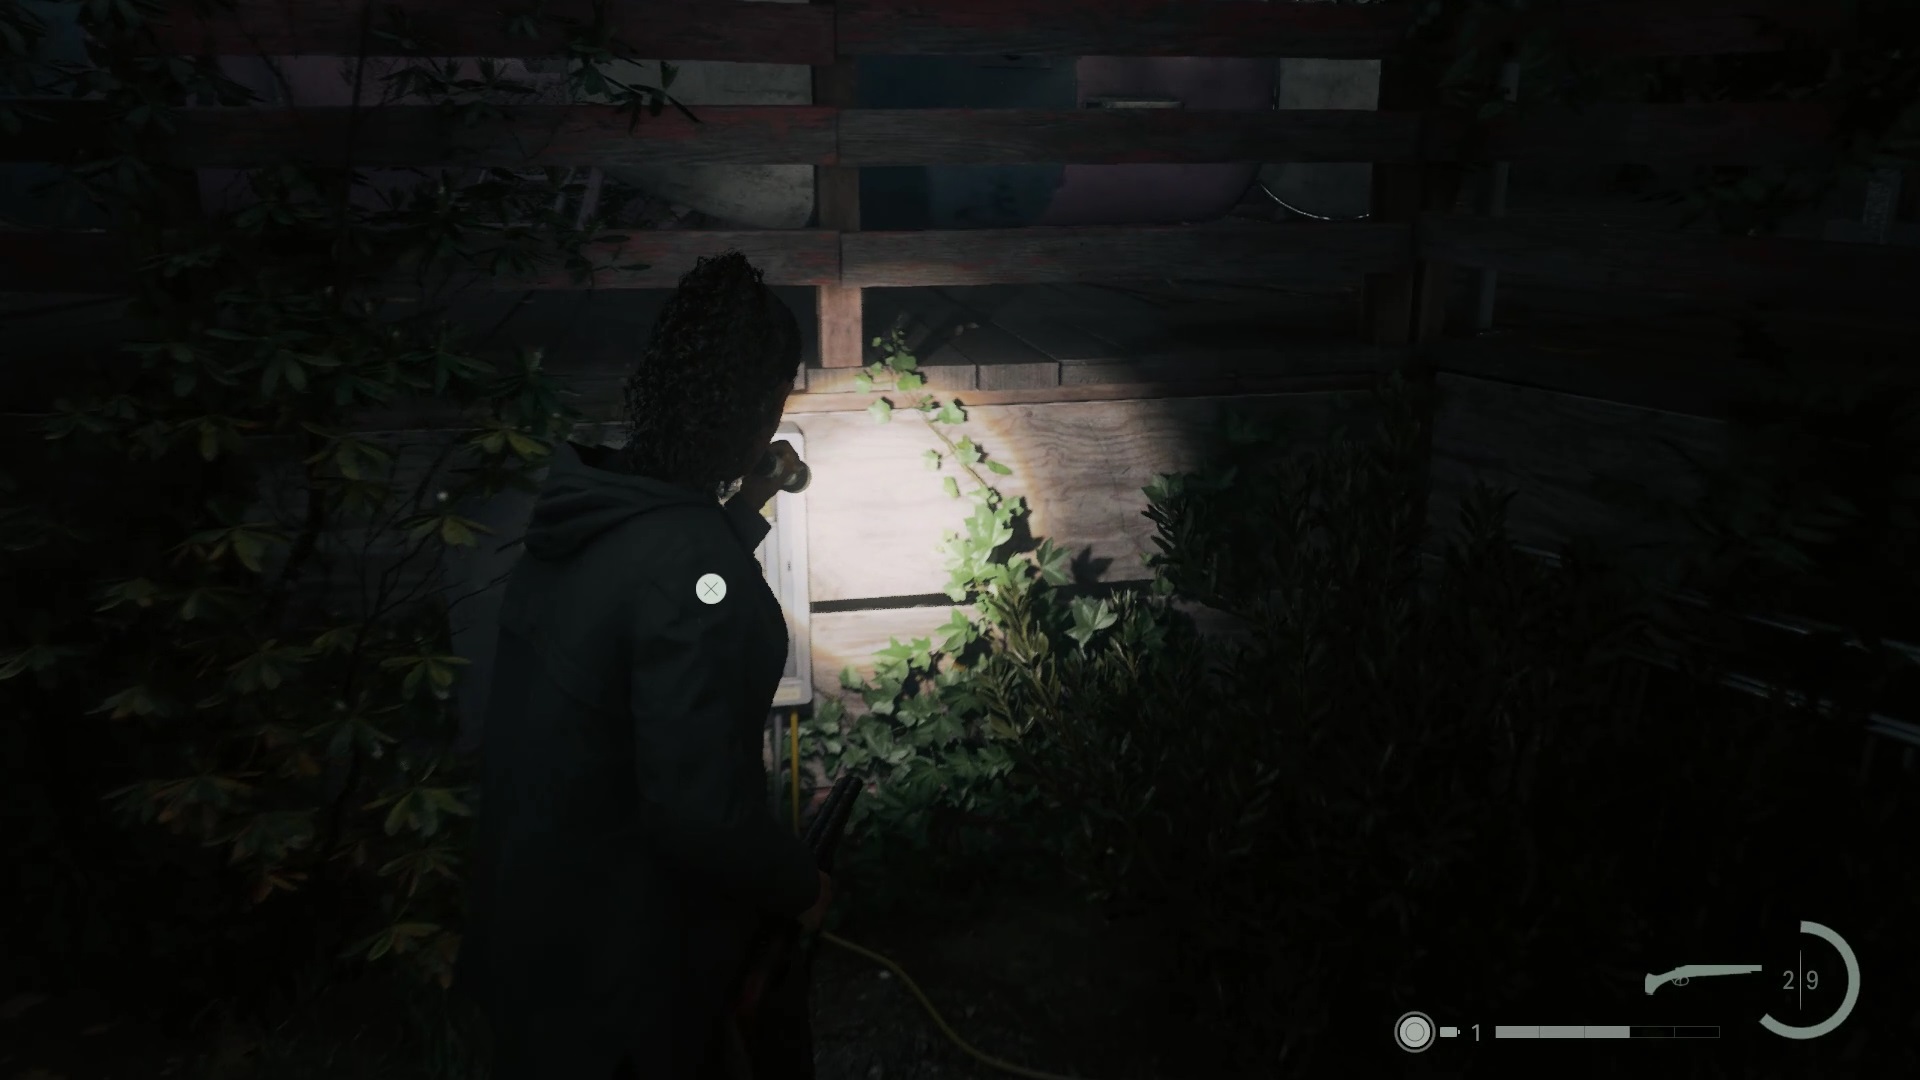
If you wish, you can go to the Percolator attraction to confront the possessed and collect a screwdriver. This tool will allow you to break the padlocks of emergency caches scattered everywhere.
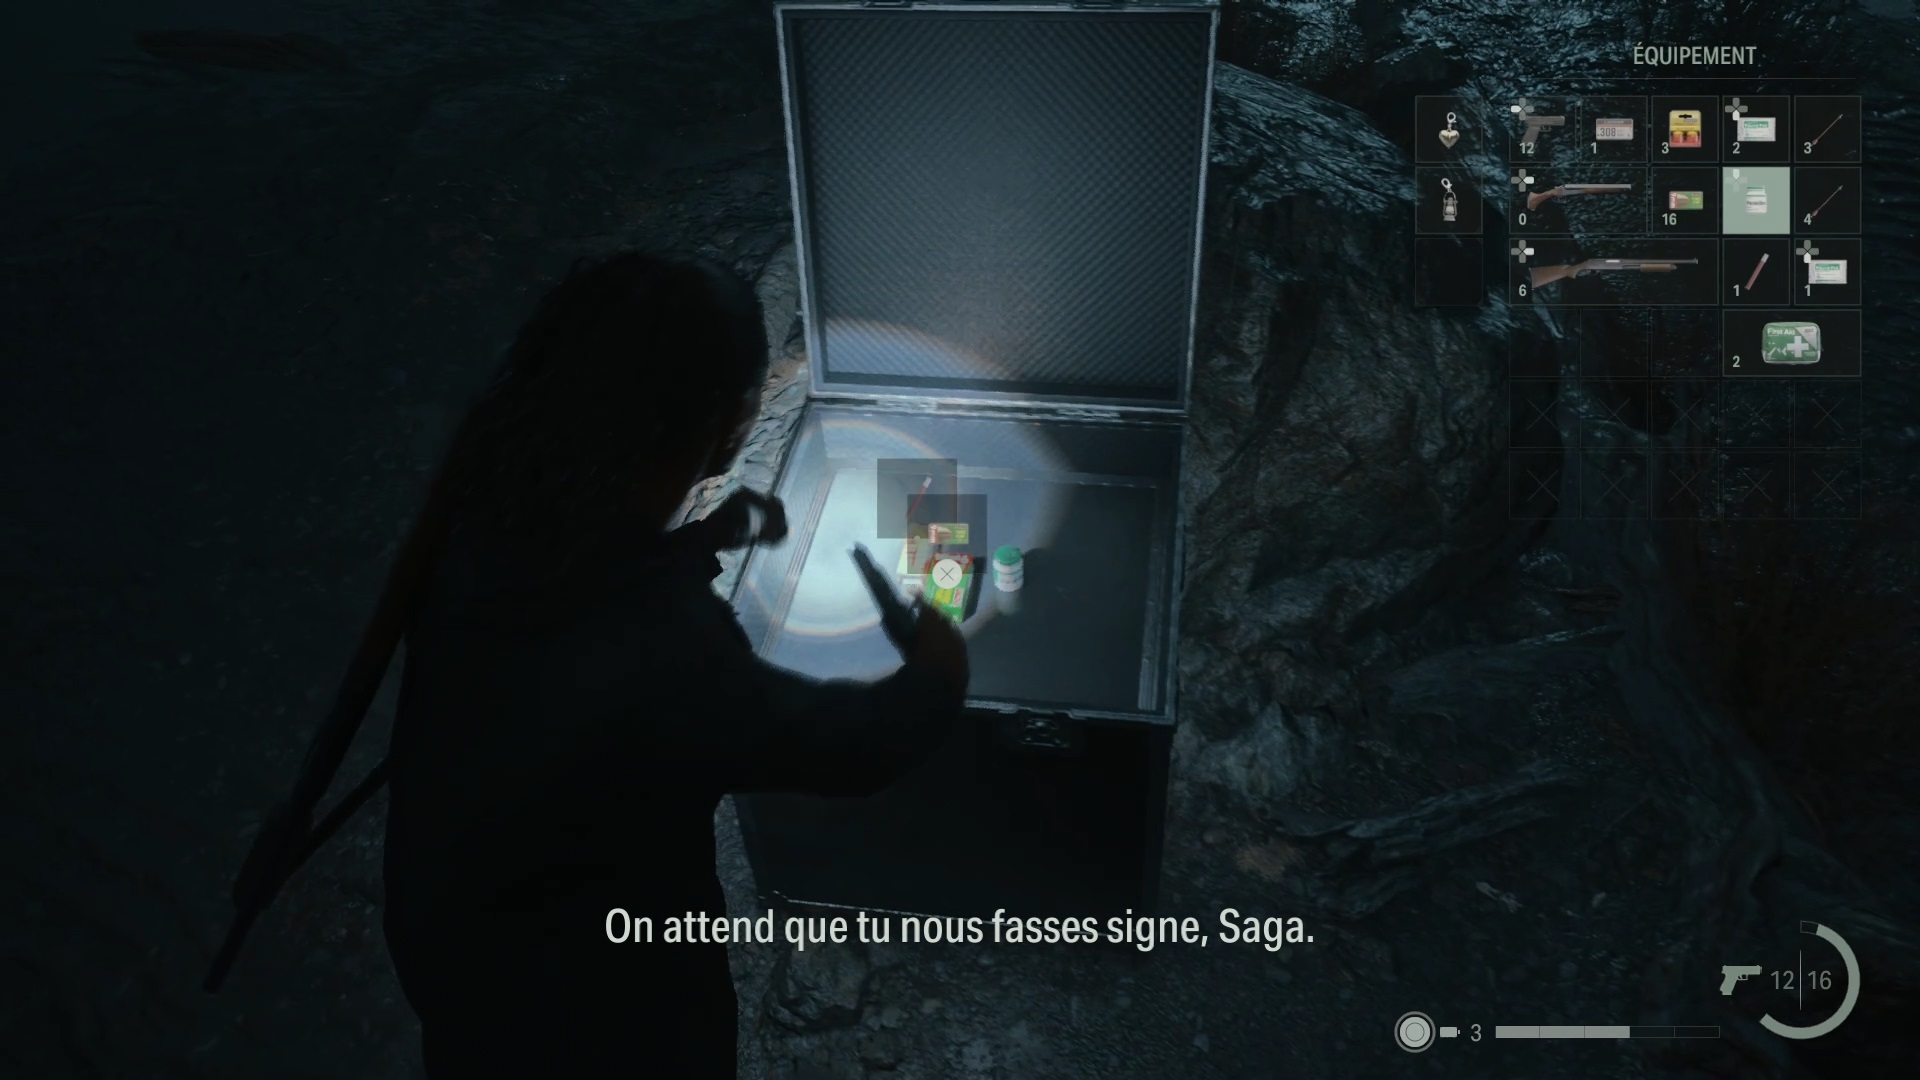
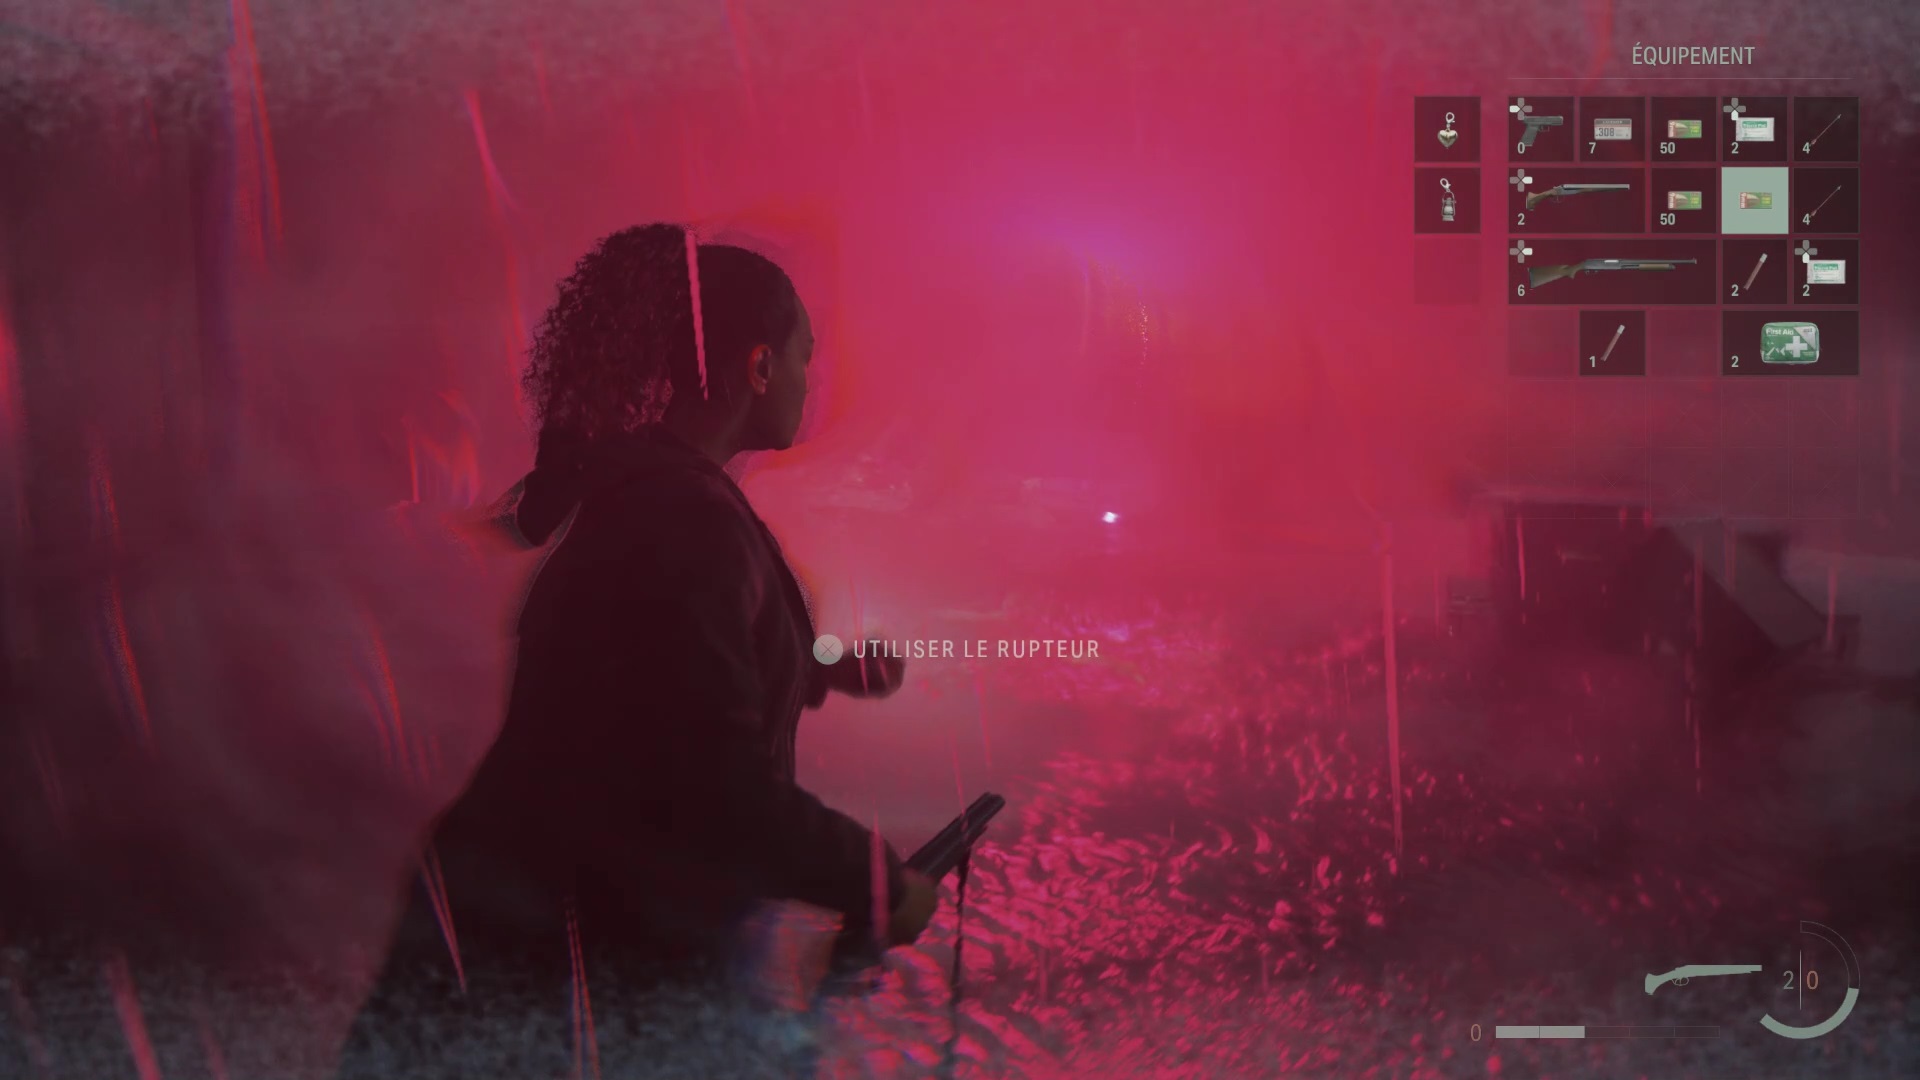
Place the items you found on the tank to open the amalgam. Dive inside to go around a loop. You will have to face the first possessed people, then the deputies will arrive. To defeat them, start by dispelling six shadow zones to make them vulnerable. Use the elements of the arena as cover to protect yourself from Thorton, and start by eliminating Mulligan first. You can also use the rocks as cover to defeat Thornton. If you need ammo, it is available in a weapon cache, as well as a tool kit for your needs.
Initiation 5: Chamber 665
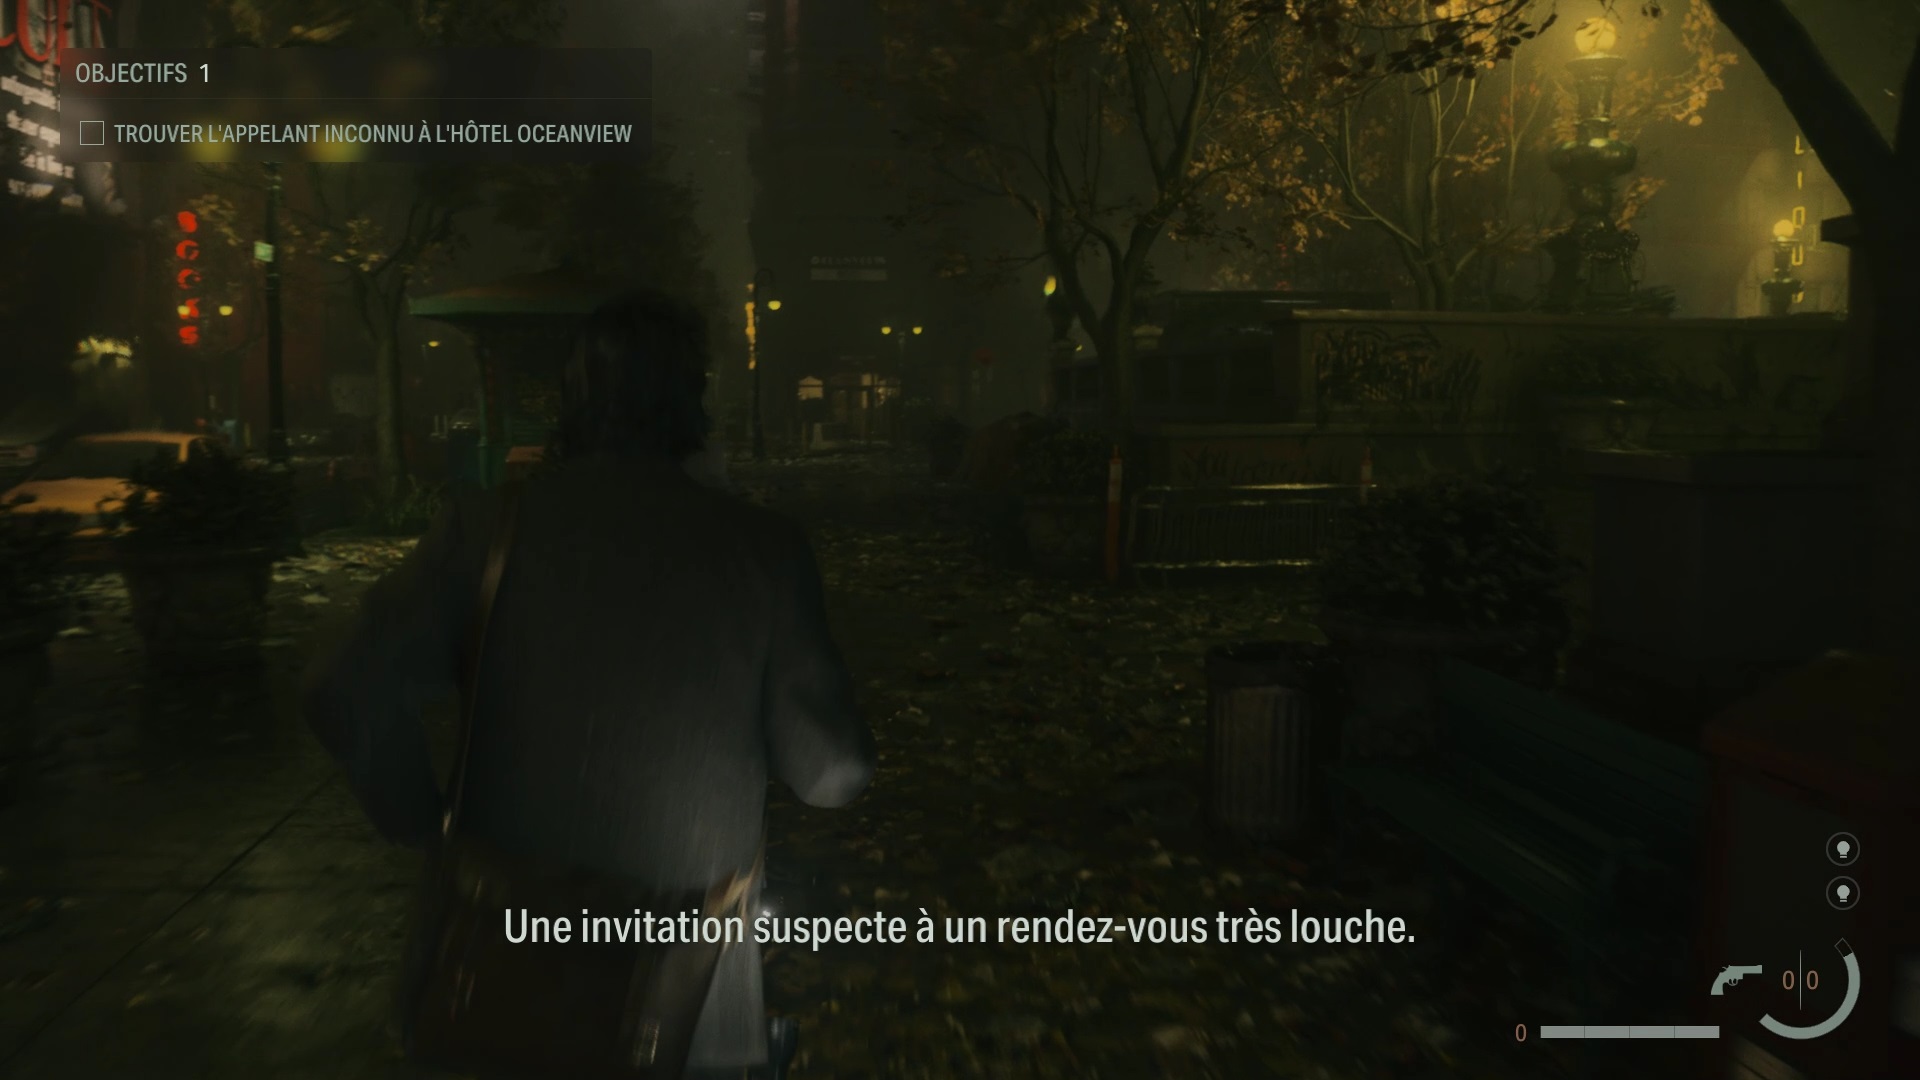
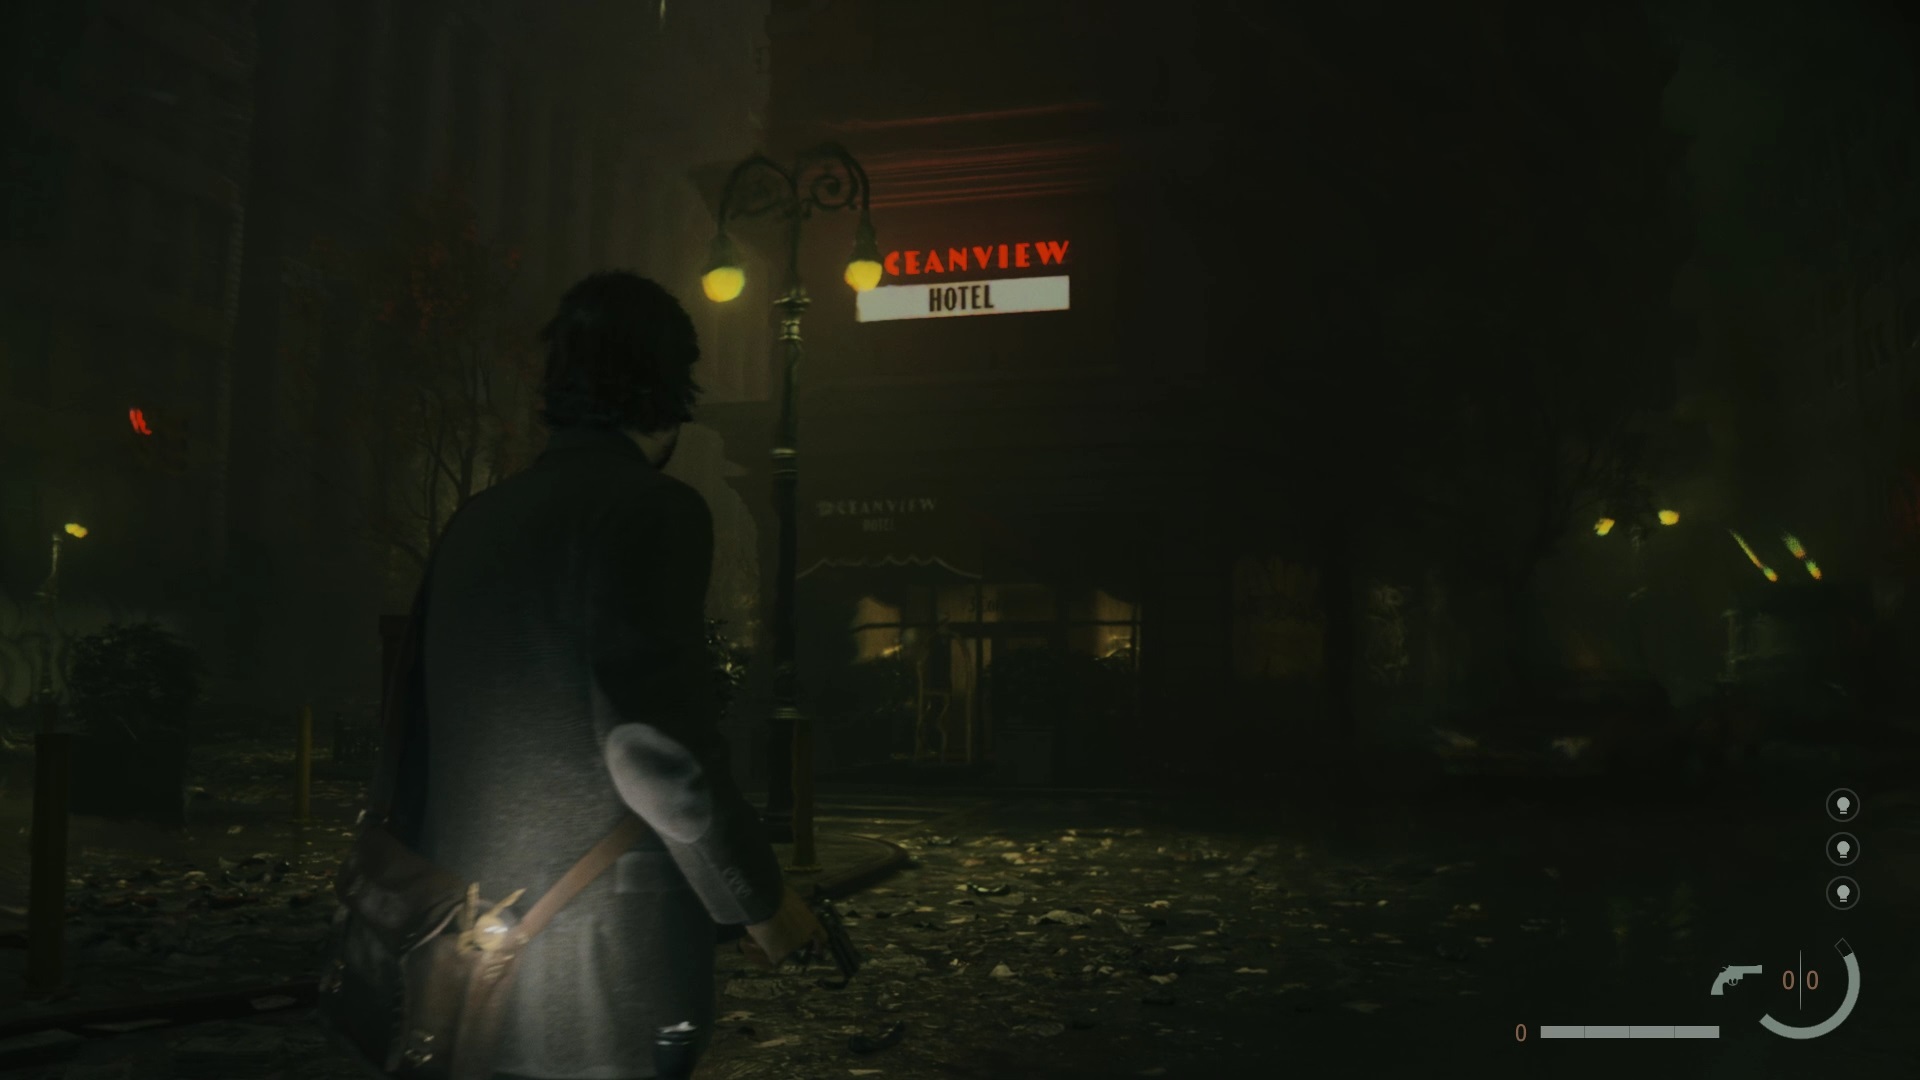
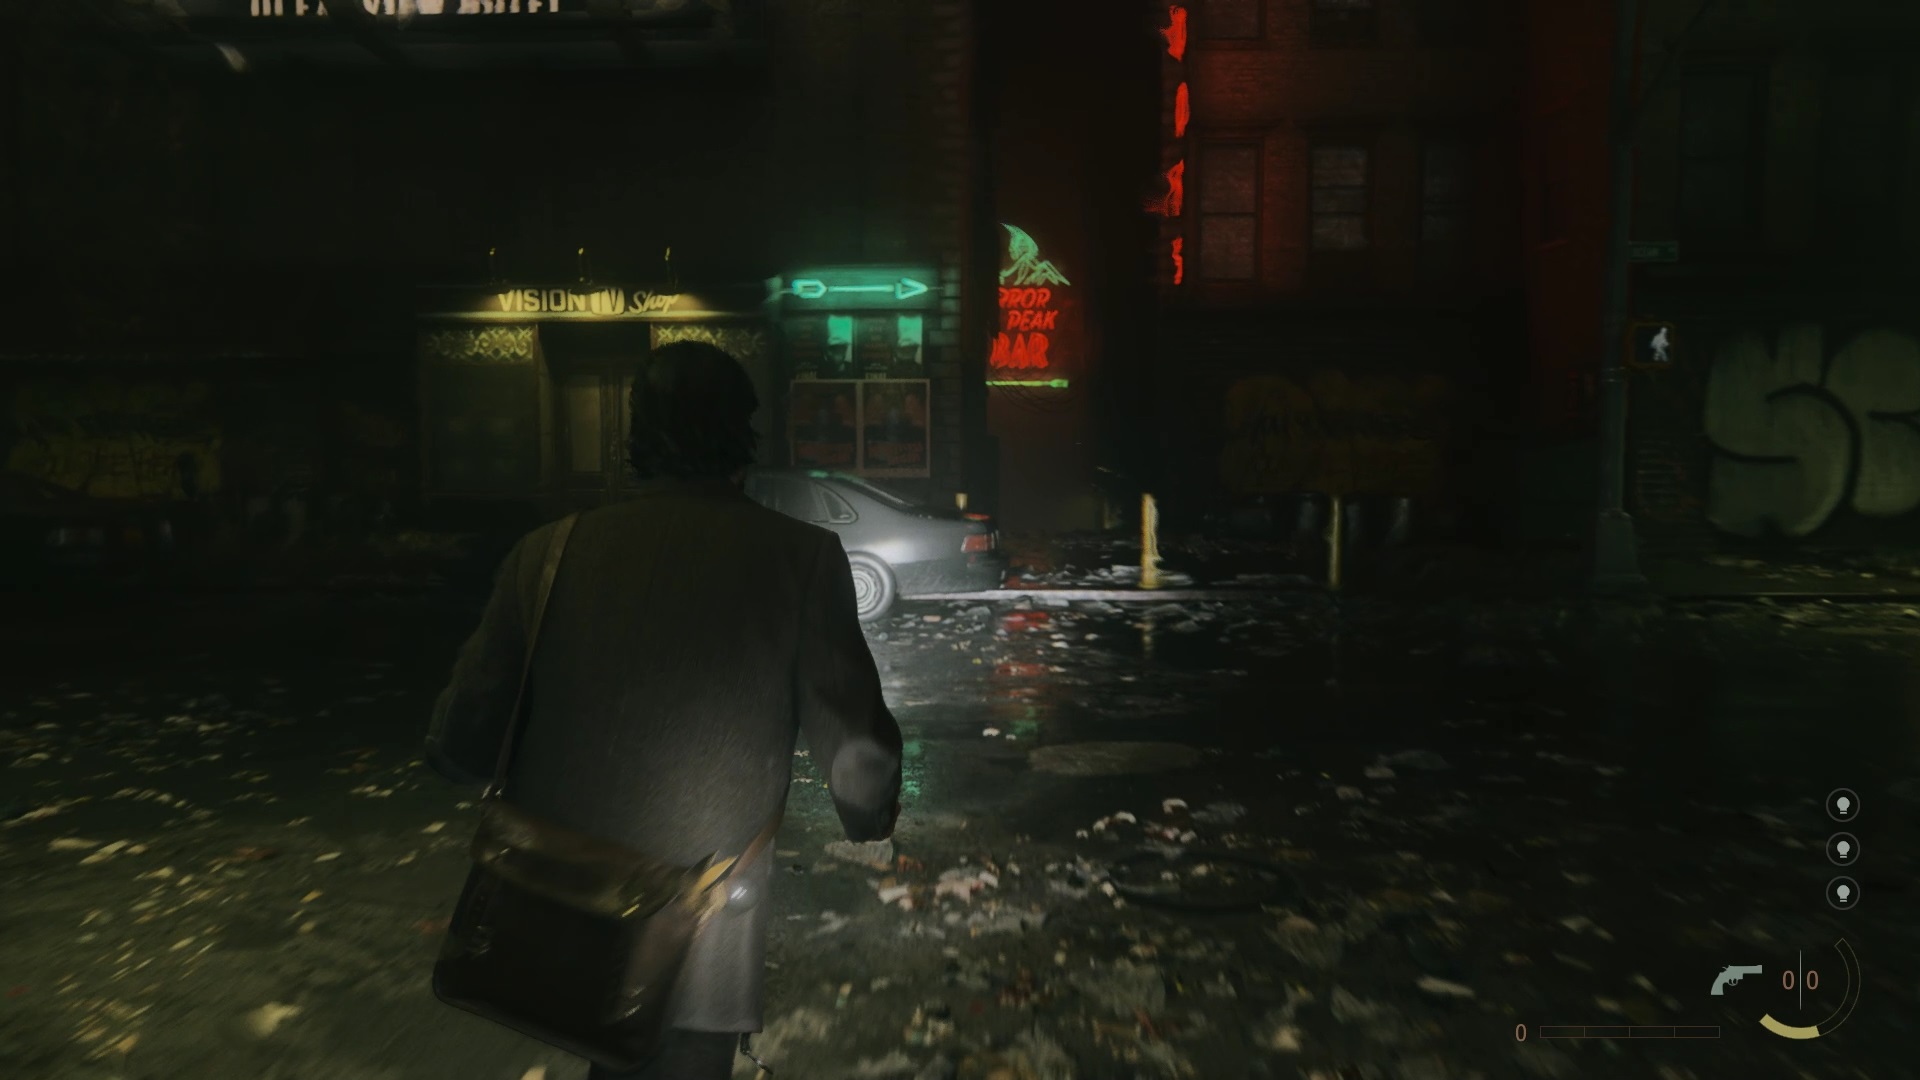
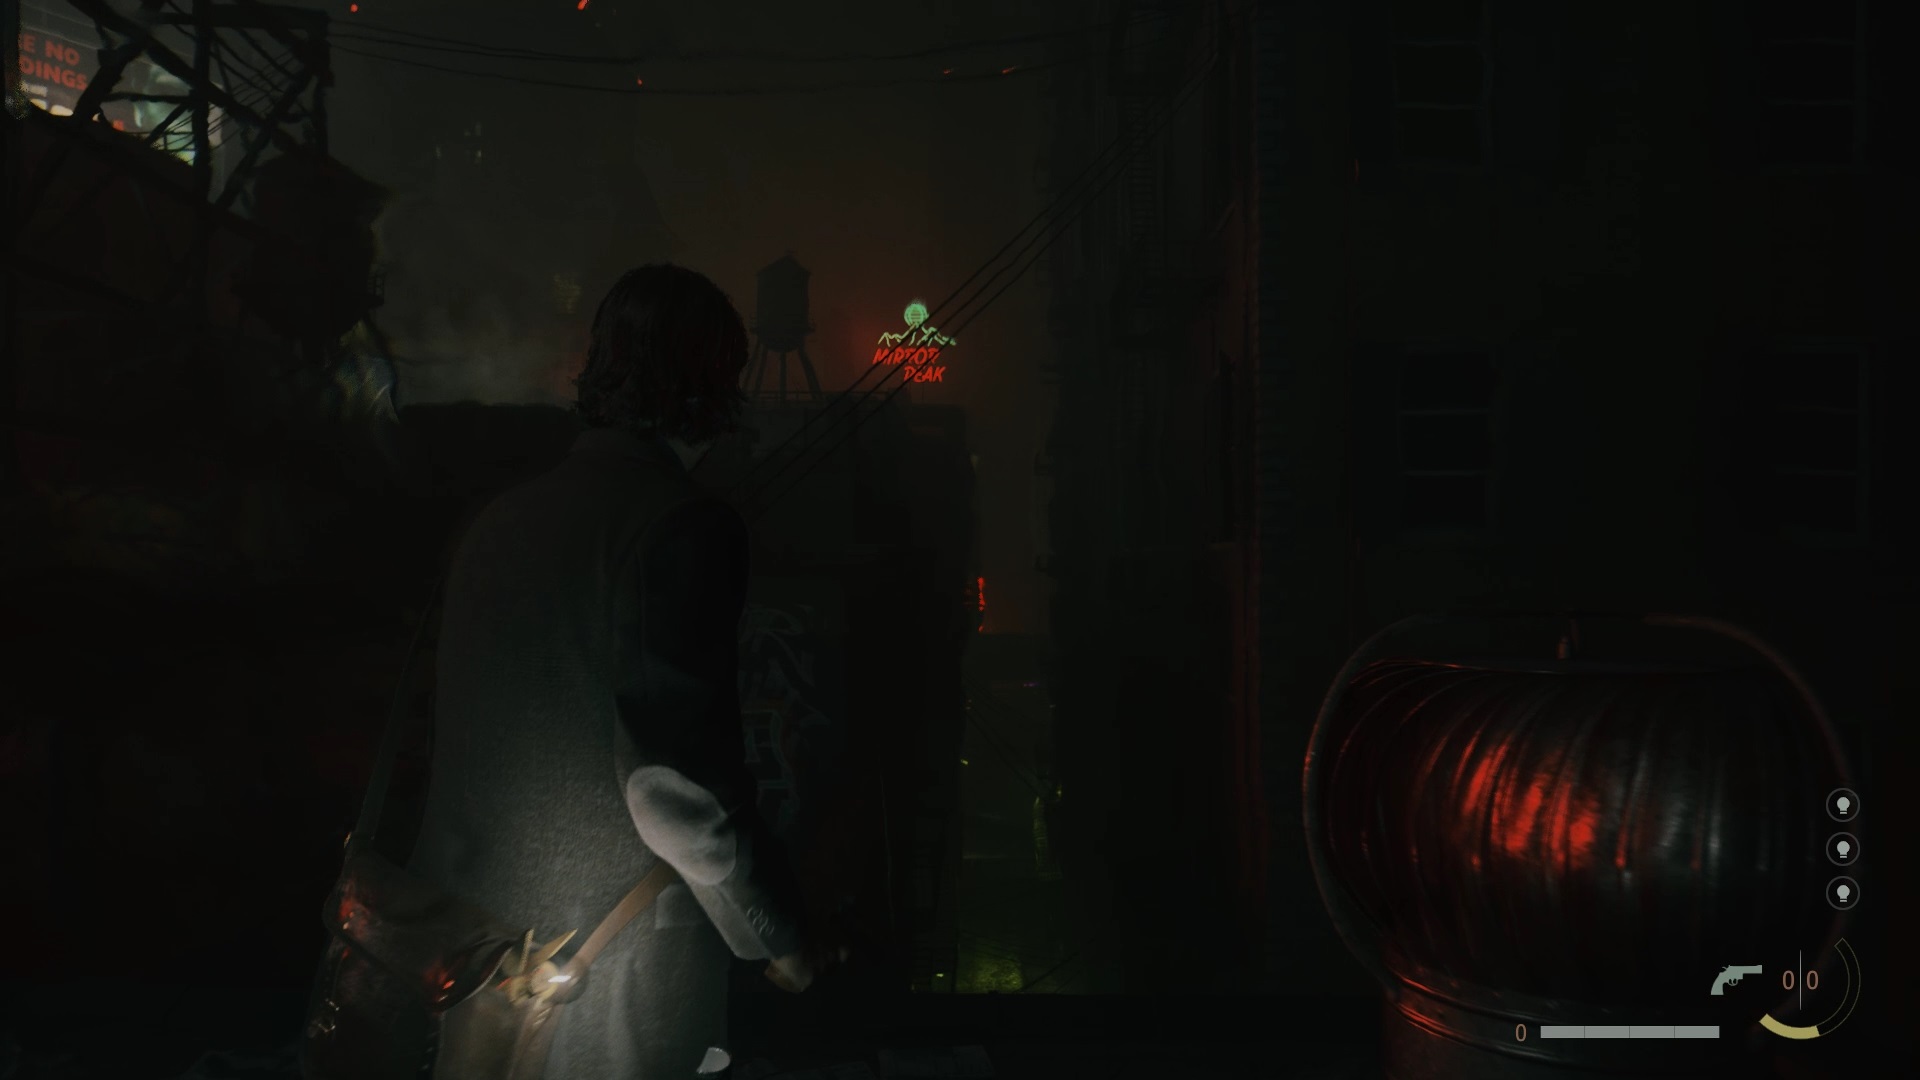
At the start of the chapter, go to the place to pick up the phone again. You need to start looking for the OceanView Hotel. To do this, turn left from the telephone booths to find it. Its frontage lights up when you are in front. Try to get inside, but the black shadow won’t let you. Look for the nearby Mirror Peak signage to head down an alleyway. Before going up, collect as many light sources as possible. Once at the end of the alley, go through the doors to reach the roofs.
Go down the ladder to reach a staircase. Go up the steps, then use your lamp to change the layout. Move under the scaffolding to access another ladder.

On the roof, use your flashlight to dispel the shadowy areas and quickly go through the door to avoid a fight. Continue forward and pass under a cardboard tent. Then climb the ladders near the save room. Before continuing, remember that a door behind a grate with humming sounds is currently inaccessible. Continue going up to pass a door on the roofs. Cross the blue corridor to reach a water tower. Use your lamp to remove it.

Go back up and then retrace your steps to go down the ladder and see that the door with the humming sounds is now accessible, because you switched sides. Talk to Tim Breaker and collect the card on the board. Go back through the door on the roof to cross a corridor, this time marked in red. You come out through the door where the water tower was. Go down the stairs and through the roof to reach the OceanView terrace.
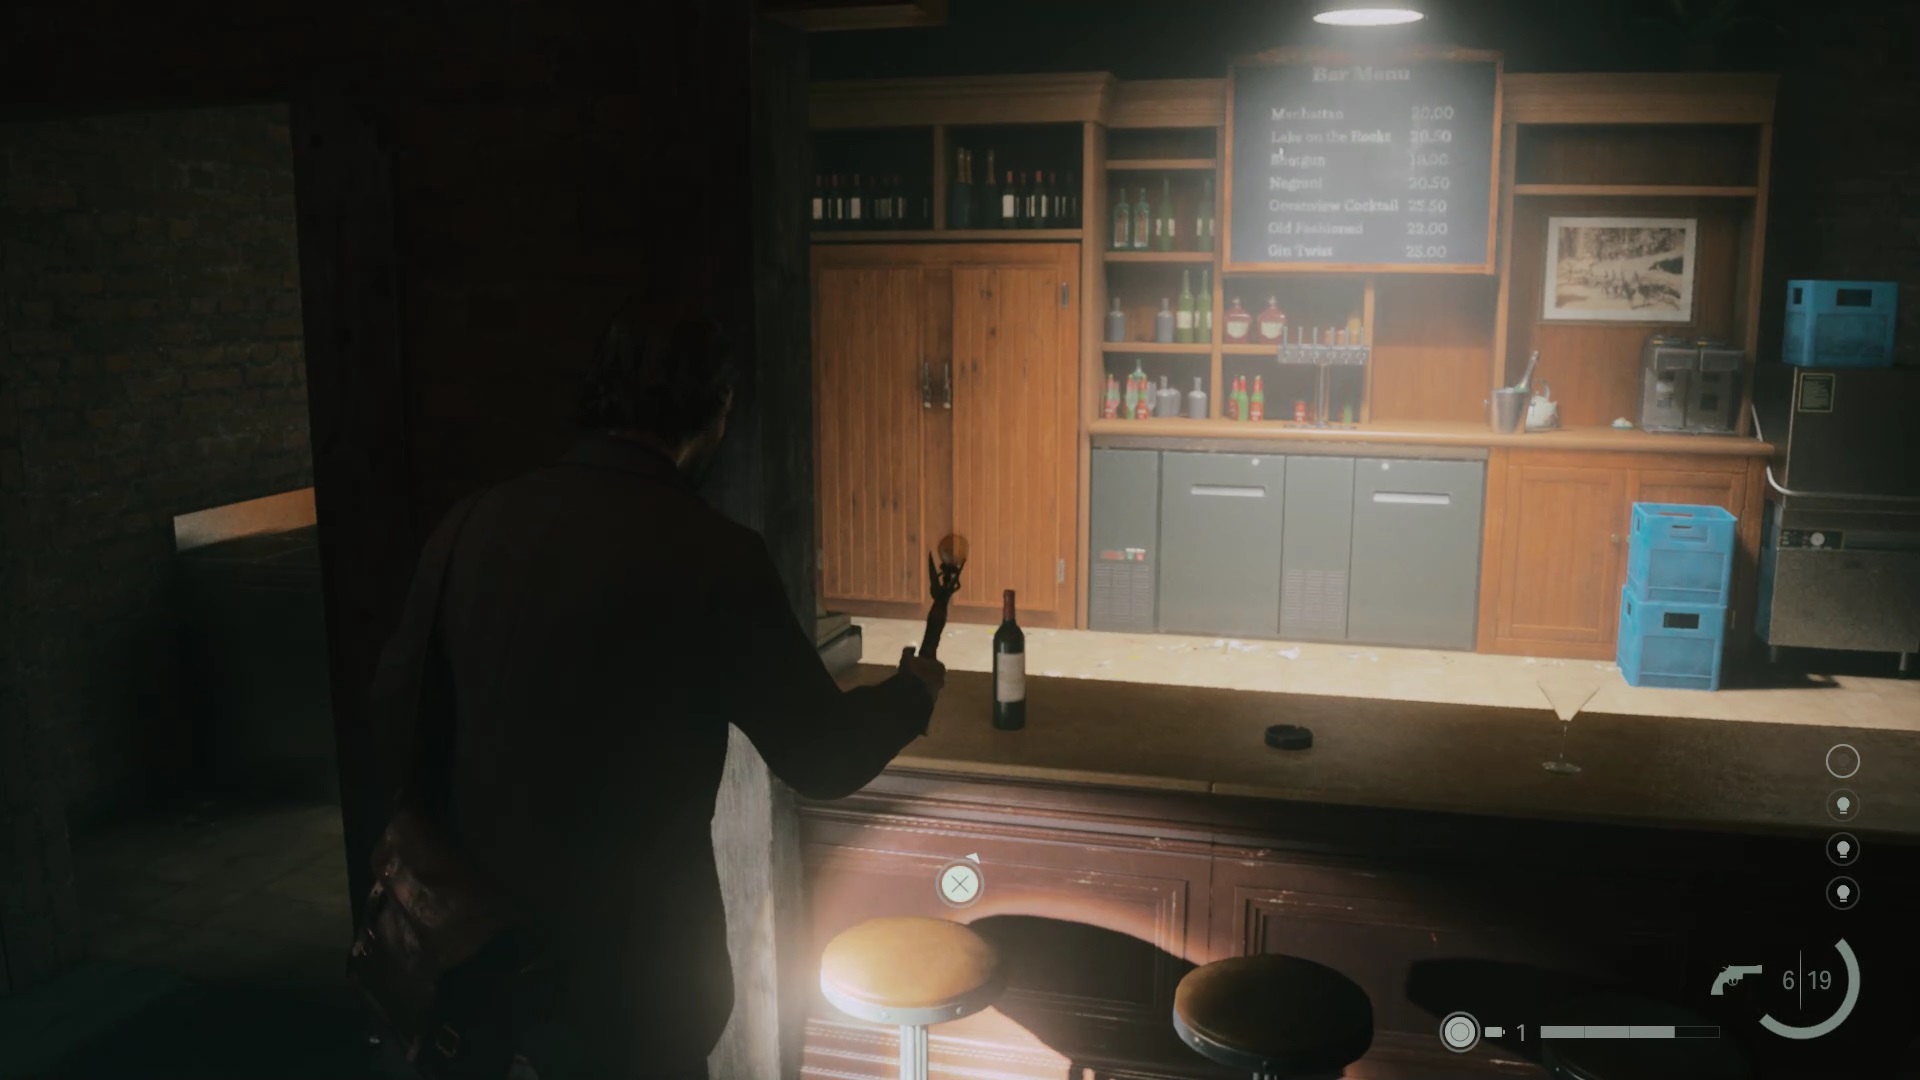
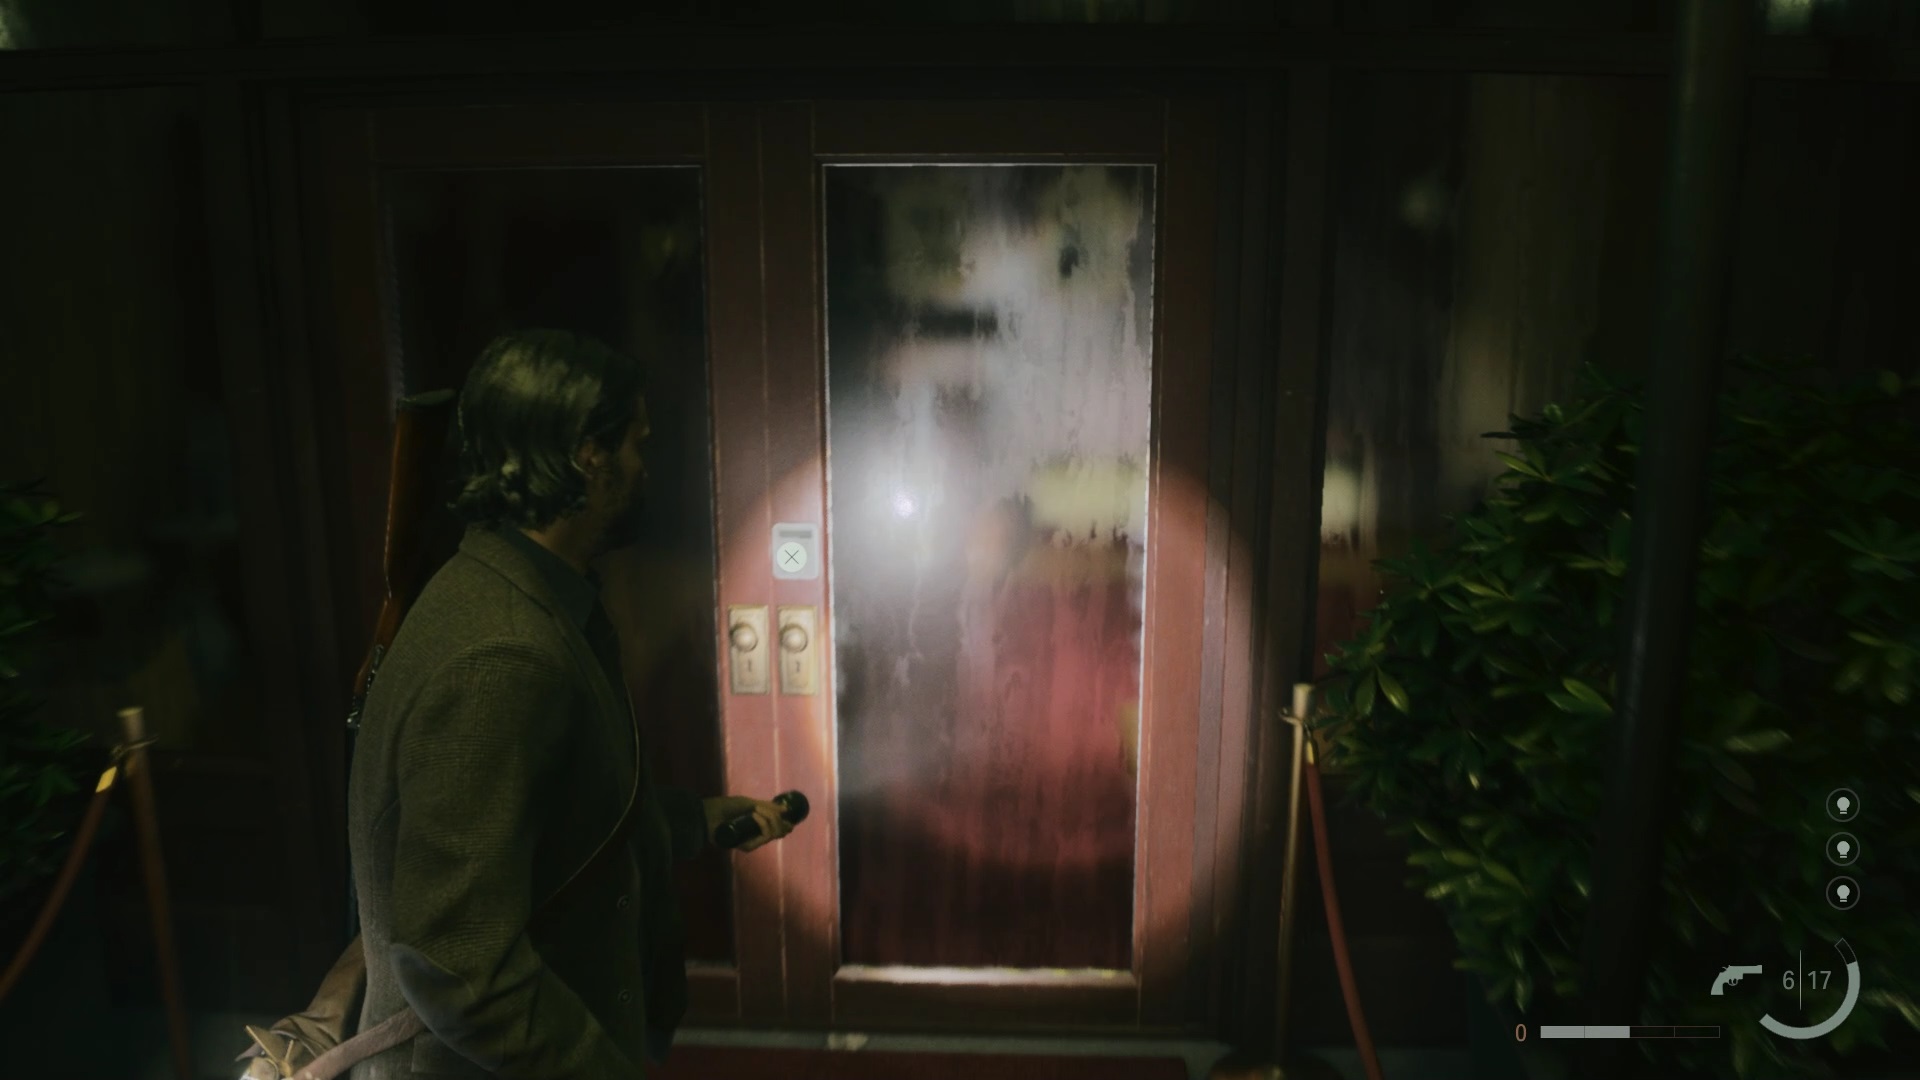
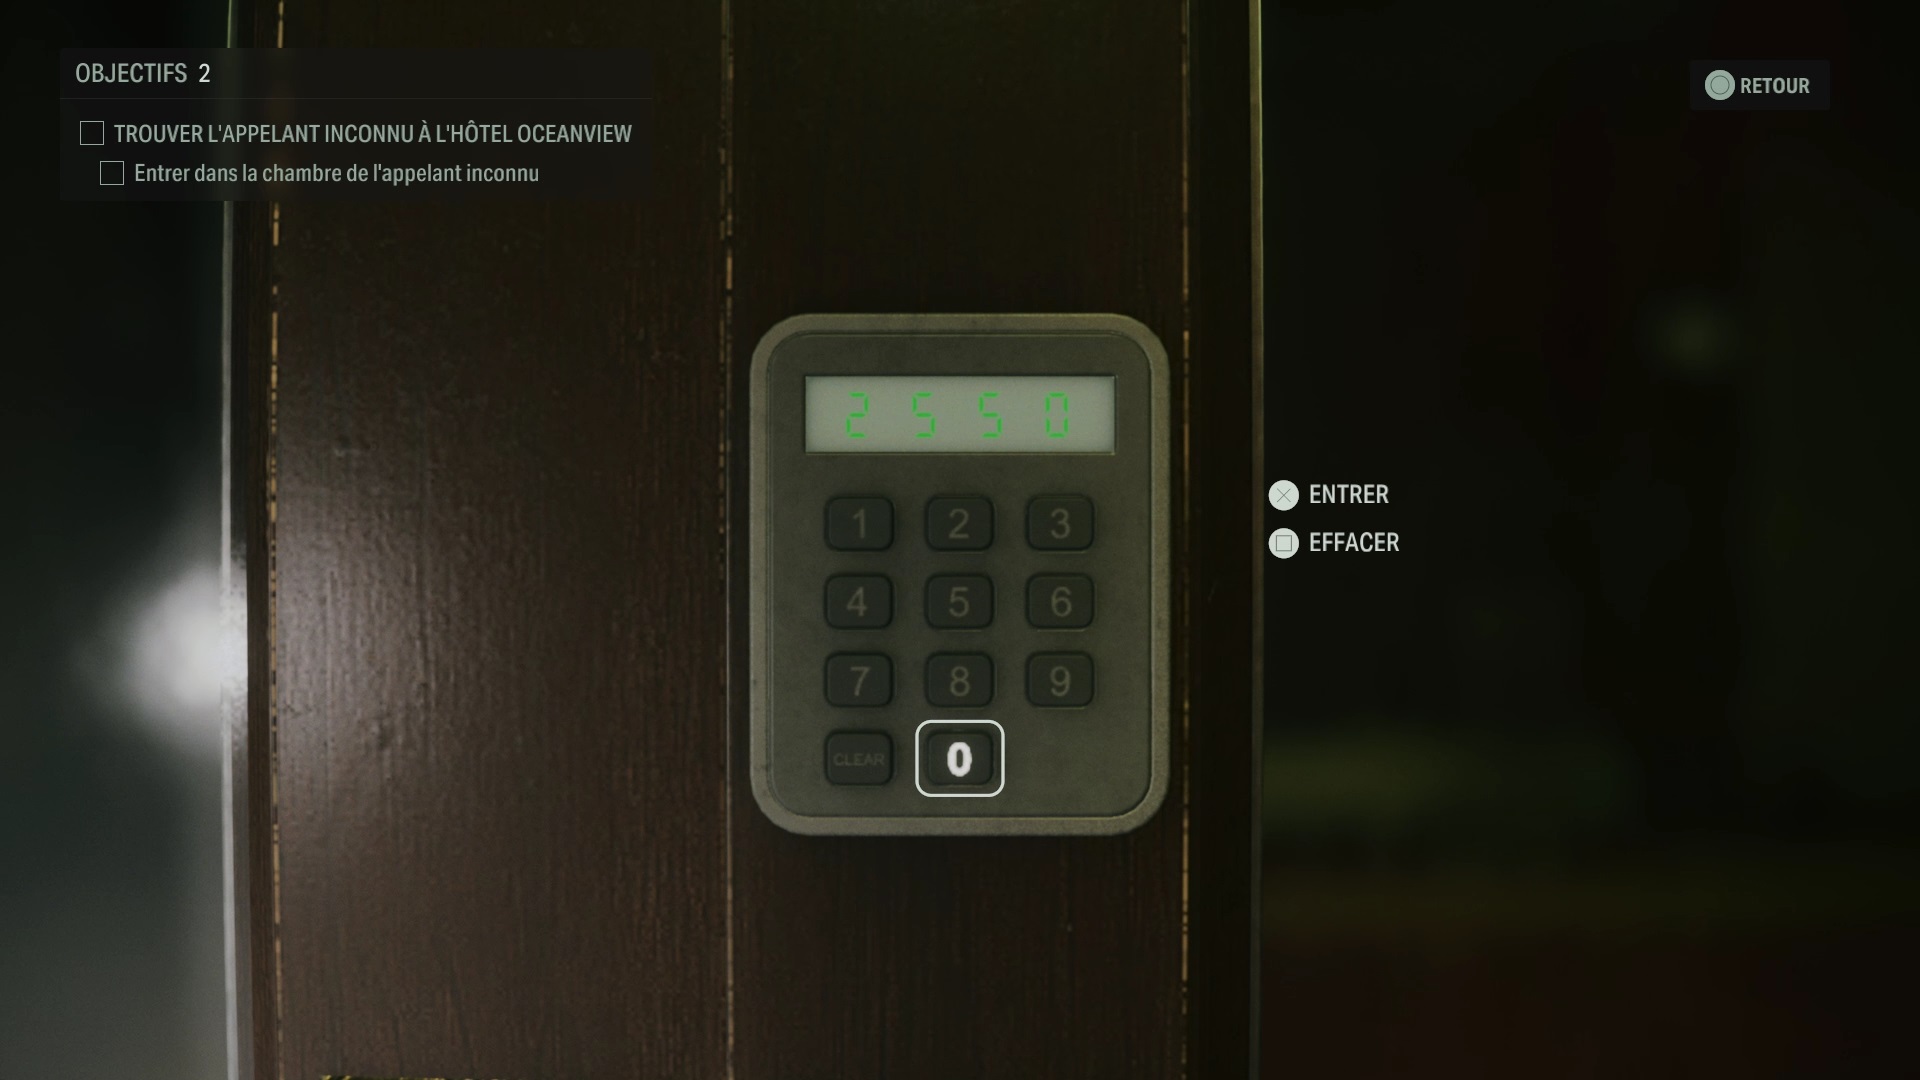
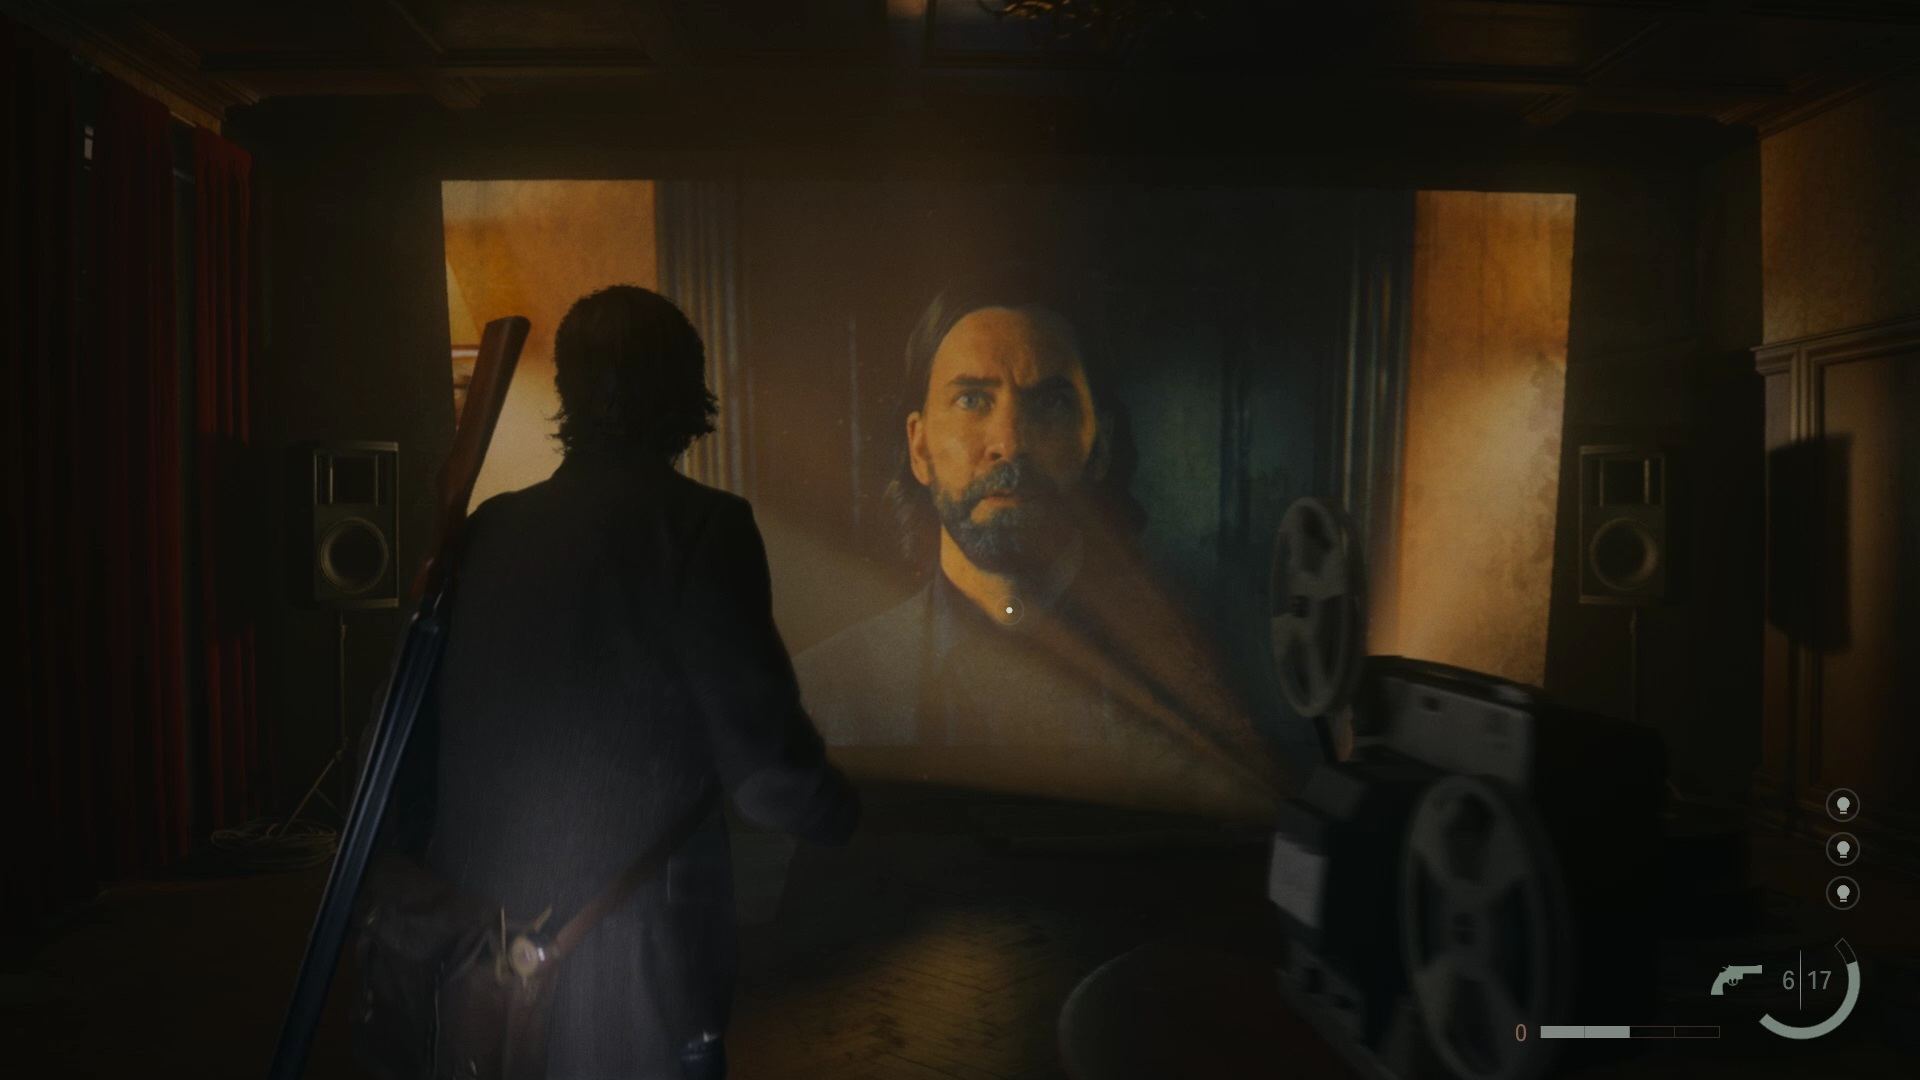
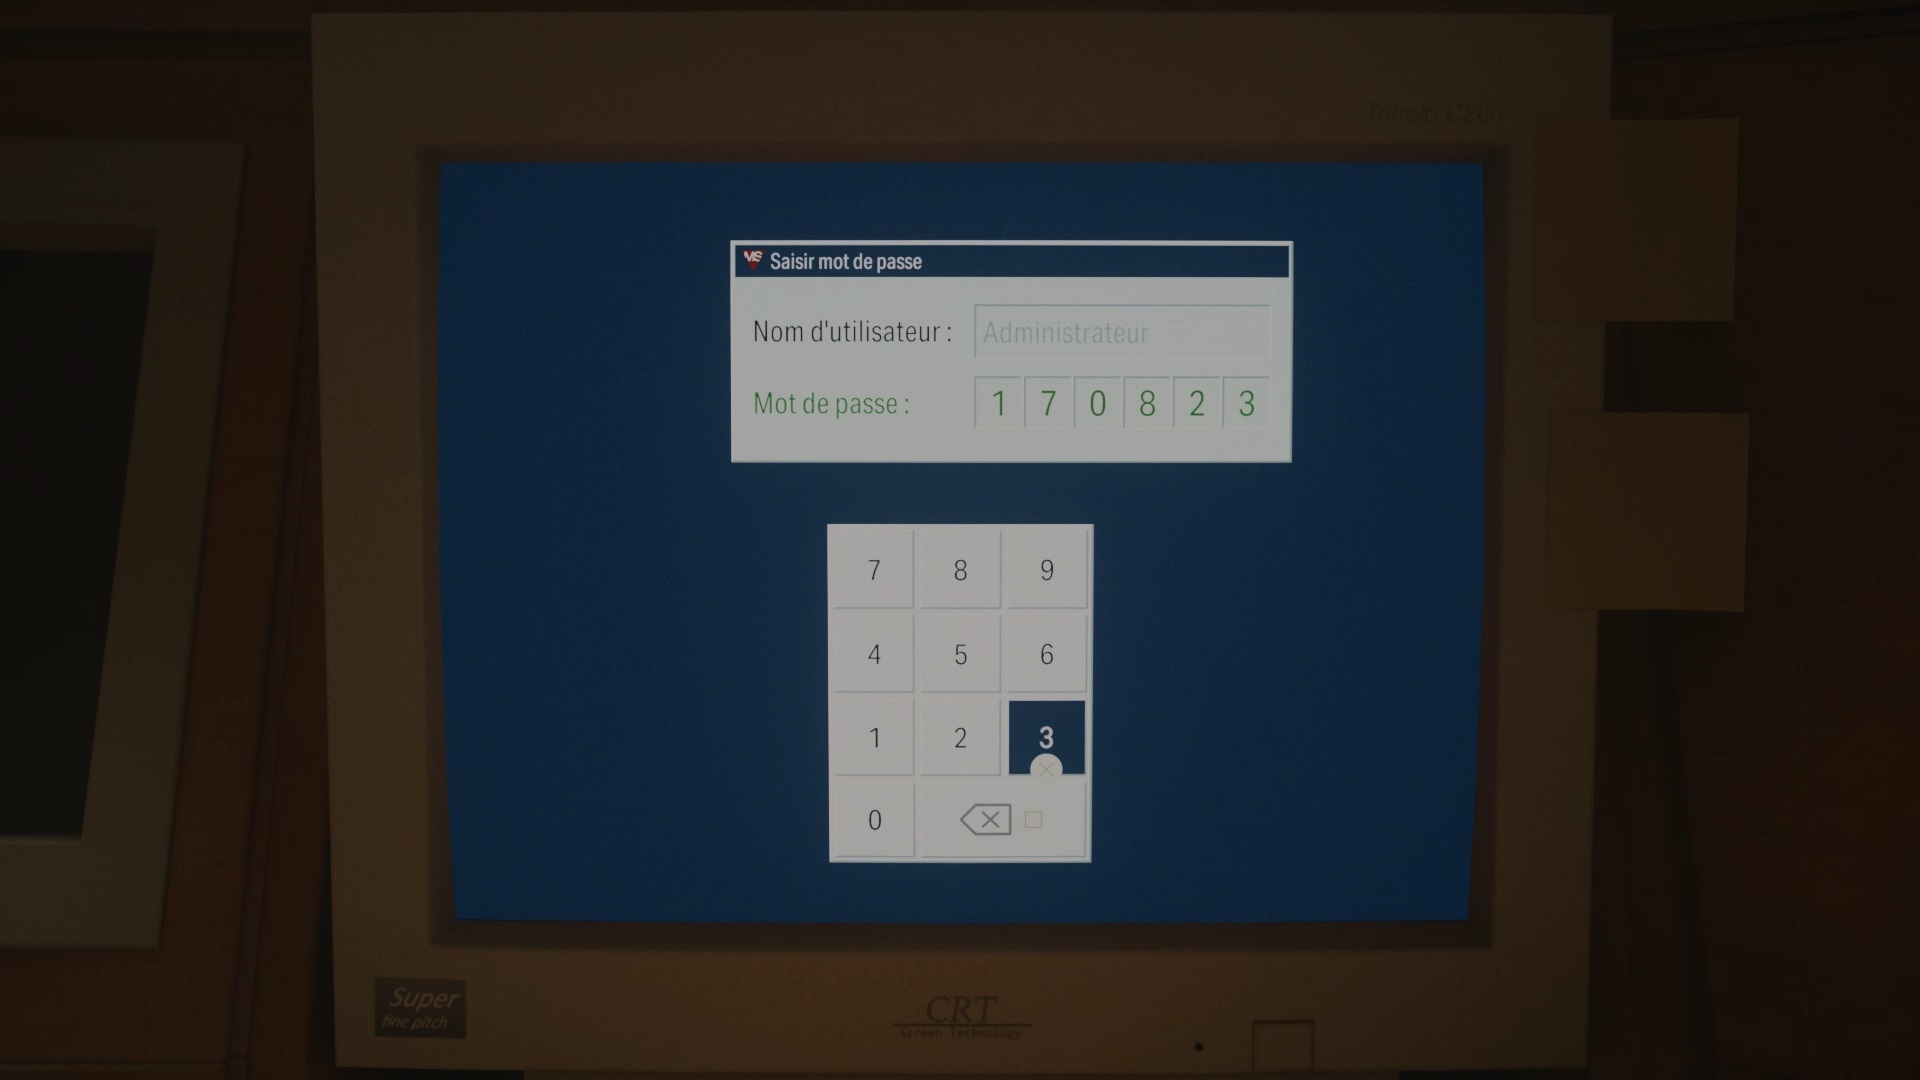
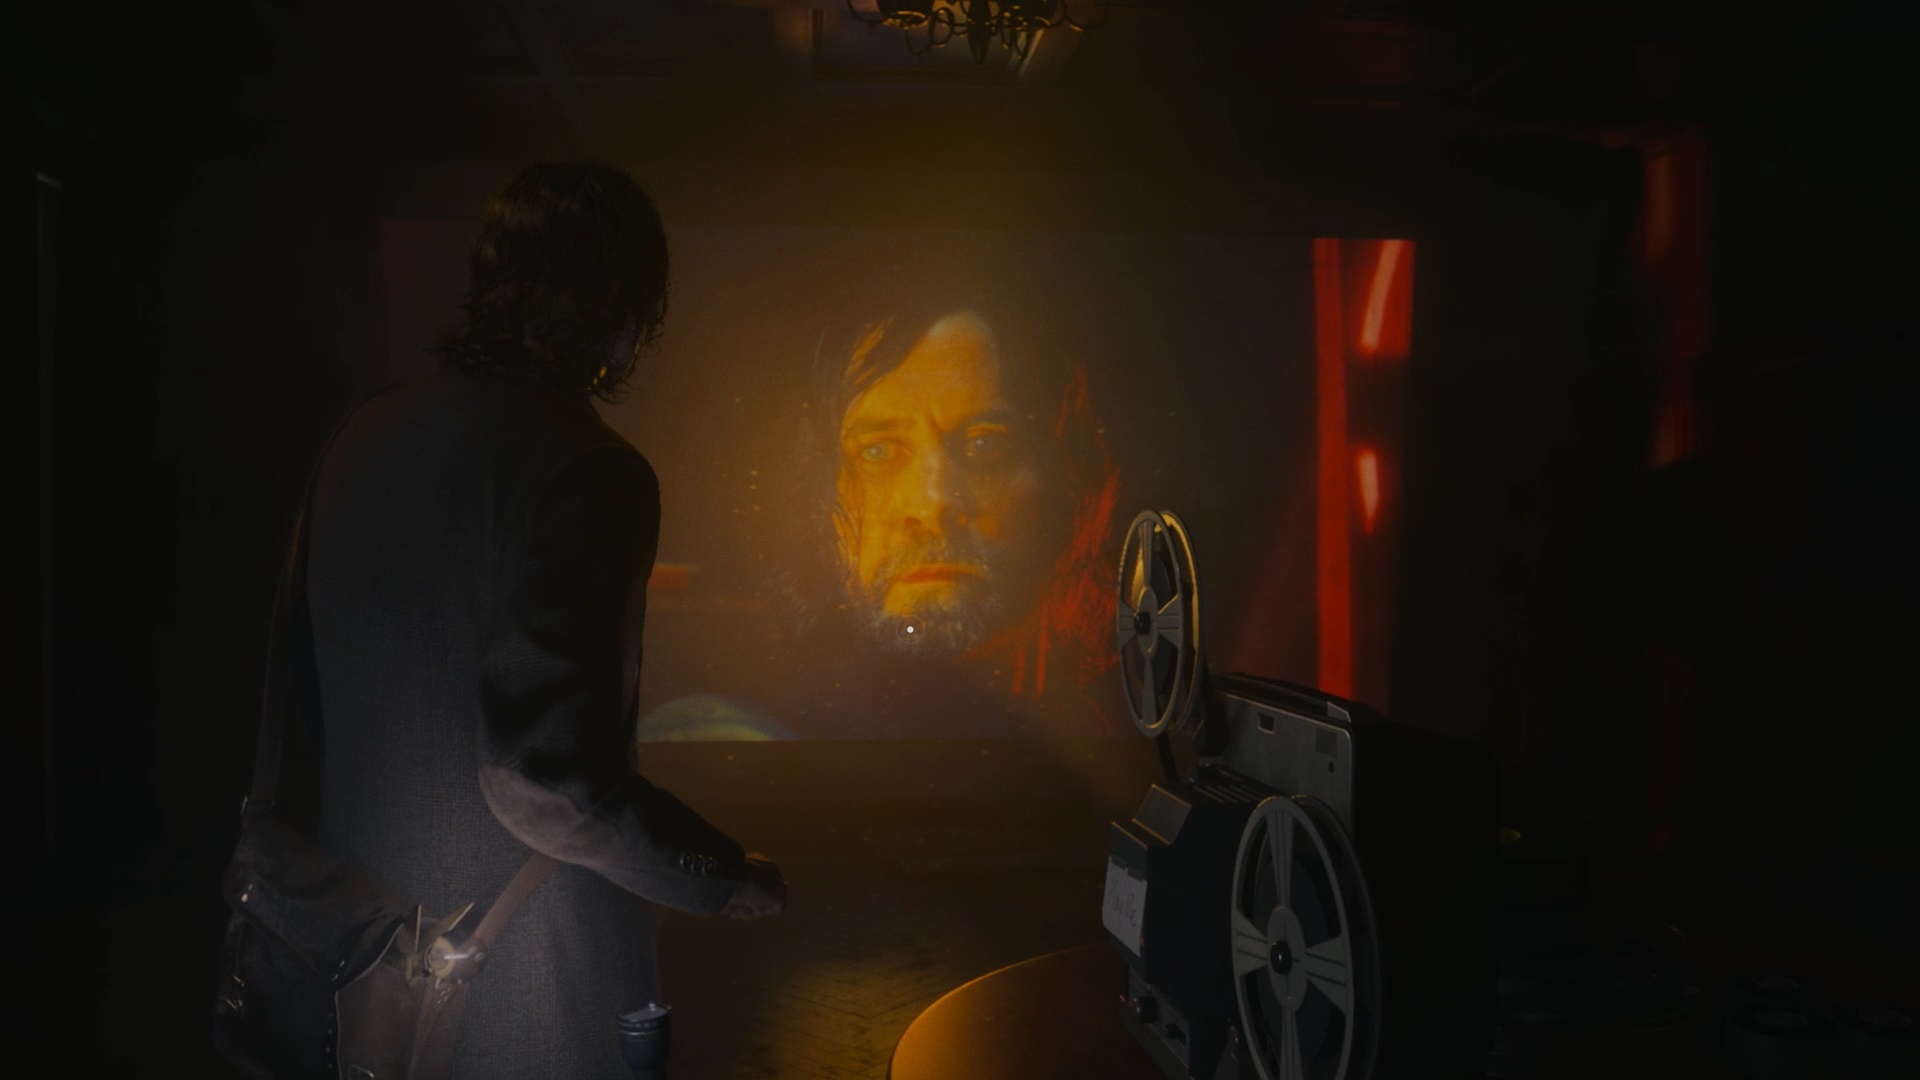
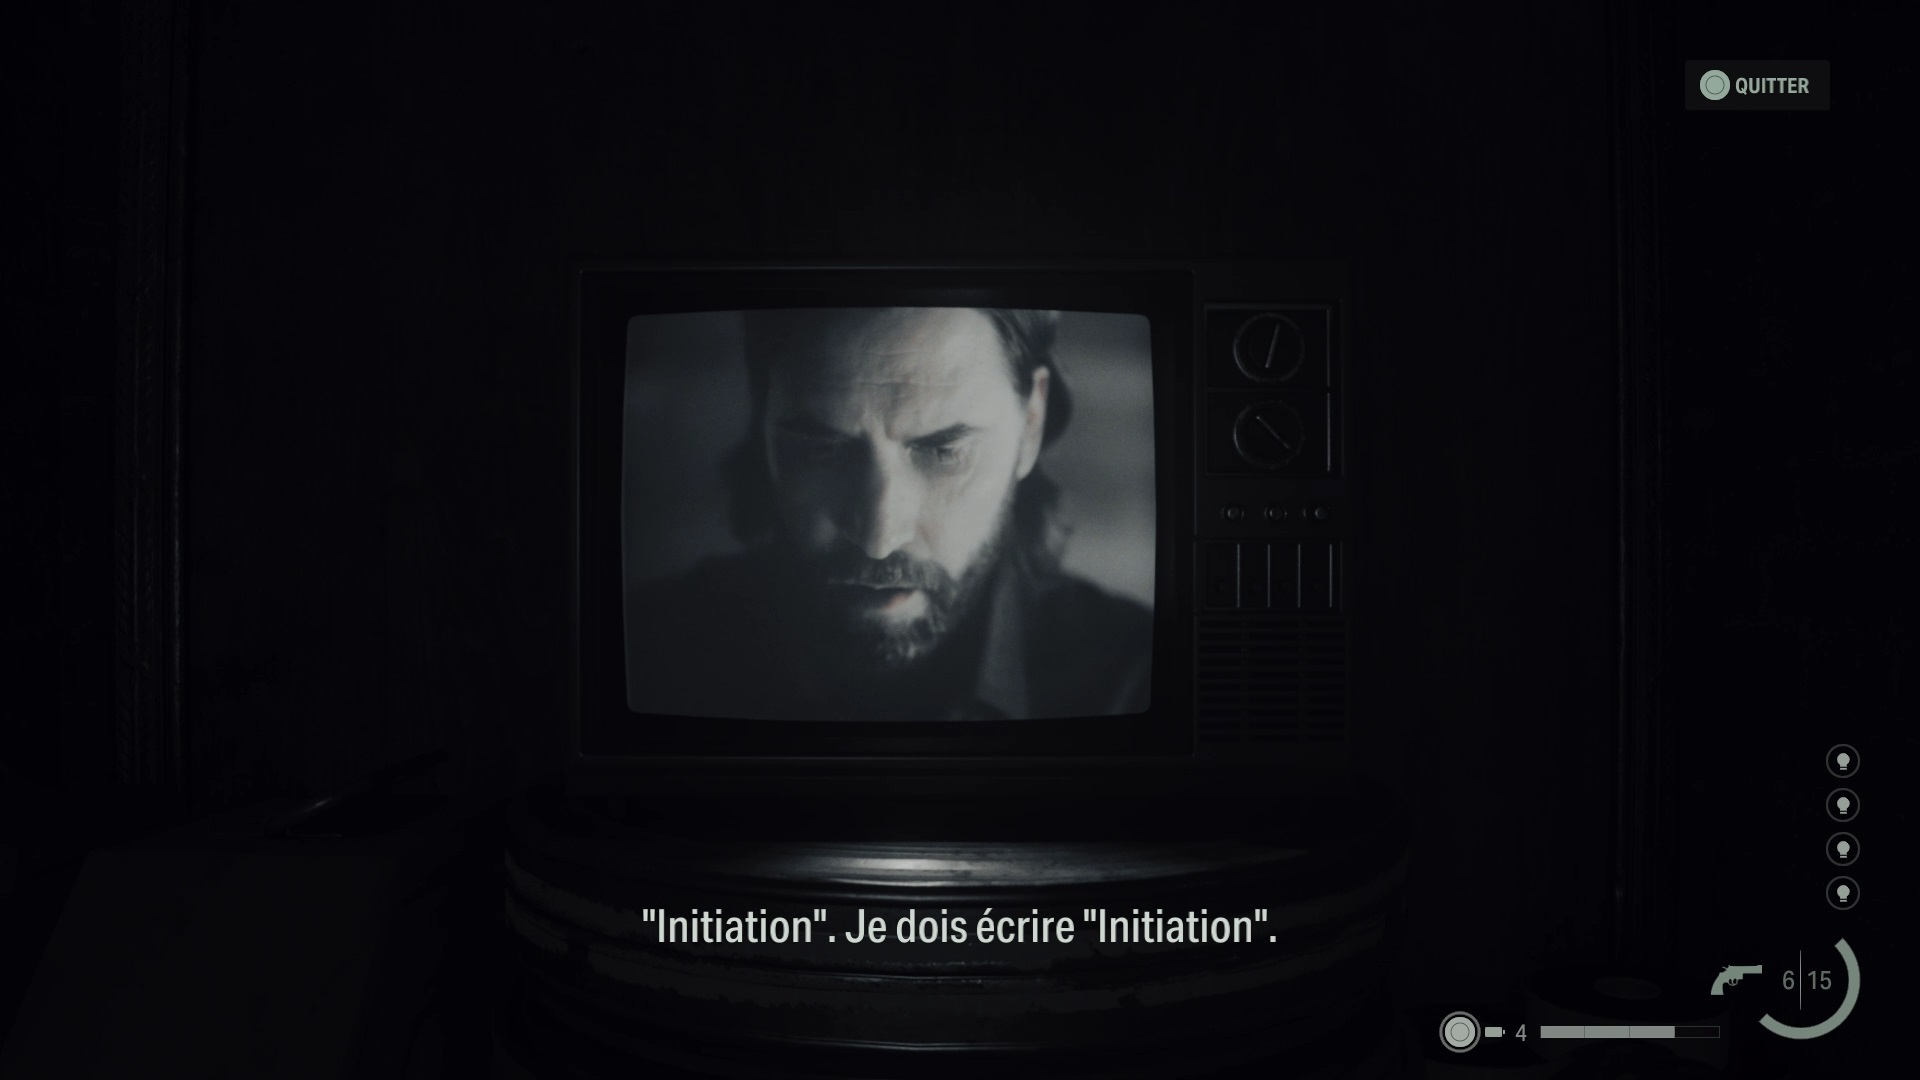
Use your lamp to unlock the bar door and go inside. Note the price of the OceanView cocktail, which is “25.50”. Then use your lamp again to make a new weapon appear. Take this weapon and head to the door on the roof of the OceanView. Use the cocktail code, “2550,” to open the door. Once inside room 665, start the projector to trigger a cutscene.

Exit the room and stand on the balcony to line up the orbs and spark an idea. Then go down to reception using the elevator. There, go through the reception desk to line up the orbs and reveal the “Prontstage Ritual” theme. By collecting the map at reception, use this theme in the plot table to change the scenery.
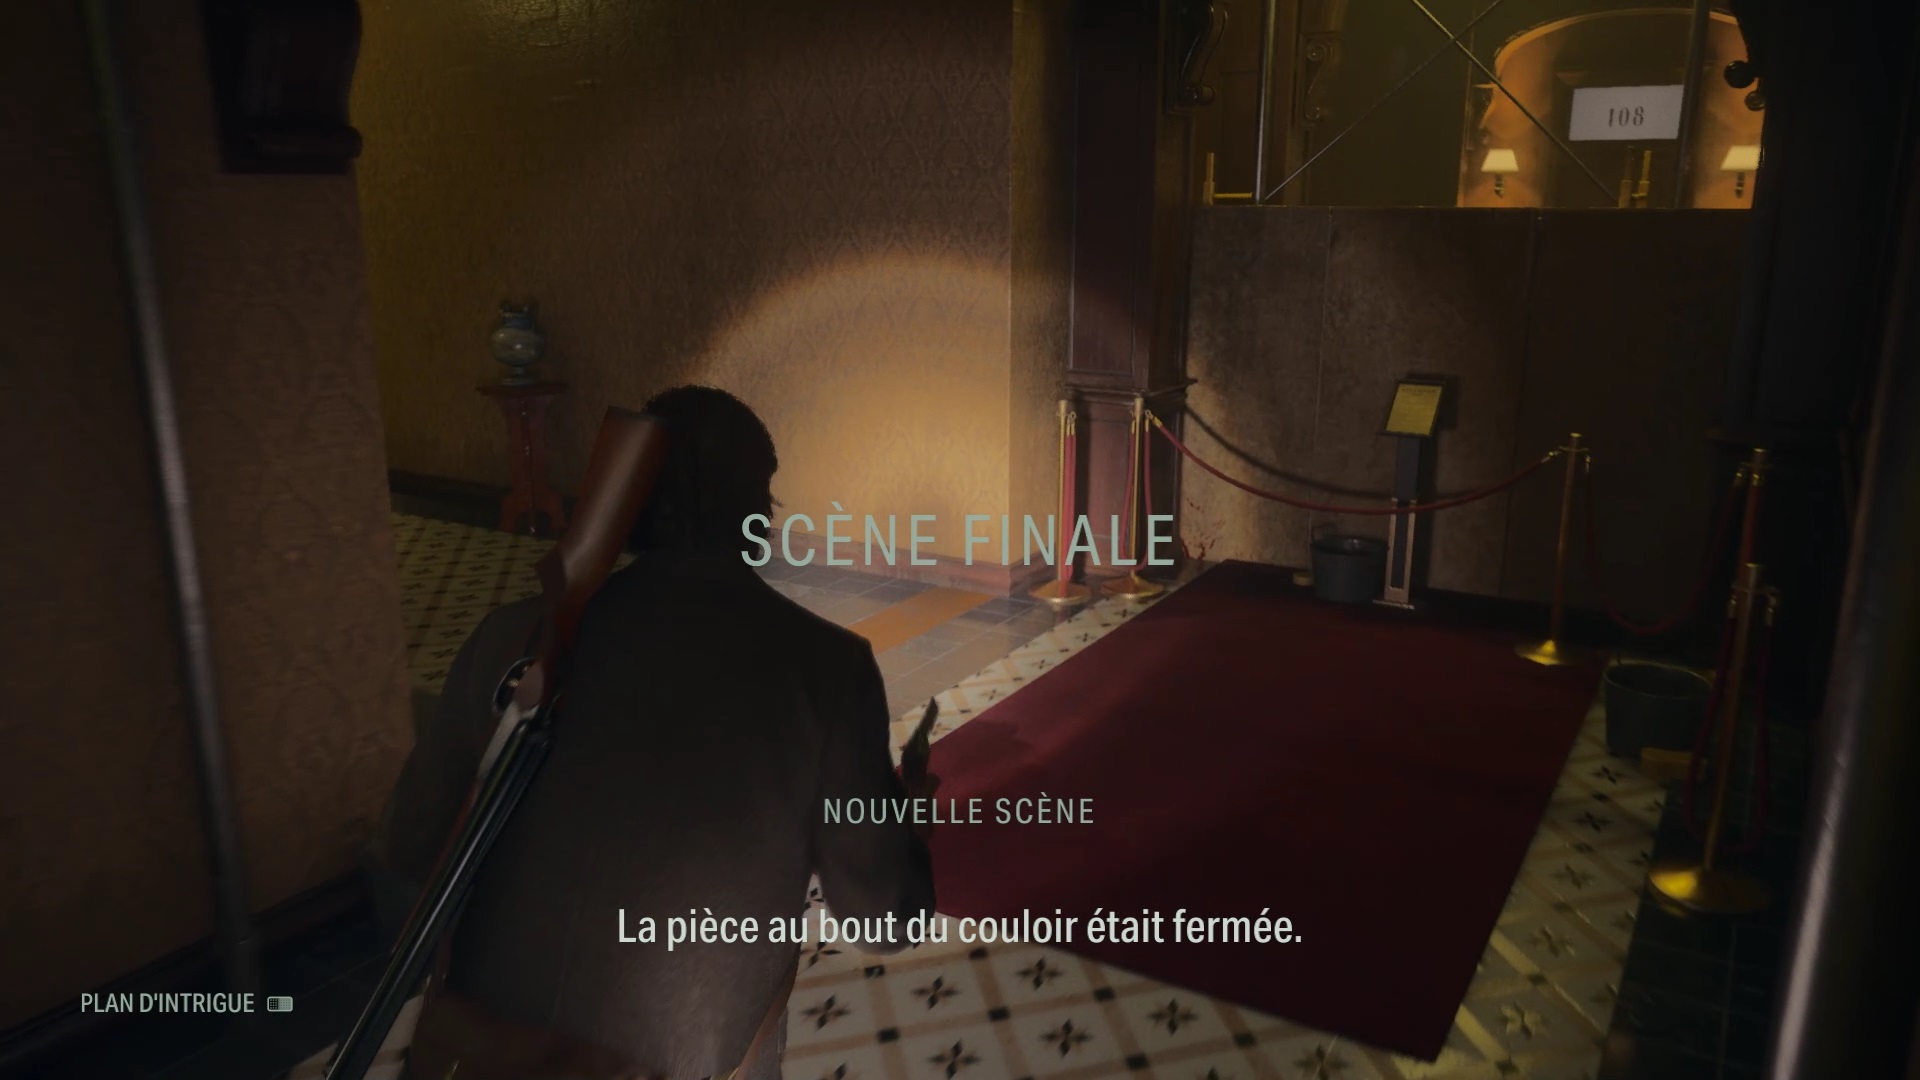
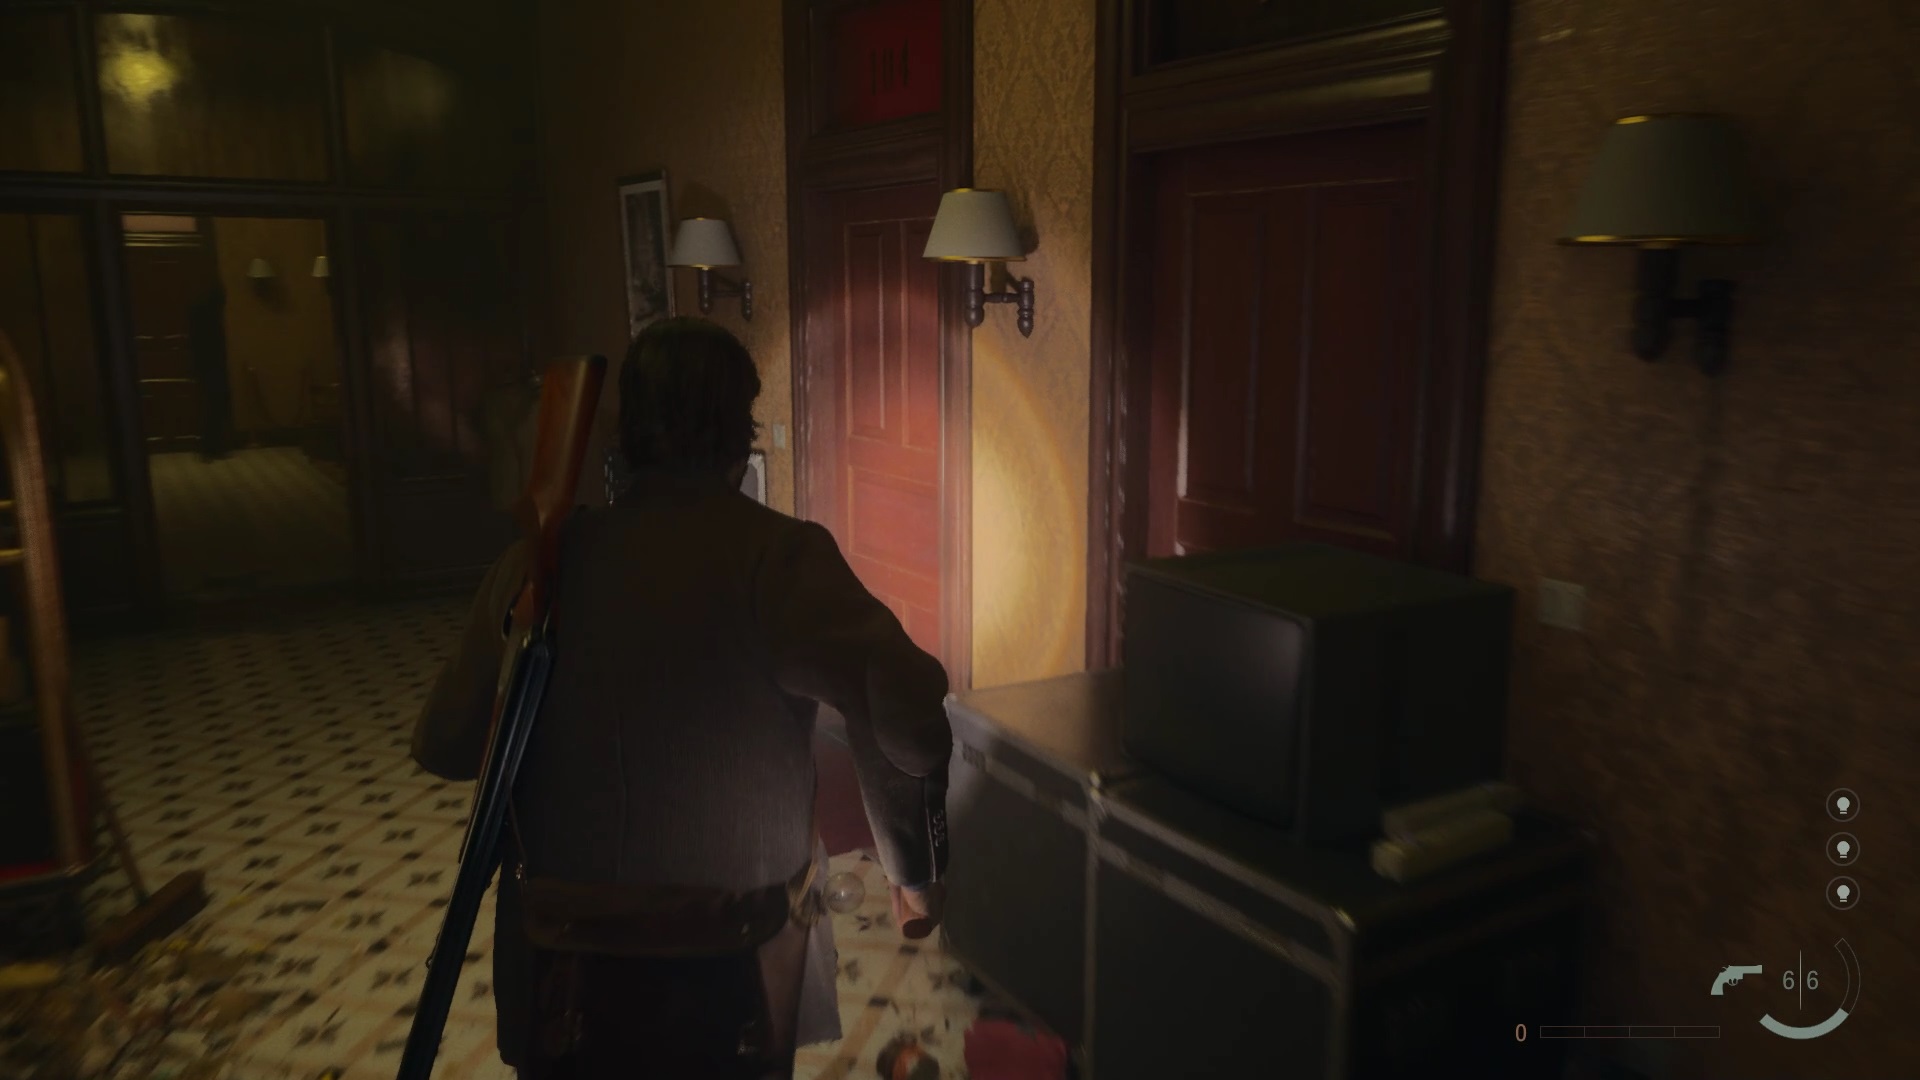
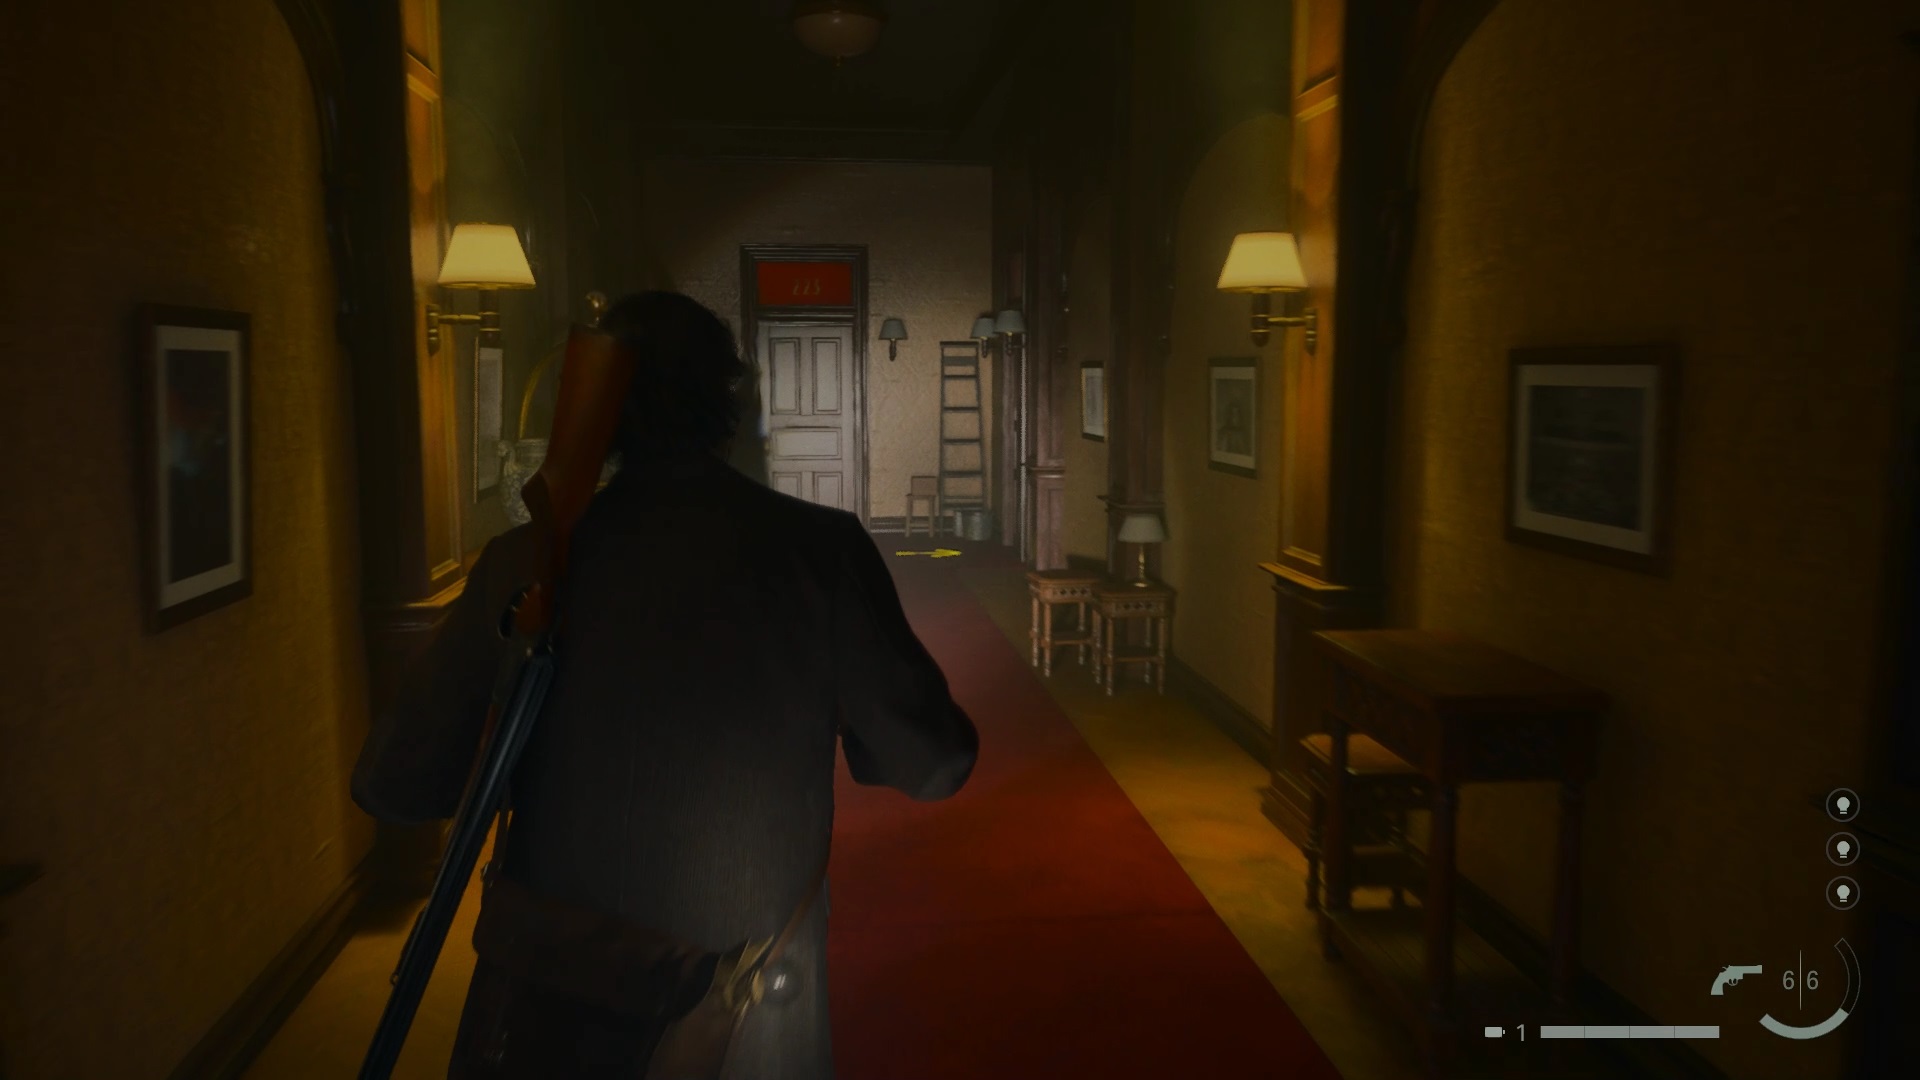
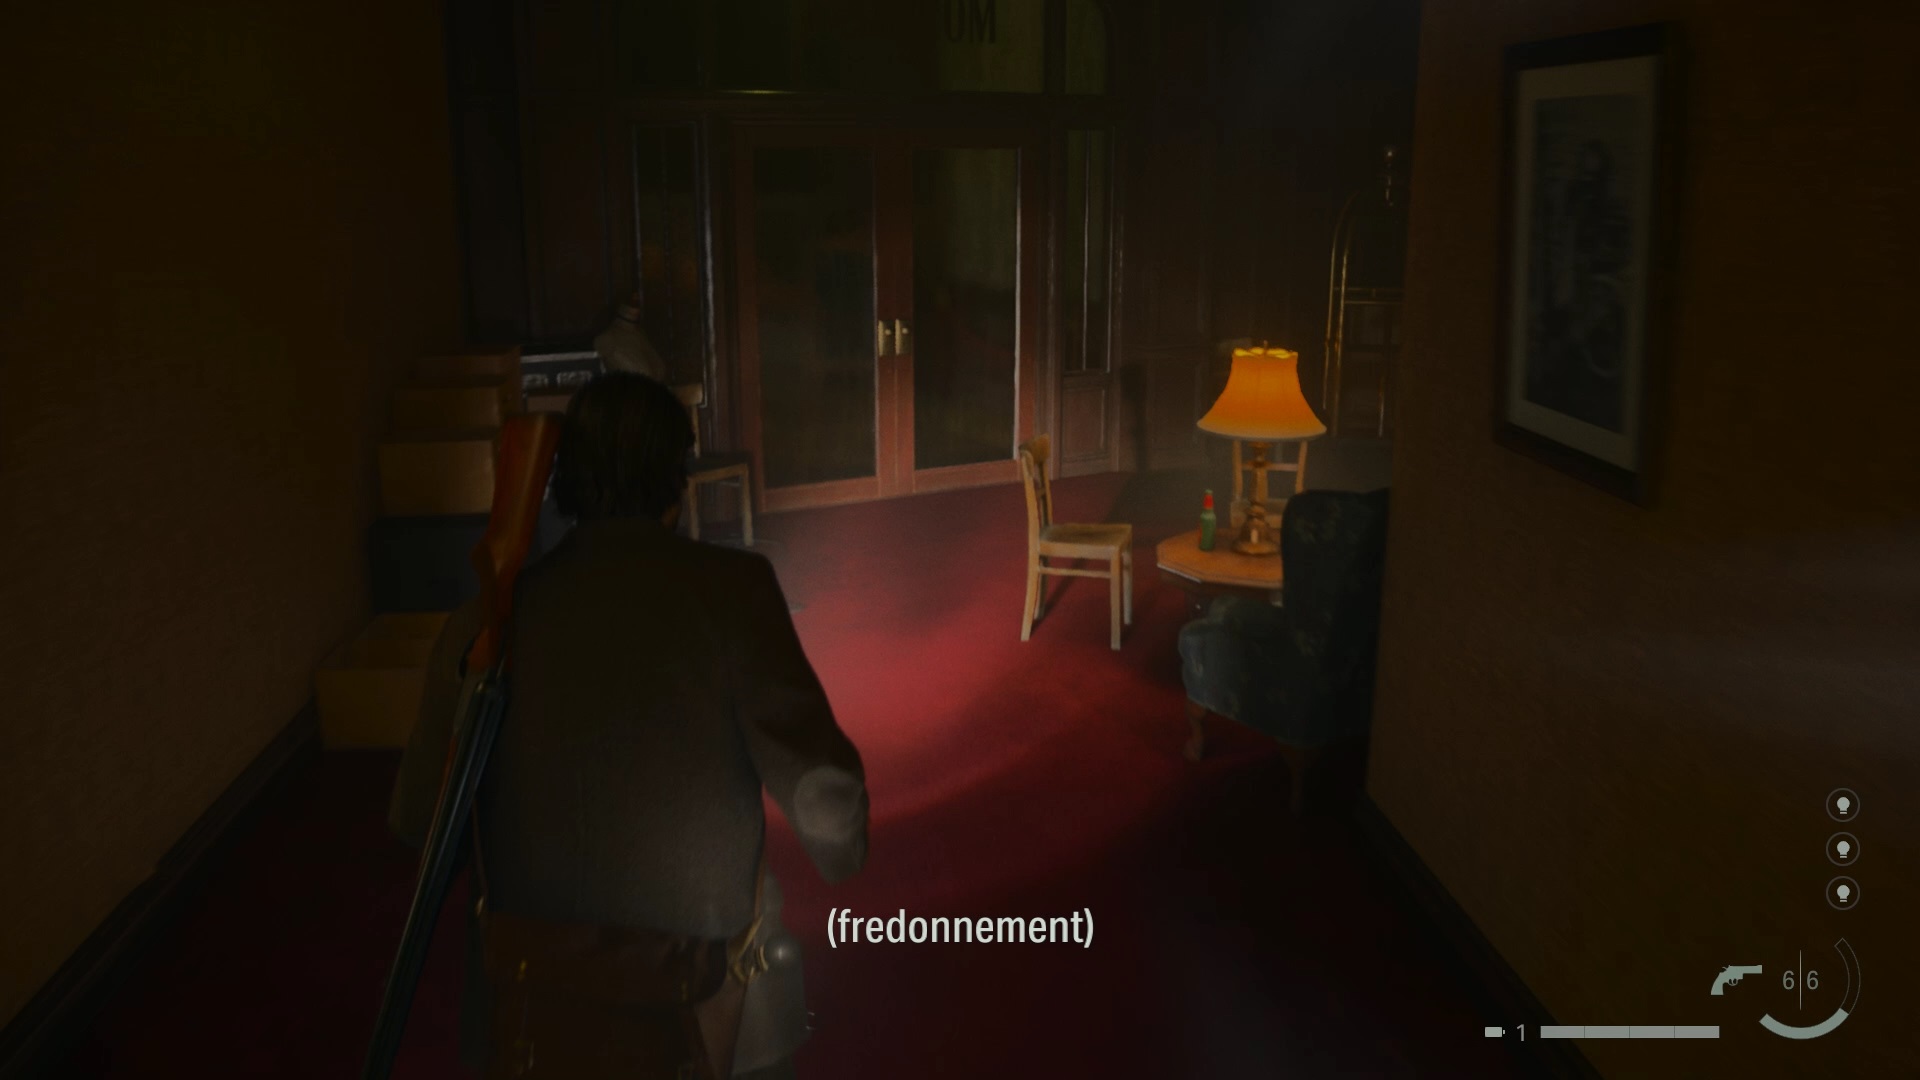
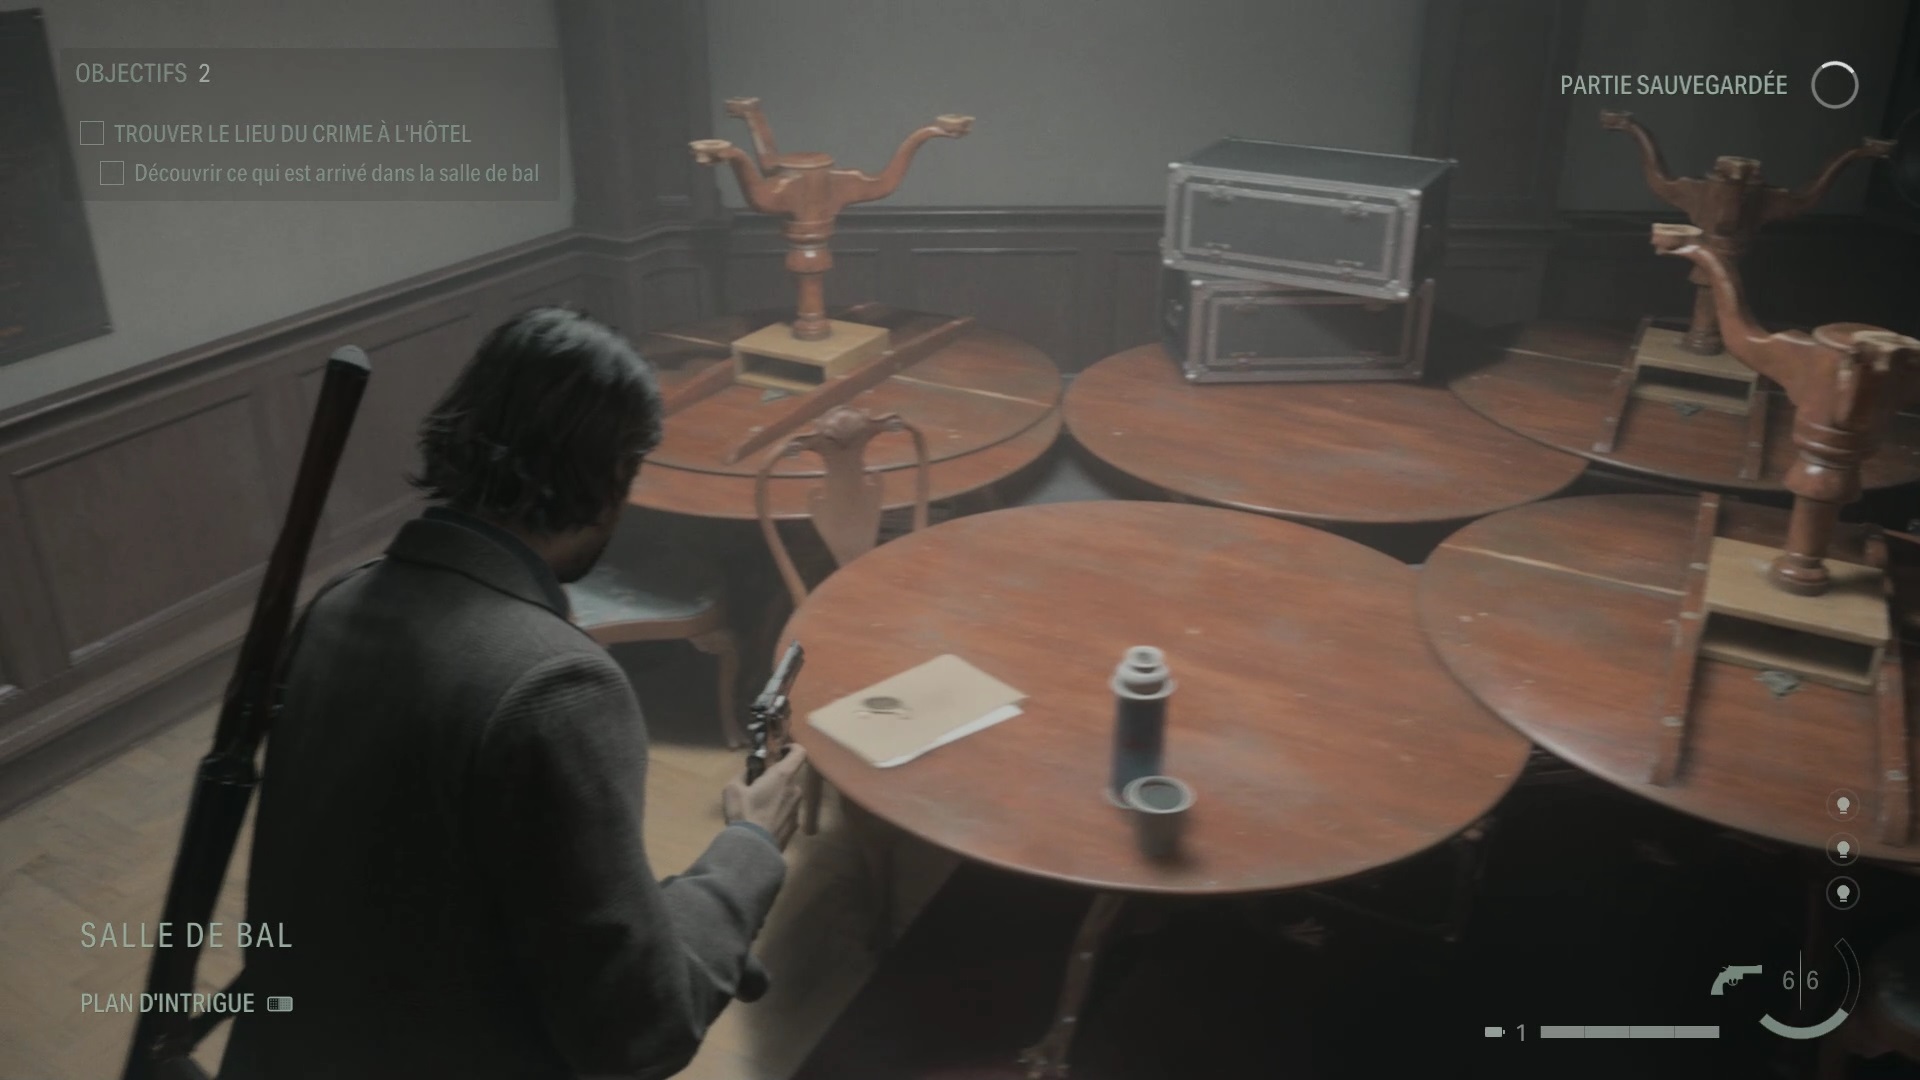
Proceed to the end of the hallway to find room 108 from the final scene. Use the “Prestage Ritual” theme to reveal a key to room 104. Use the key to open door 104. Go through the save room to reach a new corridor. Go to the end of the hallway to reach a double door. Go through the door to enter the ballroom.
If you wish to enter Humming Door 209 to continue your investigation of Door, go around Room 206 and enter Door 216. Collect the Key to Door 209 to speak to Tim Breaker.
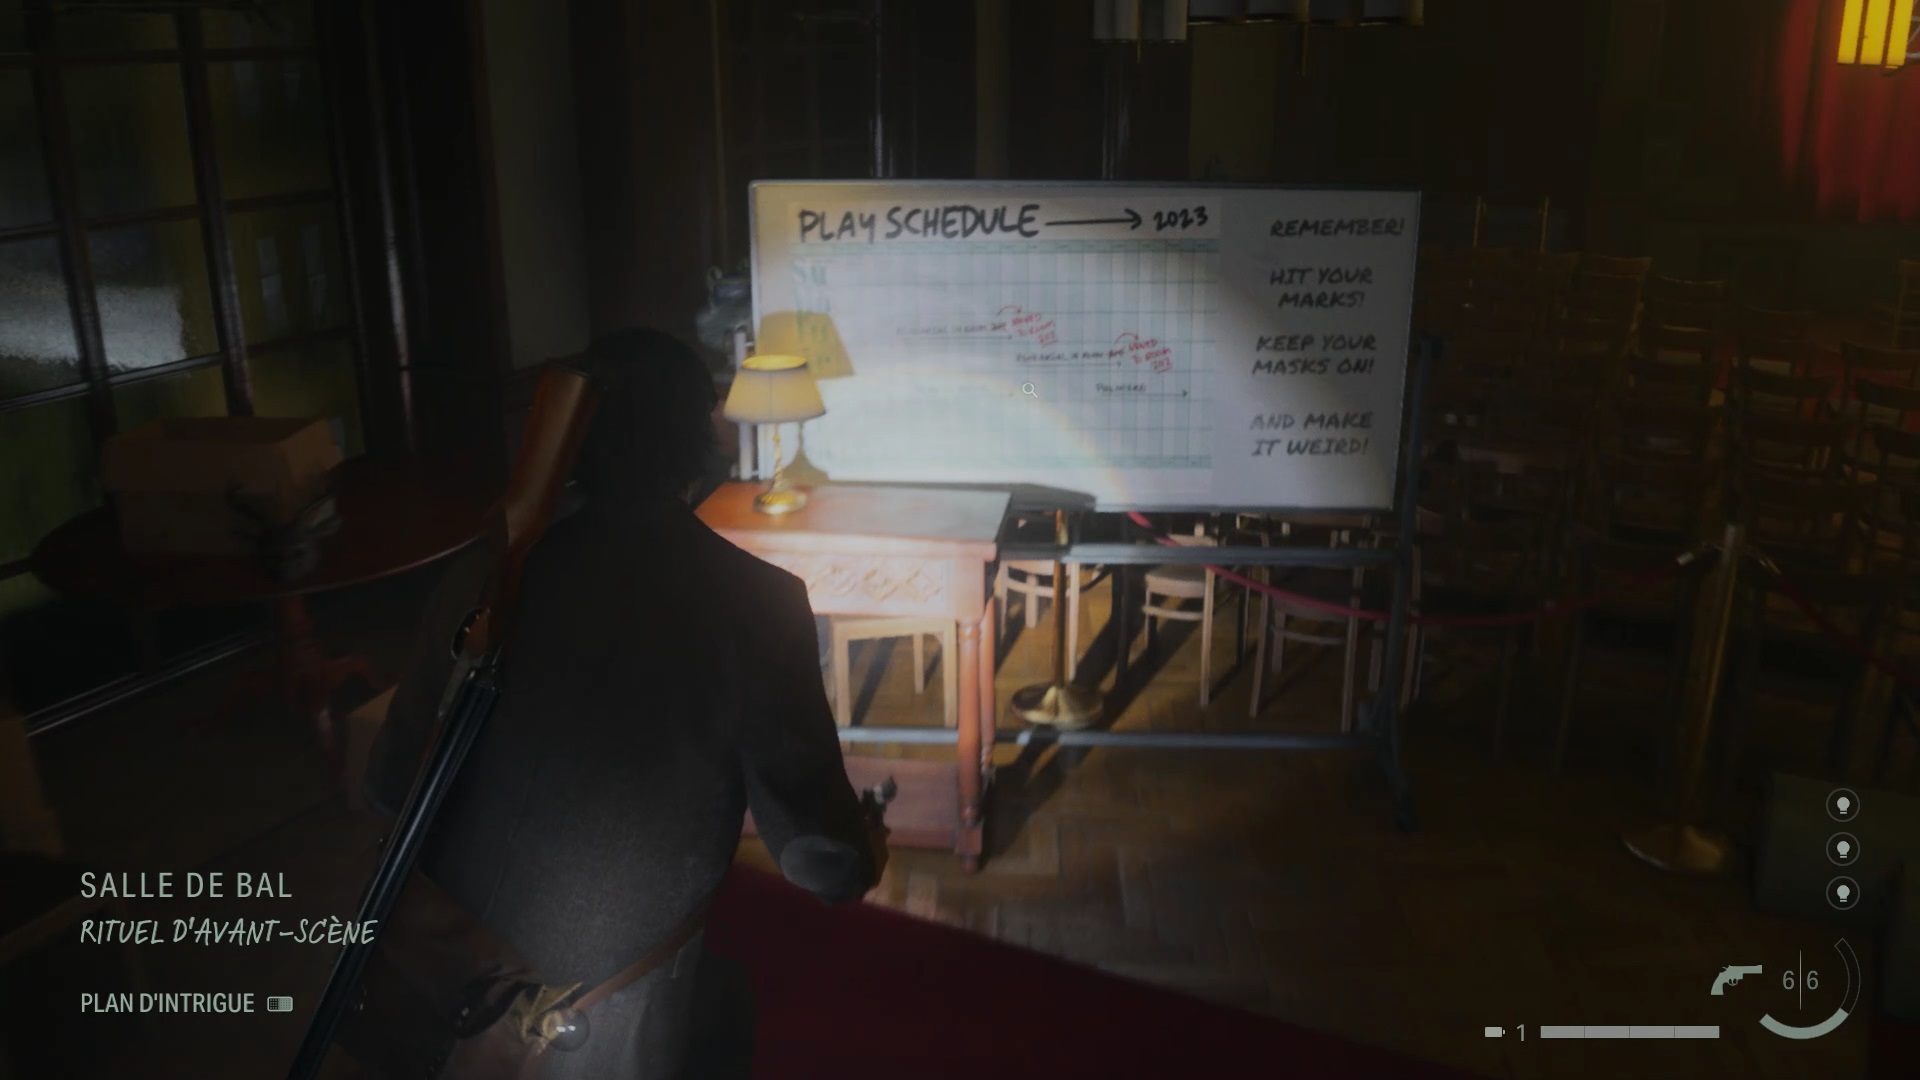
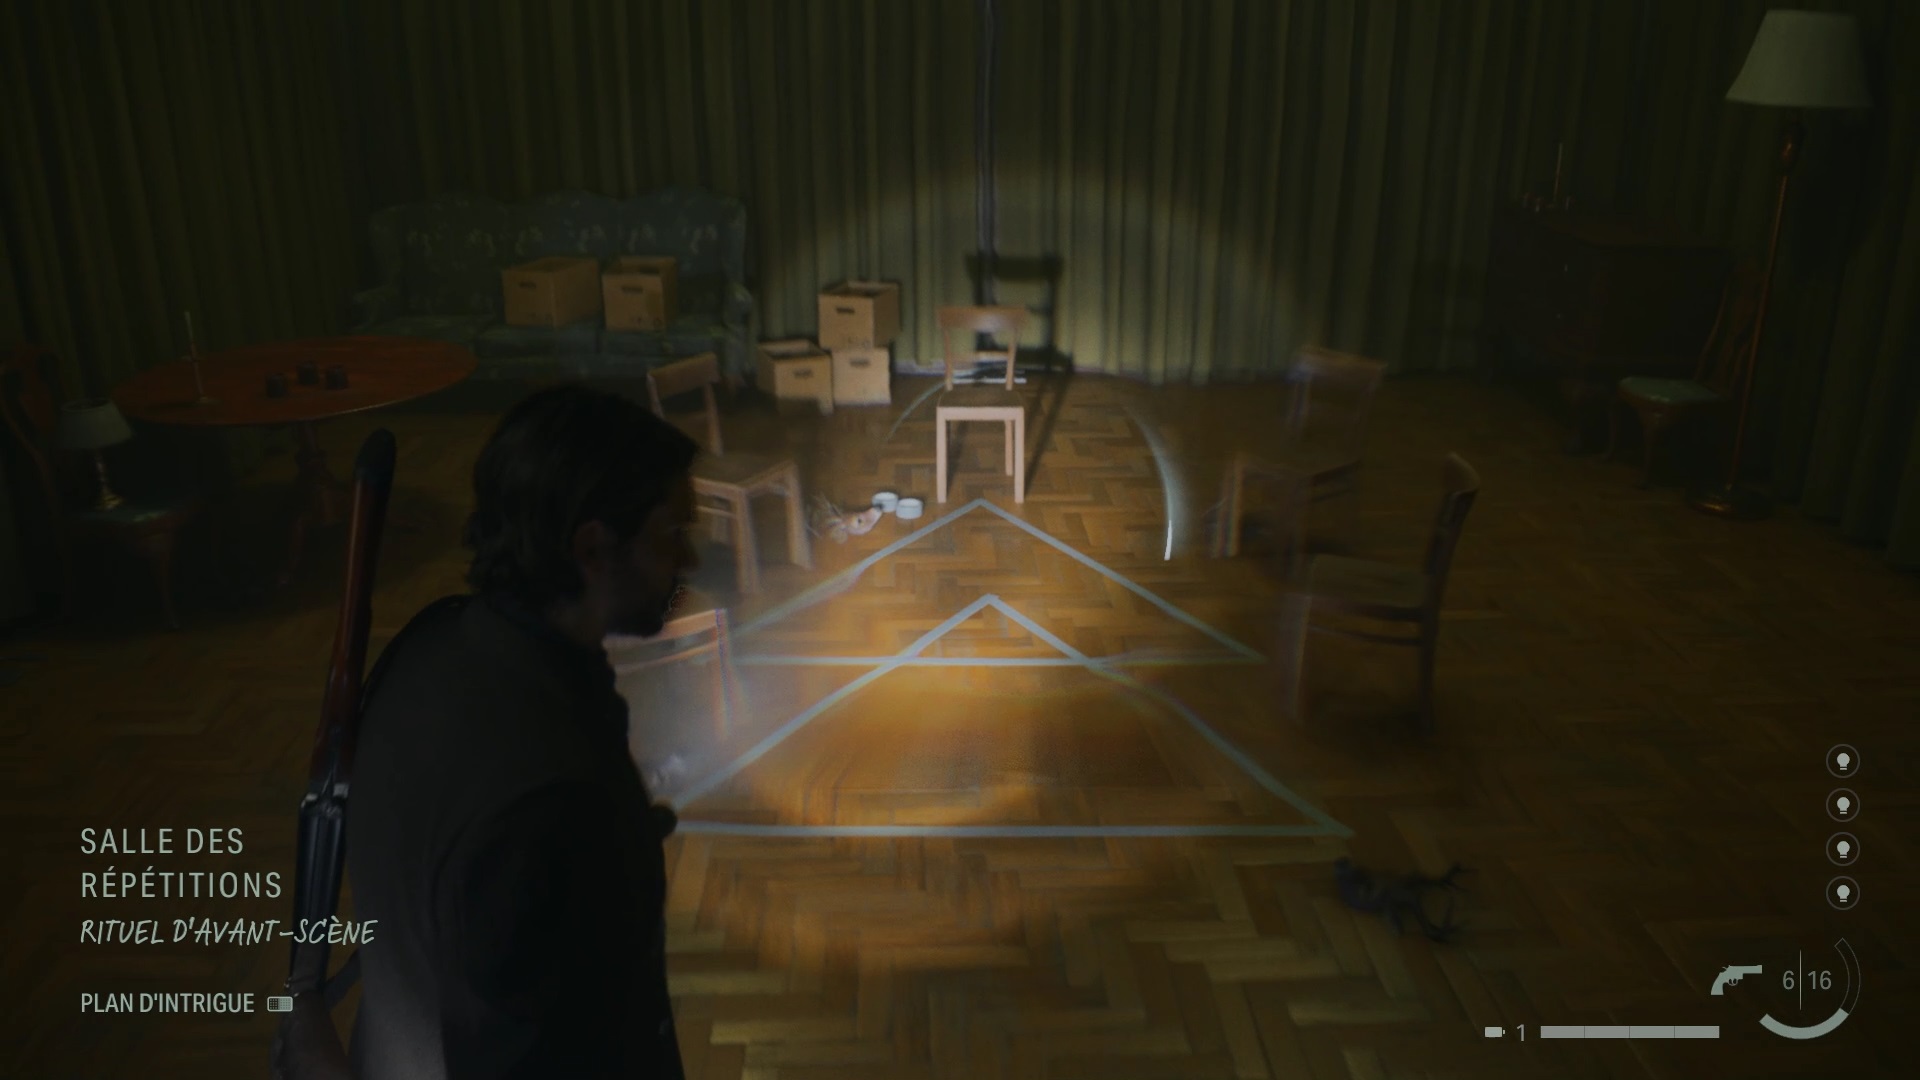
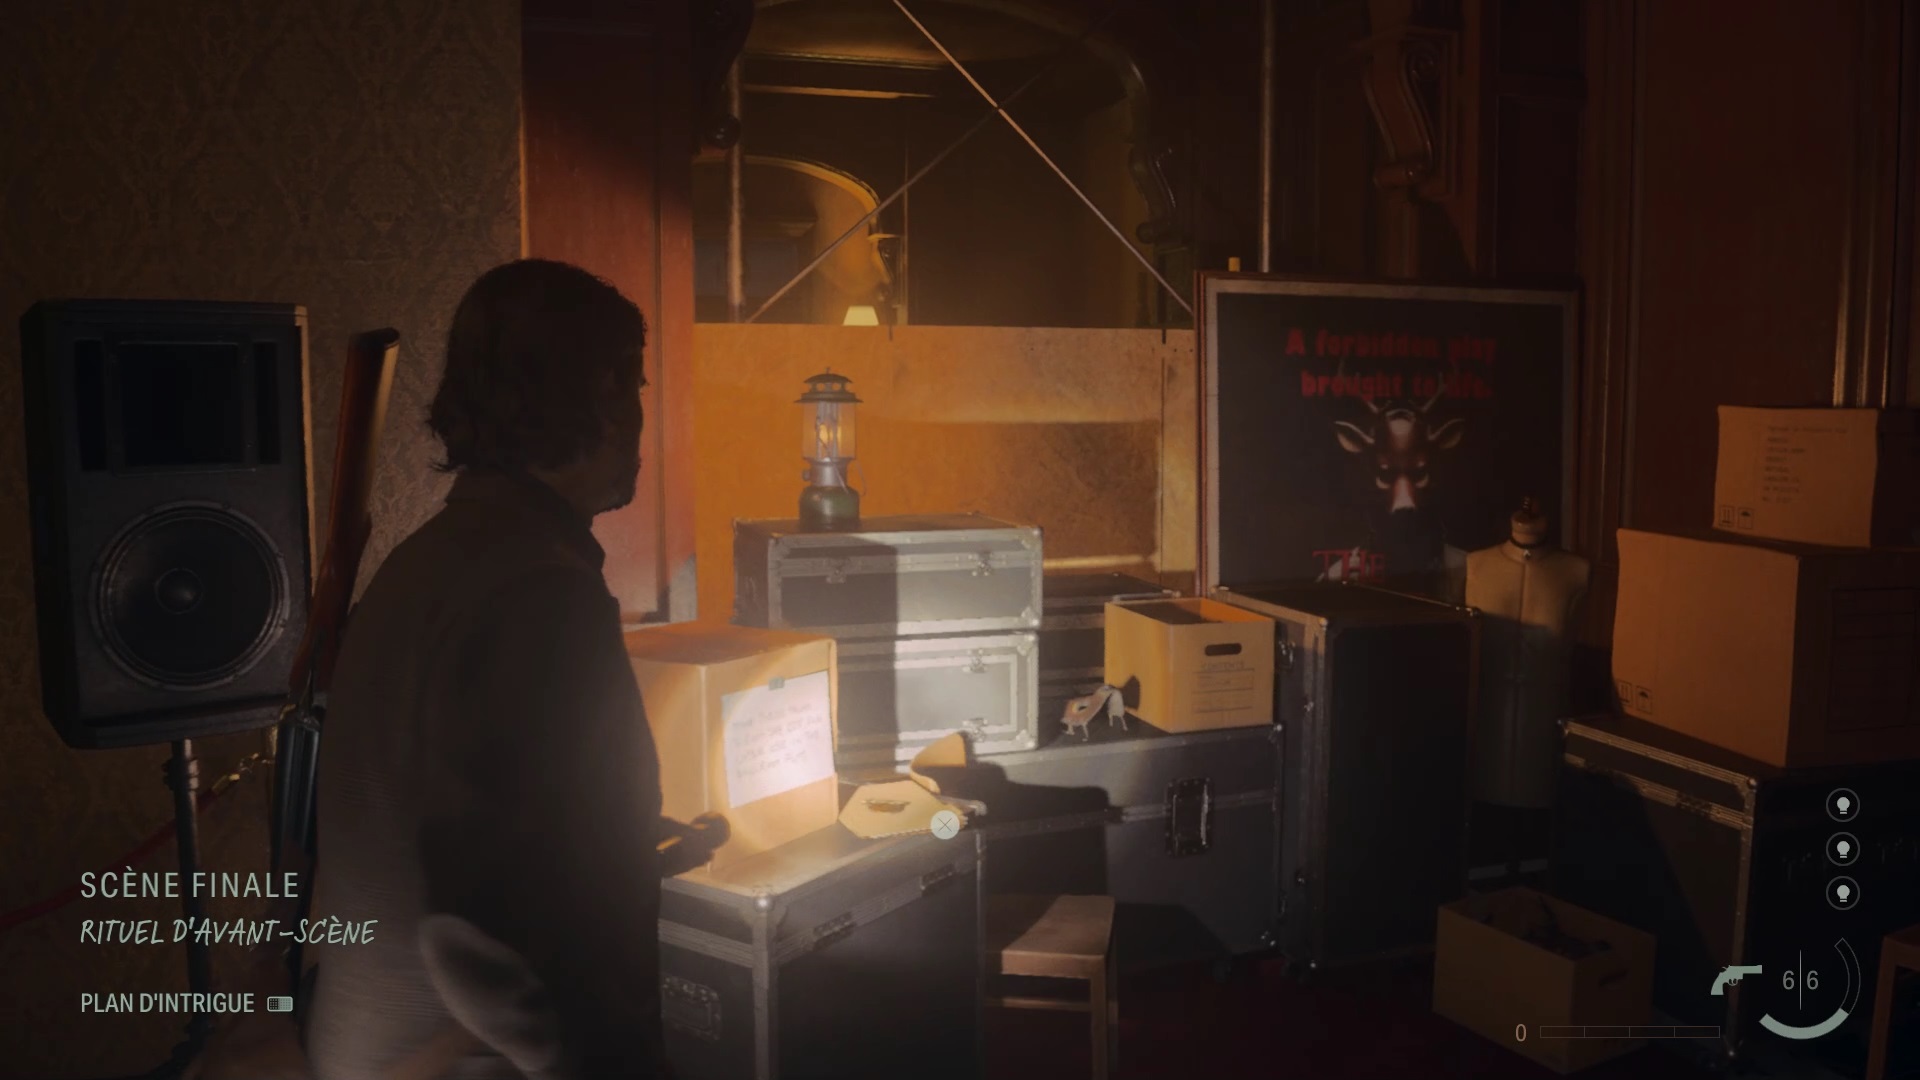
In the ballroom, collect key 101 near the save thermos. Then, rock the ballroom into the “frontstage ritual” theme. Examine the painting in the room to get a new objective. Go into the hallway and go through door 219 to use your lamp. You will have access to the rehearsal room. Use the theme of “front stage ritual” to bring out an idea. Line up the orbs to get the “Haunted” theme.
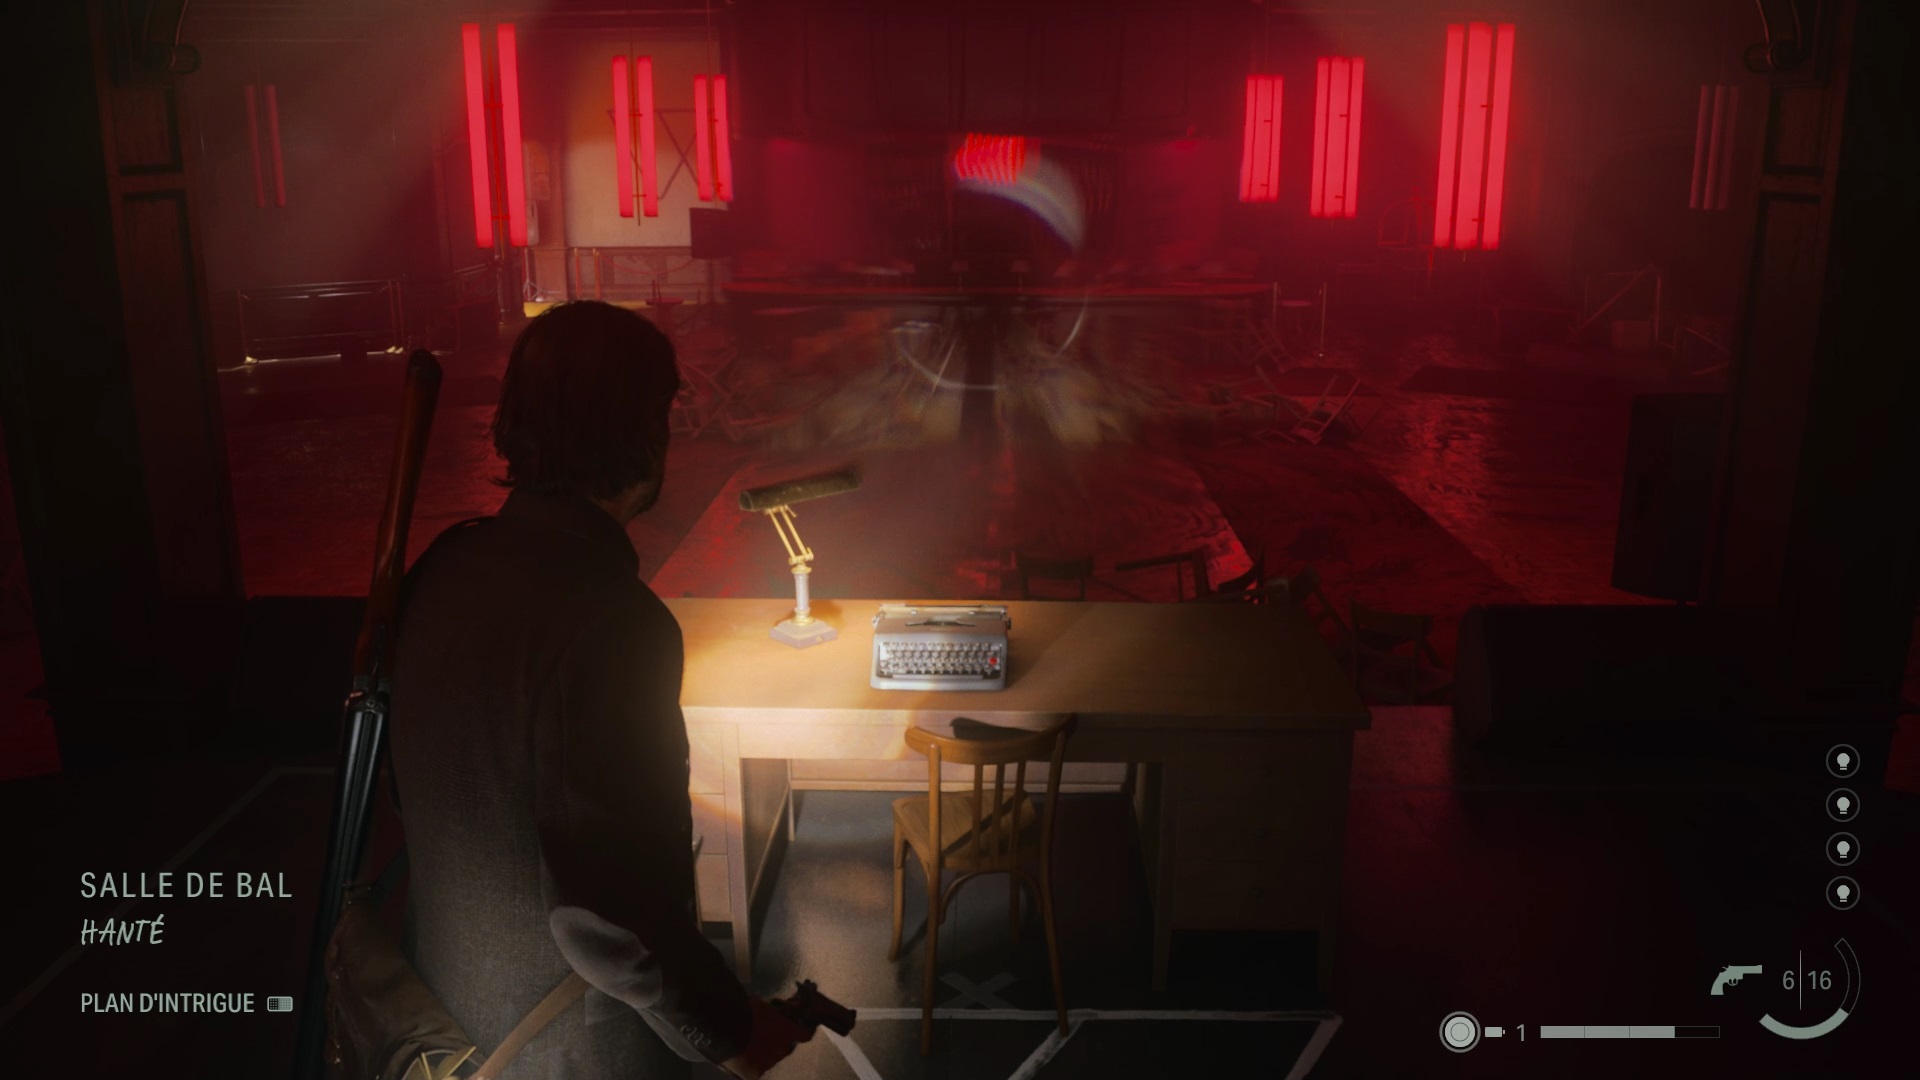
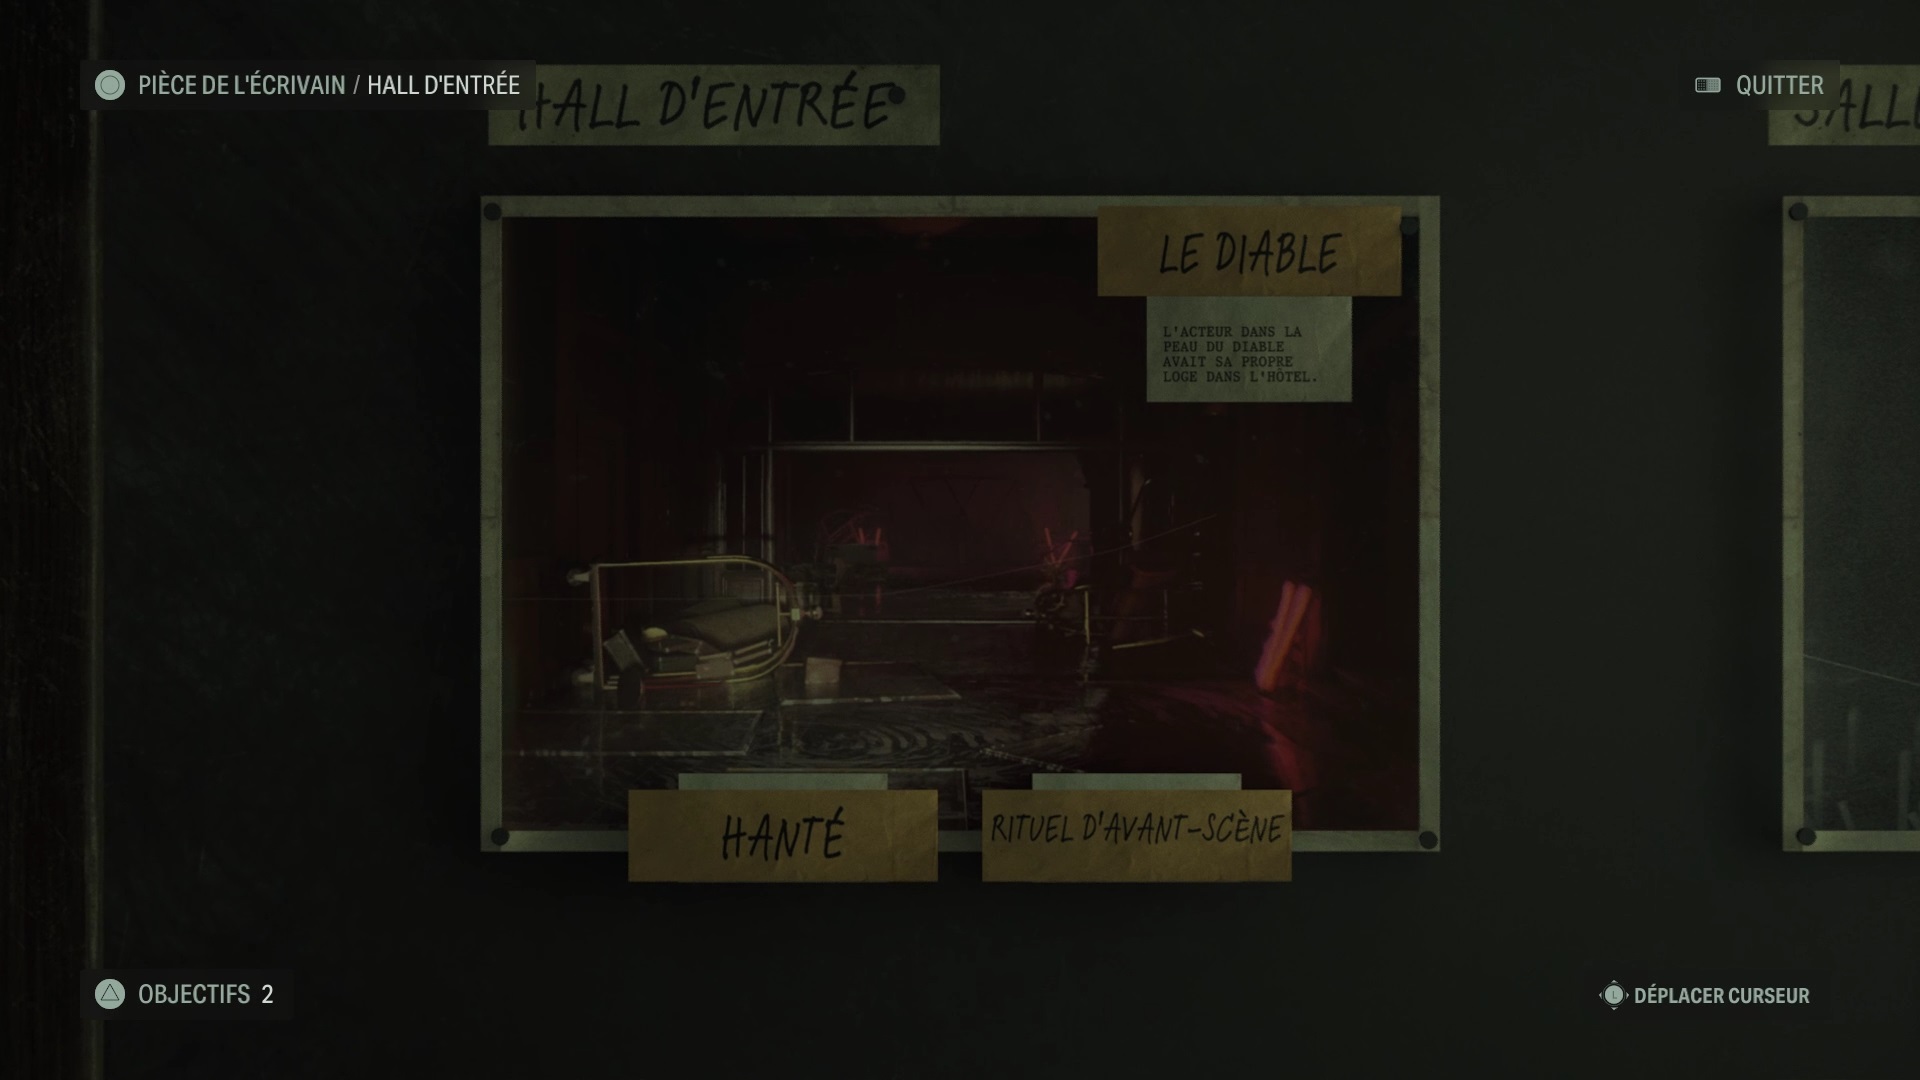
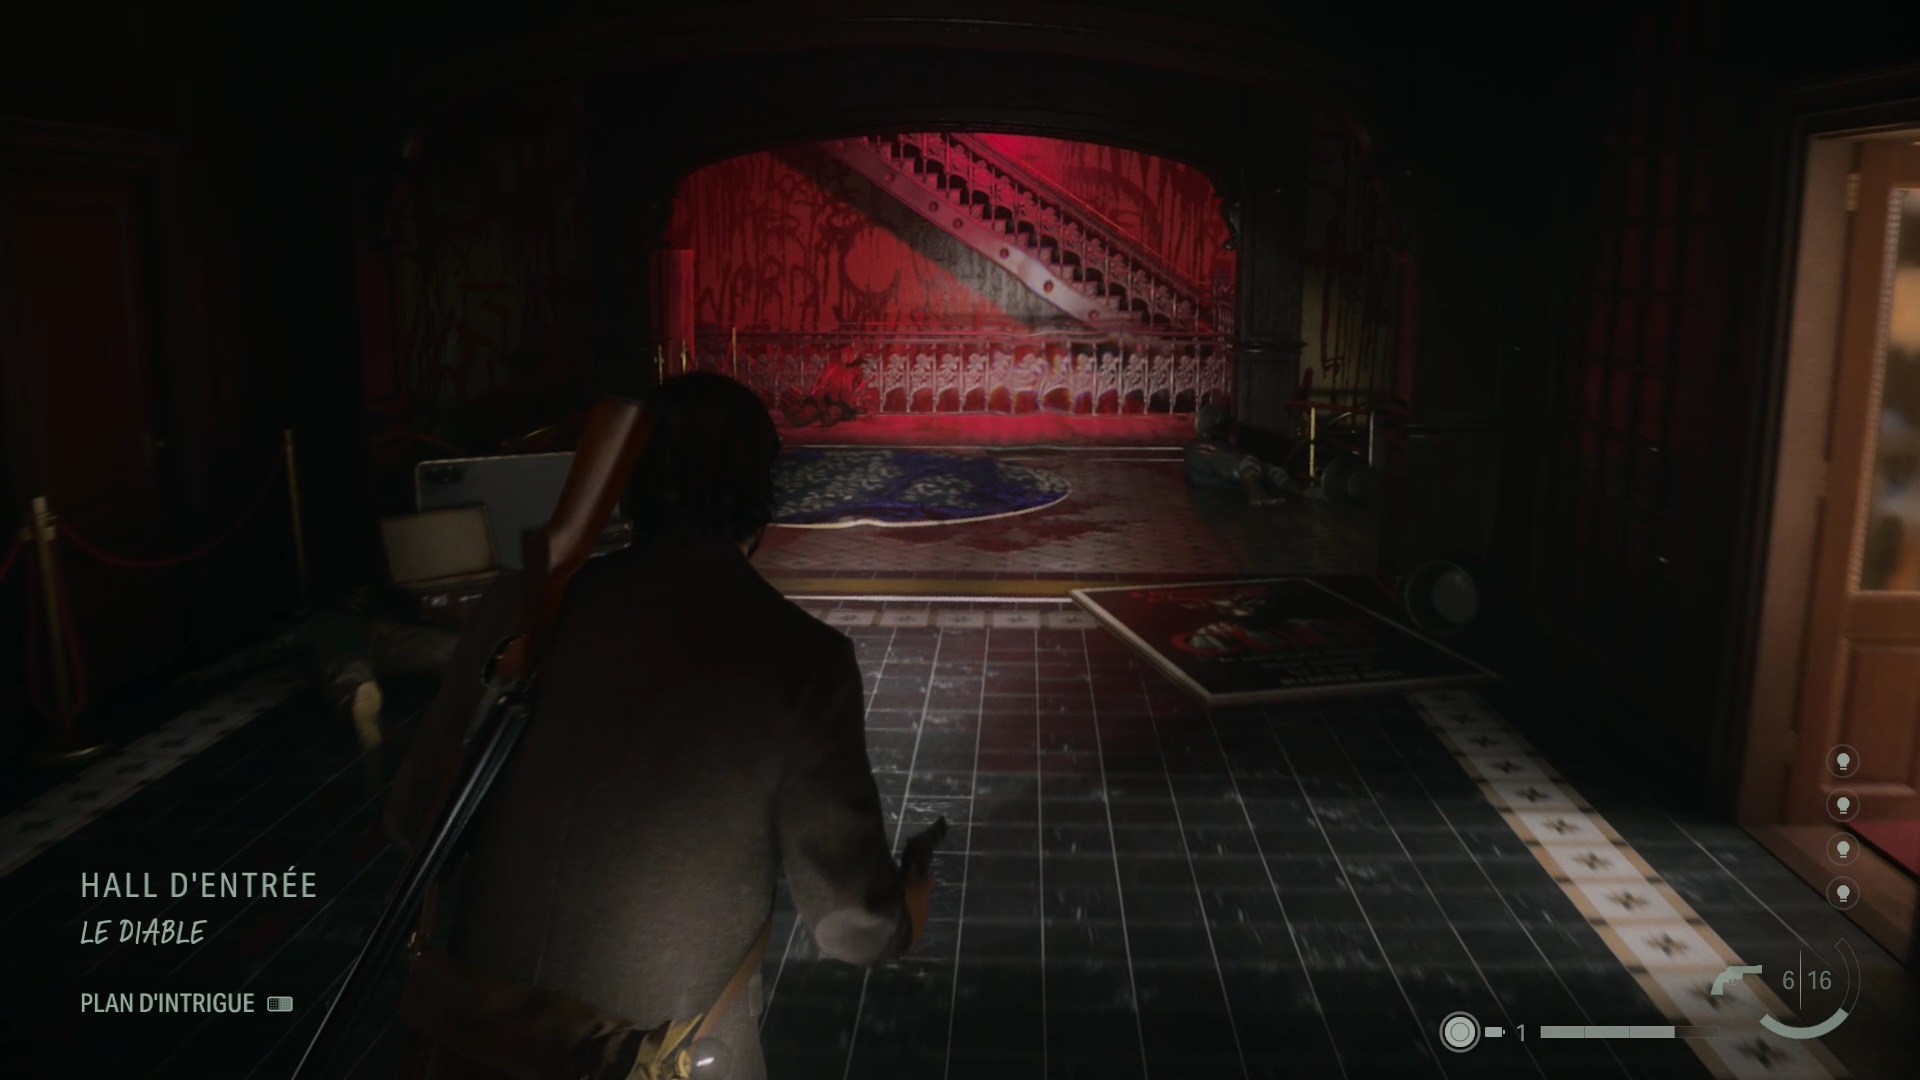
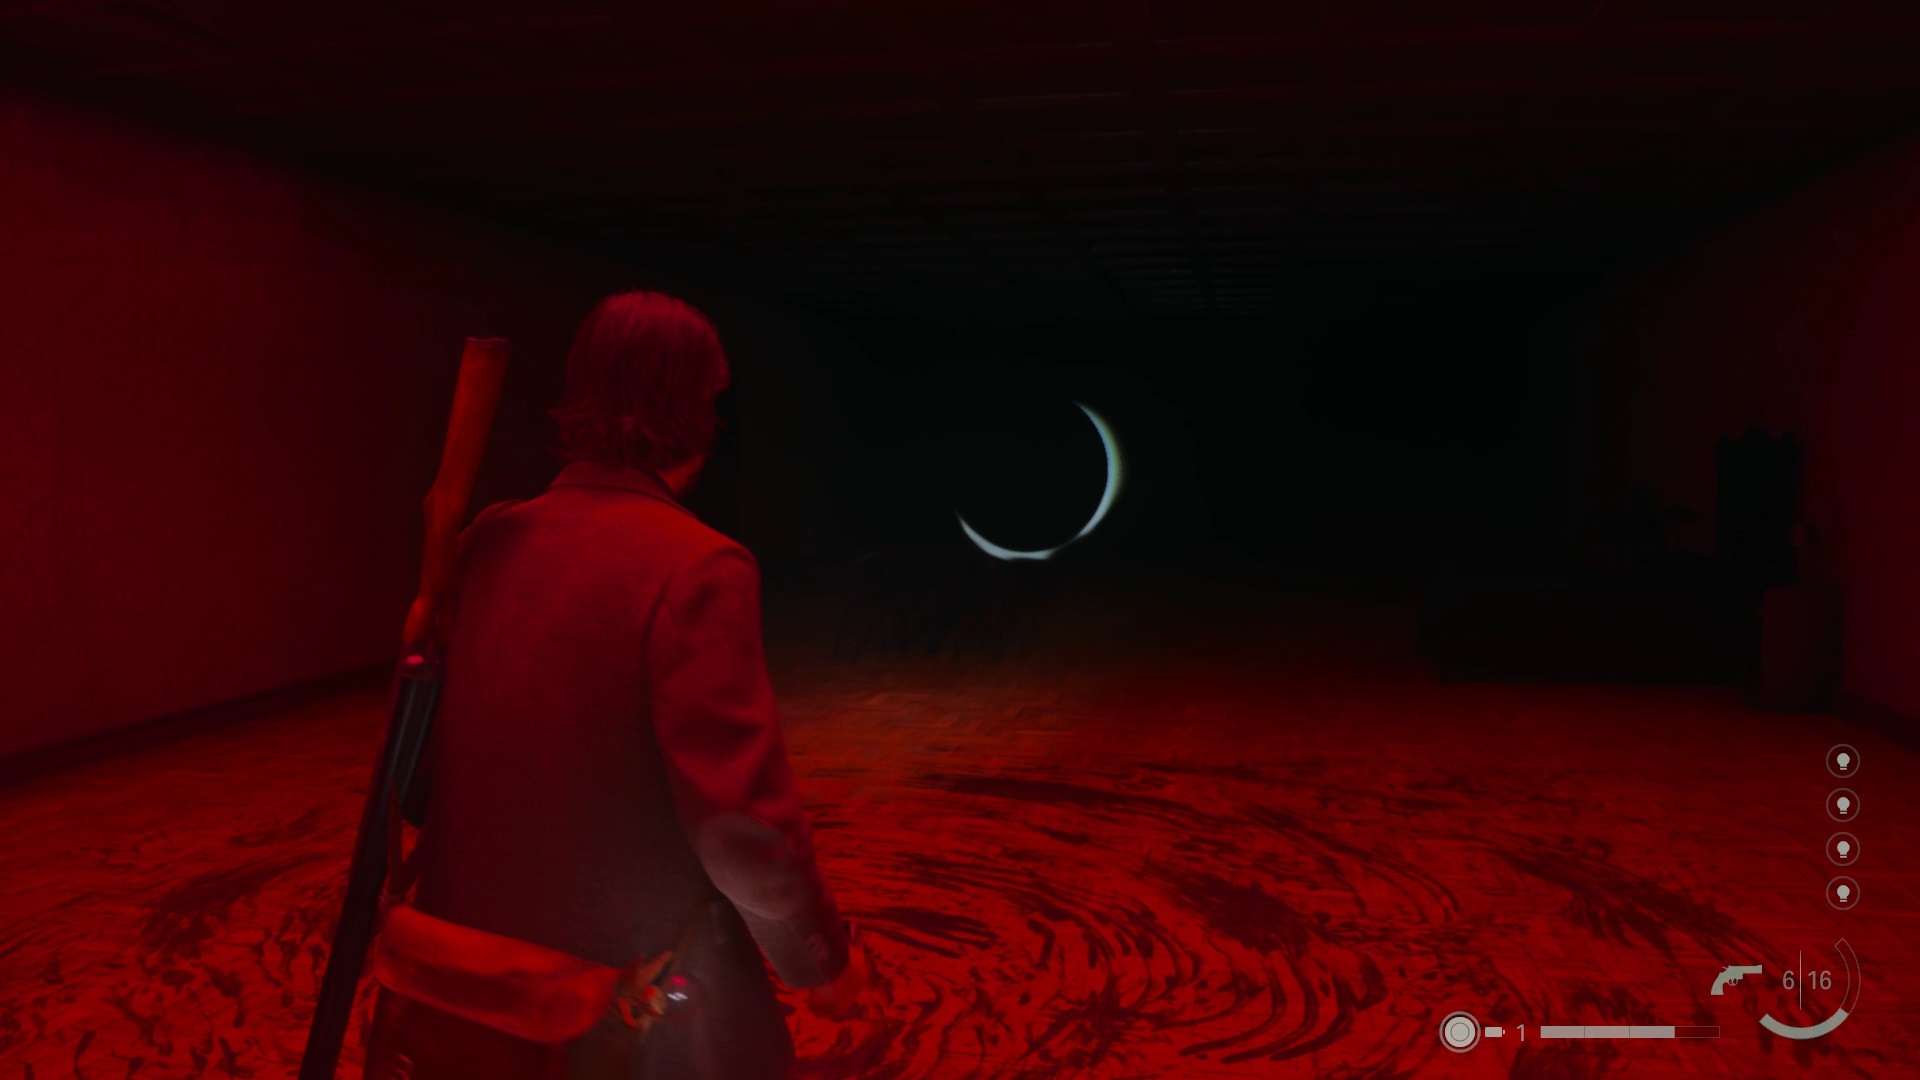
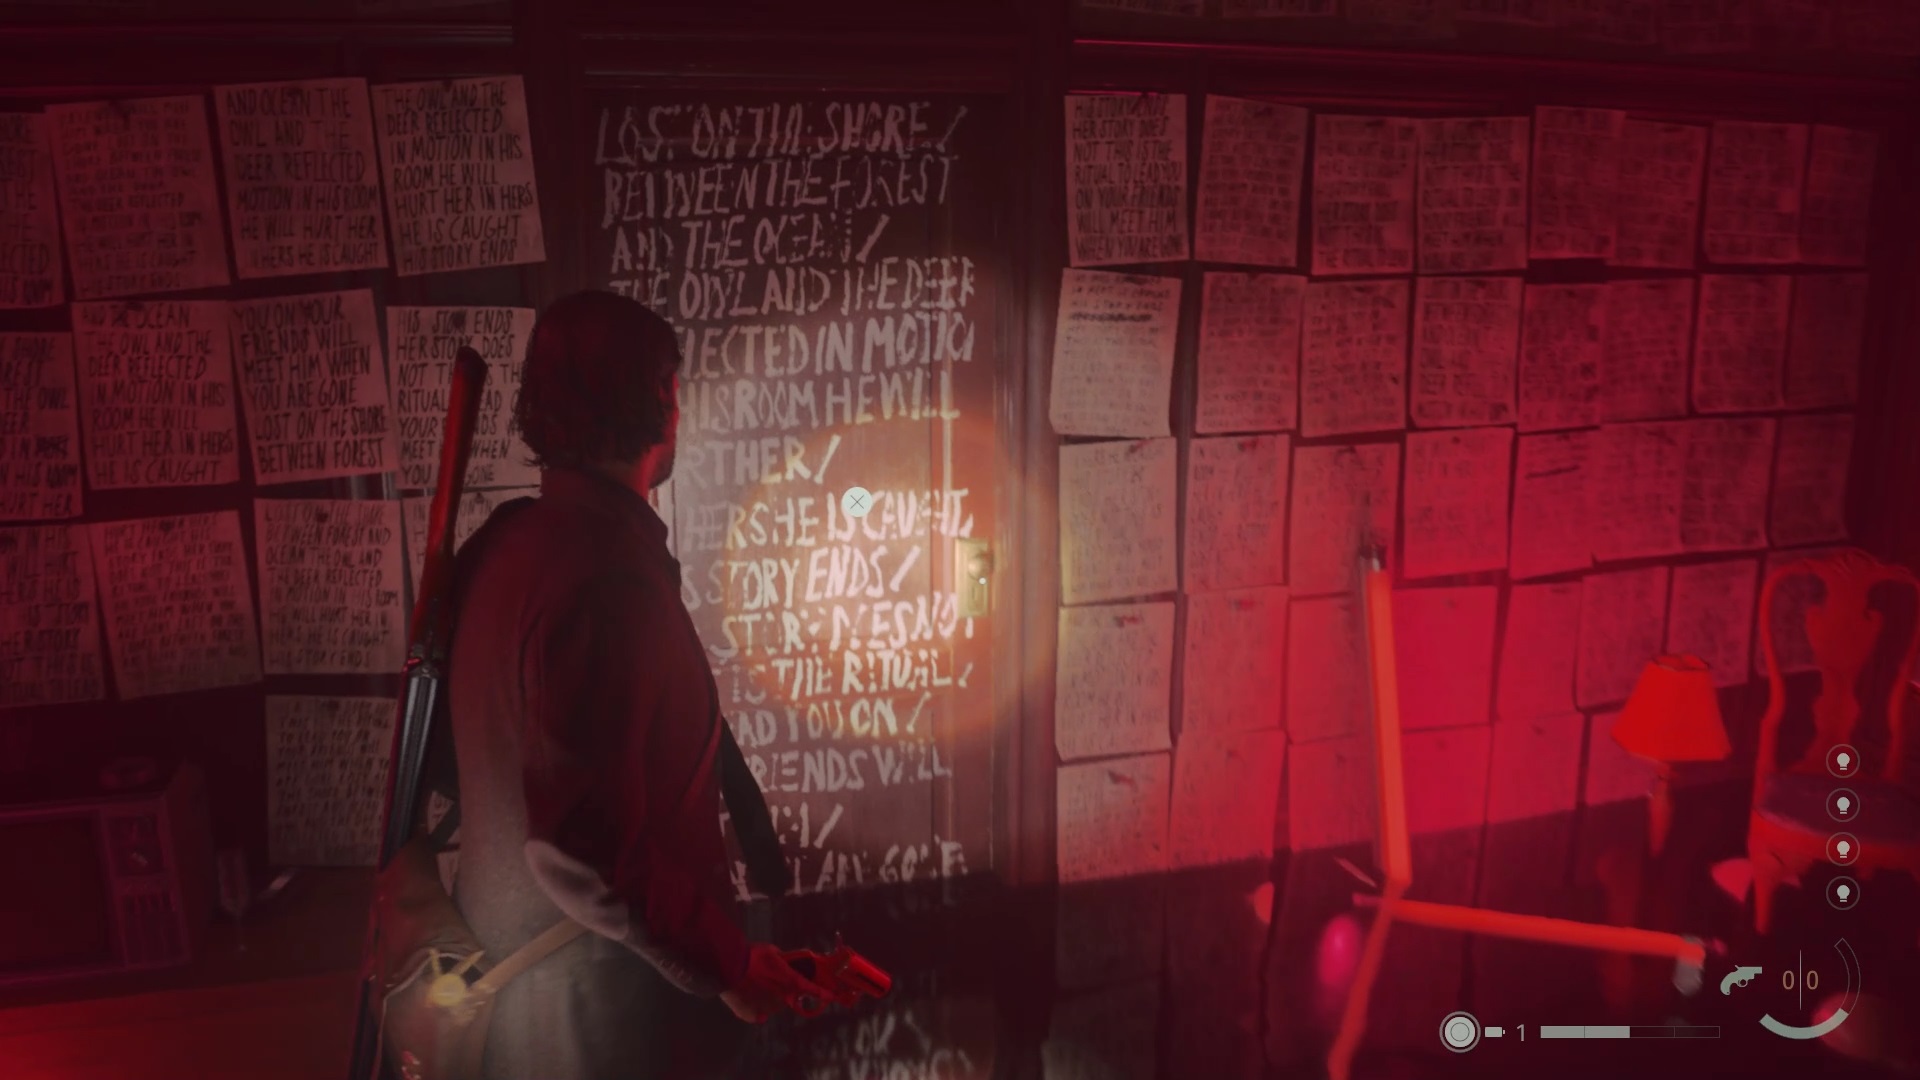
Return to the ballroom to use the new “Haunted” theme. Join the stage to line up a new idea and get the theme “The Devil”. Use this theme in the ballroom to follow the blood trails that lead you to the entrance hall. Go up the stairs to line up new orbs and get an idea. At the top, go through door 666. Line up the orbs and run away to get the “Climax” theme.
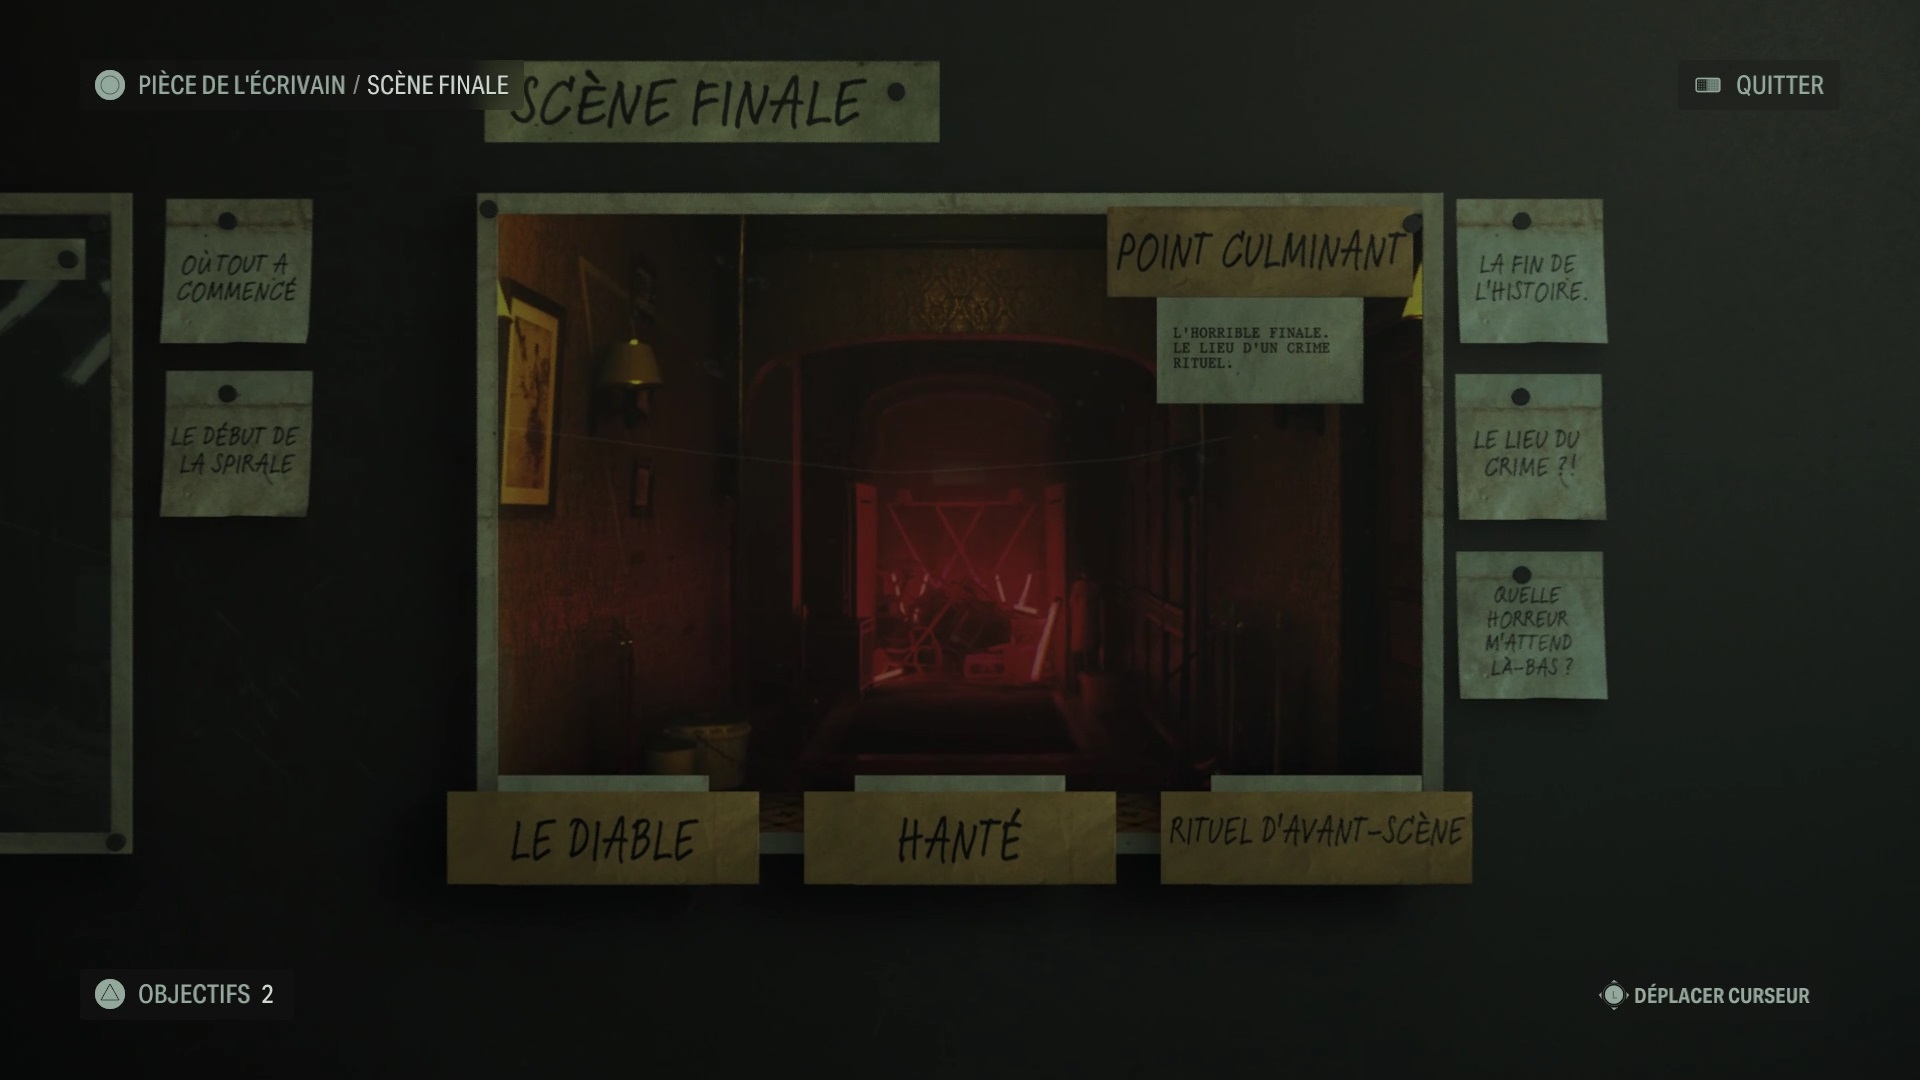
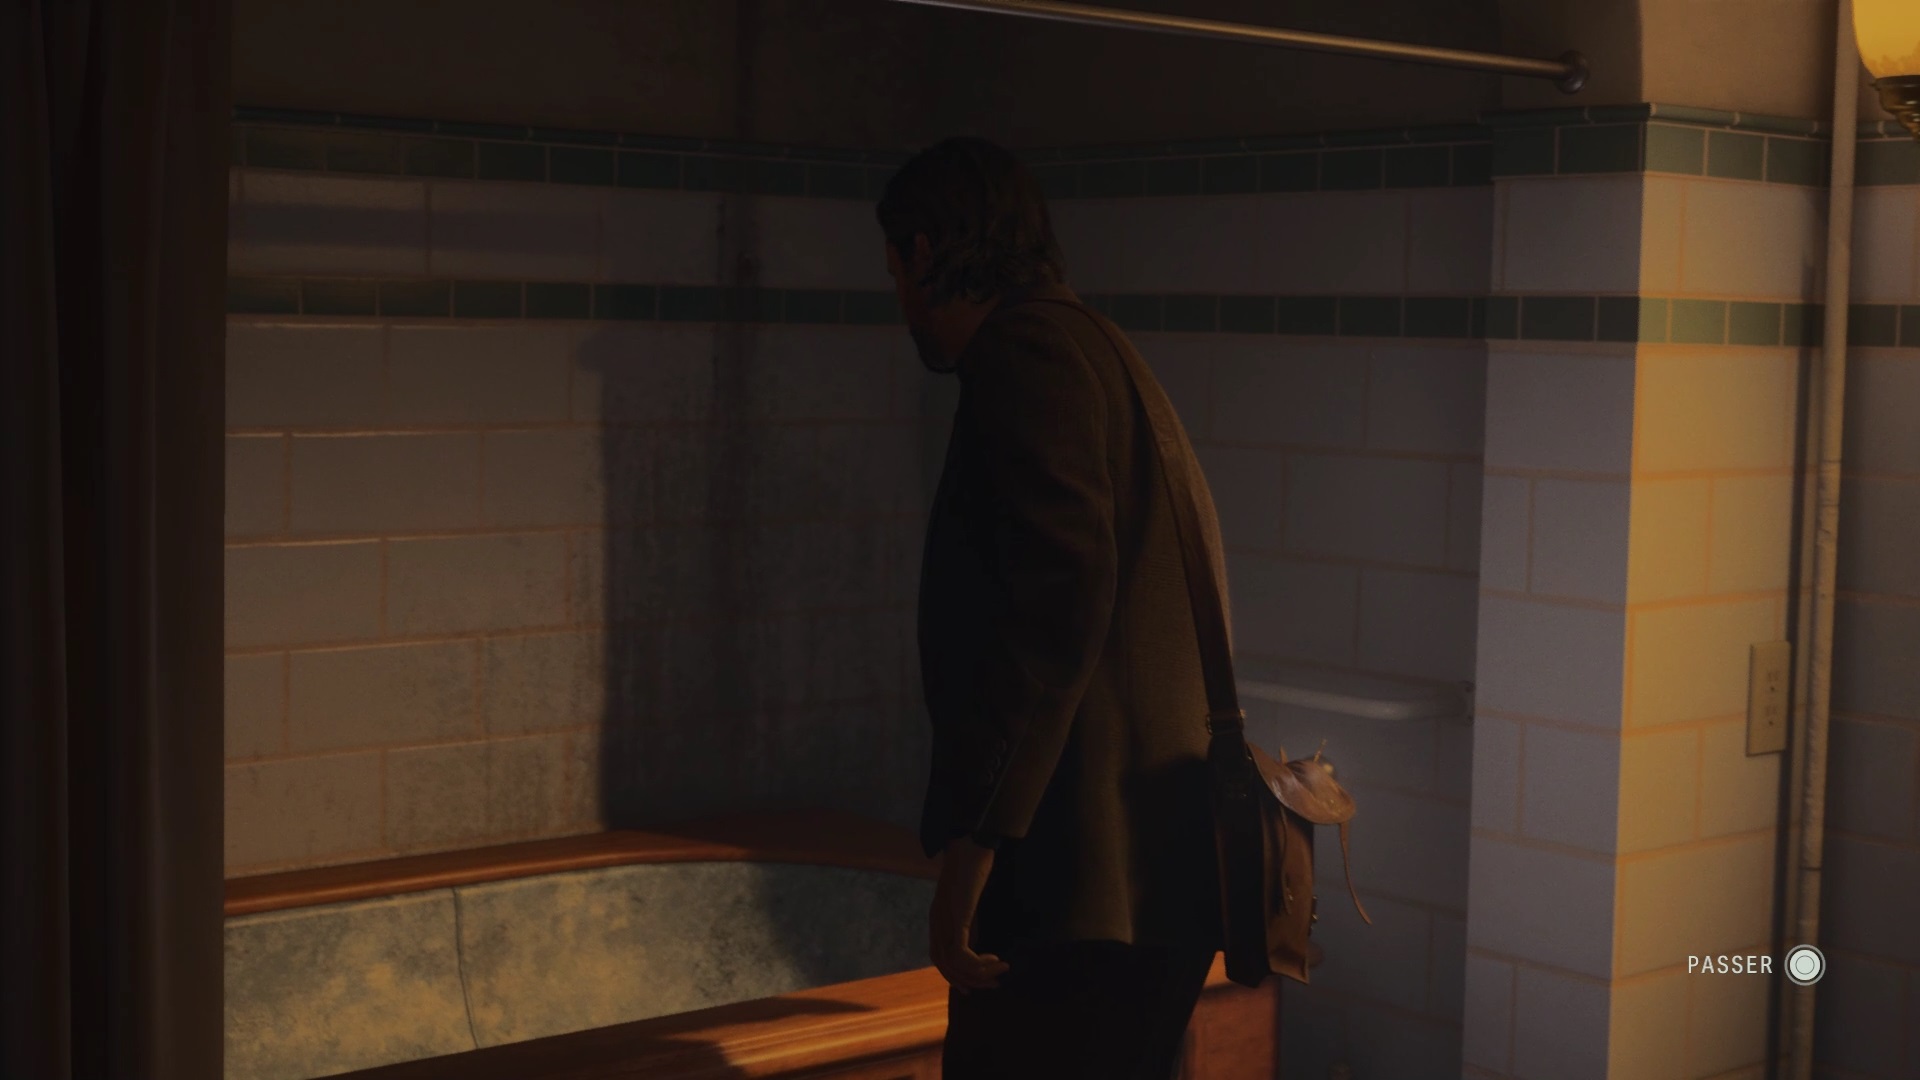
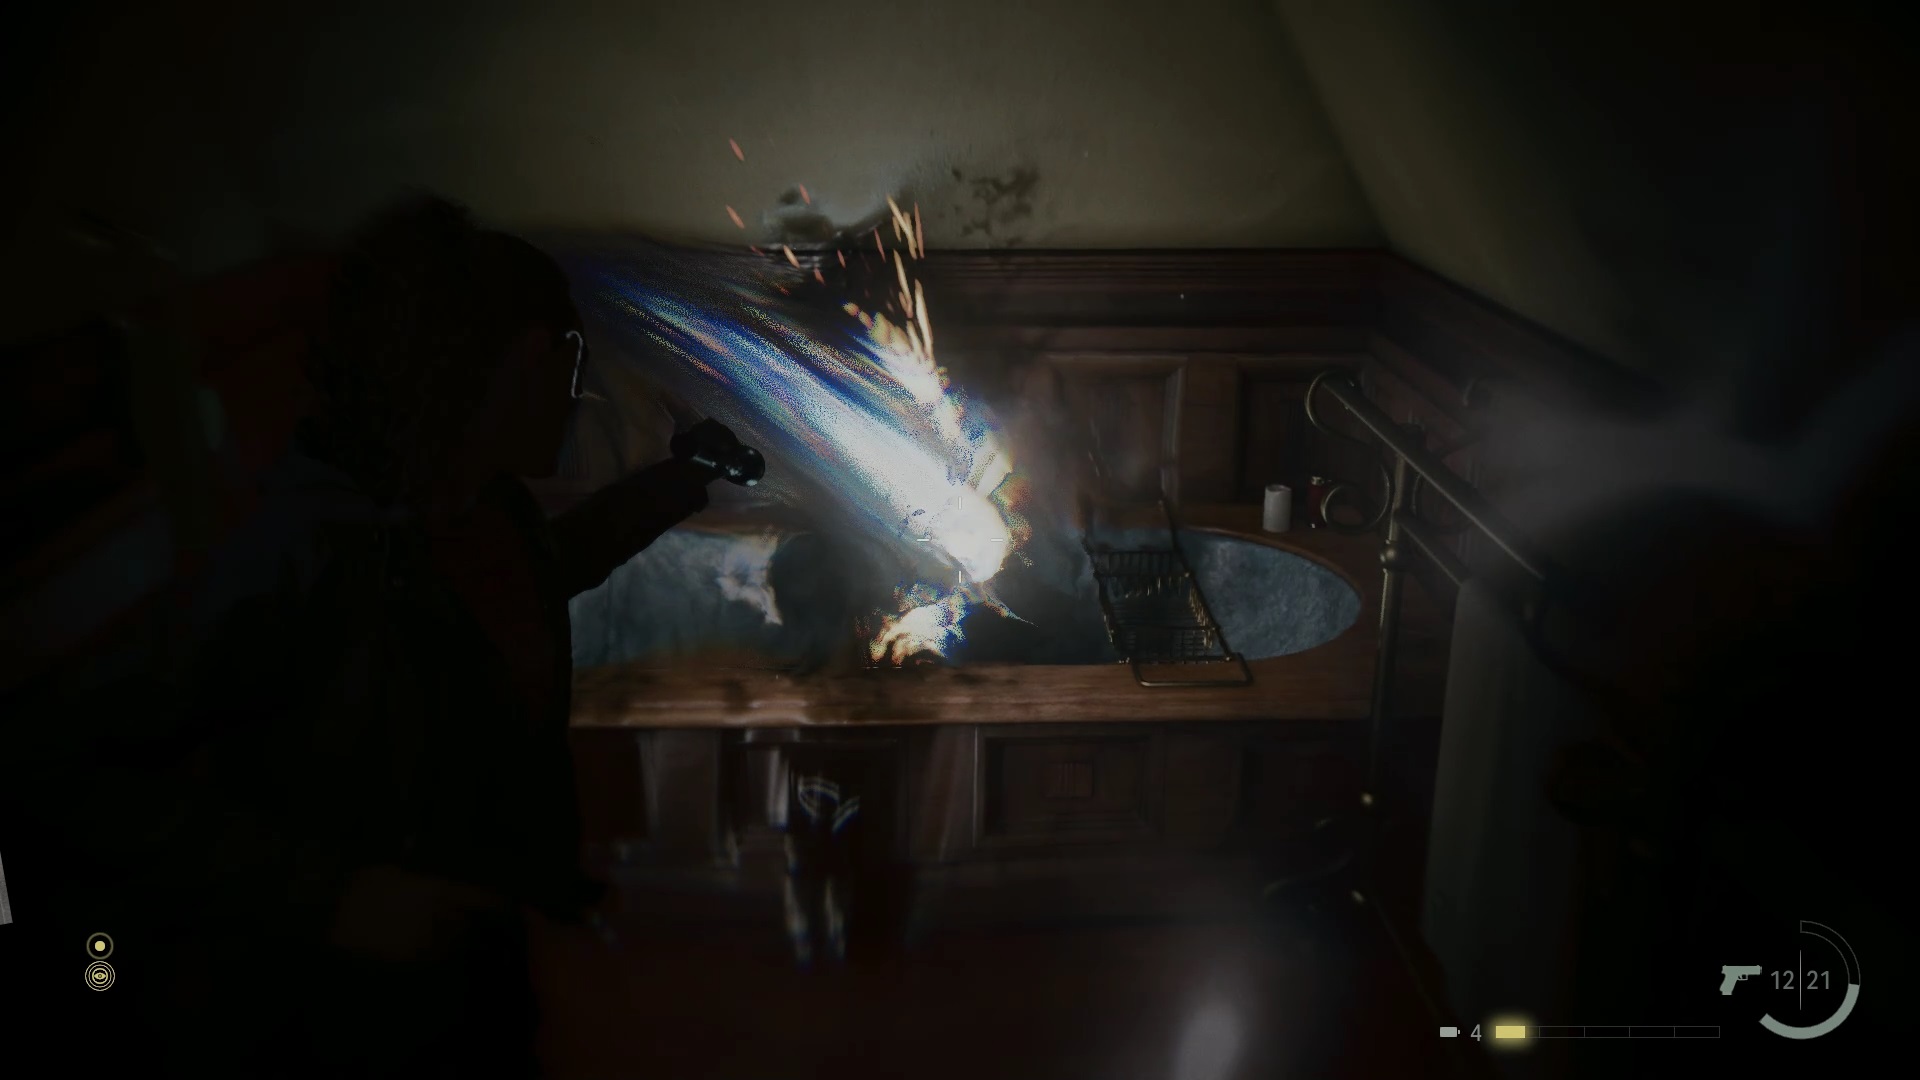
Head to the final scene in Room 108 and use the new theme. Go through the door and interact with the bathtub in the bathroom.
Return 4: No Chance
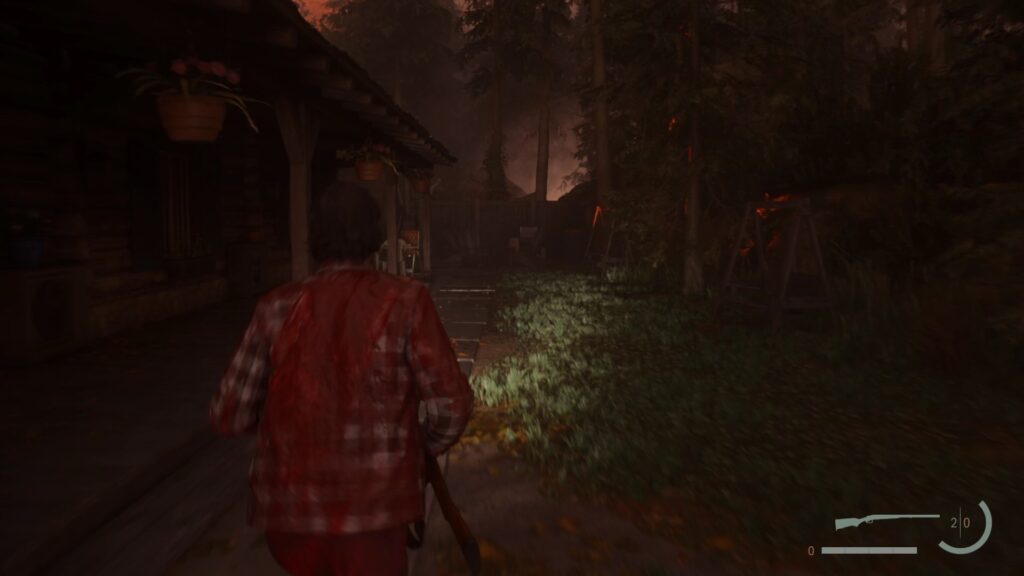
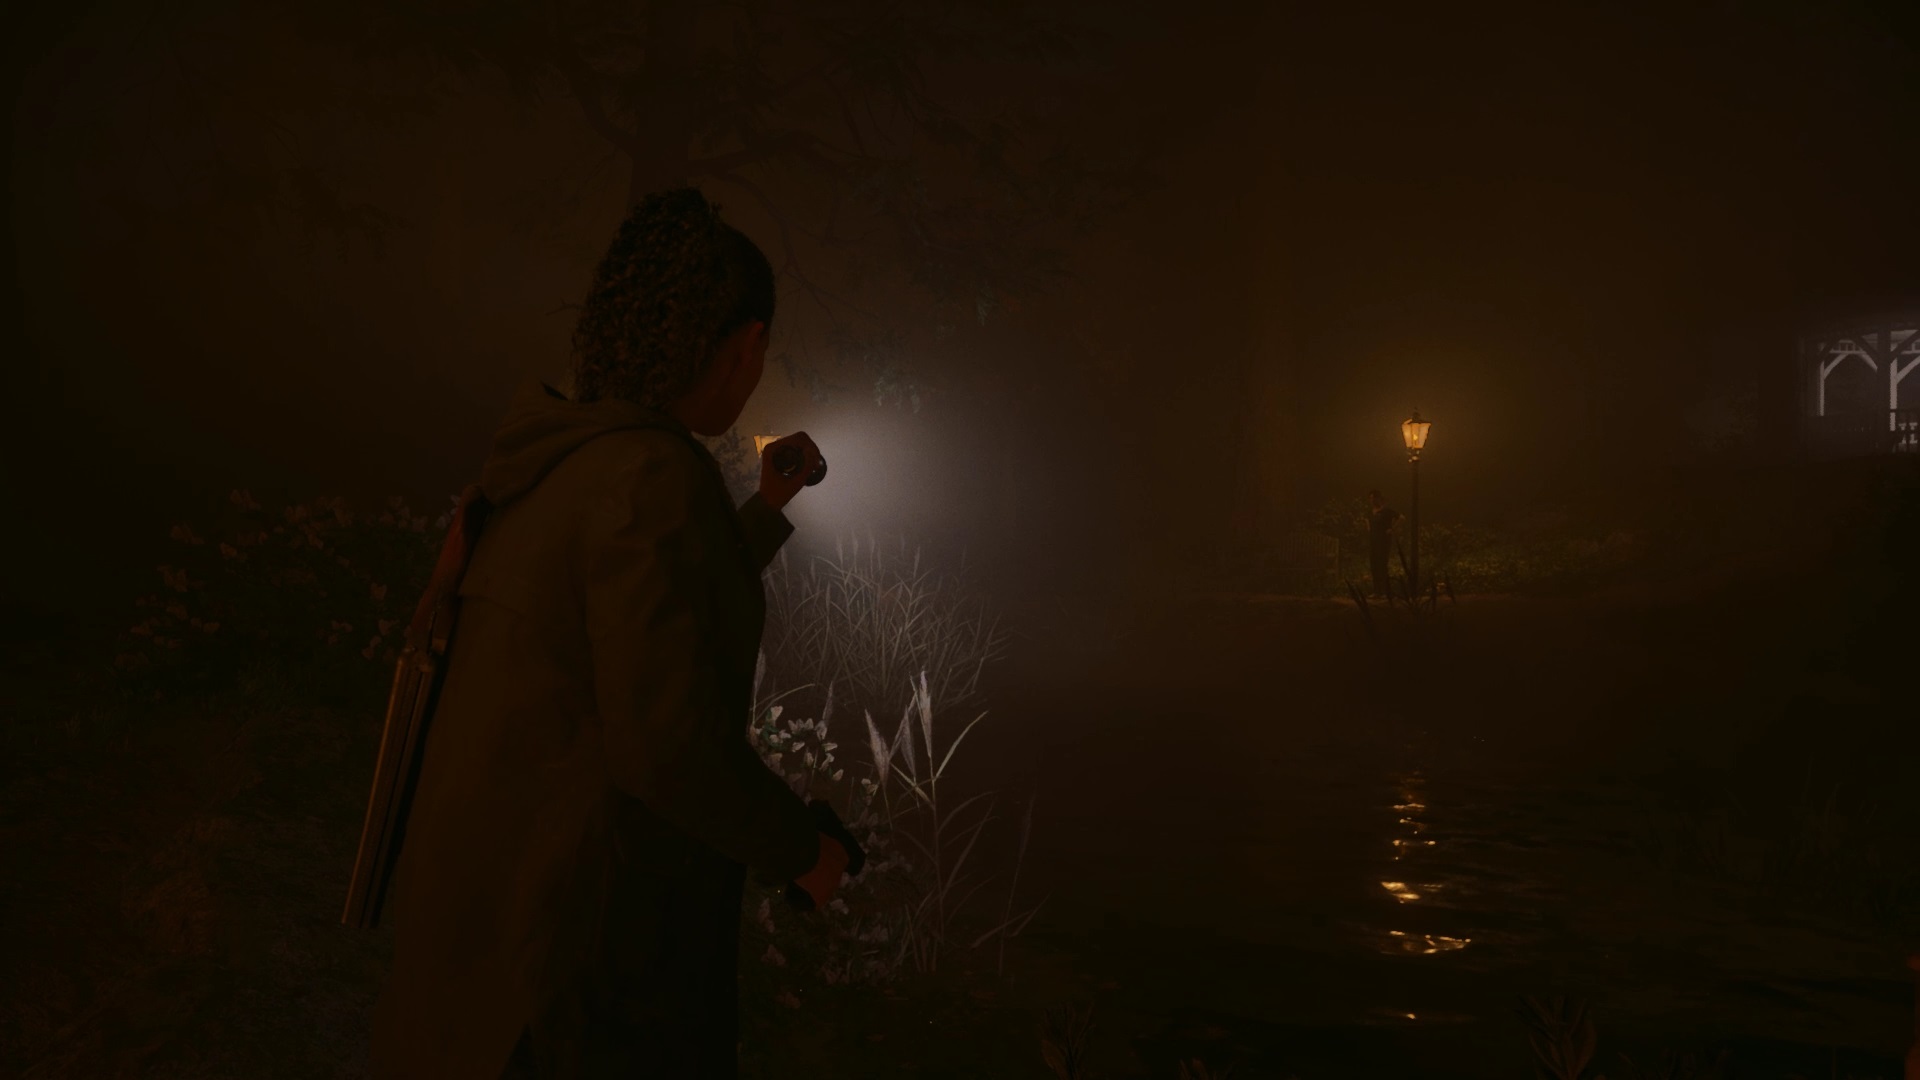
Go to Bright Falls to step into the shoes of Alan Wake. Exit through the back of the hotel to collect a weapon and your lamp. Dispel the shadows at the portals to go to the woods. Then, rush towards Casey’s shots to trigger a cutscene and complete the level.
Return 5: Old Gods
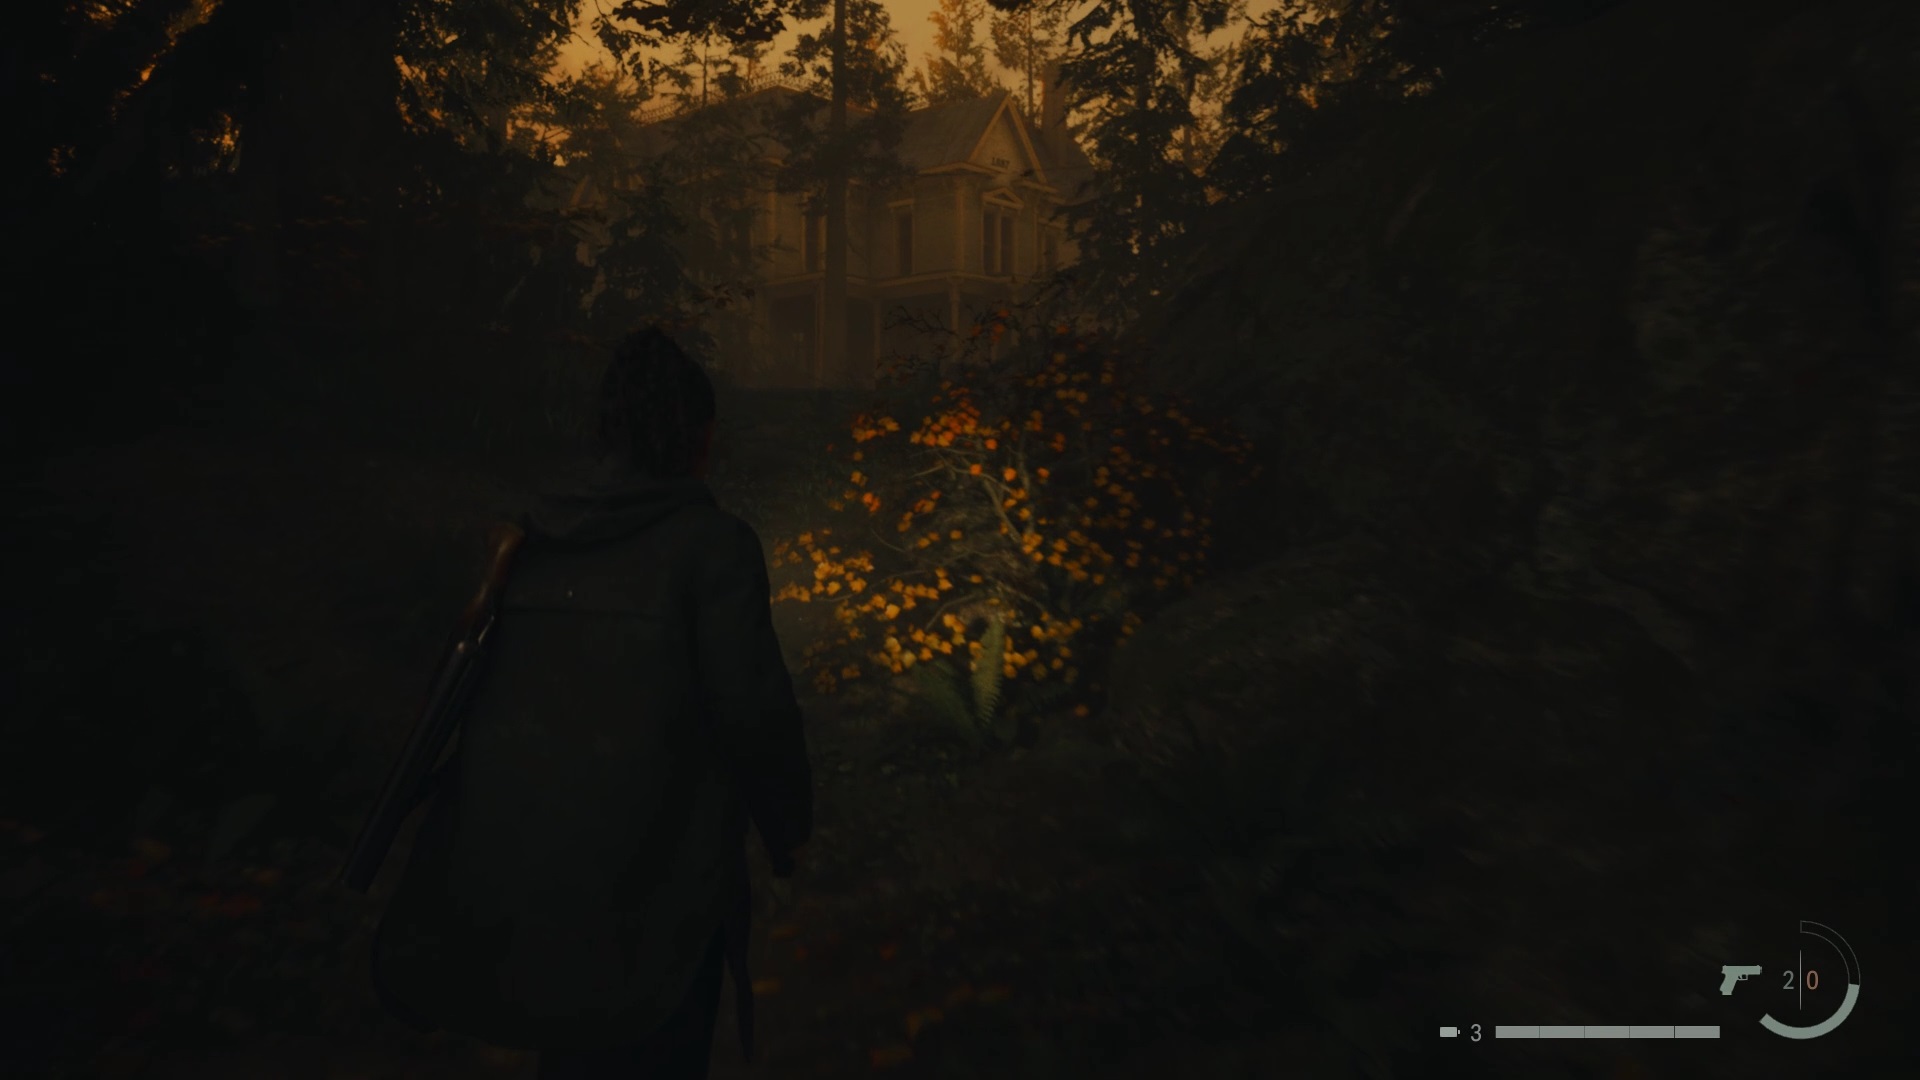
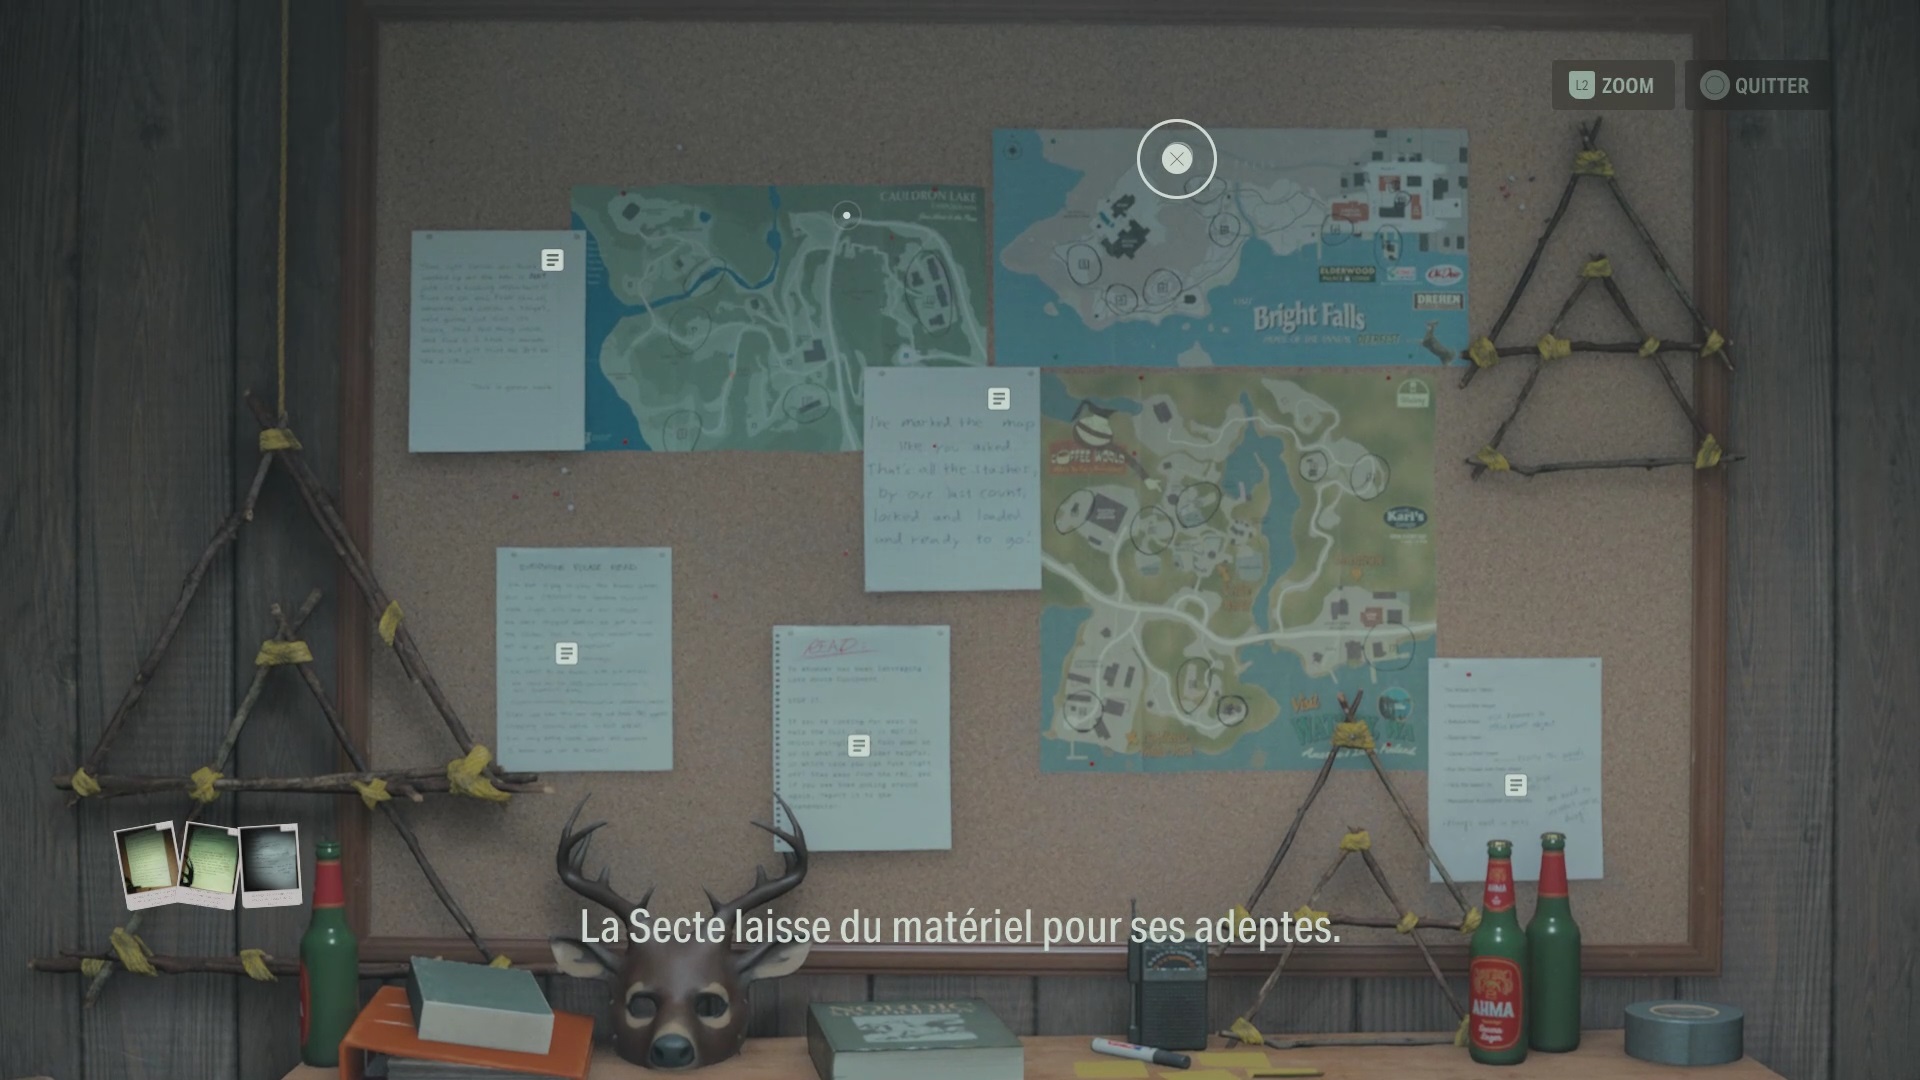
As Saga, follow the path in the woods to find the retirement home. If you are lost, you can use the map in the mind place, collected earlier.
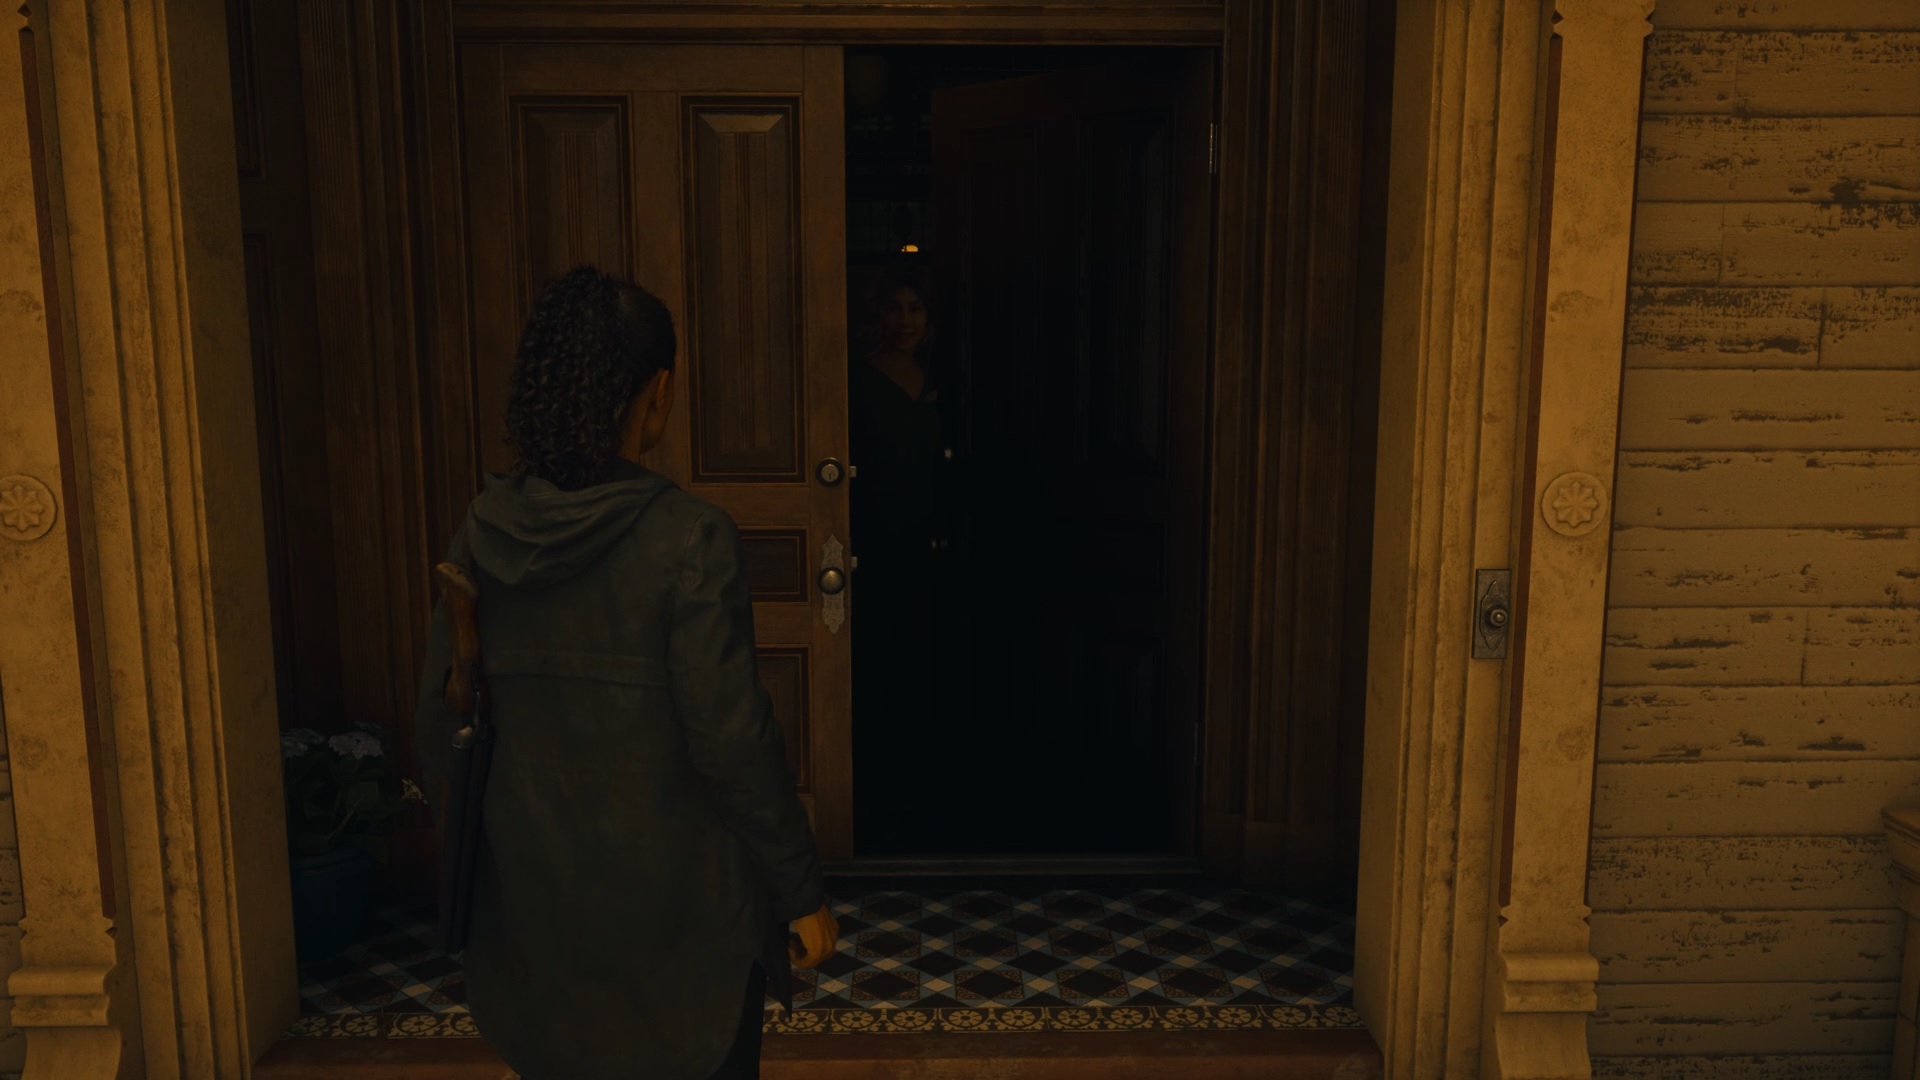
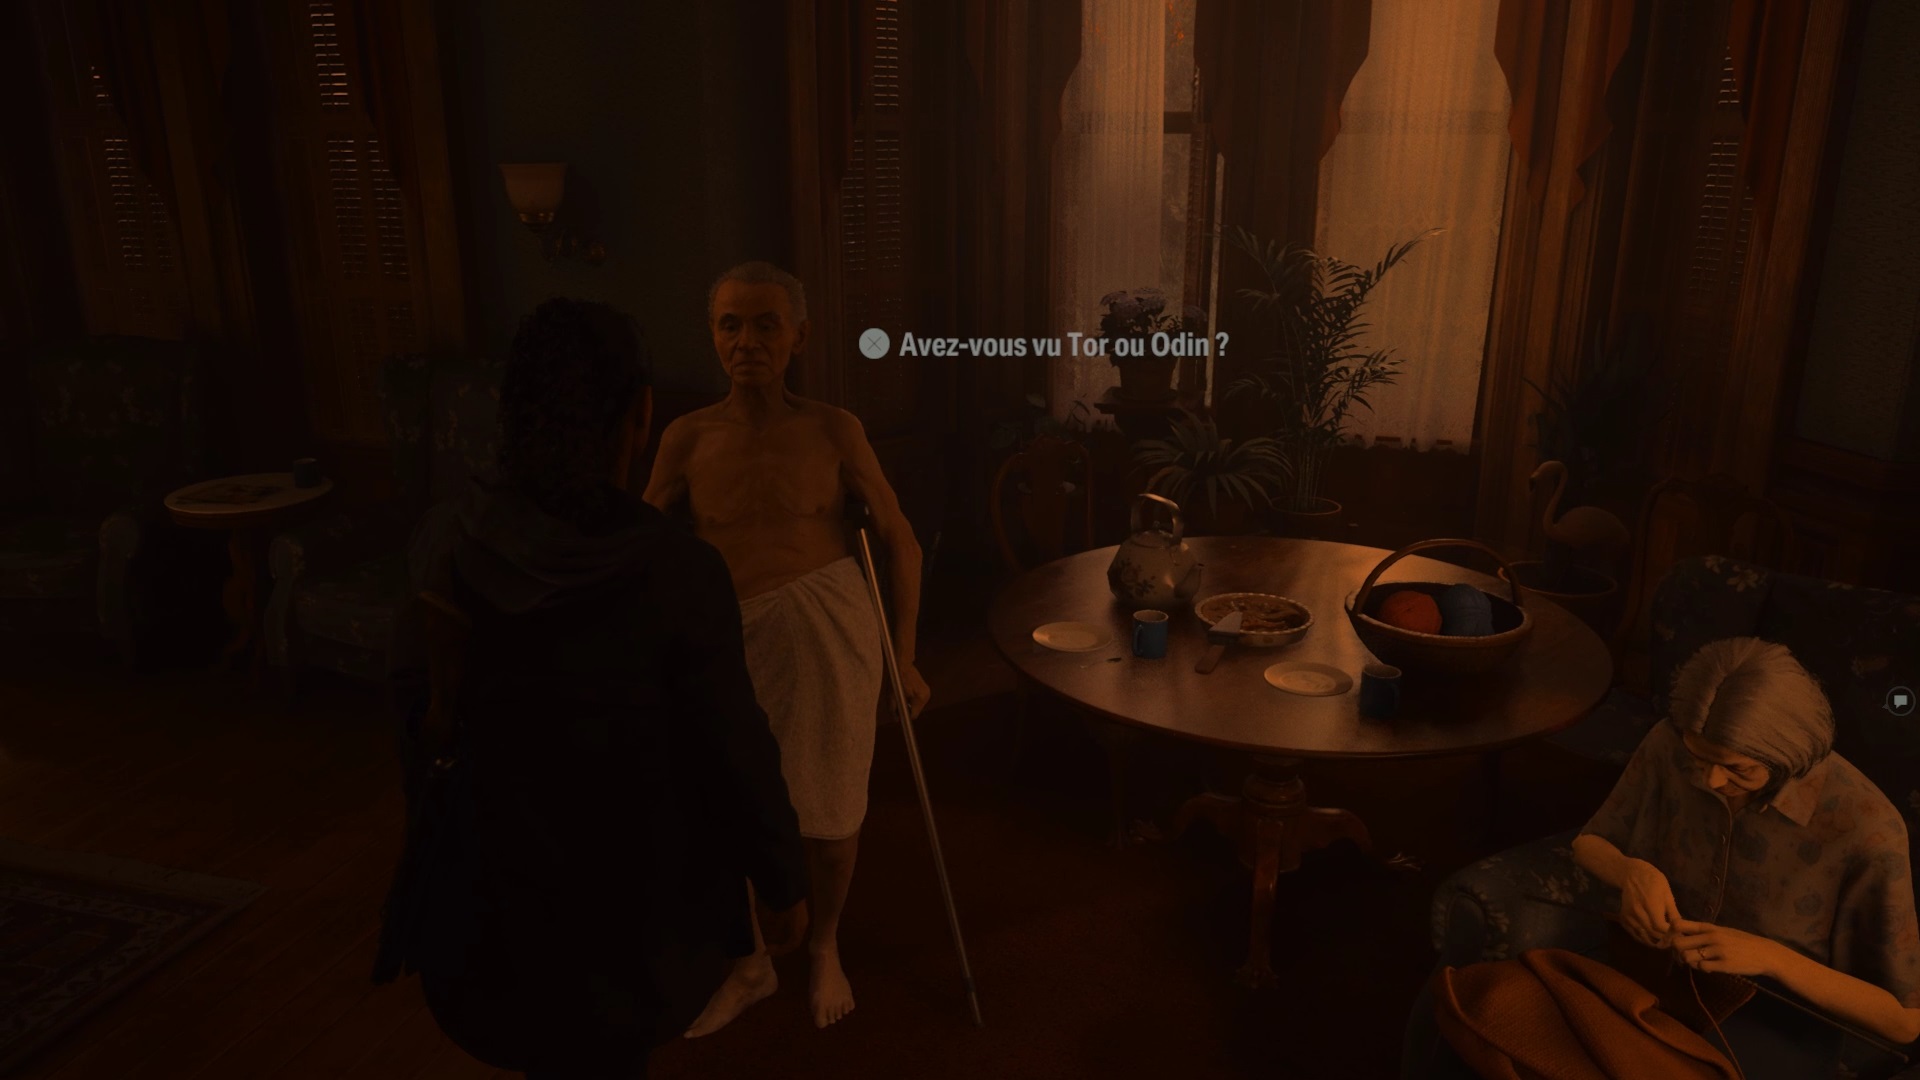
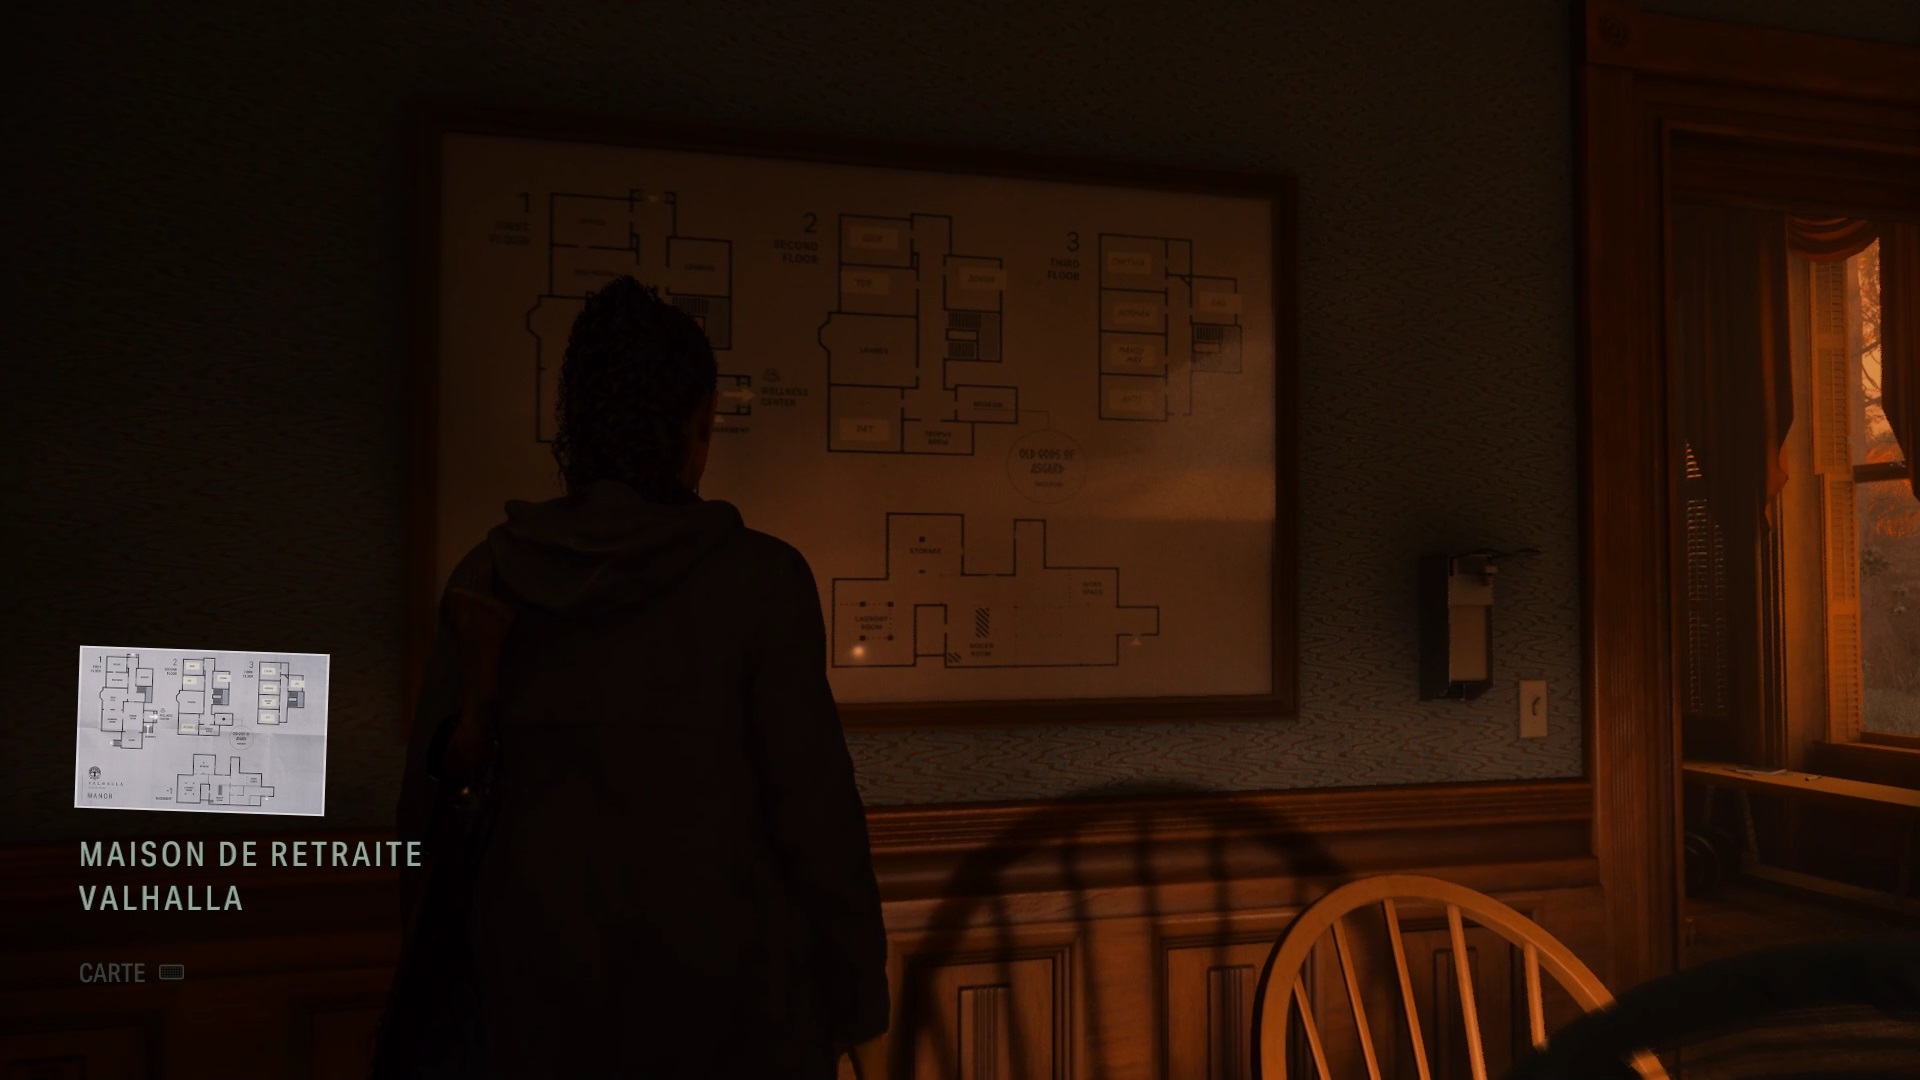
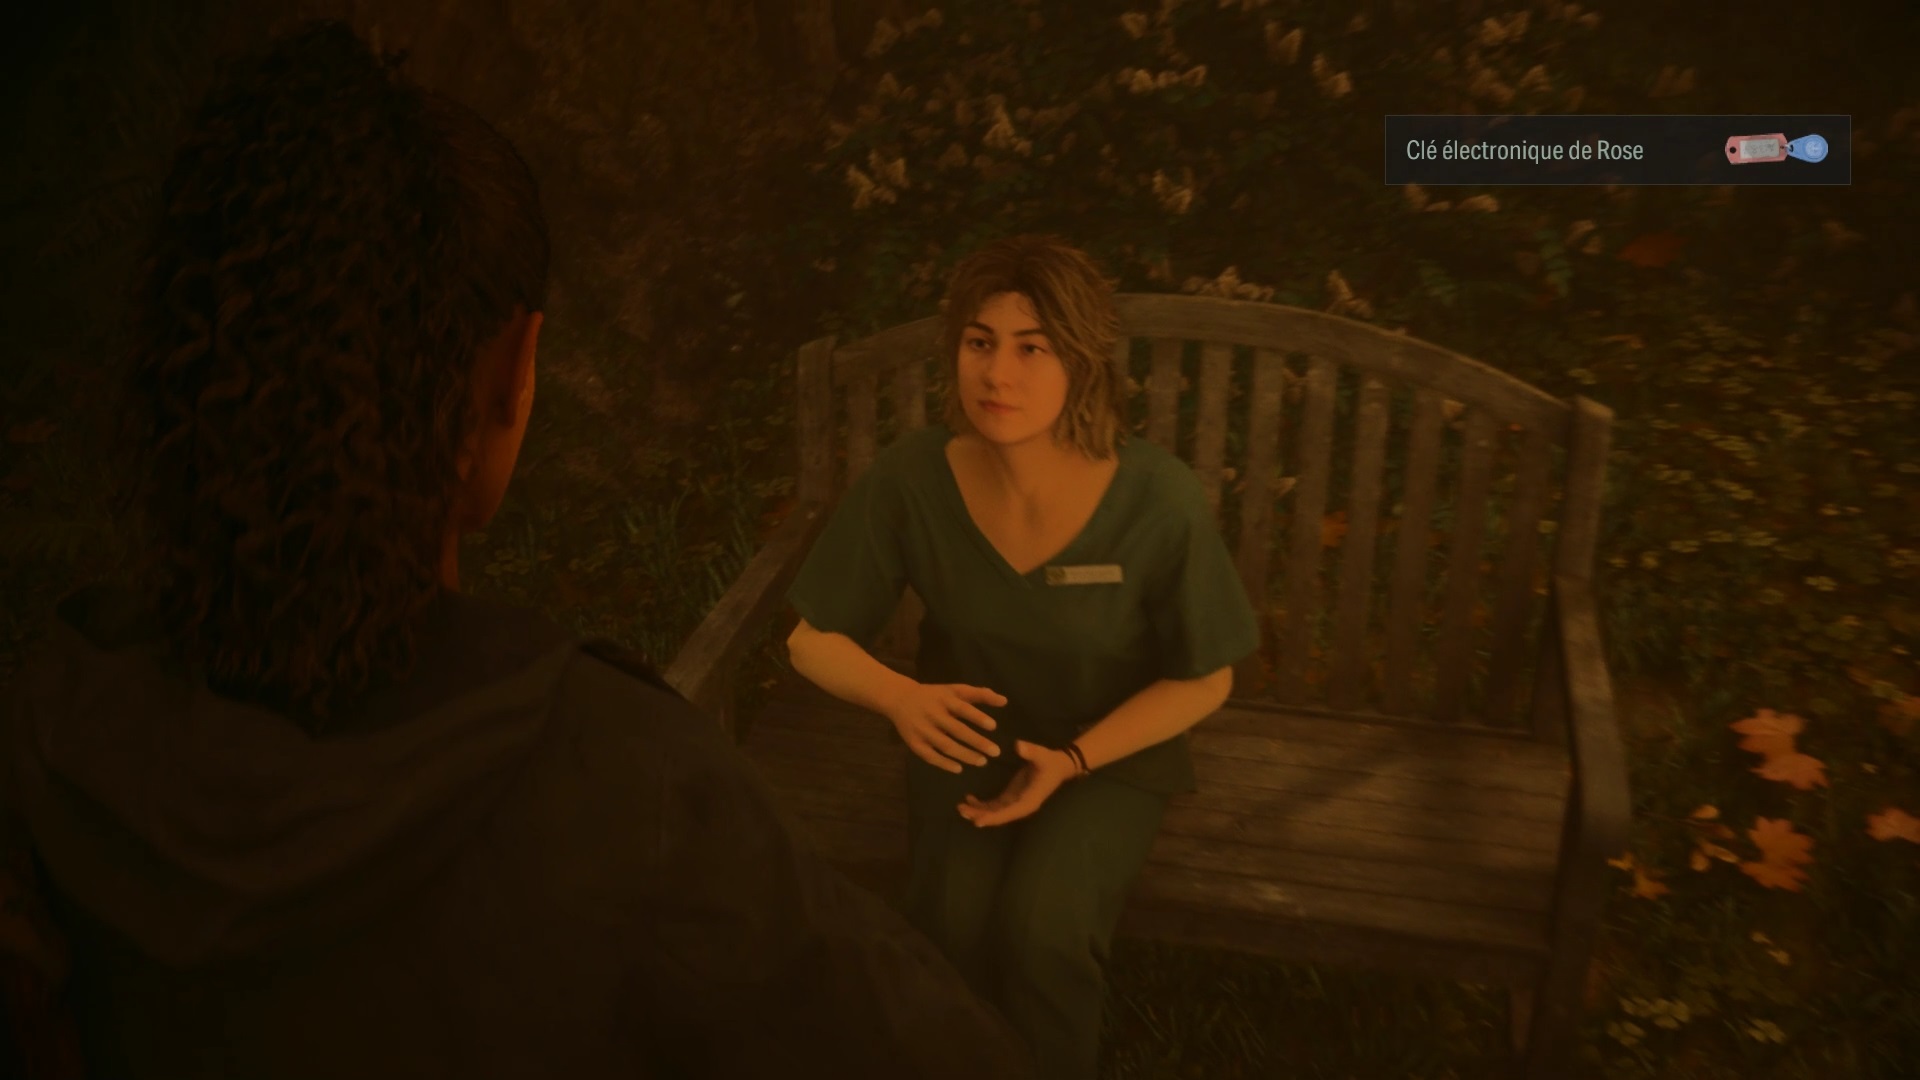
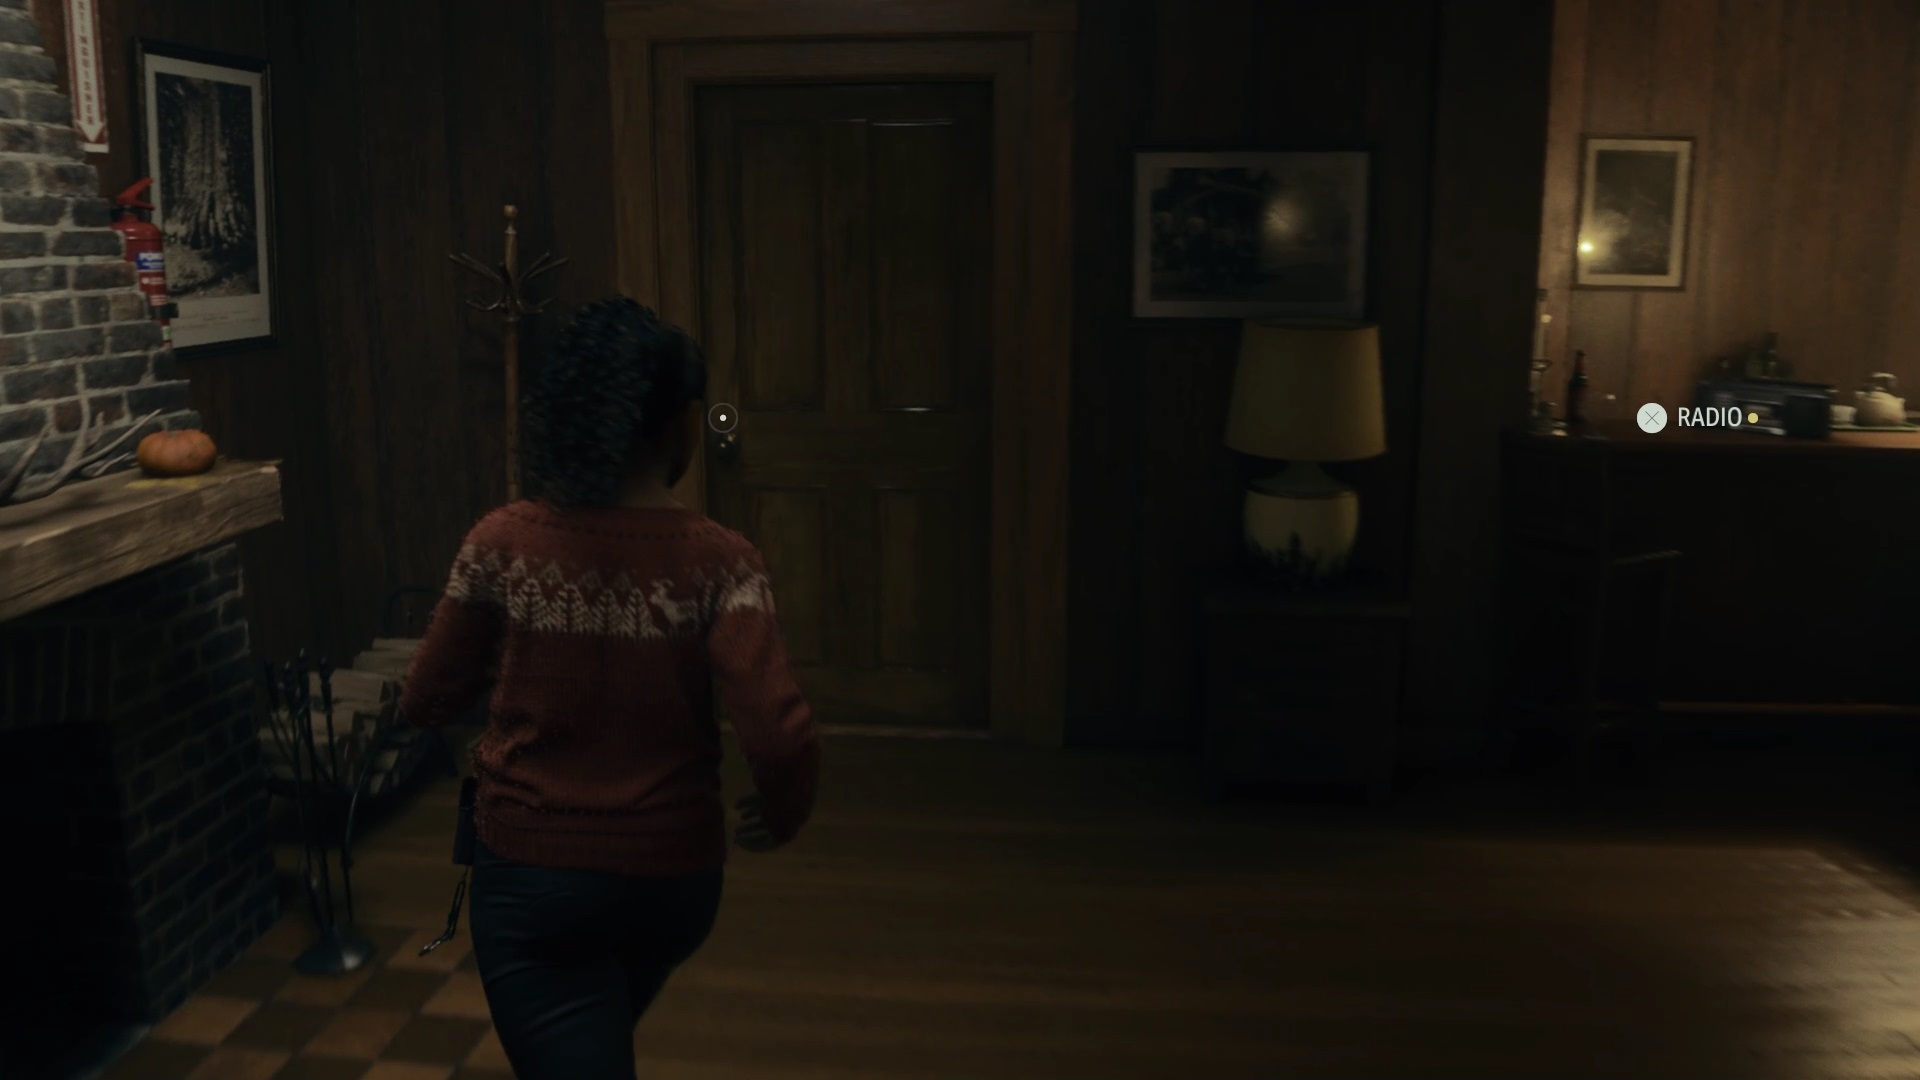
Ring the bell at the entrance to the retirement home to be able to enter. Follow Rose into the house to meet two boarders and discover Odin’s location. Talk to Rose and Ahti, then examine the map in Rose’s office before heading upstairs.
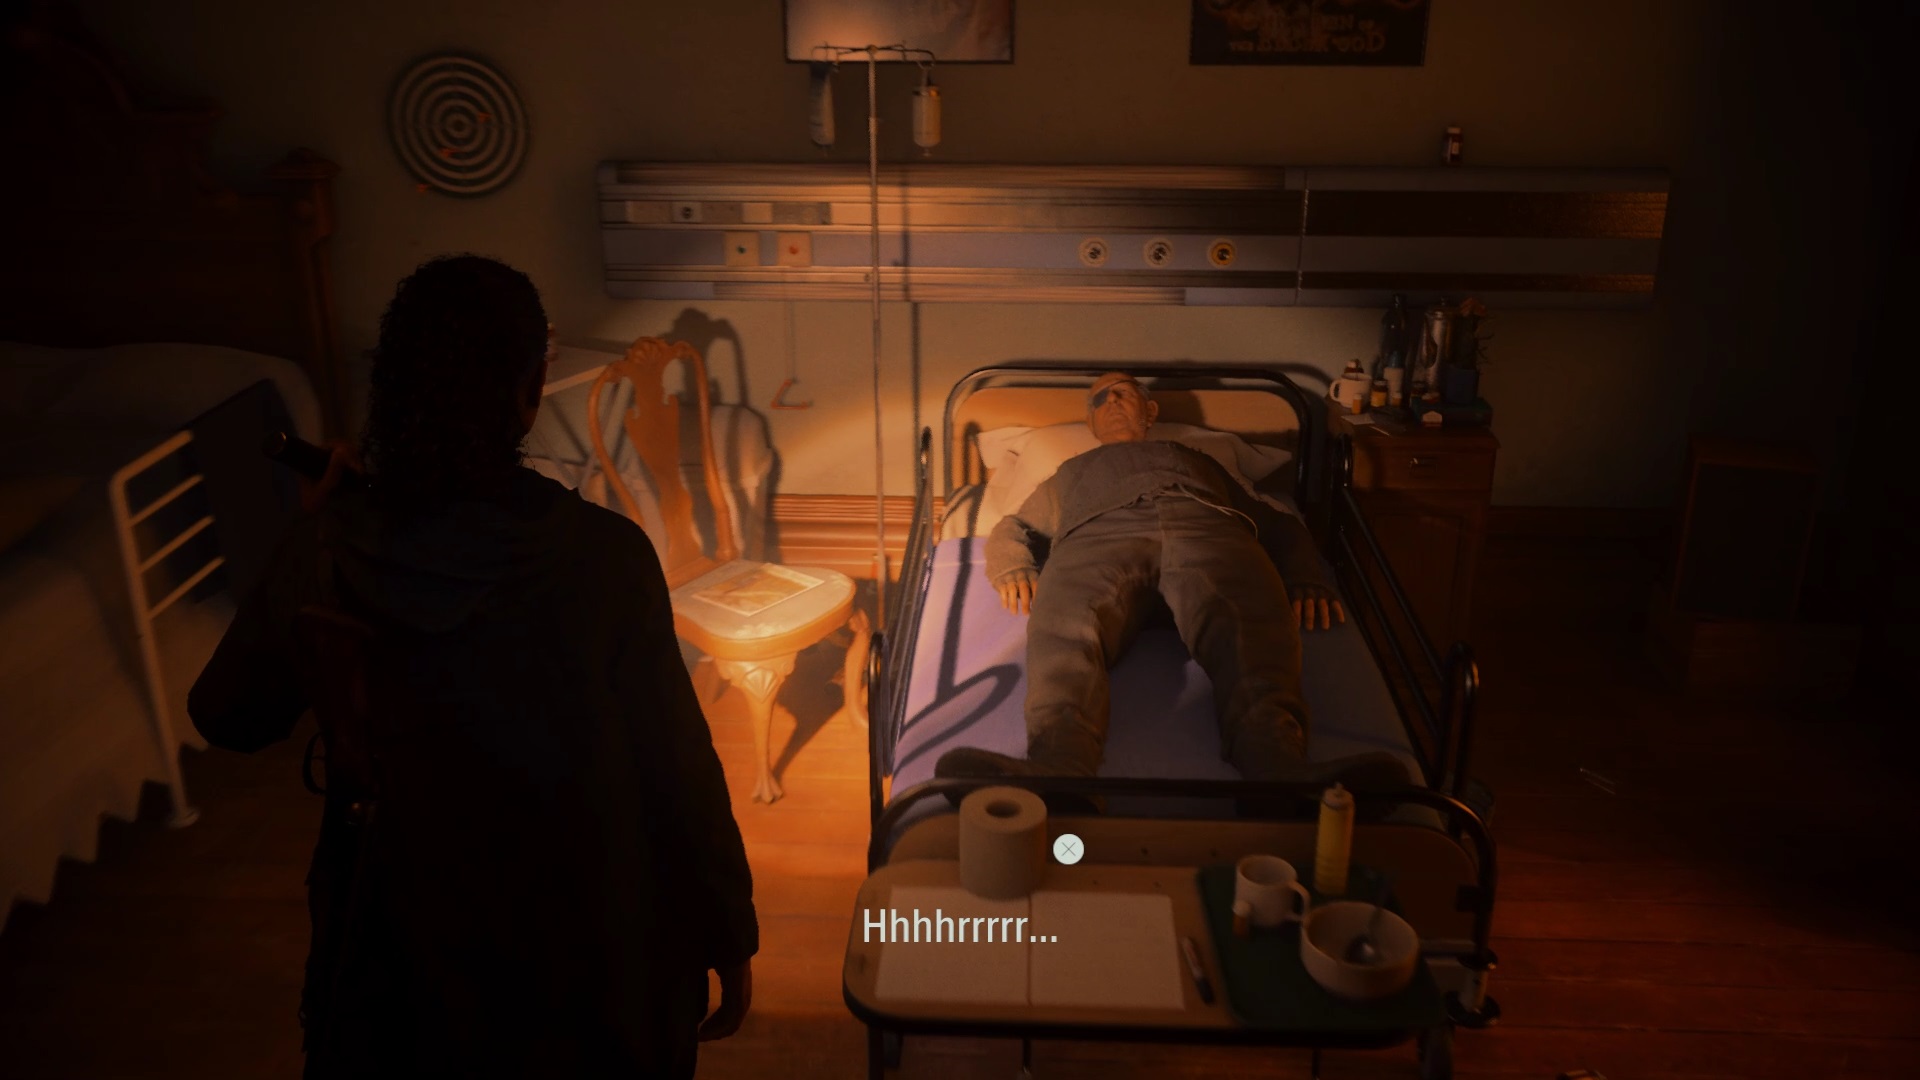
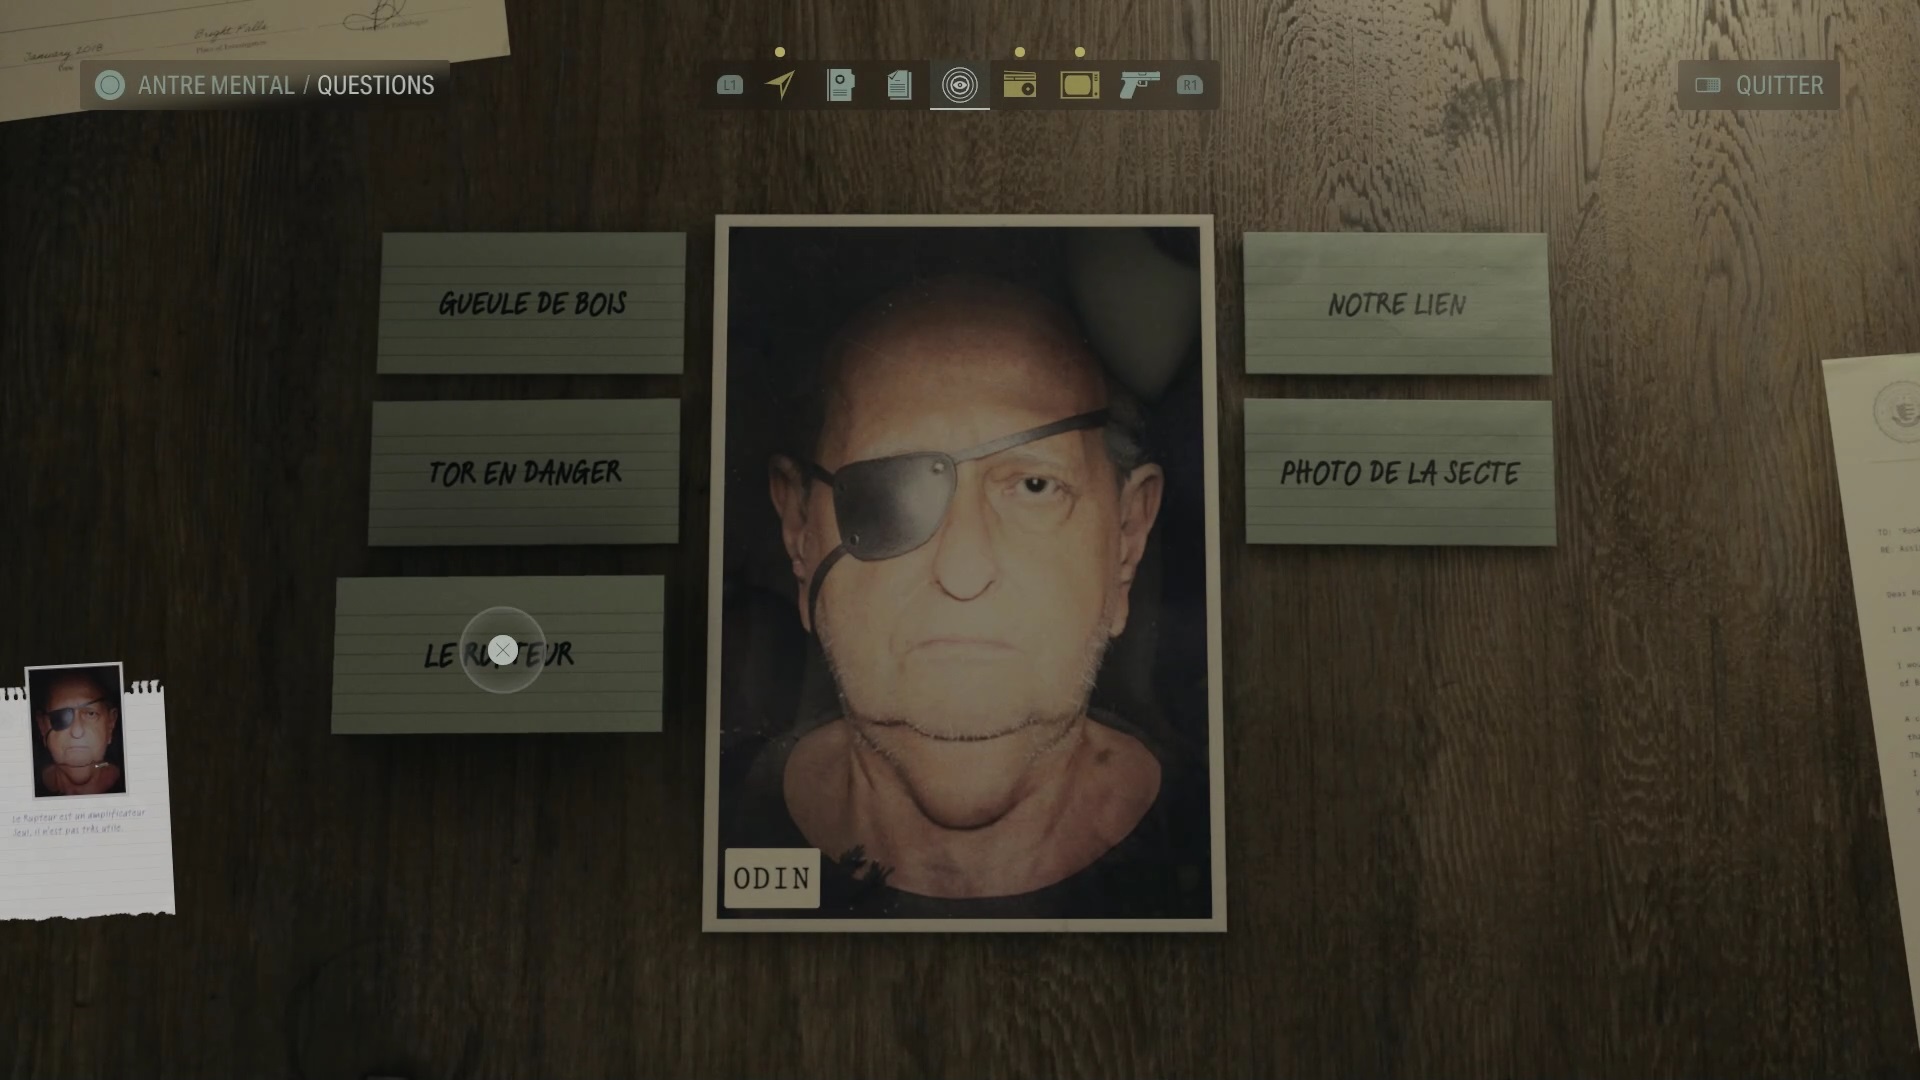
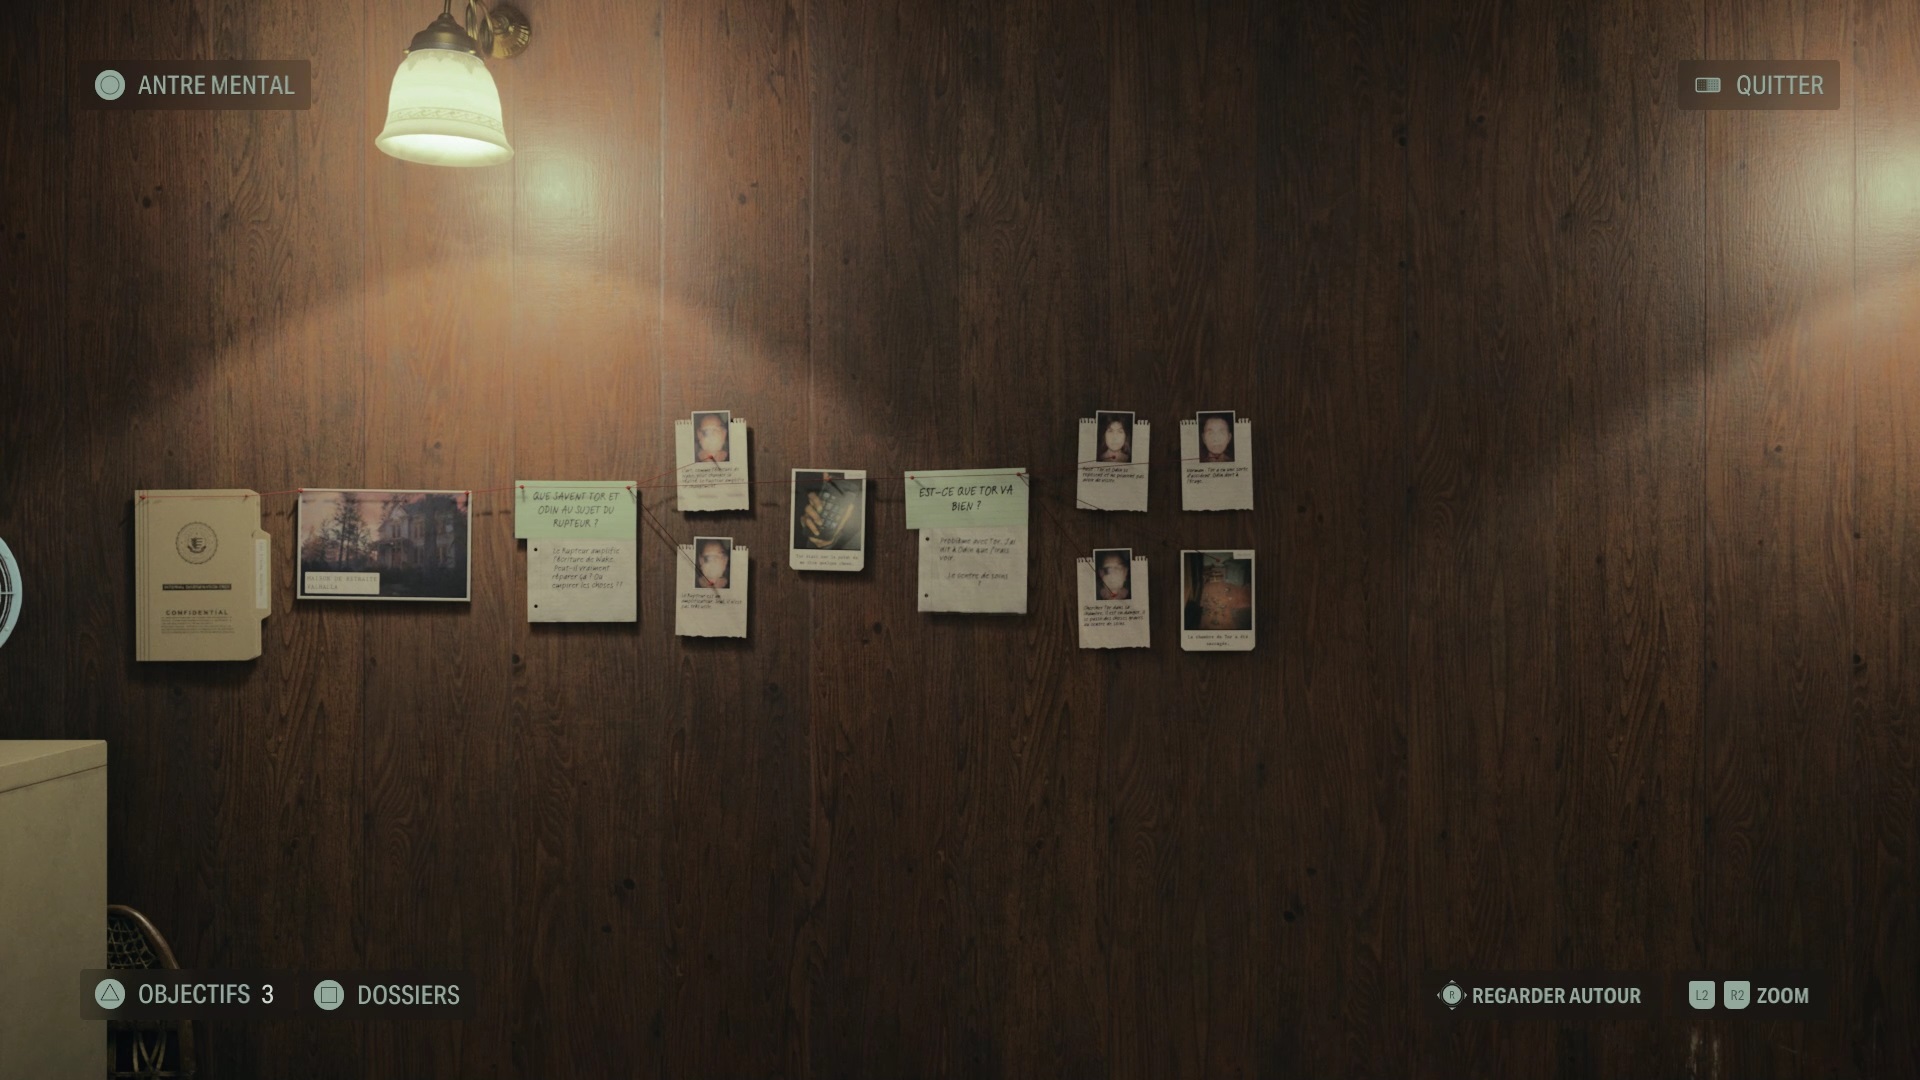
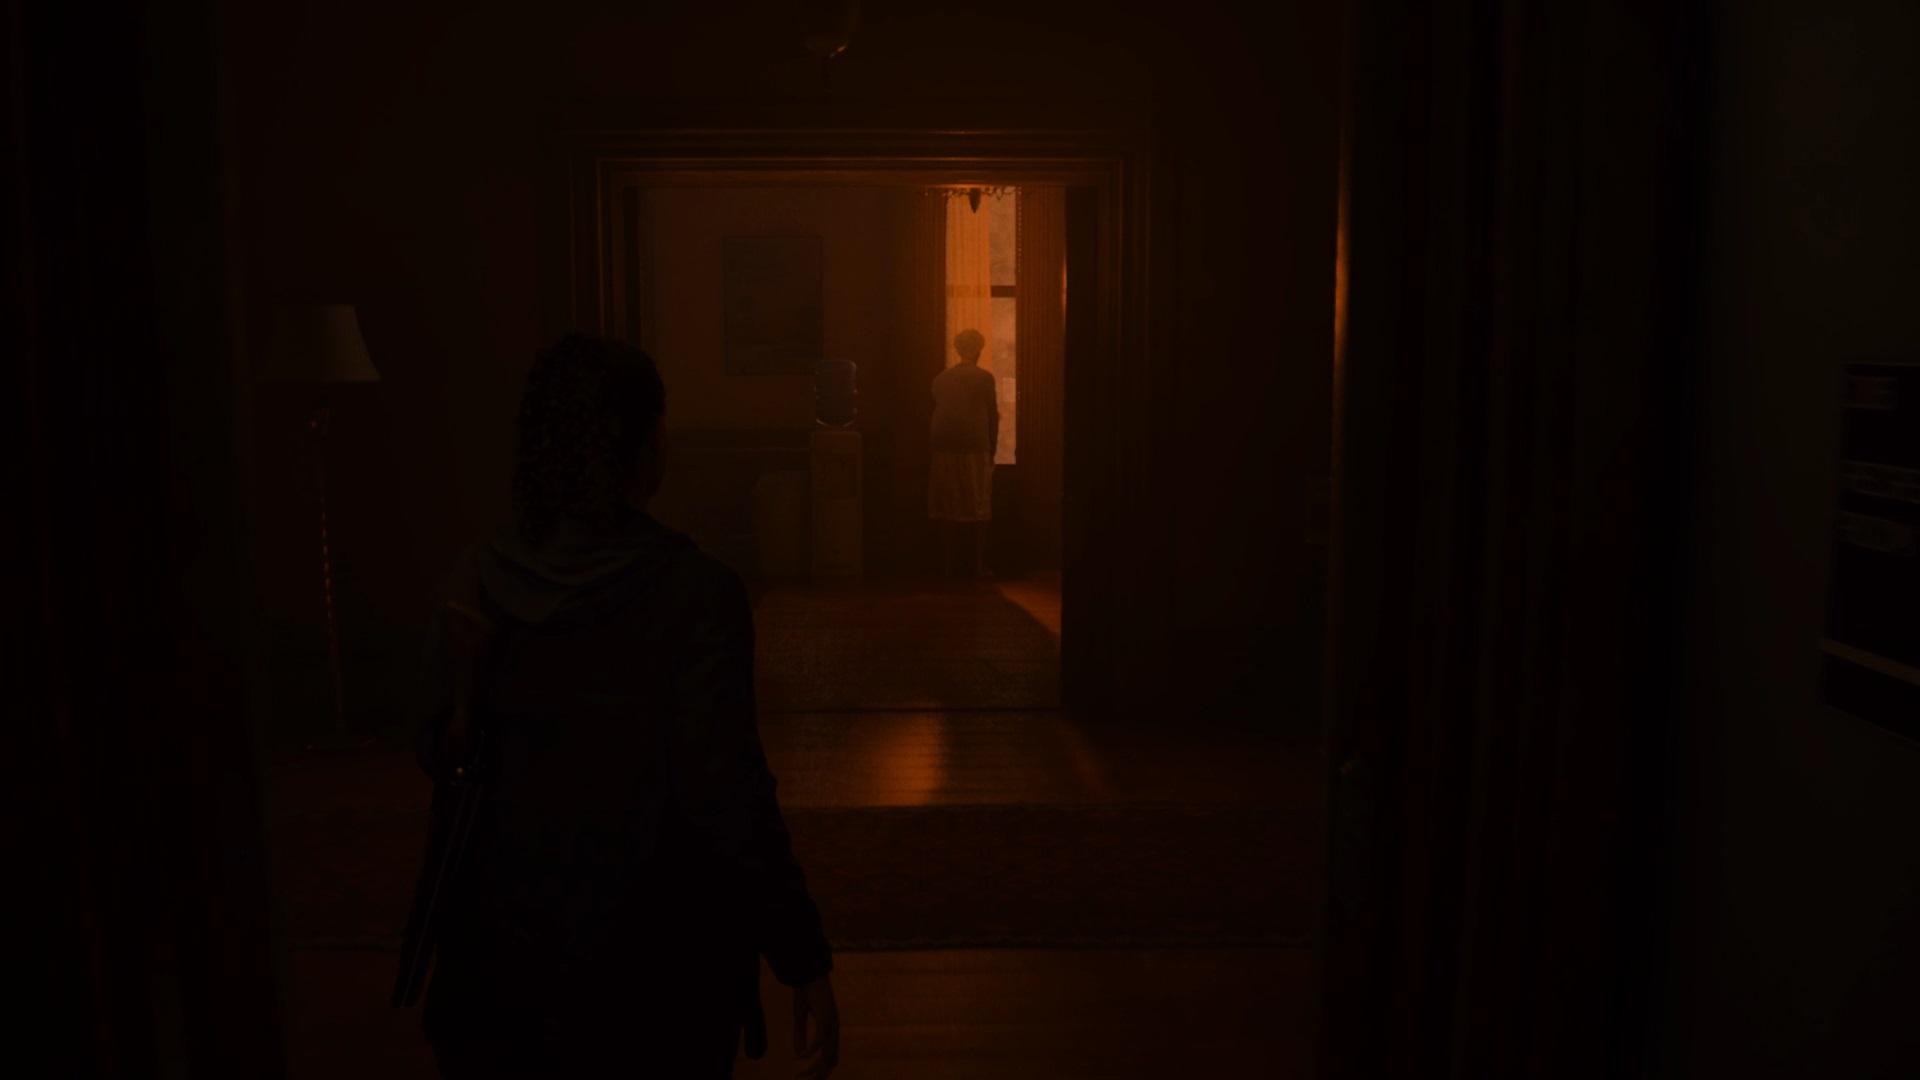
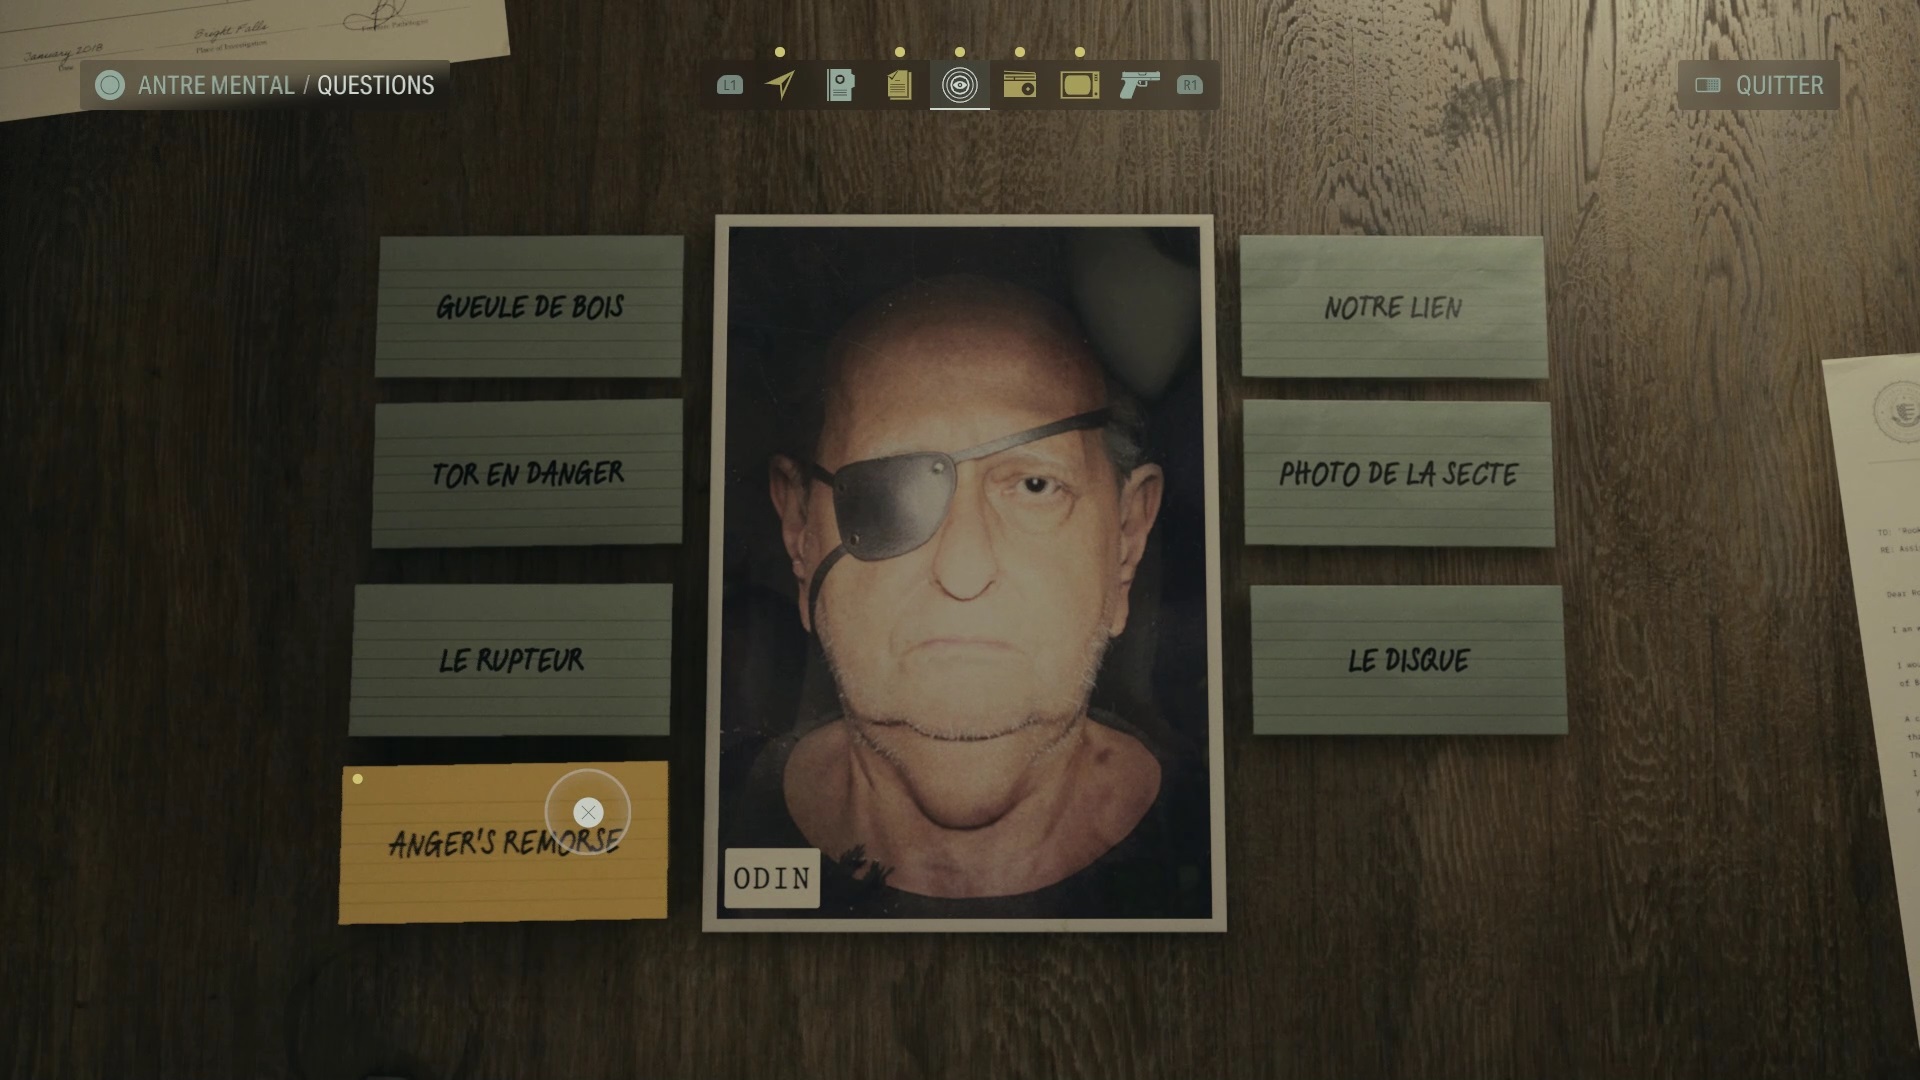
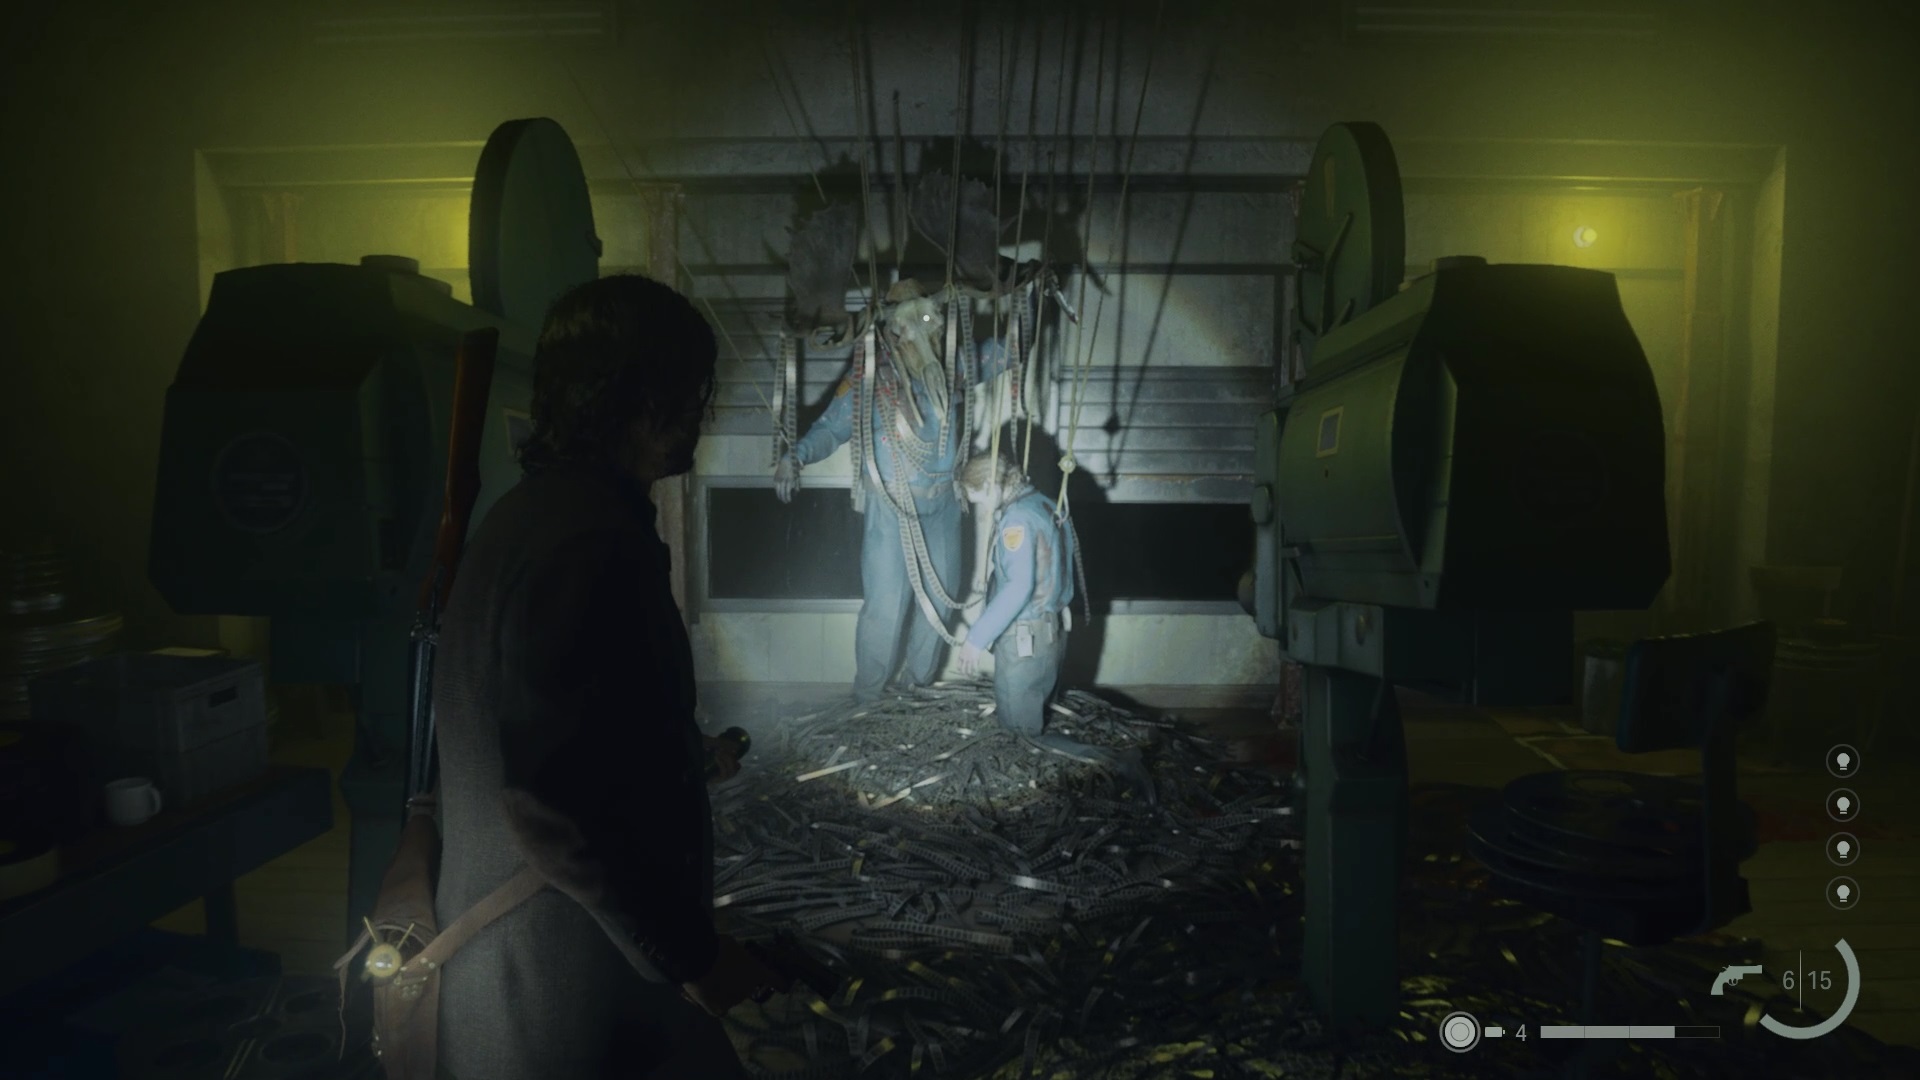
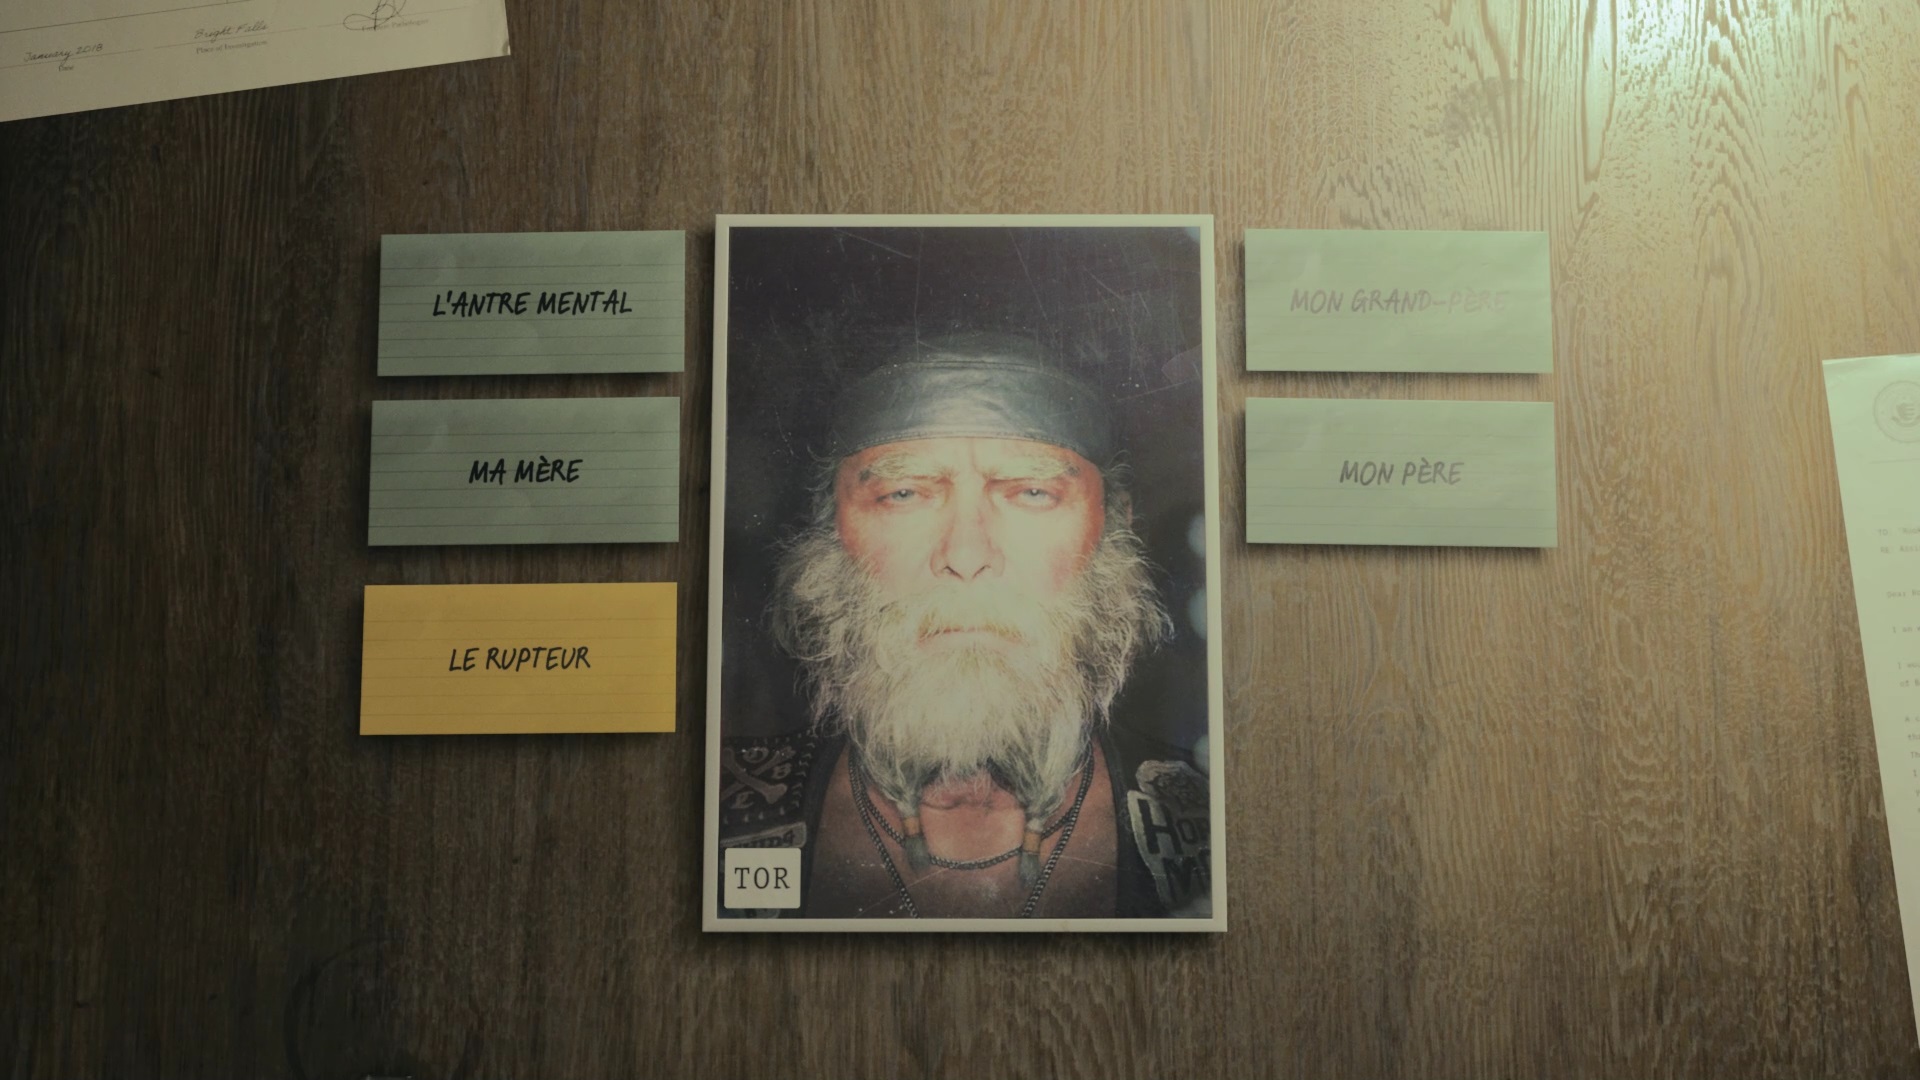
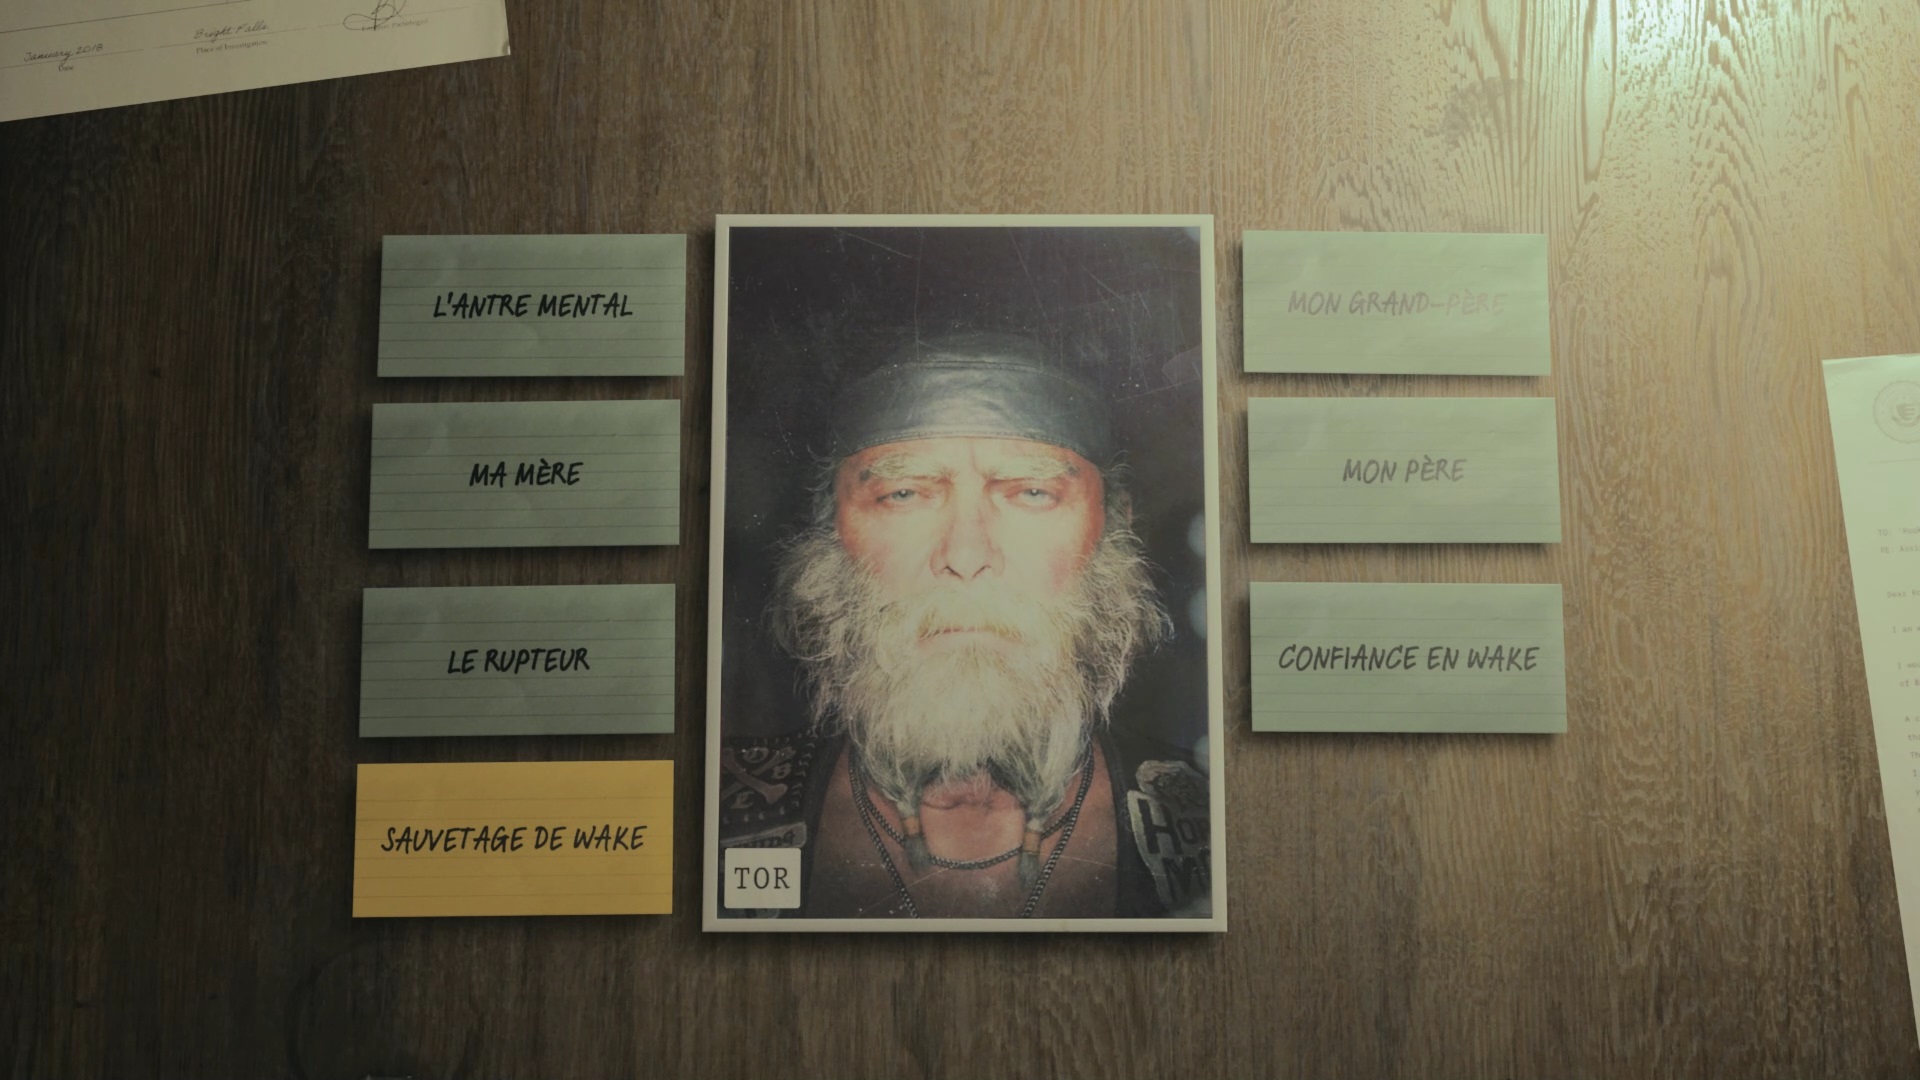
Search Odin’s room on the first floor to question him and obtain a profiling item. Enter the mental den to question him on different topics. Then go to the investigation table in the “Anderson Brothers” file. Use the items on “art,” “the clicker,” and the telephone to answer the question about the clicker. Place all other items on the second question about Tor. You get a new goal. As you go out into the hallway, you can see a strange lady by the window.

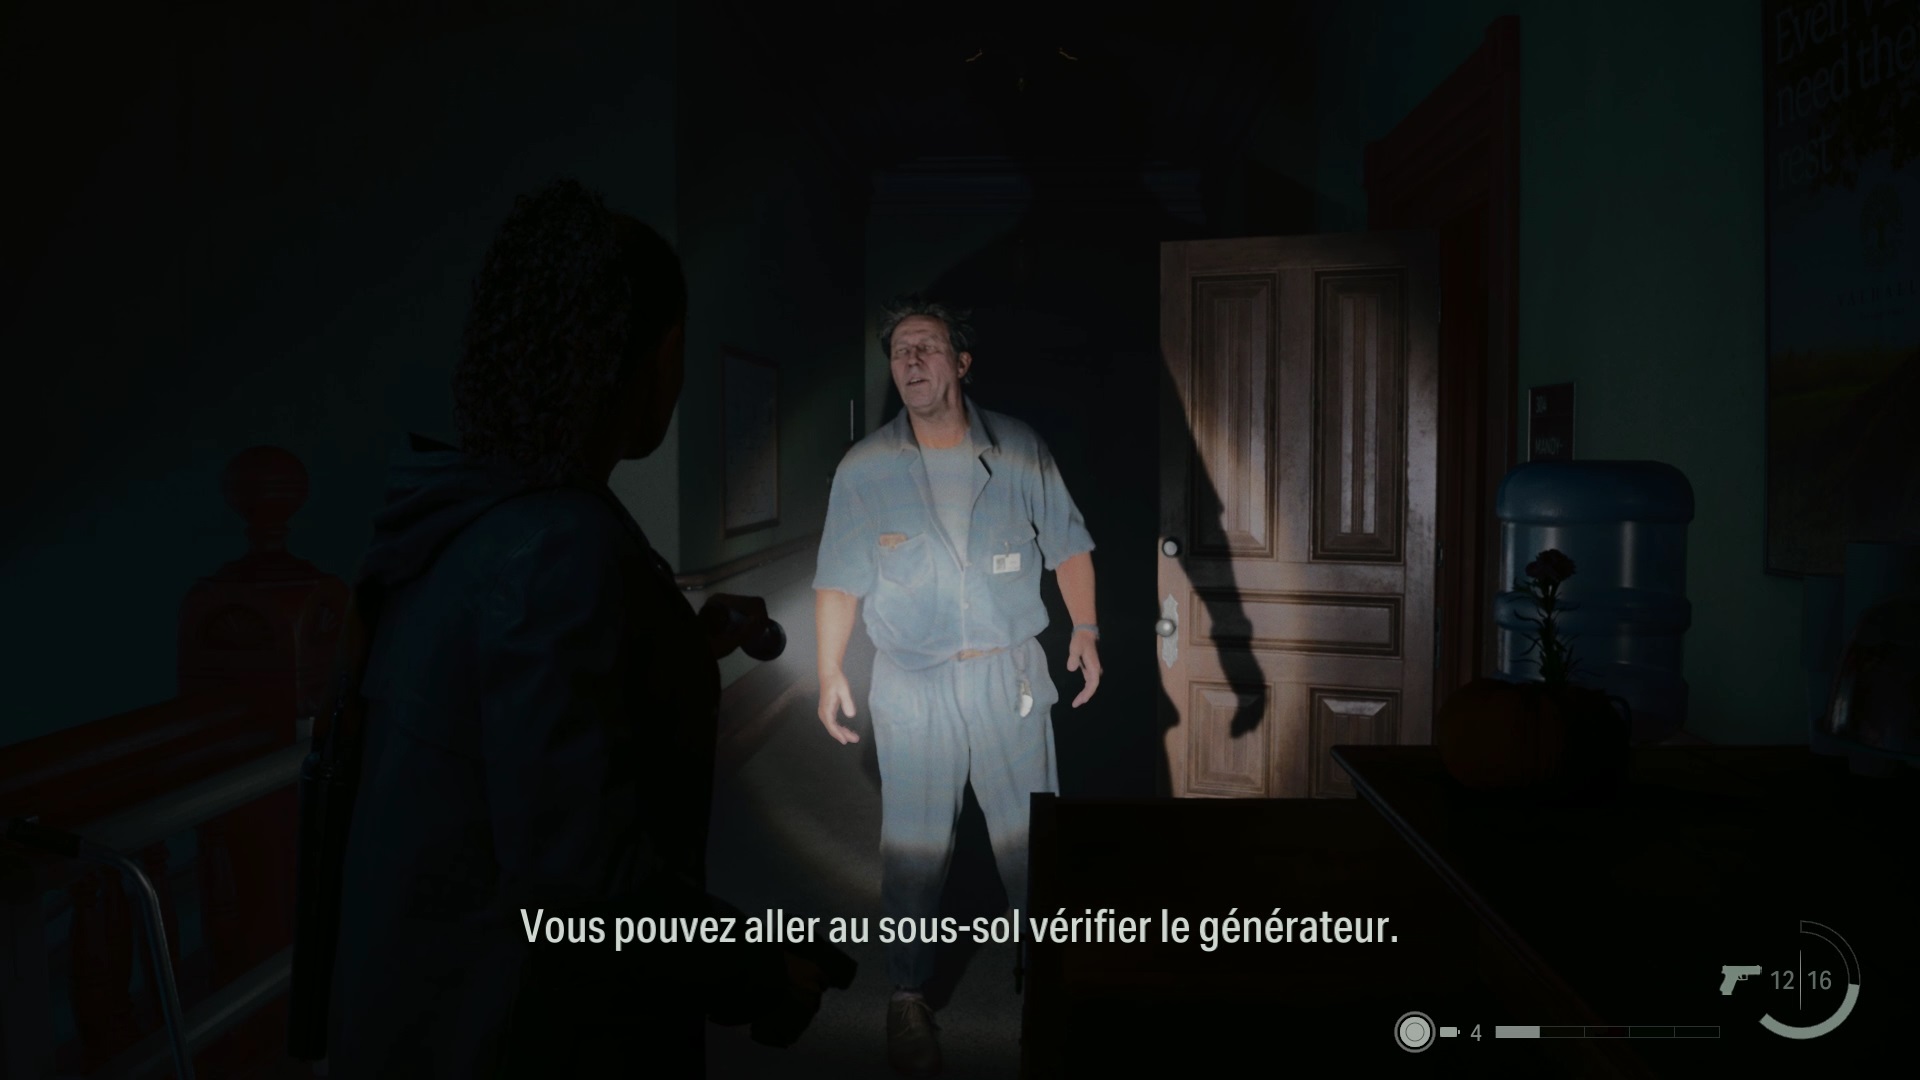
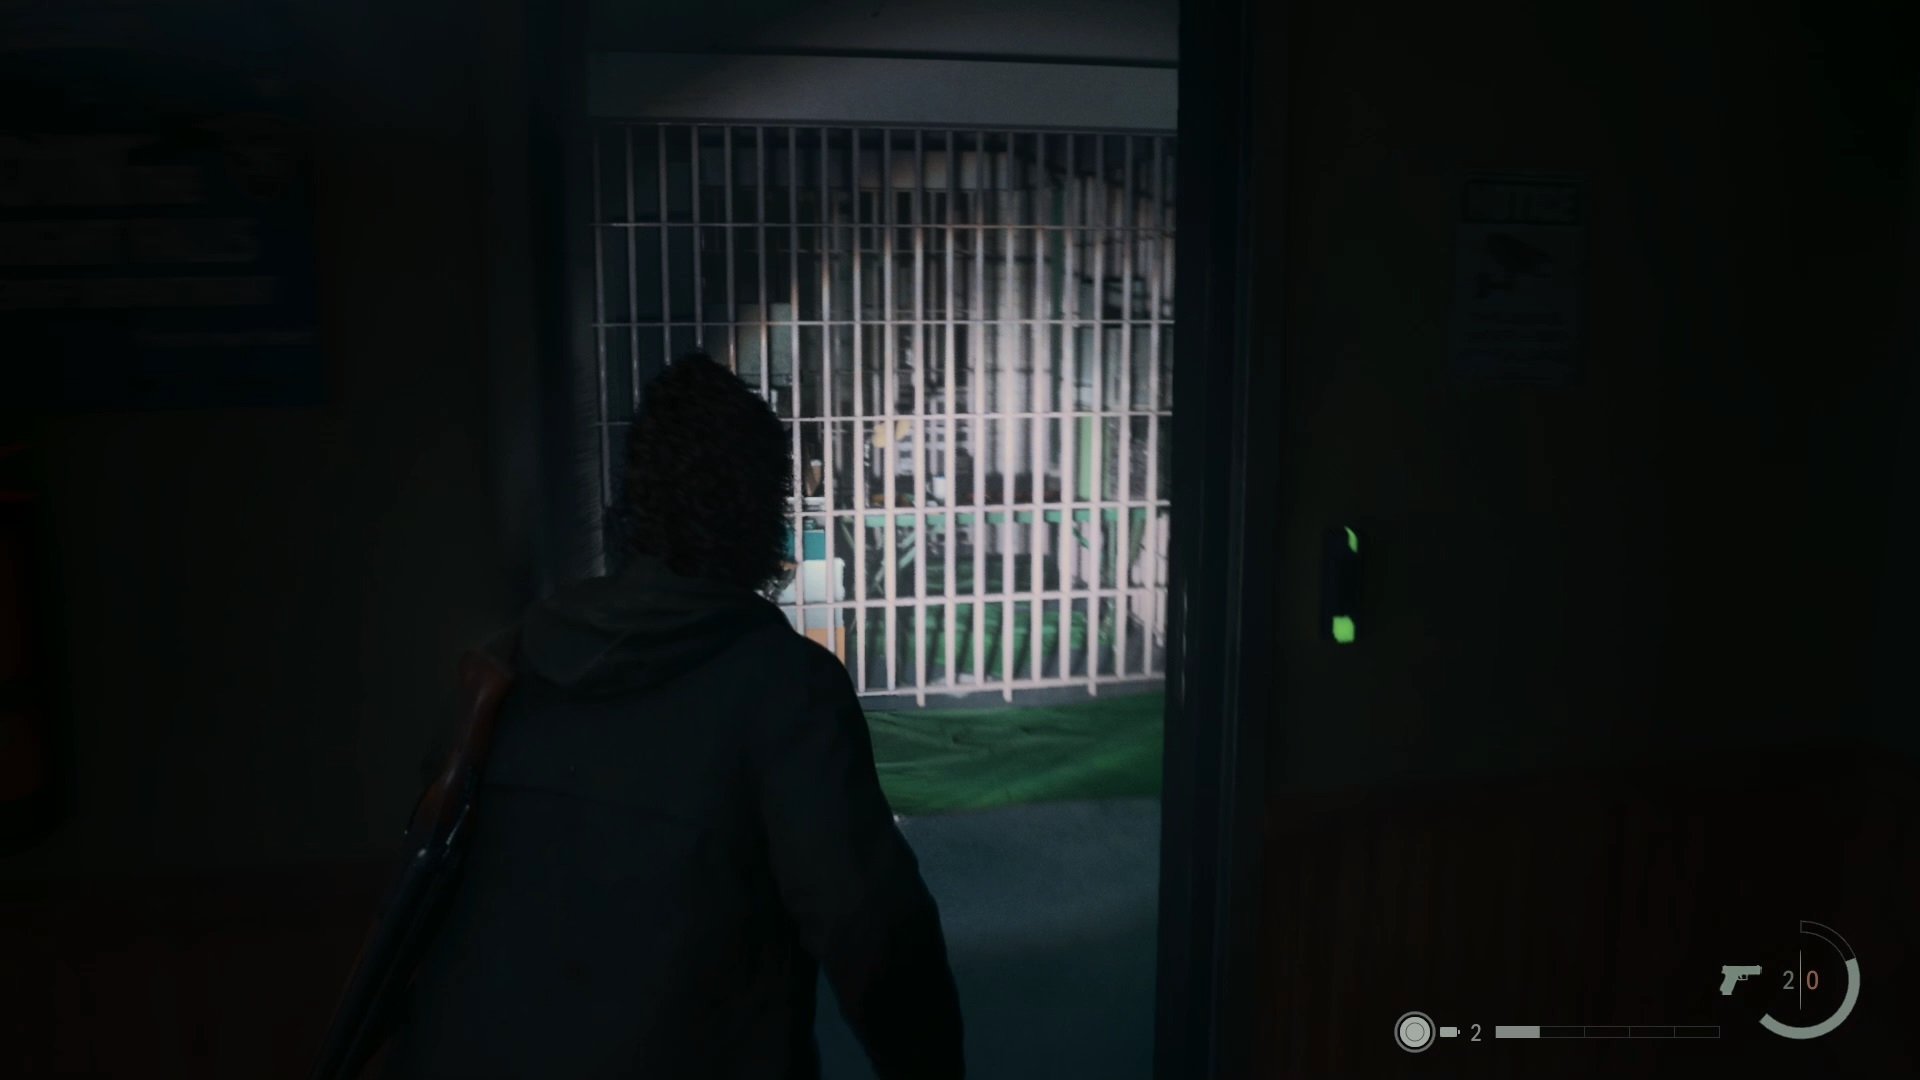
Then go down to see Rose to gain access to the health center. Go through the double doors to the rehabilitation wing. You have found Tor. Try to reach him, but the door suddenly closes. Still in this room, go through the door on the left to take a corridor and reach the security room.
To unlock access you will need a European date. This is located after the date of the new moon, or according to nearby writings, 17/08/23. Use numbers to unlock access. Return to the Rehabilitation Wing to defeat a new type of enemy. Then use the flashlight to dispel the shadow of Tor’s gate and pass through.

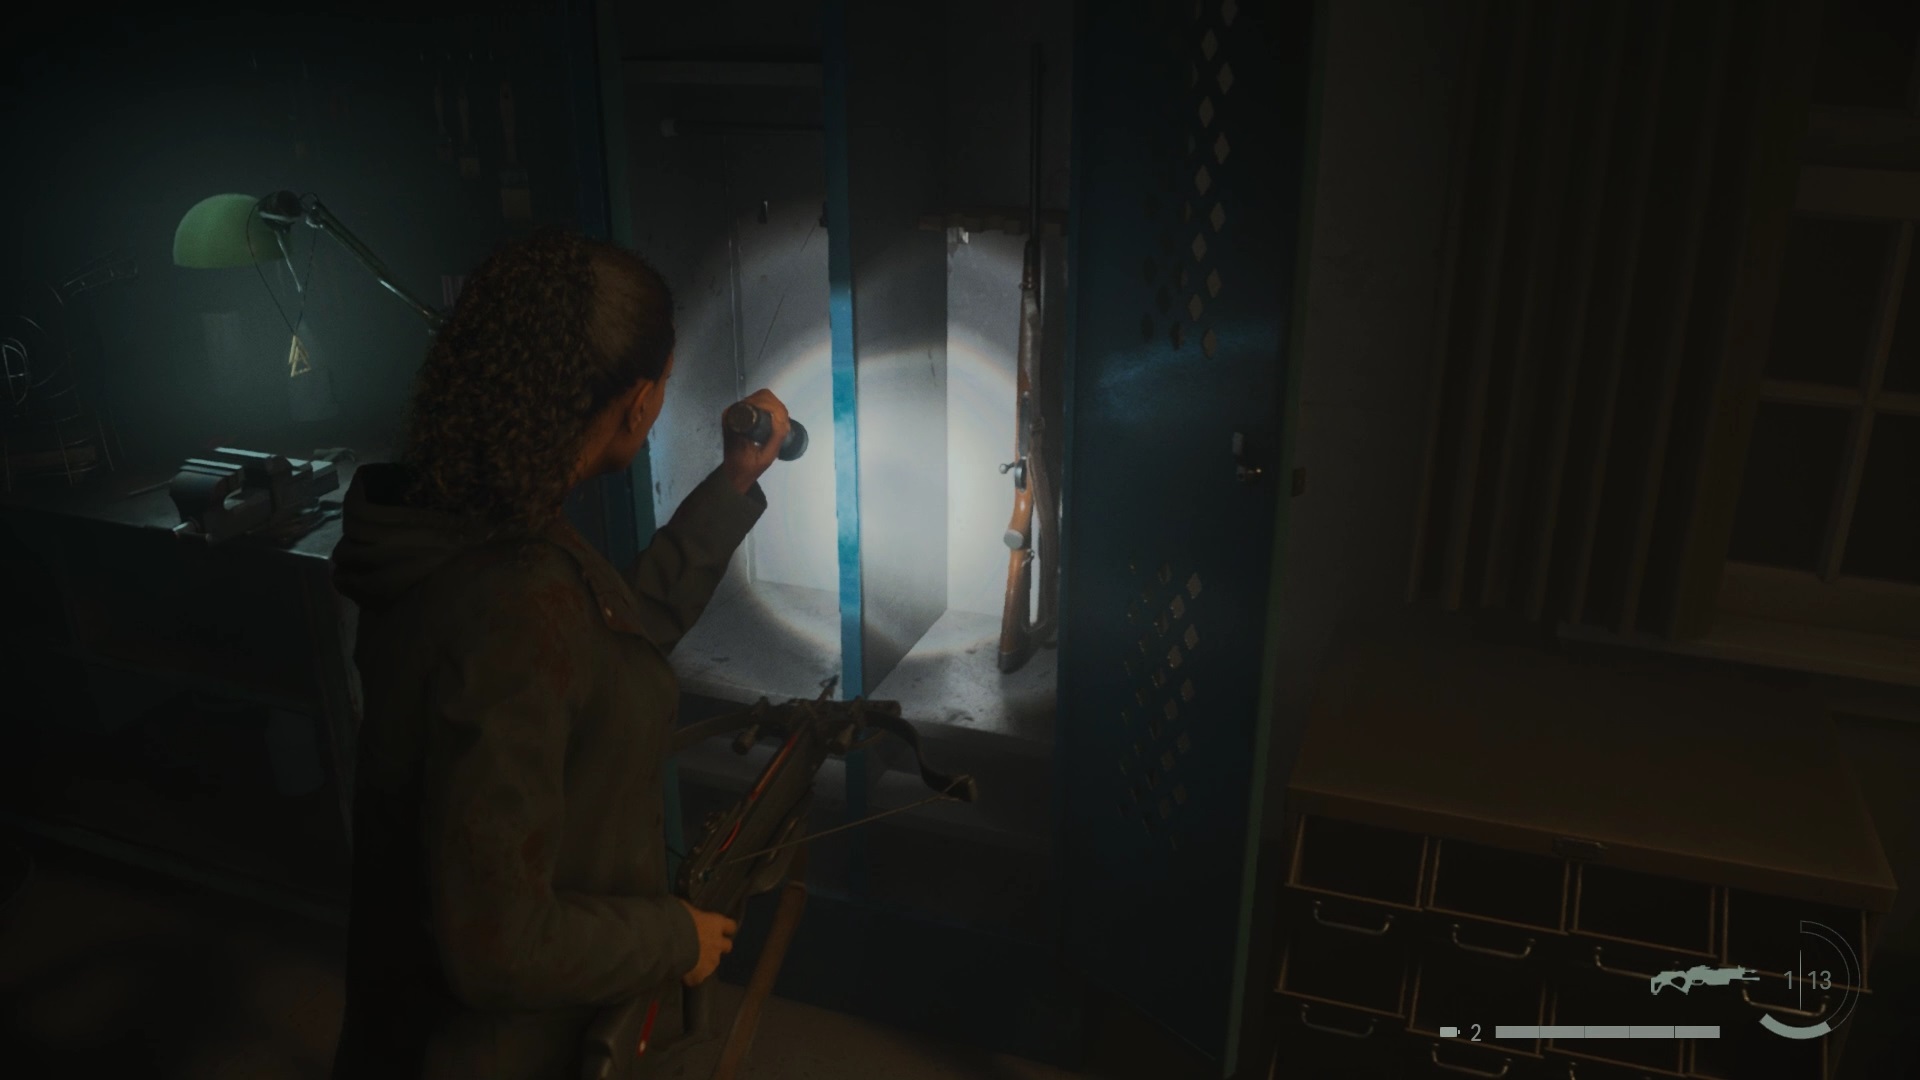
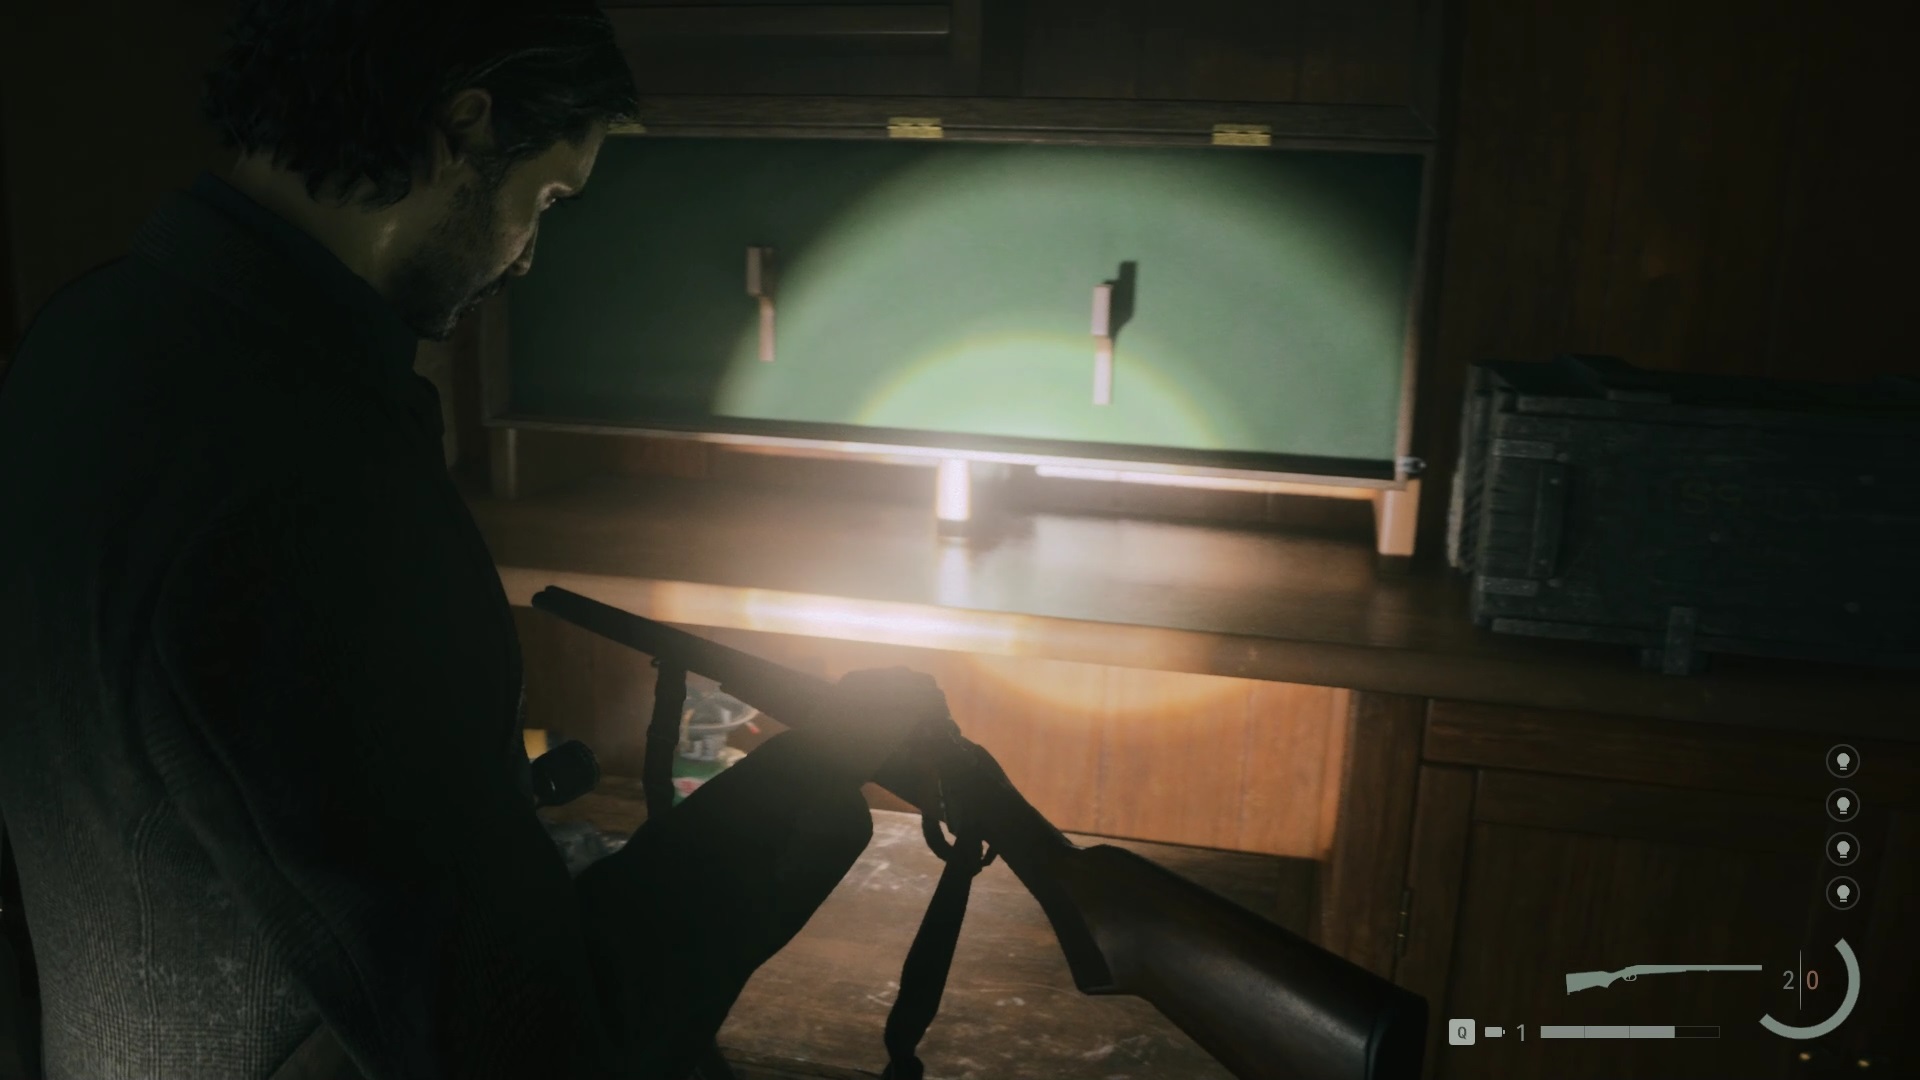
If you wish you can collect a new weapon. Go to the center entrance and go through reception using a door. Look for a handle in a box, then use it to open the door near the security room. Once inside, go to the armory and take the rifle from the cabinet.
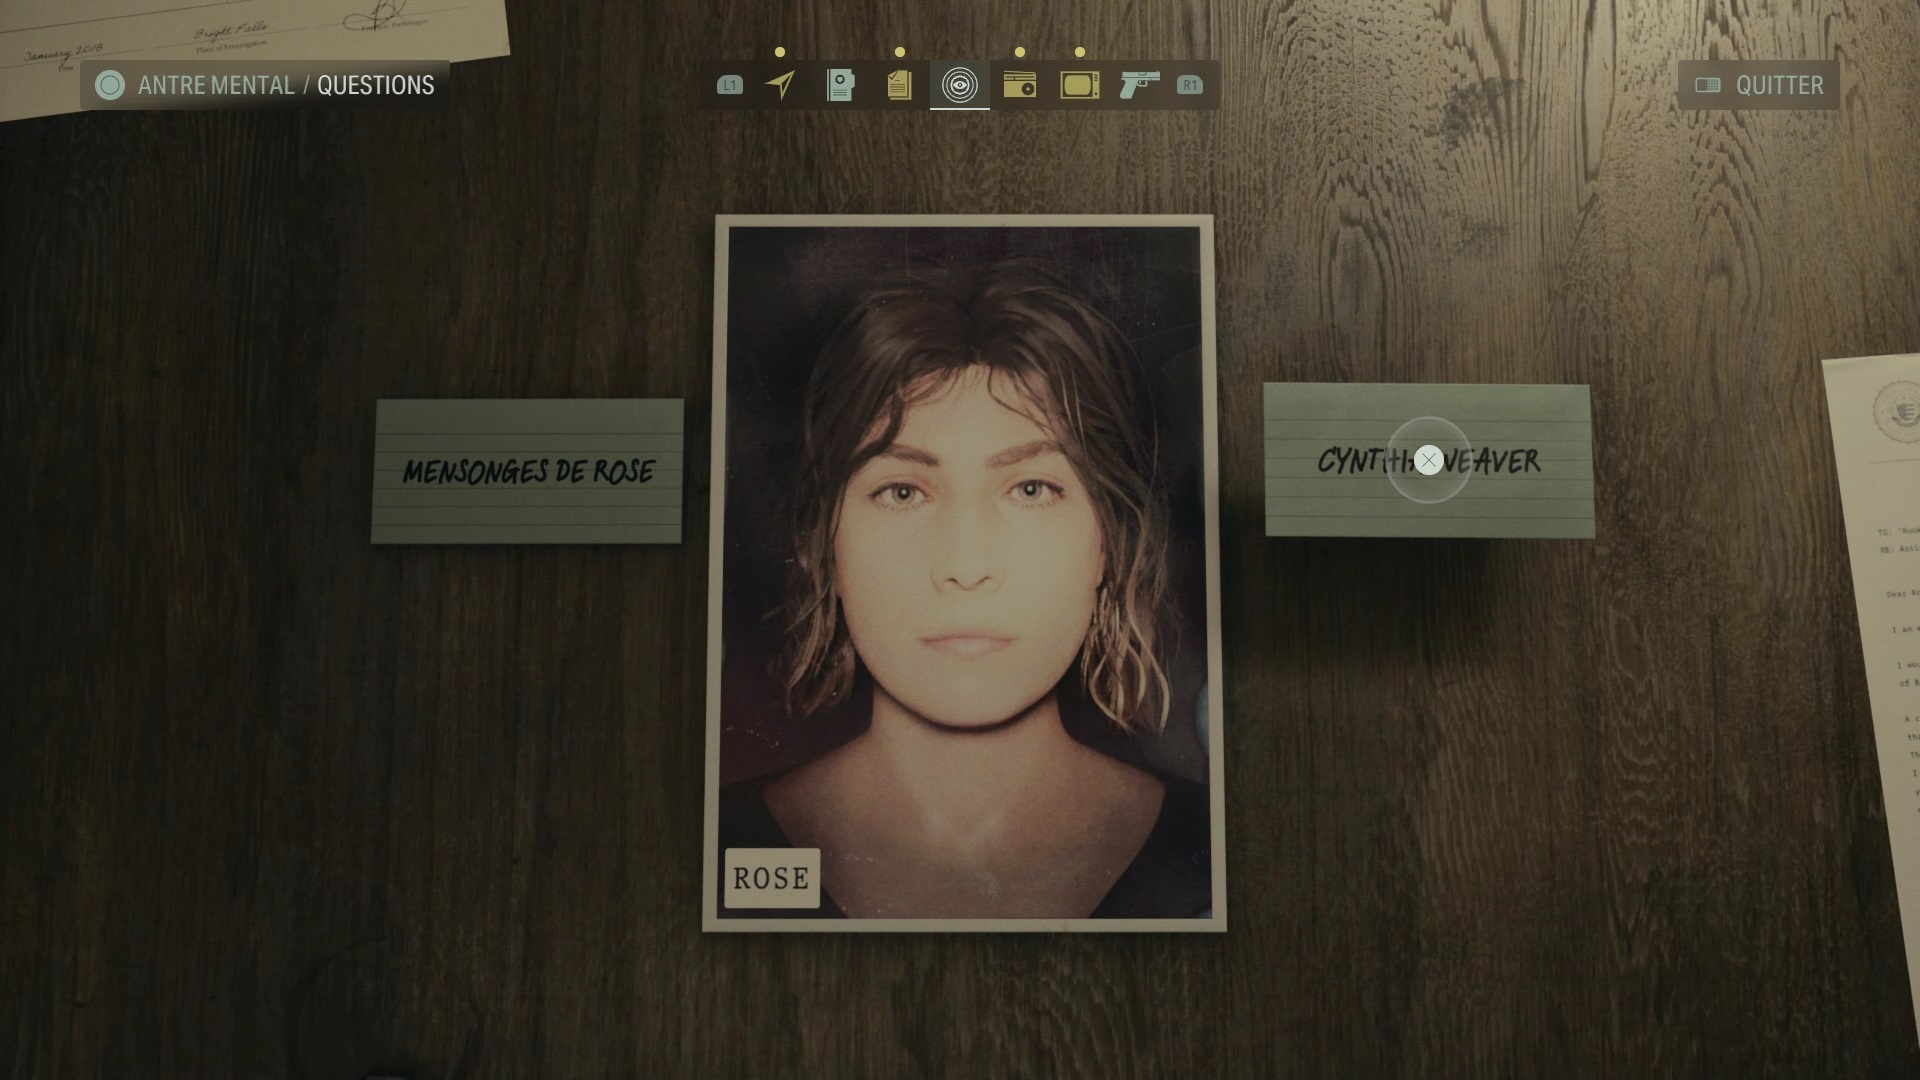
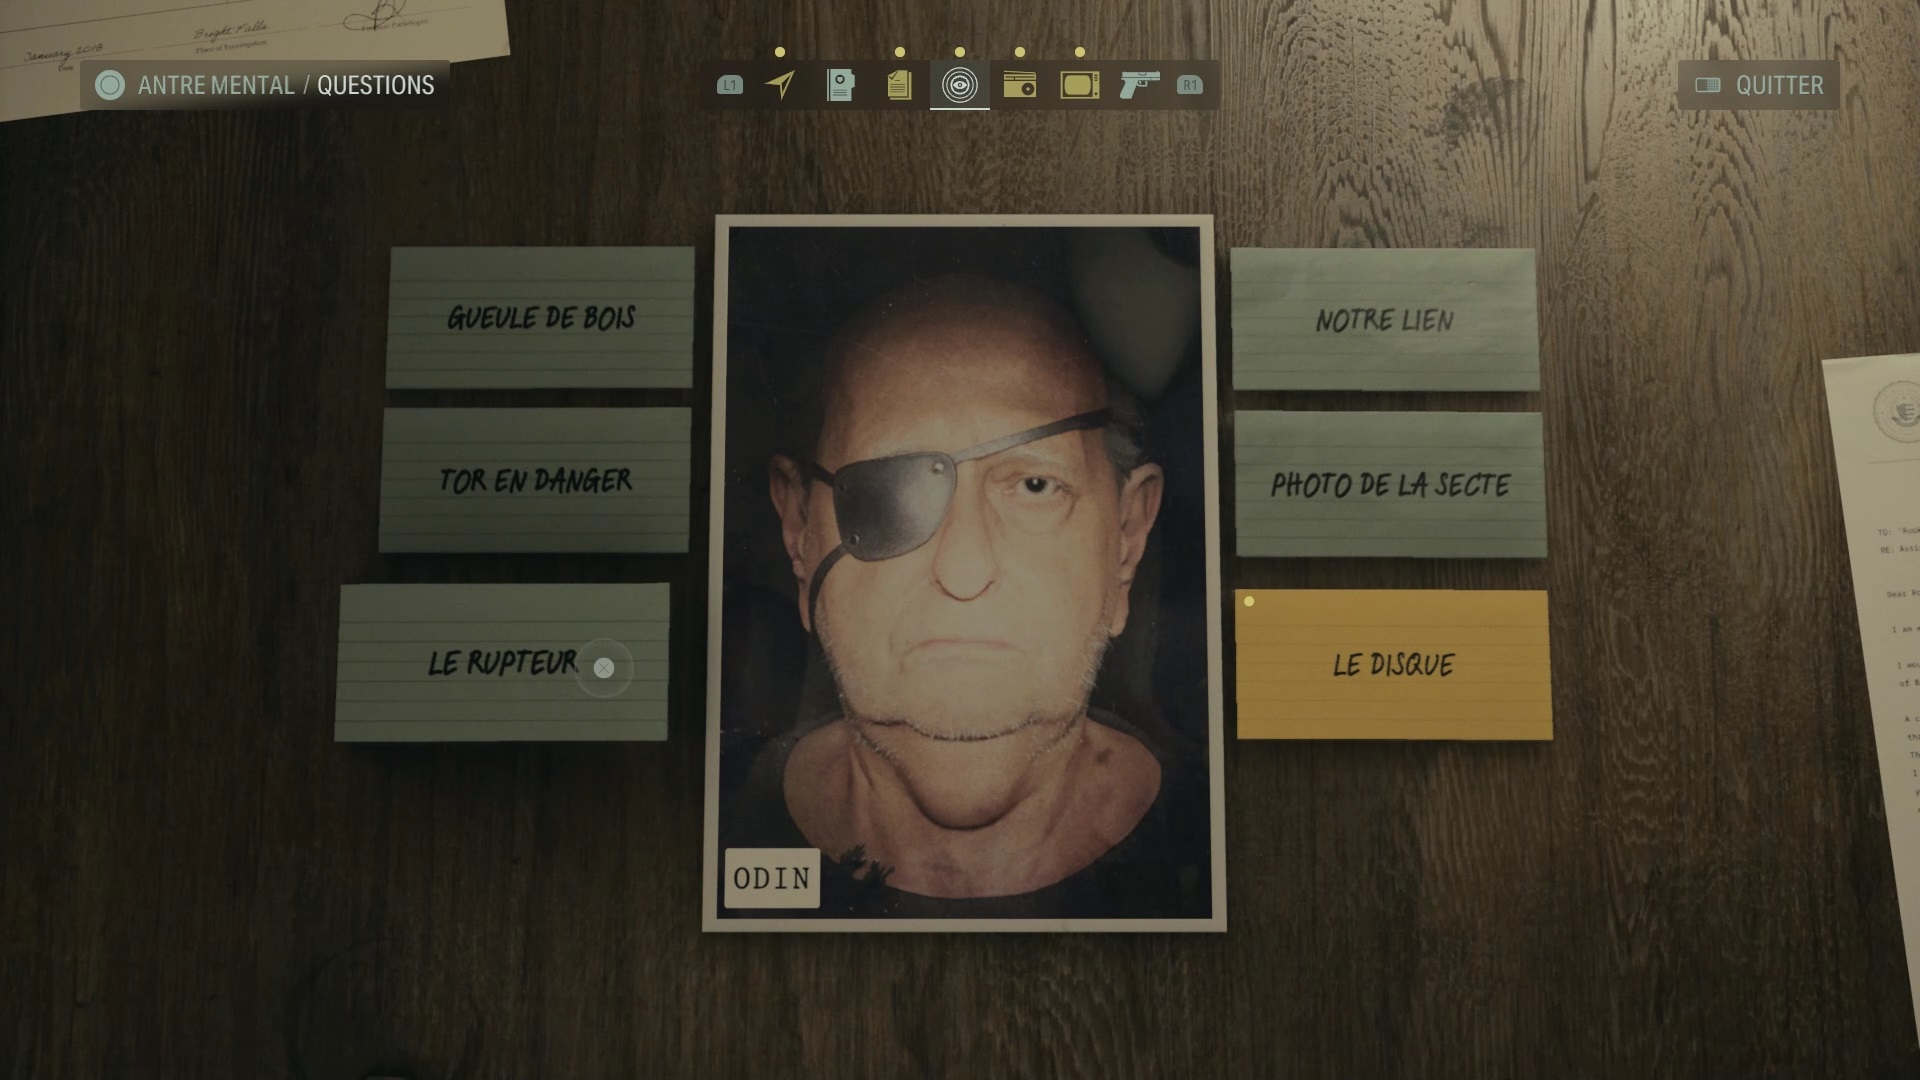
Continue towards the exit to find Rose after a cutscene. Ask Rose in the Mind Den, in the profiling section, to bring up the subject again. You get the electronic key and a page of the manuscript. Then talk to Odin in the Profiling section.
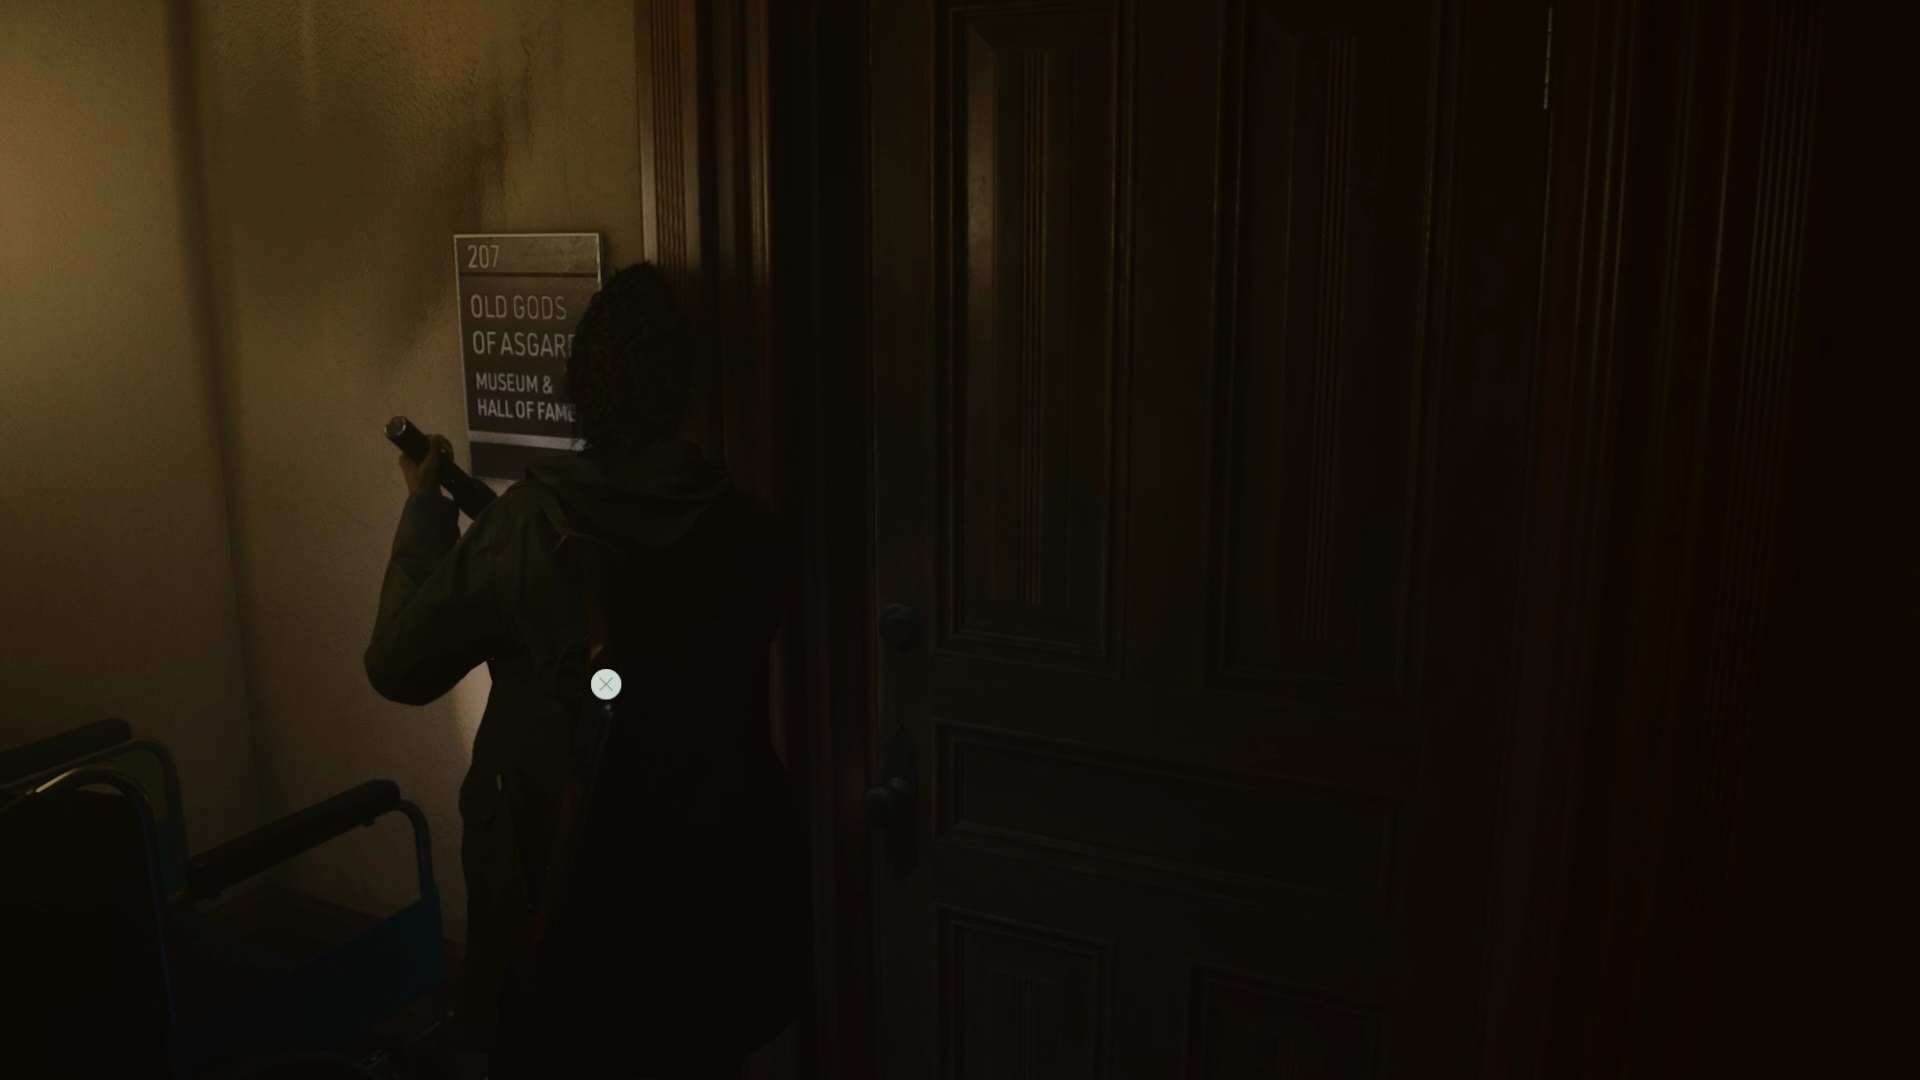
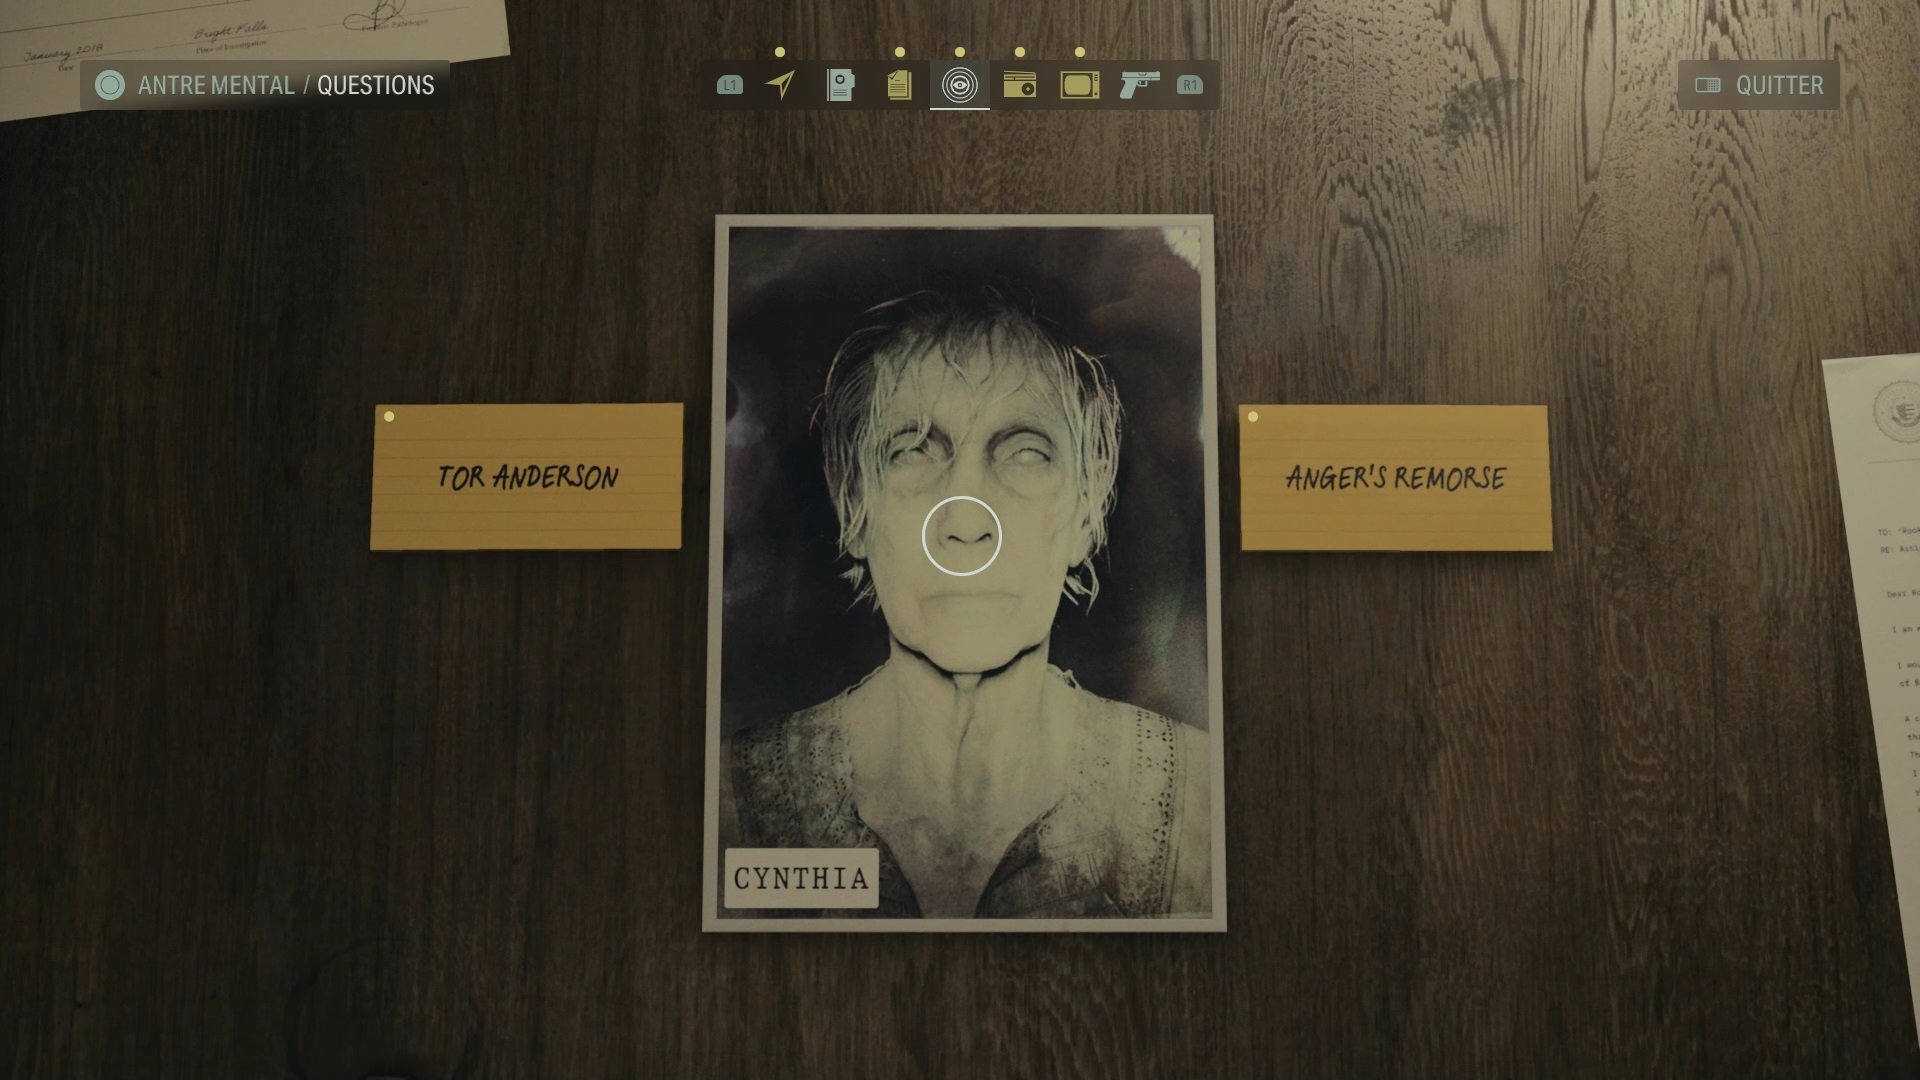
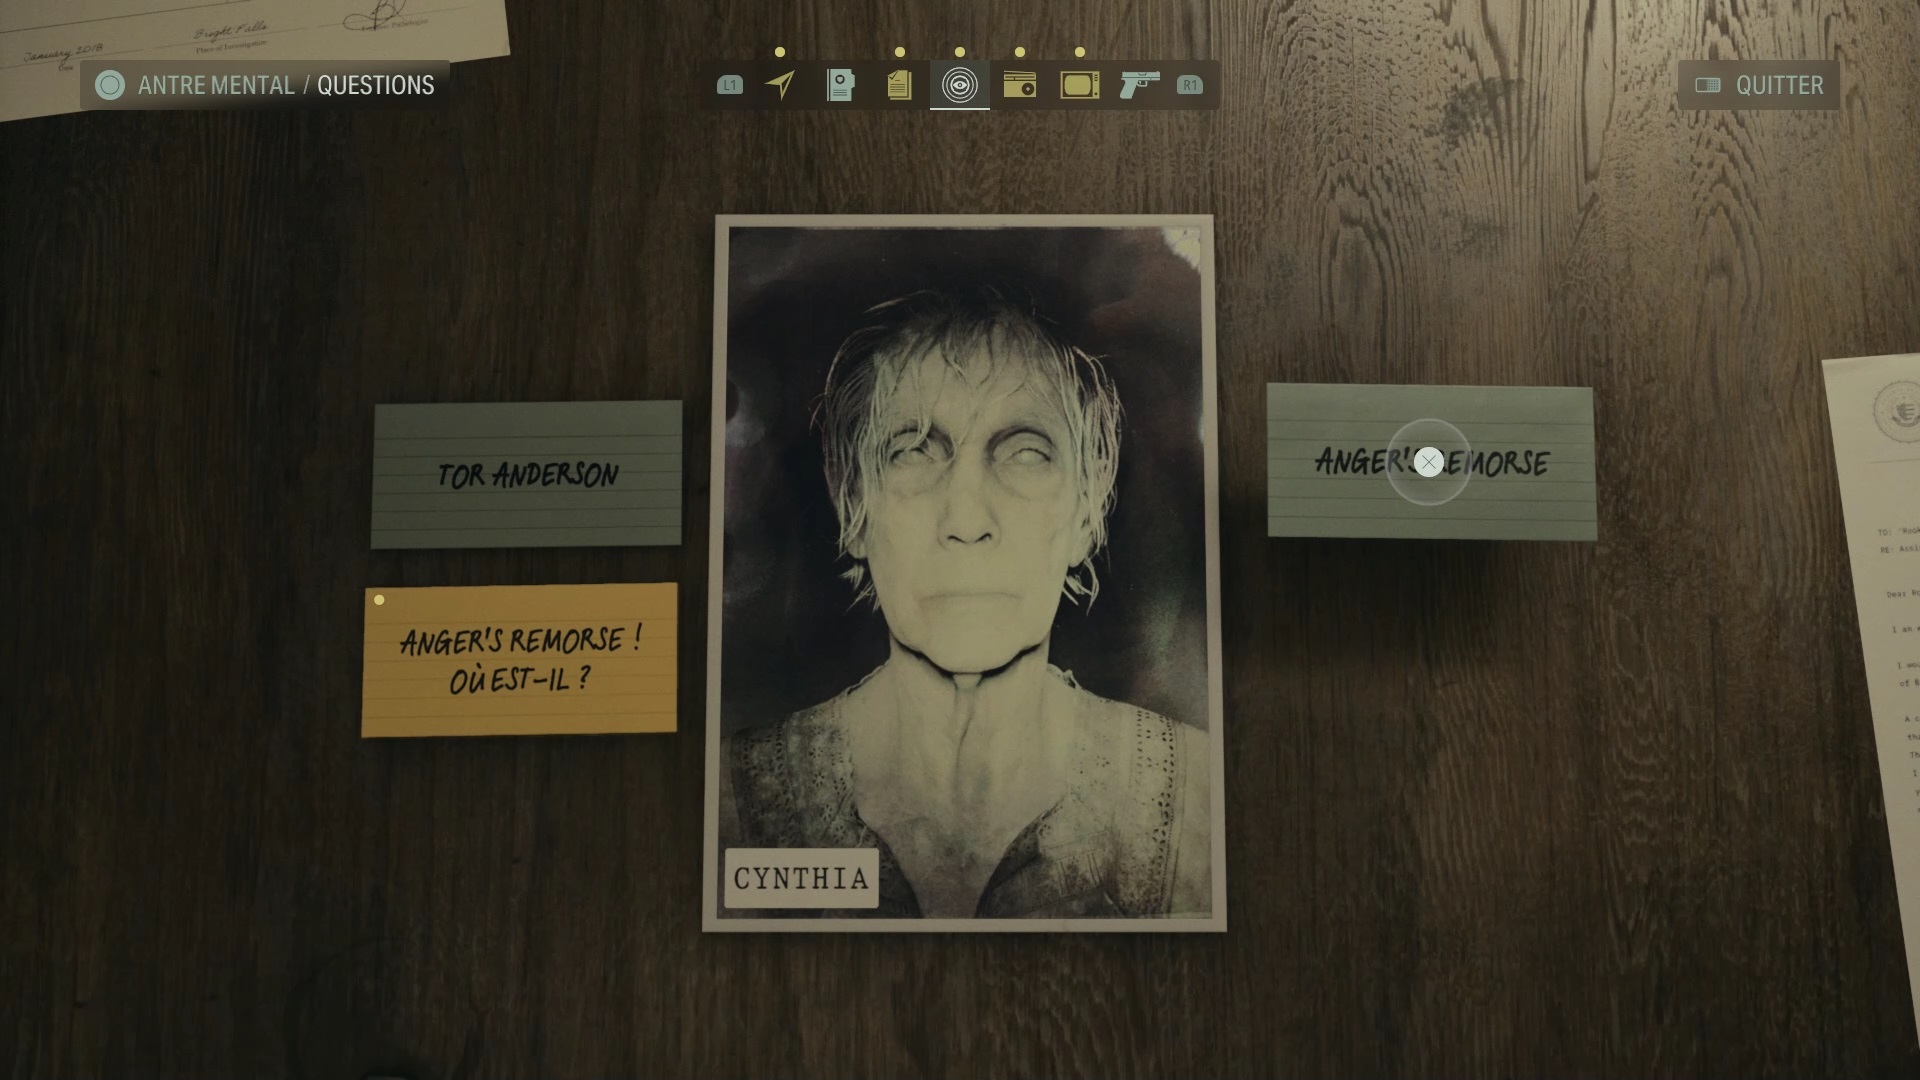
Head to room 207 on the second floor to reach the museum. Interact with the broken disk on the ground to obtain profiling items. Interrogate Cynthia and Odin to get the location of the disk. Try to reach Cynthia’s room on the third floor, but it is closed. Ahti arrives to give you the solution: head to the basement.
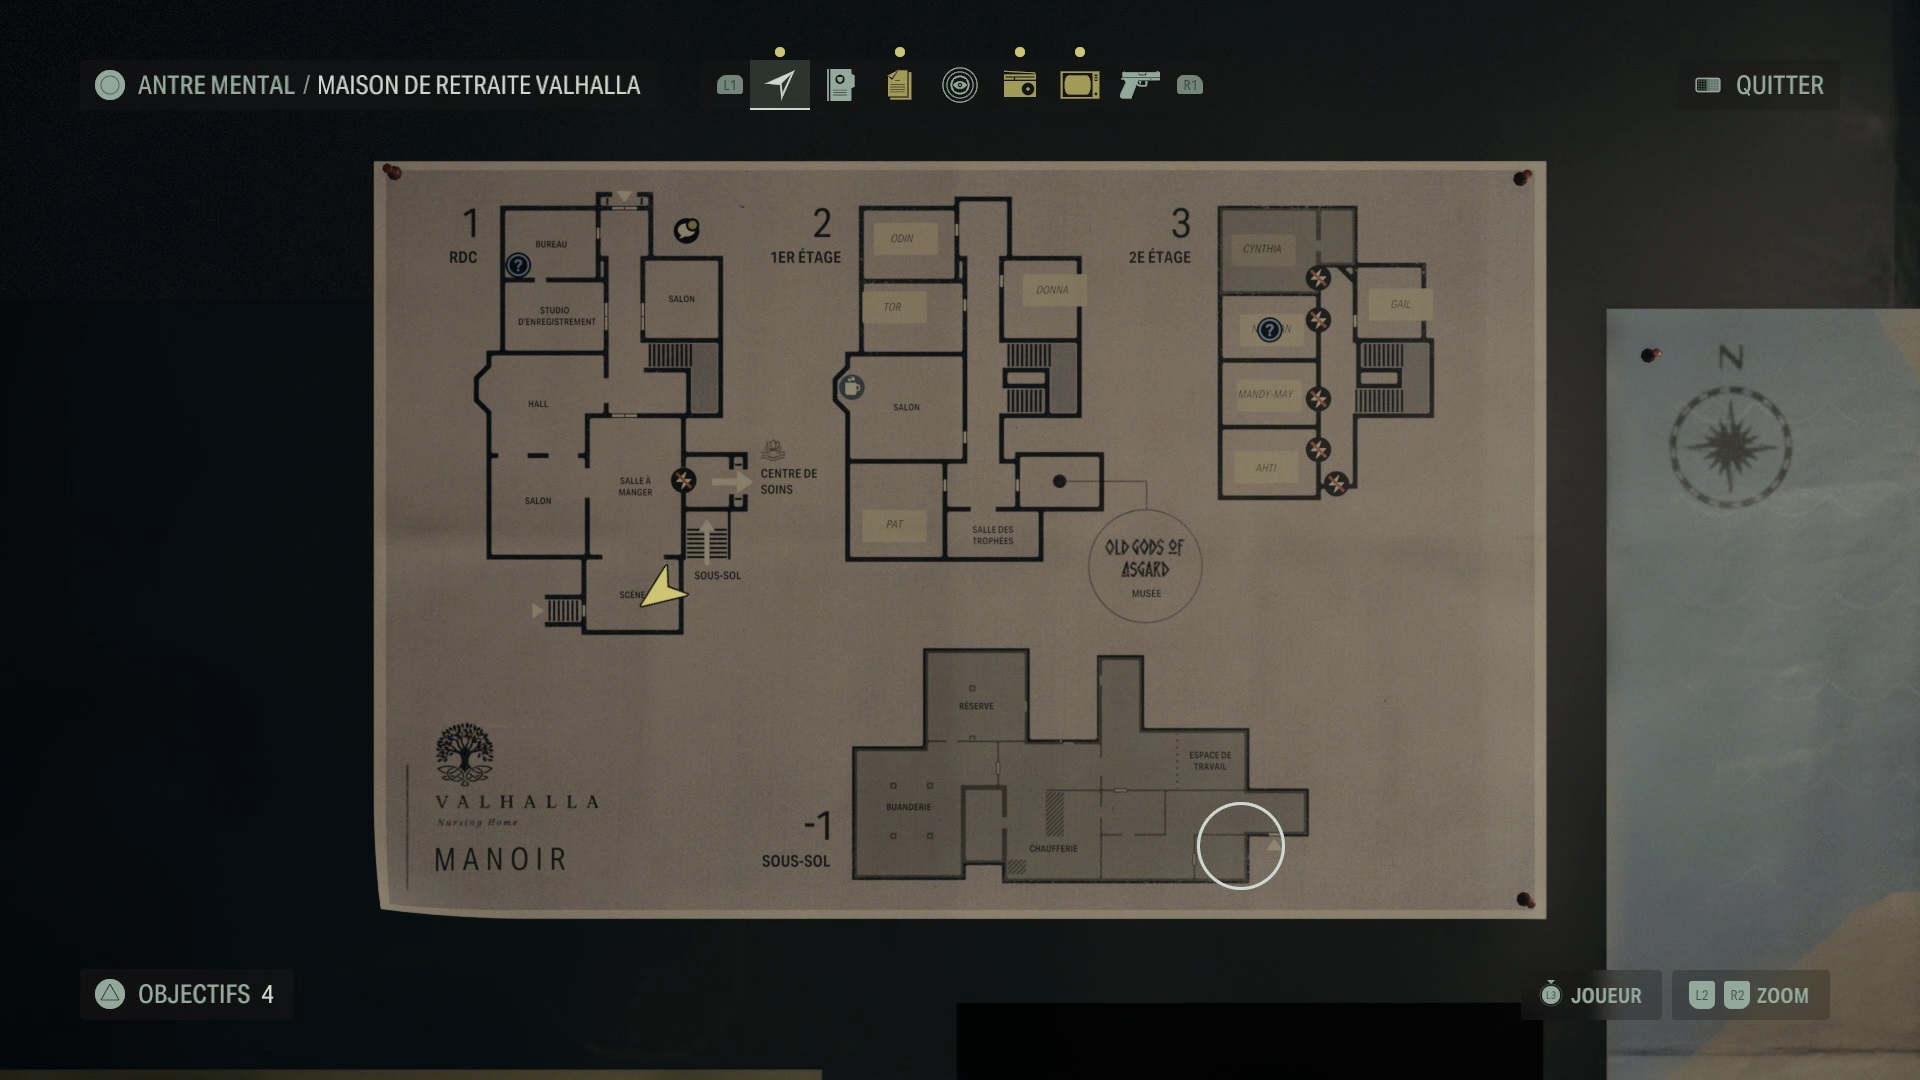
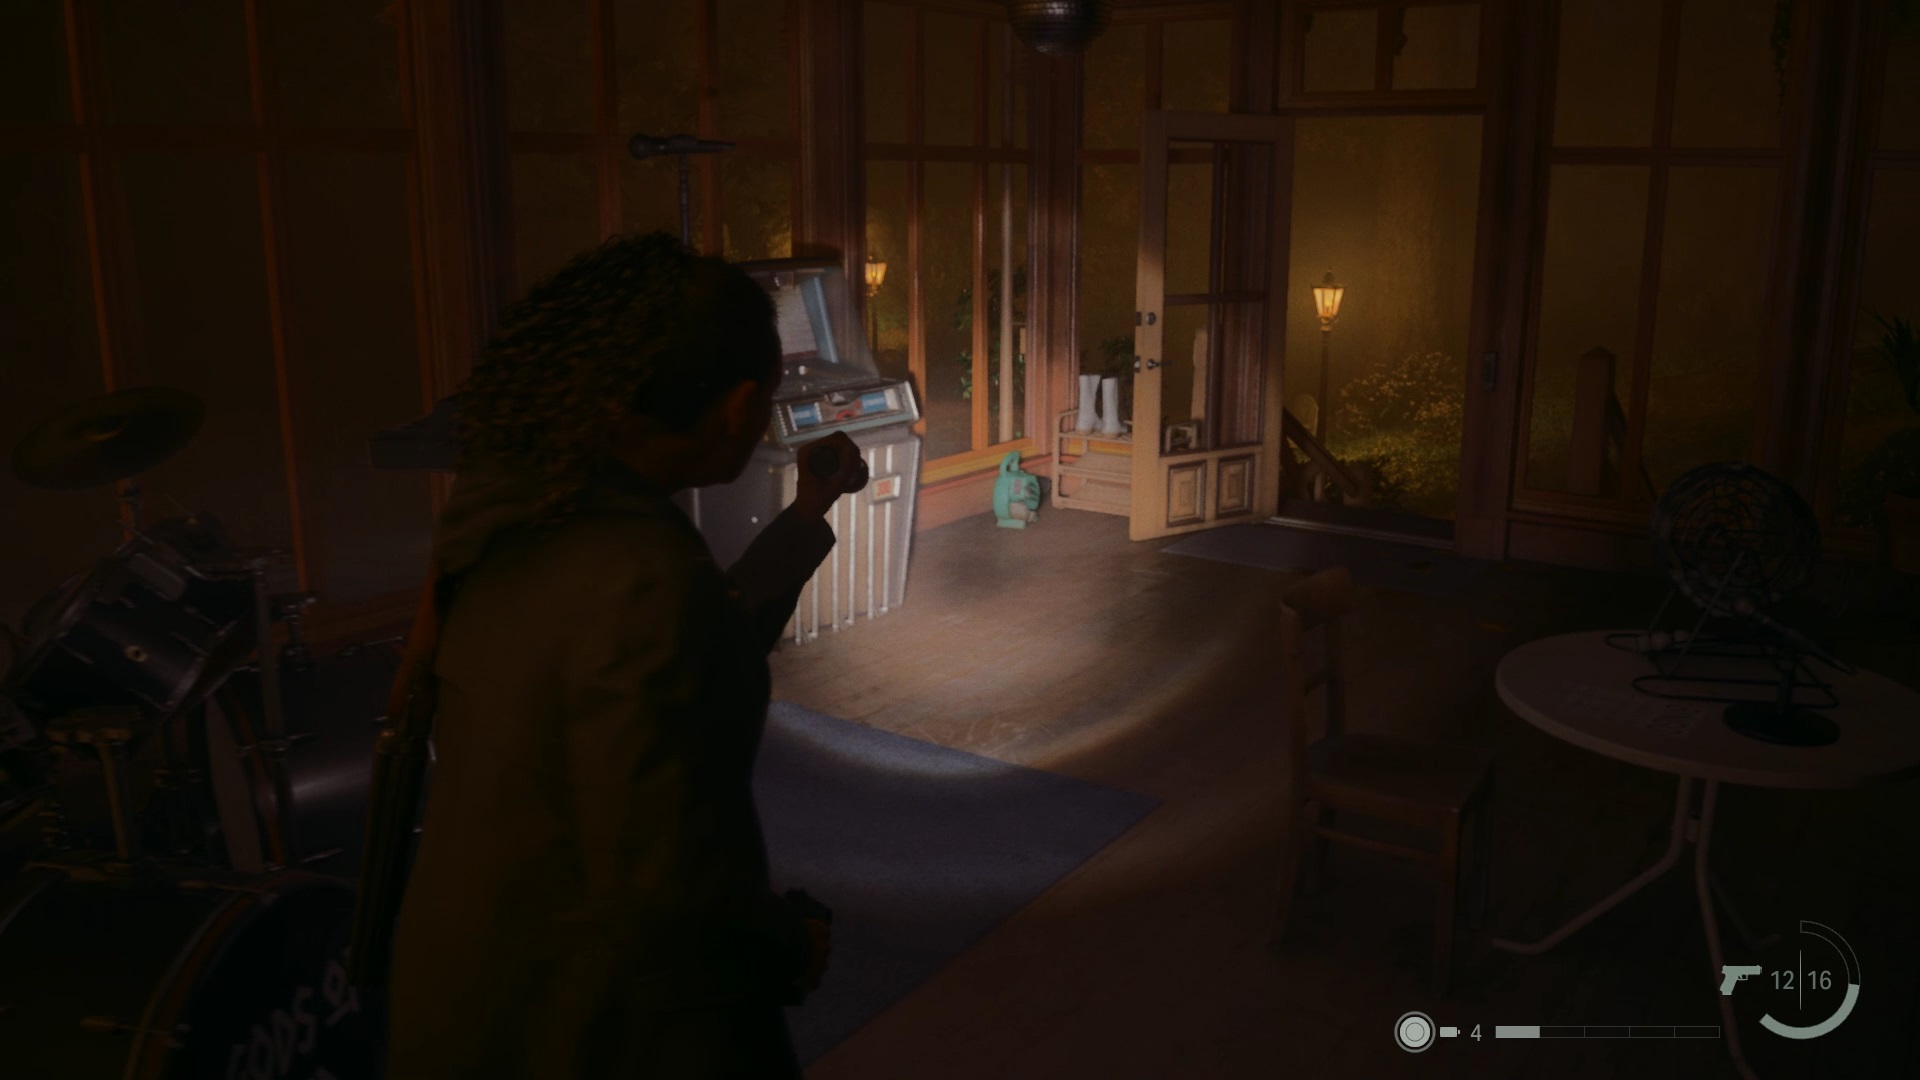
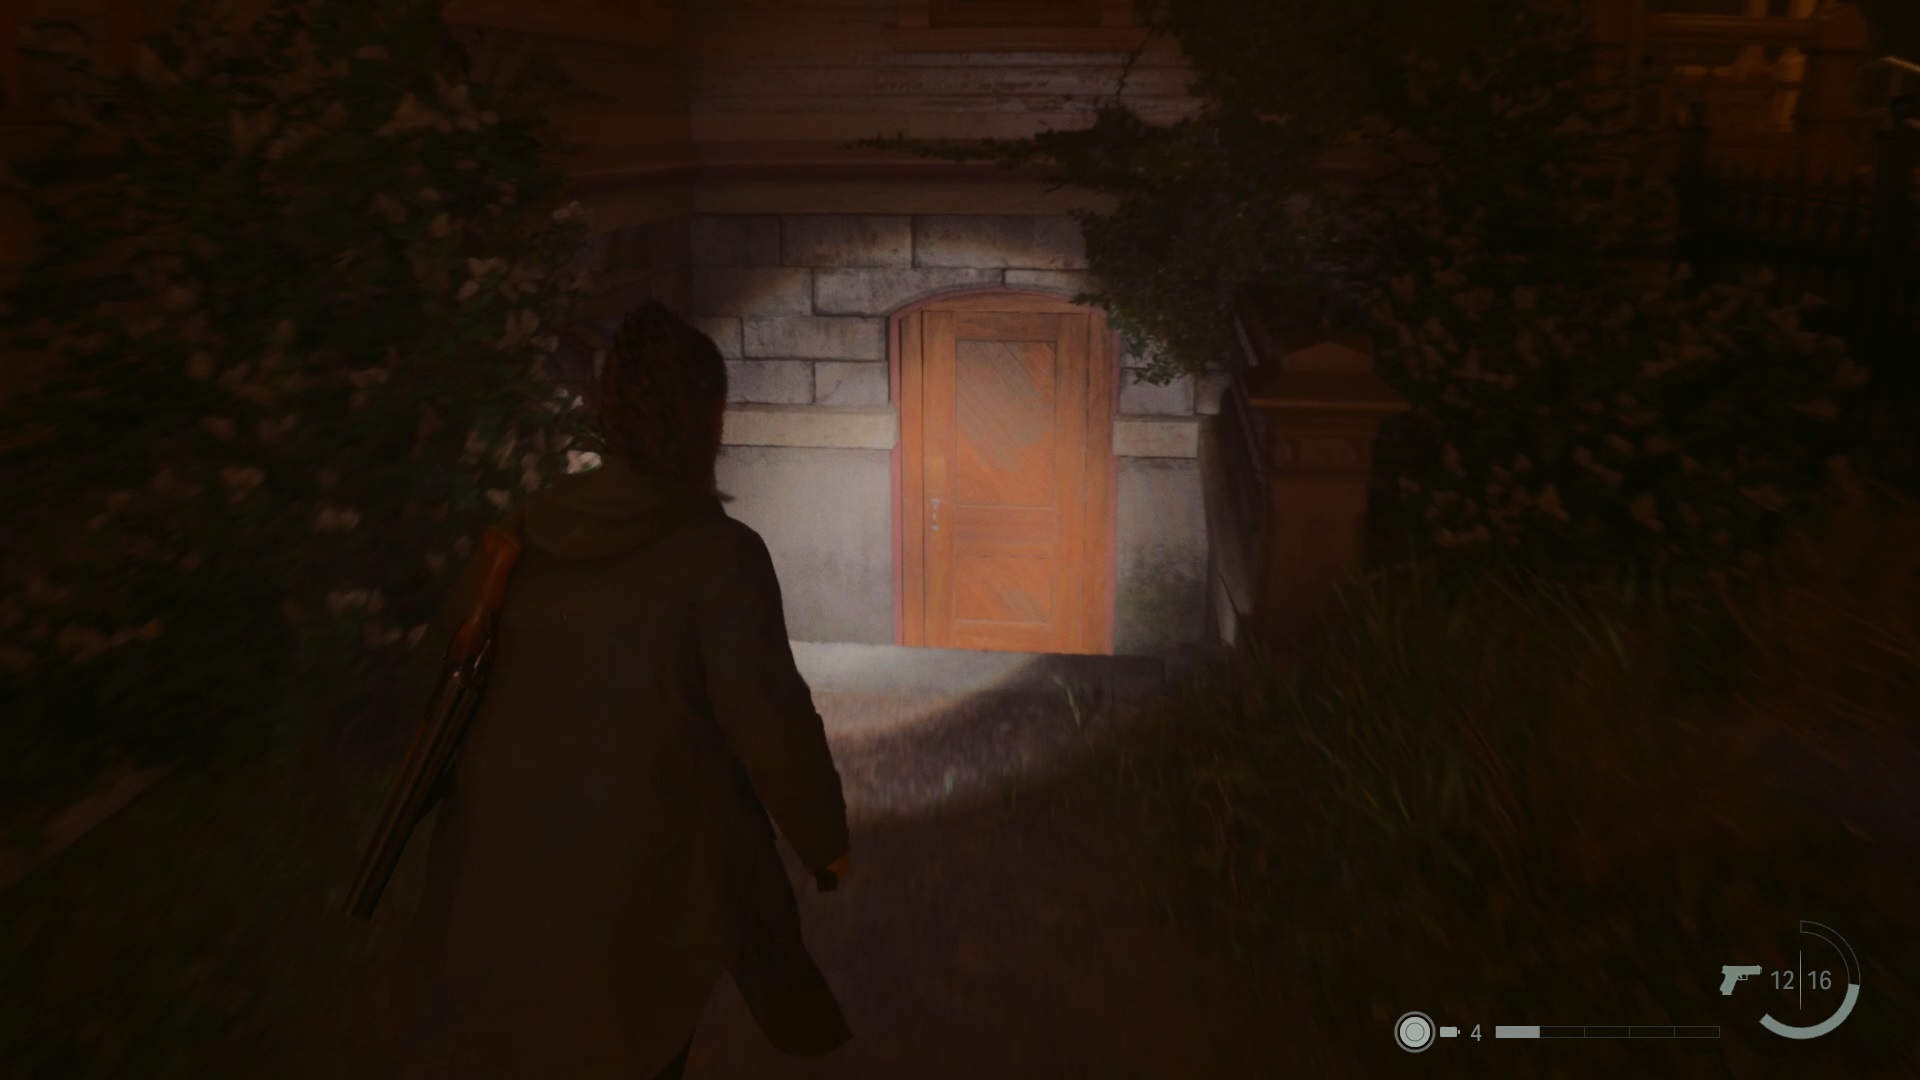
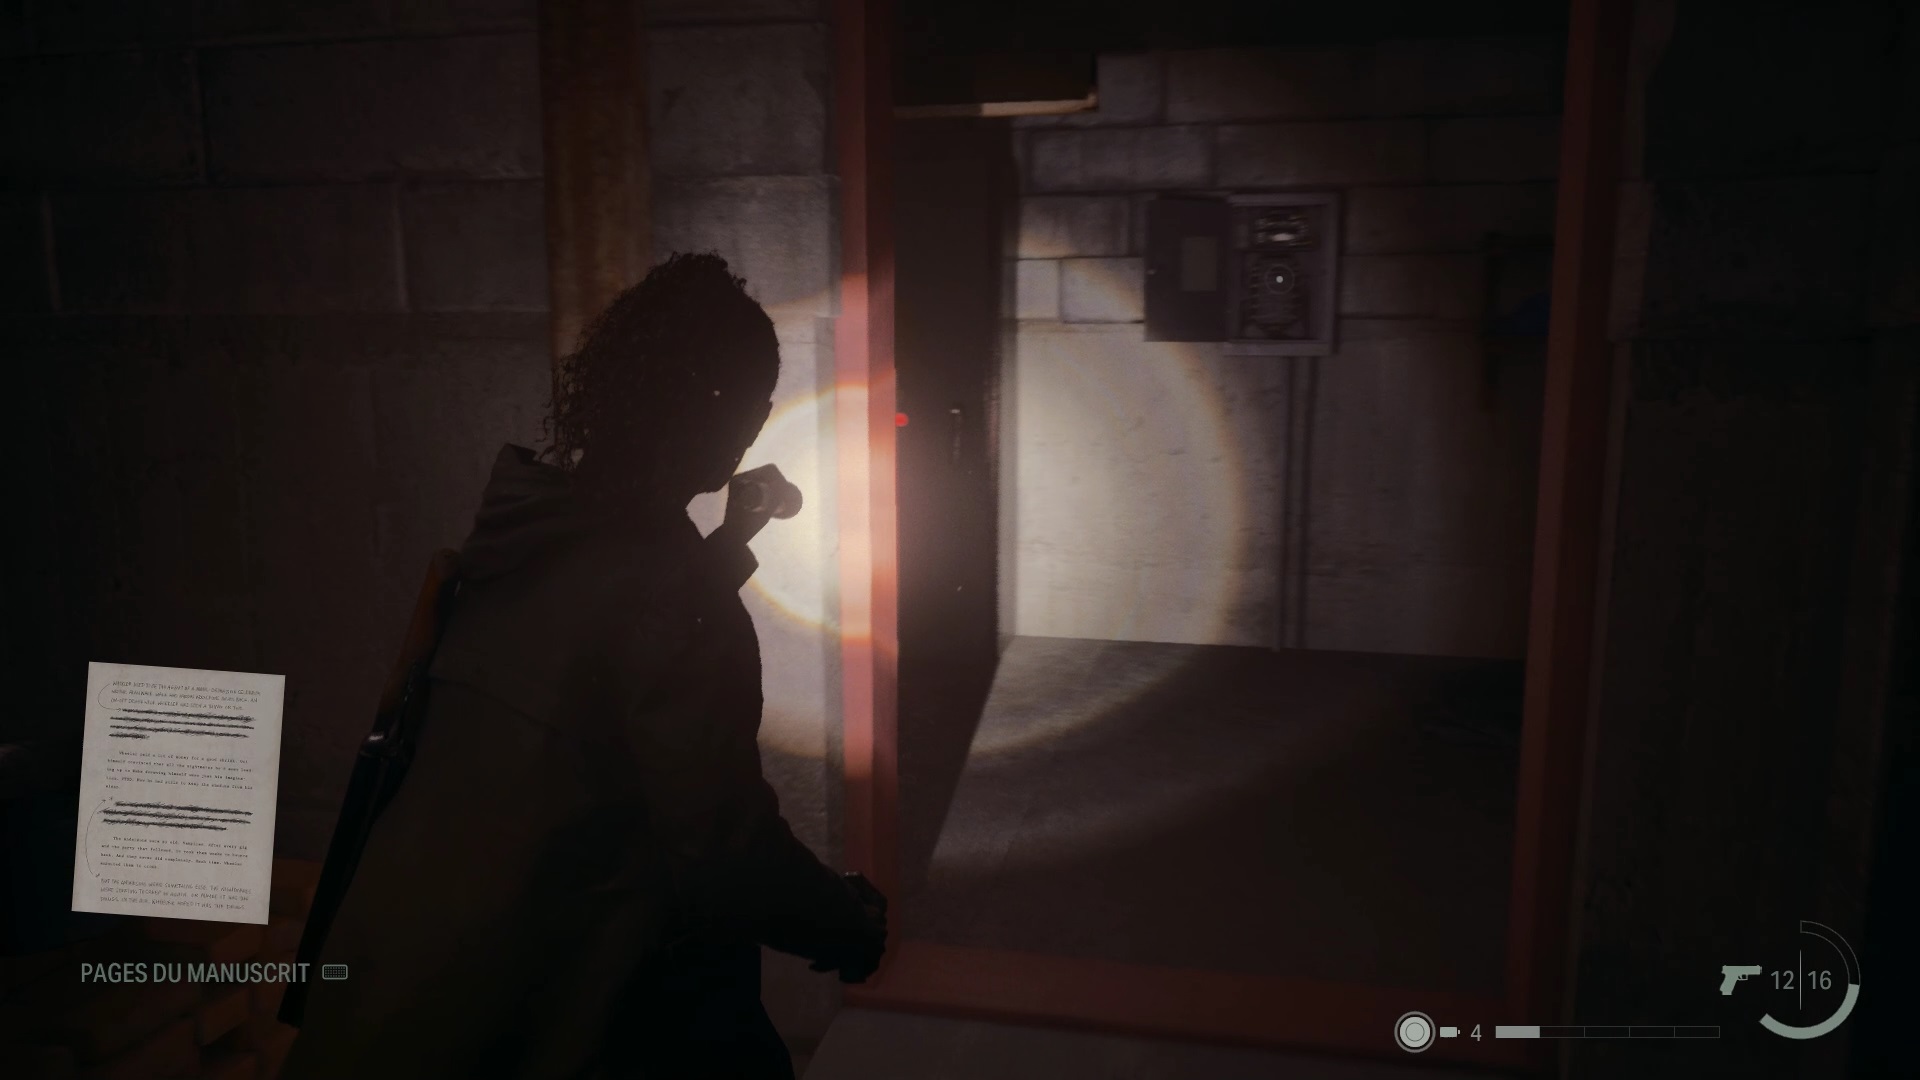
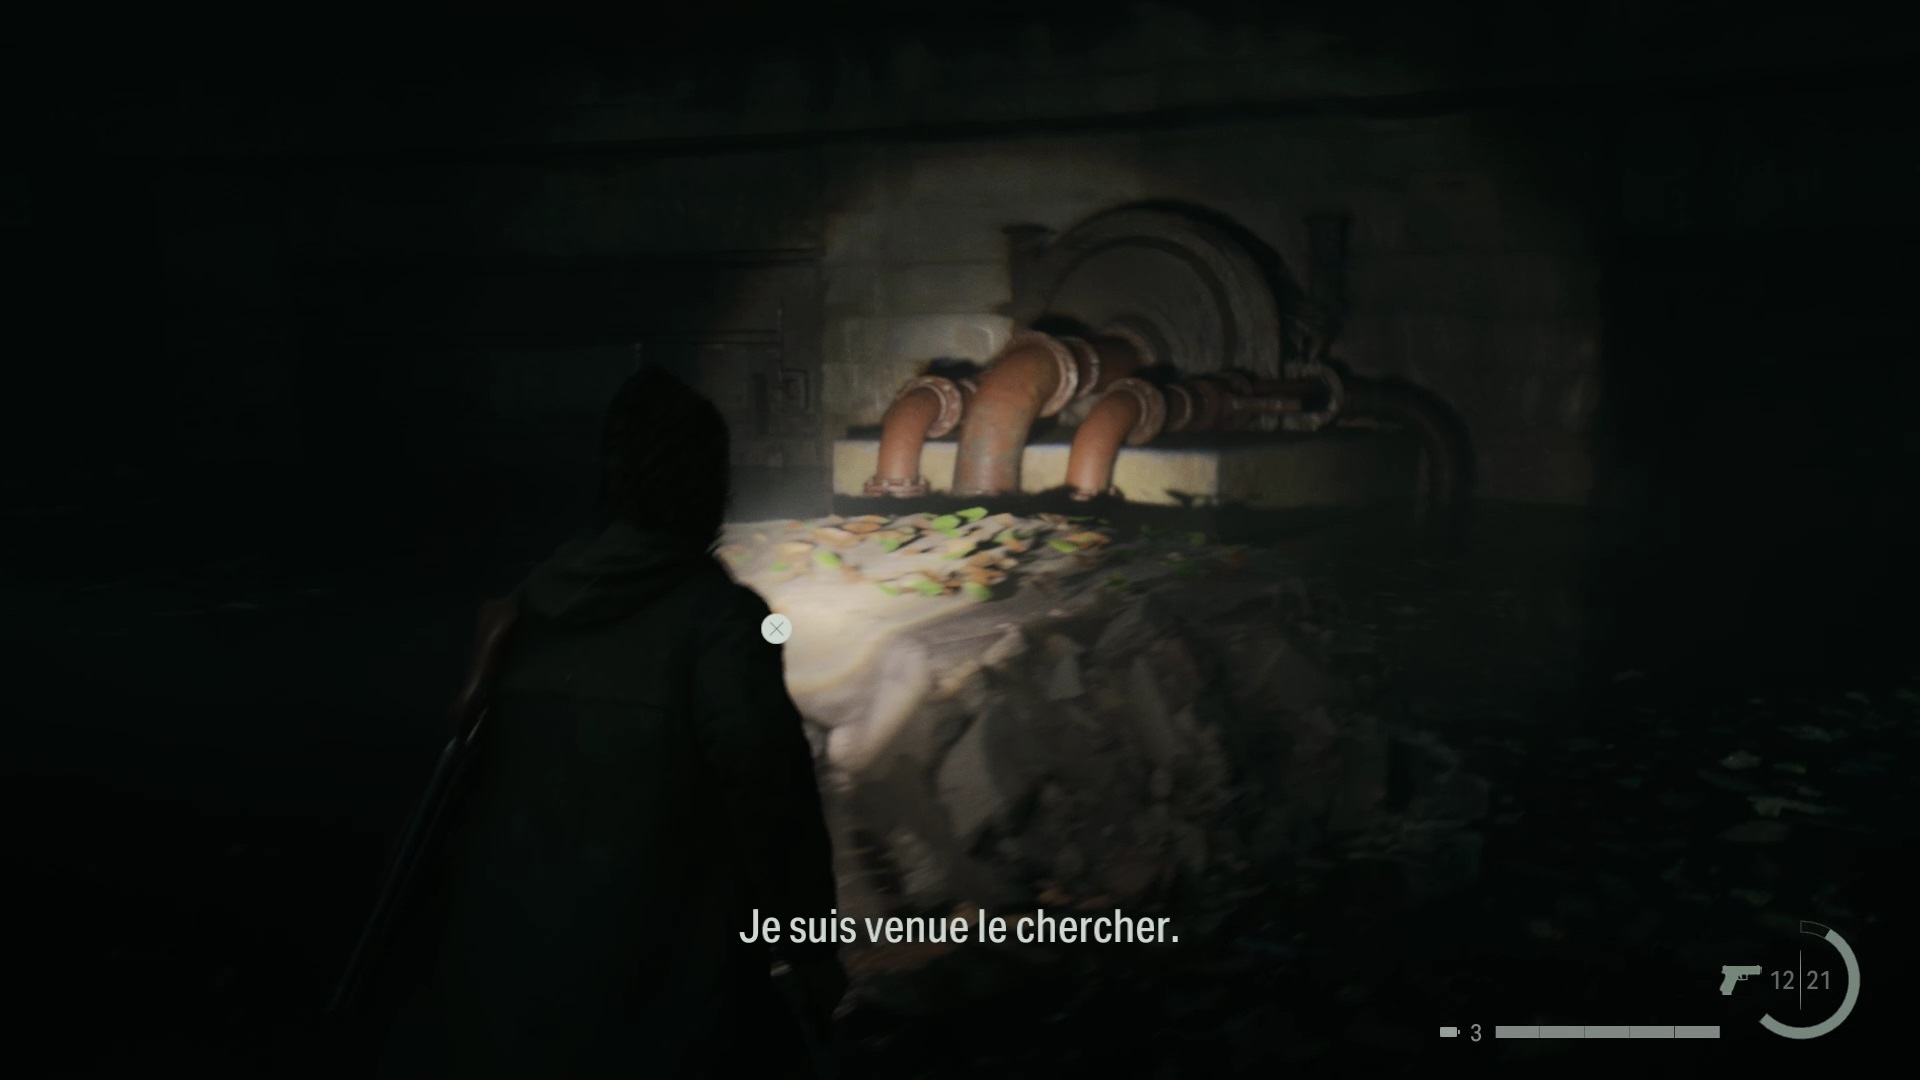
To reach the basement, exit through the door near the jukebox and turn left to go down the stairs. Go deeper into the basement to find a fuse box. Continue moving forward, passing under a bar. Go through a conduit to reach a tool kit. Use code 273 on the padlock to collect the fuse. Next, use the fuse on the box to power the building.
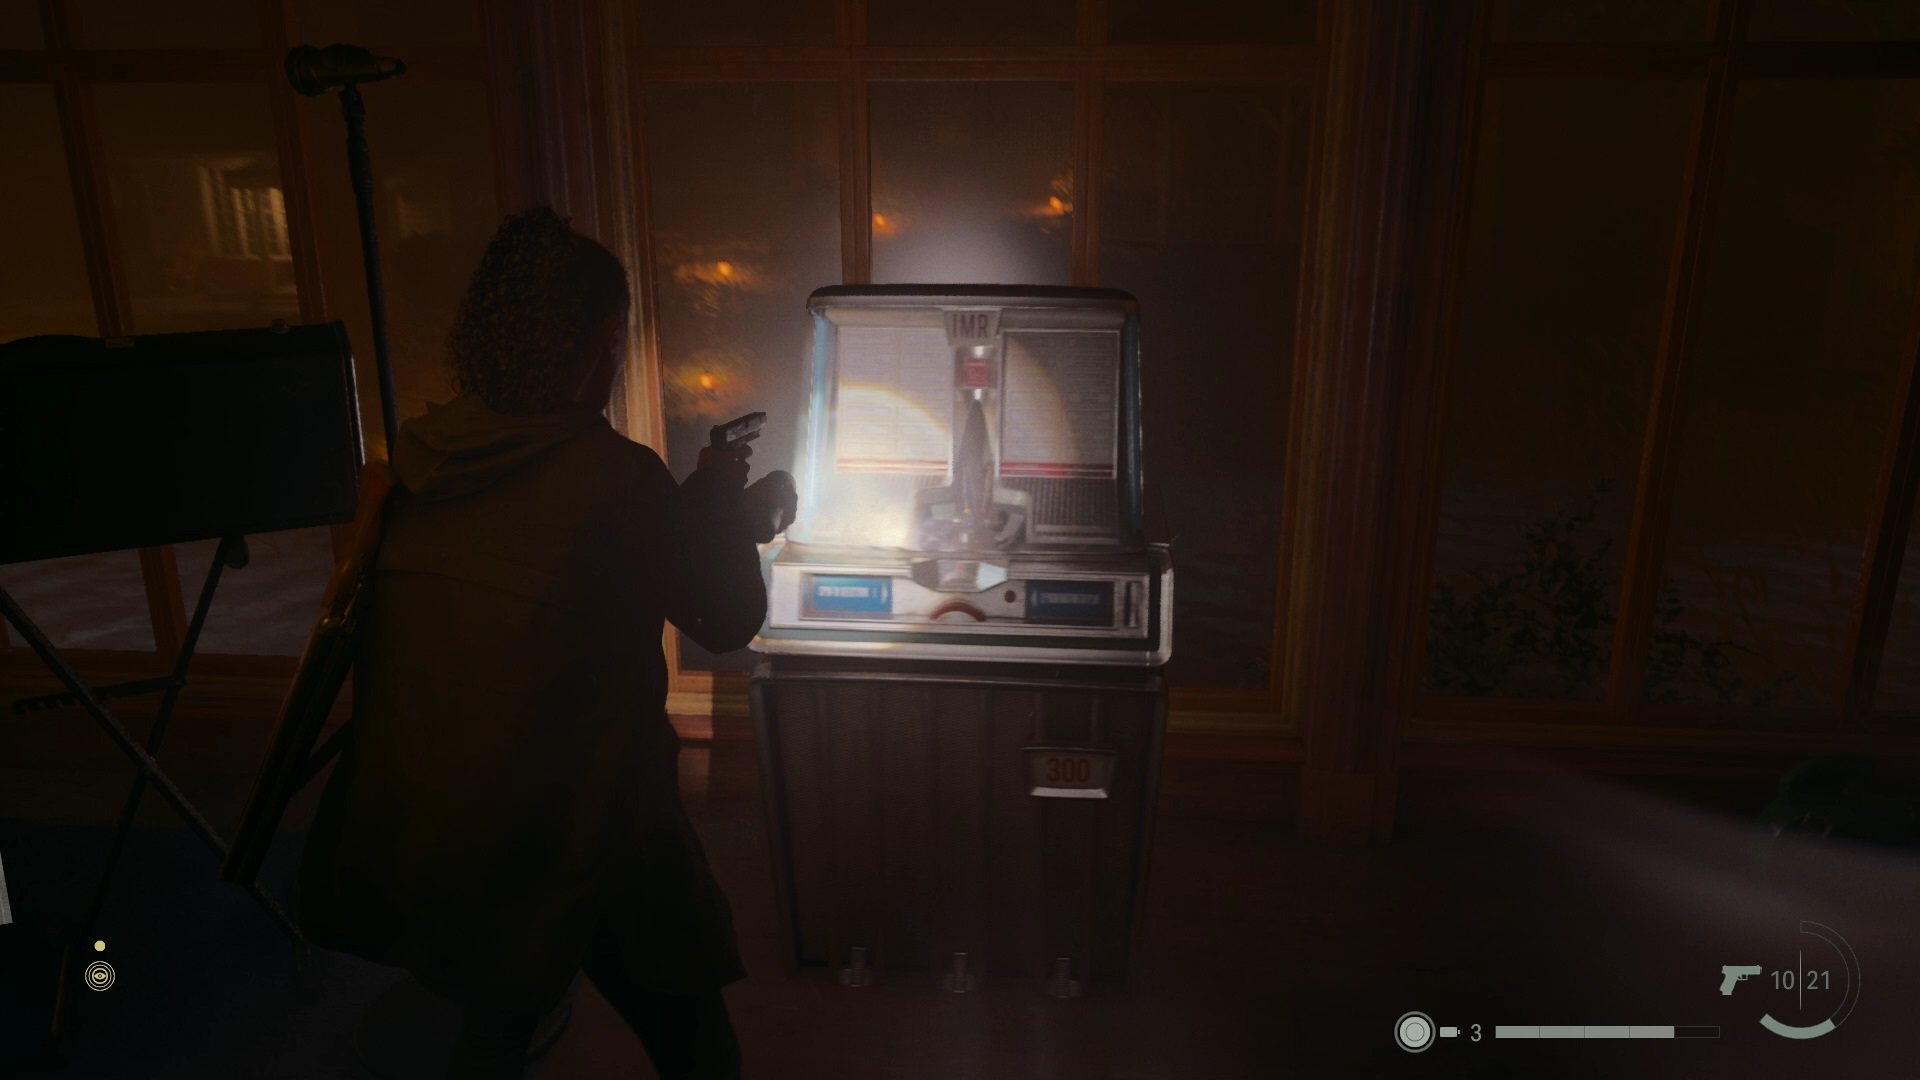
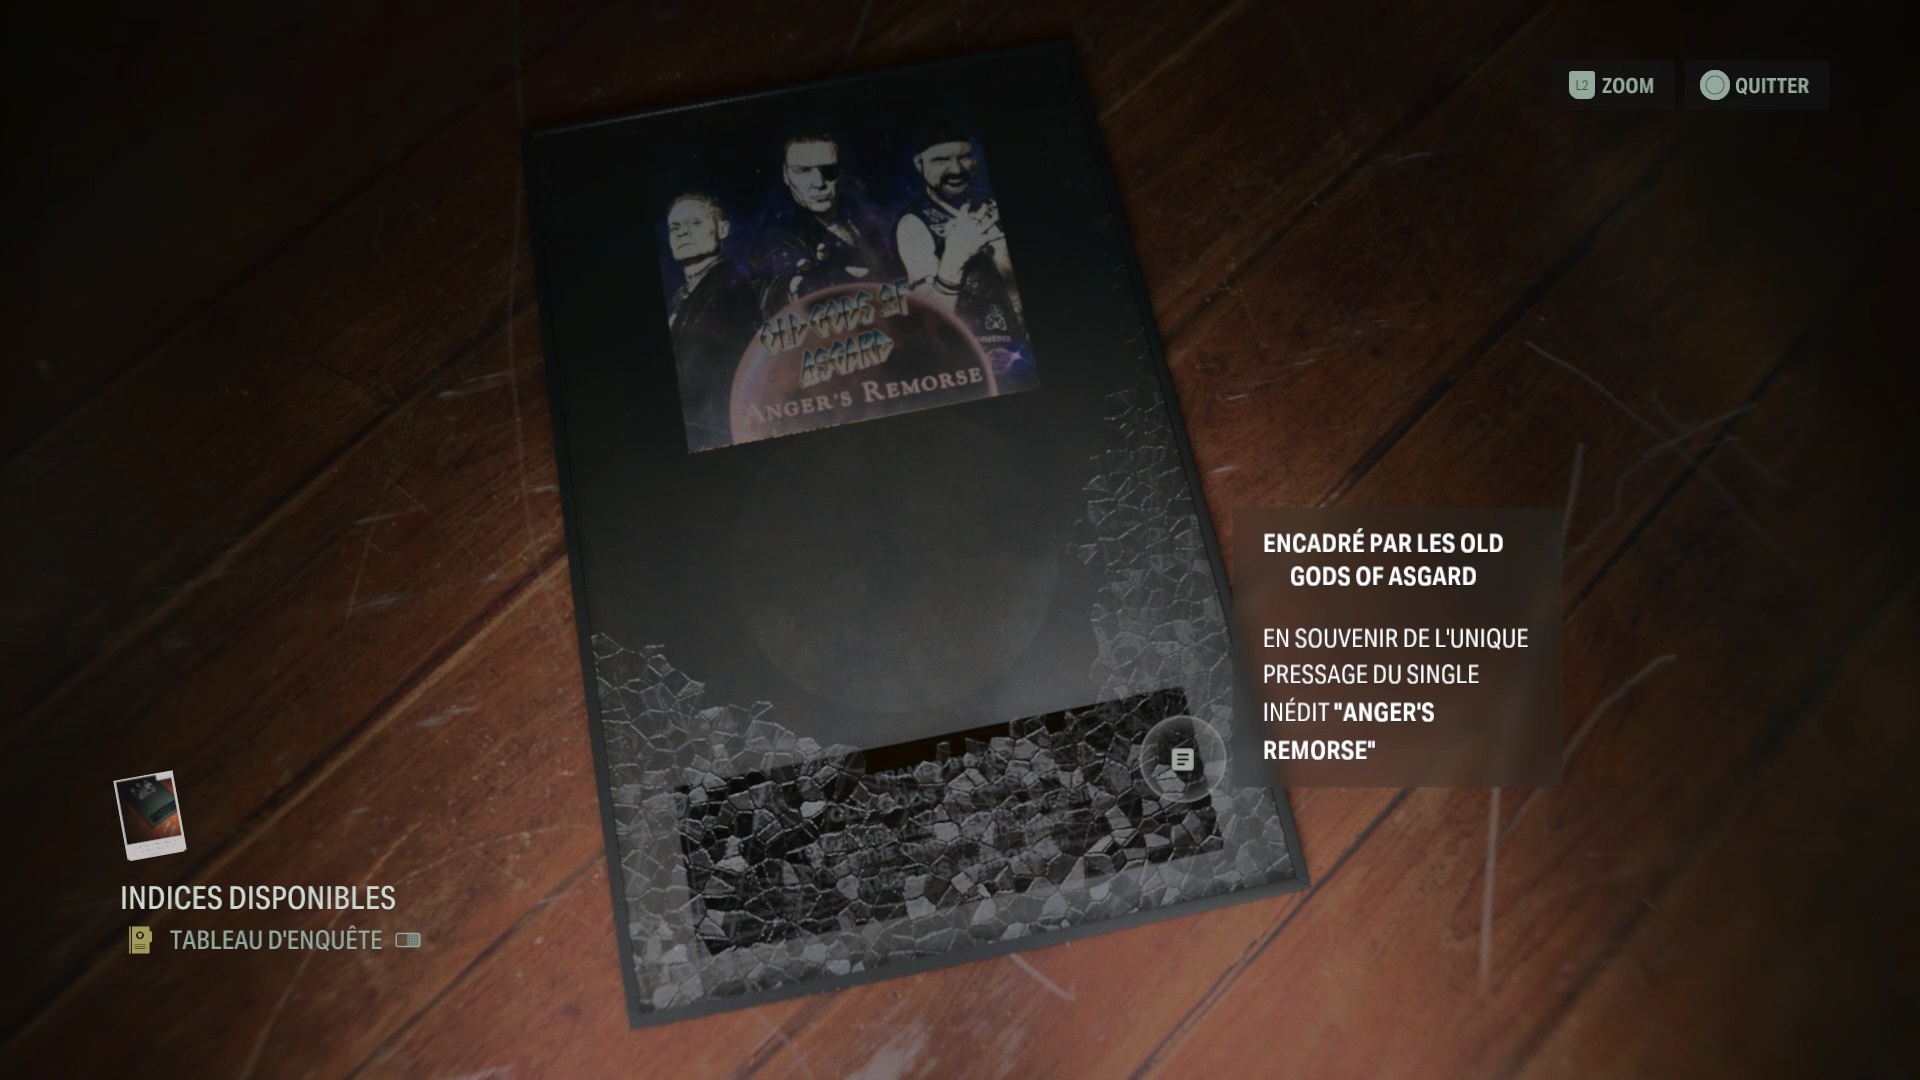
Return to Cynthia’s room on the third floor to collect the disk from the bathtub. Insert the disc on the jukebox at the bottom to open the amalgam. Go through the pool to get there.
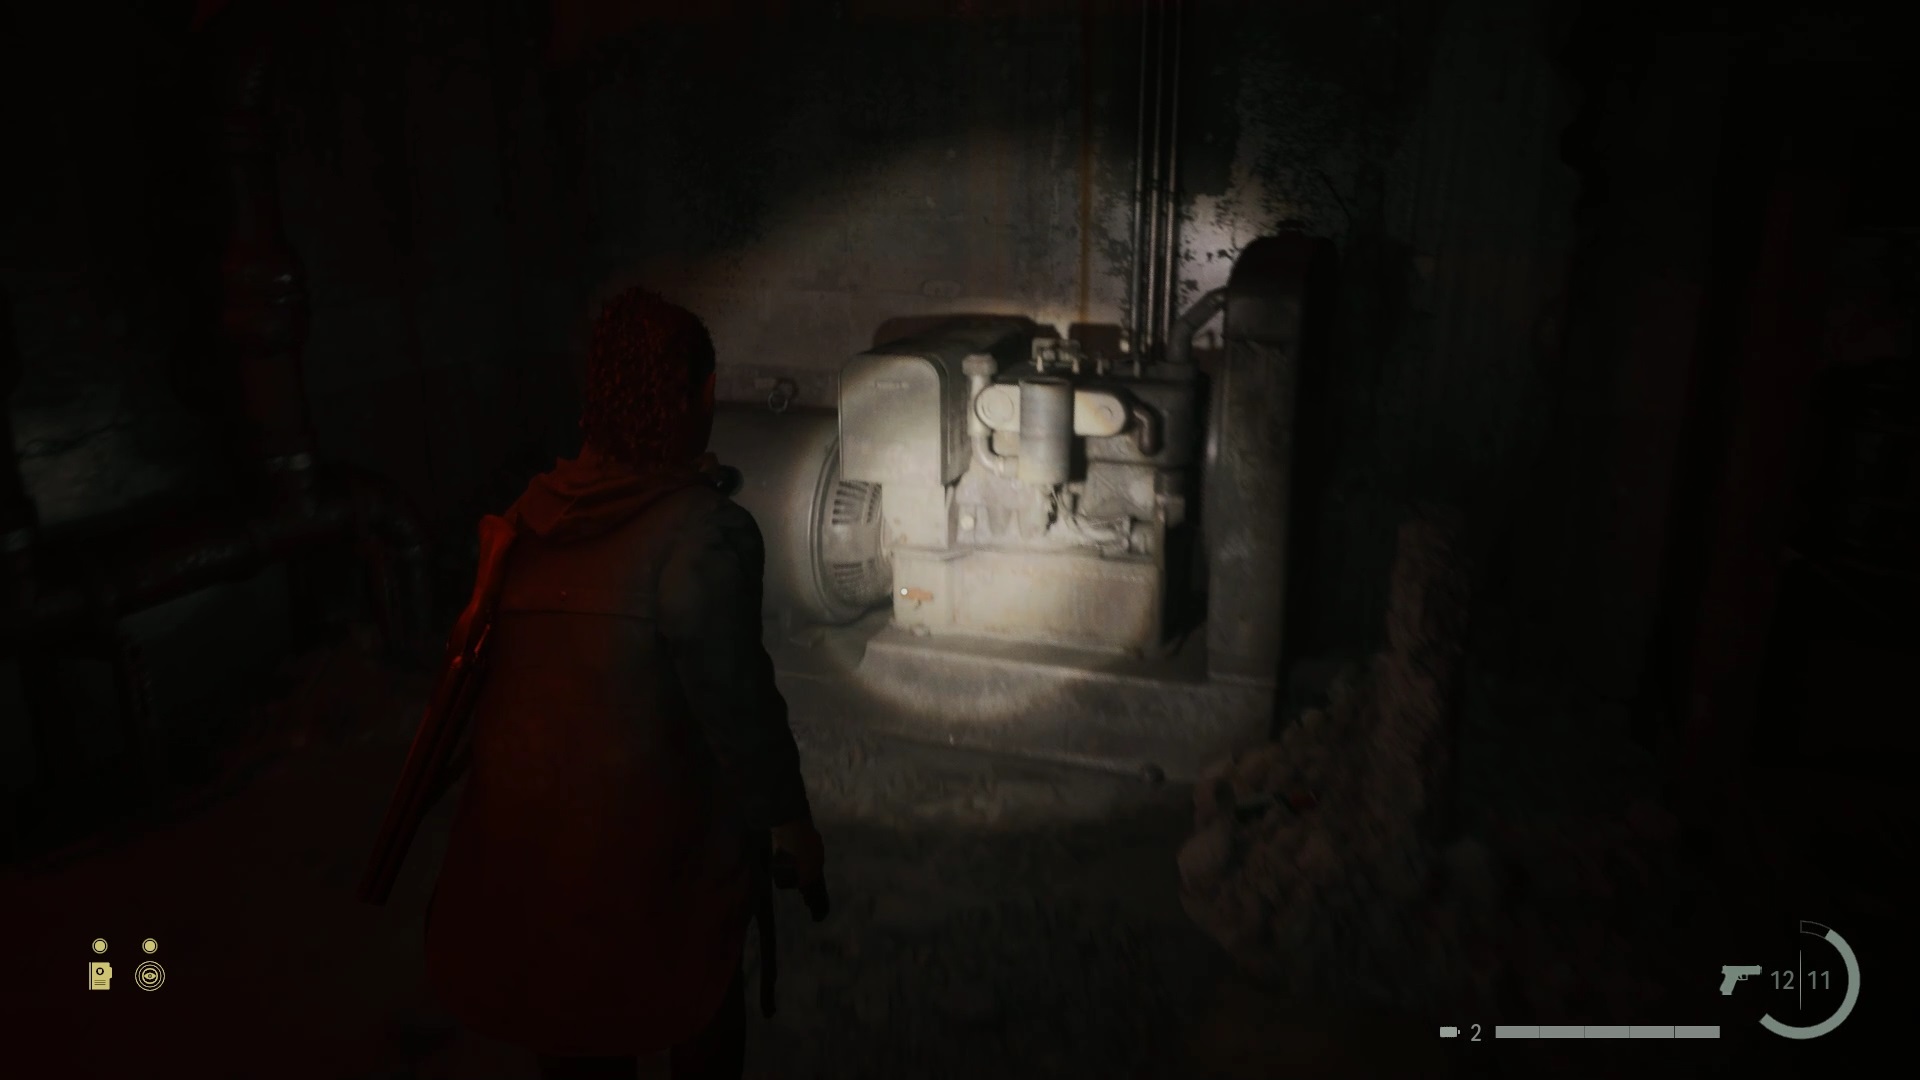
Inside, go deeper to reach a generator. Eliminate the threat and activate the generator. Then pull the lever nearby. Keep moving forward and turn around when you hit a dead end. Turn left before bunker number 5 to find an exit into the loop.
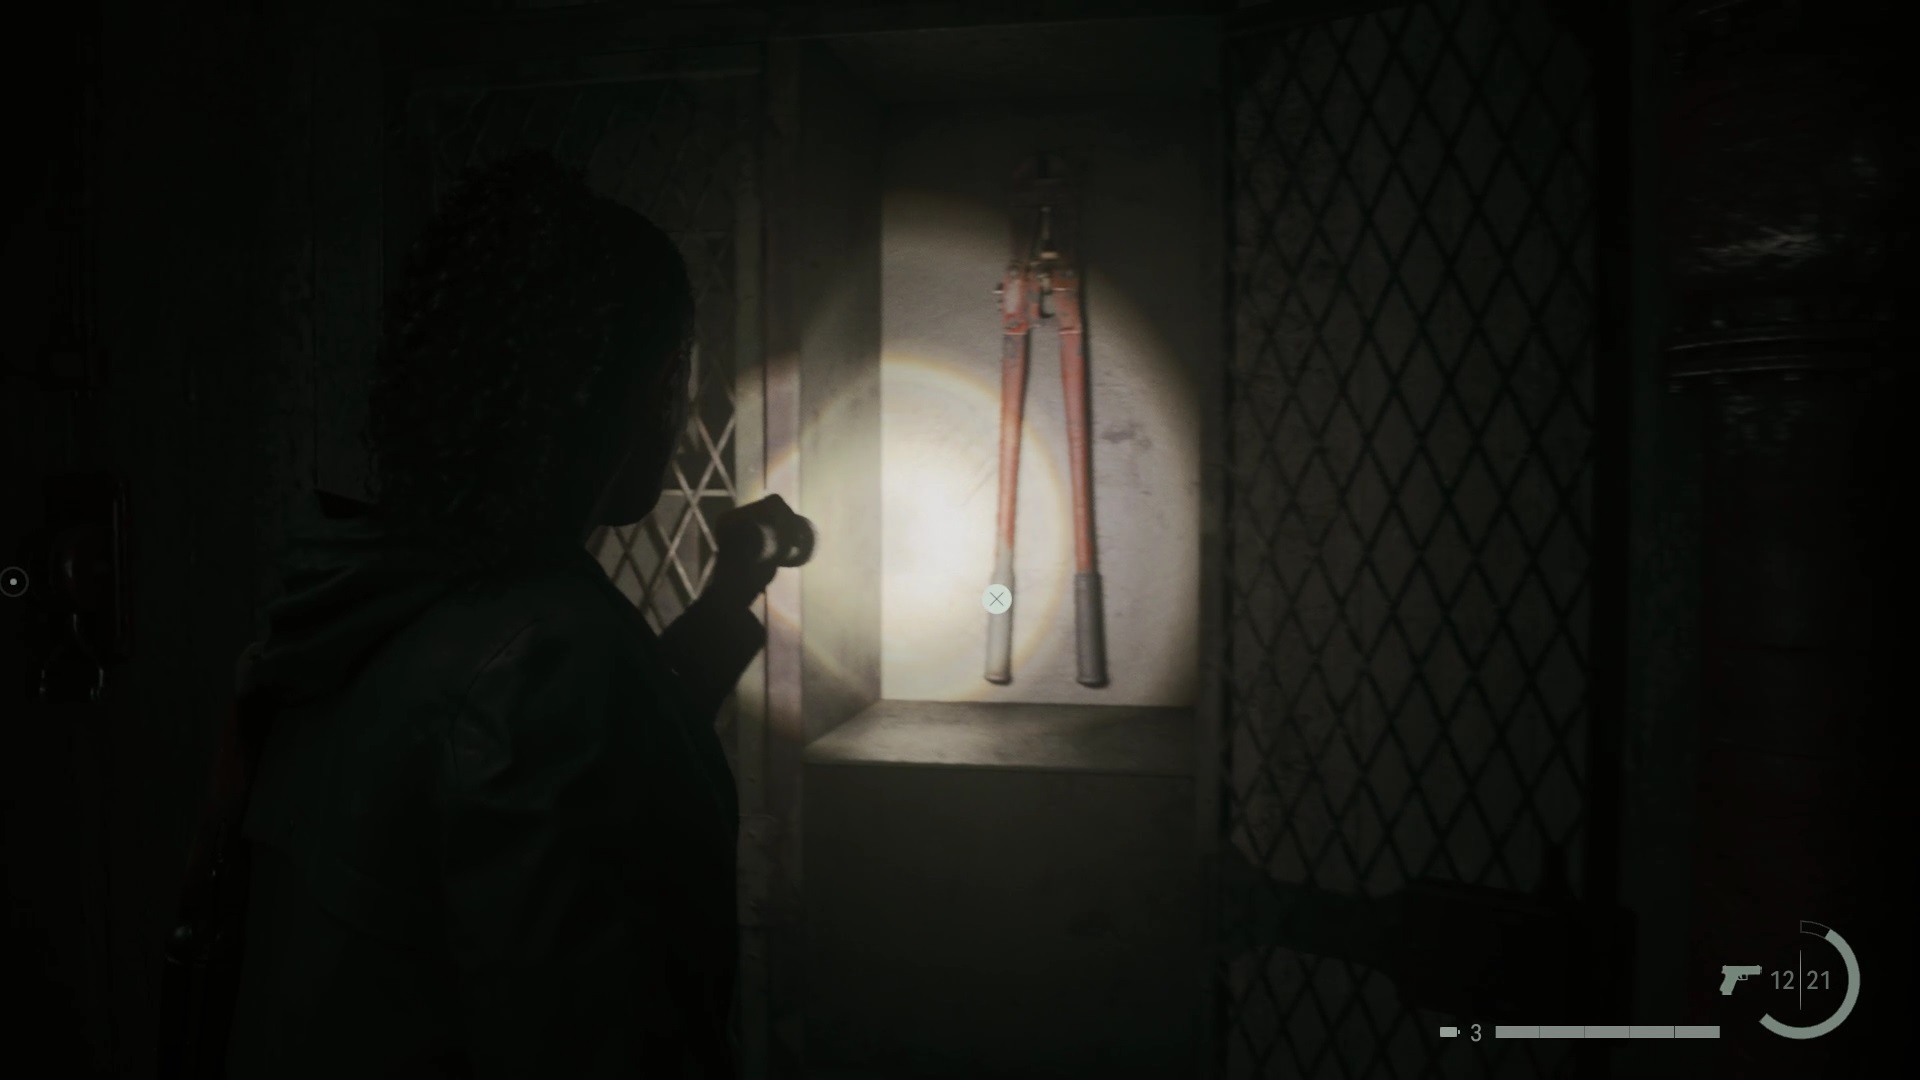
Above the steps, pull a lever to open a path, then a second to get a key in an office. Return to the first lever to remove the light. Use the wrench on the tool cabinet to get a bolt cutter. Turn the light back on to access the second lever and plunge the room into darkness to reveal a sealed gate. Use the bolt cutter to get through.

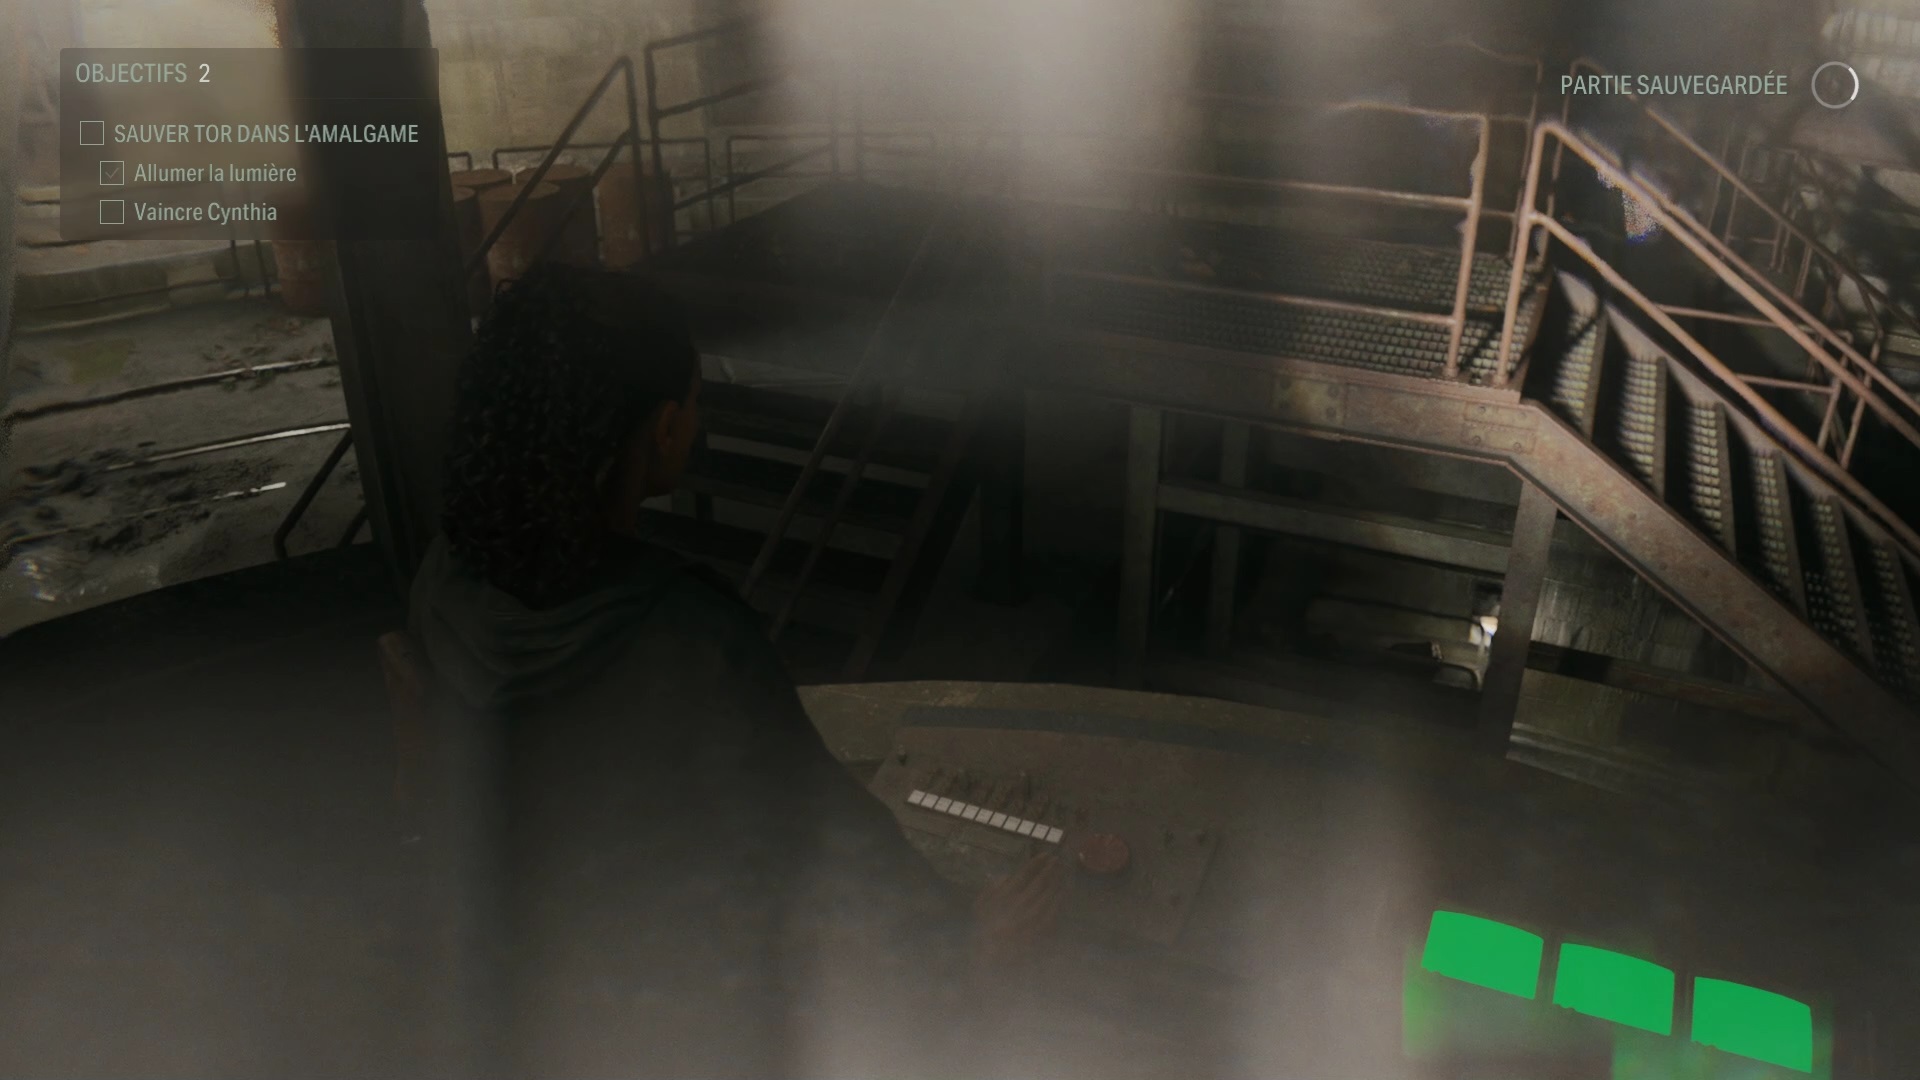
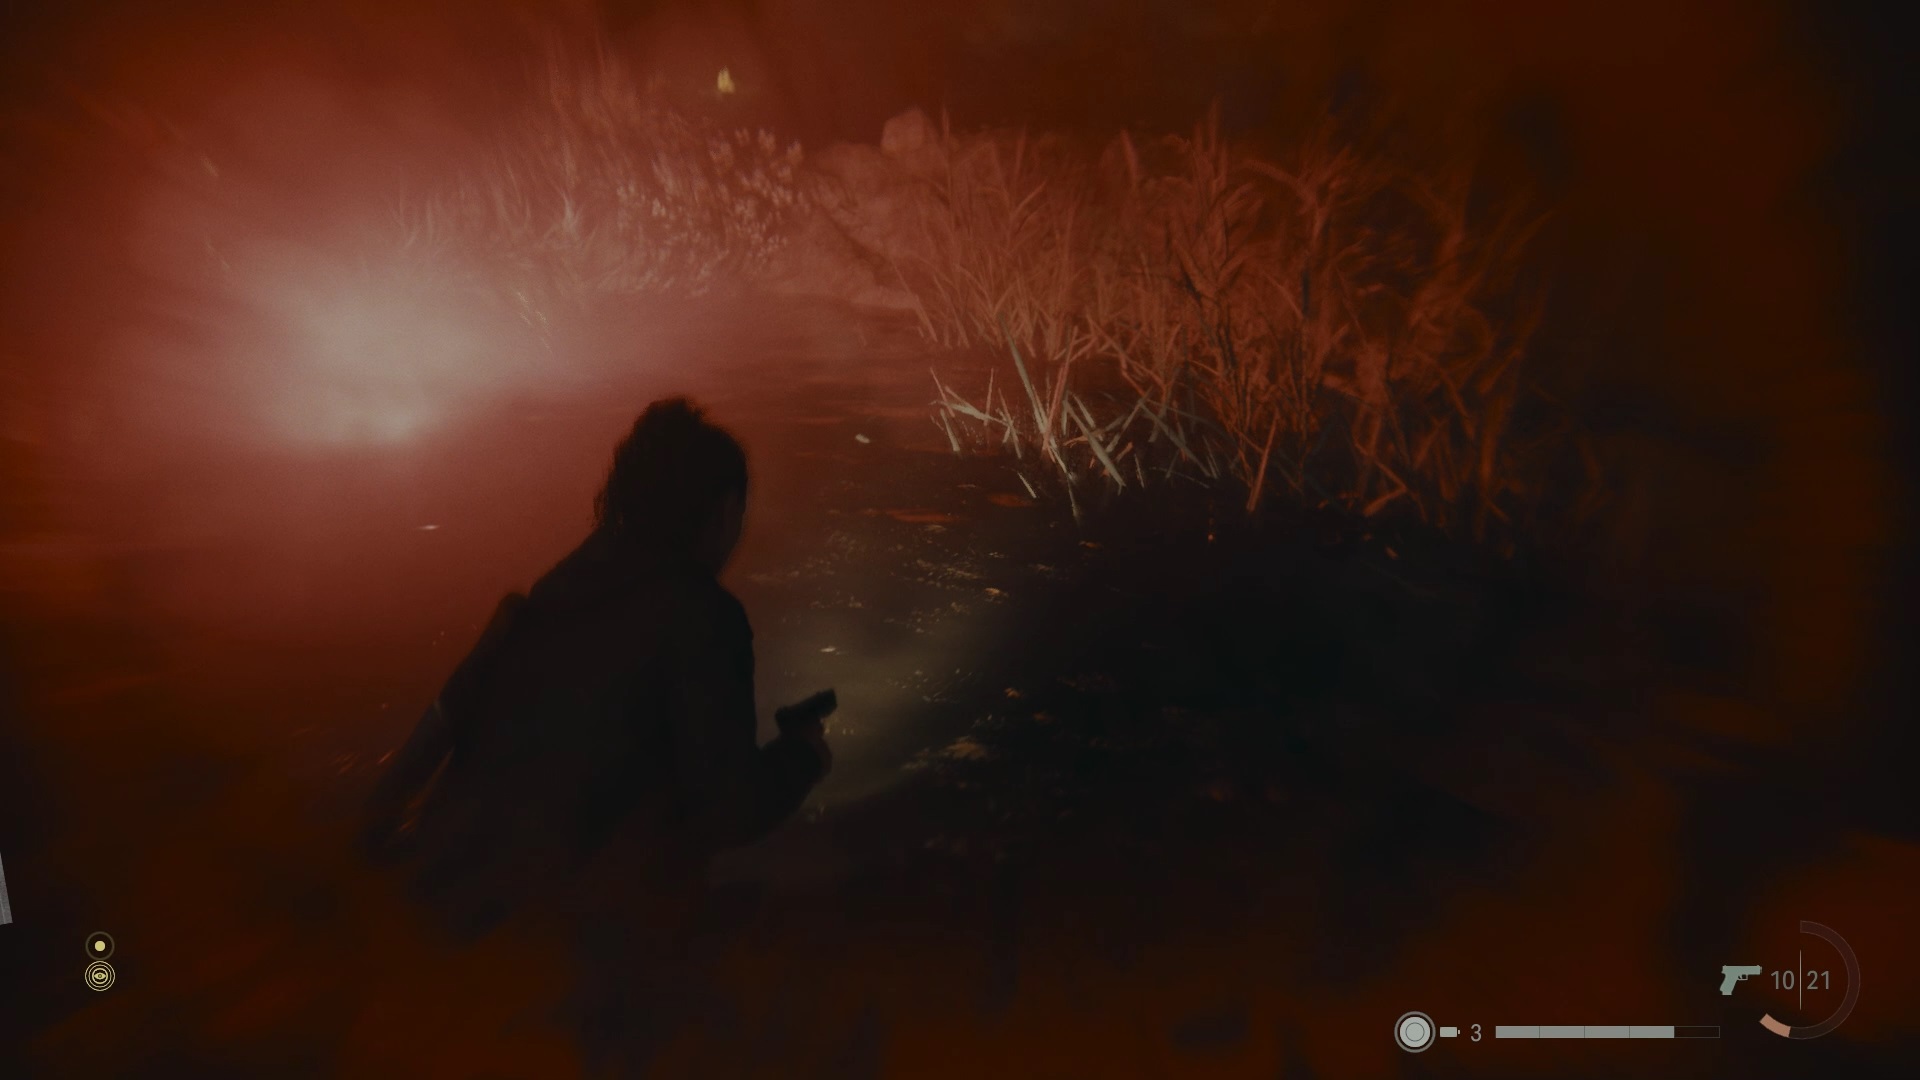
Go down into the pools to reach a platform. Interact with the button in the center to make Cynthia appear. From this point on, Cynthia can drown you. Only stay in the water for a few seconds to change platforms. Go to the outskirts of the arena to access a circular corridor. Go to the bottom to find a generator. Activate it to return to the central platform. Press the button to make the light shine.
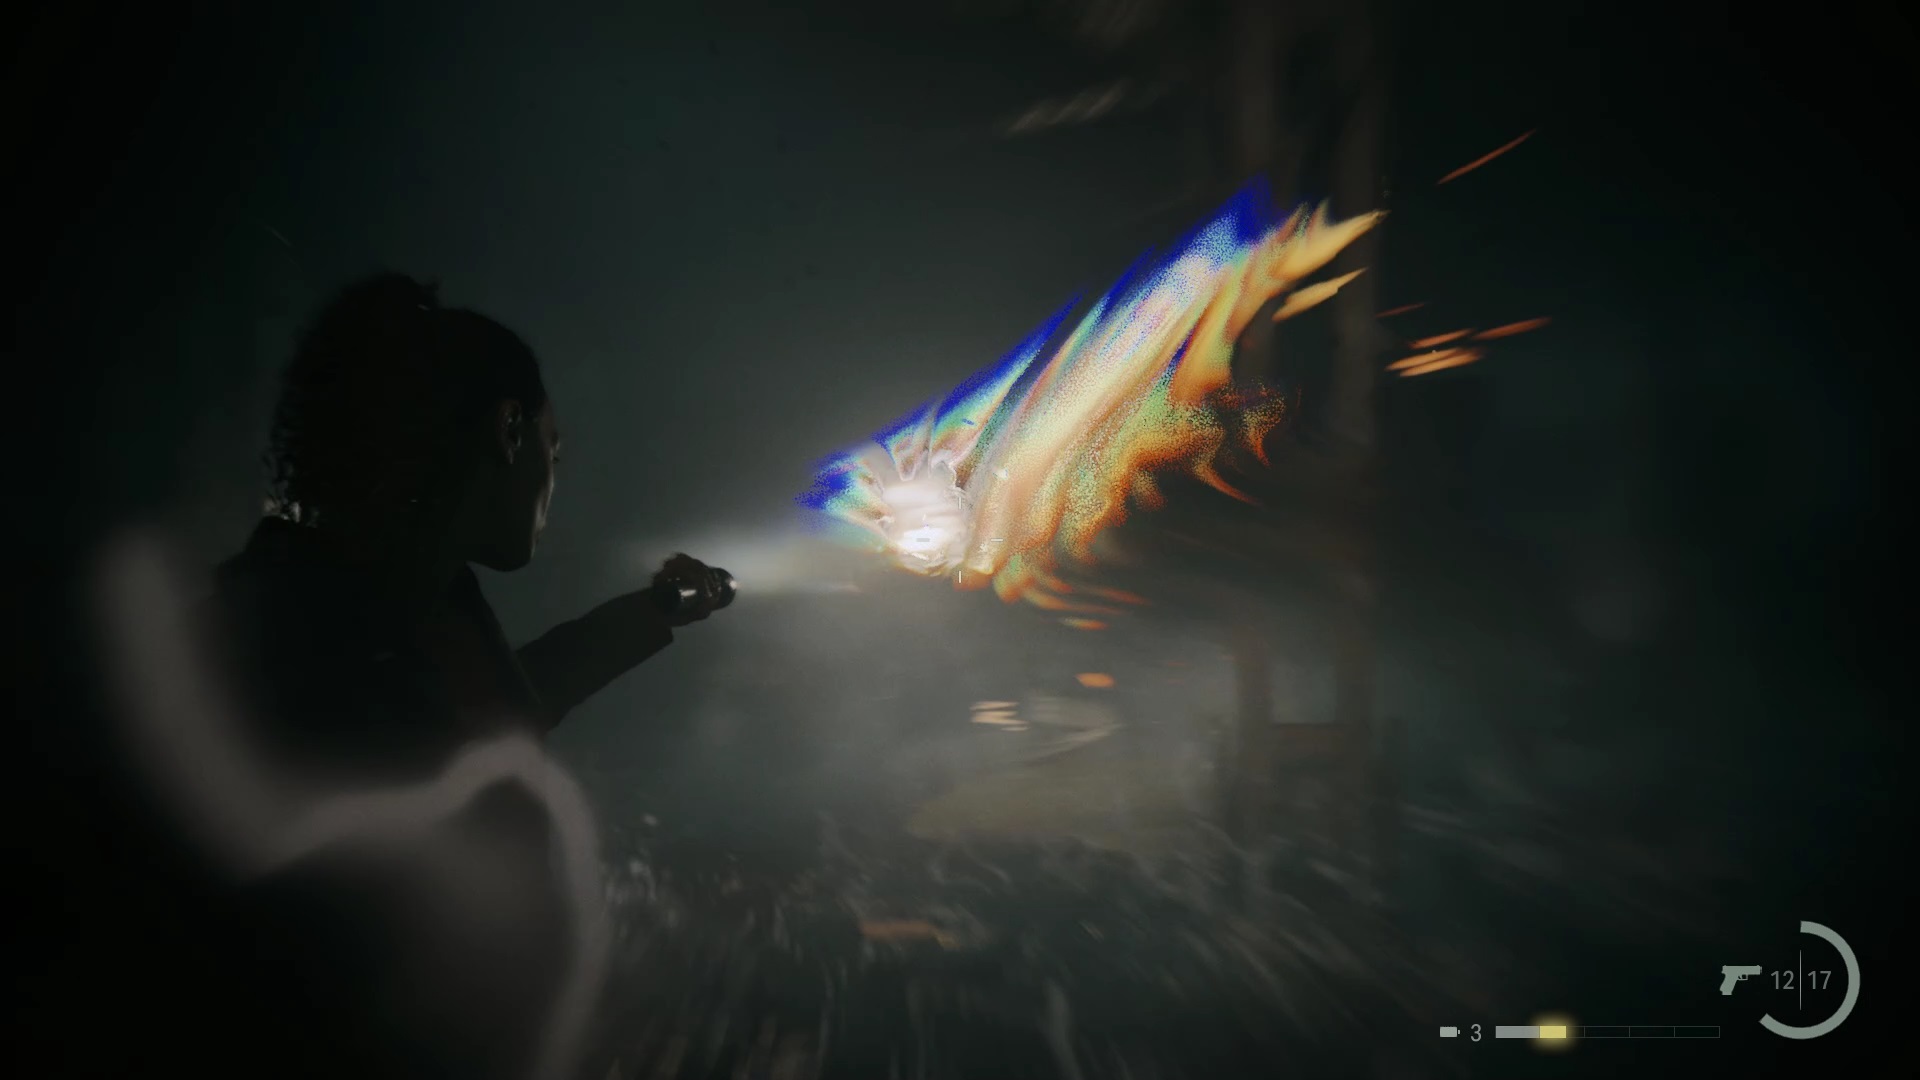

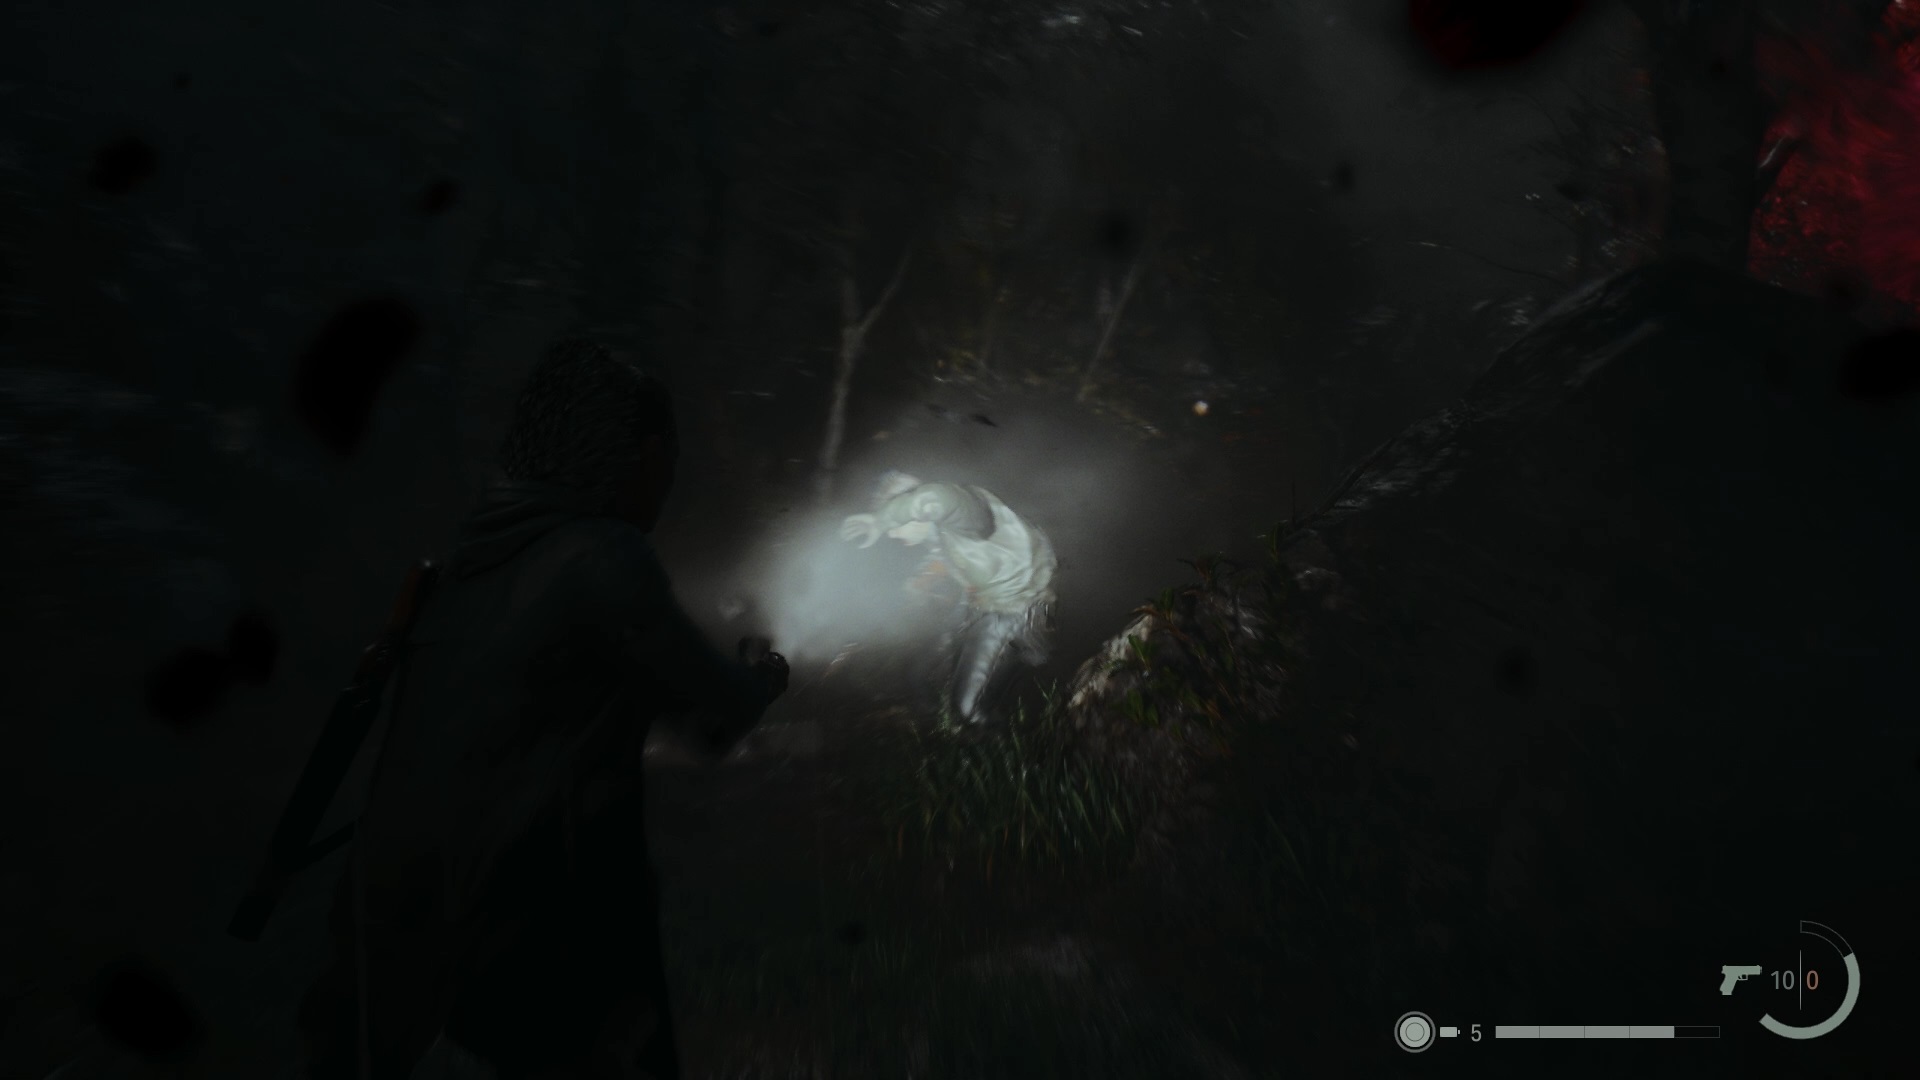
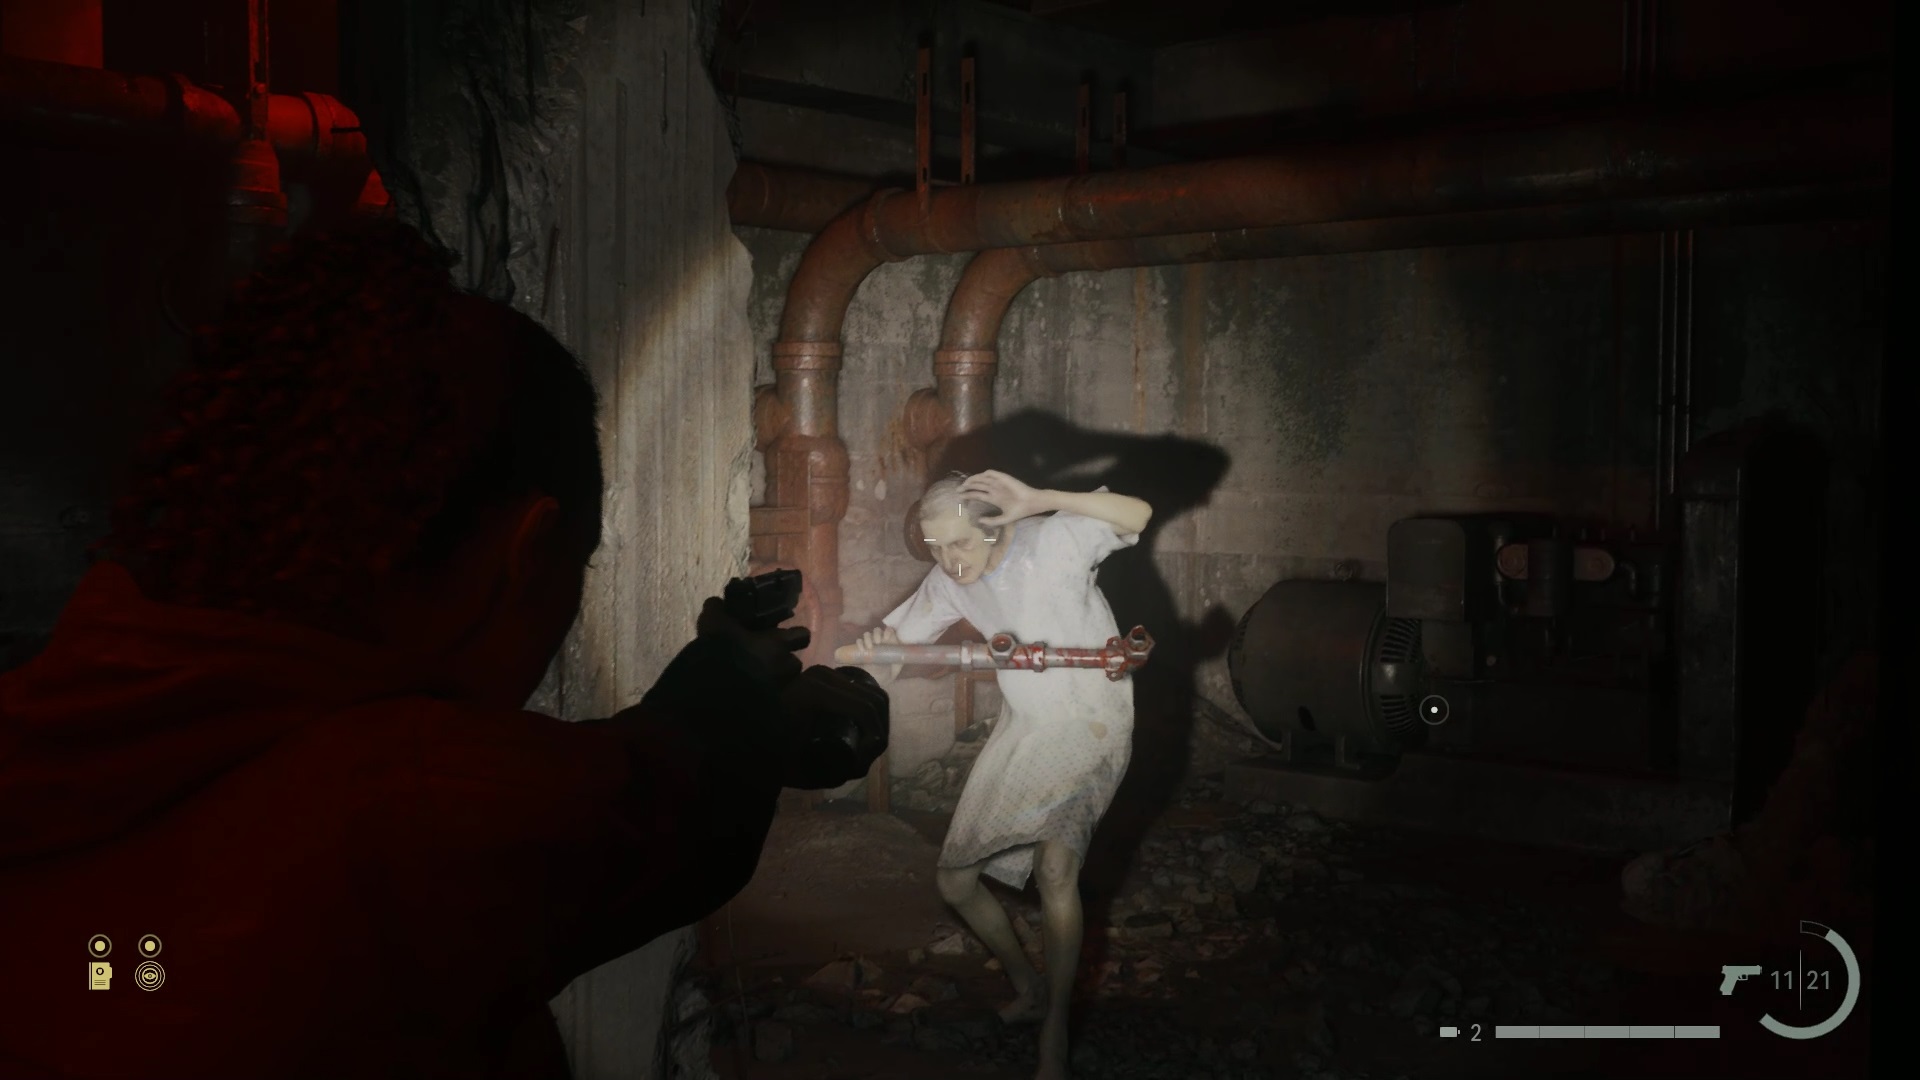
Go down the stairs to fight Cynthia. Shine your light to destabilize it. Use debris as blankets. Dodge the waves she sends by moving sideways. Shoot Cynthia’s head to cause the most damage. Dispel Cynthia’s shadows with your lamp to avoid receiving them as projectiles.
Initiation 6: Return
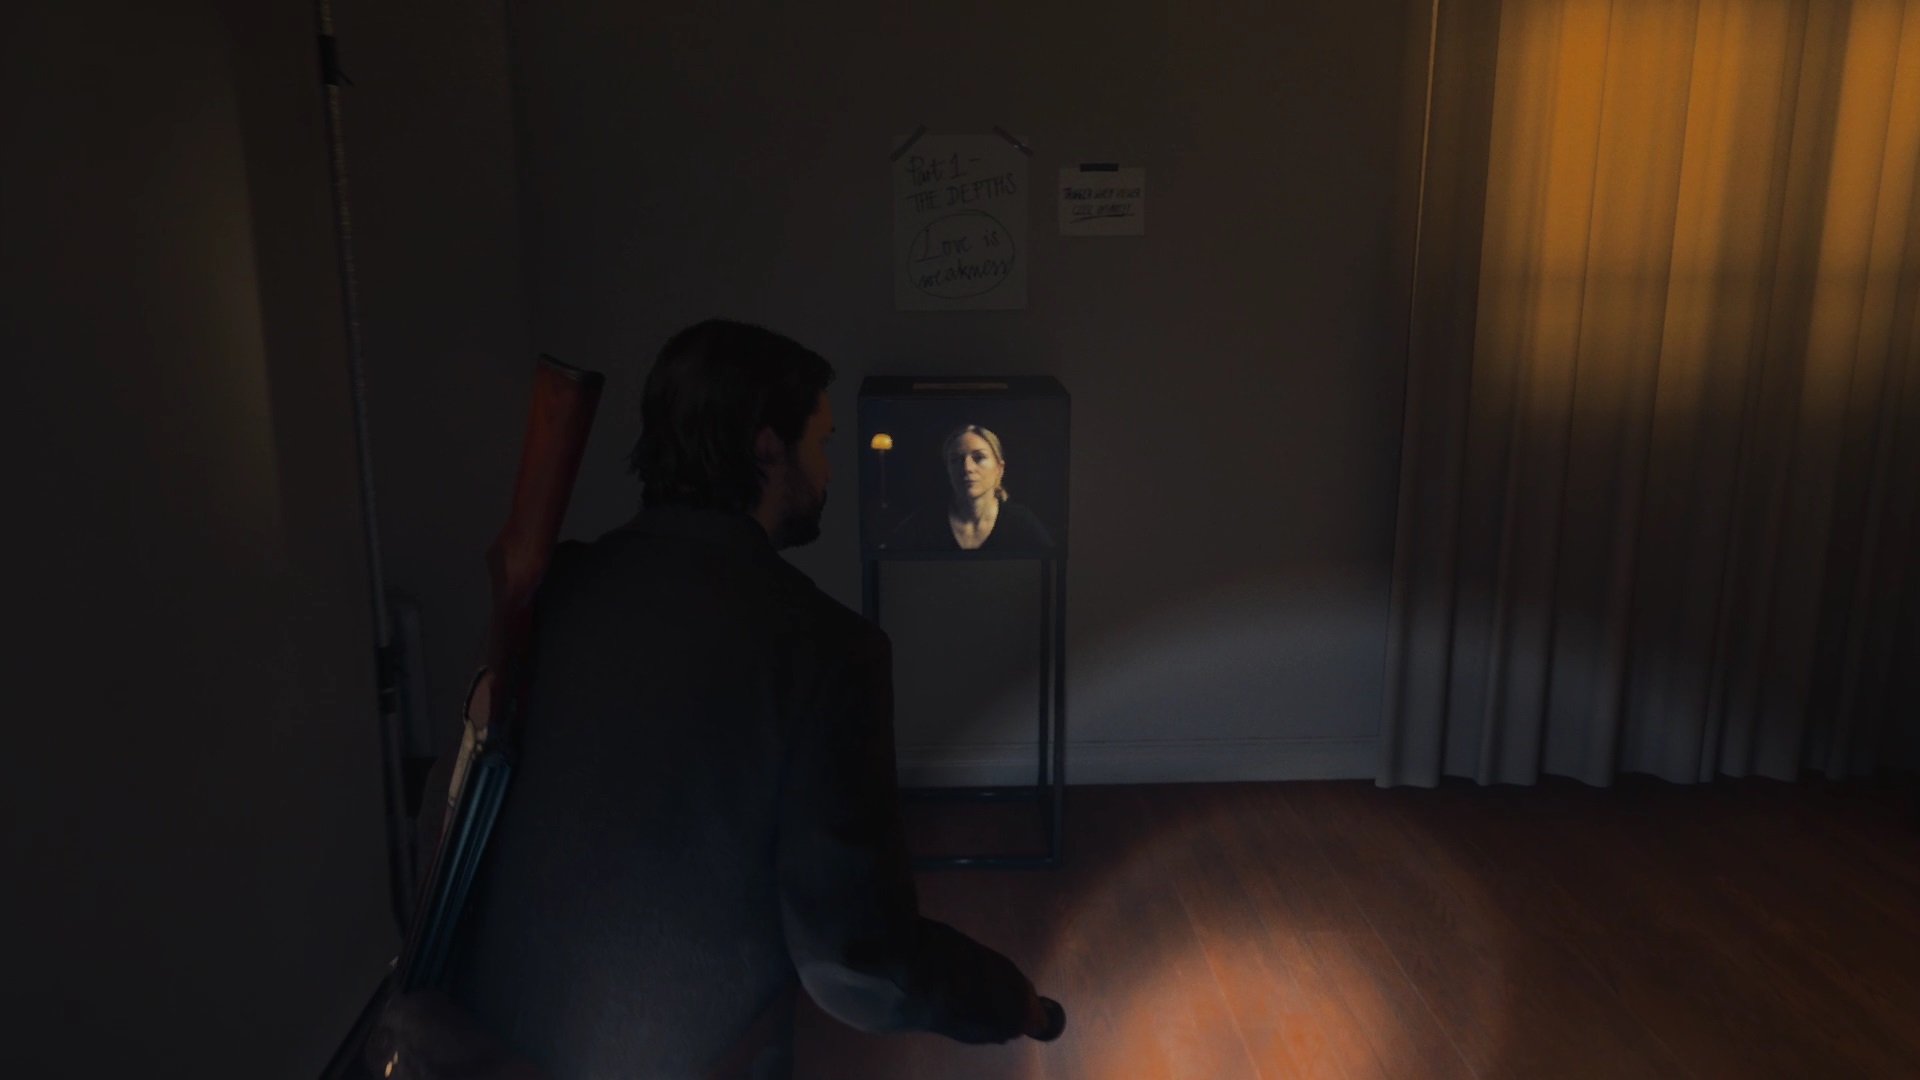
Retournez dans Parliament Tower pour rejoindre l’appartement d’Alice. Commencez par lancer la première partie de la vidéo d’Alice à côté de la cuisine. Continuez dans une chambre pour suivre la deuxième partie. Continuez dans le couloir pour lancer la troisième partie. La dernière vidéo se trouve dans une pièce dans le couloir. Interagissez avec l’écran pour finir le chapitre.
Initiation 7: Masks
Interact with the typewriter to return to the Studio. Use the screen to start a new cutscene. Then continue by joining the concierge room to speak to Ahti. As with the first level, return to the basement and use your lamp to finish the chapter.
Initiation 8: Zane’s movie


Head to OceanView to pay Zane a little visit. Be careful, after the projector cutscene, you must exit the hotel from the front. A bug currently blocks progress if you do not exit through the exit of the square. If you went around from behind, enter the hotel and come out to shine the spotlight beams.
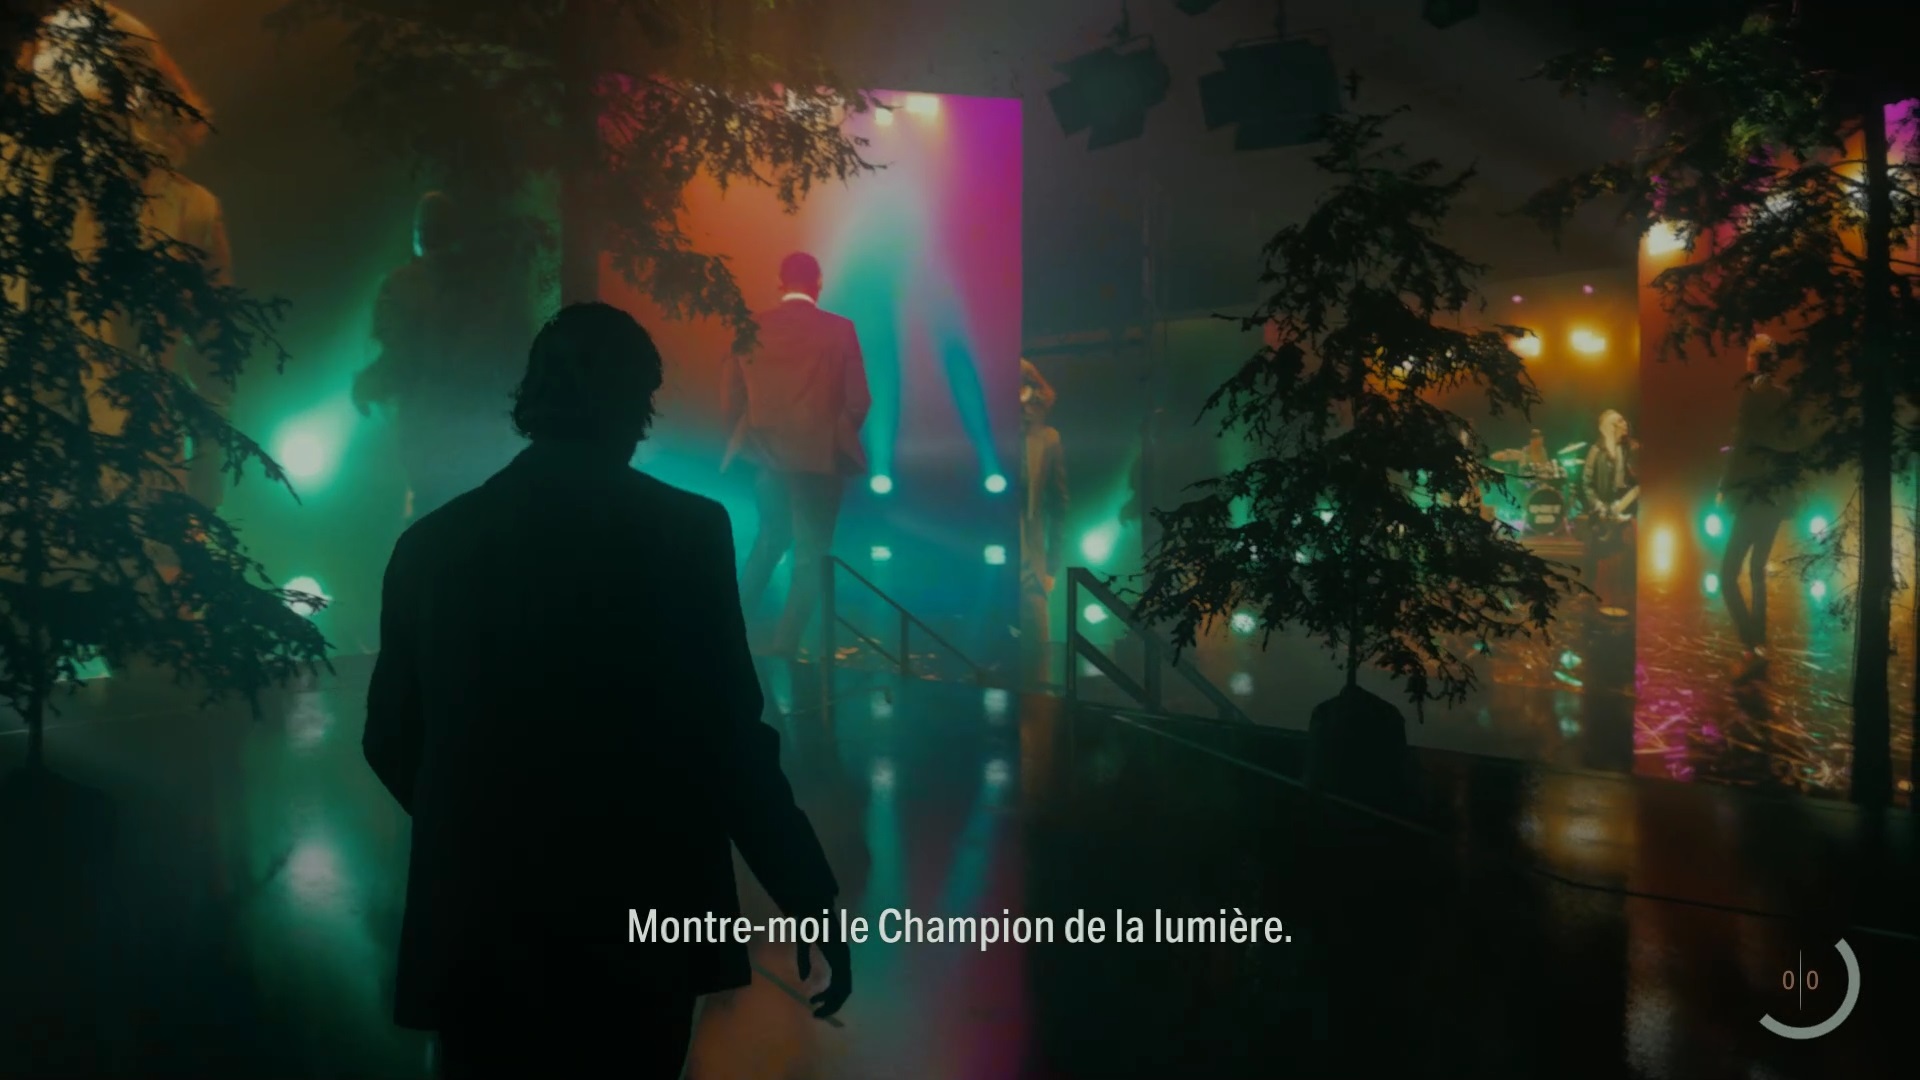
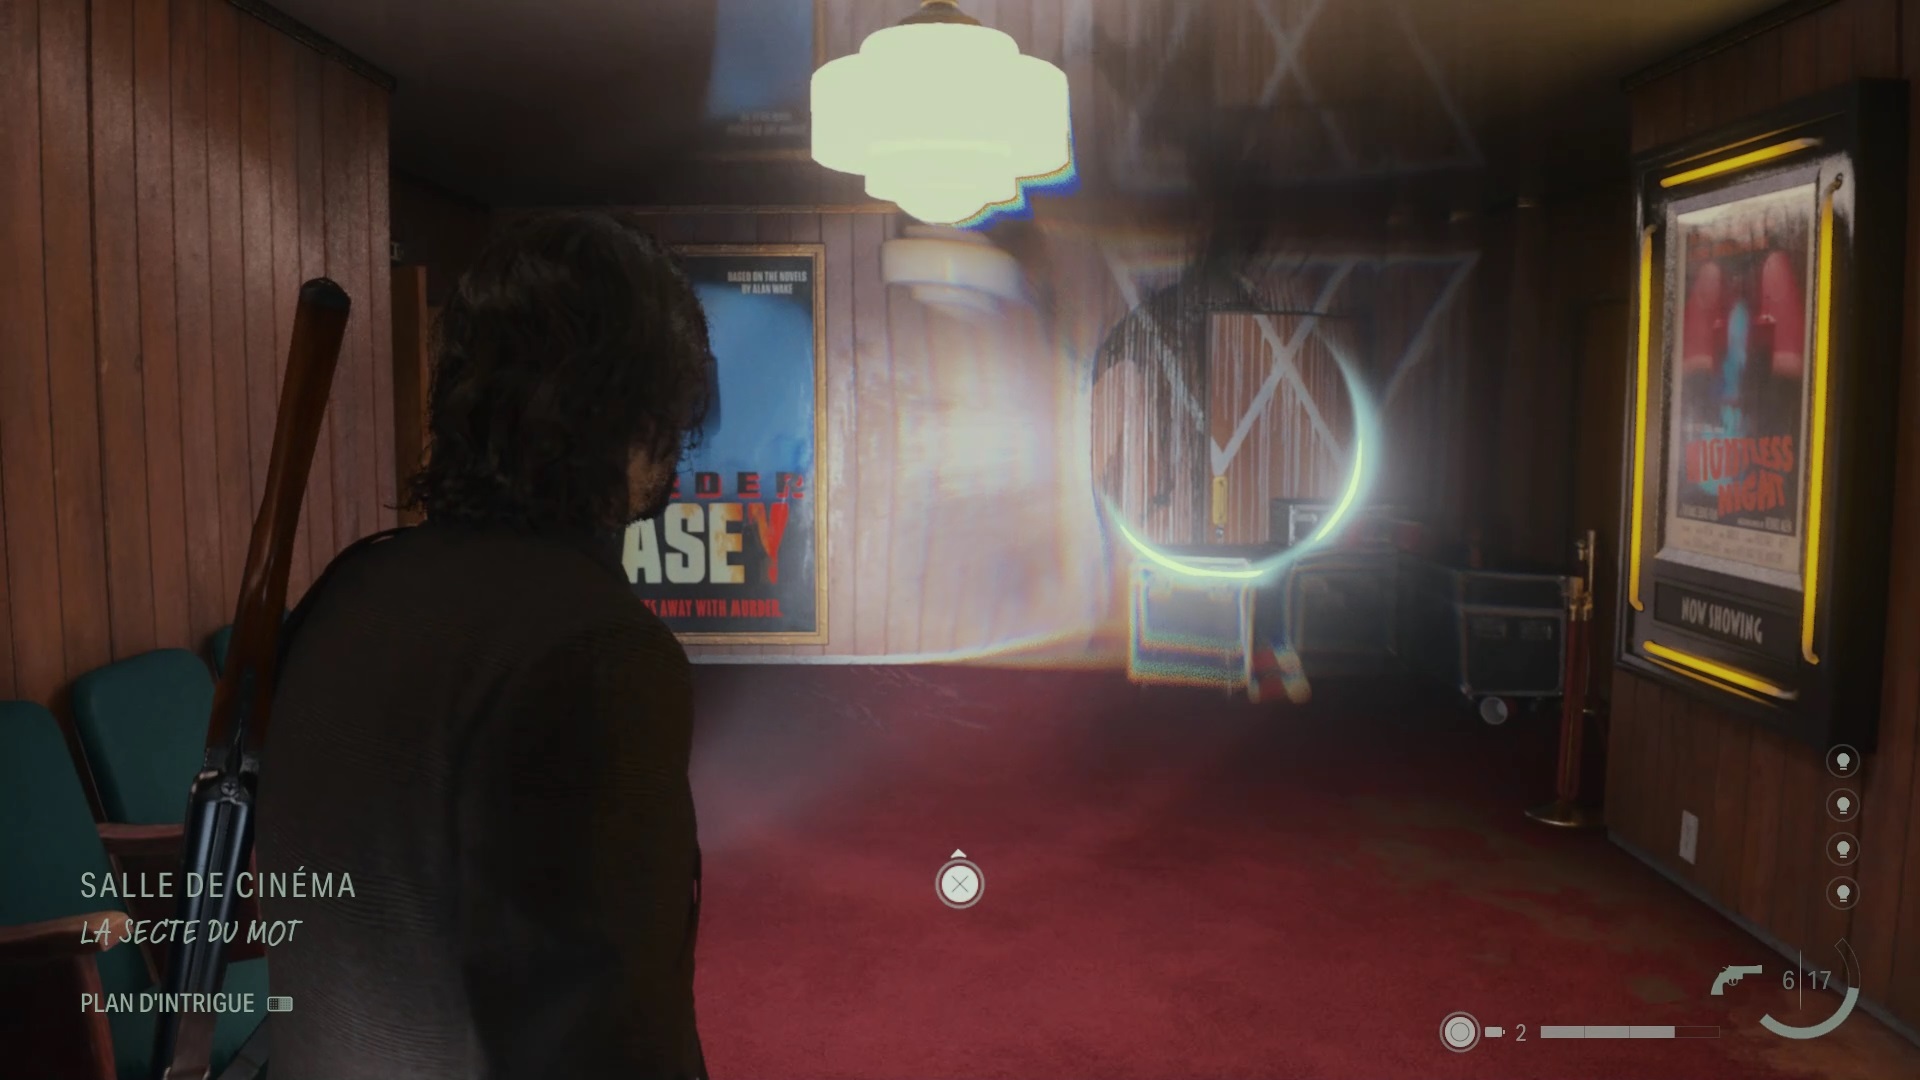
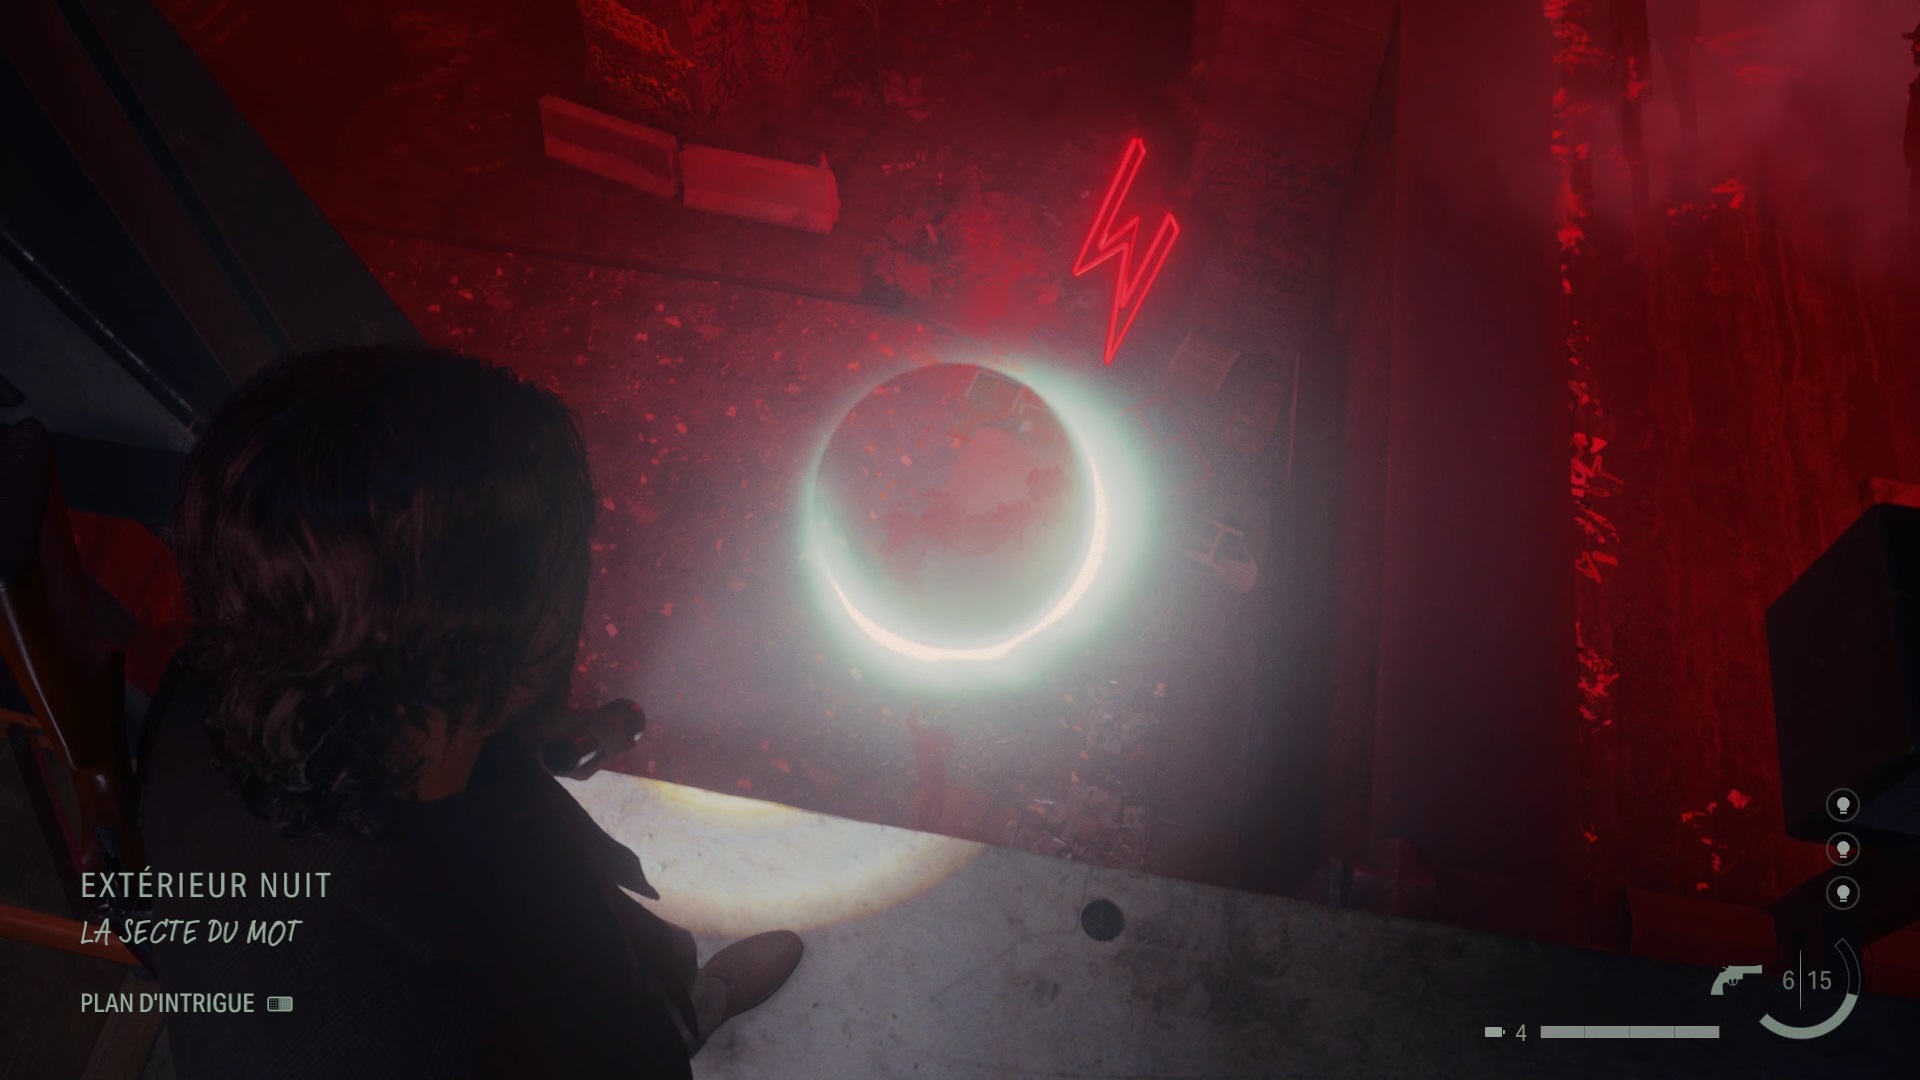
Walk towards the location of the light beams to find a garage entrance. Use your flashlight to dispel the shadows. Go to the other side to reach the cinema. Use your ticket at the ticket counter to enter. In the hall, go up to the balcony to line up the orbs and create the theme of « The Cult of the Word ».


Then go down behind the bar counter to enter the kitchens. Use the theme of “word cult” to bring out an idea. Align the orbs to get the “Chickens of New York” theme.
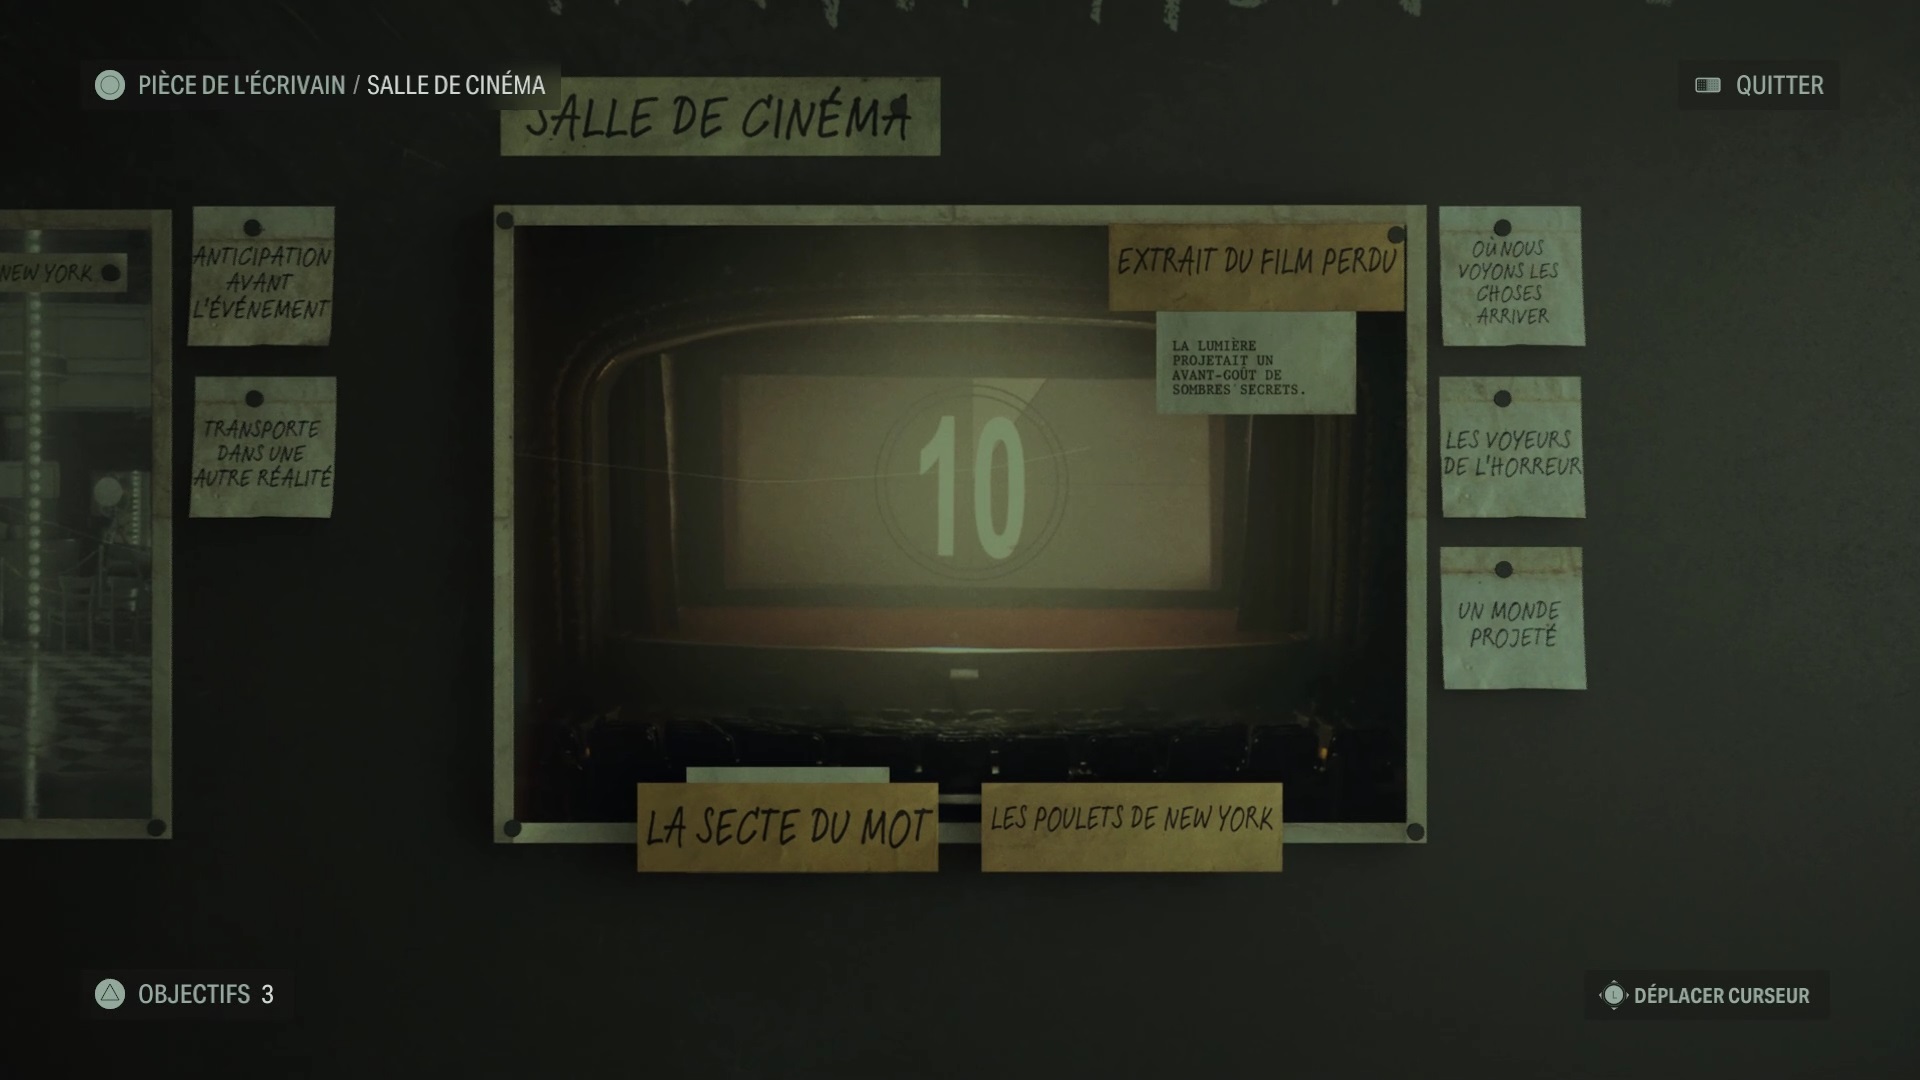
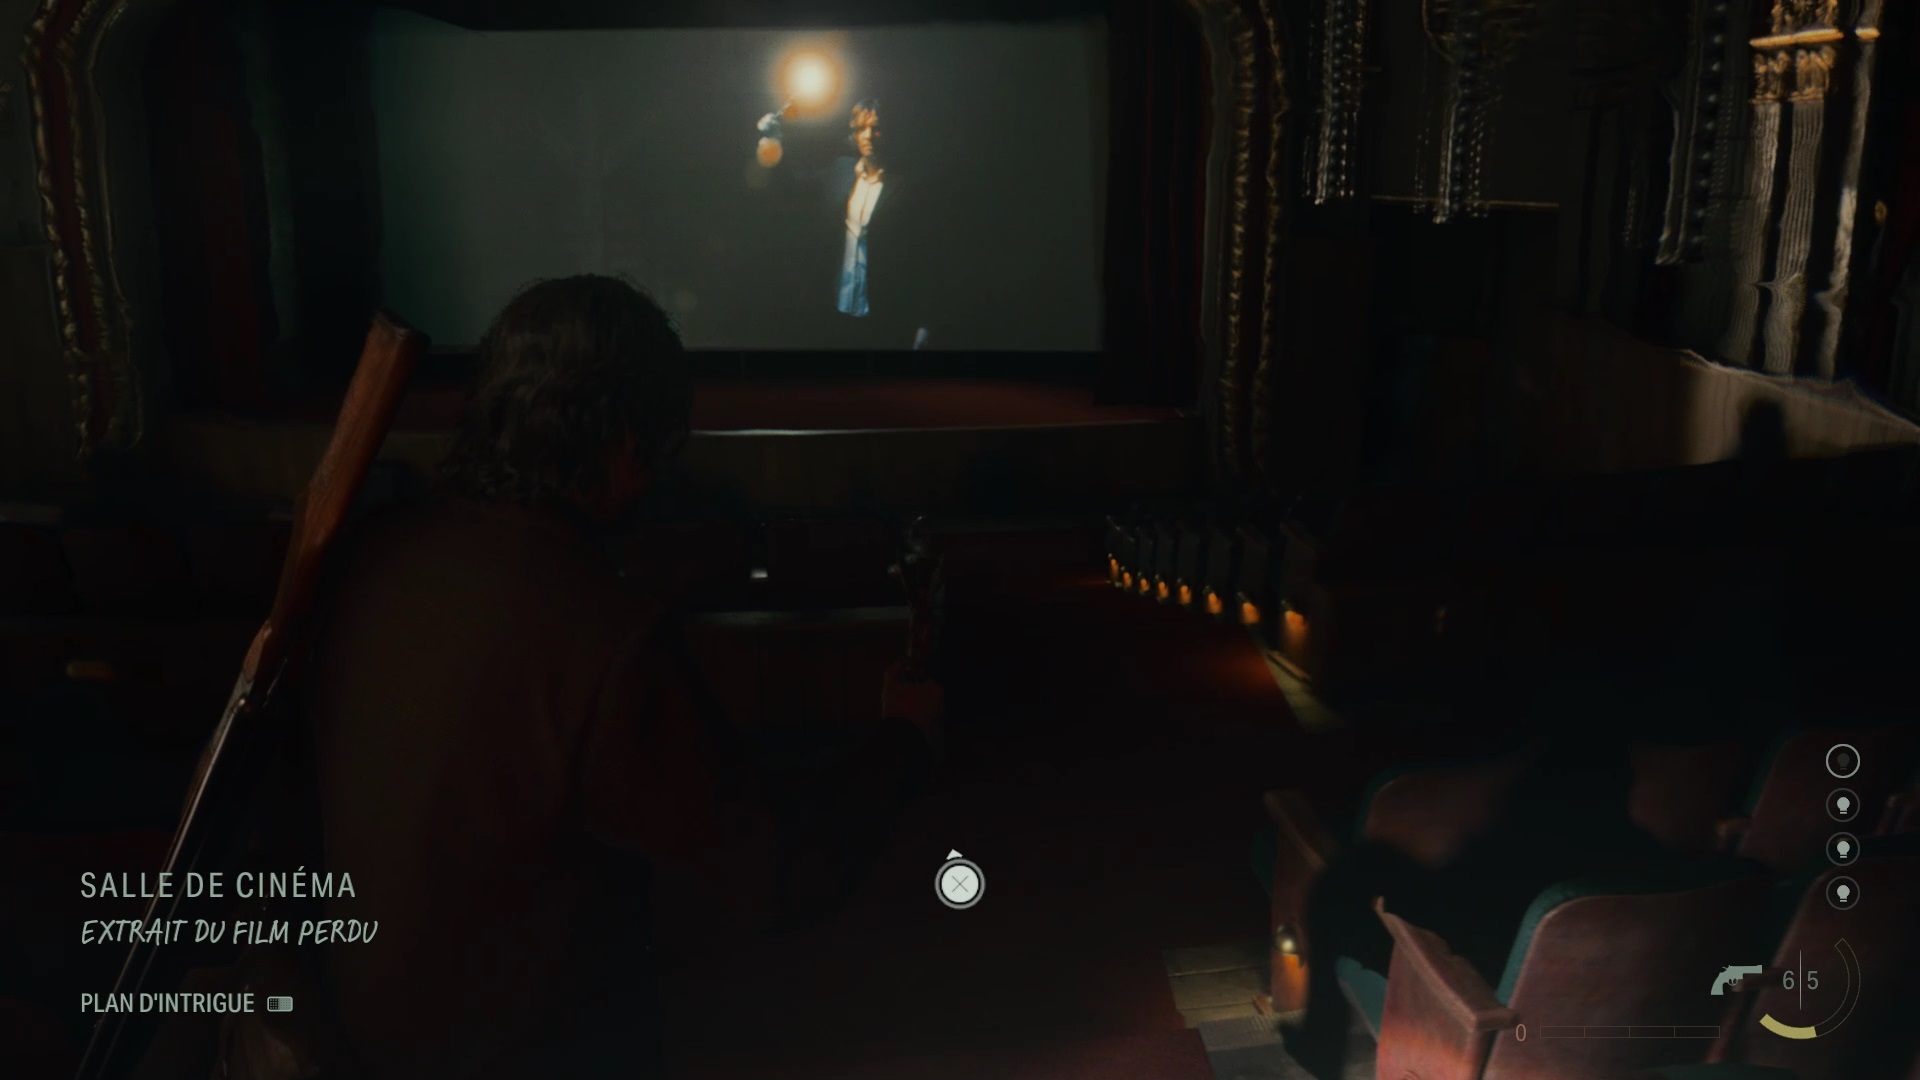

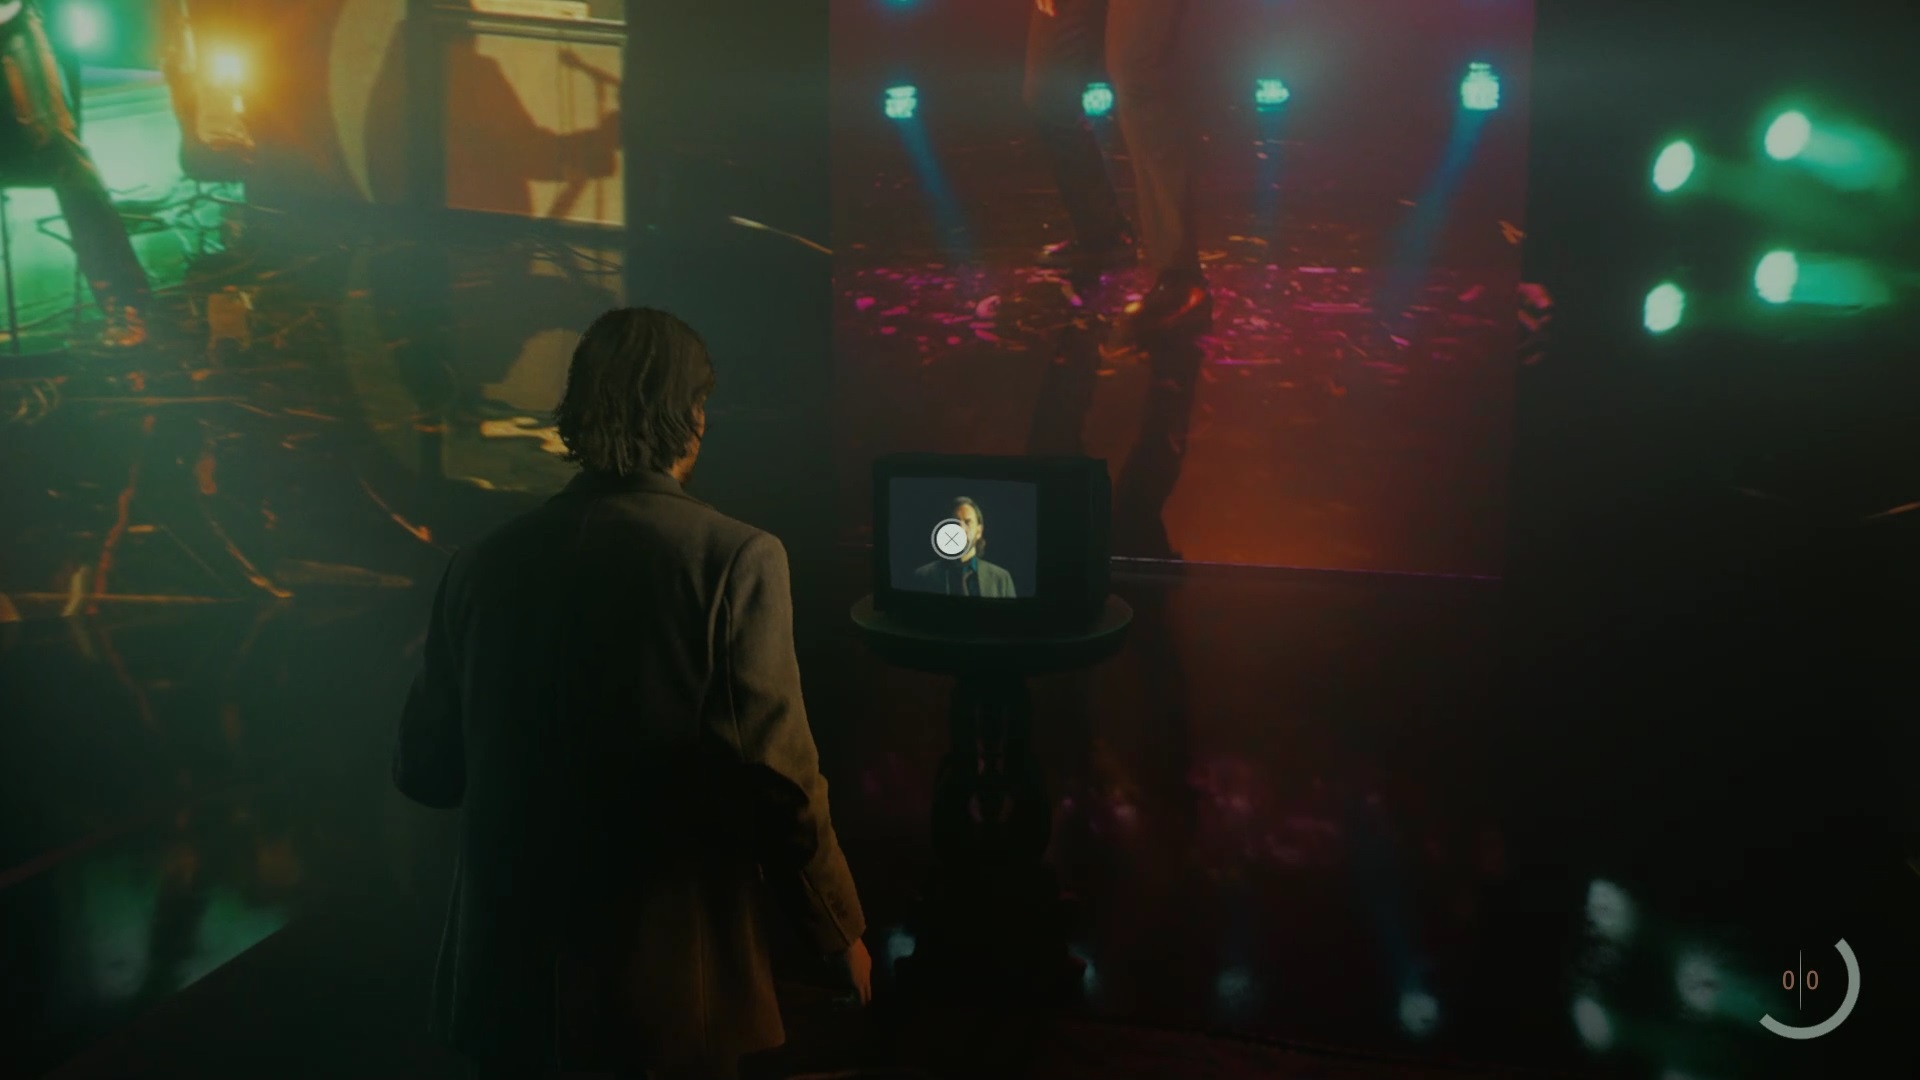
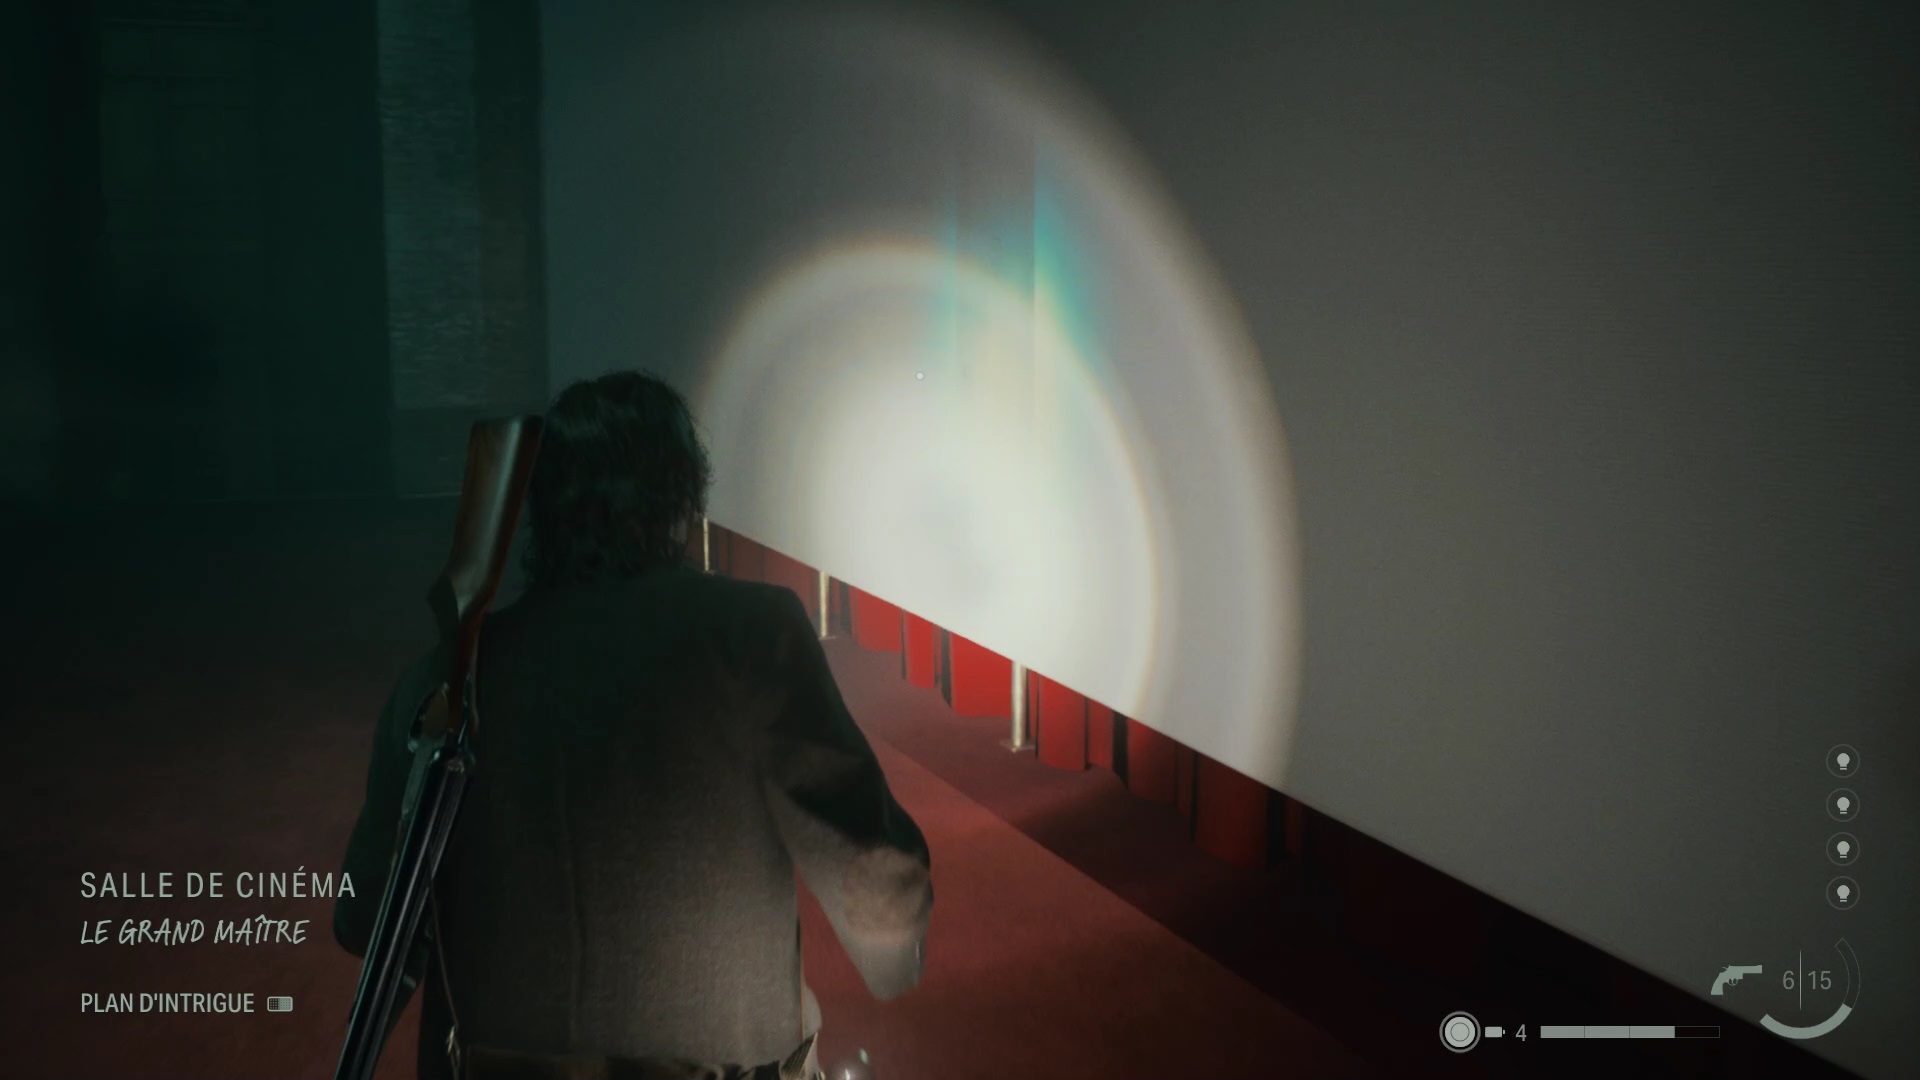
Change the lobby with the new theme to enter the movie theater. Use the “Word Cult” theme inside to come up with an idea above. Leave the room lit to avoid fights. In this room, line up the orbs to get the “Lost Film Clip” theme. » Approach Zane to give him the light with your lamp. A passage is now open to the left of the room.
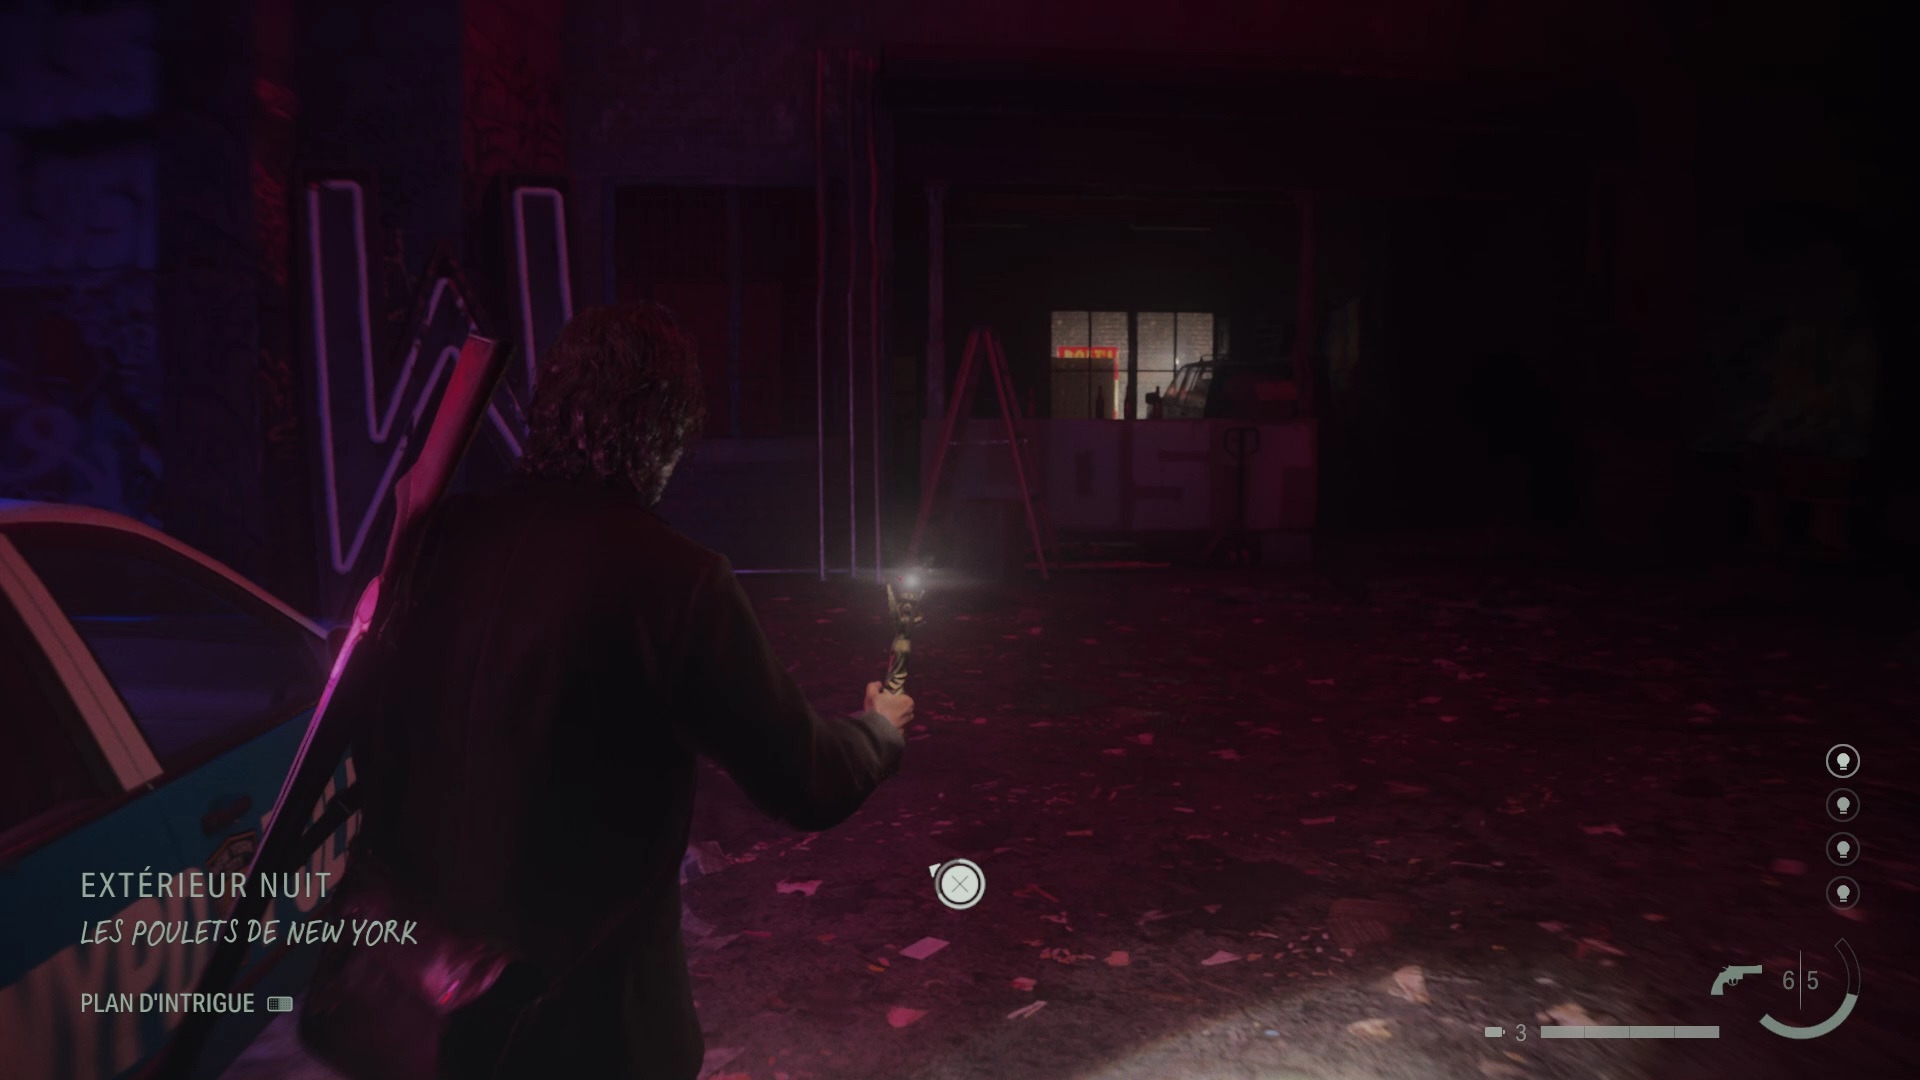
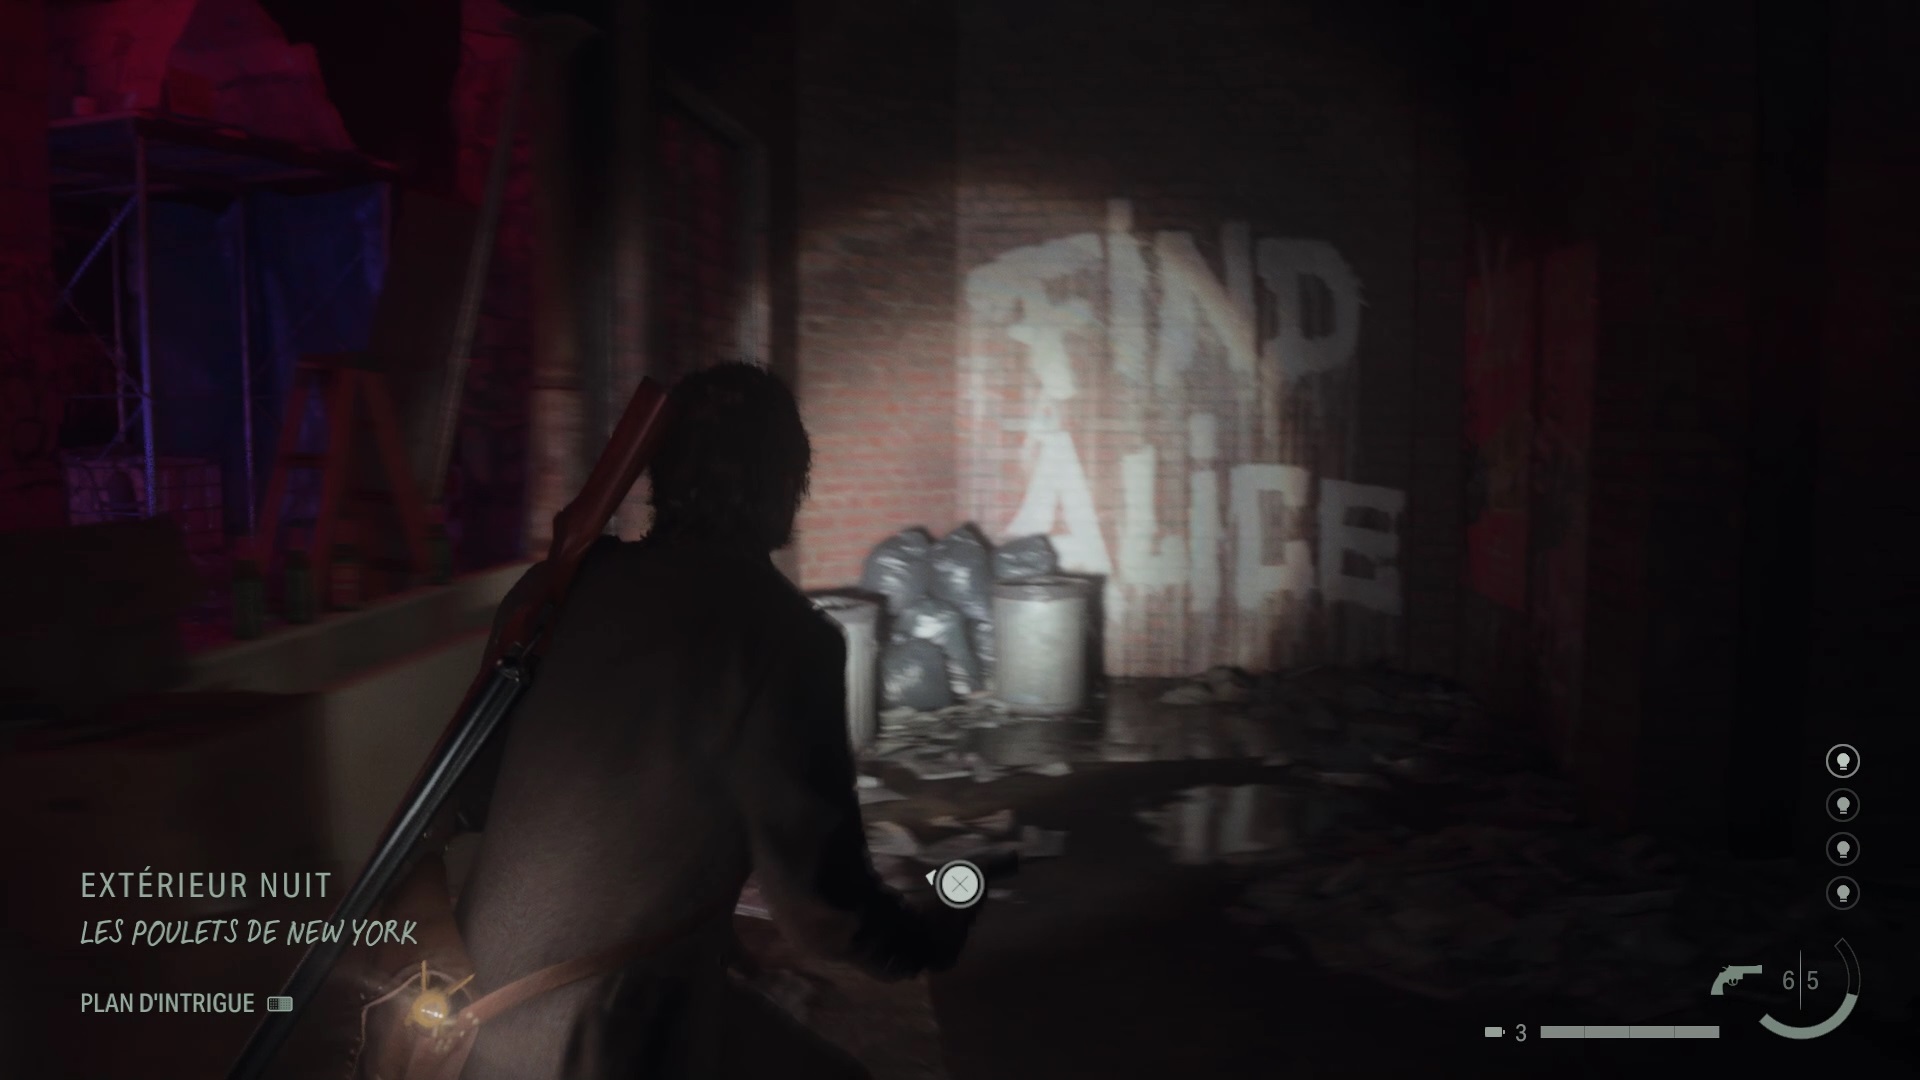
Take the exit on the left to reach the “Night Exterior” scene. Use the “Chickens of New York” theme to spawn a vehicle. Head towards the garage where the headlights are aimed. First turn off the headlights with your lamp to be able to enter. Stand to the left and use your lamp to turn on the headlights and reveal an entrance.

Climb onto the roofs to cross a fence. Walk around the platform to spot a ladder near the door with strange noises. Use the “Word Cult” theme to spawn orbs. Line up these orbs to get the “The Grandmaster” theme.
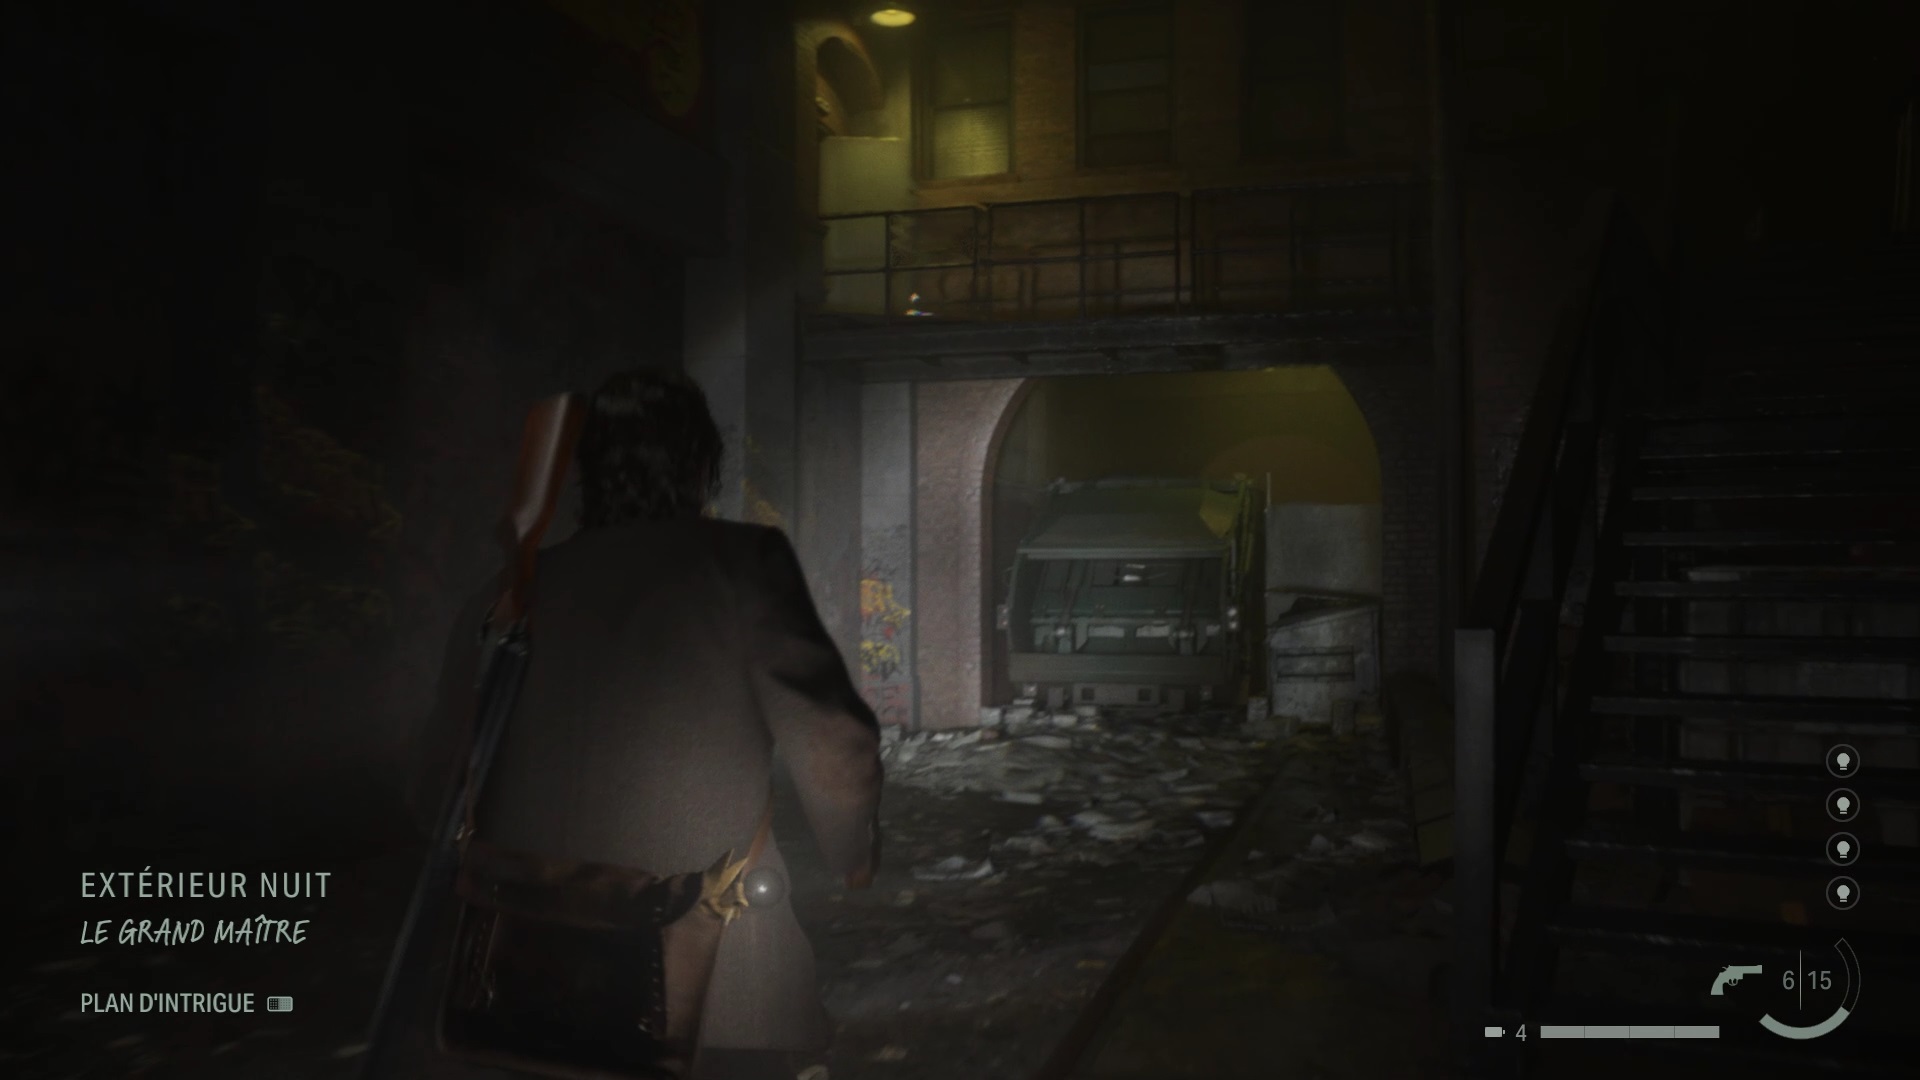
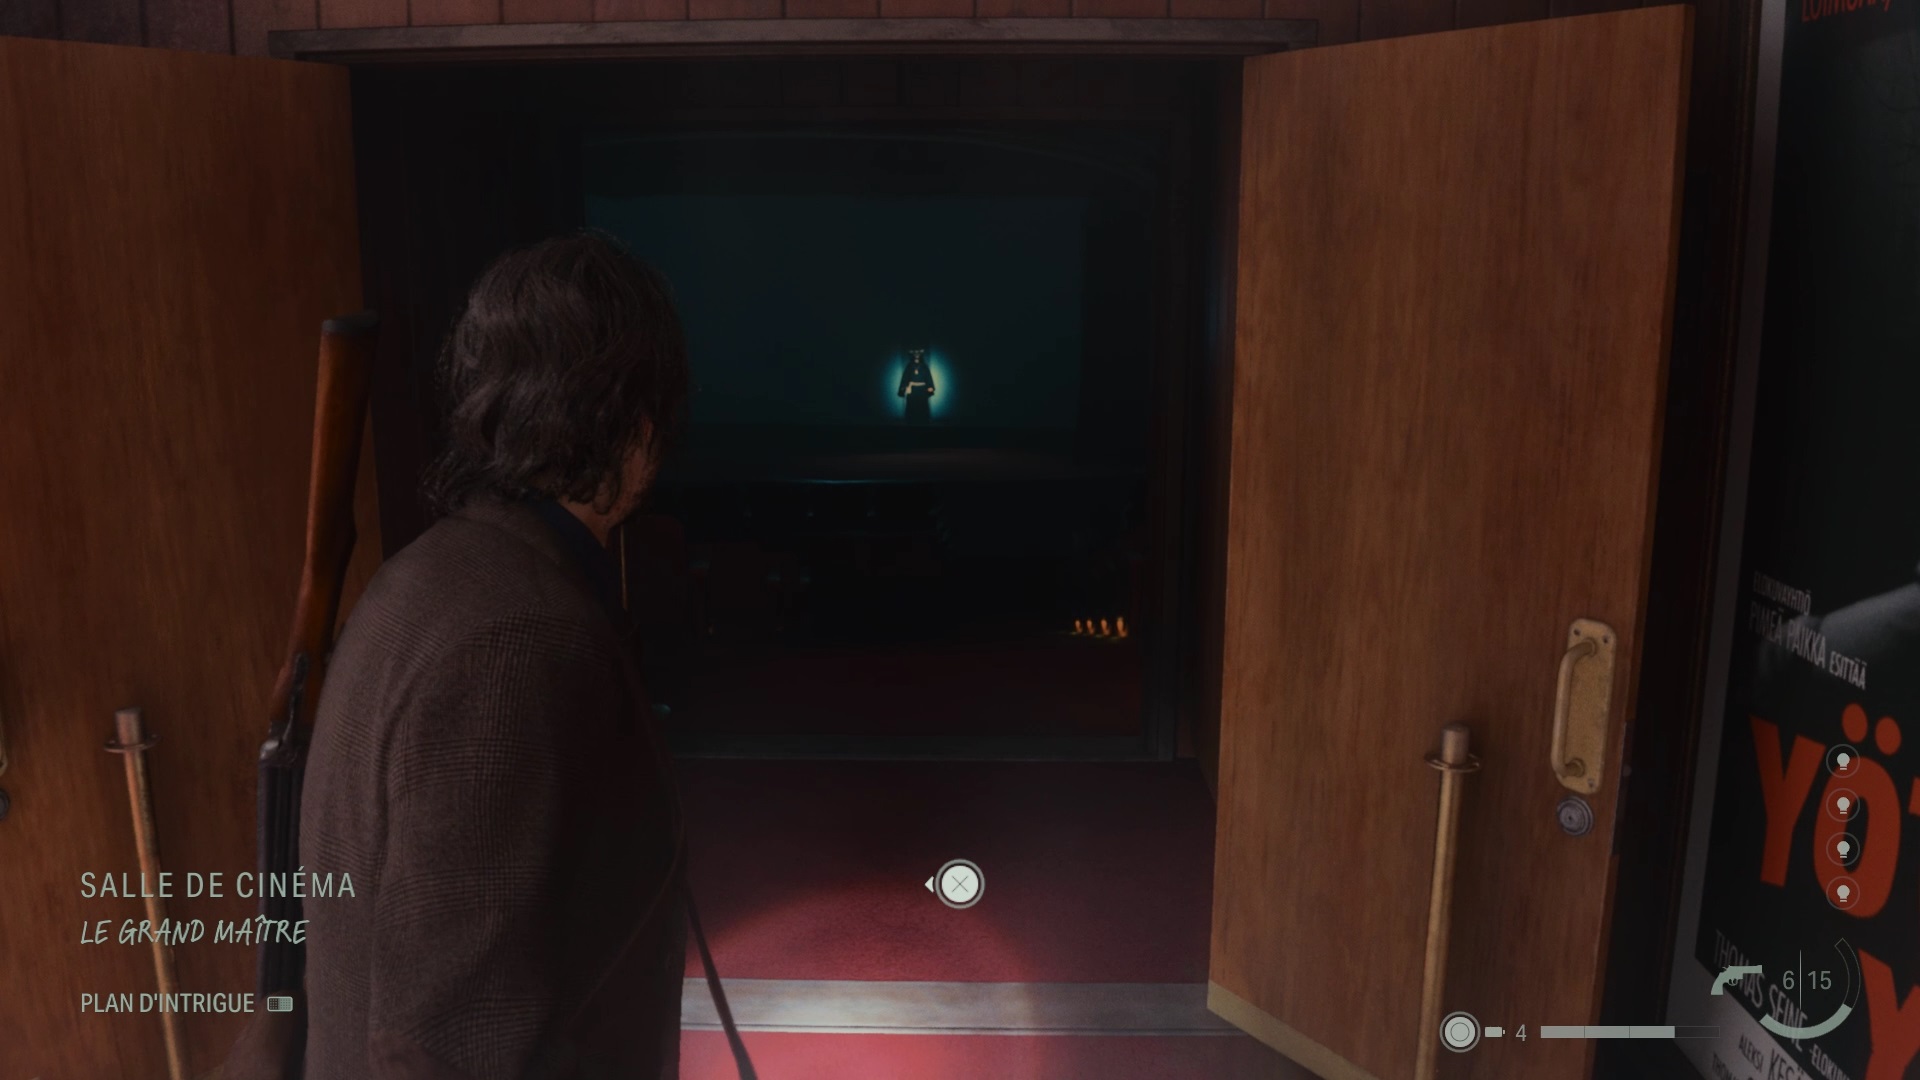
Go back down to the courtyard in the “Night Exterior” scene to use the new theme. A door opens above a balcony. Take this door to return to the cinema. In the room, use the “The Grandmaster” theme to make a door appear on the screen. Step into the projection room to interact with a screen. Actor Alex Casey appears before you, tied to a chair. Go behind him to get a knife.
Chase it down to find a new idea to align with. Go through the door, and turn around when you hit a dead end. Interact with Mulligan and Thornton to end the chapter. Exit the cinema by removing the themes in the lobby.
Initiation 9: Escape
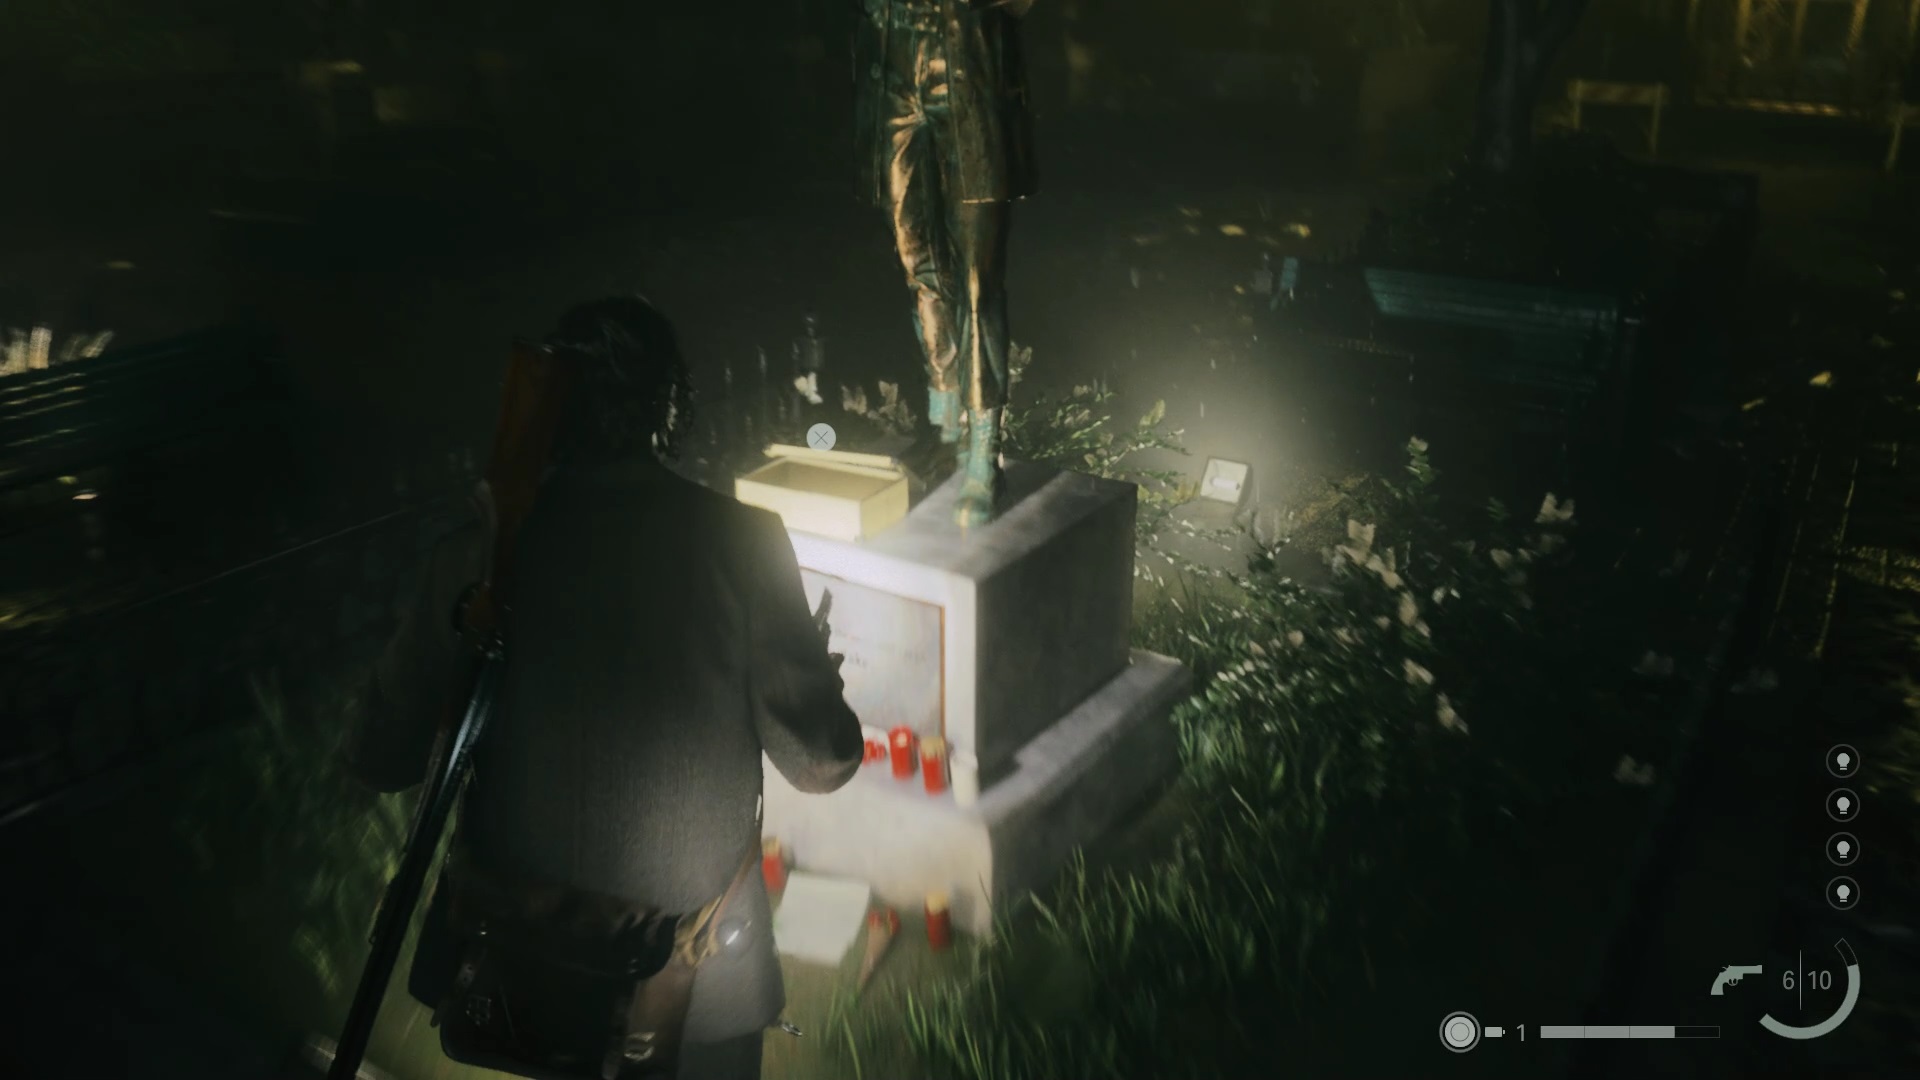
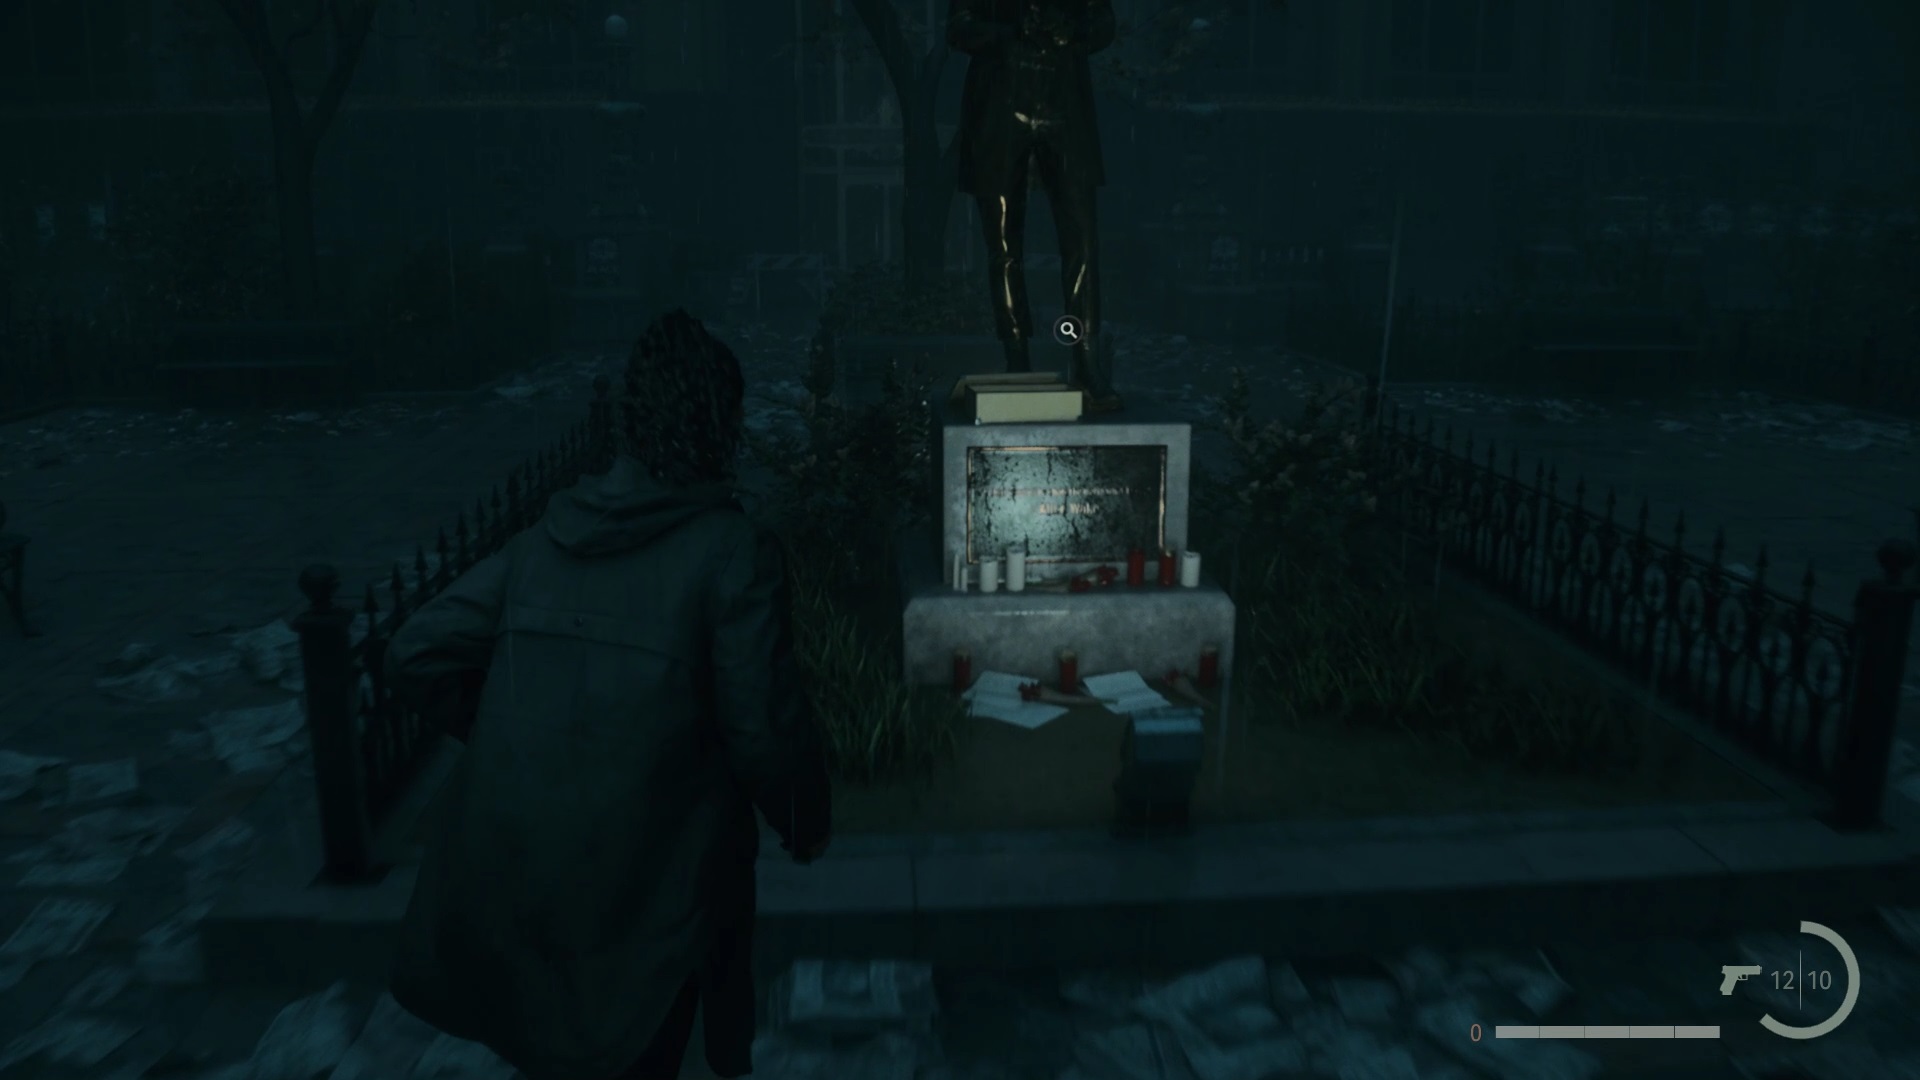
Exit the cinema by removing themes associated with the lobby. Return to the square, and that’s when the phone rings. Surprise, it’s Alan who asks Alan to retrieve photos from the basement of the studio. You know the way, go through the studio’s emergency entrance to reach it. Use your lamp to make your way to the shoebox. Once you have the photos, return to the square to place them under the statue. If you have not progressed far enough in the Saga adventure, you automatically switch to it.

Go up to the apartment and interact with Alice’s projector to complete the mission.
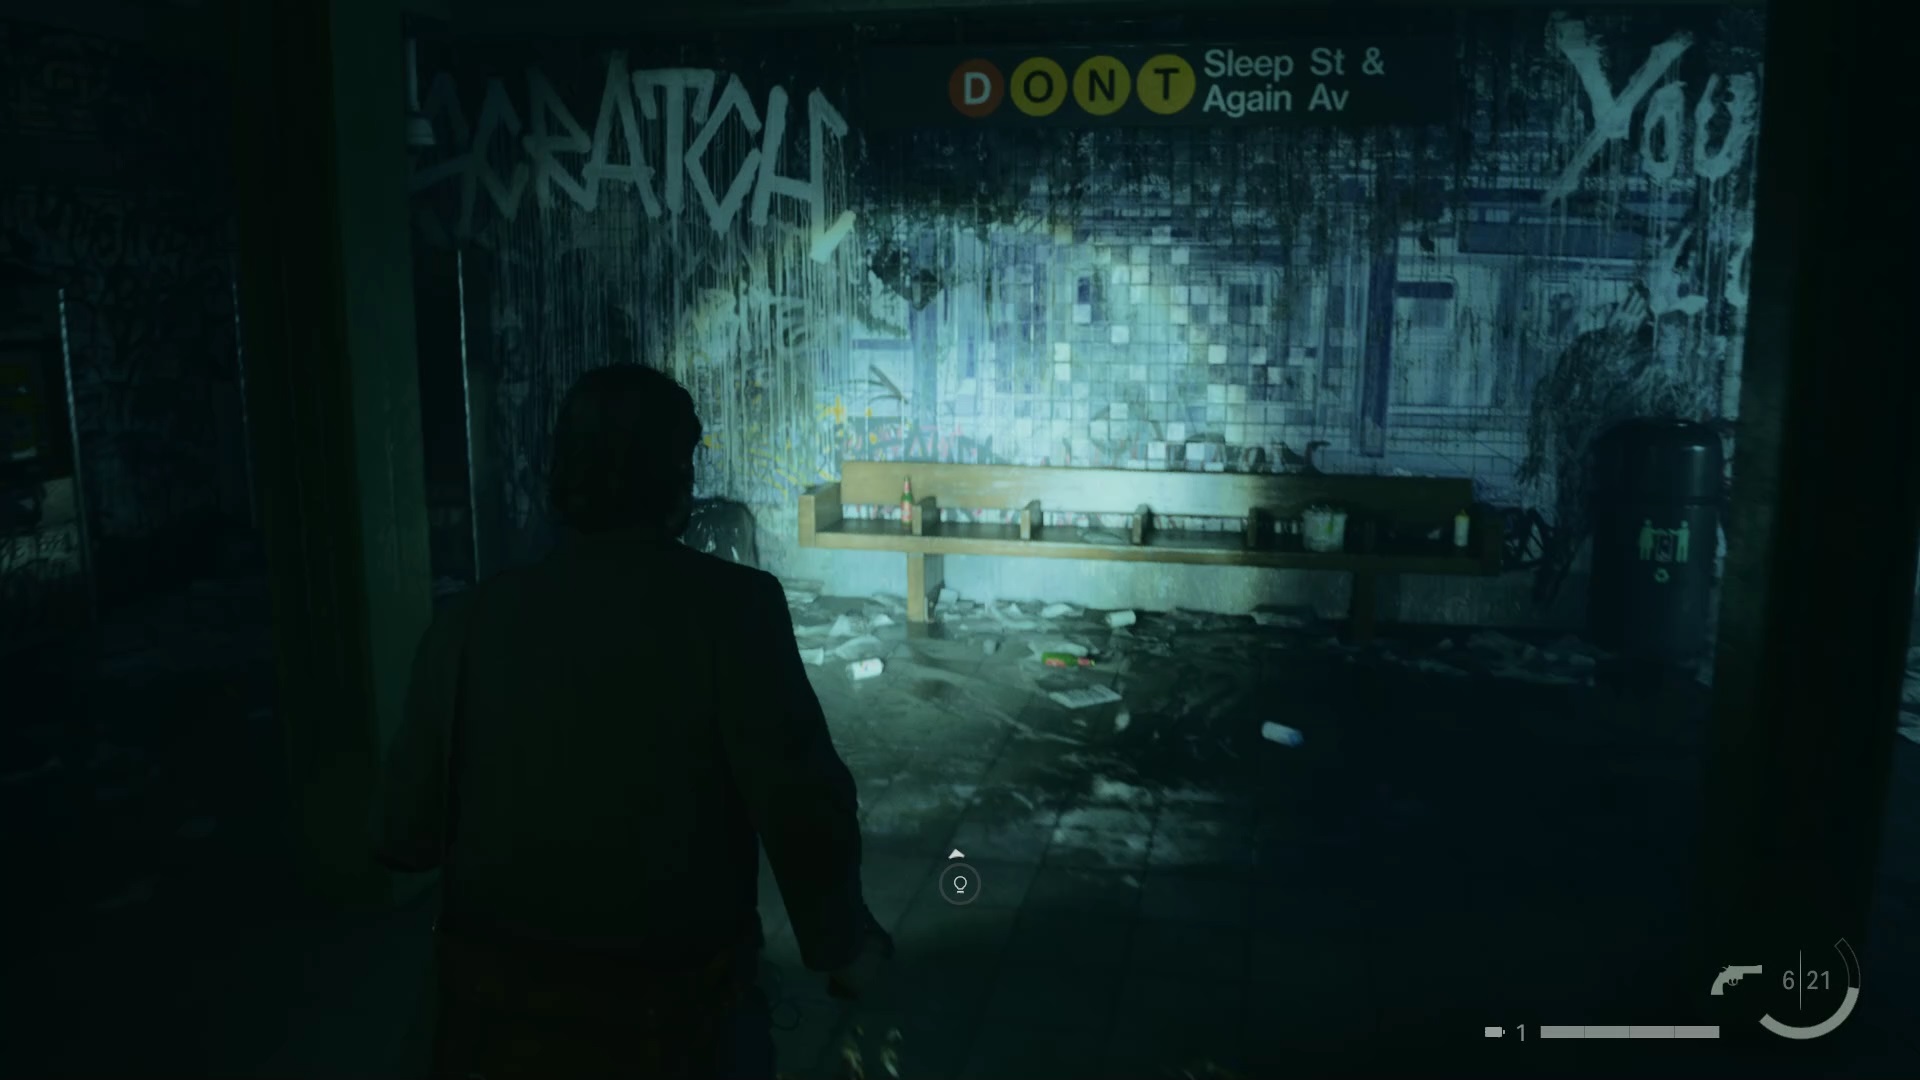
Return 6: Scratch
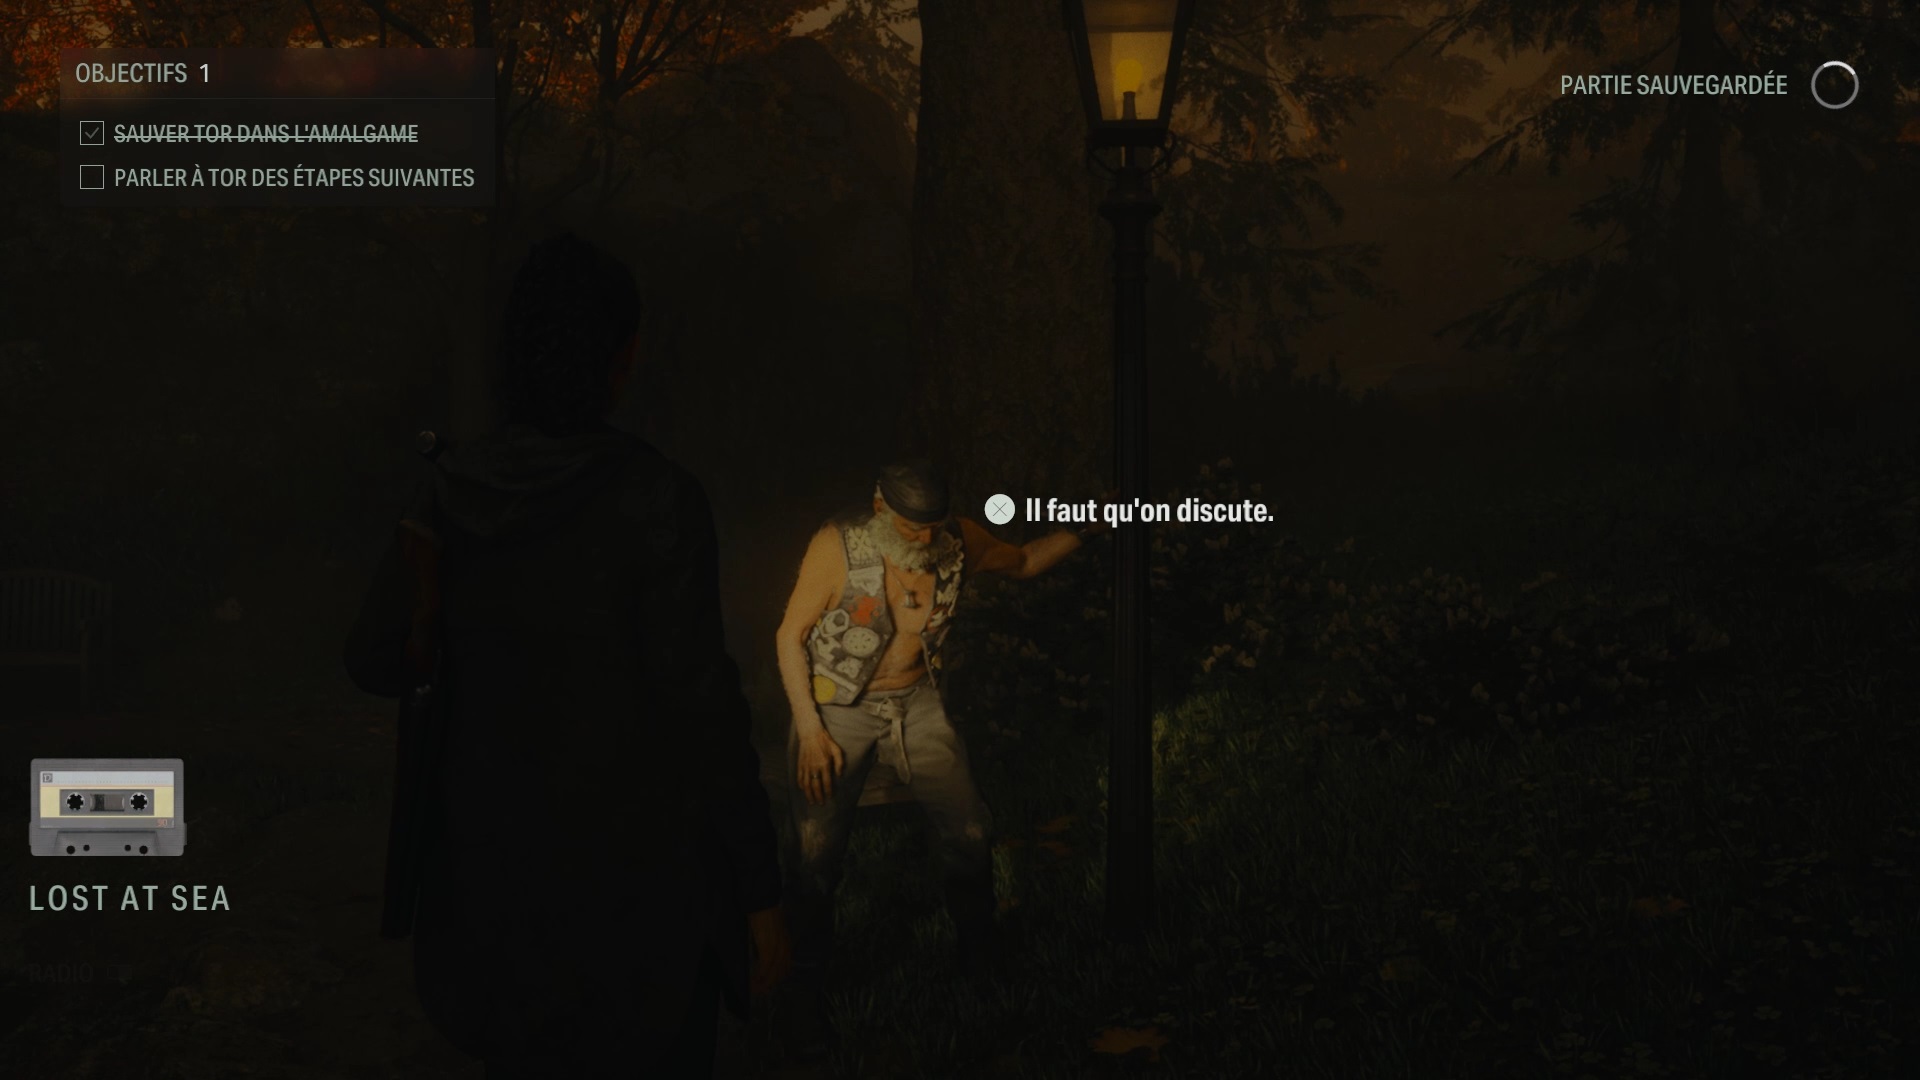
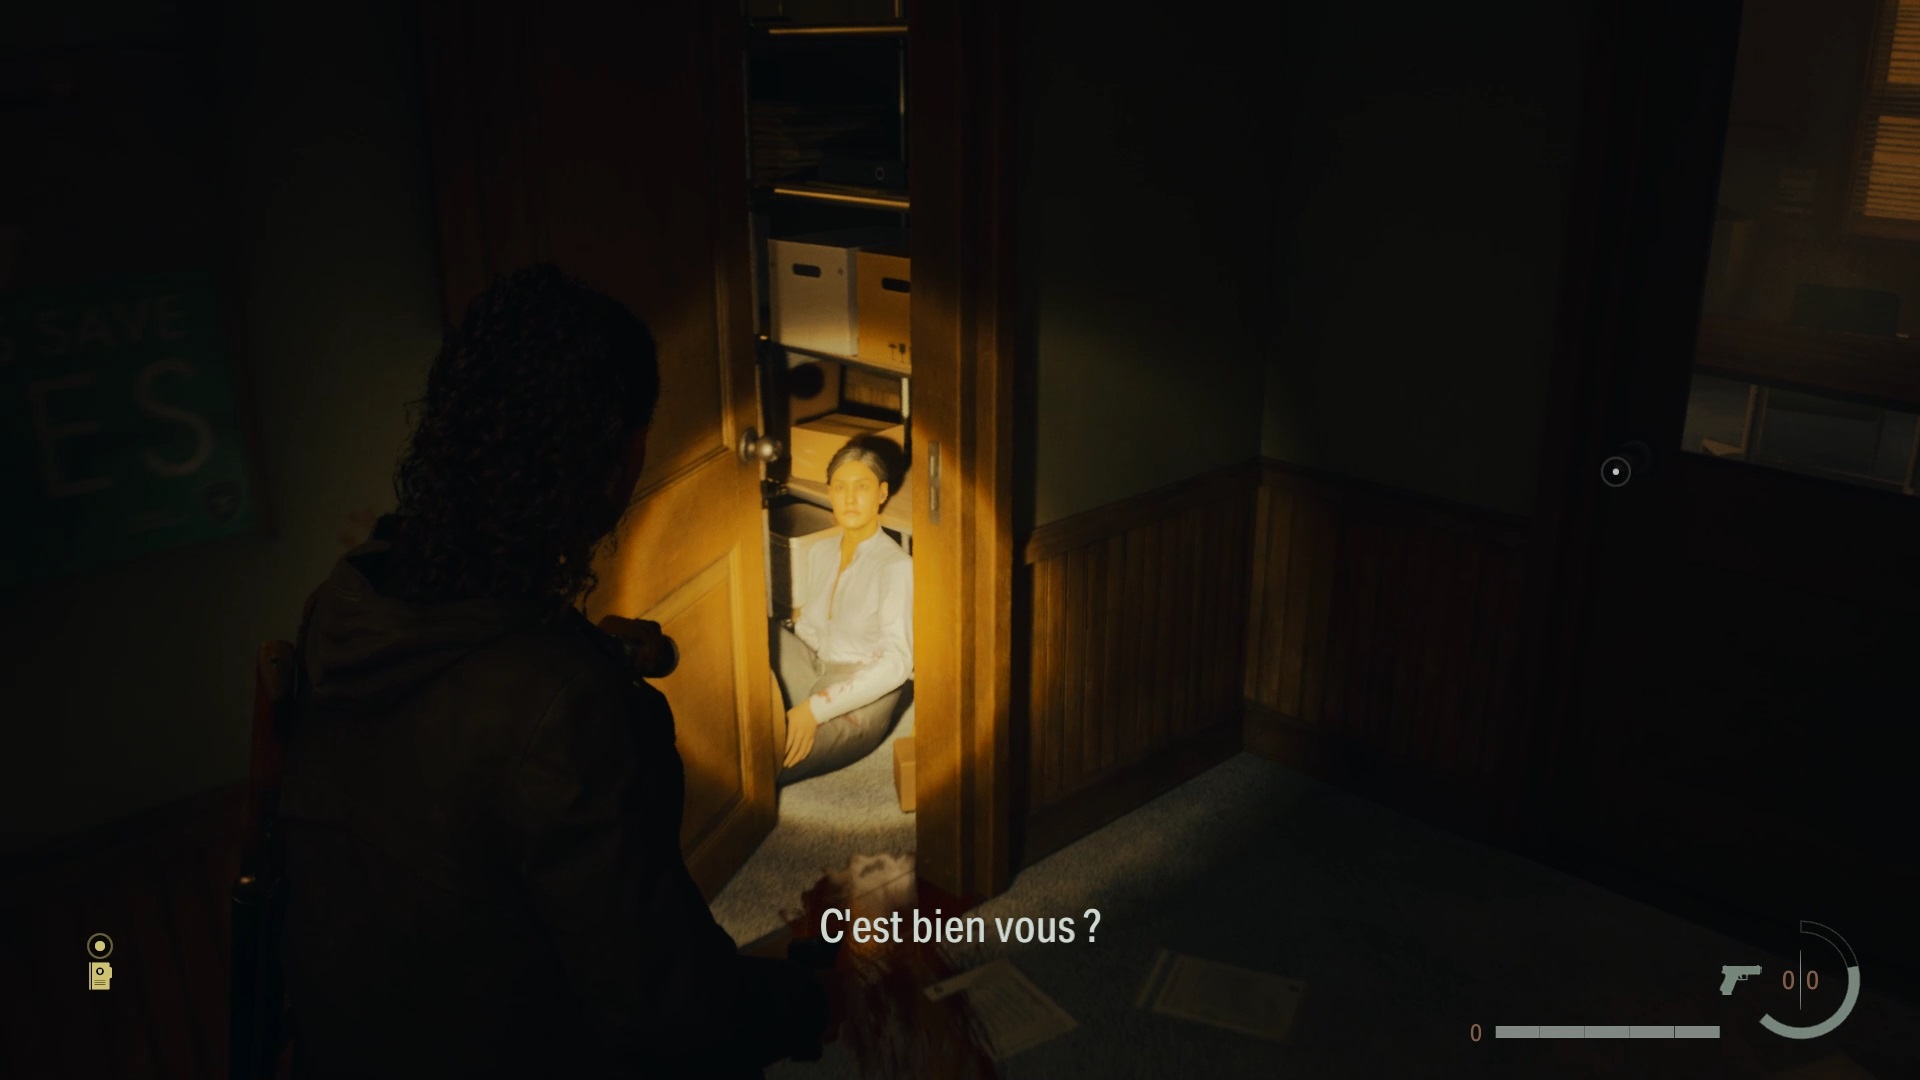
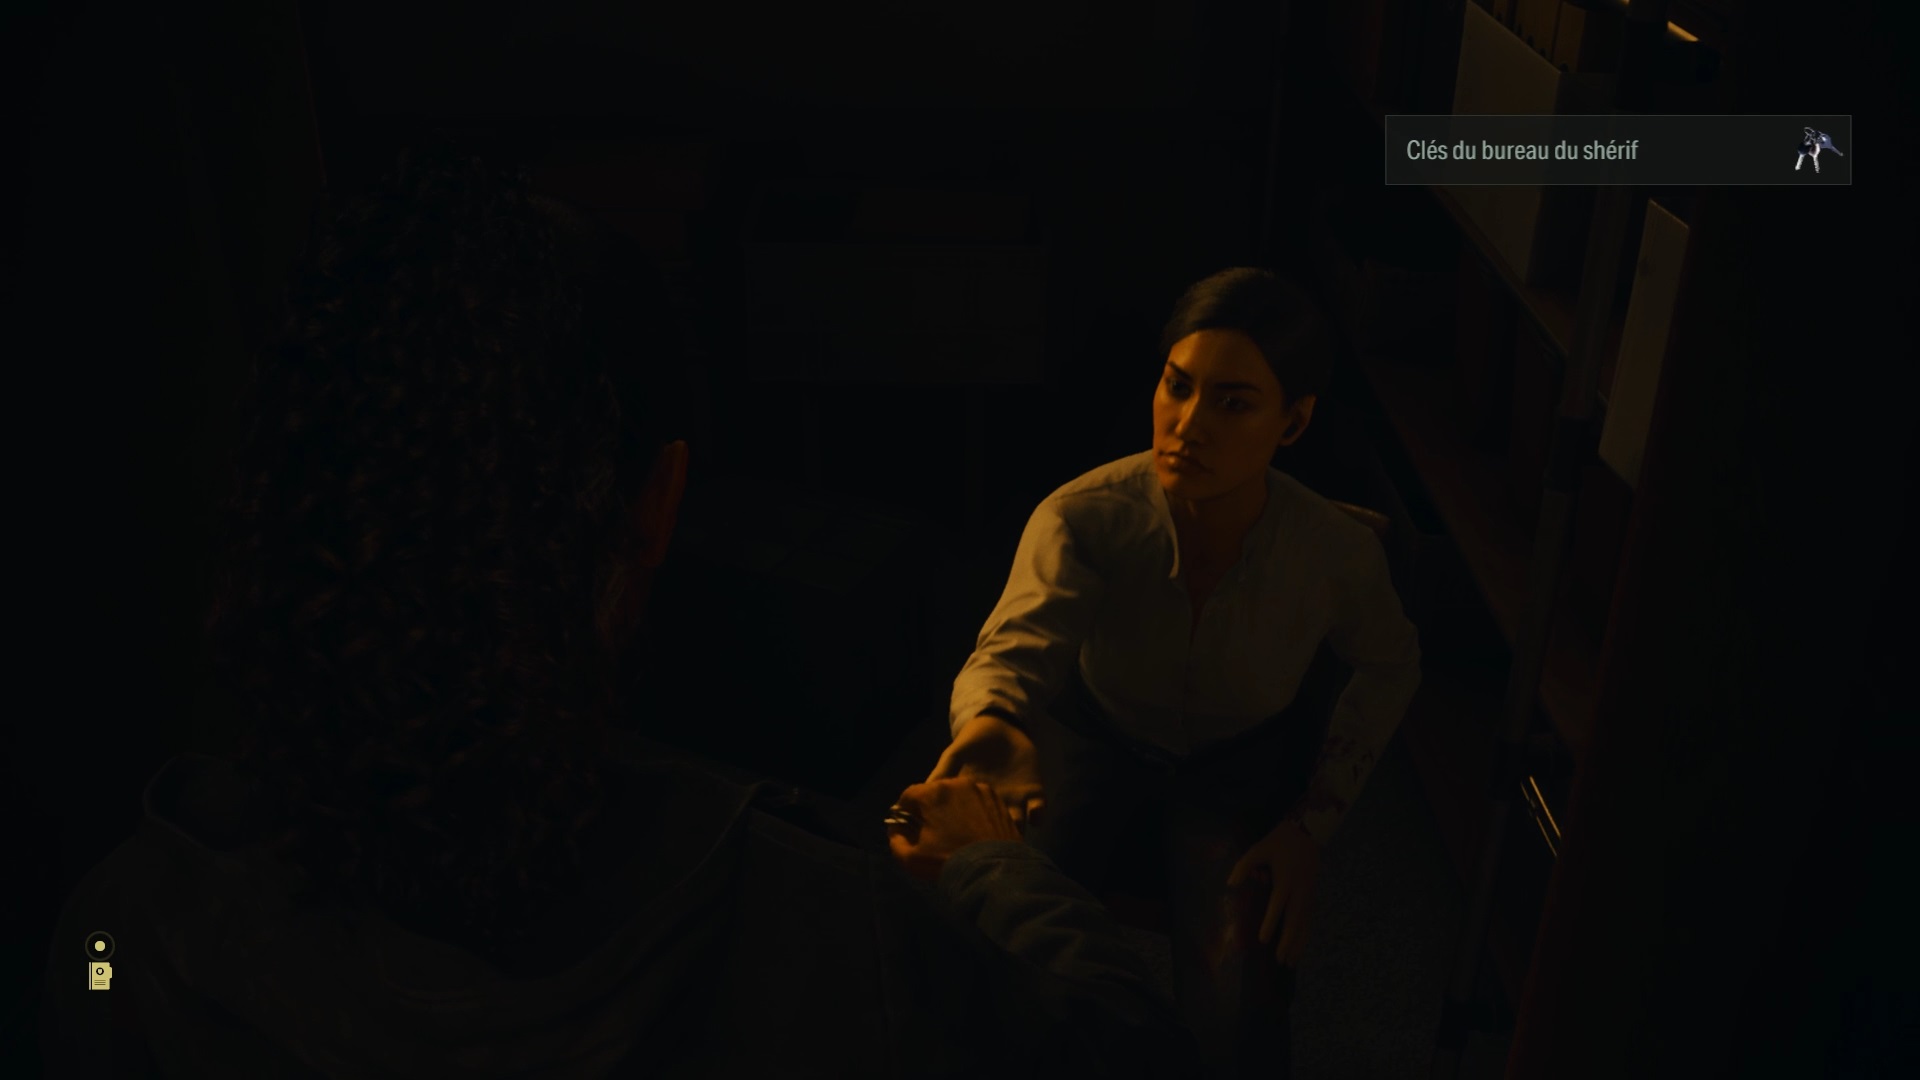
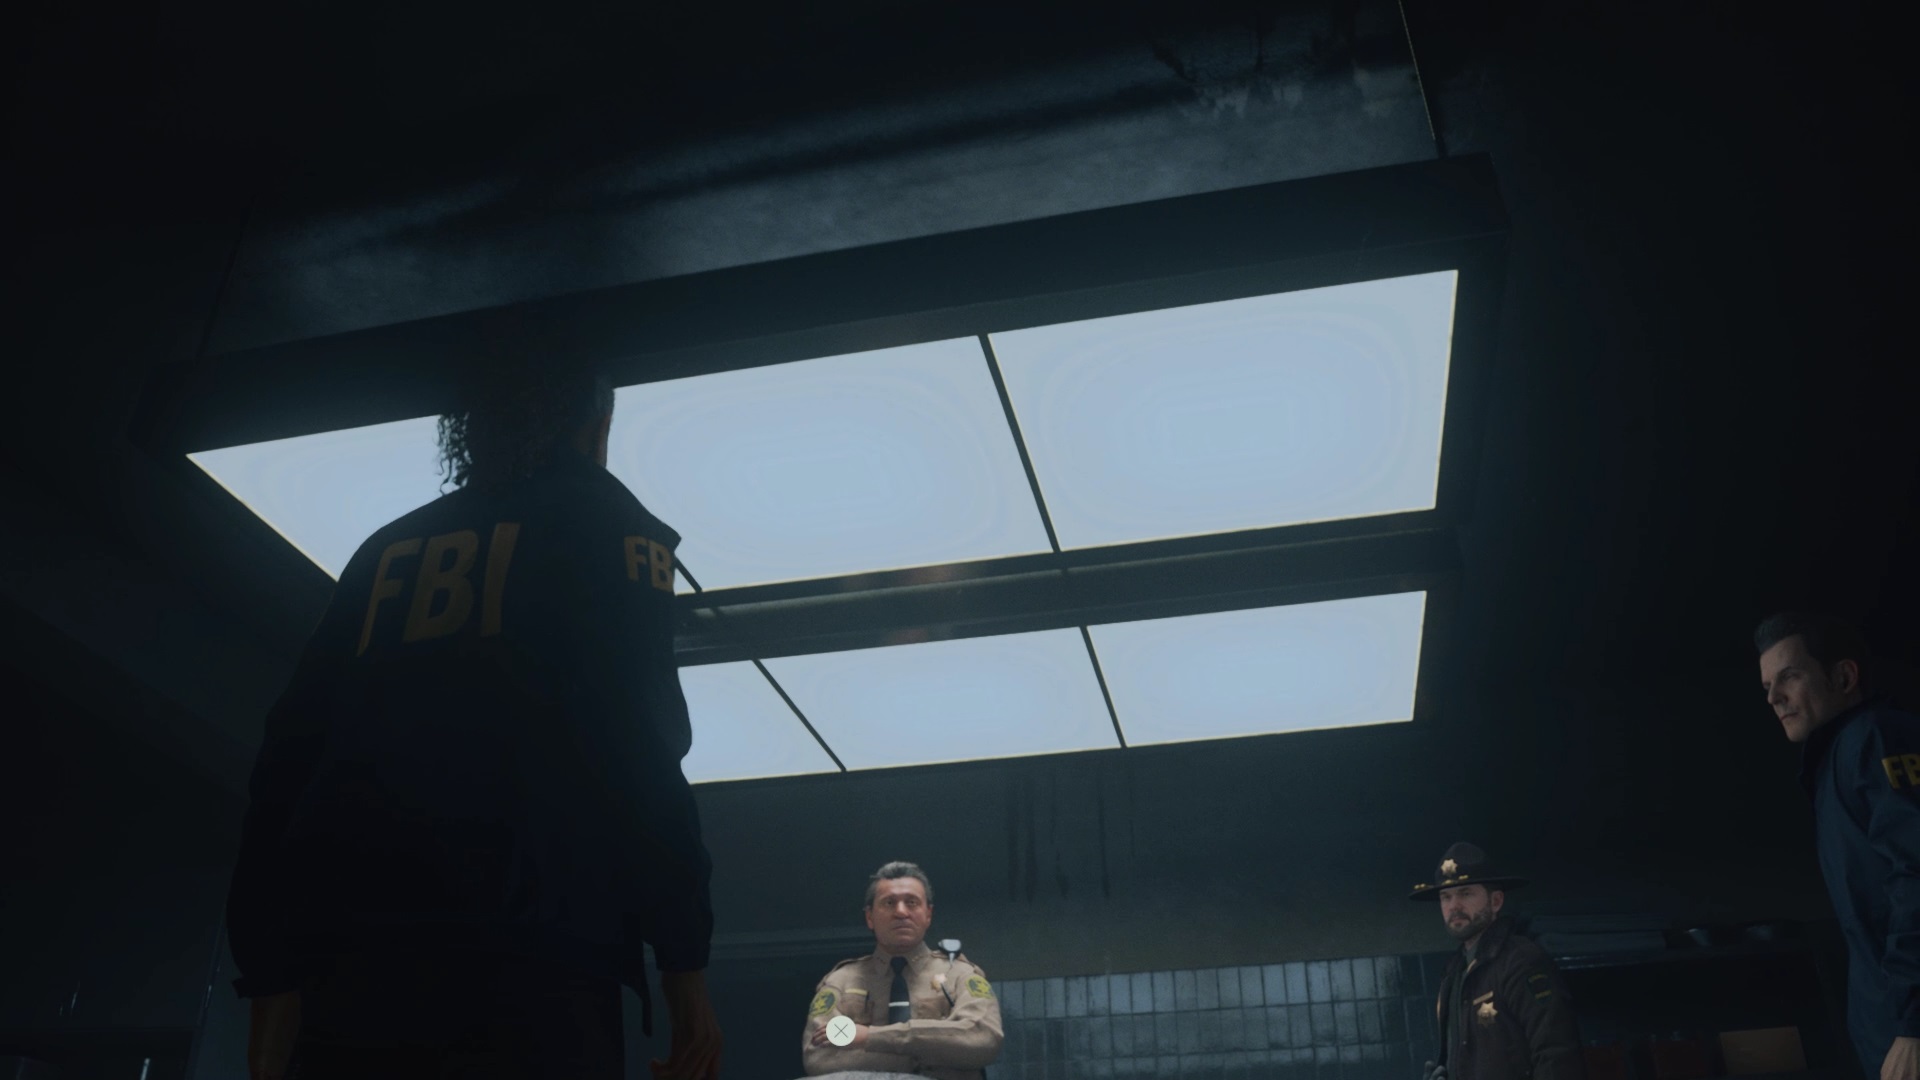
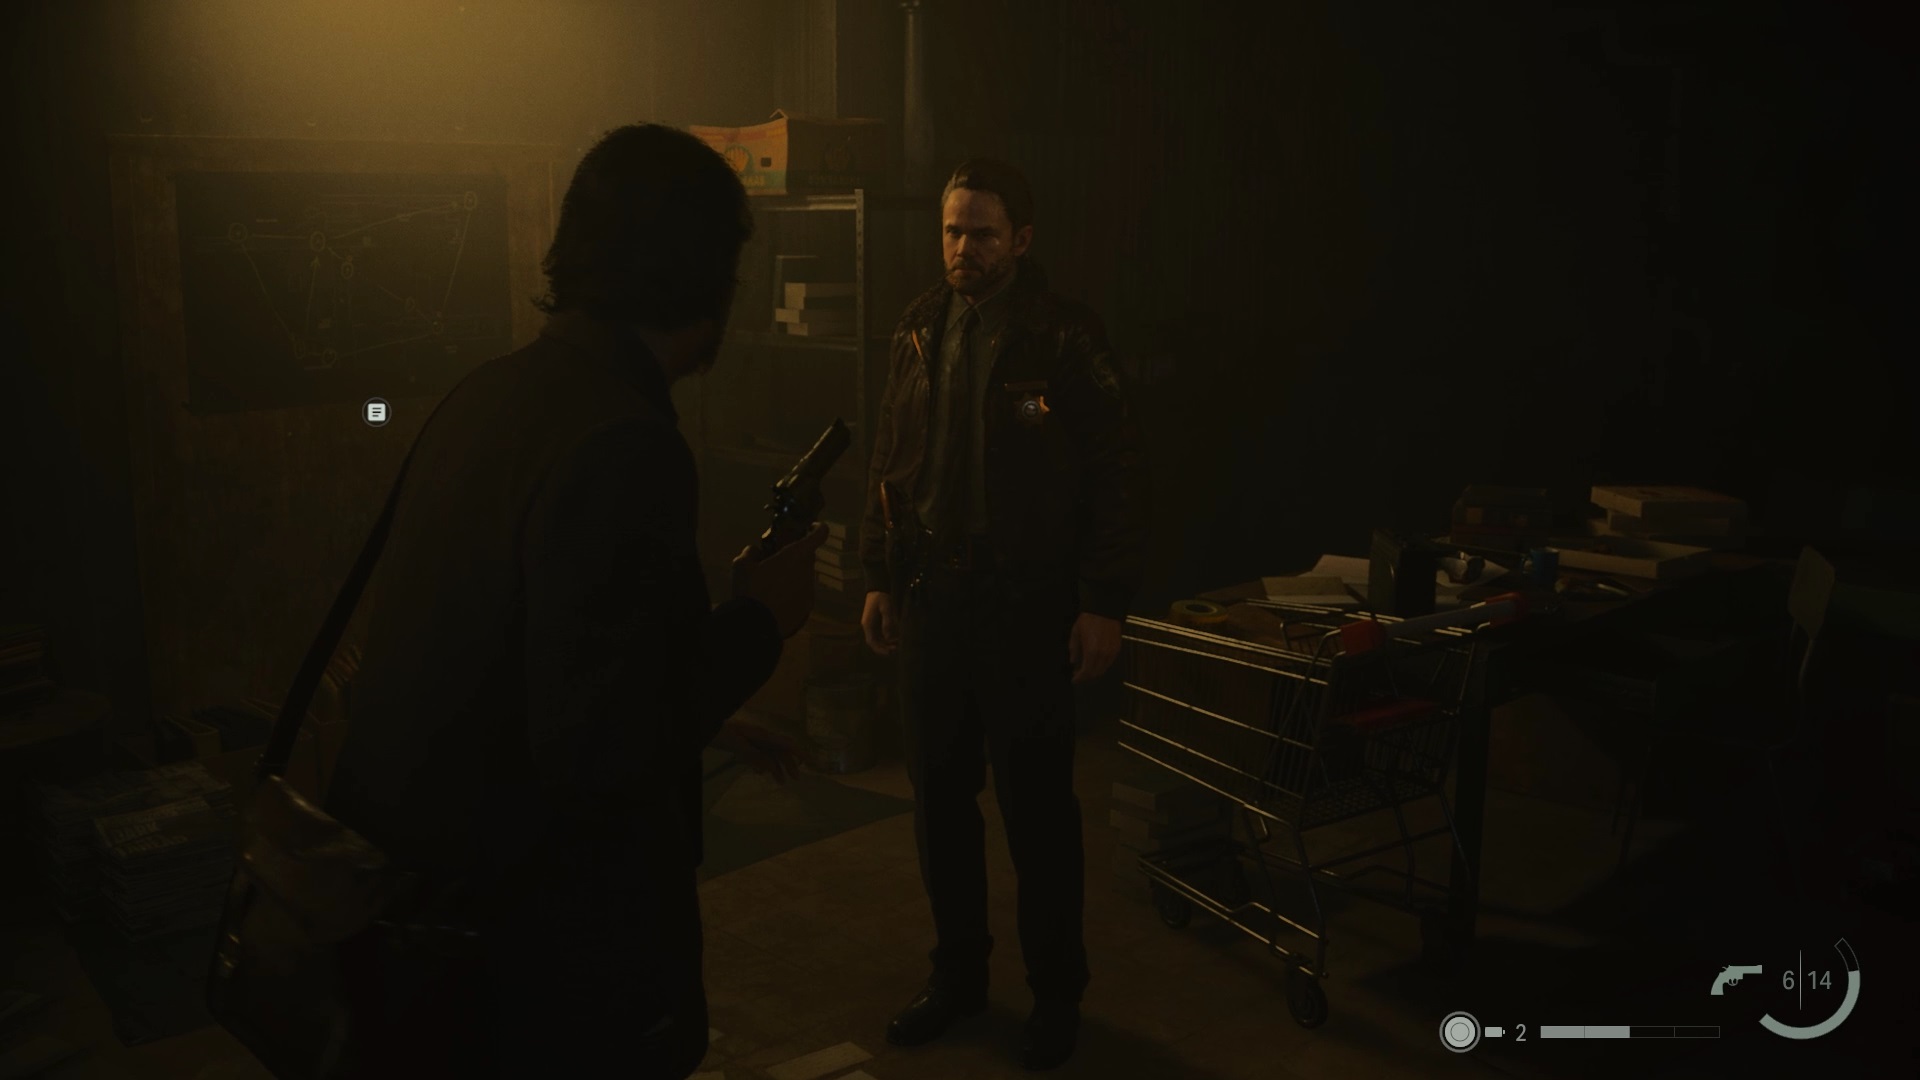
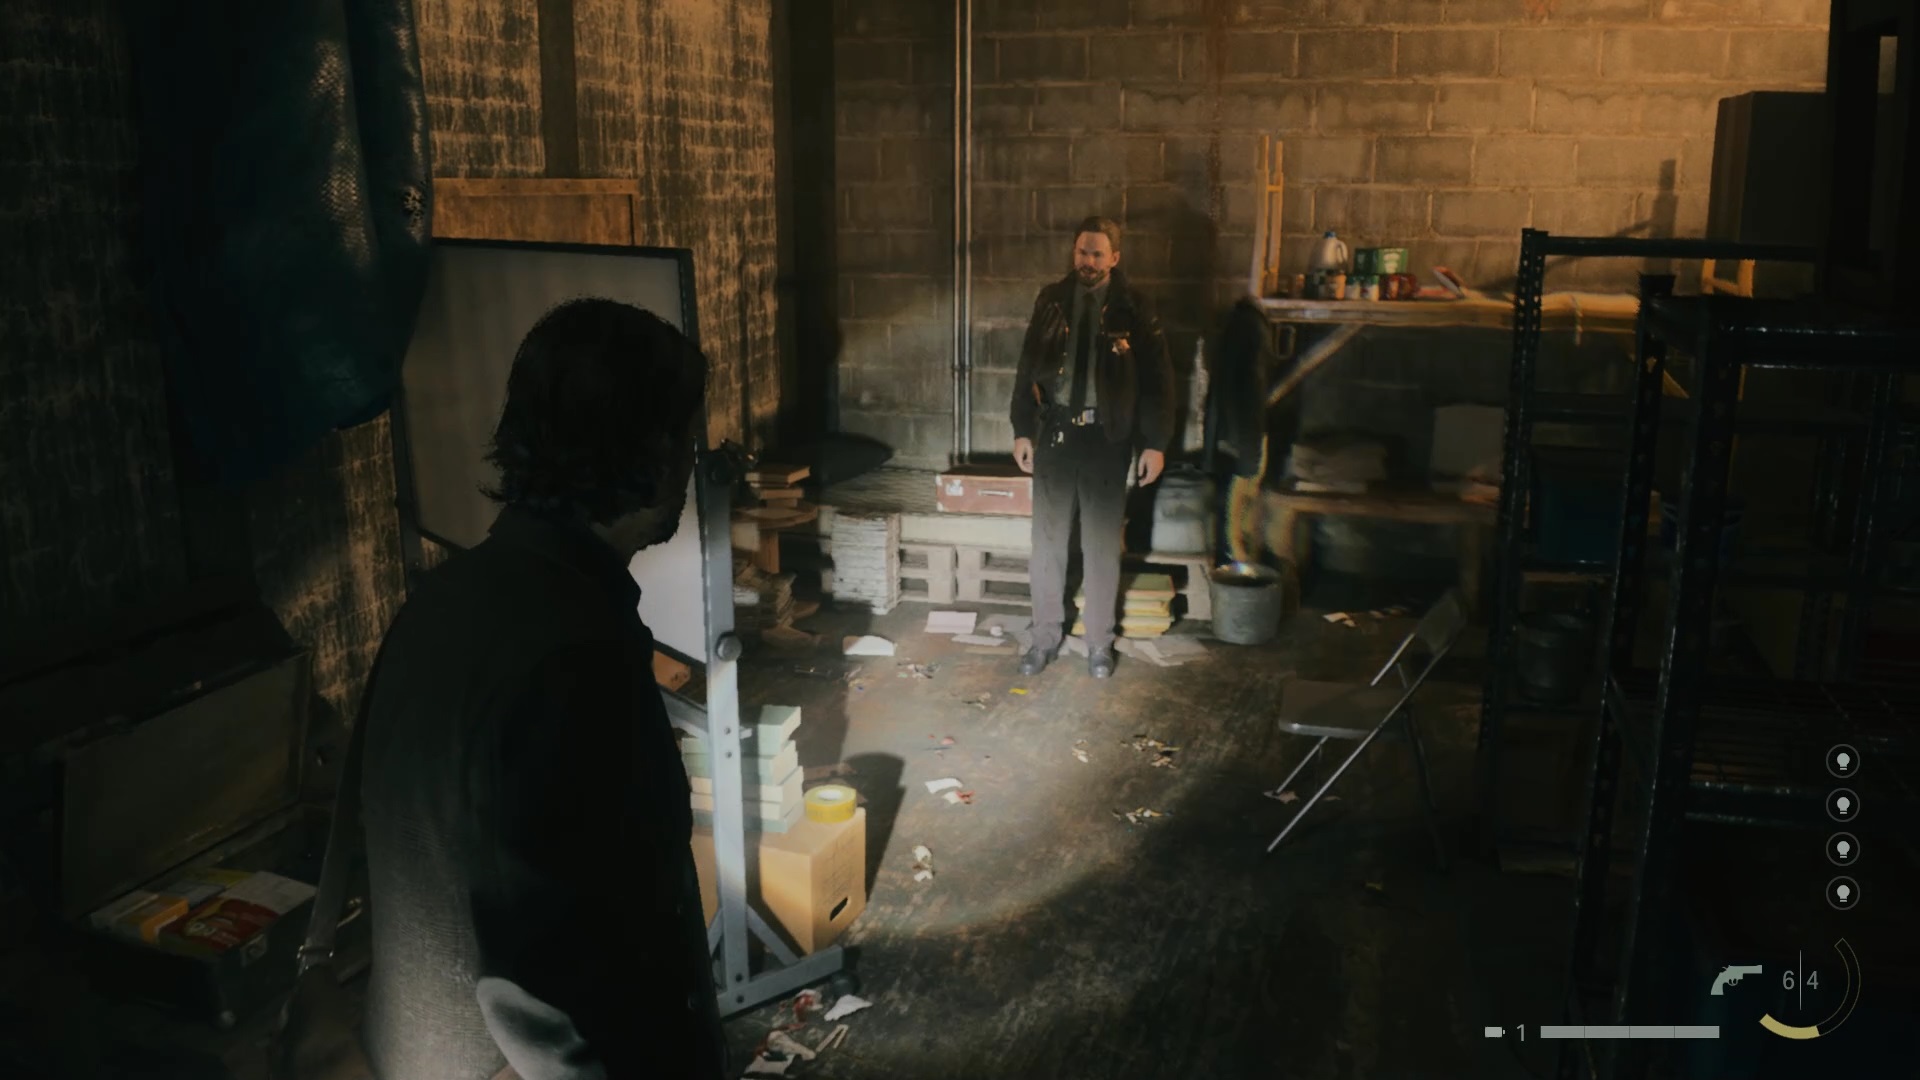
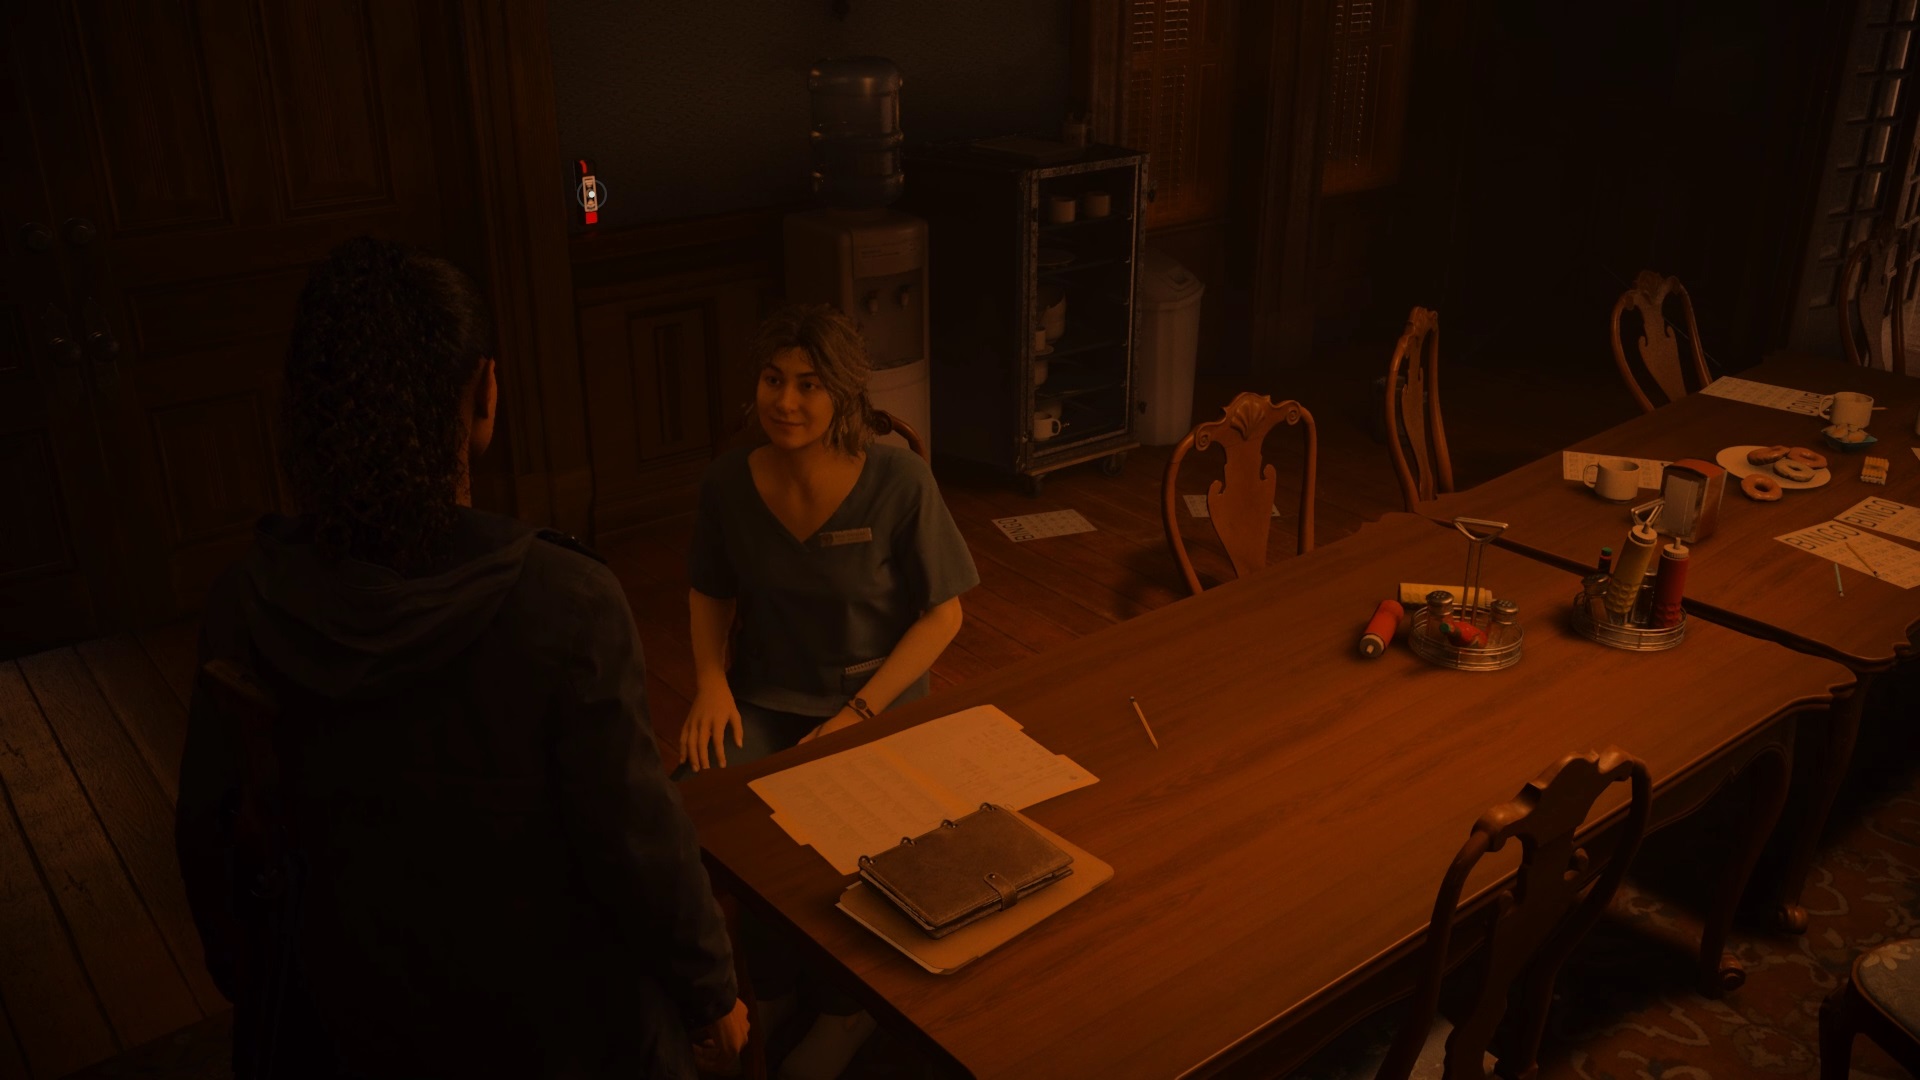
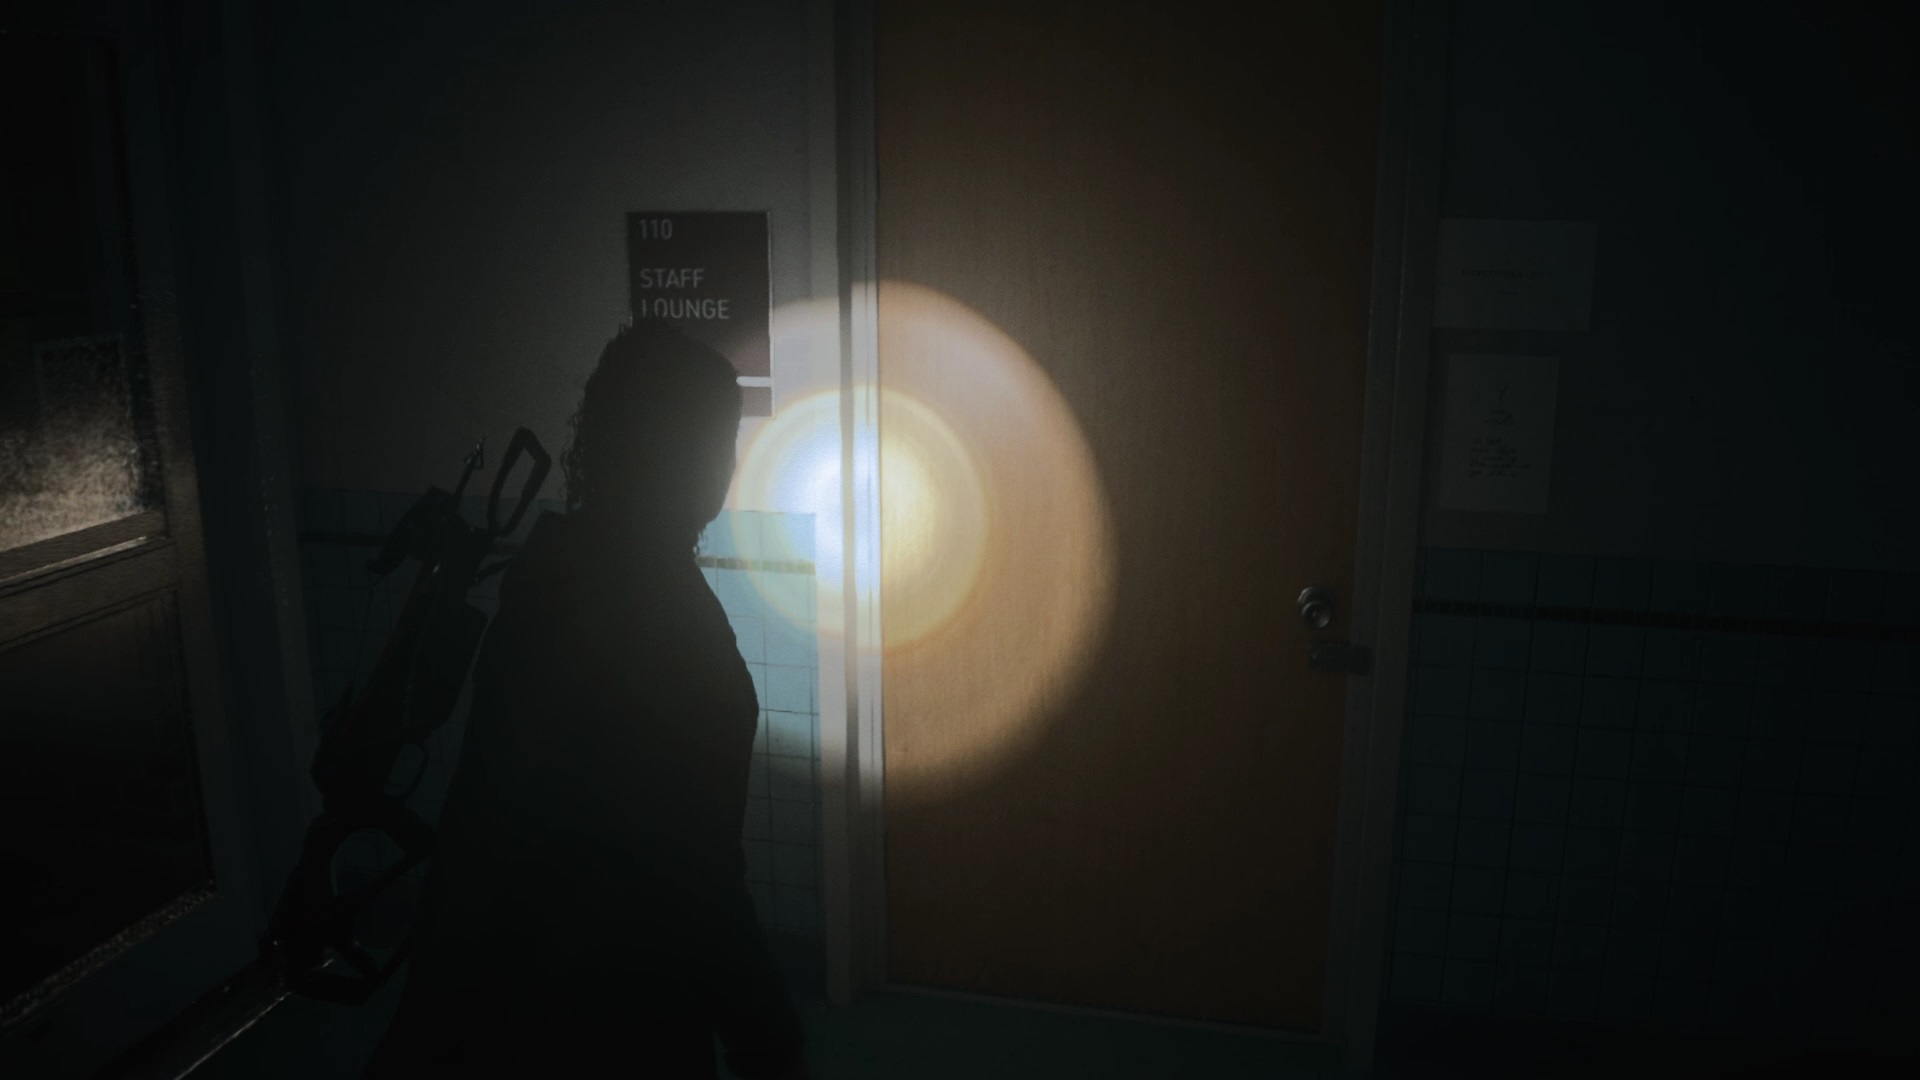
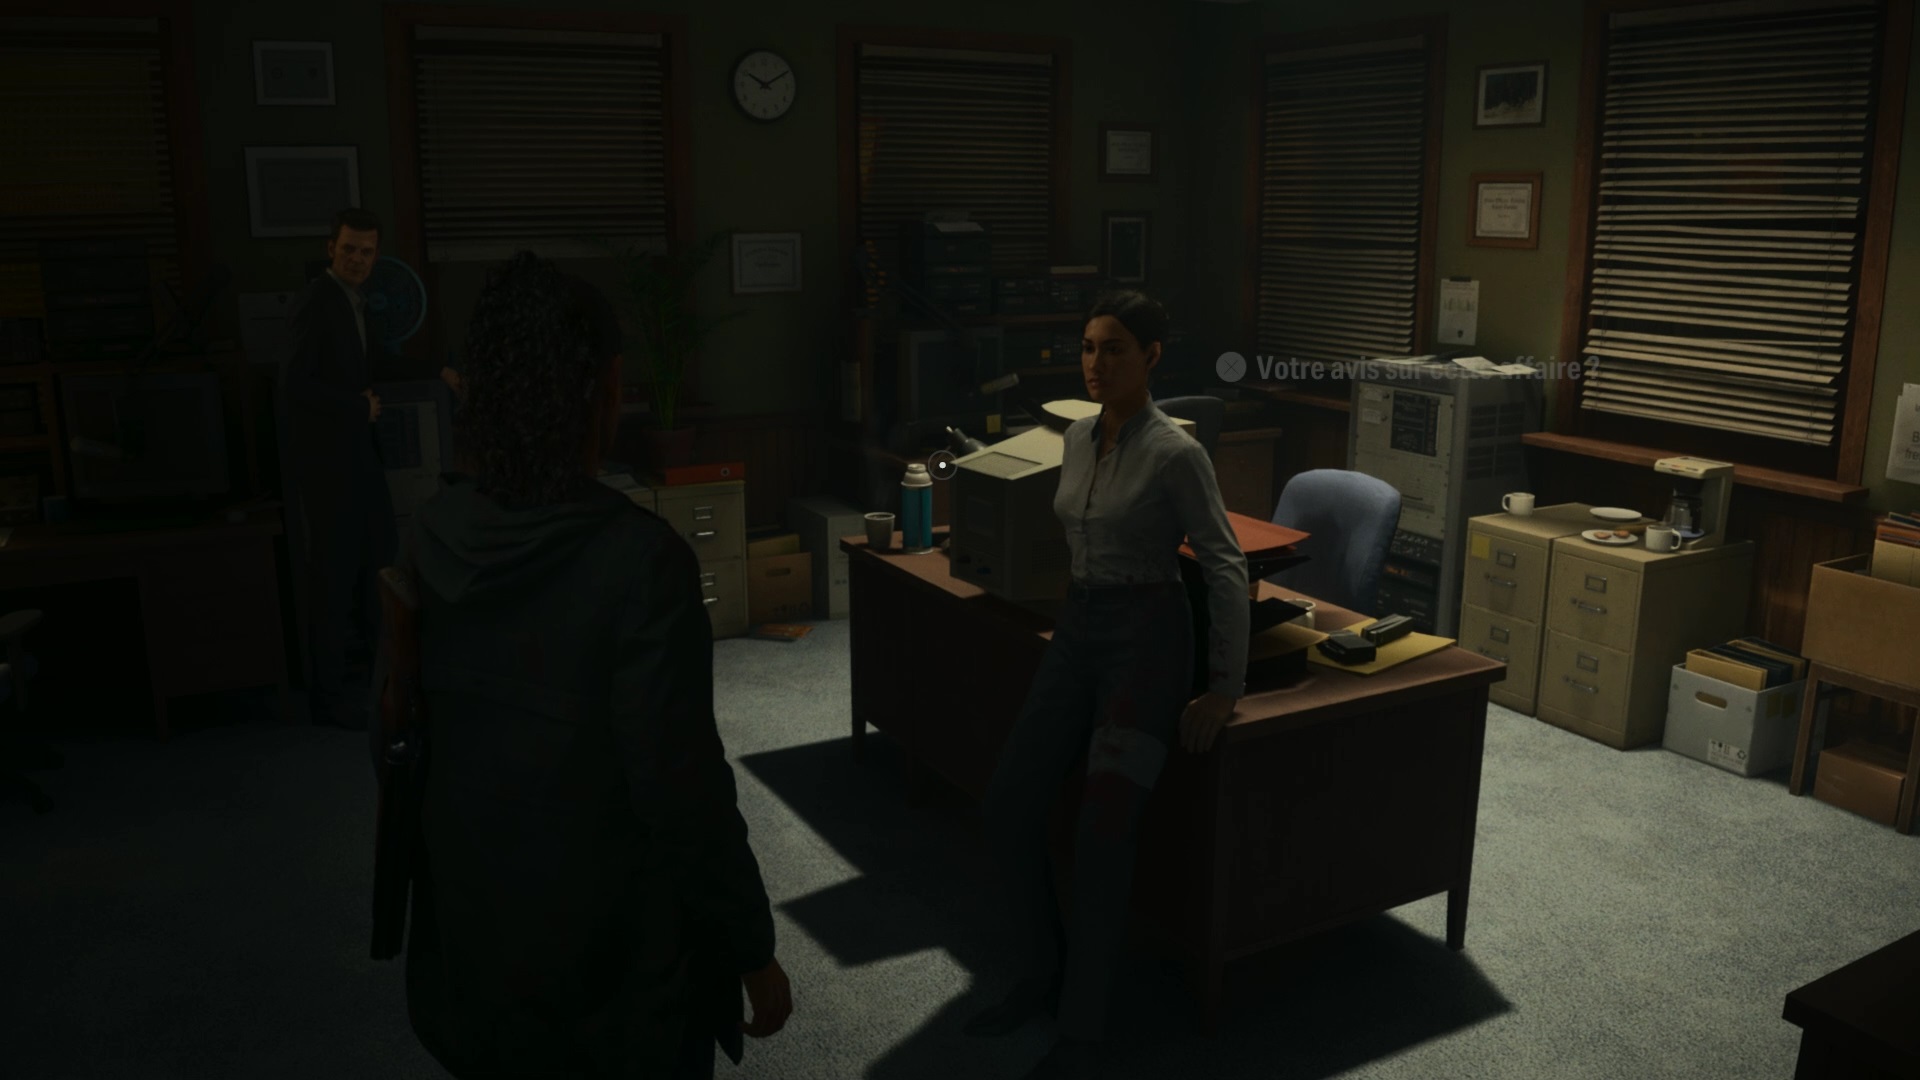
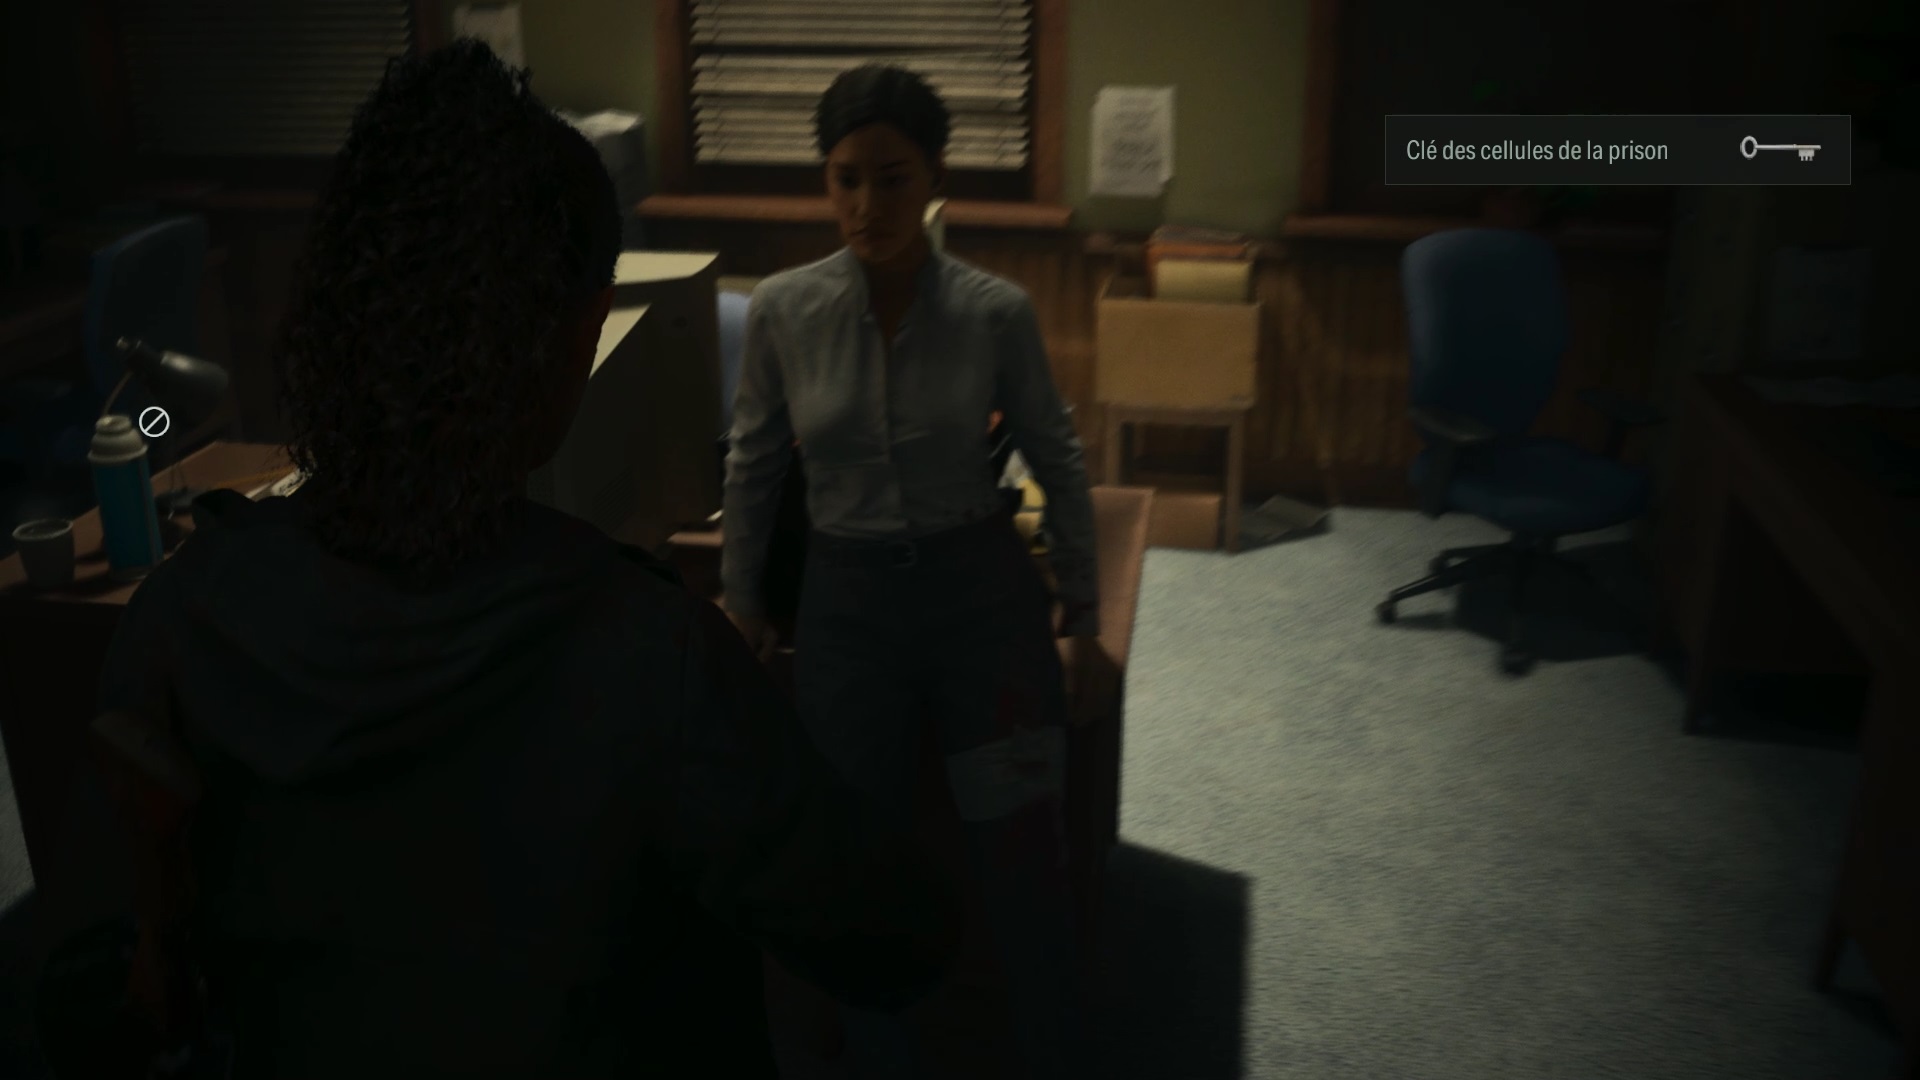
Chat with Tor to unlock items in the Profiling section. Then ask Tor about the different topics and talk to him to conclude. Next, head to the Bright Falls Sheriff’s Office. Once there, follow the blood trail to find Agent Estevez. Examine the premises to flush out a possessed individual. Eliminate the threat, then return to the Bureau of Control agent. Talk to her to get the keys to the sheriff’s office.

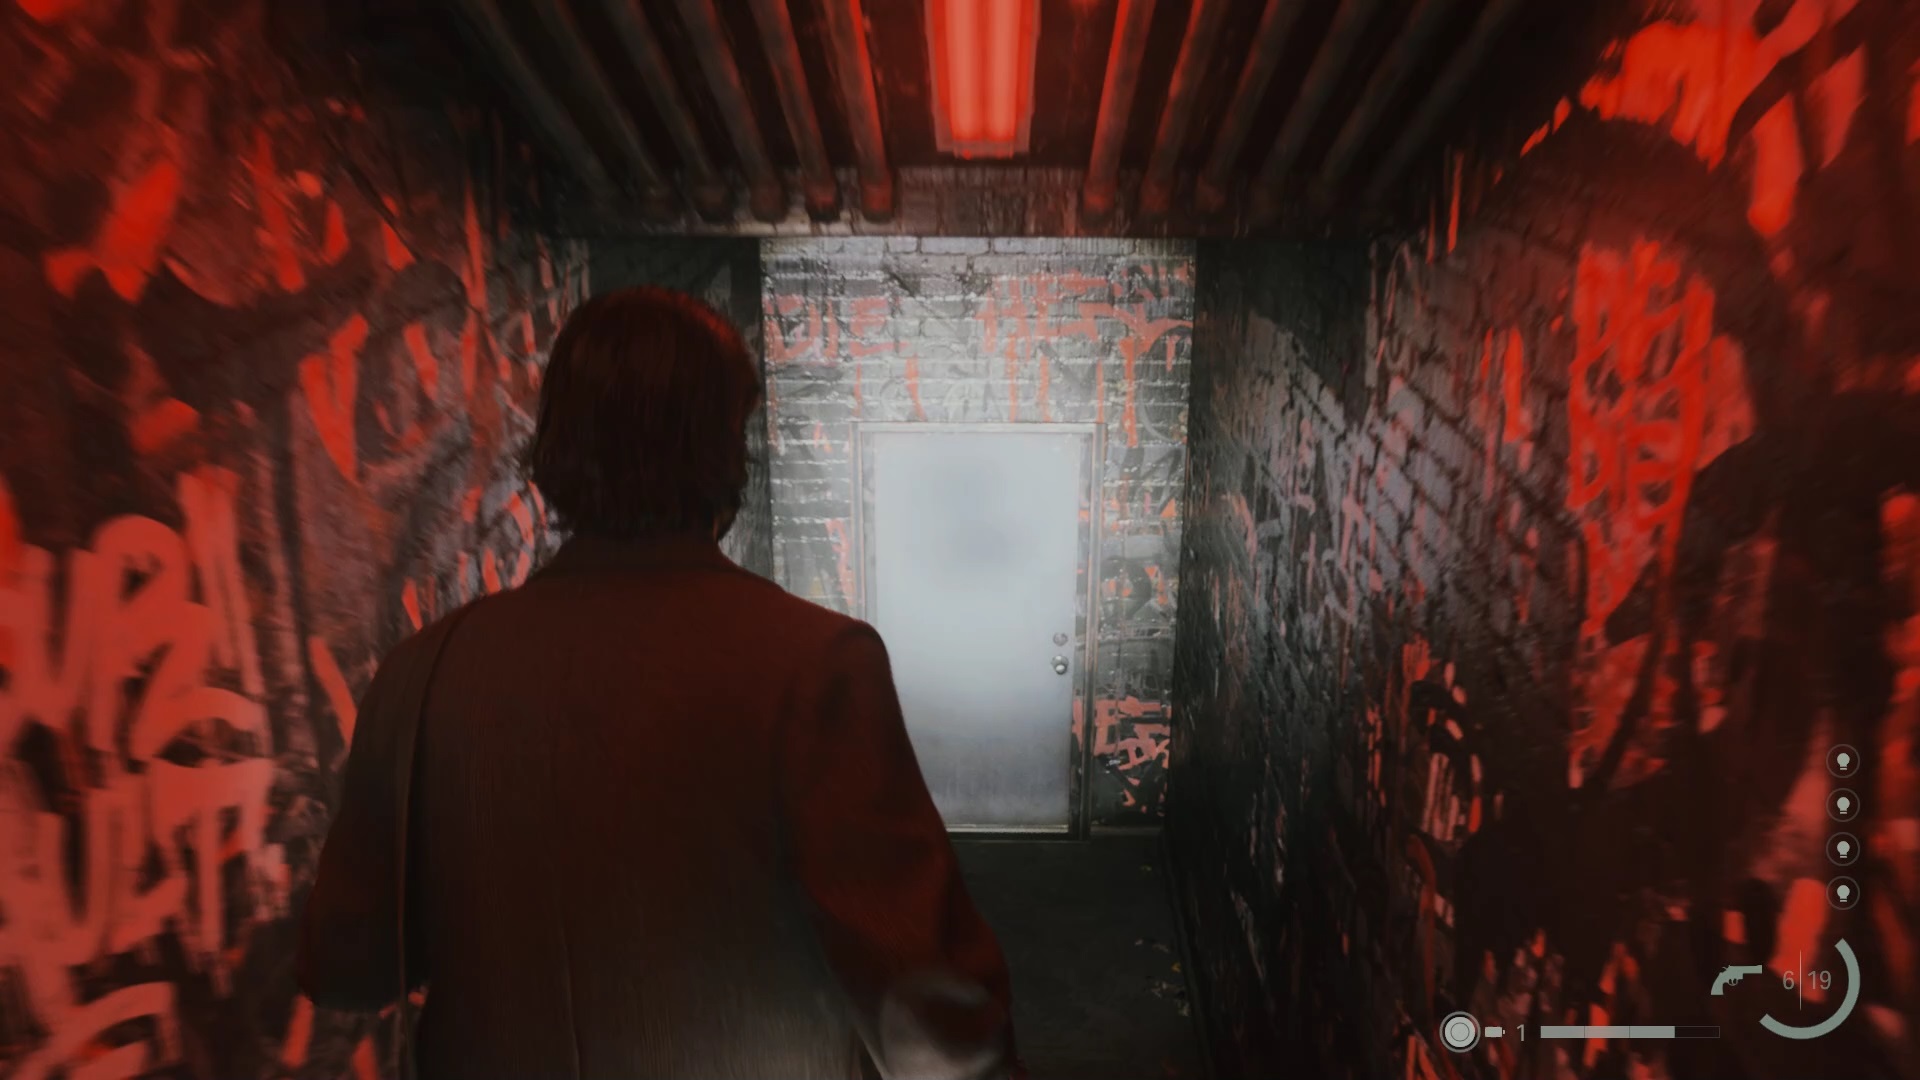
Use the key to access the morgue, located in the corridor, as at the start of your adventure. Go deeper to speak with Alex Casey. Use the fuse he just gave you to insert it into the nearby box. Quickly go back up to avoid a fight, while dispelling the shadows in your path using your lamp.
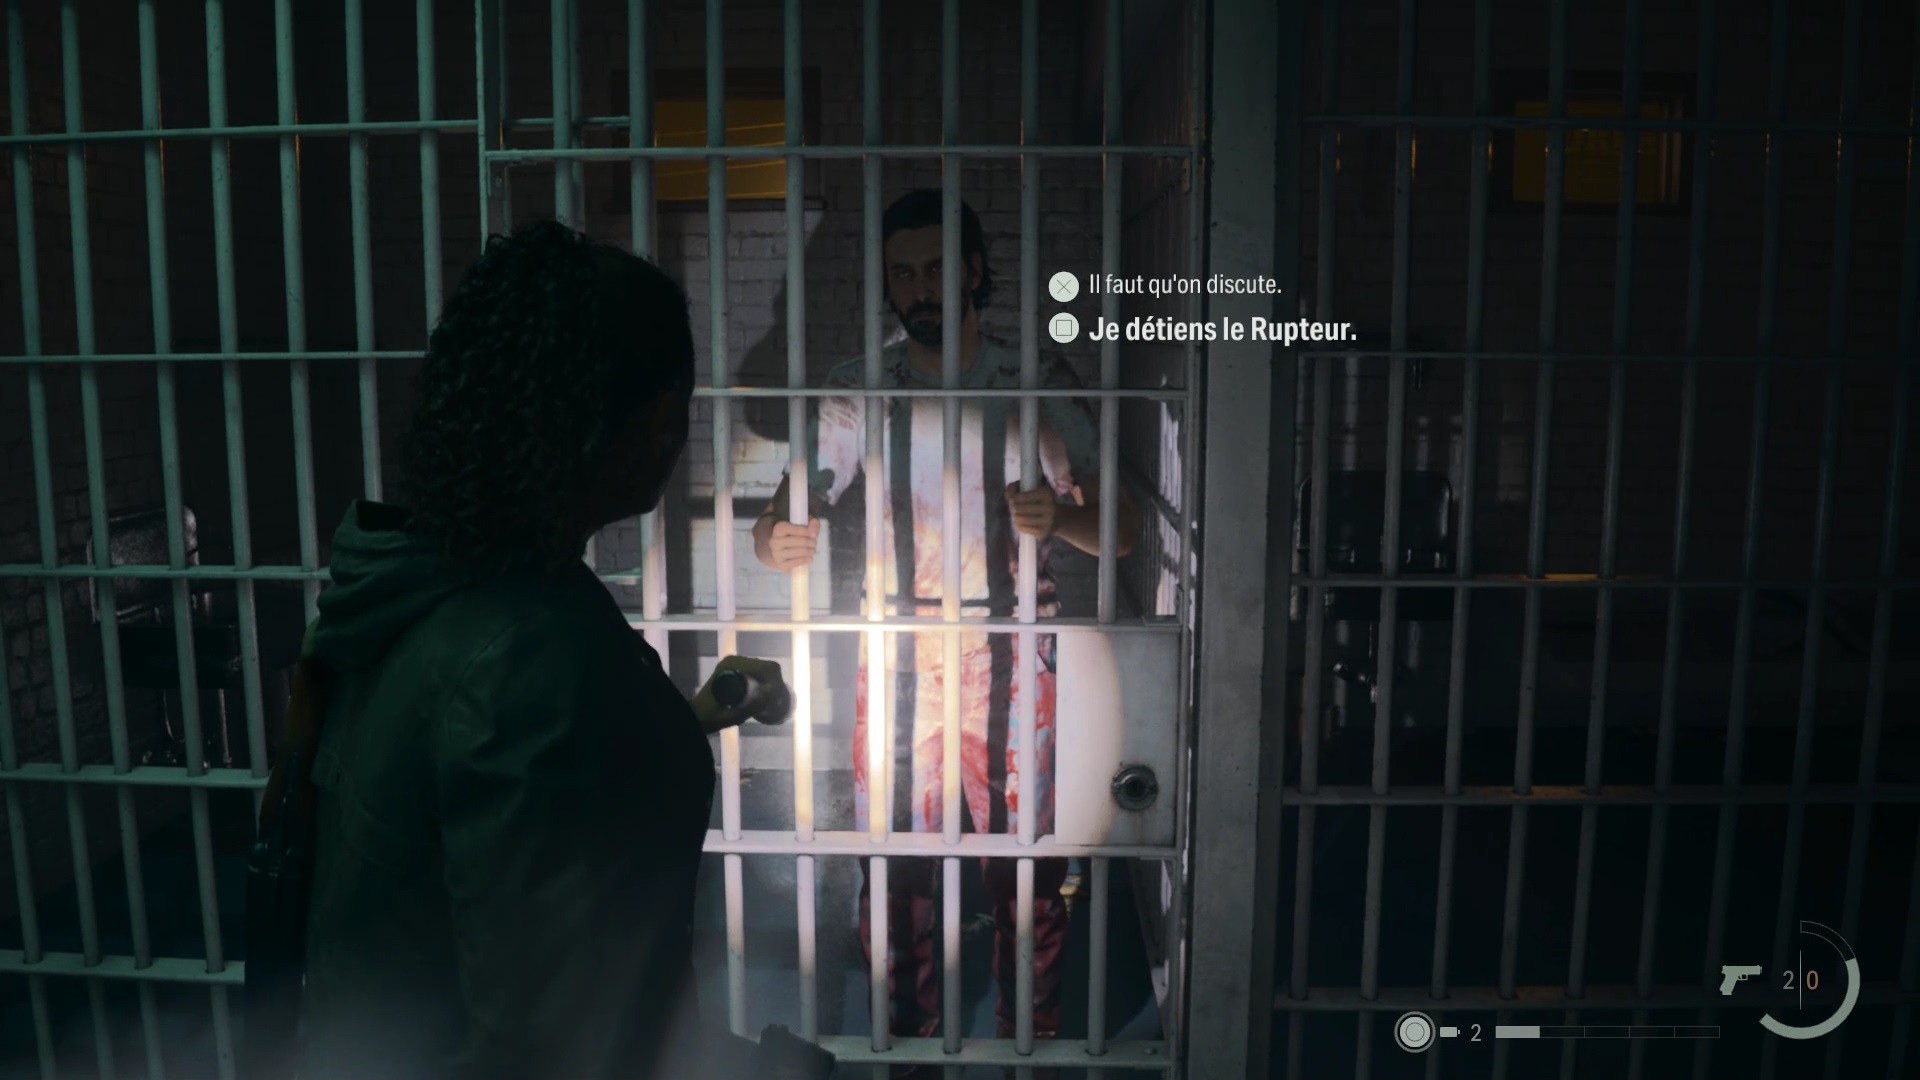
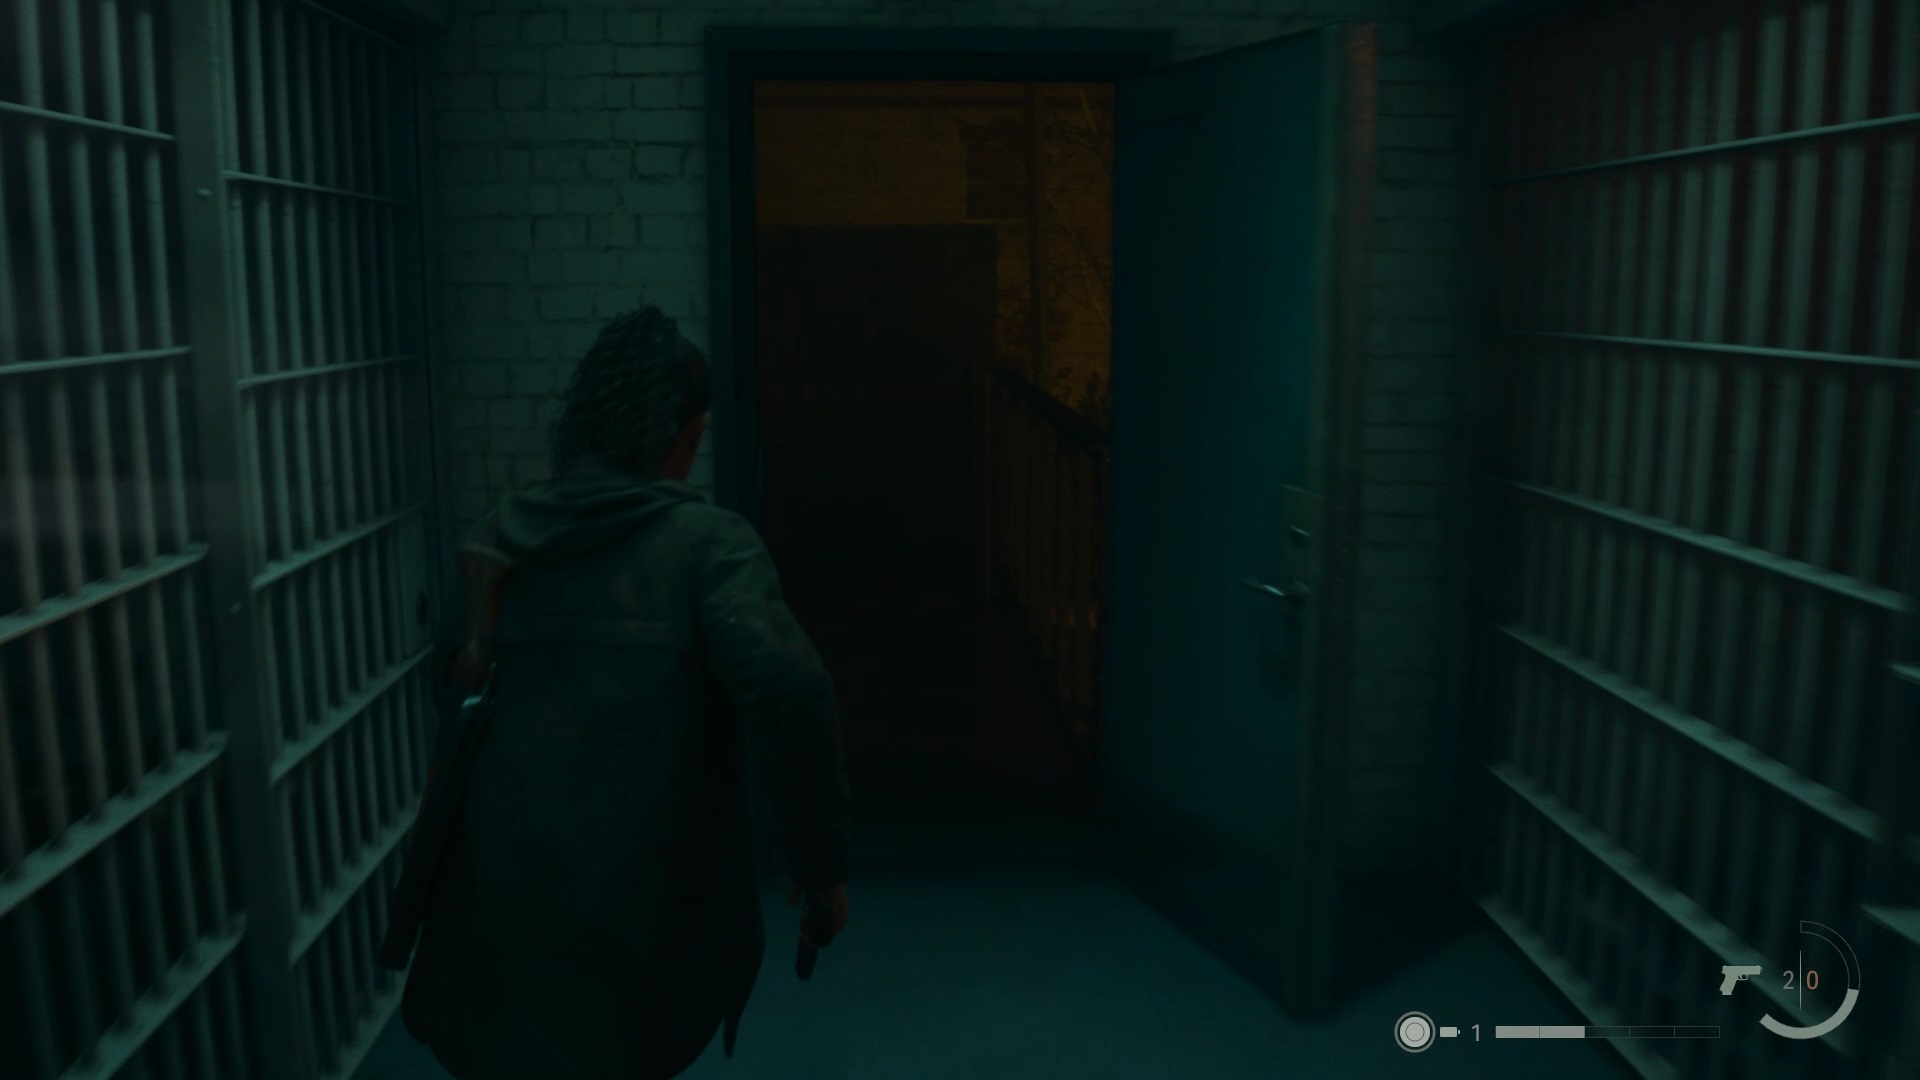
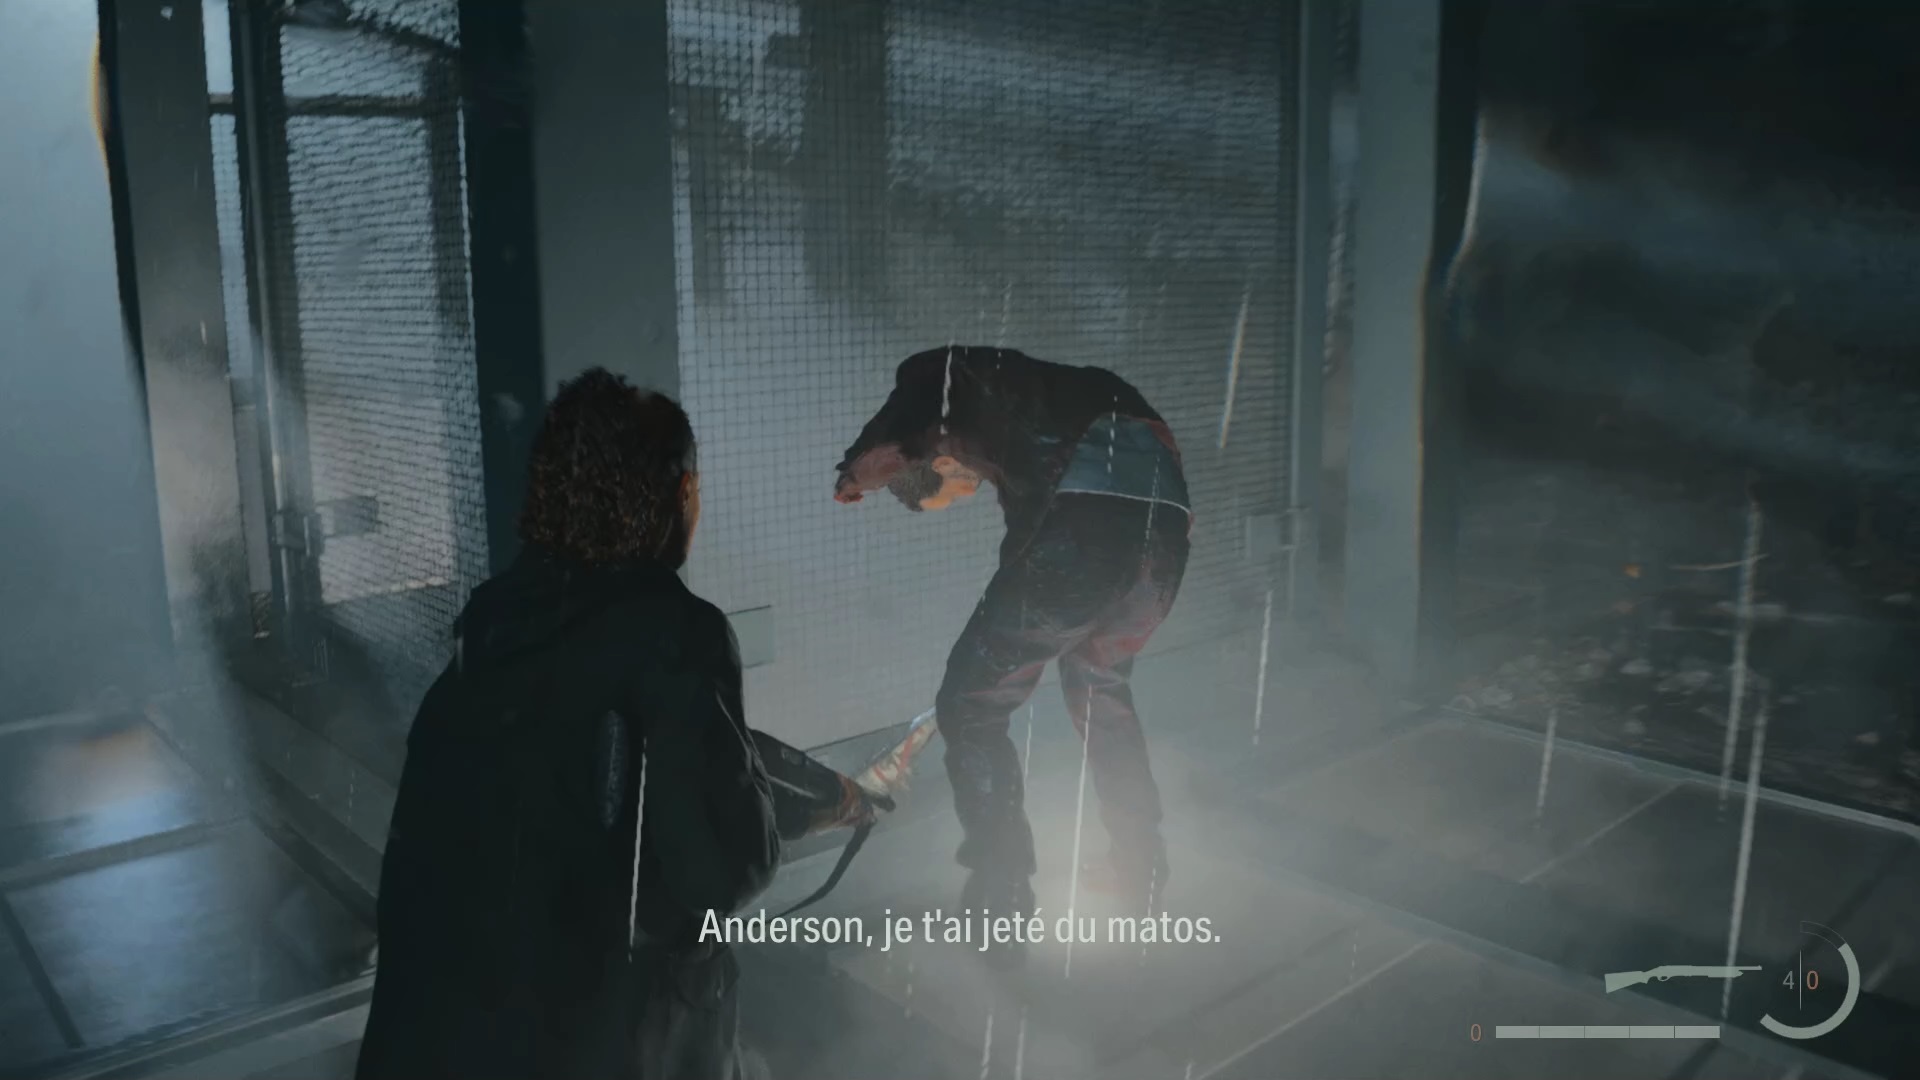
Once upstairs, unlock the cell door and give the Clicker to Alan Wake. When Scratch appears, quickly flee to the parking lot to ensure your safety.
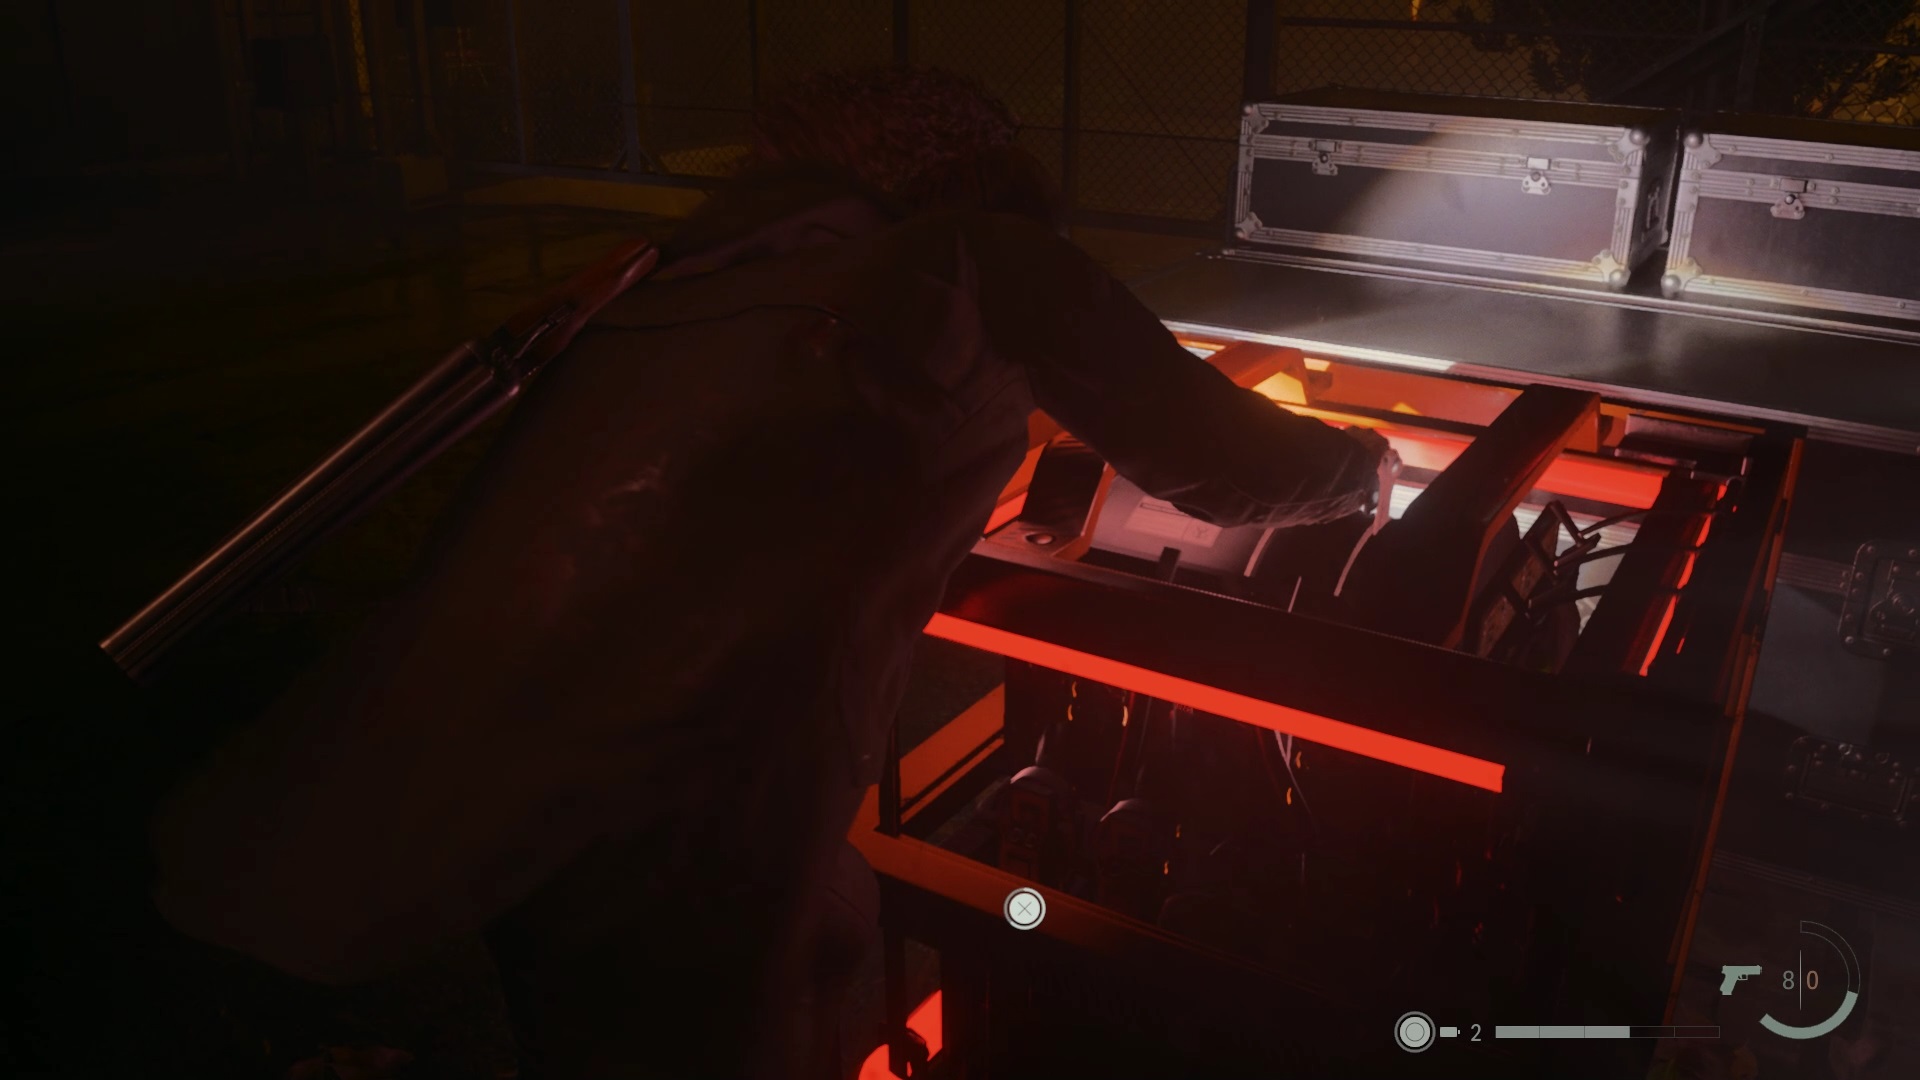
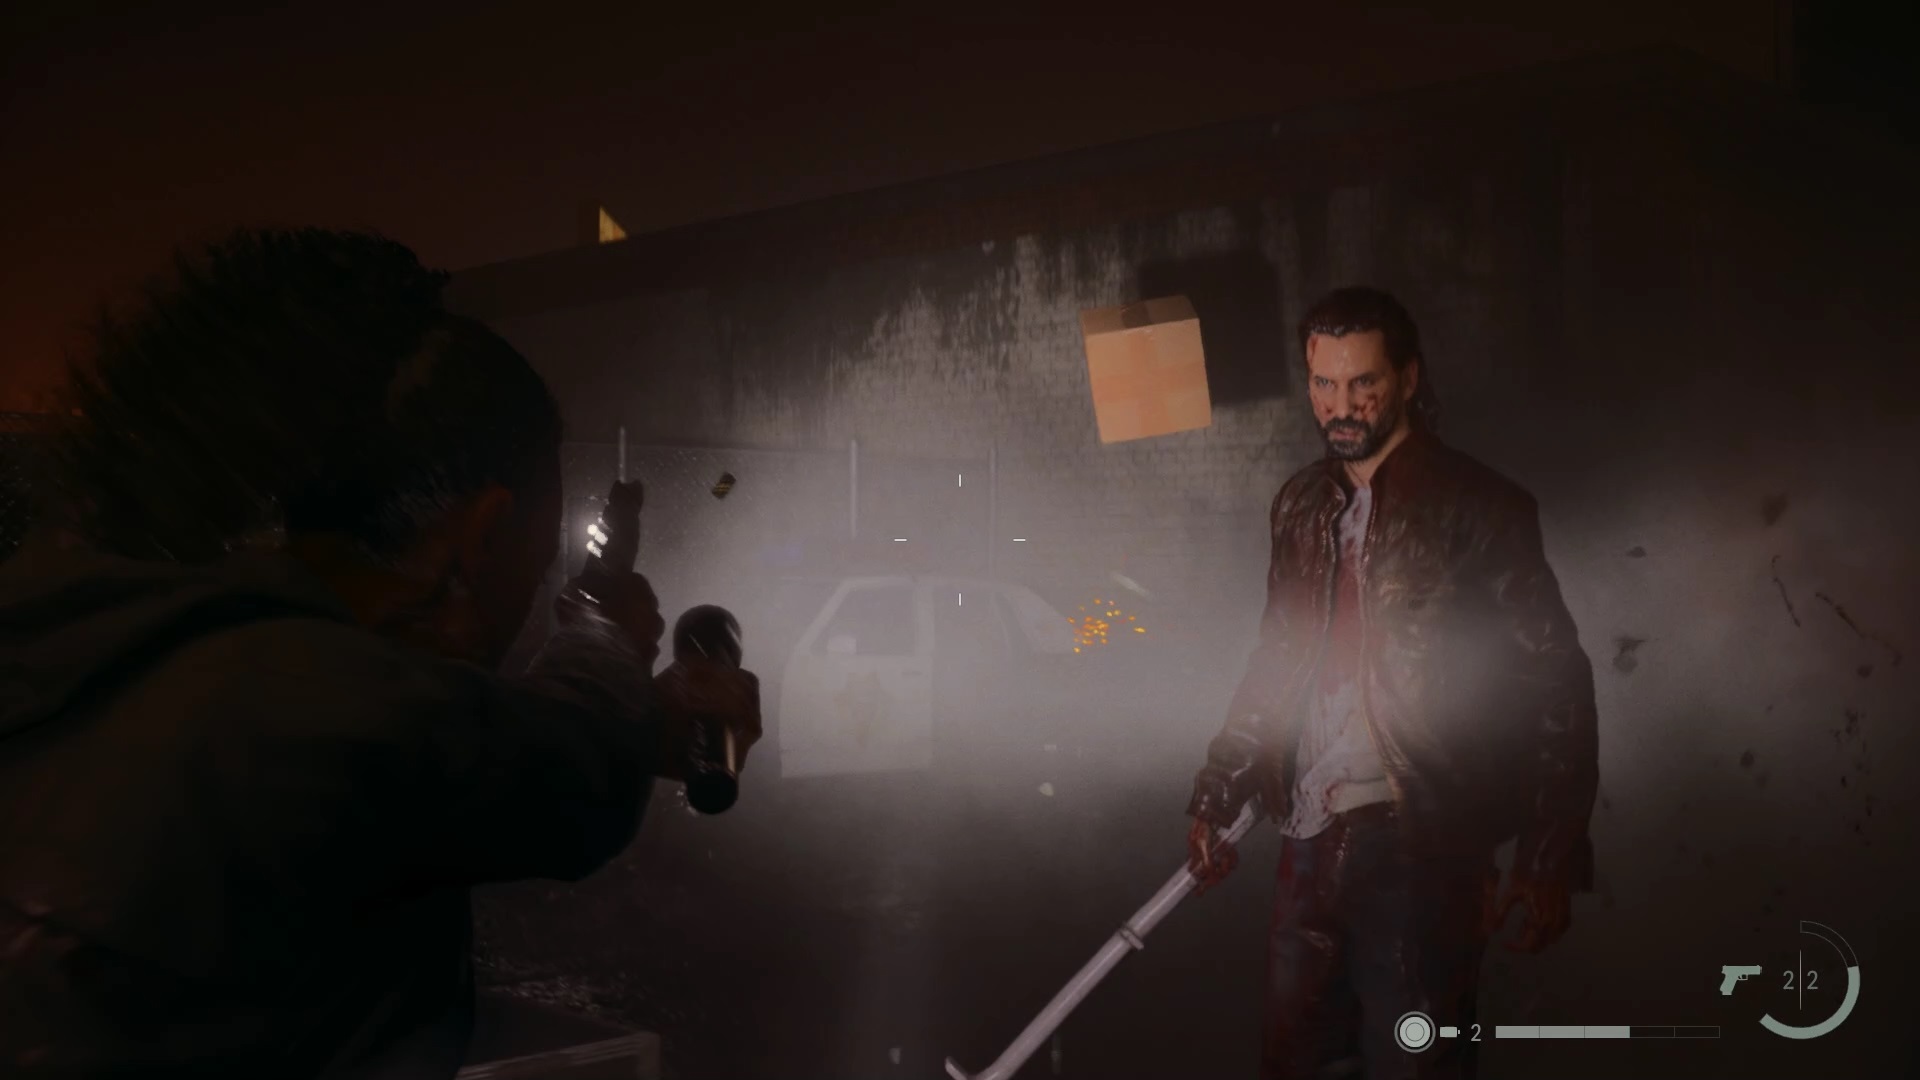
Your objective is to attack Wake to destabilize him for a few seconds. Take advantage of this moment to activate one of the cubes. You will need to activate all three cubes to finish the fight. If you run out of ammo, use nearby toolkits to harvest resources and reload.
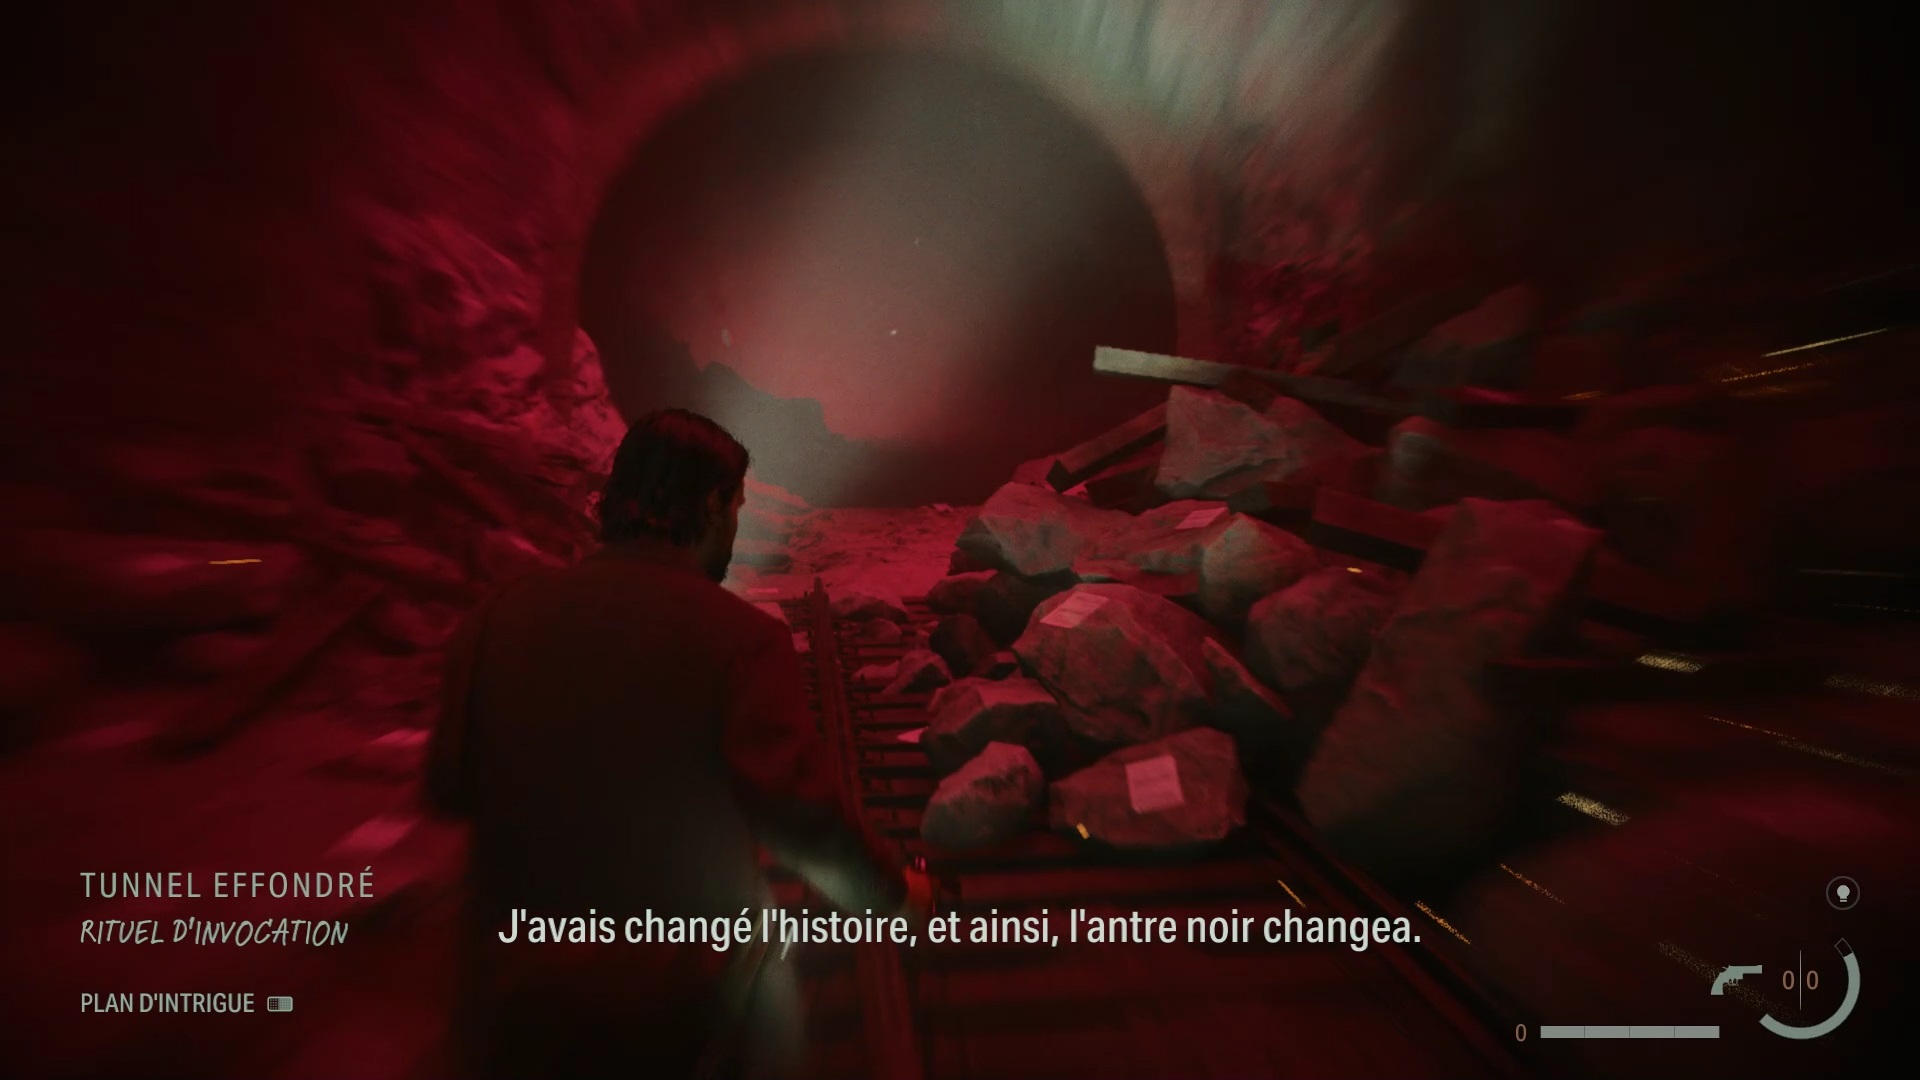
Return 7: Invocation
Talk to Estevez and Alex Casey to get the cell key. Then, examine the cell files and come back to question Estevez and Alex Casey to obtain elements for the investigation table. Don’t forget to question Scratch and Tor to obtain other elements to complete your investigation.
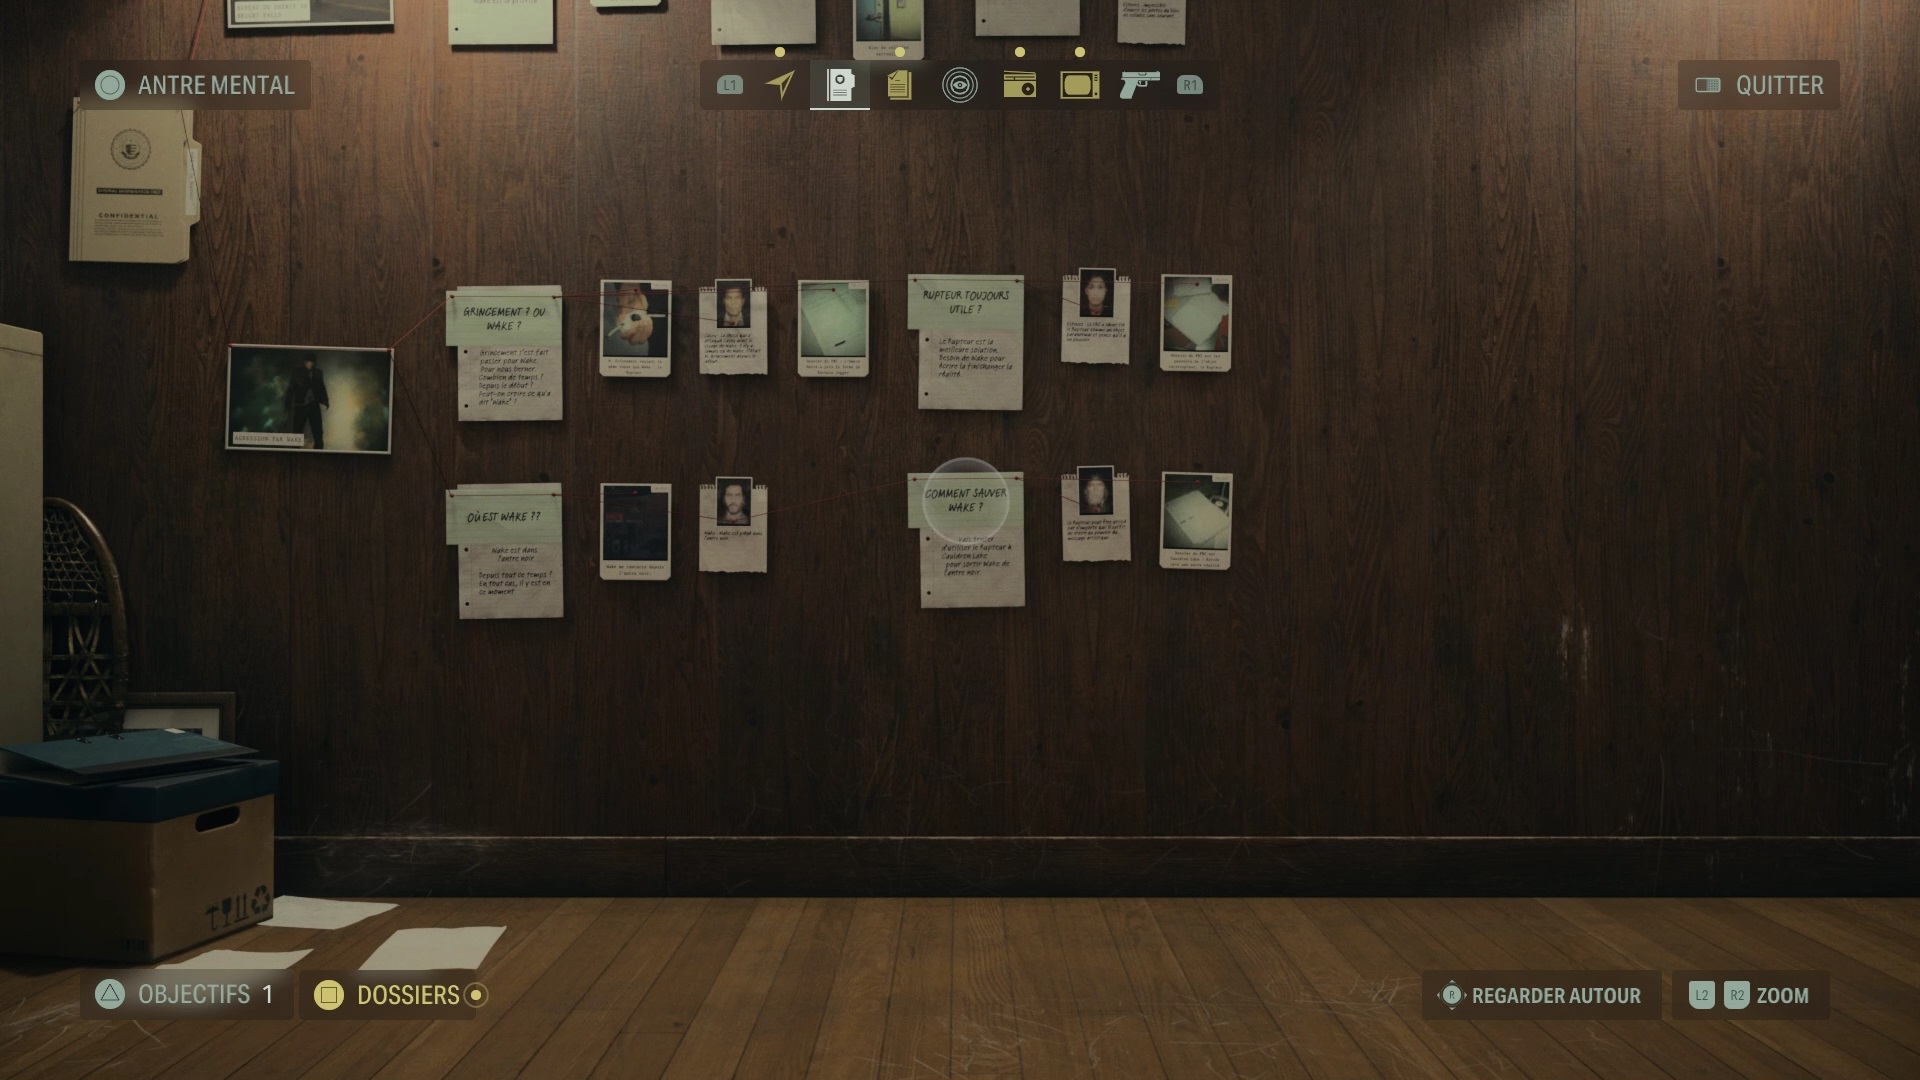
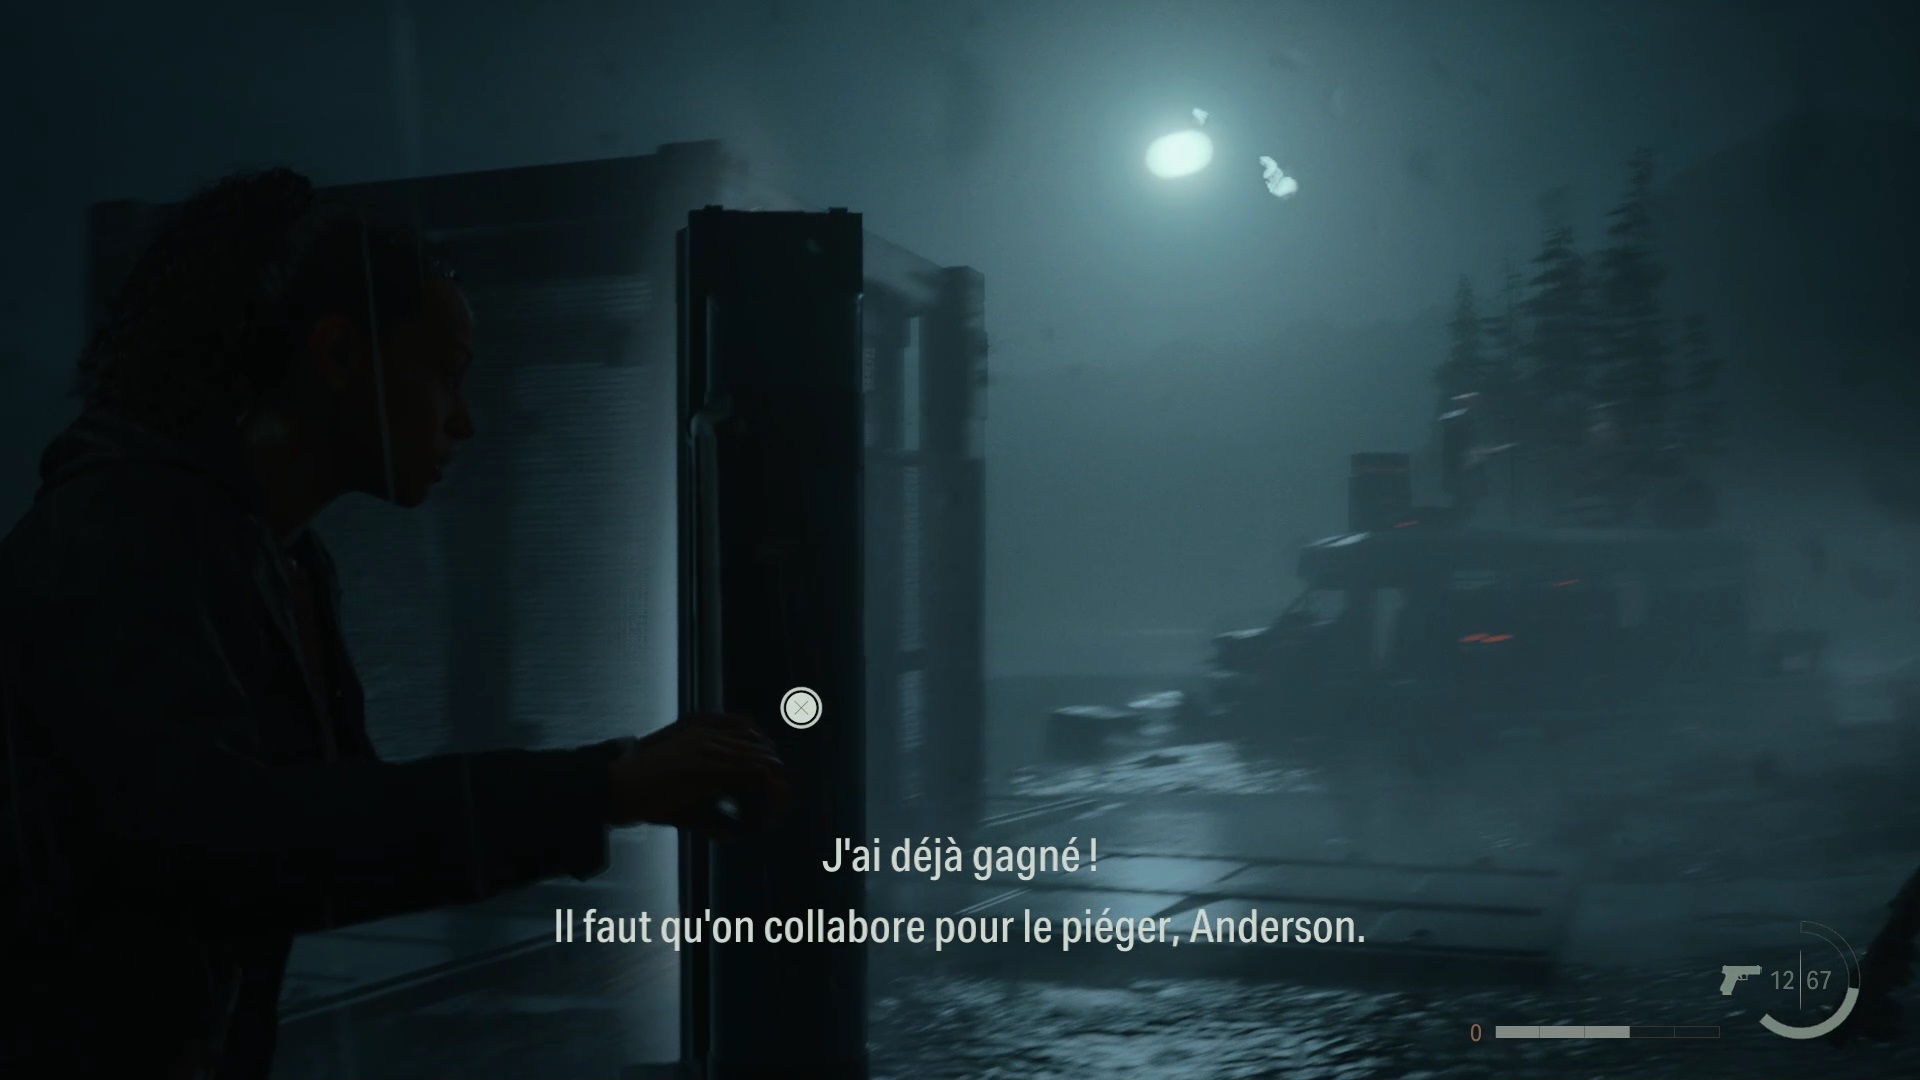
You can now make a plan in the “Wake and the Clicker” folder. Pair the Breaker and Casey with the question “Scratch or Wake?” « . Insert Wake and the Dark Place to answer the question « Where is Wake? » « . Use the FBC Dossier with Estevez on the question of “Clicker Still usefull? « . Finally, check out Tor and the “FBC Alternate Entry File” to answer the question “How do I save Wake?” « . When you’re ready to start the final sequence, talk to Estevez.
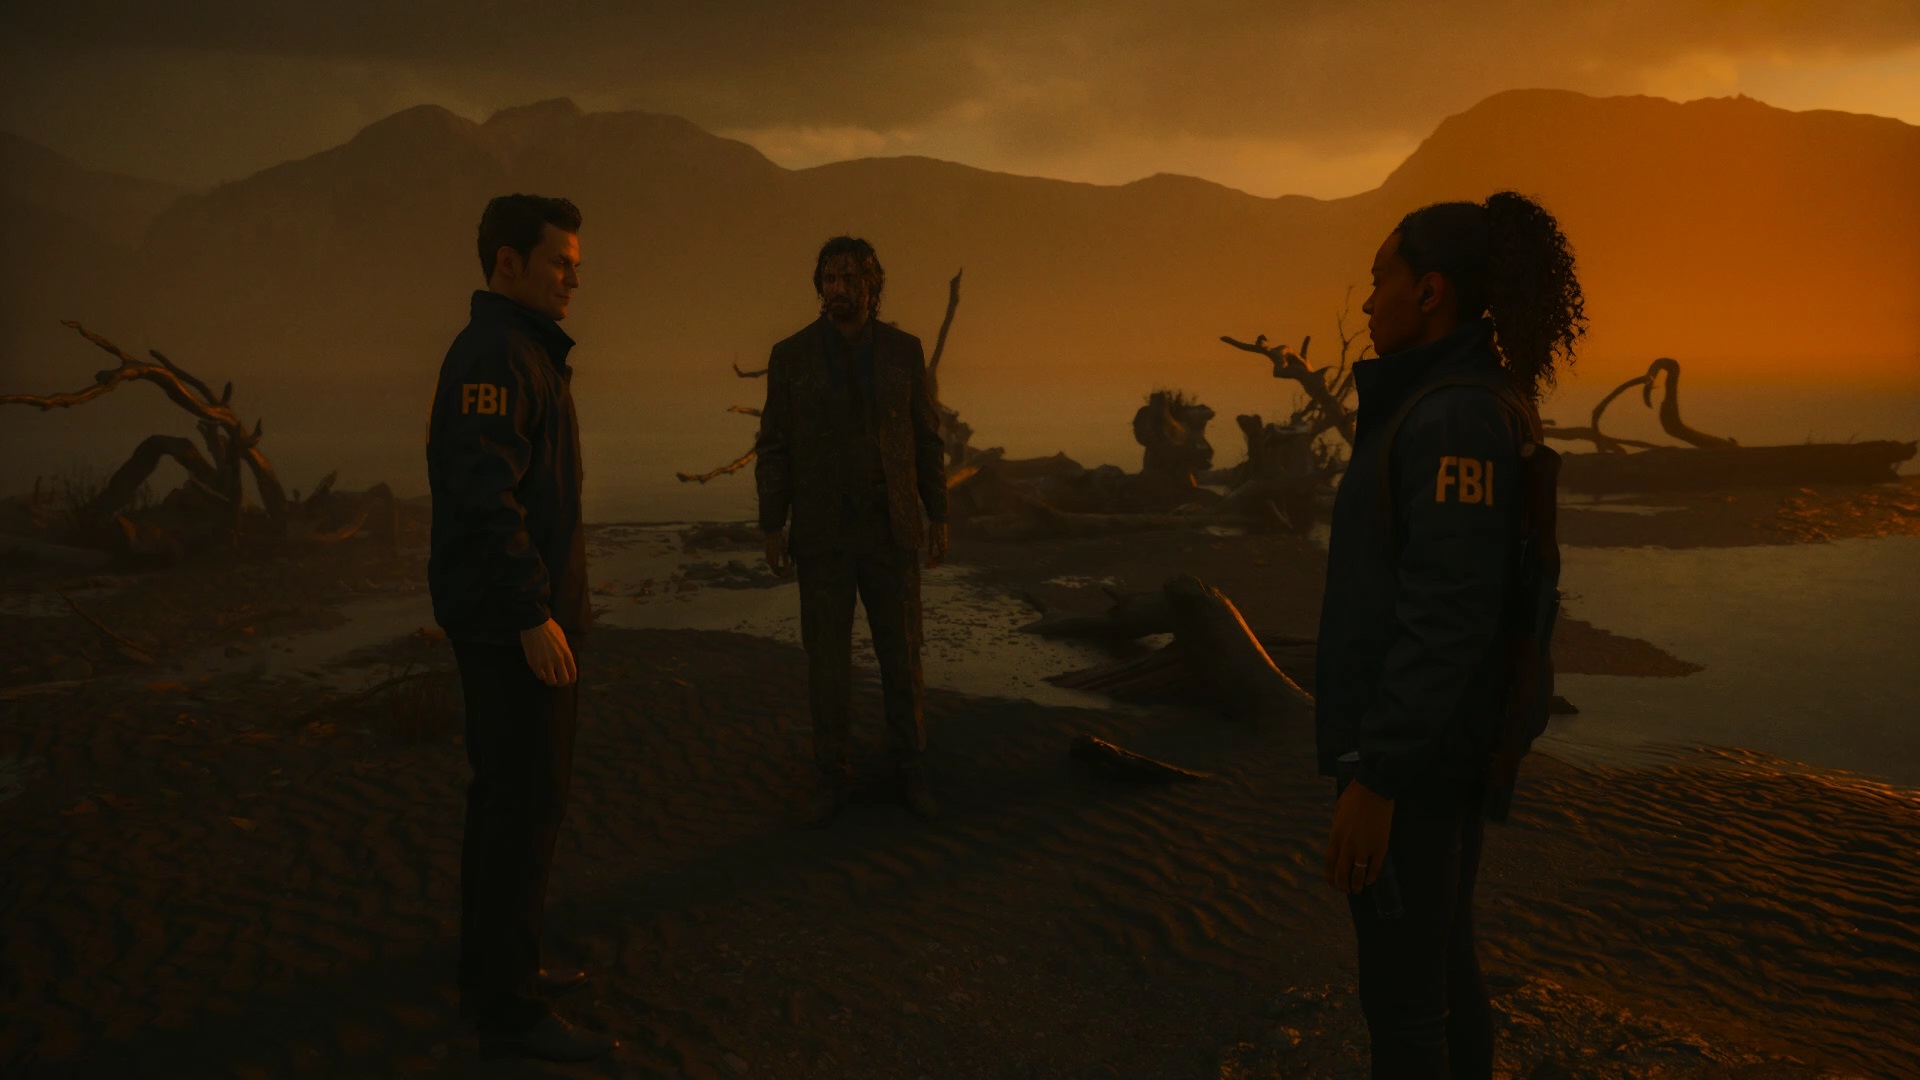
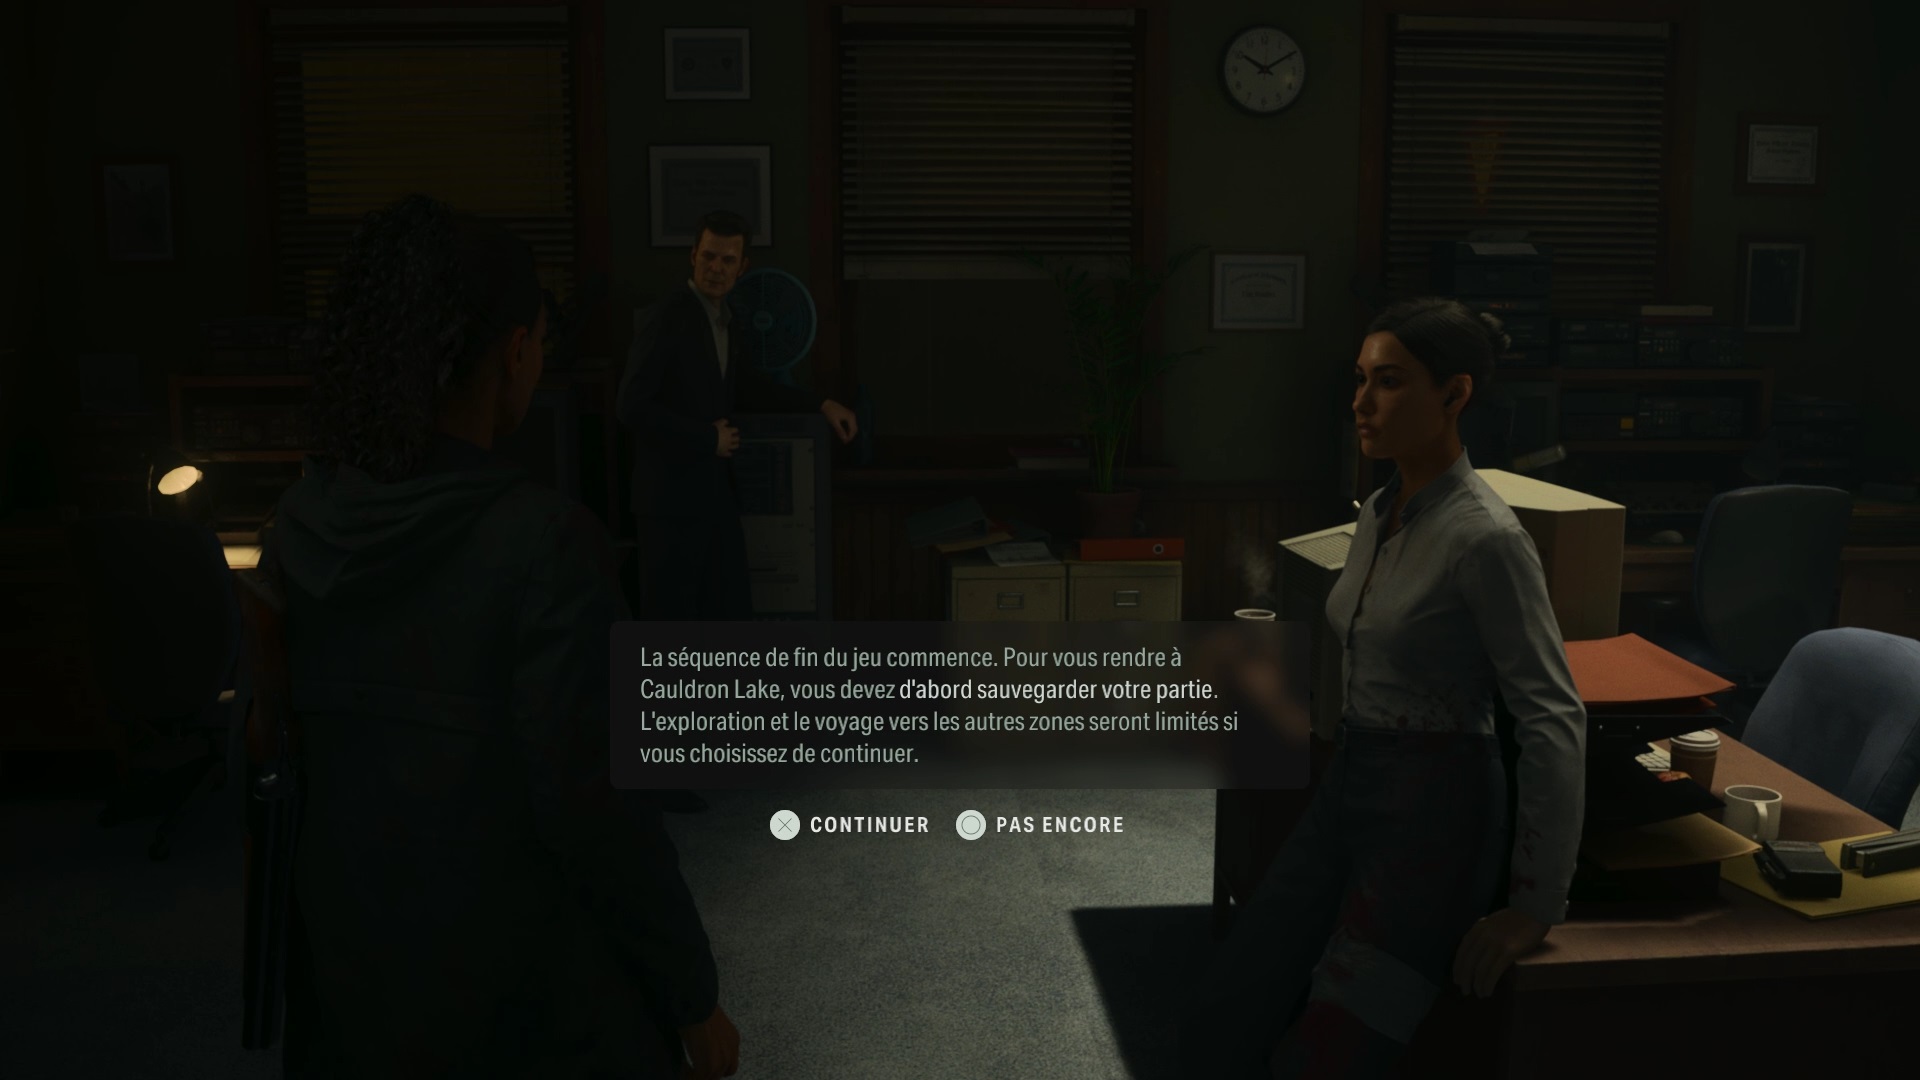
Head to Cauldron Lake at the beach, where it all began. Go through the gate and follow the Old Gods truck to reach the beach. Avoid combat to preserve your ammunition. Once there, stock up on ammunition in the weapon caches. Talk to Odin and Tor to start the final fight.
To survive enemy waves, we recommend taking cover with the cage near the Old Gods. Move around if necessary to take cover and eliminate all threats. Then use the Clicker when the amalgam appears to end the chapter.
Scratch appears. Like the first fight, you must weaken him with your weapons so that Estevez targets him with his light. Take this opportunity to direct the two lamps close to the cage. Direct both lamps completely towards the cages to end the fight.
Return 8: DeerFest
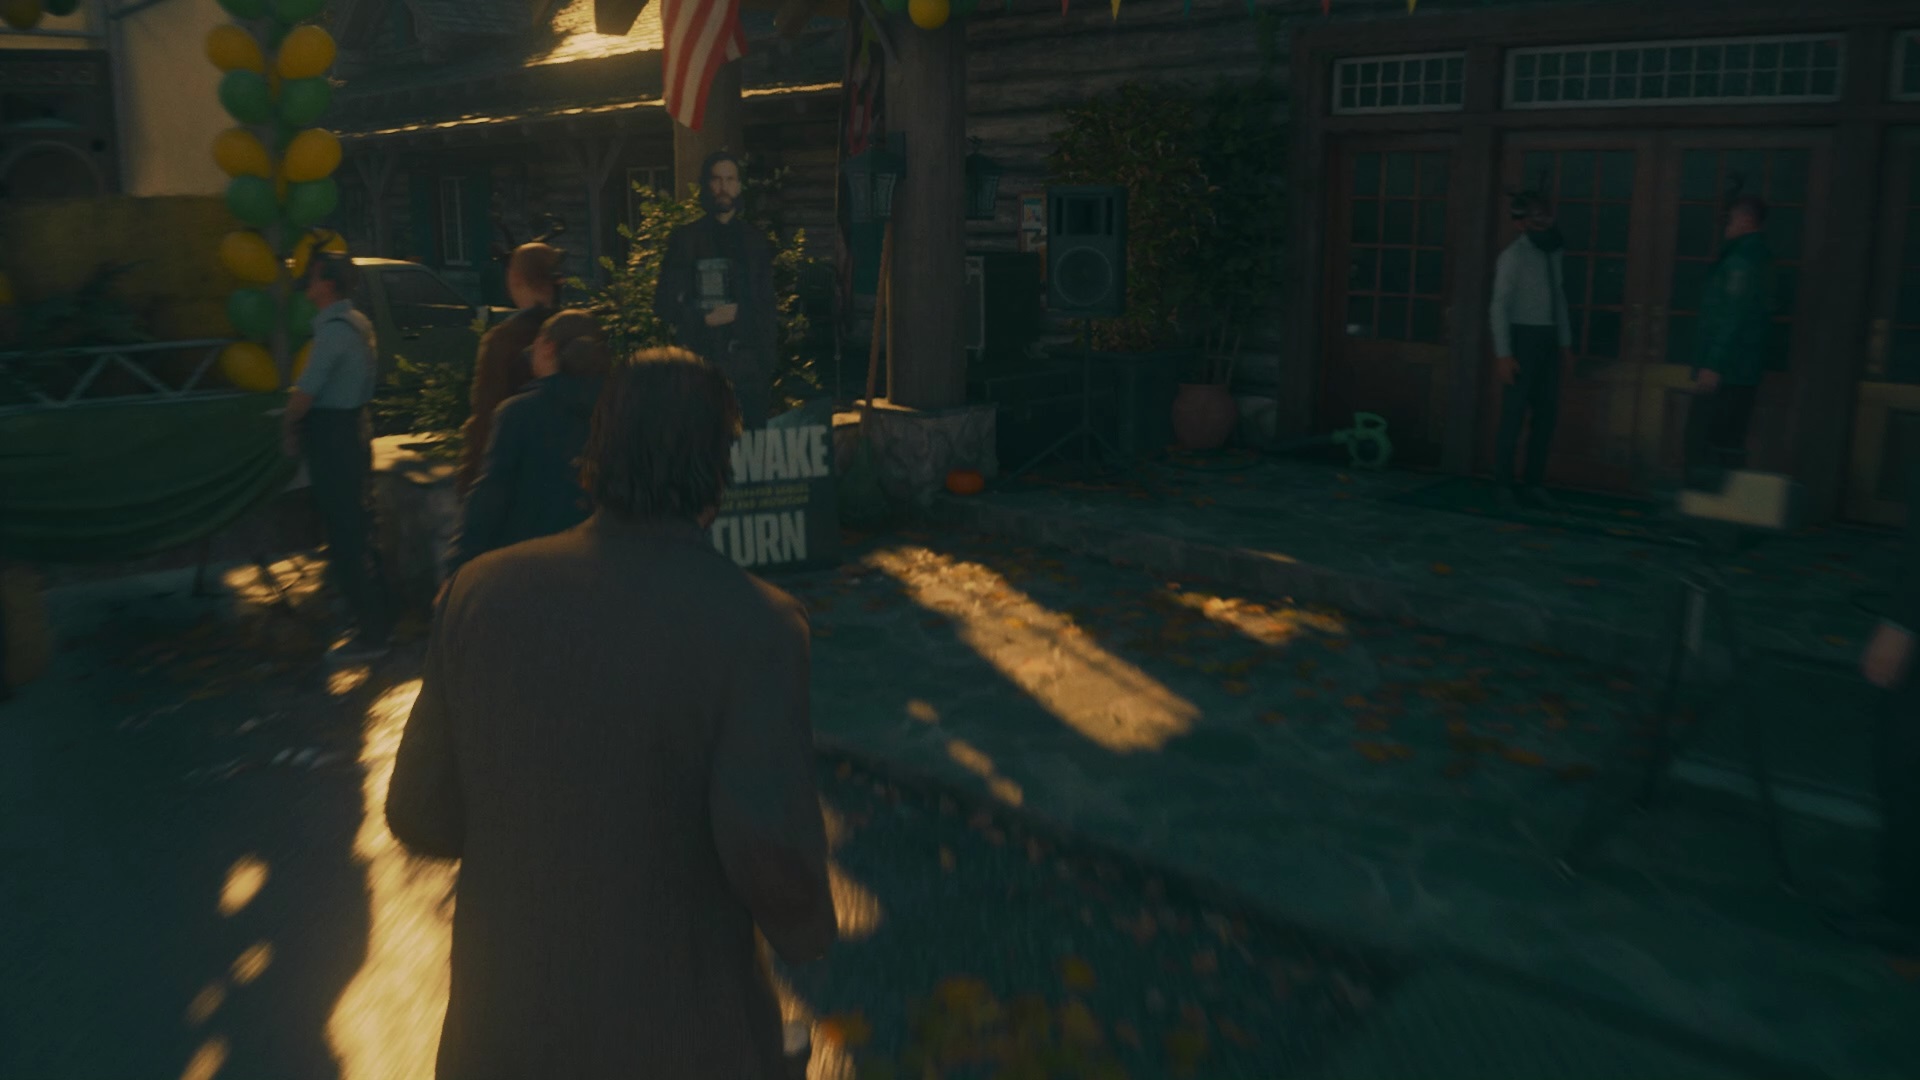
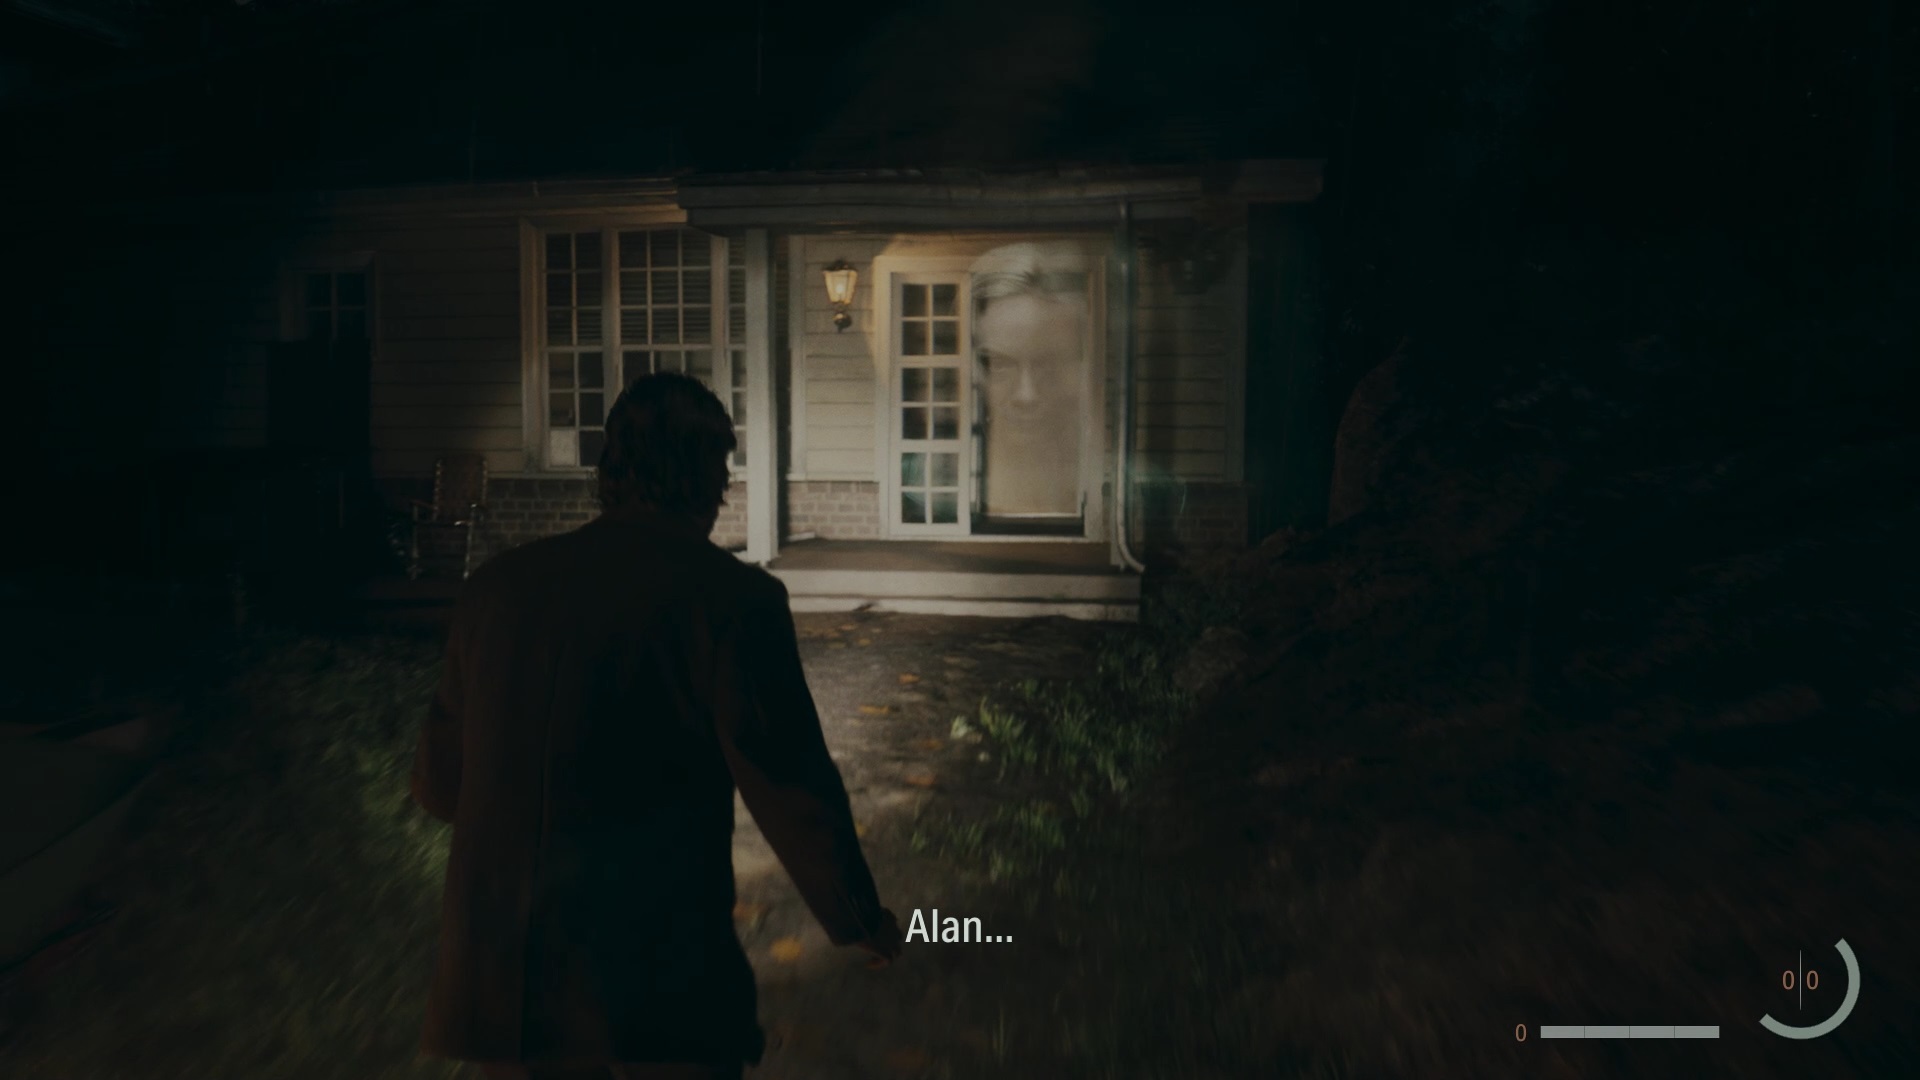
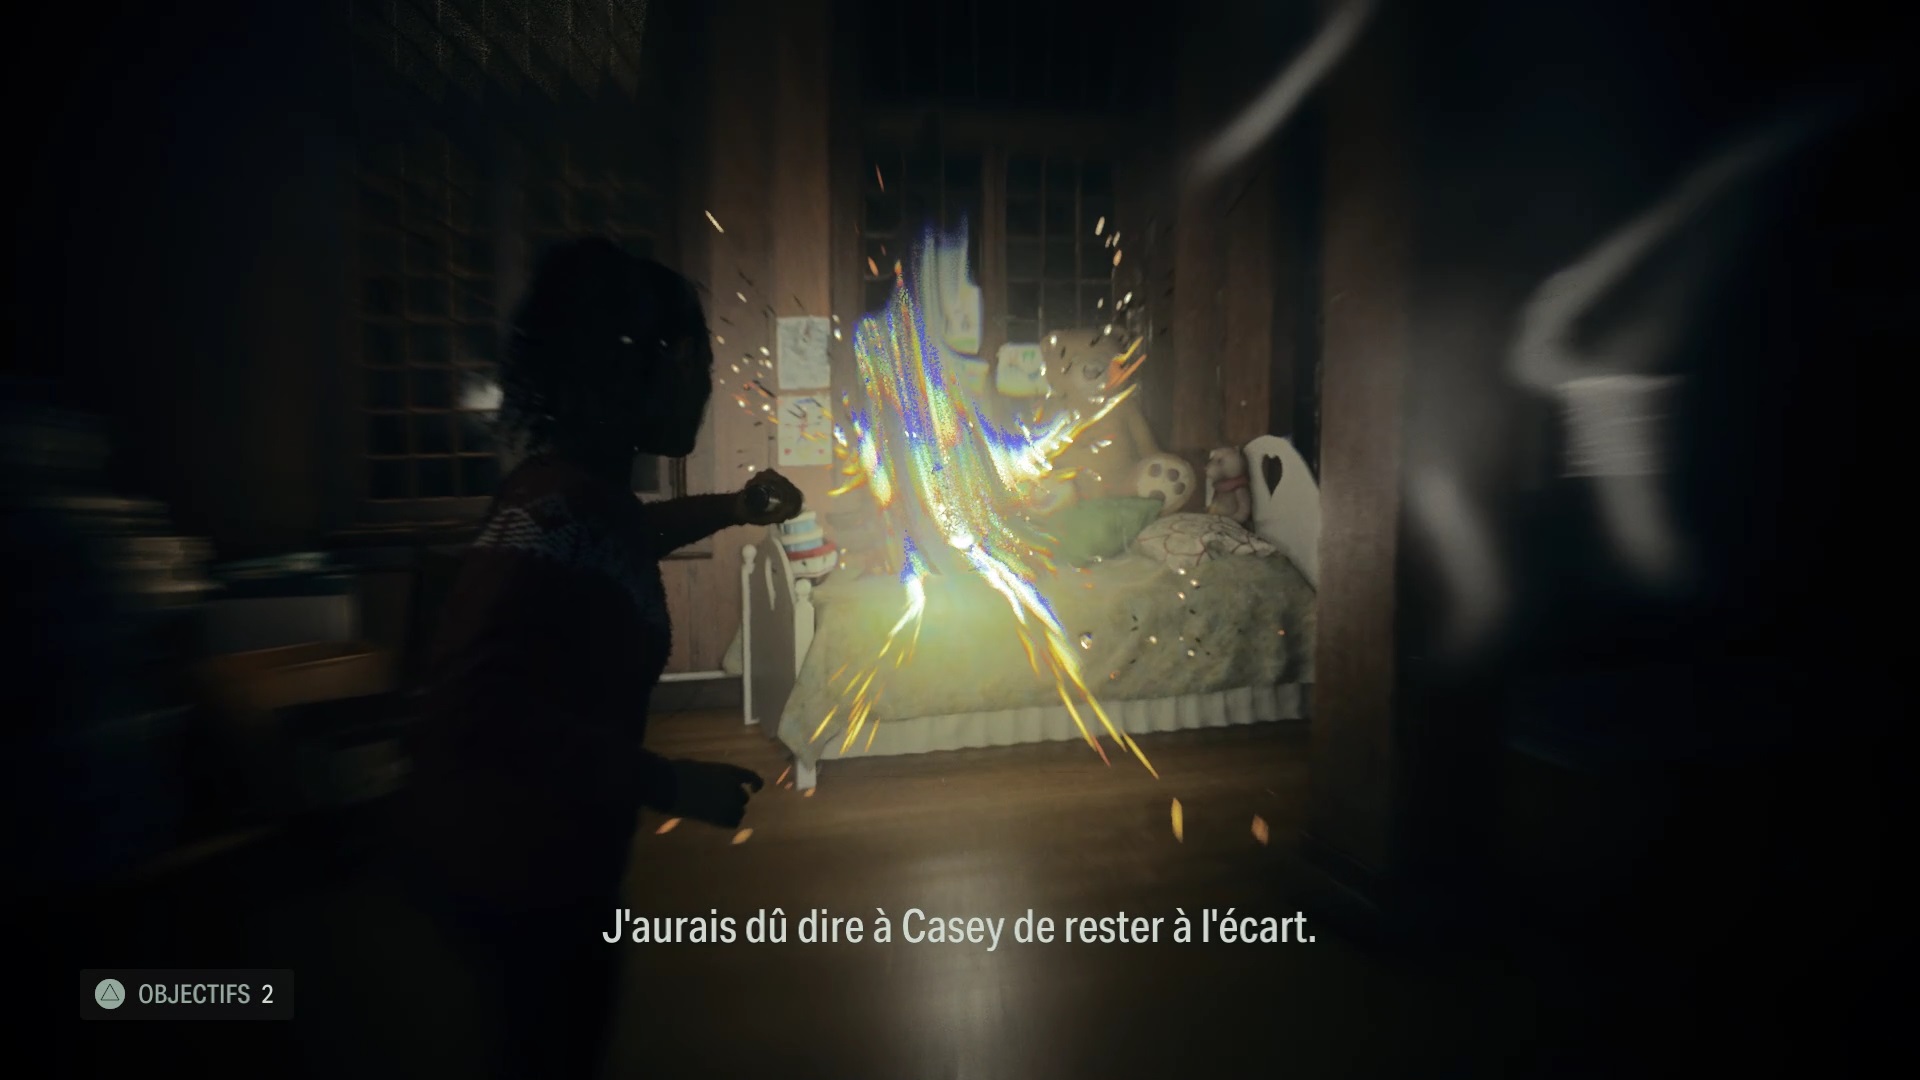
As Alan Wake, go back to the parking lot at the top to reach Bright Falls. Once there, collect Alan’s book which is at the end of the street in the hand of a sign. Then, escape the crowd chasing you by taking refuge in a house near the retreat. You will see Alice’s silhouette there. Follow Alice until the Dark Shadow attacks you. Run away to the retirement home, then go up to the third floor to reach your office door.

Line up the orbs to discover one final idea: “The Big Price”. Then place this theme on the plot board for a change of scenery.
Return 9: Come back
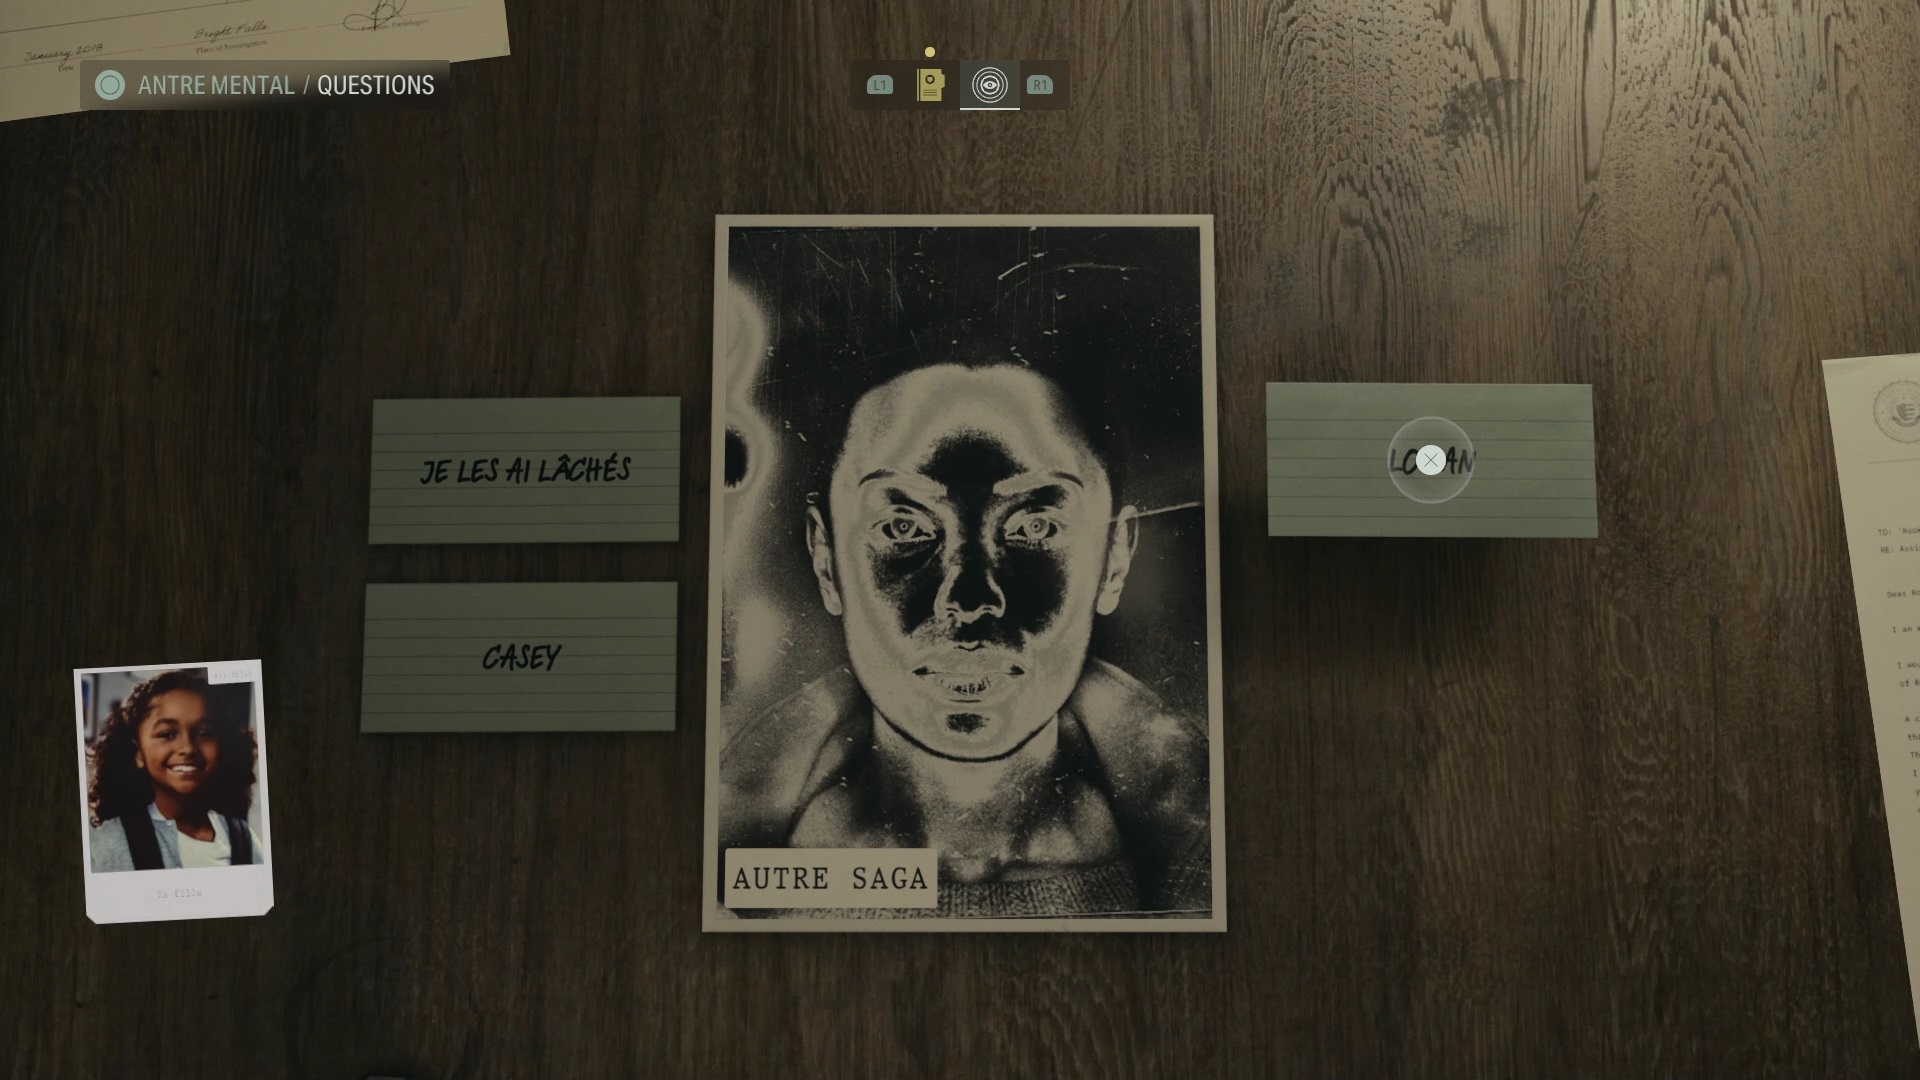
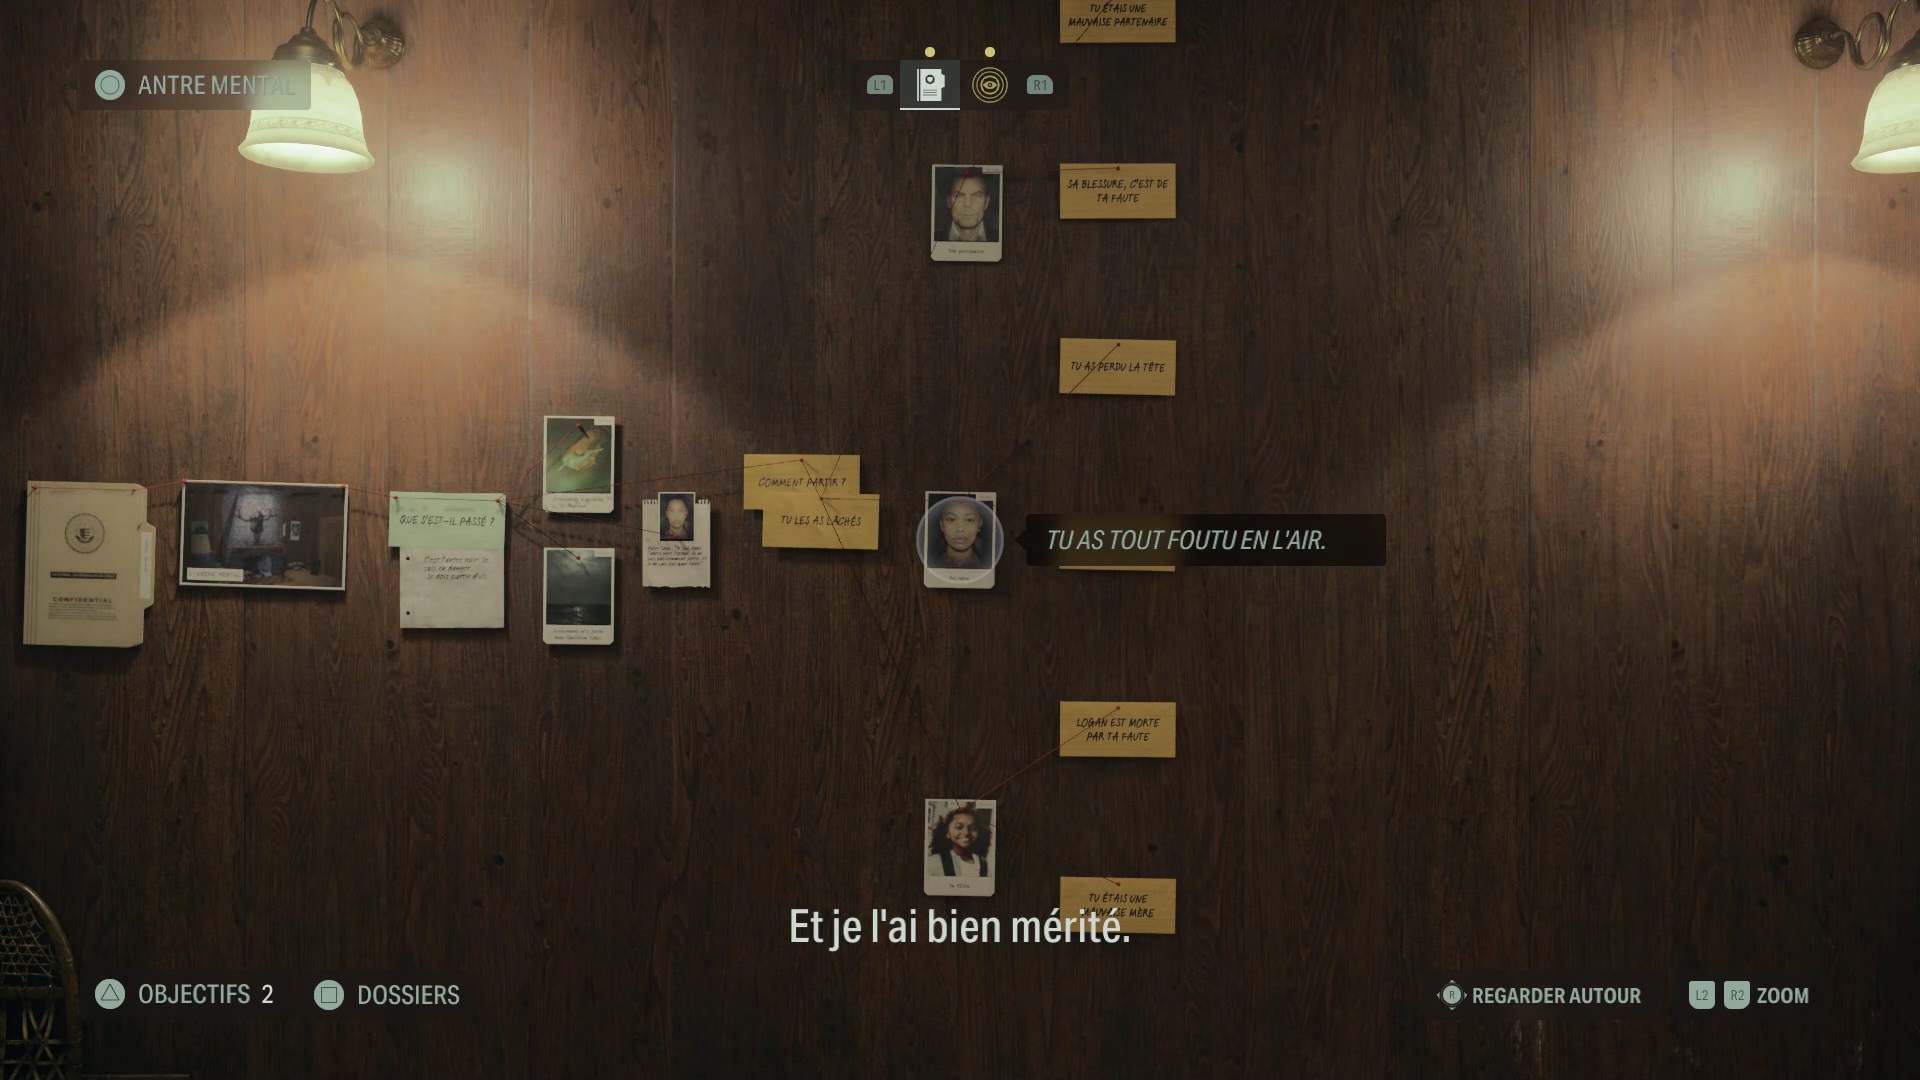
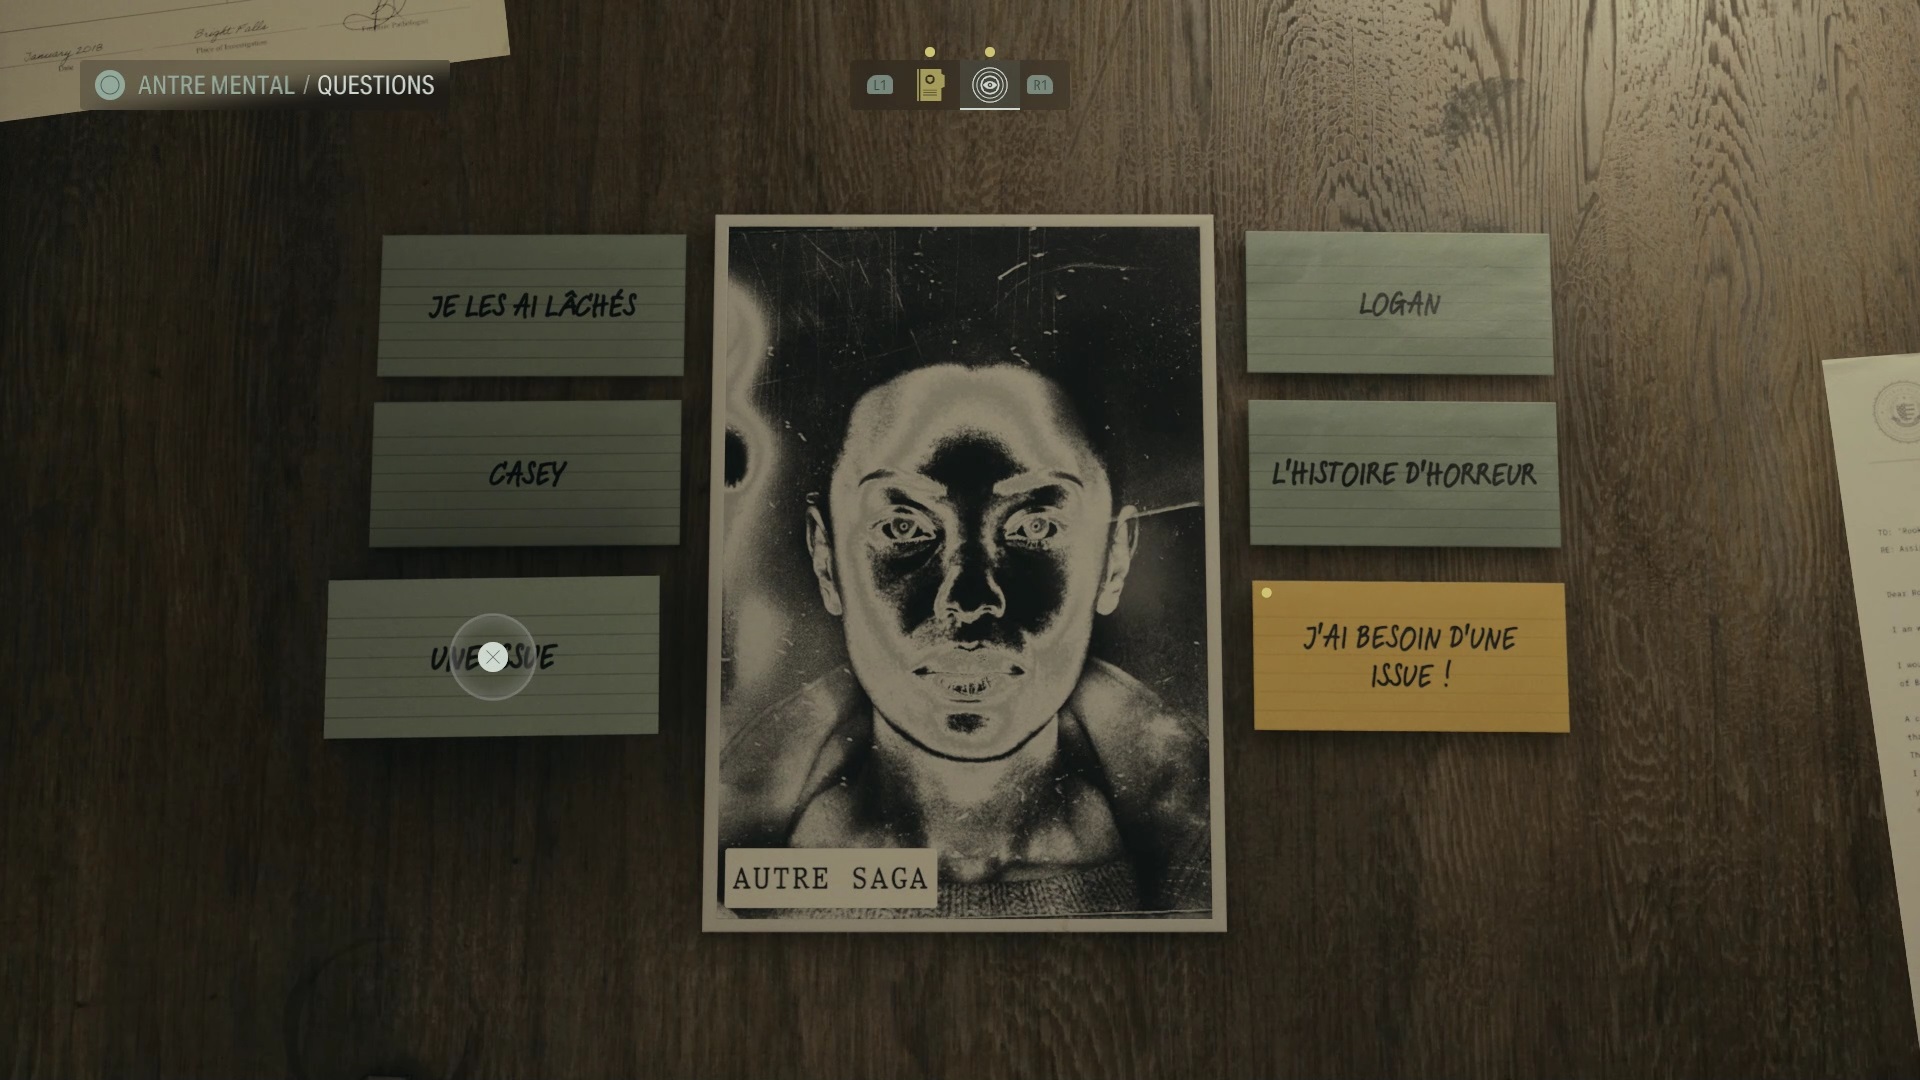
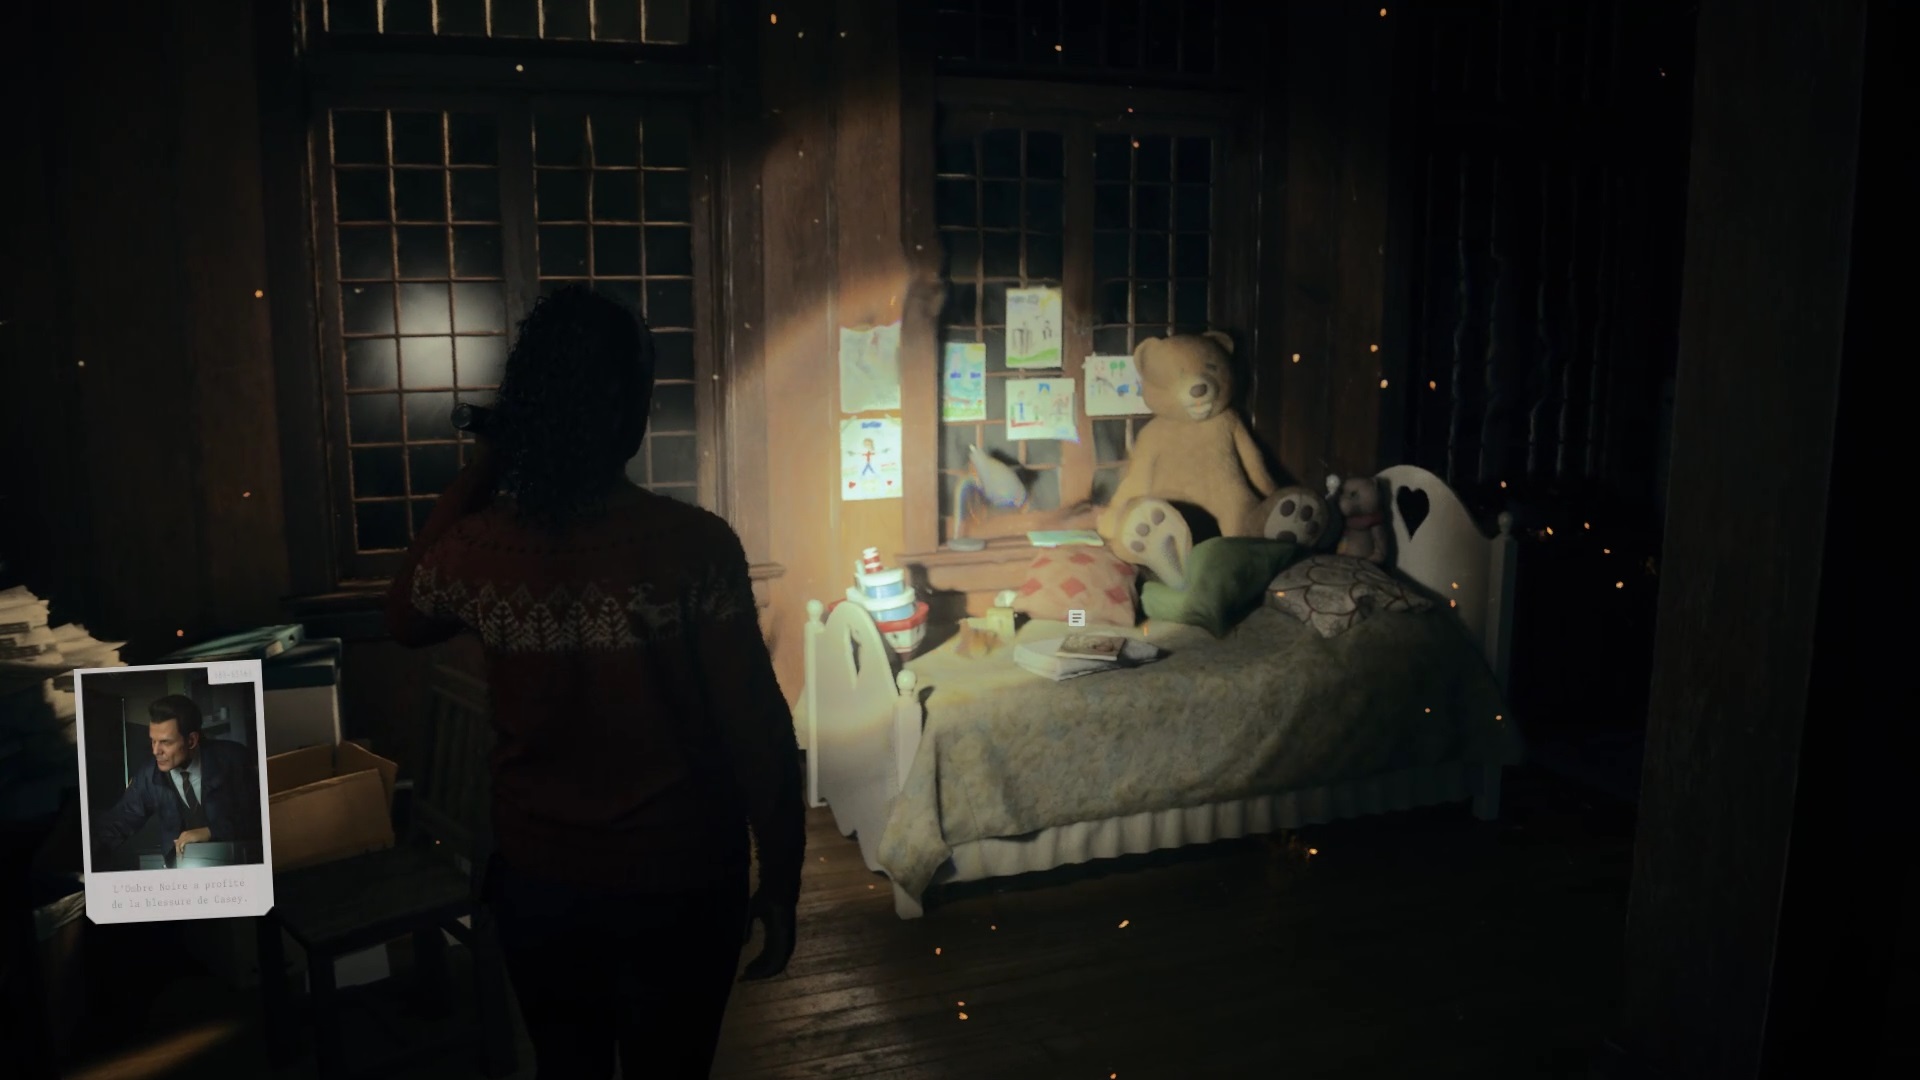
As Saga, try to escape the Mind Den to obtain a new file. To find answers, query Saga in the Profiling section. Move Saga, Logan and Casey to the question to try to answer it.
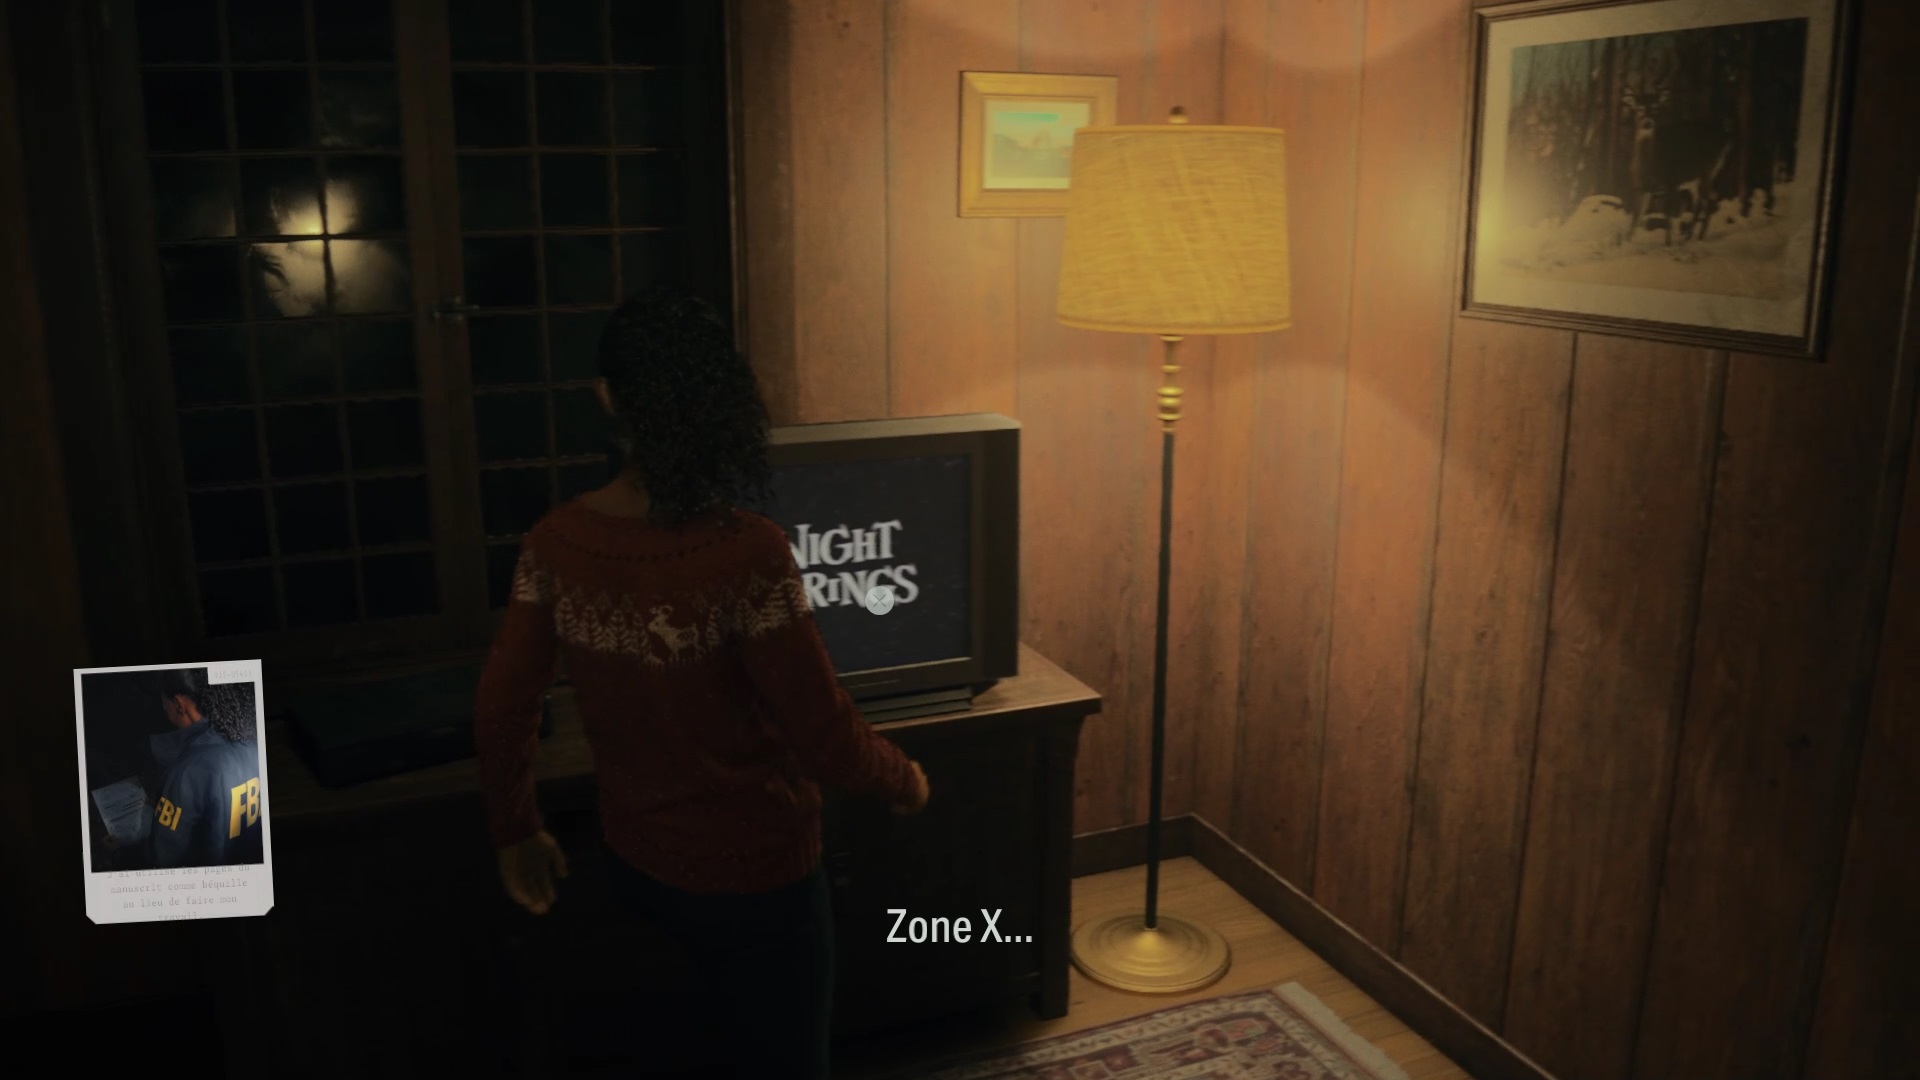

Explore the pile of documents, the television, the deer mask, the cult symbol, the drinks and the FBC documents to discover elements to blame Saga.
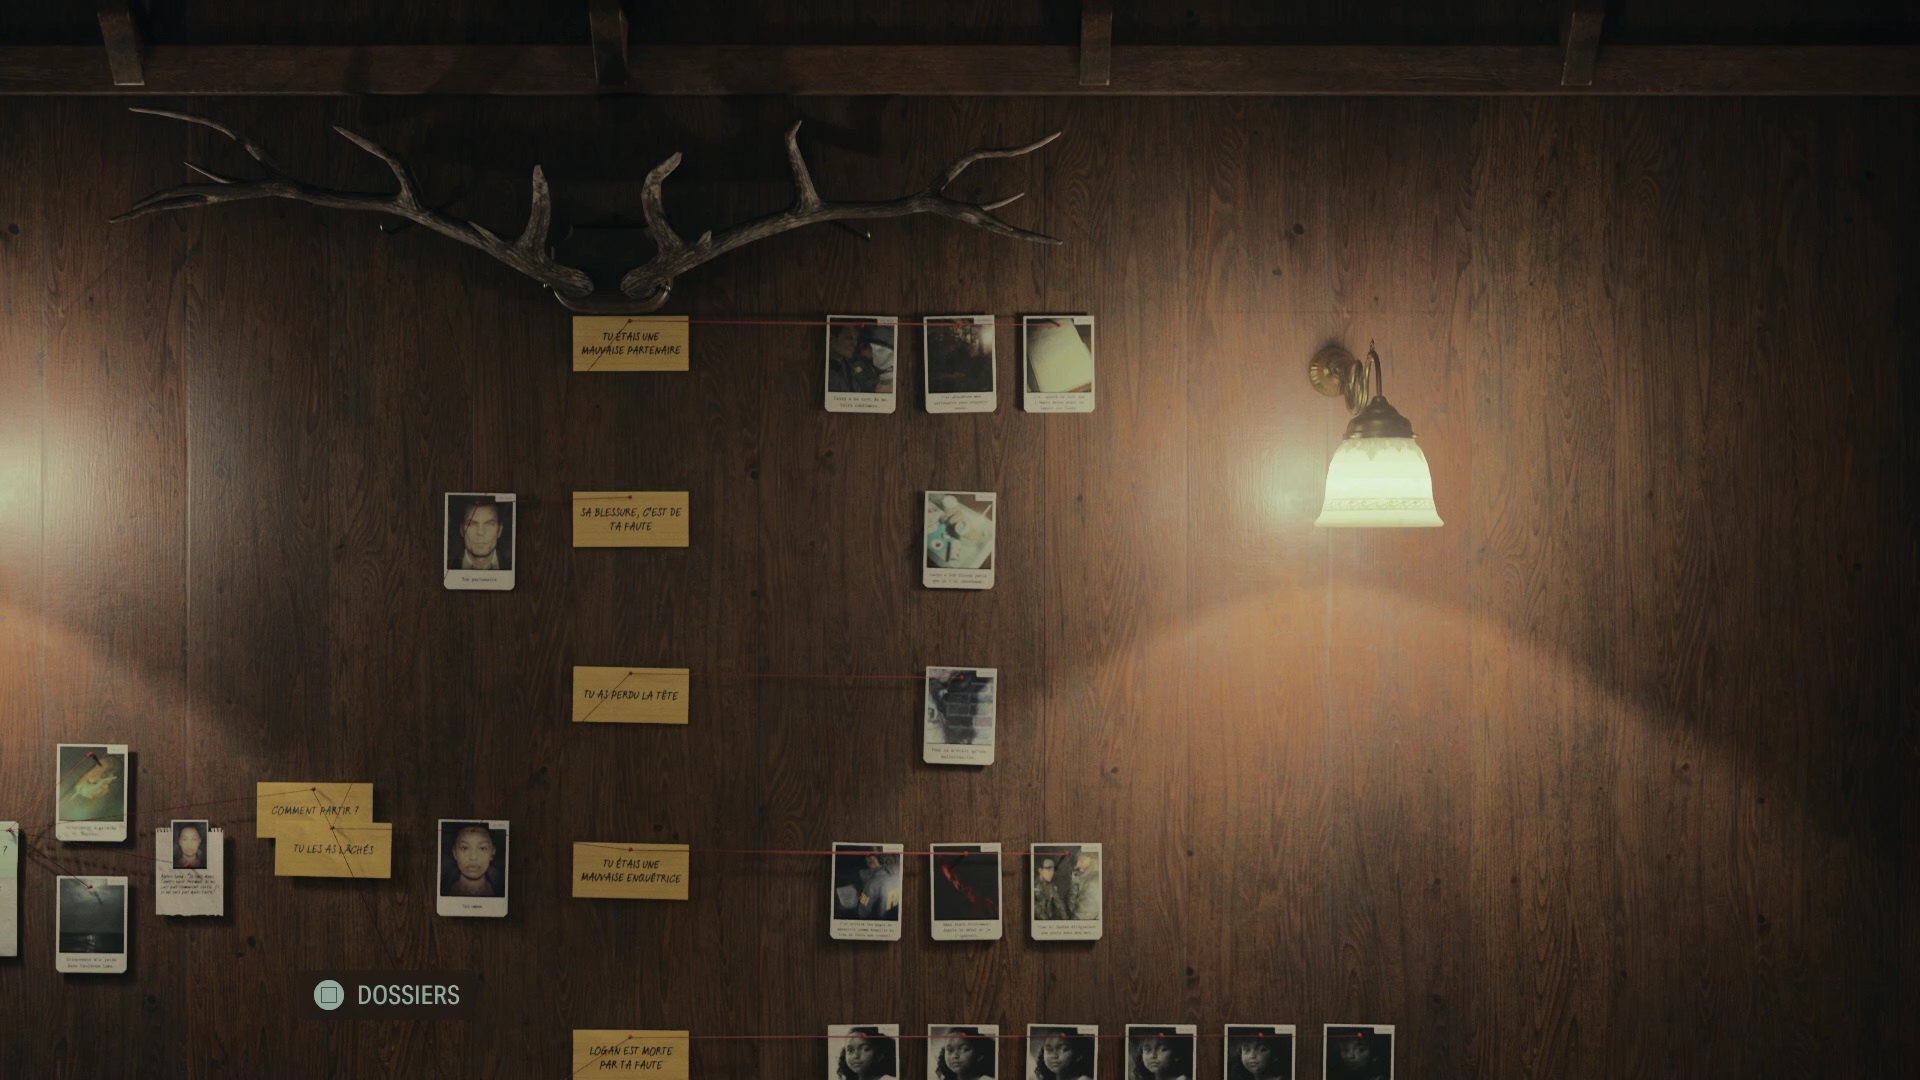
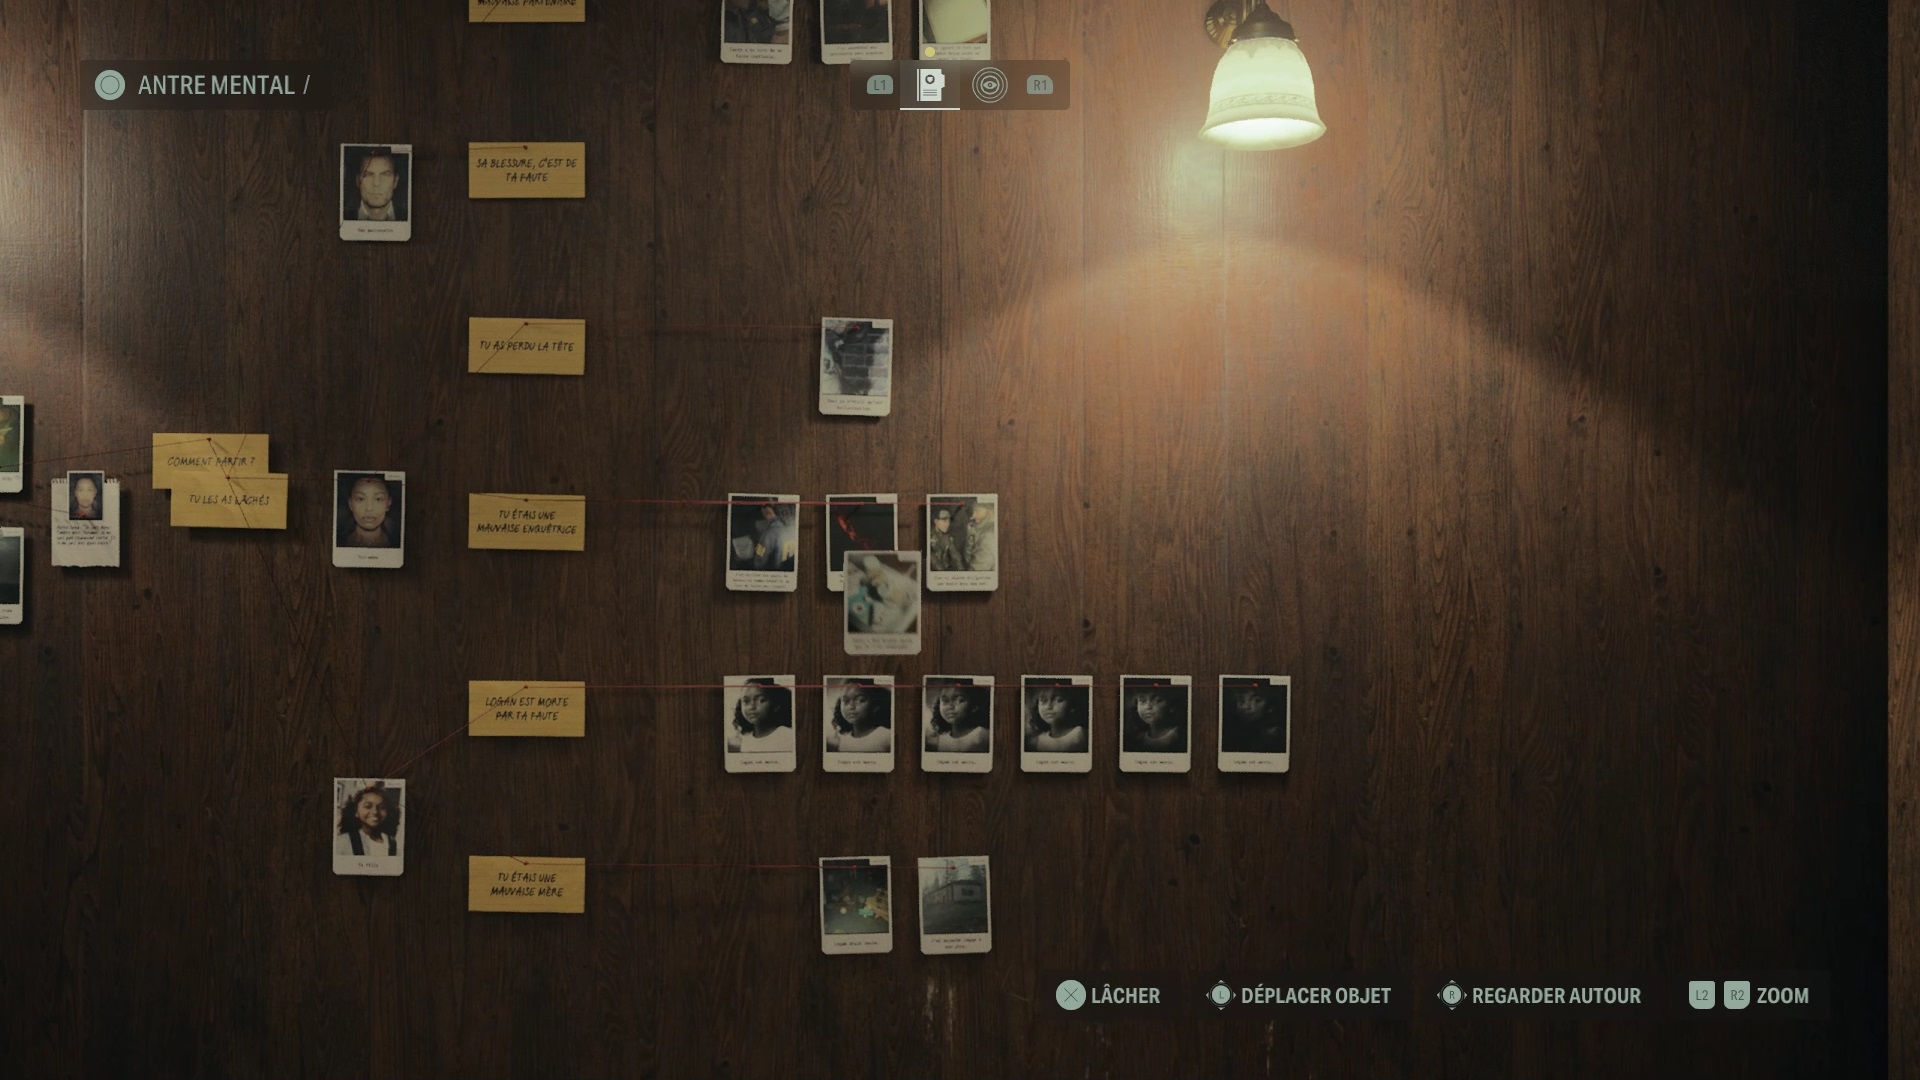
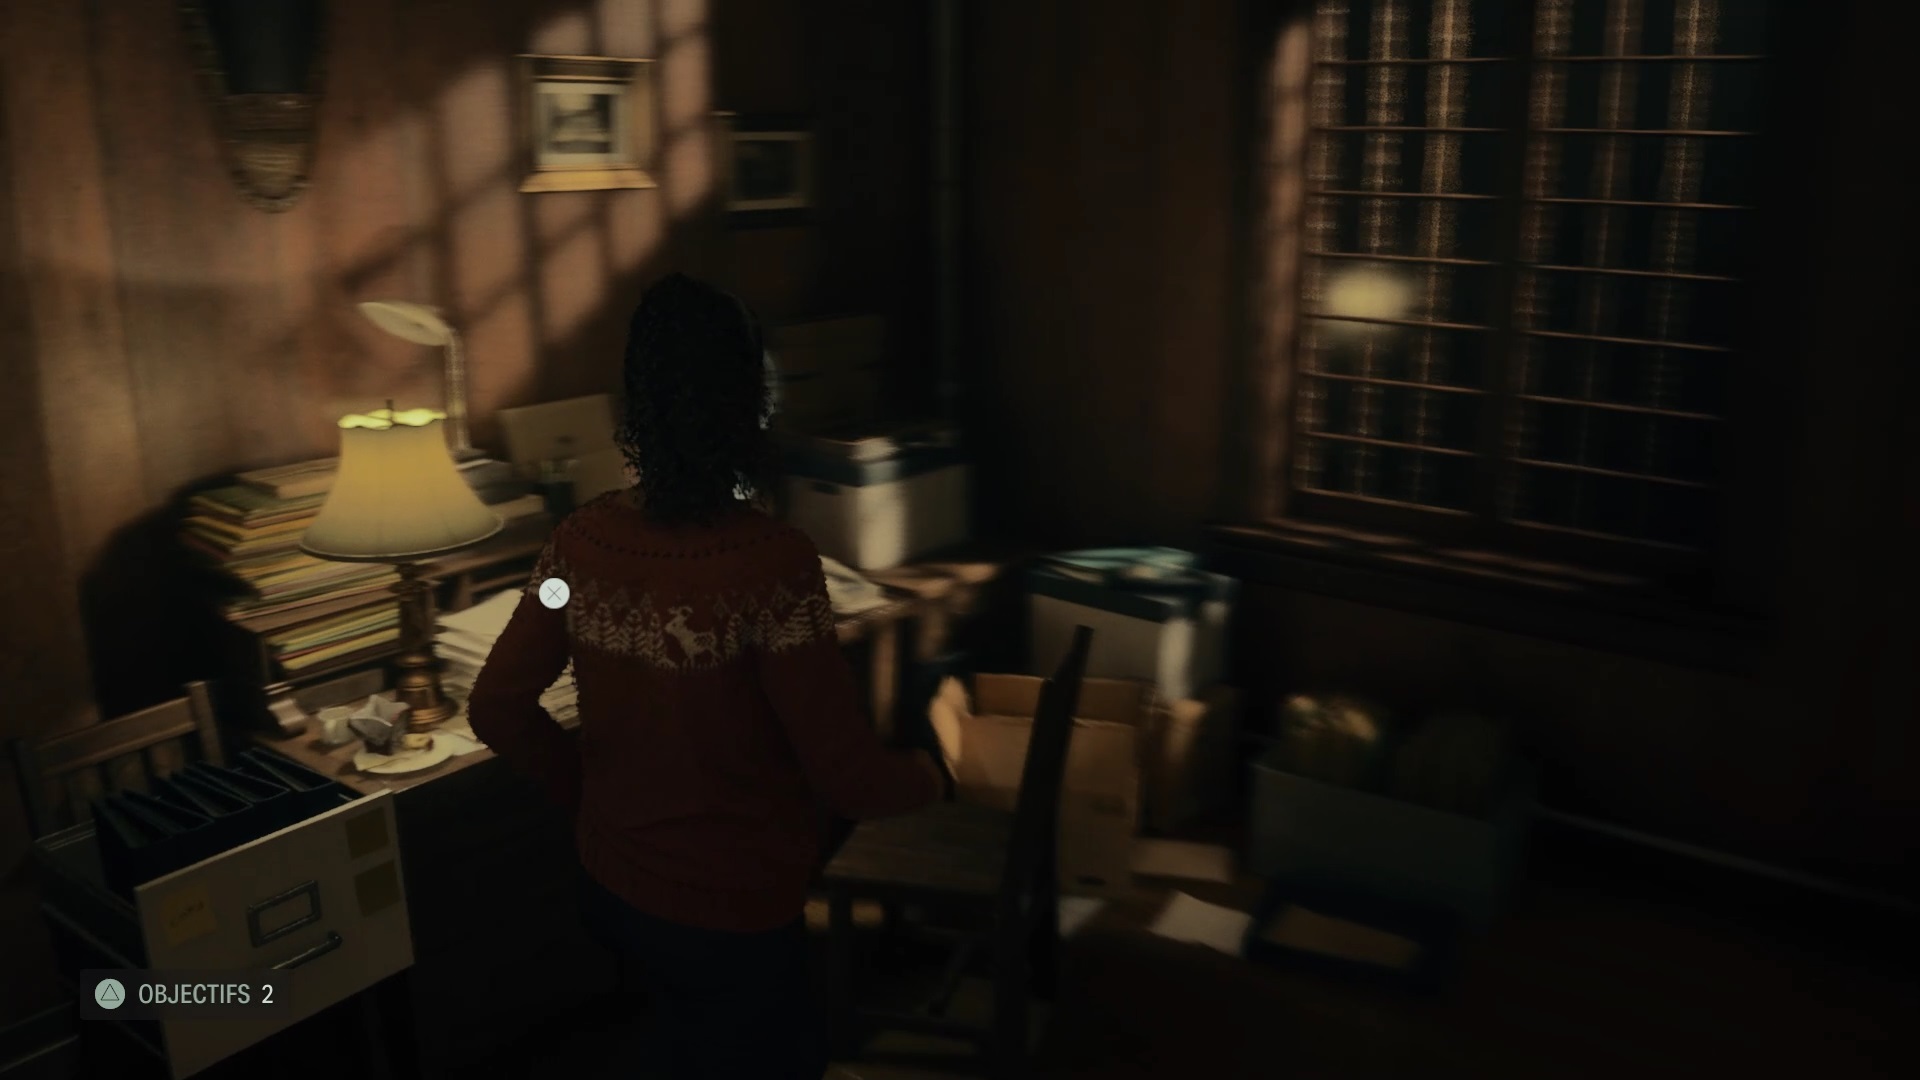
To trigger a cutscene, associate a guilt element with a relevant question. After the cutscene, go to the Profiling section to interrogate Saga, search for answers to your questions and collect the lamp from the table. Use this lamp to dispel darkness and find comforting elements.
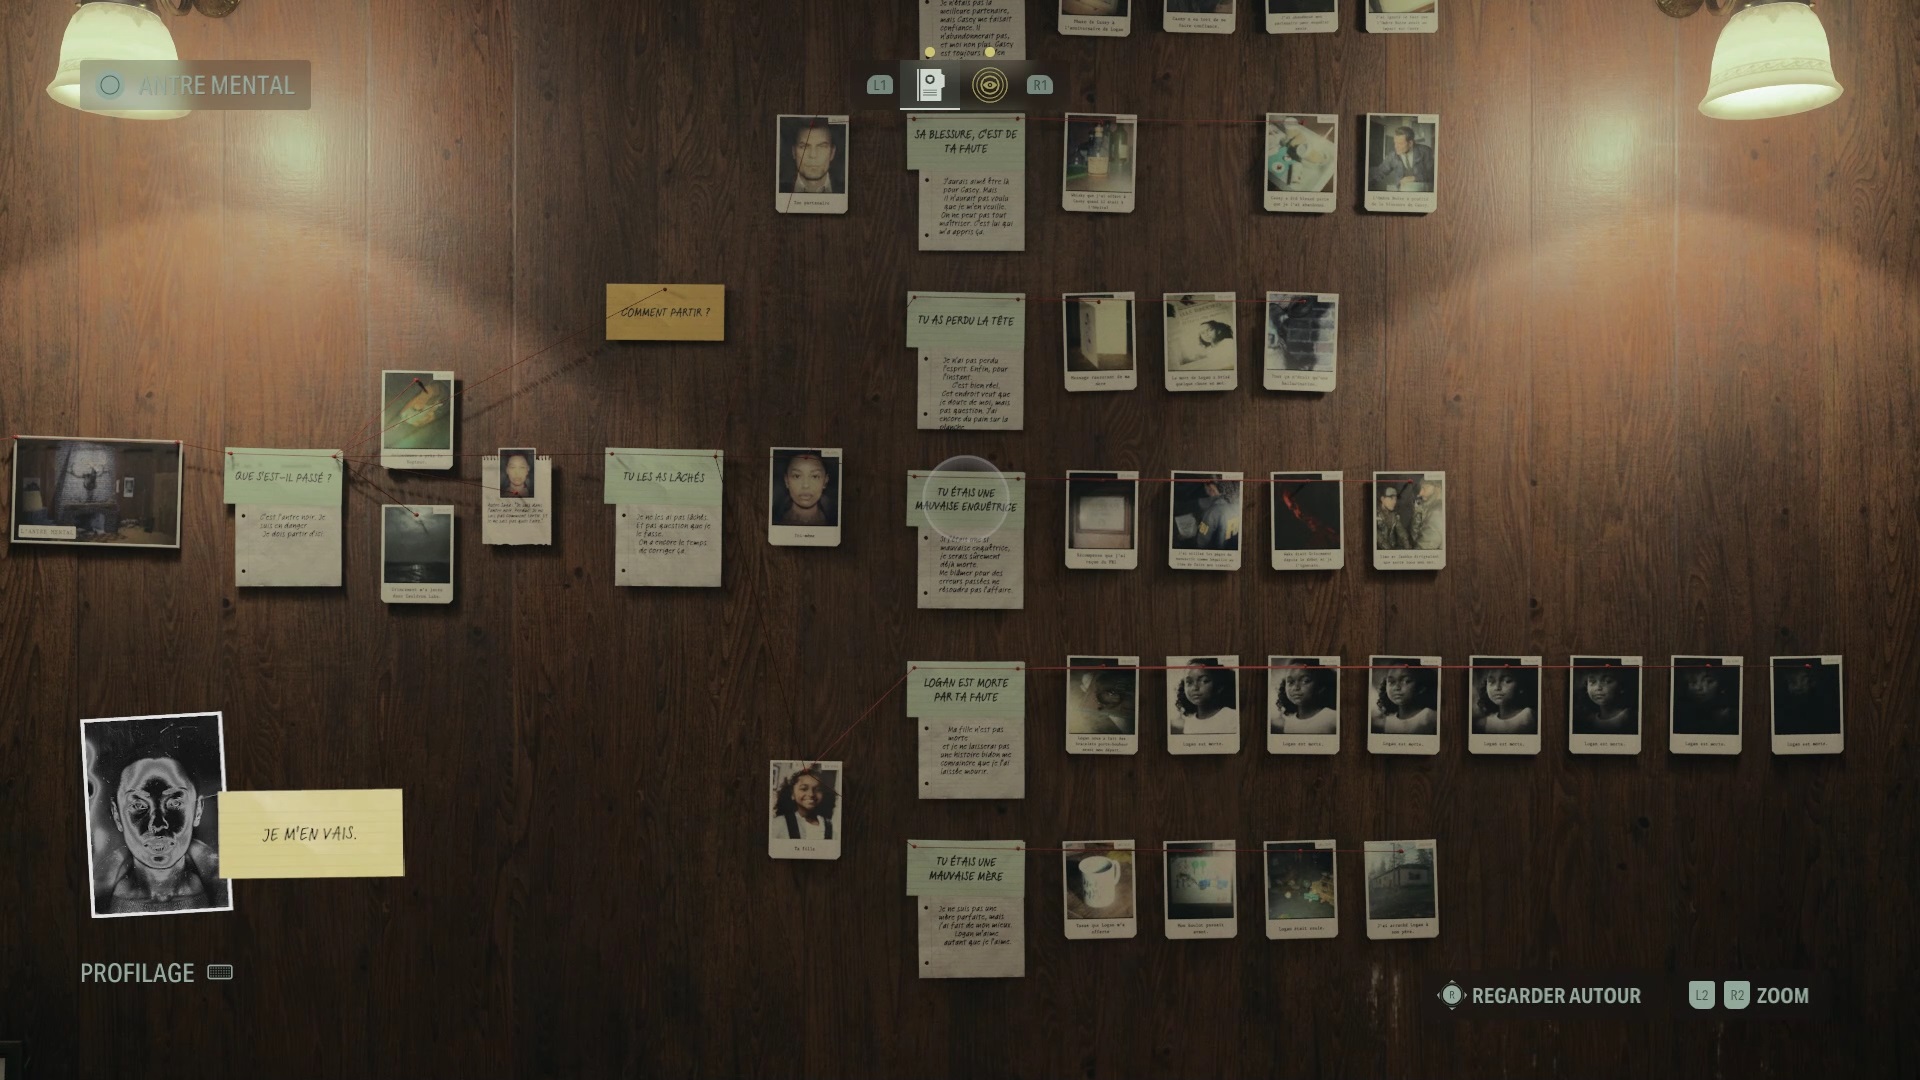
You have collected all the items needed to solve the investigation board. Here’s how to place them:
- Place the bracelet on “Logan”.
- Place the mother’s card on the question « Lost my mind ».
- Place the certificate on “Bad Investigator”.
- Place Casey’s photo on « Casey. »
- Place the drink on the wound.
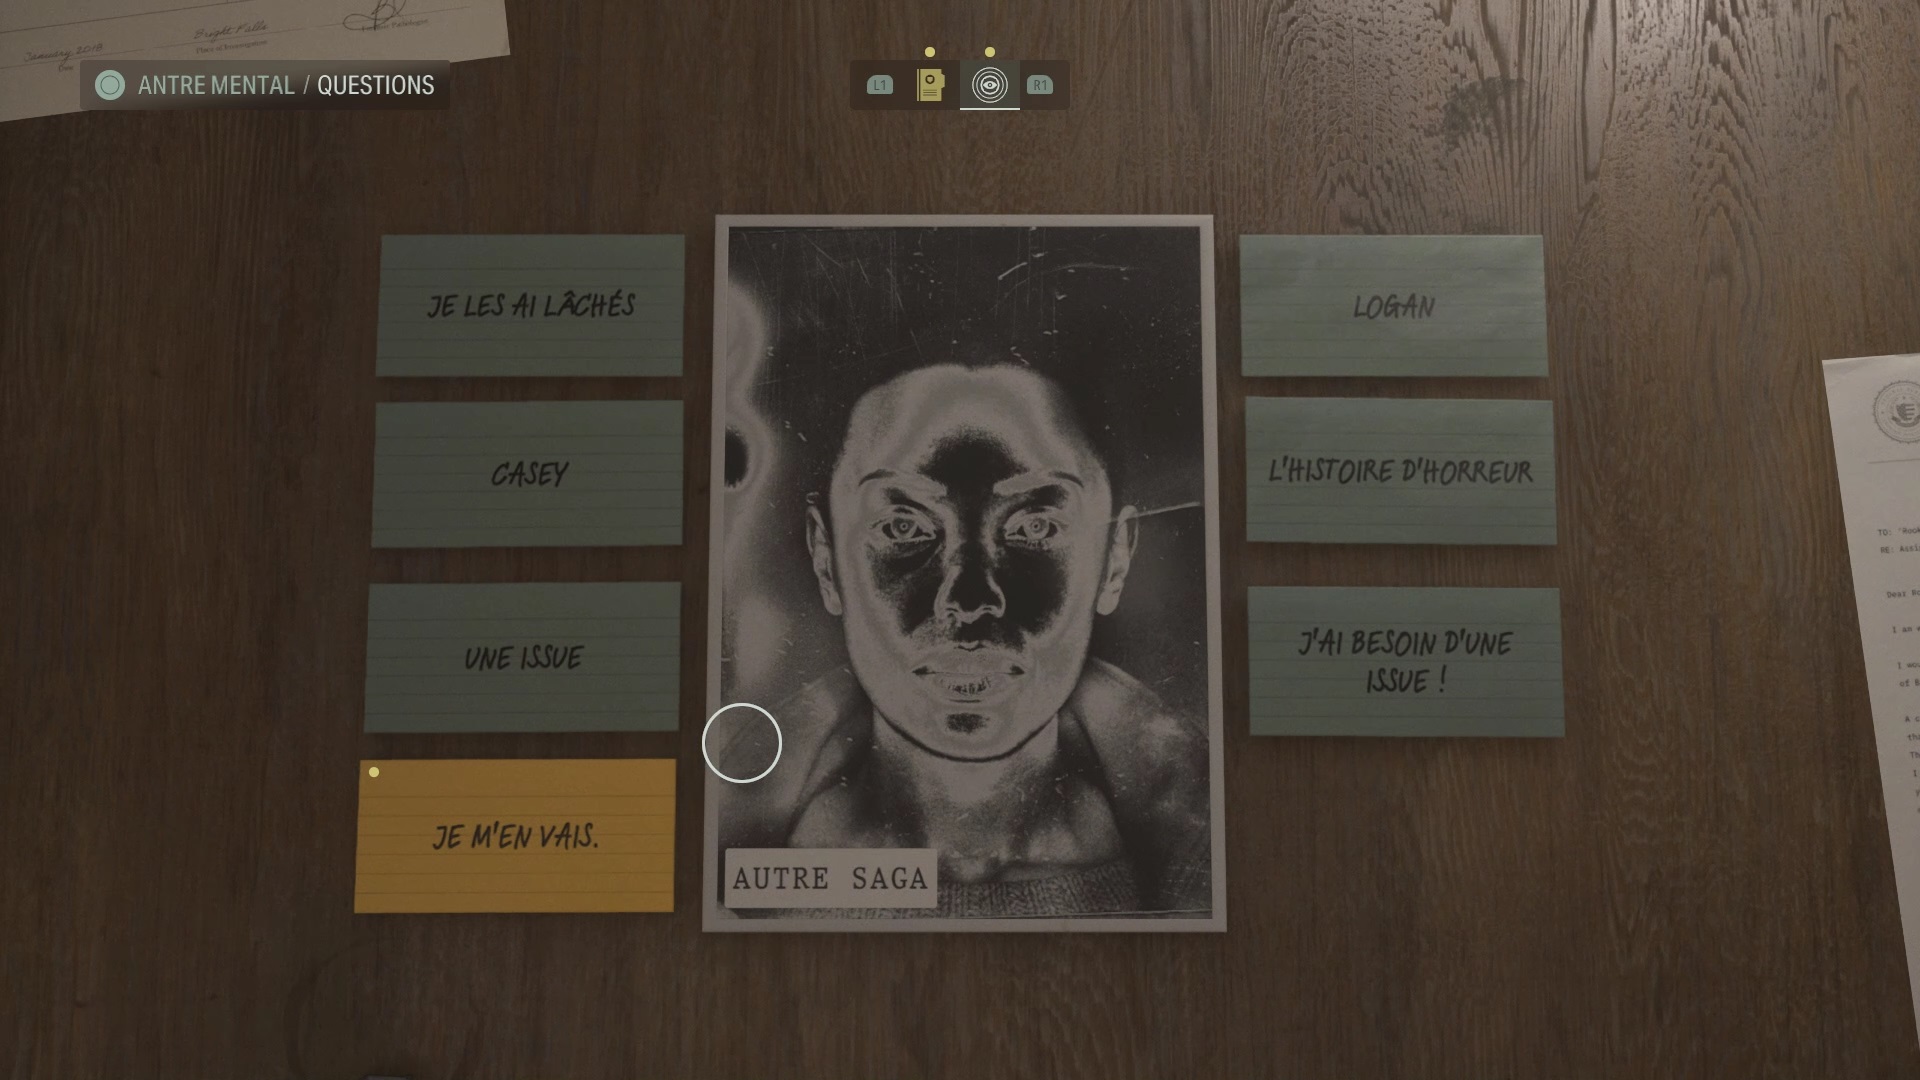
Then, in the Profiling section, use the « I’m leaving » item to unlock an exit.
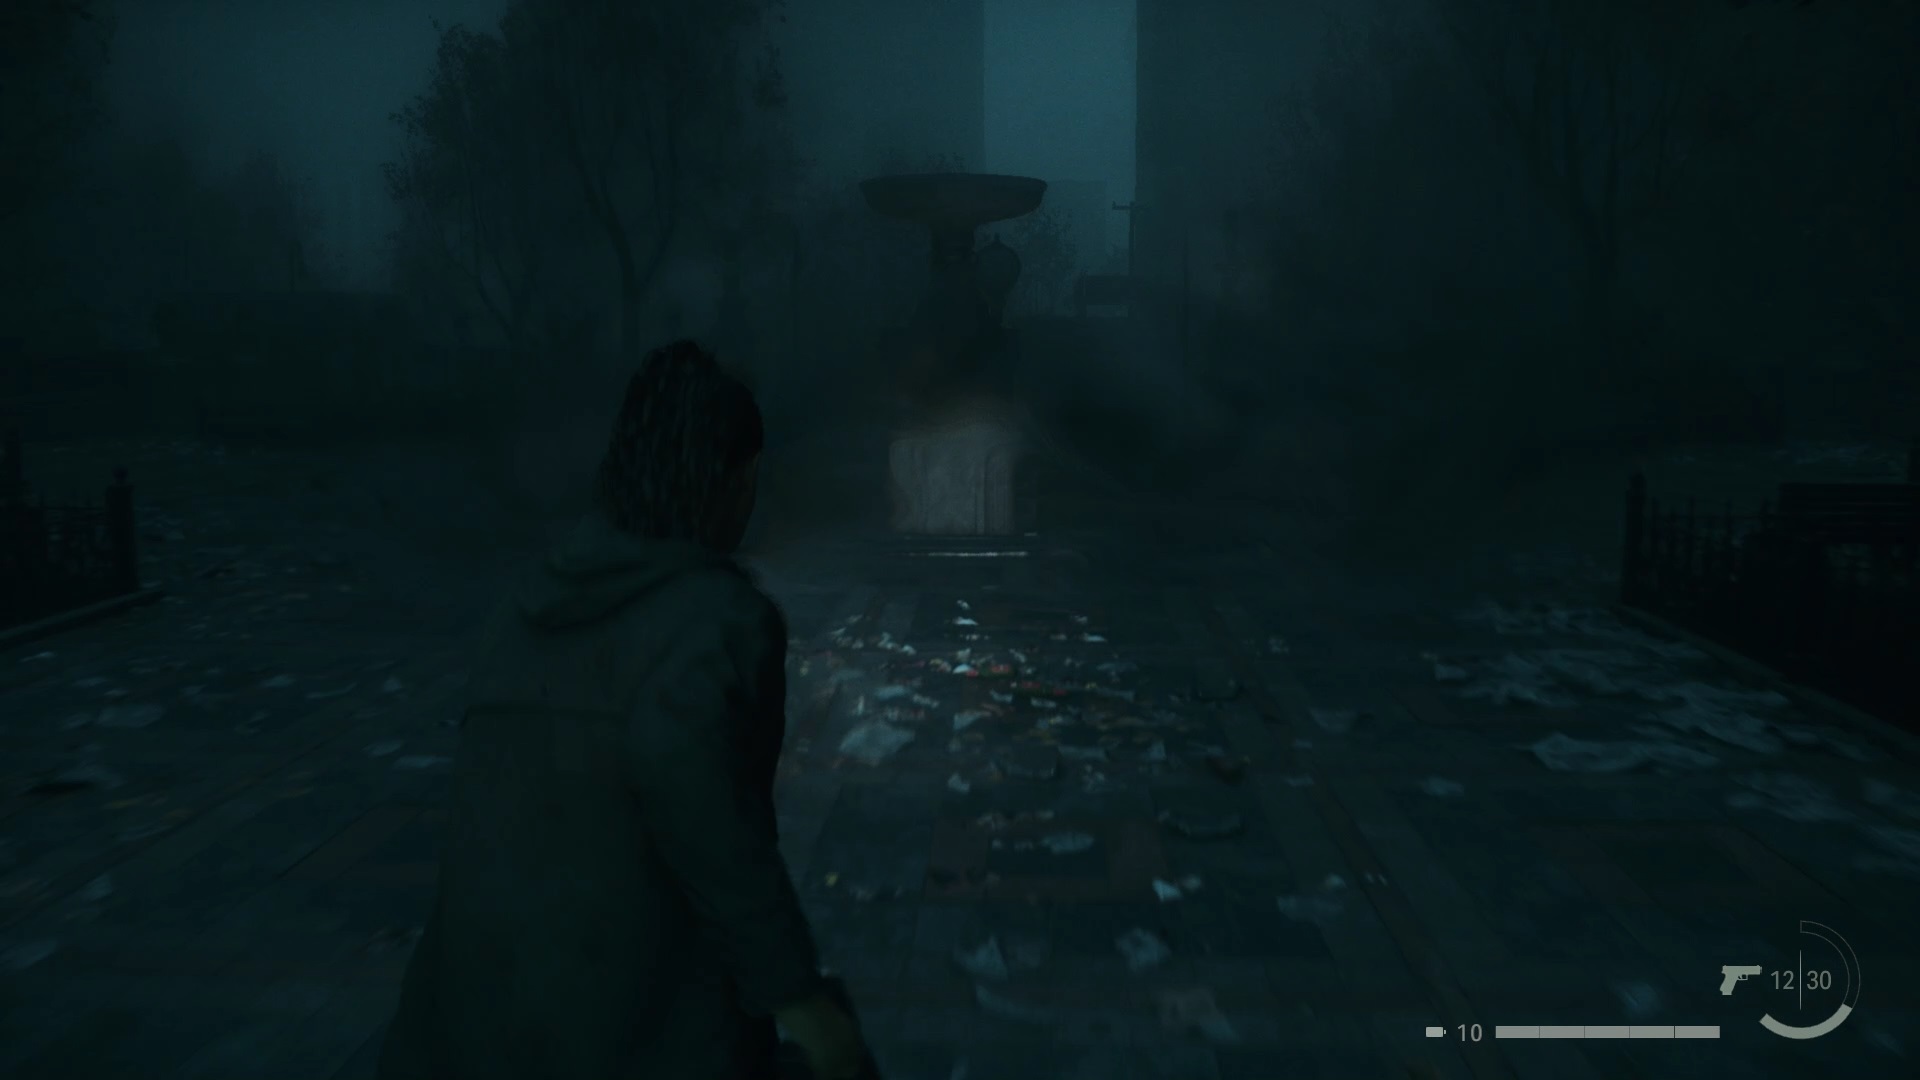
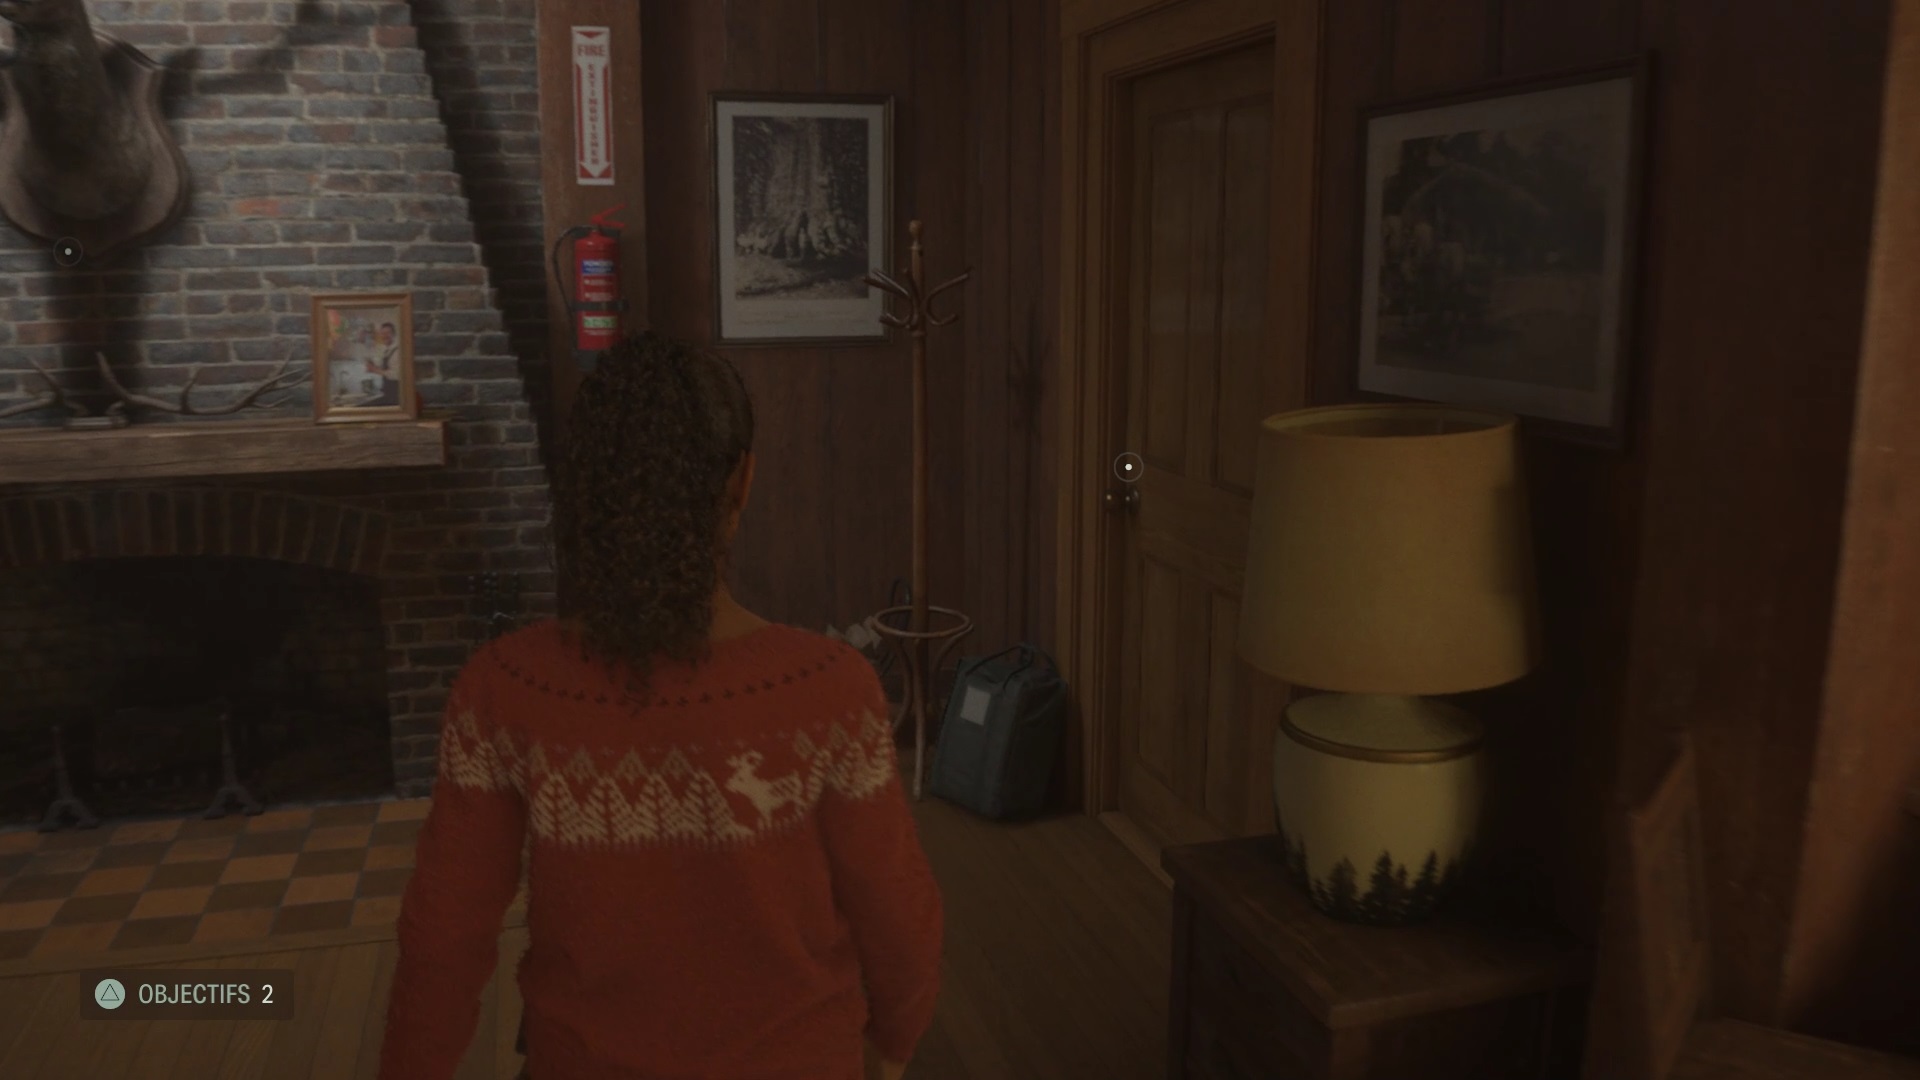
In the square, answer the phone, grab what you need from the shoebox under the statue, then pick up the phone again to unlock items in the Profiling section for Alan Wake. Question Wake, then dive into the fountain to conclude this adventure. Congratulations on completing the game!

Fan de jeux Nintendo, Xbox, PlayStation, PC et de l’univers gaming
Je vous partage ma passion à travers mes articles sur les nouveautés jeux vidéo
Journaliste gameactuality.com