
[Guide] Signalis : Complete Walkthrough and tips
Complete Signalis walkthrough. The game is available on Switch, PS4, PS5 Xbox One, Xbox Series and PC. Signalis is a survival-horror inspired by the best like Silent Hill, Resident Evil with a retro atmosphere. Check out our guide to the path and all the puzzles and puzzles in the game.
Summary
- The Penrose ship
- Installation Aeon
- Workers’ quarters
- Hopital
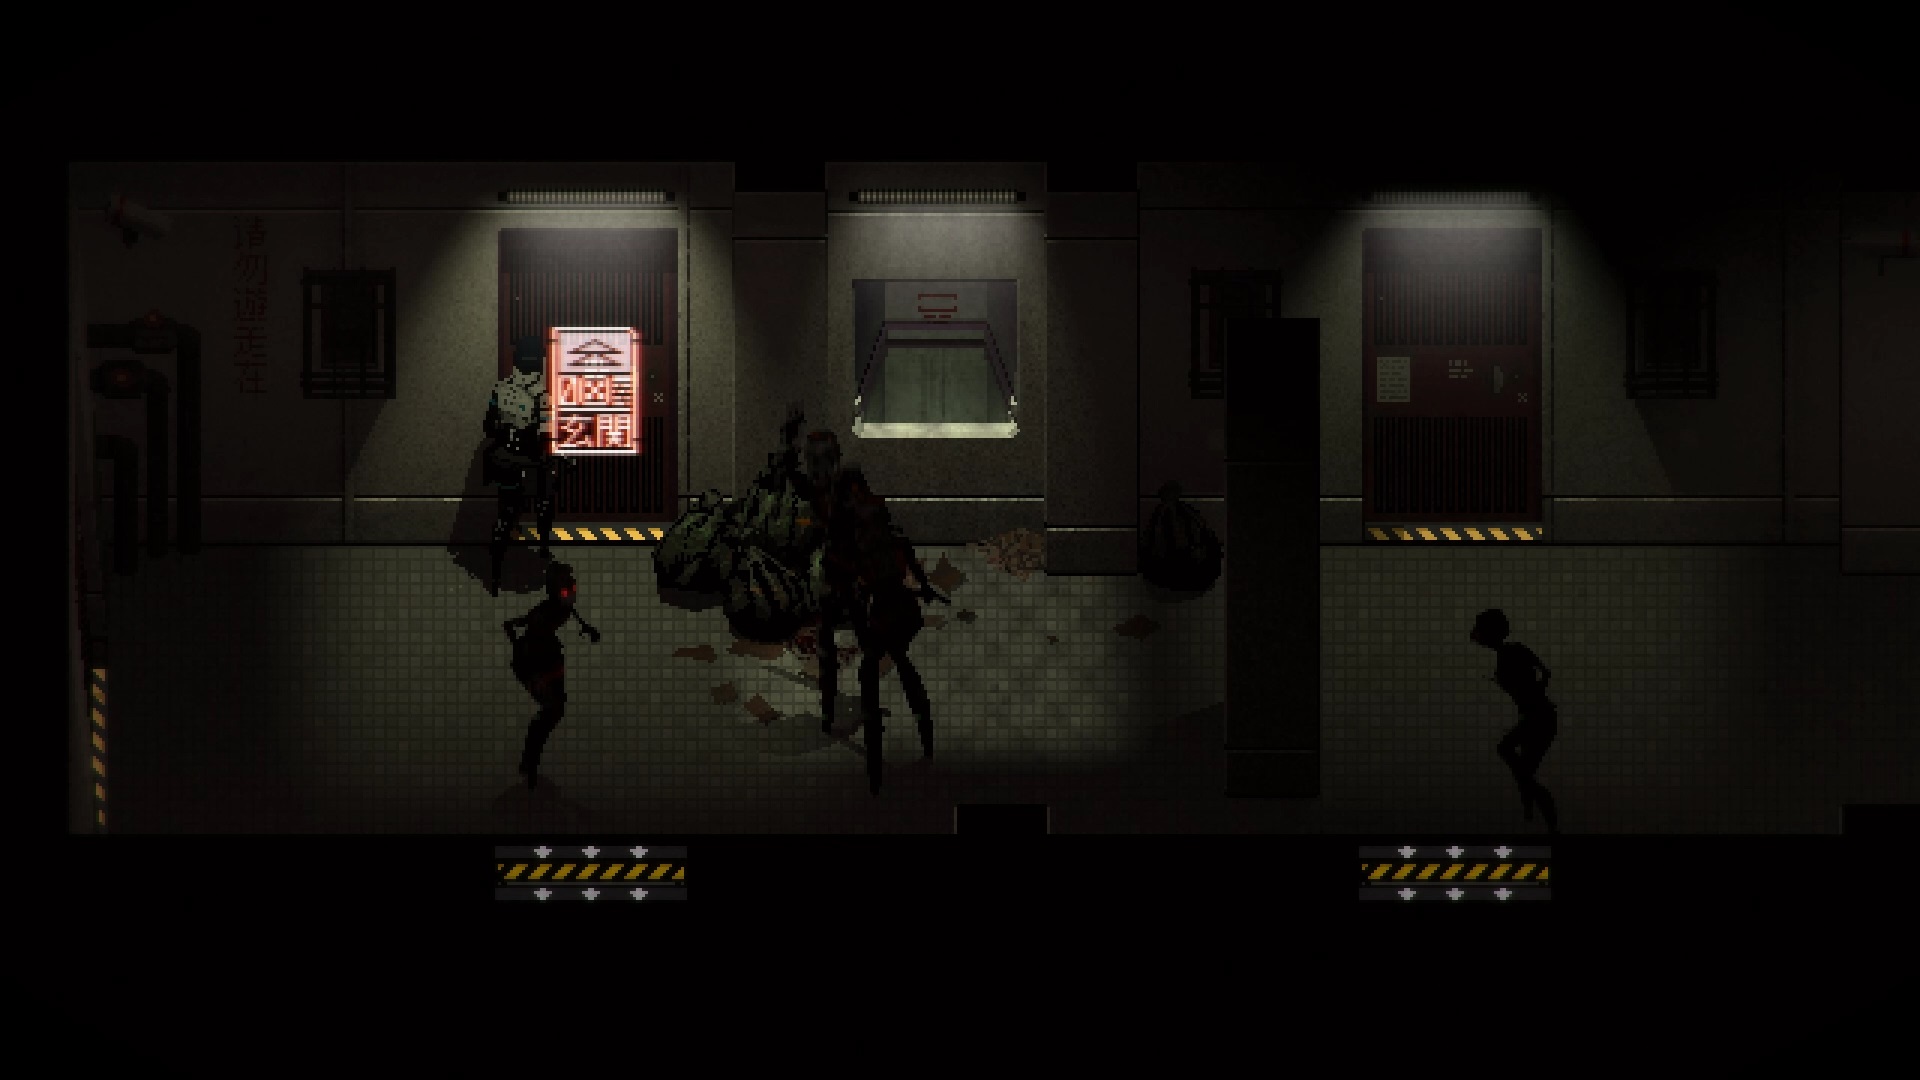
- Protektors
- Excavation
- Nowhere
- Back to Installation Aeon
- Rotfrond
The Penrose ship
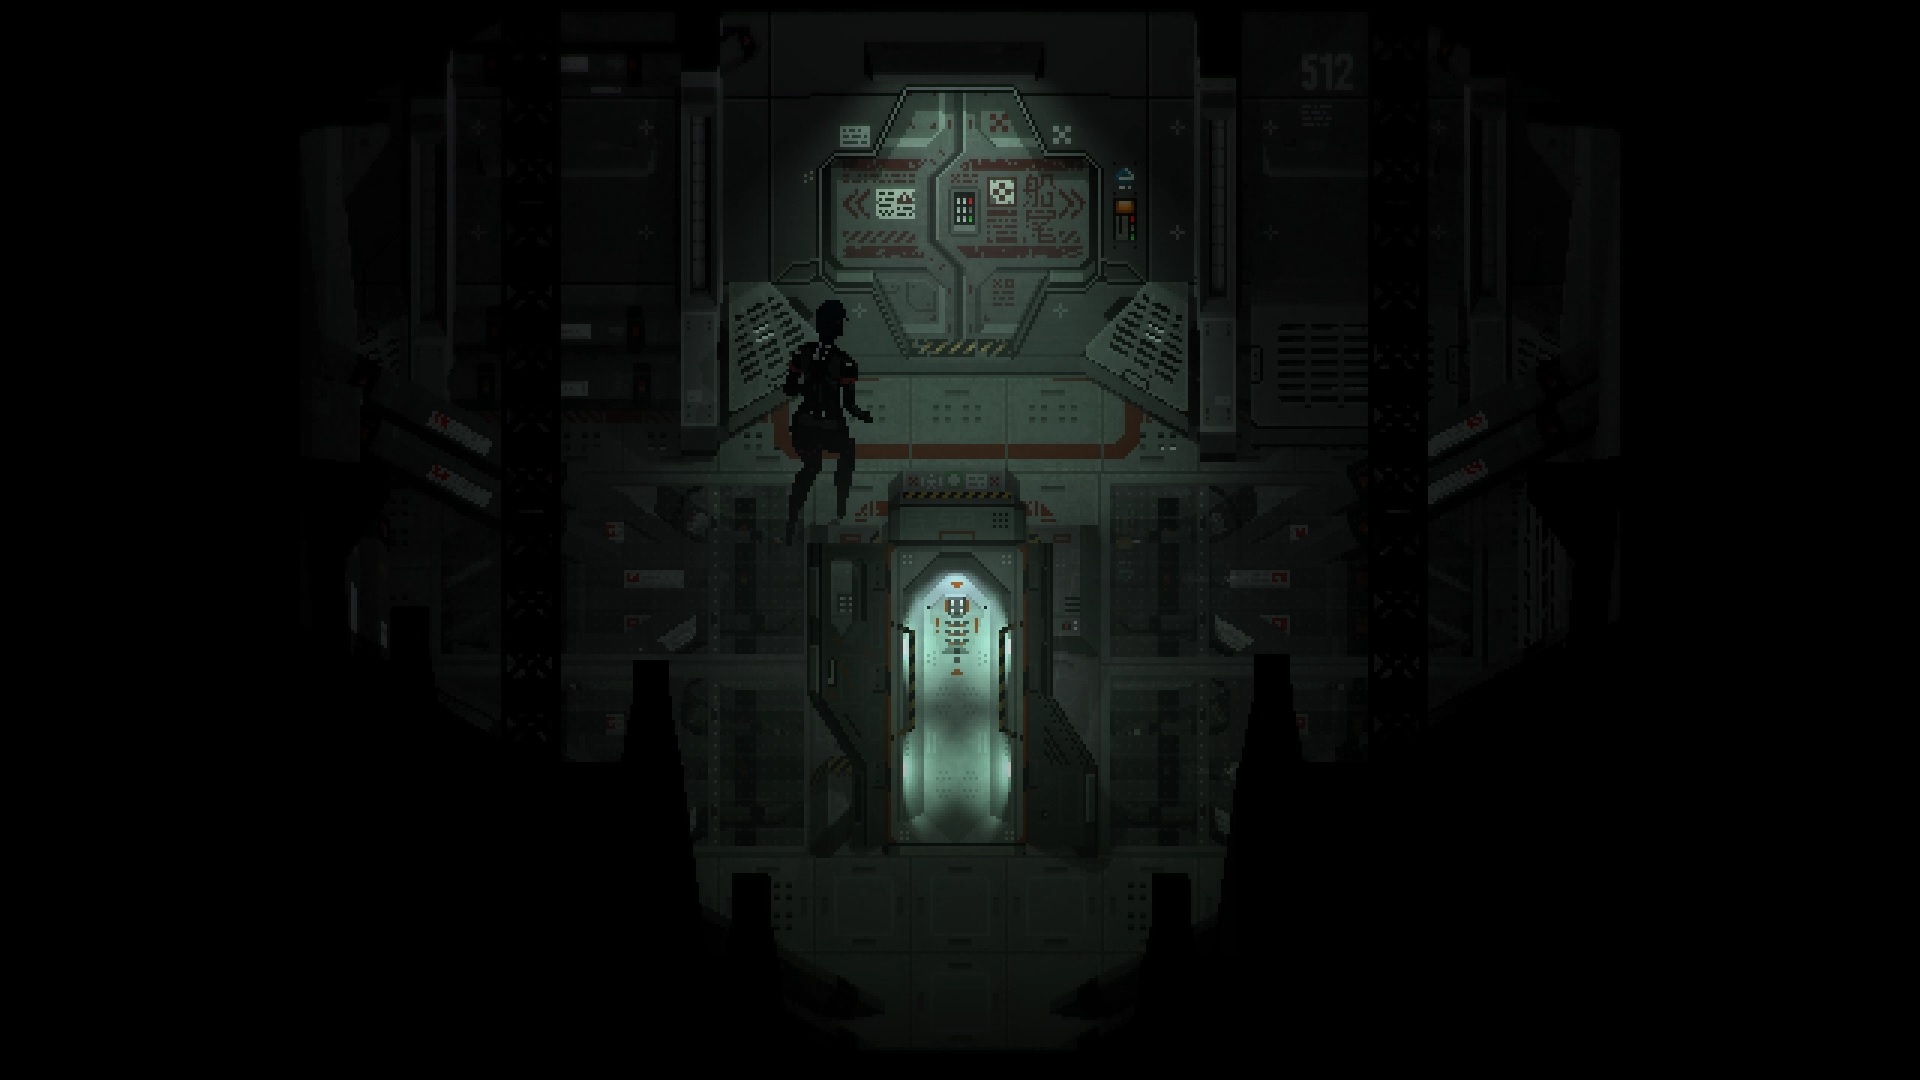

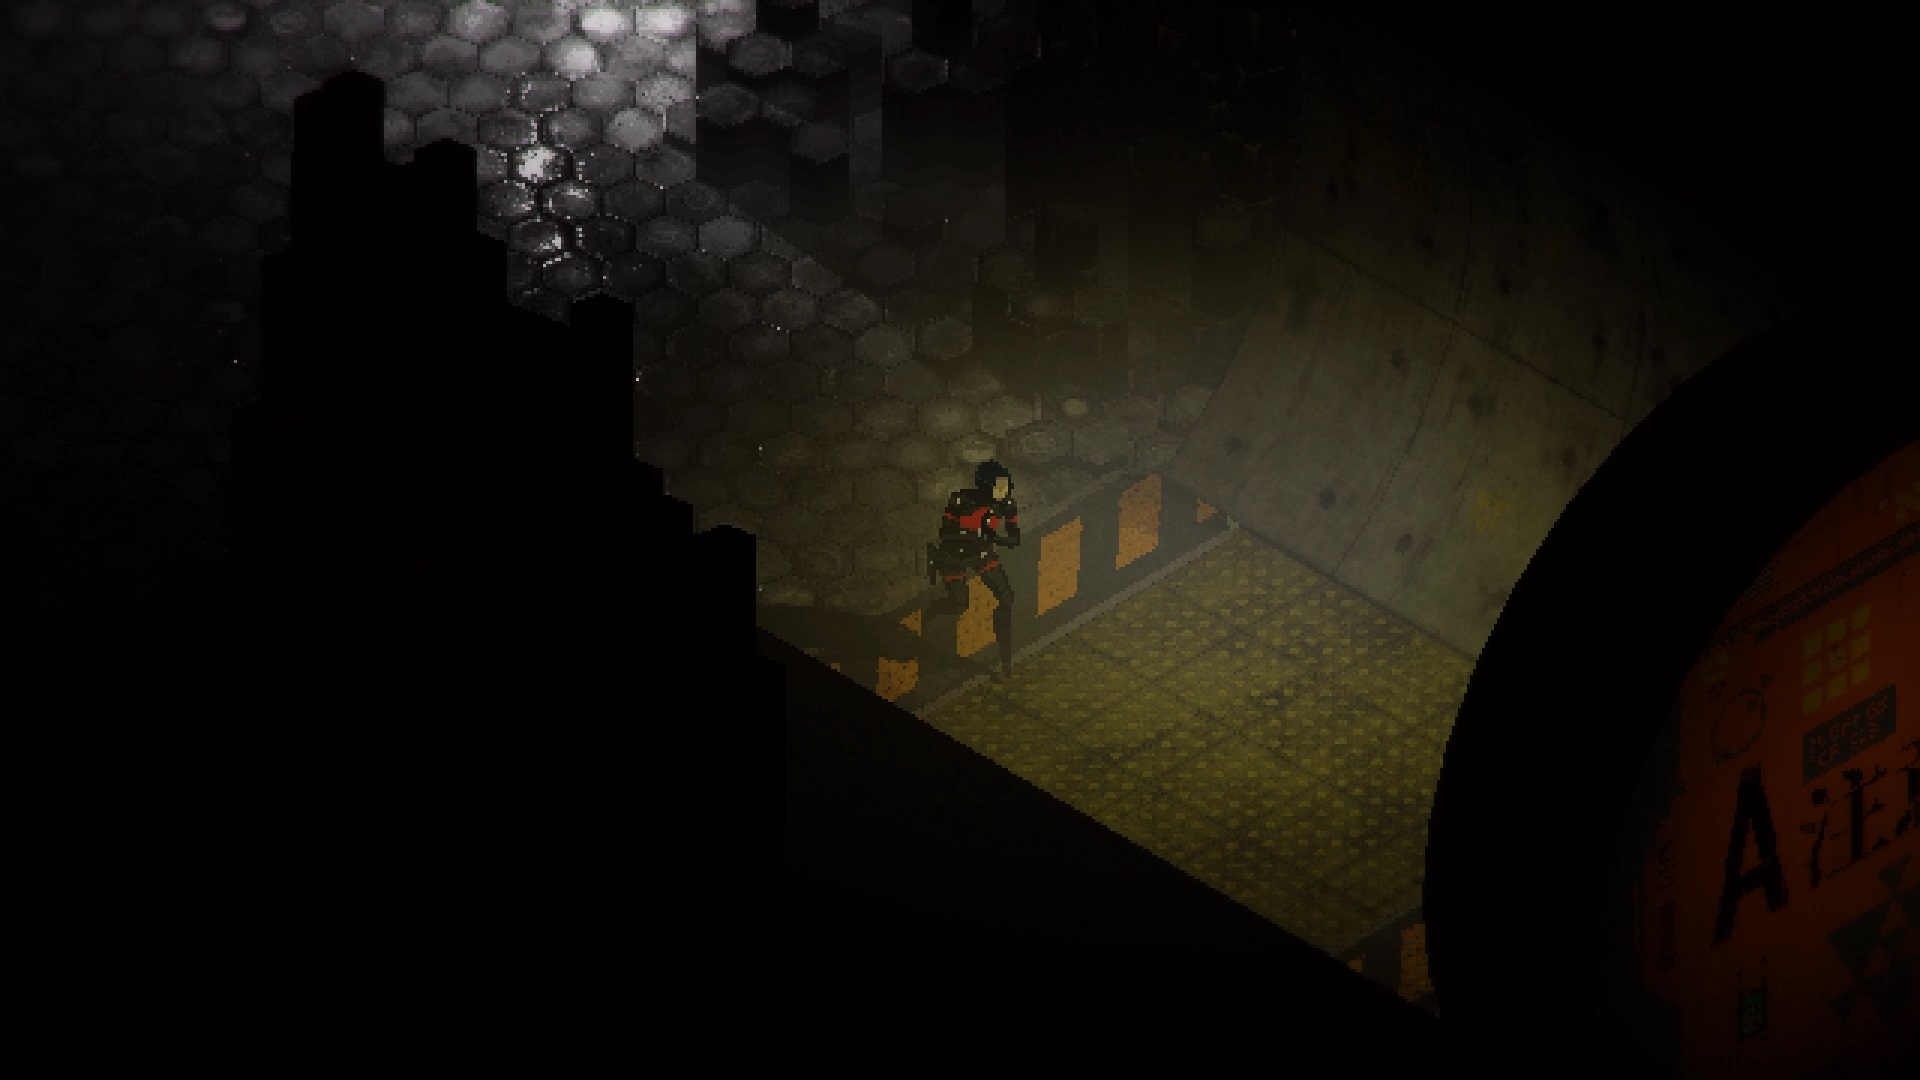
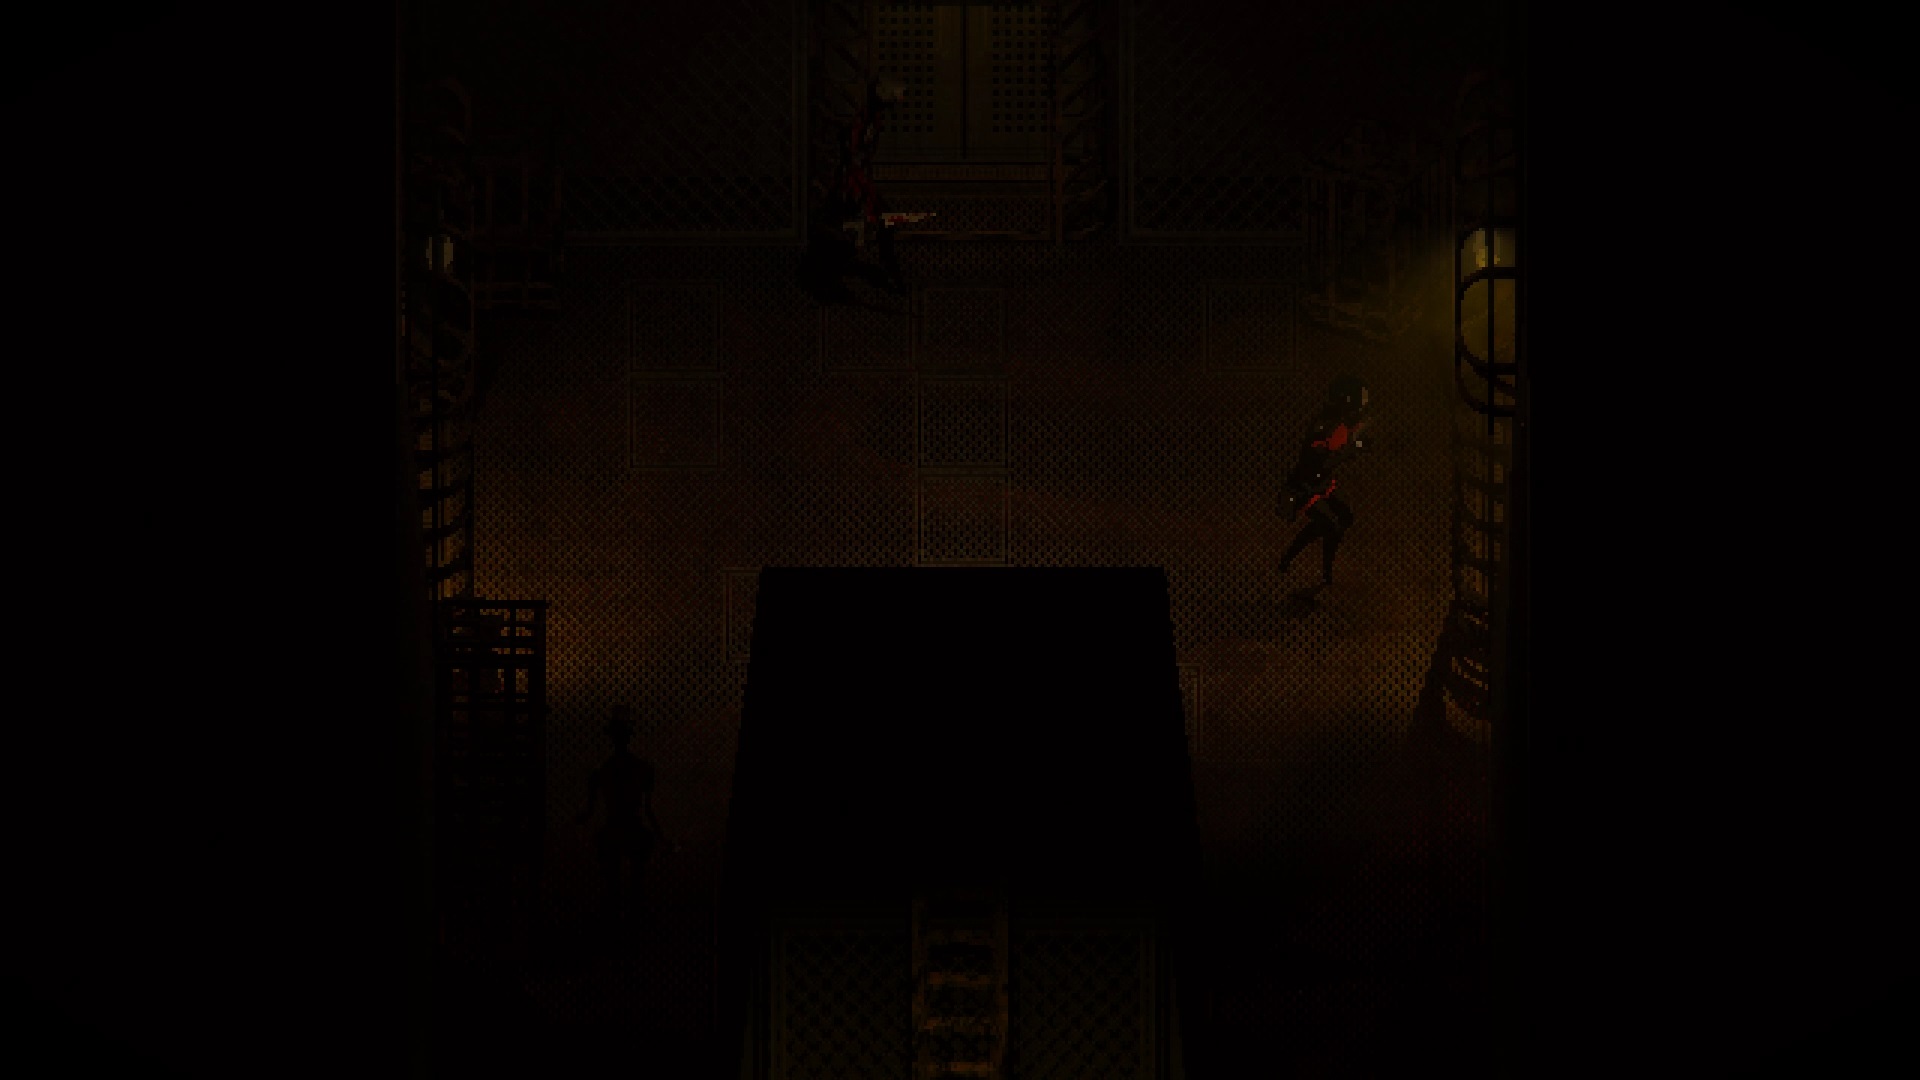
At the start of Signalis, you wake up in a tank. Explore the ship using the ladder behind the door. Open the door to the south to head into the « Flight Deck » cockpit. Inside, retrieve the photo on the left. Let’s explore the « Cryogenics » room behind the ladder. Go through the corridor to find a second tank.

A code keypad is nearby. Examine the photo to find the expected code. Use the code with the keypad to unlock the tank. Take the broken key in it and visit the room to the east above the ladder.


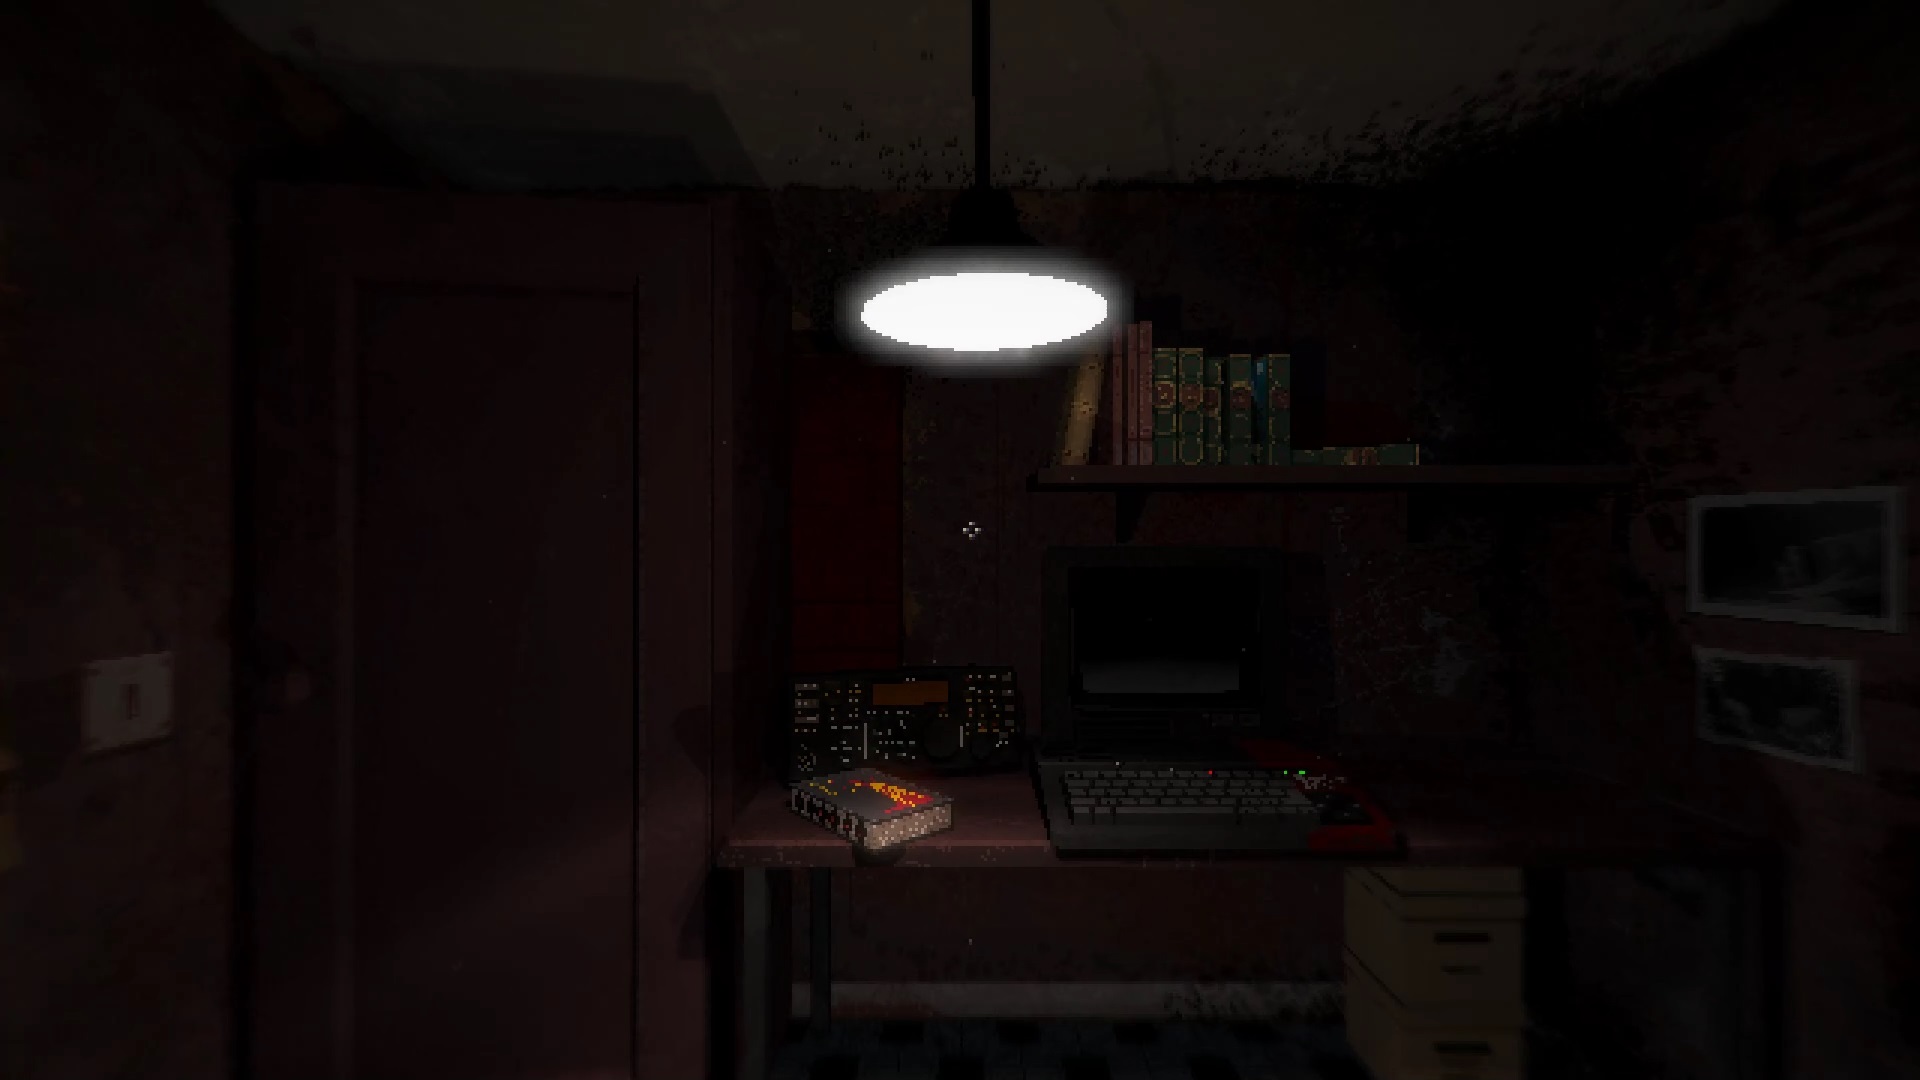
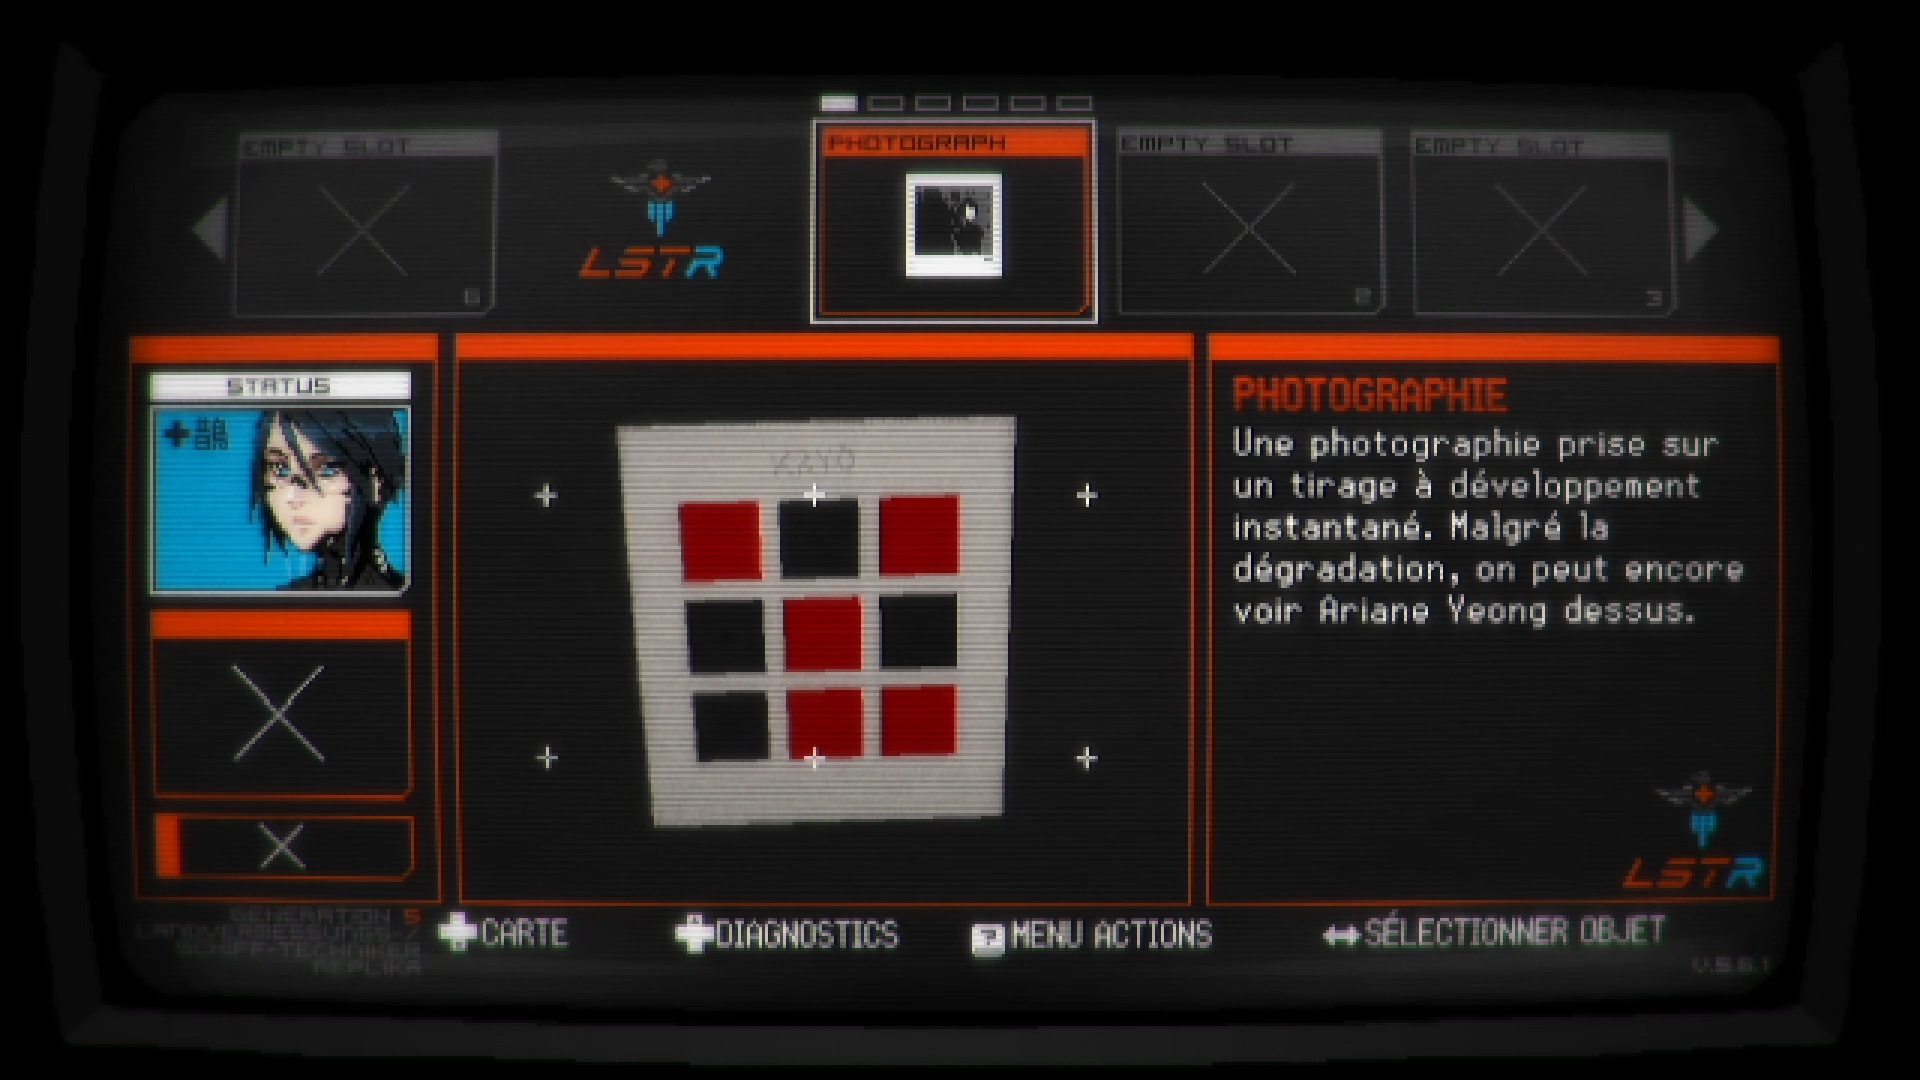
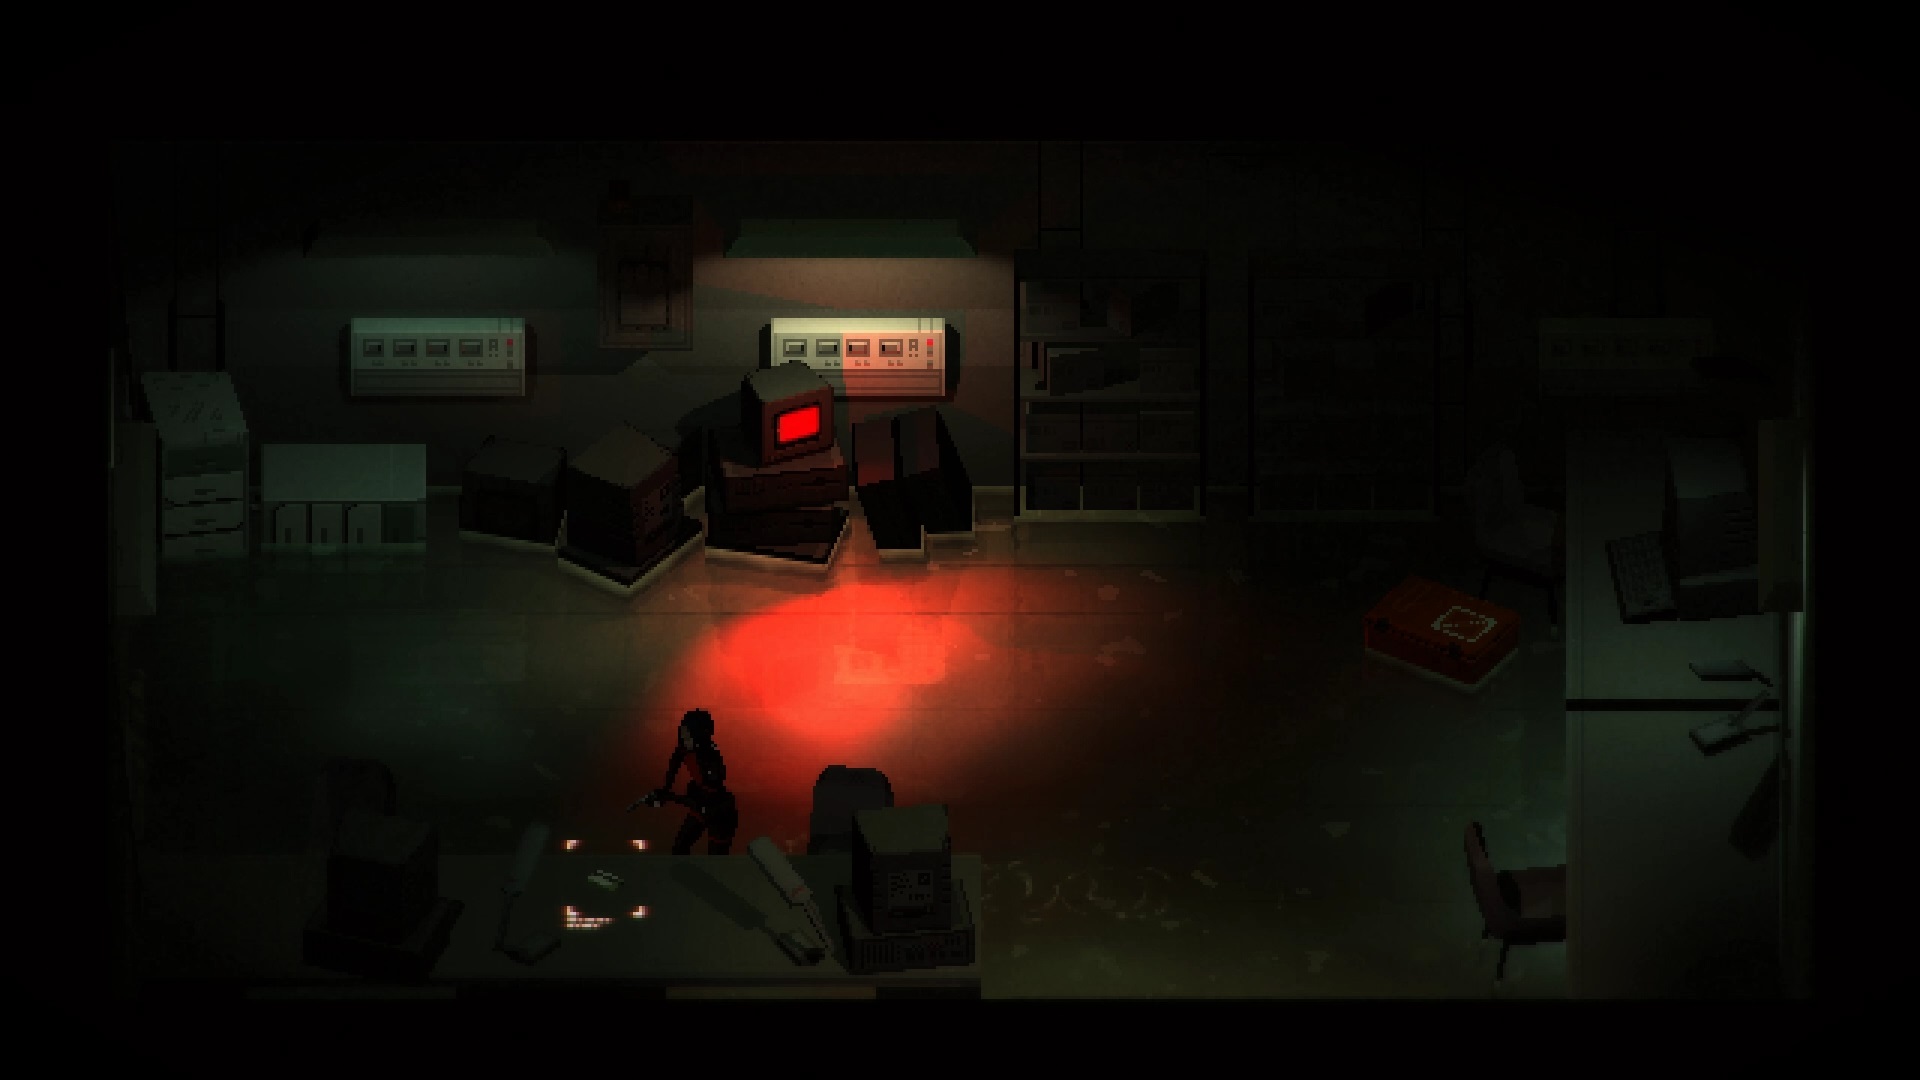
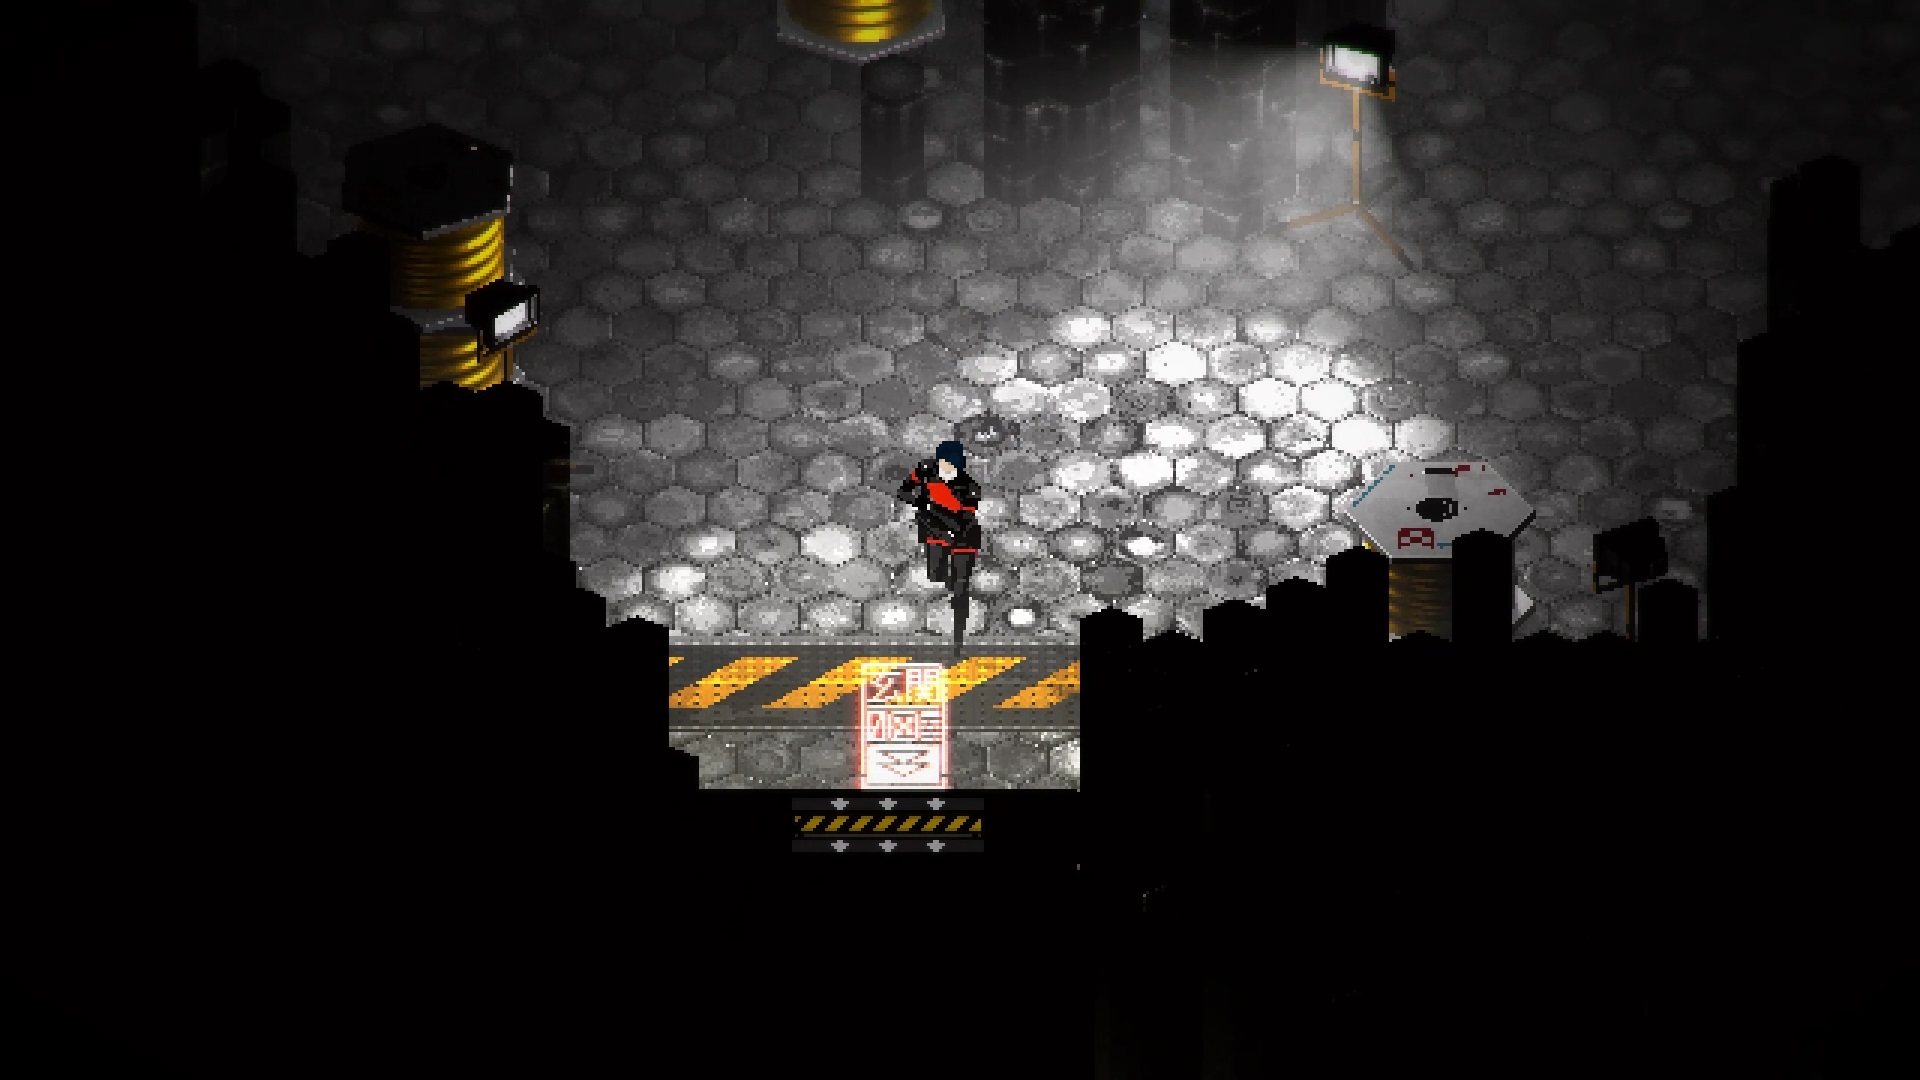
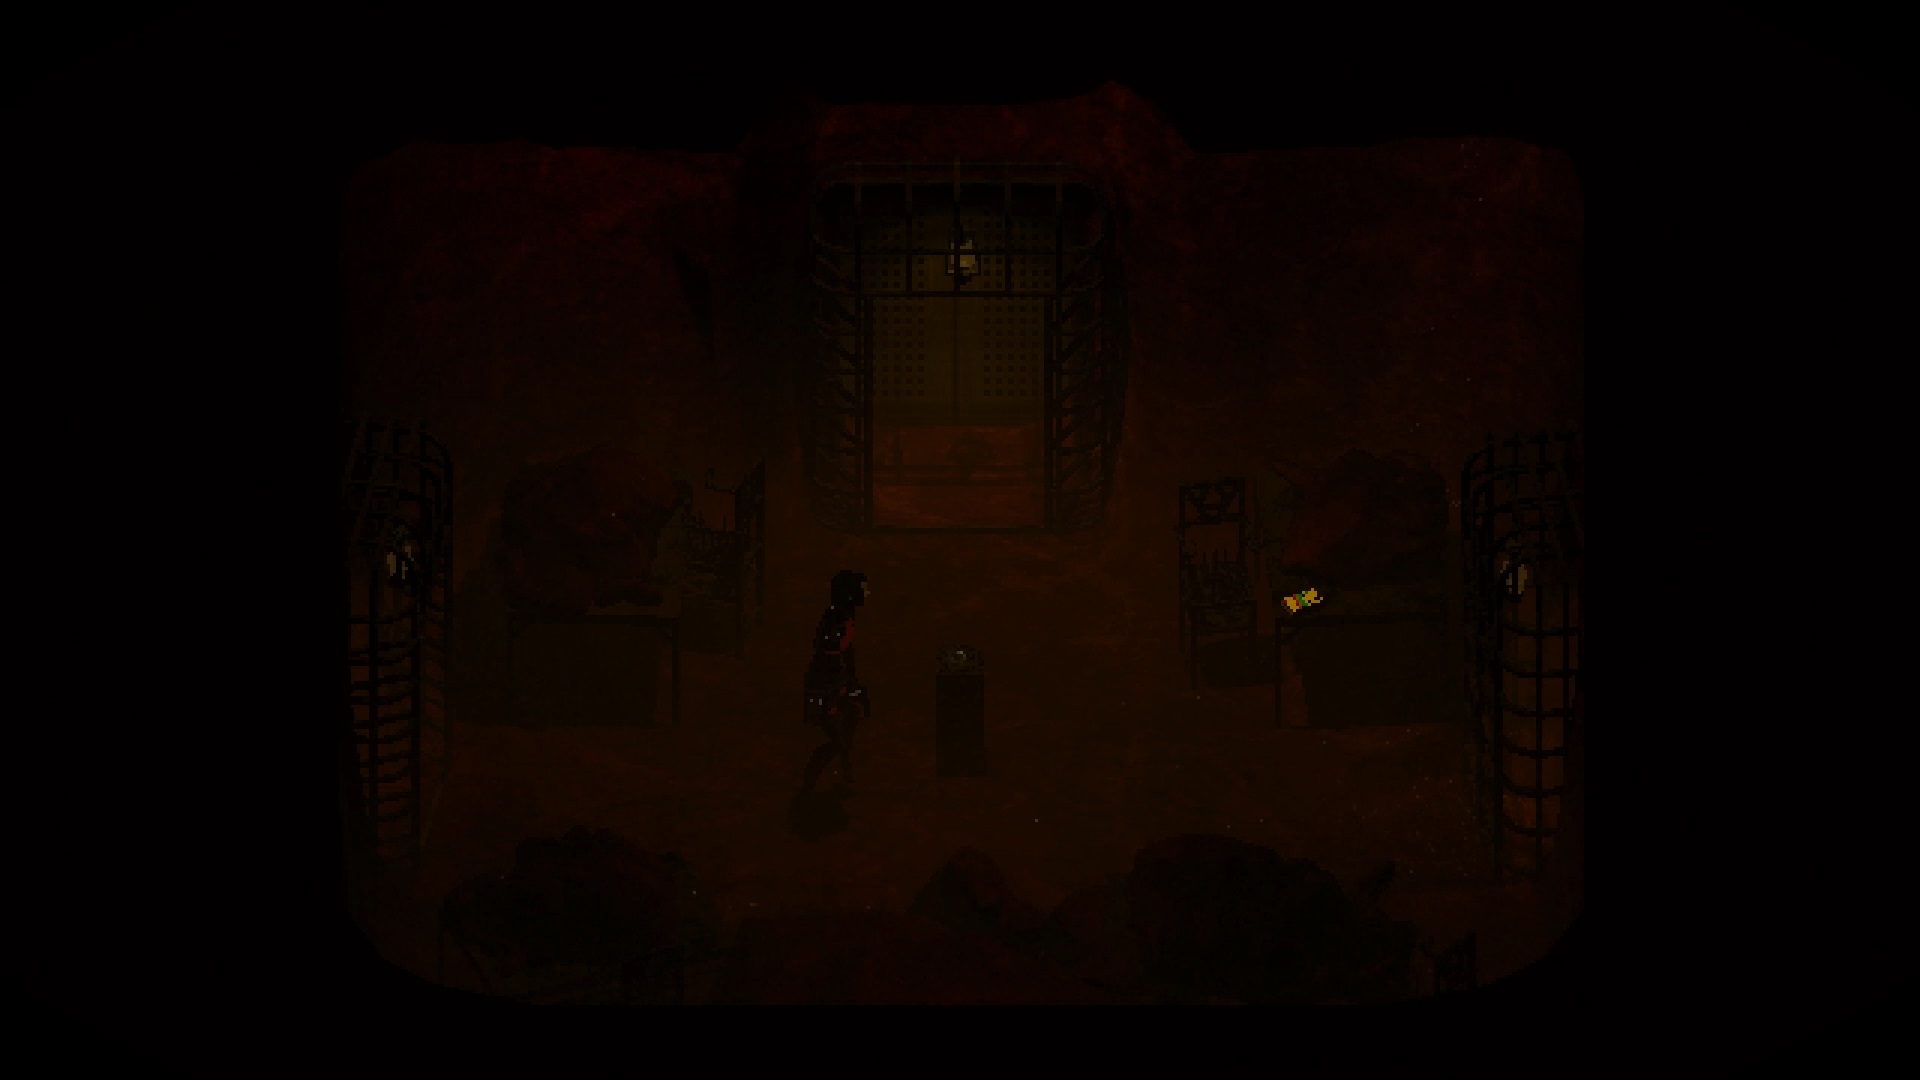
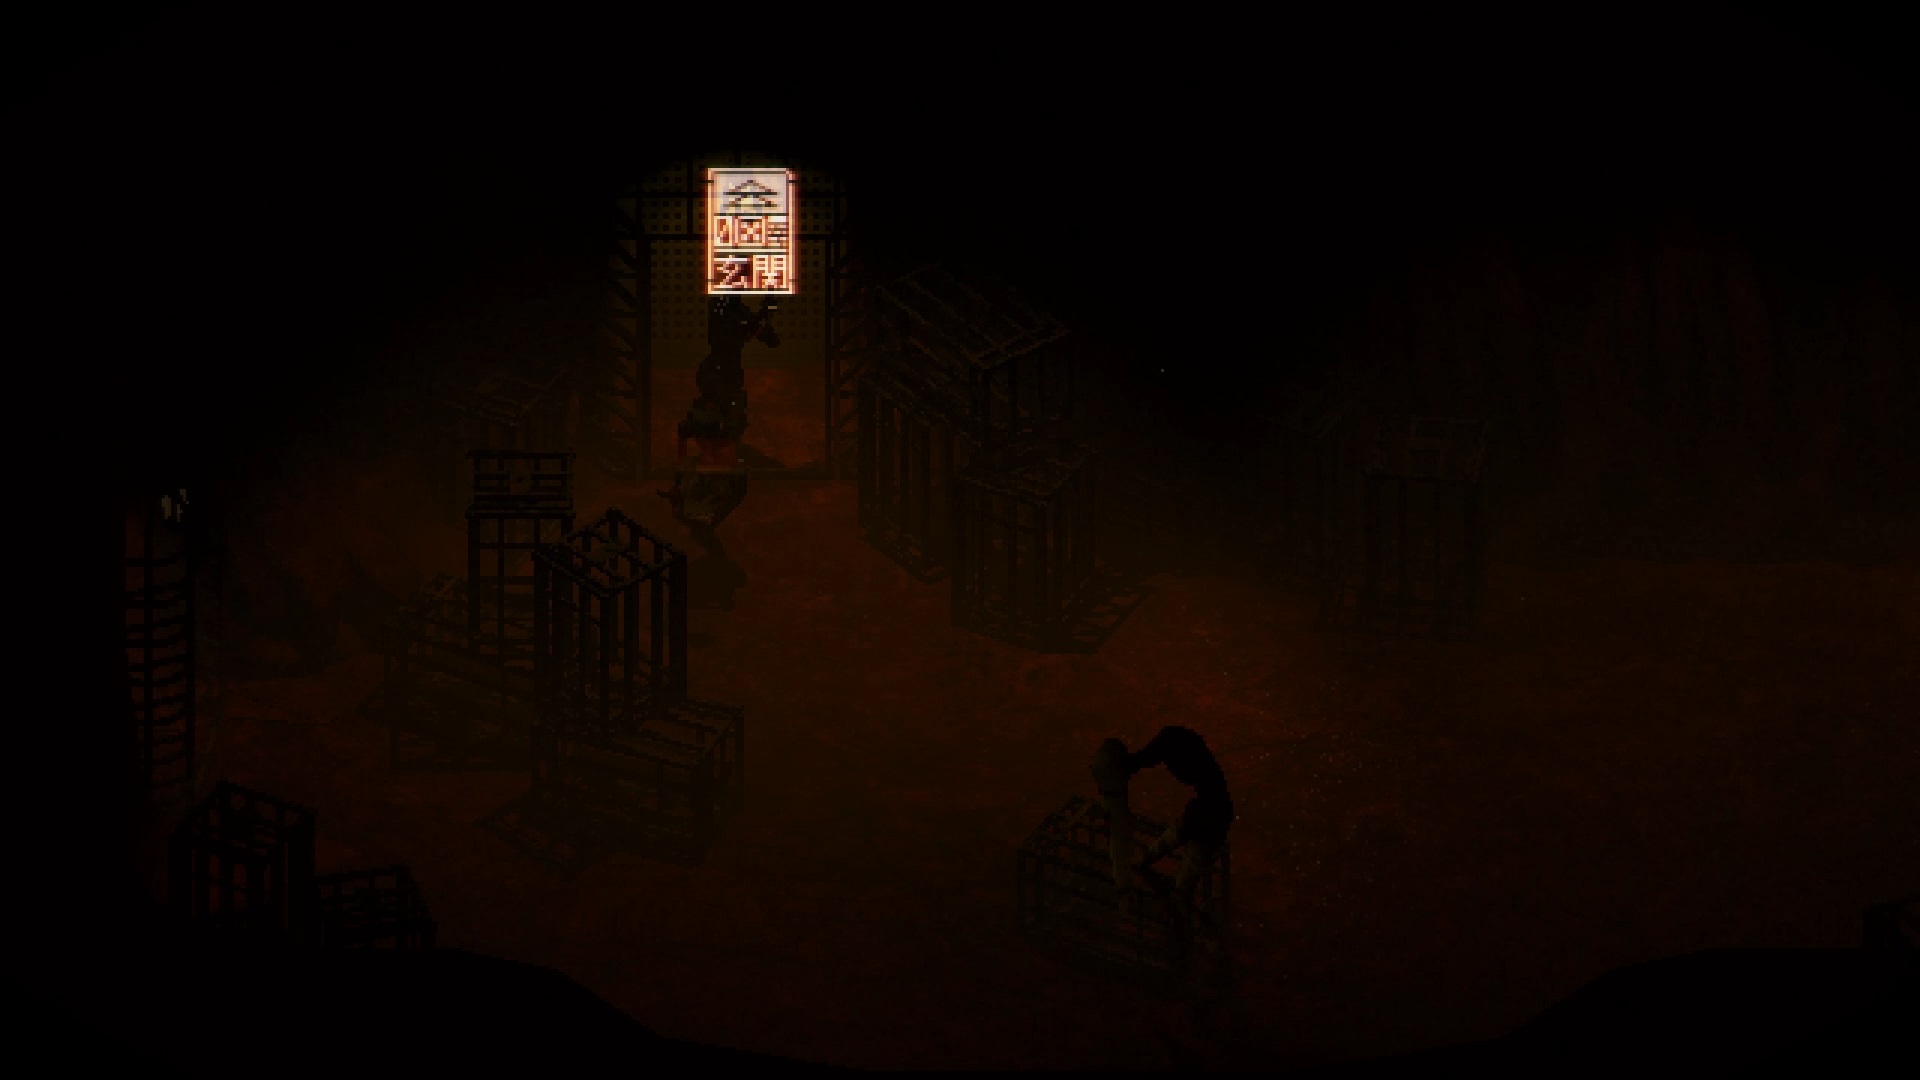
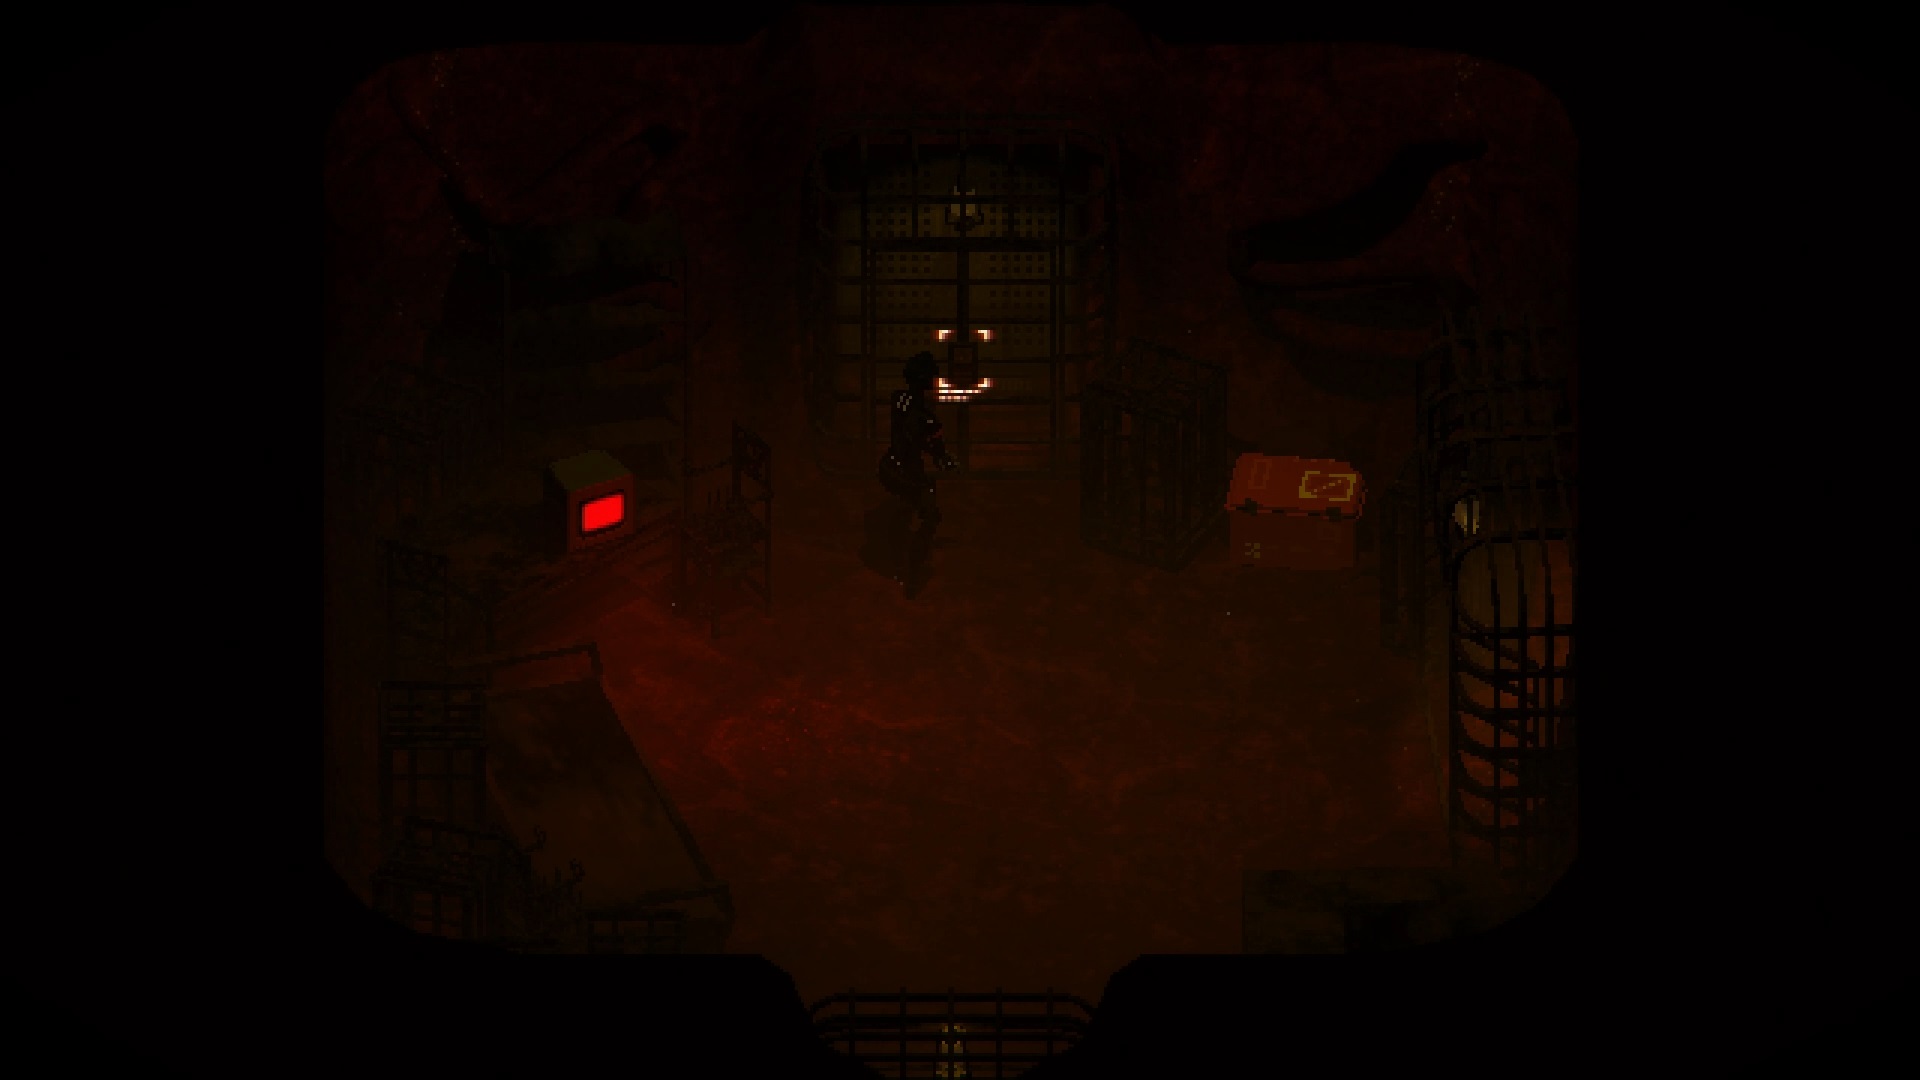
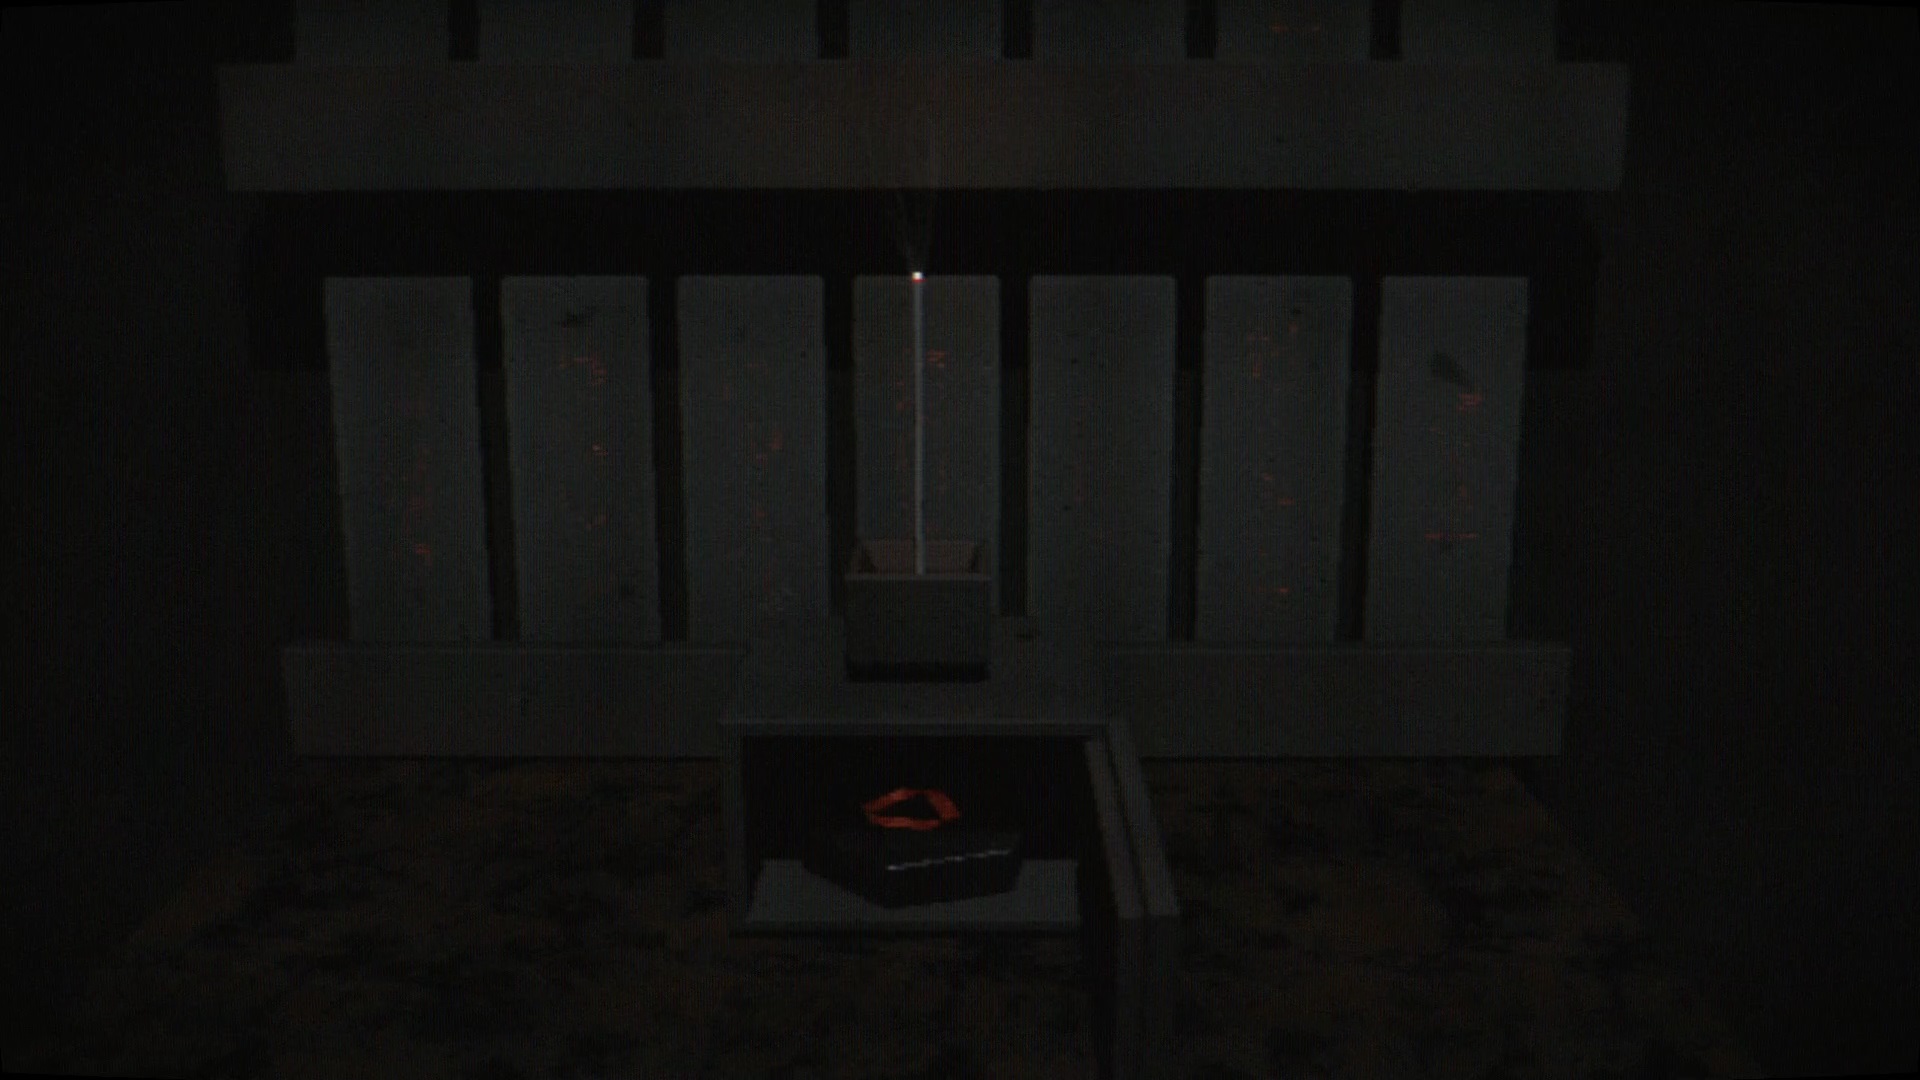
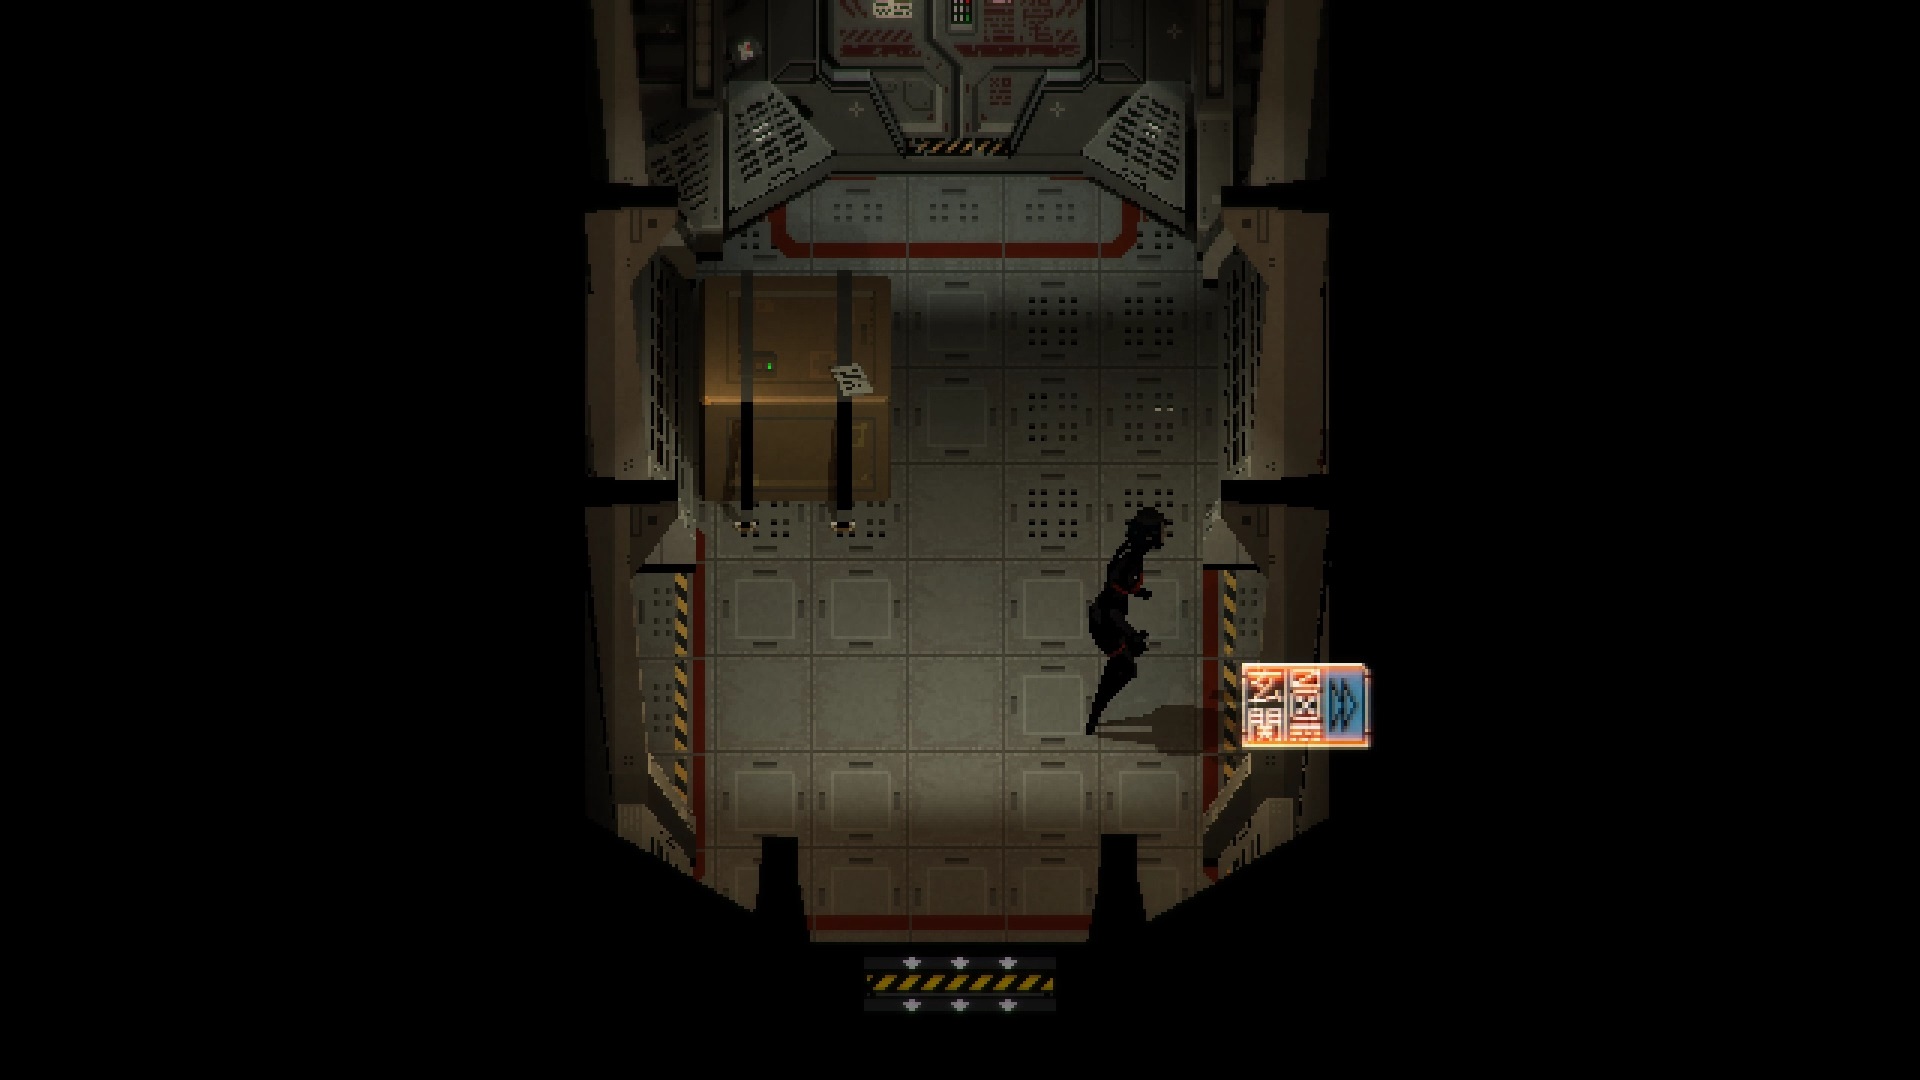
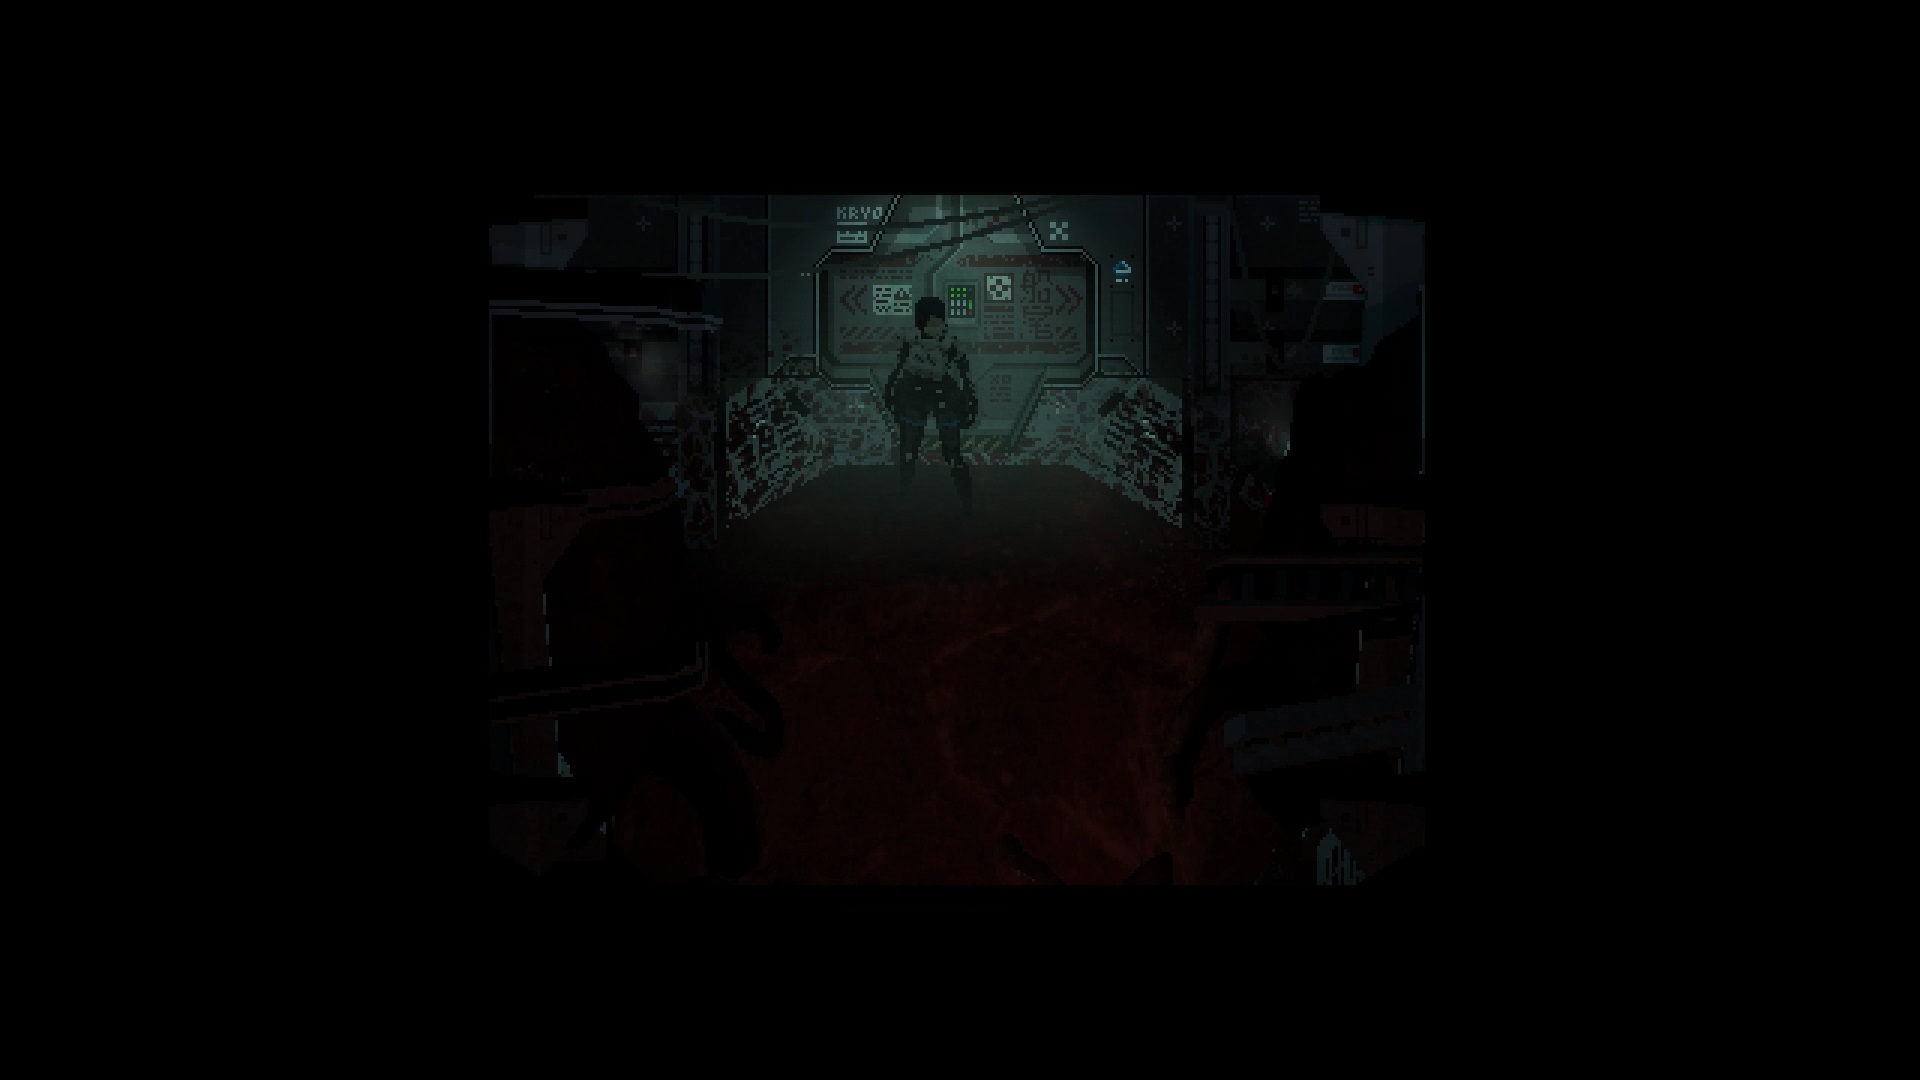
In this new room « Mess Hall », inspect the screens to find adhesive tape. Combine the duct tape with the broken map in your inventory to repair it. Head to the « Airlock » room, west of the ladder to find an airlock. Use the key with the control screen to exit the ship. Outside, move forward to the arch to trigger a cutscene. In the hole, sink into the cavity to reach a desk. Interact with the book to complete the first level.
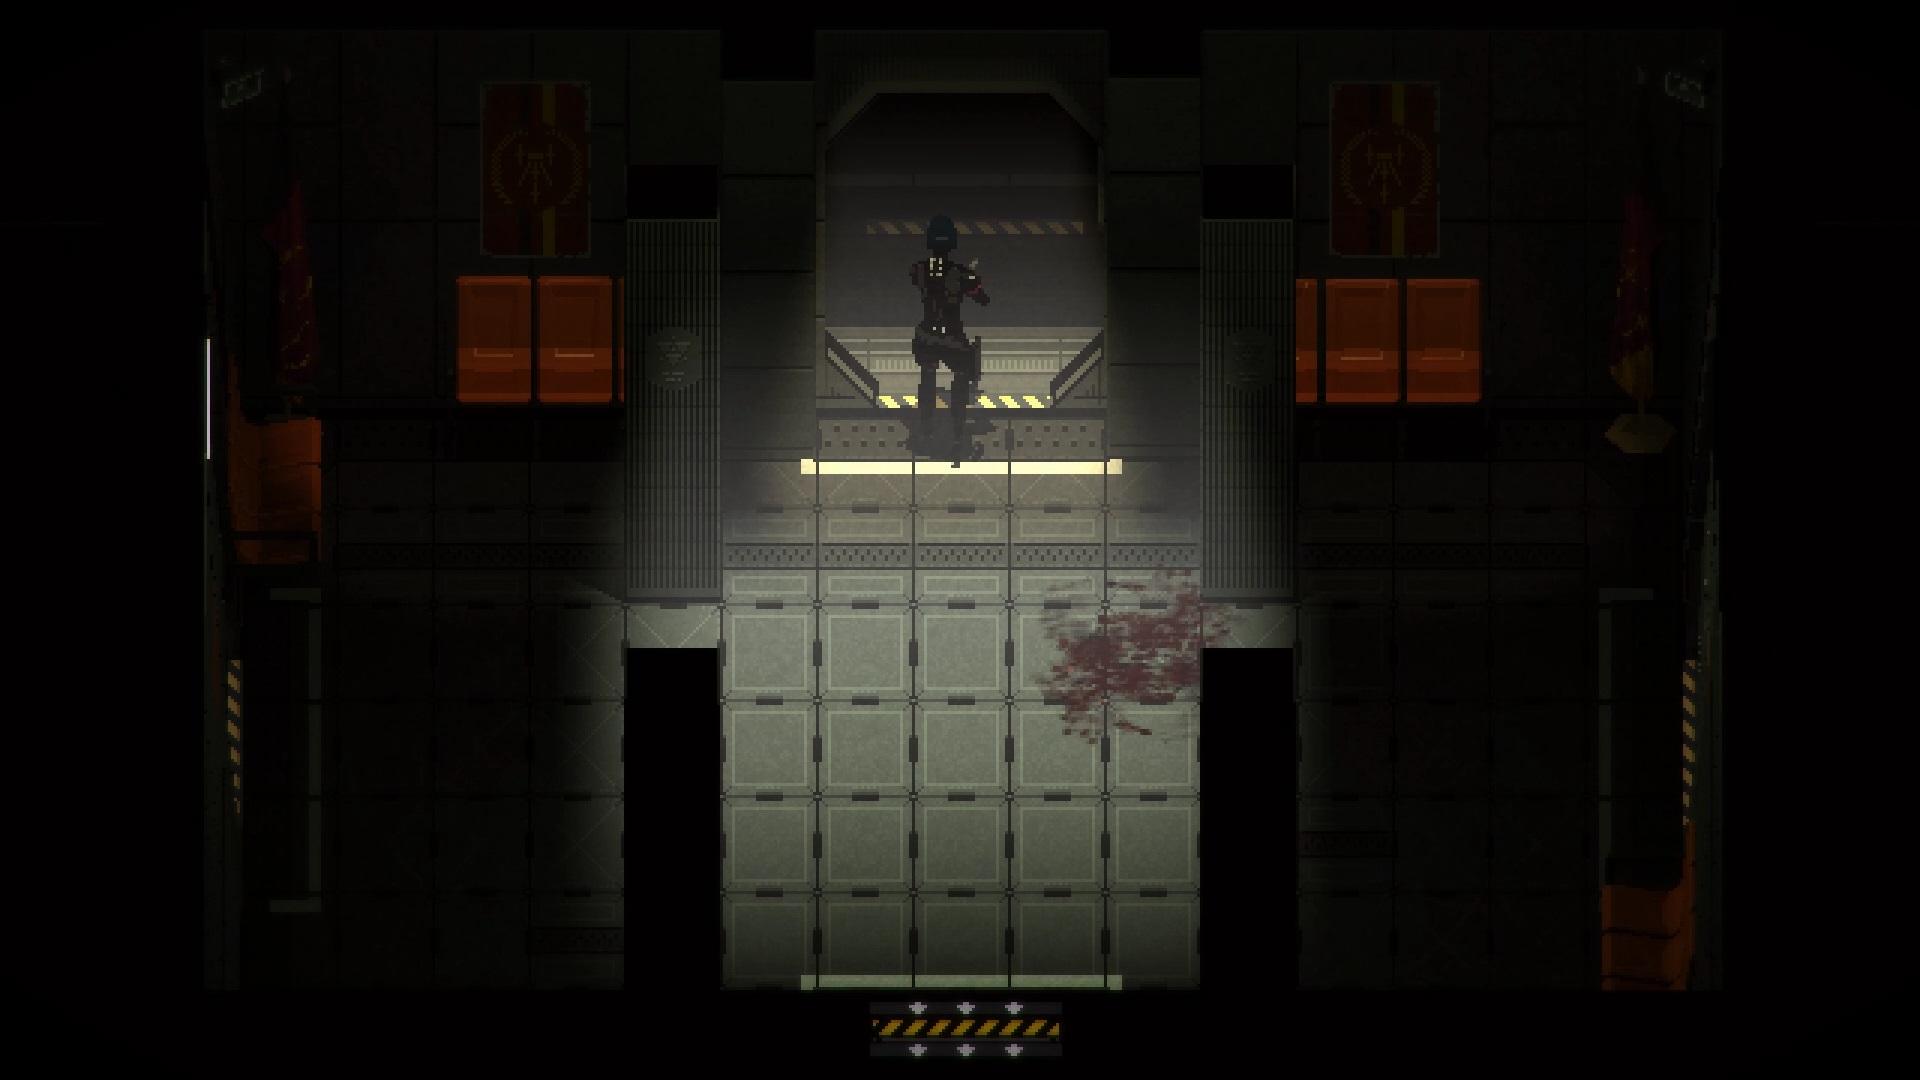
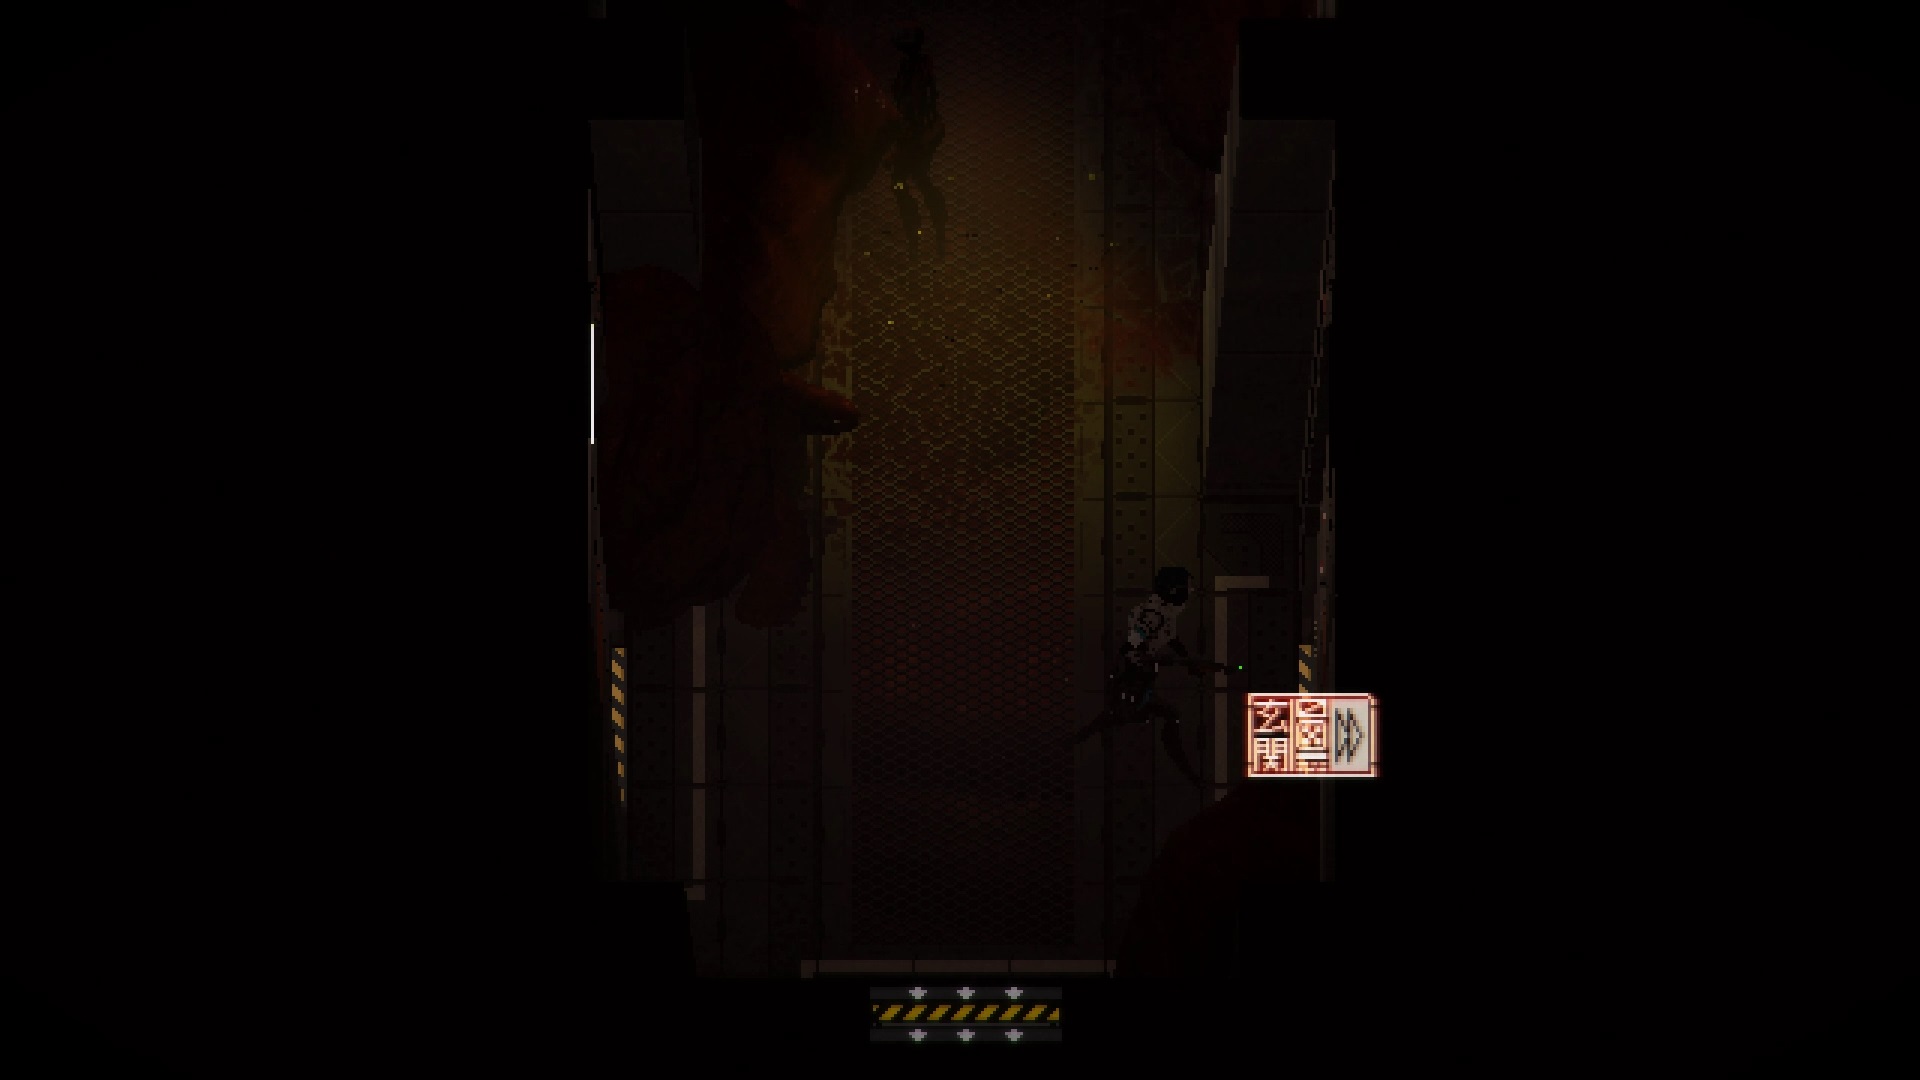
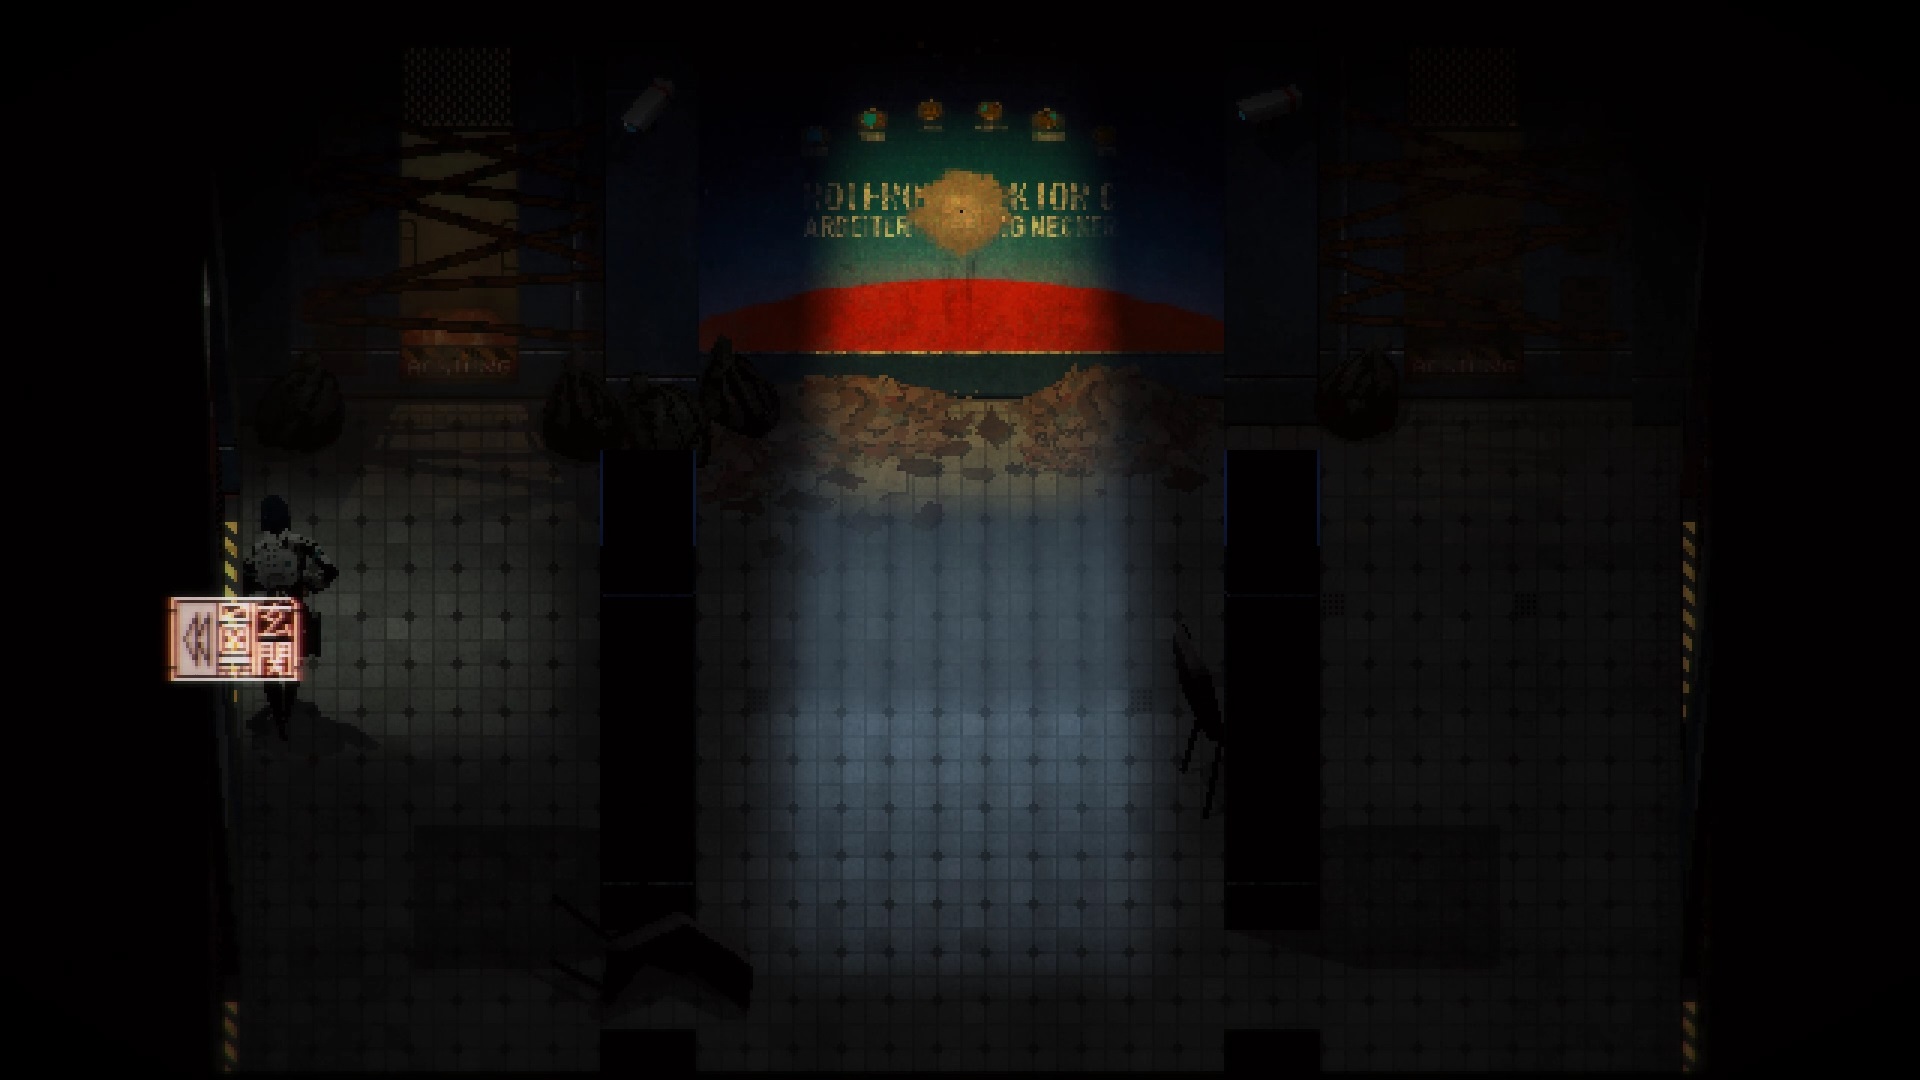
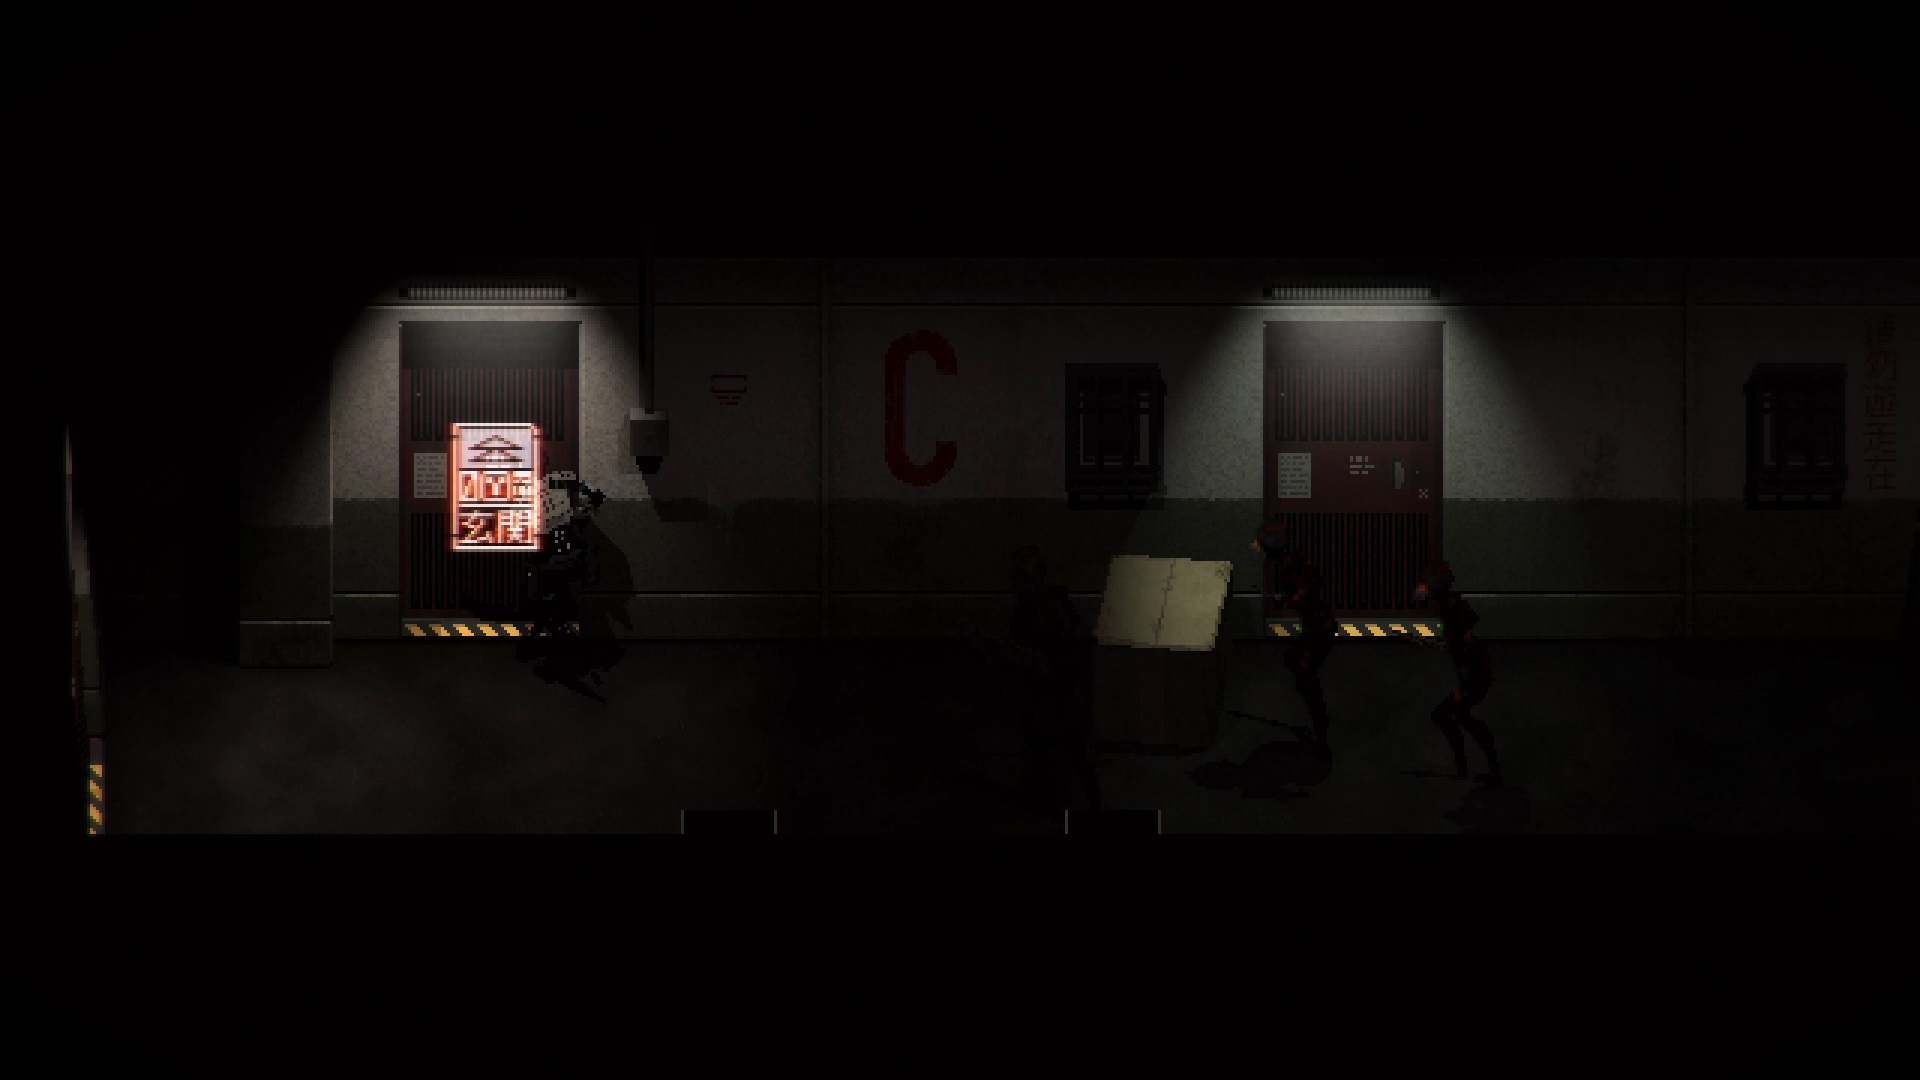
Installation Aeon
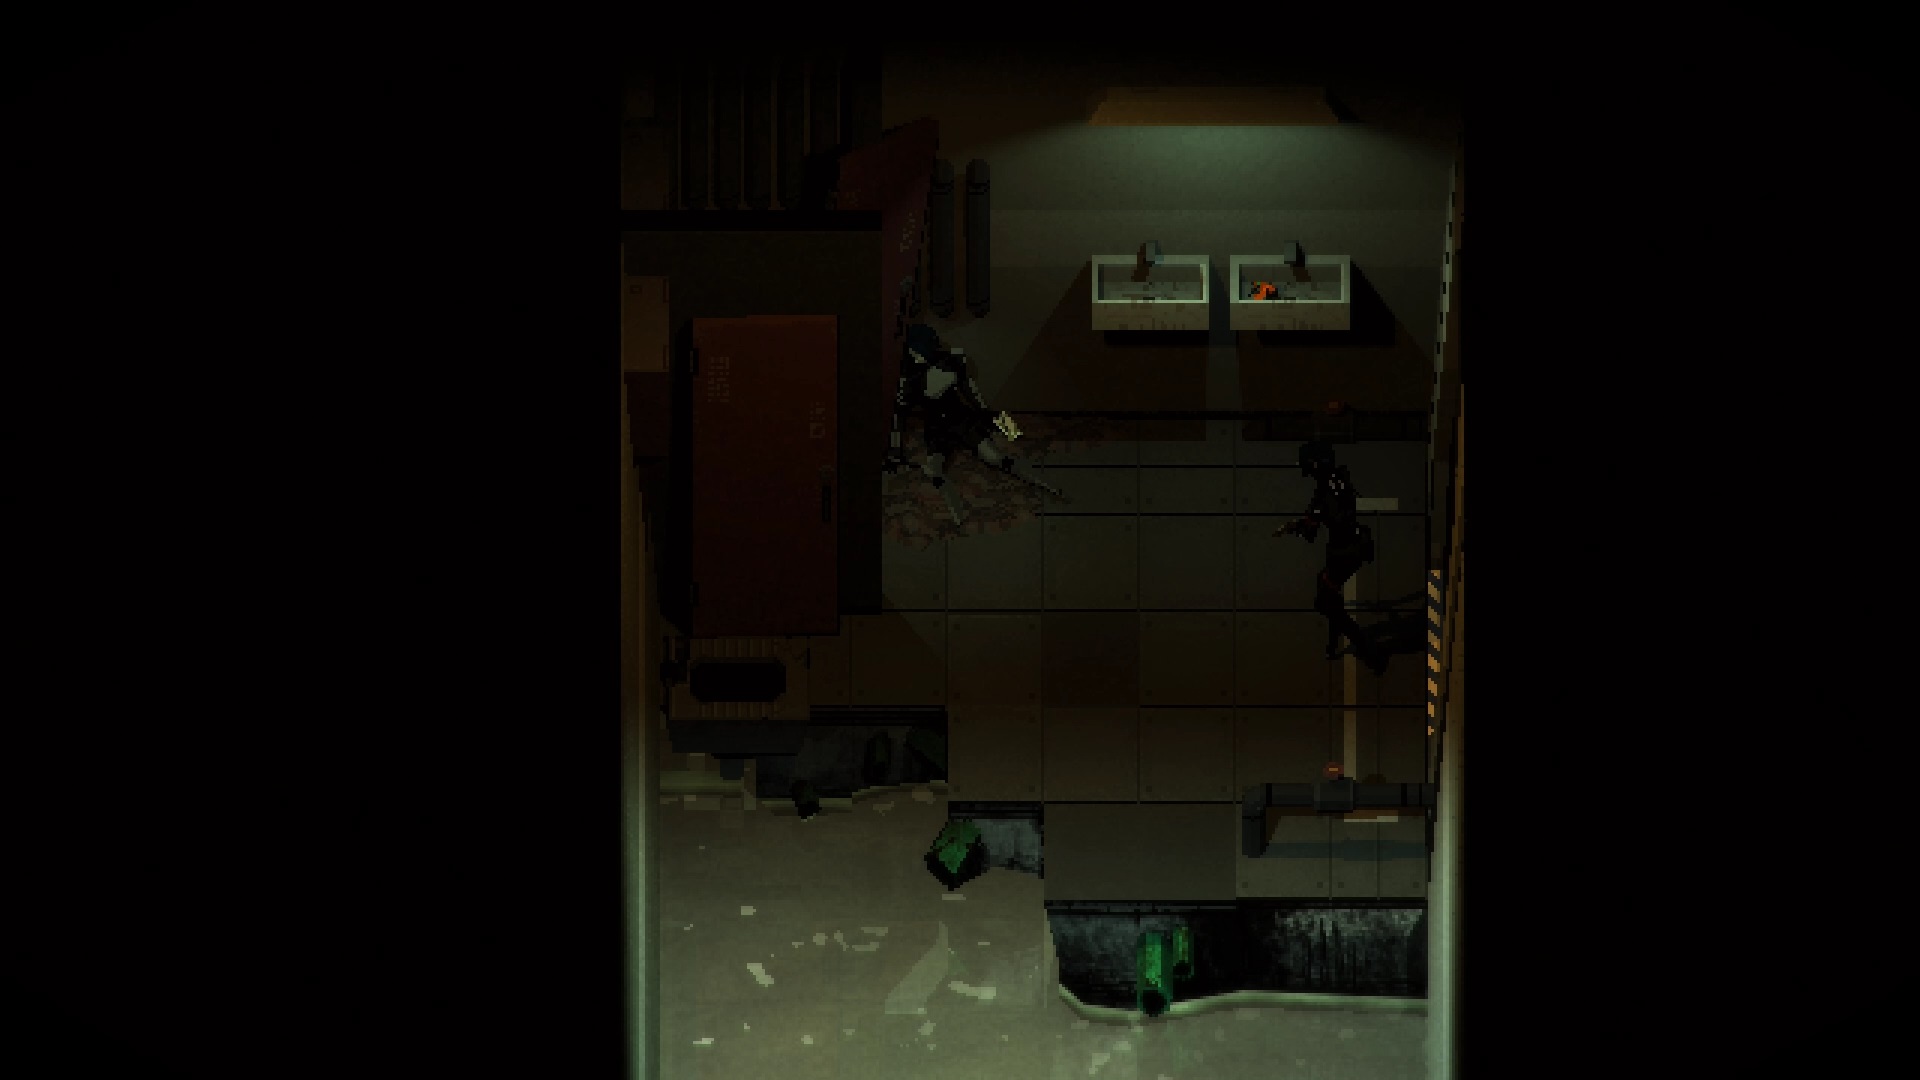
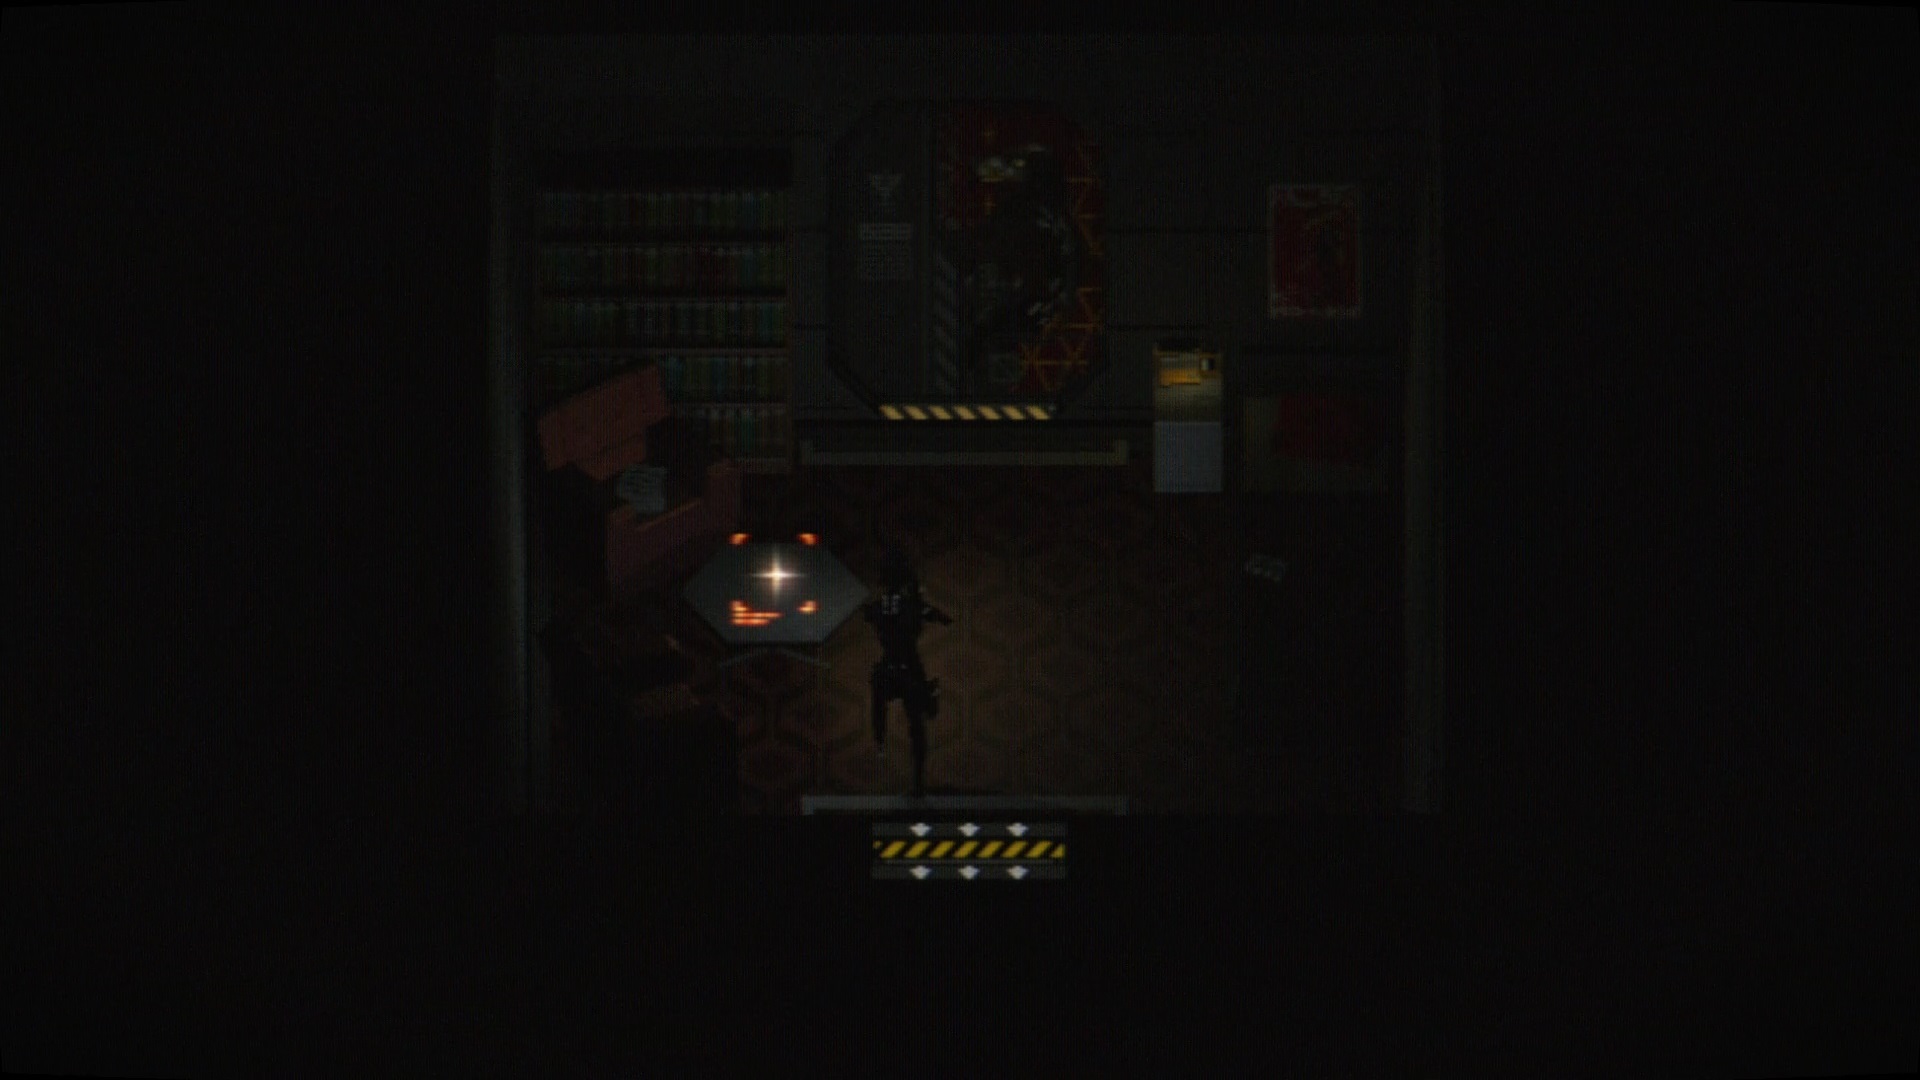
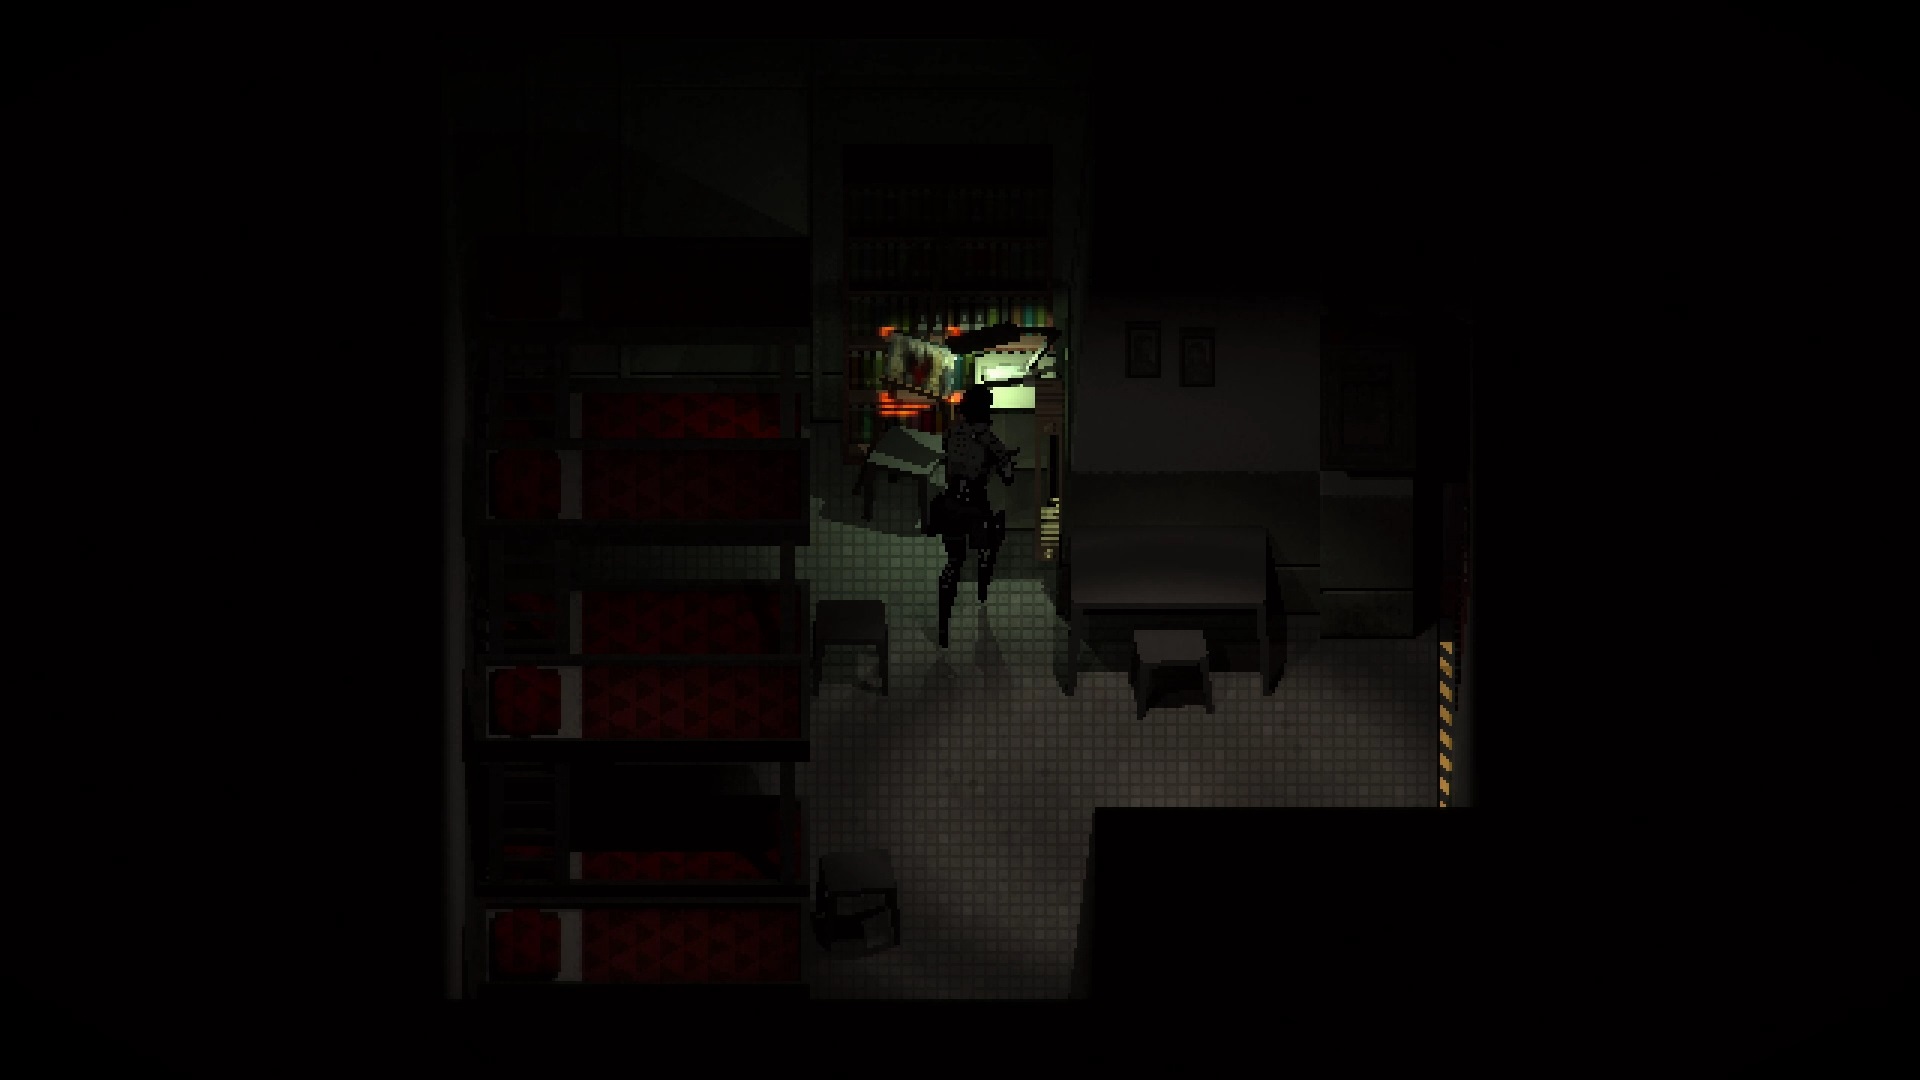
After an enigmatic sequence, you find your character in a bathroom. Exit the room into the « Surface Access » lobby. Examine the reception to retrieve the receptionist key. Go through the door to the east to reach a corridor. Open the middle door to reach a second one. Go through the first door to the east.
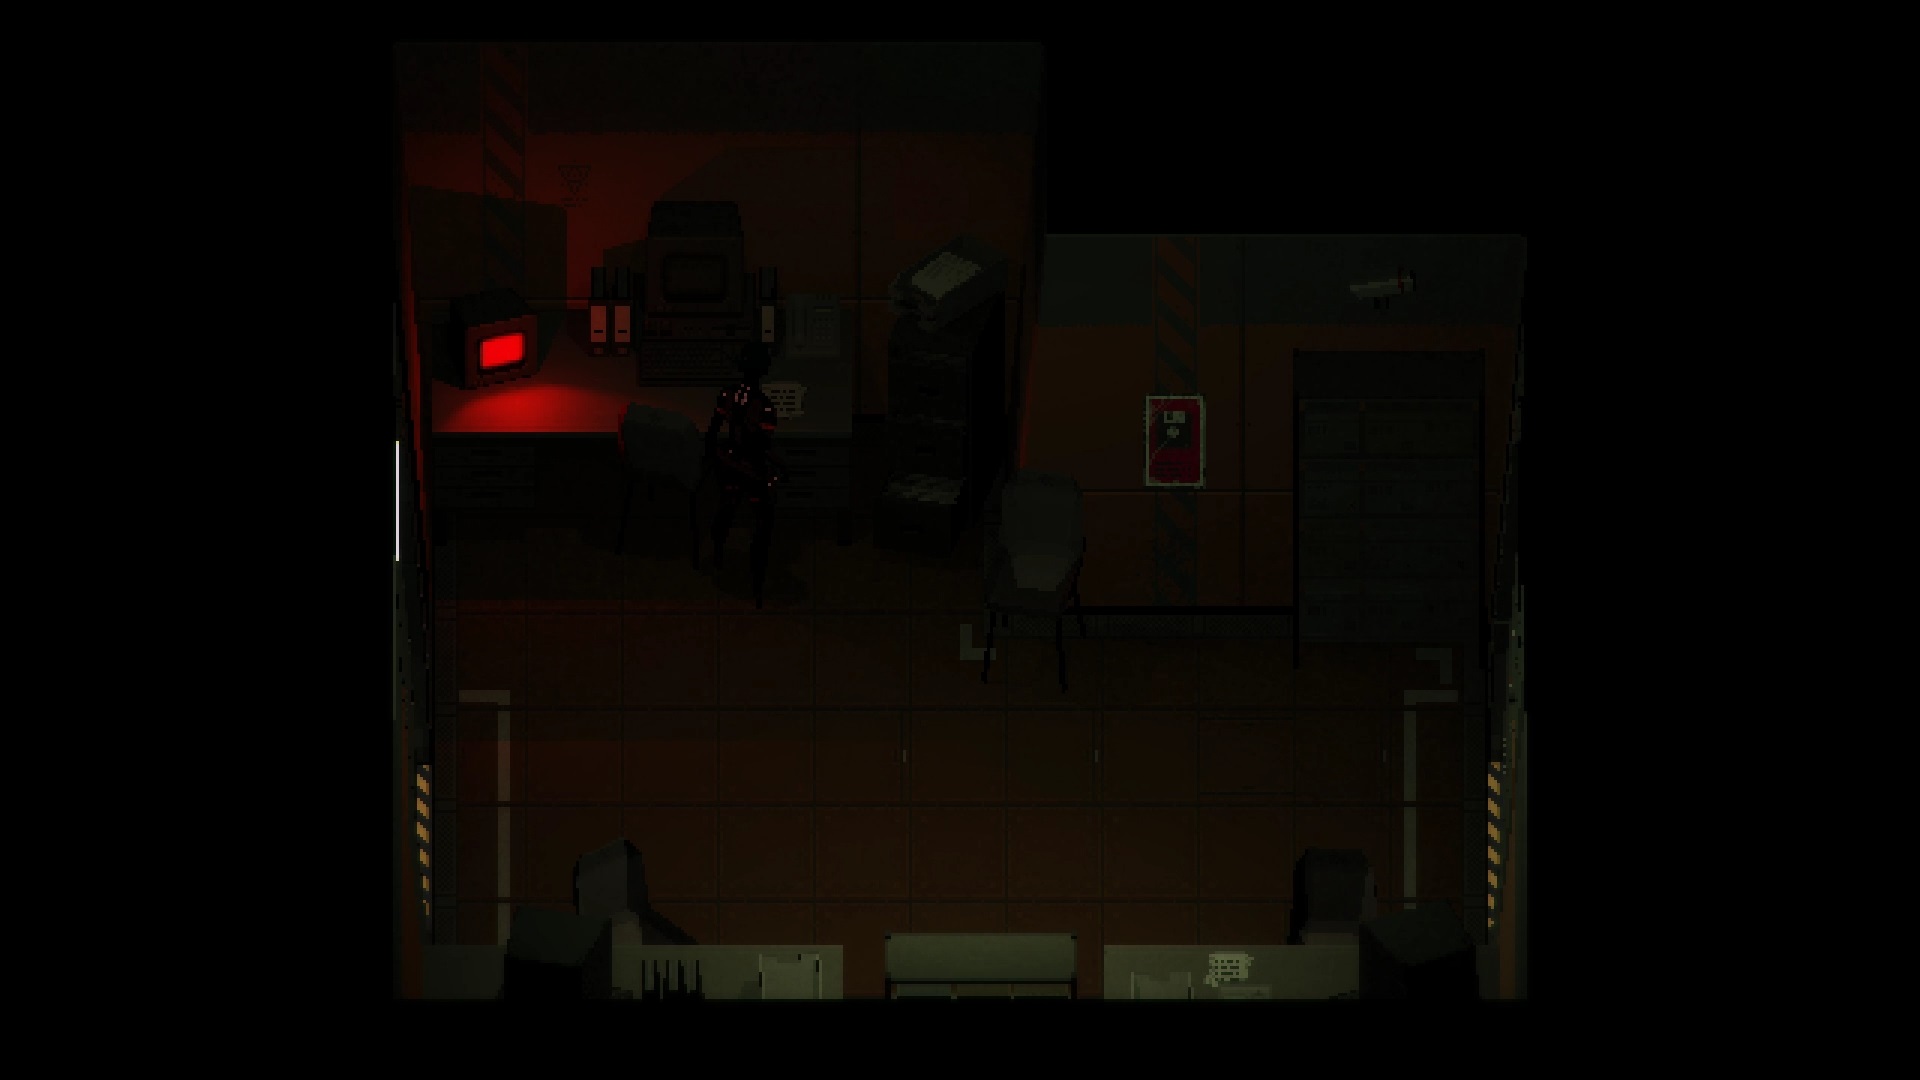
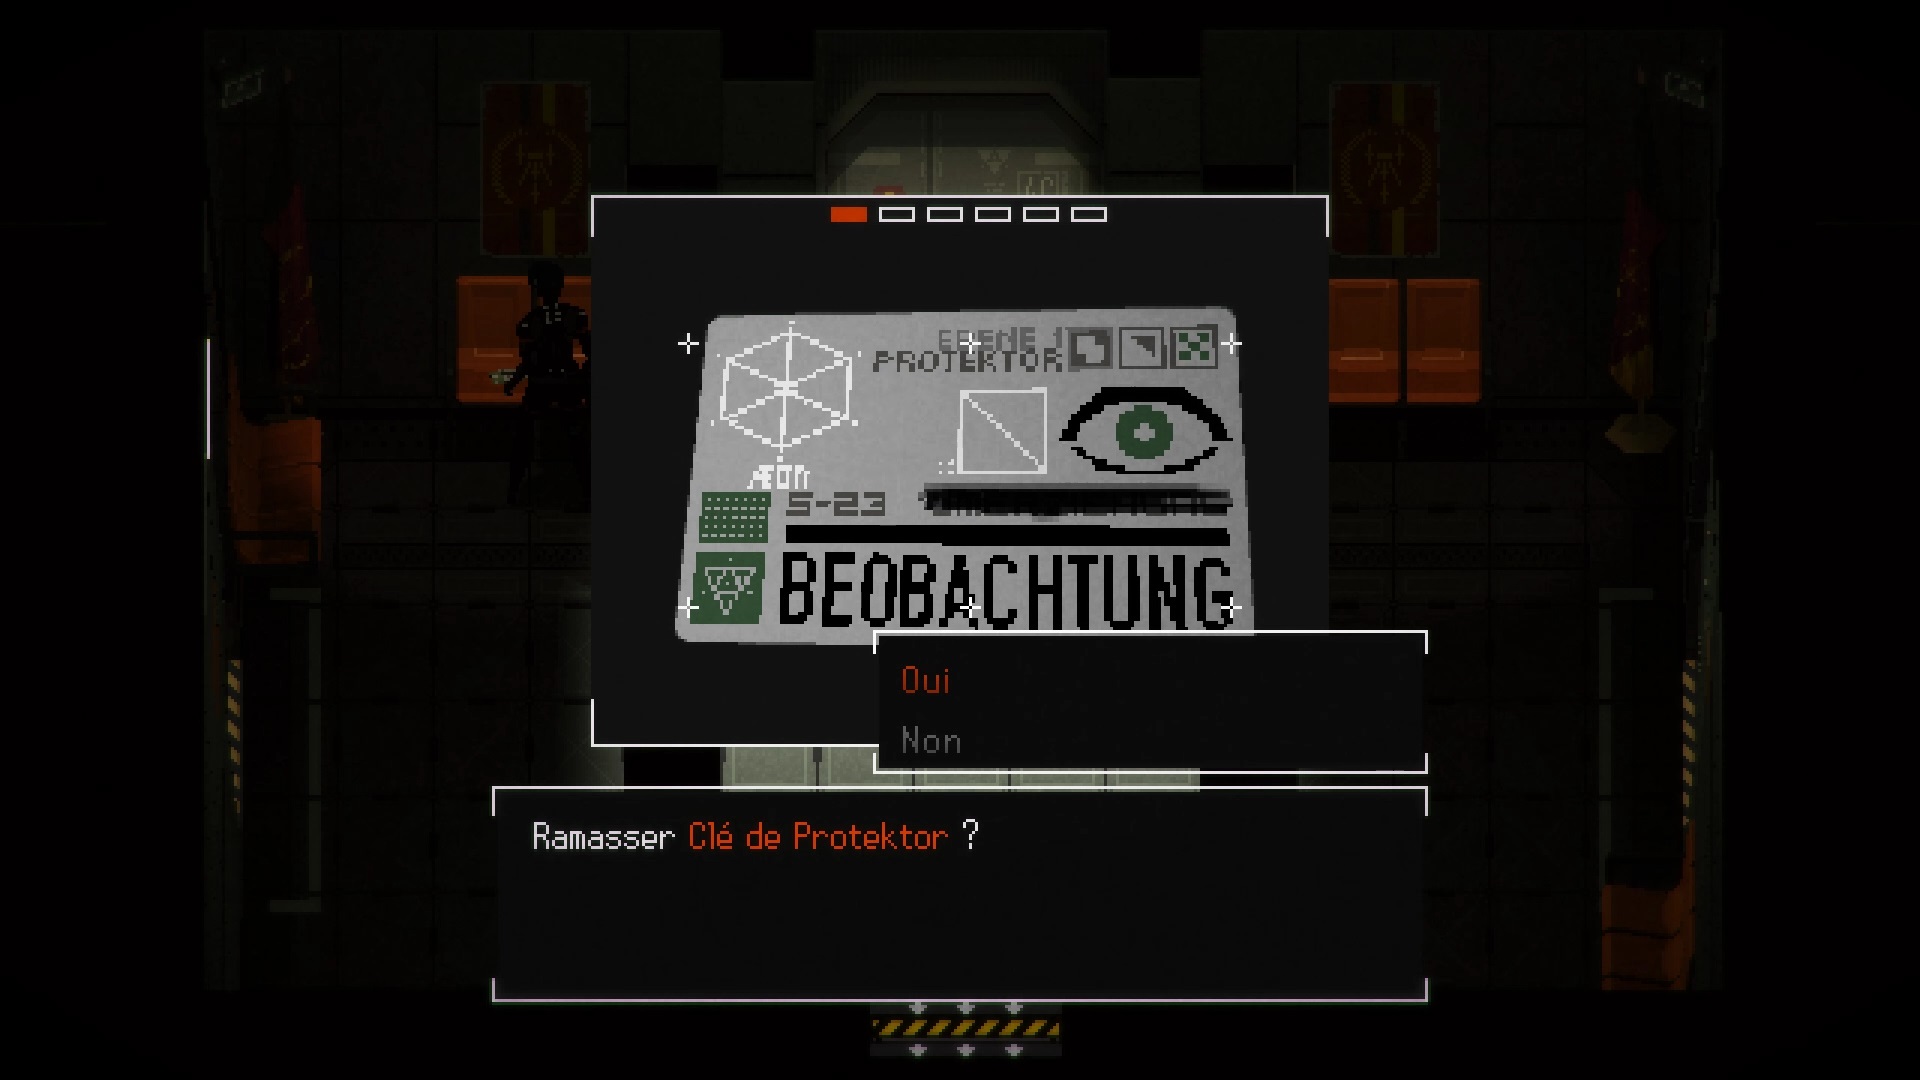
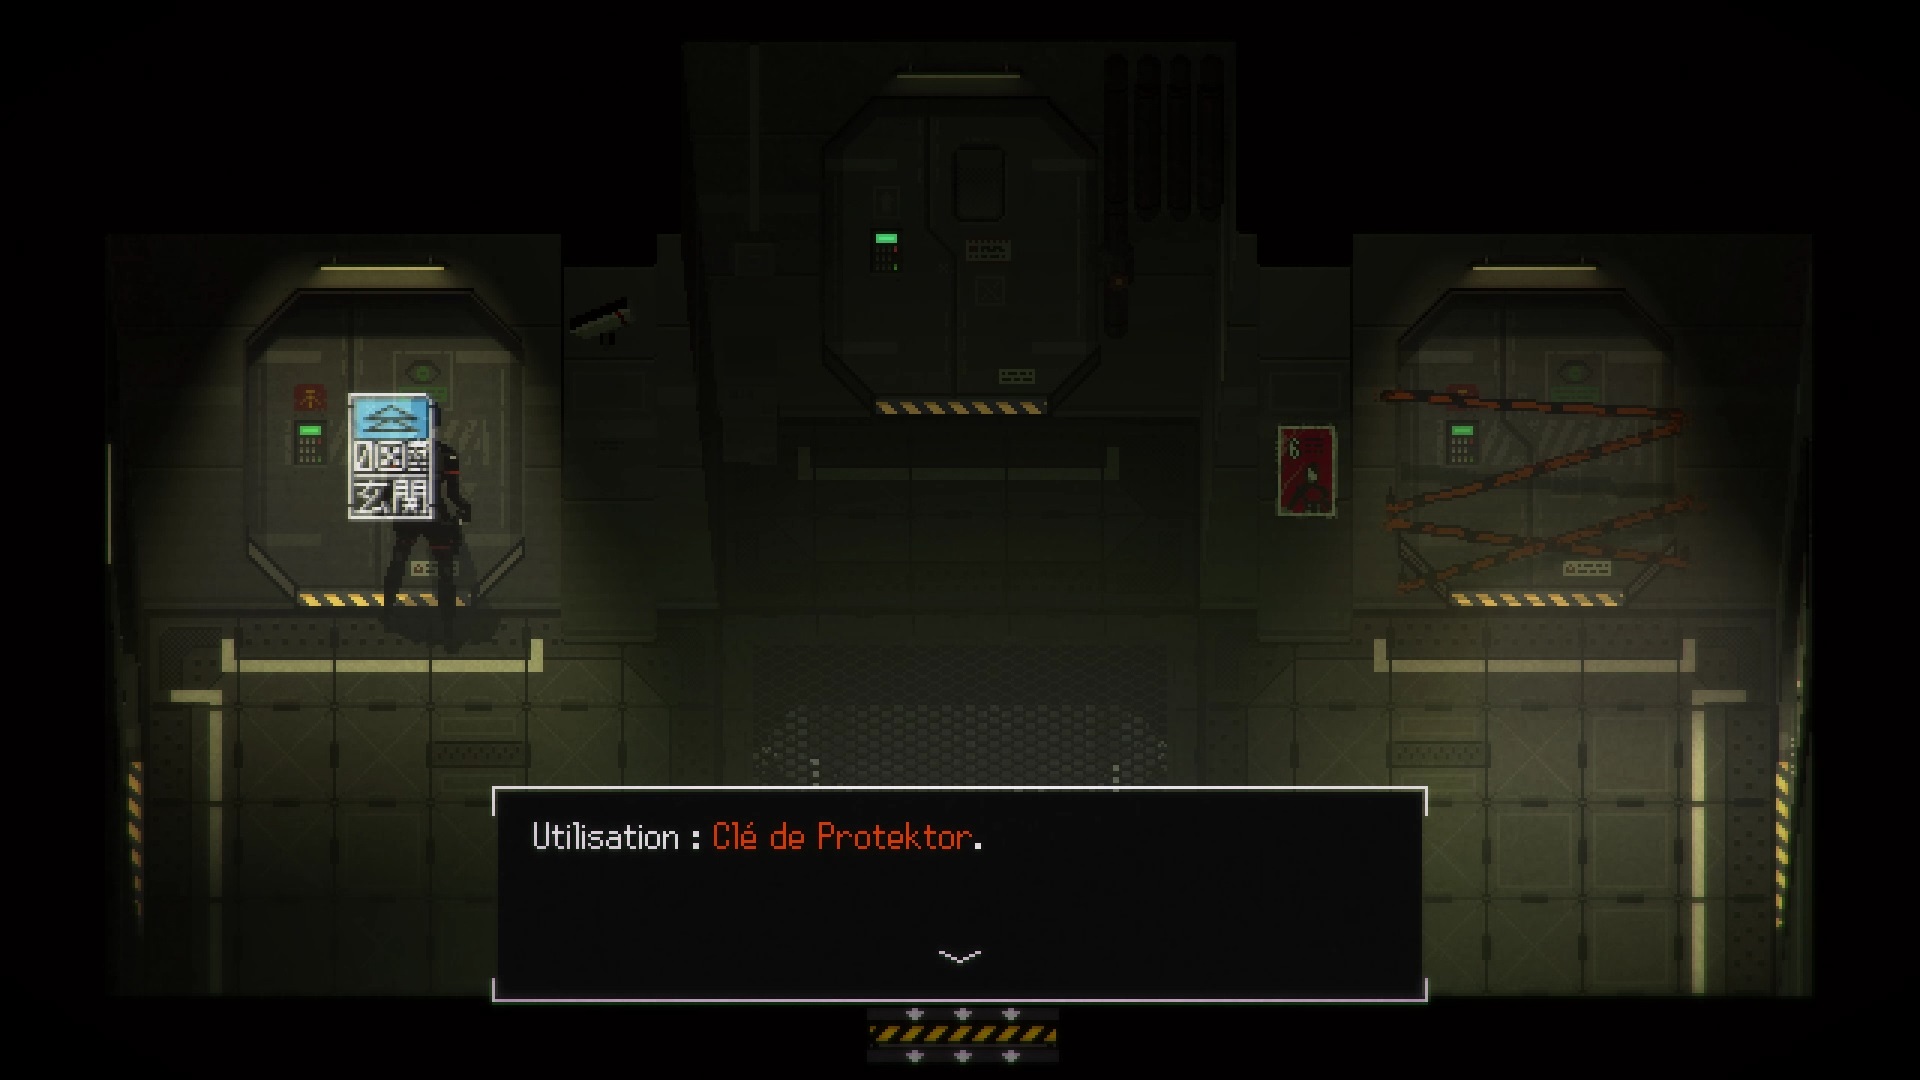
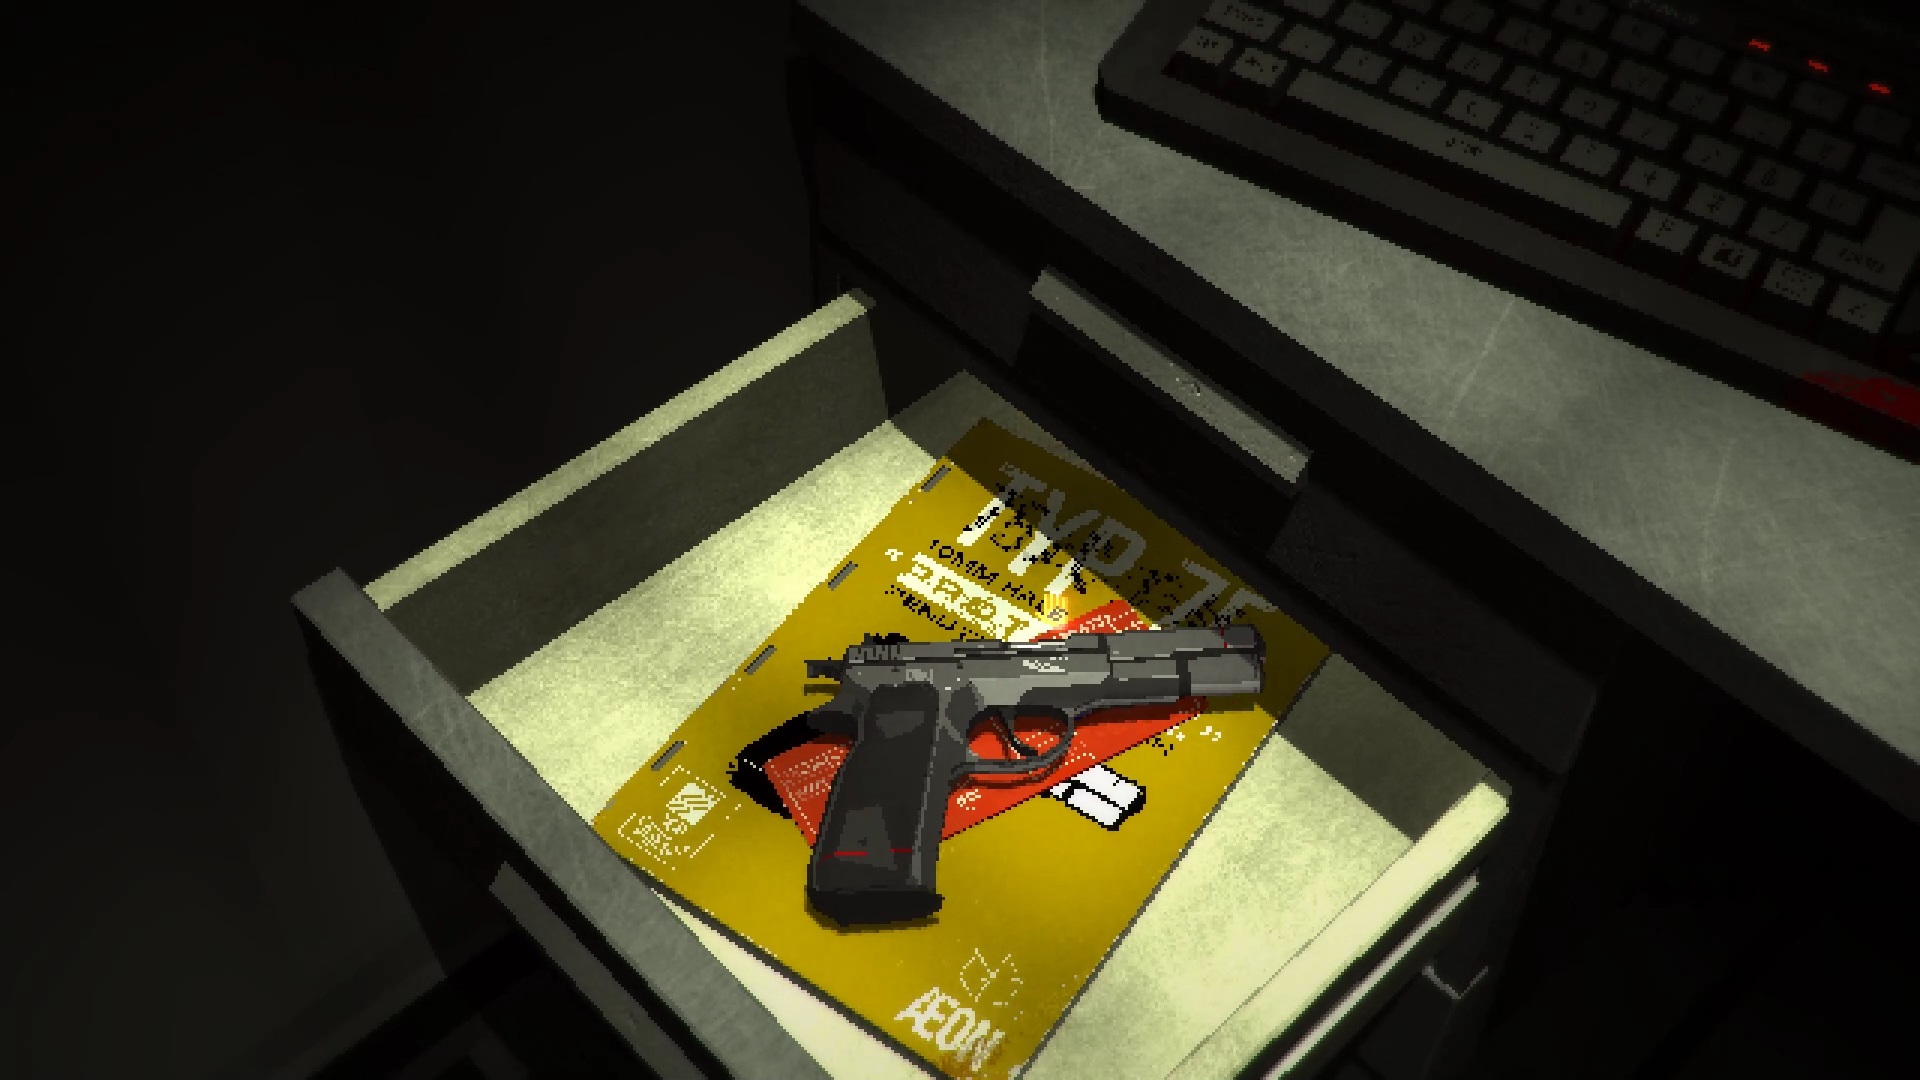
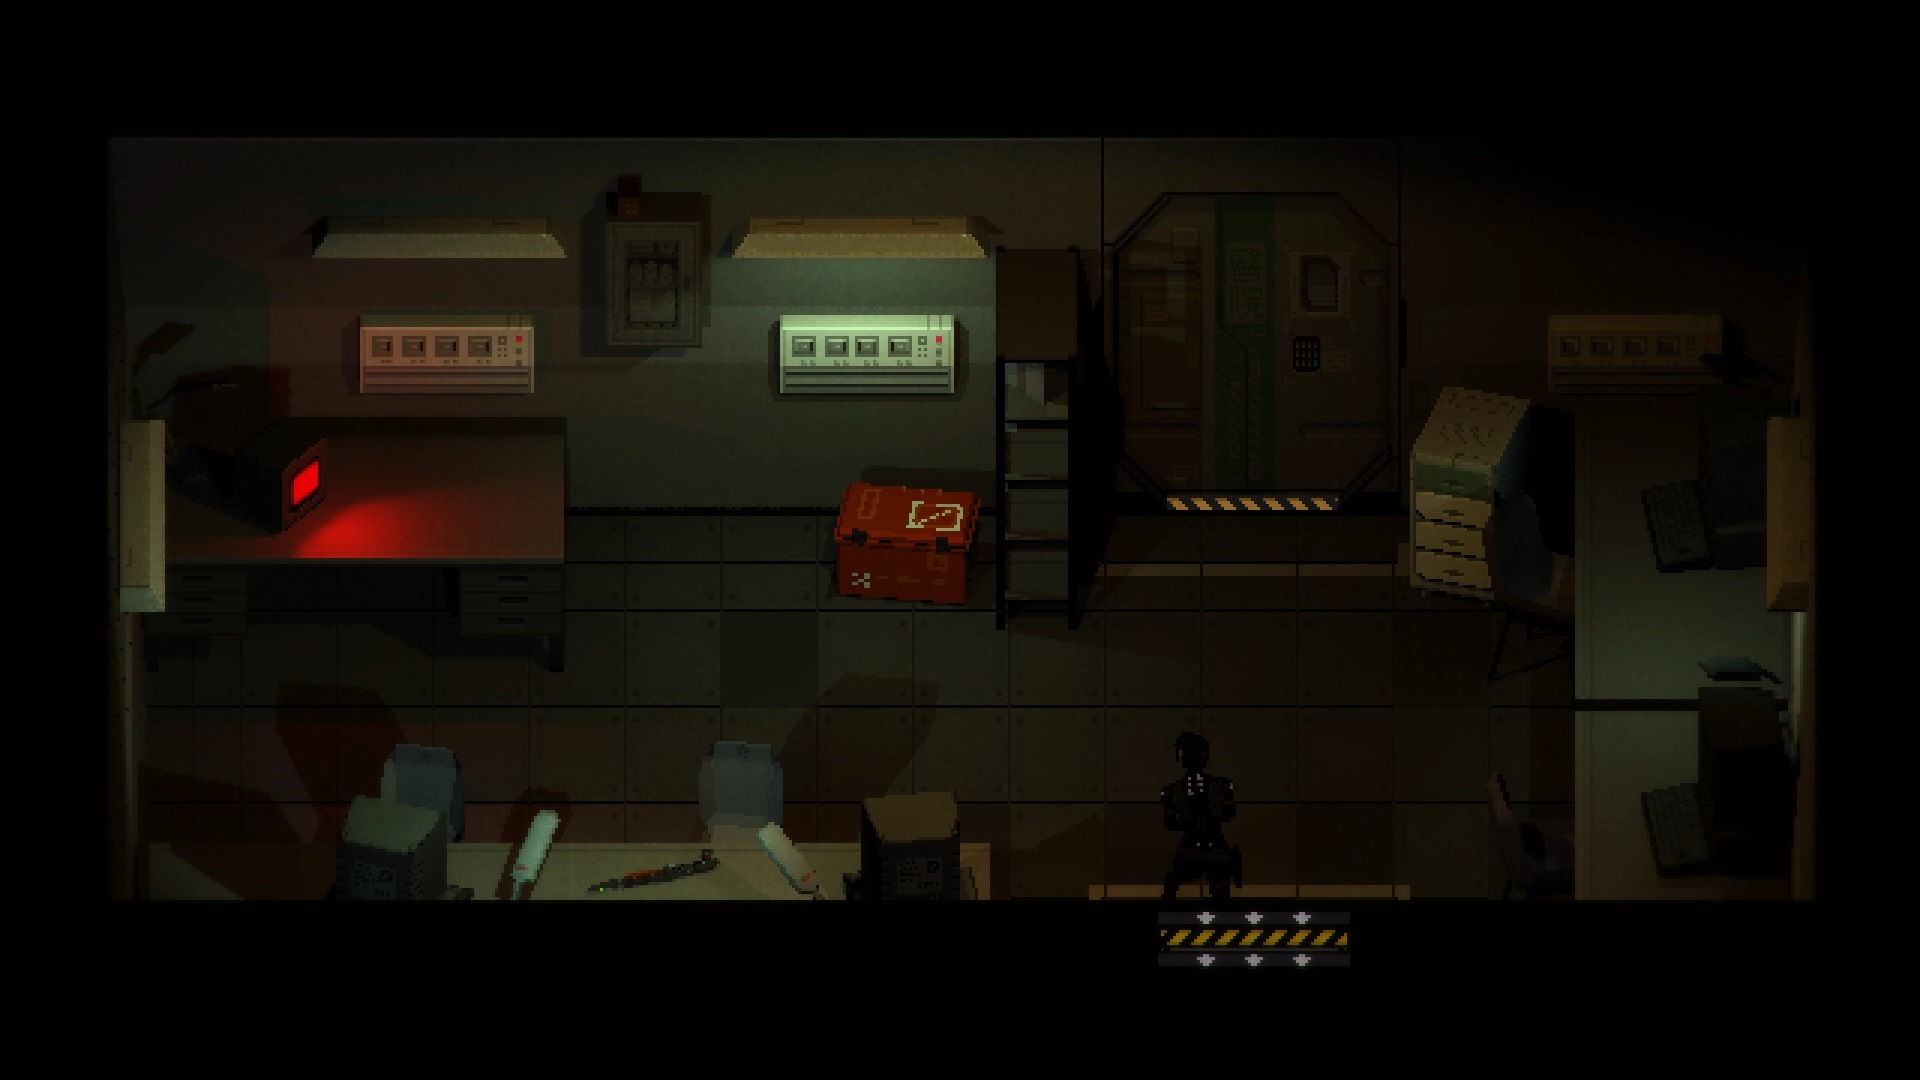
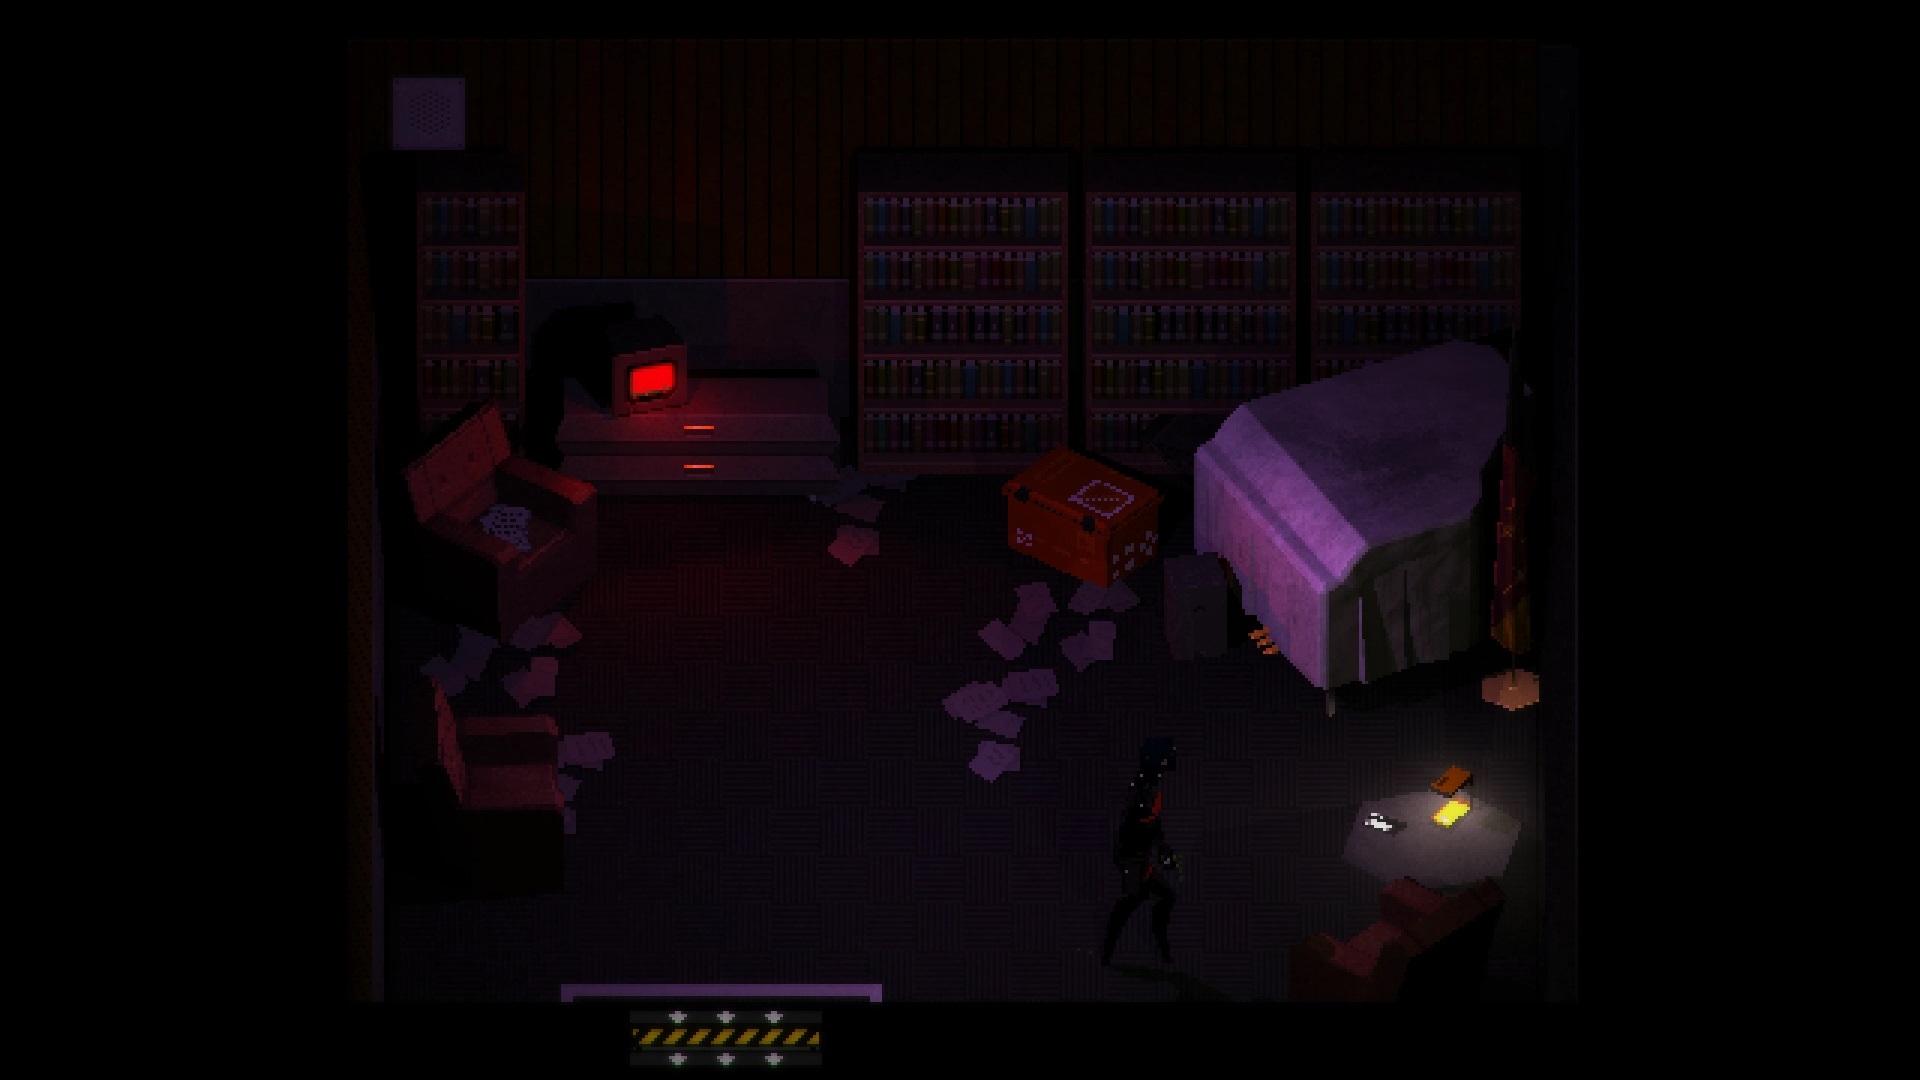
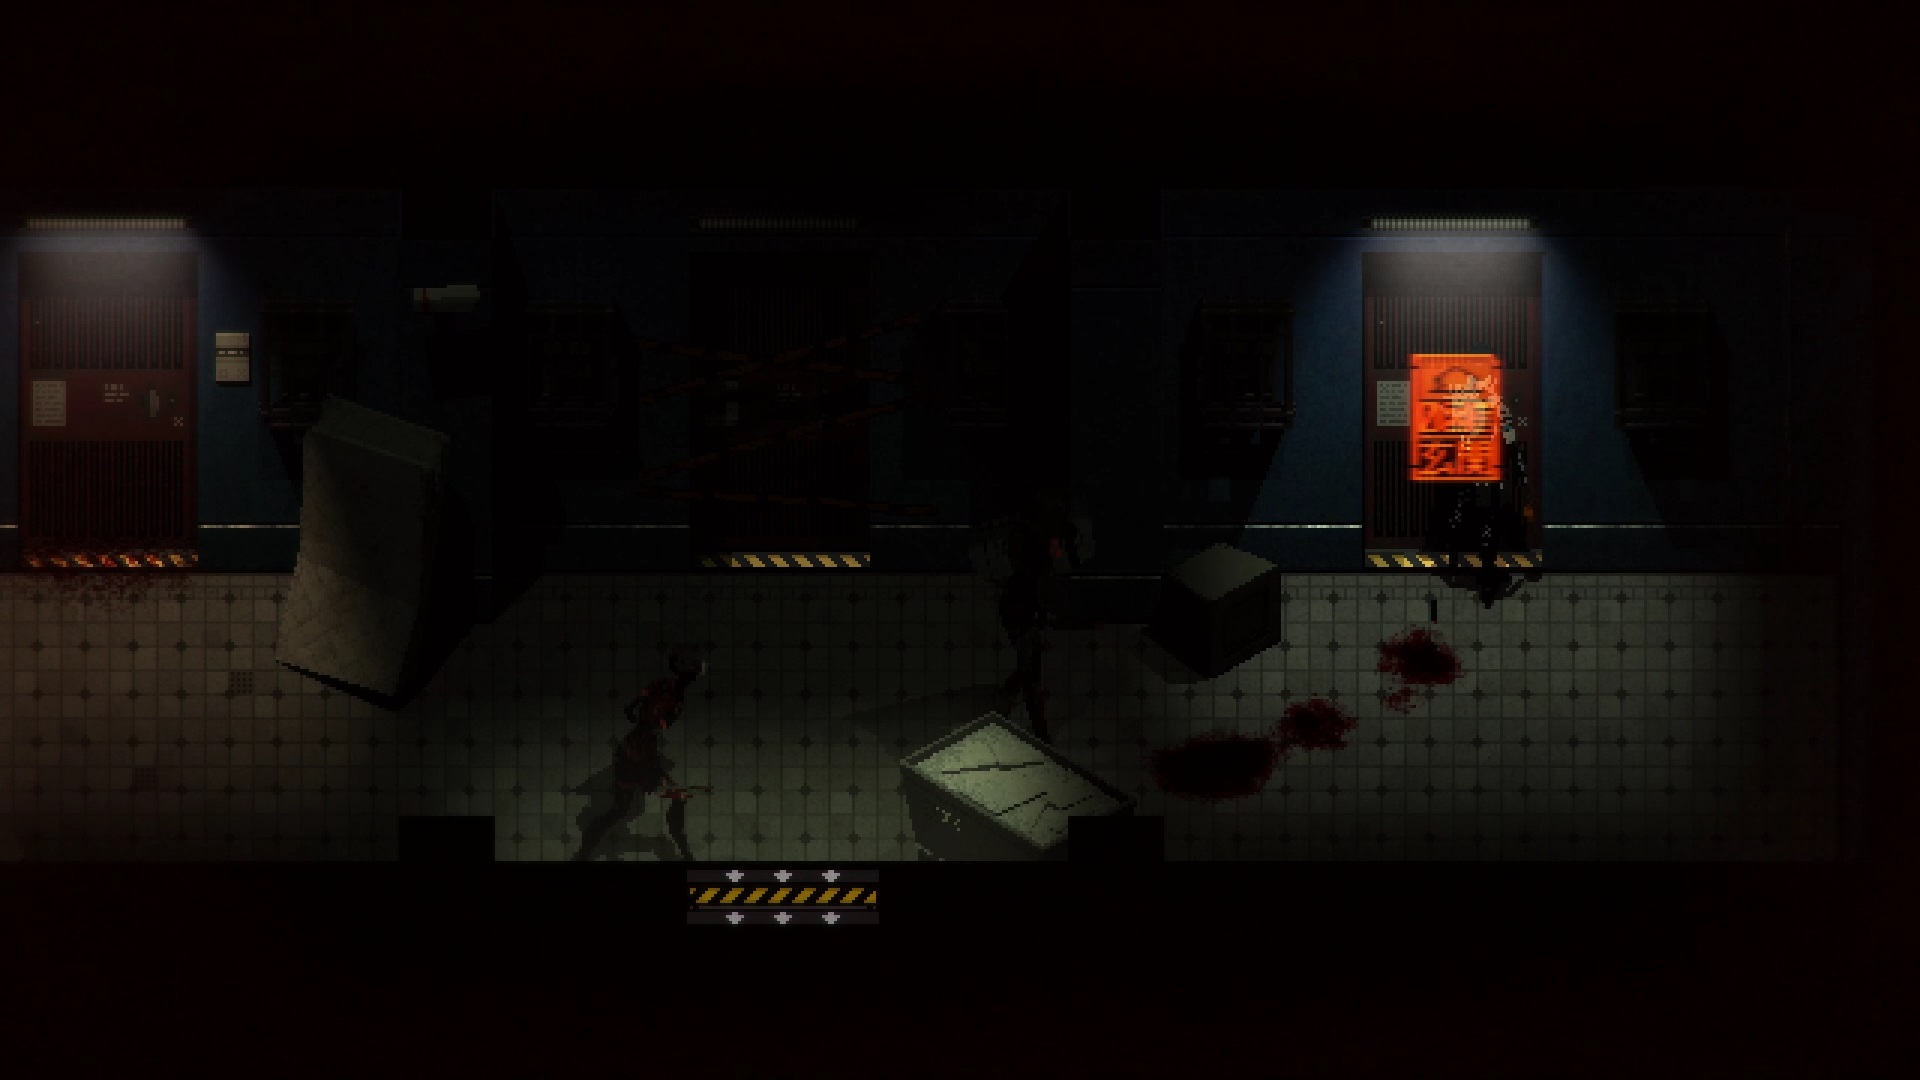
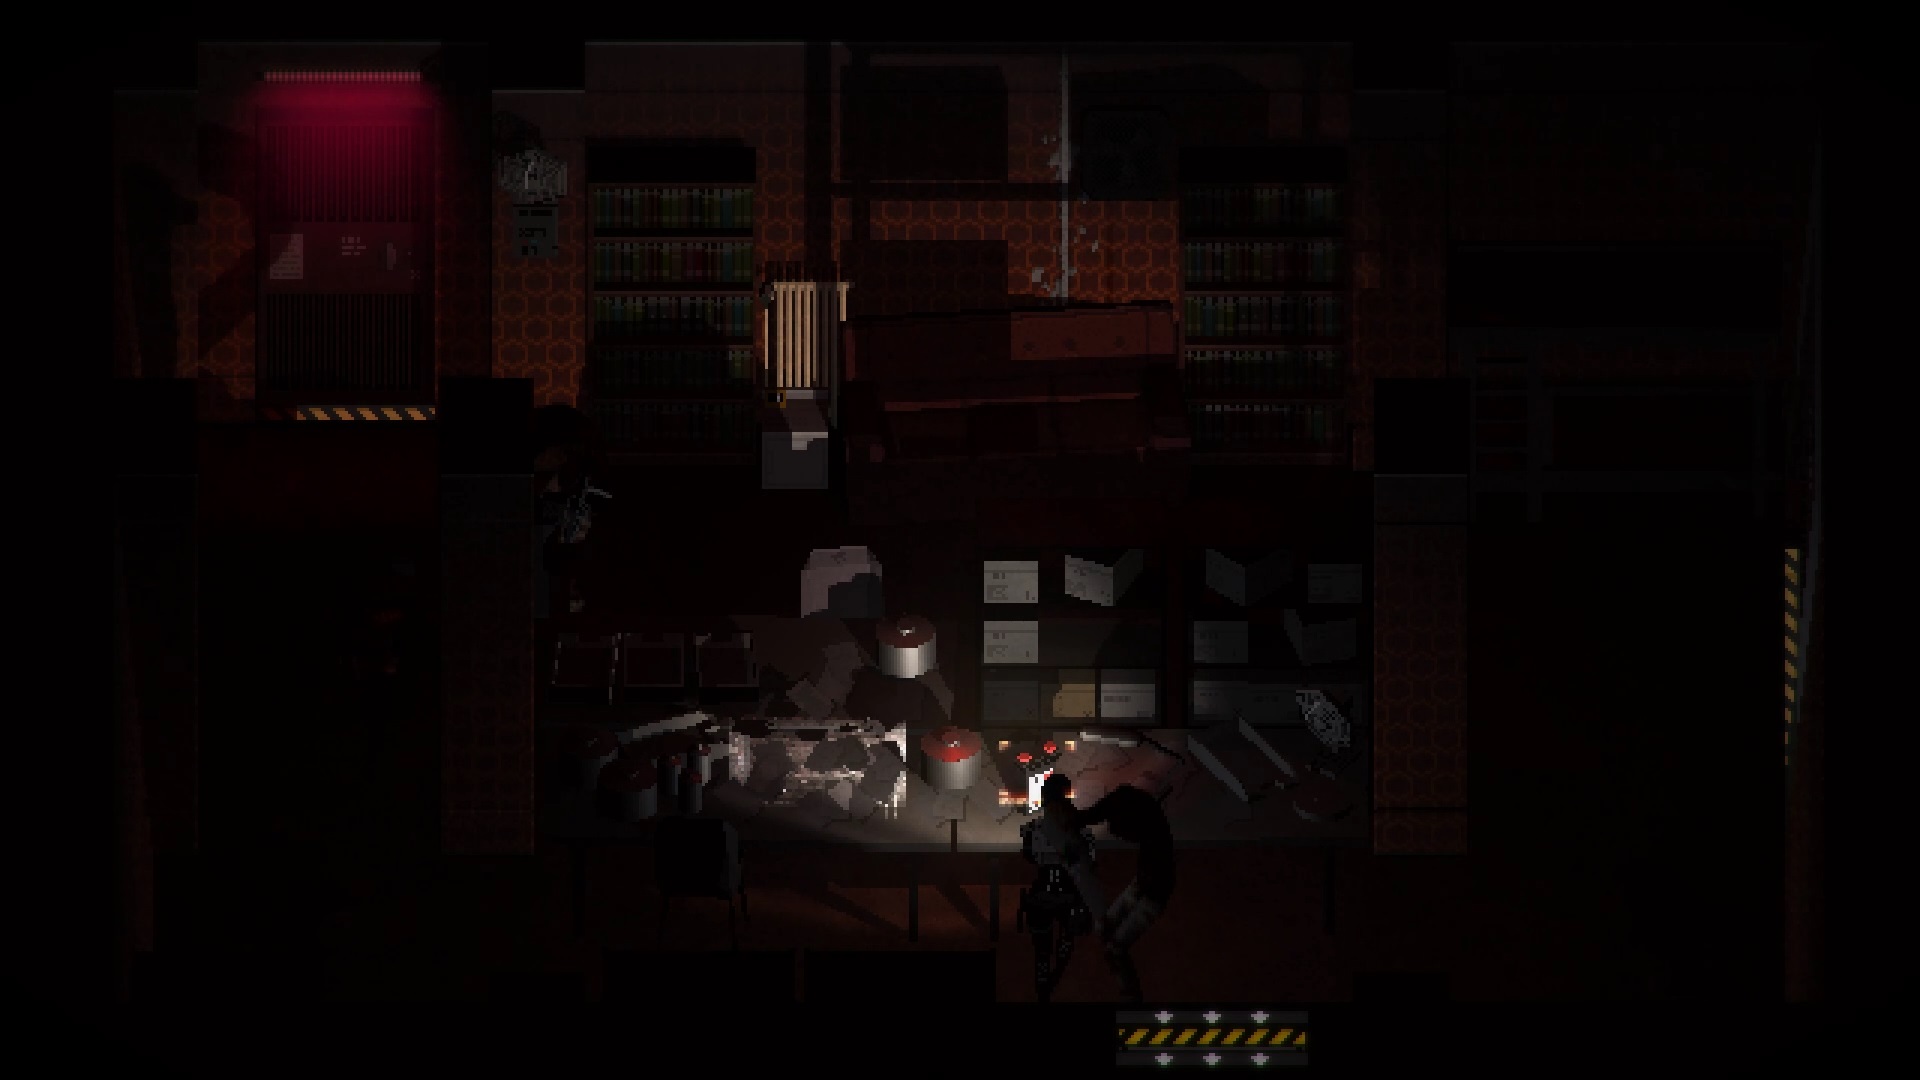
You will find your first save room in the staff room. Go through the door to the east of the save room. Go through the door to the north « Aula », in the third corridor. A cutscene is triggered with Agent Star. Search the seats in the upper left to retrieve a Prokektor Key. Retrace your steps in the first corridor and open the door to the left of the « Observation » room. Search the drawers to find a weapon and a microfiche with holes.
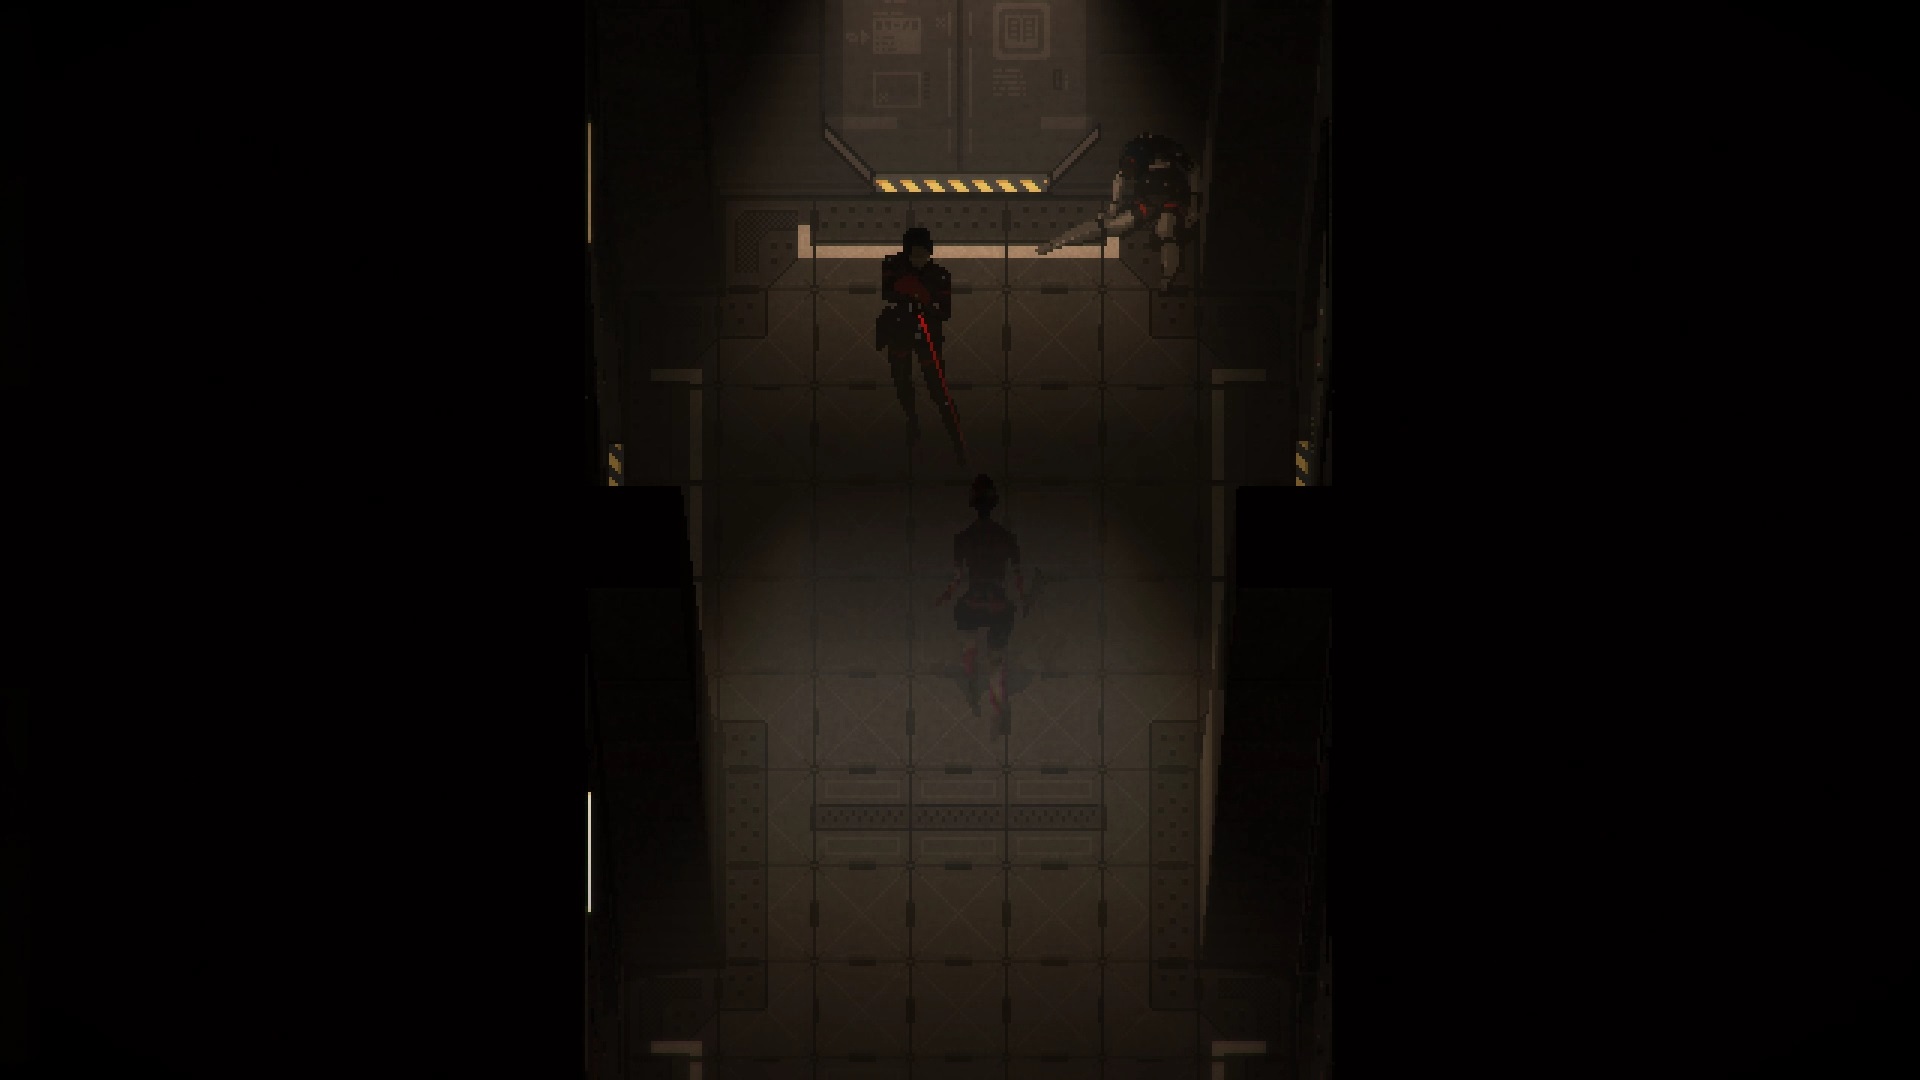
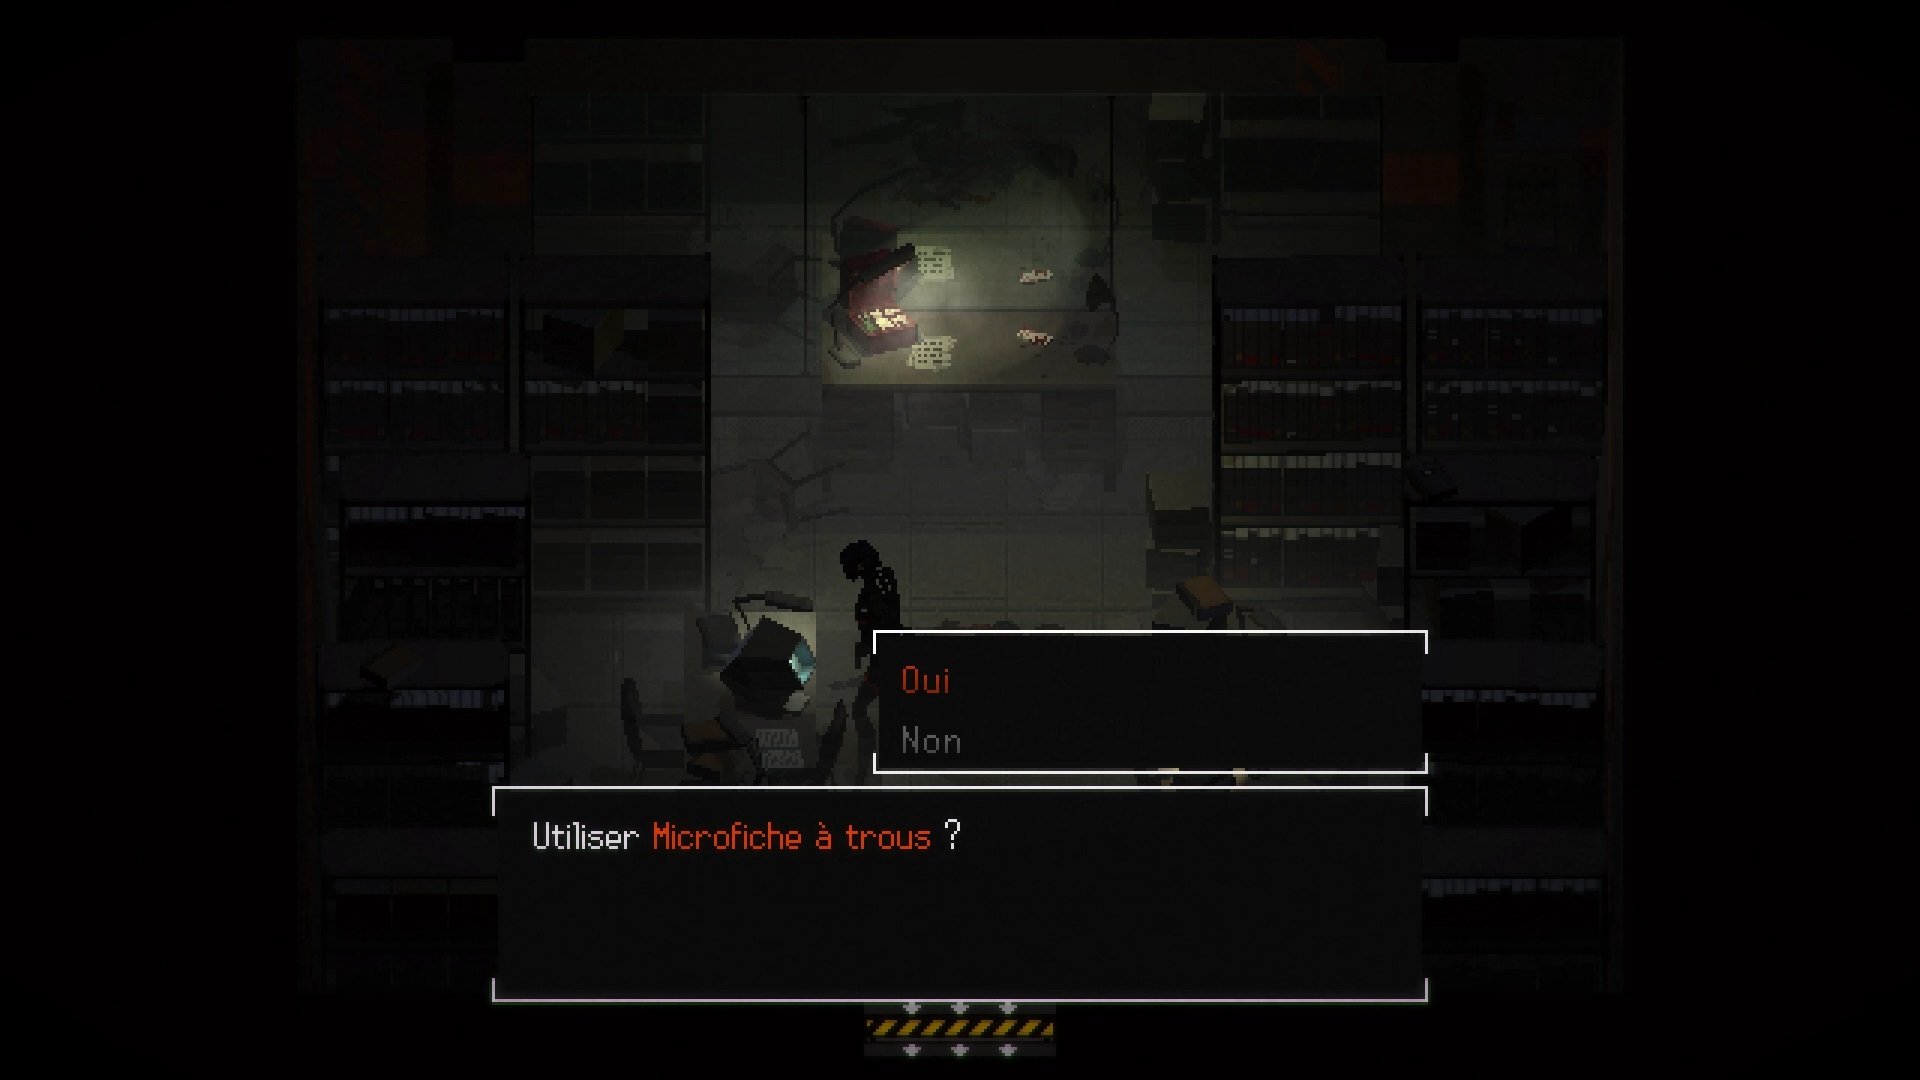
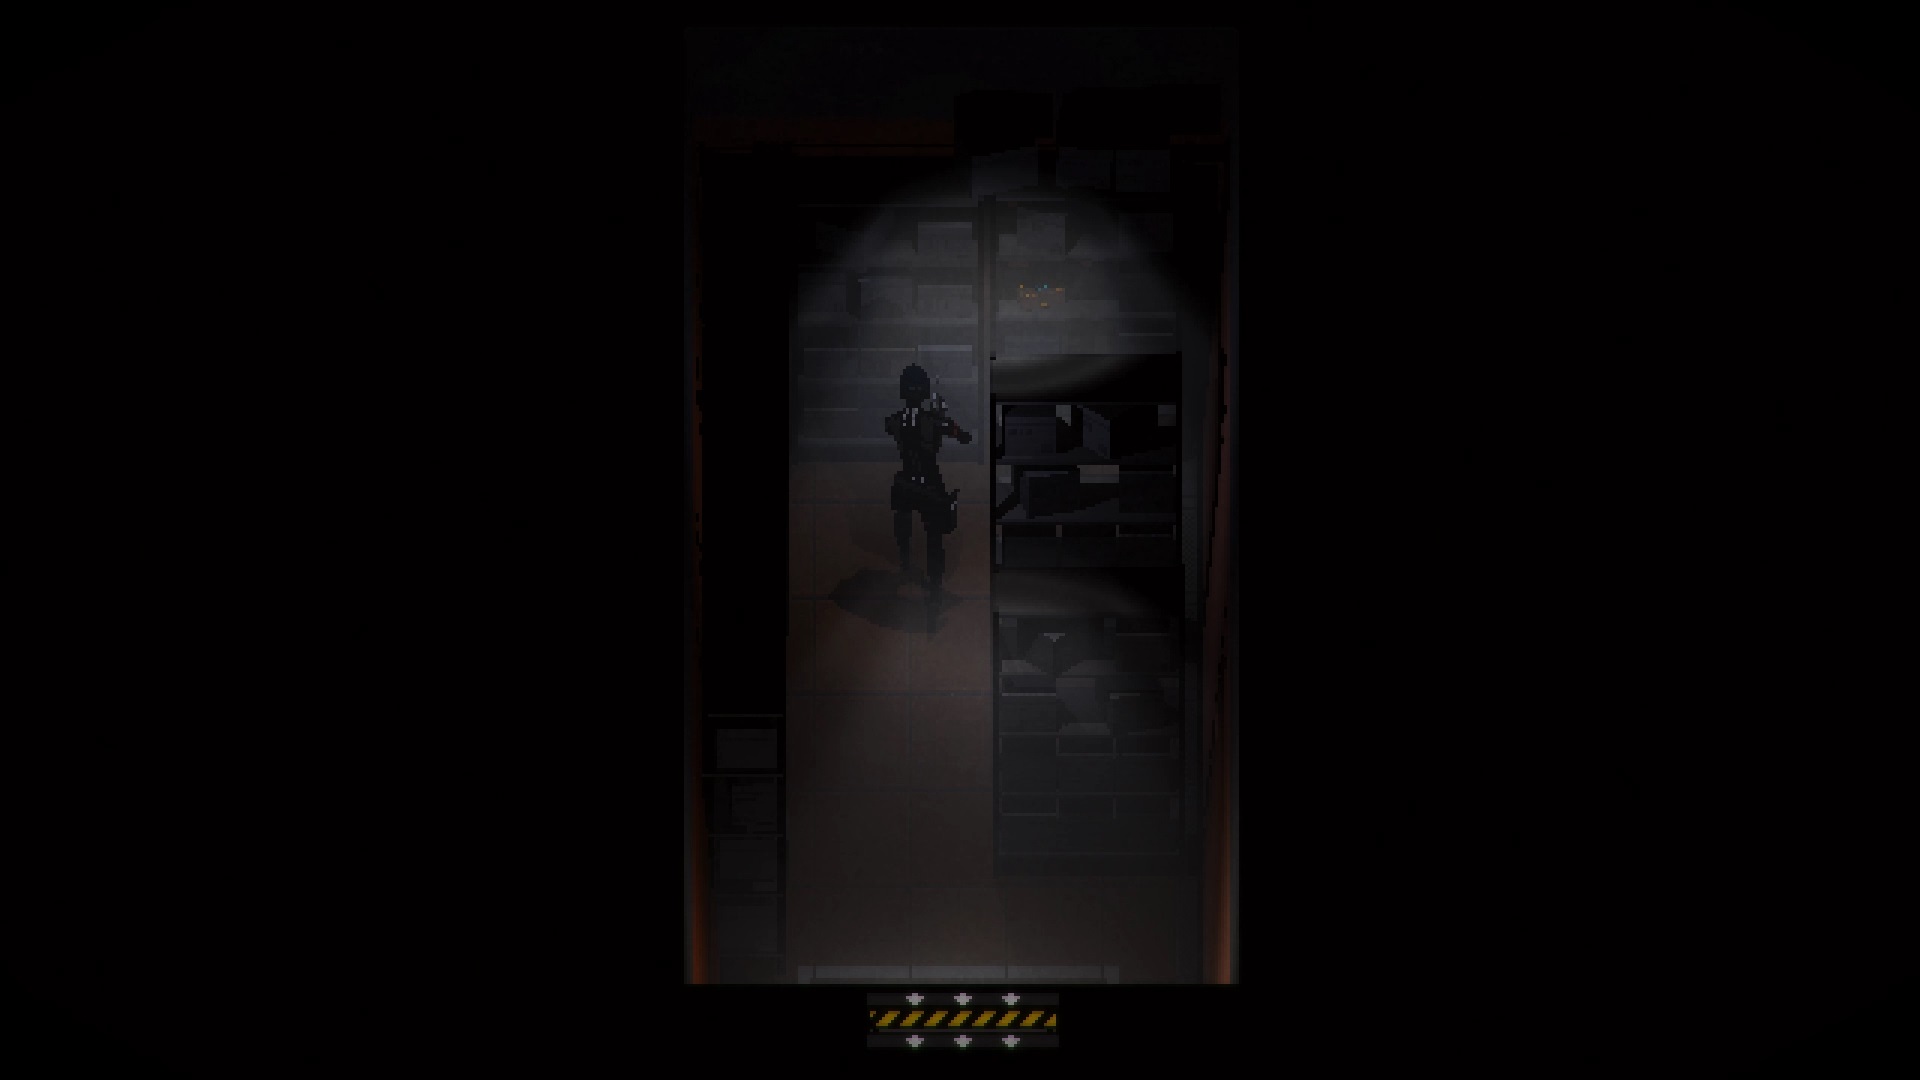
Arm the weapon in the inventory and return to the second corridor. An enemy is waiting for you. Aim and fire two to three shots to knock him down. Finish it off with a few kicks. Go through the door to the north « Library », to trigger a second cutscene. Use the machine on the desk with the microfiche. Reading its contents, you find the code 204512.
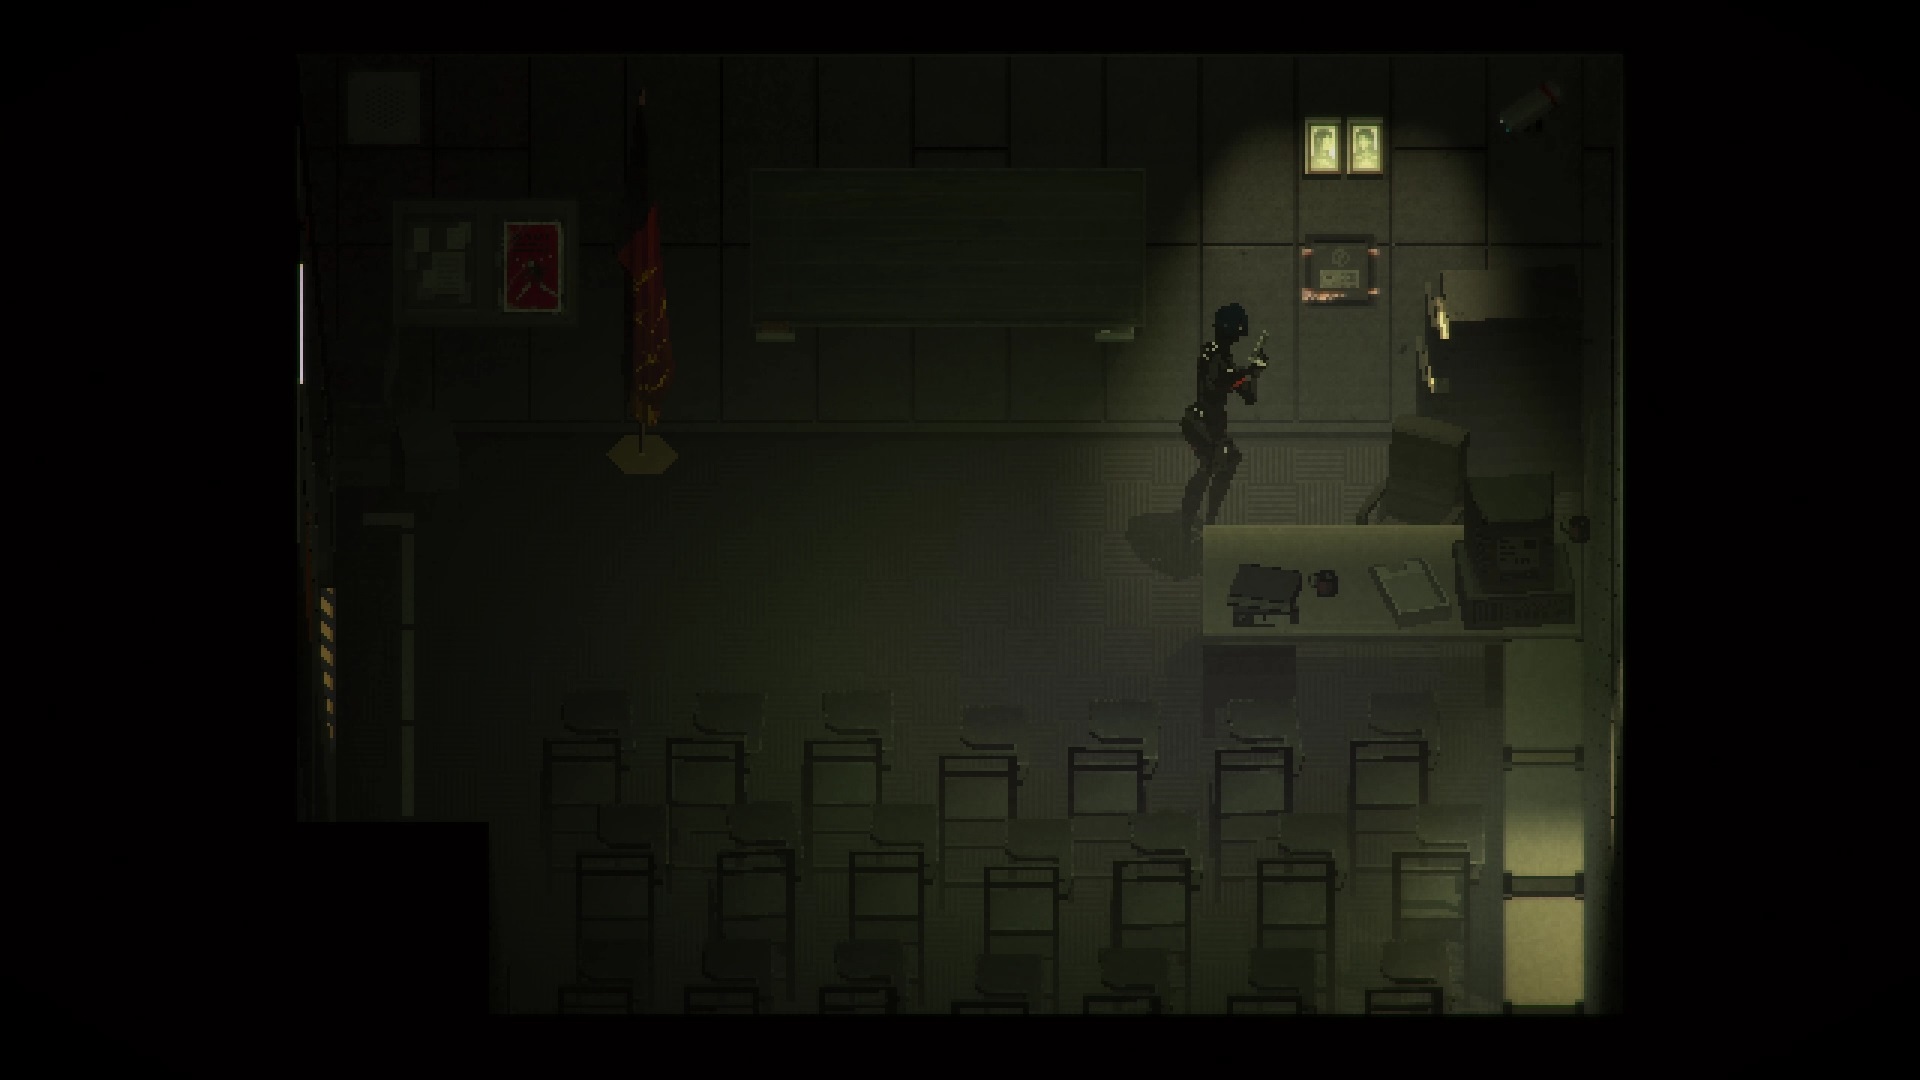
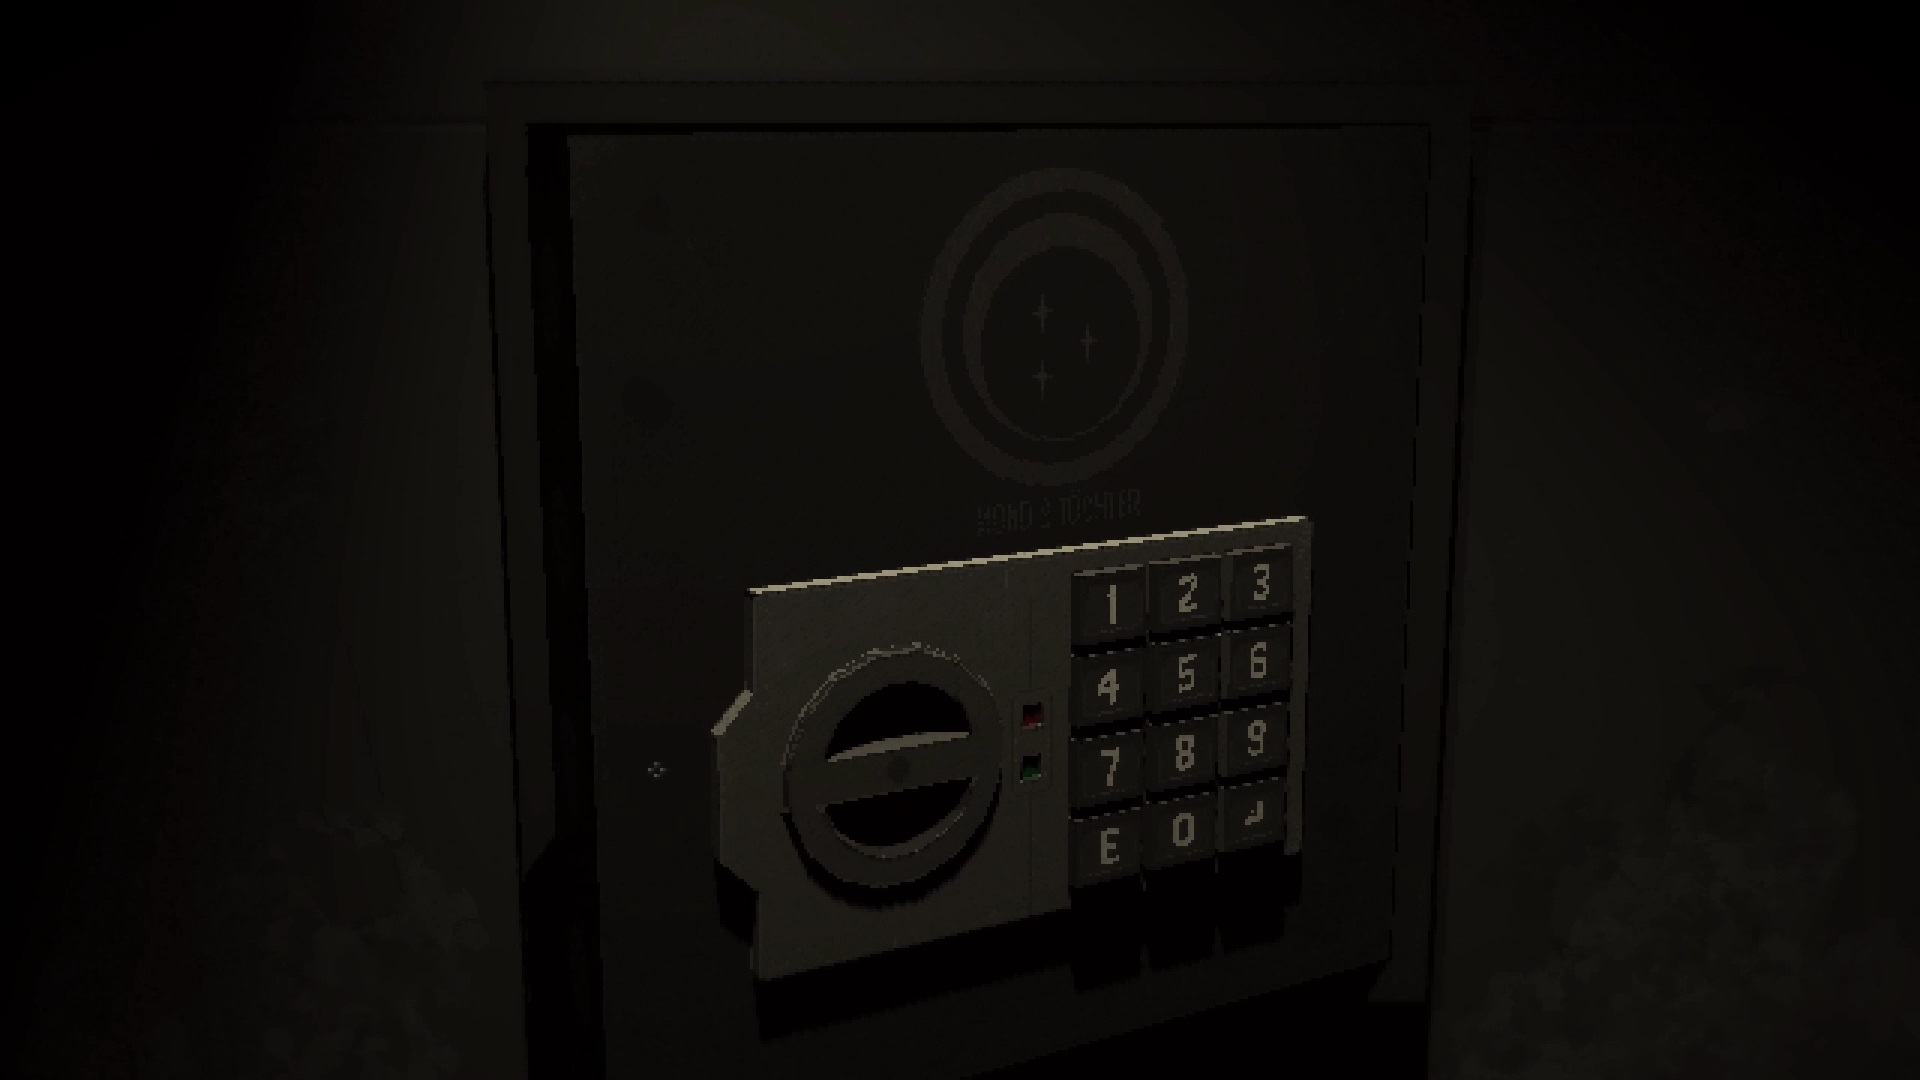
Direction the third corridor and more particularly the room to the east the « classroom 4B ». Examine the wall to find a safe. Use the code found, press enter and pull the dial to the left to take its contents « the classroom key ». Return to Star at the « Aula » to unlock the door north of the classroom and jump down the hole.
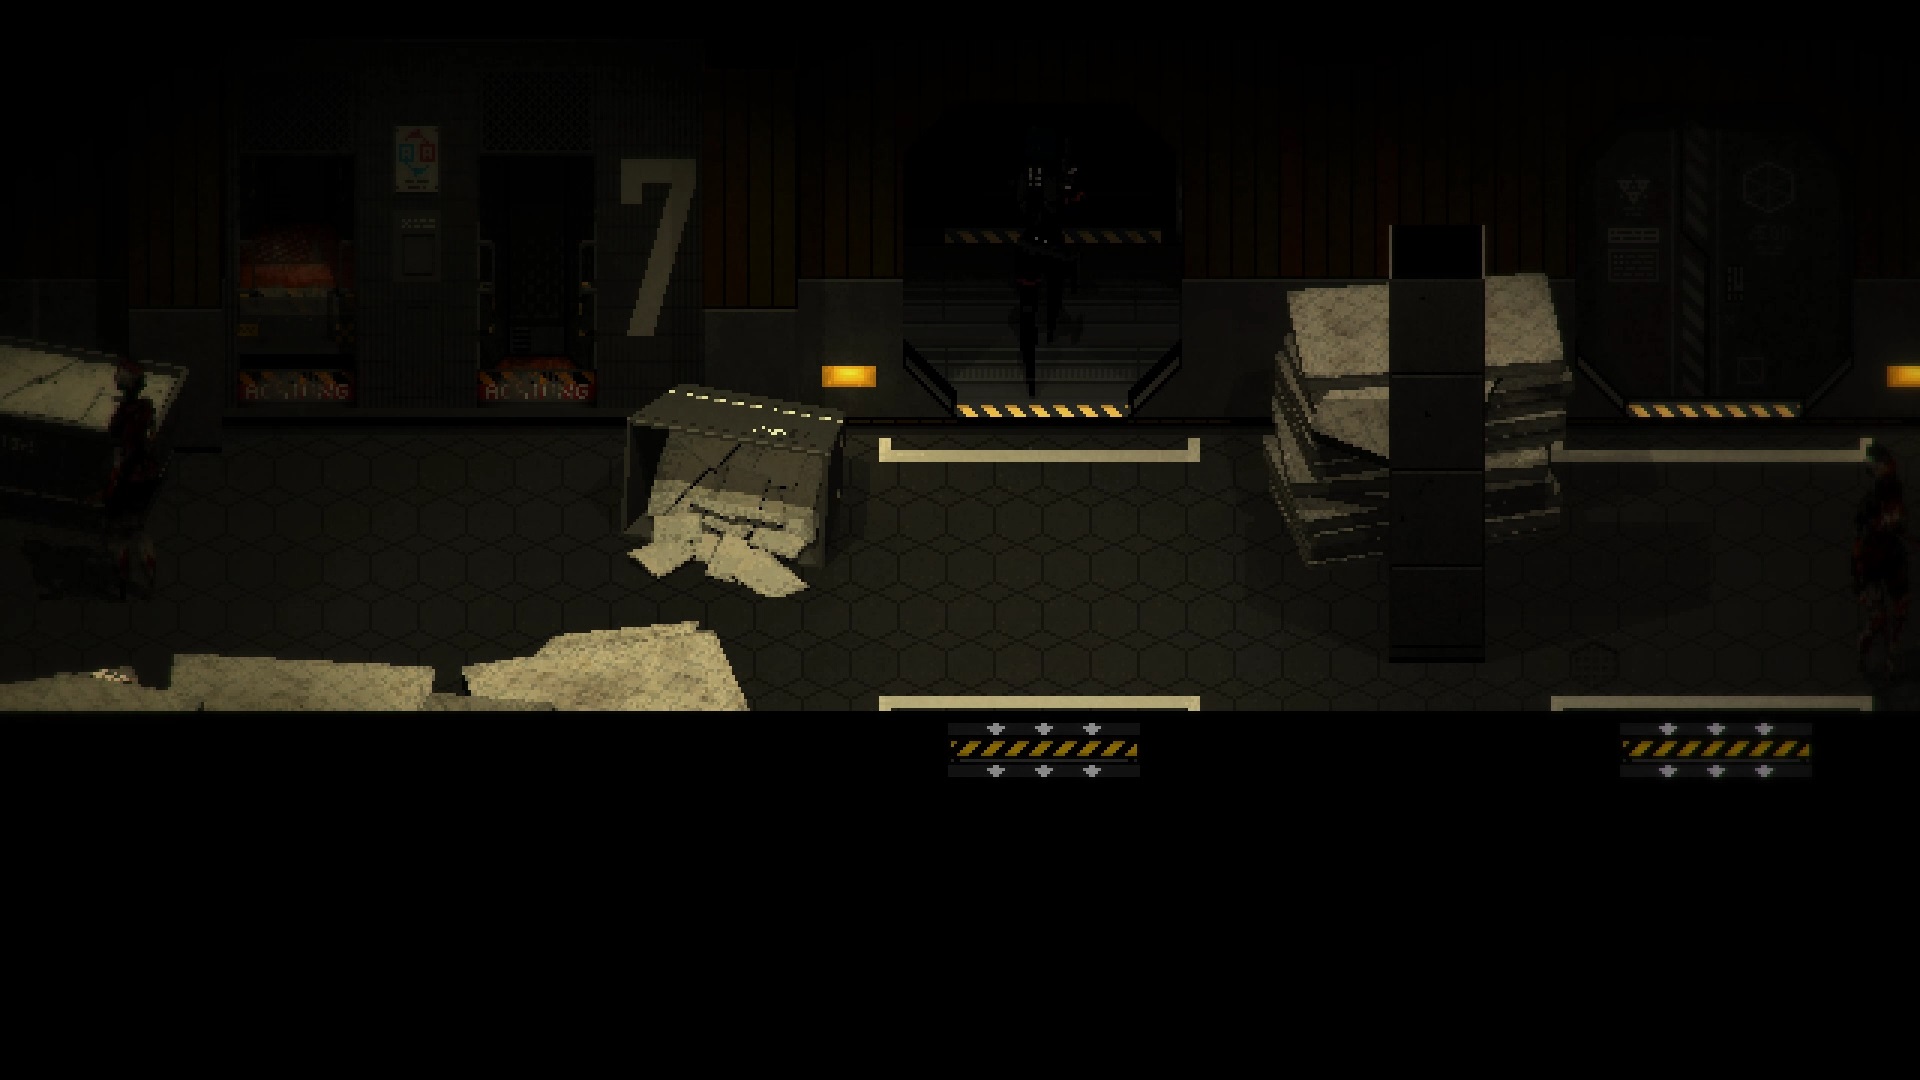
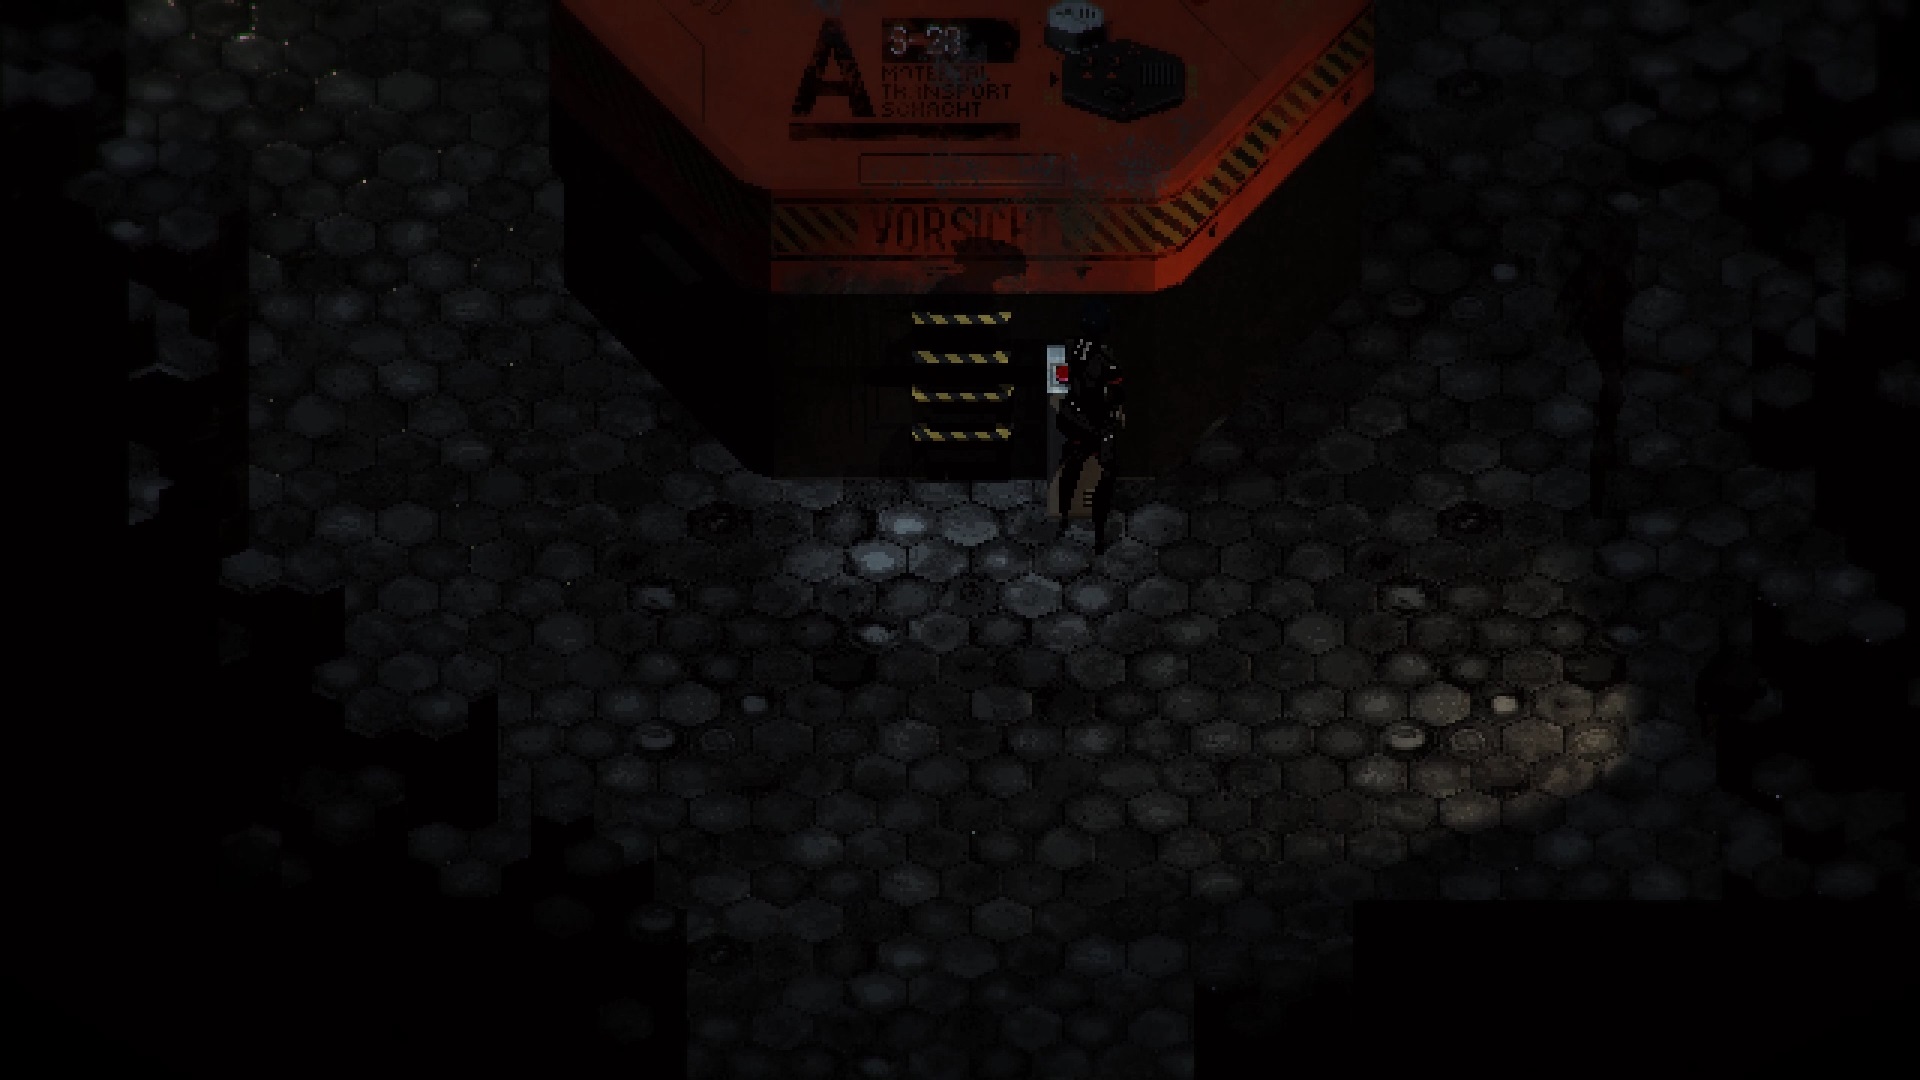
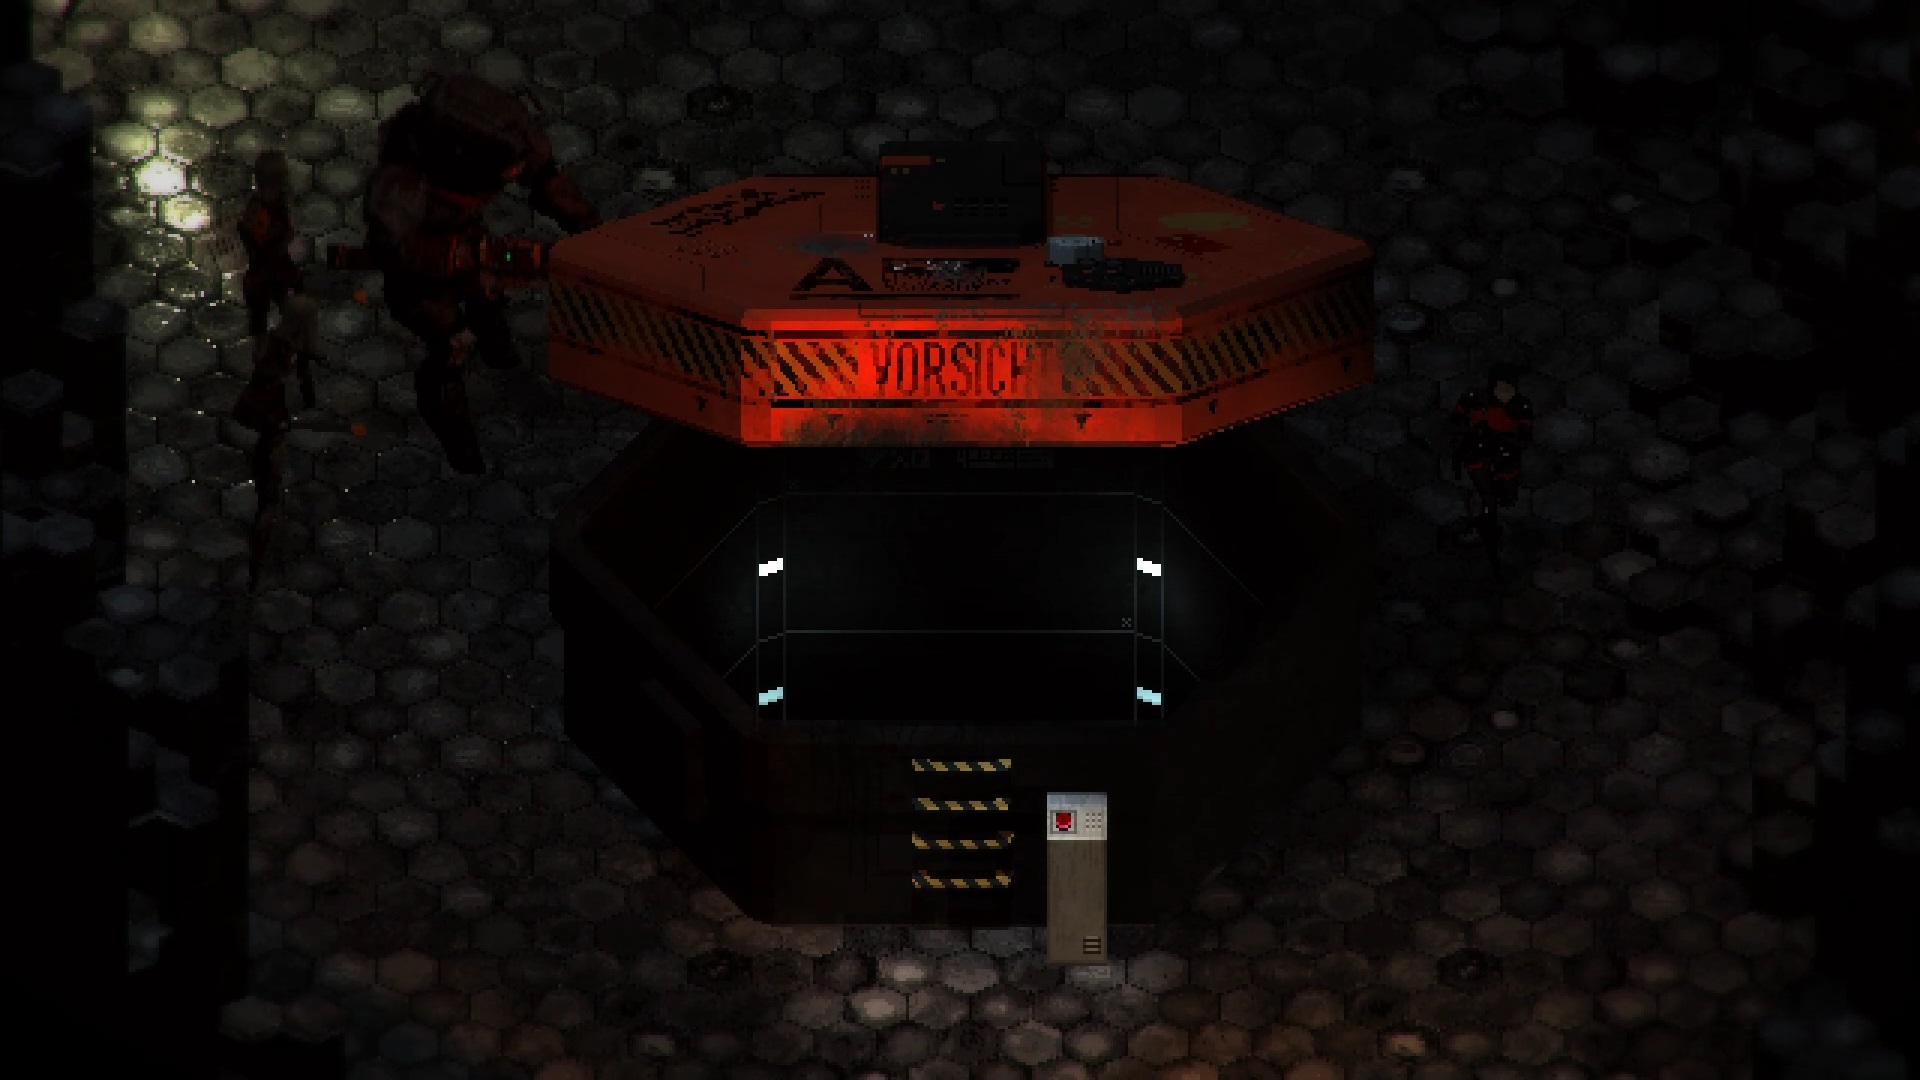
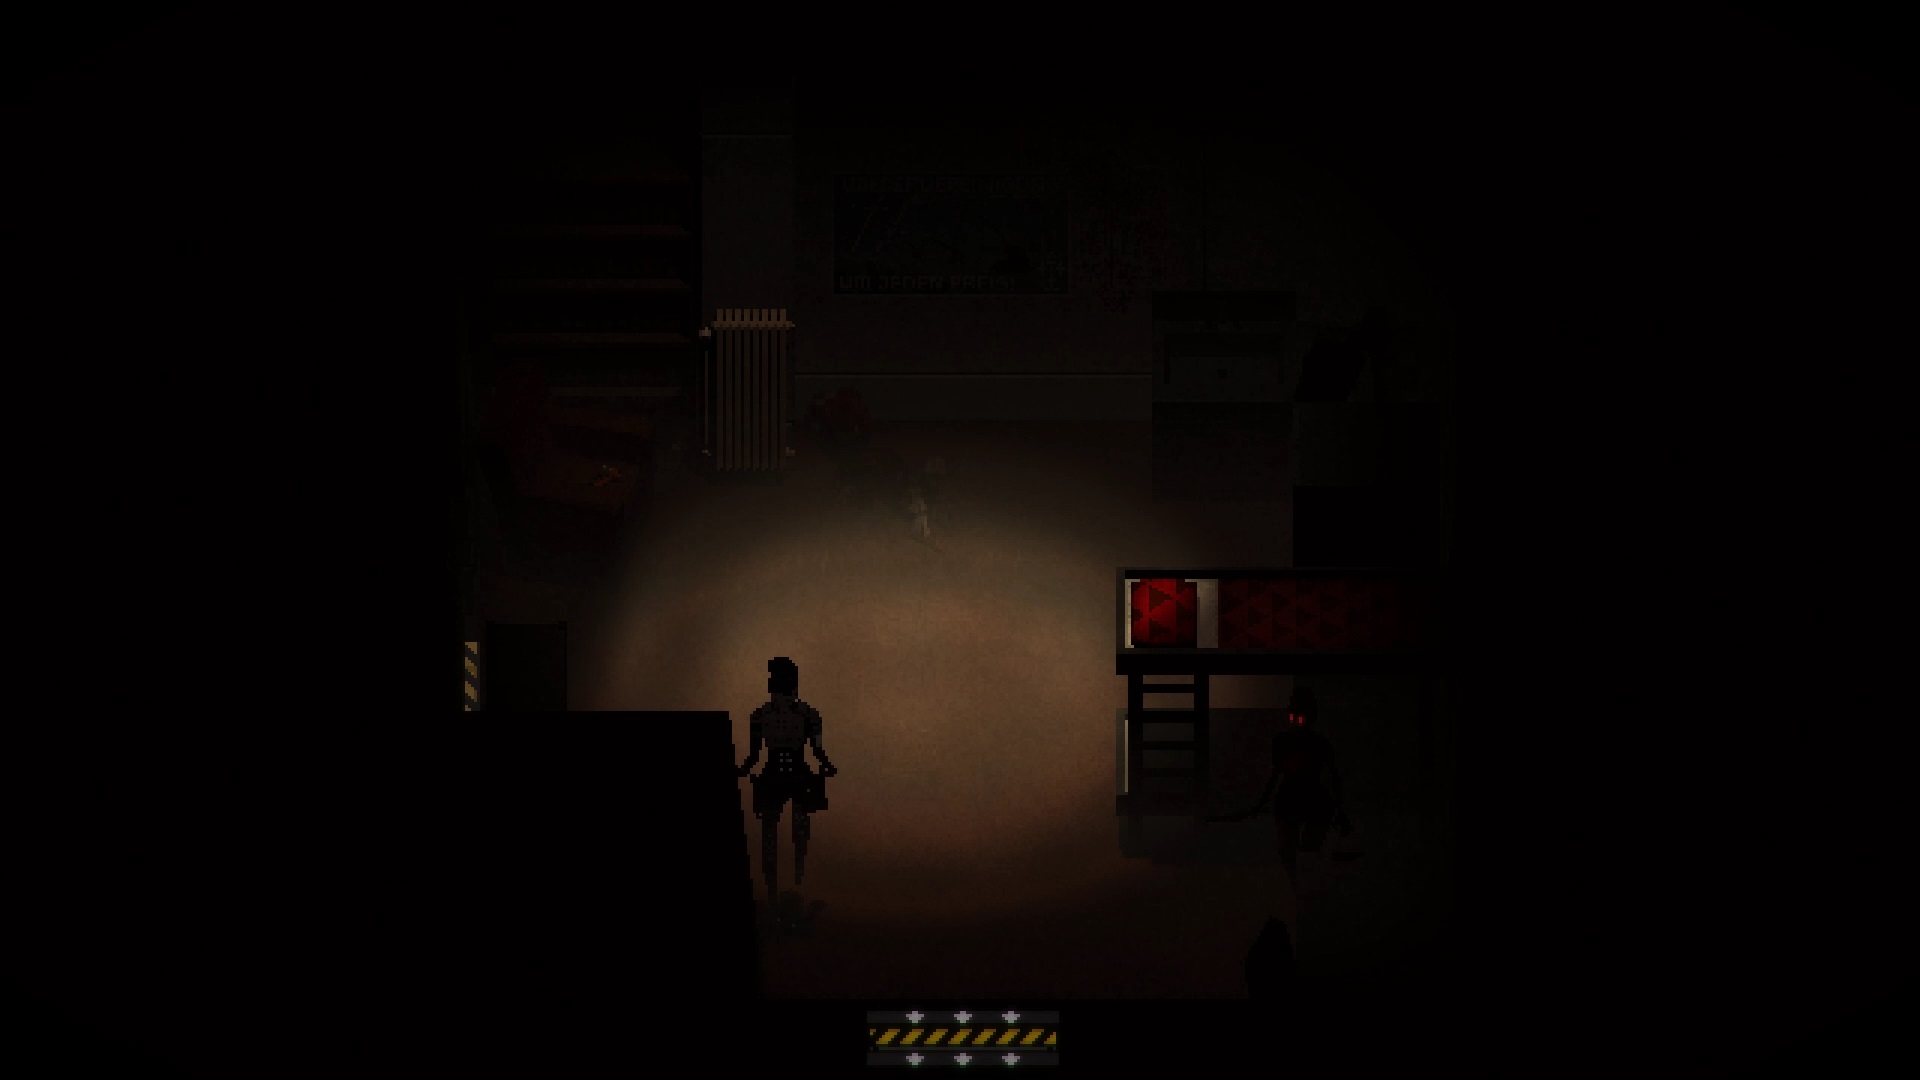
Worker’s quarter
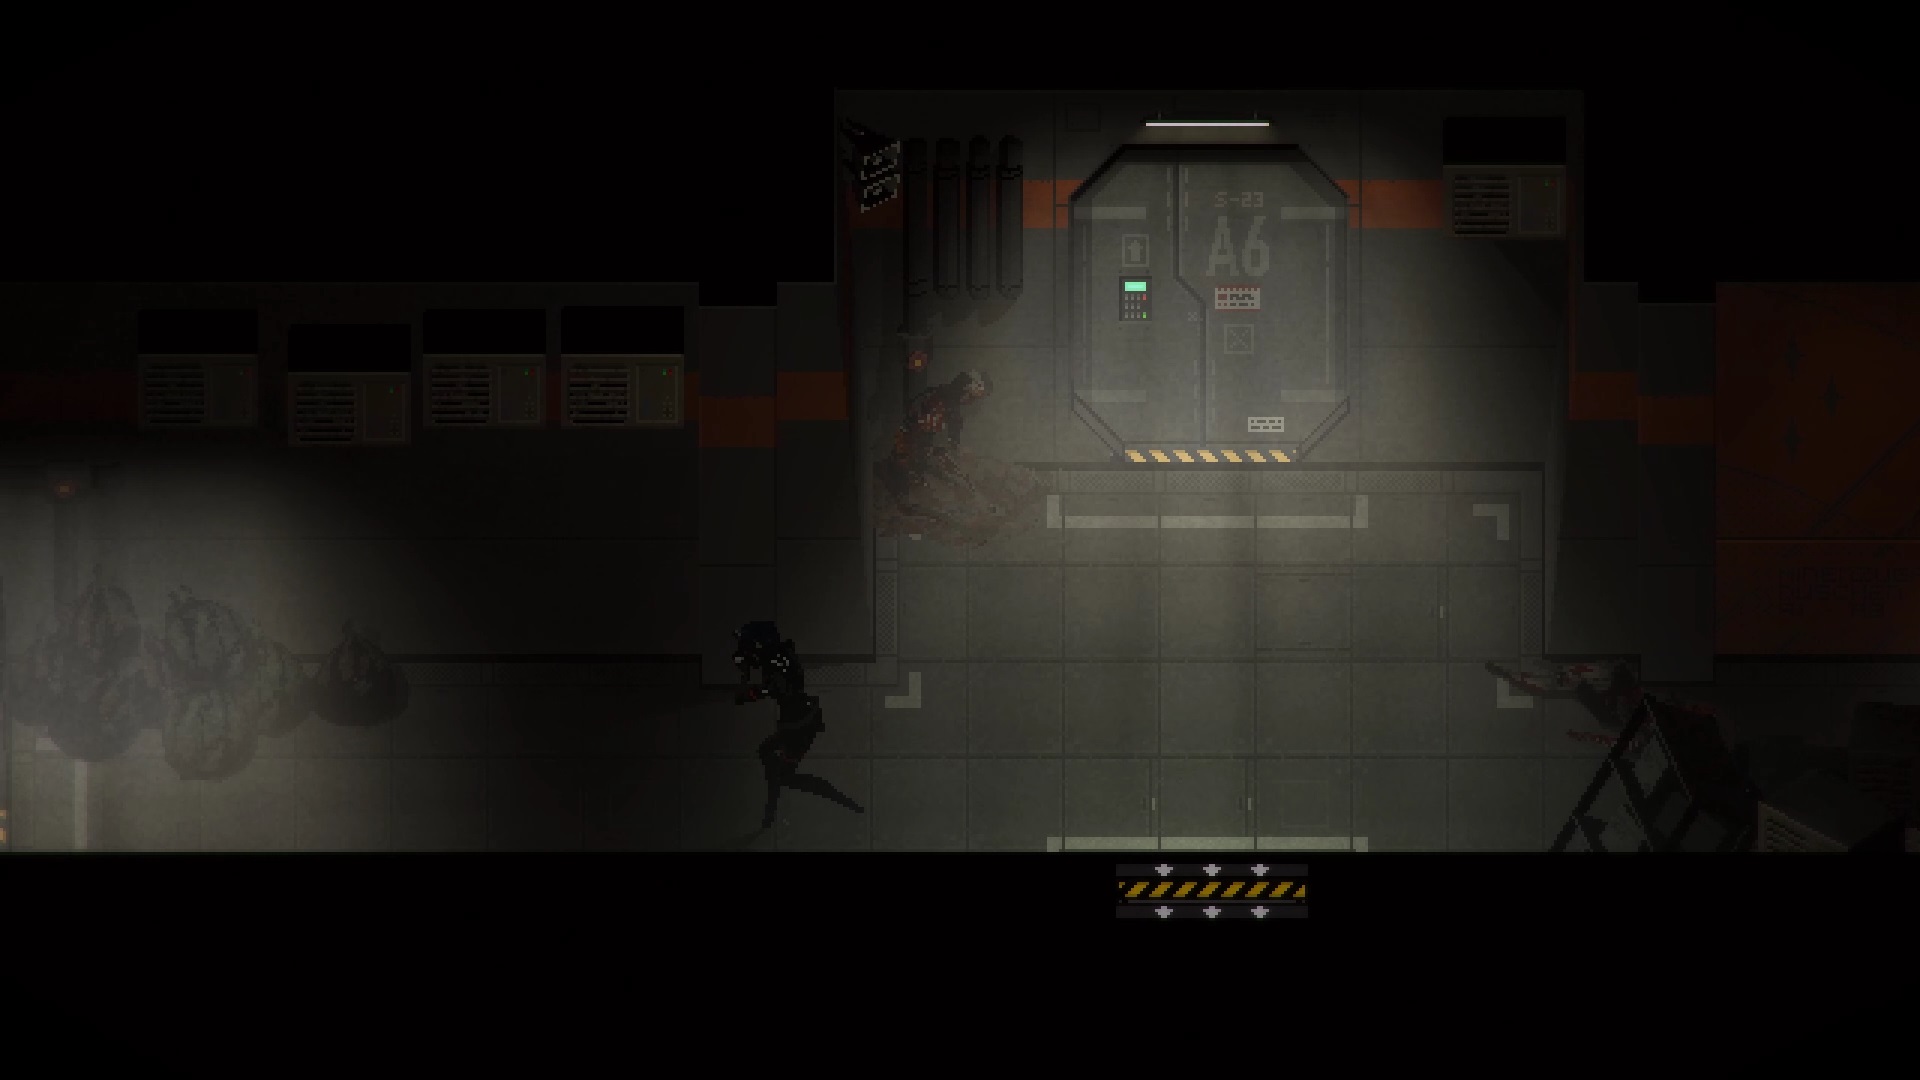
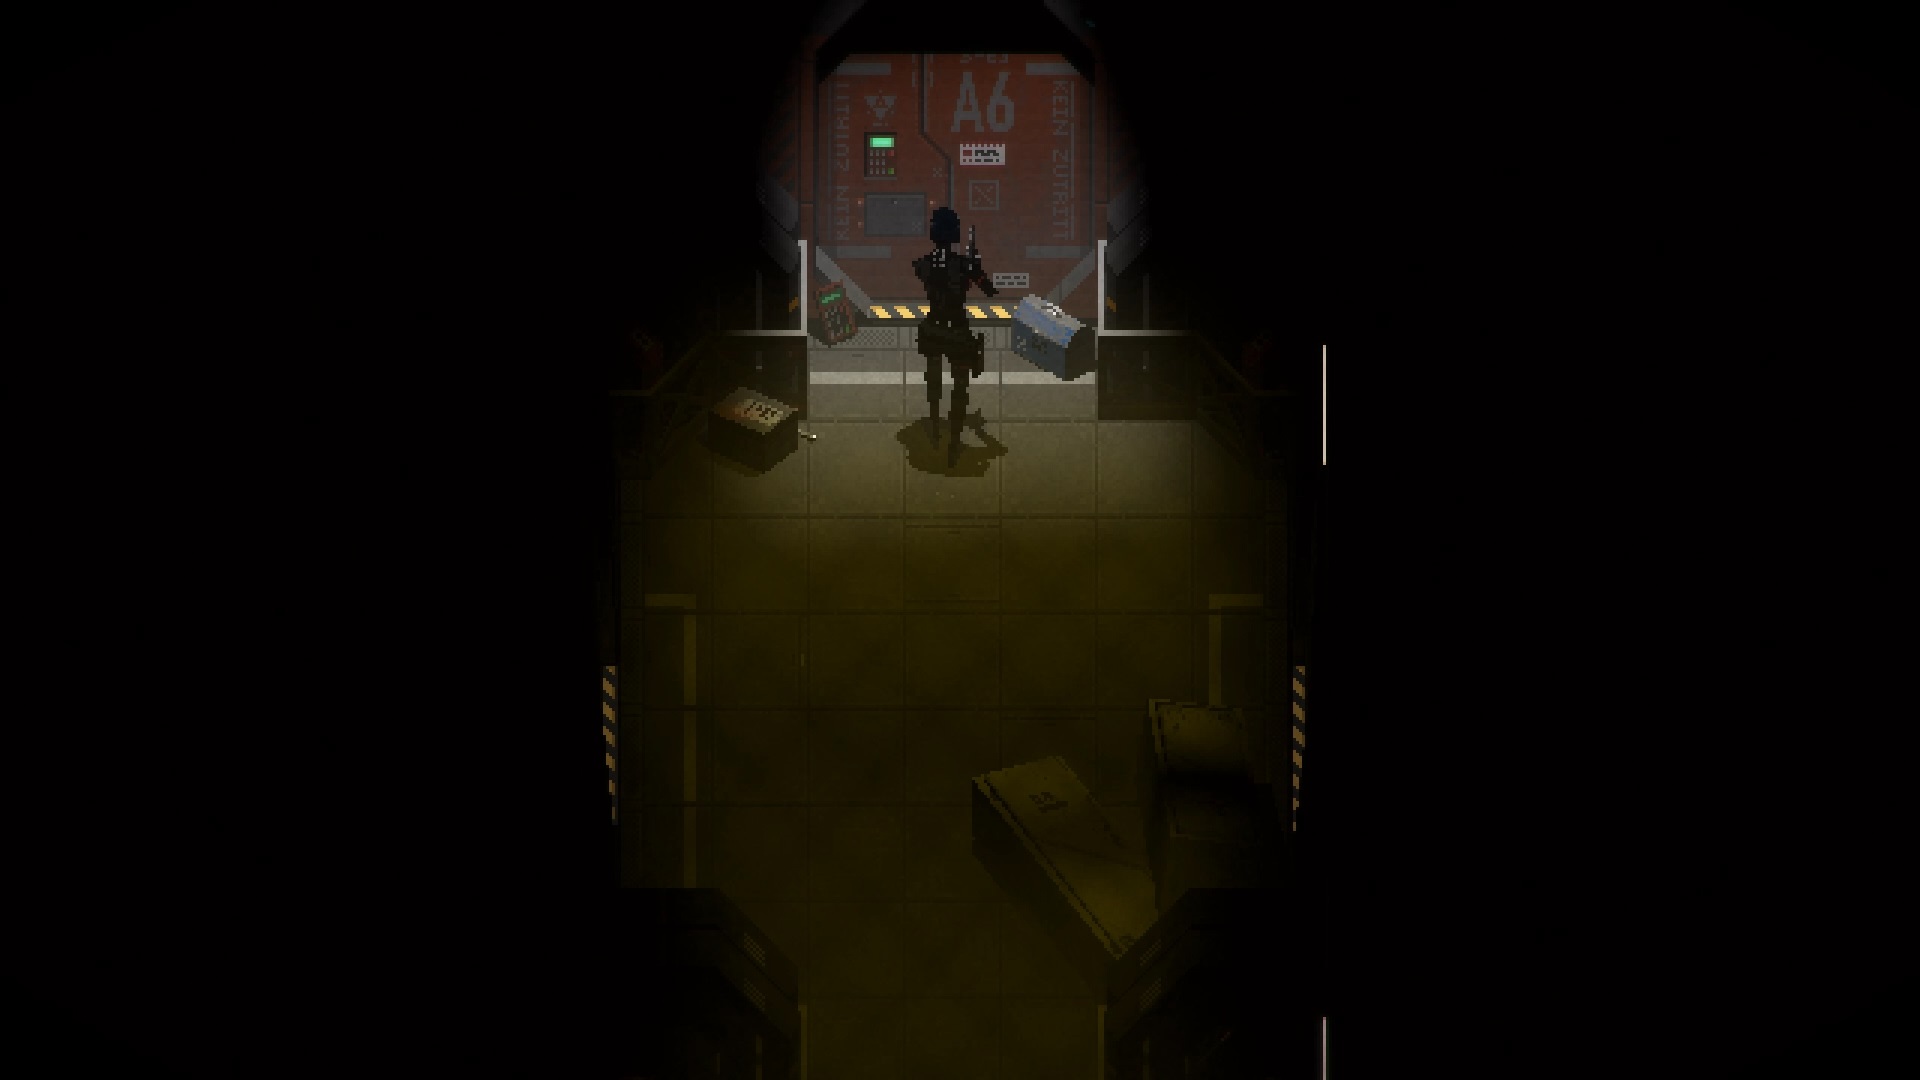
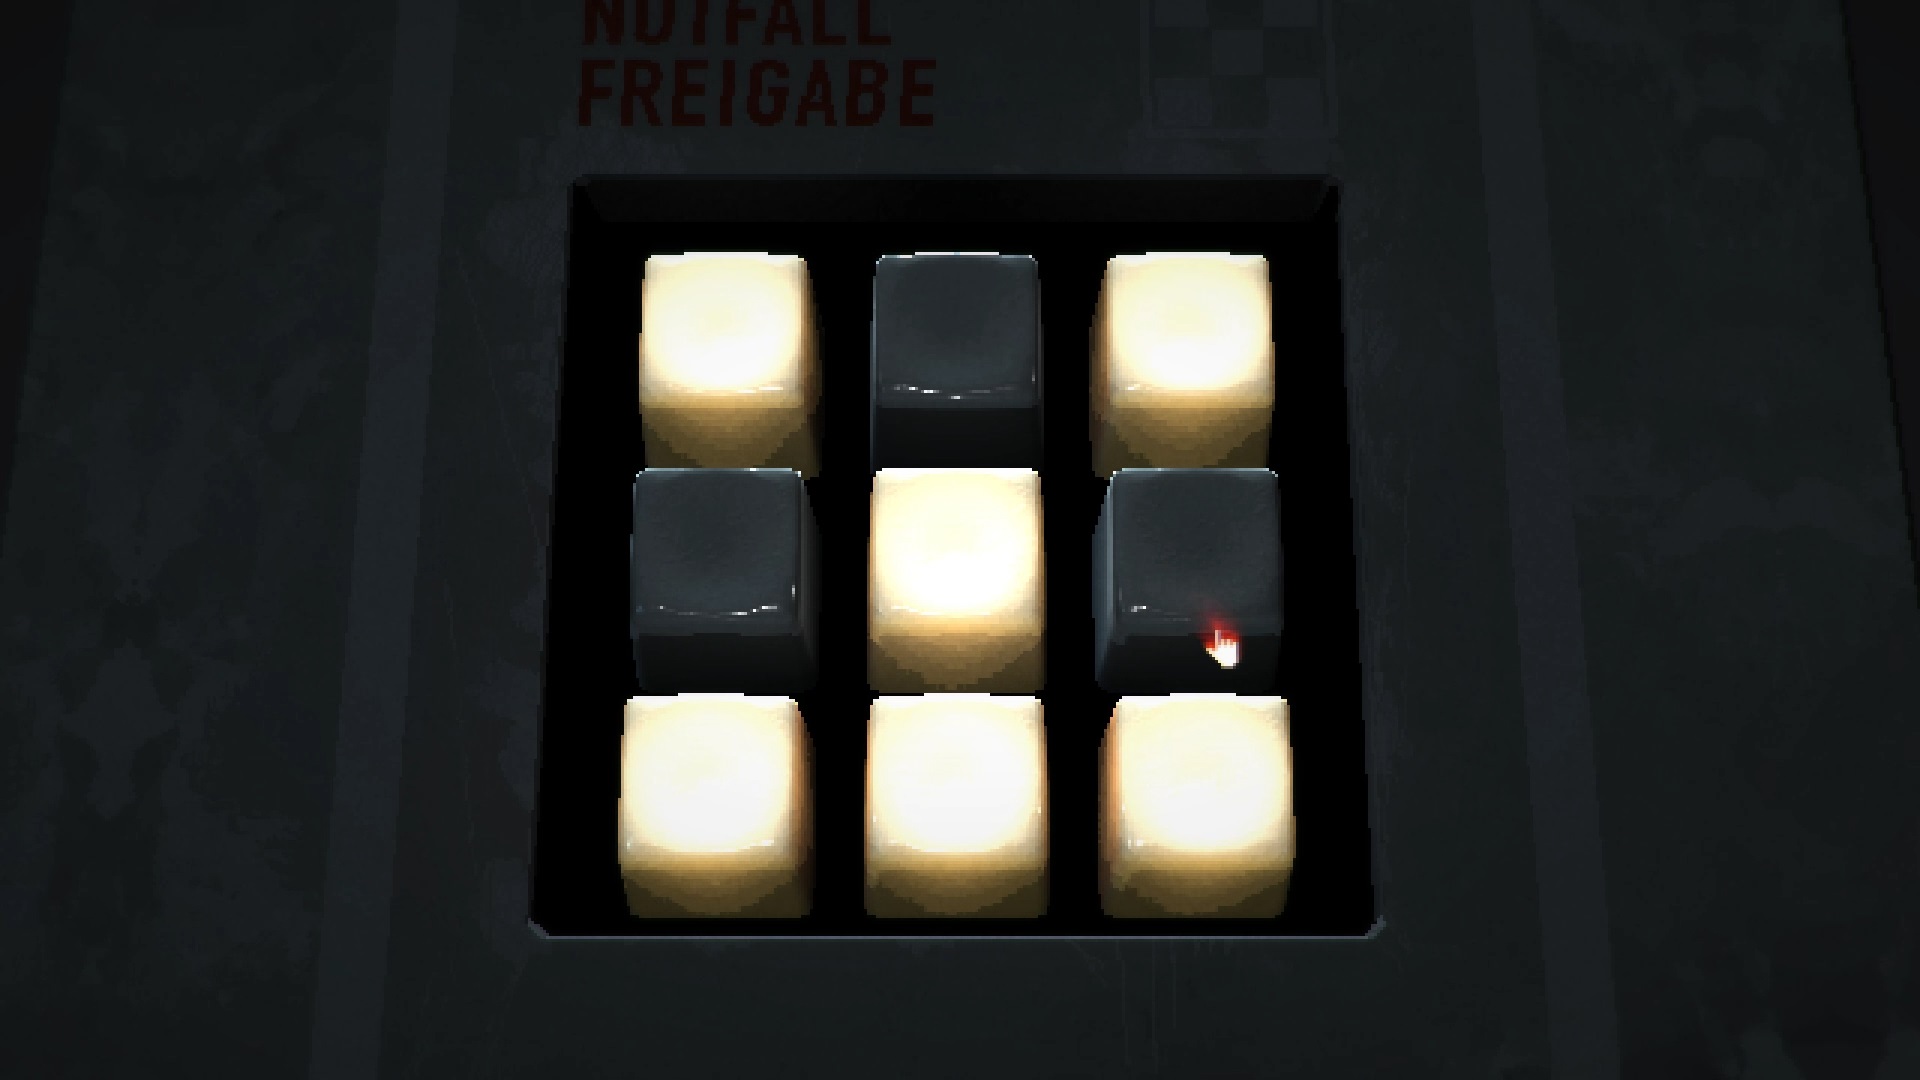
Underneath go through the door to the north and head west into the southern corridor. In the elevator room (Elevator Lobby), enter the available elevator and collect the service hatch key. Open the north door of the south corridor to reach « Block A6 ». Use the hatch key on the door to the north and trigger a puzzle.

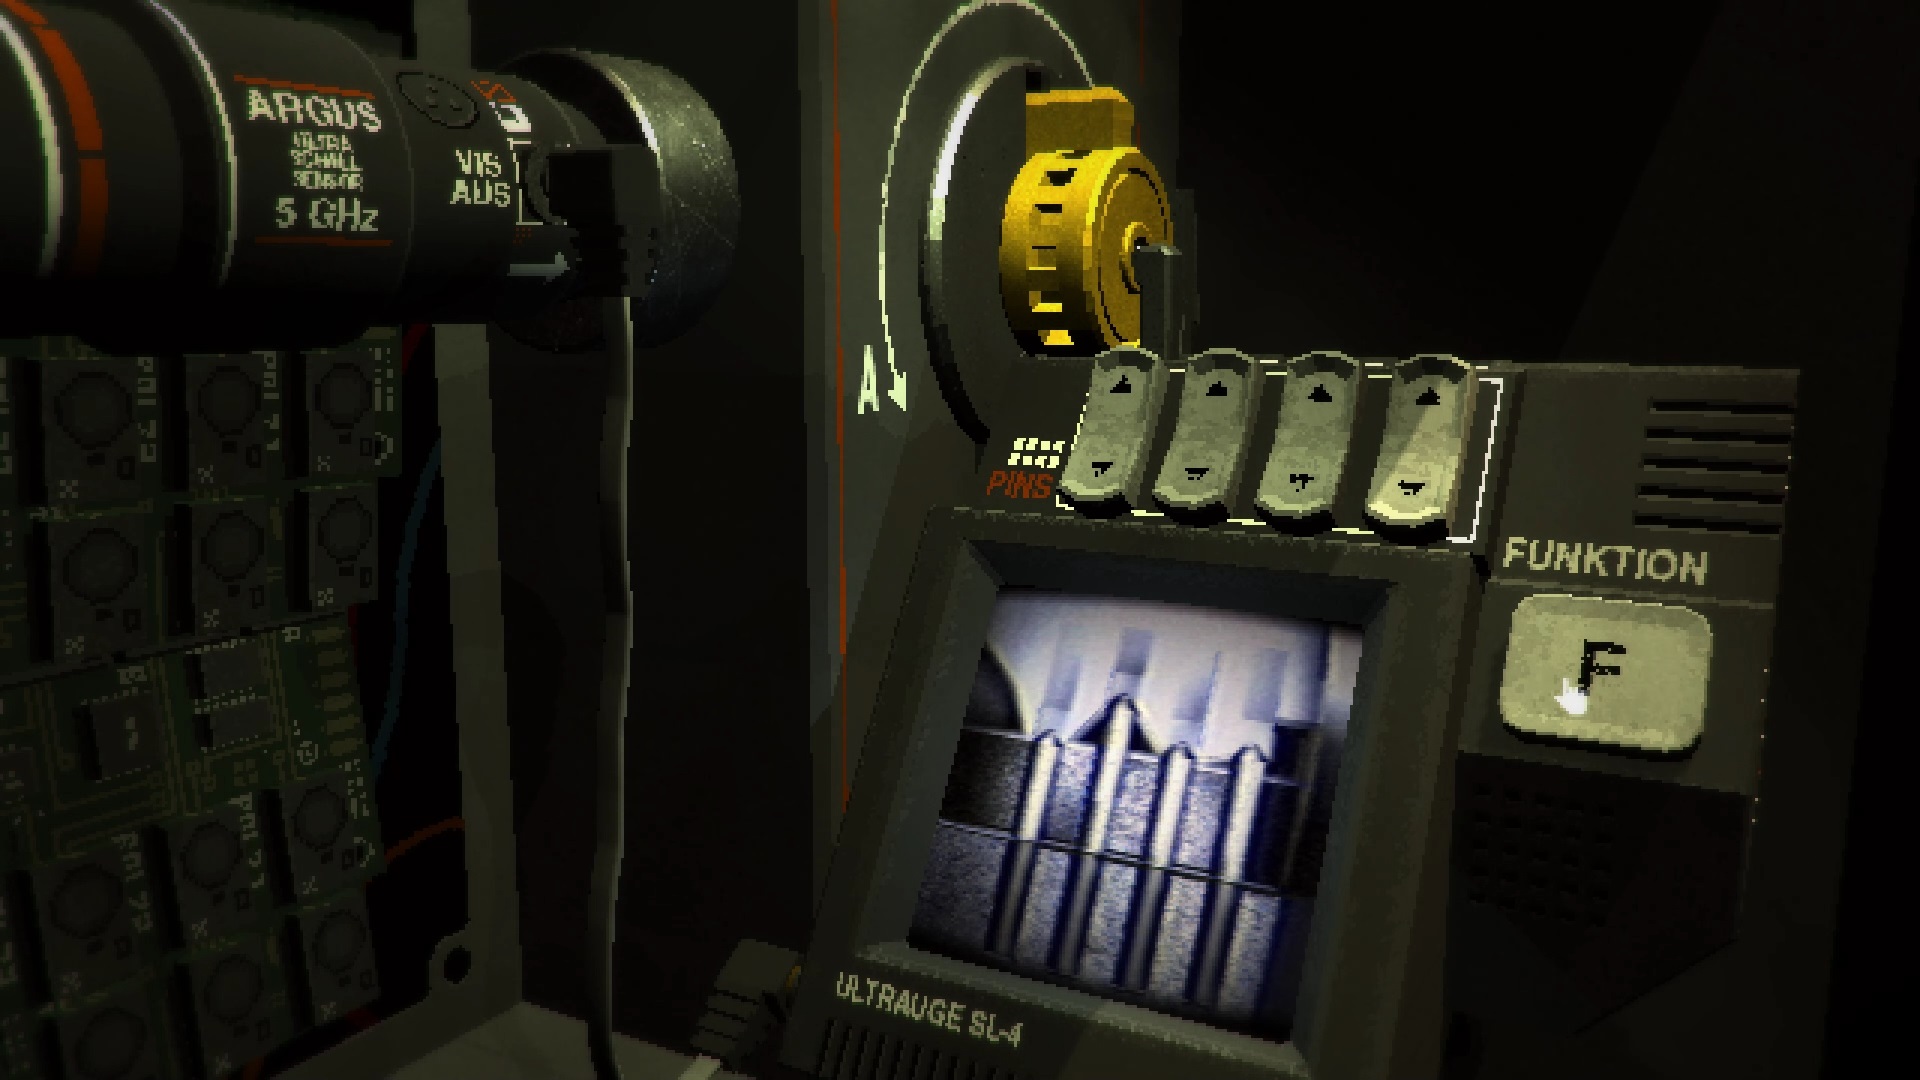
In this puzzle you will have to align the pins of the lock to open it. Move the pins by pressing the associated buttons to find the right combination. Go through the door once unlocked.

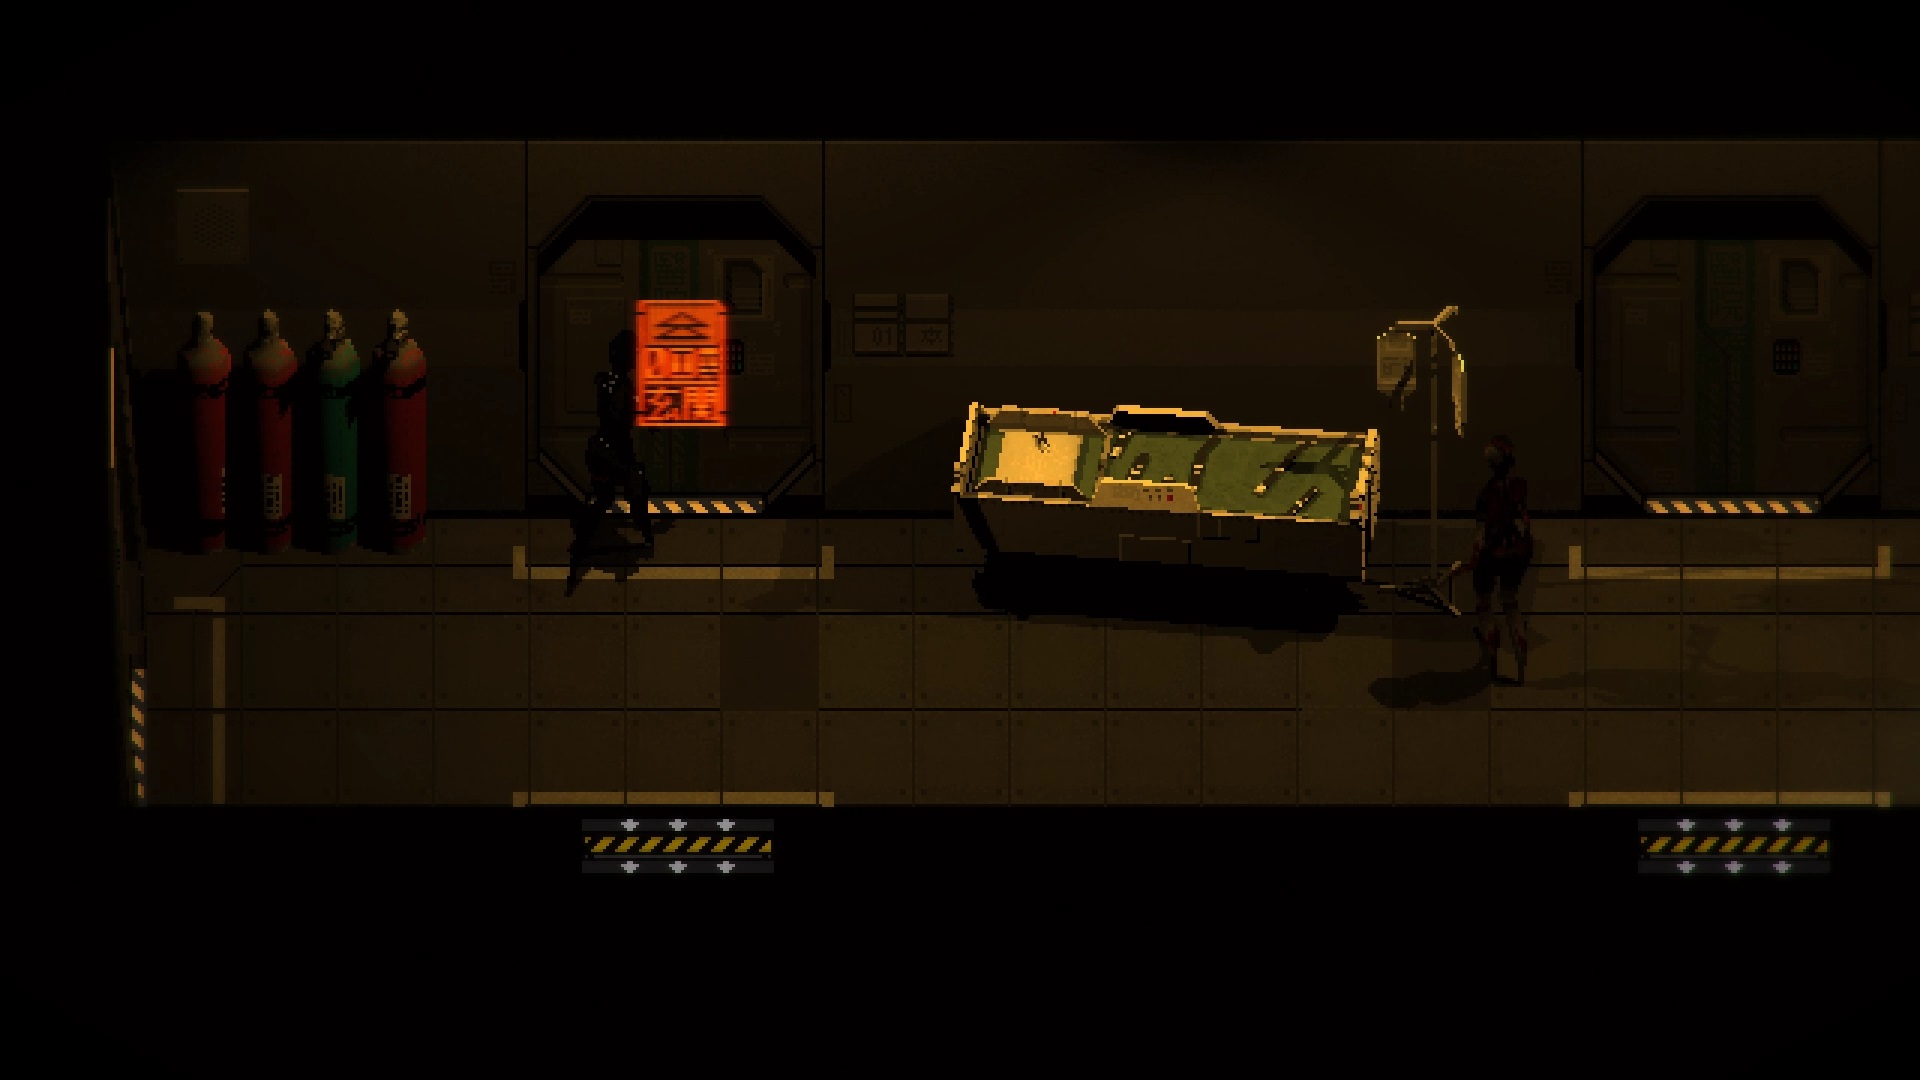
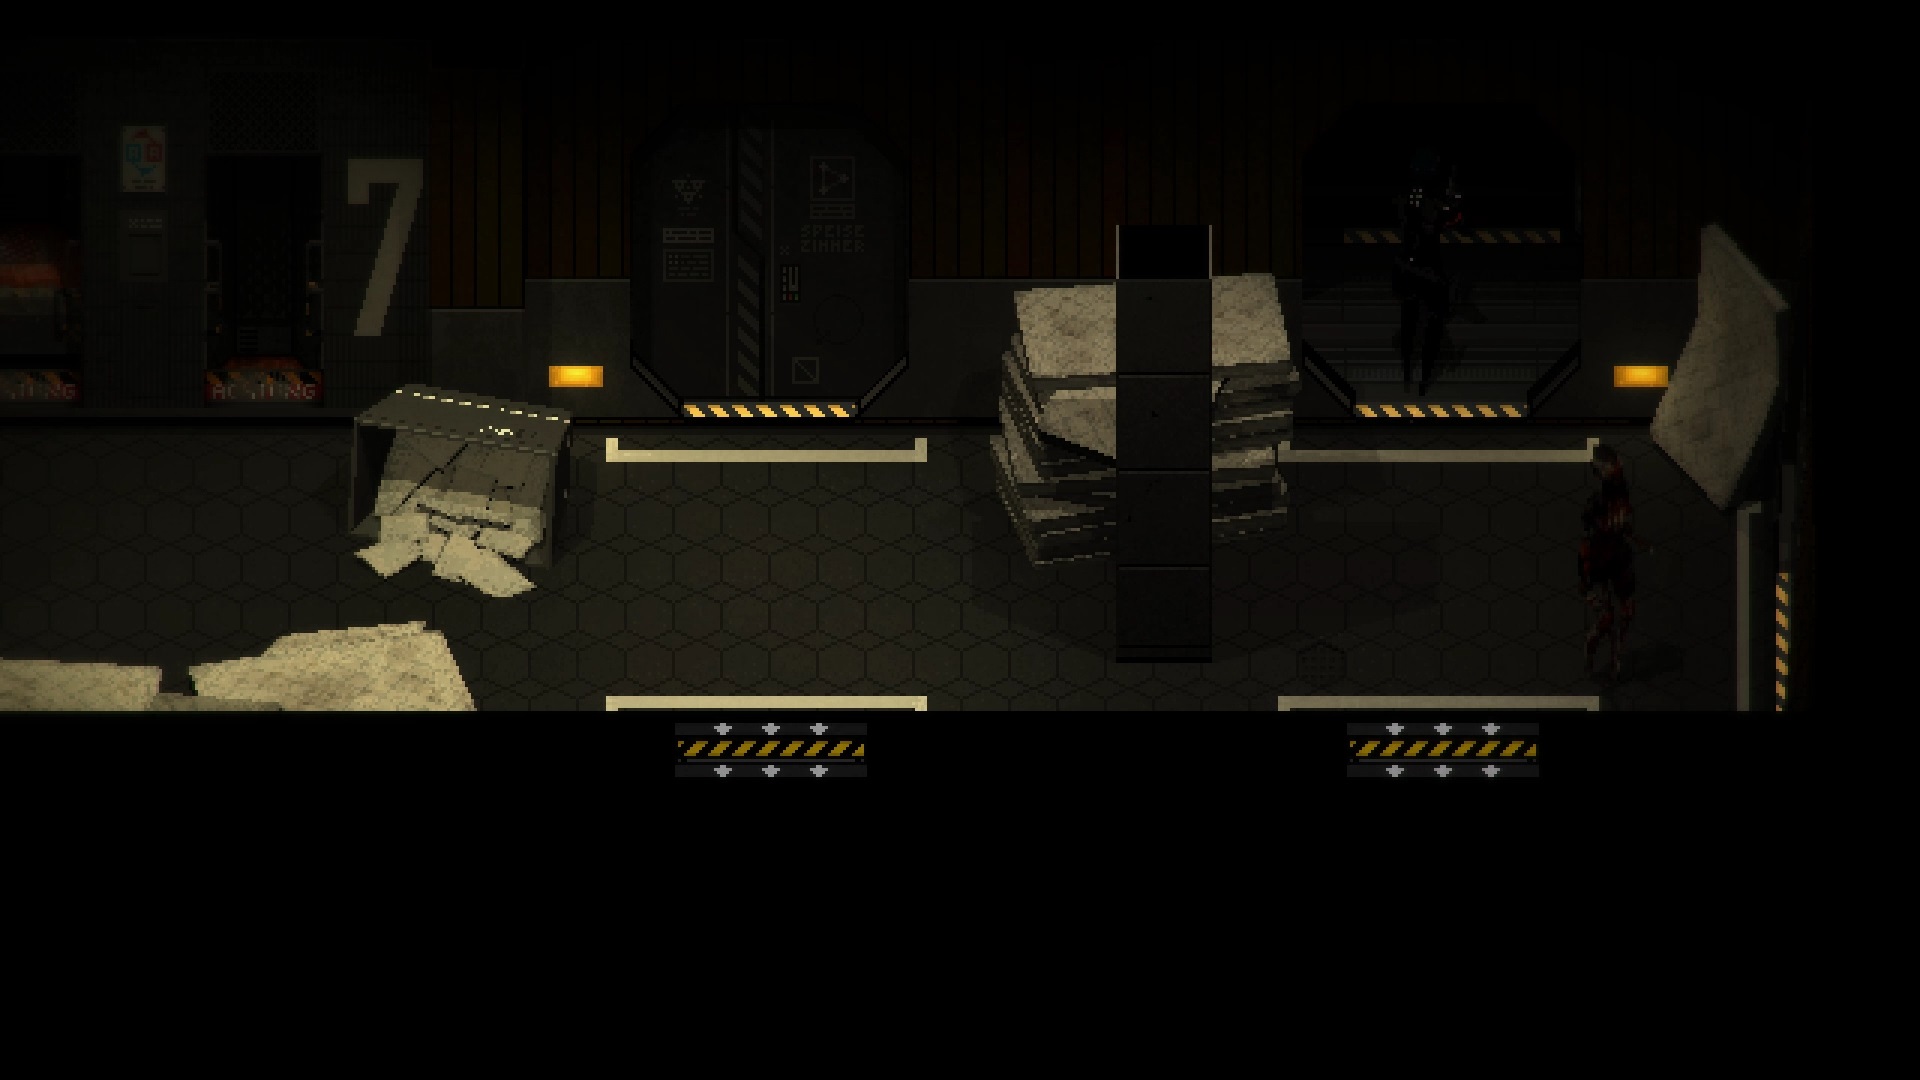
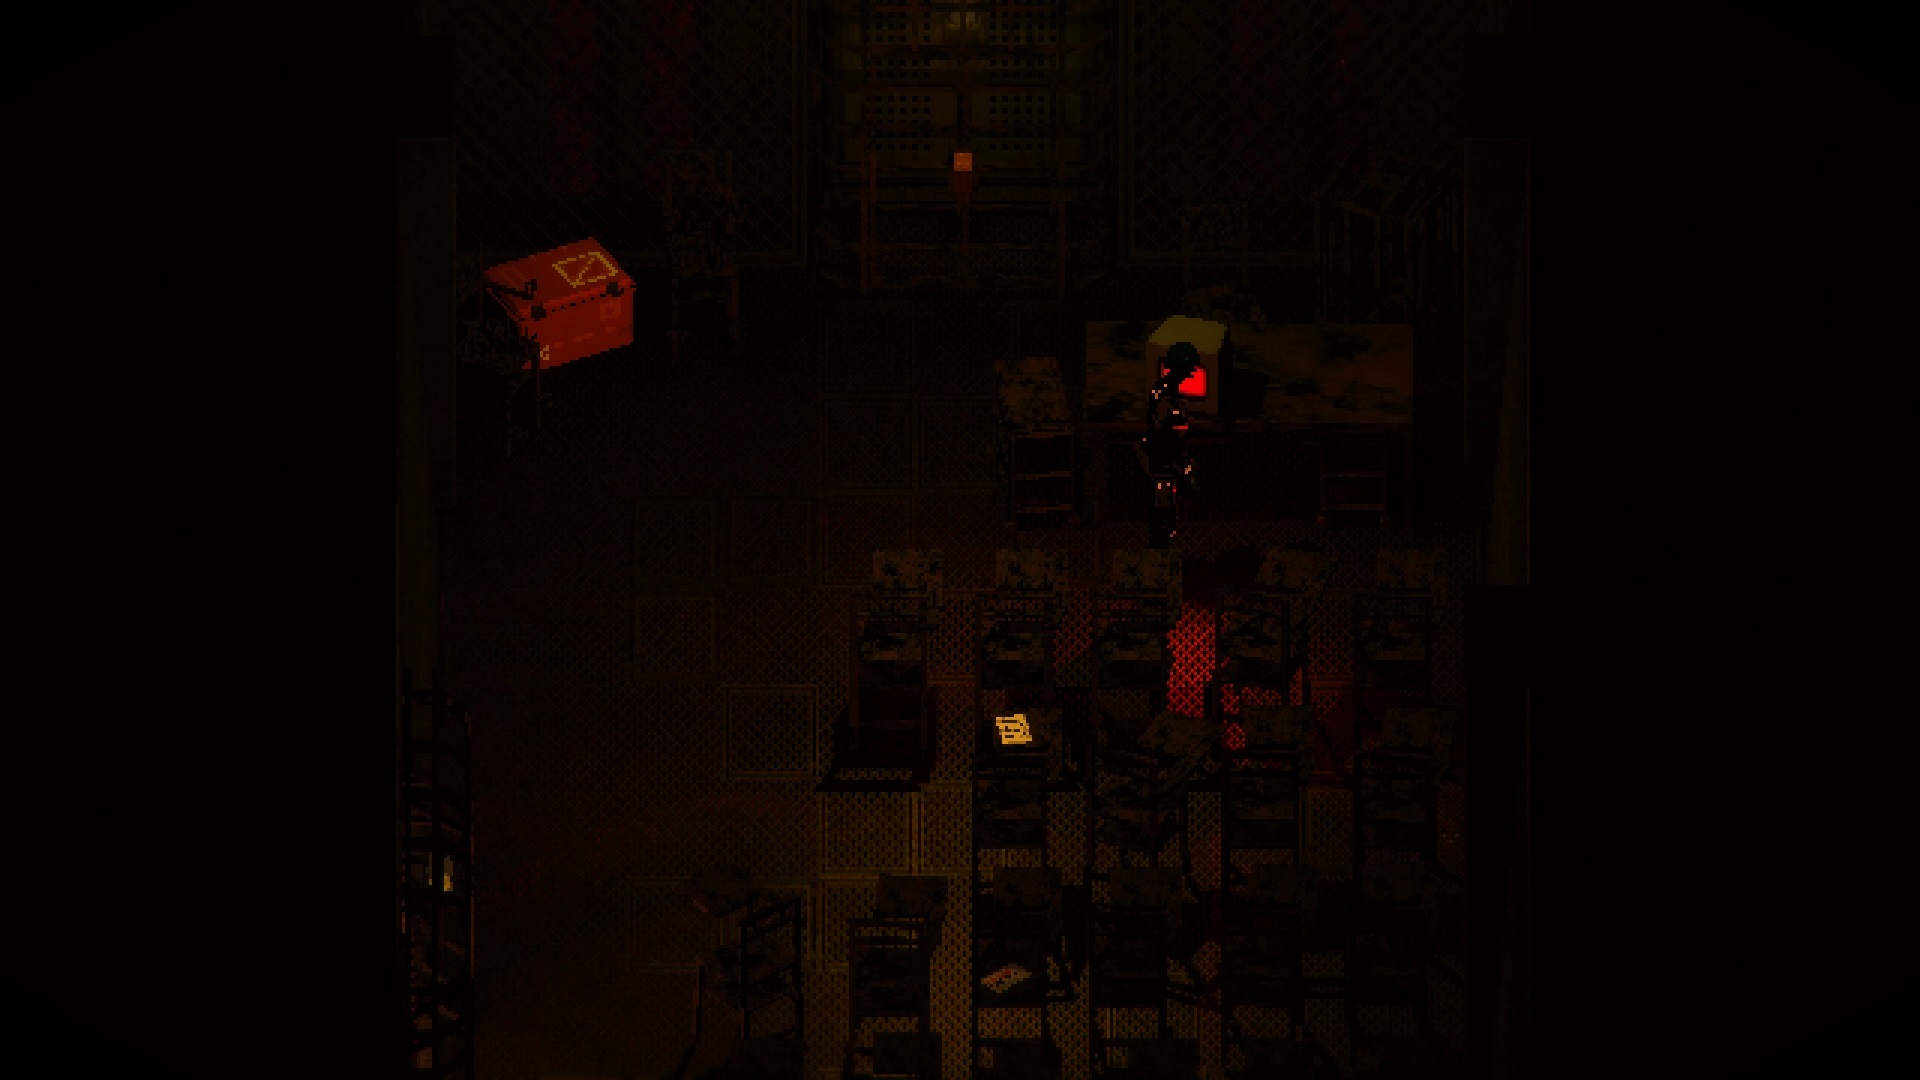
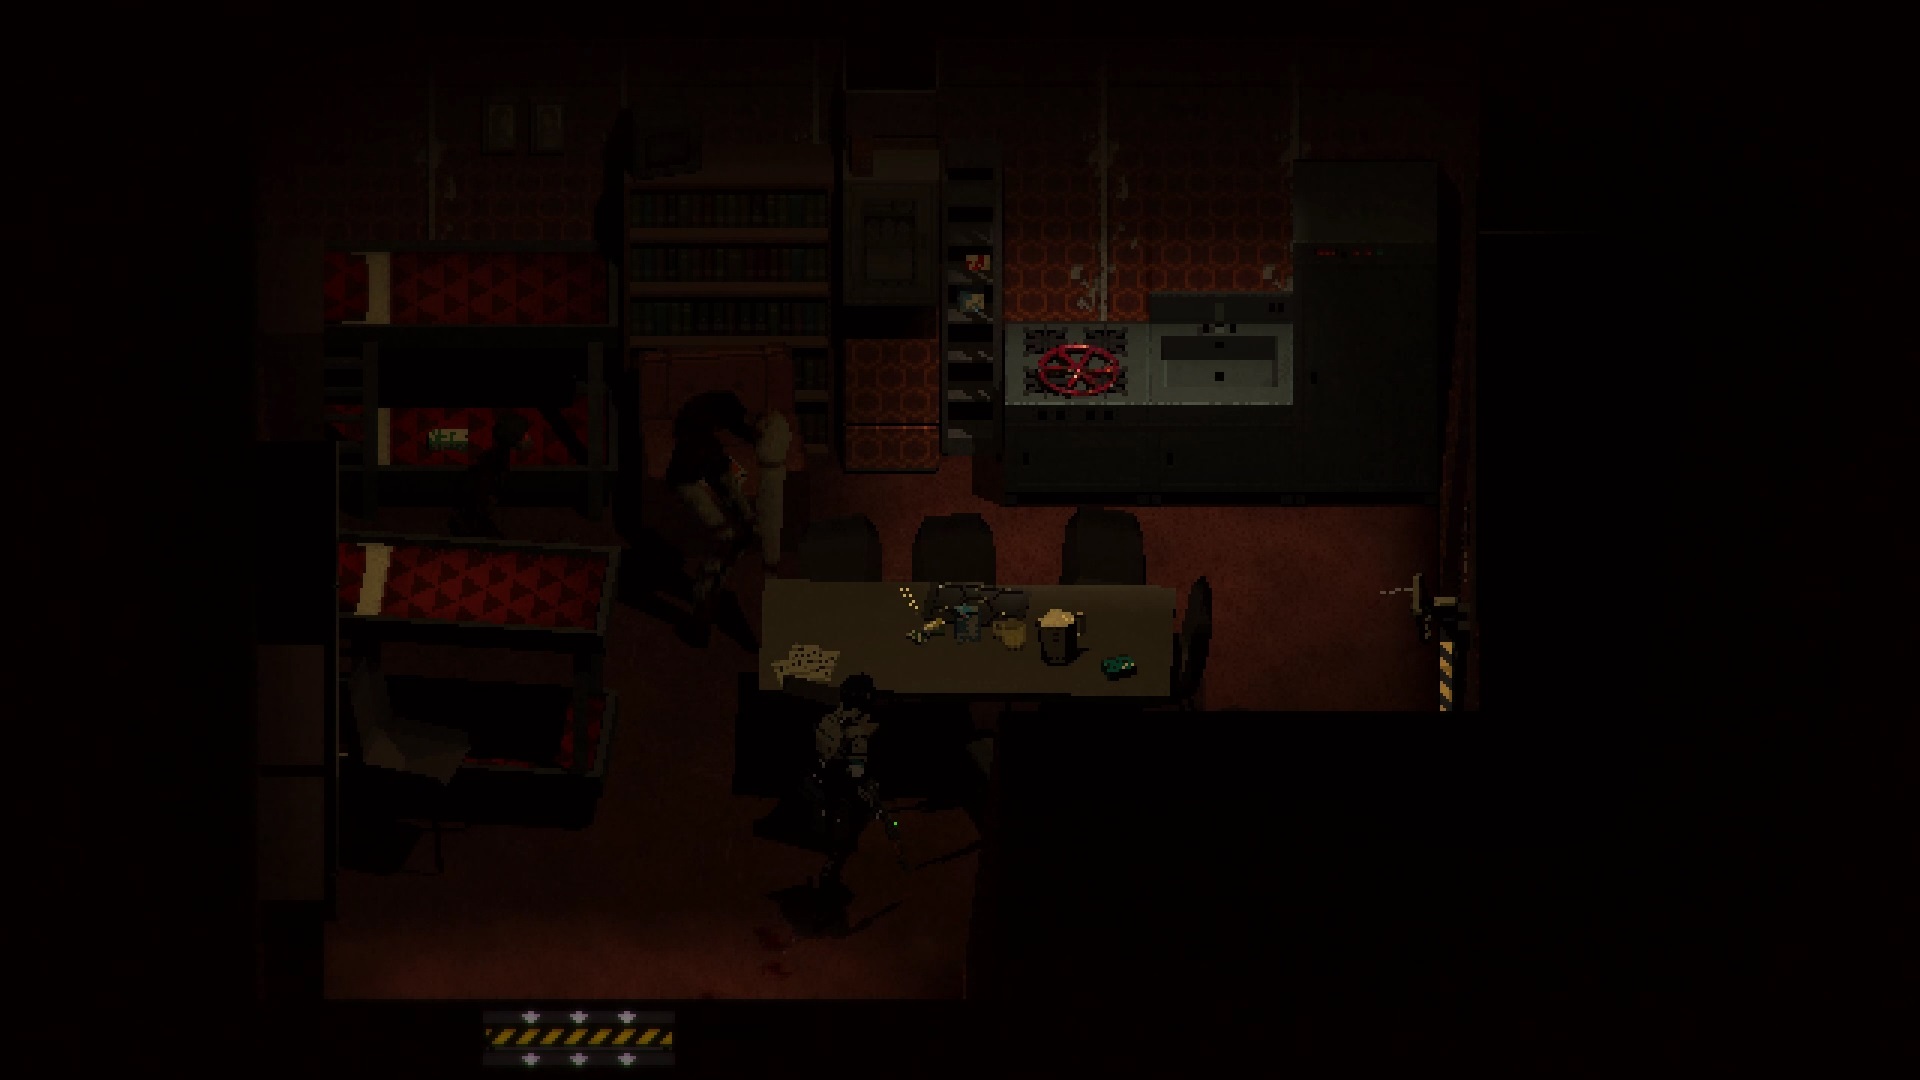
On the other side in the northern corridor, enter the middle door to find a second save room. Exit and go through the door on the left leading to the « Office » to find the key to the east wing. Open the door to the east in the hallway. In this new corridor, go south to reach the Kitchen. Go deeper into the « Paintry » room to retrieve the Mess key placed on a table. Return to the kitchen and open the door to the east with the key. Go through the mess room to the south to reach the southeast corridor. Explore the « Worker Bath » in the lower left to find a piece of key at the bottom of a toilet.
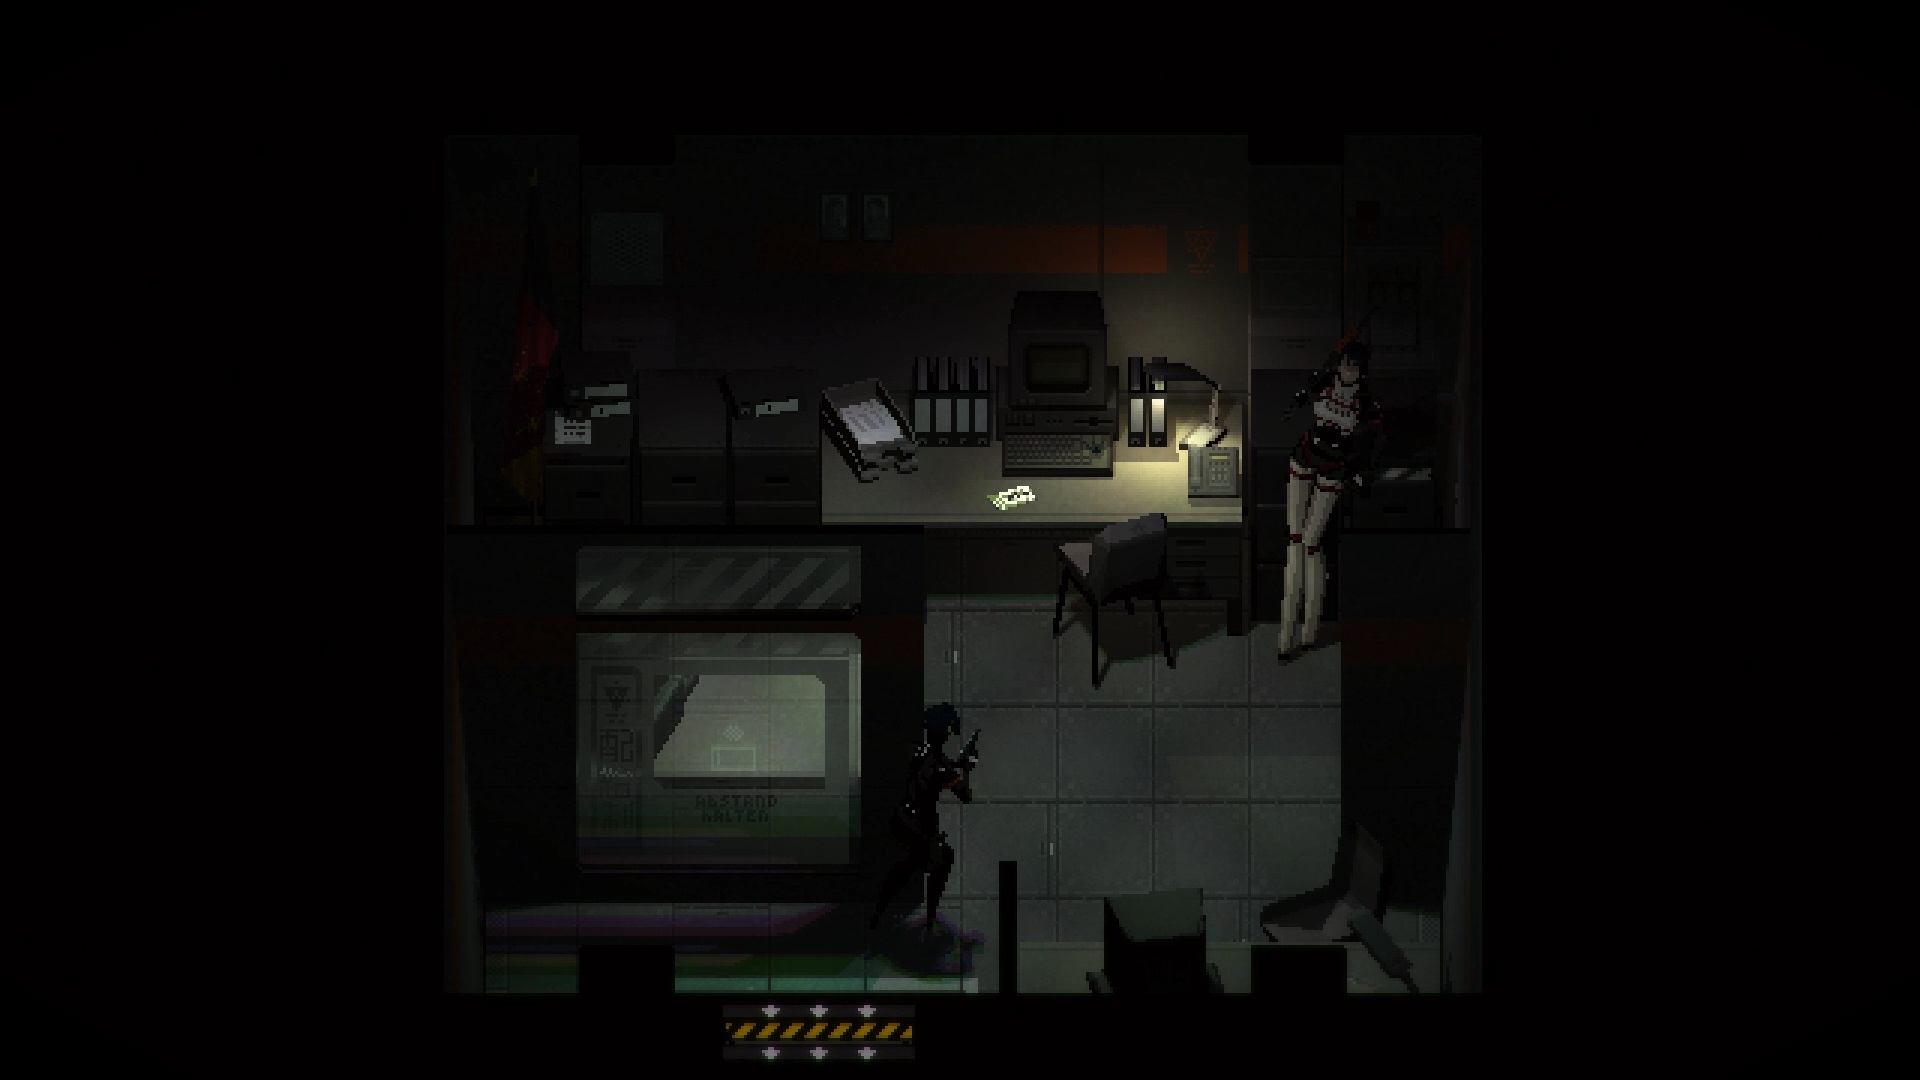
Get out and explore the room east of the southeast corridor to find a new agent. Get his west wing map from the desk. Return to the Elevator Lobby to open the « mineshaft access » door to the west. Continue to the top left door to find the Lockers and then the Showers. Collect a second piece of broken key on the ground. Go into the room on the right « Registry » and go up to reach the North-West Corridor. Explore the « Interrogation » room on the left to find a note on frequencies.
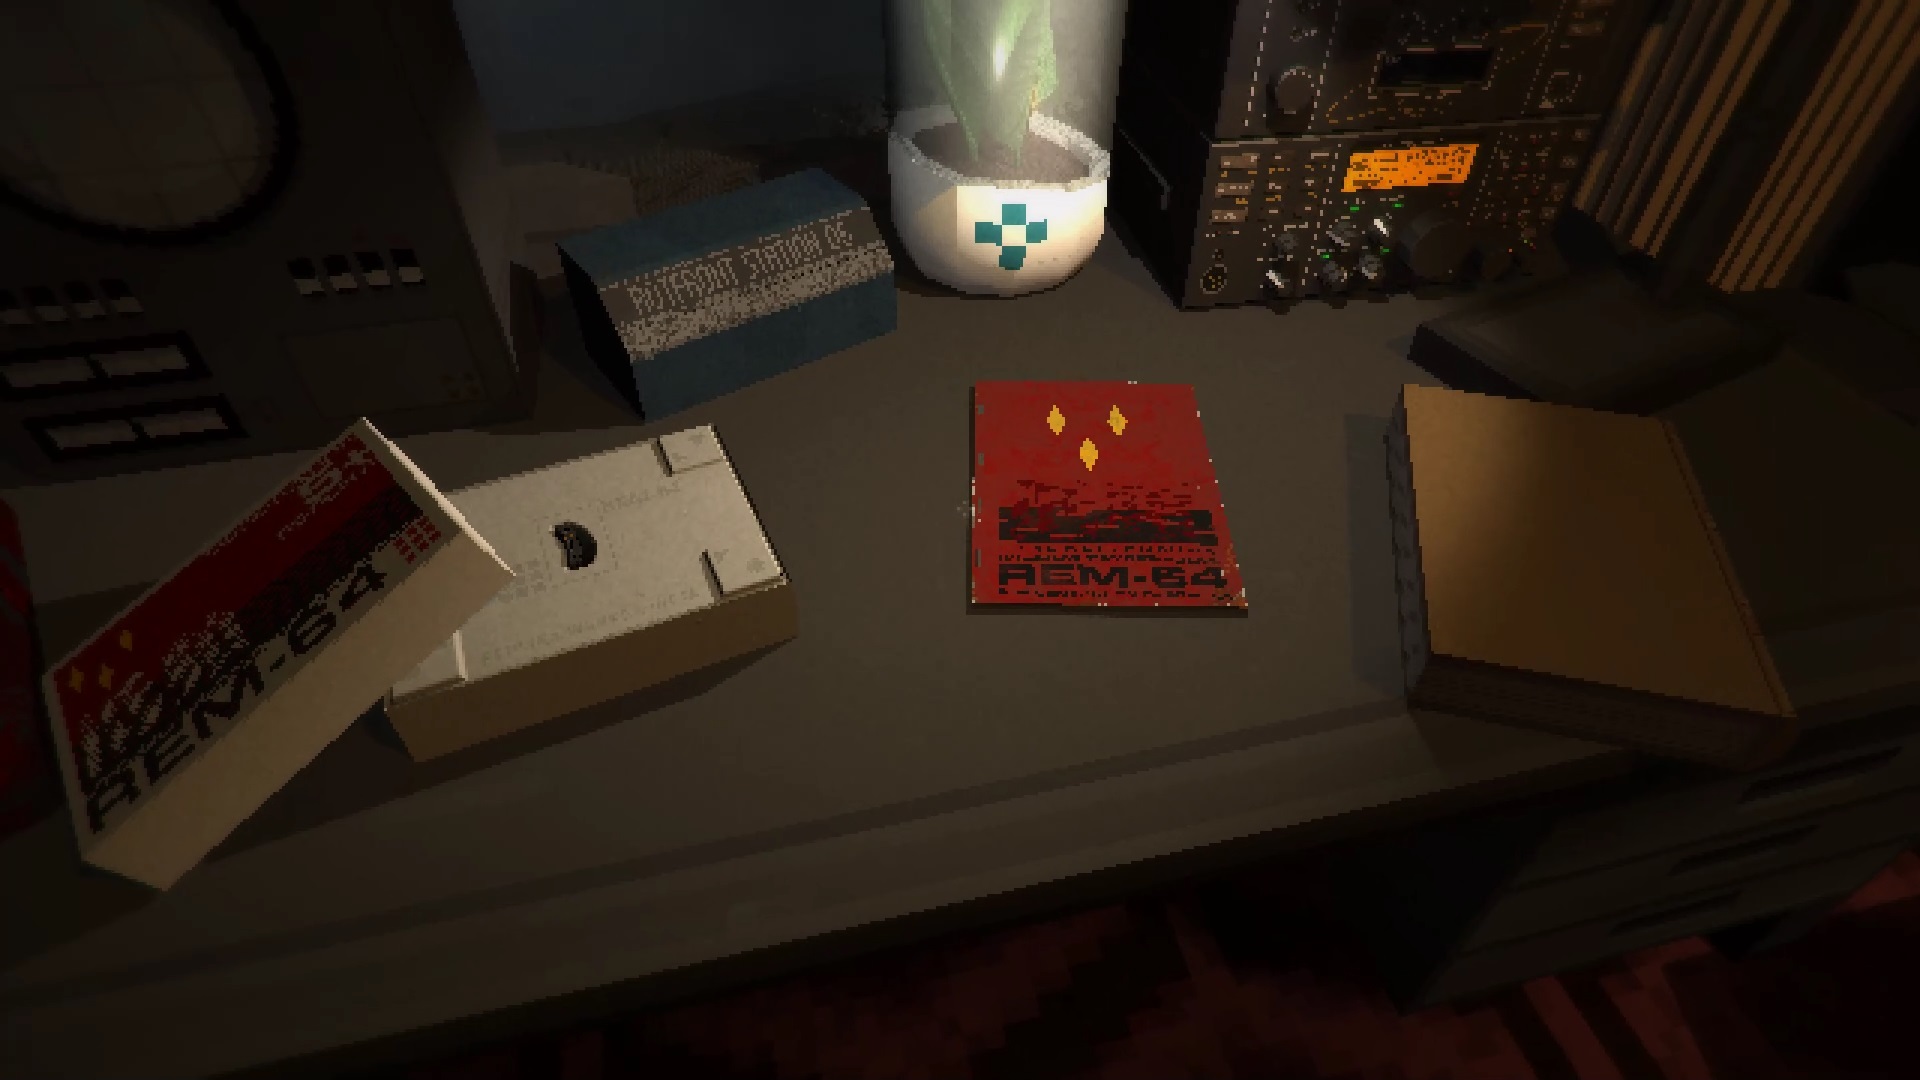
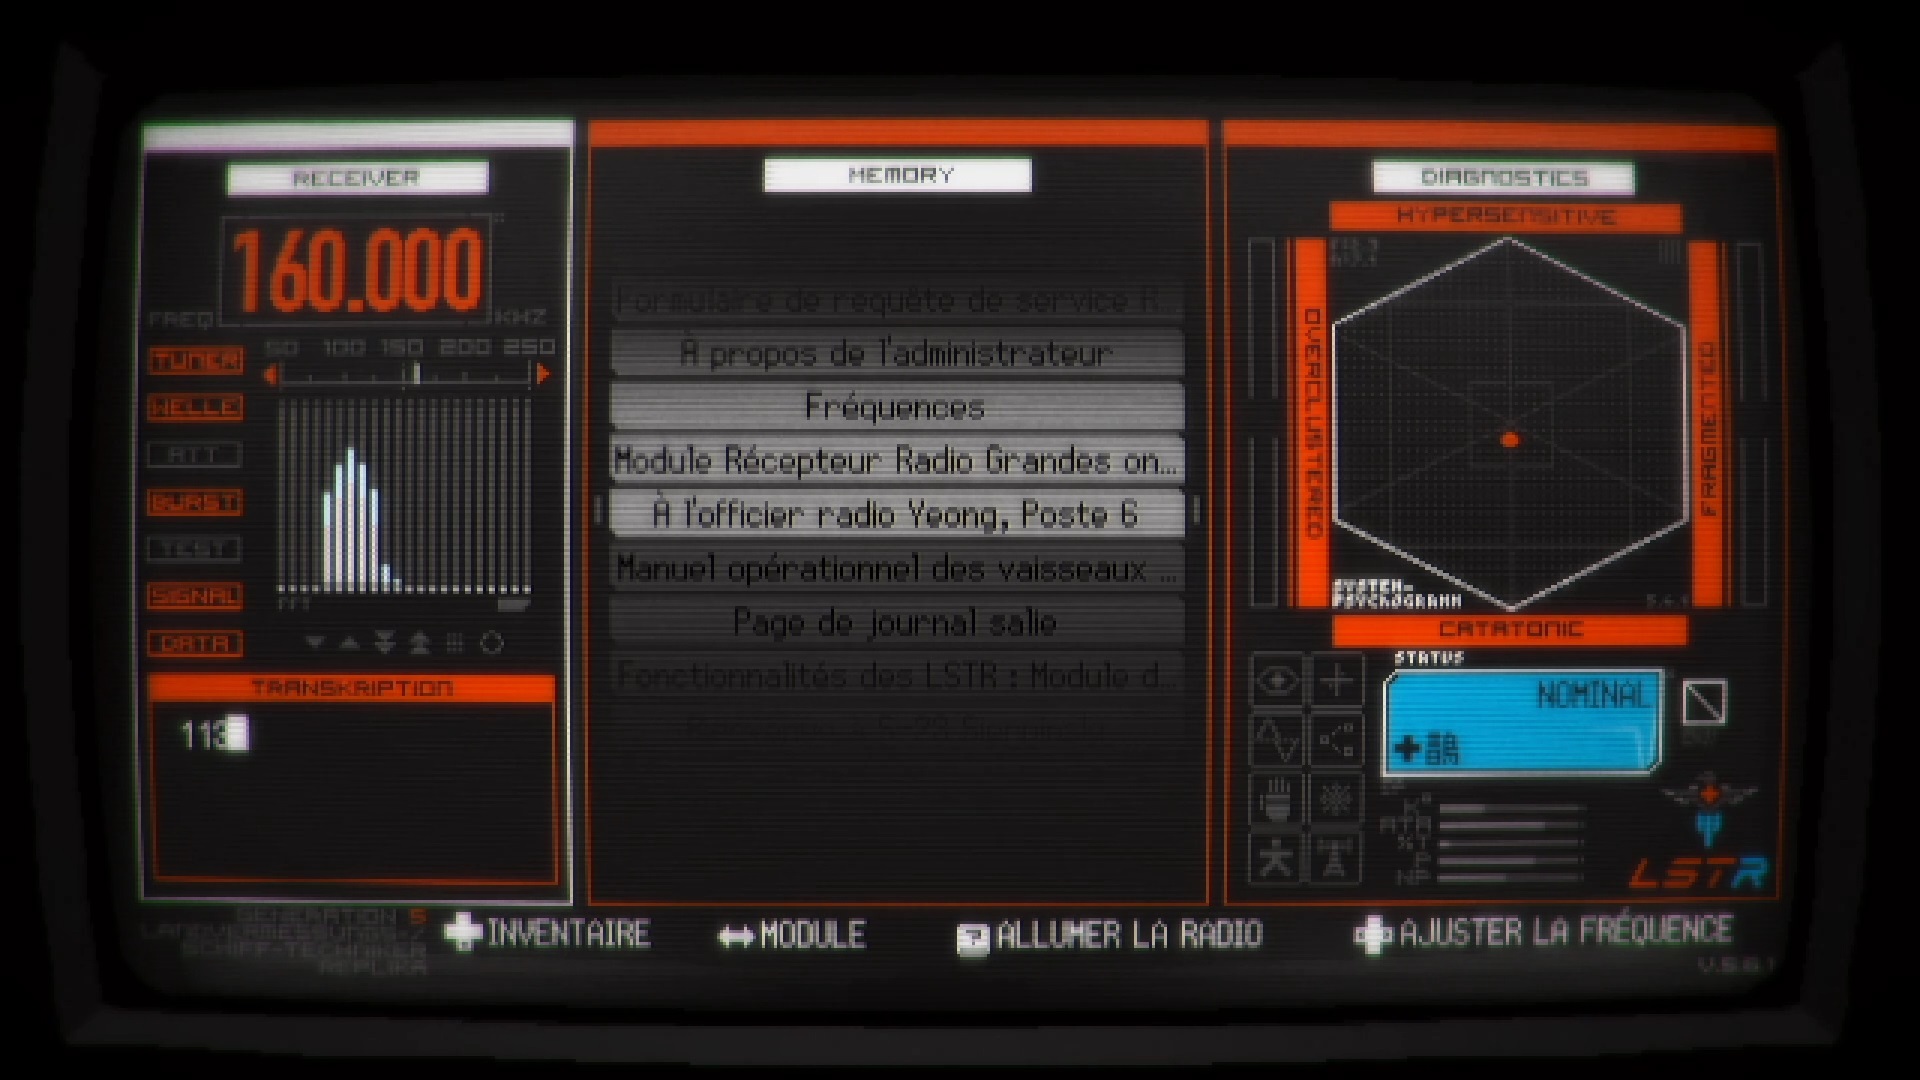
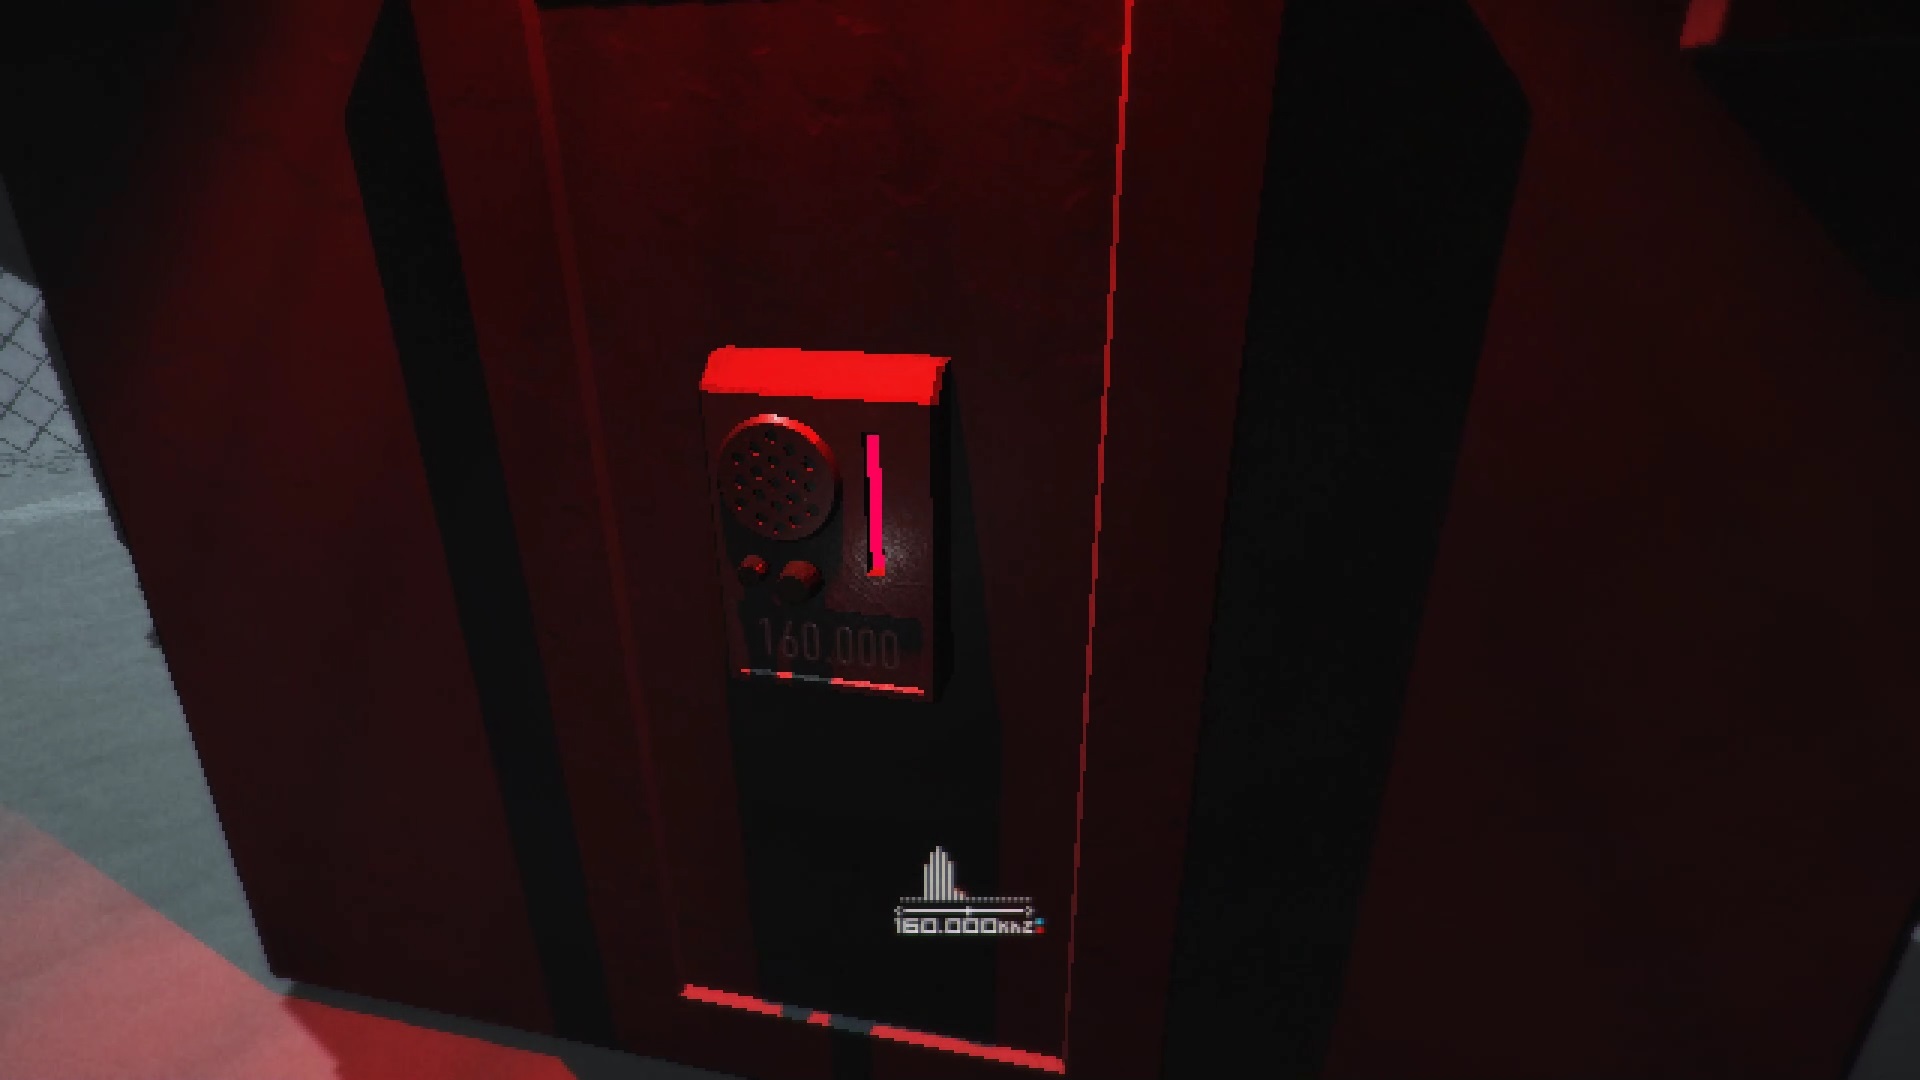
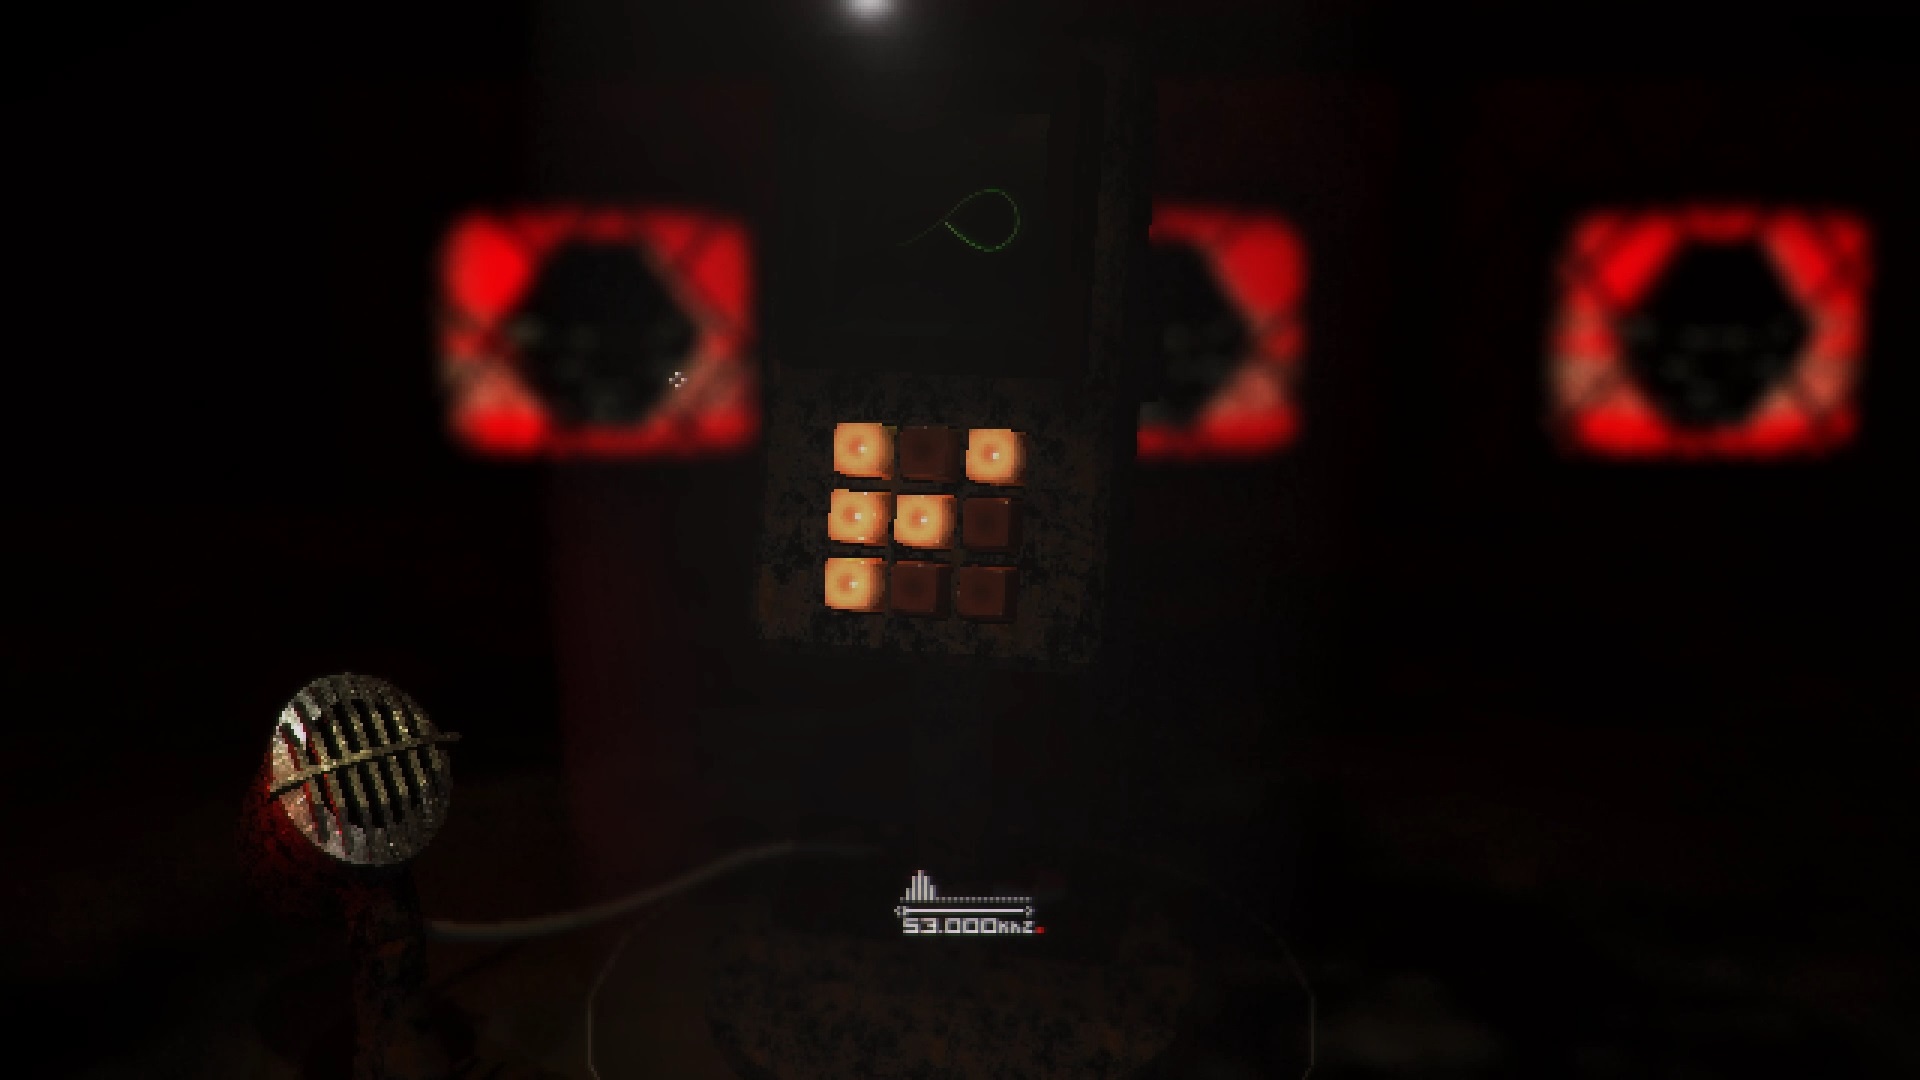
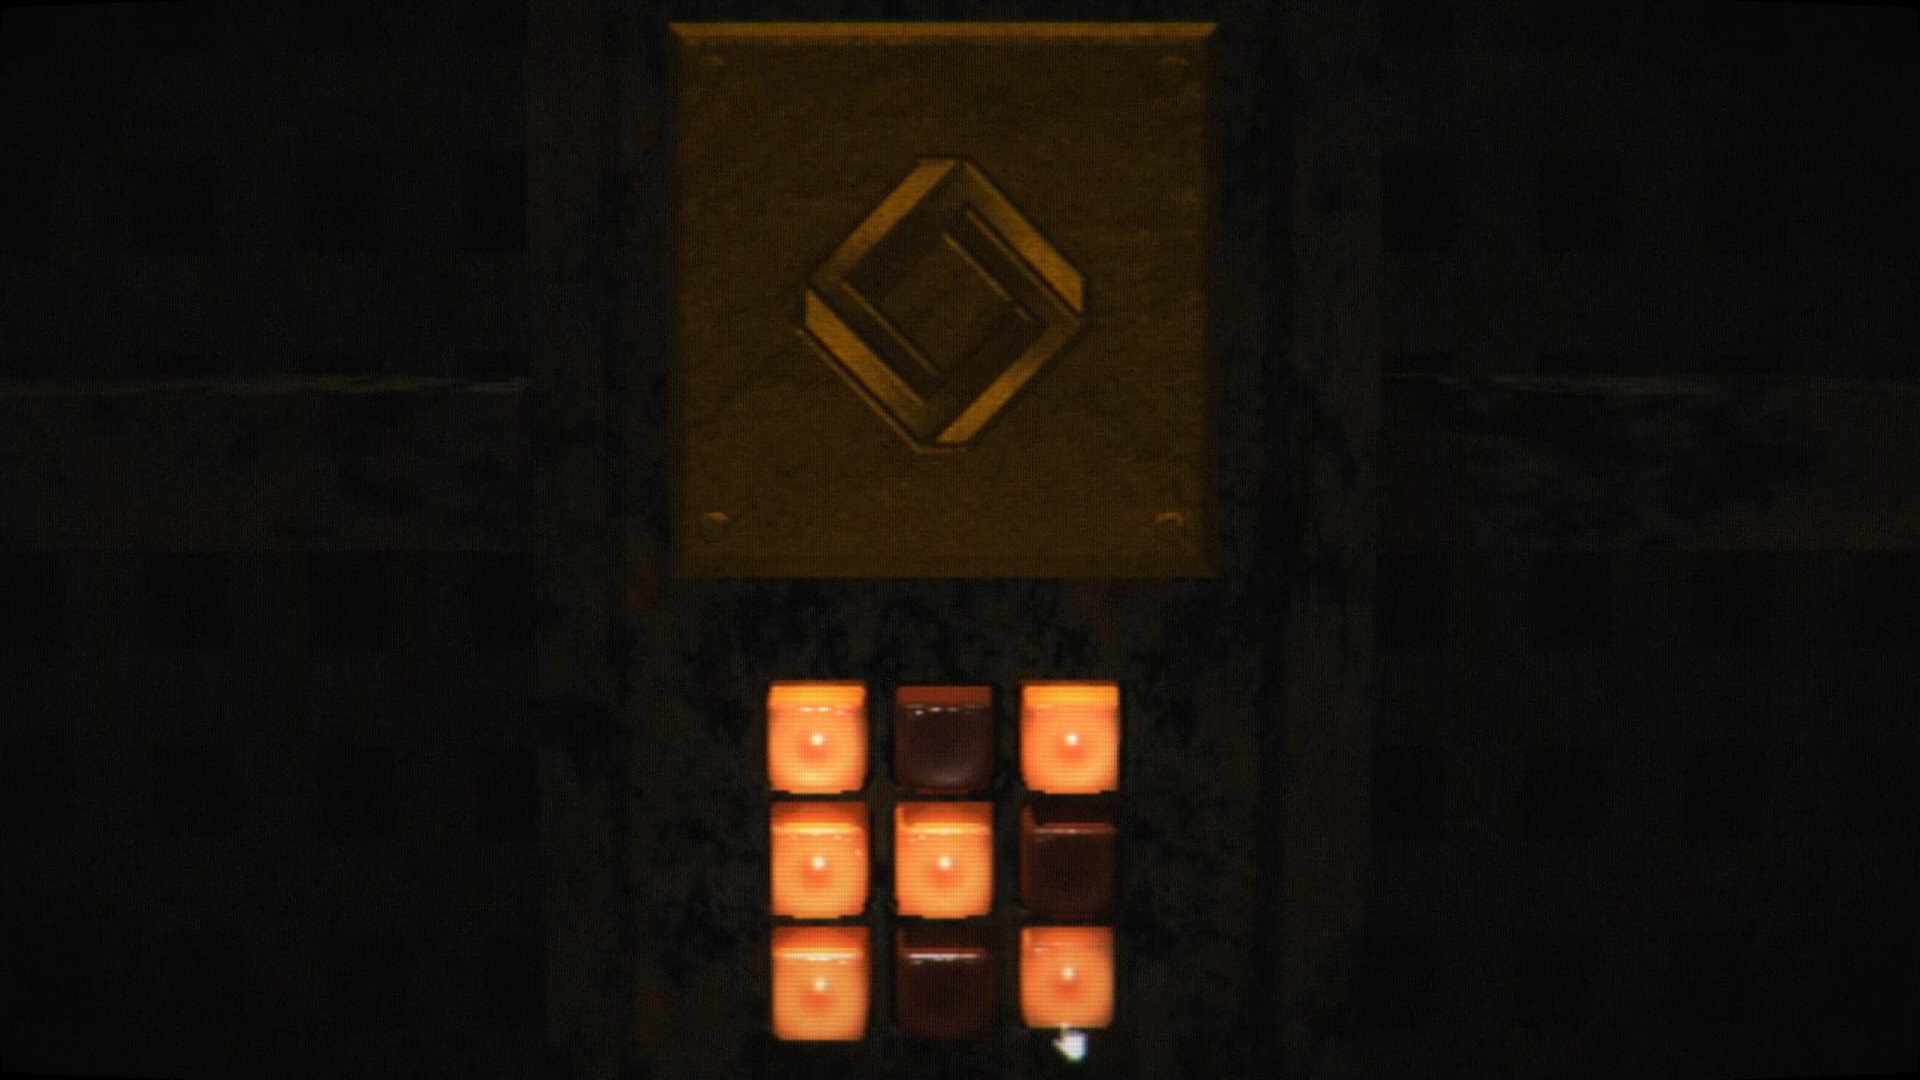
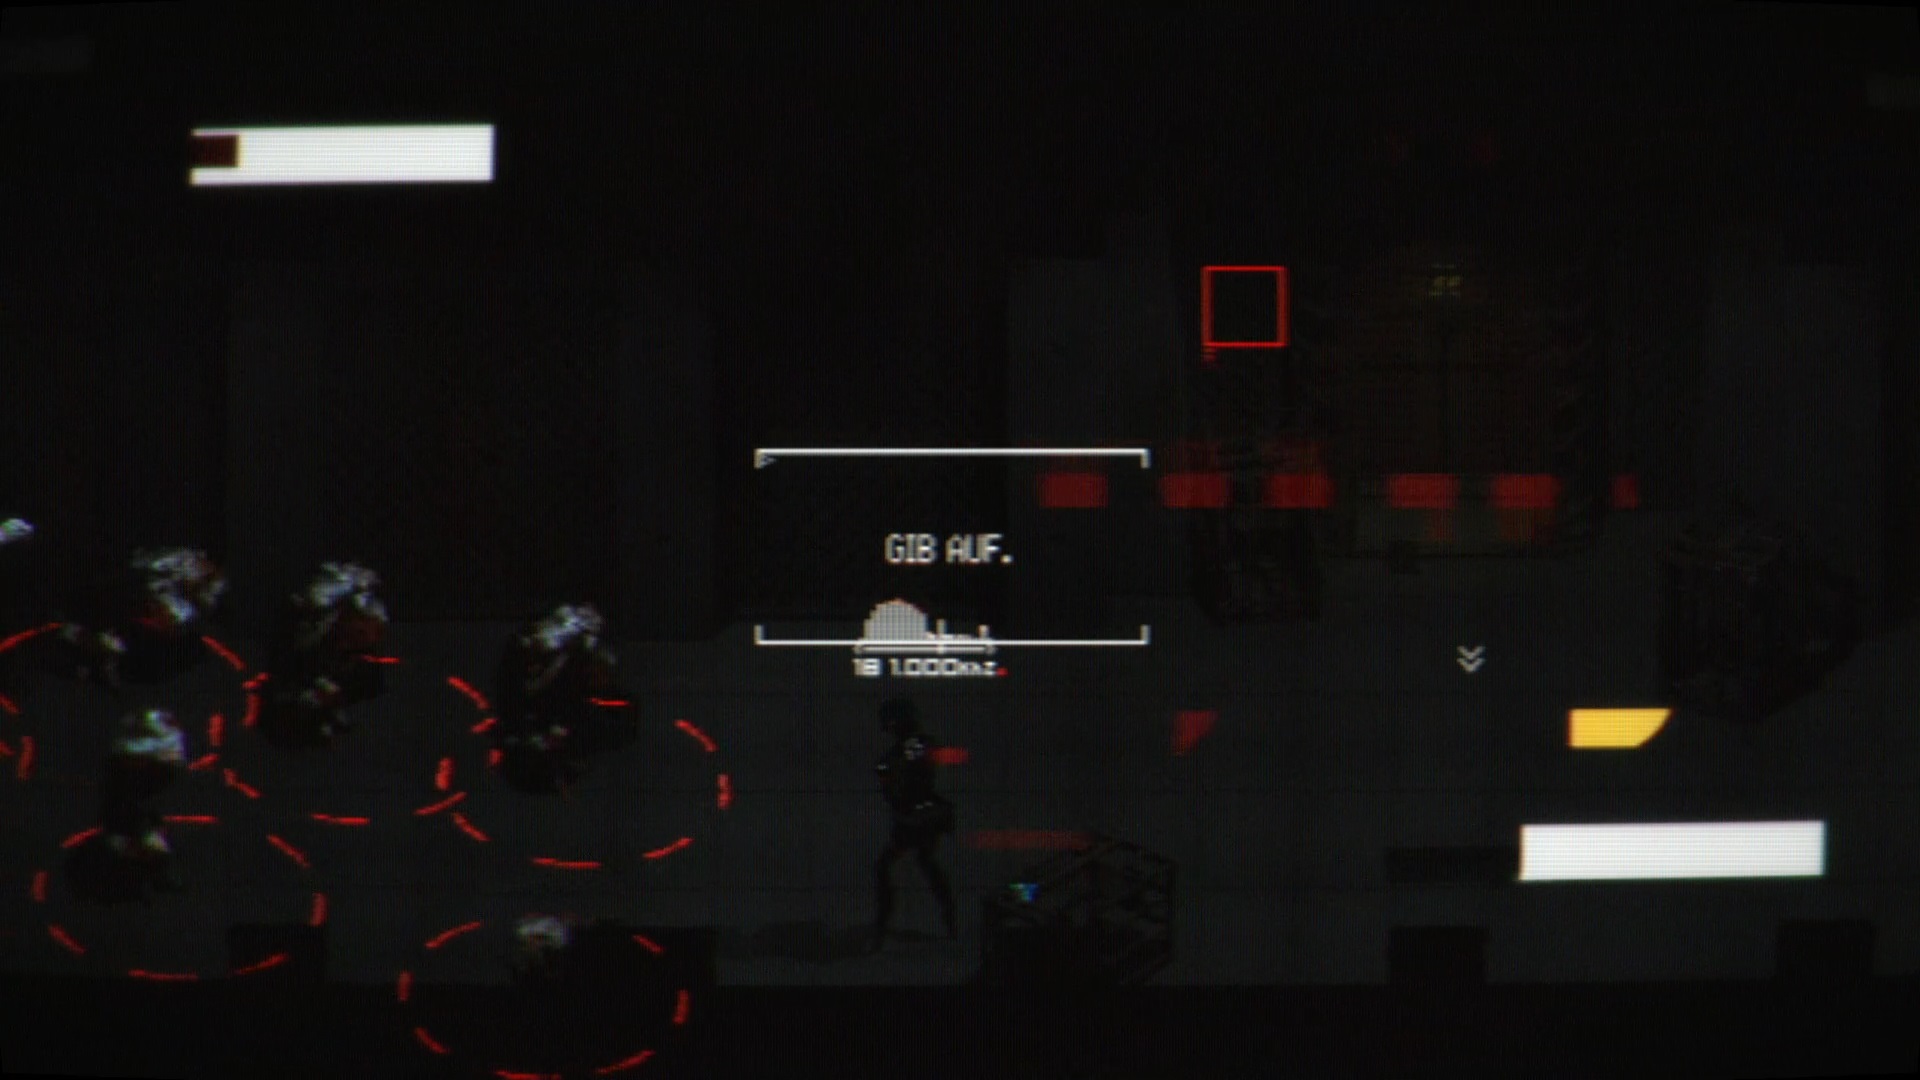
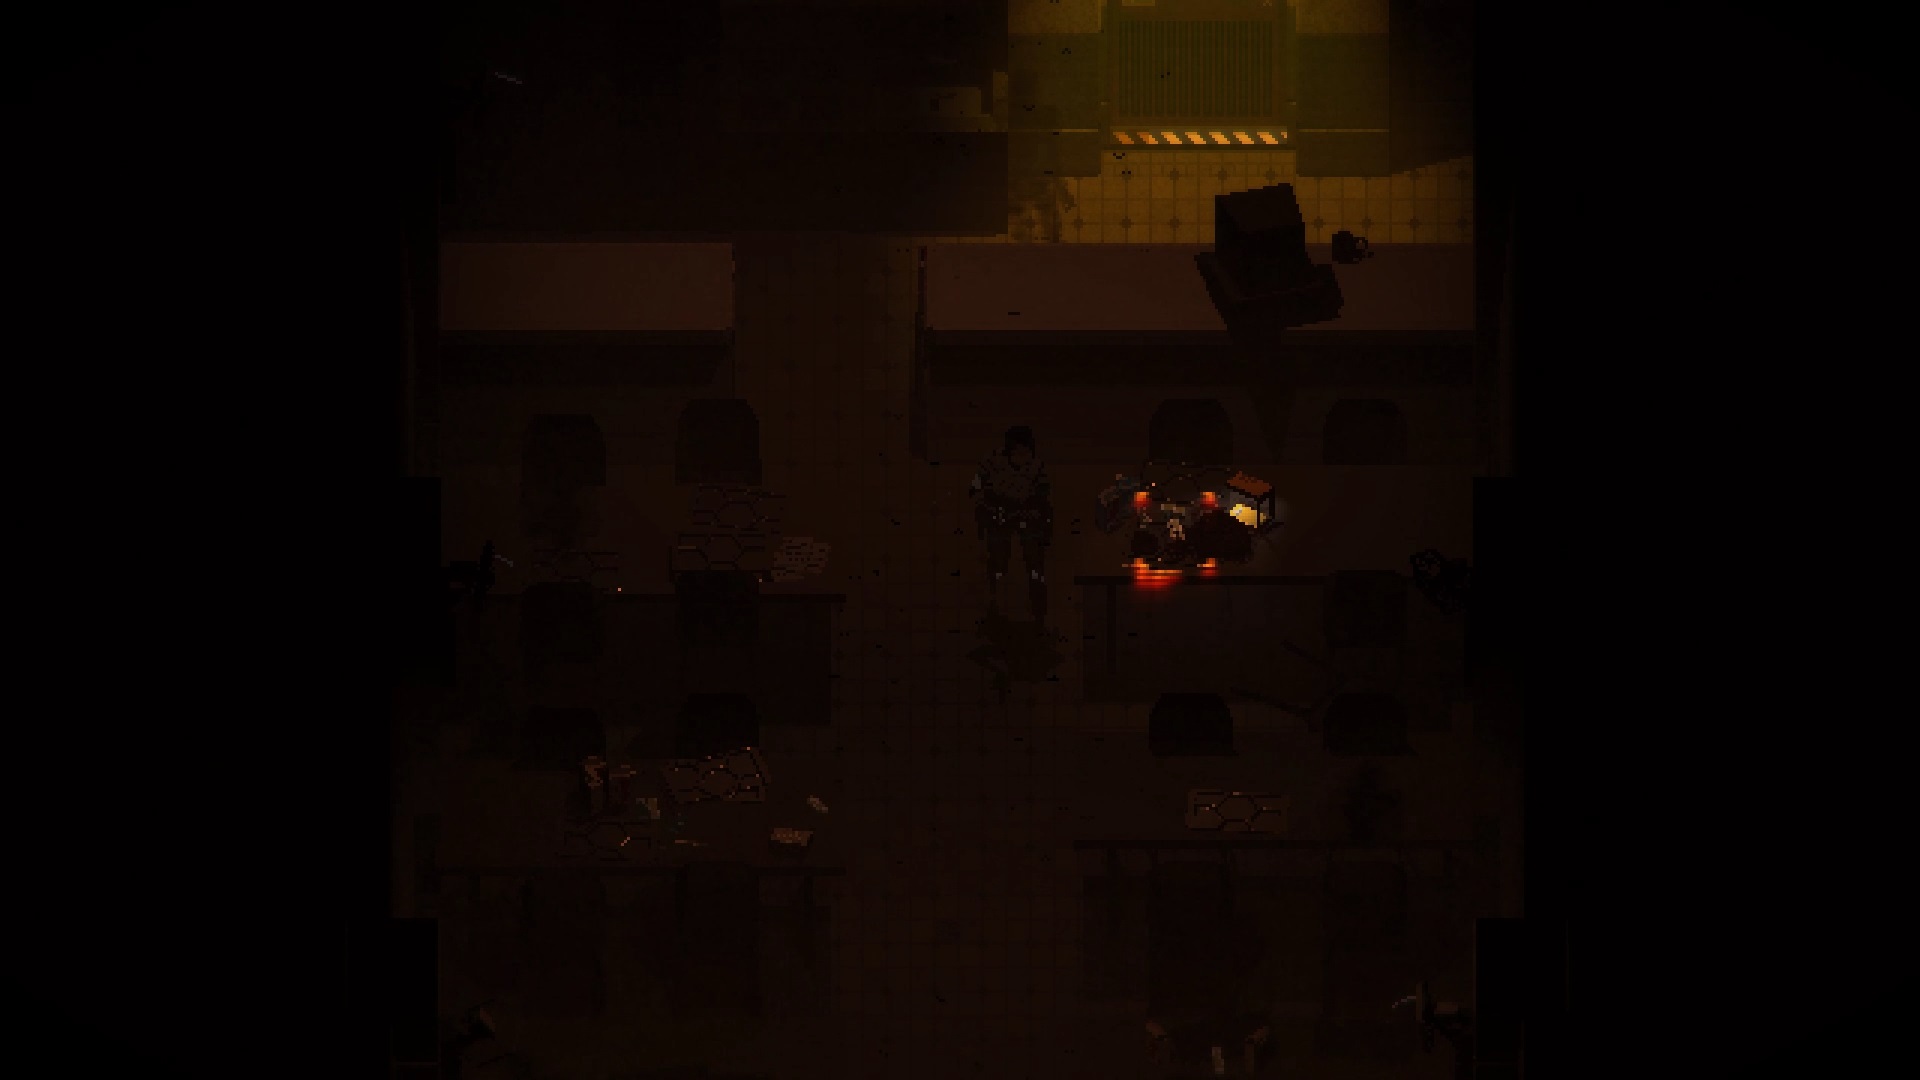
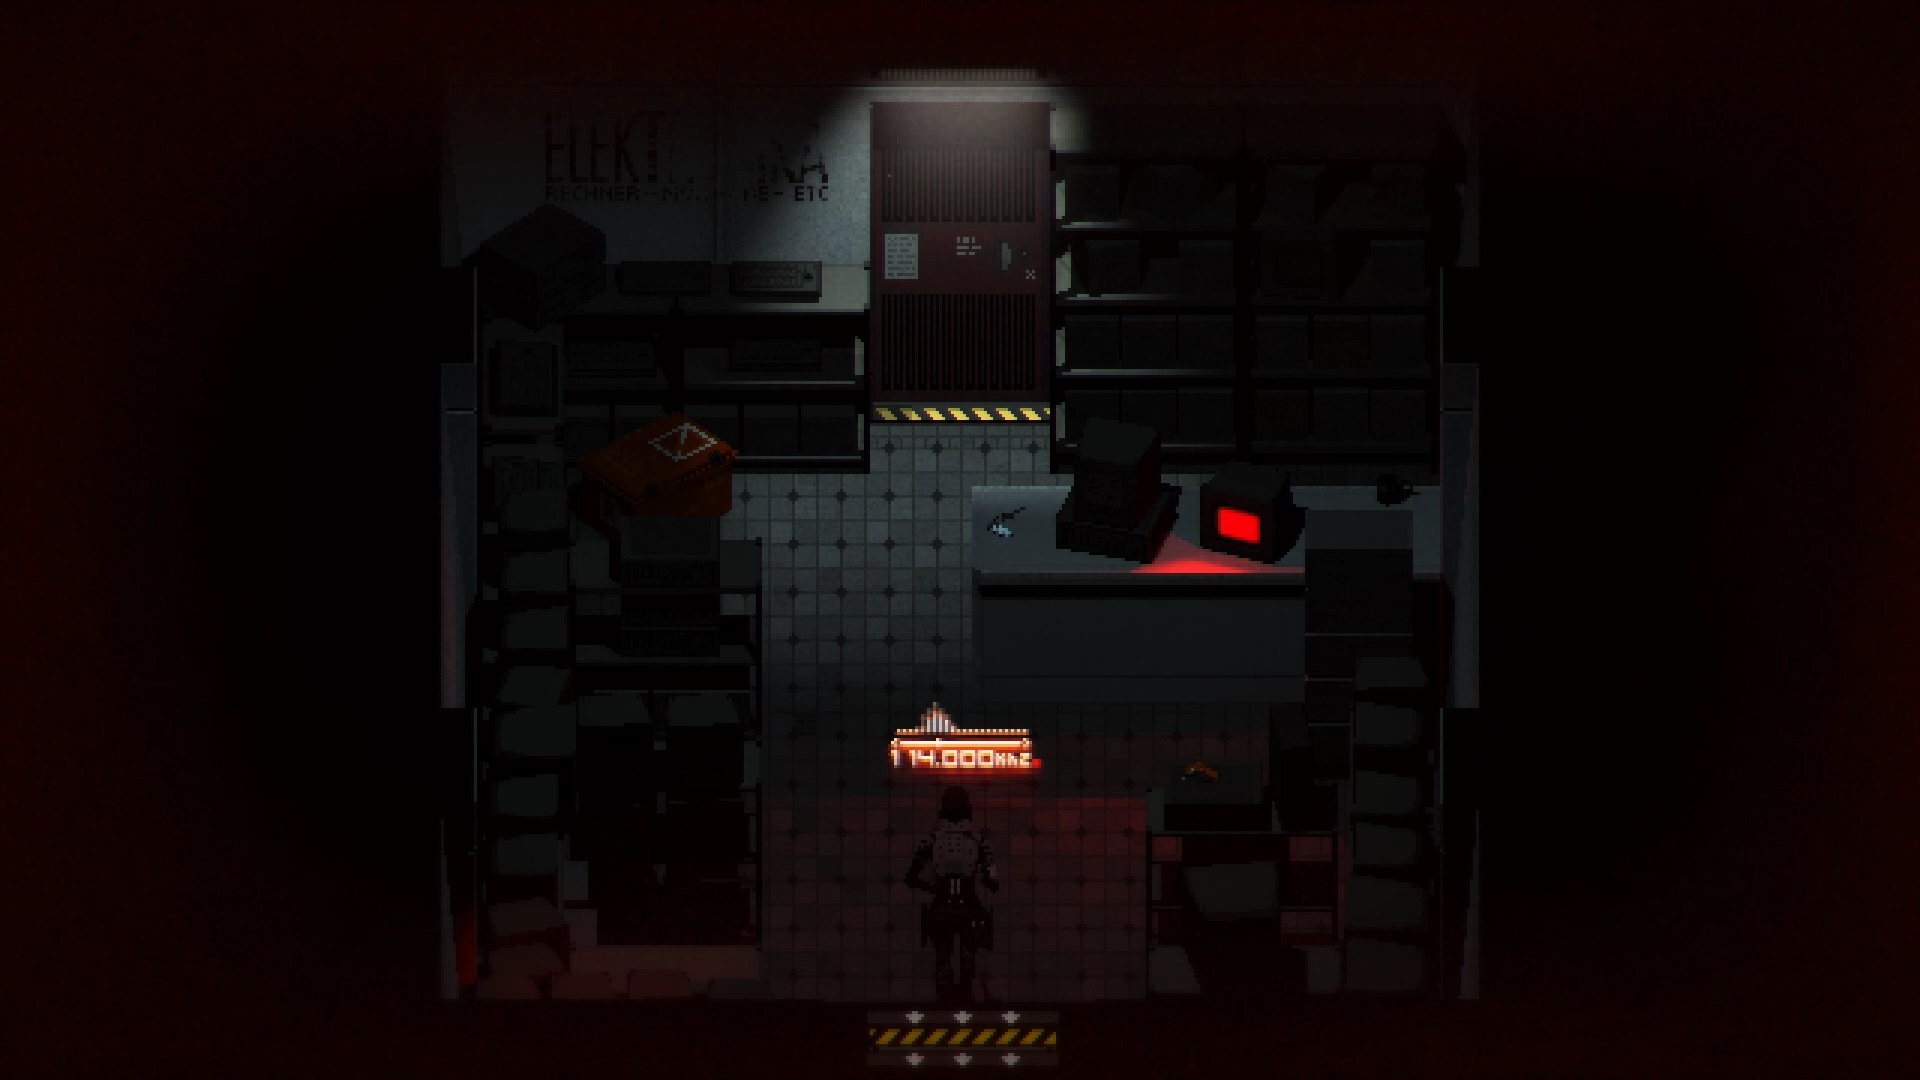
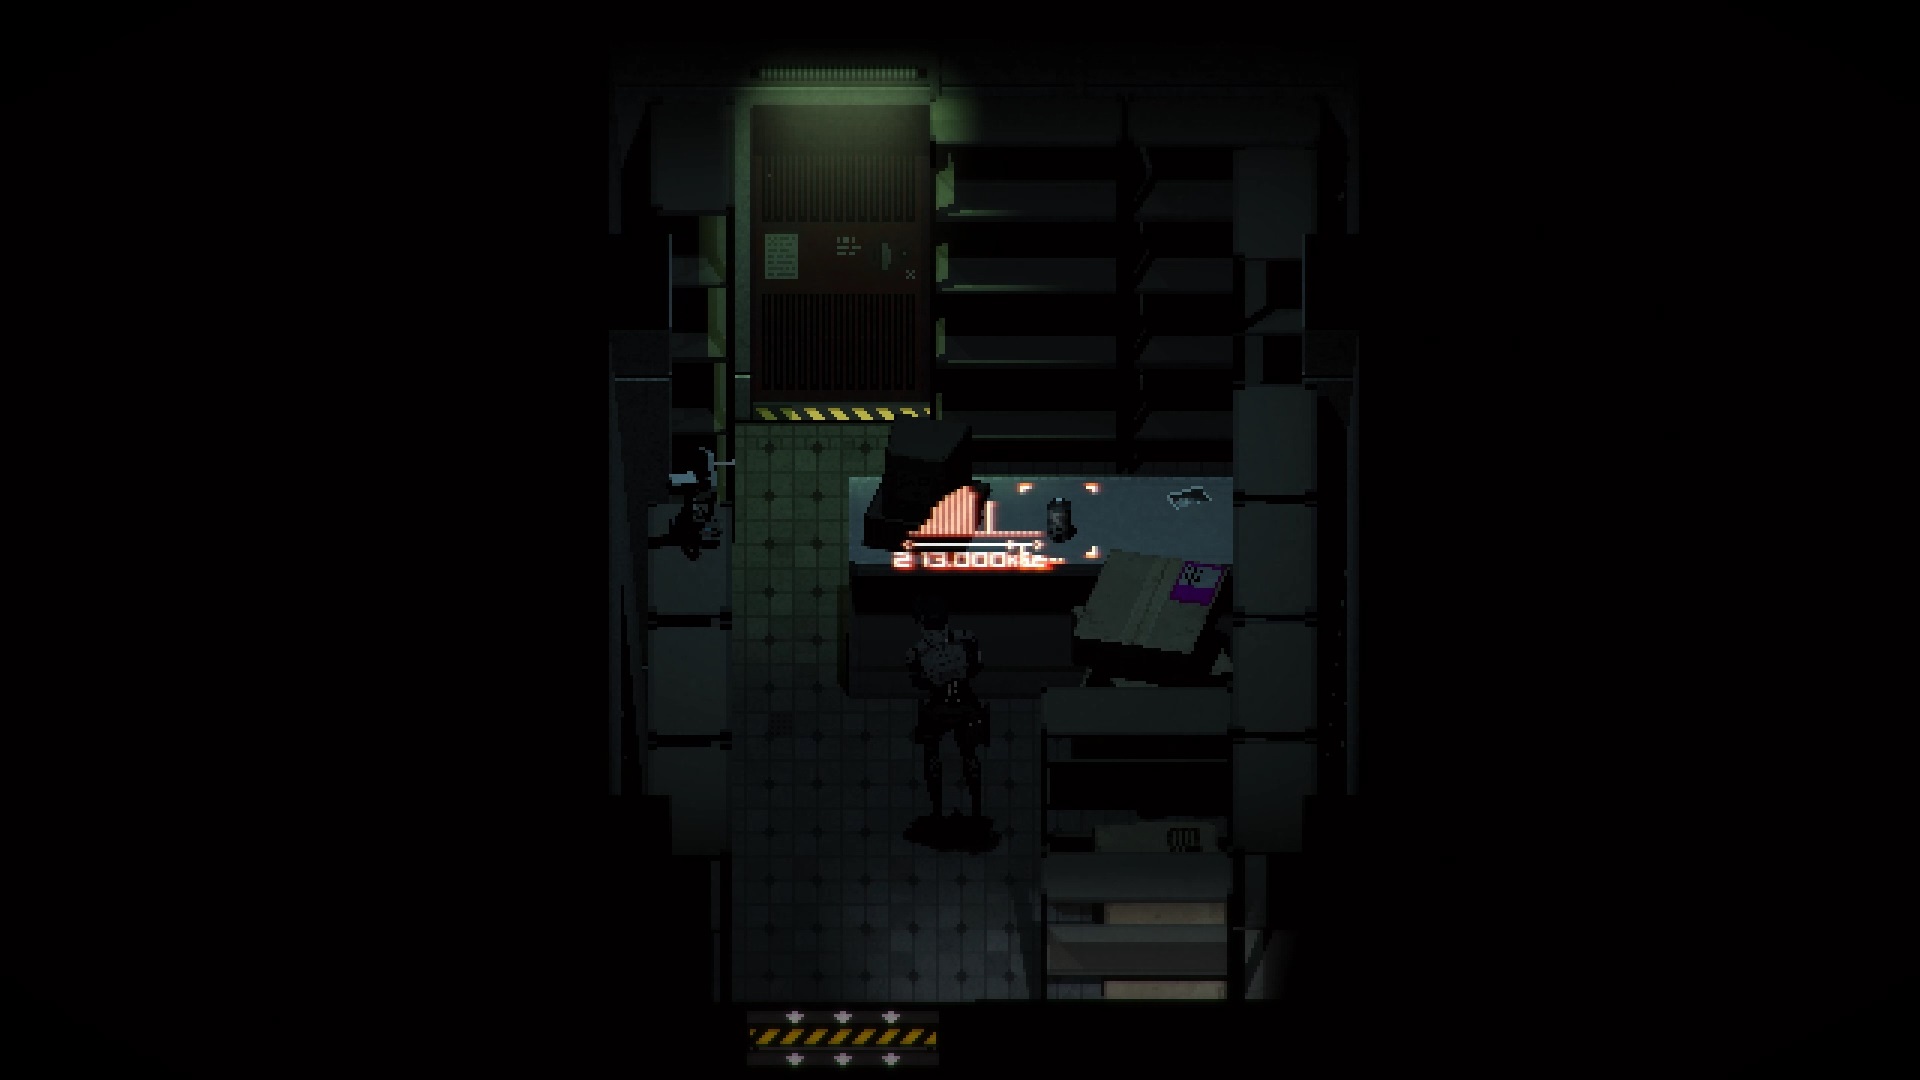
Direction the room to the right of the save room, the « Store Room ». Combine the two pieces of broken key to get a butterfly key. Use the butterfly key with the butterfly box on the shelf. Collect the Eternity Plate to trigger a memory. In the memory, take the radio module in the office. Plug the device into the inventory on frequency, 160,000 Head to the armored door outside to unlock it.
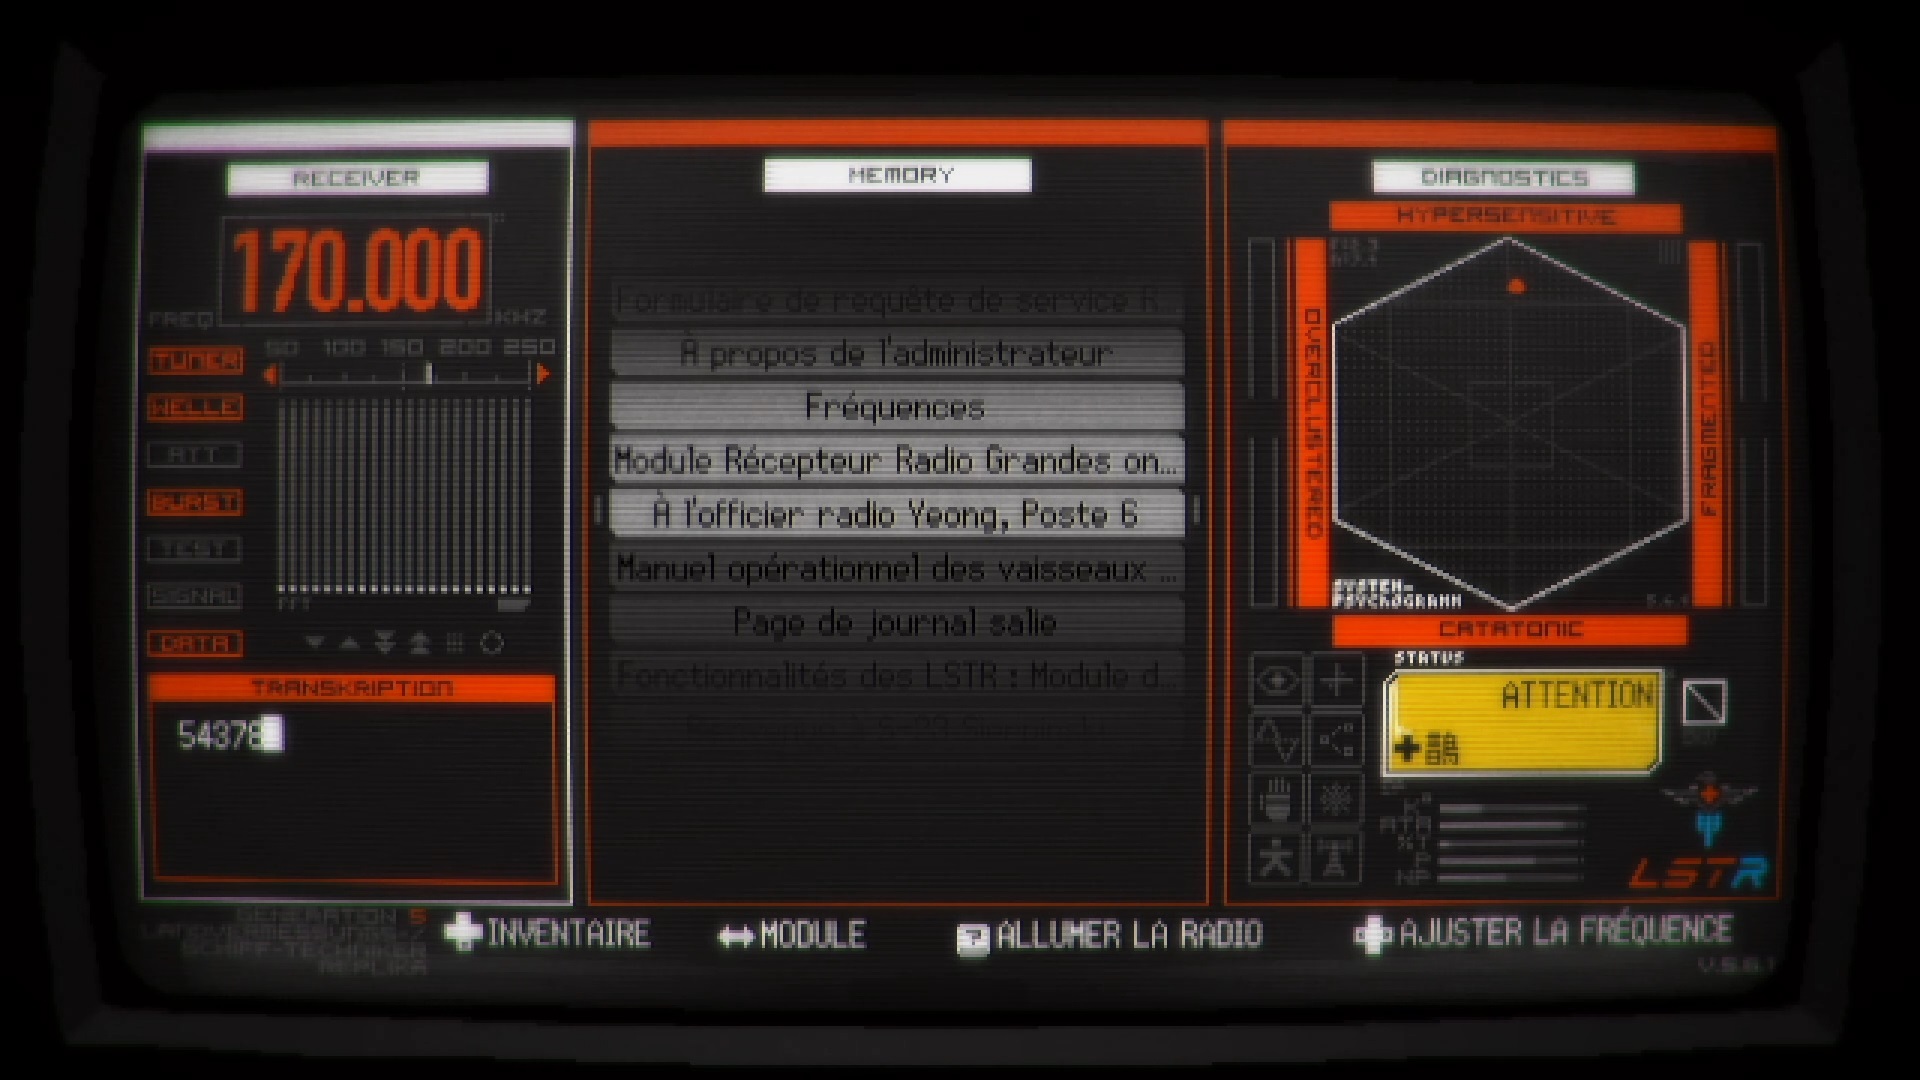
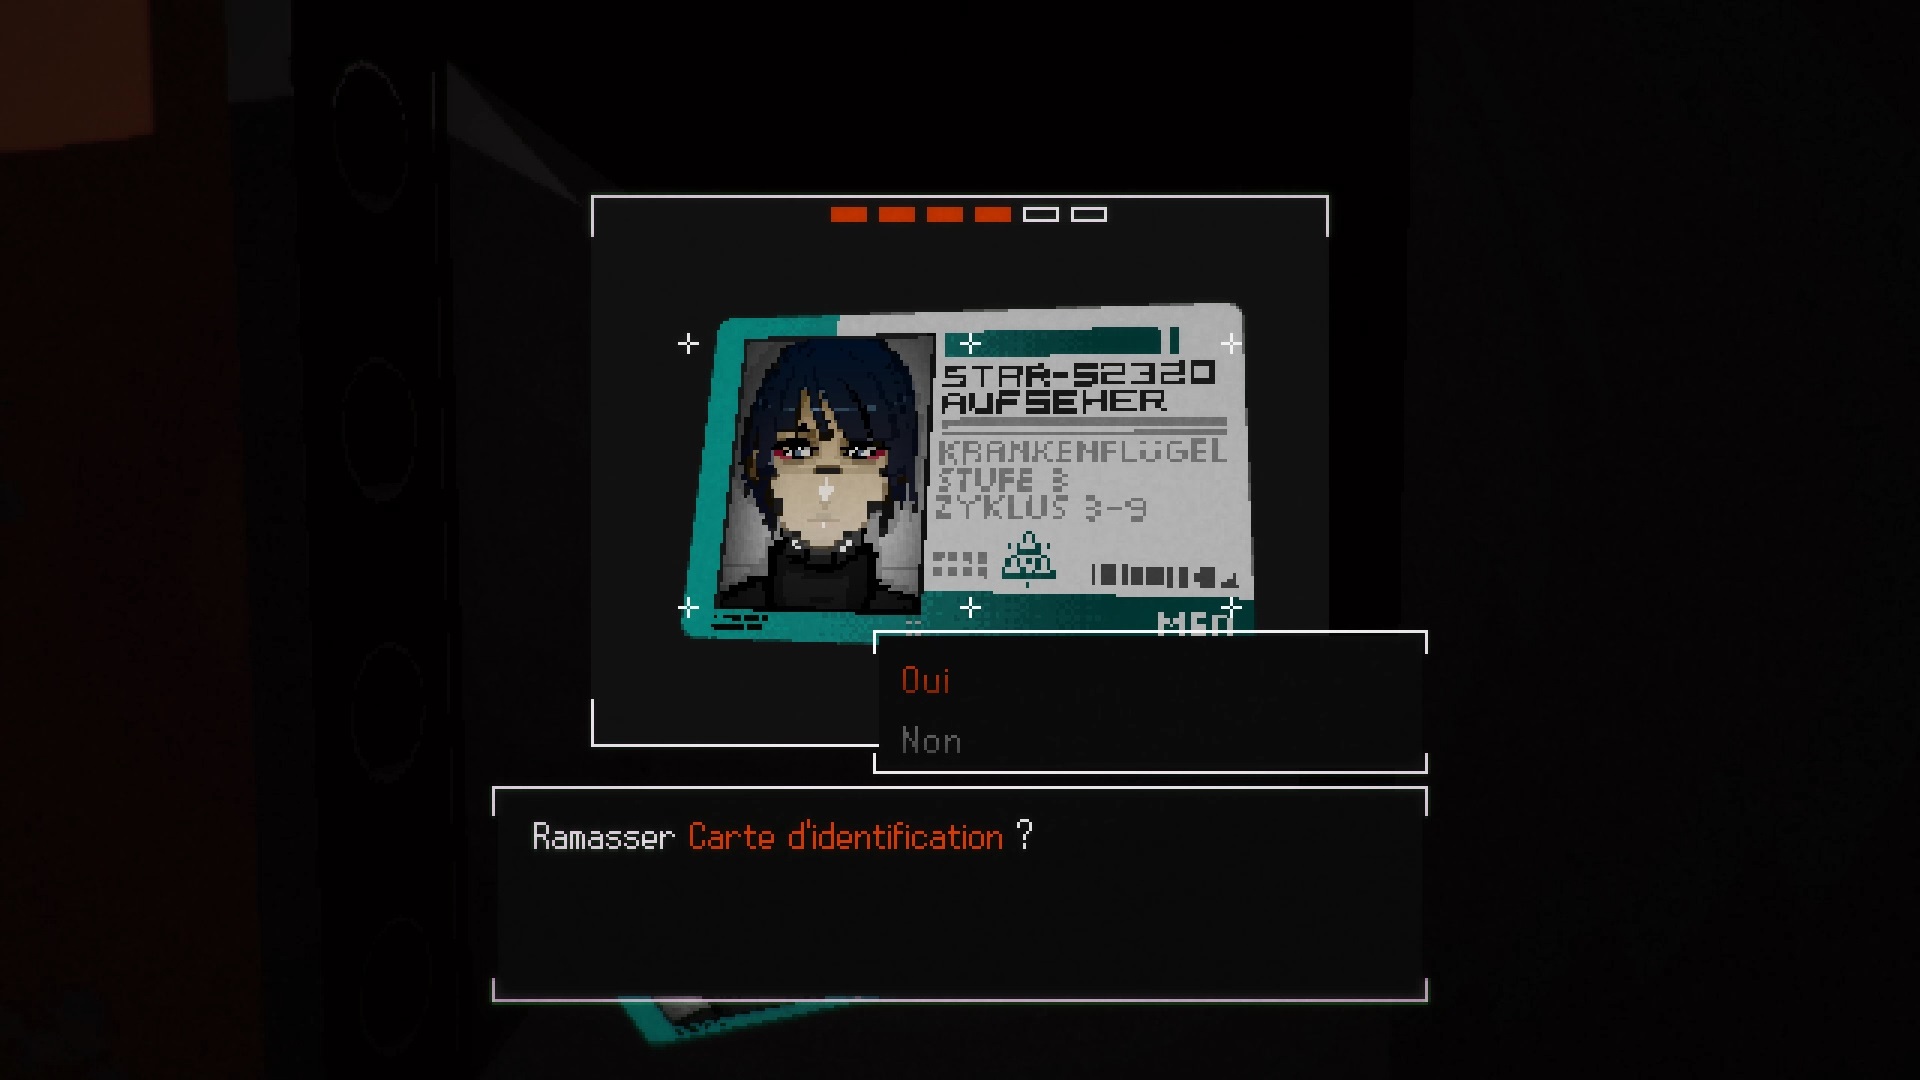
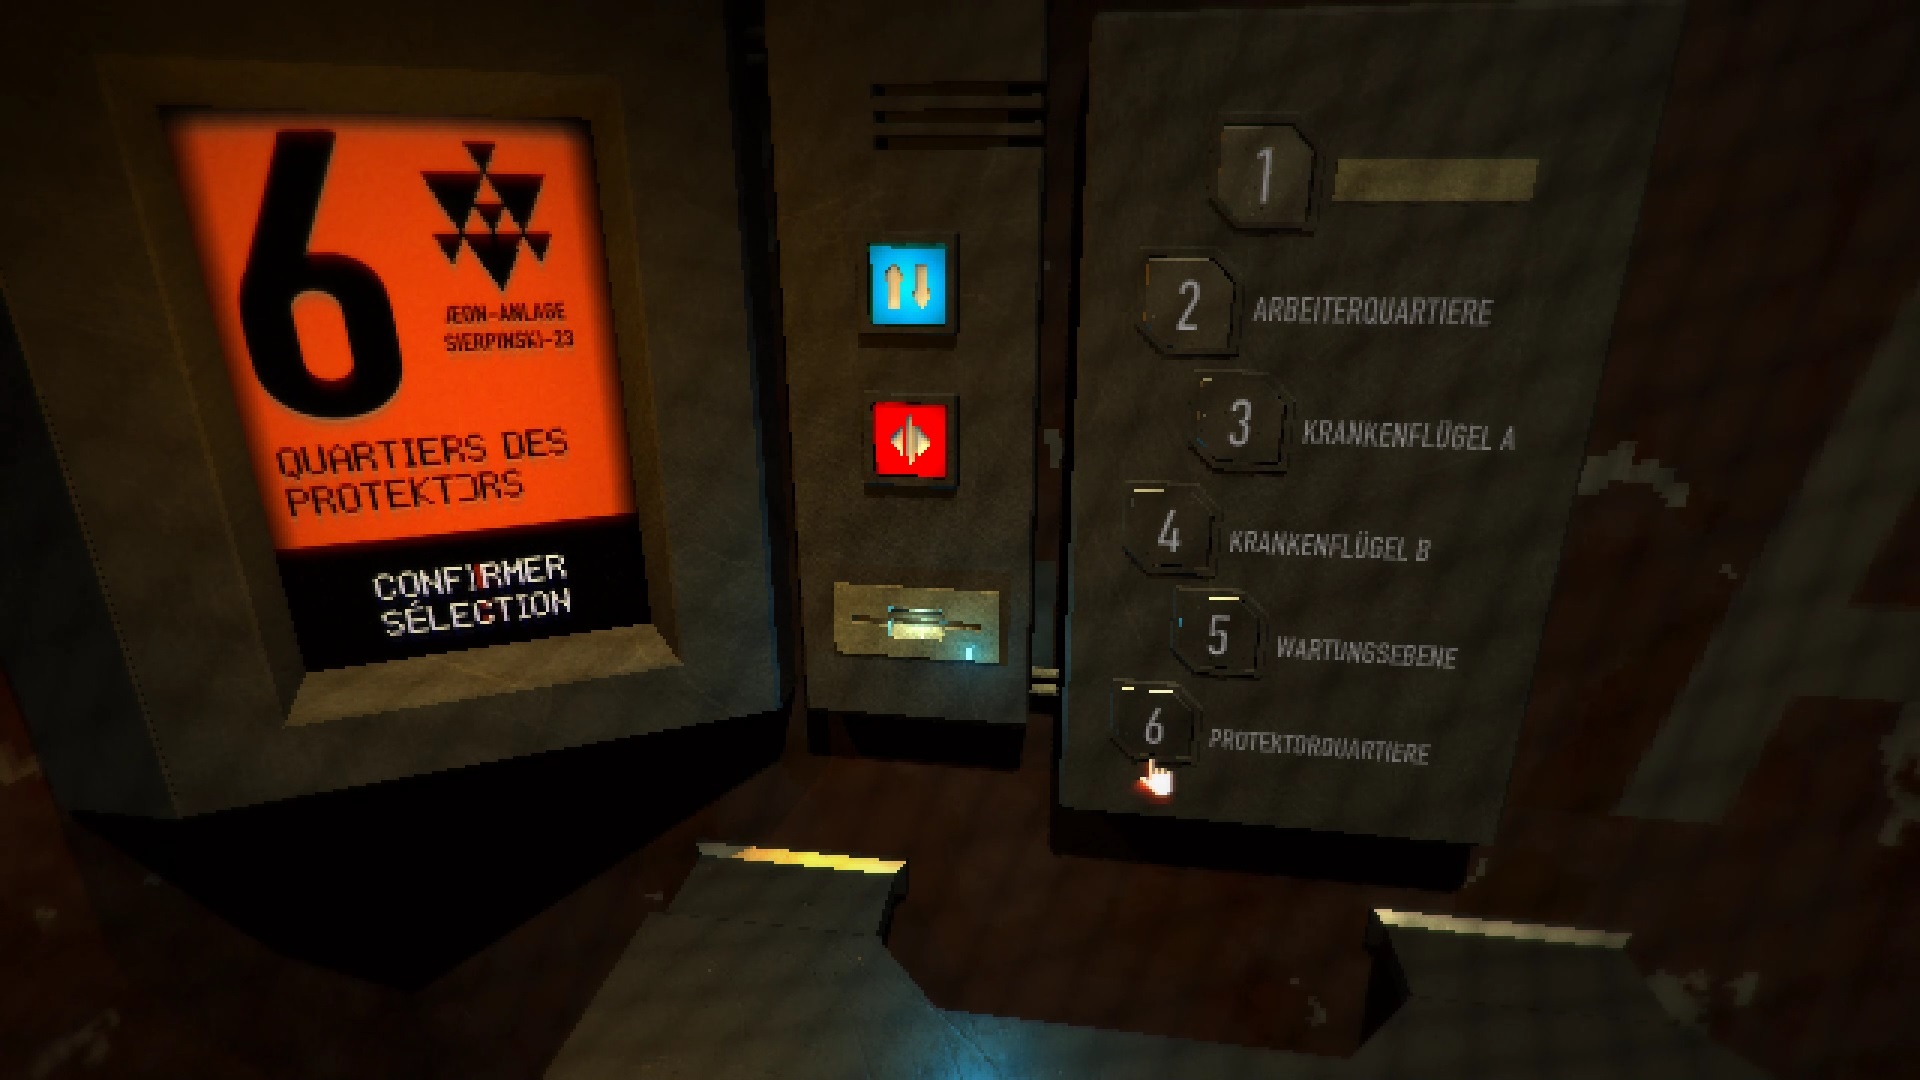
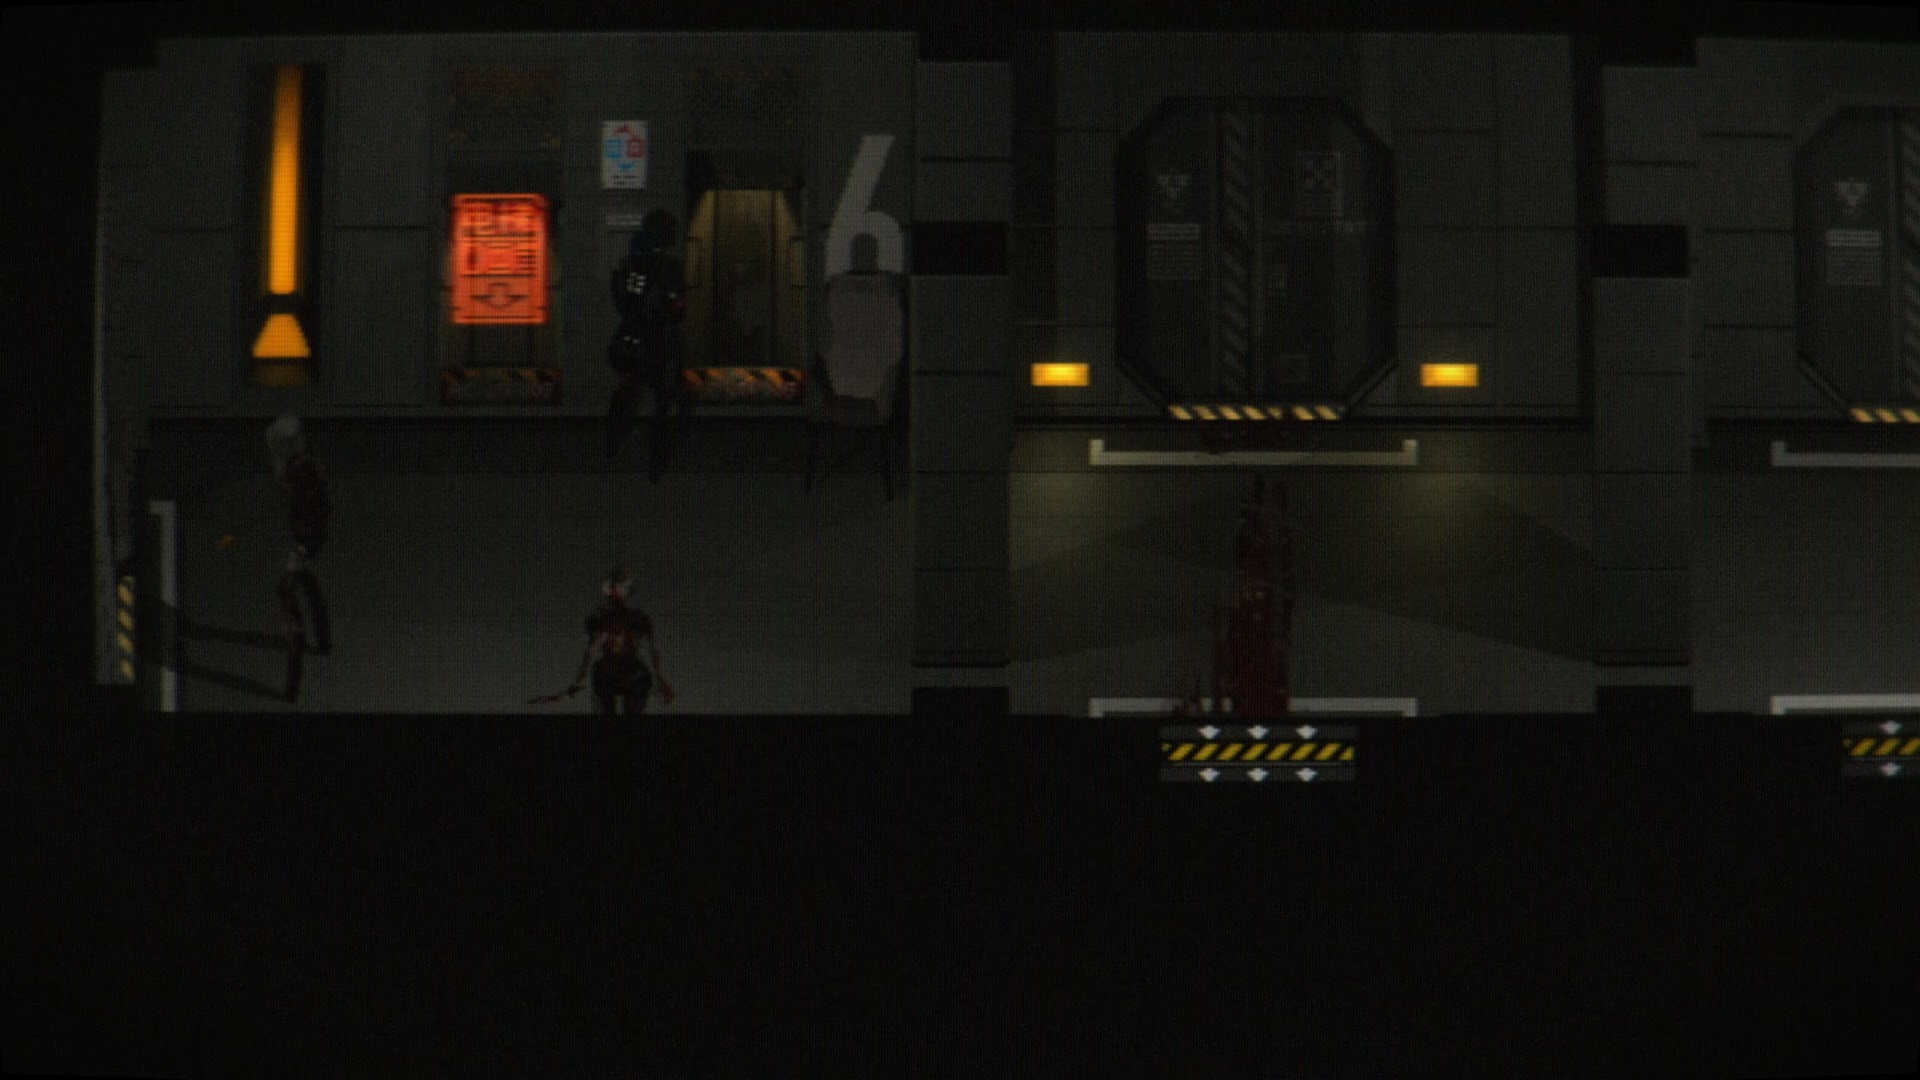
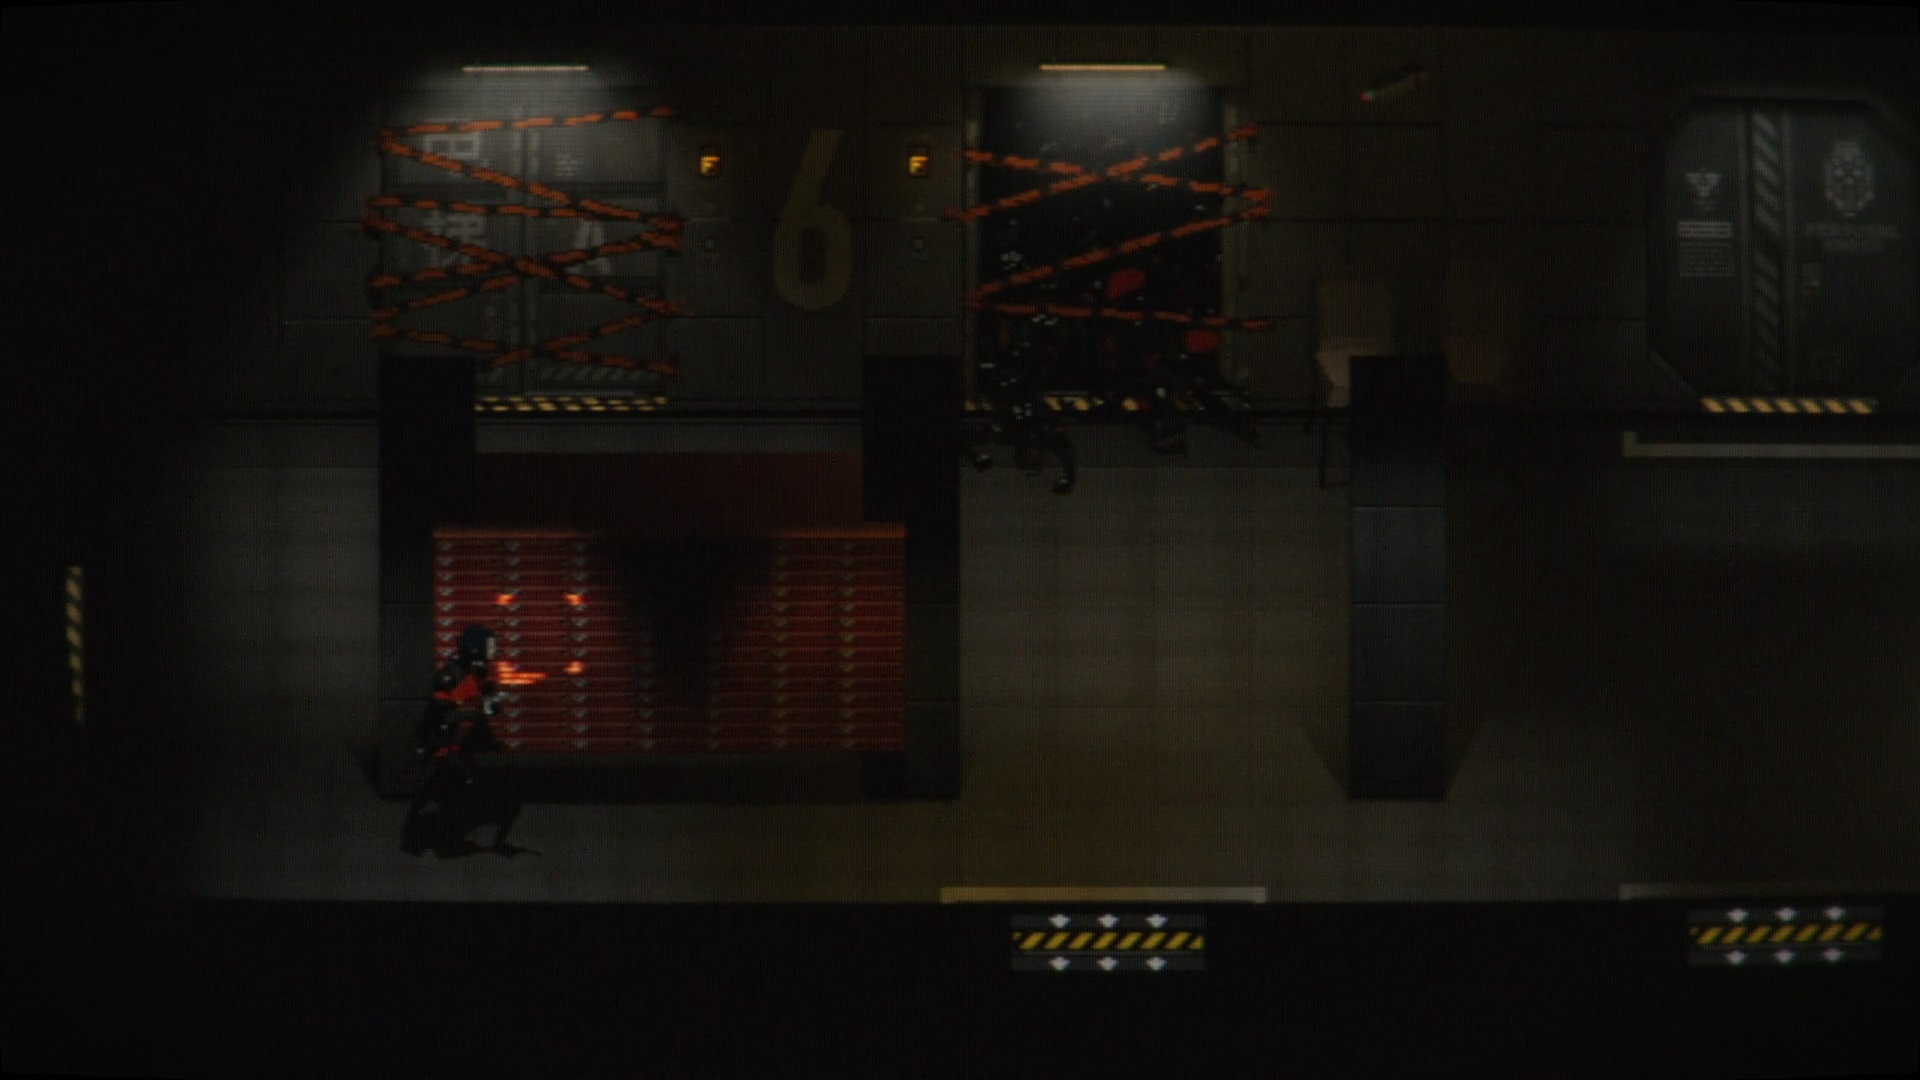
Back in the workers’ quarters, go towards the door to the left of the save room called « Office ». Tune in to frequency 170,000 corresponding to the tree logo of the safe. You will get a code to use on the safe to open it and take the ID card. Complete the level by reaching the elevator in the elevator lobby. Use the ID card to enter the elevator and go up to the 6th floor.
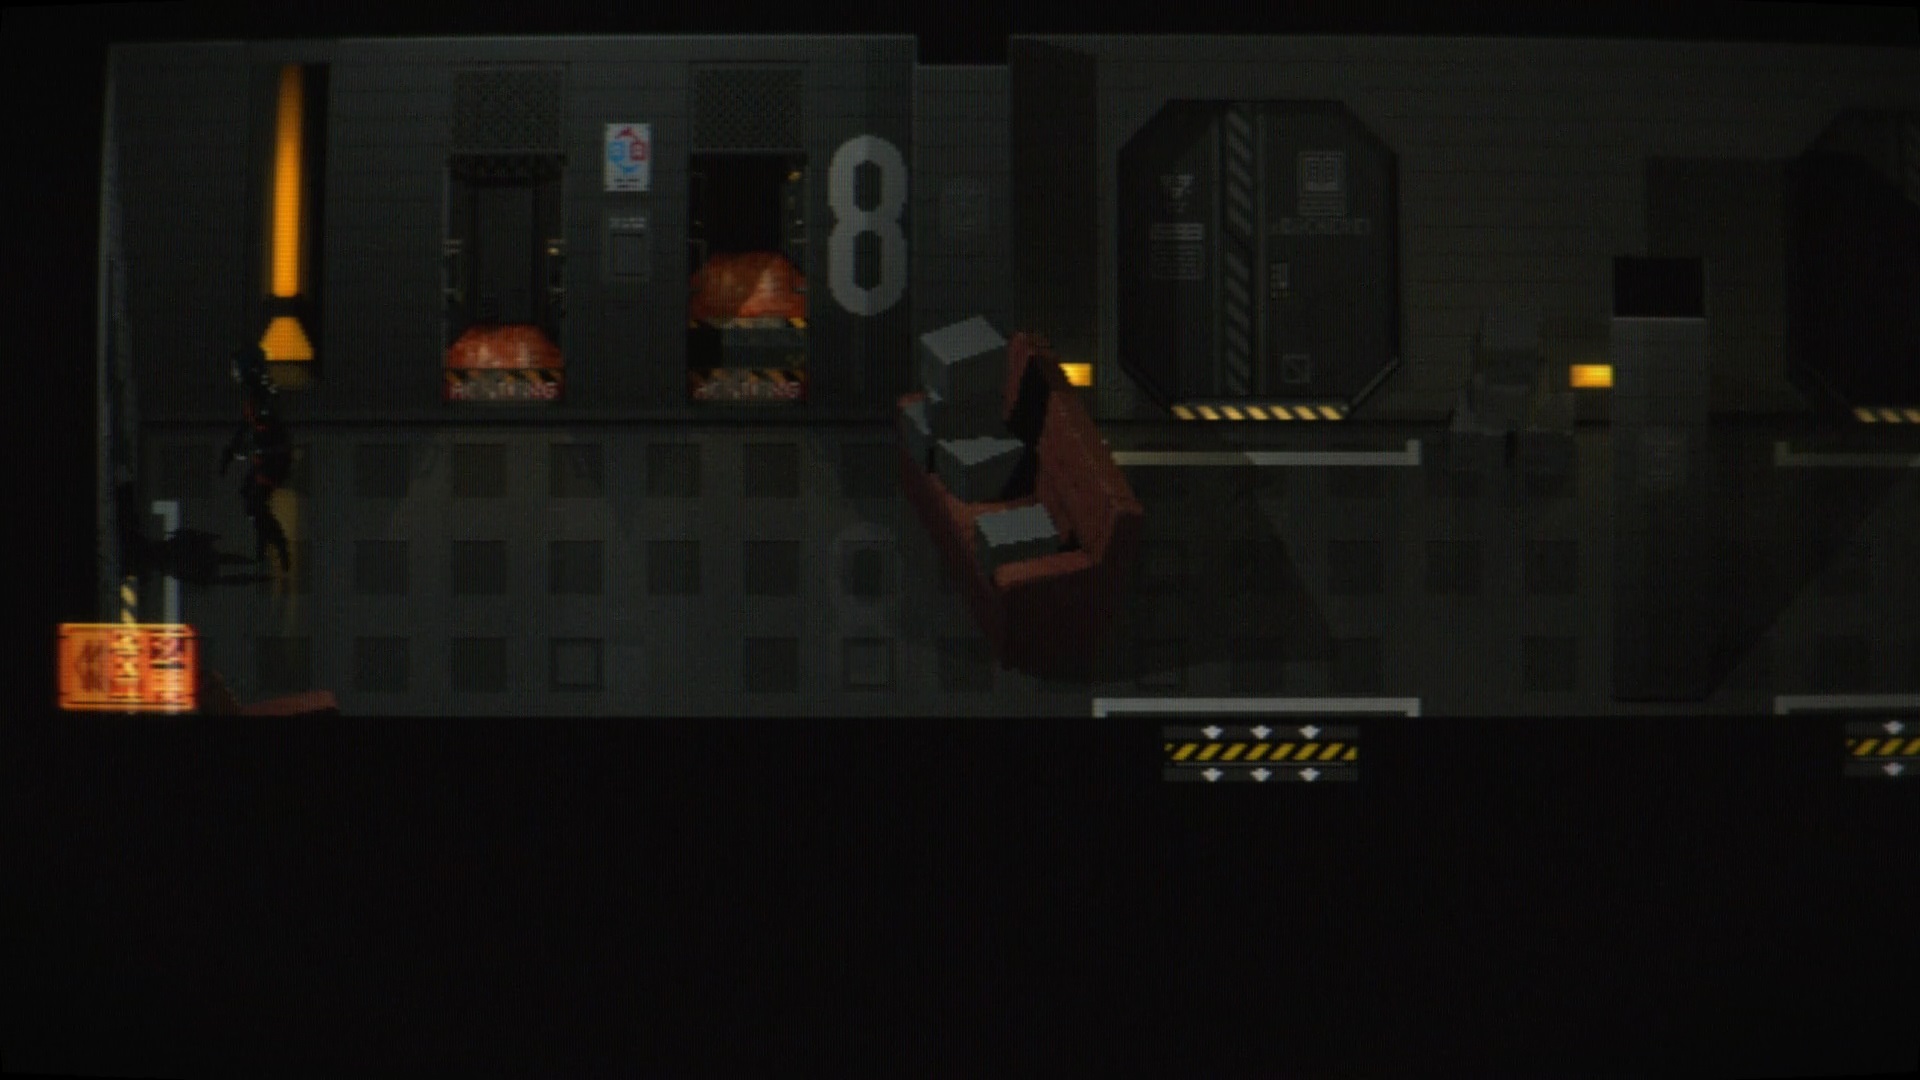
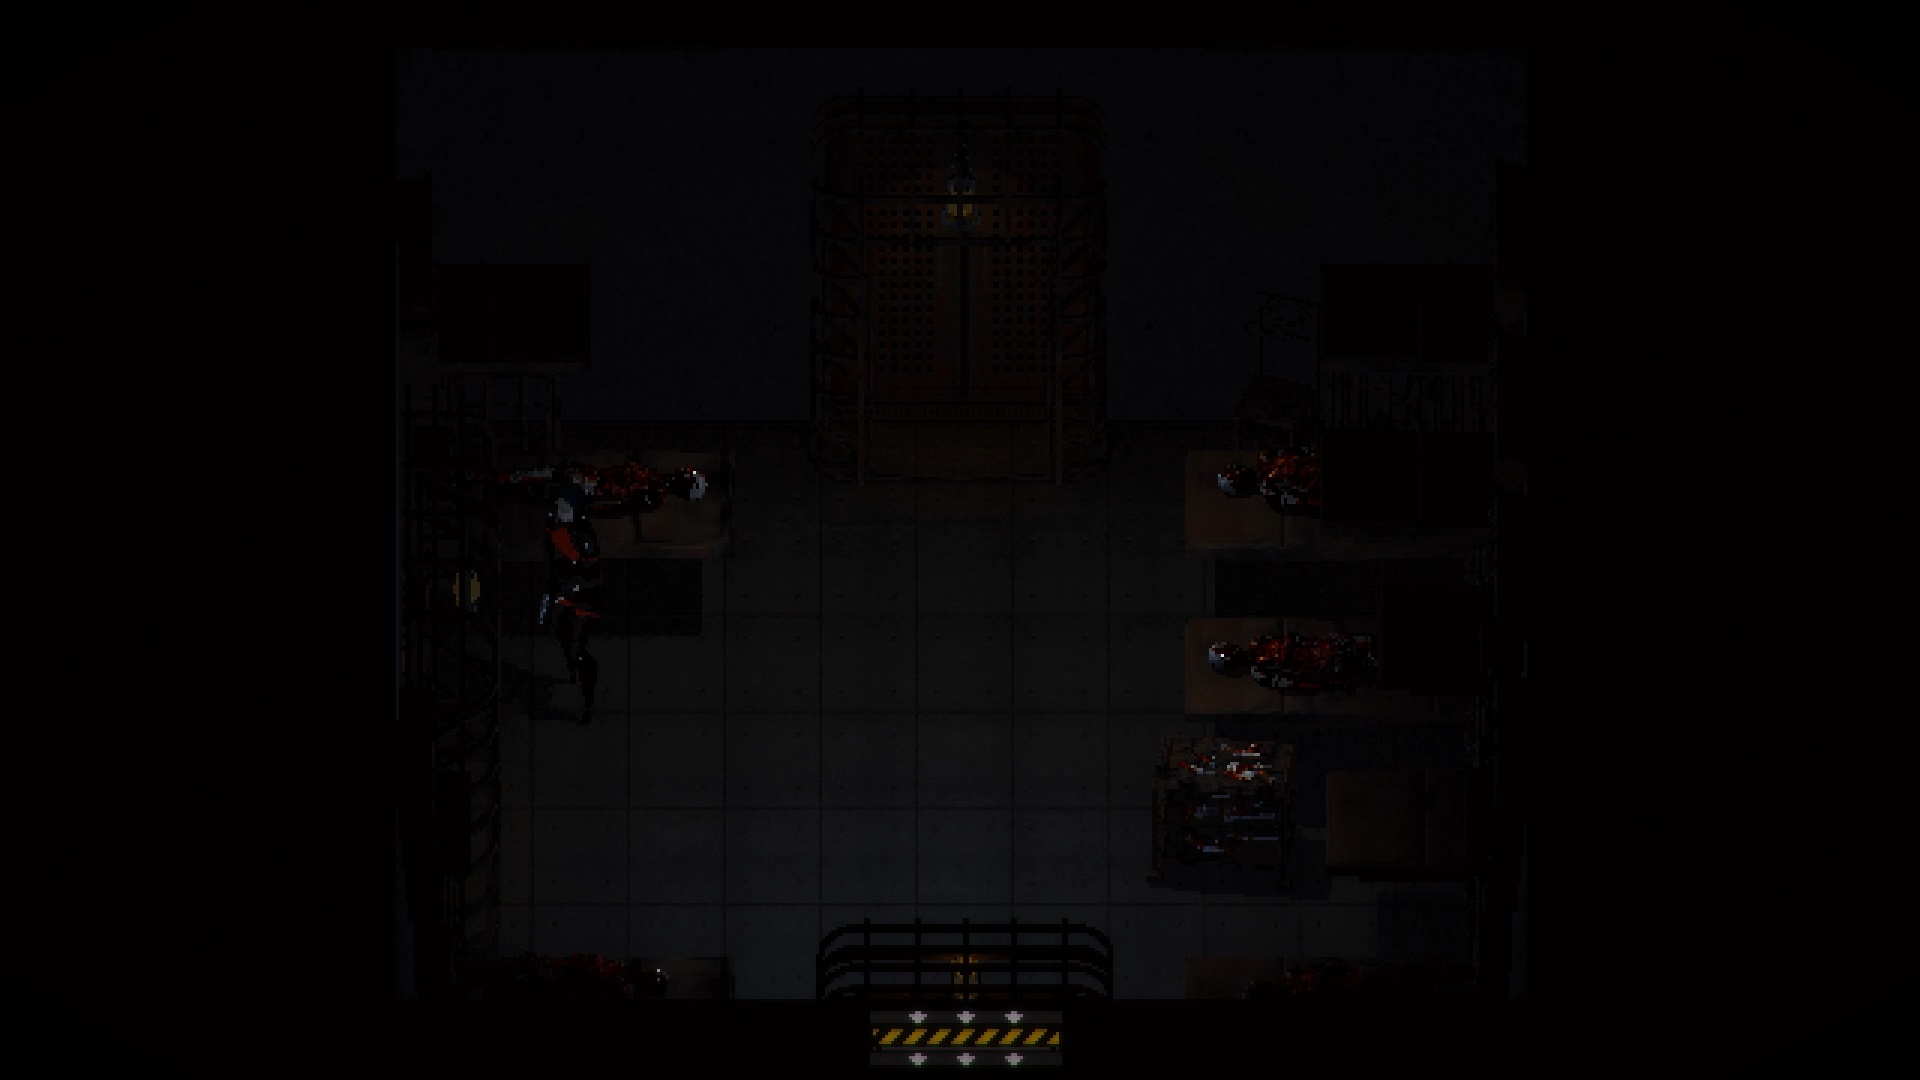
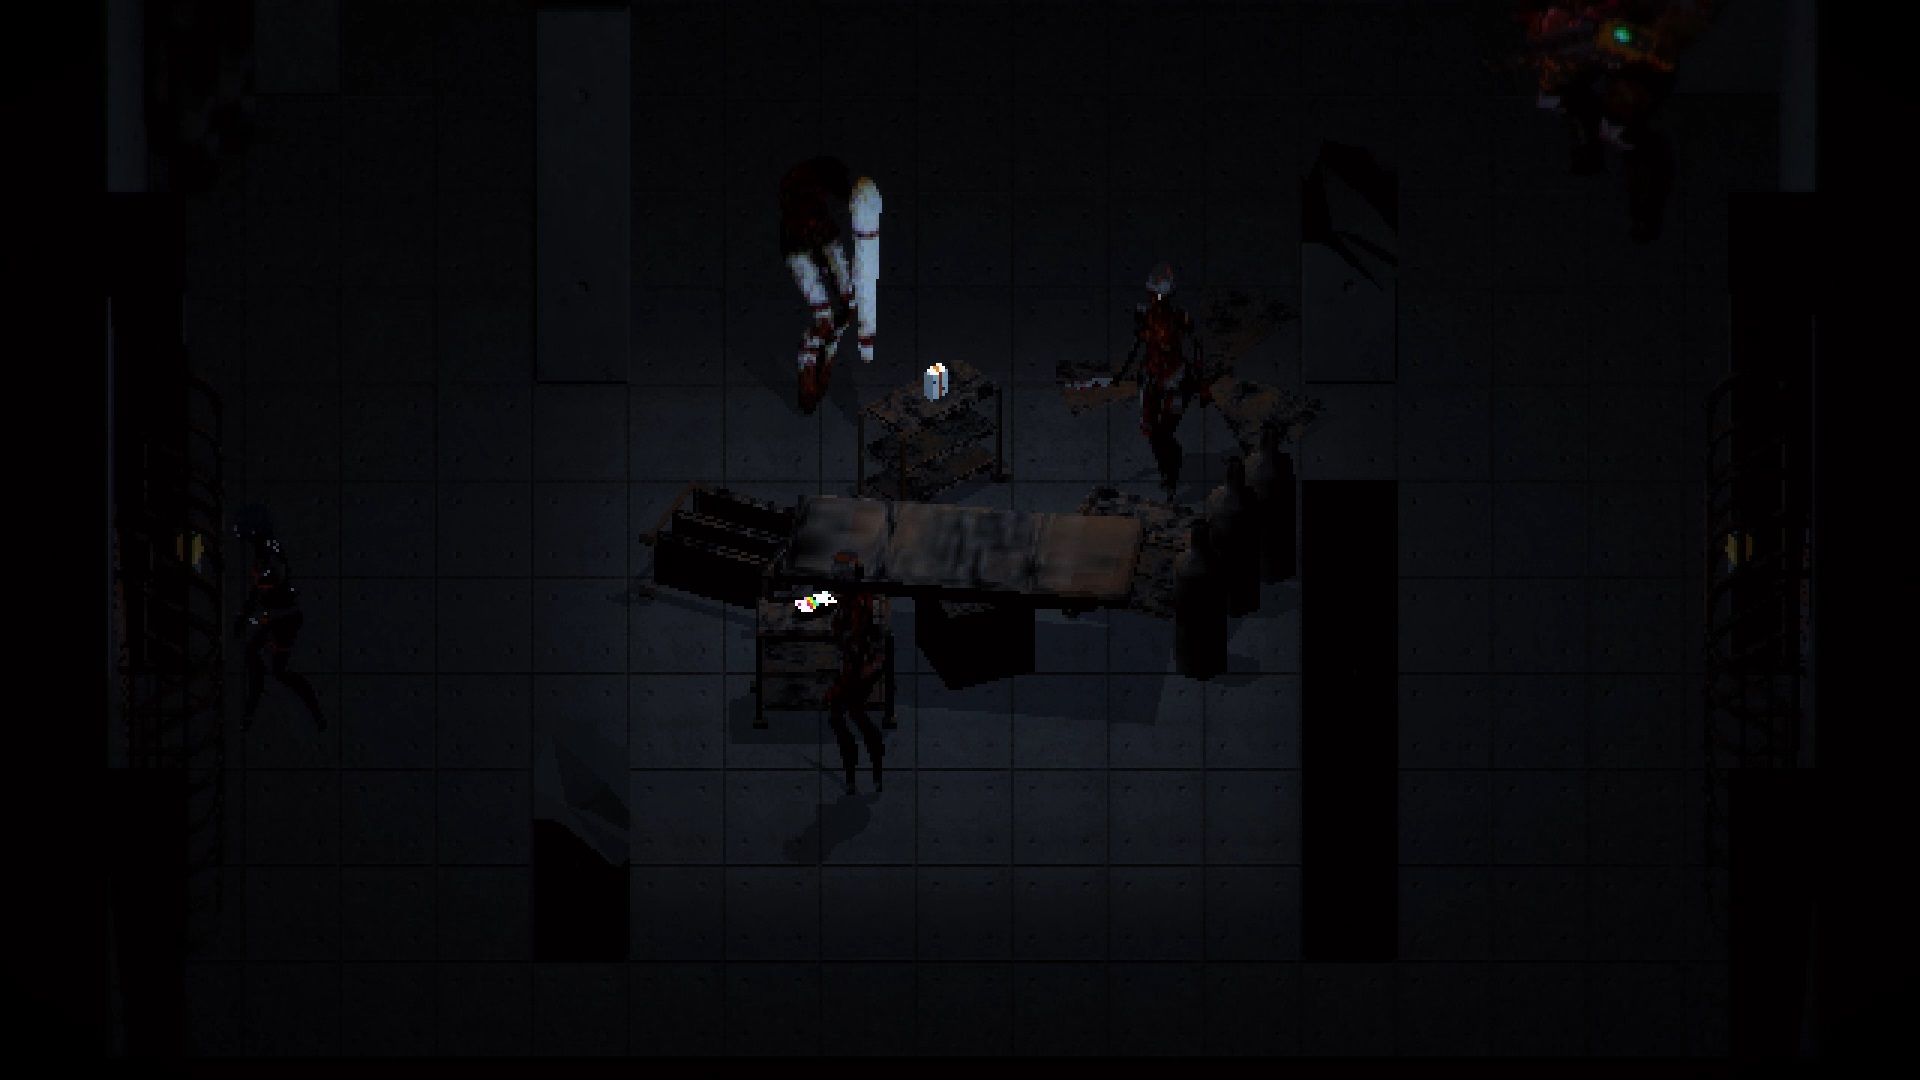
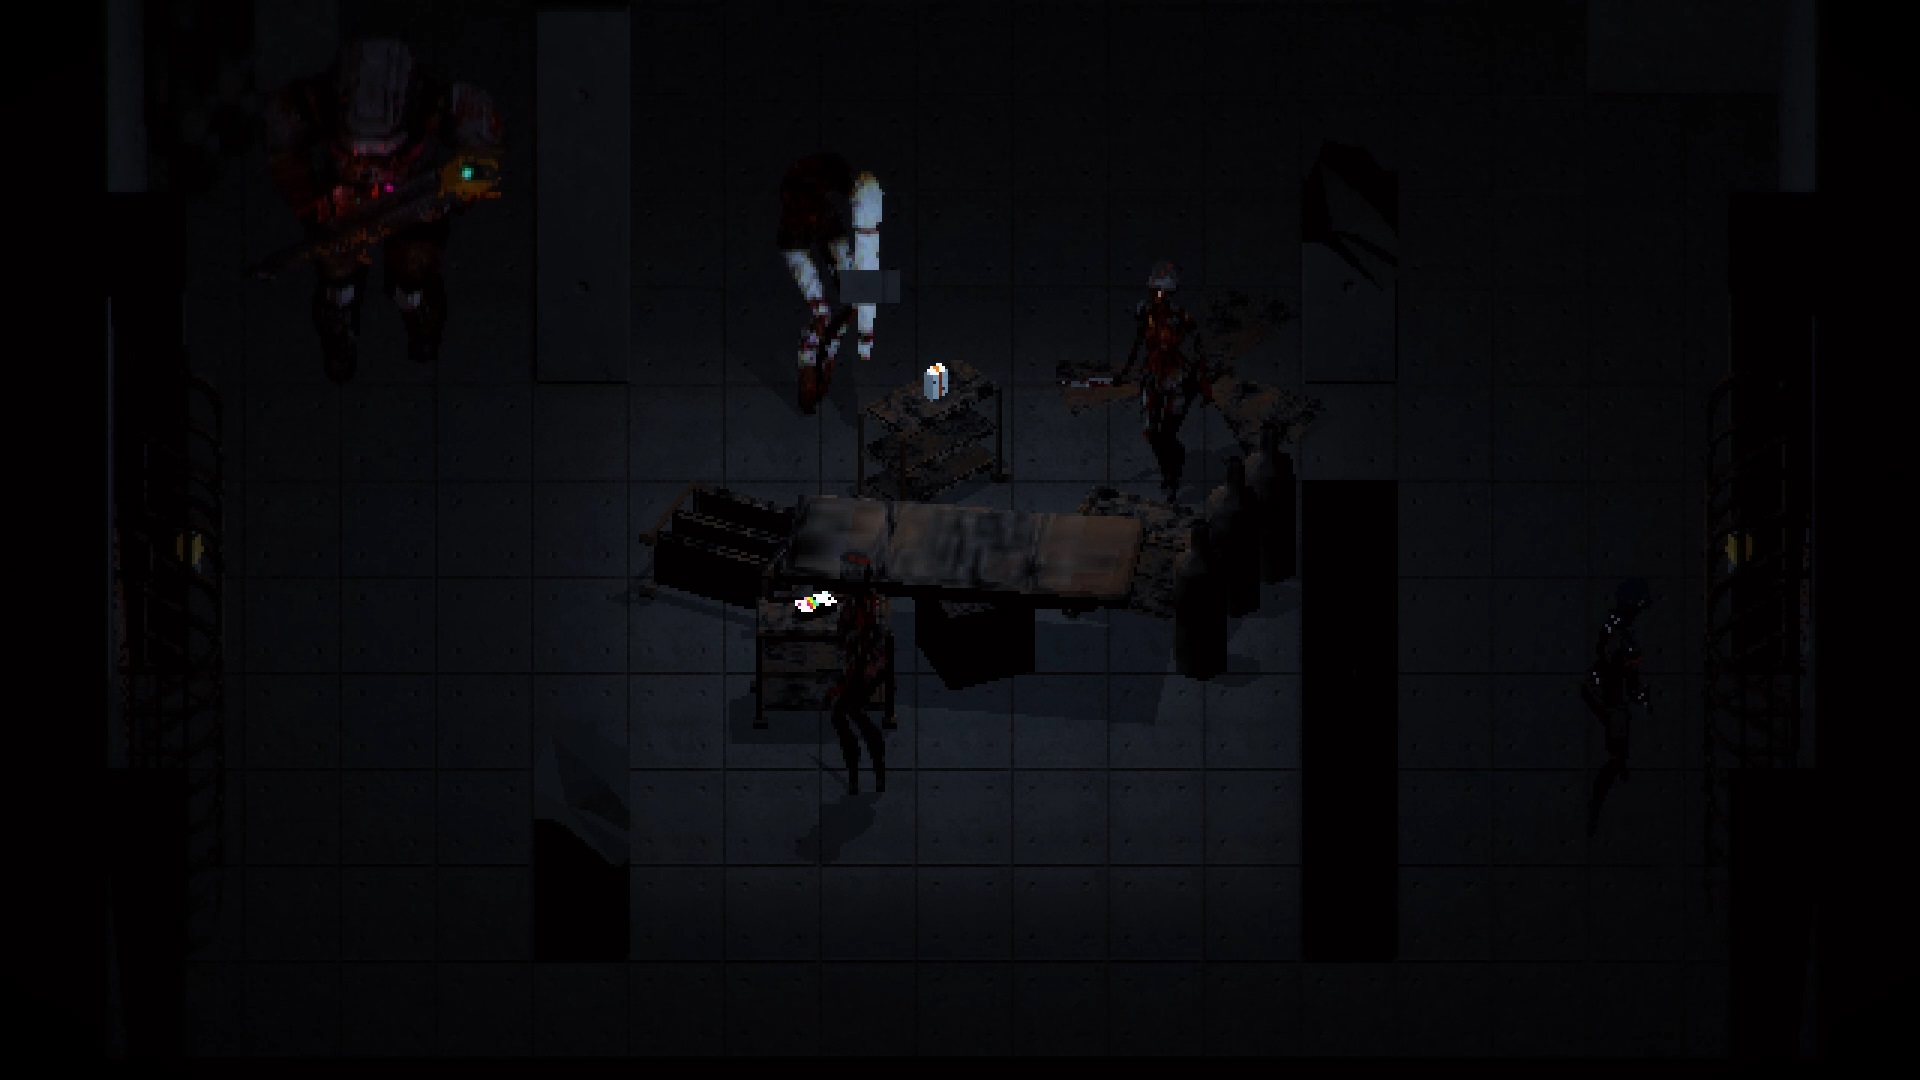
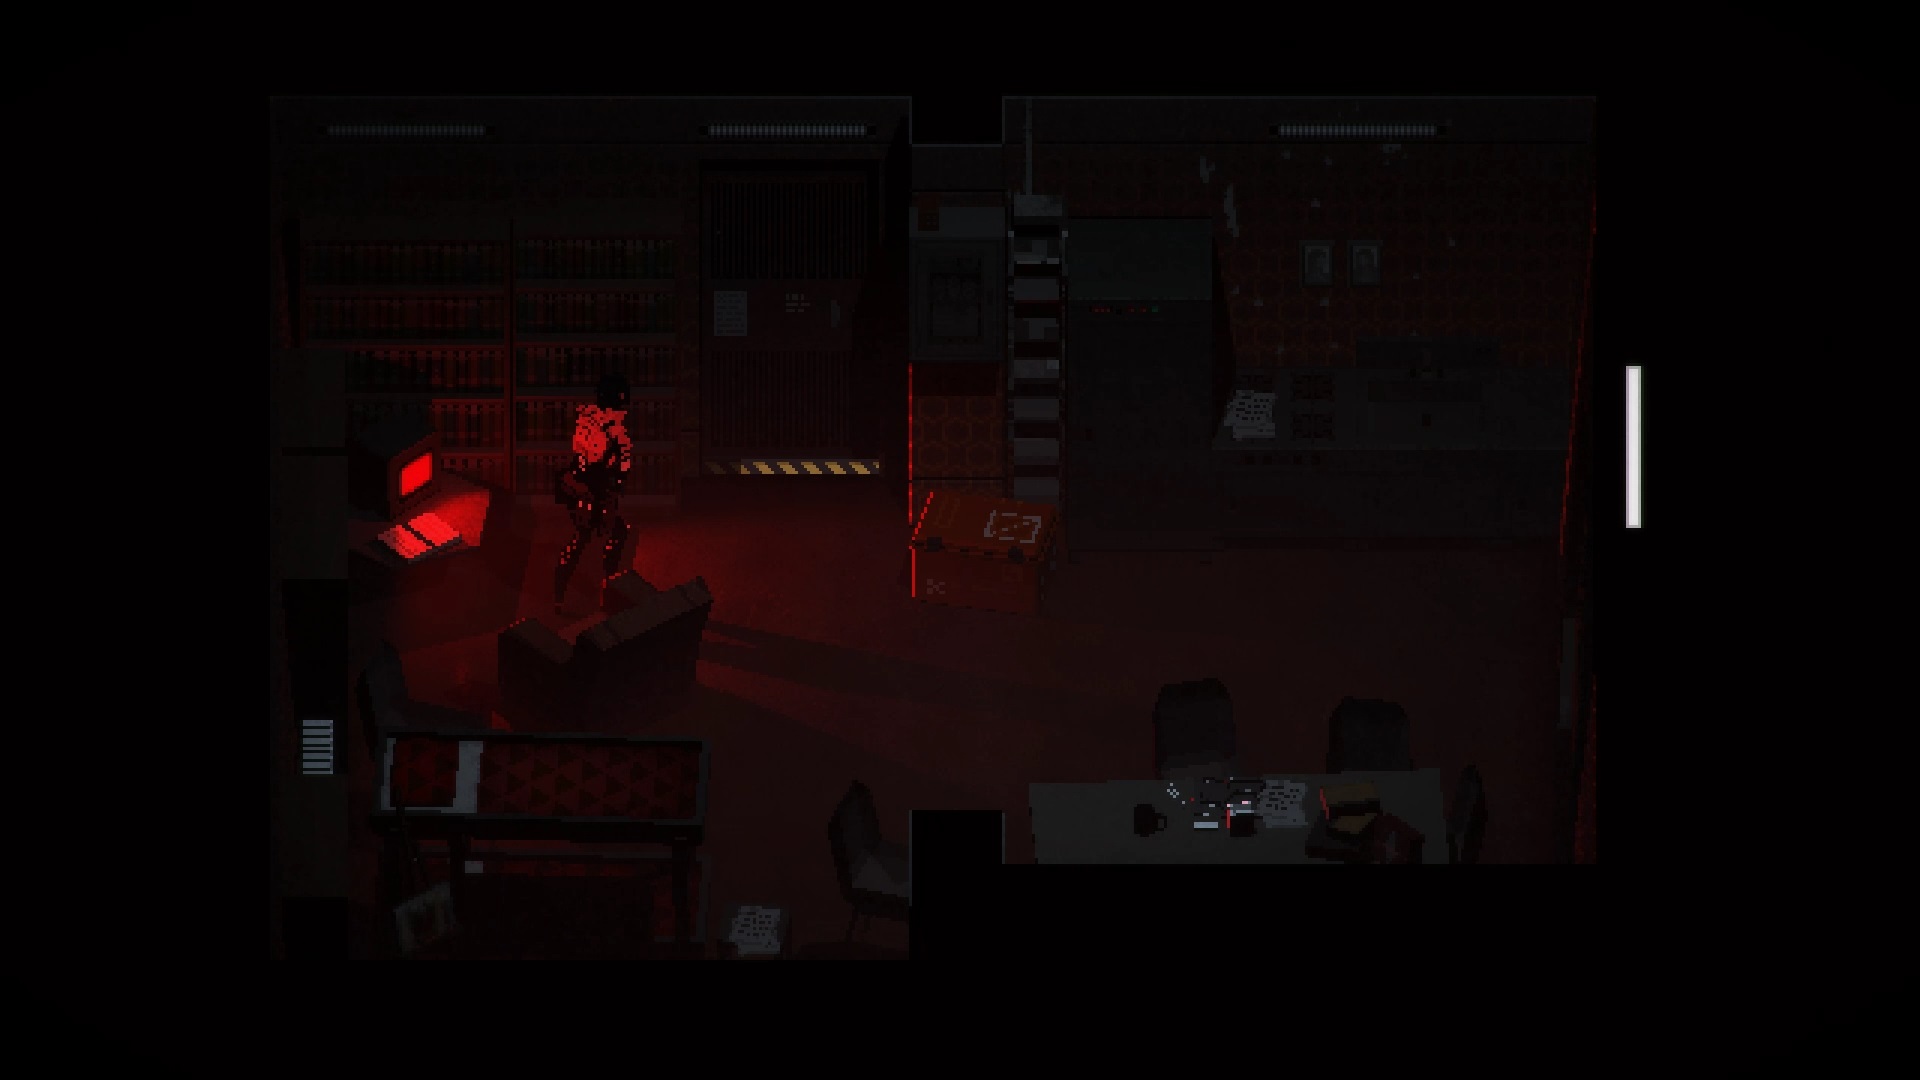
Hopital
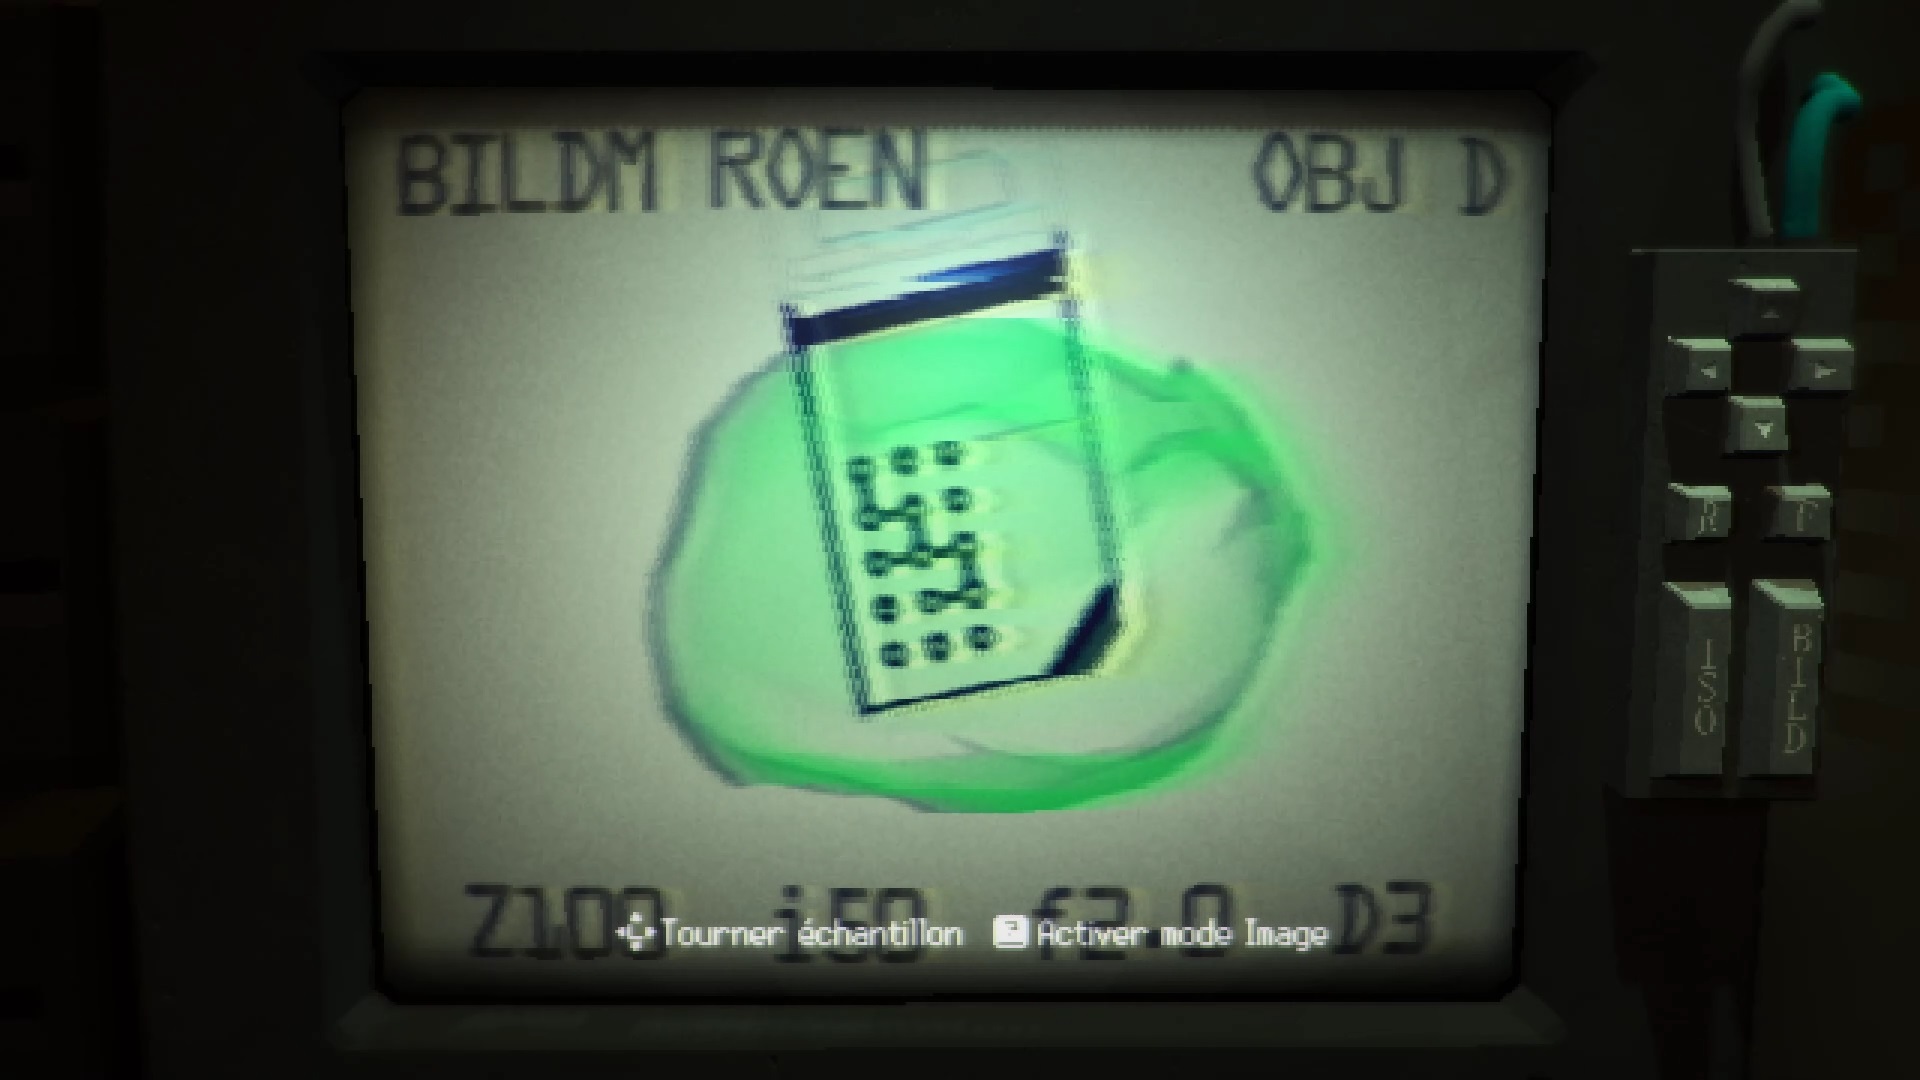
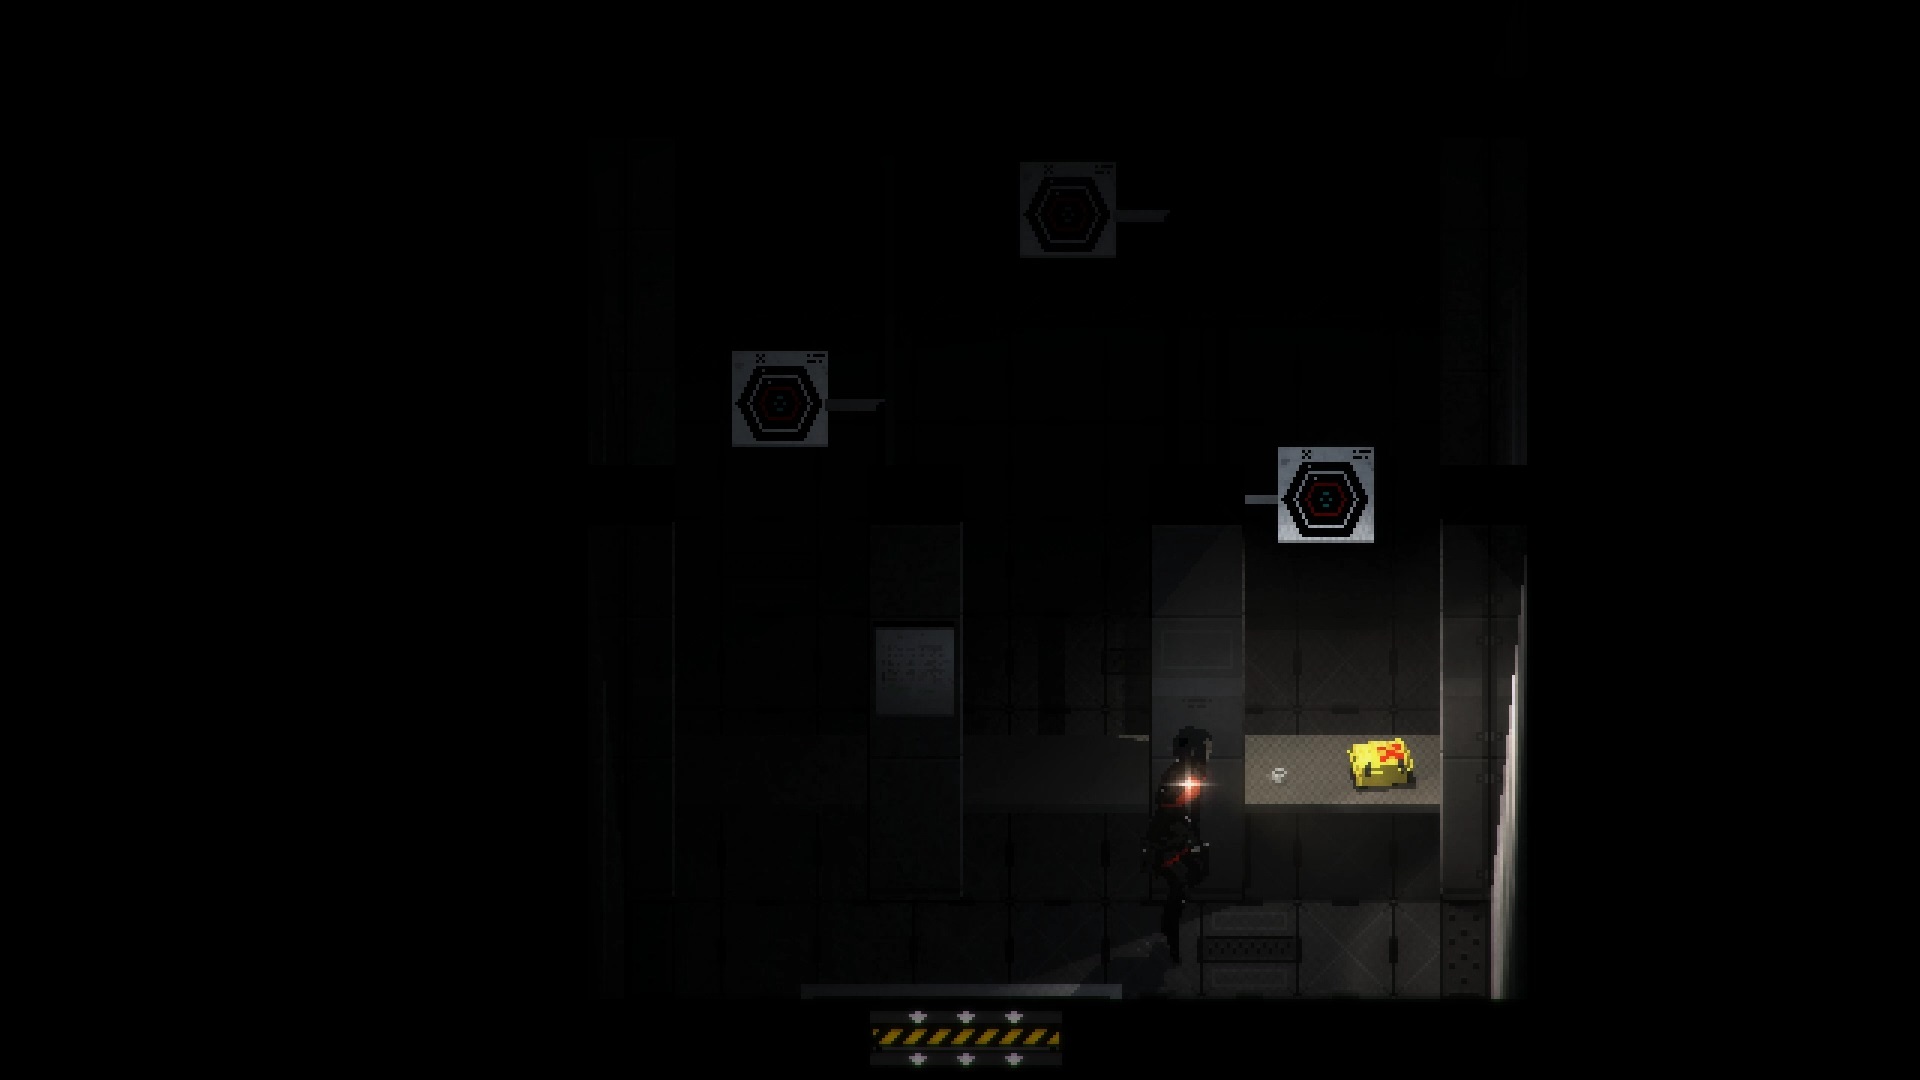
The elevator takes you to the third floor. Continue on the right path to reach the East Corridor. Search the first door to the north to find the « Reception » a new save room. Get the gun from the desk. Return to the hallway to open the door to the east. You are now in the North Corridor. Enter the second door. Interact with the X-ray machine and examine Item D. Use the rays to reveal a key. Save the diagram for later.

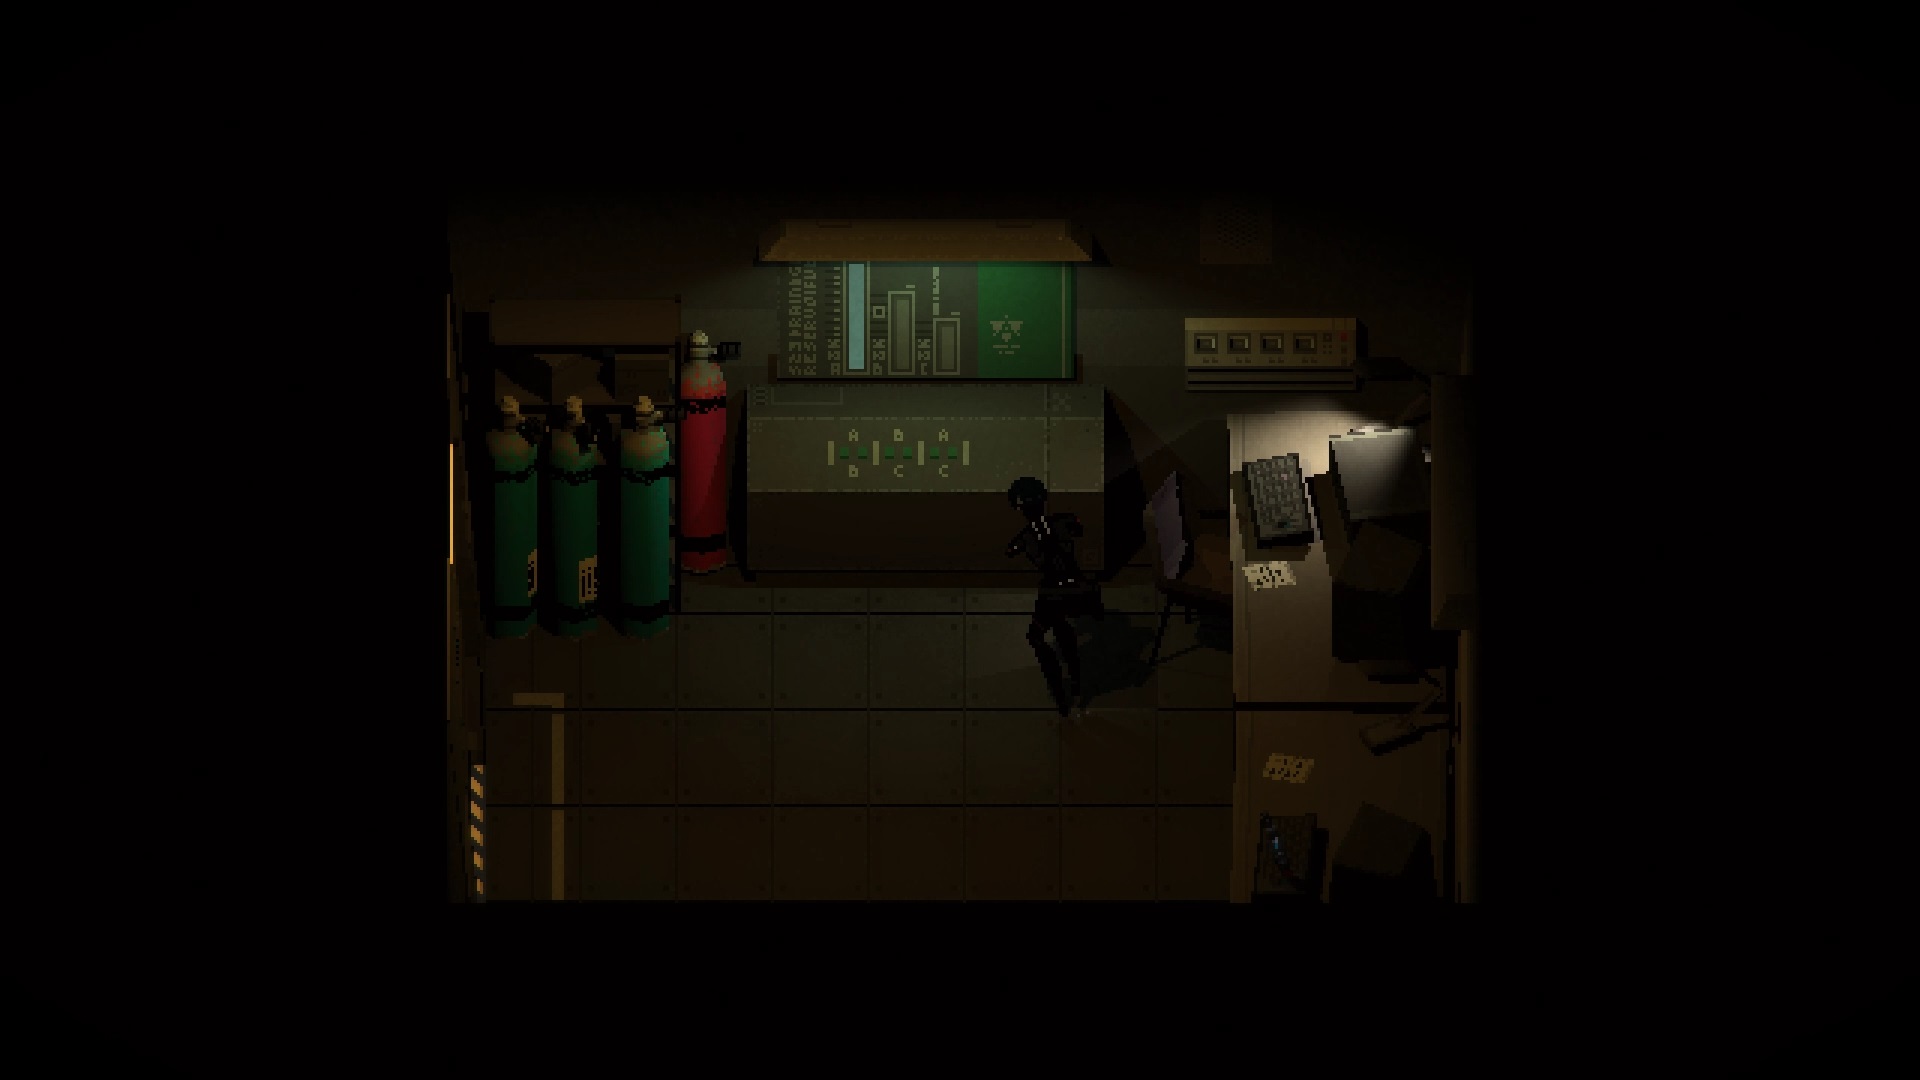
In the east corridor, go through the door at the bottom left. In the « Waiting Room » analyze the note on the seat for later. Pass the door to the west to arrive in the West Corridor. Search the first « Store Room » door on the left and grab a socket wrench handle. Open the second « Protektor Bathroom » door to the left of the West Corridor and take the pumping station map from the body. Enter the second door to the right of the East Corridor to find the Pumping Station. Examine the instructions on the right desk to solve the puzzle.
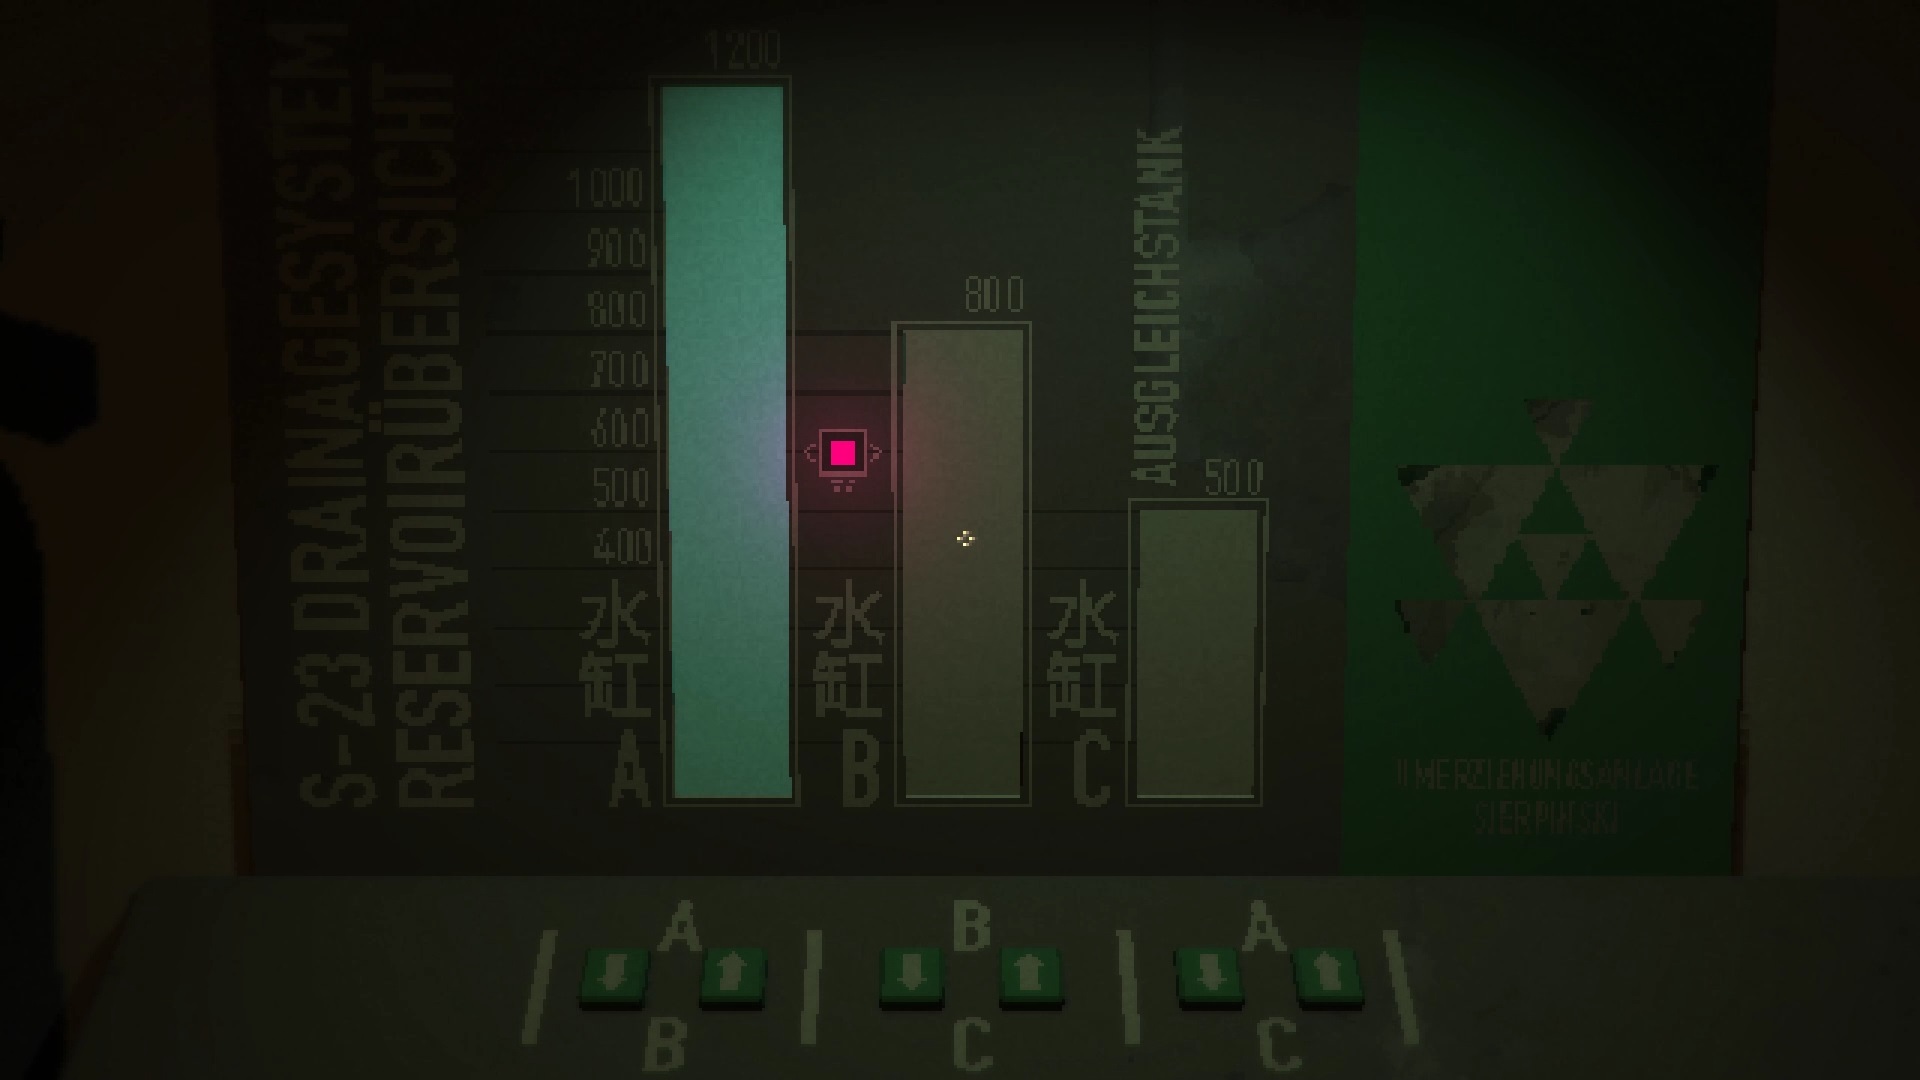
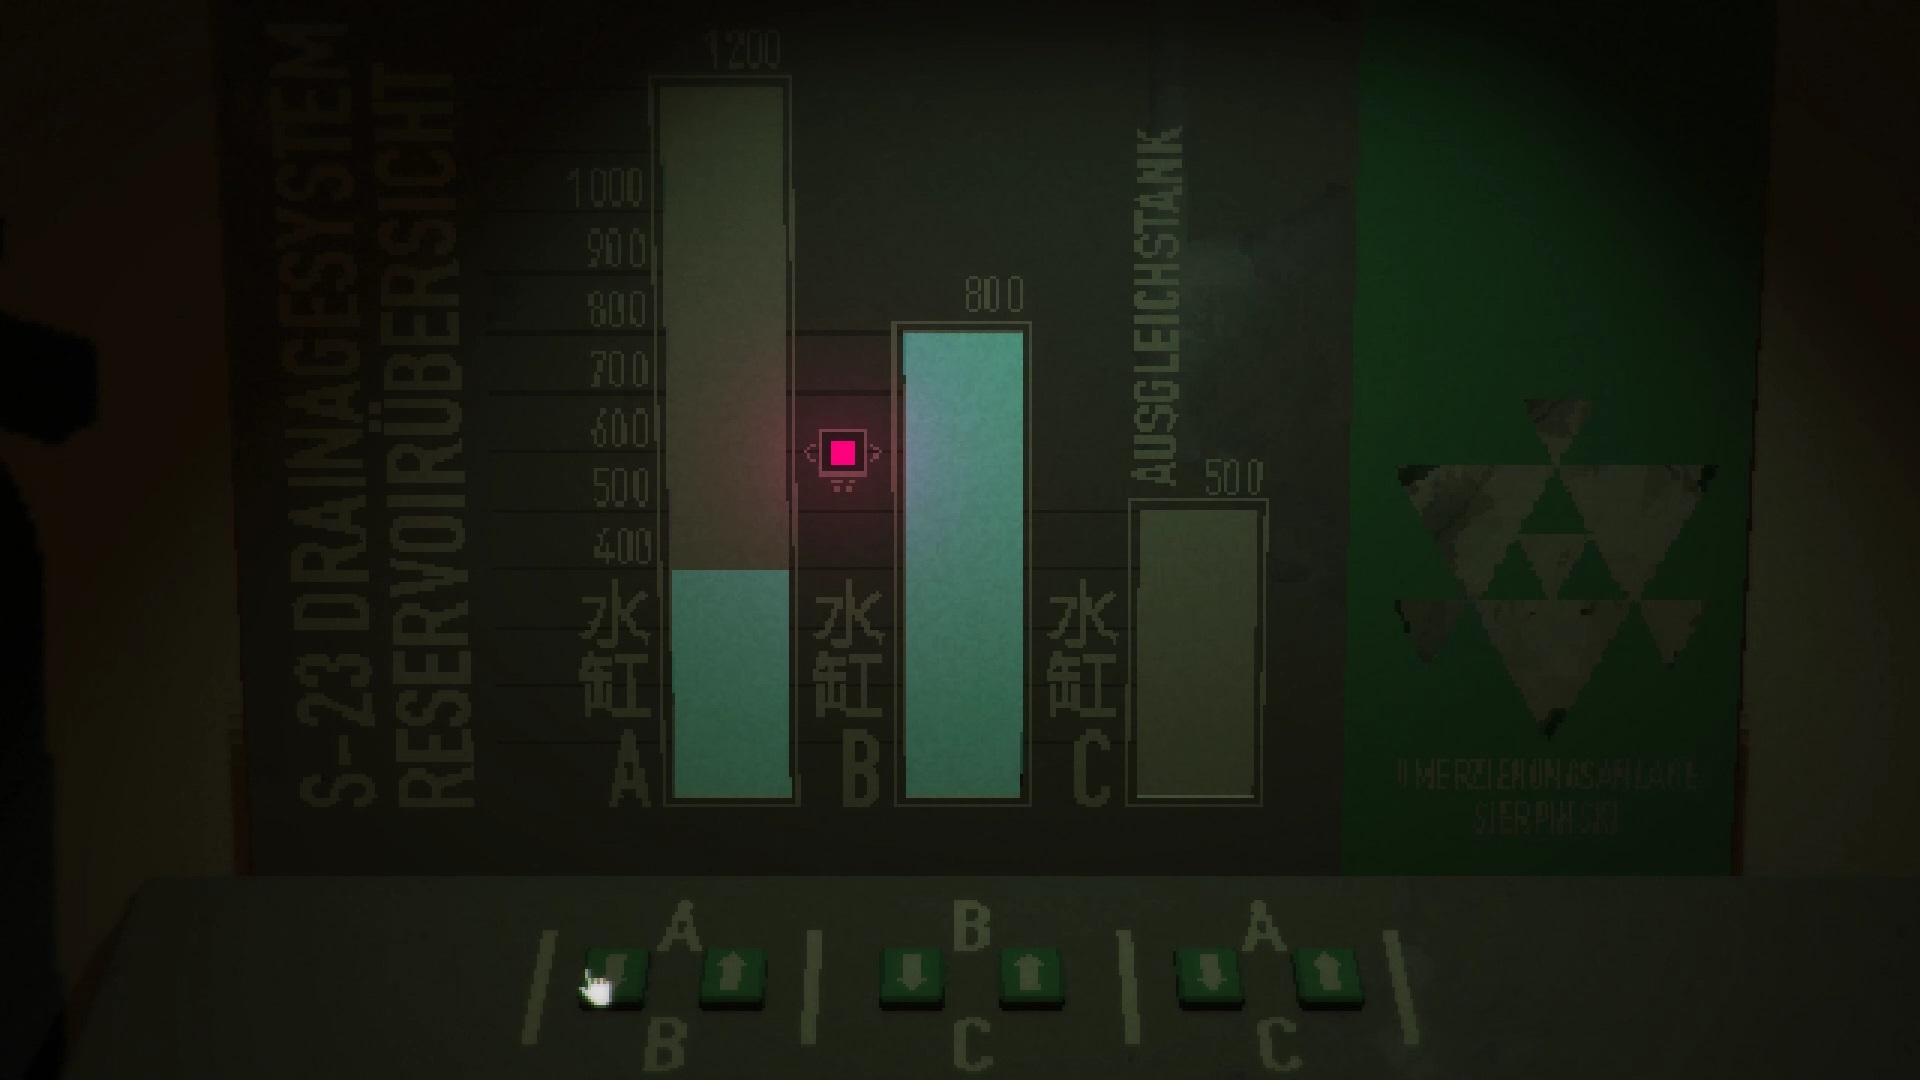
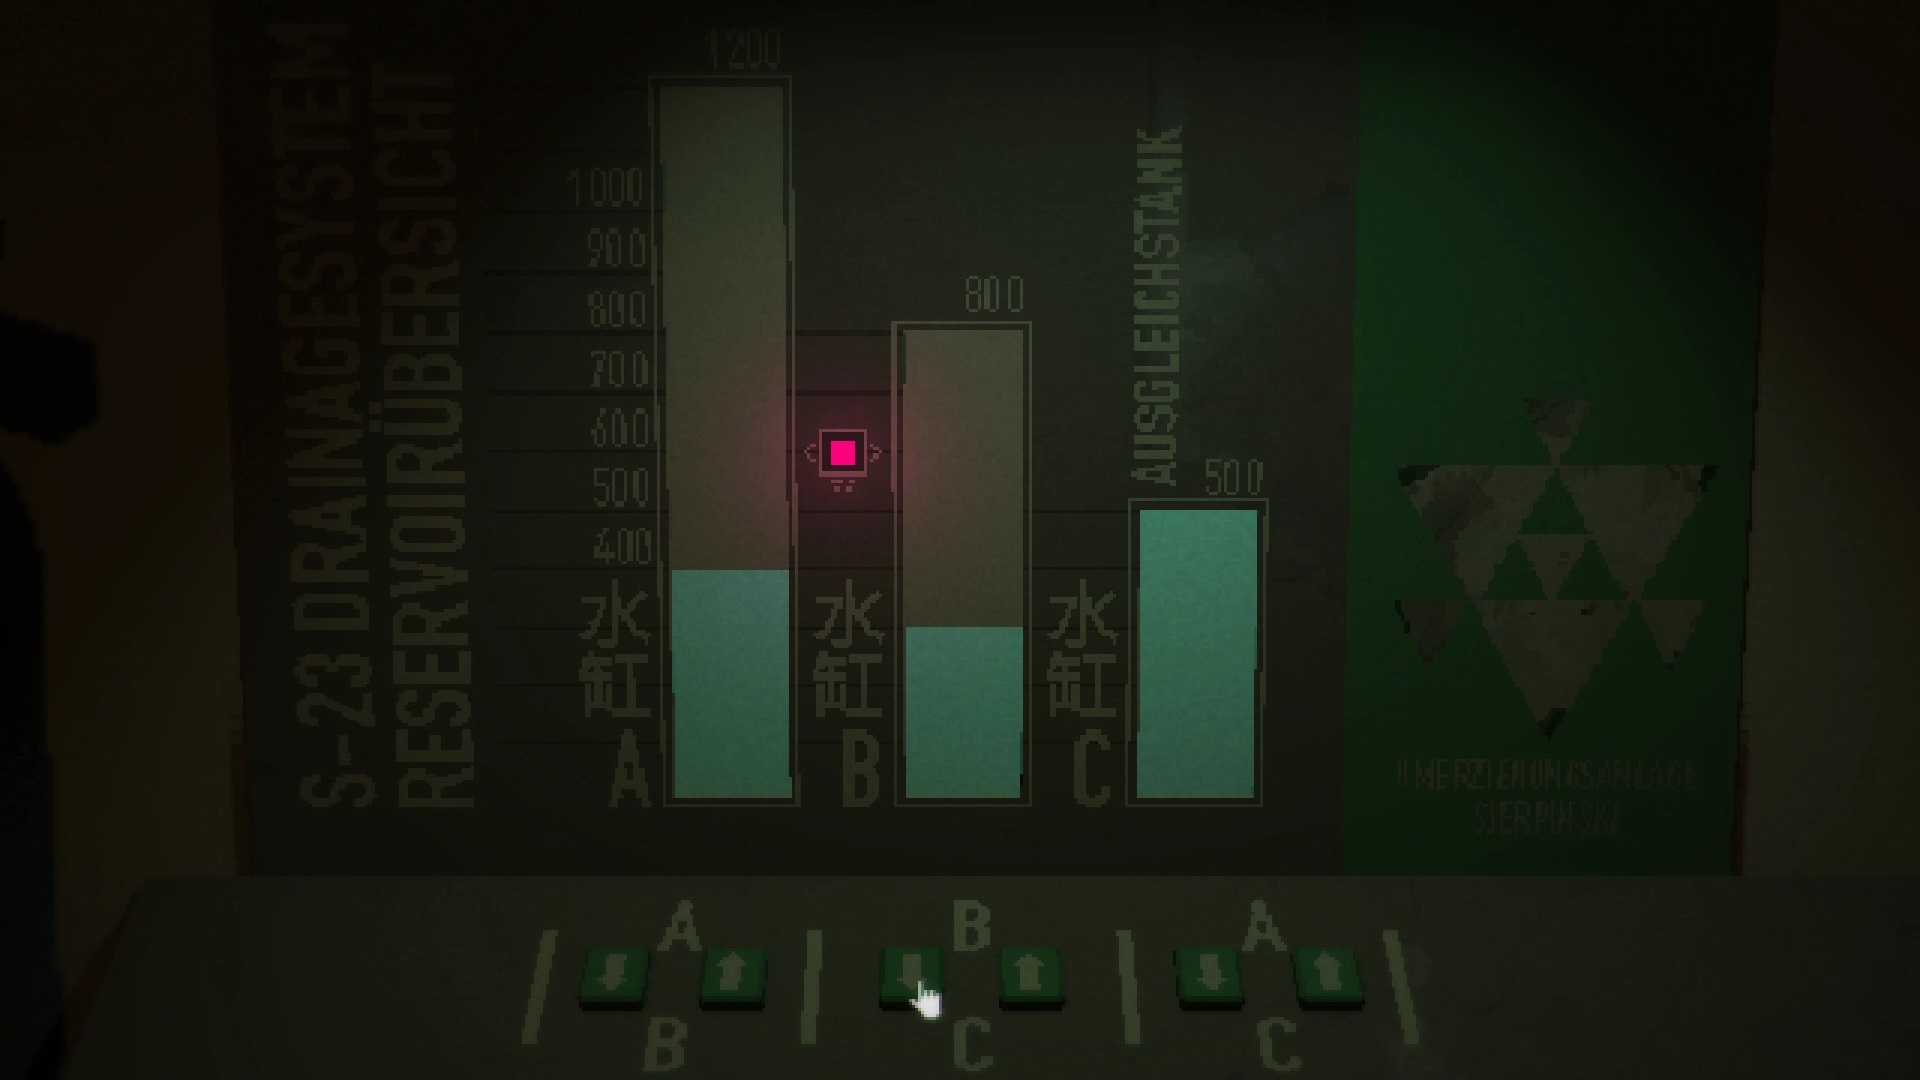
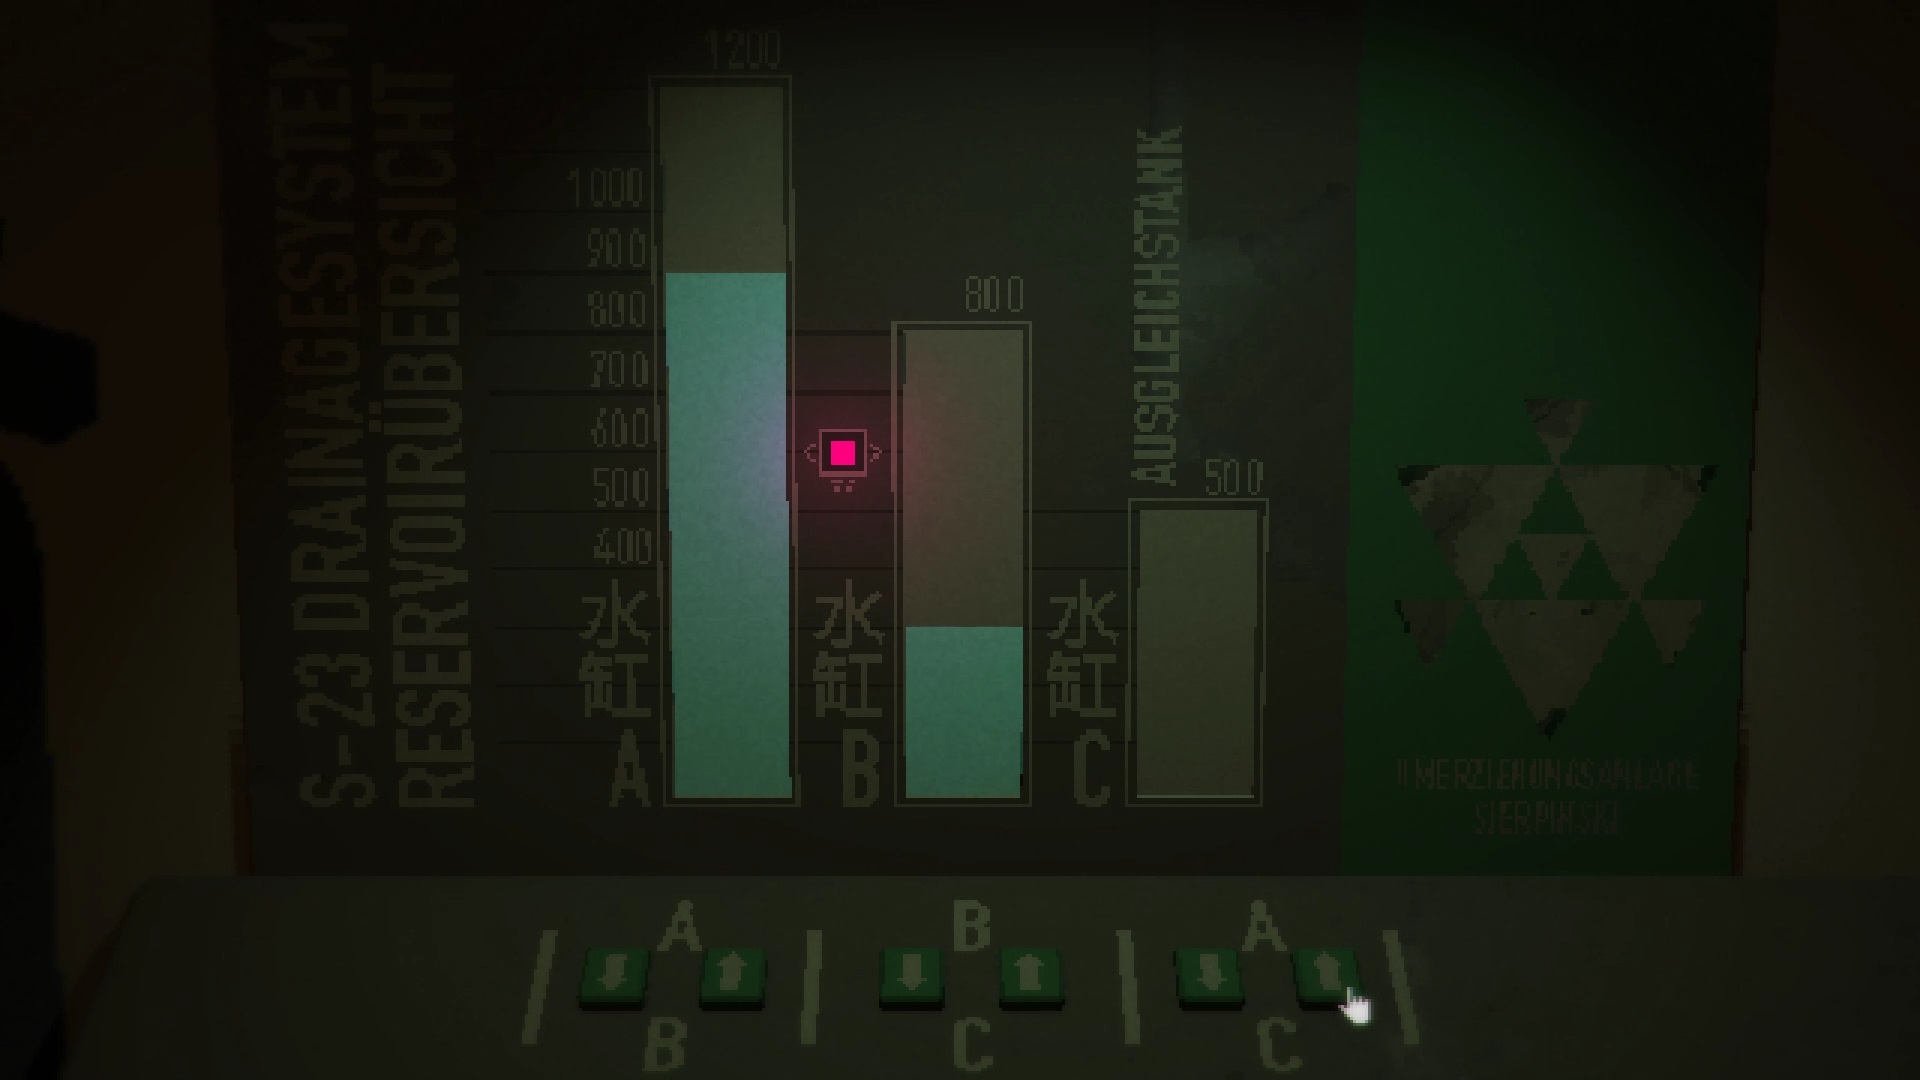
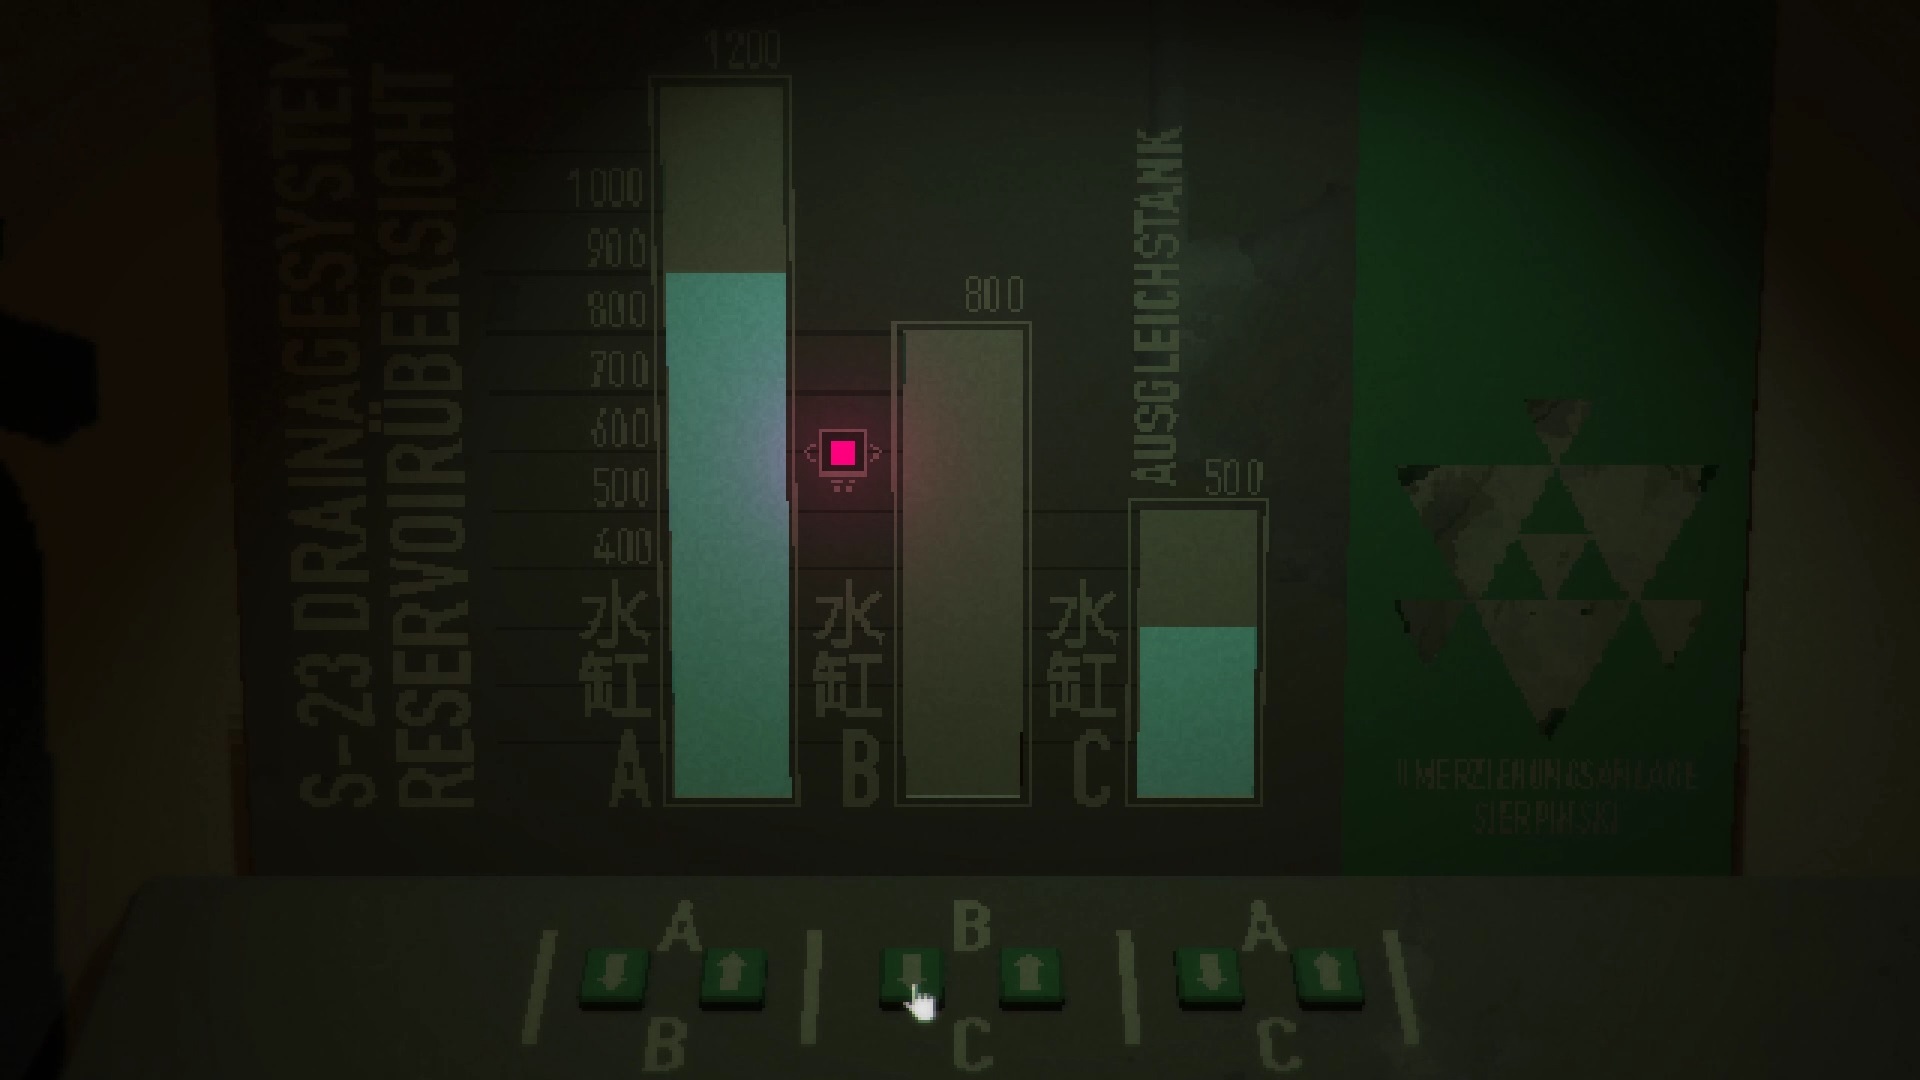
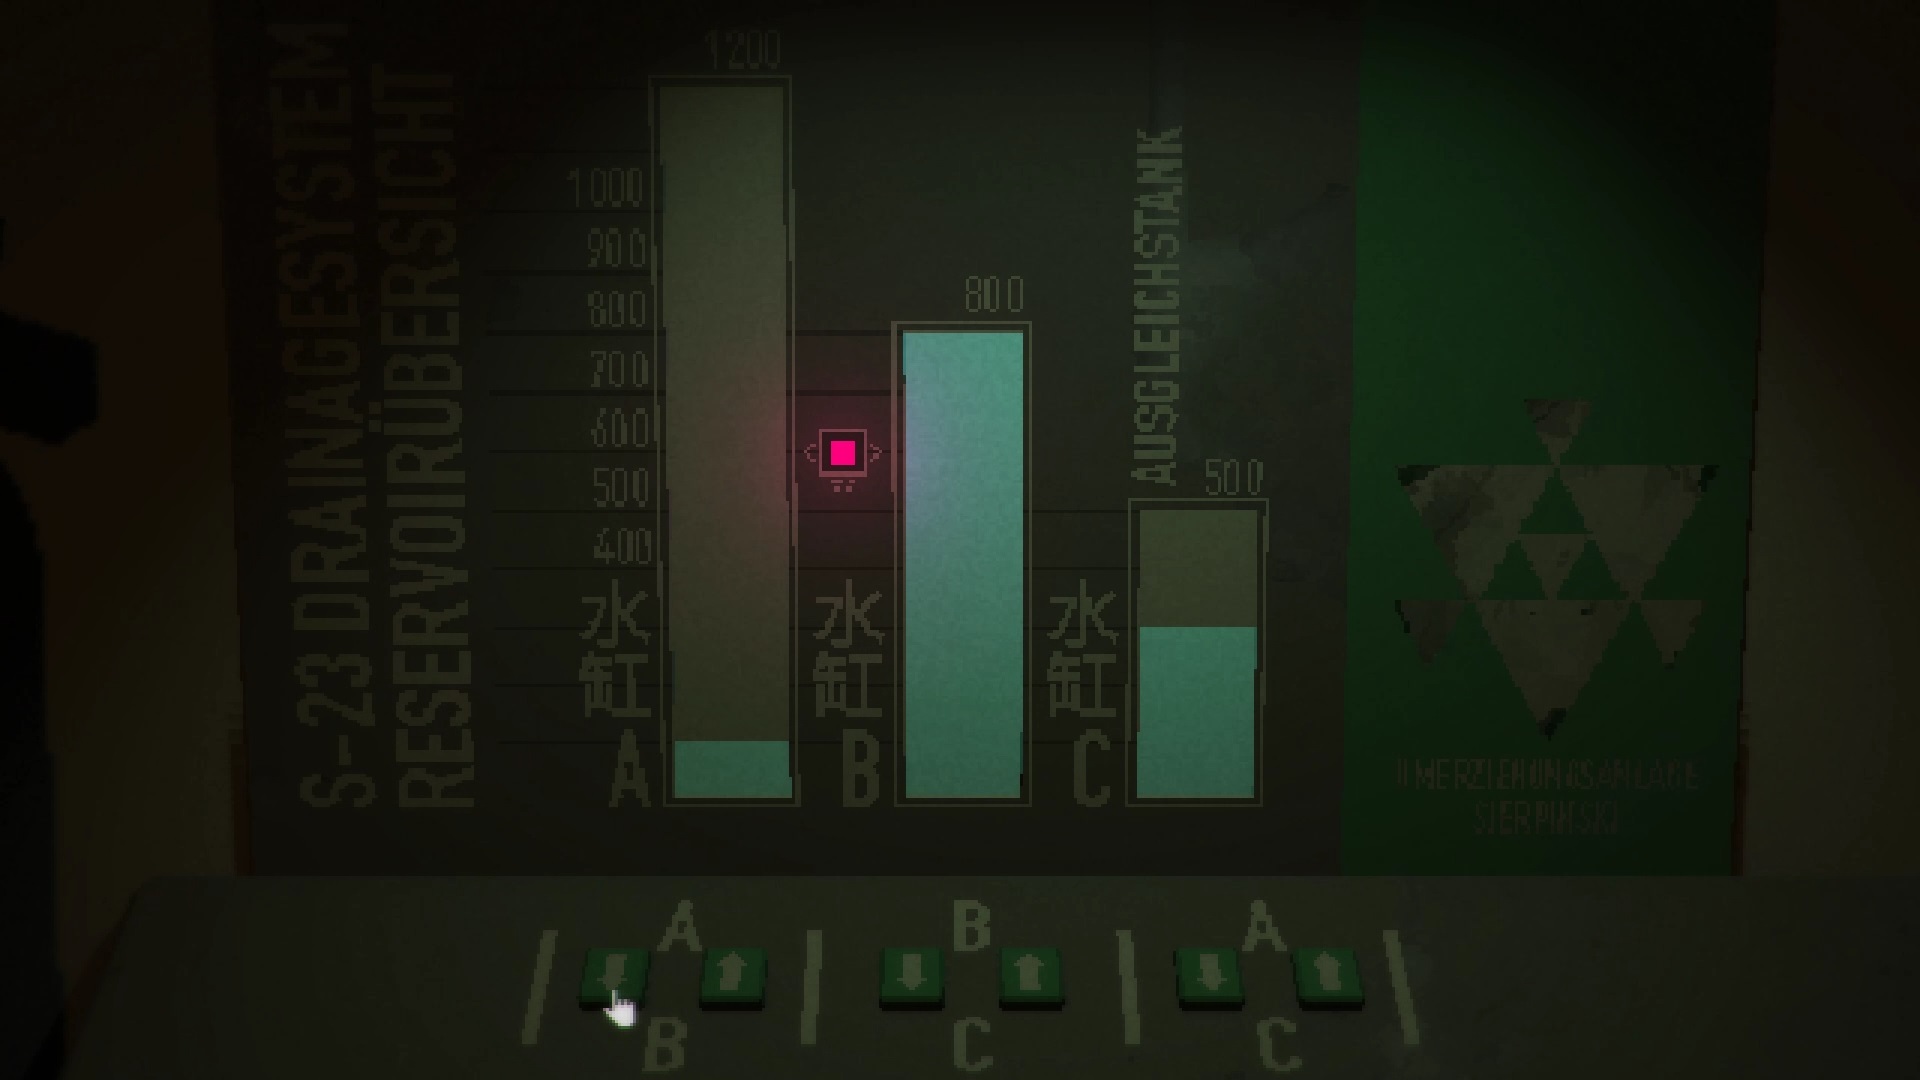
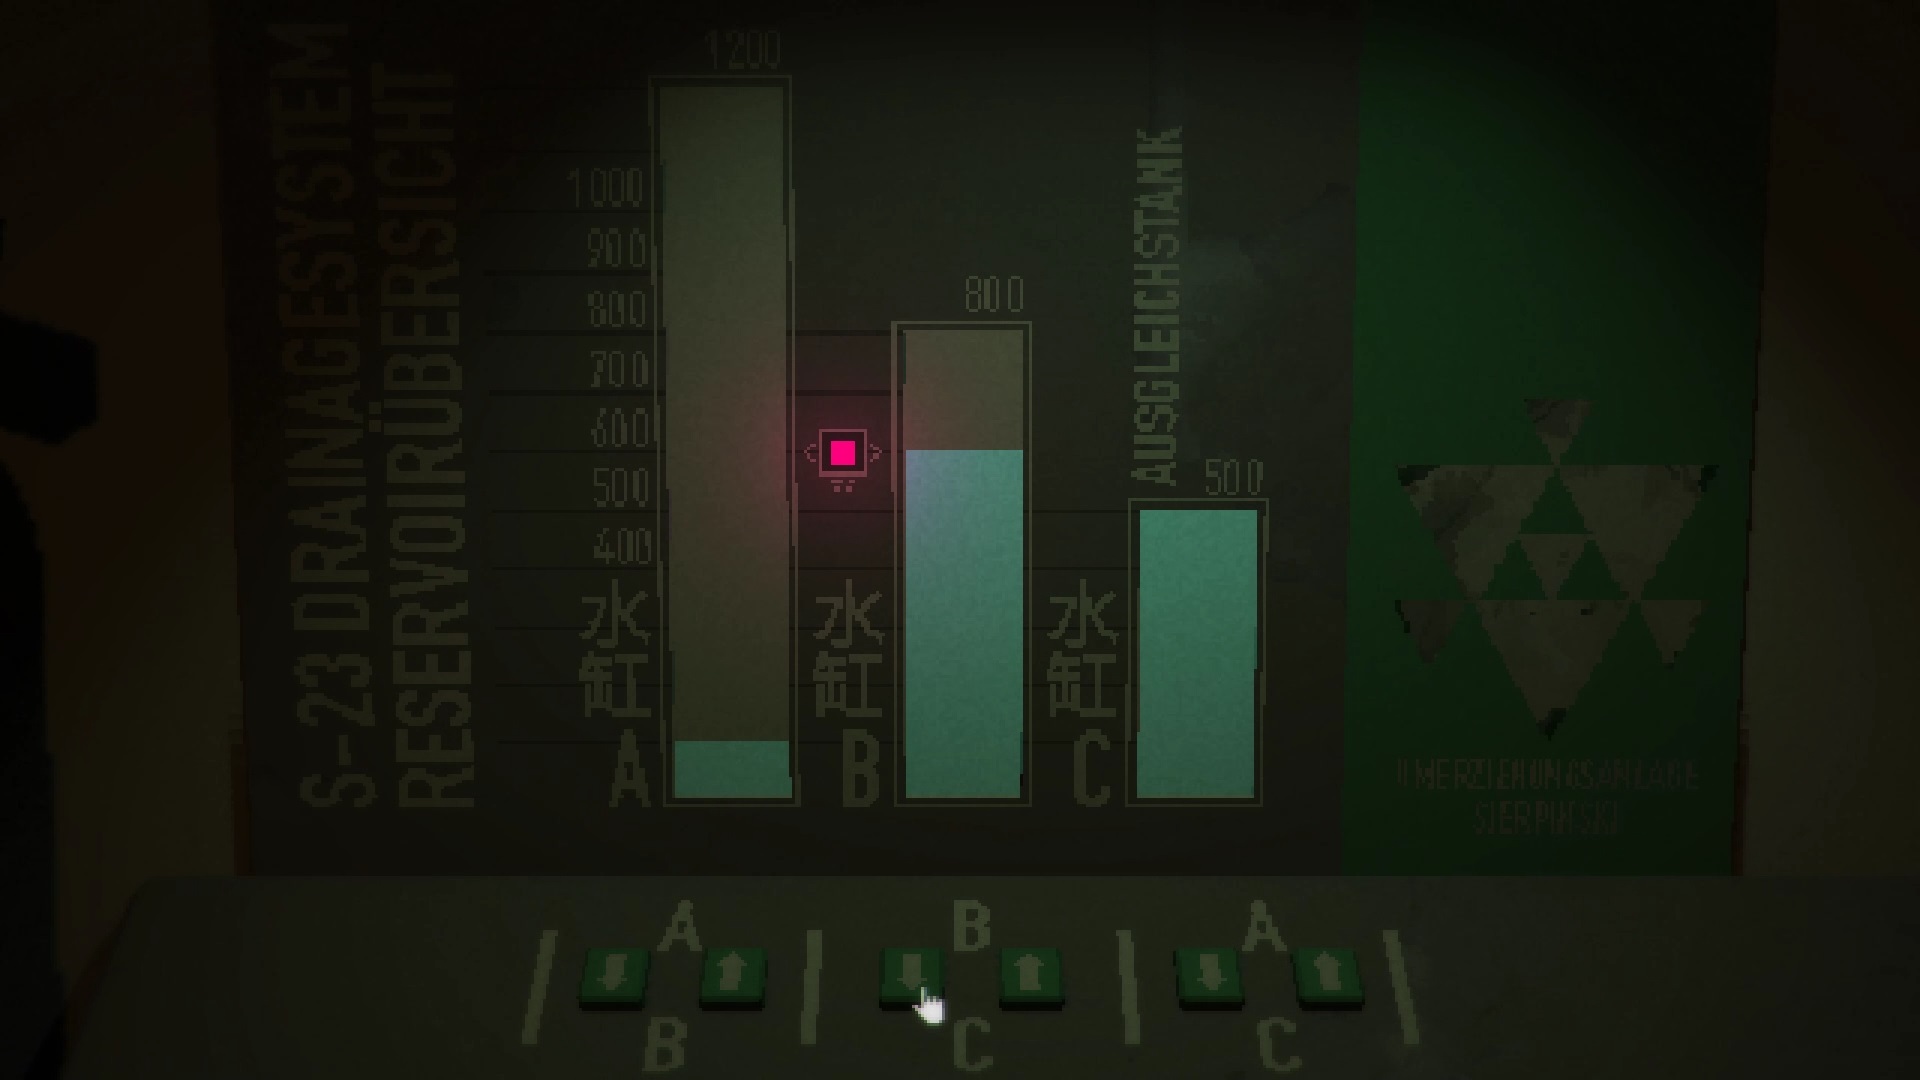
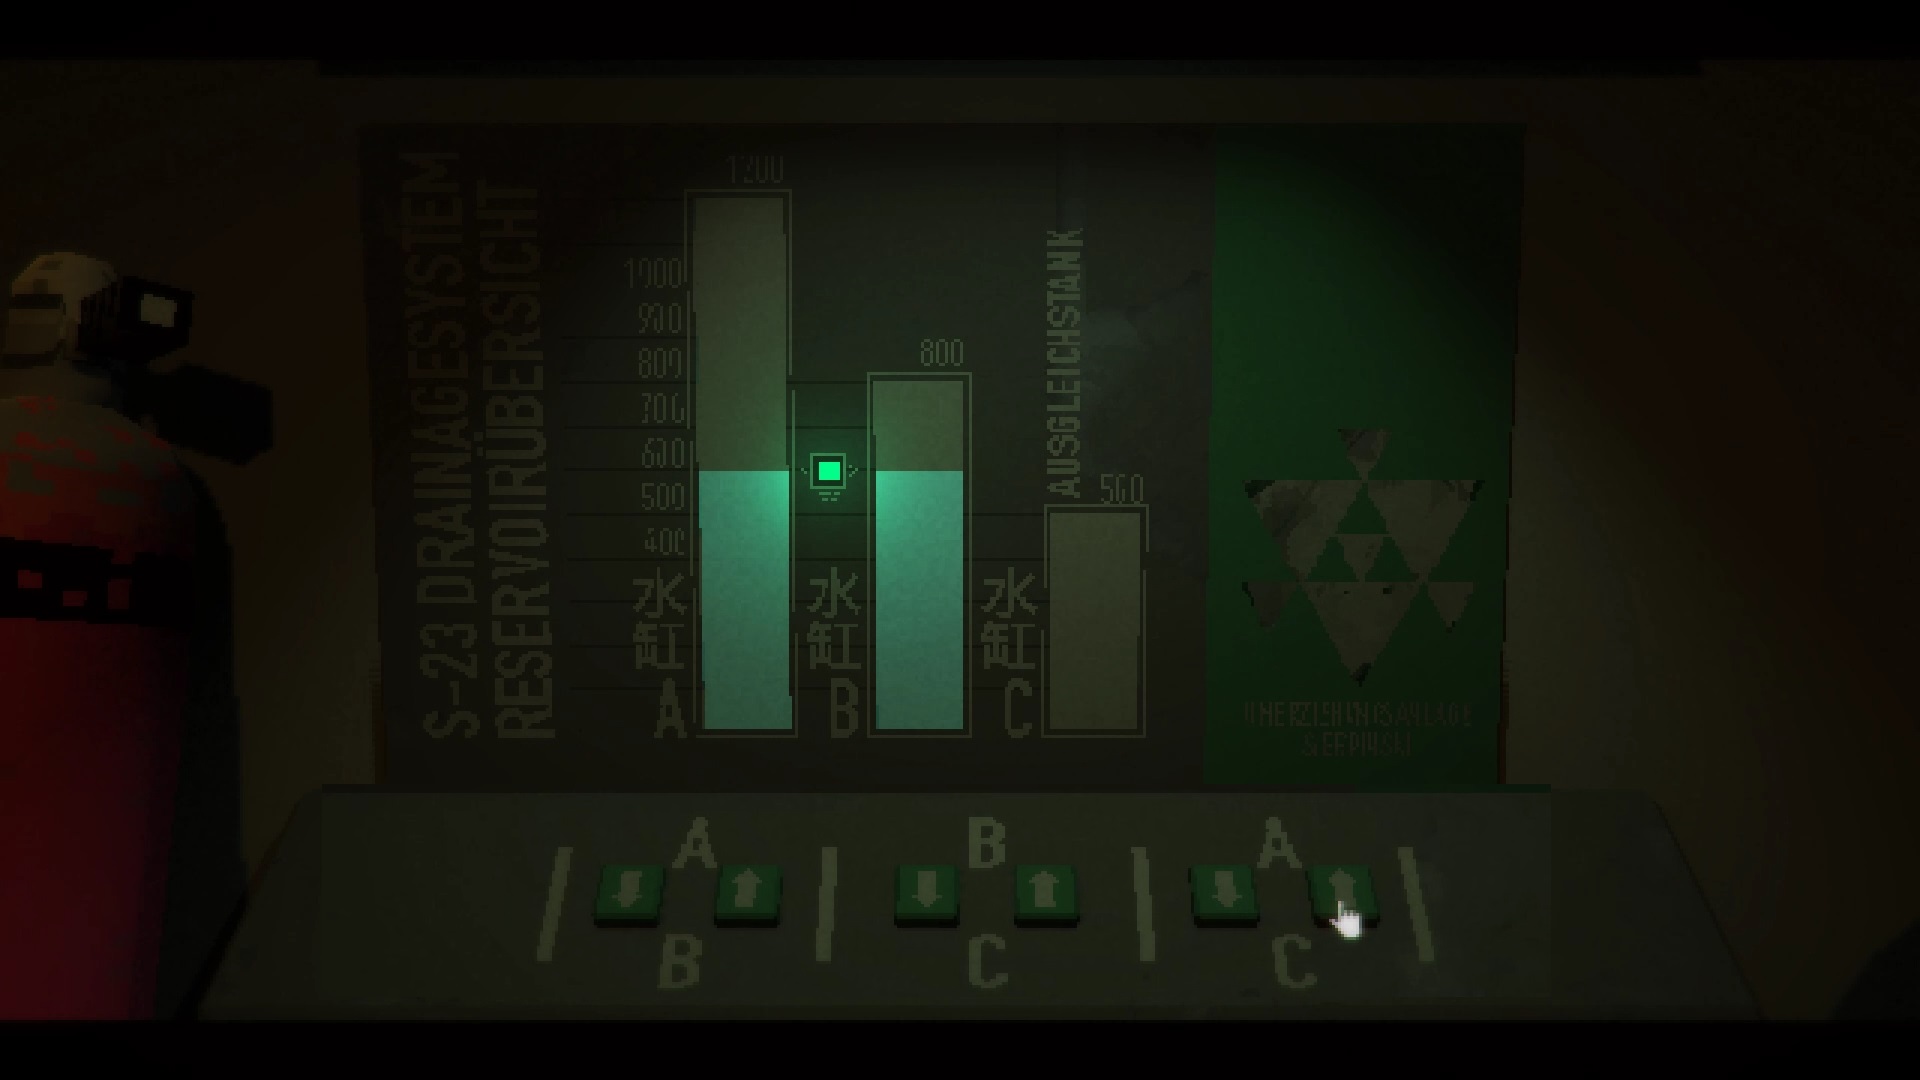
Press the A to B, B to C, C to A, B to C, A to B, B to C and finally C to A buttons to complete the puzzle. Head to the « Protektor Bathroom » to descend.
Take the water key from the flooded « Floaded Bathroom » room. Go through the « Floaded Corridor » and go into the room opposite « Floaded Office » to save. Recover the auscultation key on the desk. Go down to the bottom right of the previous corridor to retrieve a blank key in the « Floaded Store room ».
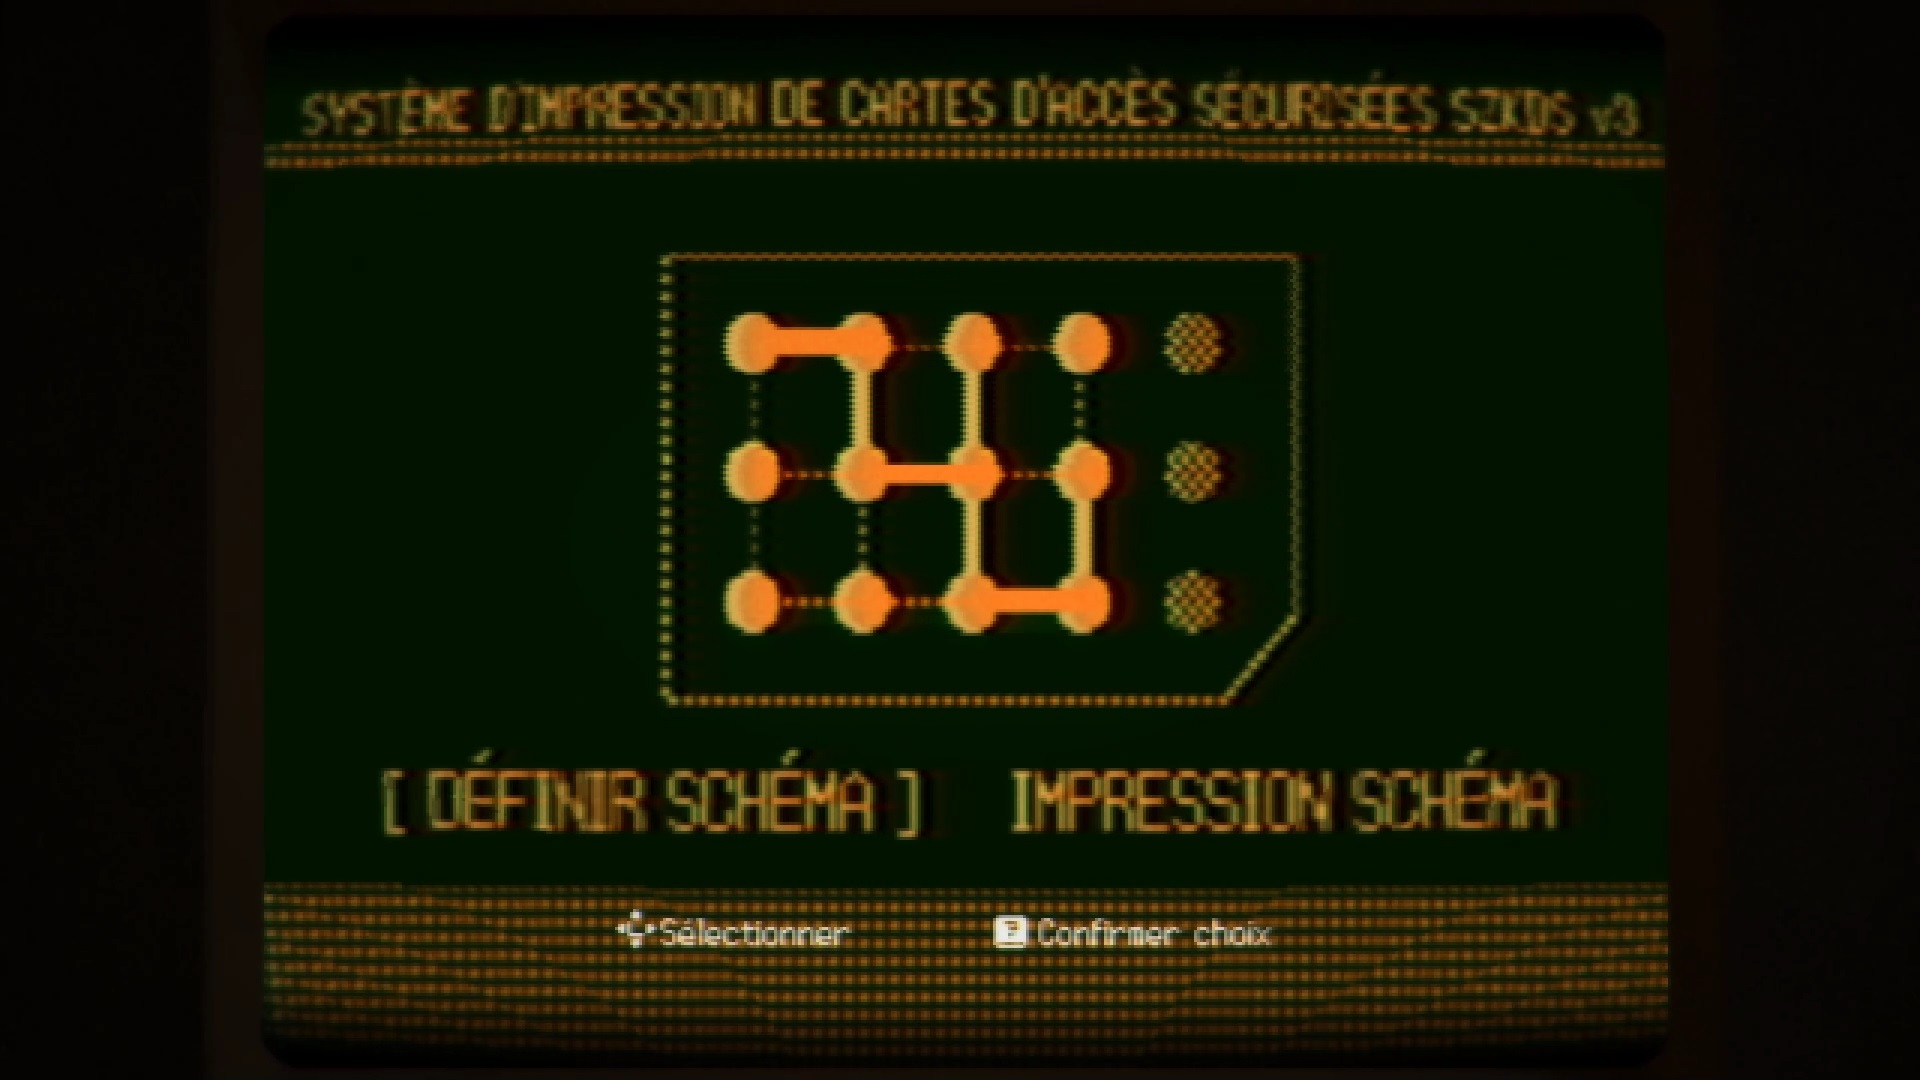
Search the « Sleeping Ward » room at the top left of the hallway to find a video tape player in the middle. Exit and go back above in the « Pipes » room at the bottom left of the corridor. Back upstairs, return to the « Reception » save room and go through the door to the north. Use the blank key with the screen. Reproduce the diagram of the ray device and print the diagram to create the earth key.

Direction le corridor nord. Utilisez la clé d’auscultation pour ouvrir la salle « Exam Room » Récupérez la douille de 10mm sur le siège. Combinez la douille avec la poignée de clé à douille. Redescendez dans la zone inondée et plus particulièrement dans le « Sleeping Ward ». Examinez la porte en haut à gauche pour trouver une grille de ventilation. Utilisez la clé à douille pour l’ouvrir et prendre la clé de l’air.
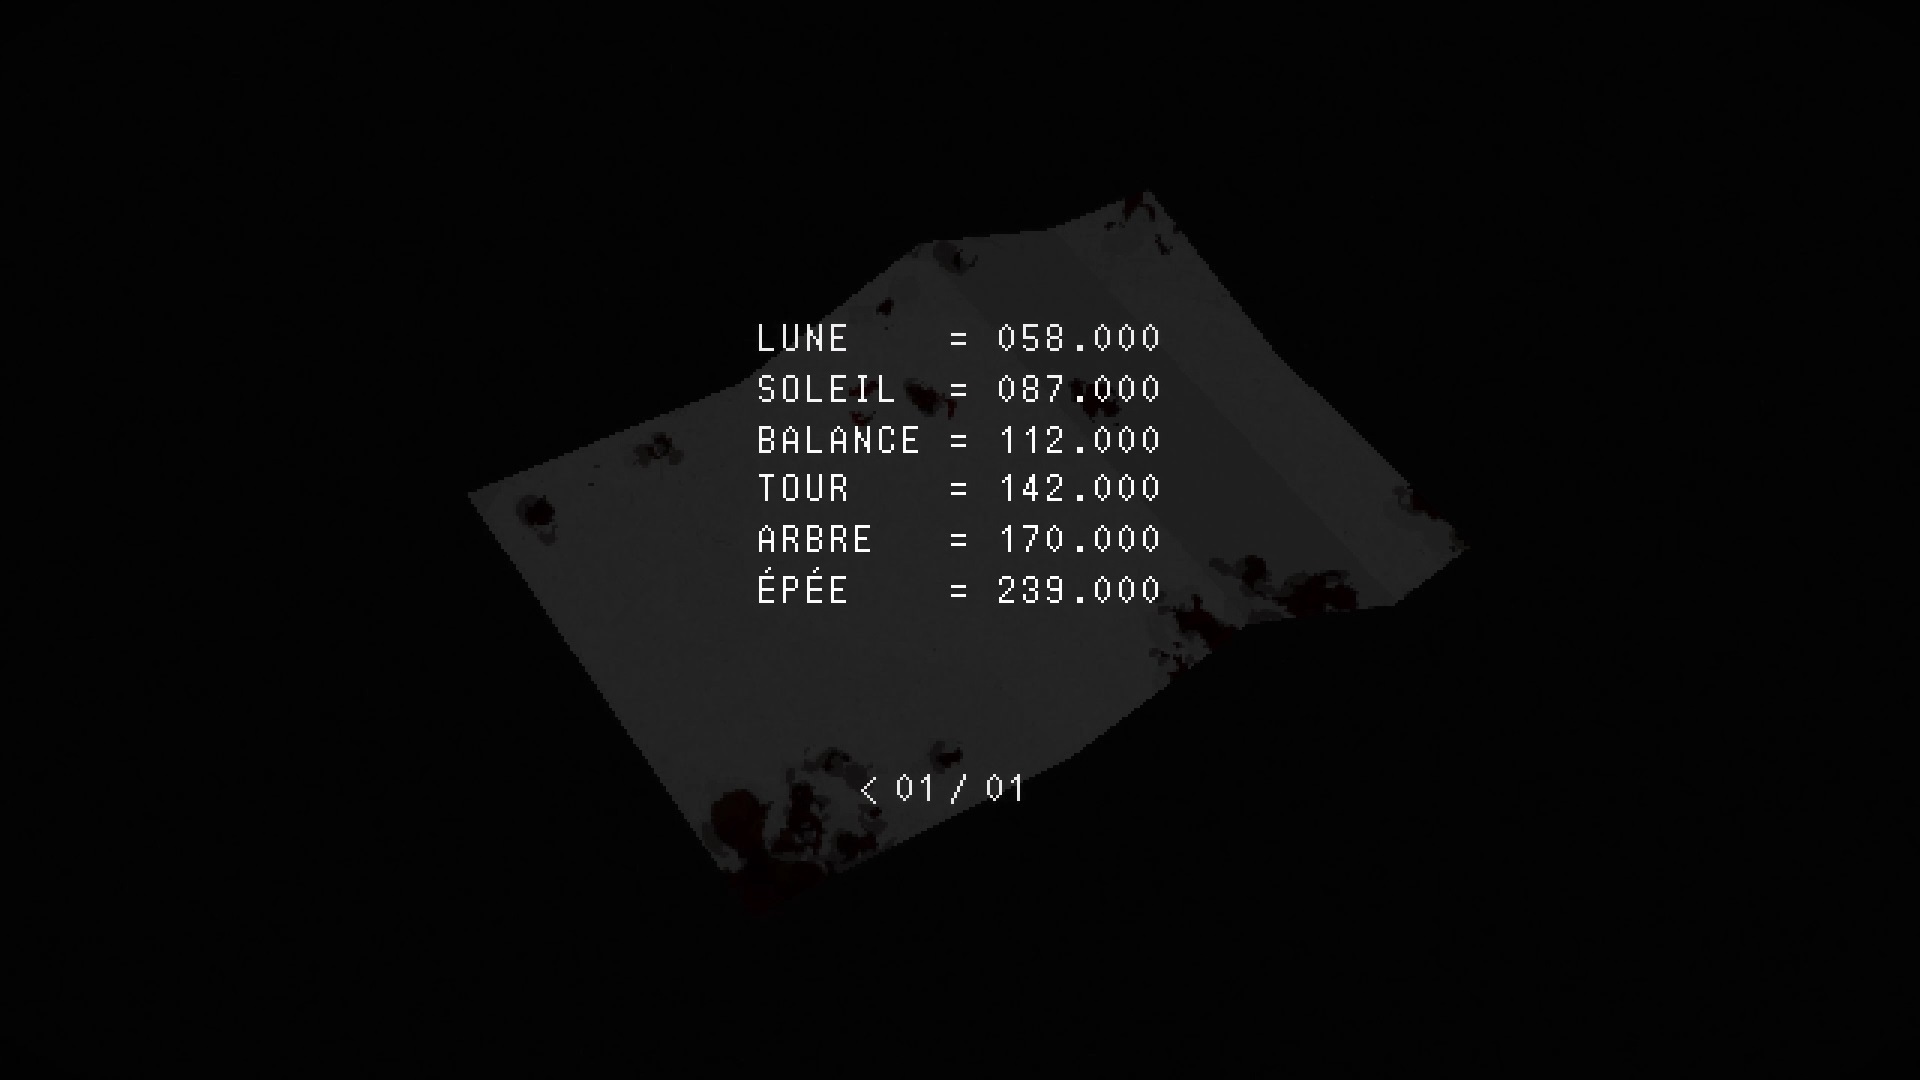
Go back upstairs and get your hands on the cassette player. Go to the East Corridor and open the door at the bottom right to enter the South Corridor. Open the first to find a screen. Use the cassette player to play a video. In the souvenir, take the golden key on the seat. Go through the third door in the east corridor to find a safe. Re-read the Sword note found in the « Waiting Room ».
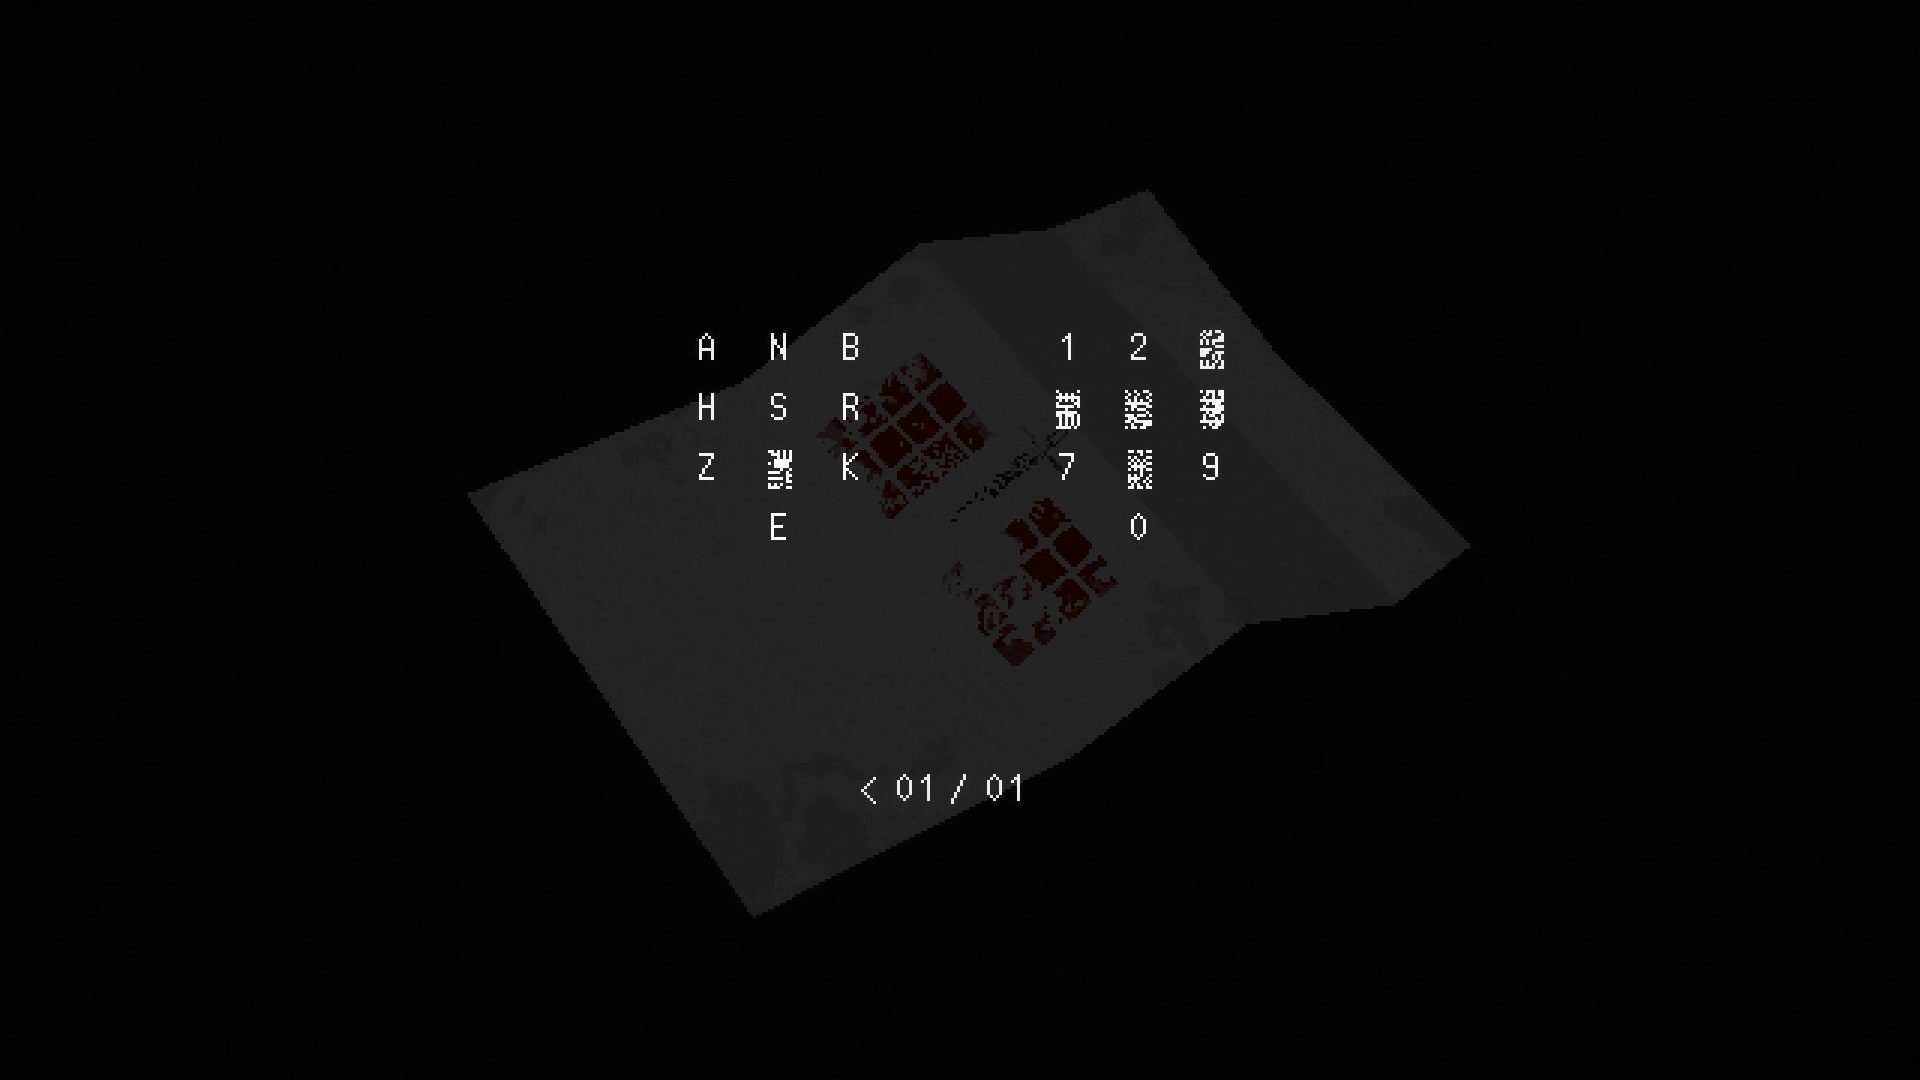
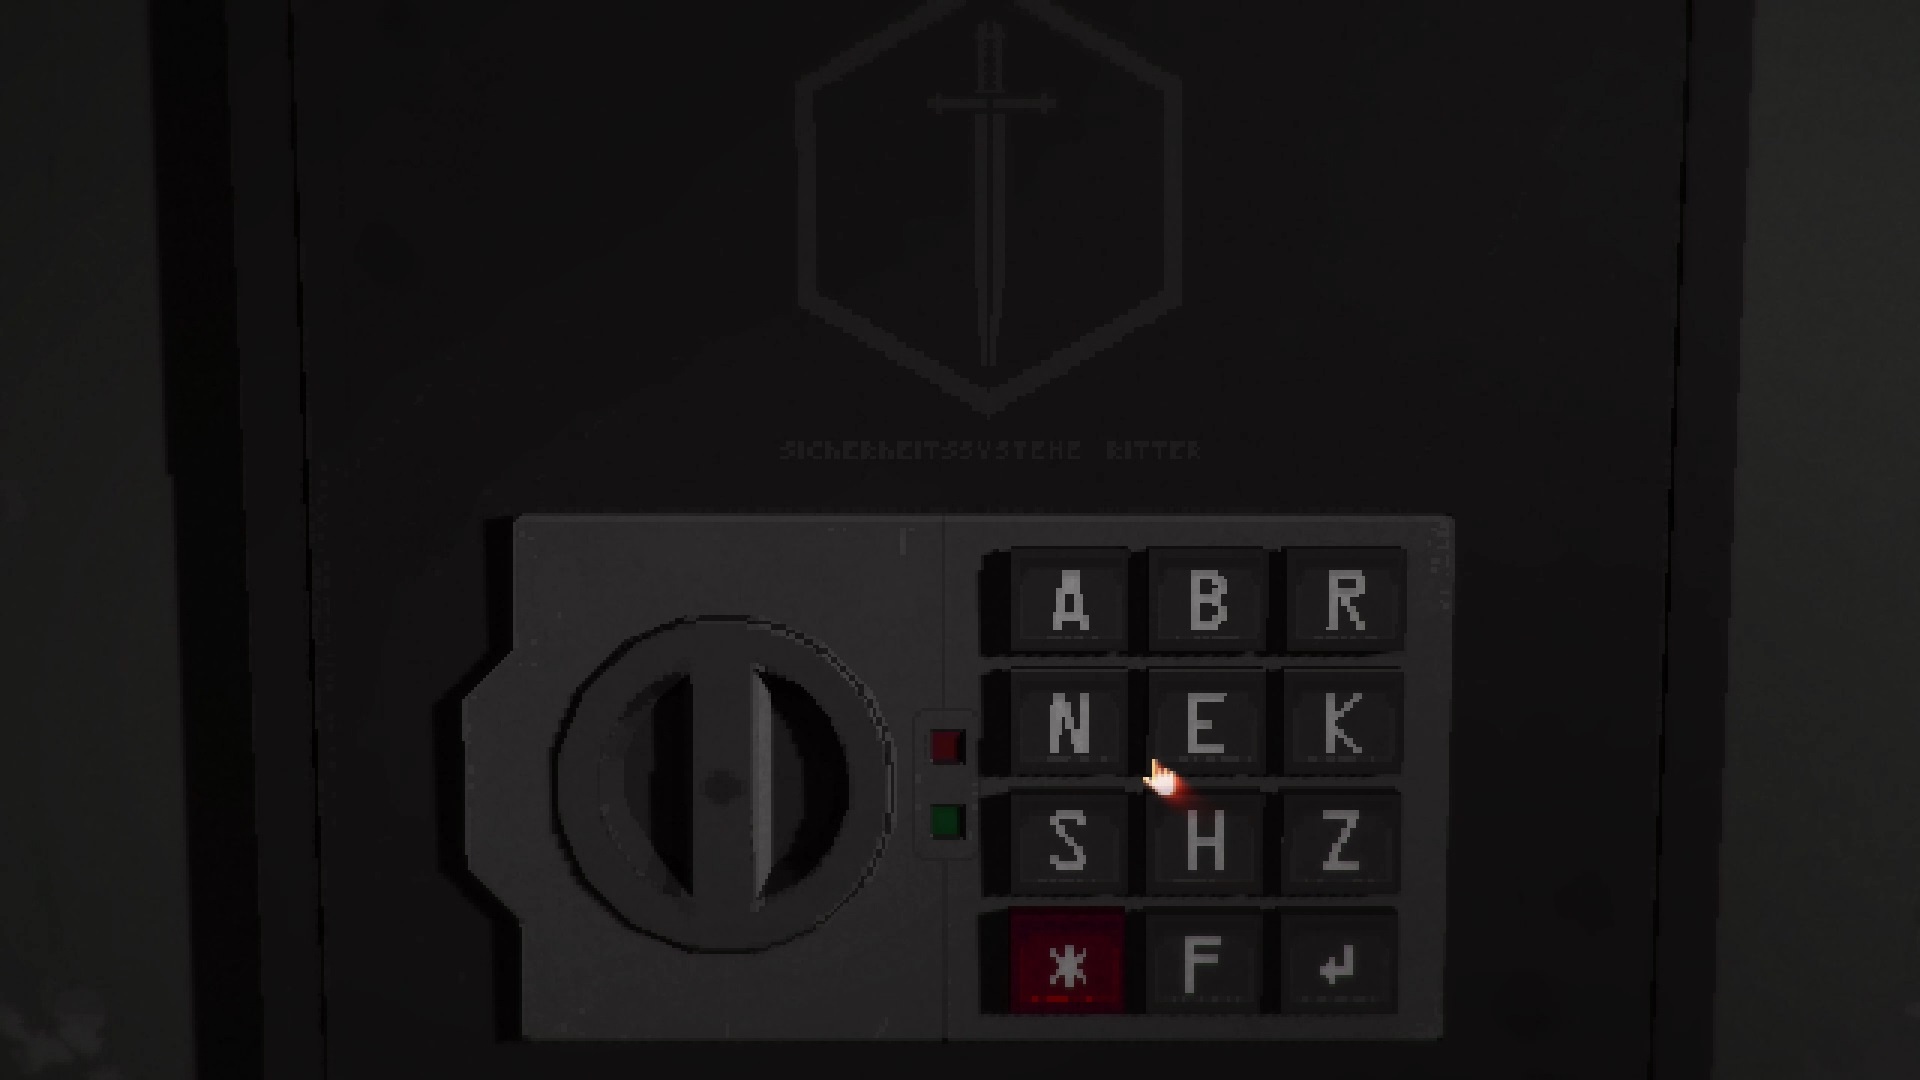
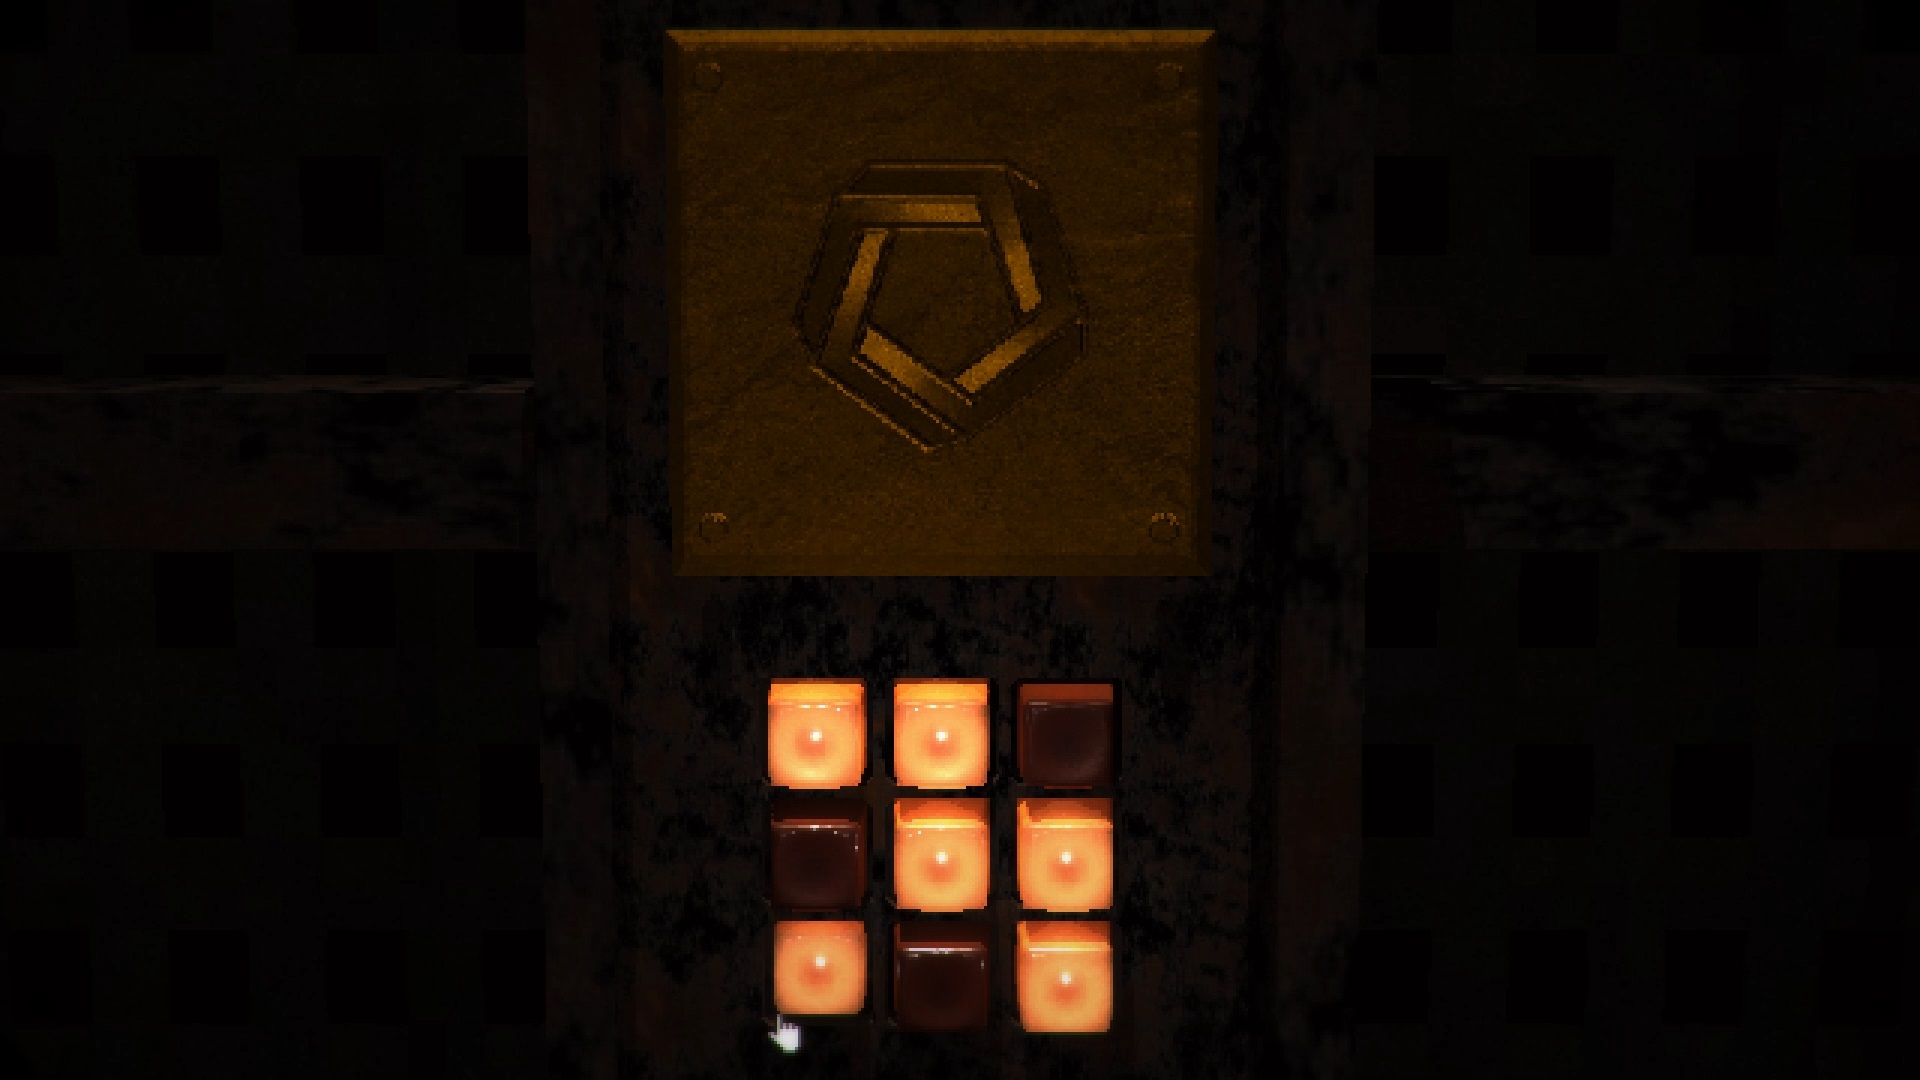
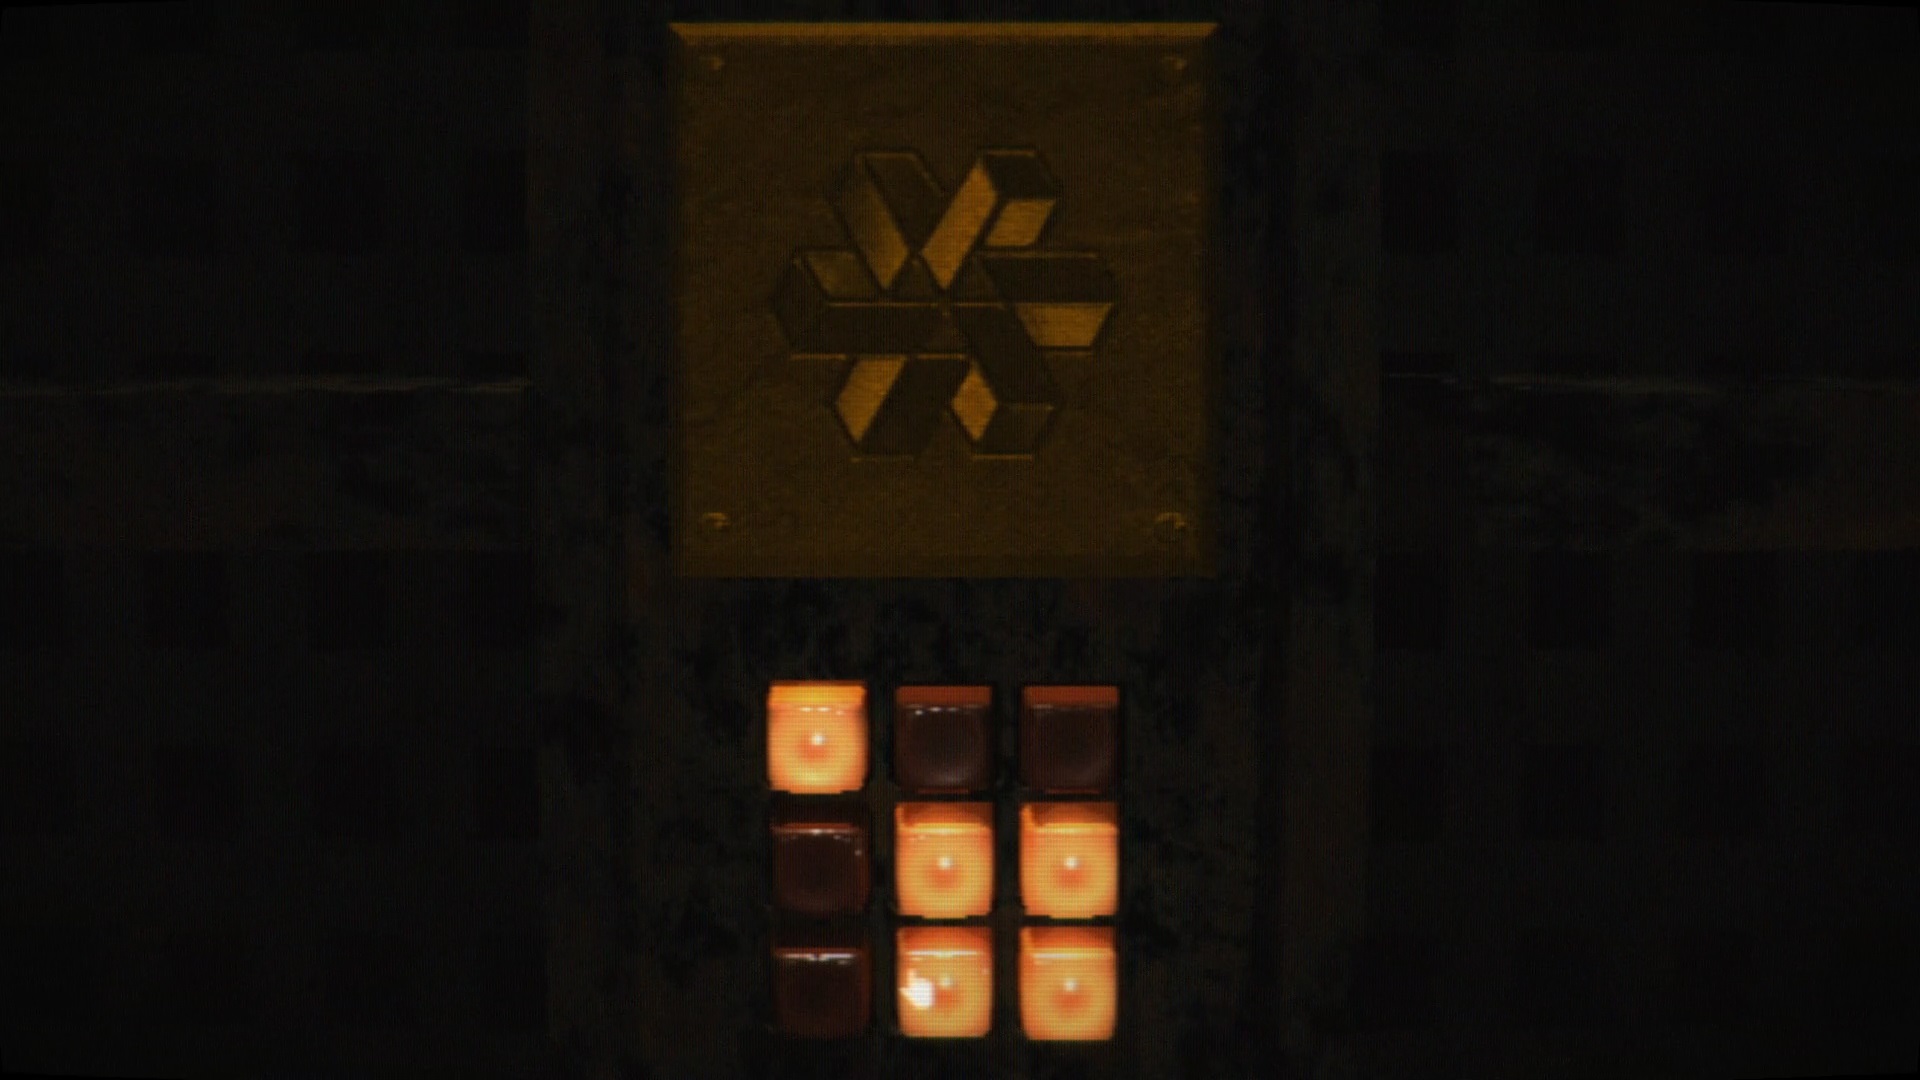
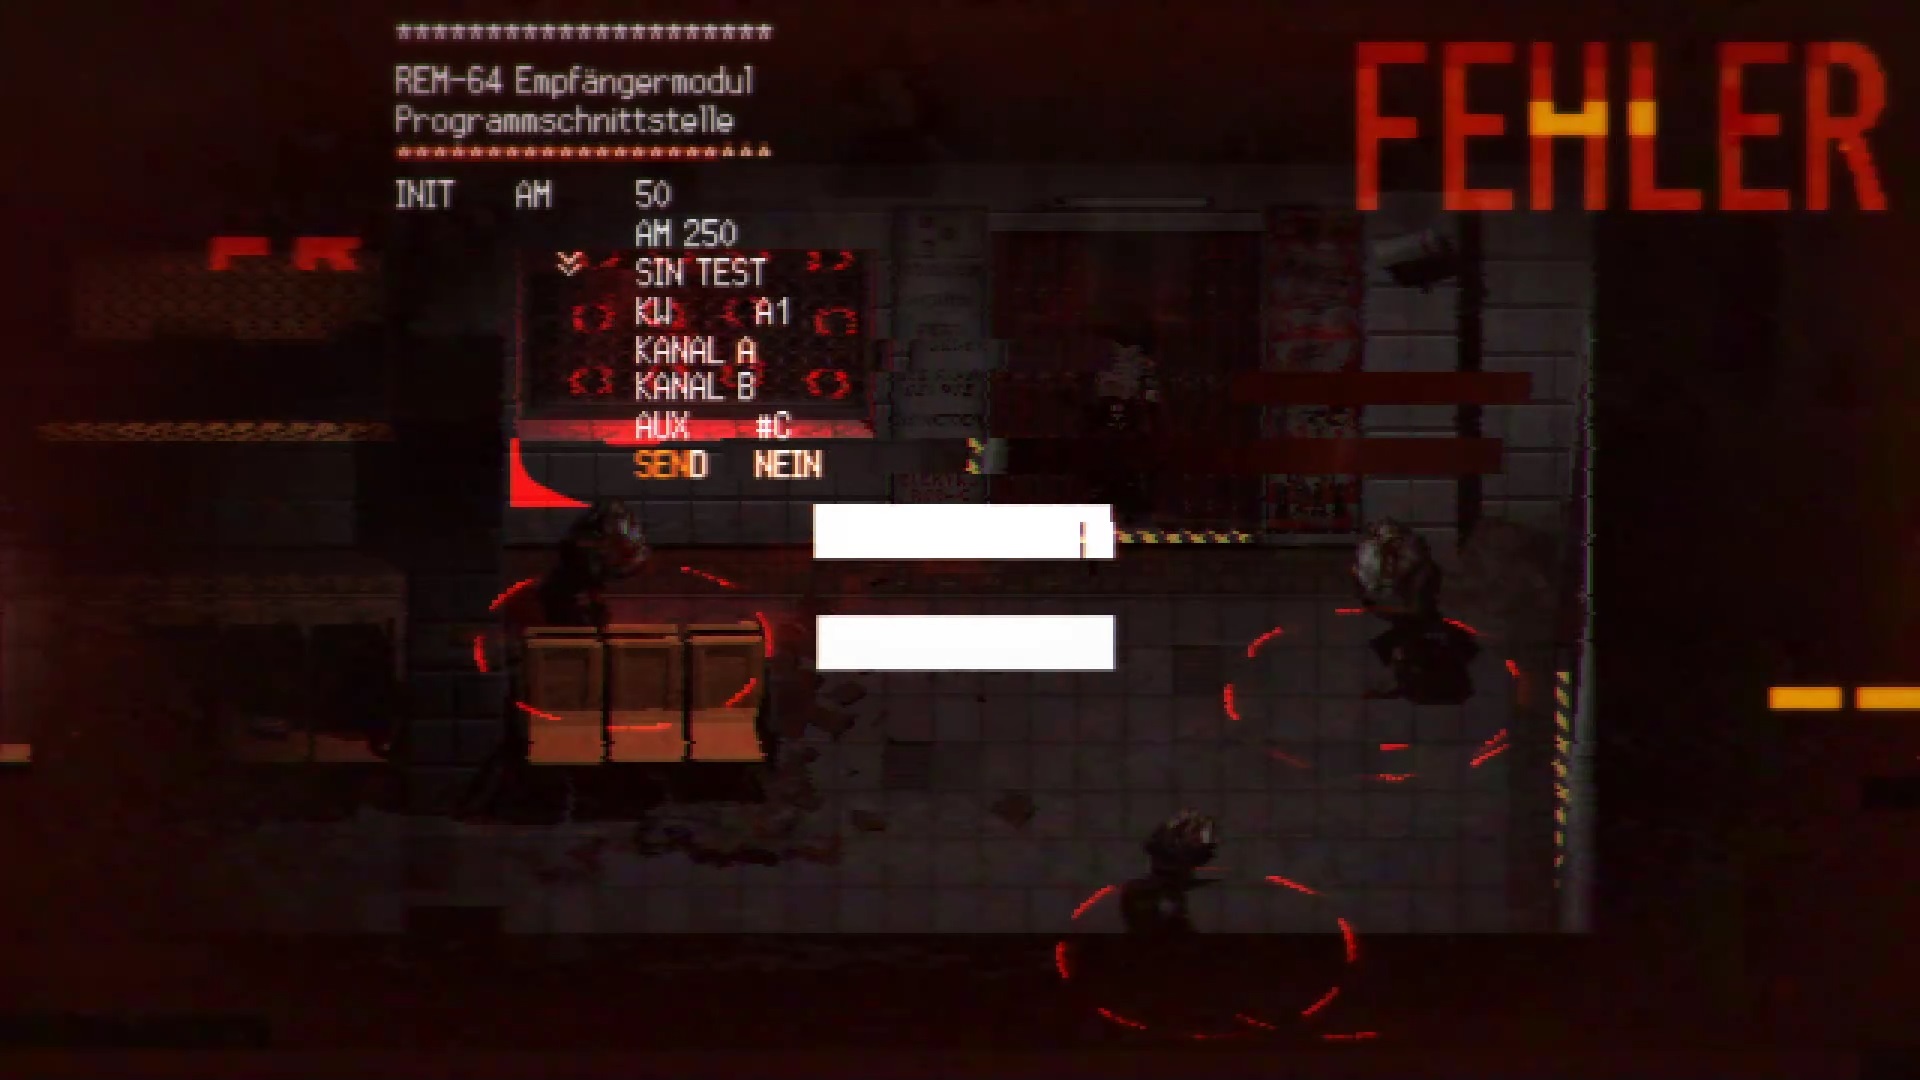
To open the safe, tune into the sword frequency, i.e. 239,000. A code is transmitted to you: 27289. By associating the transmission with the Sword note you find the code NZN?K. You are missing a letter. Looking closer at the chest pad, you realize that the missing letter is H. Use the code NZNHK to open the chest. An incinerator module and key are inside.
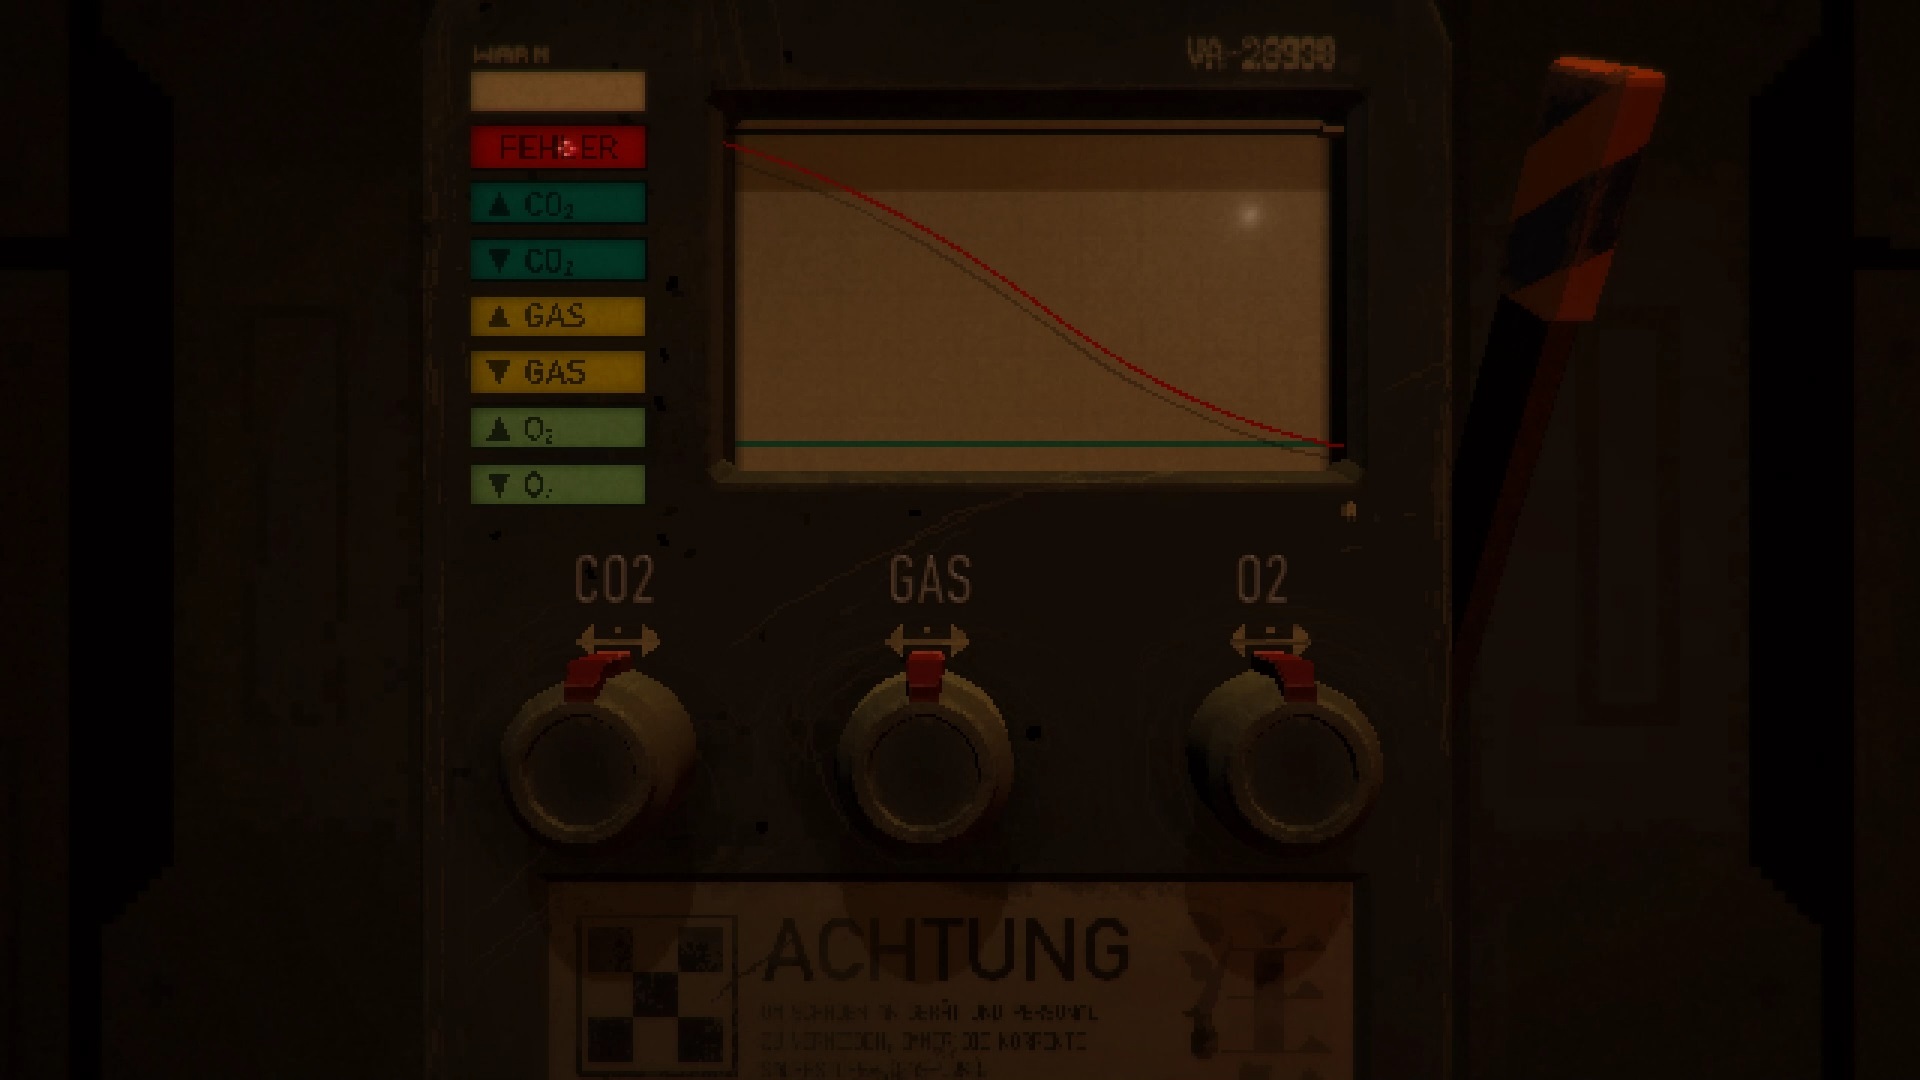
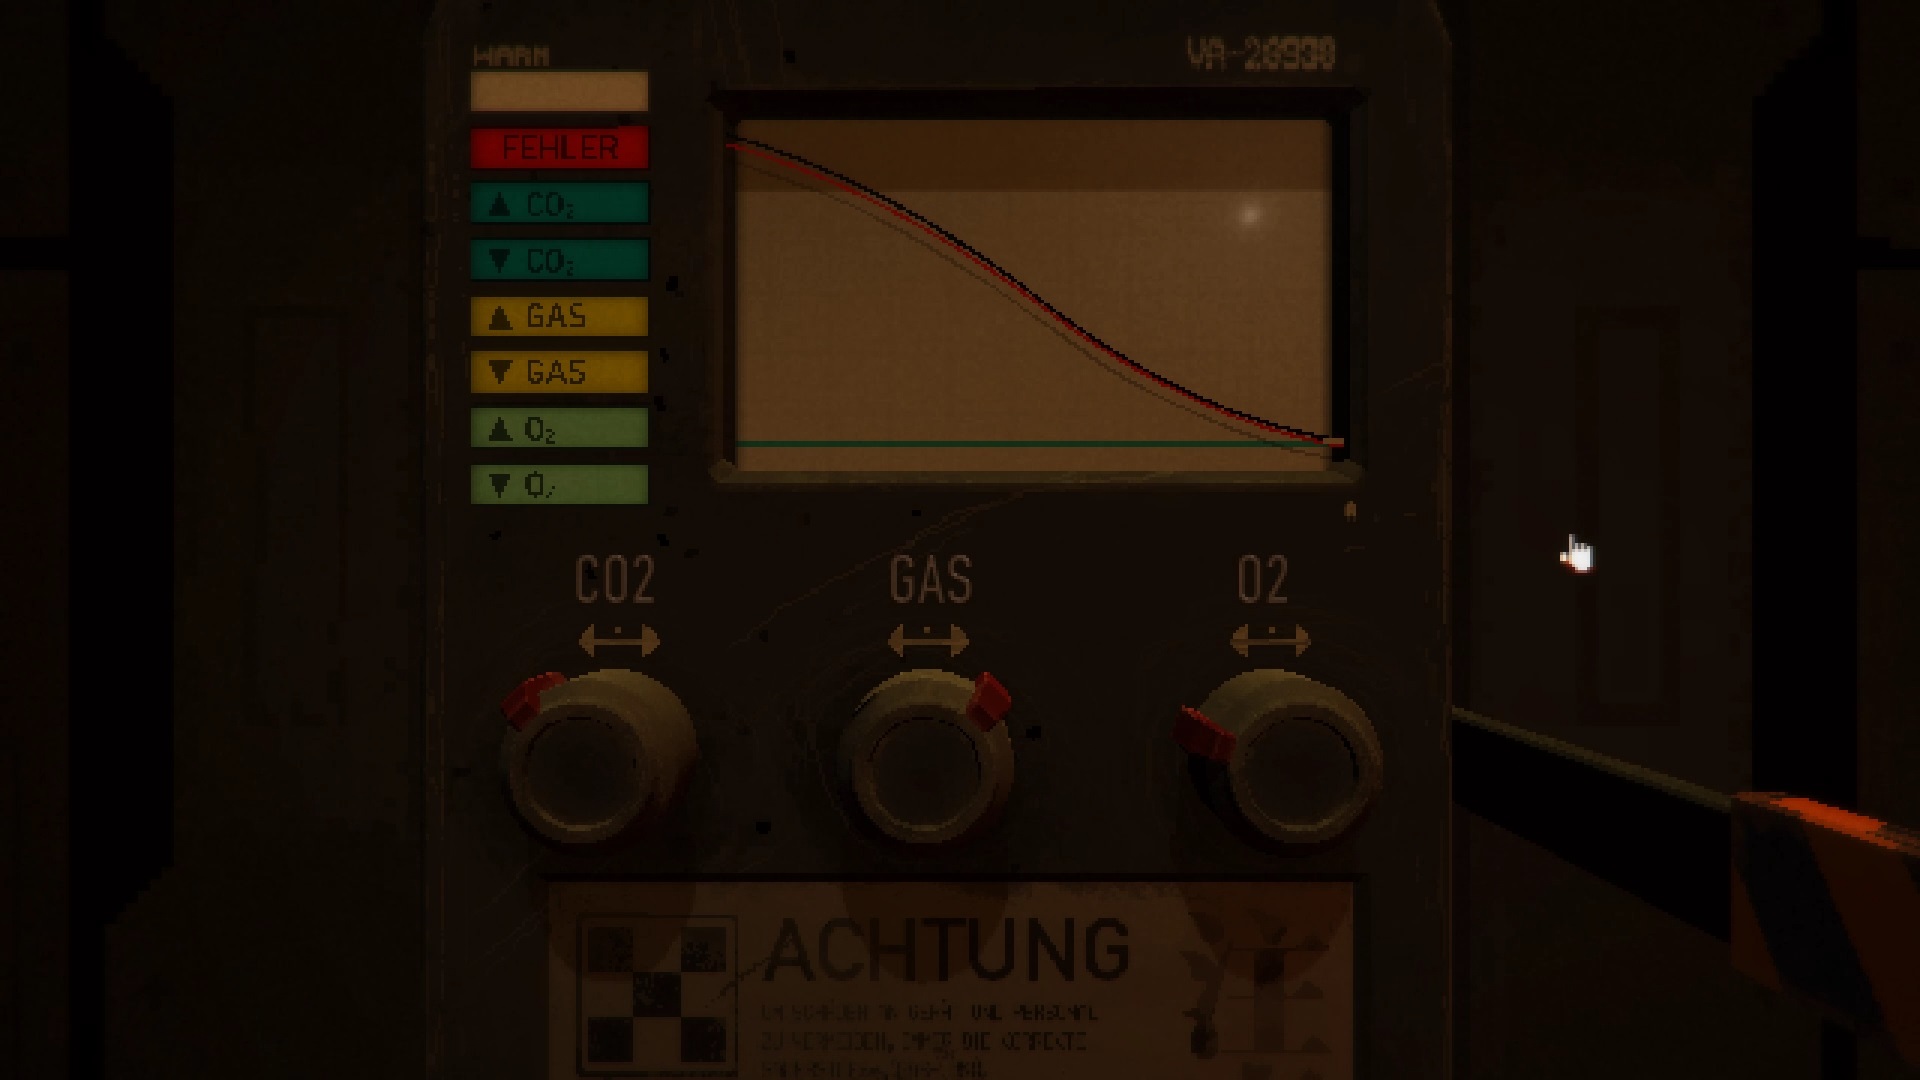
Go to the third door to the north in the North Corridor to enter the morgue. Use the incinerator key with the back door to open it. On the other side, interact with the incinerator to trigger a puzzle. The goal is quite simple. The colored indications on the left show you whether to raise or lower one of the three elements. Blue corresponds to CO2, yellow to Gas and worm to O2. If the top button appears, climb up (turn left), if the bottom button appears, descend (turn right) Try several times to gauge and find the right curve.
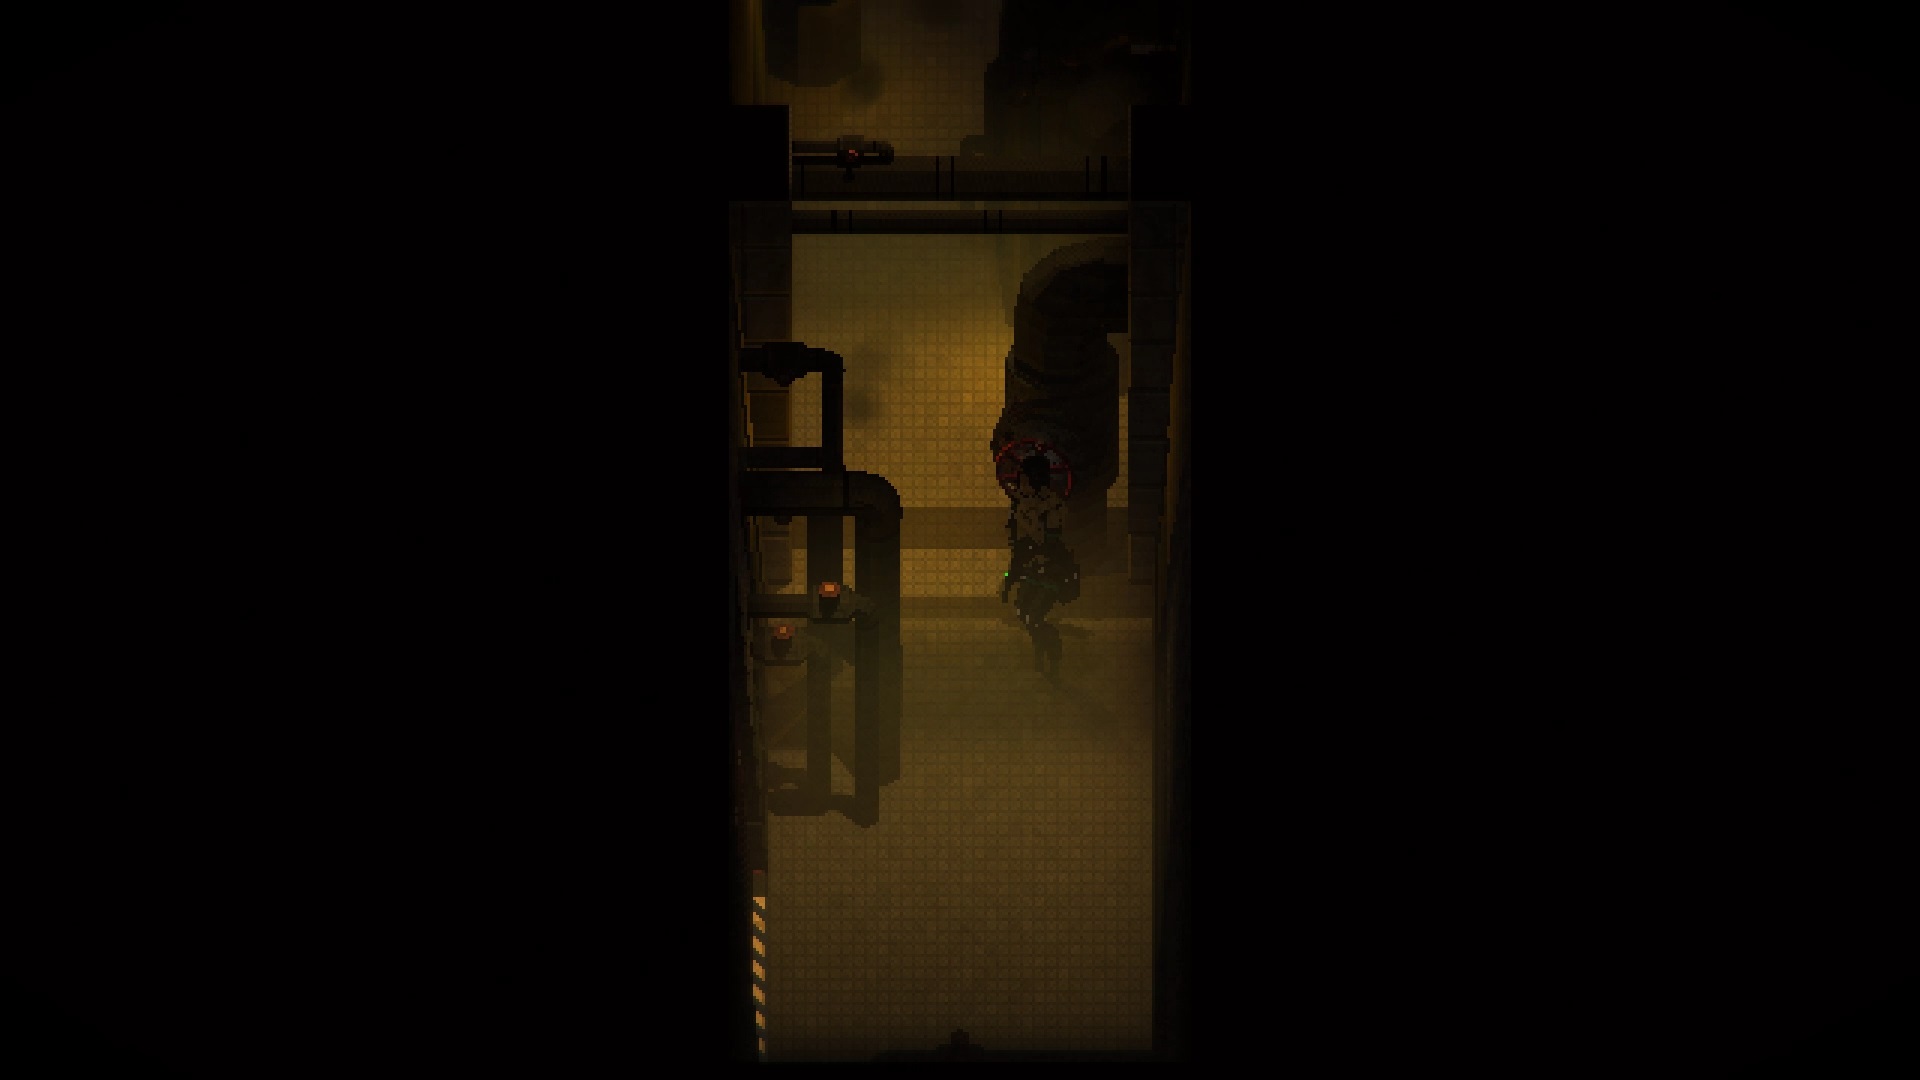
Collect the fire key from the incinerator and return to the « Waiting Room ». Insert all the keys on the door to unlock it. Go inside, save. Equip stunners, shotgun, pistol before going down. When you’re ready, drop down the hole.
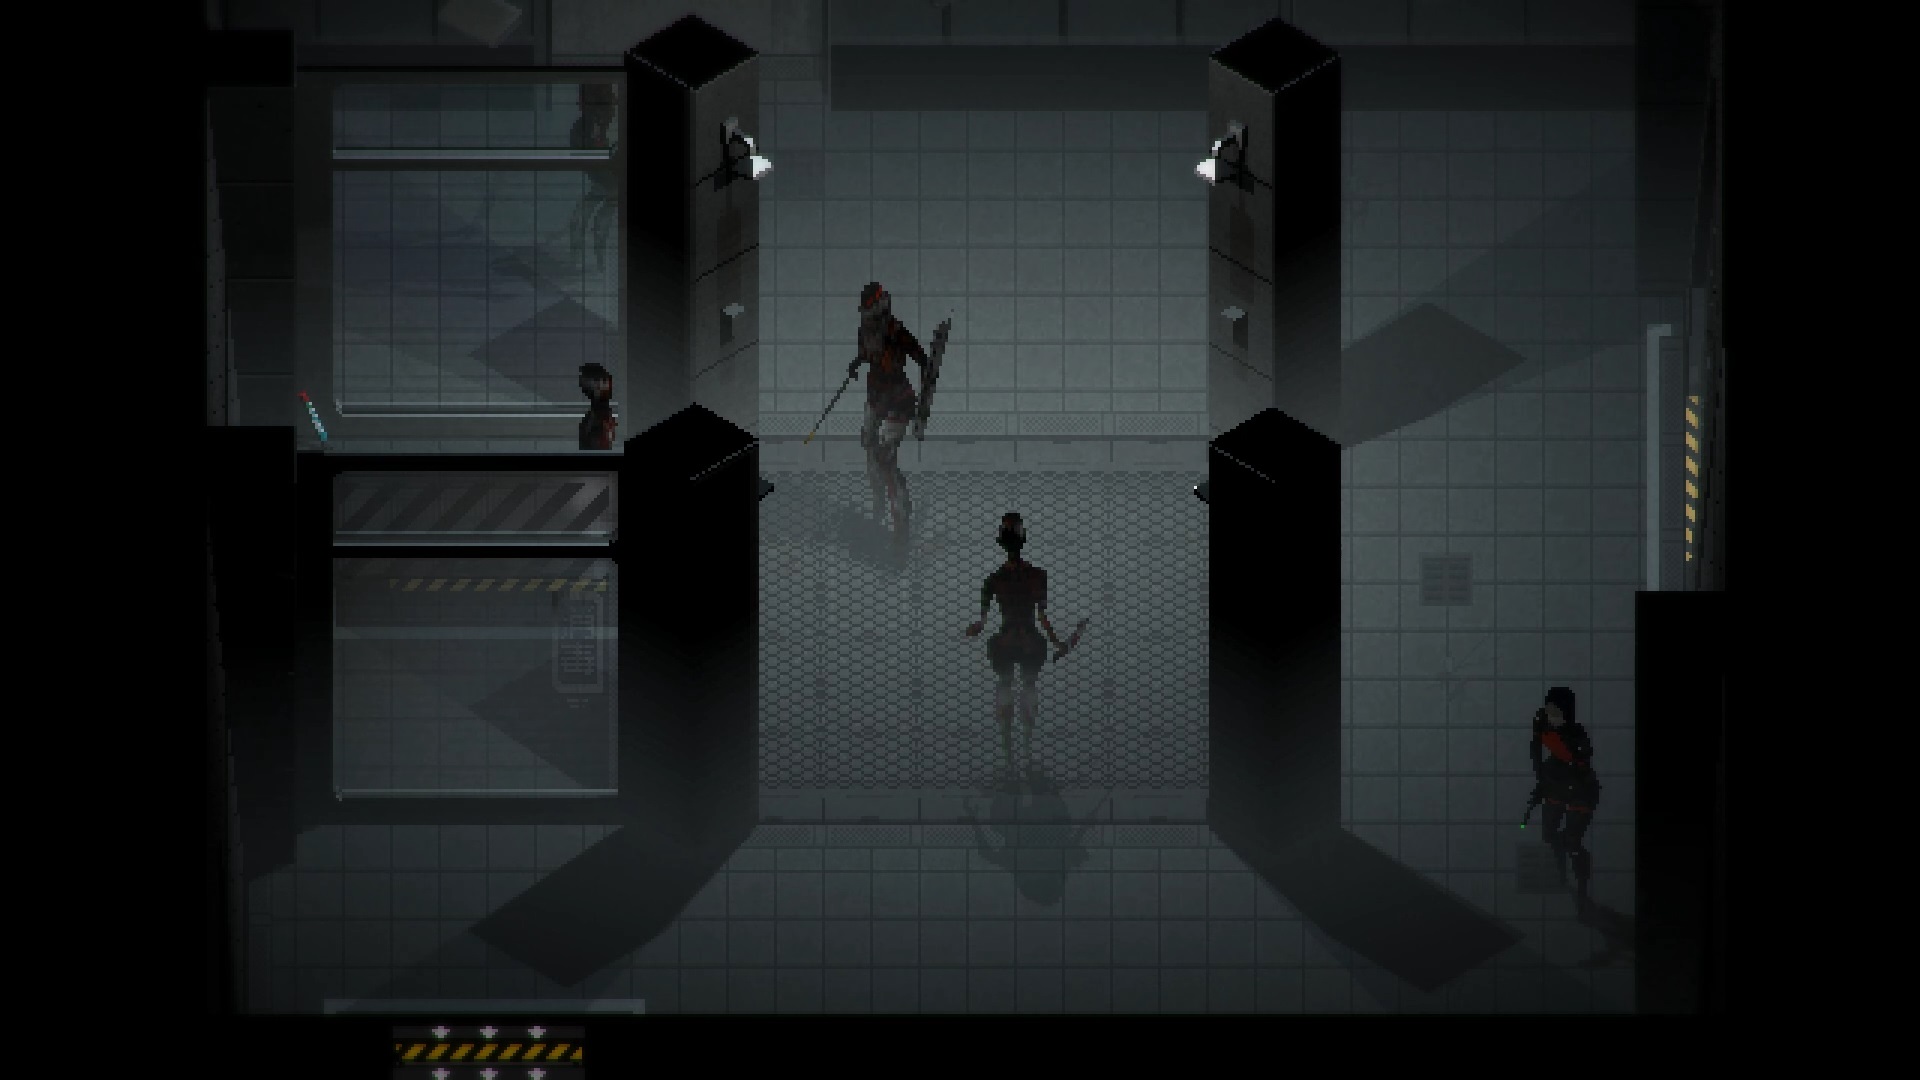
Combat contre Replika Mynah
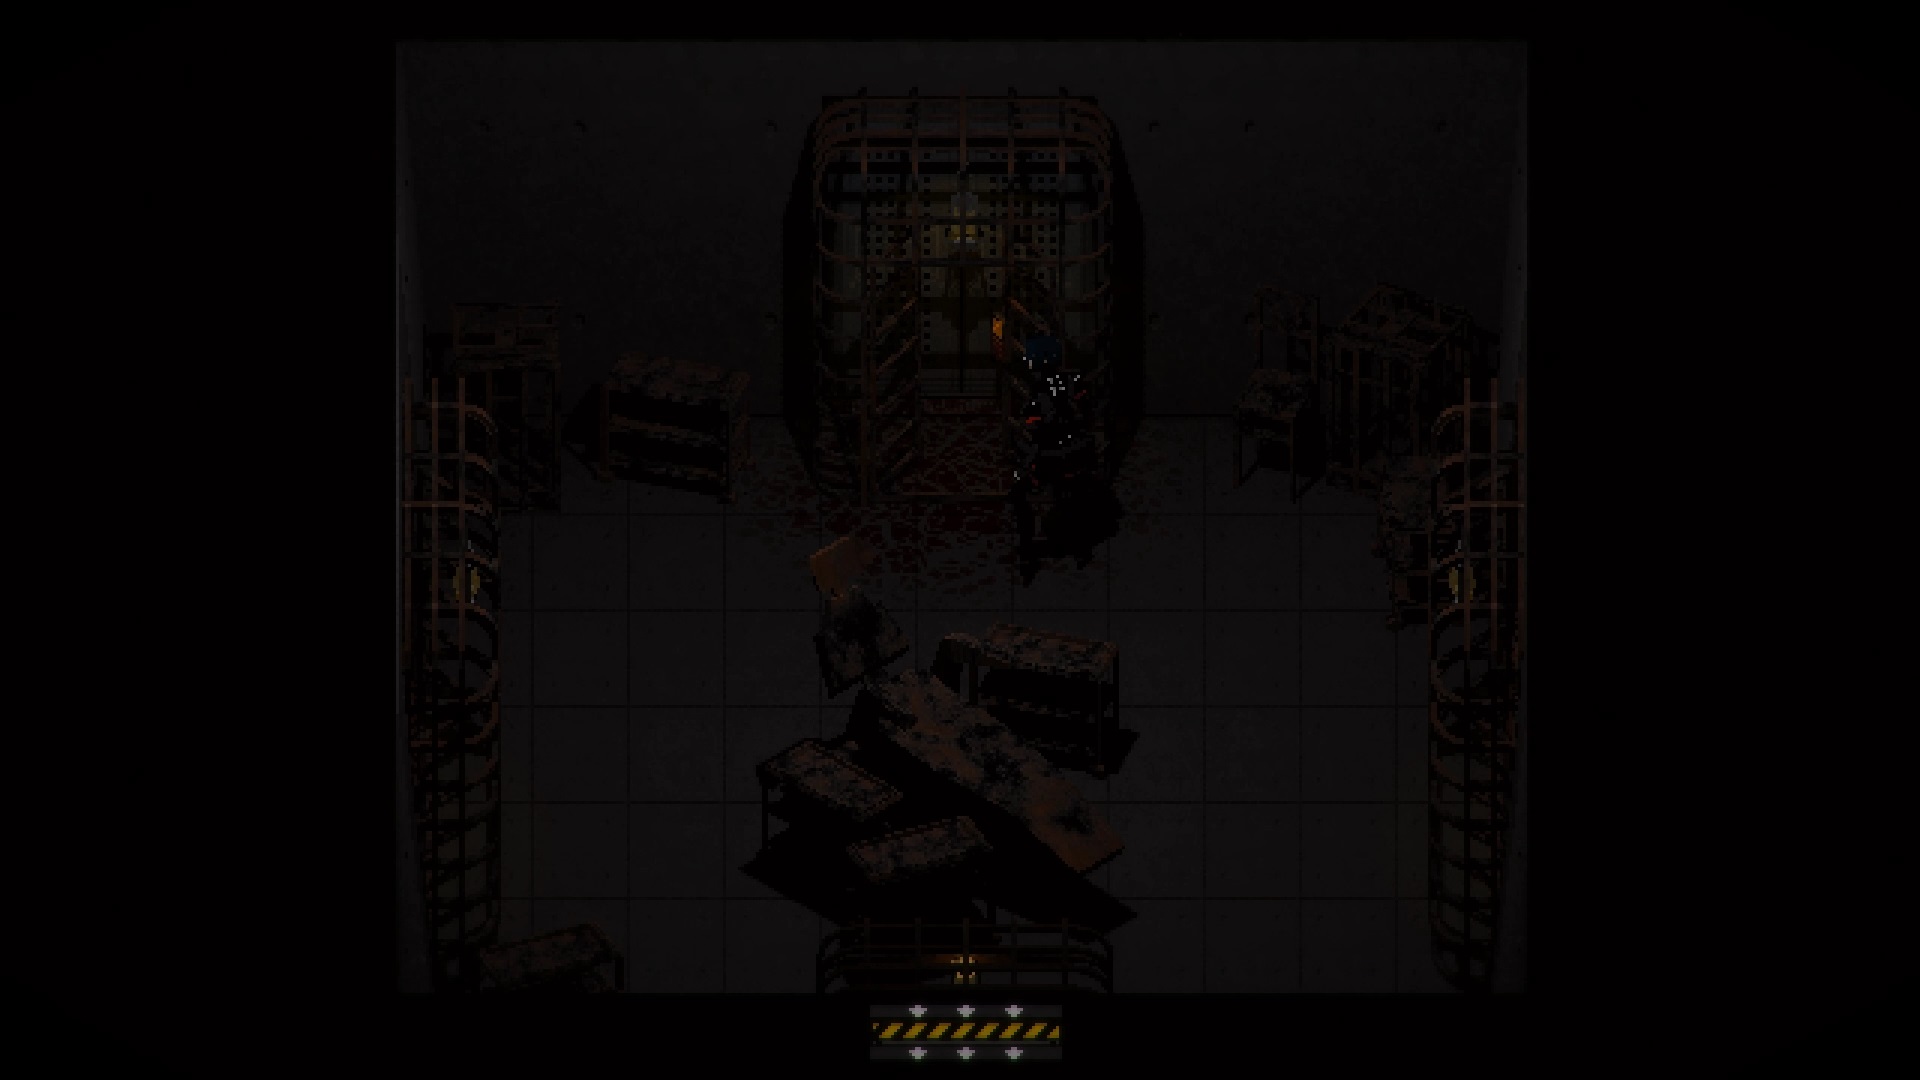
You face the Replika Mynah. To avoid his shots, hide behind the pillar. When Mynah runs out of ammo, she kneels down to reload. The latter draws its resources by opening its helmet. Take advantage of this opportunity to fire all your cartridges at her. Back in the fight, enemies spawn in the corners. Use the stunners to take them down and save your bullets for Mynah. Go back to hitting Mynah on the ground several times to finish the fight.
The level ends with a memory. Examine the red door to complete the level.
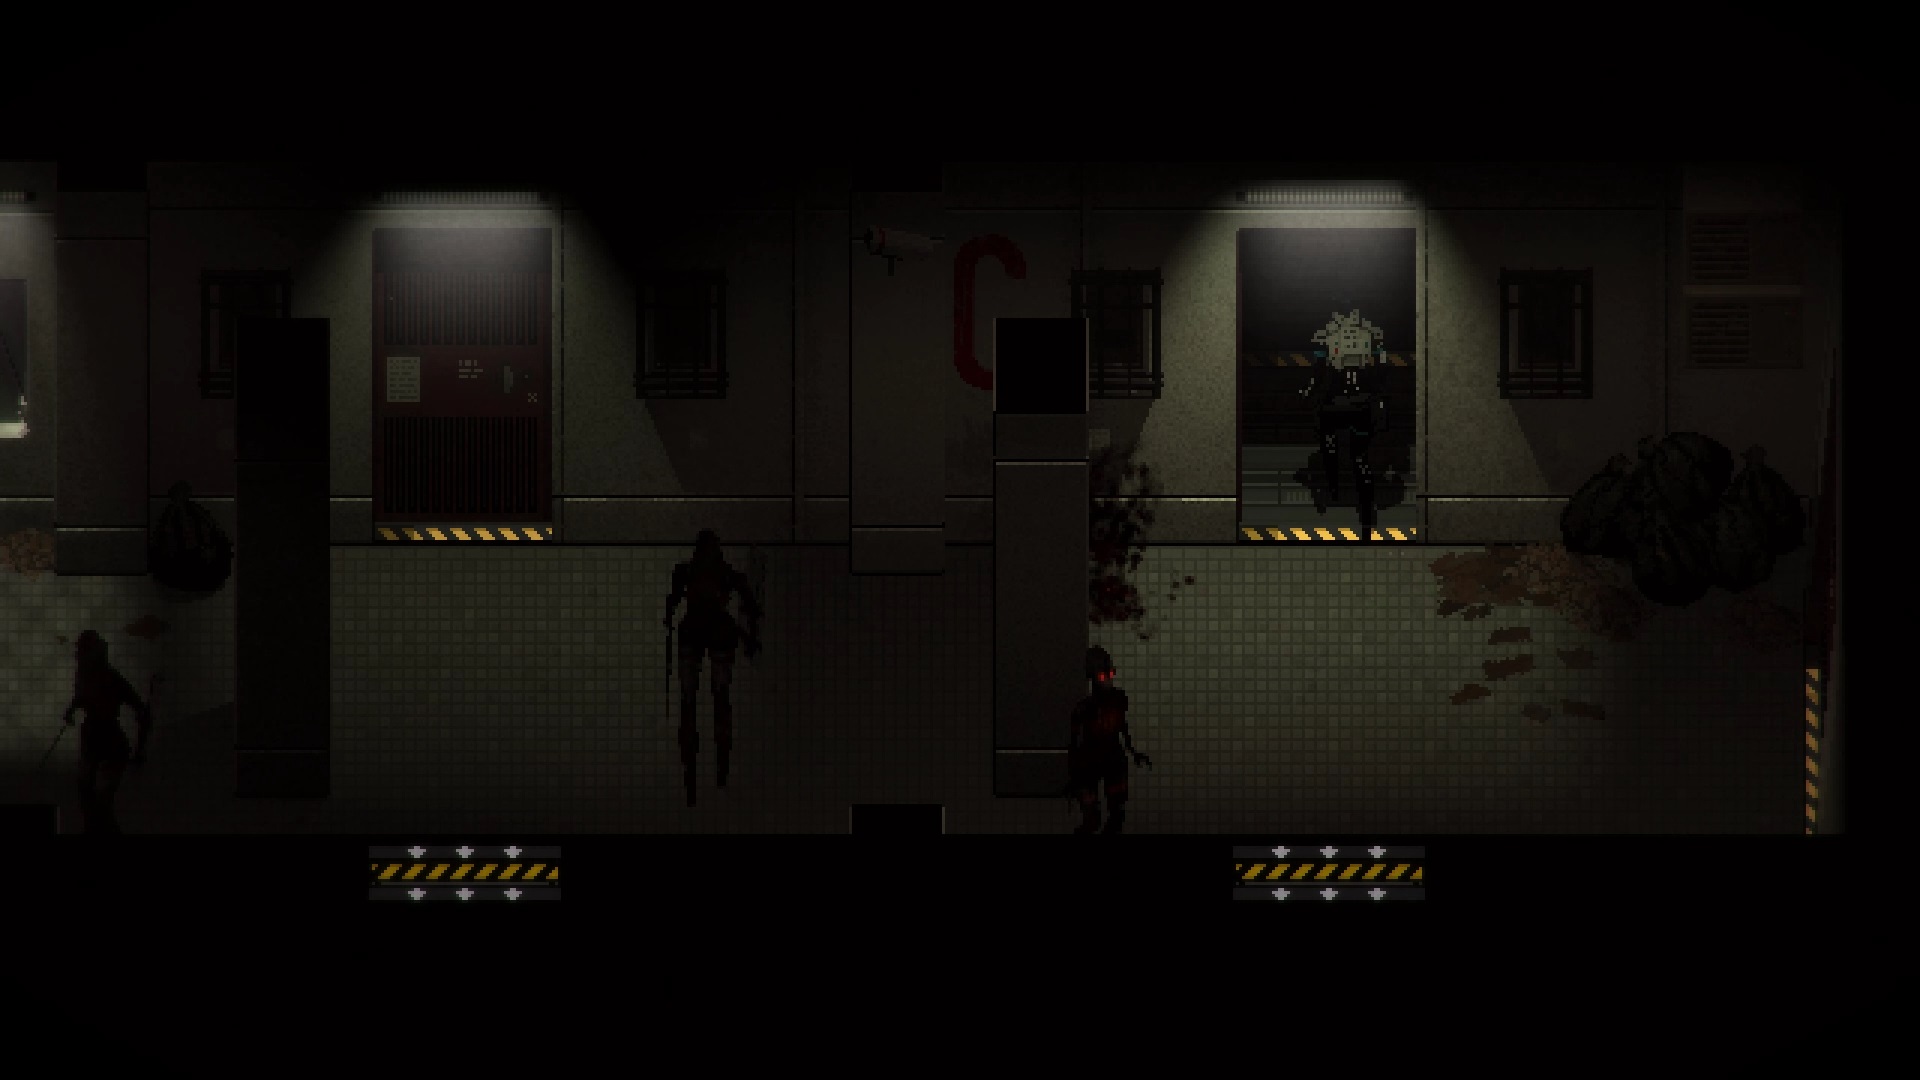
Protektors
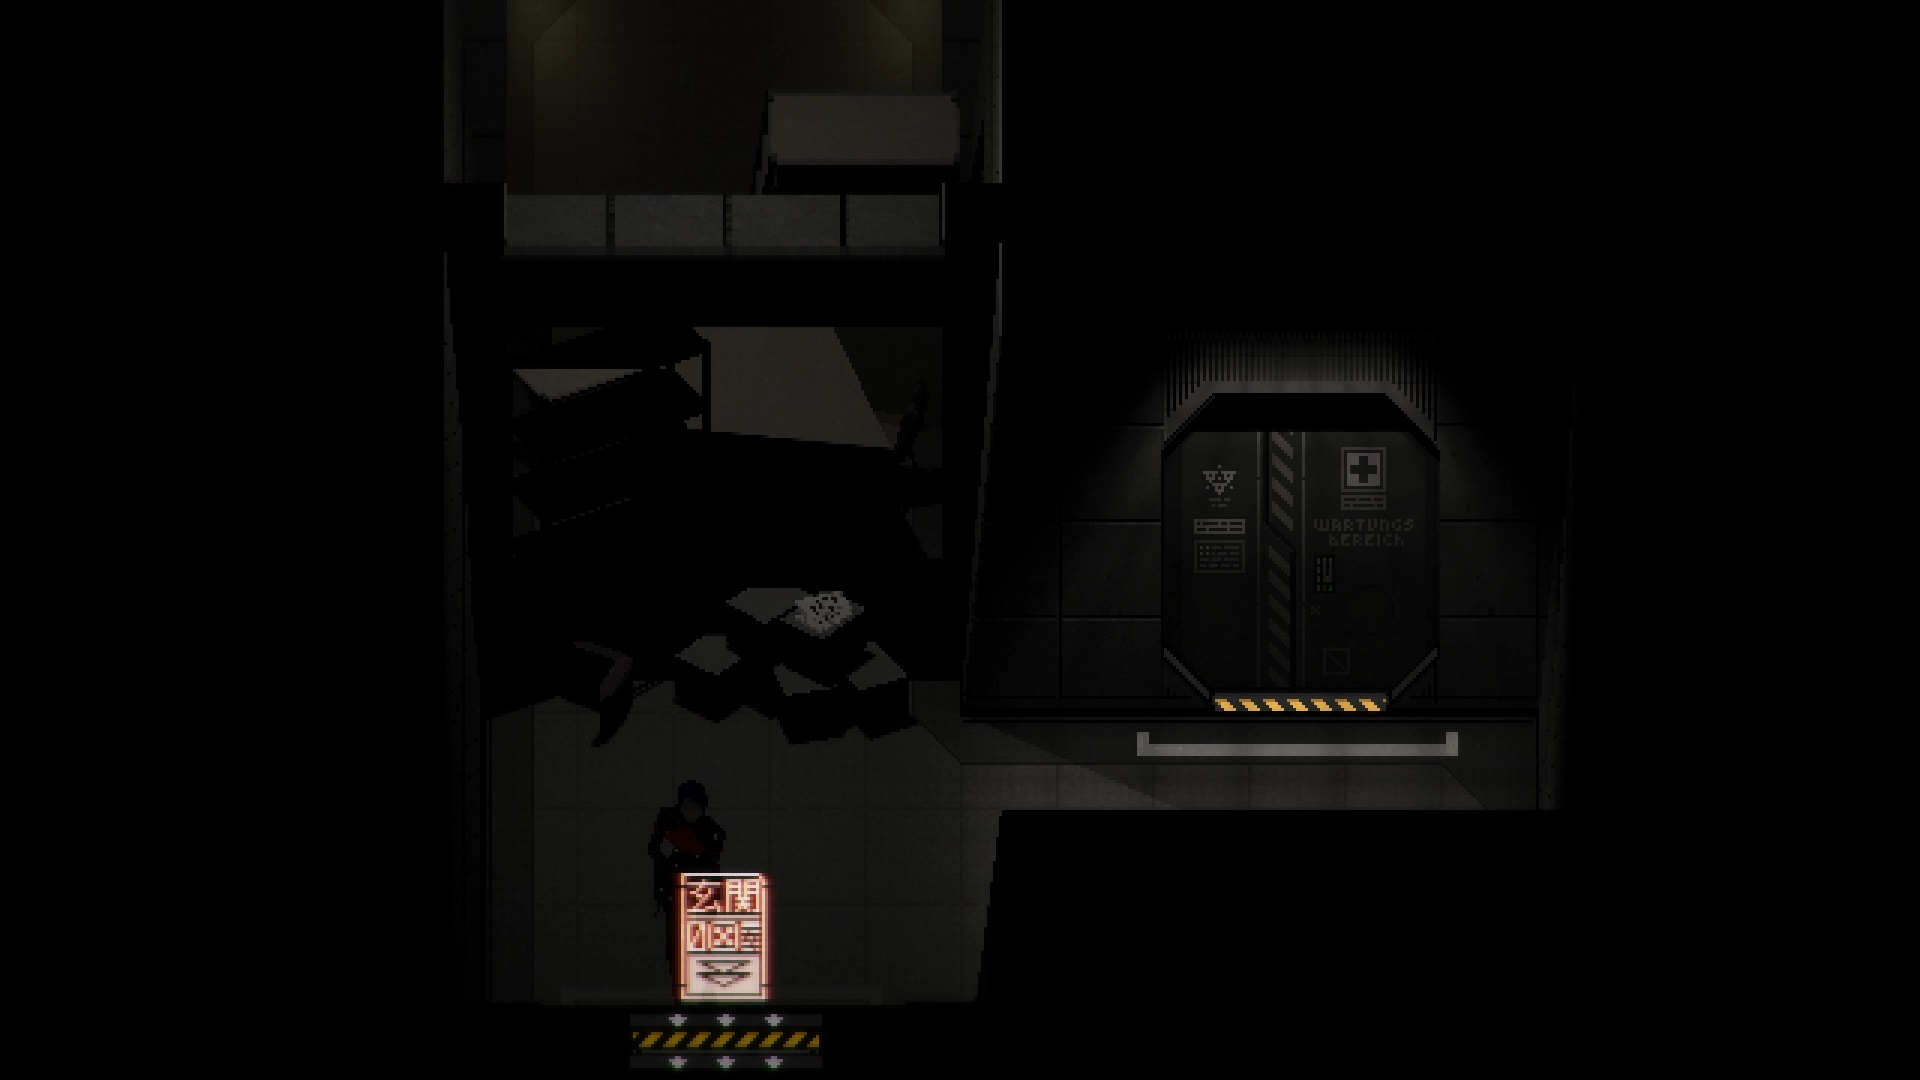
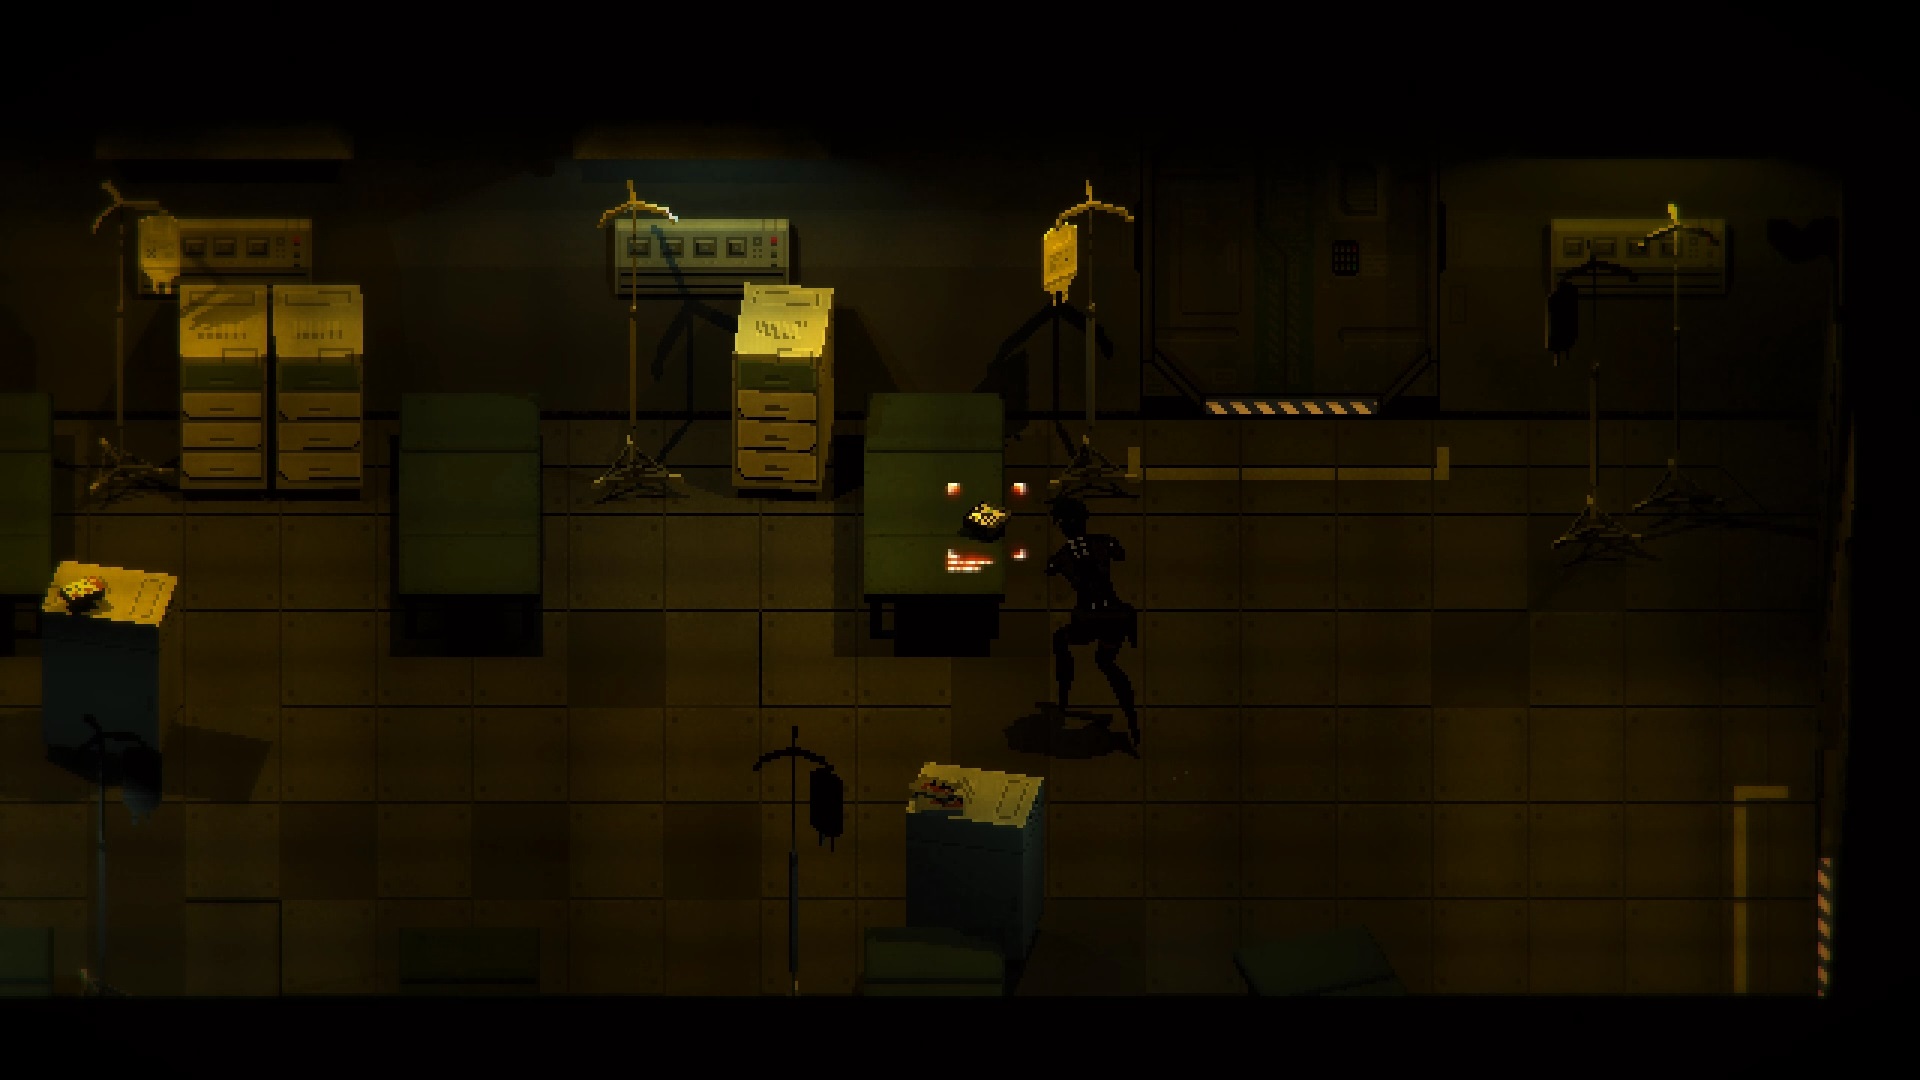
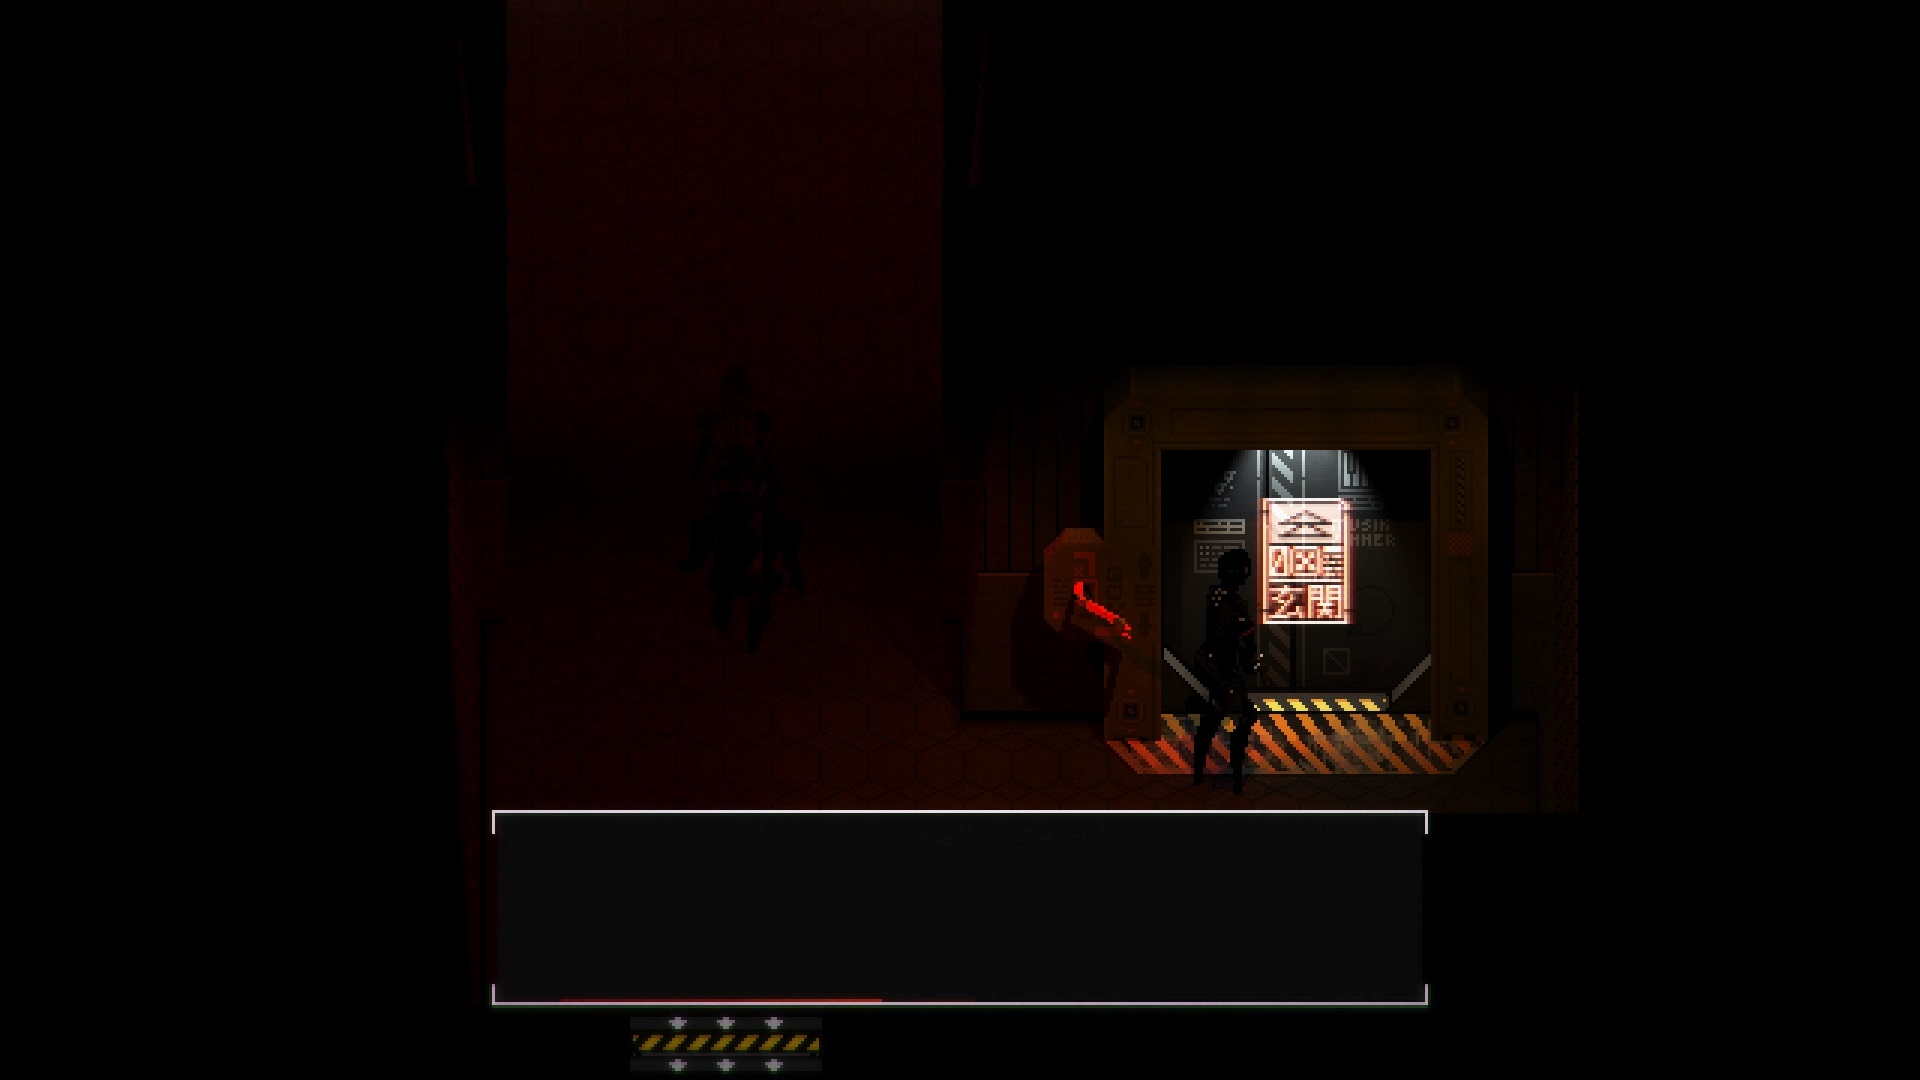
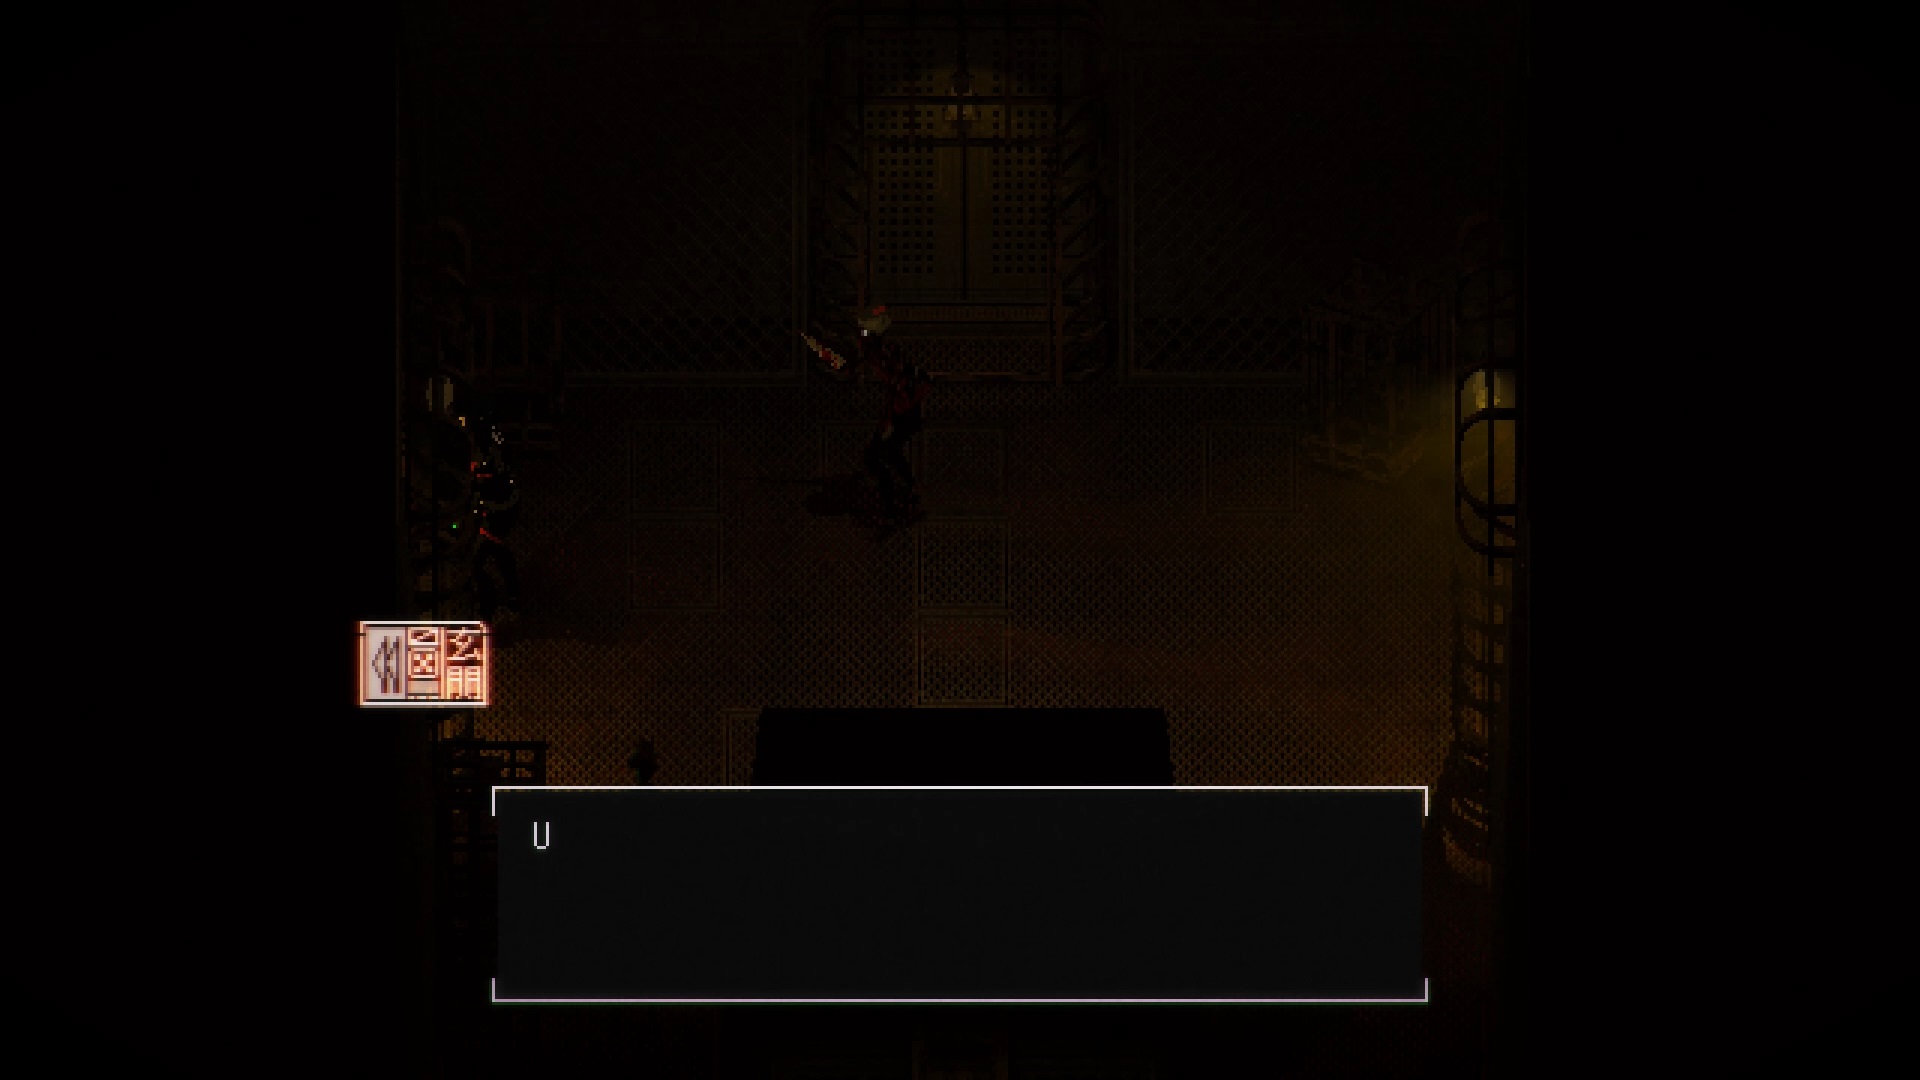
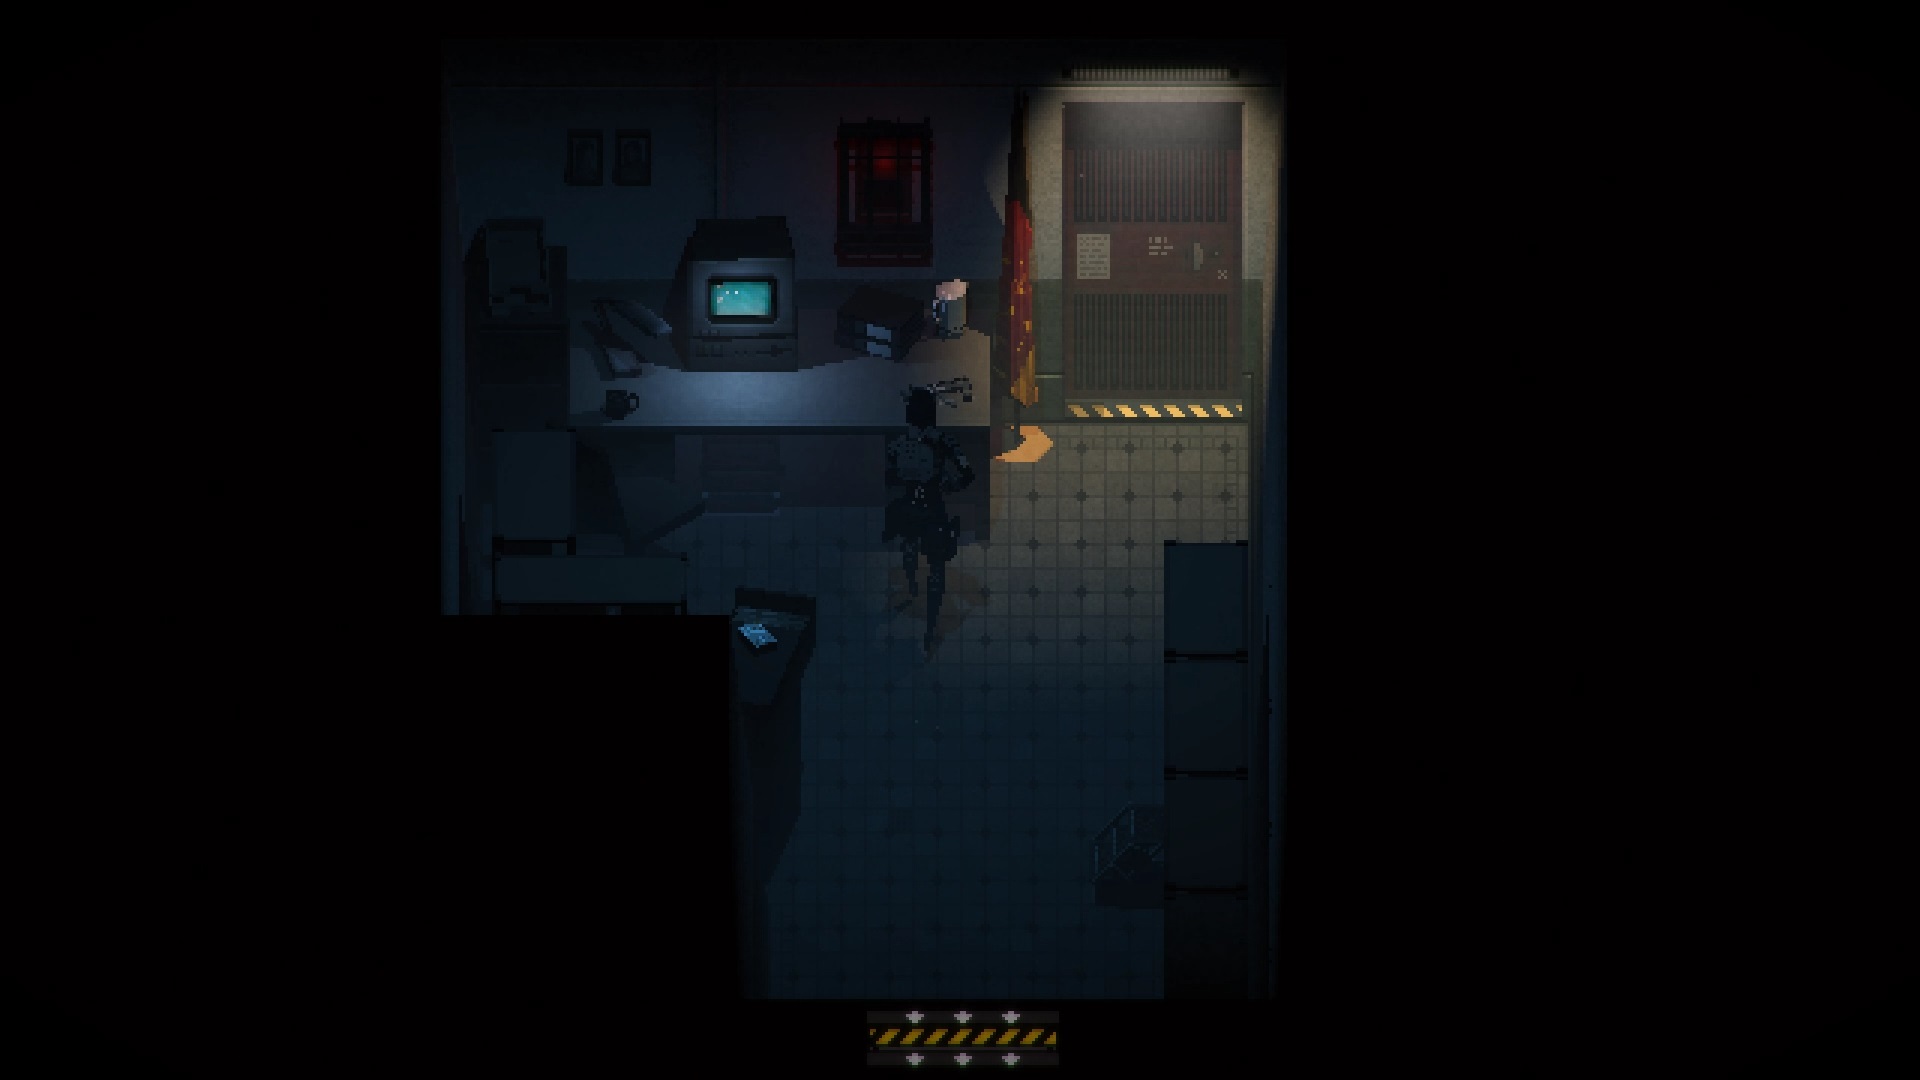
You wake up on the 5th floor in « Elevator Lobby ». Start by searching the door in the lower right to find a new save room, the « Maintenance Office ». Examine the desk and take the maintenance key. Return to the lobby and open the door to the west with the key. Go down to the 6th floor using the ladder and go through the door to the east. Go along the walls and go through the door south of the showers of the « Cleaning Room ». In the next room you will find a note mentioning a lamp module. It seems to be essential for unlocking doors in the dark. Continue south.
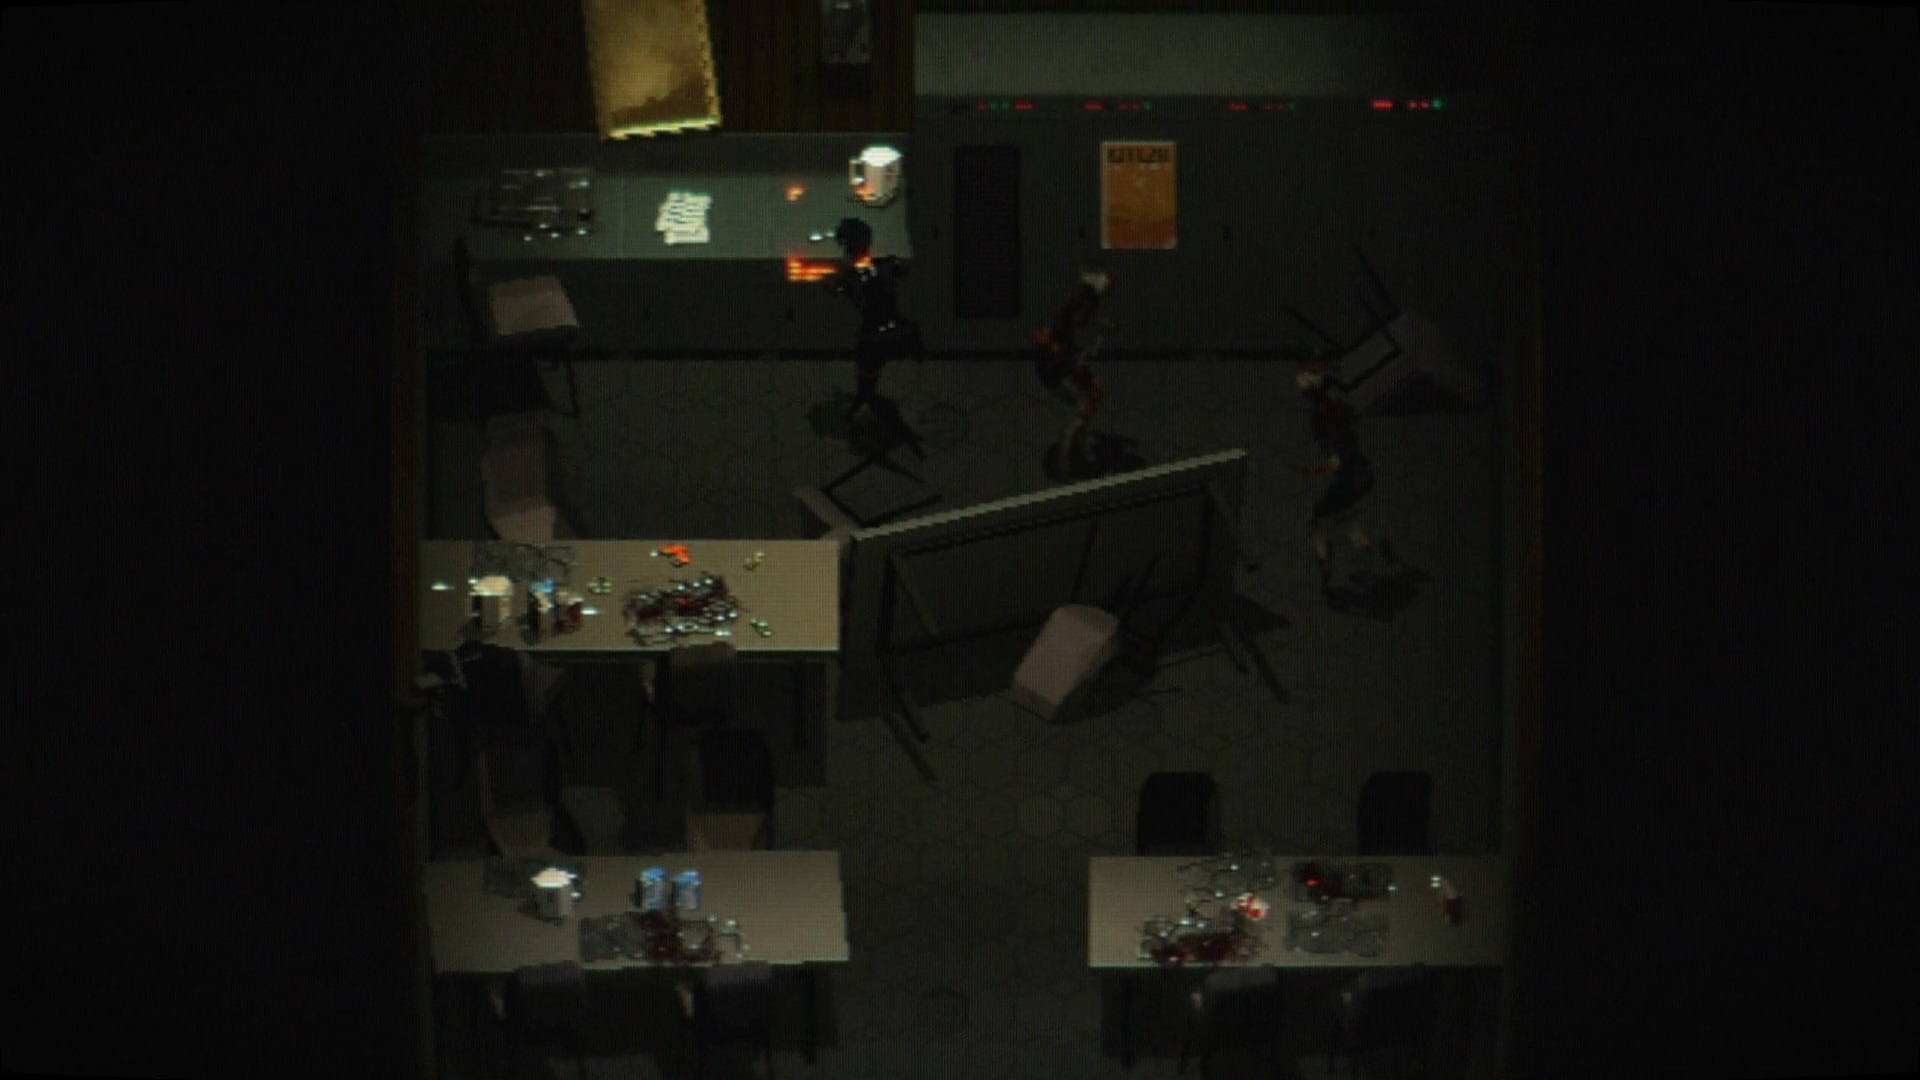
Once in the corridor of the « Workshop Hallway » traces of blood lead to a door. Open the door and go down the hole. After the cutscene exit the room and enter the « Dining Room » door opposite. Avoid the enemies inside and collect the fuse from the back of the room.
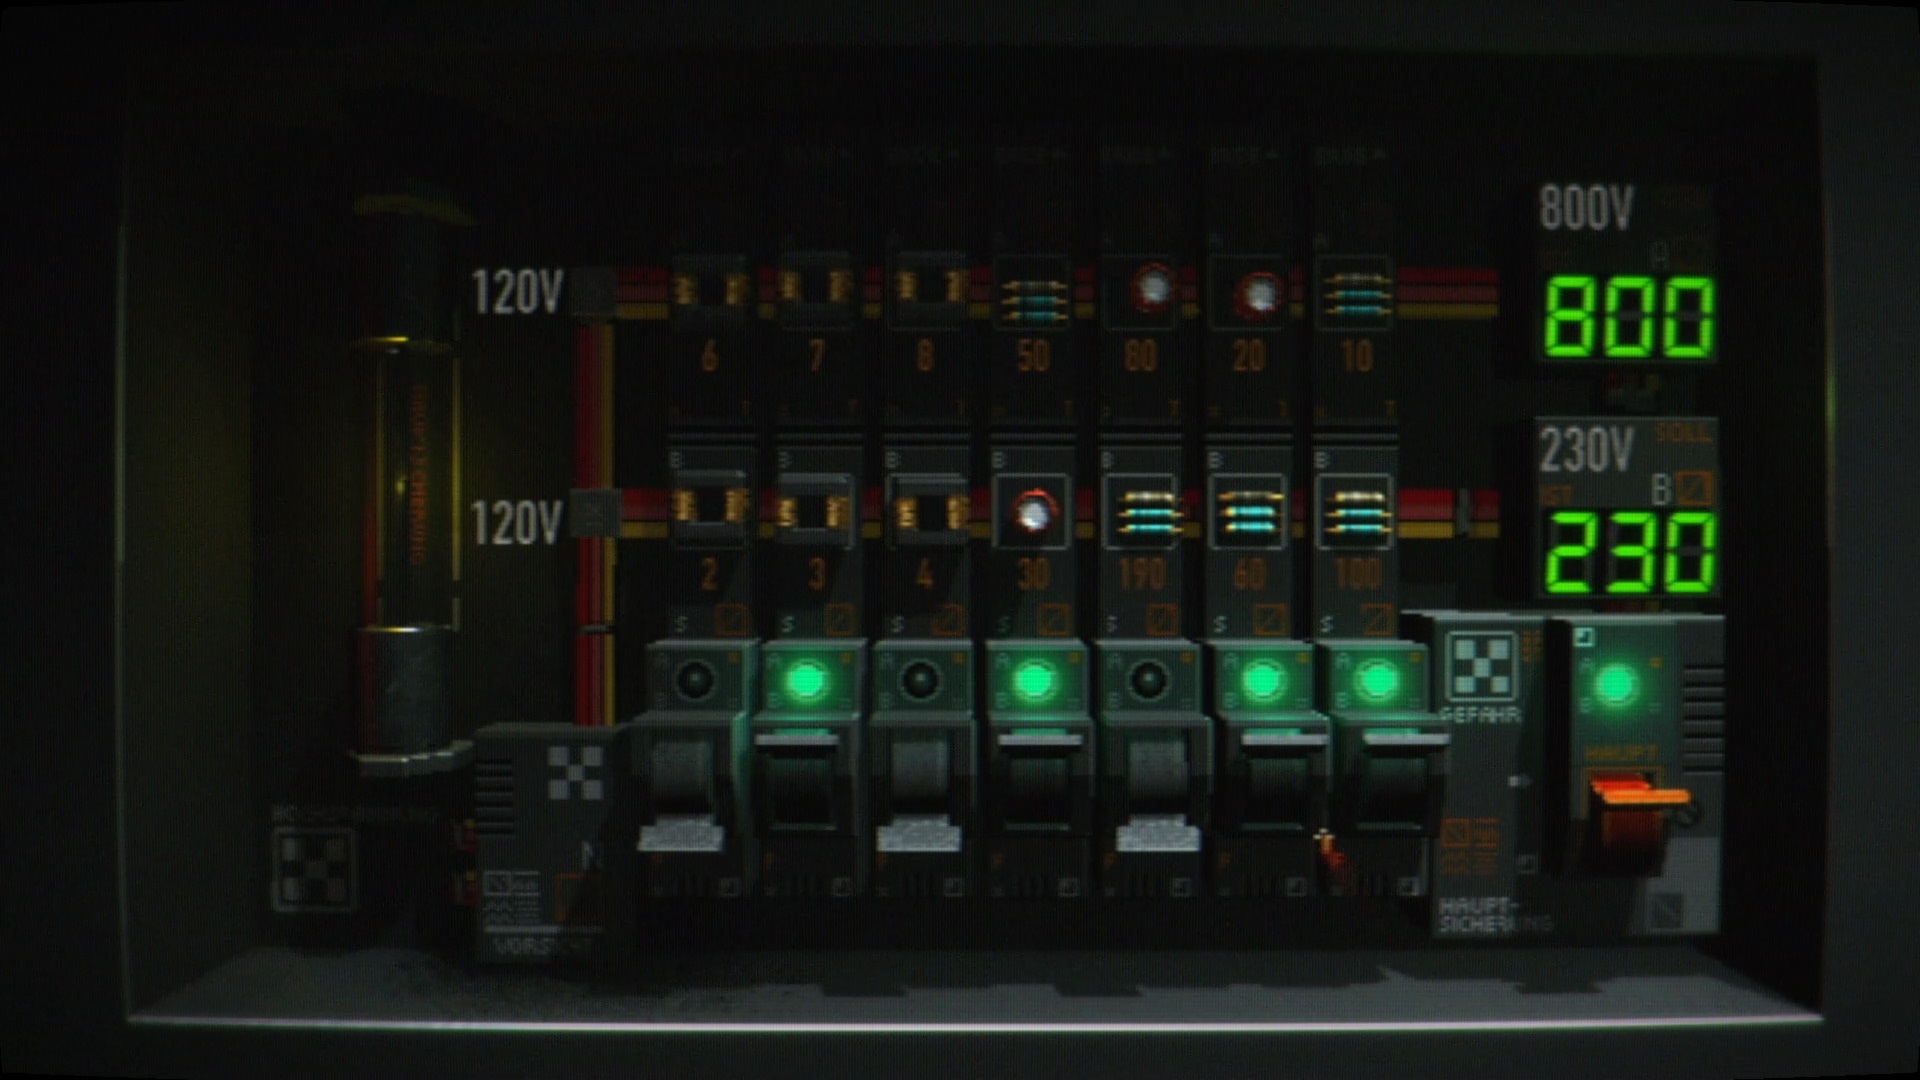
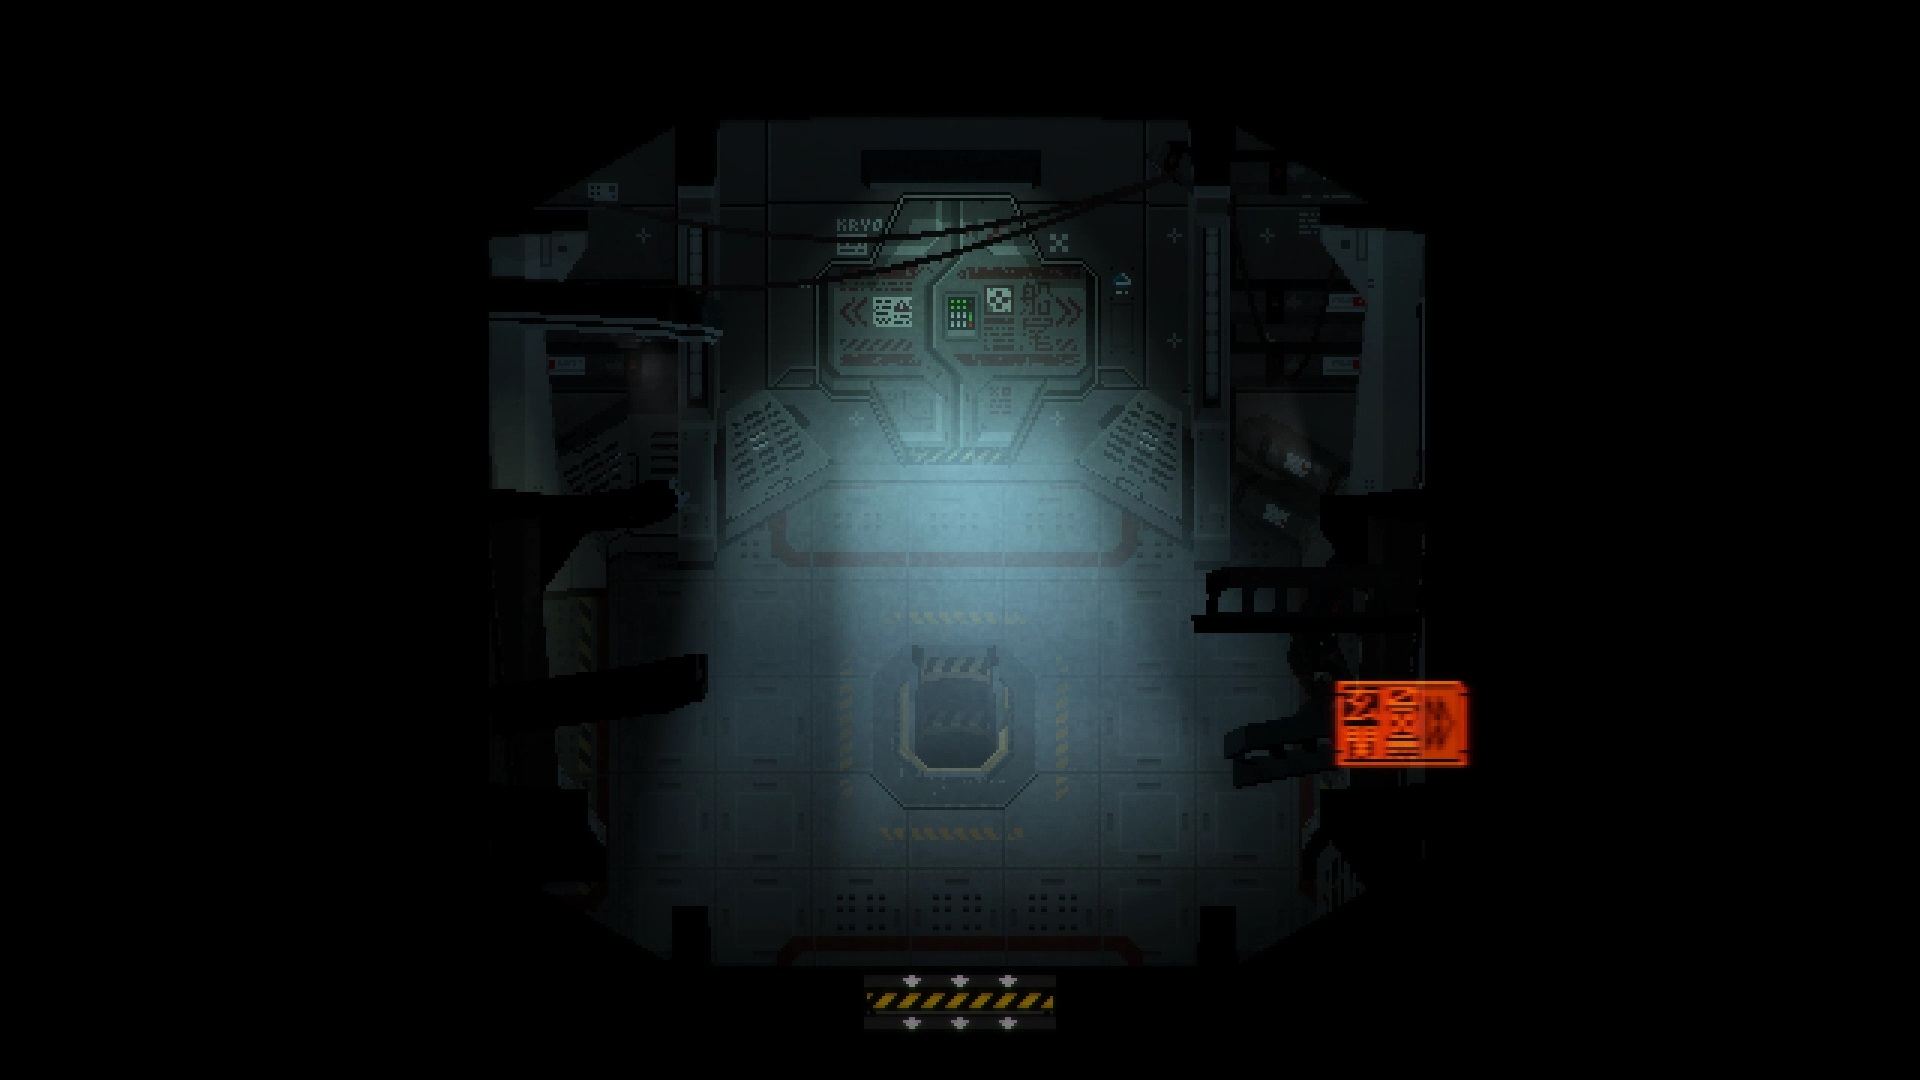
Go up to the 5th floor at « Elevator Lobby » and go through the first door on the left. In the « Engine Room » interact with the fuse panel to trigger a puzzle. In it, you will have to find the right combination to power block A at 800V and block B at 230V. Follow the picture solution above to complete the puzzle.
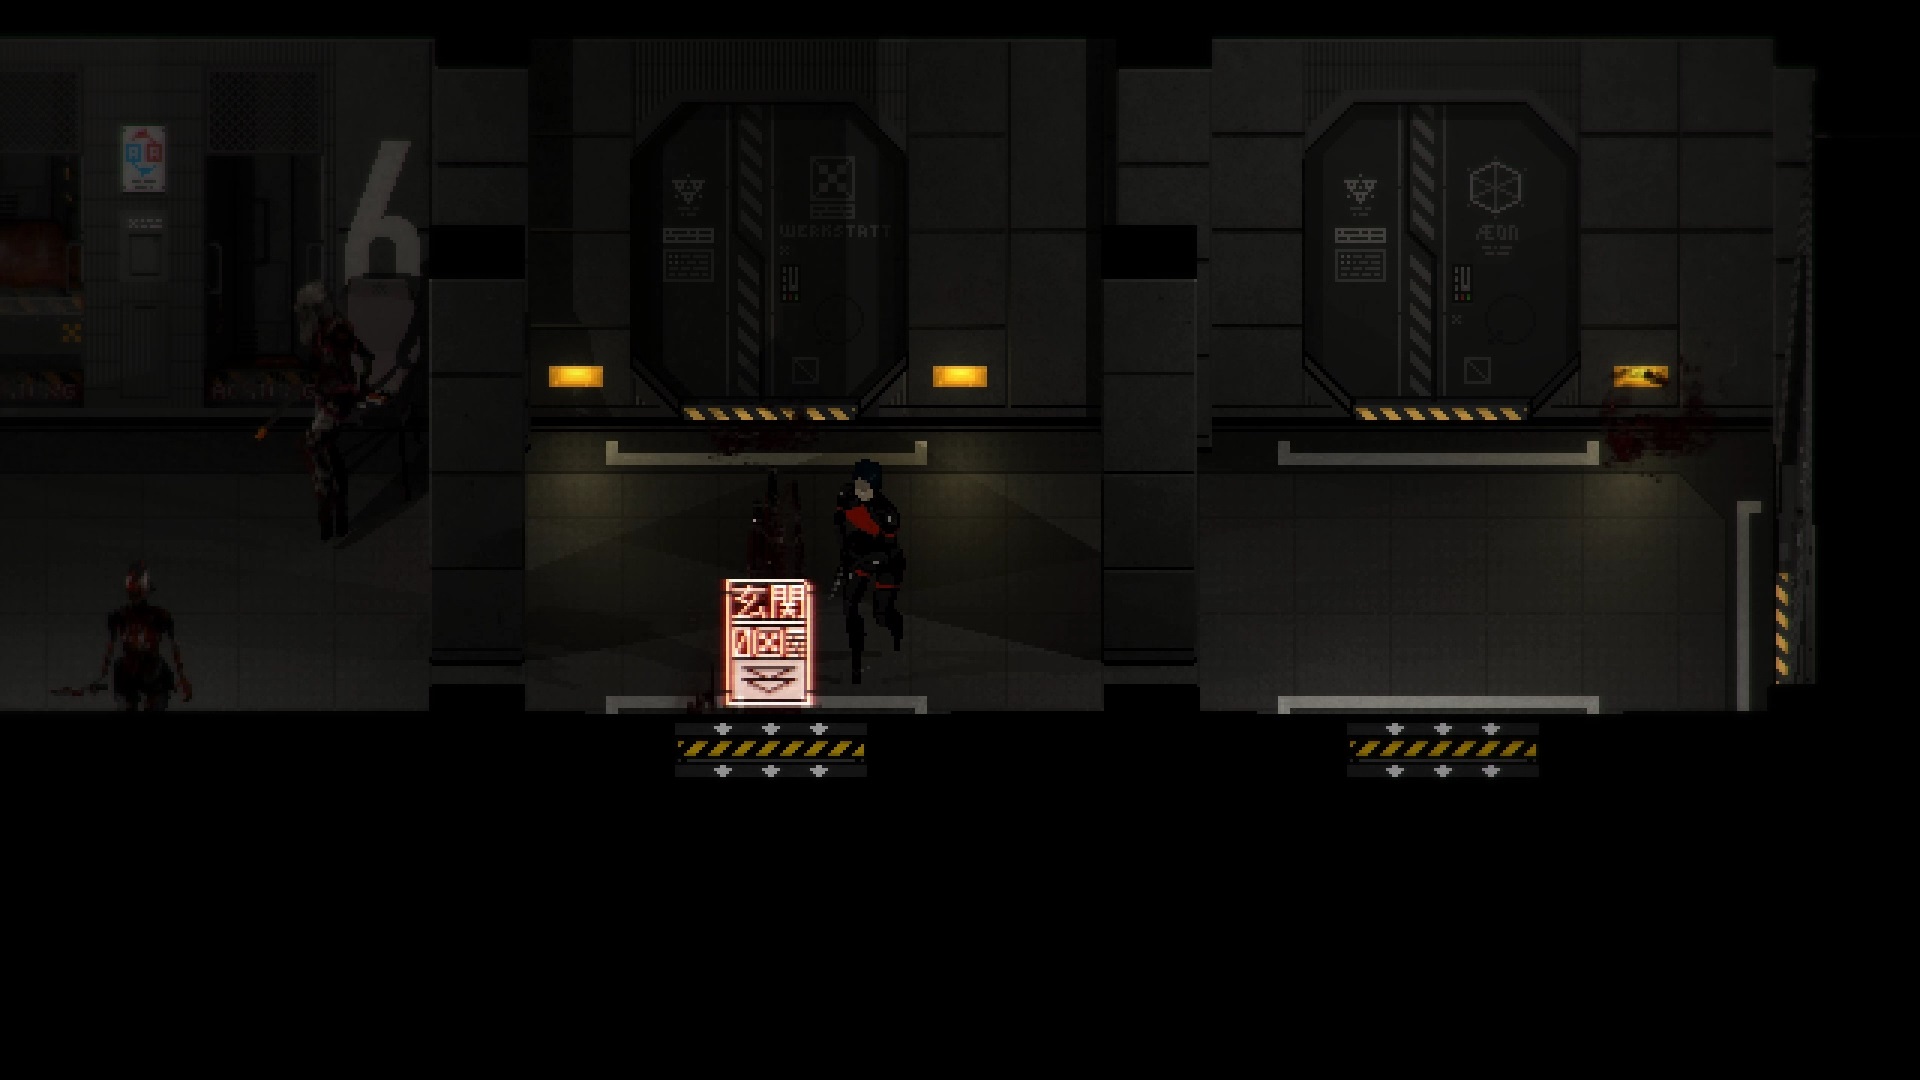
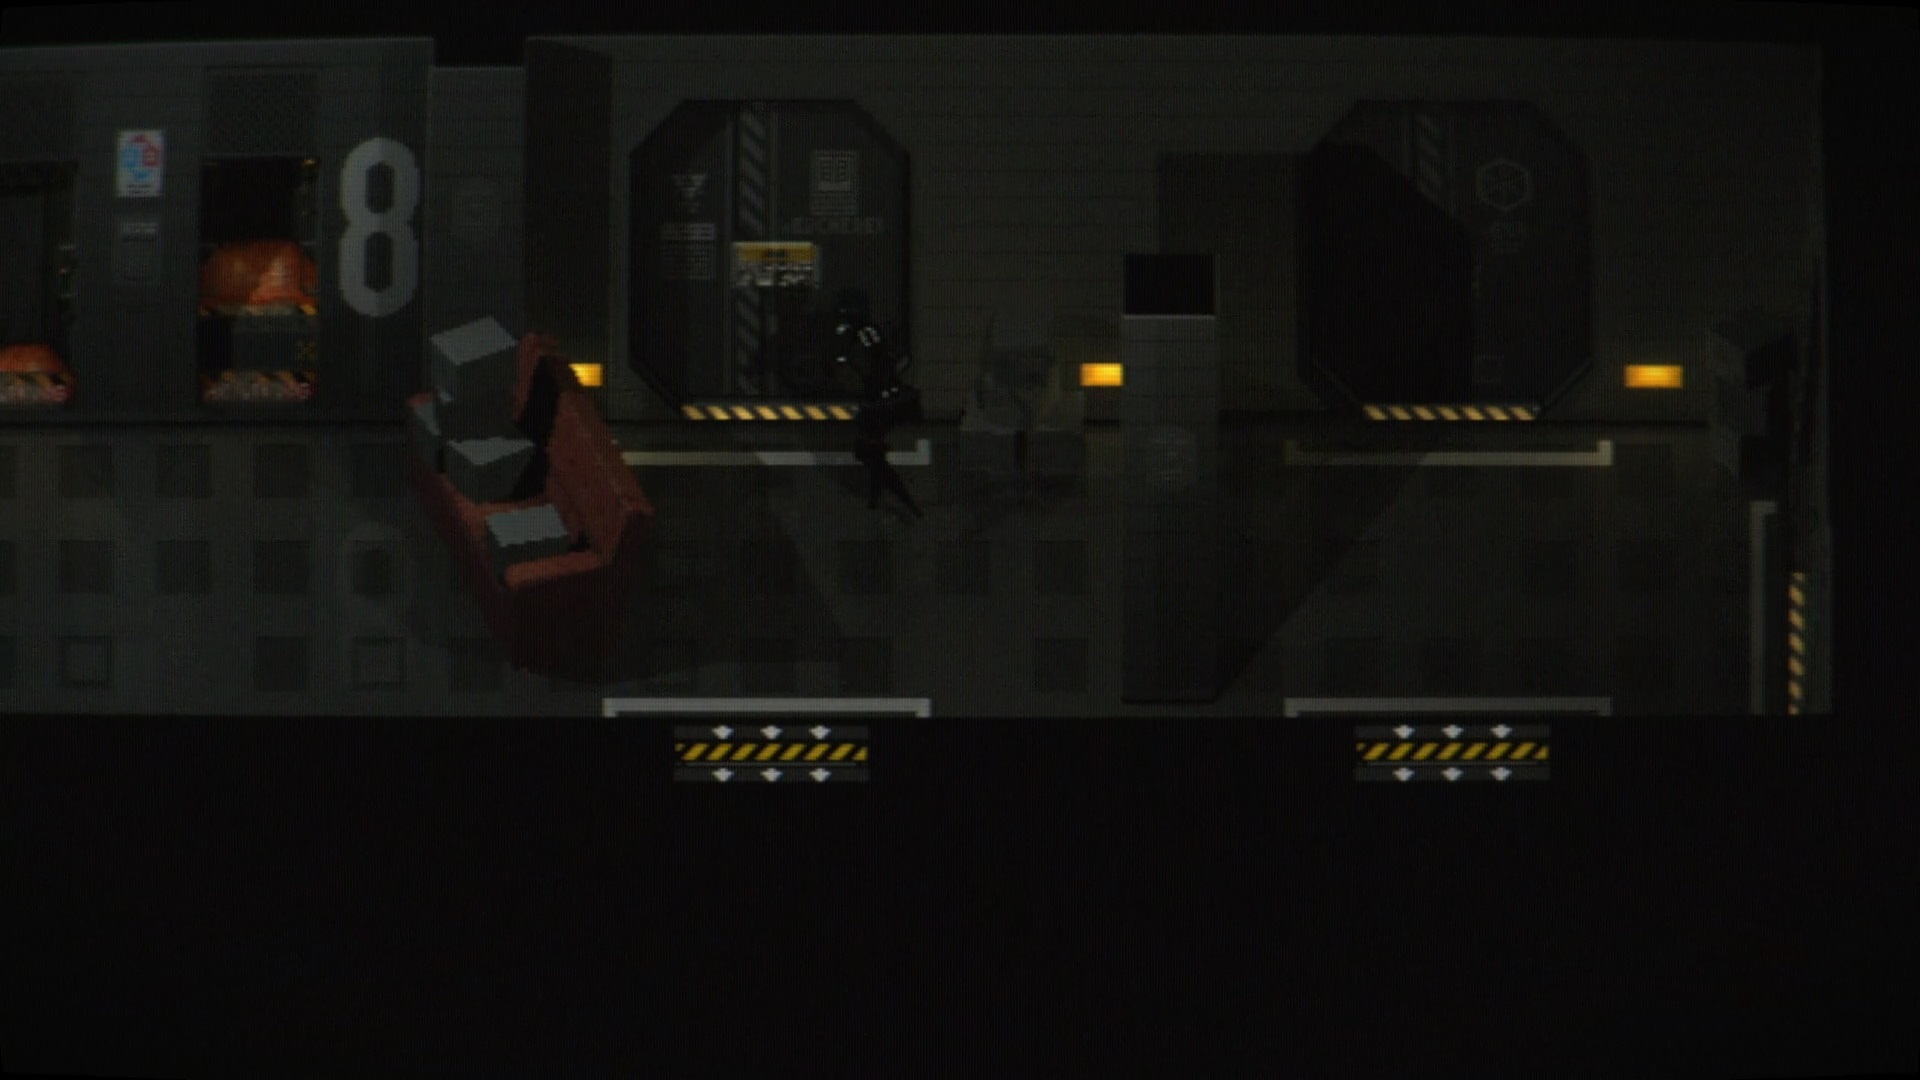
Go back to the previously discovered « Workshop Hallway » to spot elevators on the left side. Use the elevators to descend to the 8th floor in the « Library Hallway ». On the eighth floor, go through the door to the west of the « FKLR Office ». Take the crank inside near a door. Get out and take this time the door to the east in the hallway. You join the « East Hallway ». Go up to the north while avoiding the enemies. In the « North Hallway », open the middle door, the « ADLR bedroom »
Recover the flashlight module placed on the table. Equip the mod in inventory. Go to the « Cleaning Room » seen previously with the showers and open the door to the east. Use the lamp module inside to make your way to the « Shooting Range ». In the hall, grab the duct tape and the gun case for later. Now go to the 7th floor and go through the door at the far right.
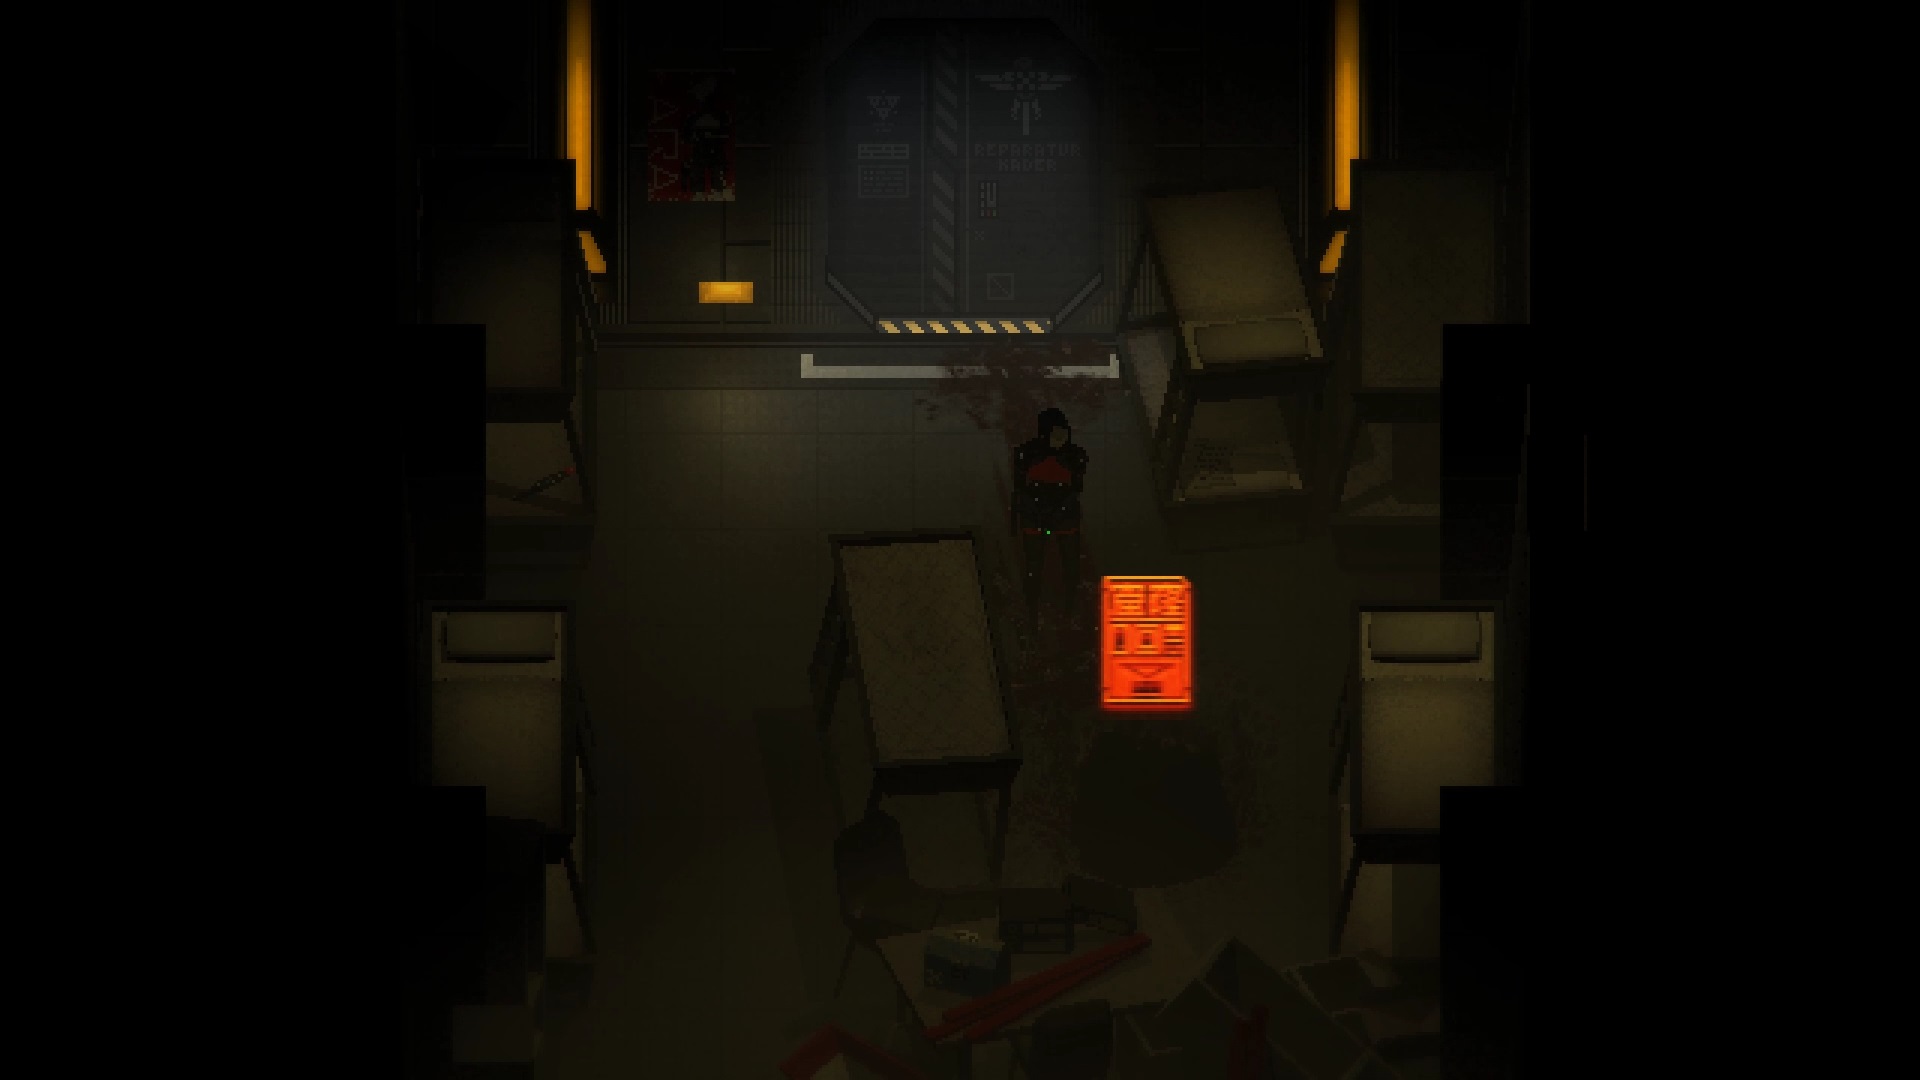
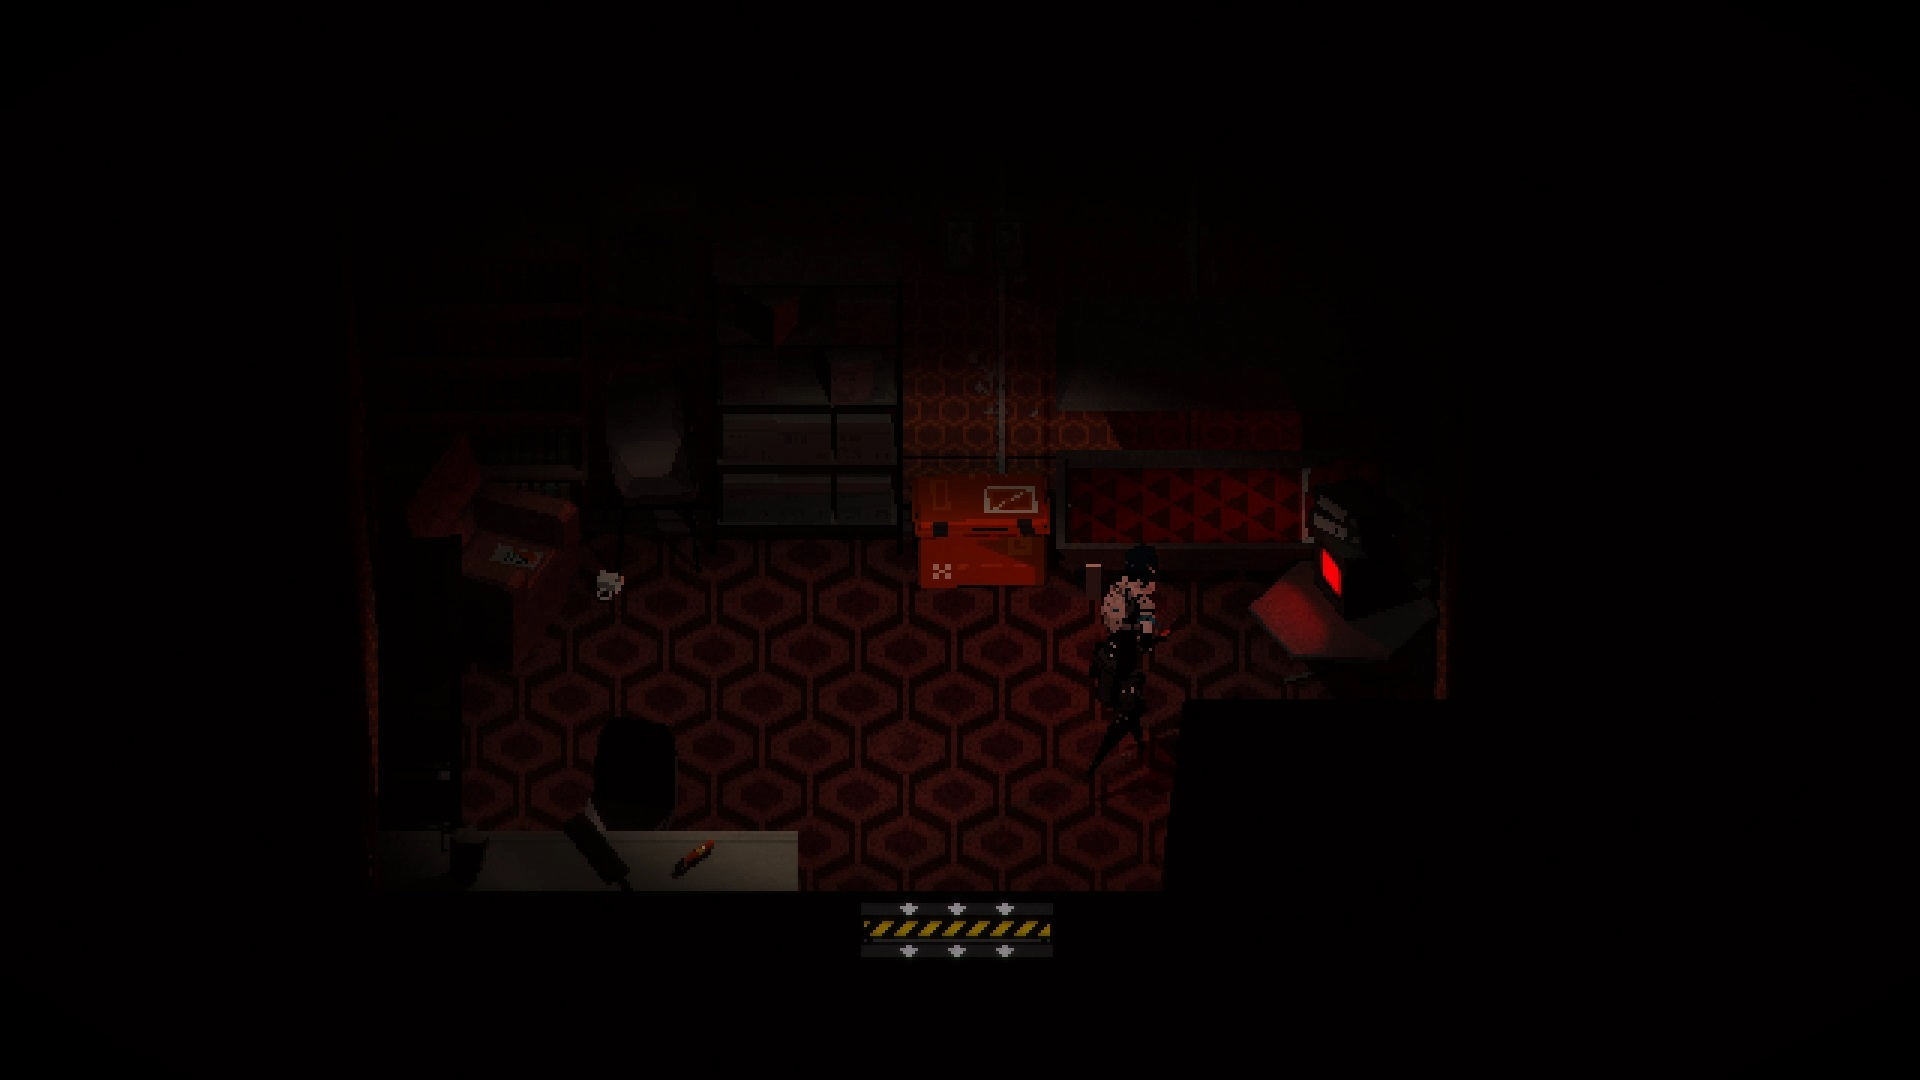
In the « Piano Hallway », sneak past and use the crank with the metal curtain to lift it. In this « Piano Room » save room, pick up the Owl Key on the table. Now go to the « Dining Room » corridor on the 7th floor and open the door to the west. Inside, use the lamp module to find a door to the north. You arrive in the « Protektor Archive » room. Grab the Island Key on the desk to the right and the Hunter Key to the top left.
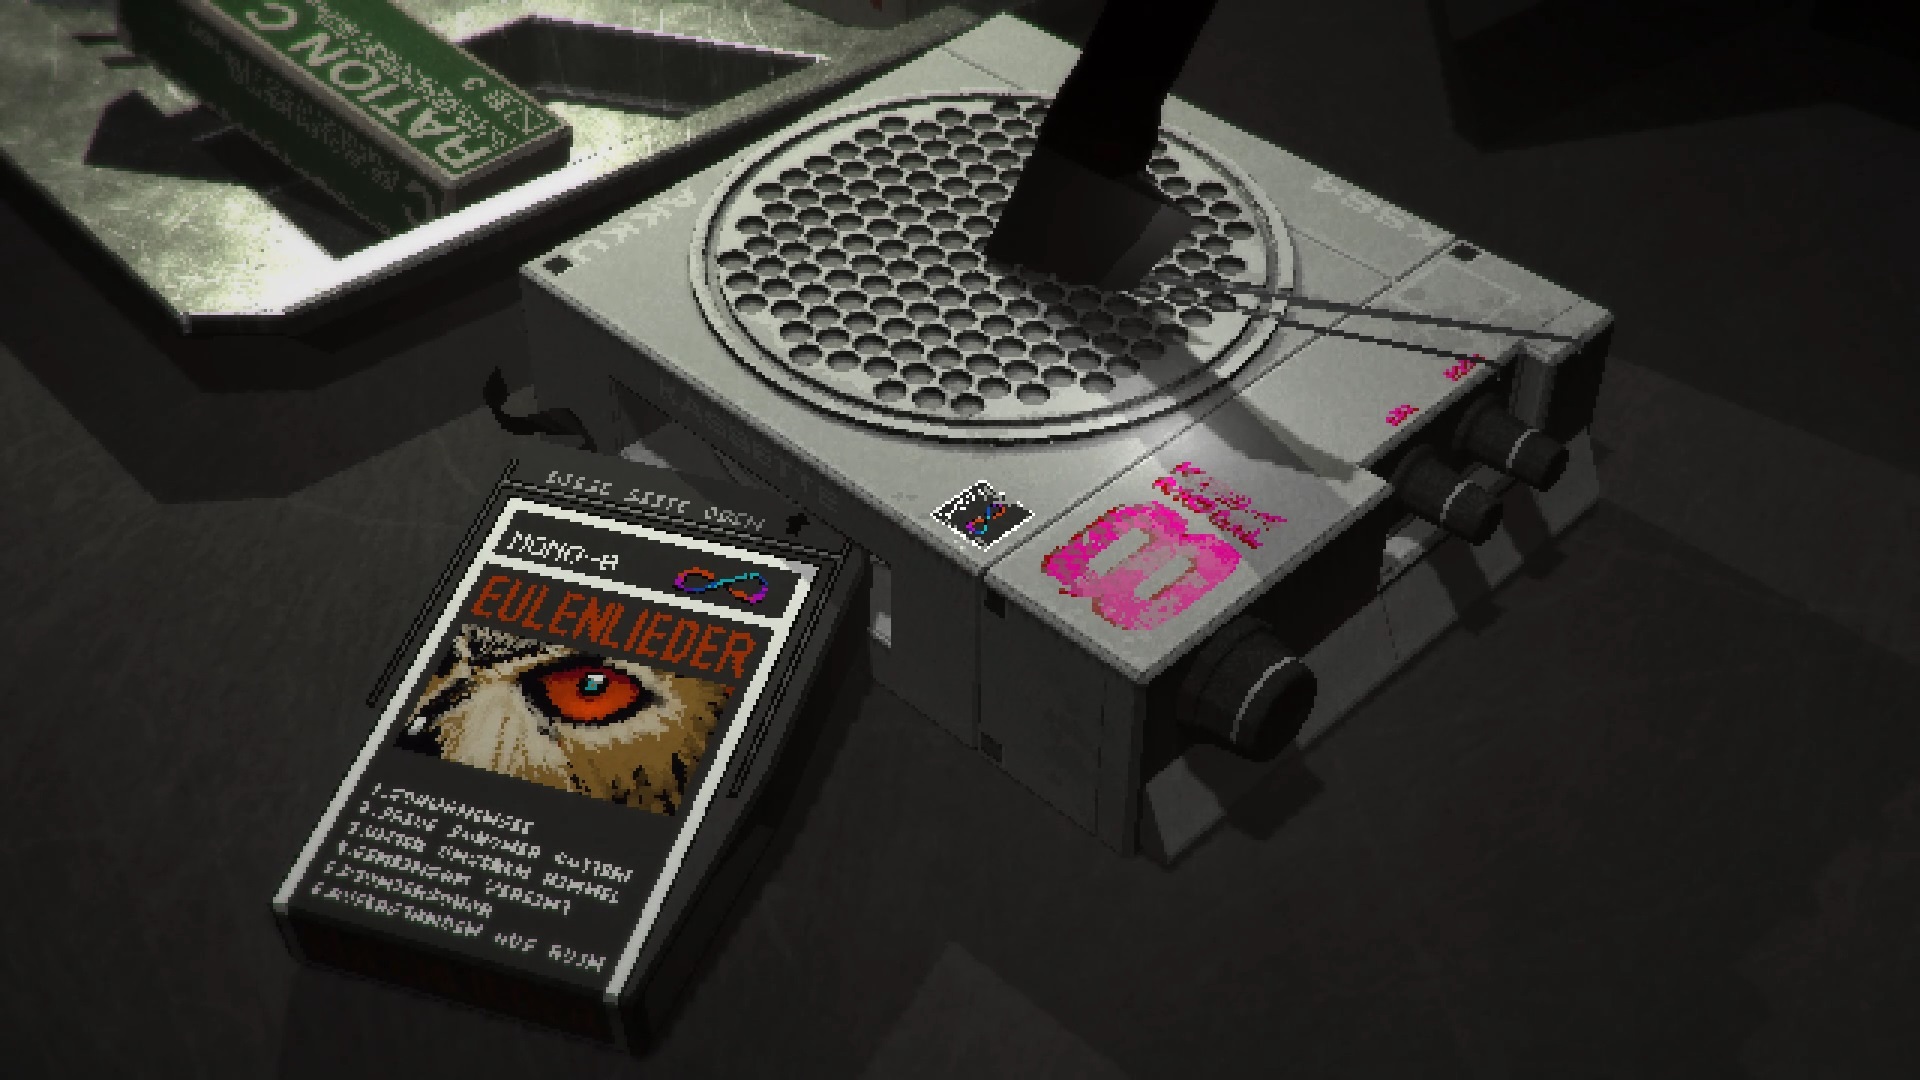
You can use the Hunter’s Key with the Rifle Crate to earn a new weapon. Then go up to the 6th floor. Use the owl key with the door next to the elevators. Inspect the desk inside to find a broken music cassette. Use the adhesive tape obtained earlier to repair it. Go back to the 7th floor.
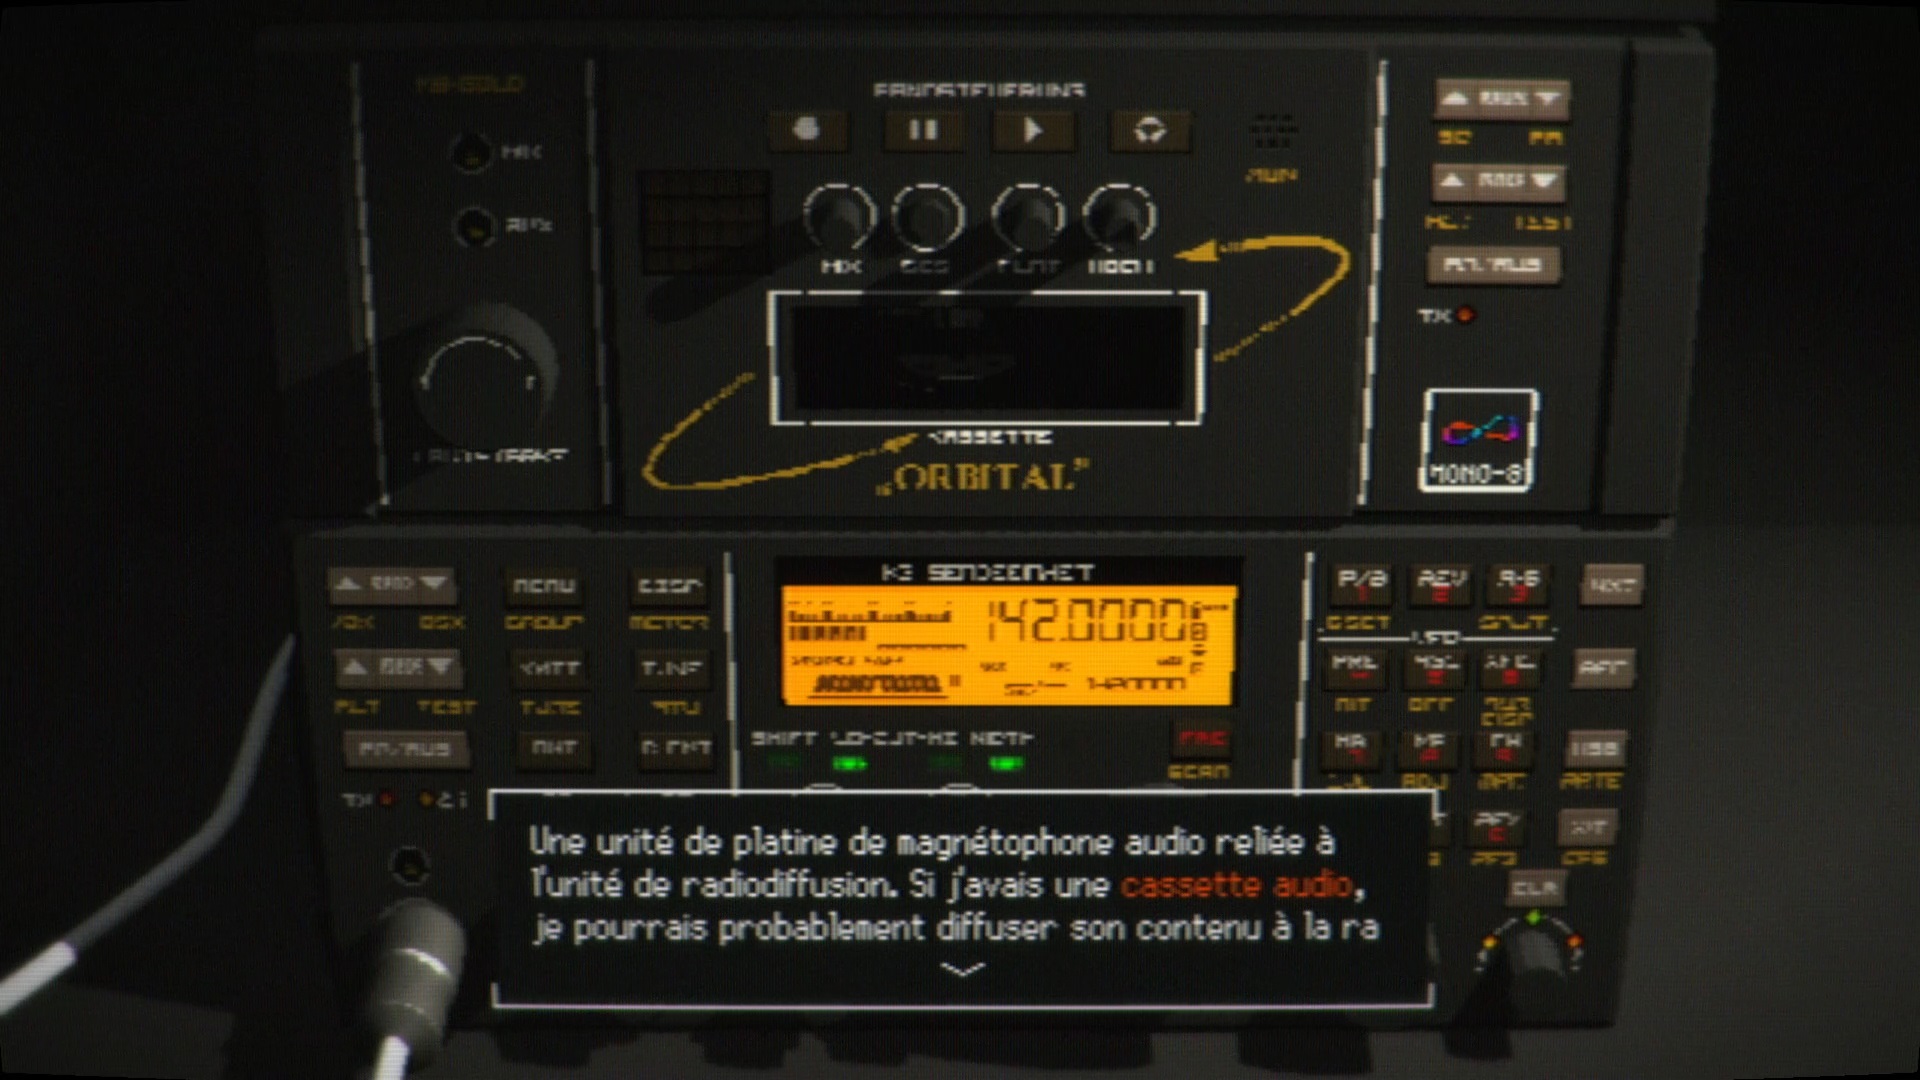
Open the middle door in the « North Hallway ». Use the radio to get rid of the enemies inside with the right frequencies. Use the island key with the painting at the bottom to unlock its contents and collect the workshop key. Now go to the 6th floor and unlock the workshop door in the middle of the « Workshop Hallway ». Use the tape in the player and retain the frequency number displayed: 142.000. Go to the 8th floor. Go beyond the « FLKR Office » to find the « FLKR Bedroom ». Inspect the body and play the 142,000 frequency to unlock the body owl. Take the Hummingbird key inside.
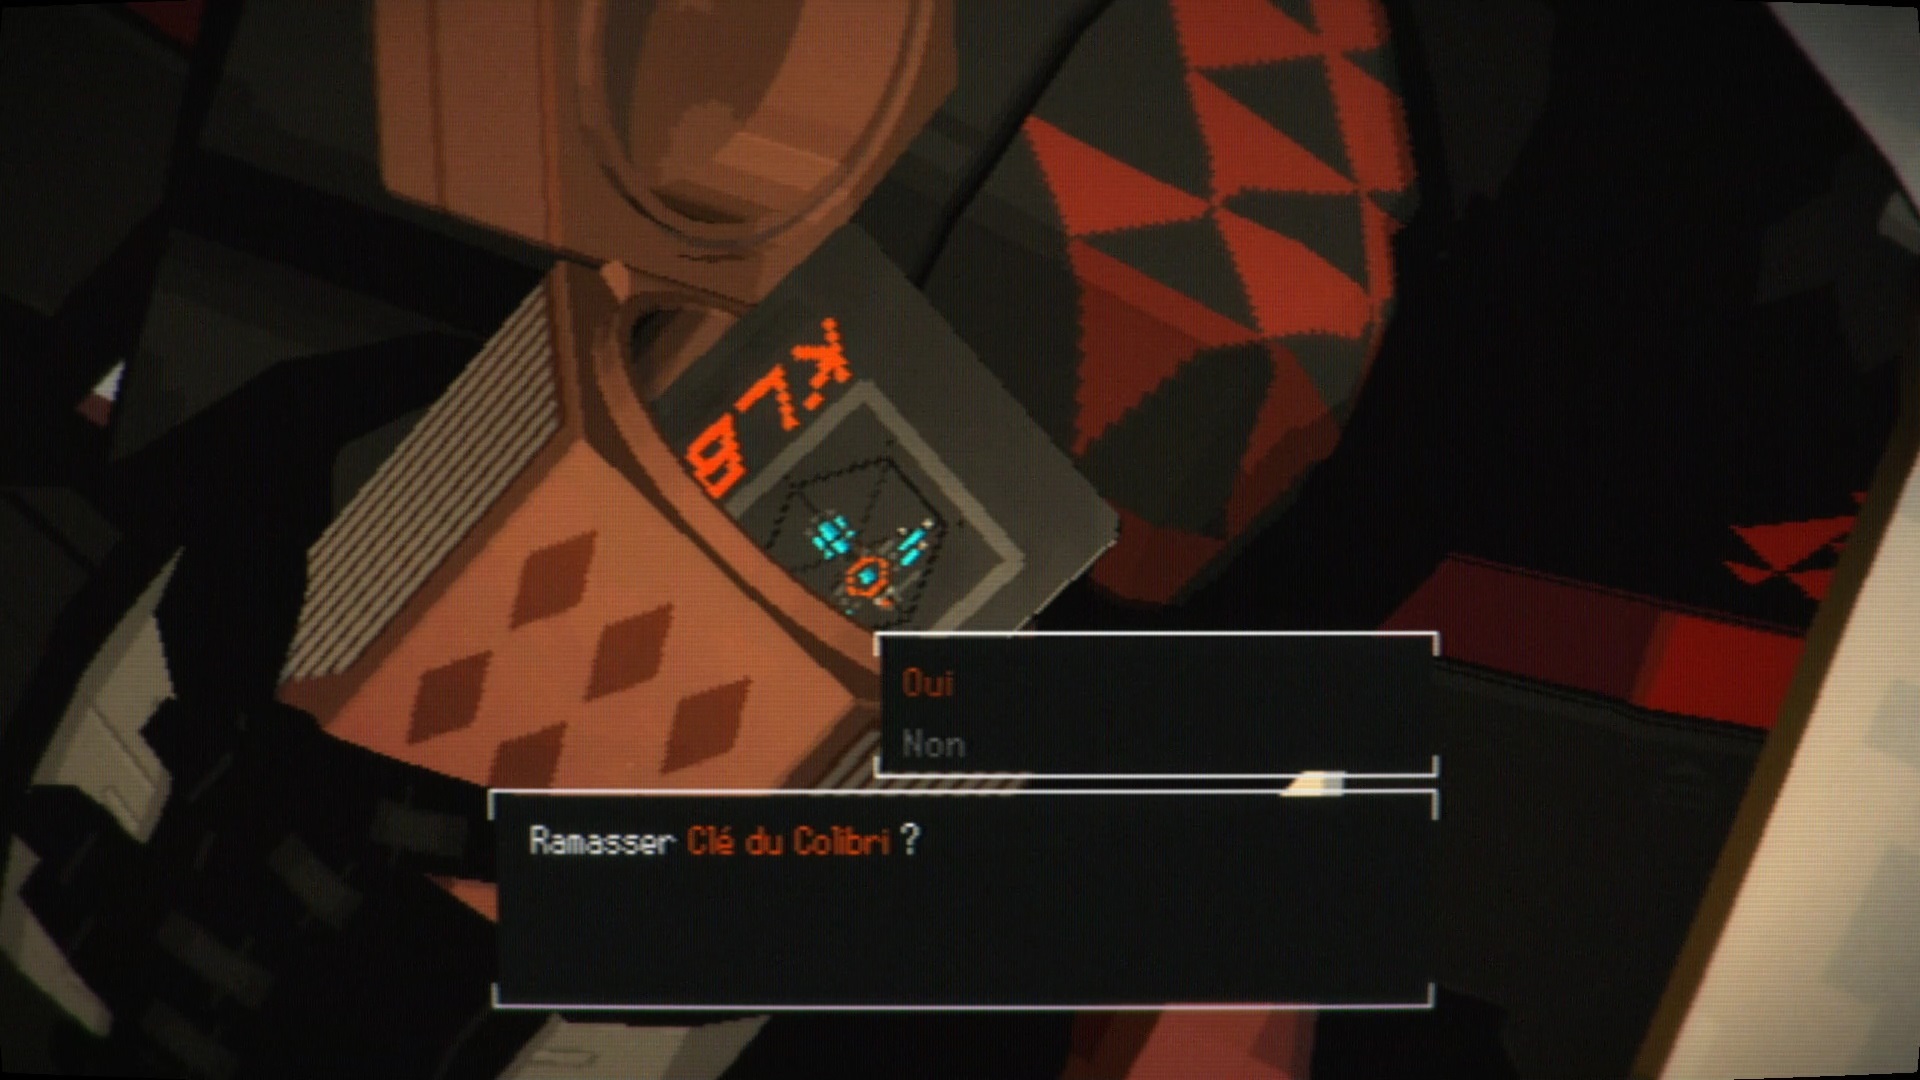
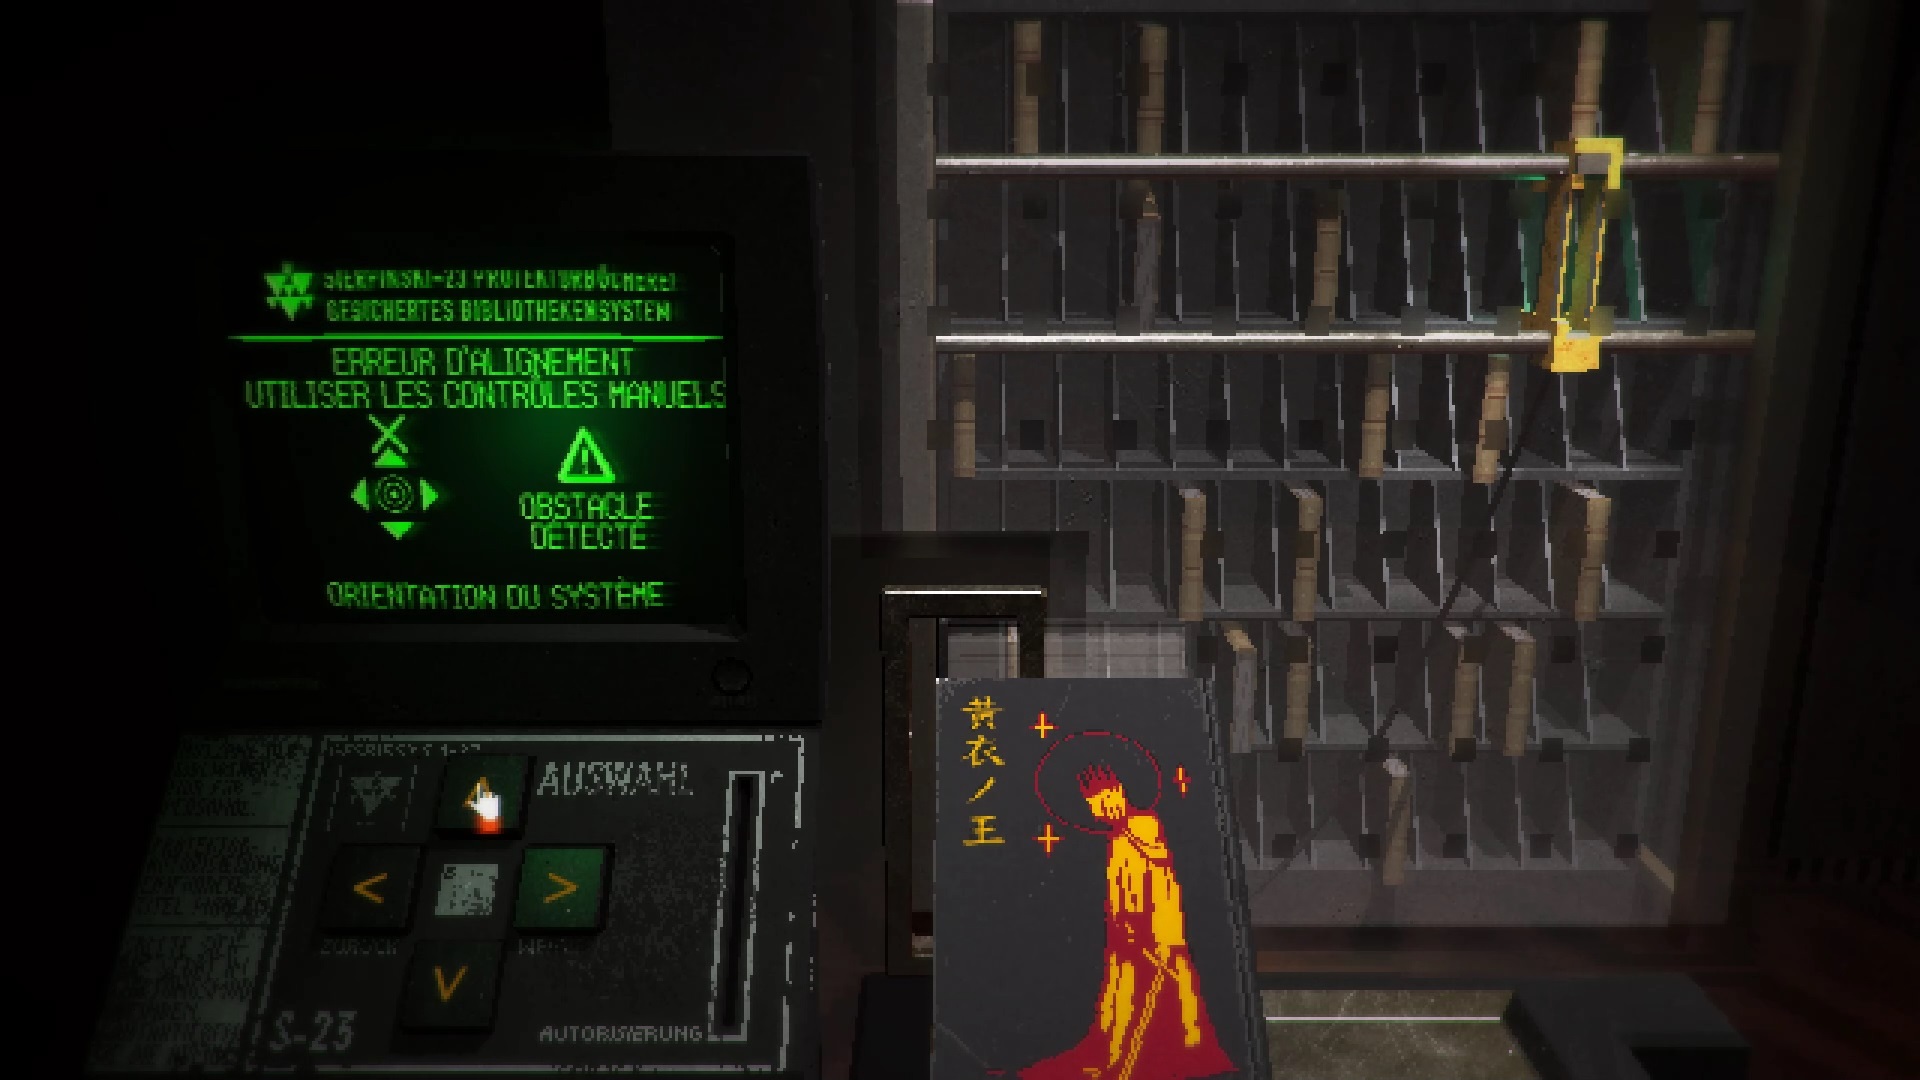
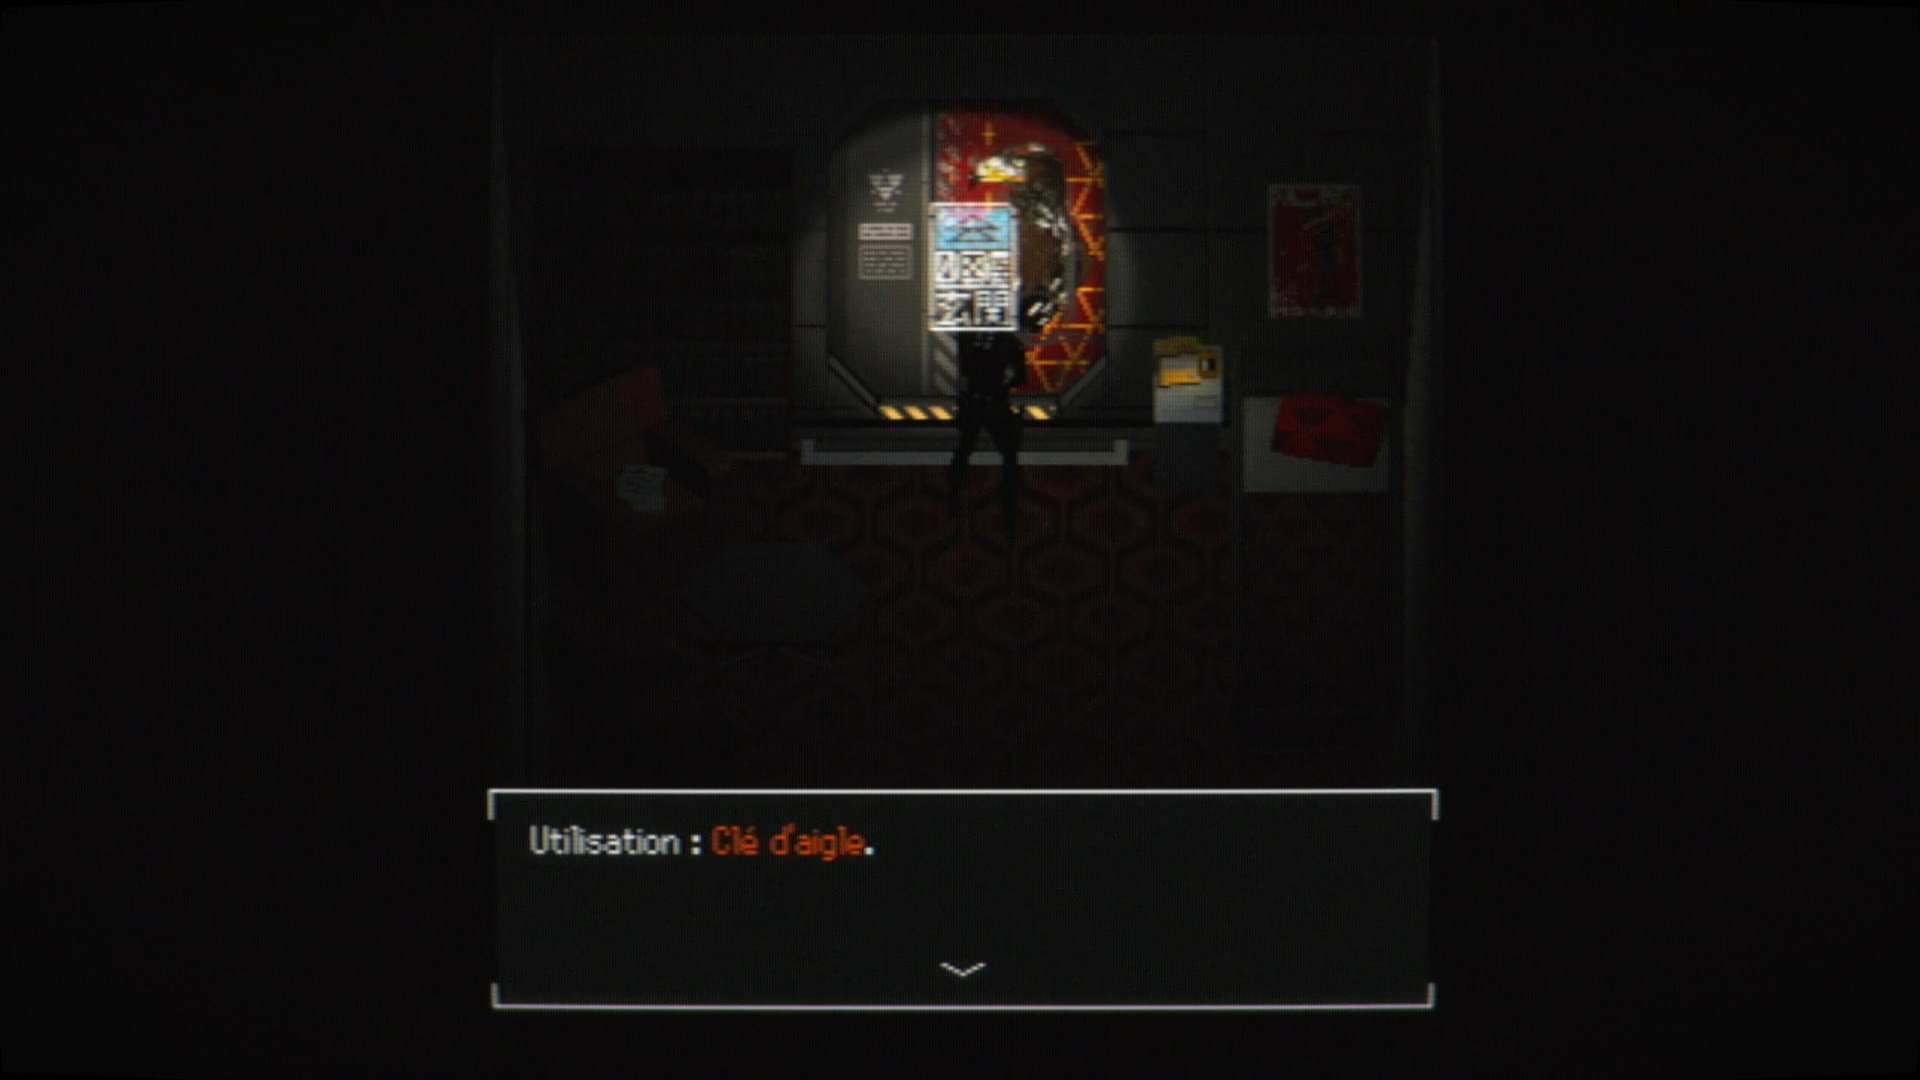
Go to the 8th floor in the « East Hallway » hallway. Go along the walls to avoid the fights. Unlock the door east of the hallway with the Hummingbird key. Inside the « KLBR Study » room take the eagle key from the desk. Then go into the room to the right of the « ELBR Bedroom » office with the lamp module. Retrieve the key from the mailbox placed on a piece of cardboard.
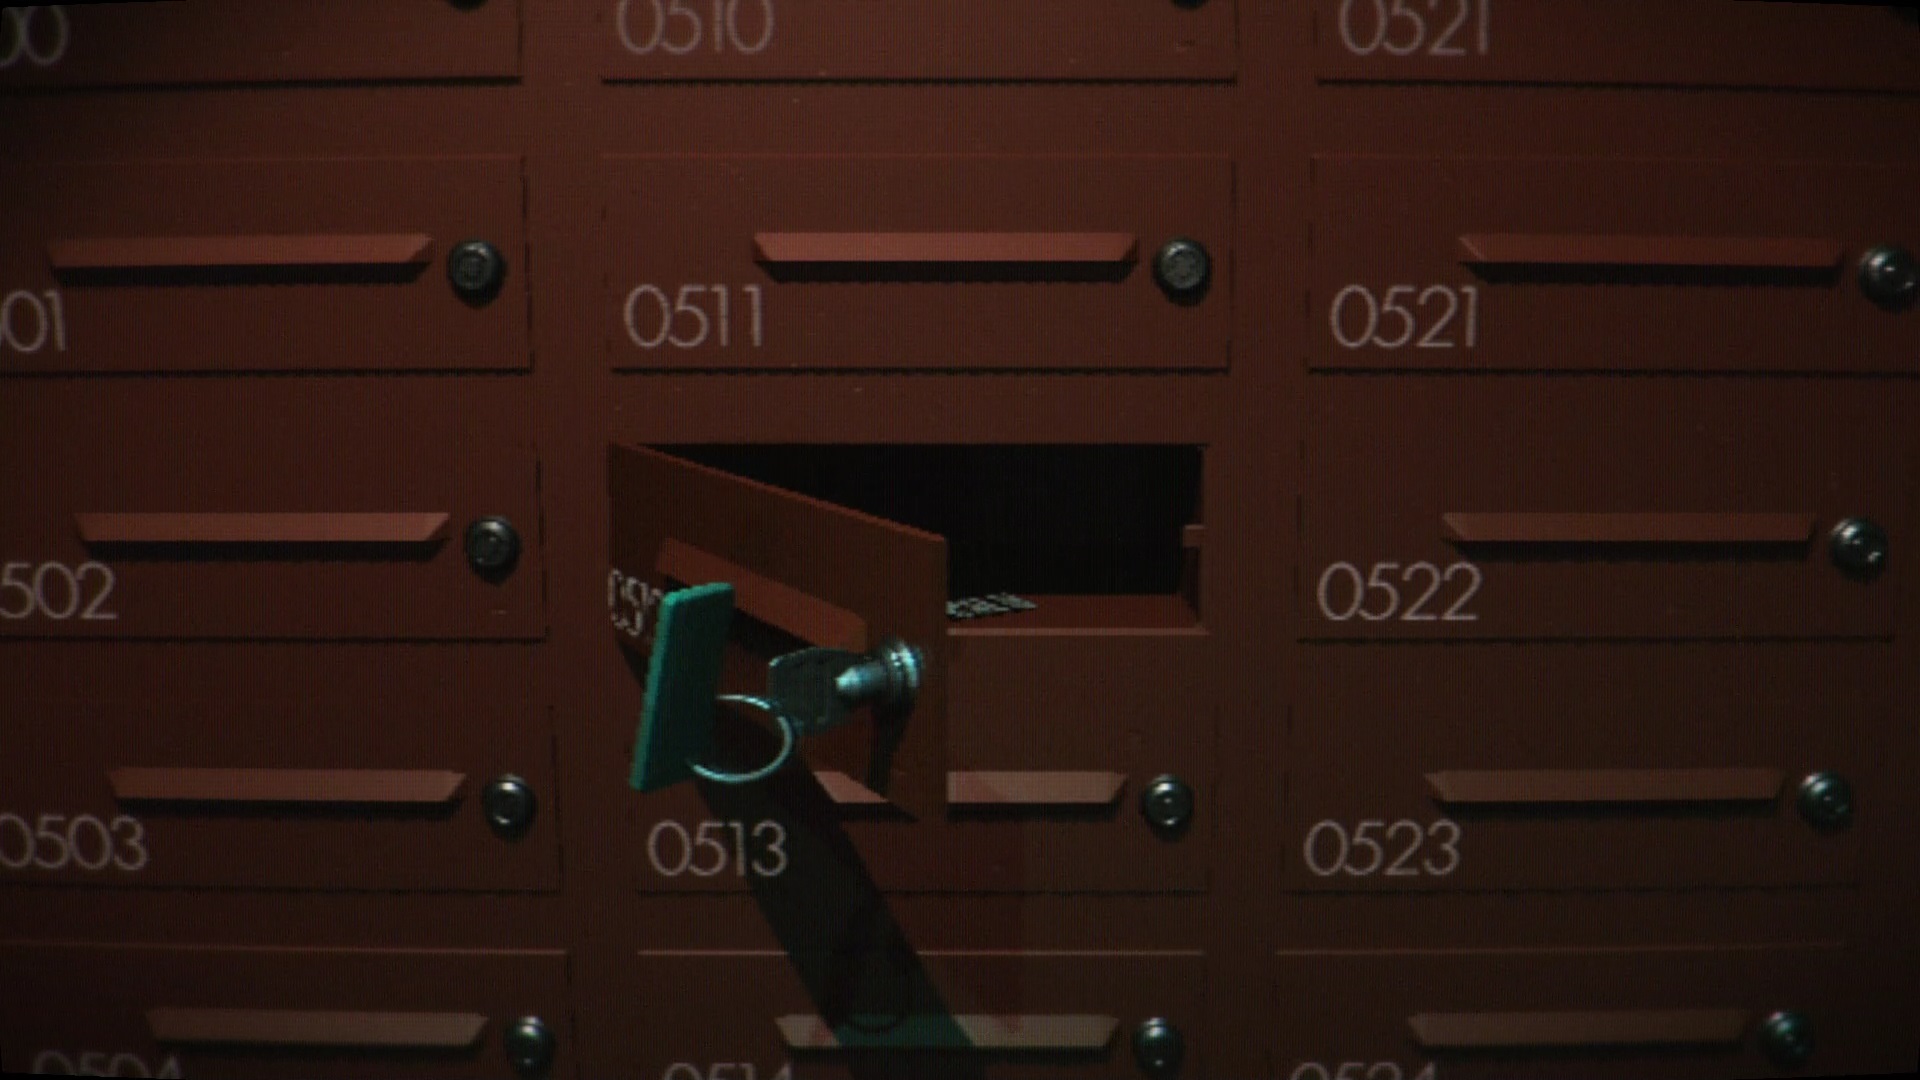
Go to the 6th floor. Use the key with the mailboxes to get the library key. On the same floor, in the « Library Hallway », use the key on the door in the center to open the library.
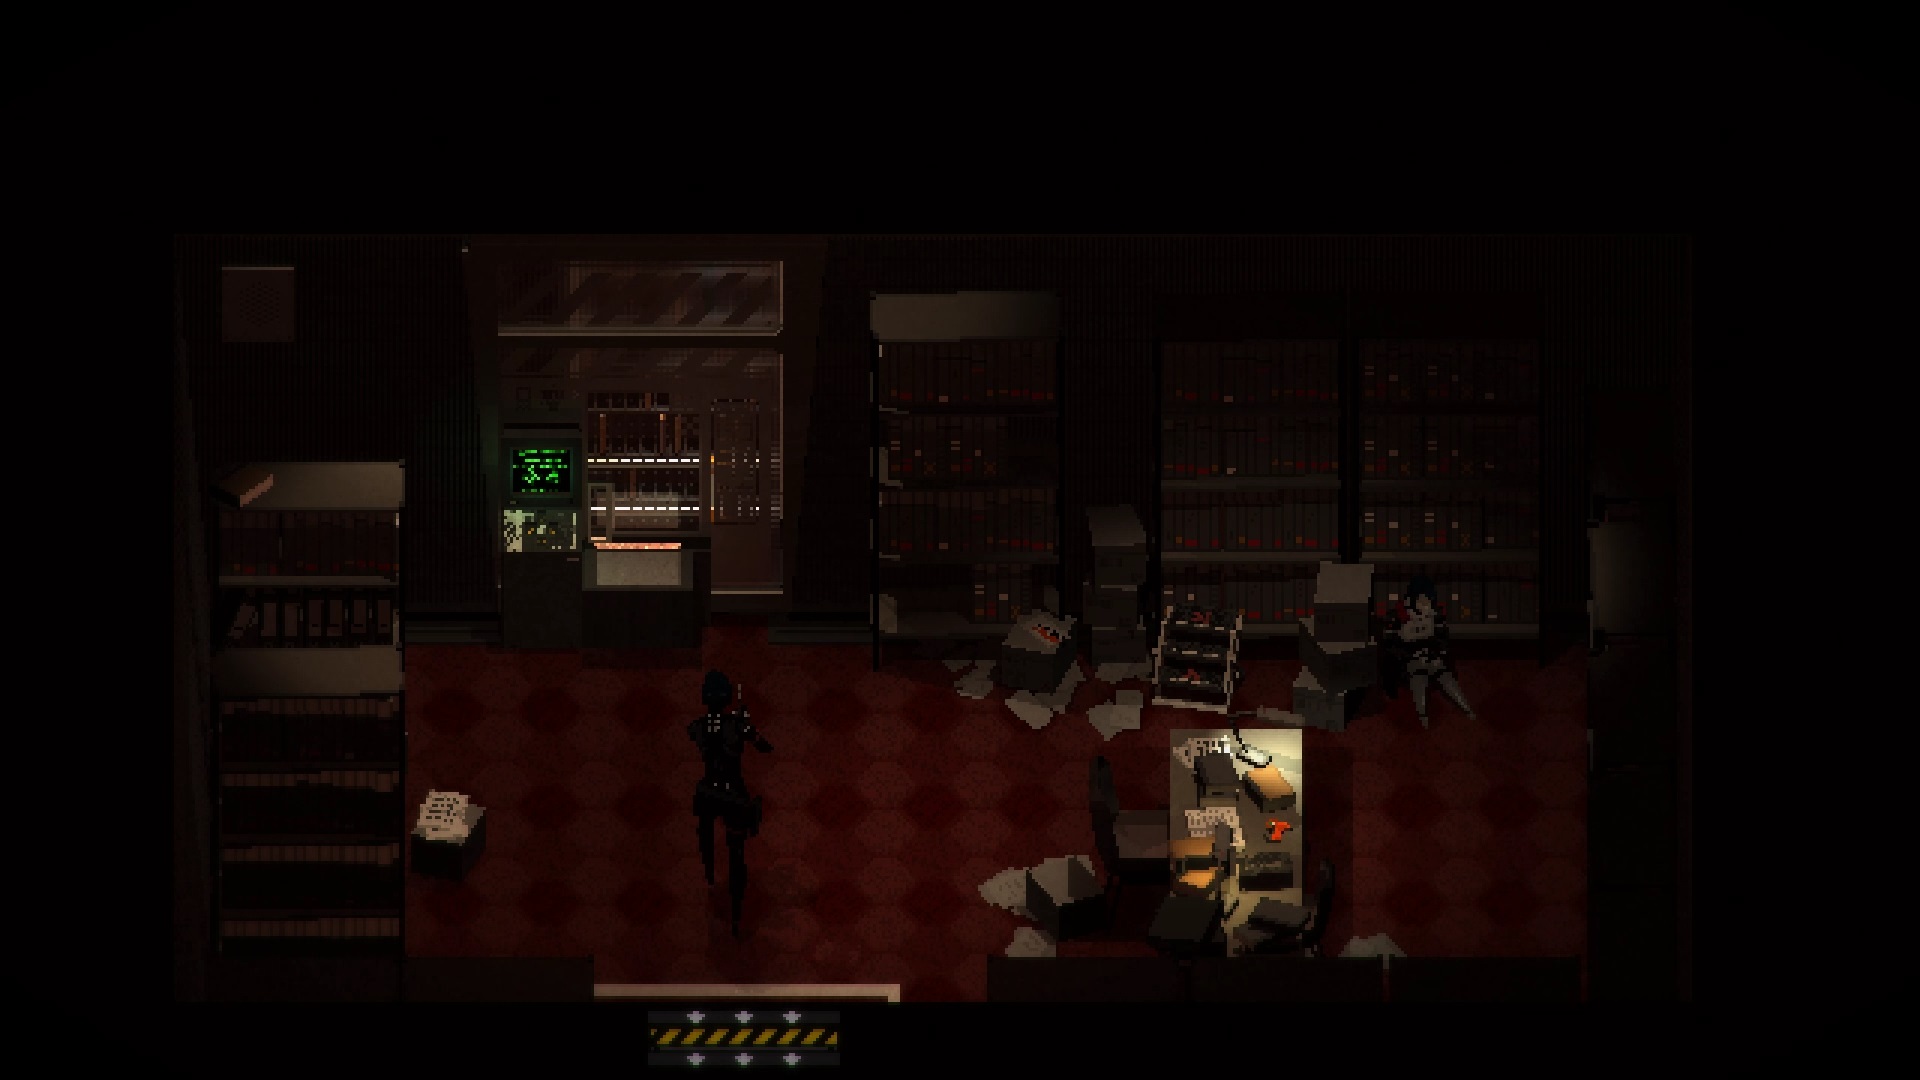
Interact with the library to solve a new puzzle. In this new puzzle, you will have to move the module to the mark in red. Nothing very complicated, use the book at the bottom left to get the right path. Attention, a bug may occur in the machine. If nothing happens on the red mark, the game is corrupt. Try returning with a save earlier in your game to unlock yourself.
If everything went well you get the astrolabe. Go open the second door on the 8th floor to « ADLR Bedroom ». Inside, use the lamp module to reveal a door to unlock with the Eagle Key. Go through the door. In « ADLR Study », use the astrolabe with the strange chest on the desk. To solve this puzzle, you must refer to the planetary in the room in front of the library. You must align the corresponding planets as on the planetary. You will find the solution on the image above.

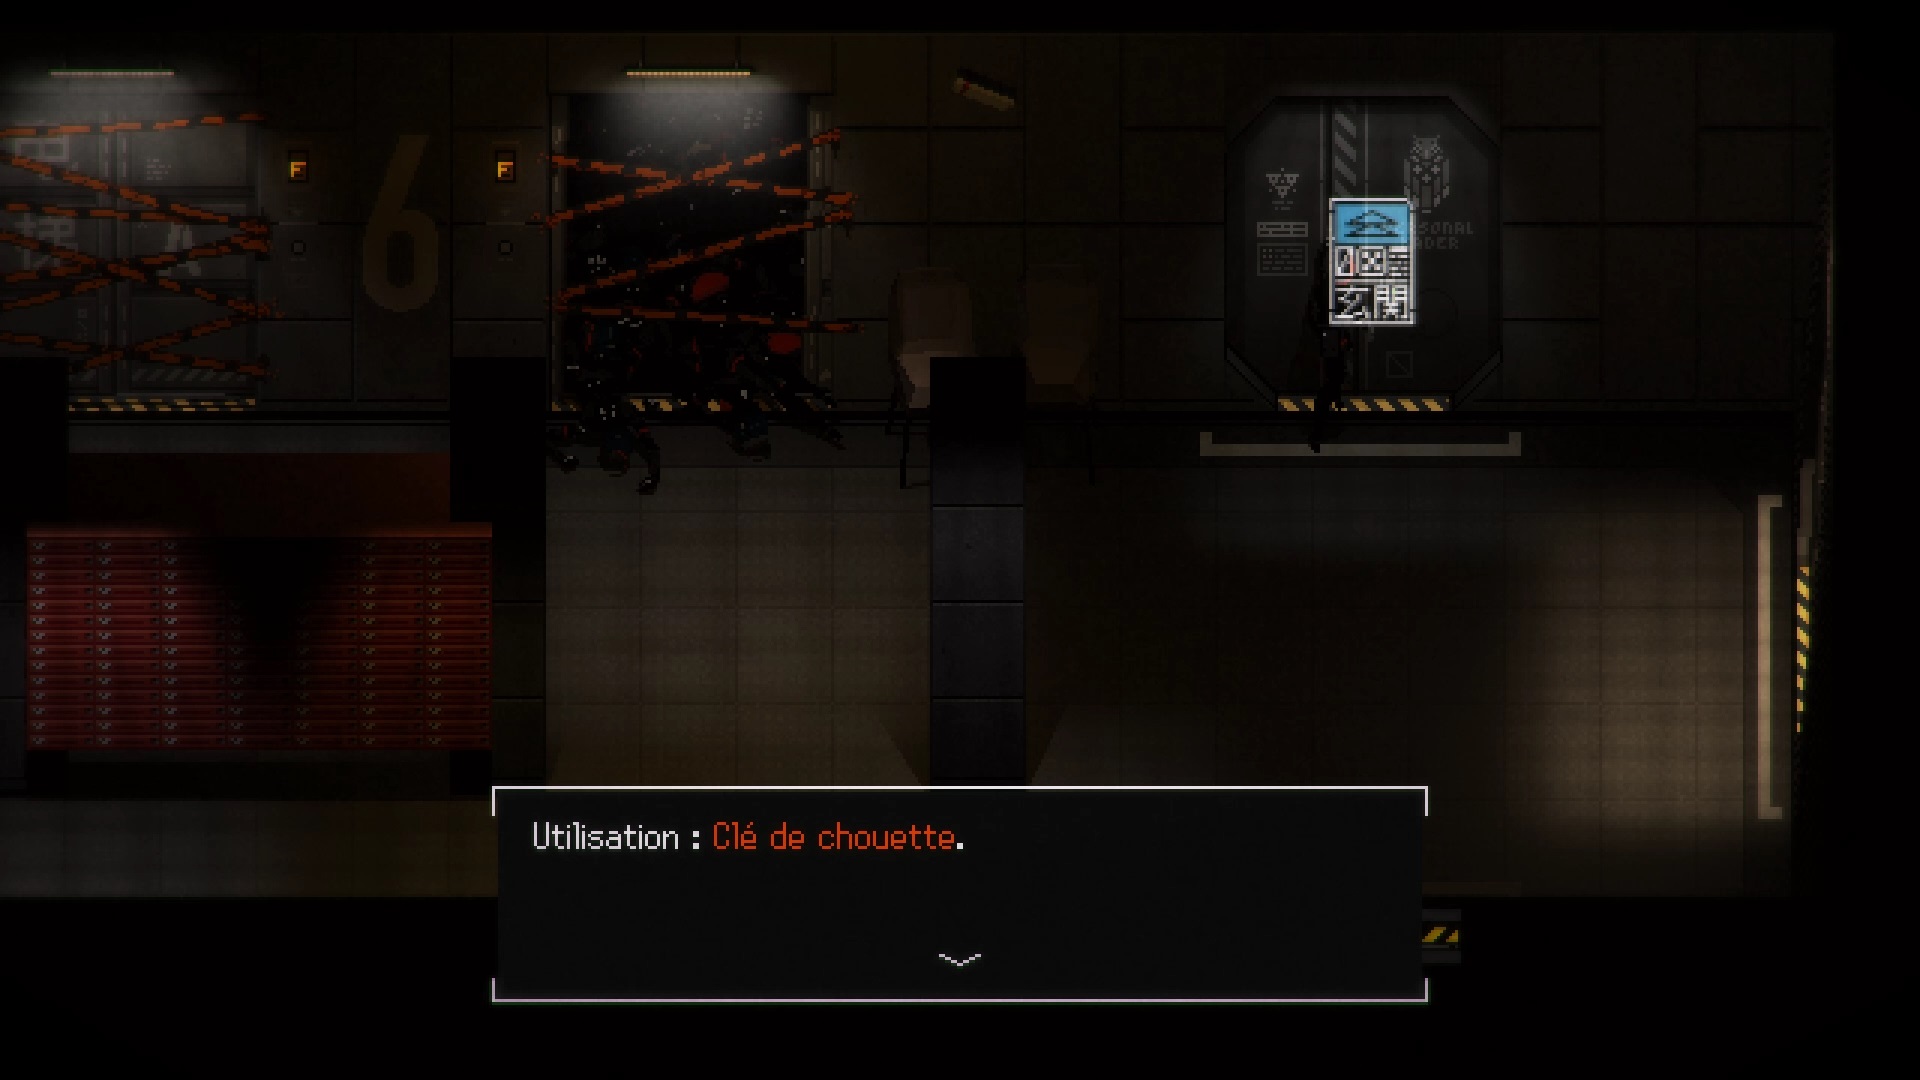
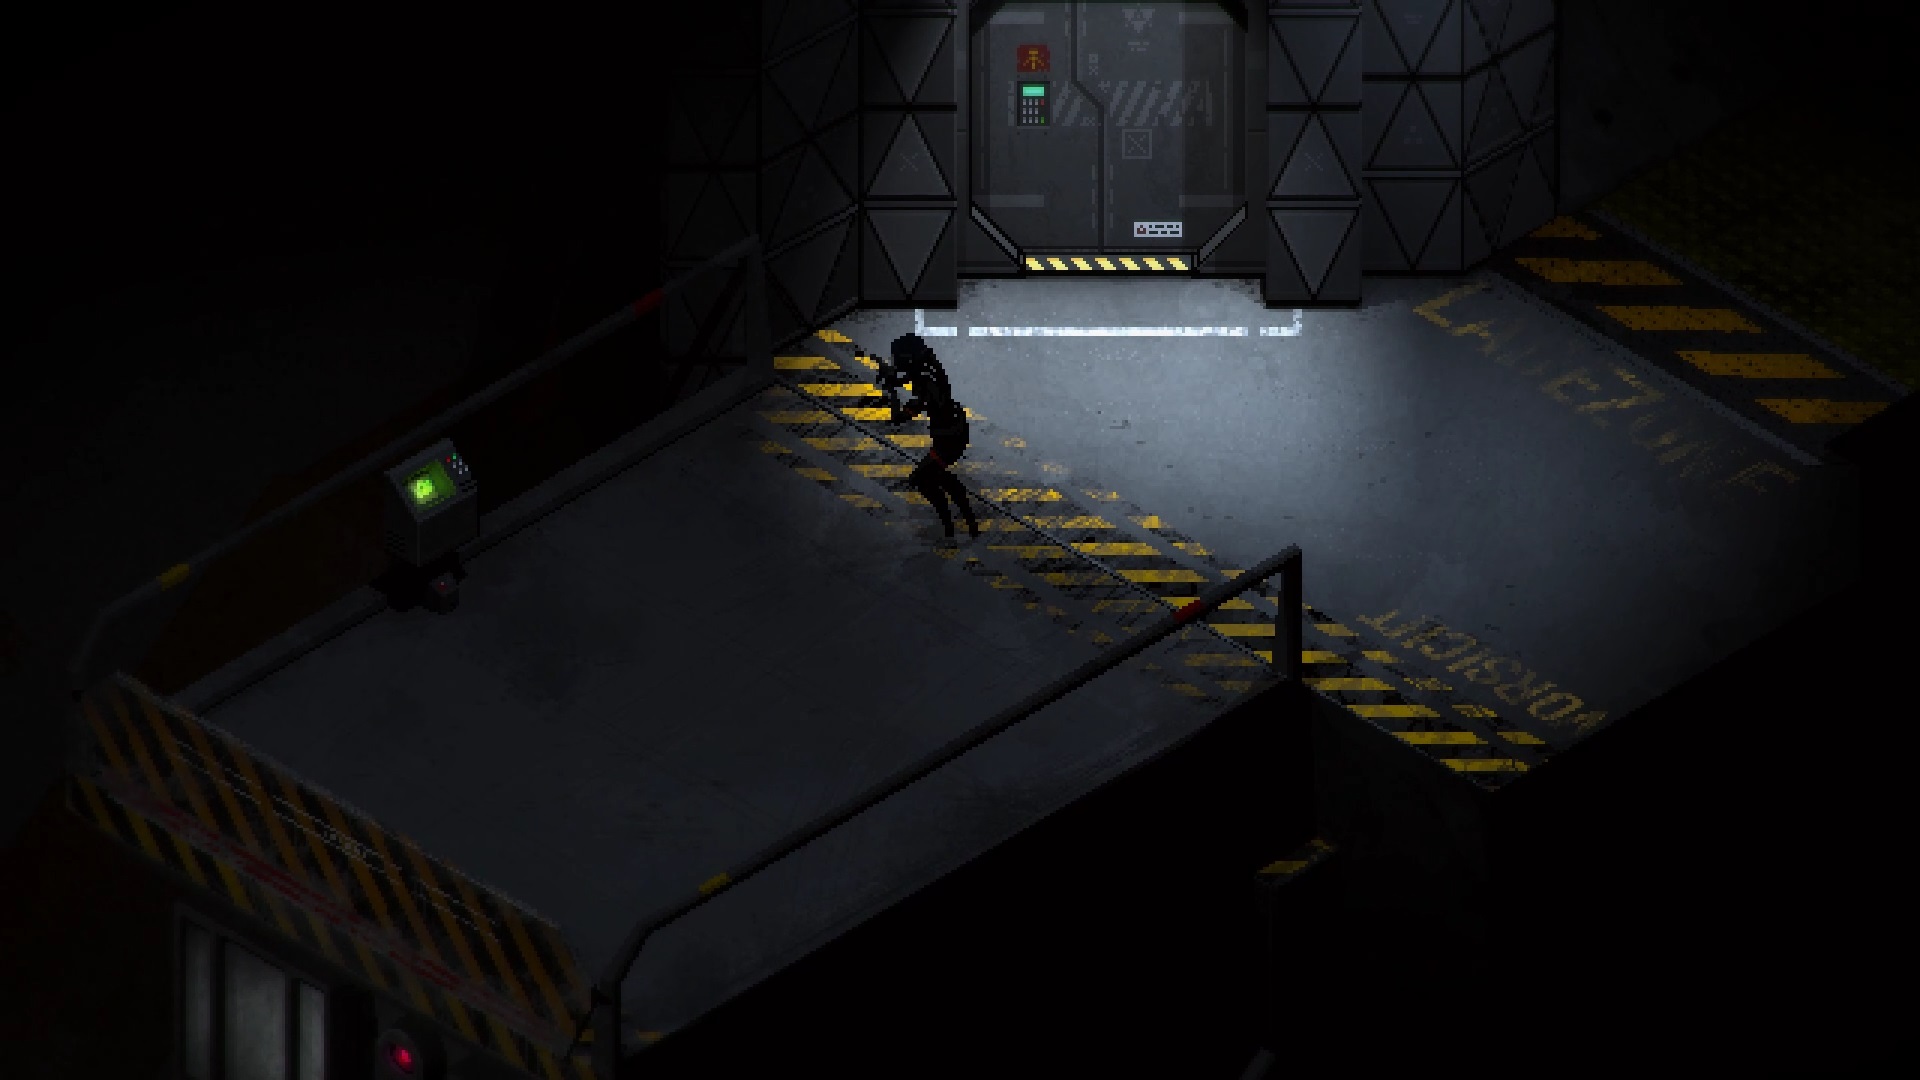
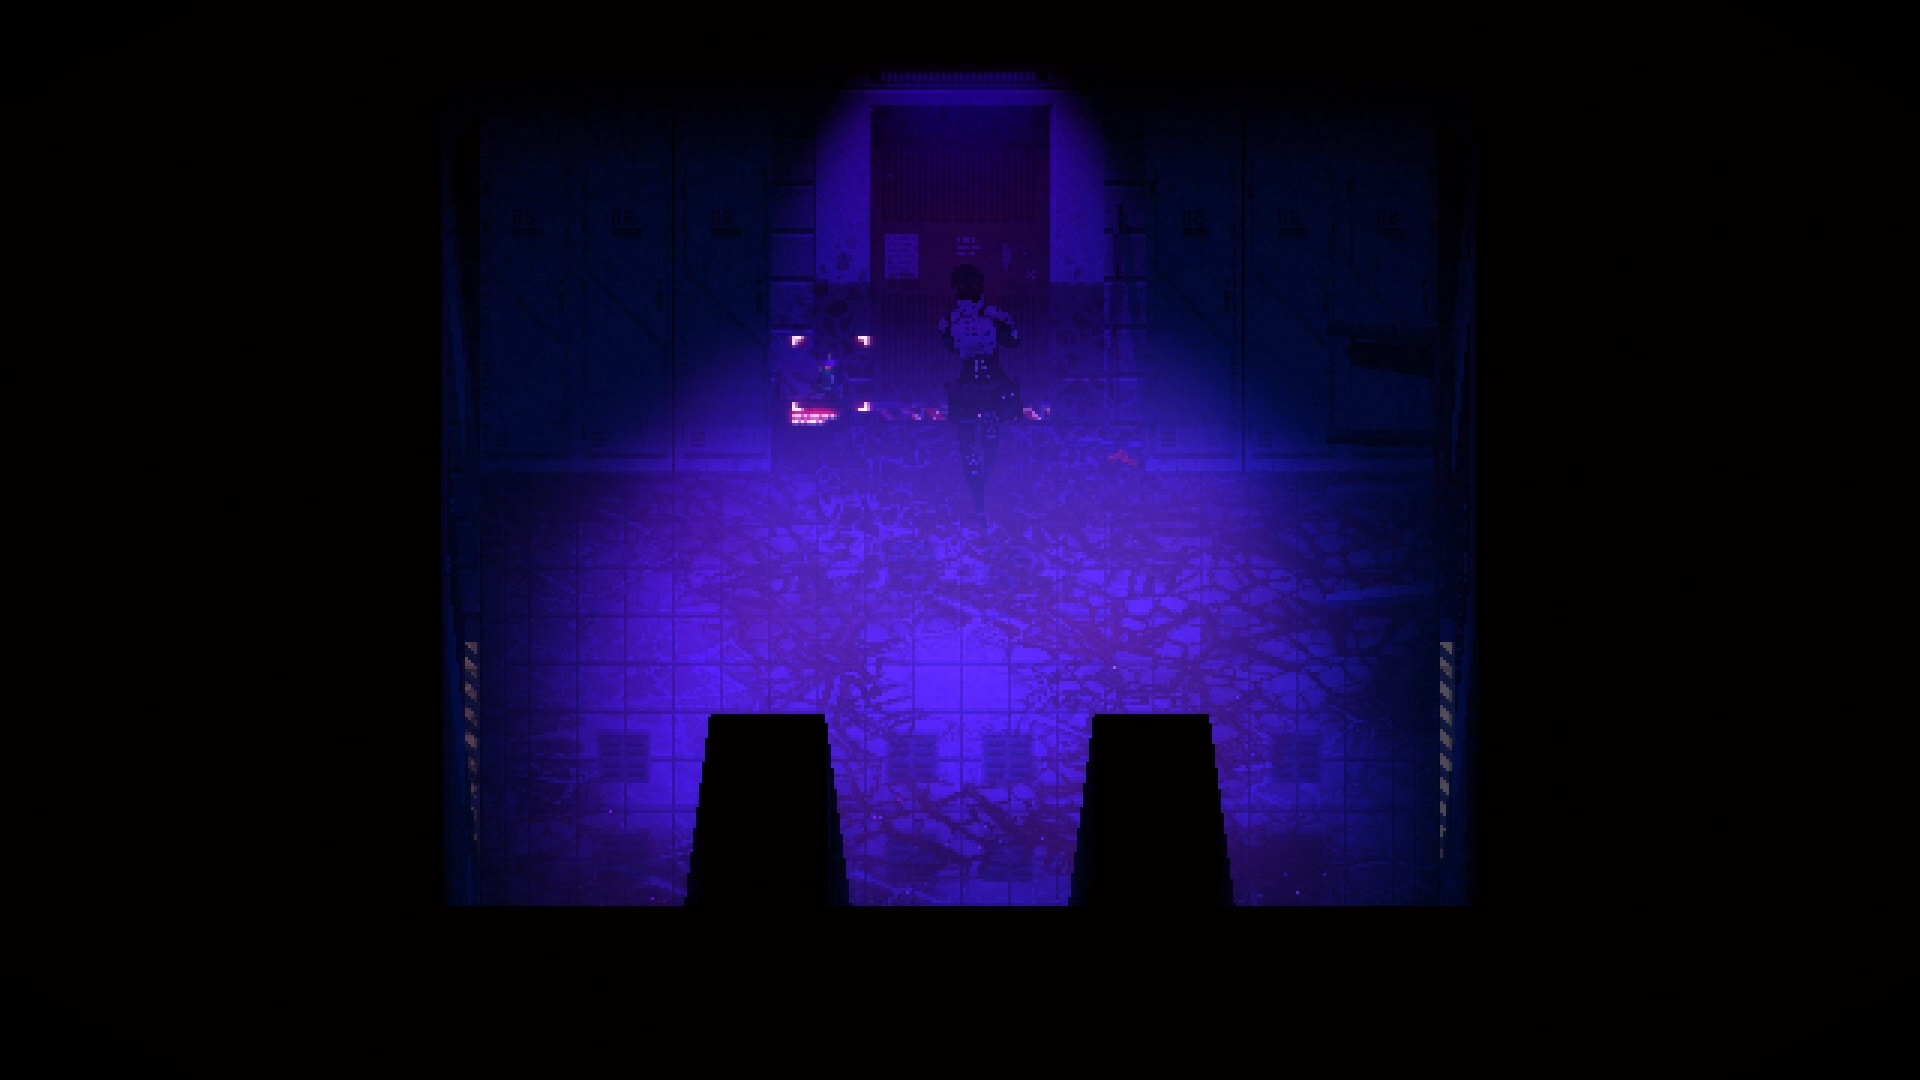
Take the administrator key. Then reach the 8th floor and go through the door at the top left of the « North Hallway ». Use the elevator to reach the mine.
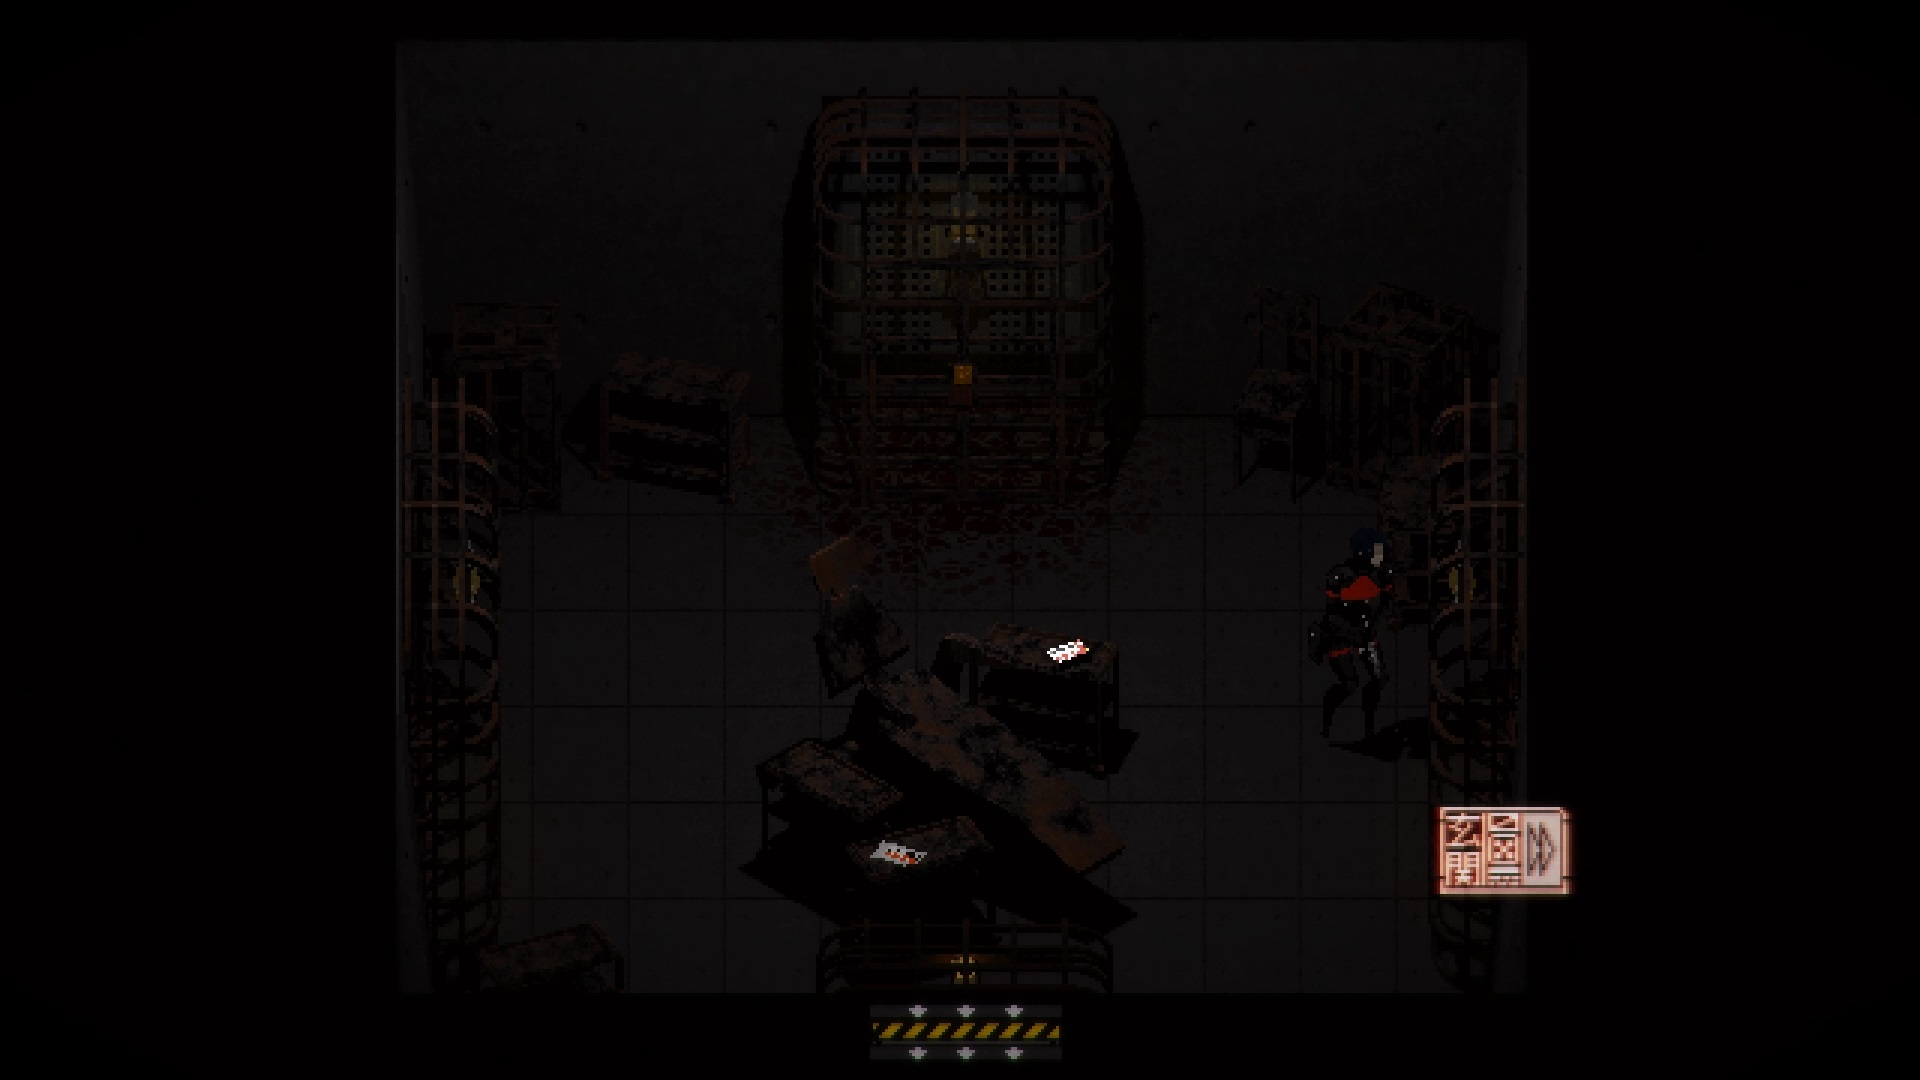
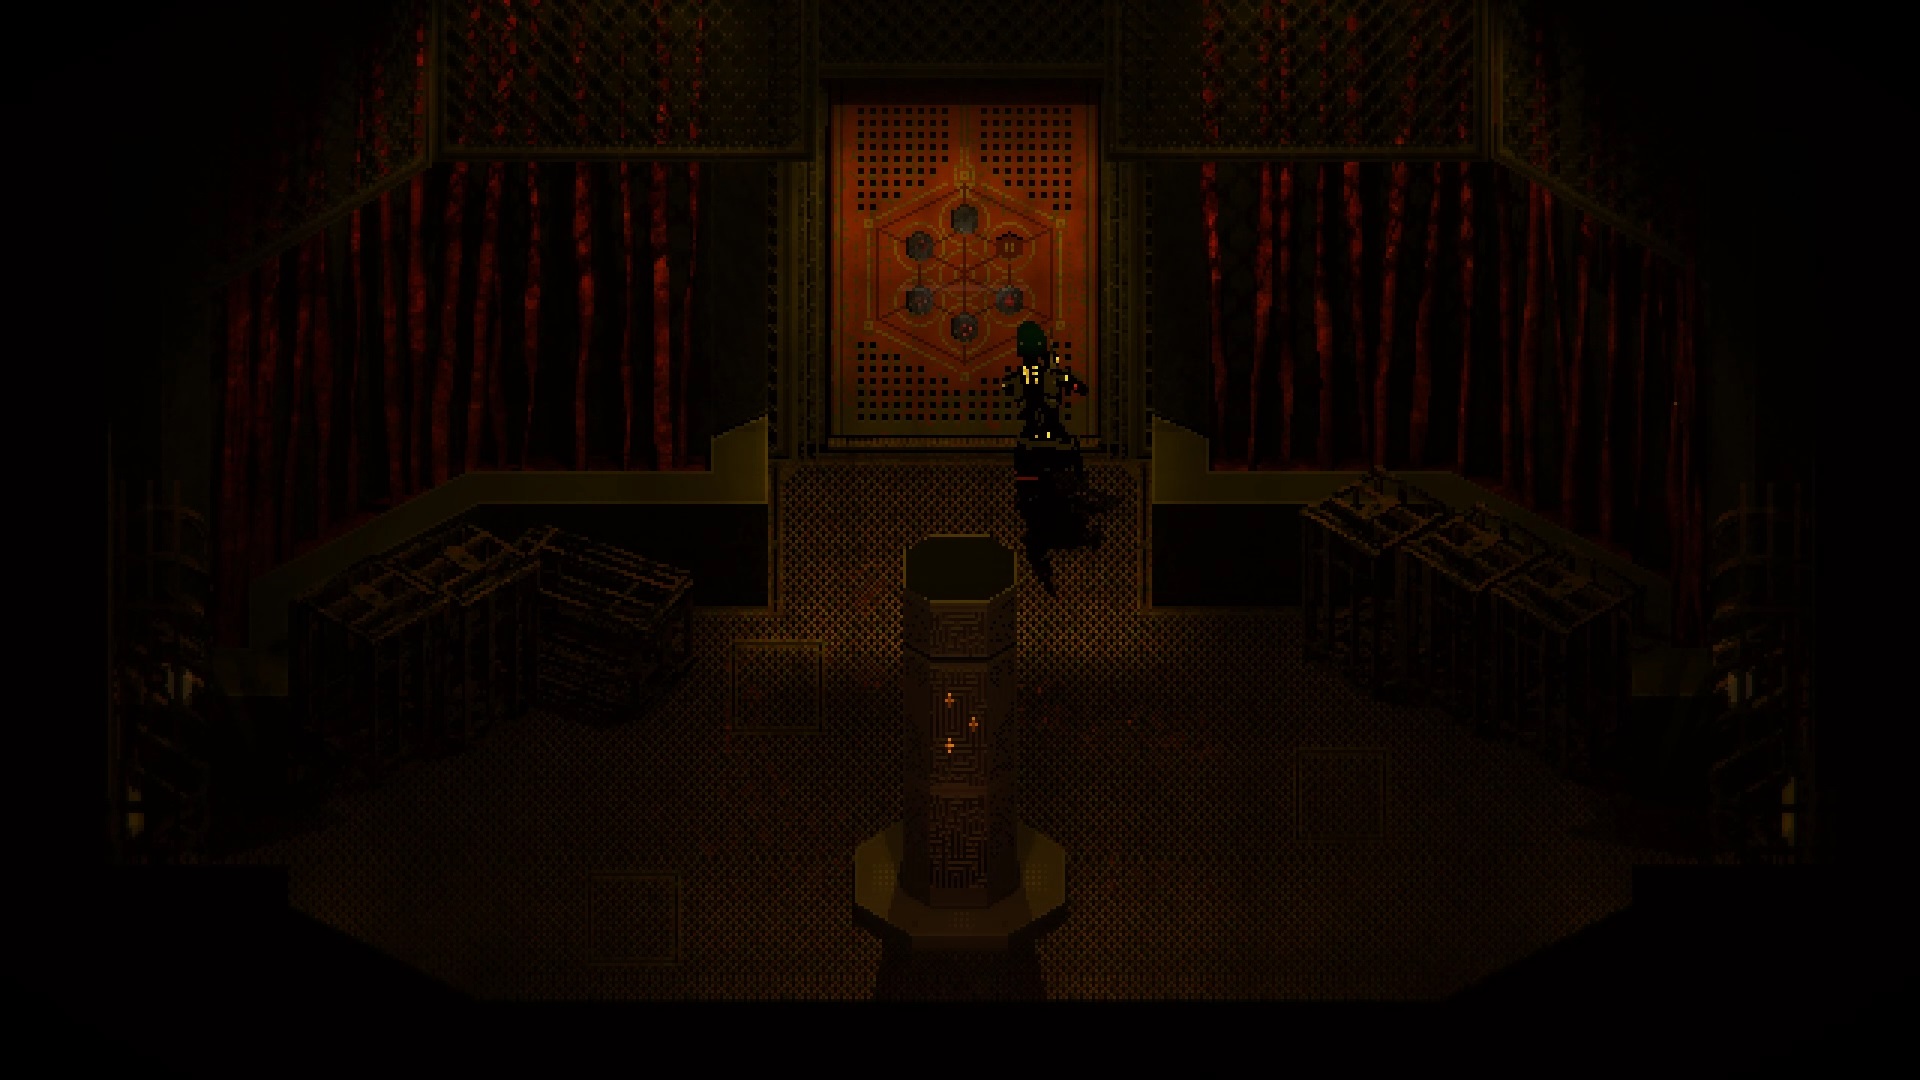
Excavation
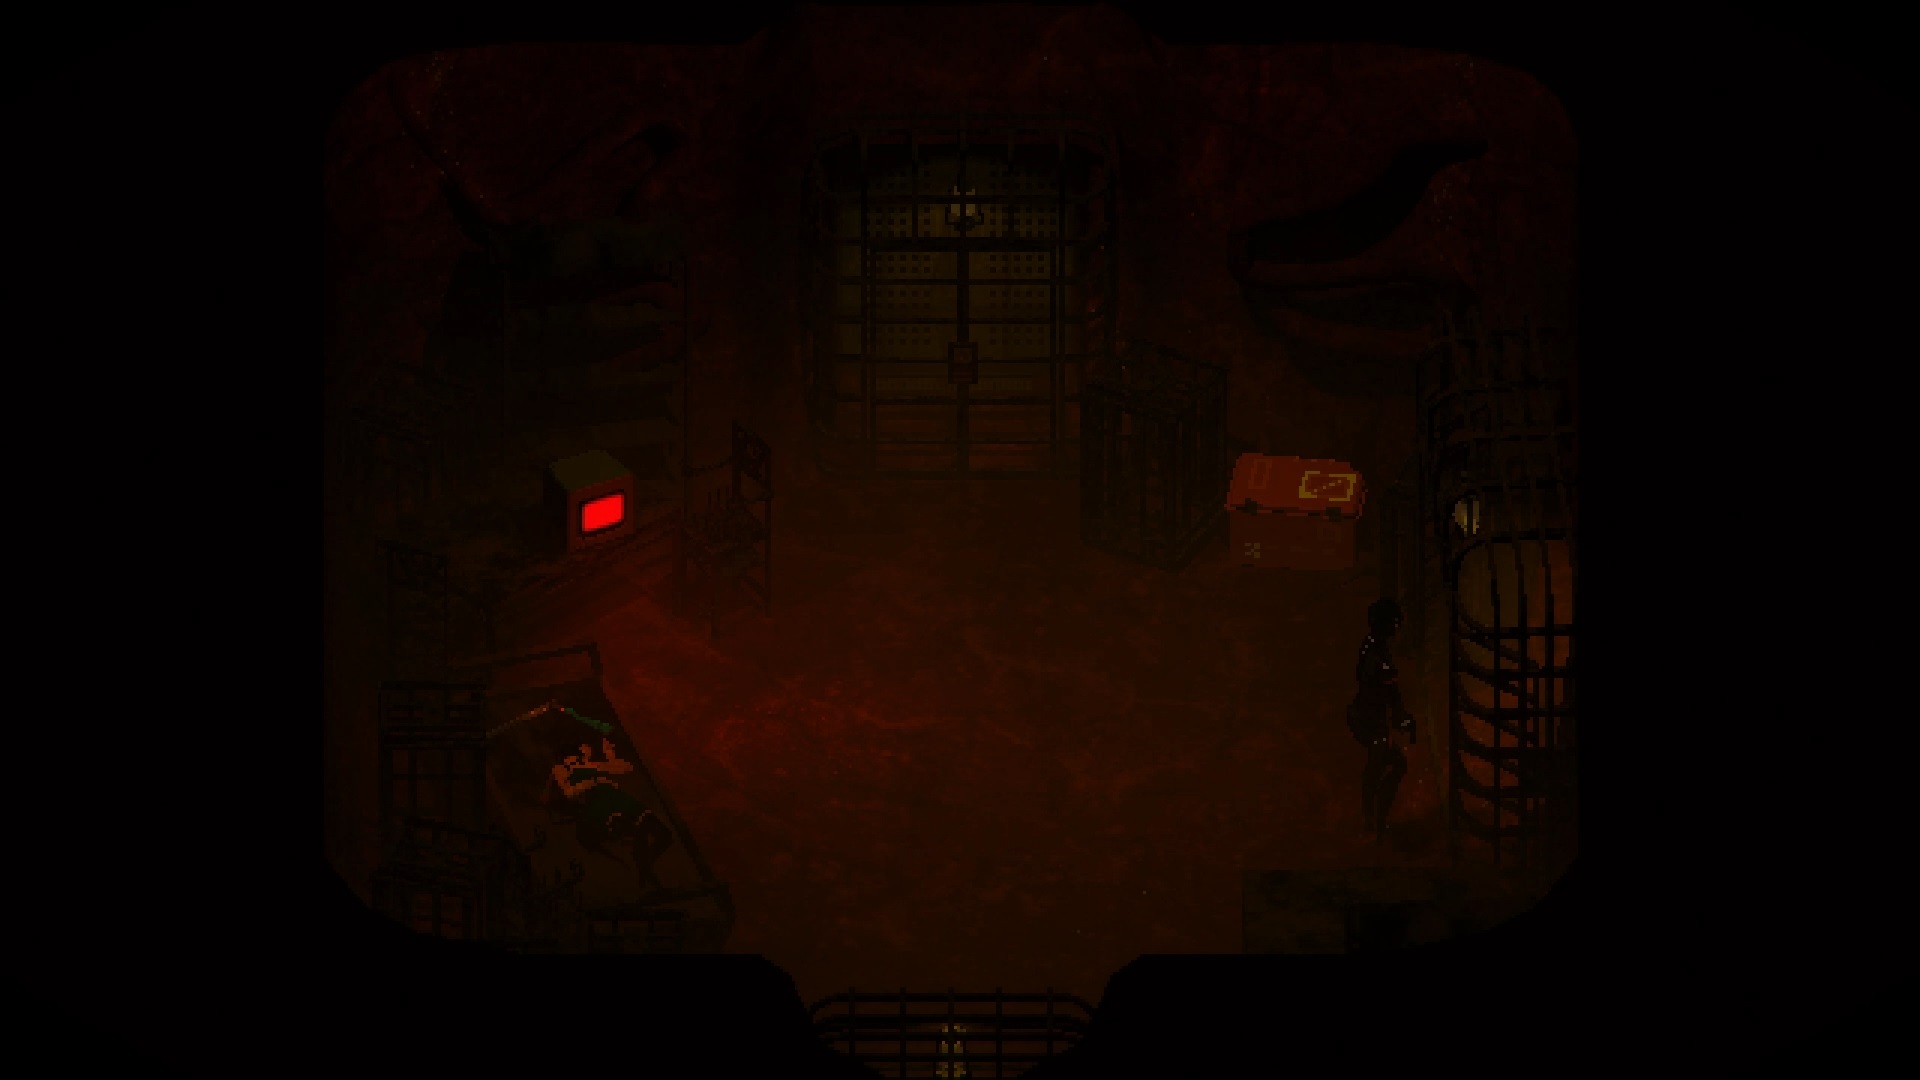
In the mine, things get complicated. The card no longer works. At the exit of the elevator, start by following the tunnel to the South-West to pass a first door. In the second room, go through the tunnel to the southeast. In the third room go through the door to the south to find a new save room.
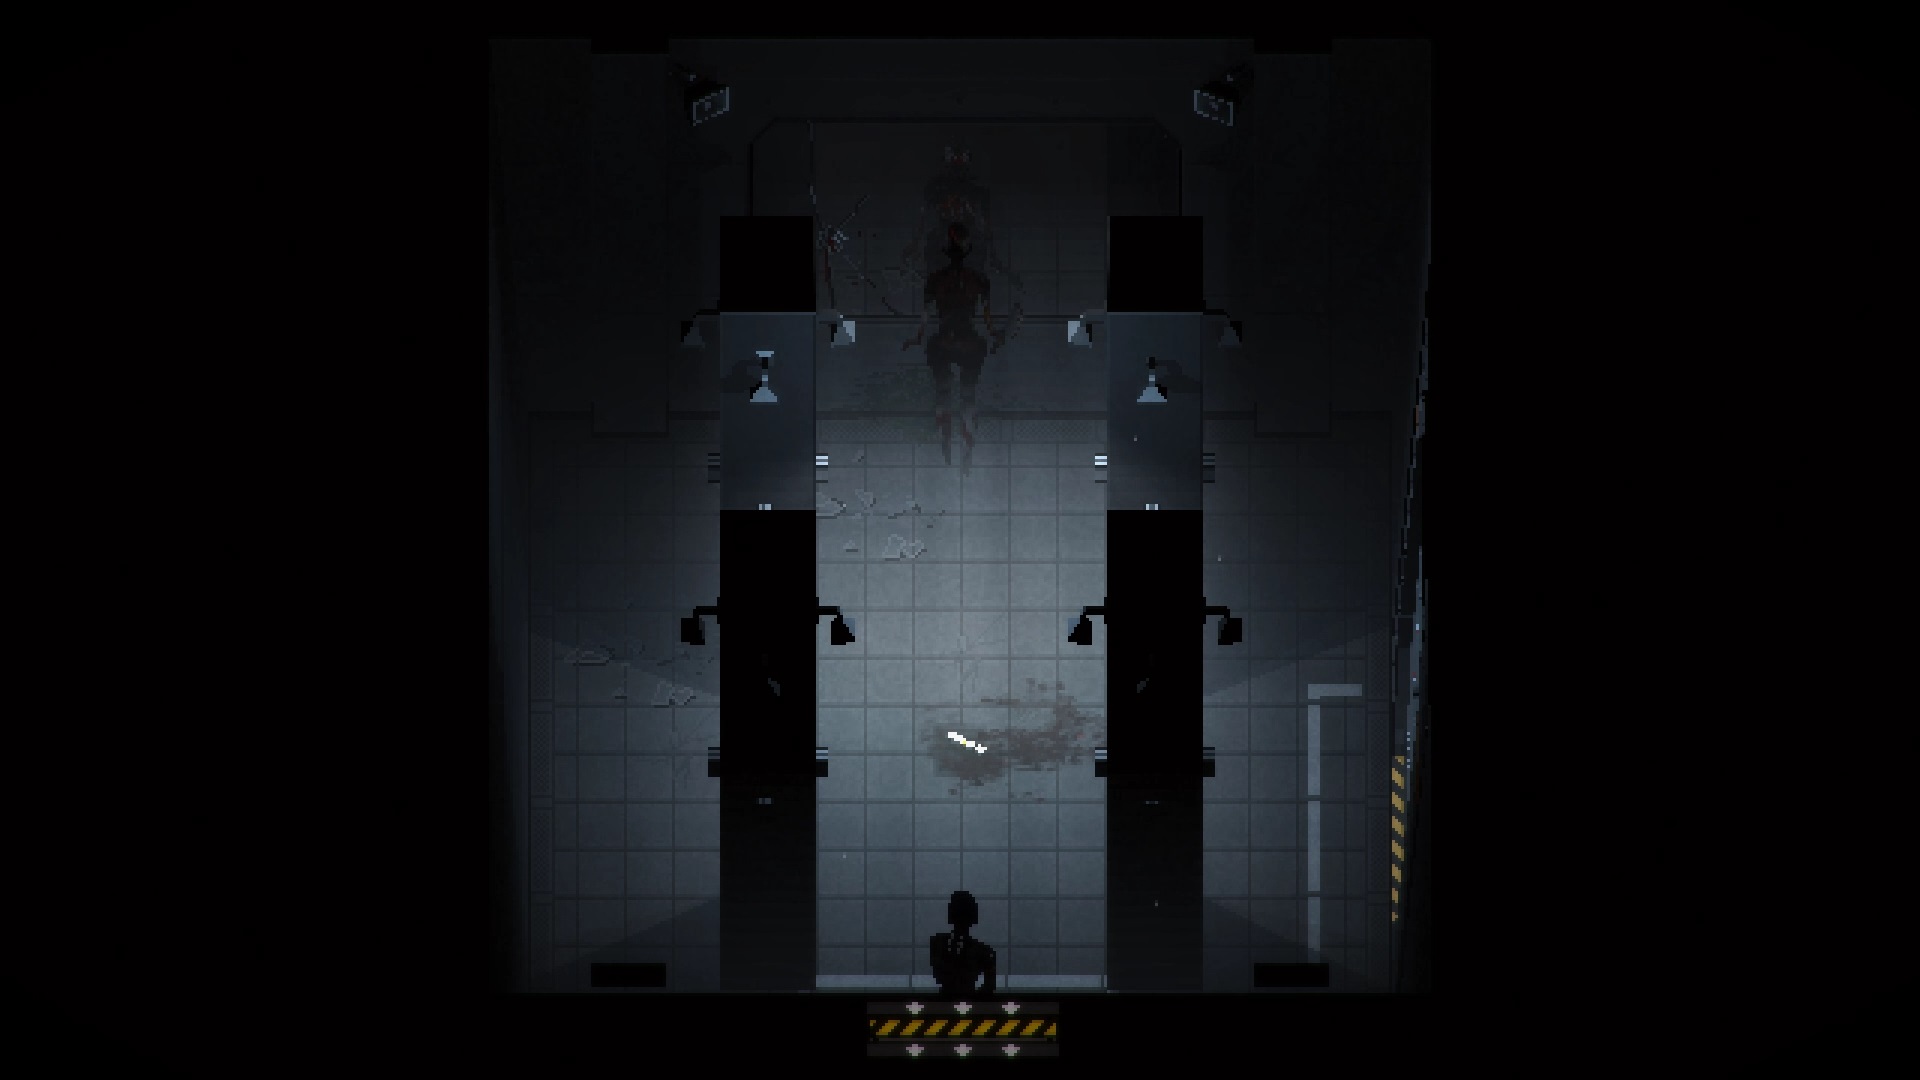
Inside, collect the secondary material and equip yourself with the light module. Once ready, go through the door to the south. Go down with the platform. Once down, join the tunnel to the north. In the room, interact with the well button to open it. Survive the attack by walking around the well until it opens. When the well is open go inside.
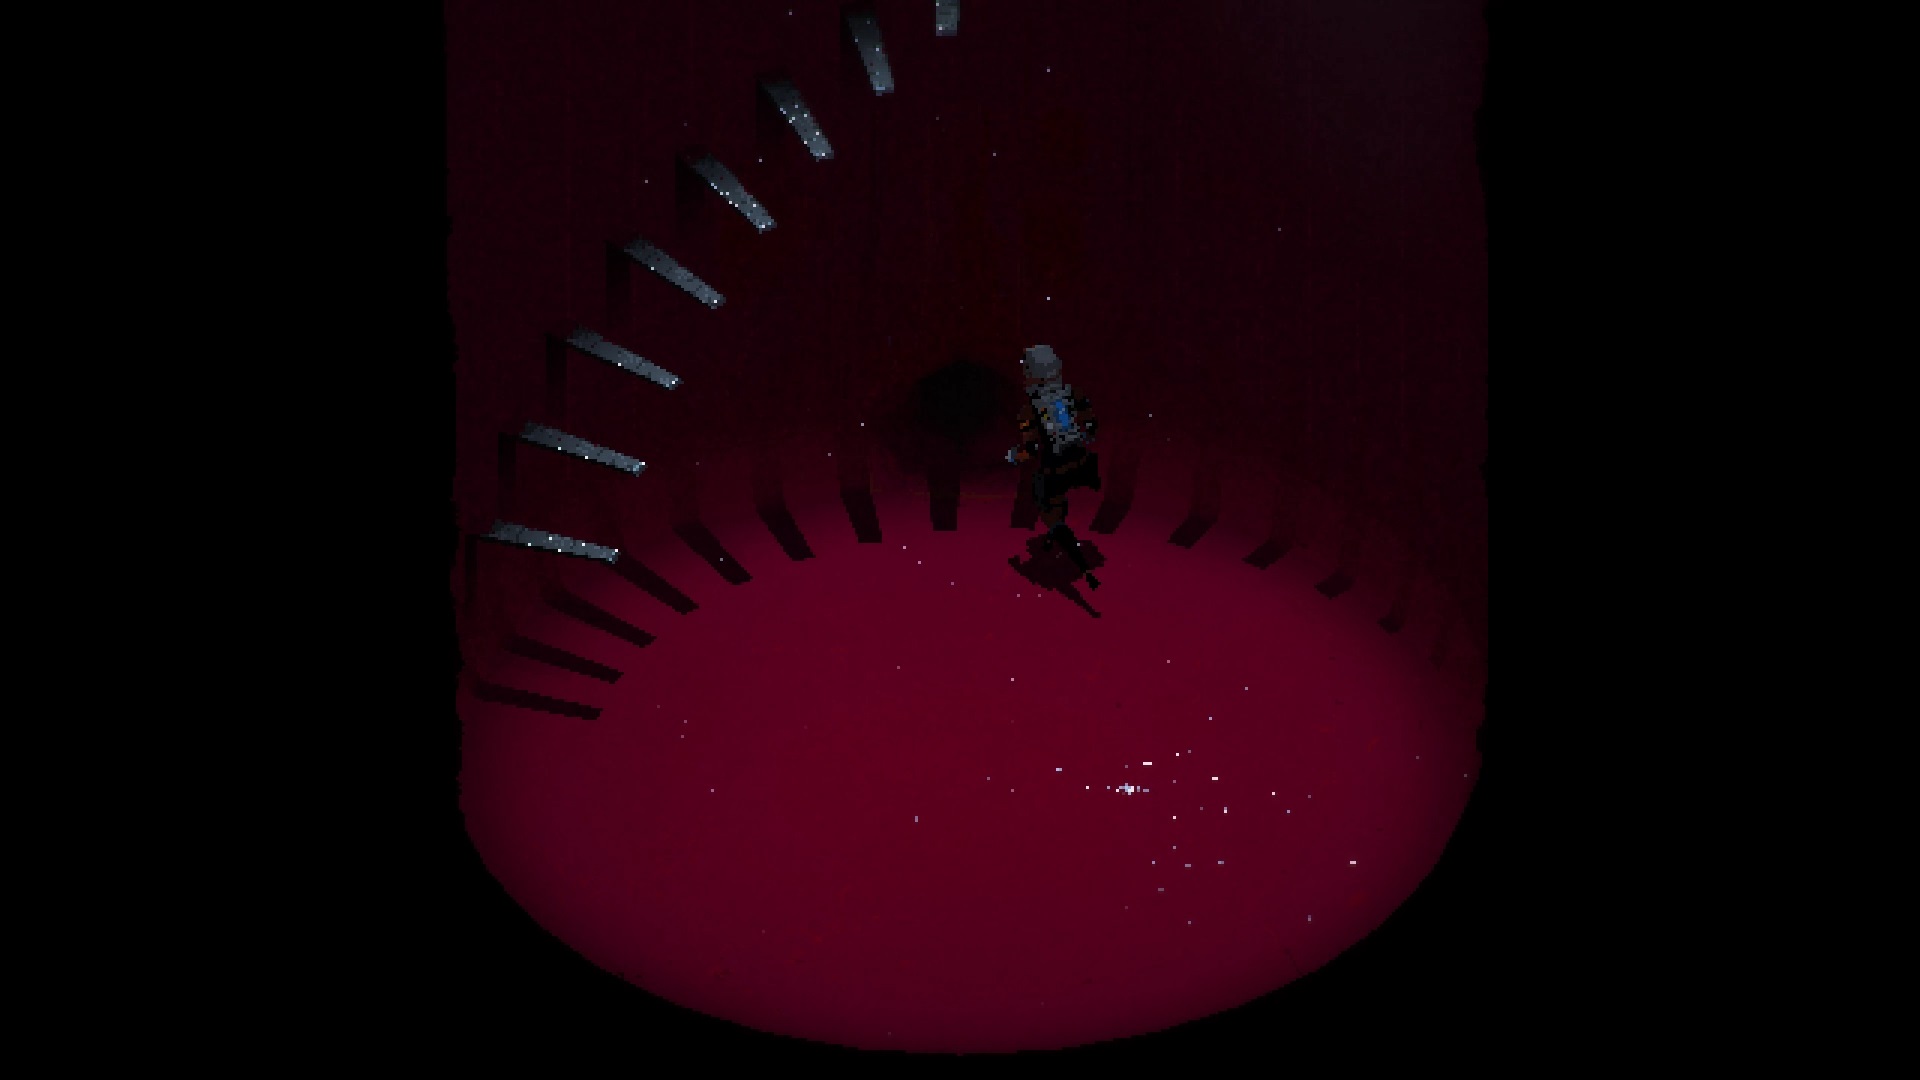
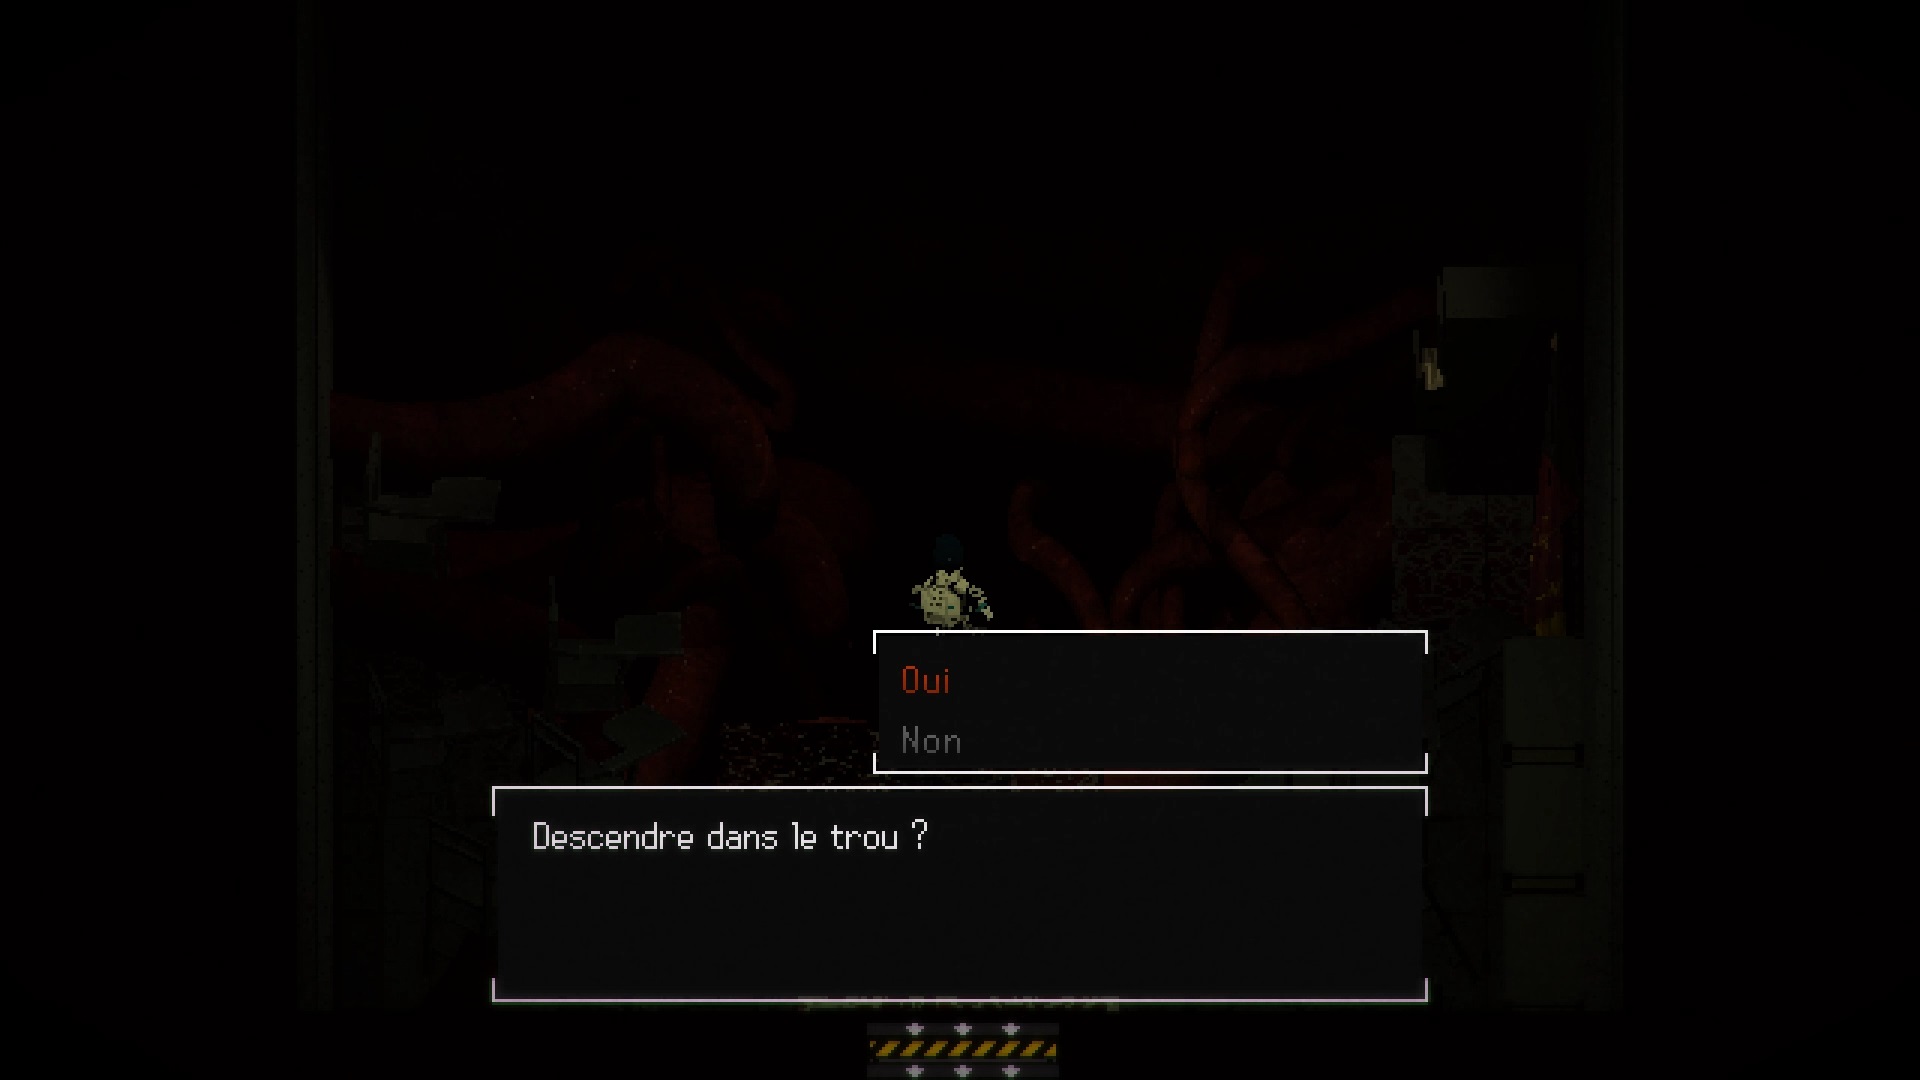
In the well, go south to find a hole. Go inside. A memory triggers, explore the beach to finish the level
Nowhere
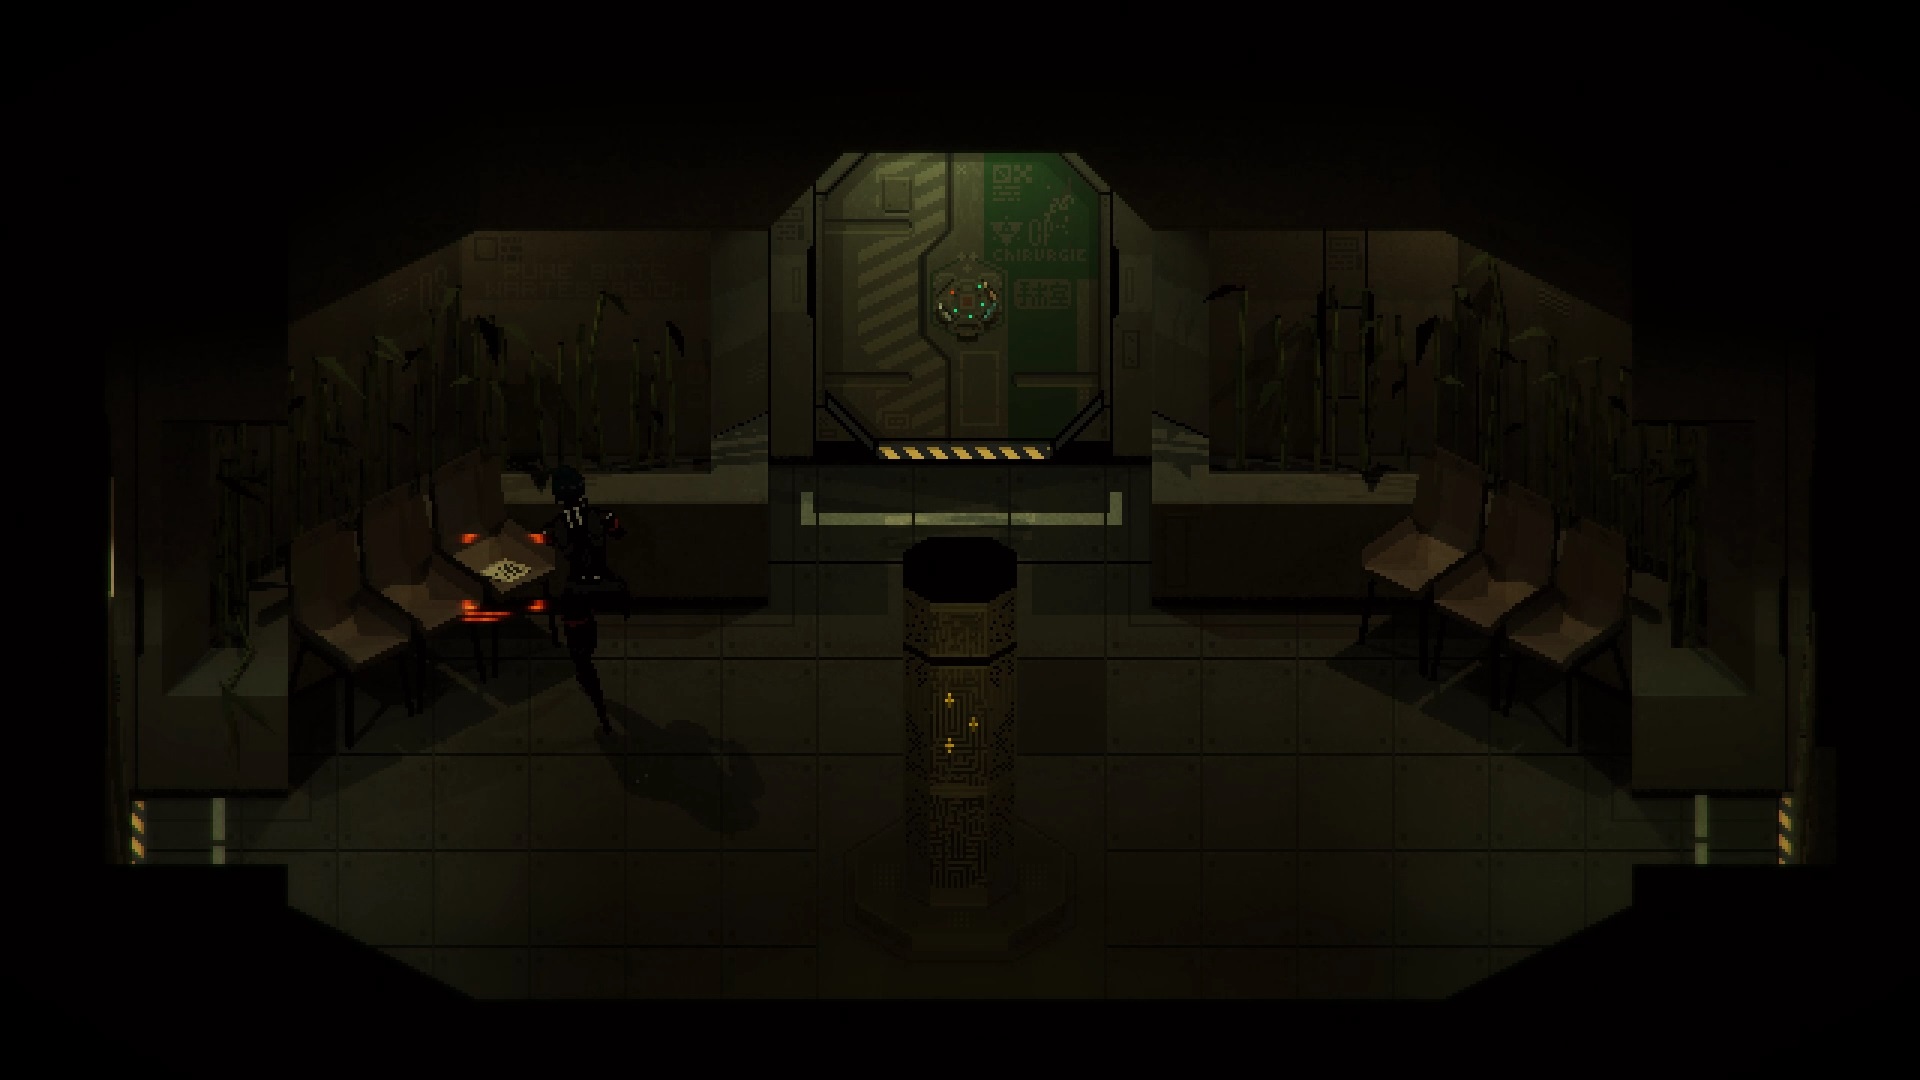
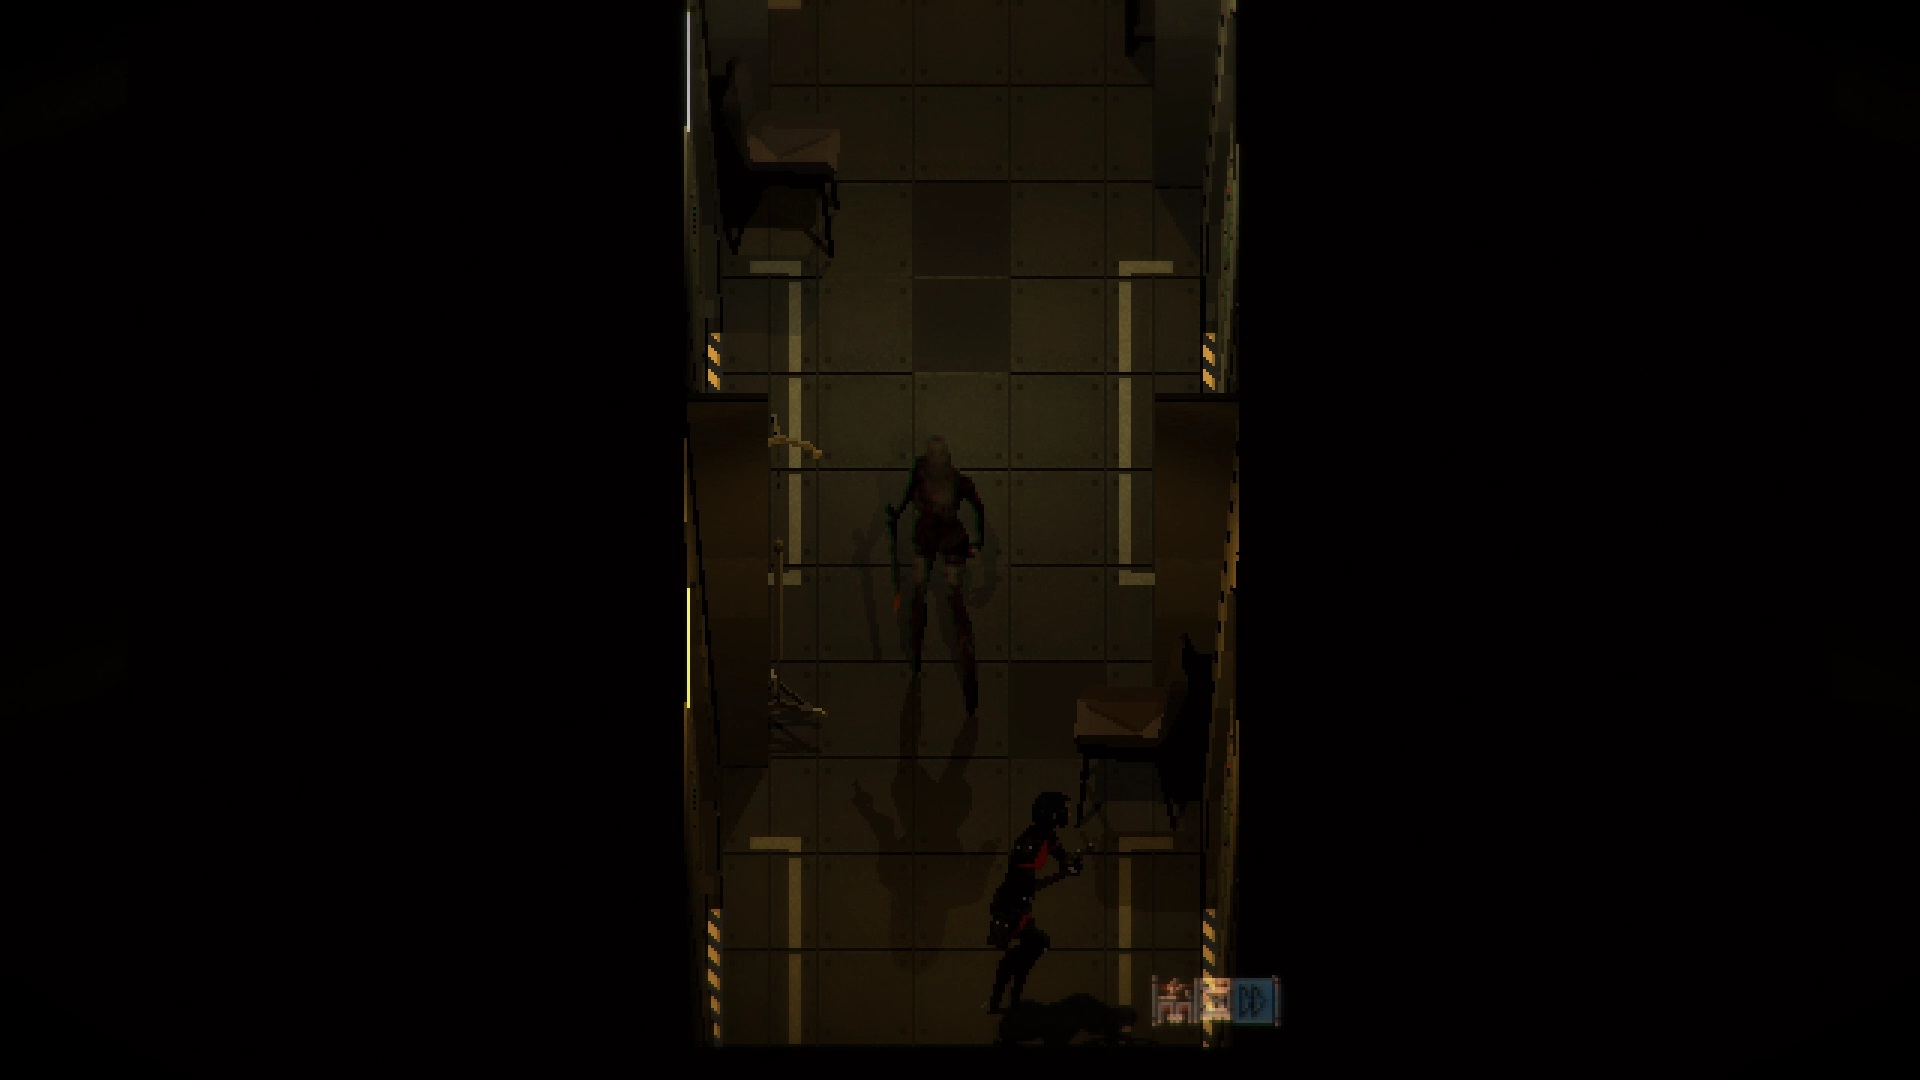
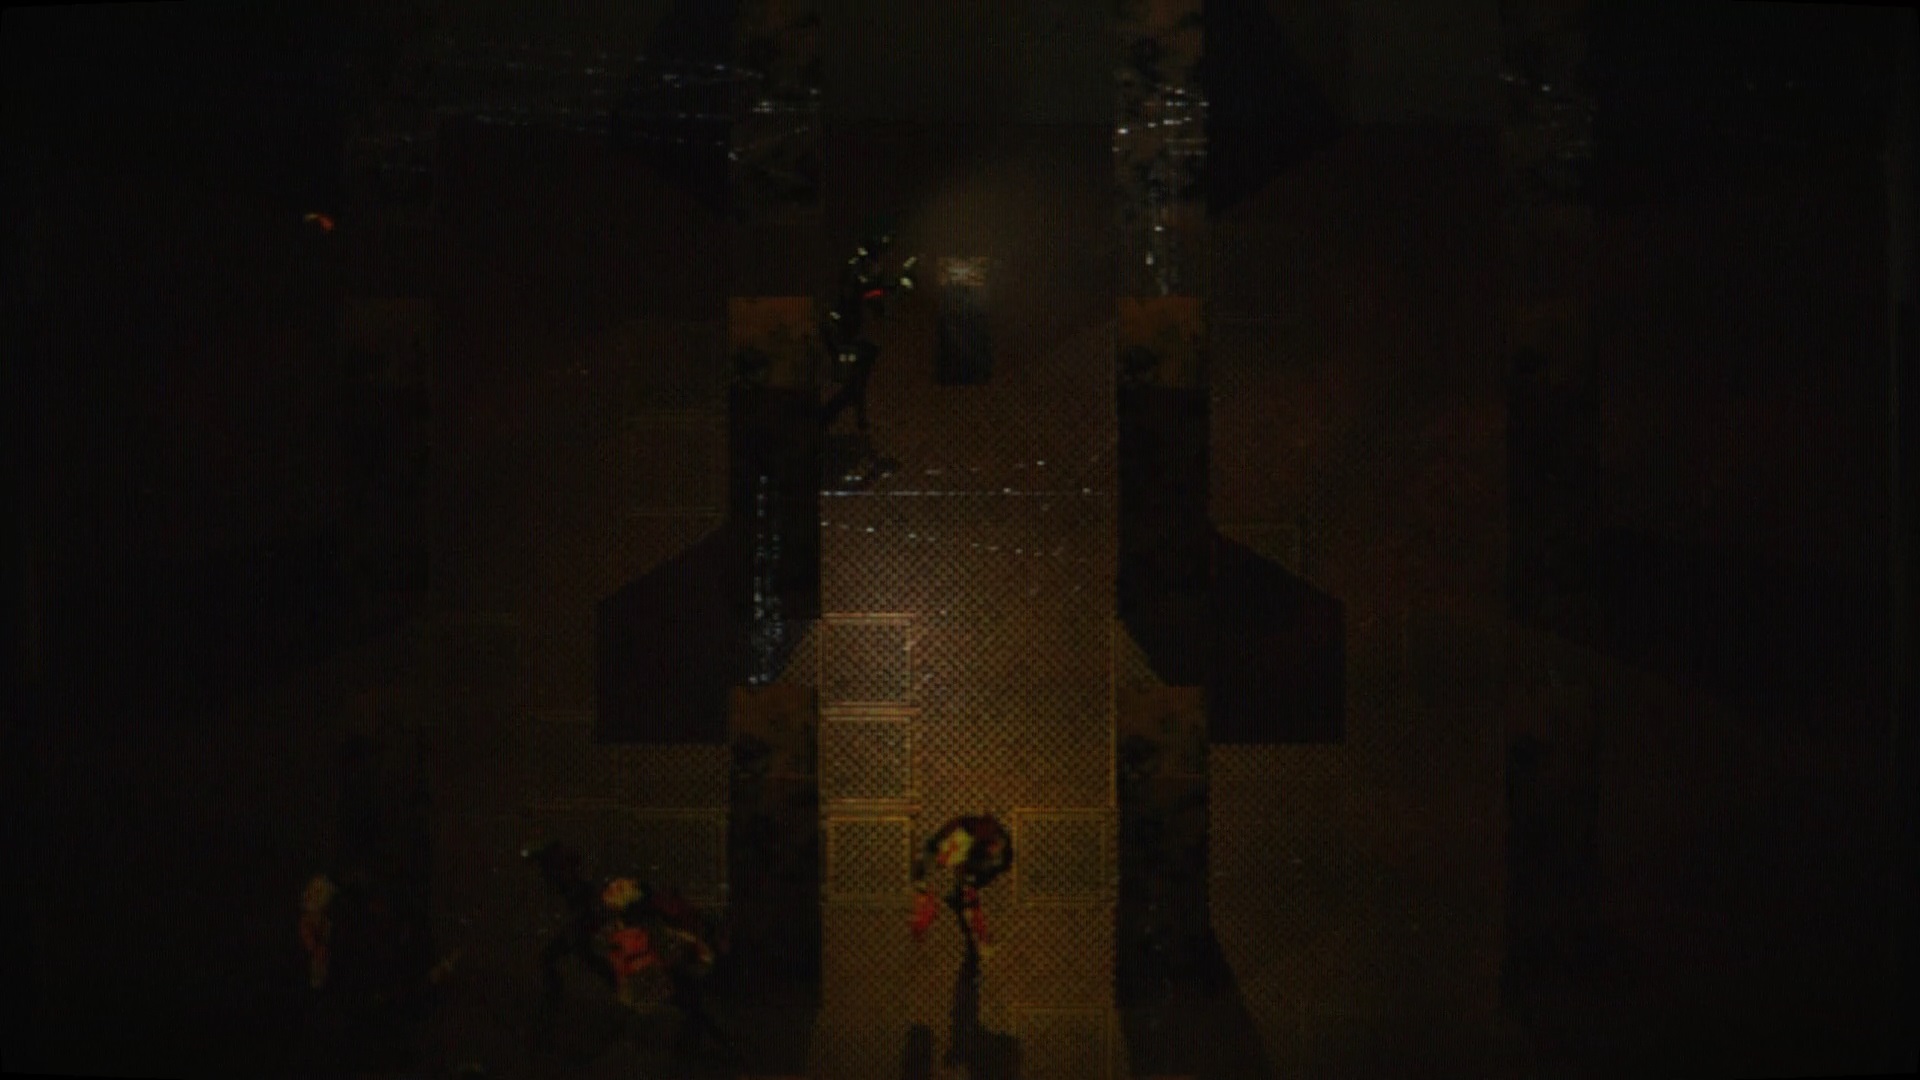
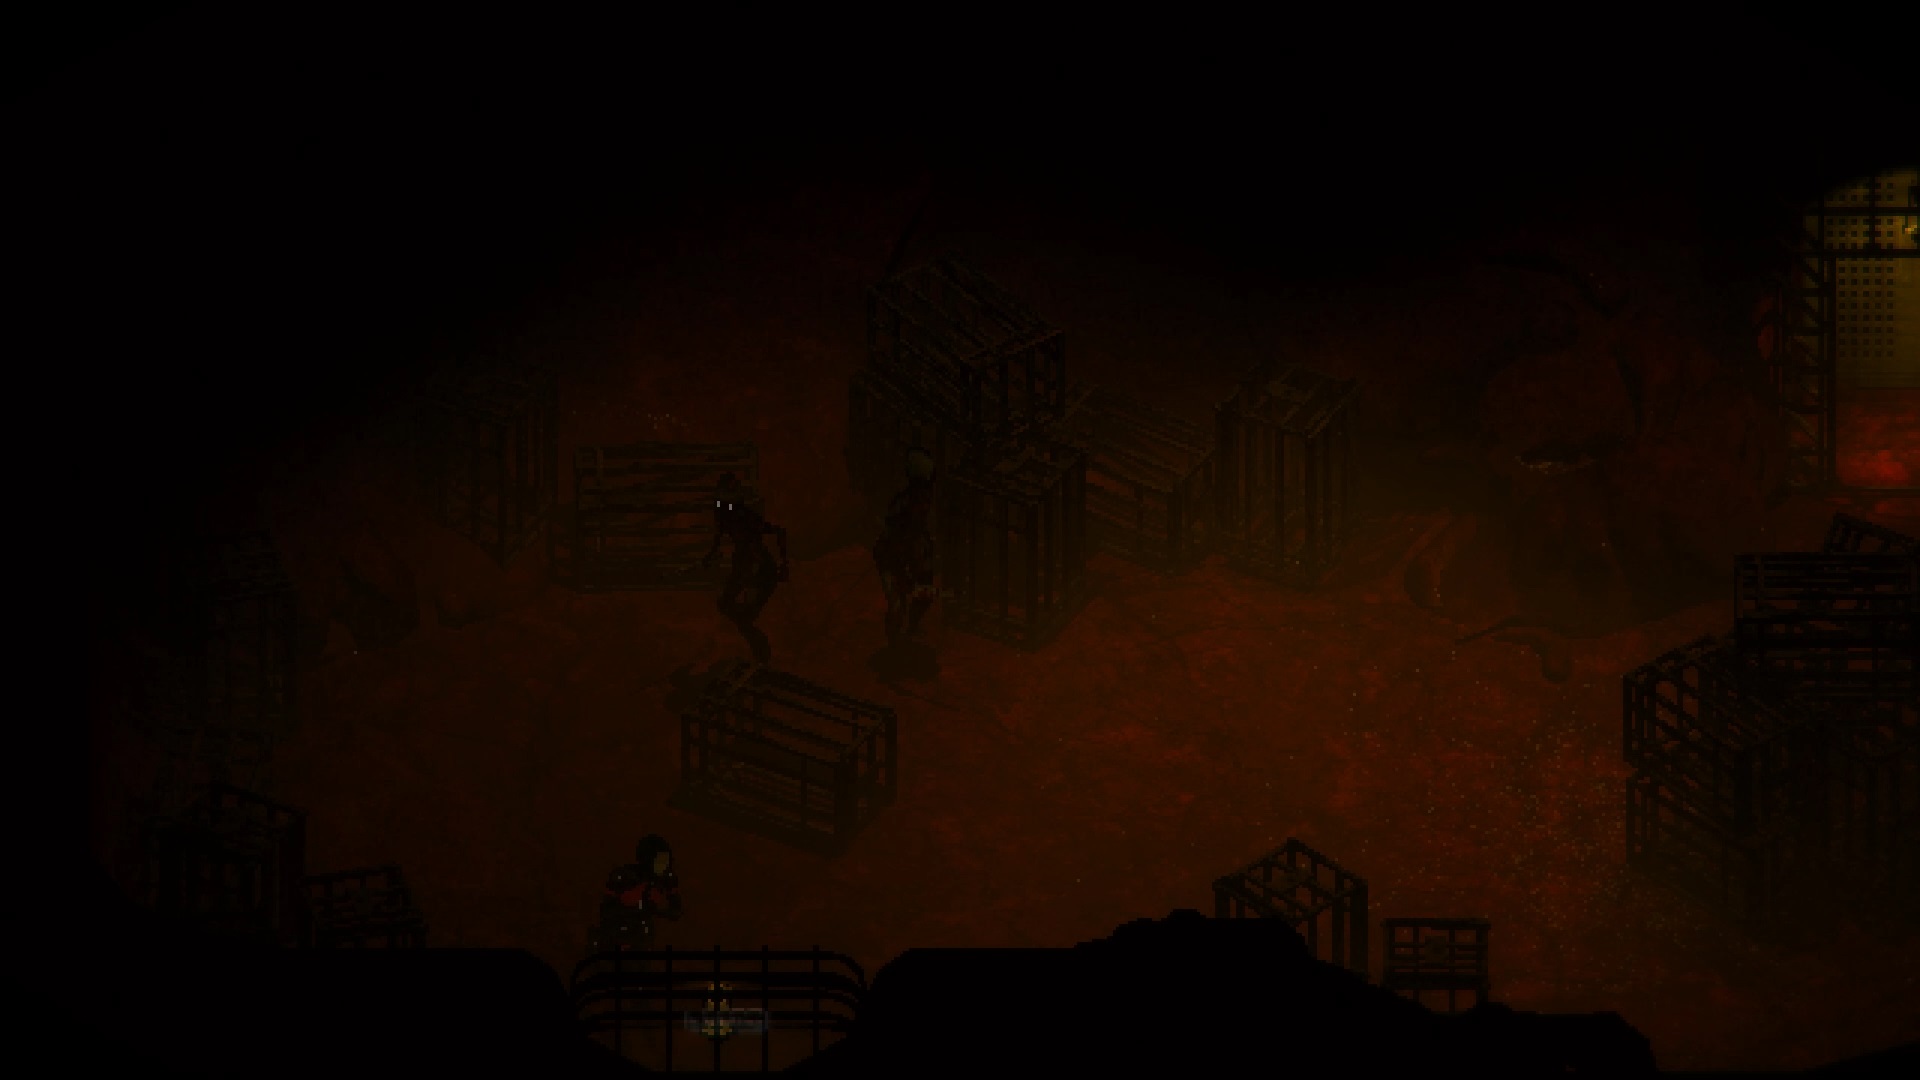
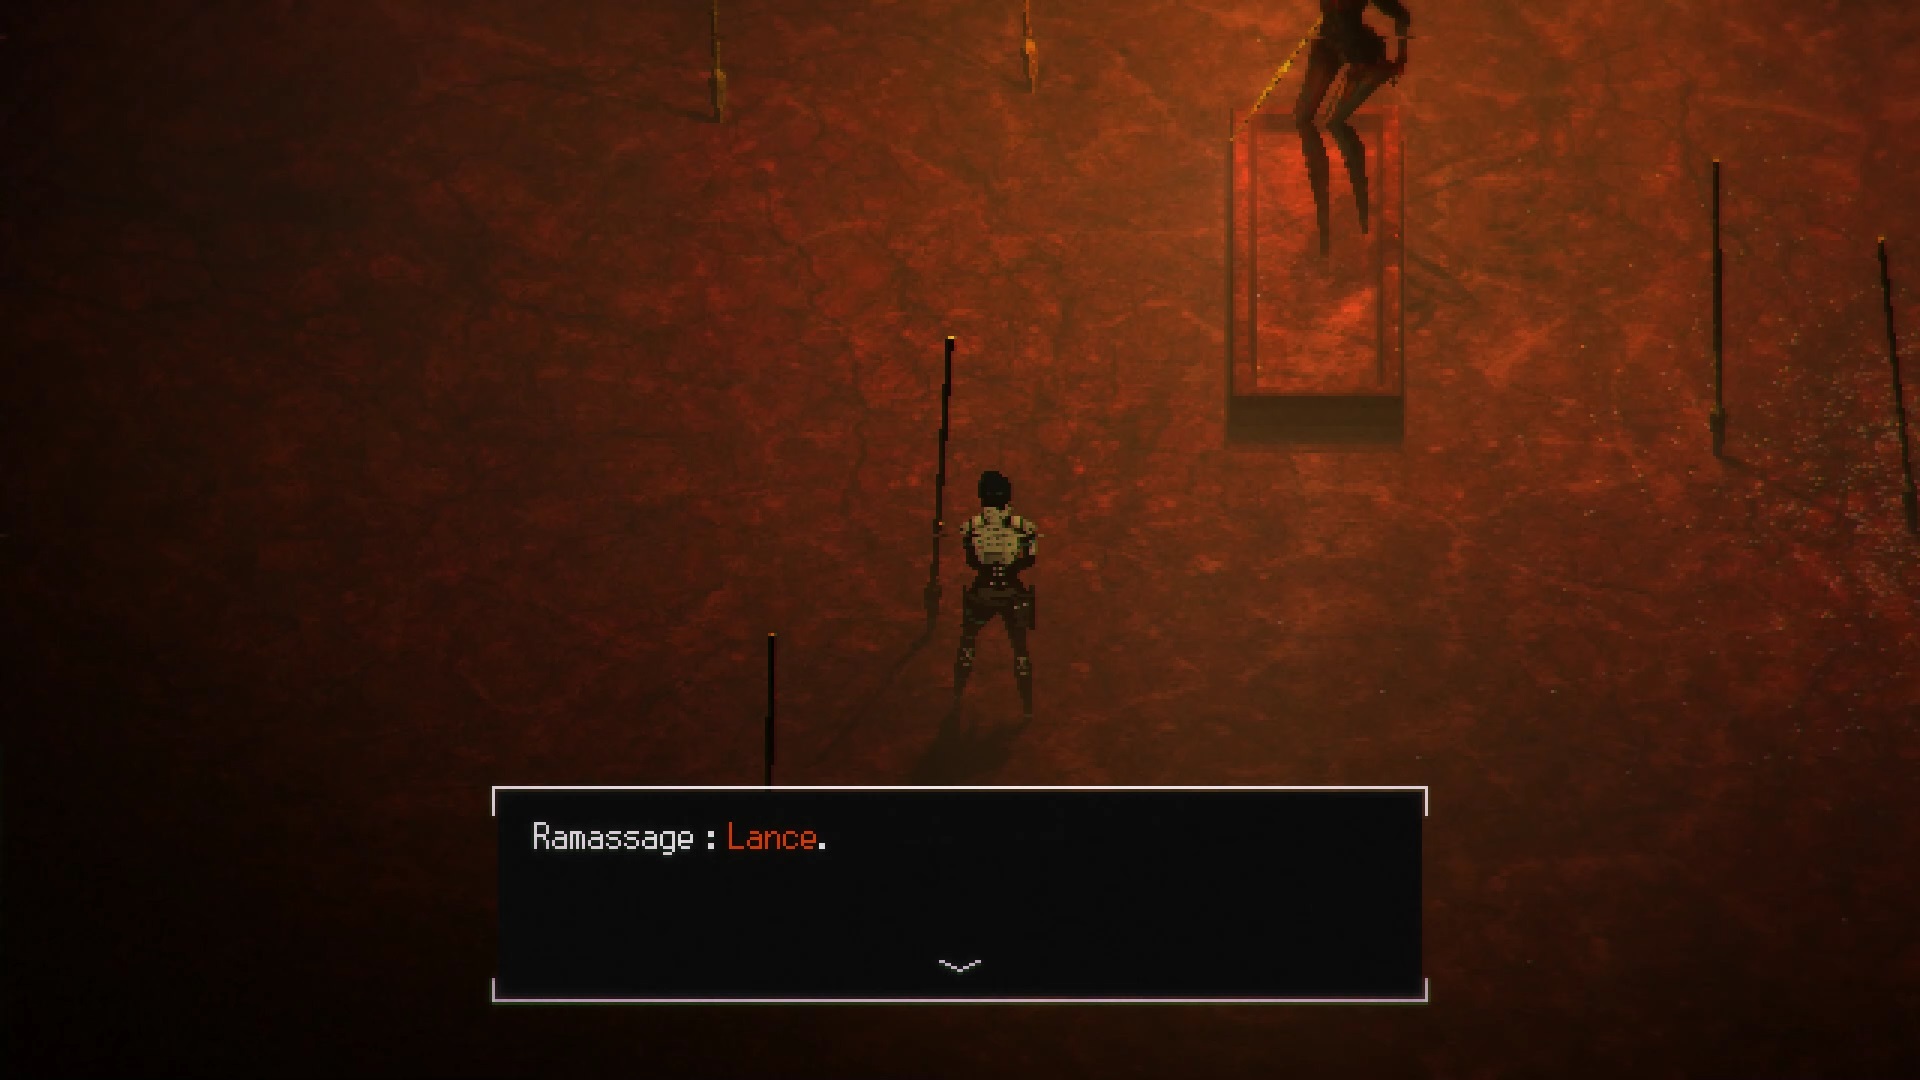
Exit the well and go through the door to the west. In the next torture chamber, go through the east door. Go north to find a hole. Jump inside to find a second well. Jump into it to trigger a boss fight.
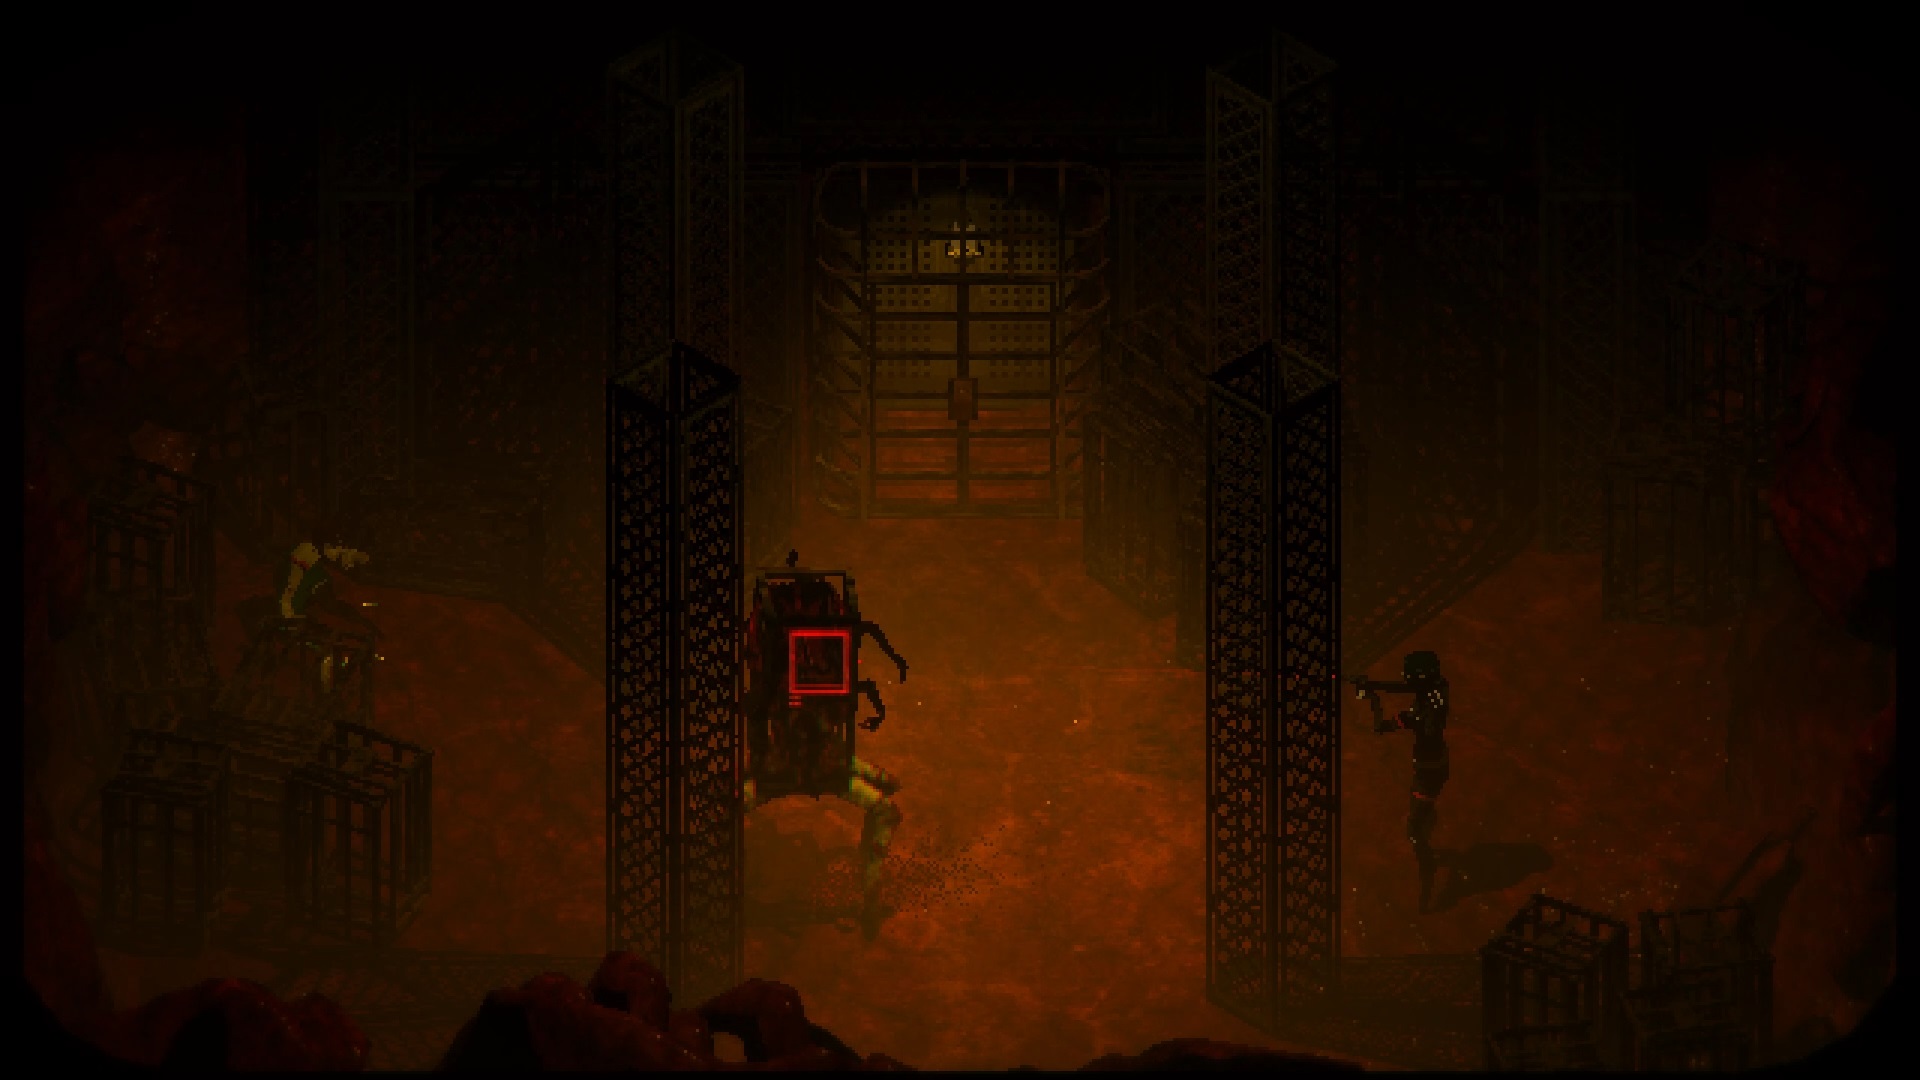
In this fight, use the pillars to escape the clutches of the boss. Strafe the boss with shots to immobilize and eliminate him.
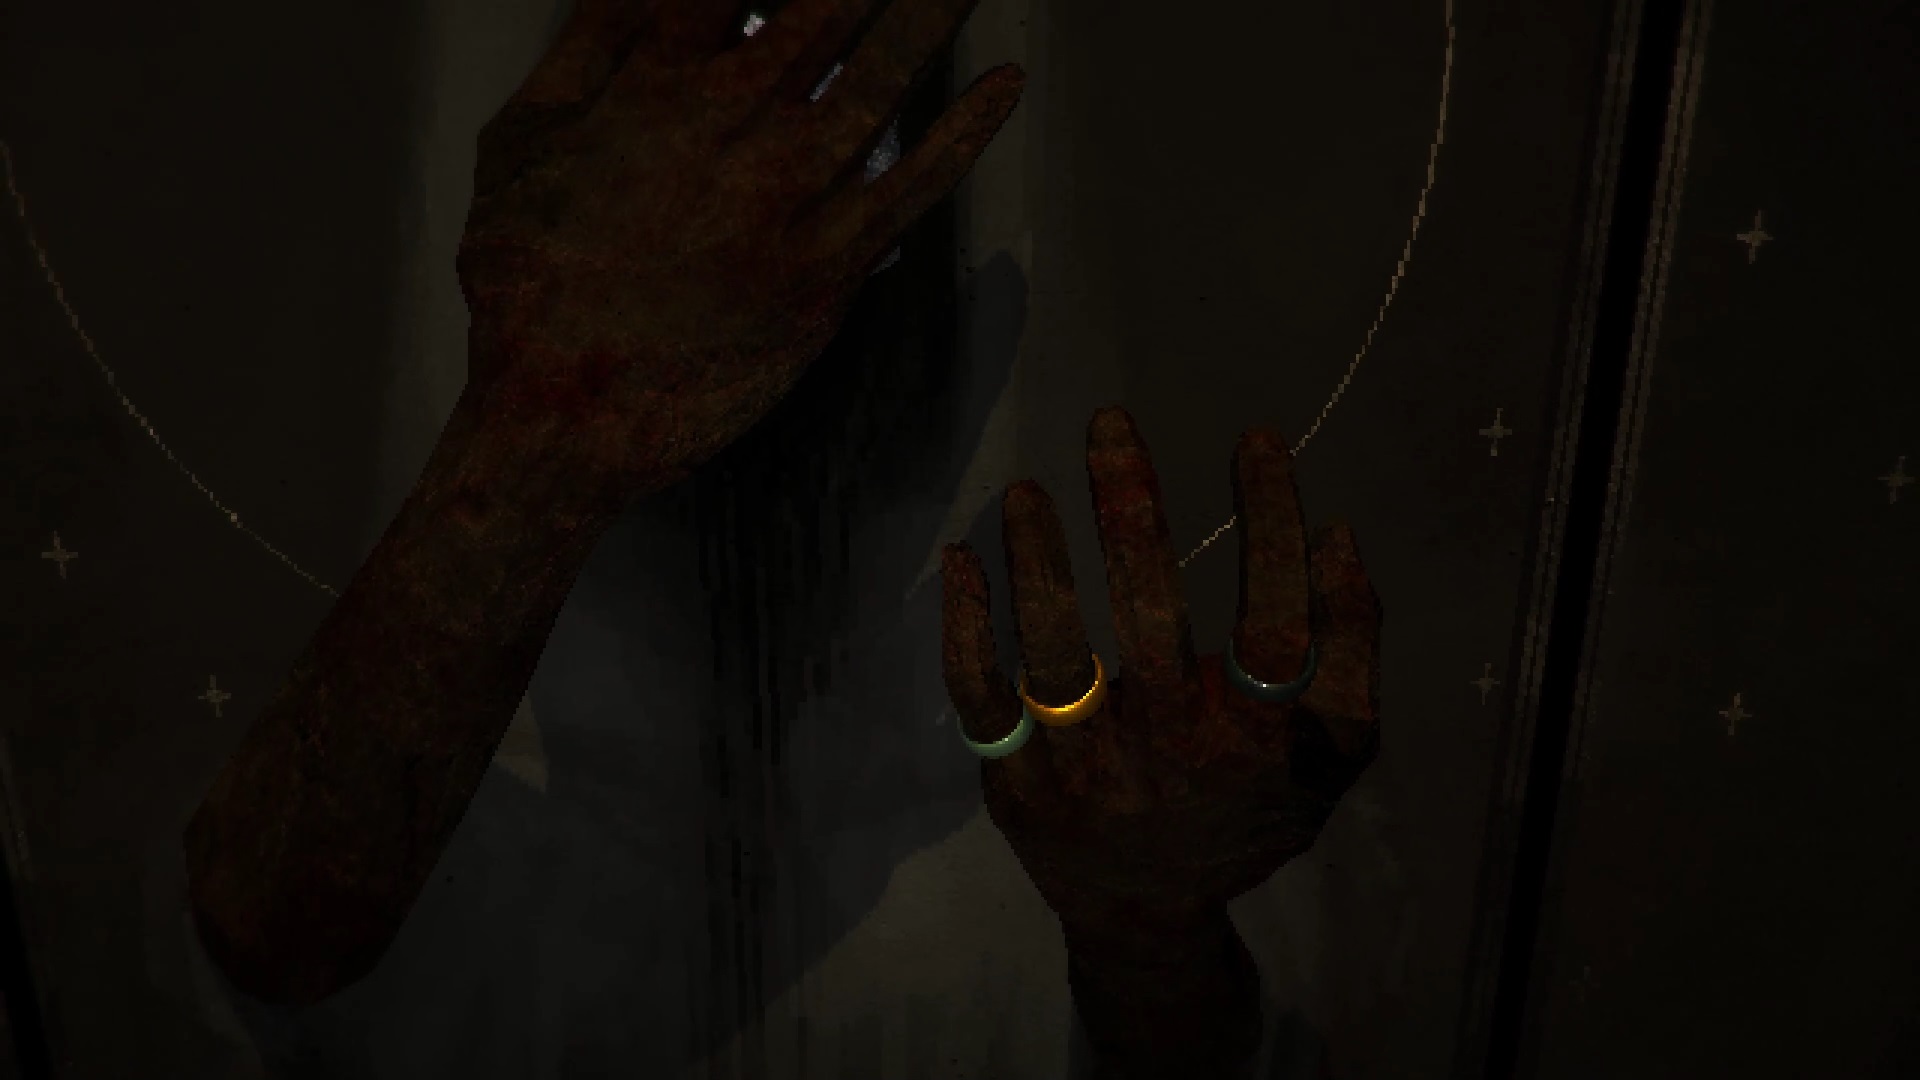
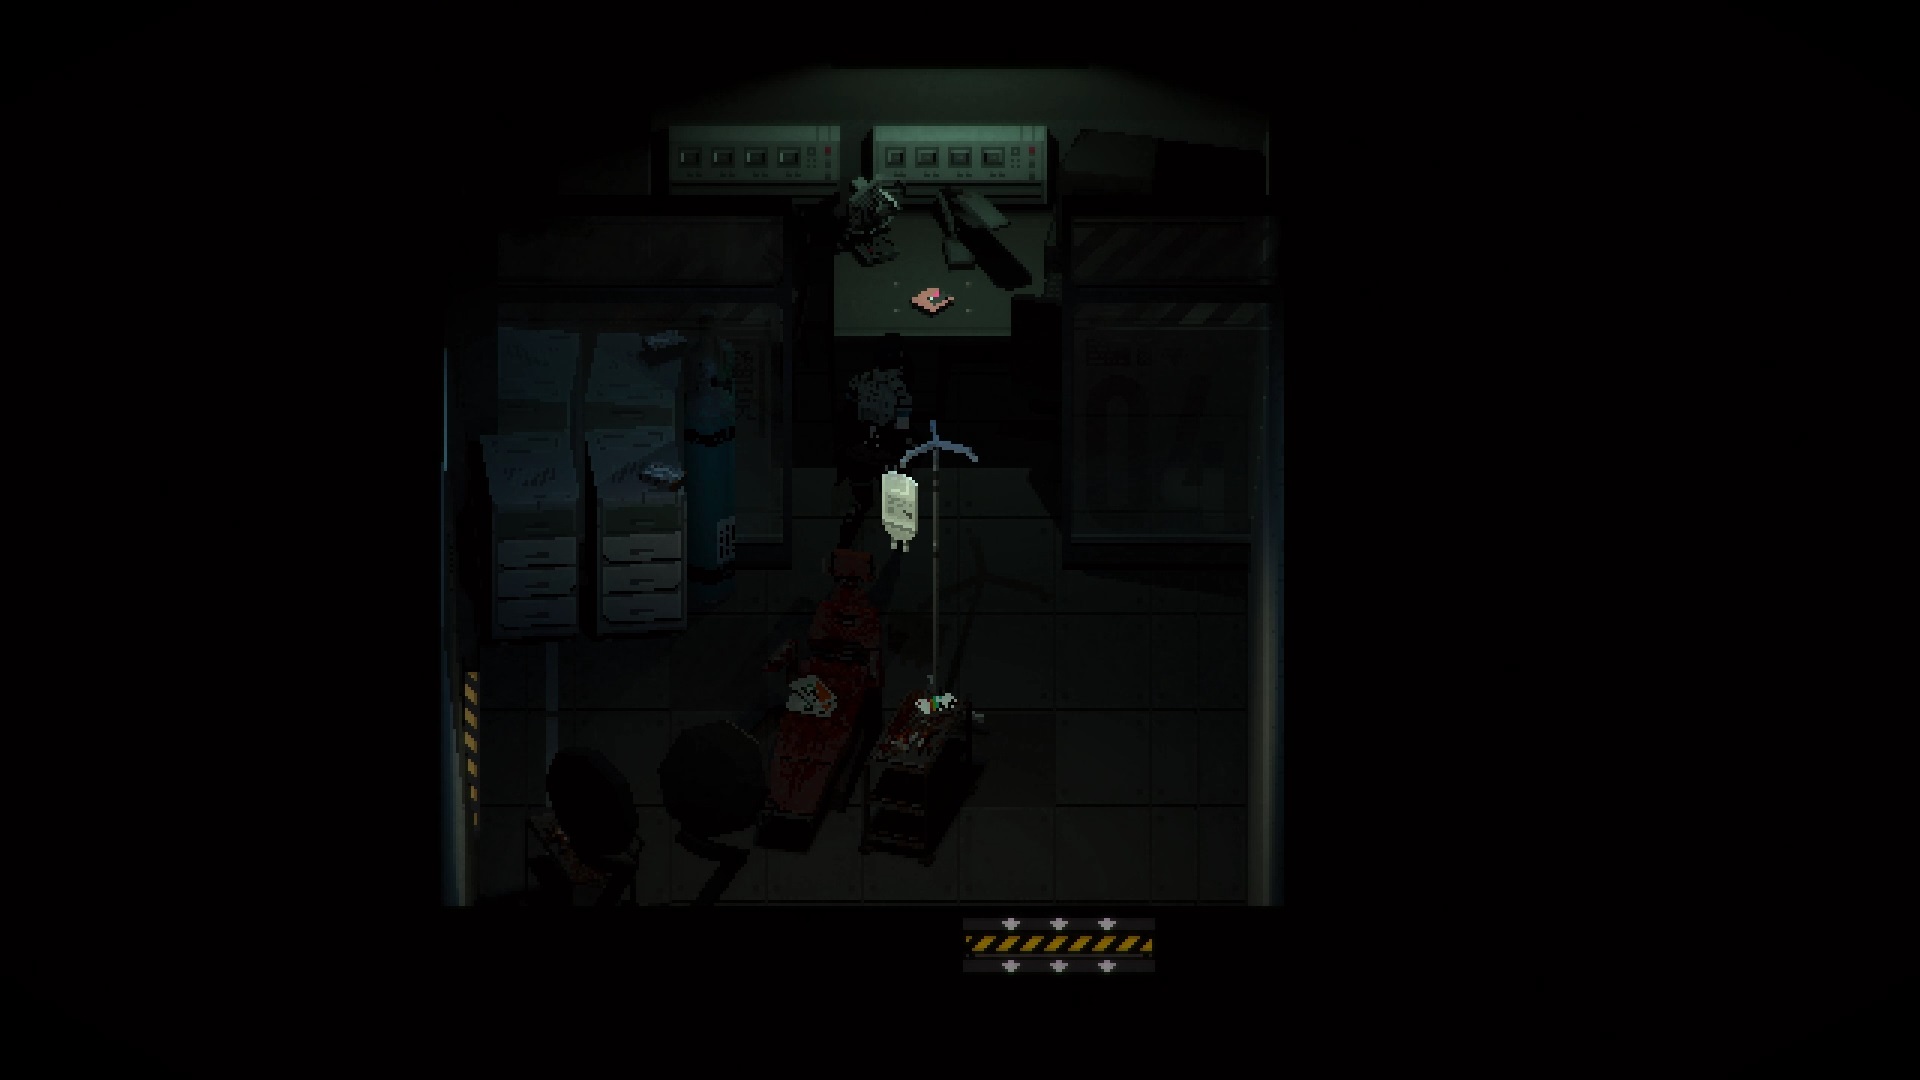
After the fight, you will be safe in a save room. Equip the lamp module before leaving for the door to the east. Continue to the east while walking so as not to alert the enemies around. In the next room, get the ring on a stele. Then go through the door to the north. Inside, use the lamp module to find your way through the maze.
Pick up the rusty key and the plate of flesh. Then return to the previous room with the enemies to find a door. Climb up the ladder. Return to the pool room either to the east. Collect a large wooden doll from one of the basins.

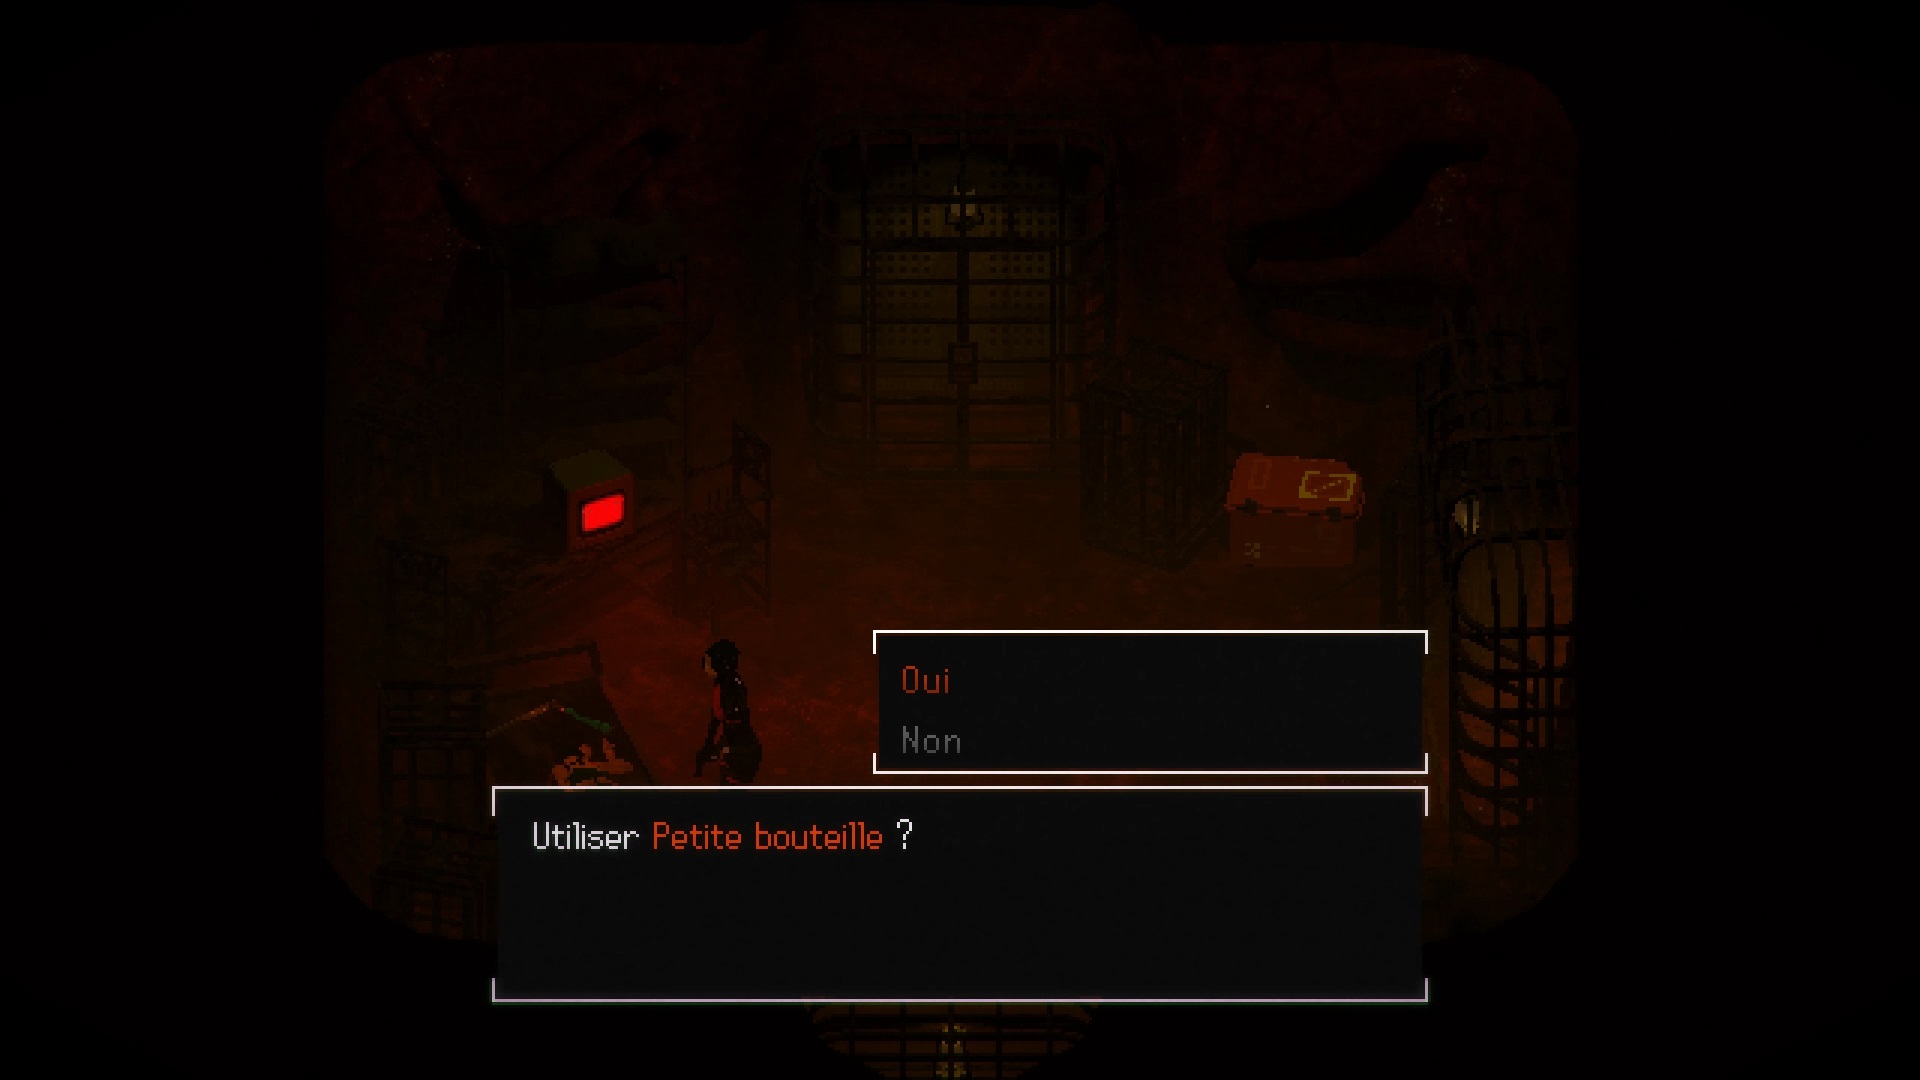
Go through a new door to the north. Collect the small bottle on the chair. Retrace your steps to return to the save location. You can use the small bottle to wake Isa up and retrieve her weapon.
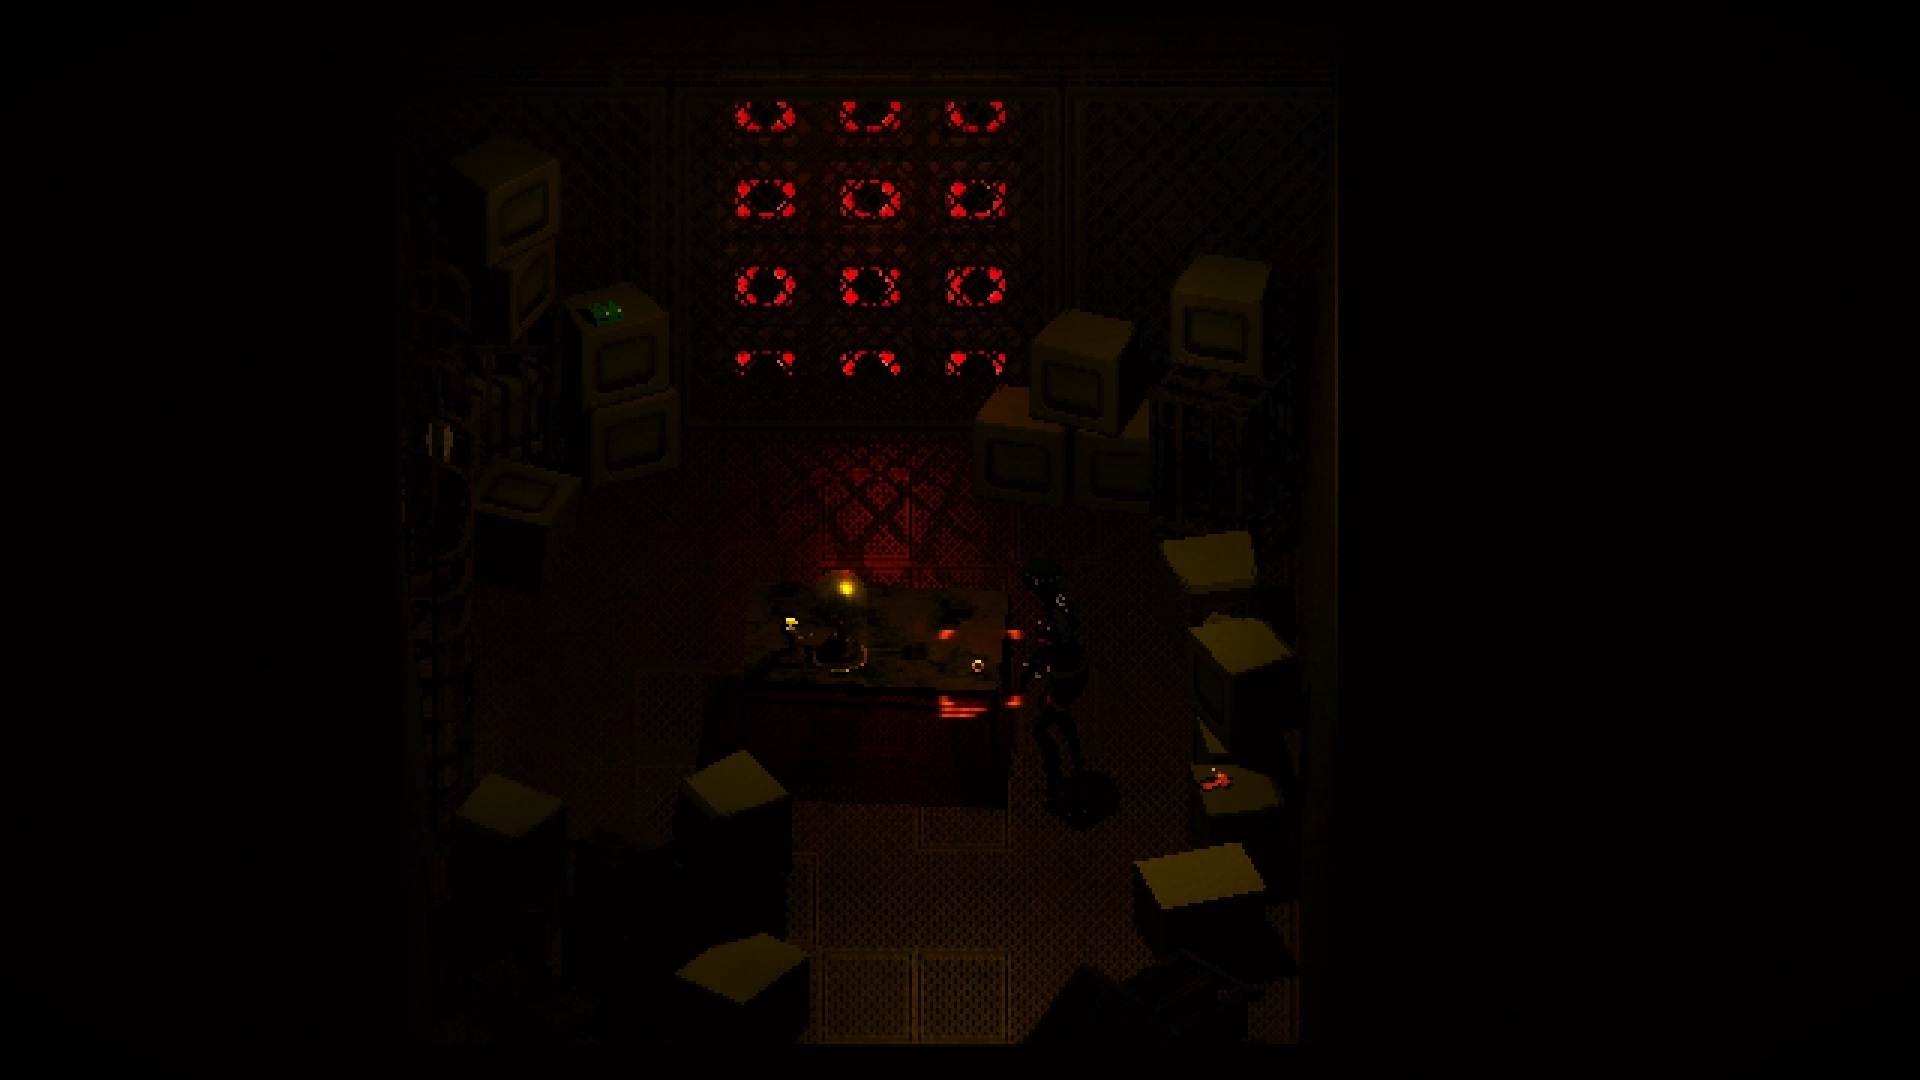
Return to the bassin room to descend back into the hole. Below passed the door to the north. At the organic well, turn east. In the device room with microphone, collect a gold ring from the table.
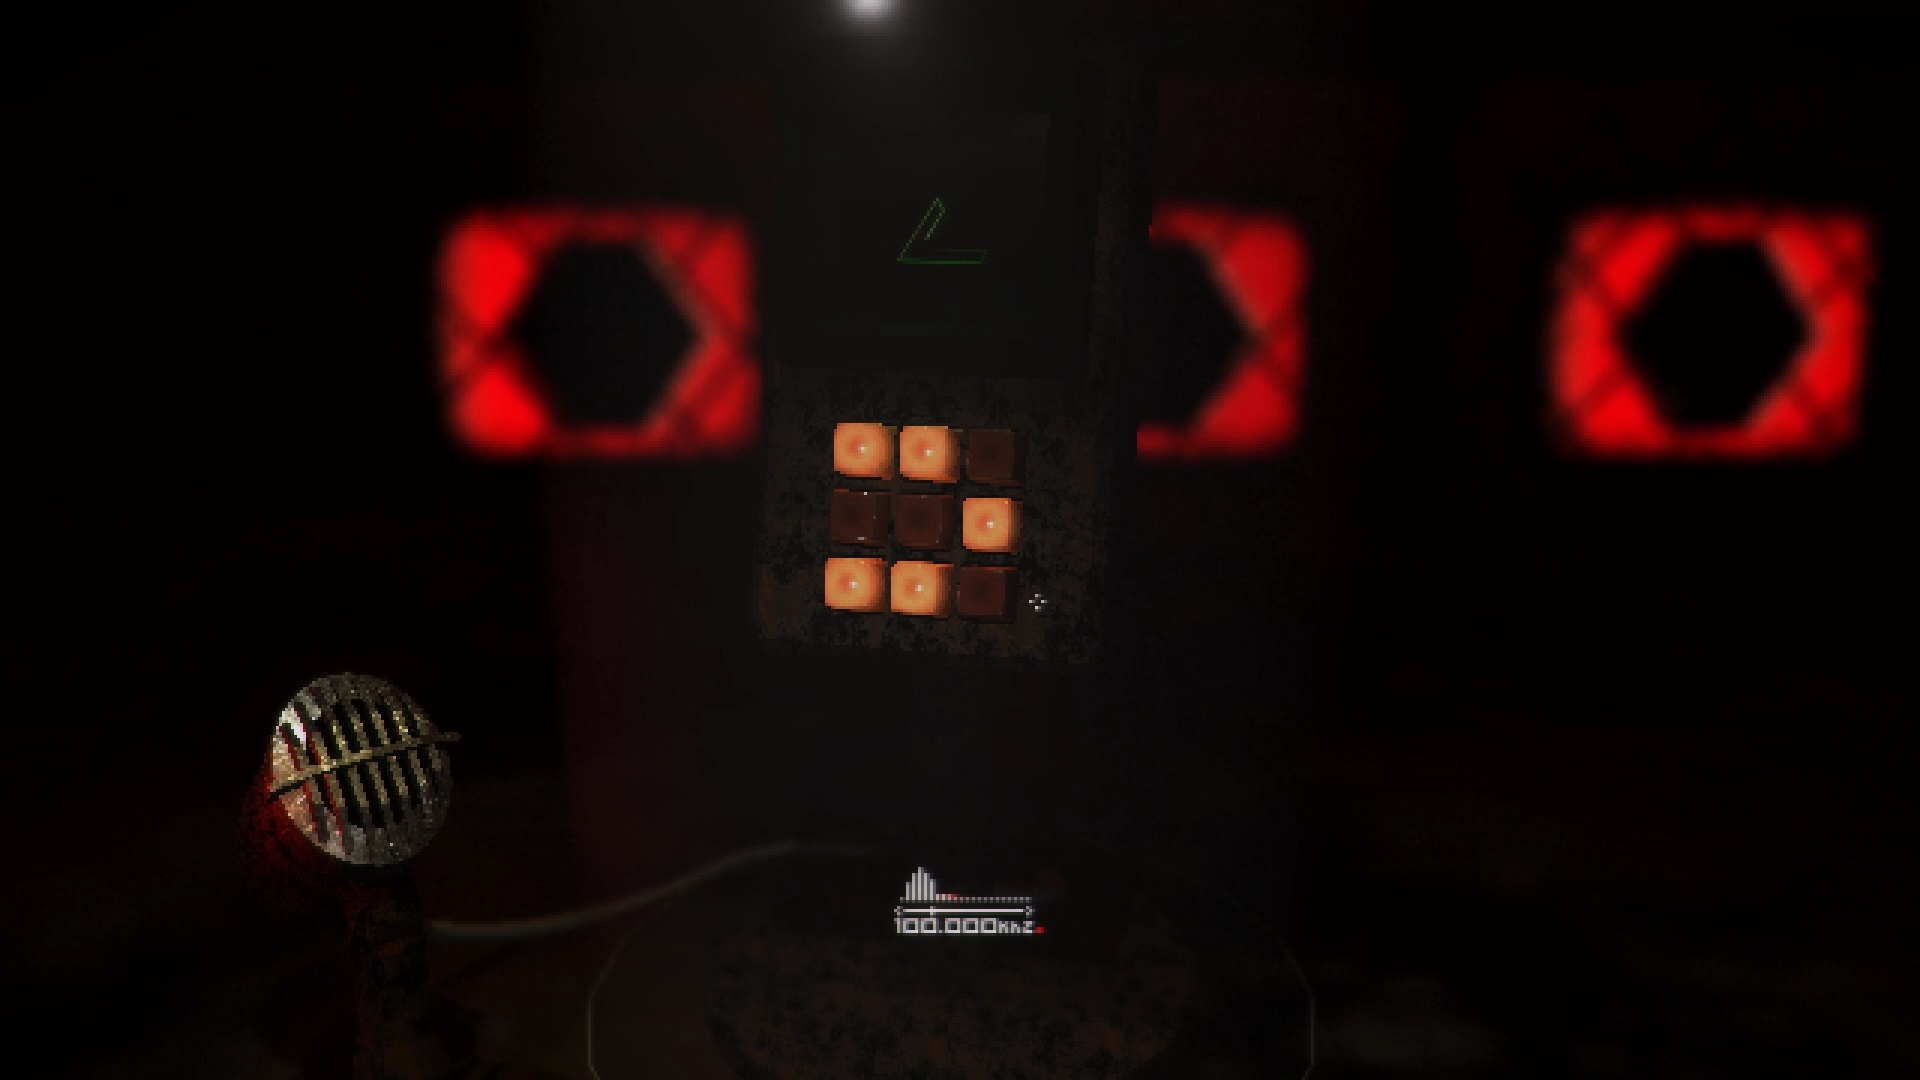
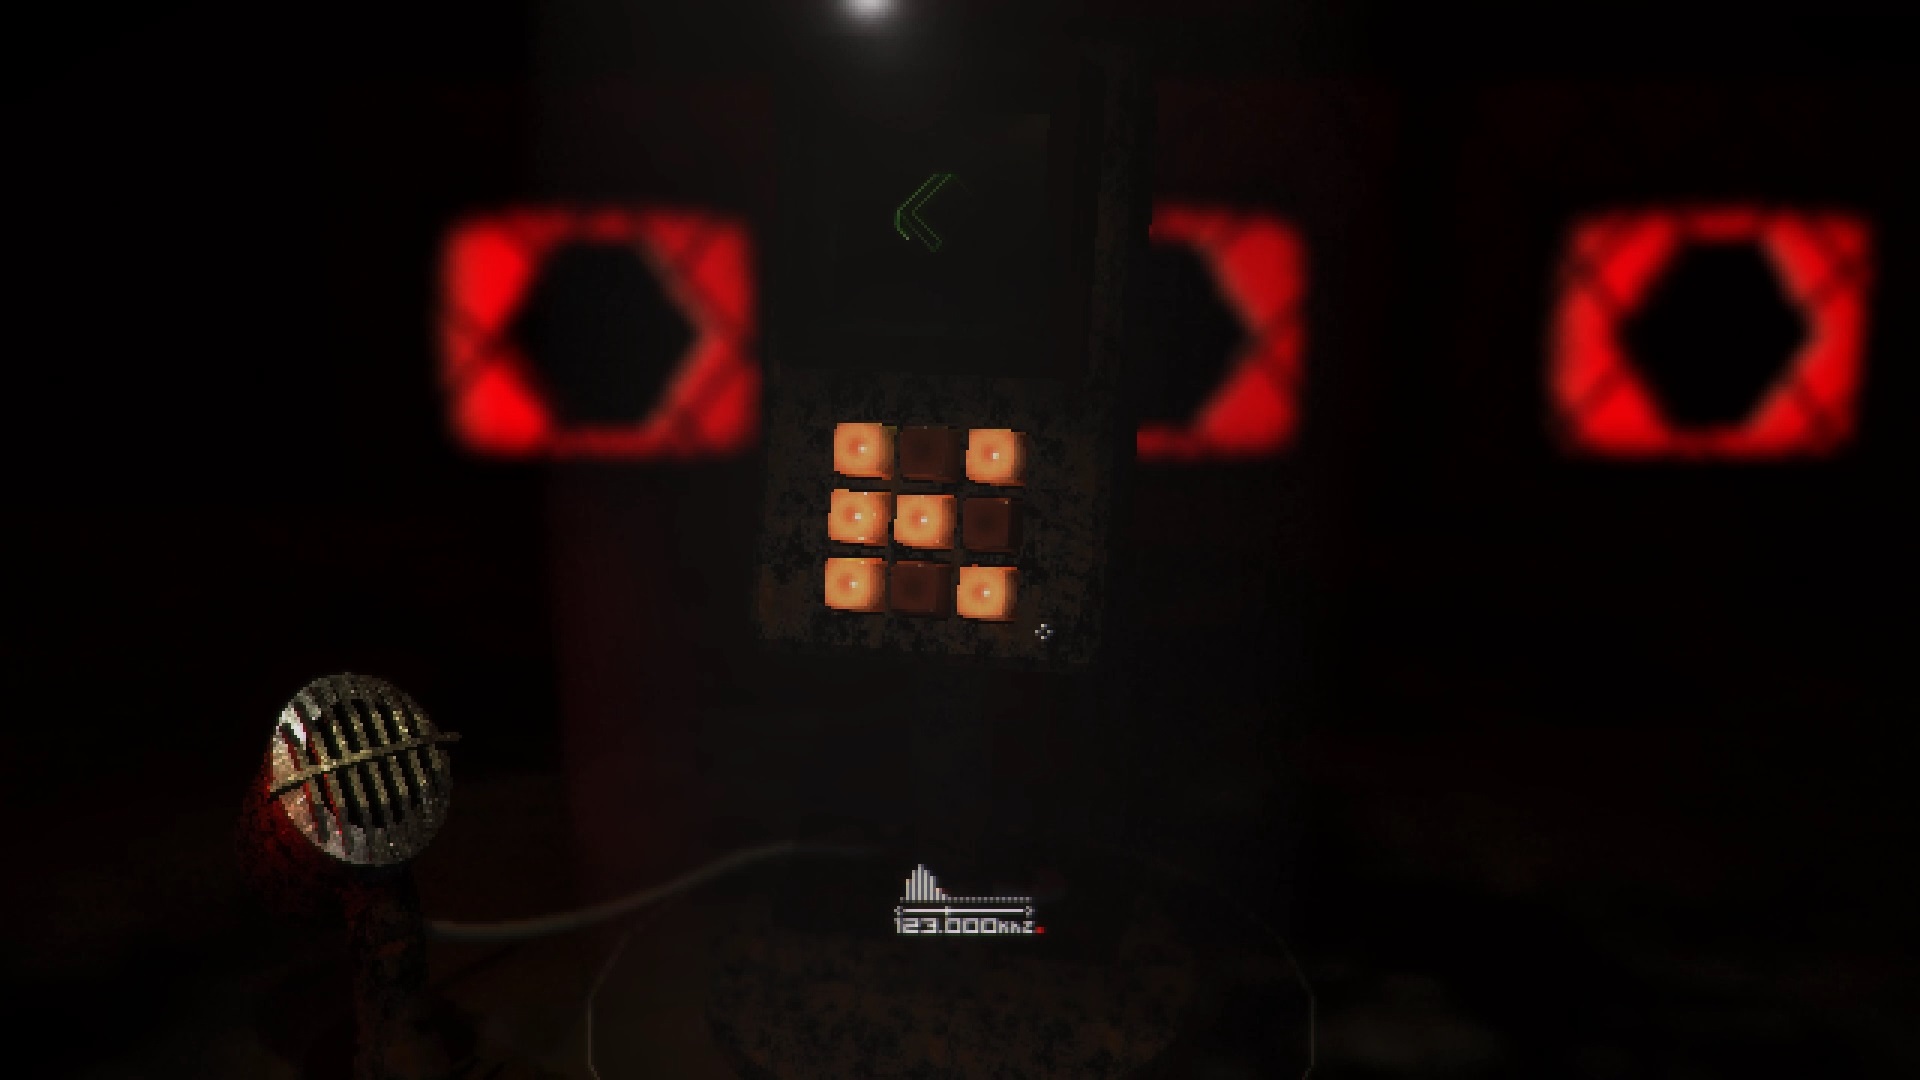

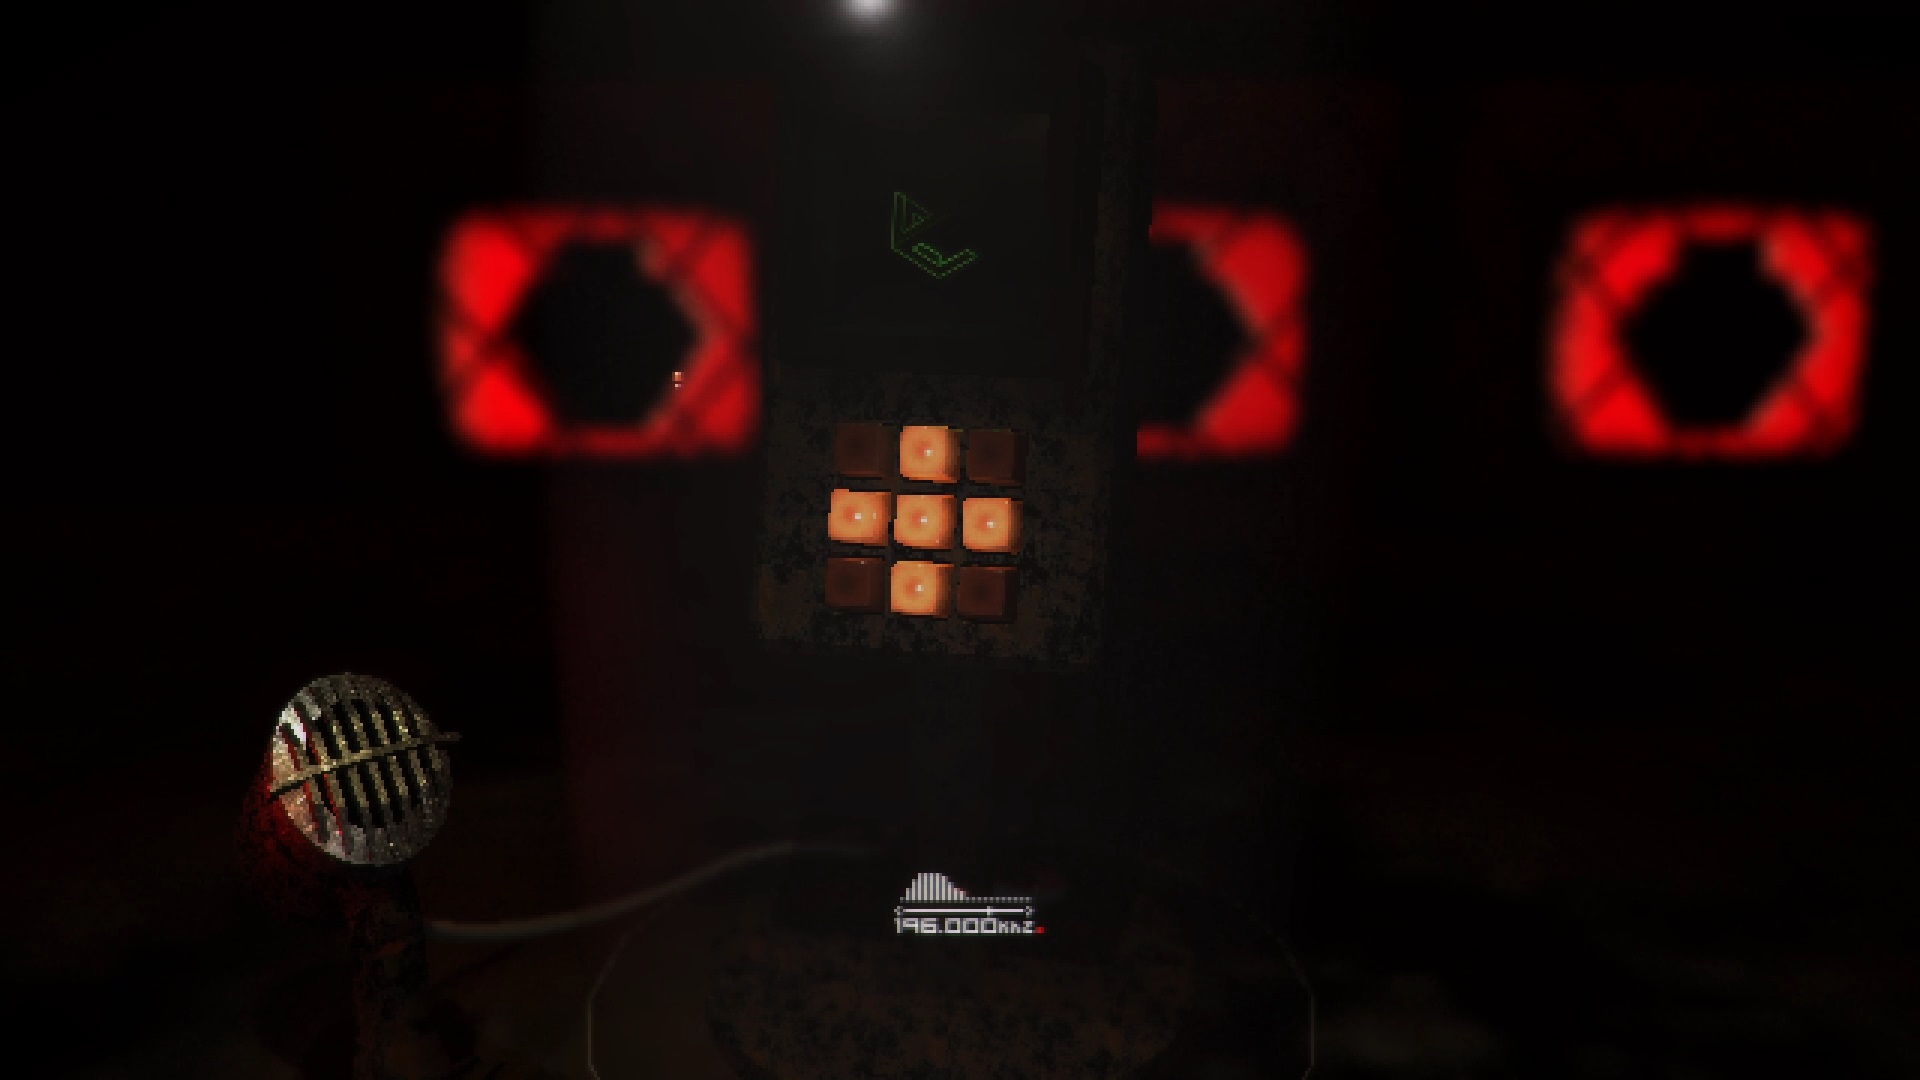
Use your radio and swing the following frequencies to find codes: 100, 123, 155, 53, 196. You now have all the elements to open the doors.

Retrace your steps in the room after the hole. Use the rusty key with the door to the West. Pick up a wooden doll and combine it with the large wooden doll for later. Open the door to the north with the code. Use the lamp module to find your way and the sacrifice plate.
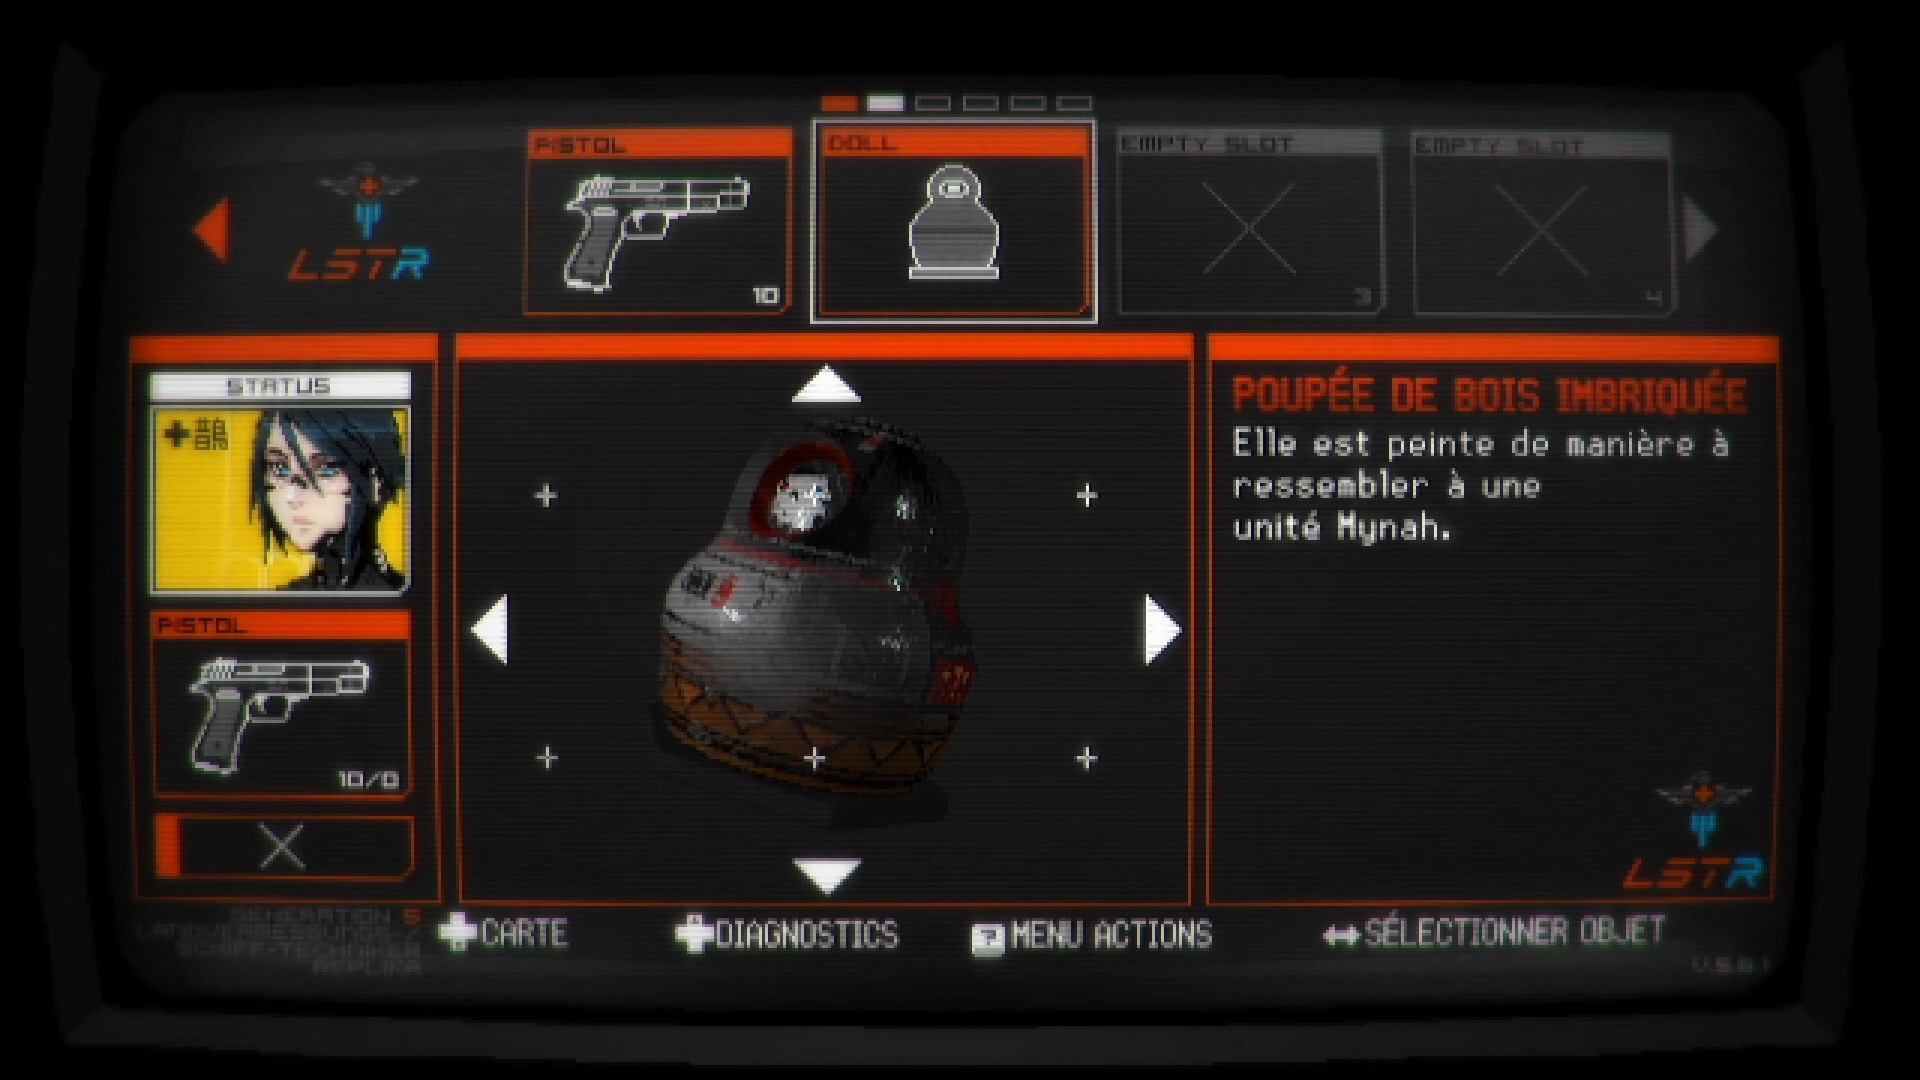
Return to the torture chamber via the ladder. Use the North door with the code. Inside, take the small wooden doll on the table Combine all the wooden dolls to have the nested wooden doll.

Search the room to the west with your lamp module. Collect the snake ring at the back of the room. Then go east to reach a corridor. Use your weapons and the right frequencies to eliminate enemies on the spot. Go west to find a room with incense on the table. Pick up the item and continue down the hall to the east.
Go back down through the organic well and open the door in the first save room to the north. Then go down the south door. On the altar, take the stability plate and replace it with the wooden doll.

Now search the room to the east of the hole to find a new save room. Cross the bridge to the south. You will find an altar with a statue. Examine the note on the seat.

Arrange the rings as follows on the four fingers: Snake, Gold, Void, Regency. collect the Knowledge Plate.
Return to the highest level via the ladder in the previous room. Pass the bassins and enter the door on the left near the torture seat. Go to the room north of the morgue. Use the incense on the memorial to collect the last plate the plate of love.

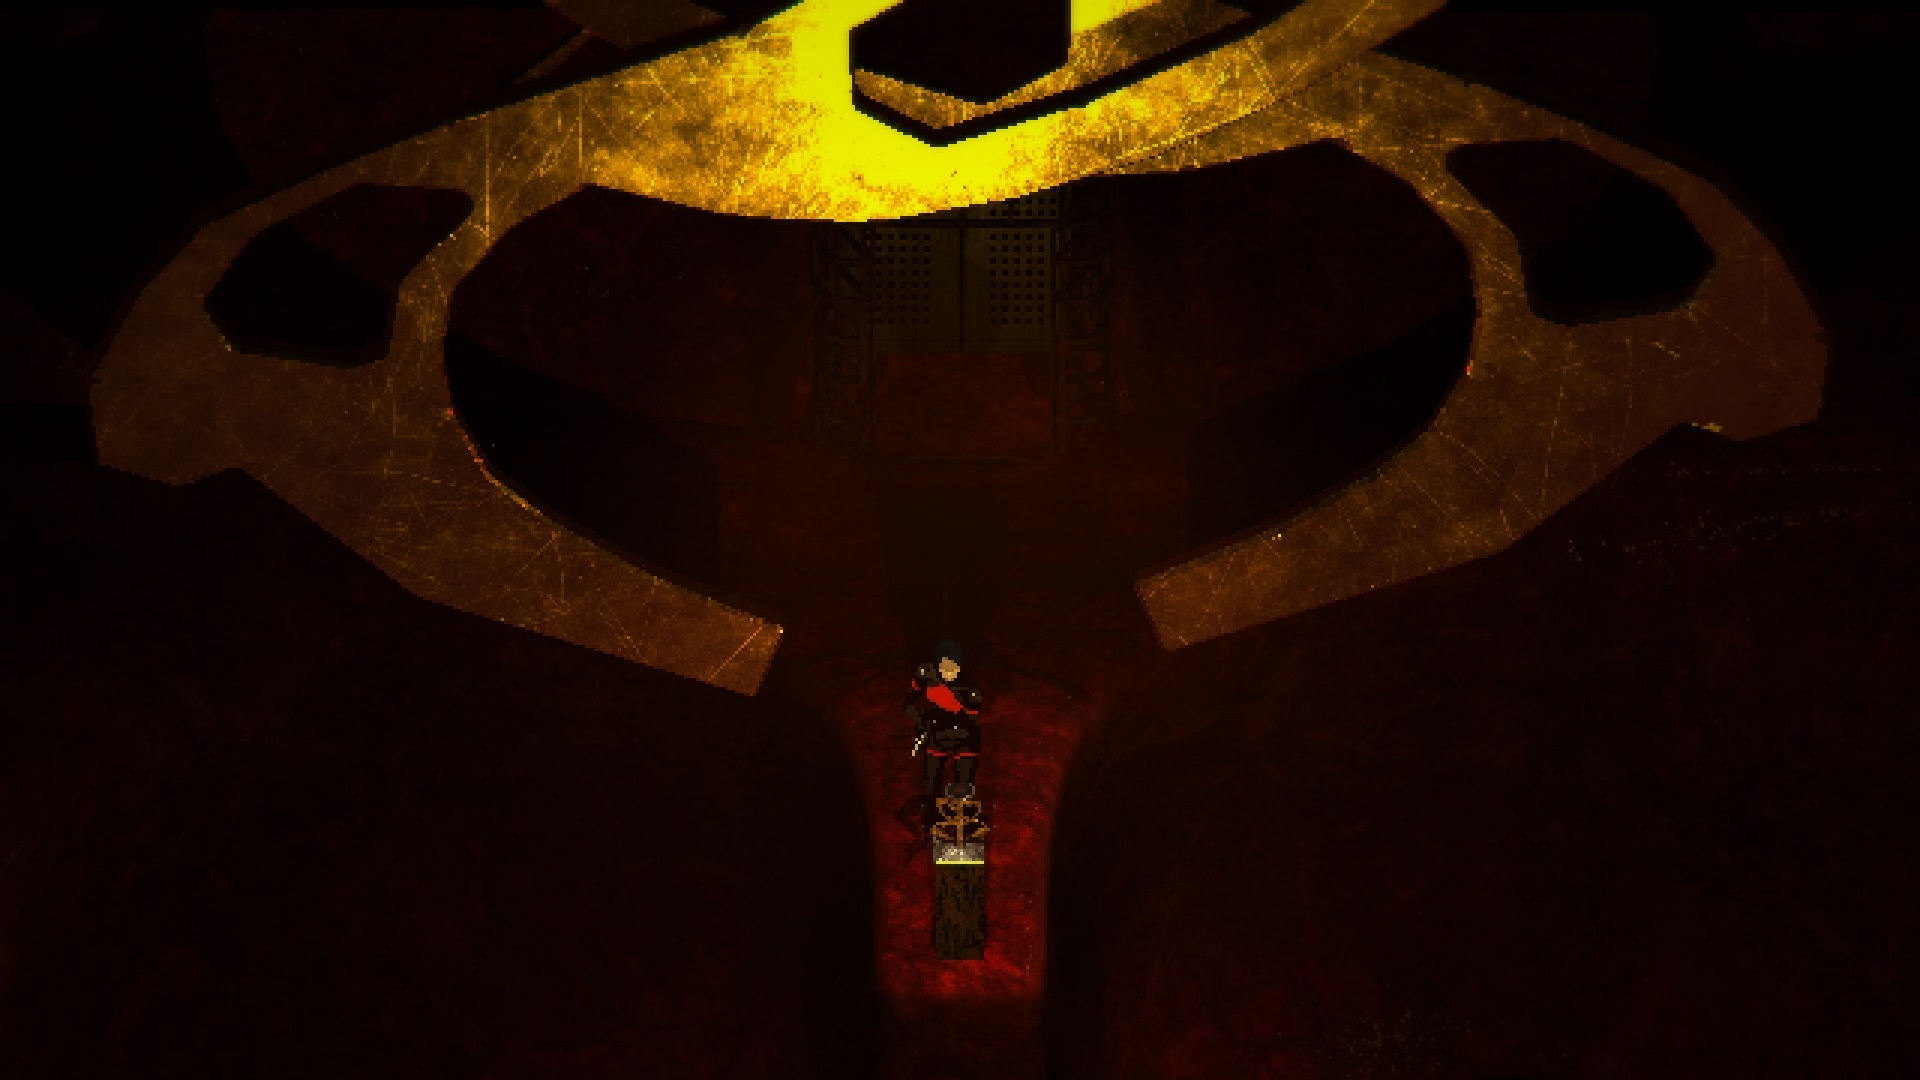
Go back down to the organic well. Go through the door to the north to find a portal. Save all the plates to open the portal. Climb the stairs to unlock the Signalis ending.
Back to Installation Aeon

The story is not over. Start a new game to continue the adventure. Search the ship and more specifically the room to the east of « Stern Hall ». After the cutscene follow the path to repair your body. Then go down to the cockpit to find a new well.

A memory is triggered. Join the boat in the distance to exit. The nightmare continues. Exit the toilet and follow the only possible path east to find the save room. After saving, go to the classroom to the east.
If you haven’t lost all your memory, you should remember the safe code. This is always dialed by default, use the code: 204512. Press the enter button and turn the dial to open the chest. You get the classroom key. Return to the hallway and head north to find a new well. Drop down inside to enter the final chapter.
Rotfront
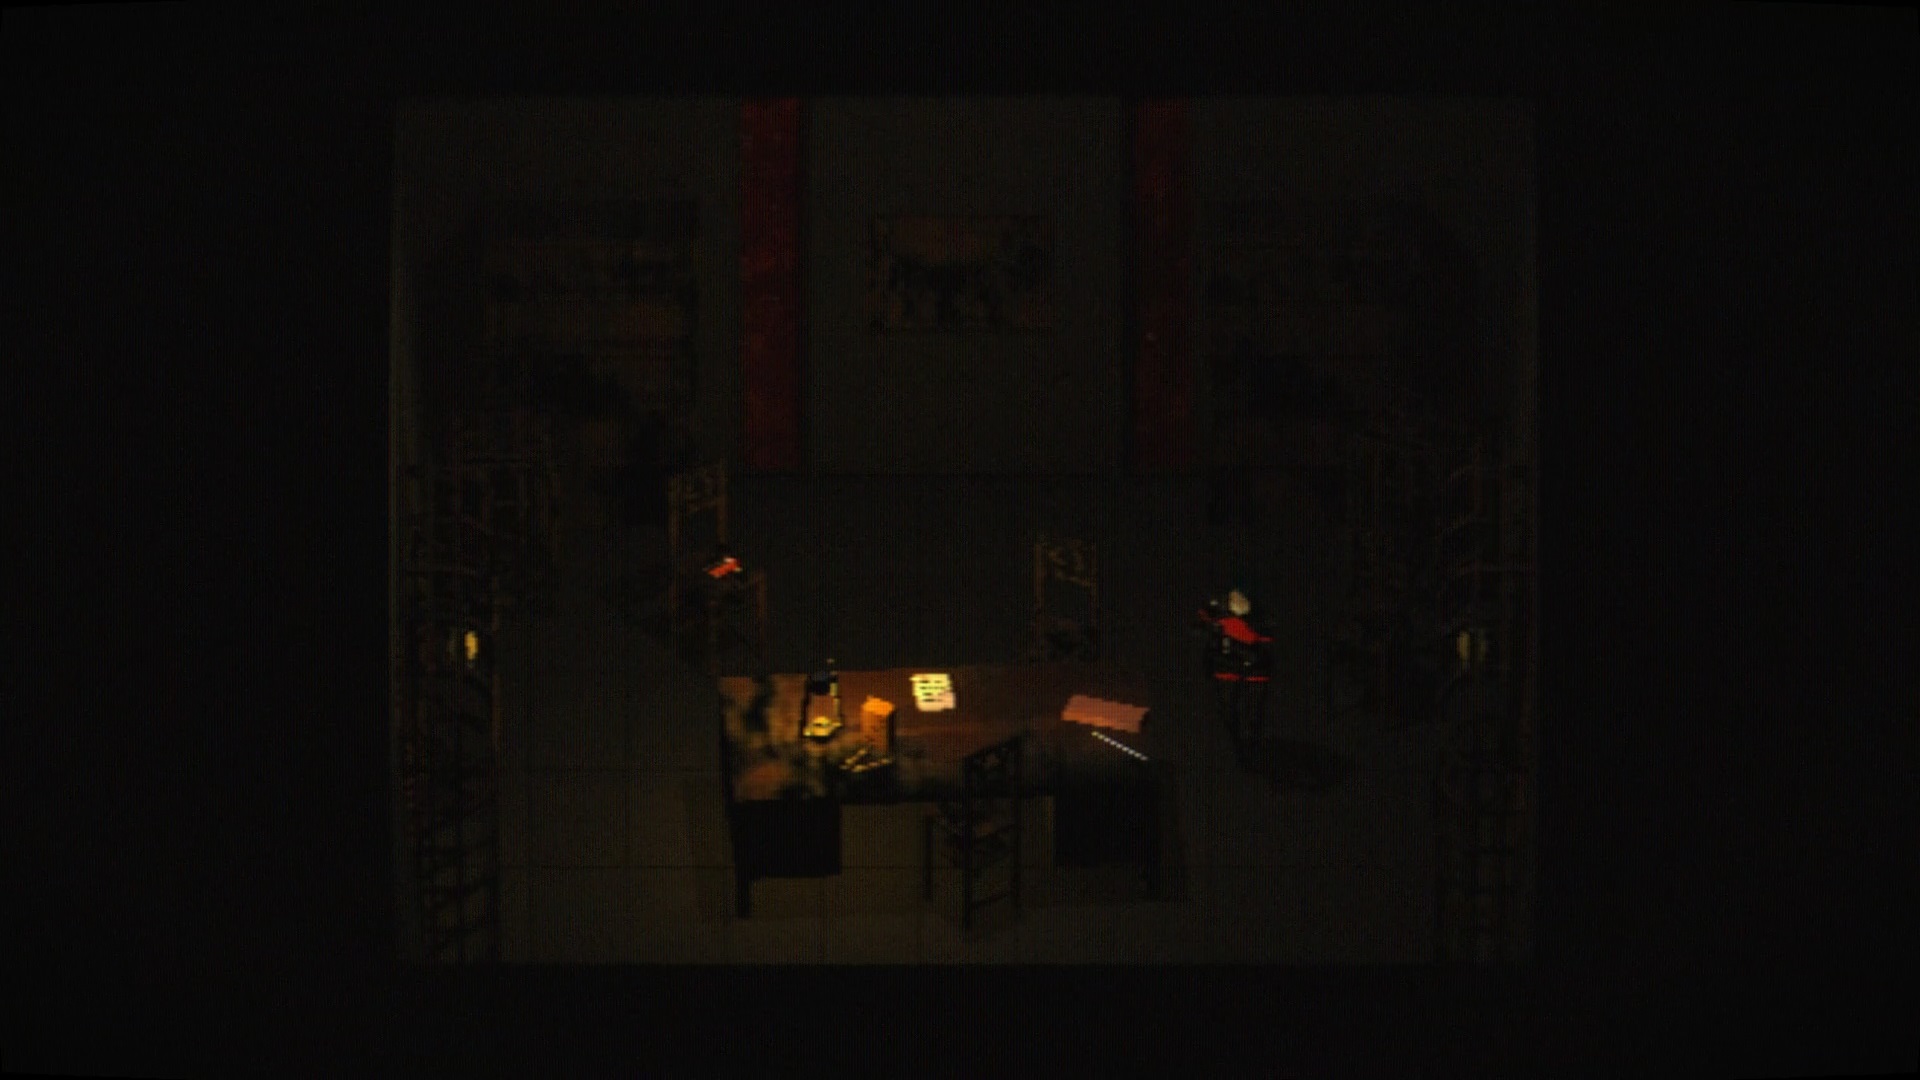
You land in the Atrium. You can inspect the wall to understand that one last riddle must be solved before the end. Start by searching the door to the northwest. In the « Hallway » go through the first door. You will find in the next room « Blackwart Office » a submachine gun lying on the table. Inspect the computer and import all the information into your database. Go through the door to the north of the room to find a new « Blackwart Bedroom » save room.
Go out into the « Hallway » and go through the third door to the west to climb a ladder into the « Ladder Room ». Upstairs in the « Blue Hallway » above, go through the door in the center. Inside you will find a valve placed in the kitchen. Retrieve the valve. Then return to the Atrium.
Enter the door to the northeast. In the « Pipeworks » corridor, use the valve against the pipe to pass. Explore the North door to find a blue floppy disk among the trash. Then go to the door to the east of the previous corridor to find Acetone.
Continue east to find a hole in a chipper. Dive inside. Inside, go south to find in the room « Public House » The Tower card on a table. Always go down to the south to find yourself in the « Metro Platform » corridor. Take the door to the east to find a new save room. Take the Patient key on the desk and open the door to the north to go upstairs.
Above, use the correct frequencies to clear the way into the « Apartment ». Go west to reach the « Hallway » corridor and enter the first door. In the « Butterfly Room », examine the butterfly board to find letters on their wings. Inspect the safe on the seat and use the letters AEON to open it. Pick up The Moon inside.

Get out in the hallway and enter the door at the top to the west. In this room, the « Dentist Room », take the red floppy disk and go through the door to the West. In the « Hospital Hallway », enter through the door to the north. In the « Hospital Room » you will find a chest with a Magpie symbol. Keep this place in mind for later.
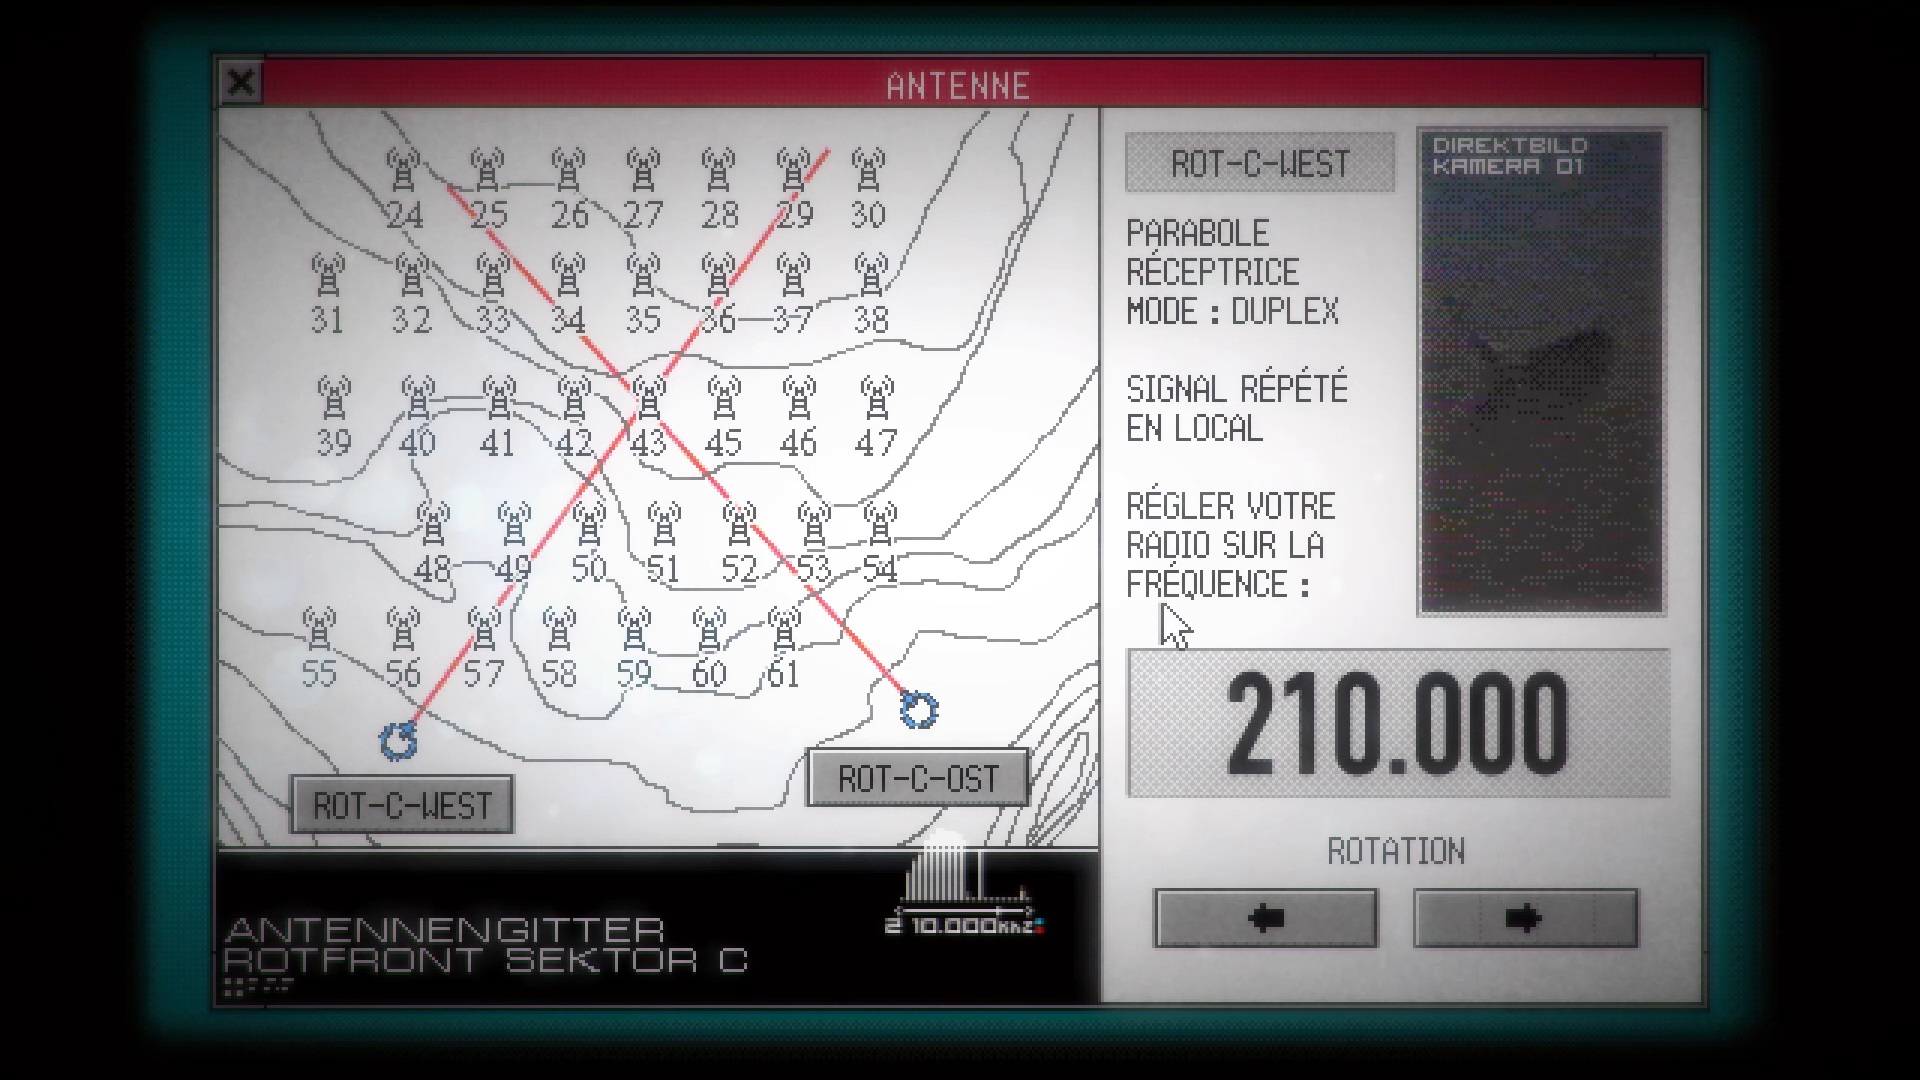
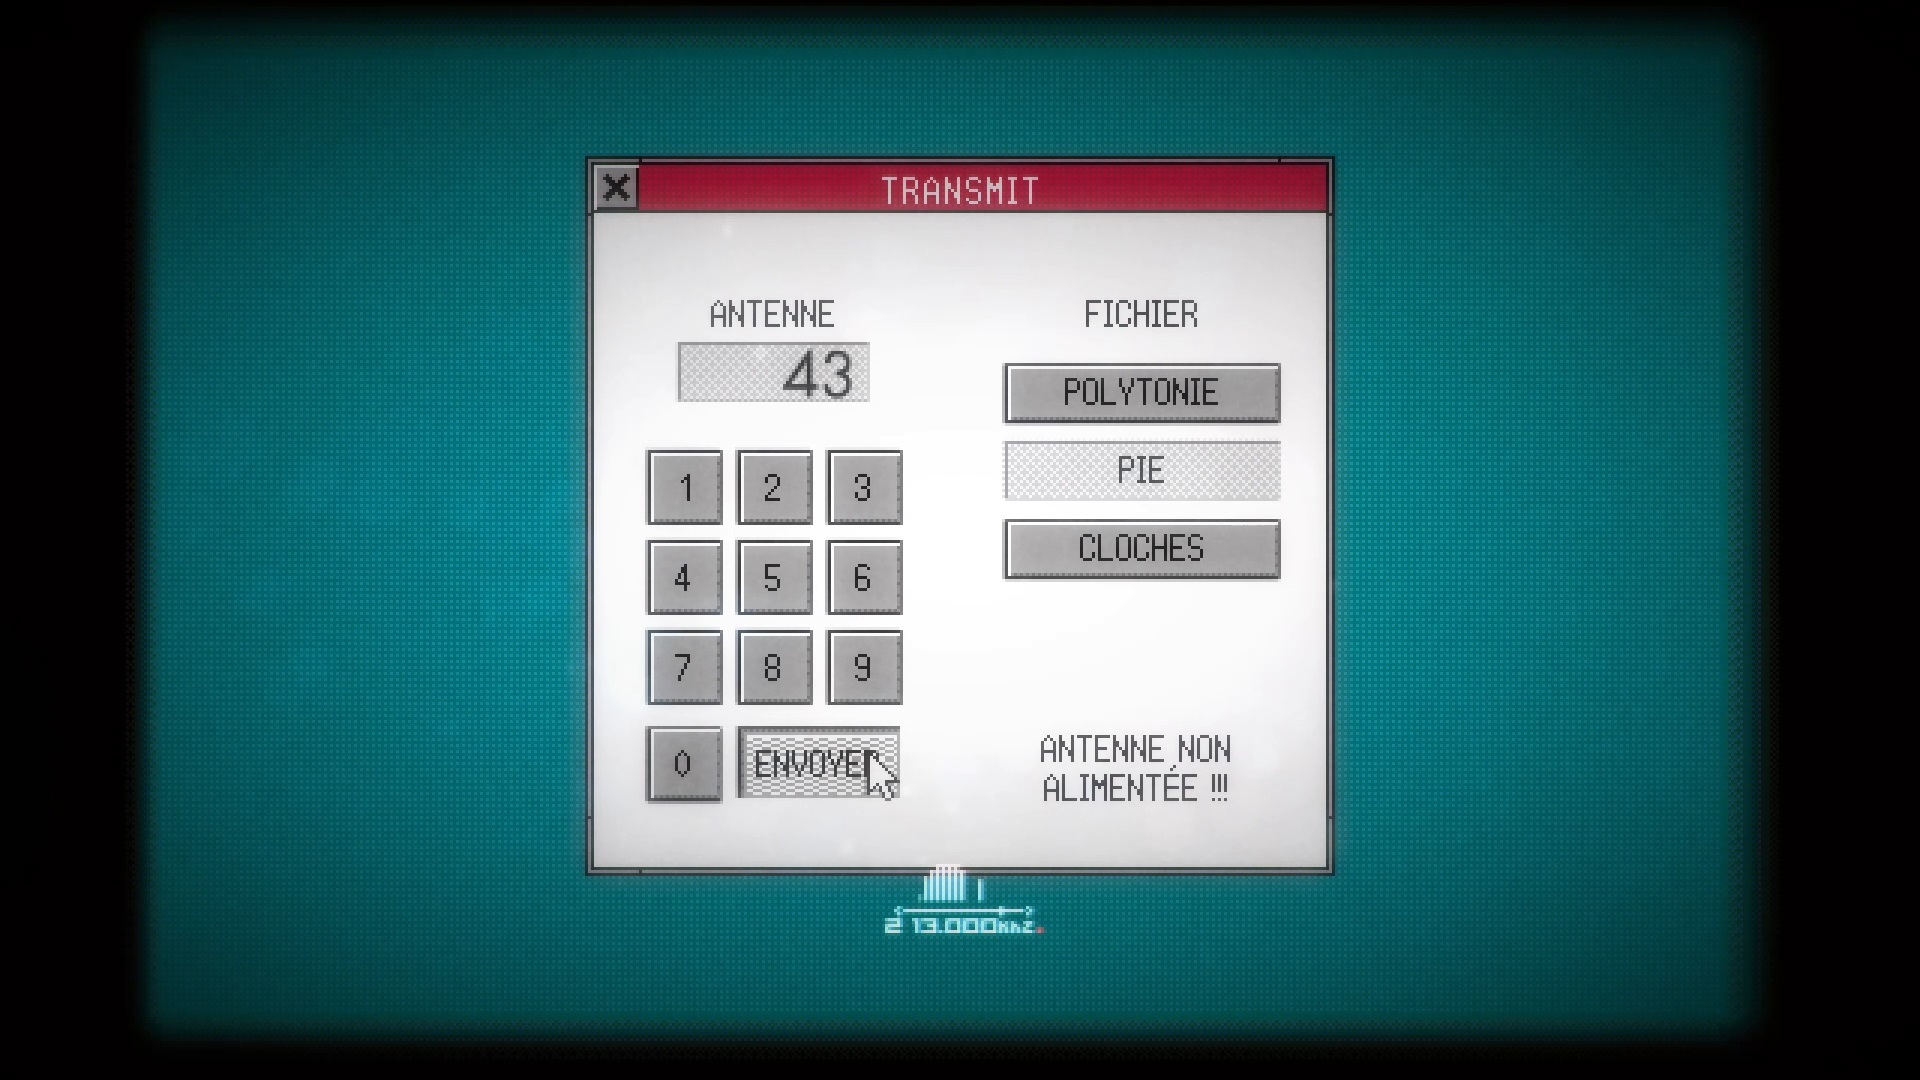
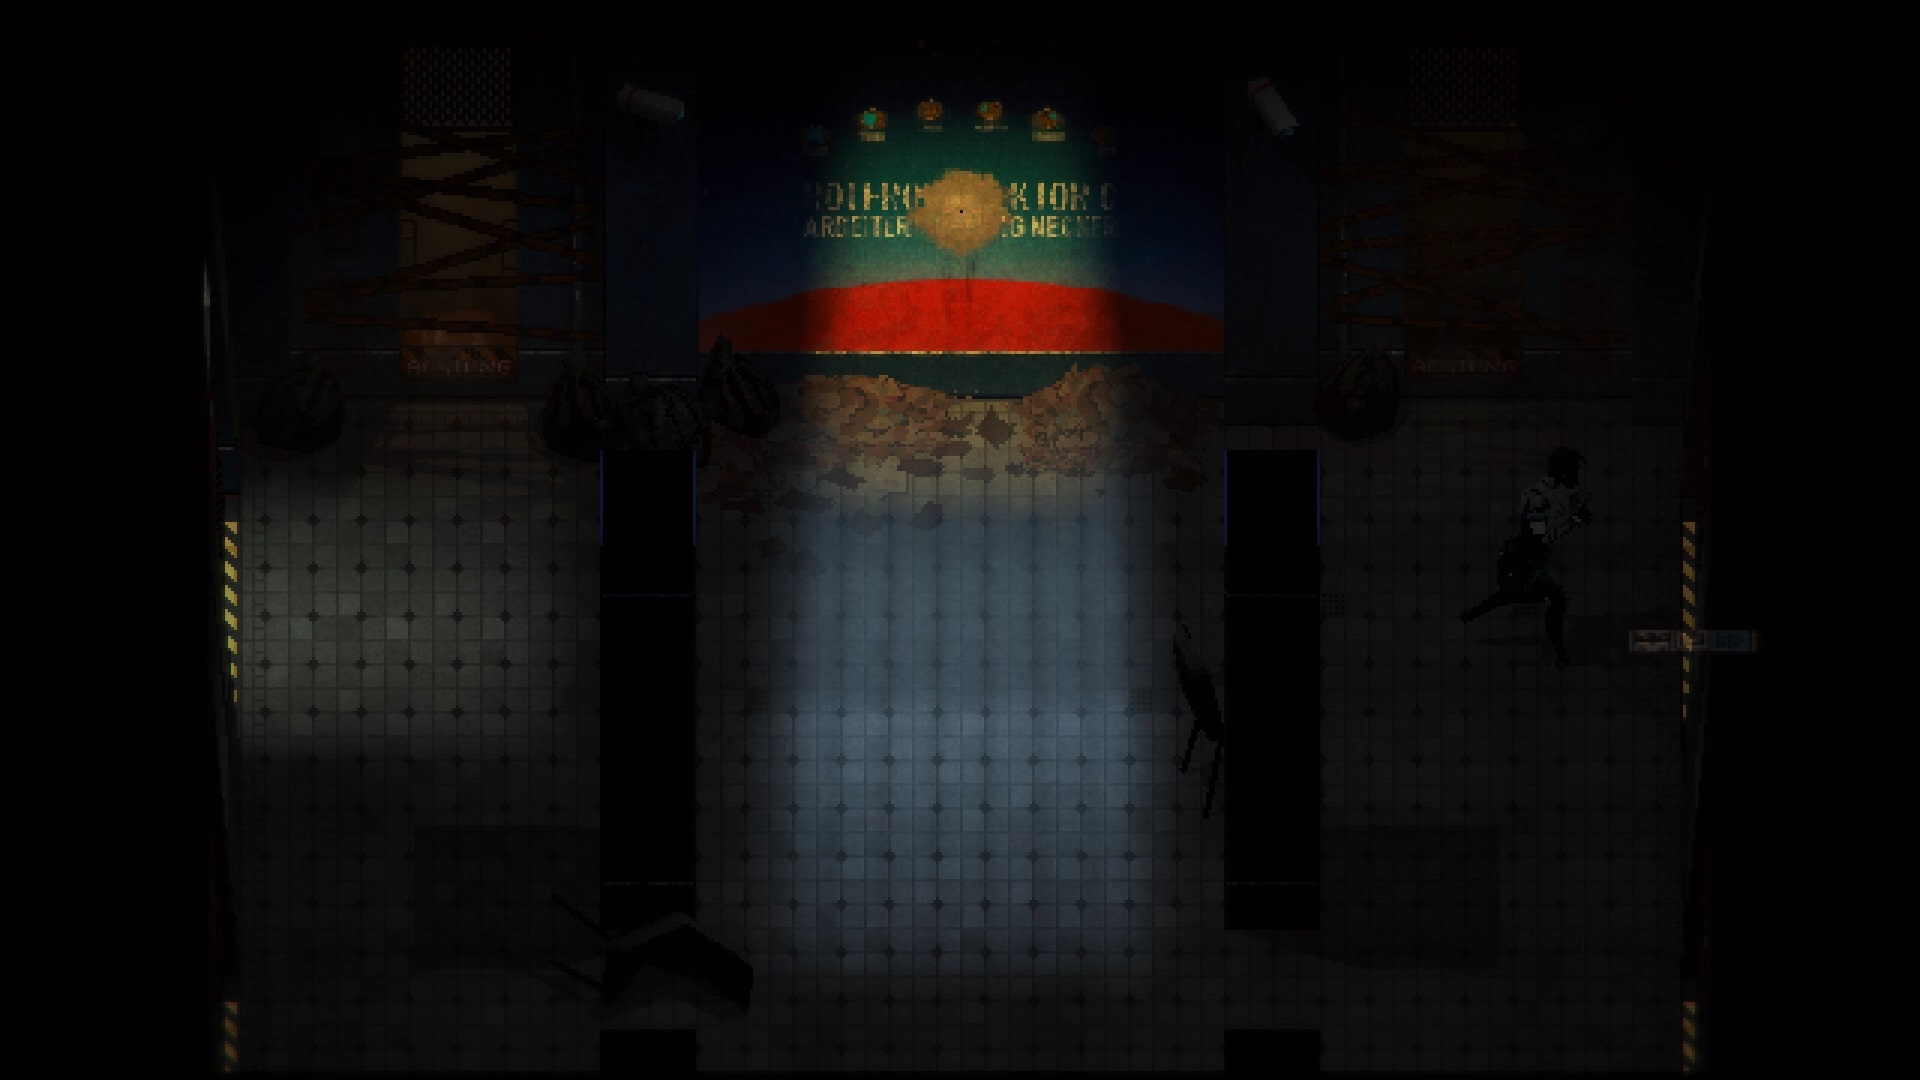
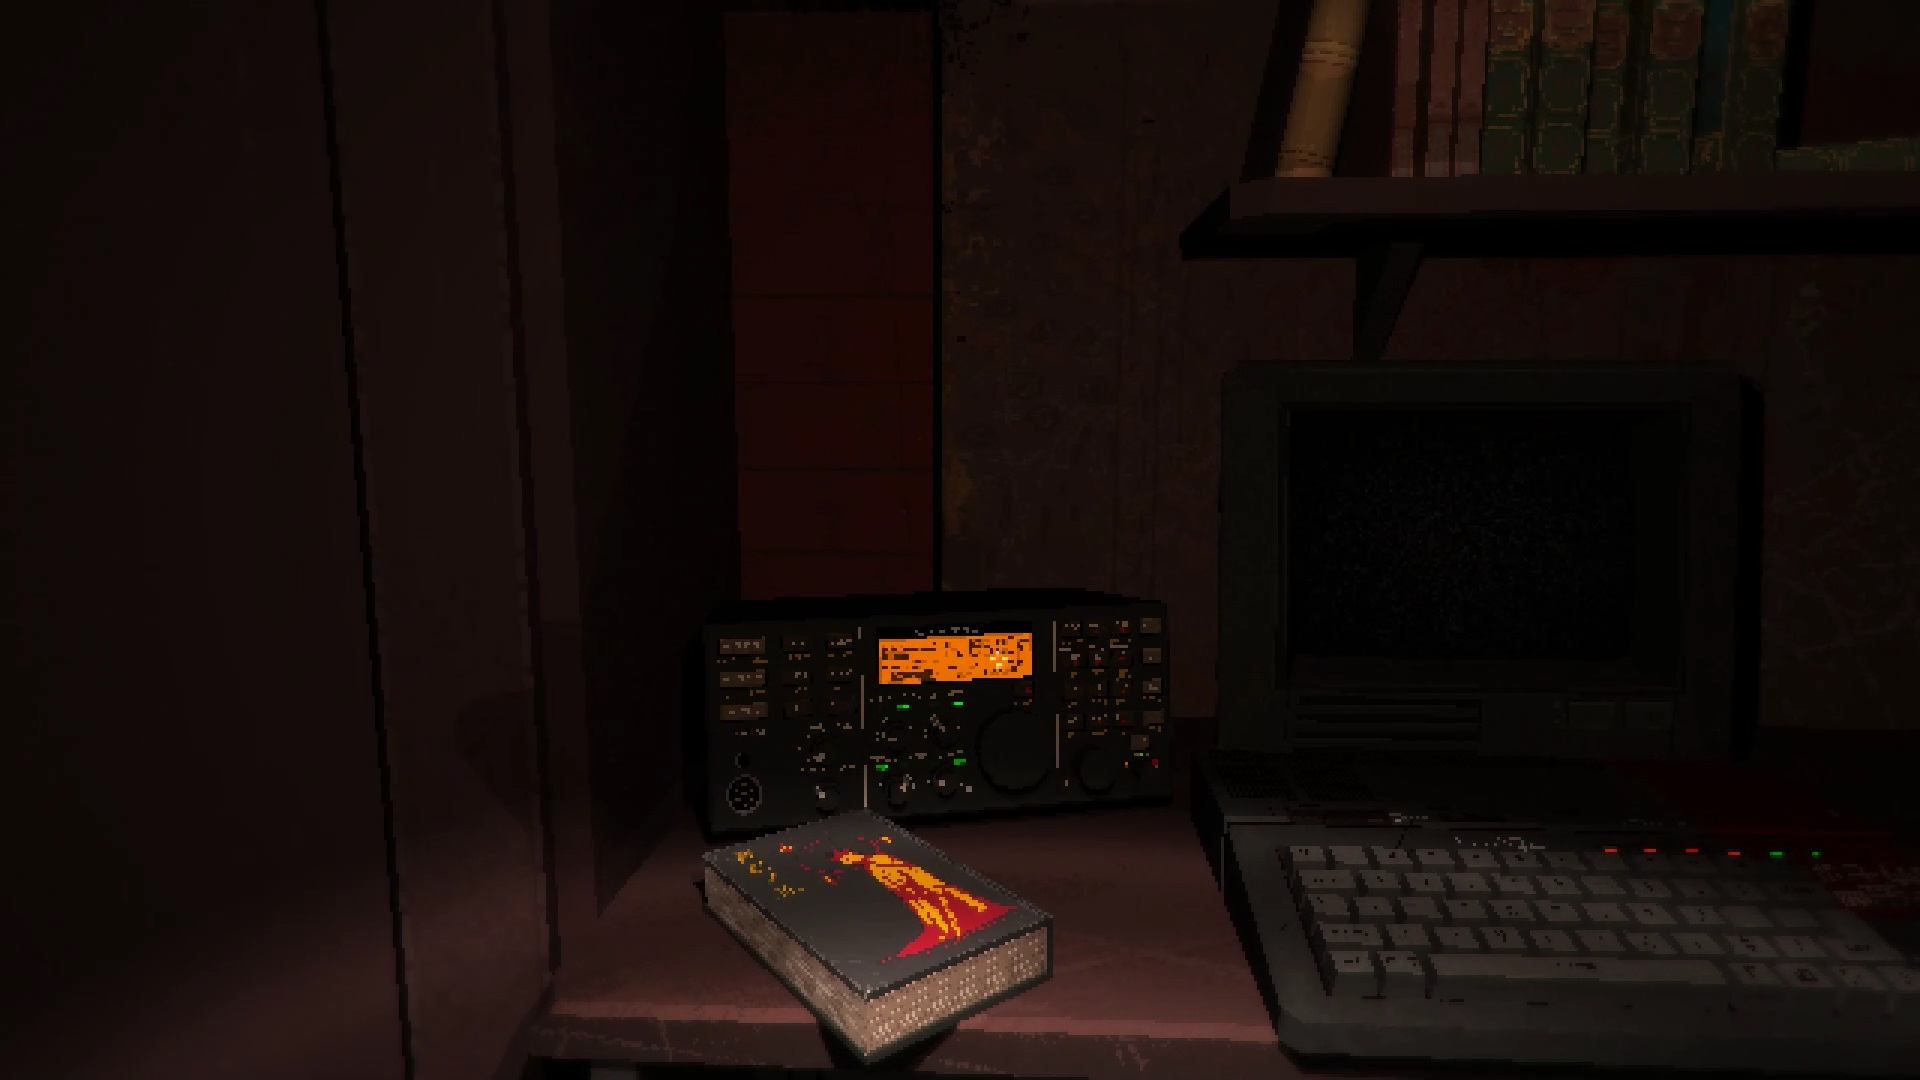
Retrace your steps in the « Blackwart Office » before the save room. Insert the two diskettes into the computer. Import all the information into your database. Let’s solve the computer puzzle. Click on the « Antenna » icon. First tune your radio to the 125.000 frequency. Rotate the antenna at the same time to find the correct frequency. You will need to be aligned with antenna 42. Do the same with frequency 210,000. You will also need to be aligned with Antenna 42. Click on the Transmit icon to send the Magpie’s sound to Antenna 43.

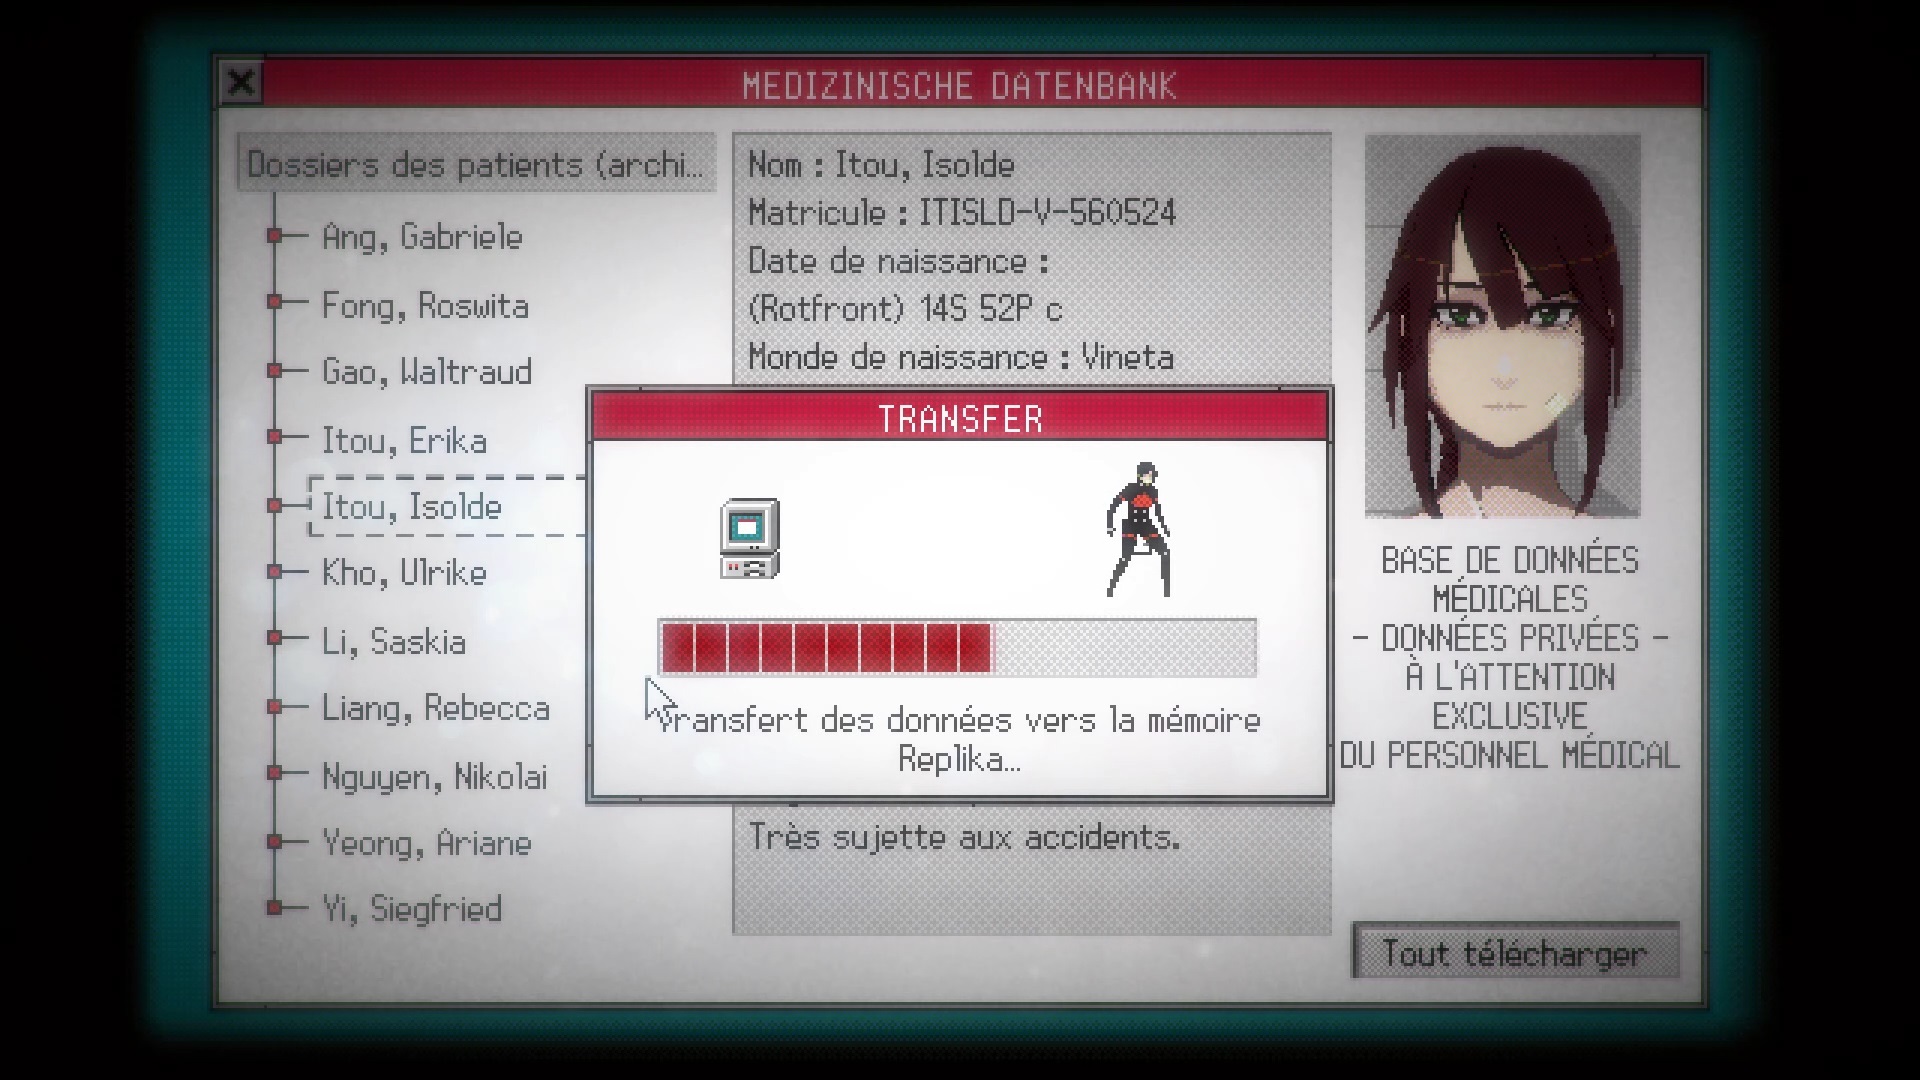
Head towards the Atrium and go through the door to the southeast to reach the « Commercial Corridor ». Enter the first door. In the « Backyard » interact with the touchpad and enter Itou Isolde’s number: 560524 to unlock the door. Go inside to trigger a cutscene. After the dialogue, search the memorial on the right to find The Death card.
Equip the lamp module and the Acetone and then go to the « Hallway ». Go through the door west of the « Dormitory ». Use the Acetone on the board to pick up the Lover card. Then go upstairs with the « Ladder Room » ladder and enter the door south of the « Blue Hallway ». Using the lamp module, search the « Dark Appartment » to pick up a development tank from the table. Then go through the Hallway to the north to reach the « Dentist Room » again.
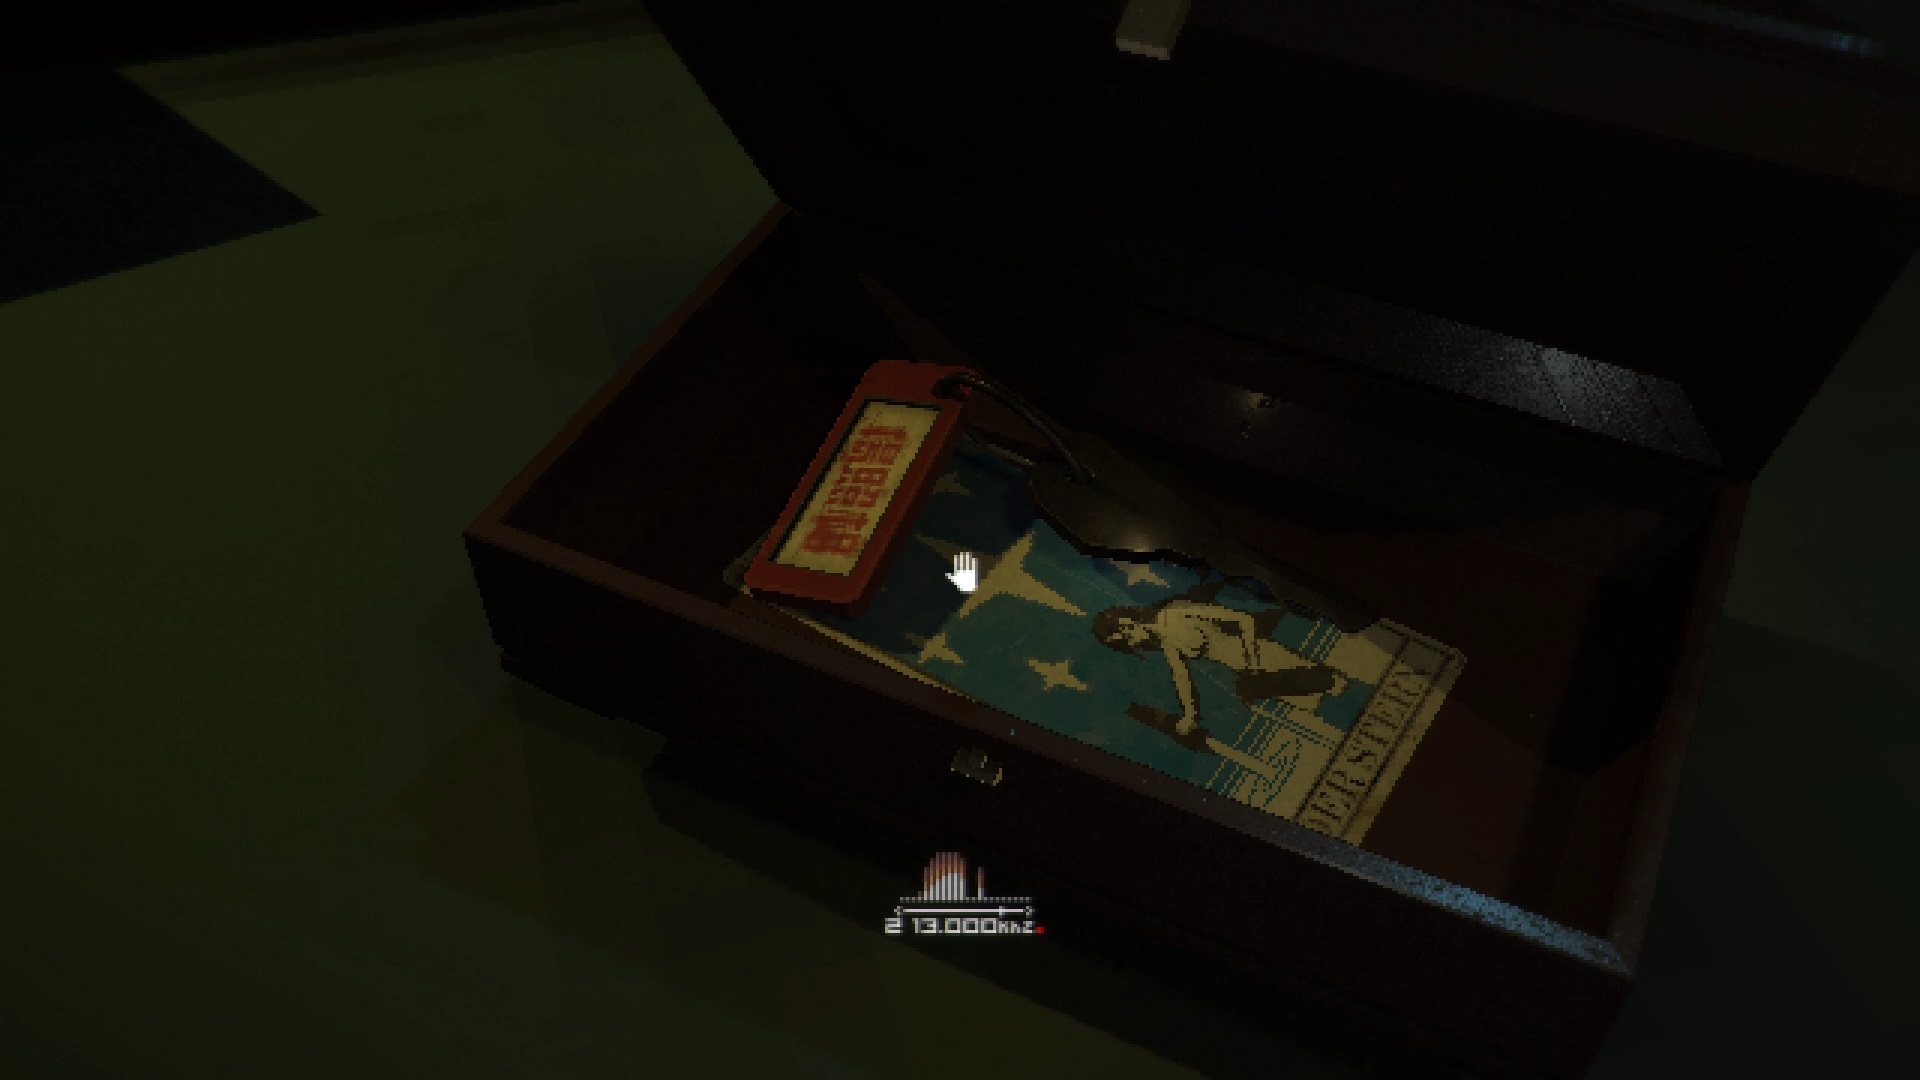
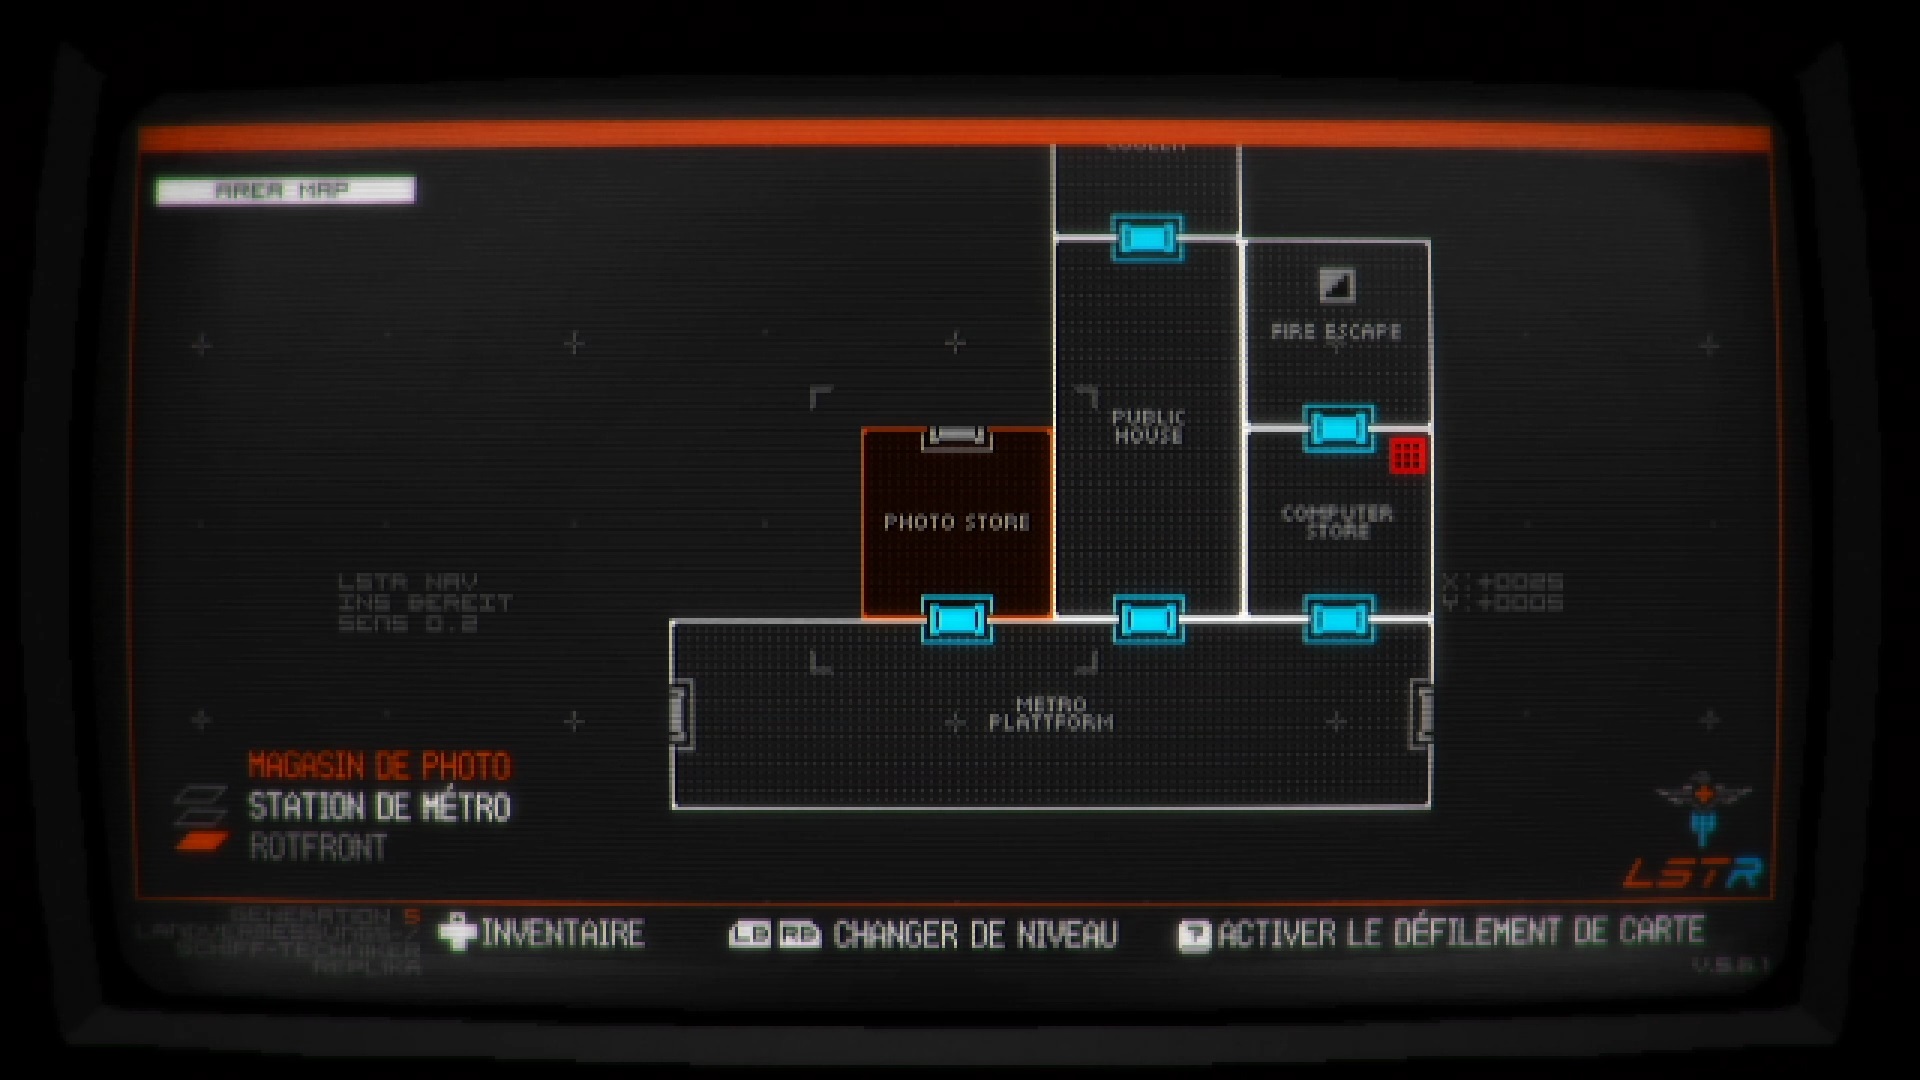
Tune into frequency 213,000 and inspect Magpie’s chest for it to open. Collect the star and the shop key. Direction the « Metro Platform » corridor previously visited and enter using the key in the door to the North West « Photo Store ». Pick up the development product in the shop. Combine the product with the tank to obtain a photograph. Go to the door west of the « Metro Platform » to find lockers. Scan the photograph to get The Sun.
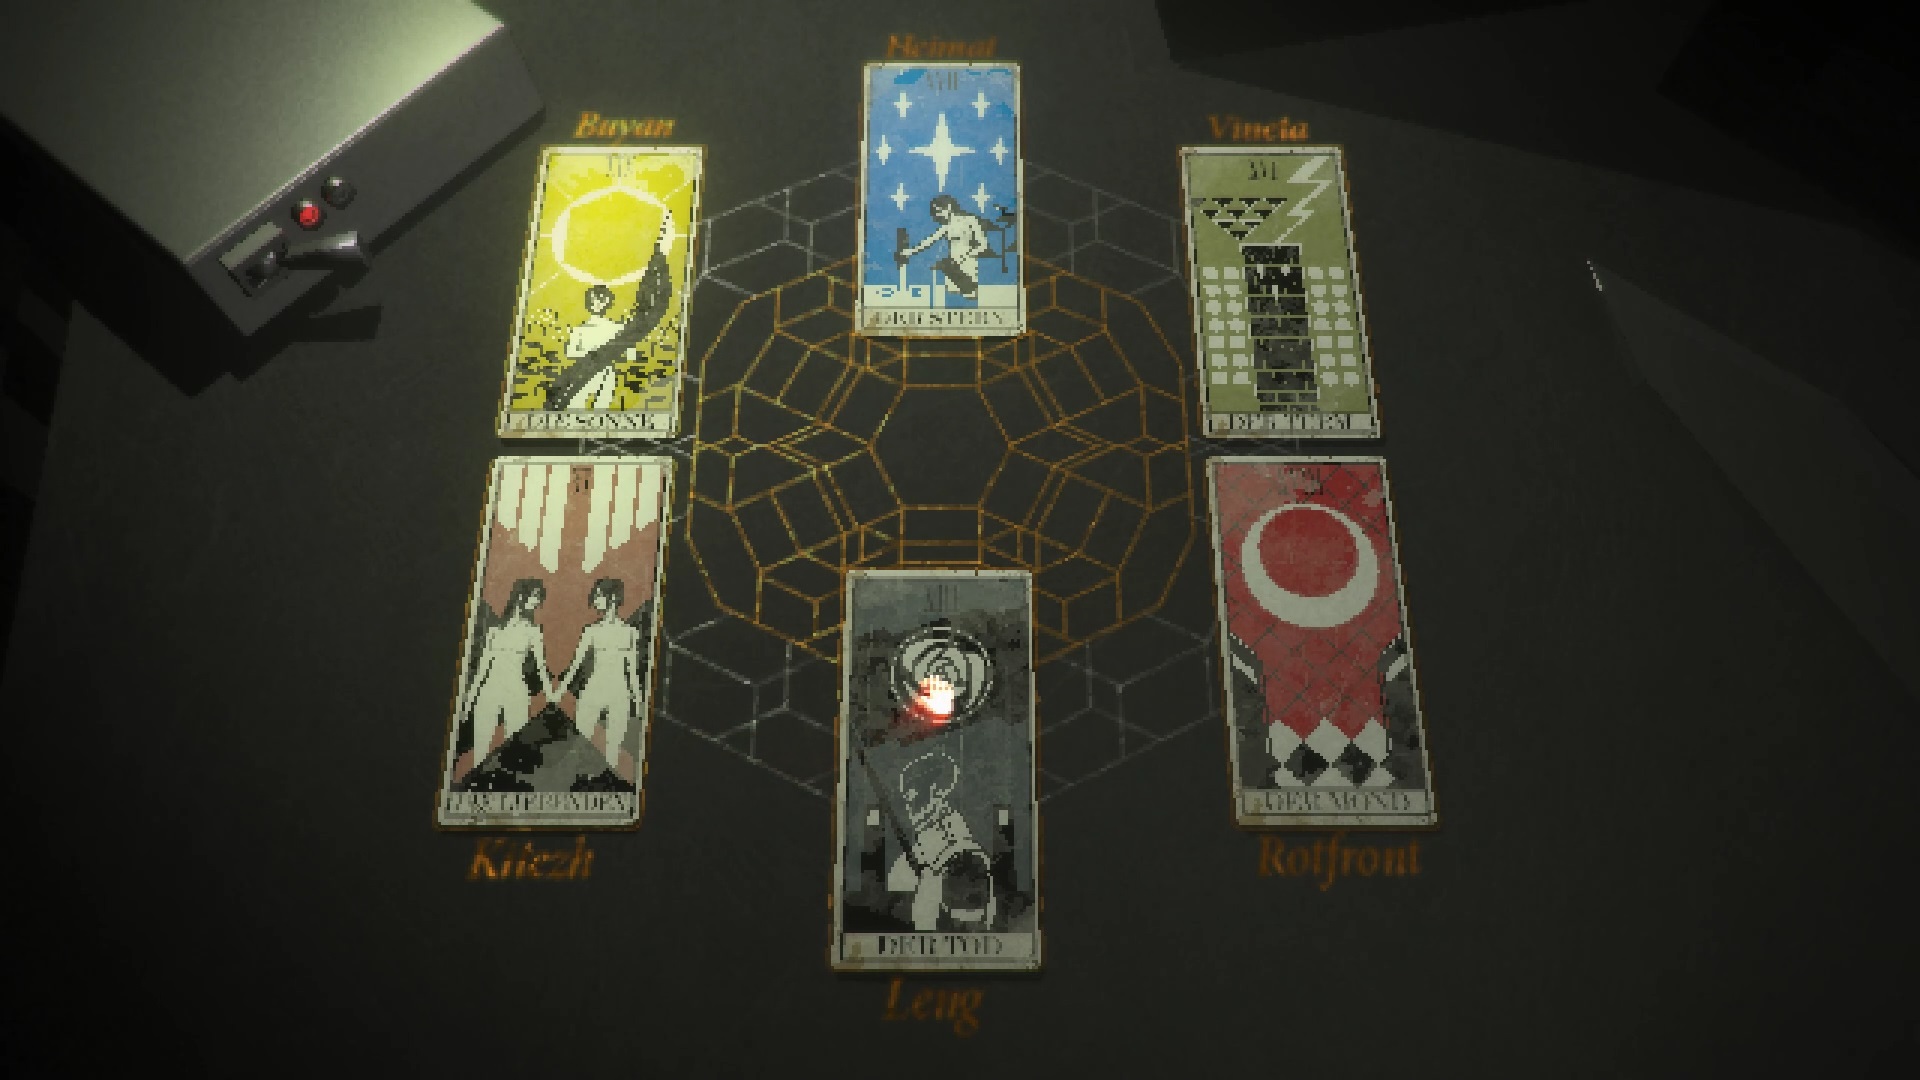
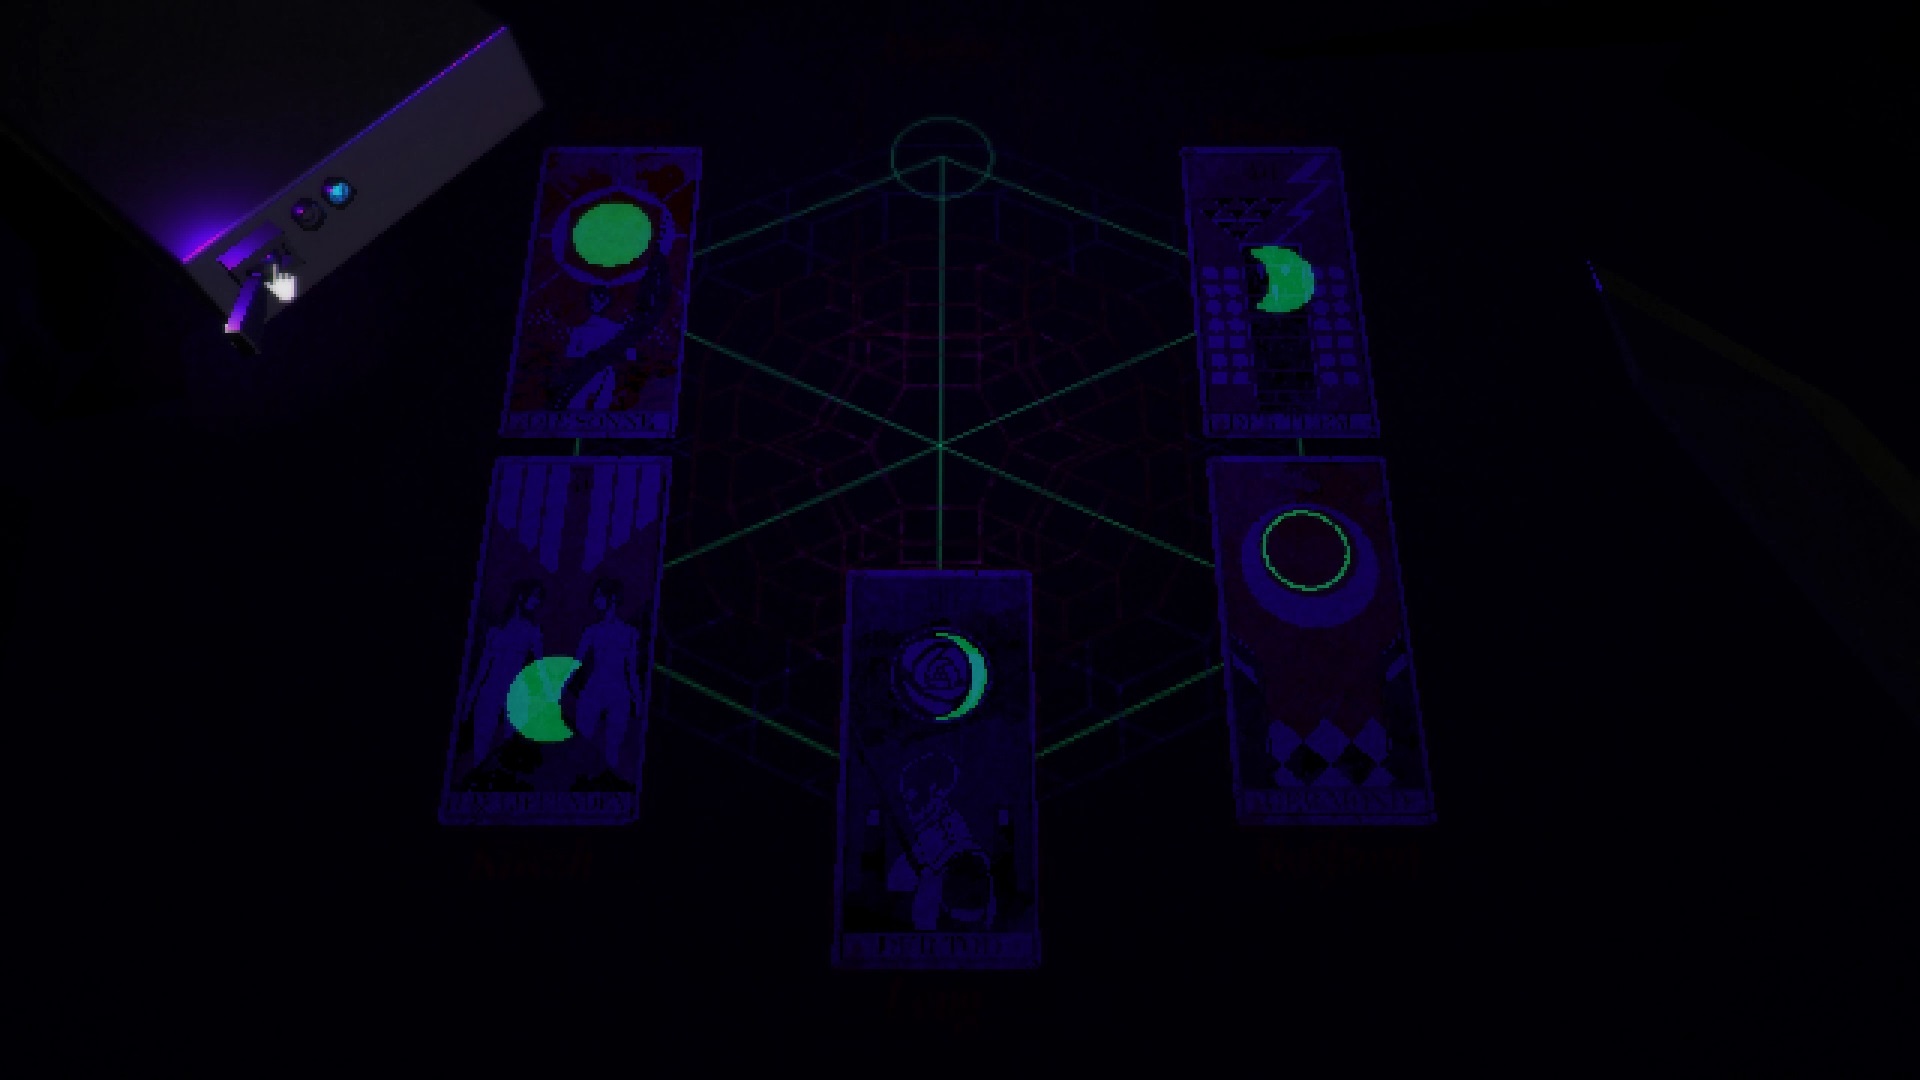
Retrace your steps through the Atrium. You pick up the circular dial on the ground. Join the last unexplored room, the « Meat Room » to the northwest in the « Blue Hallway » corridor. To solve the riddle of the room, place all the tarot cards on the table. The Sun is on Bayan, The Moon on Rotfront, Death on Leng, The Lovers on Kitezh, The Tower on Vineta and finally The Star on Heimat. Interact with the box in the upper left to reveal moon phases. Remember its phases with associated planets.
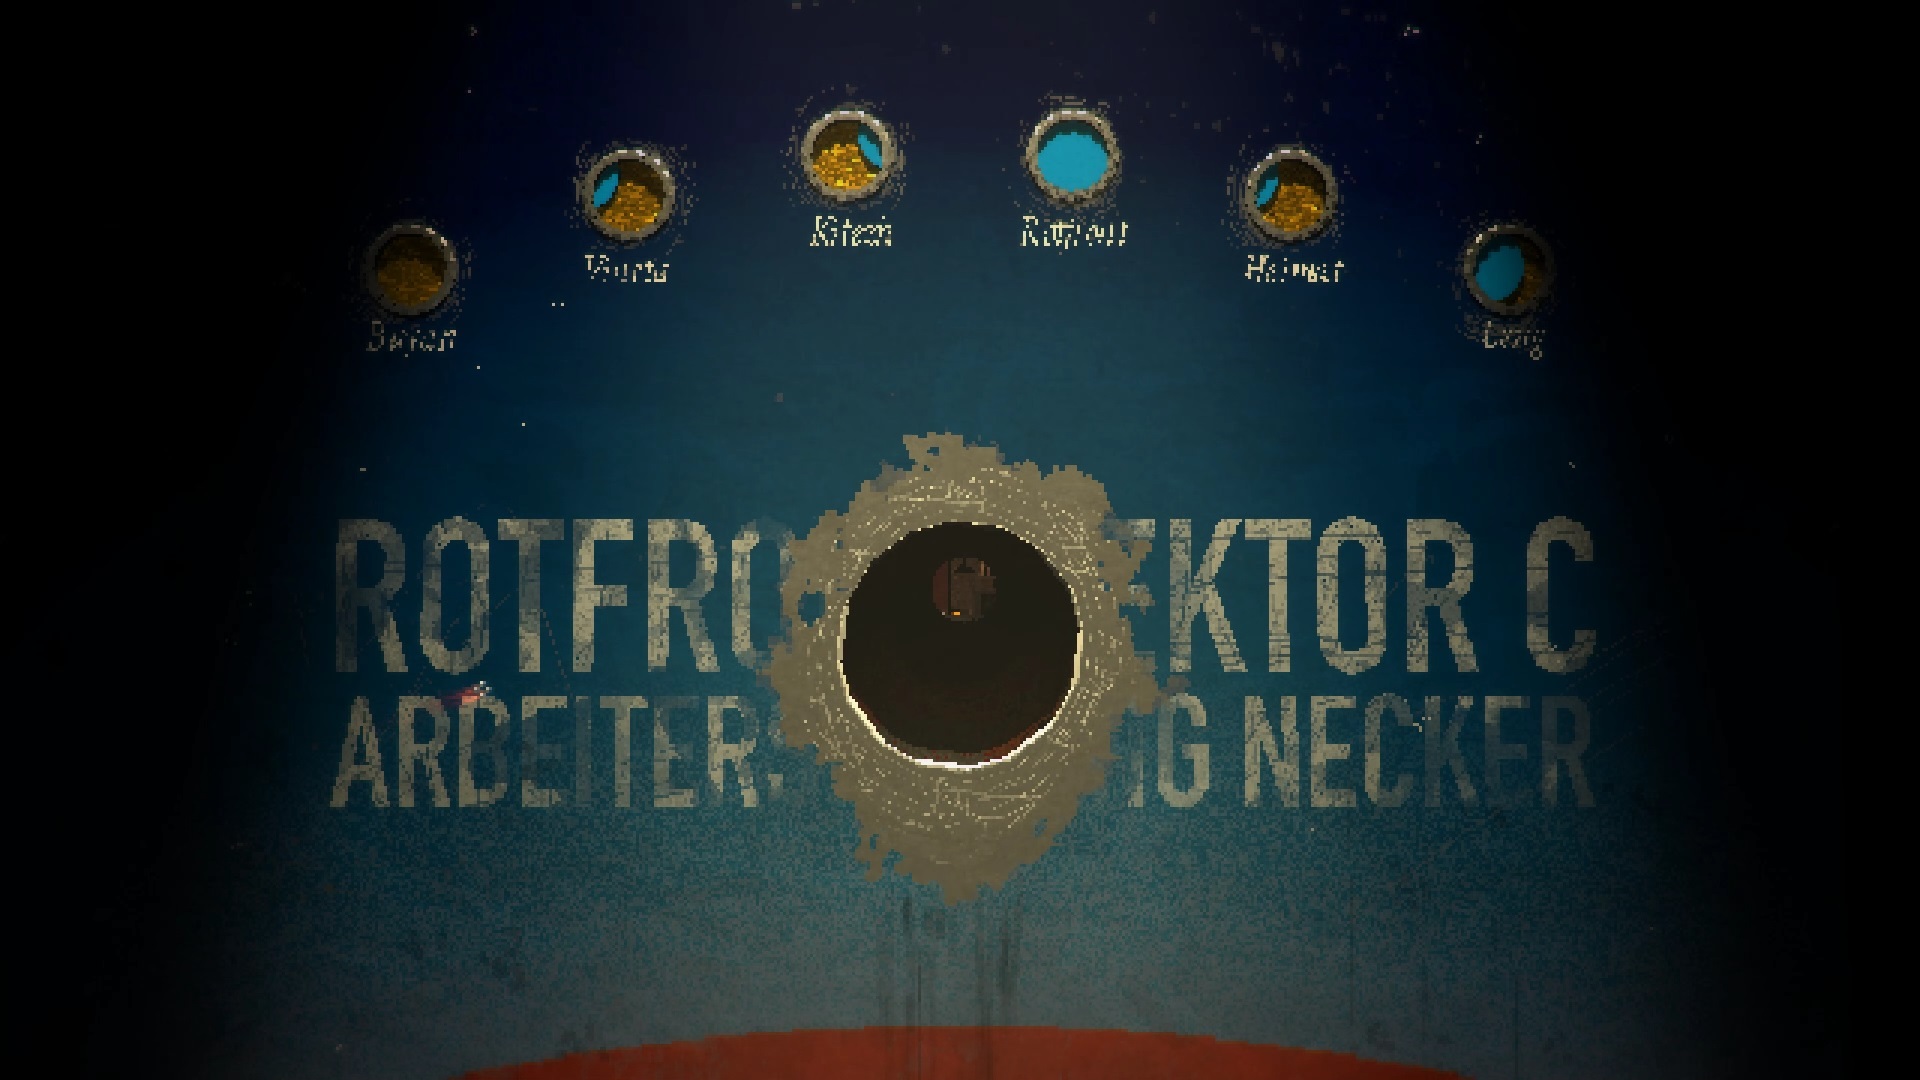
Return to the atrium and assign the phases of the previous moons to the planets against the wall. Use our image above if needed. Enter the hole in the wall of the atrium and get the book in the office. Exit through the door to the west and prepare for the final fight. We advise you to leave an empty block in your inventory among your artillery. Go through the door to the north and go up to provoke the fight.
Fight against Boss Falke


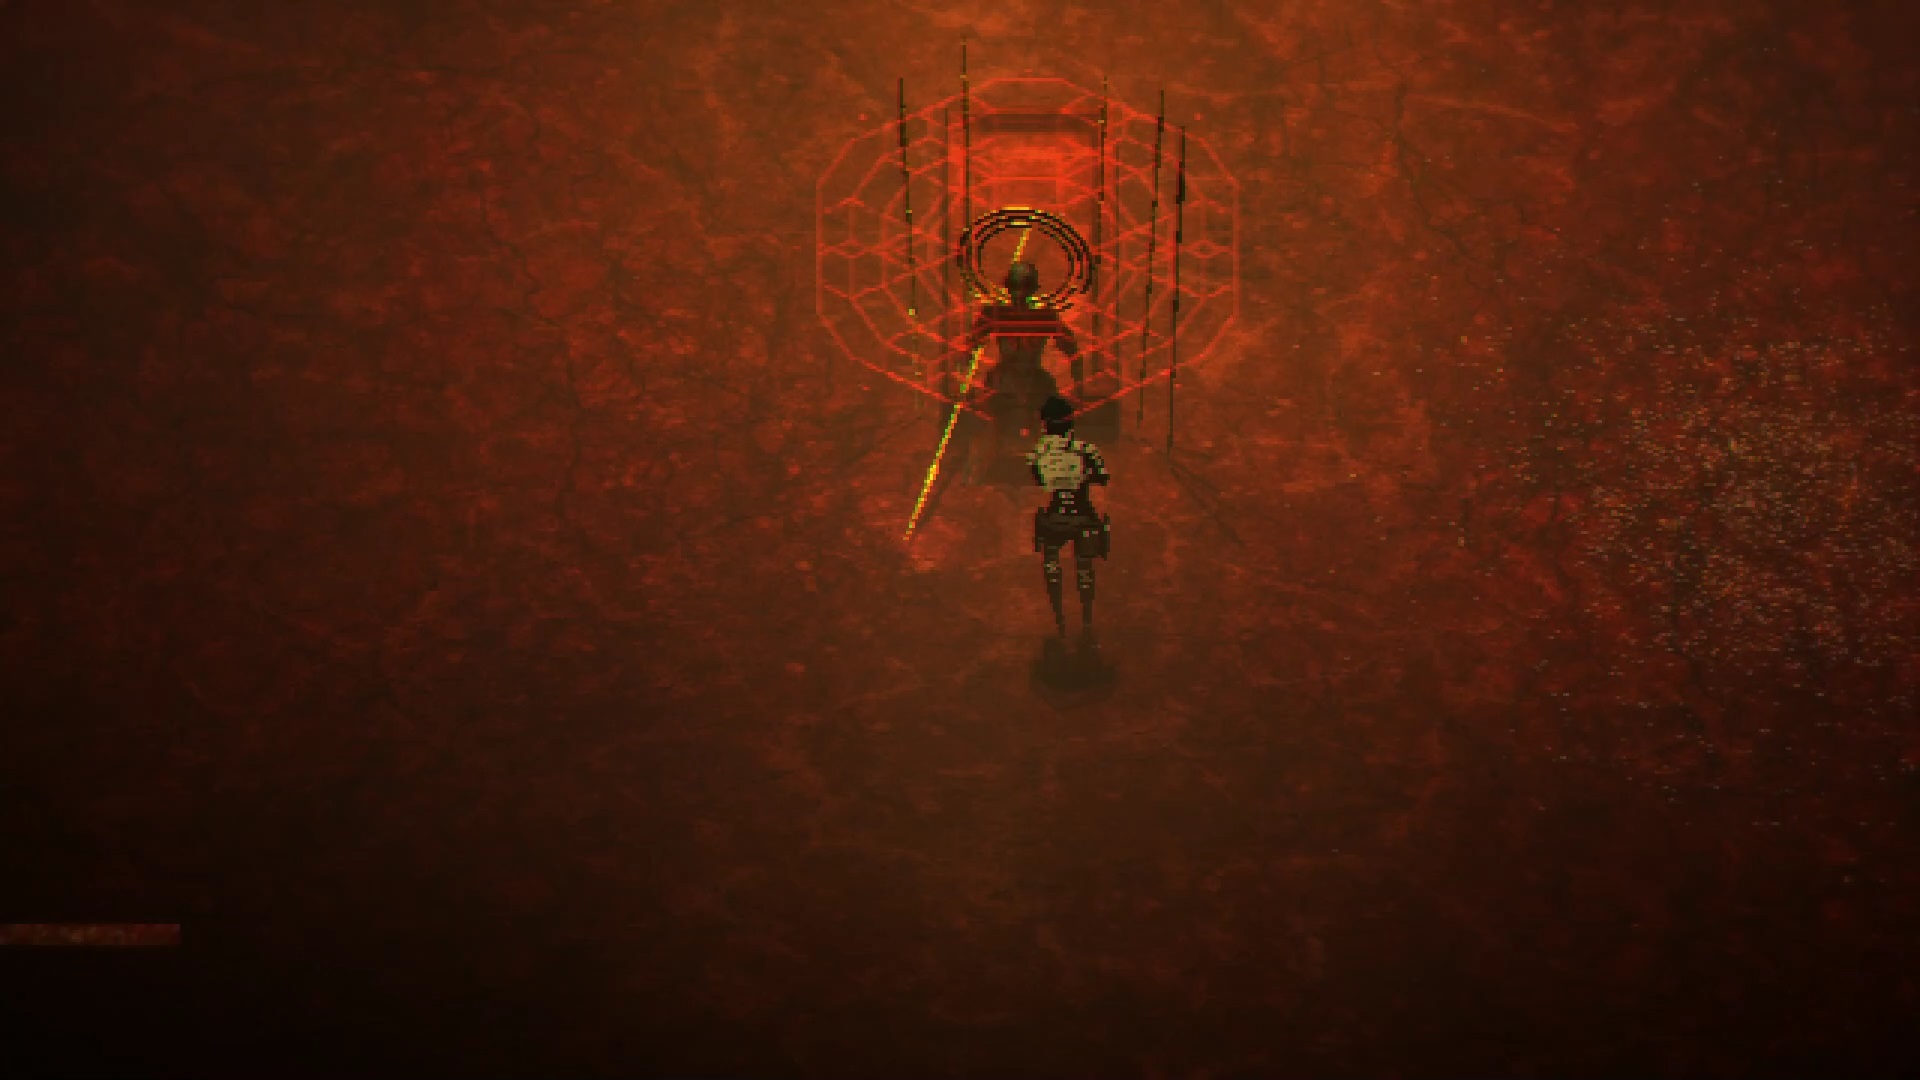
Falke is the final boss of Signalis. For start, don’t waste your bullets foolishly shooting him. Dodge his attacks by running sideways. Wait until she plants her spears against you. You can anticipate this attack thanks to the crosses displayed on the screen. When his spear is planted on the ground, quickly retrieve the spear from your inventory. Now shoot Falke to knock her down. Interact with Falke on the ground to stab him in the head. Be careful, things get more complicated as the fight progresses. Use the heals that appear to survive if needed. Repeat the technique six times to finish the fight.

After the fight, search the ship to find the one you were looking for. Depending on your actions in the results, you will unlock a different ending.
- Promise
- The escape
- Lily
- Memory

Journaliste gameactuality.com


Please press « Begin » on the main menu again at the end of chapter two.
This is not a complete guide, you didn’t finish the game.
Lol you missed the whole third act of the game…
thank you for the walkthrough!
this made my gameplay much more efficient and less time consuming
Bruh you can’t just say « Depending on your actions in the results, you will unlock a different ending. » and call it a day! This is meant to be a COMPLETE walkthrough, how do we get the other endings??
The sword frequency is 178,000, not 170,000.
Depends on each game
Muchas gracias por la guía <3
~Kotori – 29/10/2024