[Guide] Gylt : Complete Walkthrough [EN]
Complete walkthrough of the Glyt main quest. Follow our guide to complete all the quests: puzzles, picture walkthrough… Immerse yourself in the world of Gylt, a narrative adventure taking place in a small imaginary mining town in Maine. Puzzles, stealth missions and action await you! Gylt is a survival horror video game developed and published by Tequila Works.
Summary :
- Tutorial
- School – Ground floor
- Arcade
- School – First floor
- Auditorium
- Arts center
- Gymnasium
- The mine
Tutorial
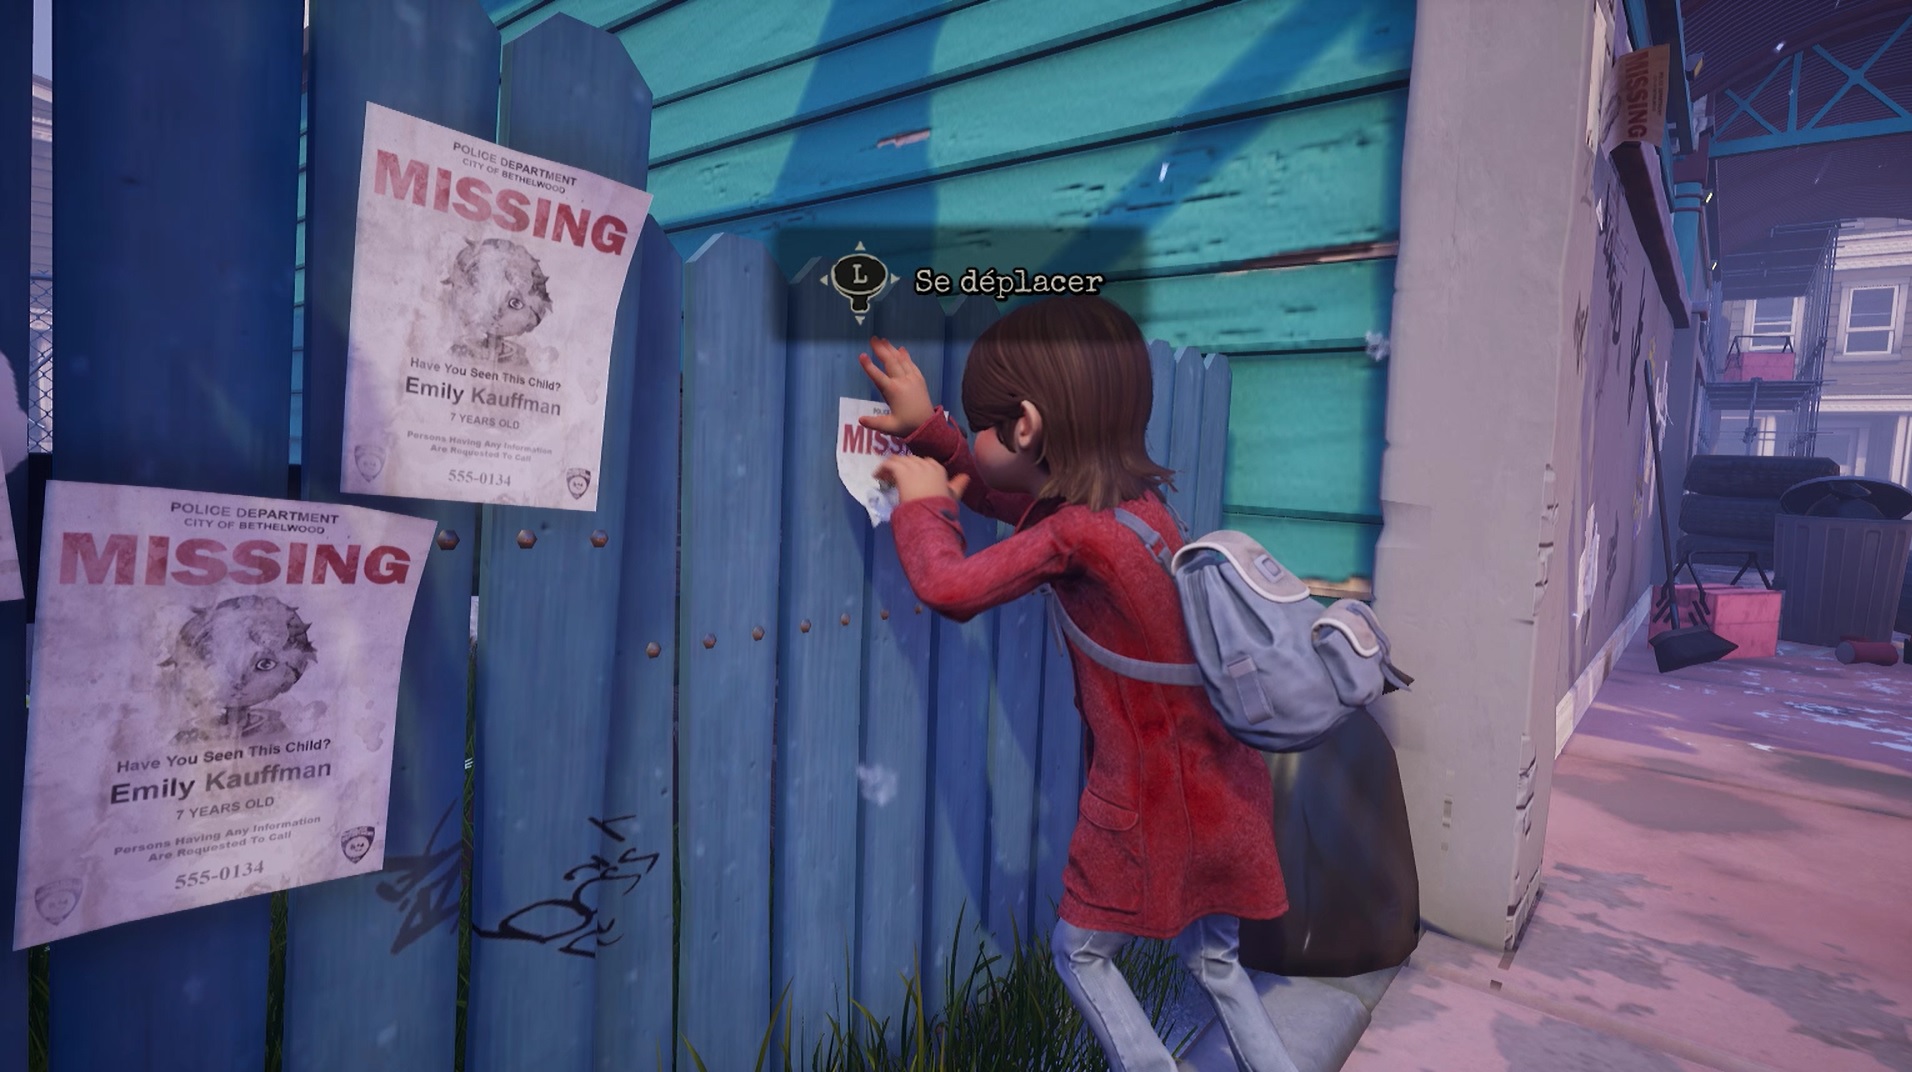
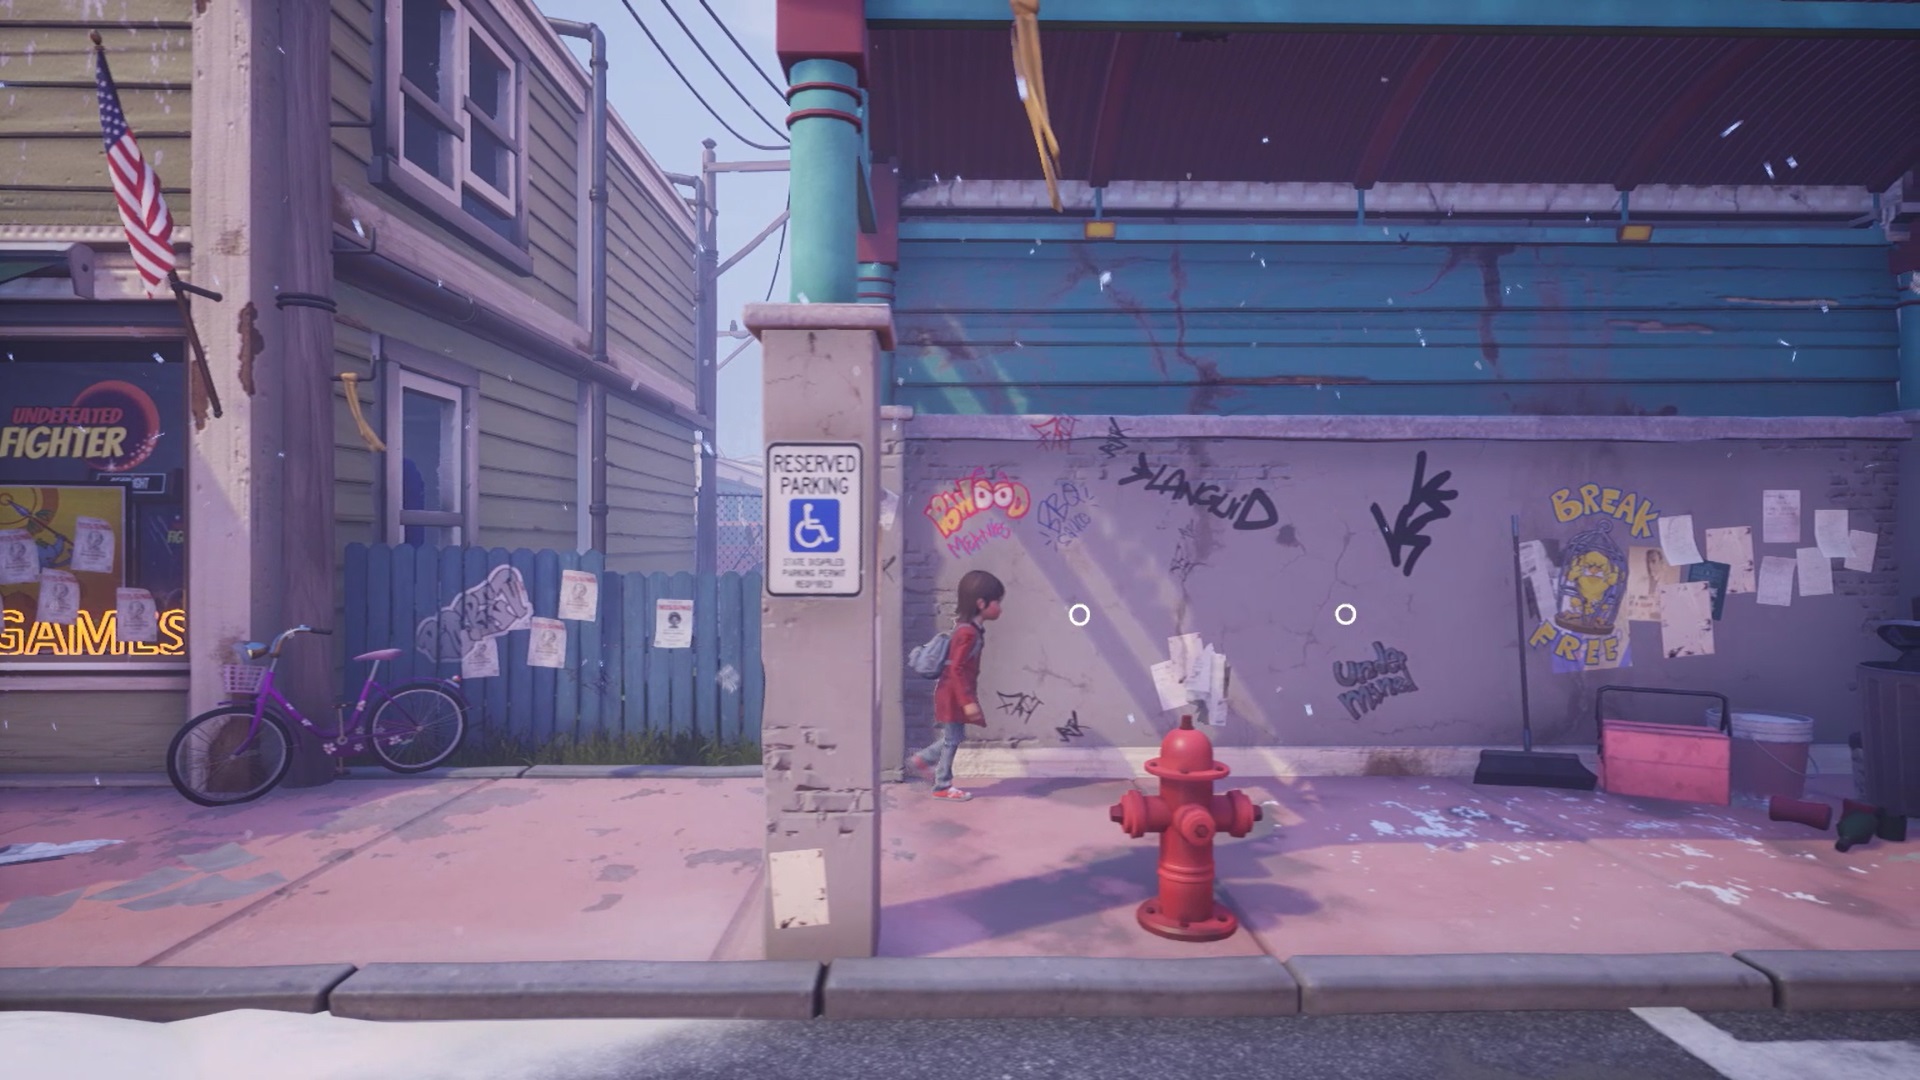
As Sally, start the tutorial. Advance in the different places by sticking posters of a missing girl. Place them in the locations indicated.
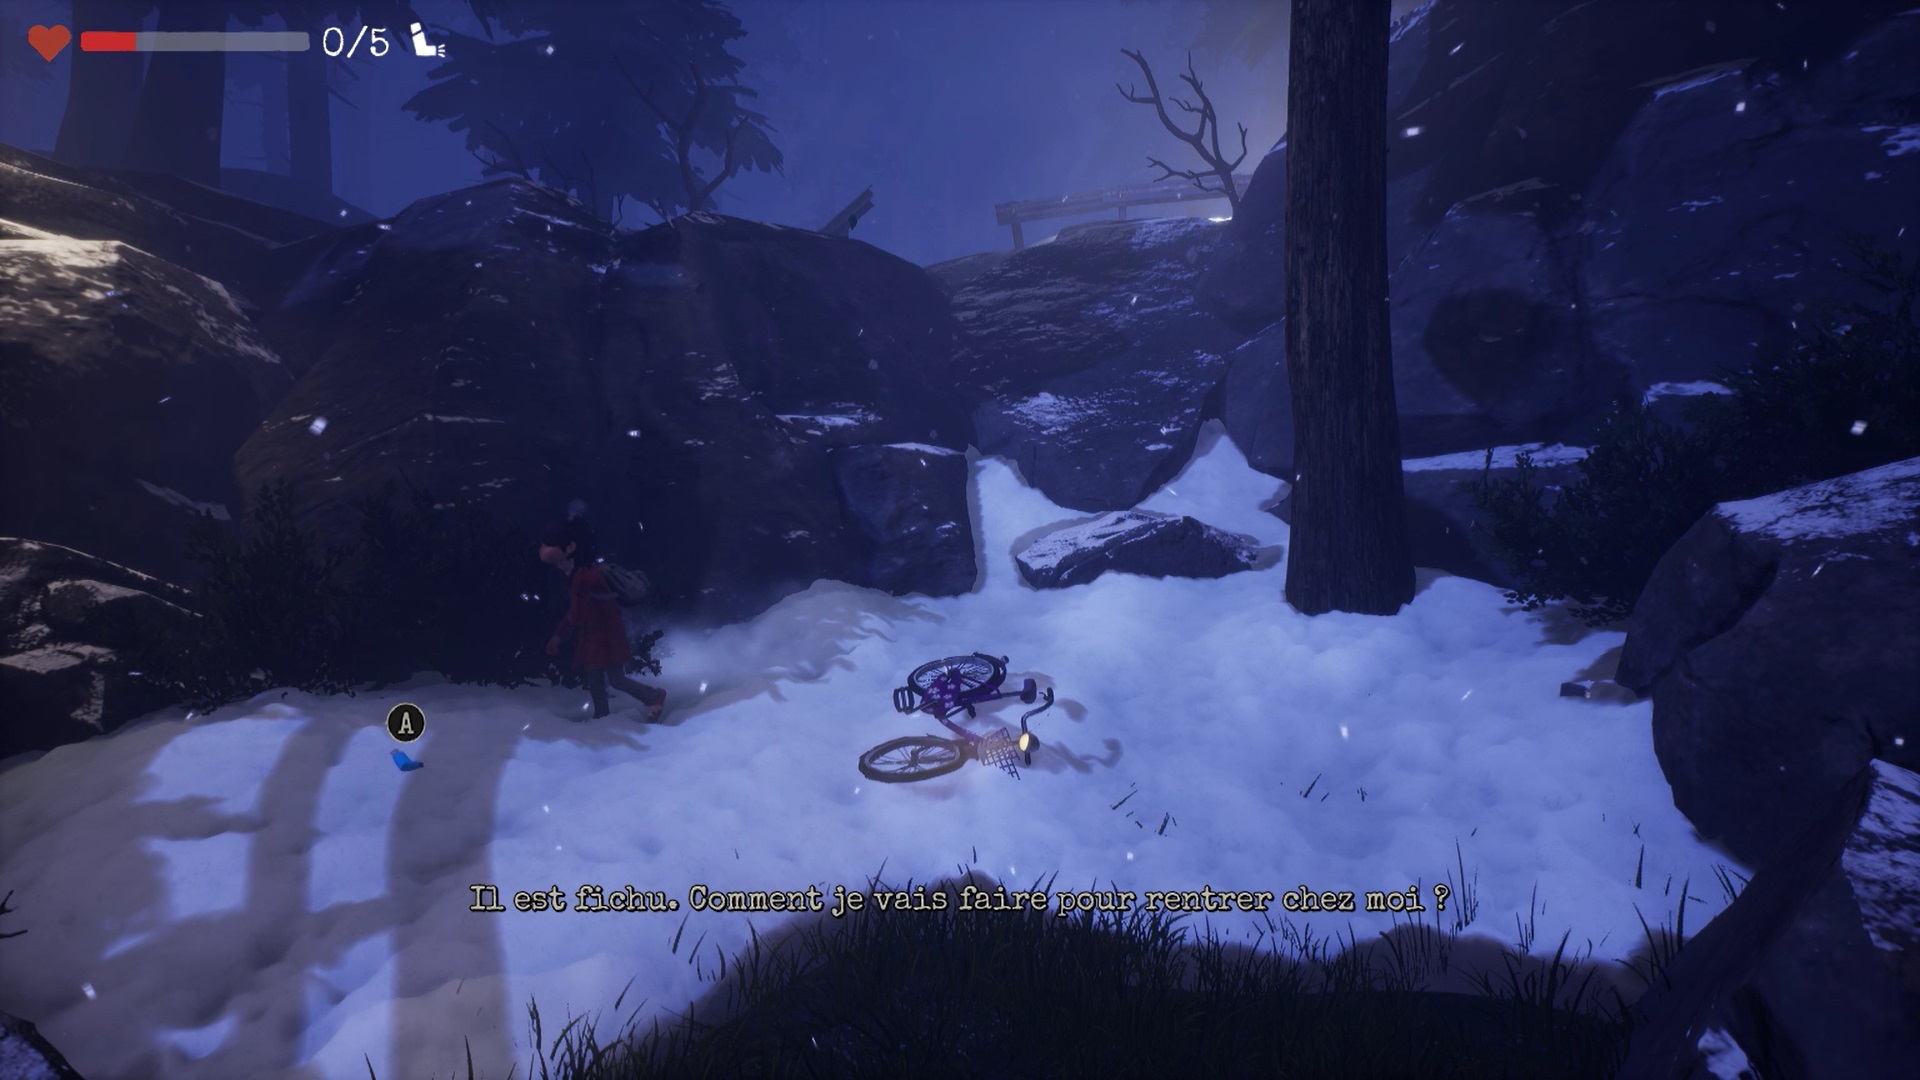
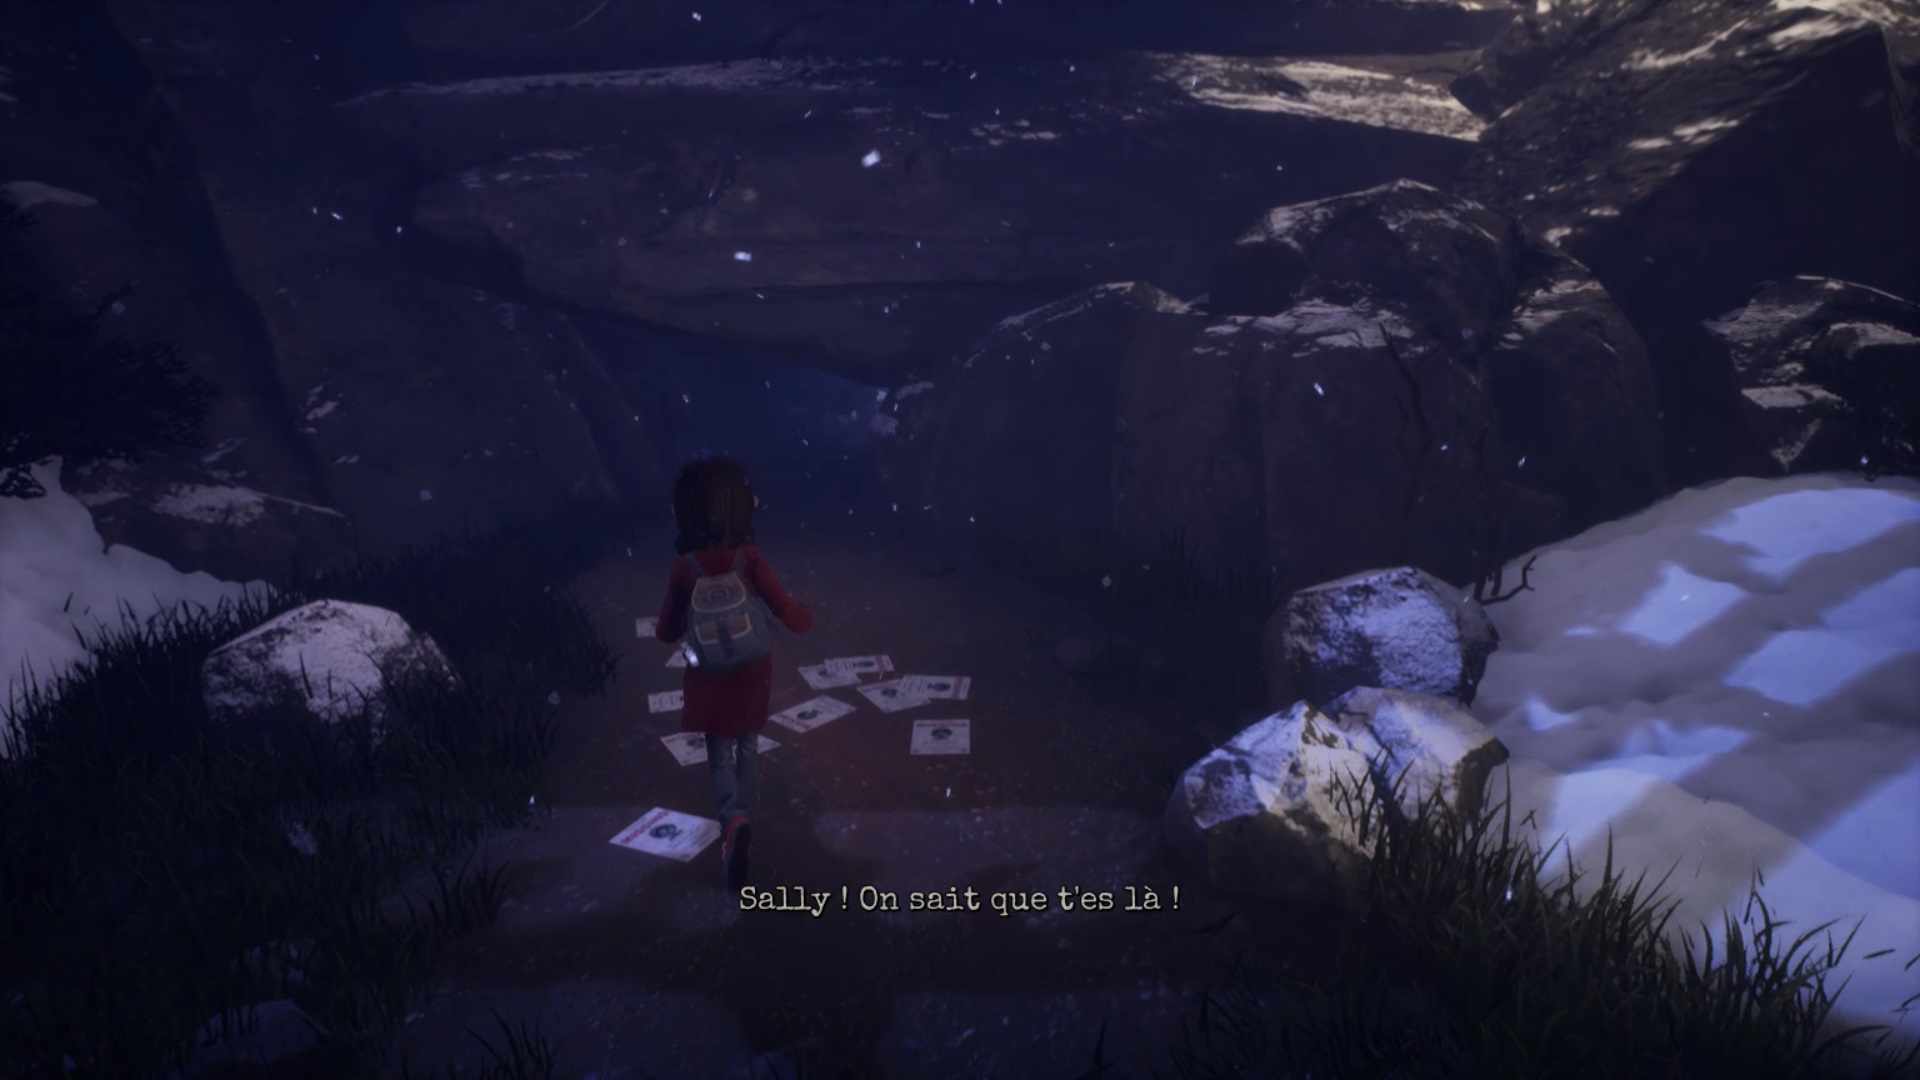
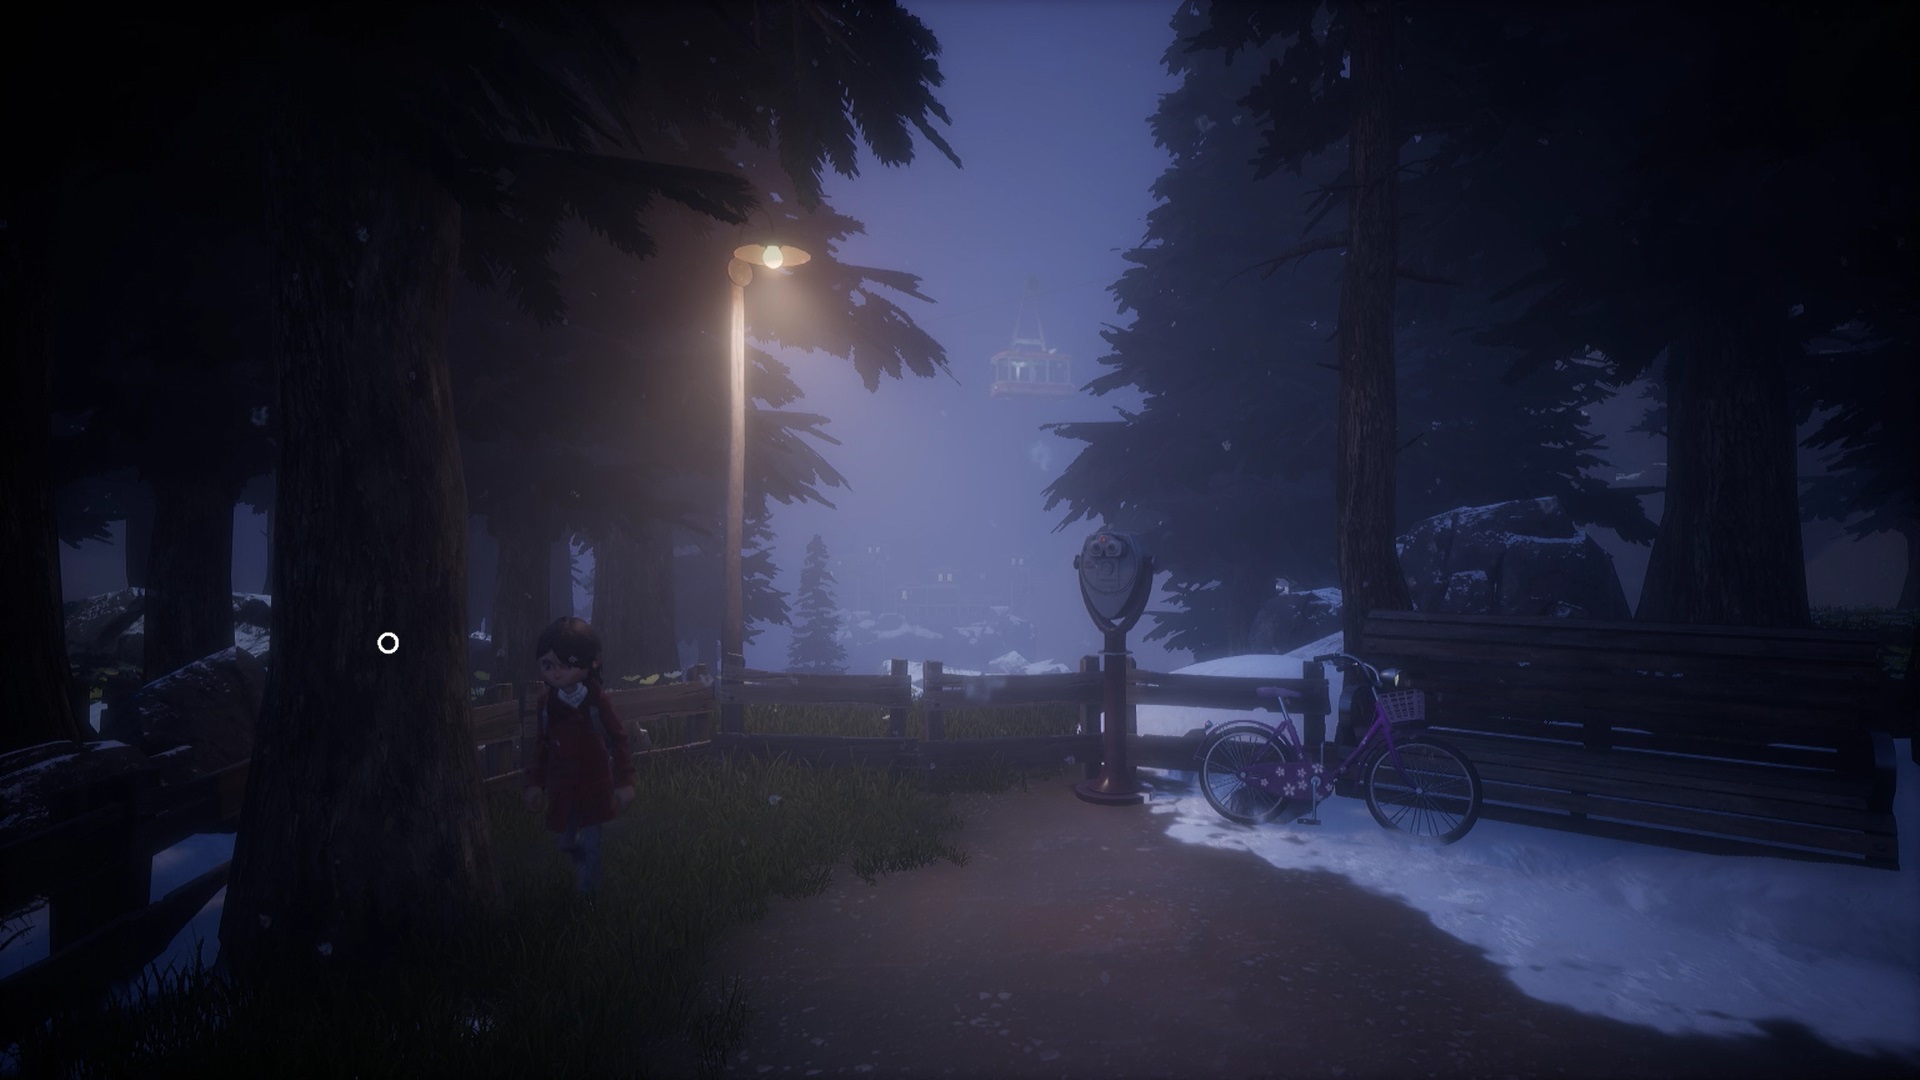
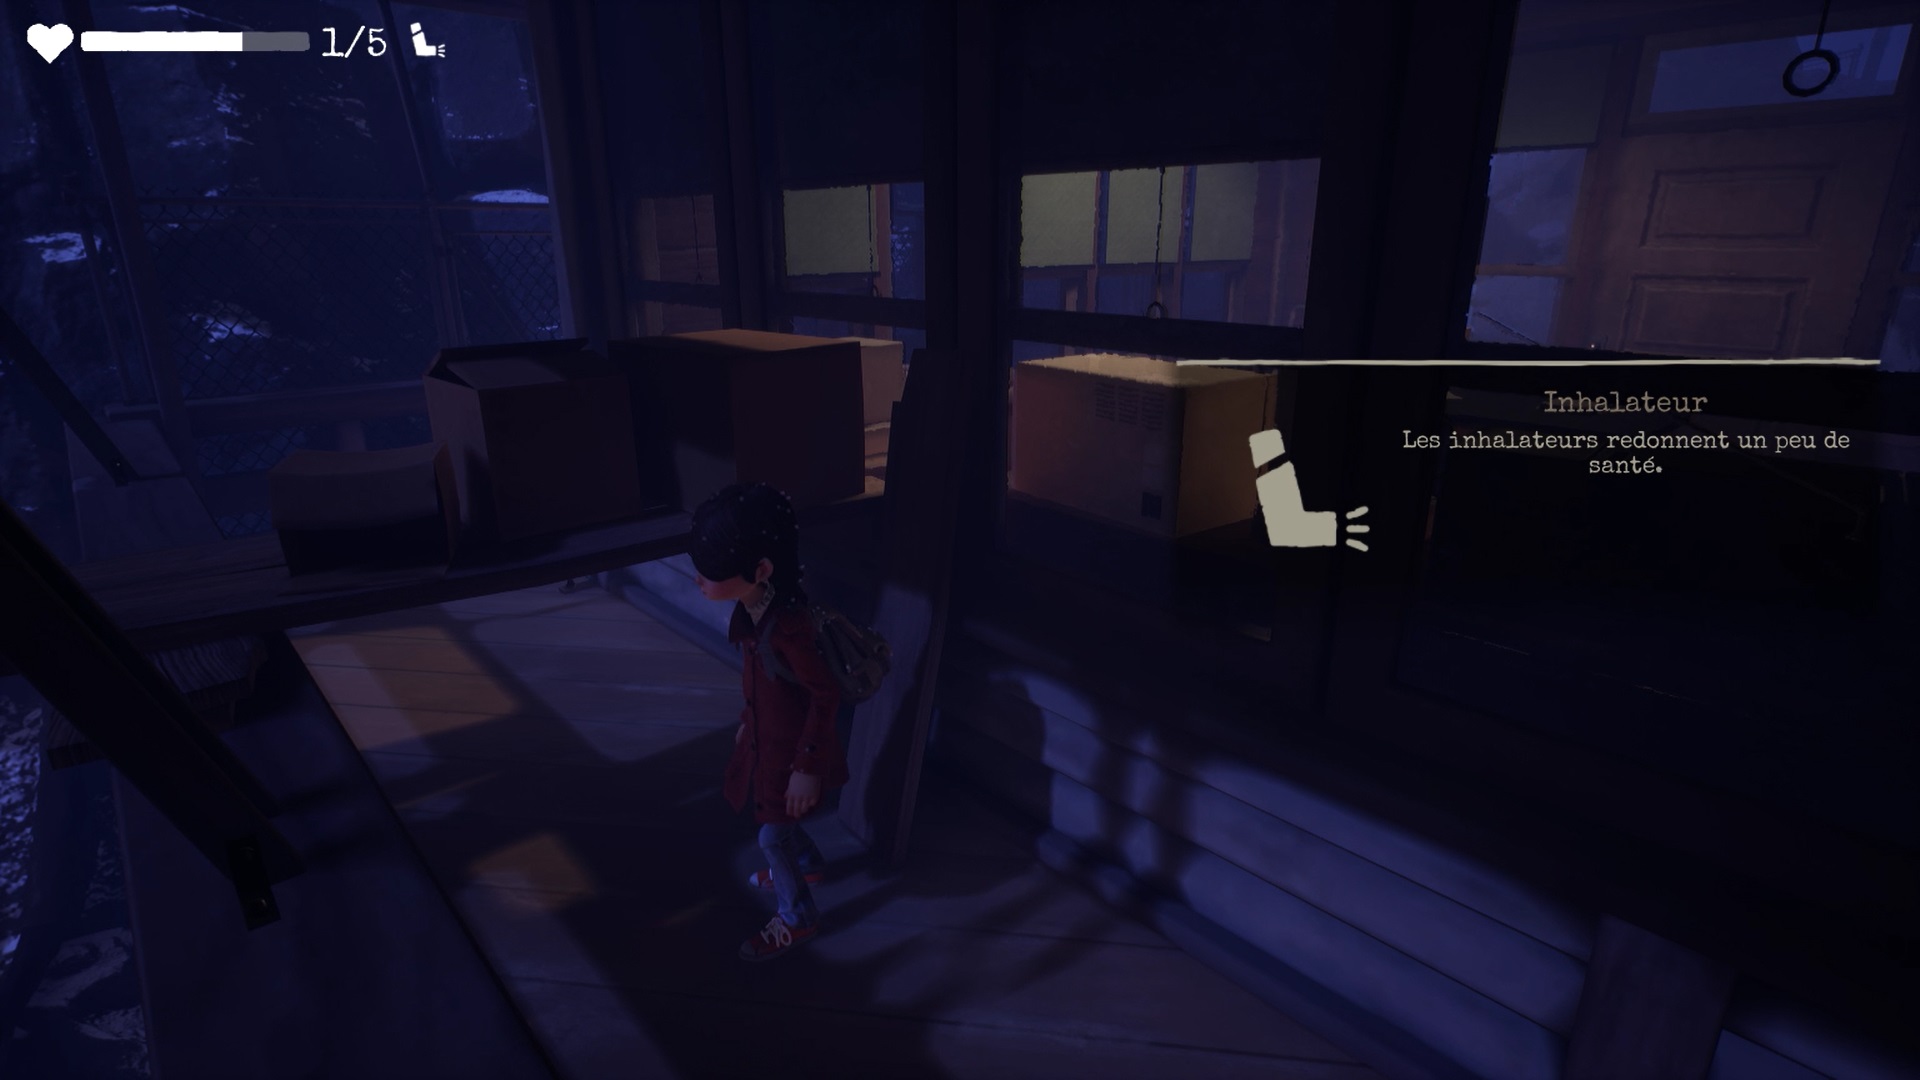
After triggering a cutscene, you find yourself in a forest. On the ground to the left of the bike, pick up an inhaler so you can heal yourself. Move east of the bike. Crouch down to sneak over the rocks.
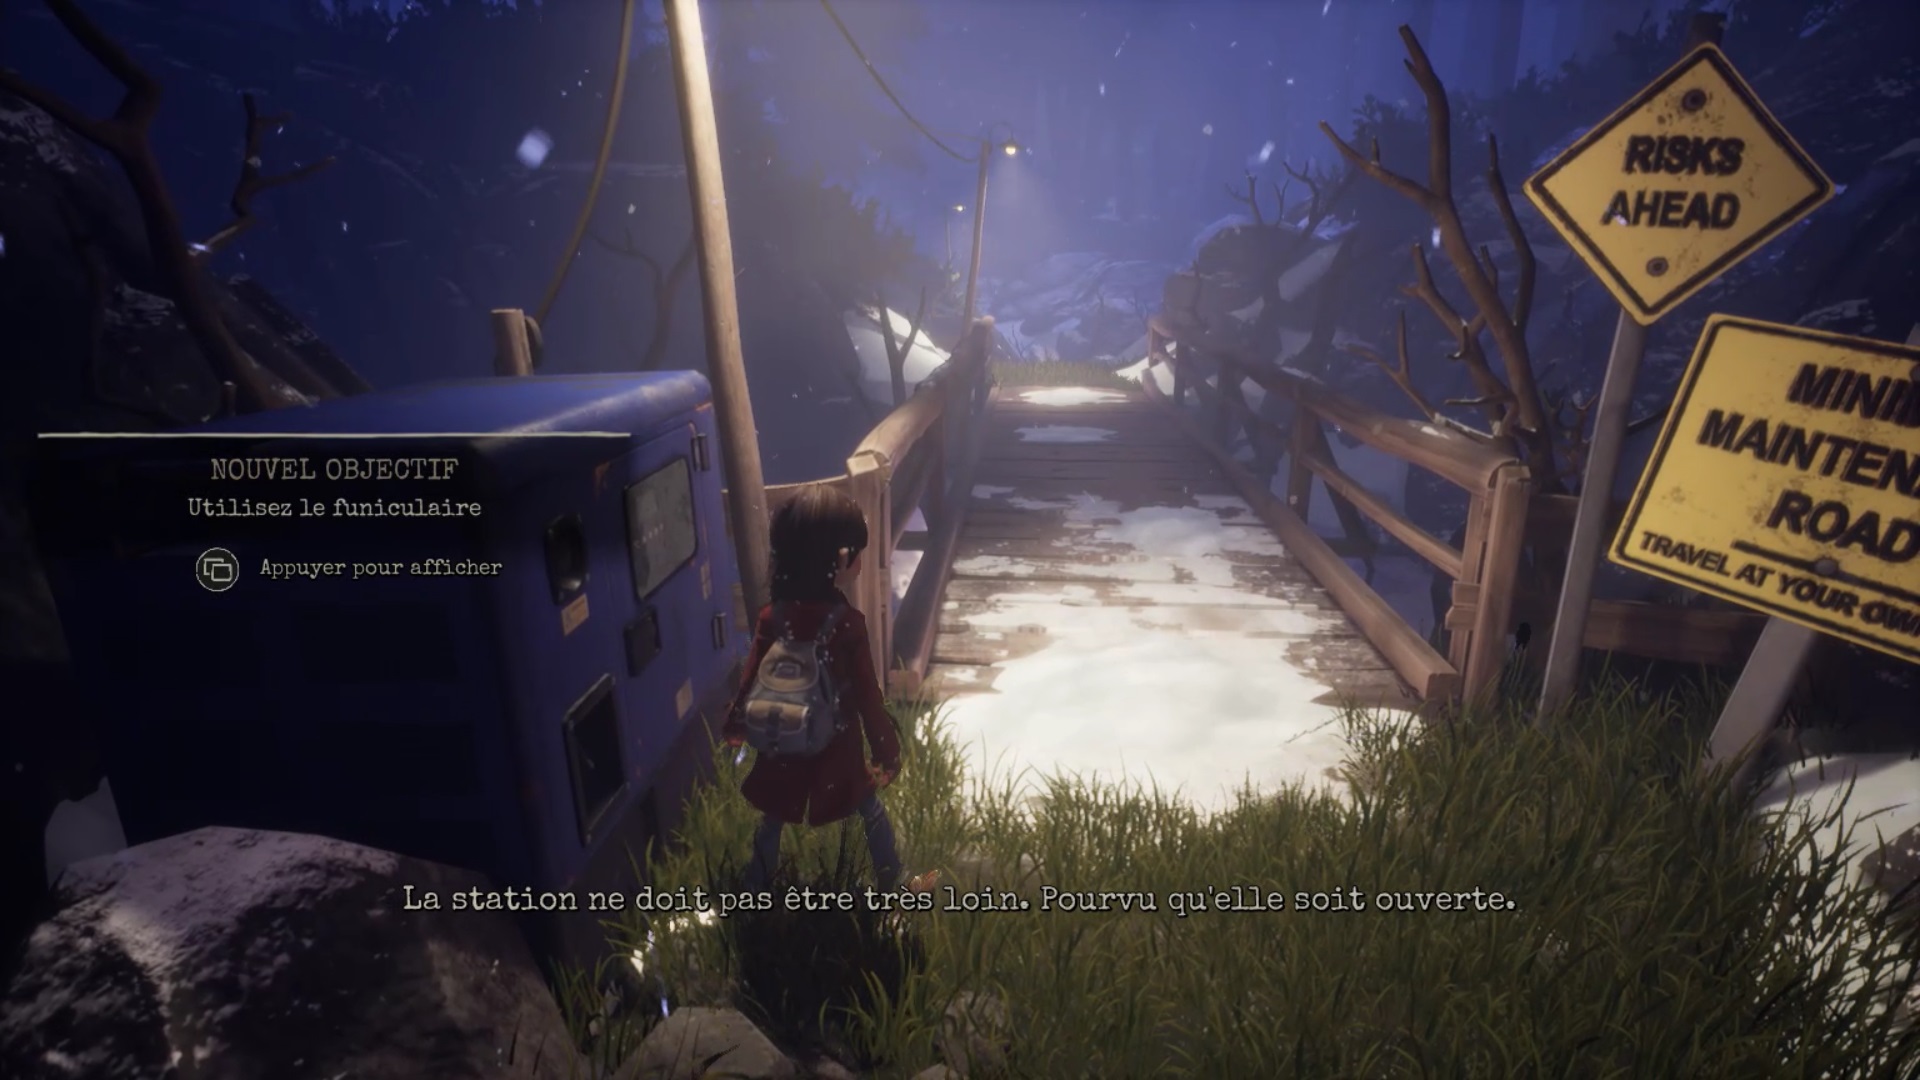
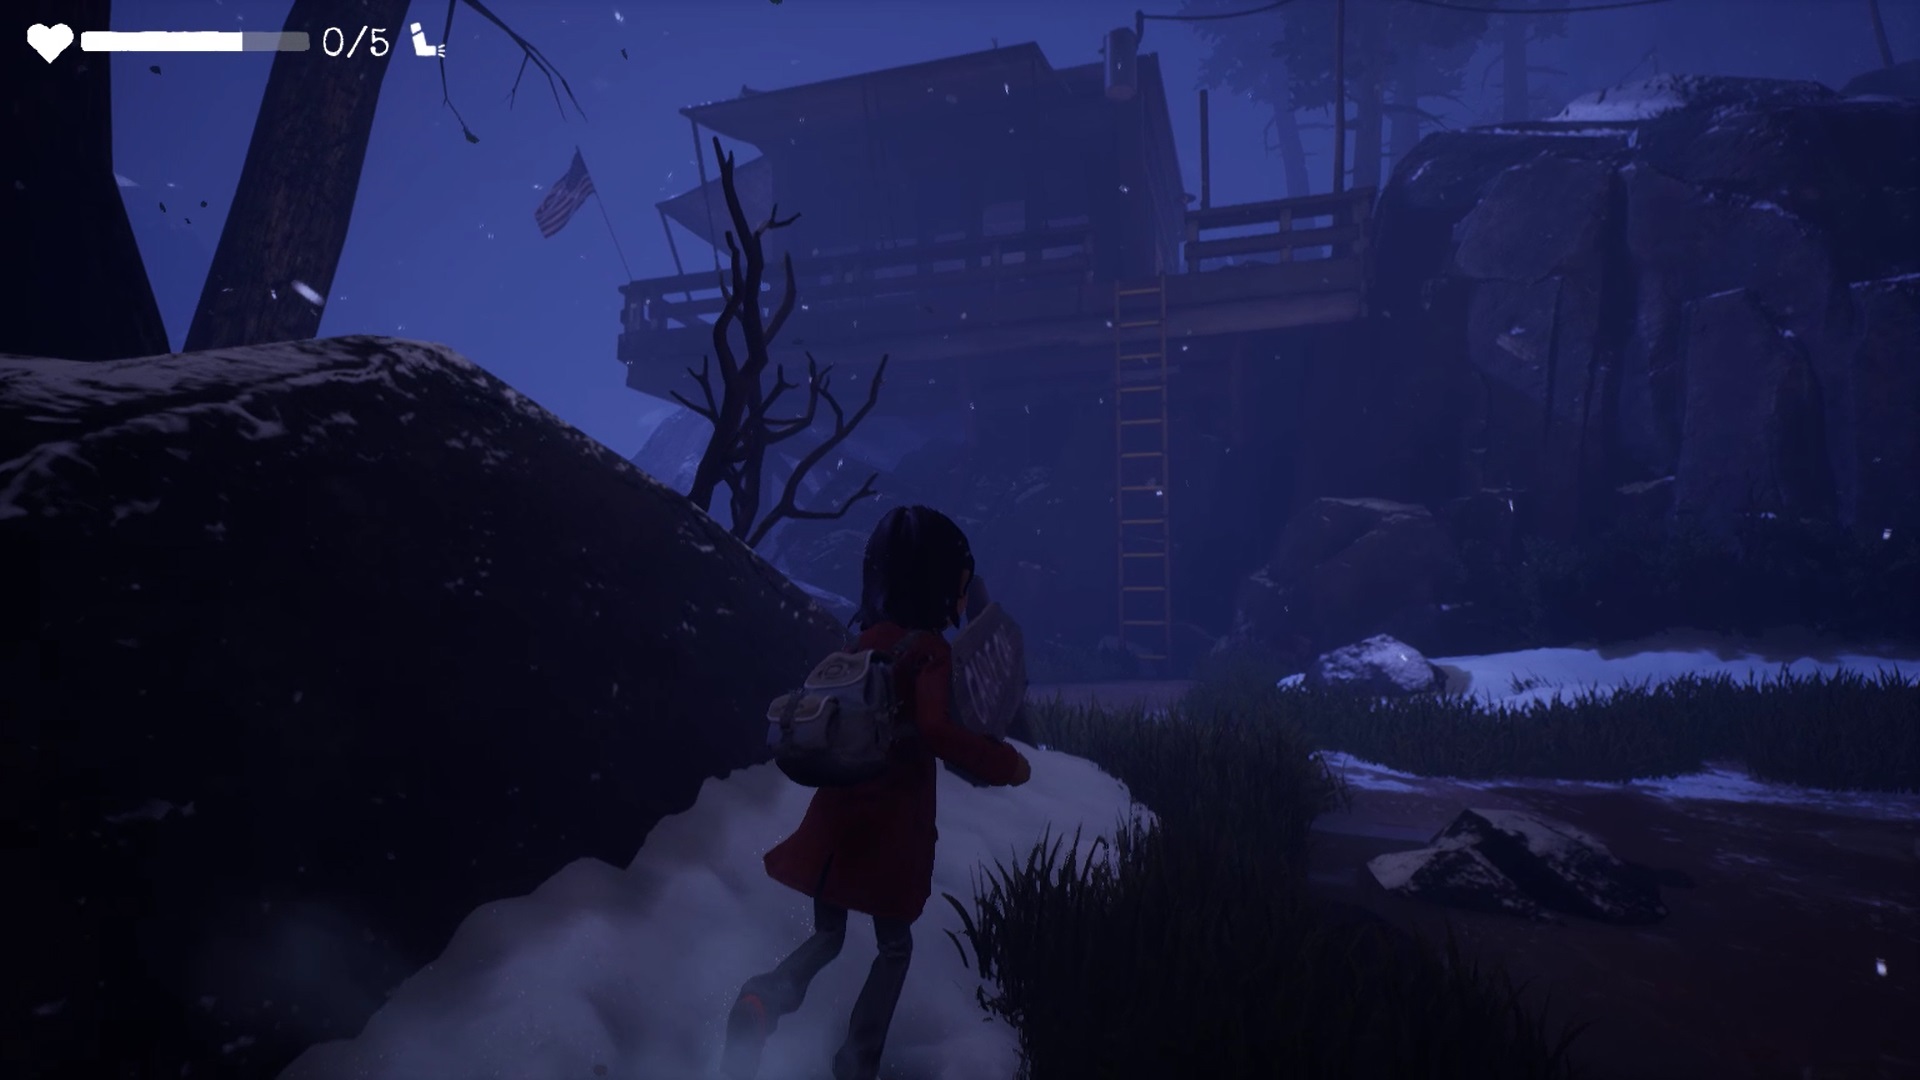

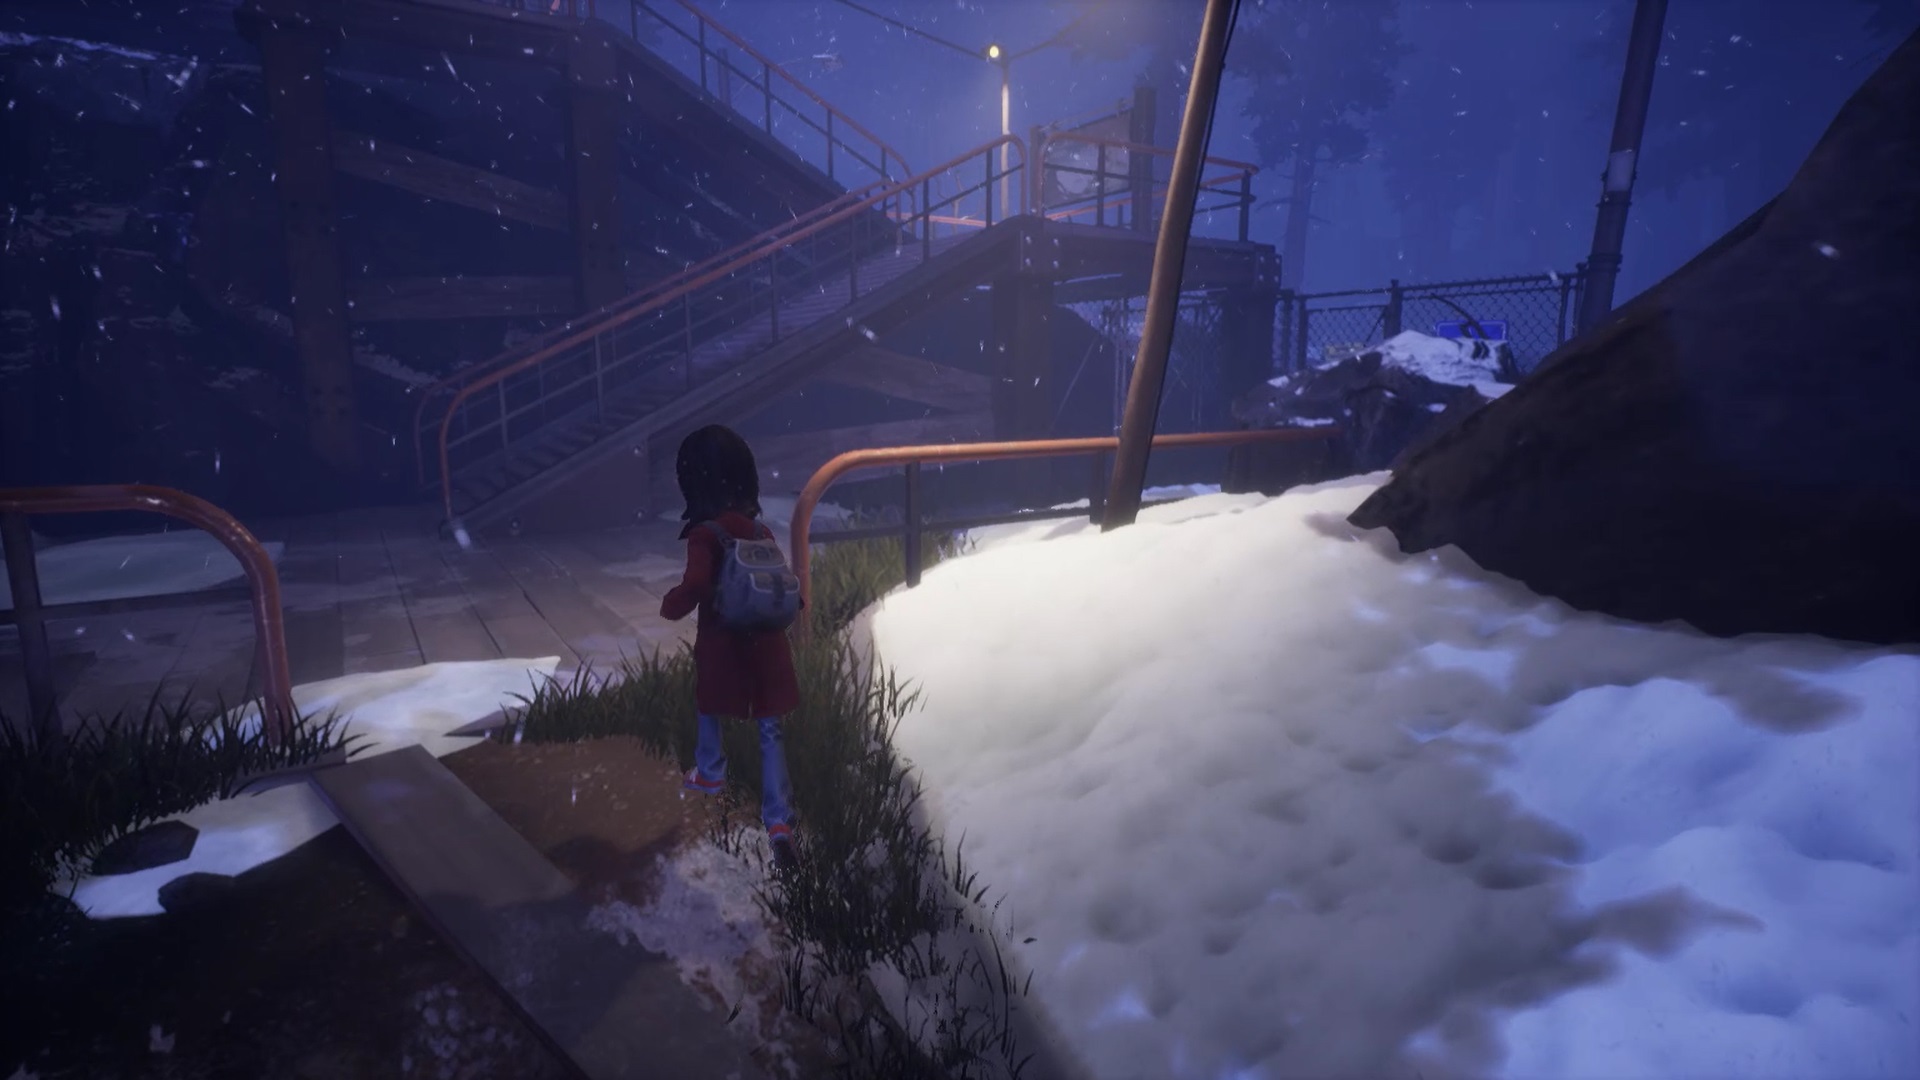
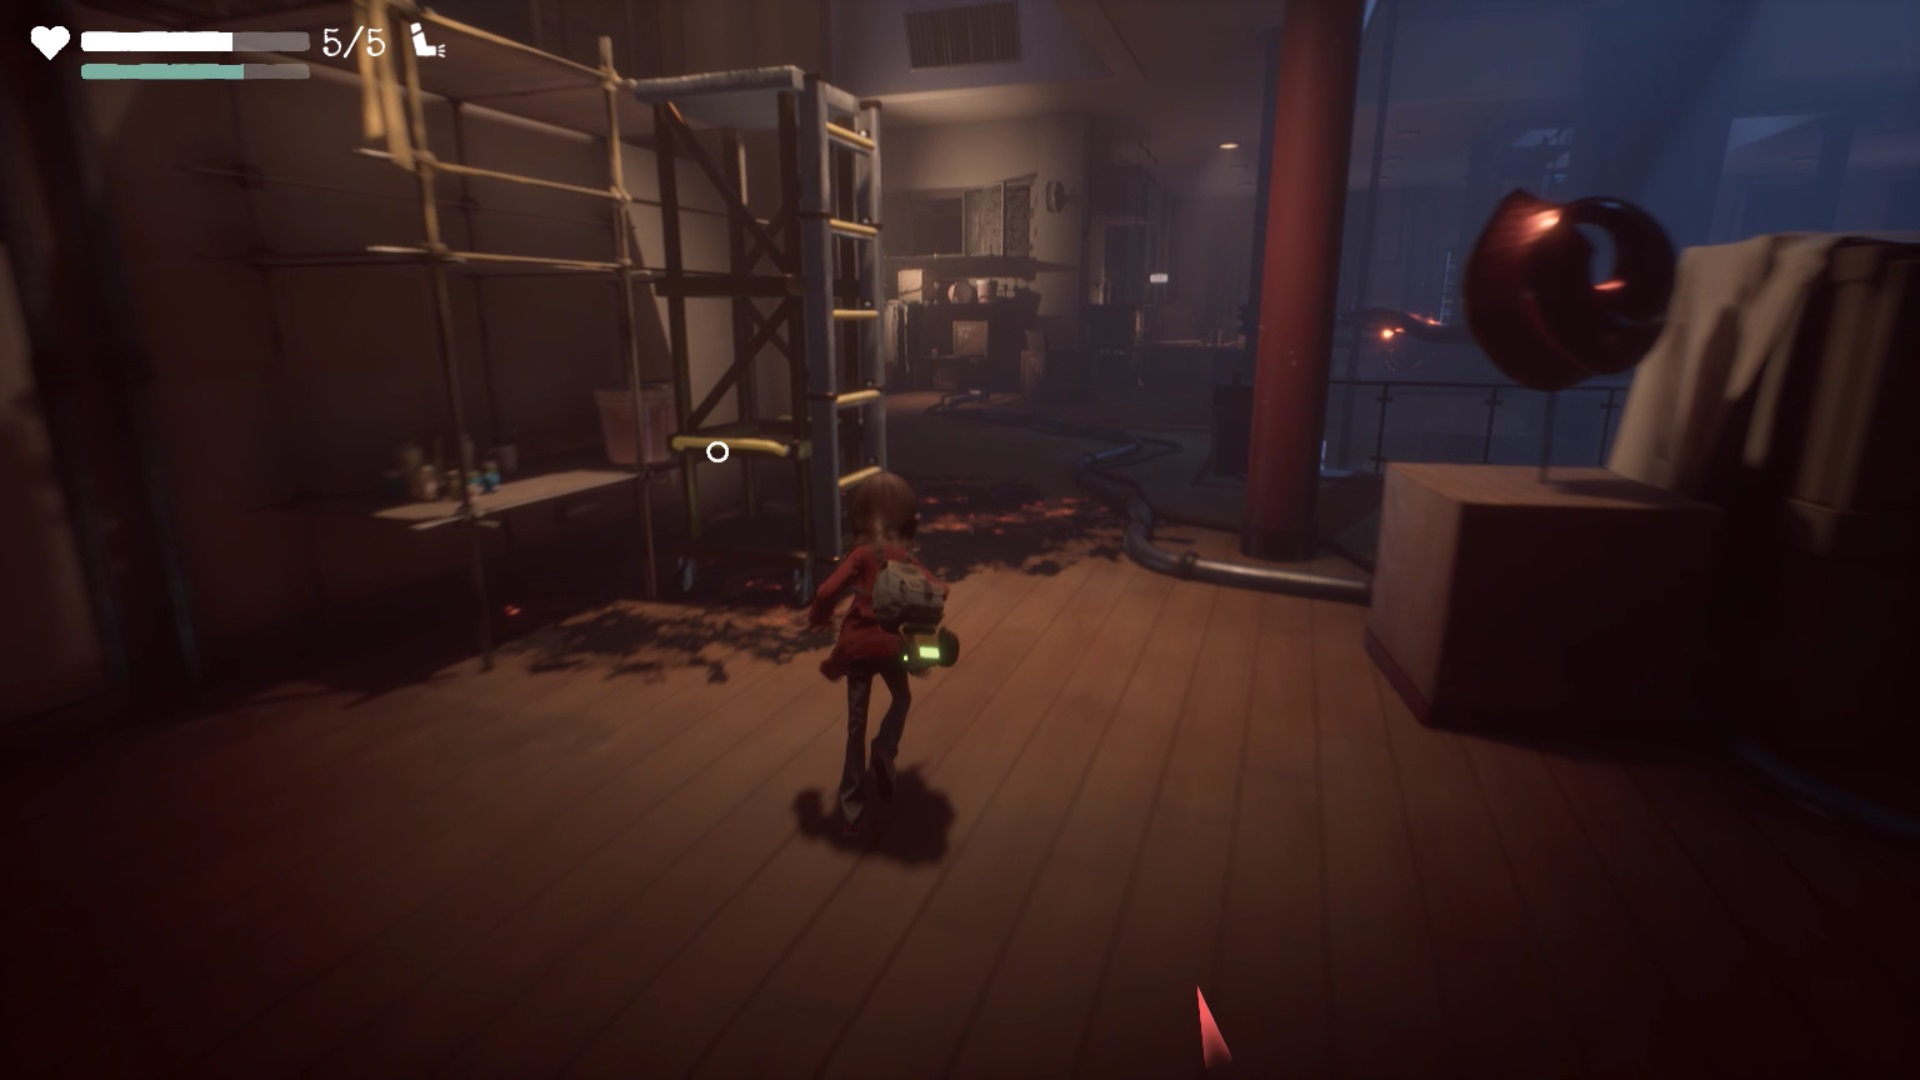
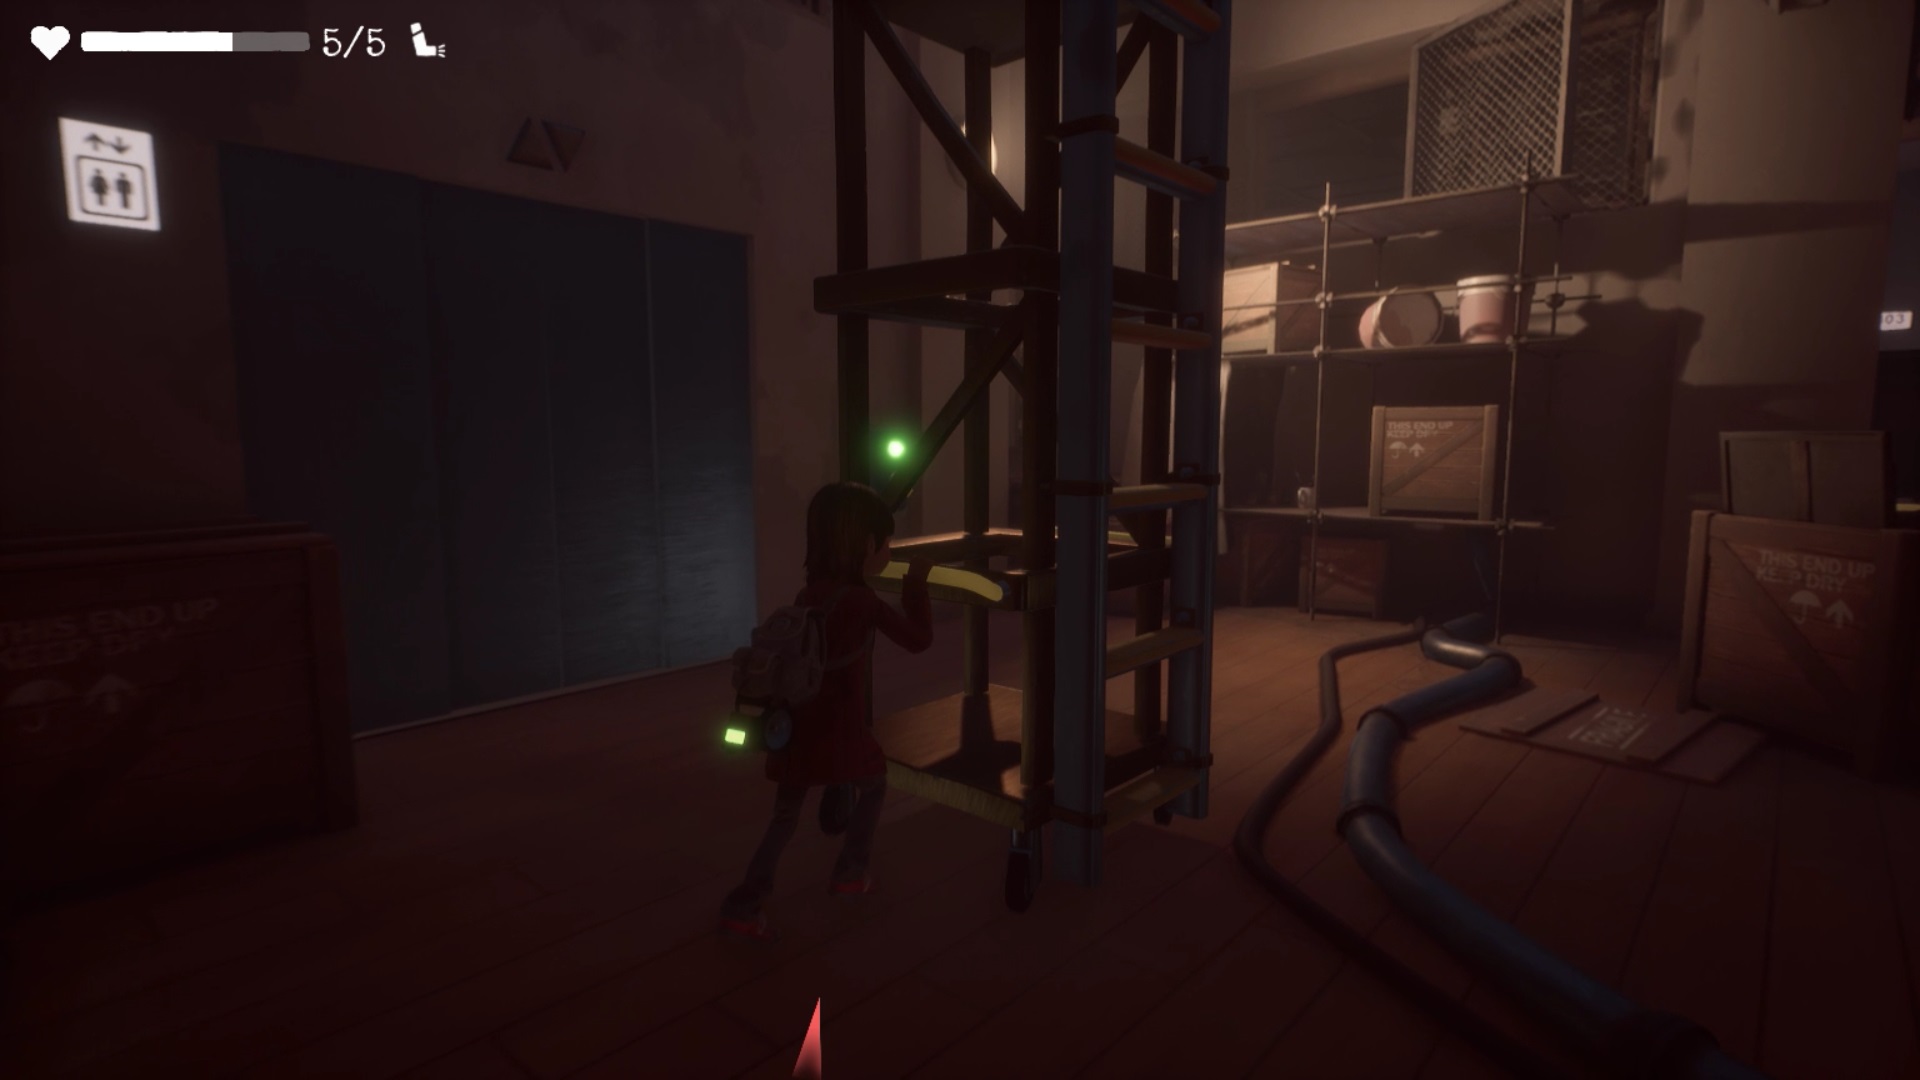
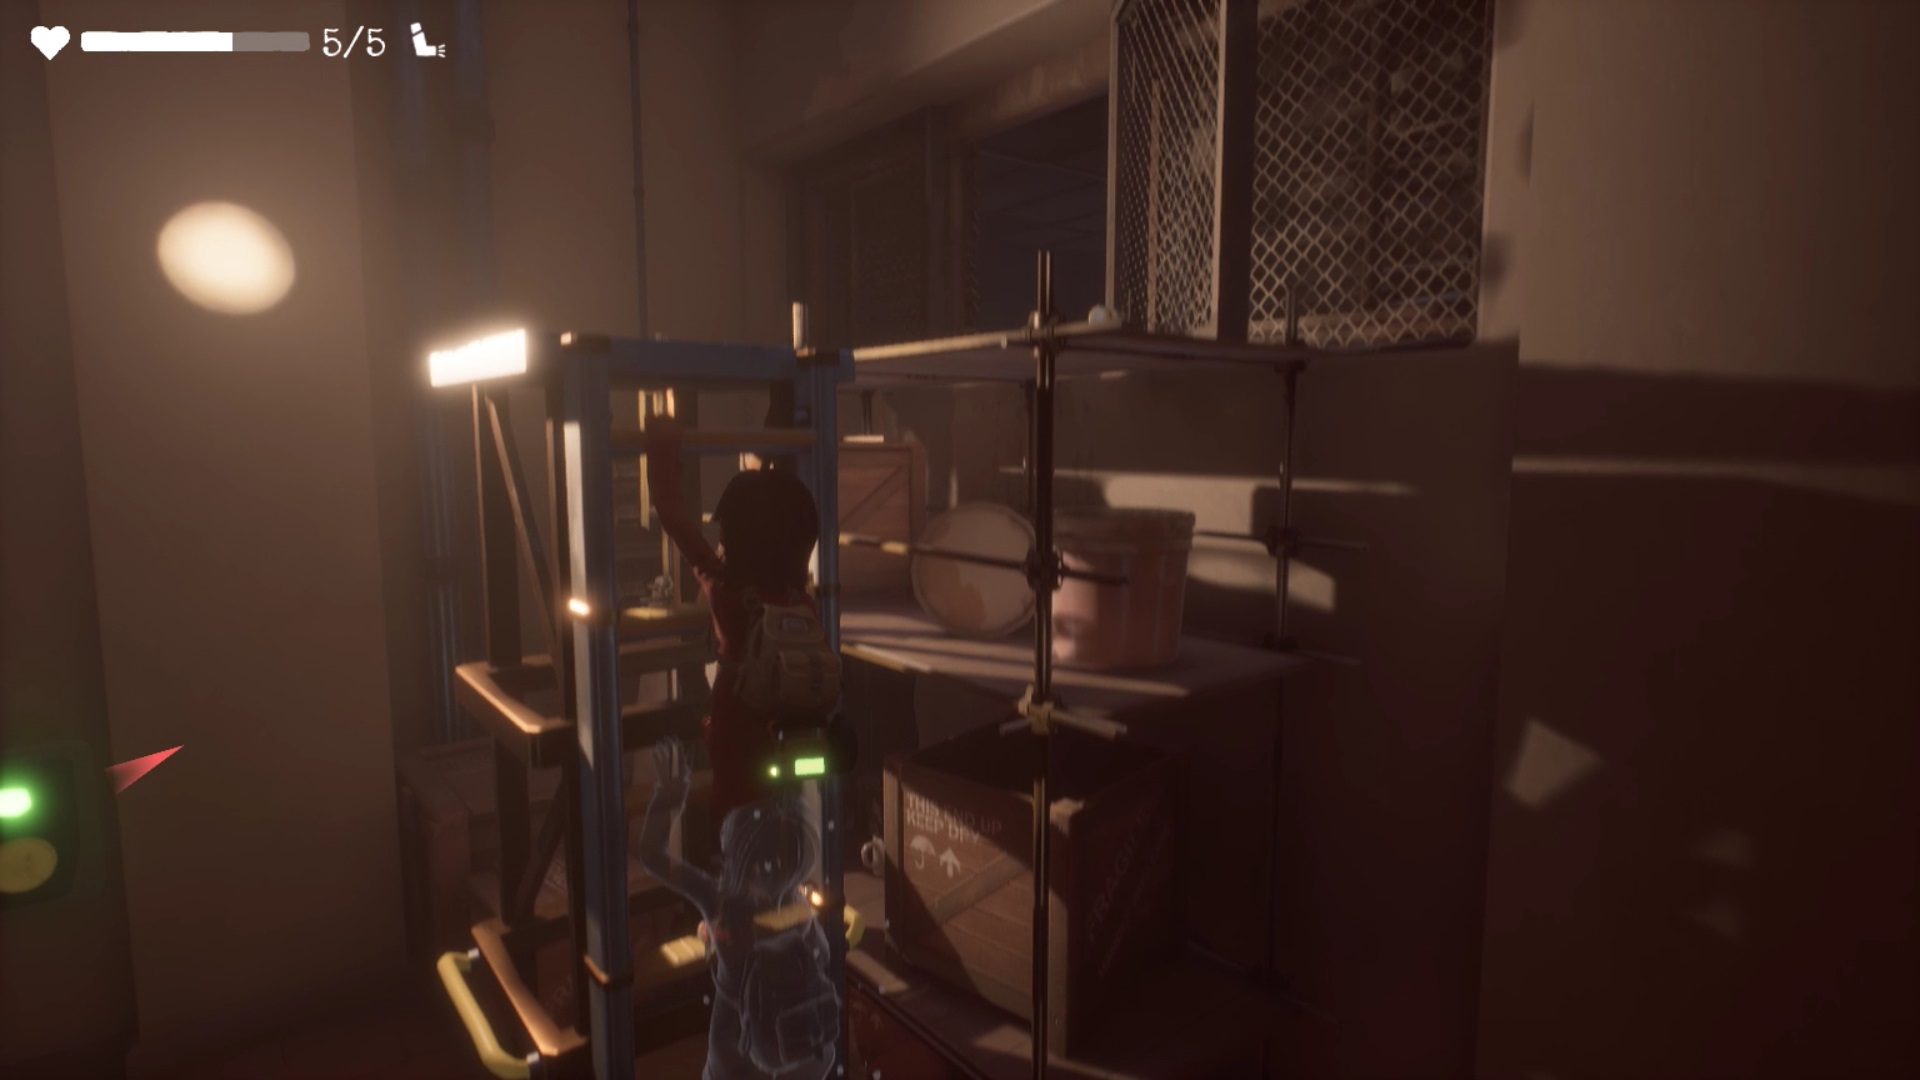
Always go straight ahead towards the funicular. Follow the ‘Cable Car’ sign. You reach a tall building. Use the ladder to climb. Go around the building to enter through the window.

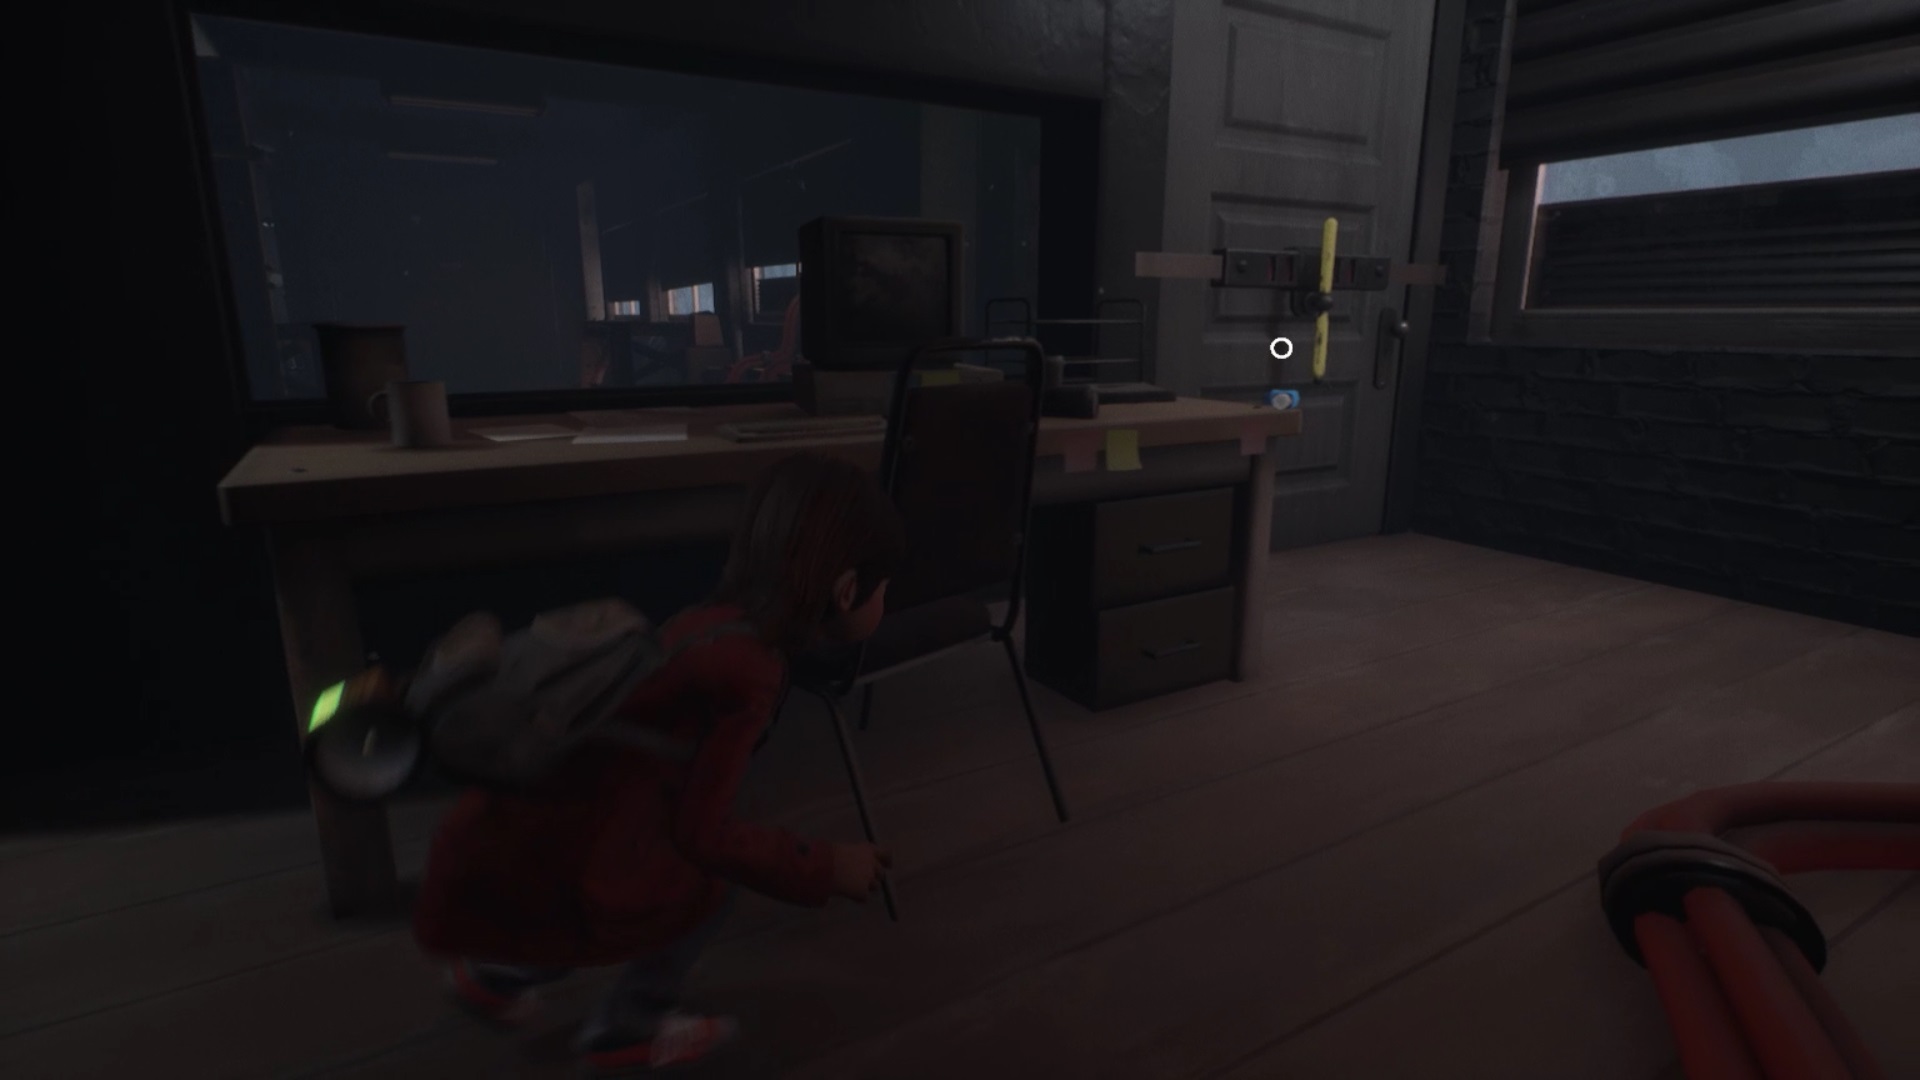
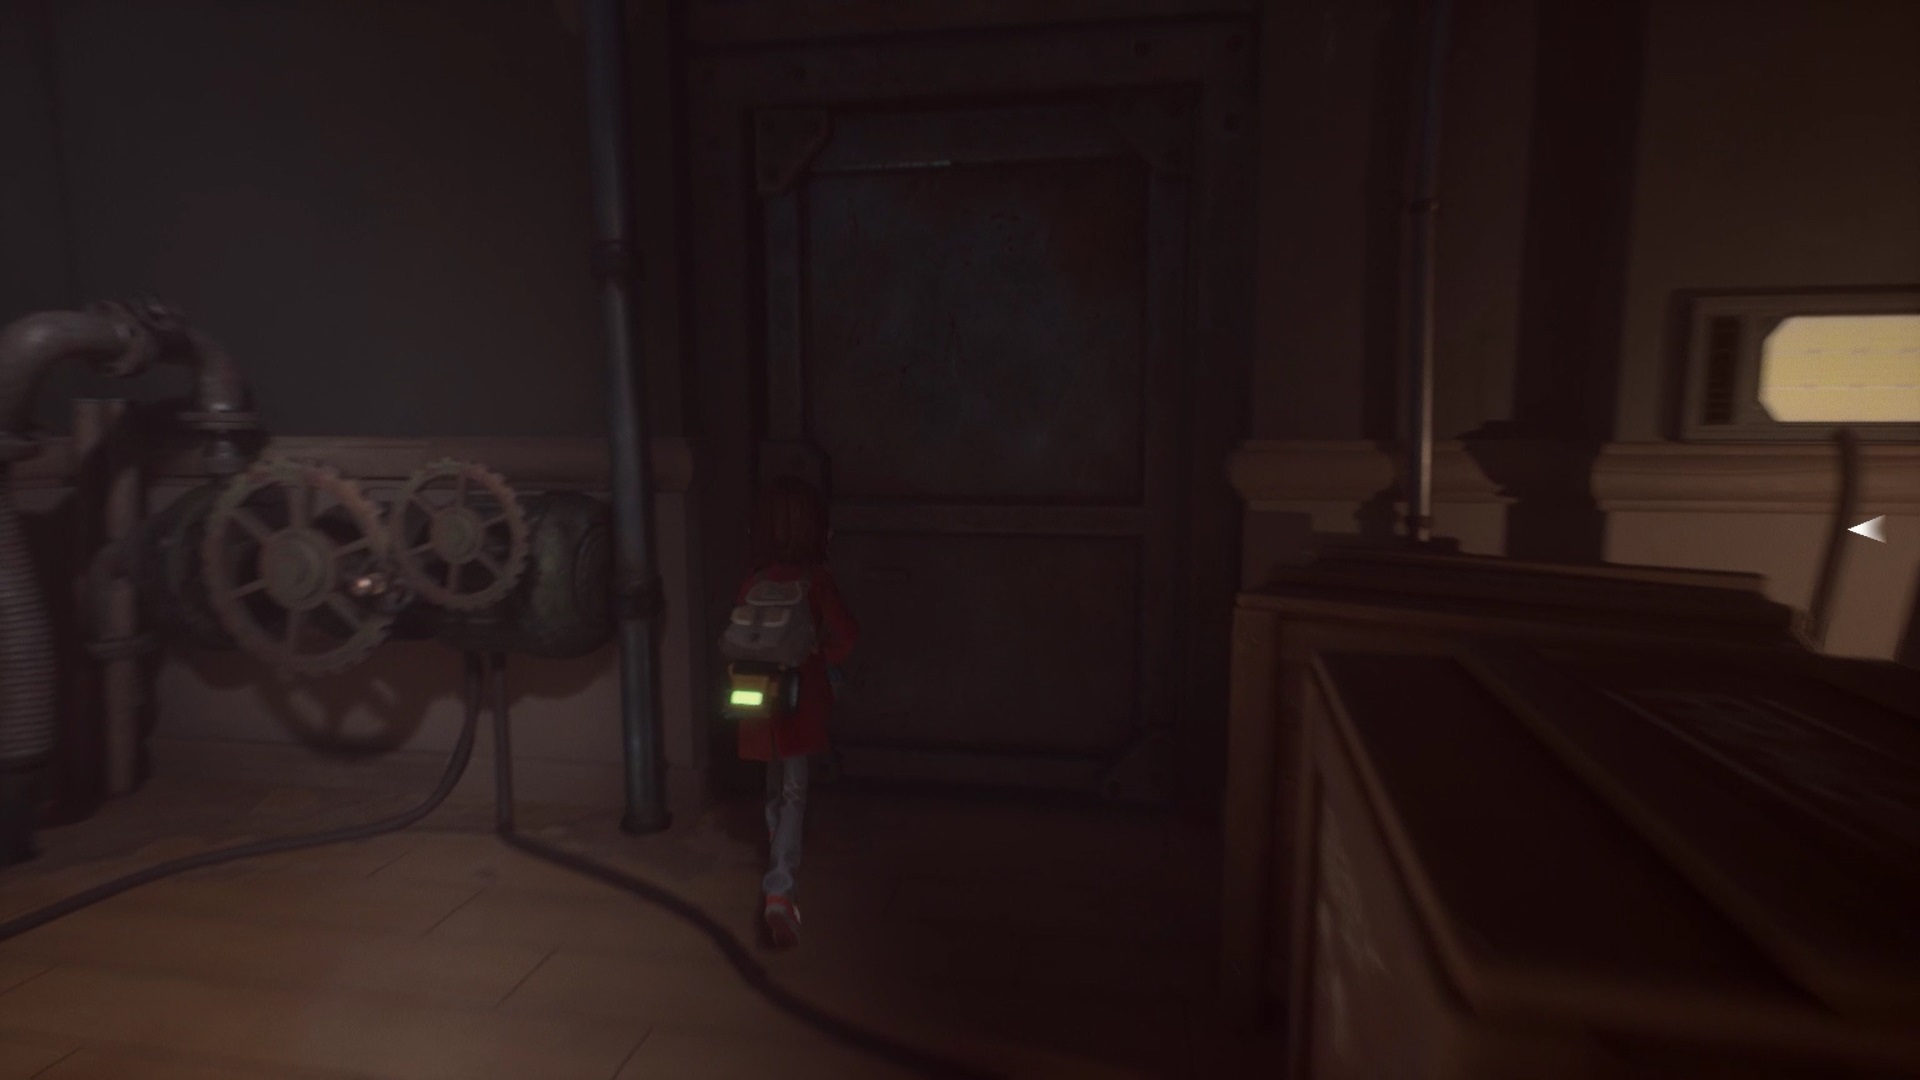
To reach the office door, push the trolley with the yellow handle to allow you to pass. Continue on your way up the stairs that lead you to the funicular ticket office.
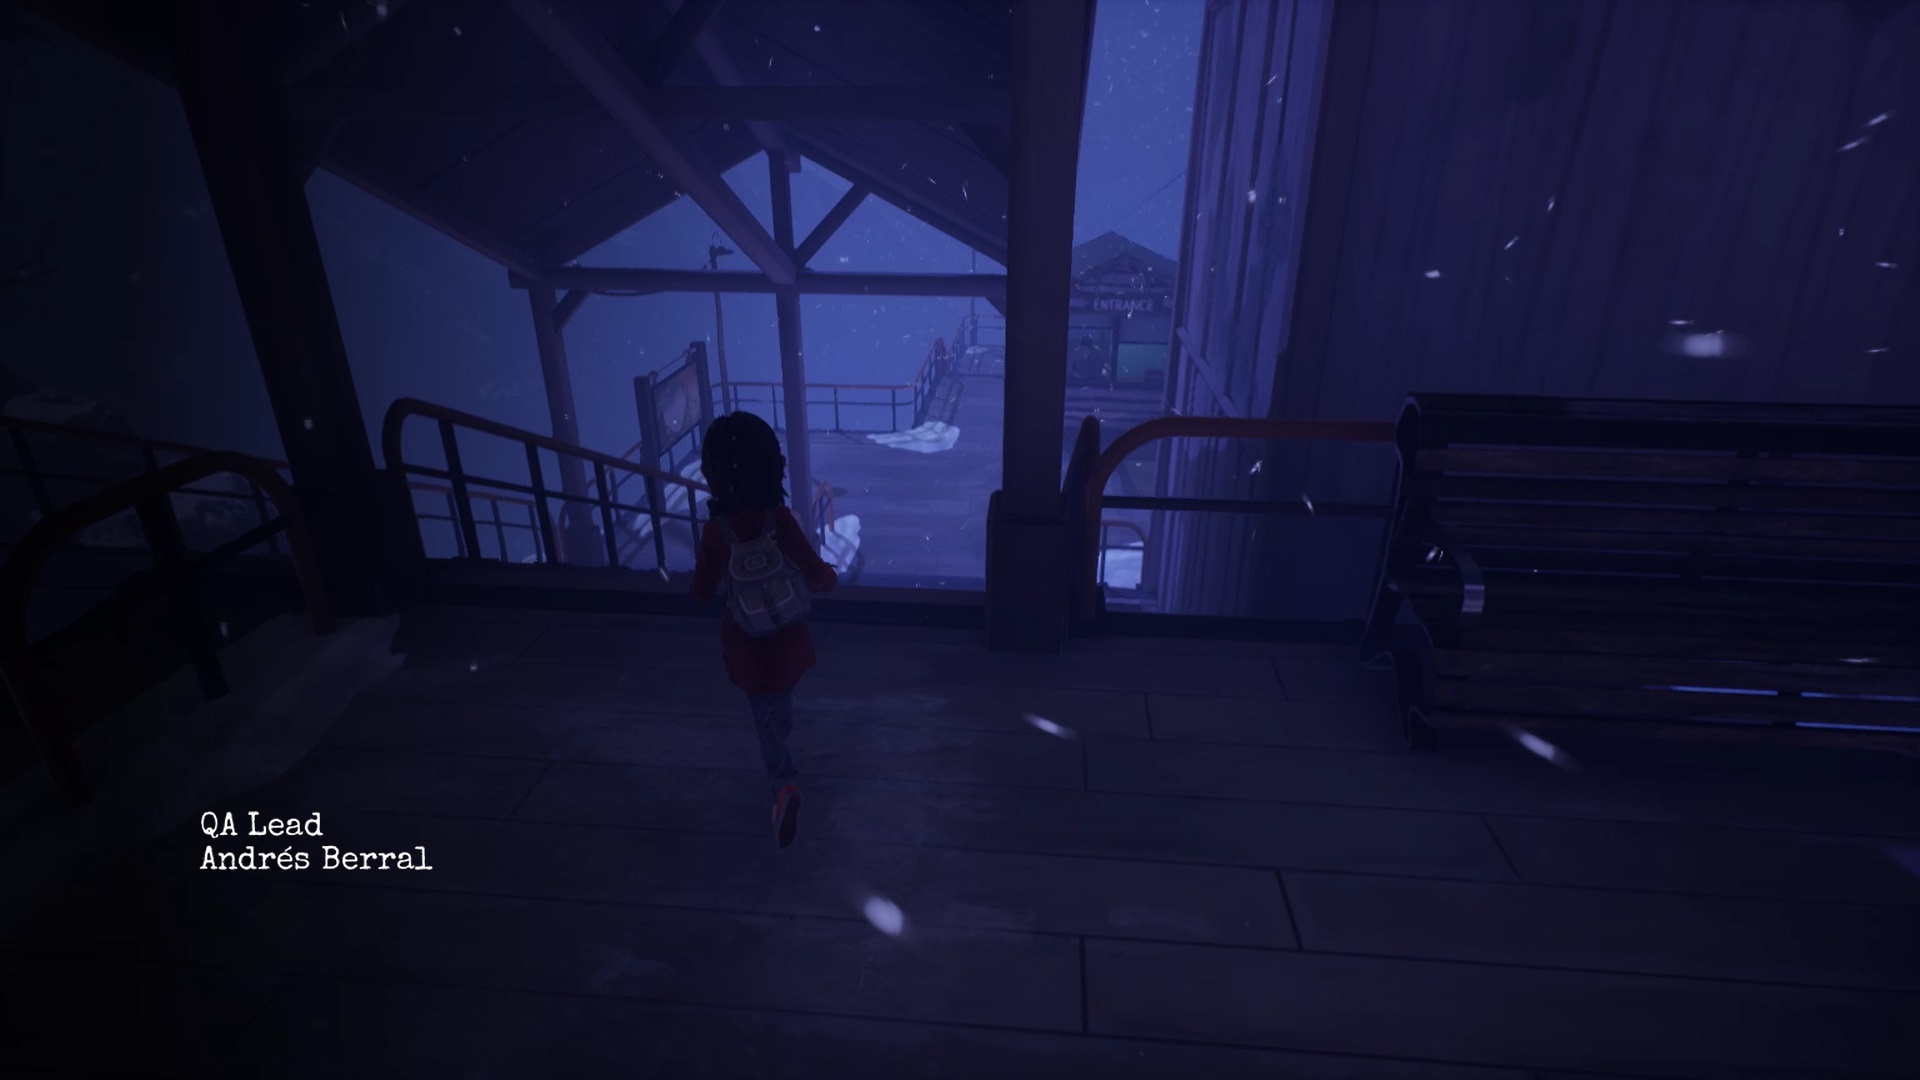
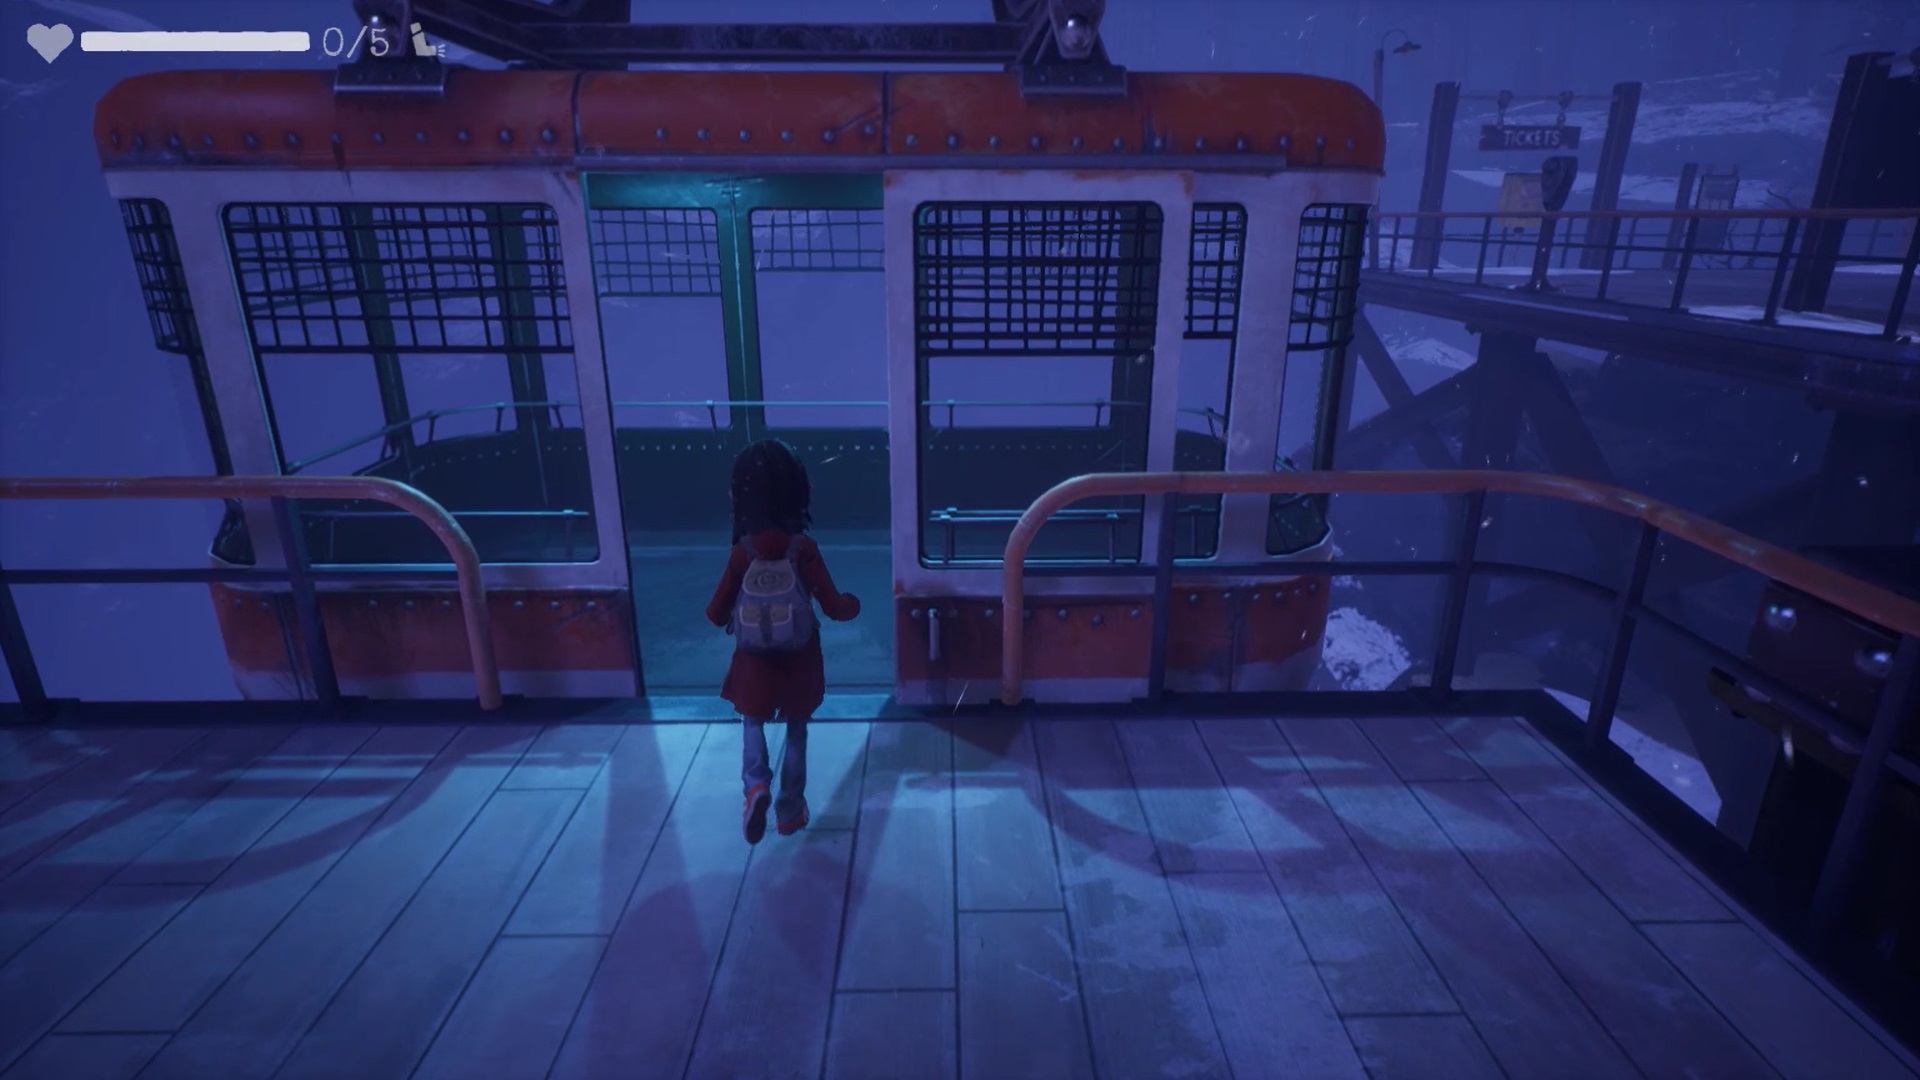
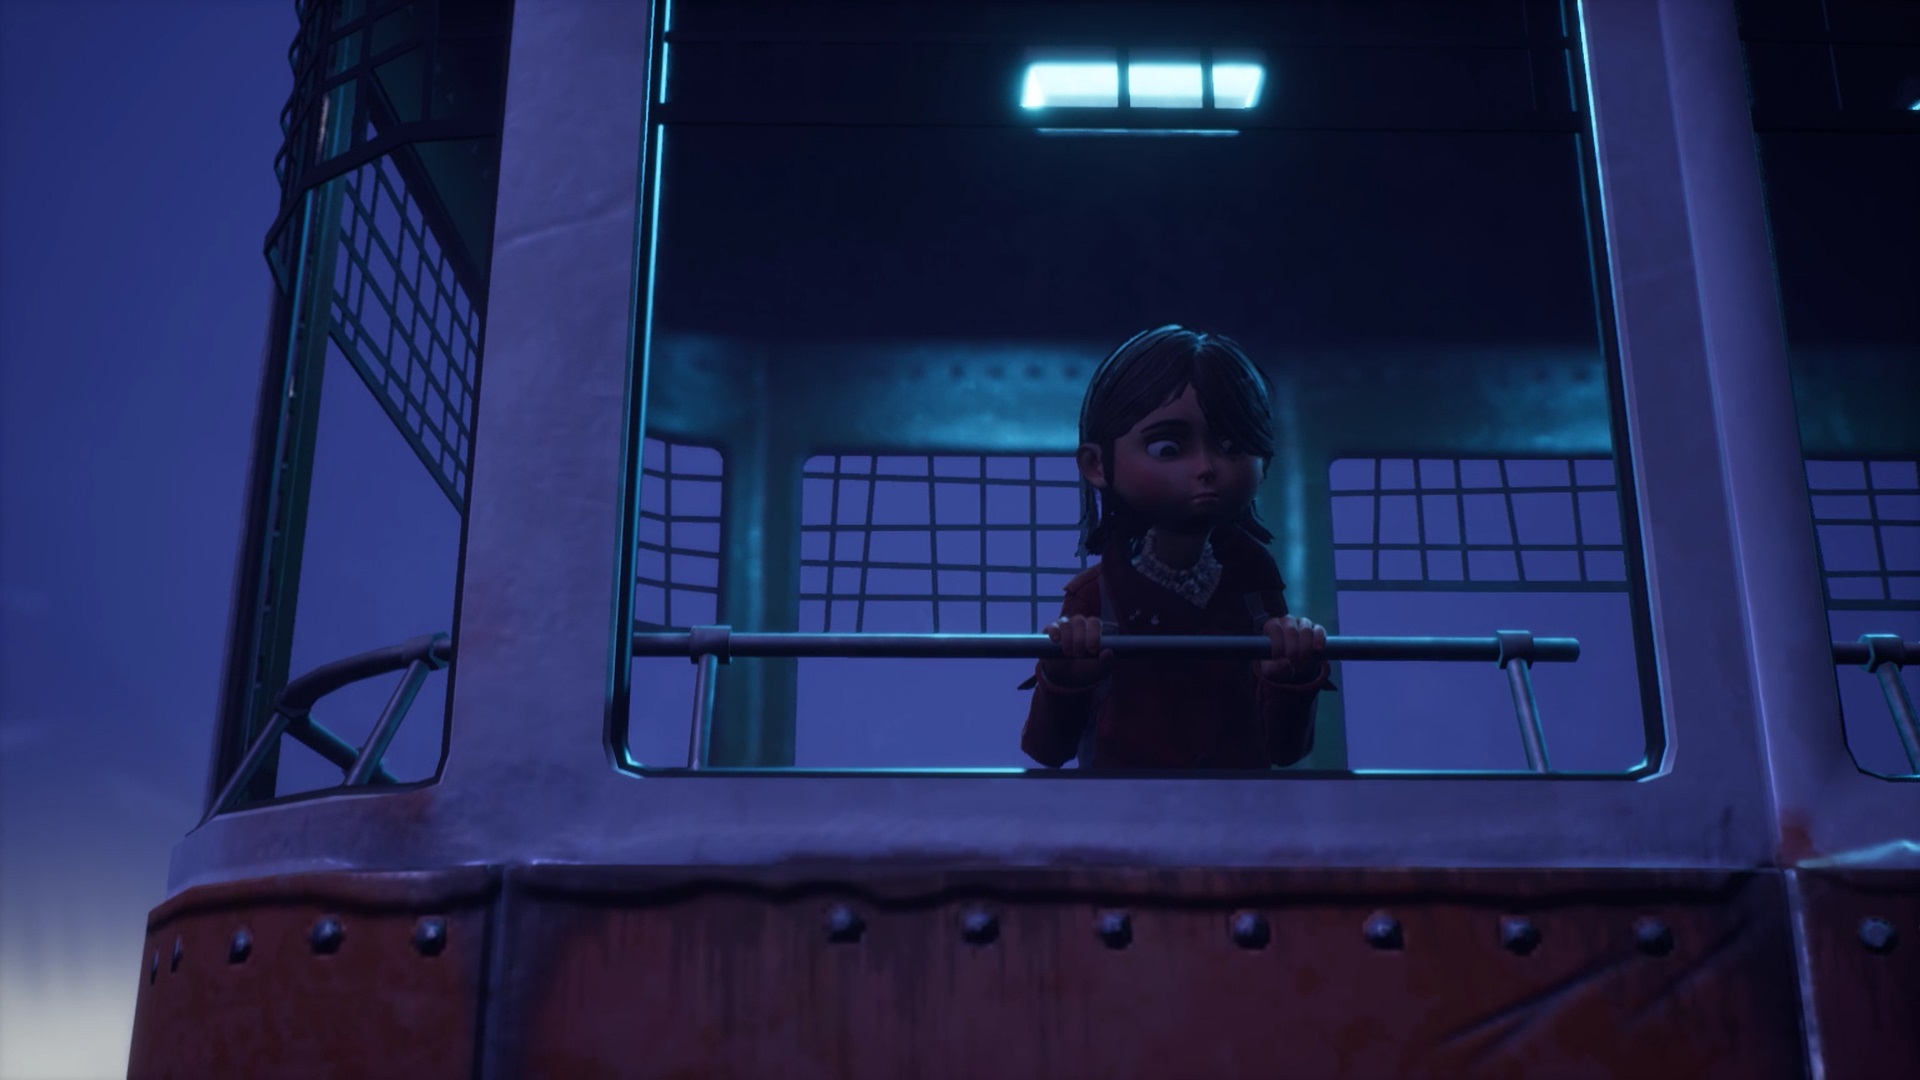
After the cutscene, pick up a funicular ticket near the ticket office. Hop on the funicular at the back of the ticket office to reach a whole other world.

Exit the funicular and go up the stairs to get a flashlight. Proceed up the stairs and continue your way. You reach a closed gate. Slide the gate door using the yellow handle.
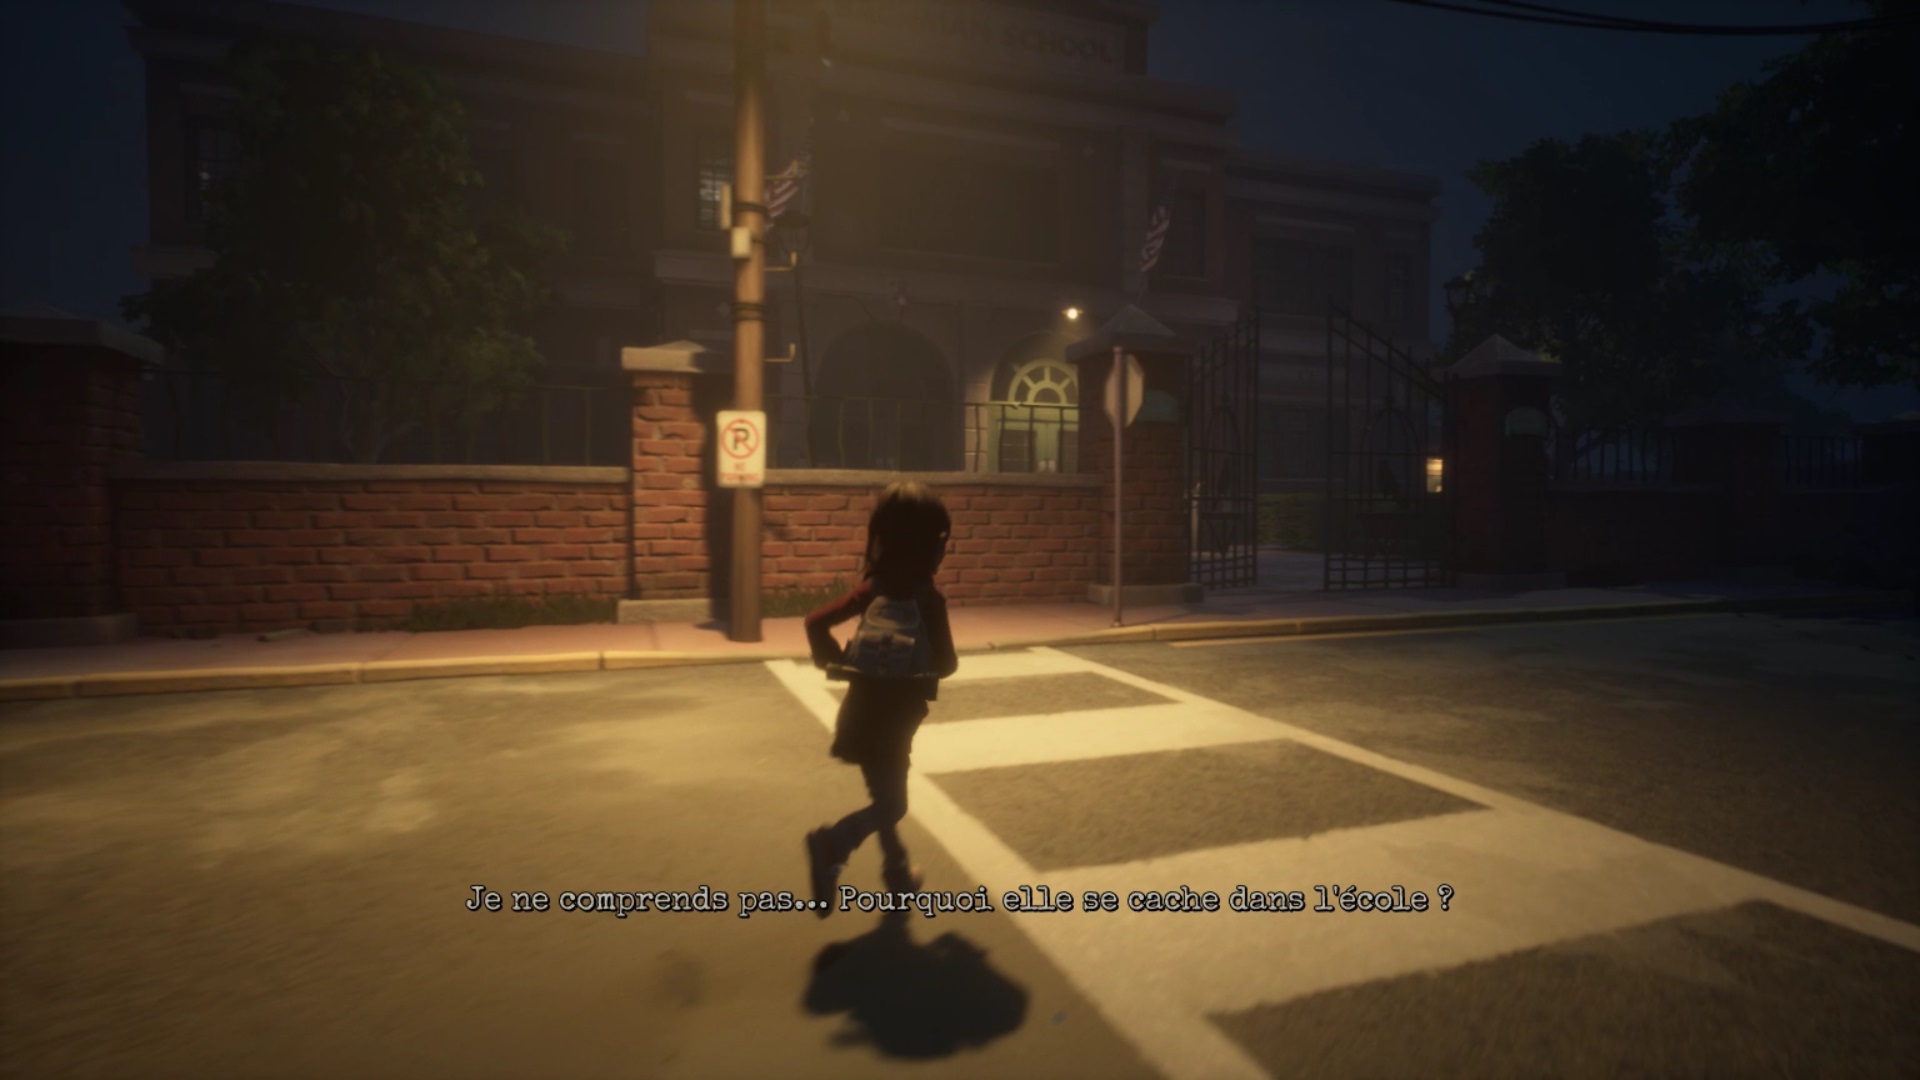
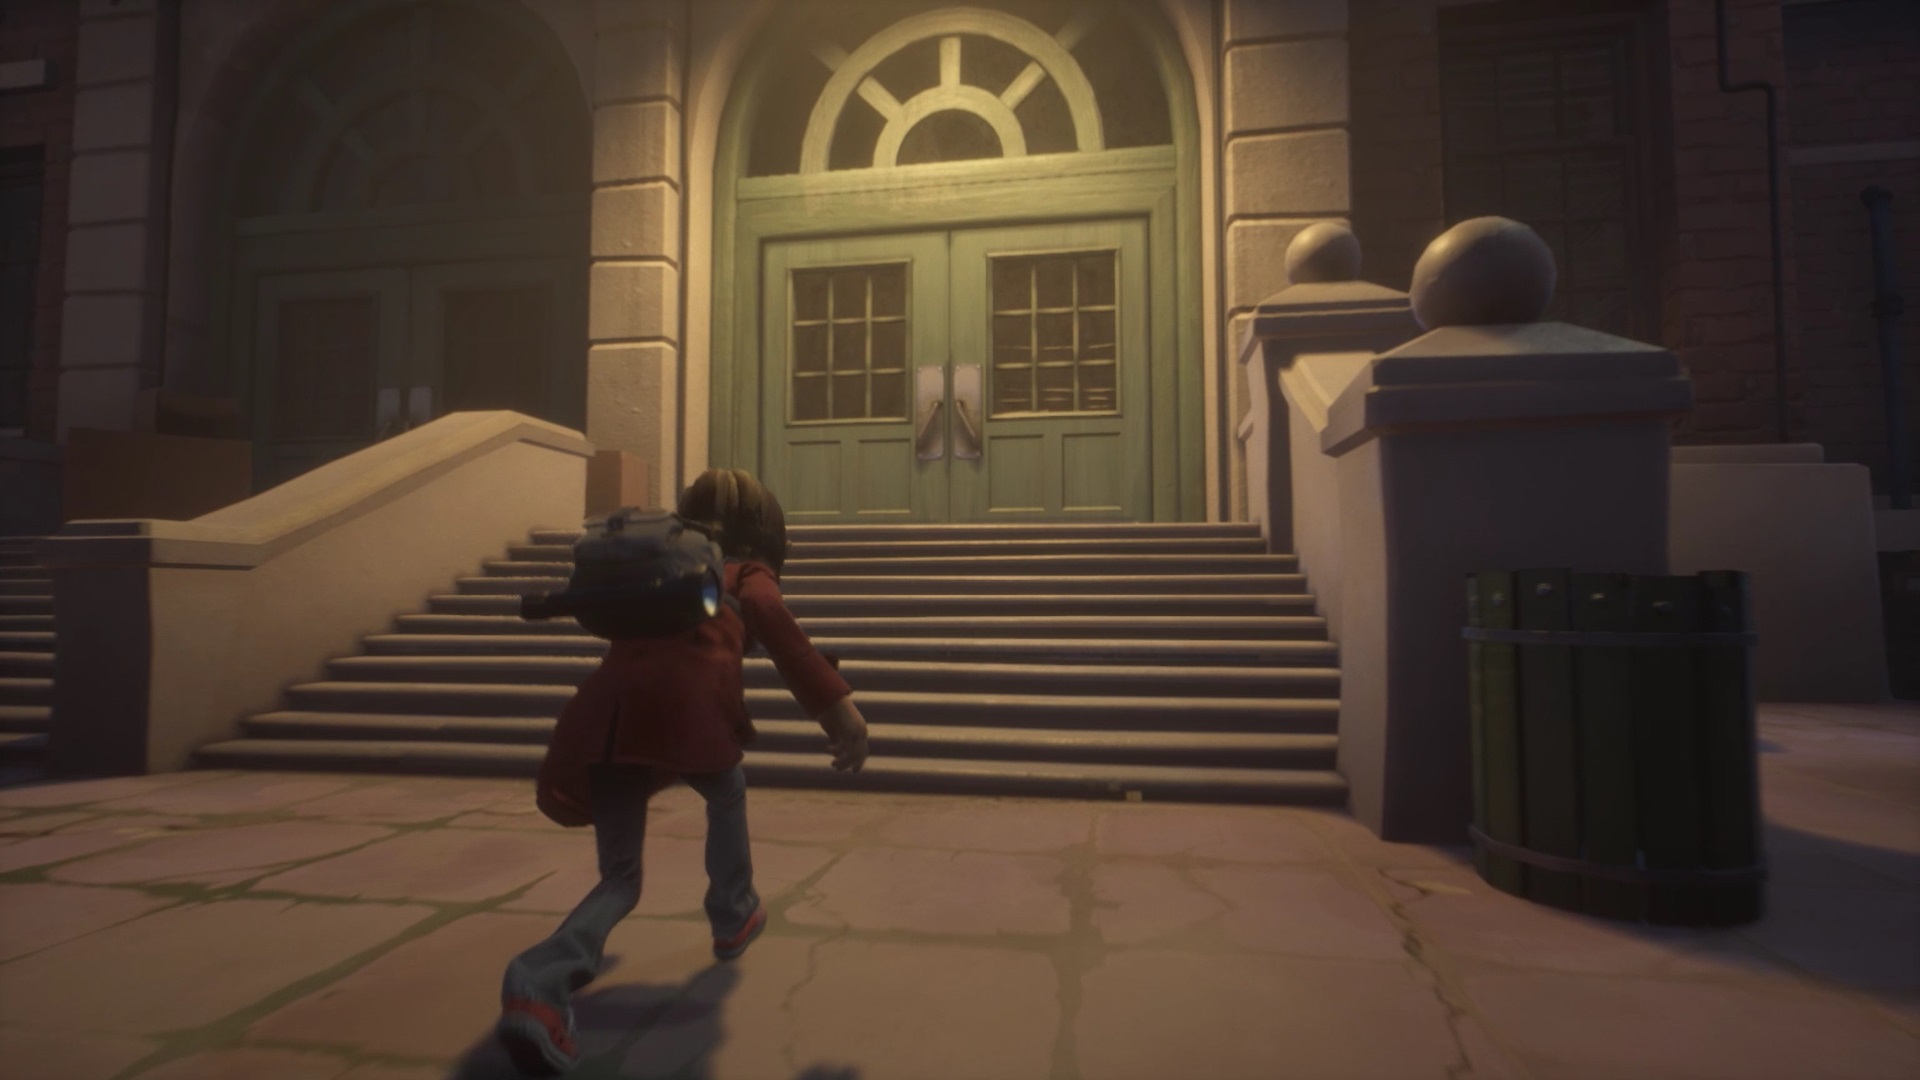
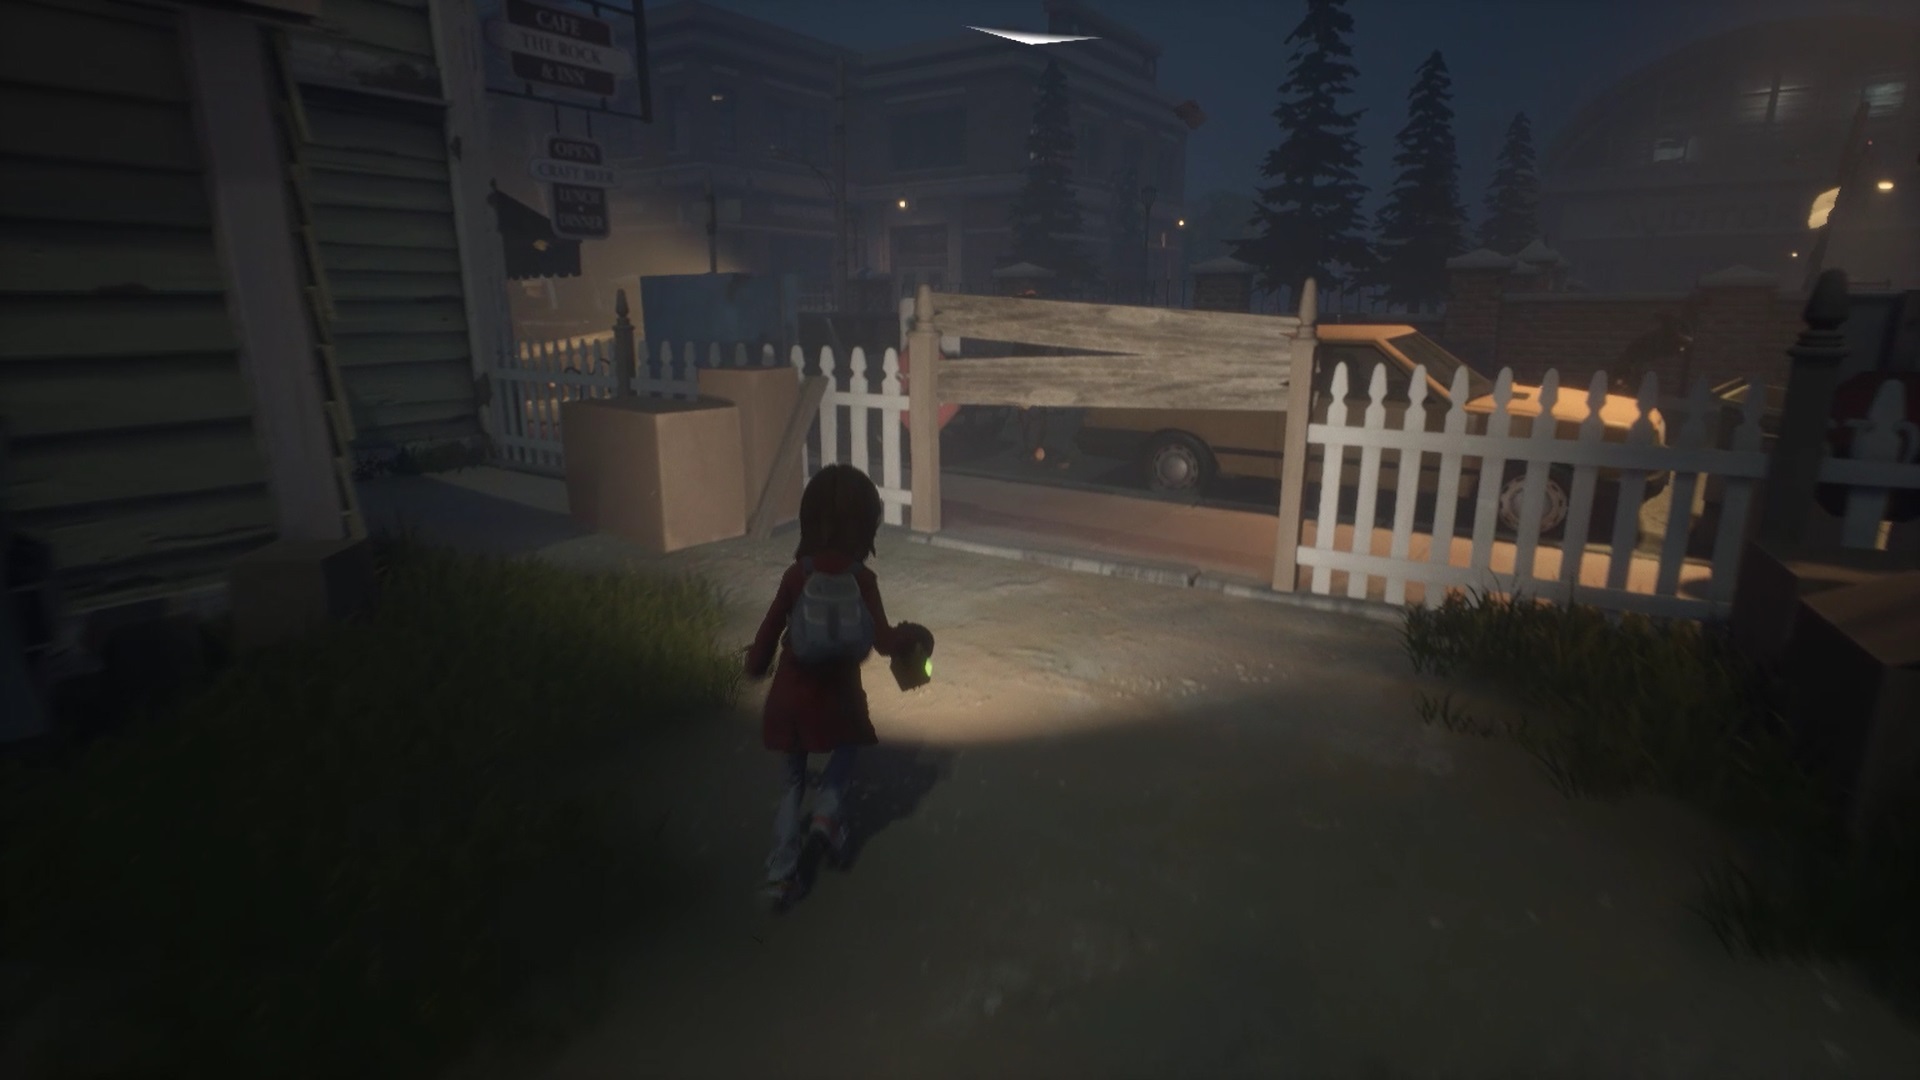
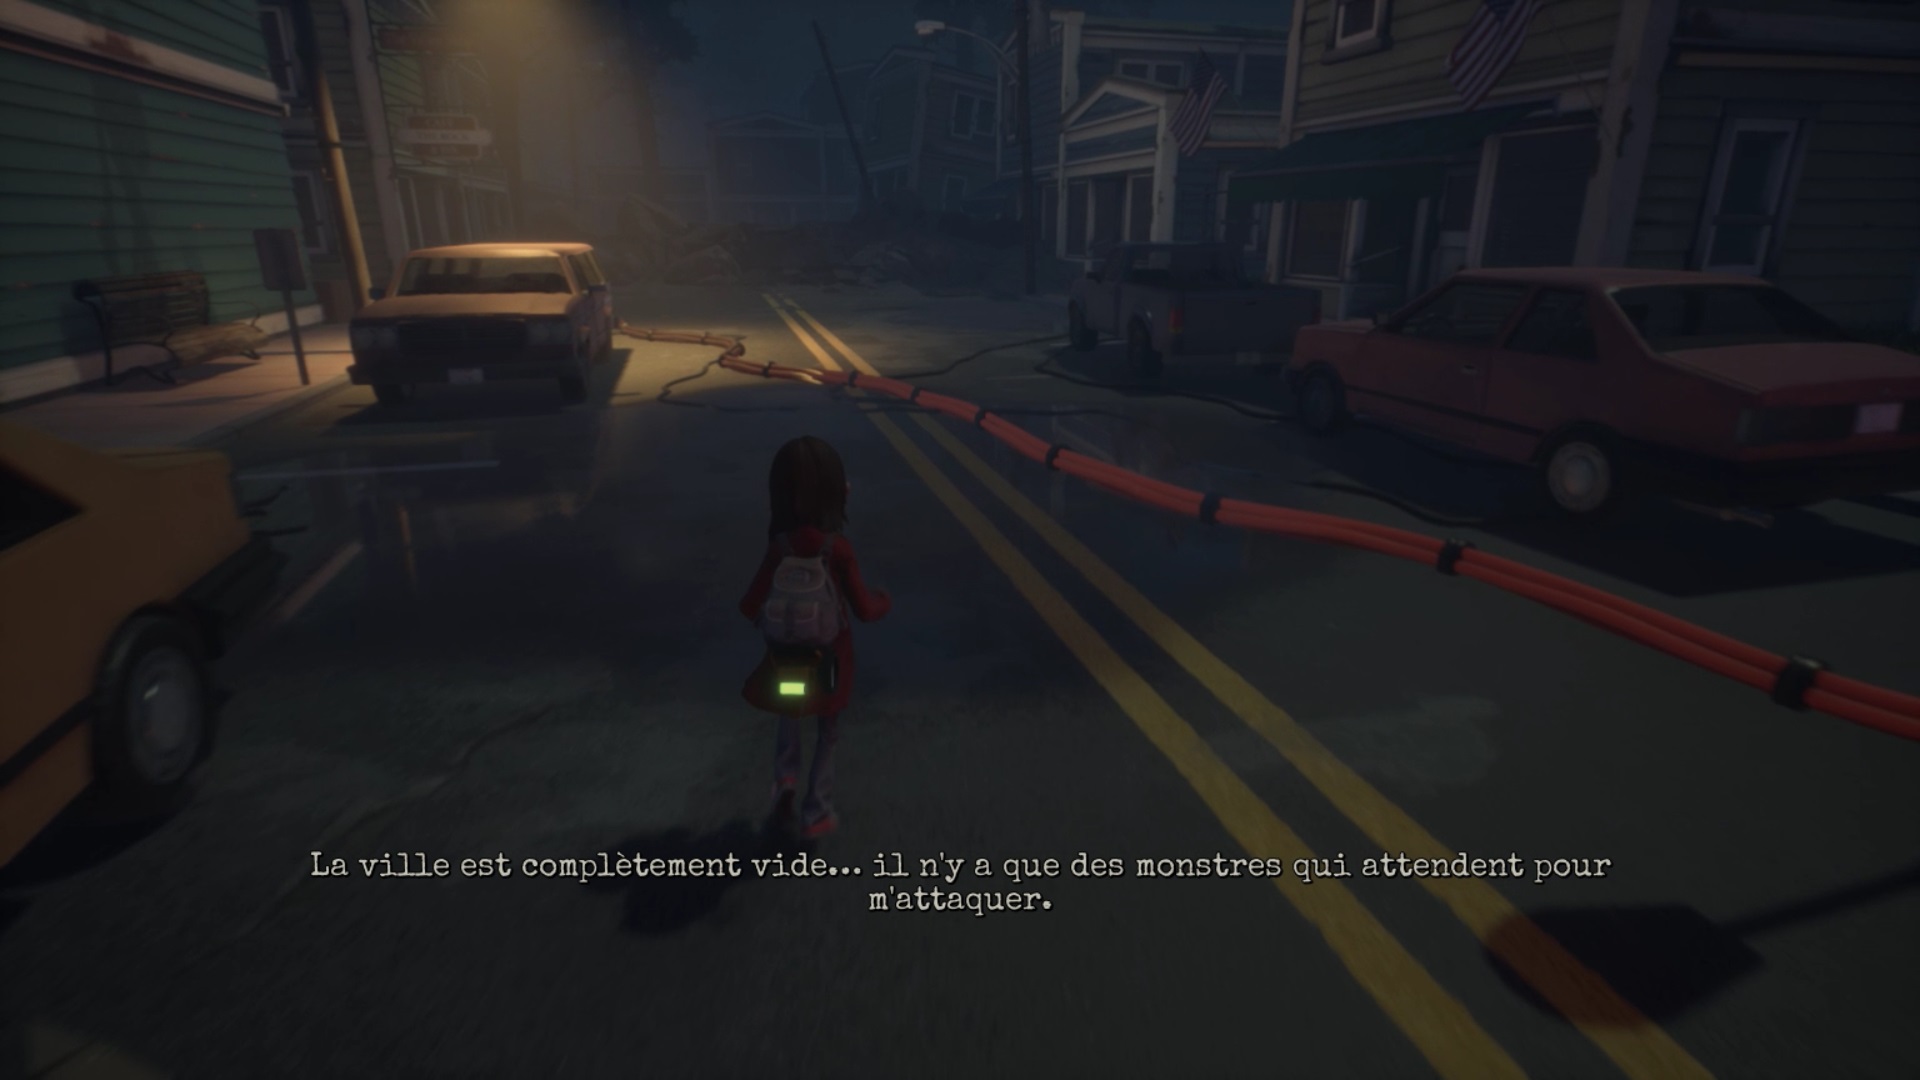
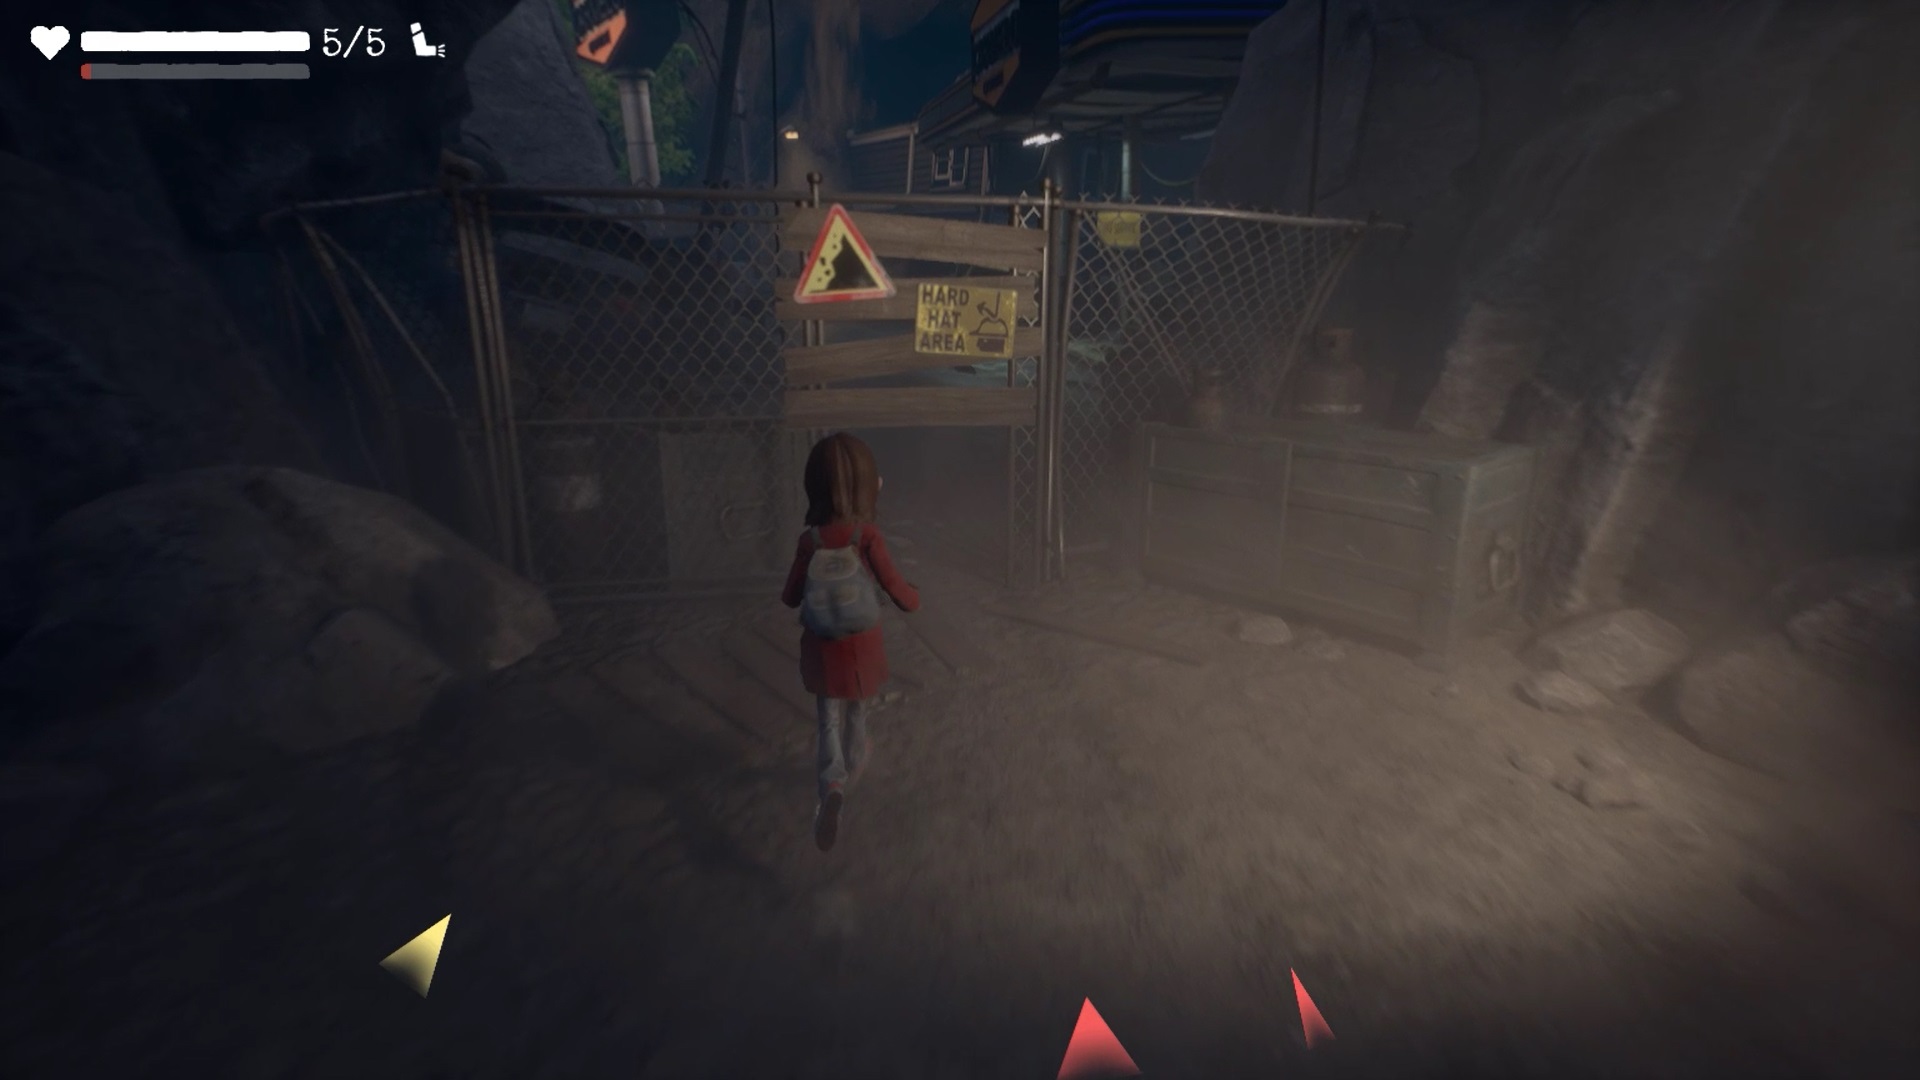
Straight on, climb the ladder to discover the city. Proceed north on the road. At the end of the road, go west. Pass over the debris of wooden planks to reach the school.
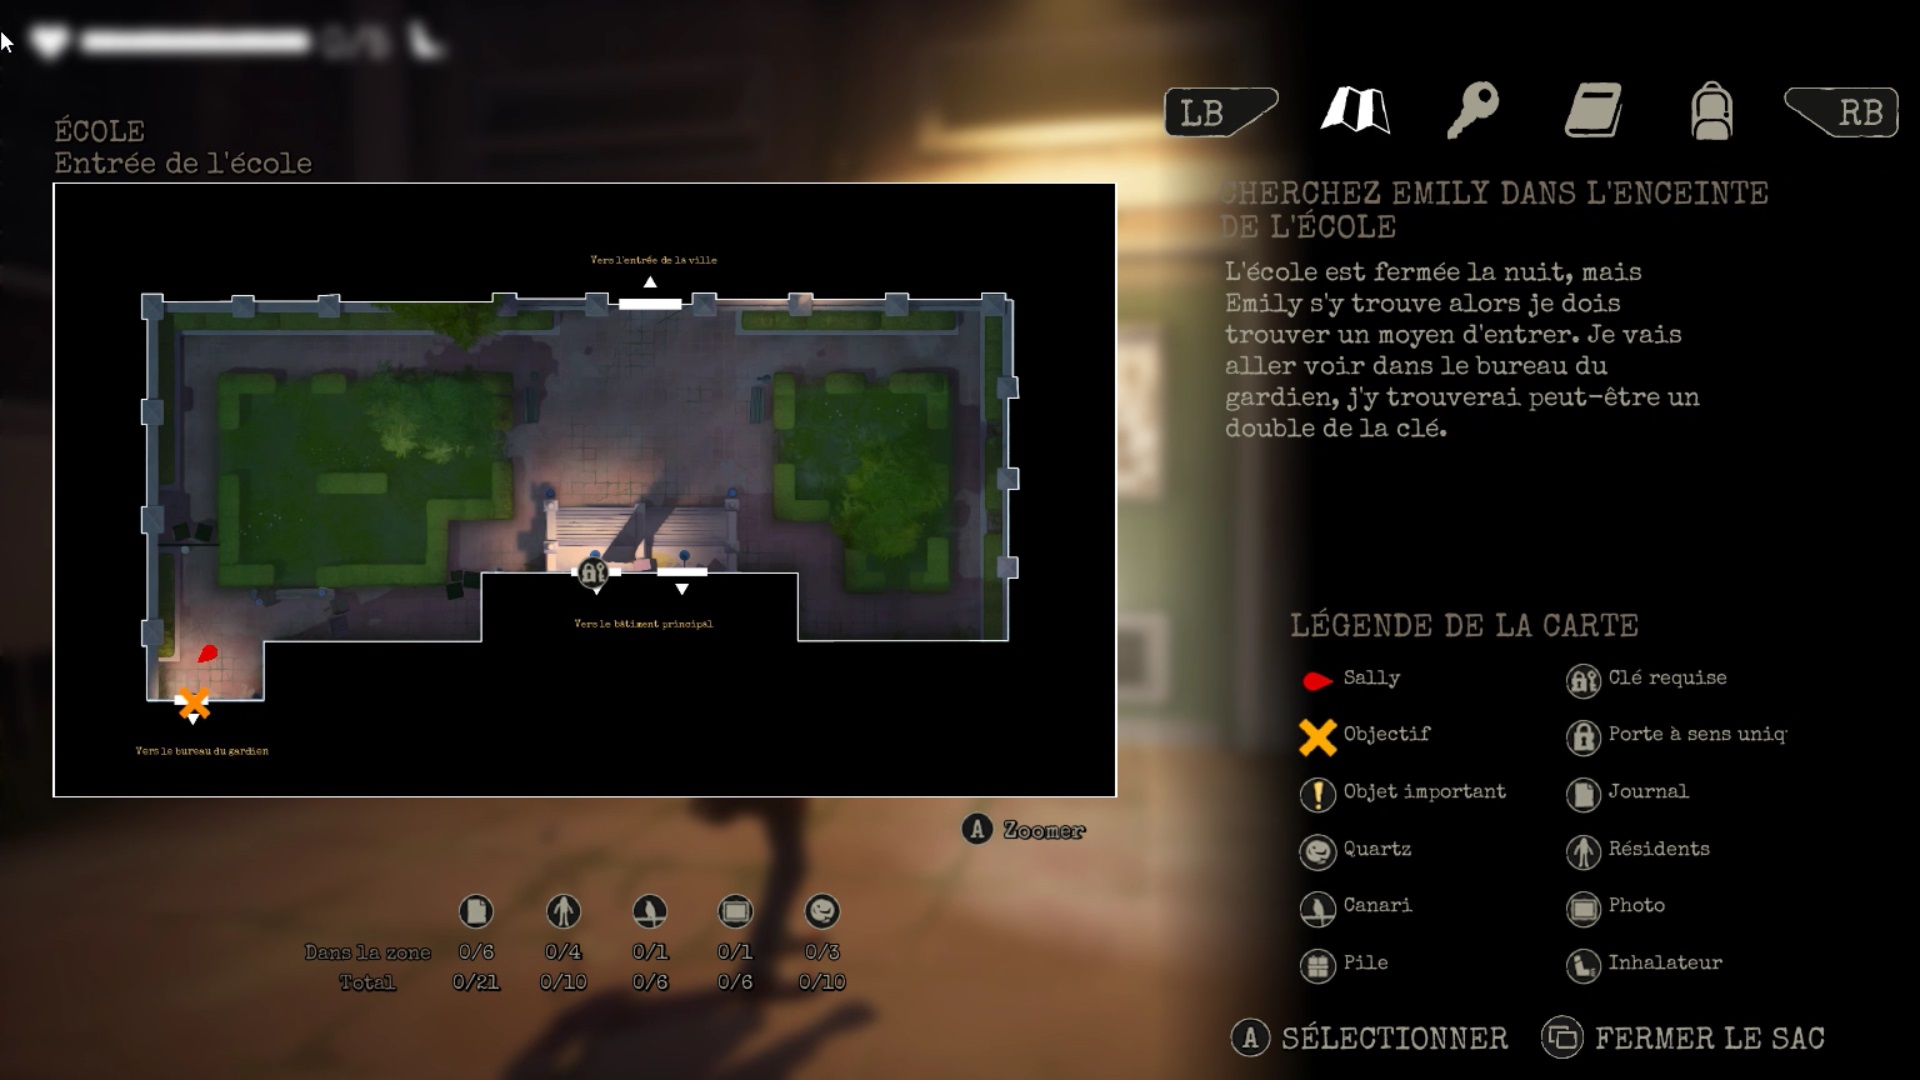
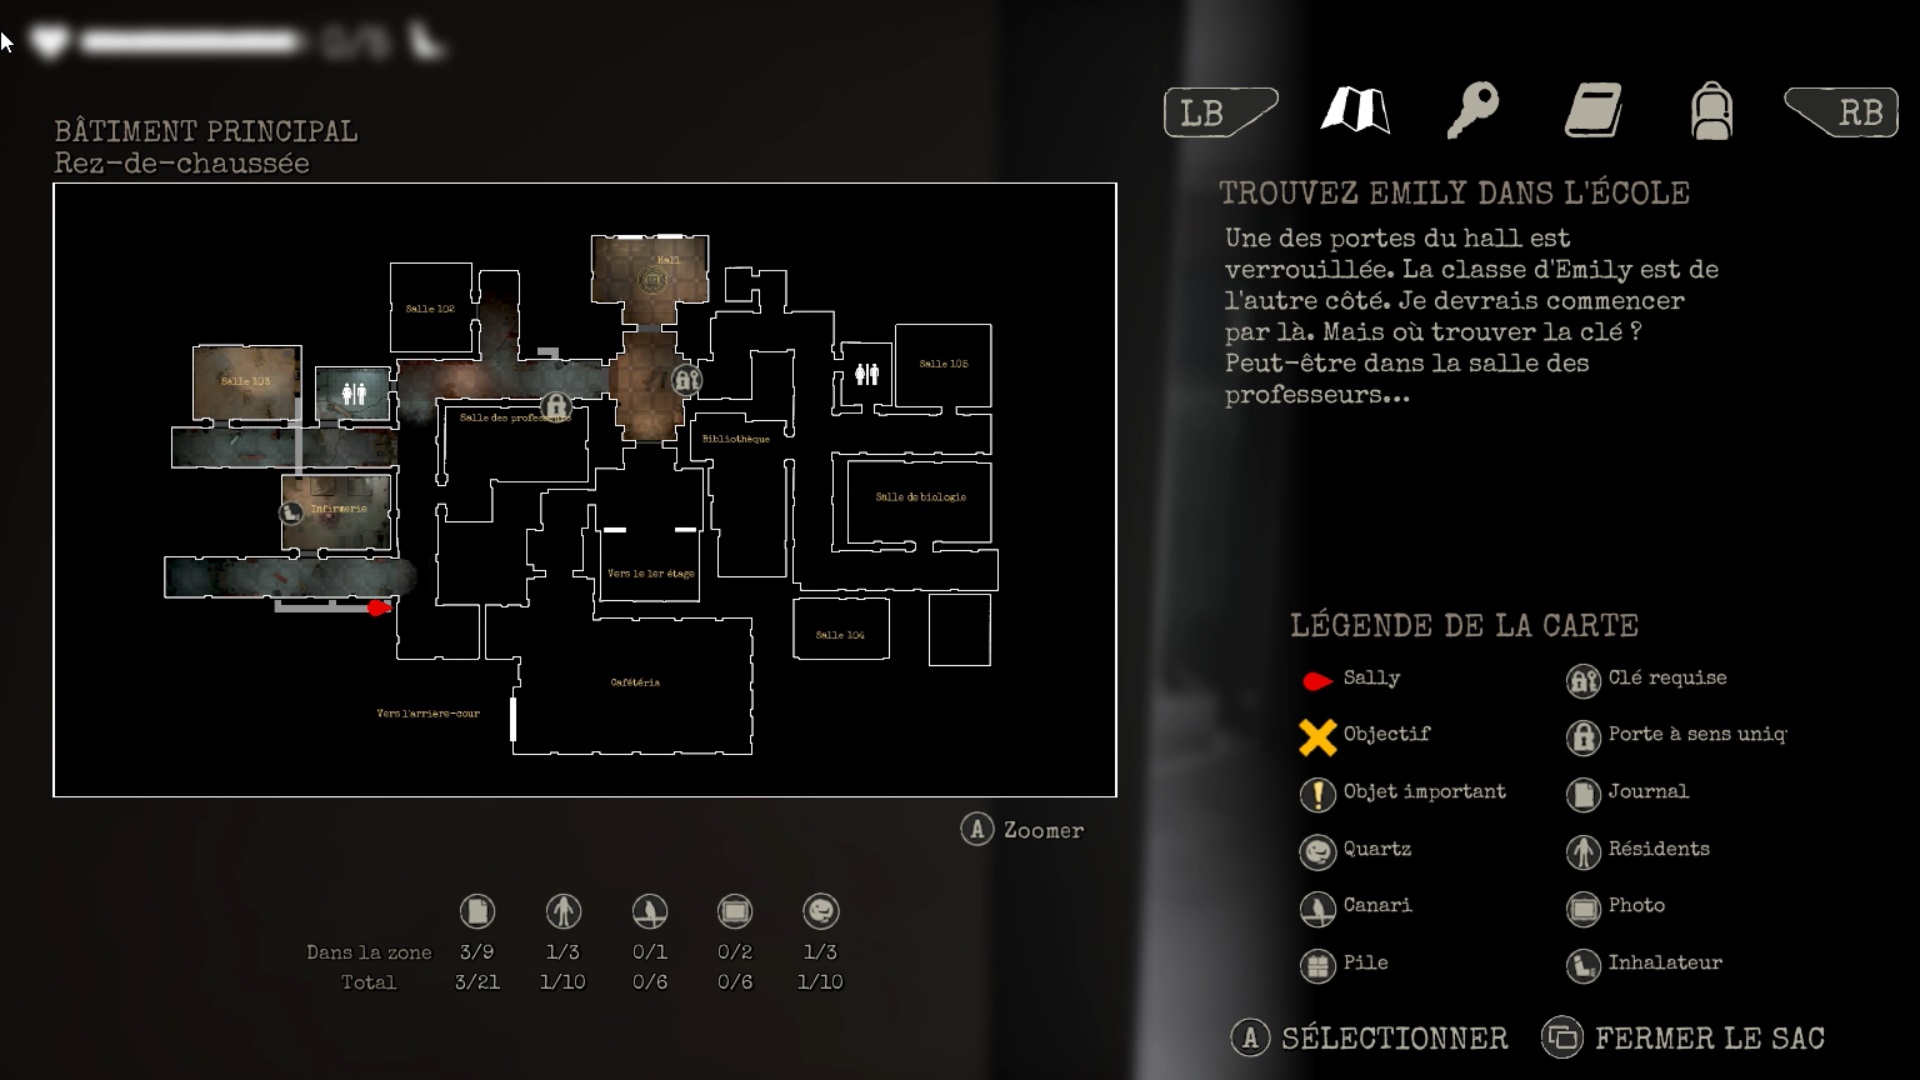
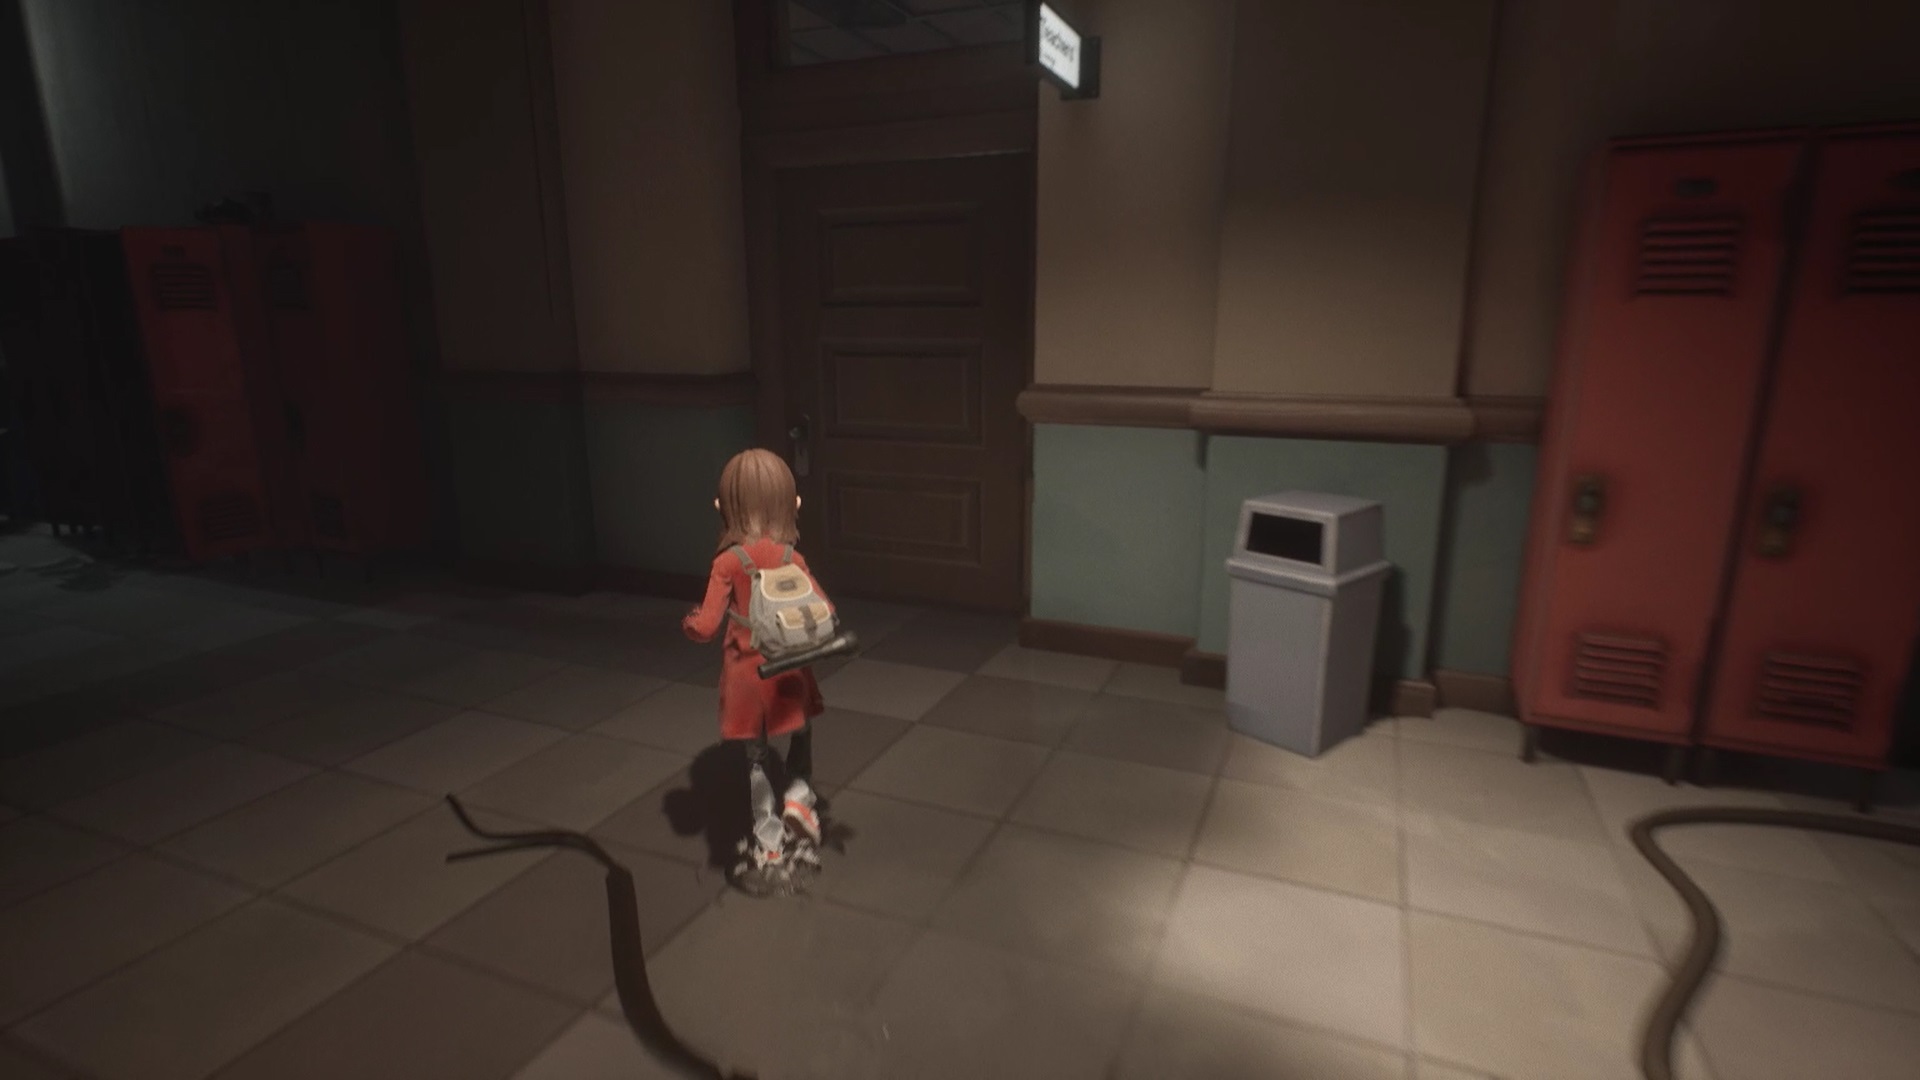
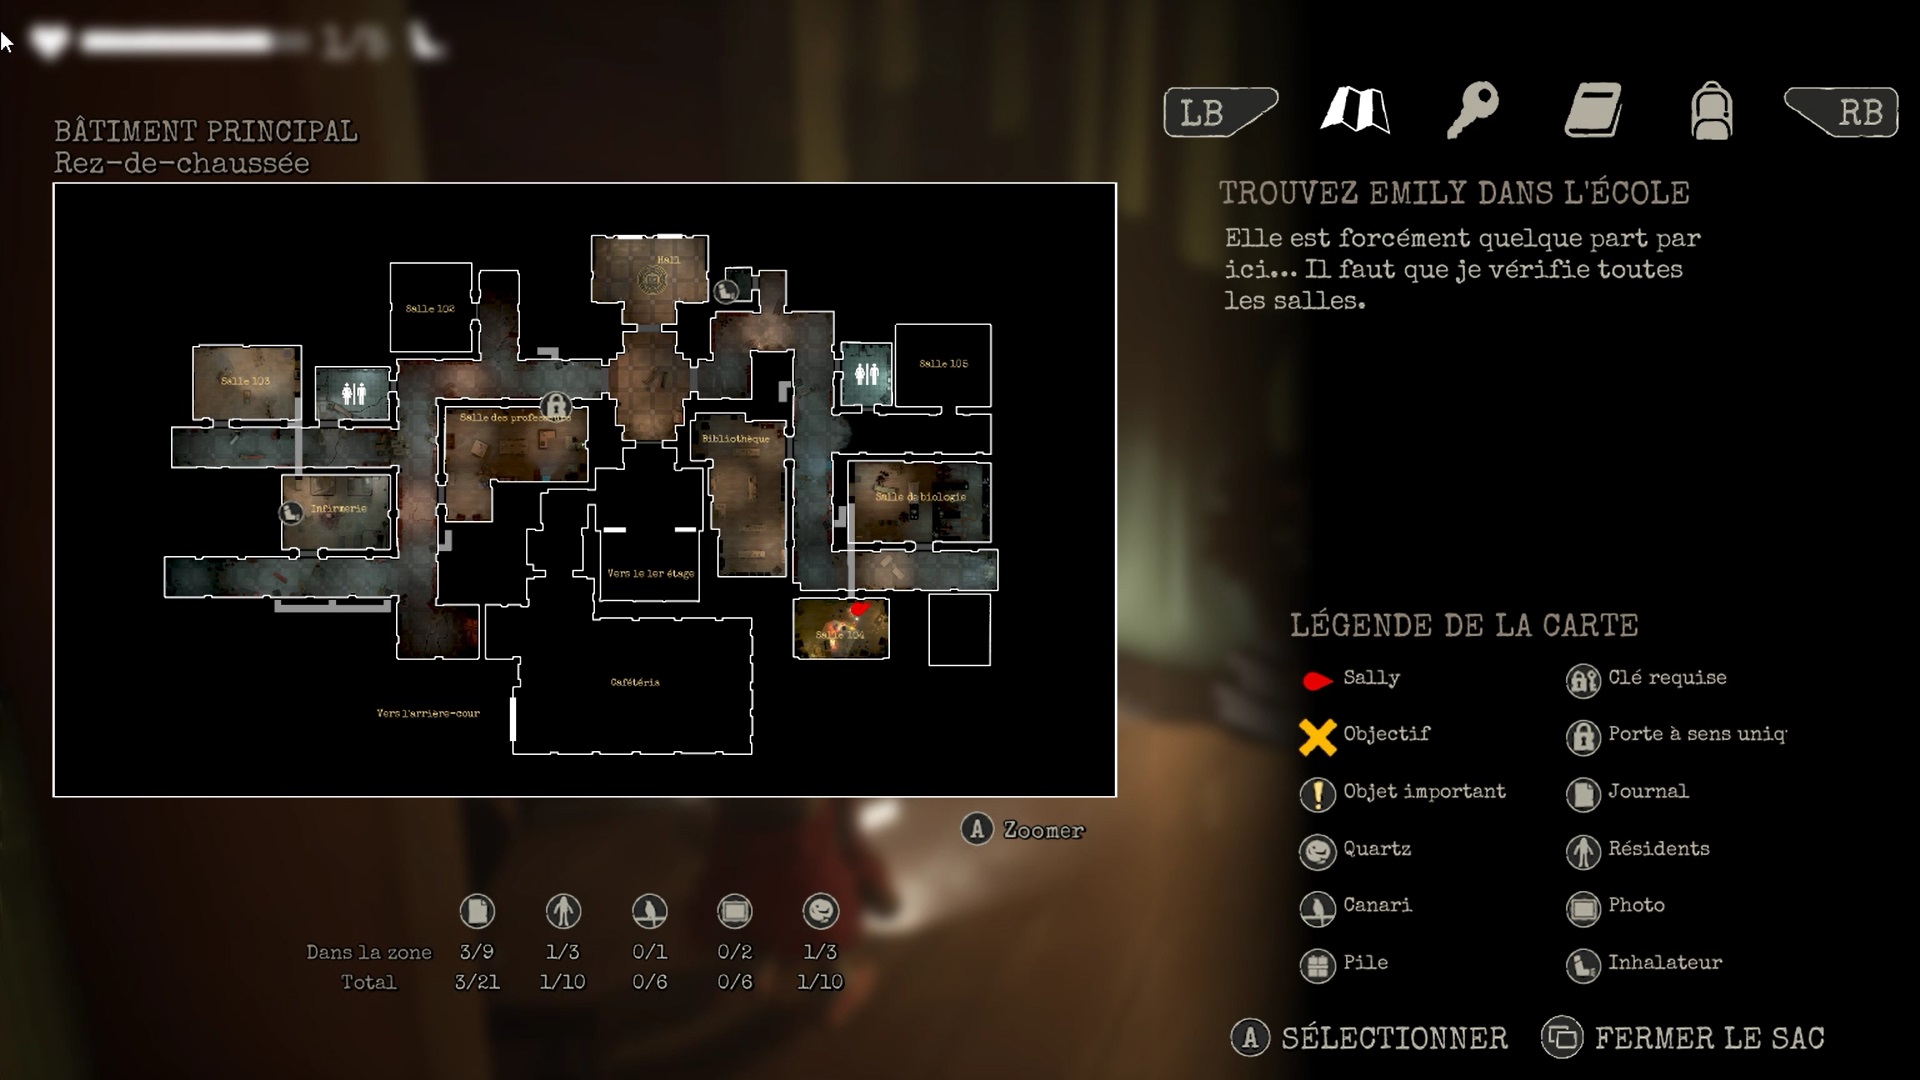
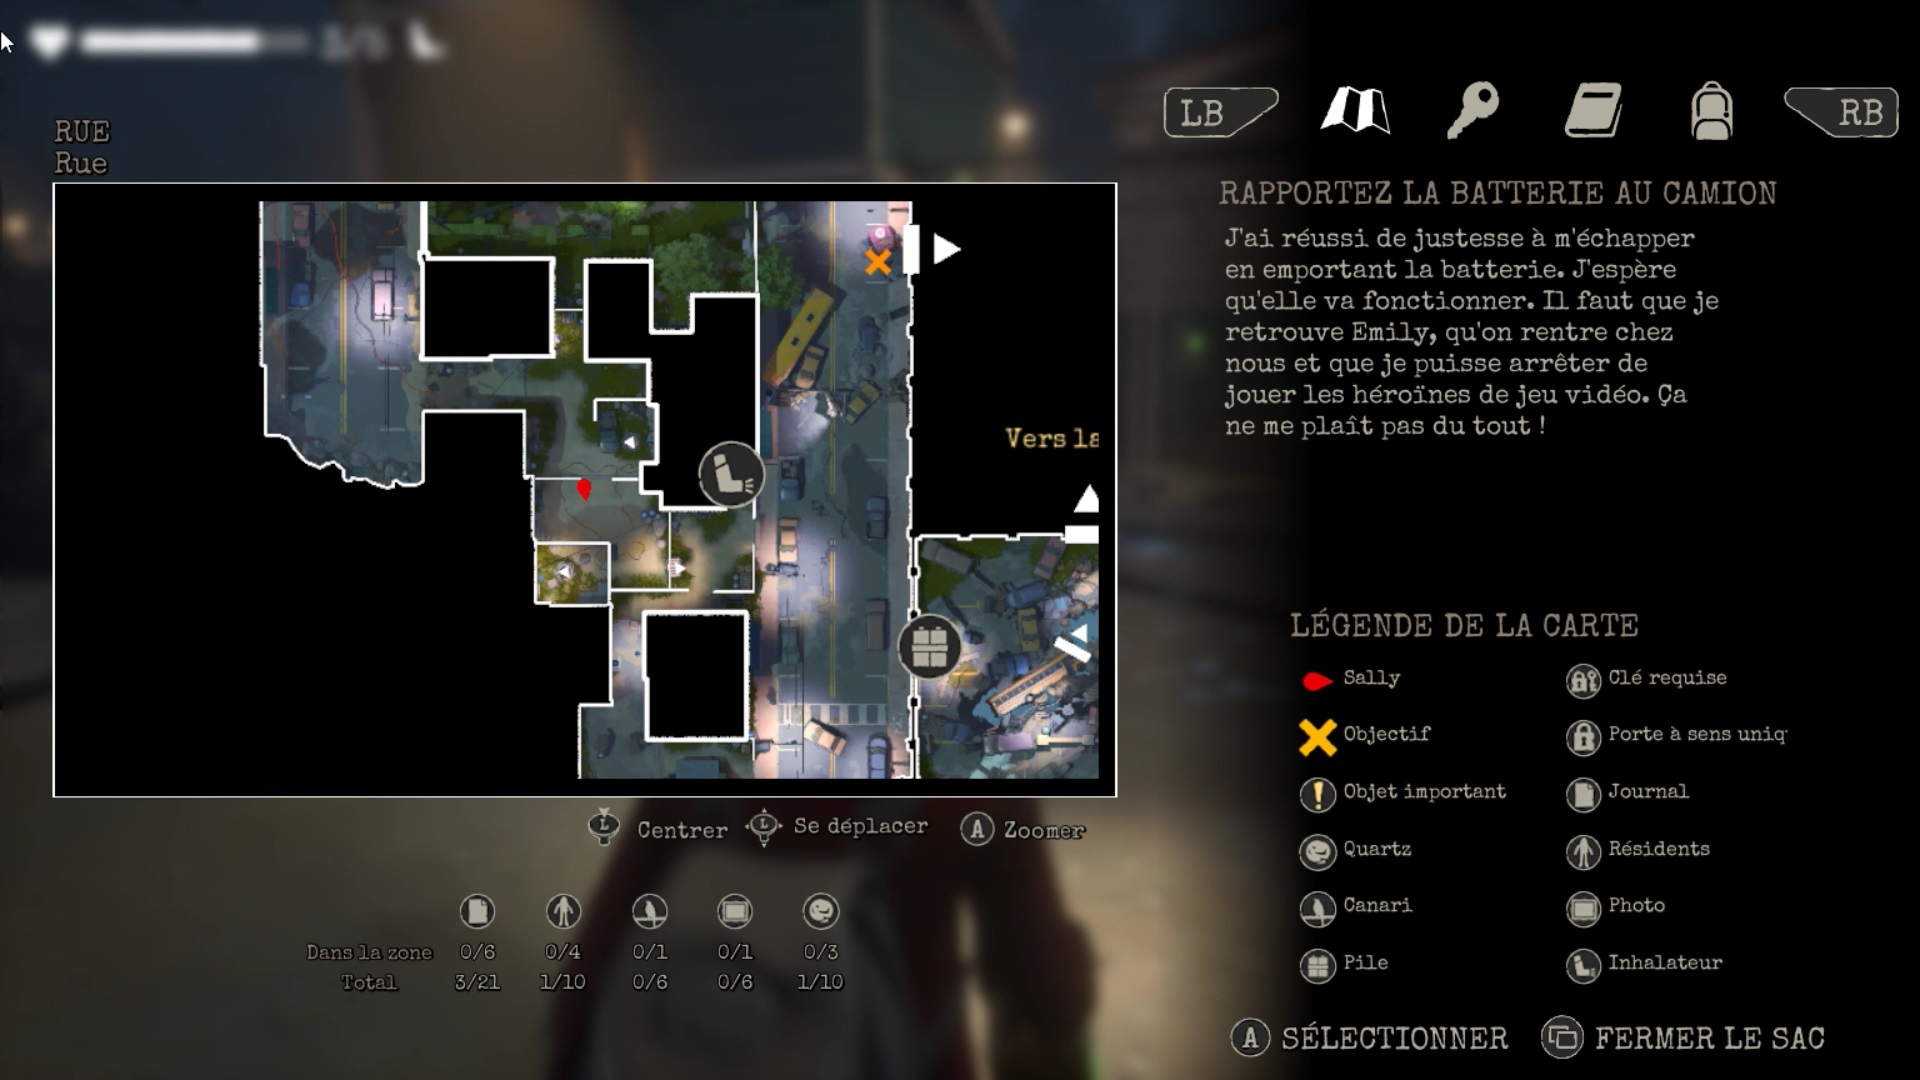
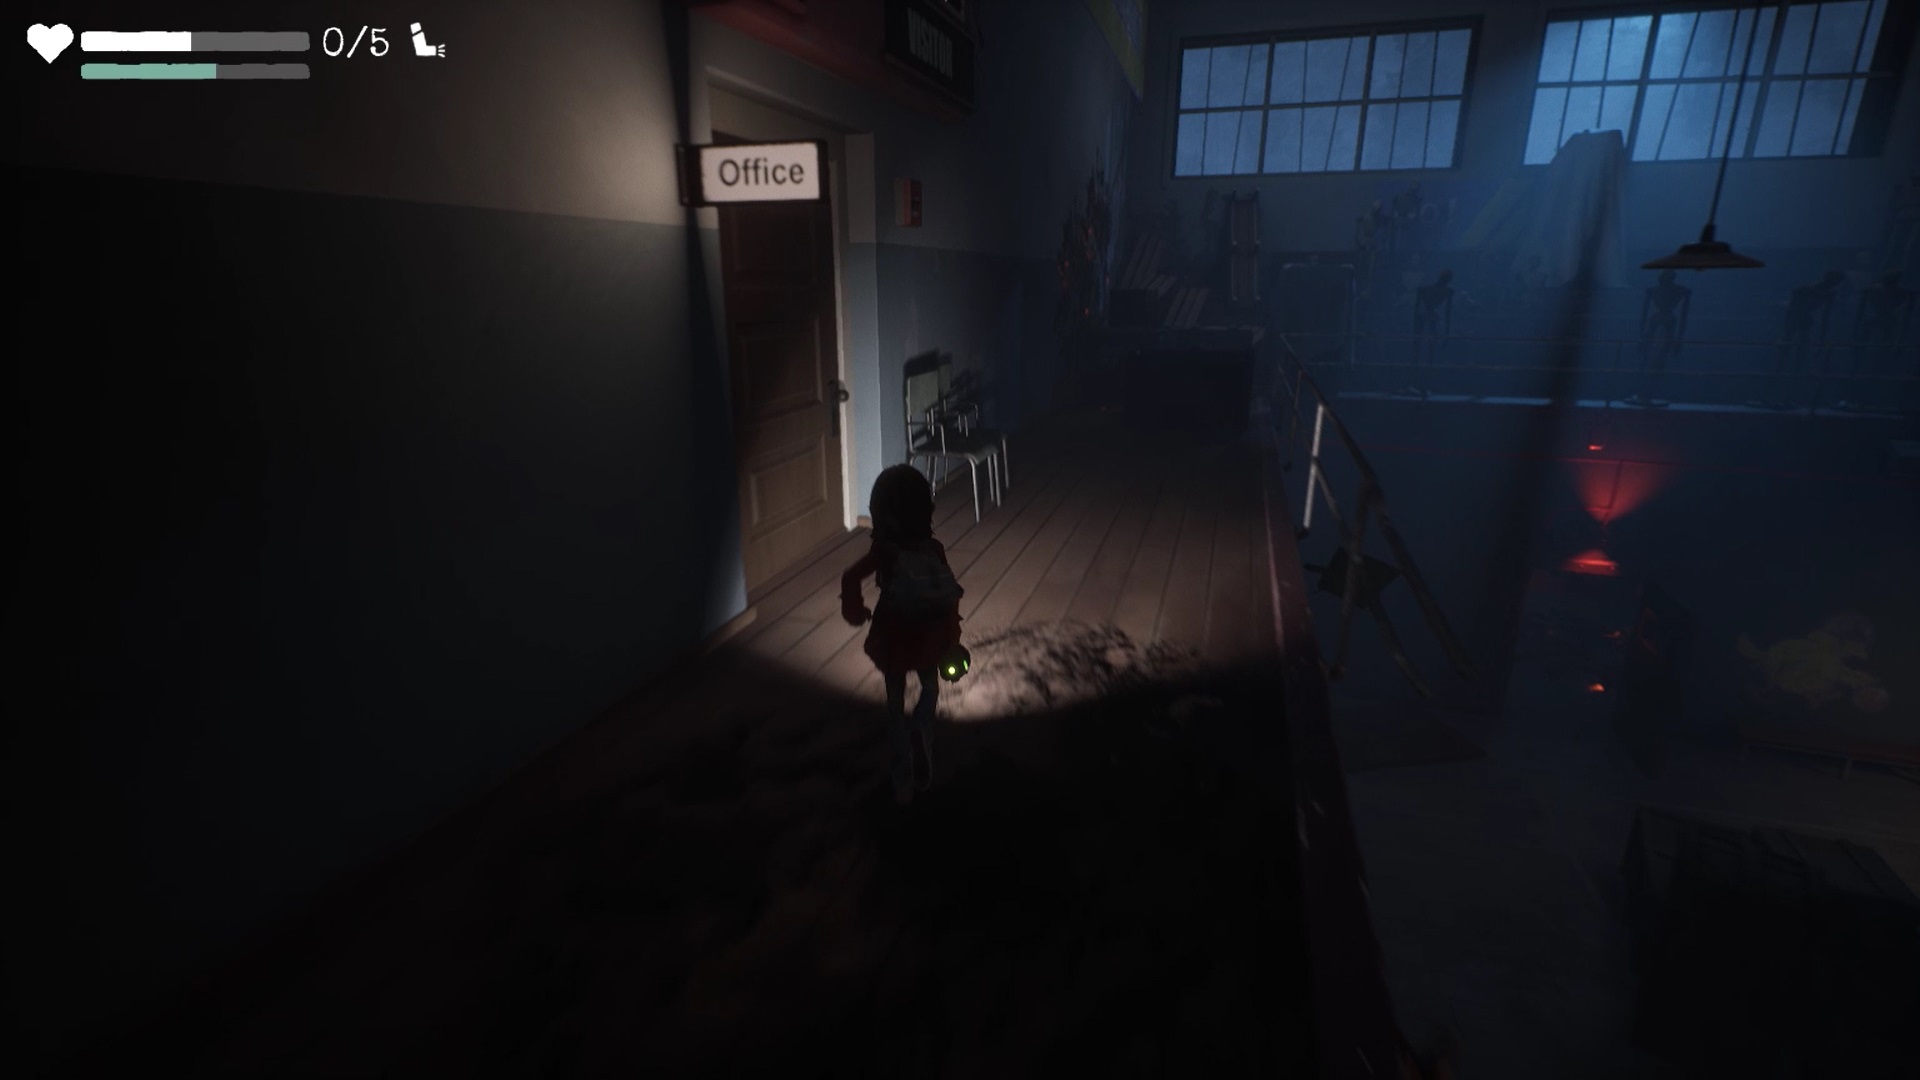
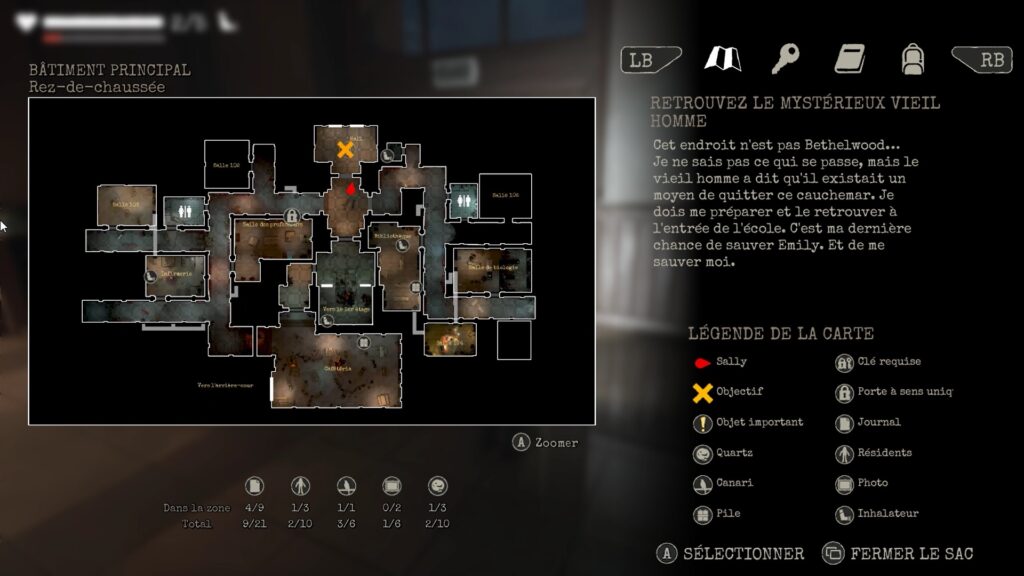
Emily is in the school, you must join her. With the main door locked, head east to reach the caretaker’s office. Open the map to locate yourself easily.
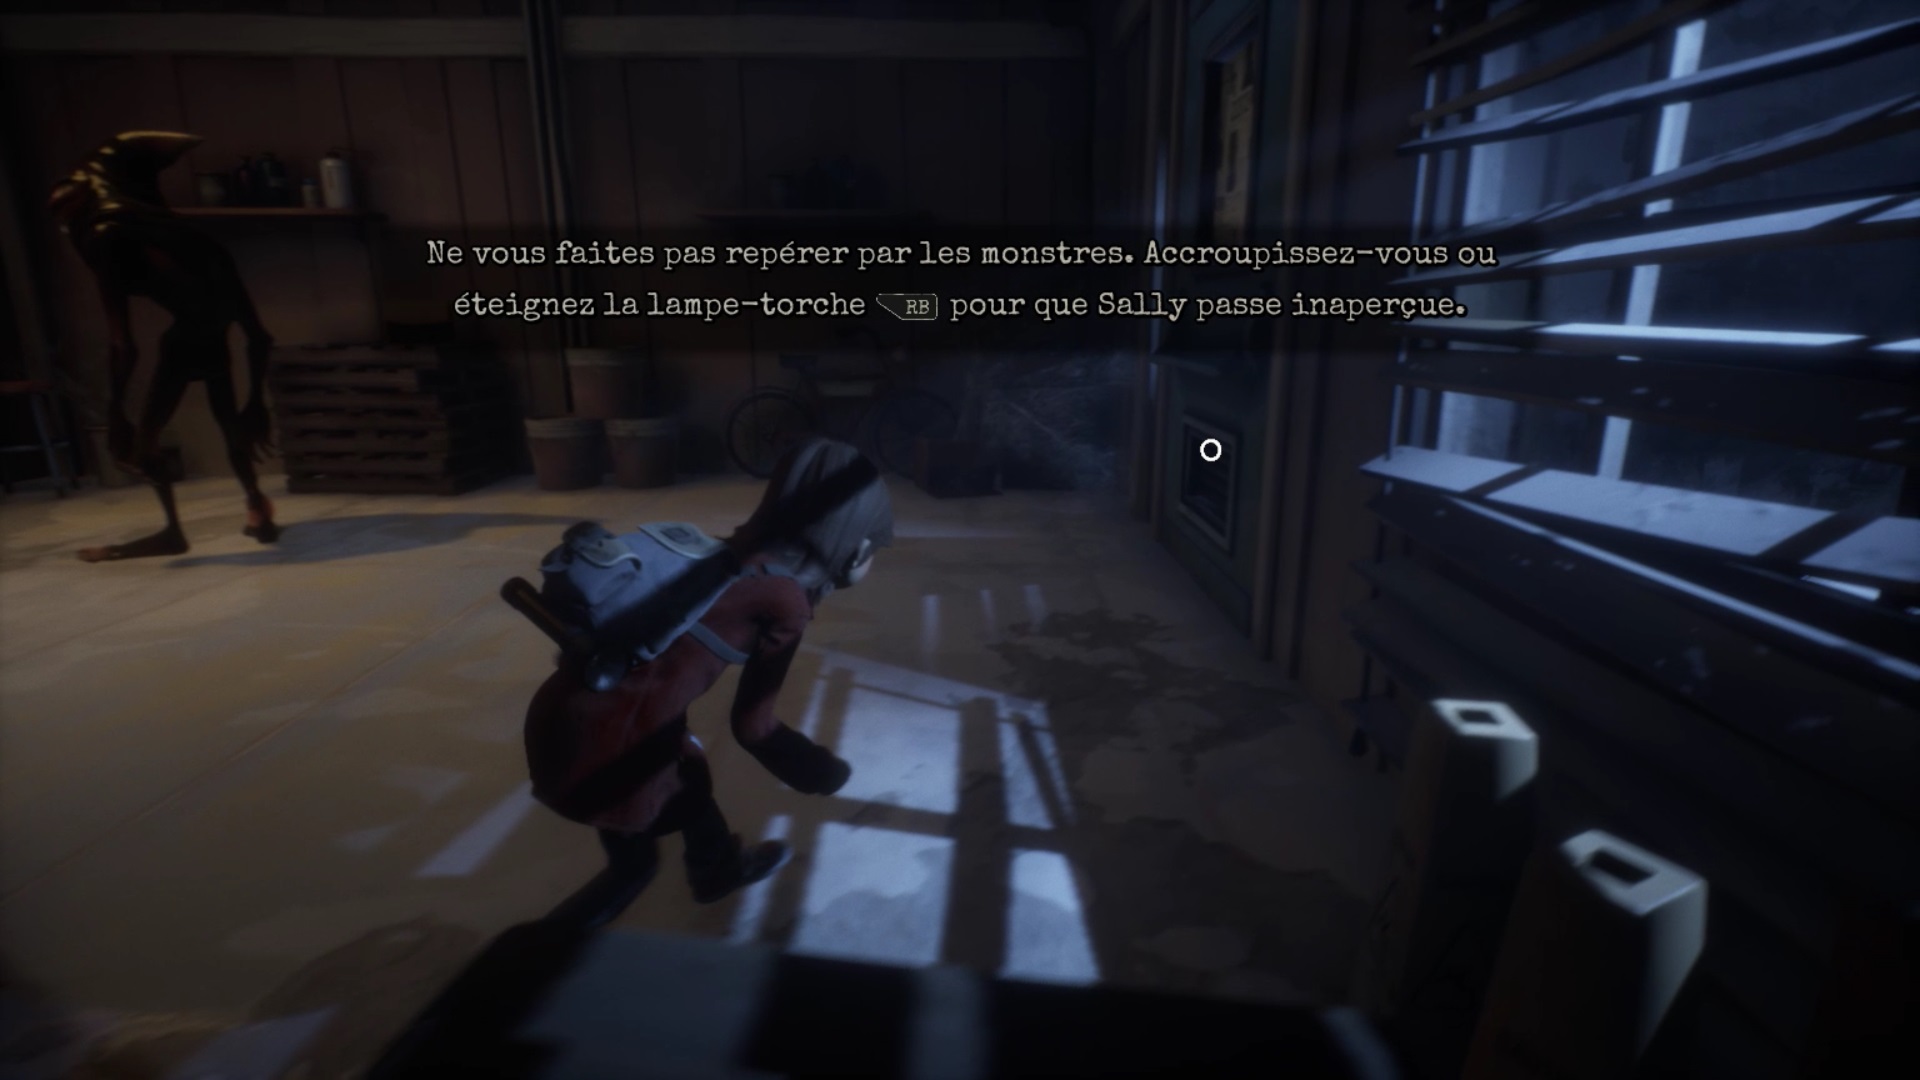
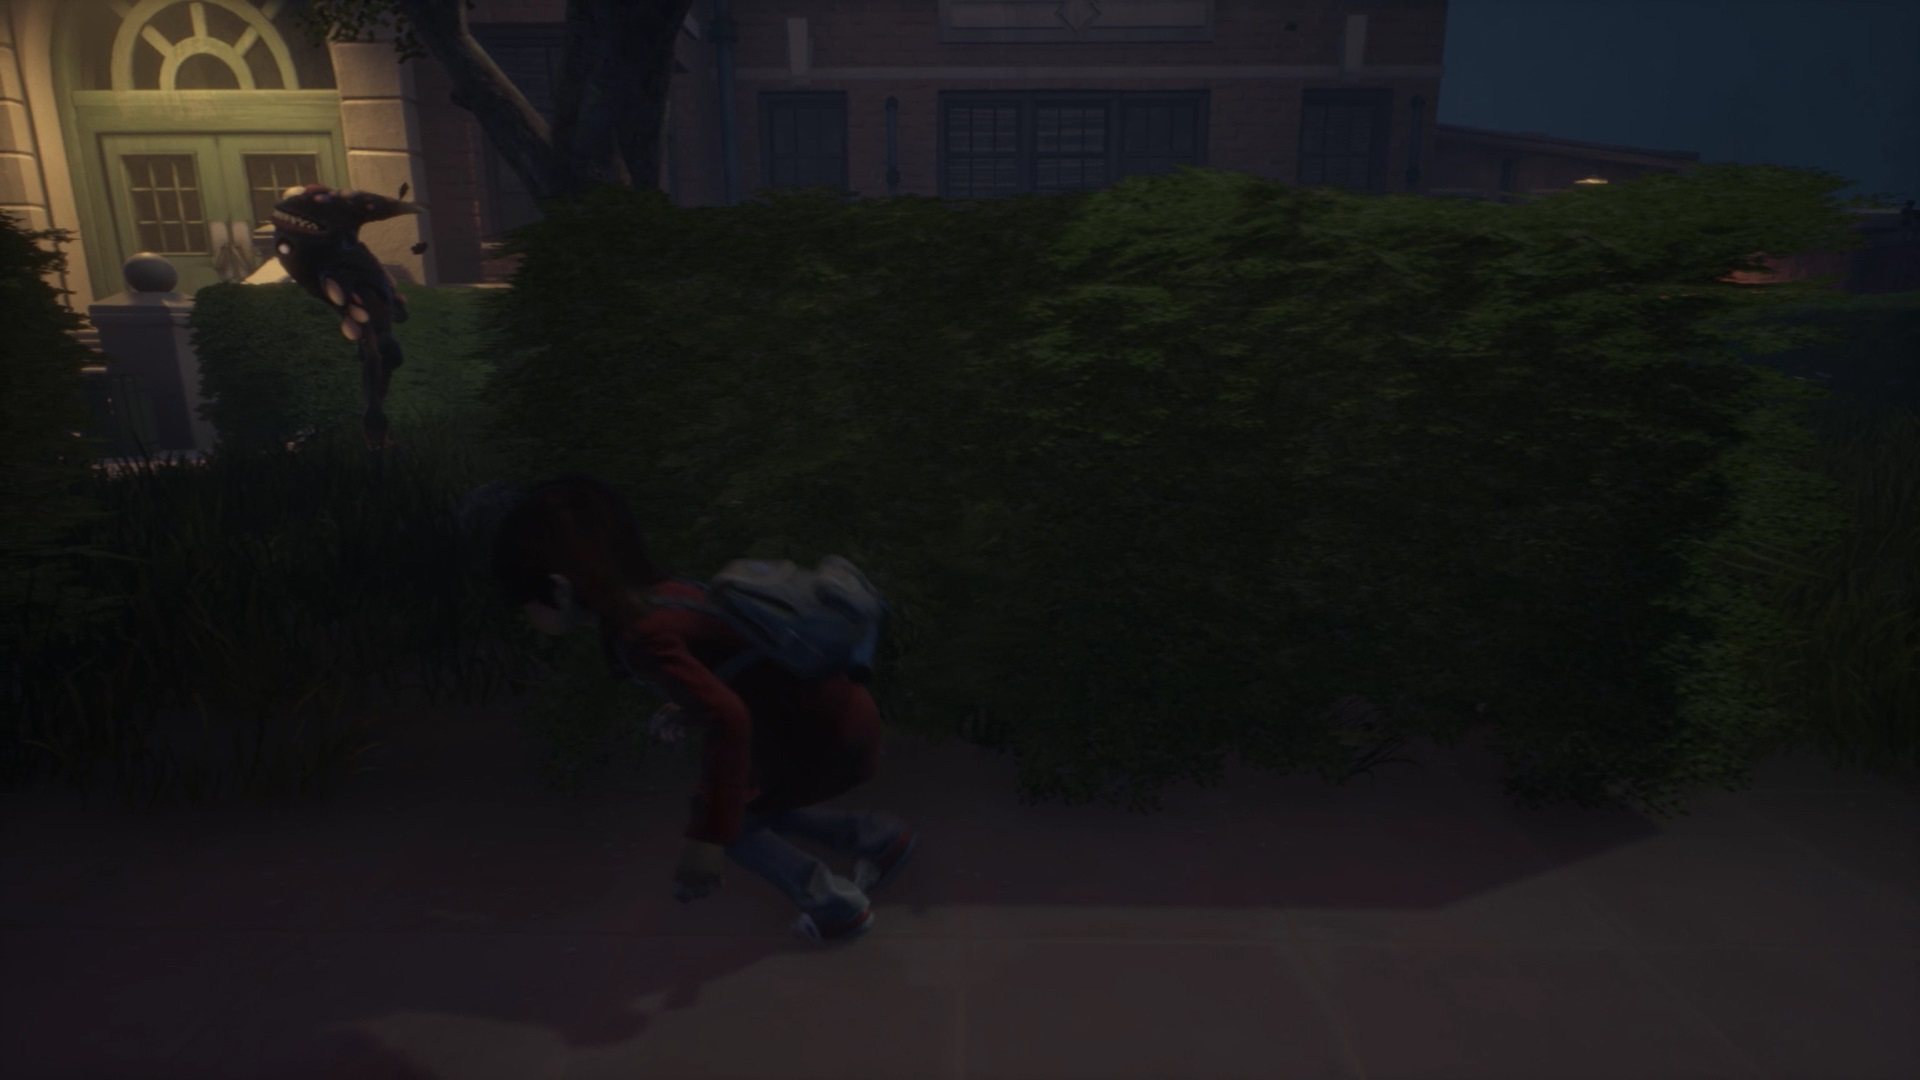
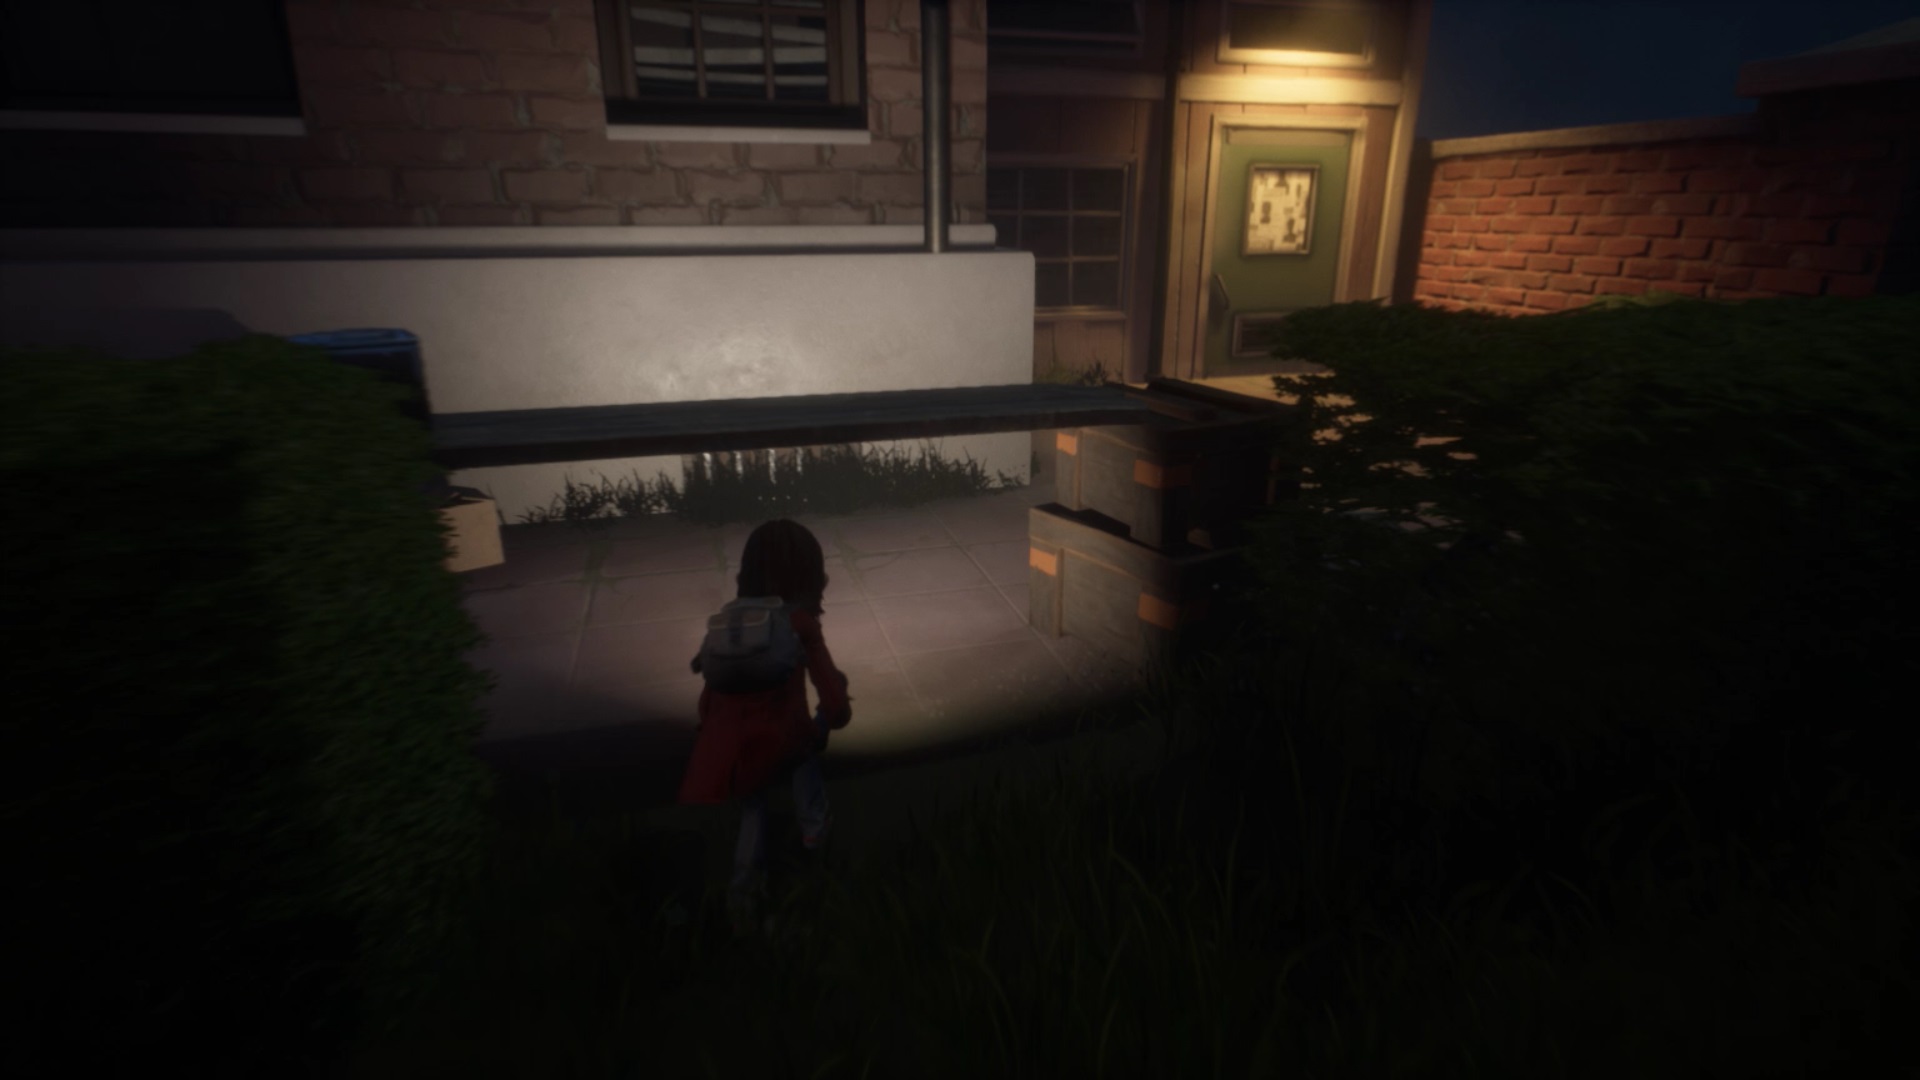
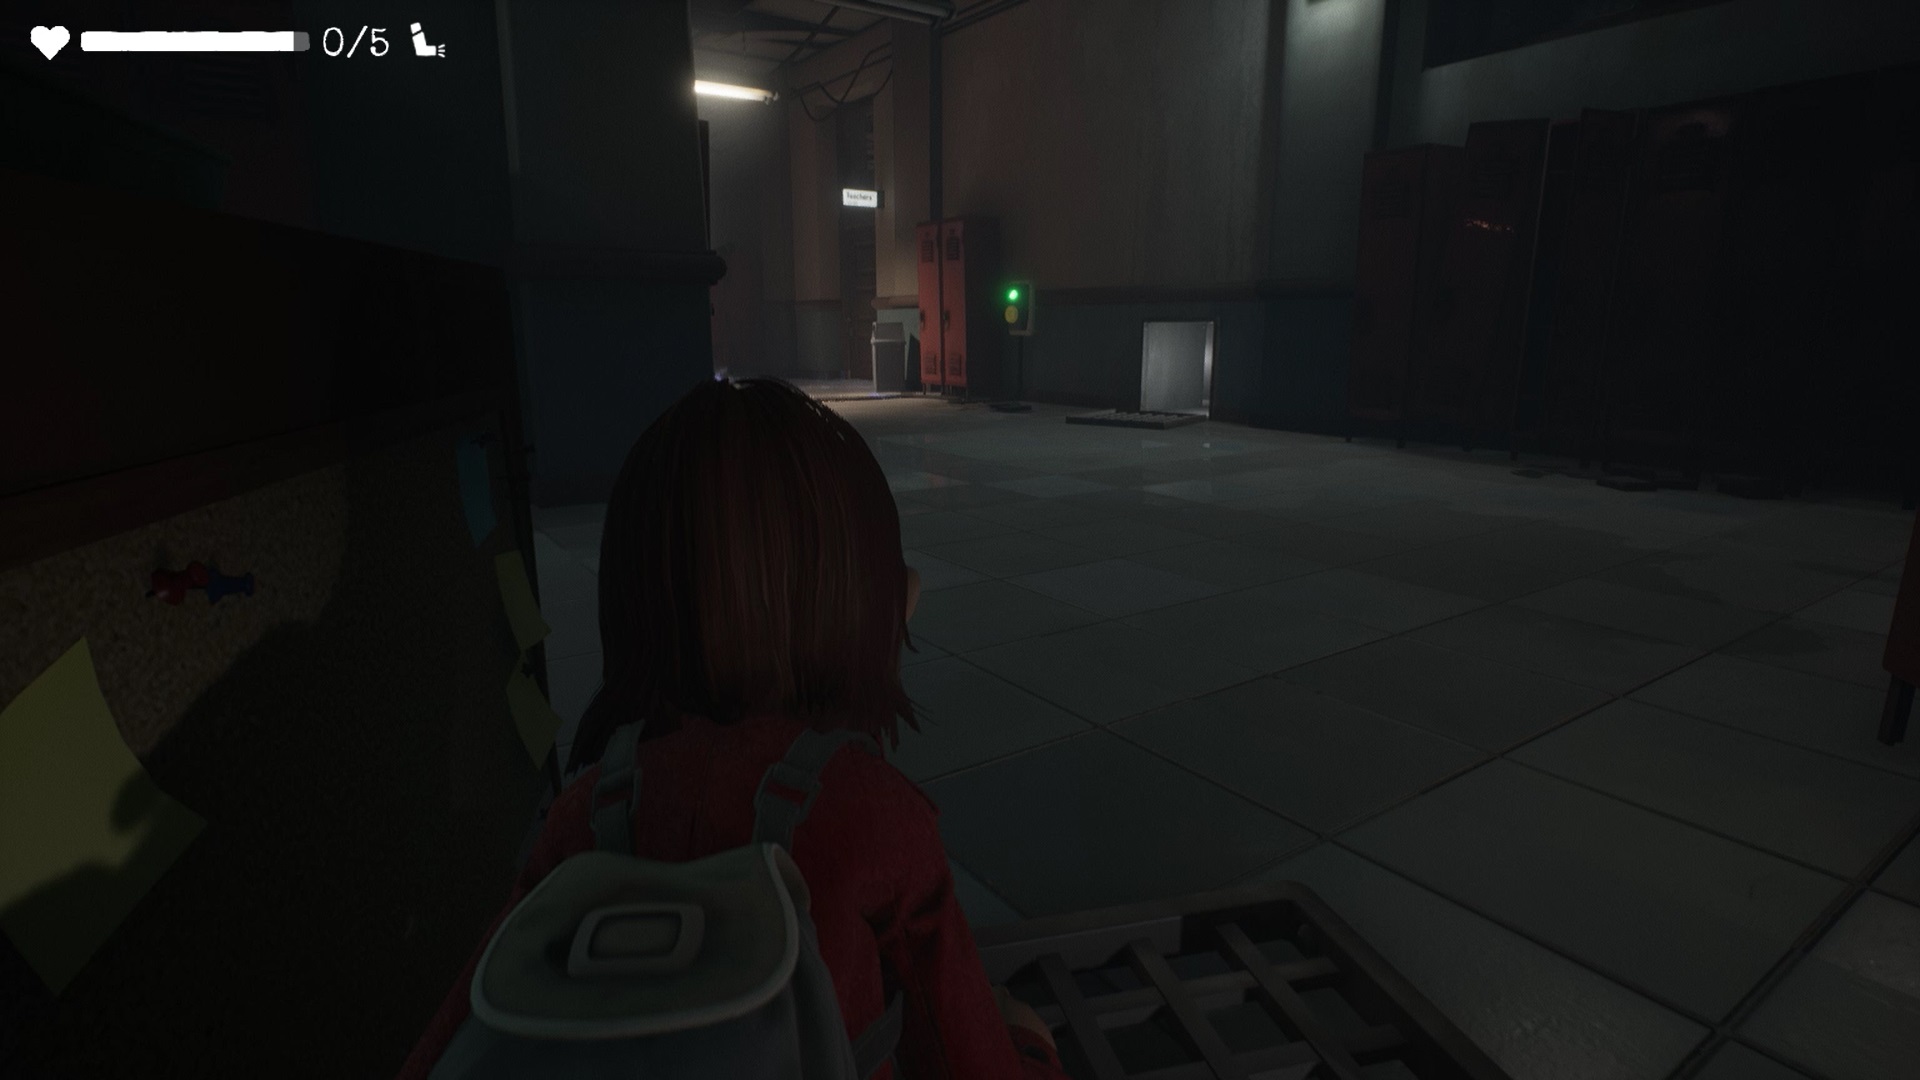
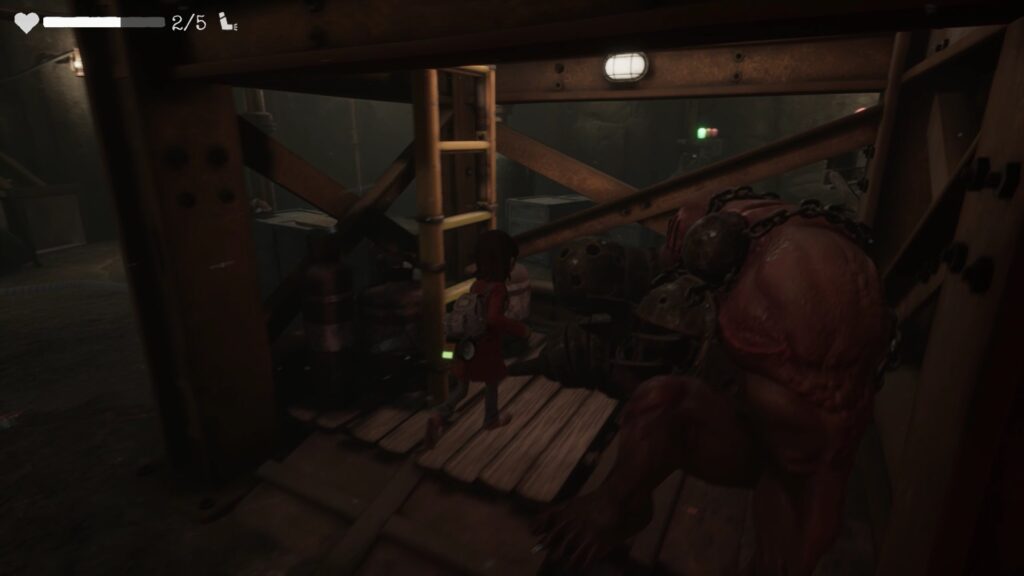
The office door is locked. Go under the ladder to reach the office and collect the school key. Retrace your steps to go to the school entrance. Be discreet, monsters are in the game. Hide behind the hedges and move forward when the monsters have their backs to you.
School – Ground floor
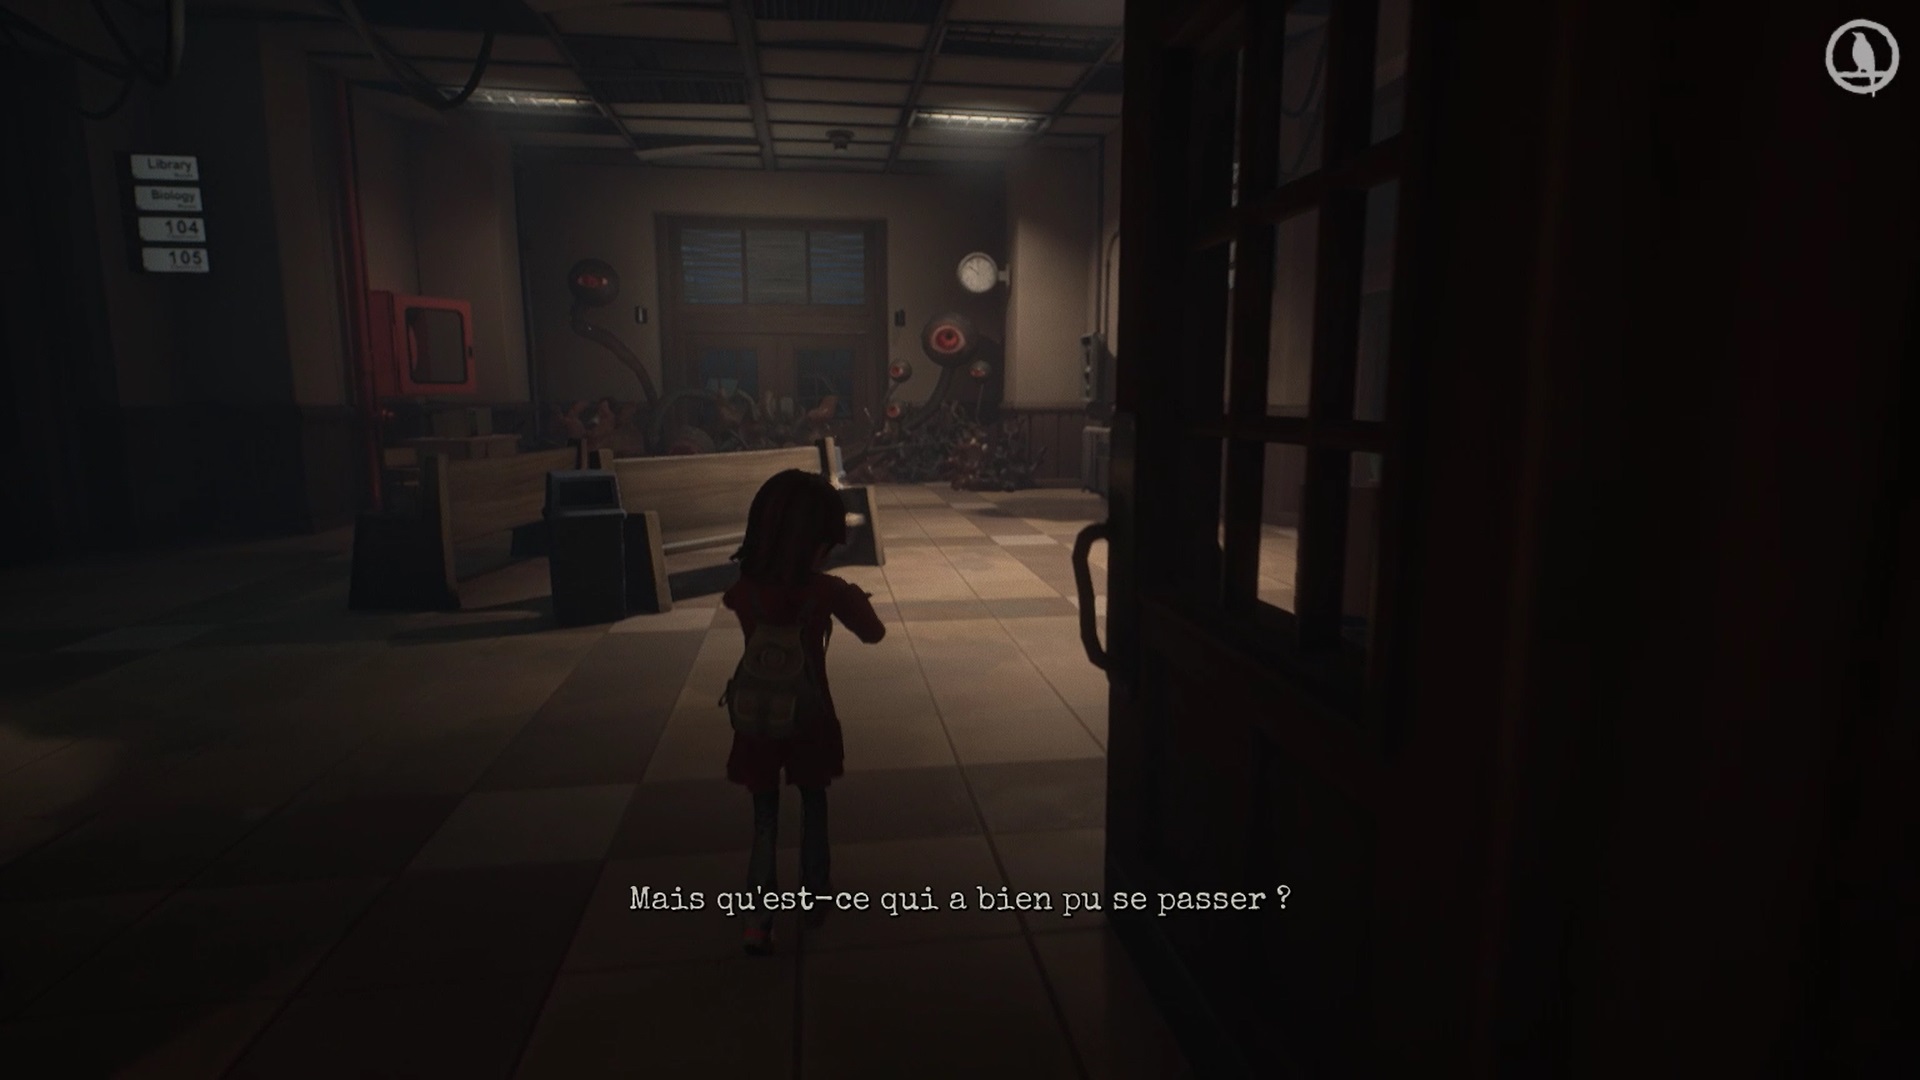
In the school, go forward and go through the double doors to reach the main hallway. To the west, the hall door is locked with a key. You need to find the hall key. Head east towards the staff room. Enter the restroom west of the staff room.
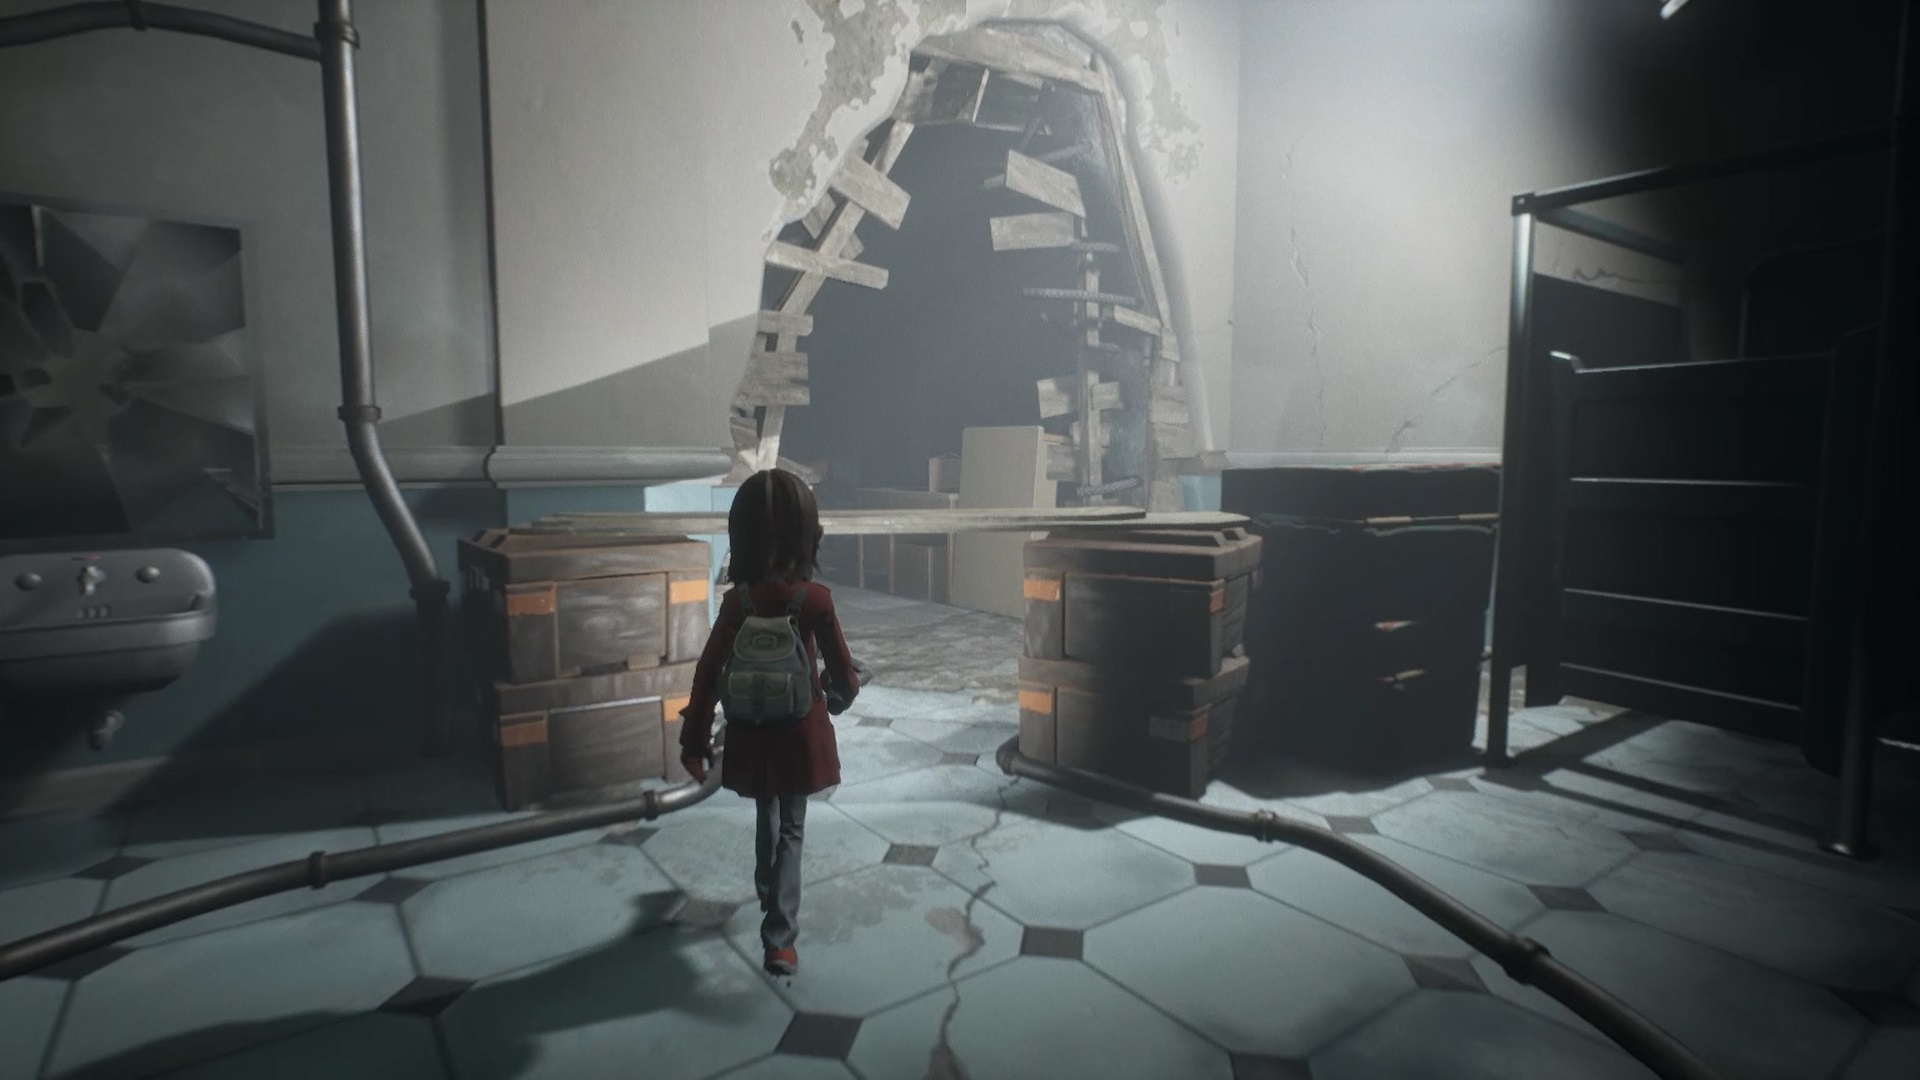
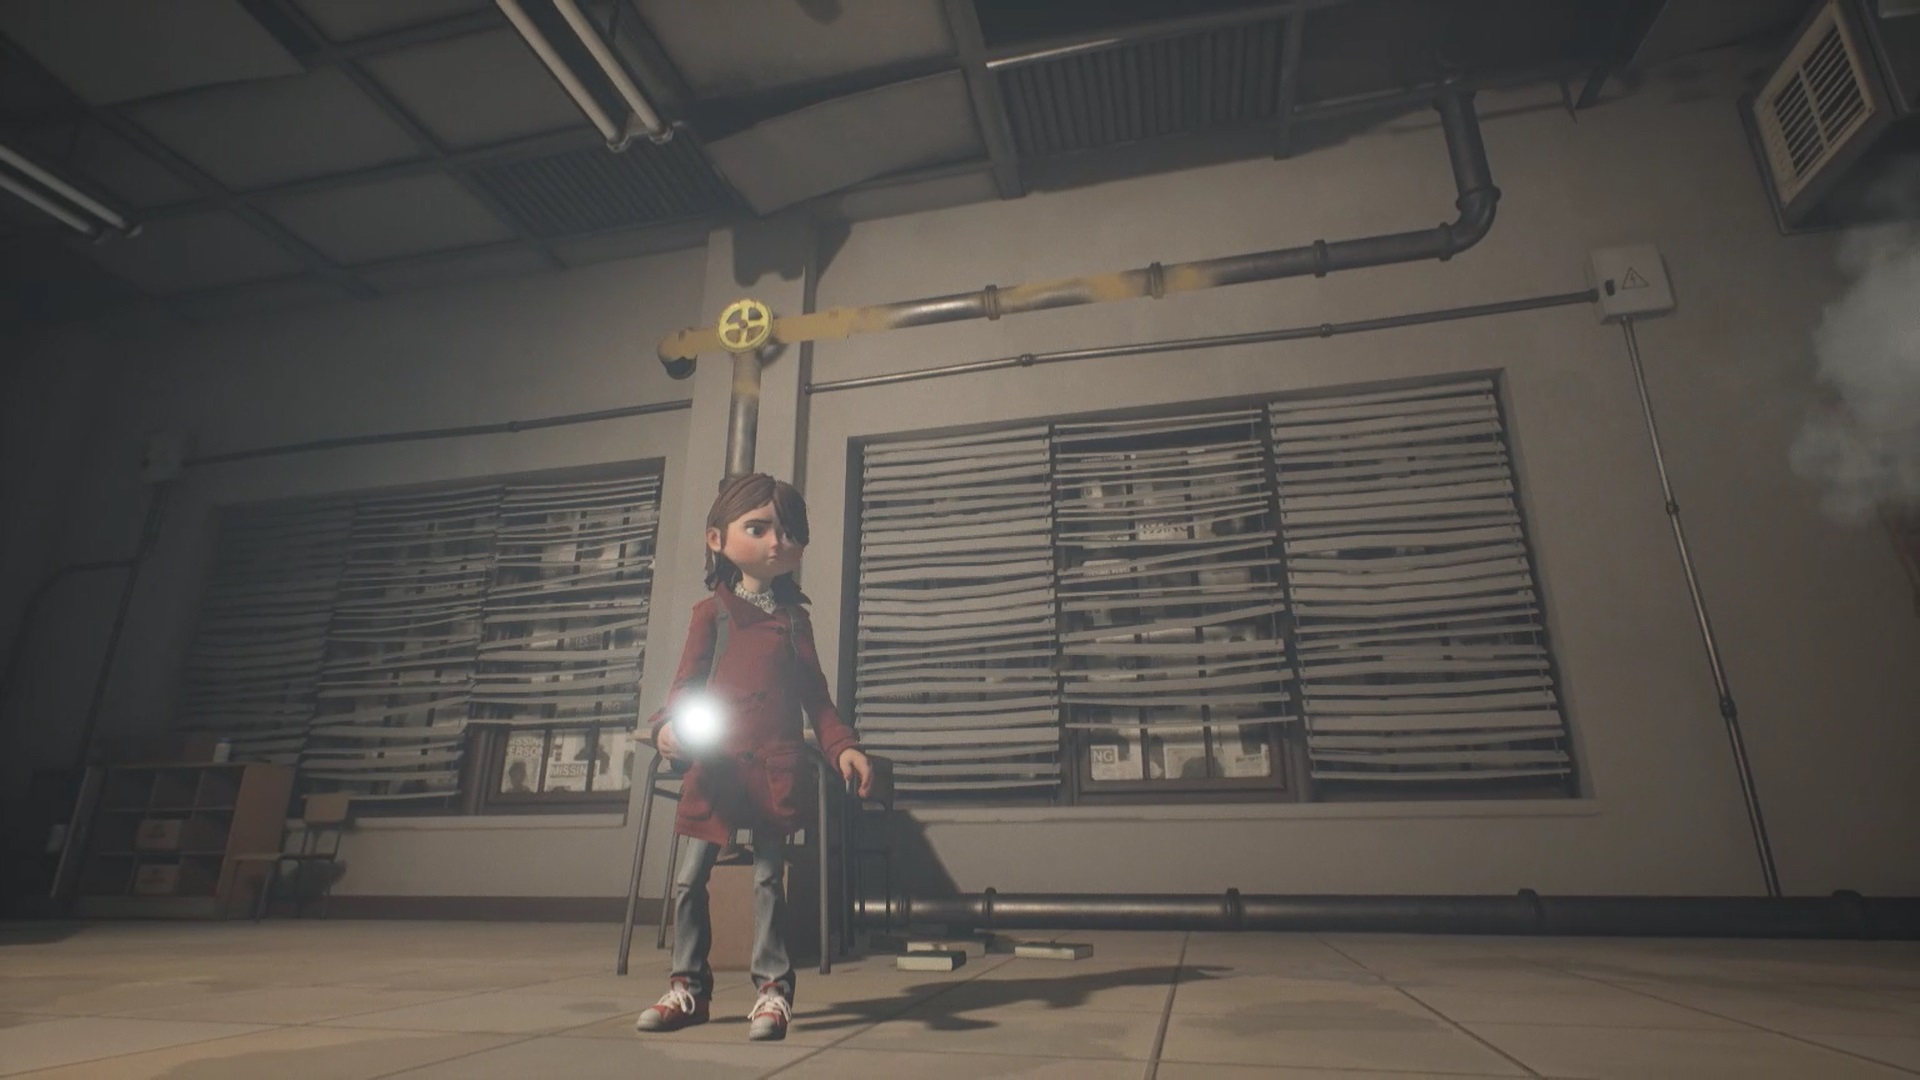
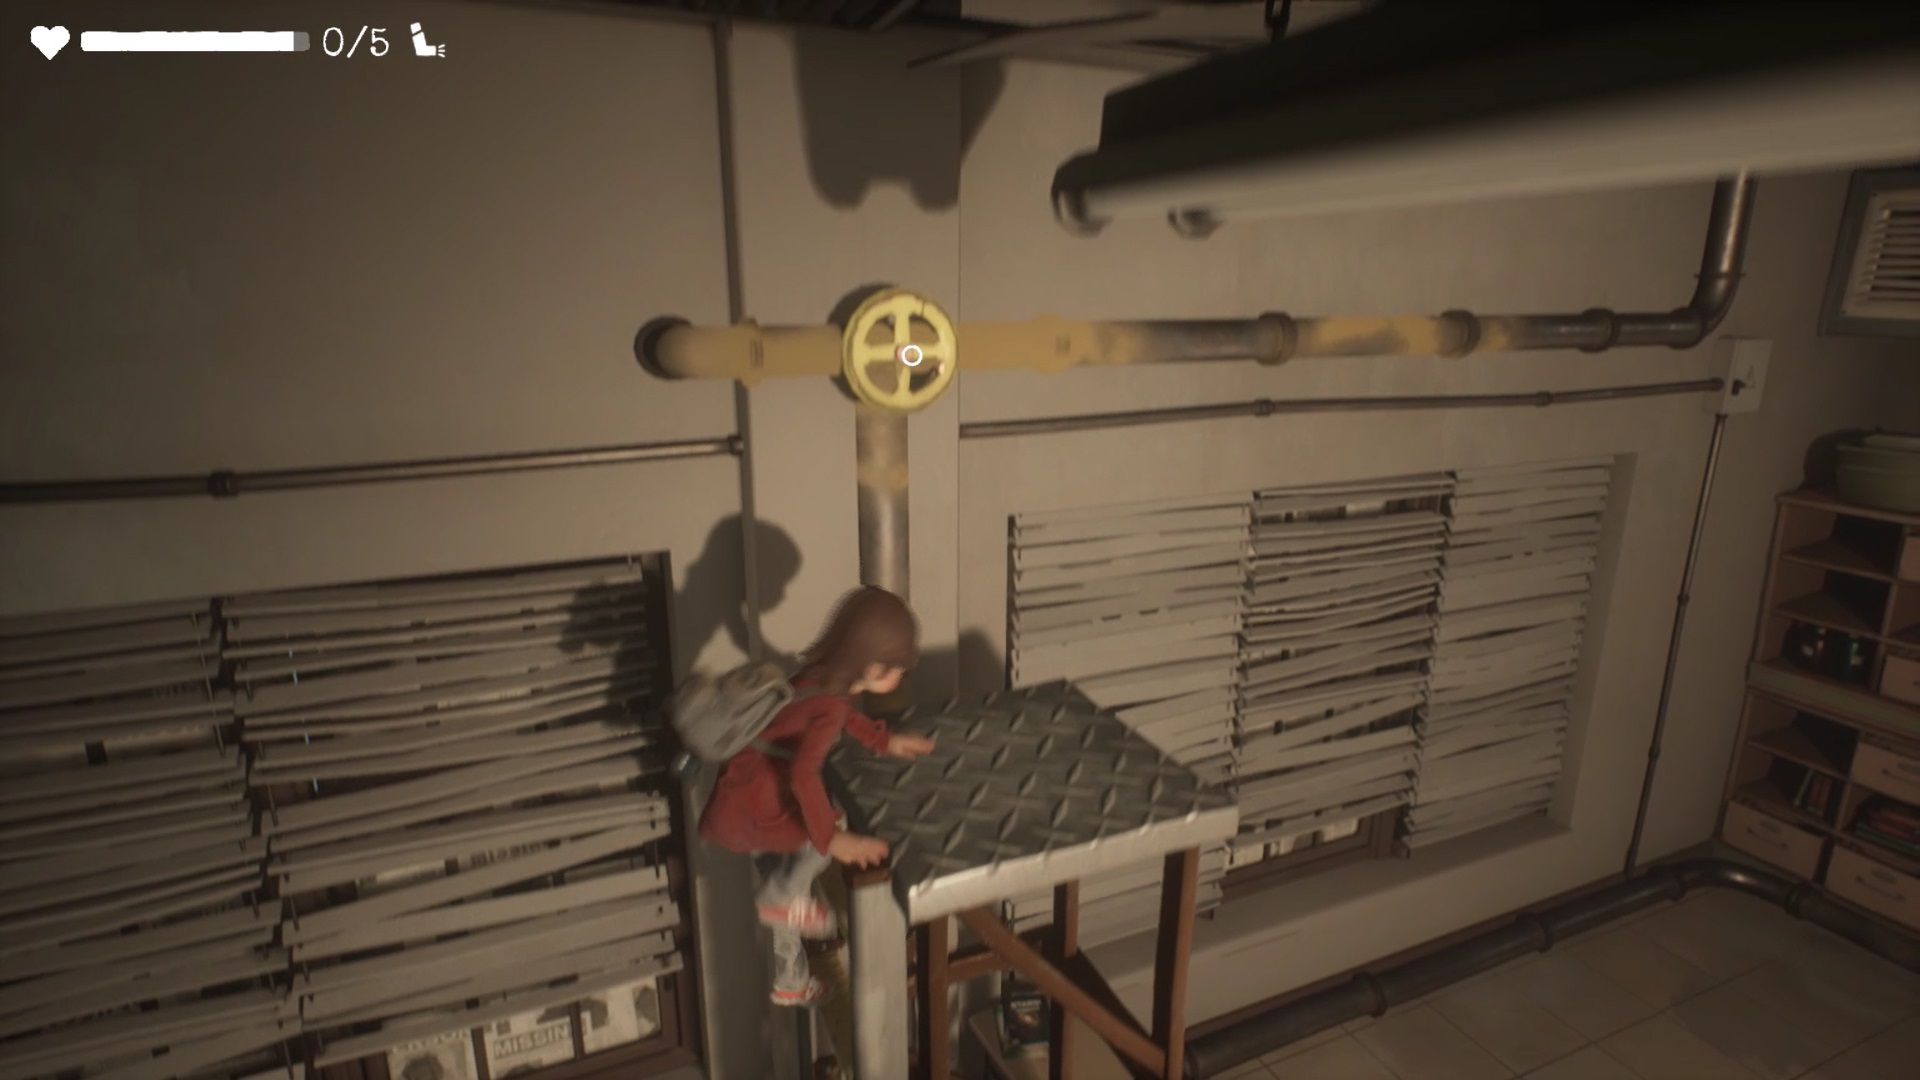
Go into the next room through the breach in the wall. Continue forward to reach room 103. Use the map to find your way around. On the left in height, is a yellow valve. Catch the trolley near the shelves and place it under the valve. Climb the cart ladder to reach the valve.
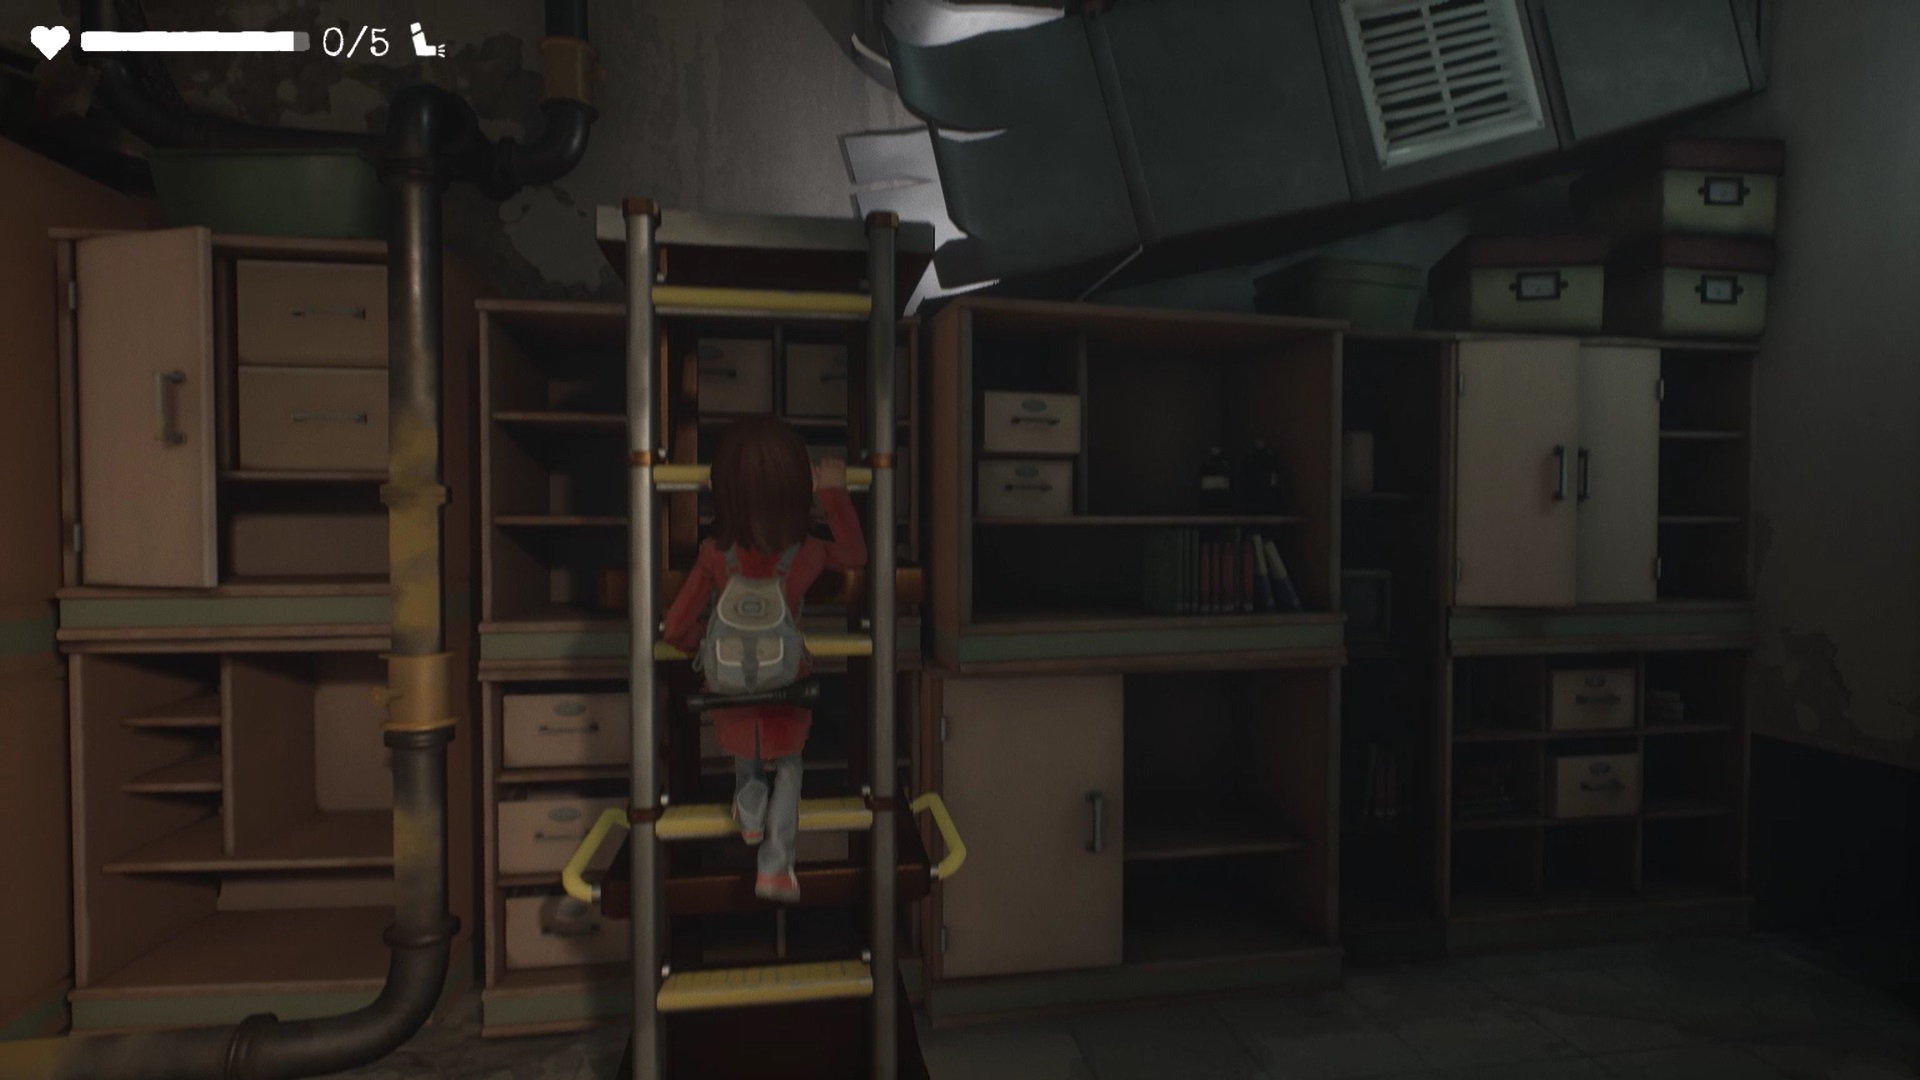
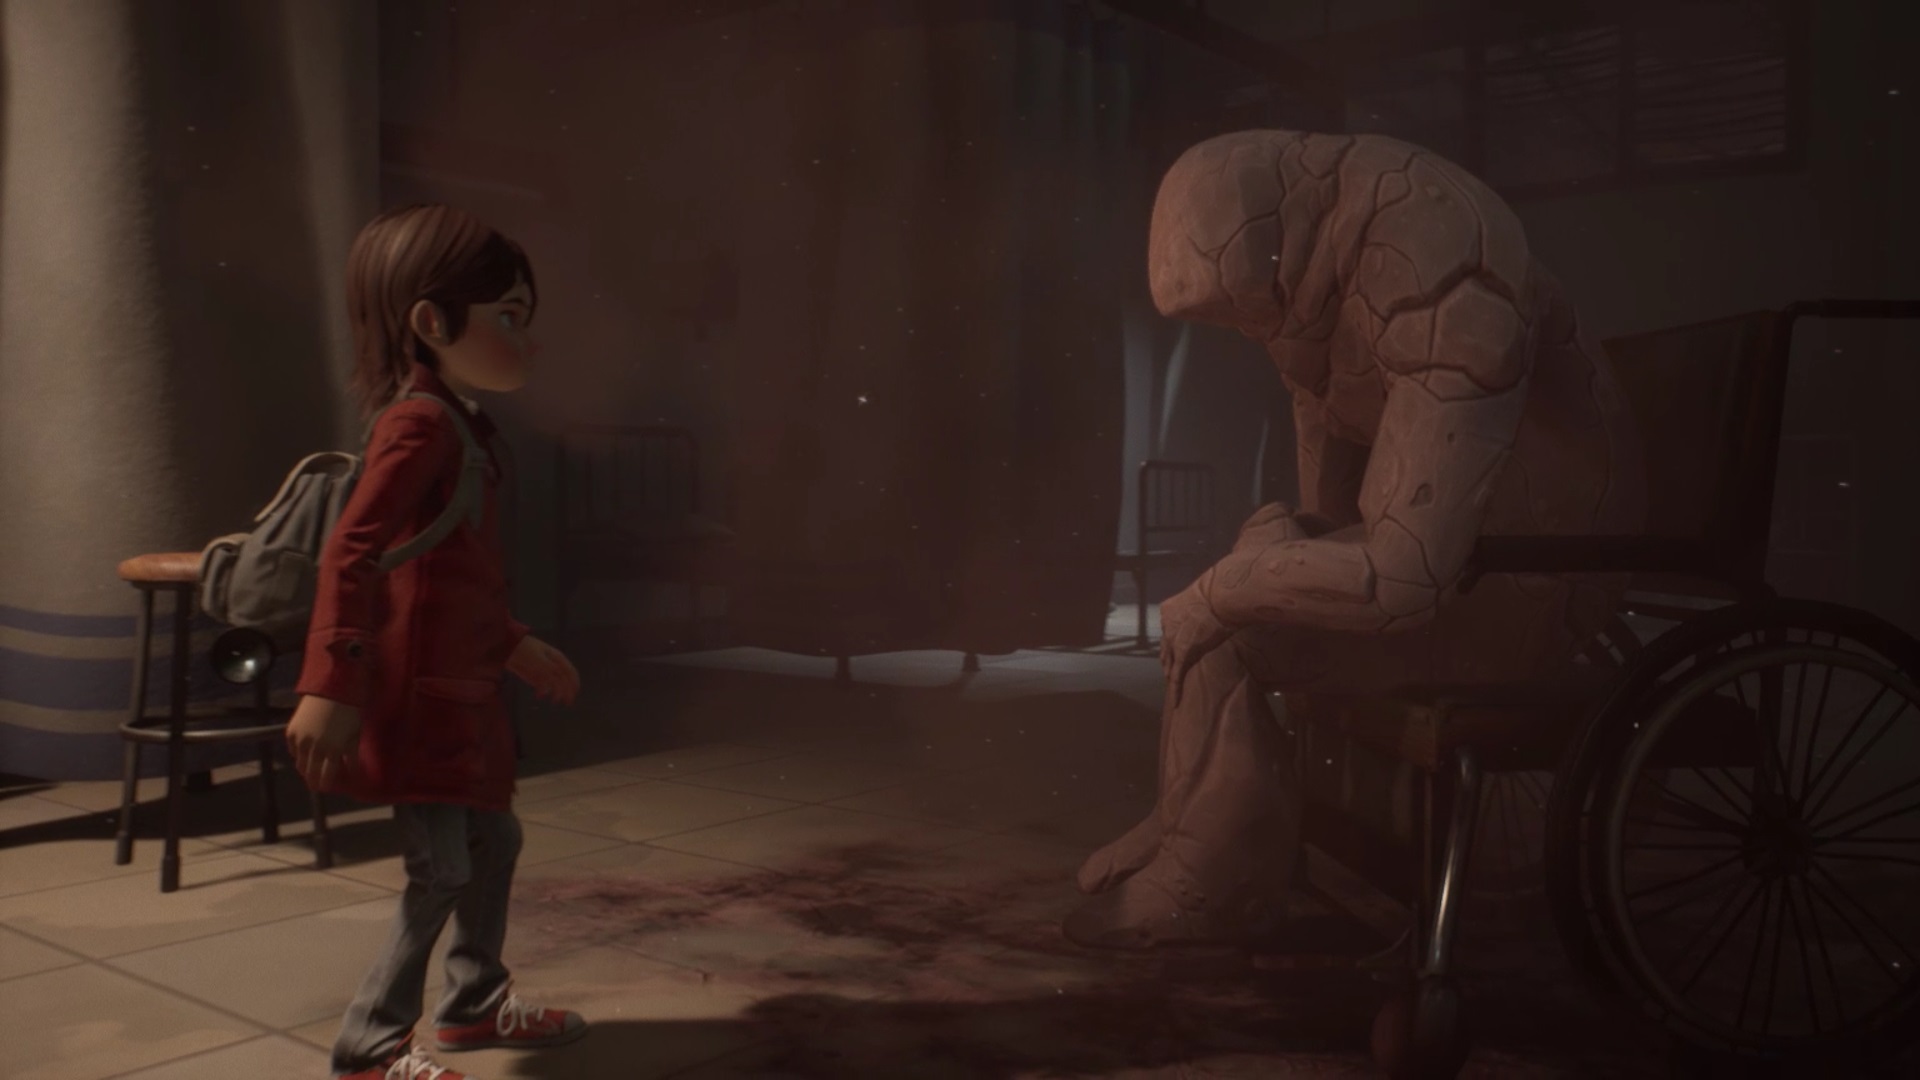
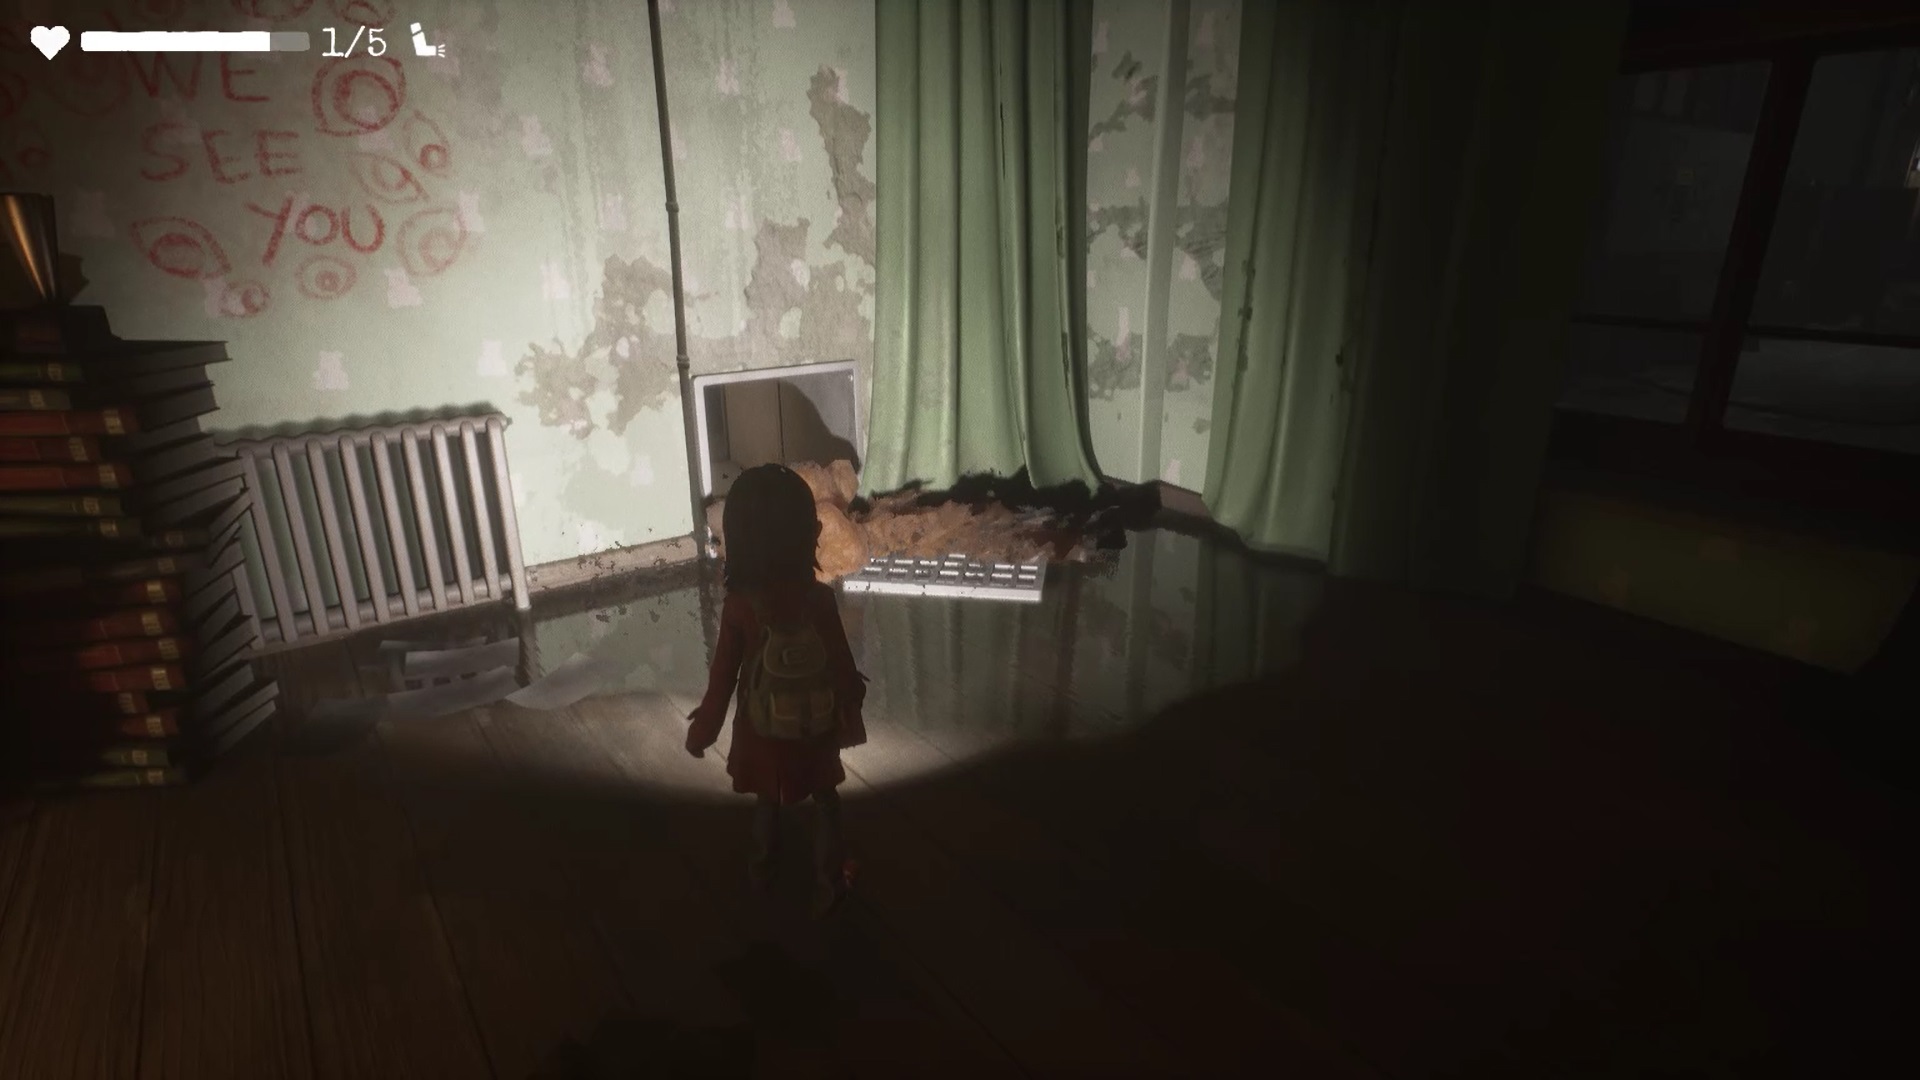
Take the cart back and place it on the shelves under the air duct. Climb the ladder and sneak through the conduit to reach the infirmary. Interact with the statue in the center of the room to get a piece of funicular ticket.
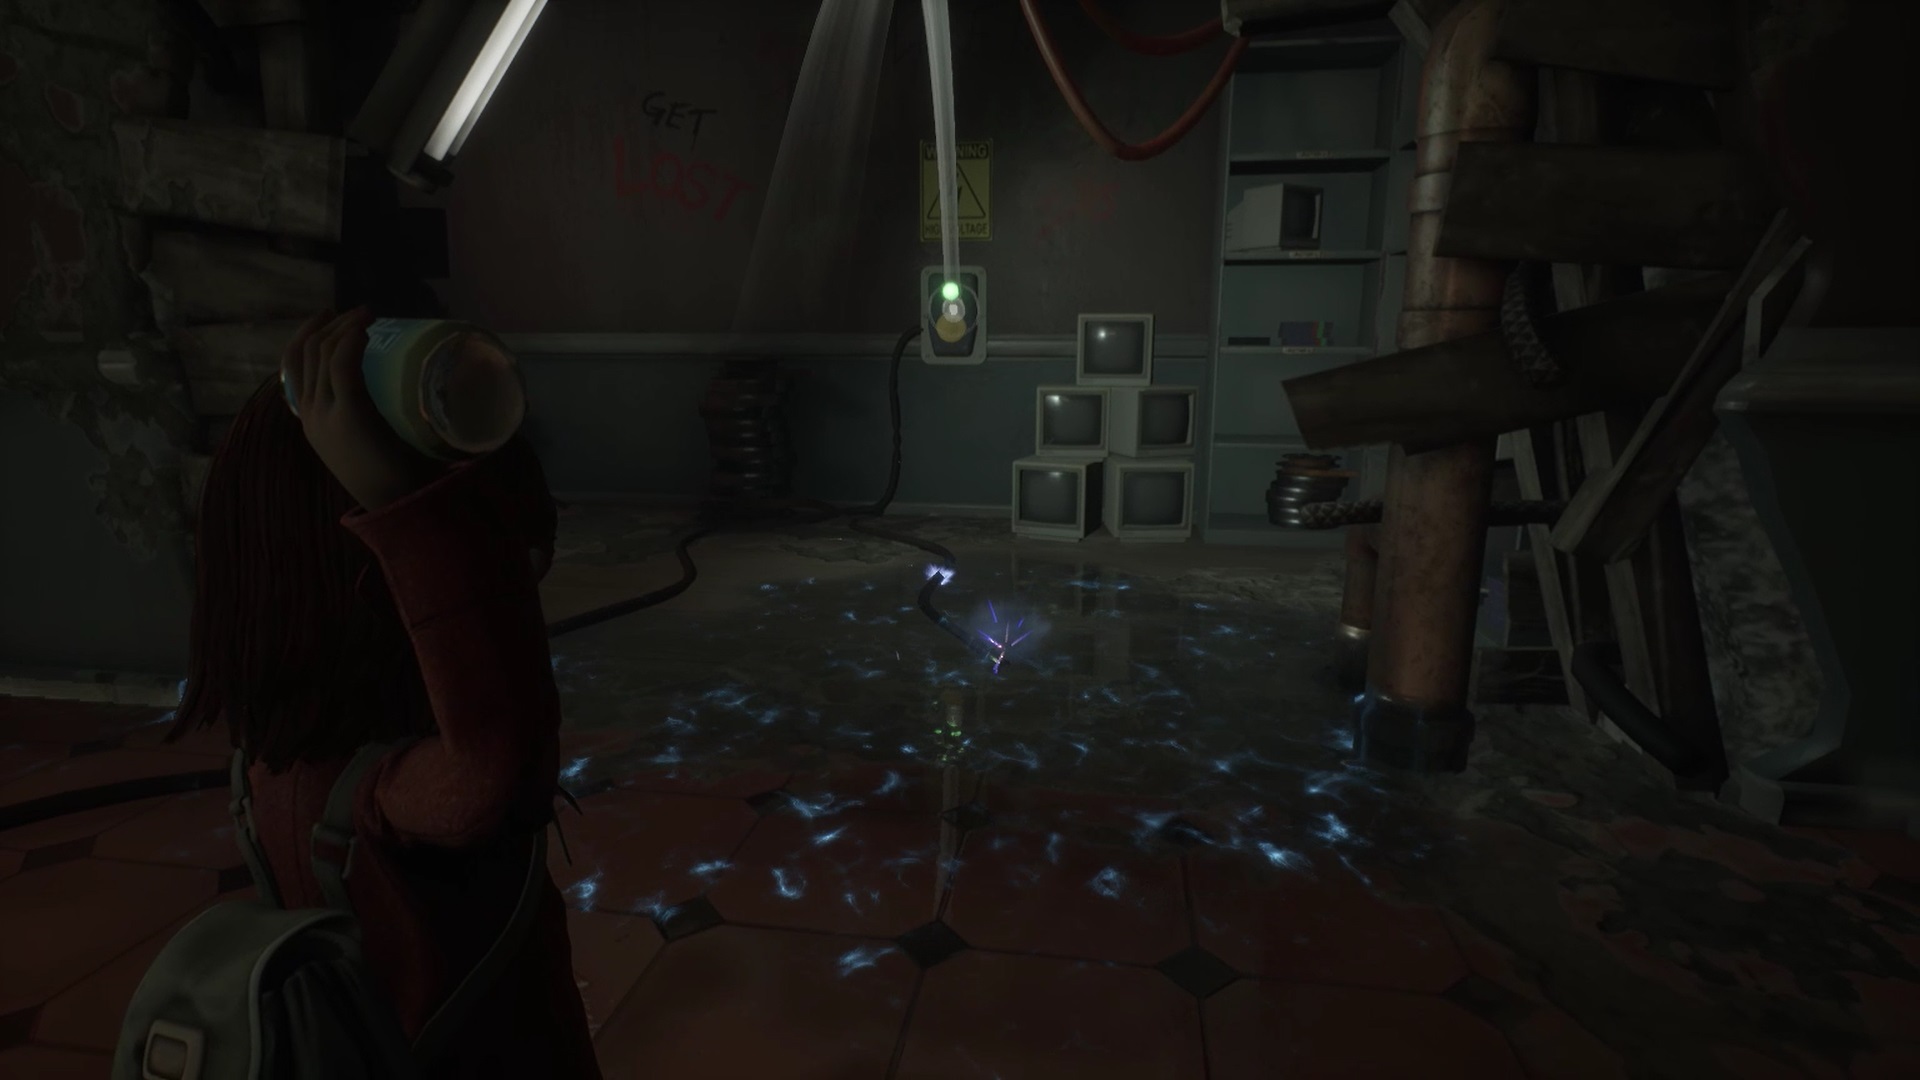
Exit the infirmary and enter the conduit facing the infirmary. The staff room is blocked by a puddle of electric water. To reach the room, you must press the switch to turn off the electricity. You find the hall key on a cork board in the staff room.
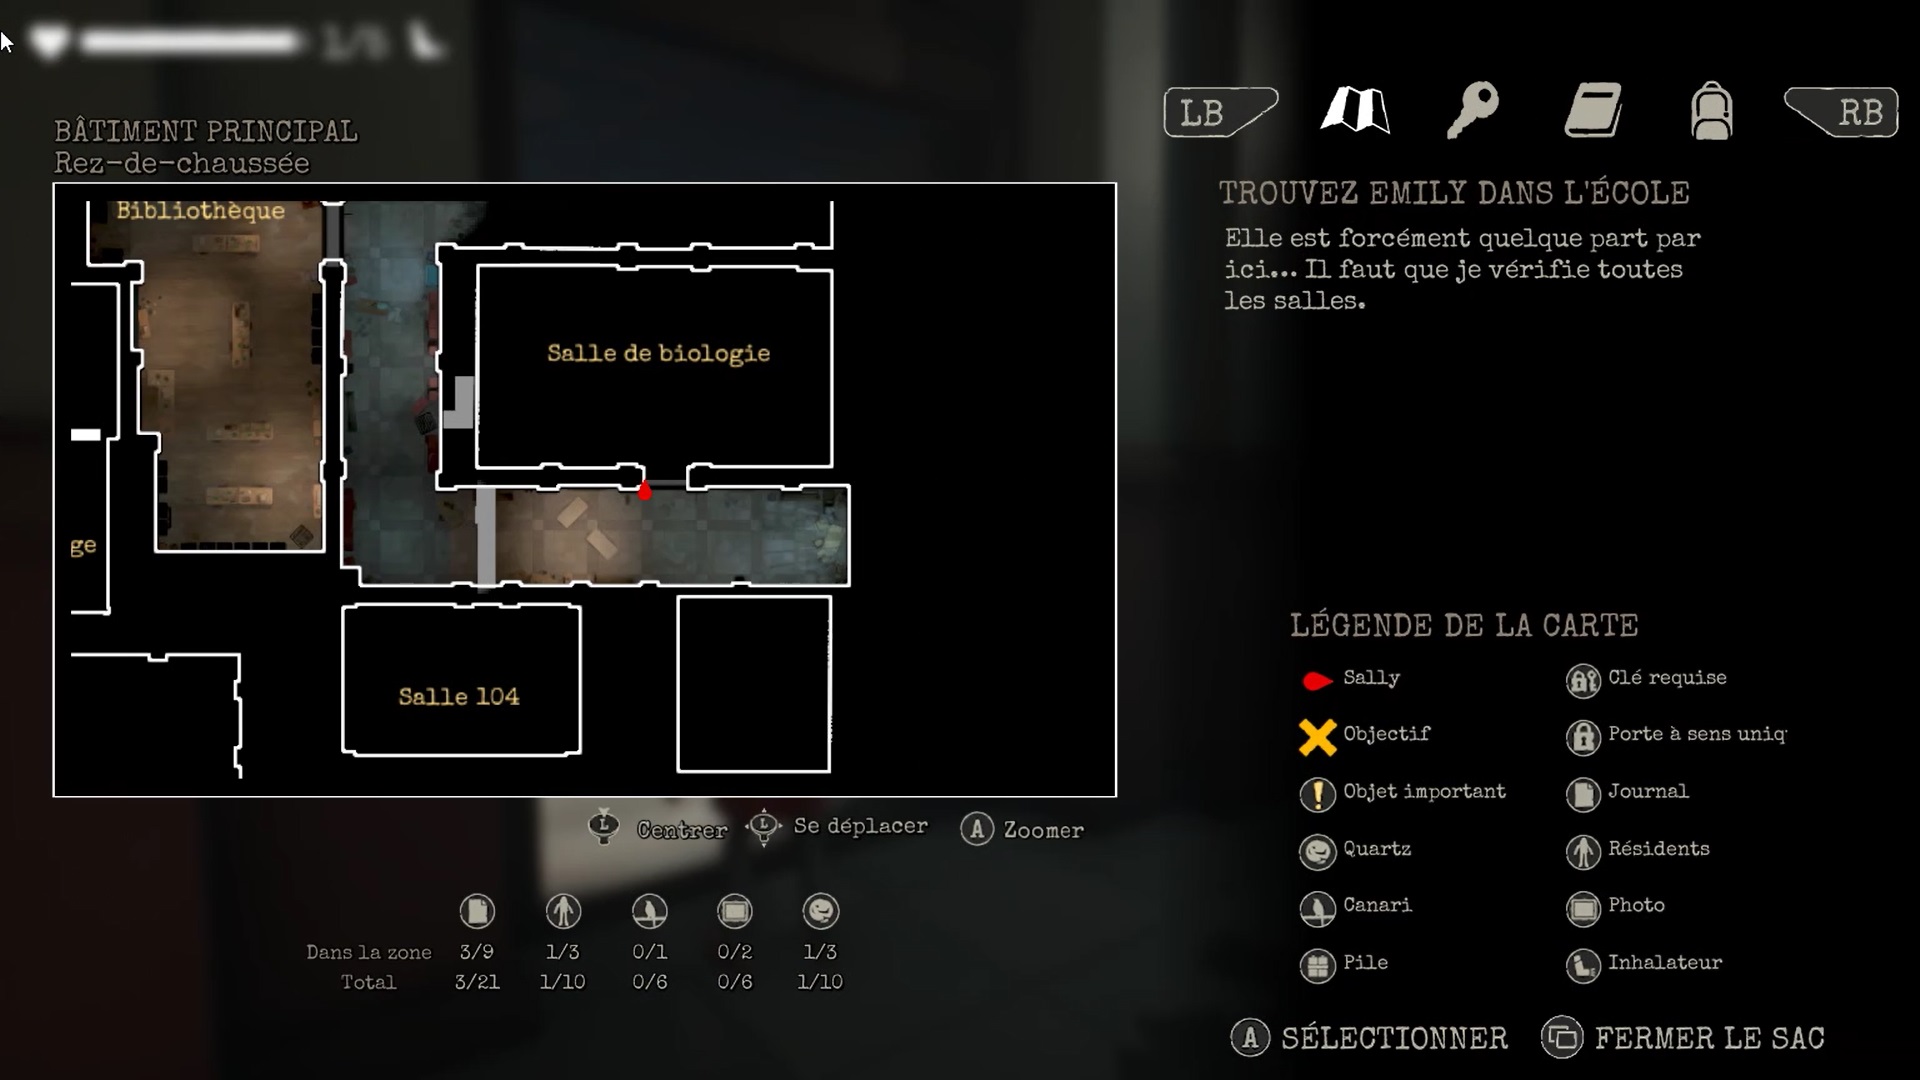
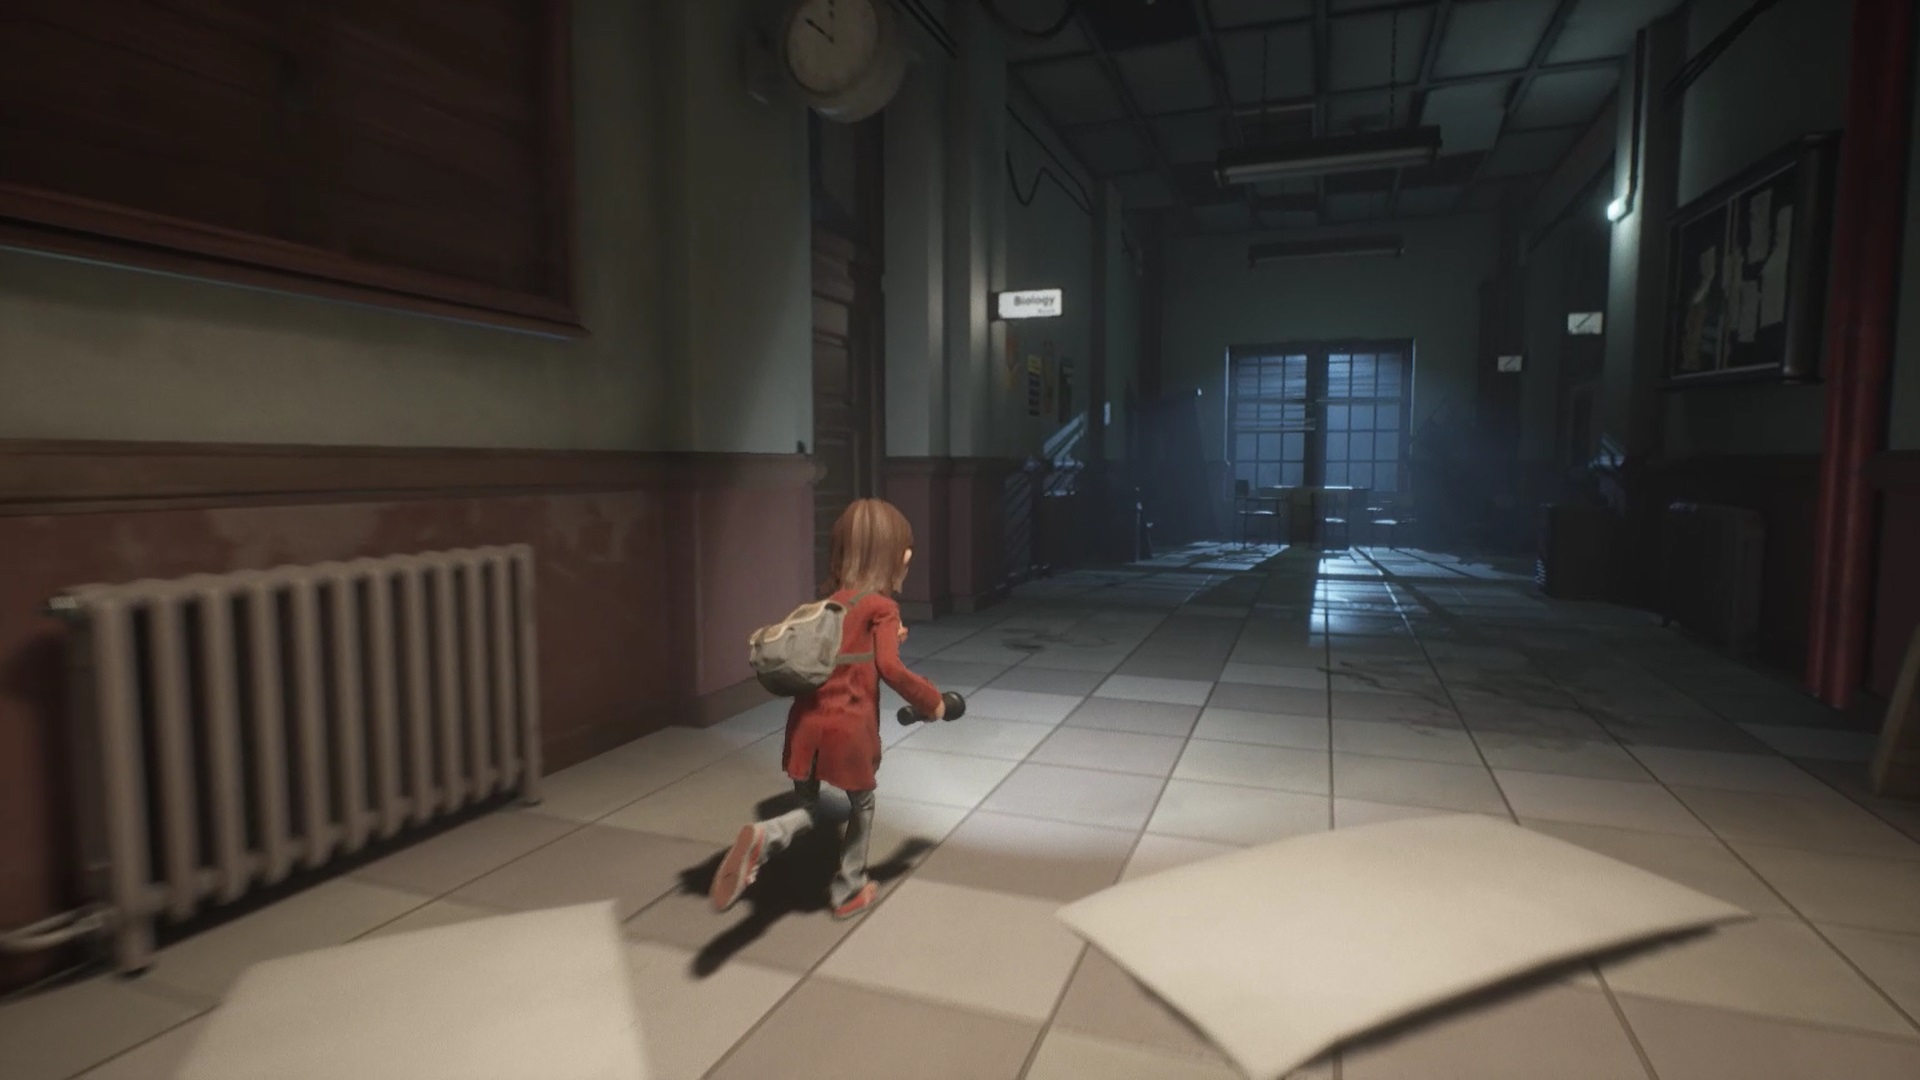
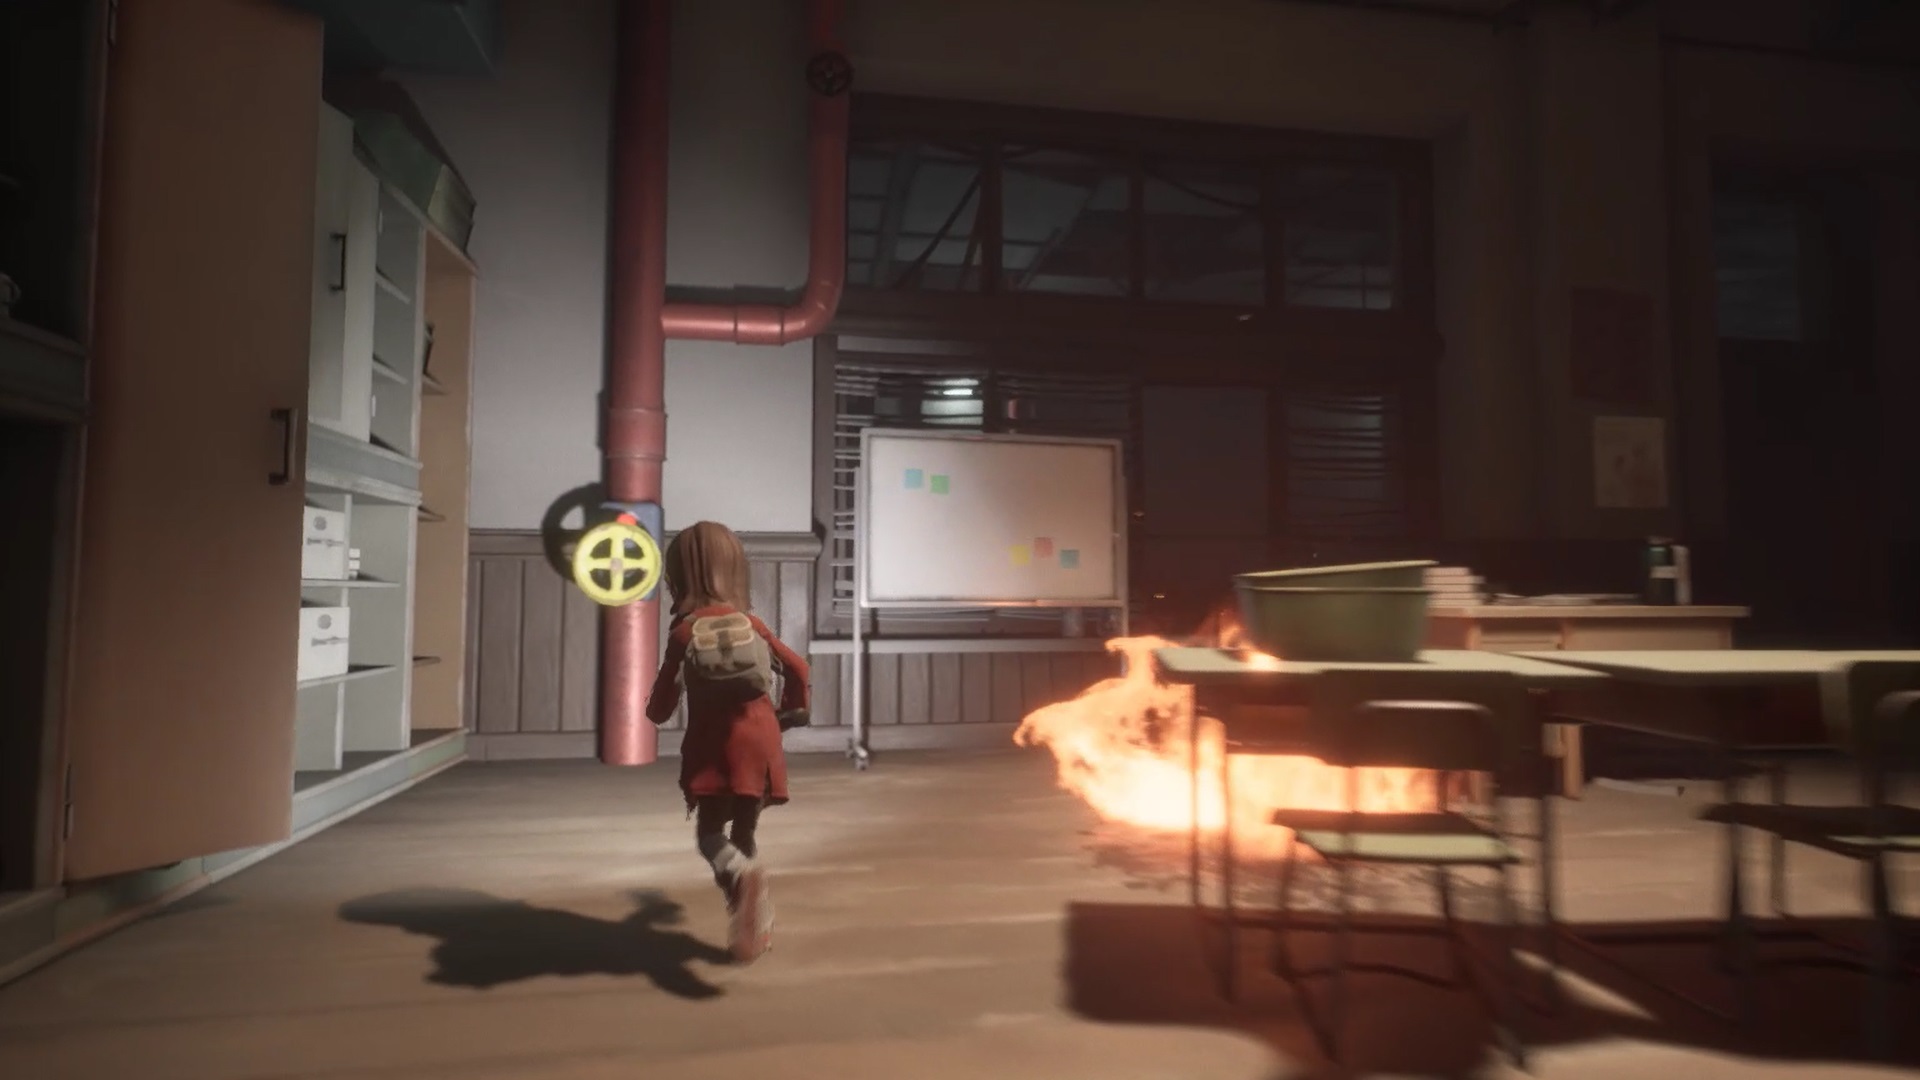
Return to the main hallway to open the hall door with the key. Head into the biology room to the east. At the back to the west of the room, there is a valve. Activate it to trigger the water and extinguish the flames. In front of the valve, there is a cart stuck in an electric puddle. Follow the power wire to find the power supply.
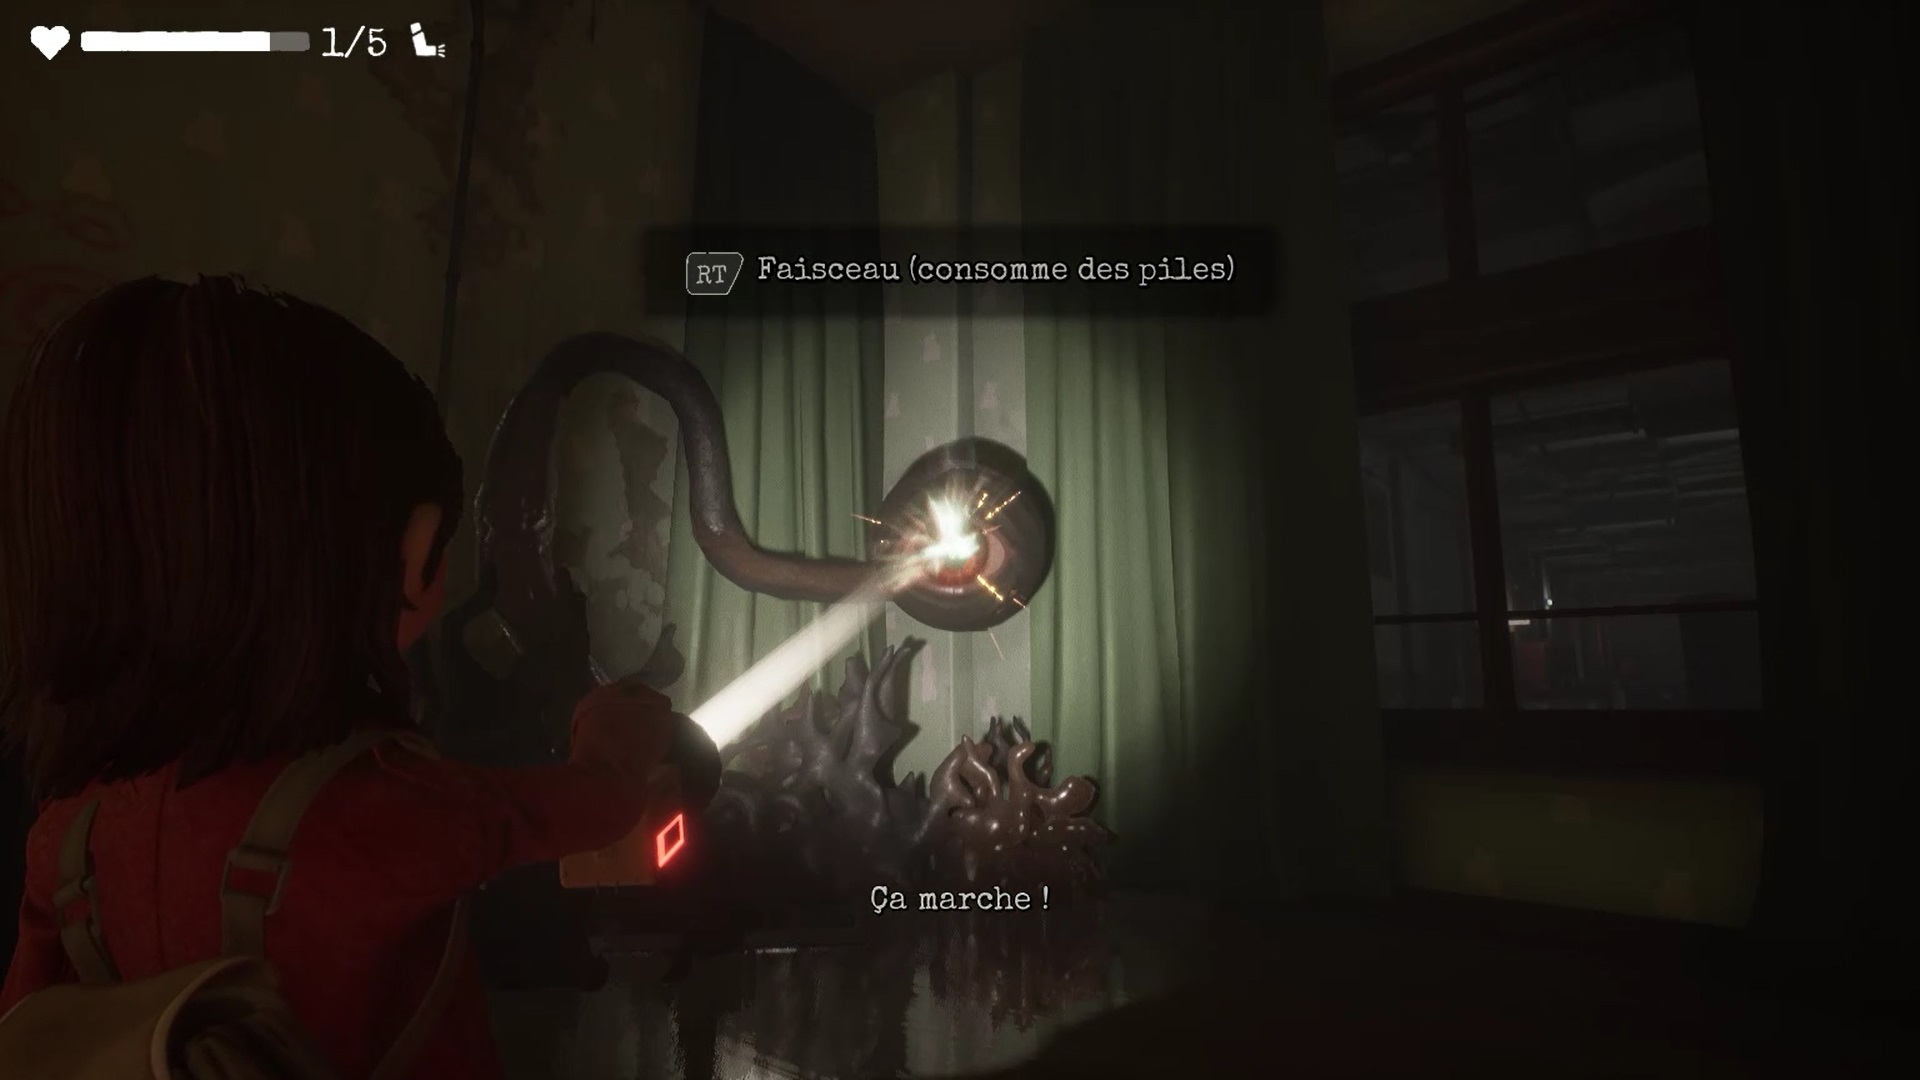
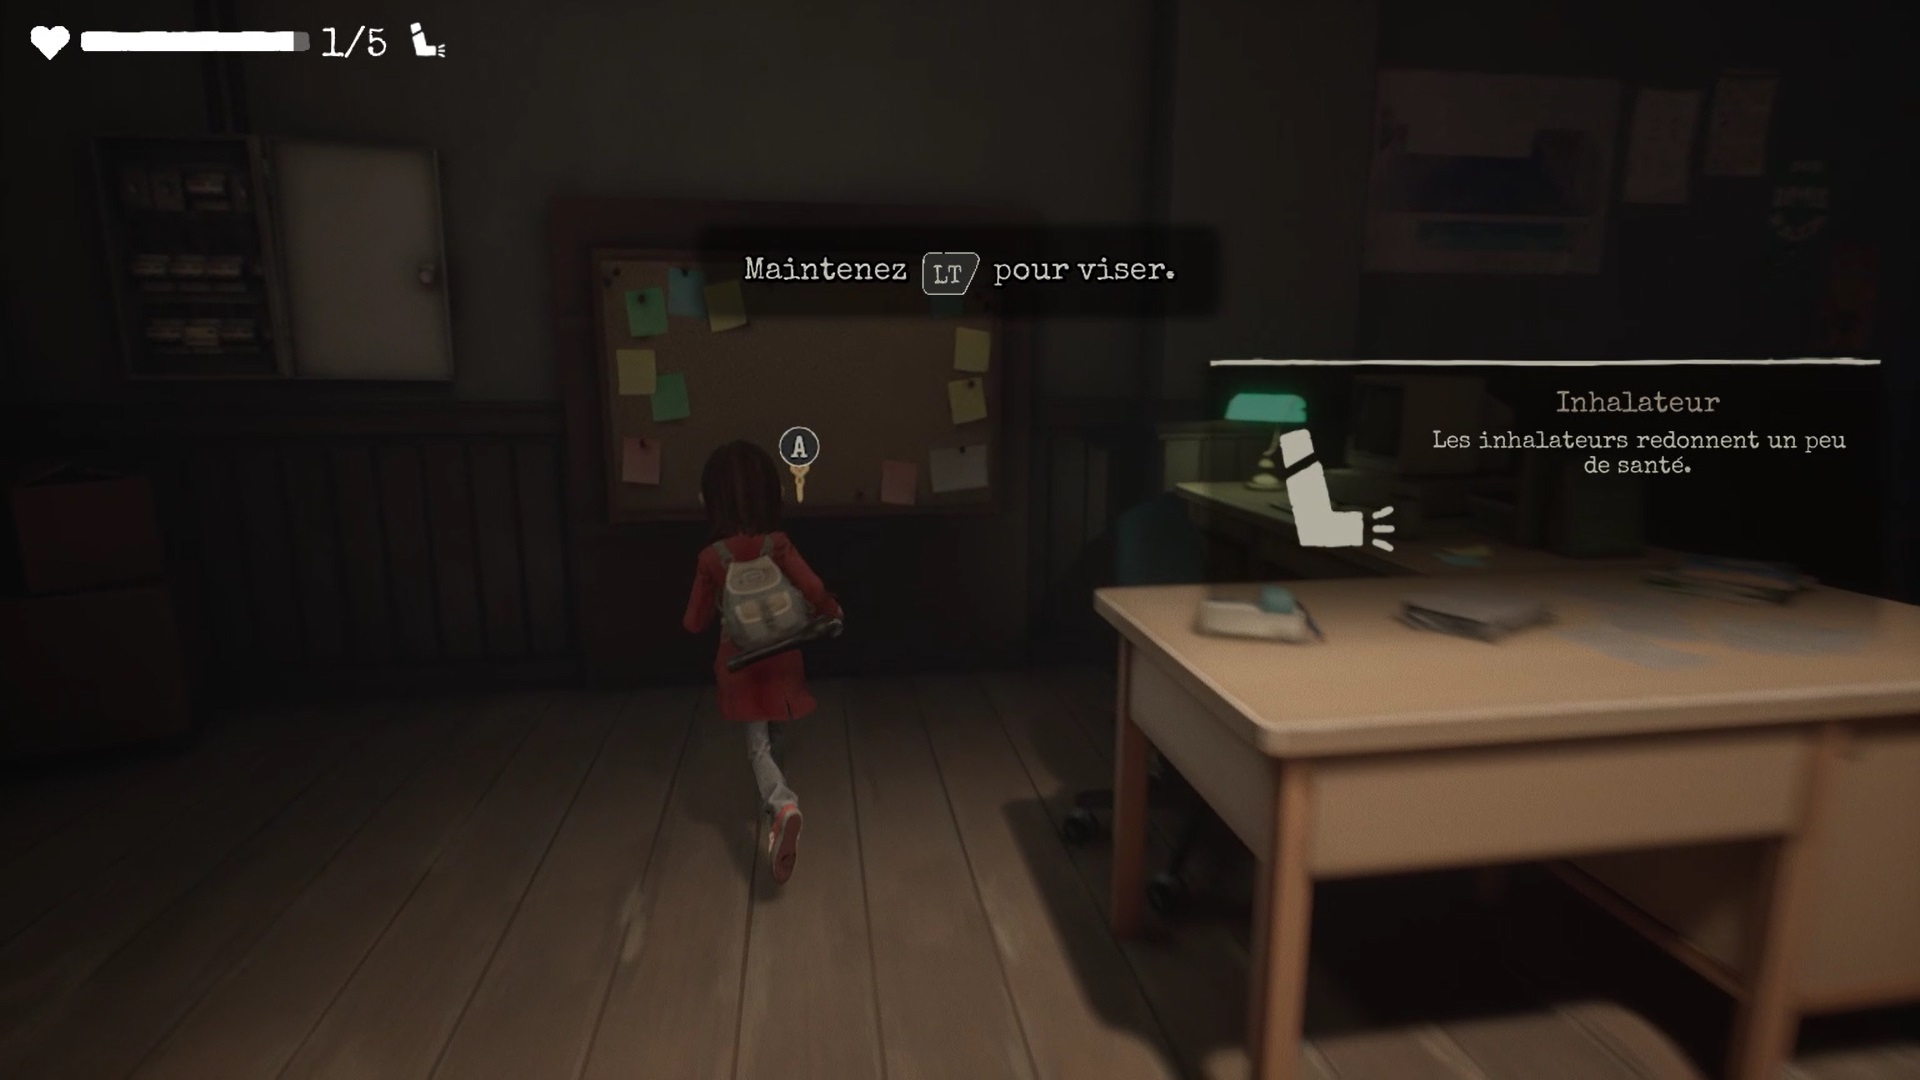
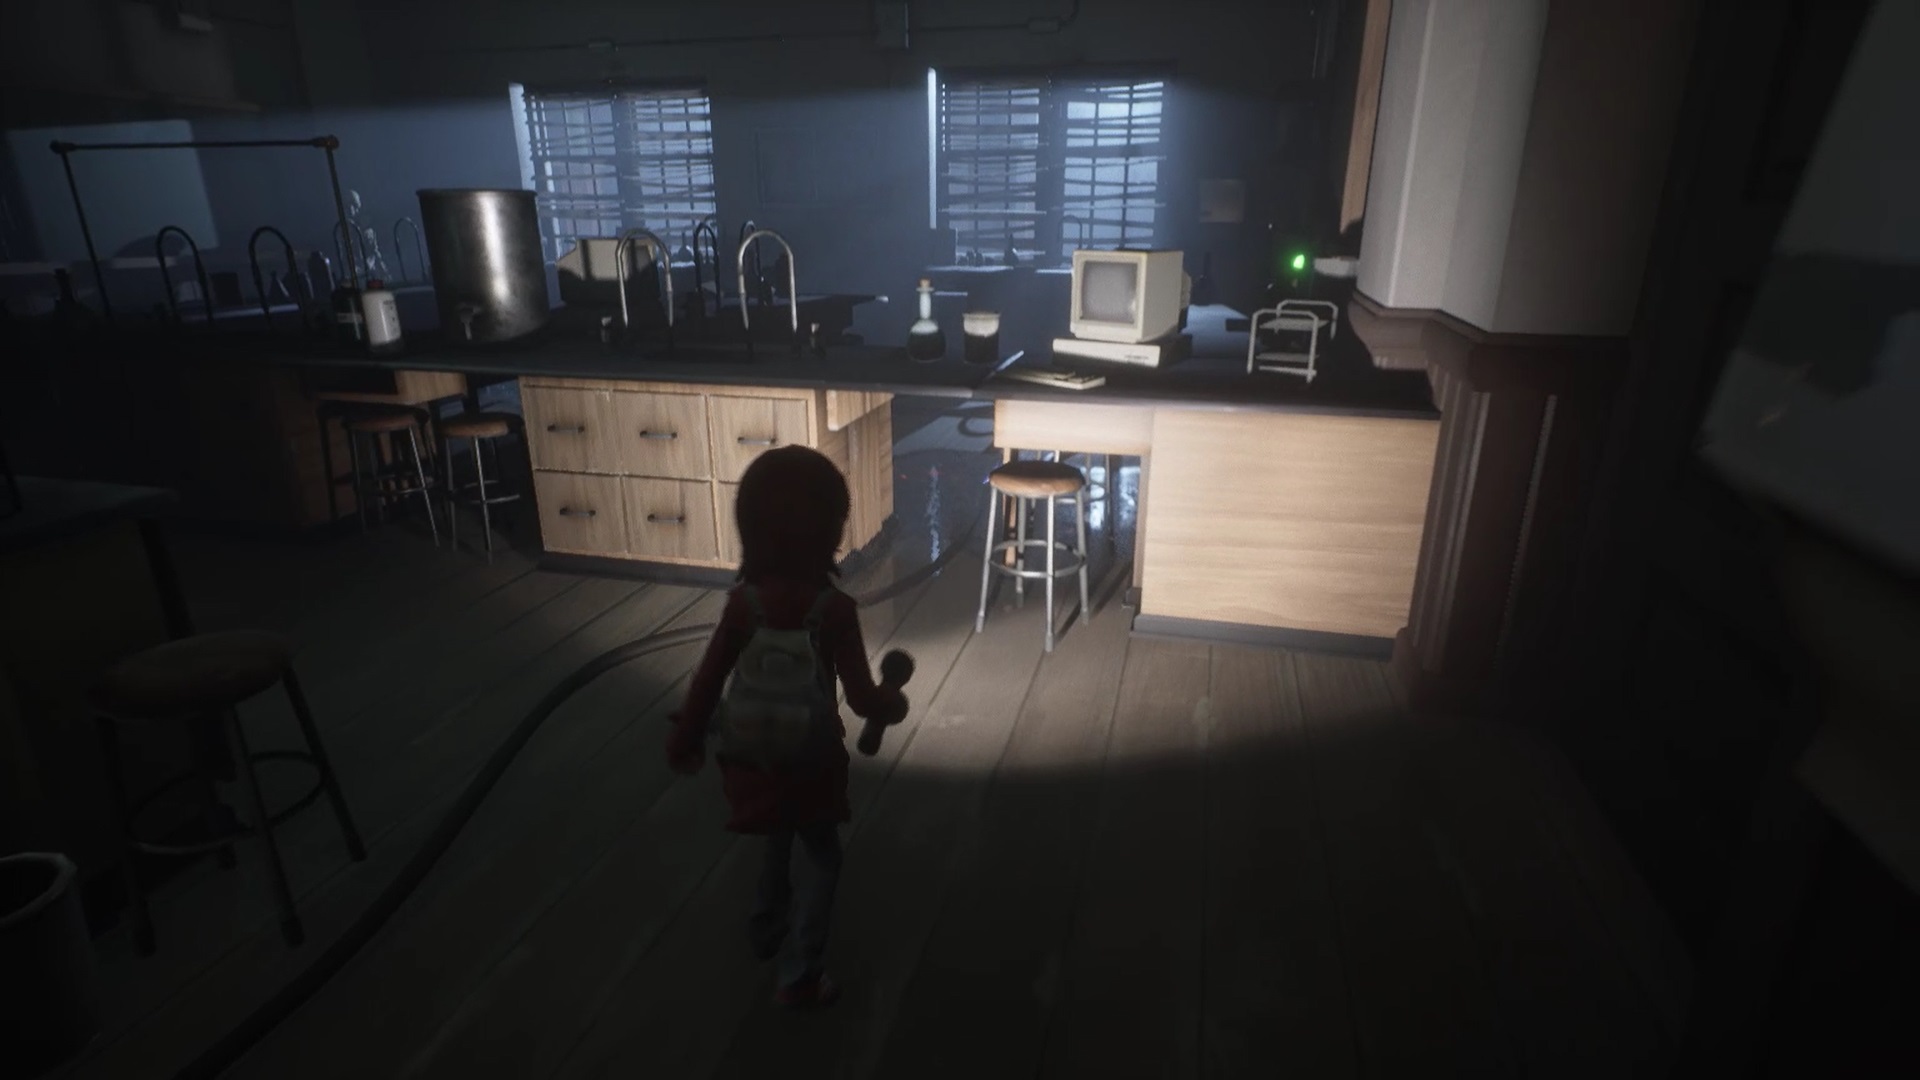
Activate the switch and go to the trolley facing the valve. Pull the cart to position it level with the shelves under an air duct. Enter the conduit to reach room 104. Collect a more powerful flashlight from the desk. Aim for the eye at the back of the room to unlock a passage.

Return to the main hallway. Use your flashlight on the different eyes to unlock the door. Proceed south to reach the cafeteria.
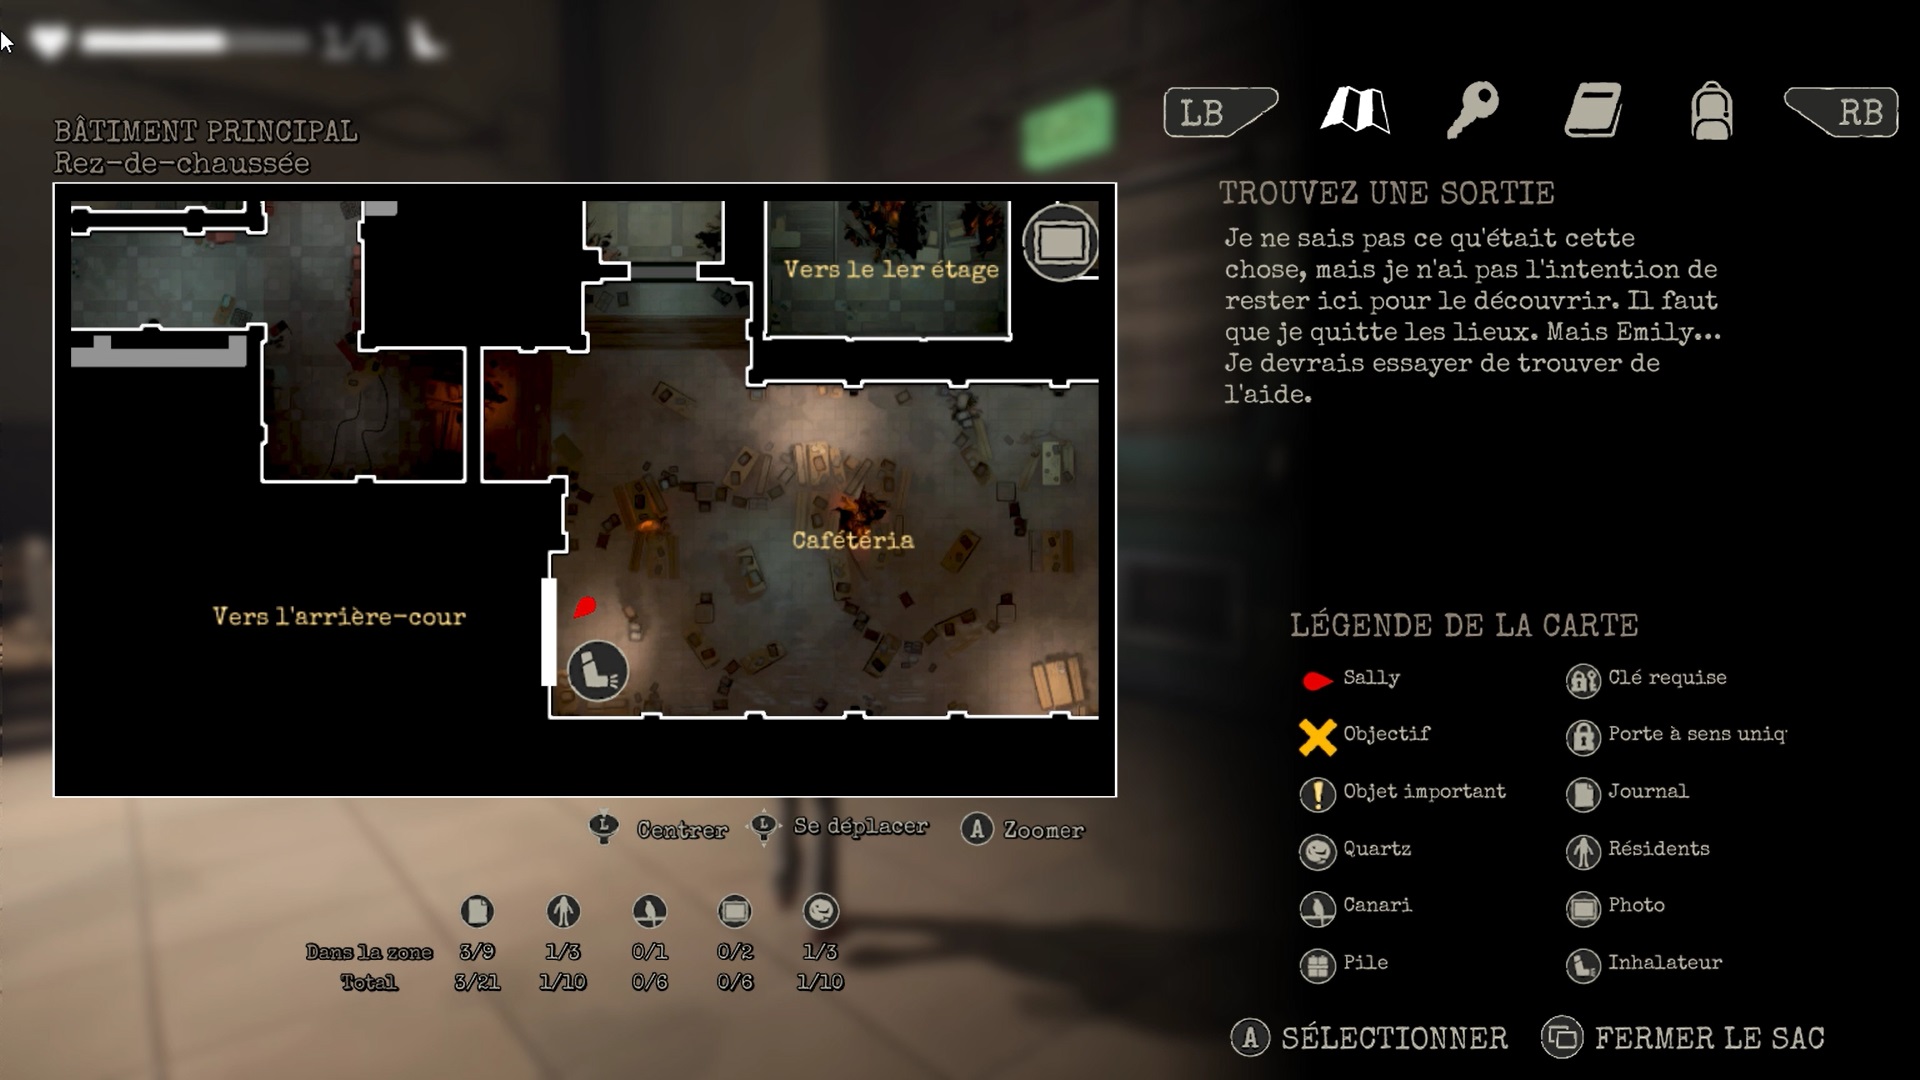
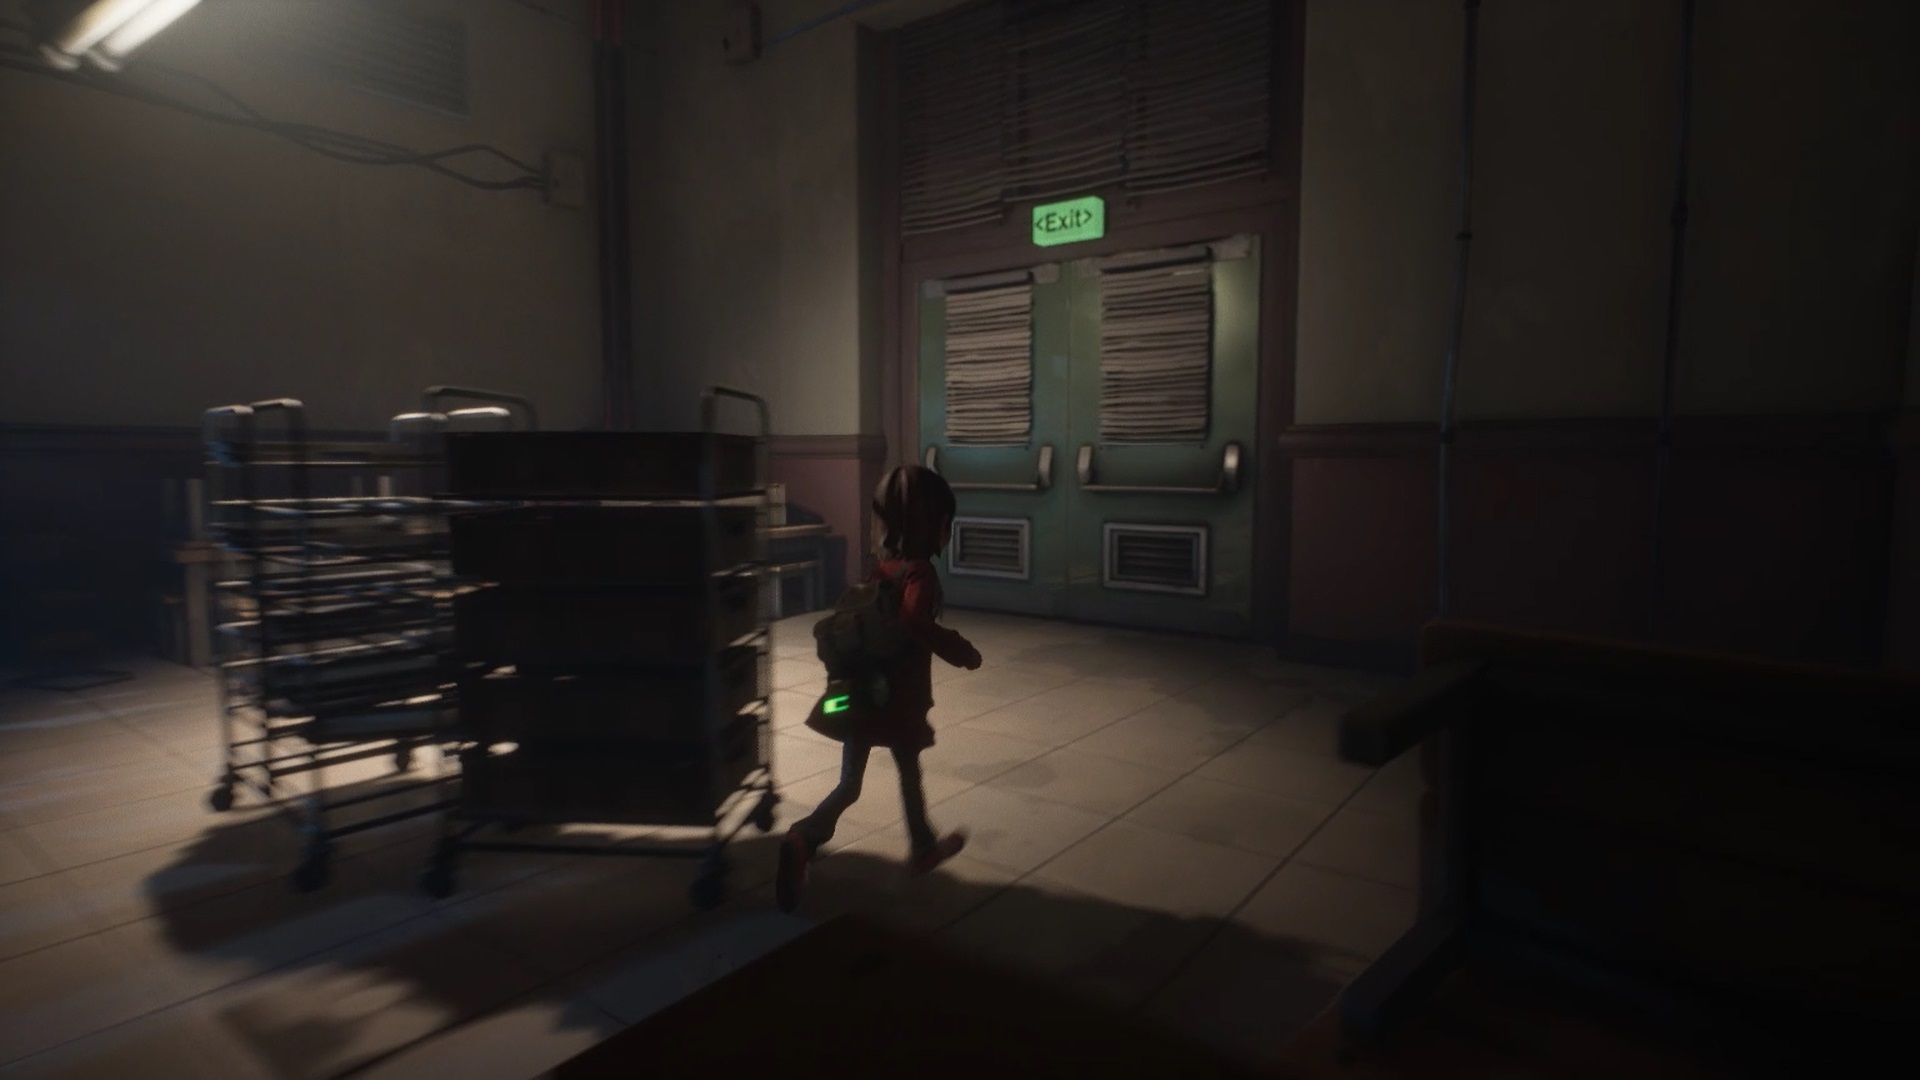
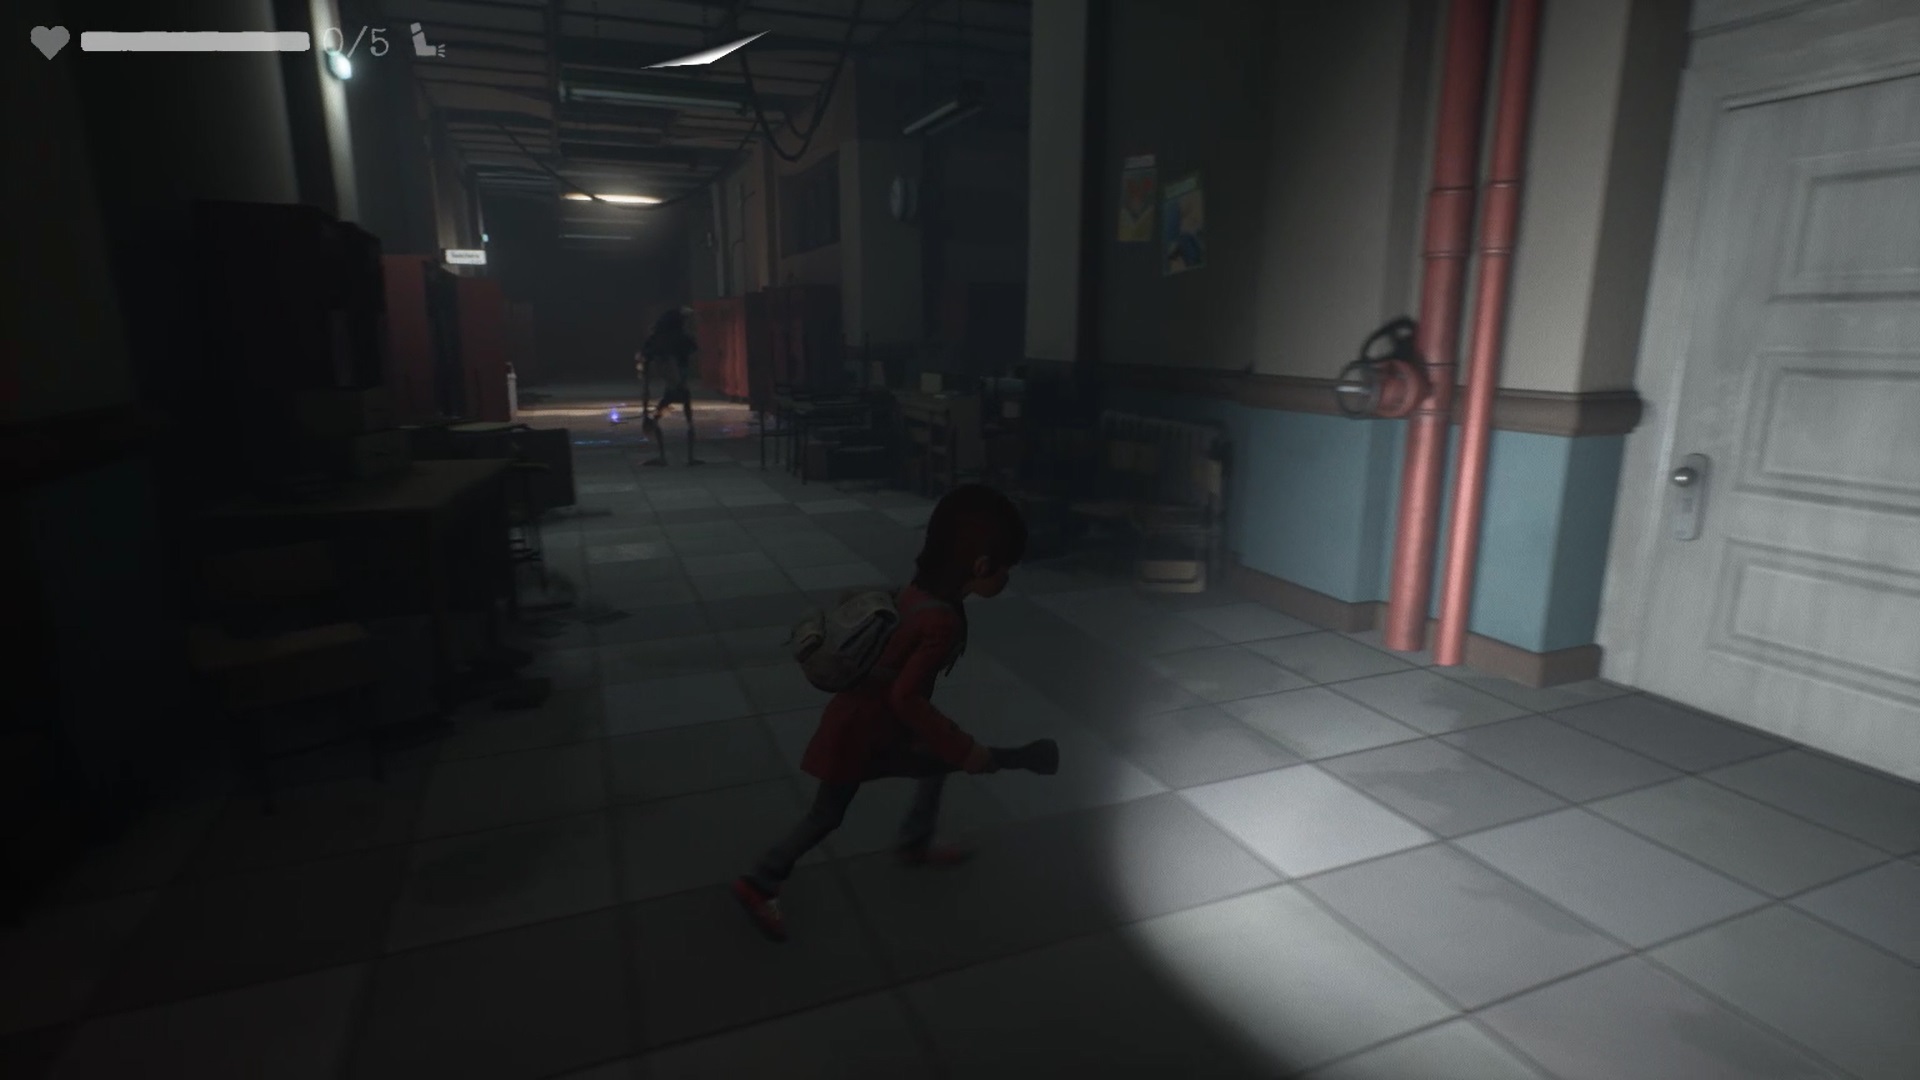
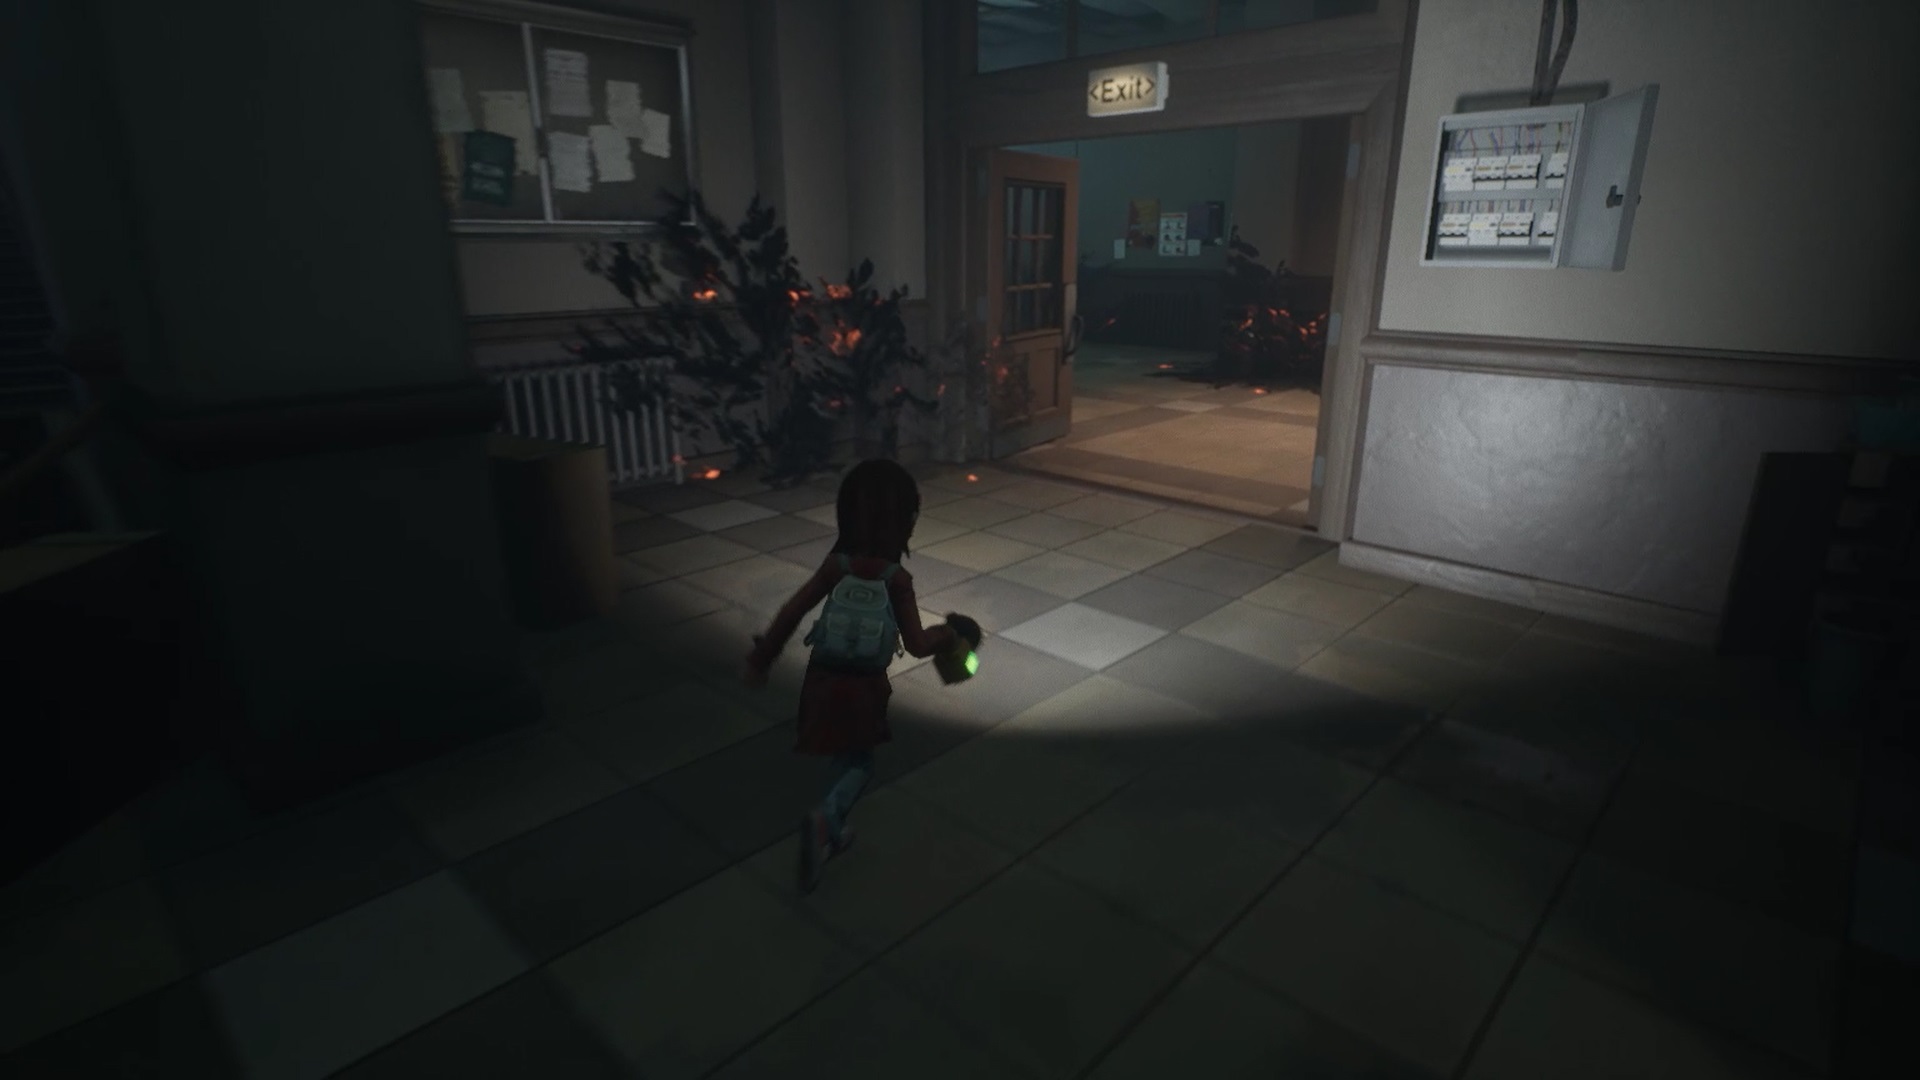
In the cafeteria, you need to head southwest towards the backyard. Dodge the enemies and move towards the emergency exit door.

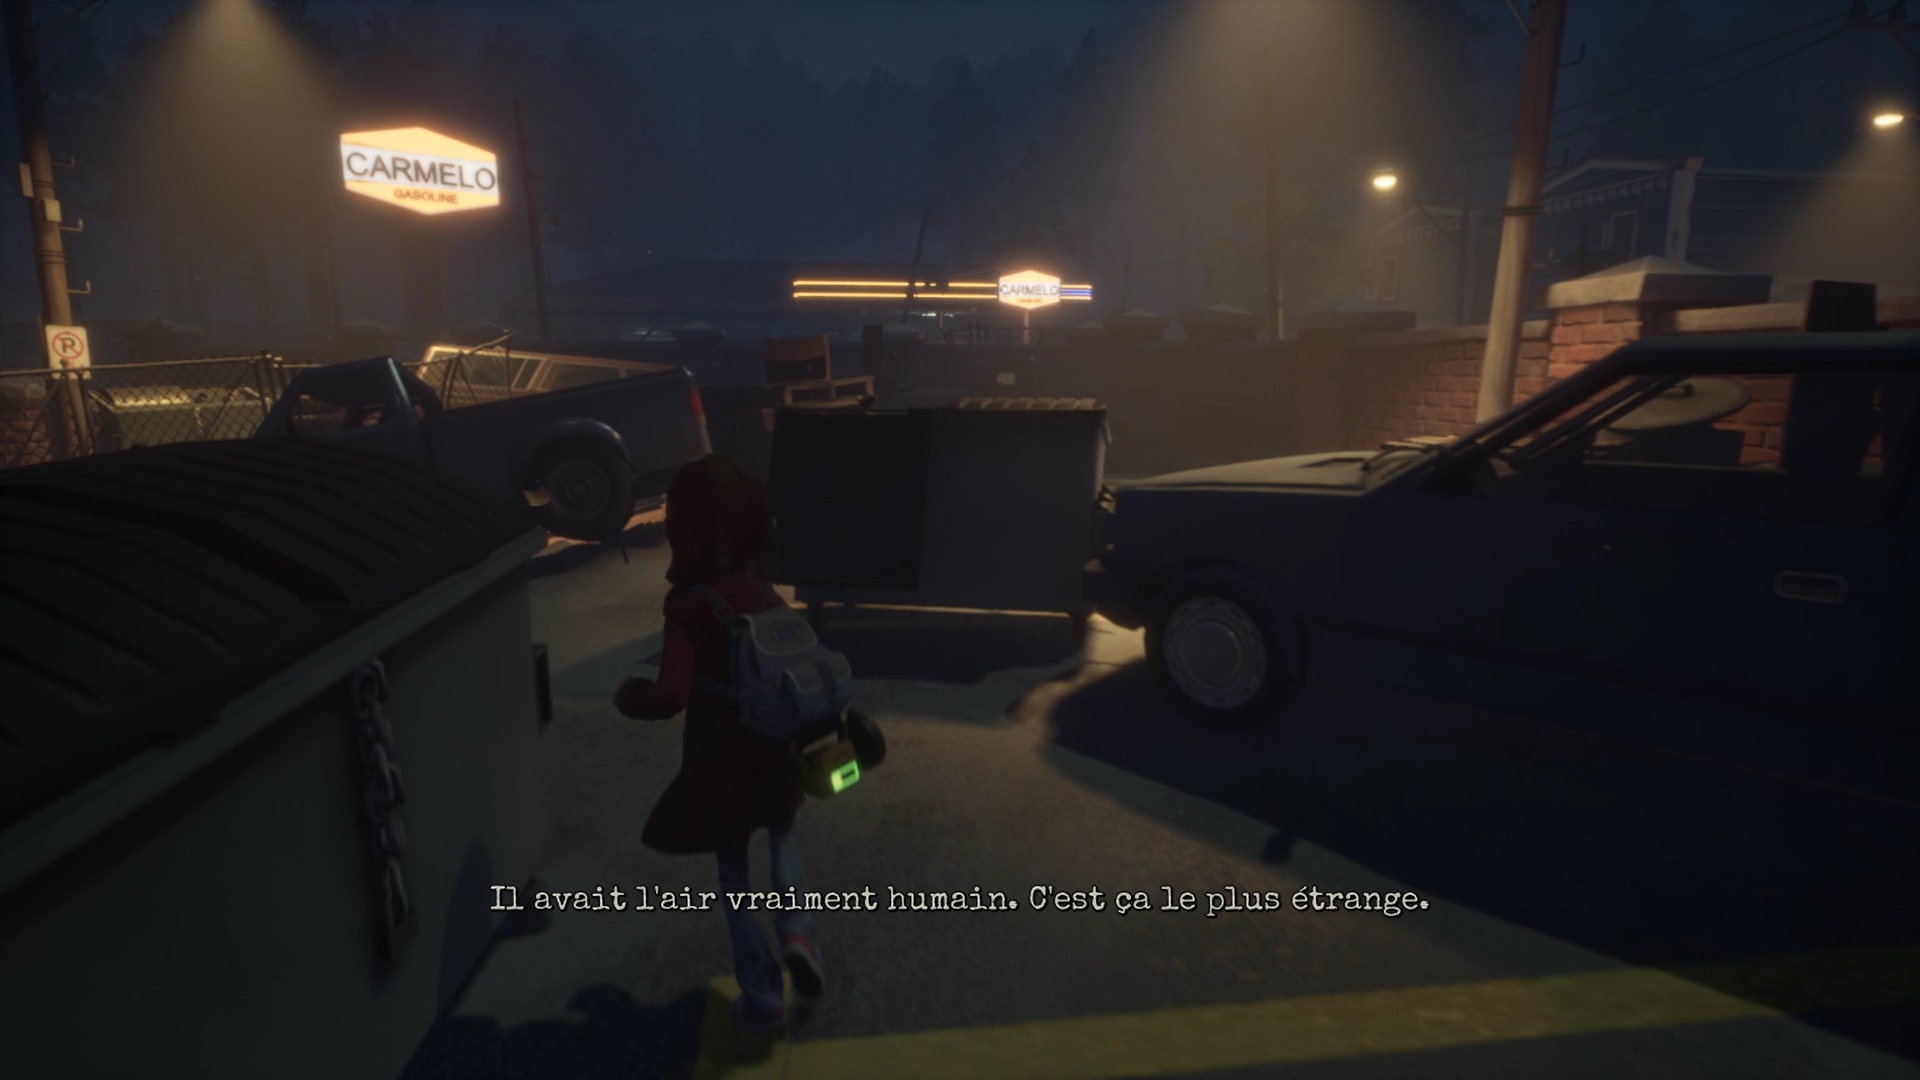
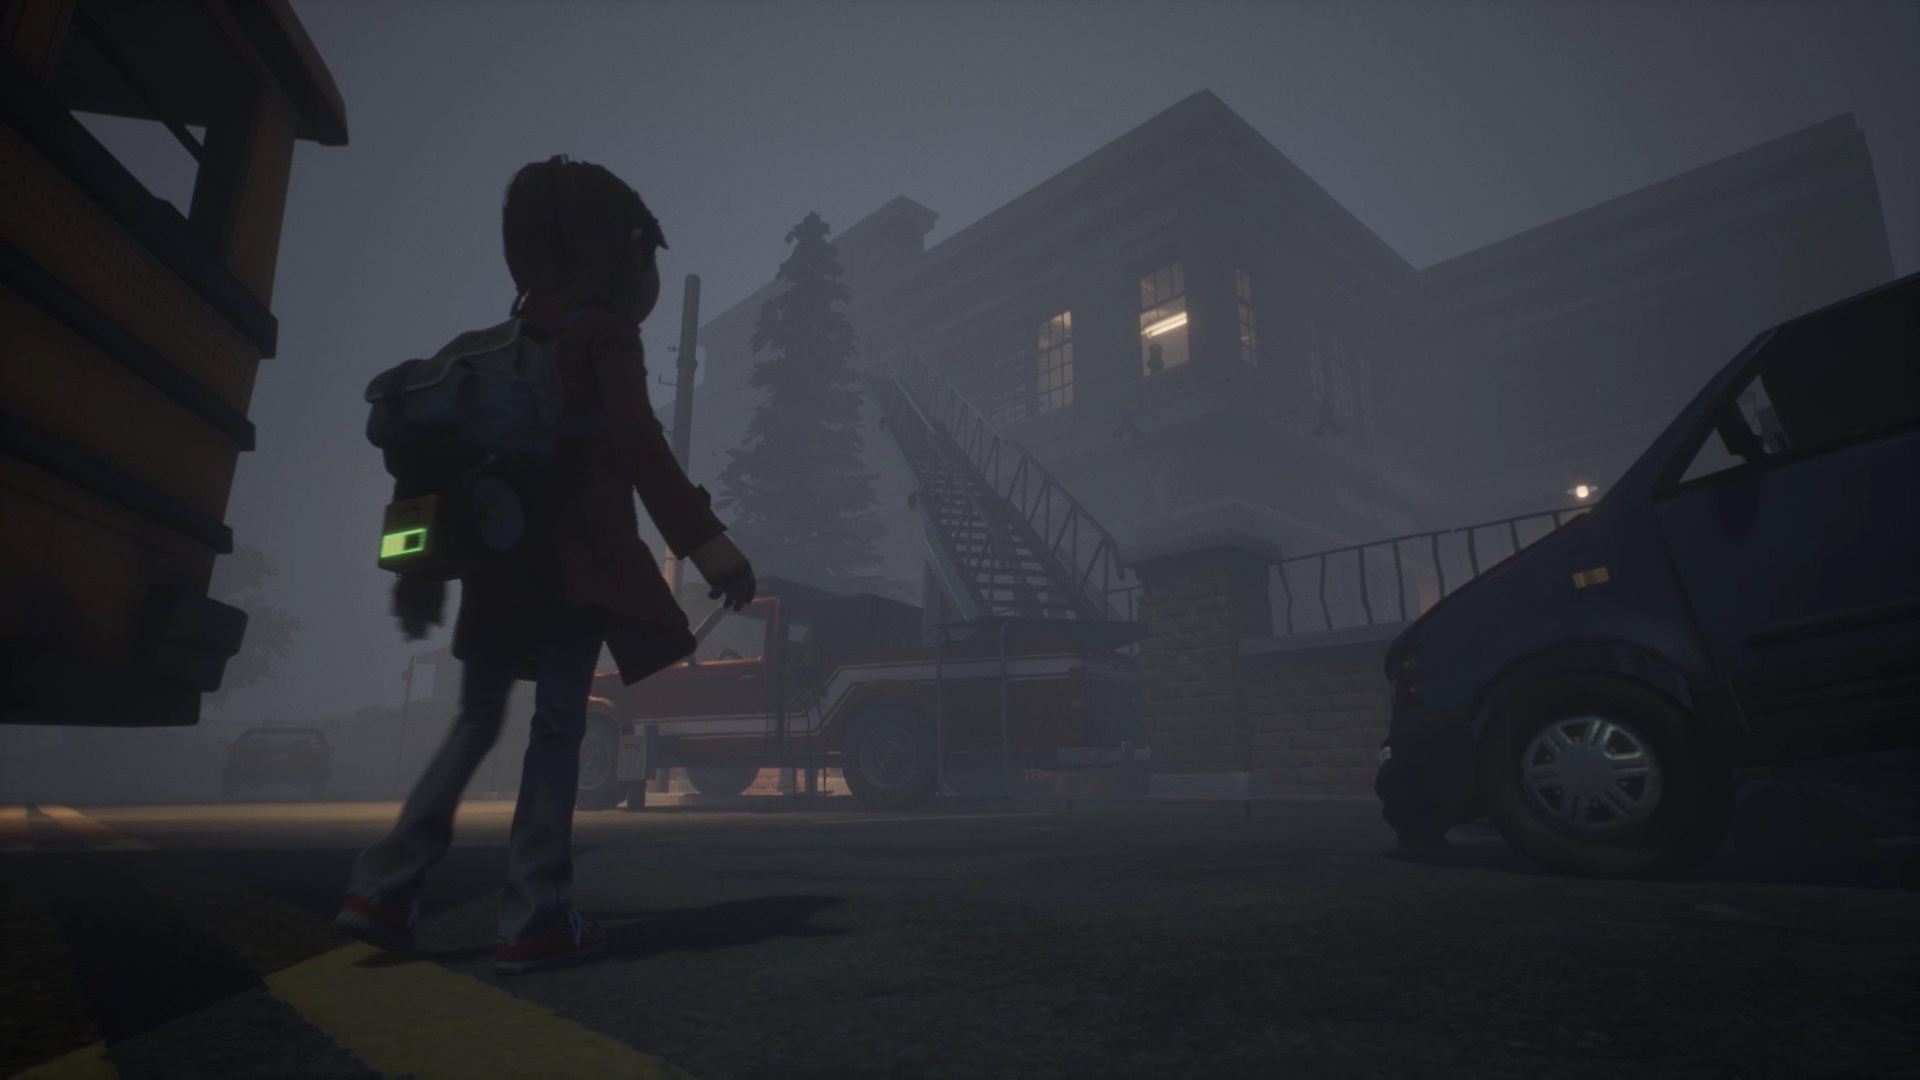
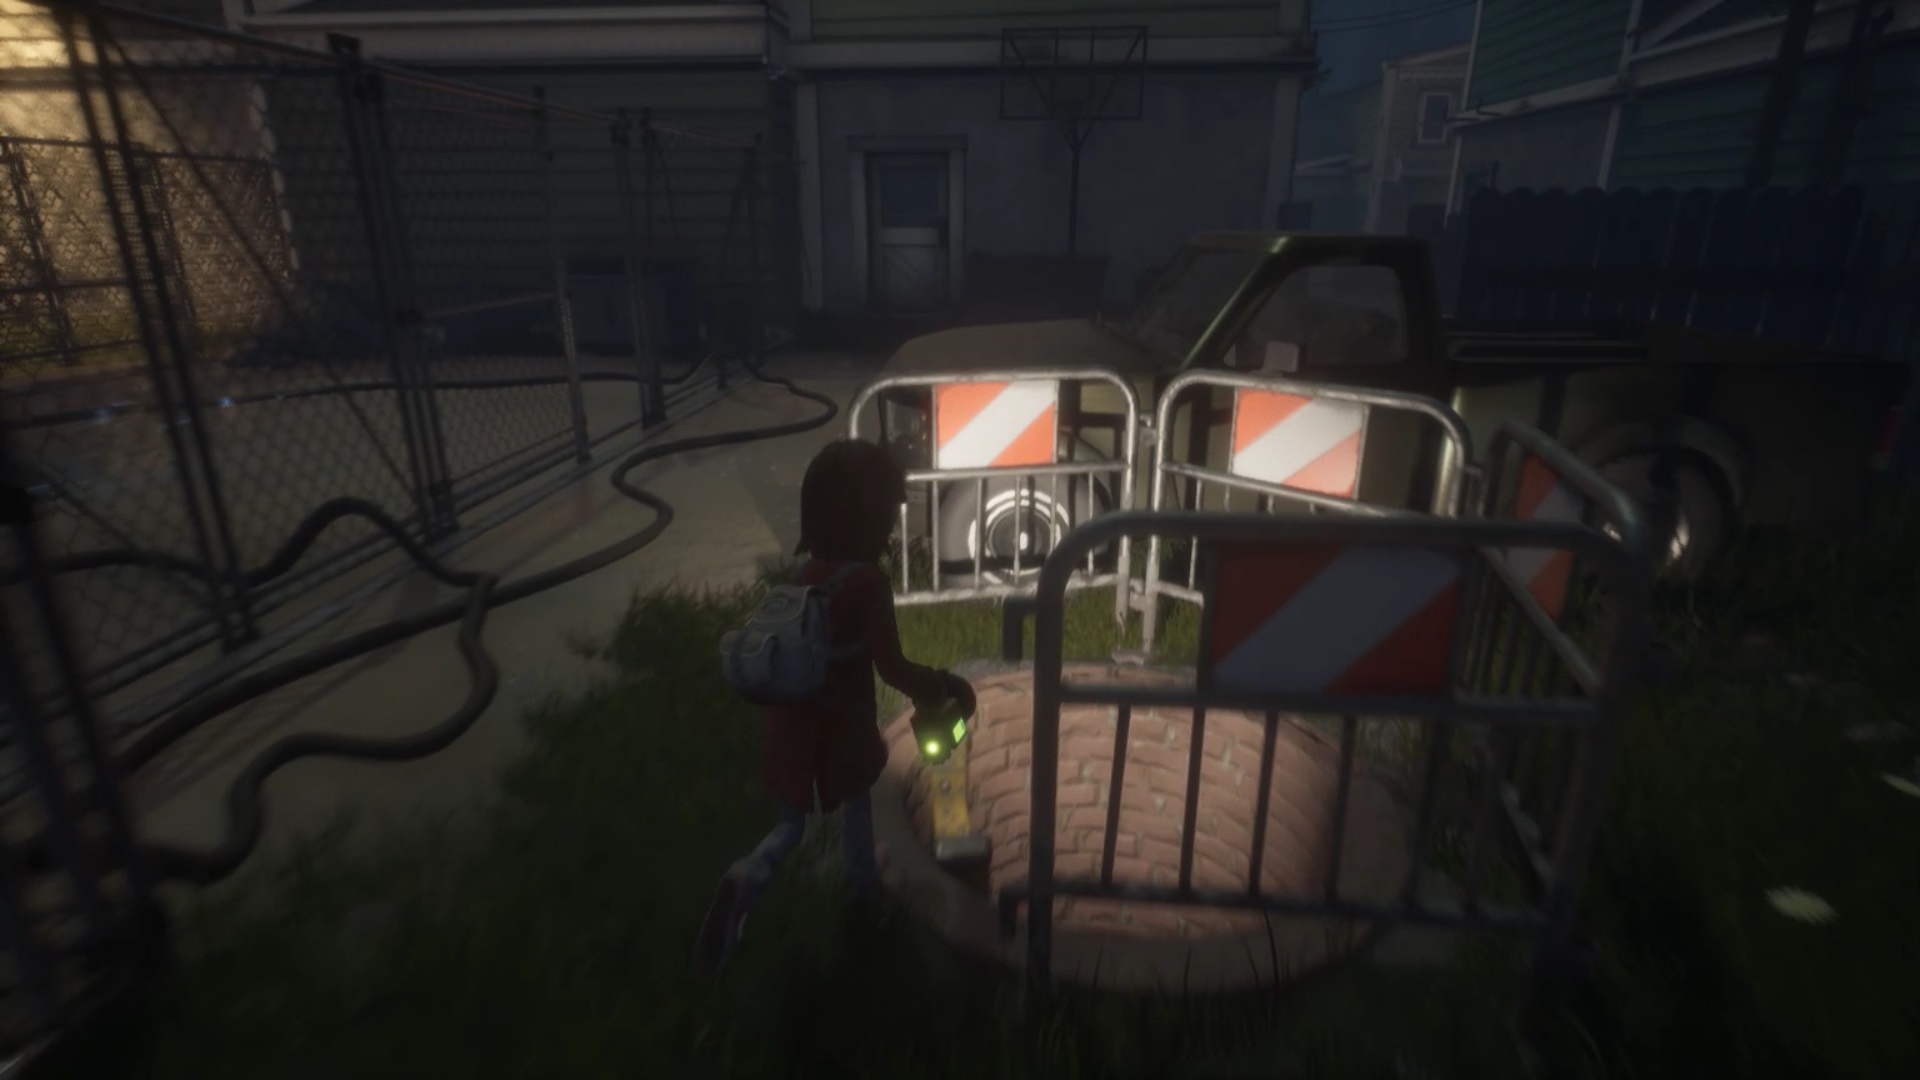
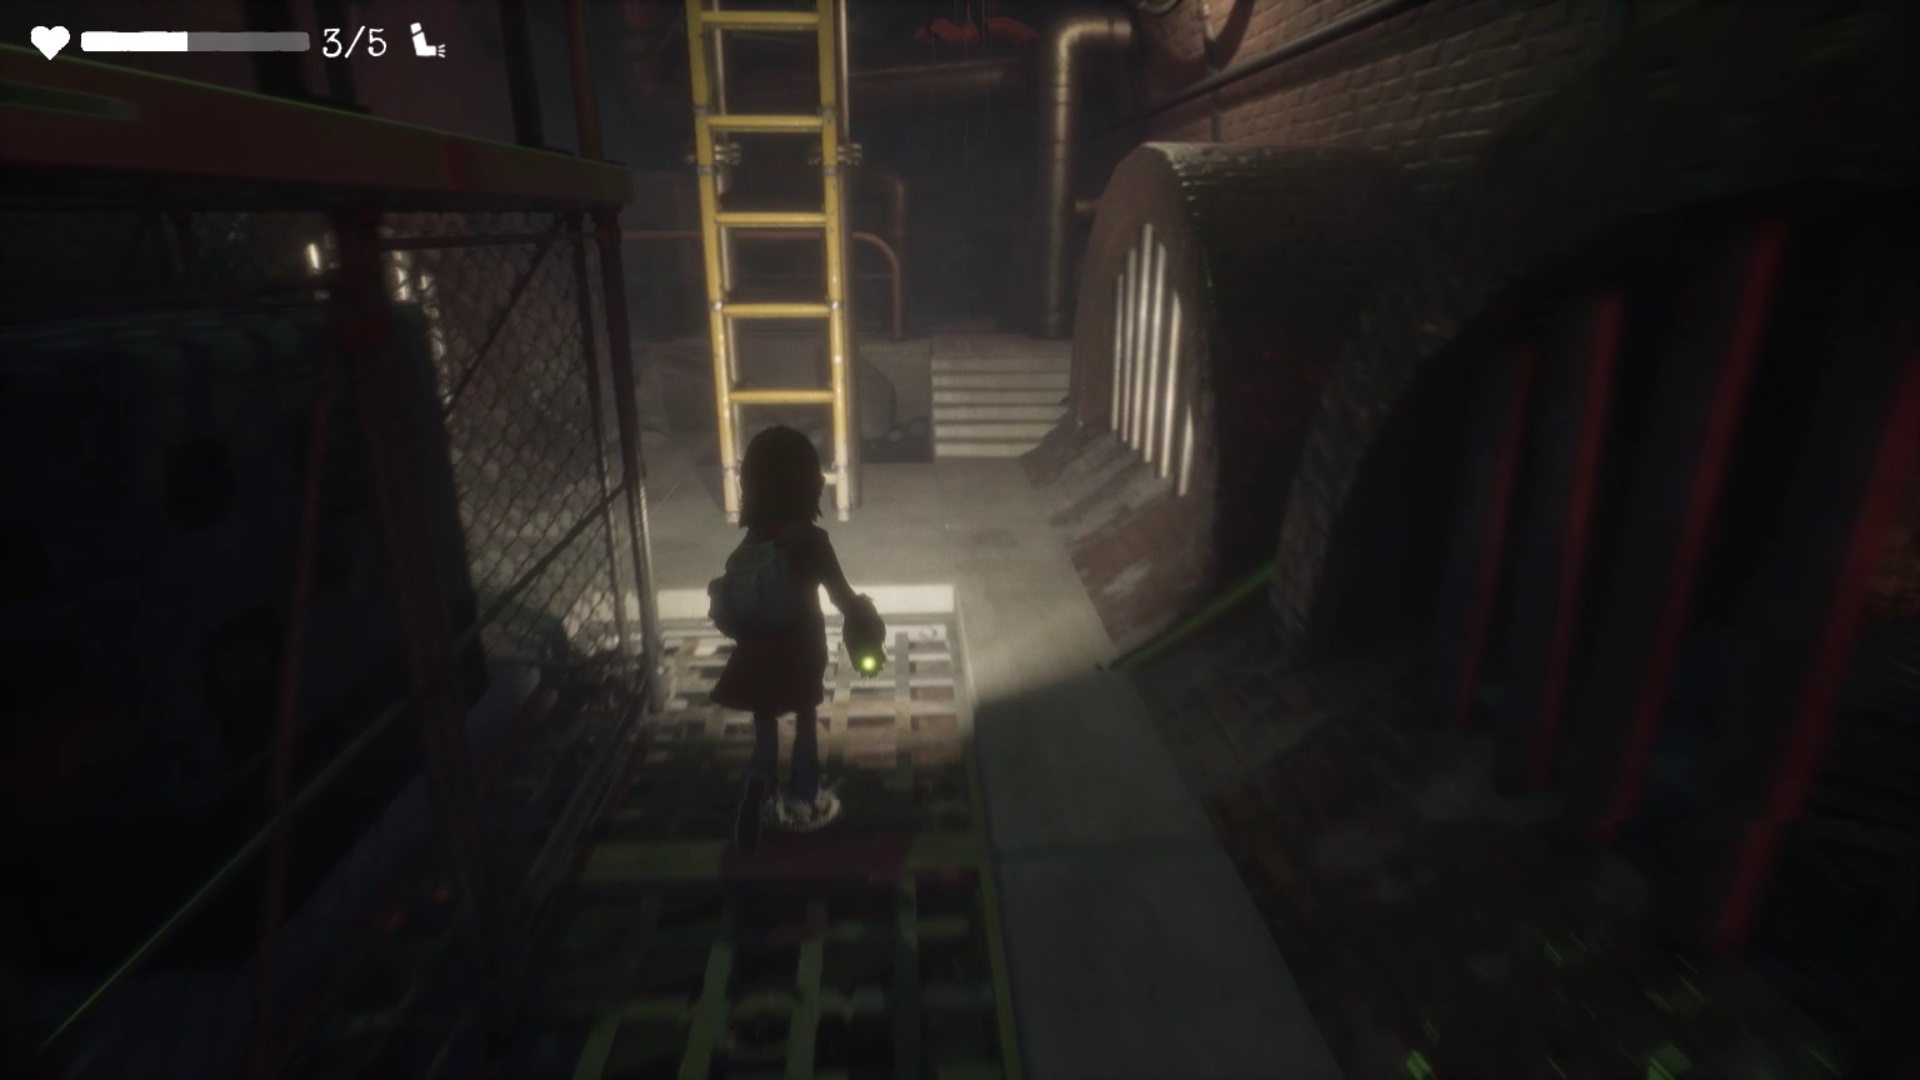
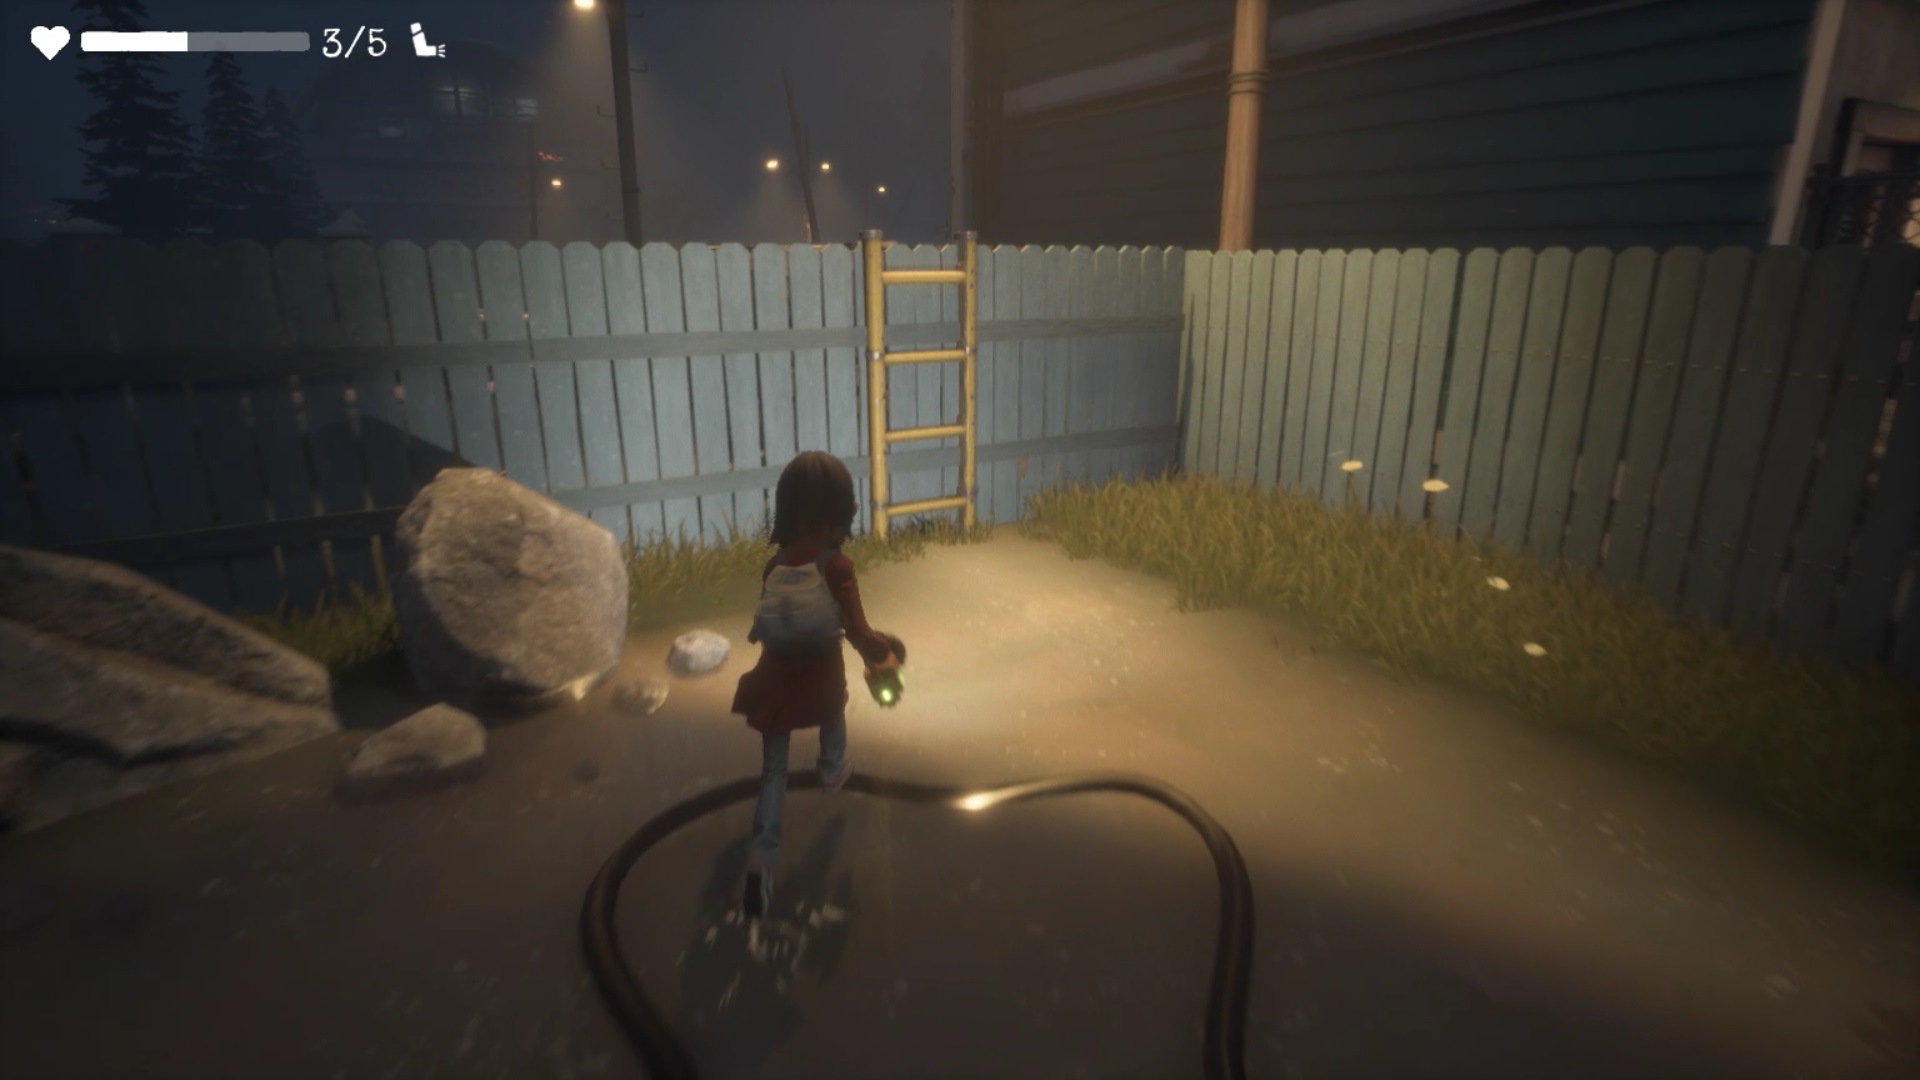
You must reach the fireman’s ladder to go up to the second floor of the school. Exit to the street through the school gate. Proceed towards the Carmello Gas Station. Take the underground to reach the station.
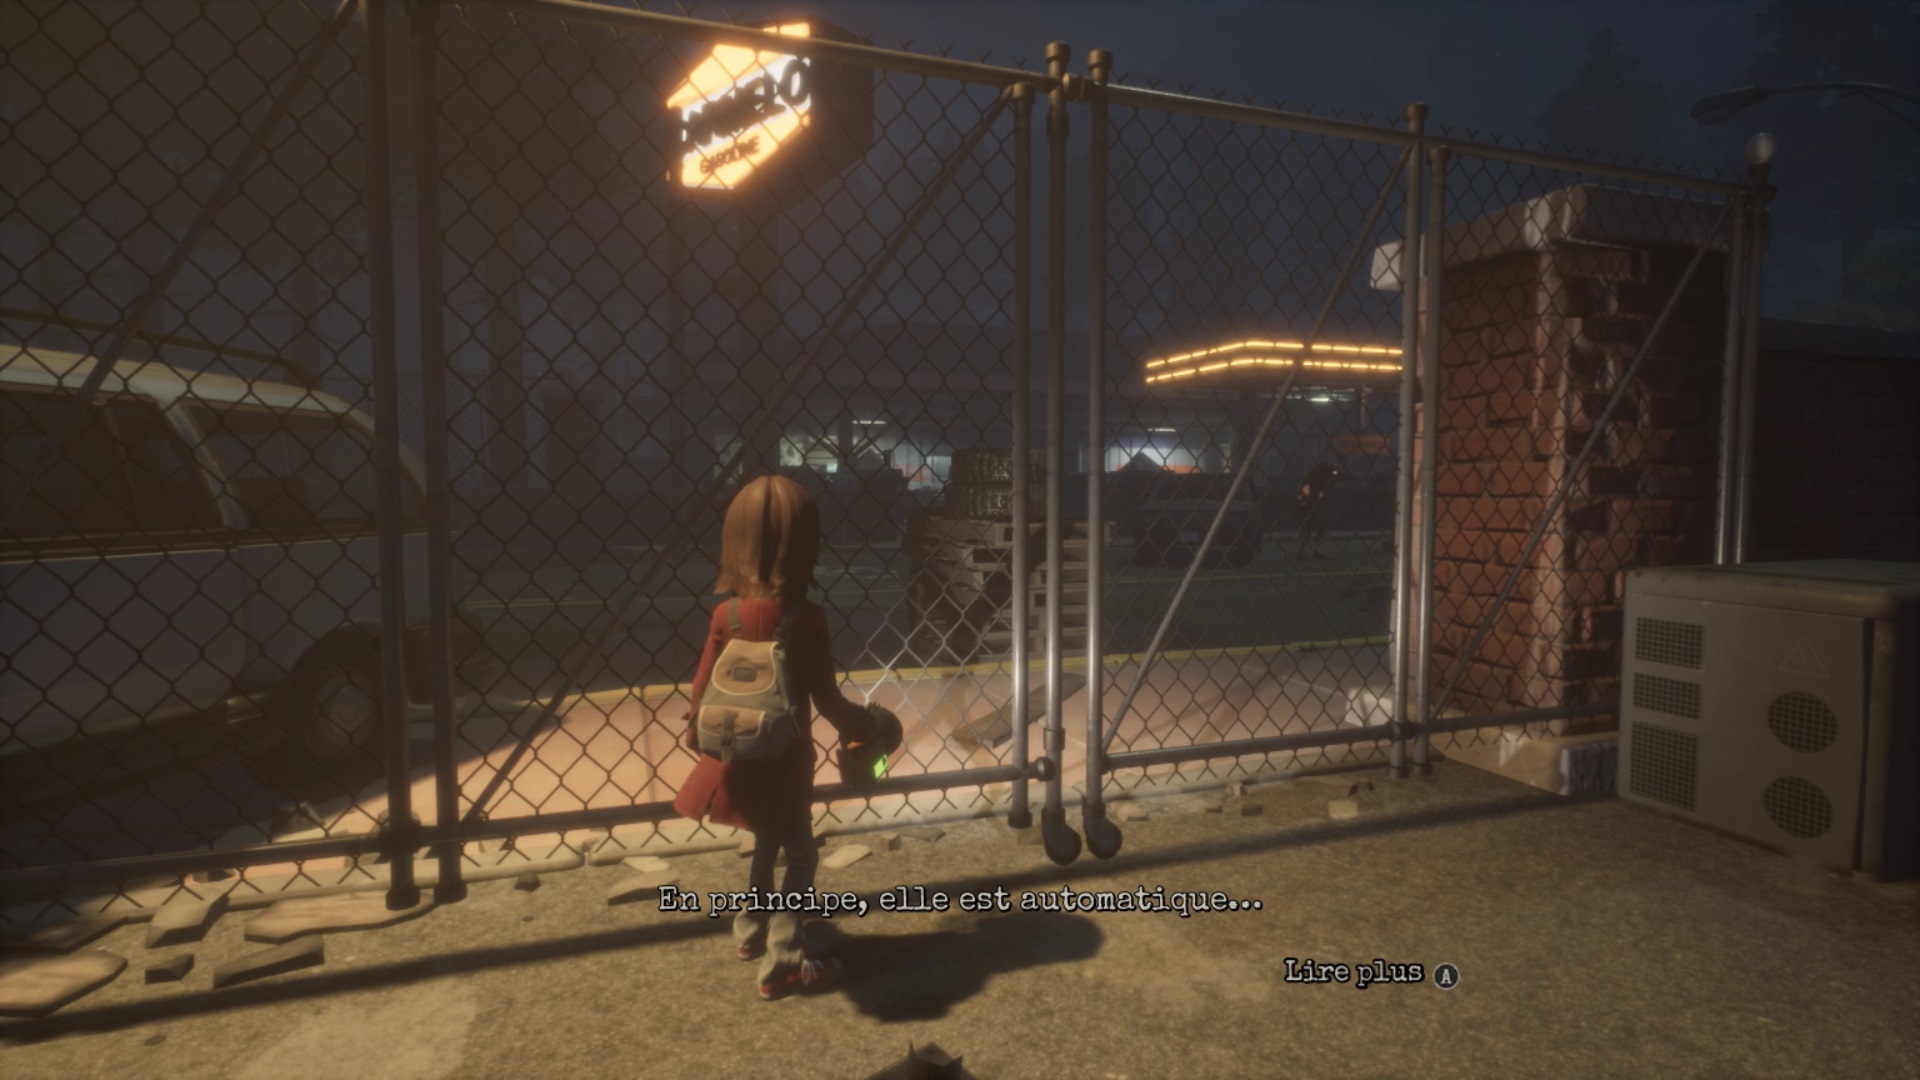
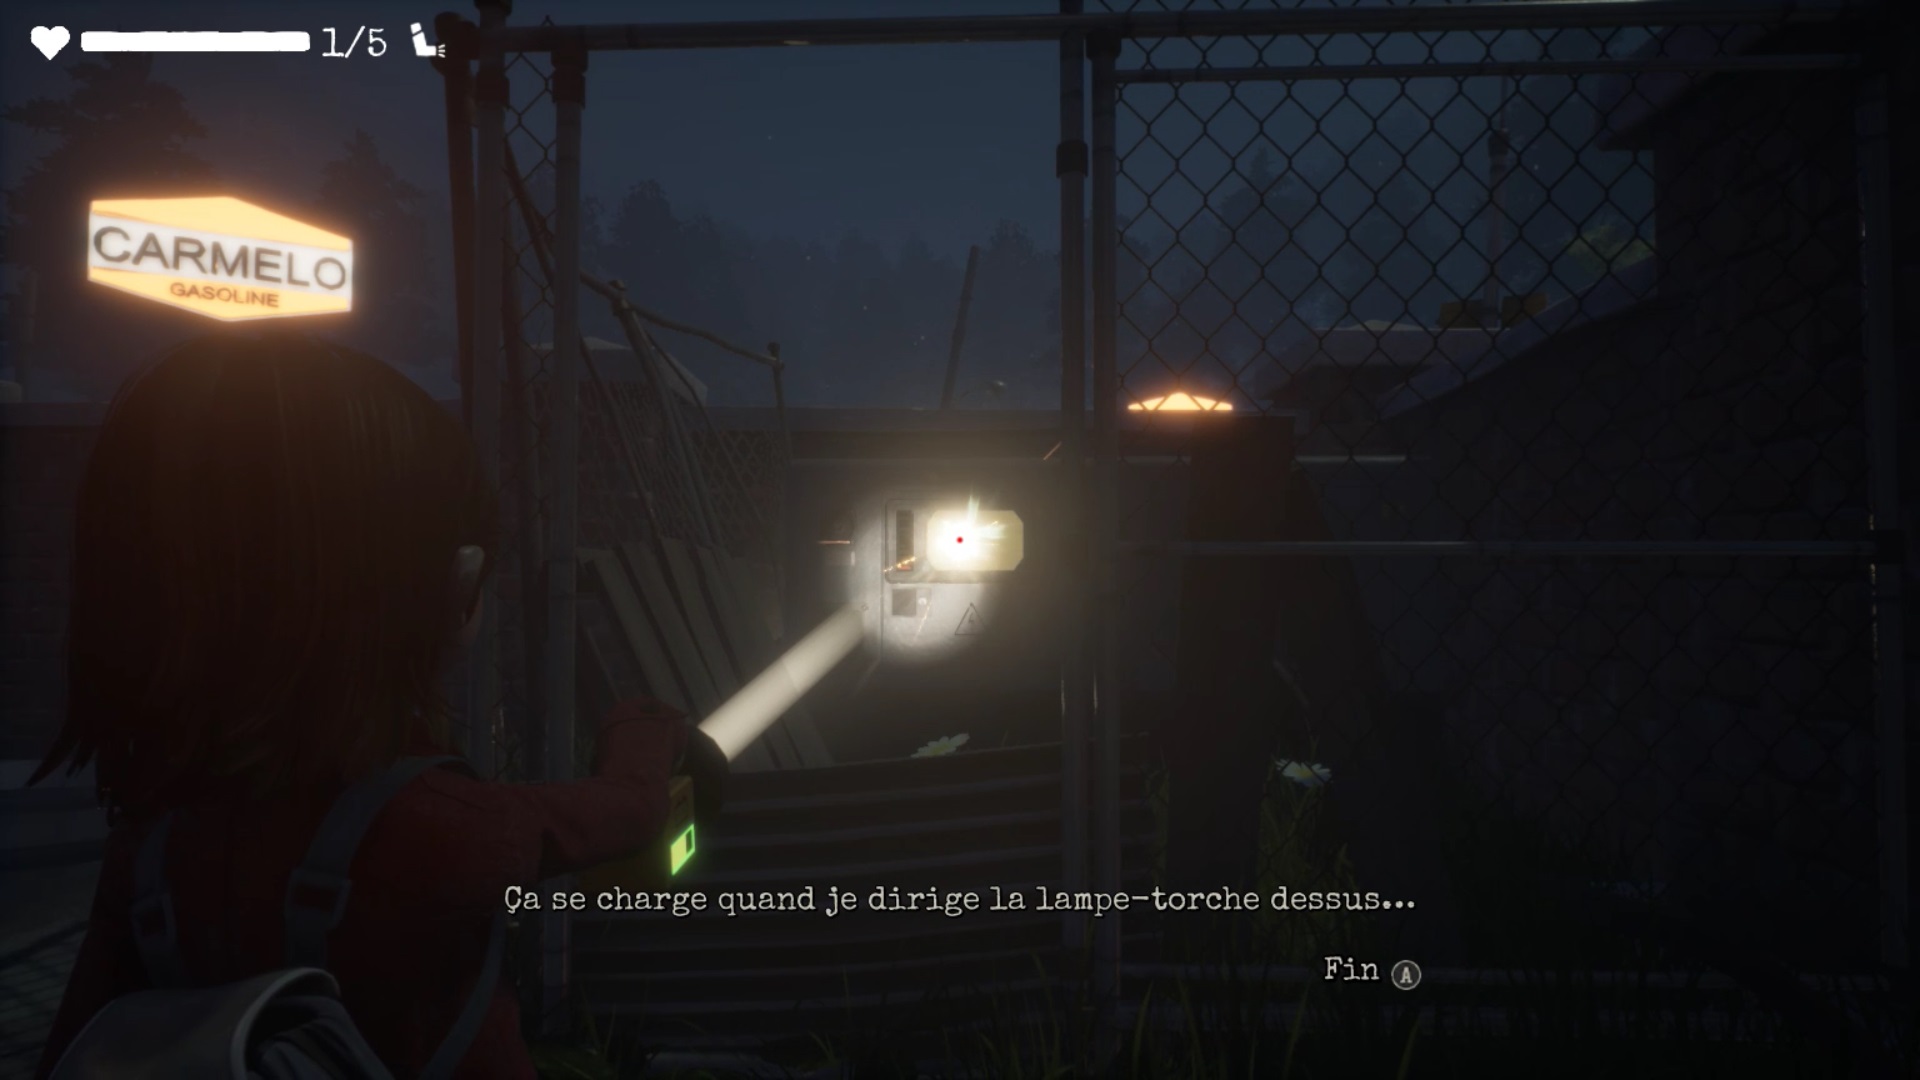
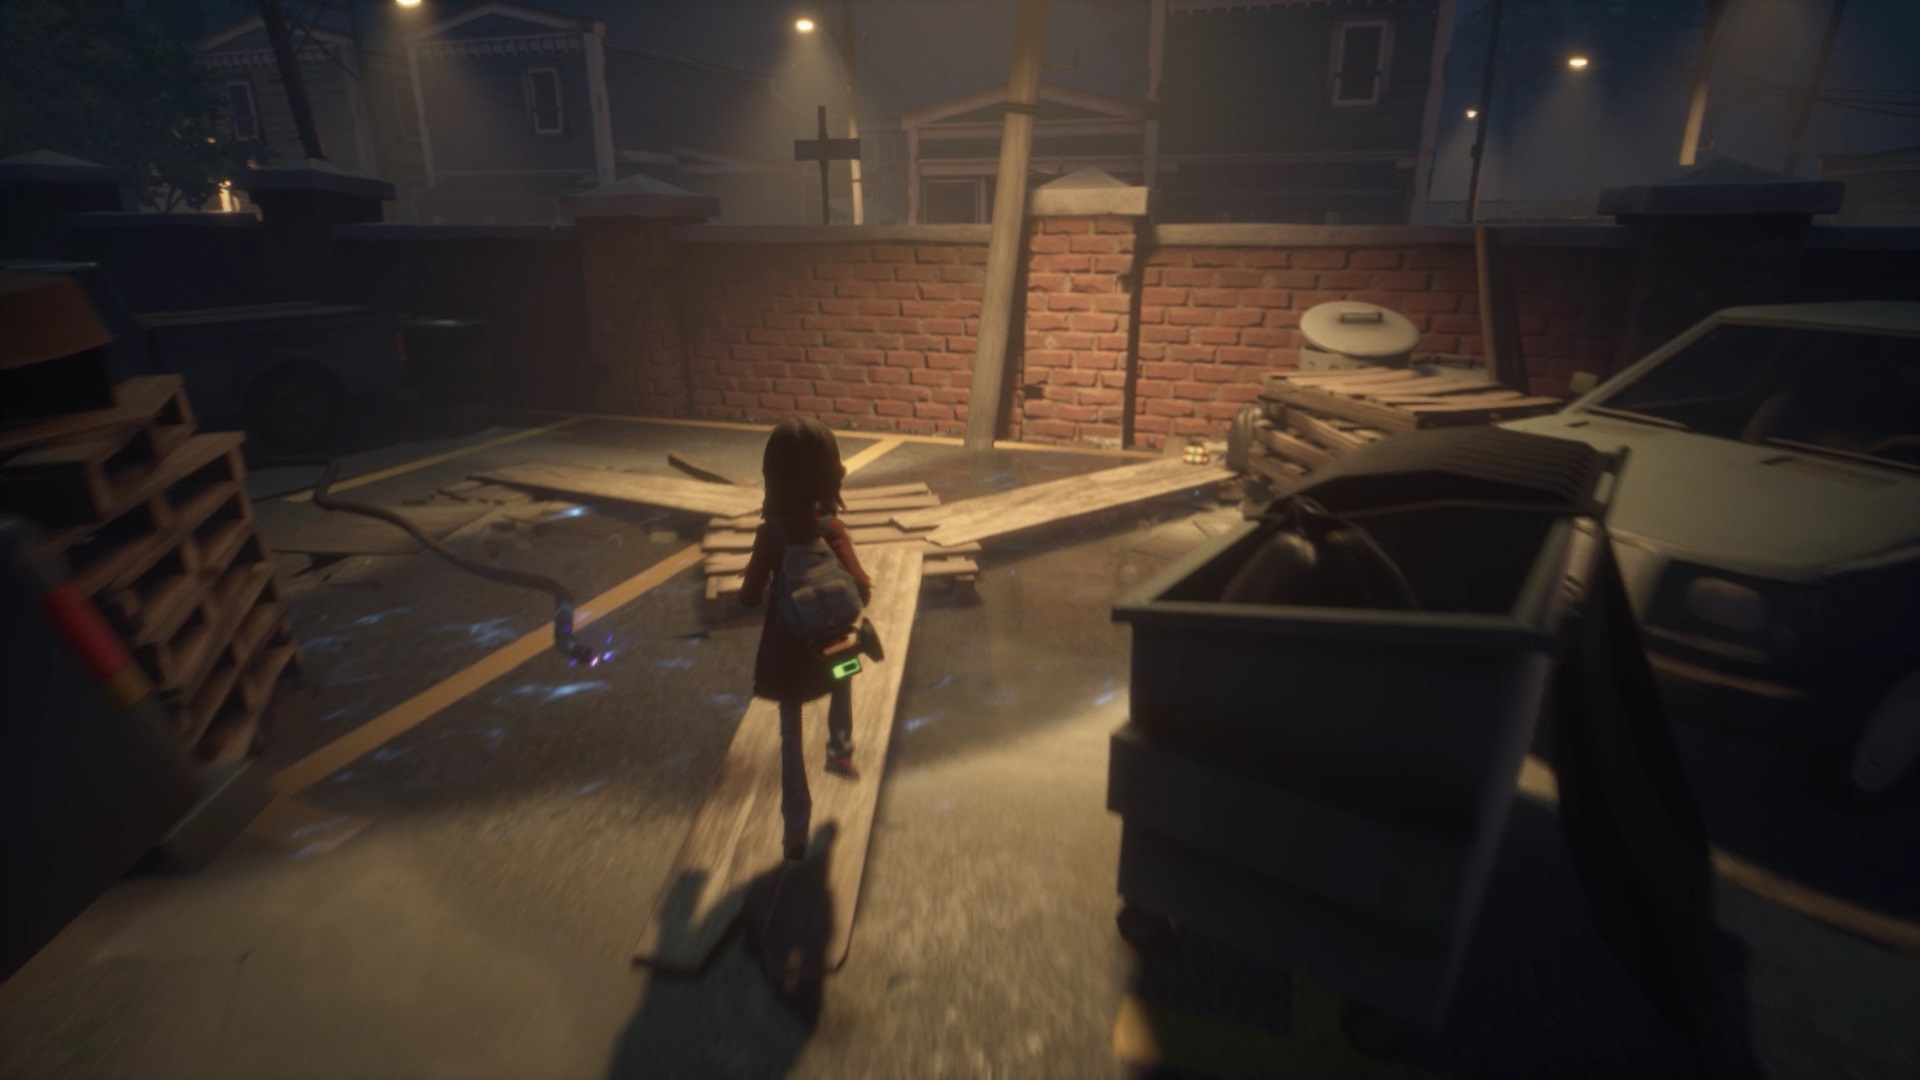
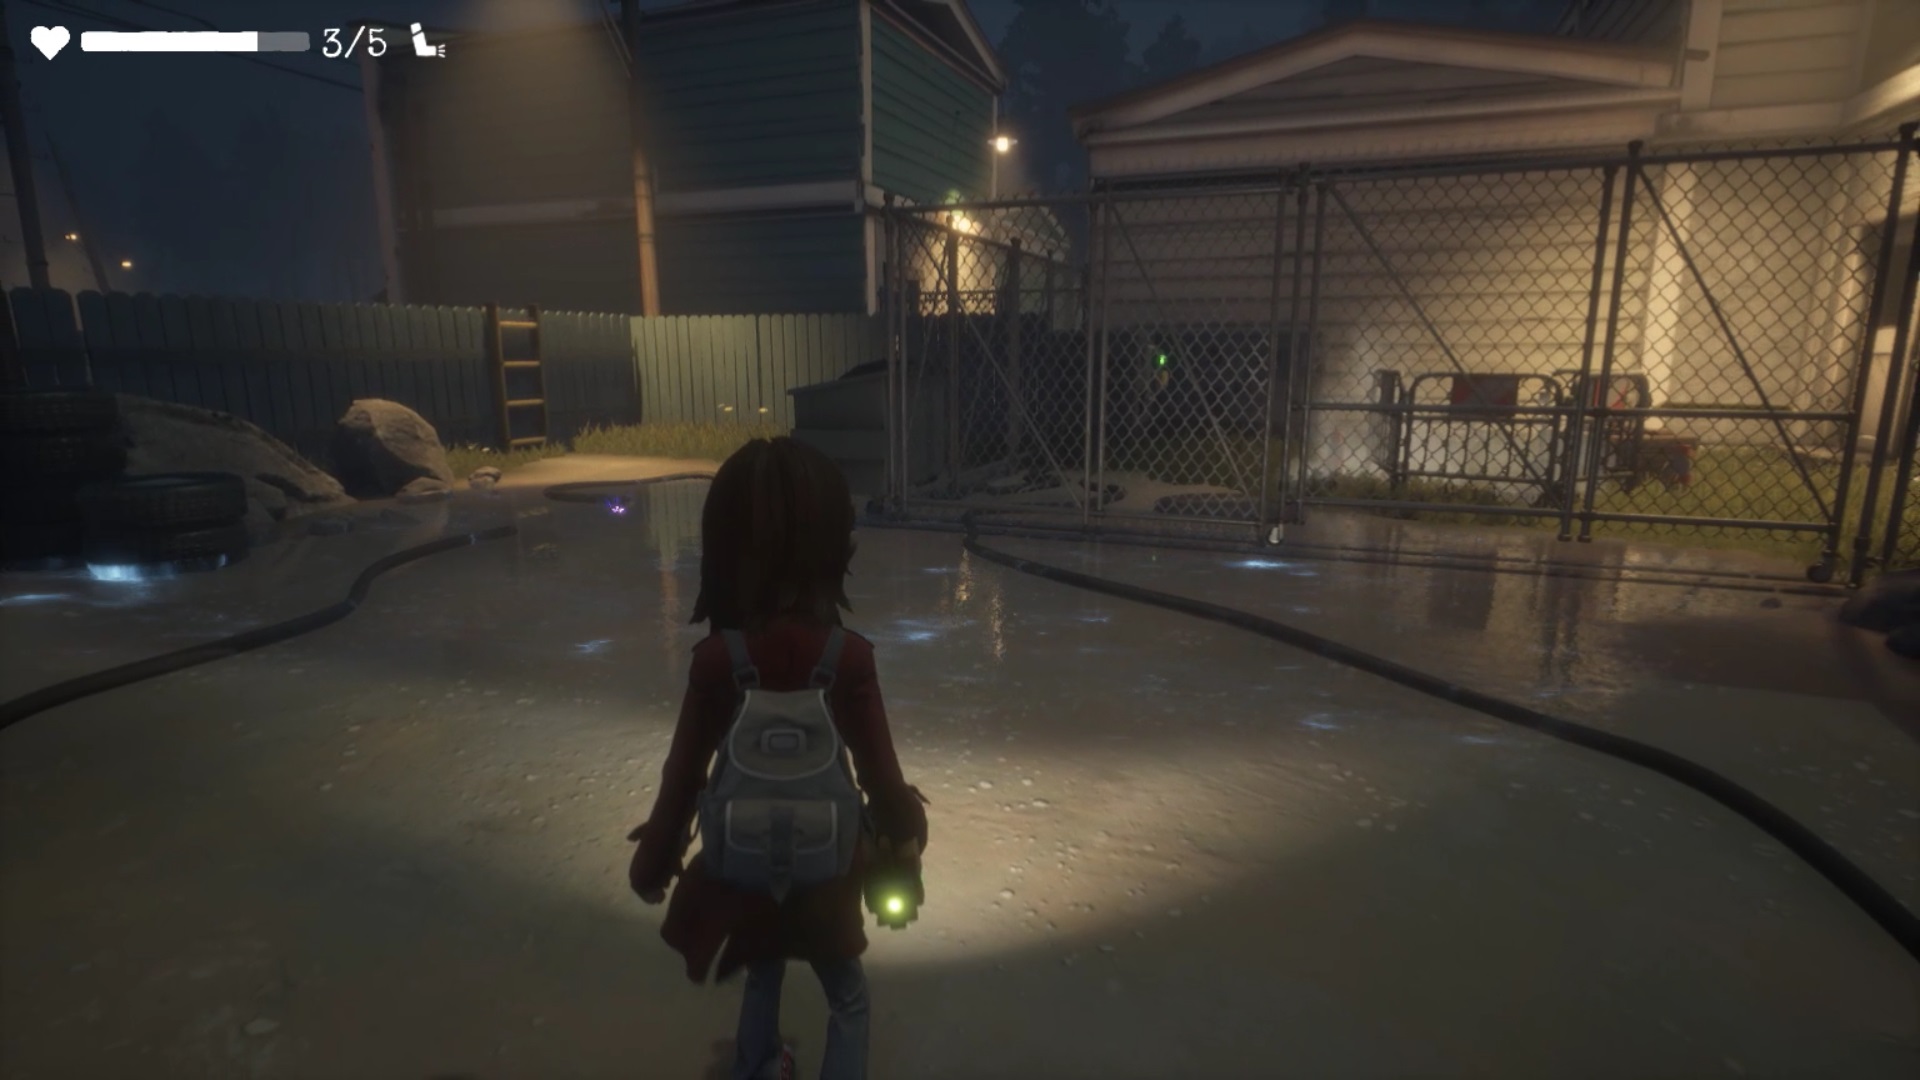
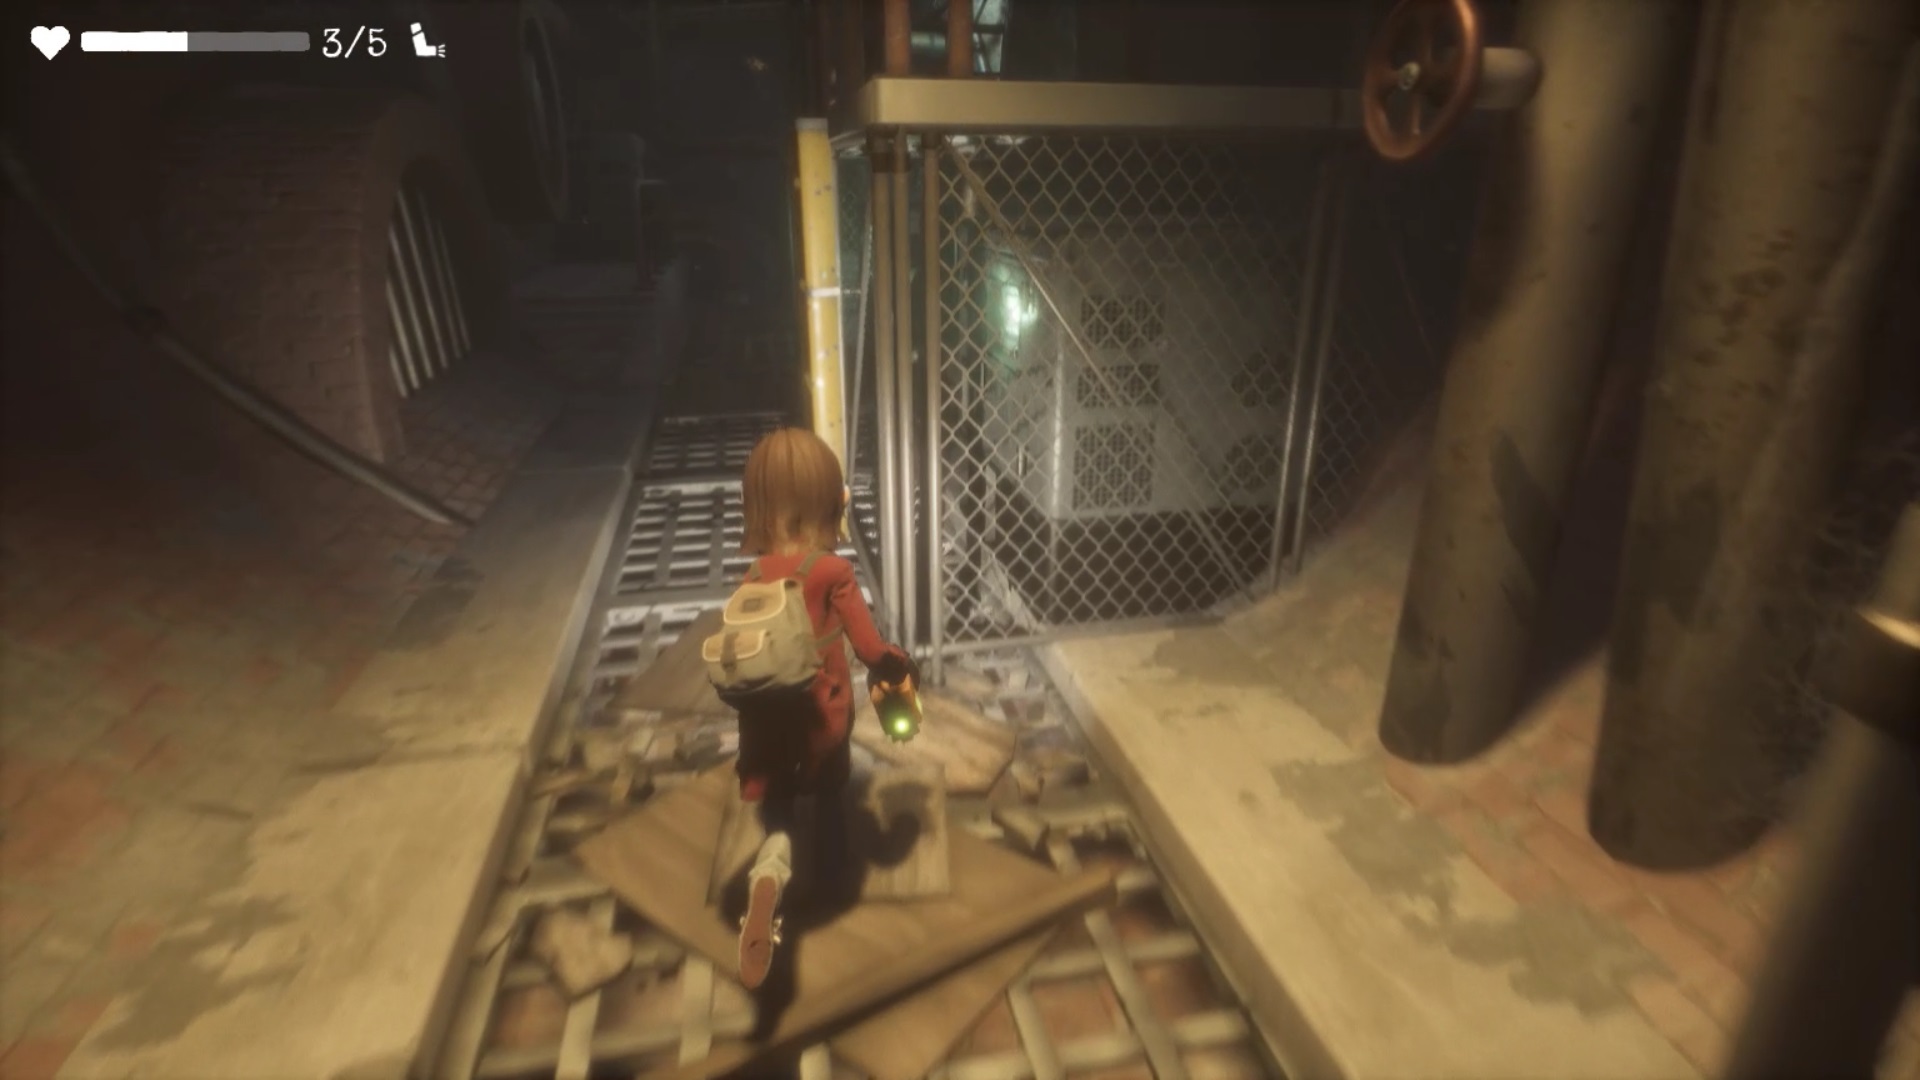
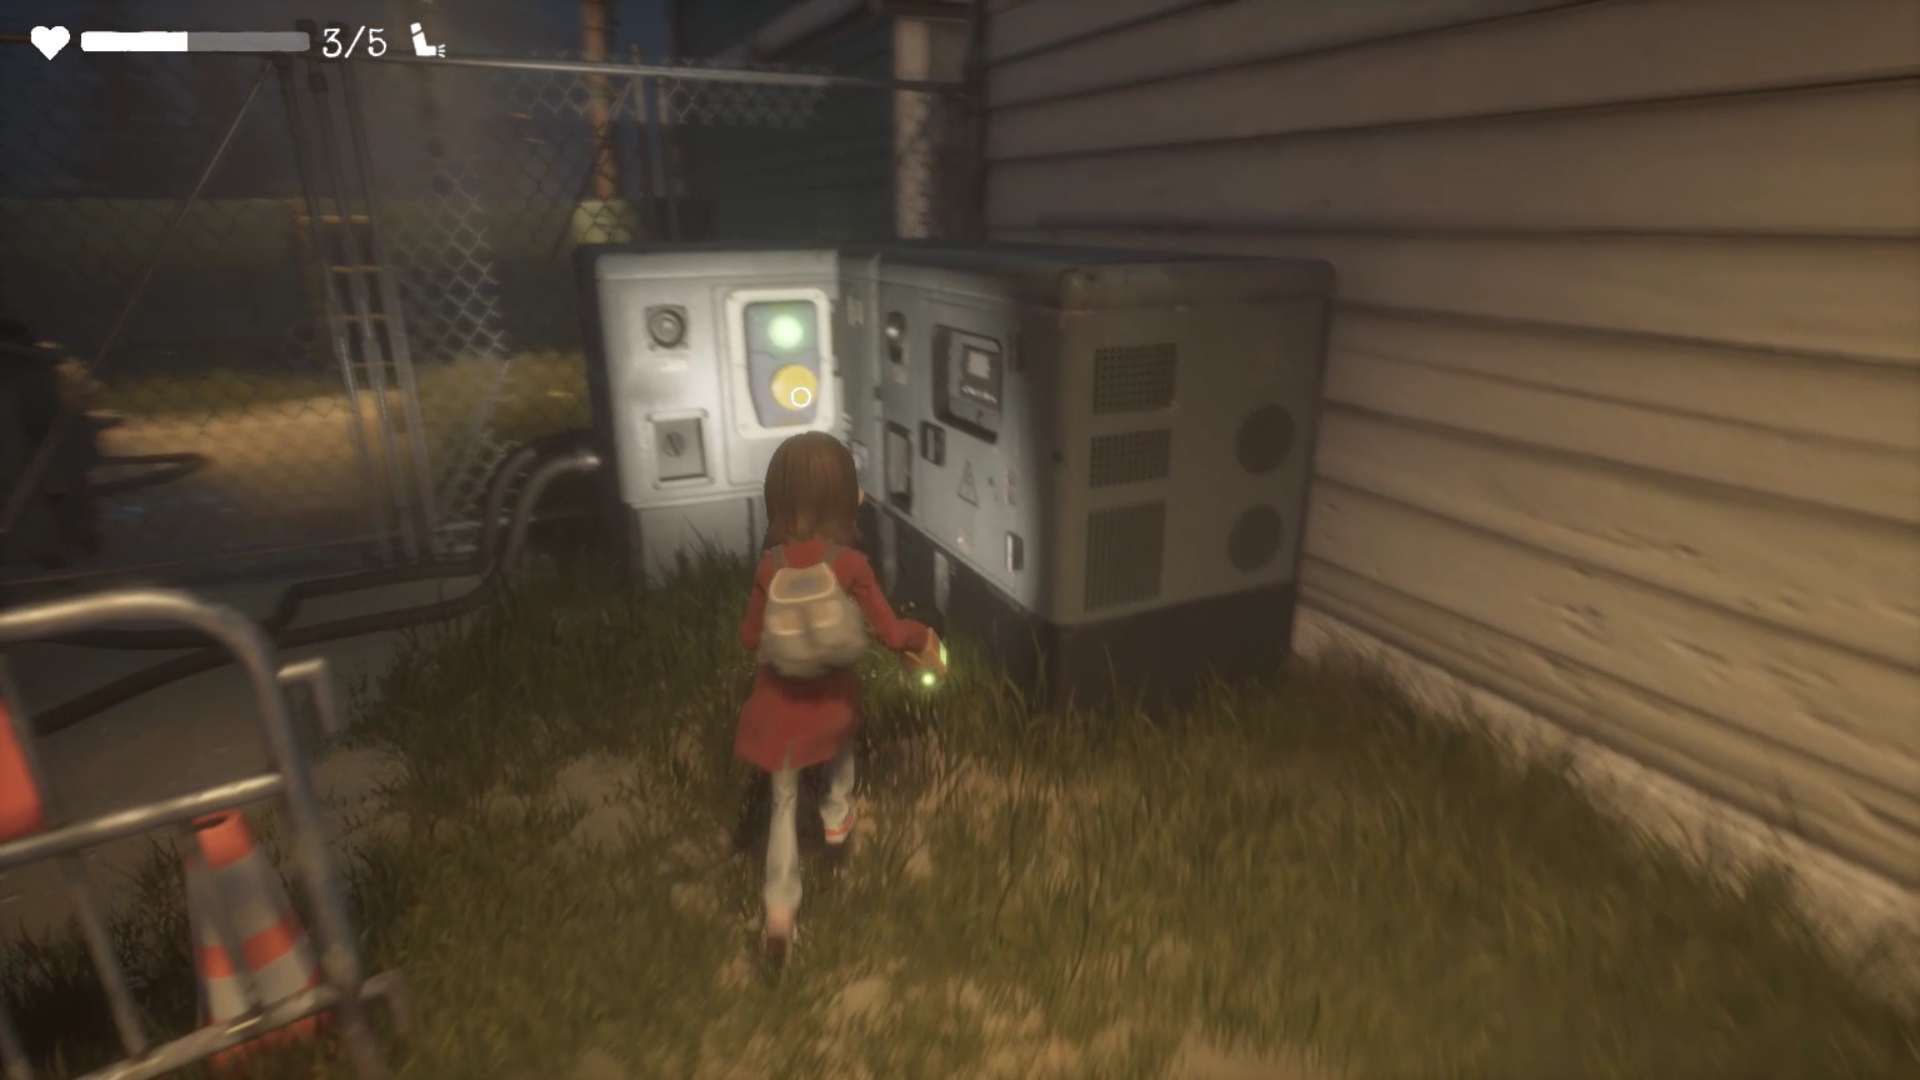
In the sewers, go east and climb the ladder. To open the gate leading to the station you must restore the power. Go towards the lighted cars. Walk on wooden planks to reach a generator behind a fence. Use your lamp on the generator mechanism to power it.
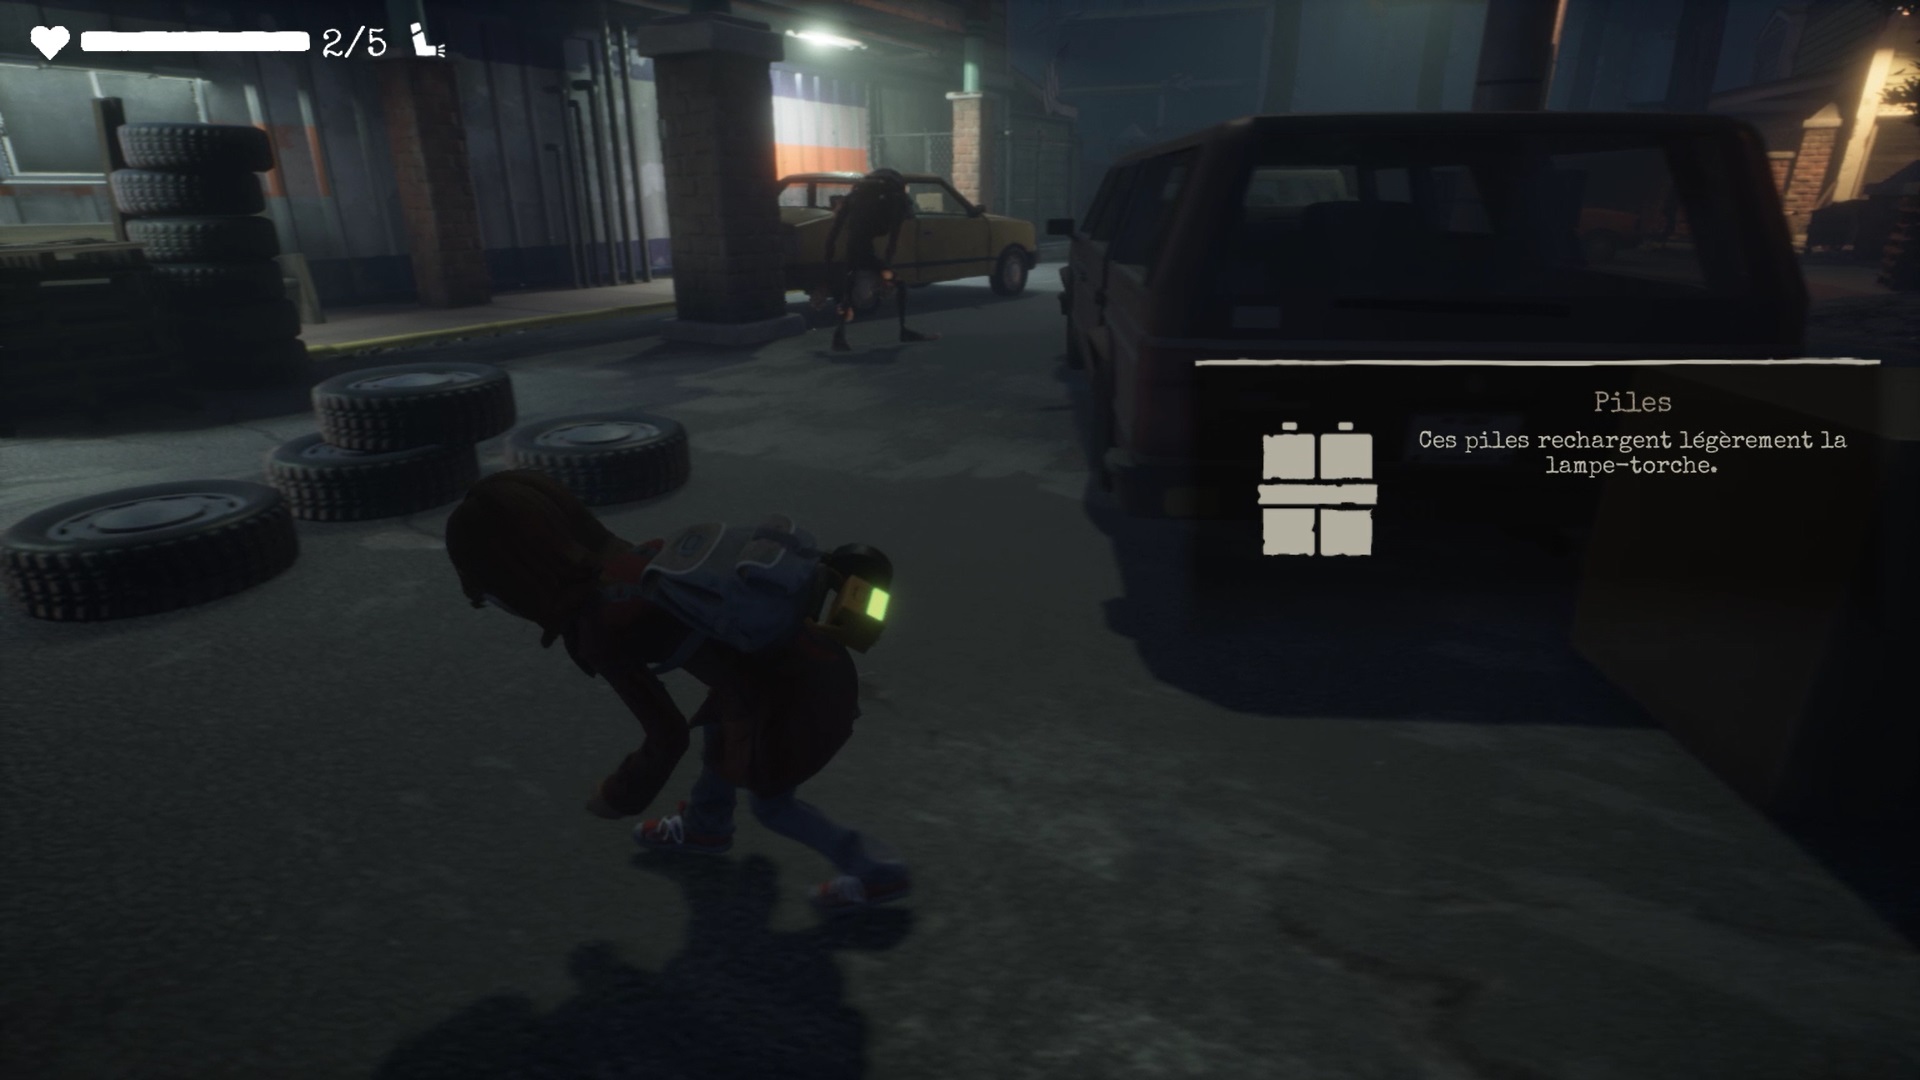
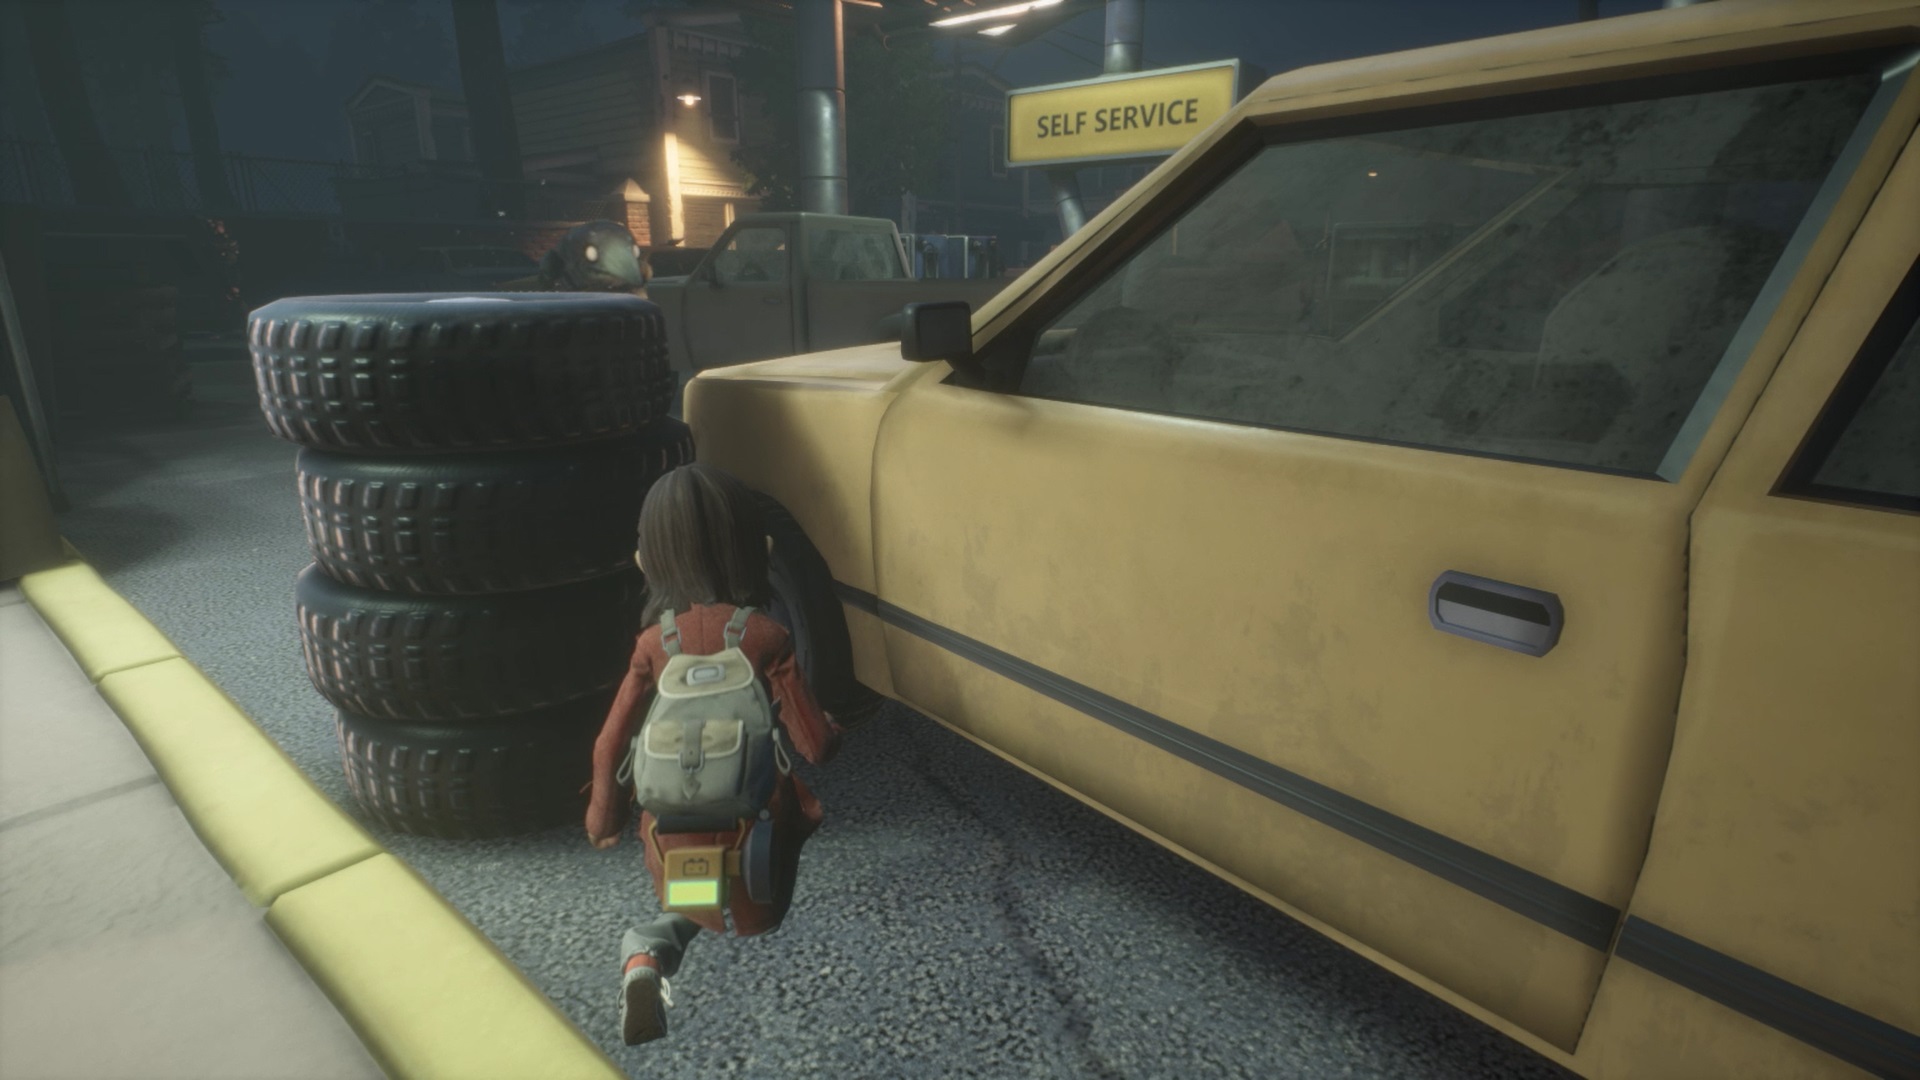
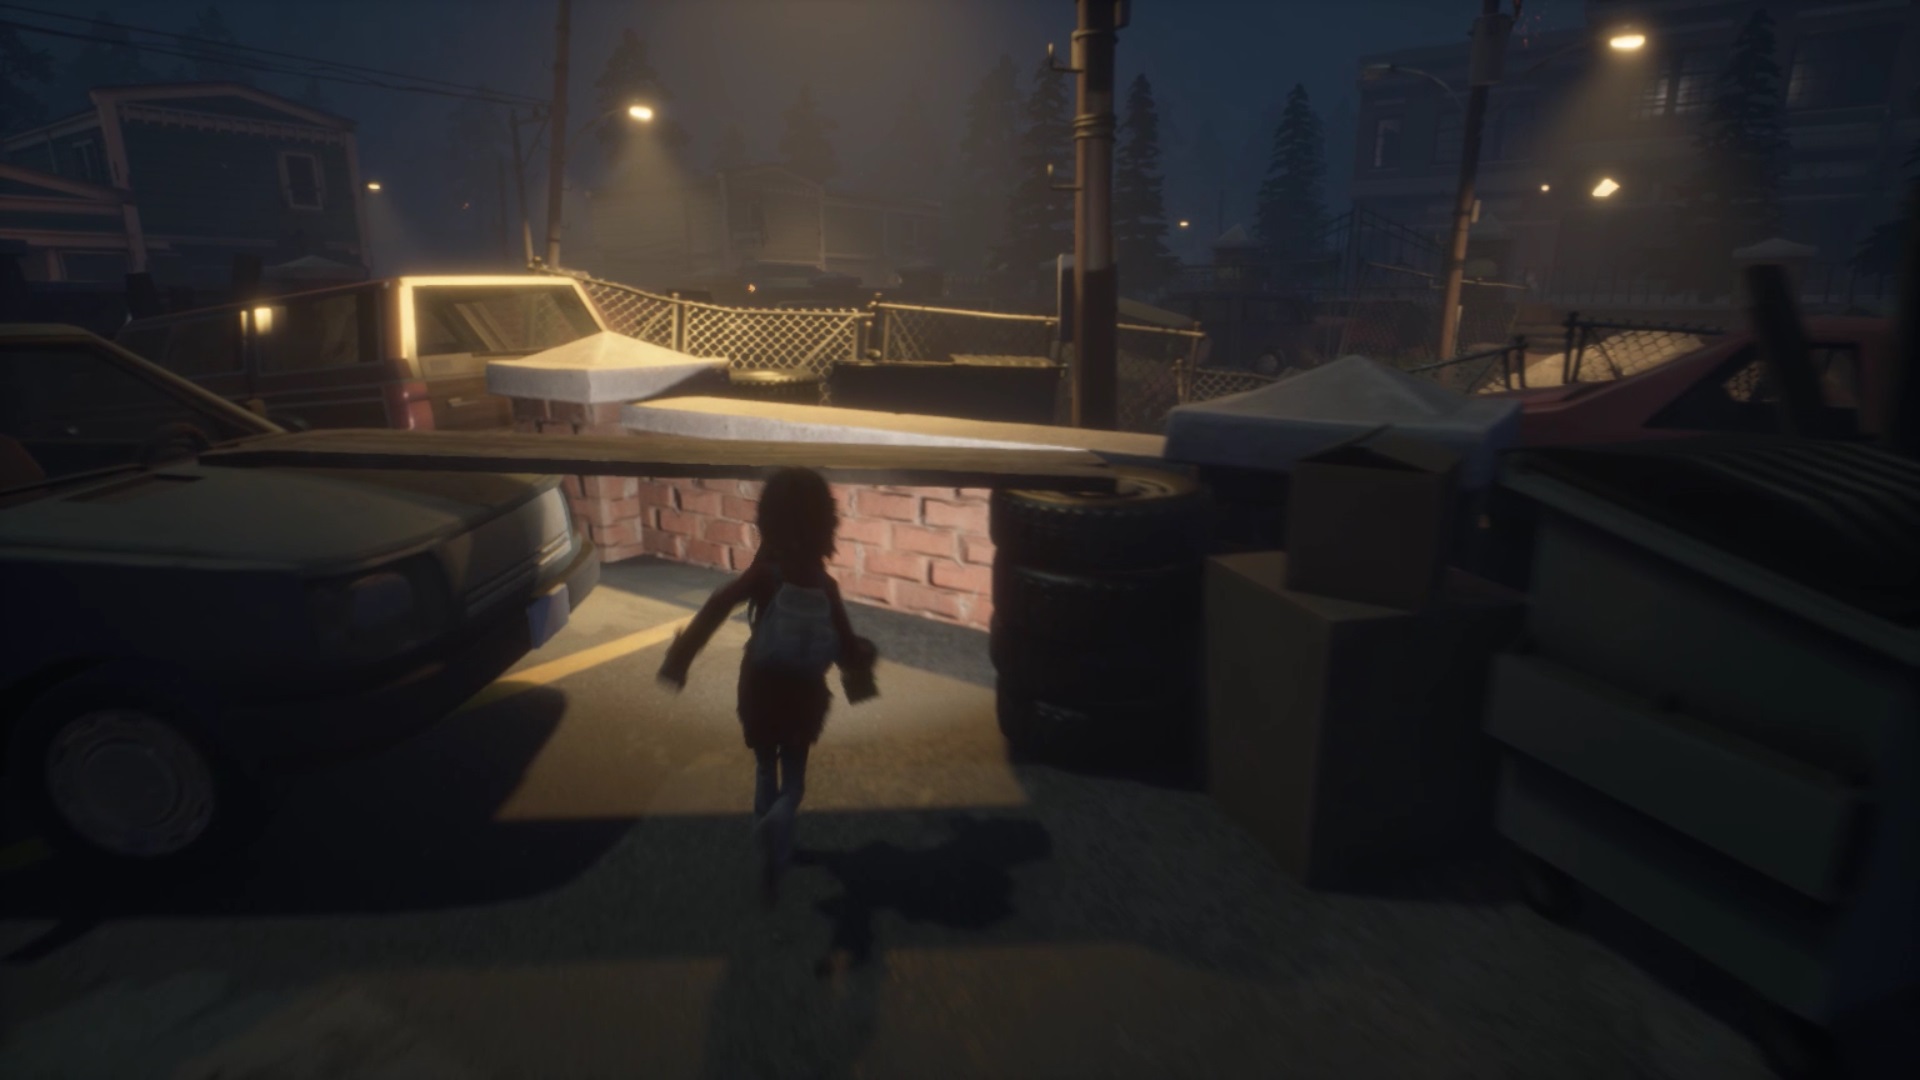
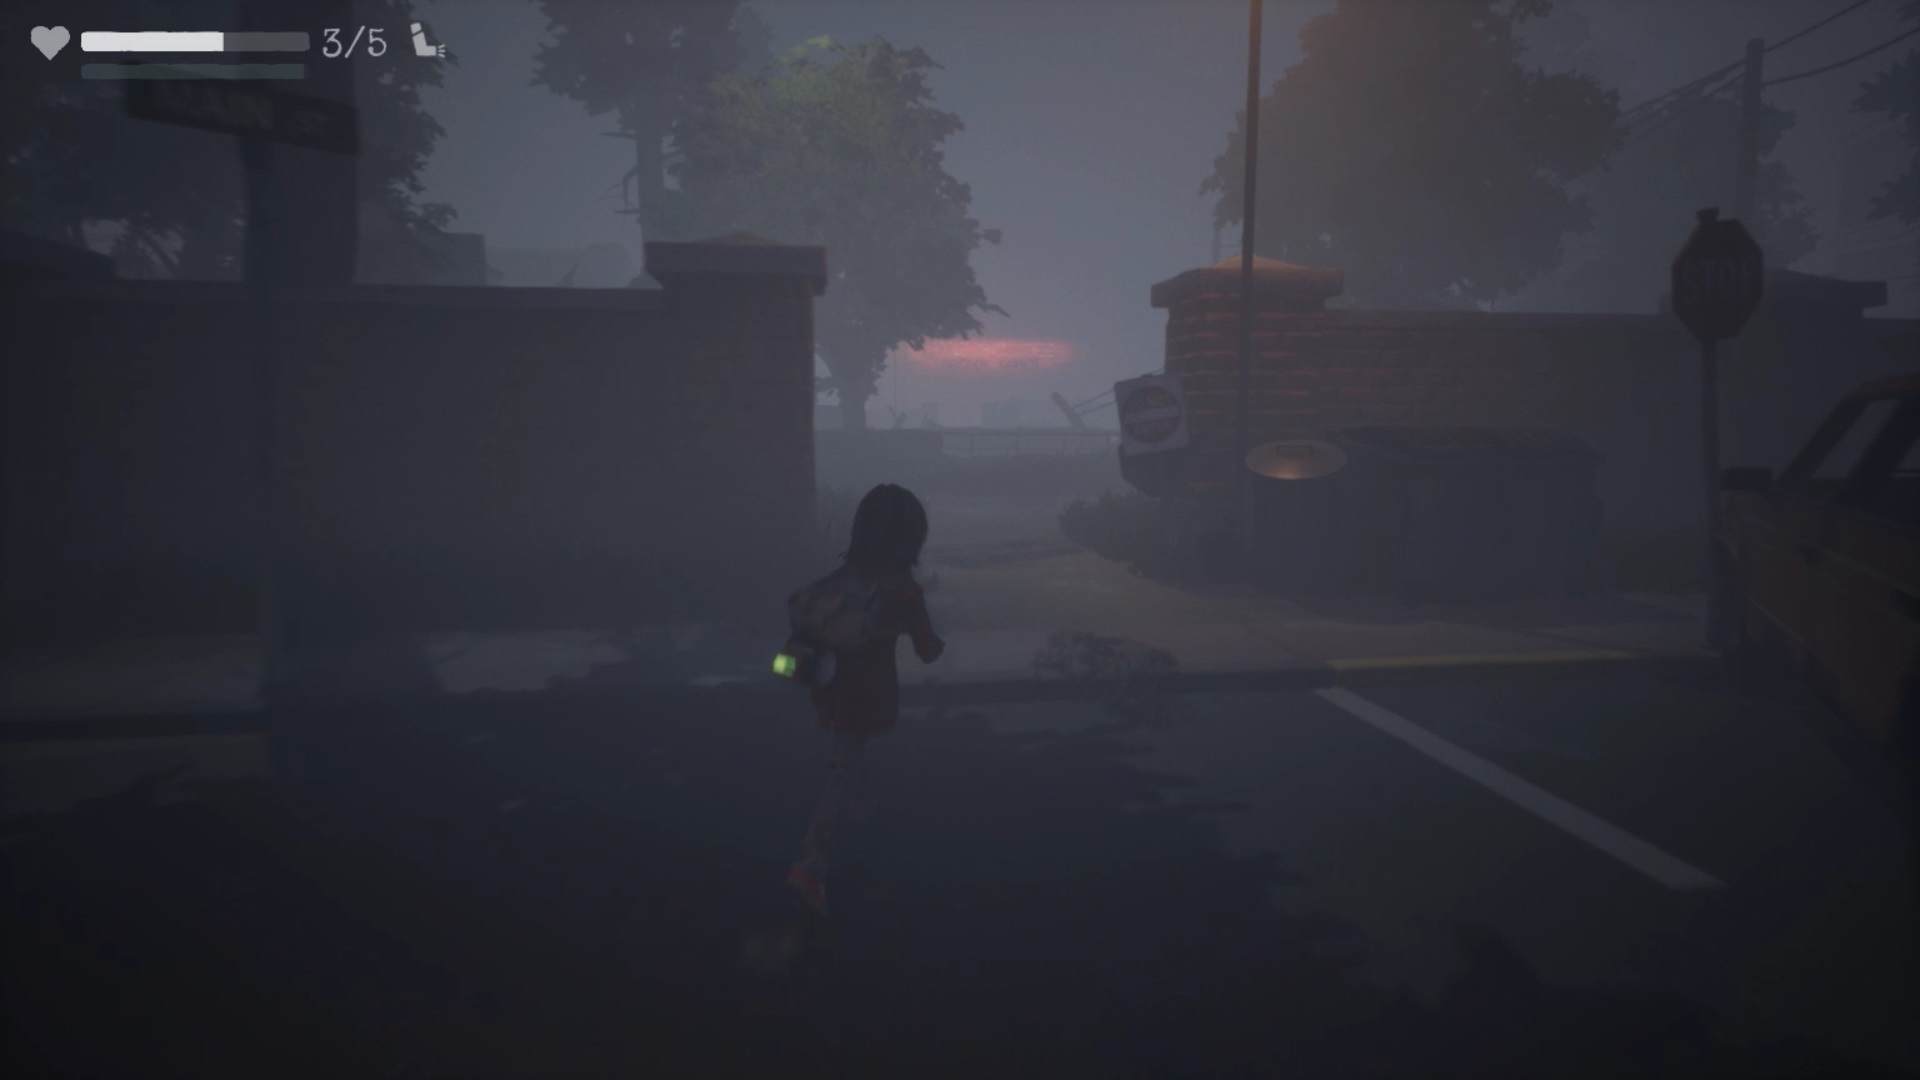
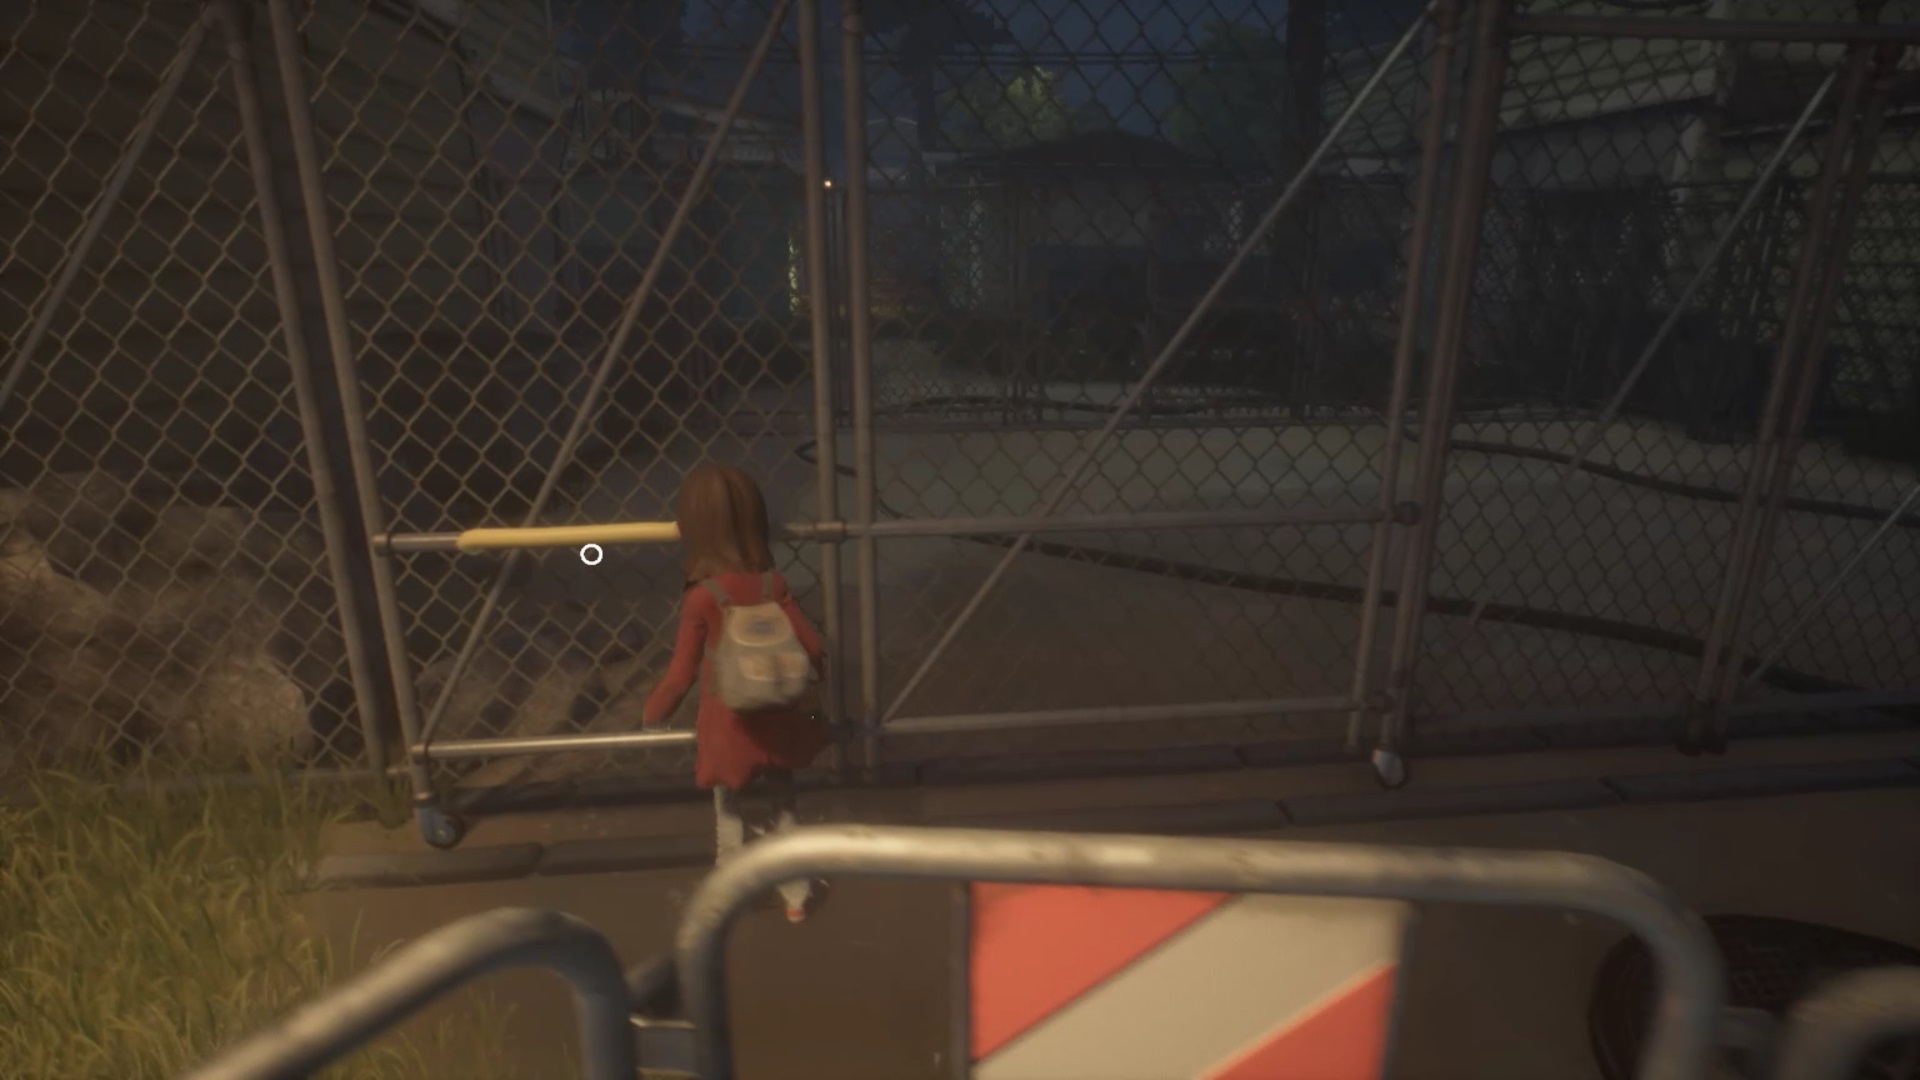
While avoiding the monsters, walk past the gas station. Continue to move forward by housing the buildings facing the station to reach an alley going to the west.
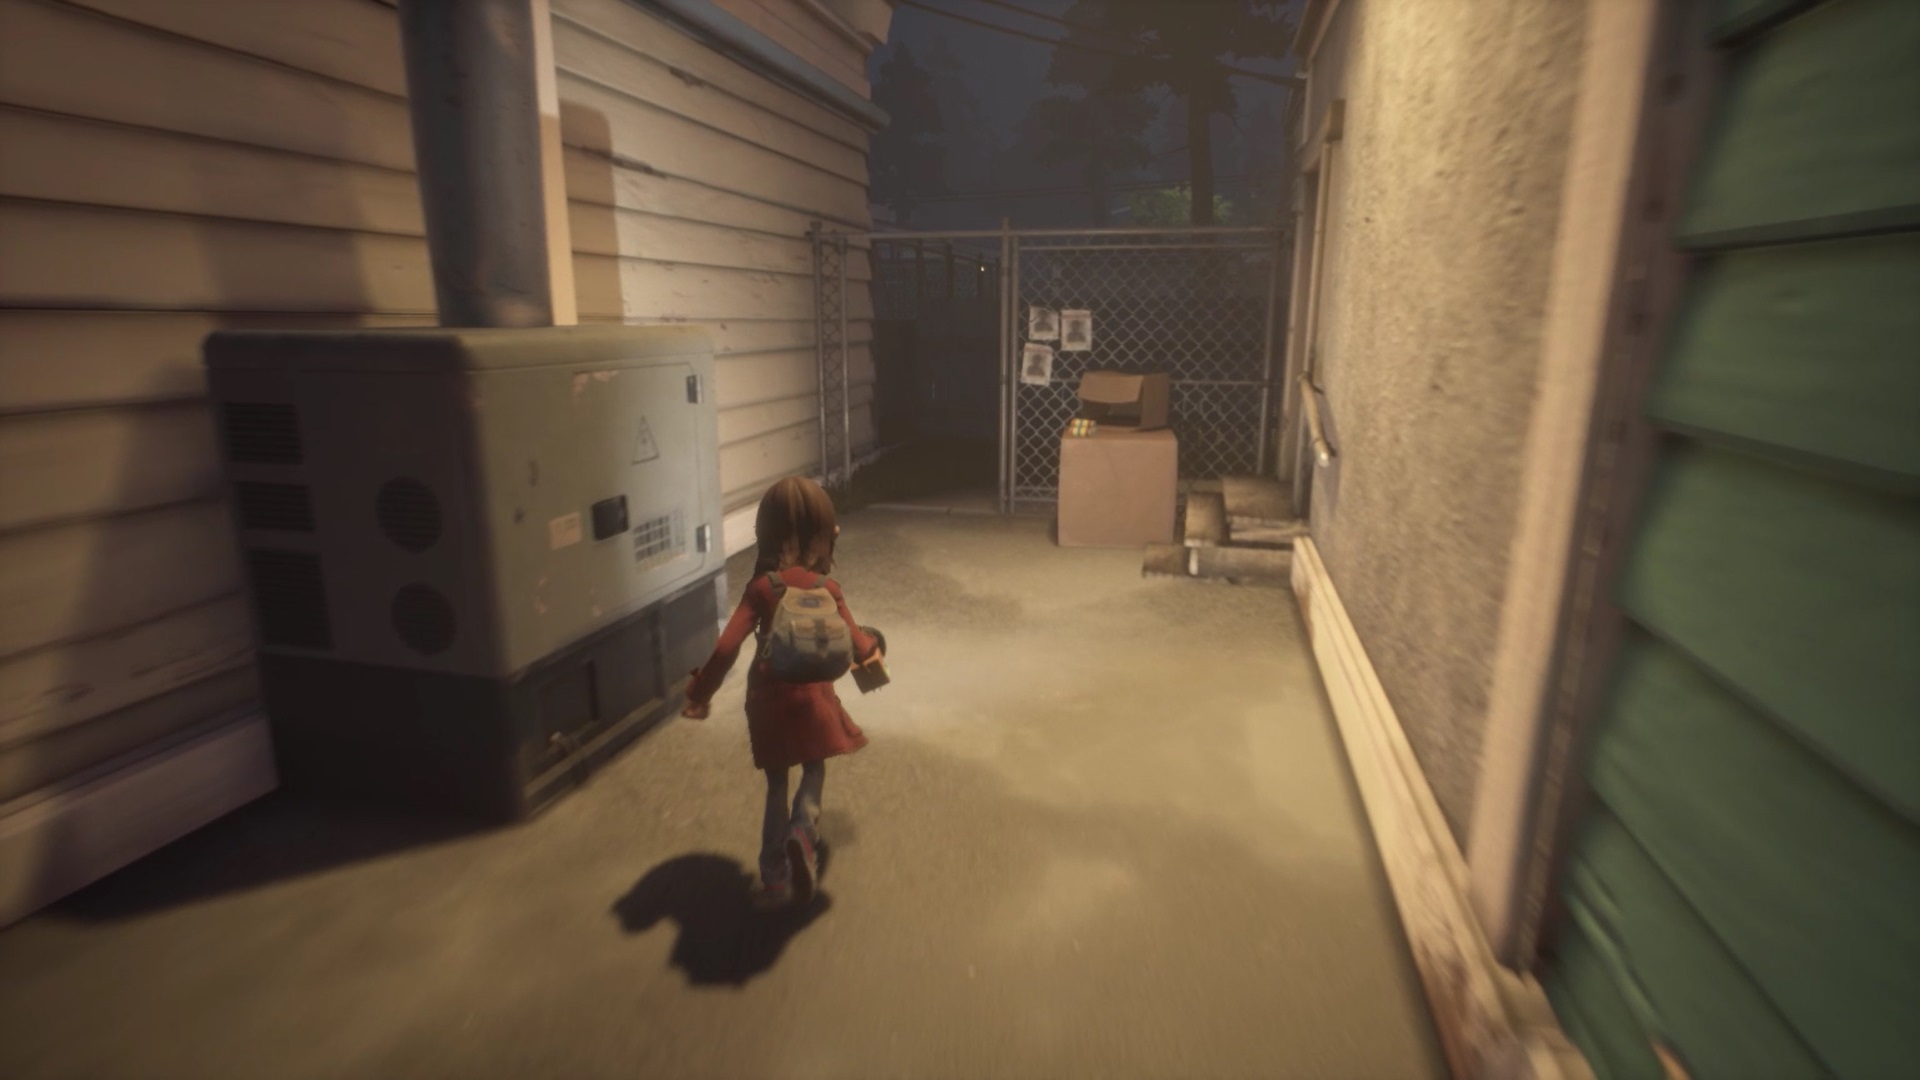
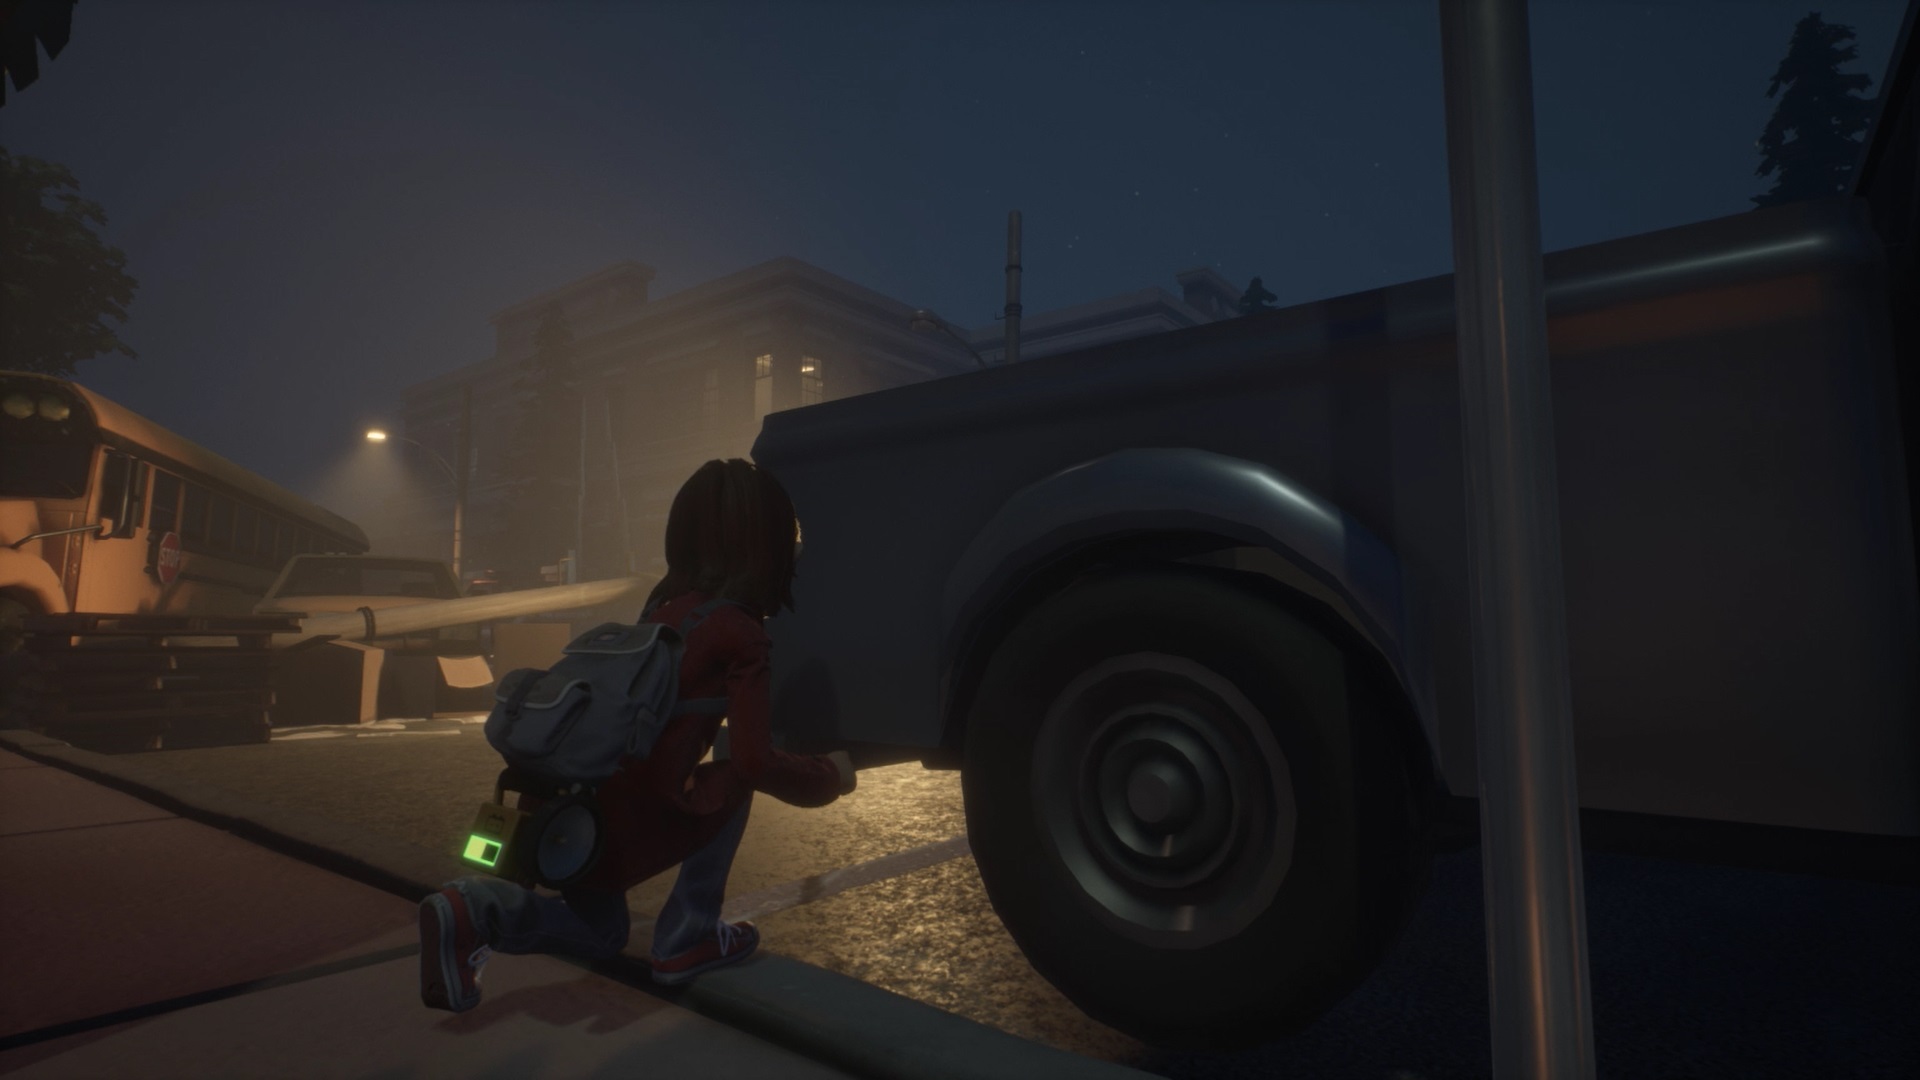
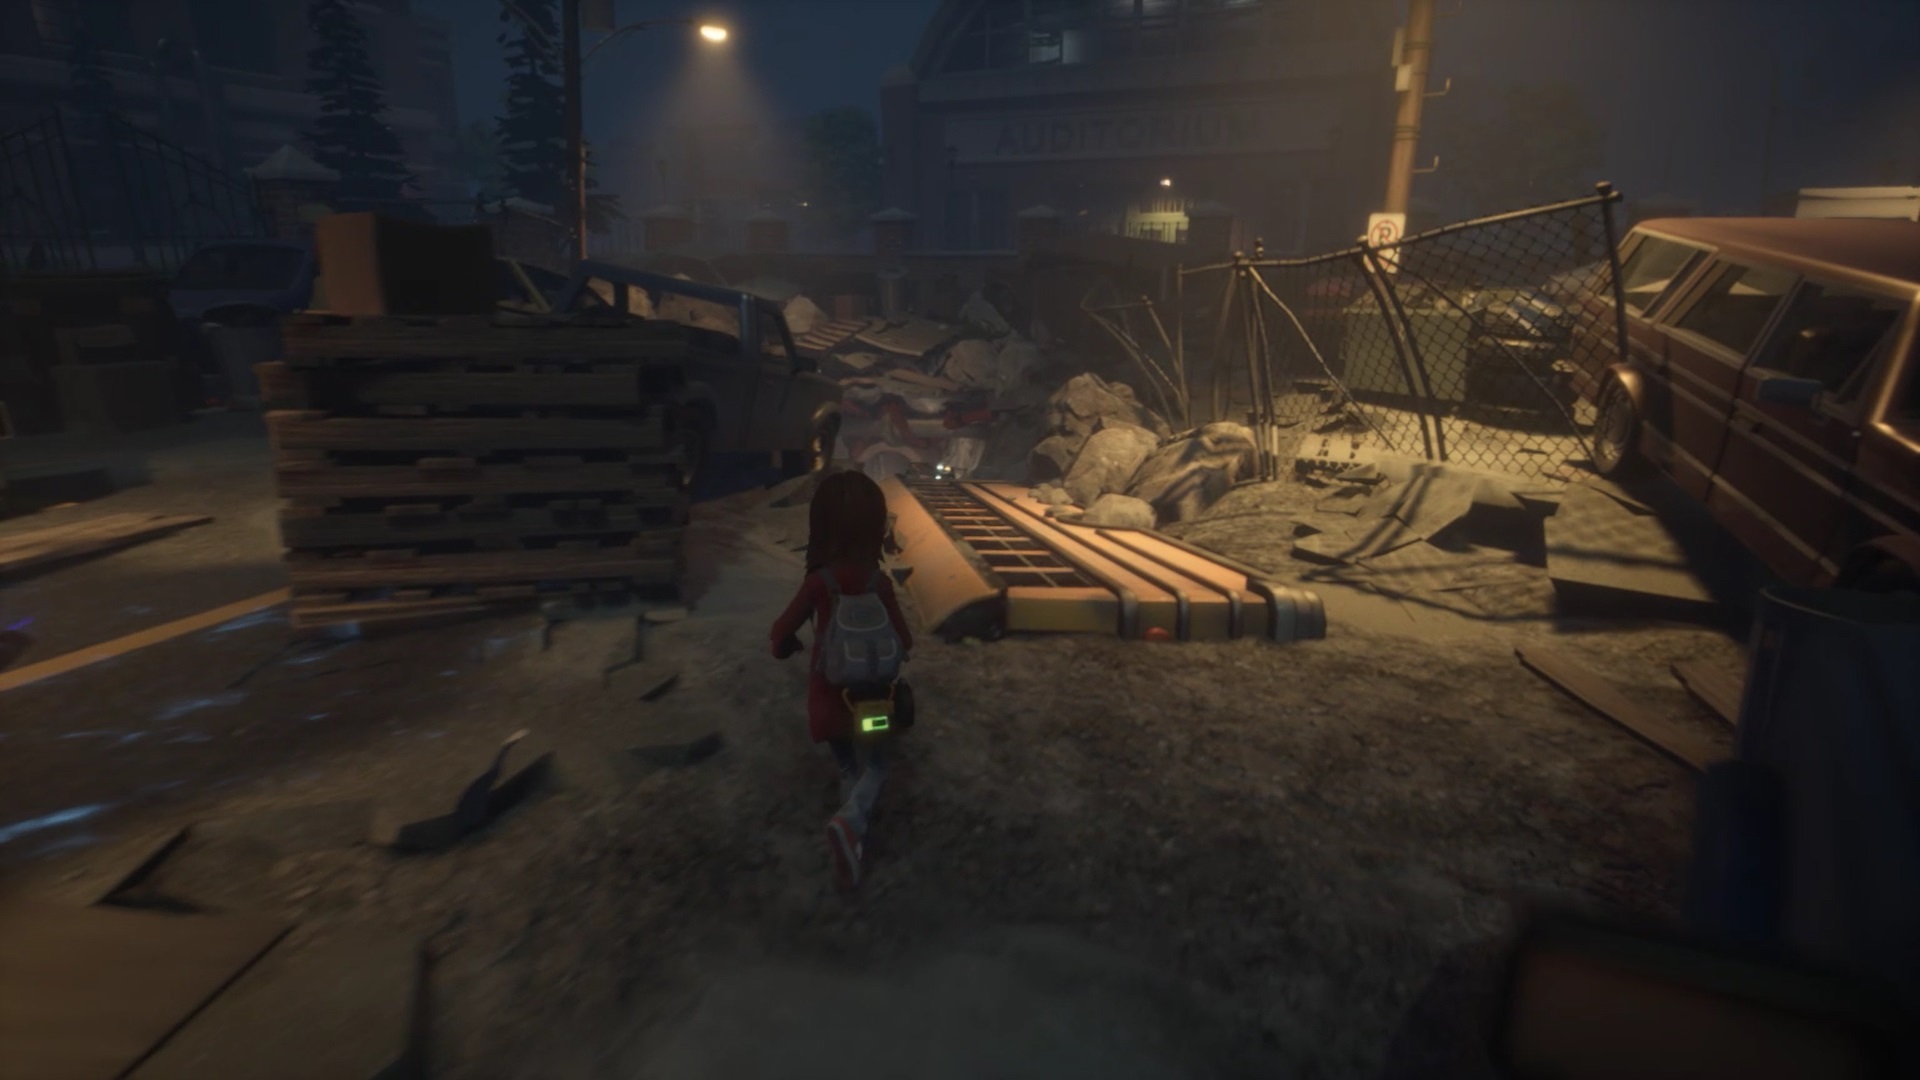
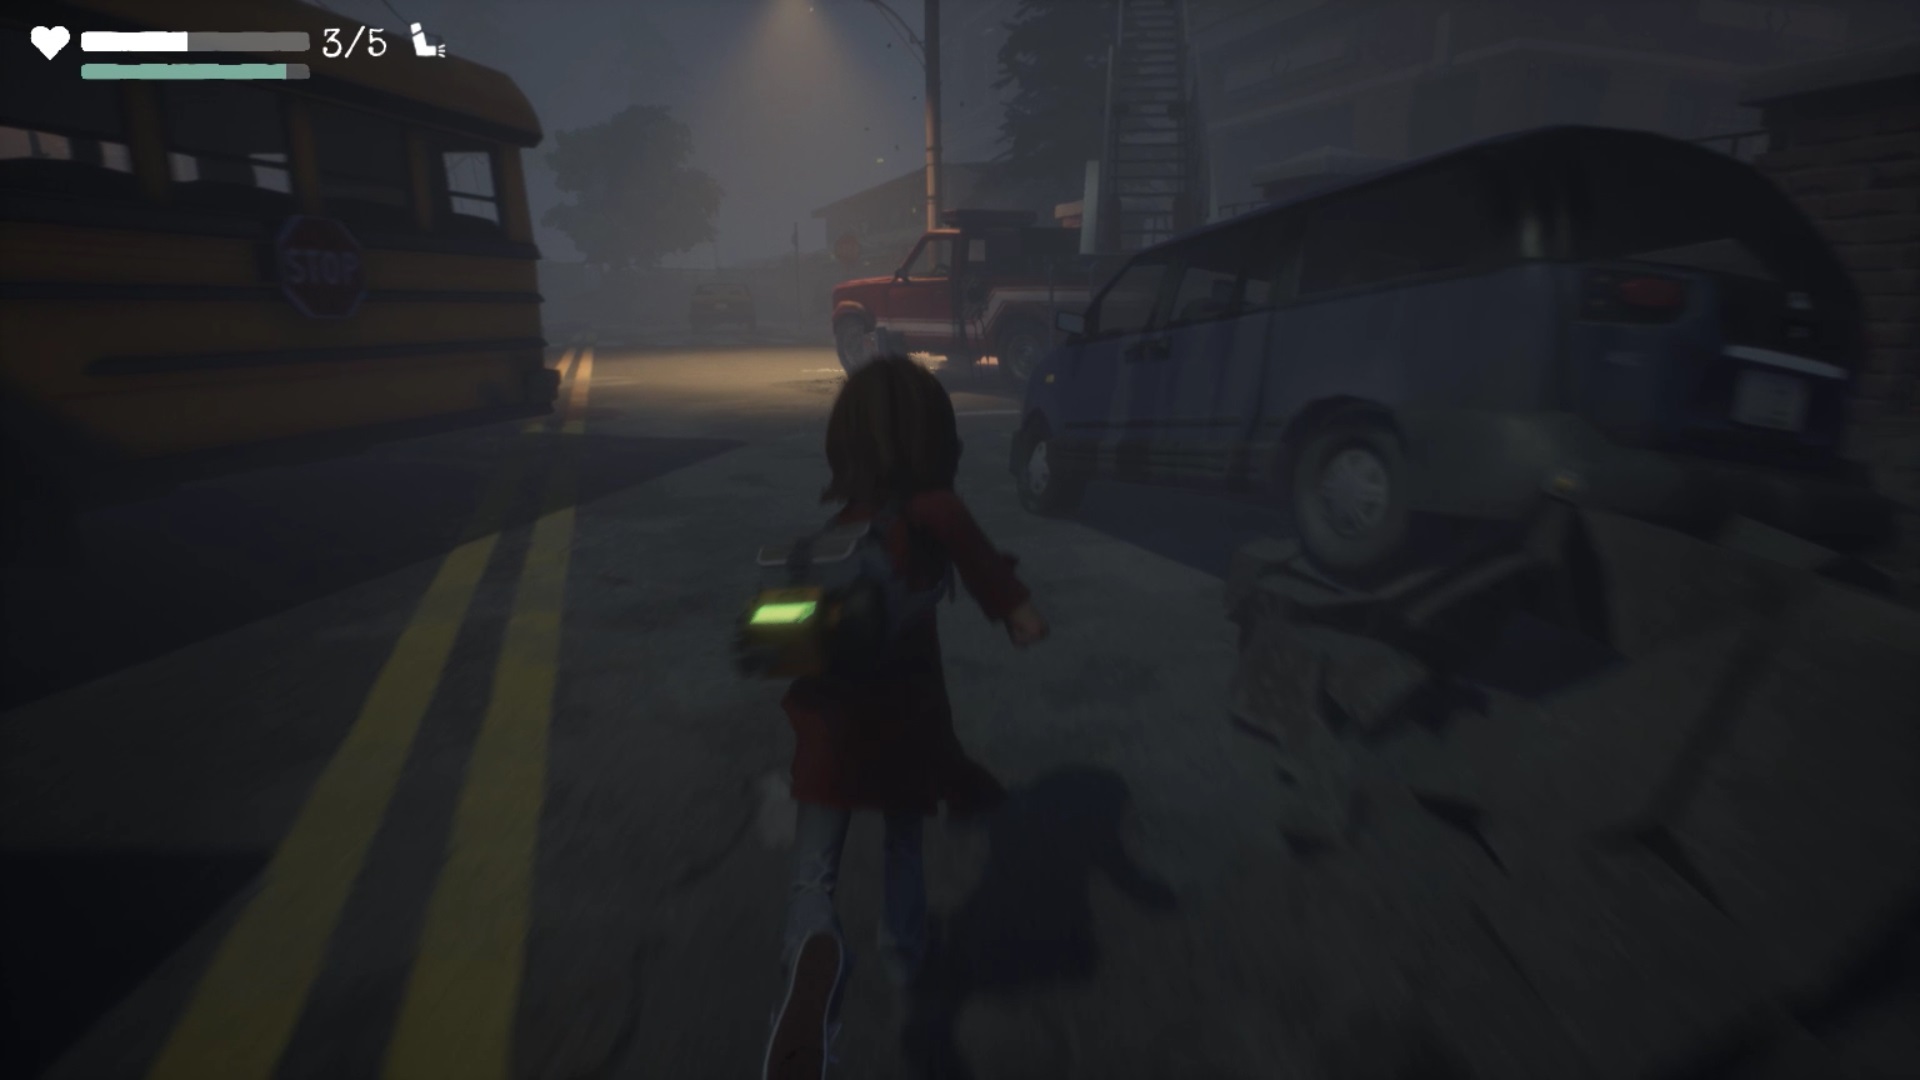
Proceed north towards a fence with posters of Emily. Continue your way in the direction of a school bus. The fire truck is located at the back of the bus. Dodge the enemies and duck under the debris on your way to reach the fire truck.
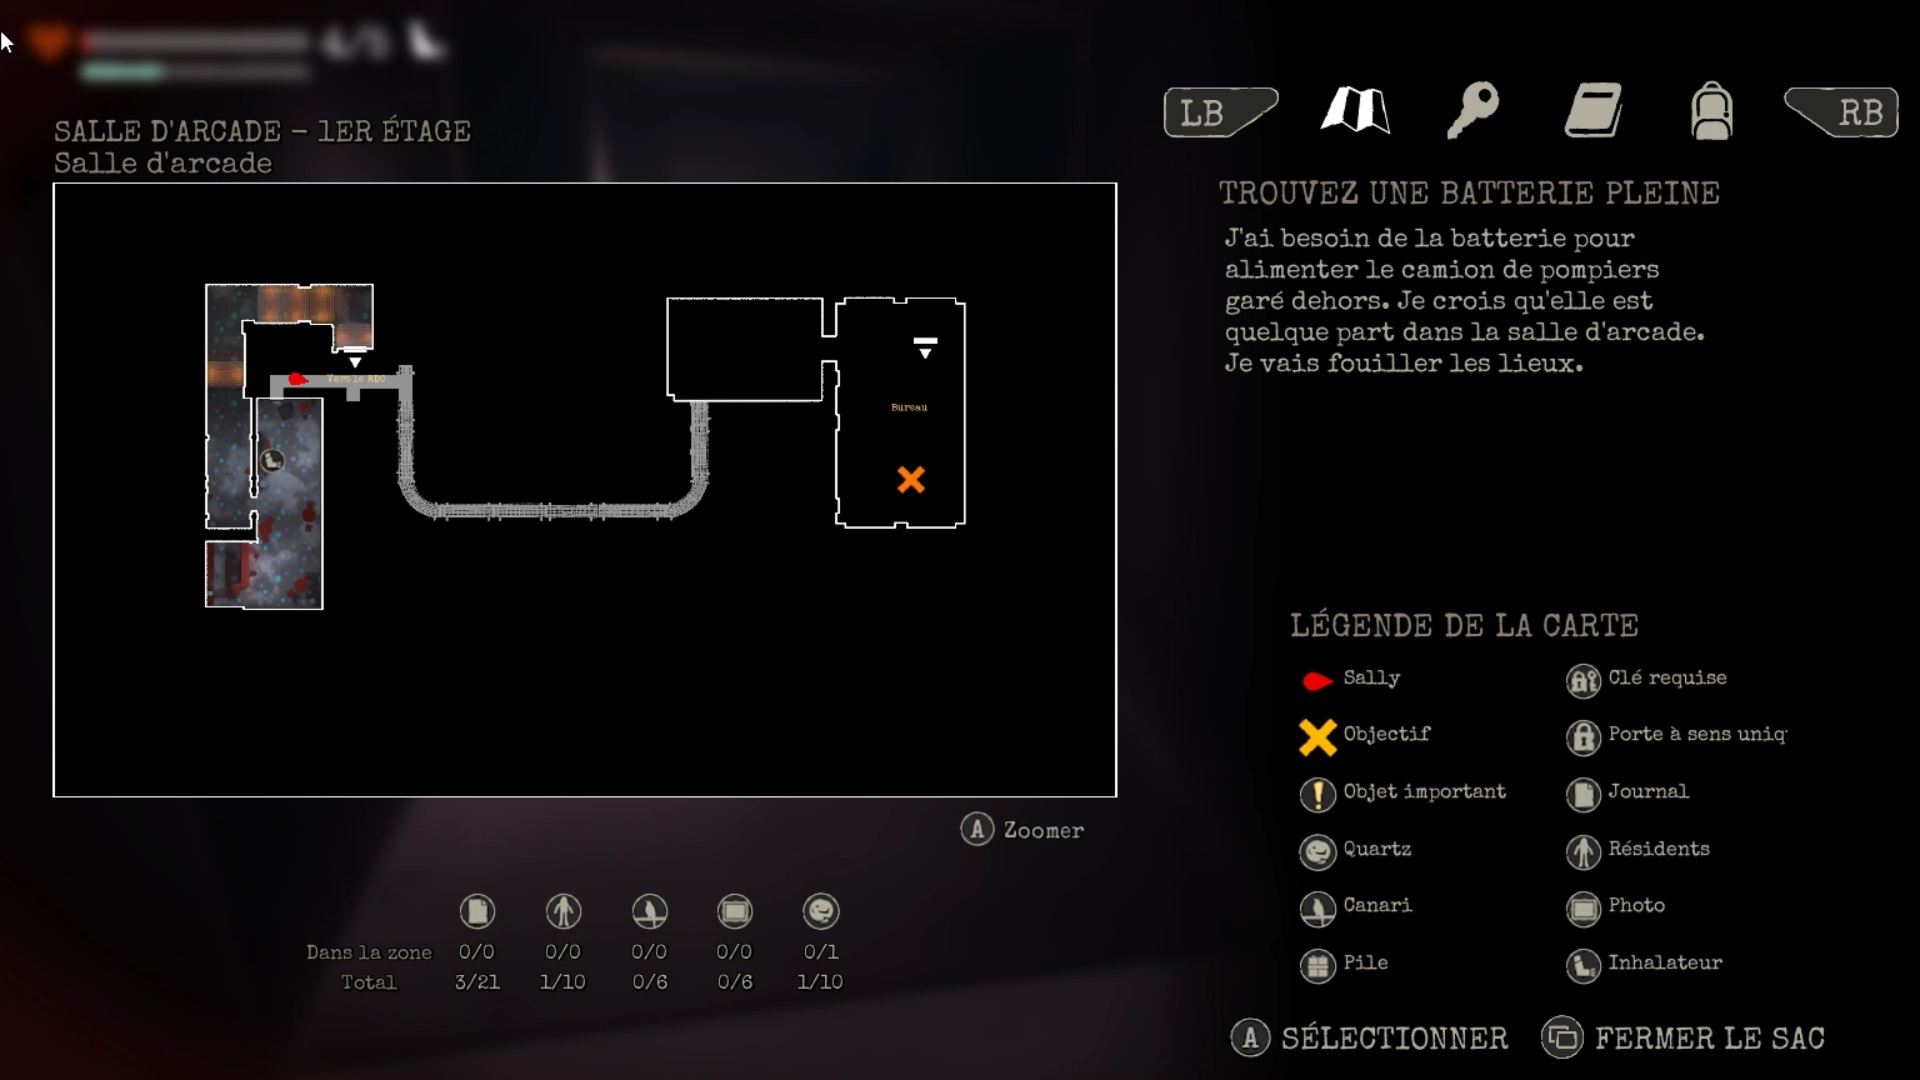
Salle d’arcade
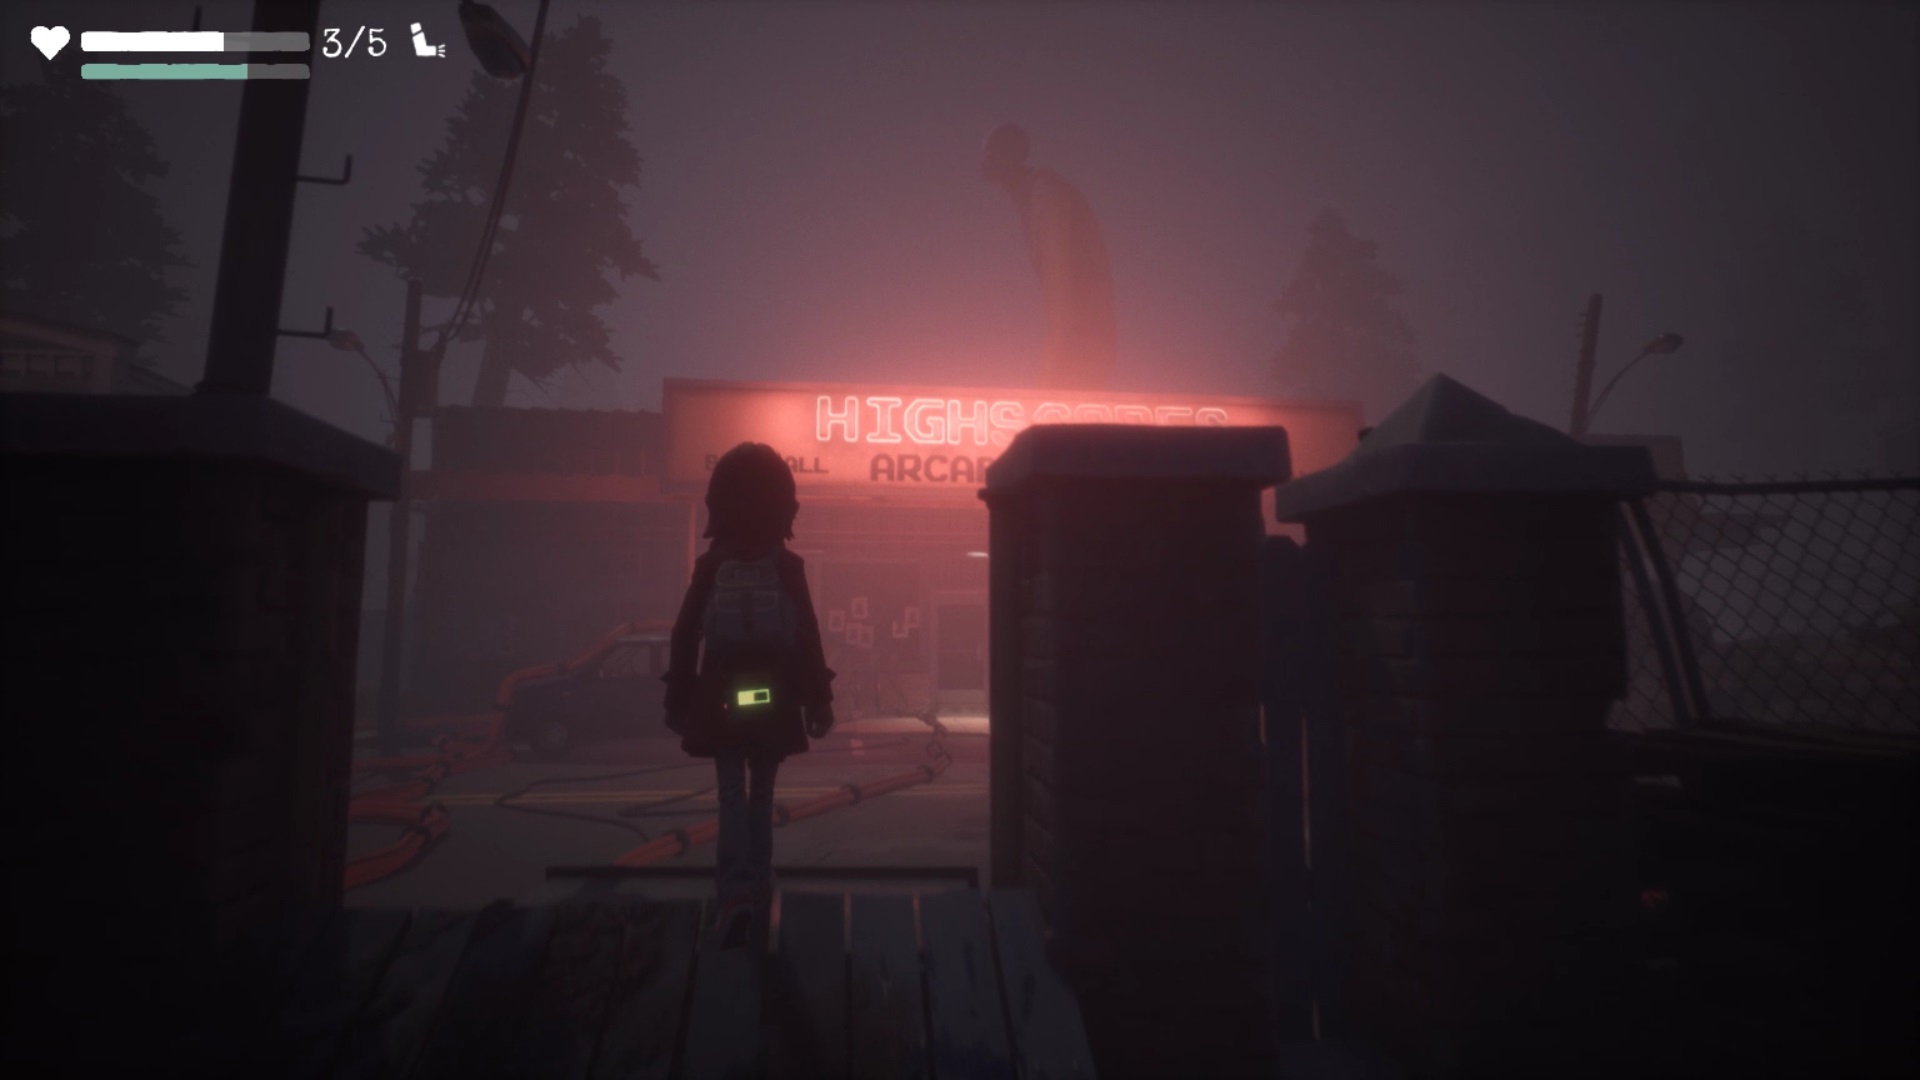
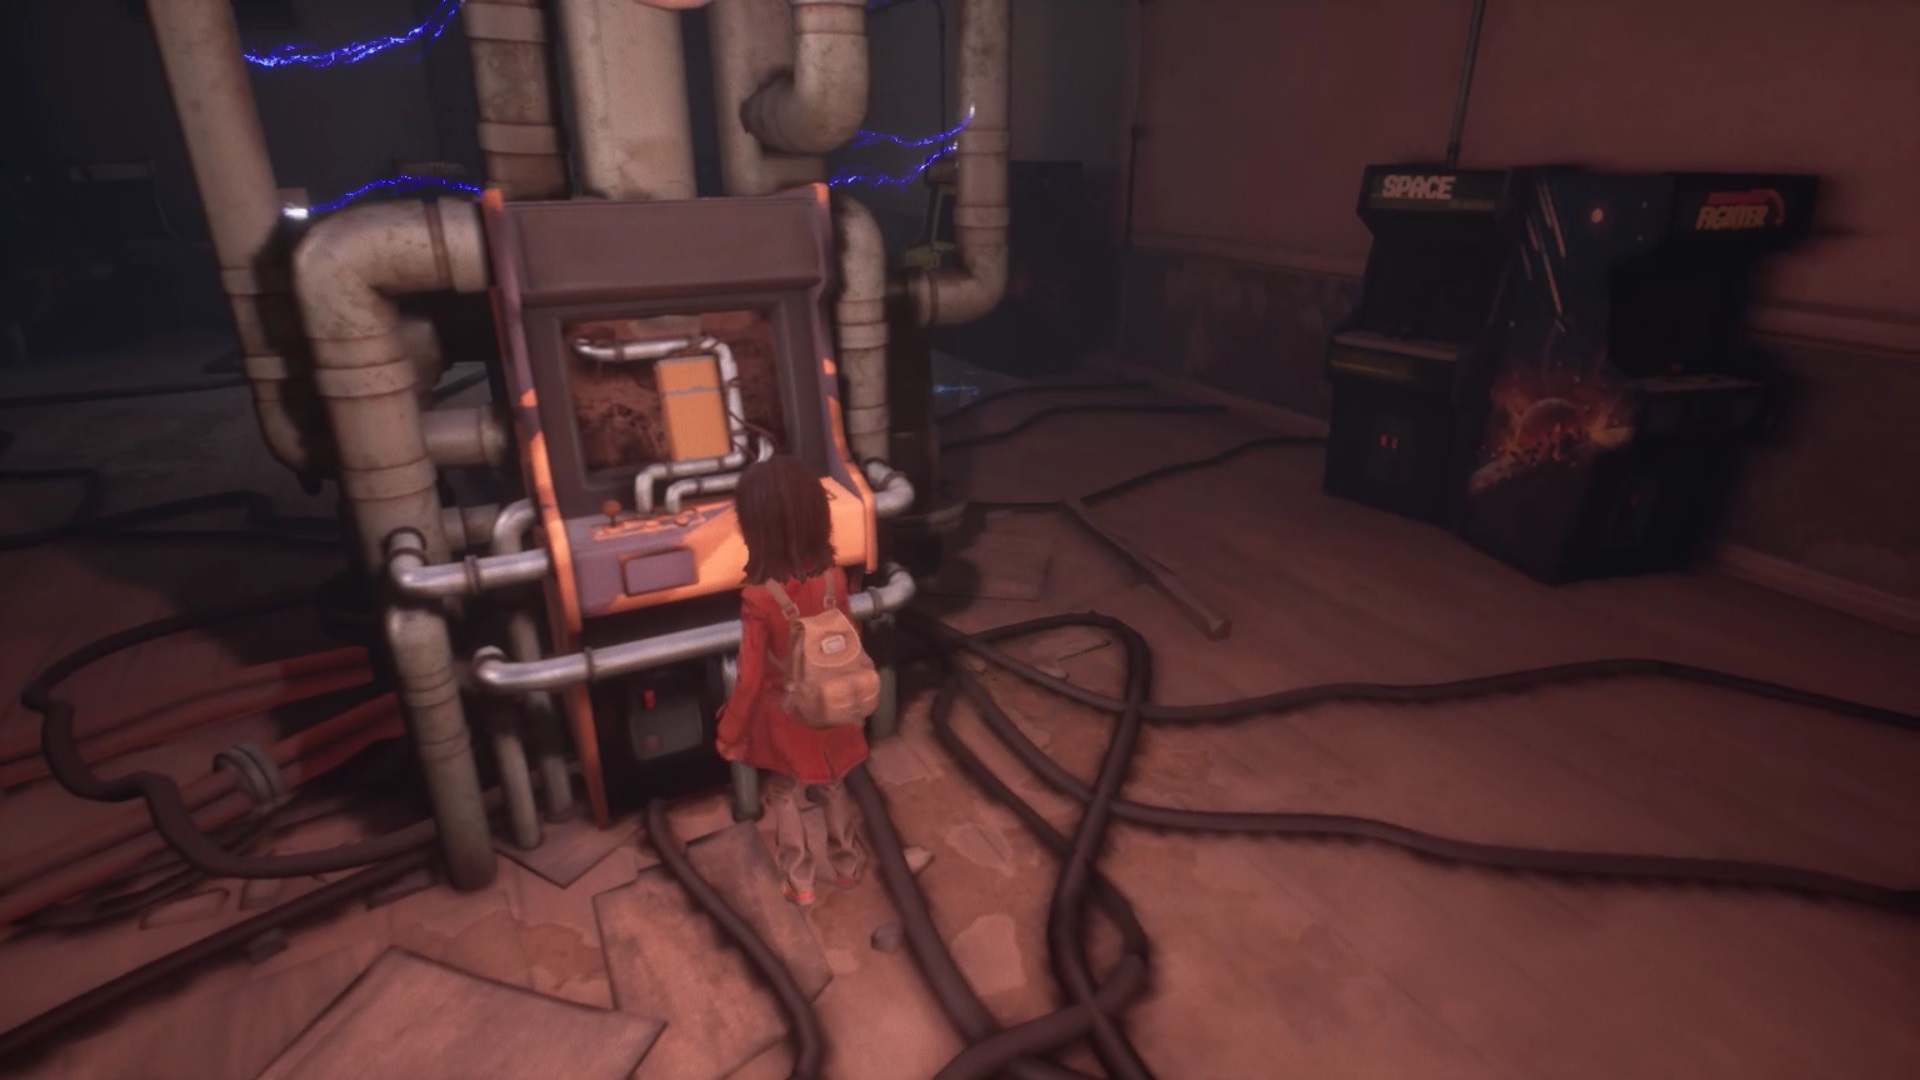
To collect the fire truck battery, you need to collect a battery. It is in the arcade room. Head west of the truck to reach the arcade. At the entrance to the park leading to the arcades, go right to pick up an item on the ground. It is a flash allowing you to dazzle several enemies at the same time. Continue your way to enter the arcade room.
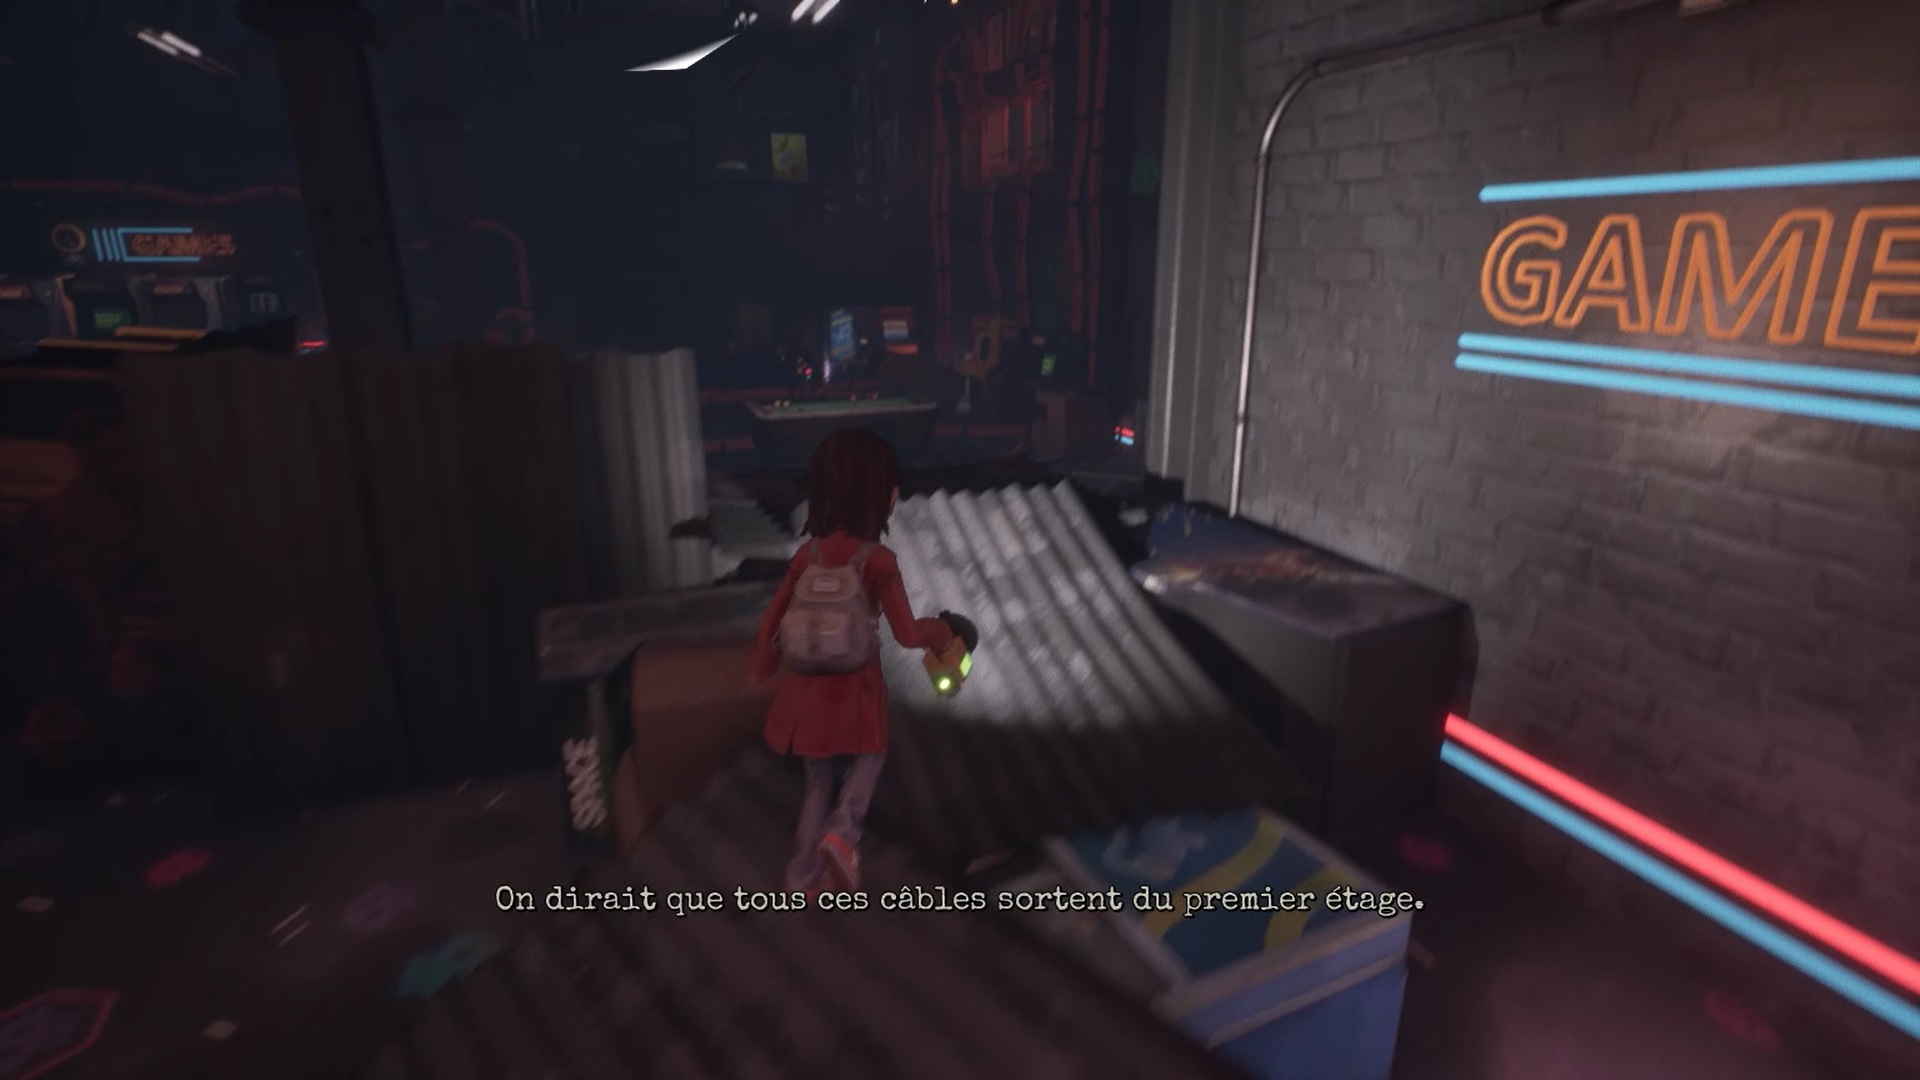
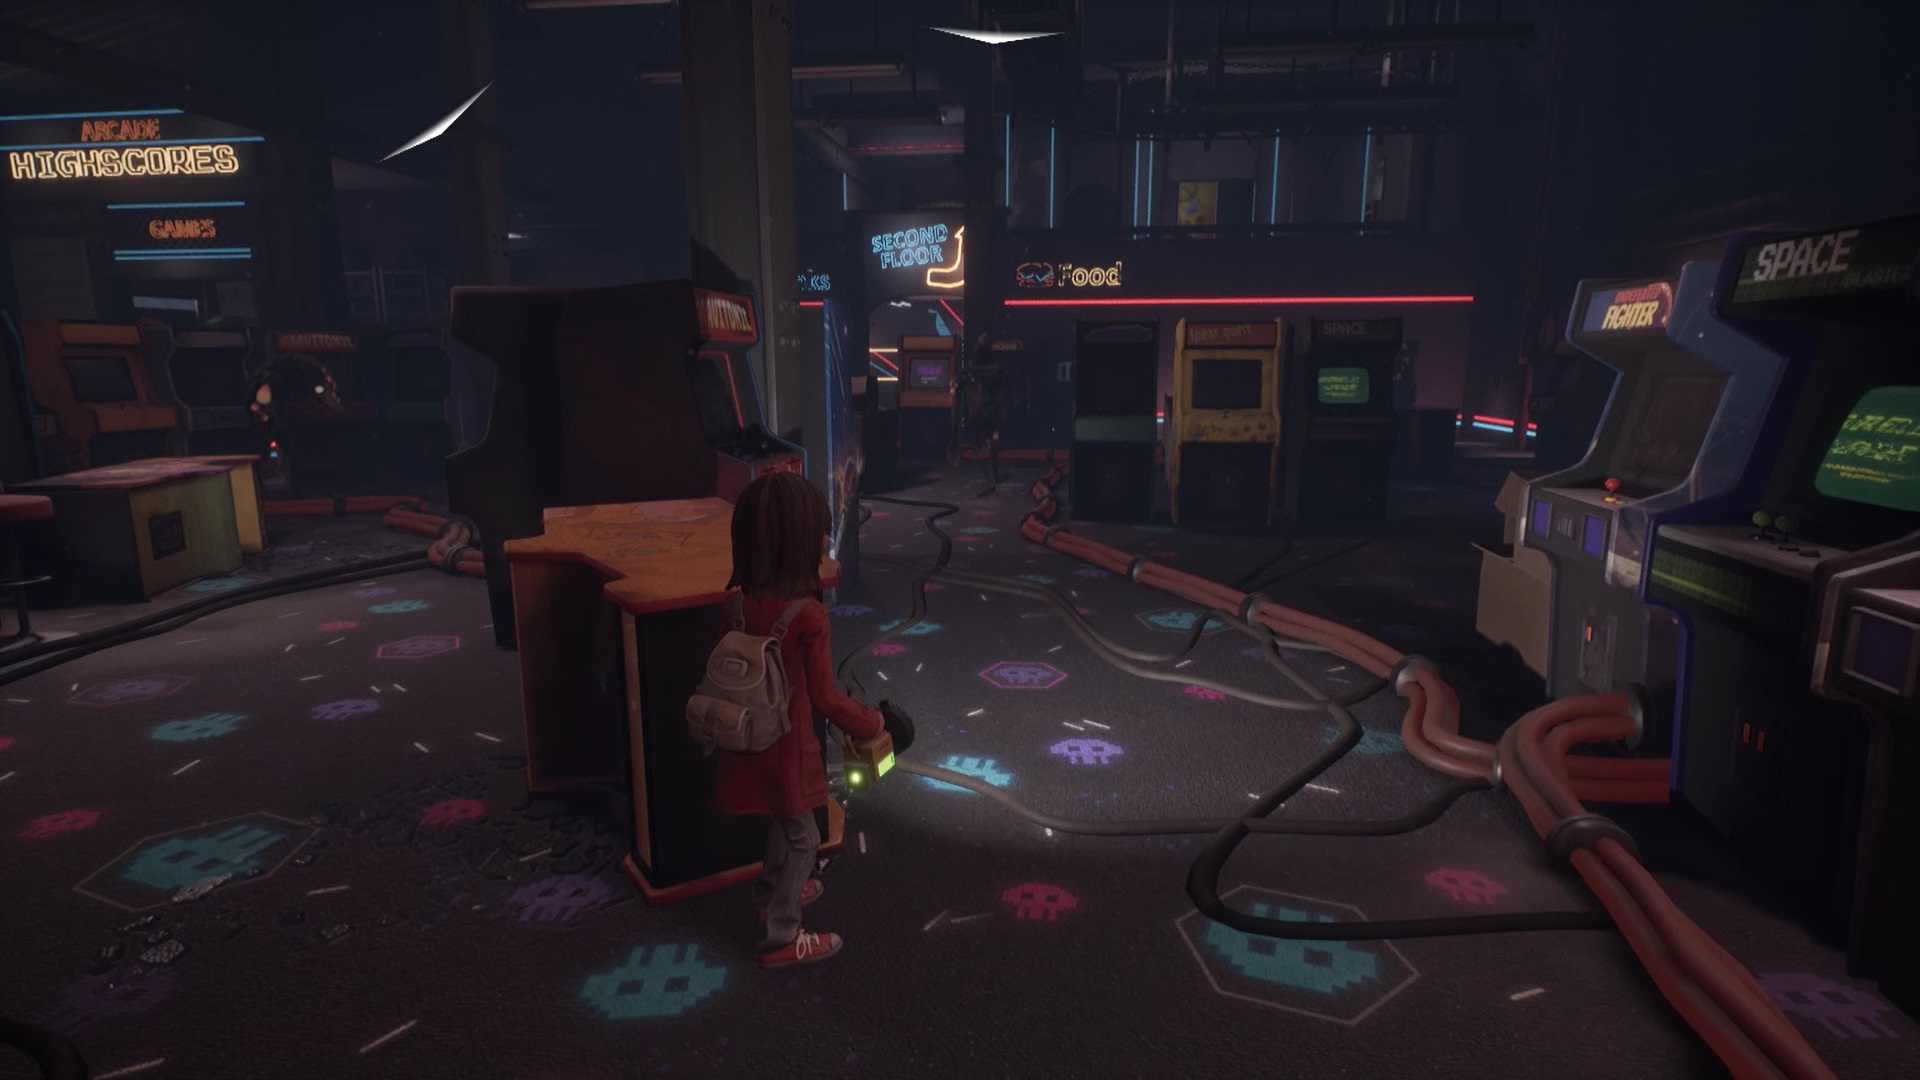
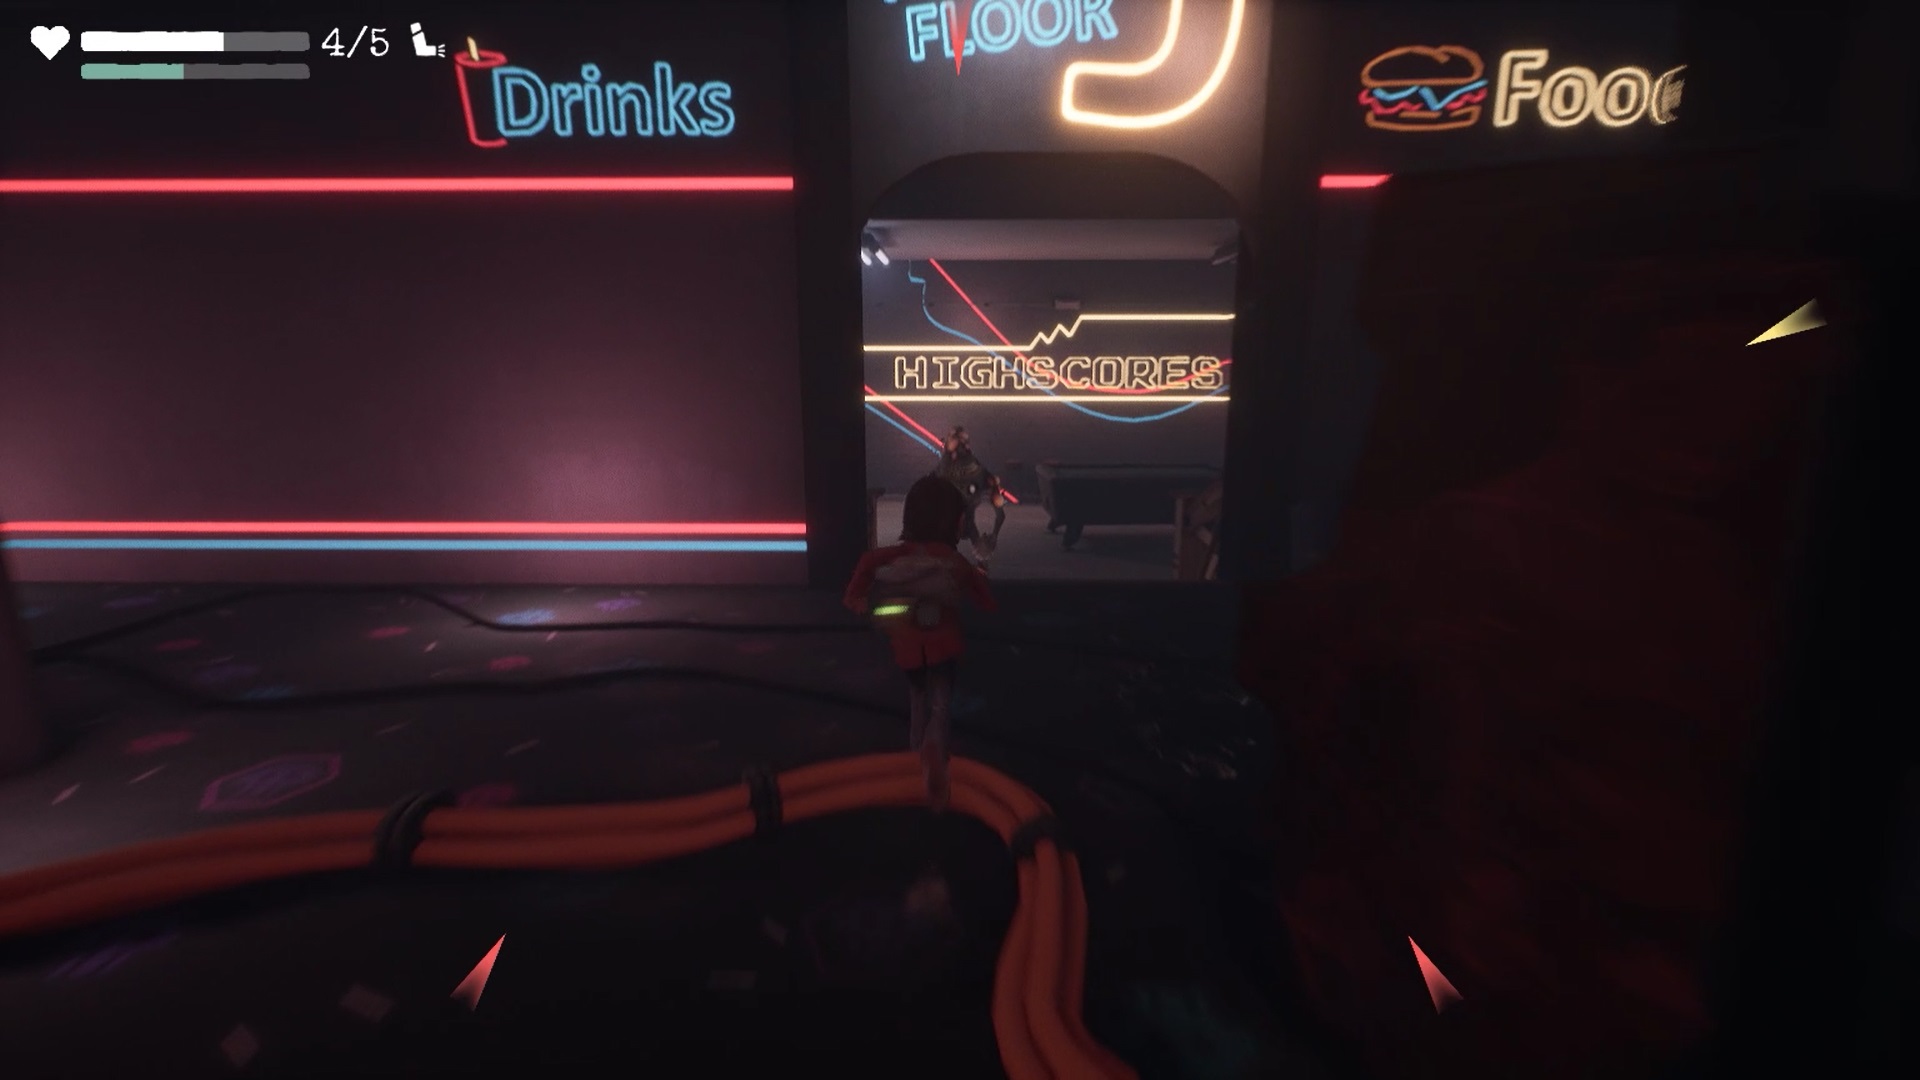
You need to go to the first floor west of the arcade. Follow the Second Floor neon. Sneak between monsters or kill them to advance easily.
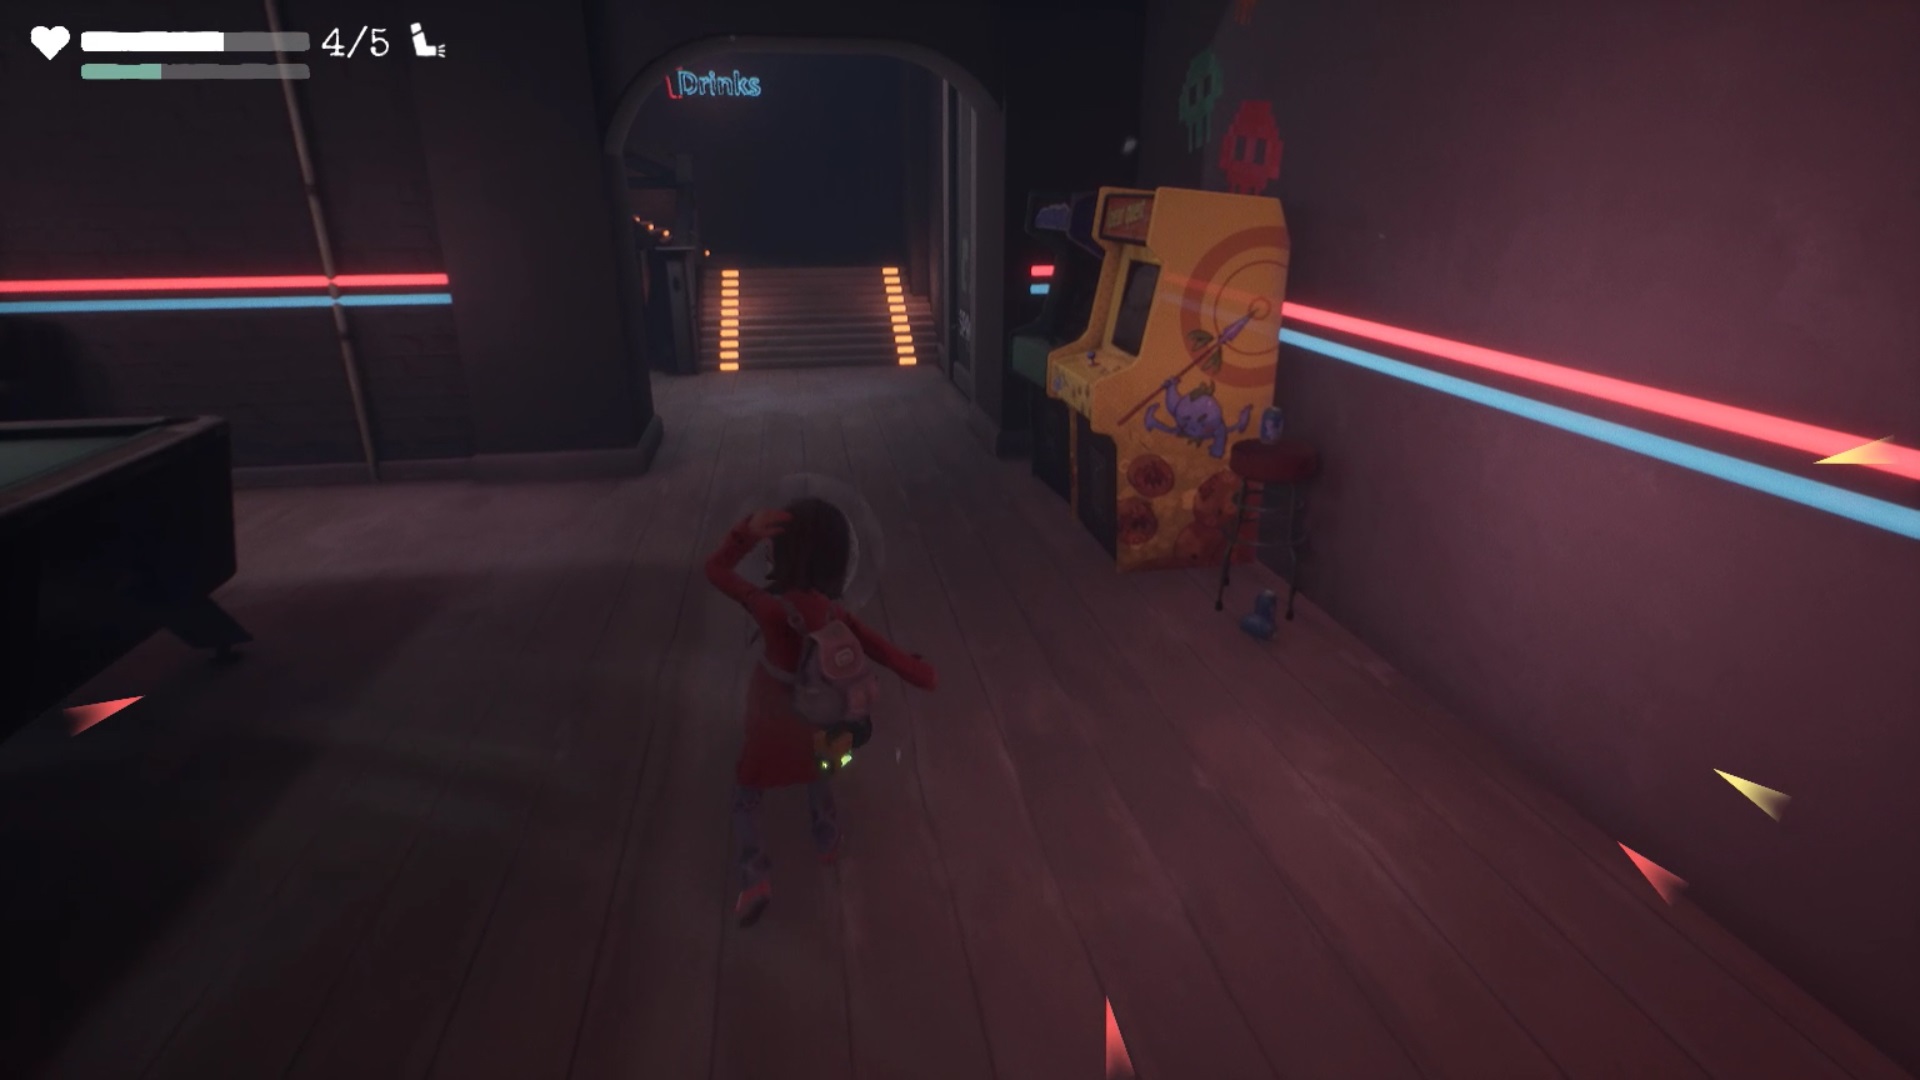
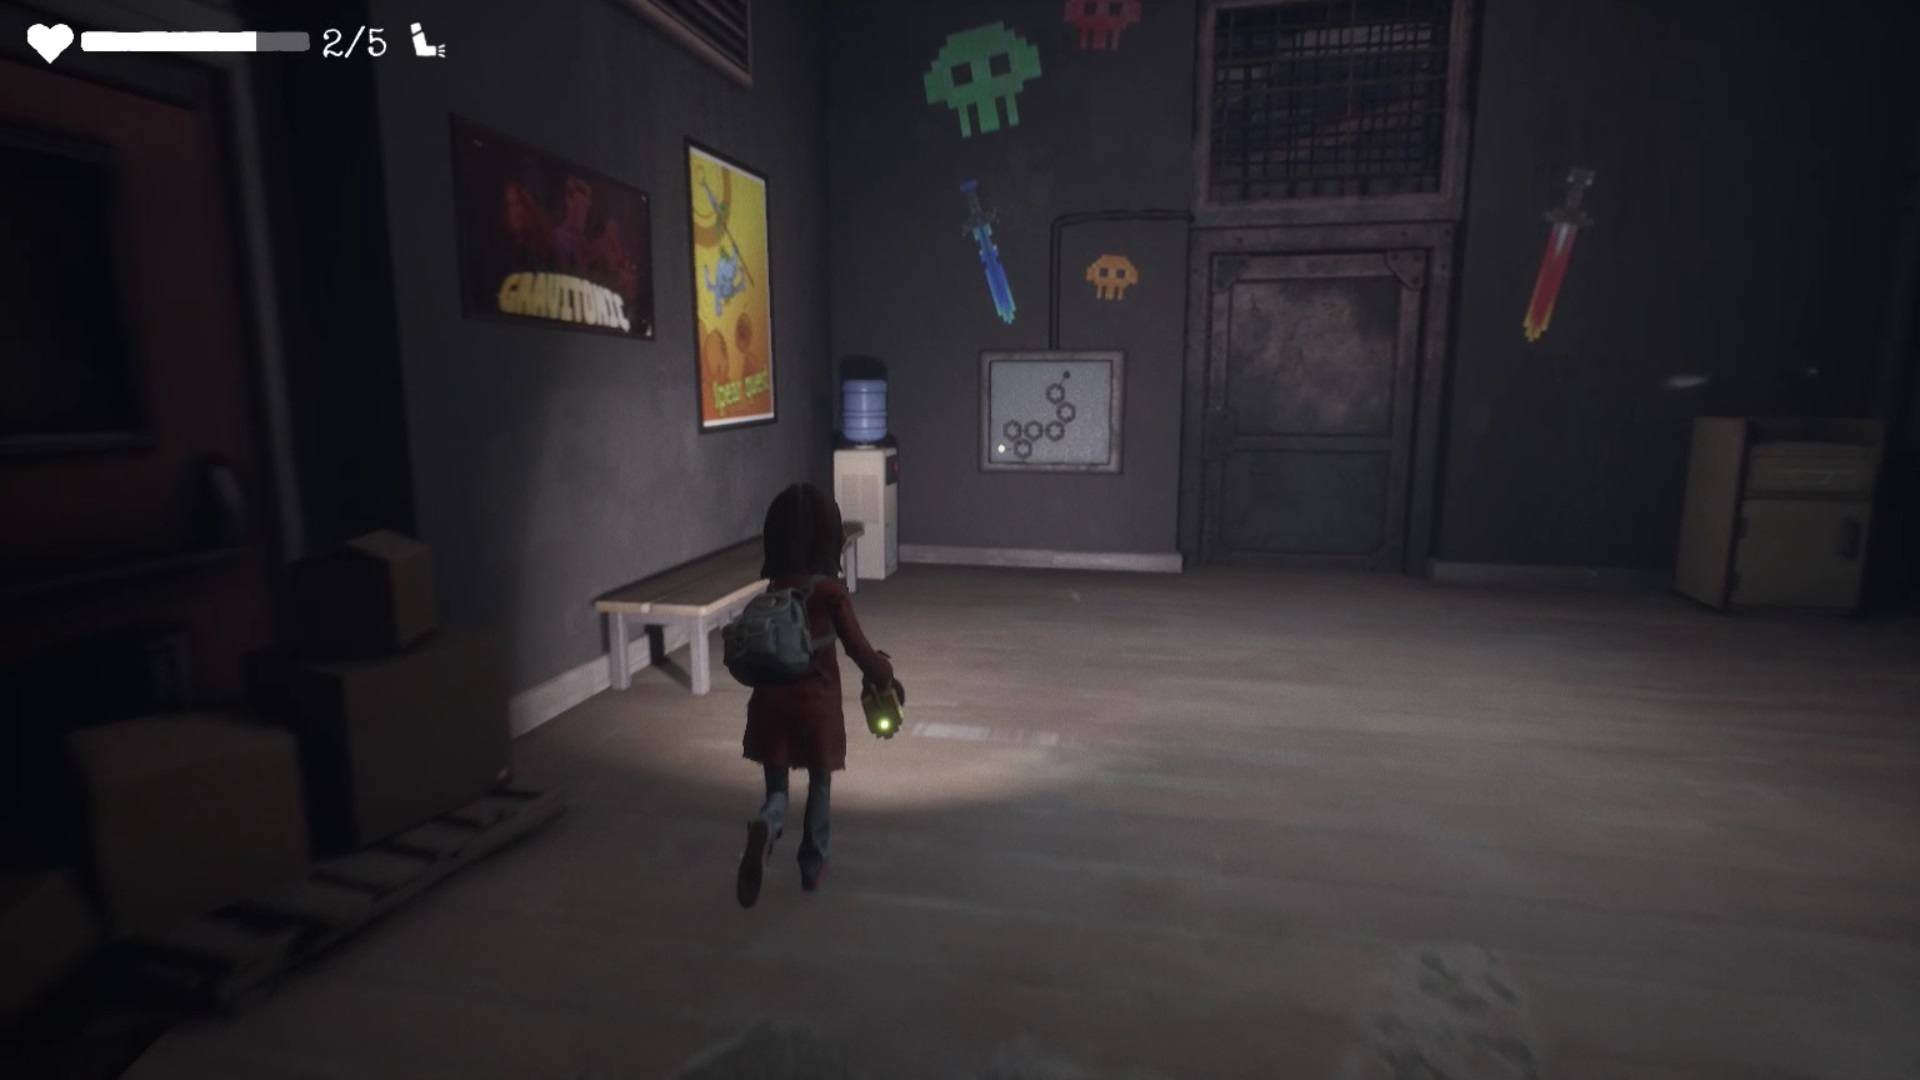
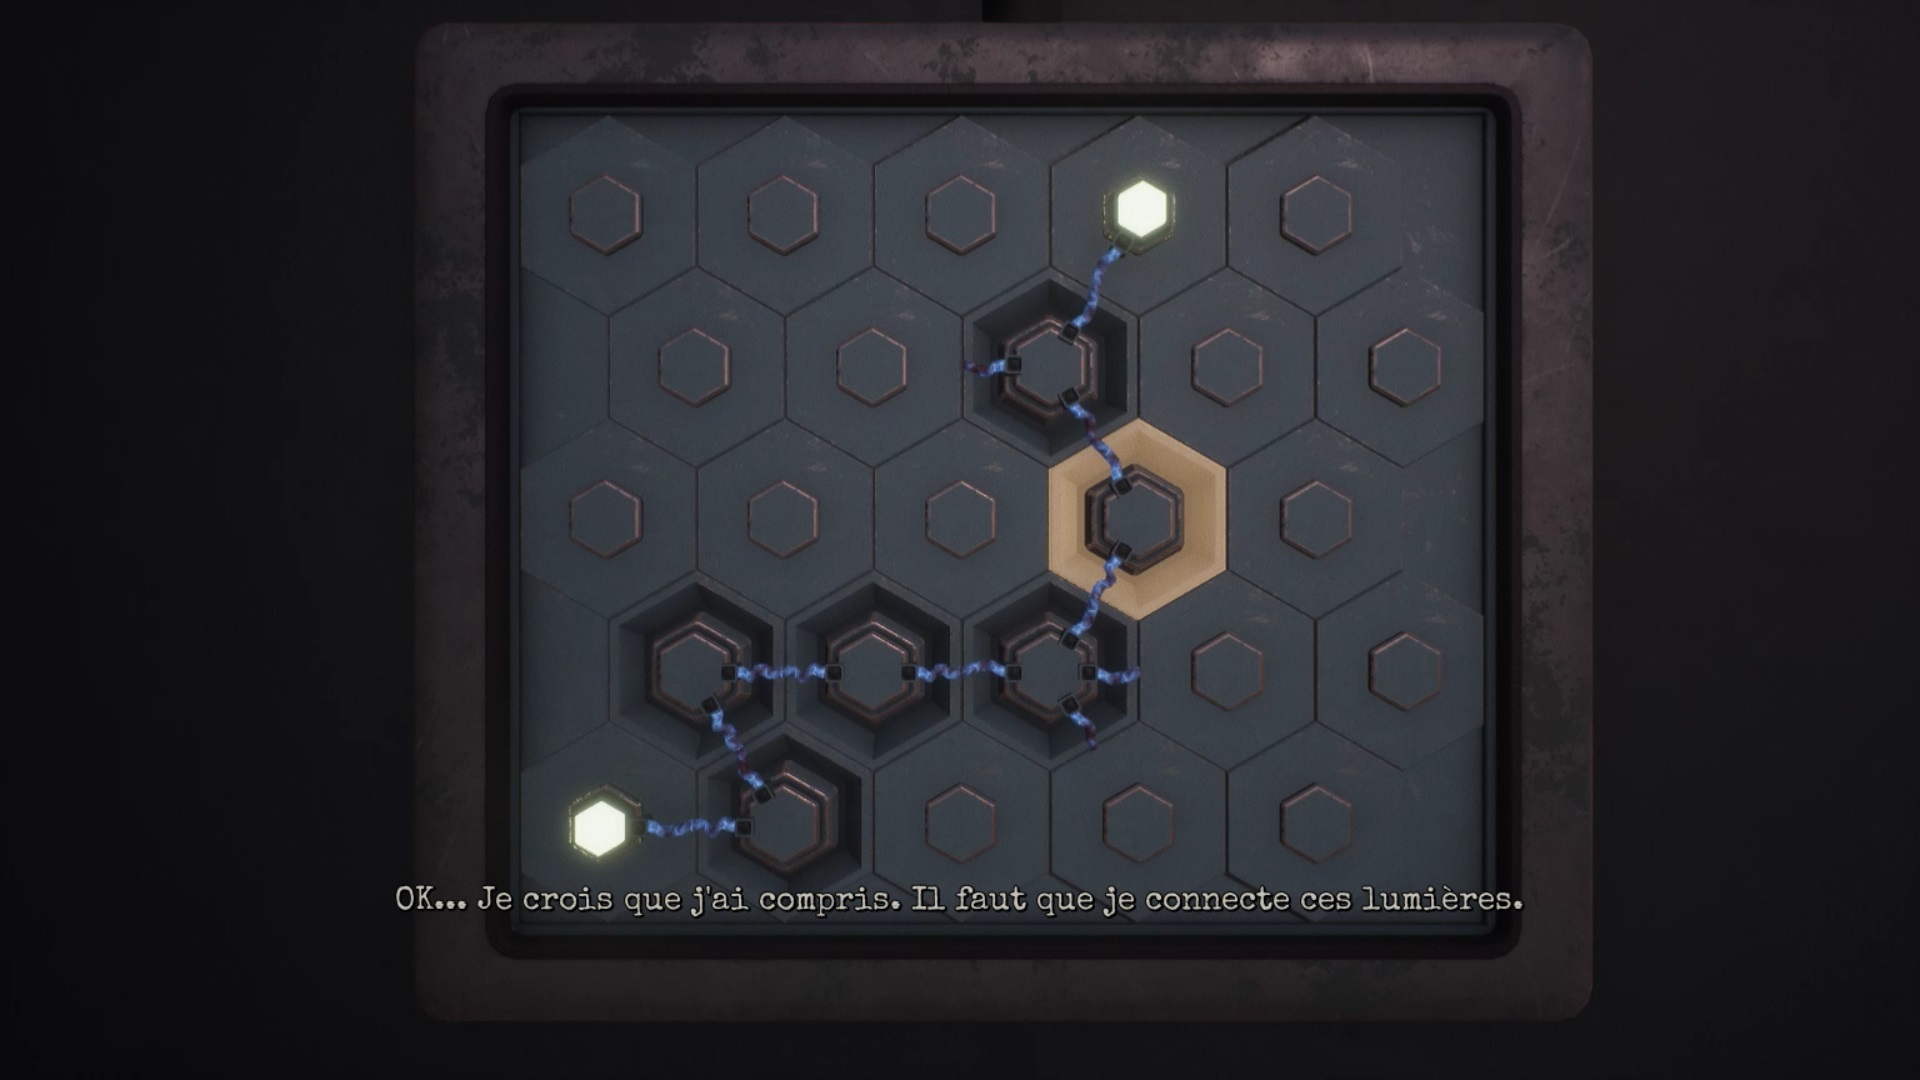
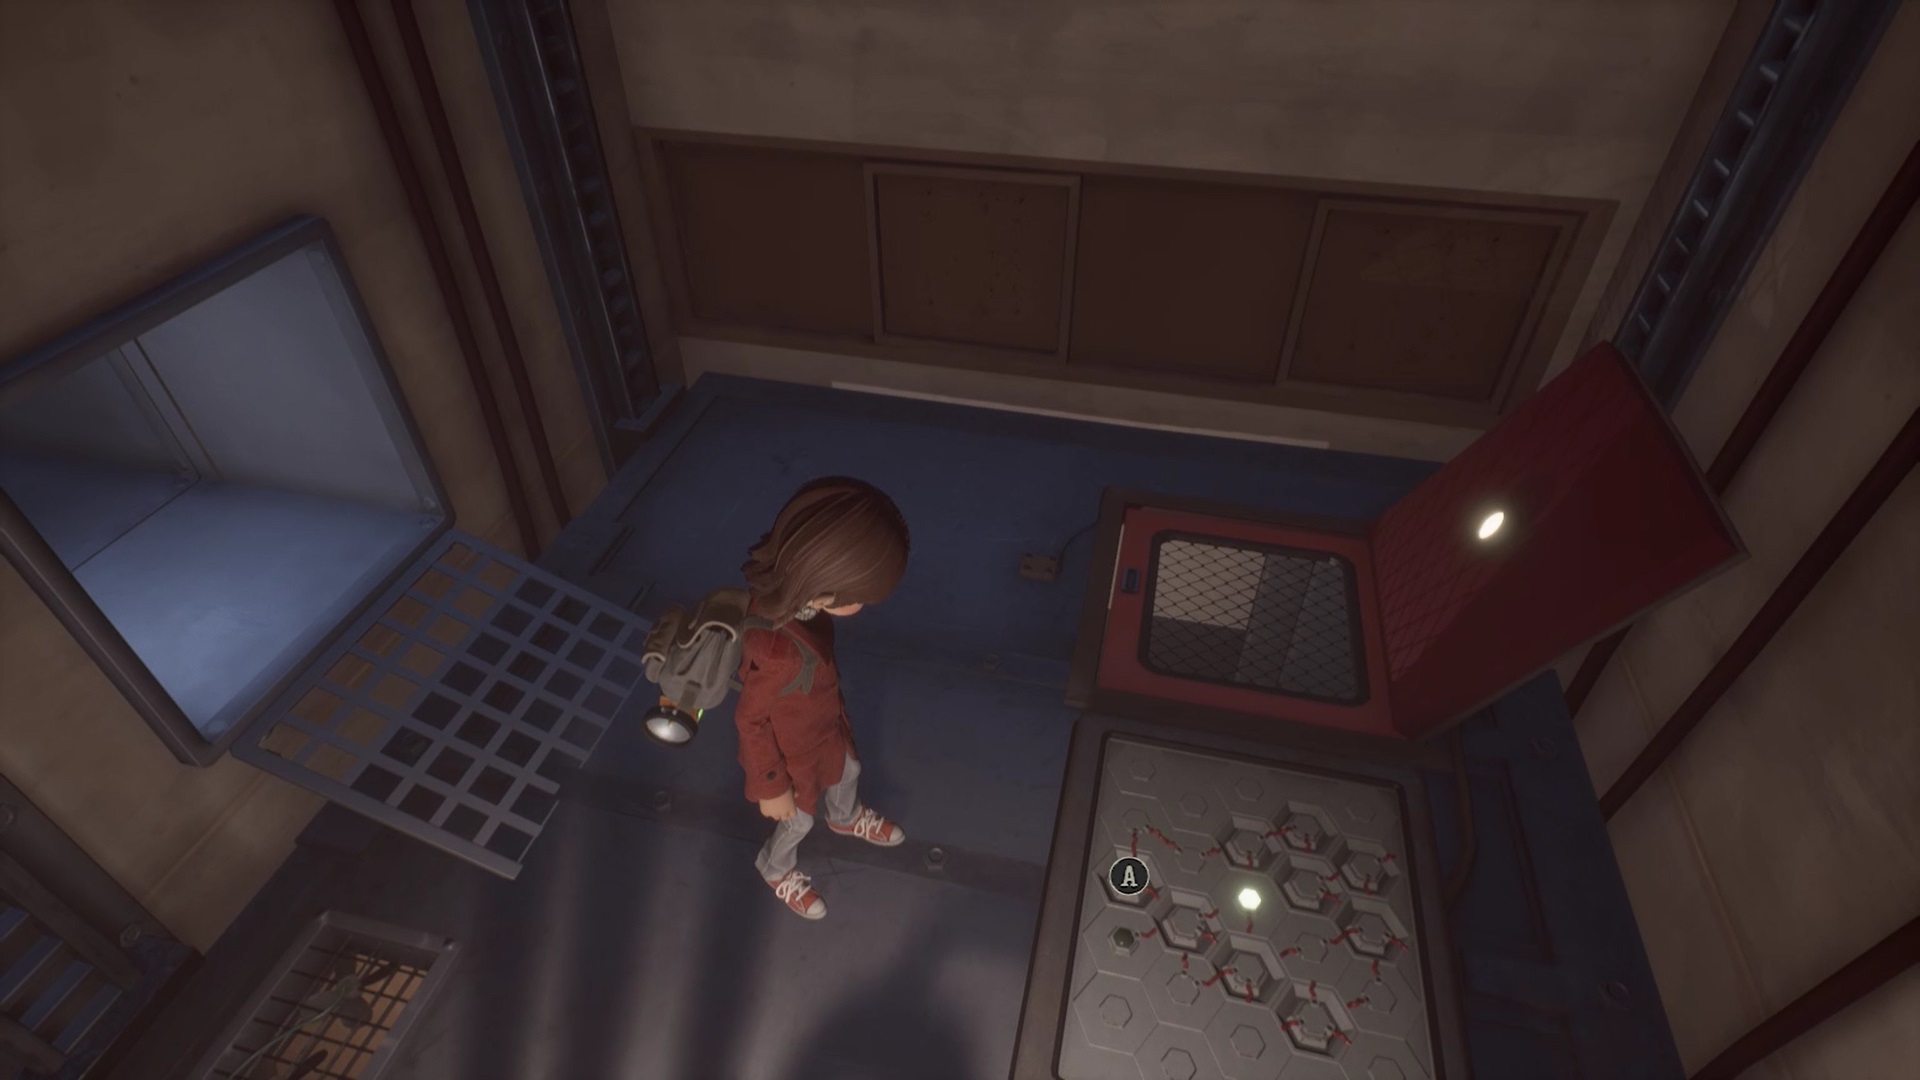
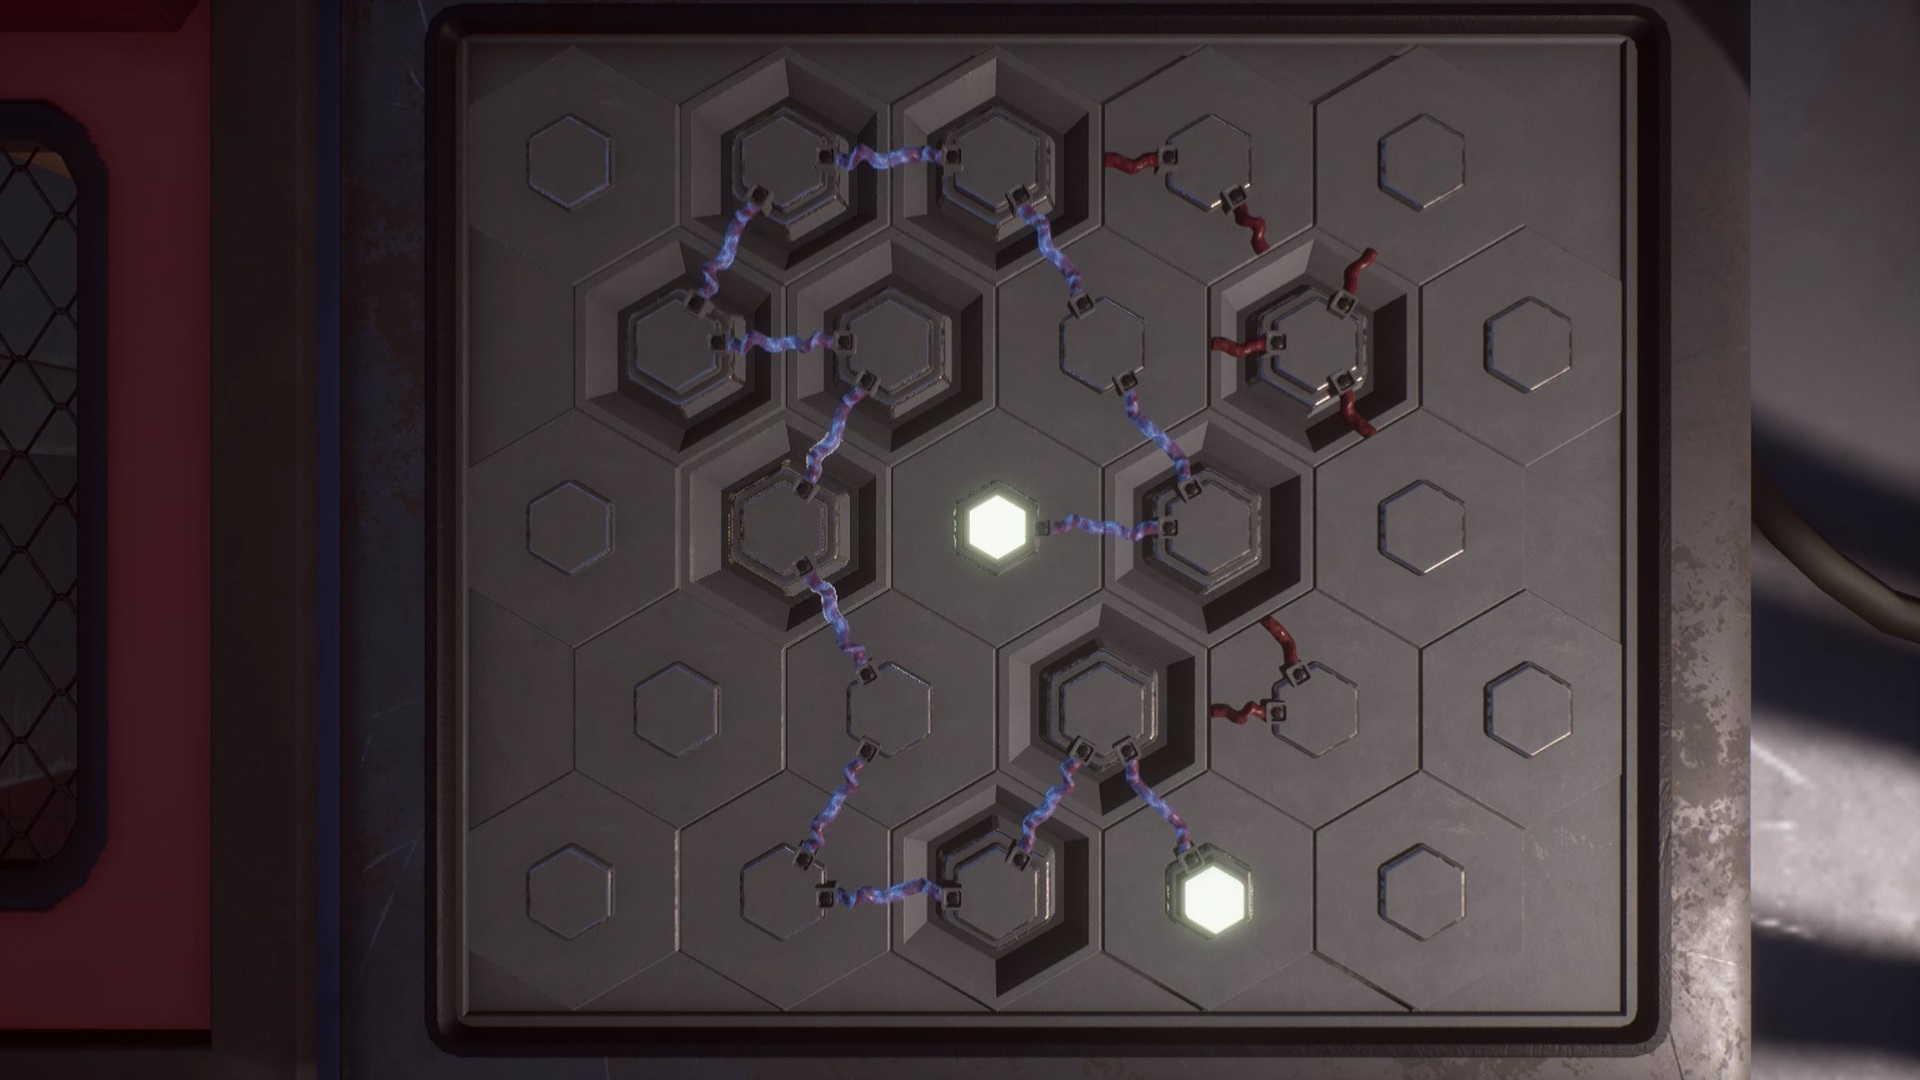
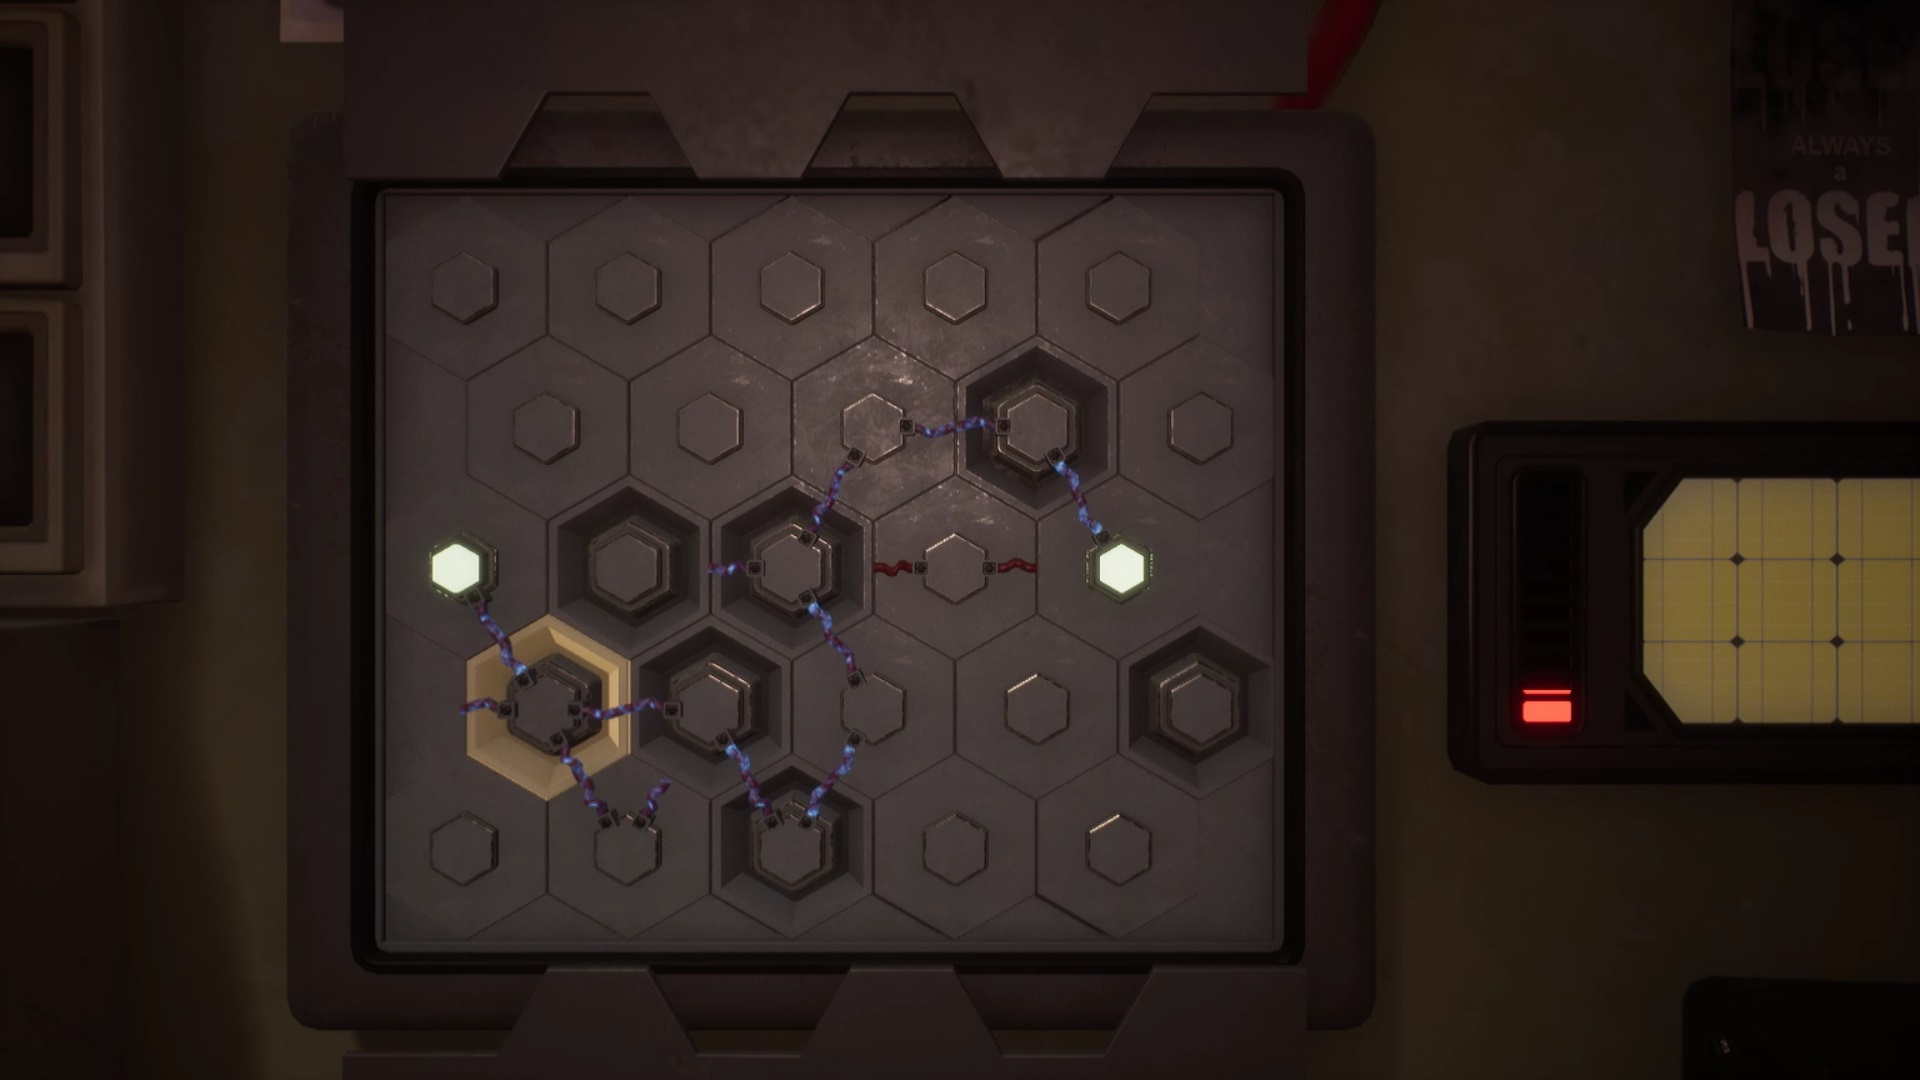
Climb the stairs to get to the first level. Upstairs, climb the ladder to the west to reach an air duct. Continue your way to reach the office door. You must solve a puzzle to unlock the door. On the door panel, you must restore power between the two points of lights. Adjust the mechanisms as in our picture to unlock the door.
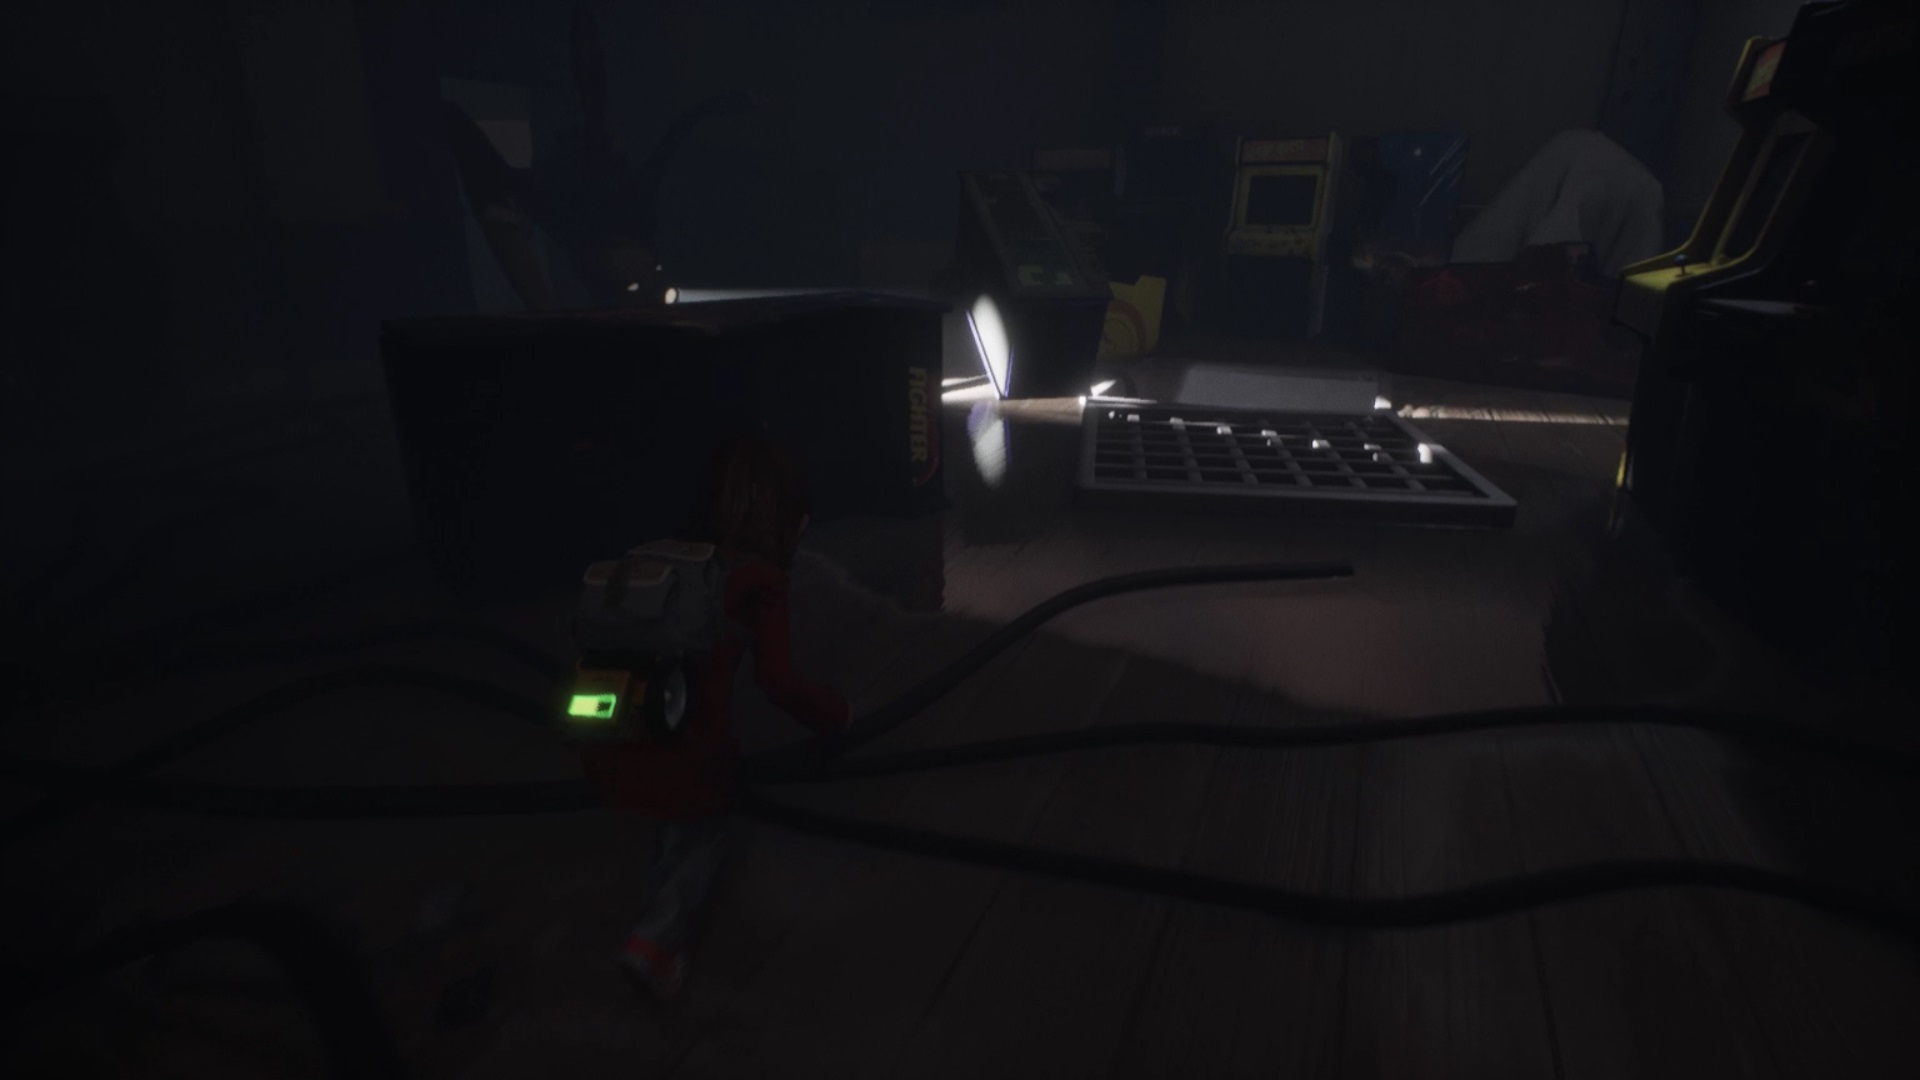
Pick up the battery from the generator in the center of the room. You have to escape from the arcade room. Go down through the breach in the ground to reach the ground floor. Move forward when the enemy is not pointing the light at you. Return to the main street through the arcade and the room west of the entrance.
To return to the fire truck, head southeast of the arcade. You find yourself blocked by a puddle of electric water. Access to the generator to turn off the electricity is blocked. Follow the electrical wires on the ground to find an underground passage.
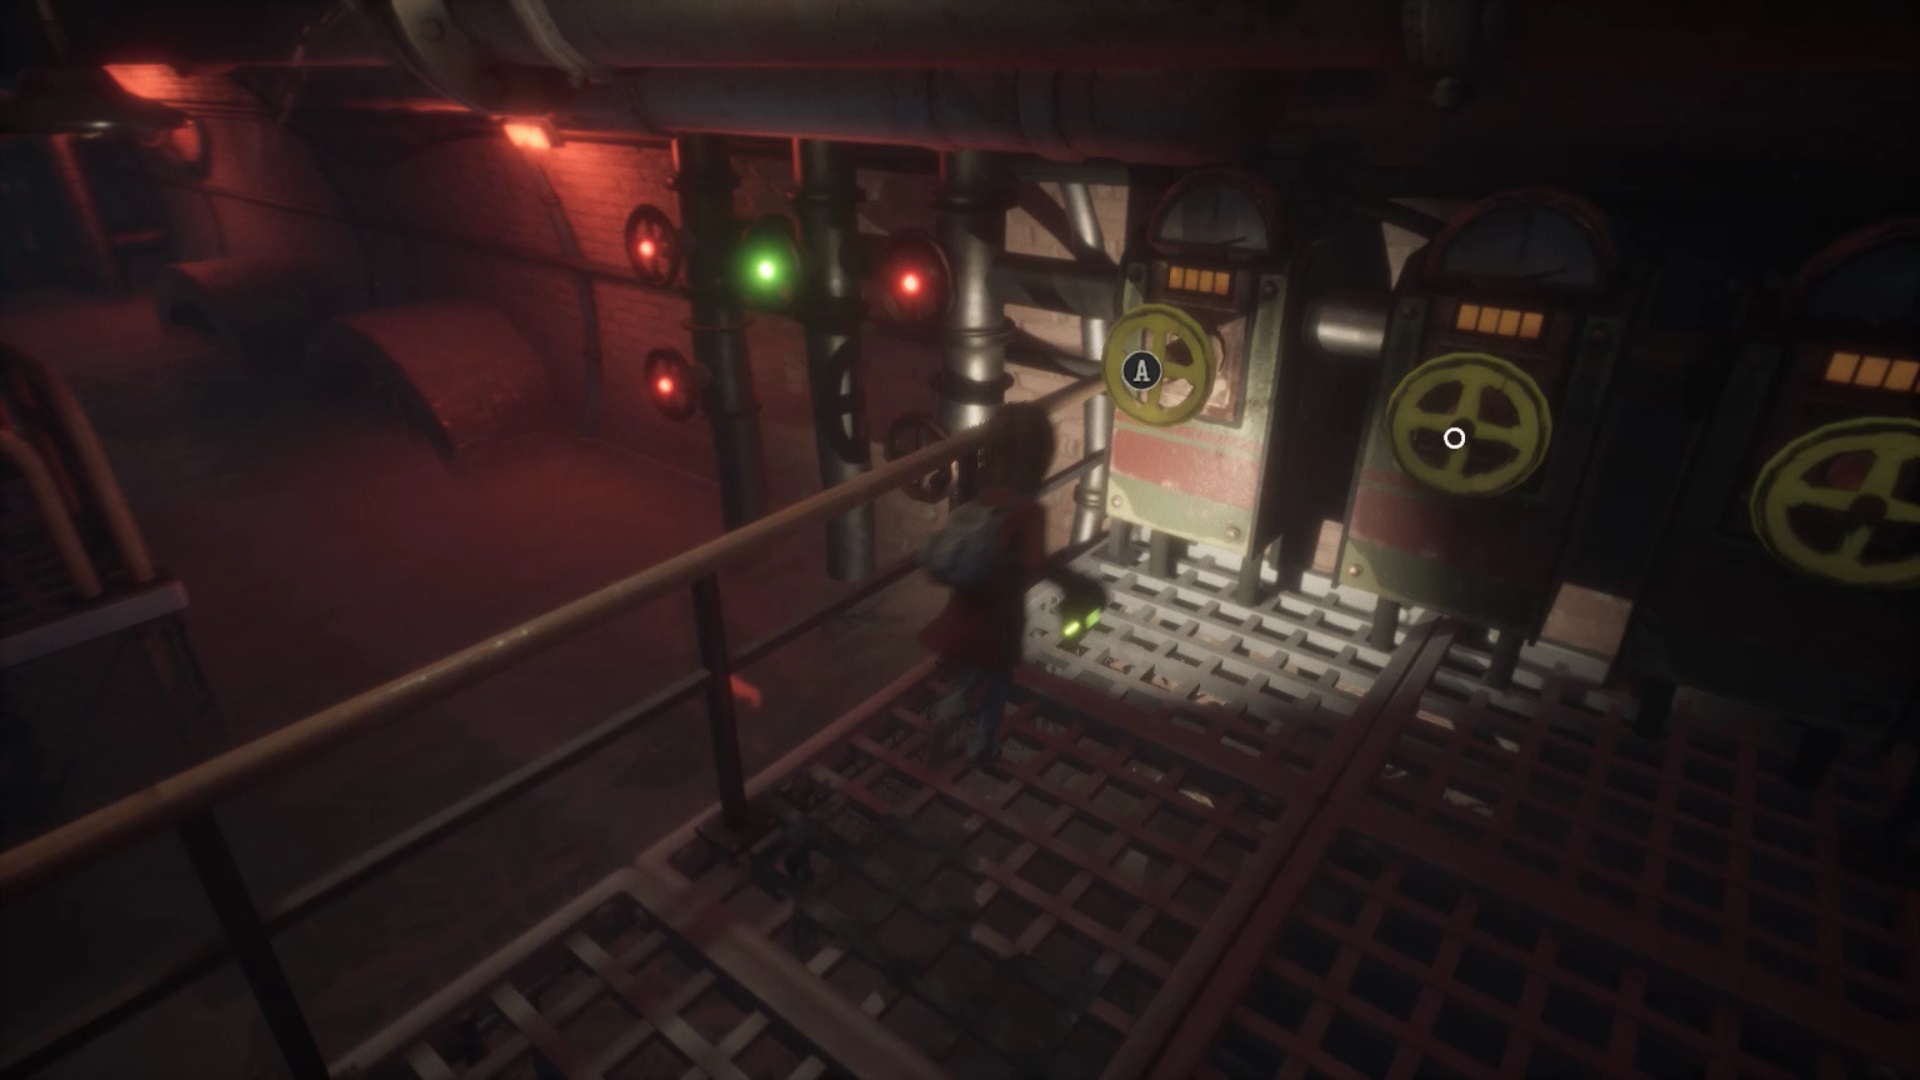
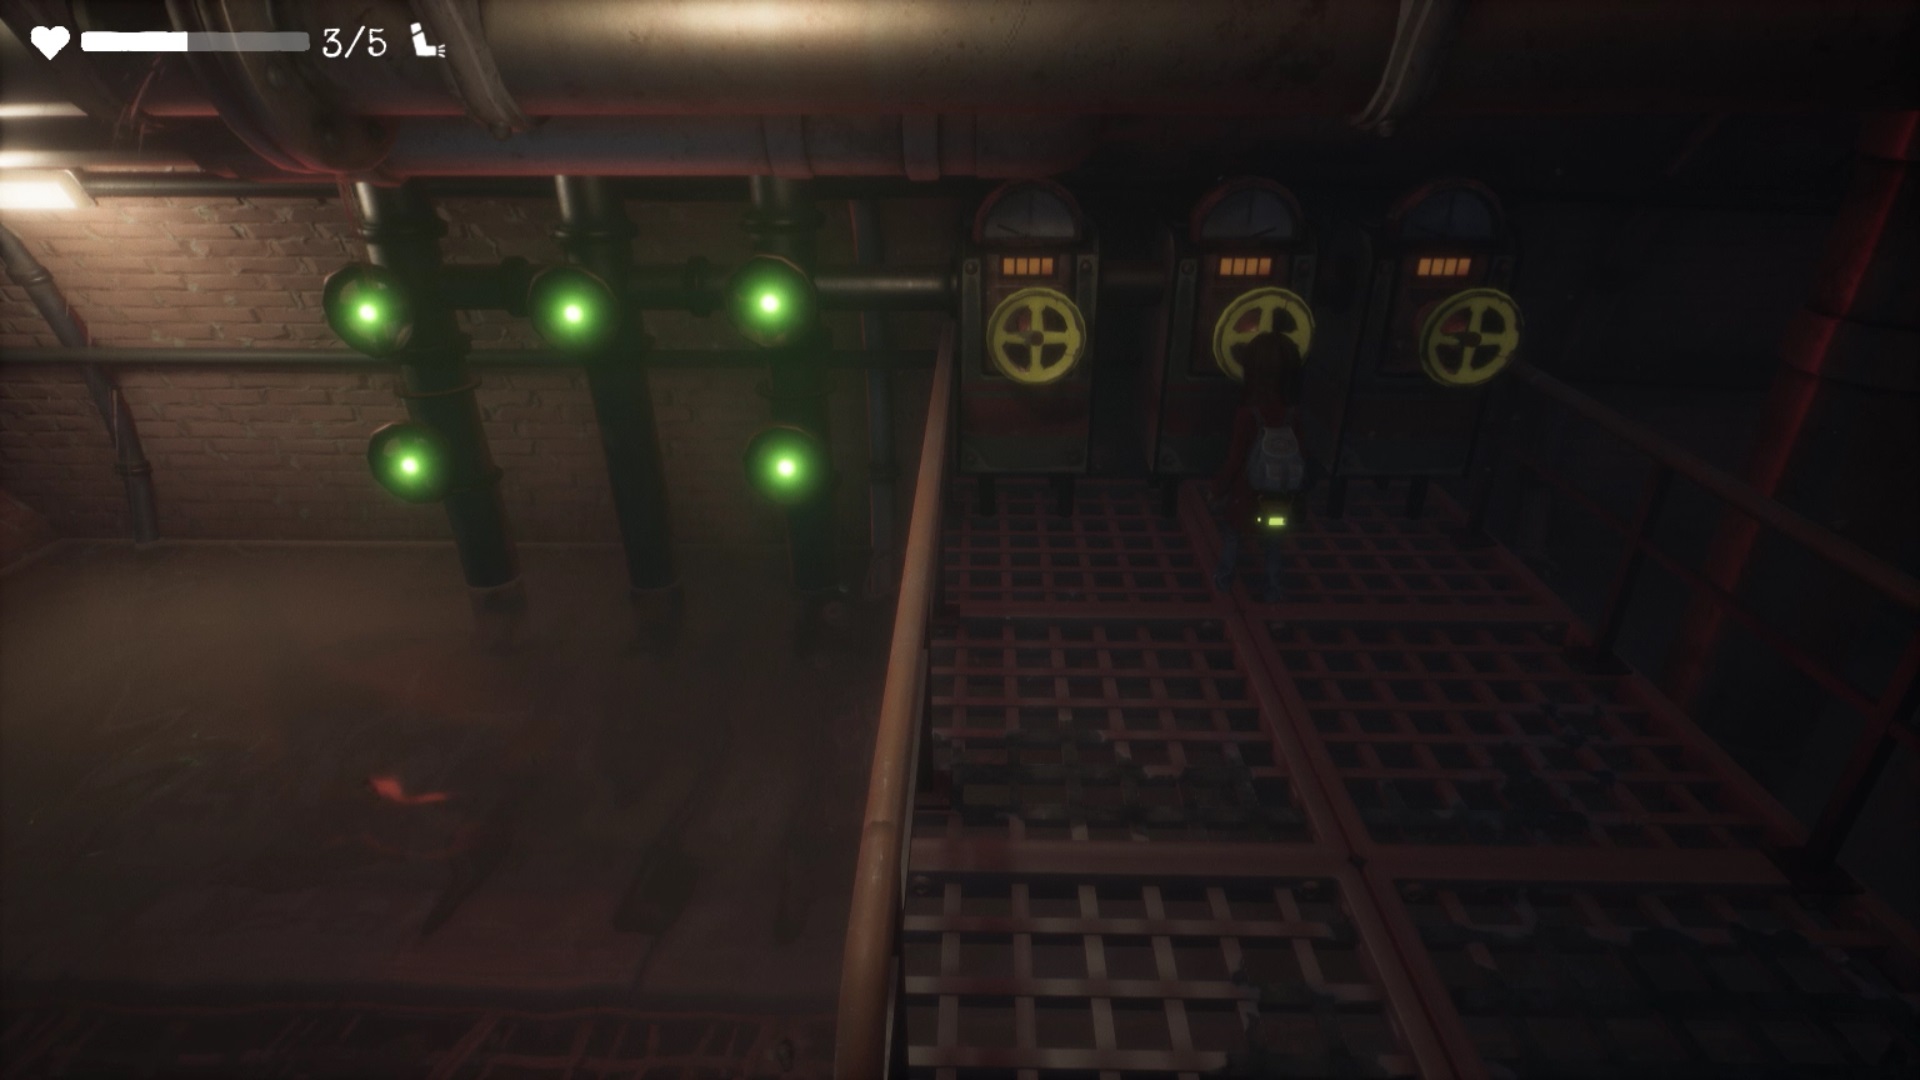
Descend into the tunnel and climb the small ladder to move forward. On the other side of the tunnel, you have to drain the water to climb the ladder and get out. Use the valves east of the tunnel in this order Left, Middle, Right, Middle to drain the water. Climb the ladder to exit.
Interact with the generator button to turn off the power. Return to the main street by exiting through the gate and climbing the ladder. Move towards the fire truck to trigger a cutscene.
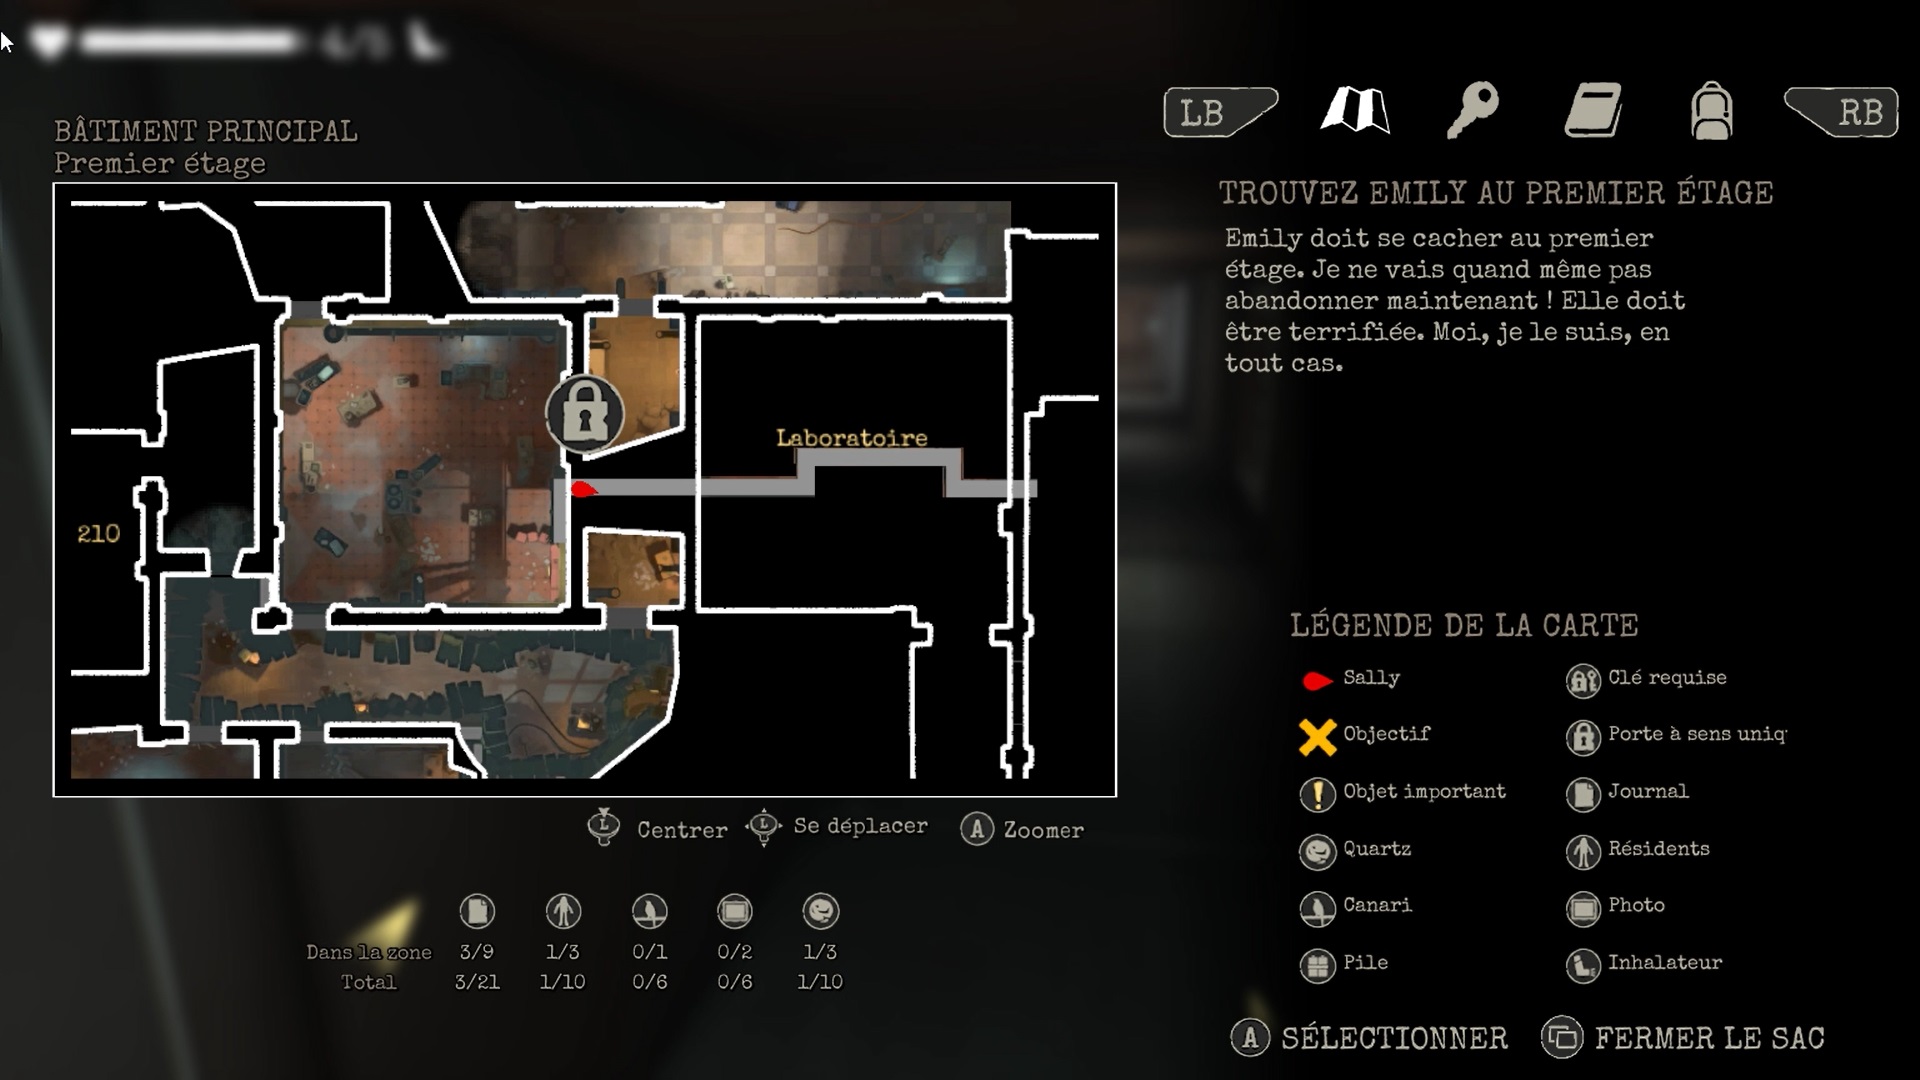
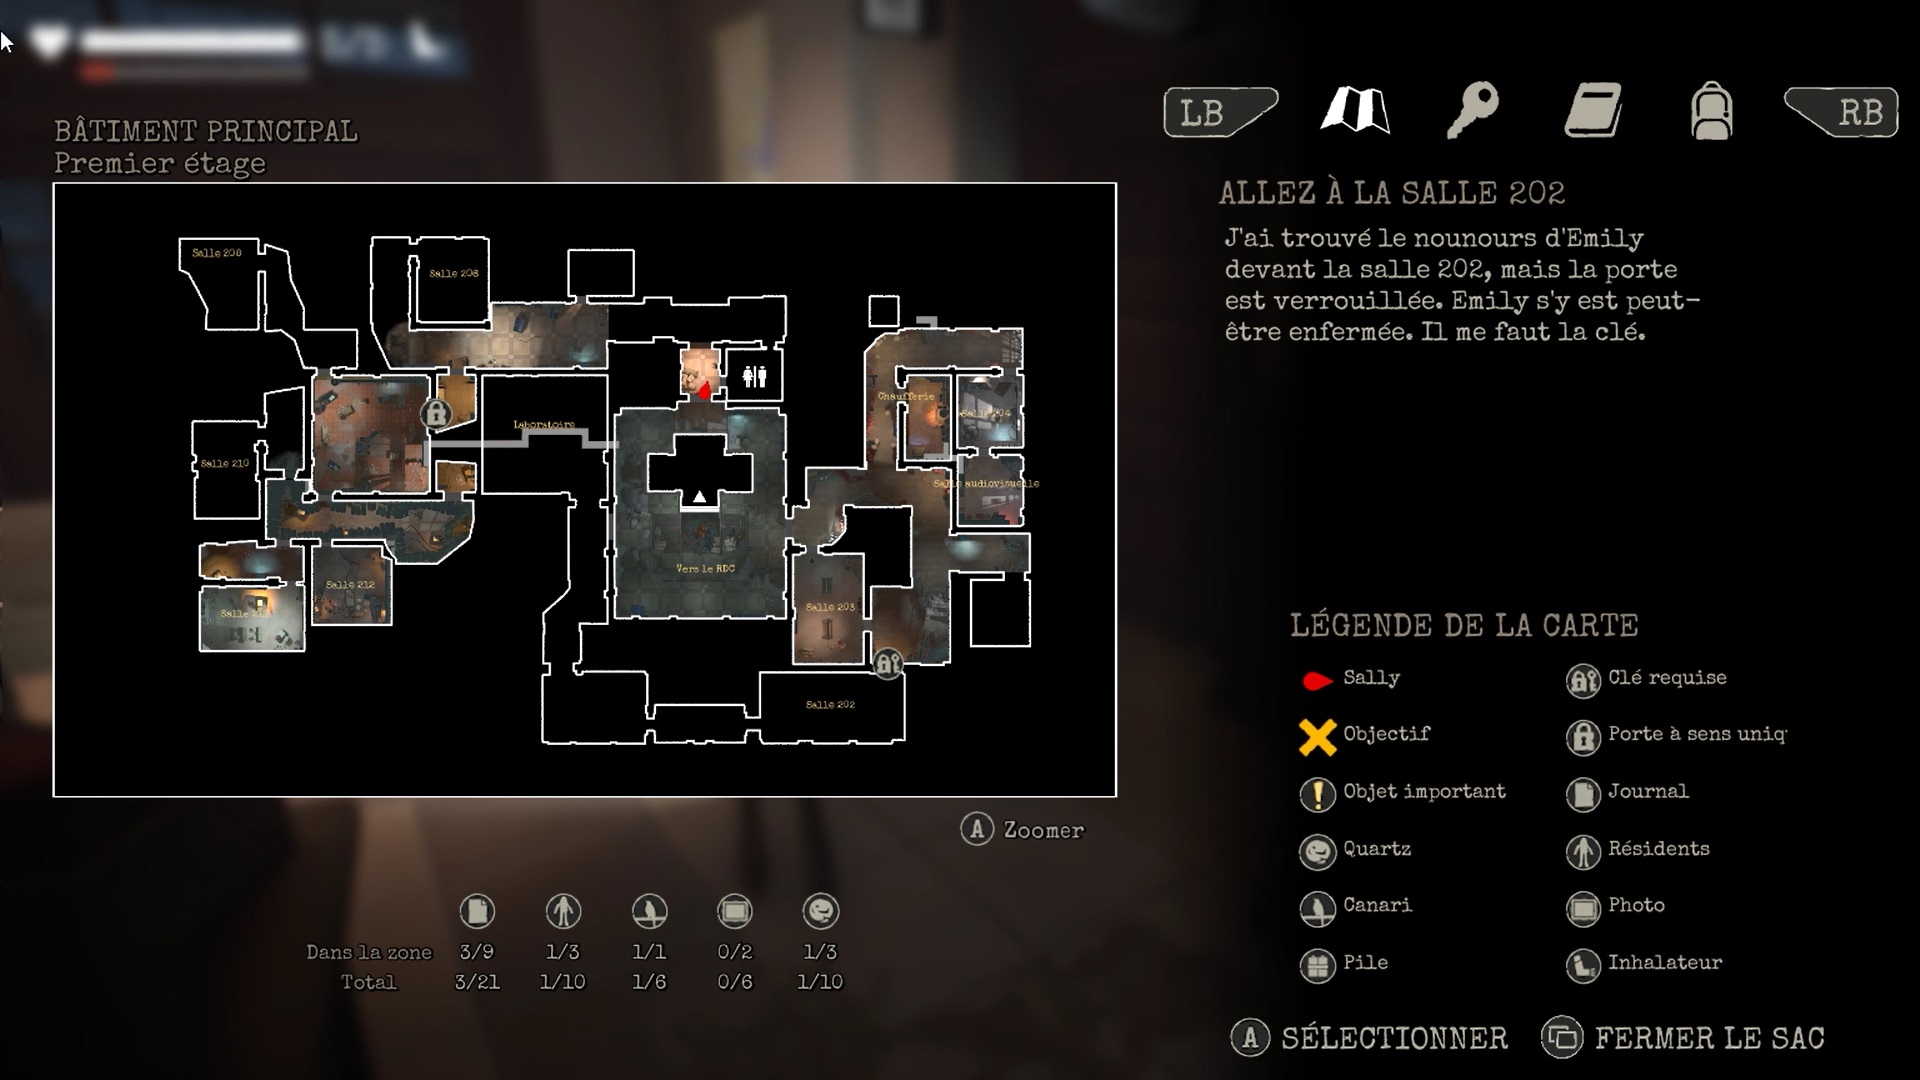
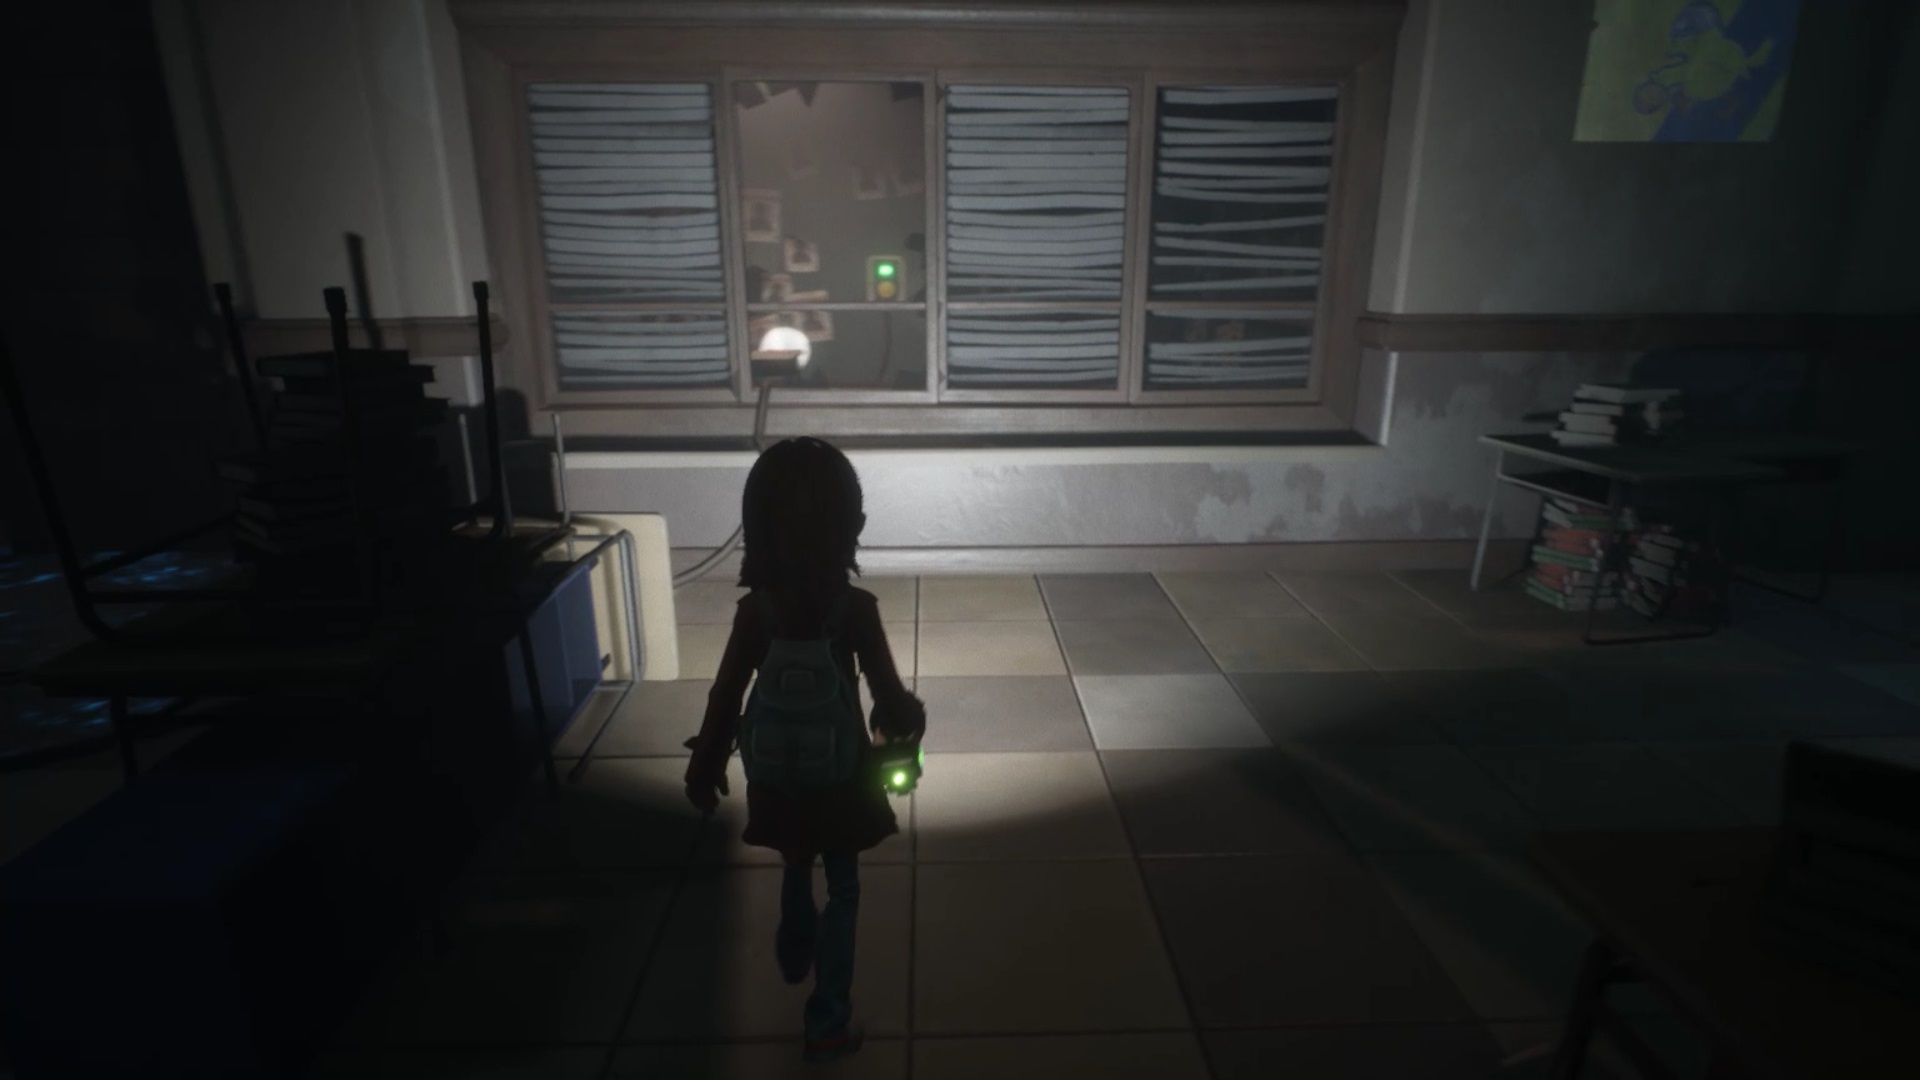
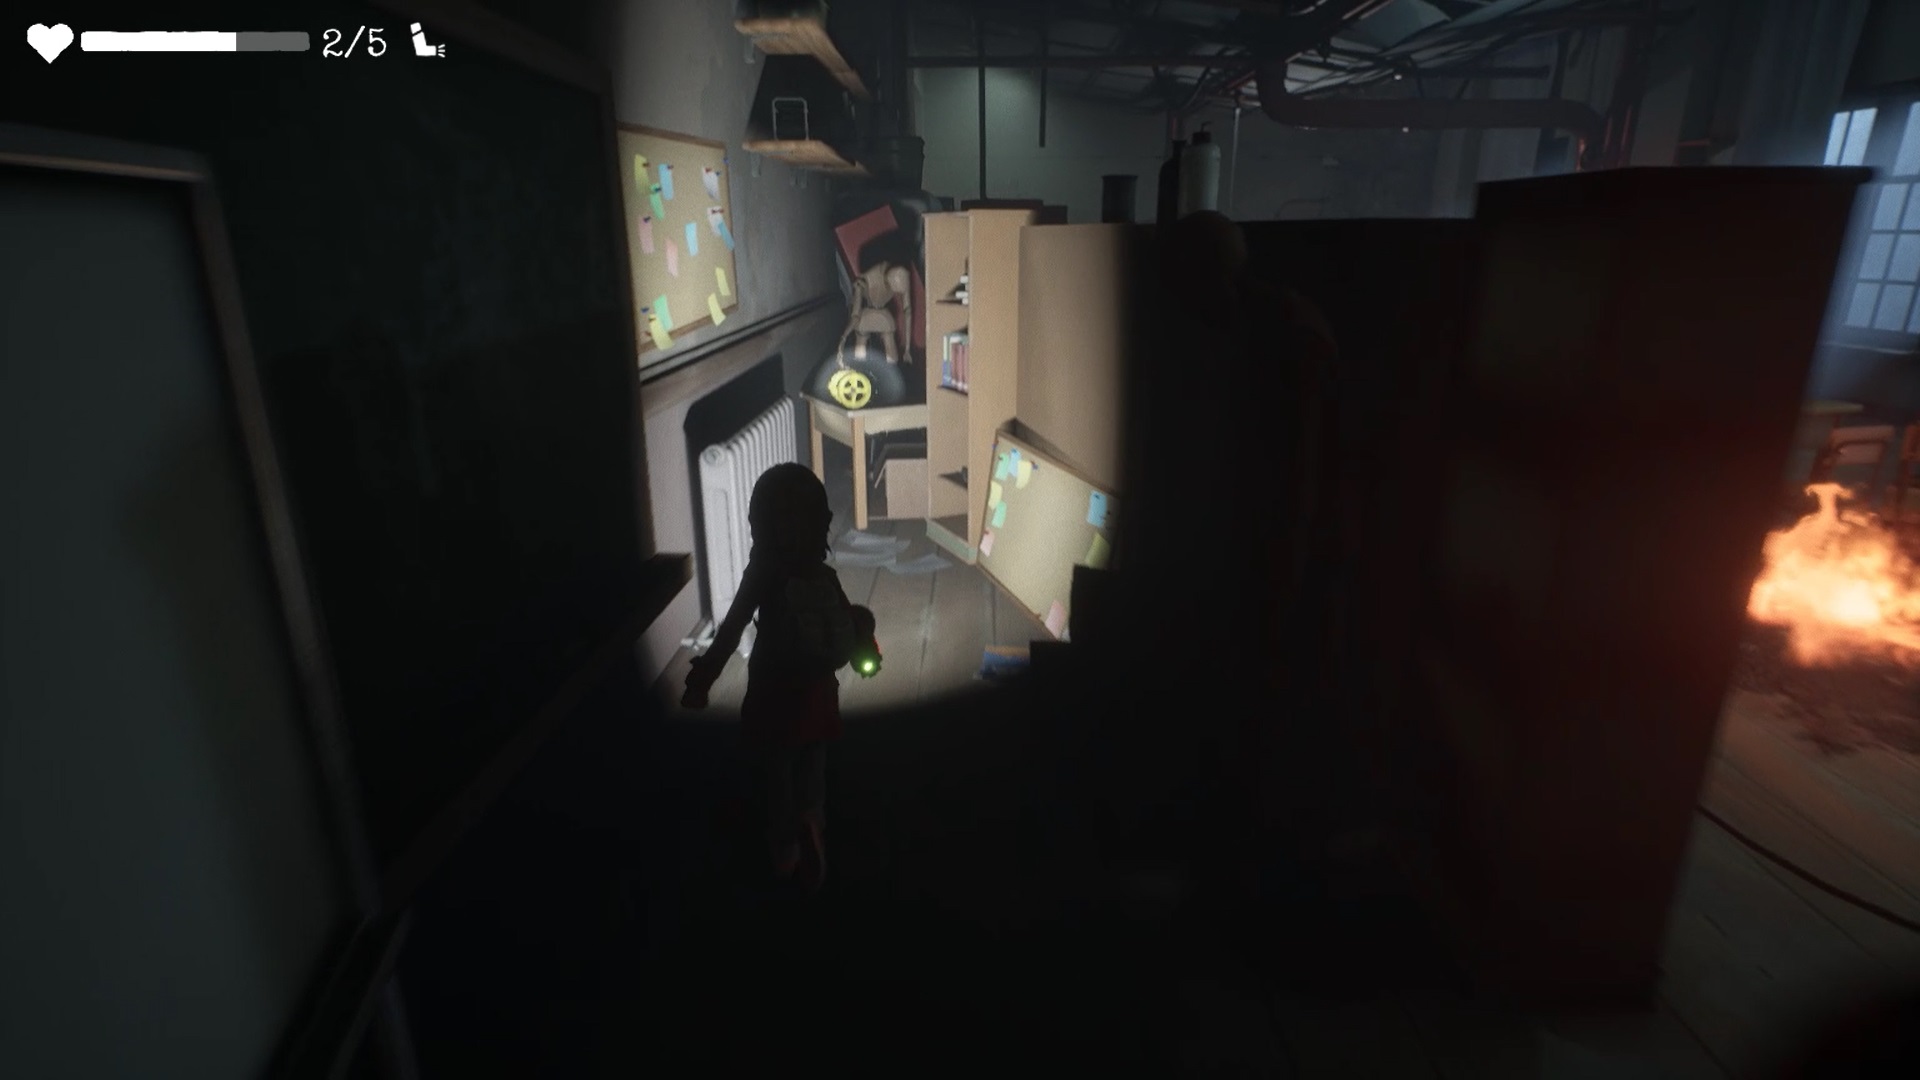
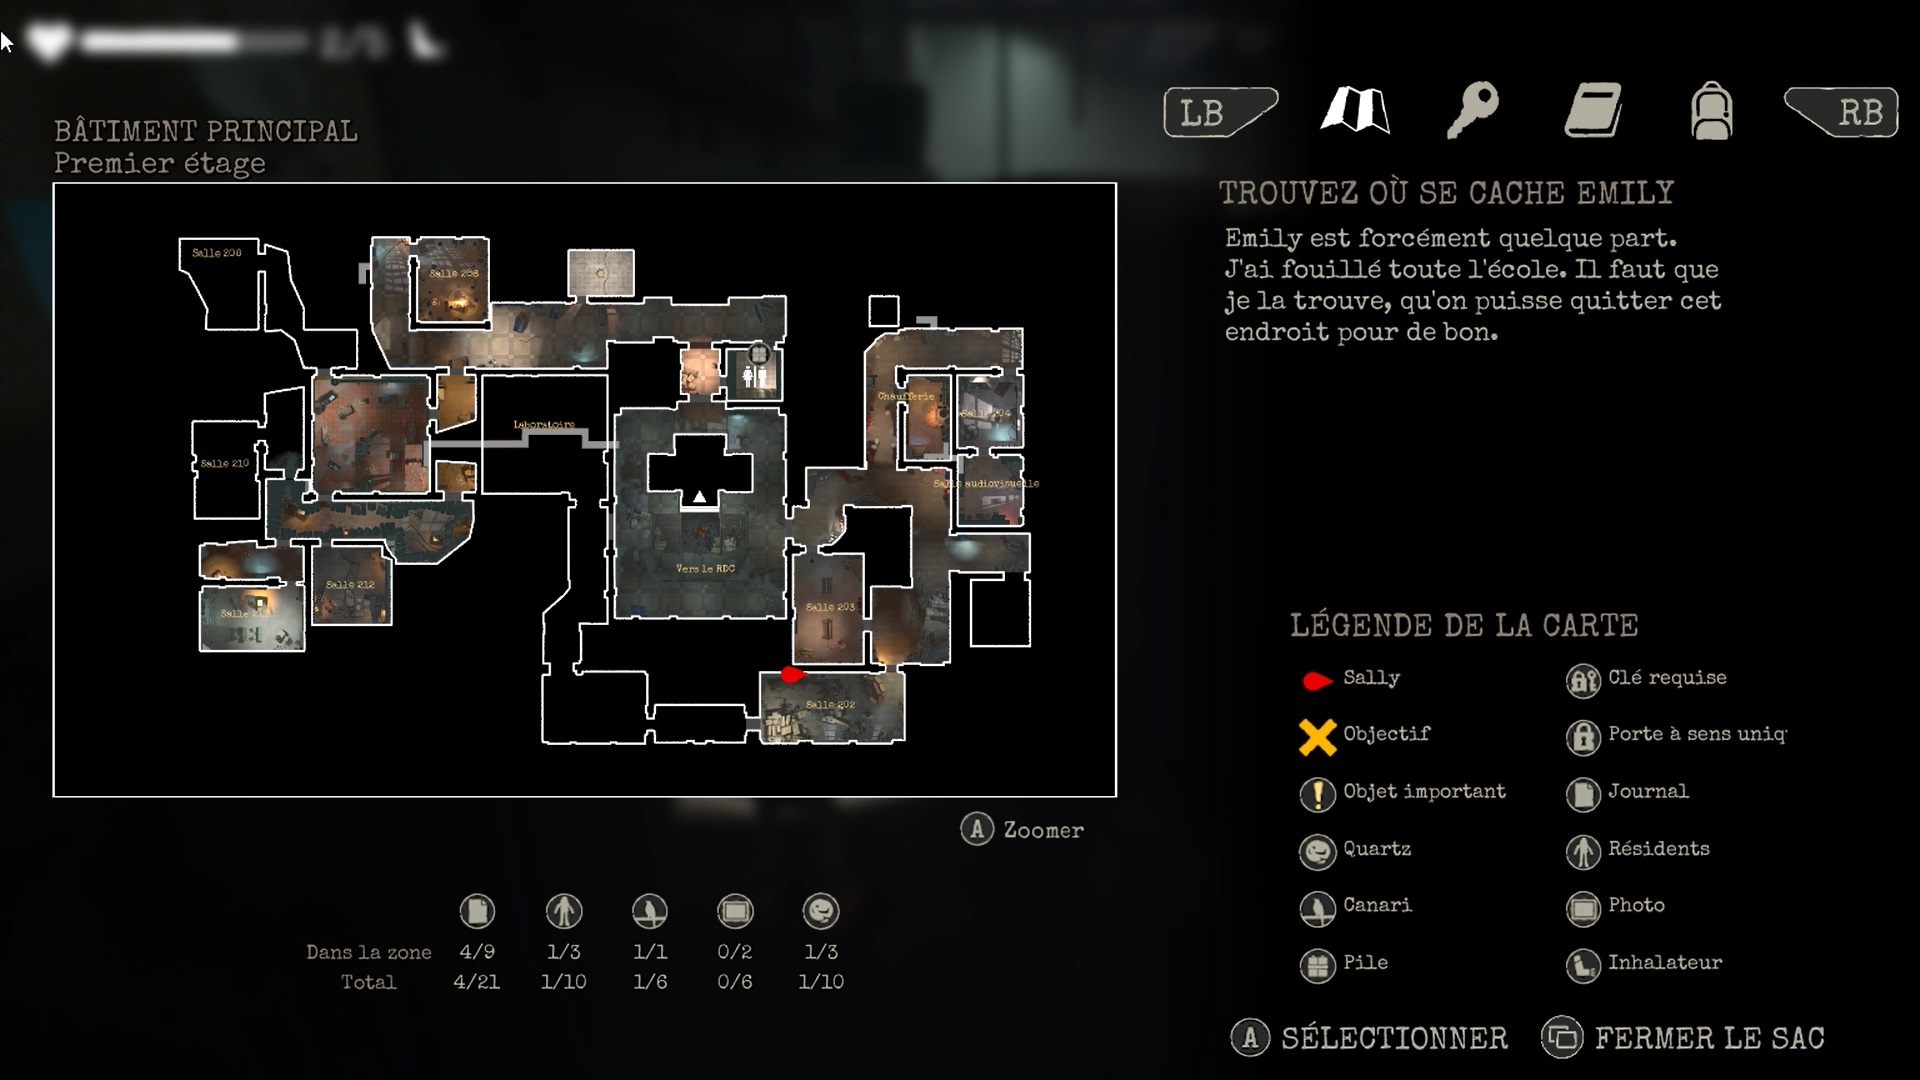
School – First floor
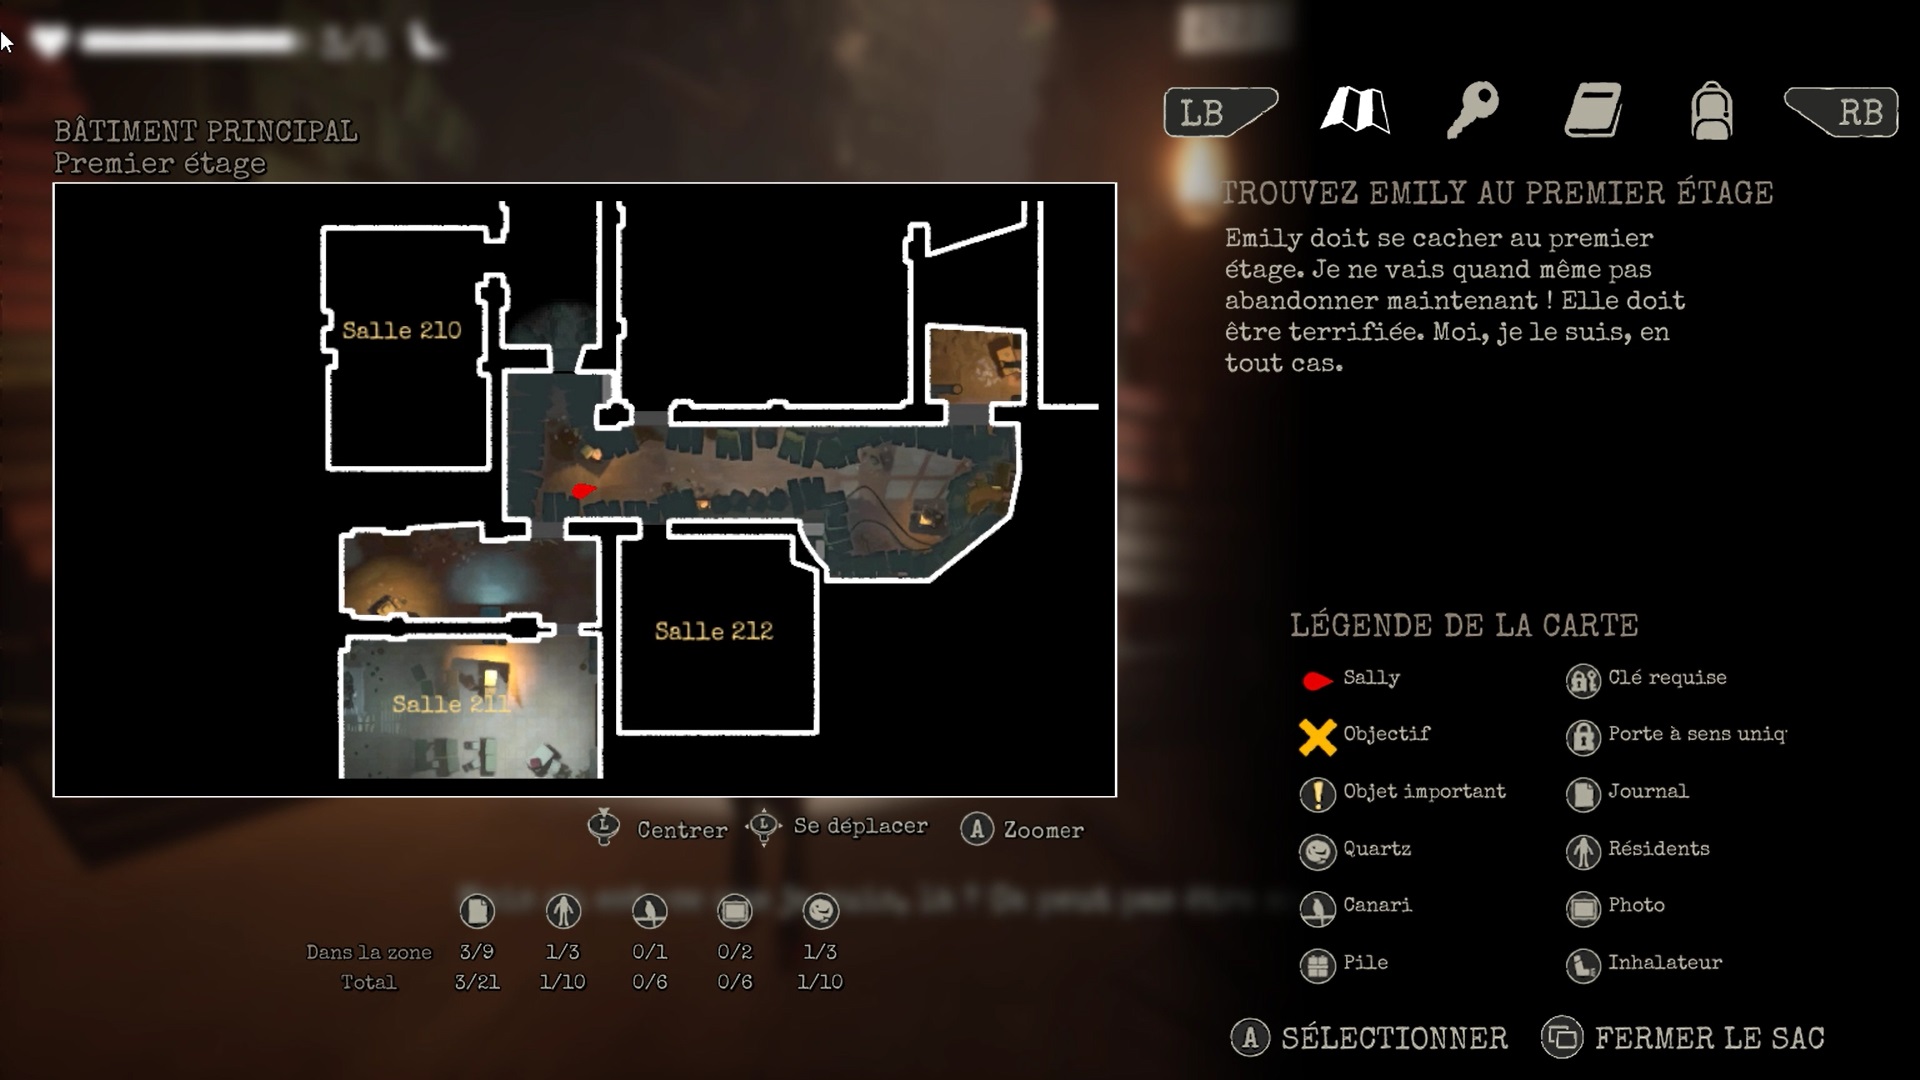
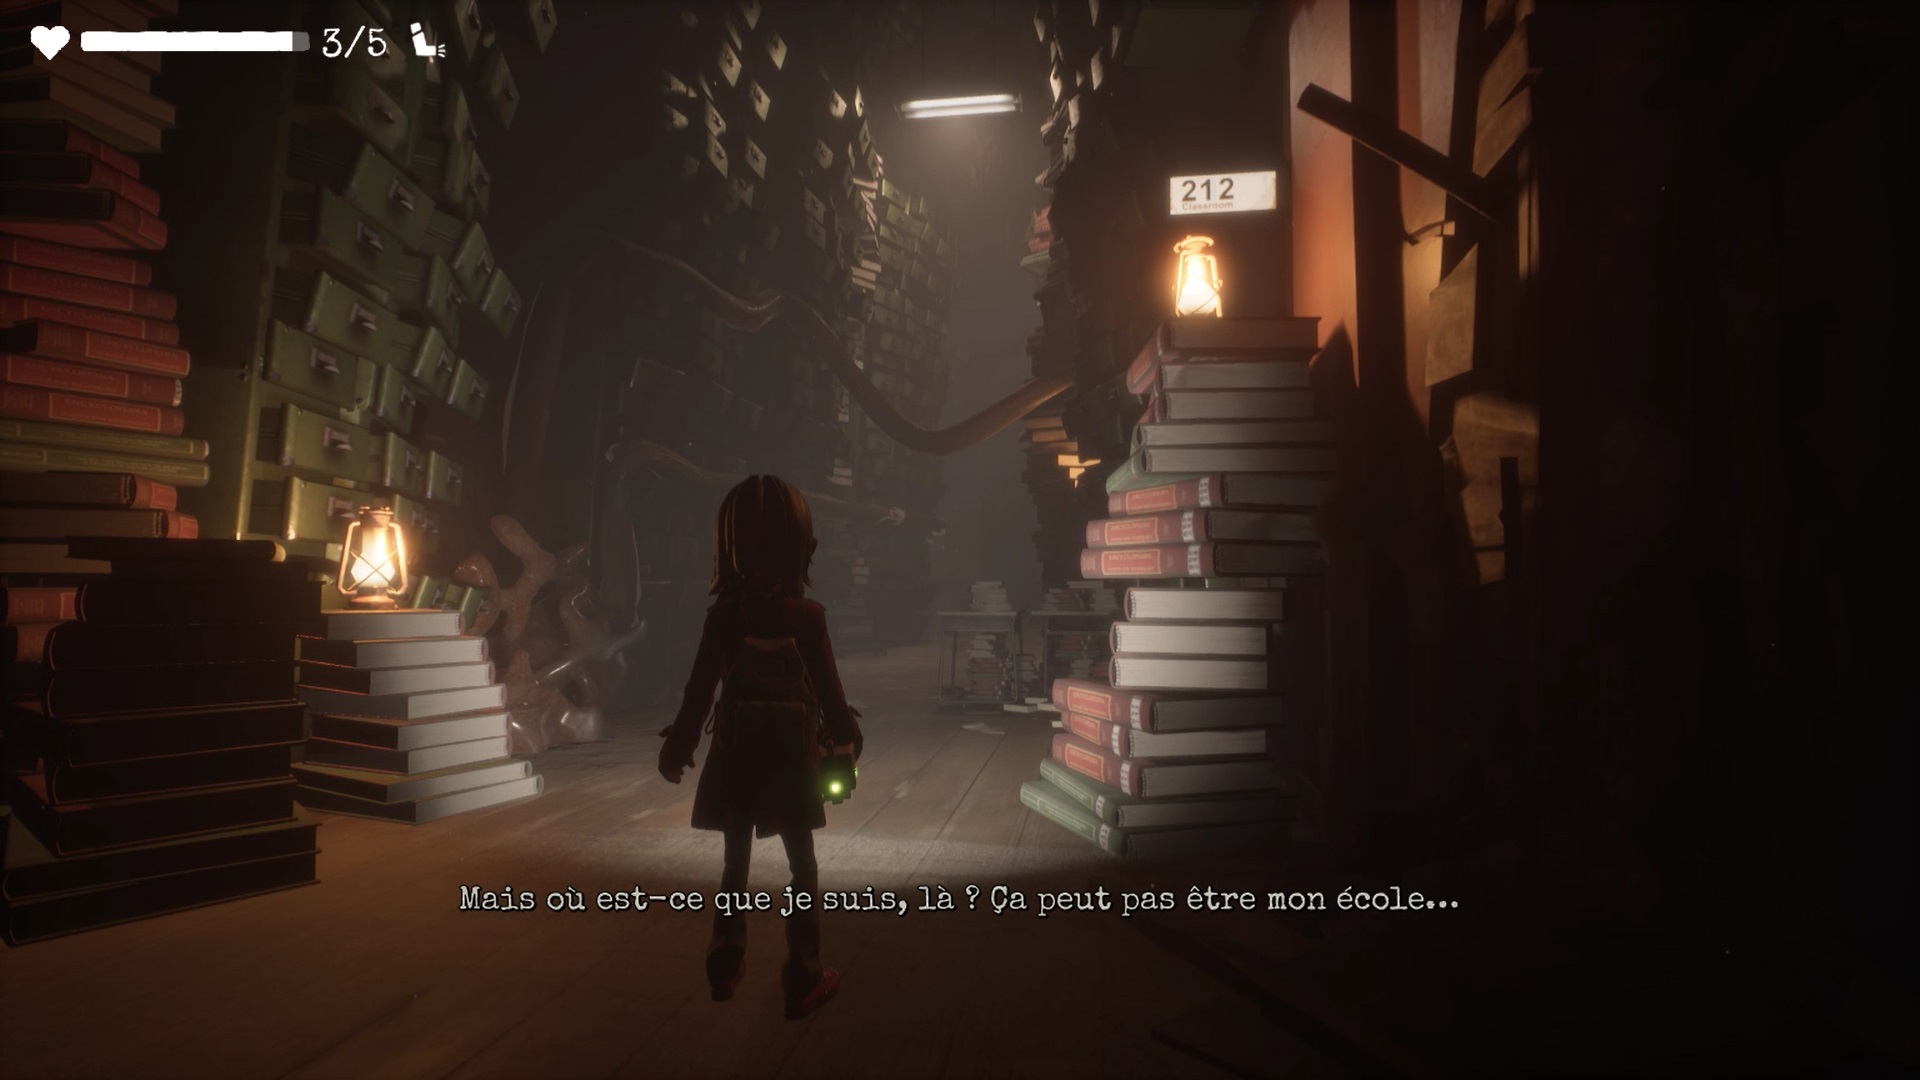
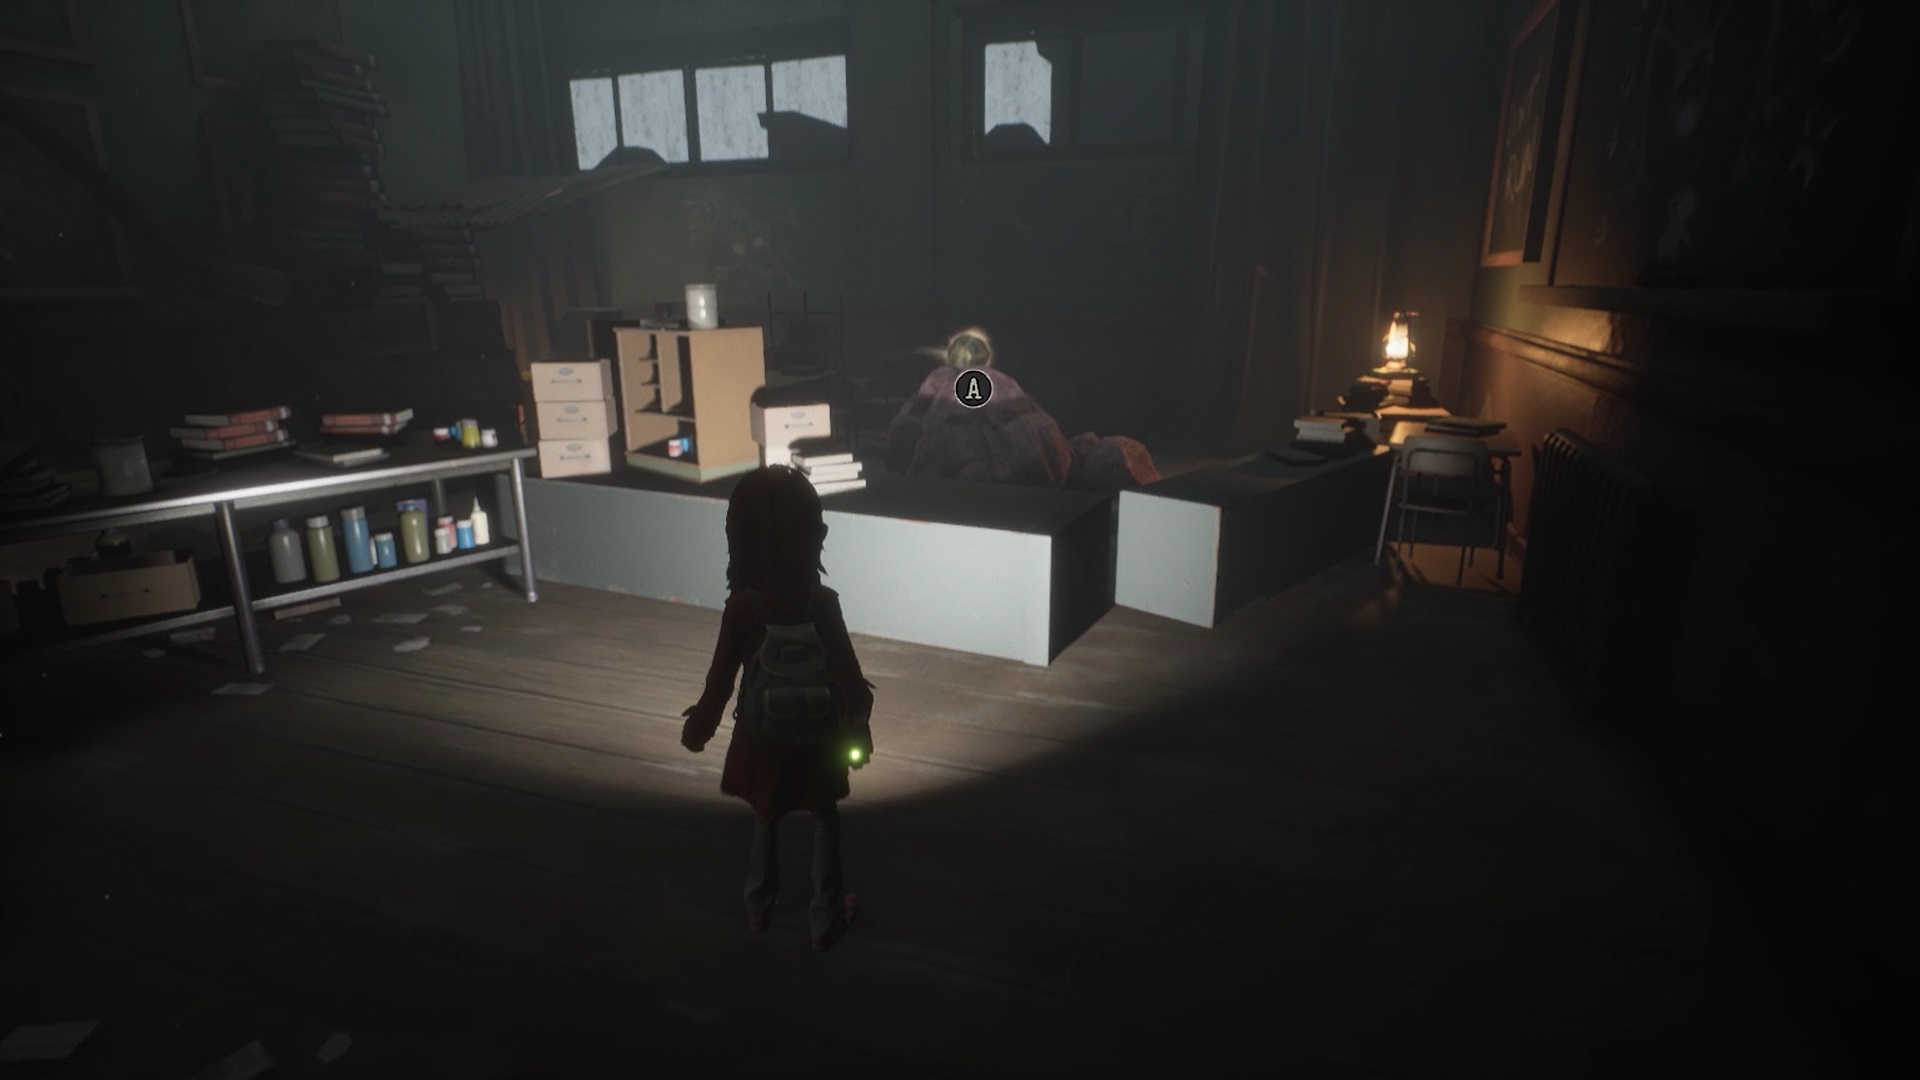
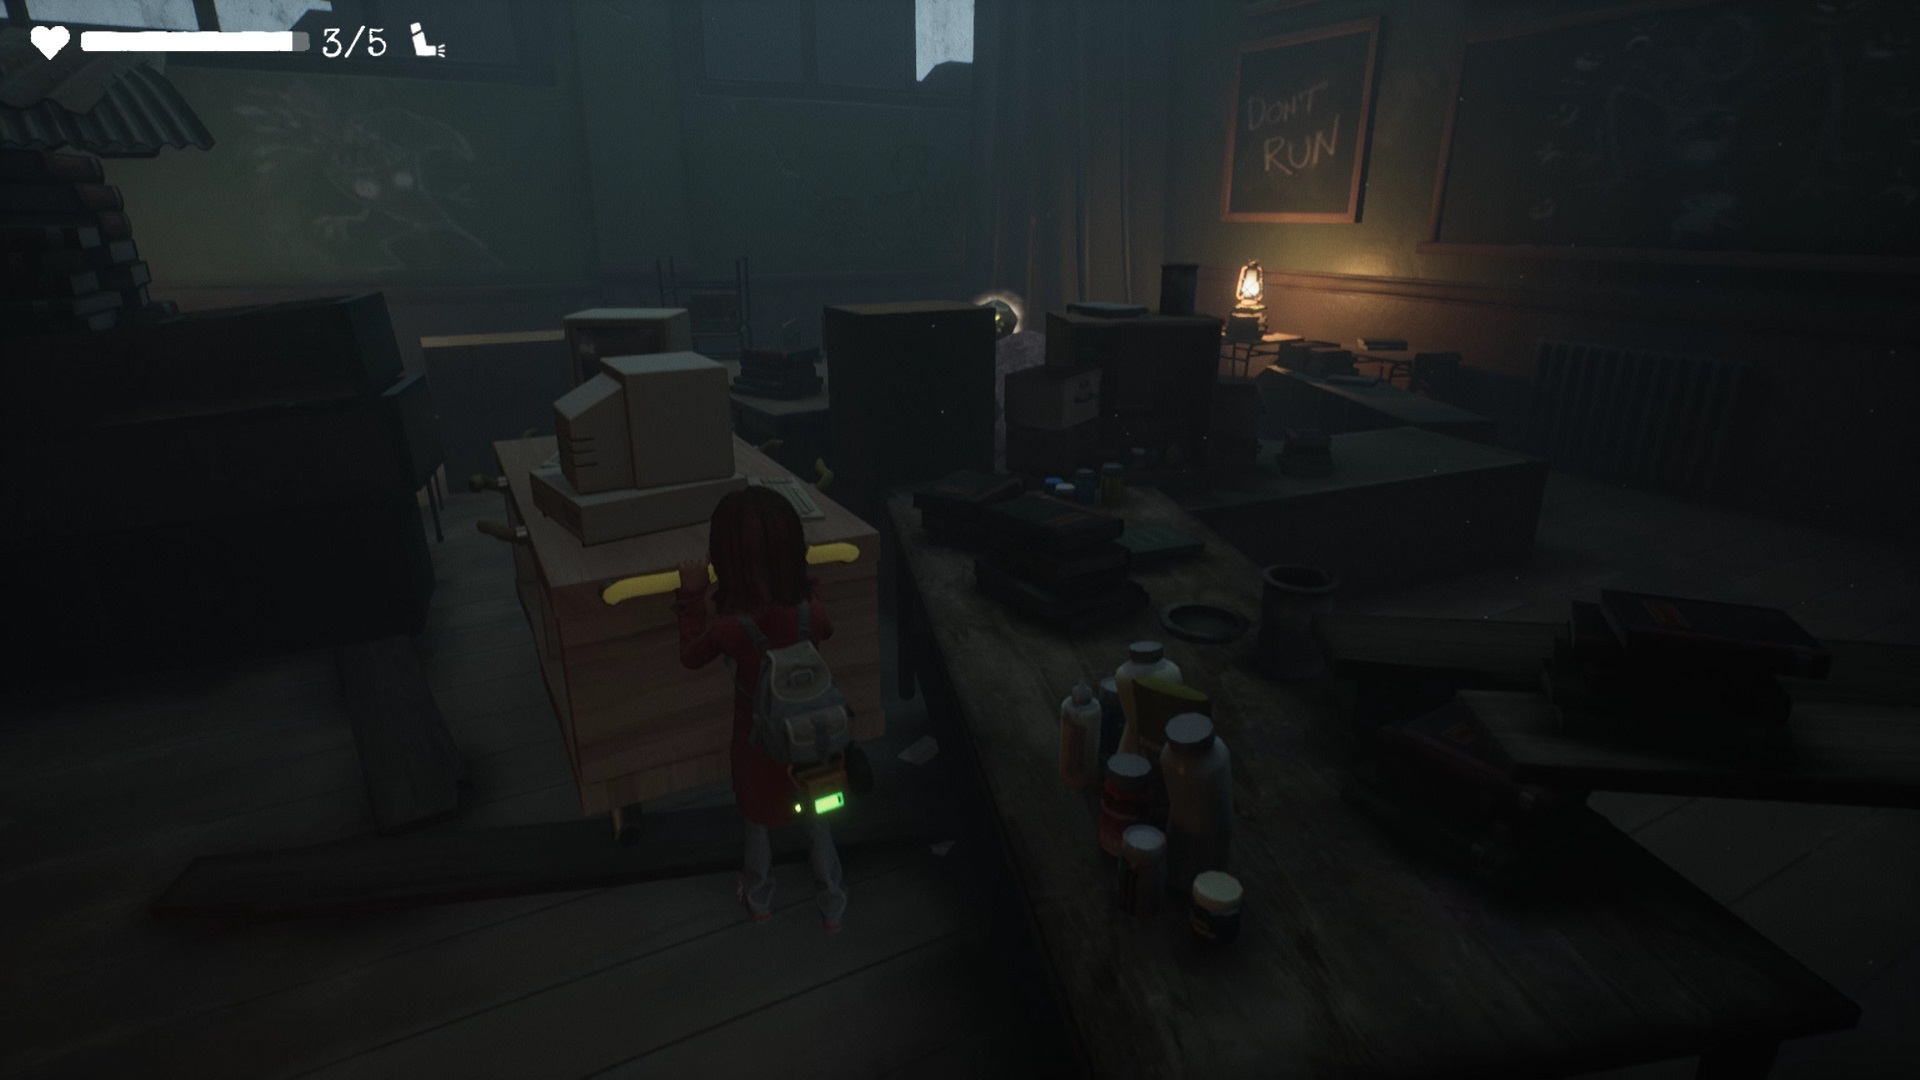
You find yourself in room 211 on the first floor. Head into room 212. At the far west of the room, pull the cart with a computer towards you. Return to the entrance of the room and point your lamp at the light in the center of the room.


You have just eradicated one of the eyes blocking access to the door facing room 212. Return to the hallway and proceed west to find a second eye. Use your lamp to destroy it.

You have unlocked the door facing room 212, head into this new room. Climb the ladder southeast of the room to reach a conduit.
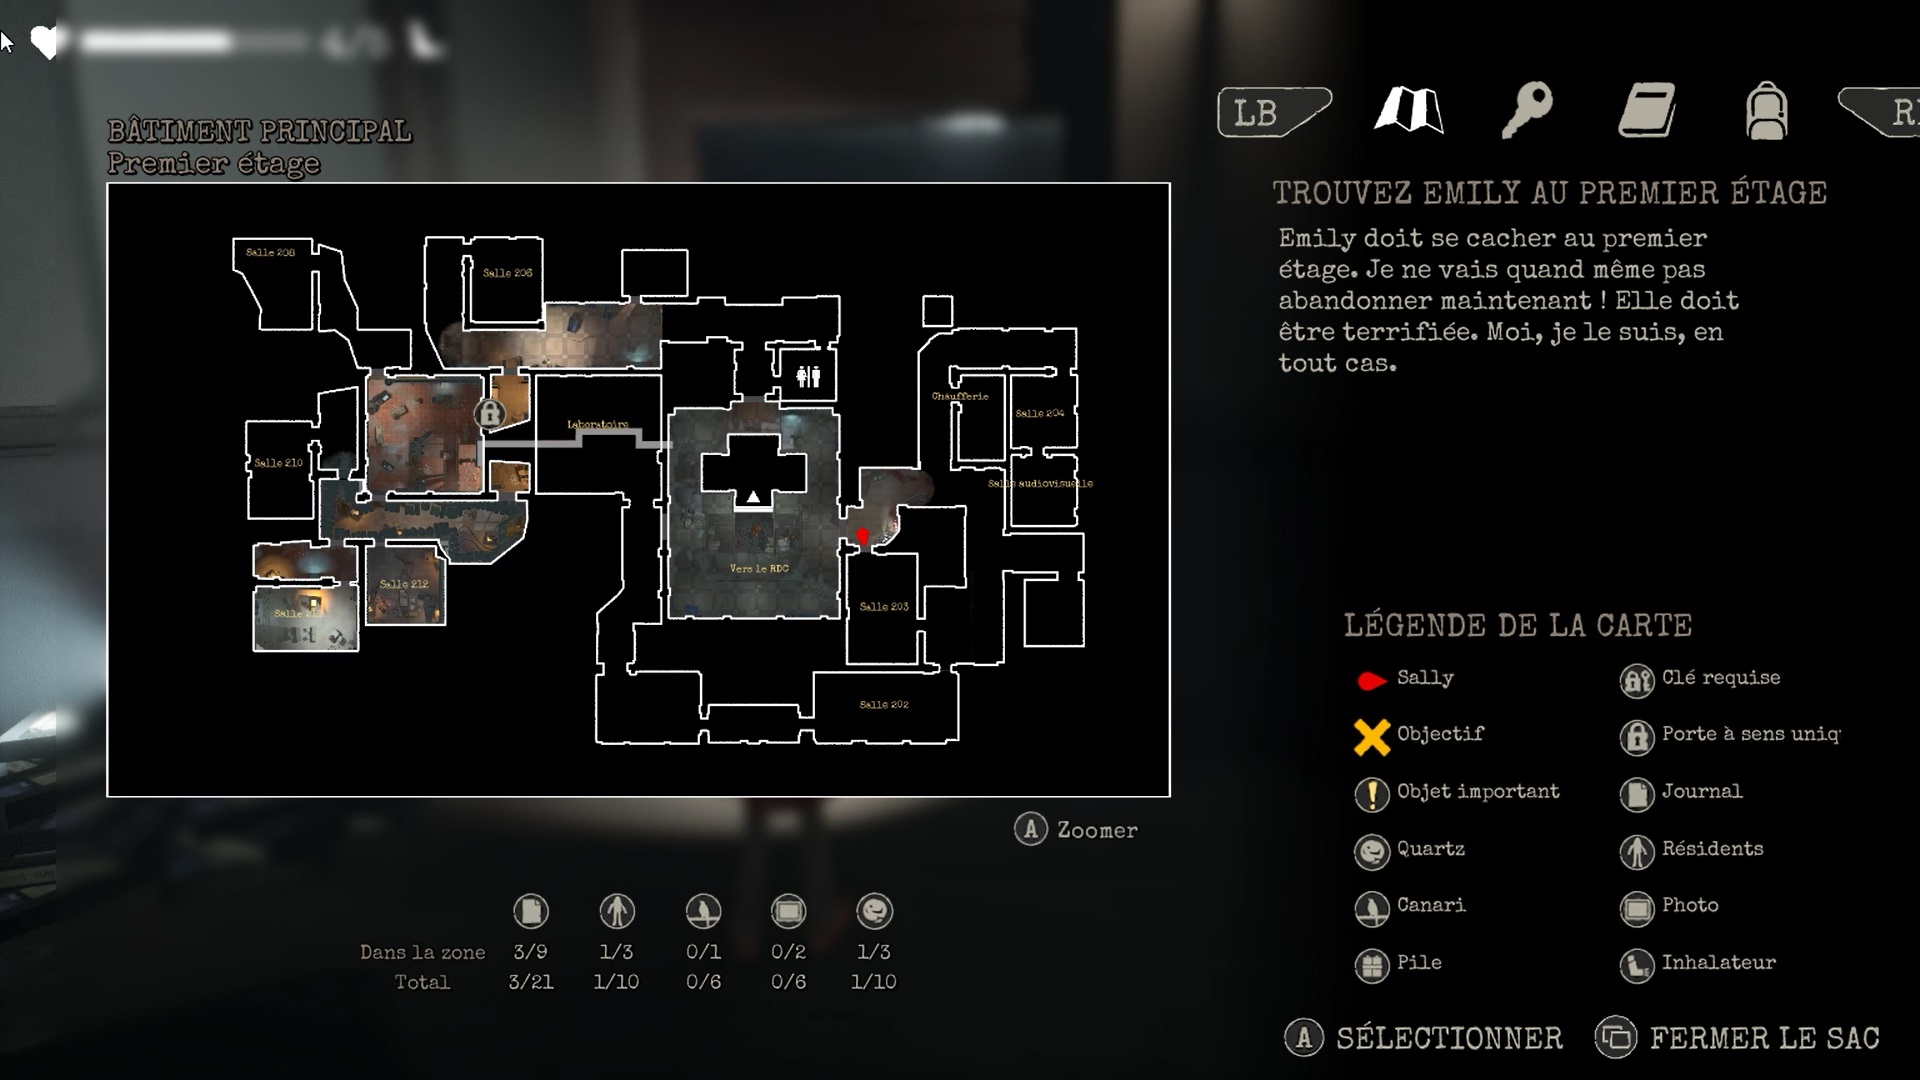
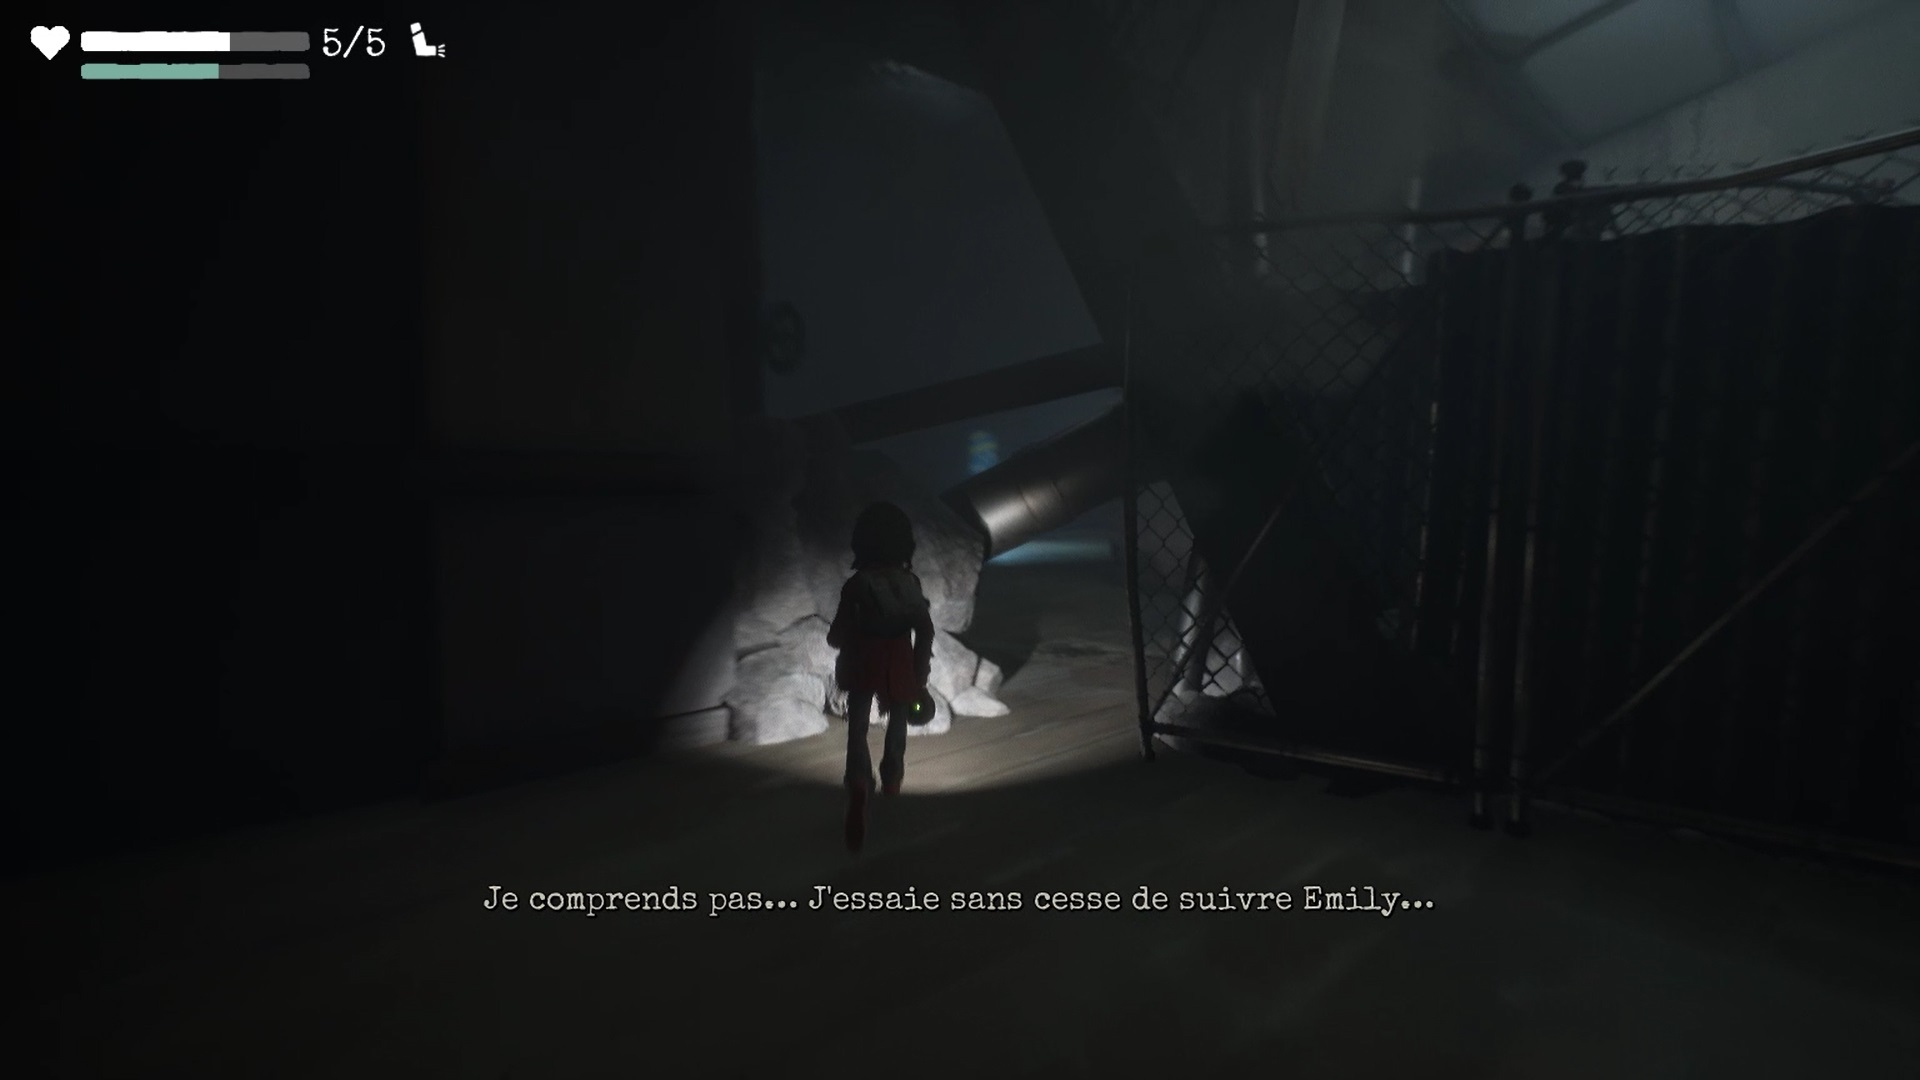
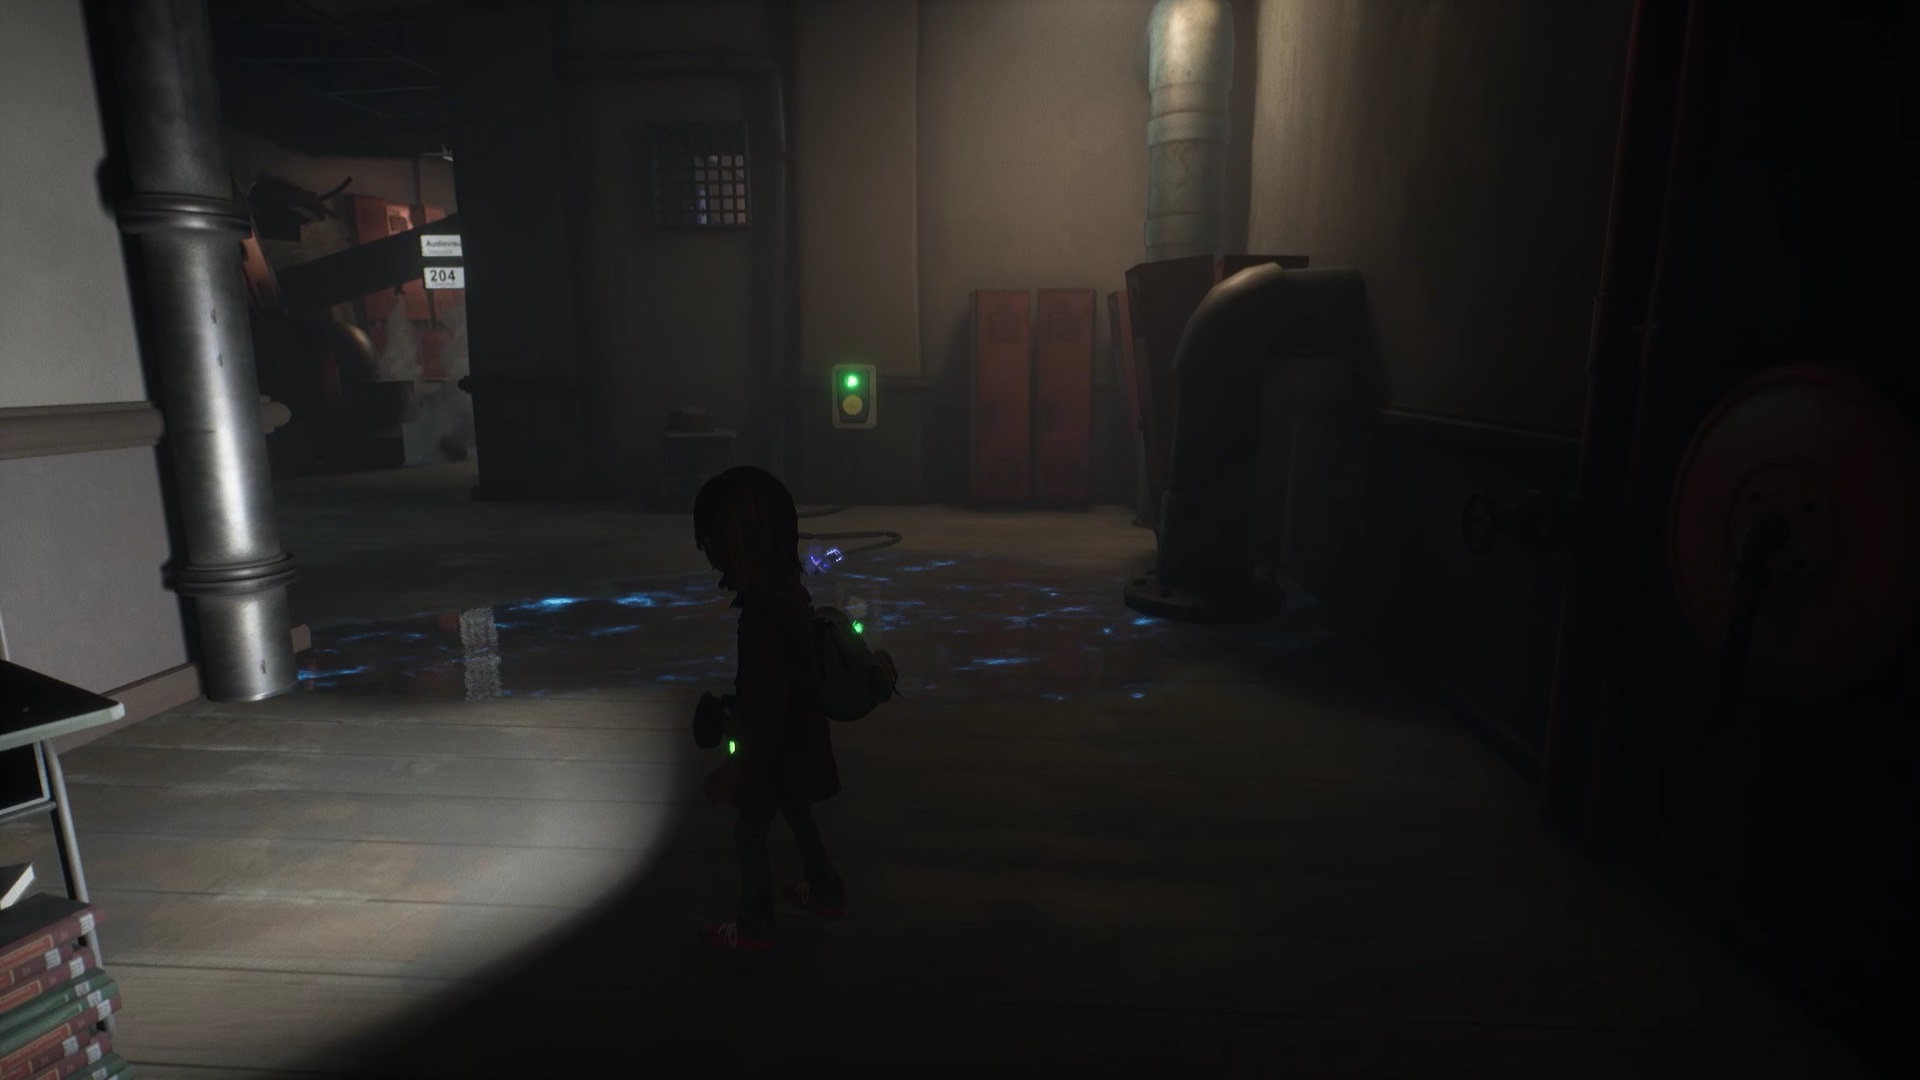
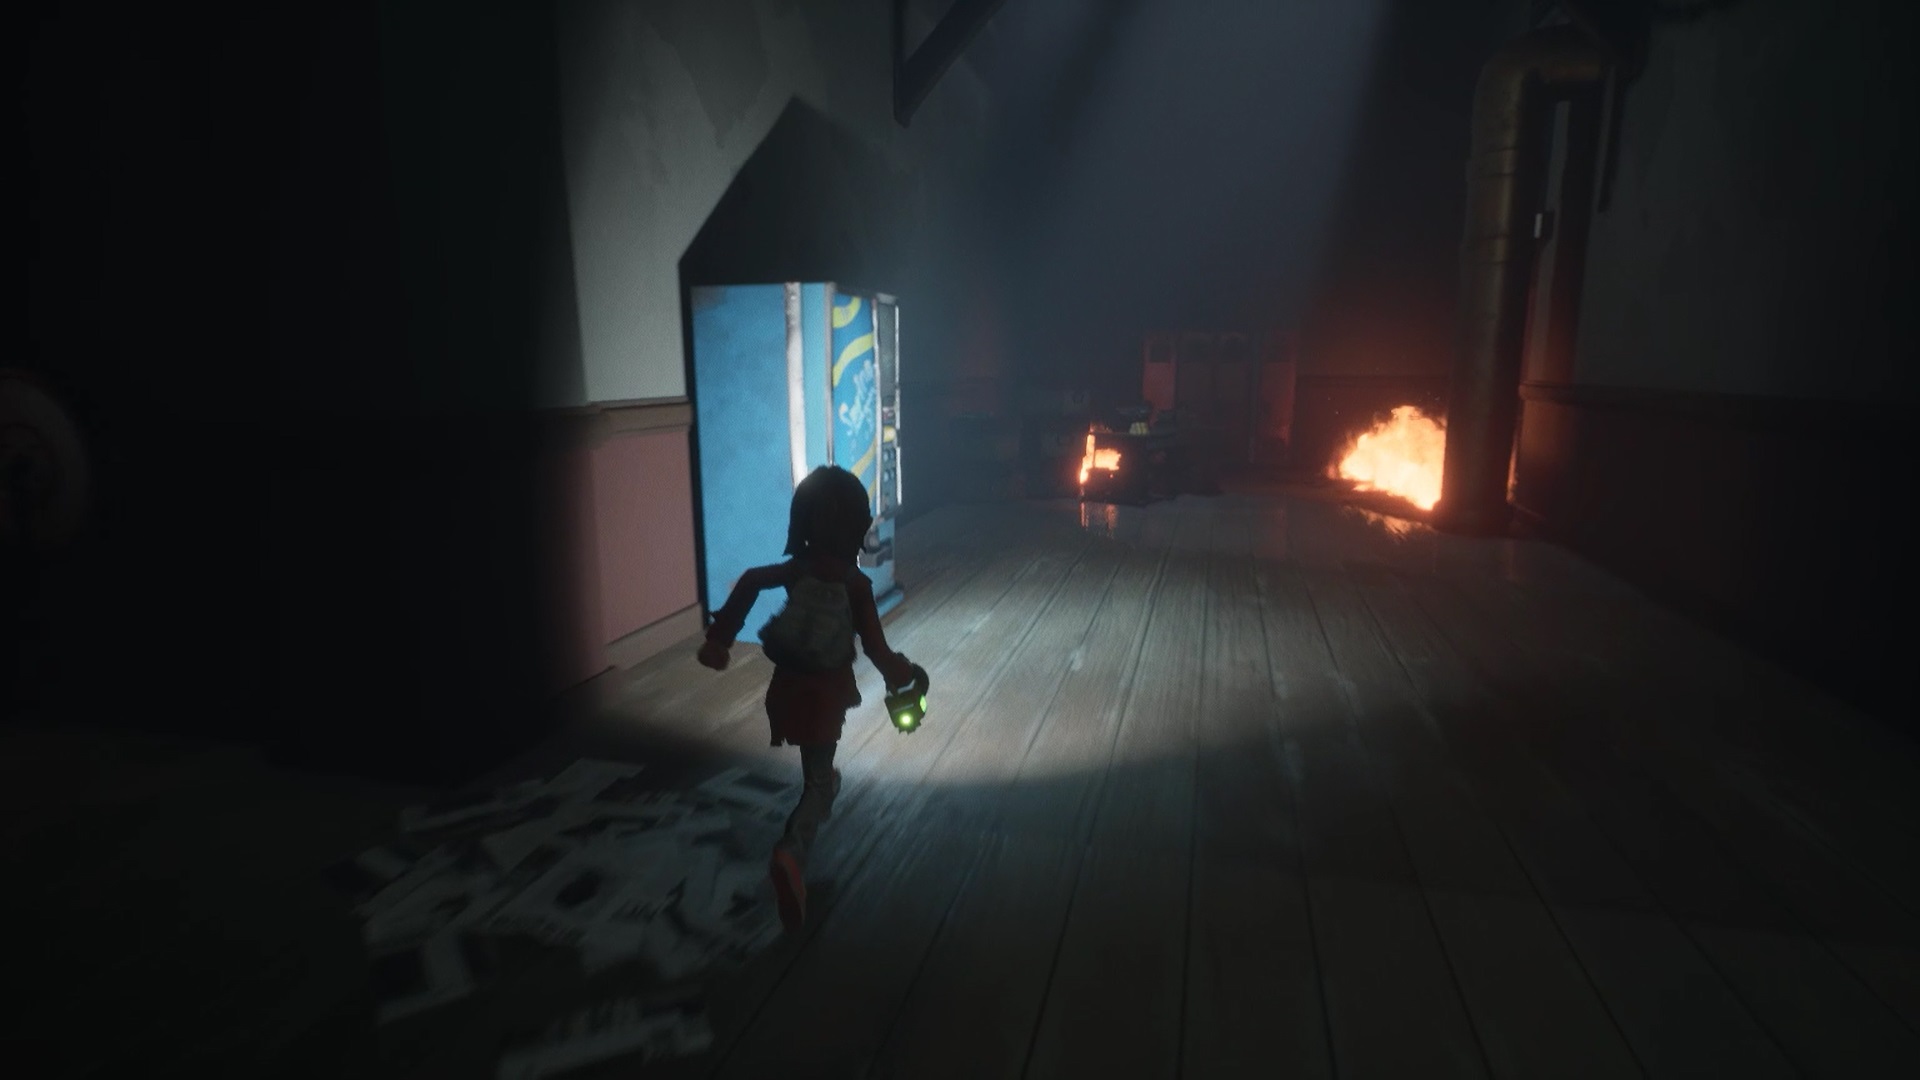
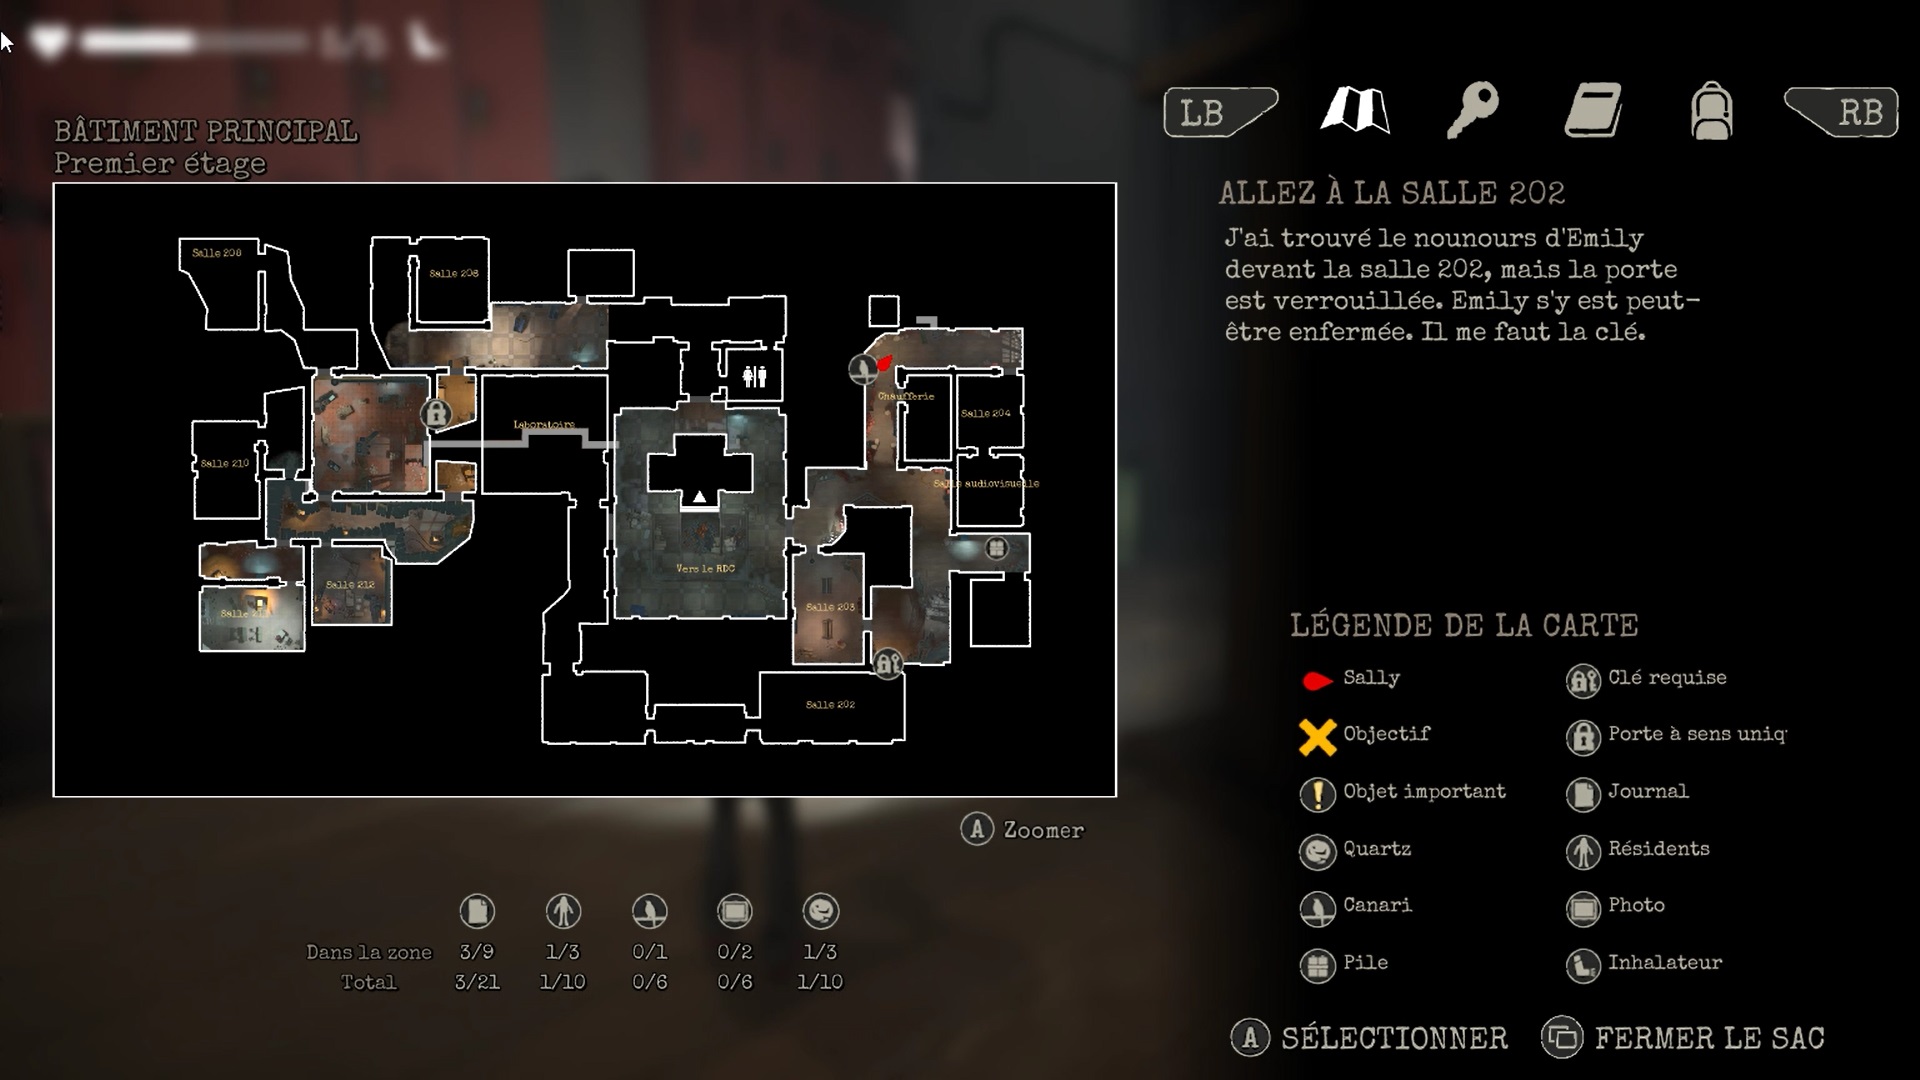
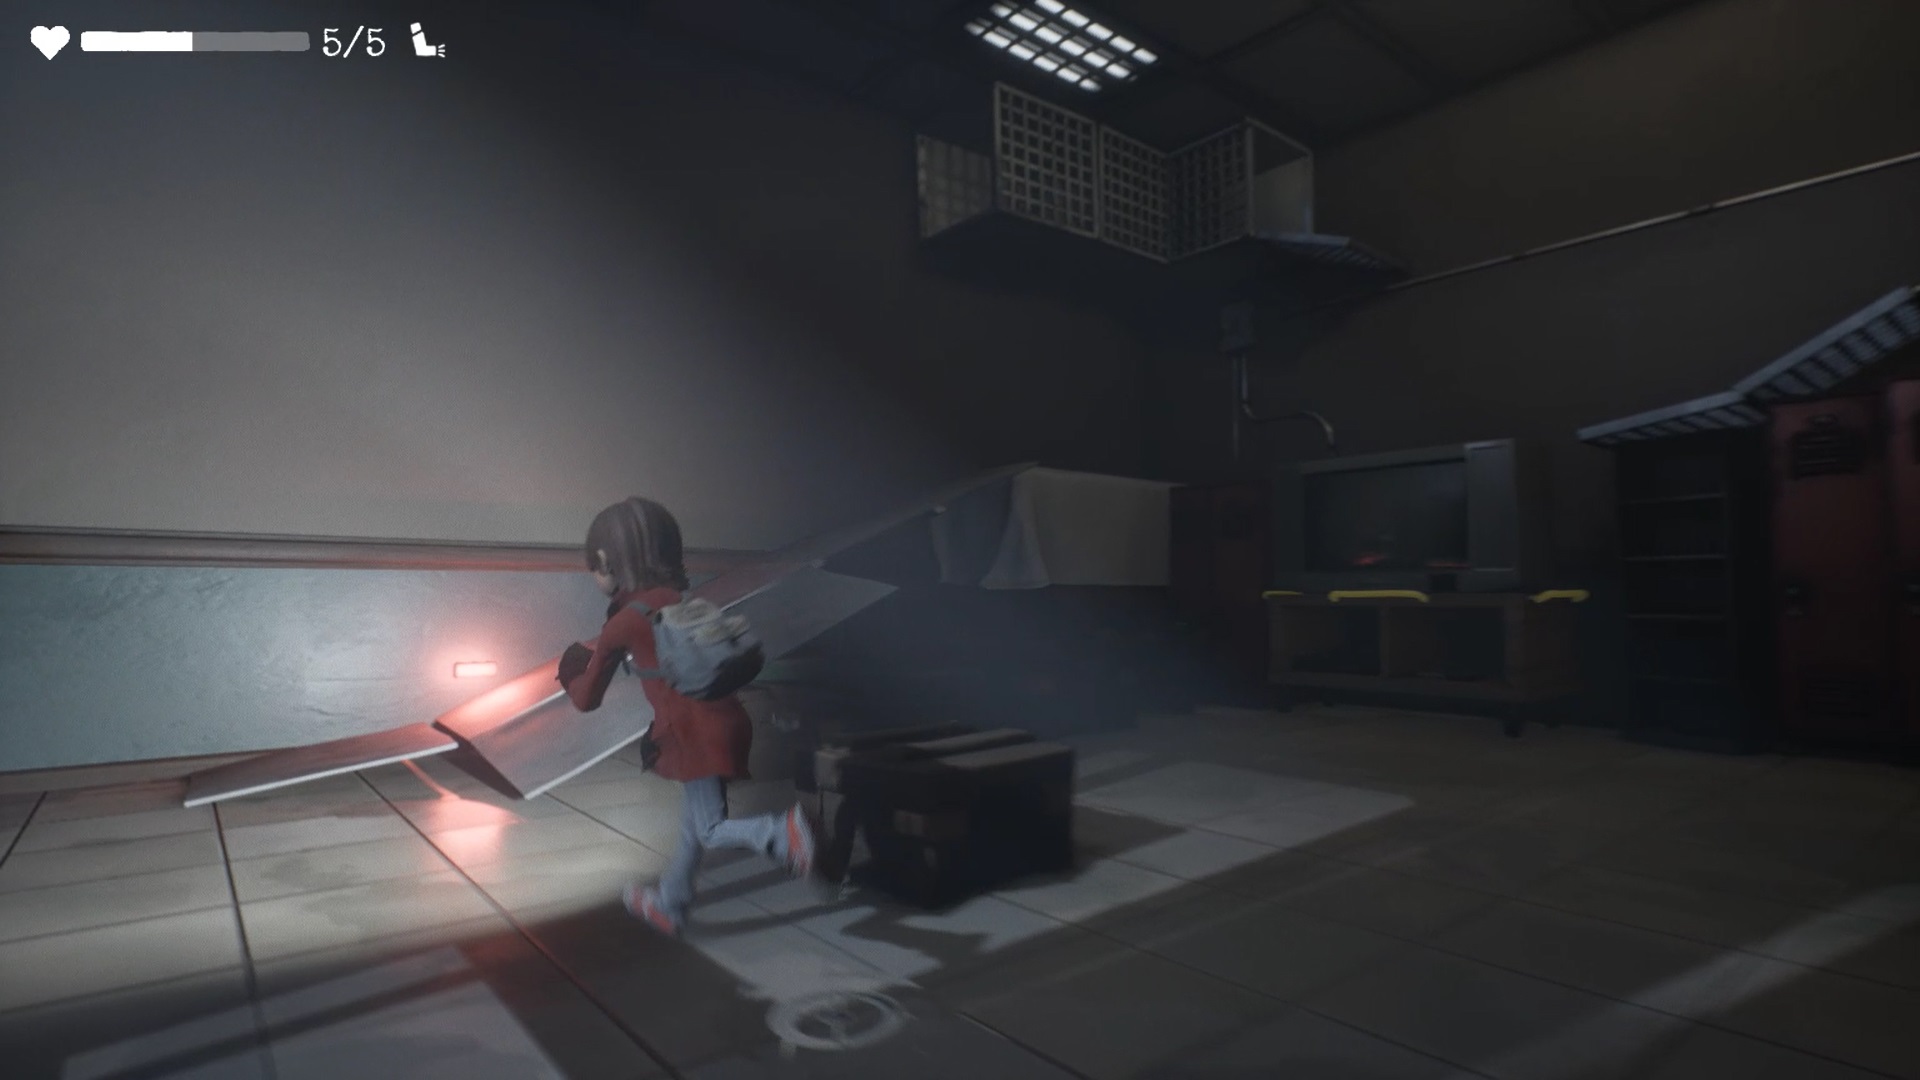
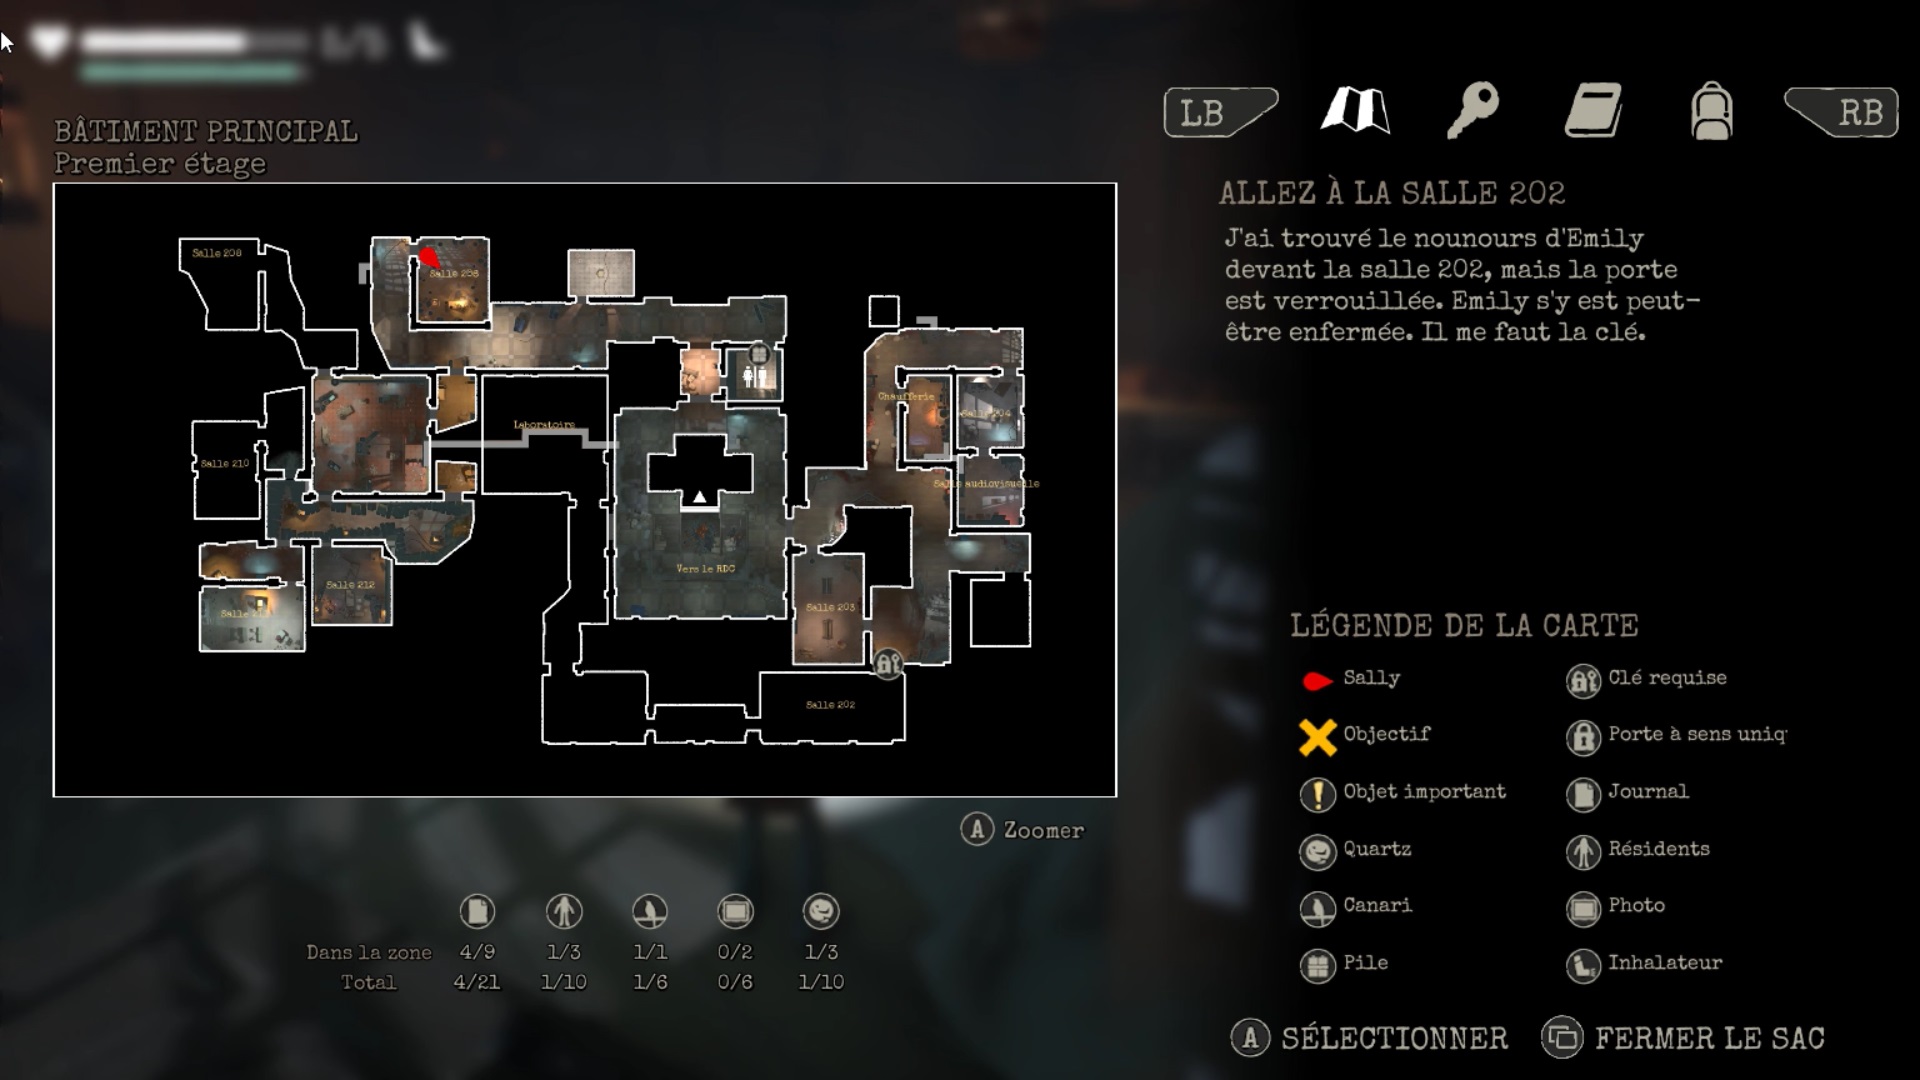
Exit the conduit and head into room 203 to the east. Proceed through the breach in the wall to trigger a cutscene. You need to find the key to room 202. Head north, sneaking under the pipe debris towards room 204.
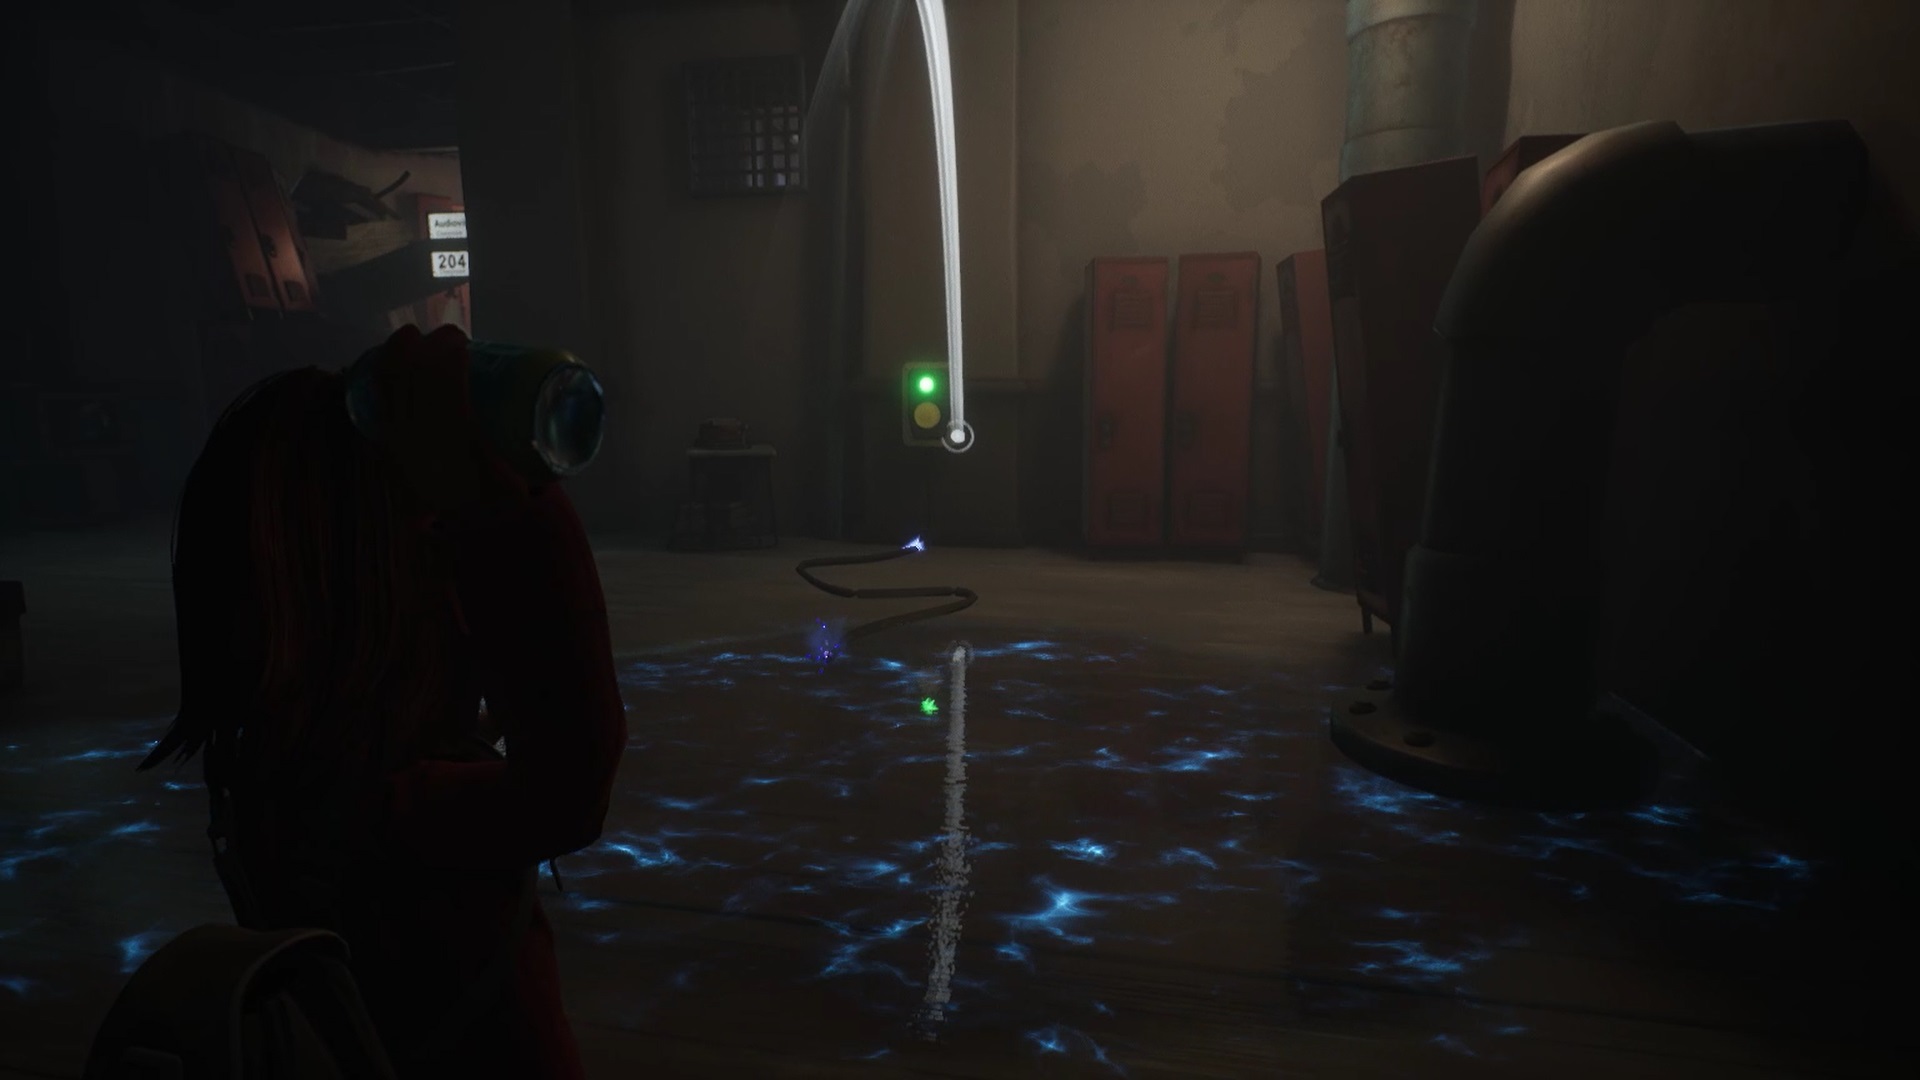
A puddle of electric water is blocking your way. Pick up a can from the nearby dispenser. Throw the can at the switch facing the puddle to turn off the power.
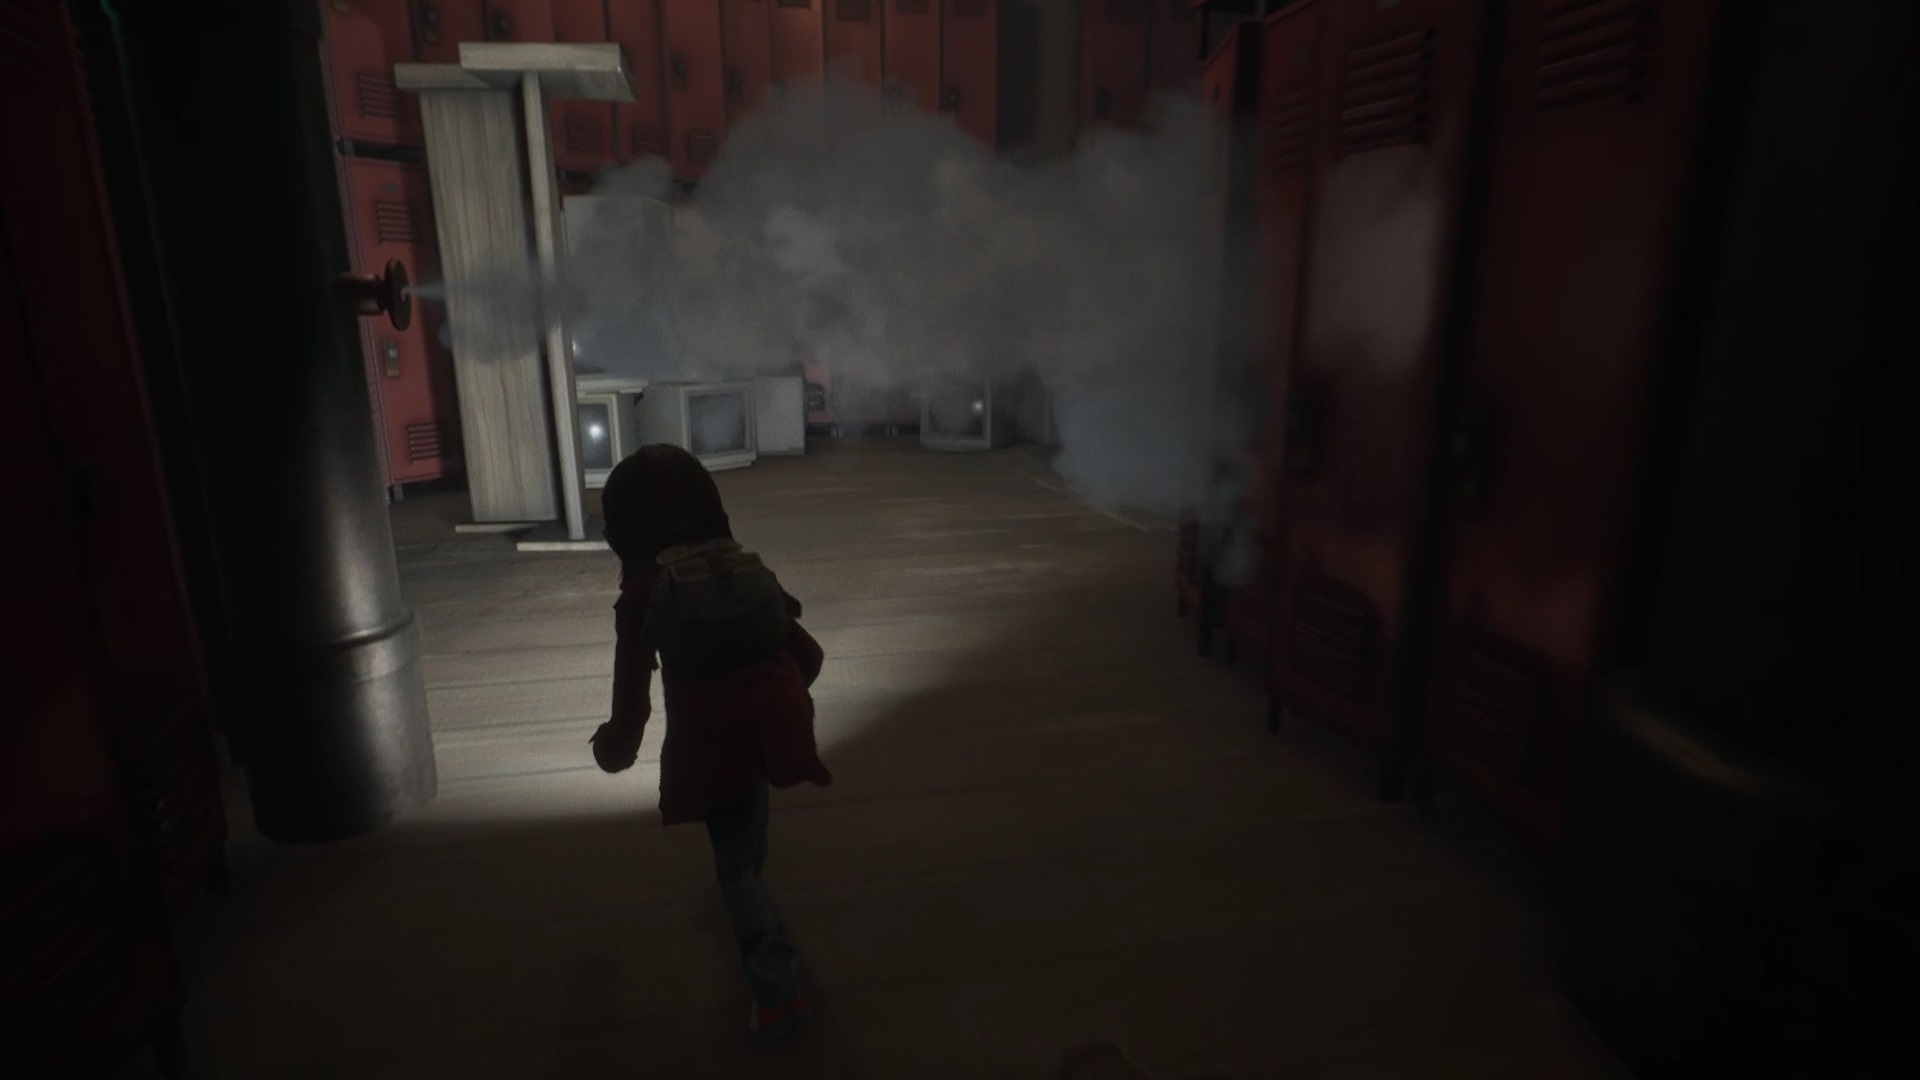

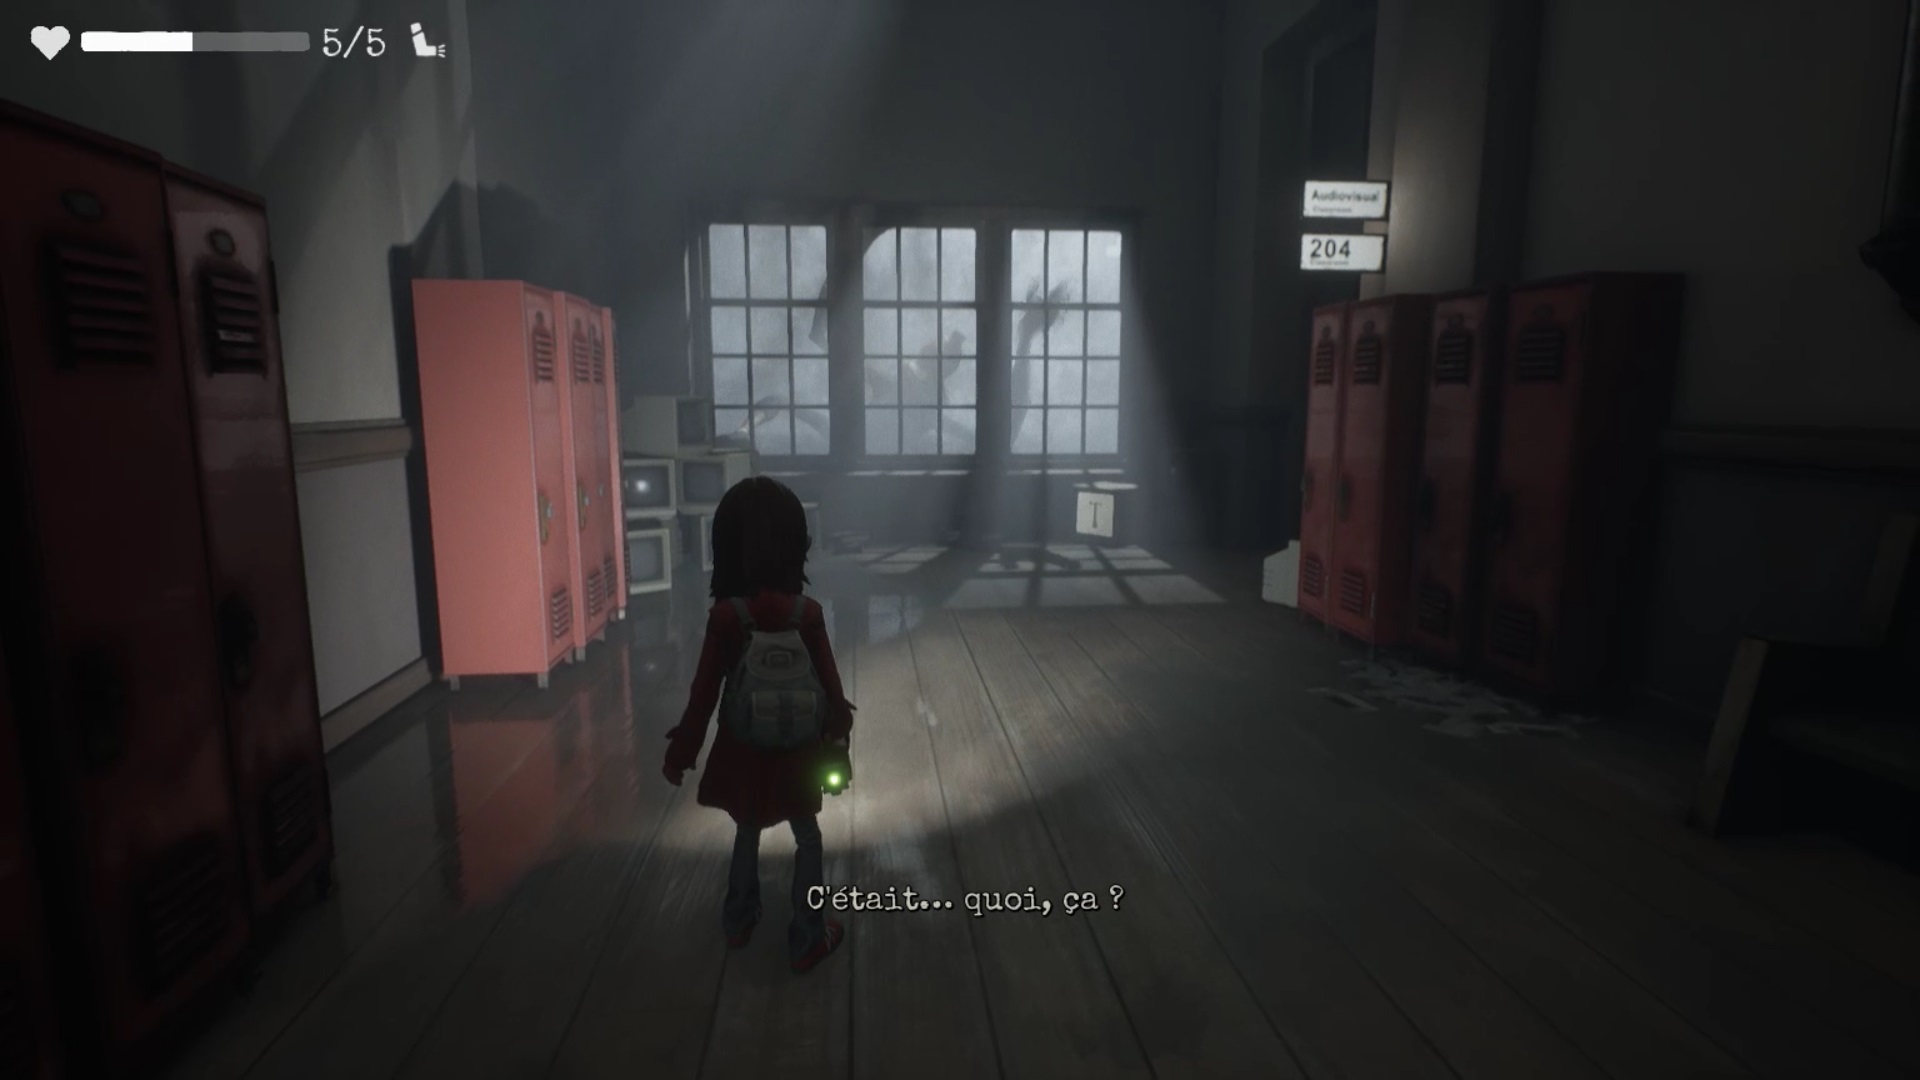
Proceed north towards the boiler room to reach room 204. Take the TV cabinet and go position it in the audiovisual room between the two shelves on the right.
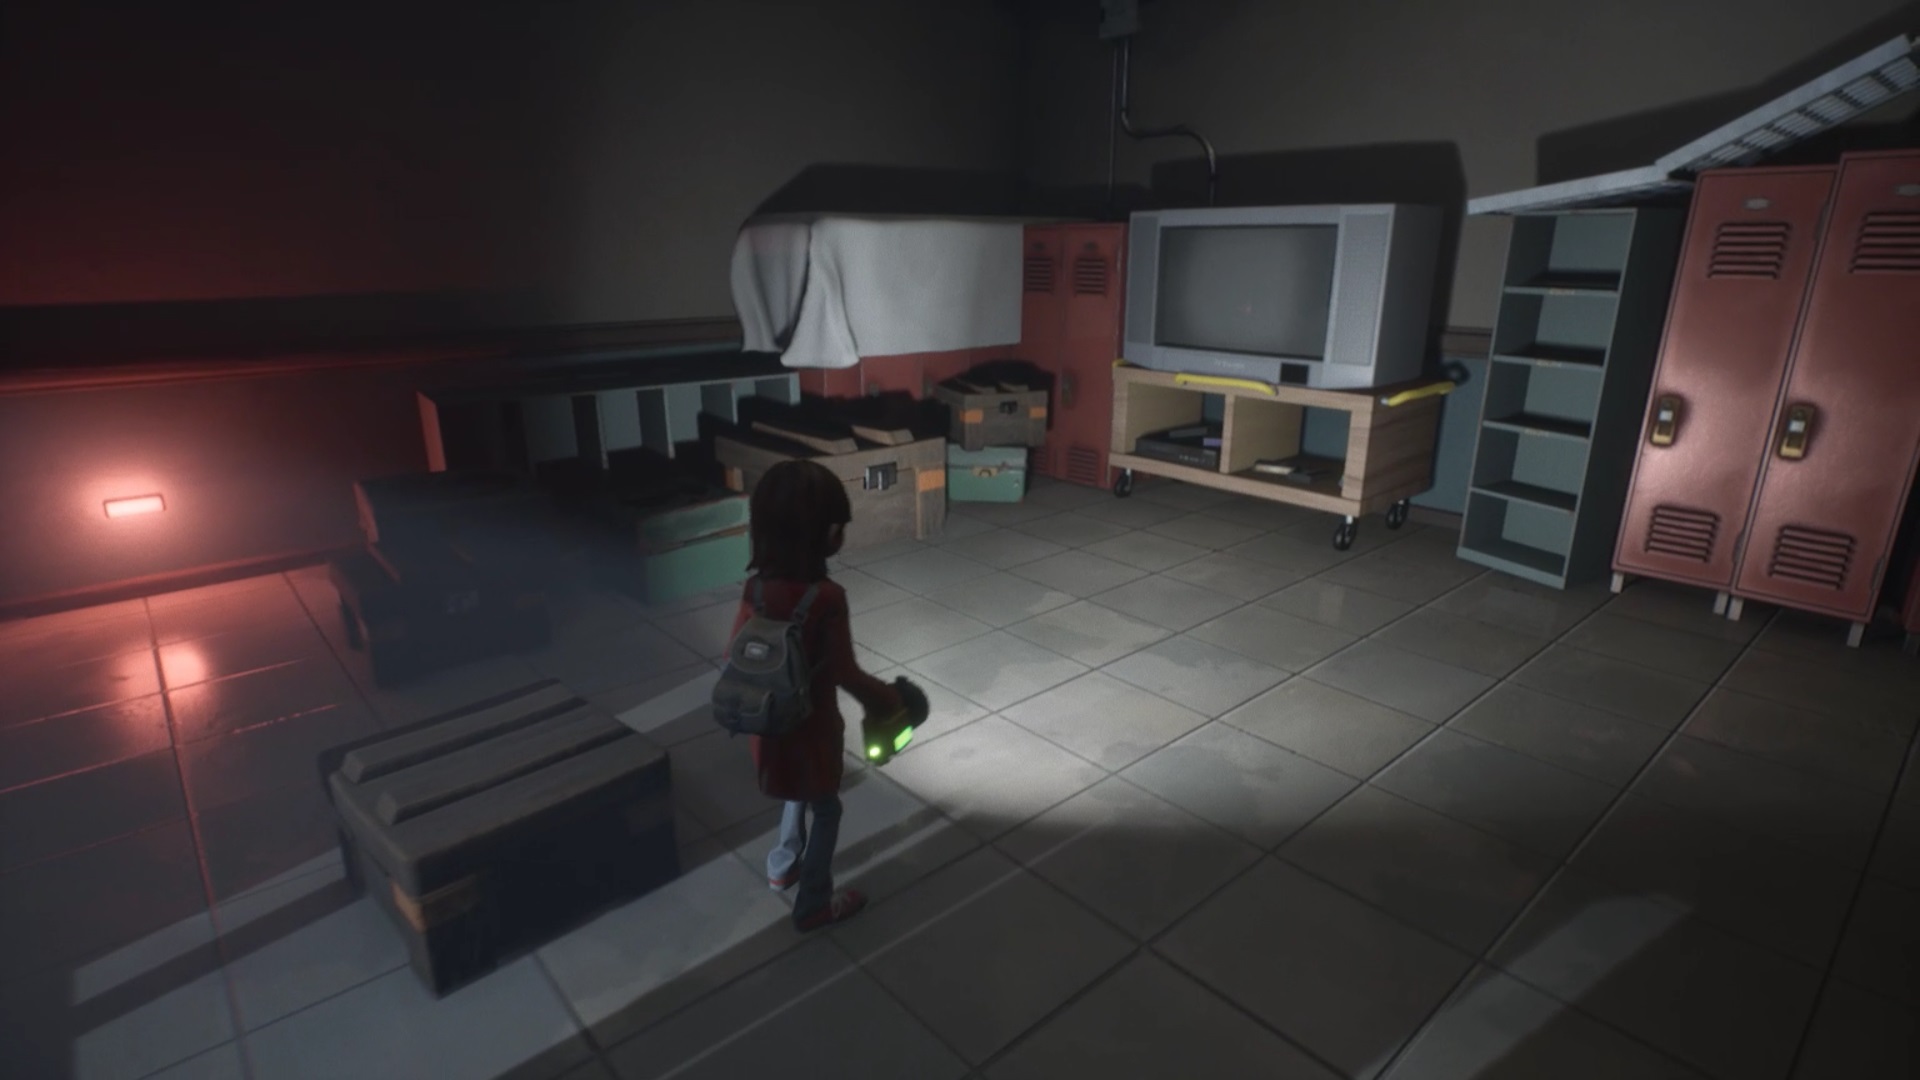
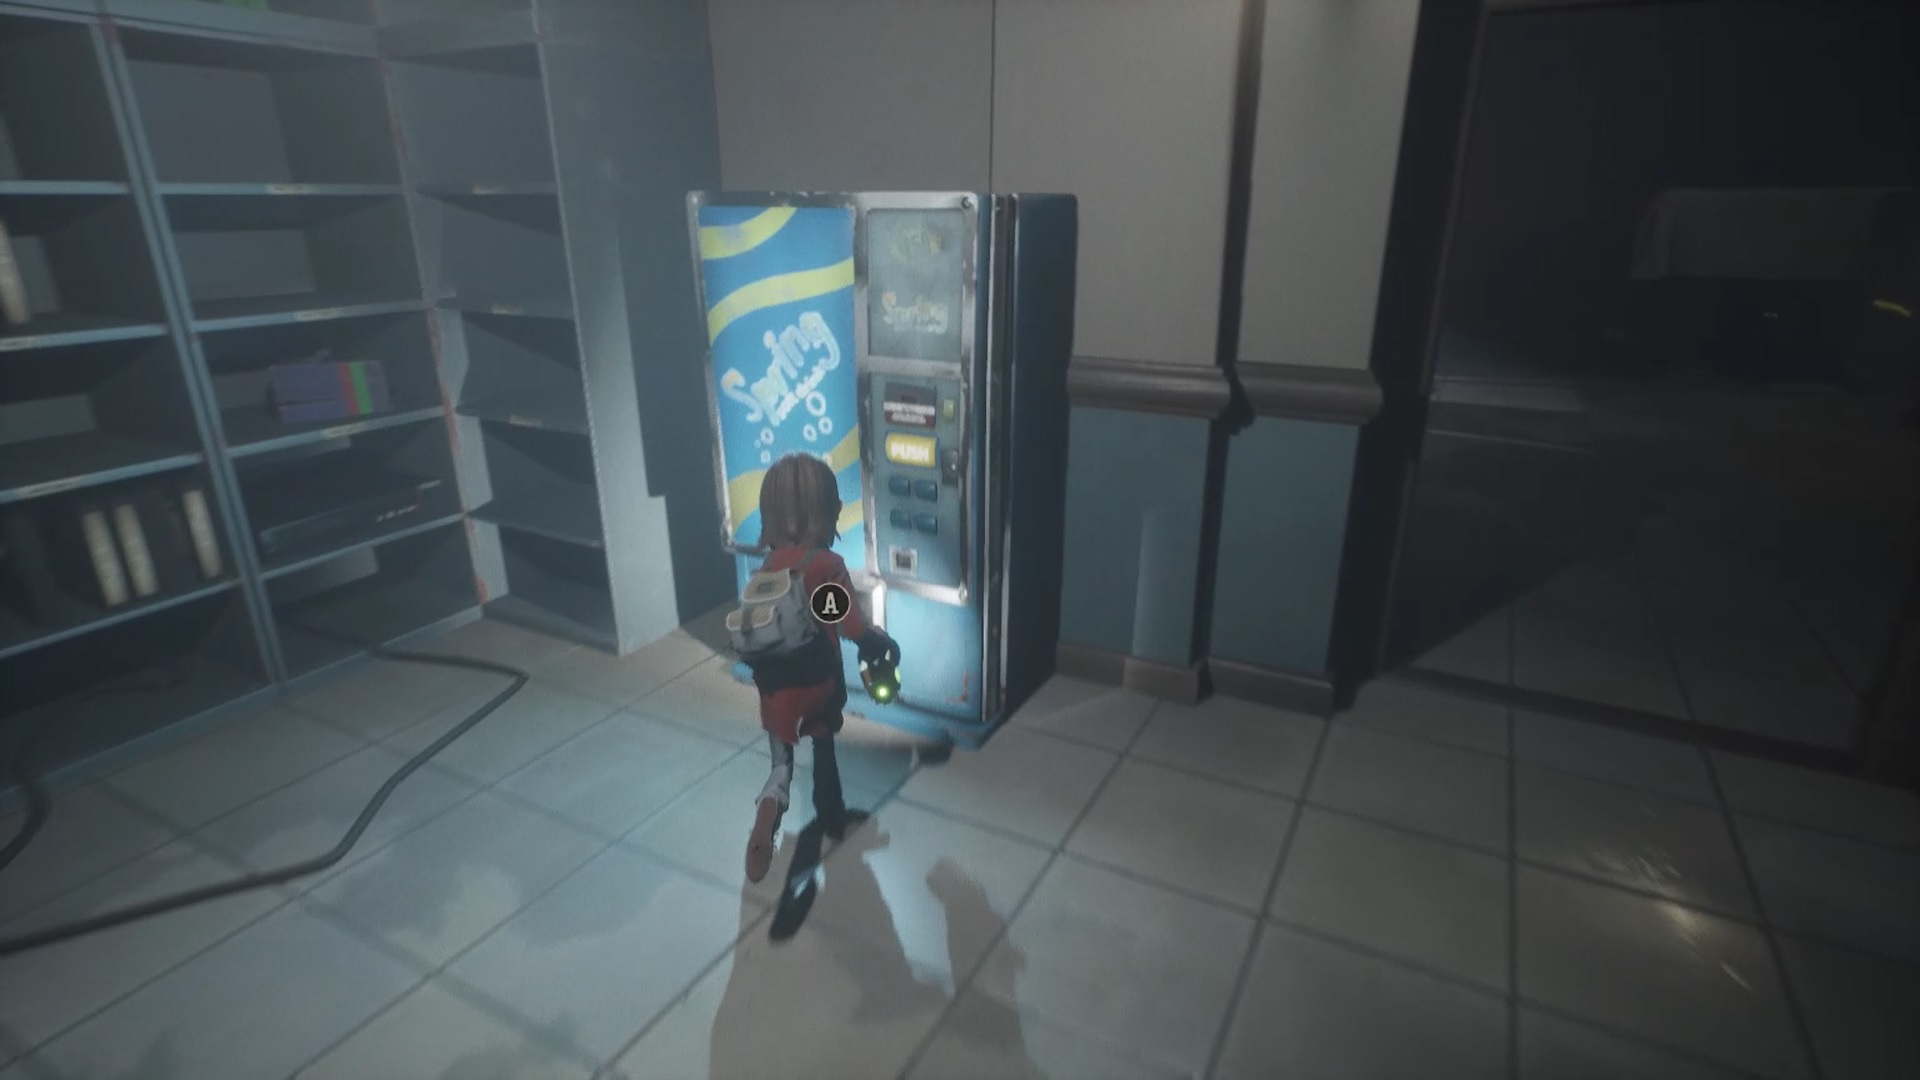
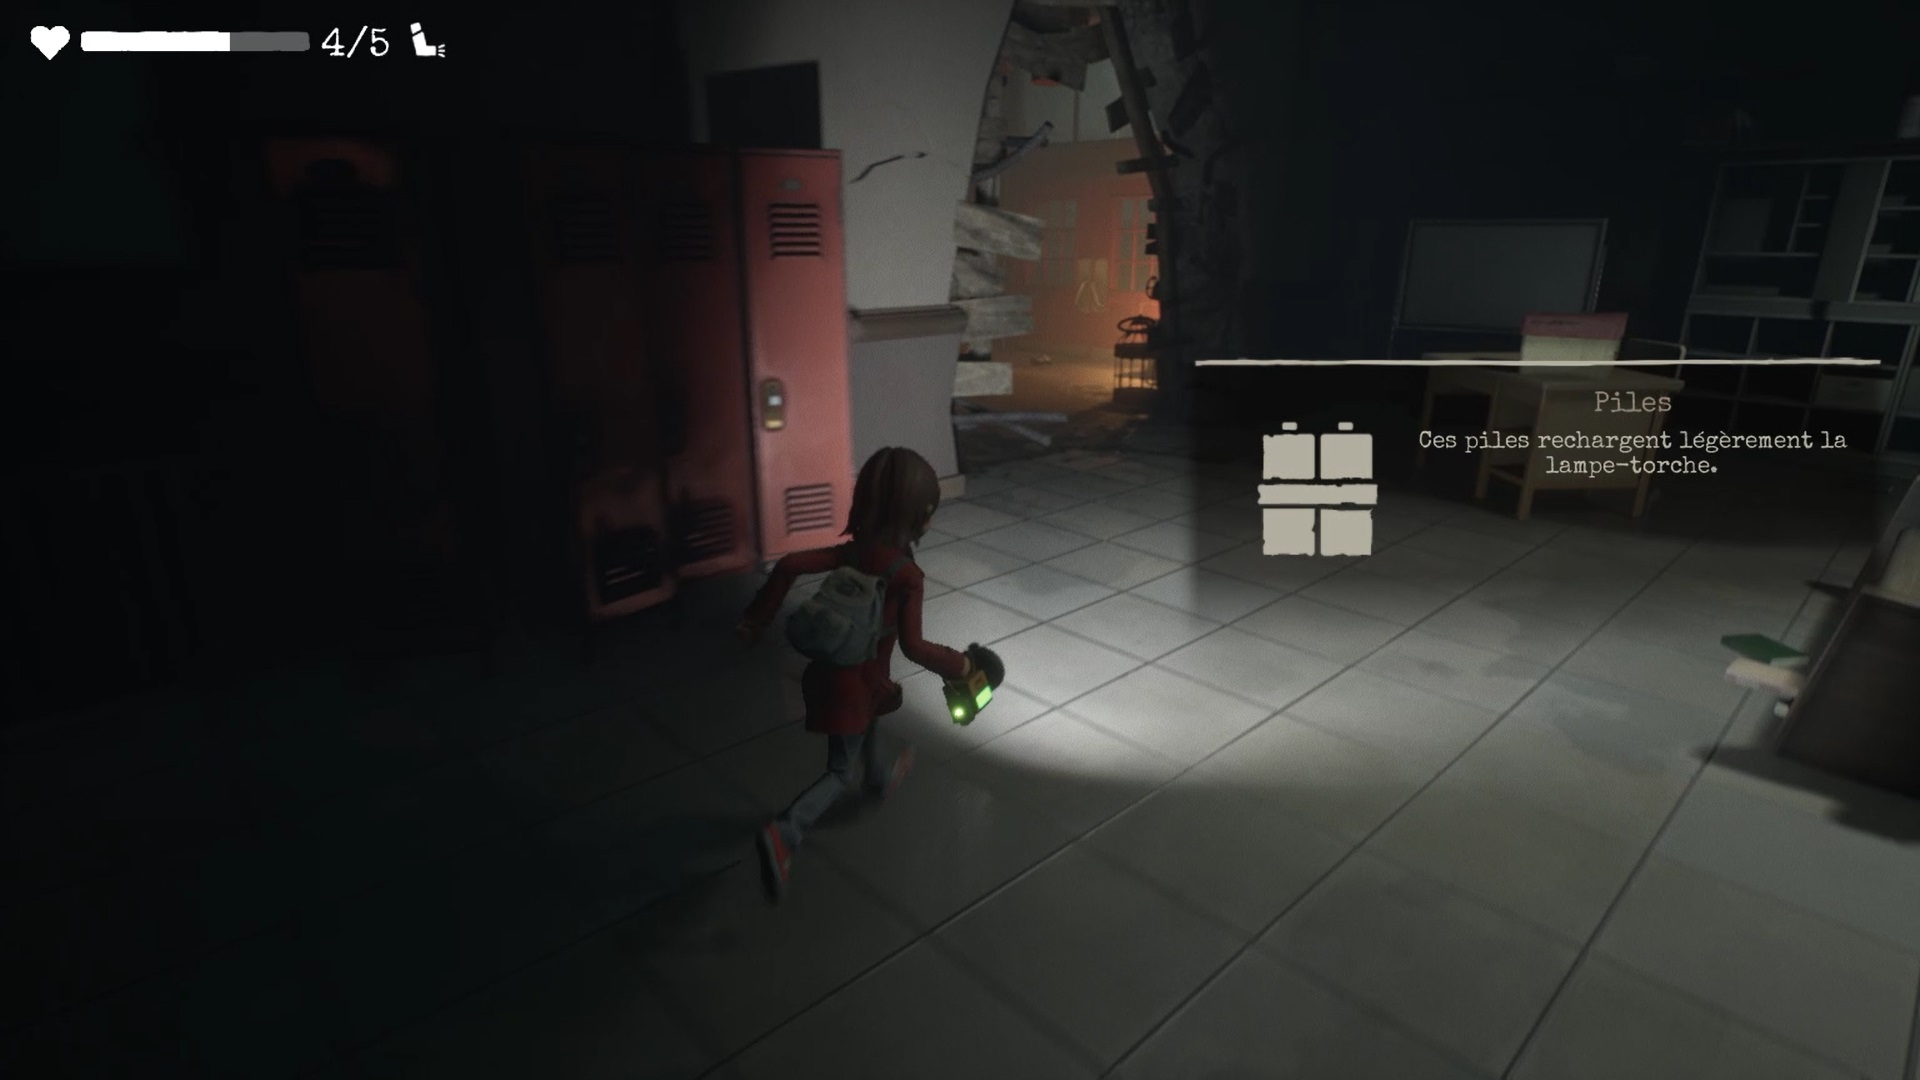
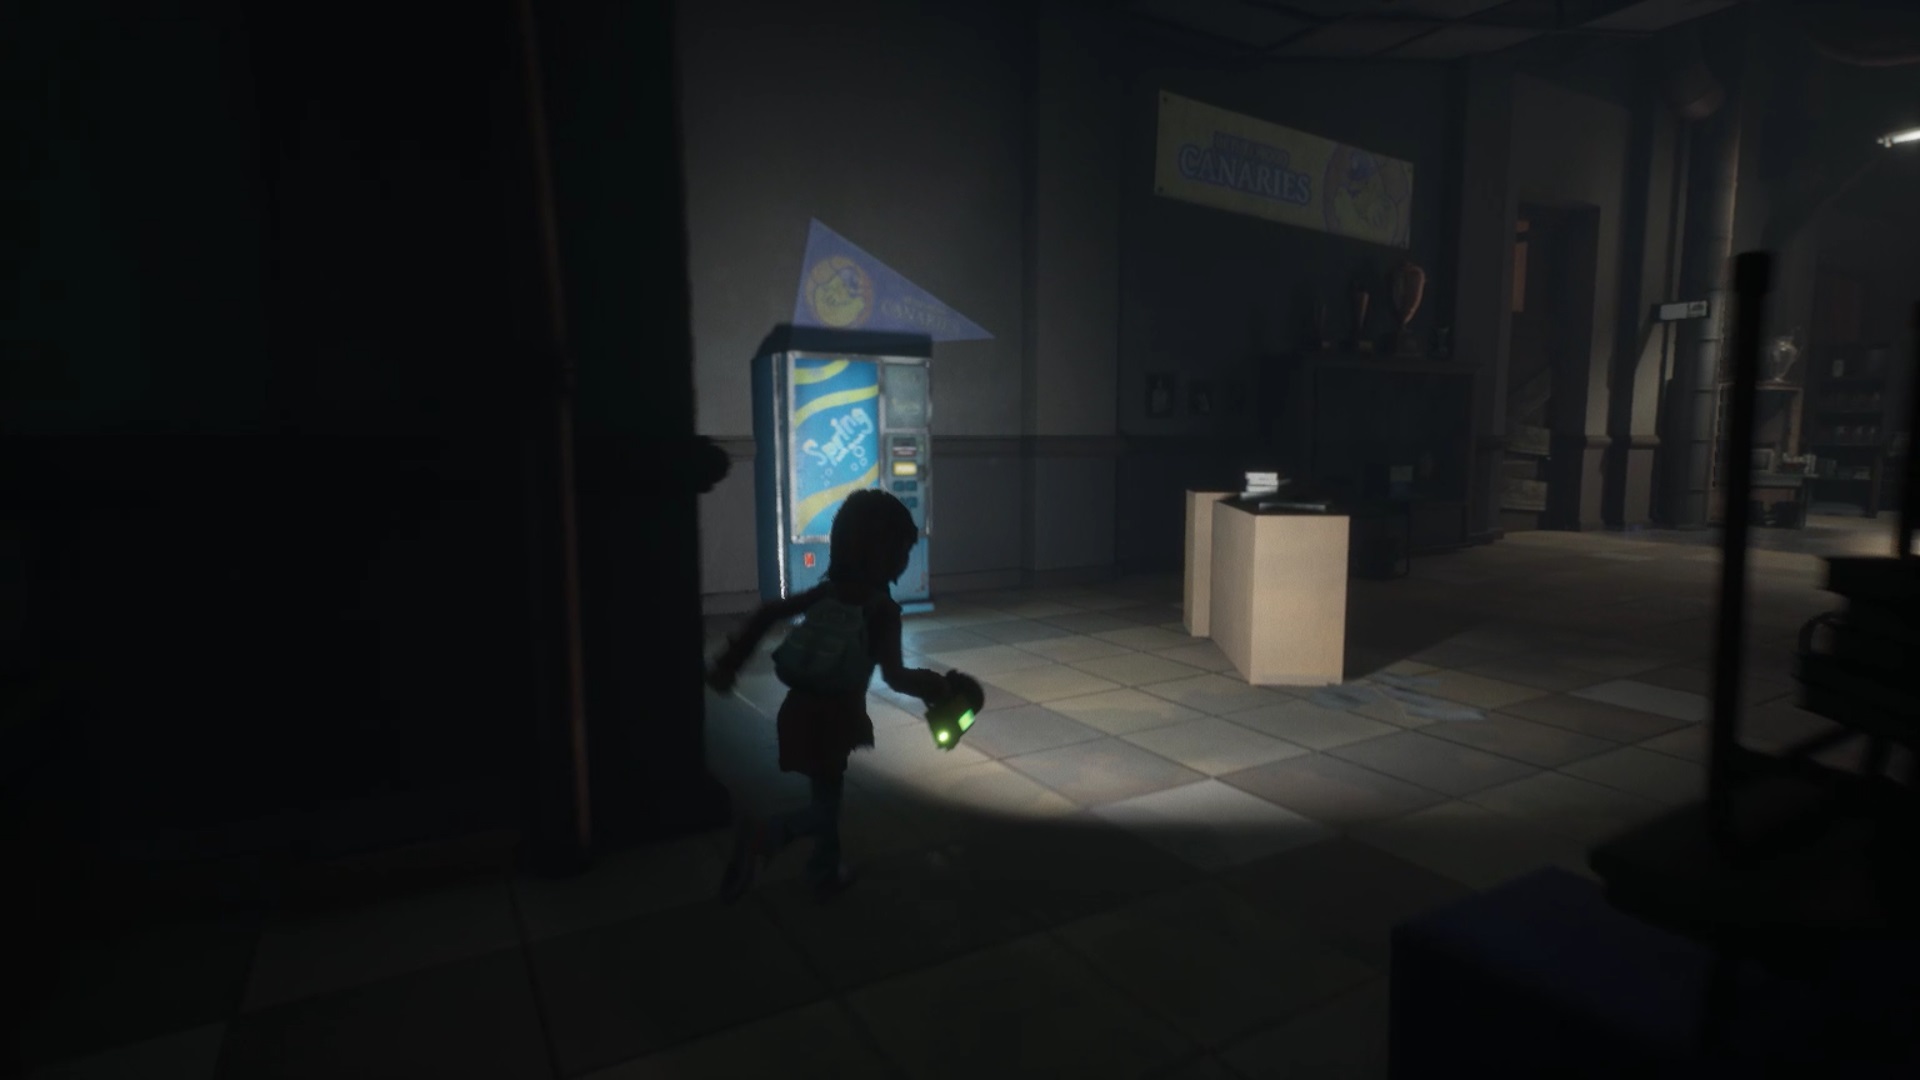
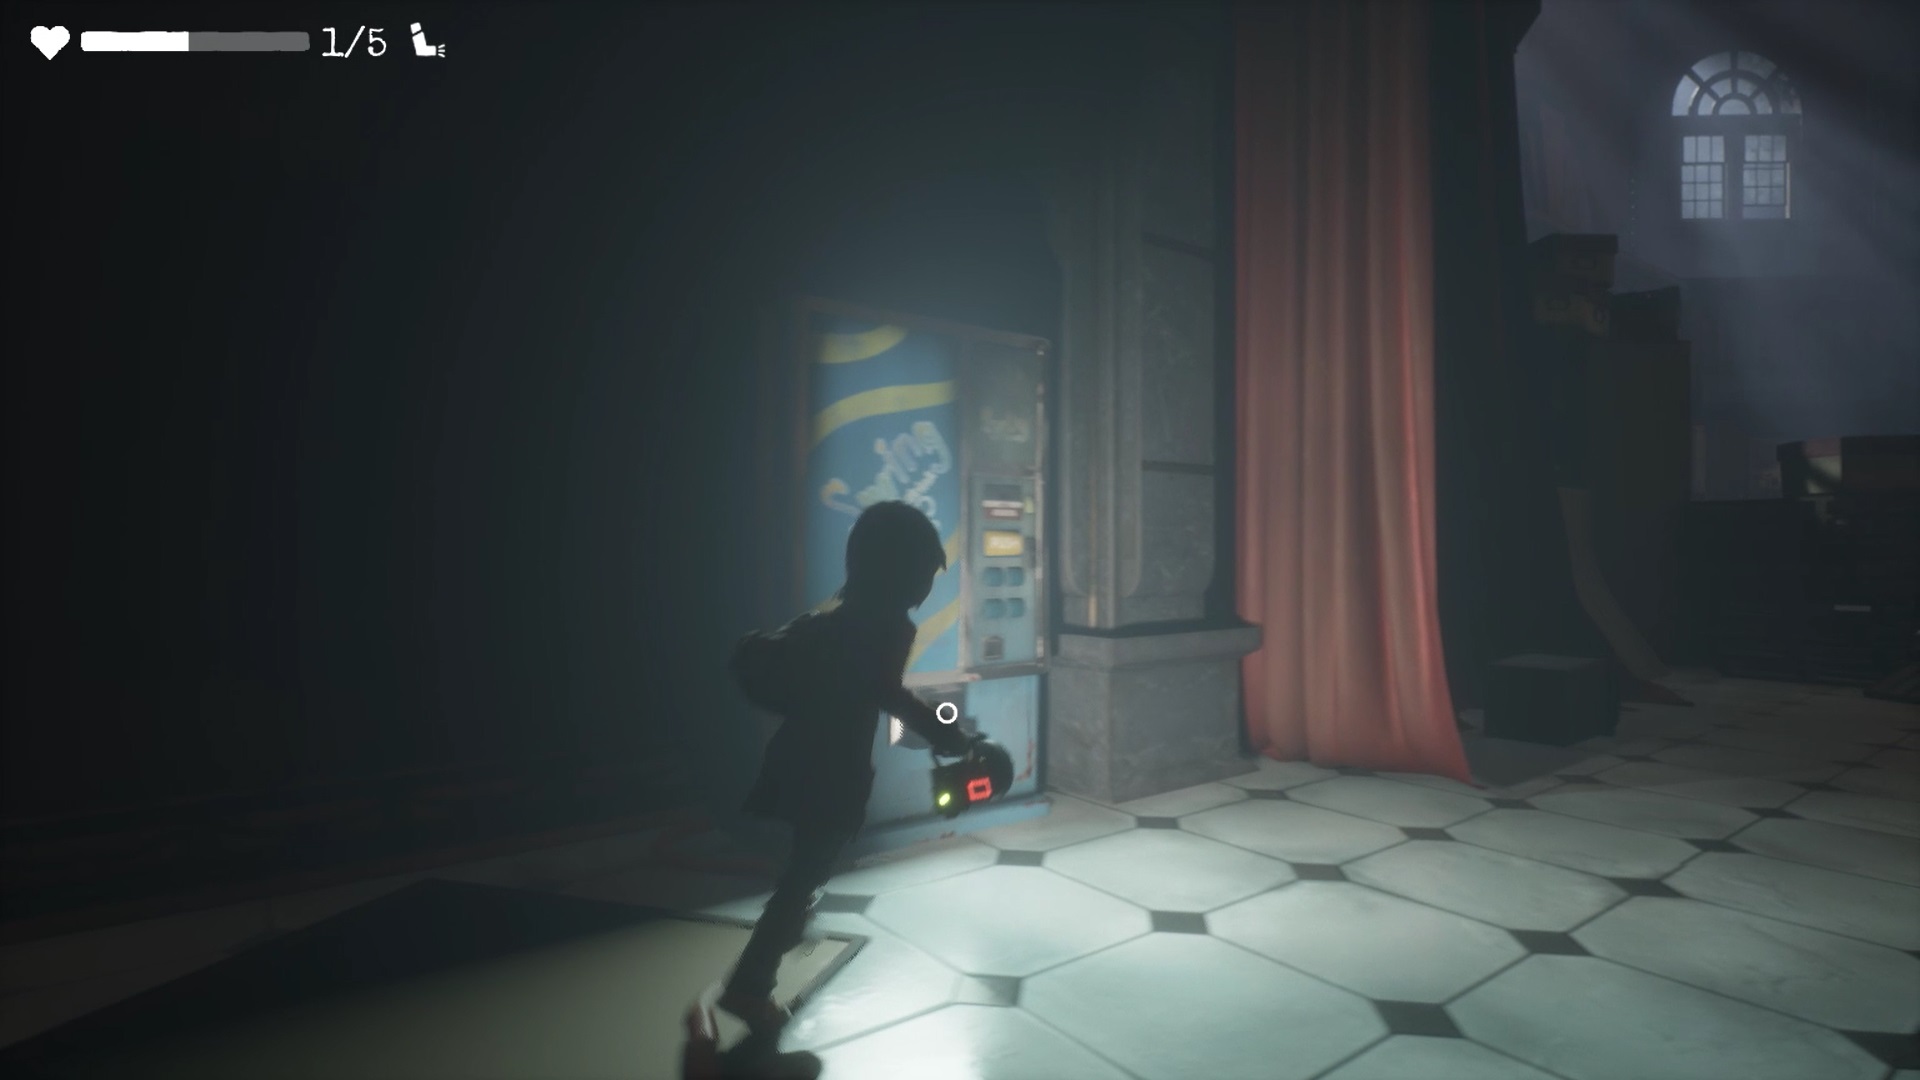
Retrieve a can from the vending machine in Room 204. Throw the can at the overhead vent to knock it down and create a passage. Climb up to reach the air duct.
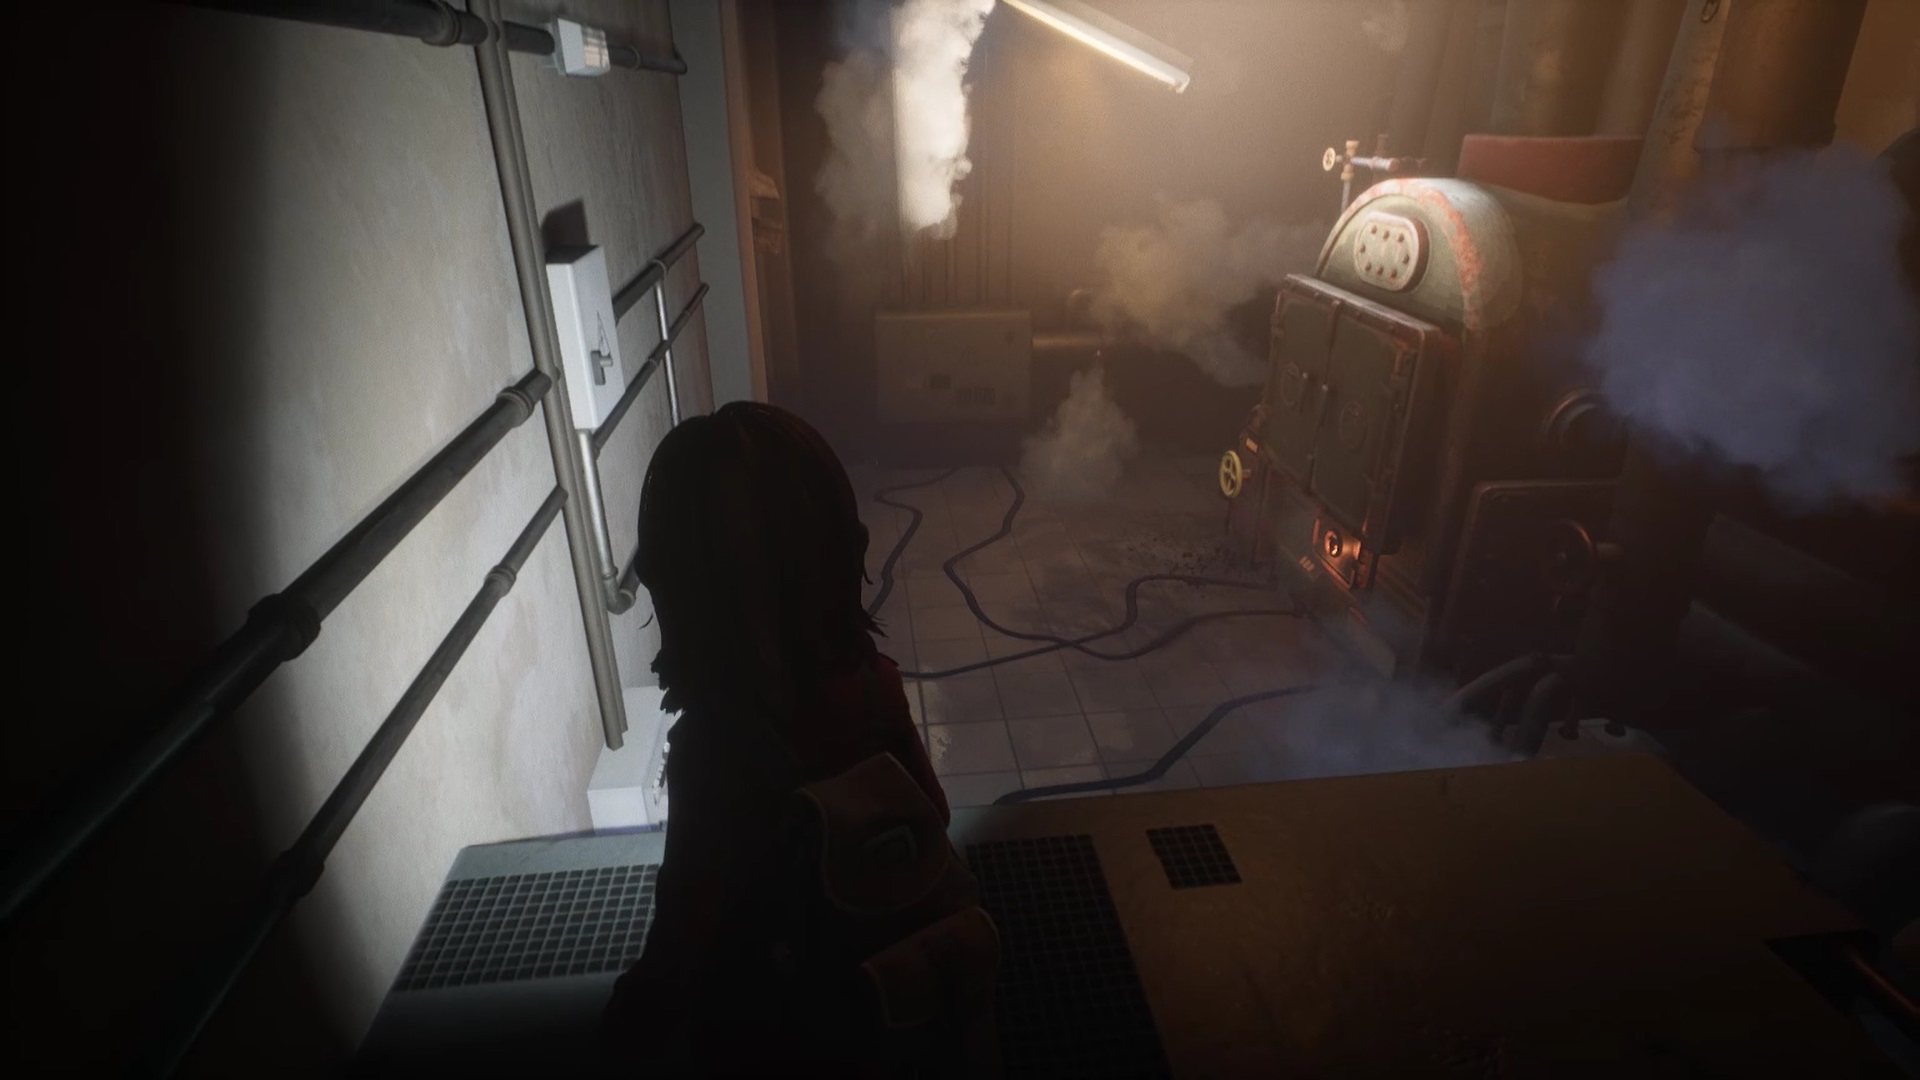
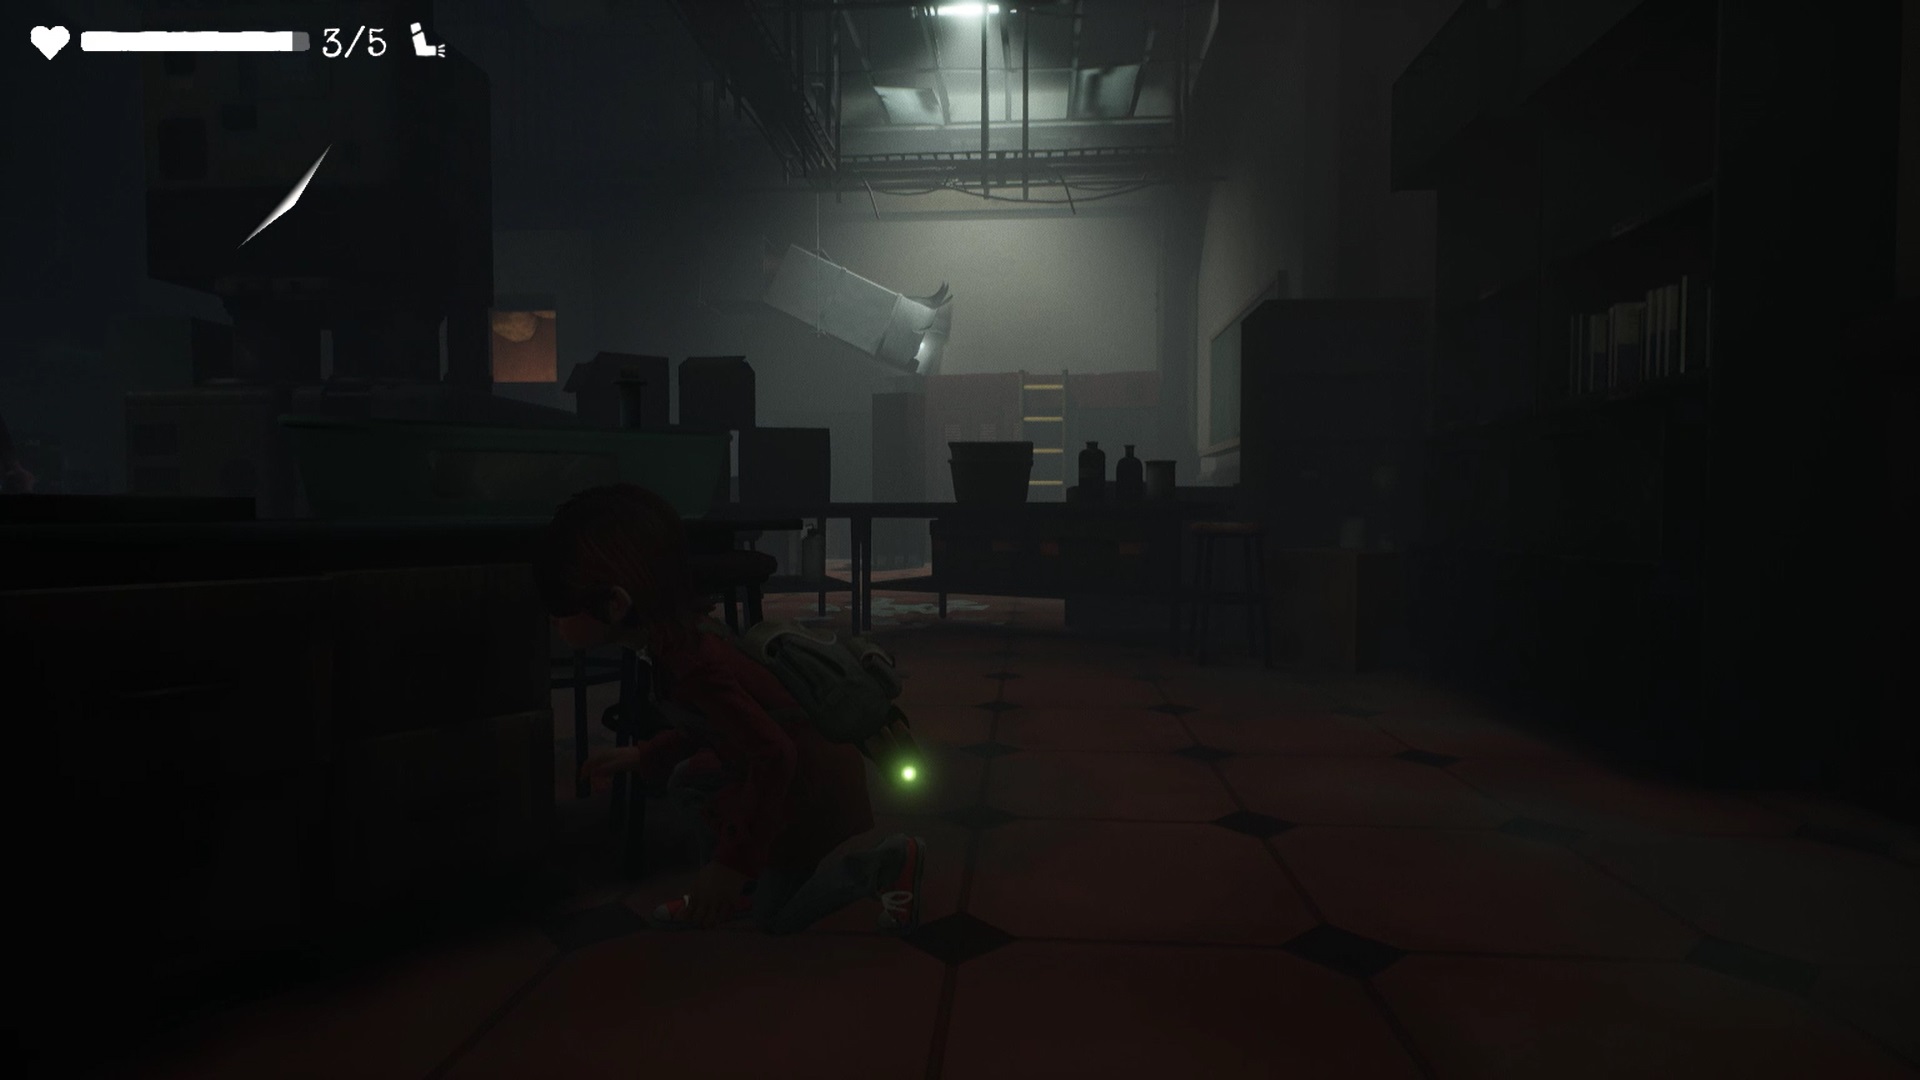
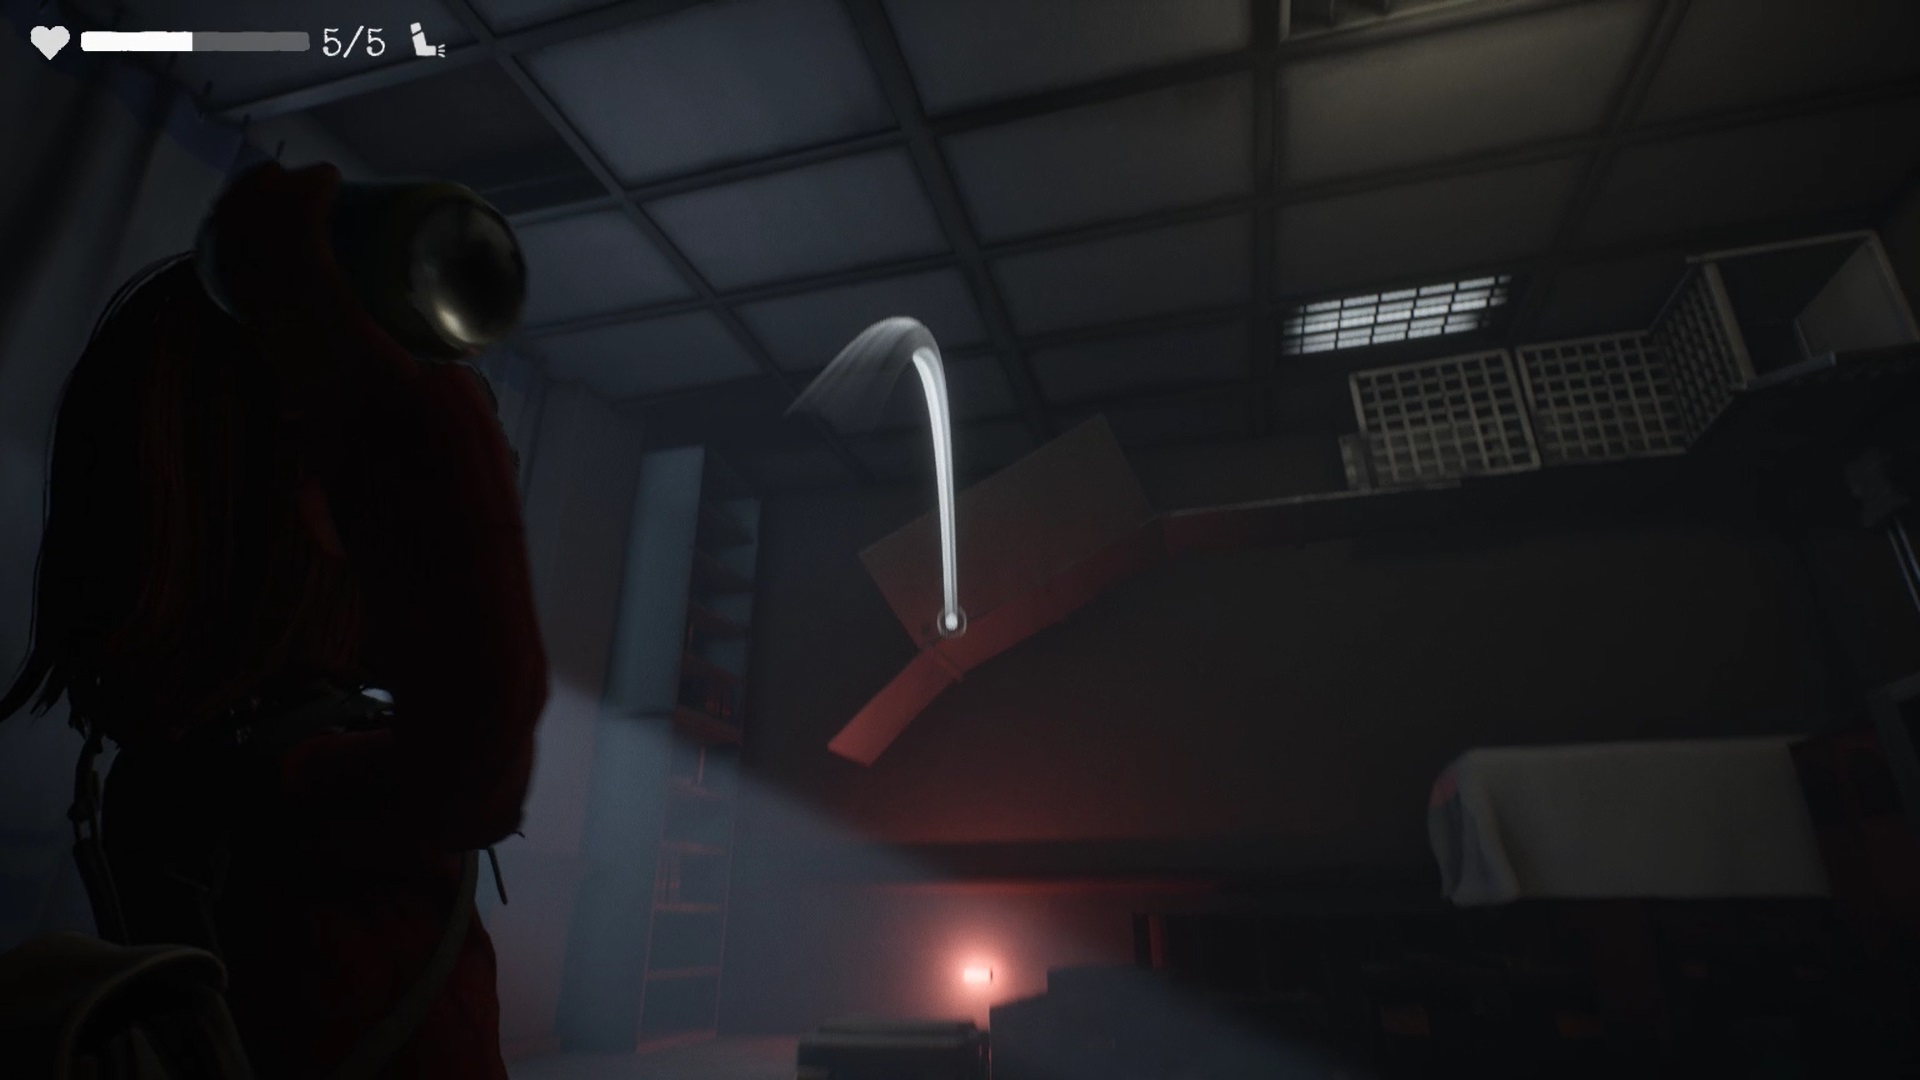
Use your lamp on the eye in the conduit to free the passage and reach the boiler room. Interact with the valve to shut off any steam blocking your path. Return to the central hall and head north towards the lab.
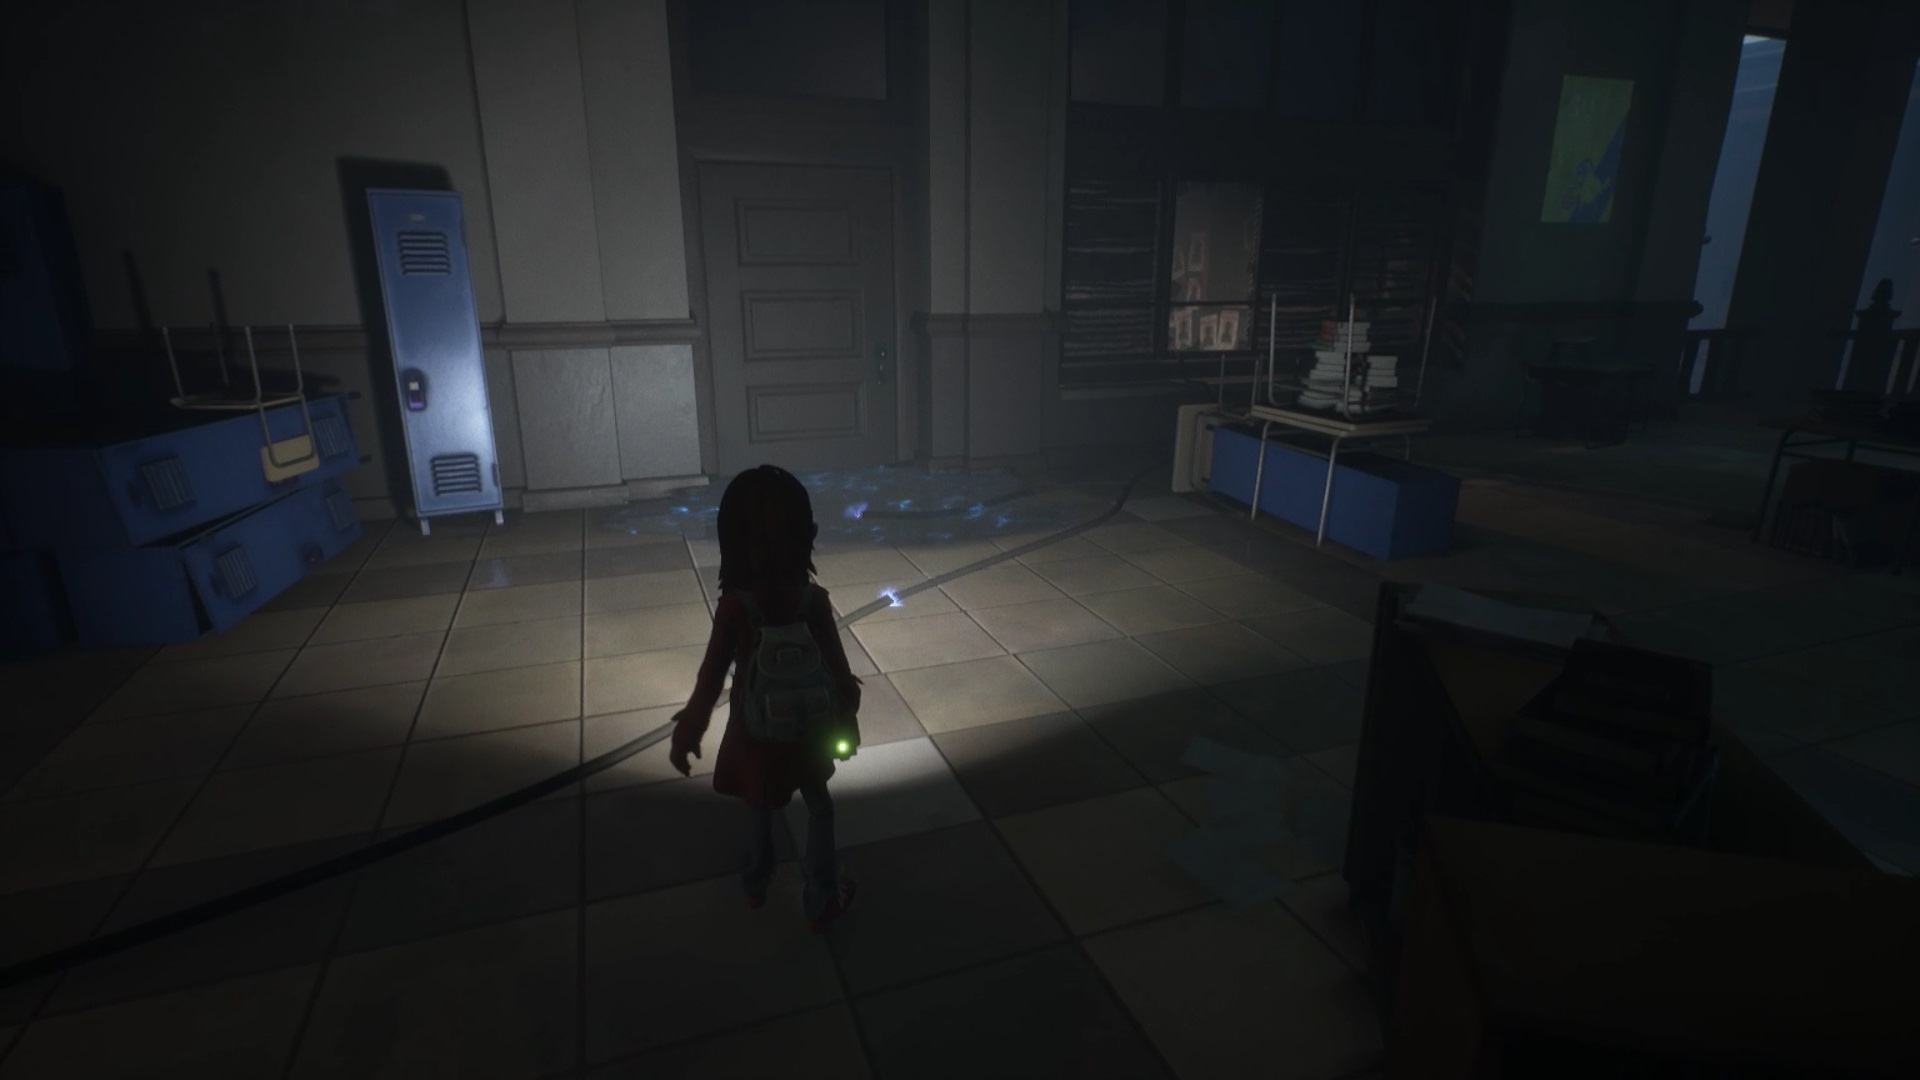
In the corridor near the laboratory, you must turn off the power to pass the puddles of electric water. Collect a can from the dispenser facing the room east of 206. Throw the can at the switch in the room to turn off the power.
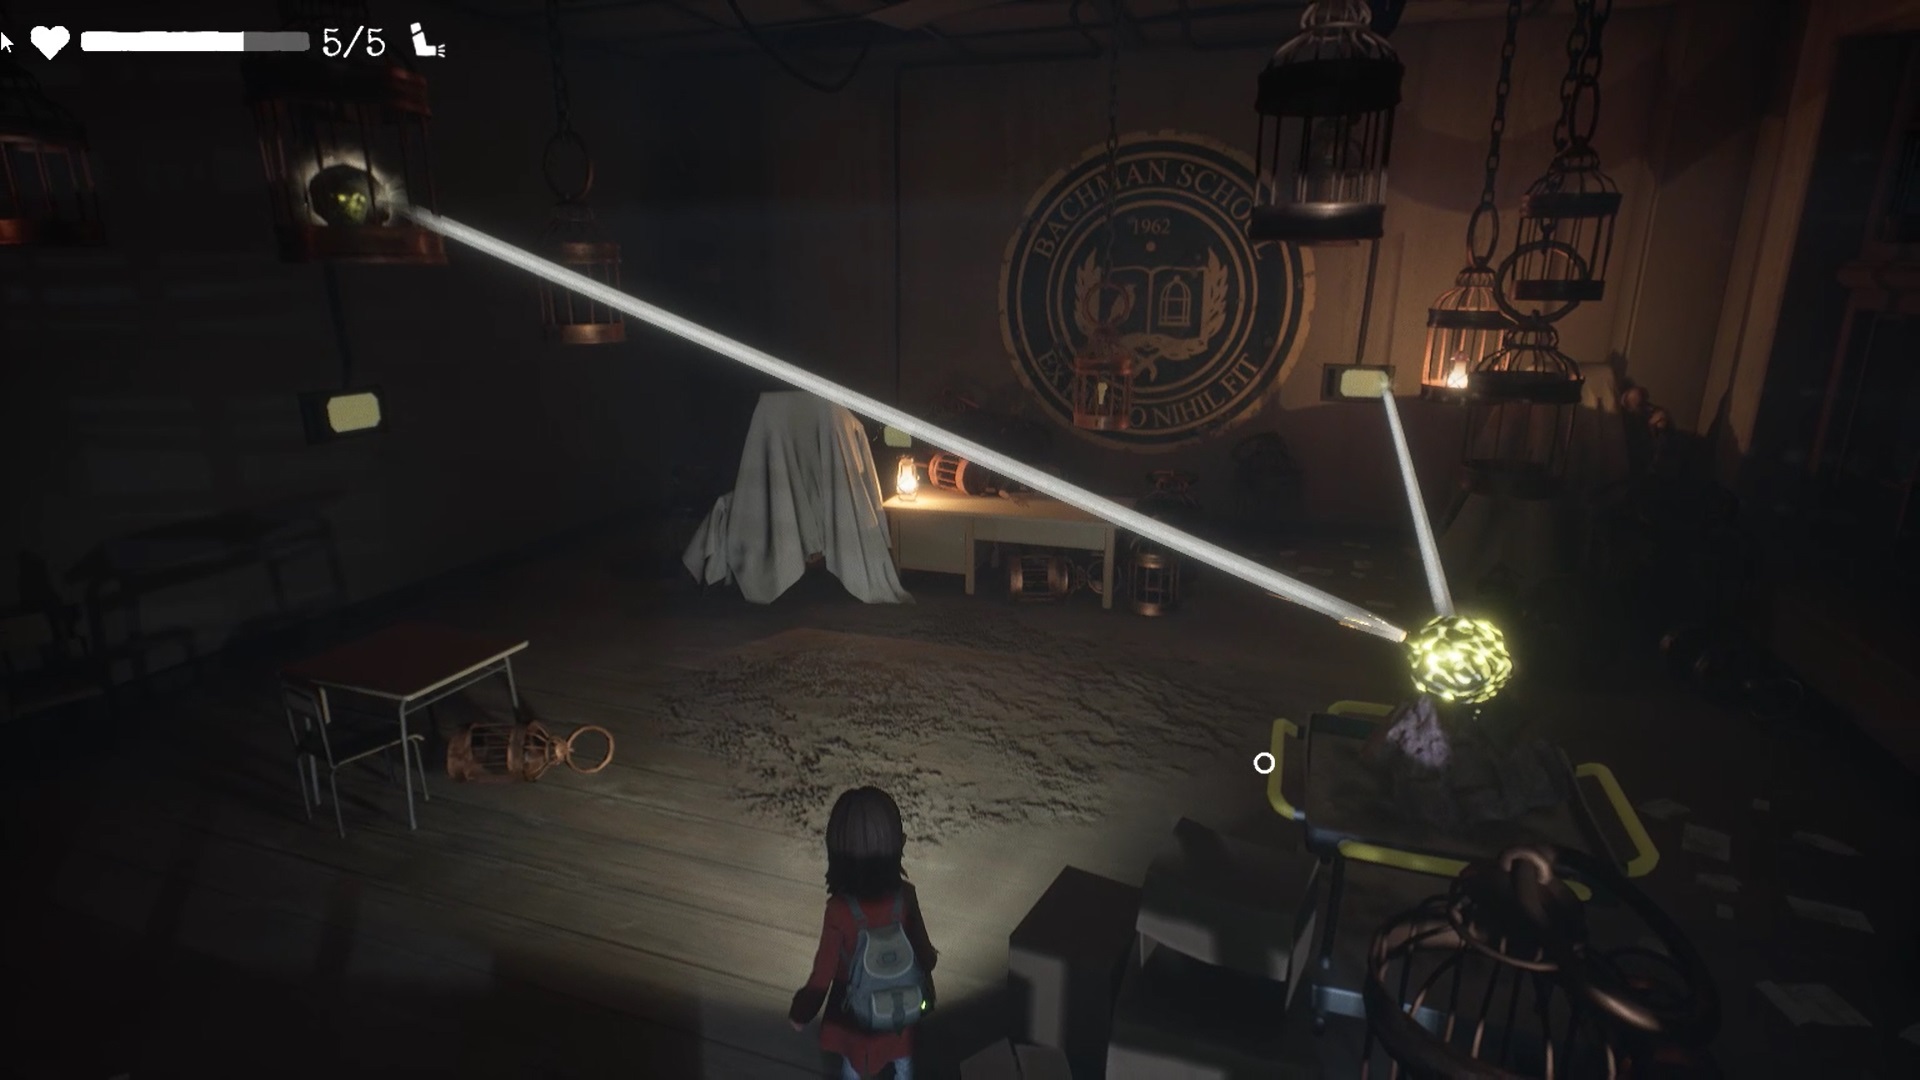
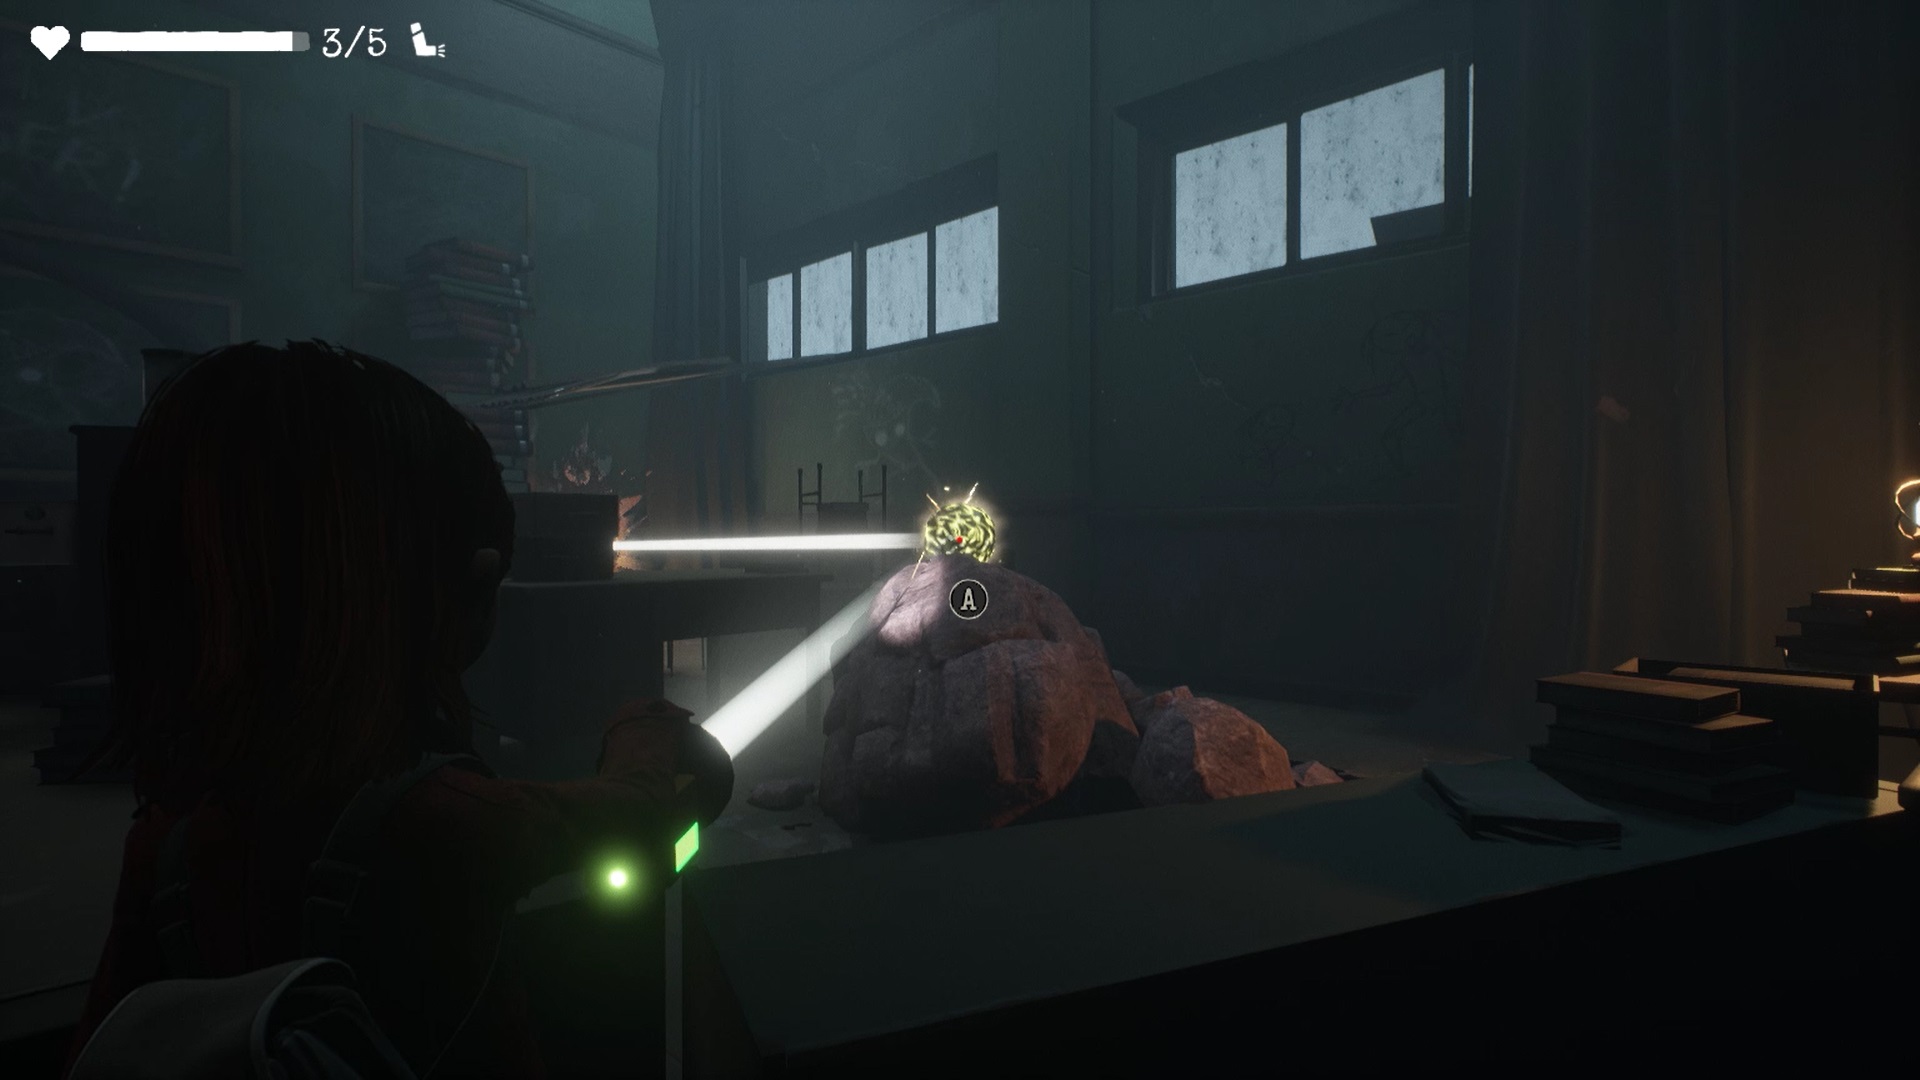
Head to room 206. A puzzle with lights awaits you there. You need to power three dots with lights in the room to get a key. On the right of the room, take the cart and position it as in the picture. It must be placed opposite the power point to the right of the desk. Use your lamp on the power point on the left wall to lift a stone up high. When the stone is high, use your lamp on the cart stone. It will feed the stone in height and allow to feed the other two power points to unlock the key.
Collect the key to room 202 near the desk. Return east of the school to reach room 202. You need to find a valve to put out the flames in the room. Move forward in the room by sneaking under the desks. Head north behind some shelves to find the valve. Place the valve on the mechanism at the entrance to the room to extinguish the flames. Proceed to the next rooms to trigger a cutscene.
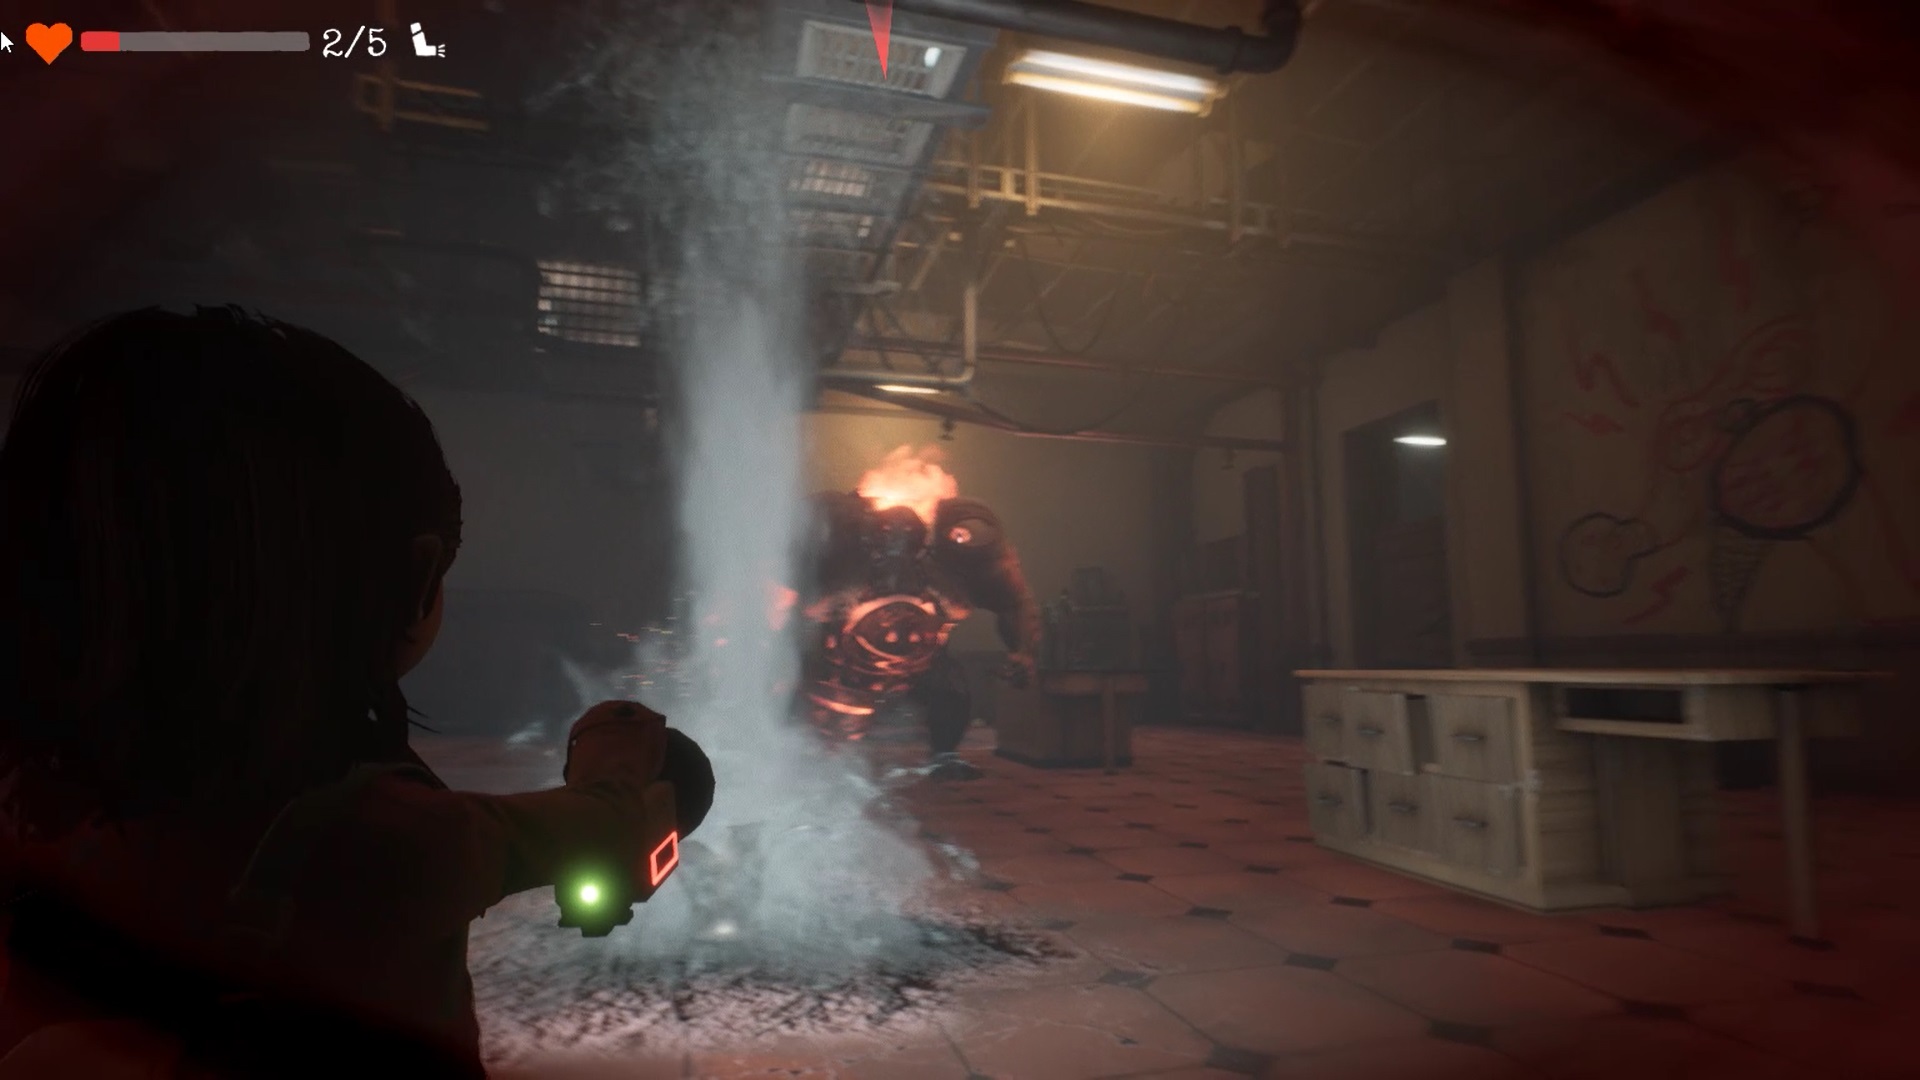
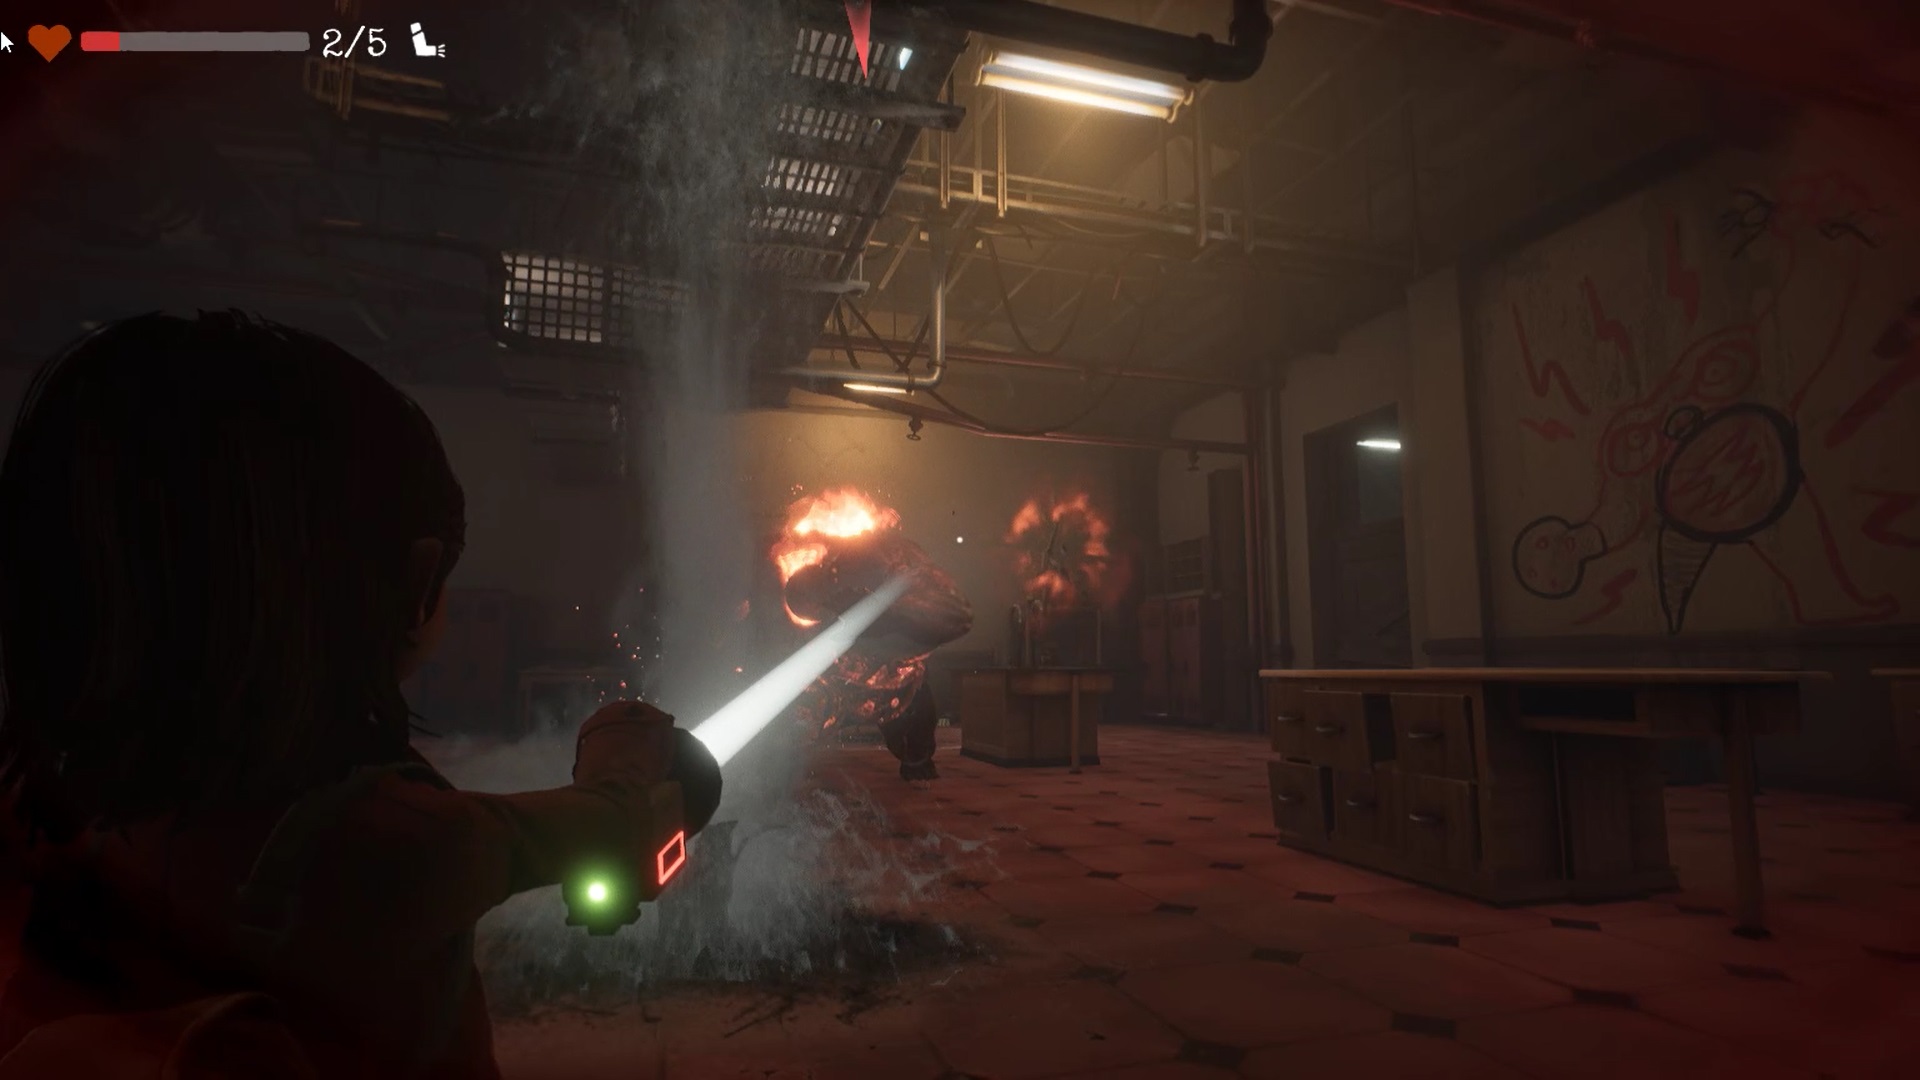
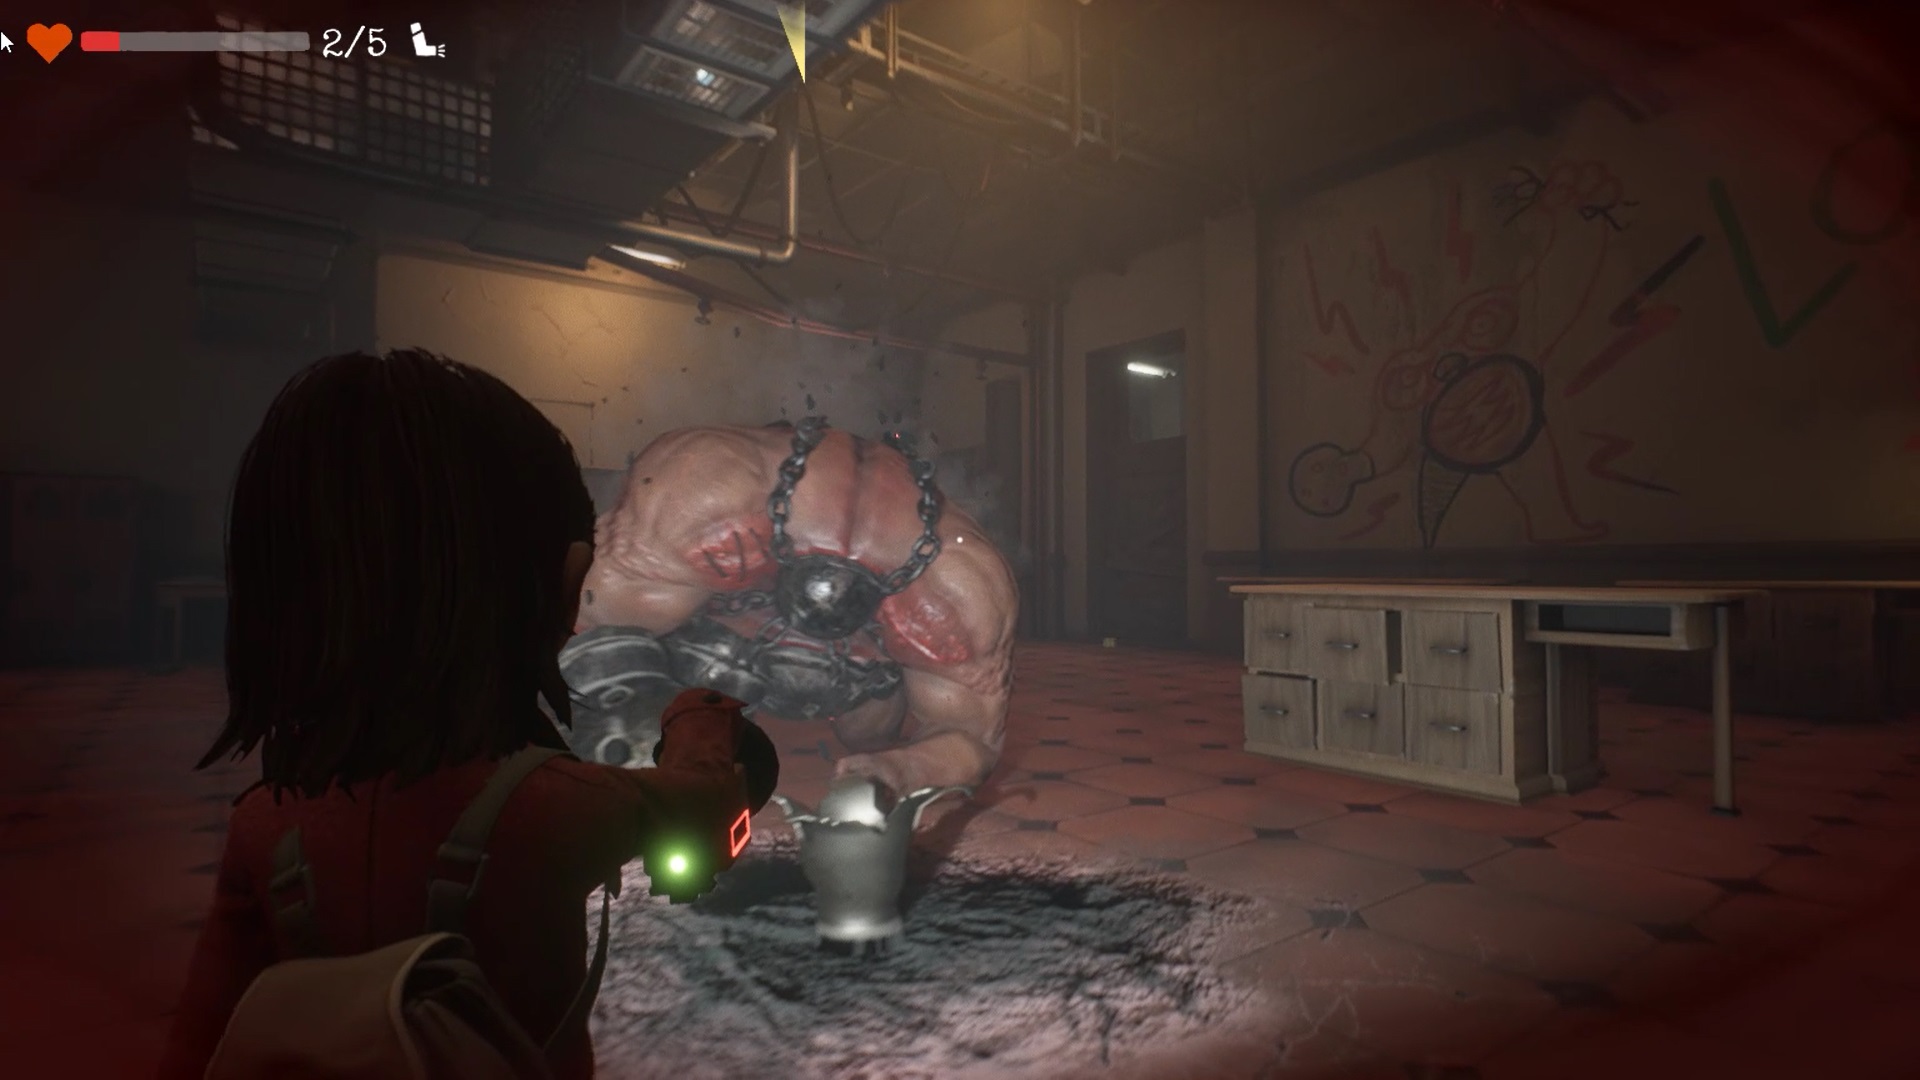
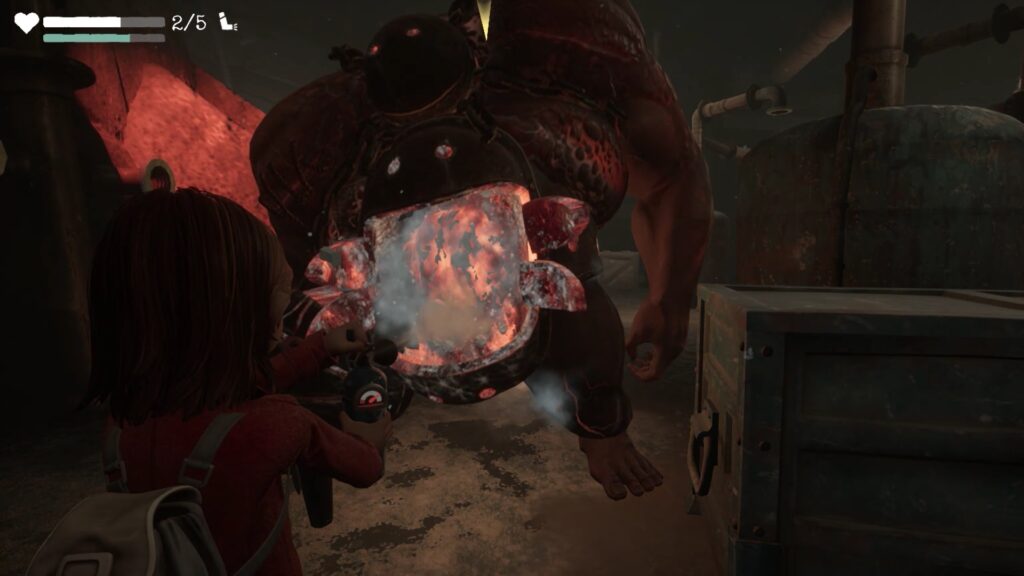
Here you are in front of a creature. To defeat it, stand behind a water point. Lure the creature into the water by aiming your flashlight at its eye. Repeat the operation three times to defeat him.
Auditorium
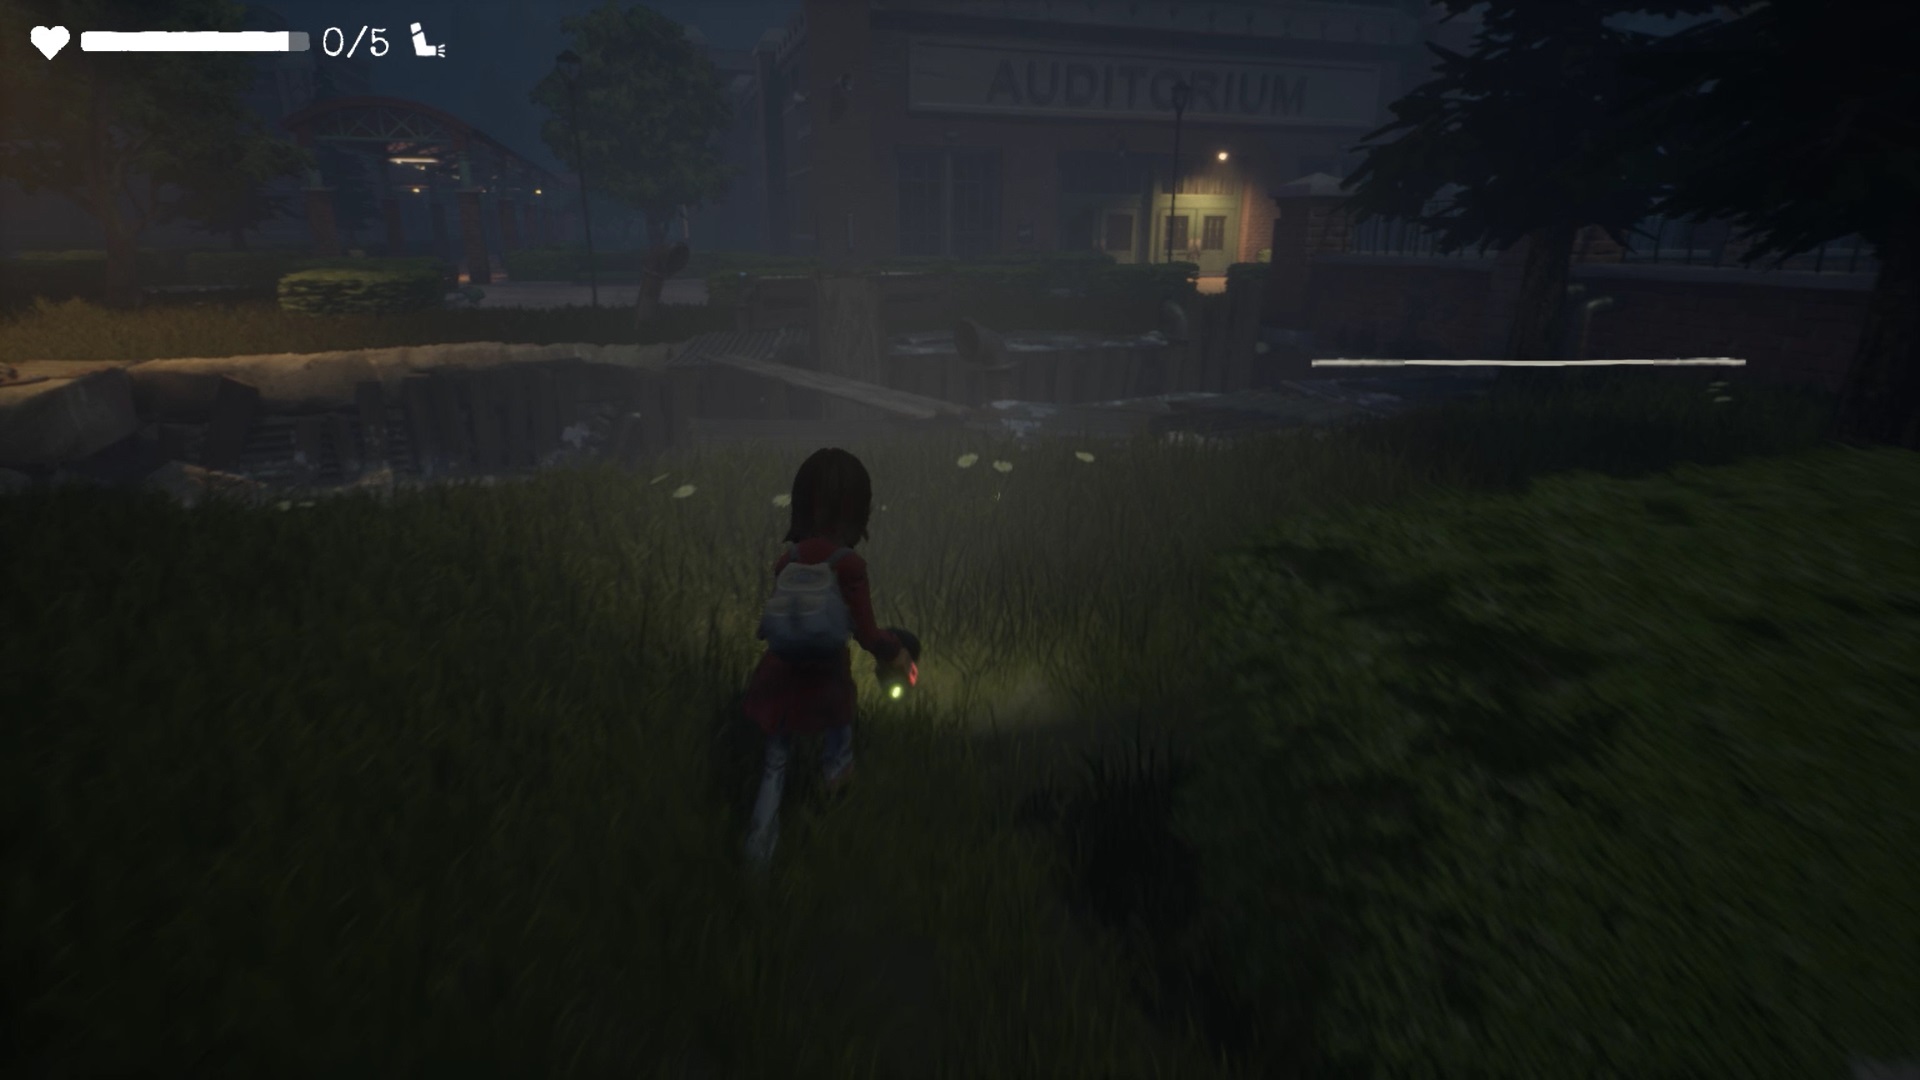
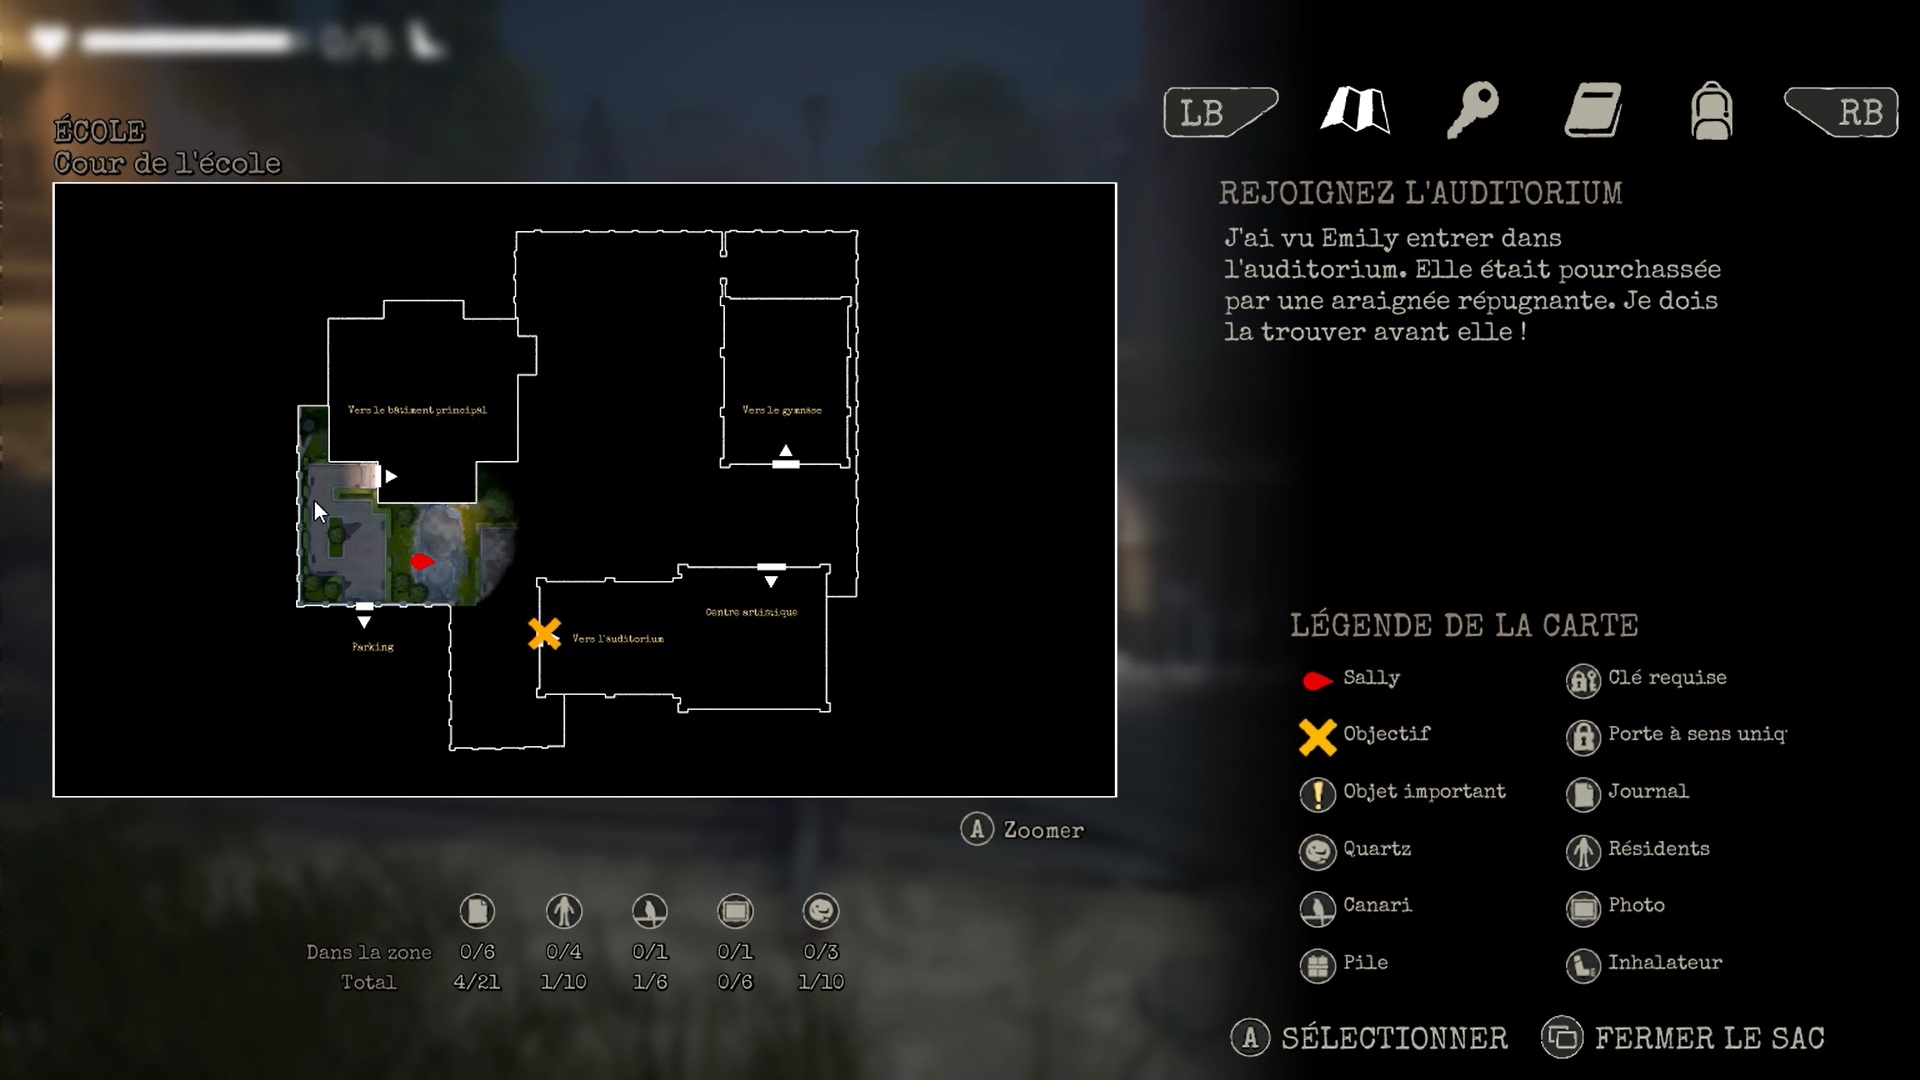
Exit the school through the stairs to reach the ground floor. The auditorium is located east of the school, open the map to locate it. Go over the wooden planks above the void in the schoolyard to reach the auditorium.
You must find the auditorium door key to save Emily. Go up the stairs on the right and use the wooden plank on the right which leads you to the hallway on the ground floor.
Enter the toilet. Electrical puddles prevent you from climbing a ladder leading to a conduit. You must retrieve a can from the dispenser facing the toilet to send it to the power switch. To achieve this, you must supply the distributor with electricity. At the entrance, near the toilets, pick up the cart with a stone. Place it at the inlet facing the feed point as pictured.
Go to the corridor, at the level of the distributor. Point your flashlight at the stone to power the dispenser. Retrieve a can and send it on the switch to cut off the current that is blocking your access to the ladder.
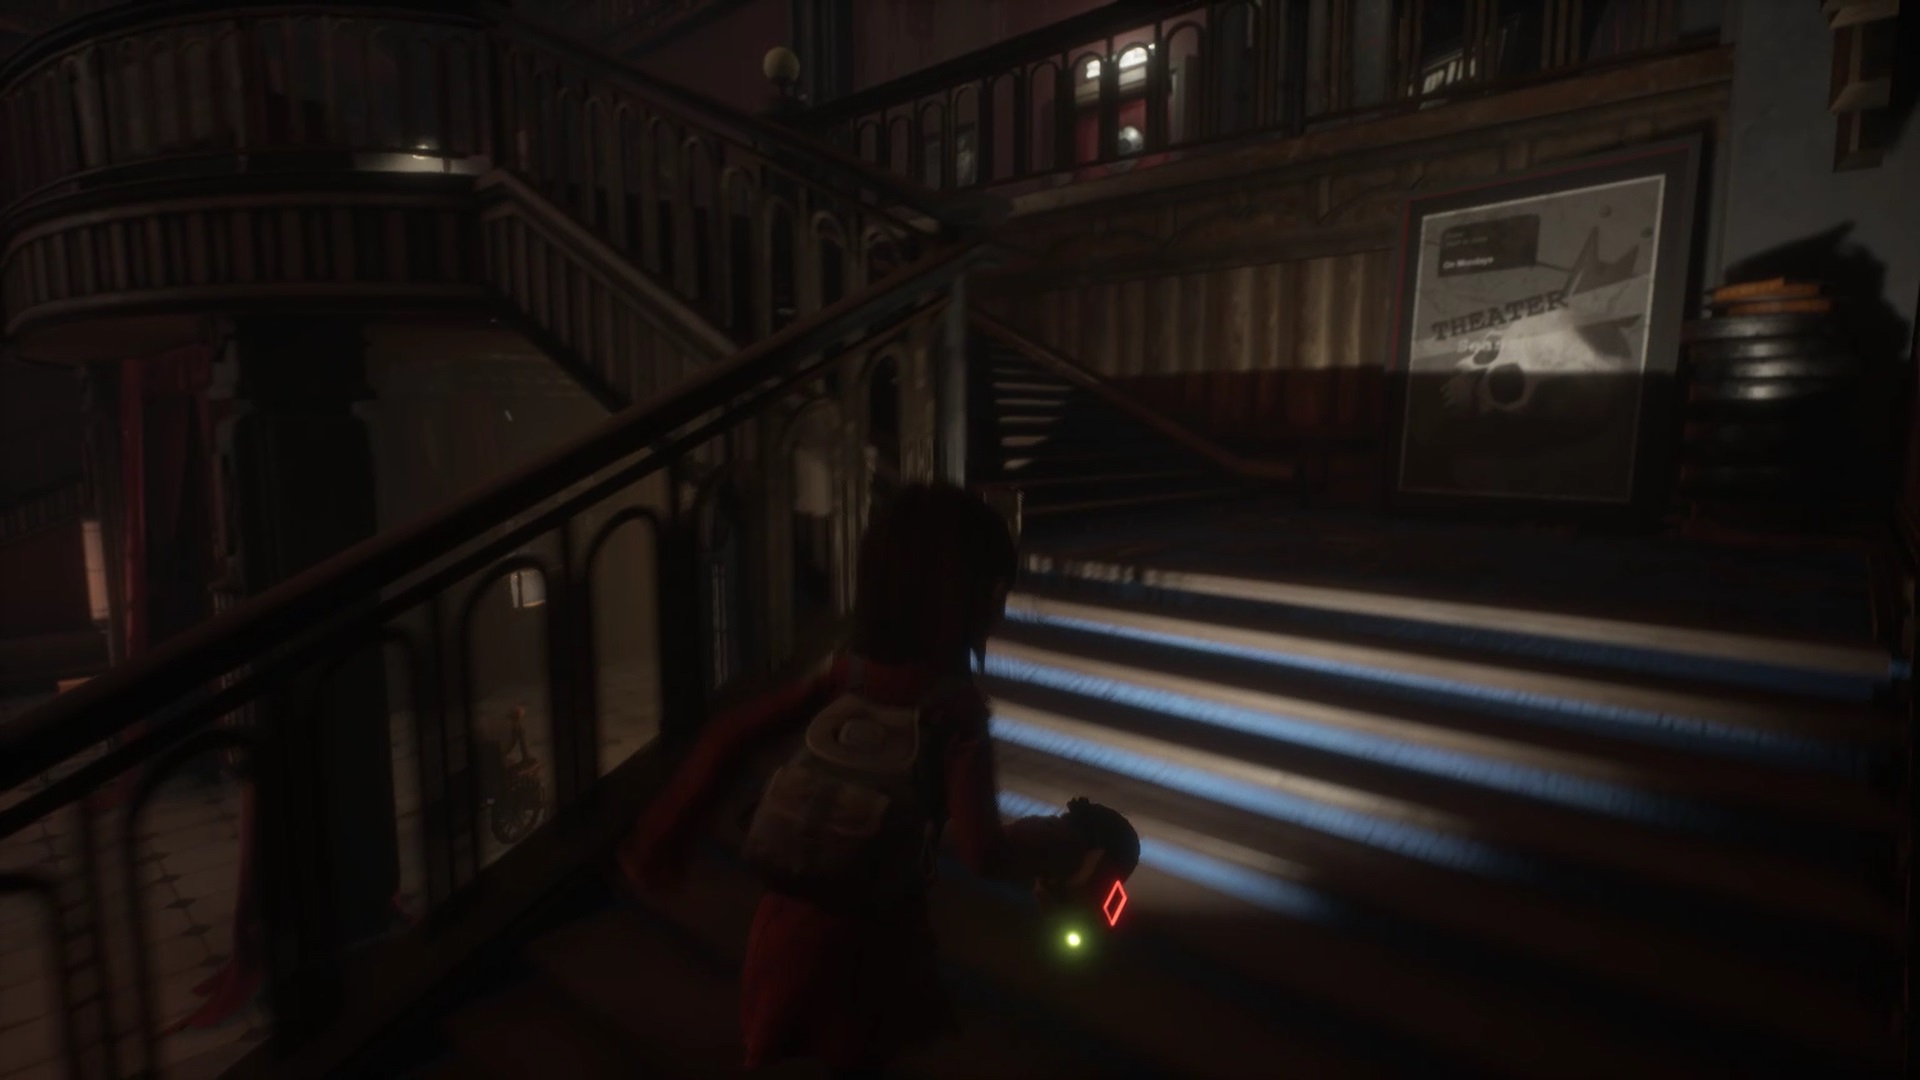
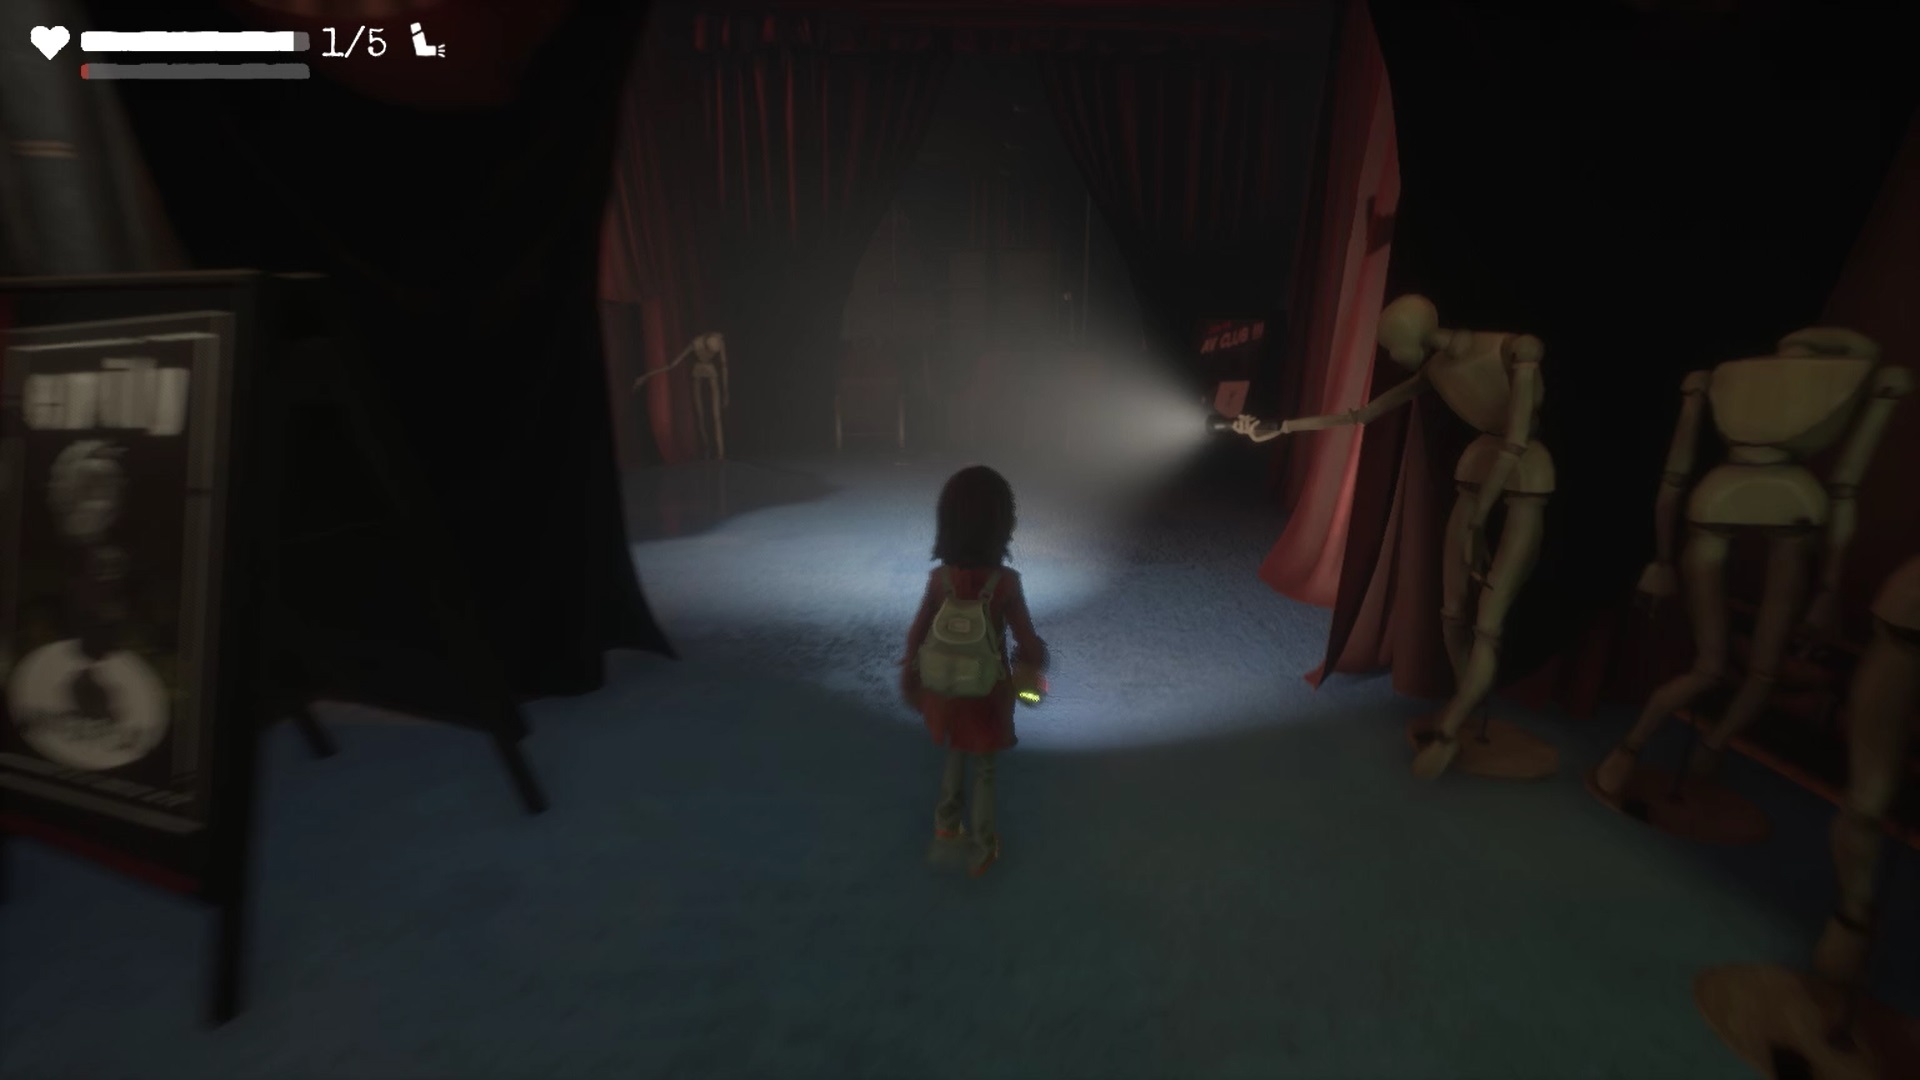
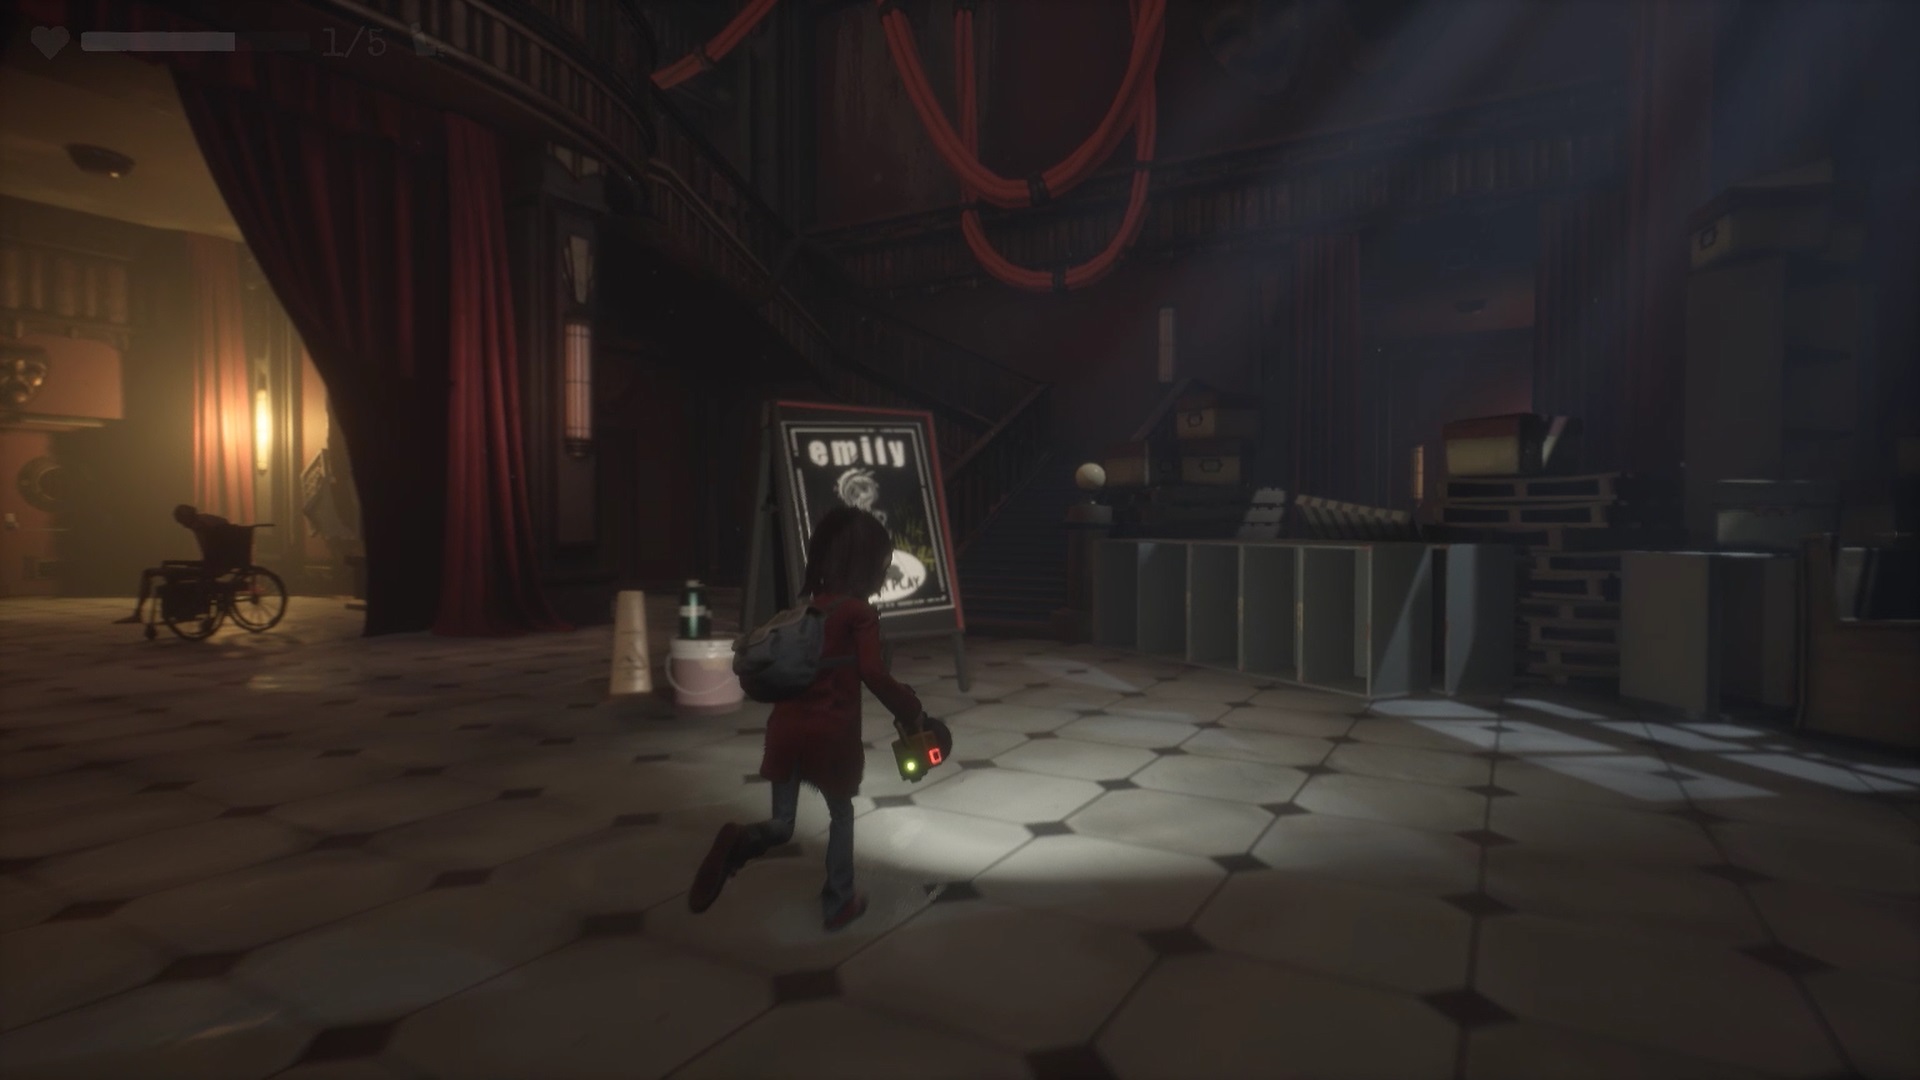
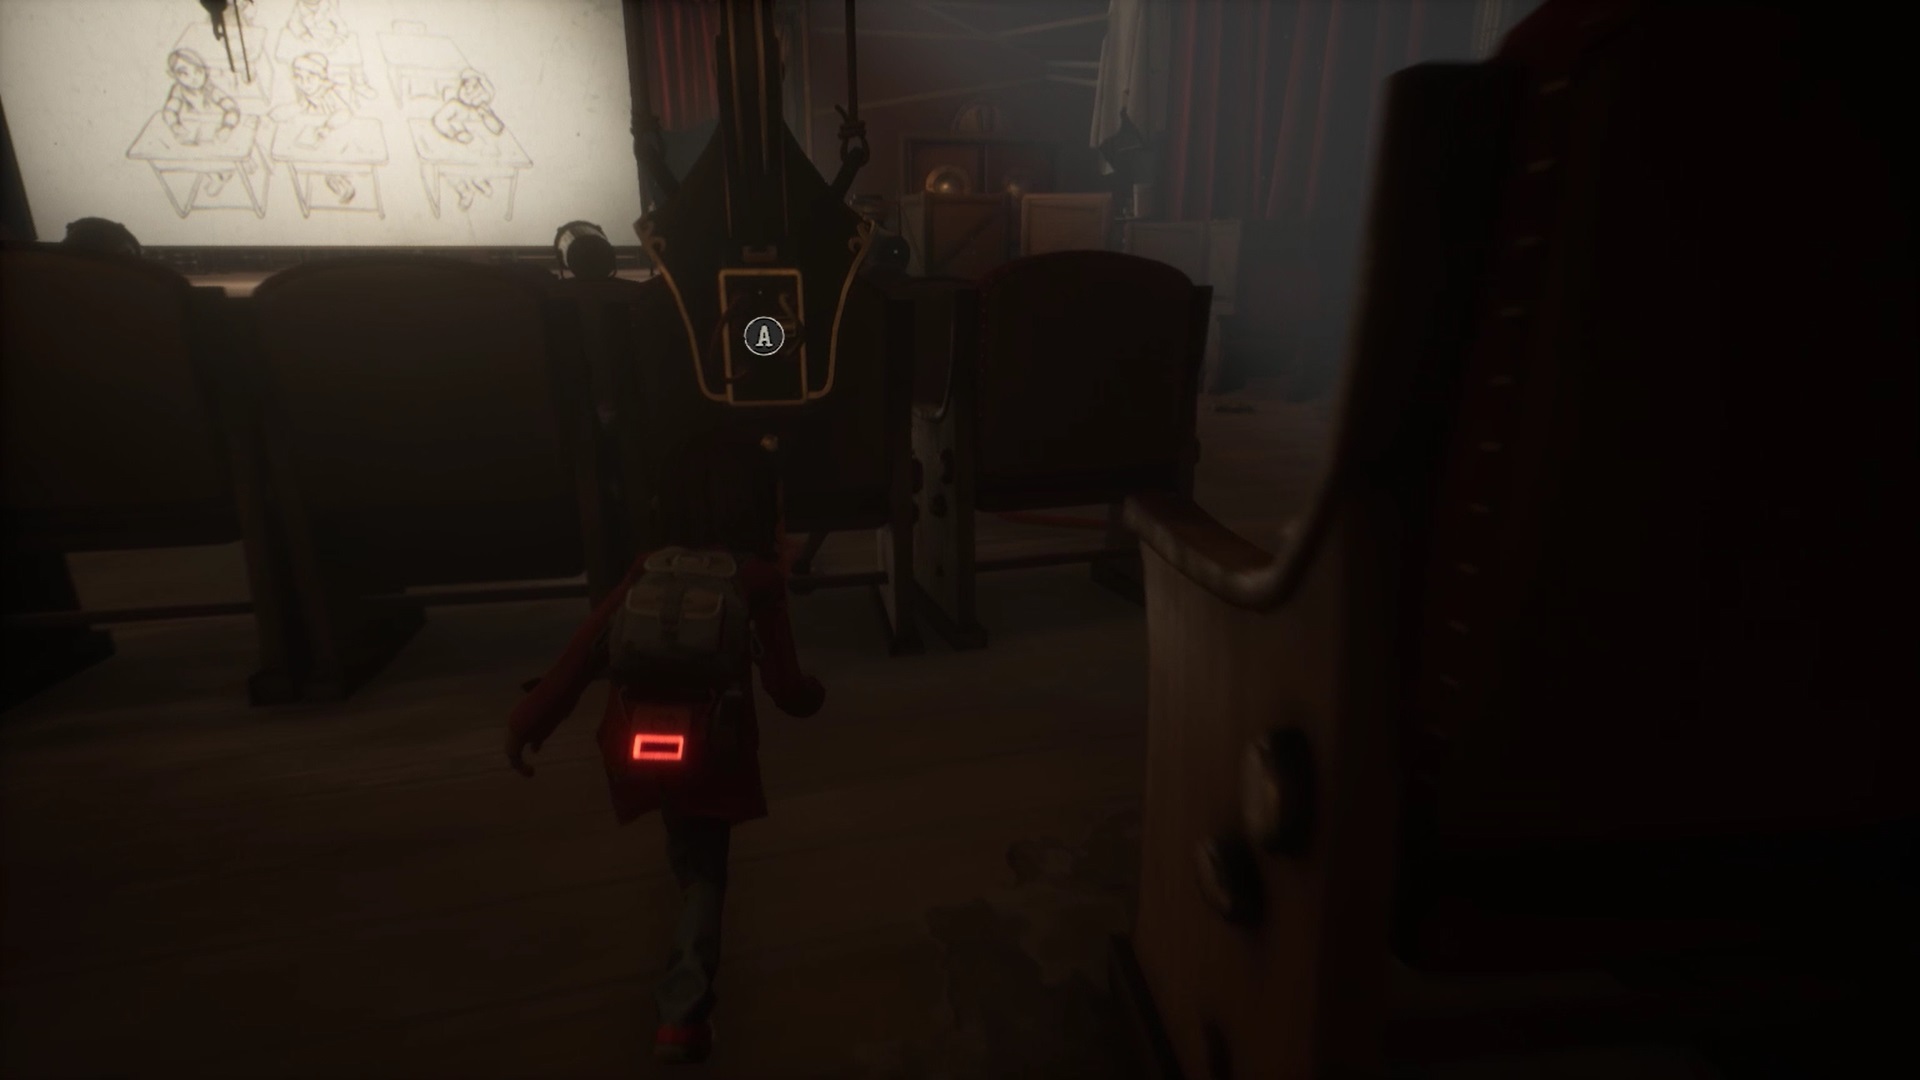
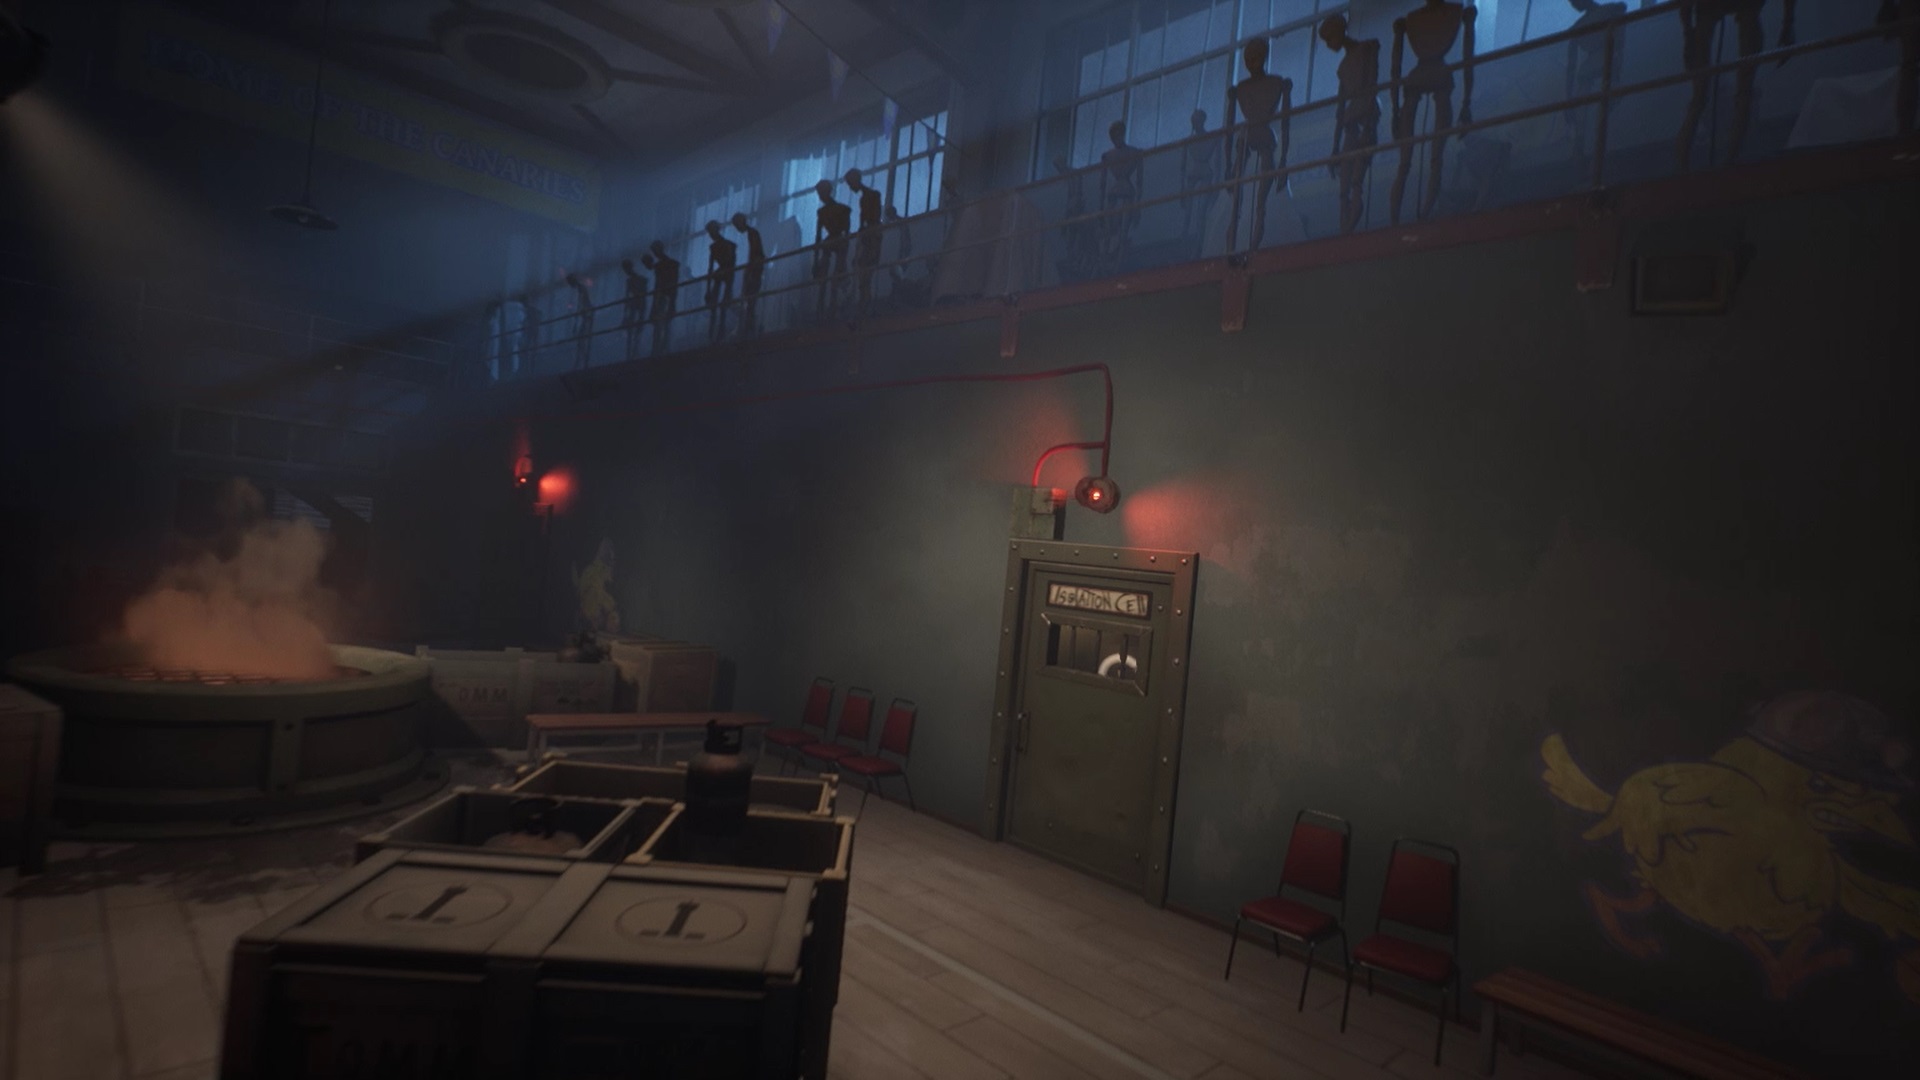
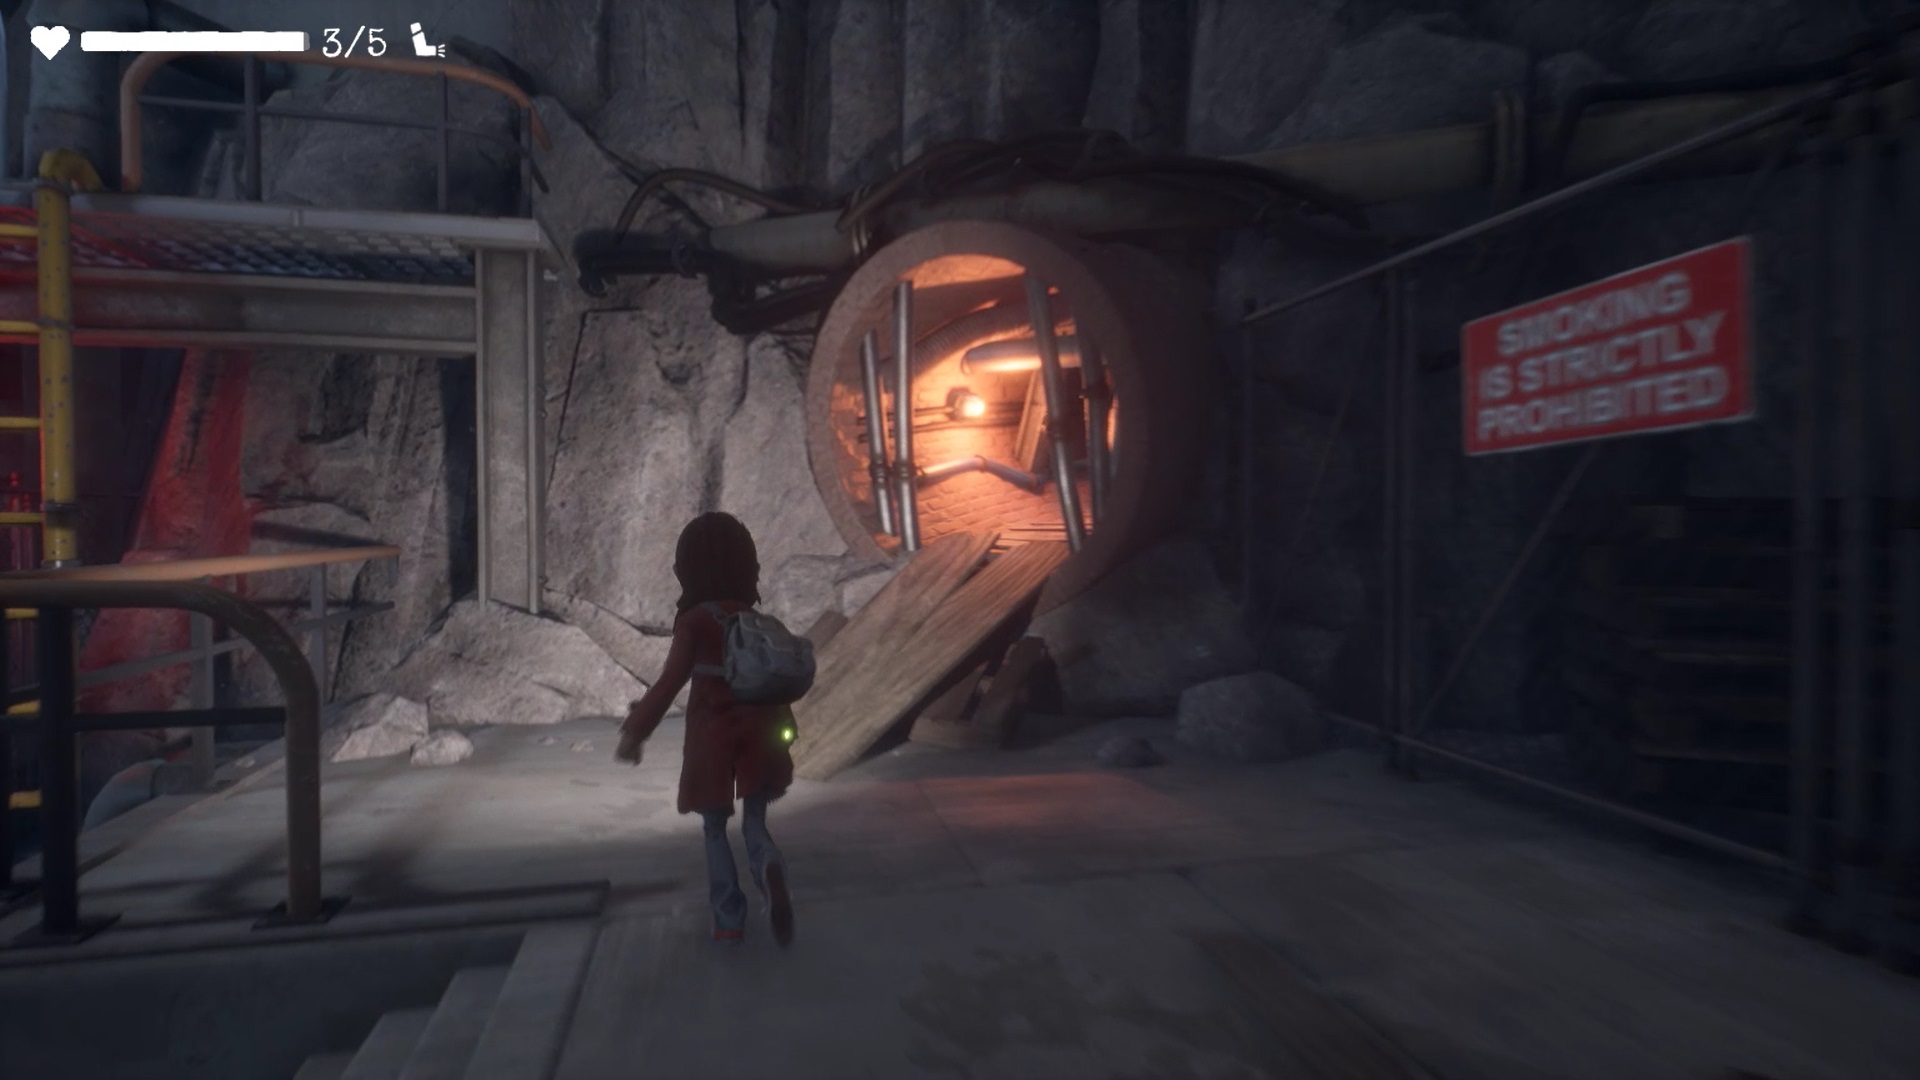
Enter the conduit to reach a mine. At the end of your path, you find the hall of the auditorium. Use your eye lamp to unlock the passage on the stairs leading to the first floor. Head east in the direction of a dummy with a flashlight.
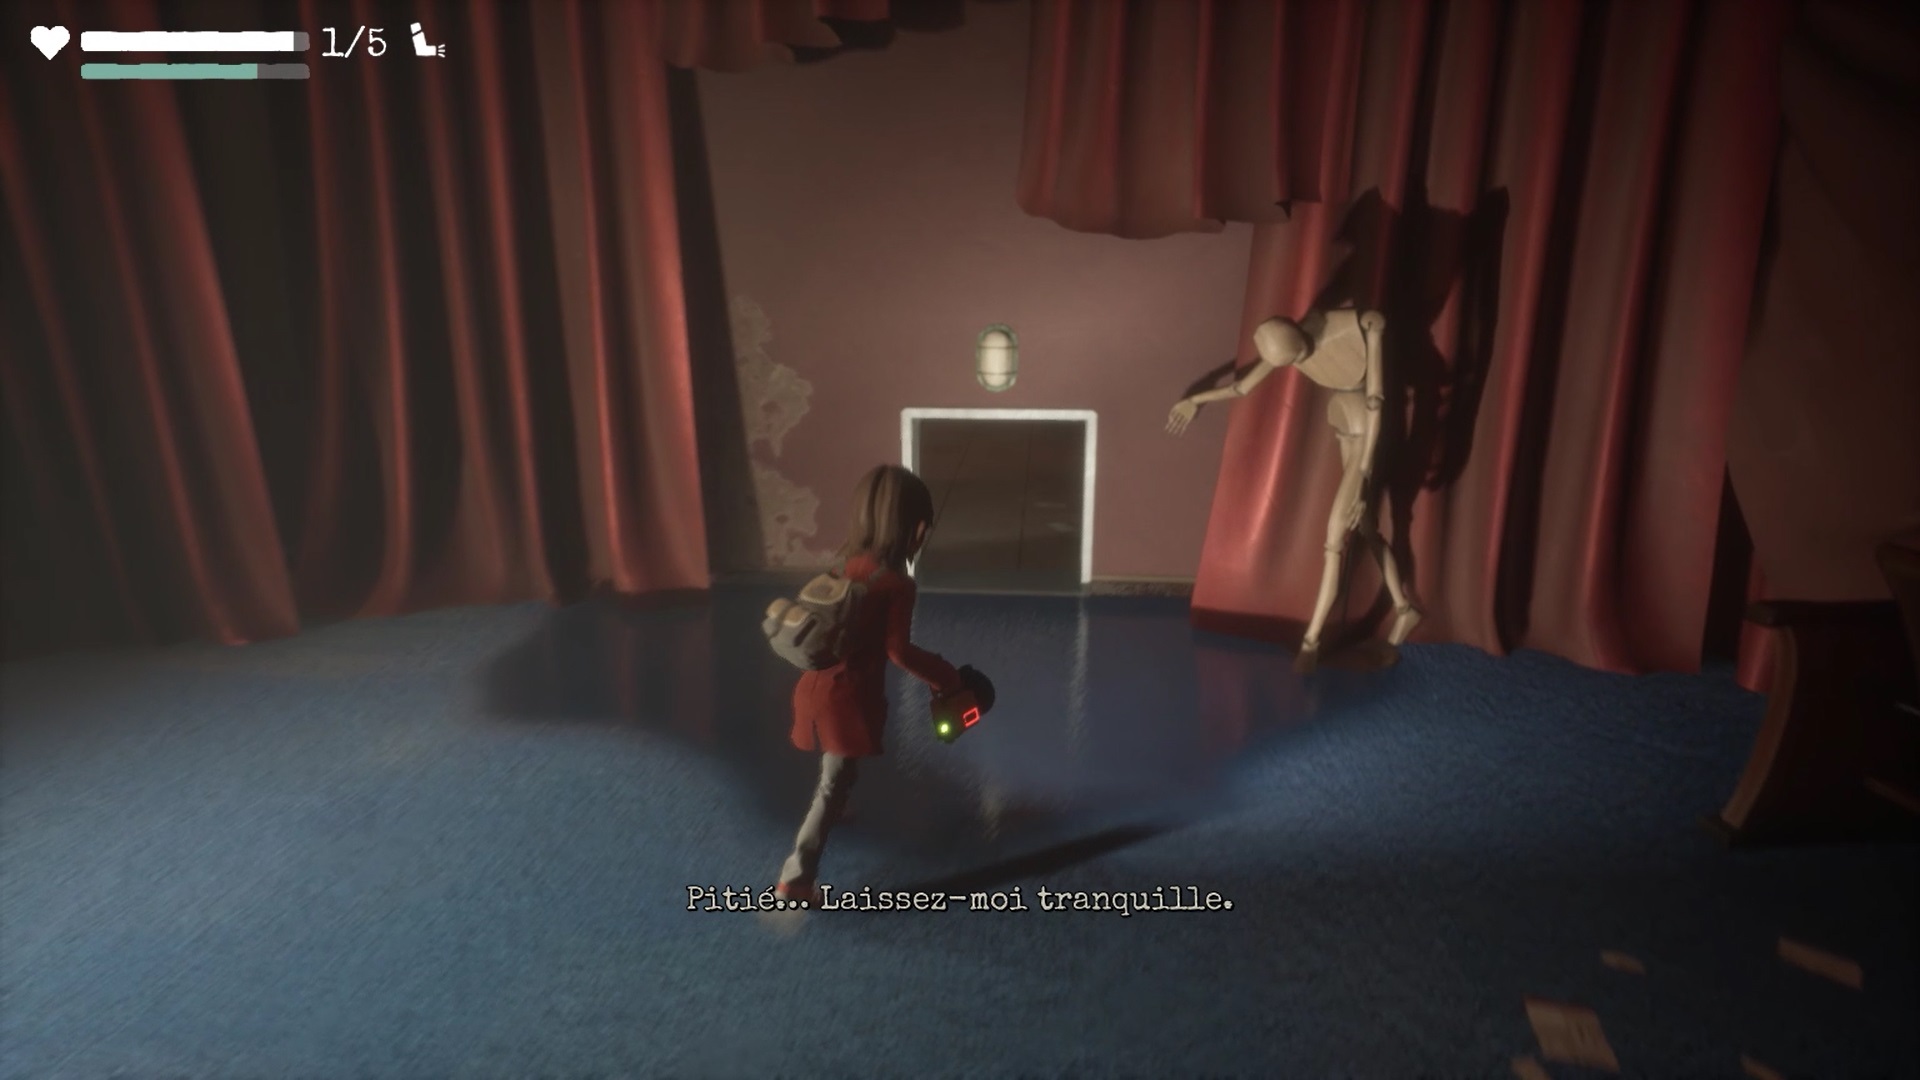

Follow the location indicated by the mannequins and go through a trapdoor. You need to block the lights beams to cut the power and keep moving forward. Go to the projection room to the east to retrieve a cart. Place it at the level of the light beam near a locked door.
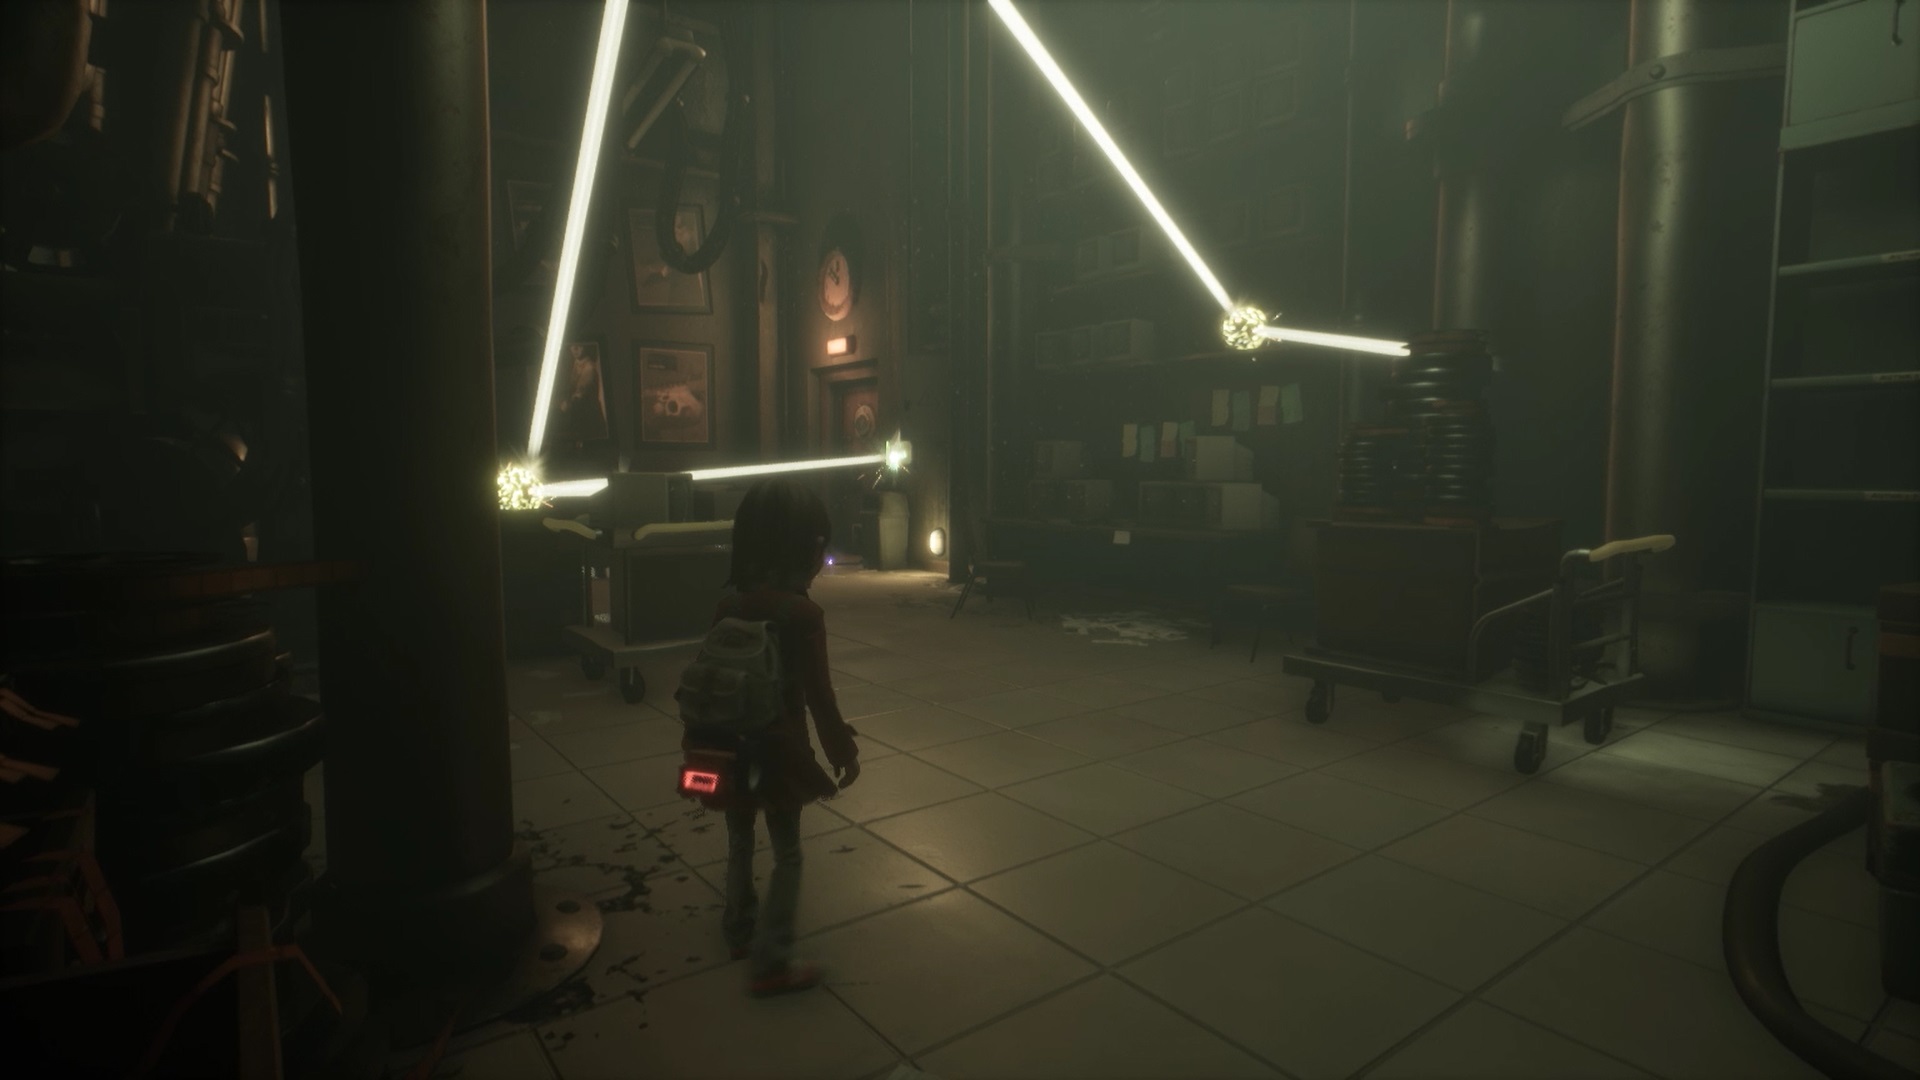
You now have access to a second trolley. Place the two carts on the two light beams that power the power point to the east. By blocking the beams, you cut off the current. Return to the Screening Room and keep moving forward to get the Theater Key.
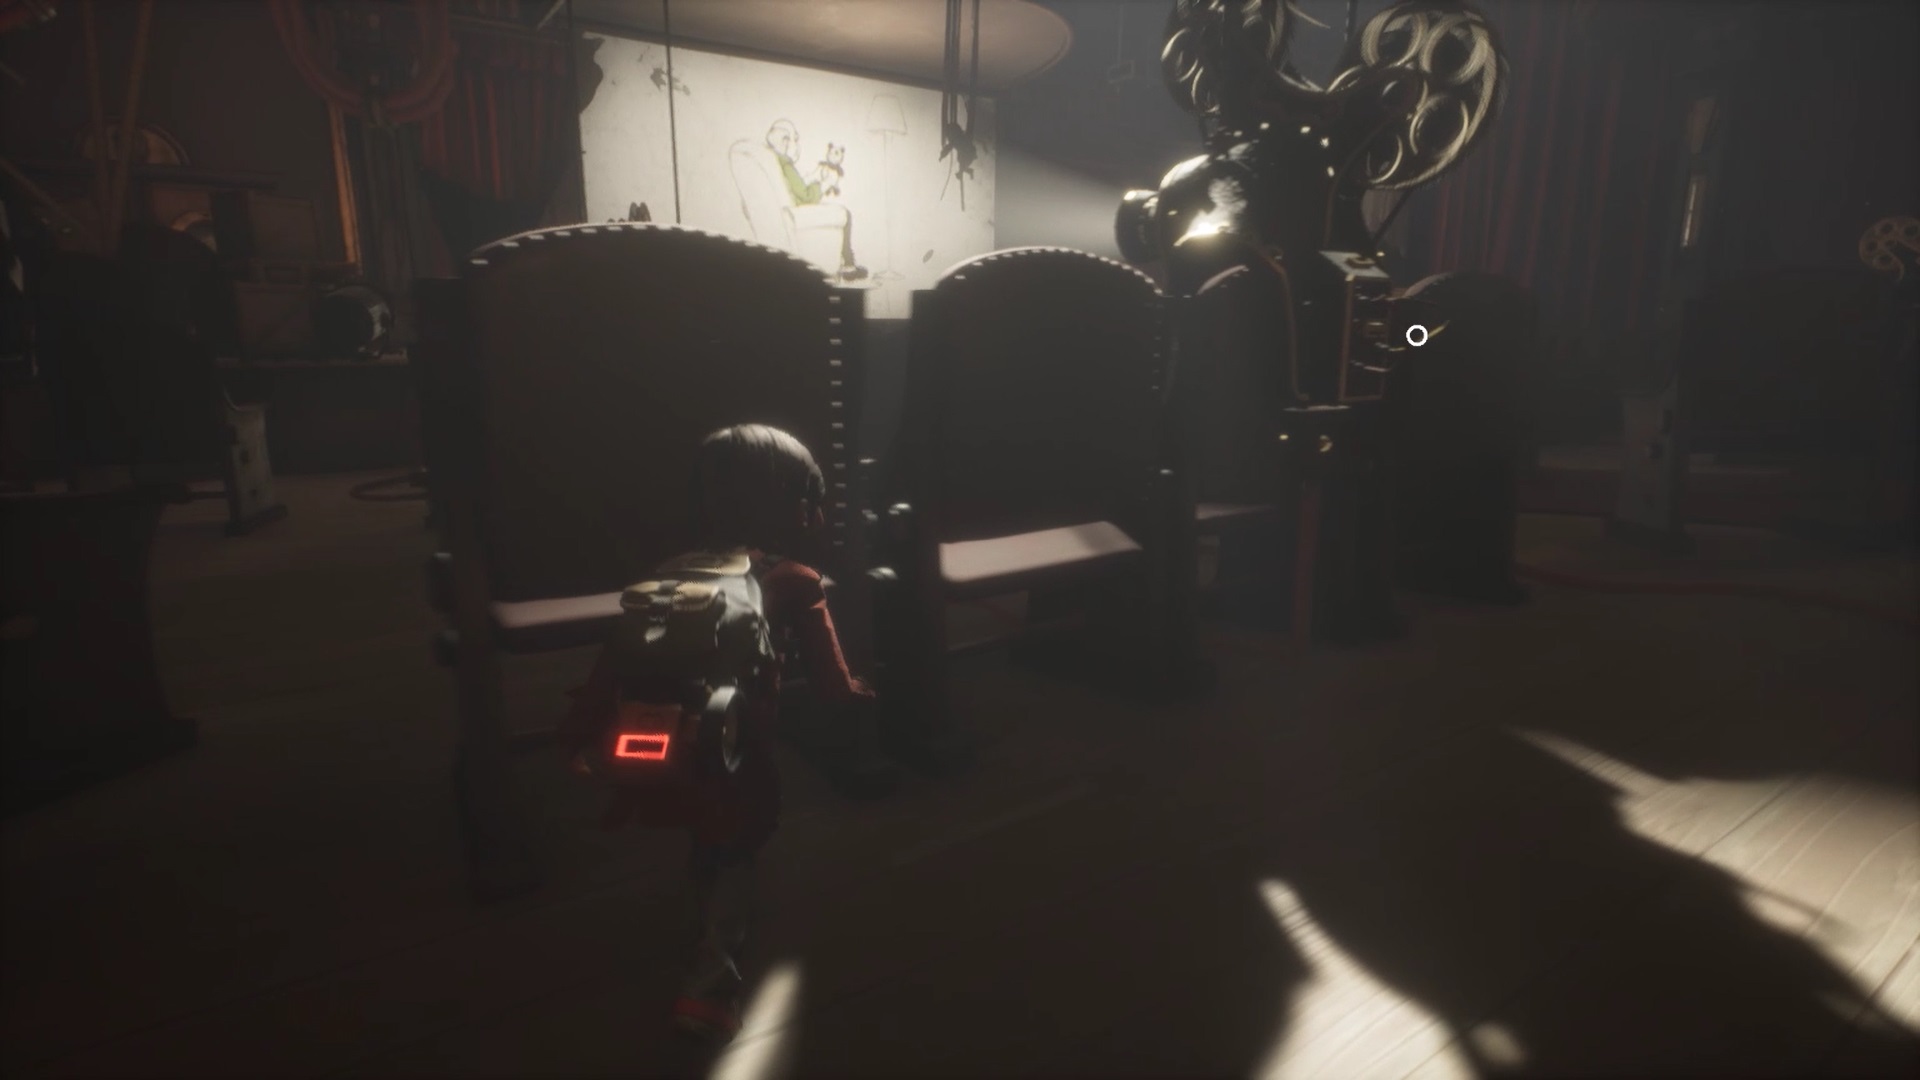
Return to the lobby and use the key to open the theater doors. To rescue Emily, interact with the spotlight in the center of the room. After the cutscene, you must turn off all the spotlights to help Emily. Don’t get spotted by enemies. Move forward when the enemy’s light is opposite you. When you’ve defeated the enemy, advance through the theater to unlock a cutscene
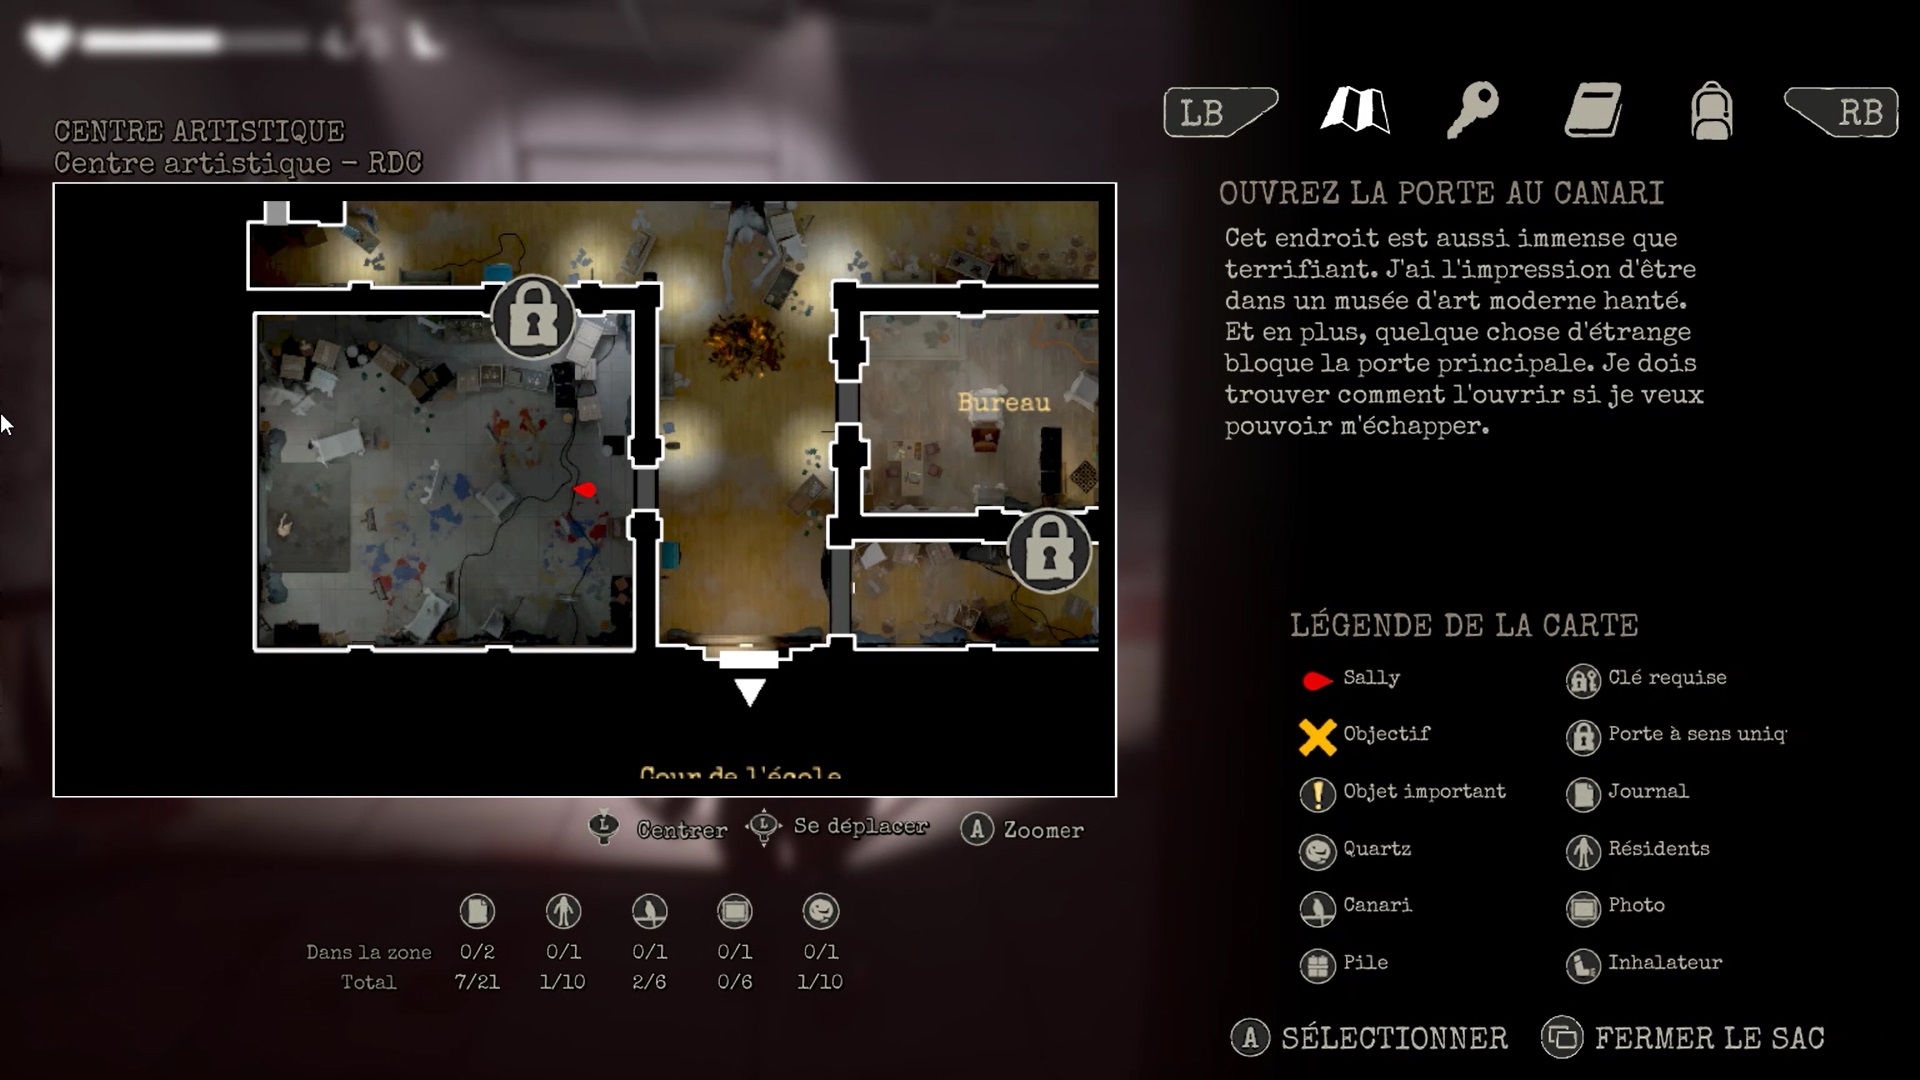
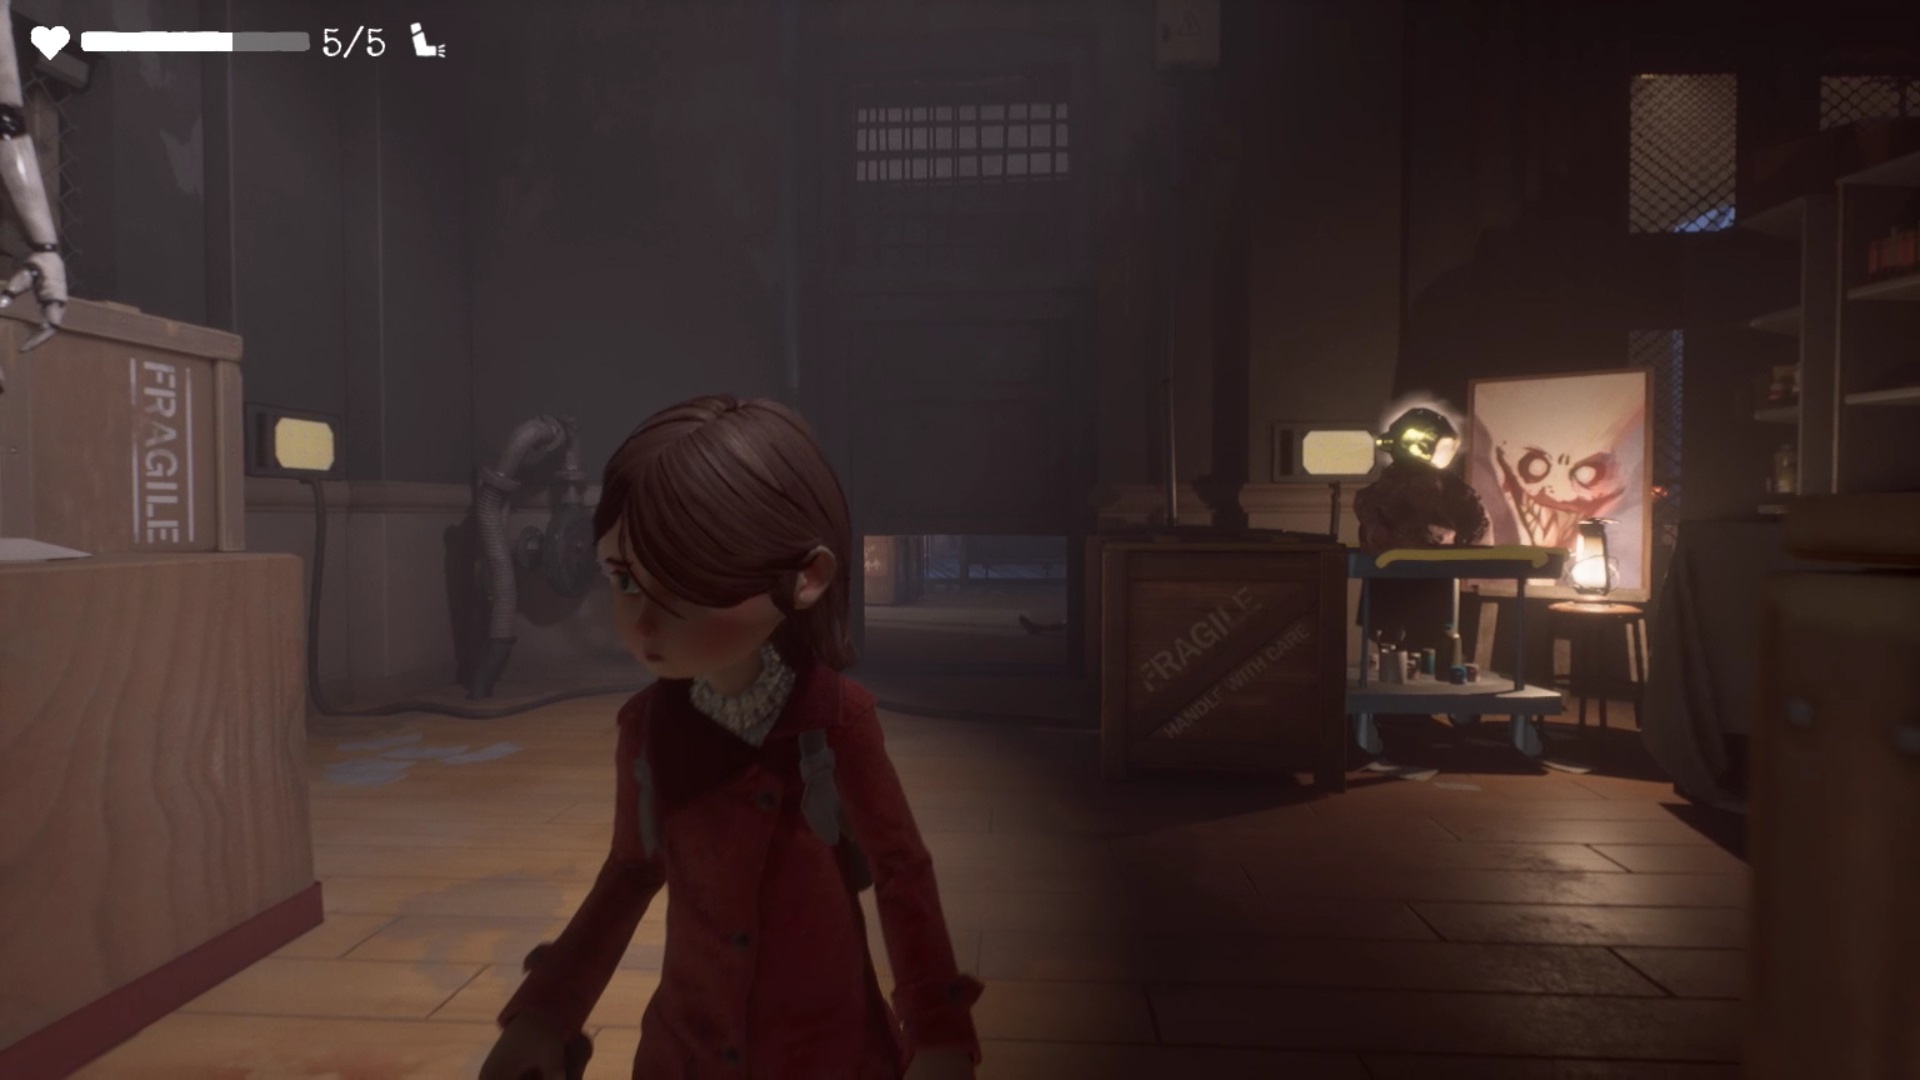
Arts center

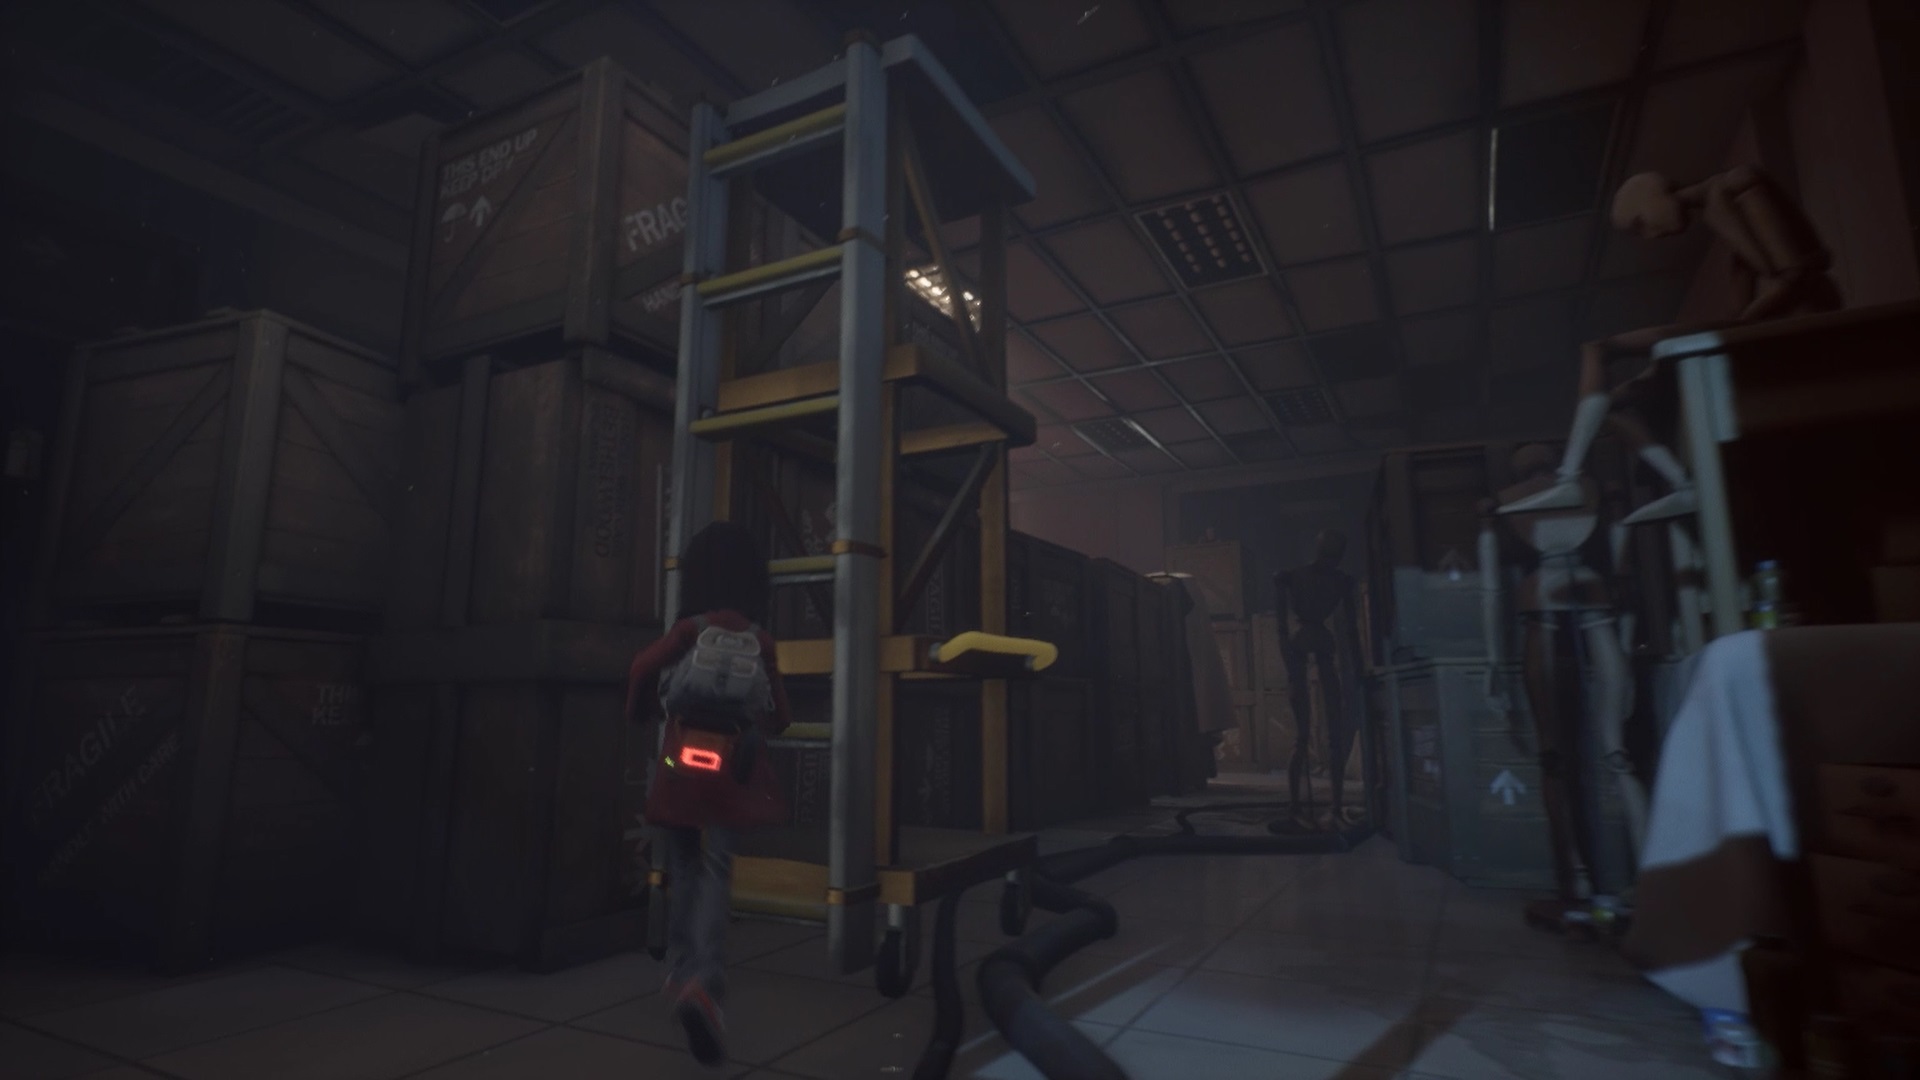
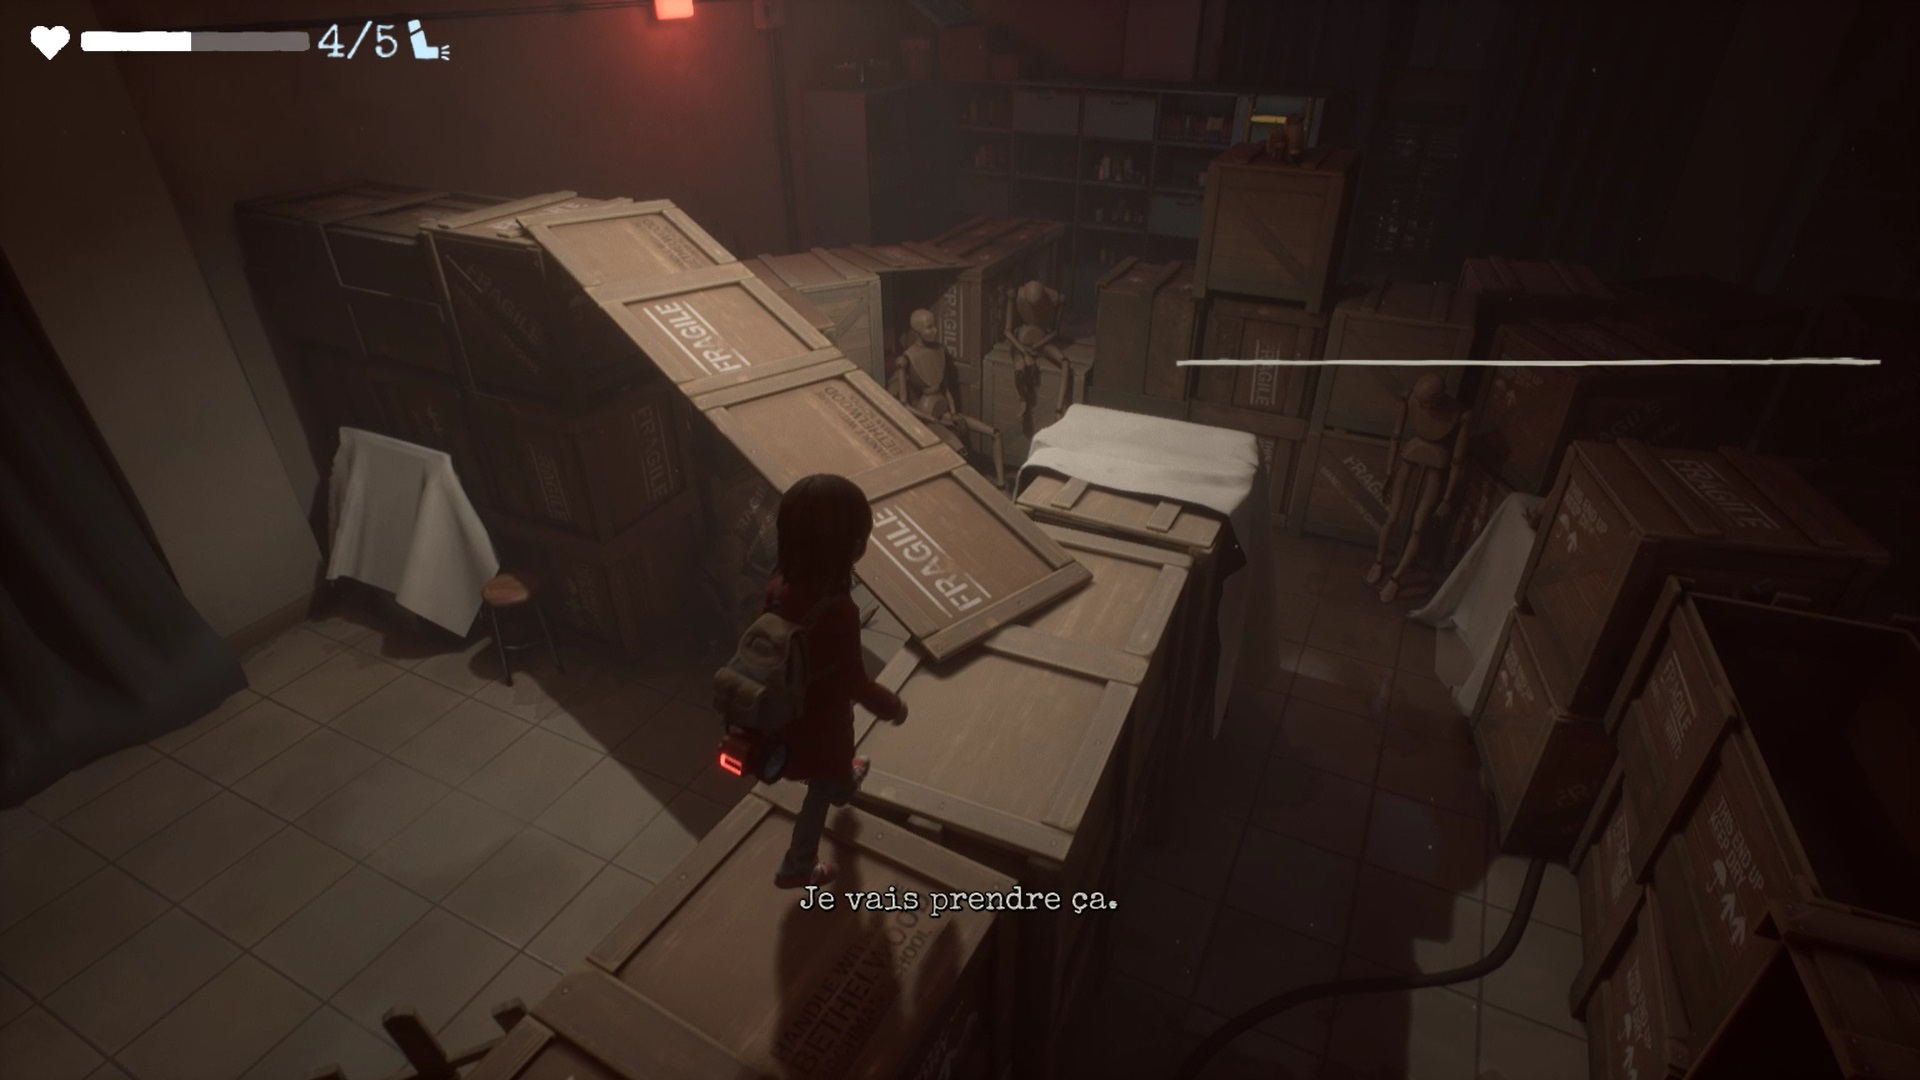
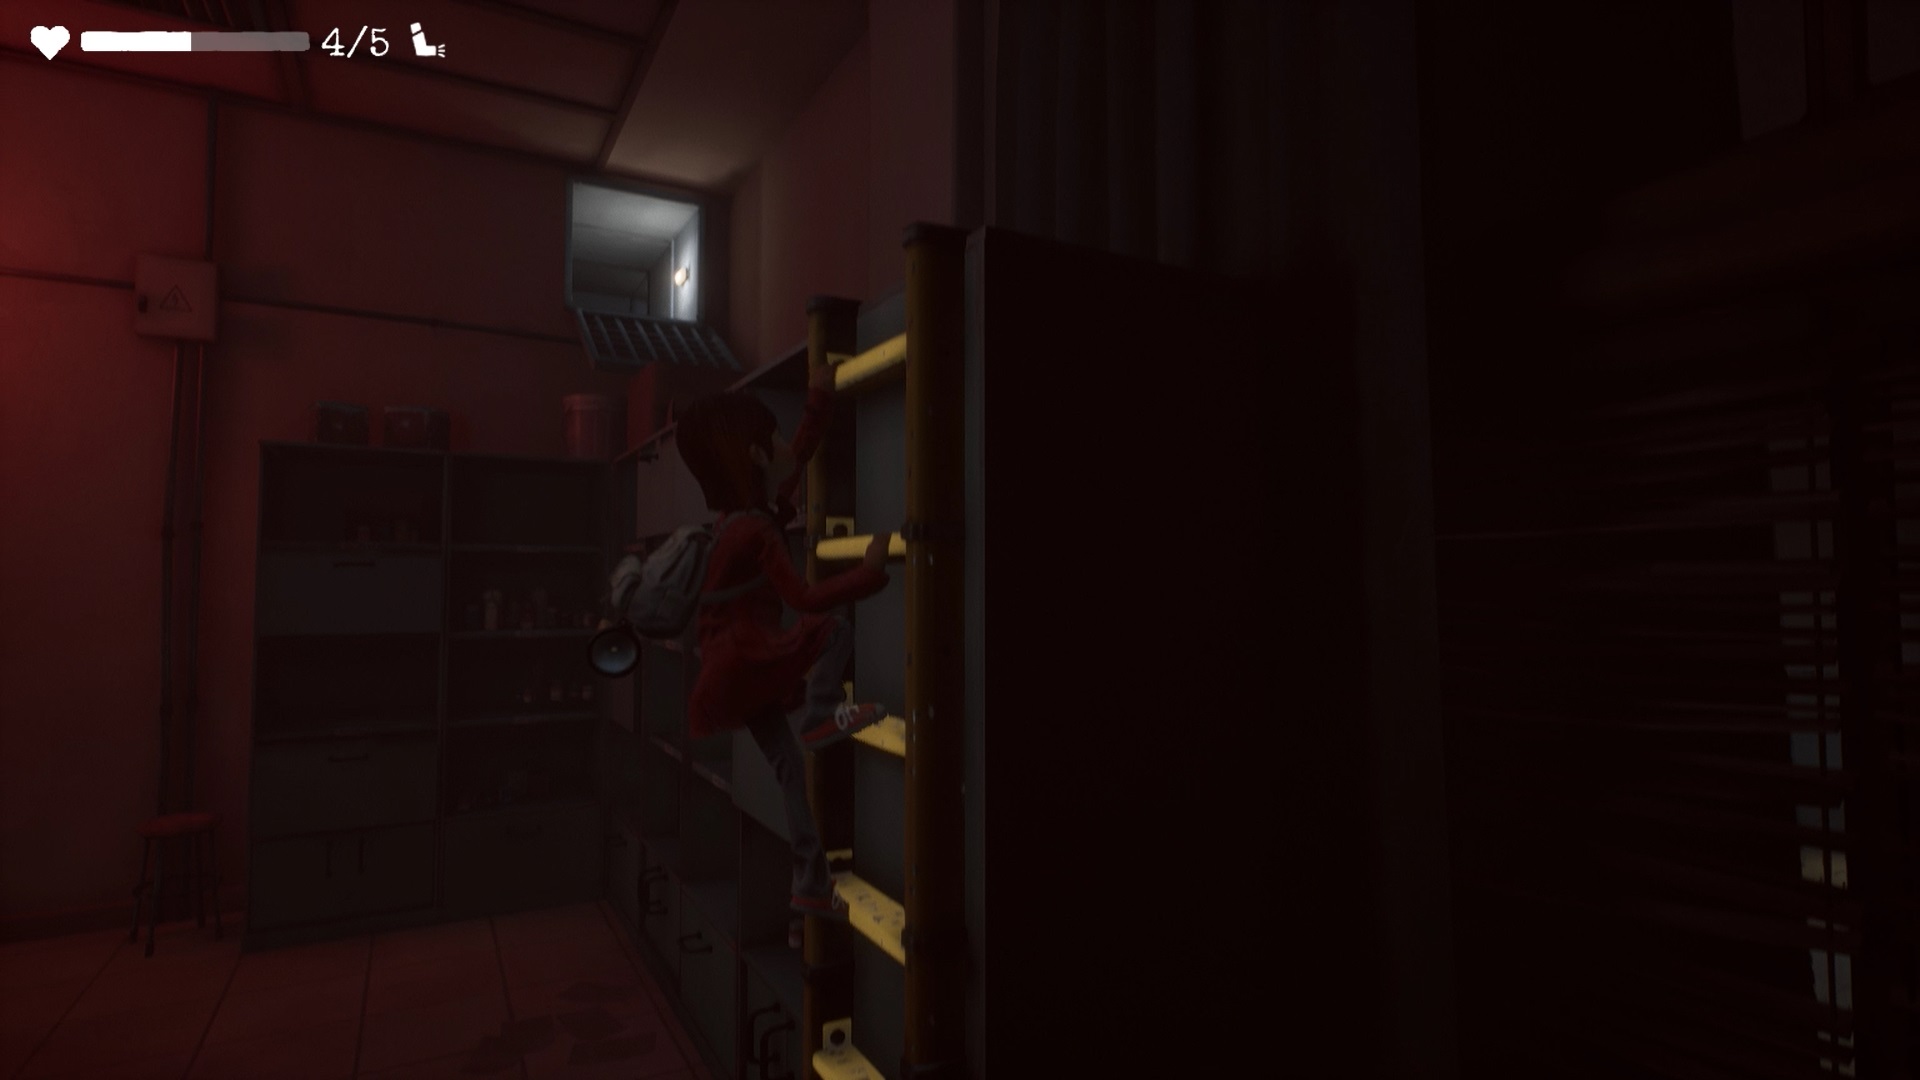
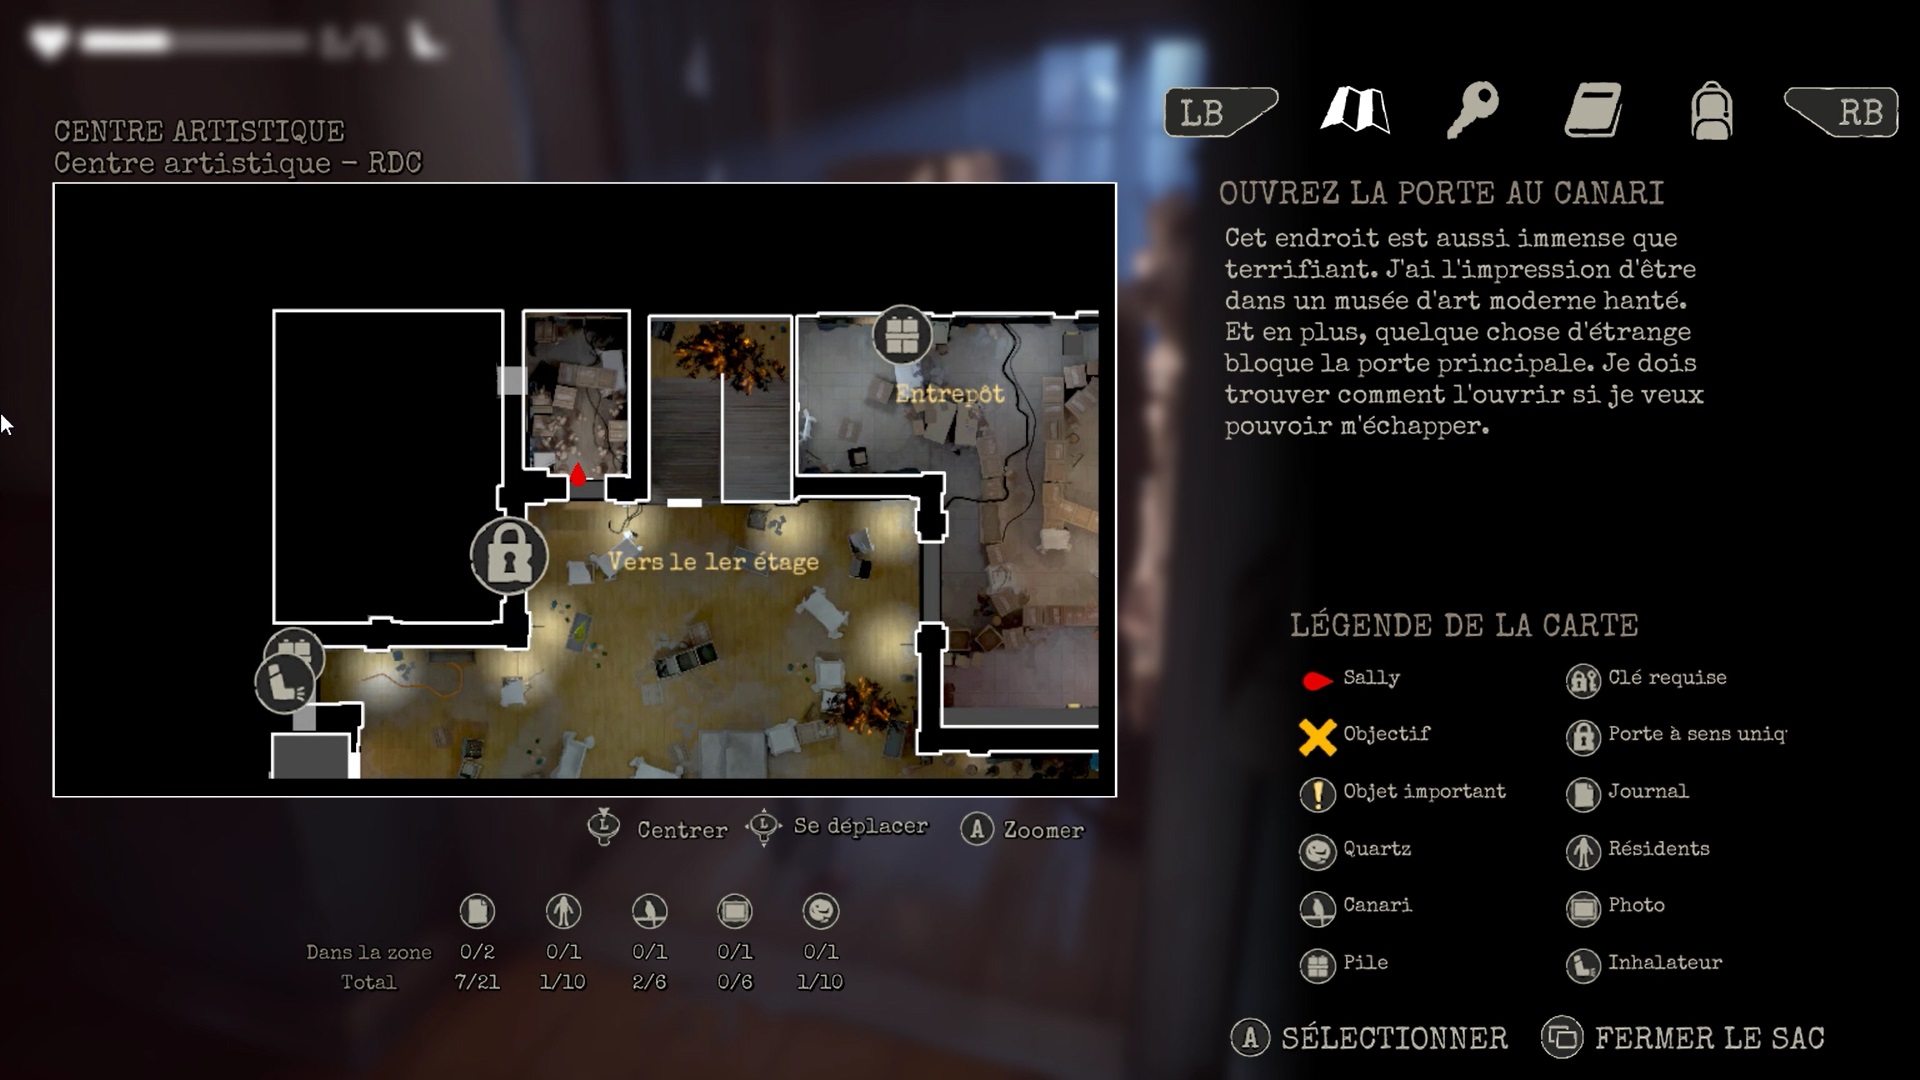
In the warehouse, grab a ladder to the northeast behind some wooden crates. Use the ladder to climb above the wooden crates and reach a ladder to the south. Climb the ladder to enter the air duct.
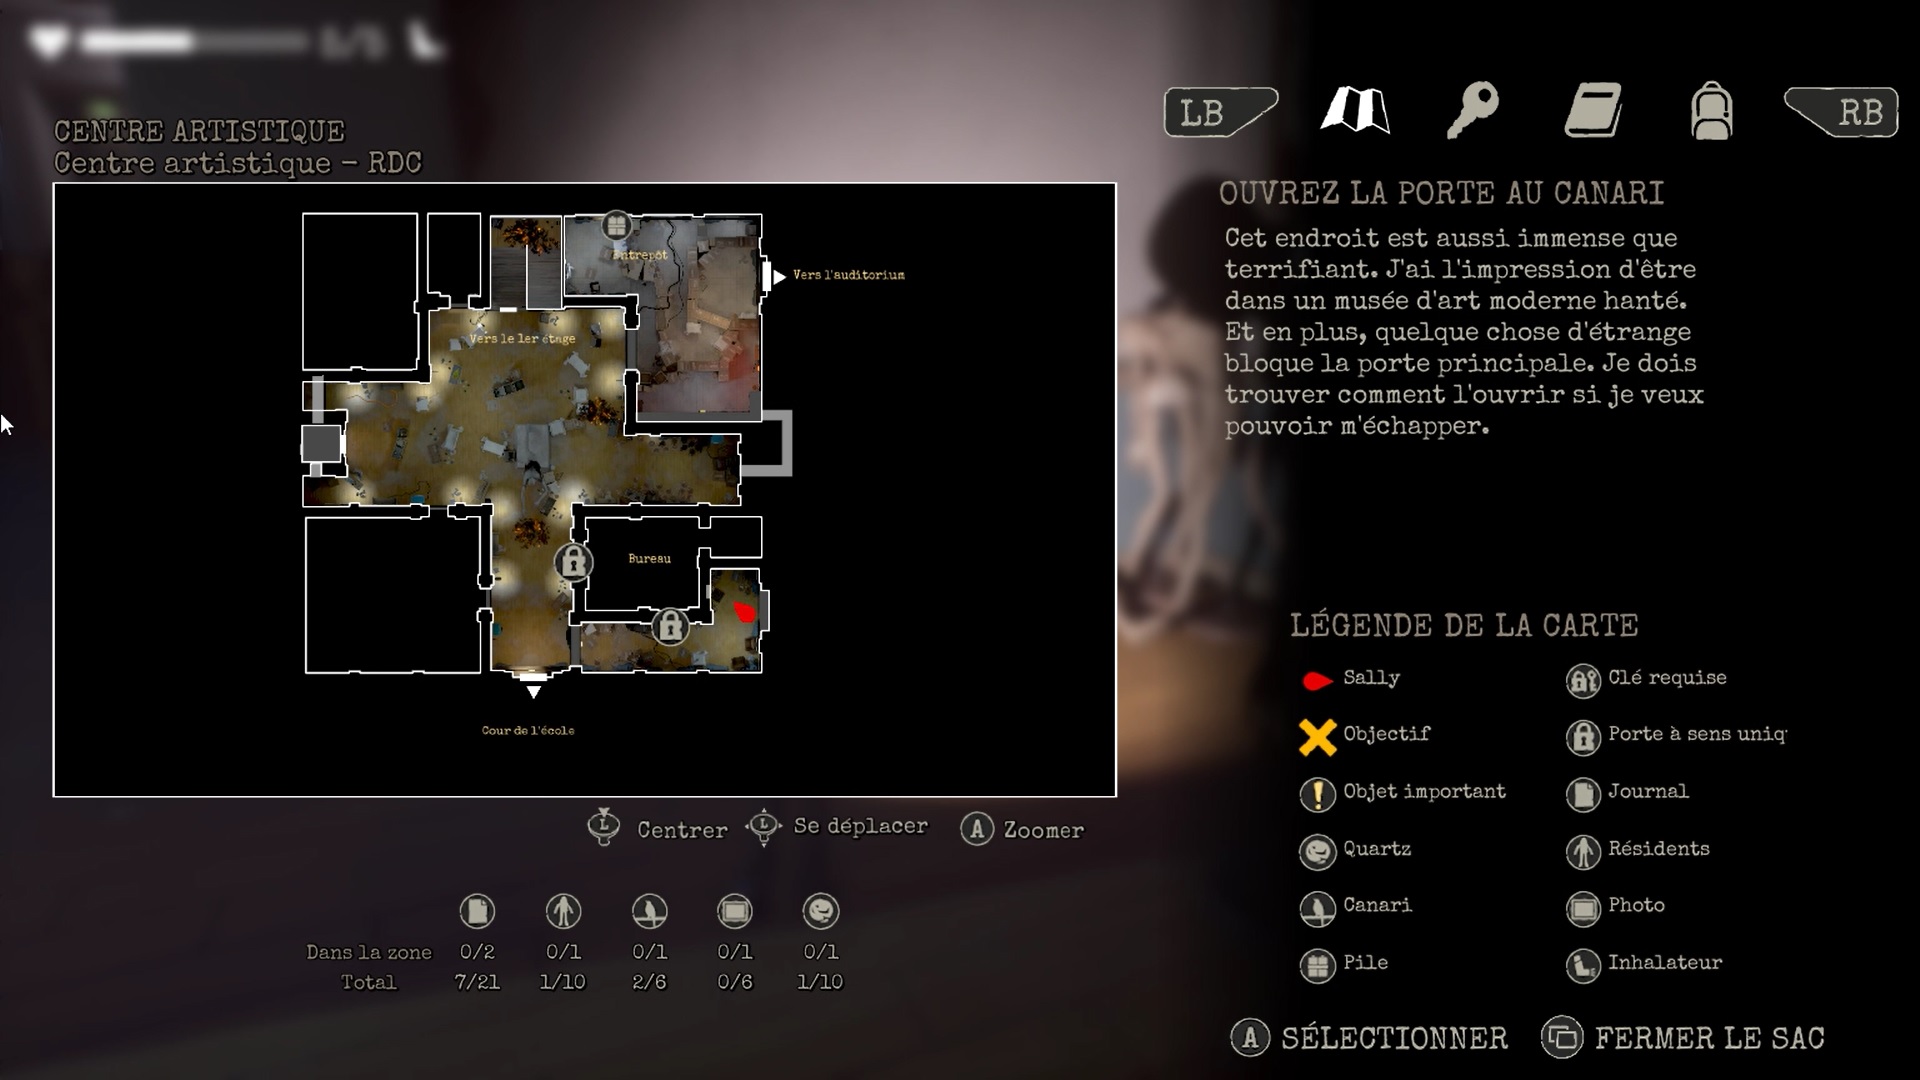
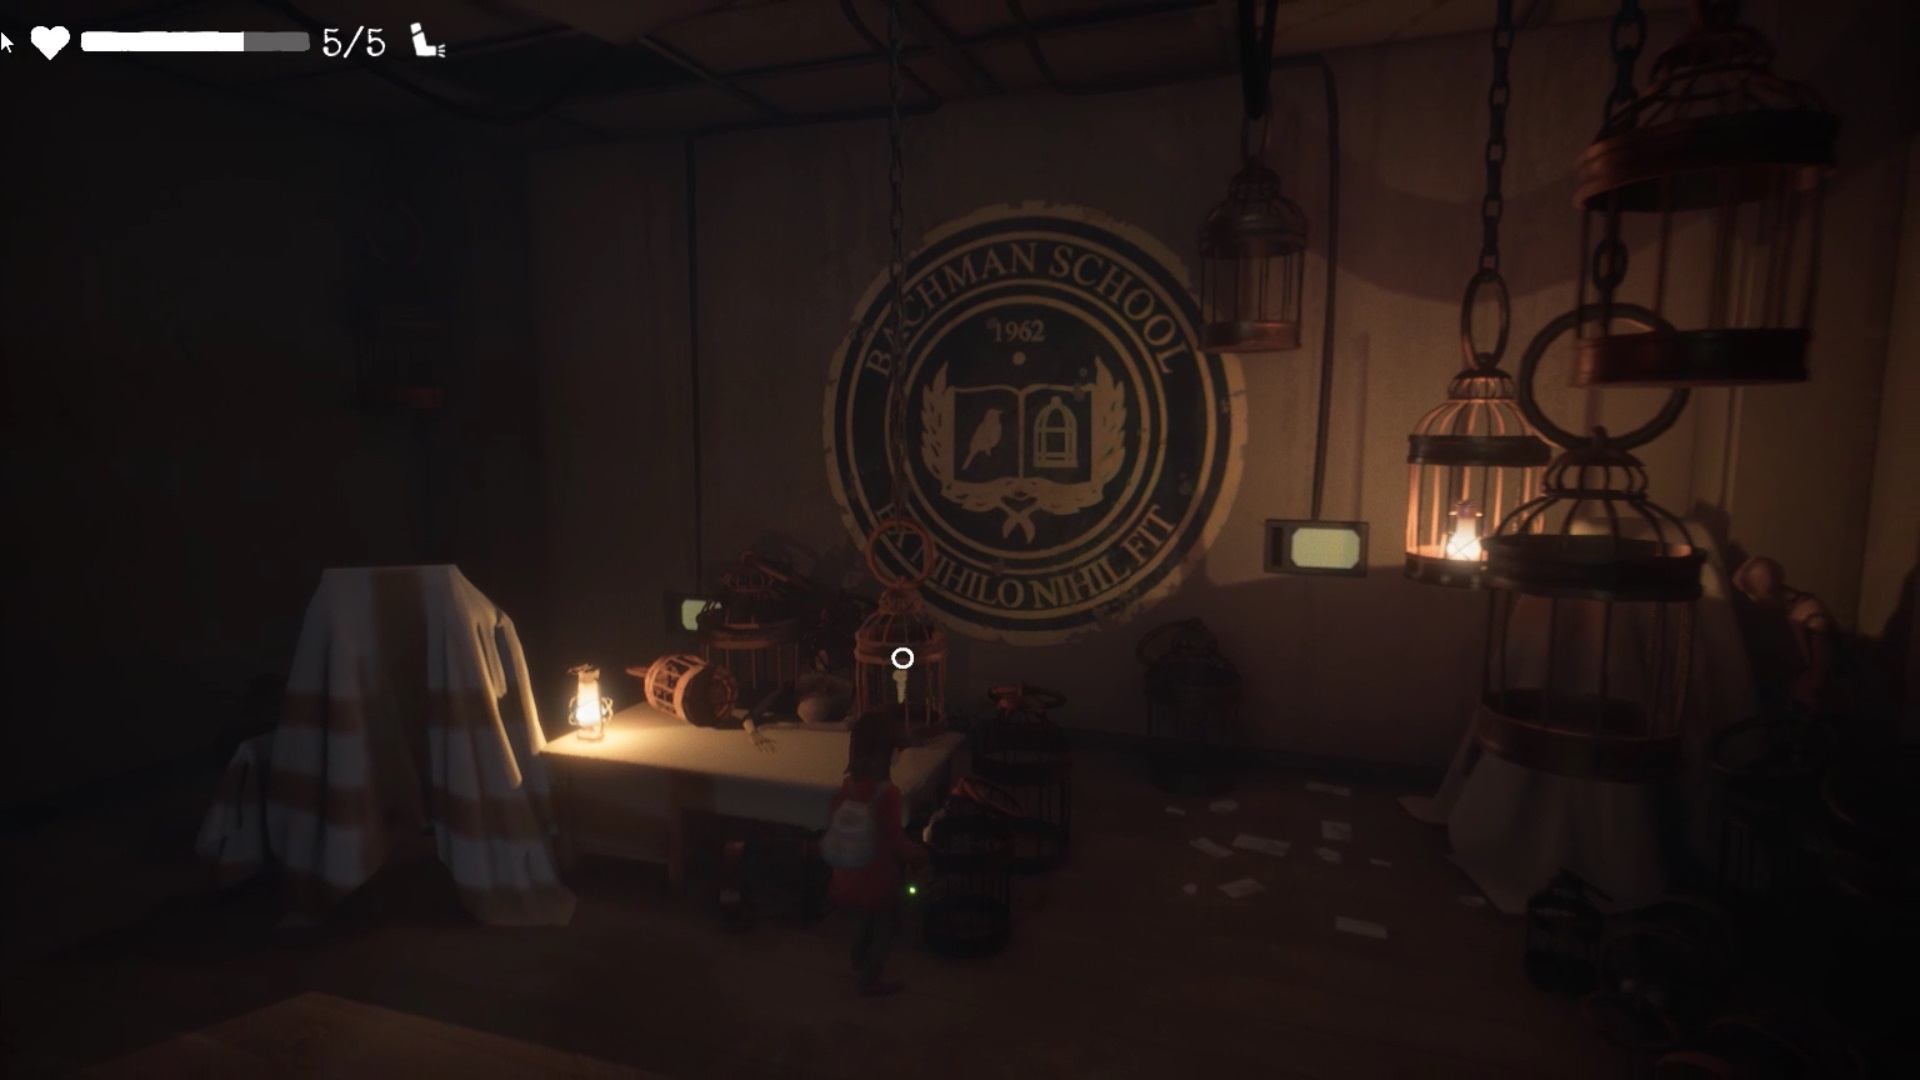
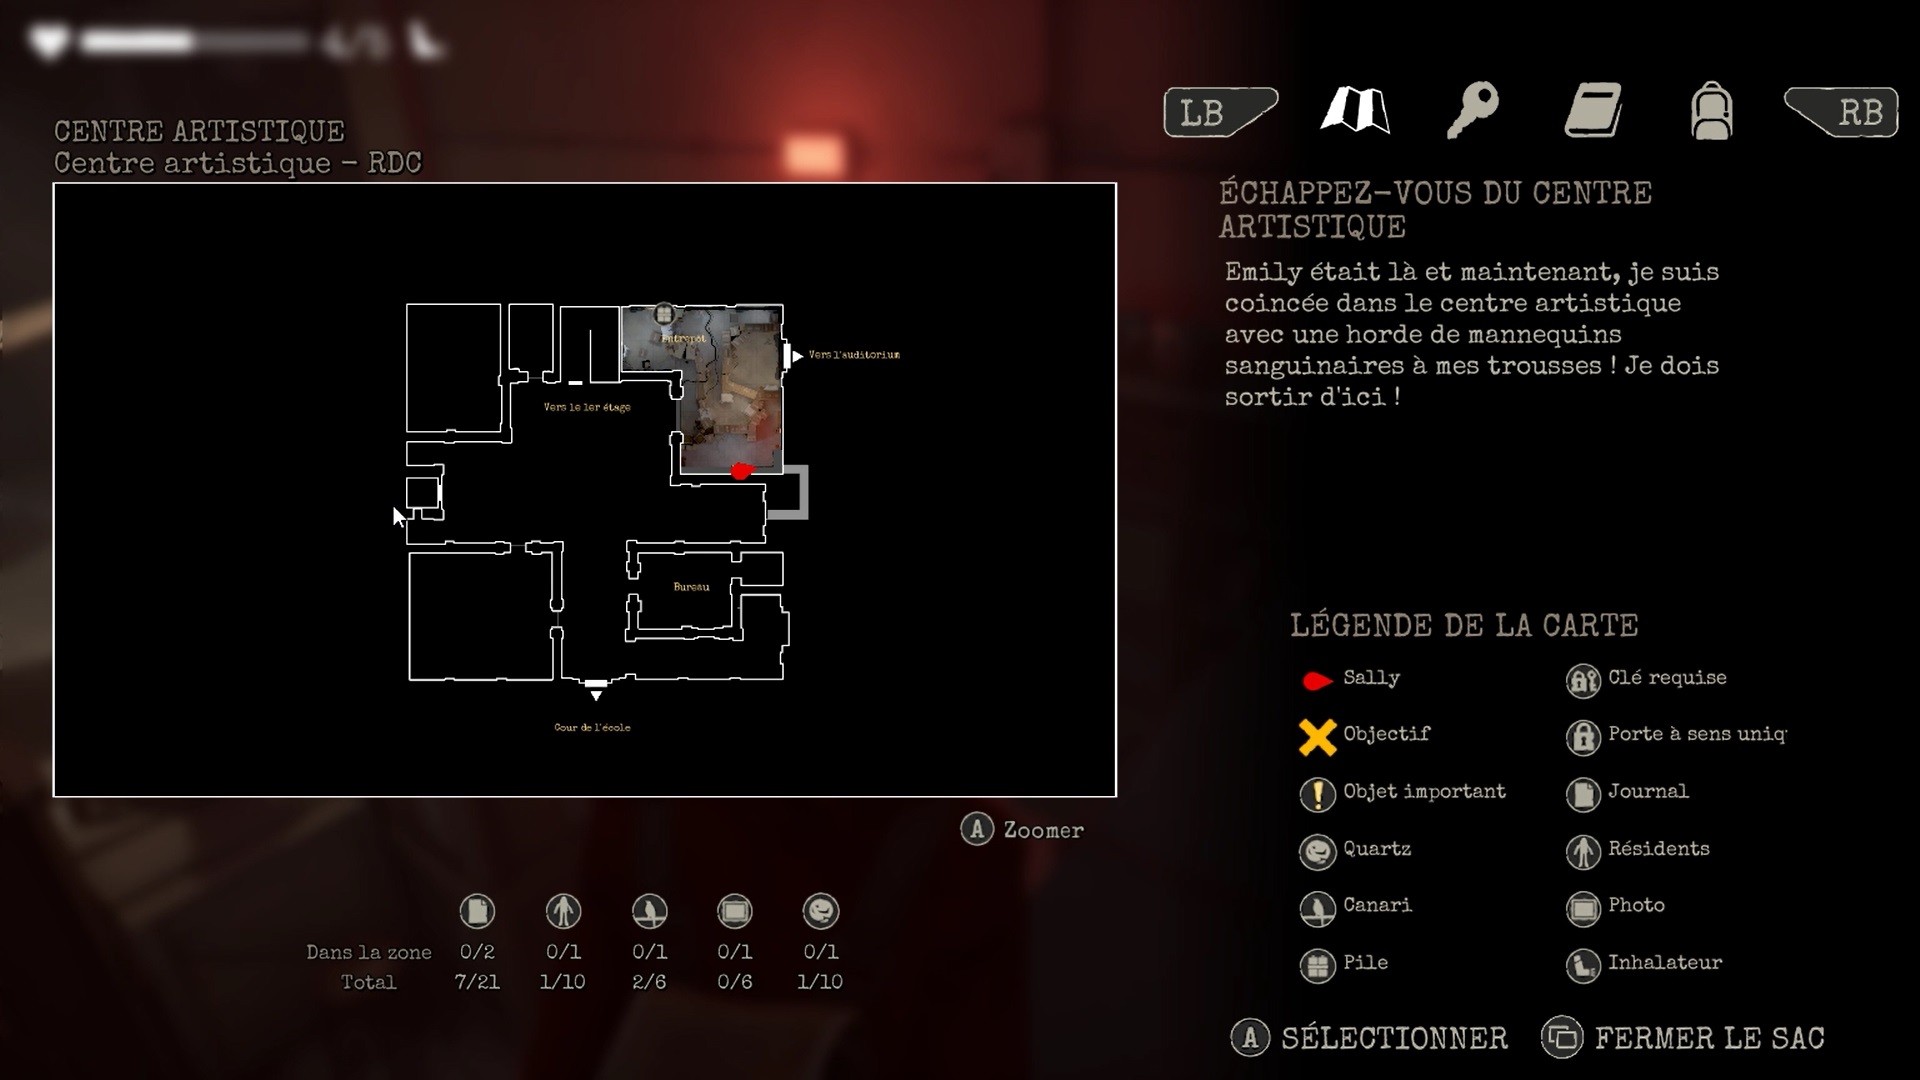
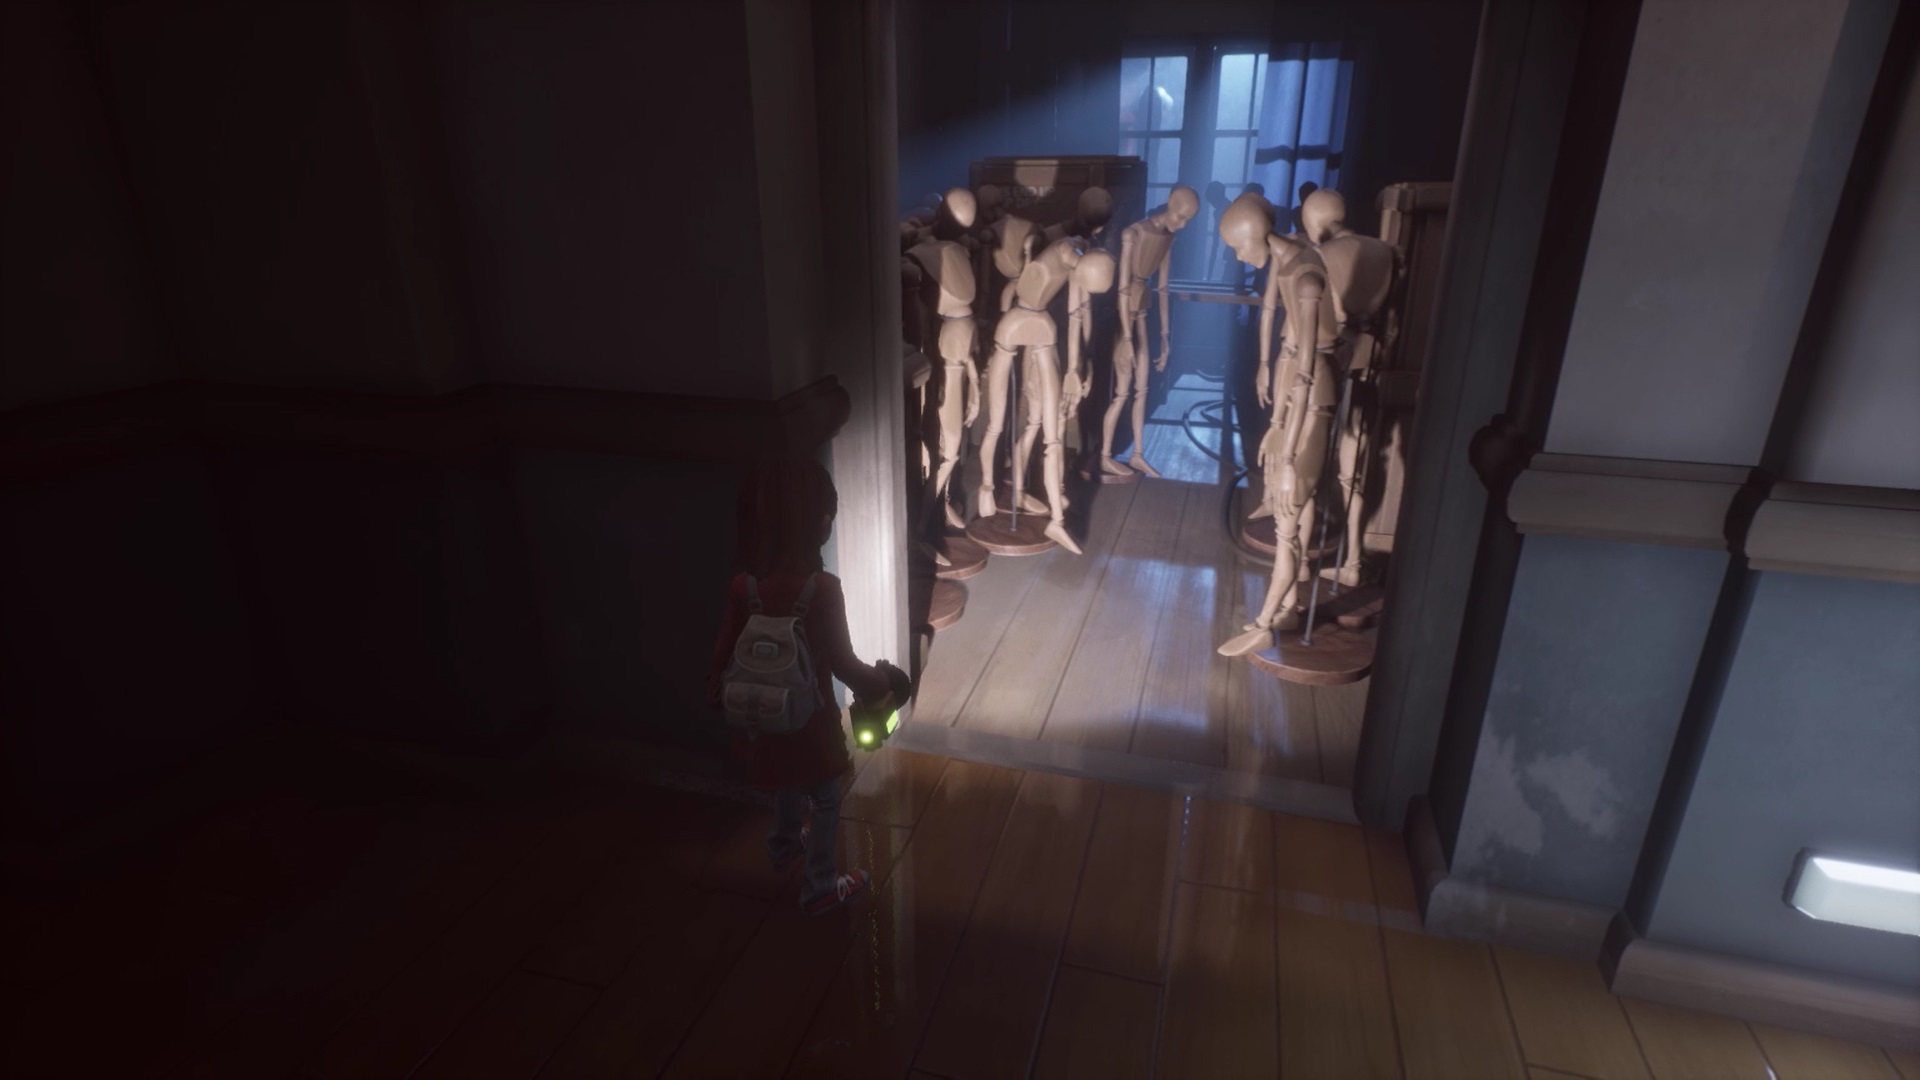
Continuing your way, you find a giant statue. Explore the ground floor area to find the exit door in the south of the map. You must find a canary to unlock the exit door. Head southeast to find the office entrance. A hatch in the wall allows you to enter the office. The hatch is located to the east of the desk.
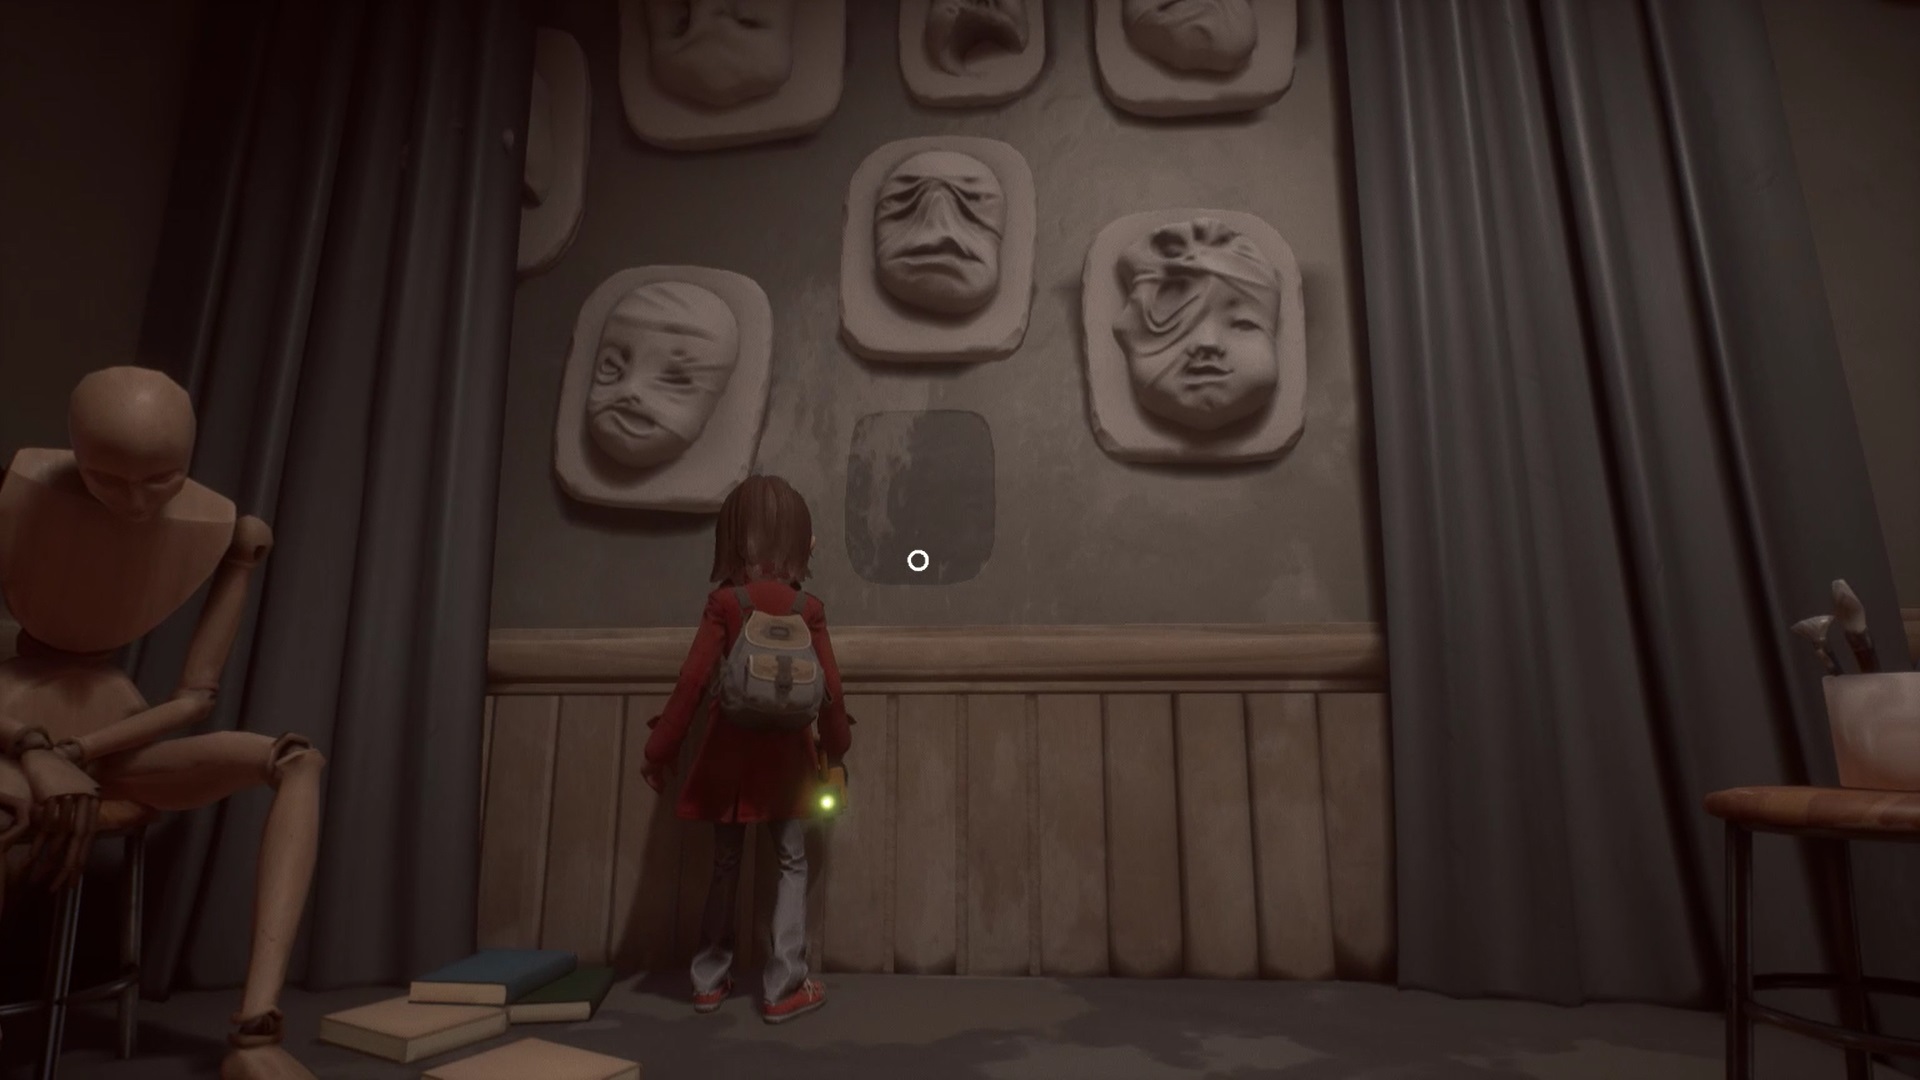
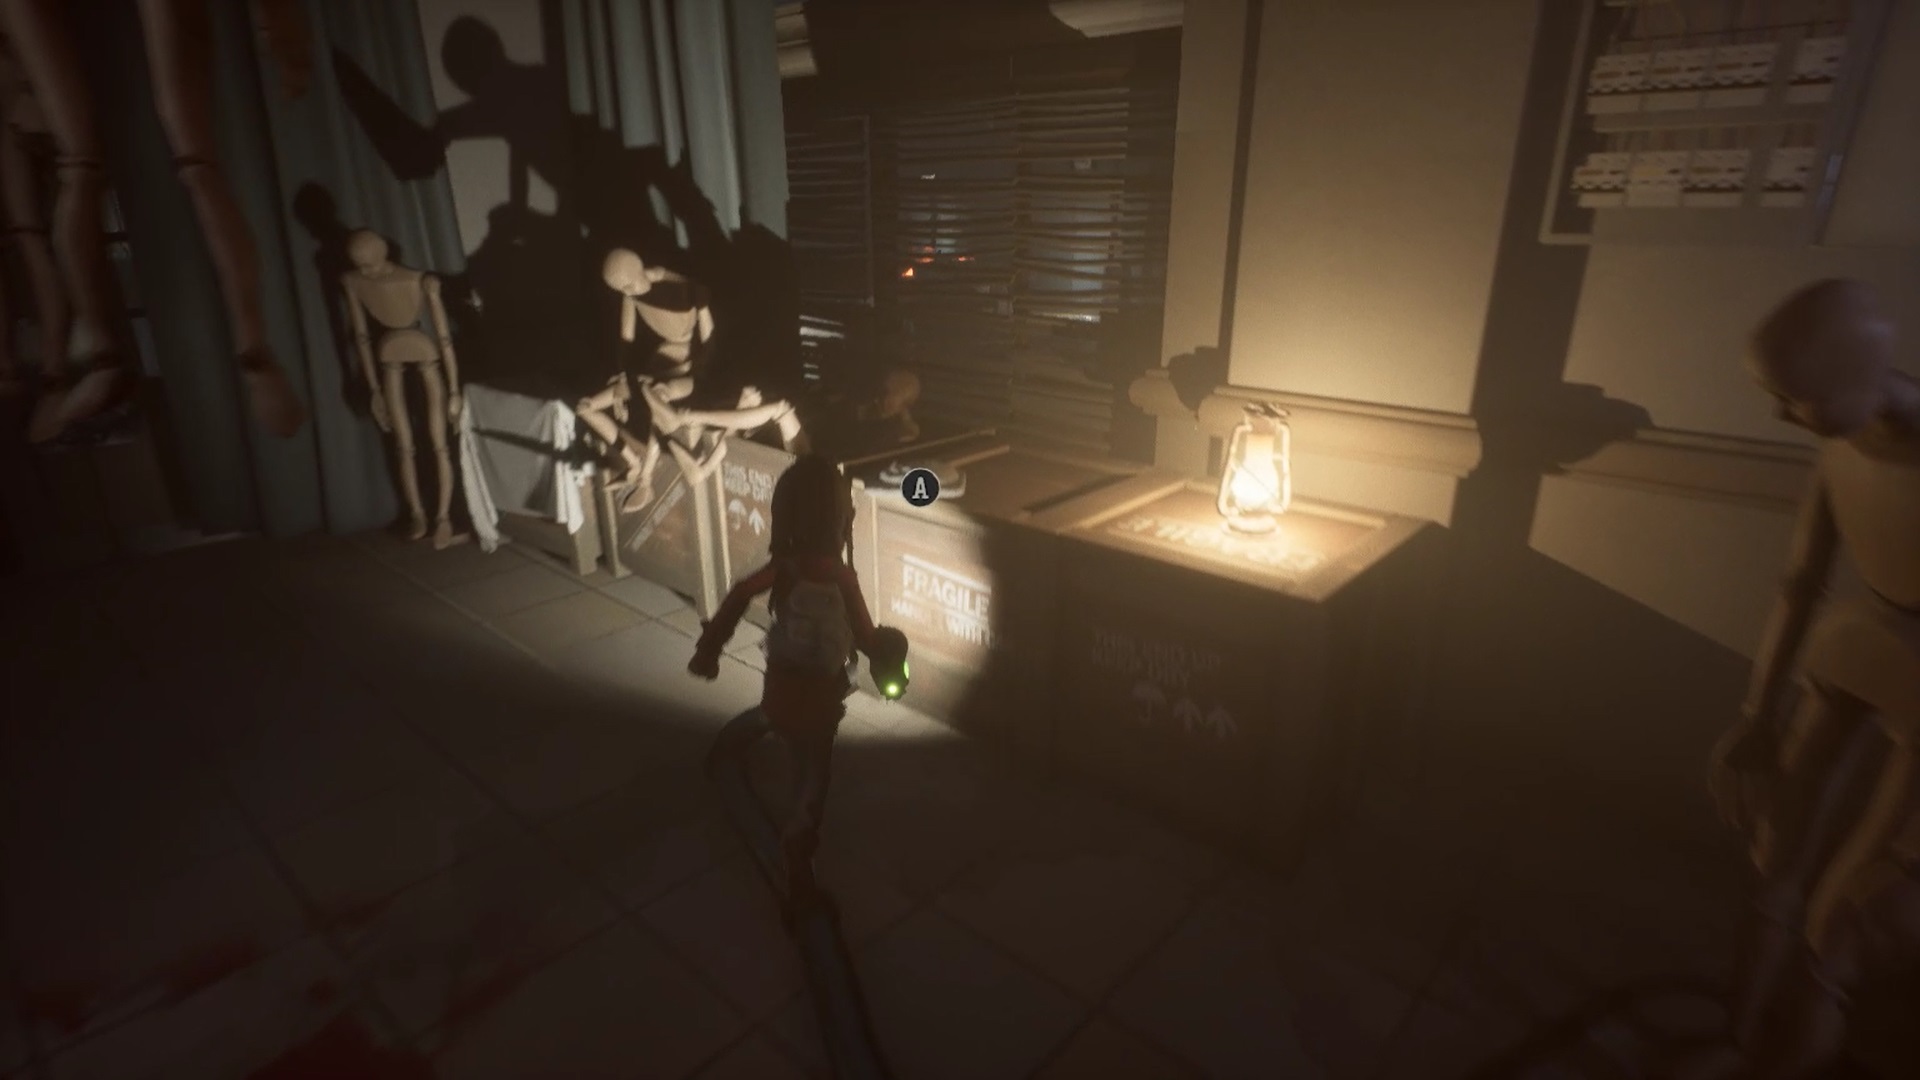
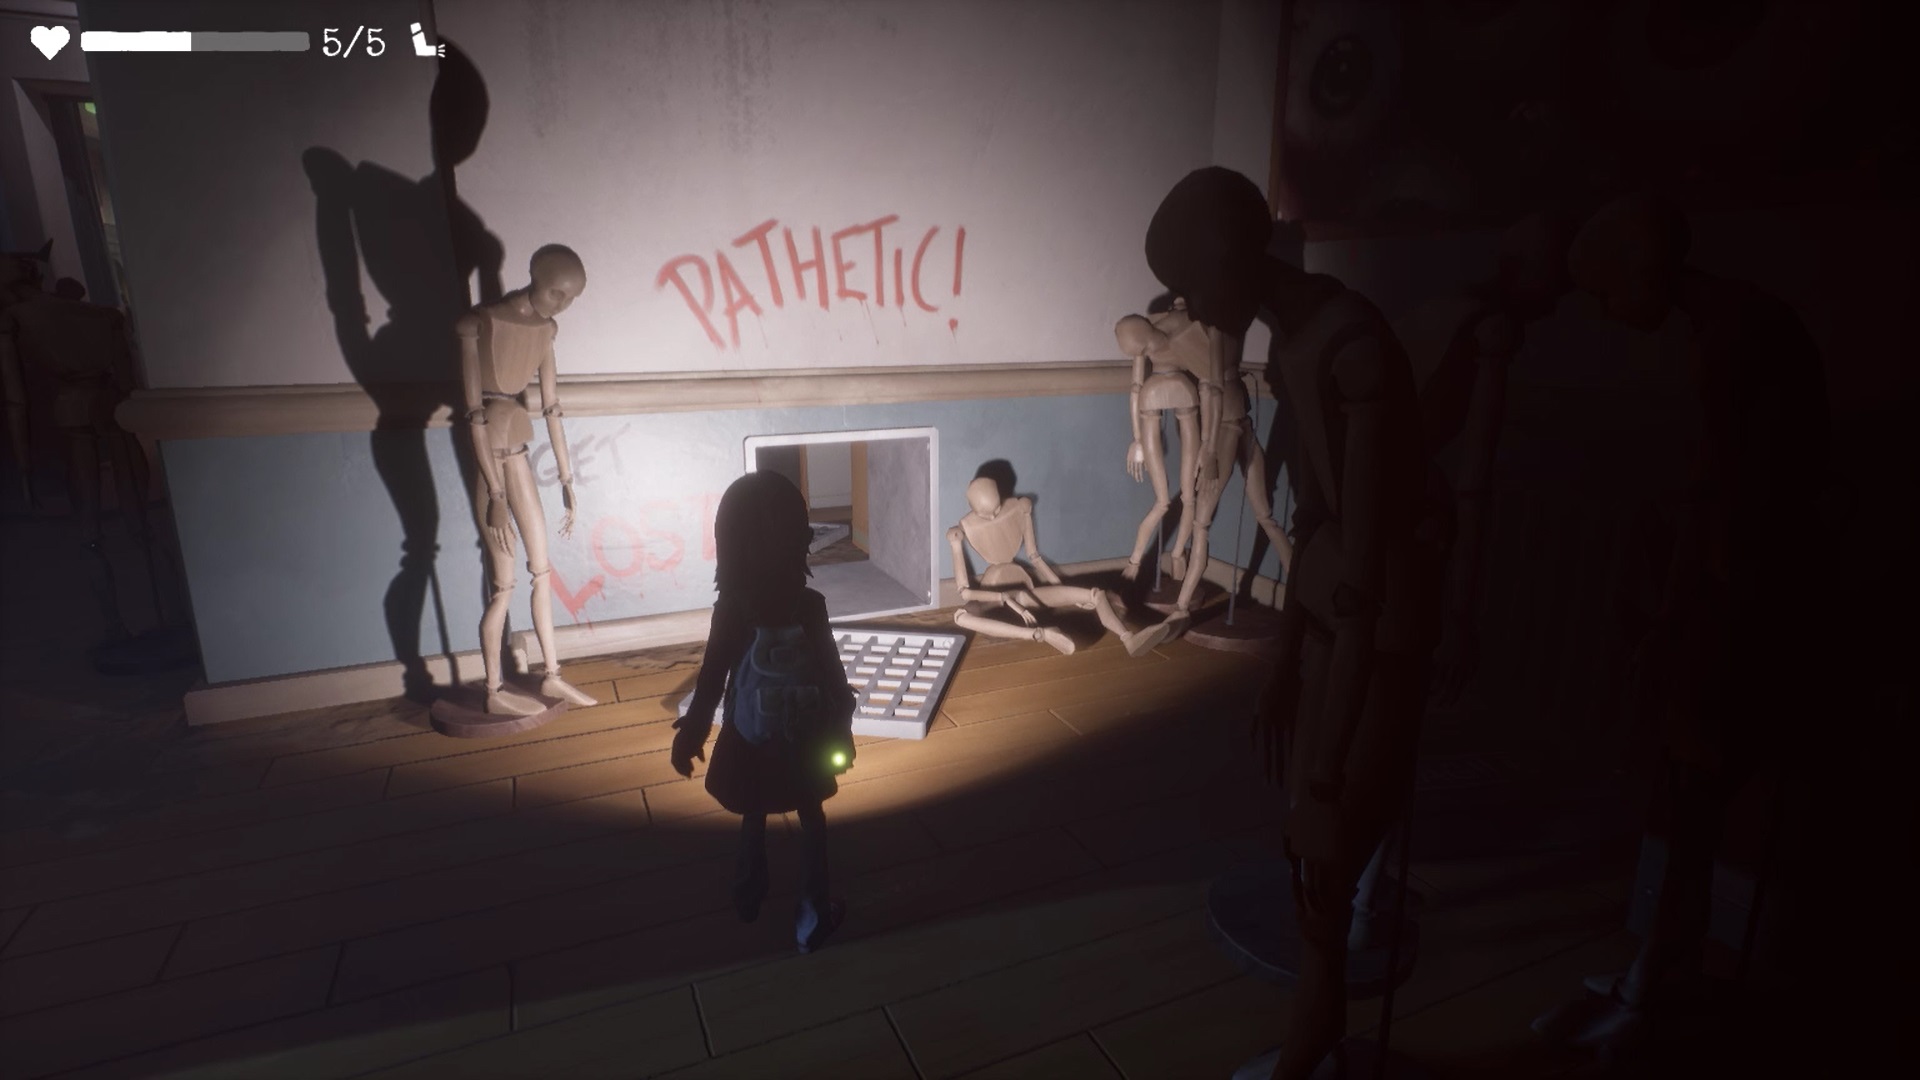
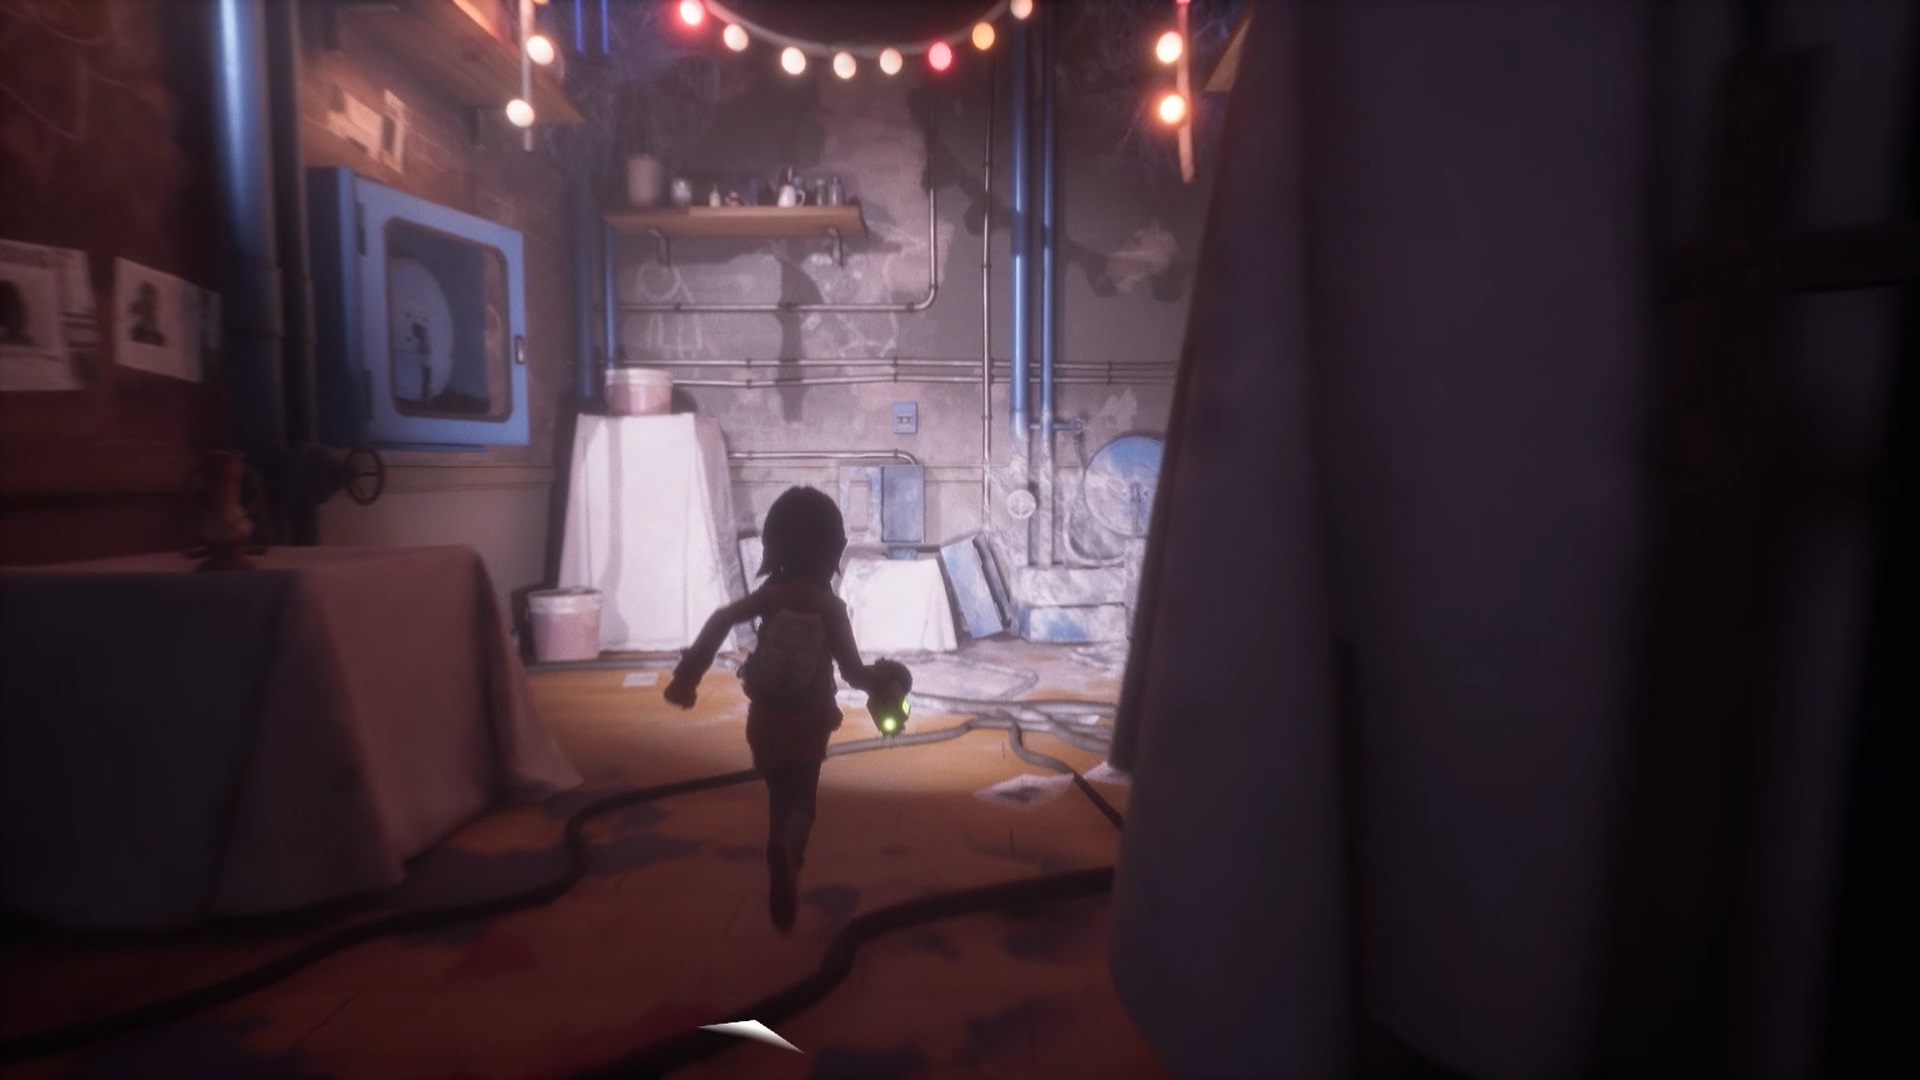
In the office, analyze the mask wall. You discover that a mask is missing and that you must retrieve it. Go back to the central part and head northwest into the room to the west of the stairs. Move forward to reach a control room. The mask you are looking for is placed on some wooden crates near the exit door.
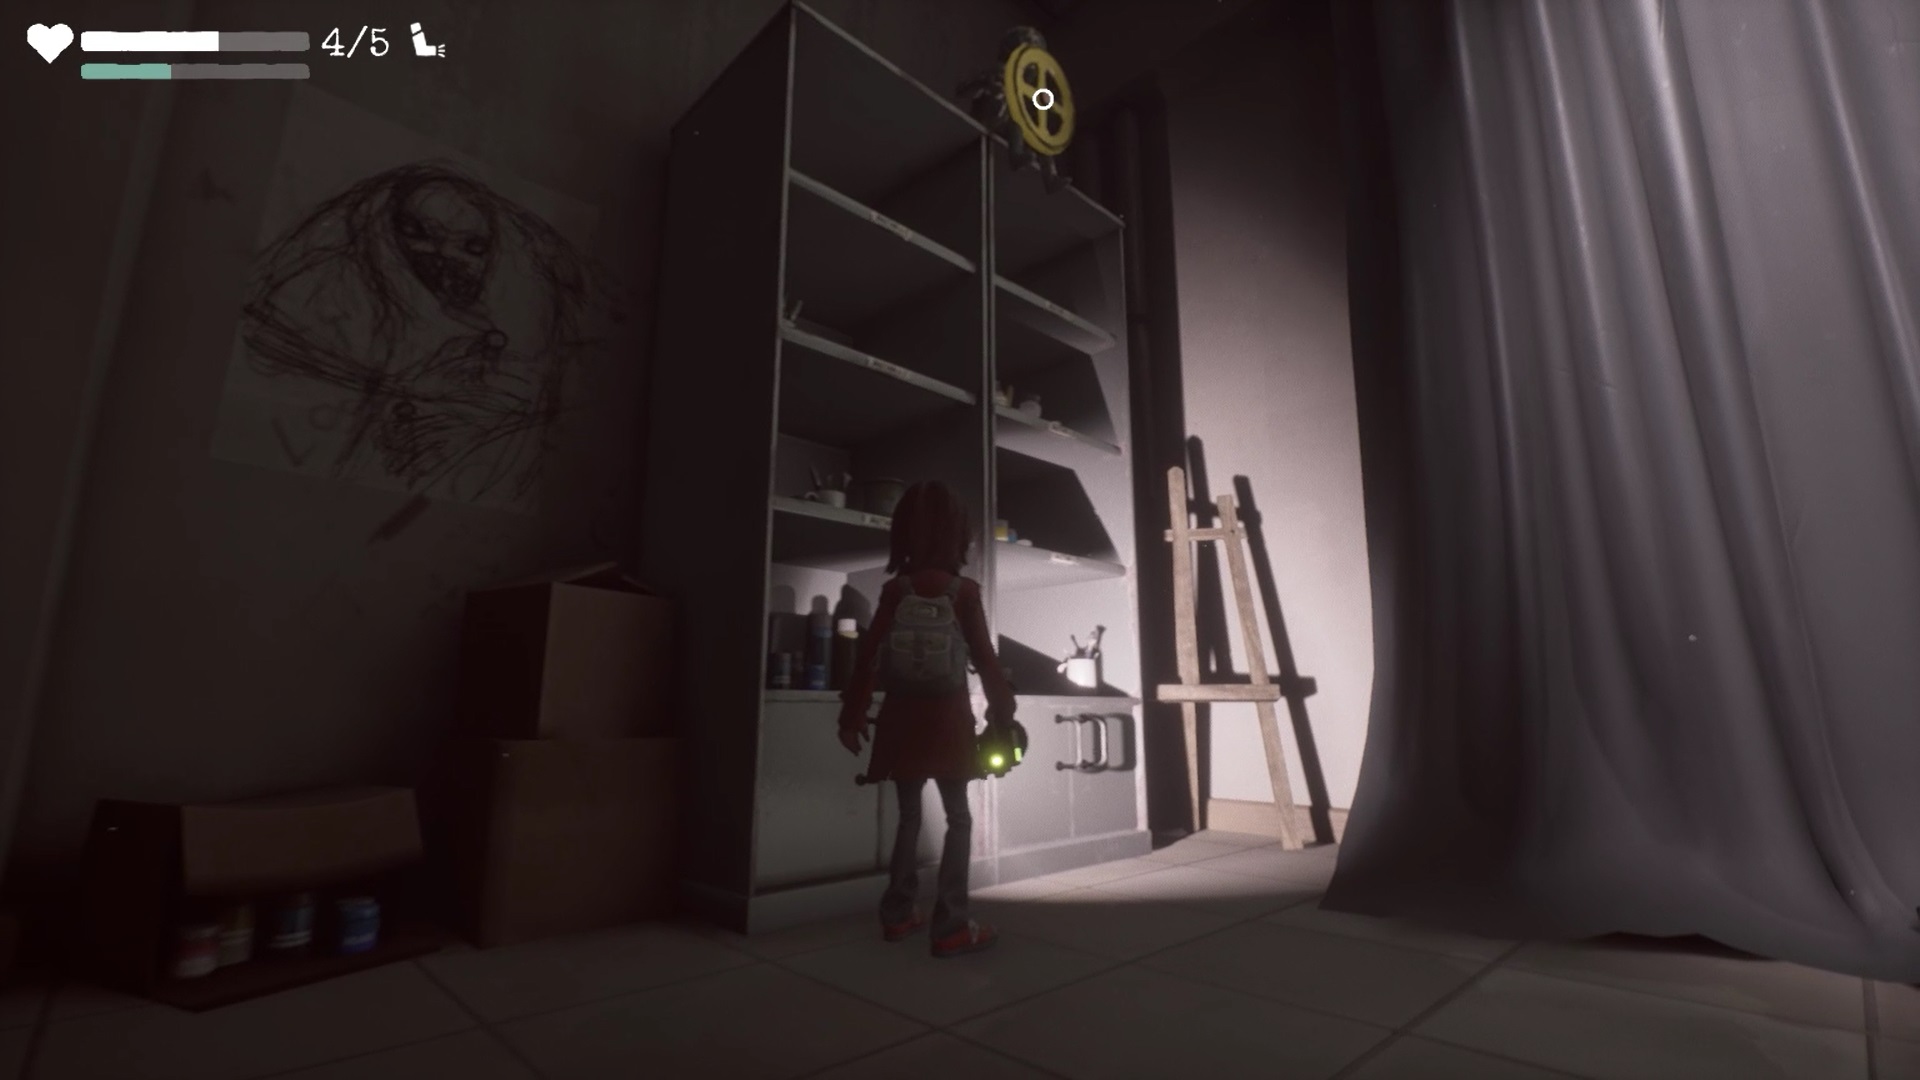
Return to the office and place the mask on the wall. You get the paint room key. Head into the painting room opposite the office. A valve sits on top of a shelf near the center stage. Throw a can from a dispenser at the valve to knock it down and retrieve it.

Return to the Control Room northwest of the stairs. This is the room where you got the mask. Position the valve on the right mechanism. Then place the right ladder against the shelf at the pipes. The ladder gives you access to the air duct at height. To be able to climb on it, you must turn off the steam jets at the level of the ladder. To do this, rotate the valves until the steam positioned on the scale is extinguished.
Climb the ladder and enter the conduit to reach the roof of an elevator. To unlock the elevator door, complete the puzzle on the panel. You must restore the current between the two points of lights. Adjust the mechanisms as in our image to unlock access.
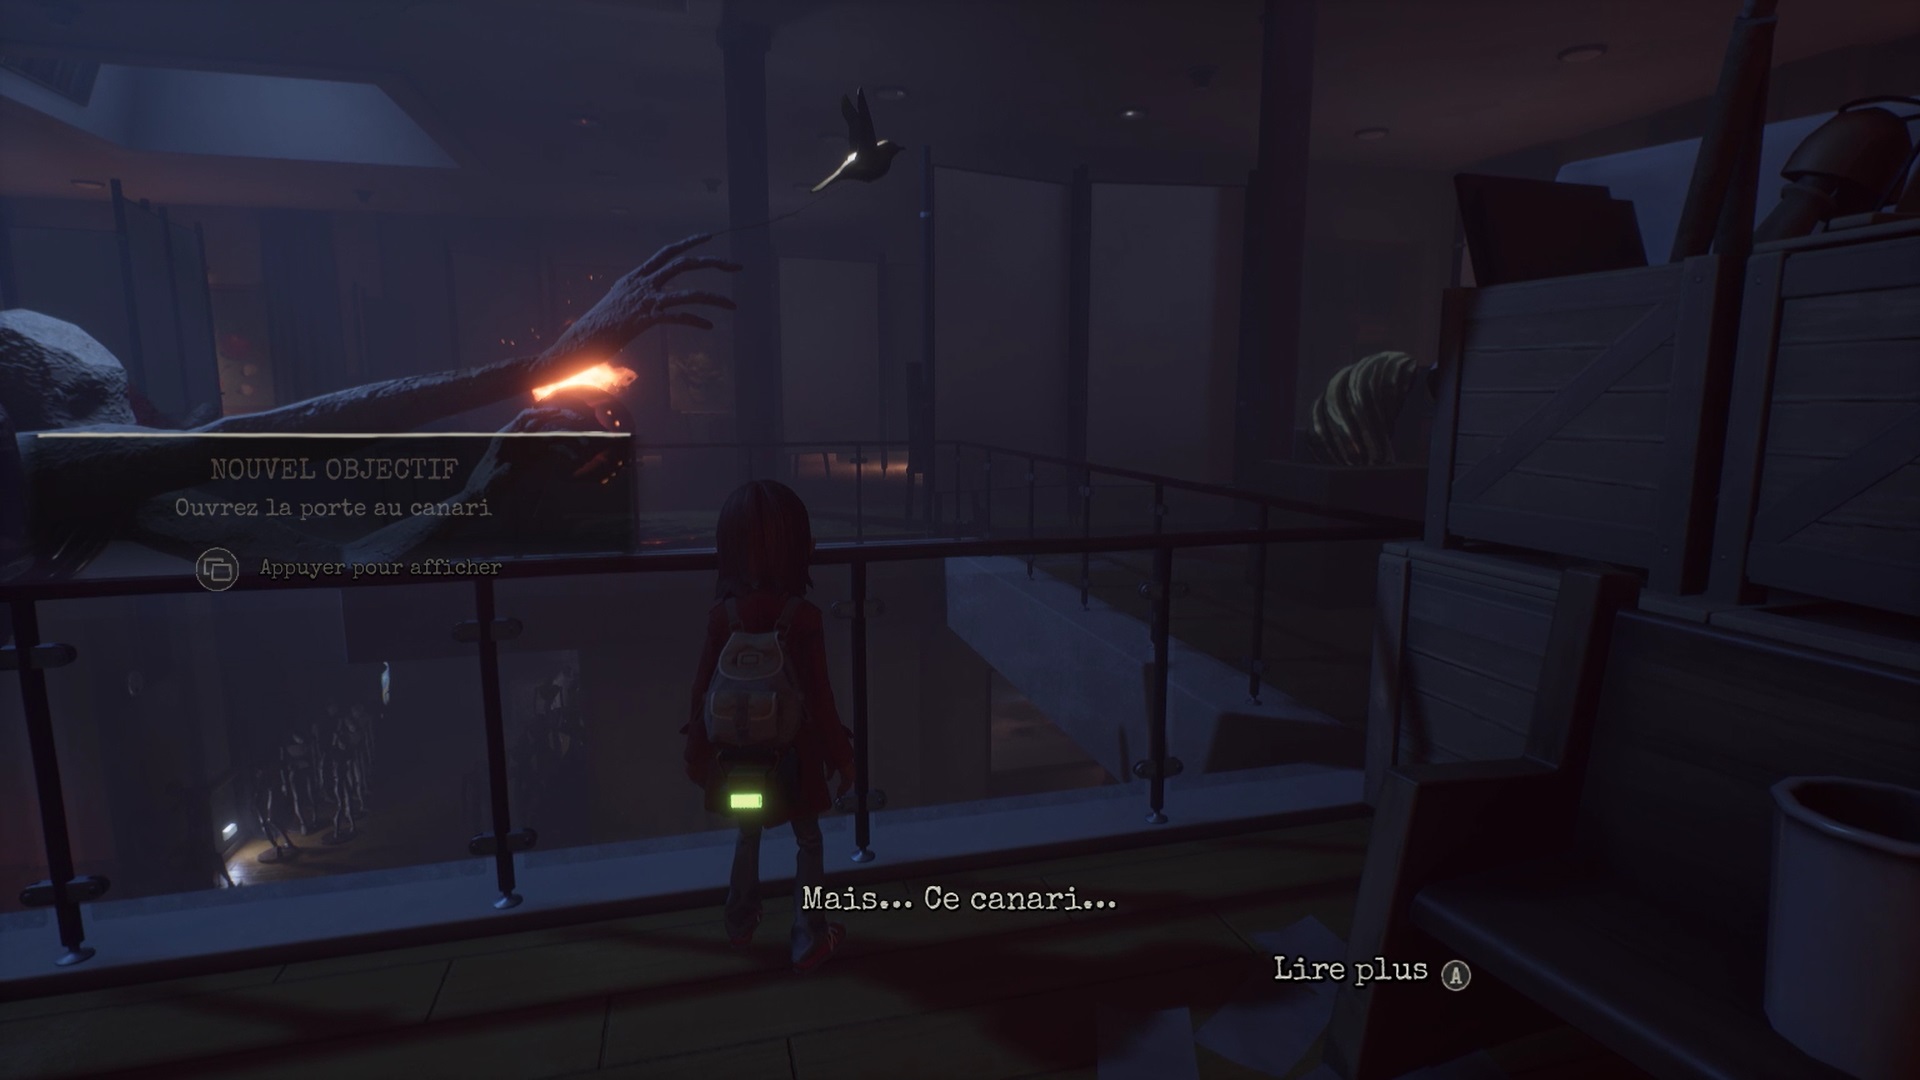
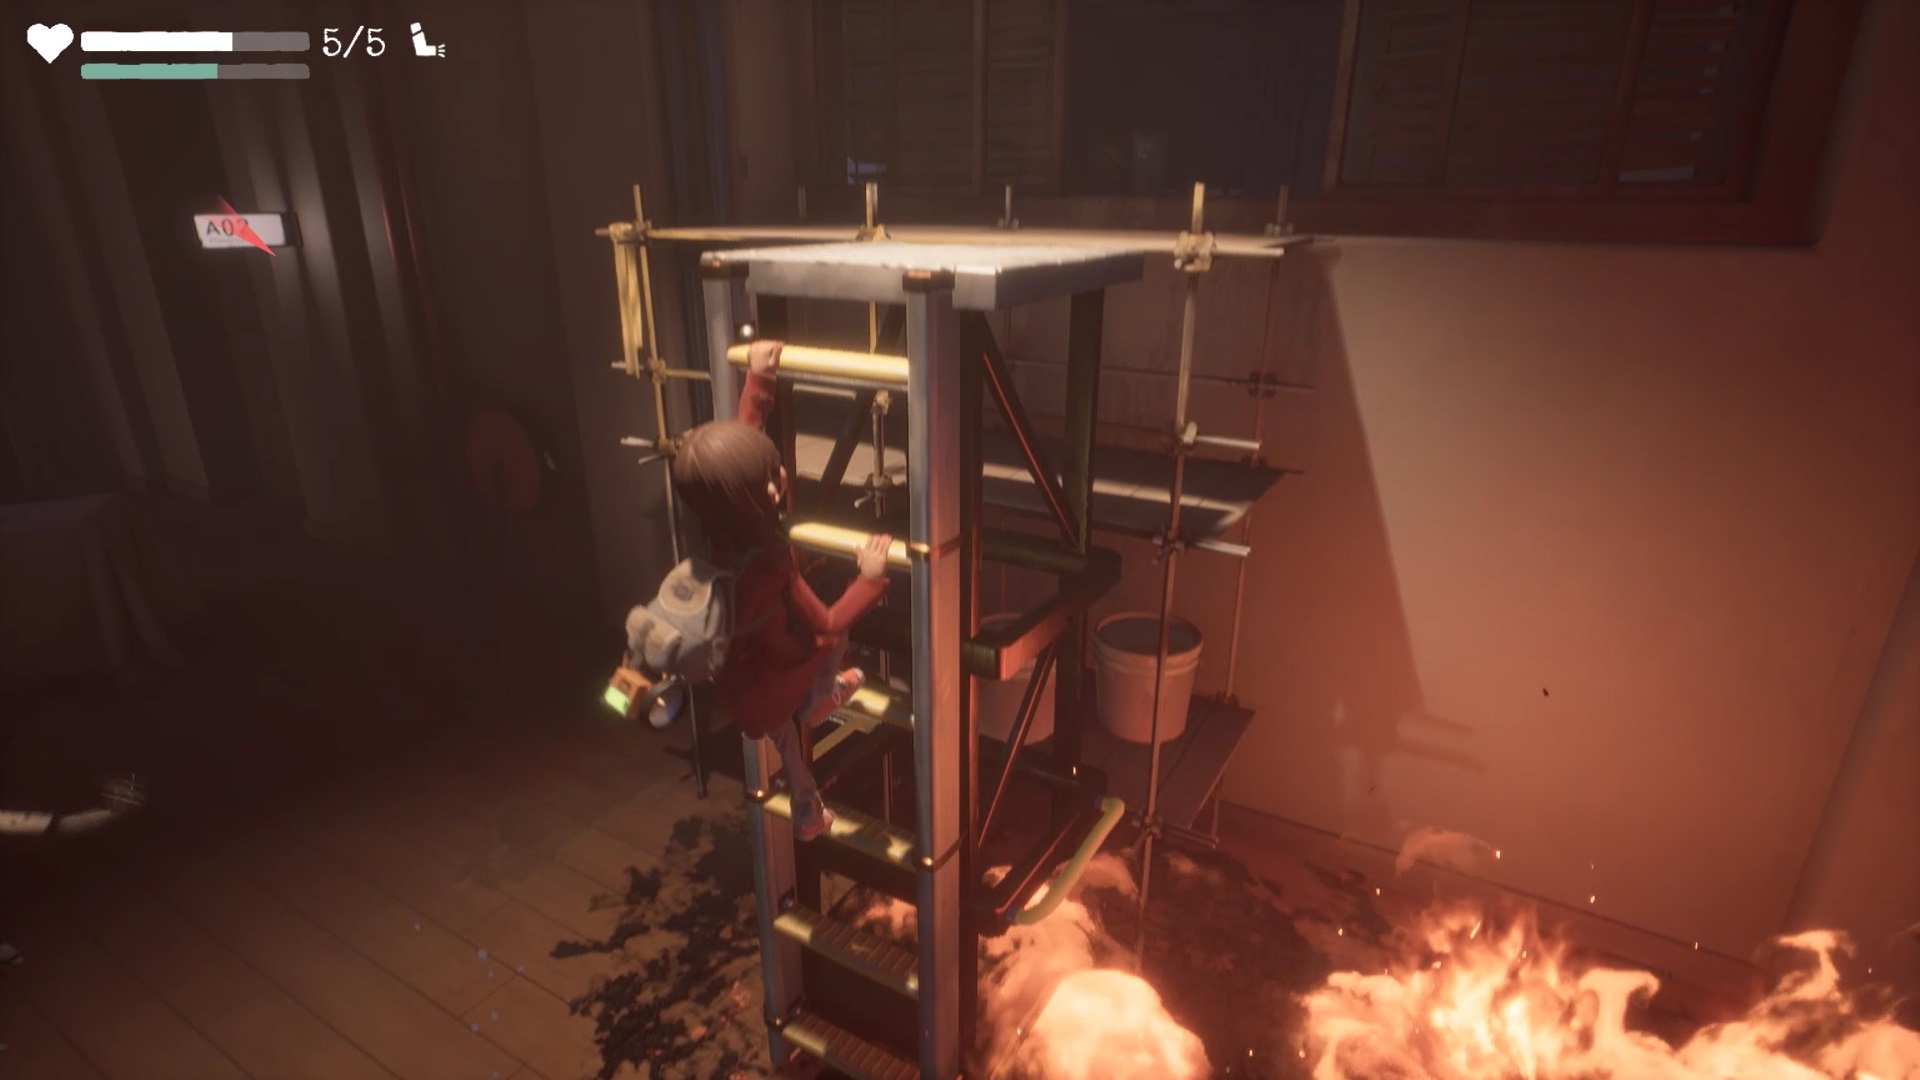
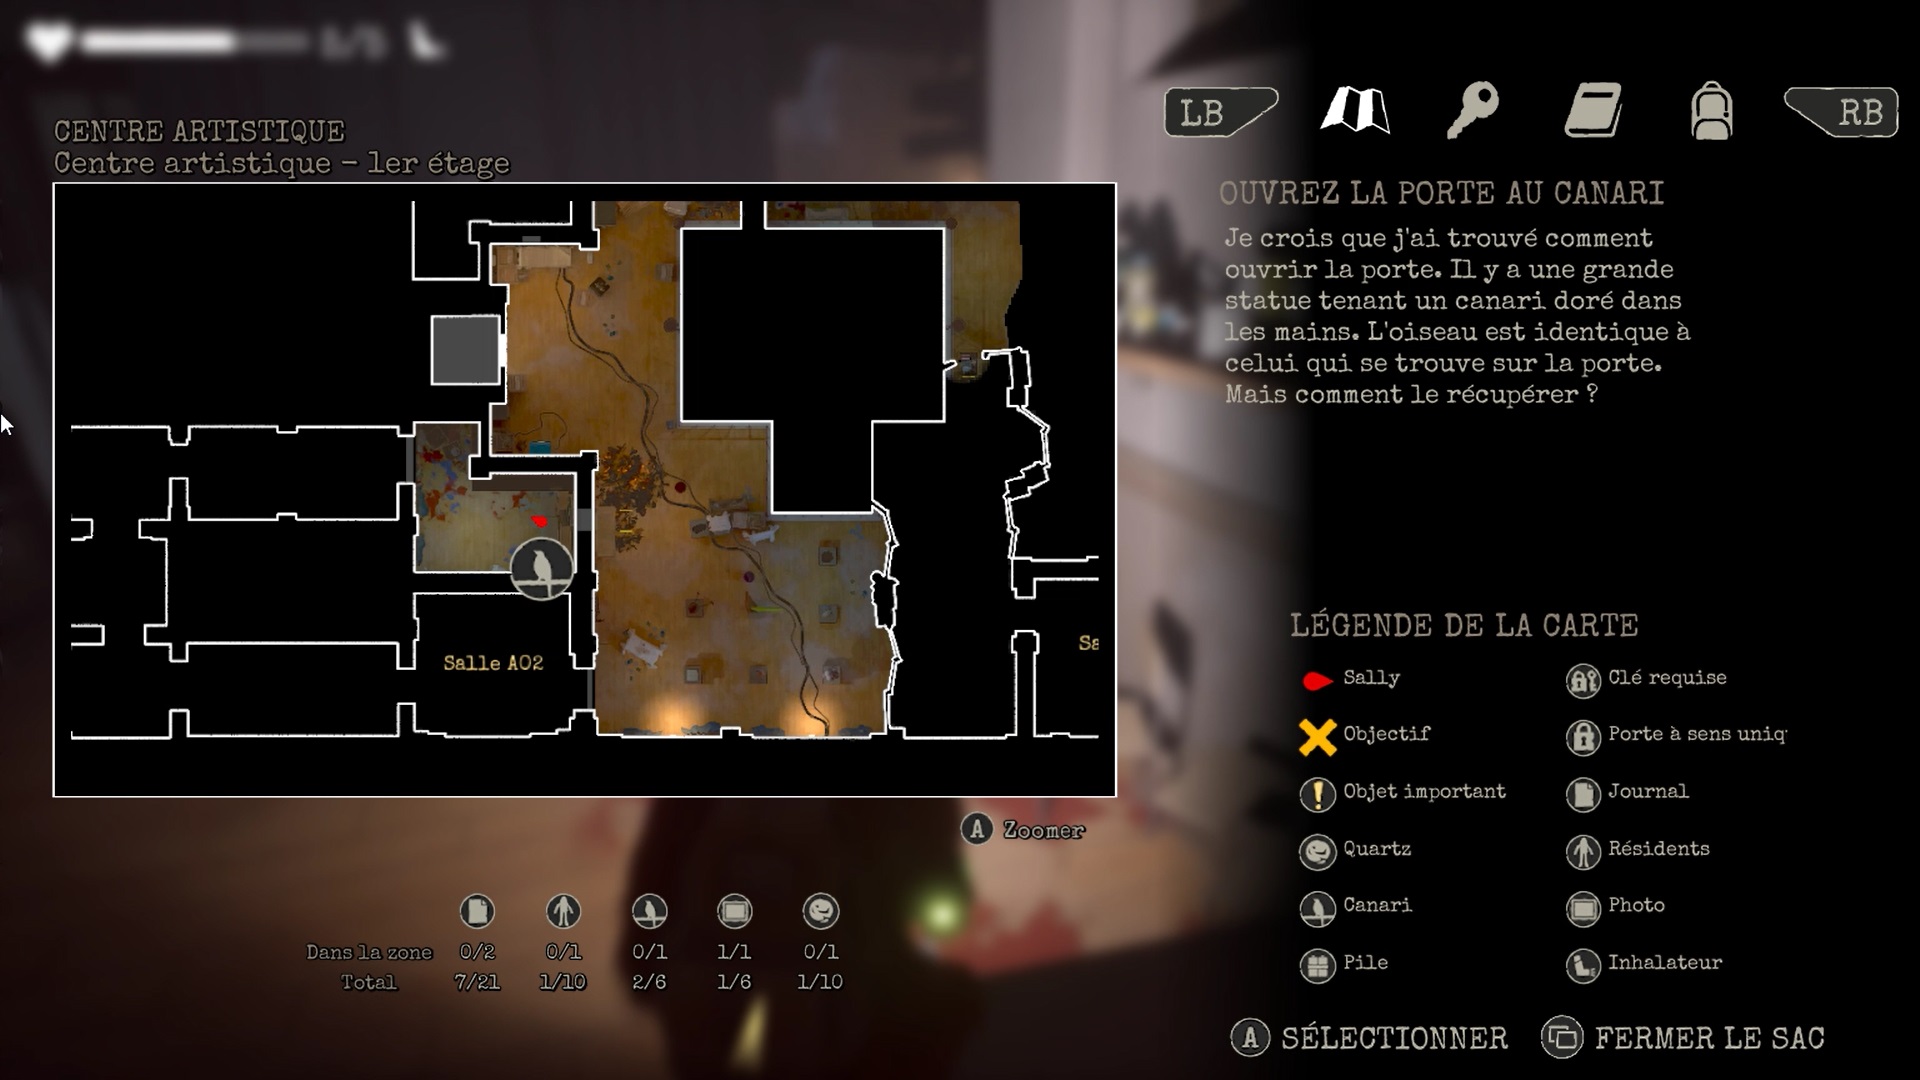
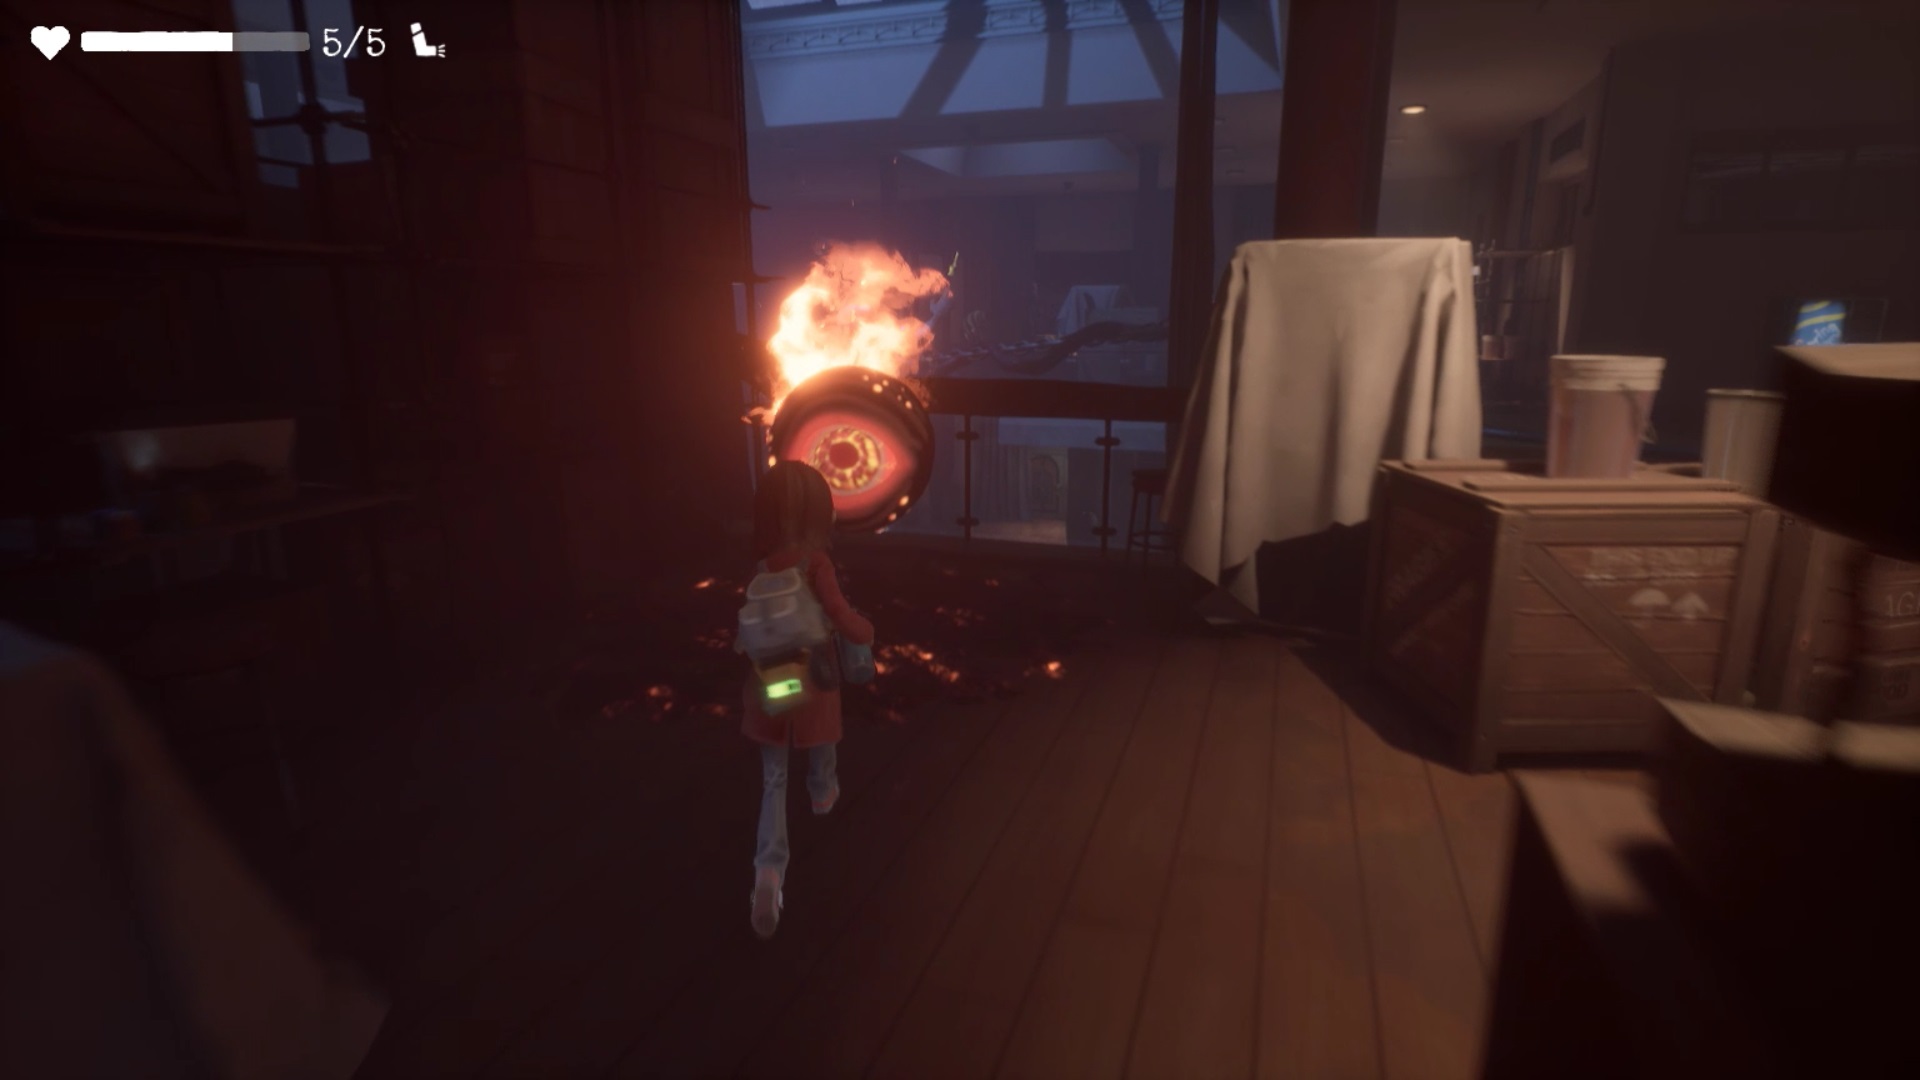
Use the elevator to go up to the first floor. Take a closer look at the statue to discover the canary you need to open the exit door. You have to find a way to catch it. Climb the ladder near the flames to reach the room north of room AO2.

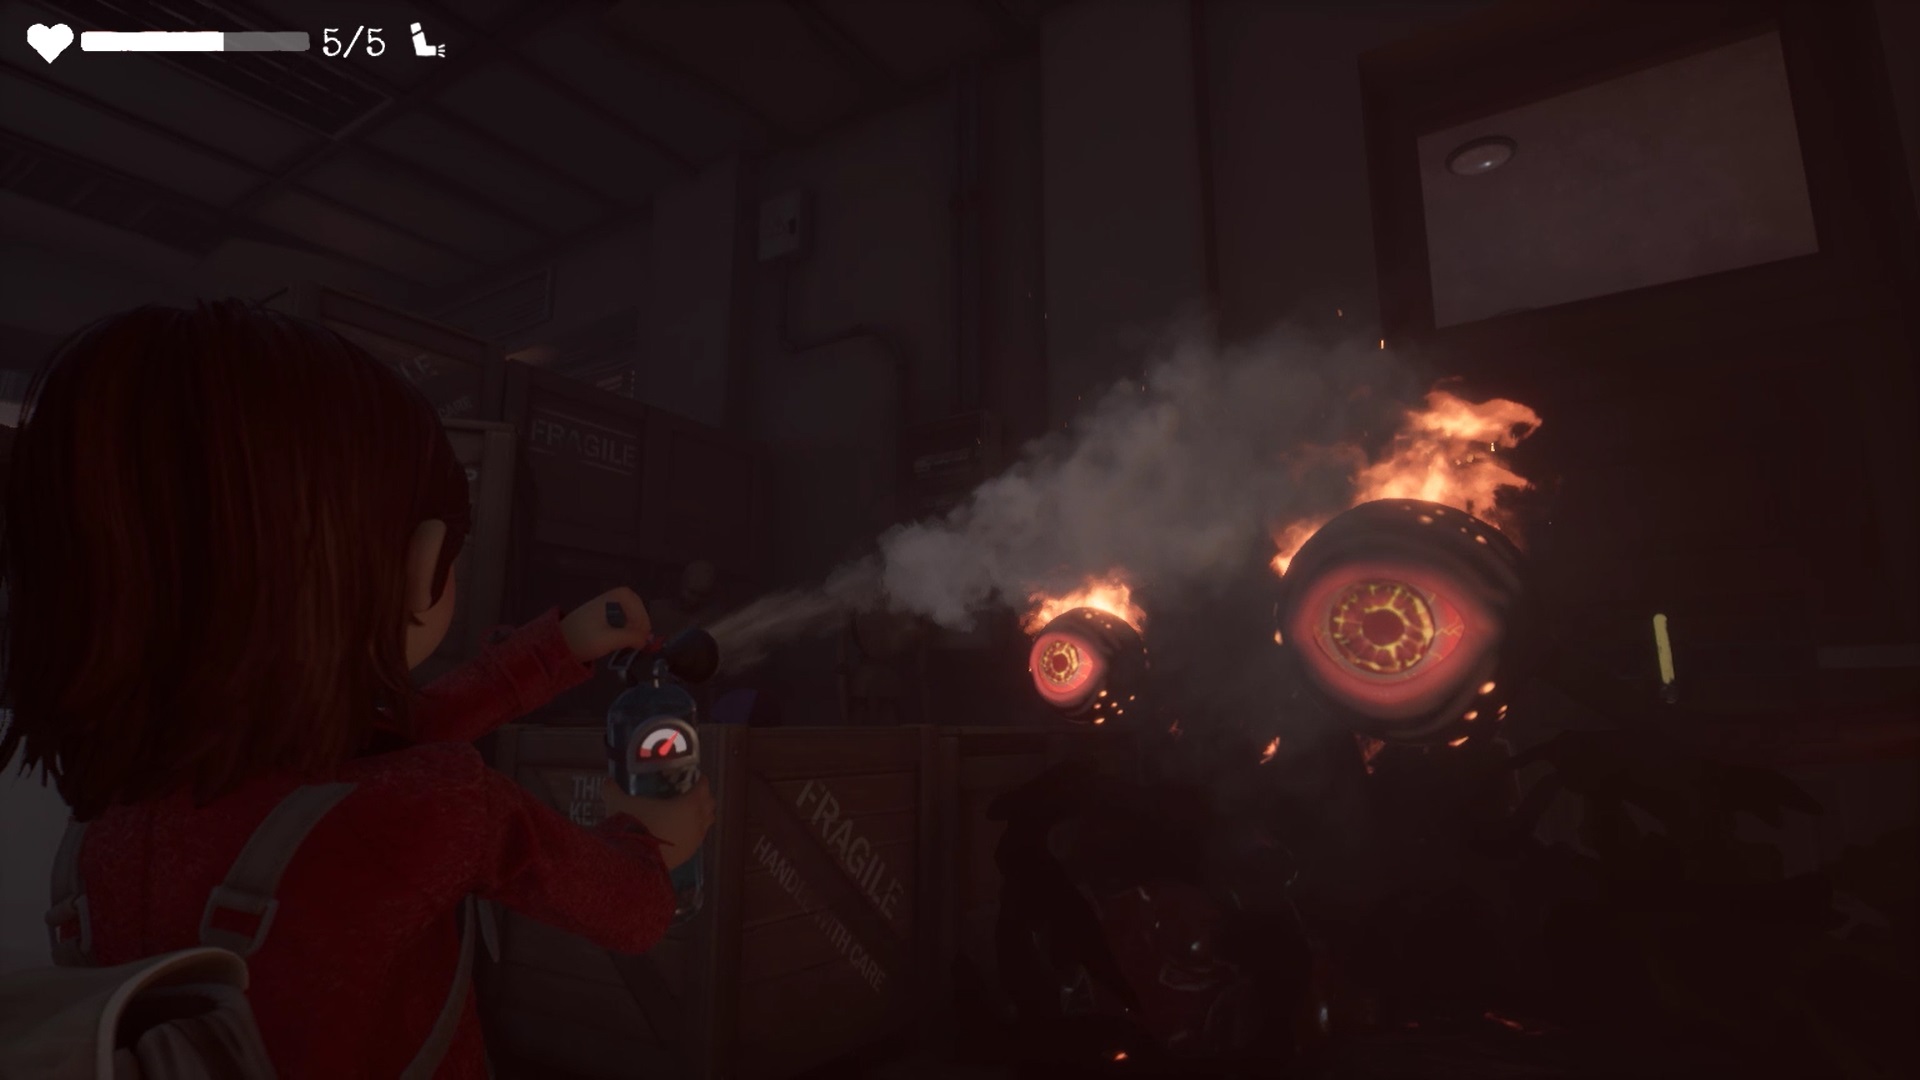
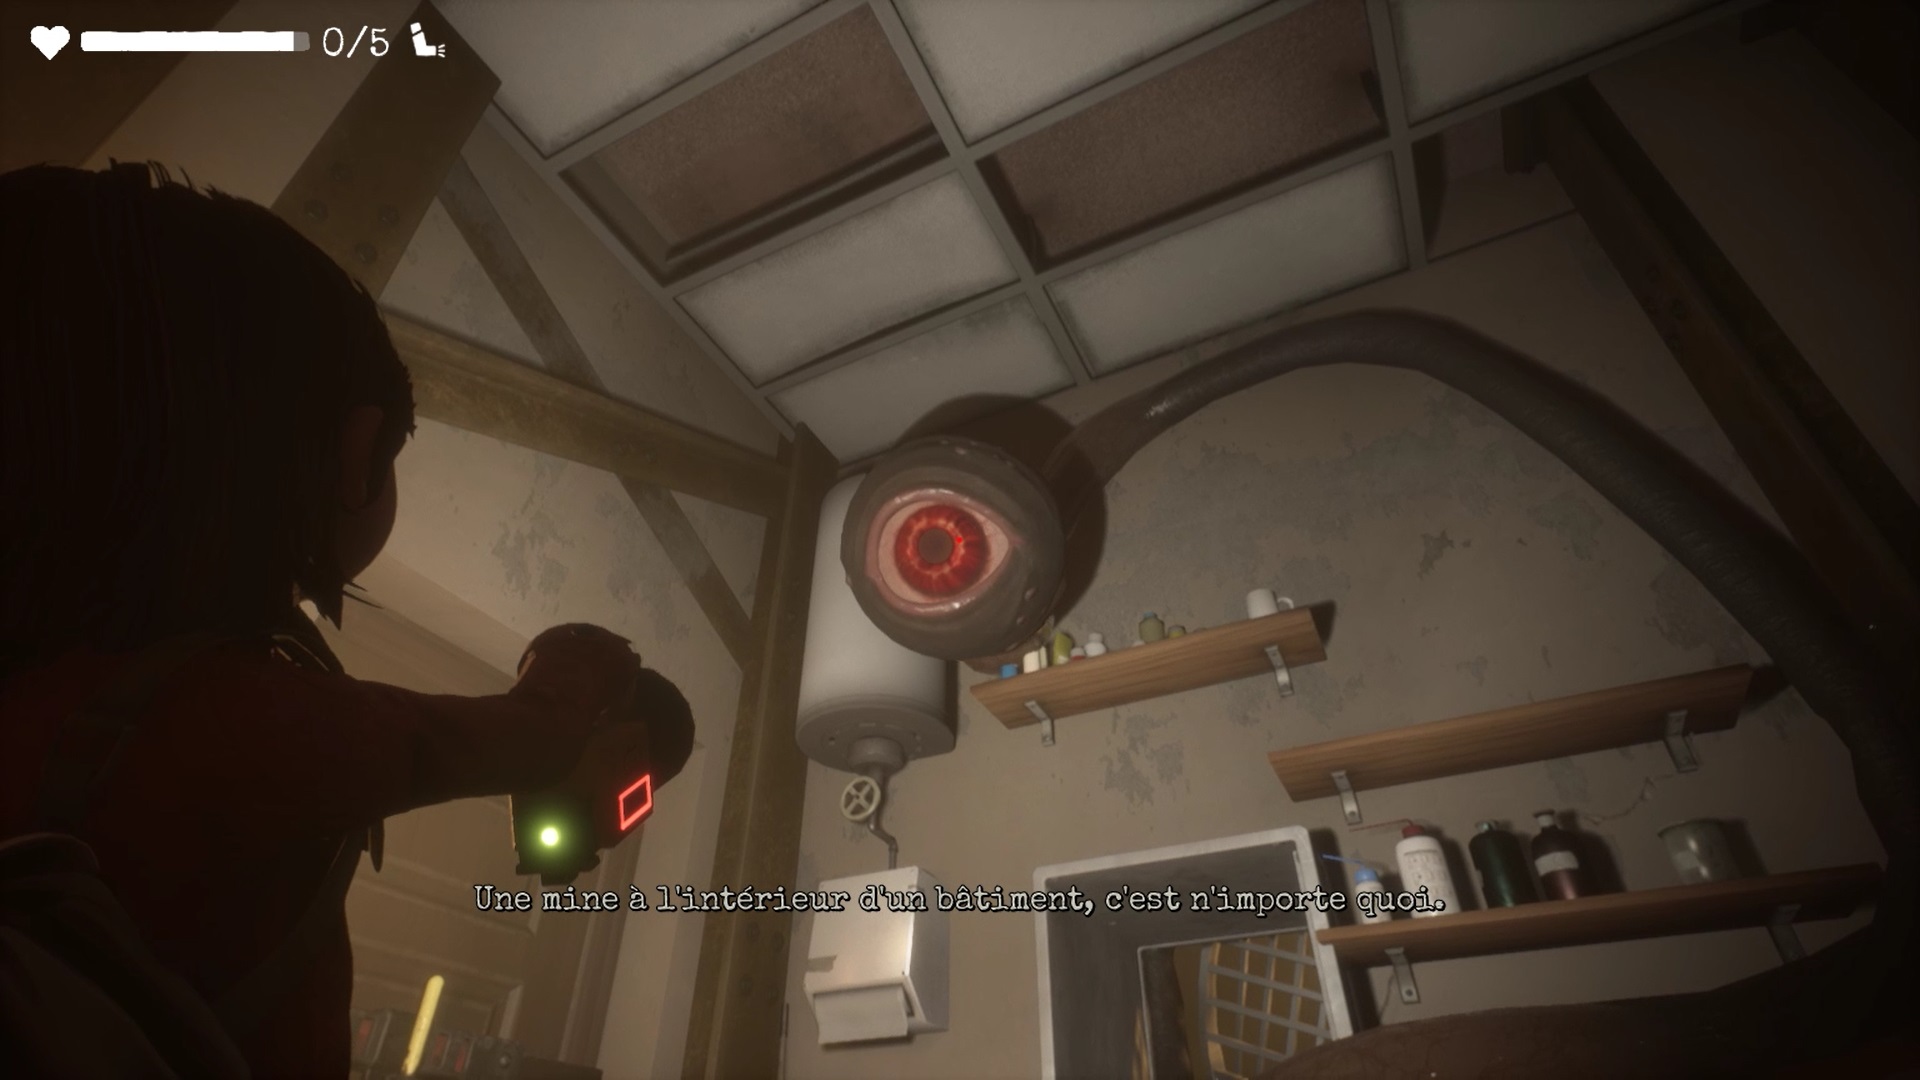
Go towards room AO2 to find a fire extinguisher. It allows you to: extinguish flames, freeze enemies, electrified puddles and jets of vapor. With the fire extinguisher in hand, continue forward, extinguishing the flames to reach room AO2. Before the gate of flaming eyes block your way. Use the extinguisher on the eyes to unlock the door.


Go back down to the ground floor with the elevator. Climb the stairs, extinguishing the flames to return to the first floor. Head towards room A01. A hatch in the wall of the room allows you to sneak in.
Go through room A01 to return to the main hallway. A flaming eye is near the railing. Use the fire extinguisher to unlock one of the statue’s chains. To unlock the second chain, return to the ground floor. Then go up to the first floor by the elevator. Go to the level of the ladder that allowed you to reach room A02.
To reach the high passage that leads to room A03, place the ladder to the right of the elevator. Climb the ladder to reach the room.
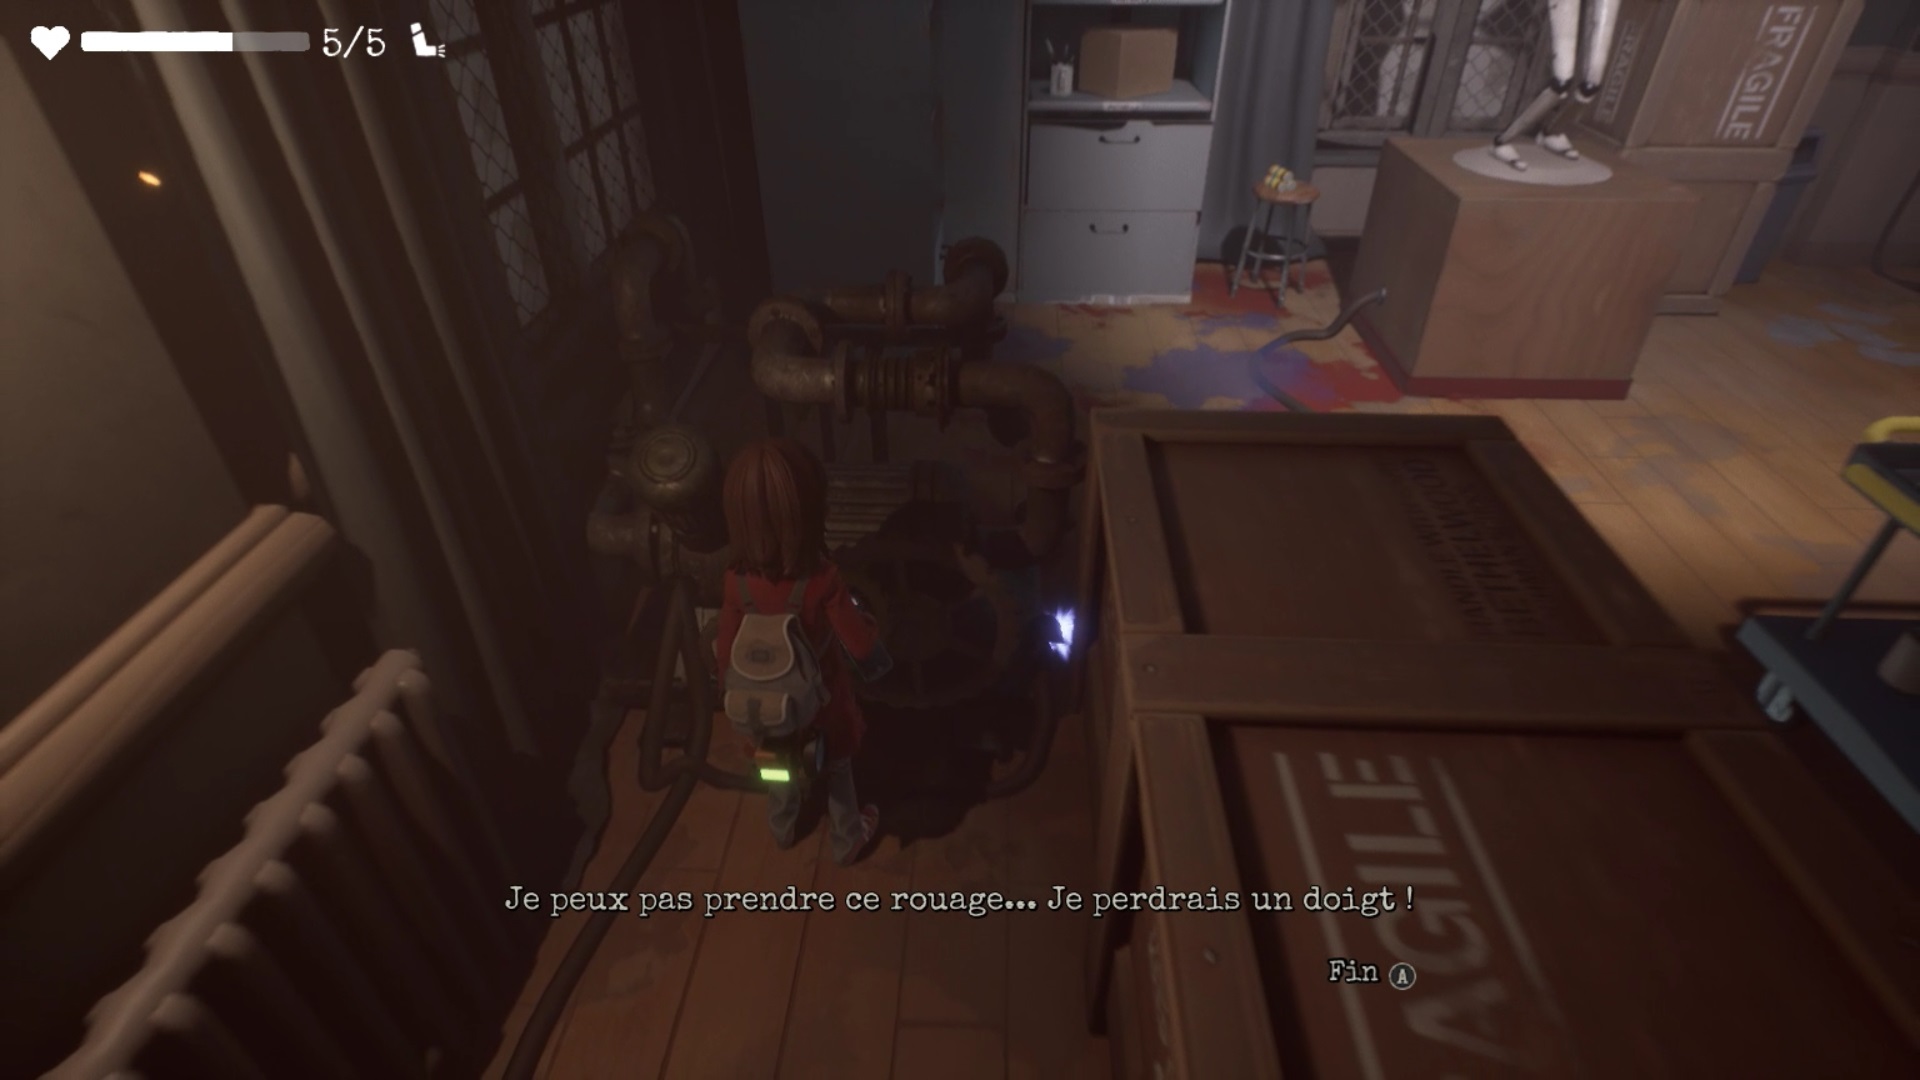
To open the door to the room, you need to find a cog. It is located behind the wooden crates facing the exit door. When you have collected it, place it on the mechanism of the exit door. You now need to supply the door mechanism with electricity to exit.
Opposite the location of the cog, there is a cart with a stone. The trolley is unfortunately stuck on a puddle of electric water. Use your fire extinguisher on the water to unlock the cart. Place the cart behind the flimsy wooden crate near a clown board. Power the stone with light from your torch to unlock the door’s power points.
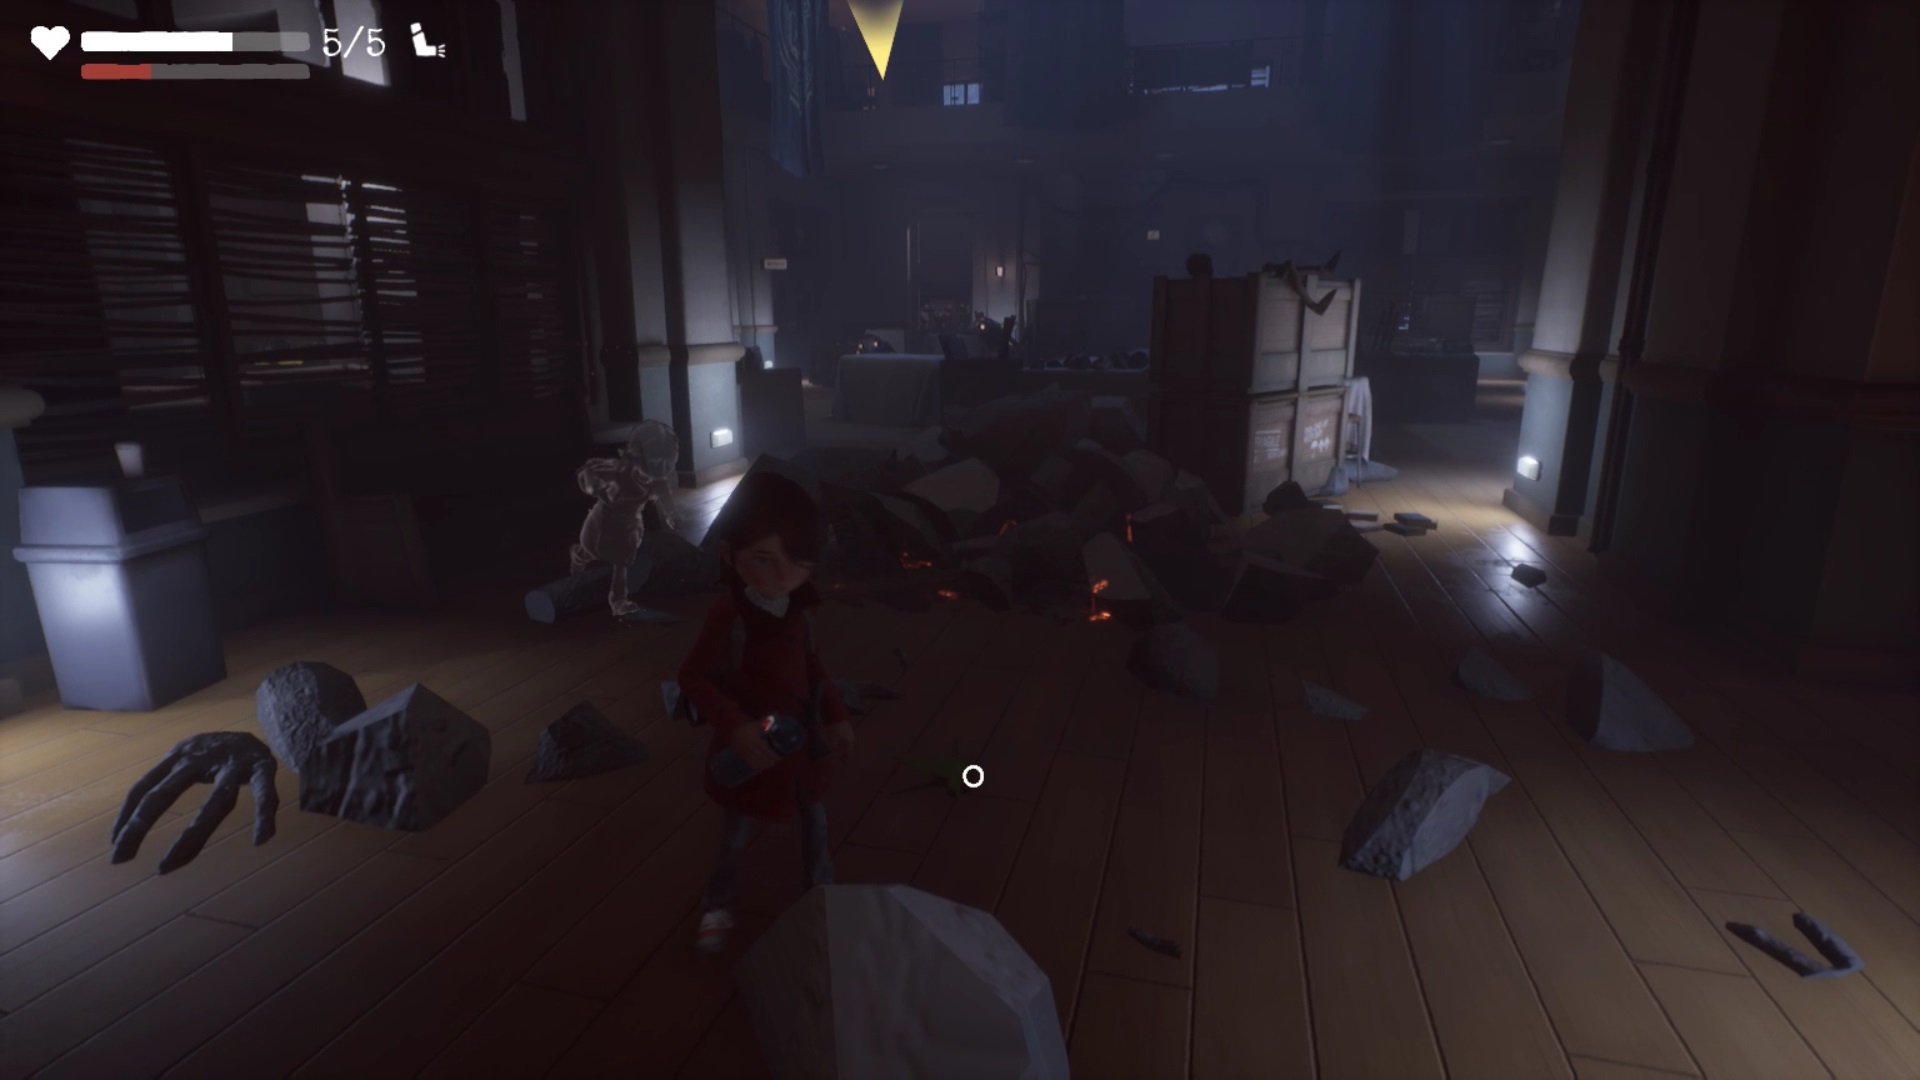
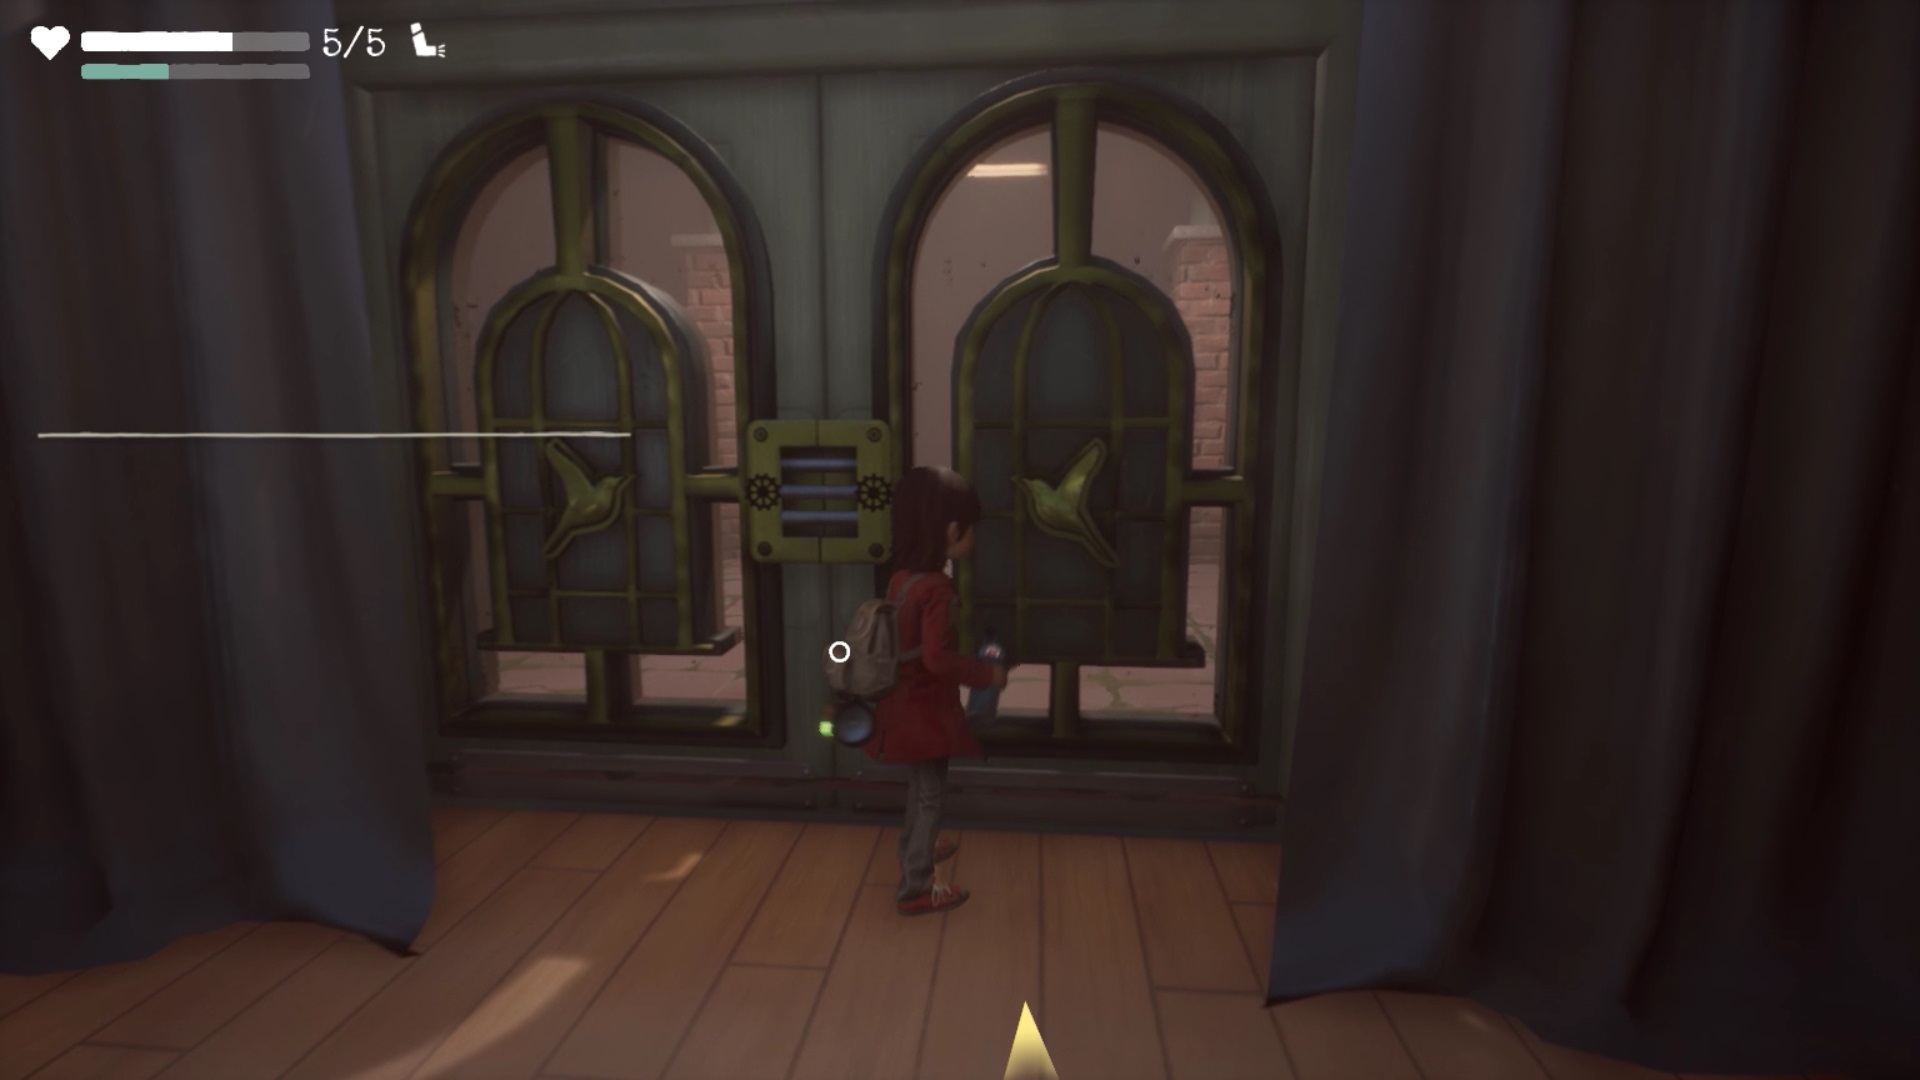
Head out into the hallway to find a Flaming Second Eye. Use the fire extinguisher to eradicate it and unlock the statue’s chains to knock it down. Return to the ground floor to collect the canary near the debris of the statue. You can now exit the art center to rescue Emily.
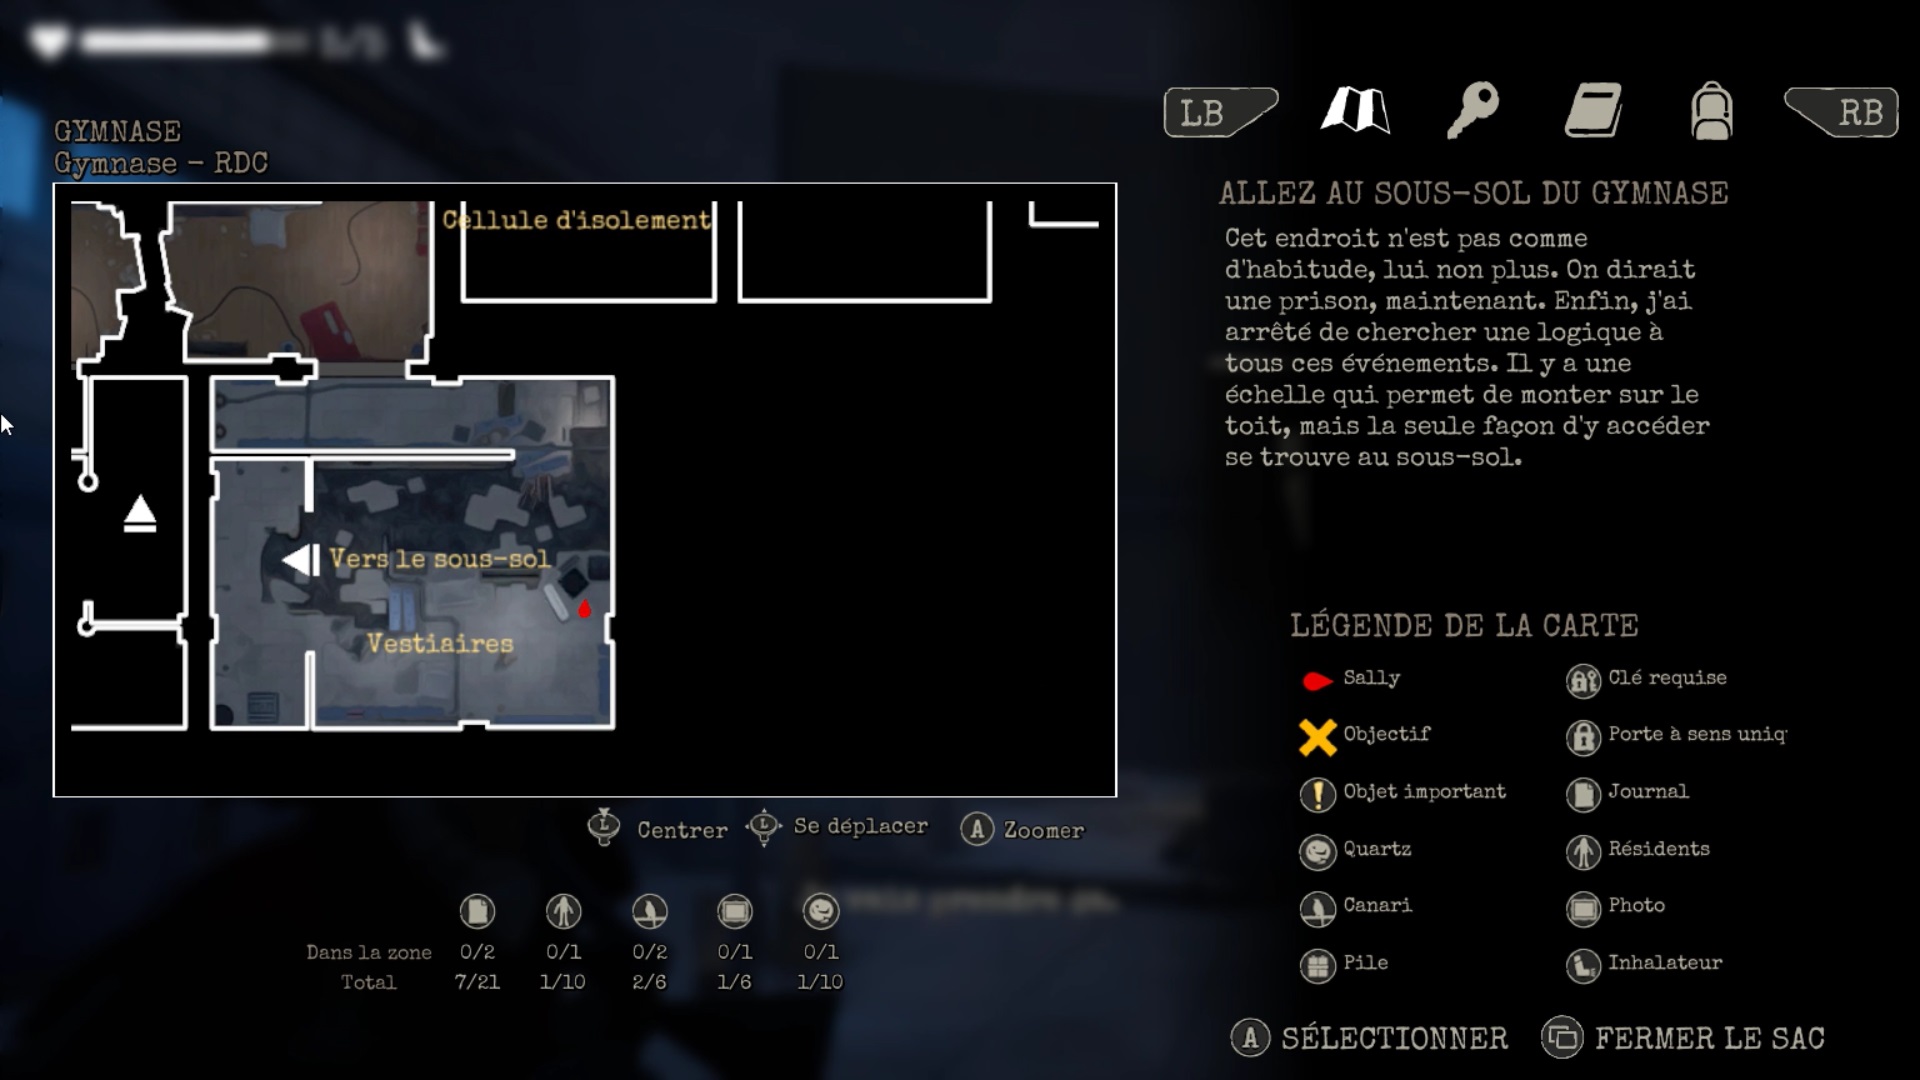
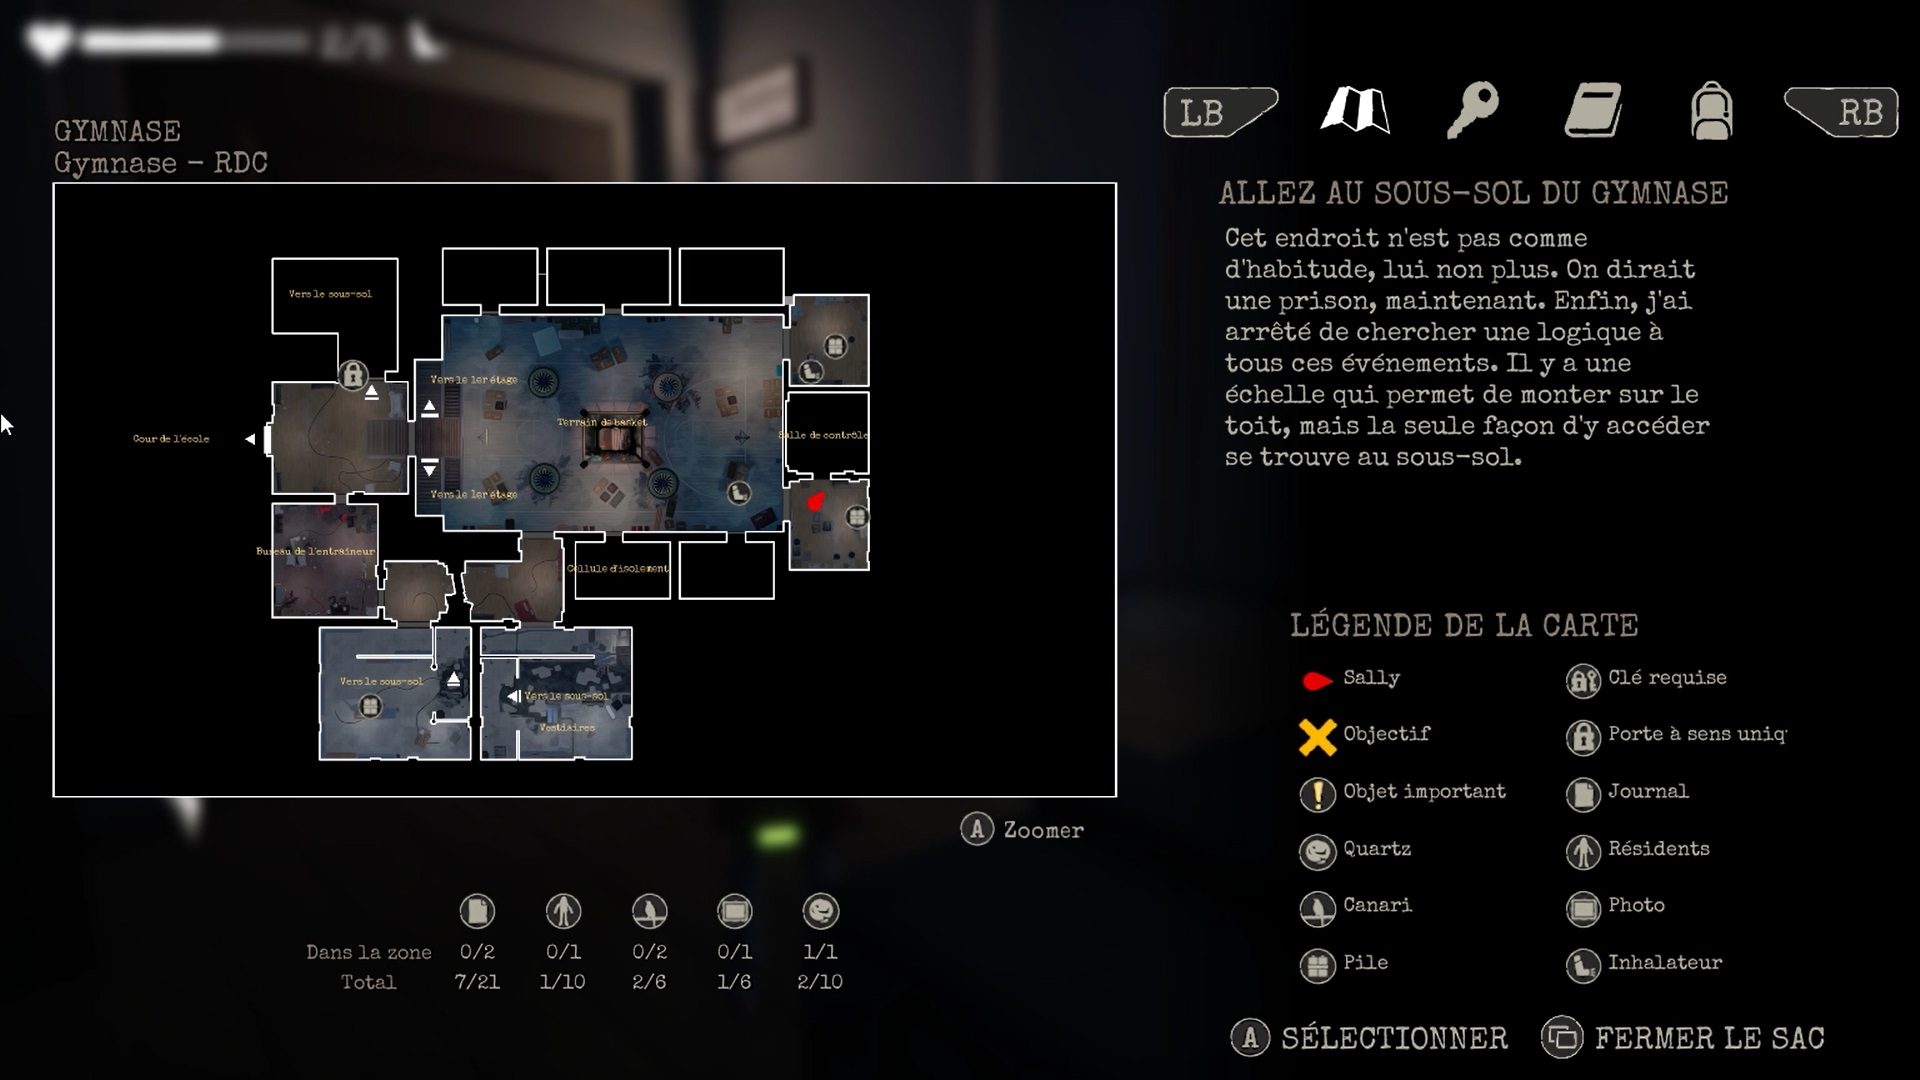
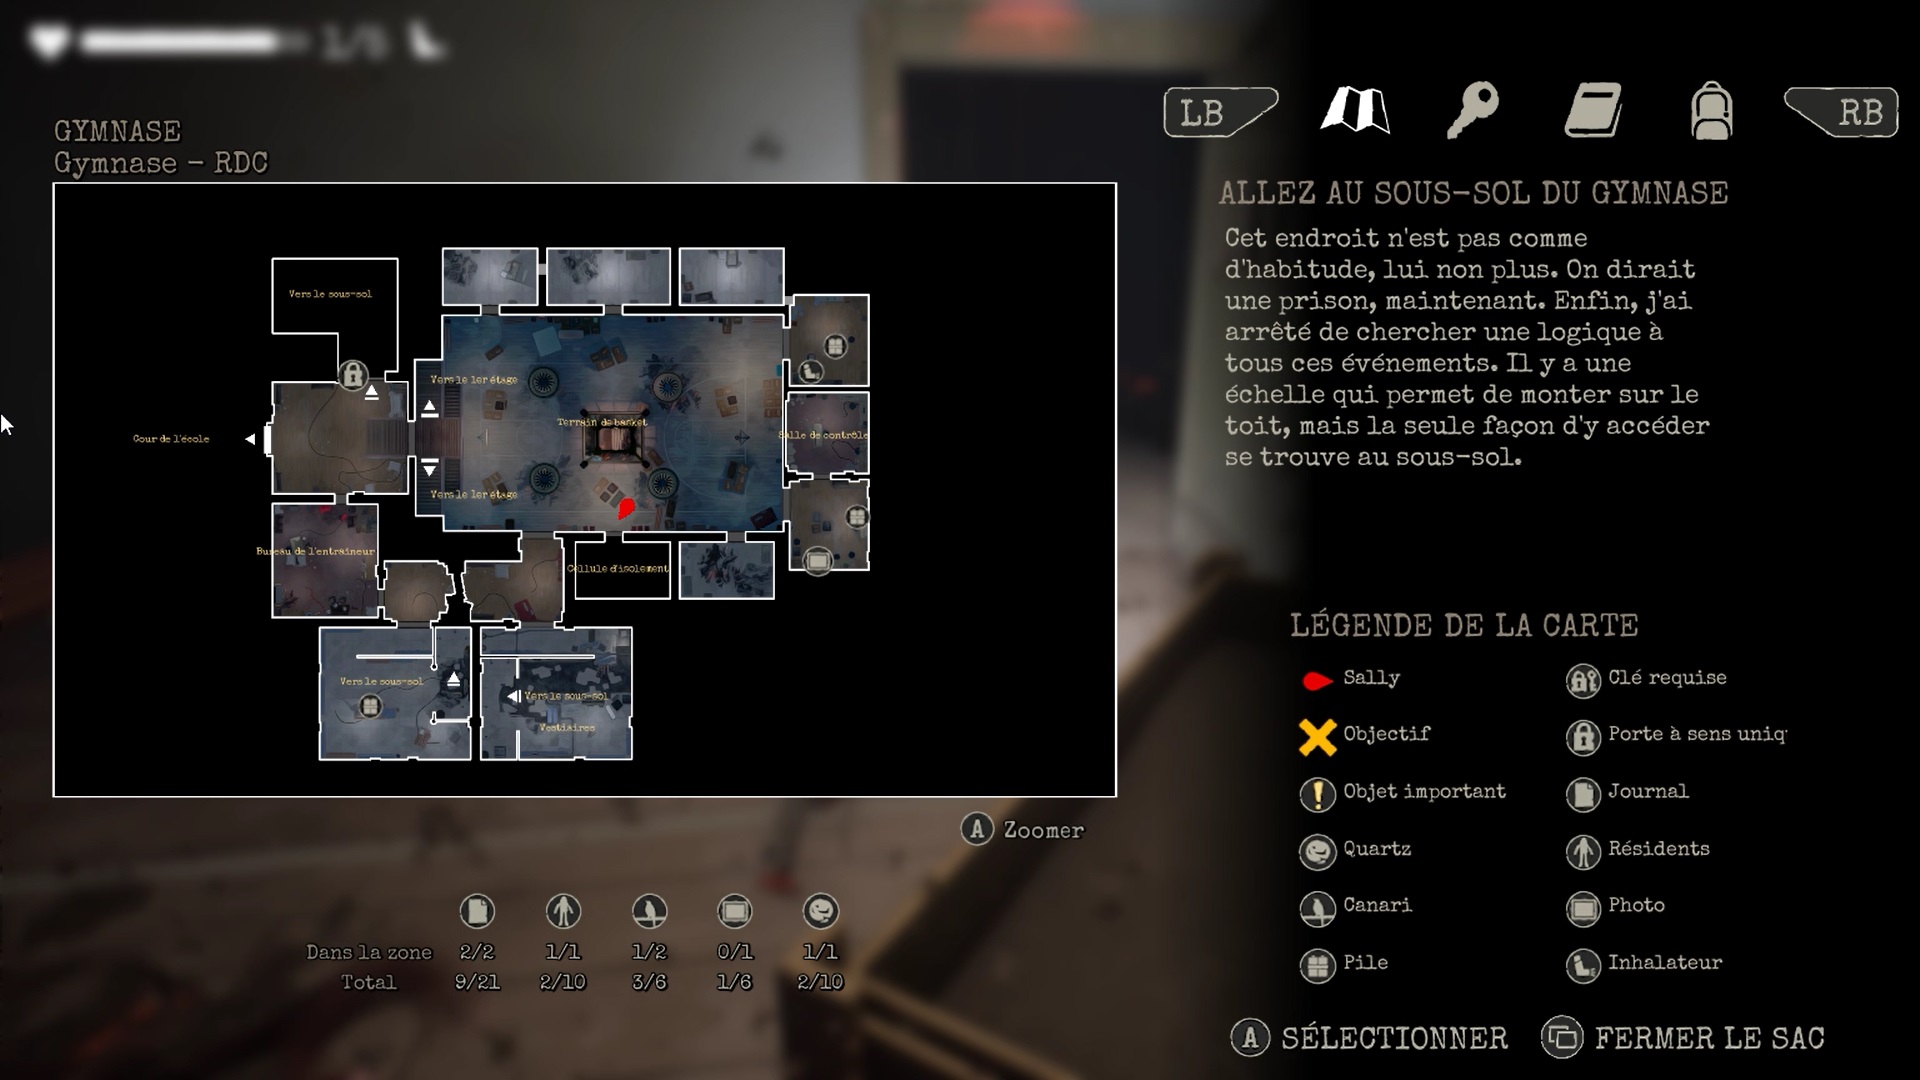
Gymnasium
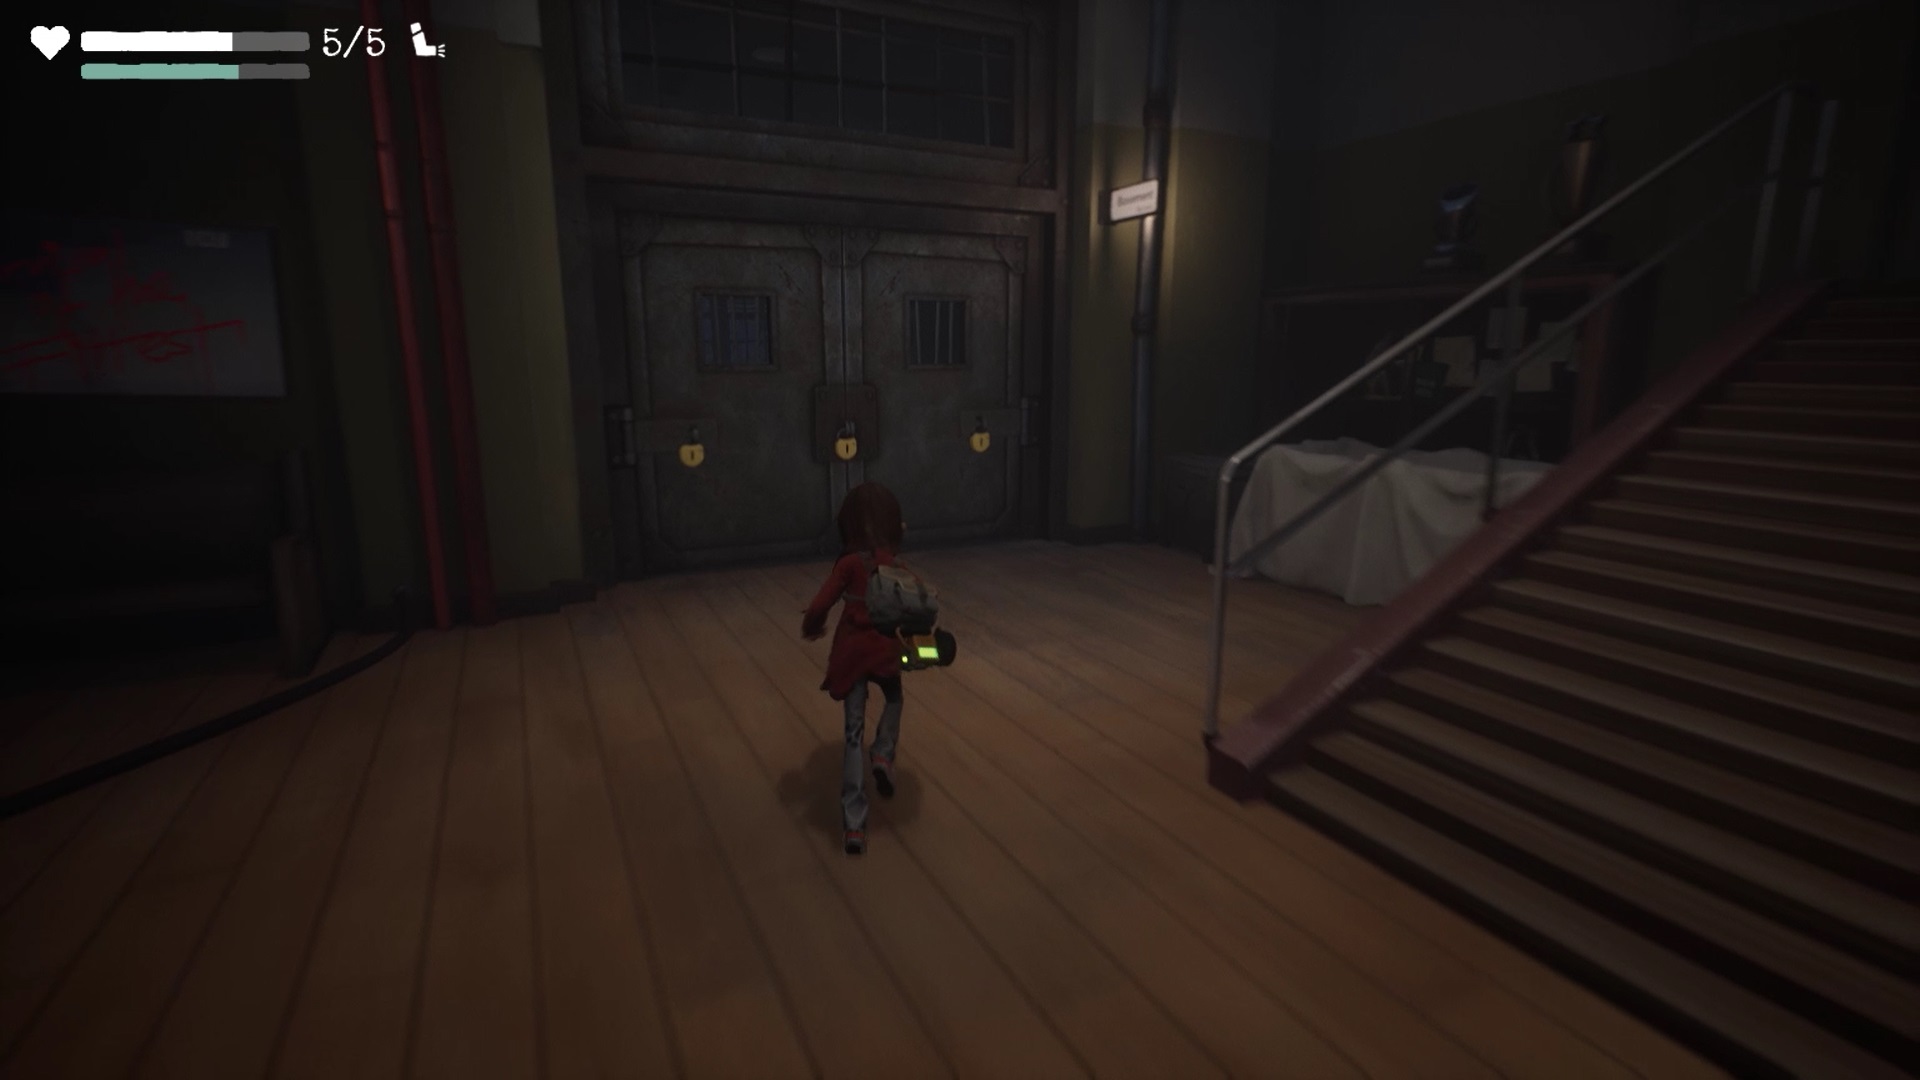
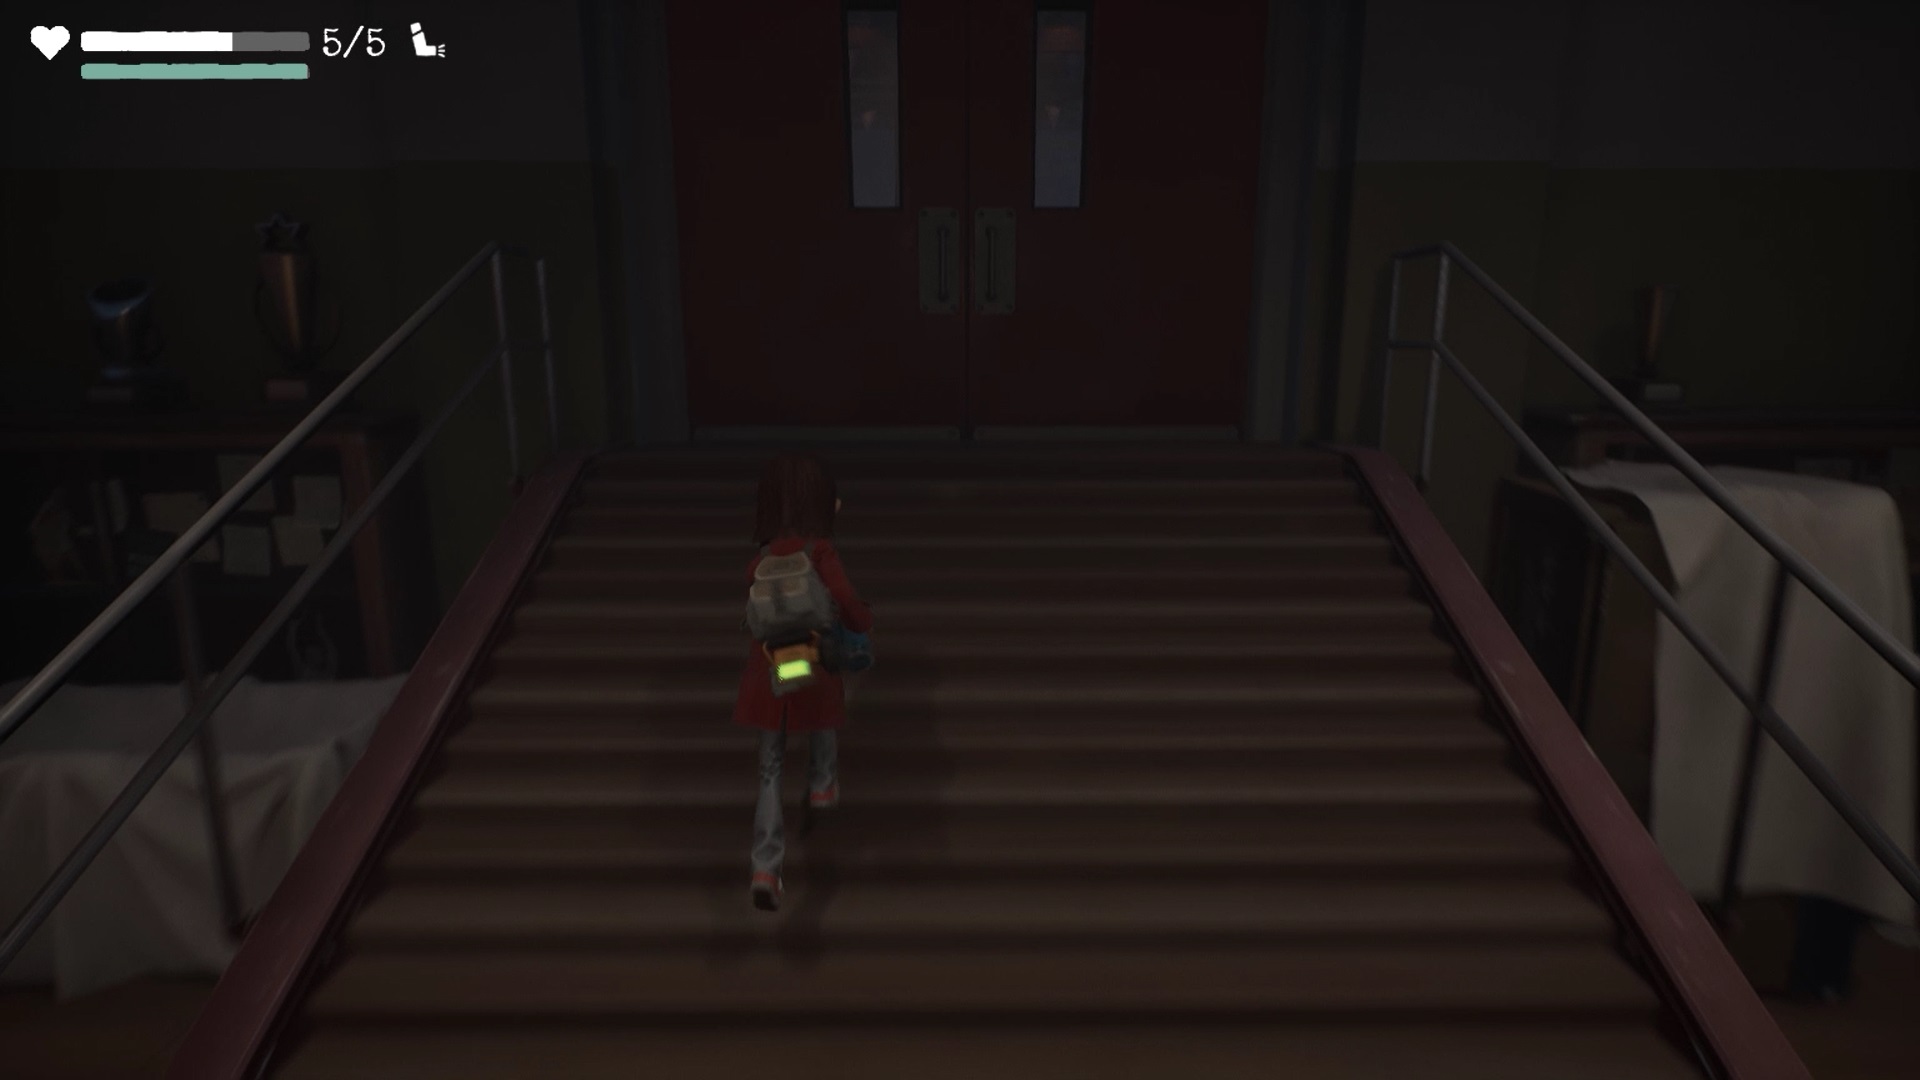
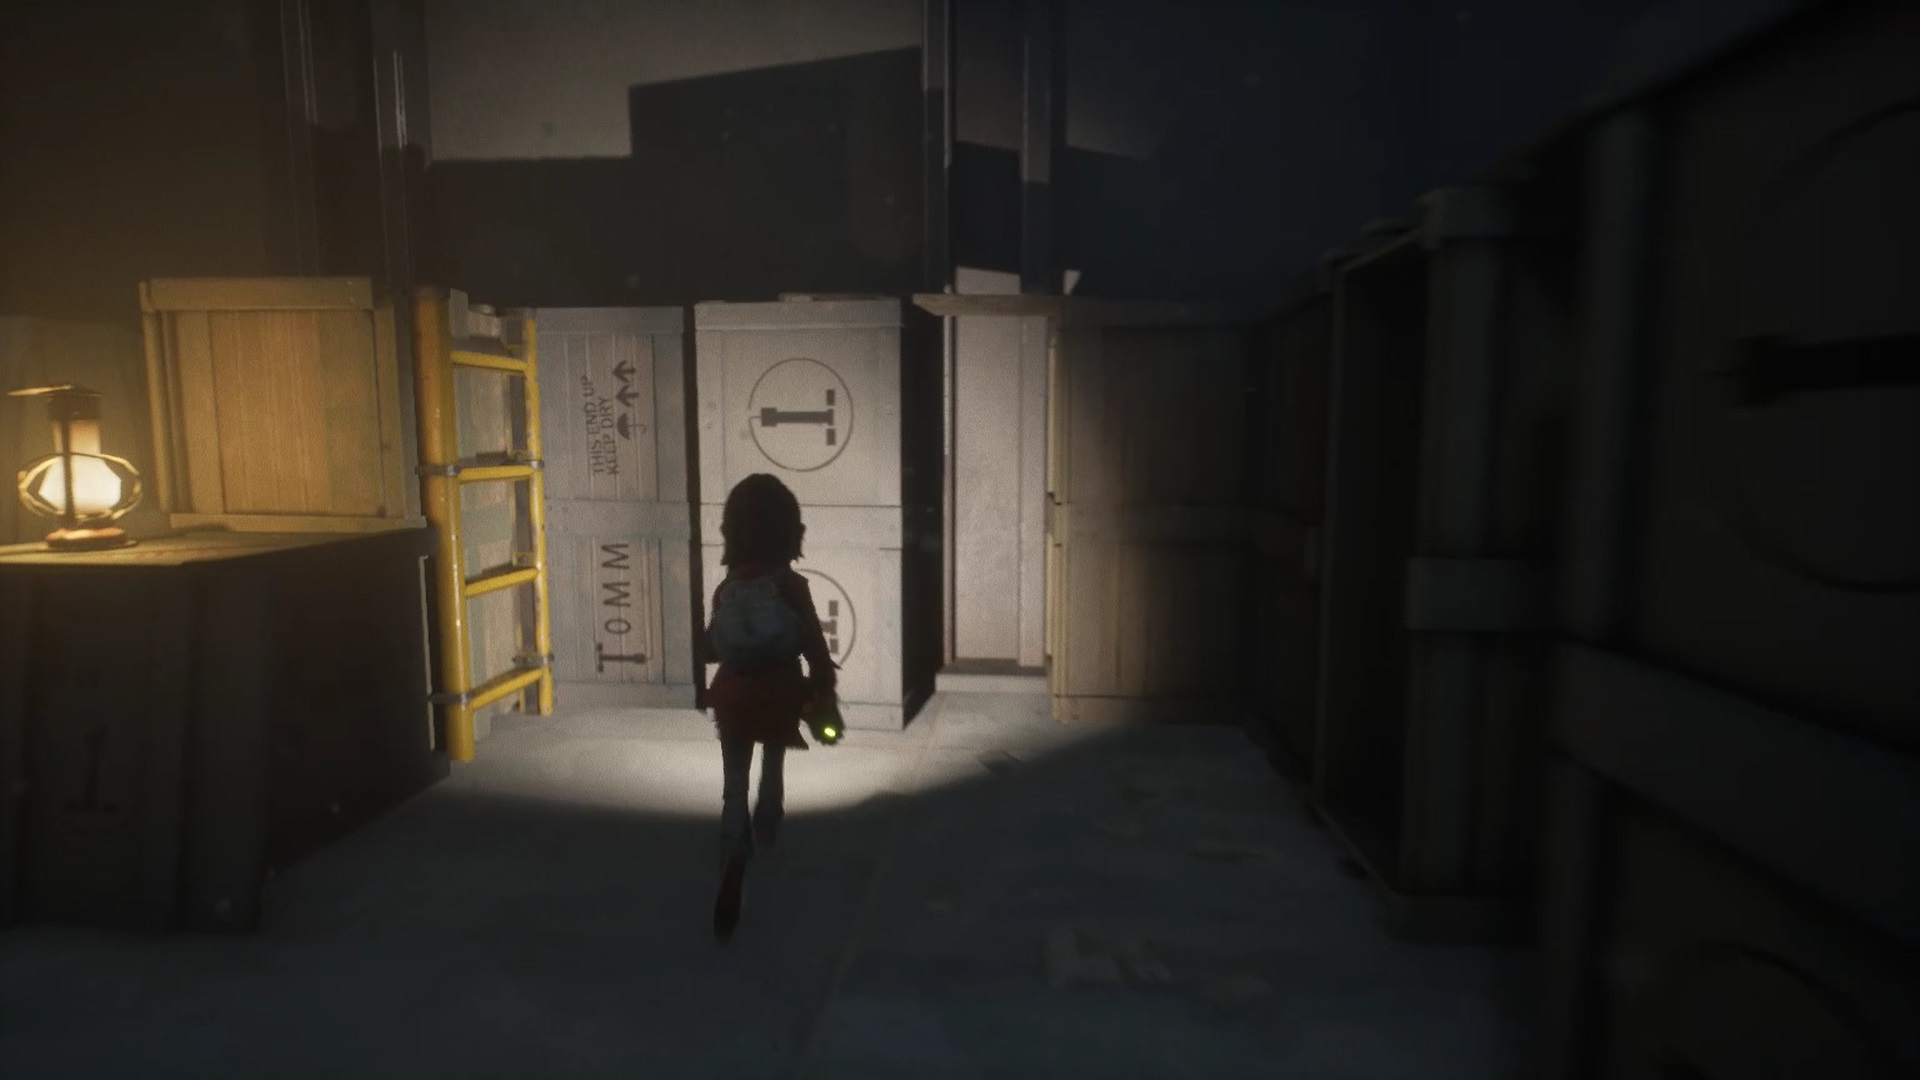
Now head past the gym entrance. Use your lamp on the three flaming eyes that block access to move forward. To the left of the entrance is a door locked with three padlocks. You must find three keys to unlock the padlocks and join Emily. To find the keys, enter the gymnasium through the central double doors.
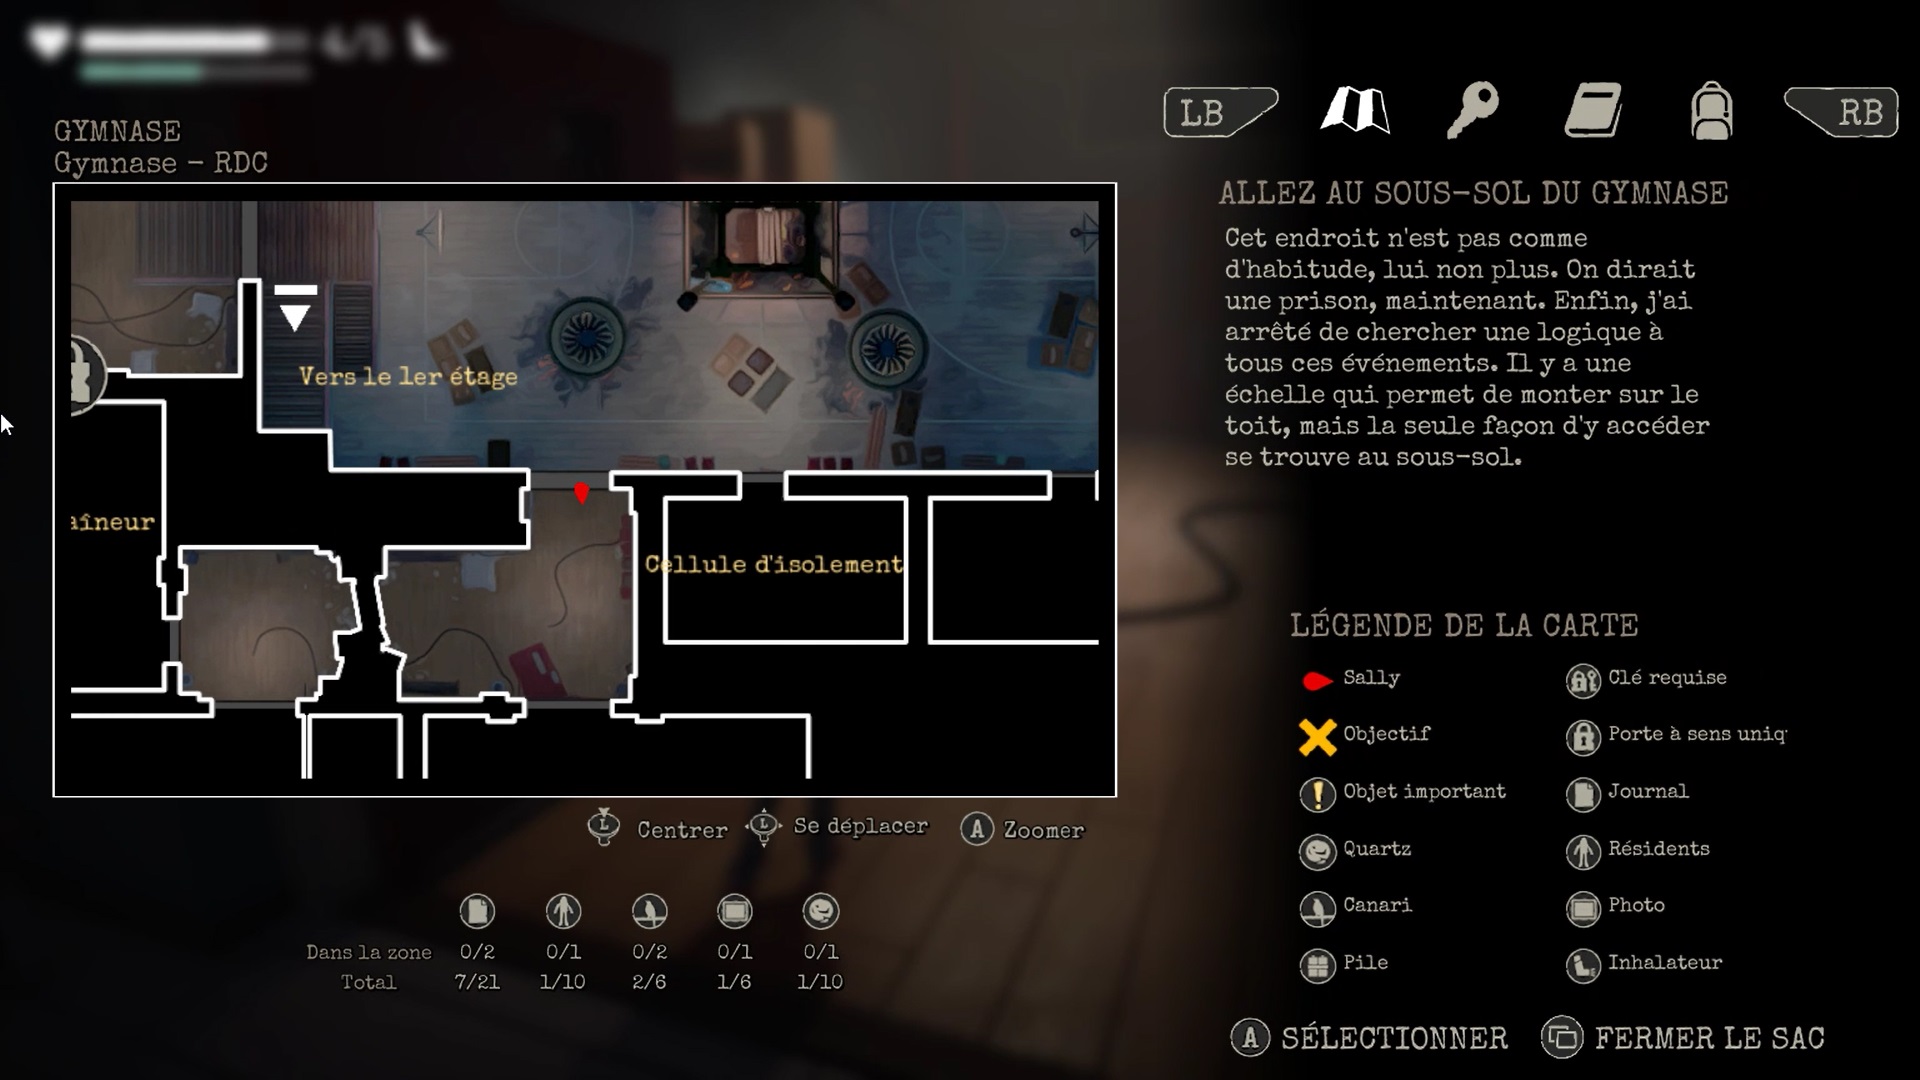
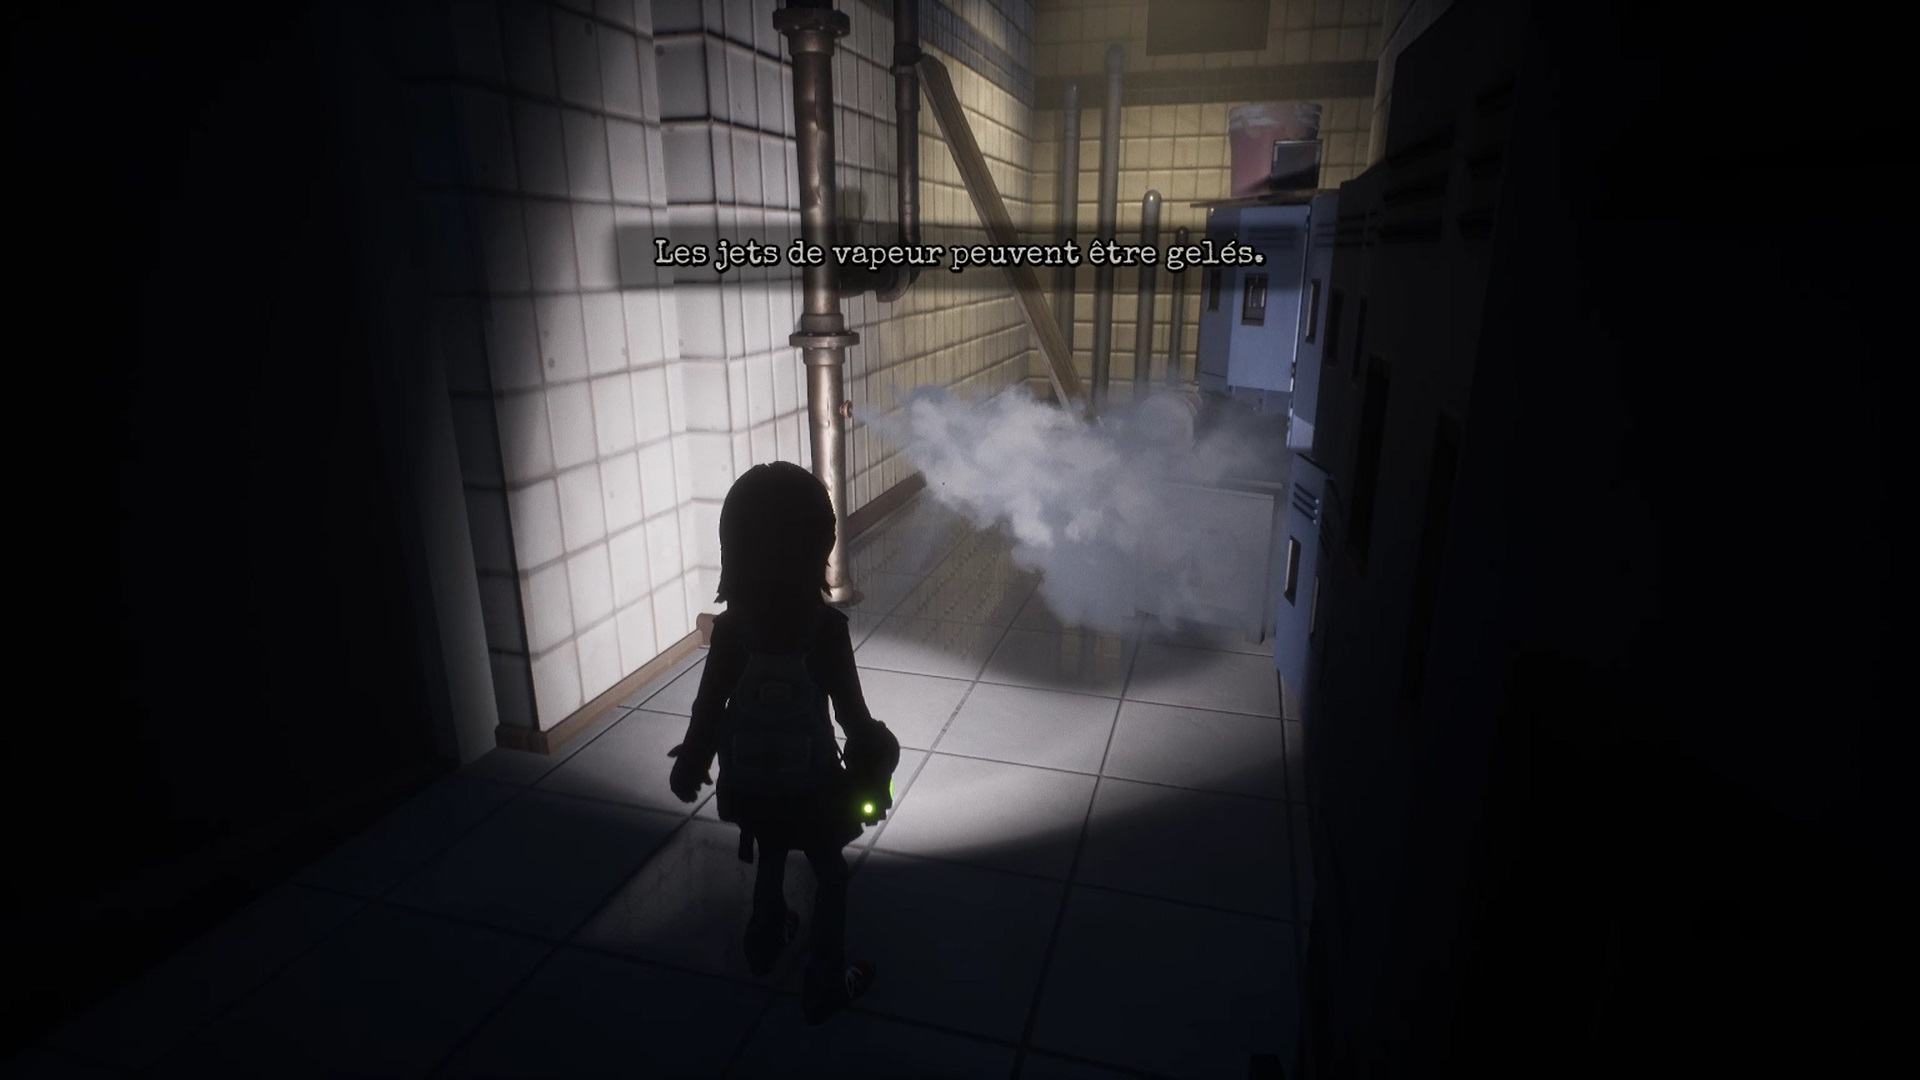
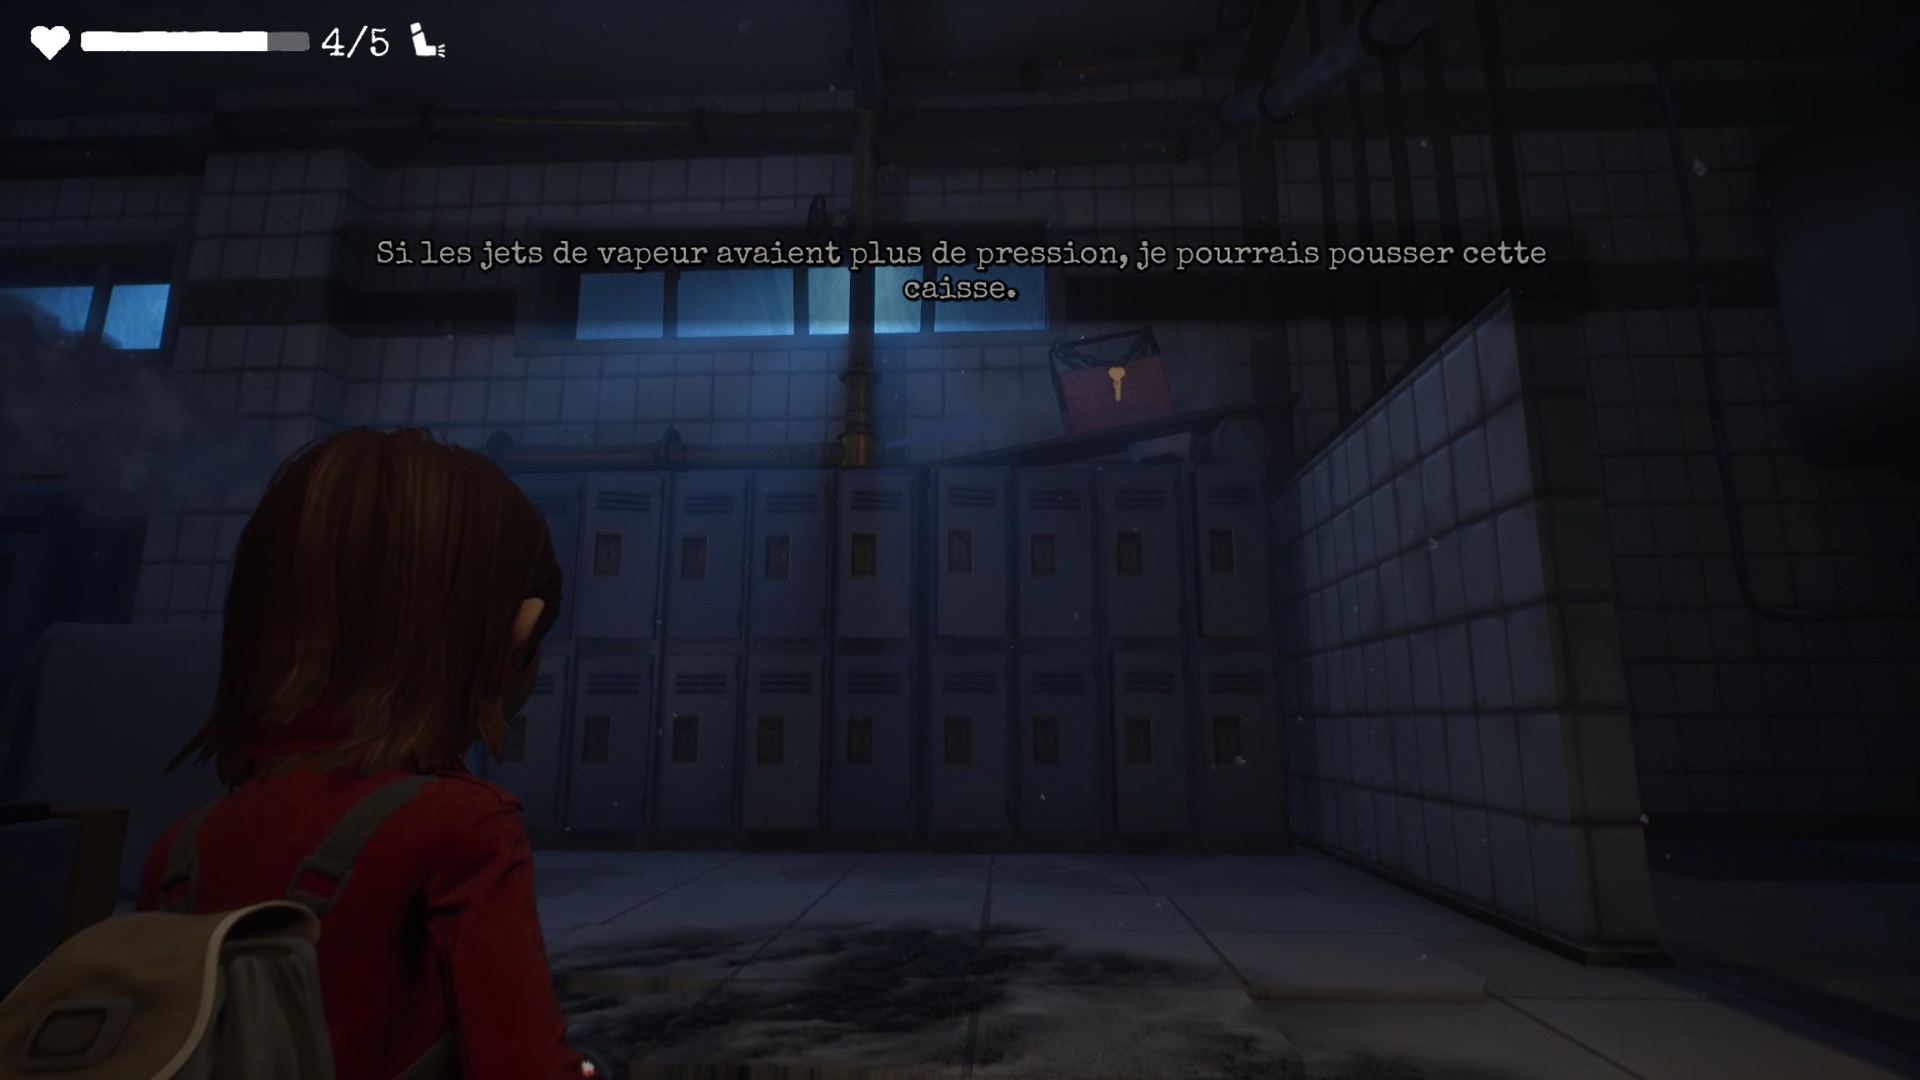
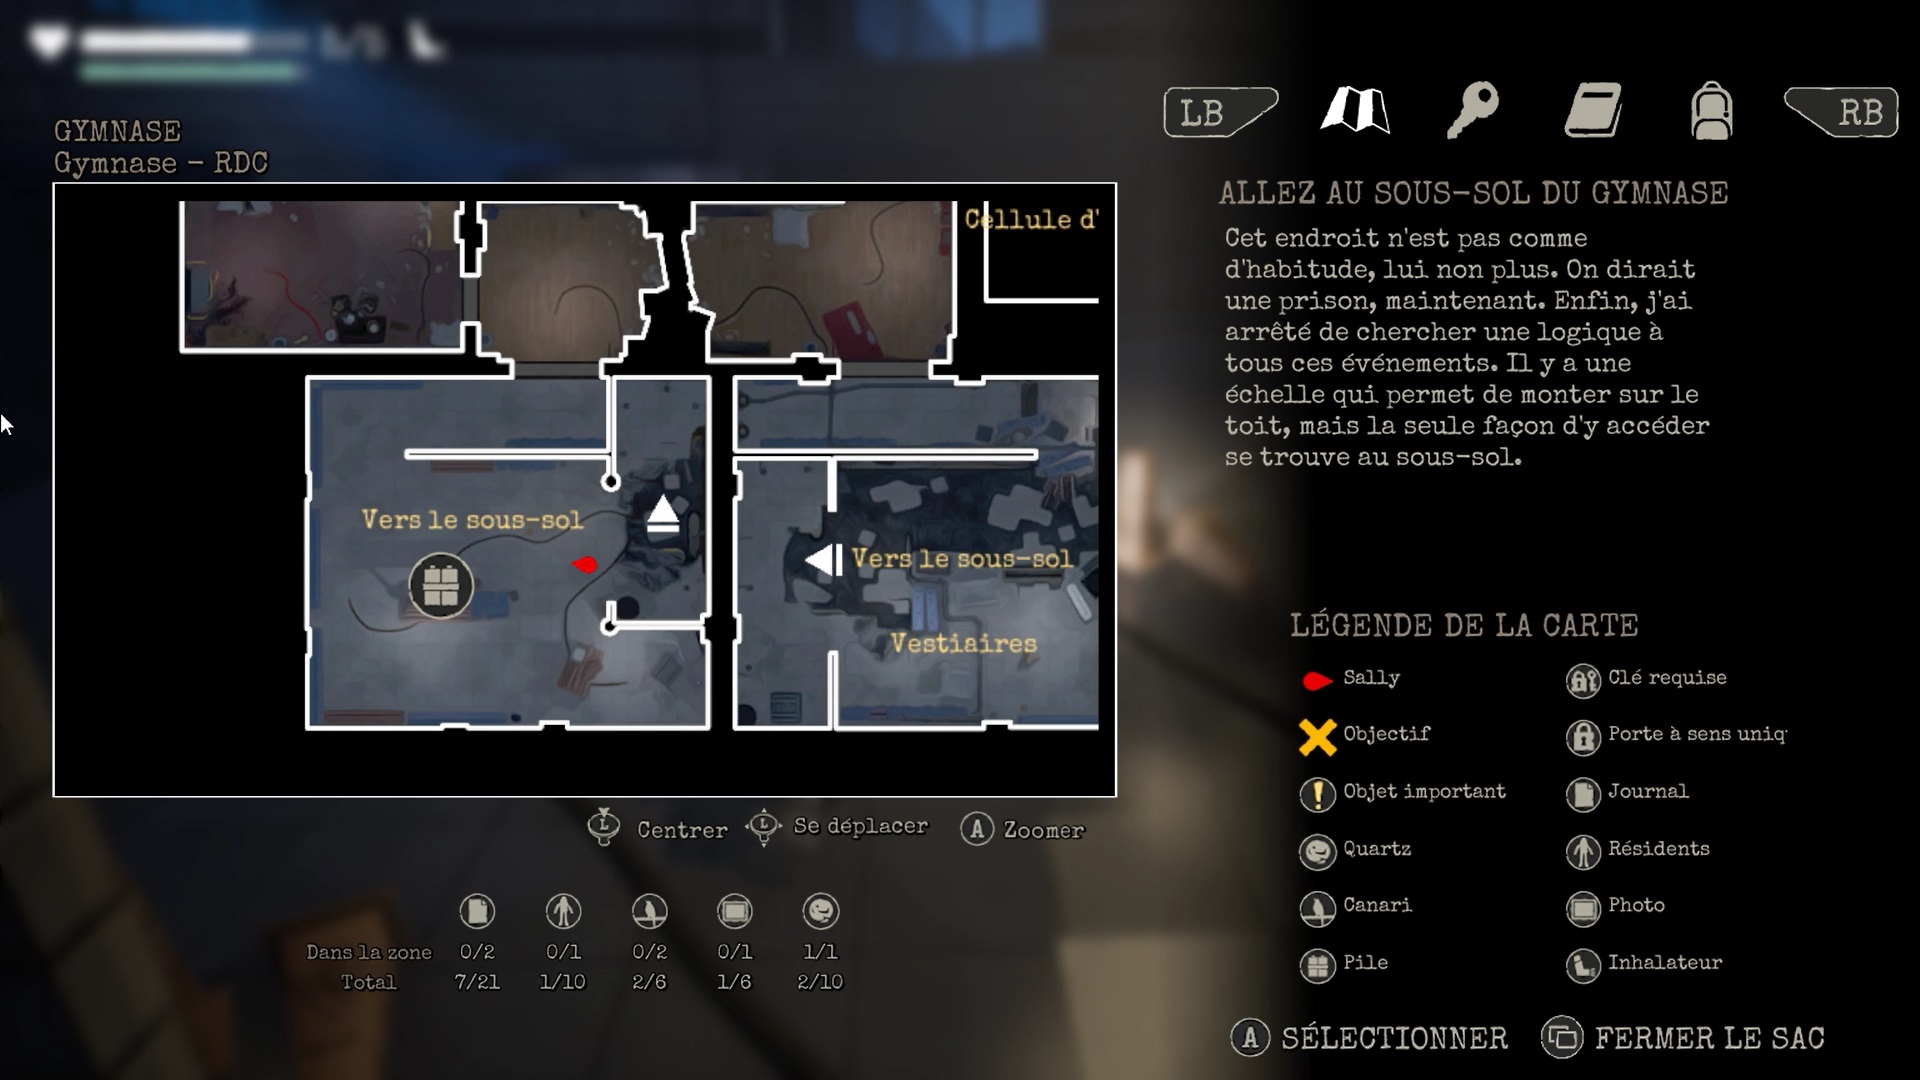
Go down the stairs and head west of the isolation ward to reach the locker rooms. On your way, use your fire extinguisher to freeze the steam jets and clear the way. South of the changing rooms, a wooden crate with the first key is placed on top of a locker.
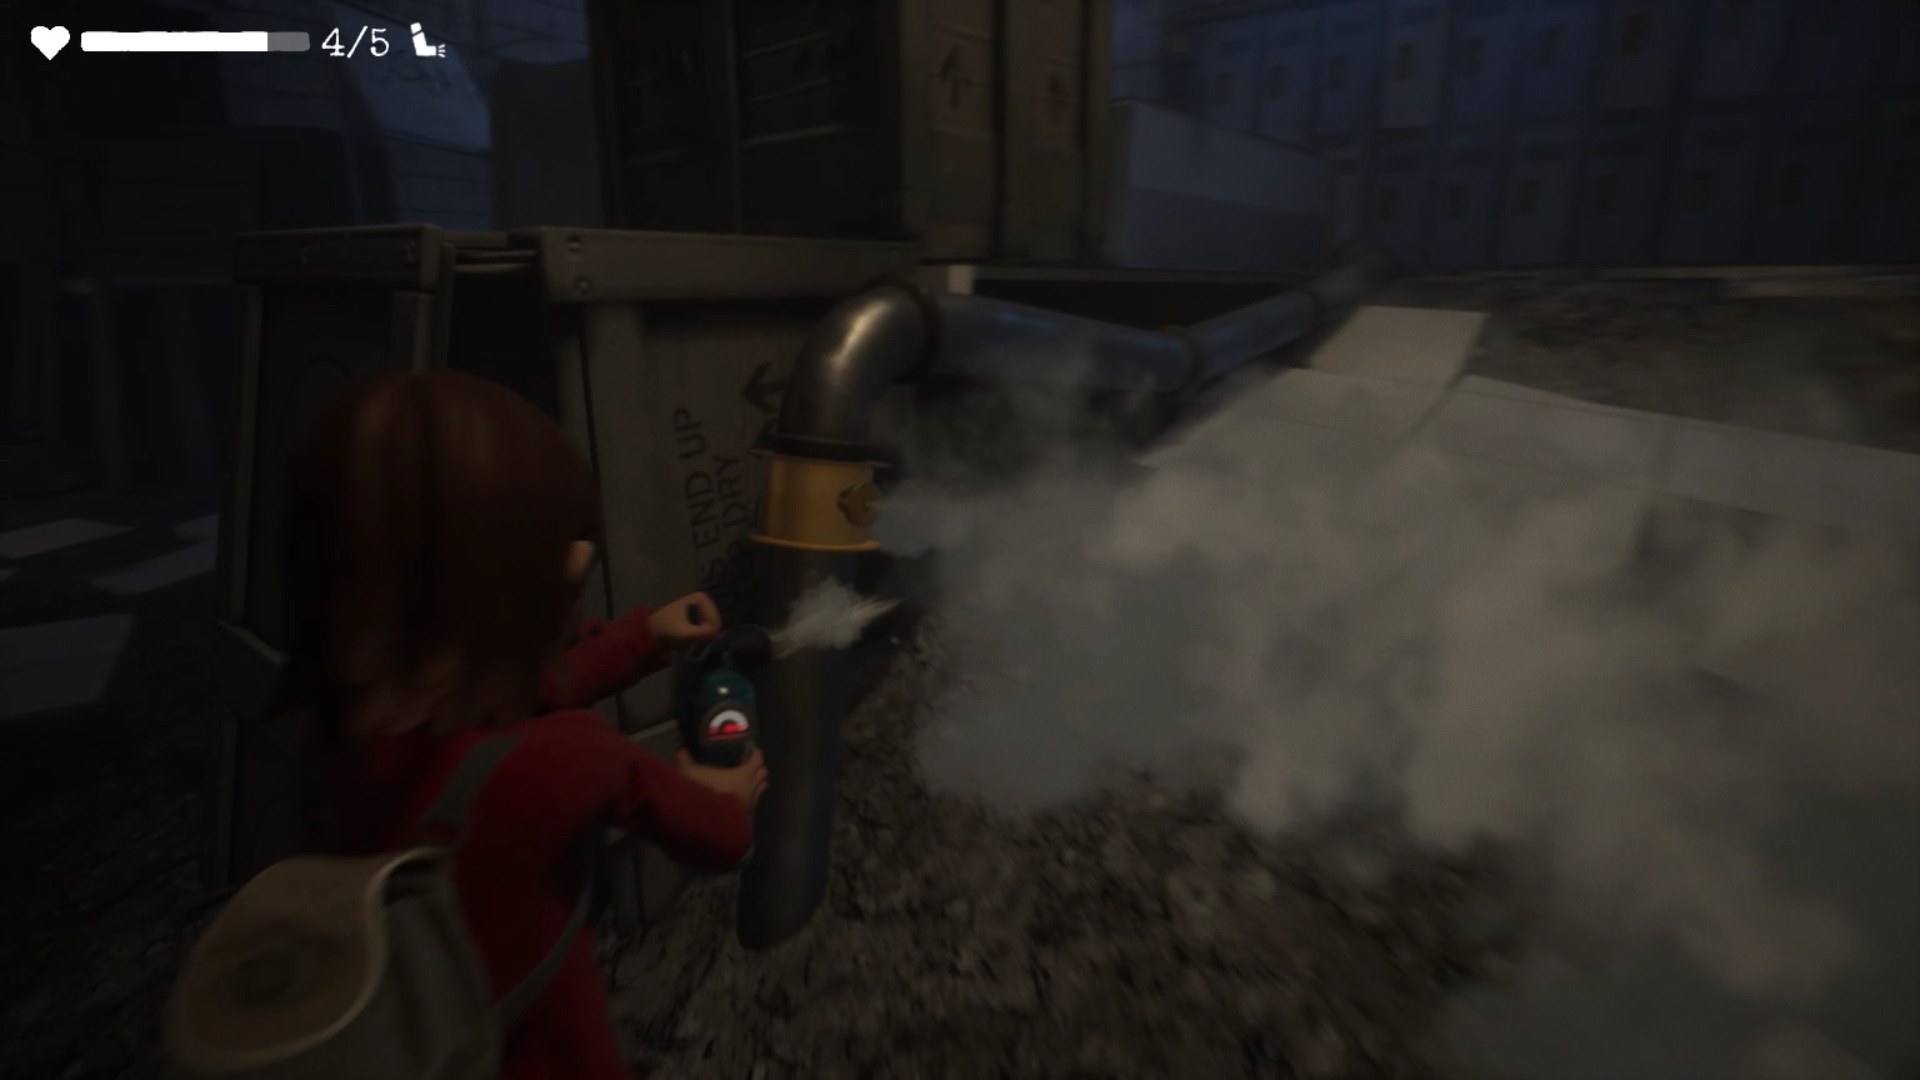
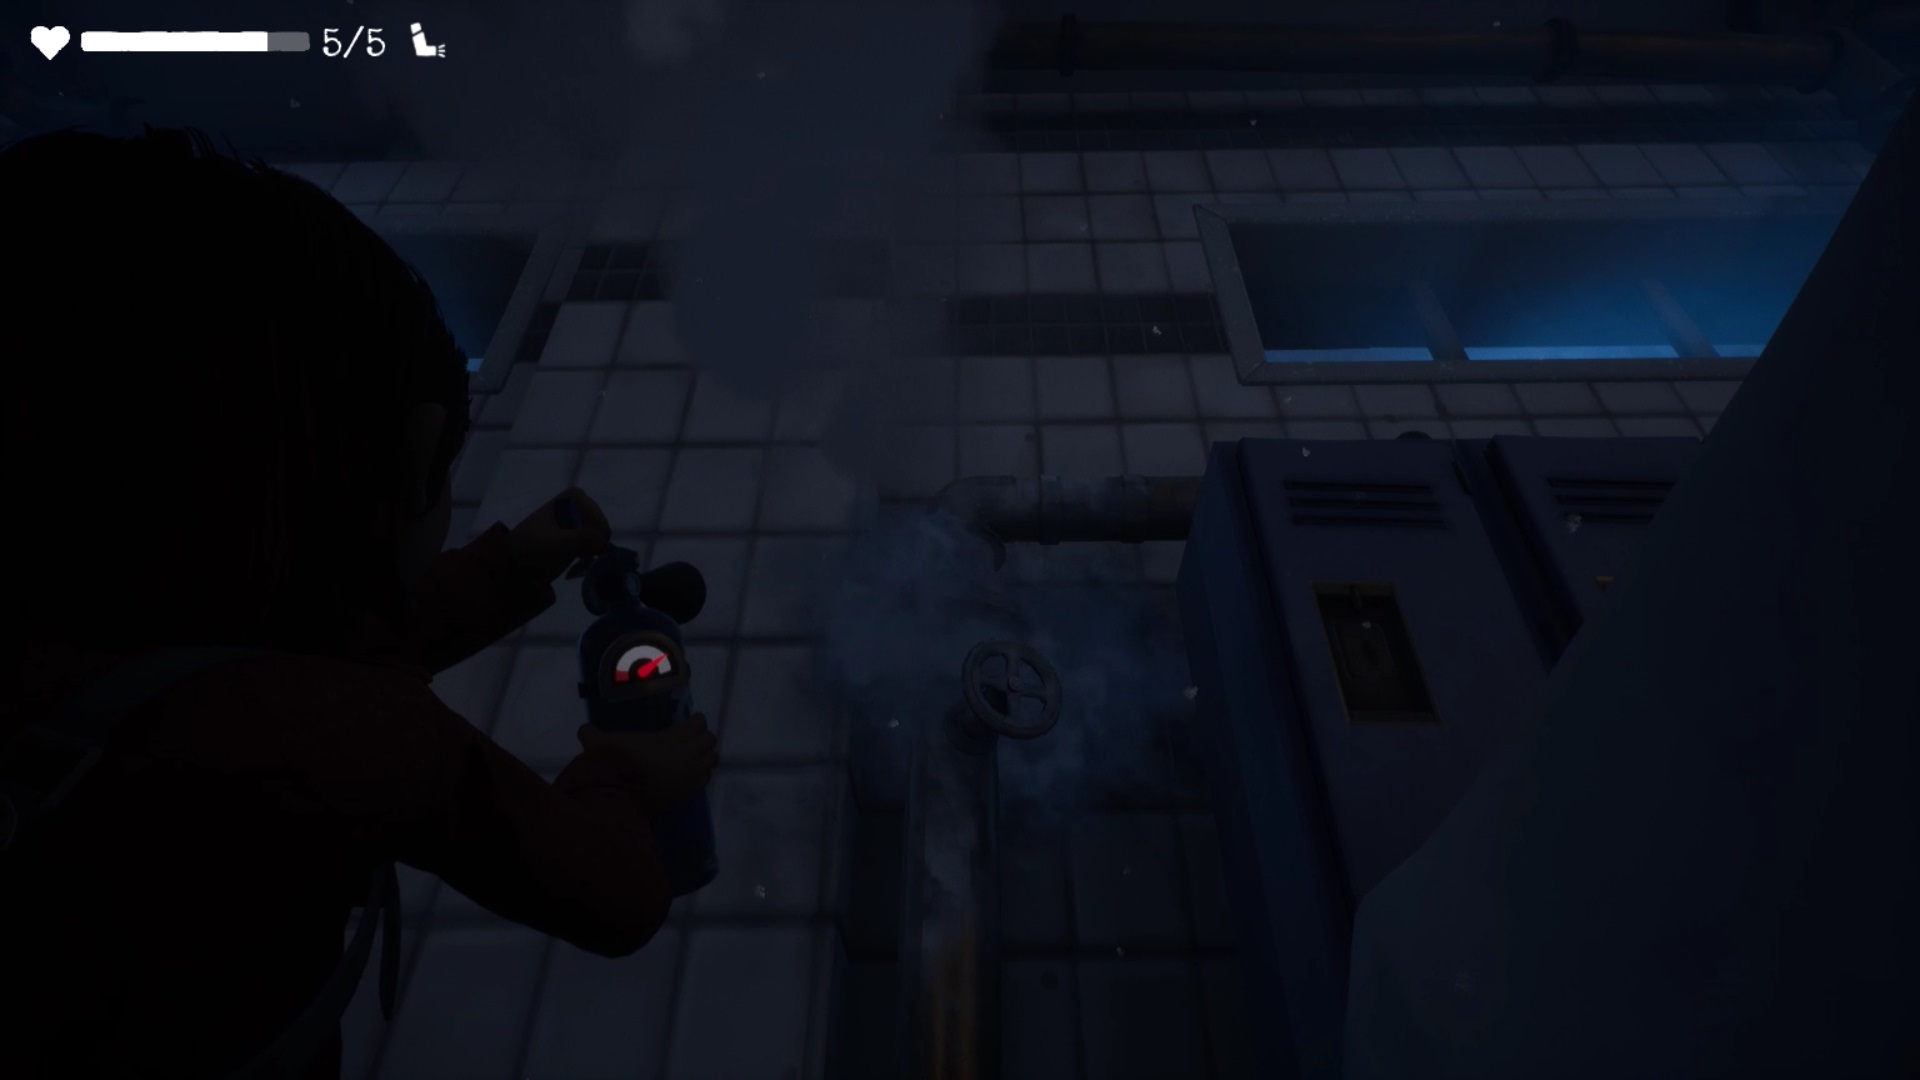

To knock down the wooden crate, you need to freeze all the steam jets in the locker room. This will allow the jet near the crate to have more power and knock it down. Unfortunately for you, when the wooden crate is thrown, the key falls through a grate and ends up in the dungeons. You have to go find it in the underground.
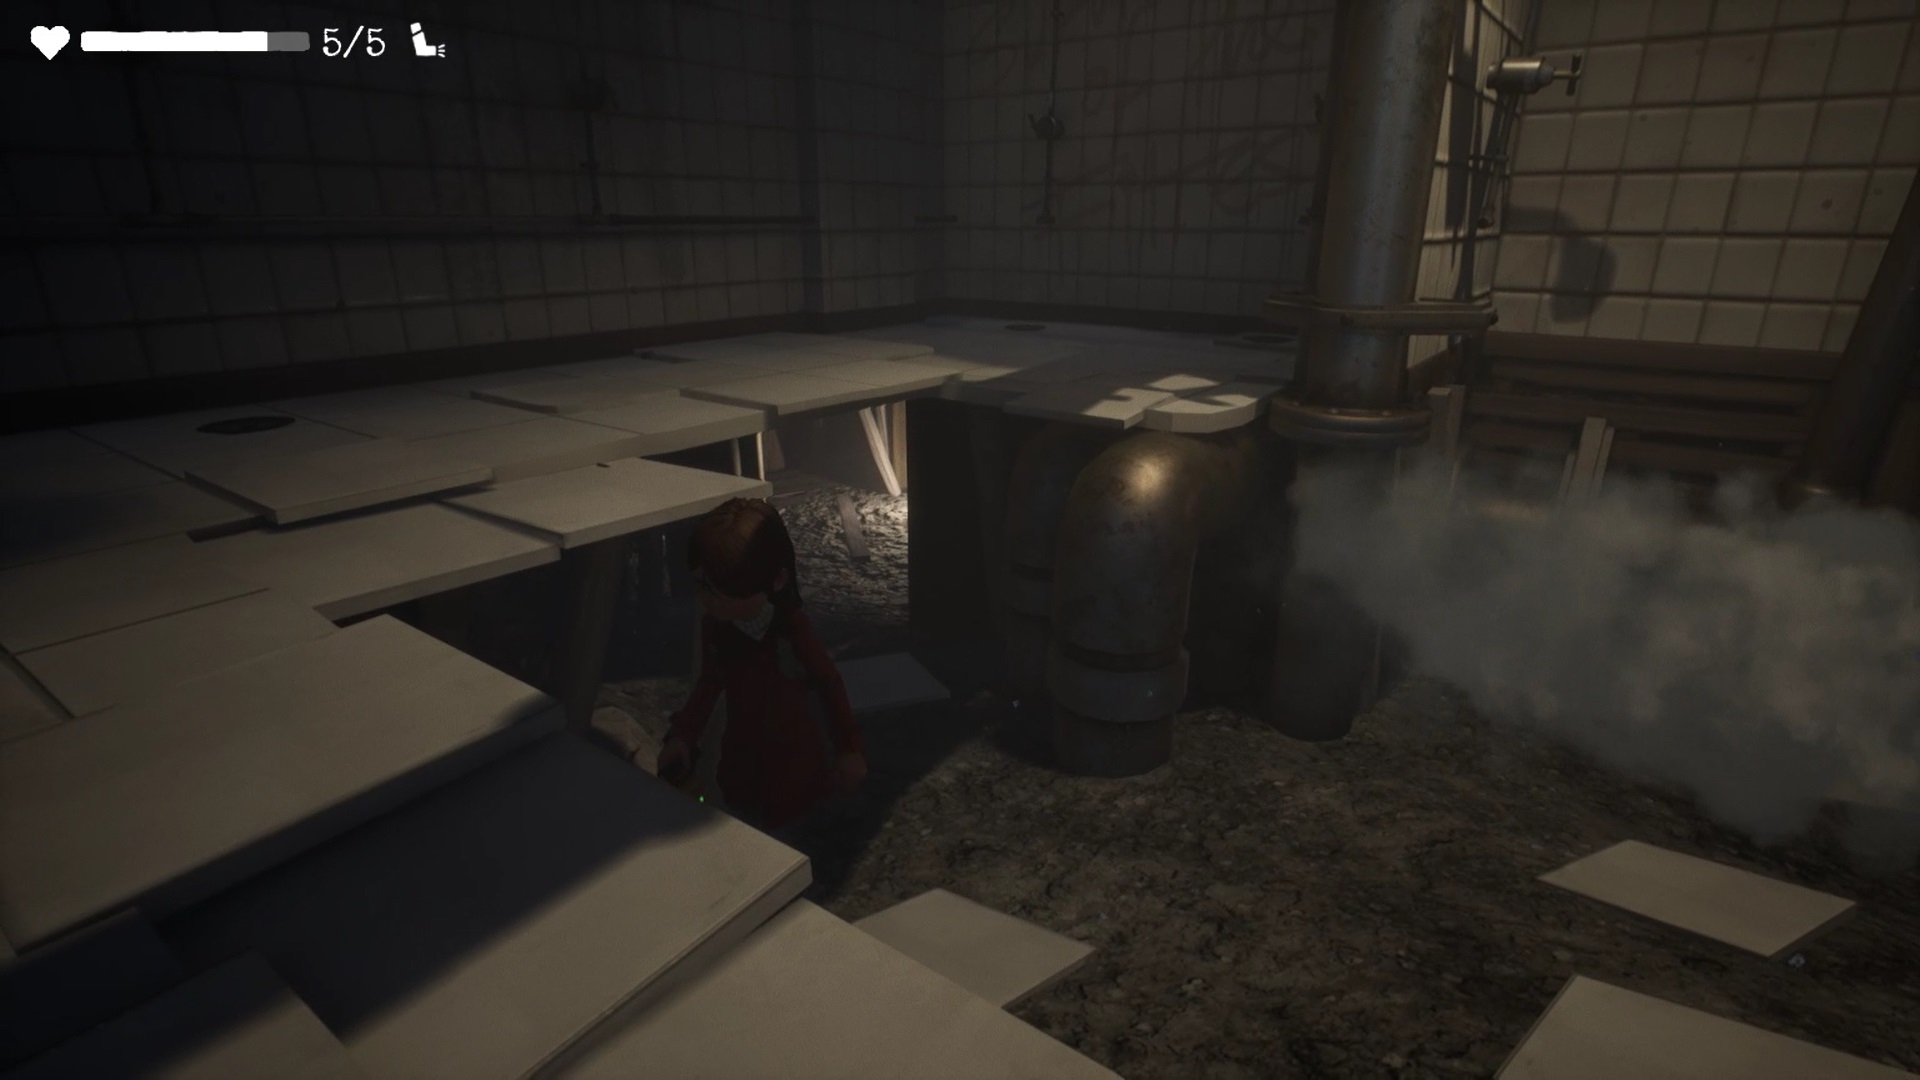
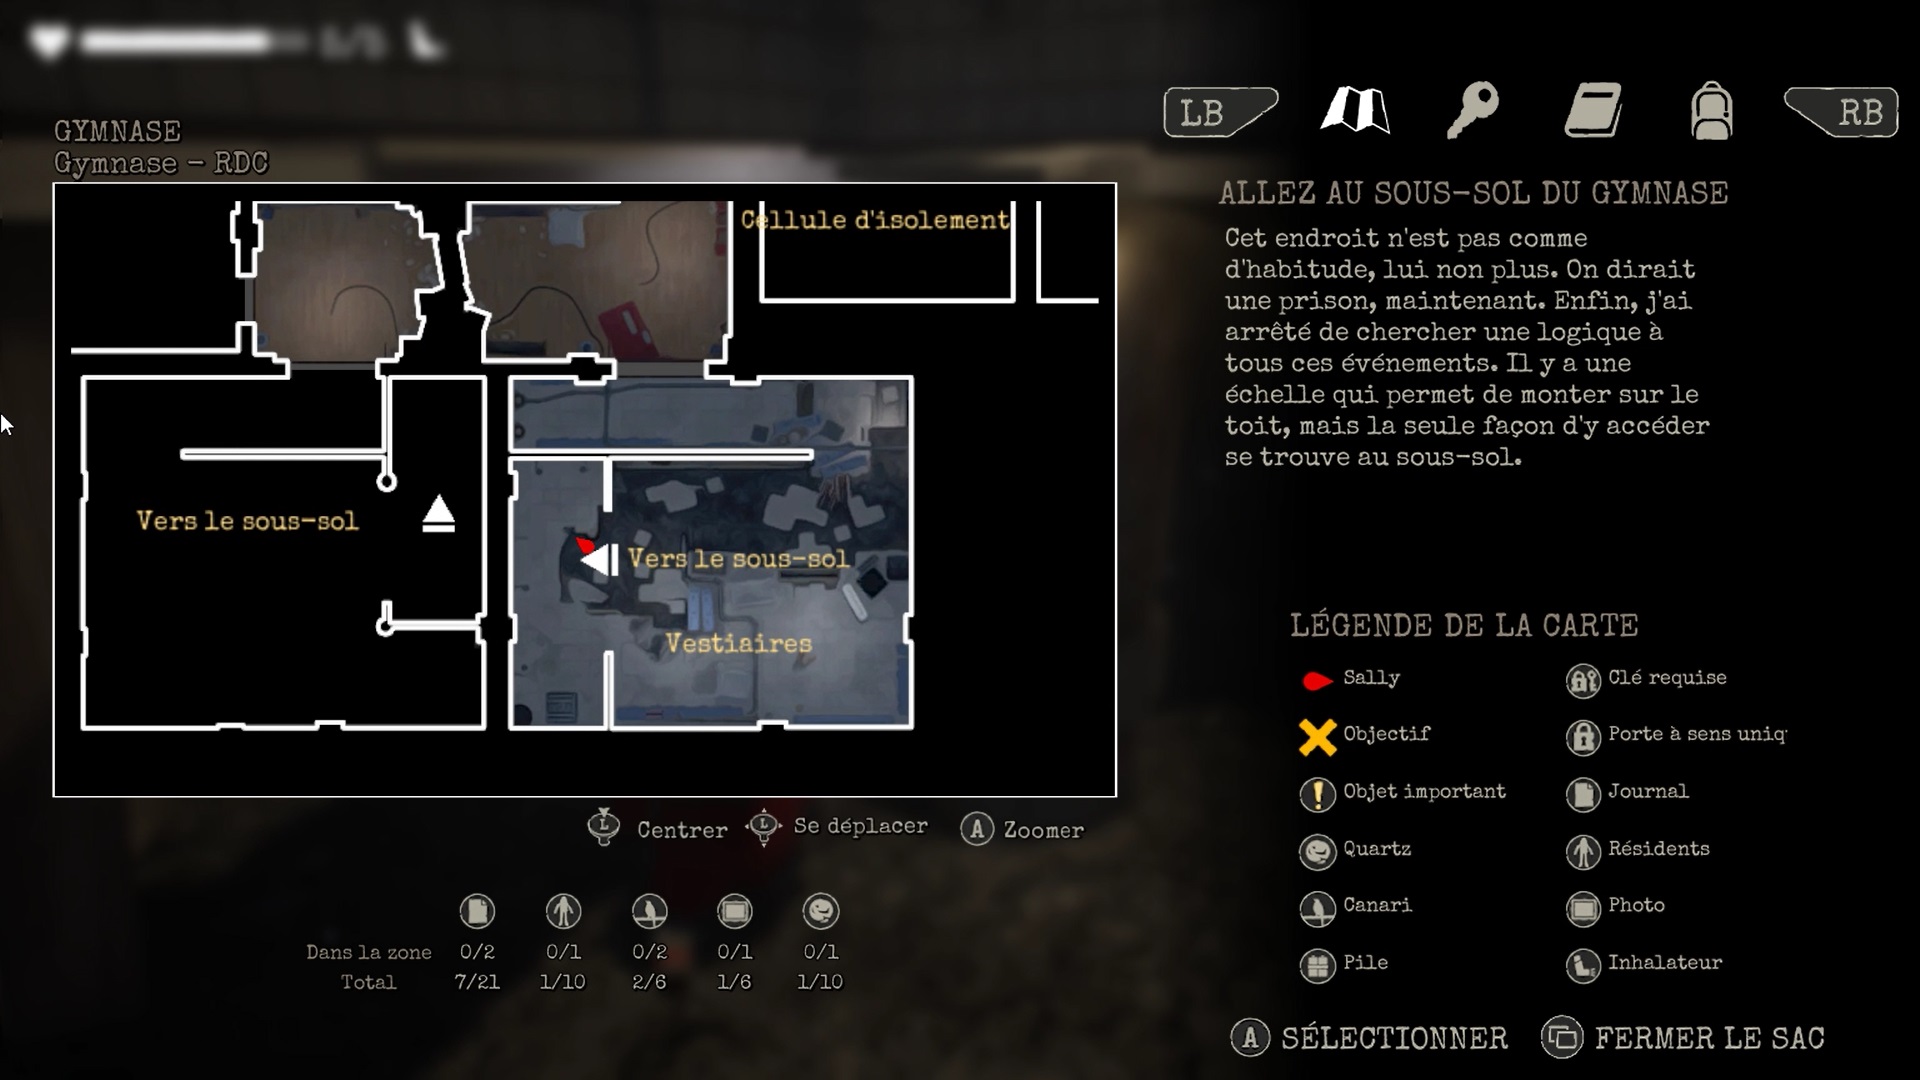
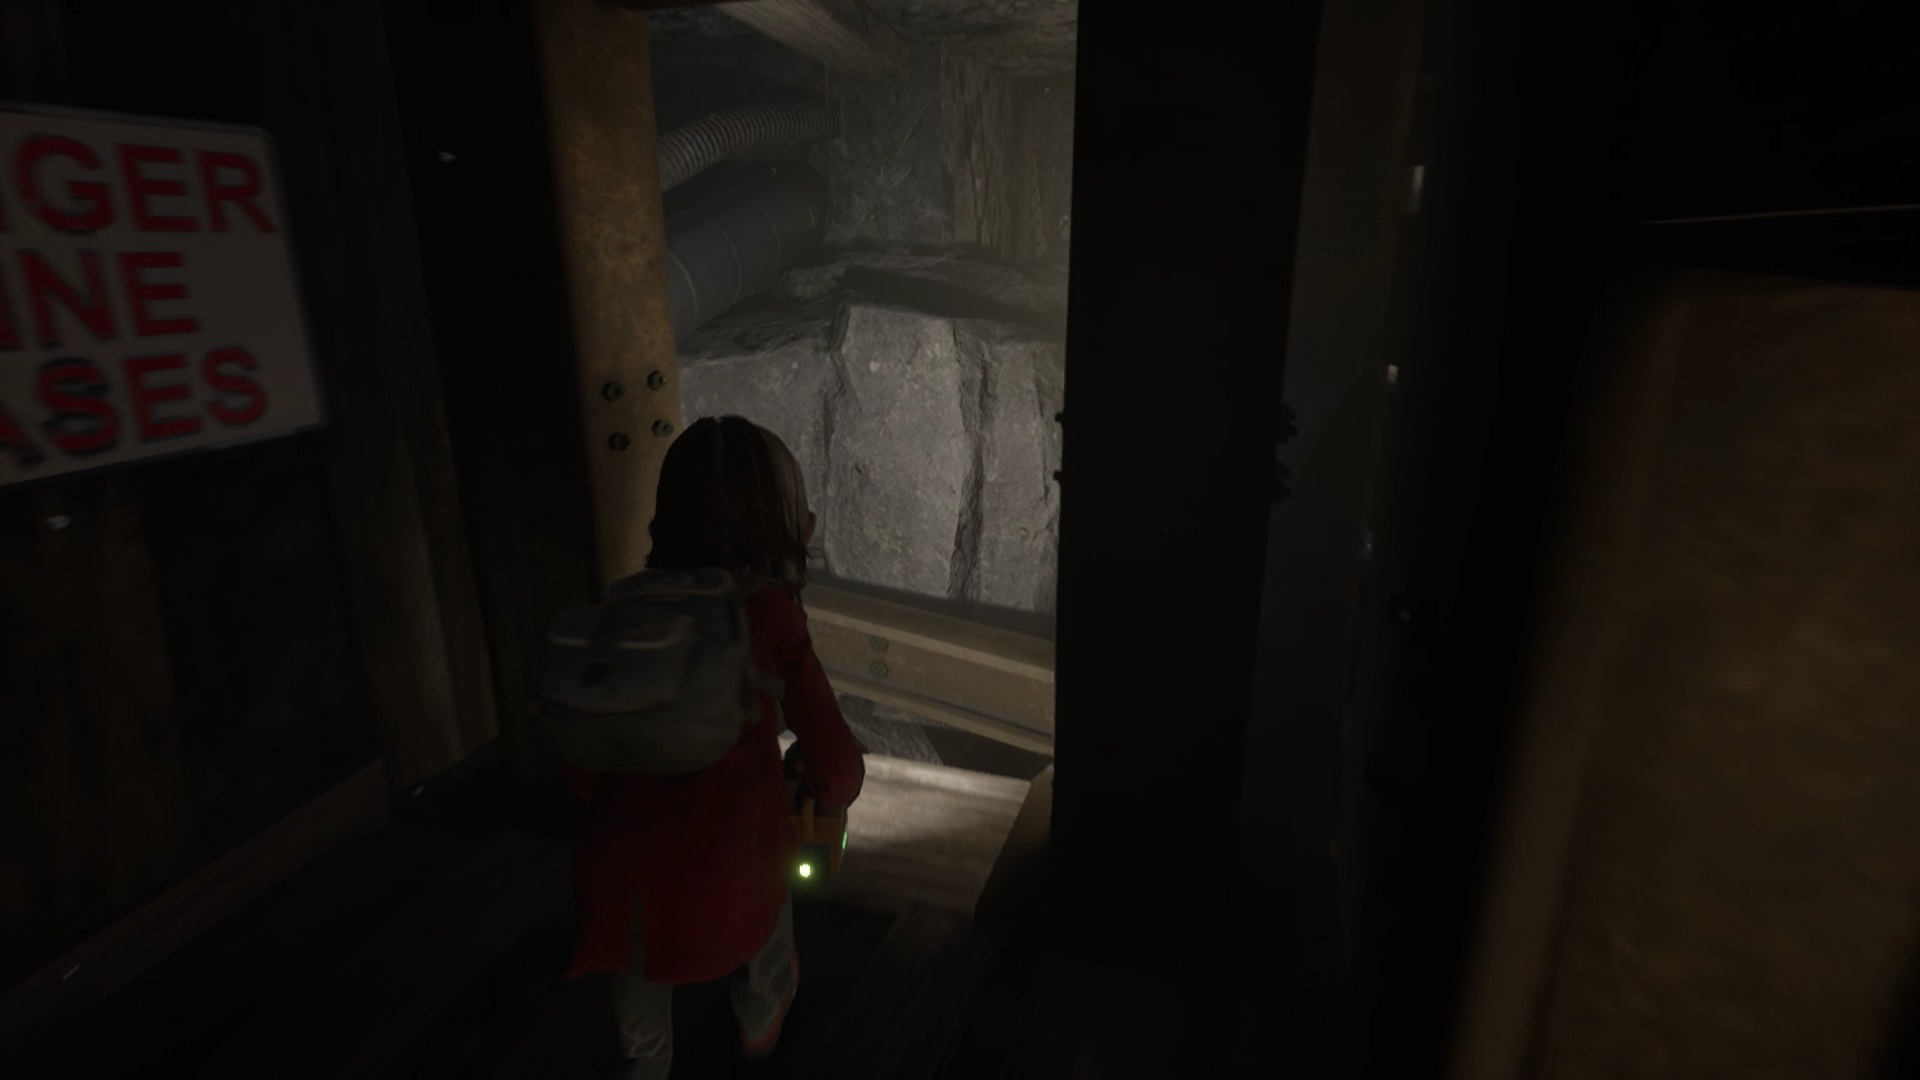
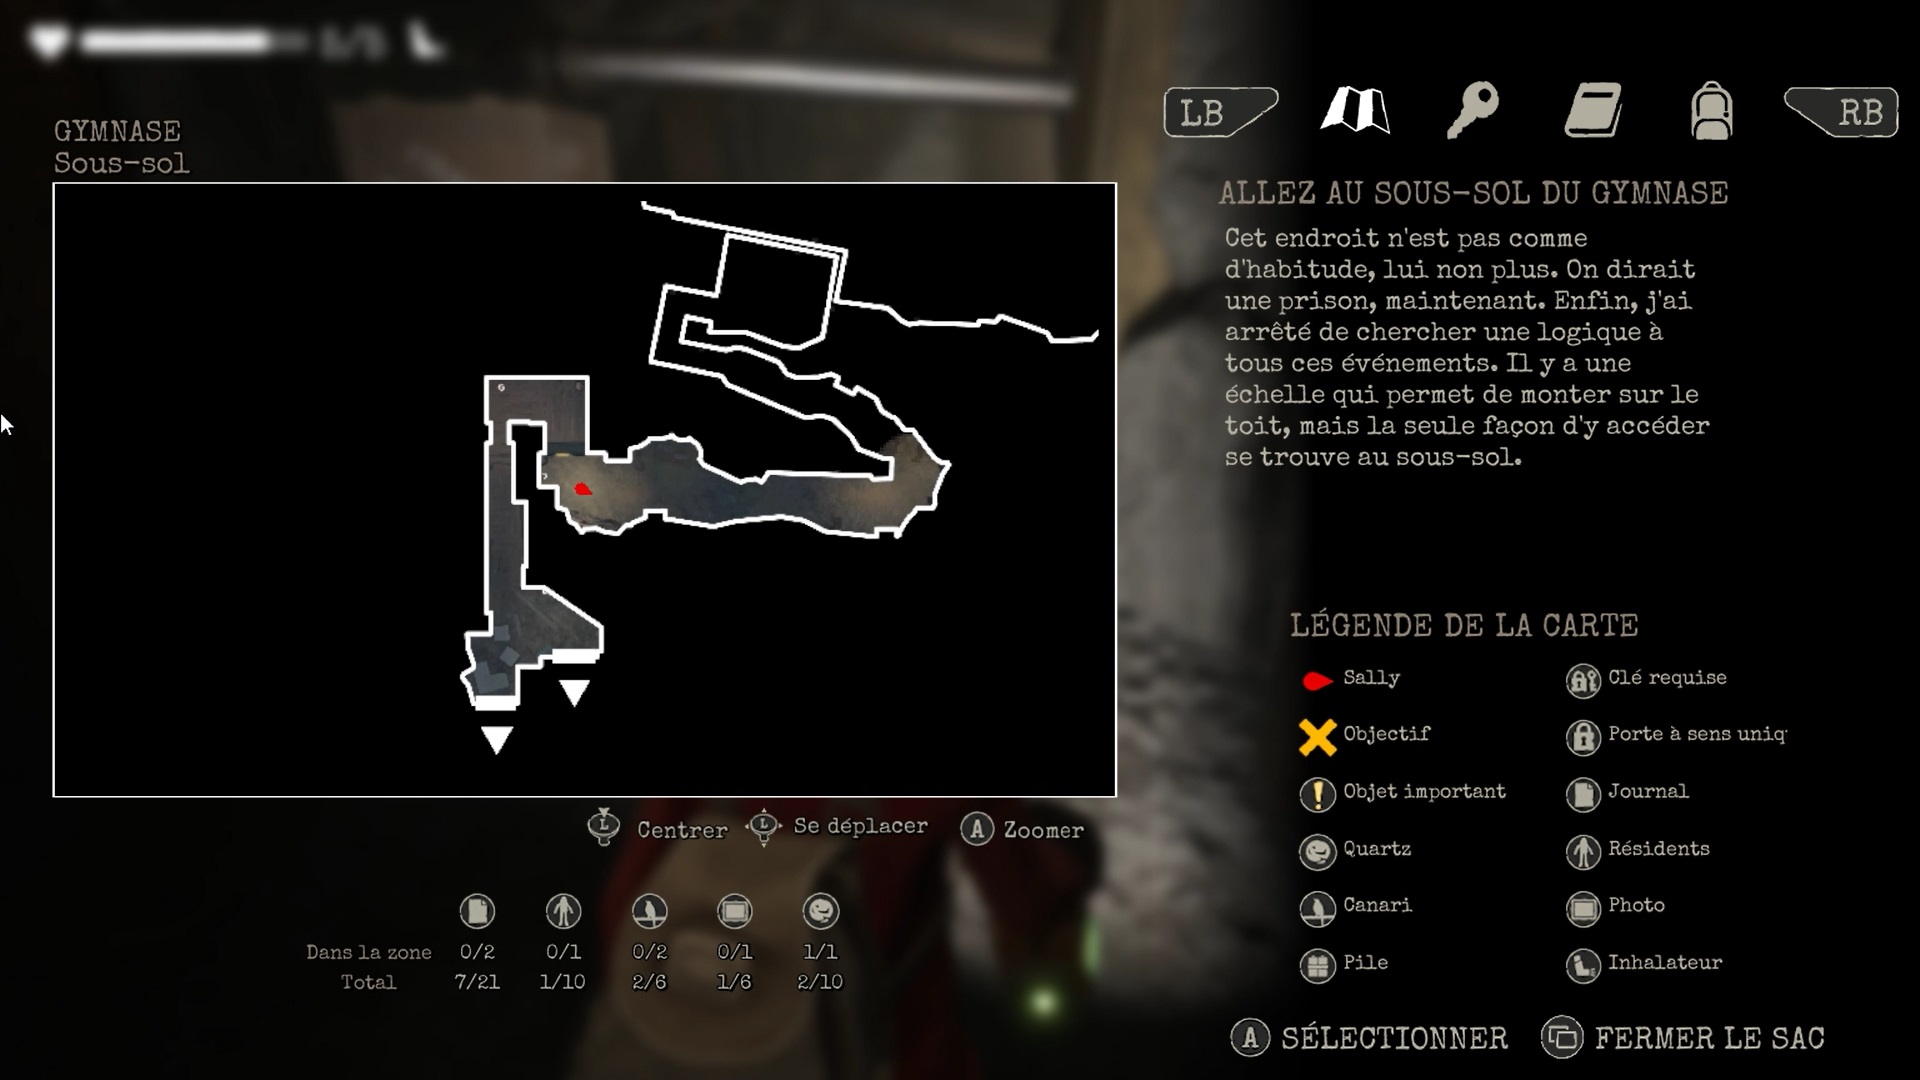
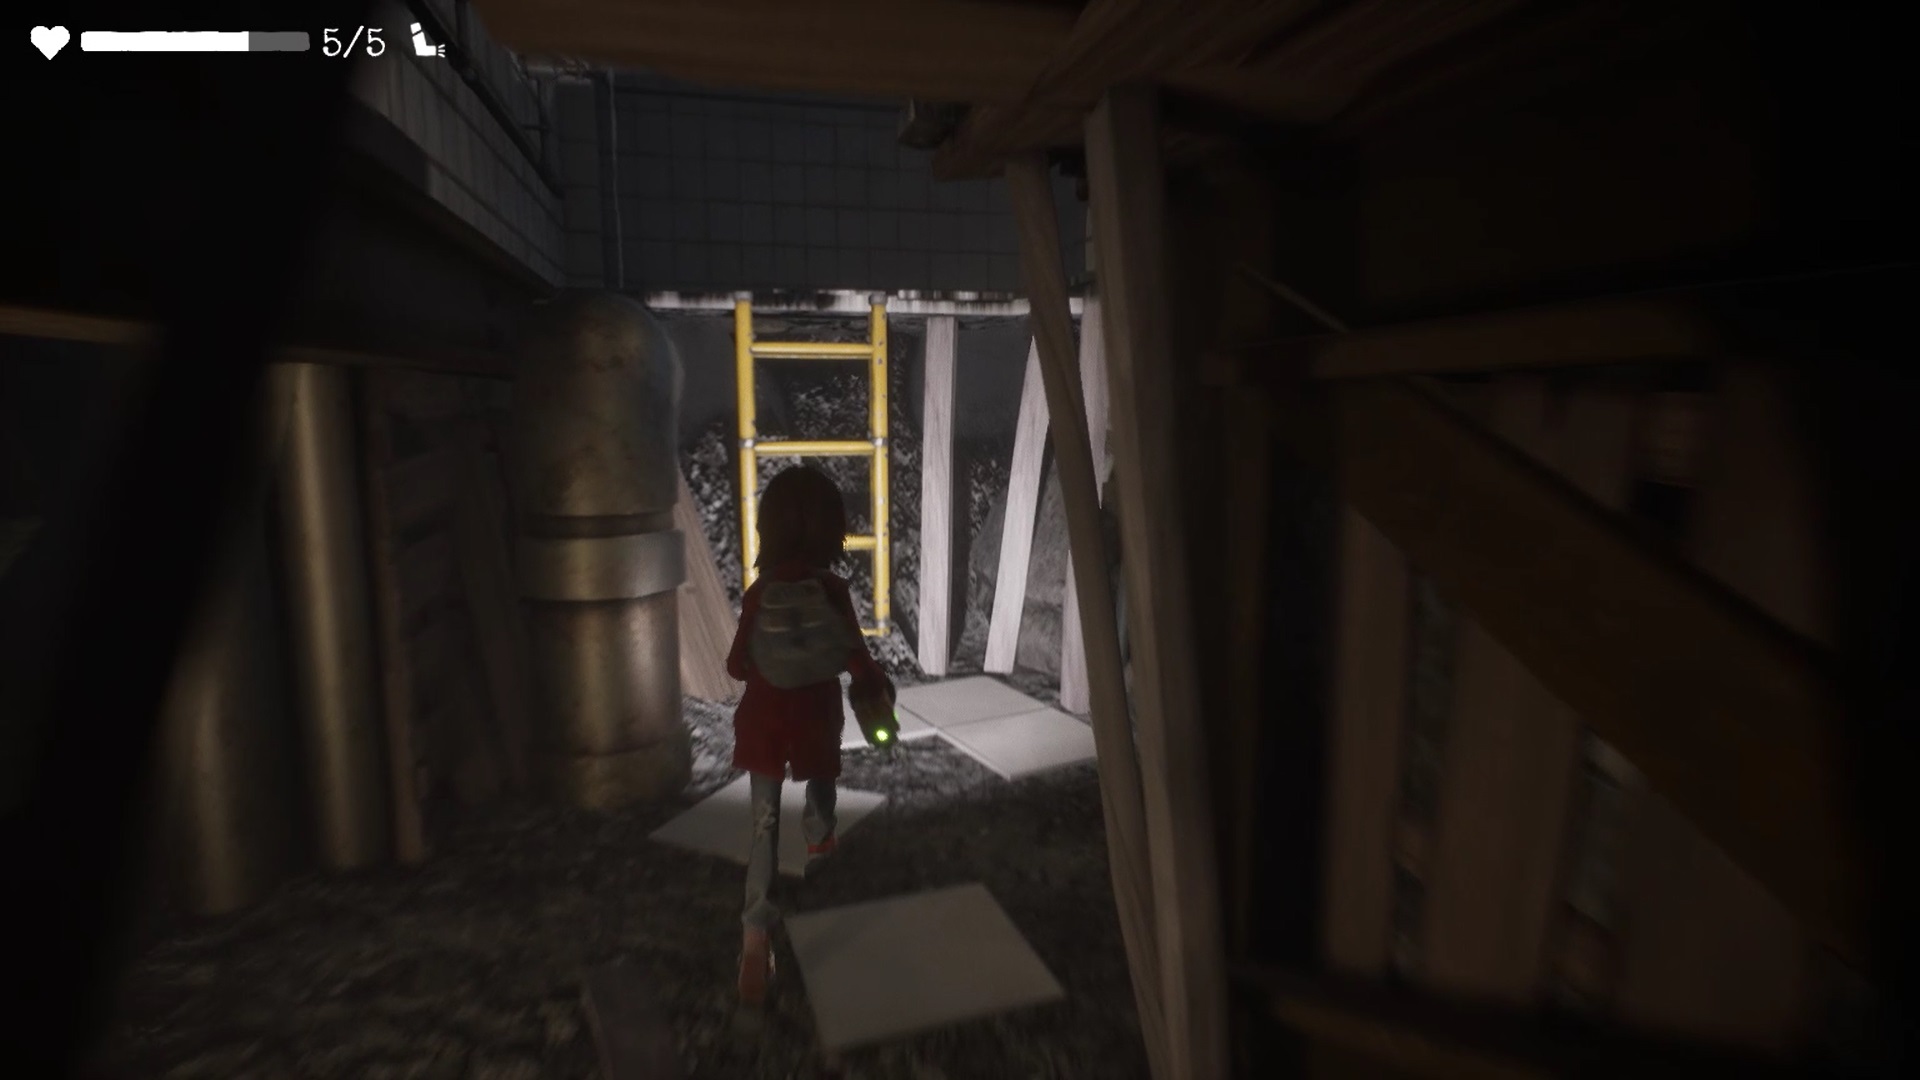
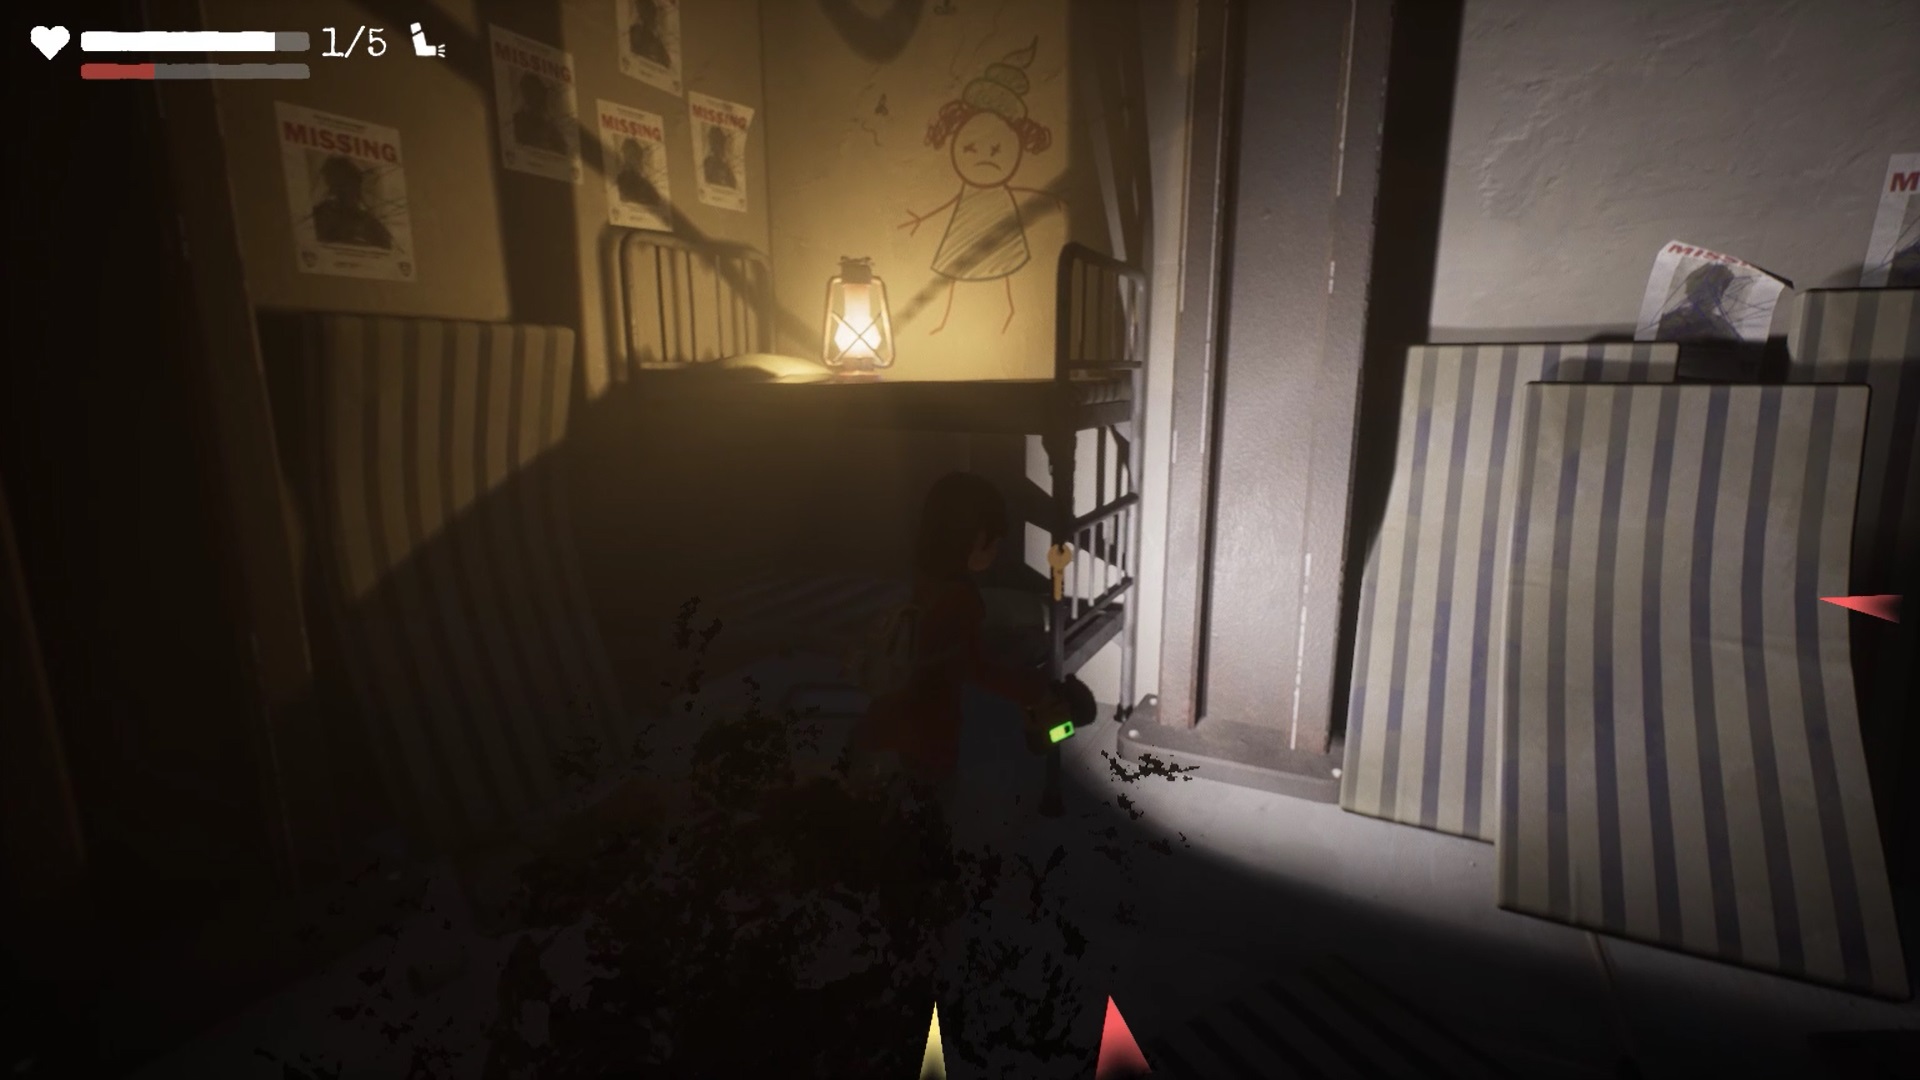
In the changing rooms, take the tunnel leading to the basement. In the underground, head right to find a ladder. Go down the ladder to sneak into the mine and reach the first key.
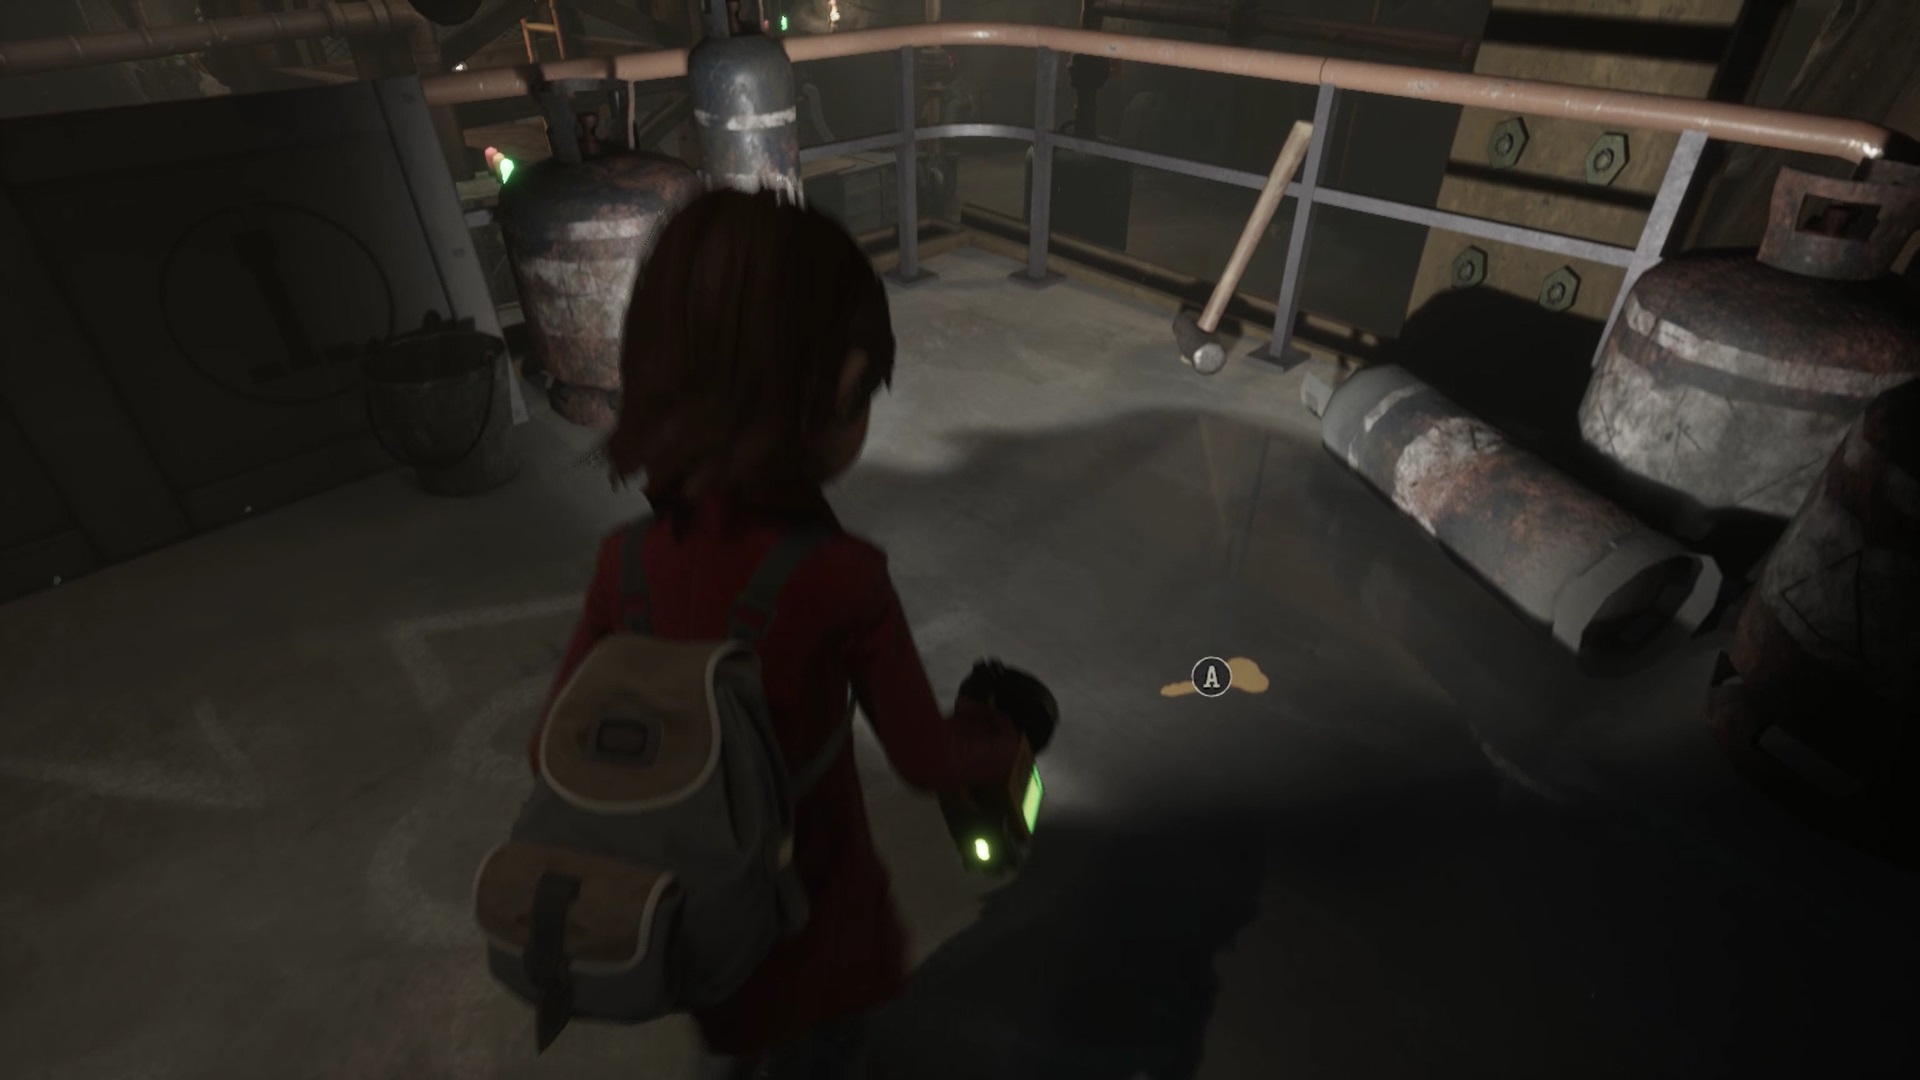
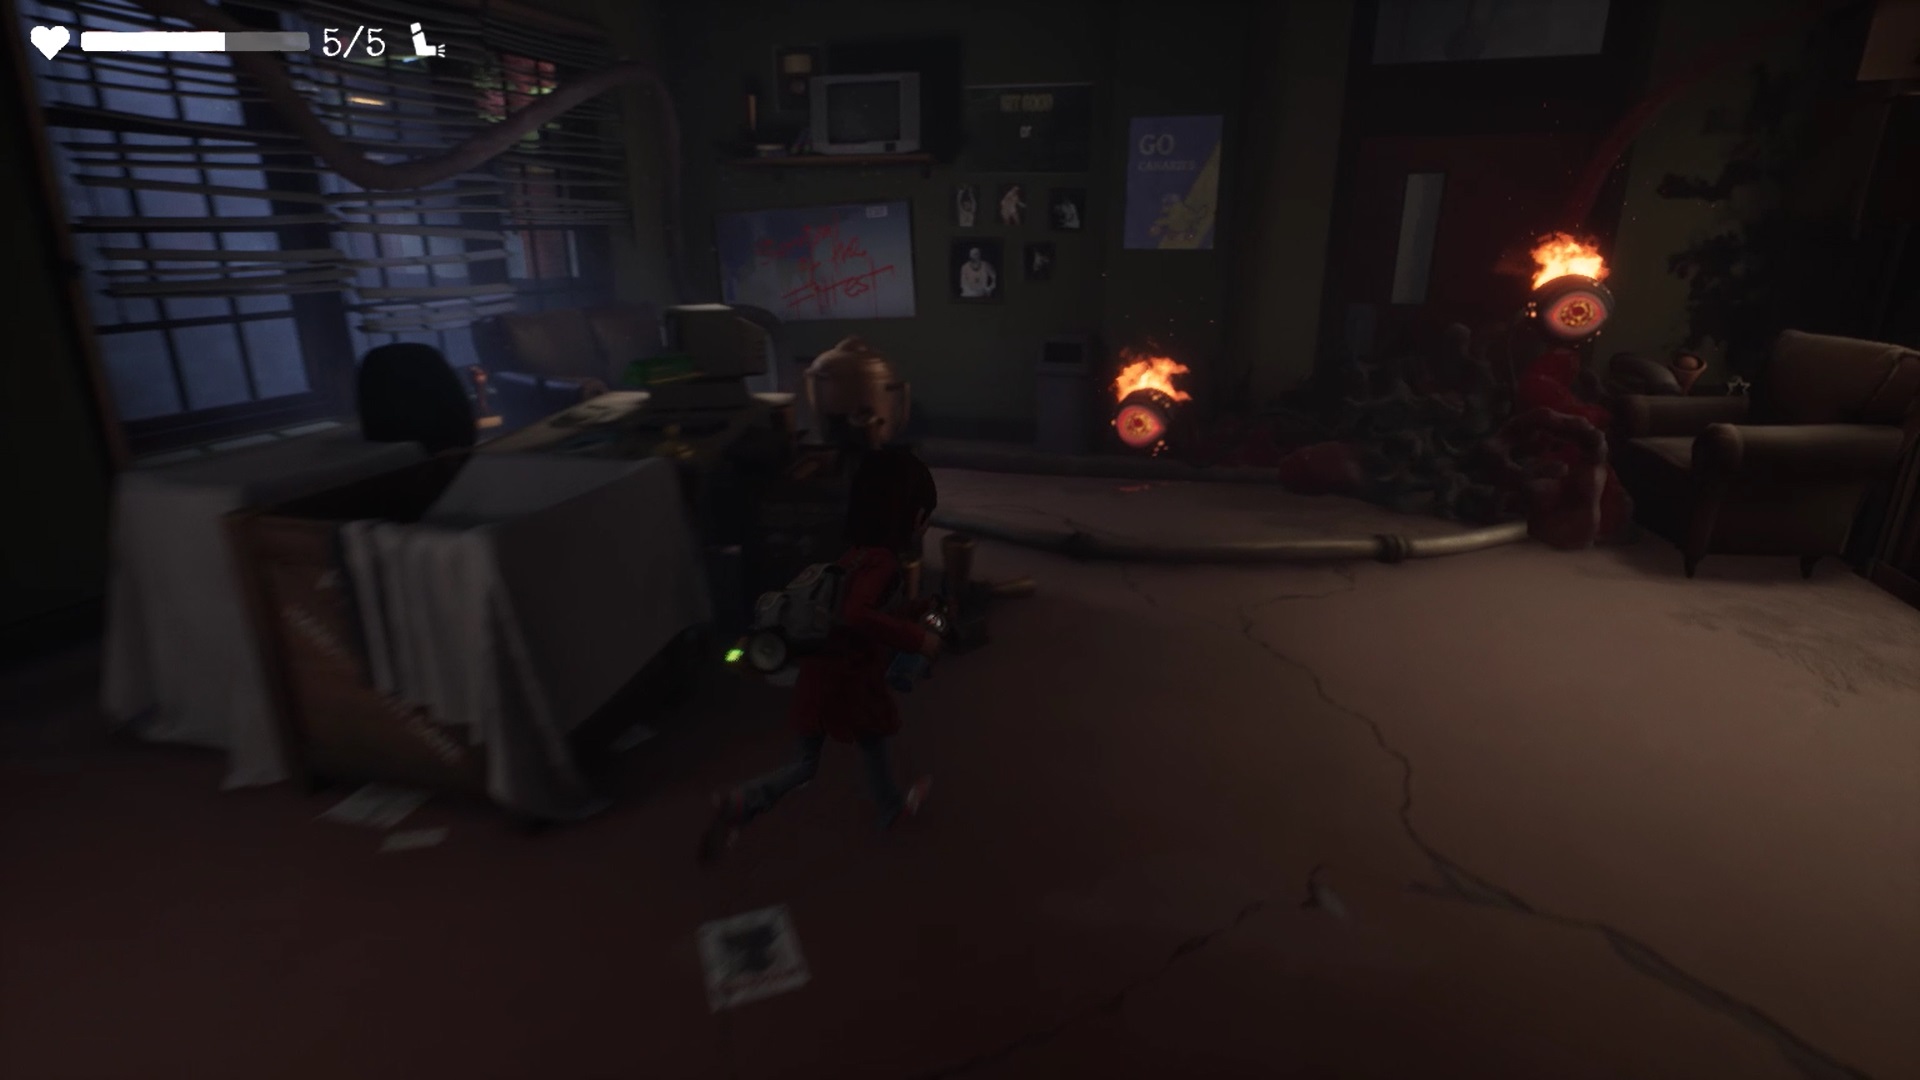
Once you have the key in hand, retrace your steps and take the path to the left of the entrance to the underground. You reach the other side of the changing rooms. Exit the locker rooms to reach the coach’s office. In the office, the door leading to the entrance hall is blocked. To unlock it start by using the fire extinguisher on the puddles on the ground to dislodge a cart with a TV. Also use the fire extinguisher on the inflamed eye.
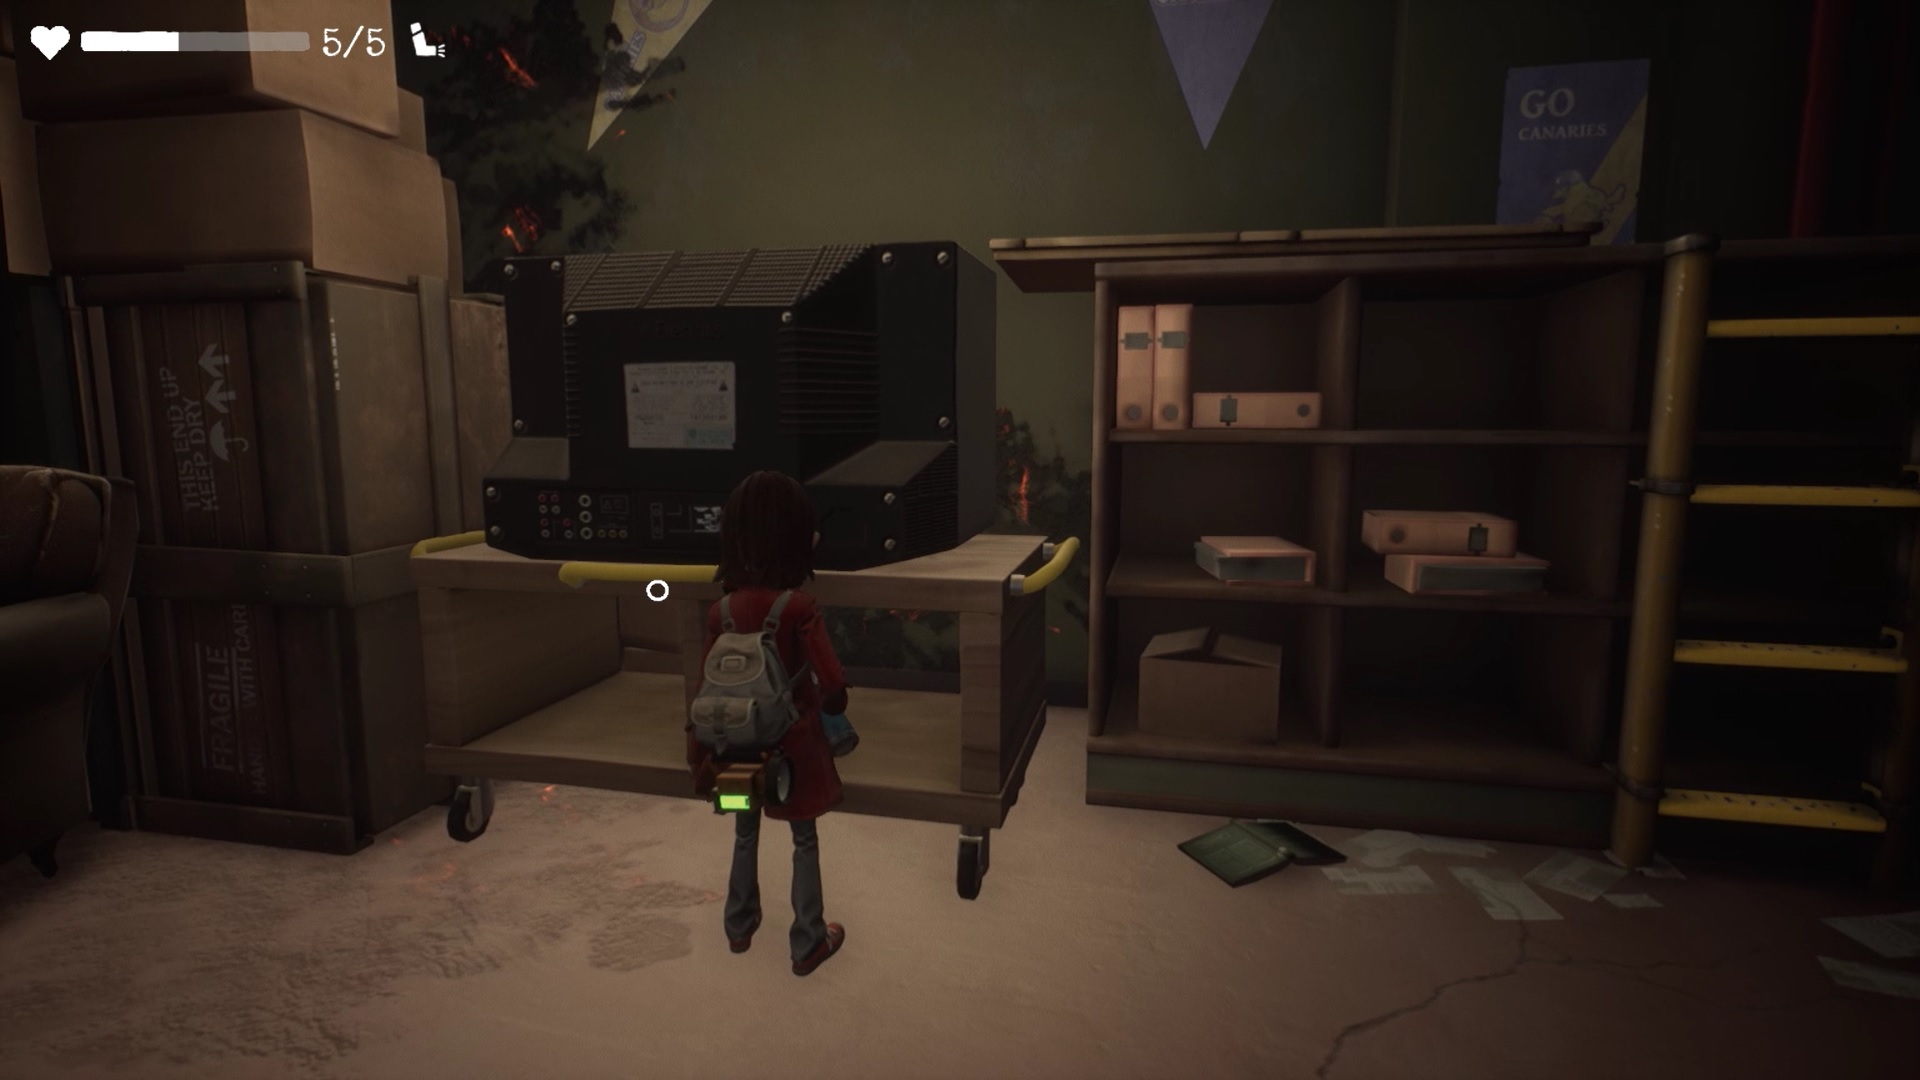
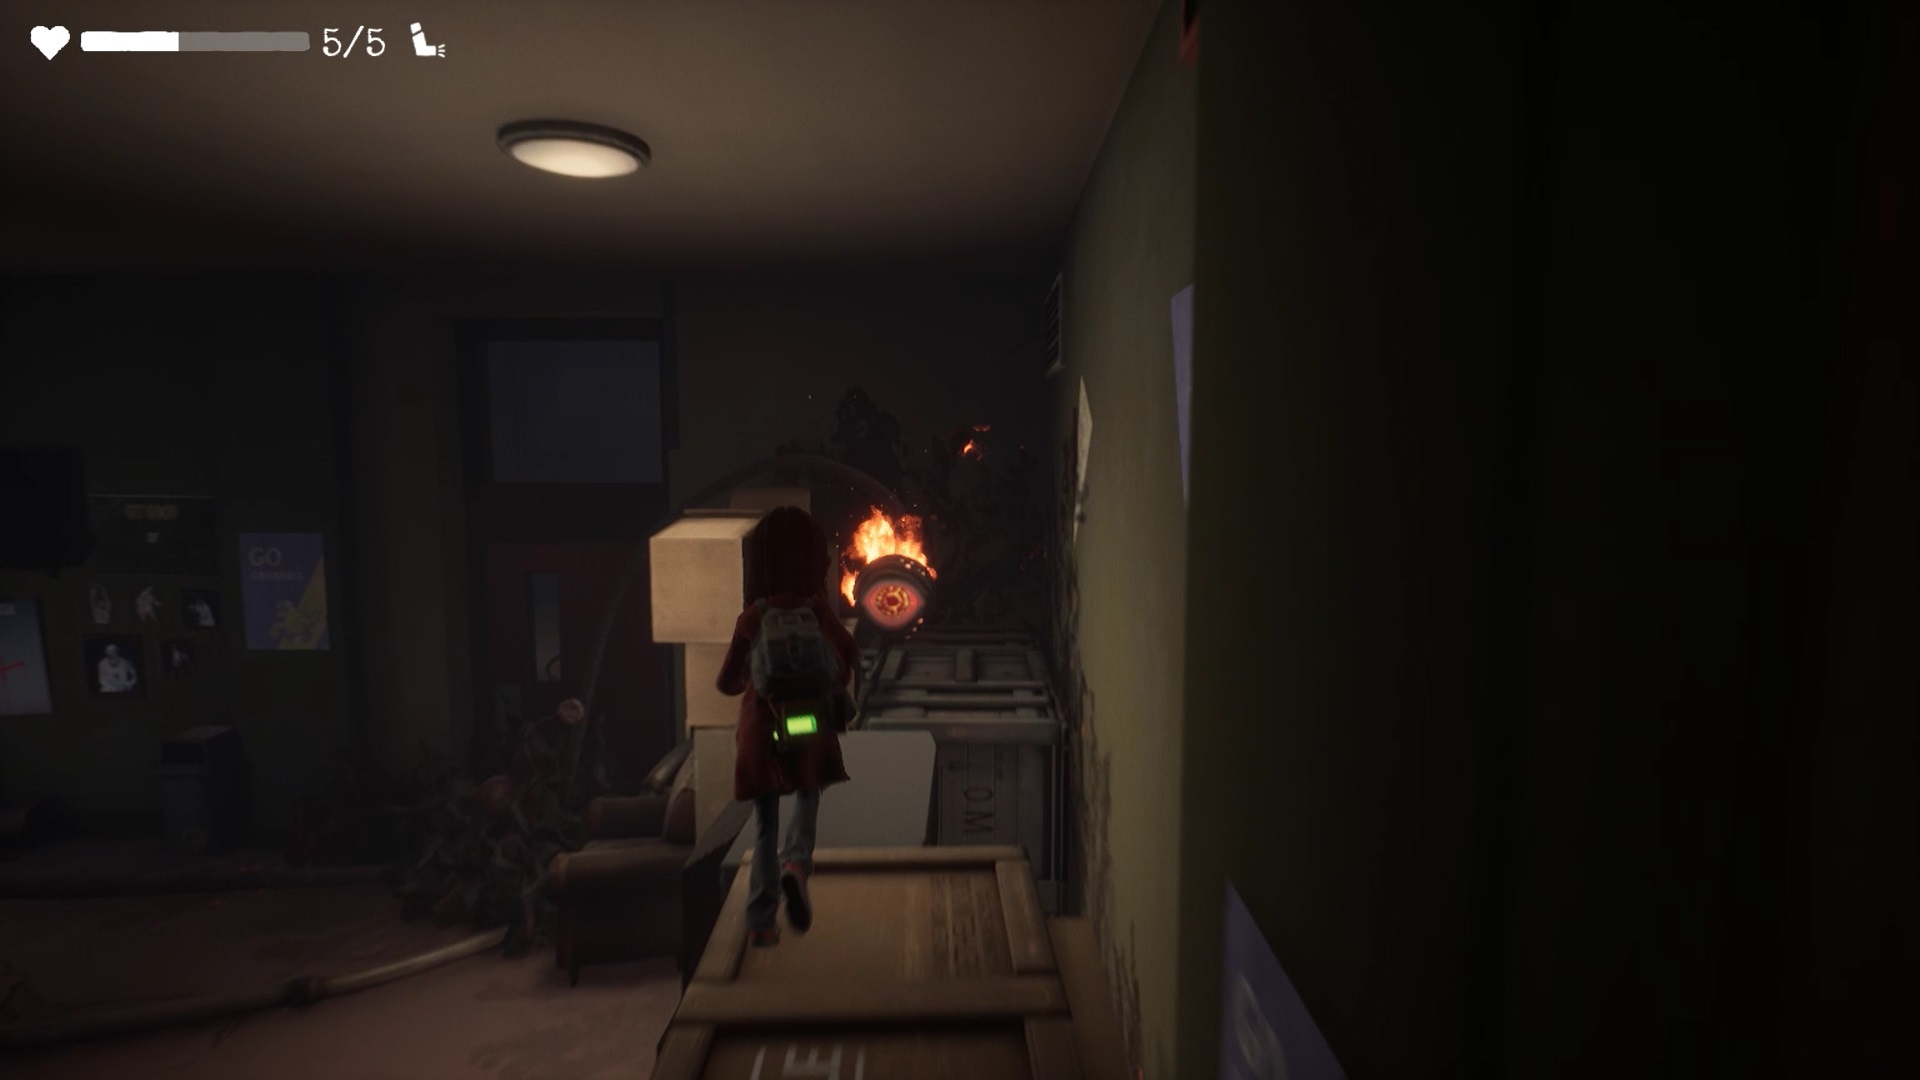
Two other flaming eyes are located at the level of the right door. The final eye is located on high crates near the door. Use the trolley with the TV to reach this eye. Once the door is unlocked, you can enter the entrance hall.
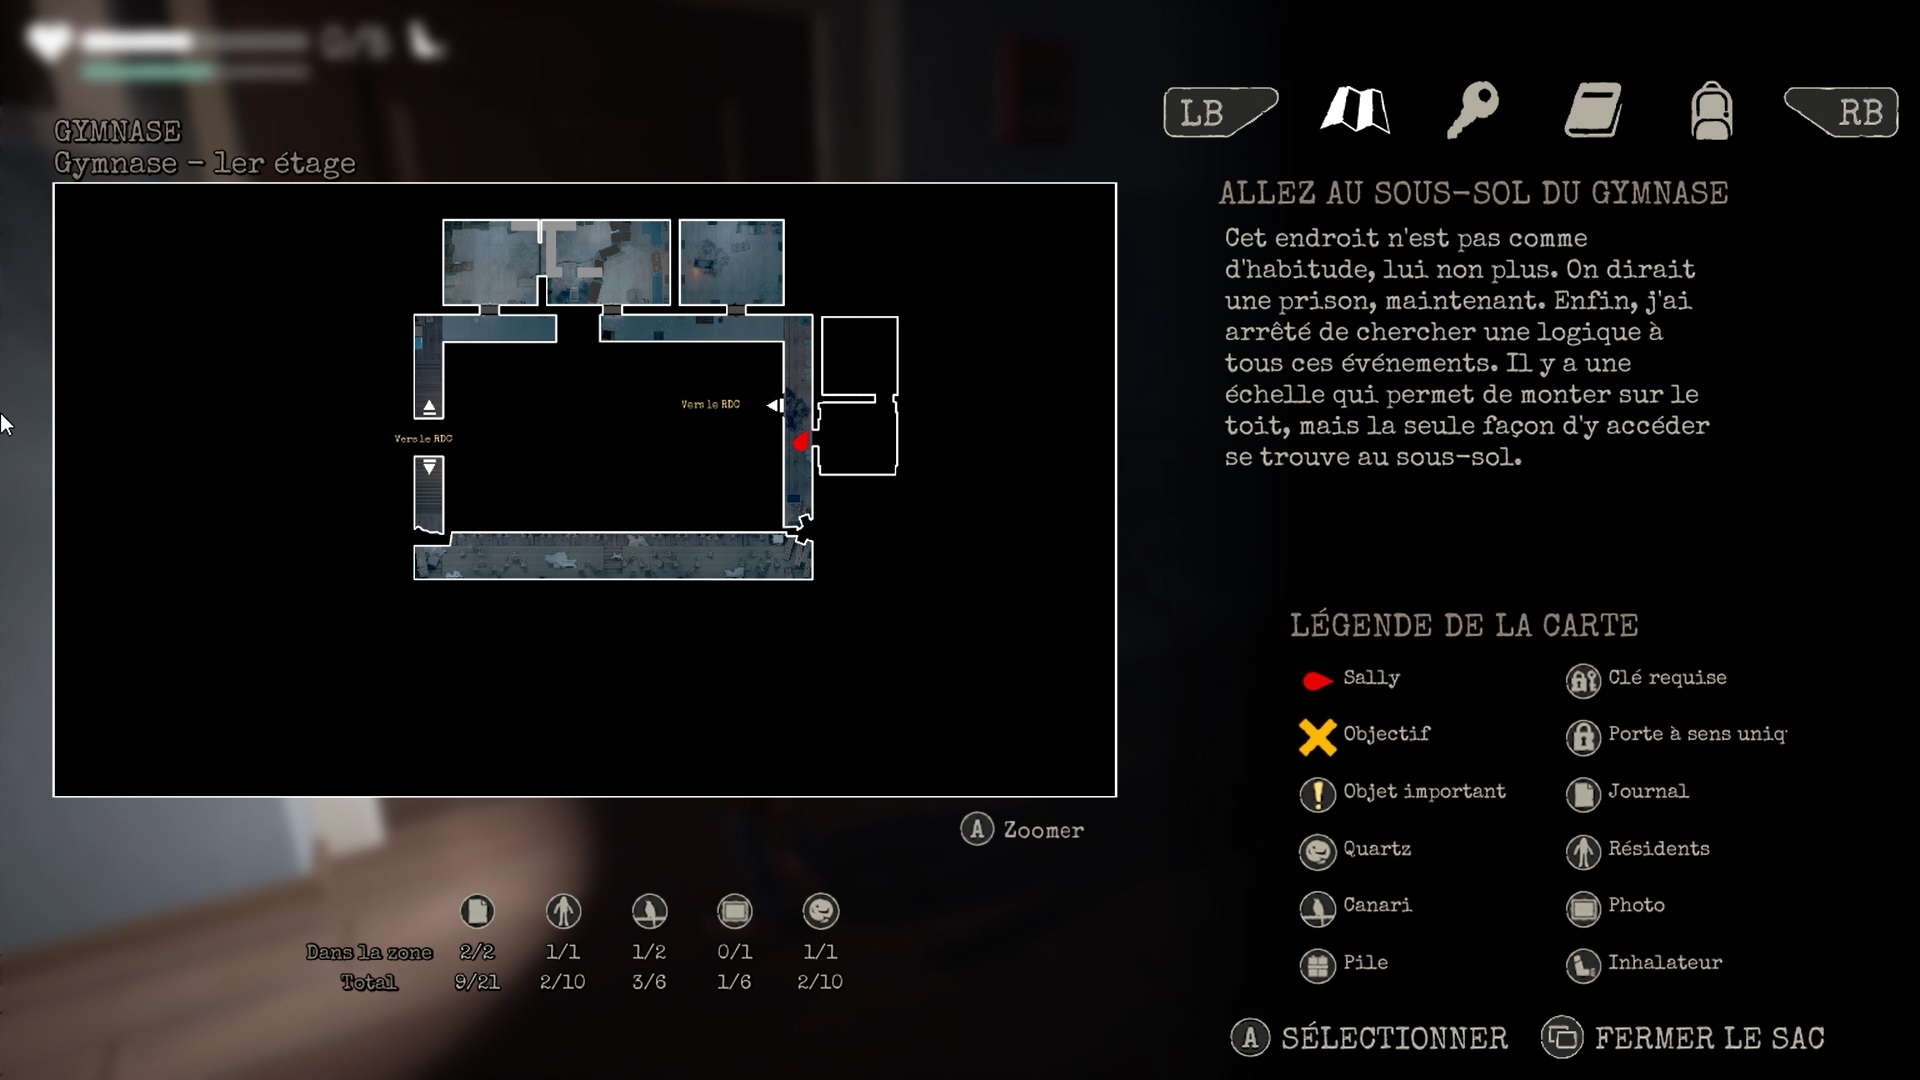
Return to the basketball court level. You need to go to the control room to the north. To access the room, go under the debris of the double doors leading to the room. In the control room, use your lamp on the power point to unlock a control panel.
On the control panel, you must restore the current between the two points of lights. Adjust the mechanisms as in our picture to unlock the cells. You have just unlocked all the cells in the gymnasium. In the cutscene, you discover that a second key is located in the isolation room near the basketball court. The key is attached to a bar of a bed.

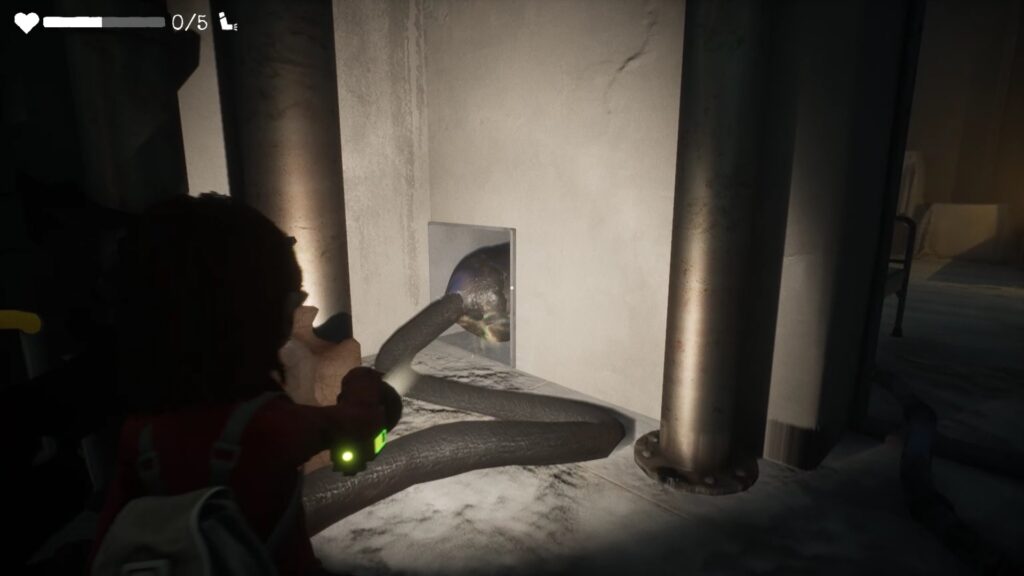
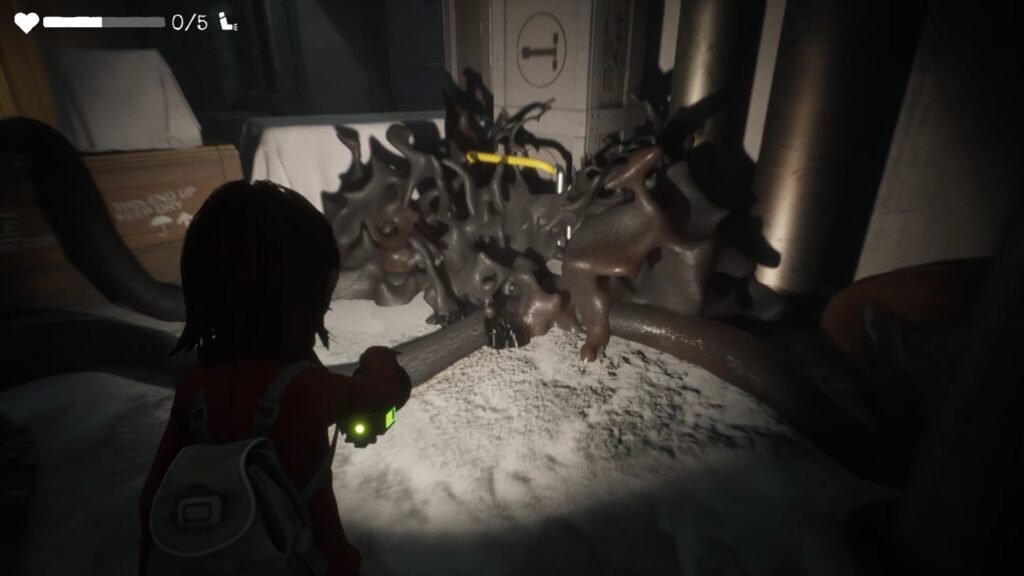
Then go up to the first floor of the gymnasium. Enter the first cell. From the first cell, join the next cell. There you find a cart blocked by monsters. Follow the arms of the monsters to find the eyes to exterminate. An eye is in the vent at the bottom right of the cart. A second is near the wall north of the cart. For the last, go back to the first cell.
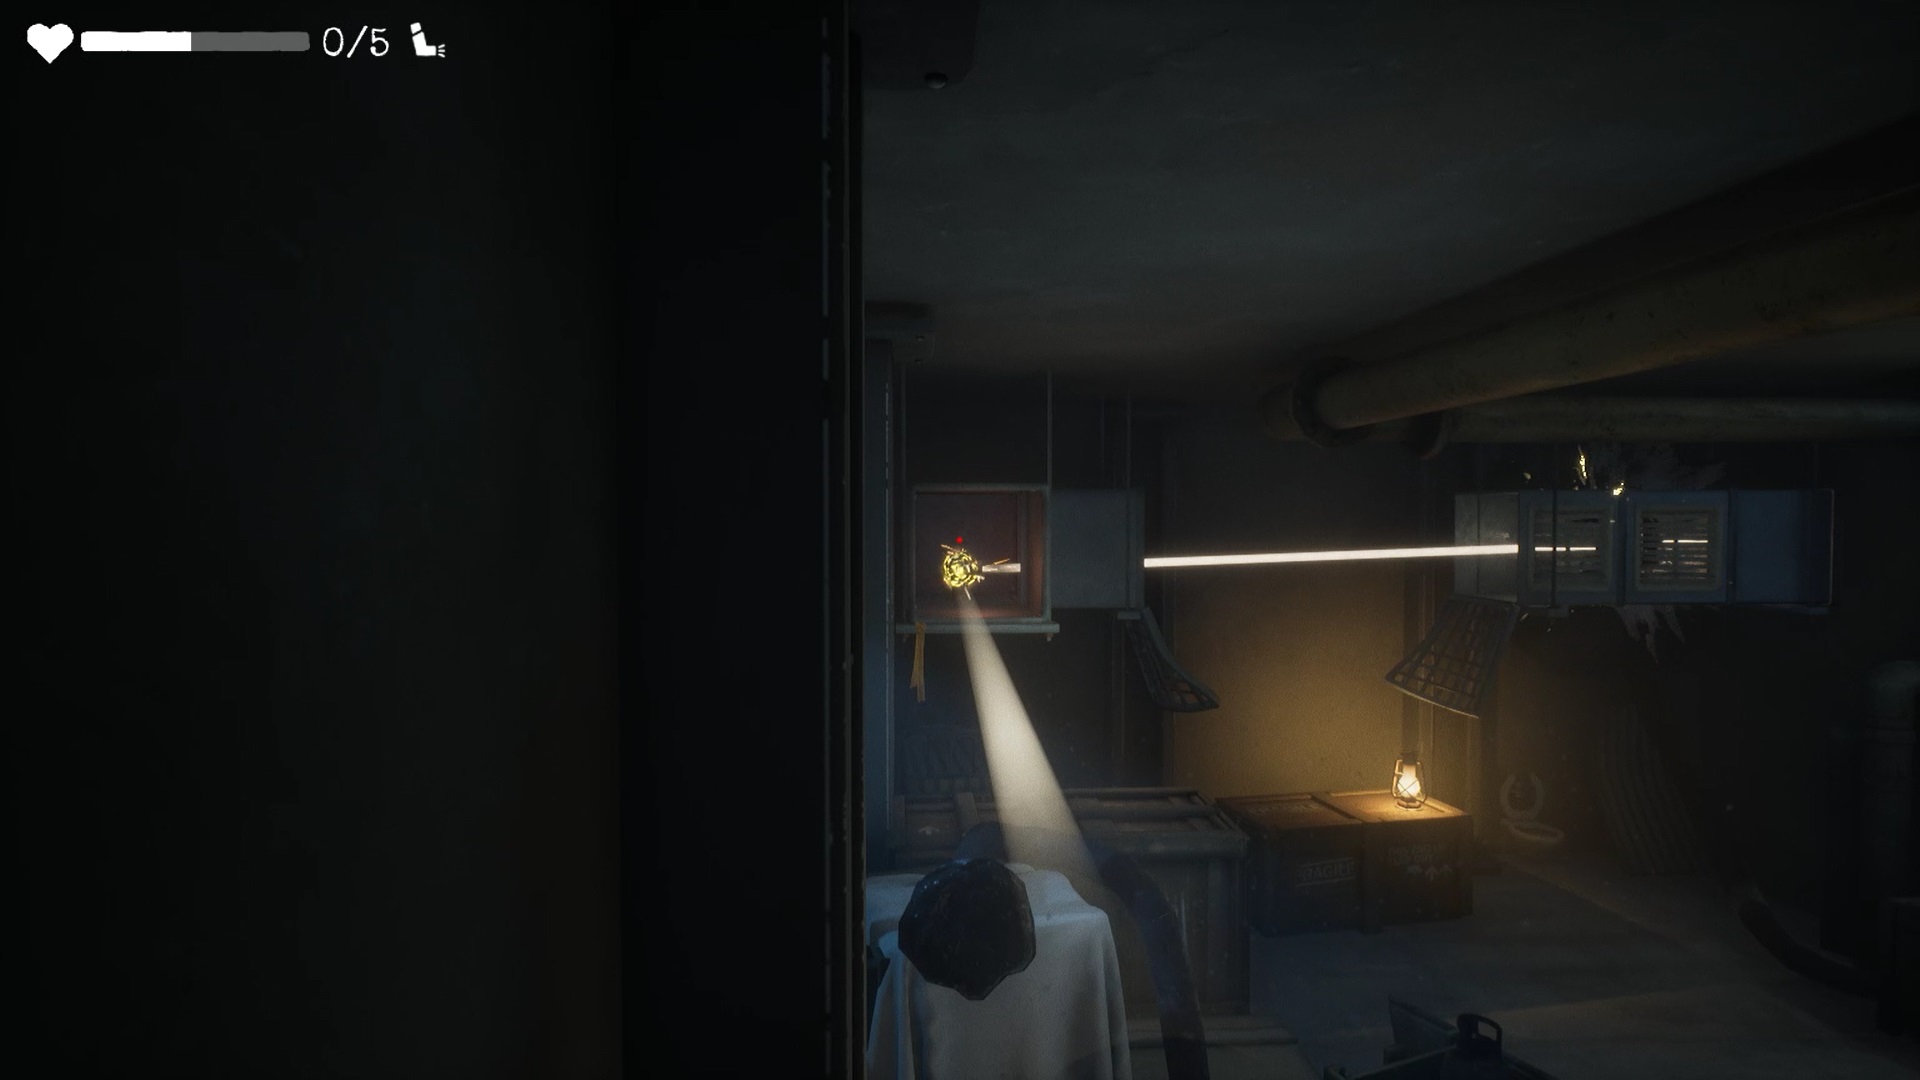
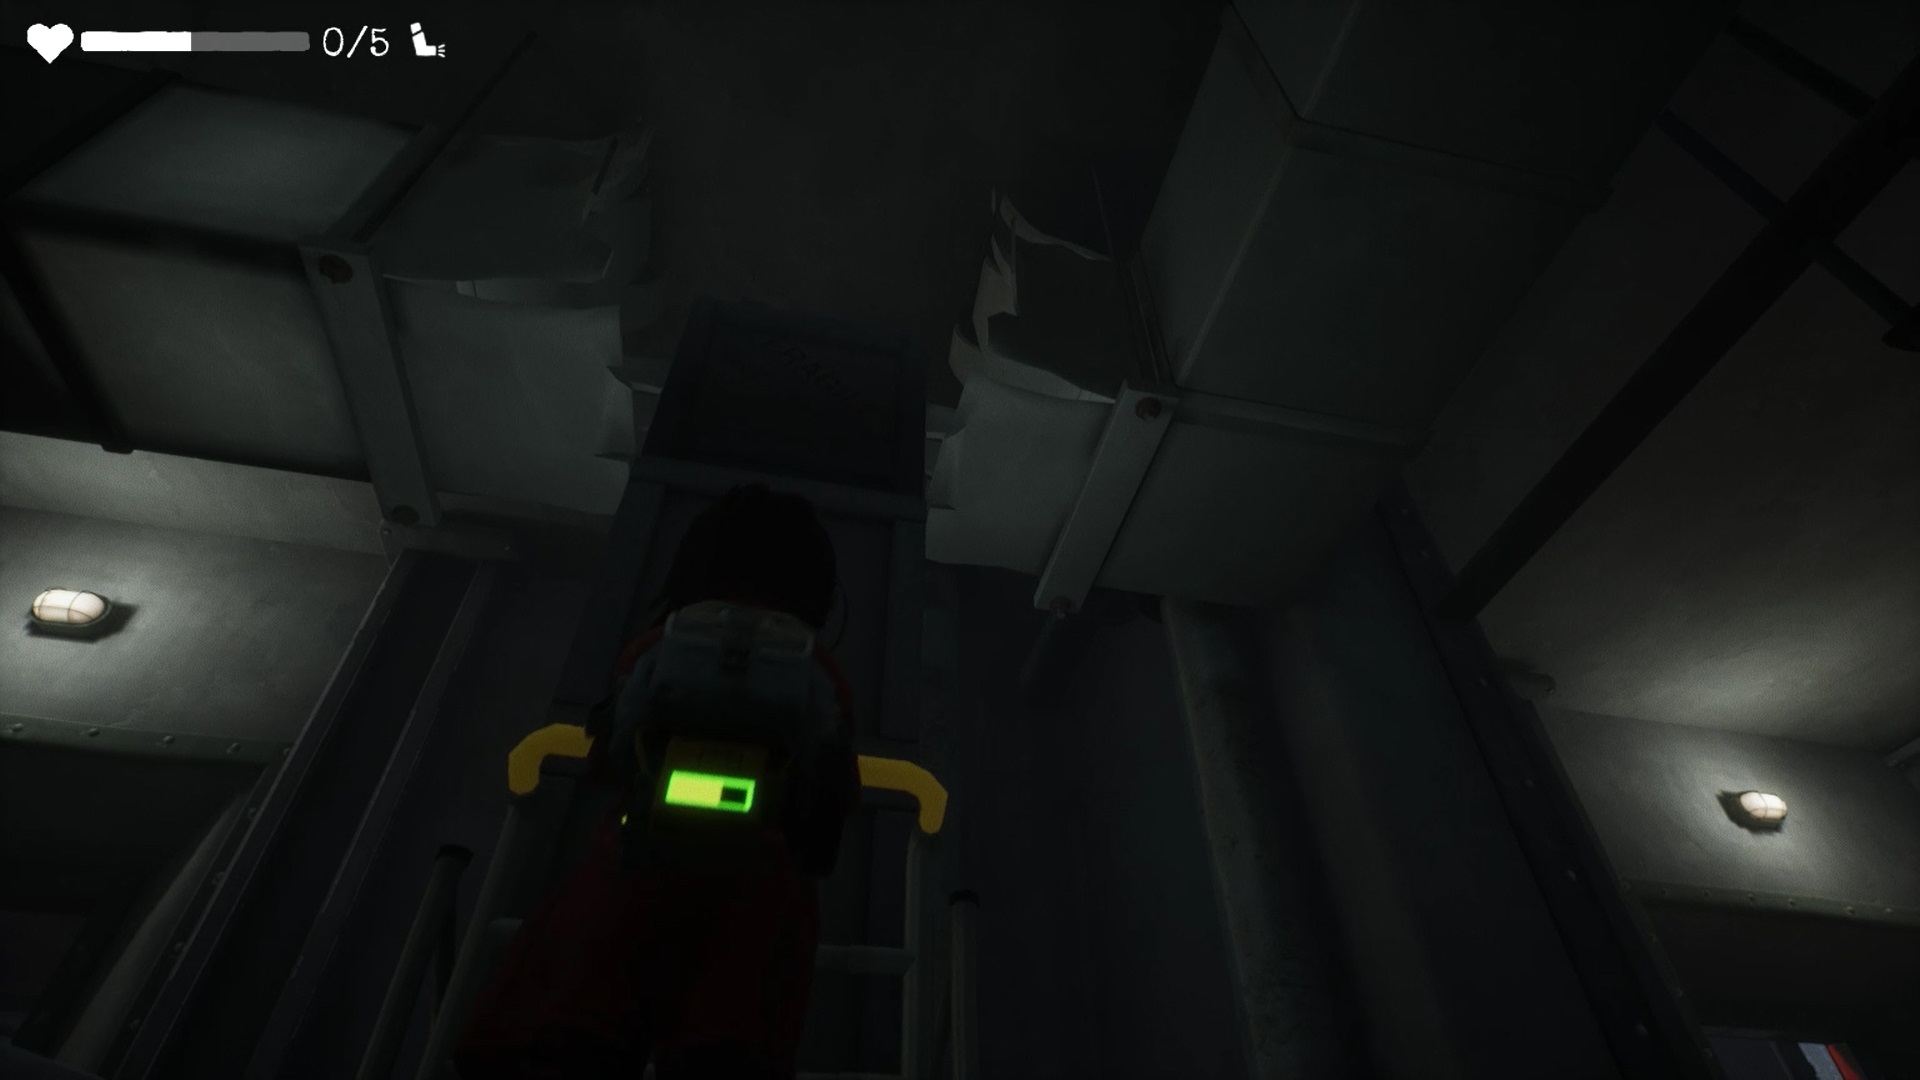
Climb the ladder near the oil lamp. Go to the end of the pipe and use your lamp on the stone in front of you. You destroy the last eye thanks to the ricochet of your light beam. You can now move the trolley under the two collapsed air ducts to create a passage.
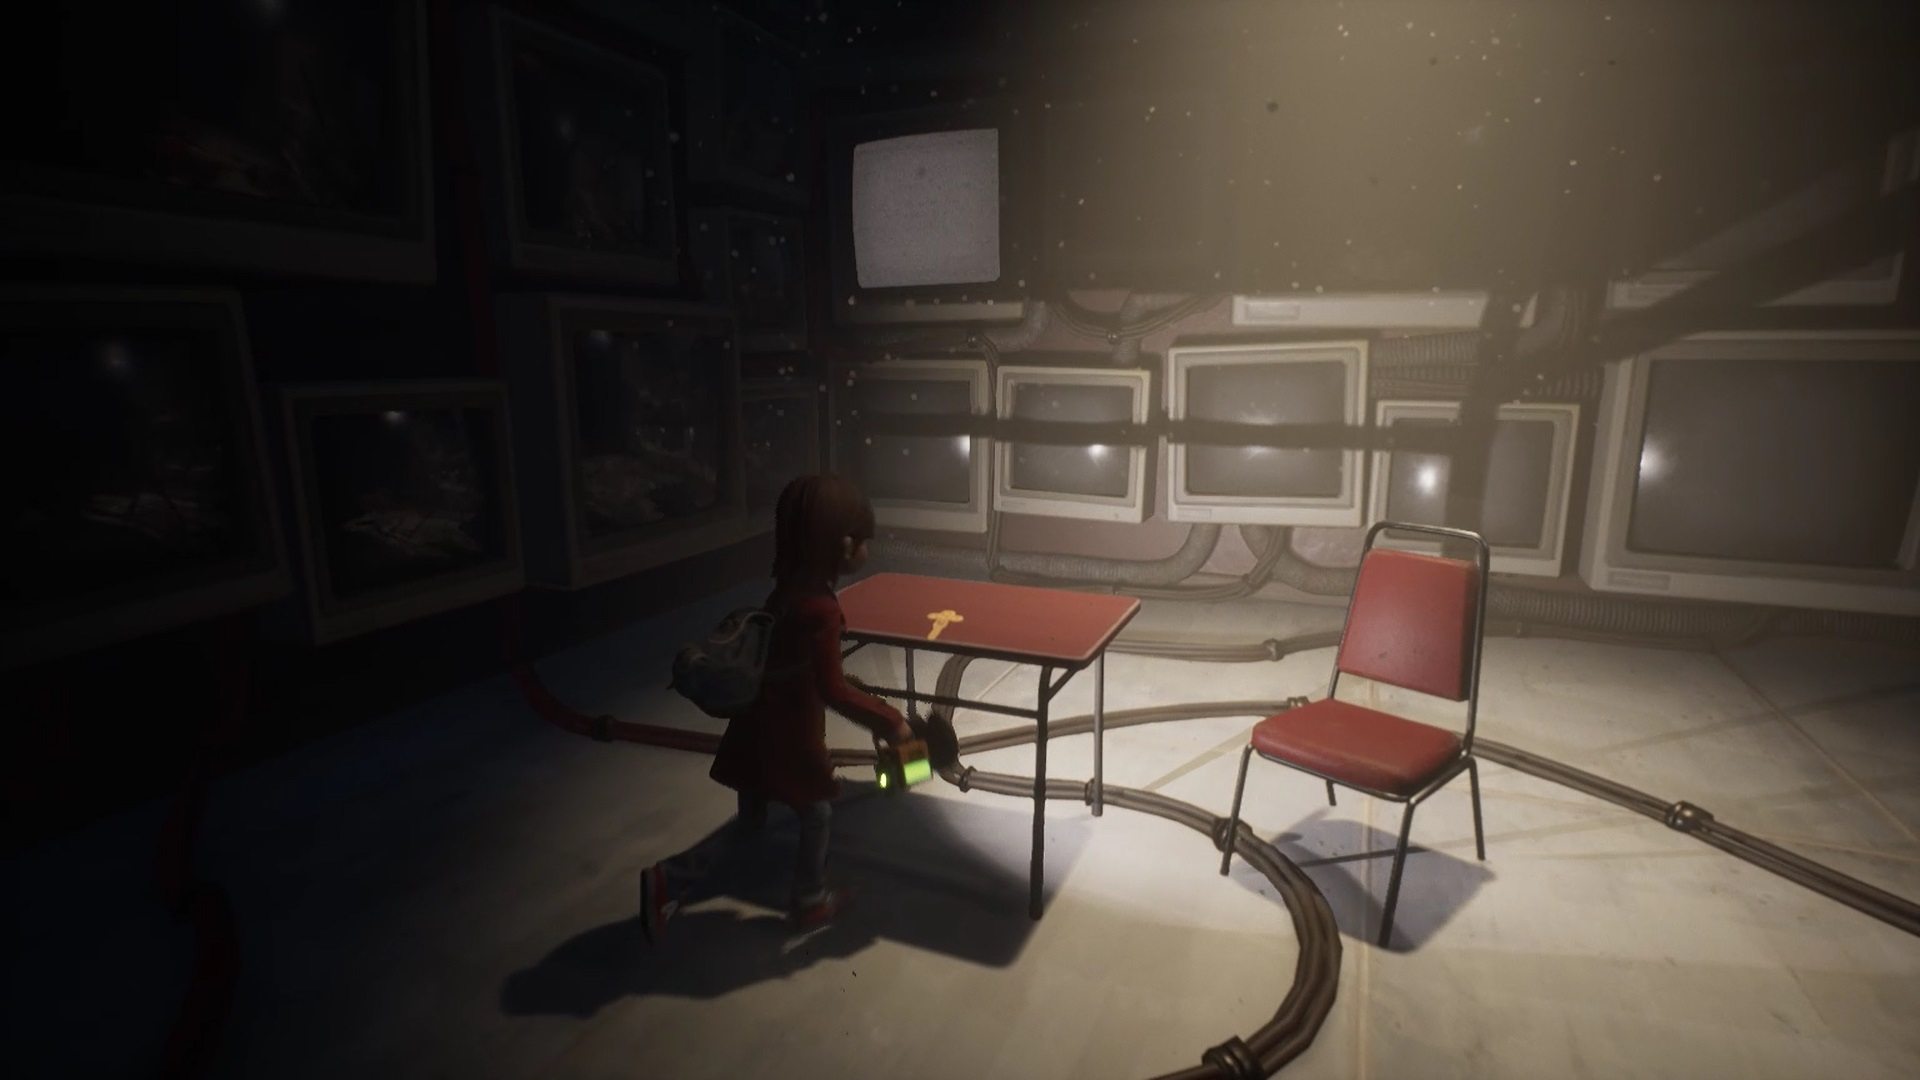
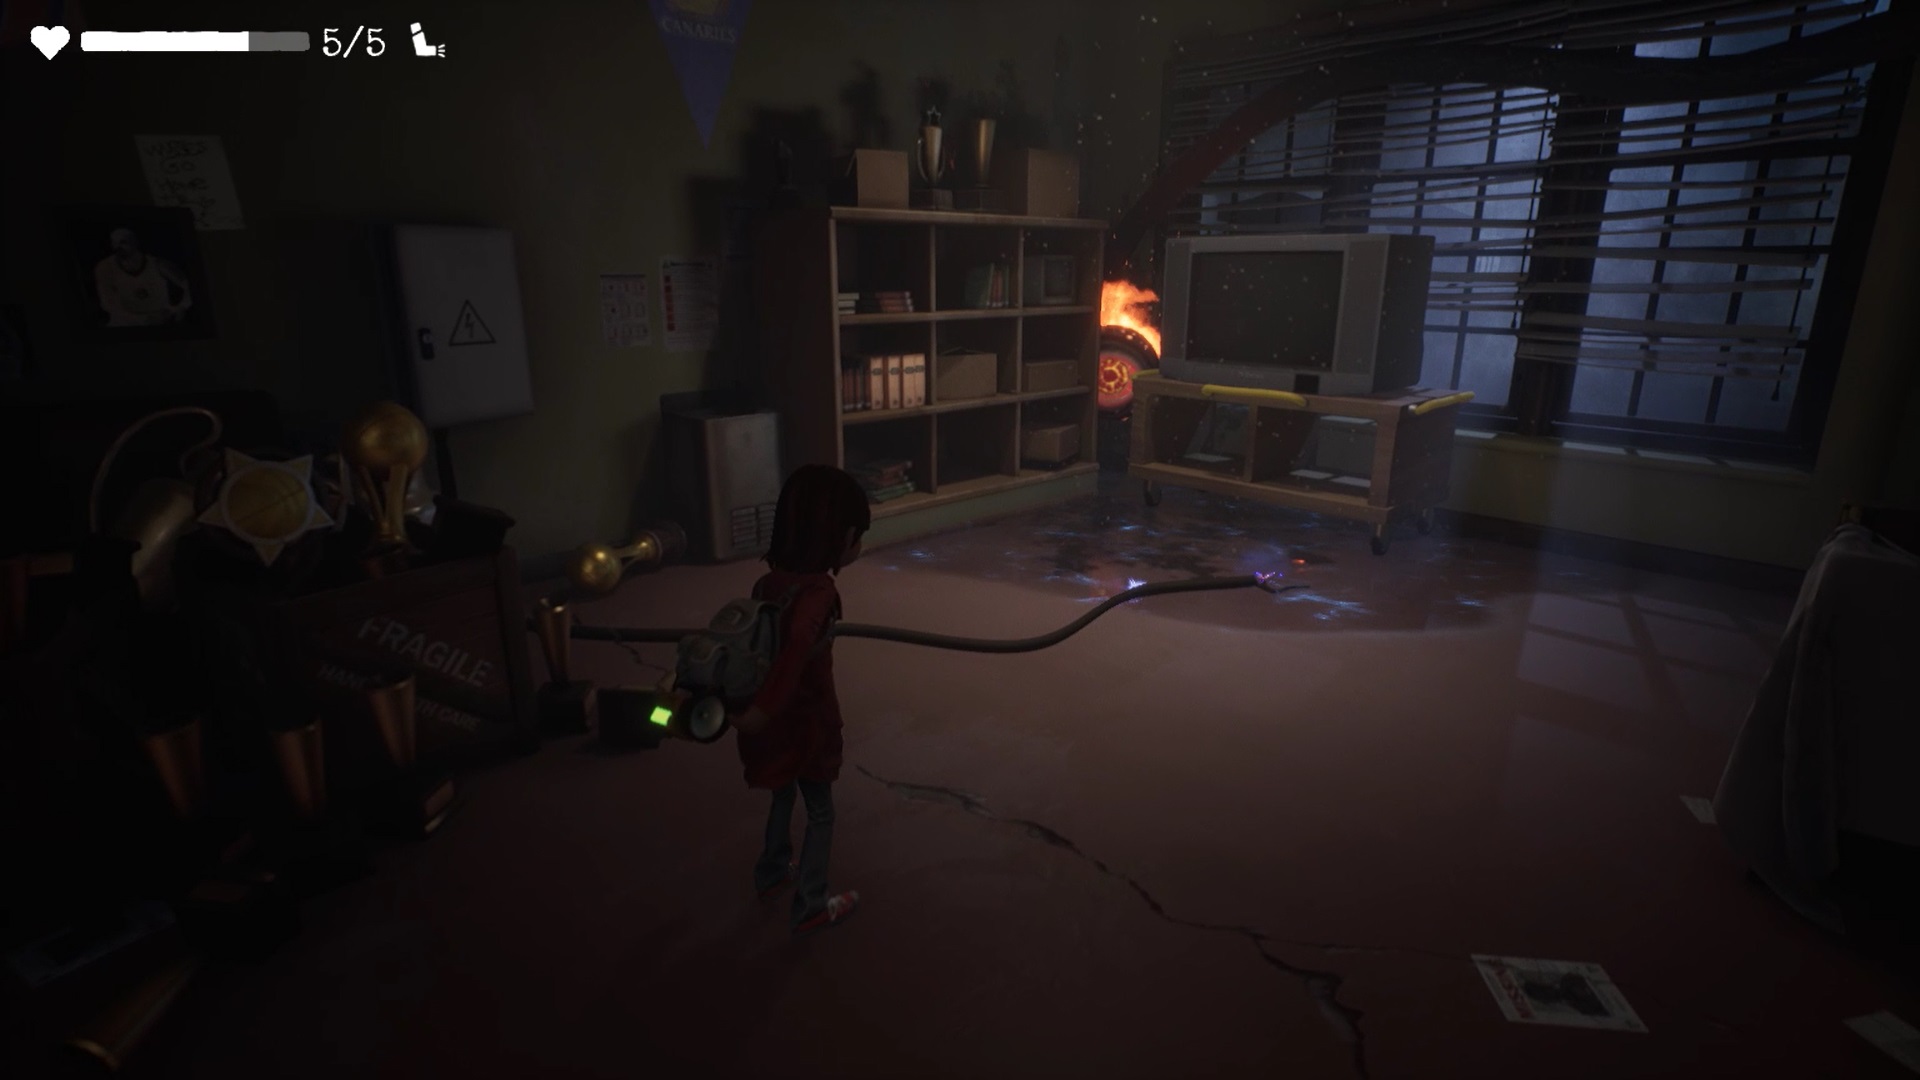
Go back up the duct and move forward to reach the next cell. Proceed to the end of the hallway and enter the office to the north. In the room filled with television, you collect the last key on the desk.
Return to the entrance to the gymnasium to unlock the door locked by three padlocks. Move forward to reach the underground and your next enemy. You find the creature on fire from the school. Just like the first time, you have to lure him underwater to destabilize him. Once destabilized use your fire extinguisher in his belly to cool him down. Use the valves to trigger the water from a distance as soon as the creature is placed in the right place. Repeat the operation three times to defeat him. Once on the ground, climb the ladder to reach the roof of the gymnasium.

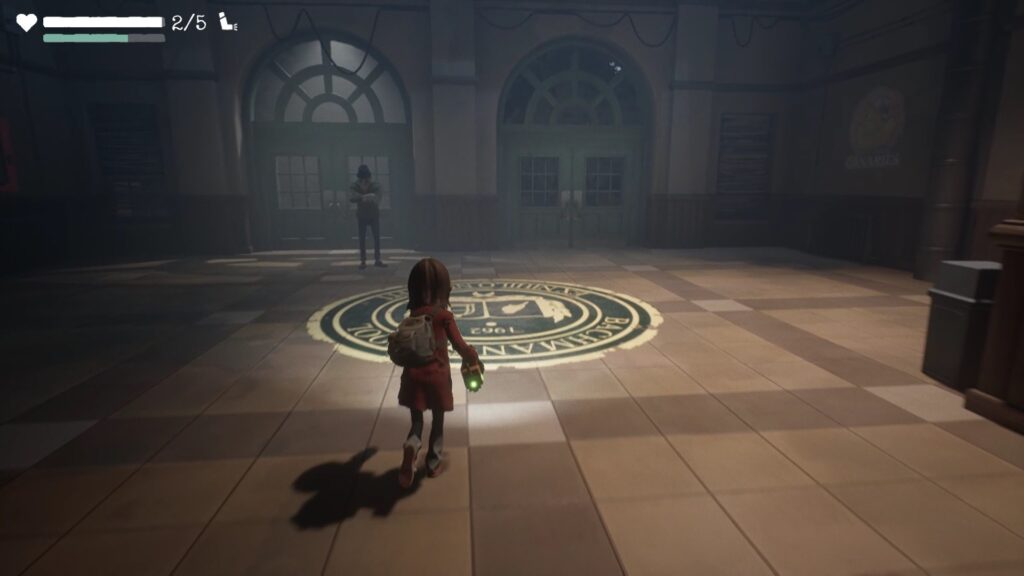
On the roof, join Emily. Go around the building where it is. Put out the flames and climb the ladder to join her. After the cutscene, follow the man to the telescope to start the final chapter. Meet the man in the school hall to begin the final act. You cannot go back if you continue the adventure.
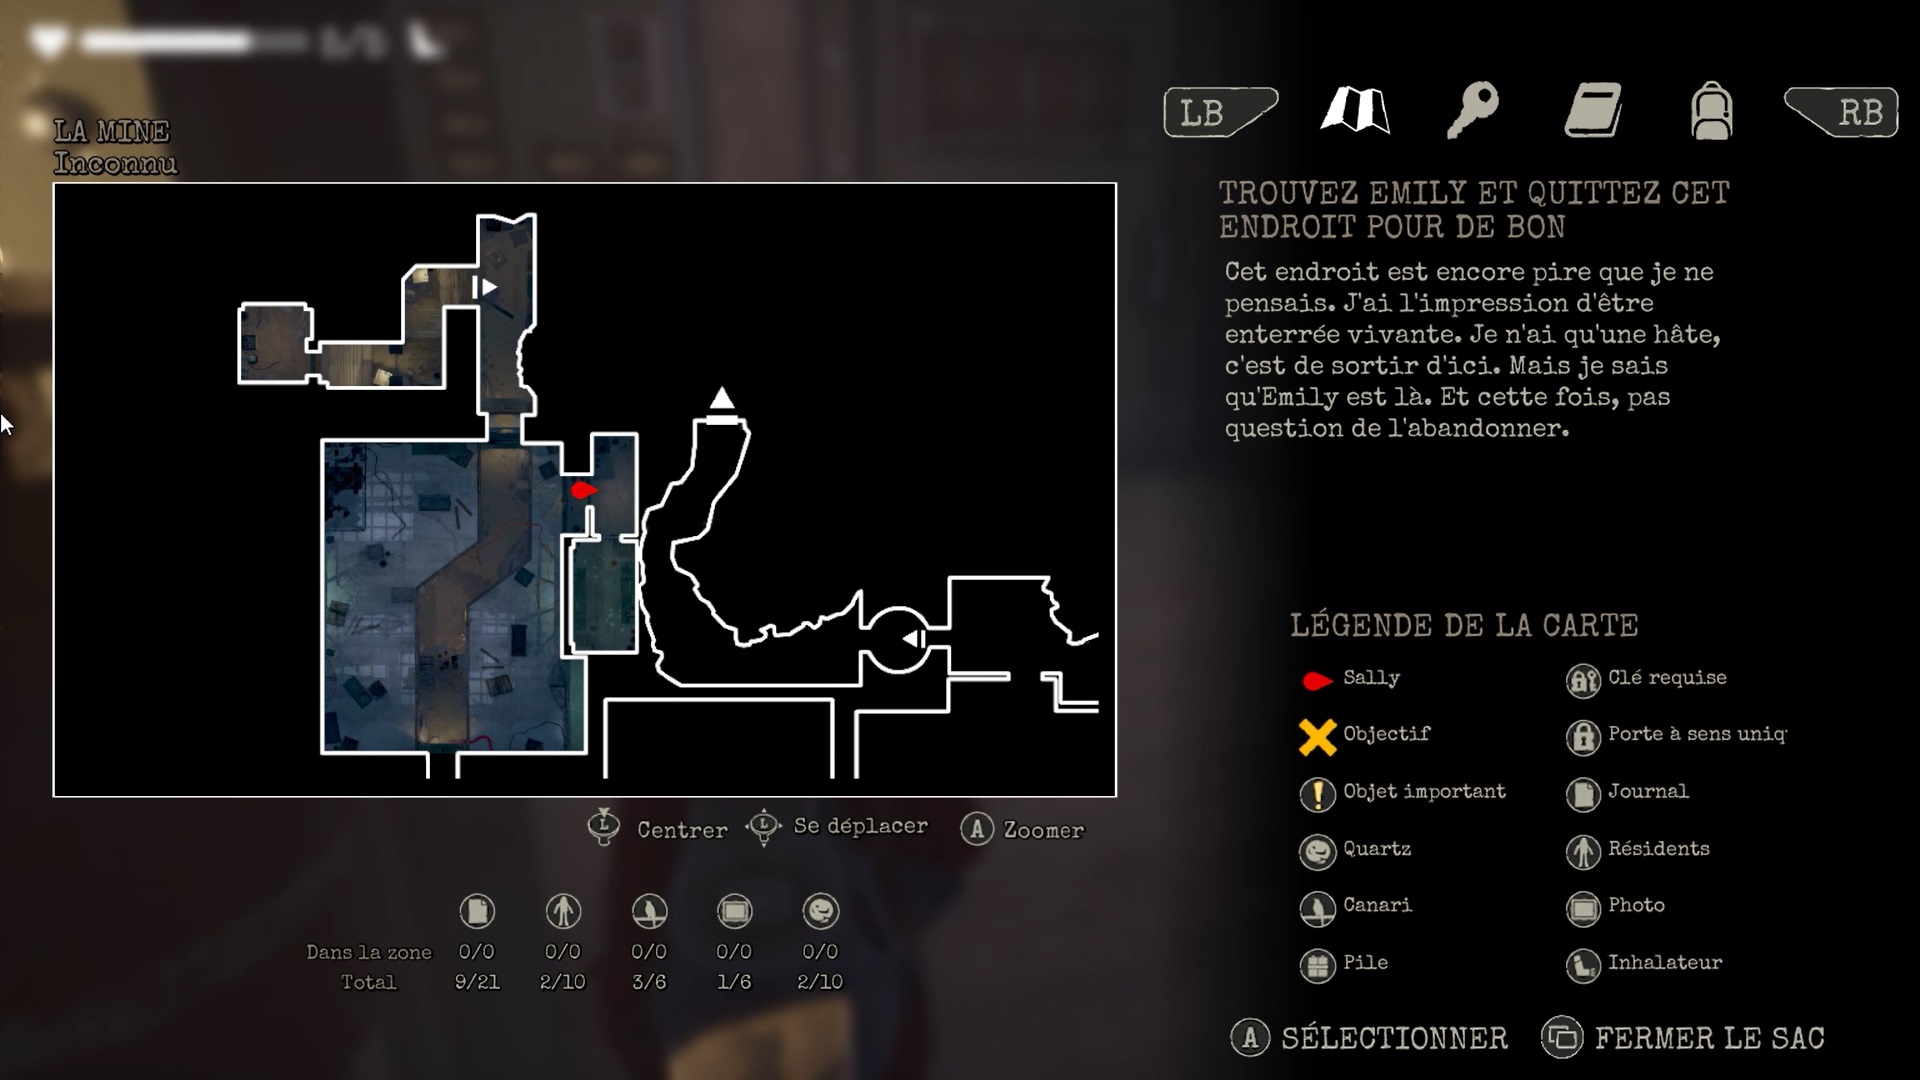
The mine
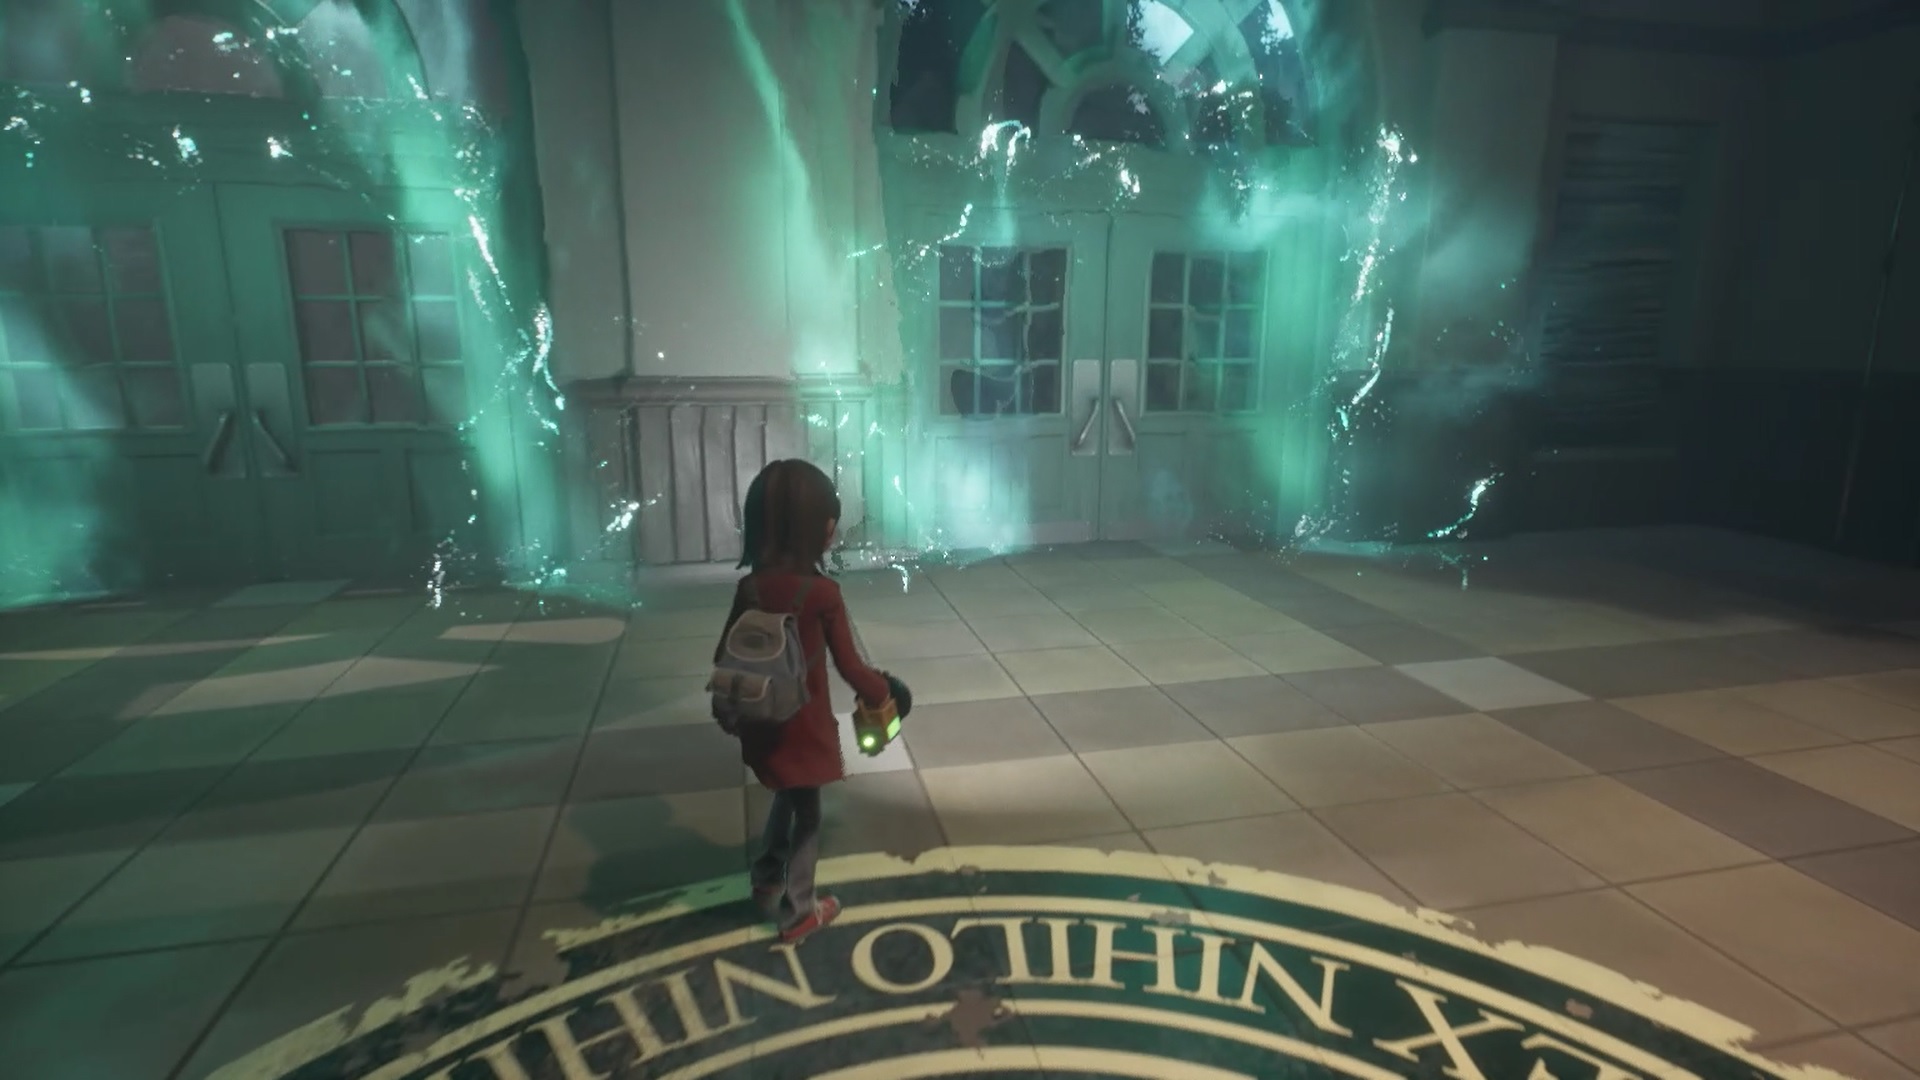
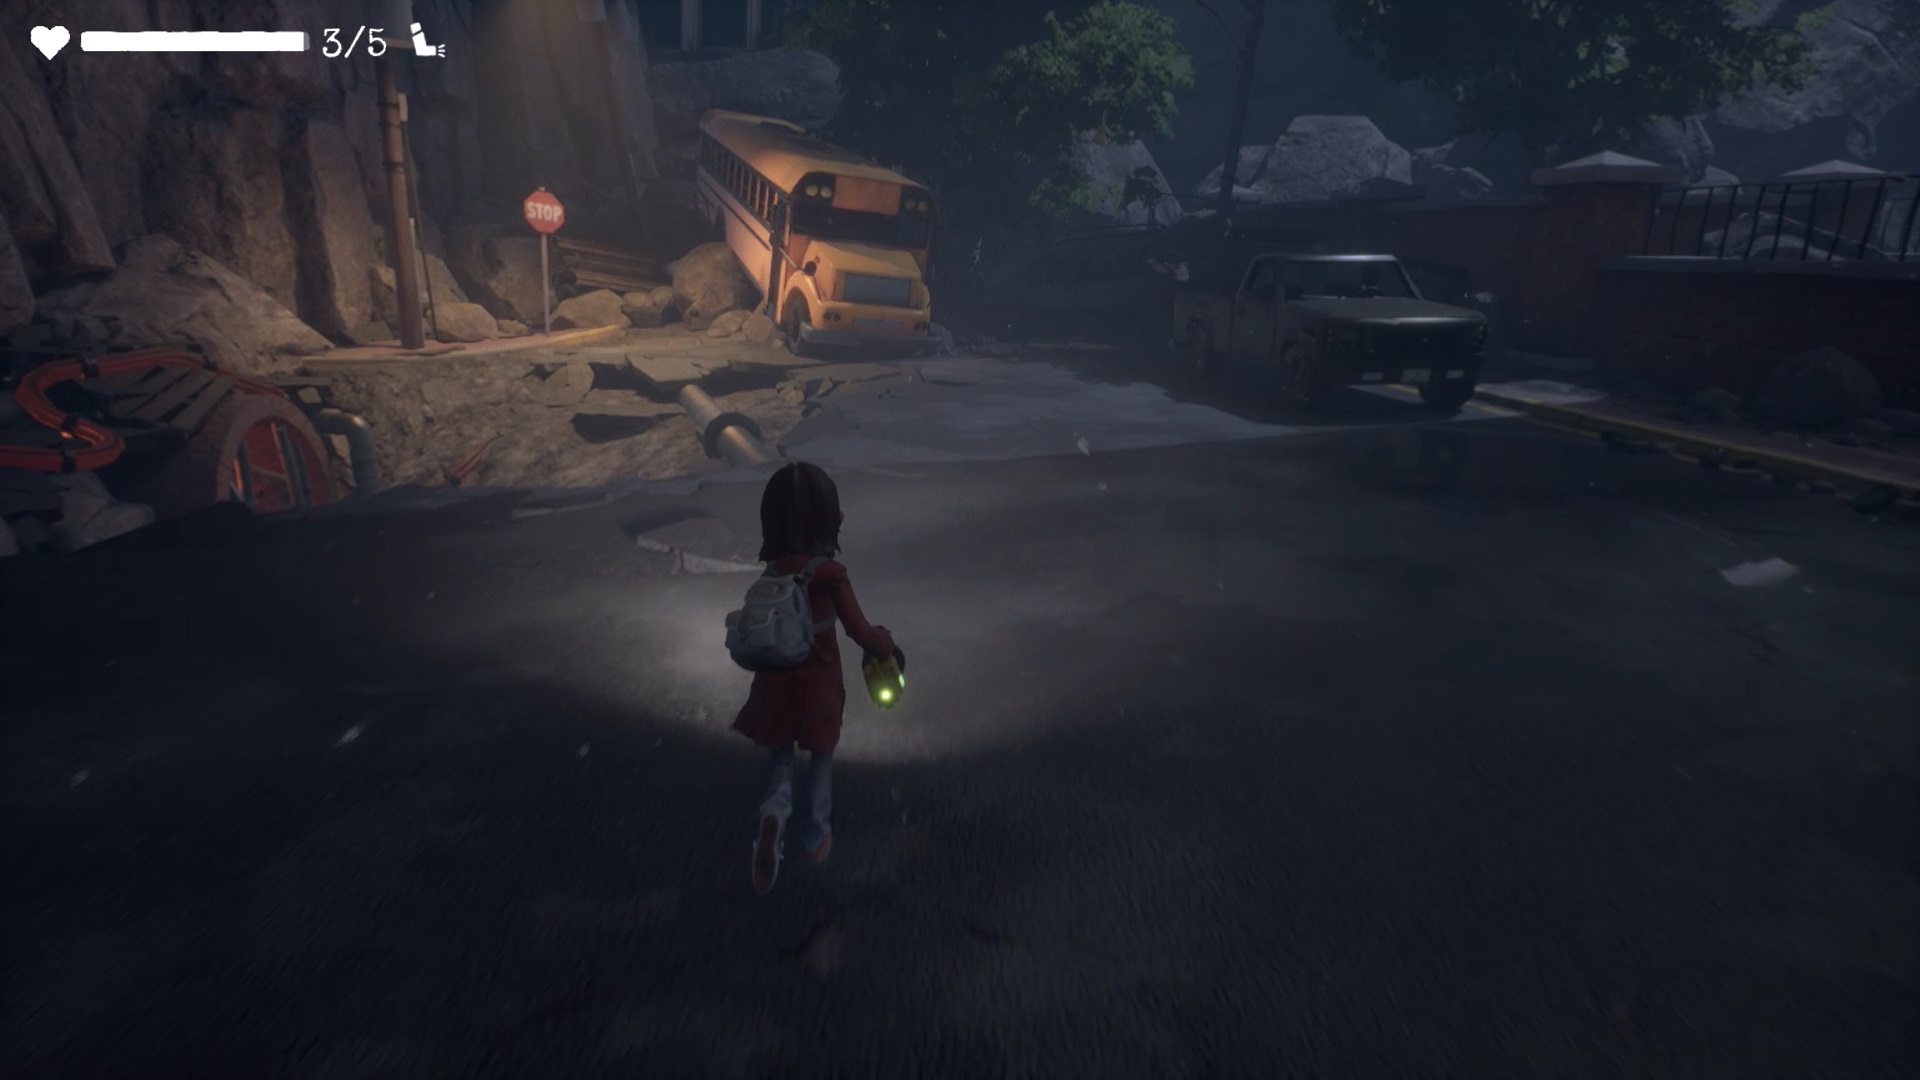
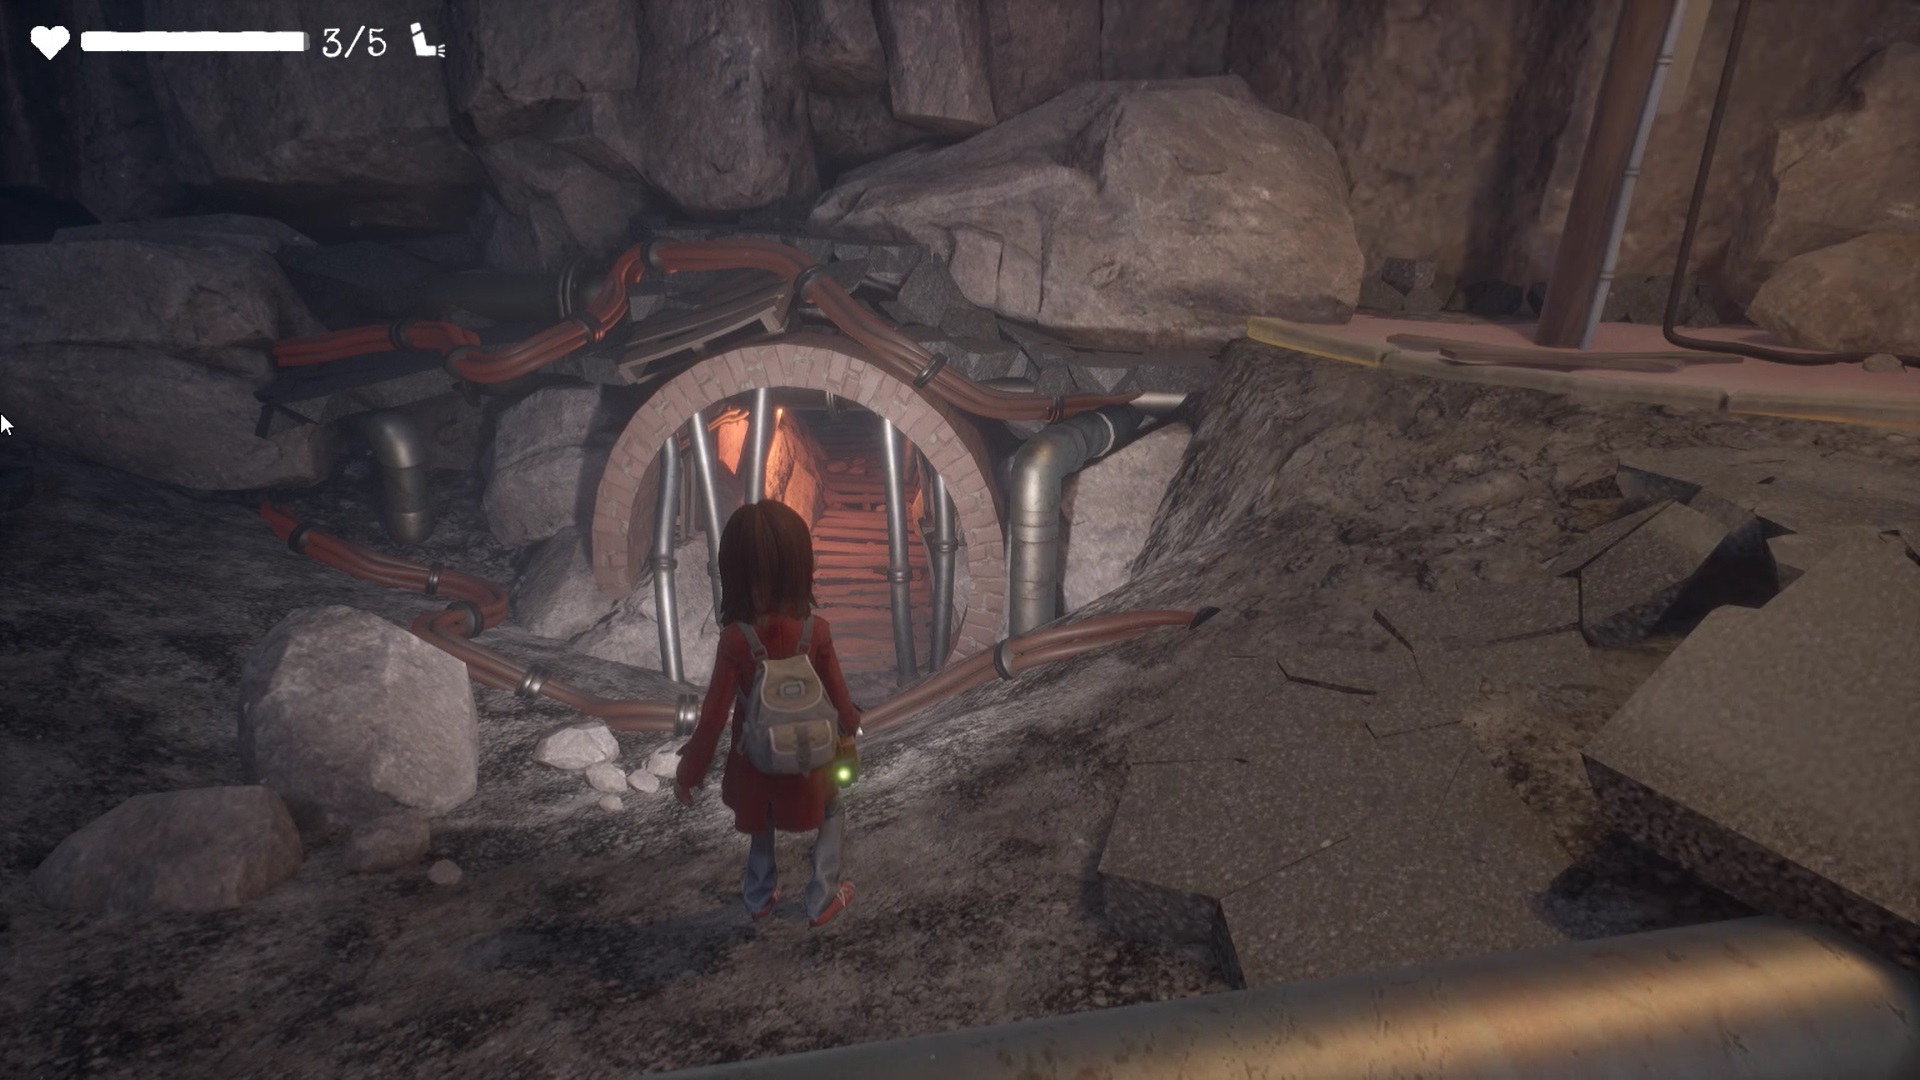
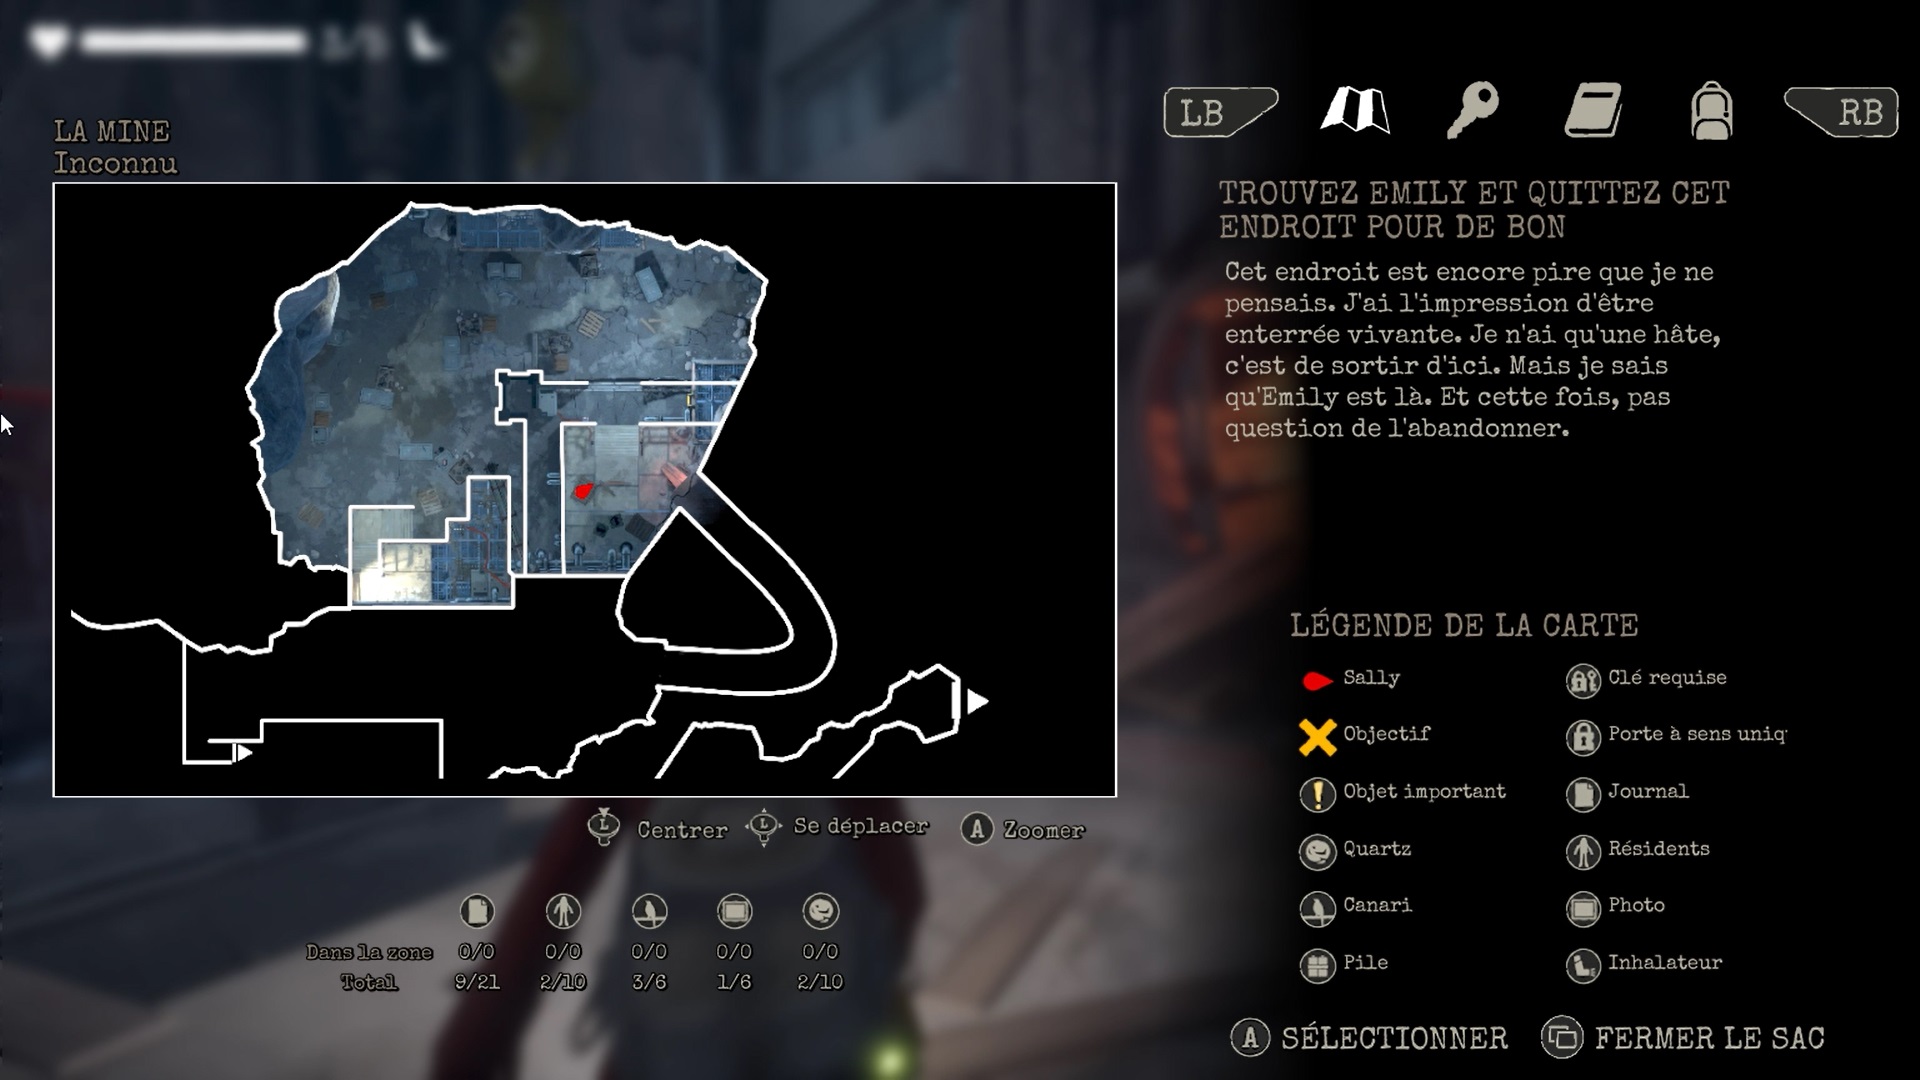
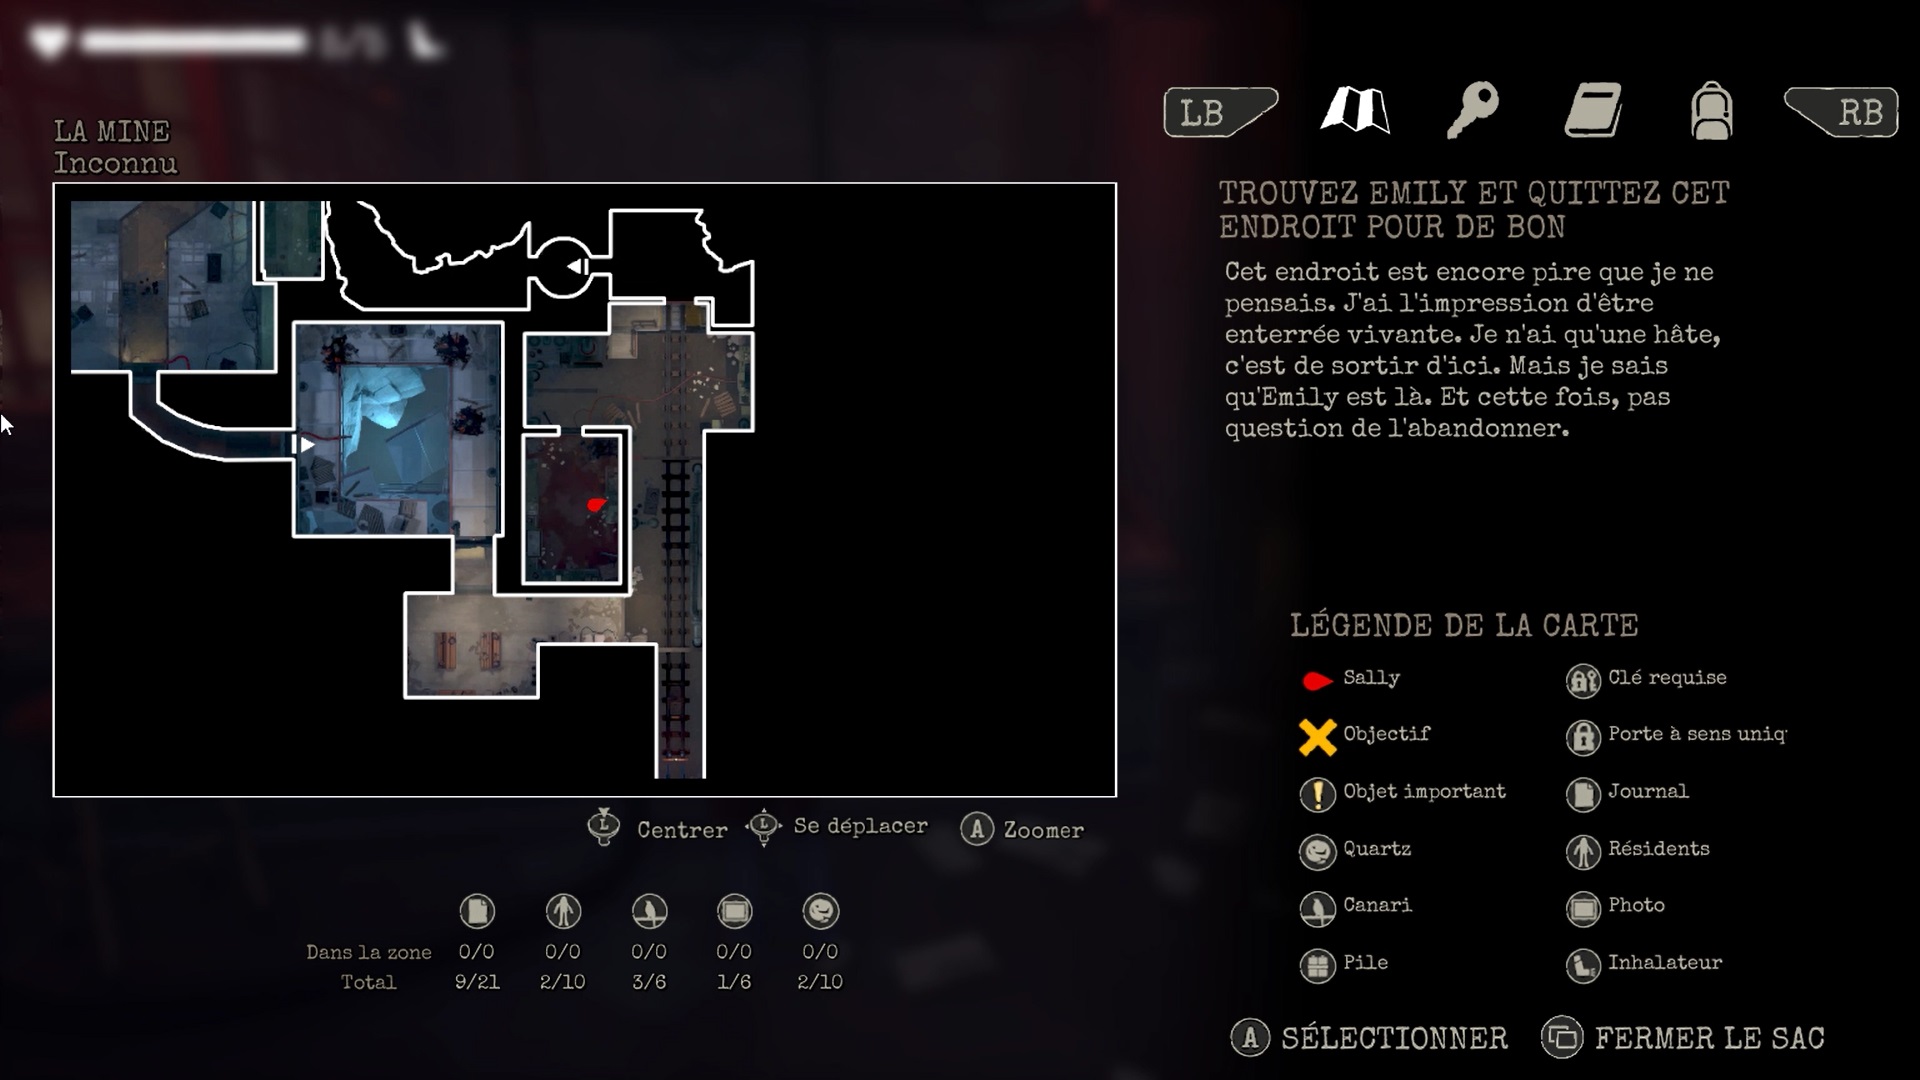
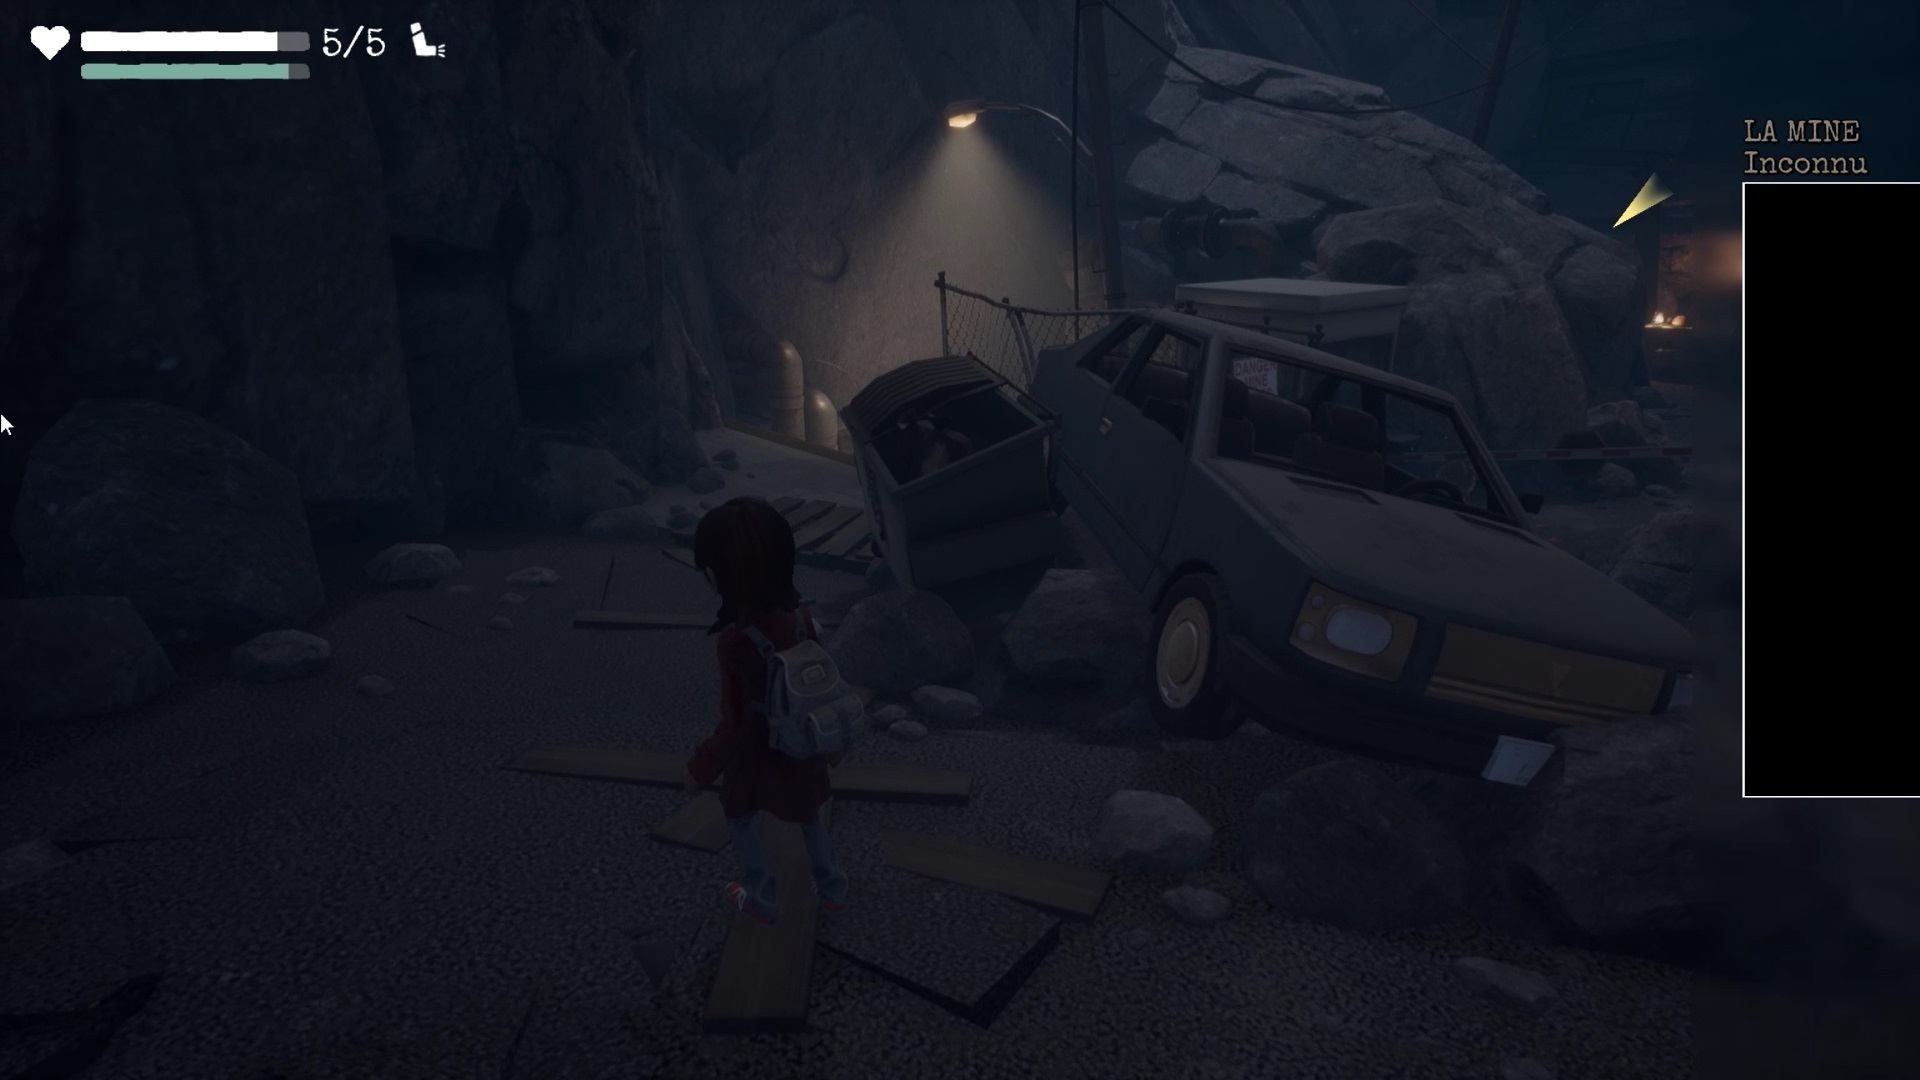
Once the discussion with the man is over, go through the double doors to reach a new area. You need to head into the mine. The mine entrance is north of the school bus.
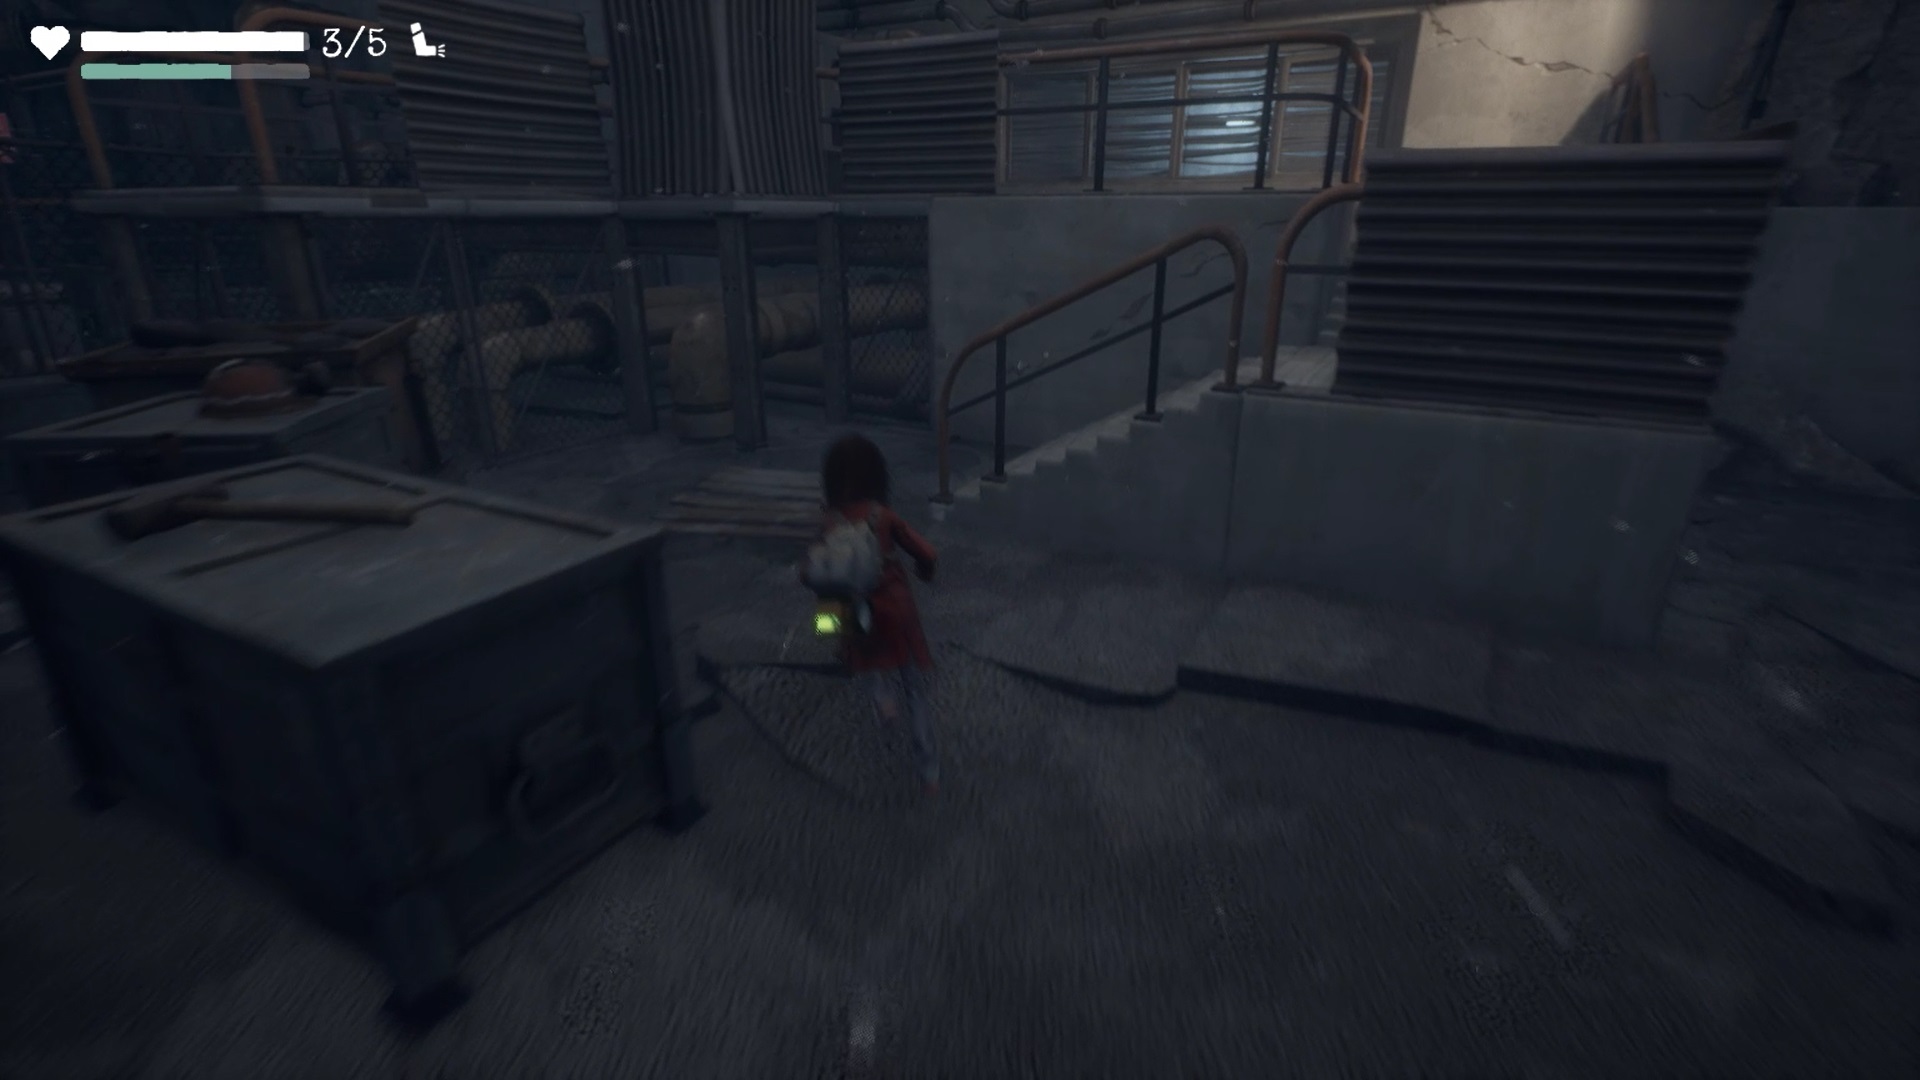
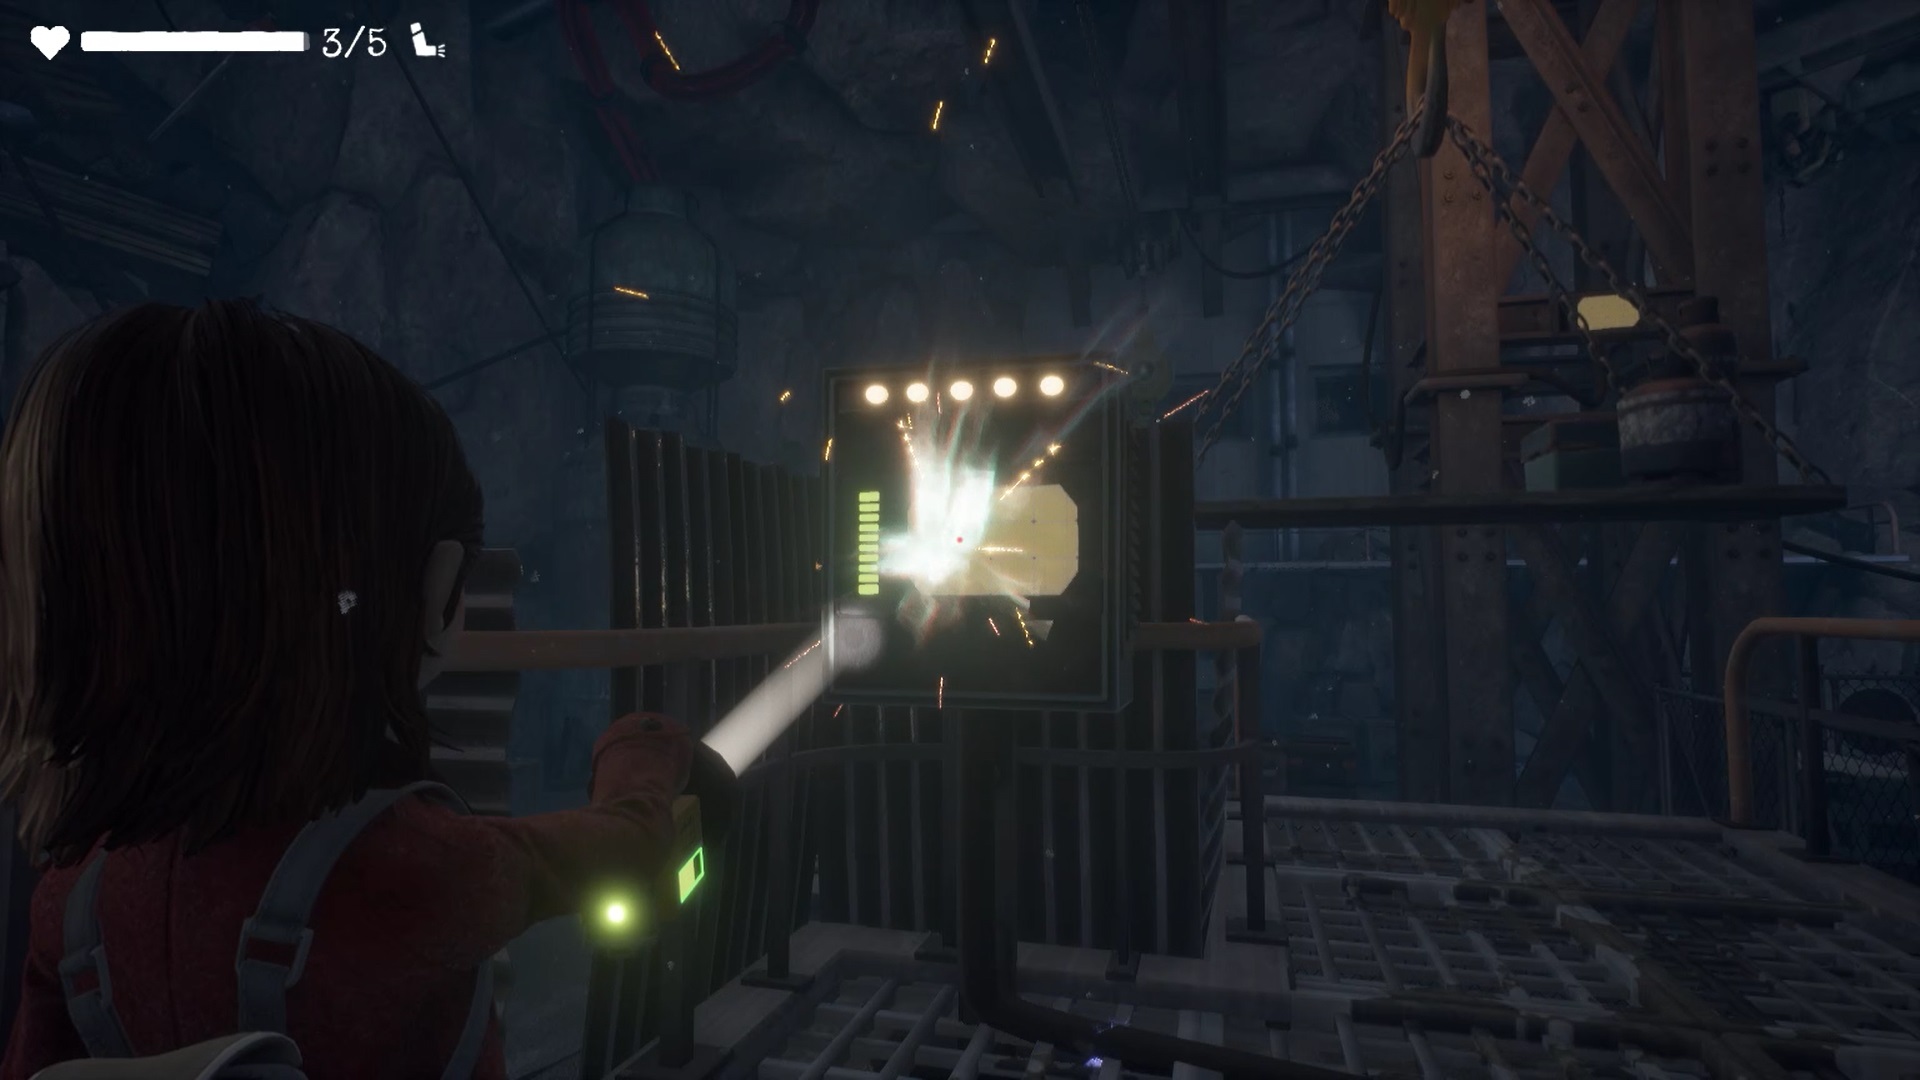
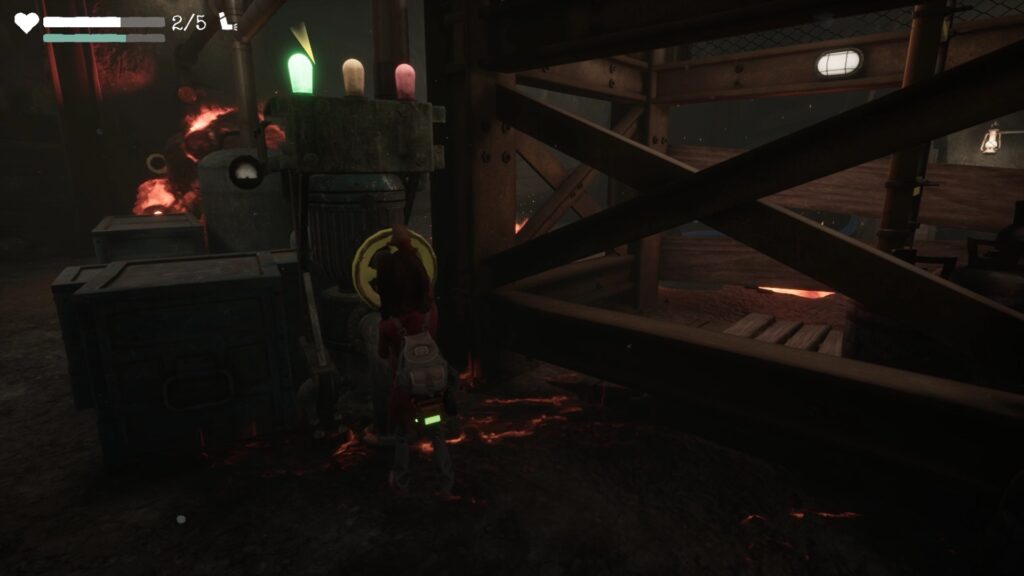
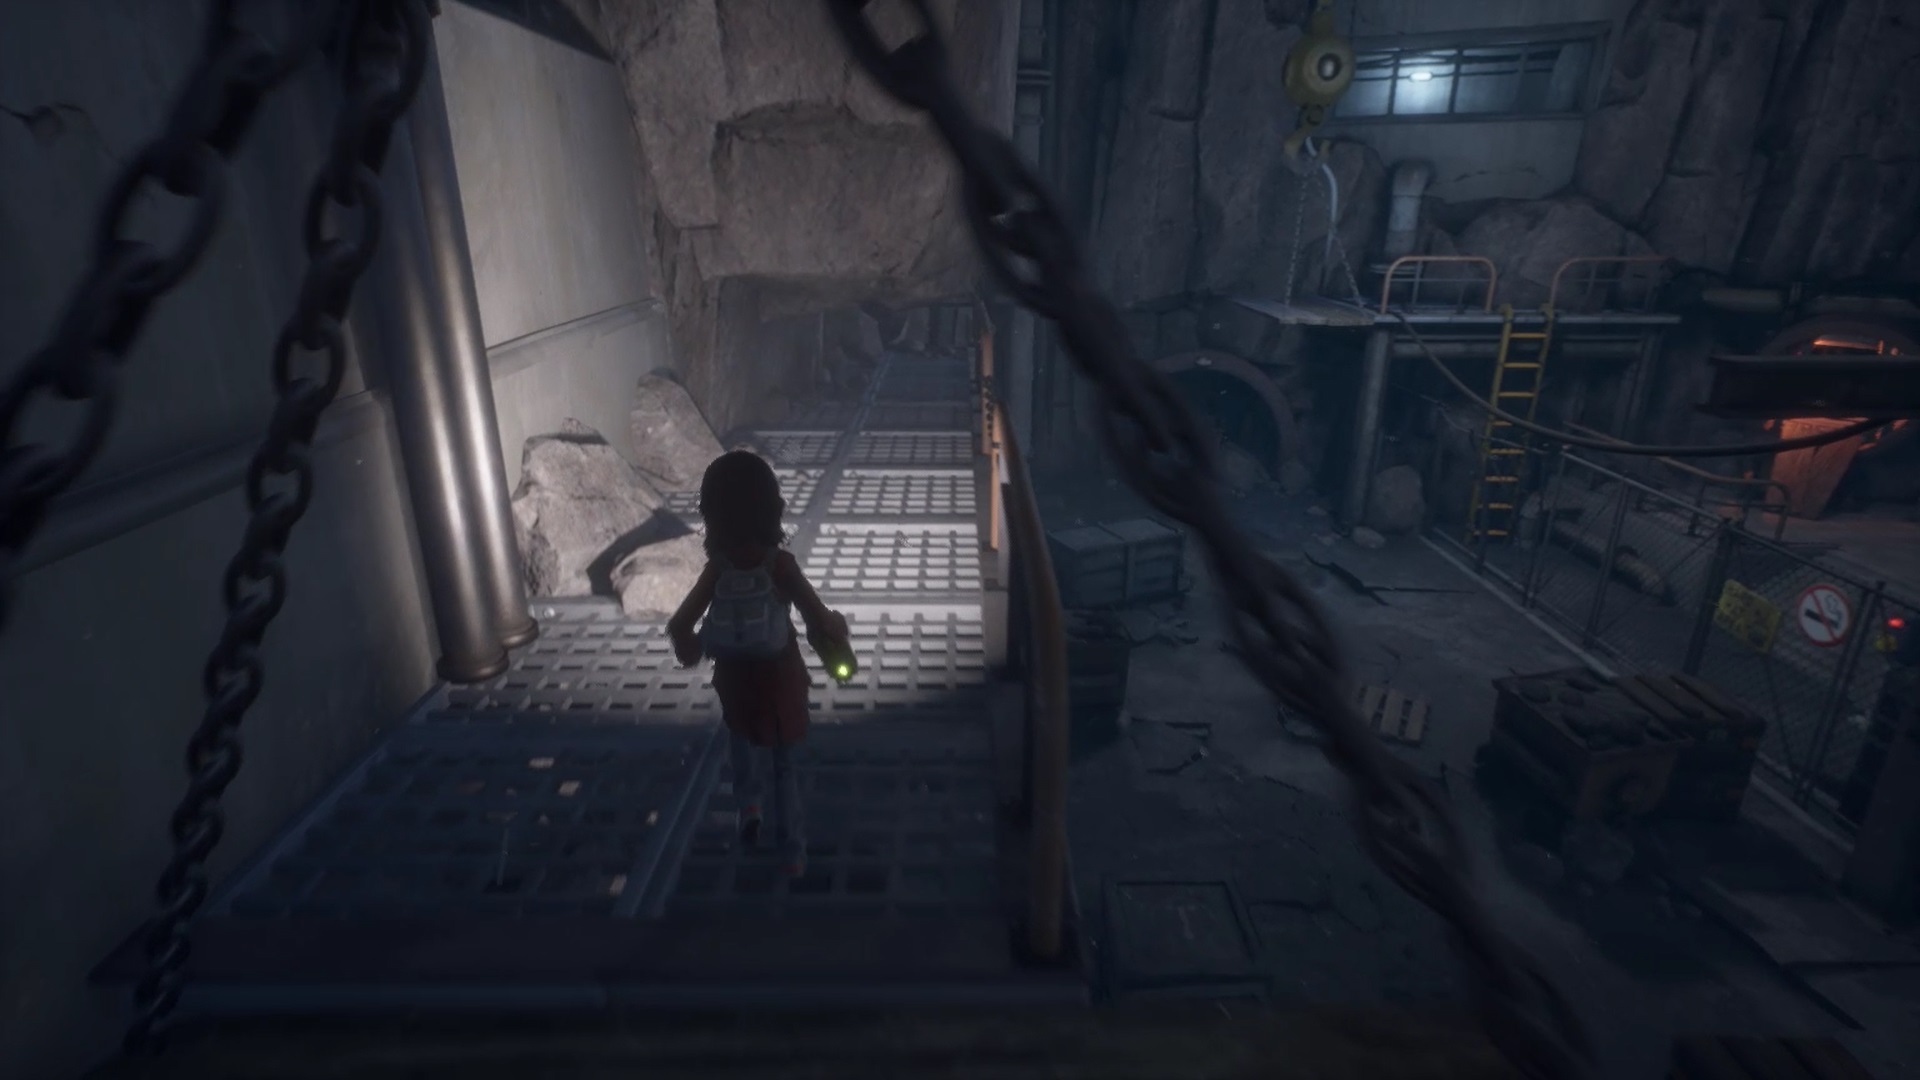
In the mine, a locked fence prevents you from moving forward. You must help yourself from the high walkways to pass over the fence. At the bottom of the area, stairs take you to the first walkway. The footbridge is high up, you have to bring it down. Use your lamp on the power point to be able to climb on the catwalk.
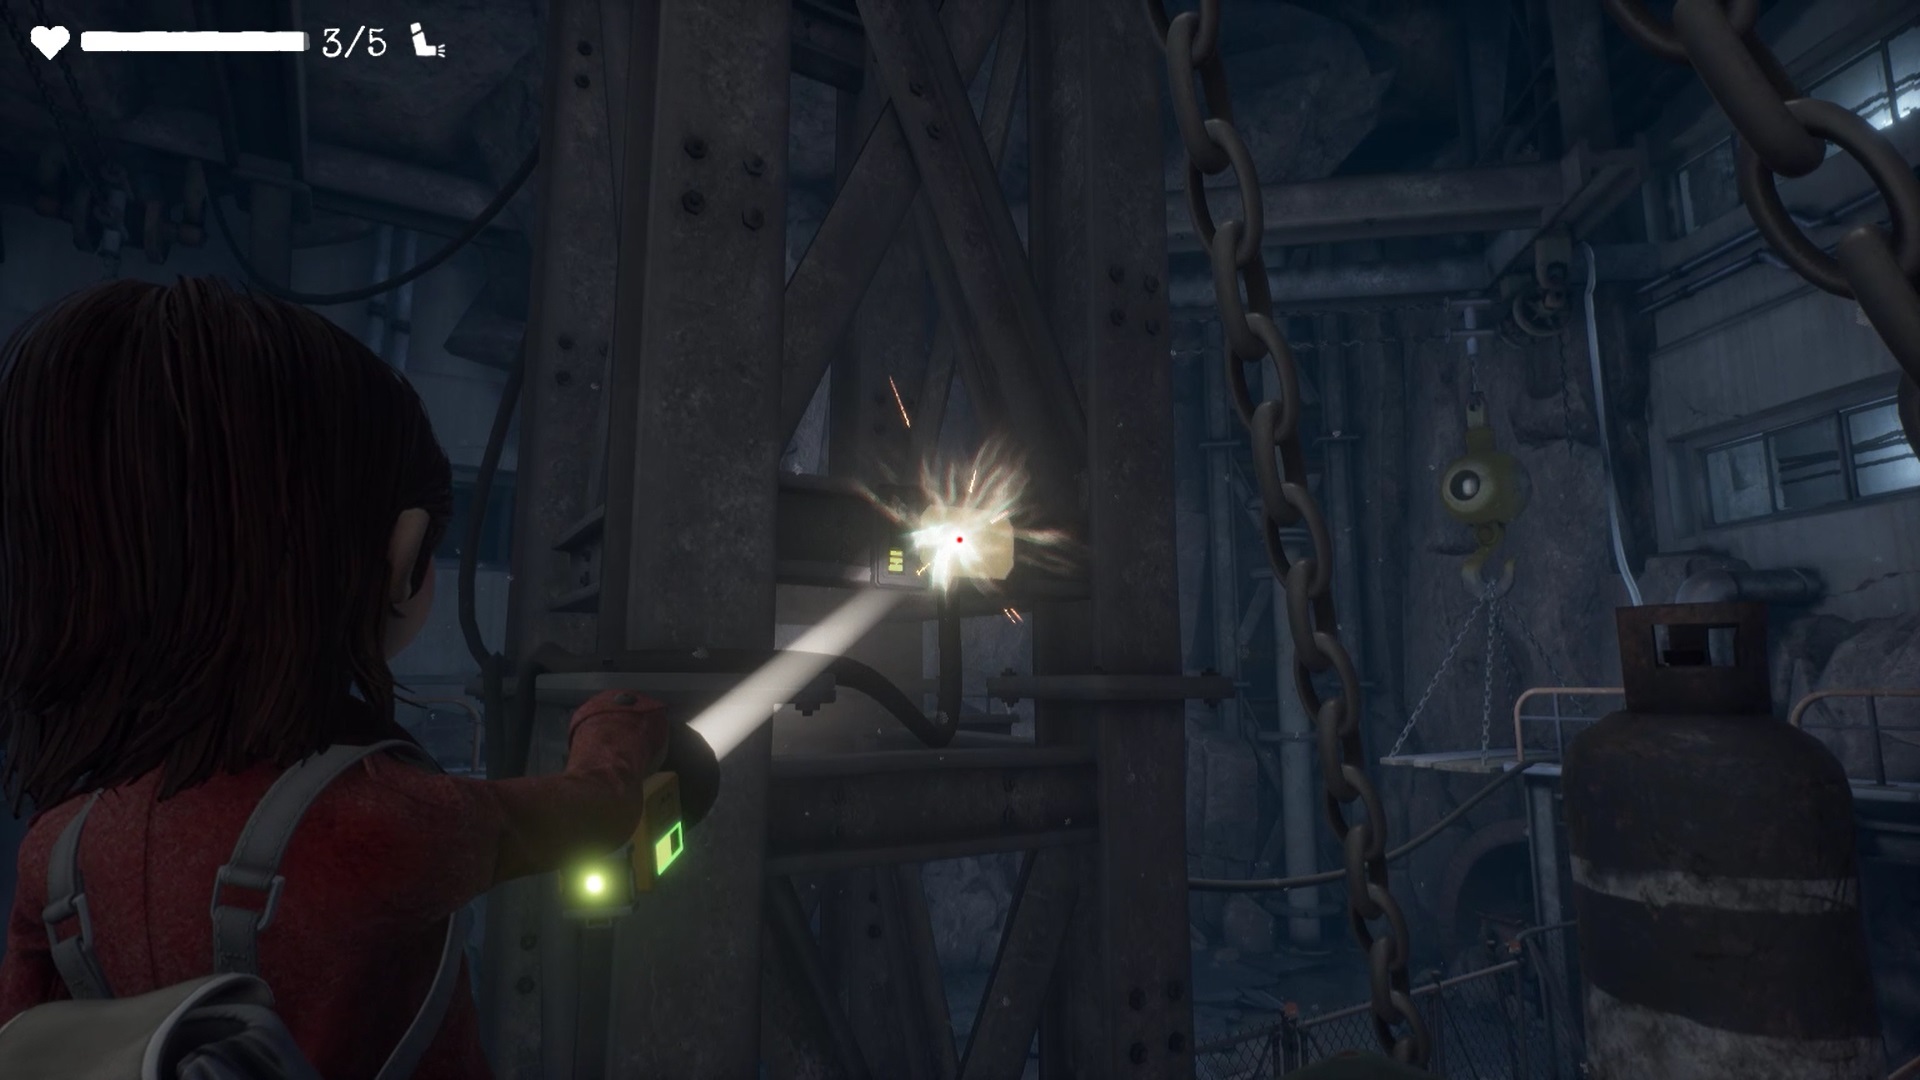
Once on the bridge, wait for it to go back up. On the pillar in front of you, there is a second power point. Power it with light from your lamp to advance a second gateway to your level. Climb on it and let the footbridge return to its point of origin.
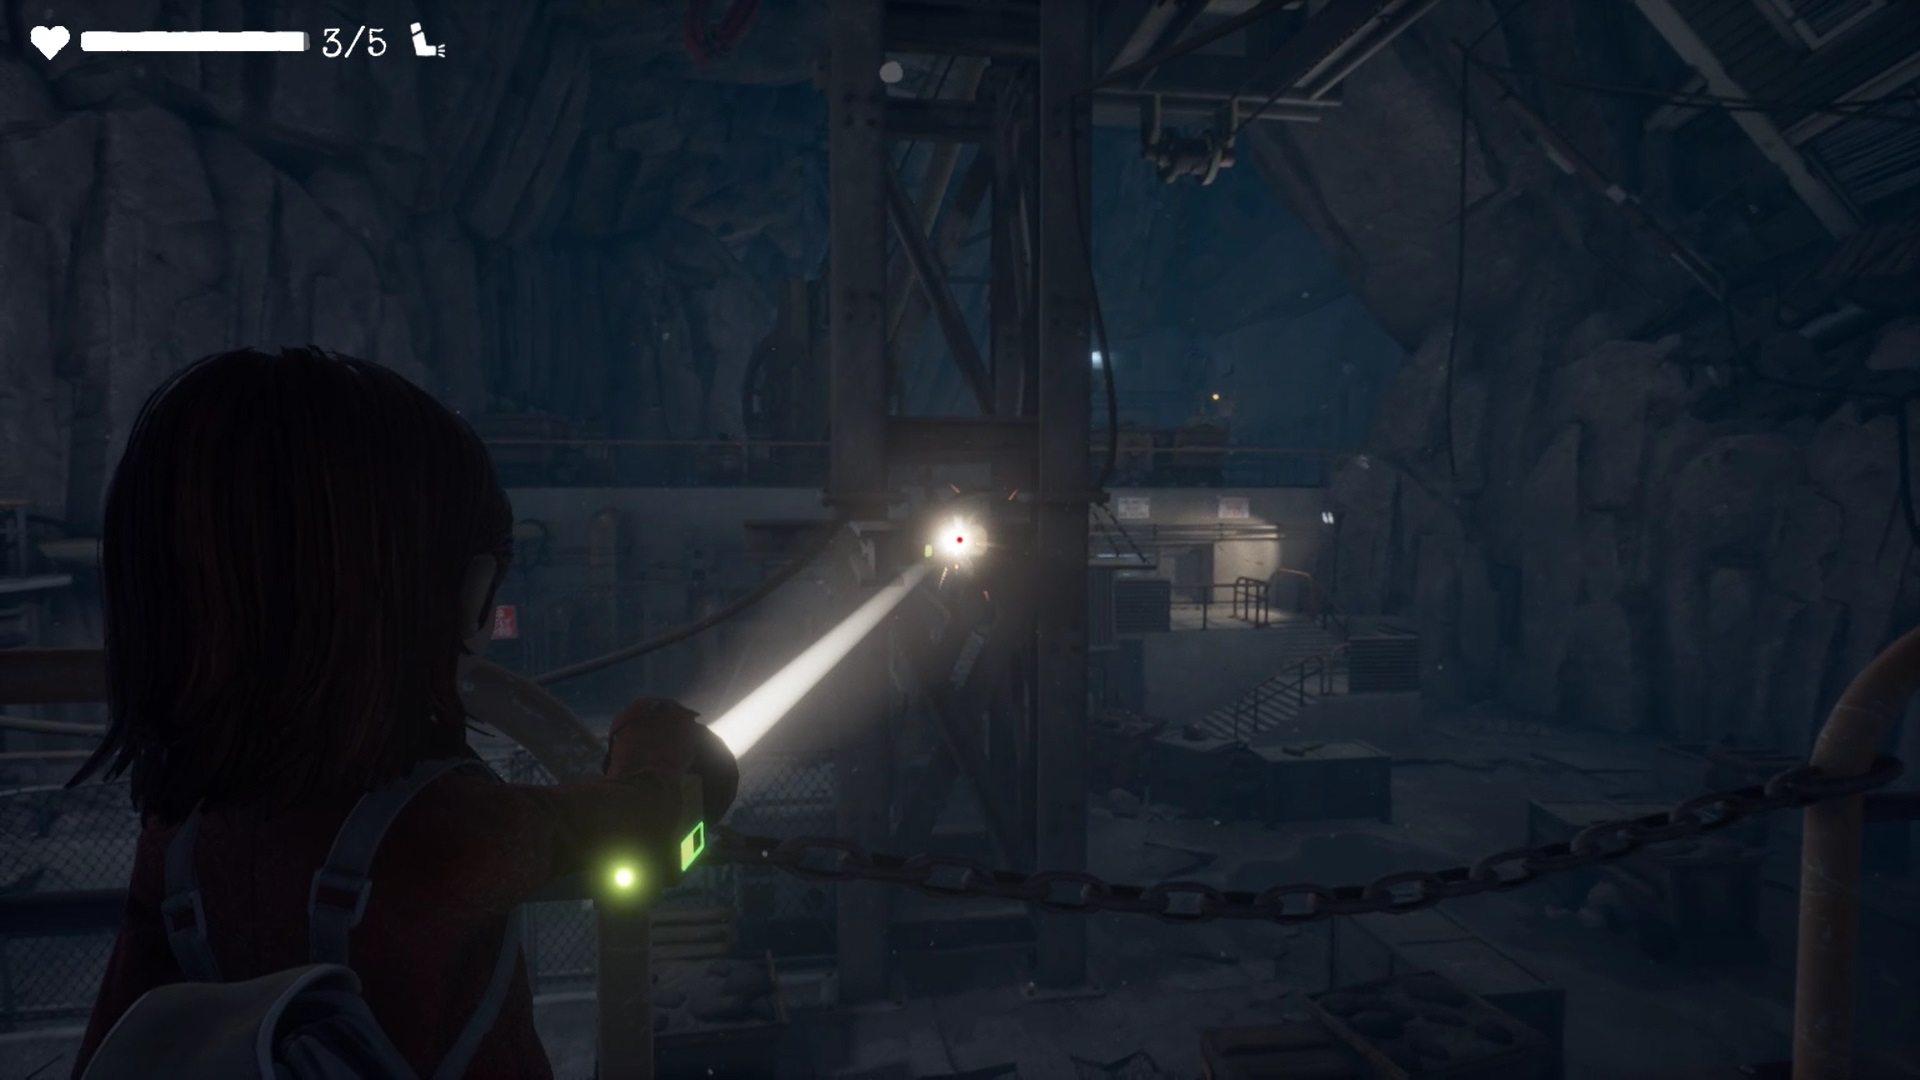
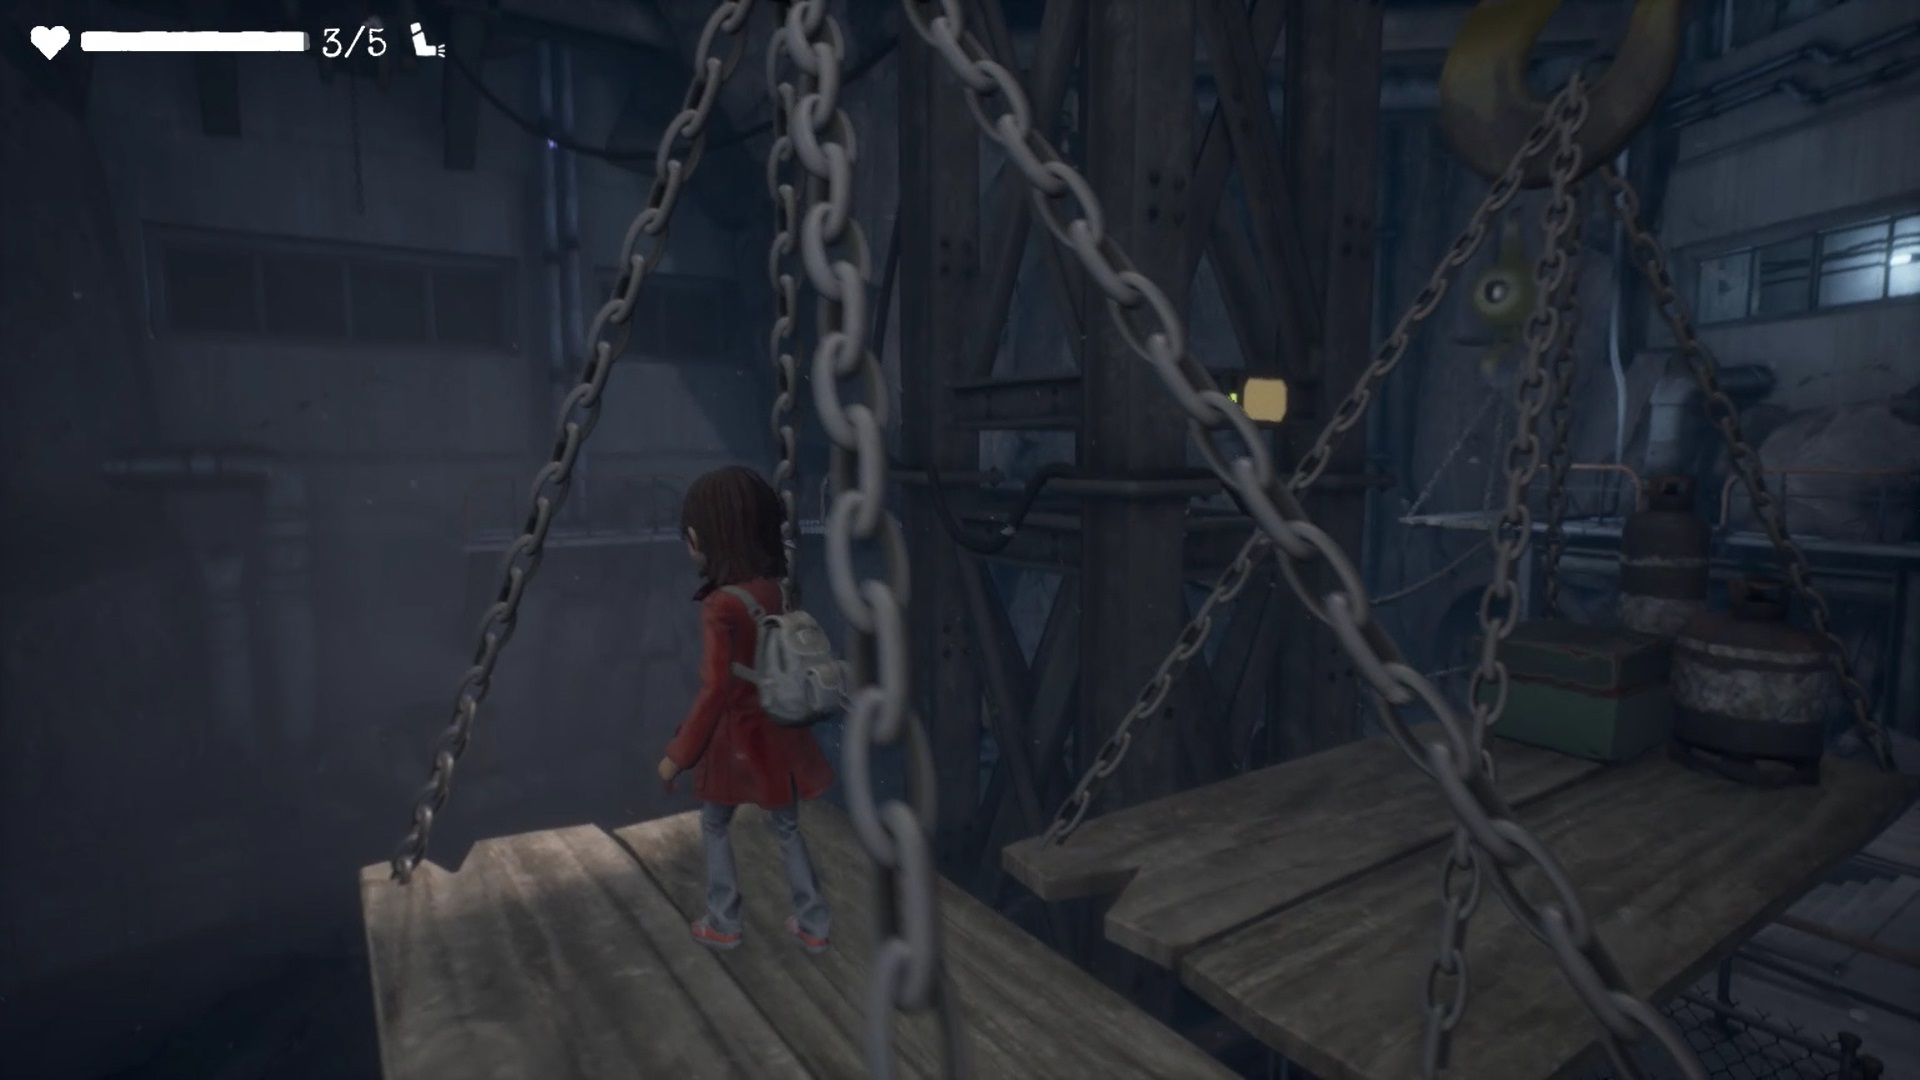
Get off the footbridge and walk on the metal structure to the rock blocking your way. Before you duck down and reach the last catwalk, use your lamp on the last power point on the pillar.
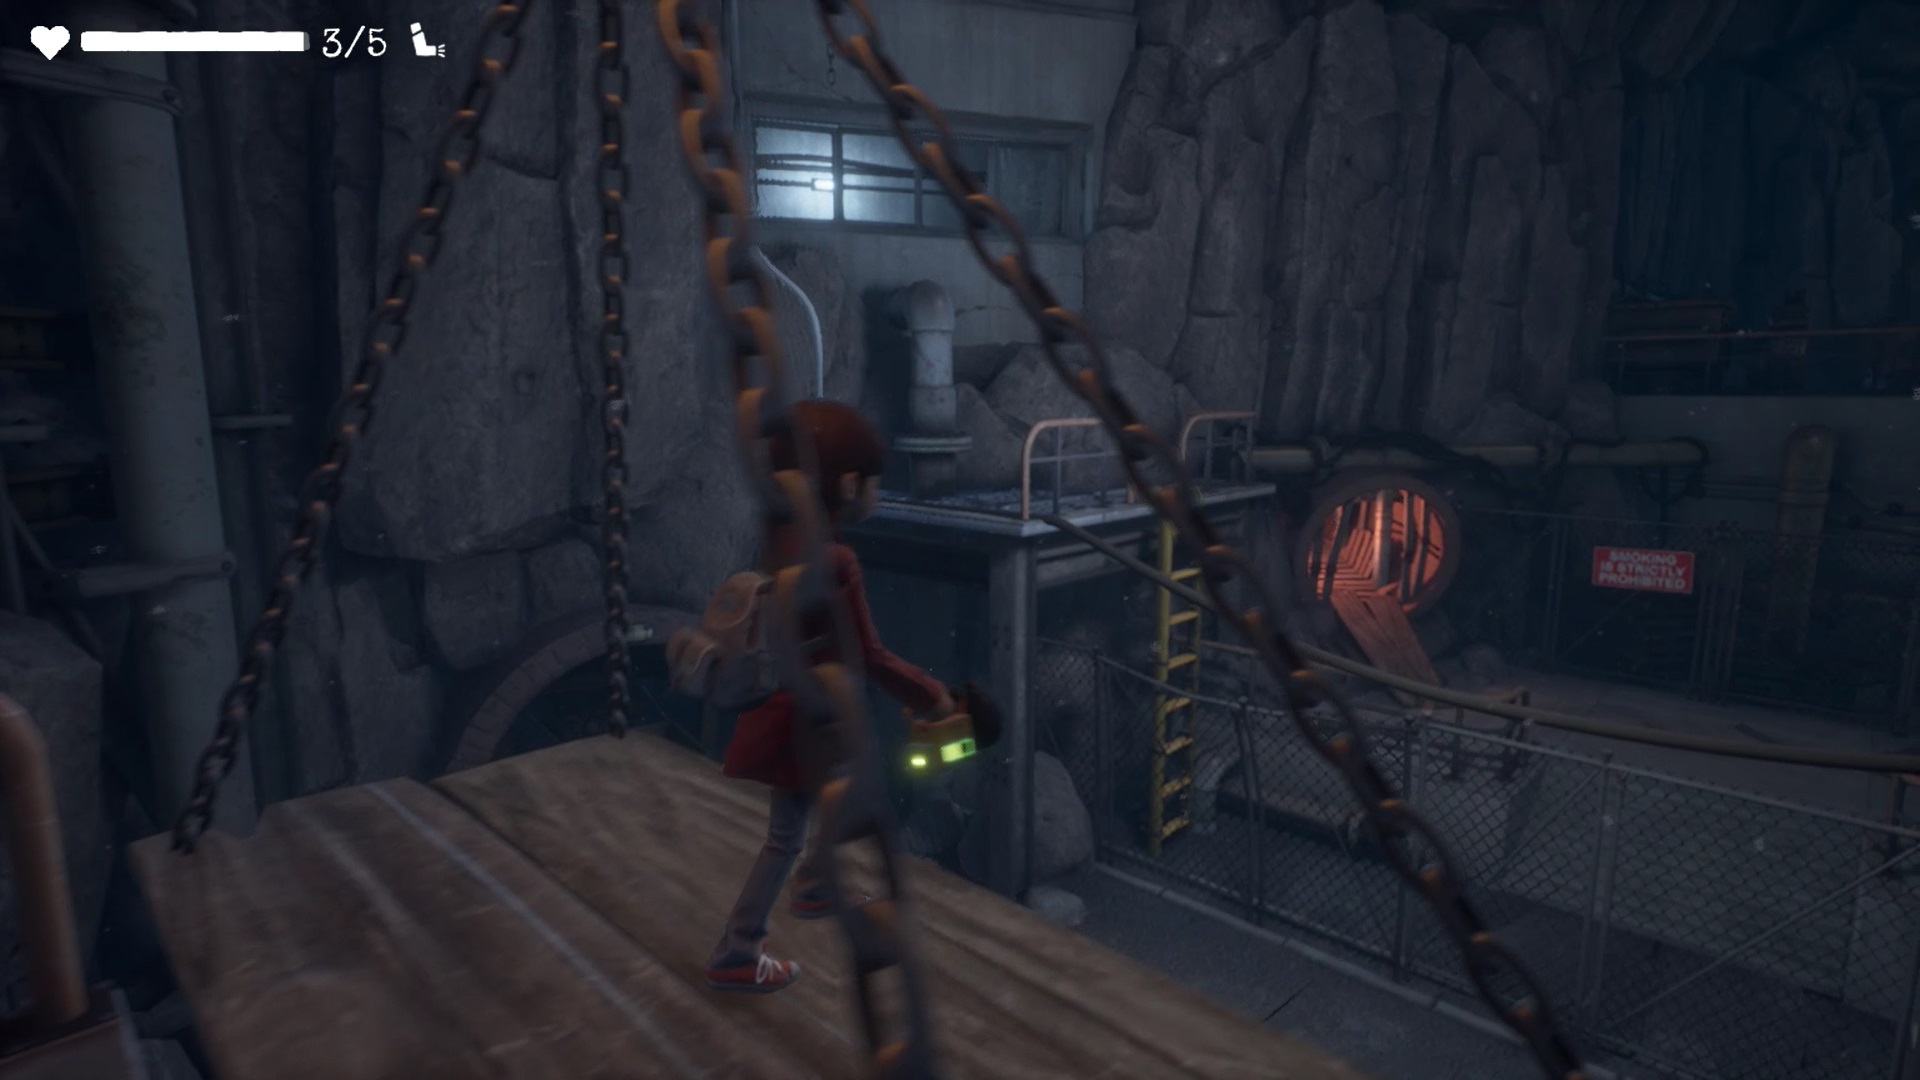
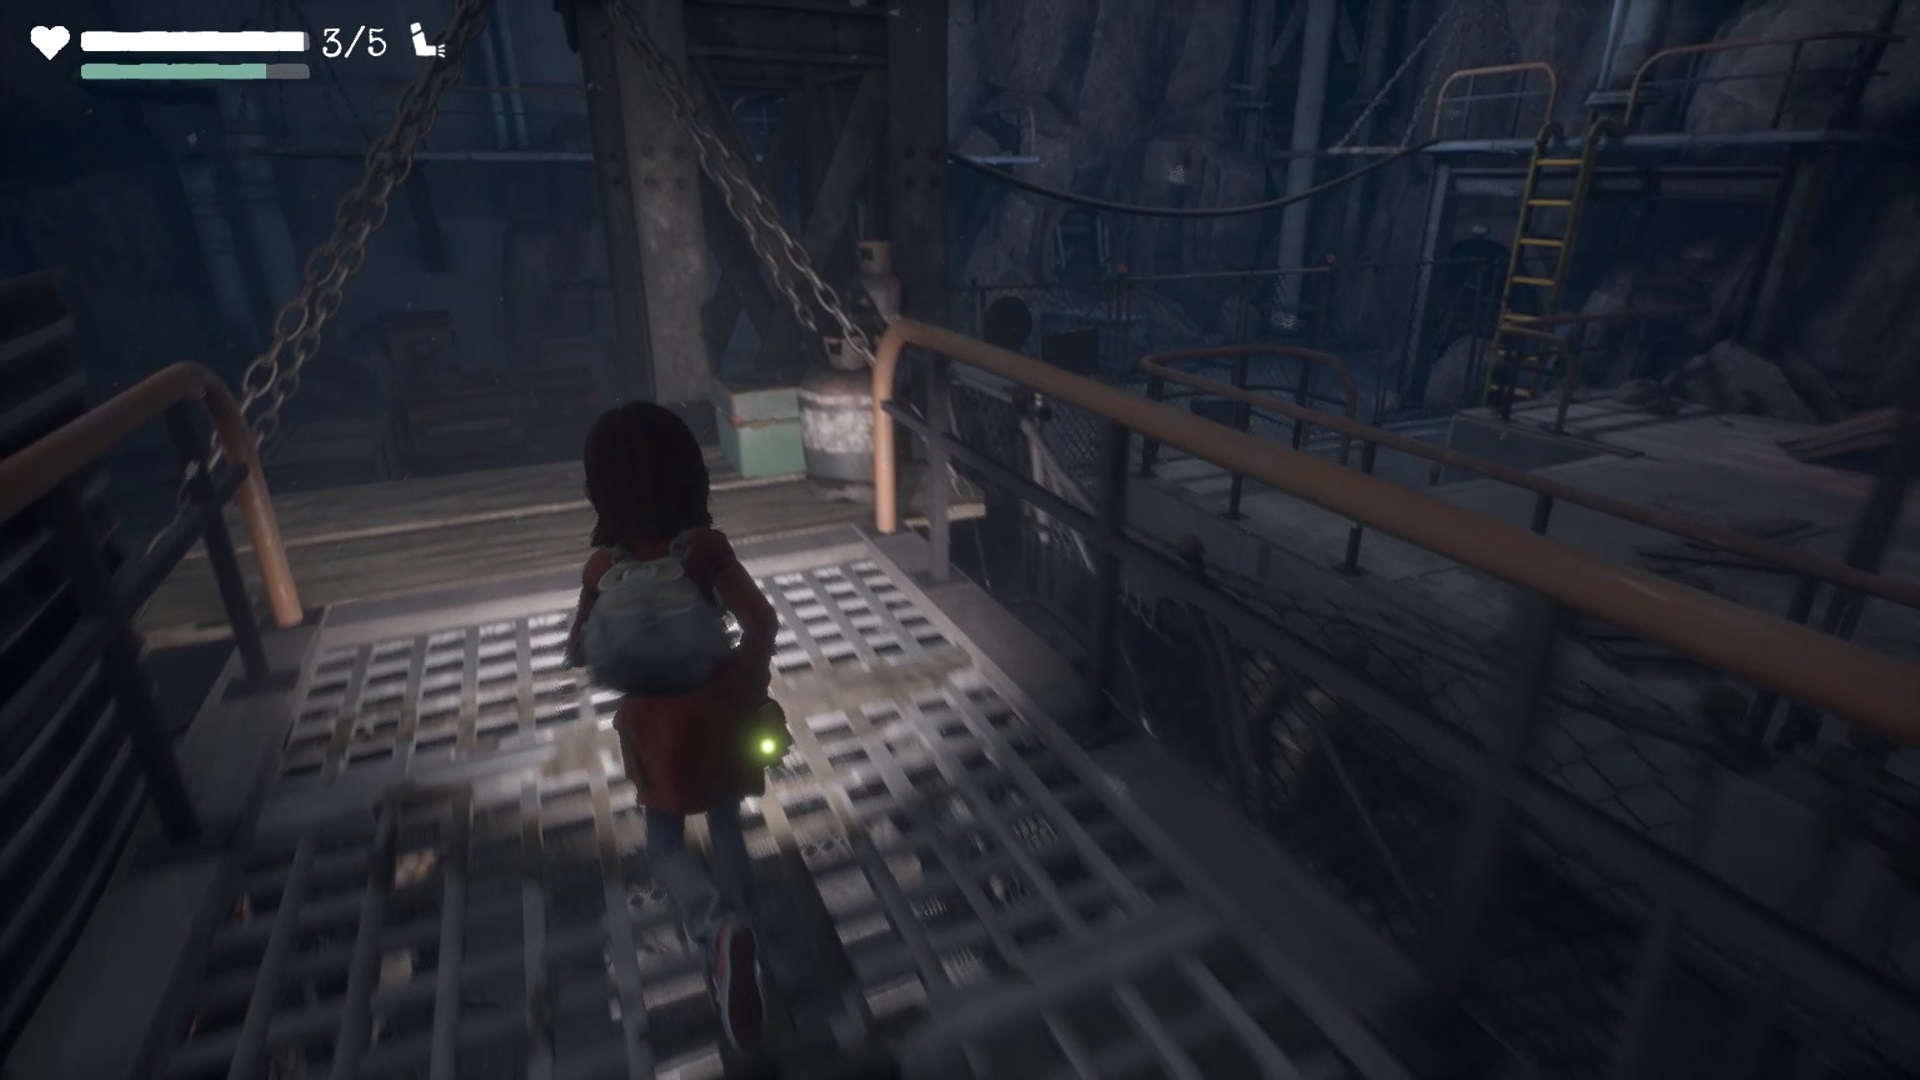
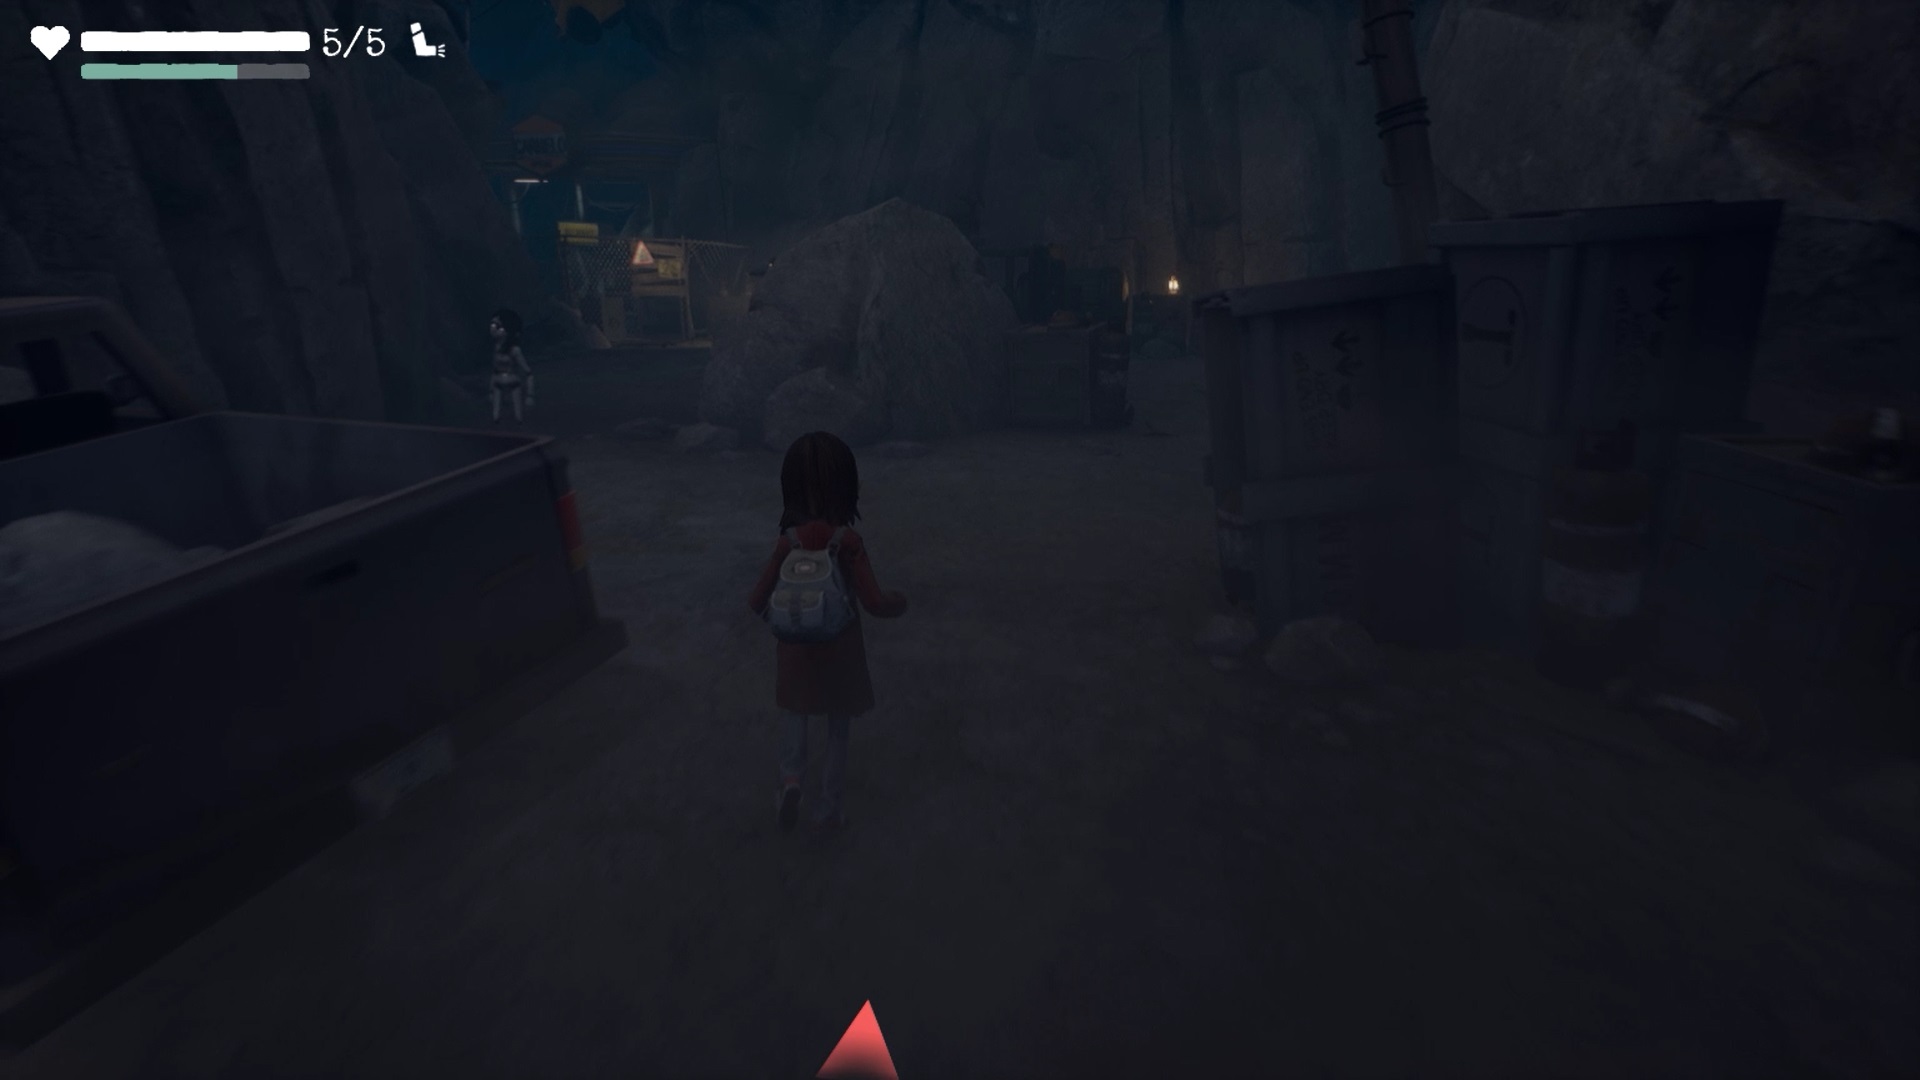
By feeding the point, the last footbridge will reach the end of the metal structure where you are. Bend down to pass under the rock and reach the platform. Step onto the platform to get over the fence. Go down the ladder and enter the tunnel to continue on your way.
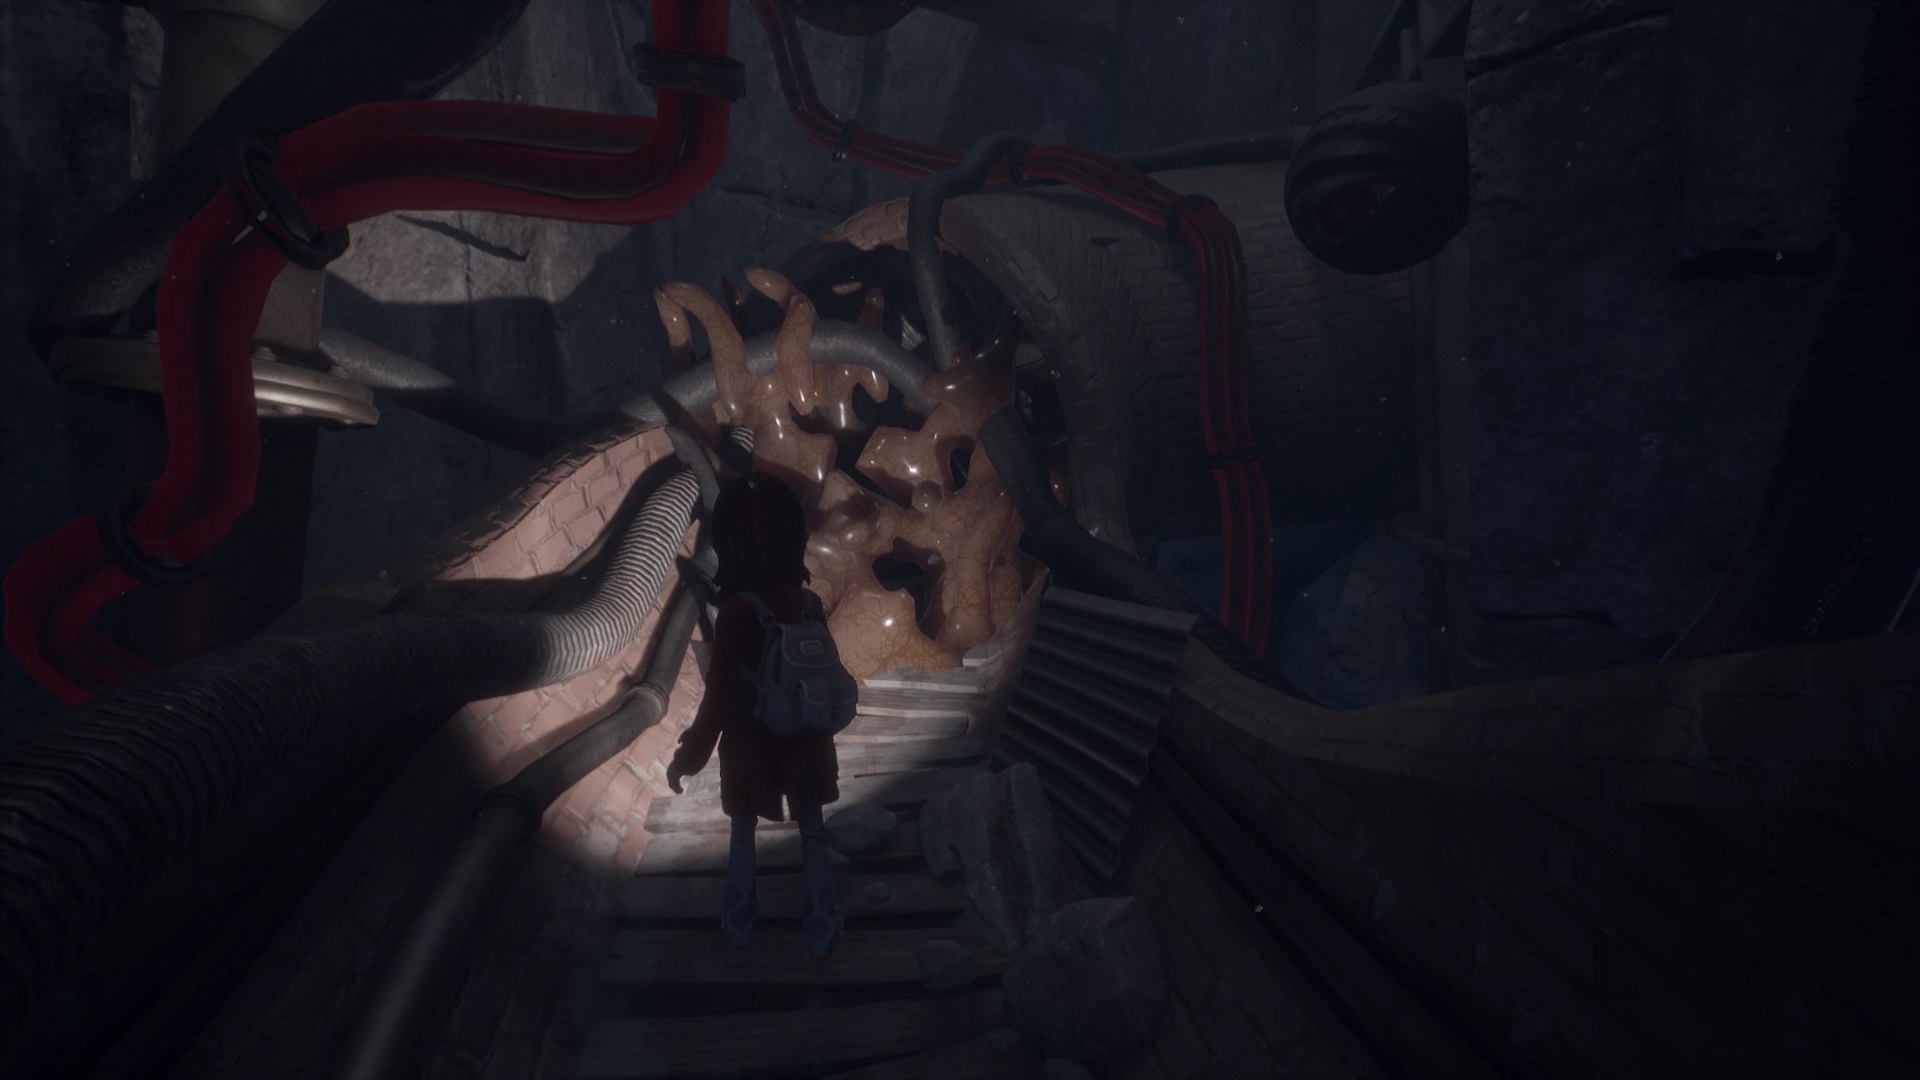
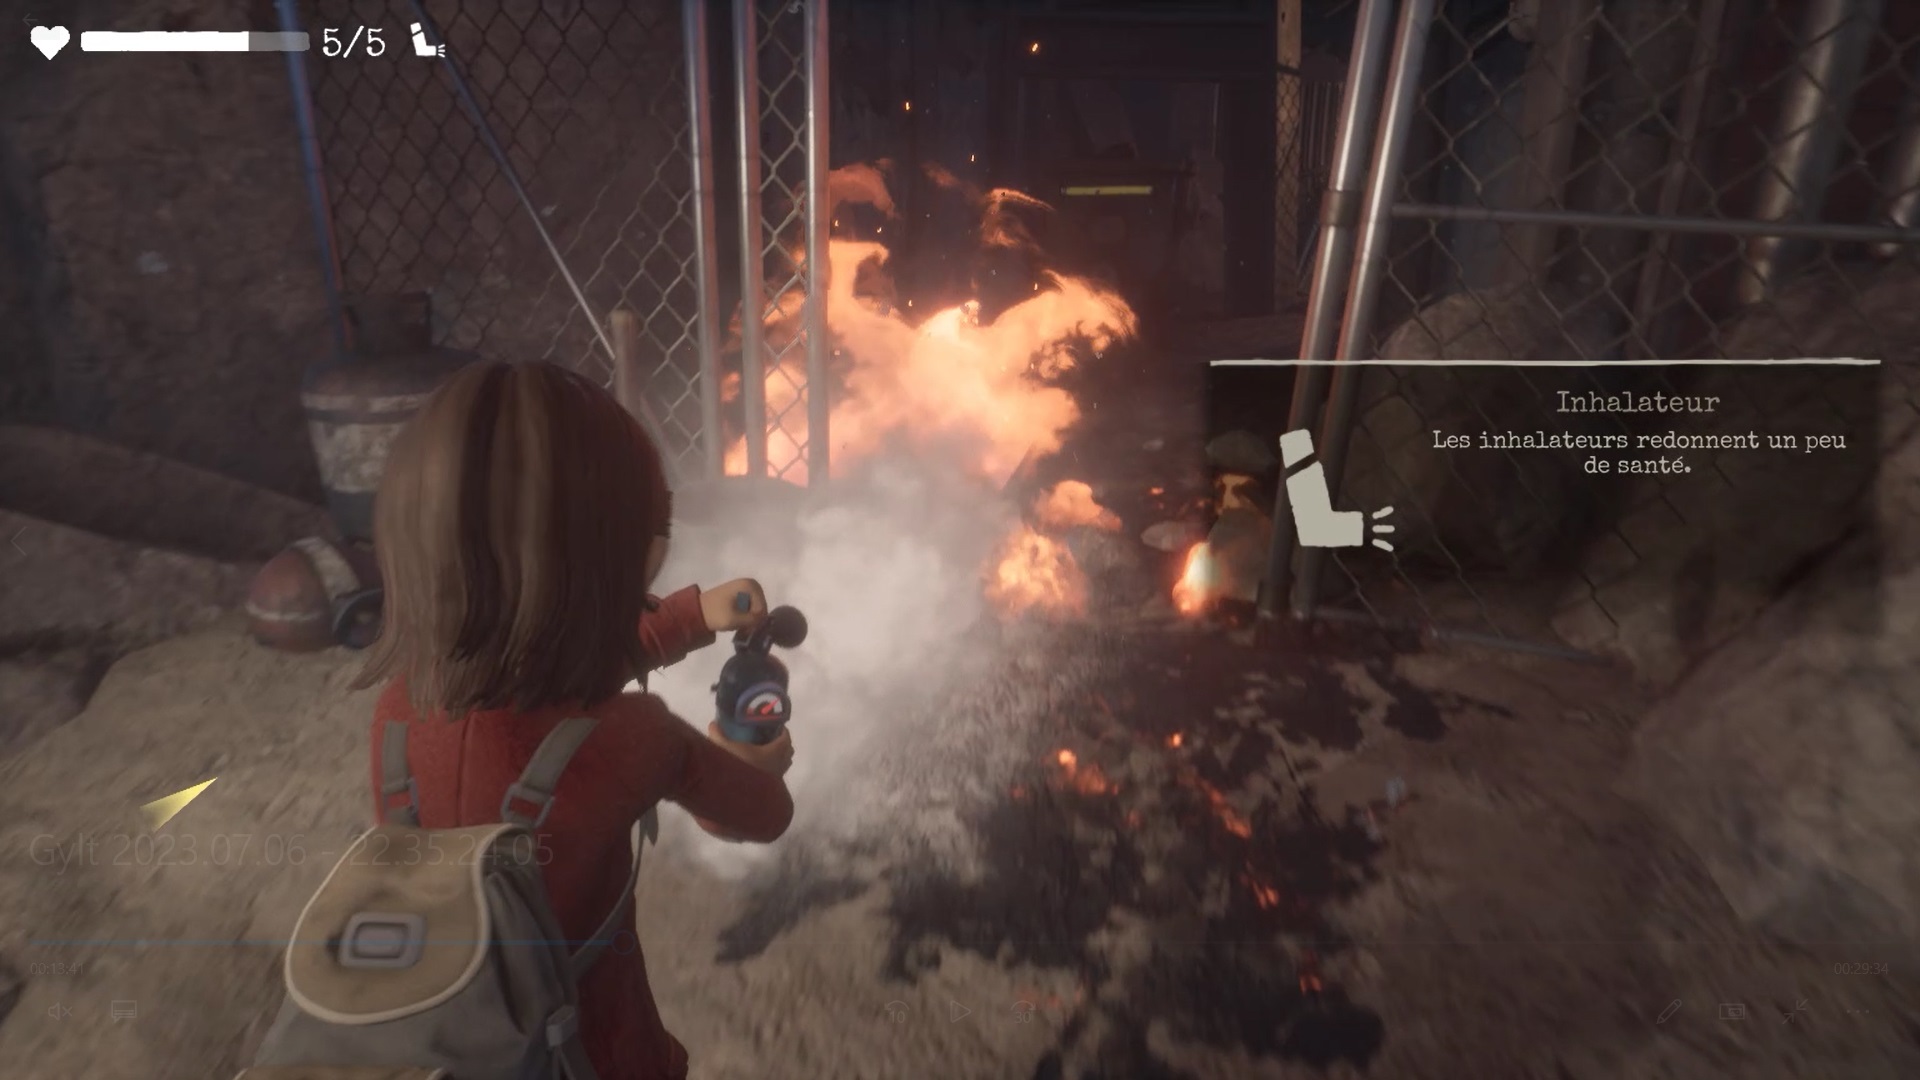
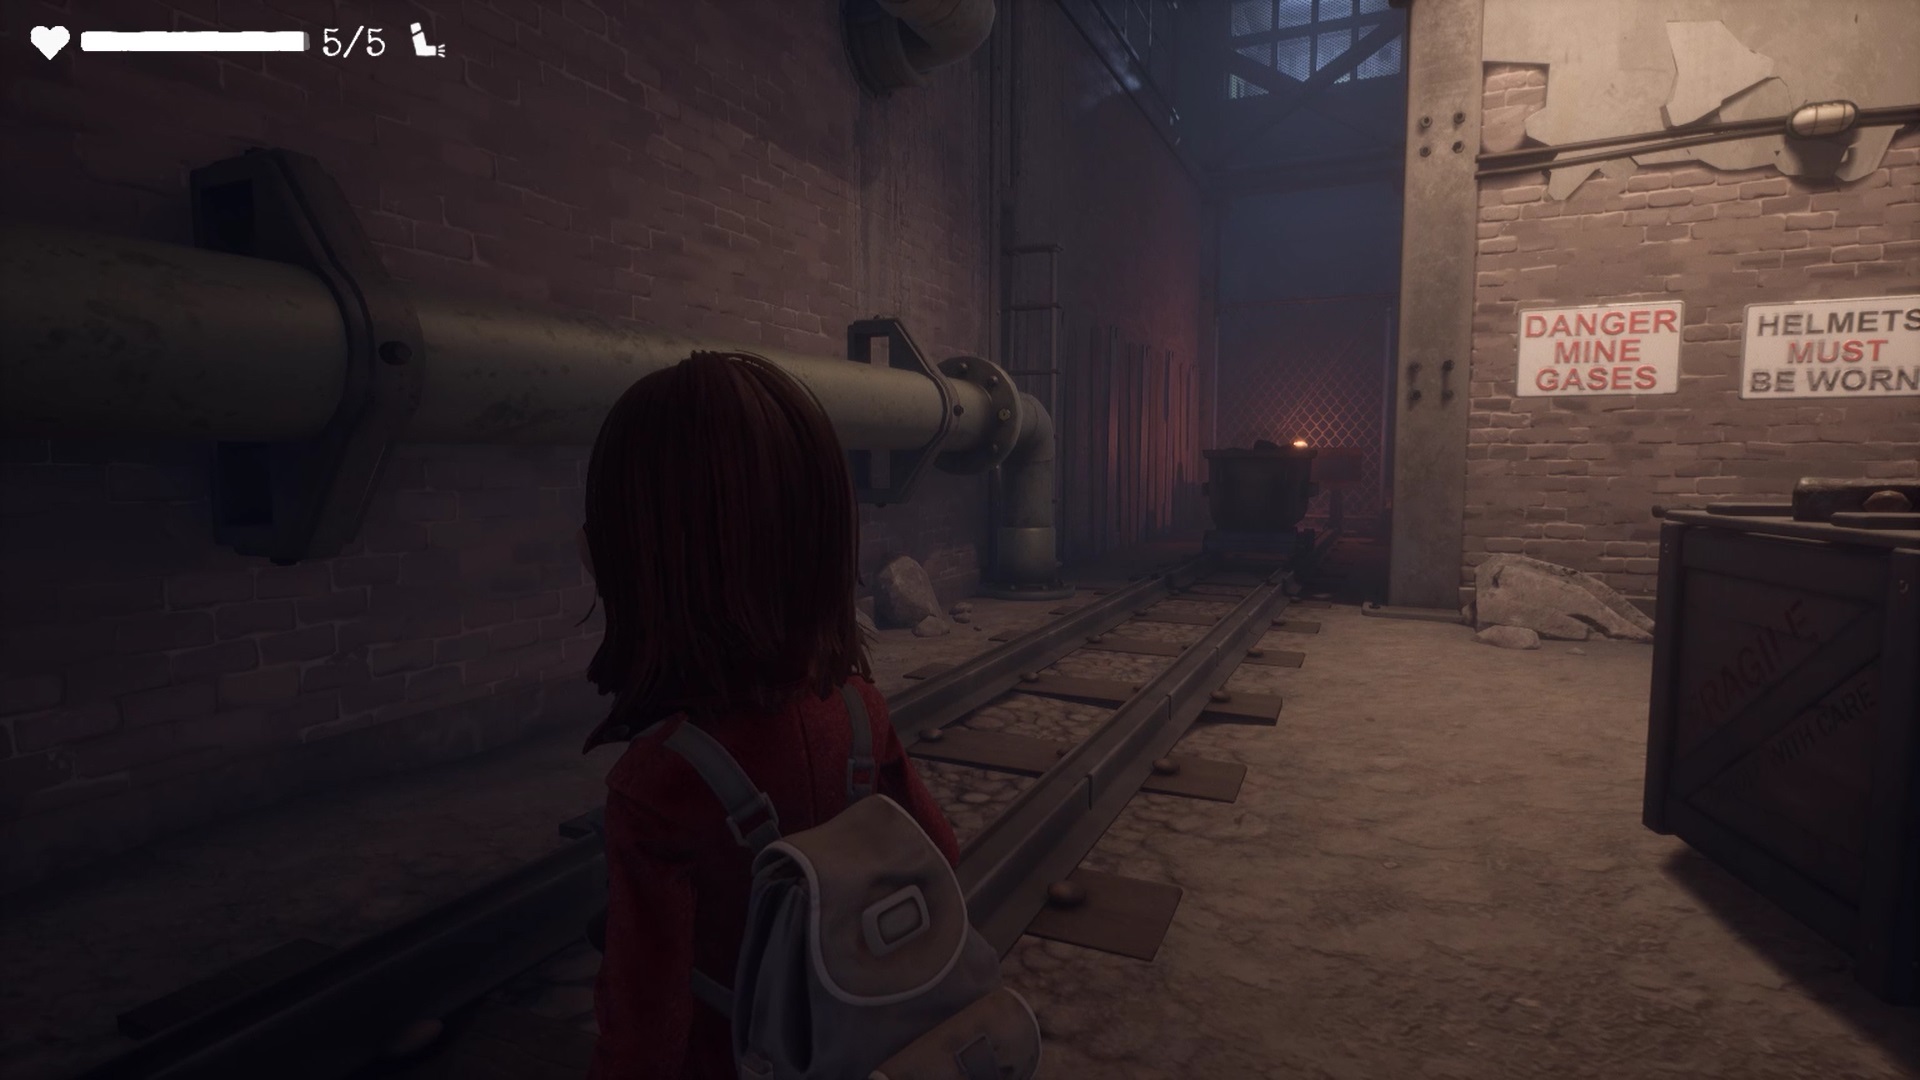
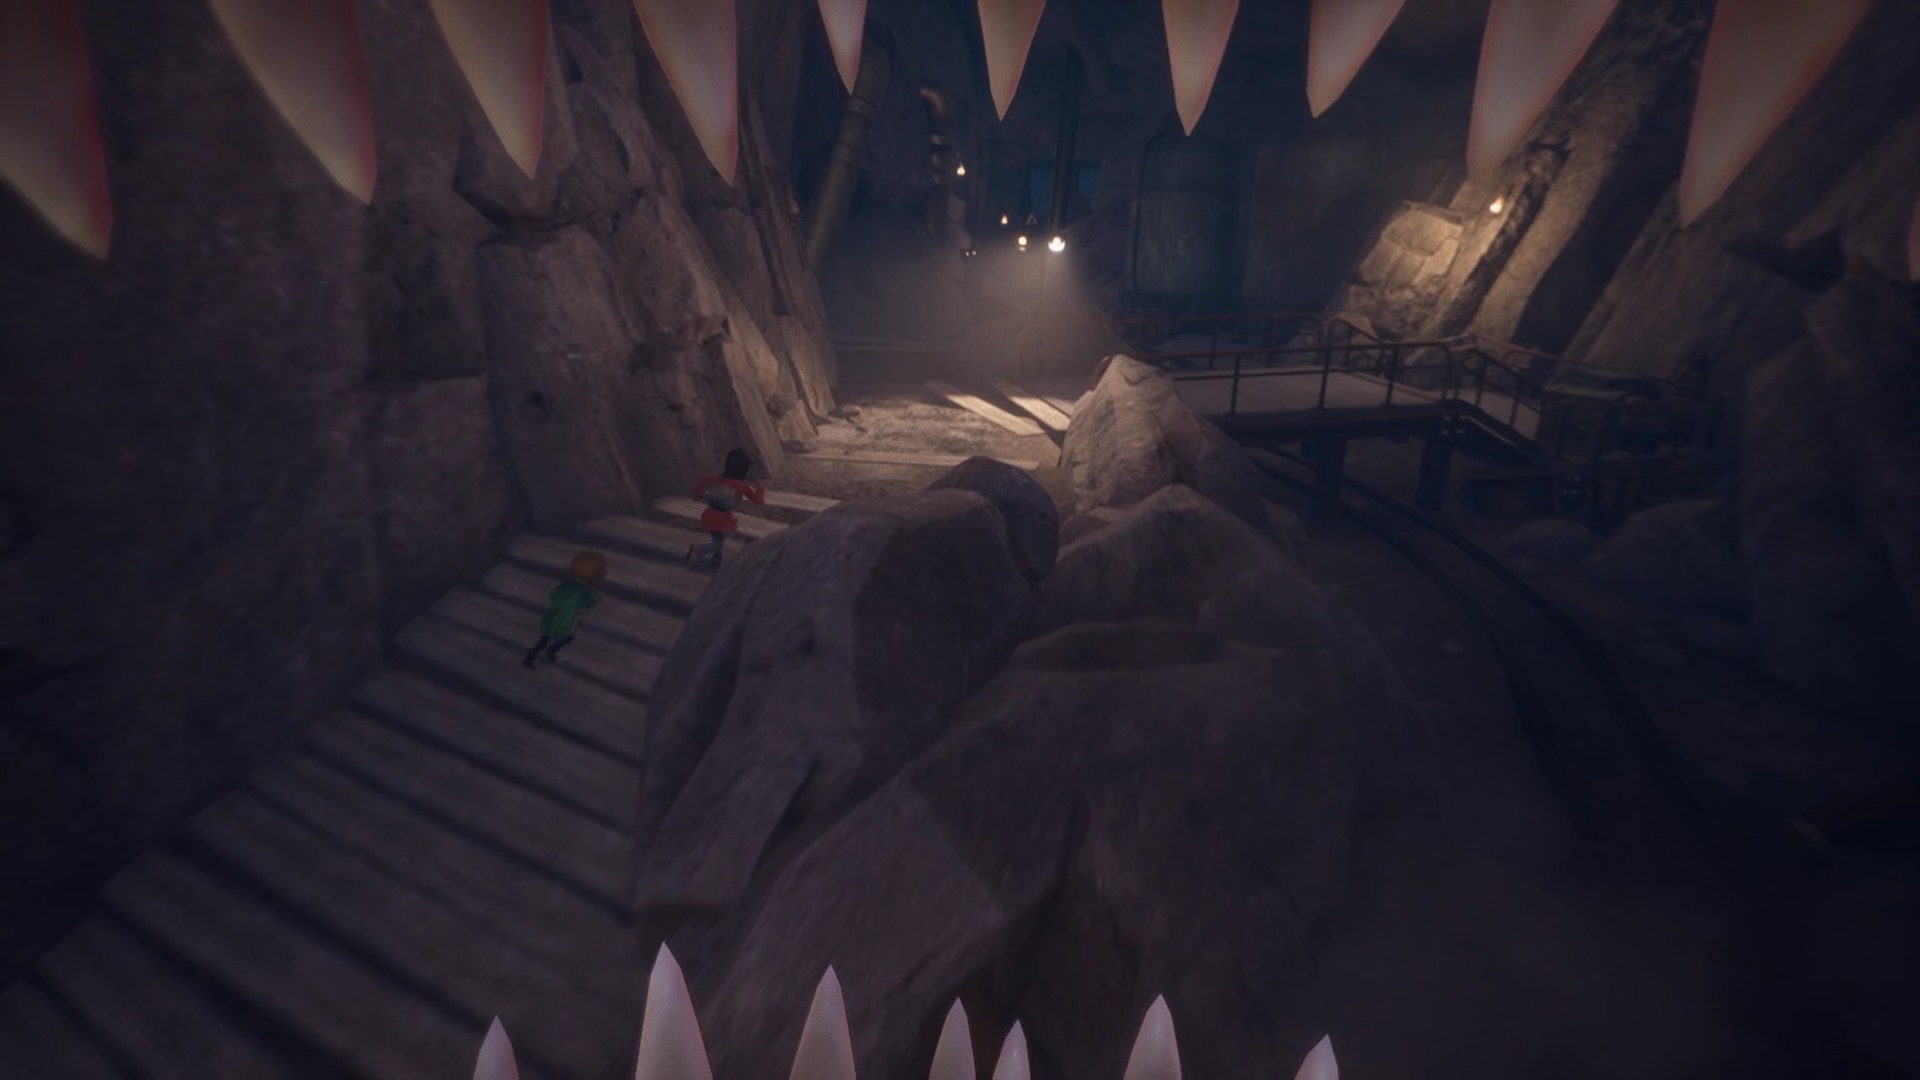
On the way, a monster blocks your access. Follow the monster’s tentacles to find the three eyes to exterminate. Continue forward to trigger a cutscene. You find yourself without a flashlight. Now use your fire extinguisher against enemies.
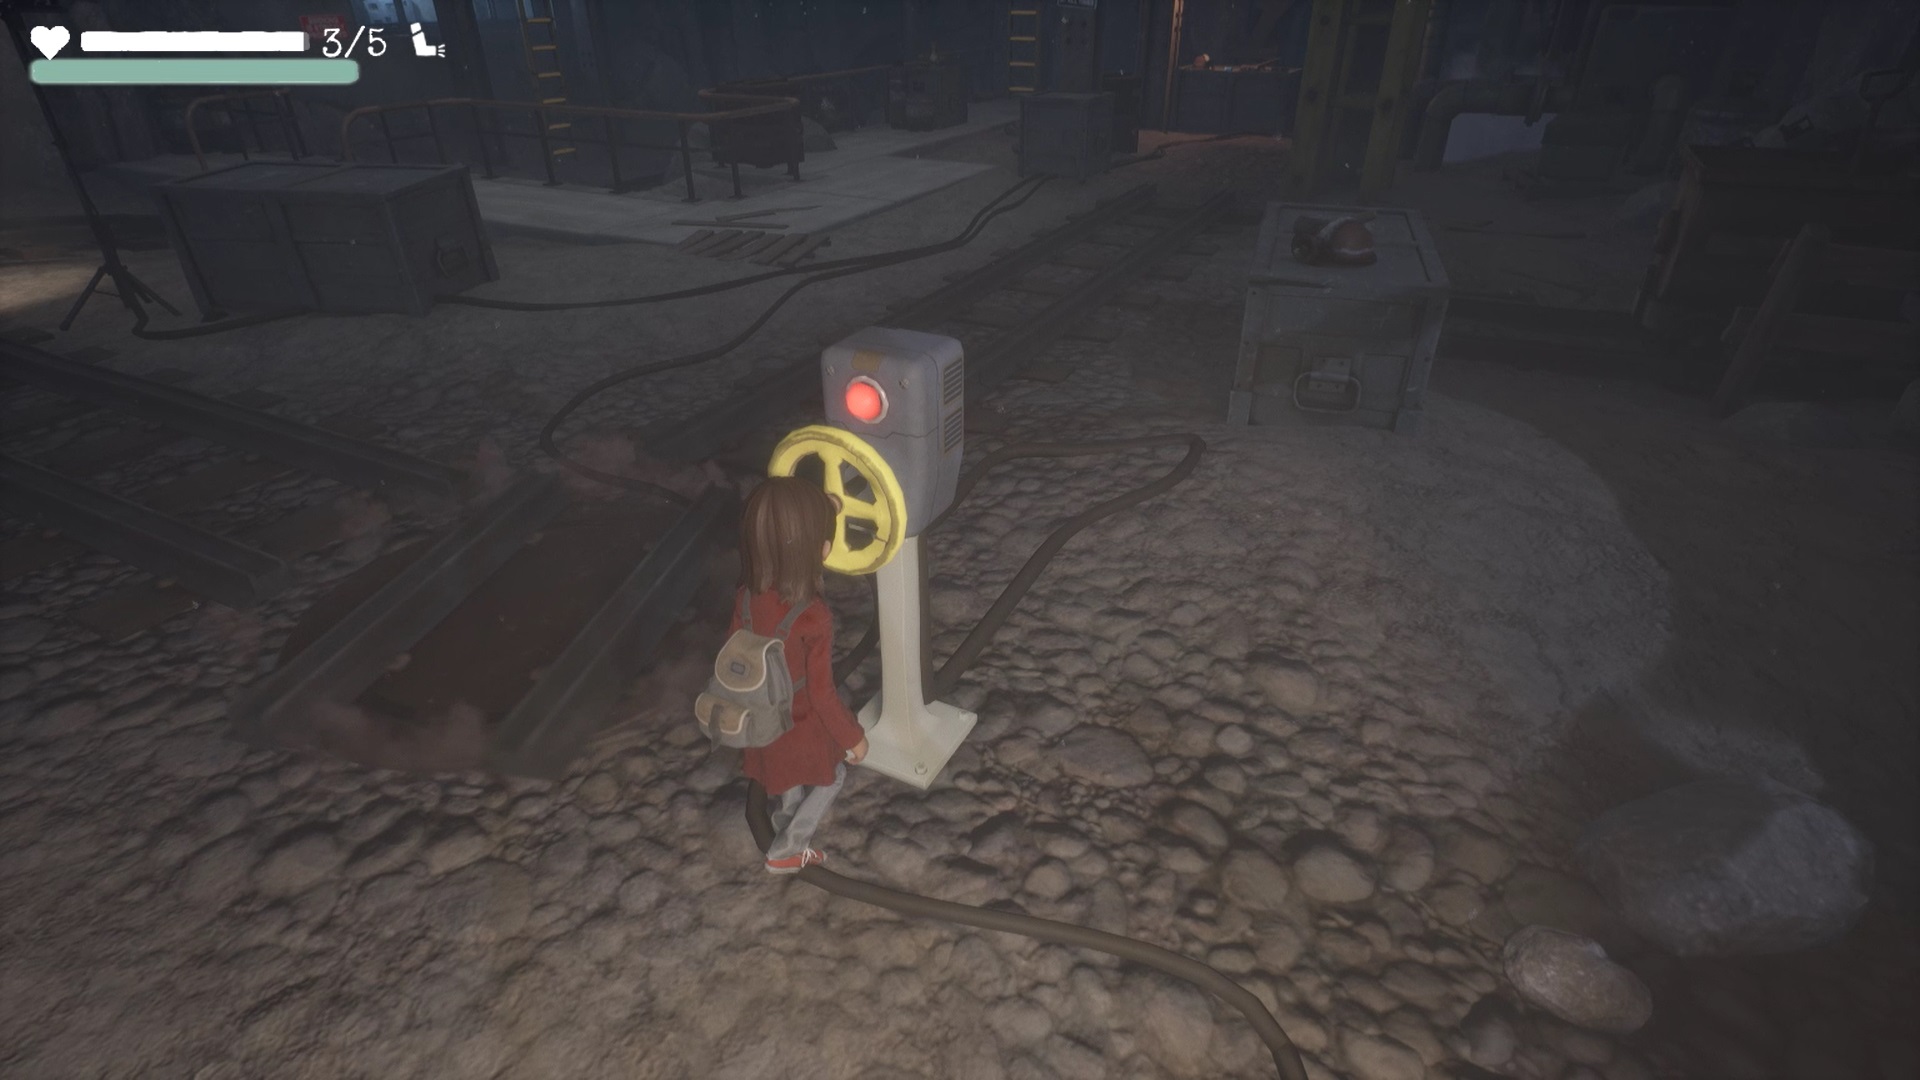
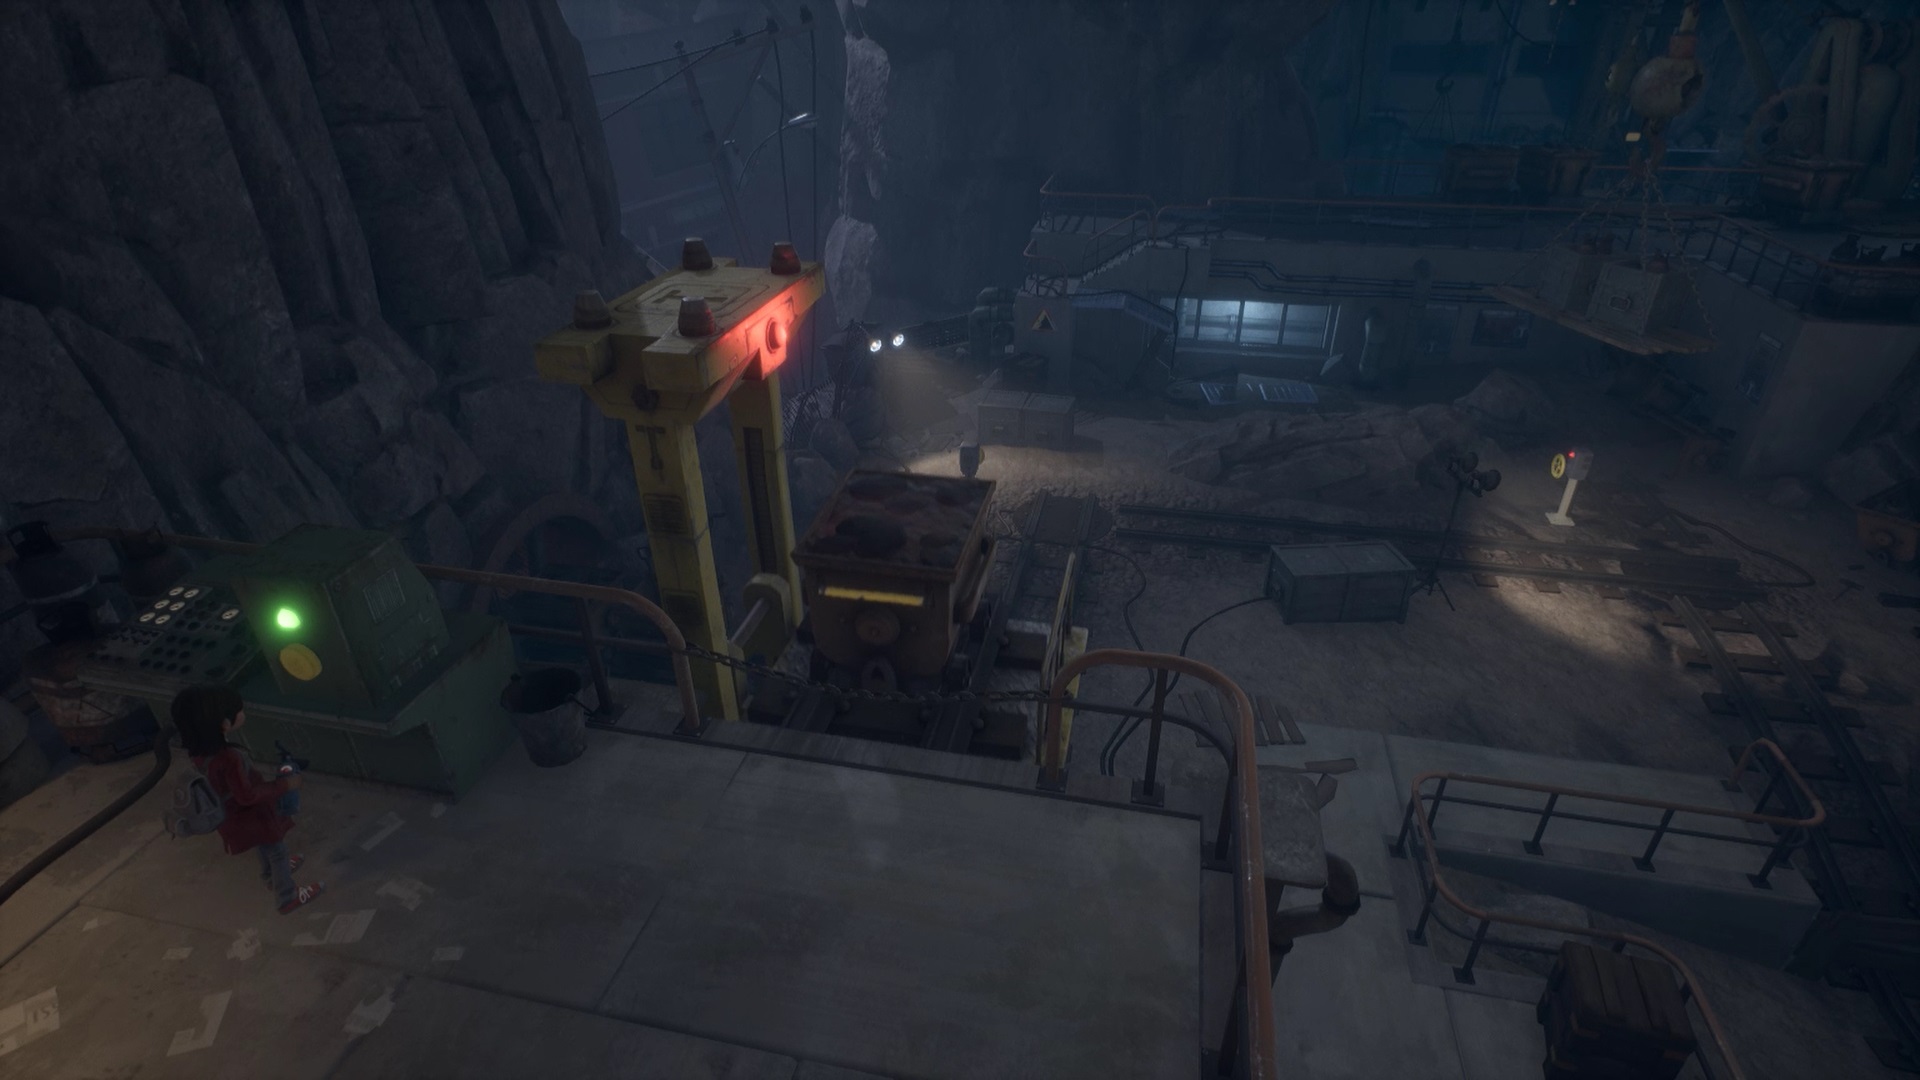
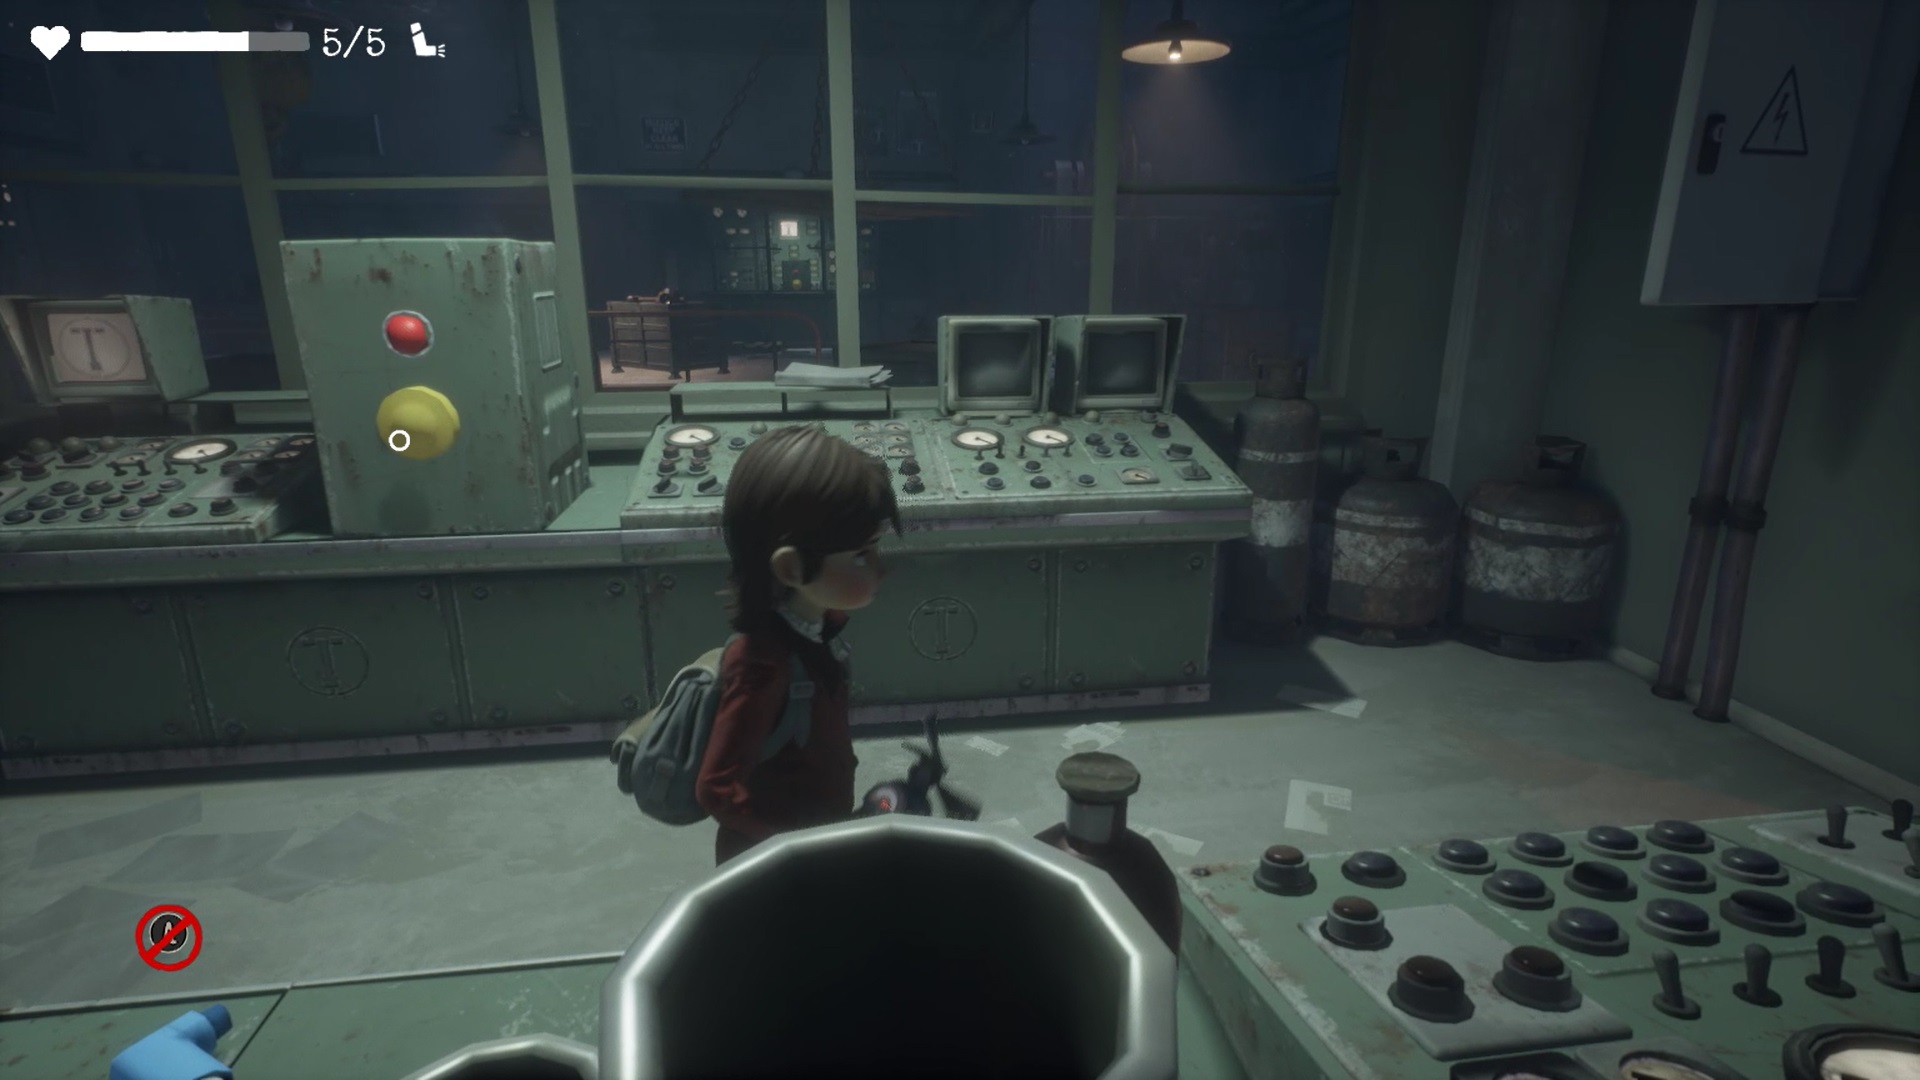
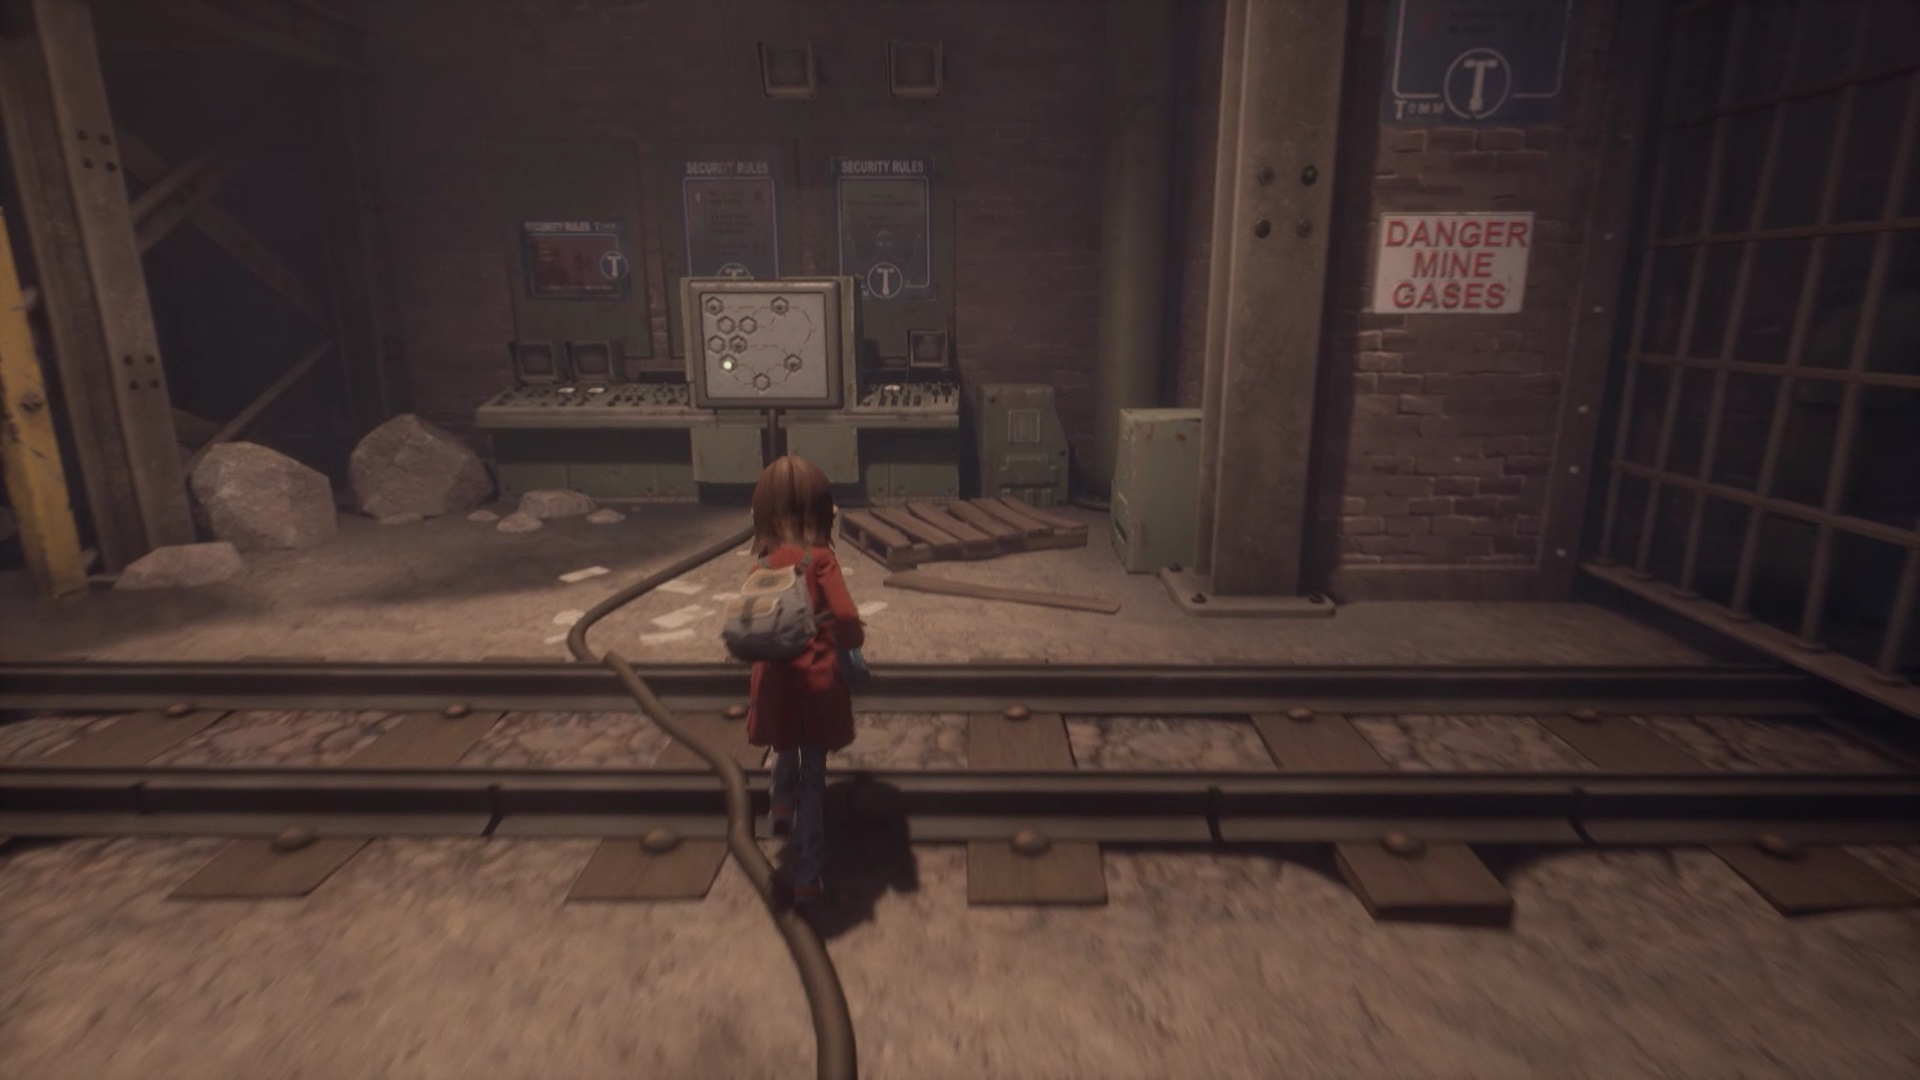
Go down the stairs to reach the railroads. You need to find the way up the ladder to the west of the area. For this you need to find a miner’s wagon. It will allow you to unlock access to the ladder. Start by rotating the valve to the west to move a rail vertically. This will allow the wagon to position itself on it. Then climb the ladder to the west to reach the car control panel.
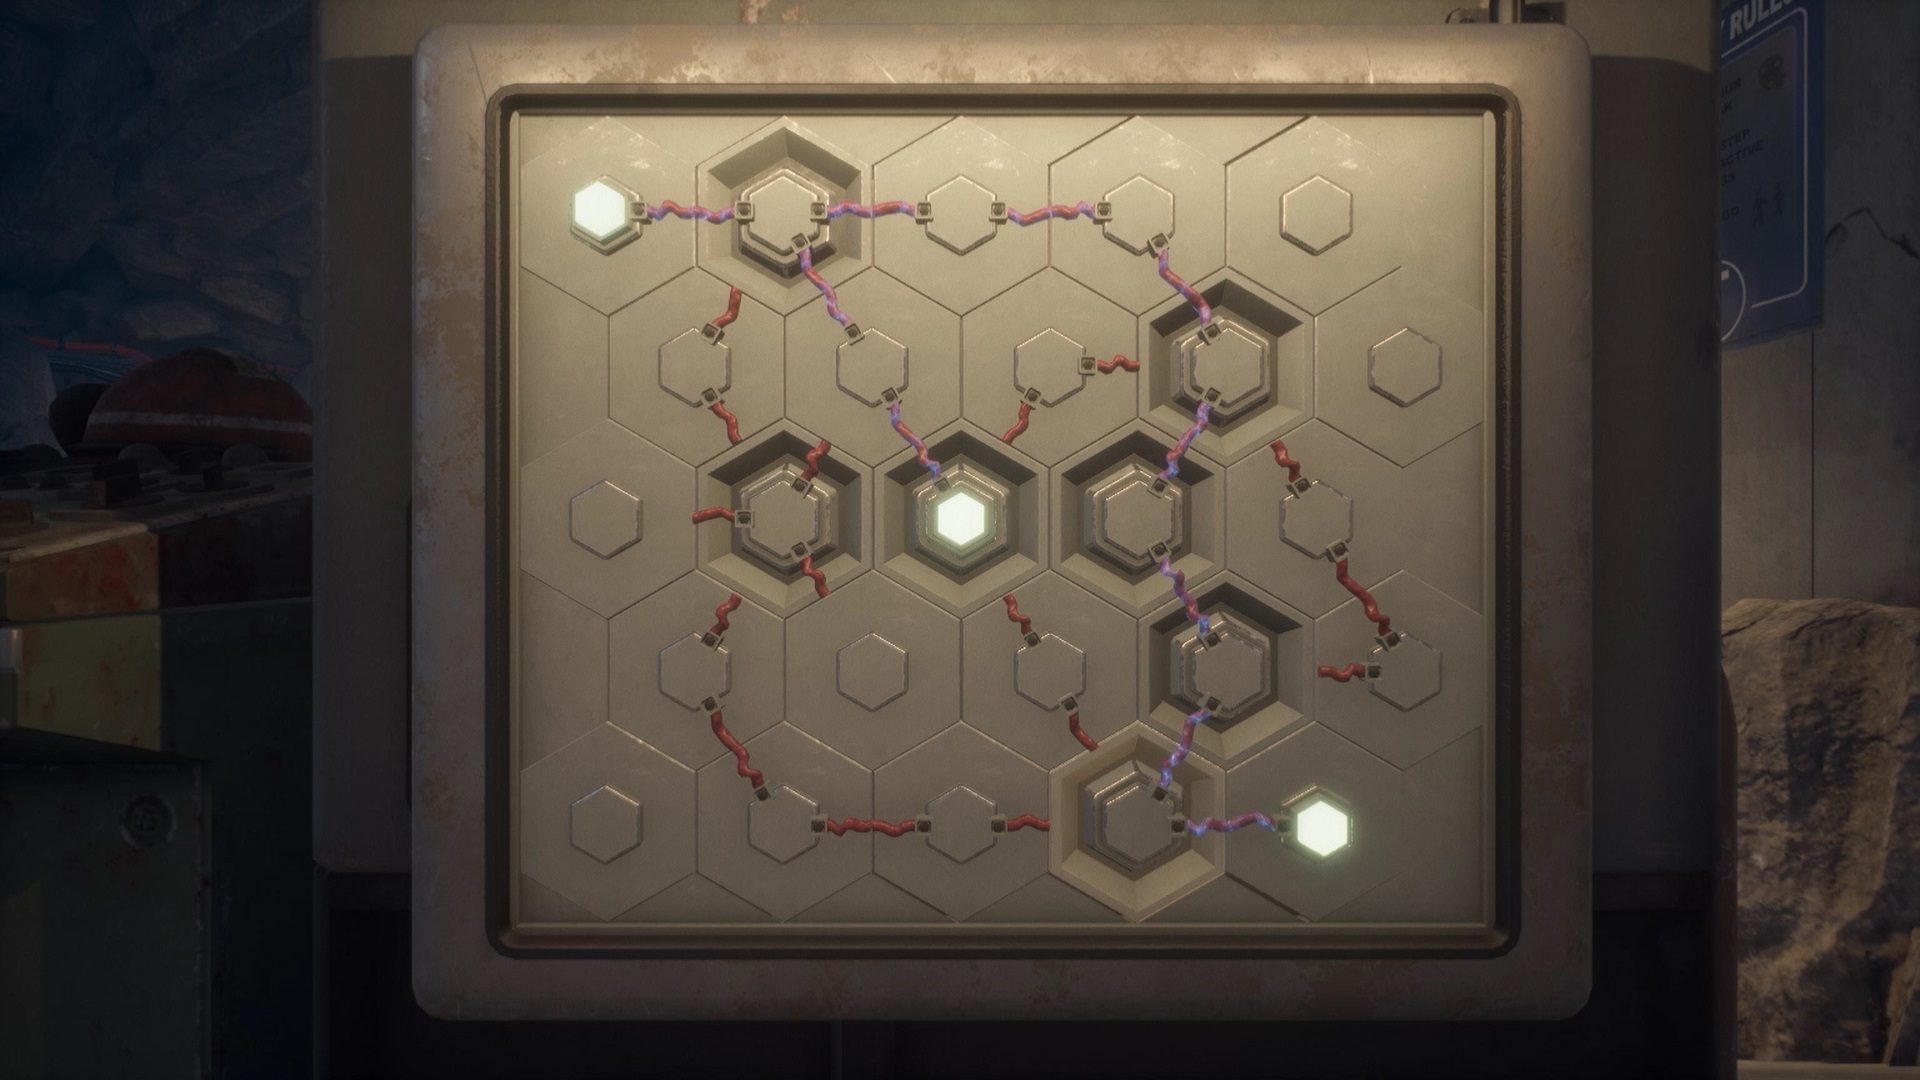
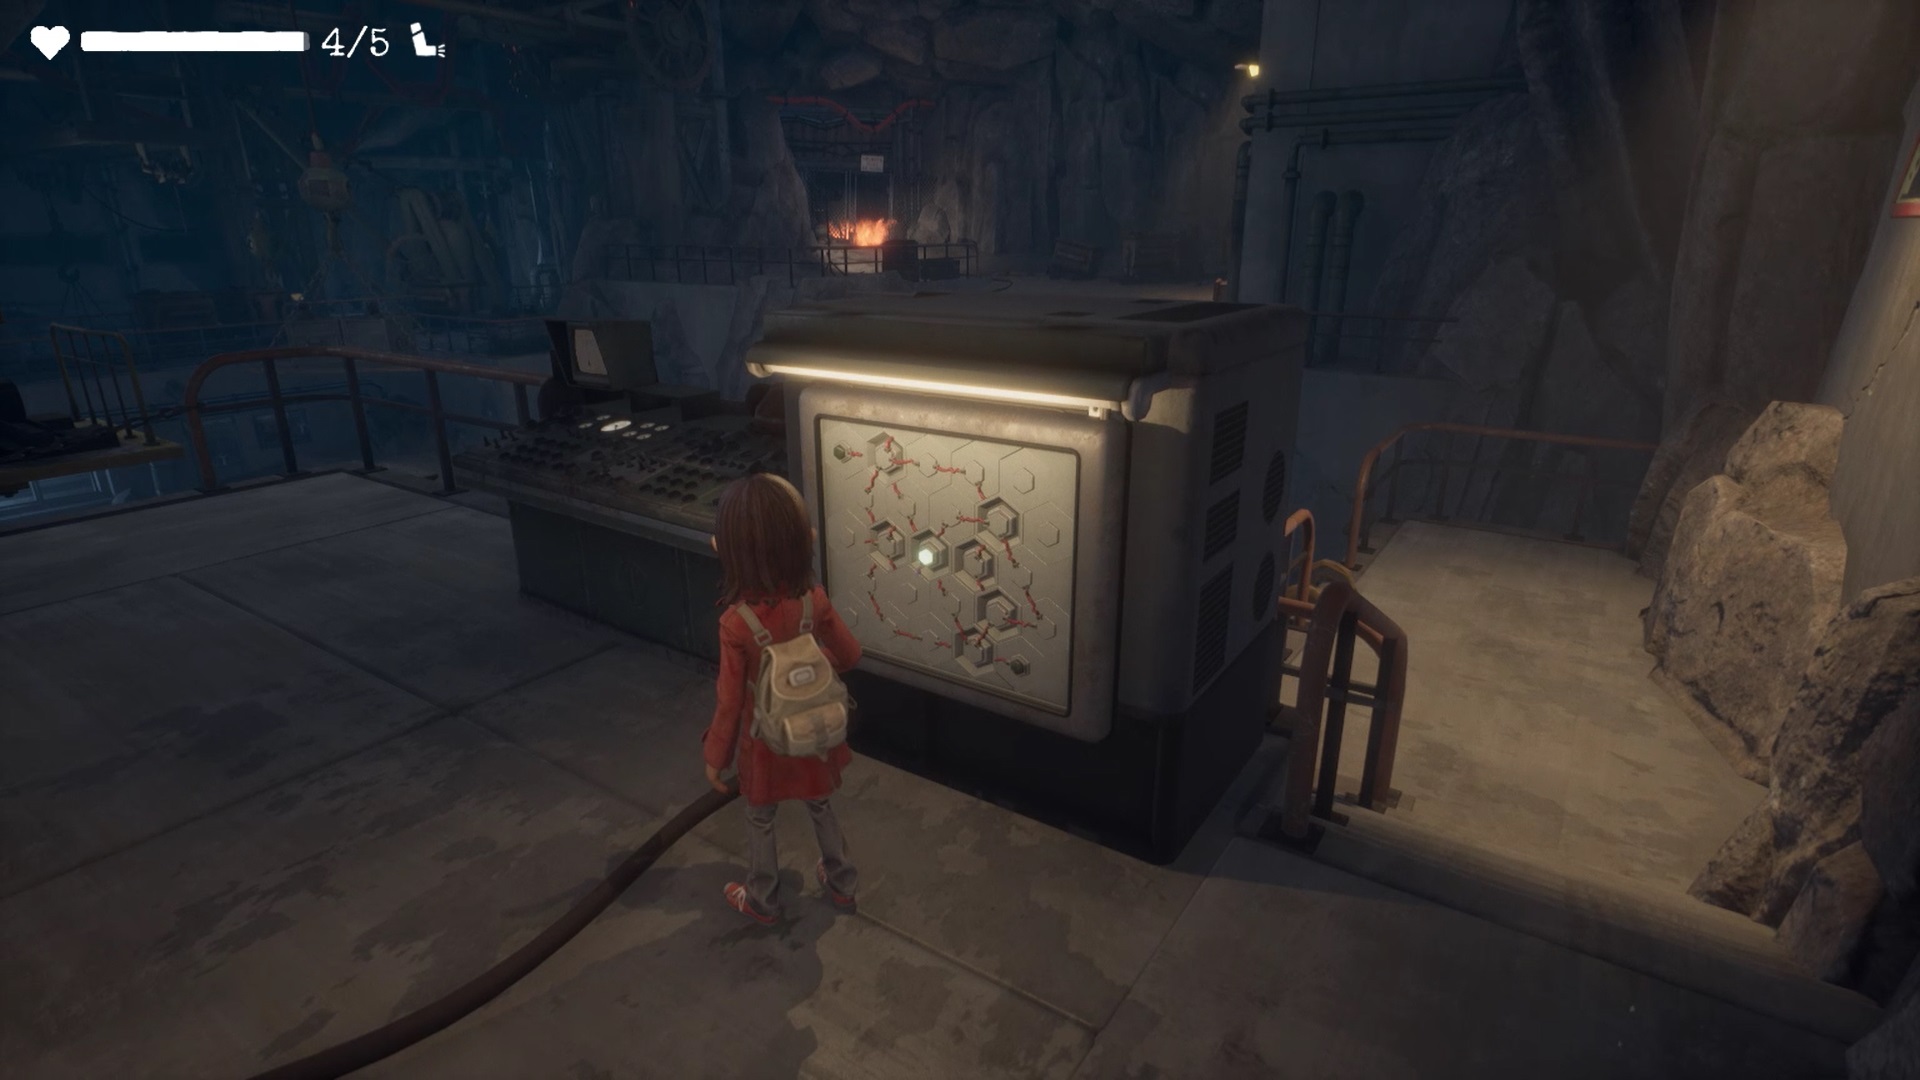
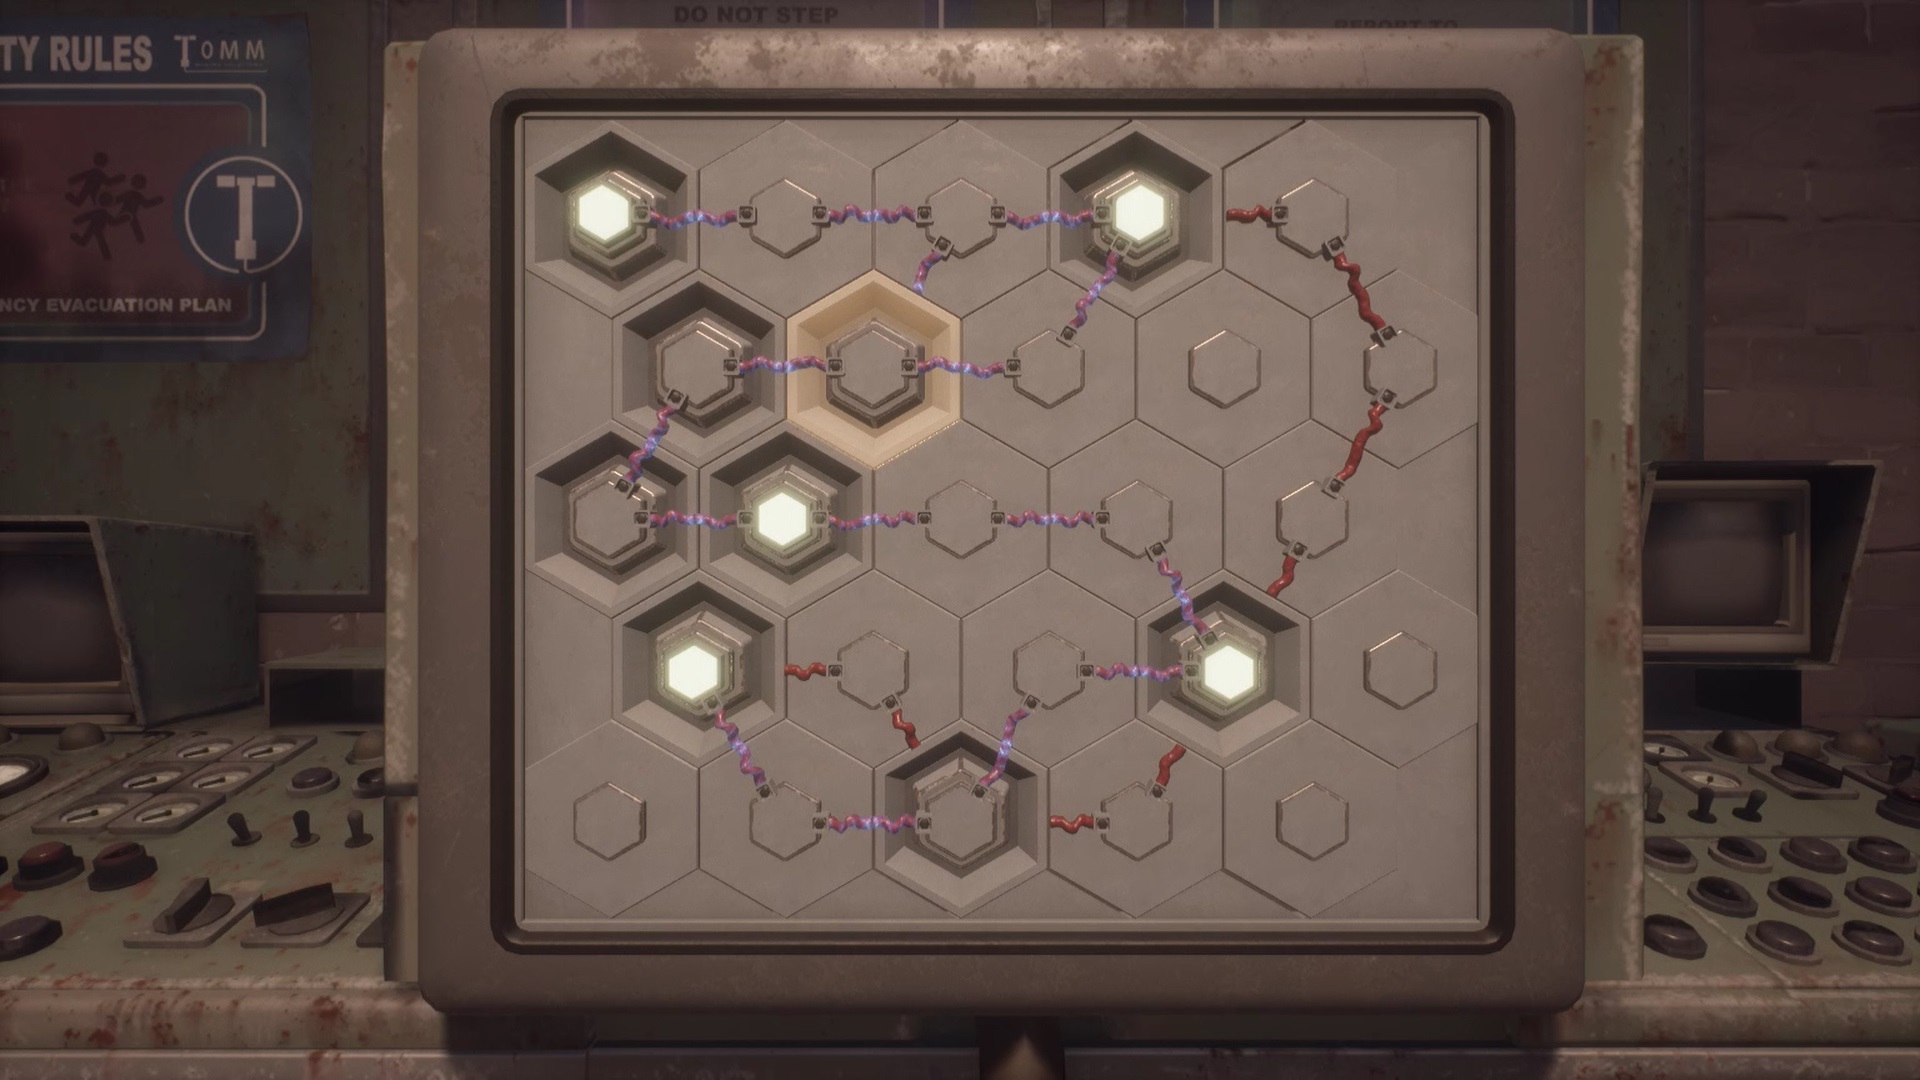
On the panel, you must restore the current between the three points of lights. Adjust the mechanisms as in our picture to unlock the wagon. Go, then press the switch of the mechanism of the wagon to make it go down on the rails.
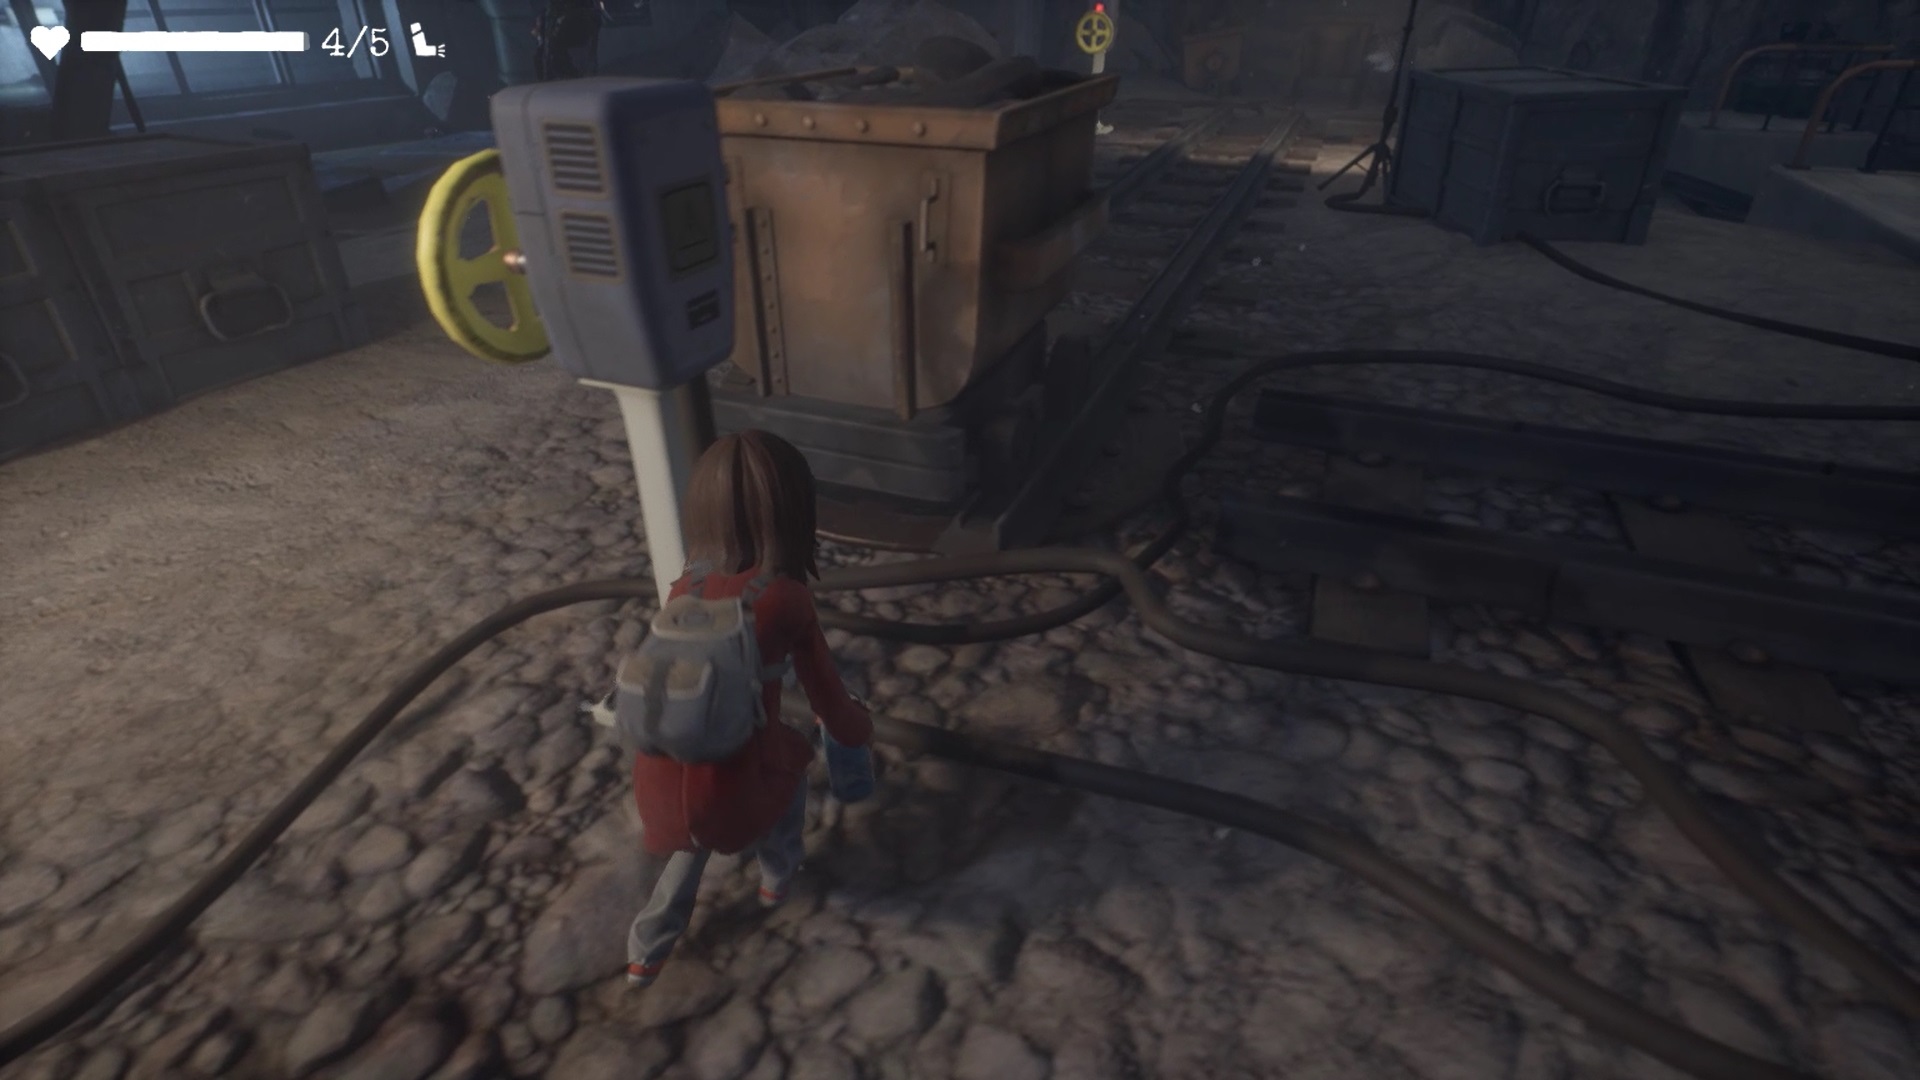
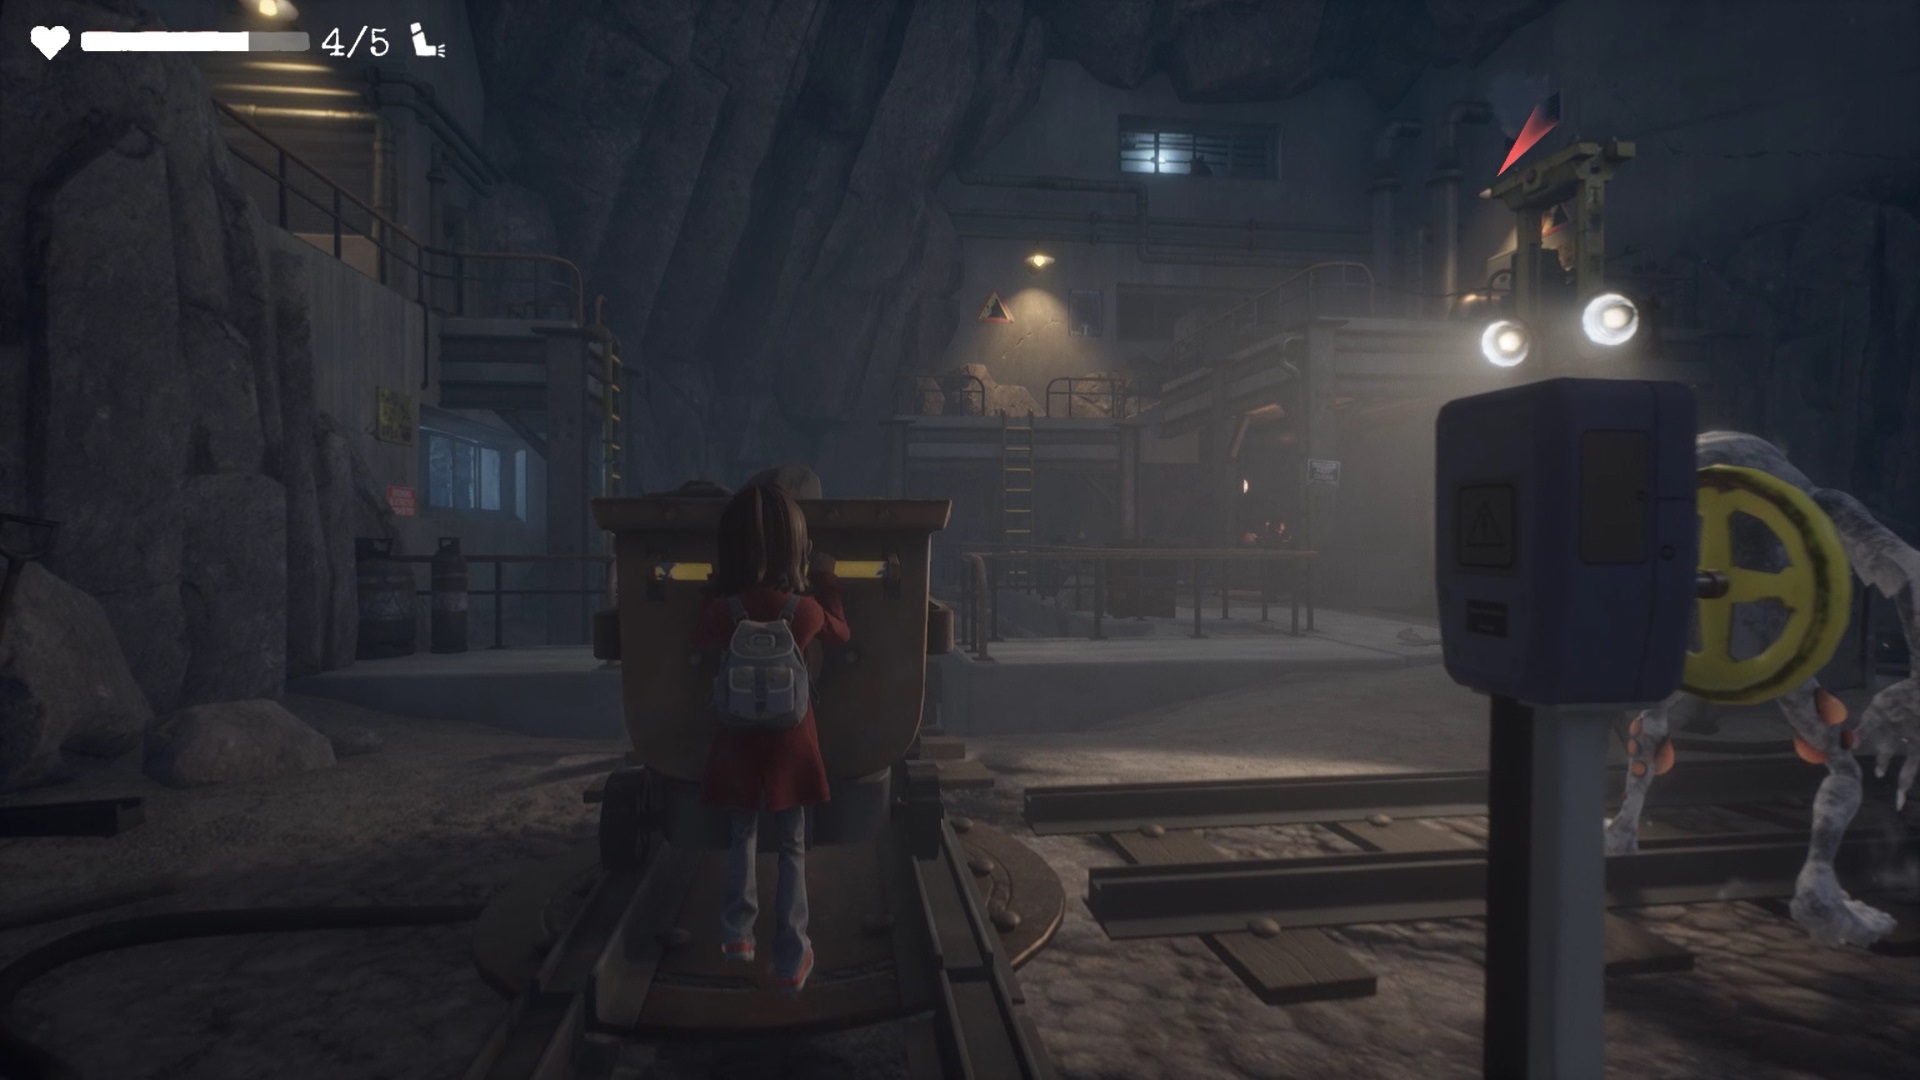
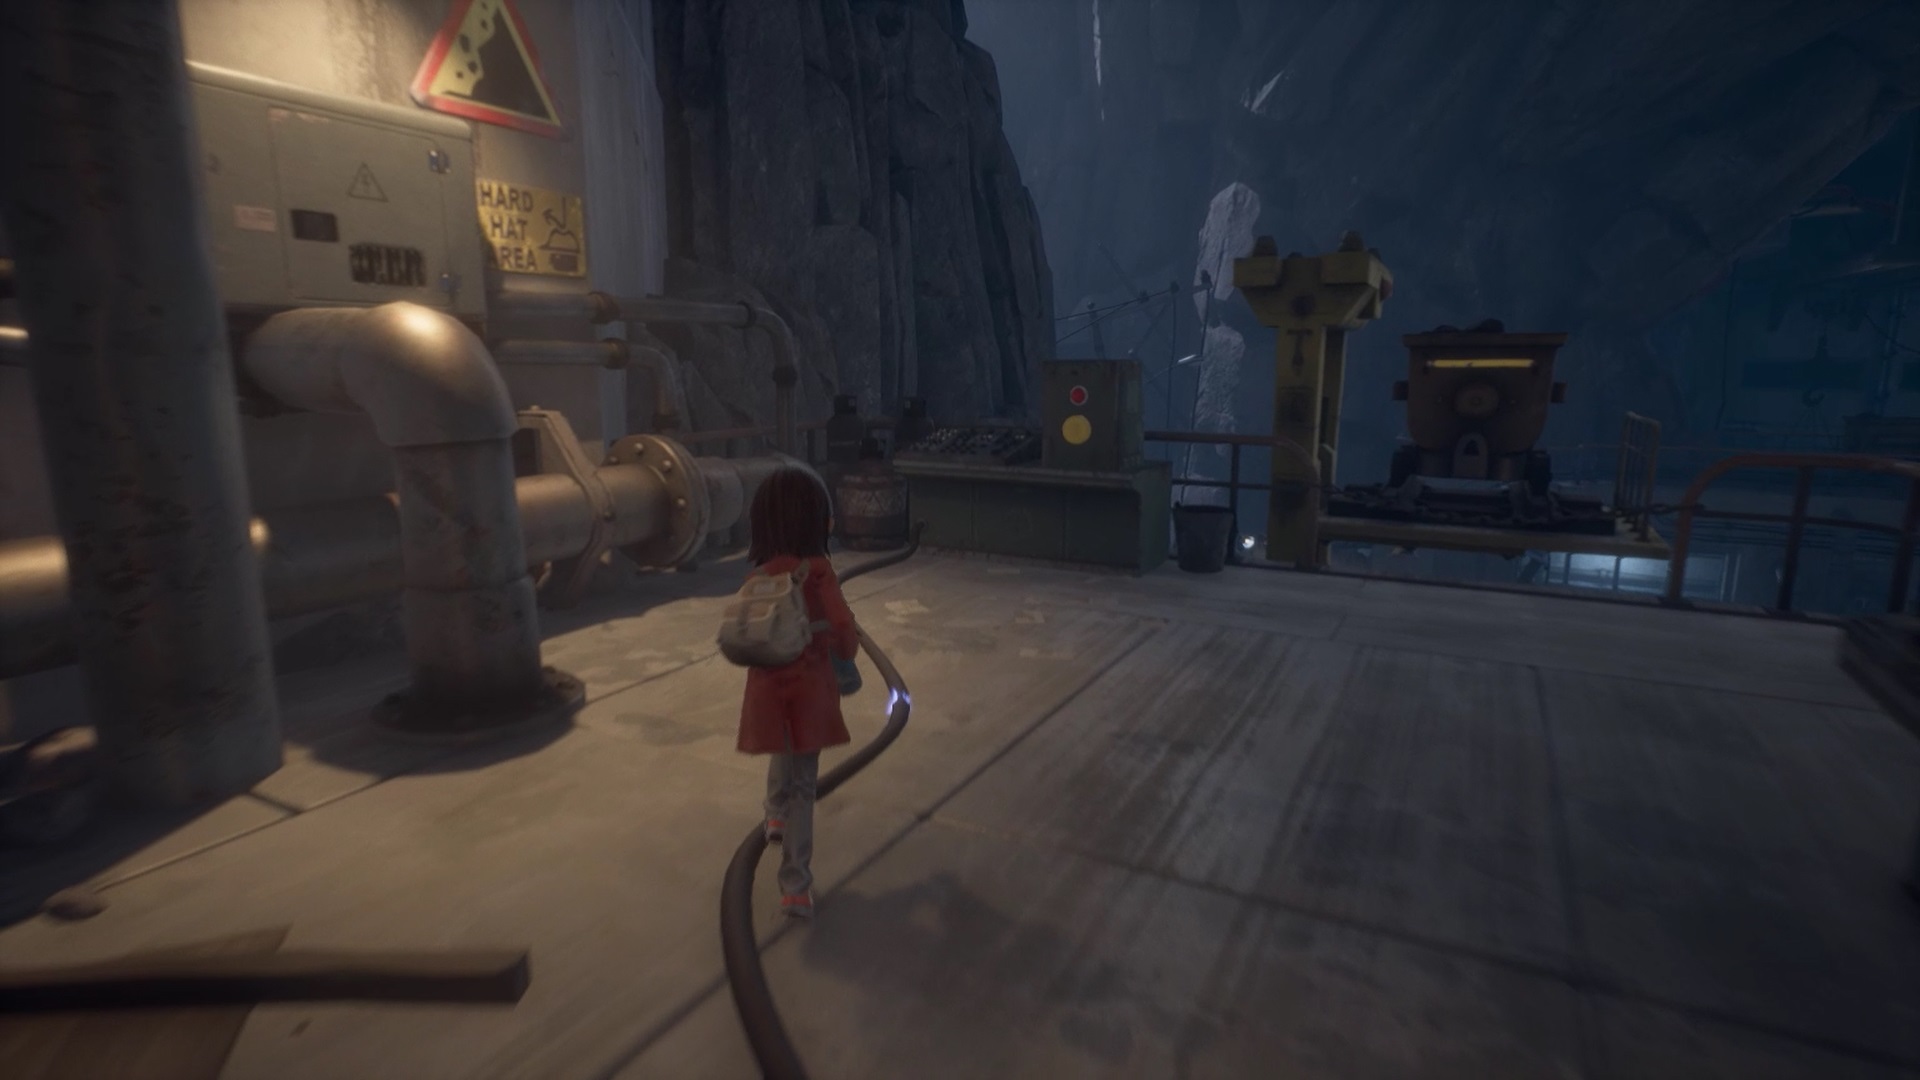
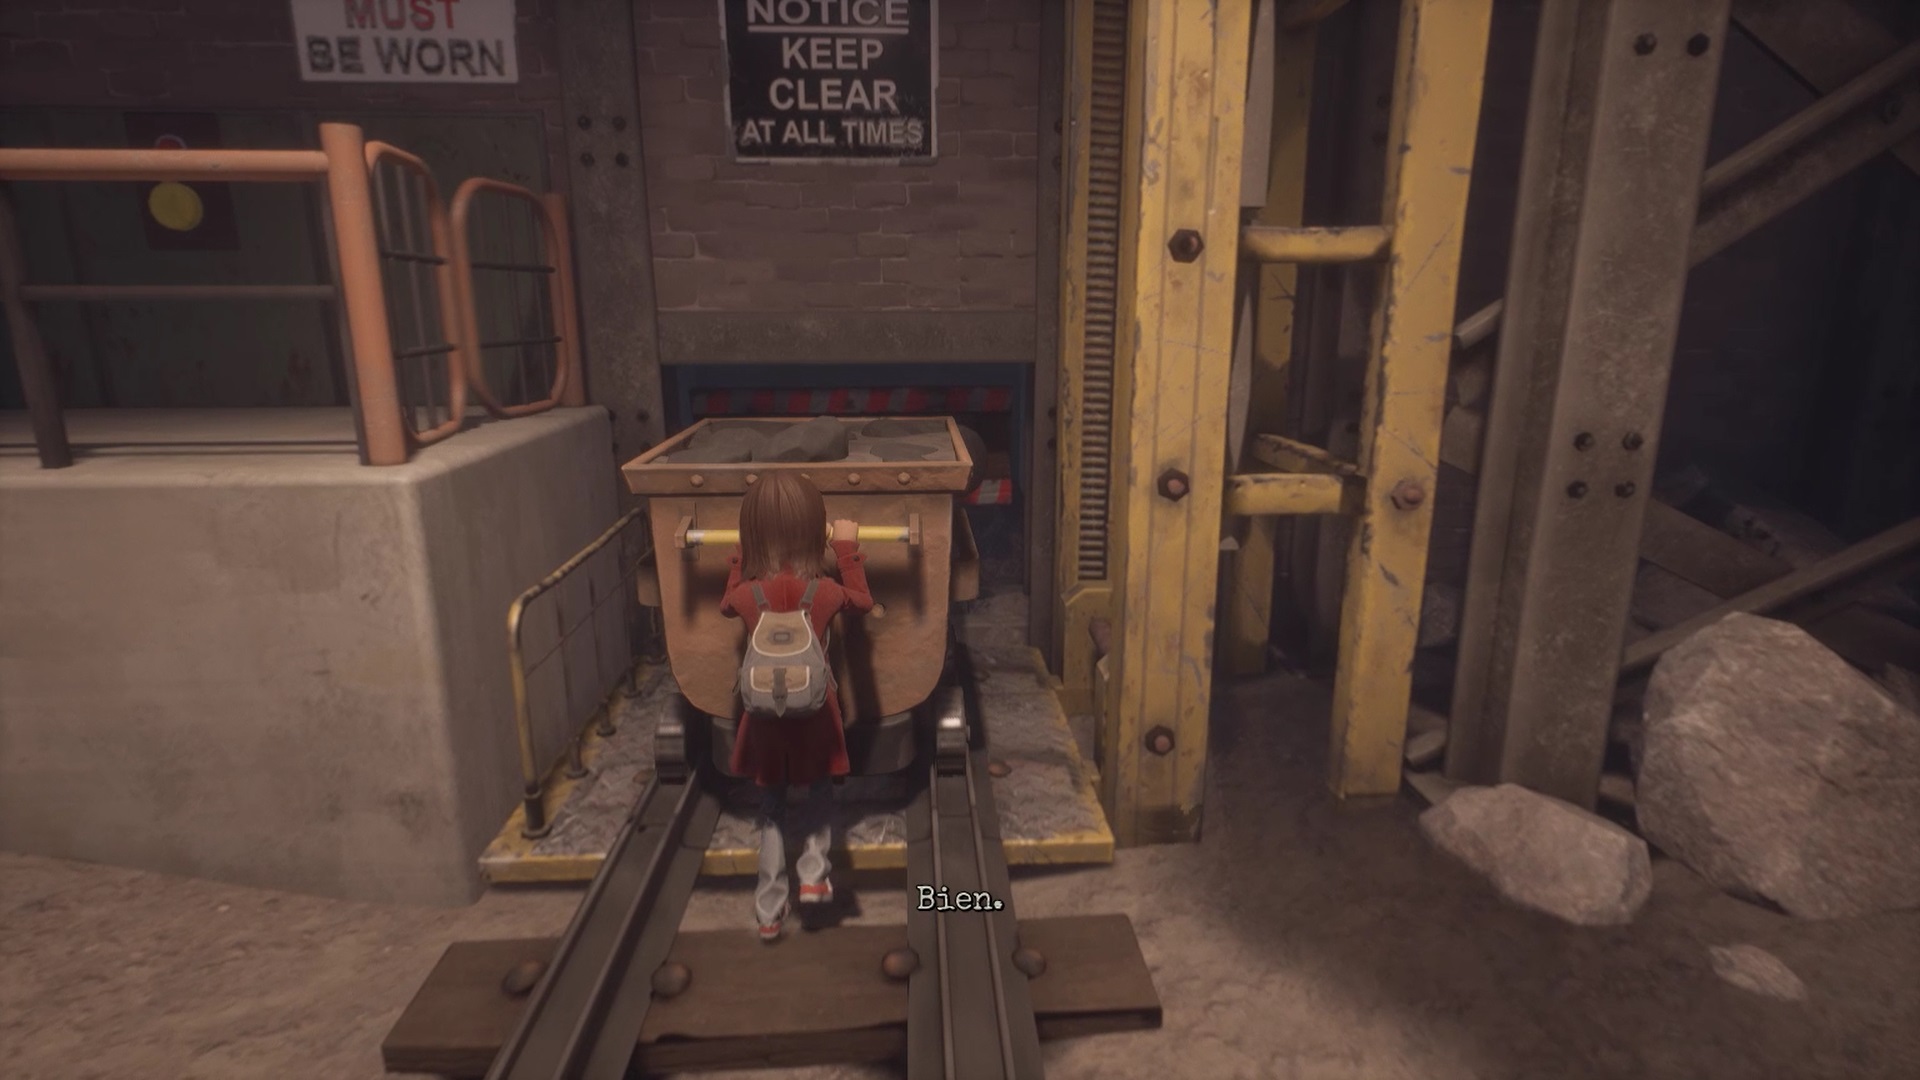
Go back down to the level of the trolley and push it to the end of the rails at the level of the valve. Interact with the valve to move the rail with the wagon horizontally. You can now push the wagon to the next valve. Rotate the second valve so that the wagon can position itself correctly on the rails and push it again to unlock access to the second ladder.
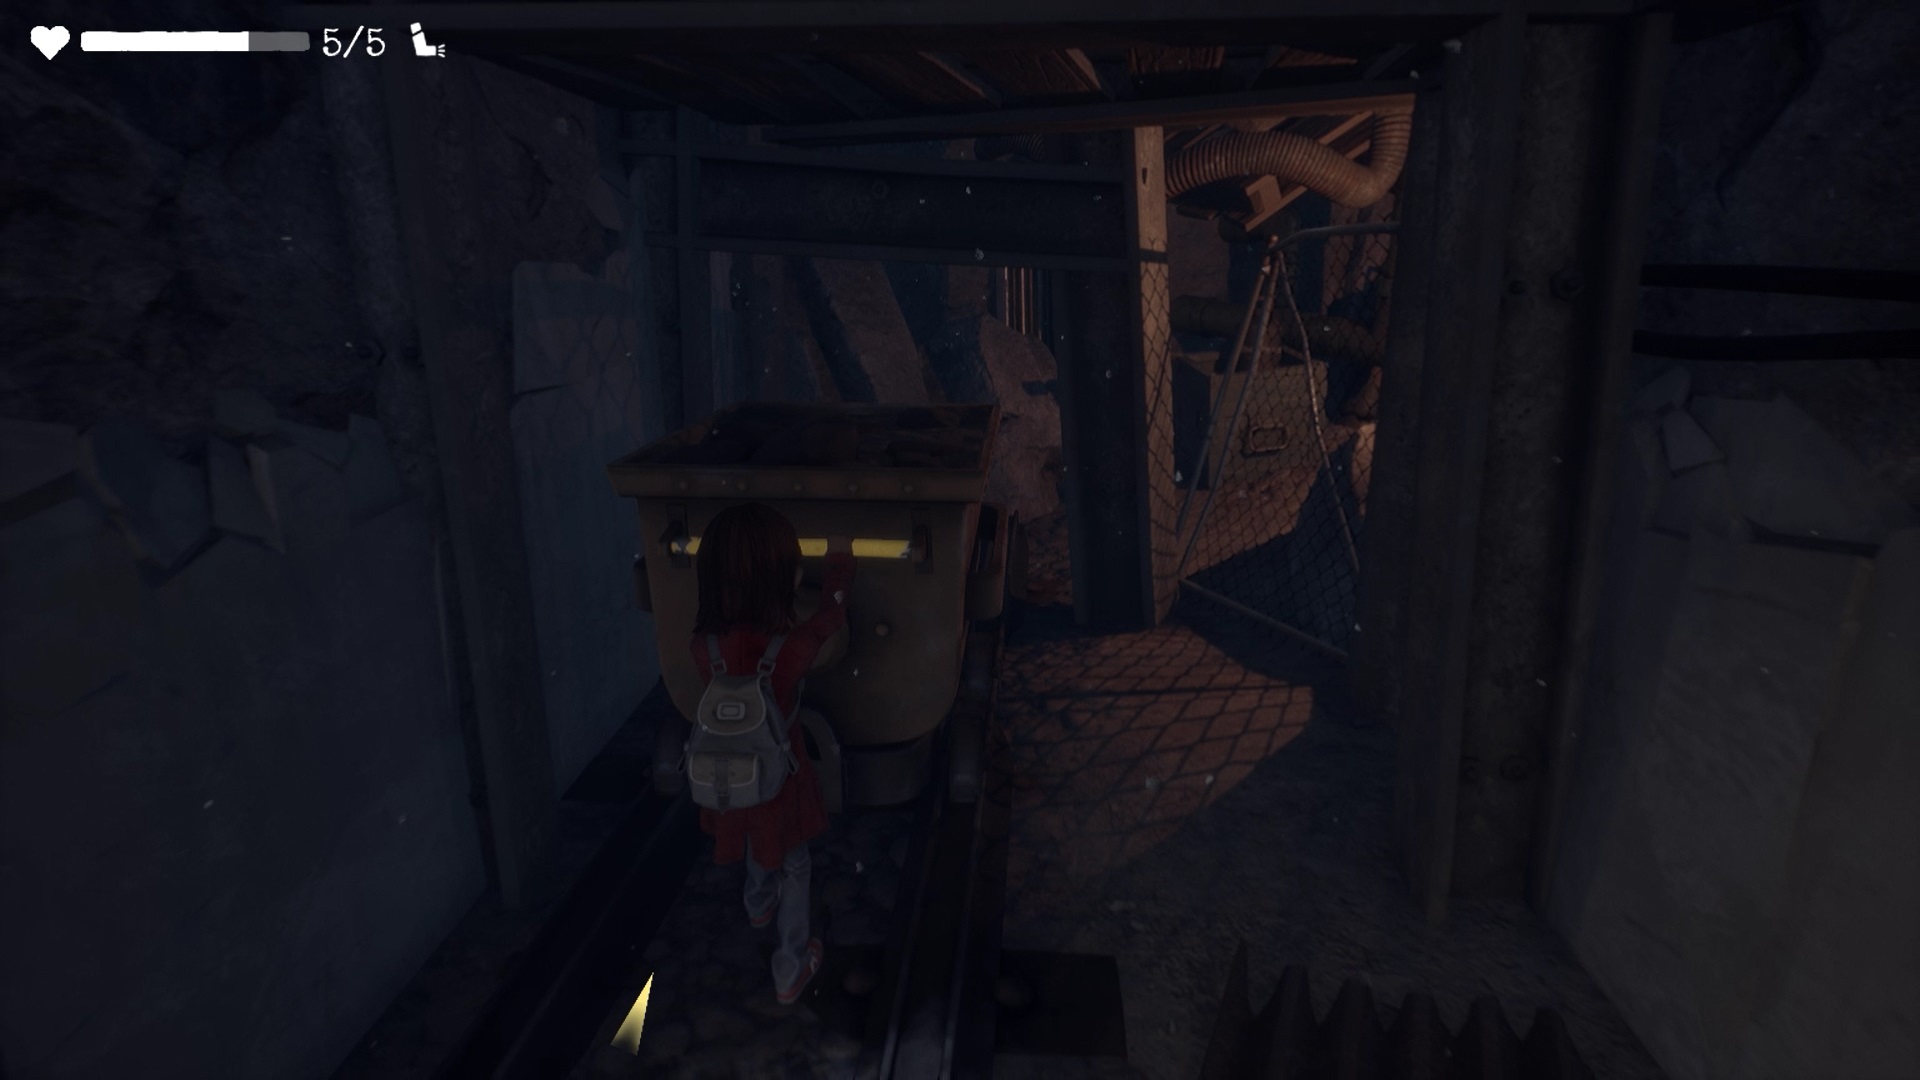
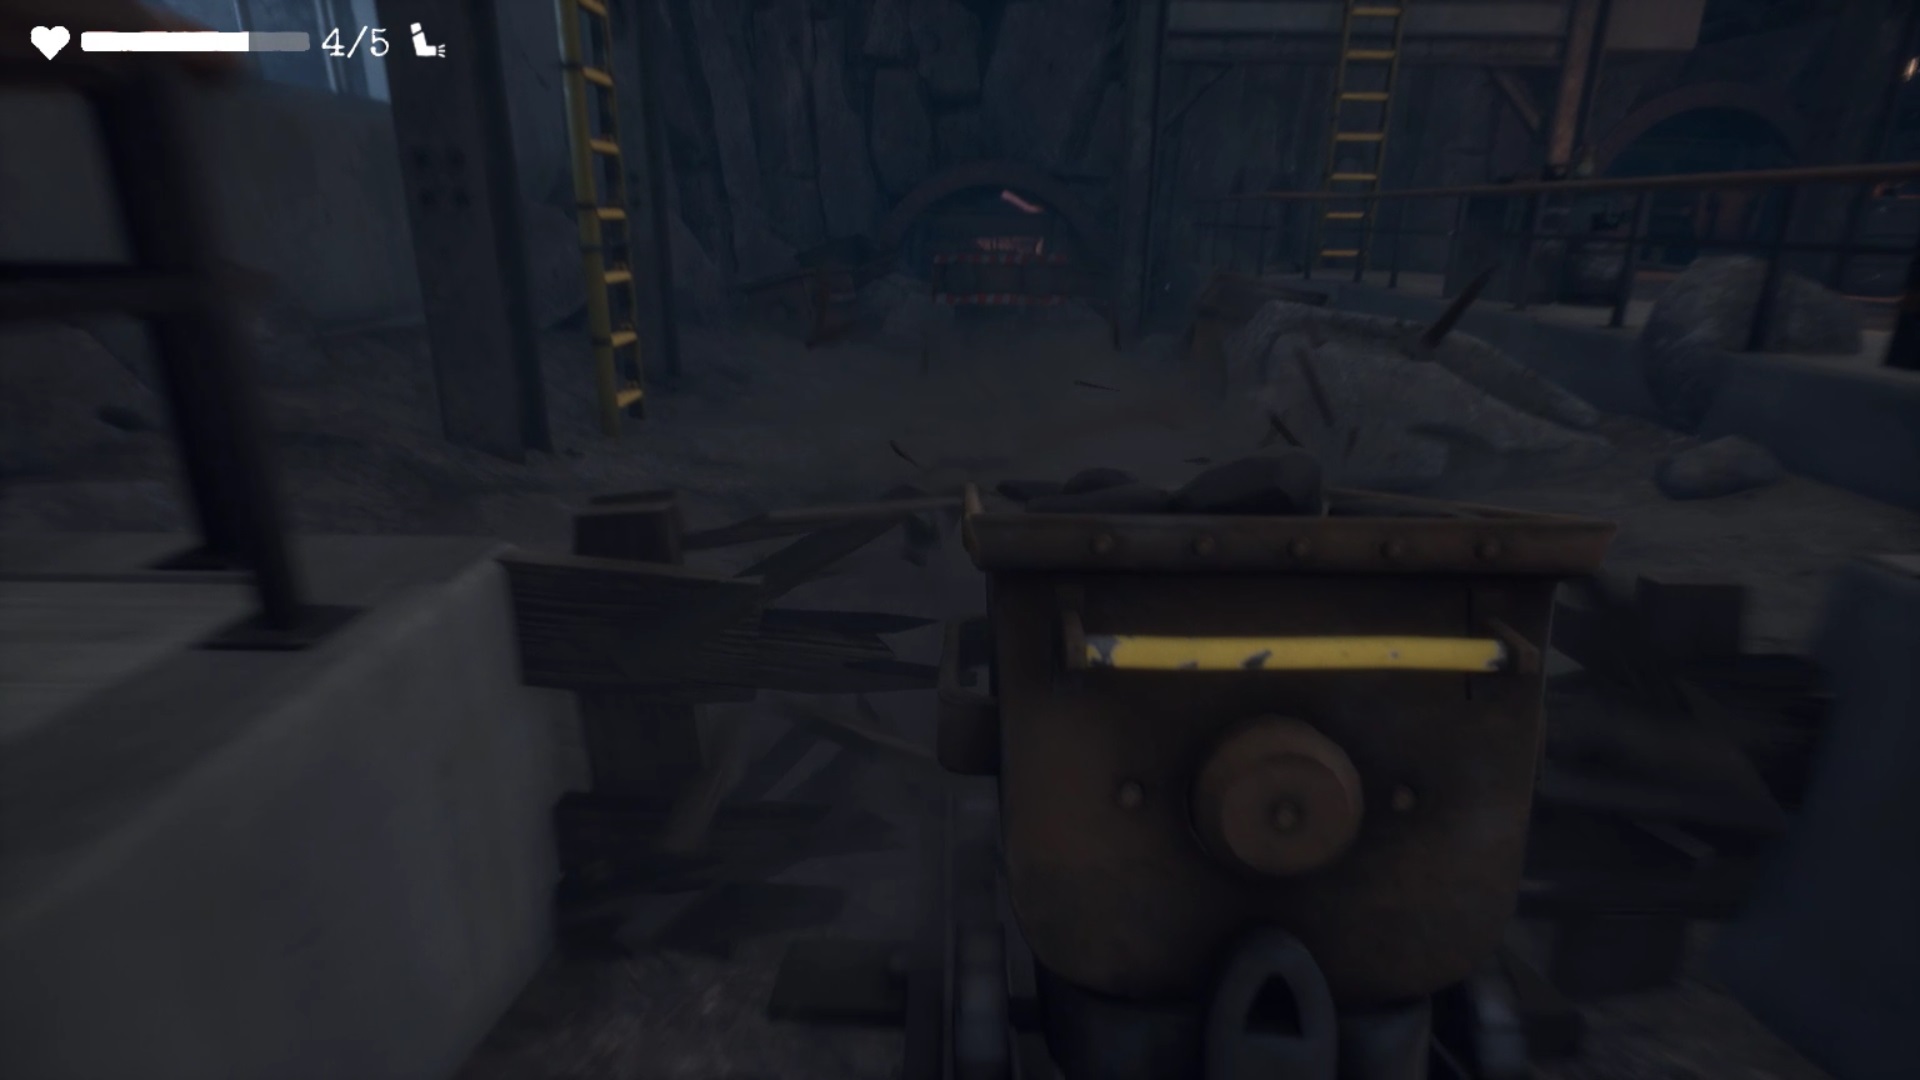
Climb the ladder to keep moving forward. Put out the flames blocking your way to enter the next tunnel. In the tunnel, a trolley blocks your access. Pull it towards you to unlock the passage. You finally see Emily. Keep moving through the tunnels to join her.
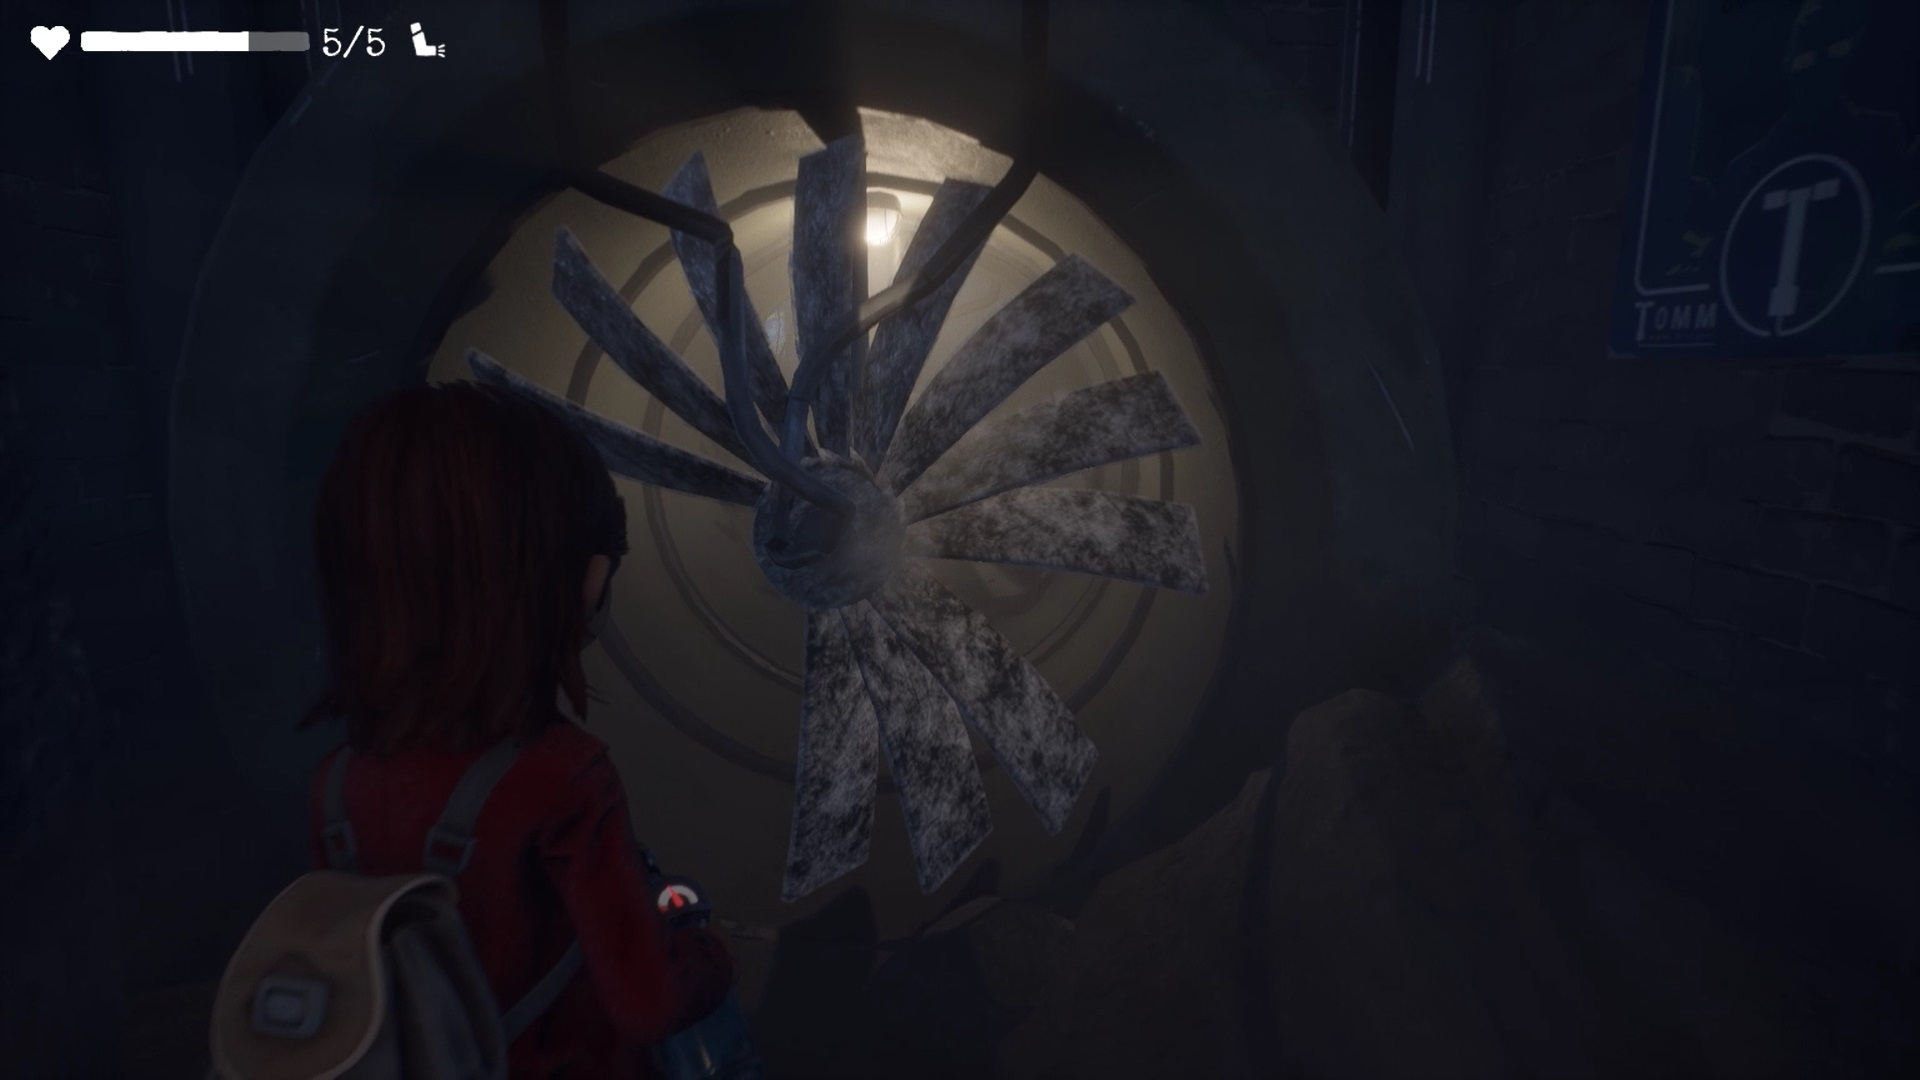
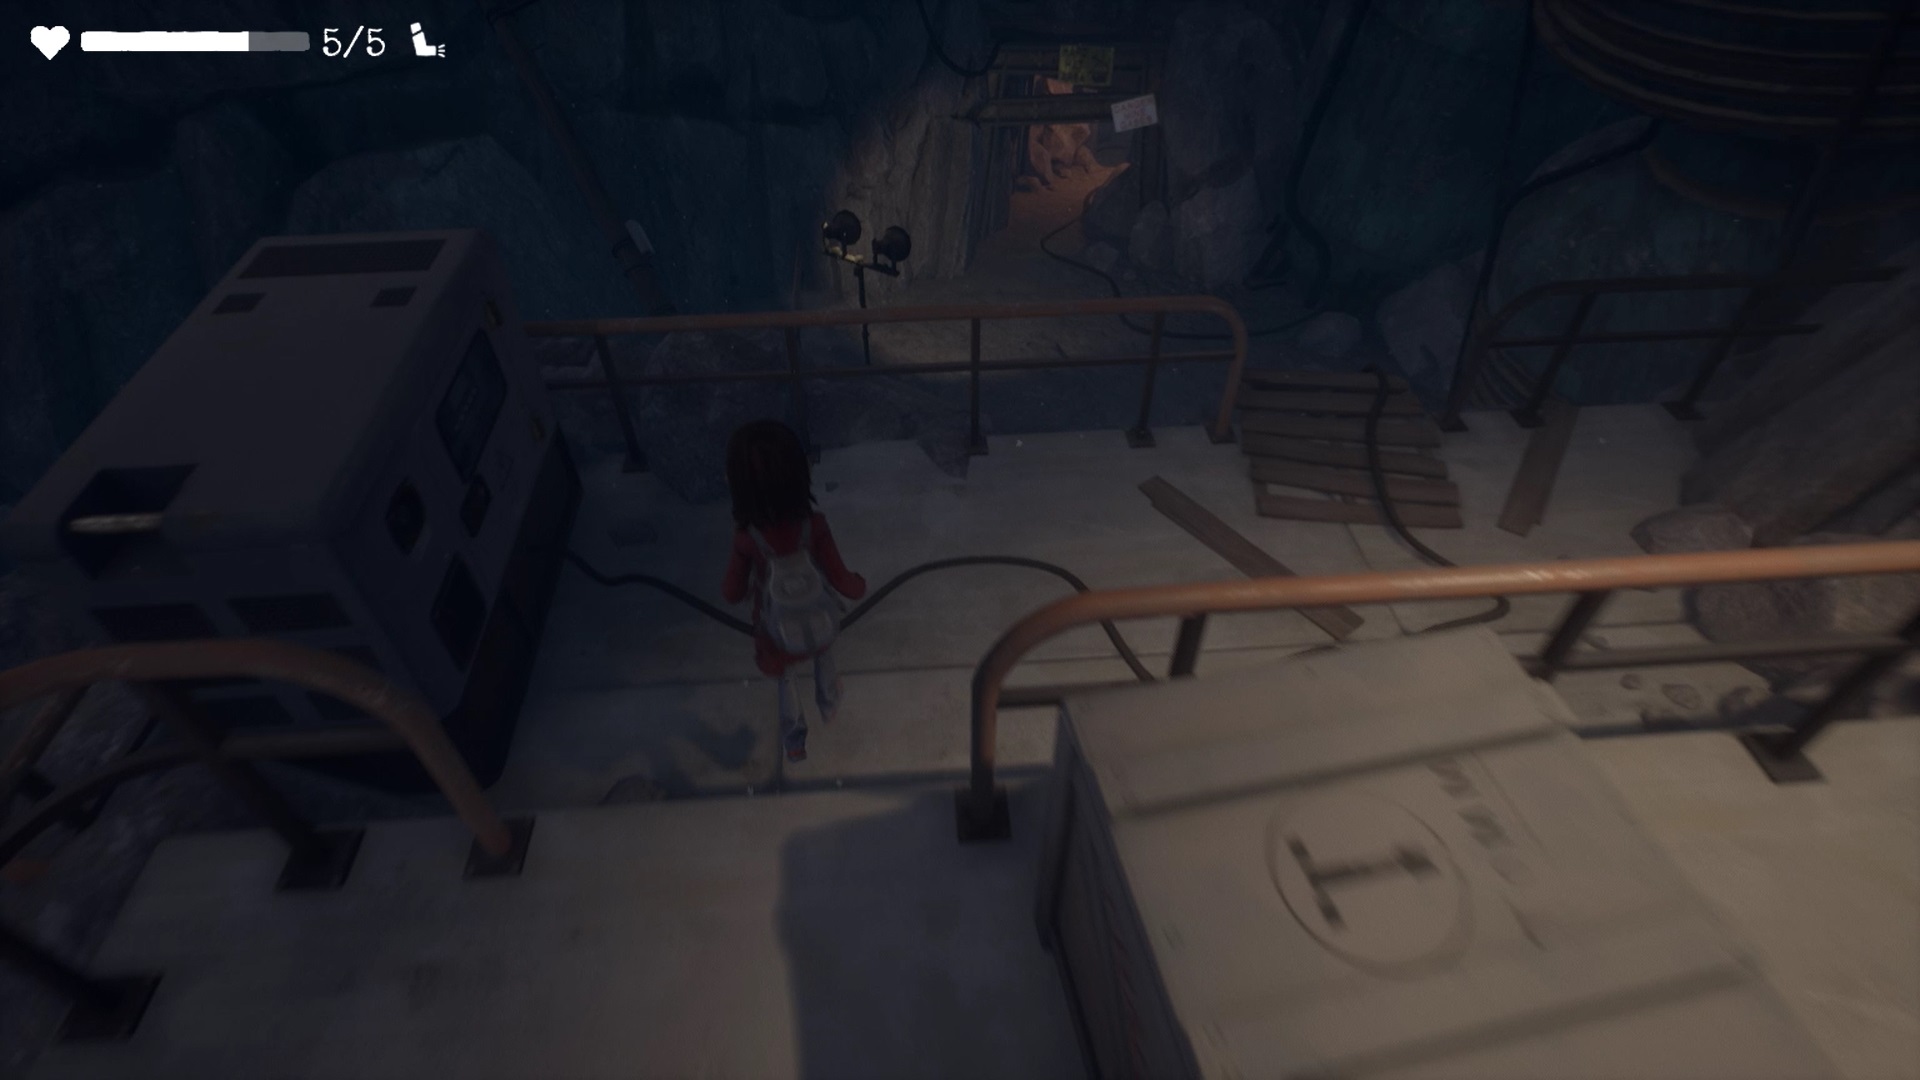
At the end of a tunnel, you find yourself blocked by propellers. Use your fire extinguisher to freeze the propellers and be able to pass. You reach a control room. To be able to continue moving through the tunnels you must clear the way. Enter the command room to the east. Press the switch to lower a walkway to cross to the other side of the area.
Before going to the other side, pick up a can from the dispenser near the control room. Then go on the bridge you have unlocked to reach the second control room. You can’t reach the room switch. Throw the can at the switch to raise a catwalk that was blocking access to the rest of the mine.
Continue forward to reach locker rooms. Near the changing rooms, a fence blocks your way. You must power the portal to be able to pass a wagon which will later help you to climb. The gate switch is not supplied with electricity. Head behind the fence to find the power panel.
On the panel, you need to restore power between the four points of light. Adjust the mechanisms as in our picture to unlock the electricity. Return to the Control Room. Turn the valve and press the switch to open the gate.
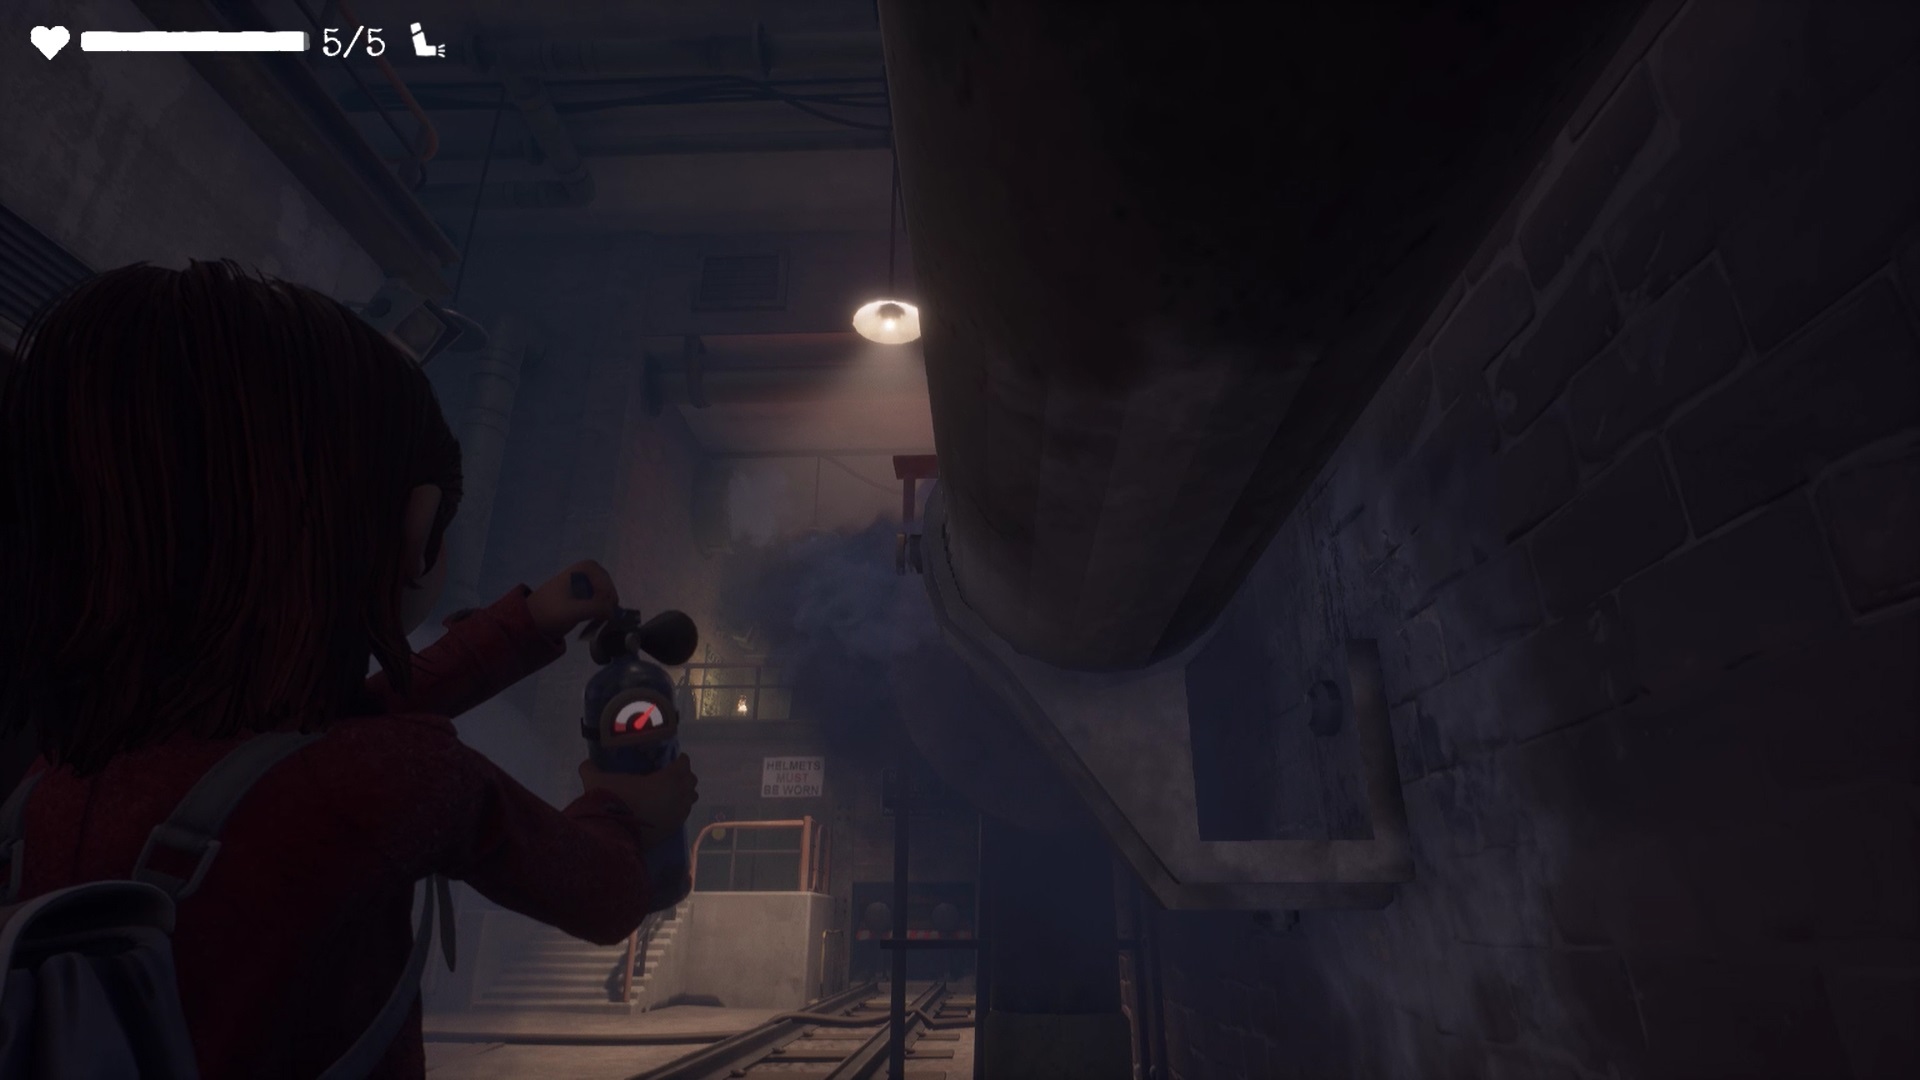
Go get the wagon at the end of the tracks. Push it to reach the elevator at the end of the railroad. Use the fire extinguisher on the steam jets blocking your way. Position the trolley on the elevator and climb the stairs to reach it.
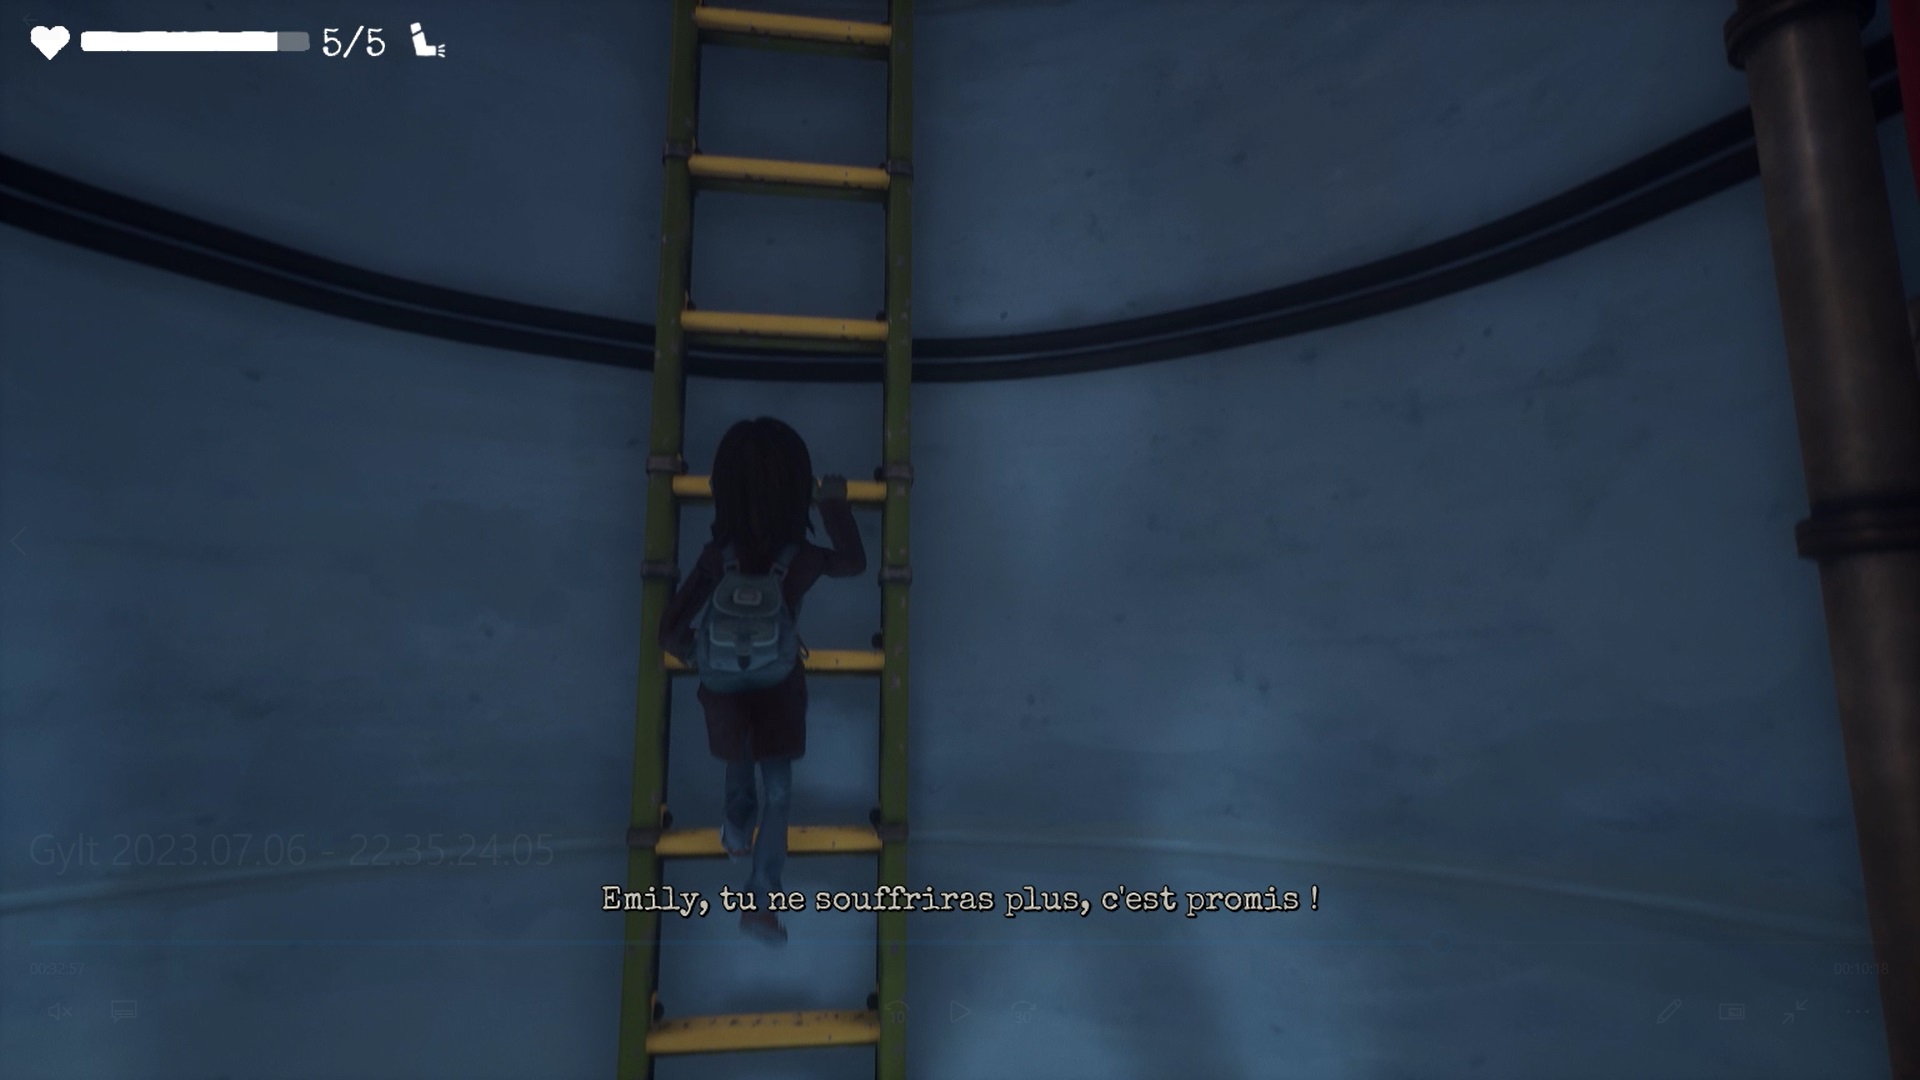
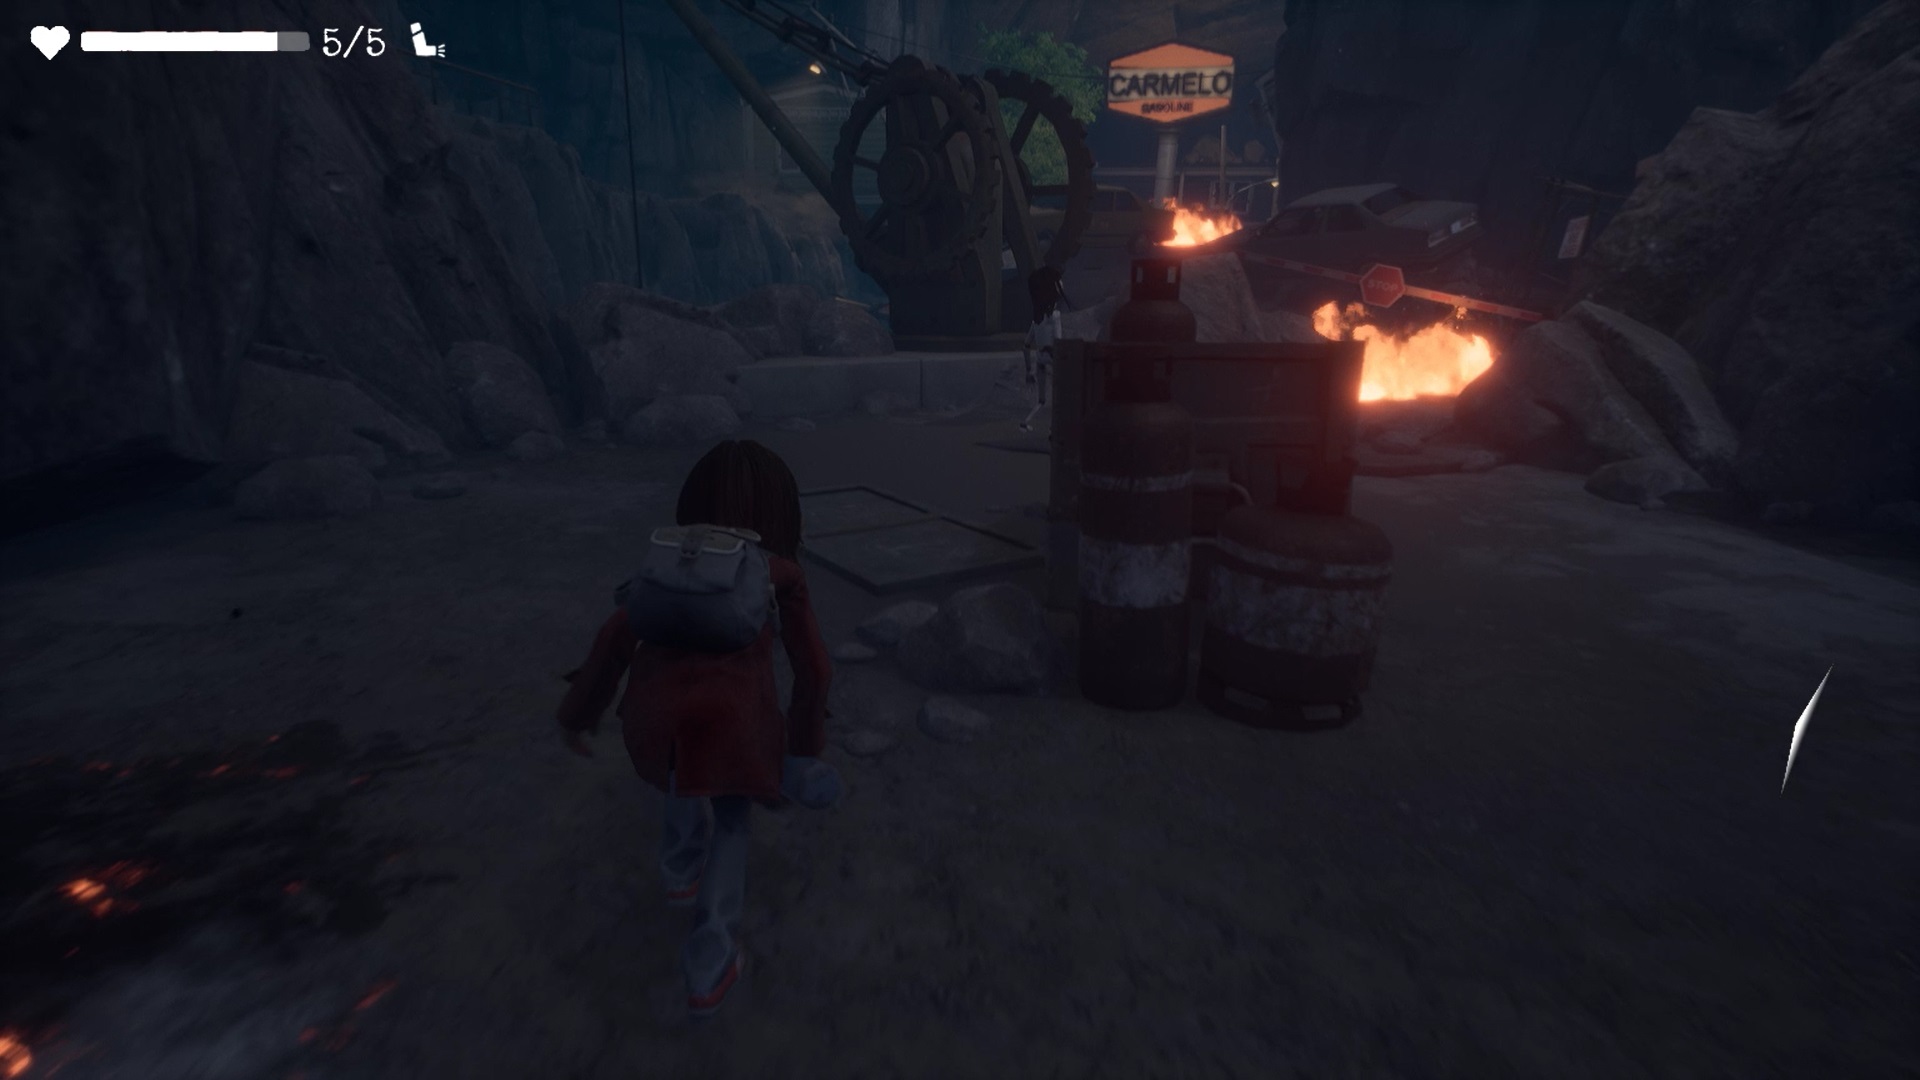
Press the switch and climb on the trolley to reach the upper platform. A passage in the wall allows you to reach a silo. Climb the ladder in the silo to return to the city. With your fire extinguisher, fight your way through the flames towards the Carmelo gas station.
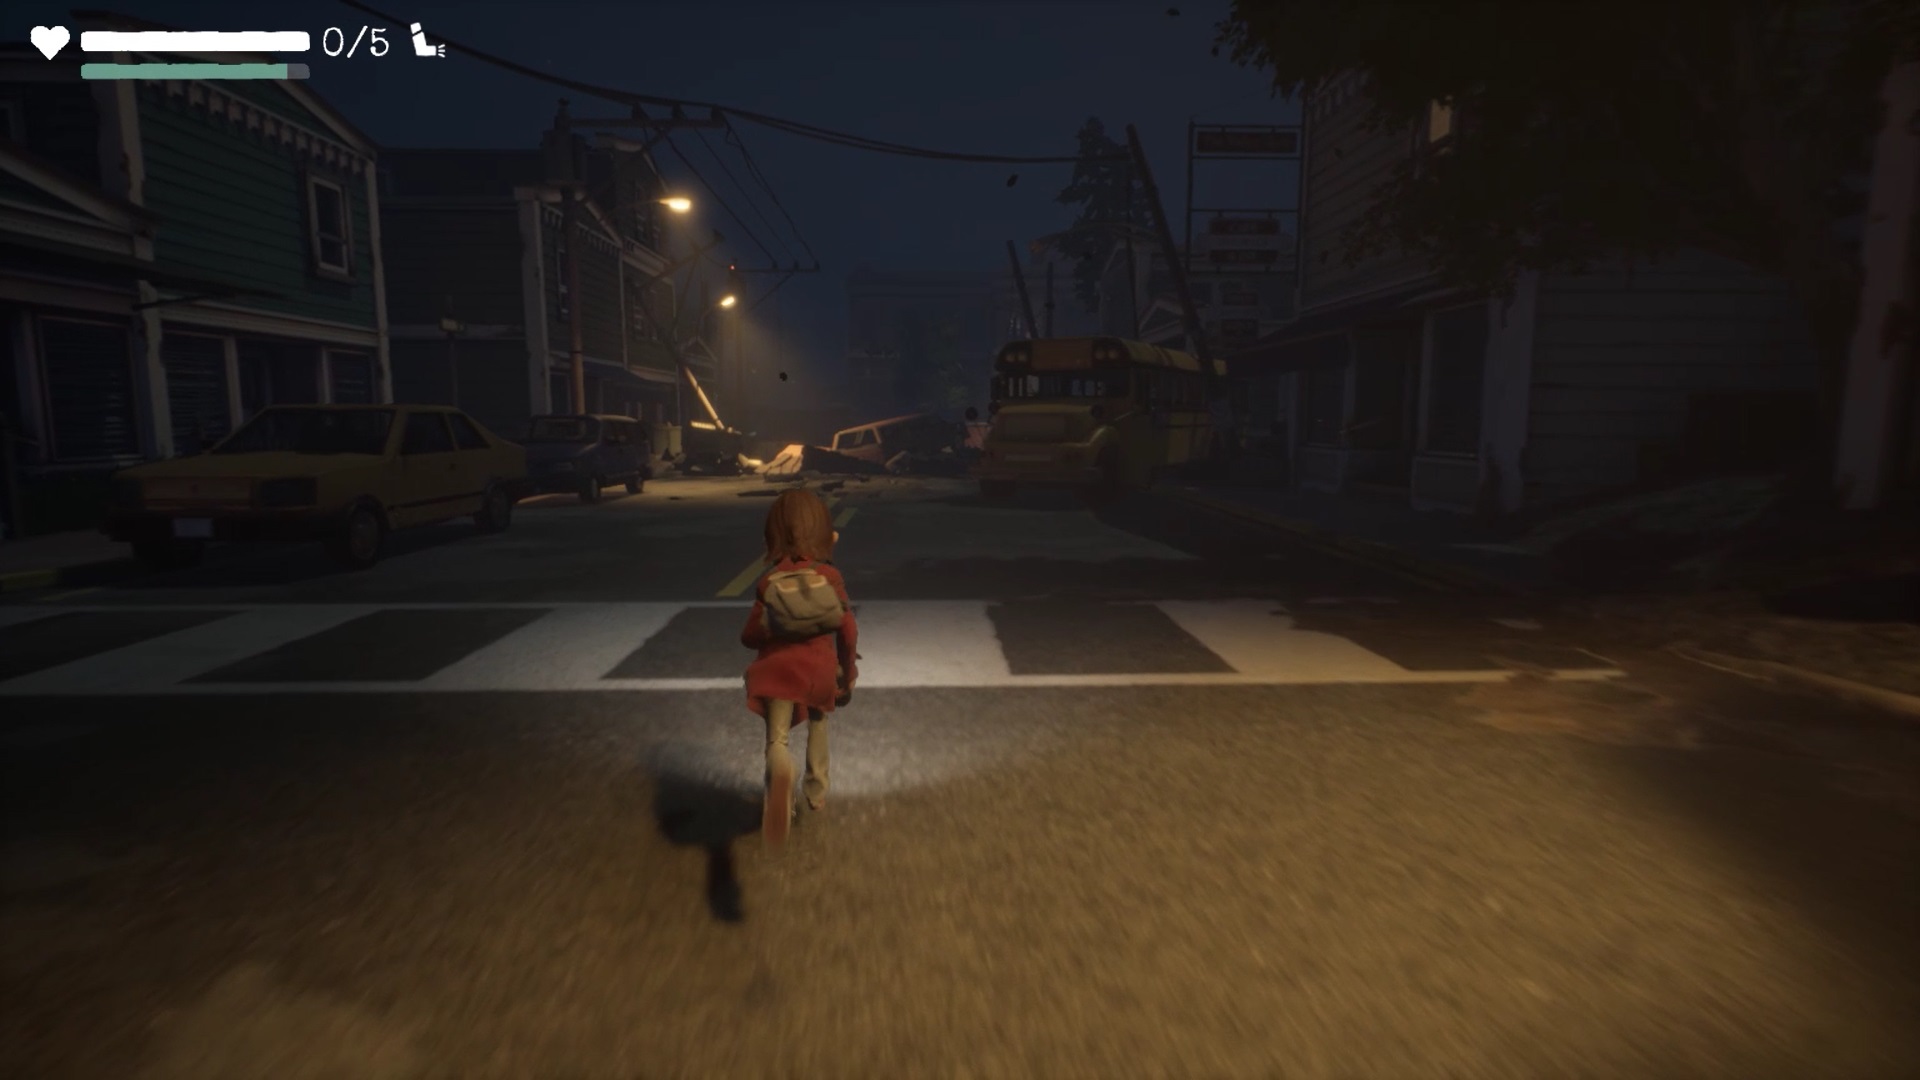
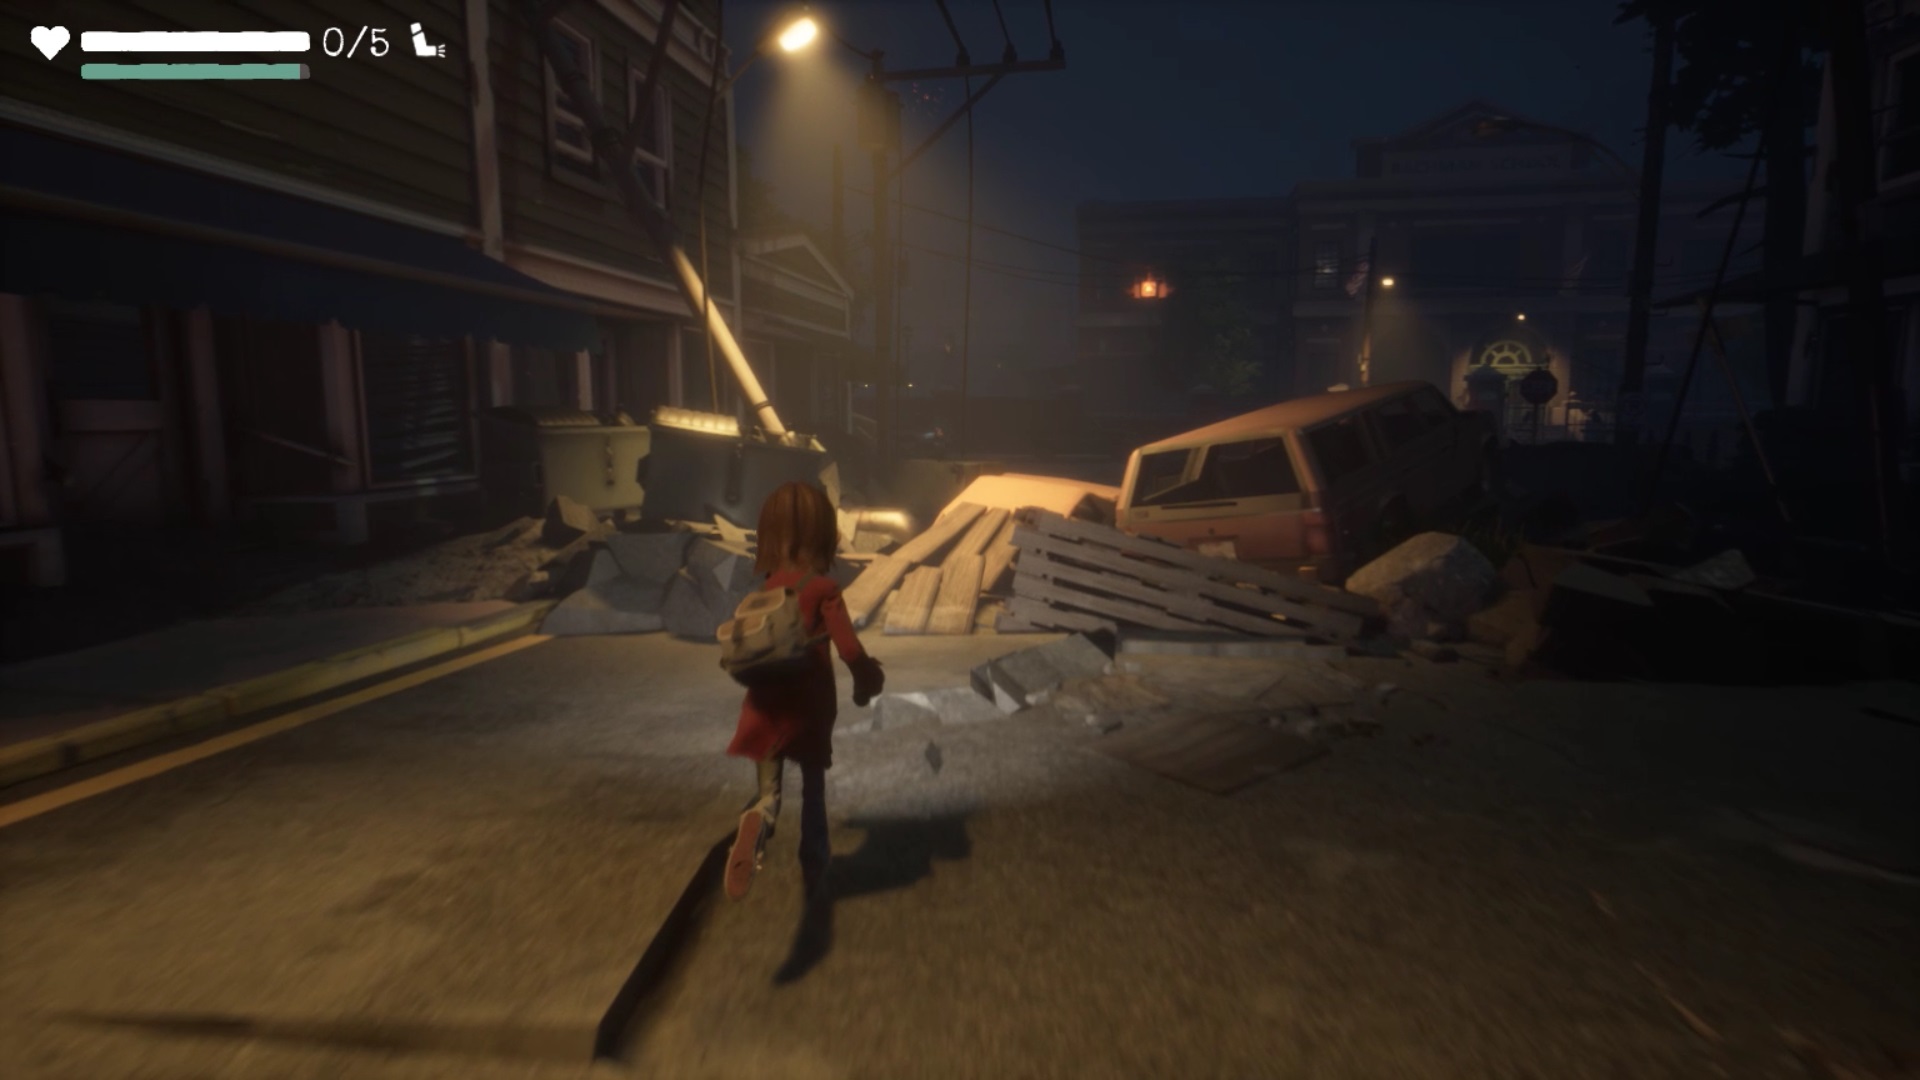
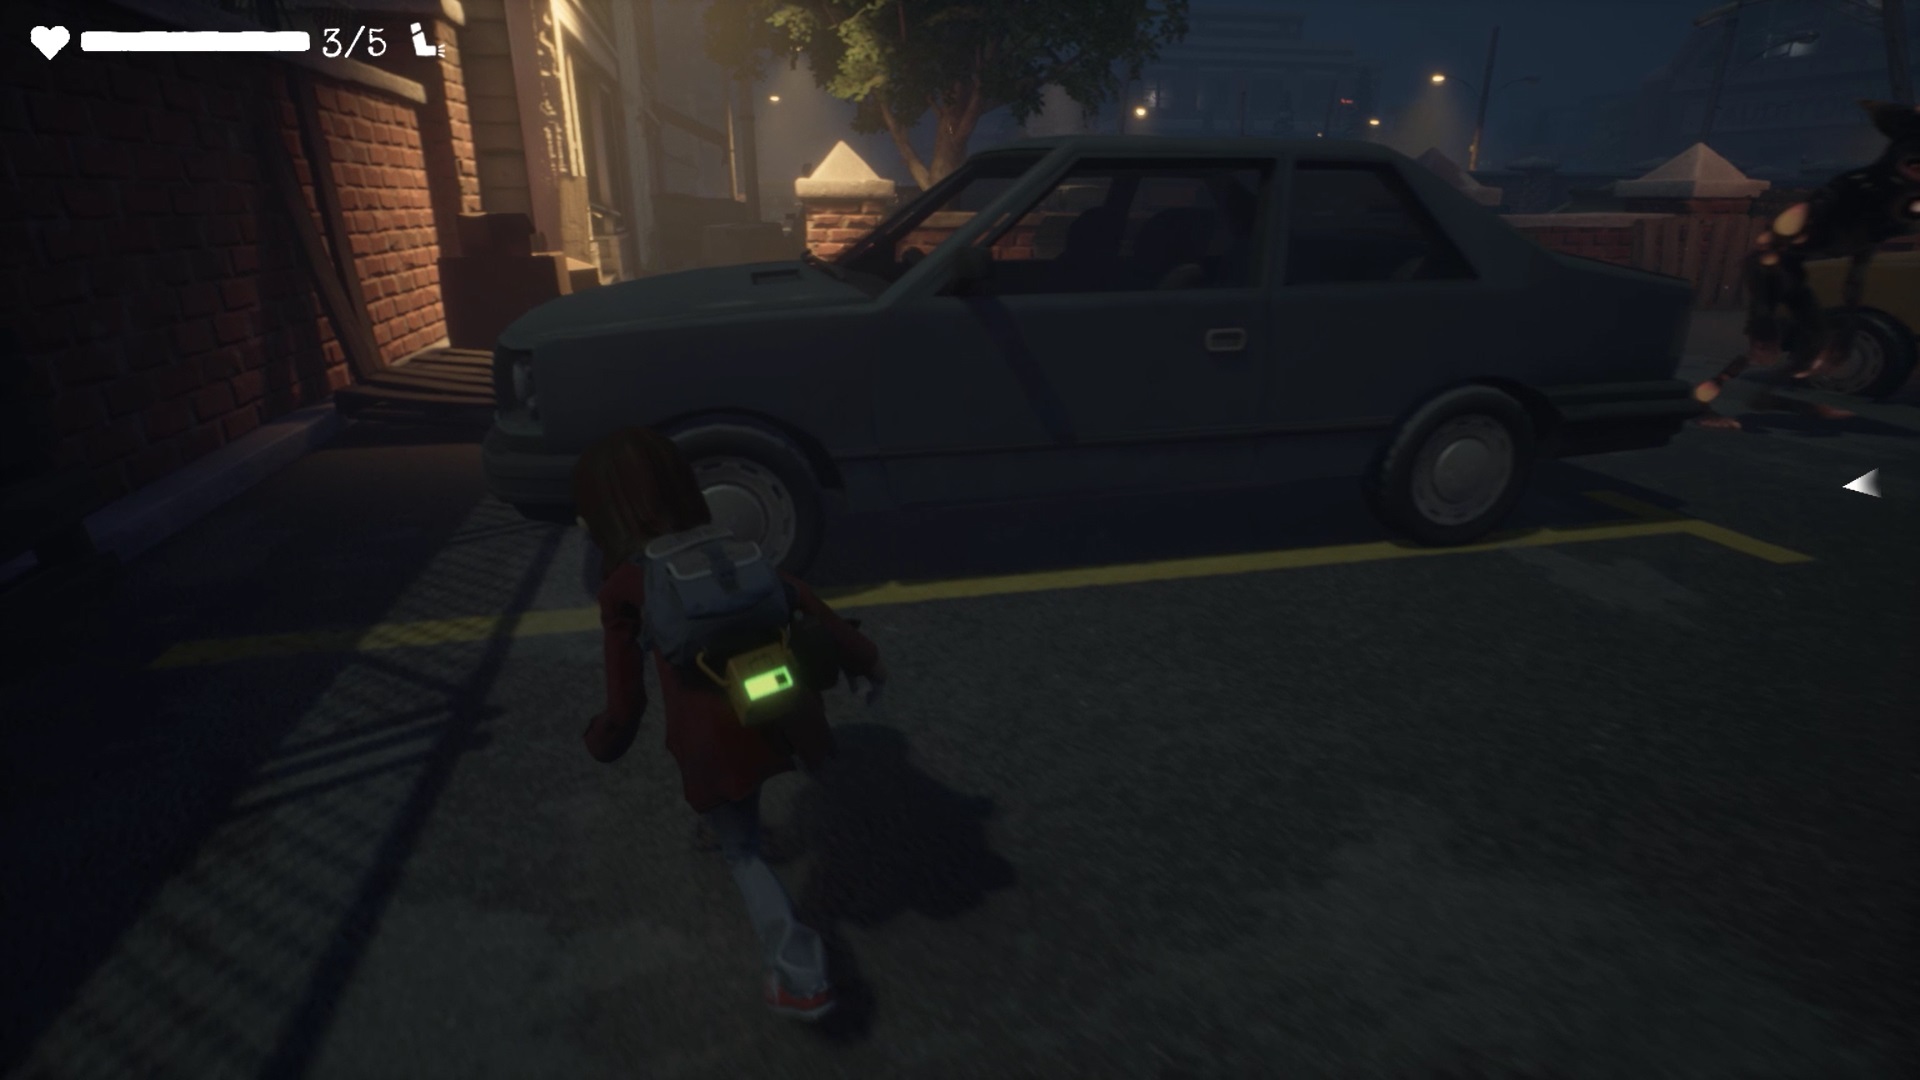
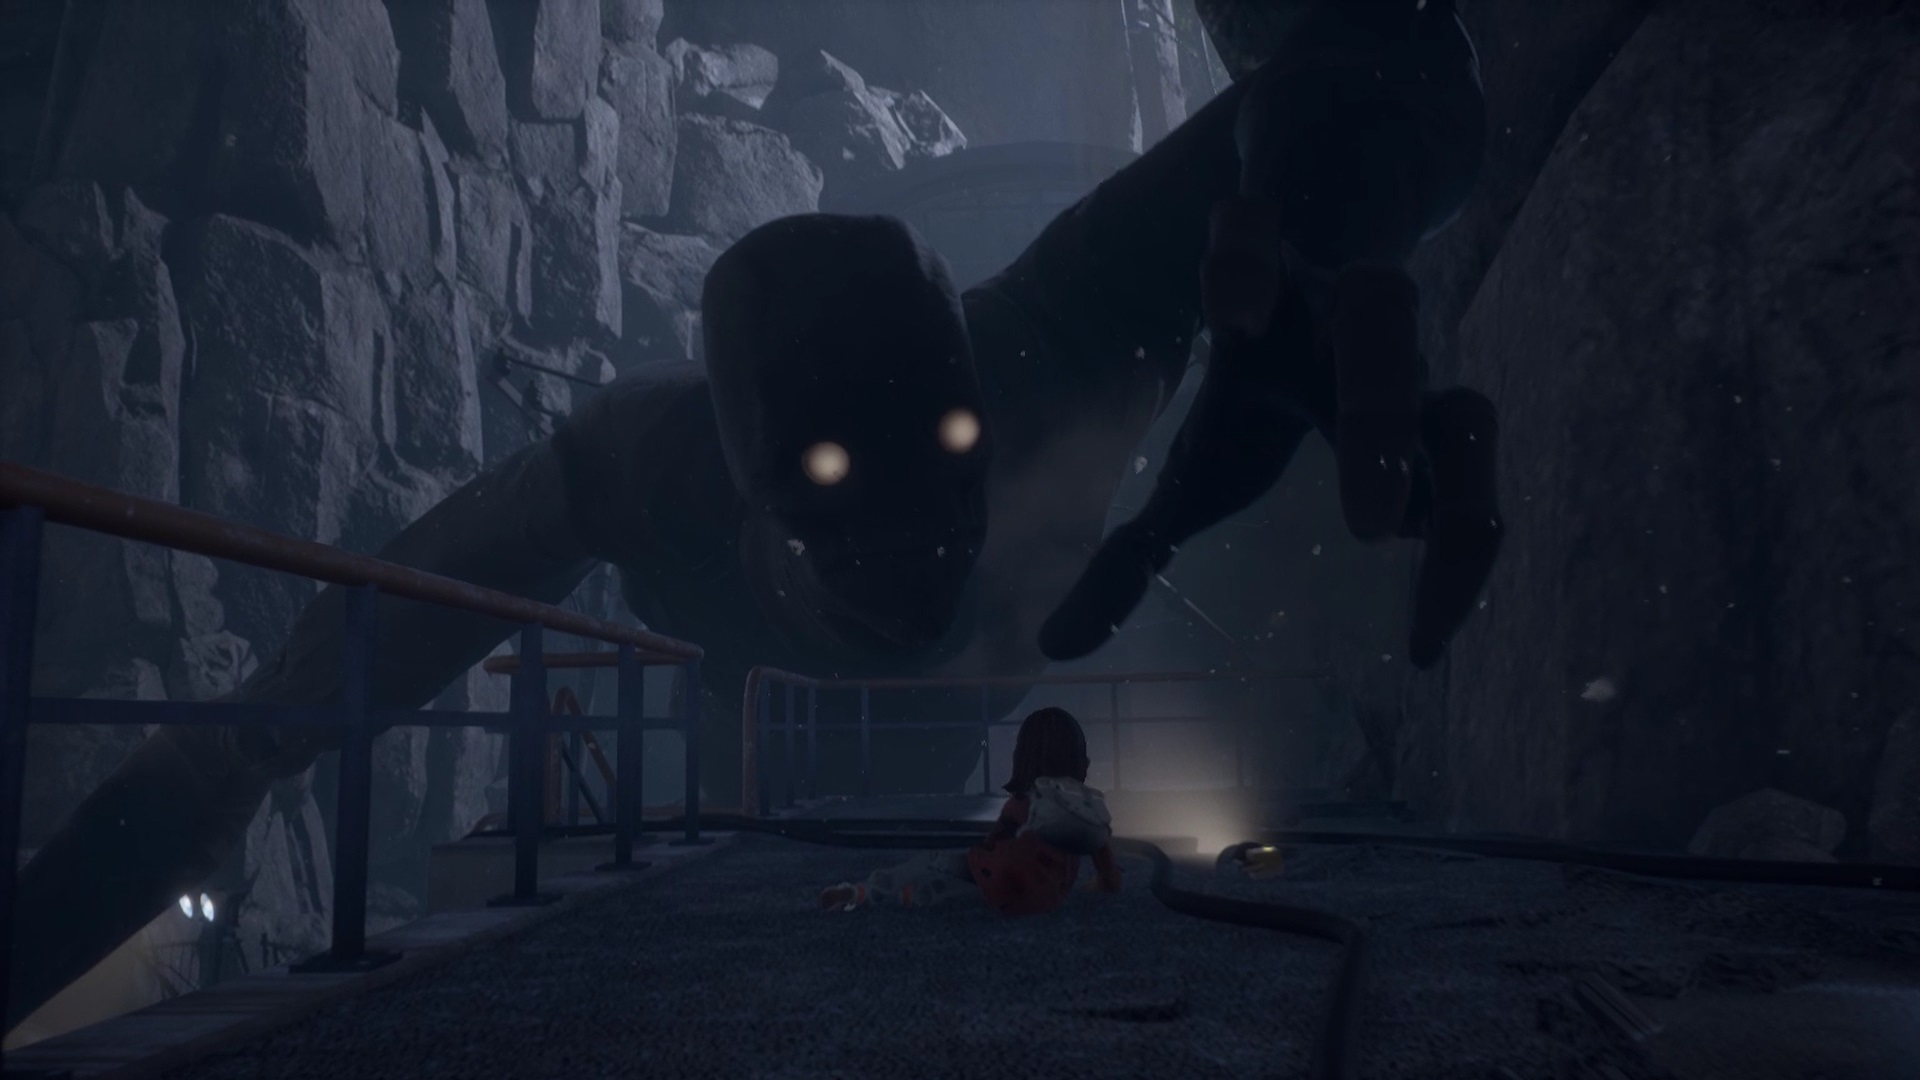
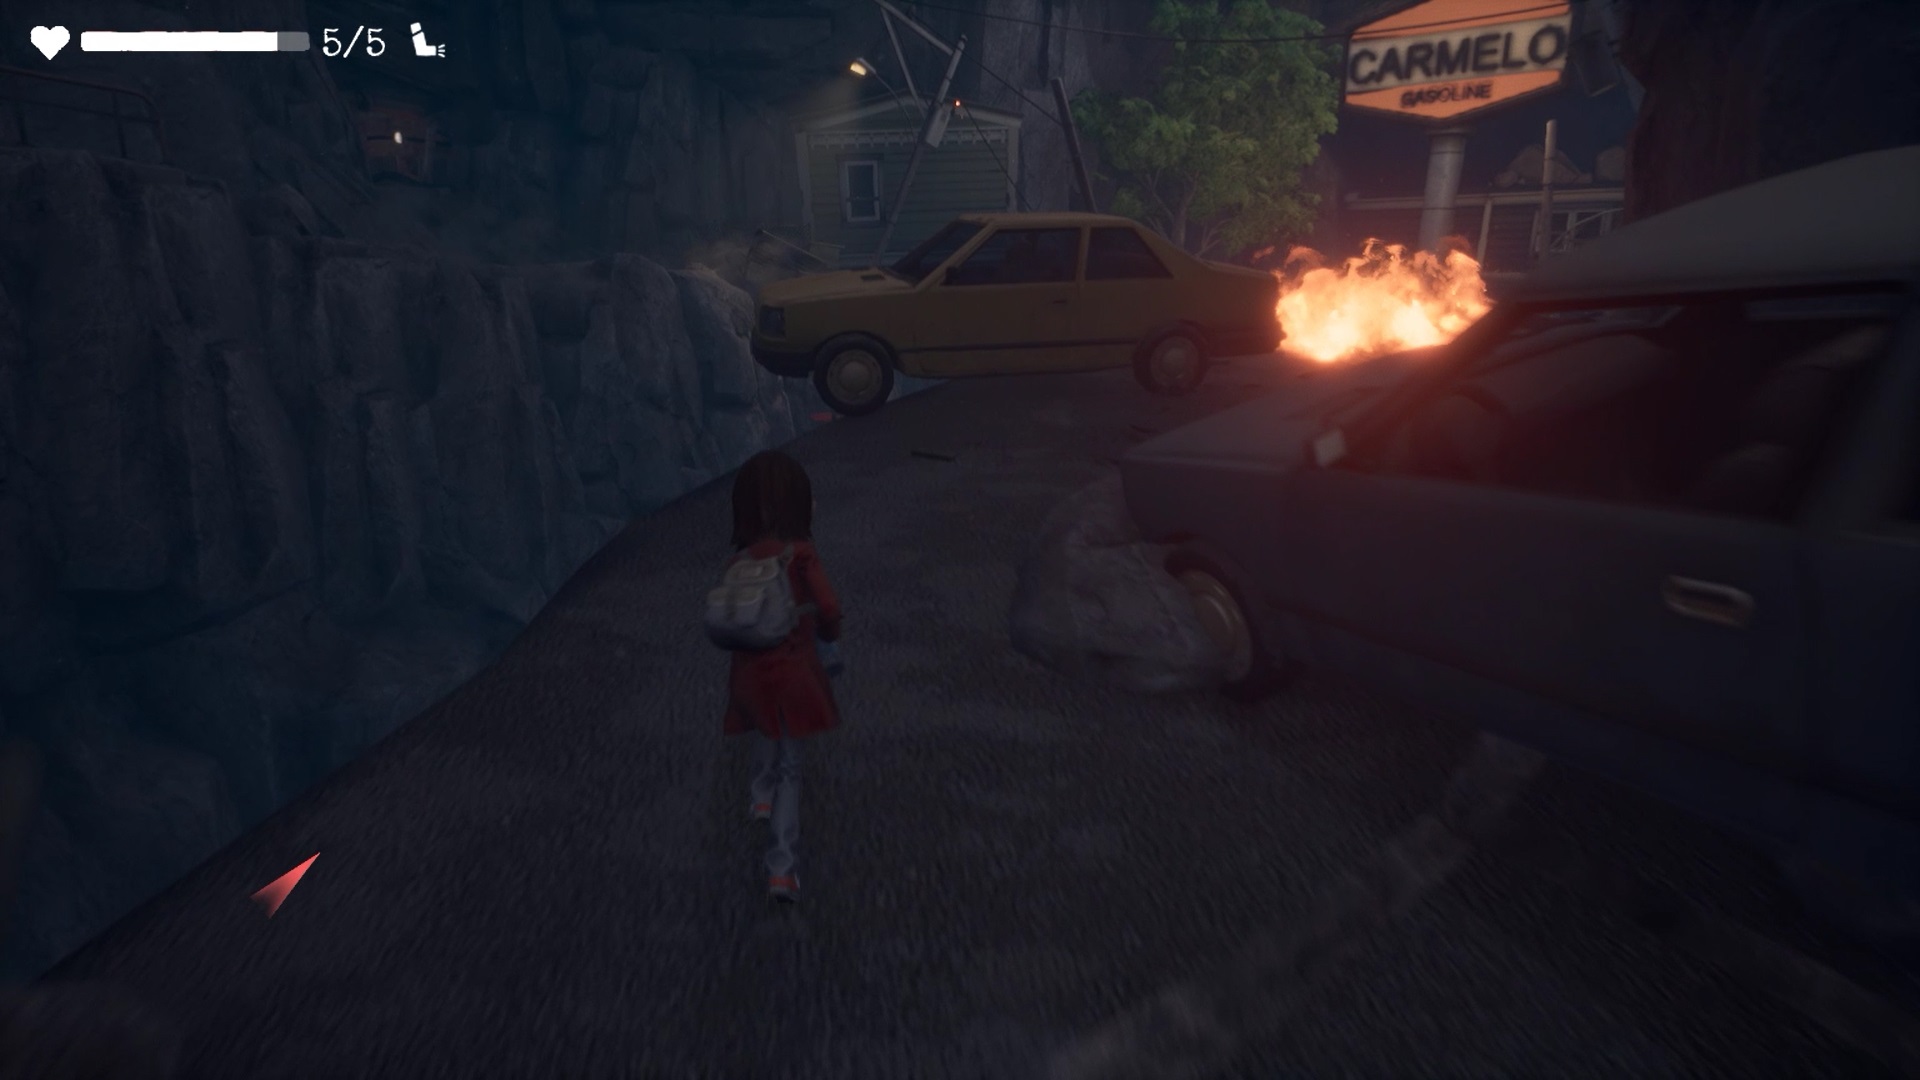
You meet the monster again who snatches the fire extinguisher from your hands. Retrace your steps and take the path near the car. Move forward while dodging the monsters to join Emily at the gas station.

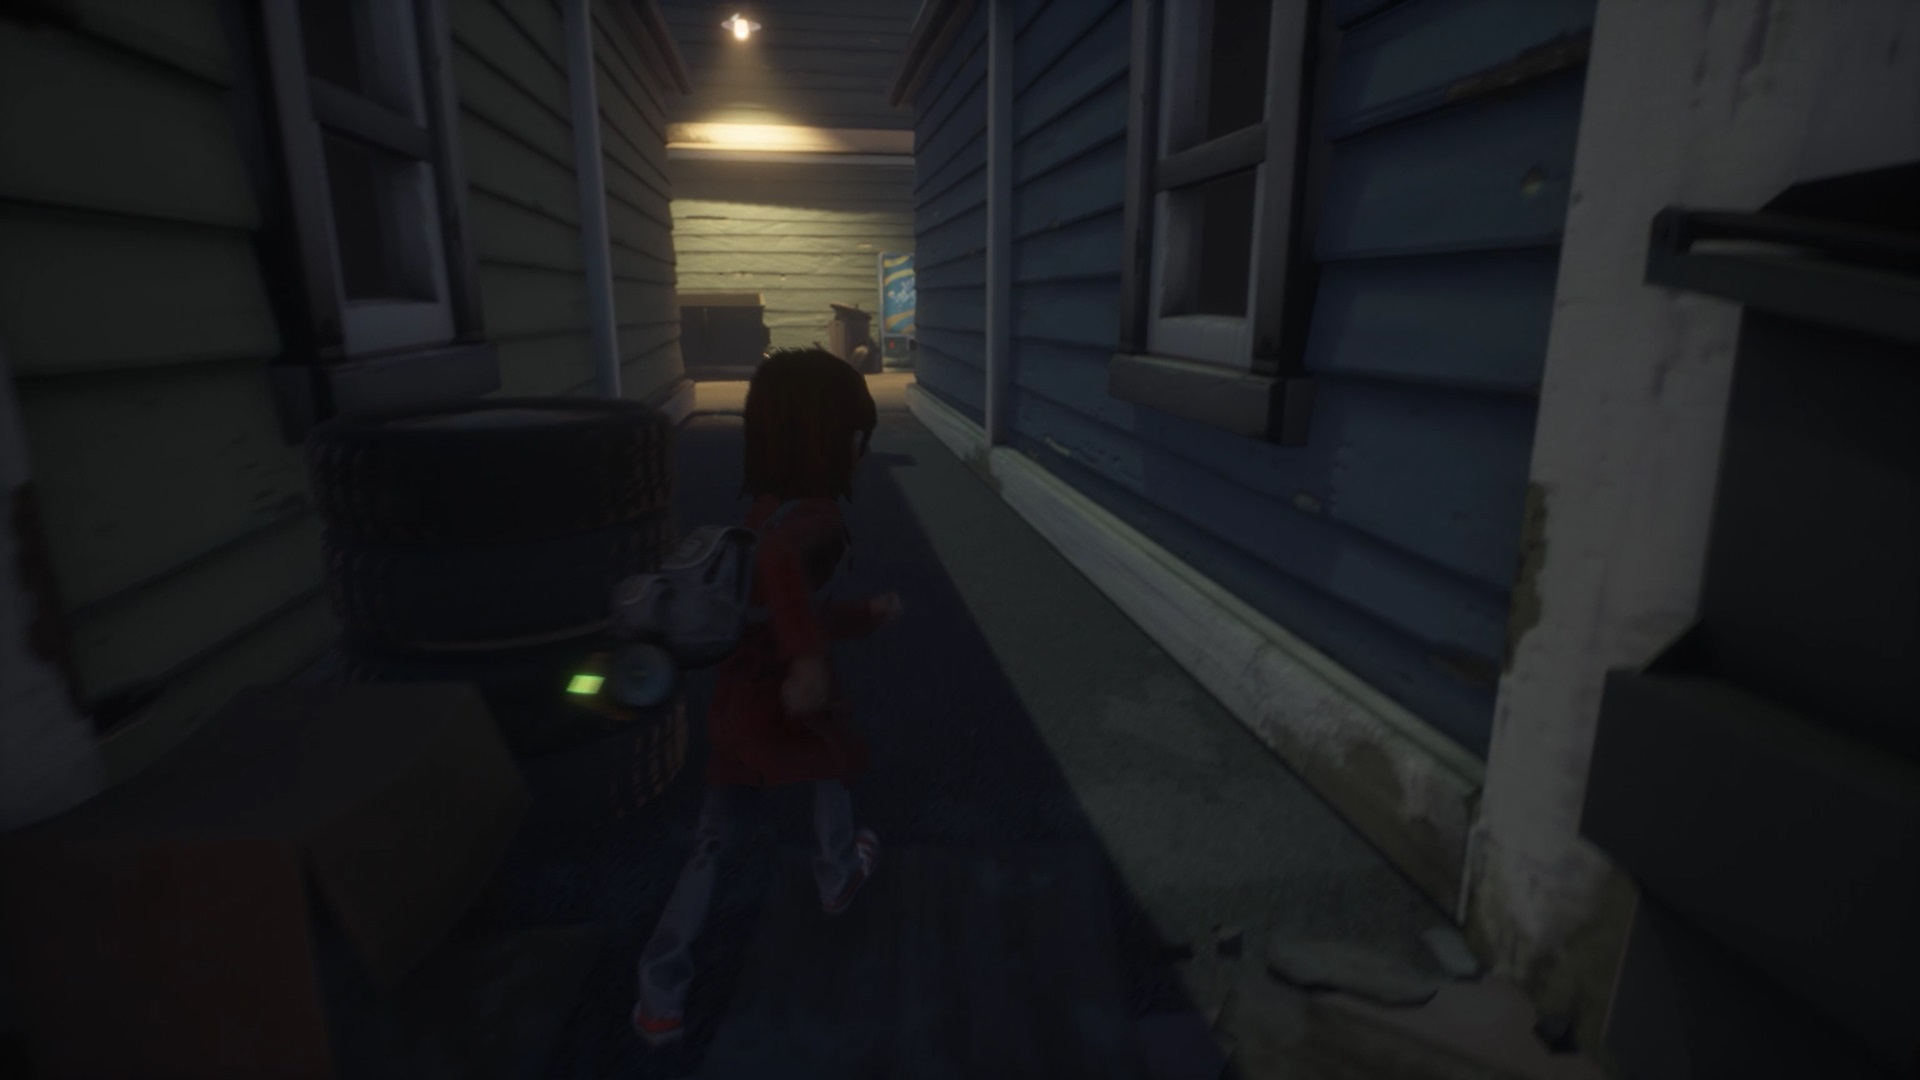
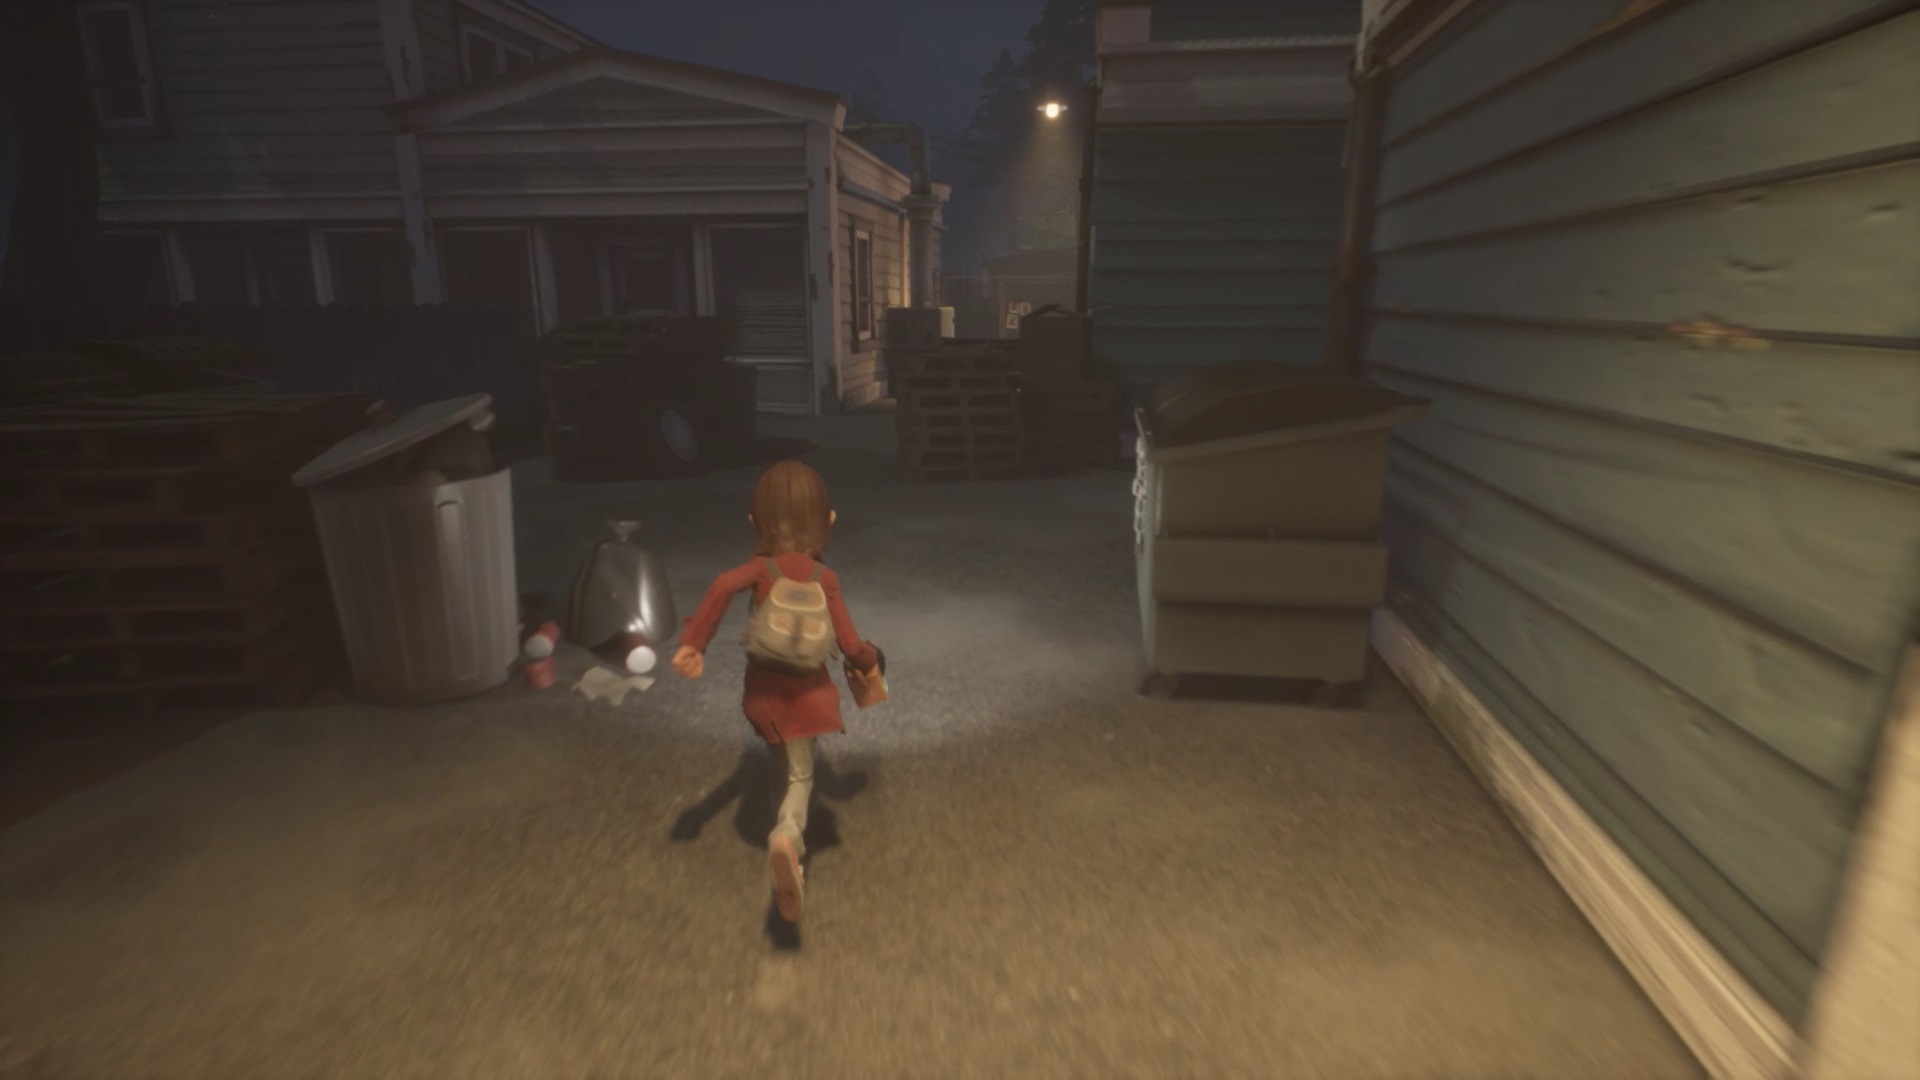
You must now avoid the monster with Emily. Run going away from the arms of the monster to be able to sow it and complete the adventure. You have the option of completing the adventure by giving the funicular ticket to Emily, keeping it for yourself or if you have collected all the pieces of tickets you can get out of this hell together.

Fan de jeux Nintendo, Xbox, PlayStation, PC et de l’univers gaming
Je vous partage ma passion à travers mes articles sur les nouveautés jeux vidéo
Journaliste gameactuality.com

Muito bom esse tutorial. Ajudou bastante. Obrigado