[Guide] Anthology of Fear: Full Walkthrough and Tips [EN]
Complete Walkthrough of Anthology of Fear available on PC. Anthology of Fear is a horror game. Check out our guide to the path and all the puzzles and puzzles in the game.

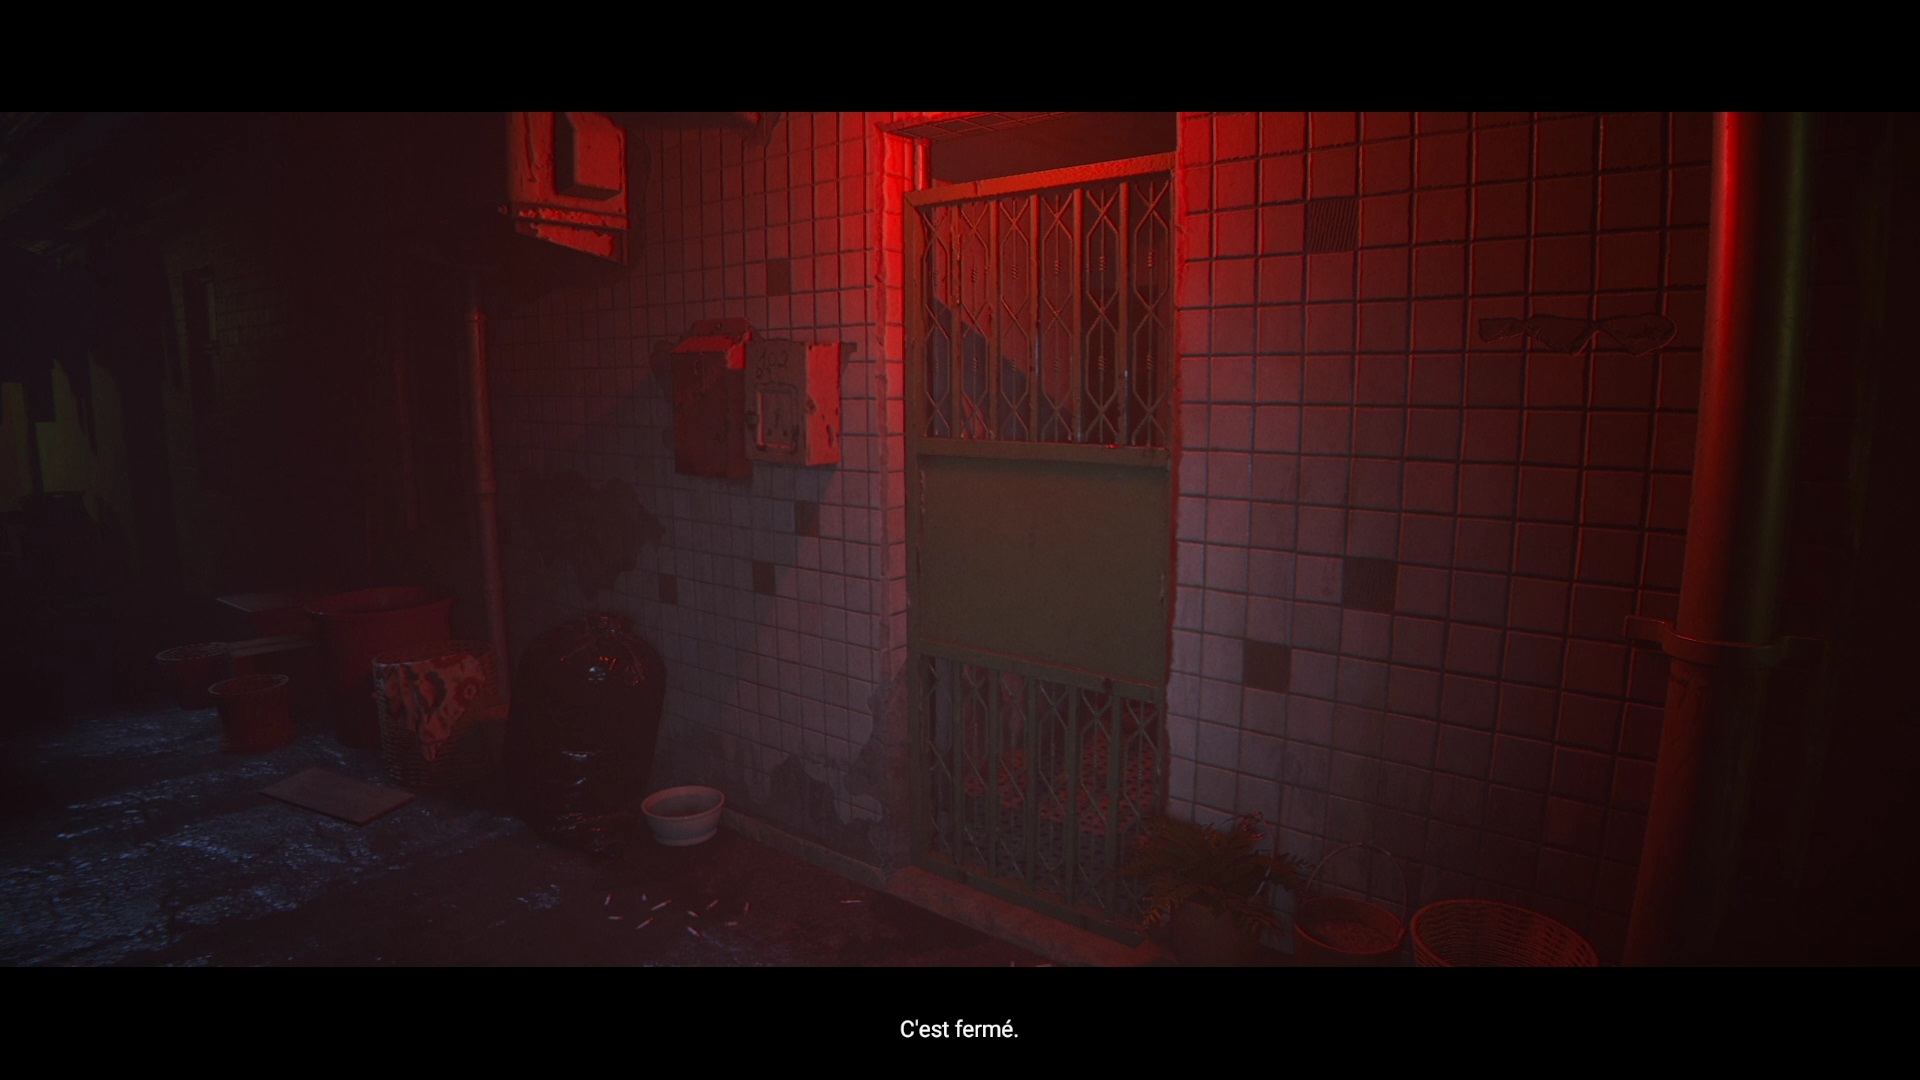
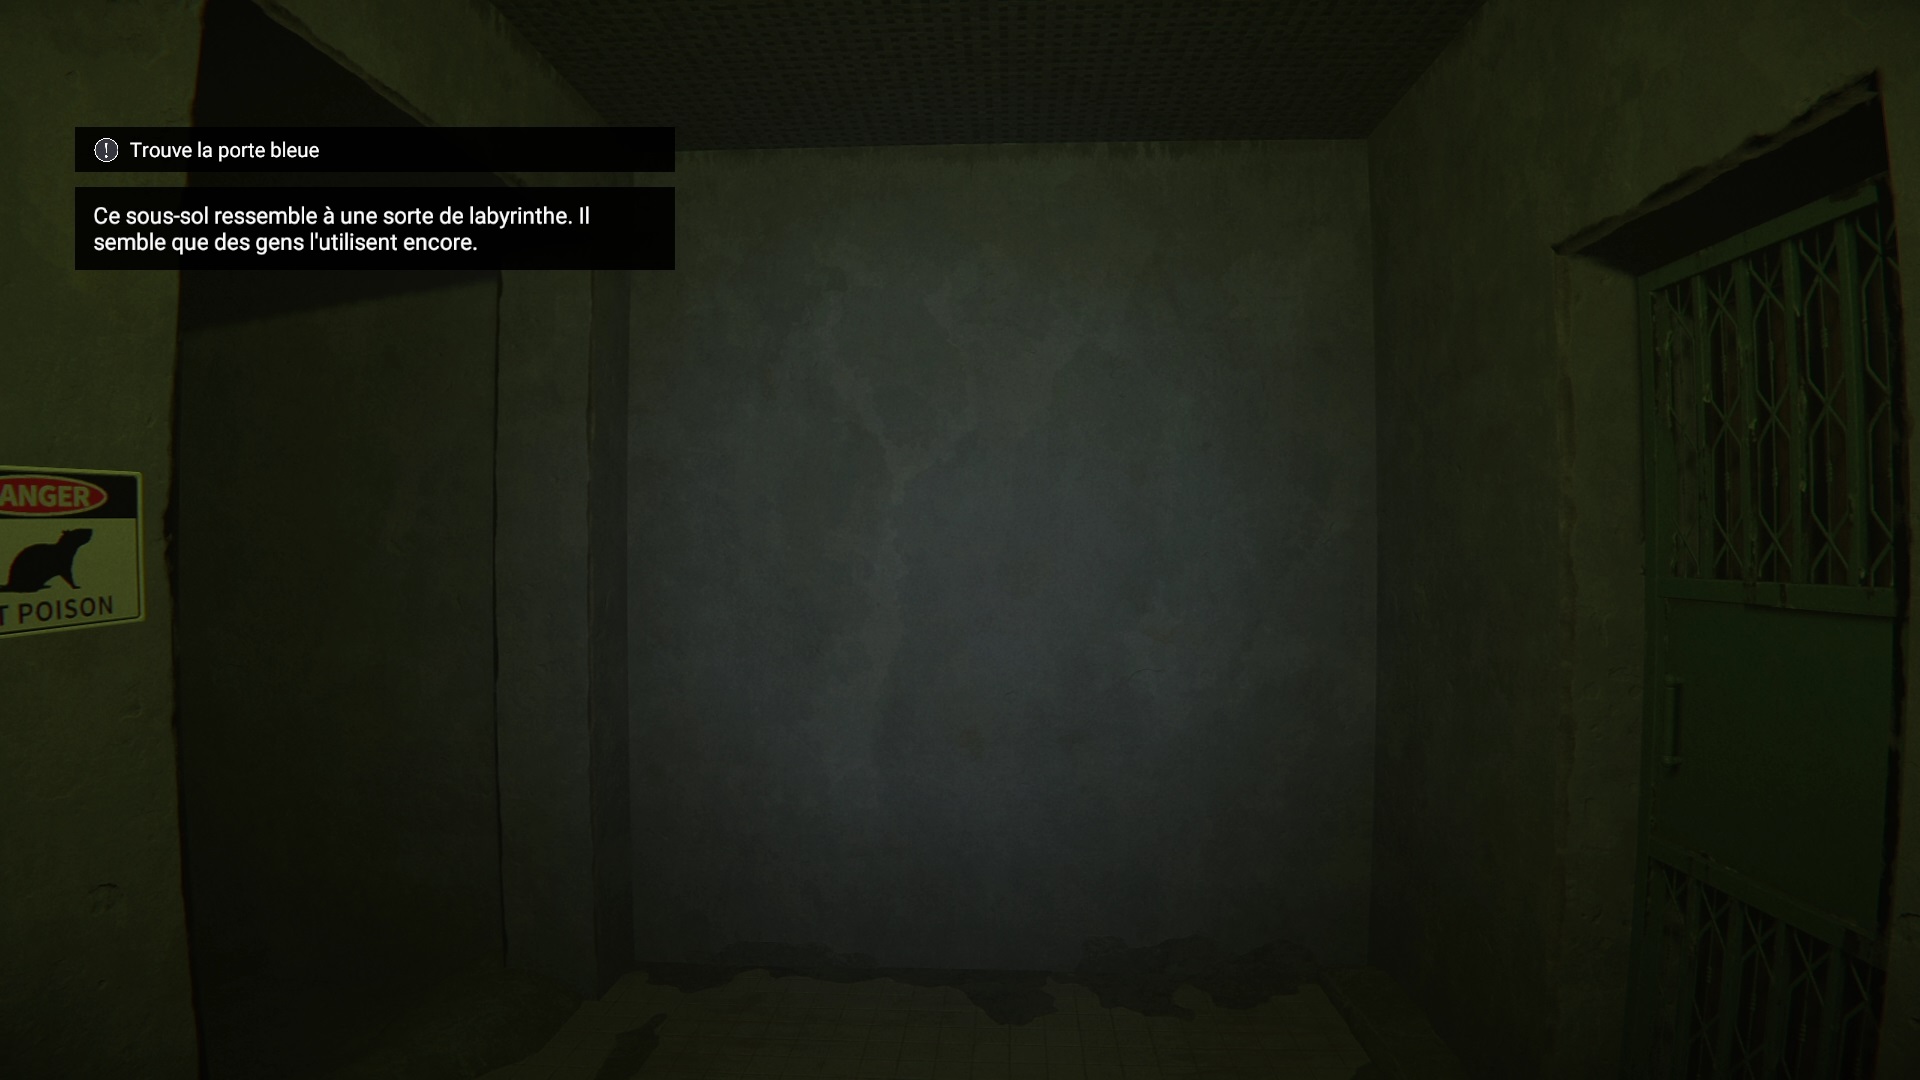
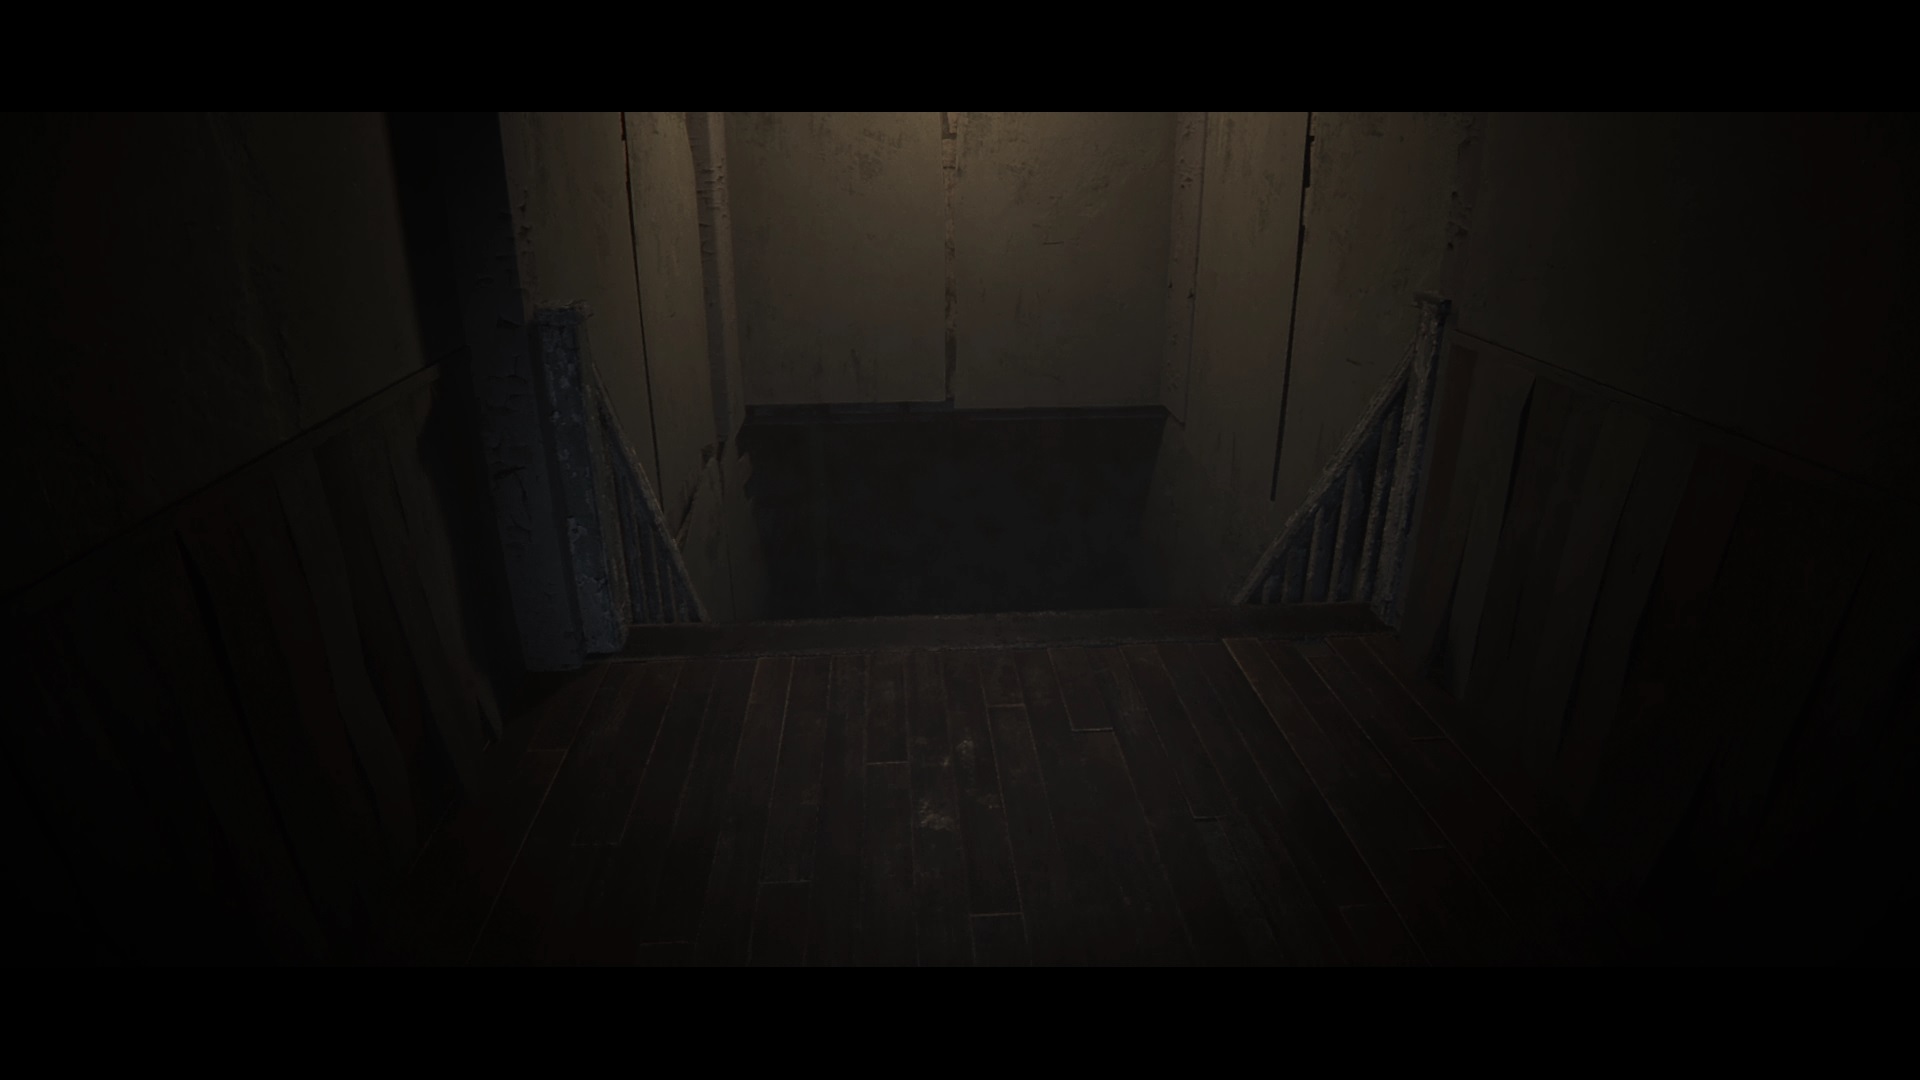
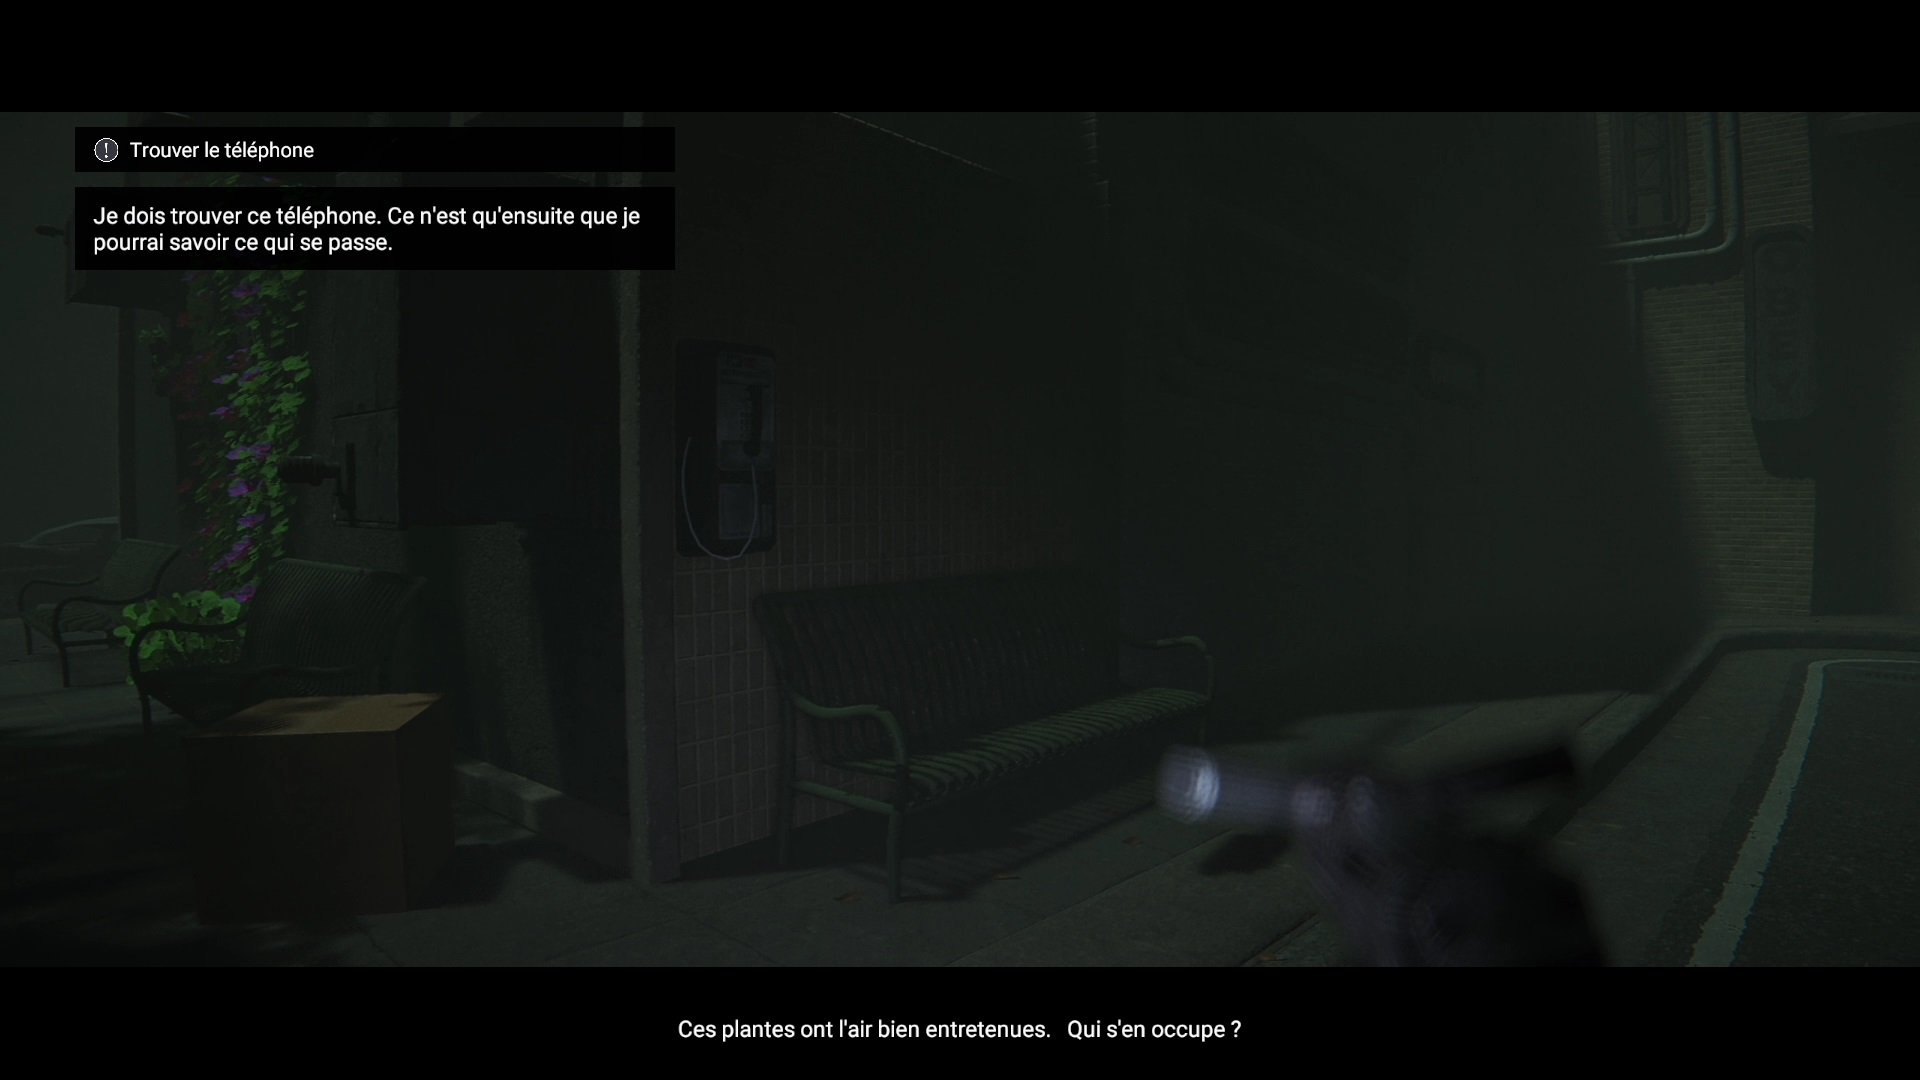
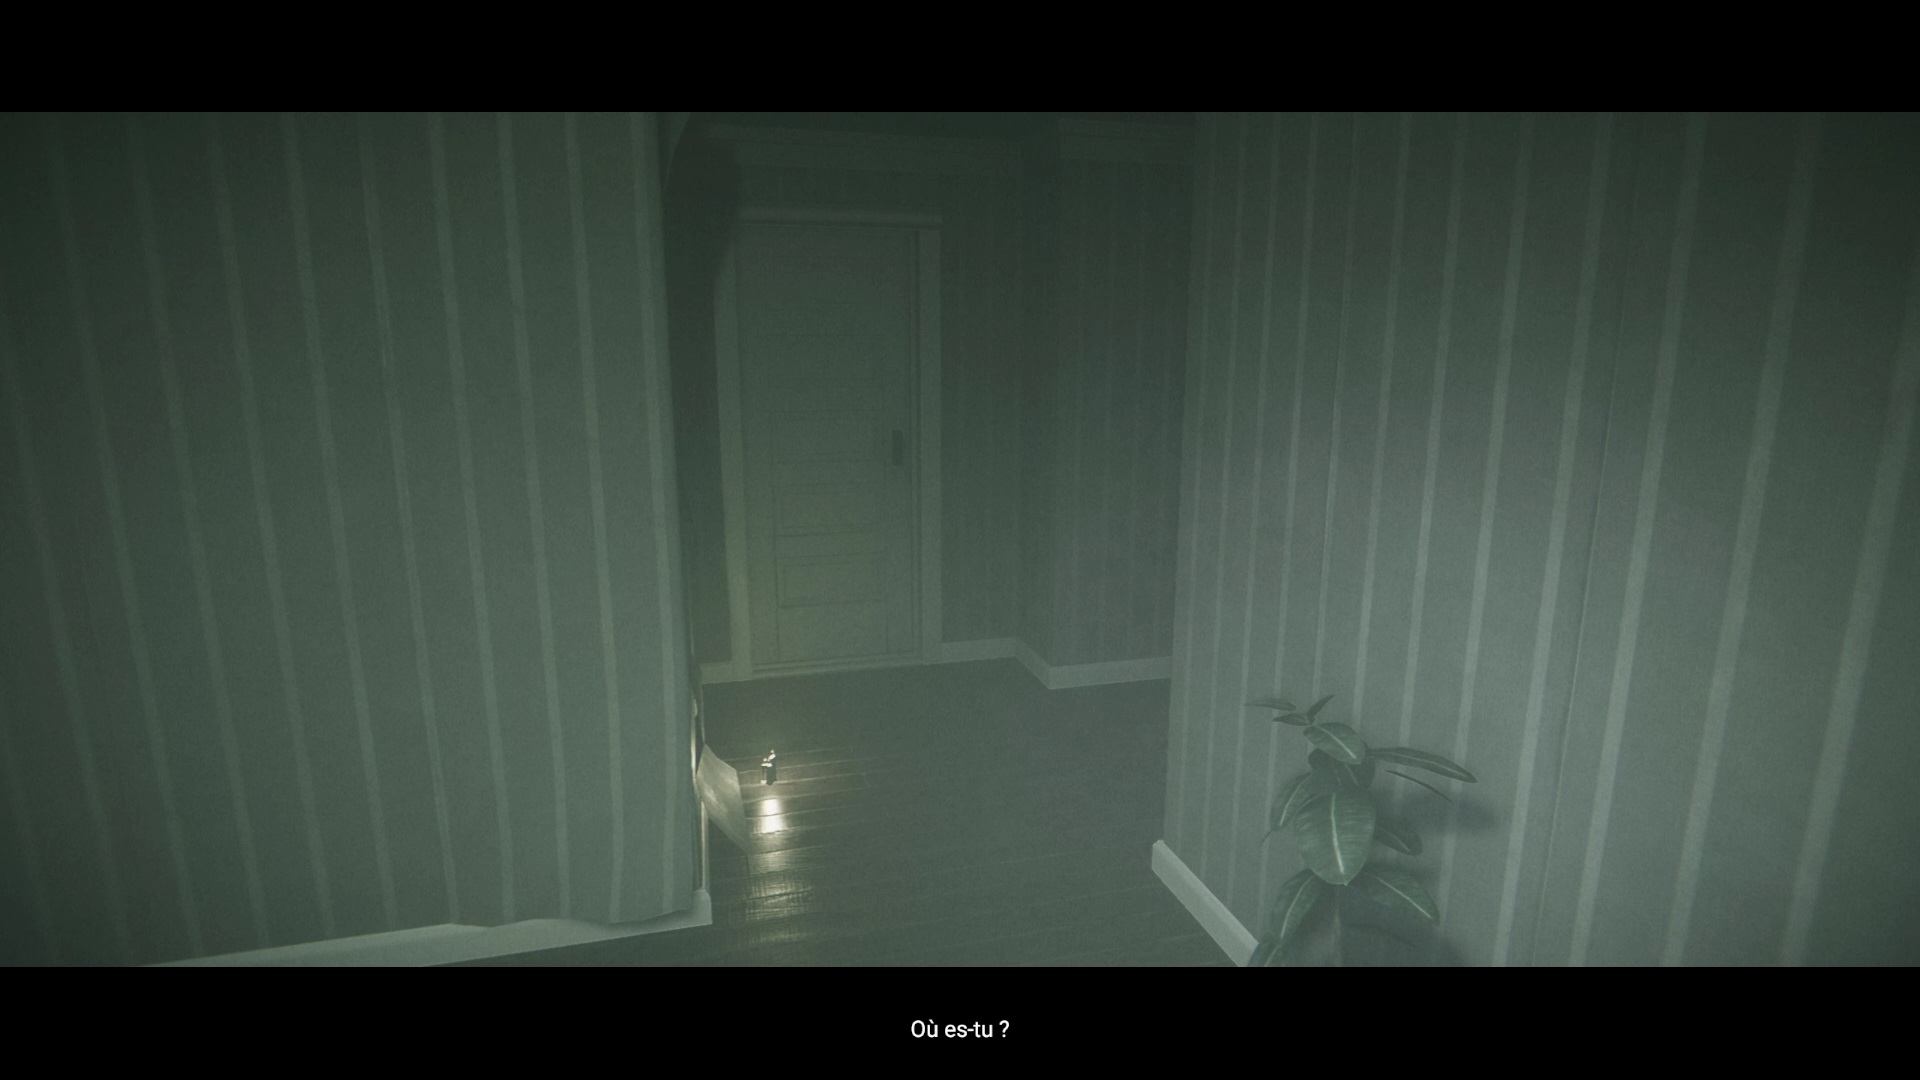
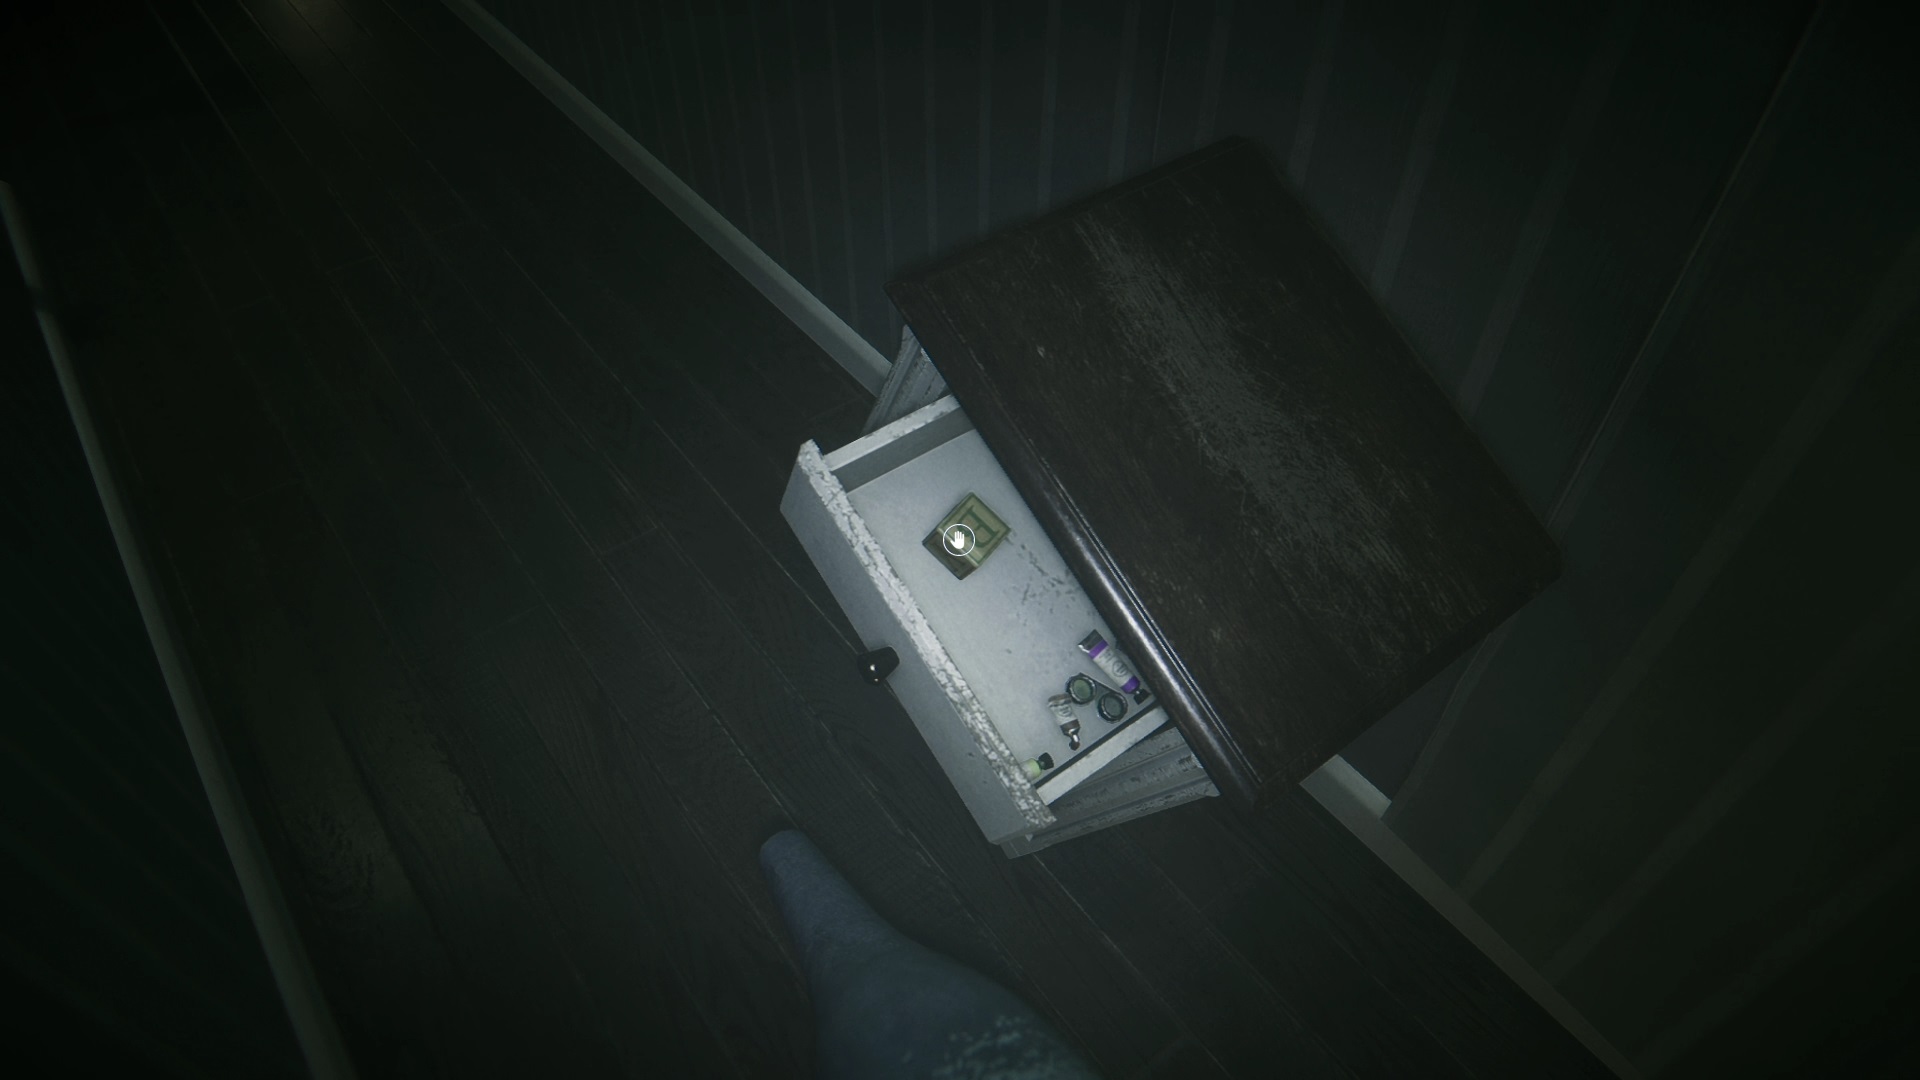
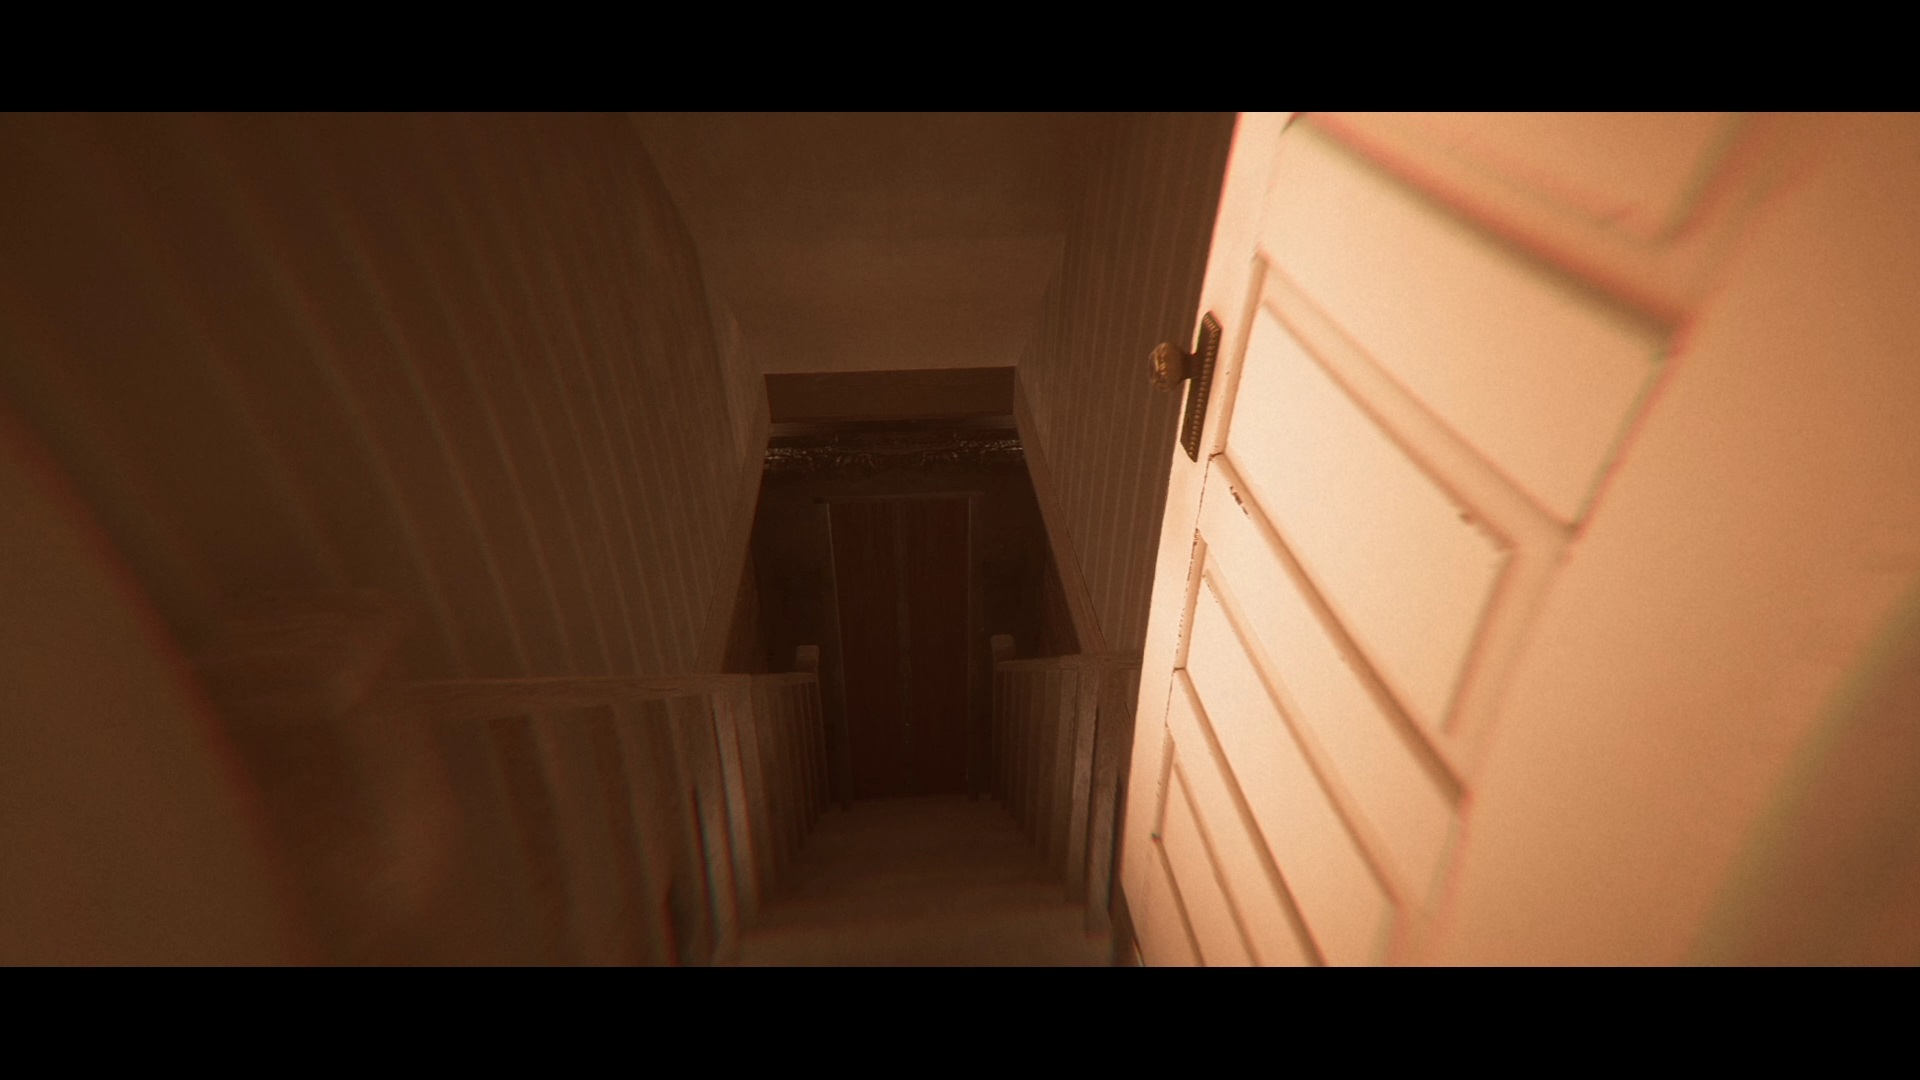
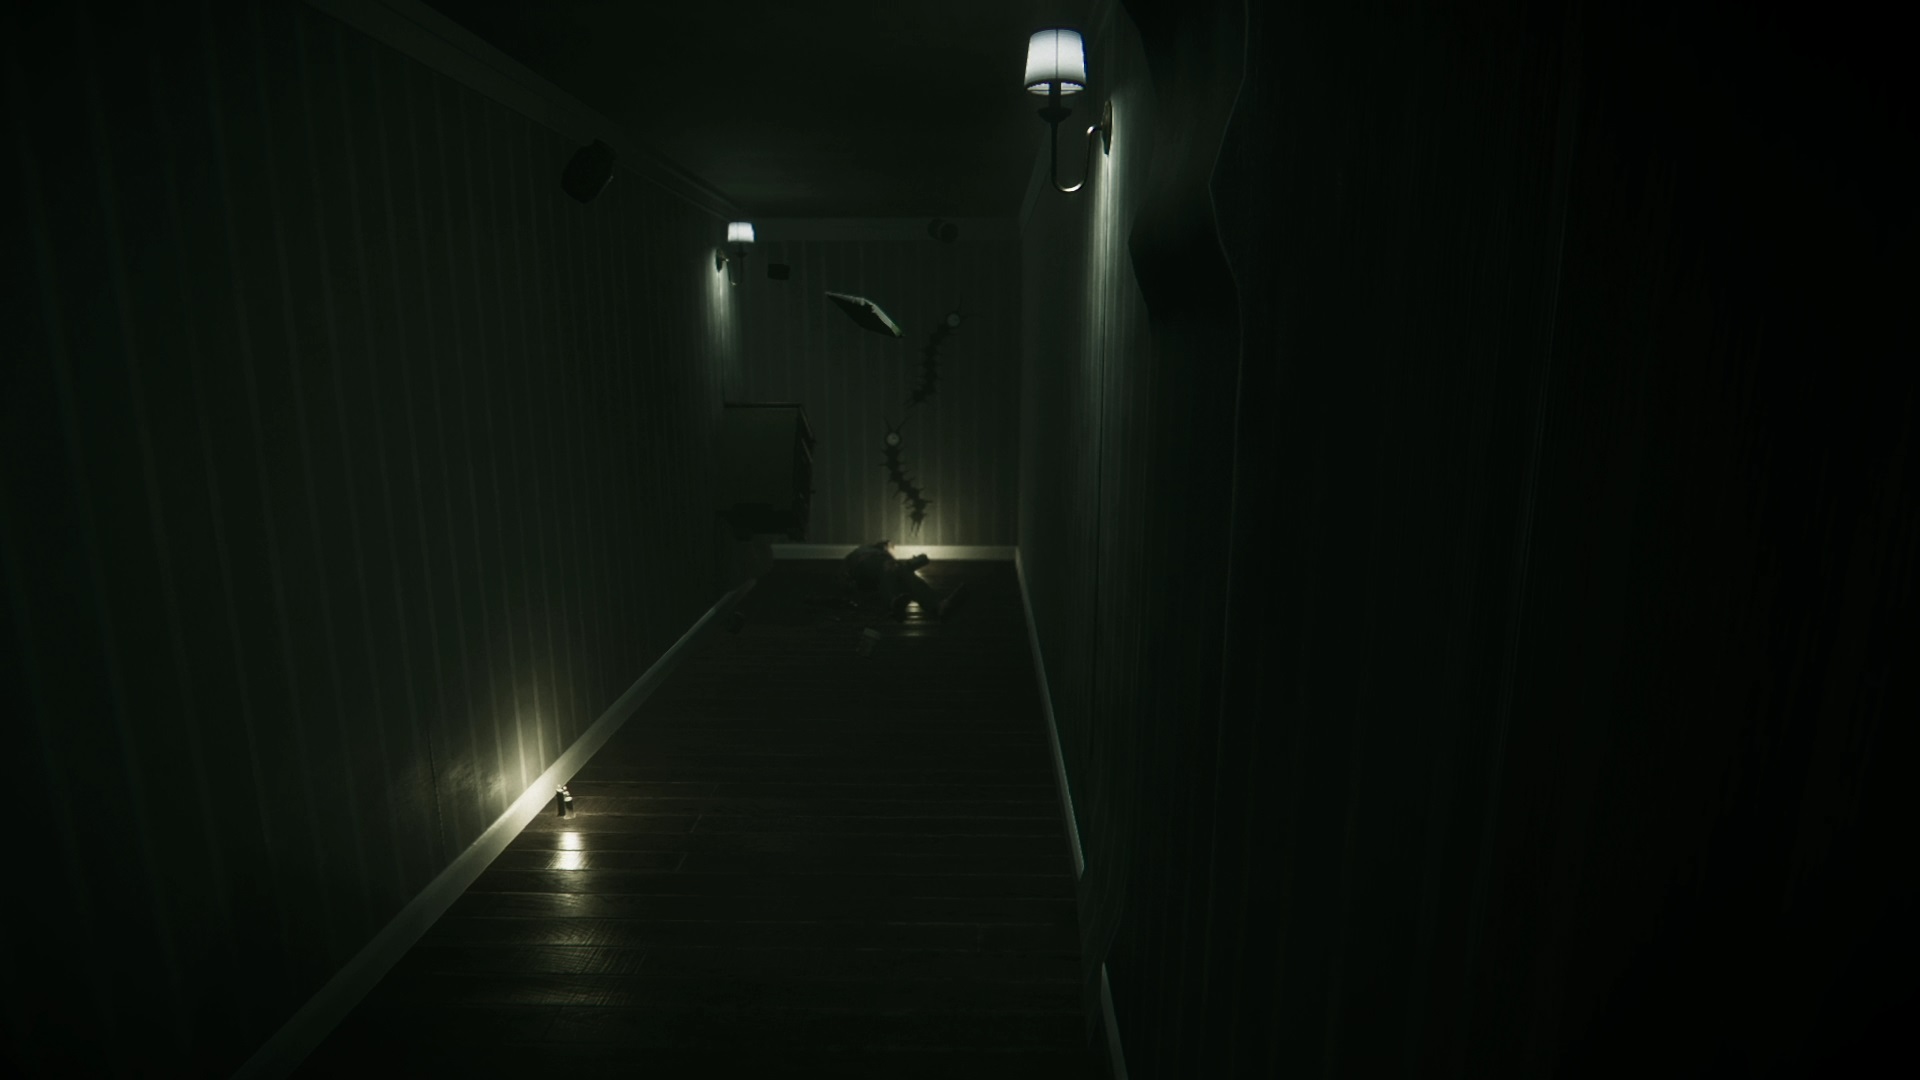
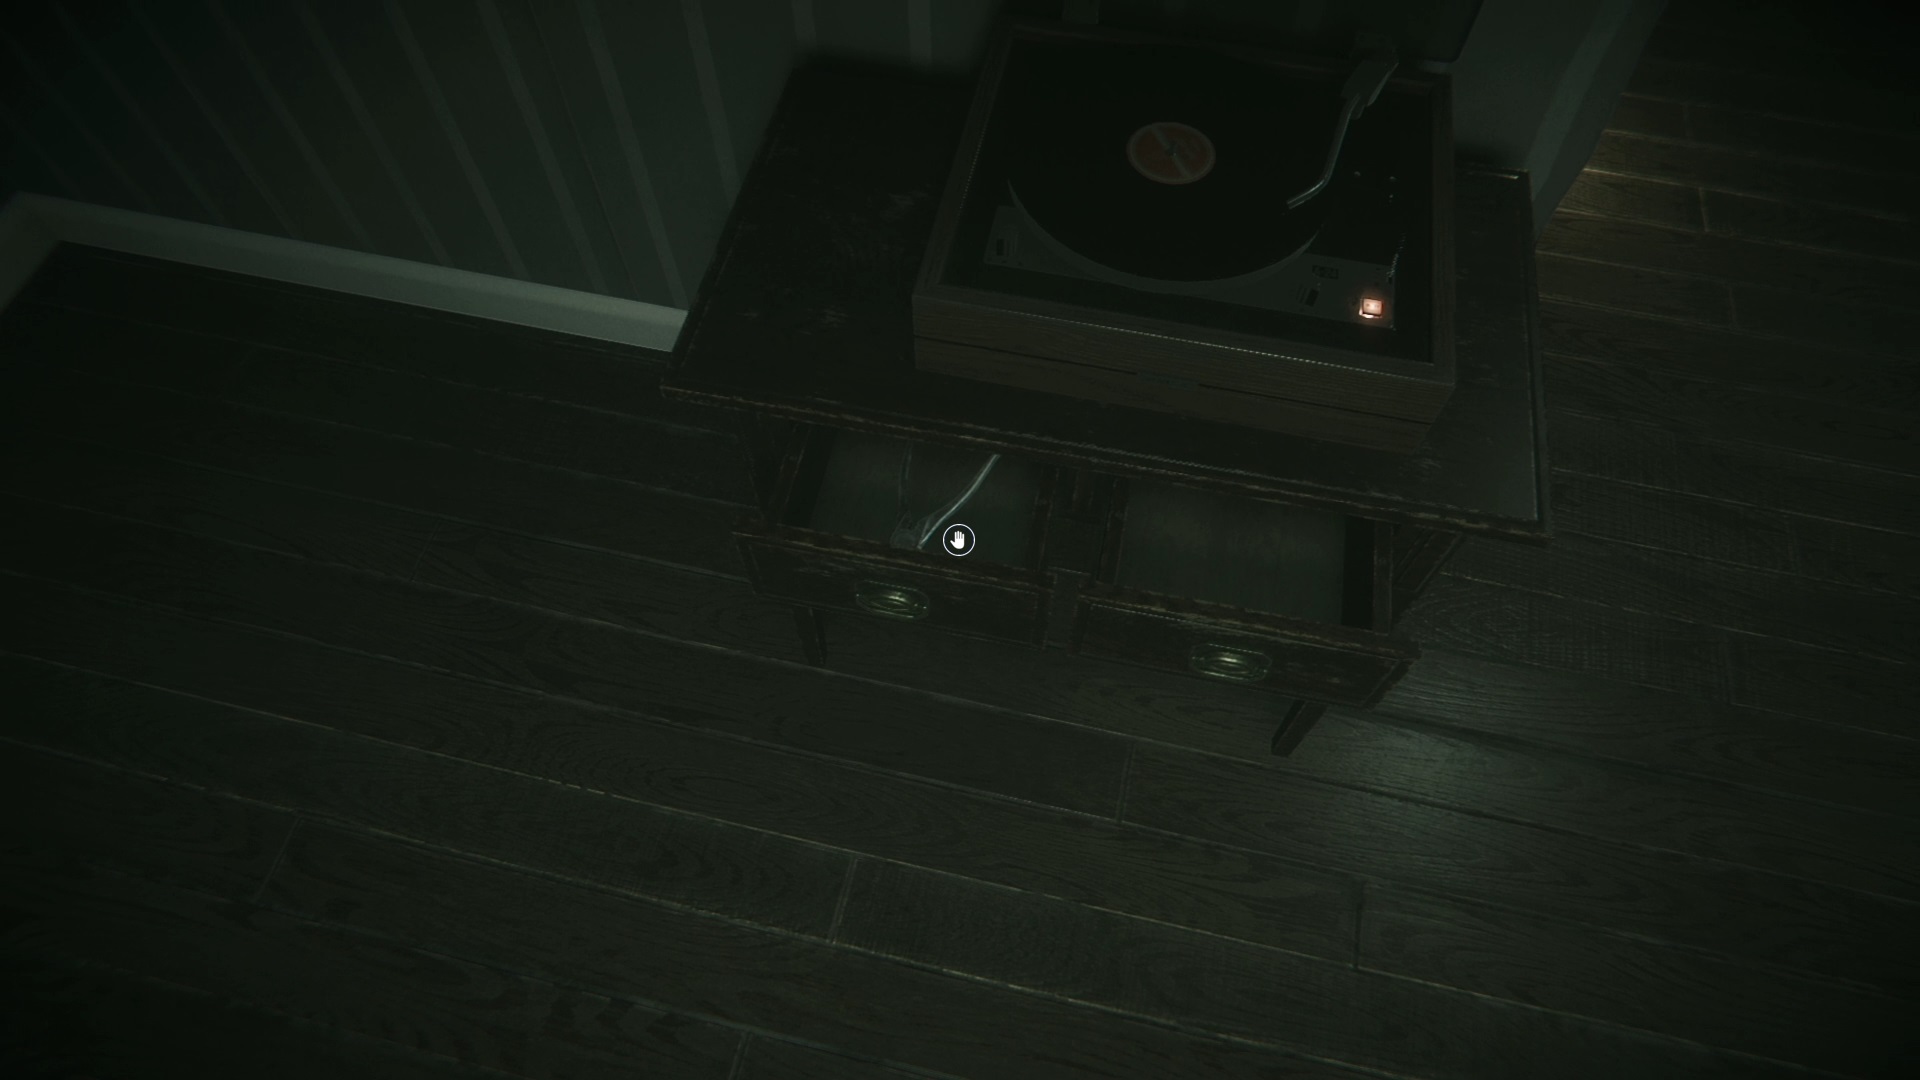
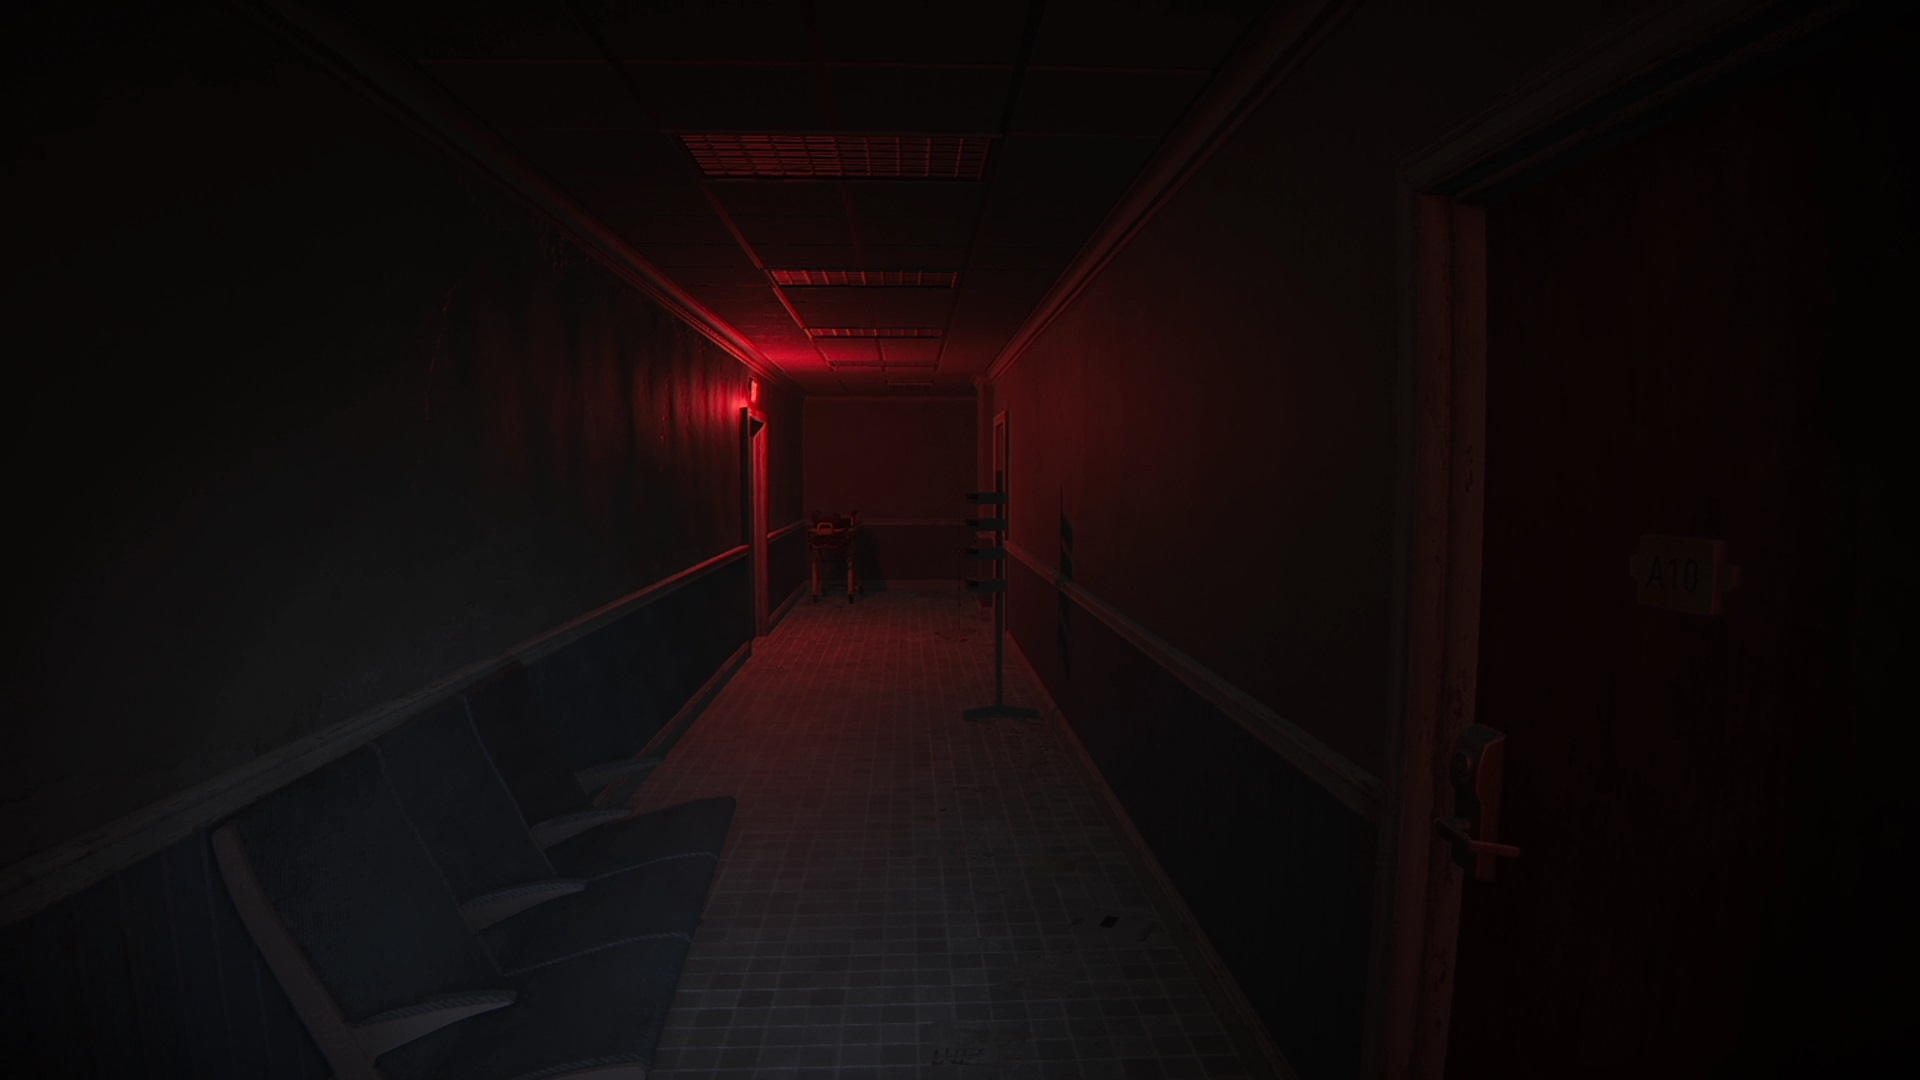
At the start of Anthology of Fear, go down the stairs to reach an alley. Use your flashlight to find a chest of drawers against the wall. Open the cabinet drawers to find a crowbar inside. Then use the object on the door illuminated in red to unlock a passage. Go down the stairs and through the doors to find yourself in a maze. Your objective is to find a blue door.

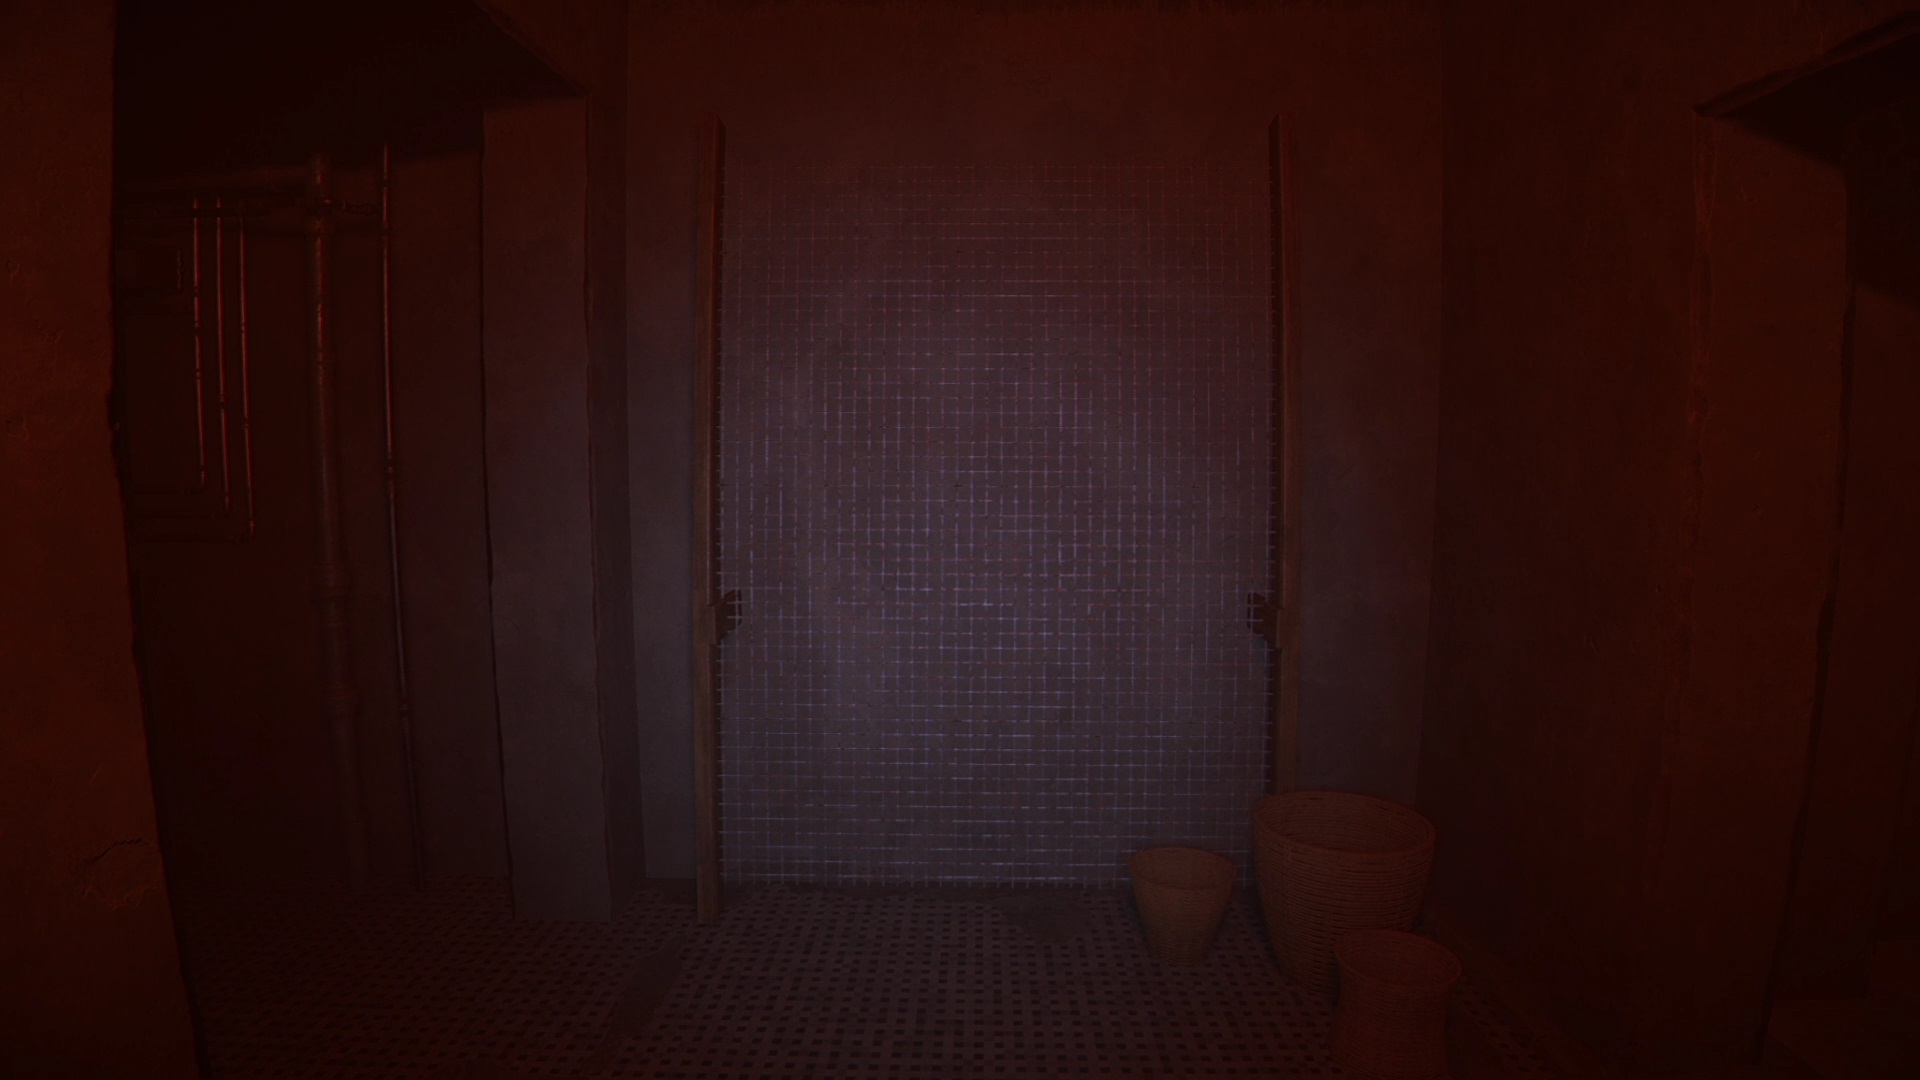
Go deeper into the corridors to find a fence. Go left at the first and second intersection to find the blue door. On the other side, use the blue doors to enter the building.
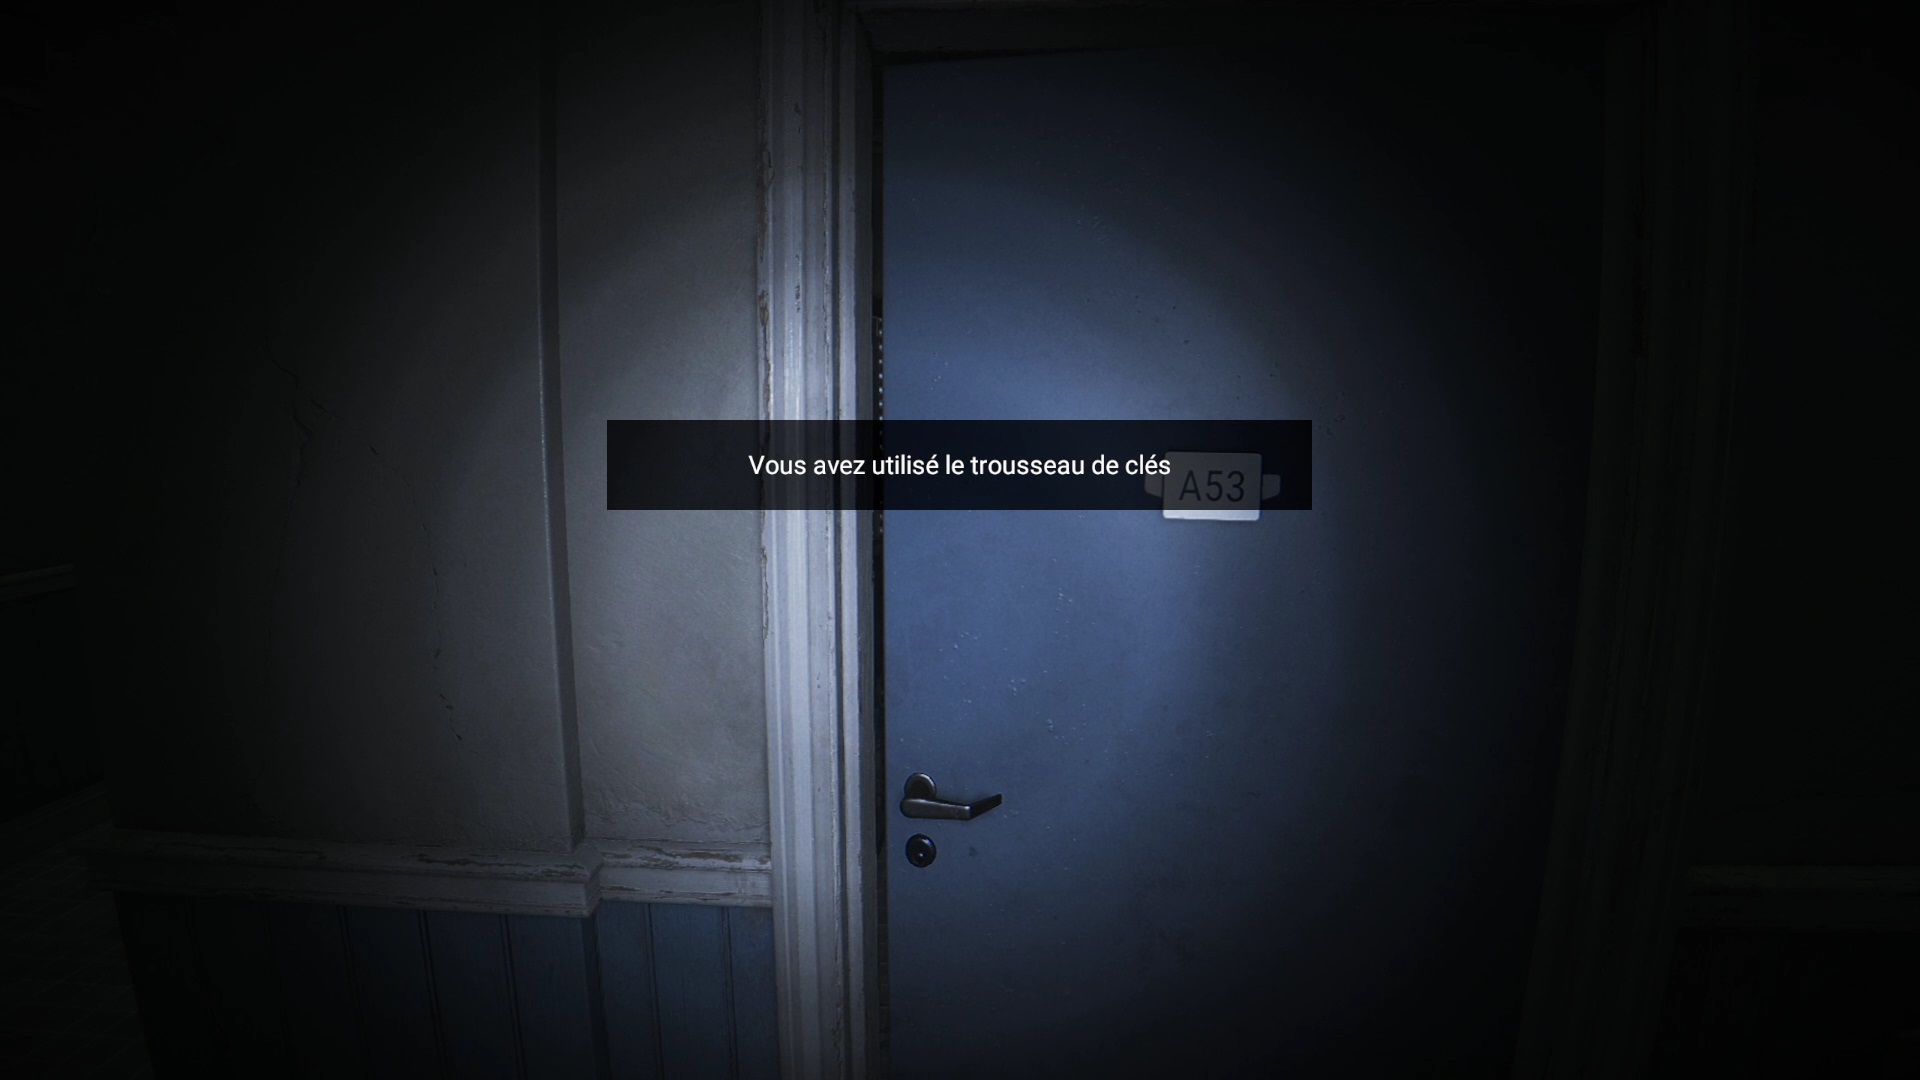
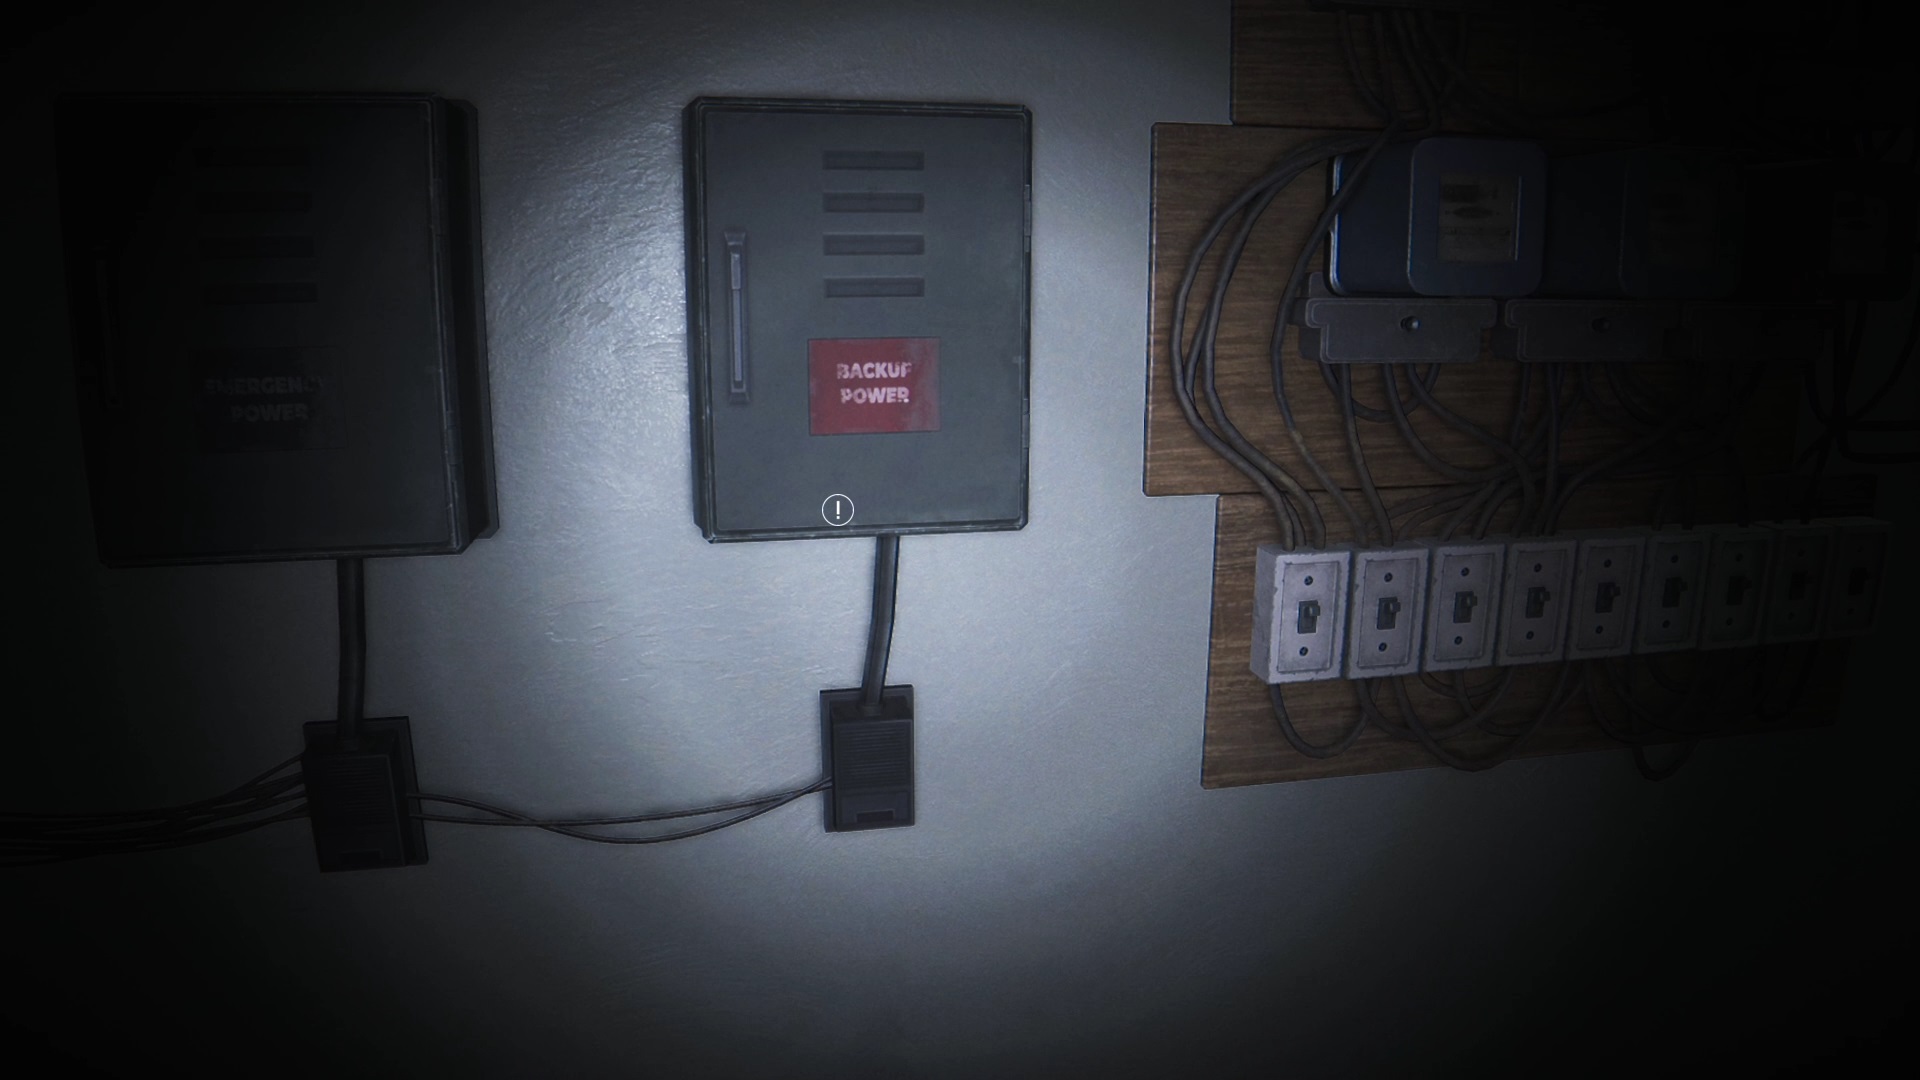
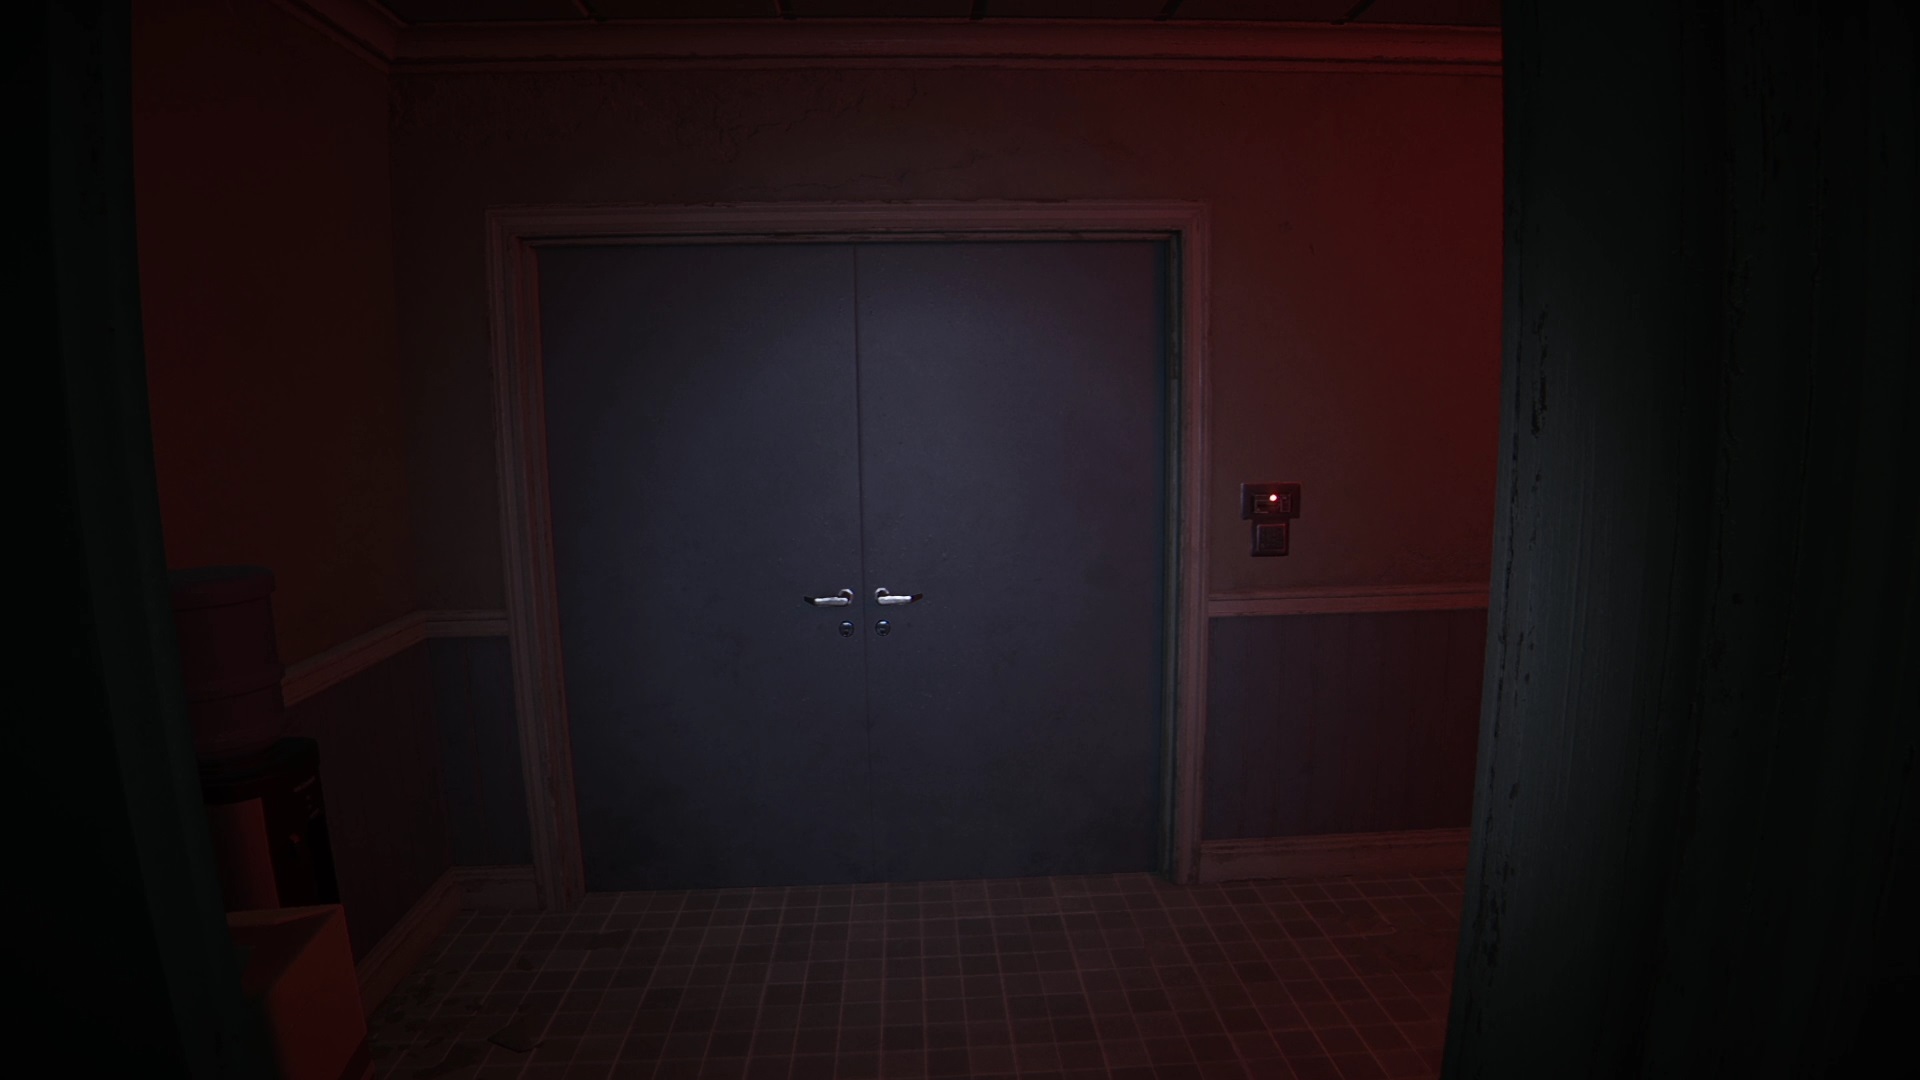
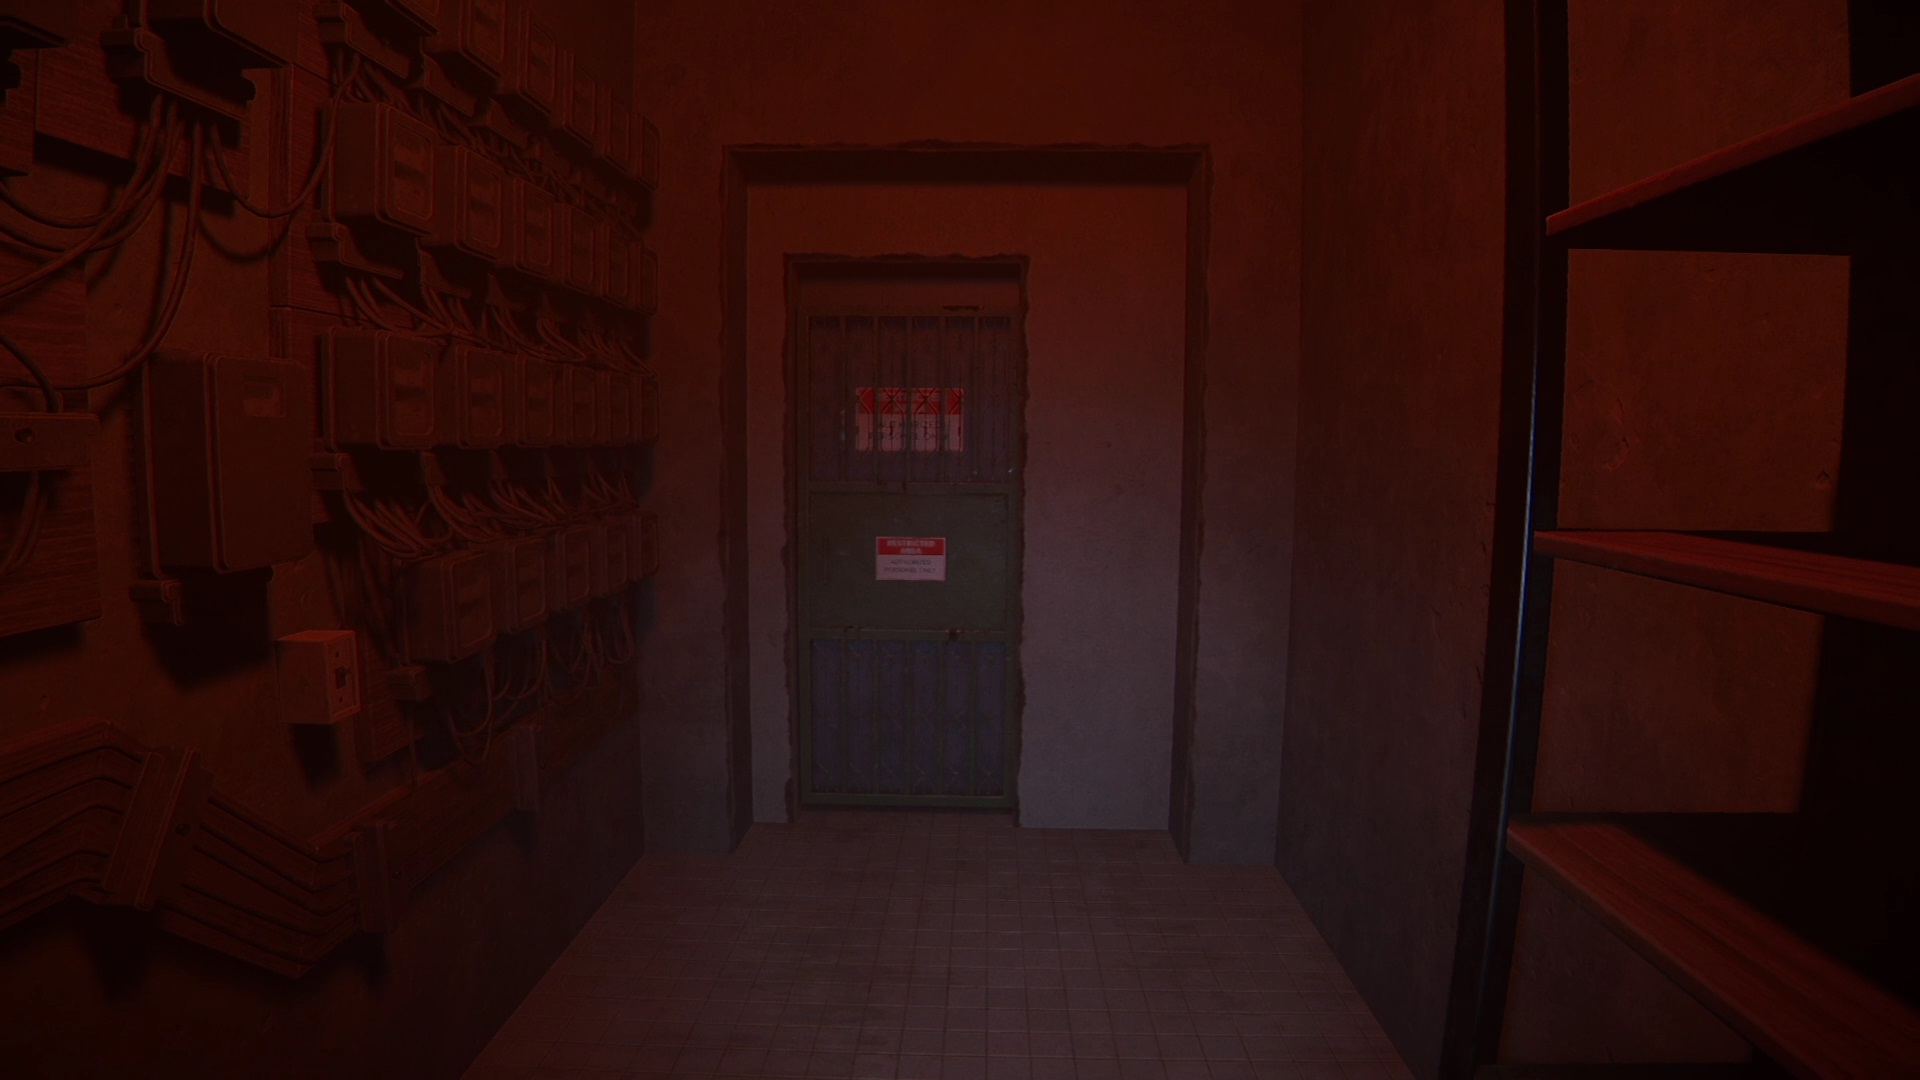
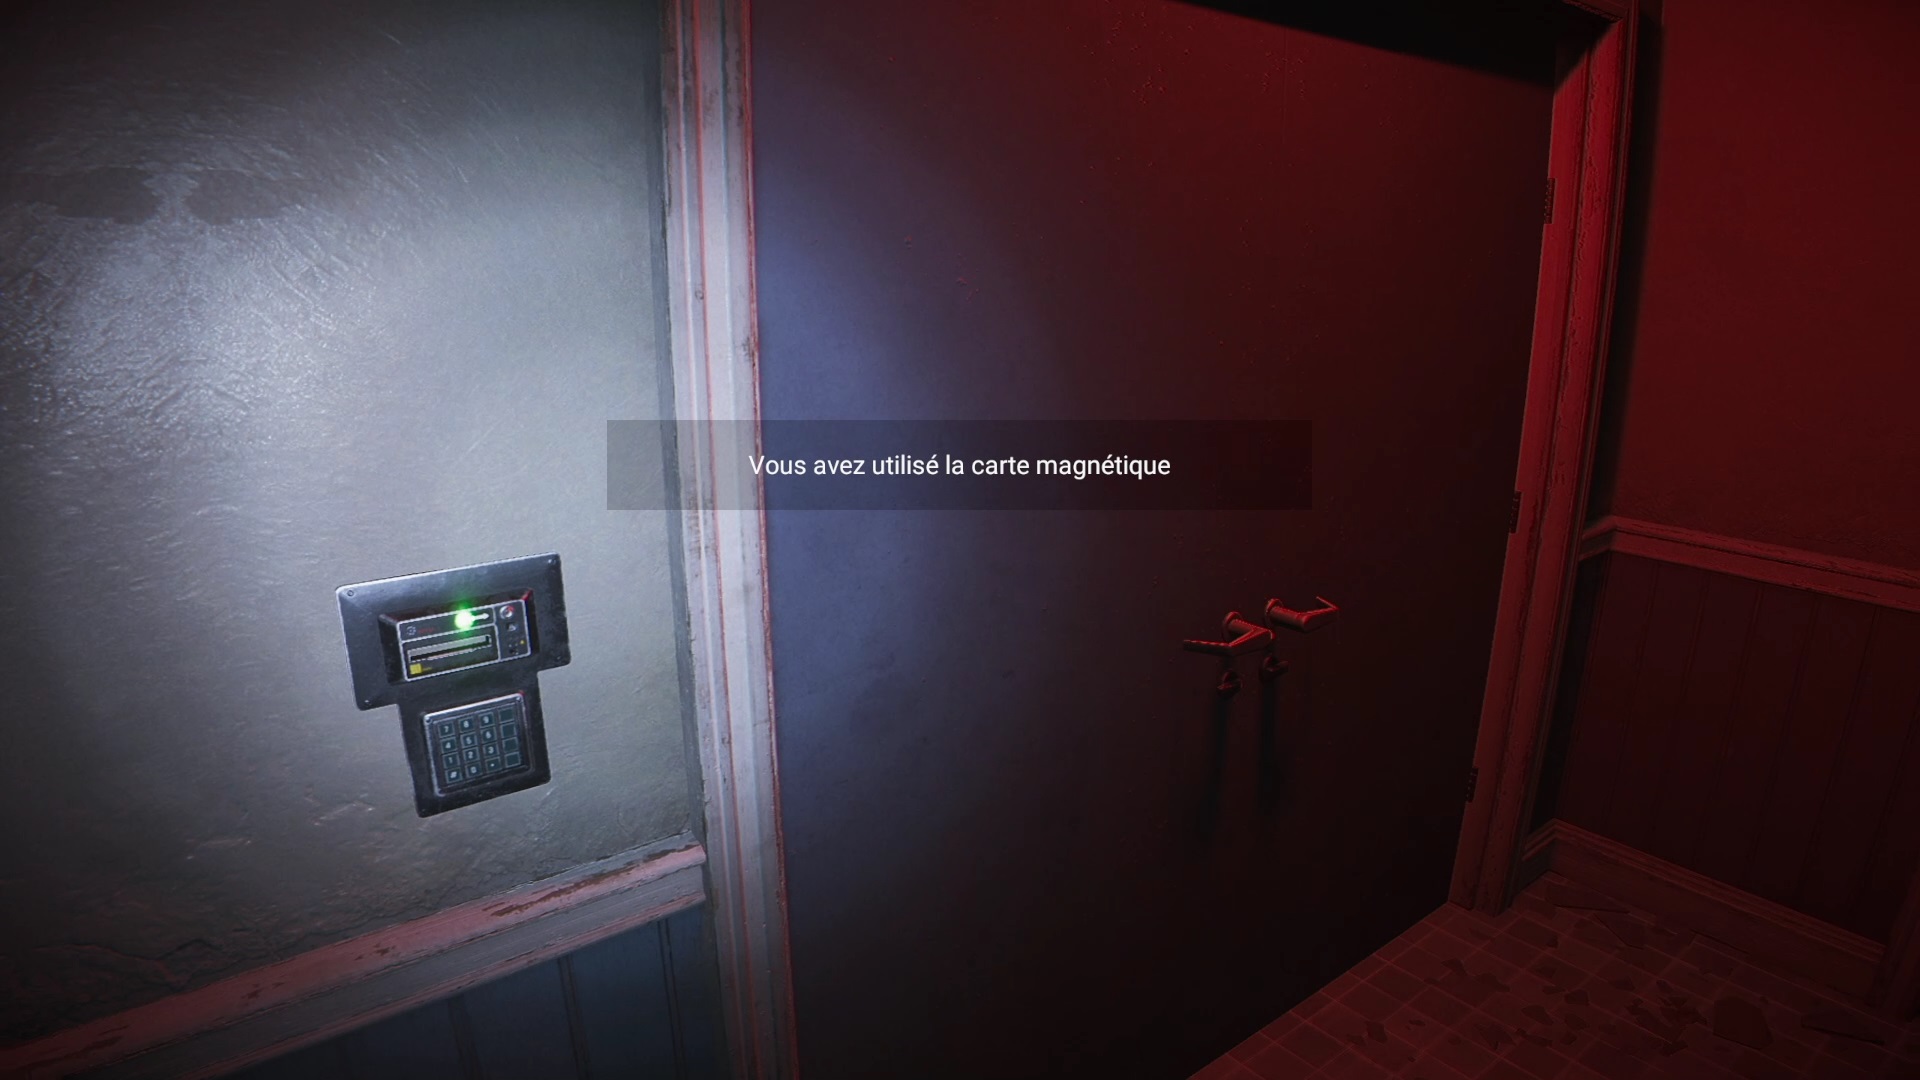
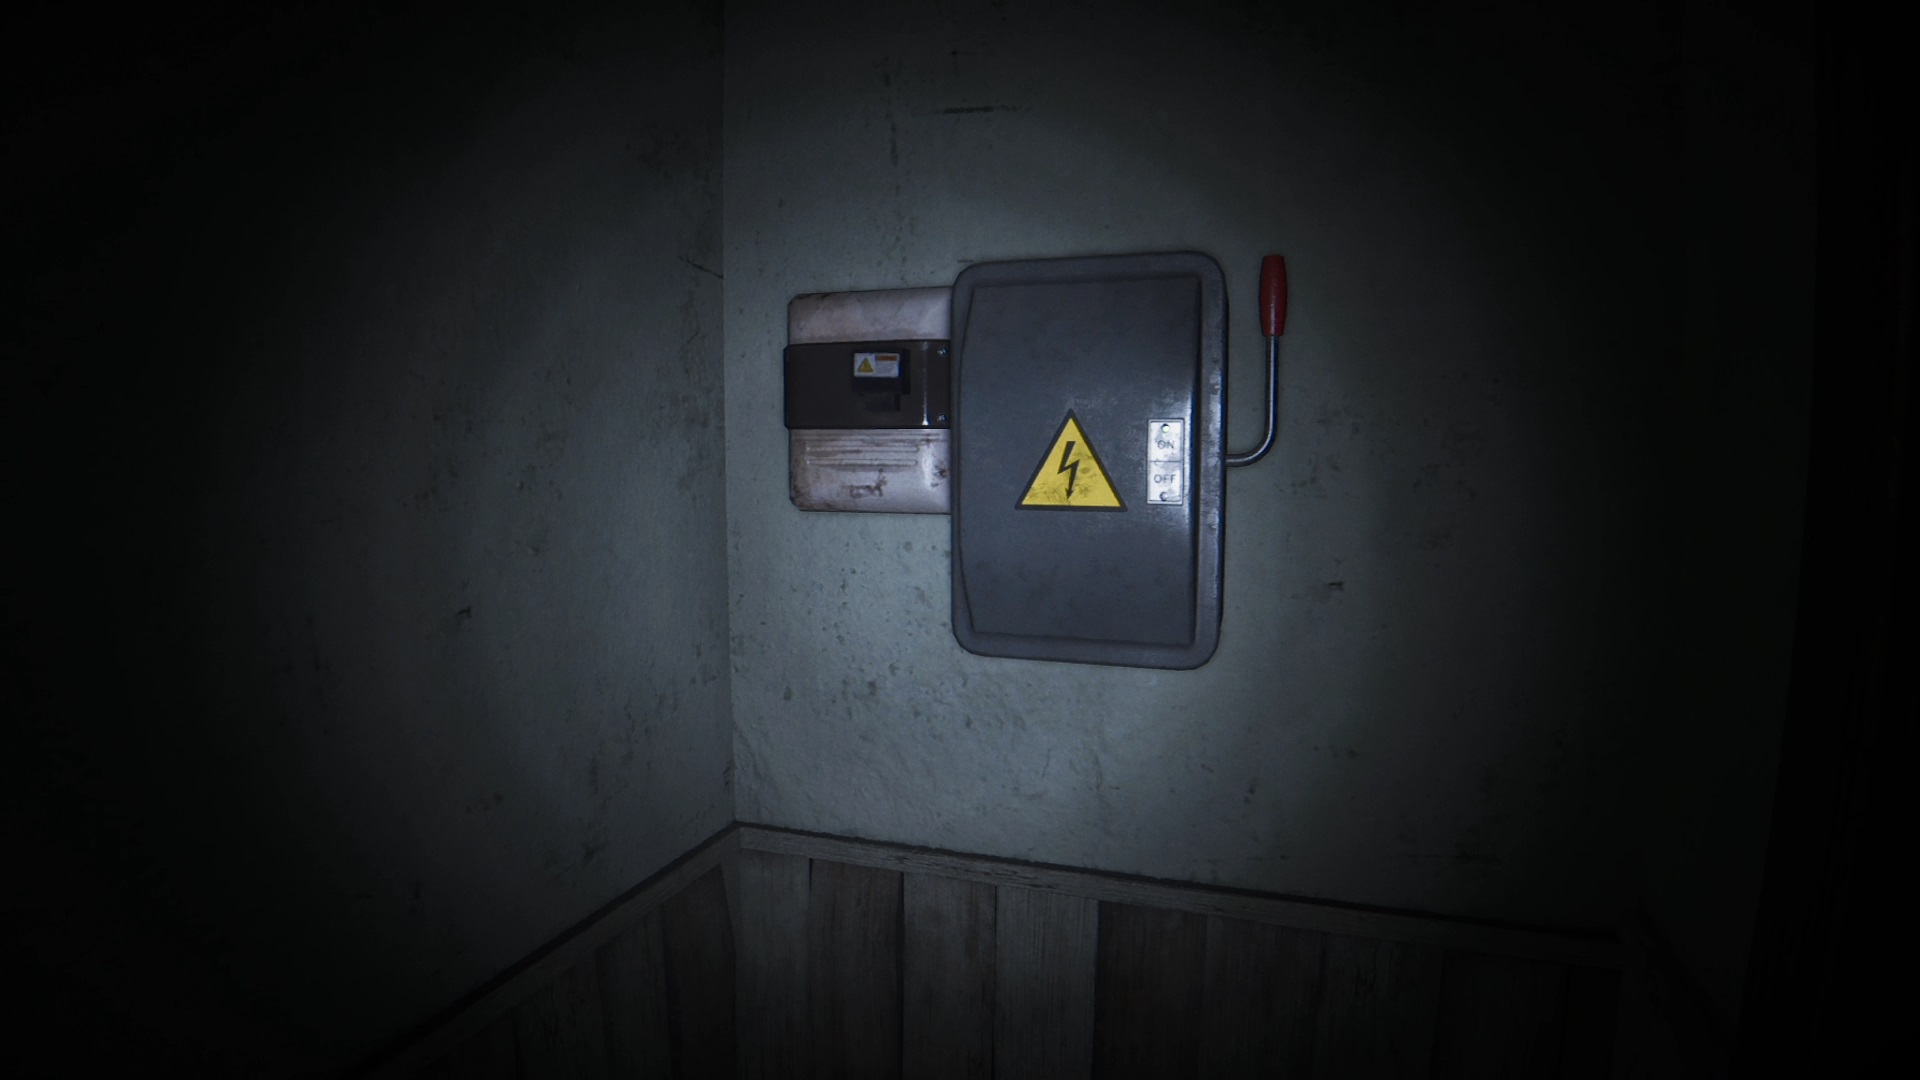
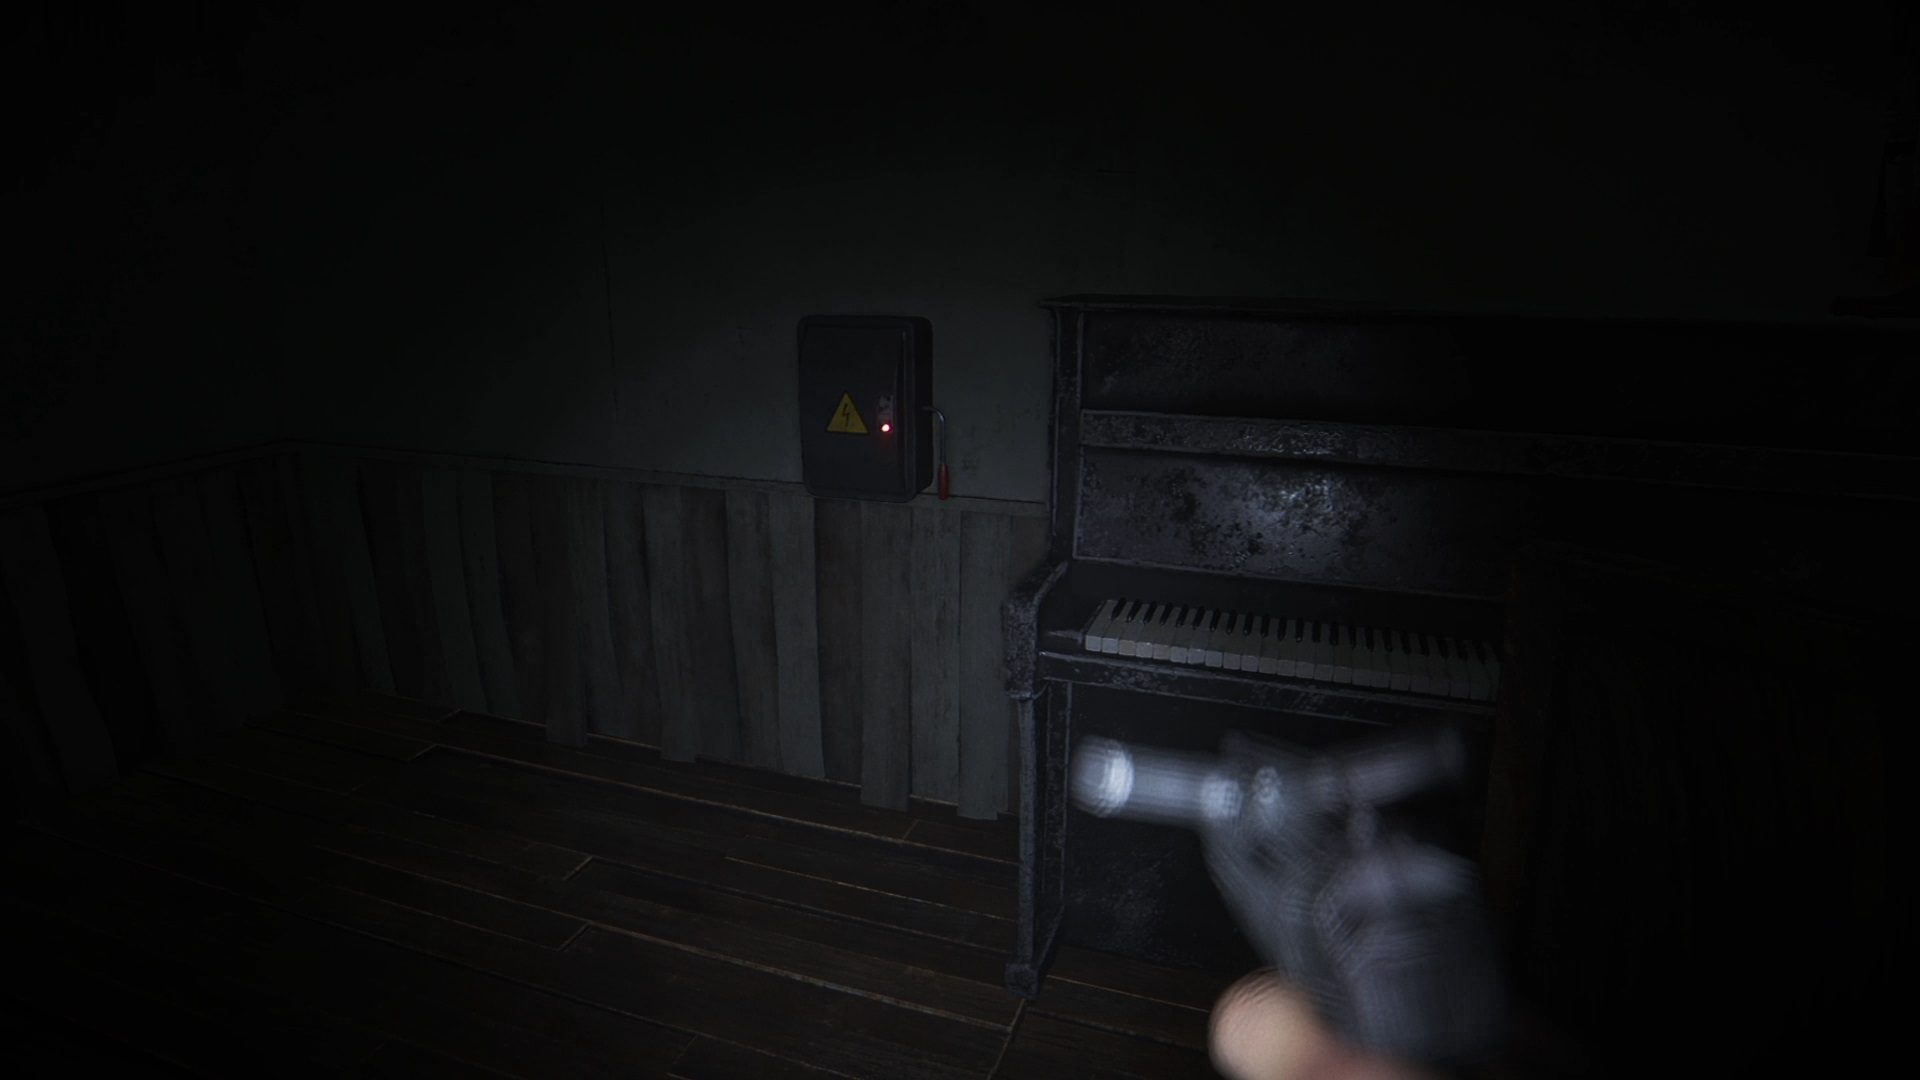
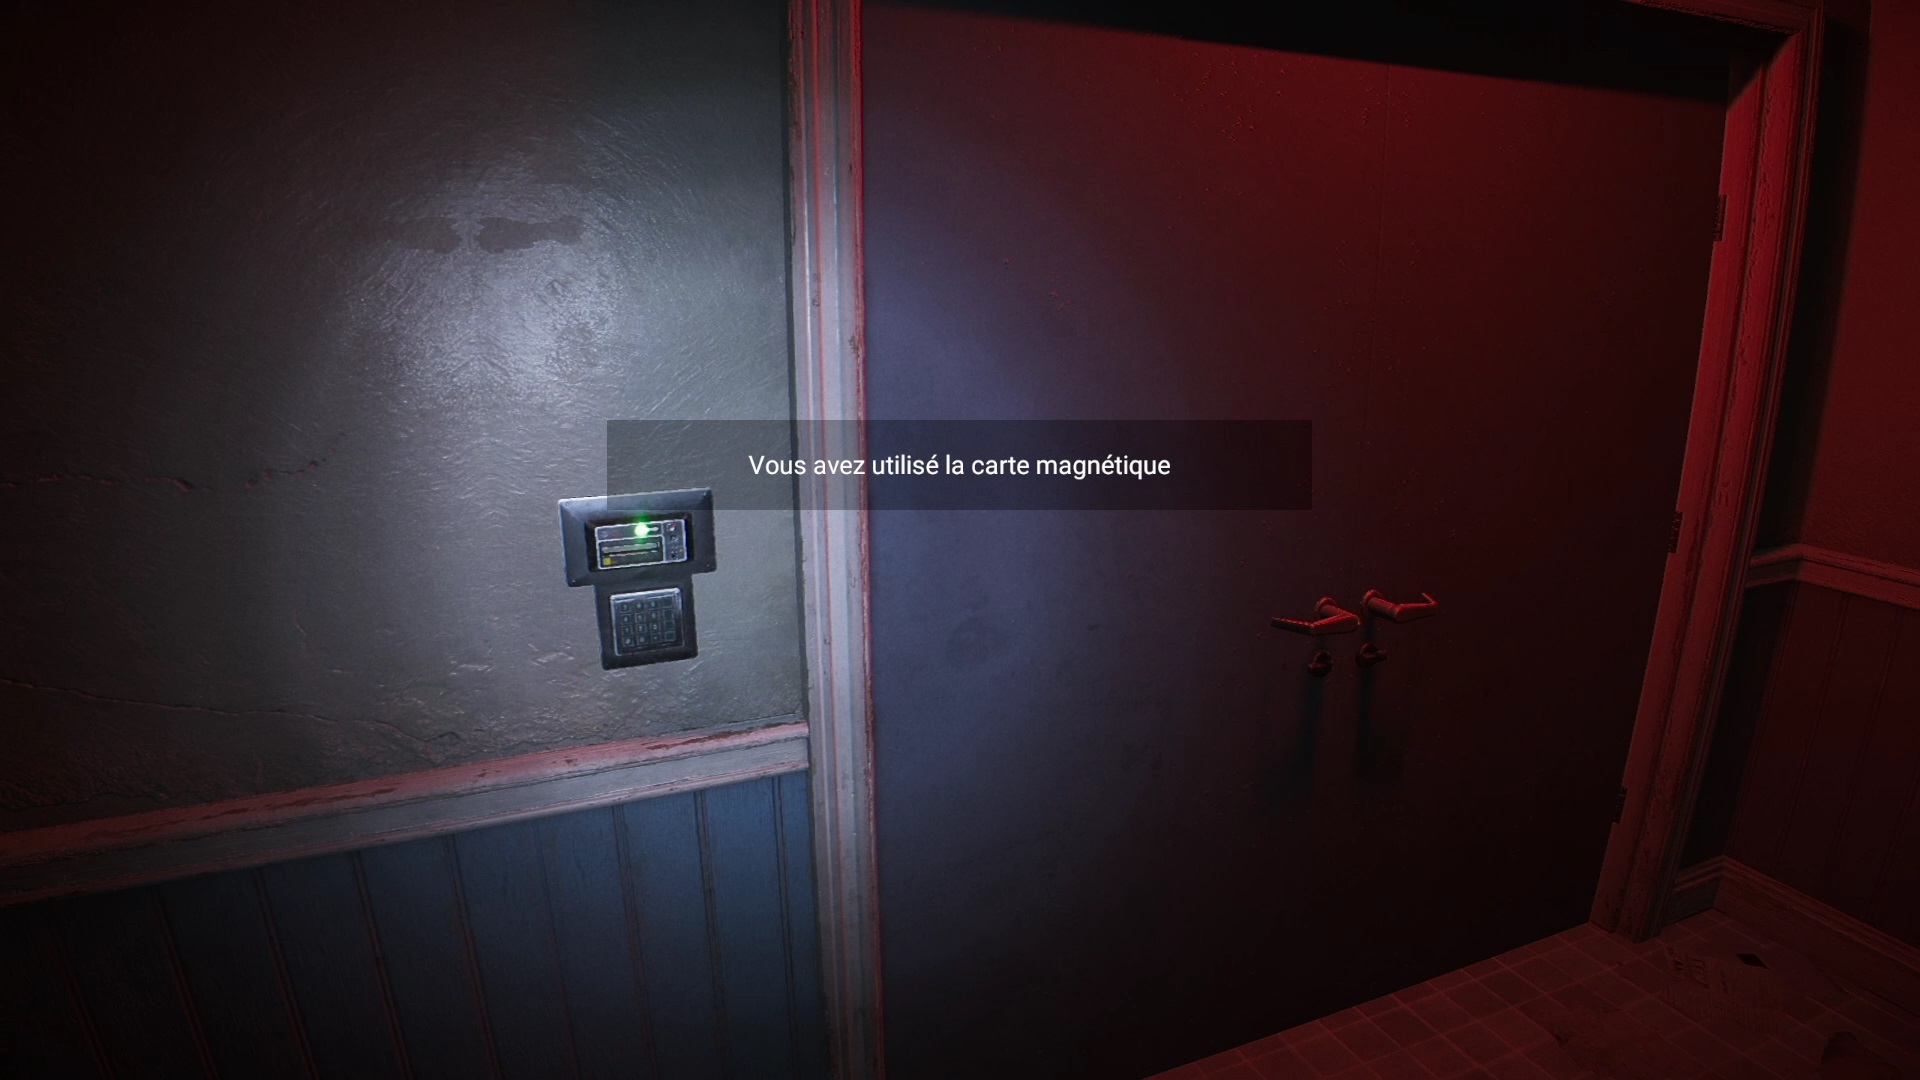
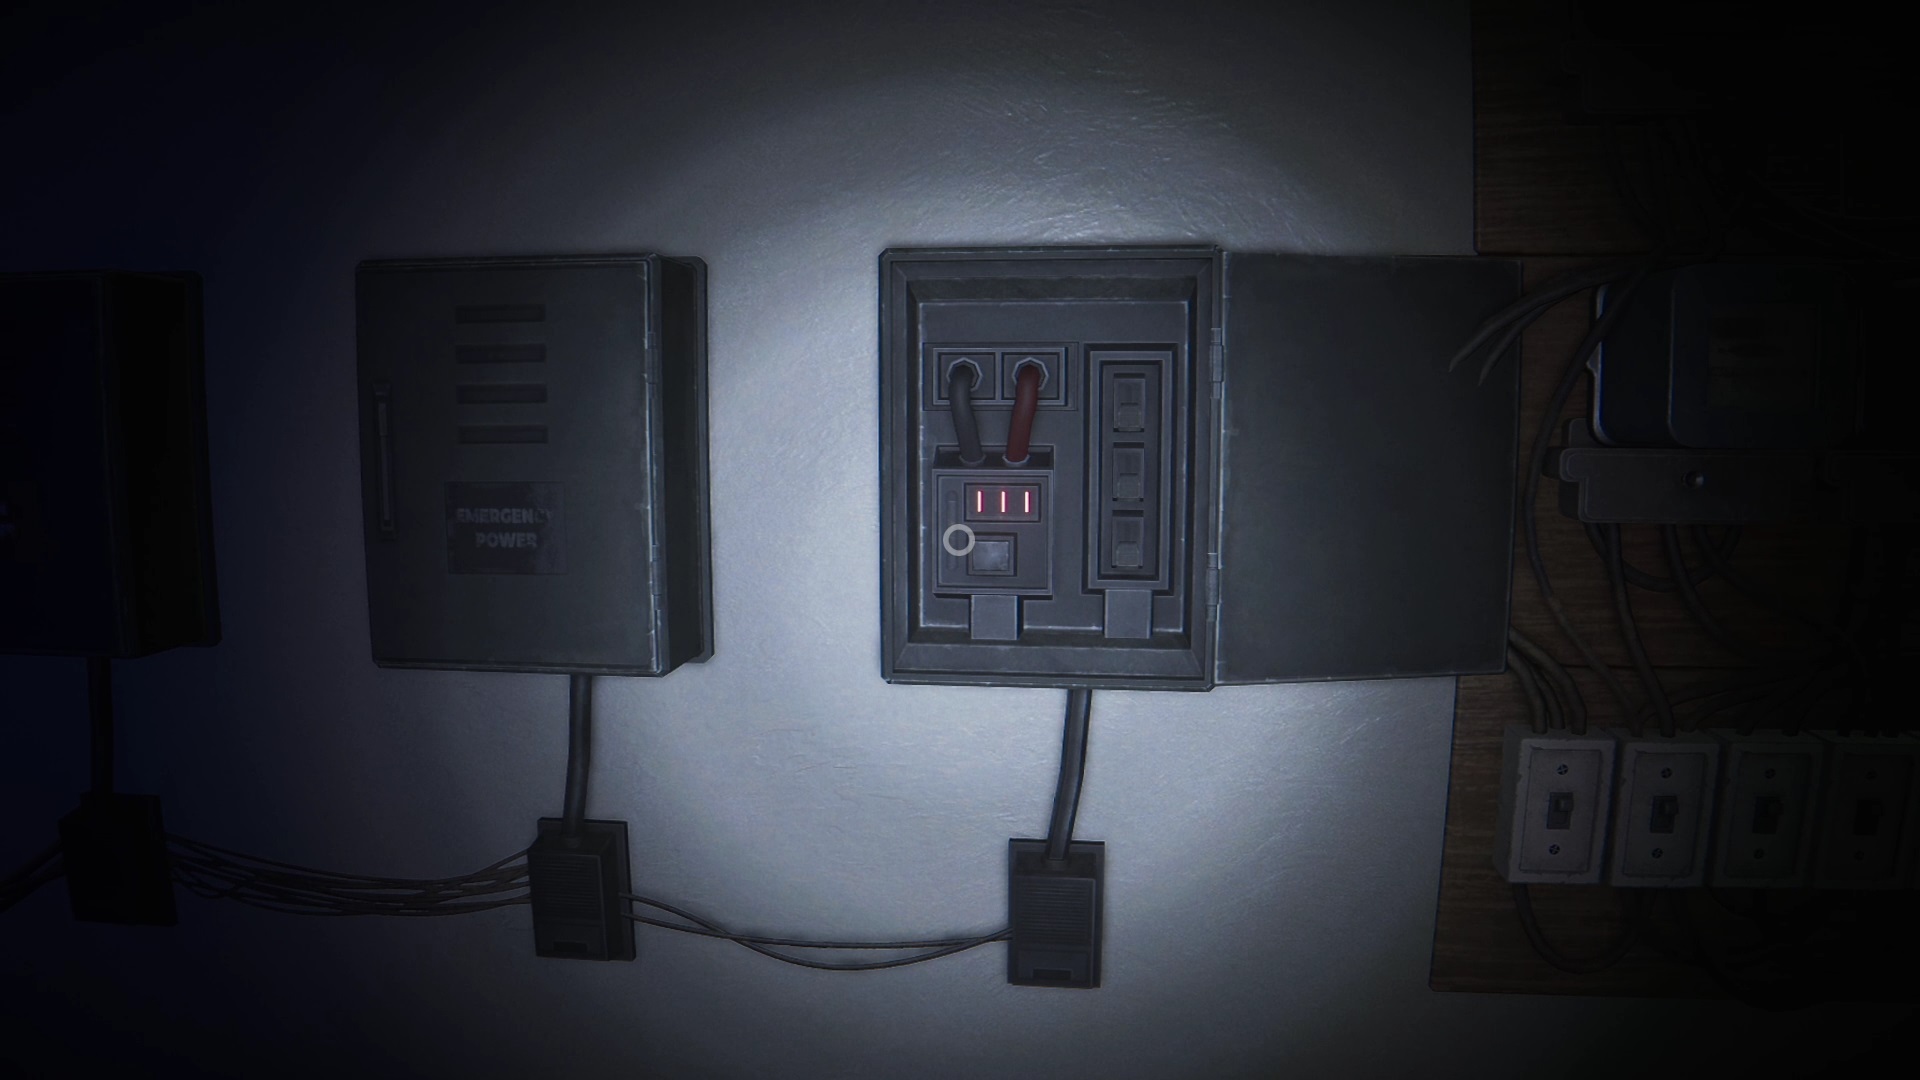
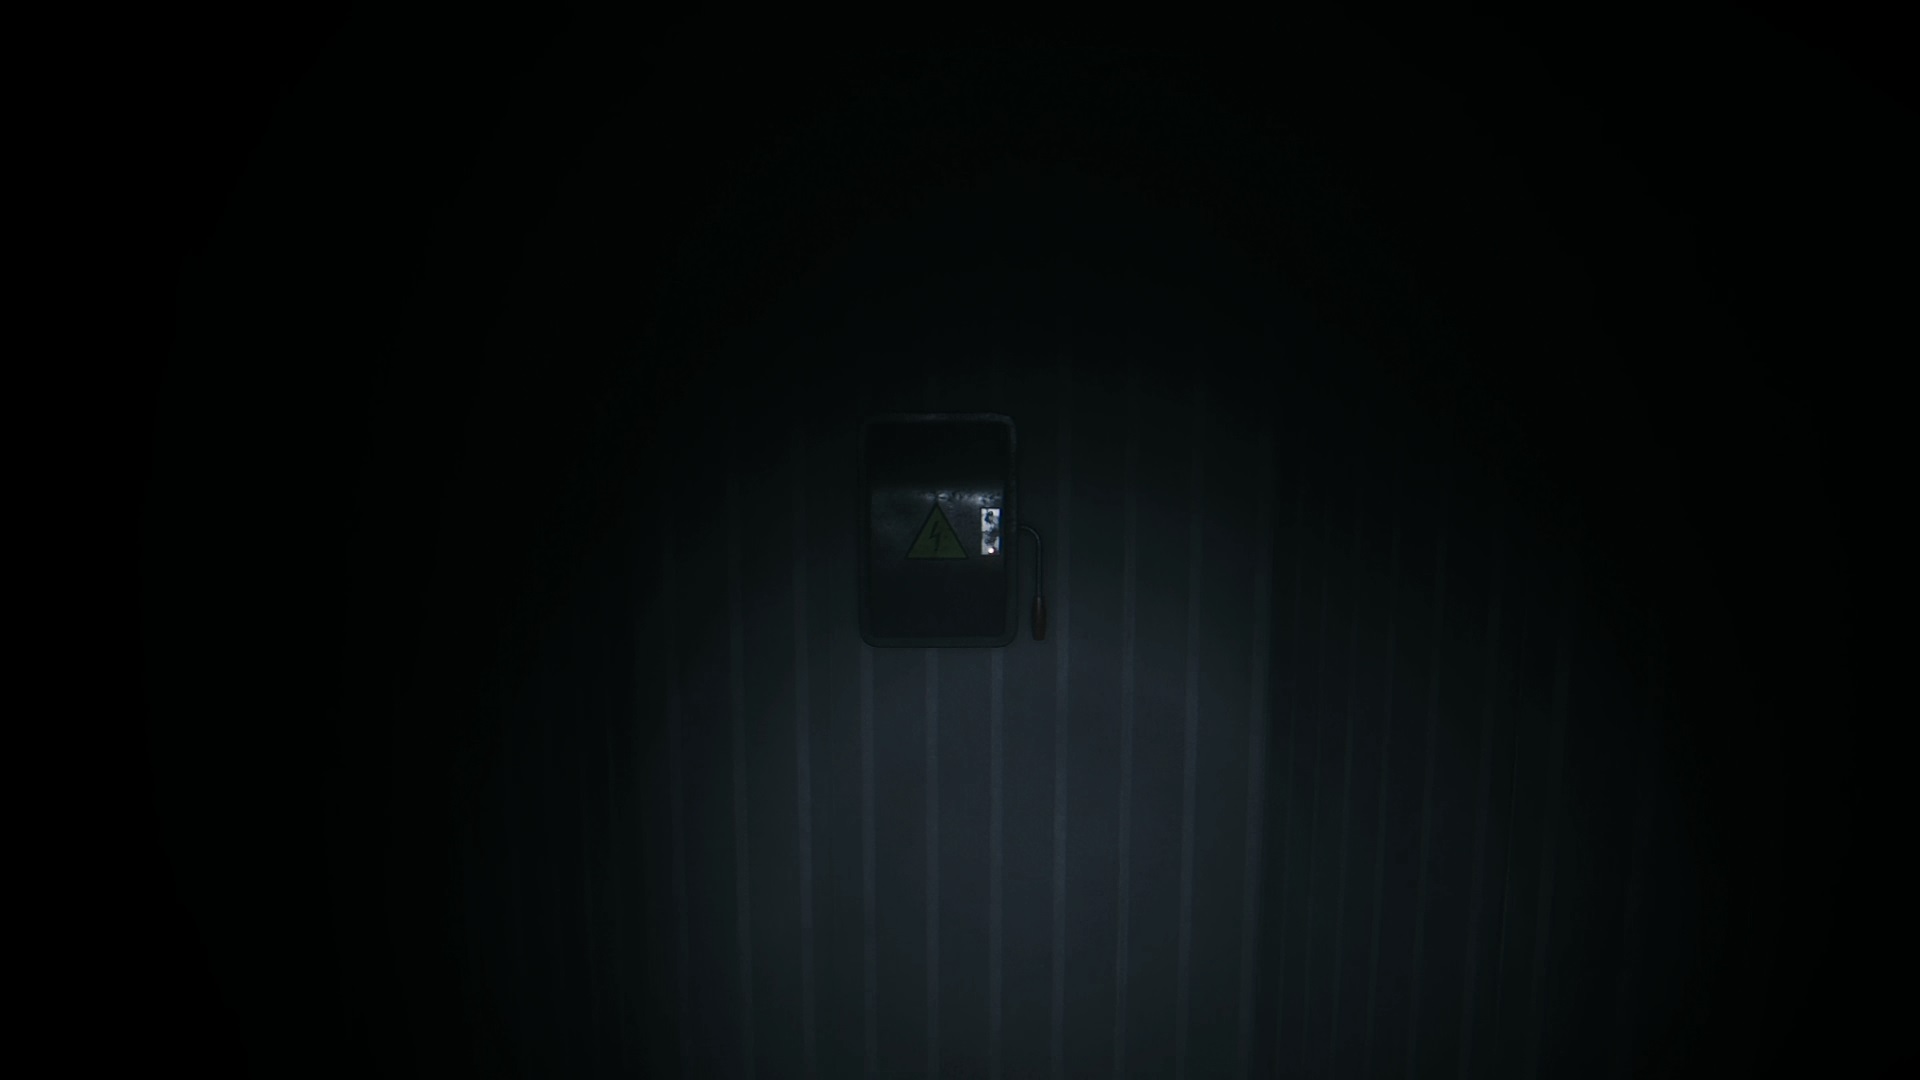
In this new hallway, open and go through door A53. Examine the wall to find a box with a red label: « Backup Power ». Open the case and press the three levers to power up the building. Once the power is back on, unlock the double doors in front of the room with your swipe card.

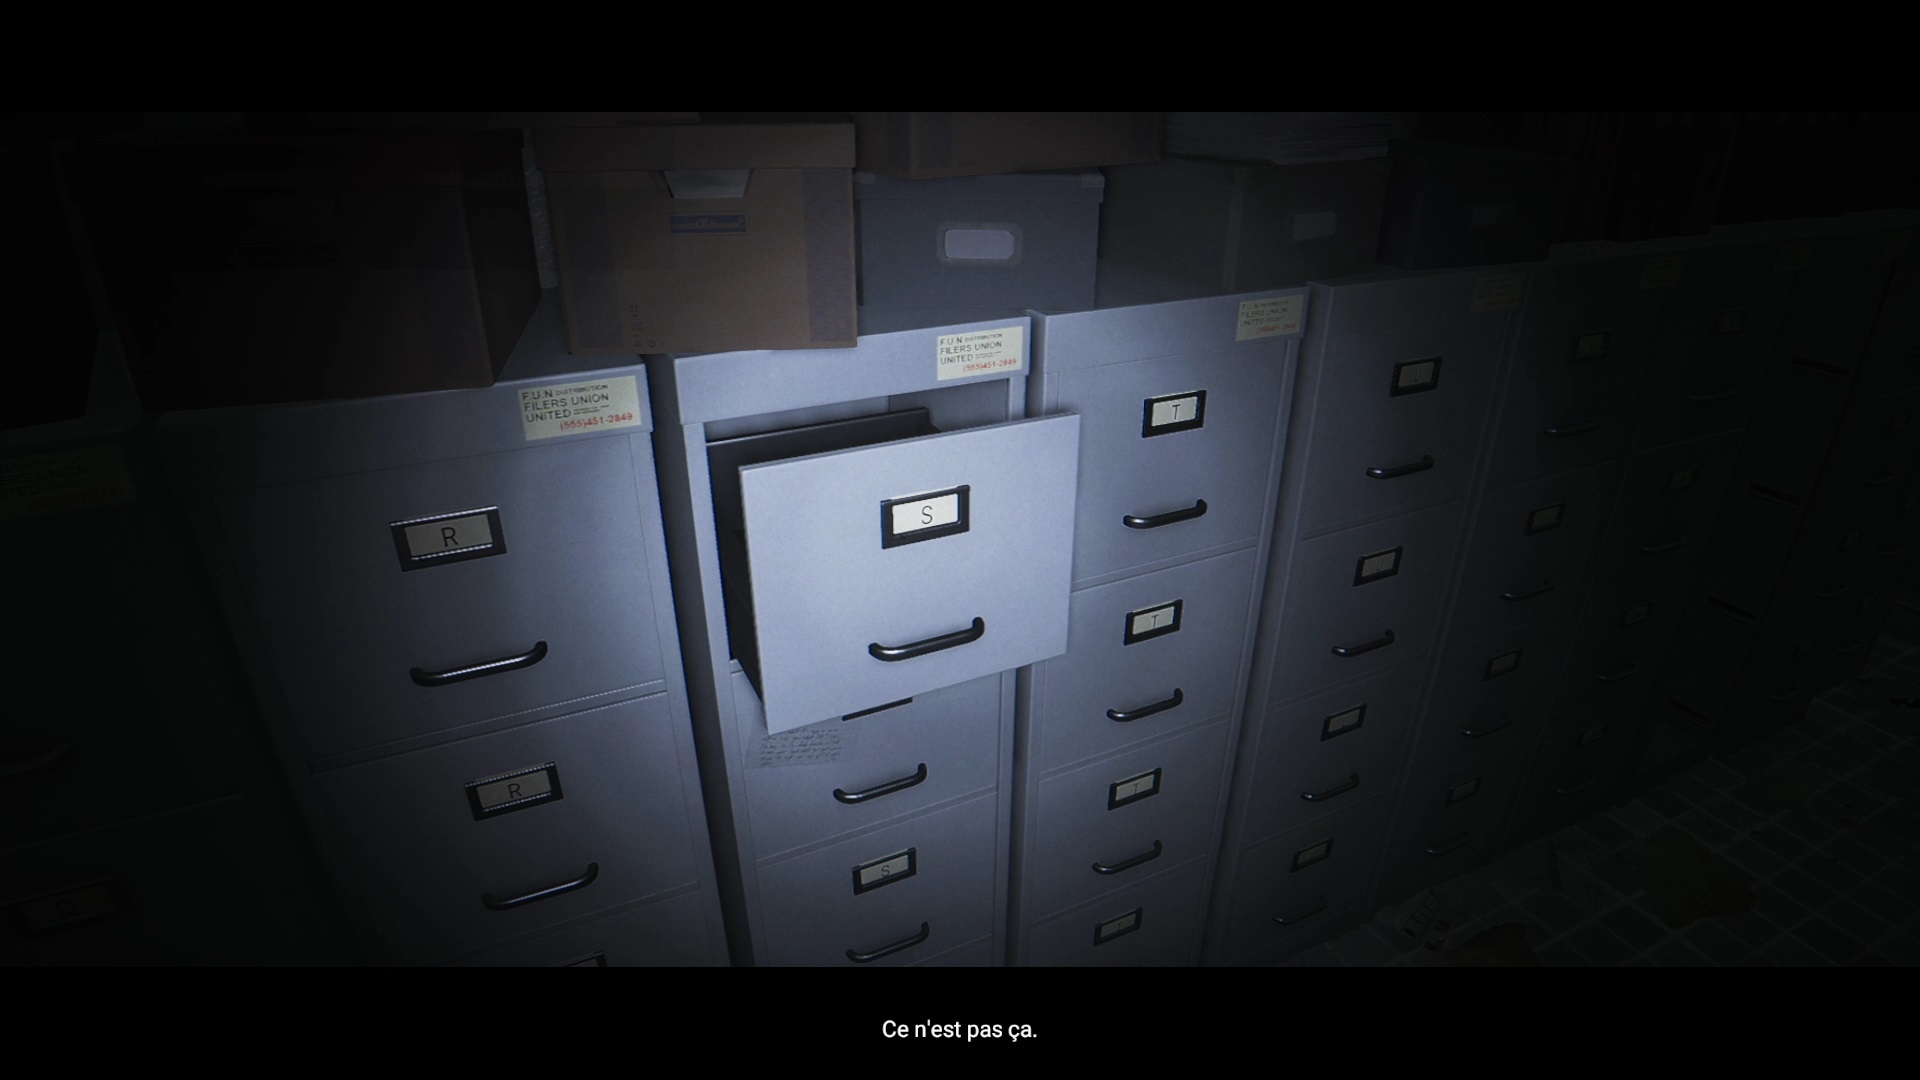
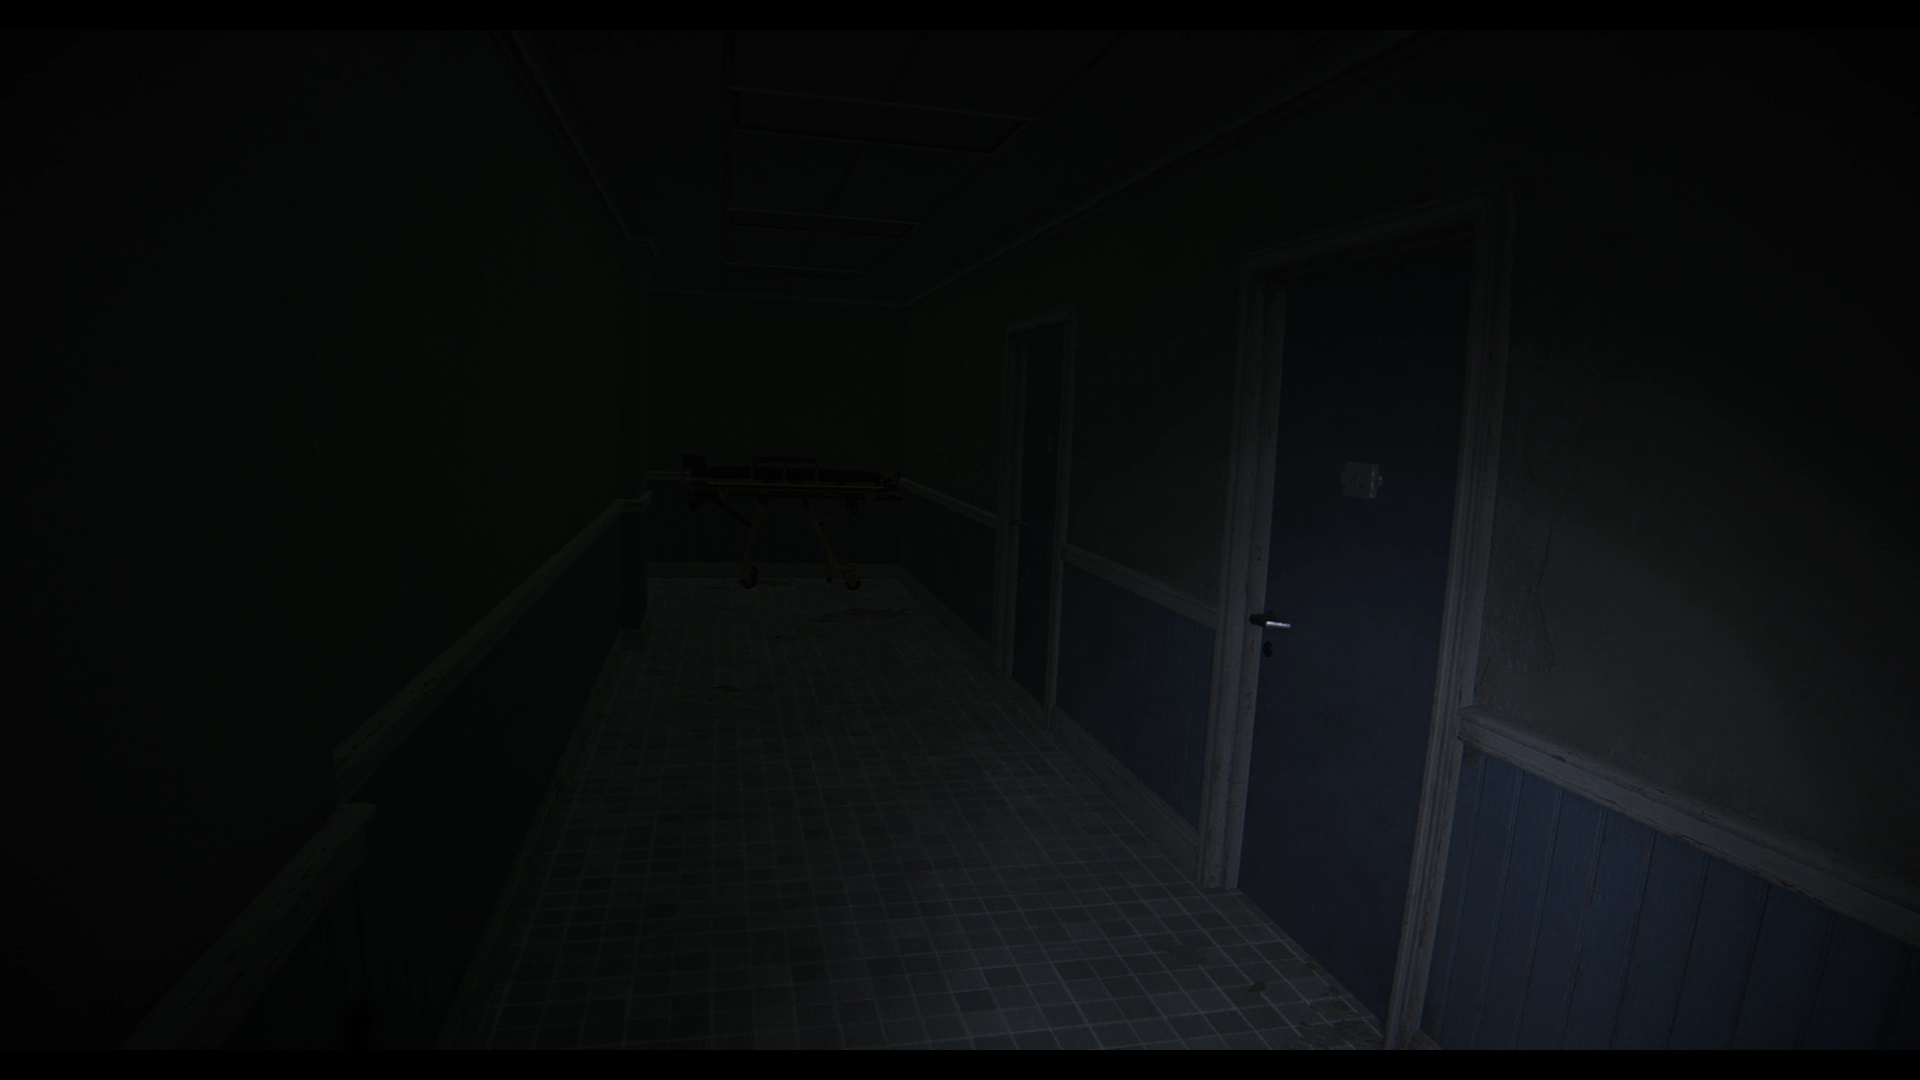
Go up to the third floor to unlock a new door. In the hallway look for the door dedicated to the patient archives. Unlock the door and search the first locker of the letter S to find a document. Then retrace your steps to go up a floor.
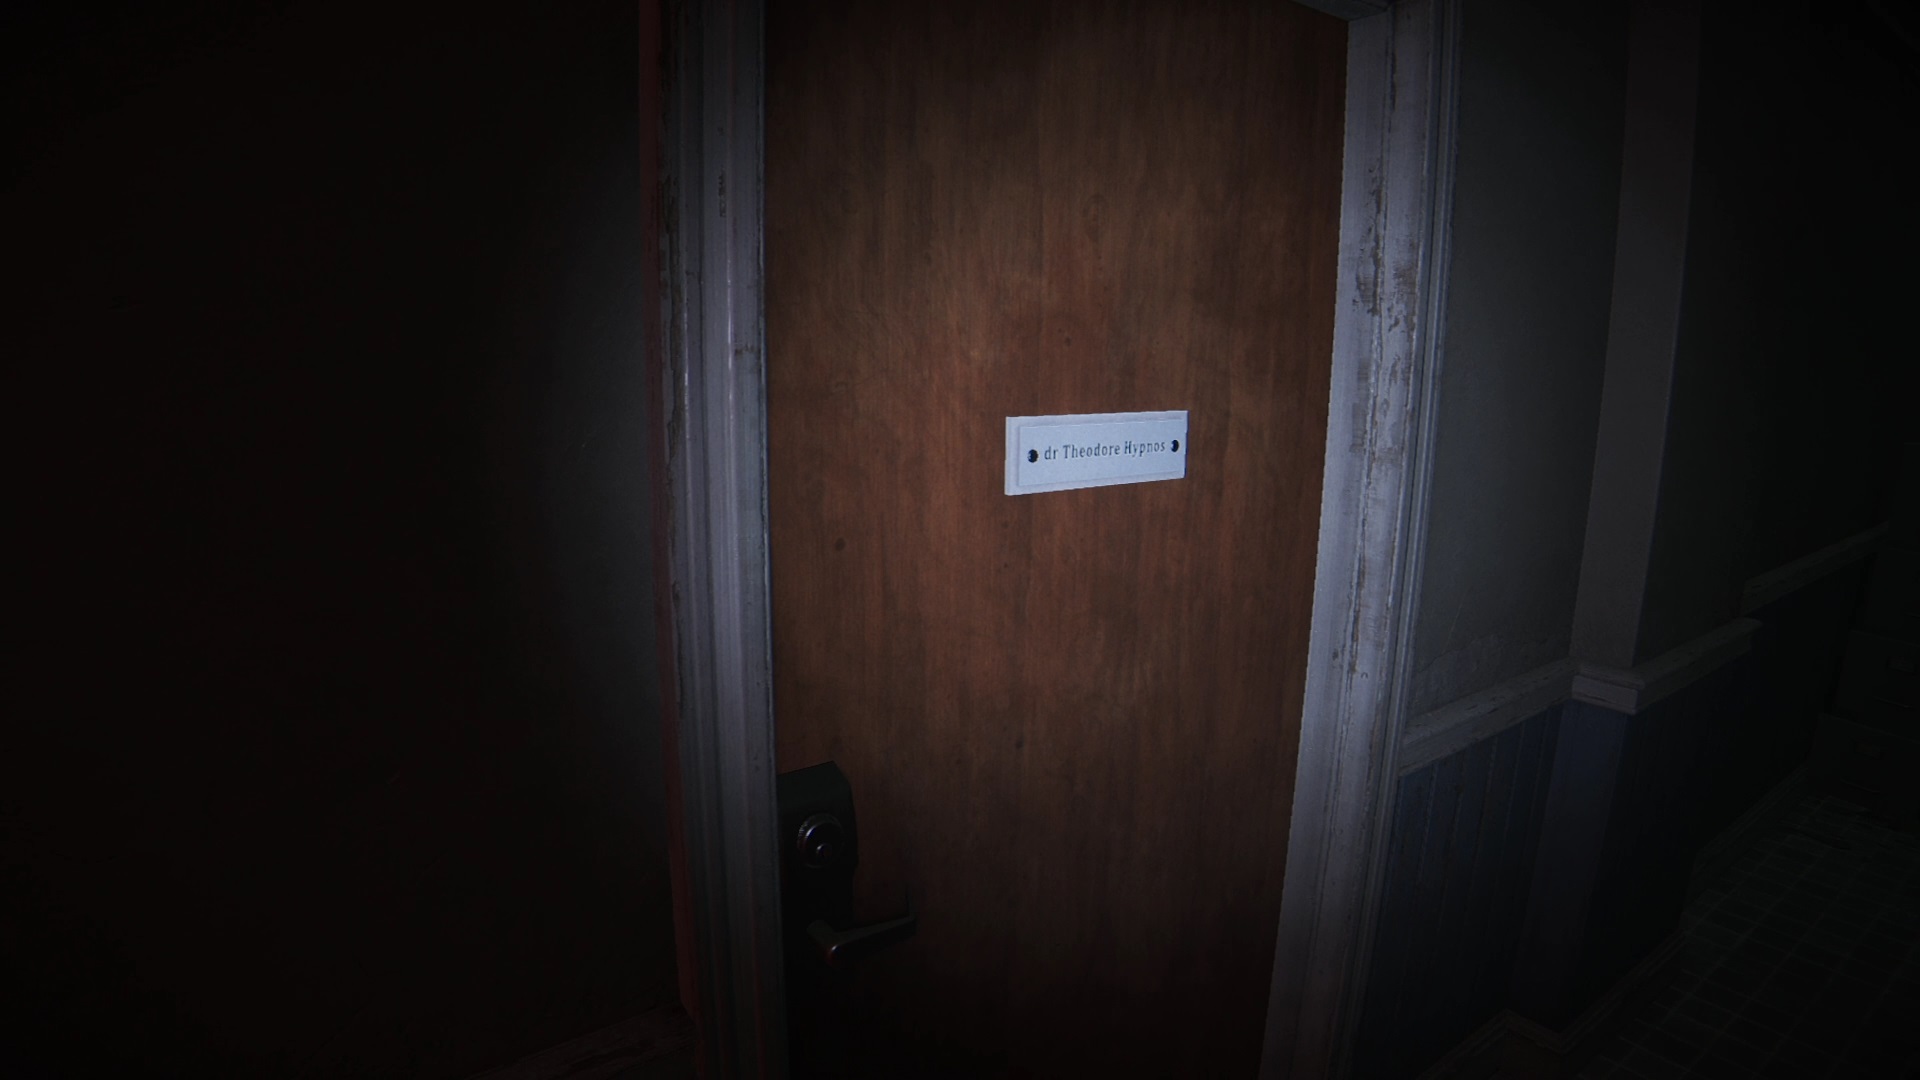
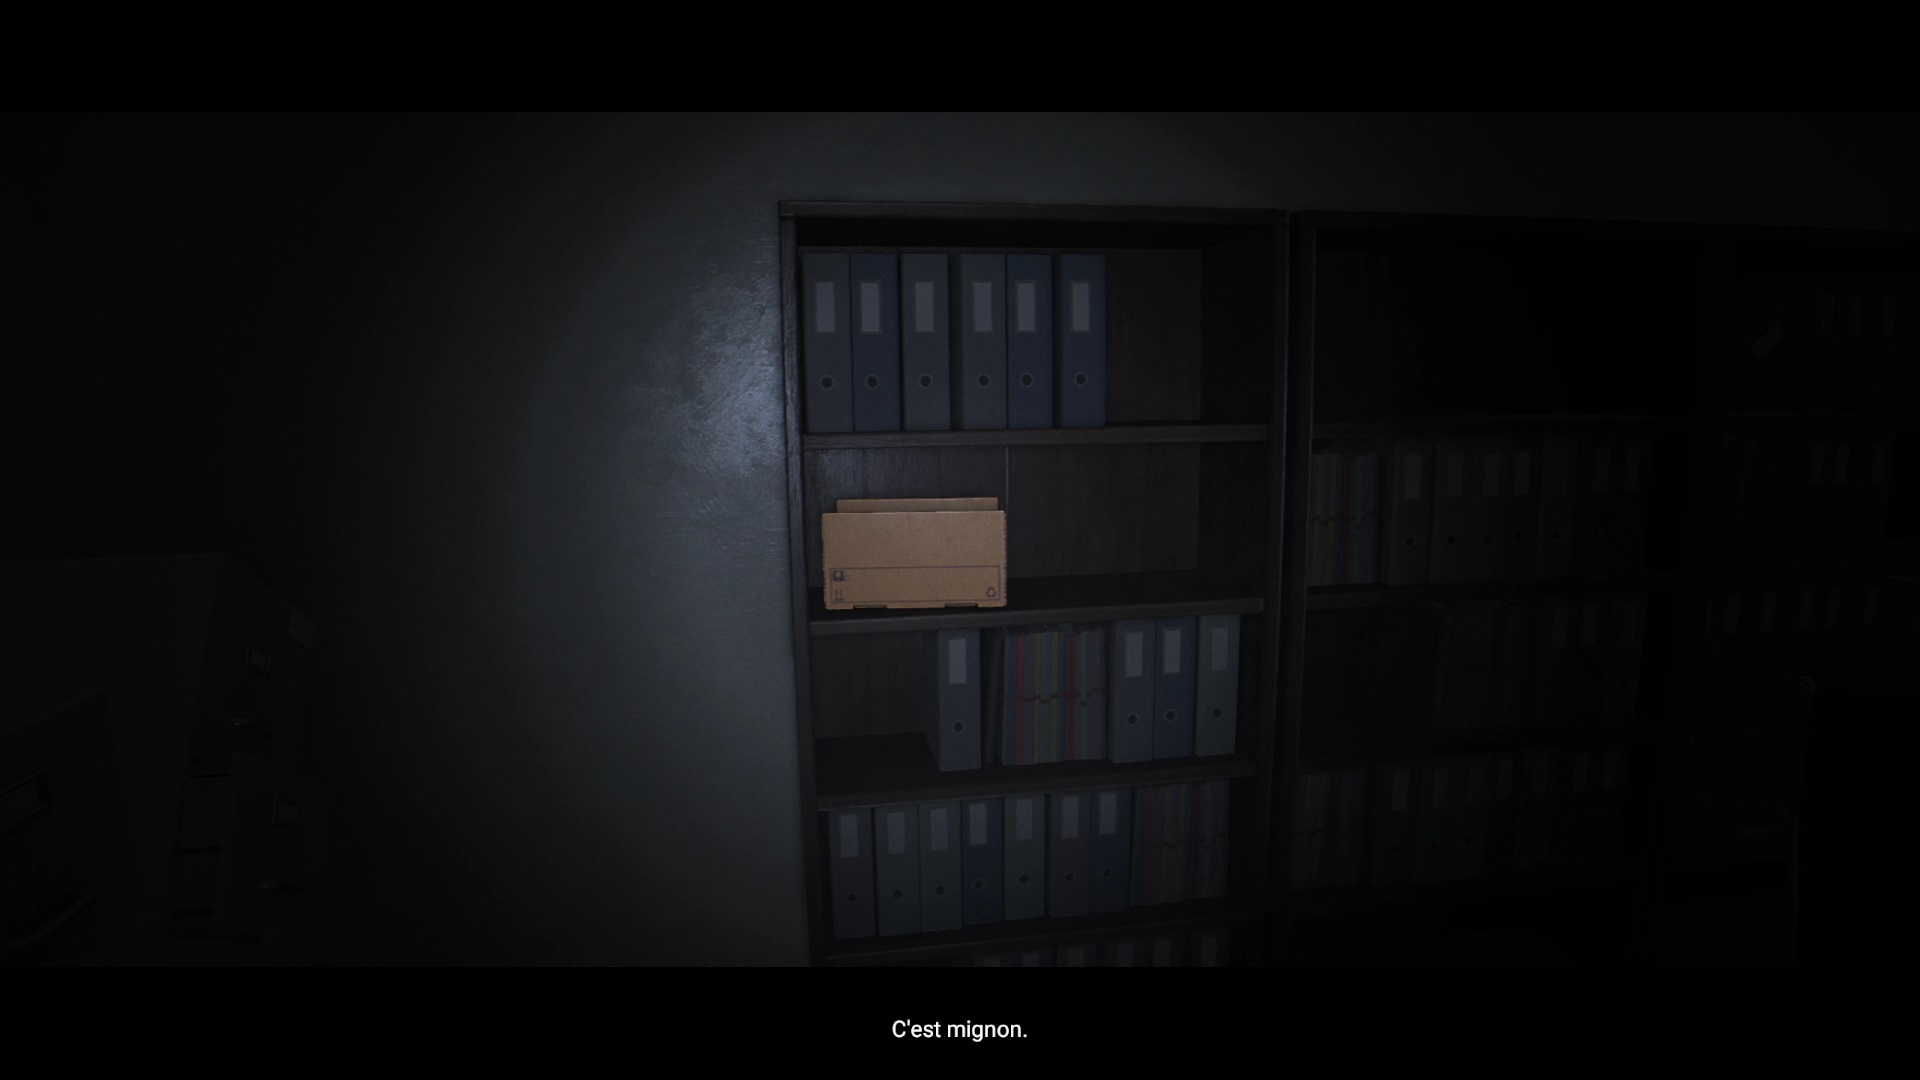
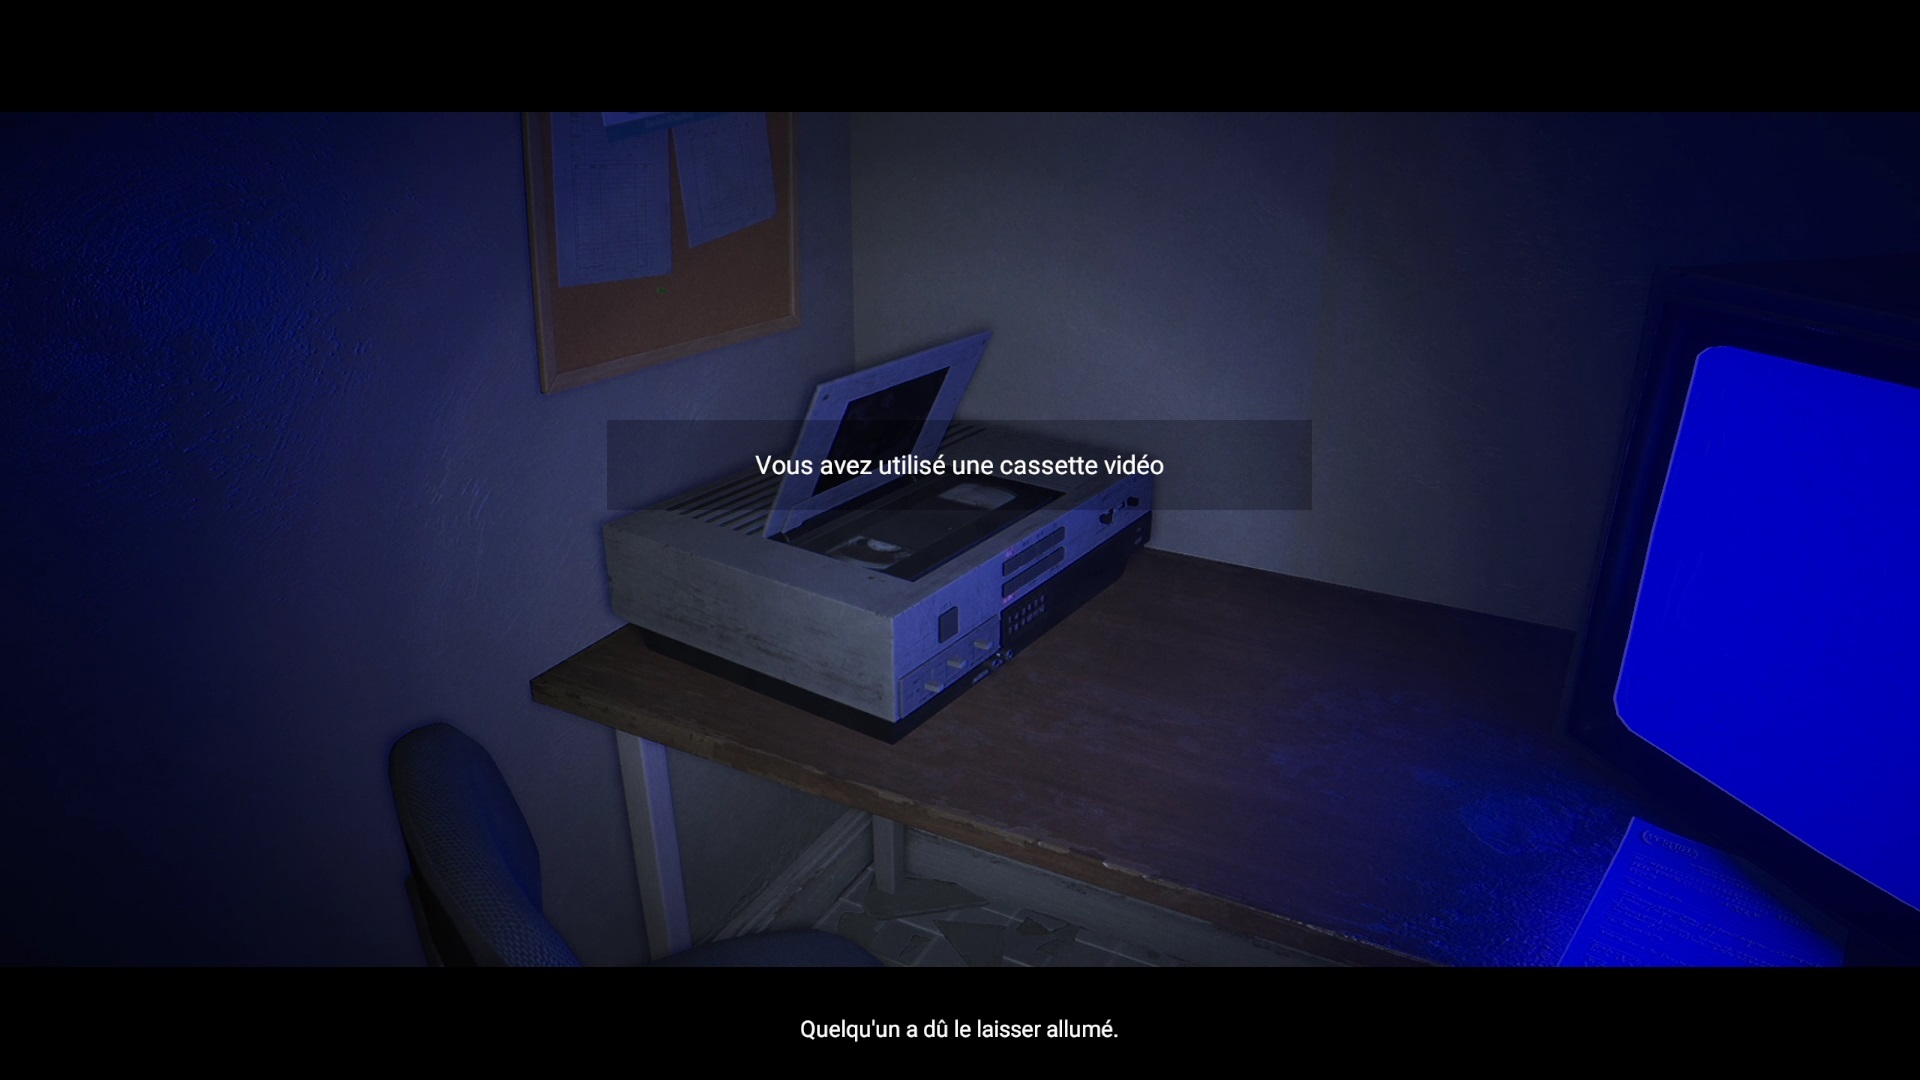
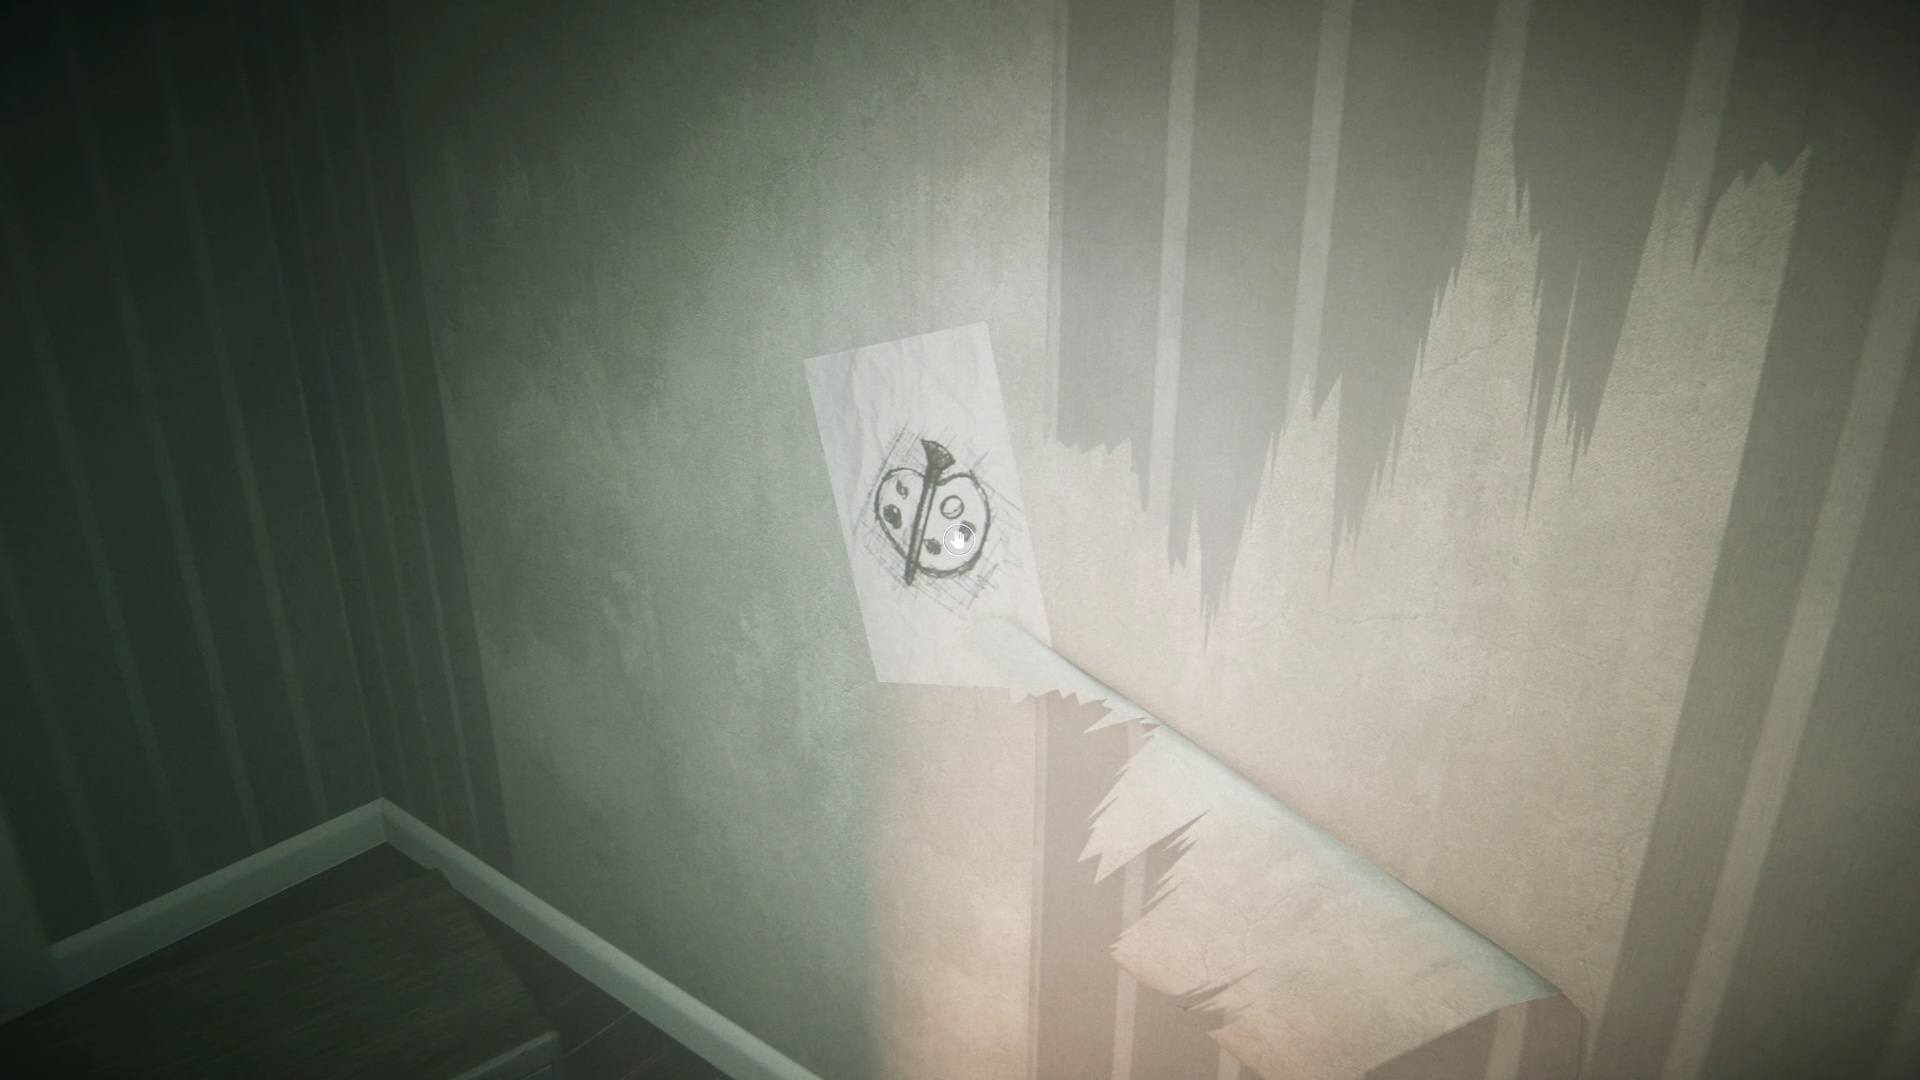
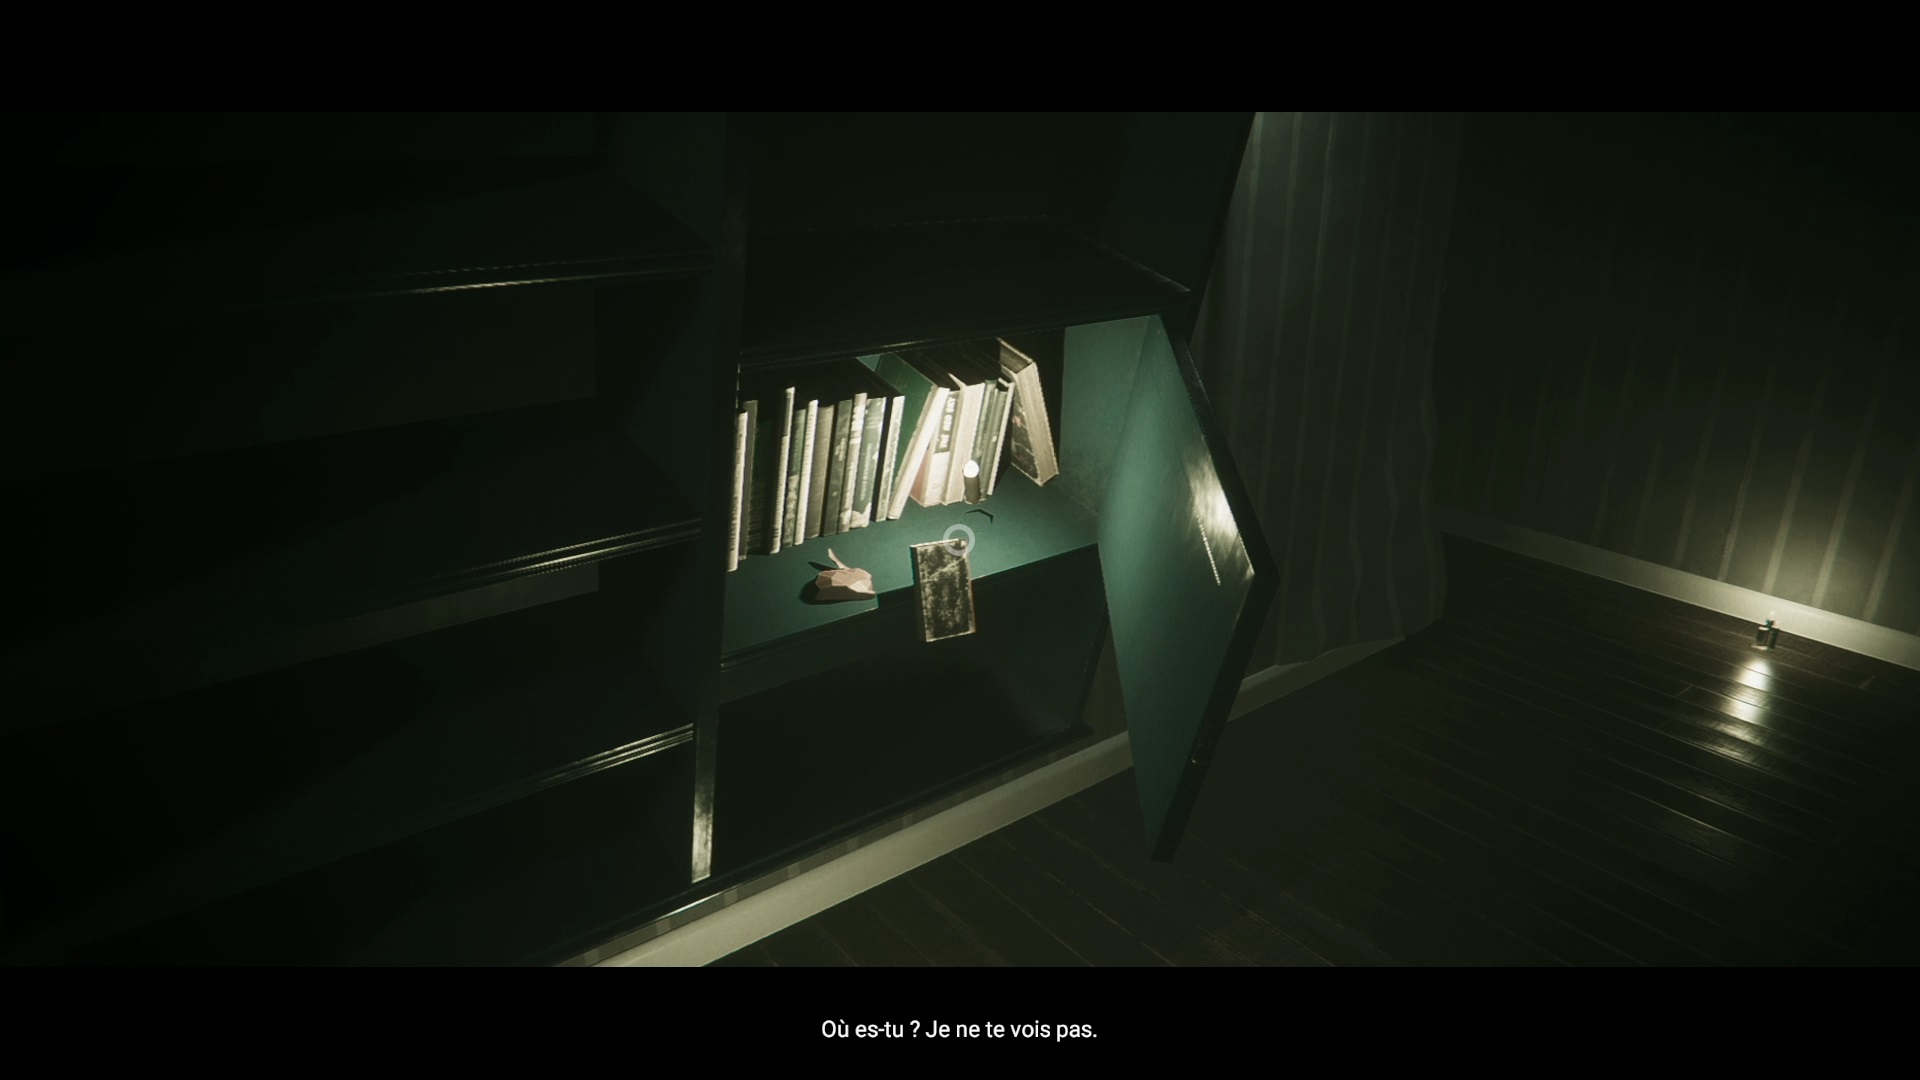
In the hallway, go through Doctor Hypnos’ door. Examine the shelf to find a box. Then head back downstairs to the circuit breaker room to find a tape player. Use the tape with to play a video.
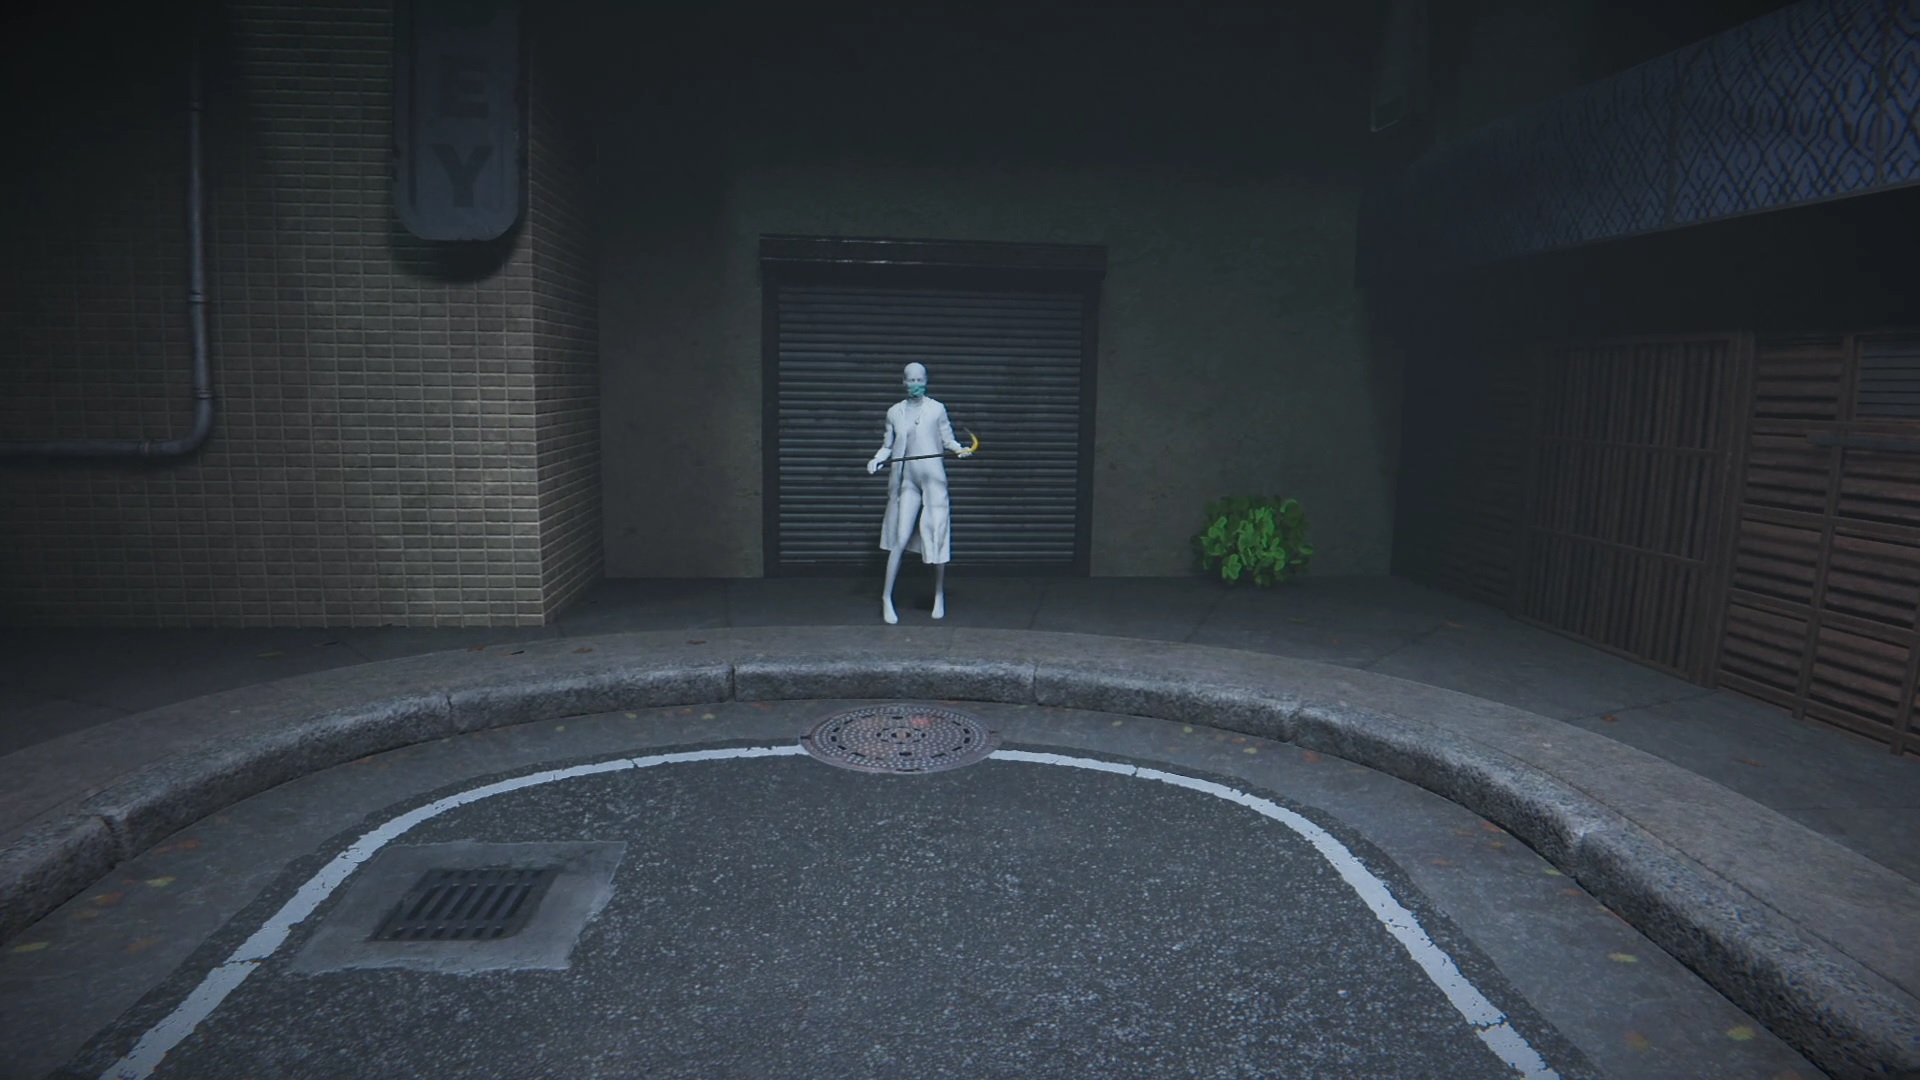
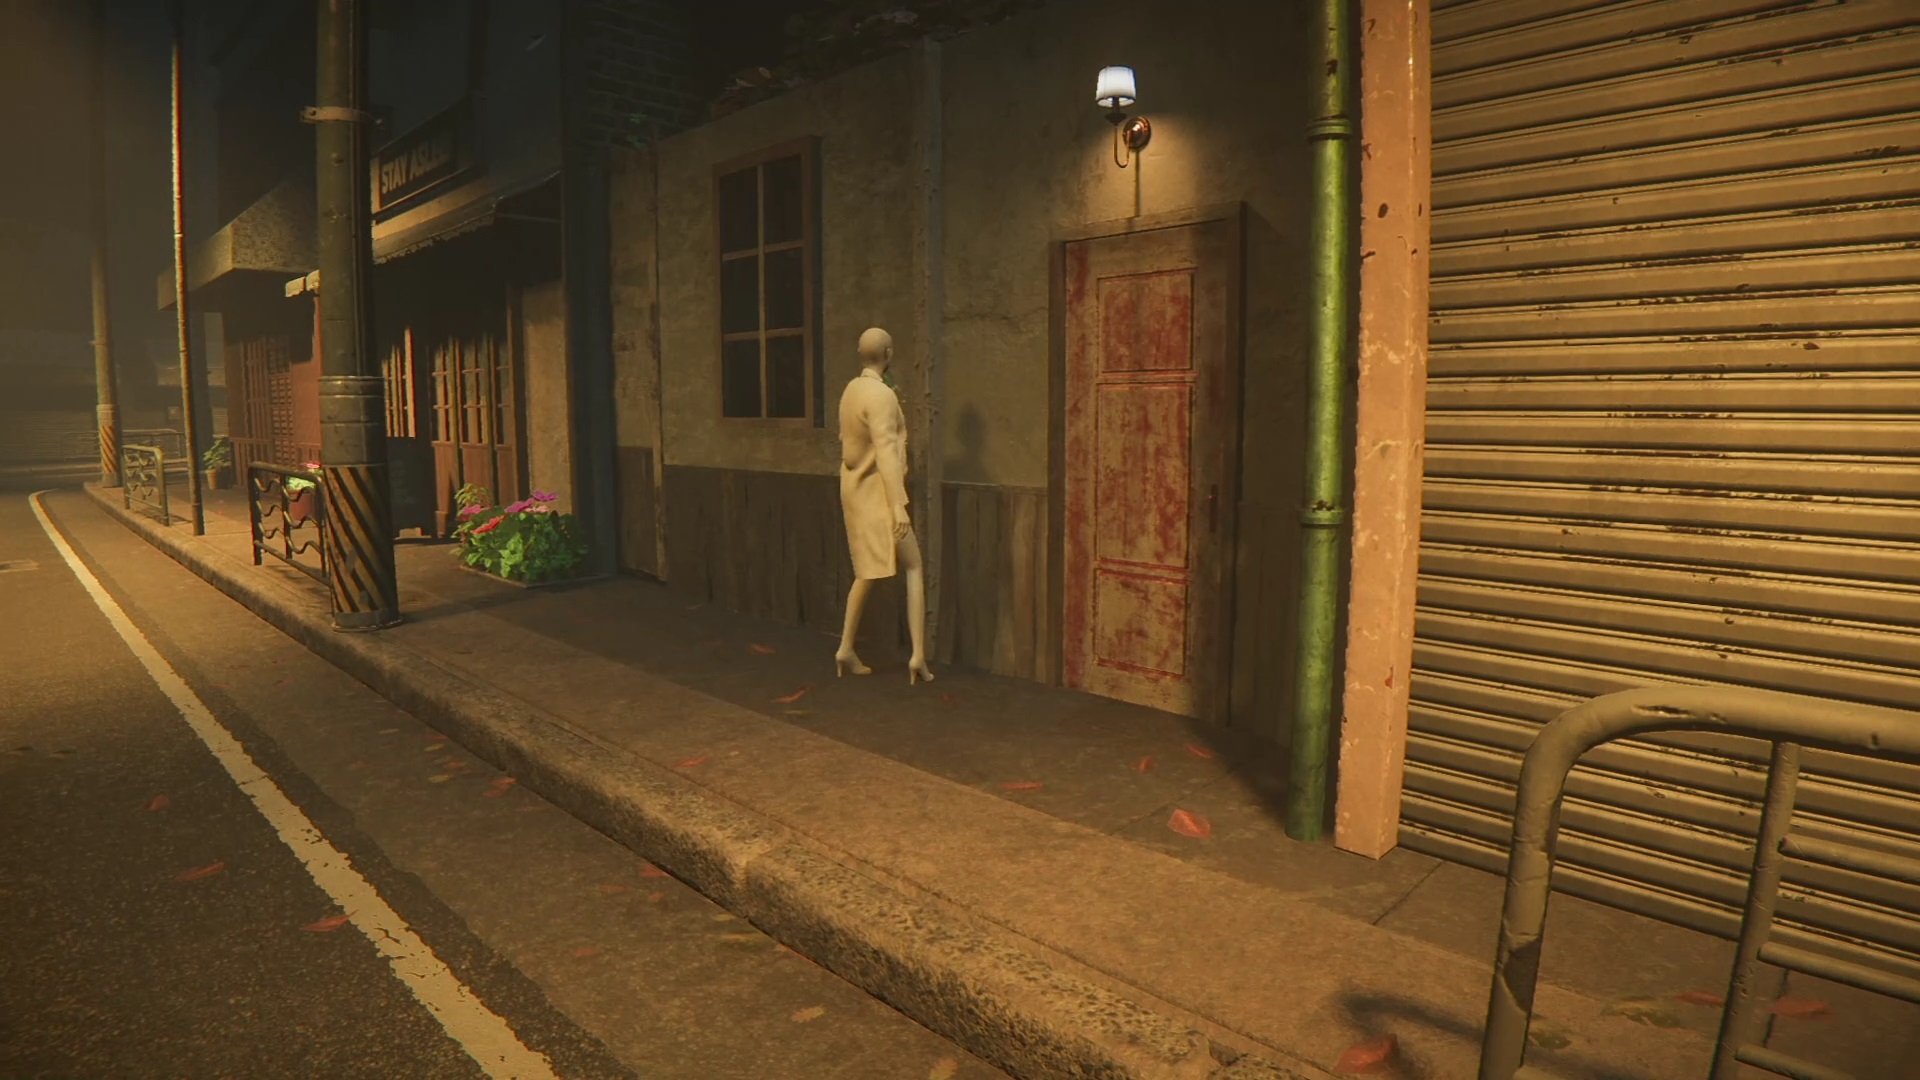
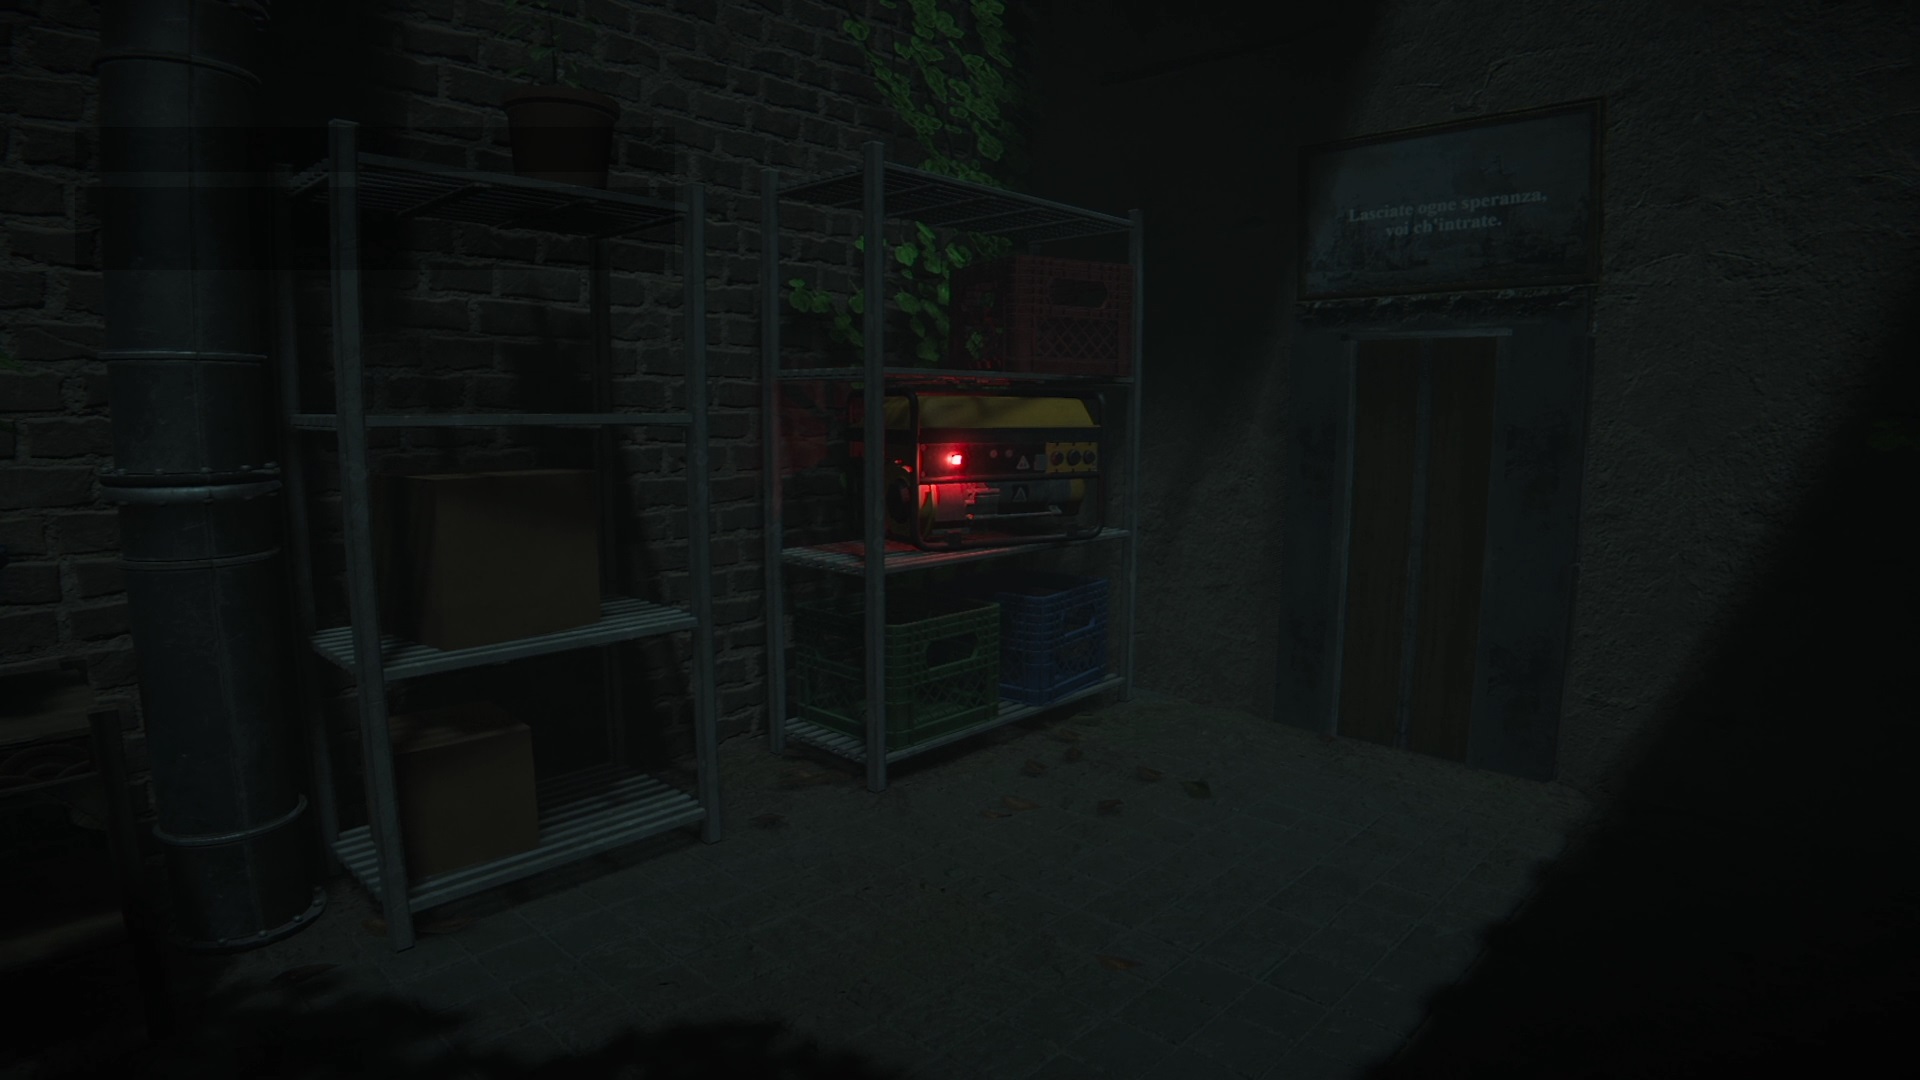
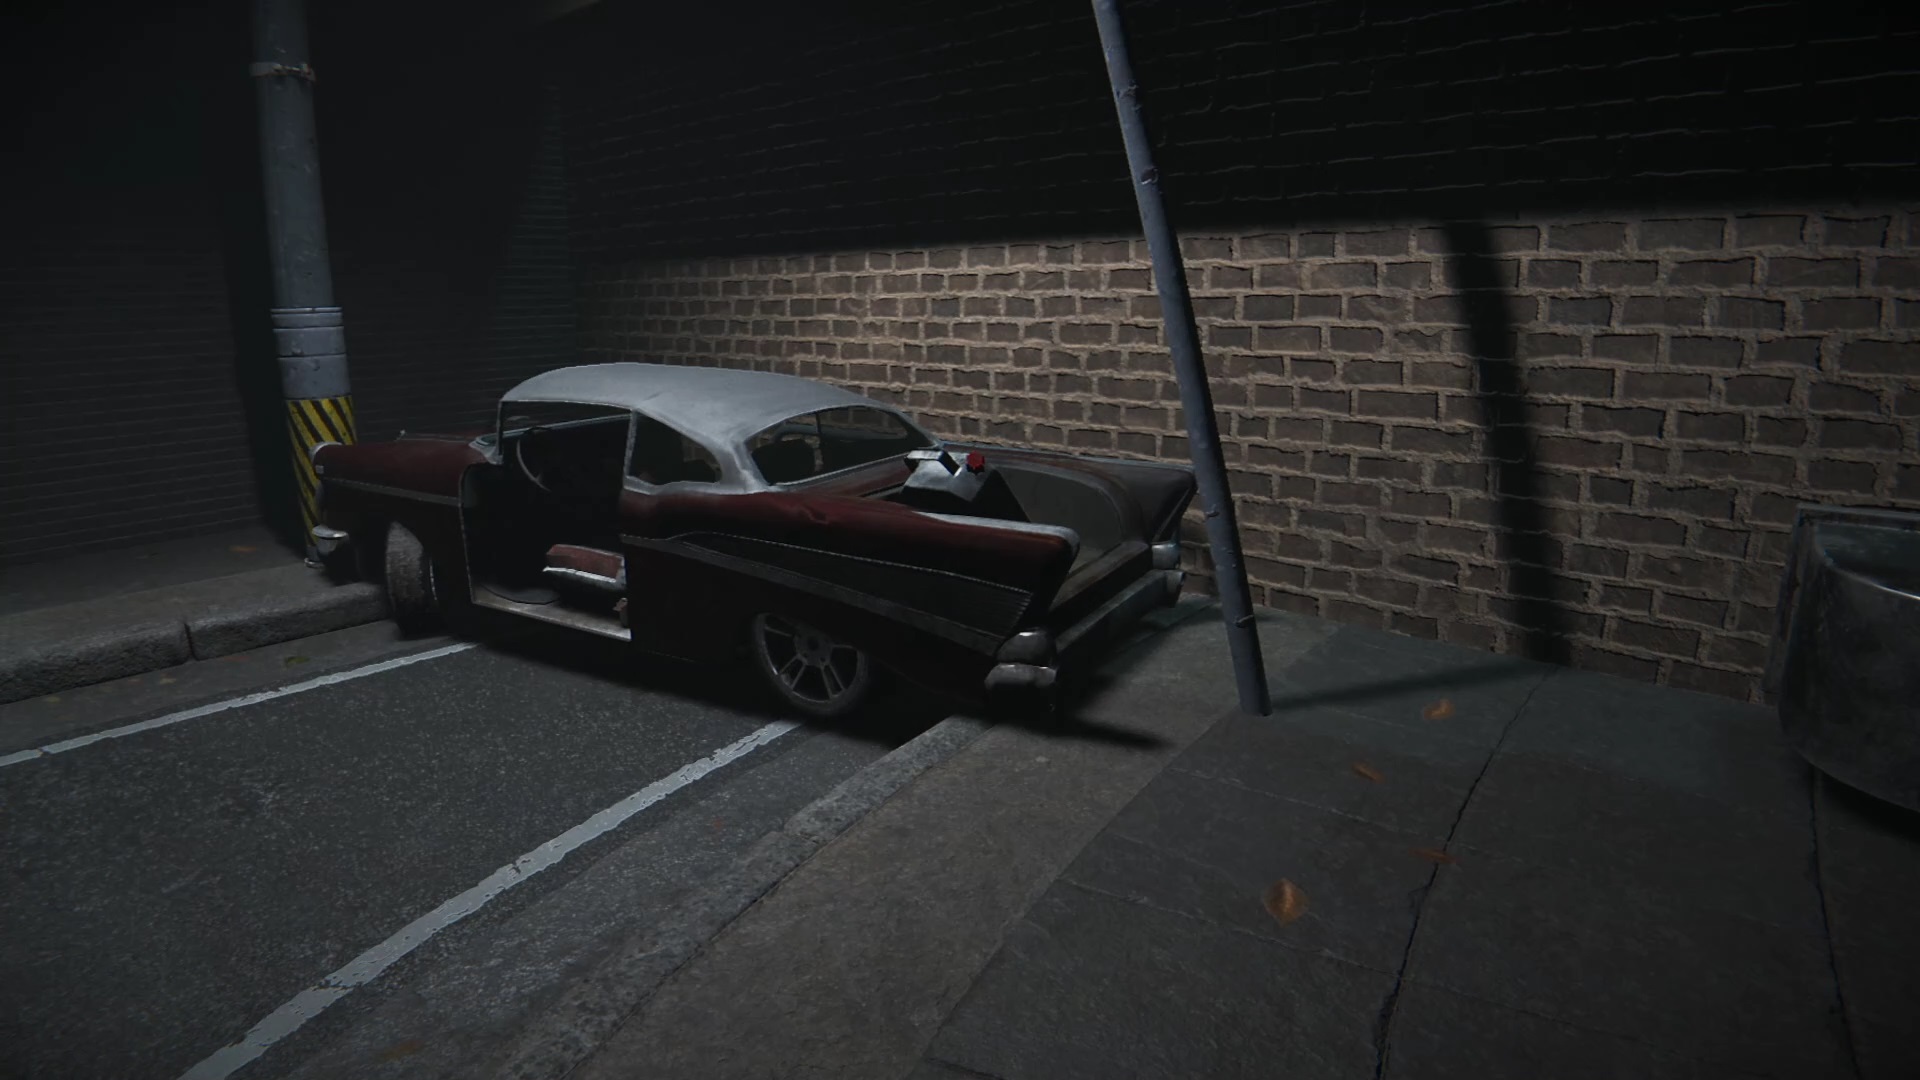
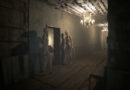
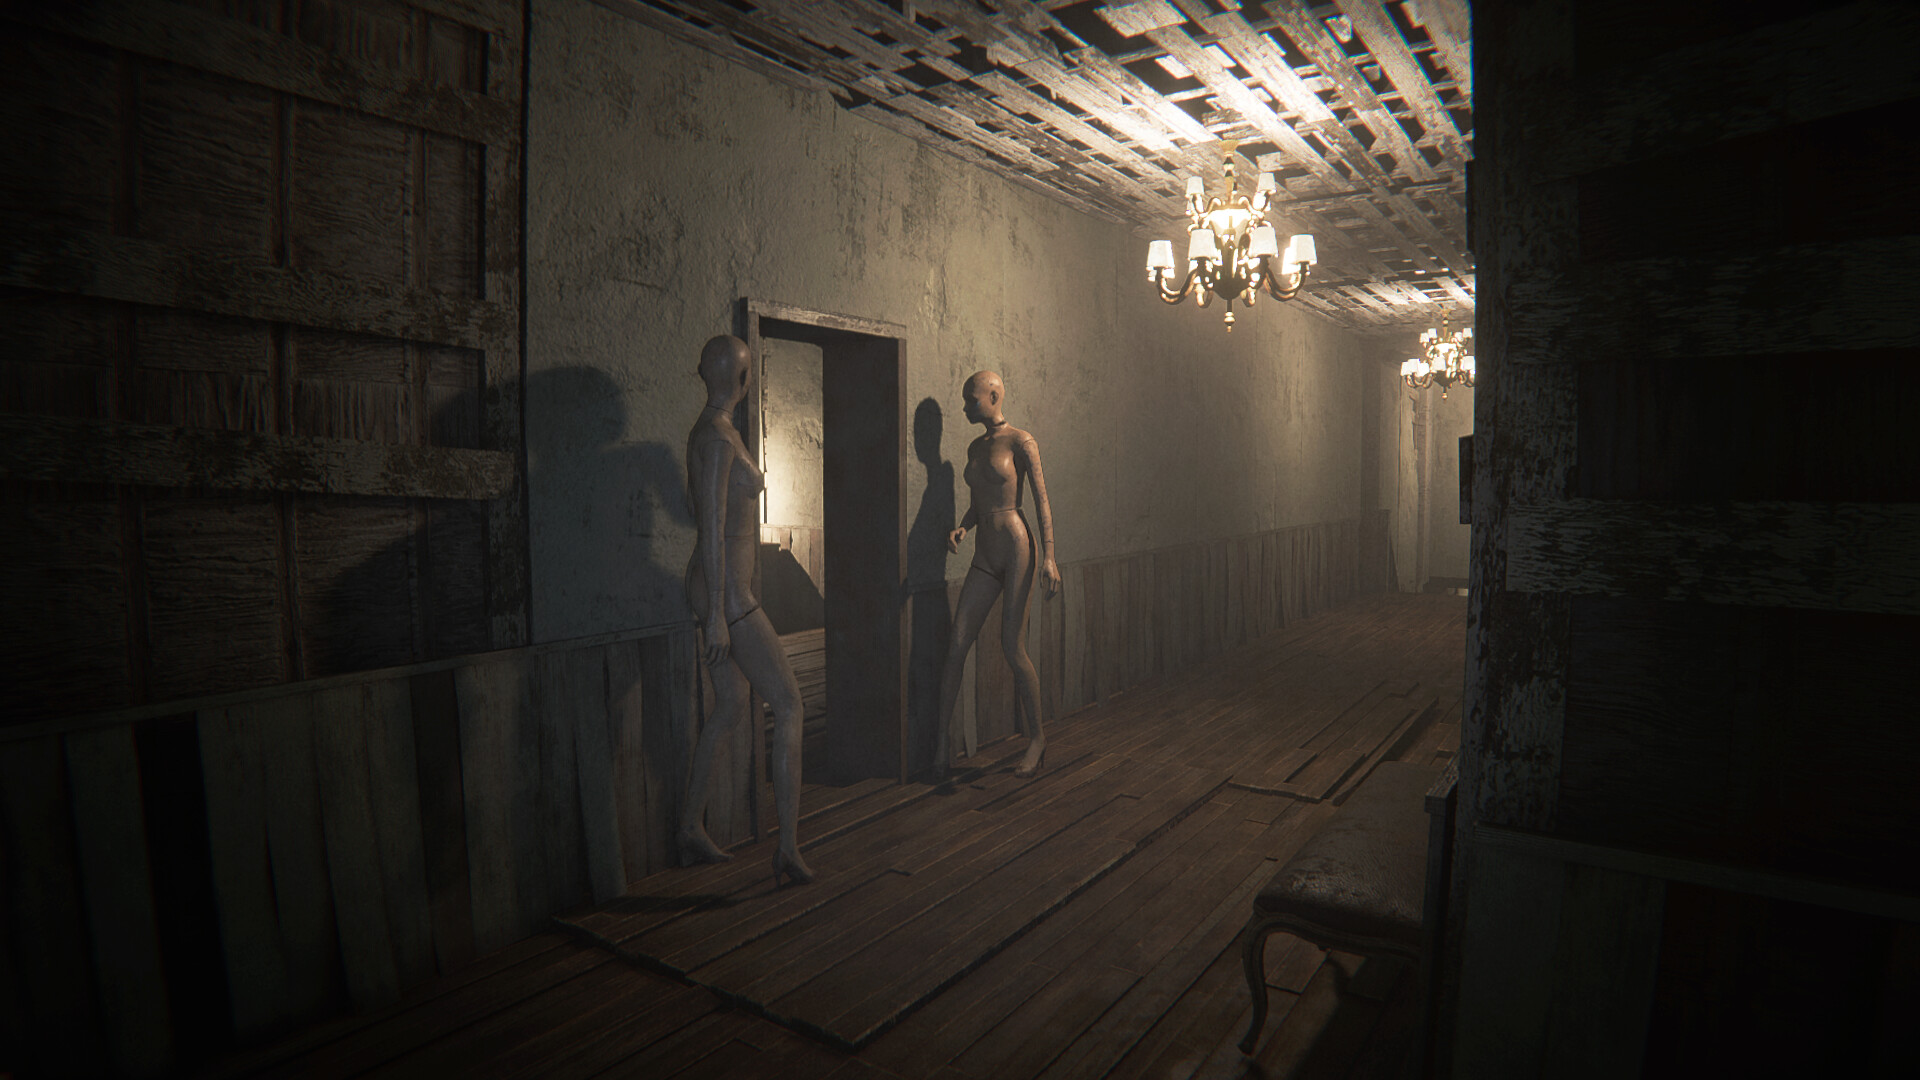
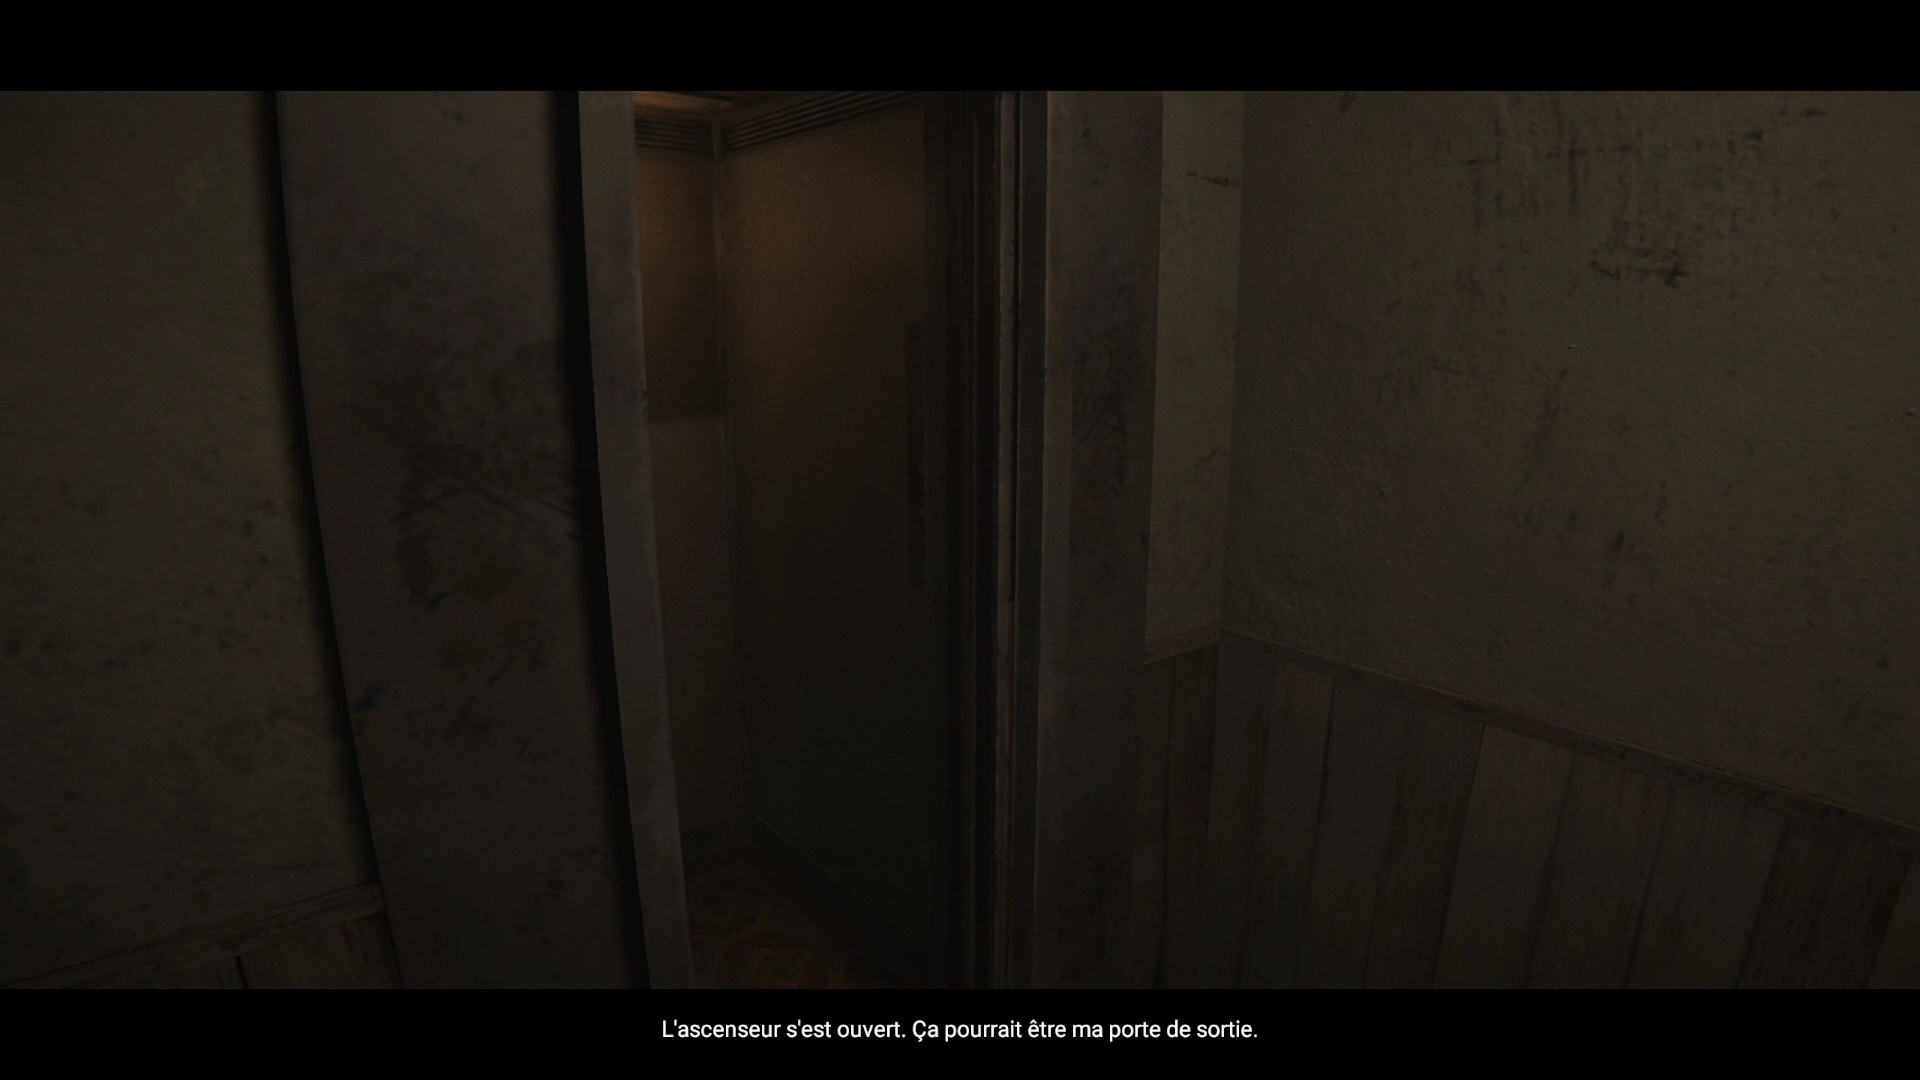
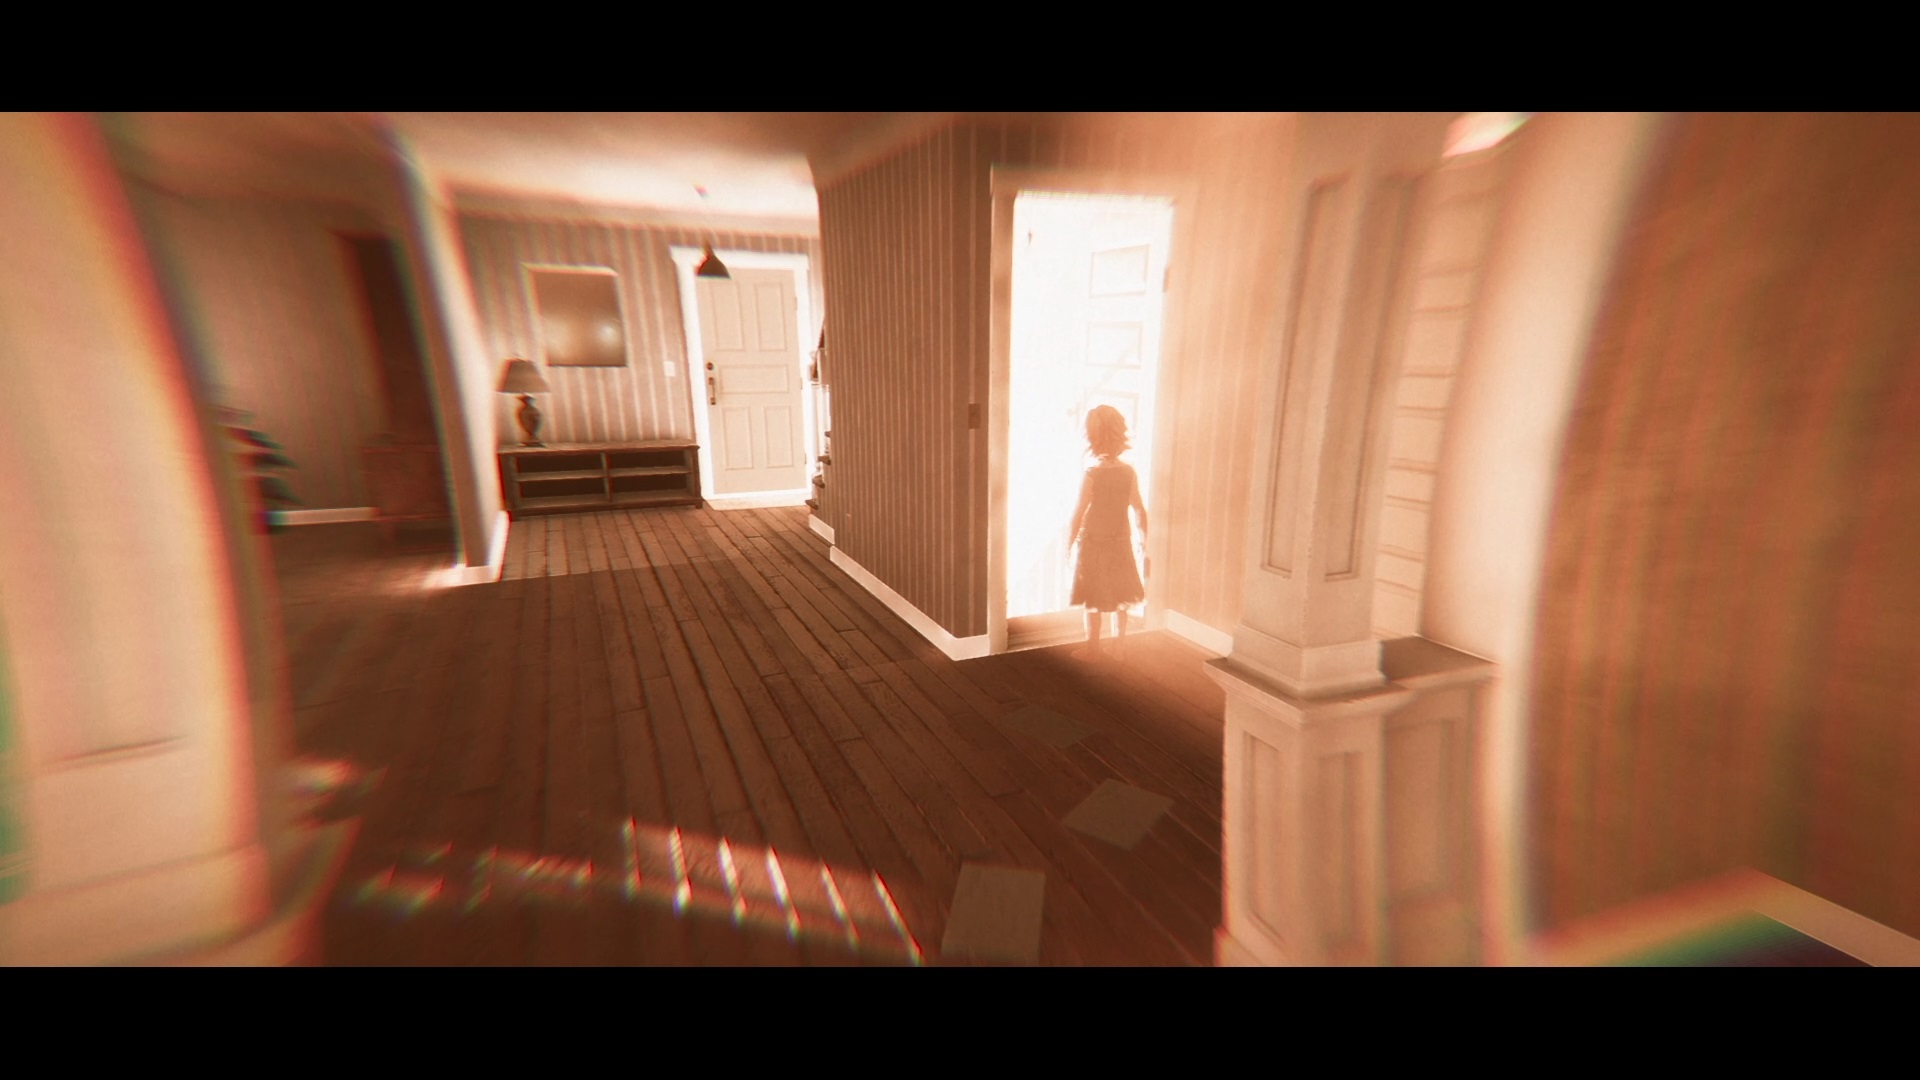
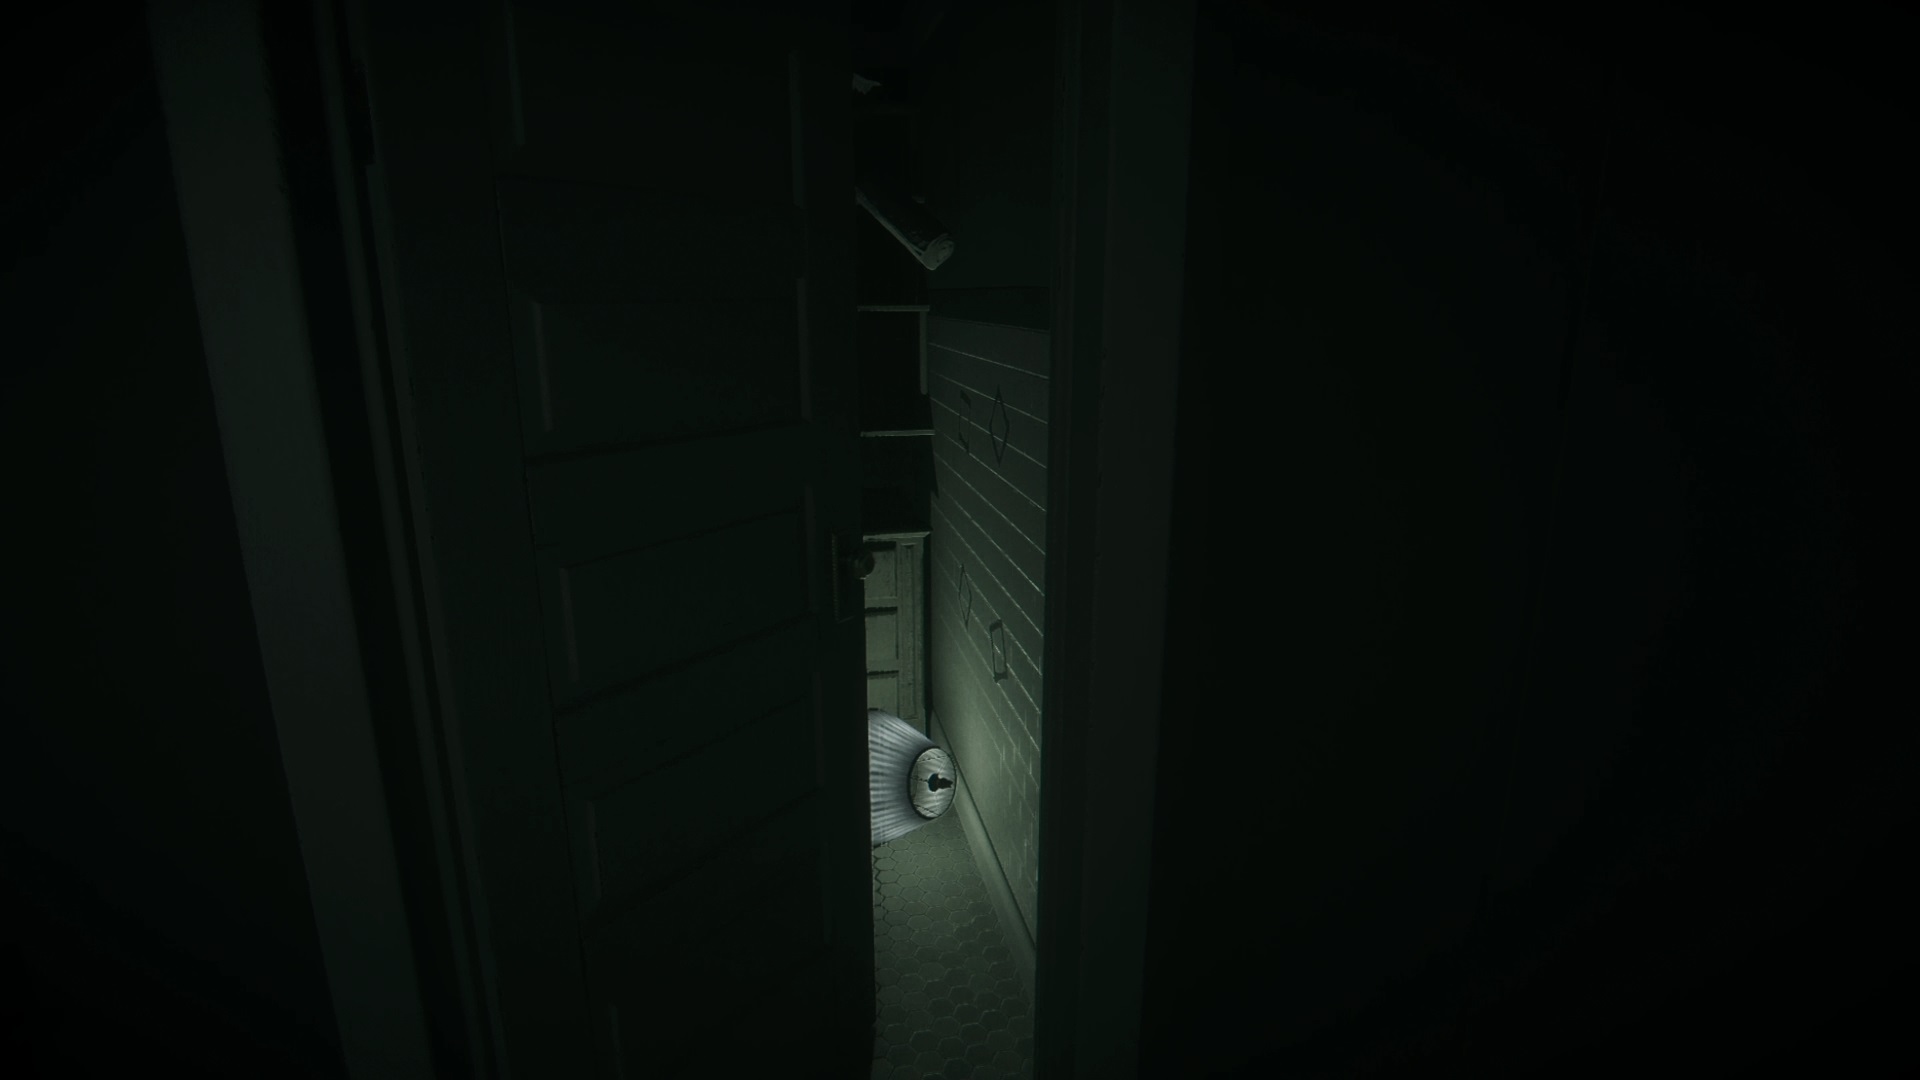
You wake up in a car. Go out into the street to find a mannequin with a crowbar in the background. Collect the item and retrace your steps to find a new dummy near a red door. Use the crowbar to unlock the door to a yard. Enter the elevator to find that the generator is missing power. Go to the street to find a car with a fuel canister.
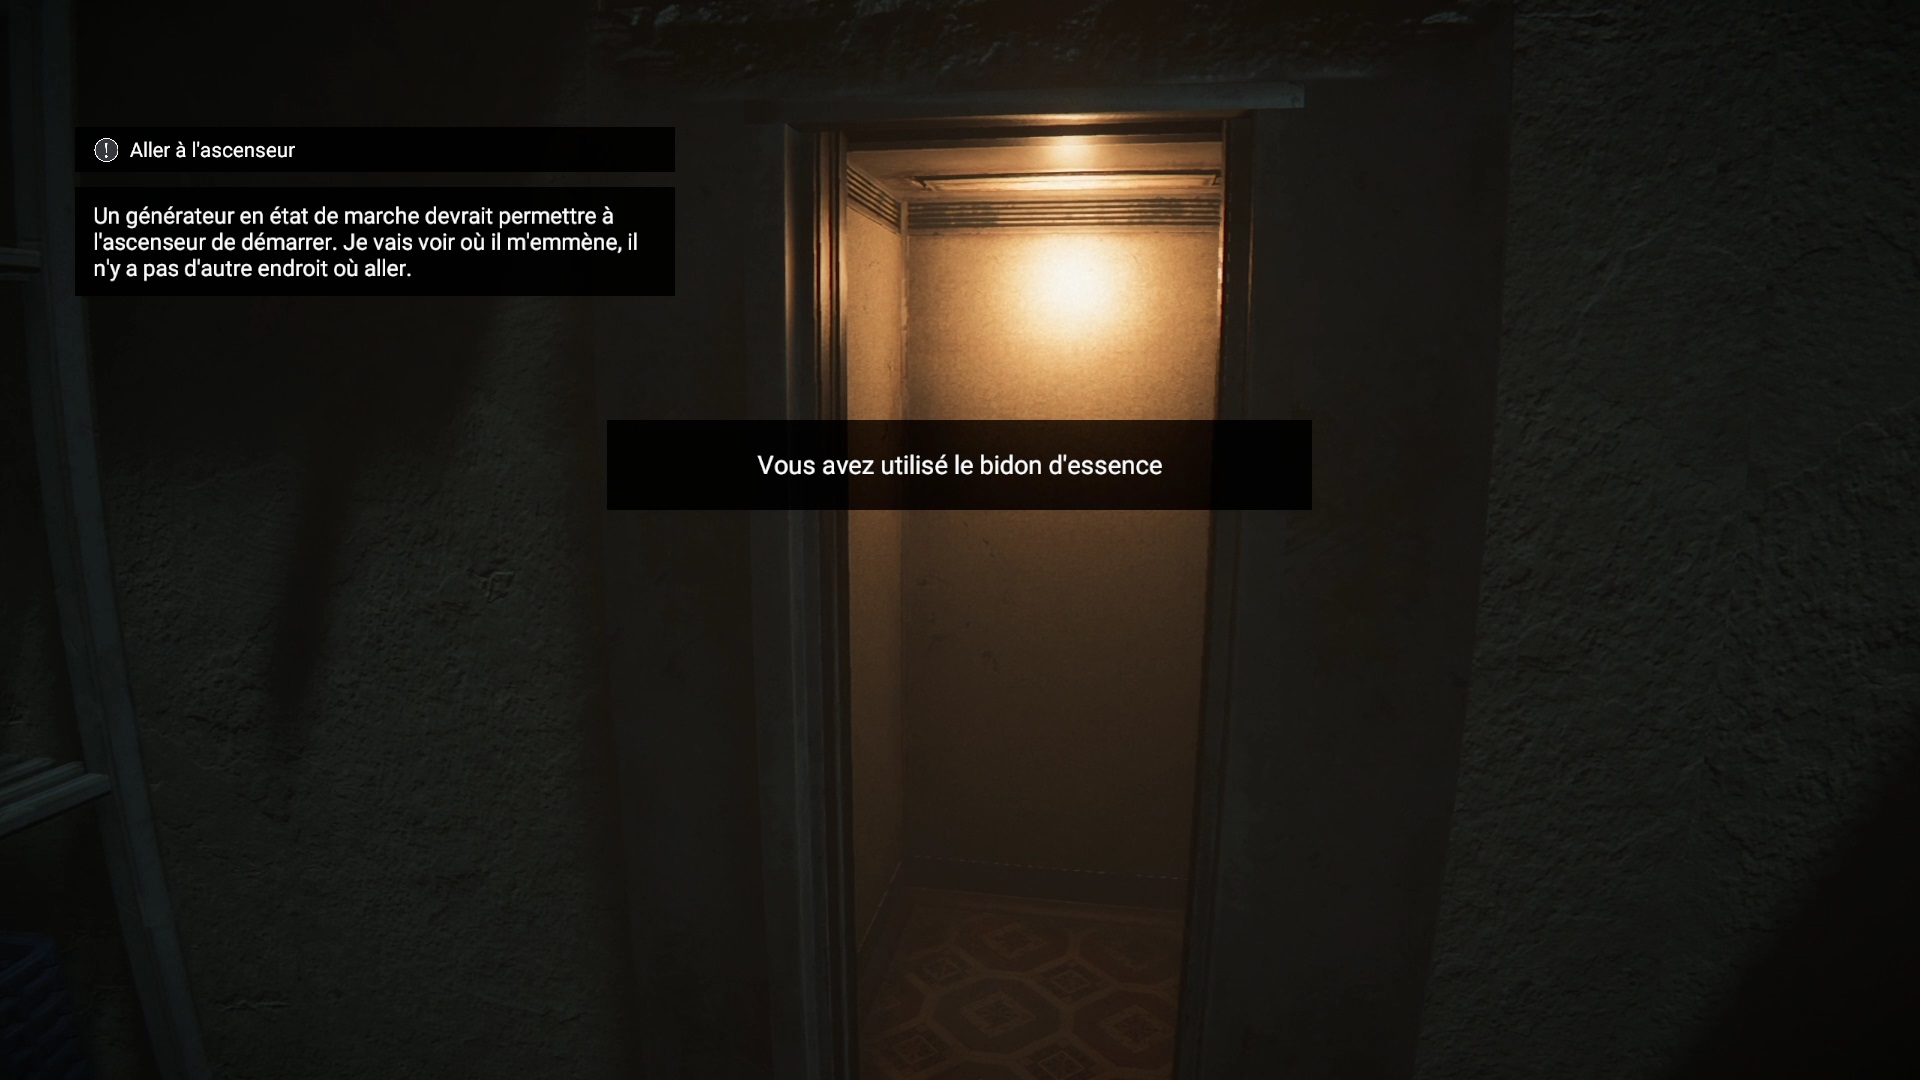
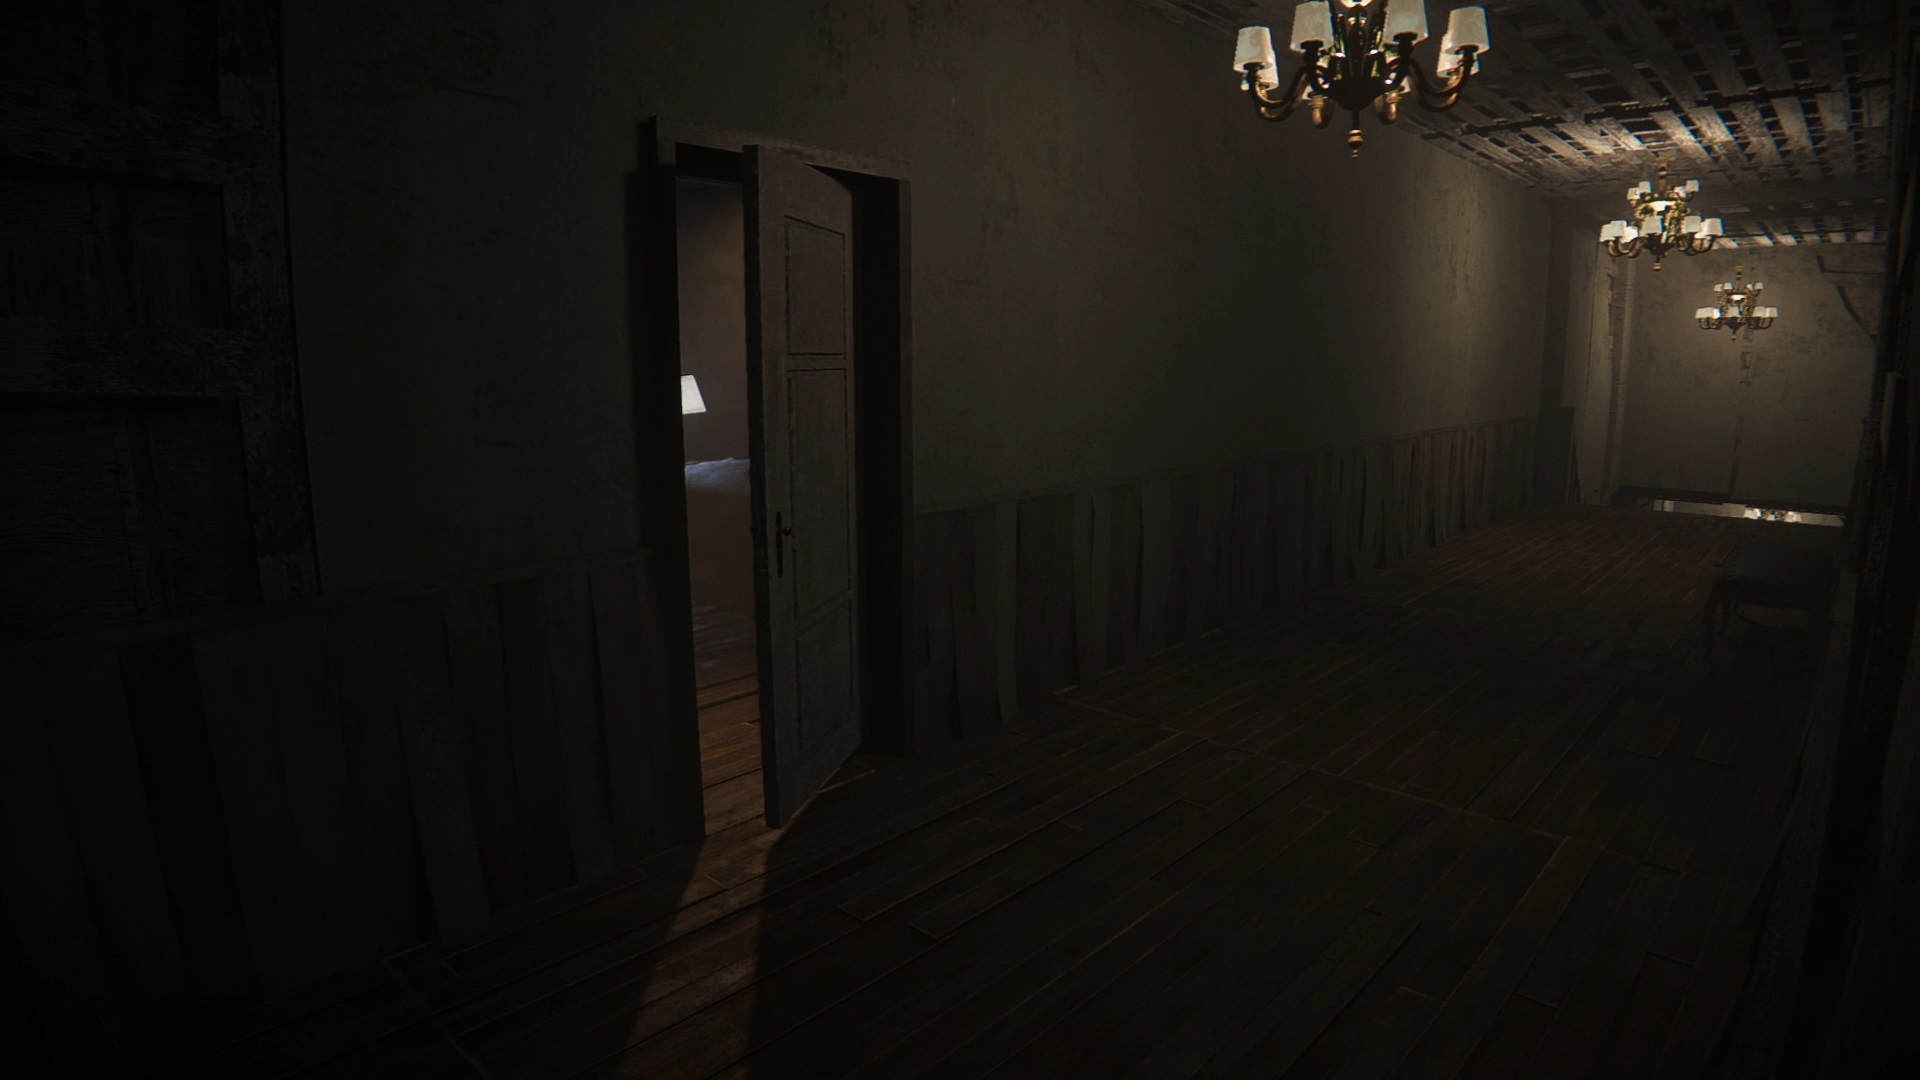
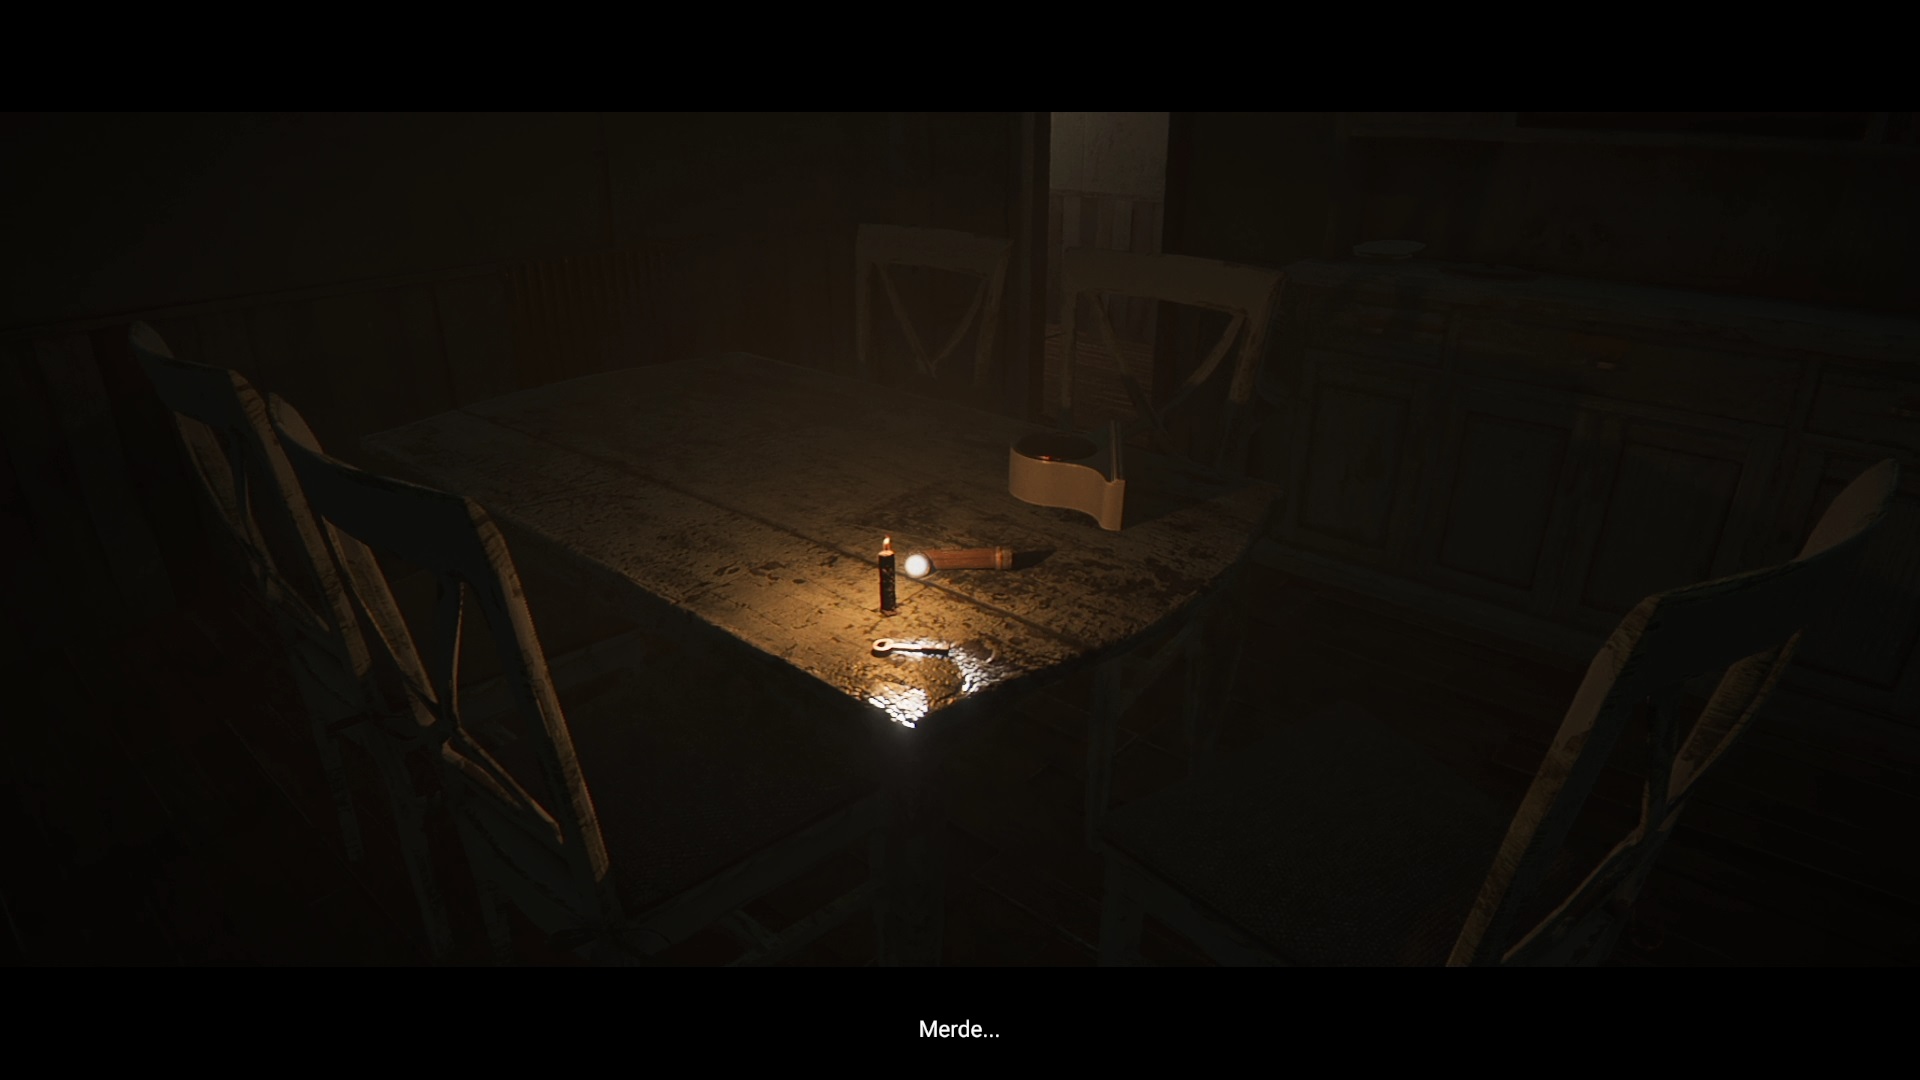
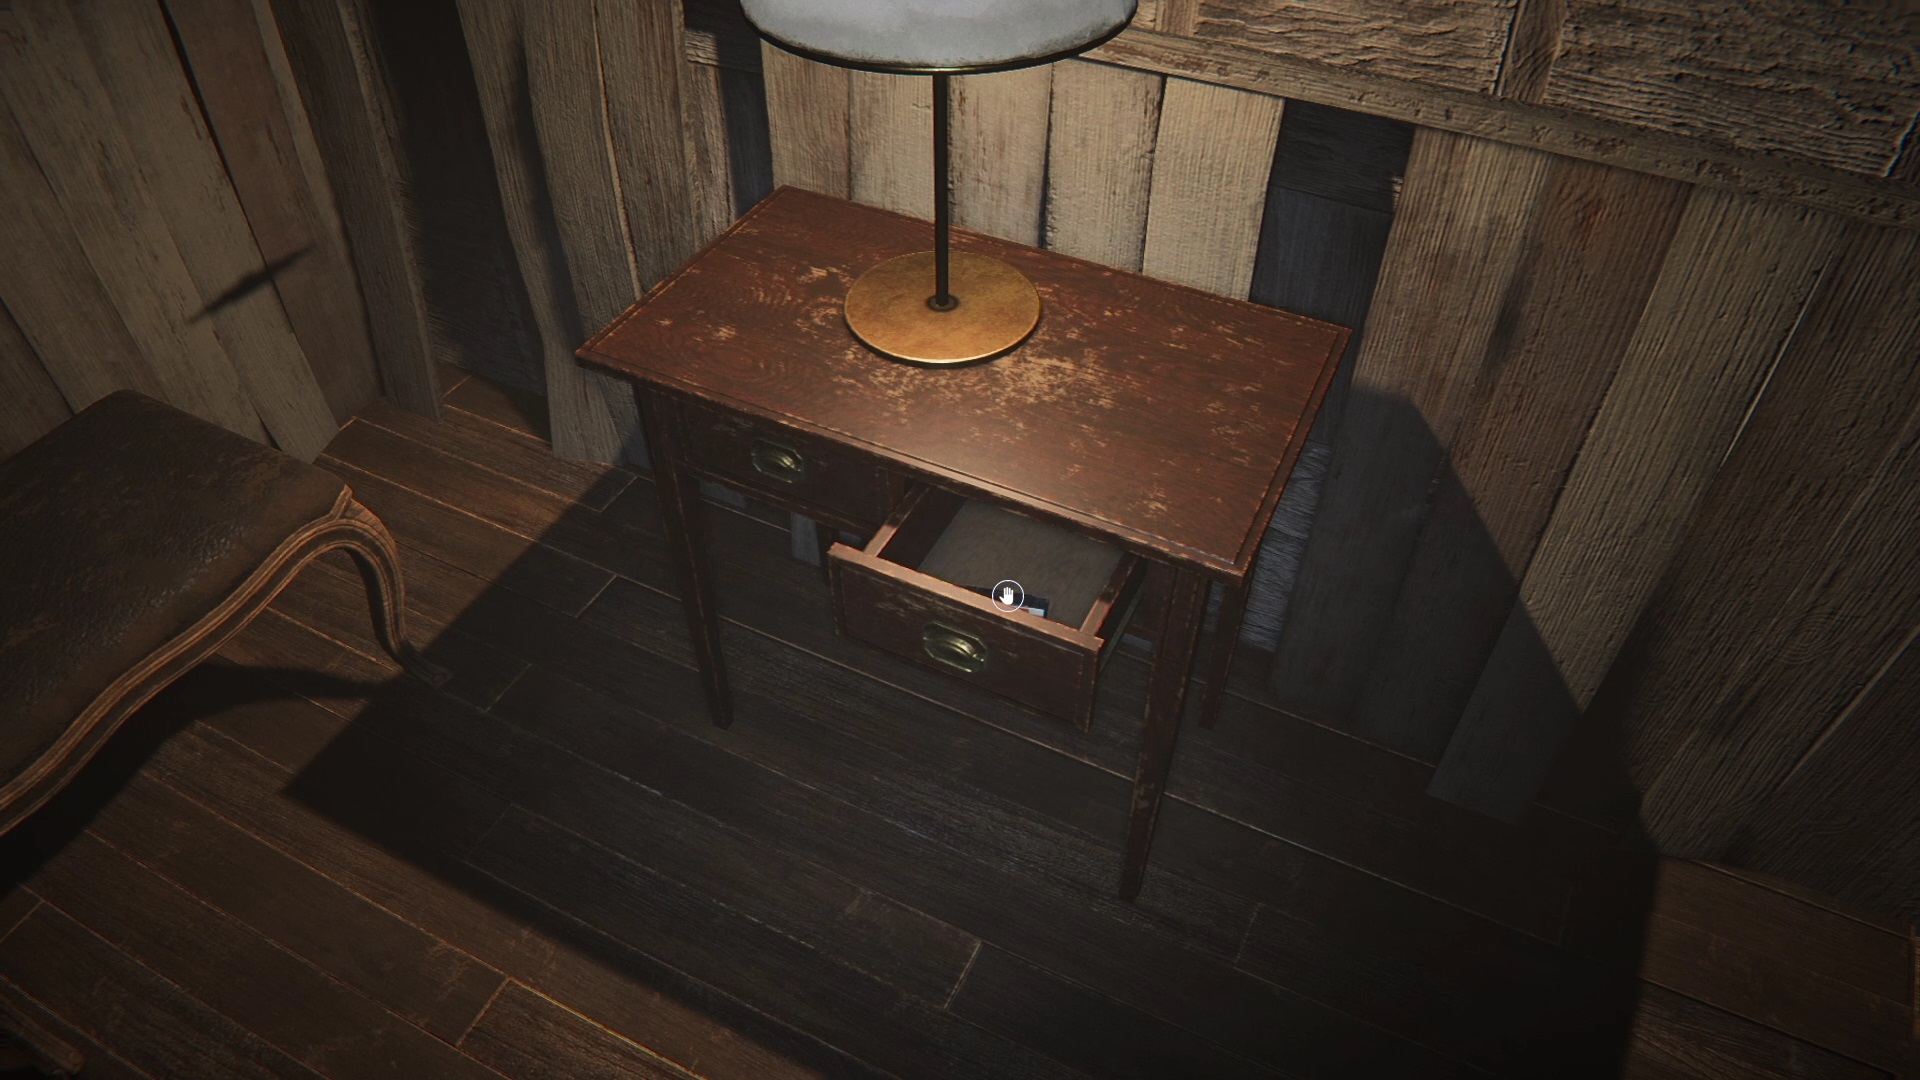
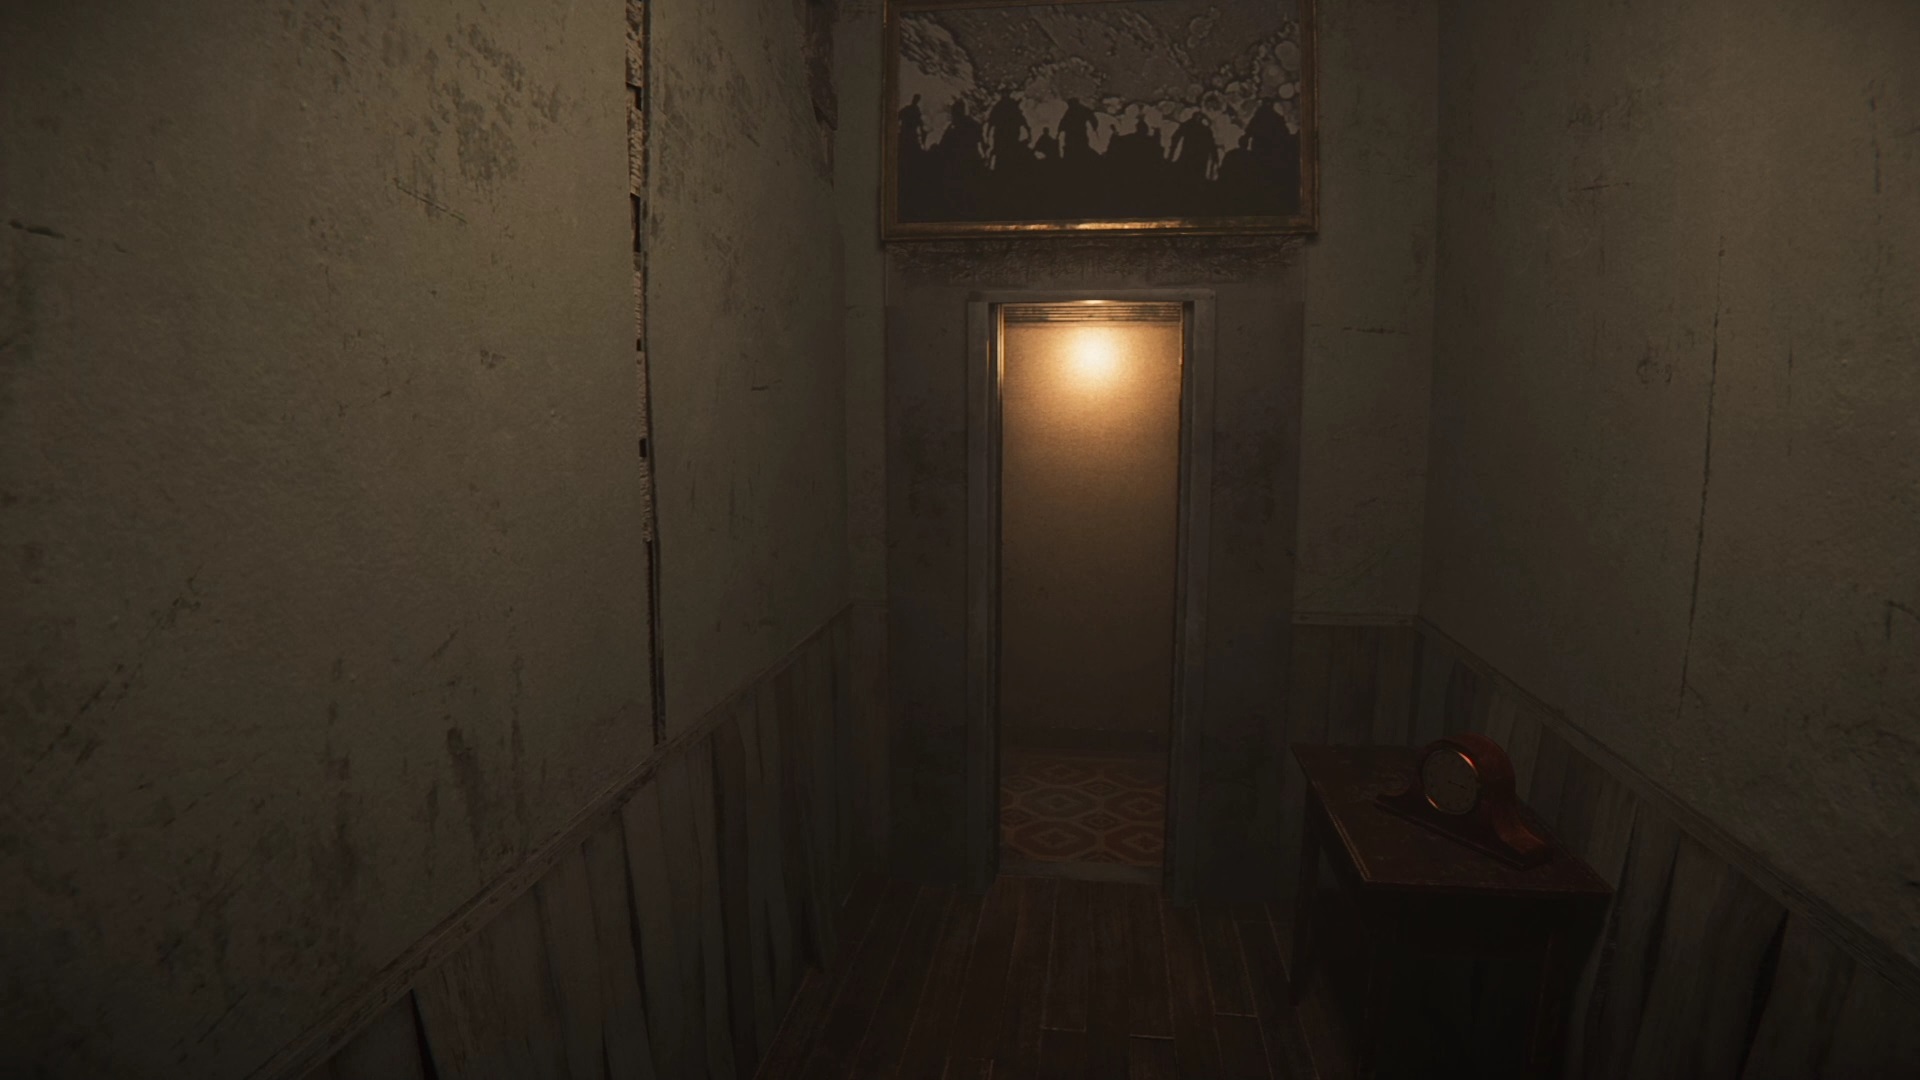
Collect the fuel canister to associate it with the generator of the court. Once the elevator is powered up, head inside. Go deeper into this new hallway to find a half-open door. The door closes as you pass, go down the stairs opposite and move forward so that the hallway changes. You will find at the bottom left of the corridor a dining room. Examine the table to find a key.
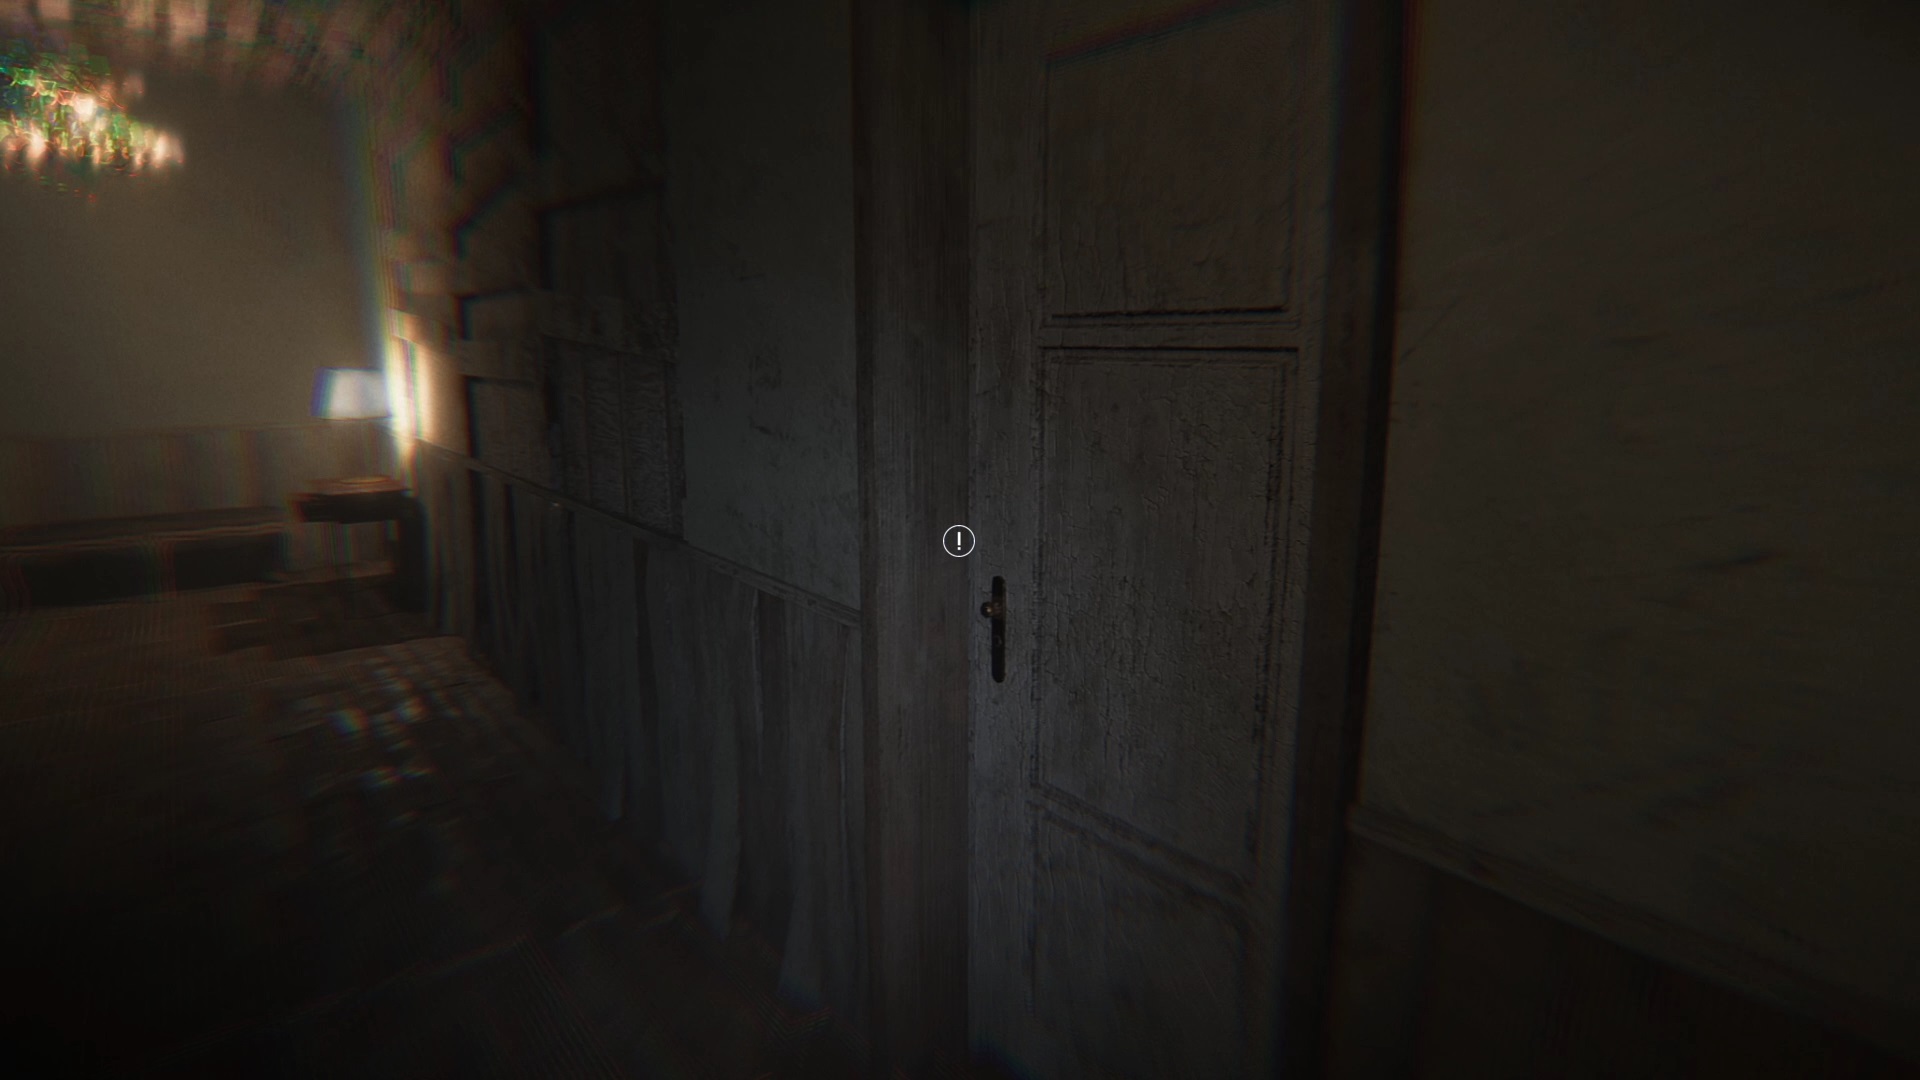
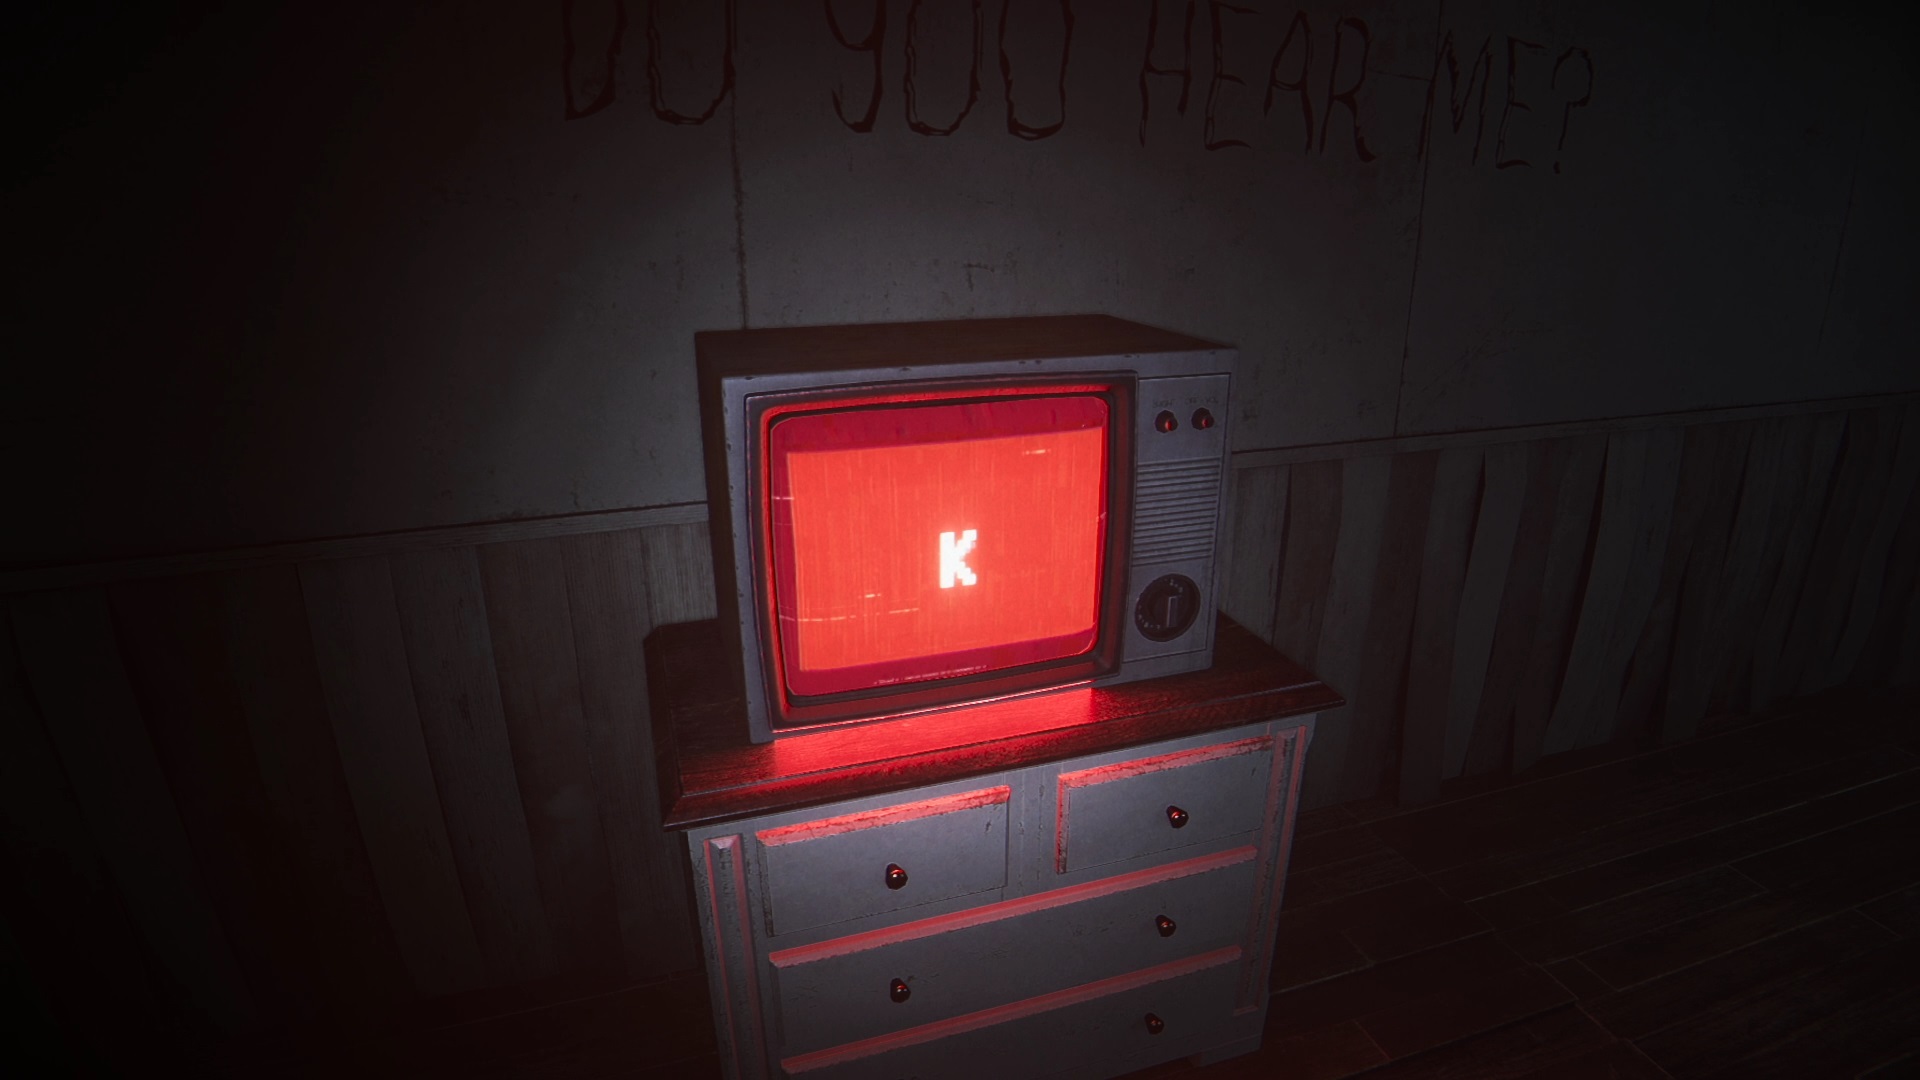
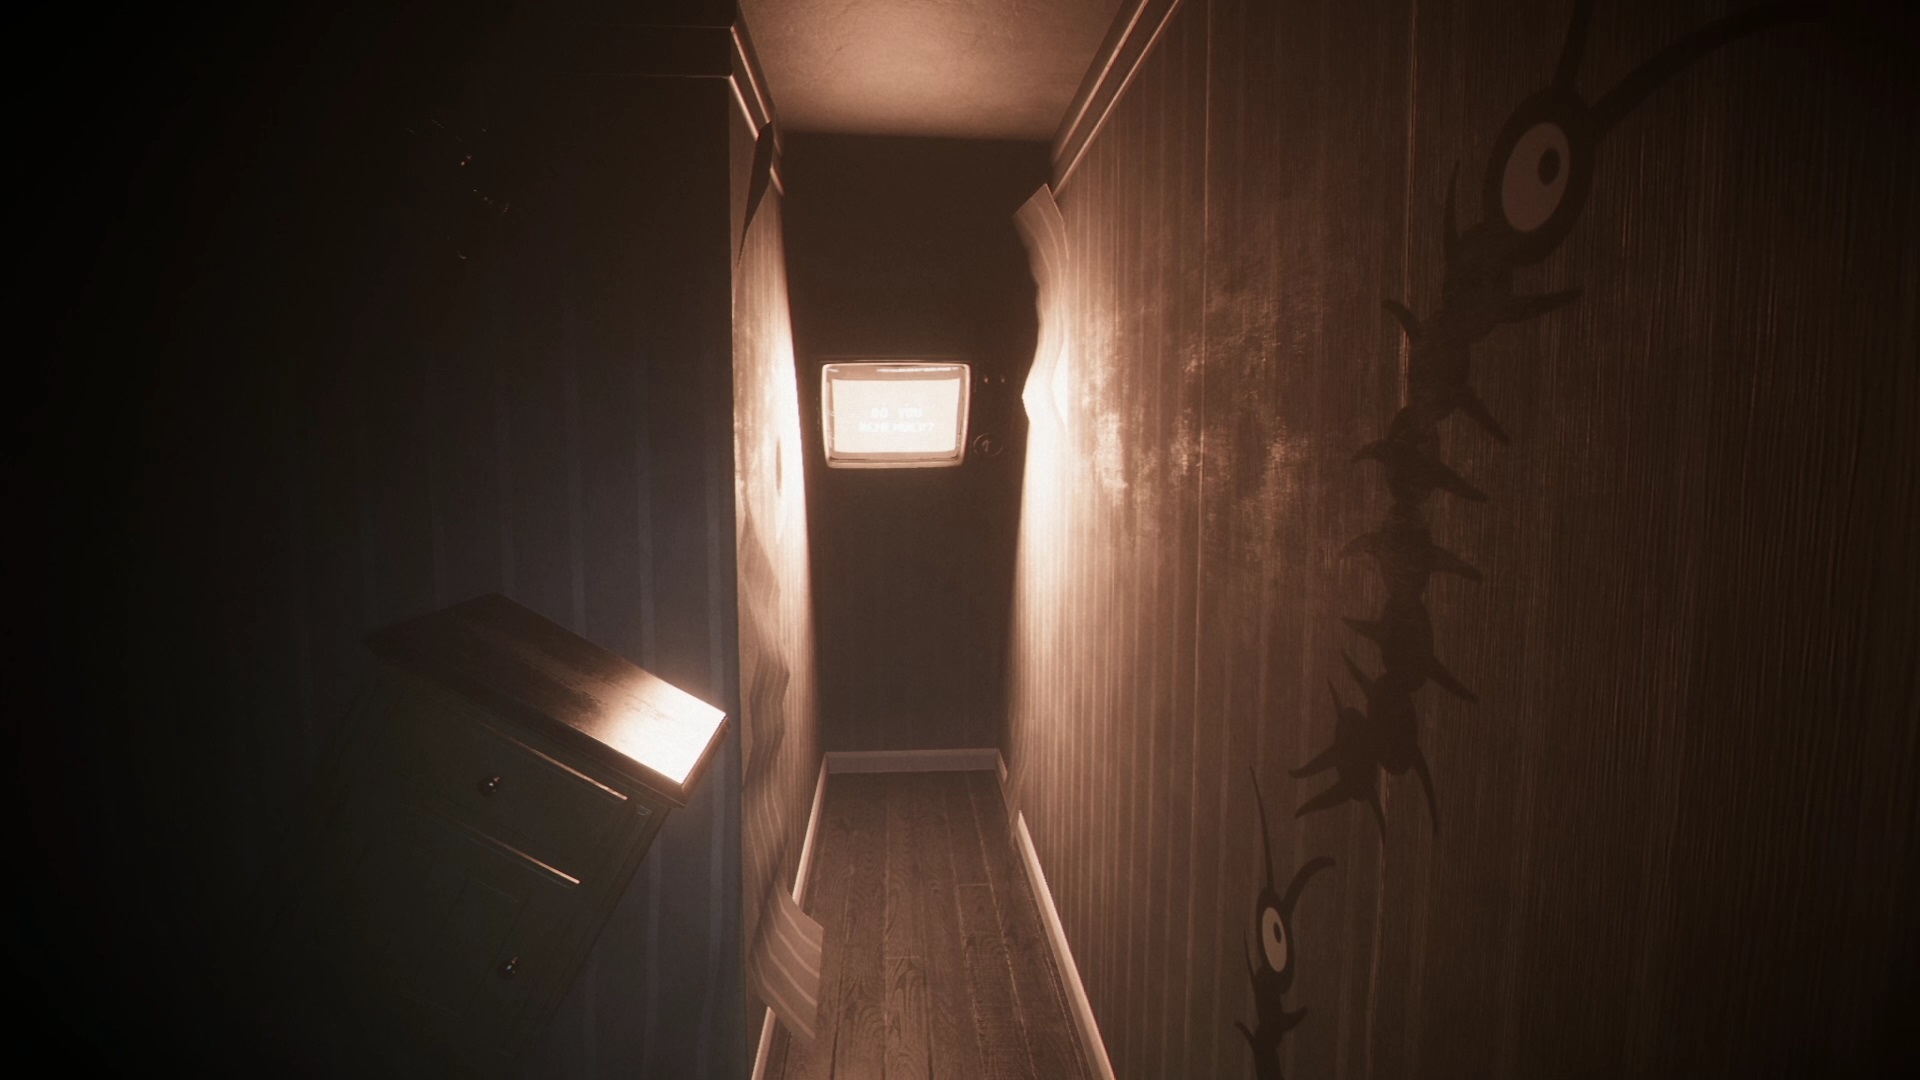
Return to the previously ajar door to open it with the key. Turn on the TV inside to see a message. Then interact with the dummy to clear the way. Go back down the nearby staircase to enter a new elevator.
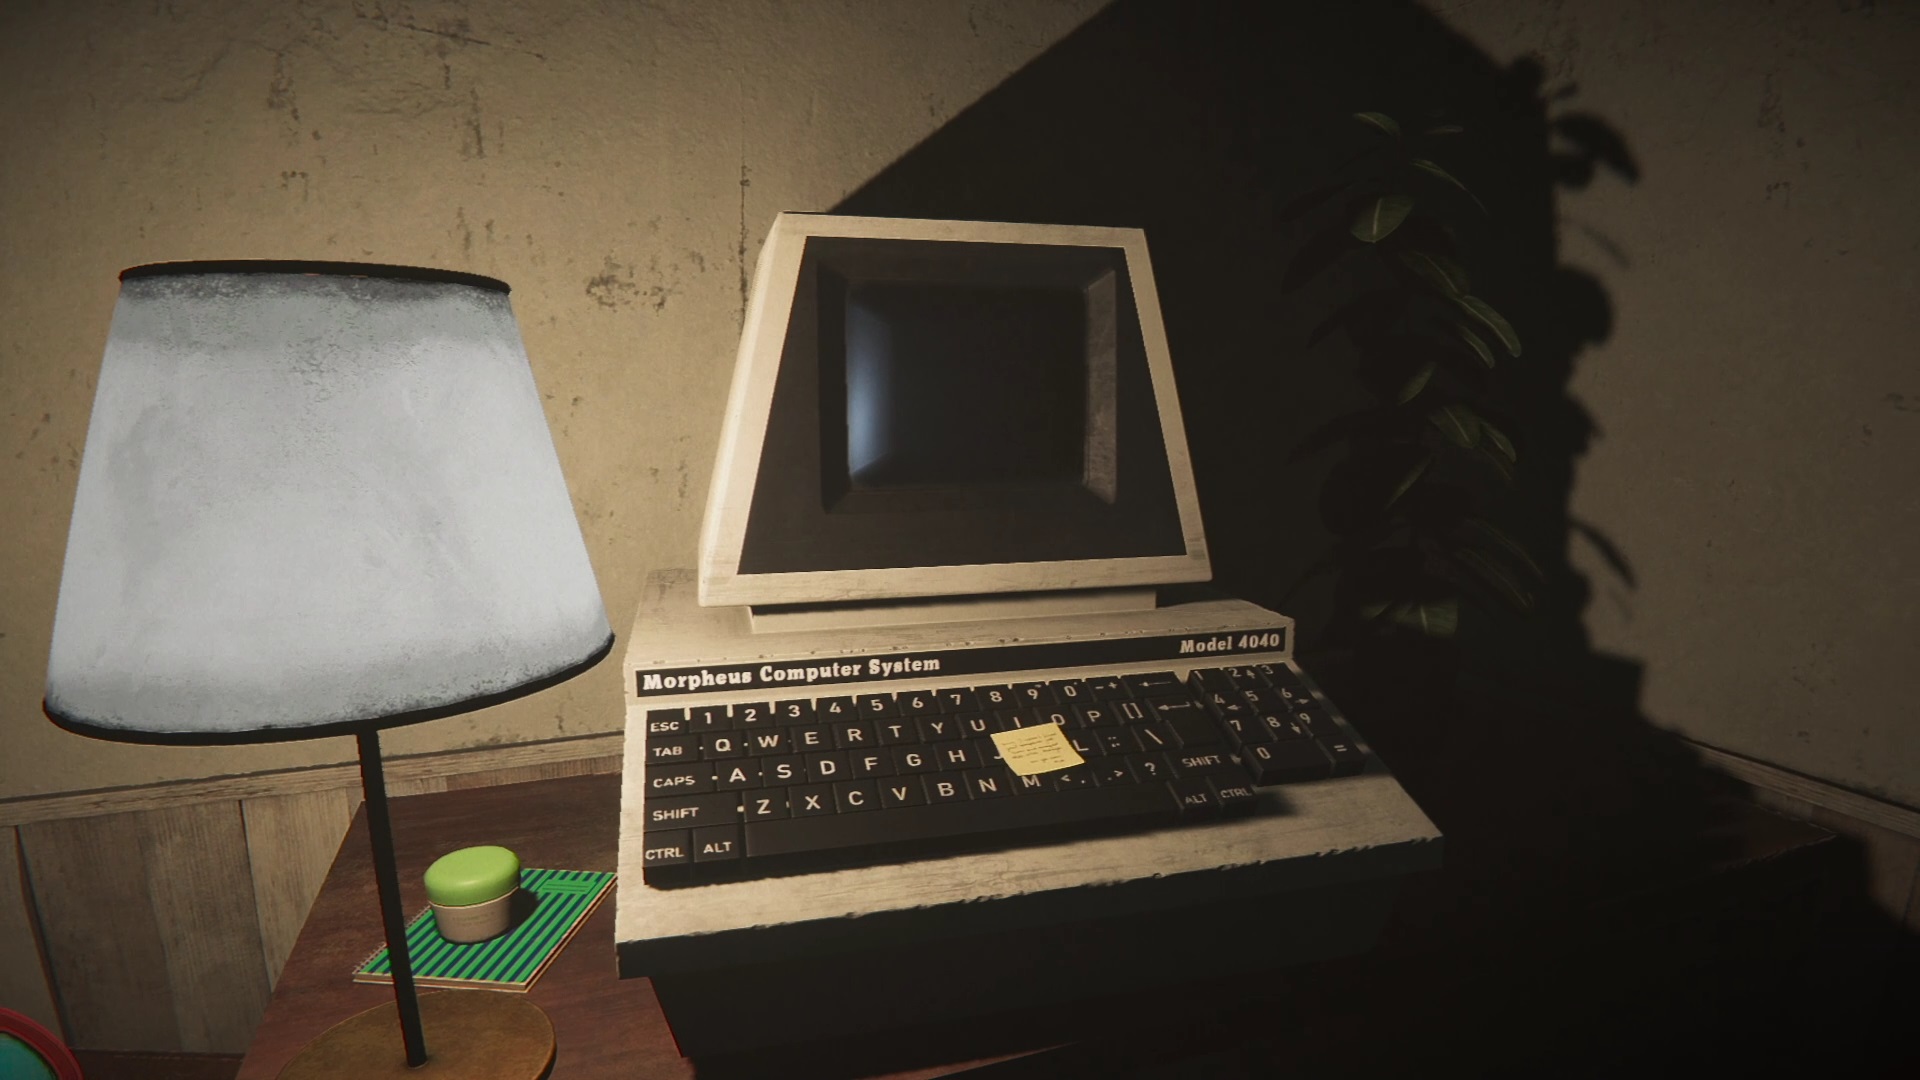

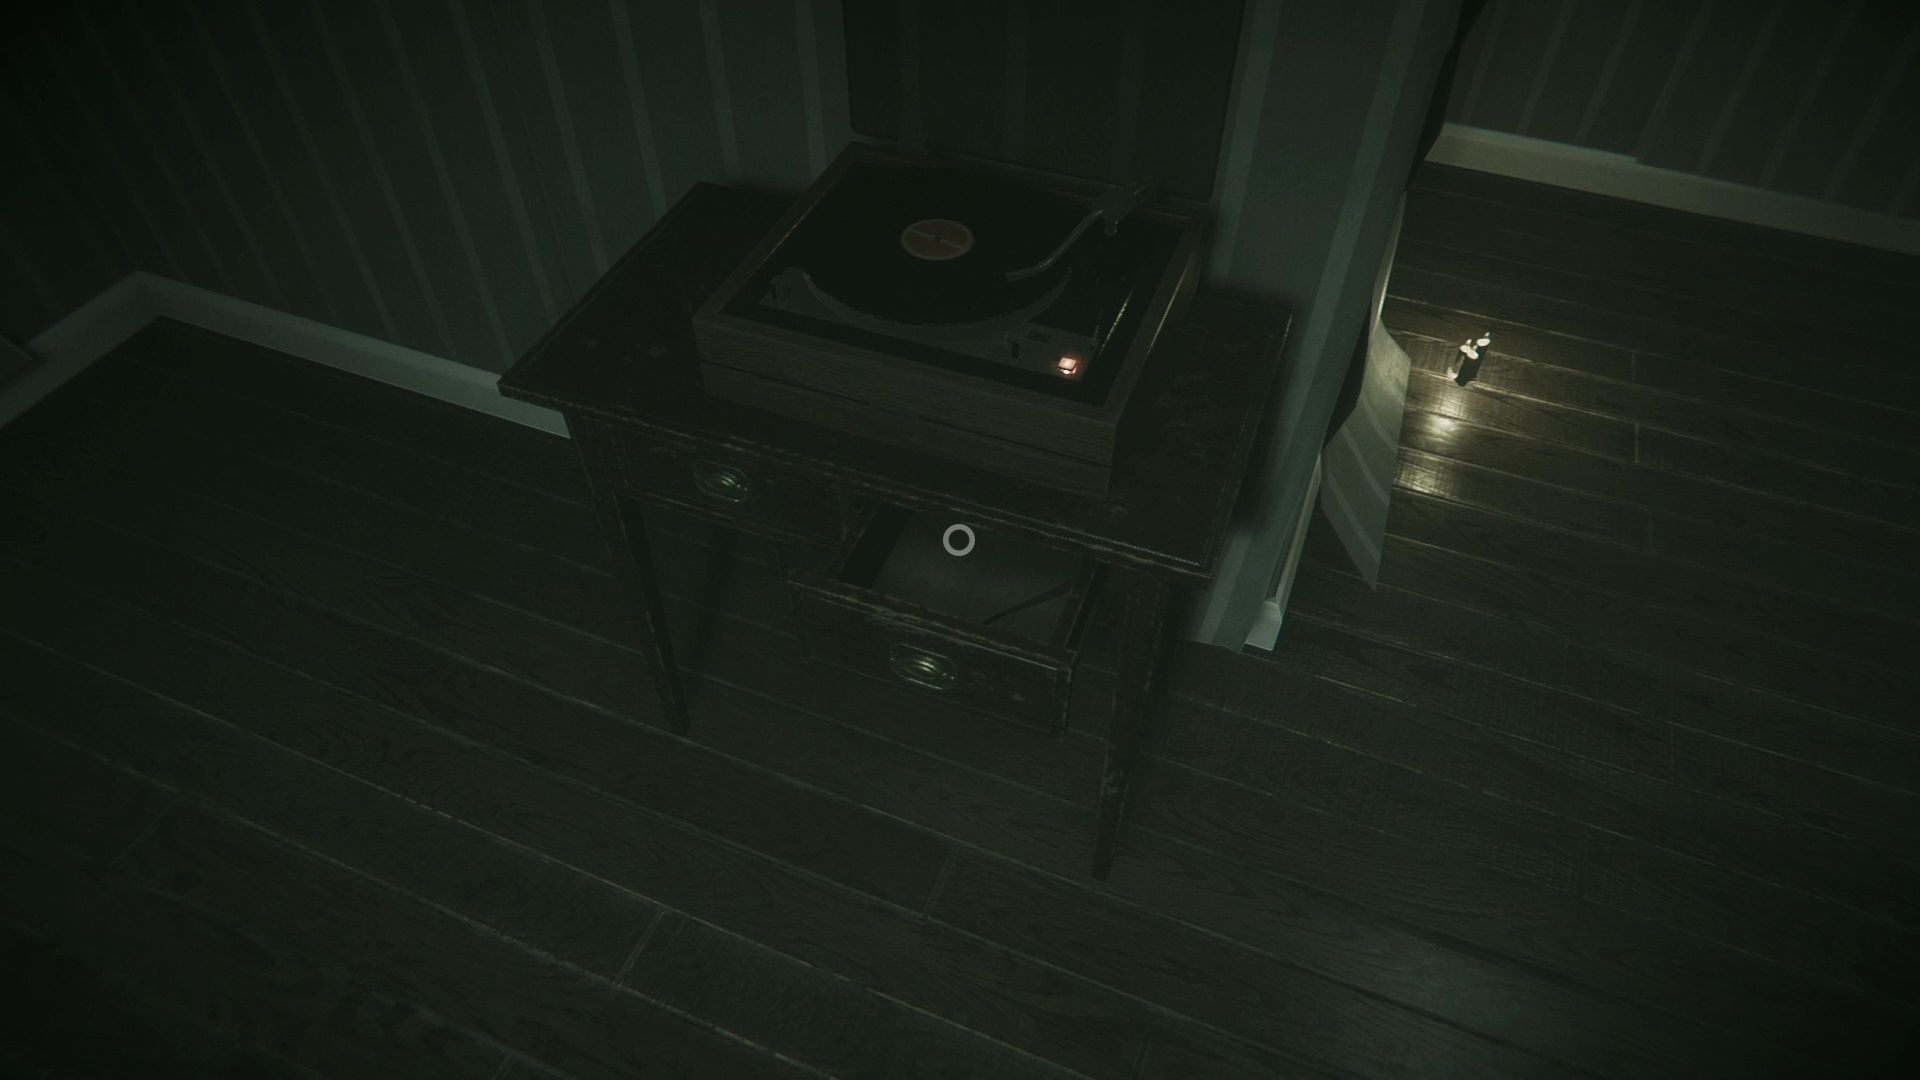
In this new floor, interact with the machine by pressing the keys on the keyboard. After talking, go back in the elevator. On the lower floor, play the piano in the first room to cause a ghost. Exit the room for the ghost to play a few notes. Go back to the piano to play the ghost notes and go to the far left of the hall to find a tape in a chest of drawers. Enter the room on the right to find a tape player. Play the tape and go down the stairs nearby.
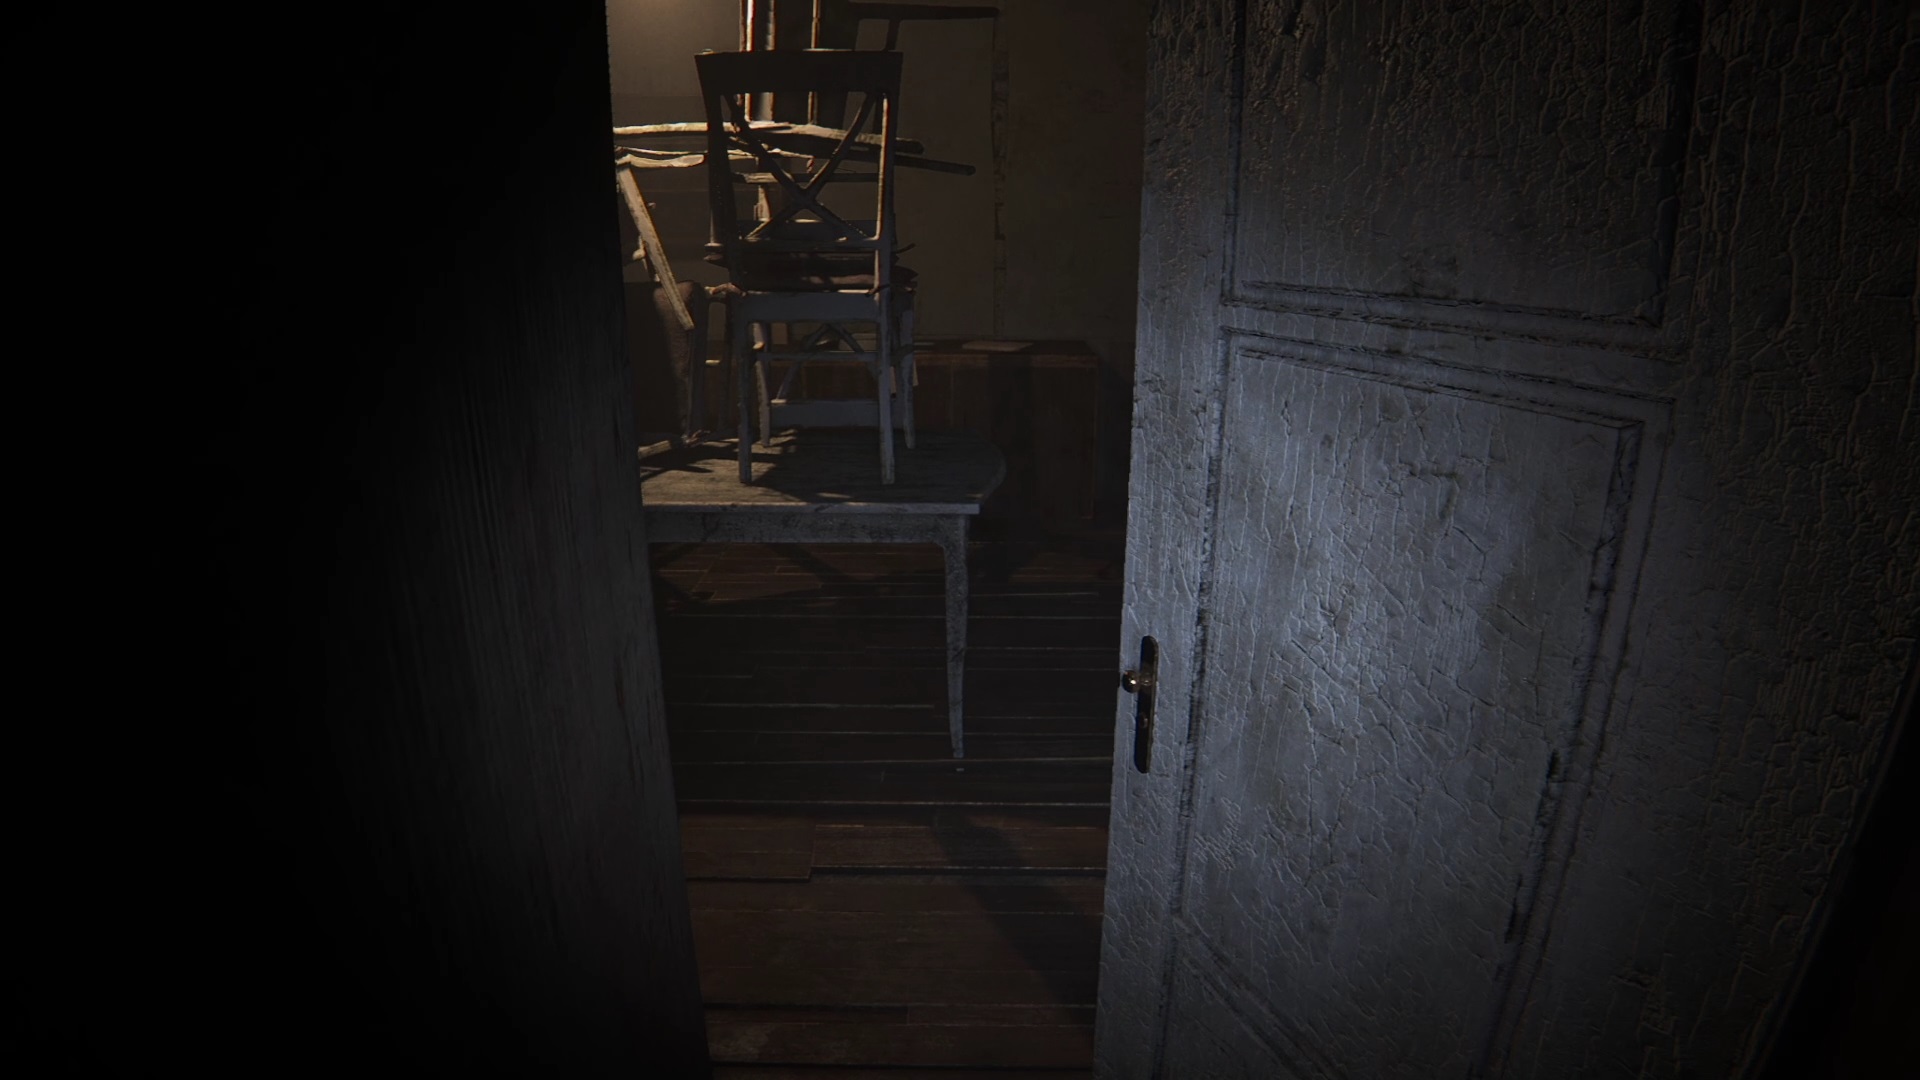
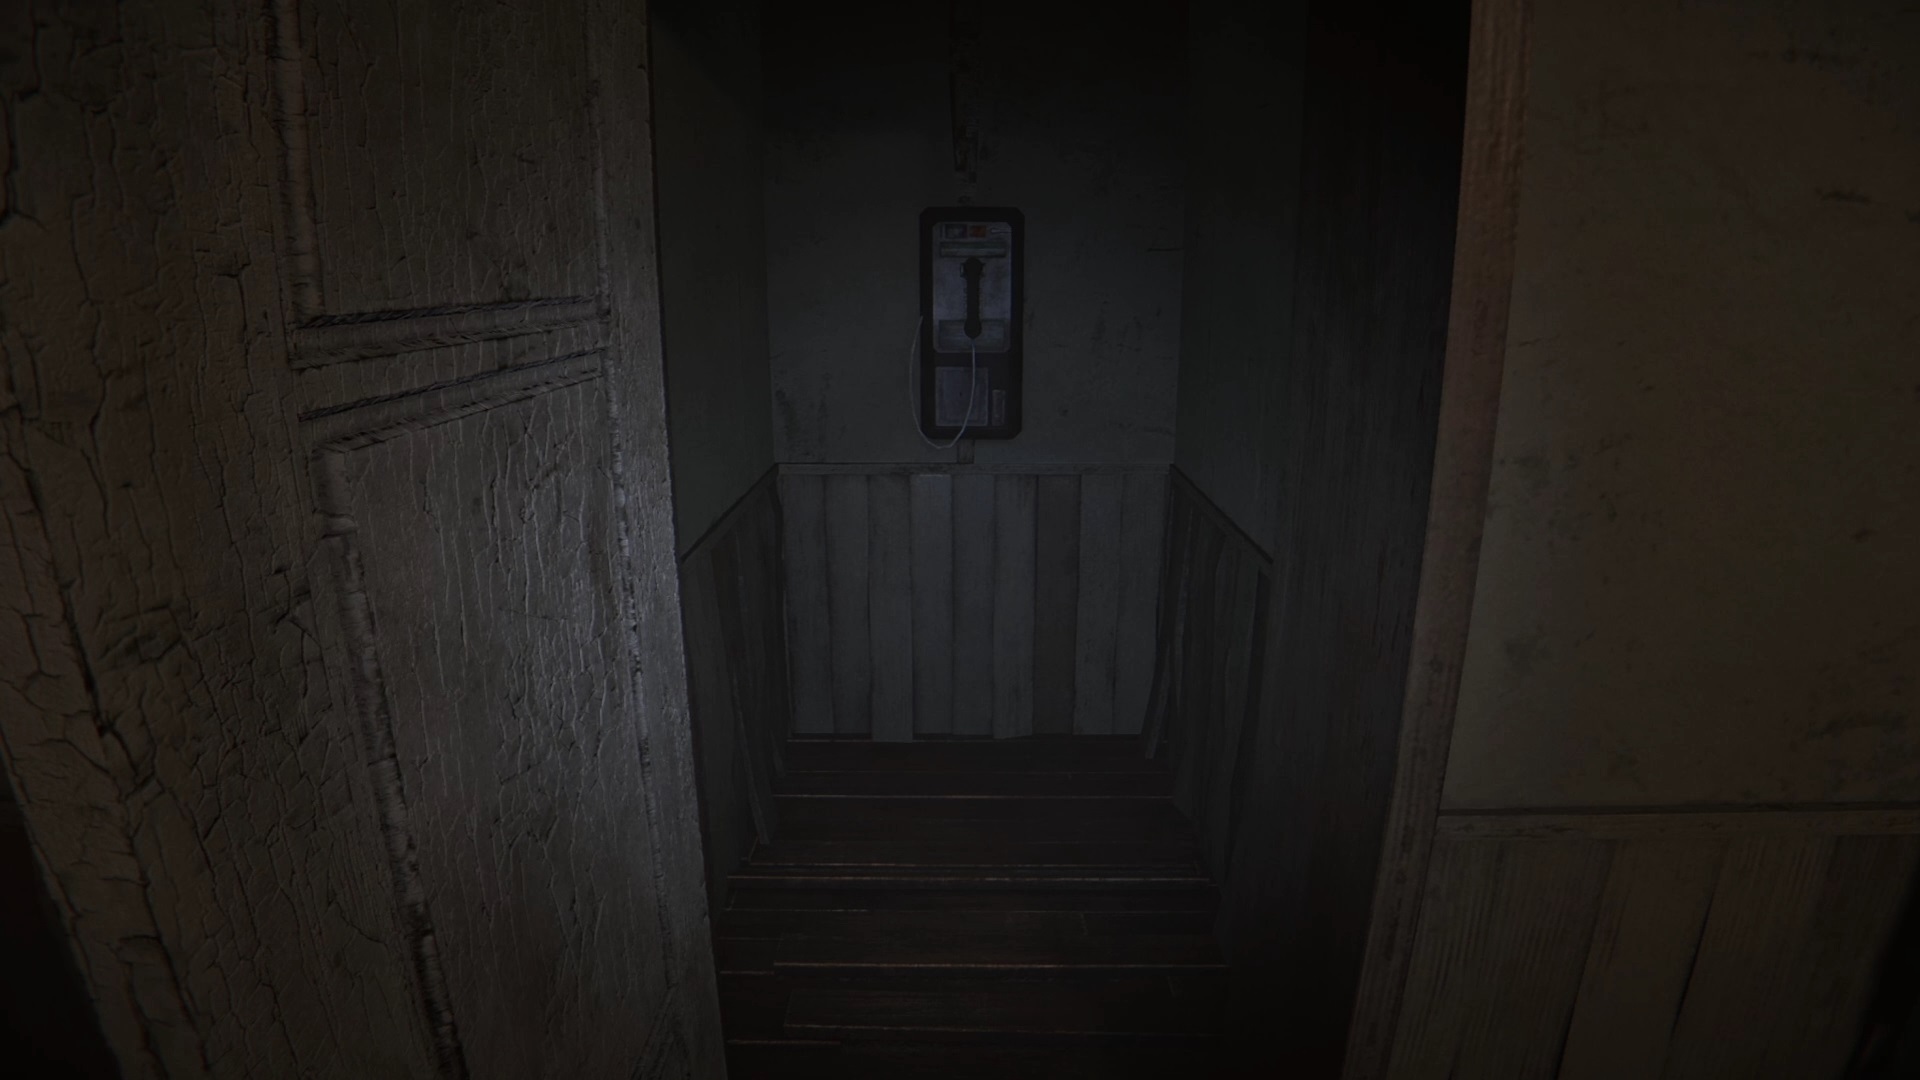
Go to the end of the corridor to return to the dining room. Close the door to reveal a phone. Interact with it and exit the room for the door to close. Open the door to go into the hallway. Go to the end of the corridor to interact with a mark. Turn around to find a floor light that illuminates a closet. Go deeper into the closet to return to the previous hallway. Go to the starting elevator to descend to a lower floor.
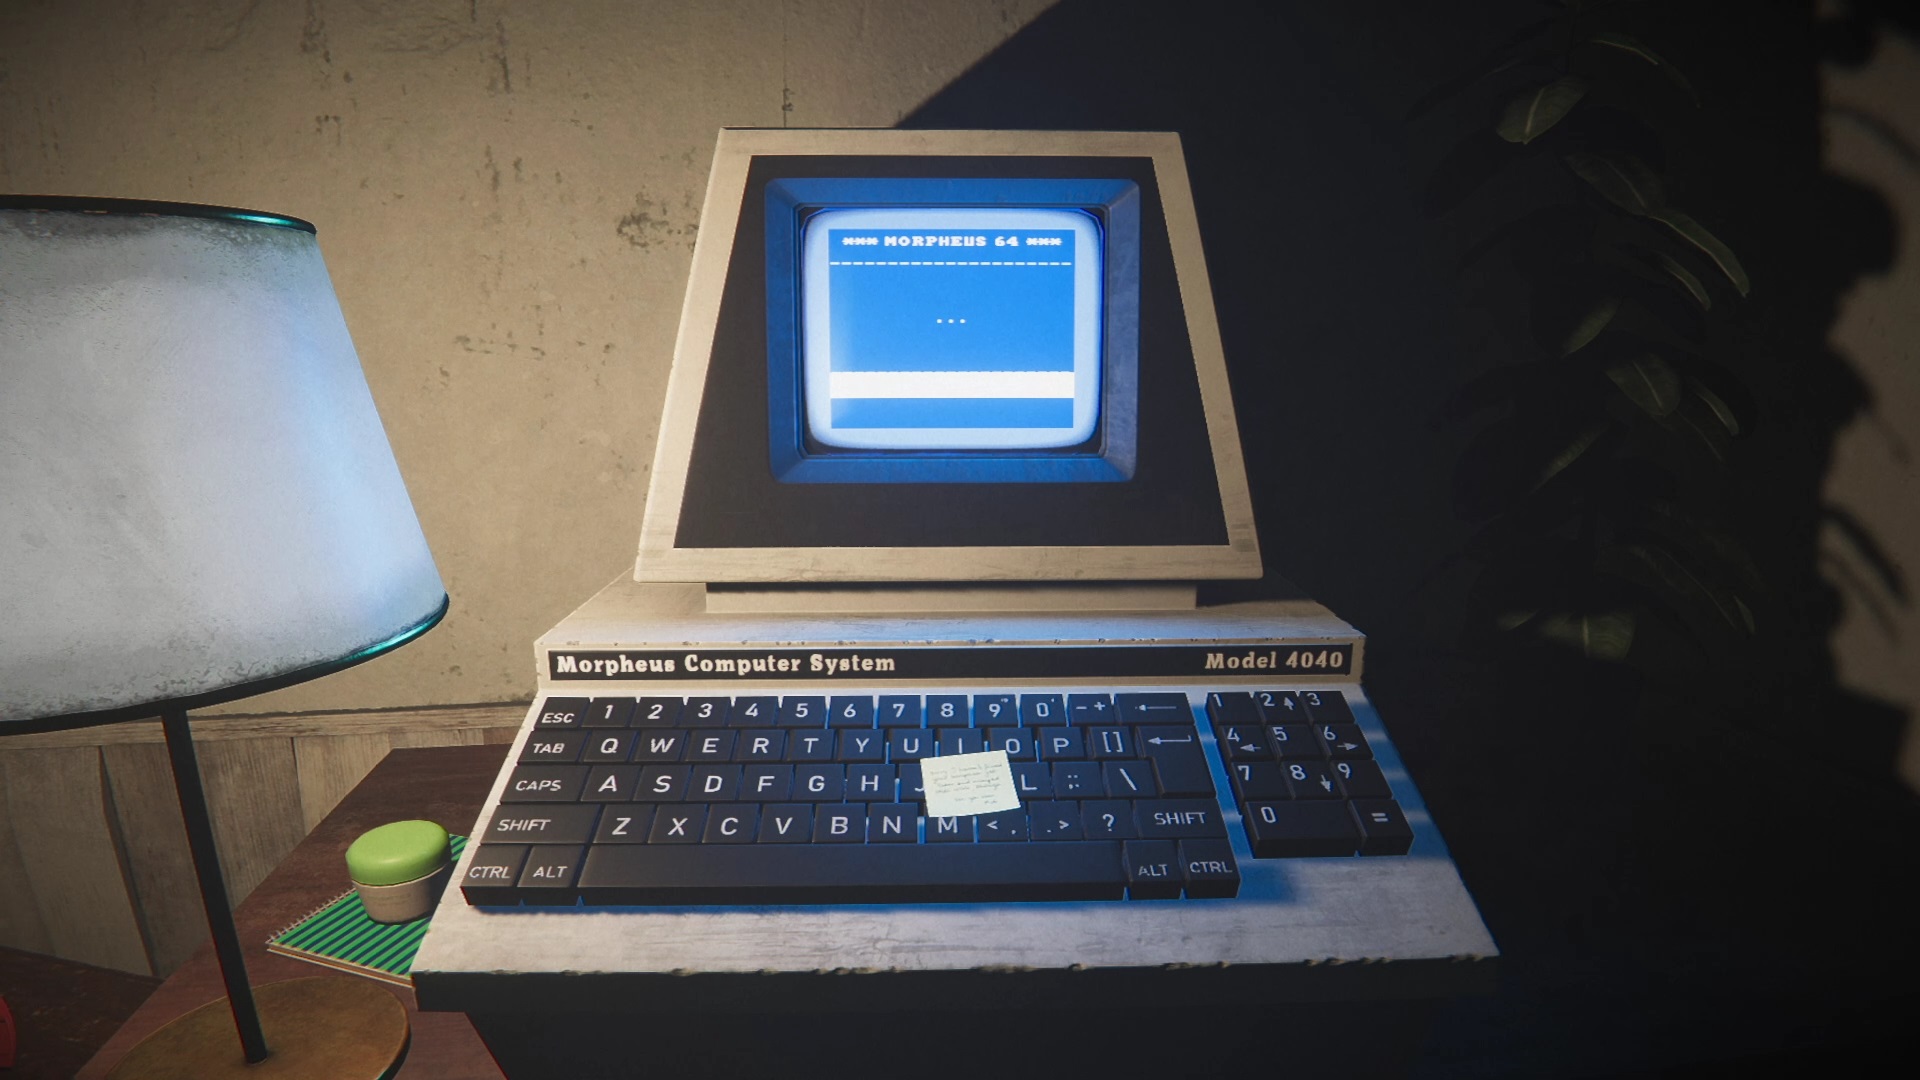
You are back with the machine. Dialogue with the machine so that the power supply is cut off. Repower the room with the generator in the closet. Once powered up, finish your chat so you can get back in the elevator.
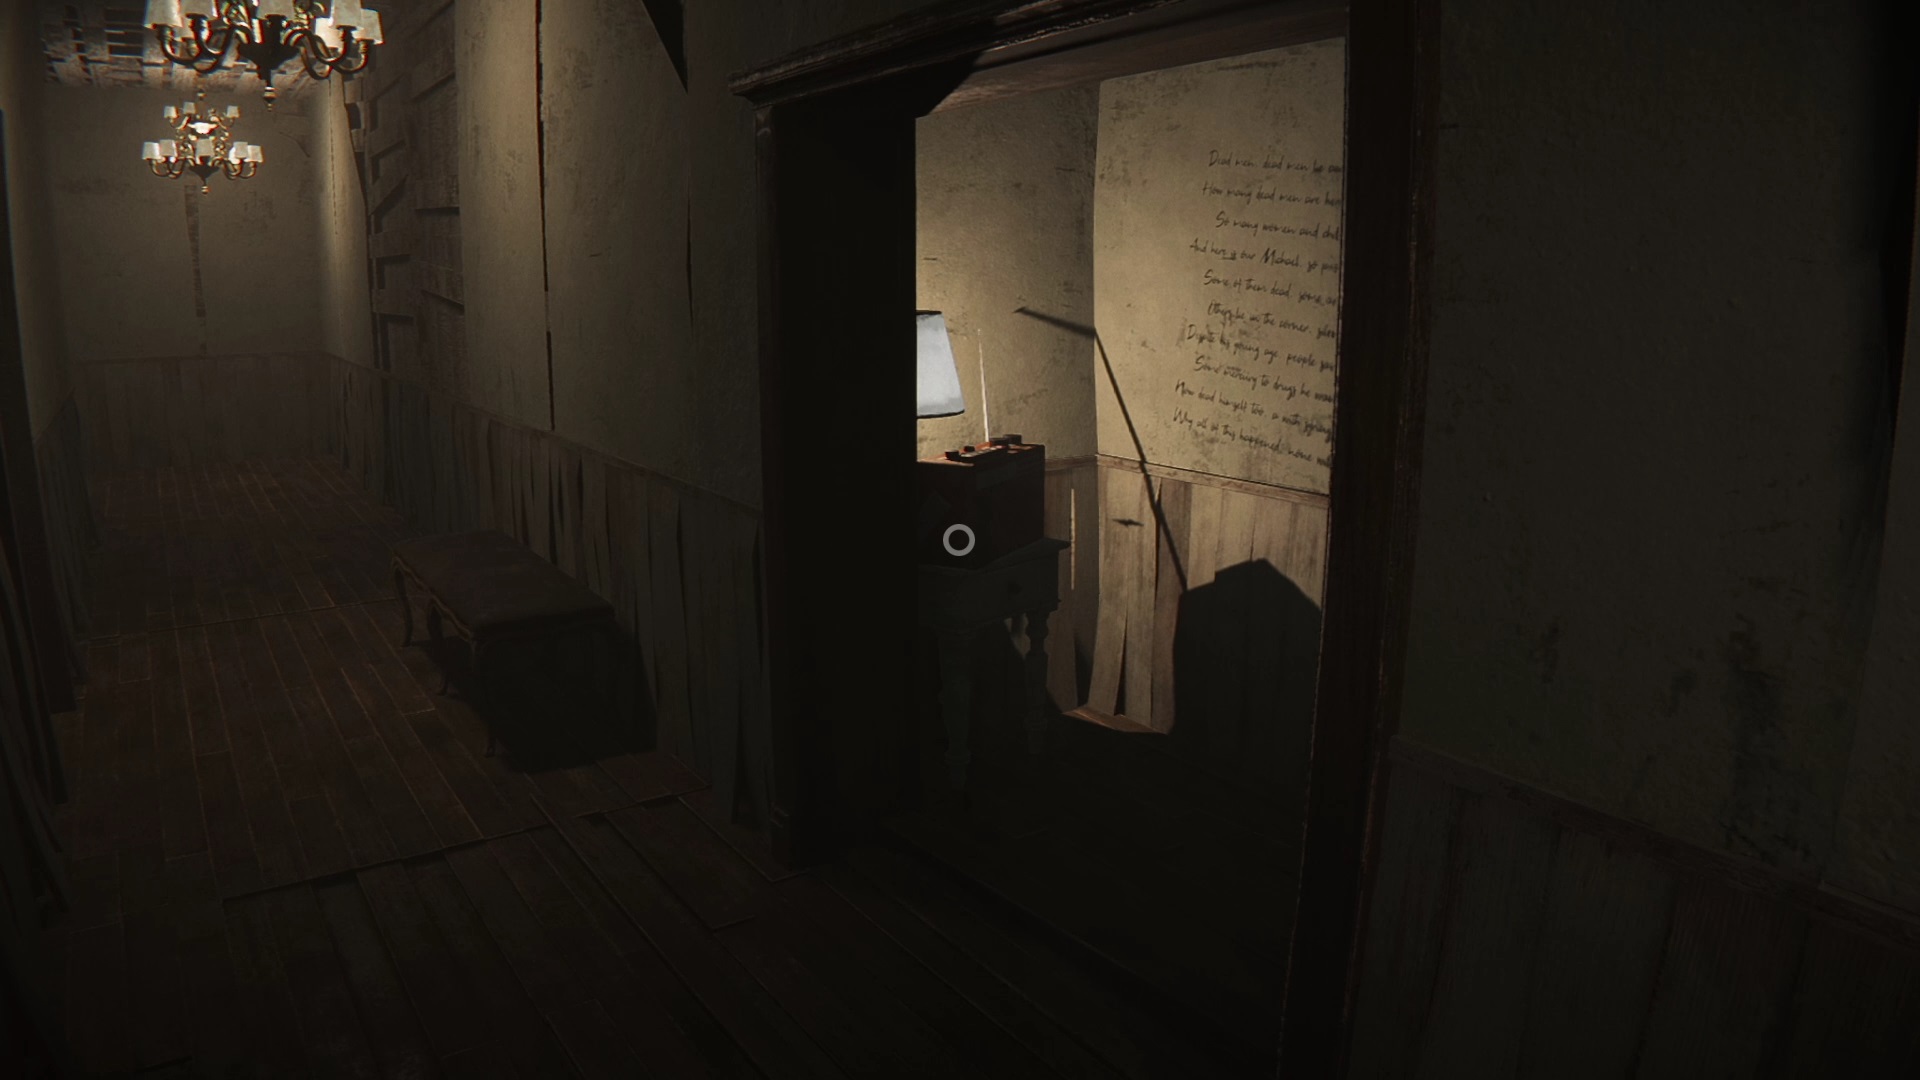

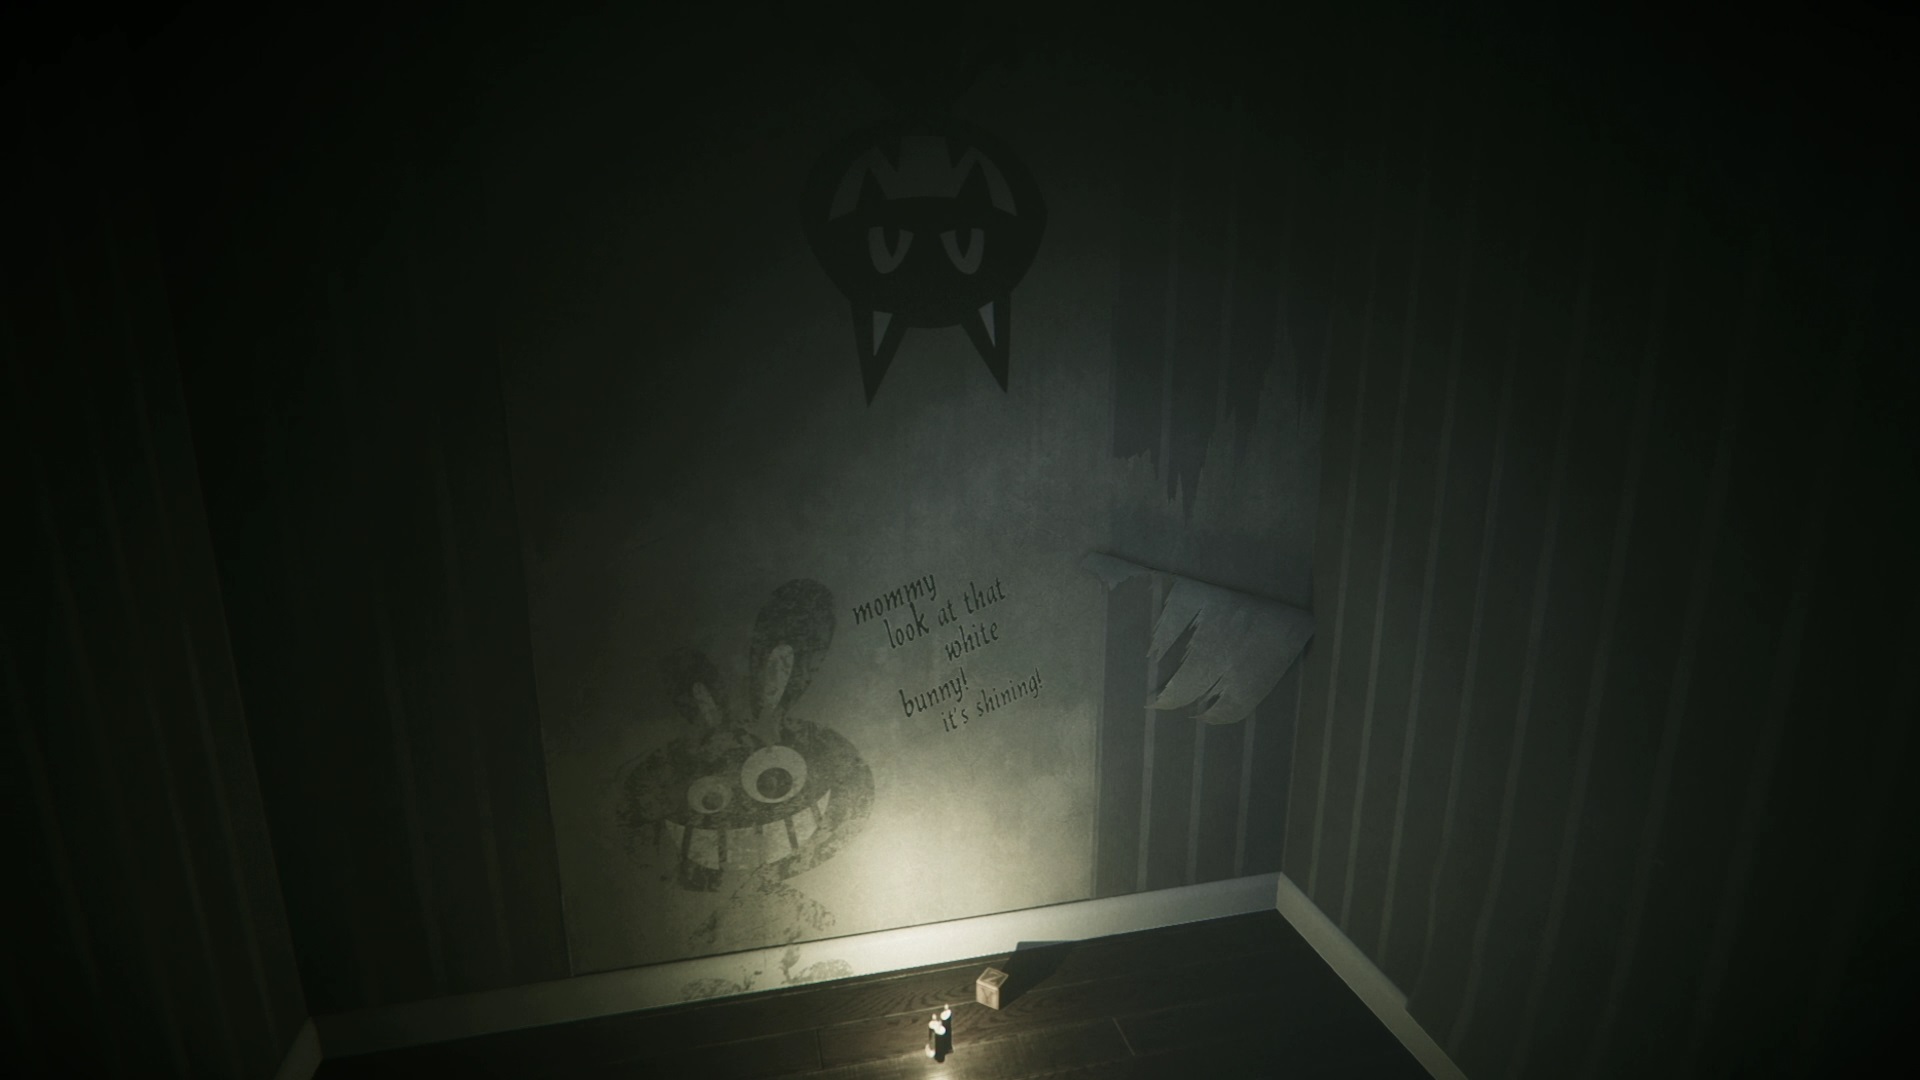
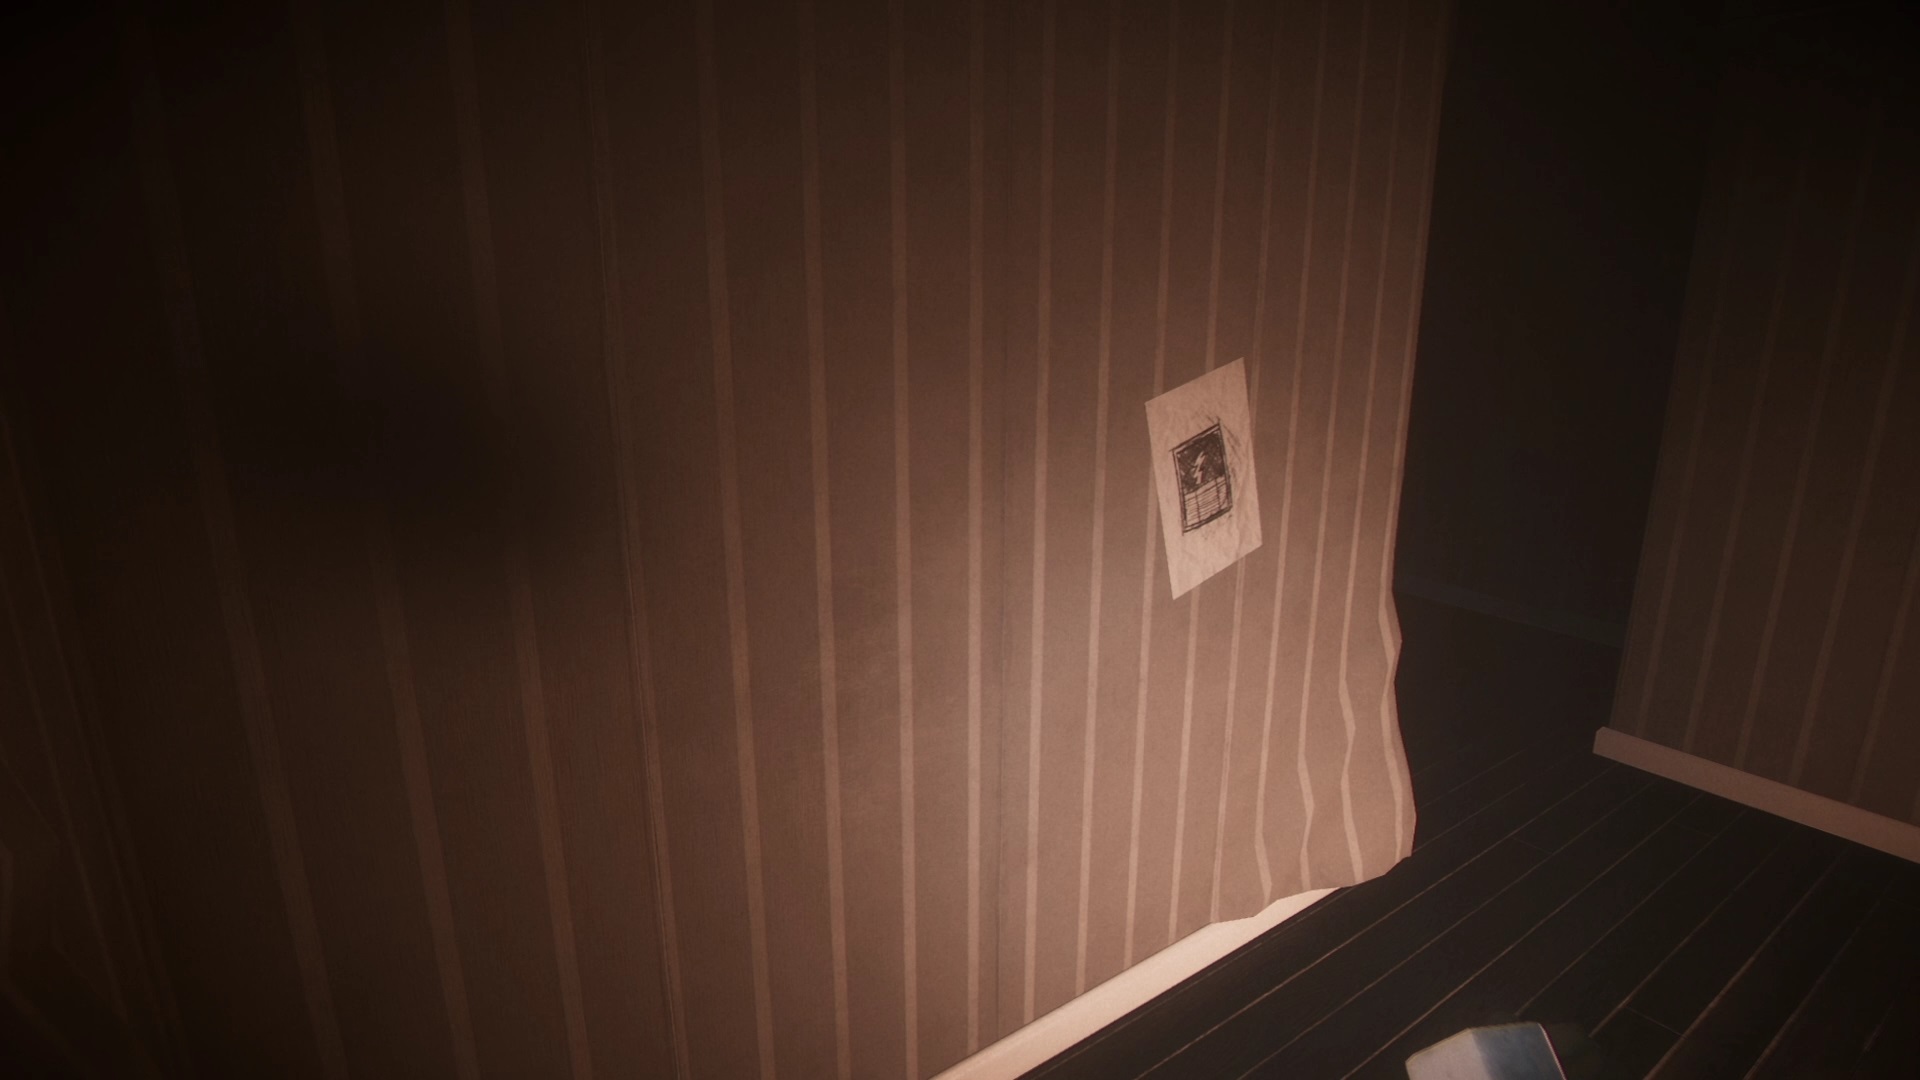
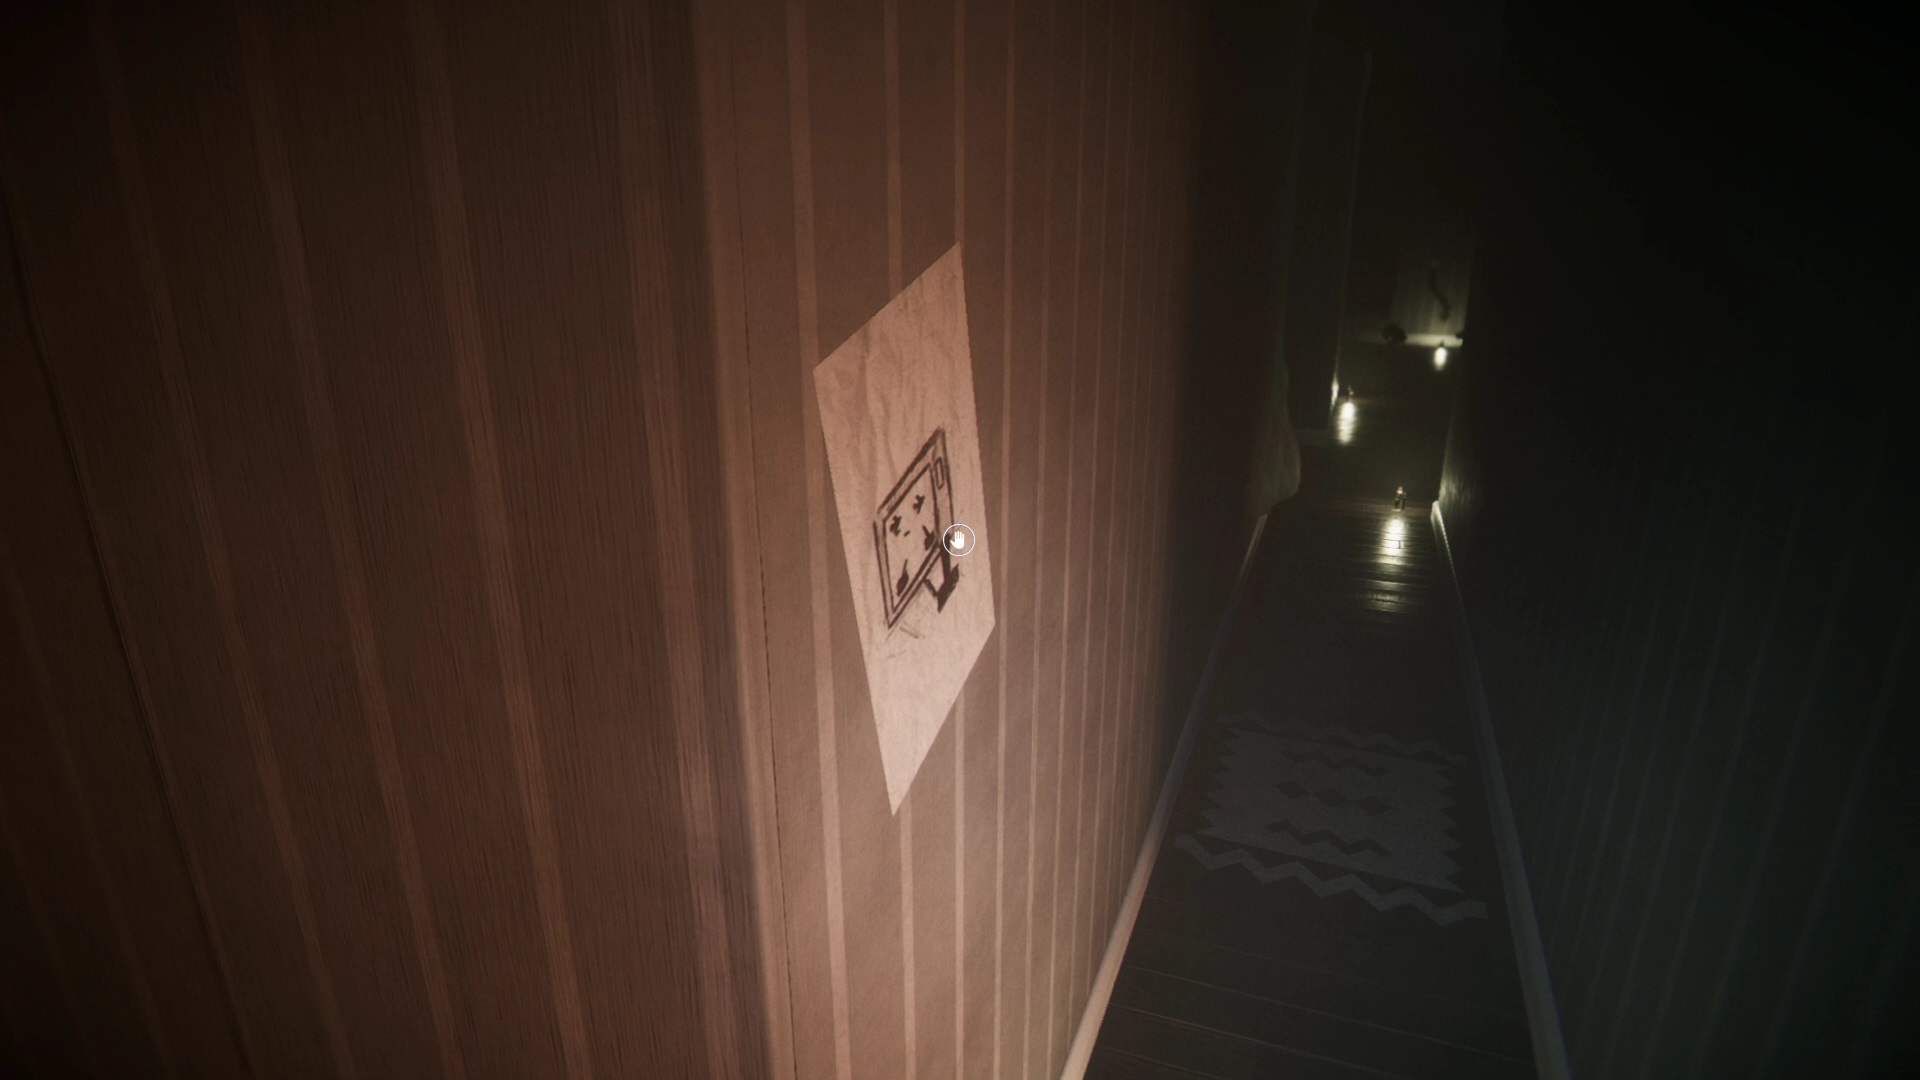
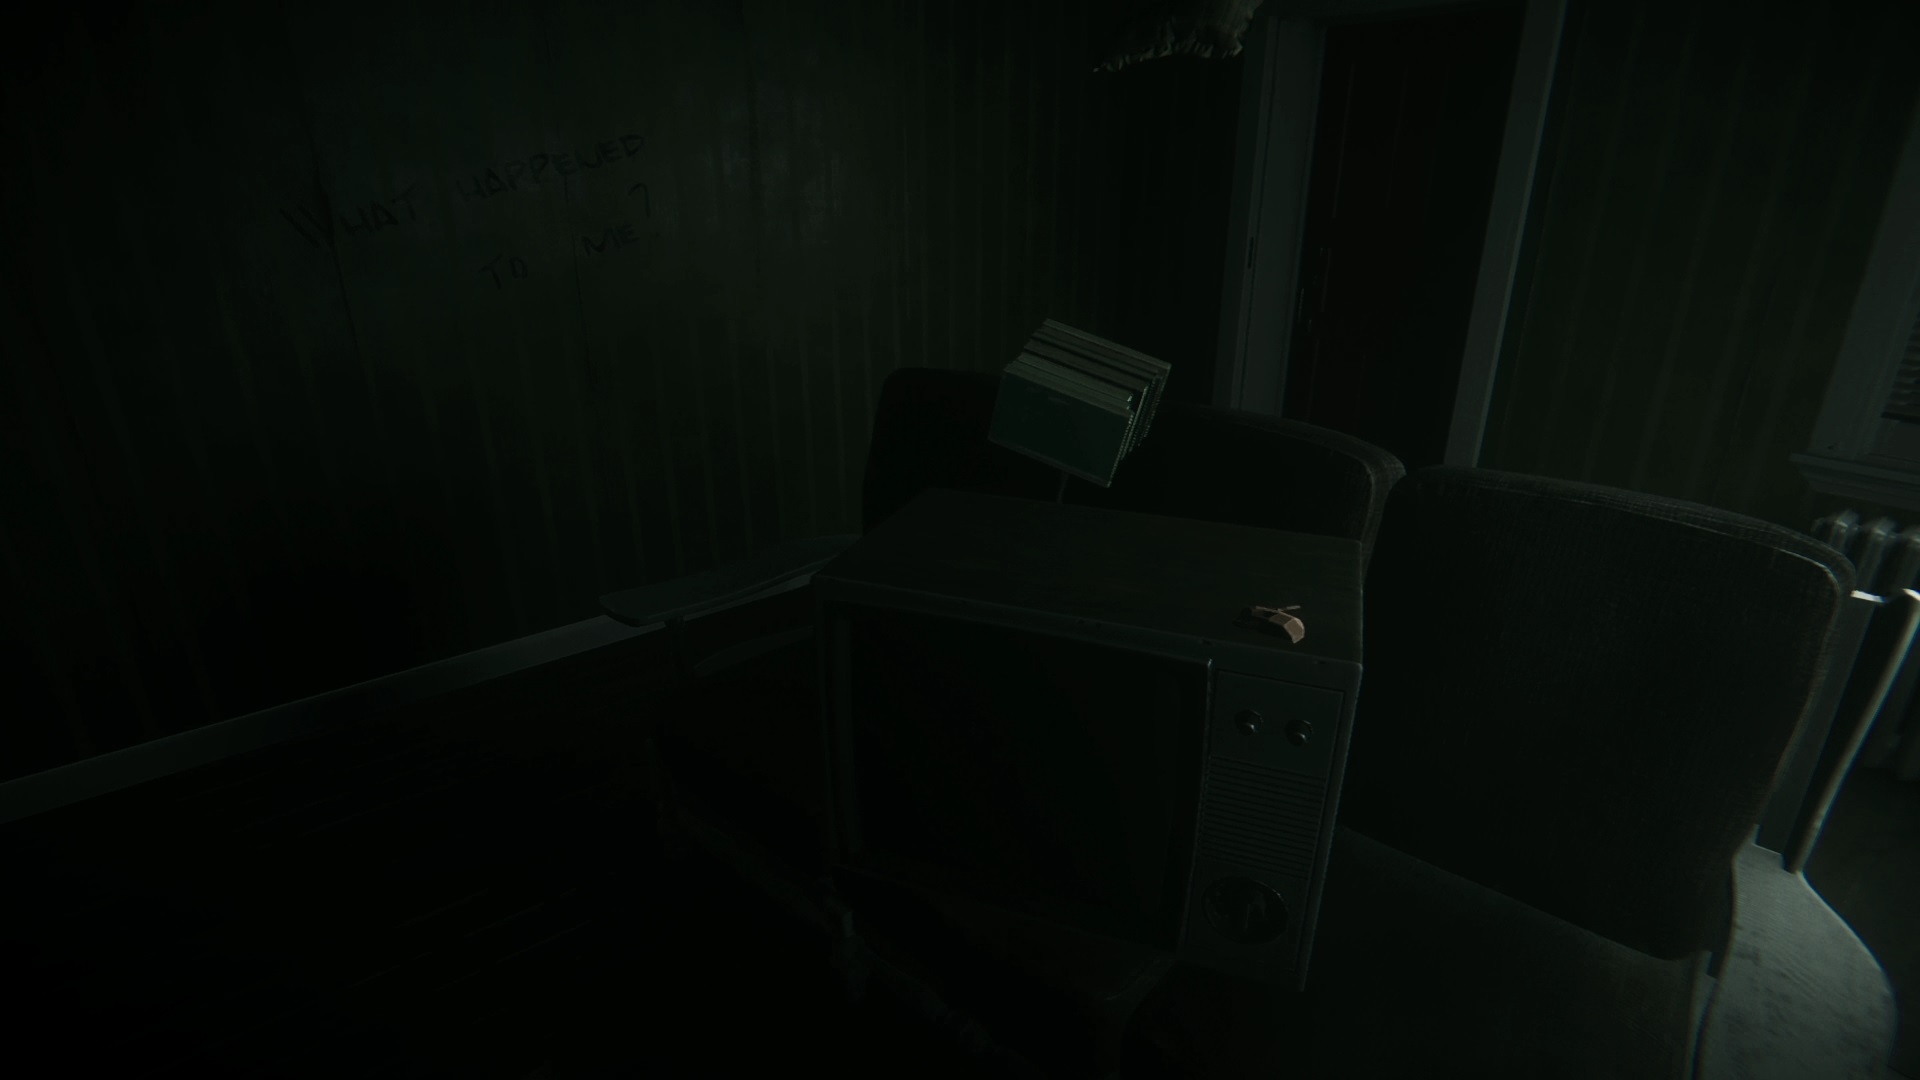
On this floor, start by exploring the first room down the hall. You will find a cassette near the sink. Get out into the hallway to find a cassette player in a closet. You can read a mysterious message against the wall. Then go up the stairs at the end of the corridor.
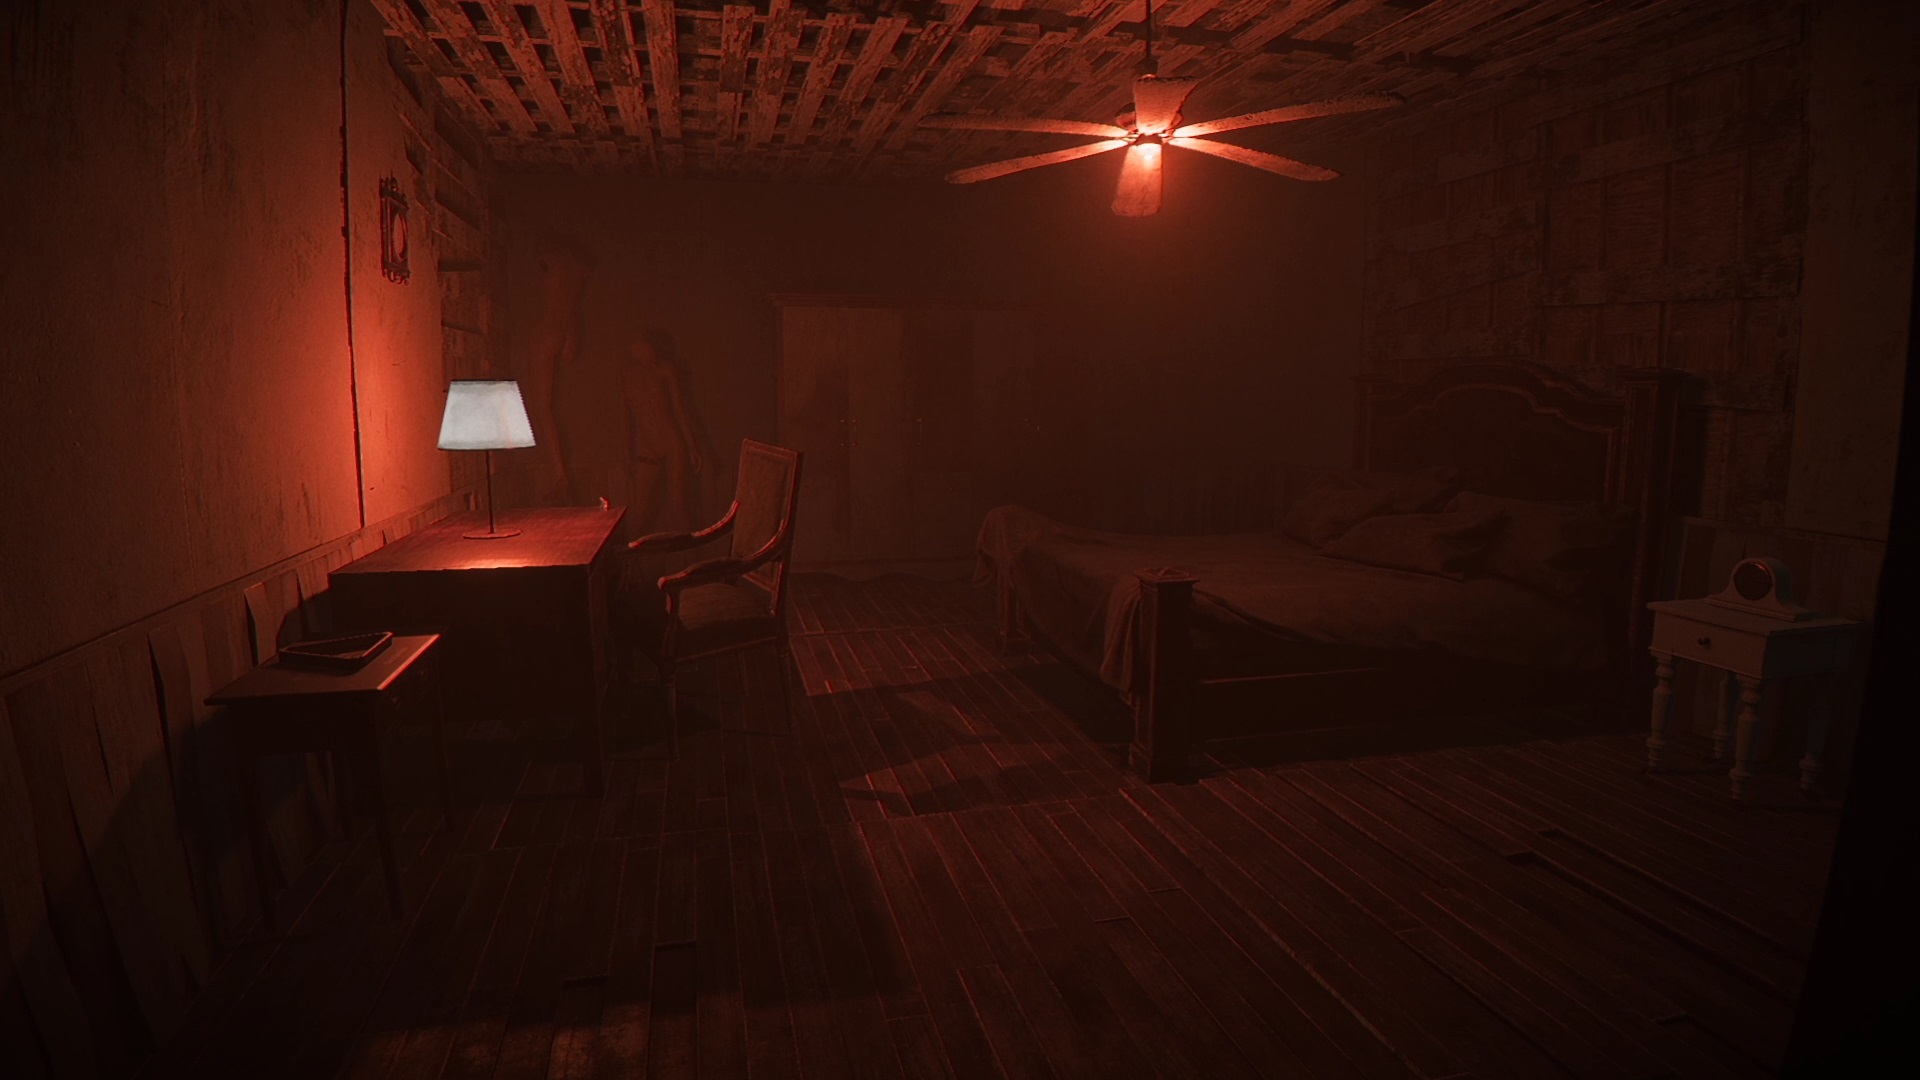
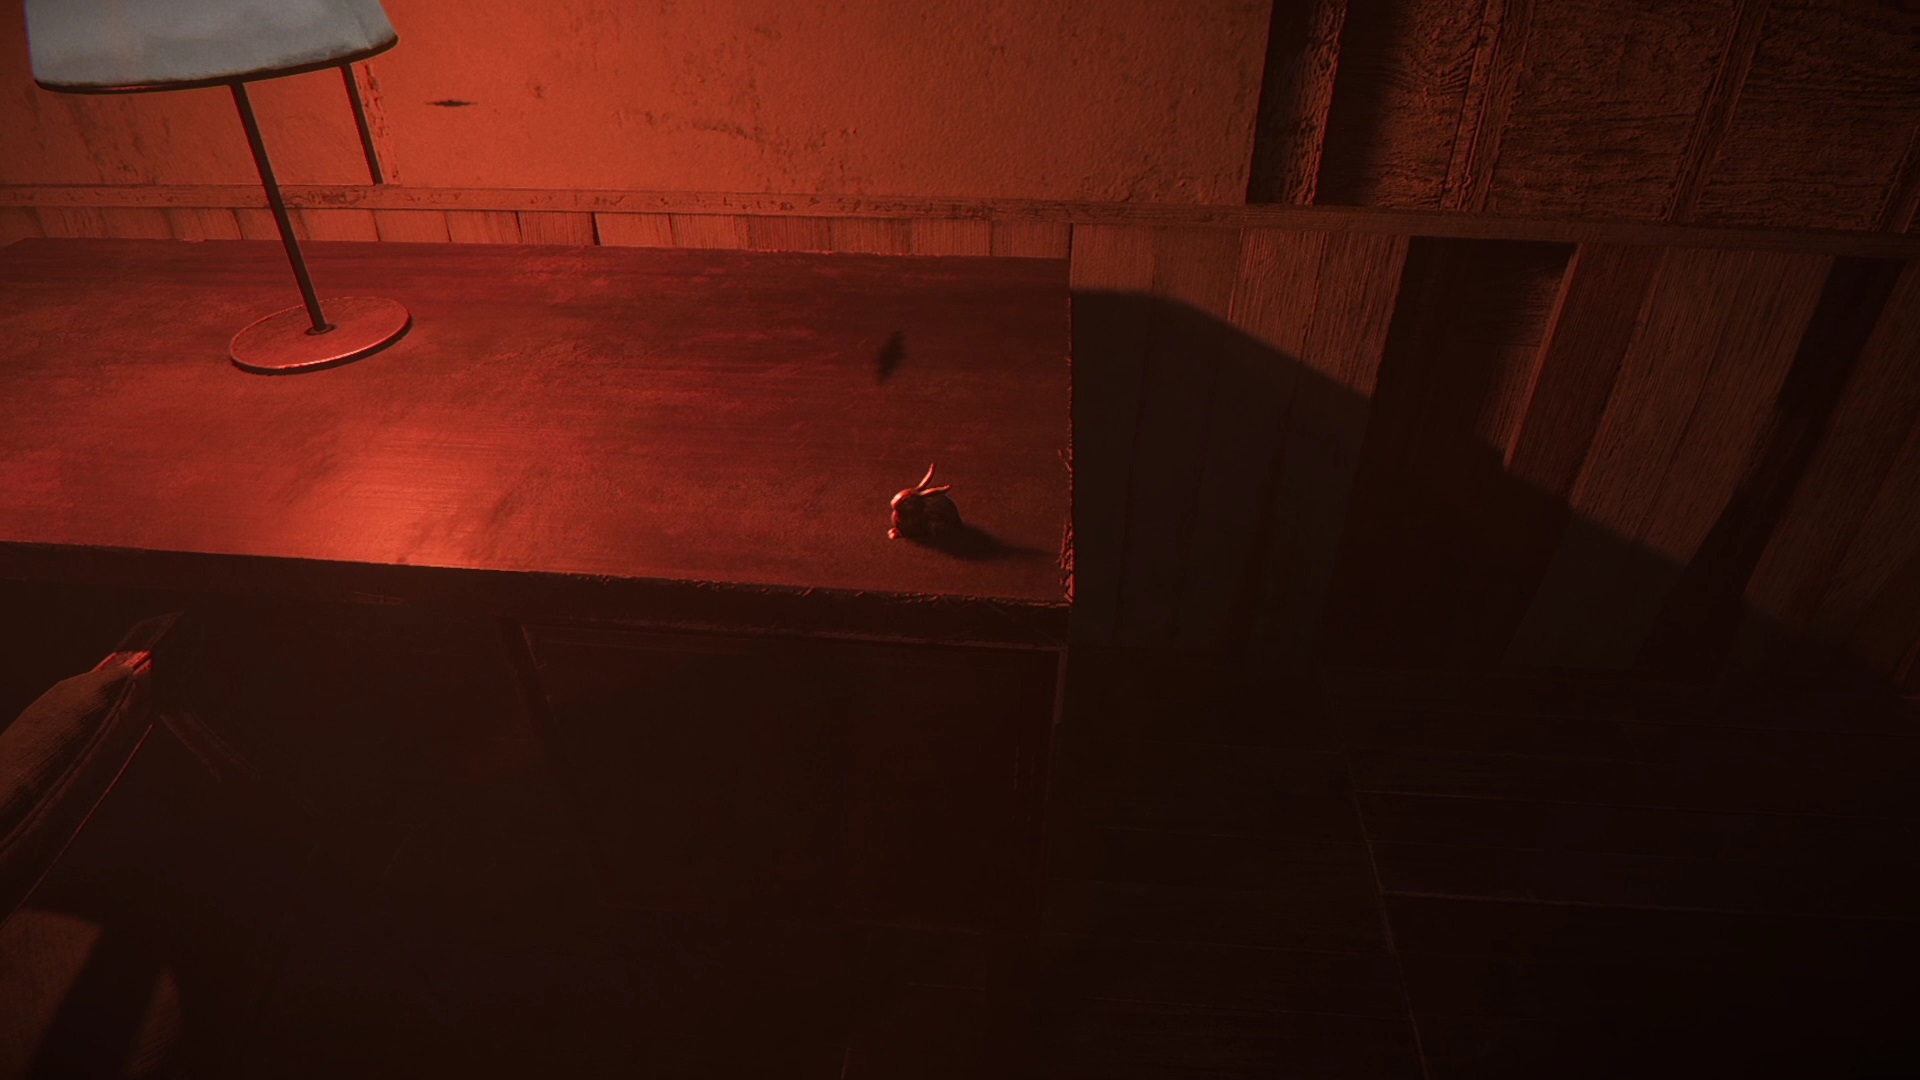
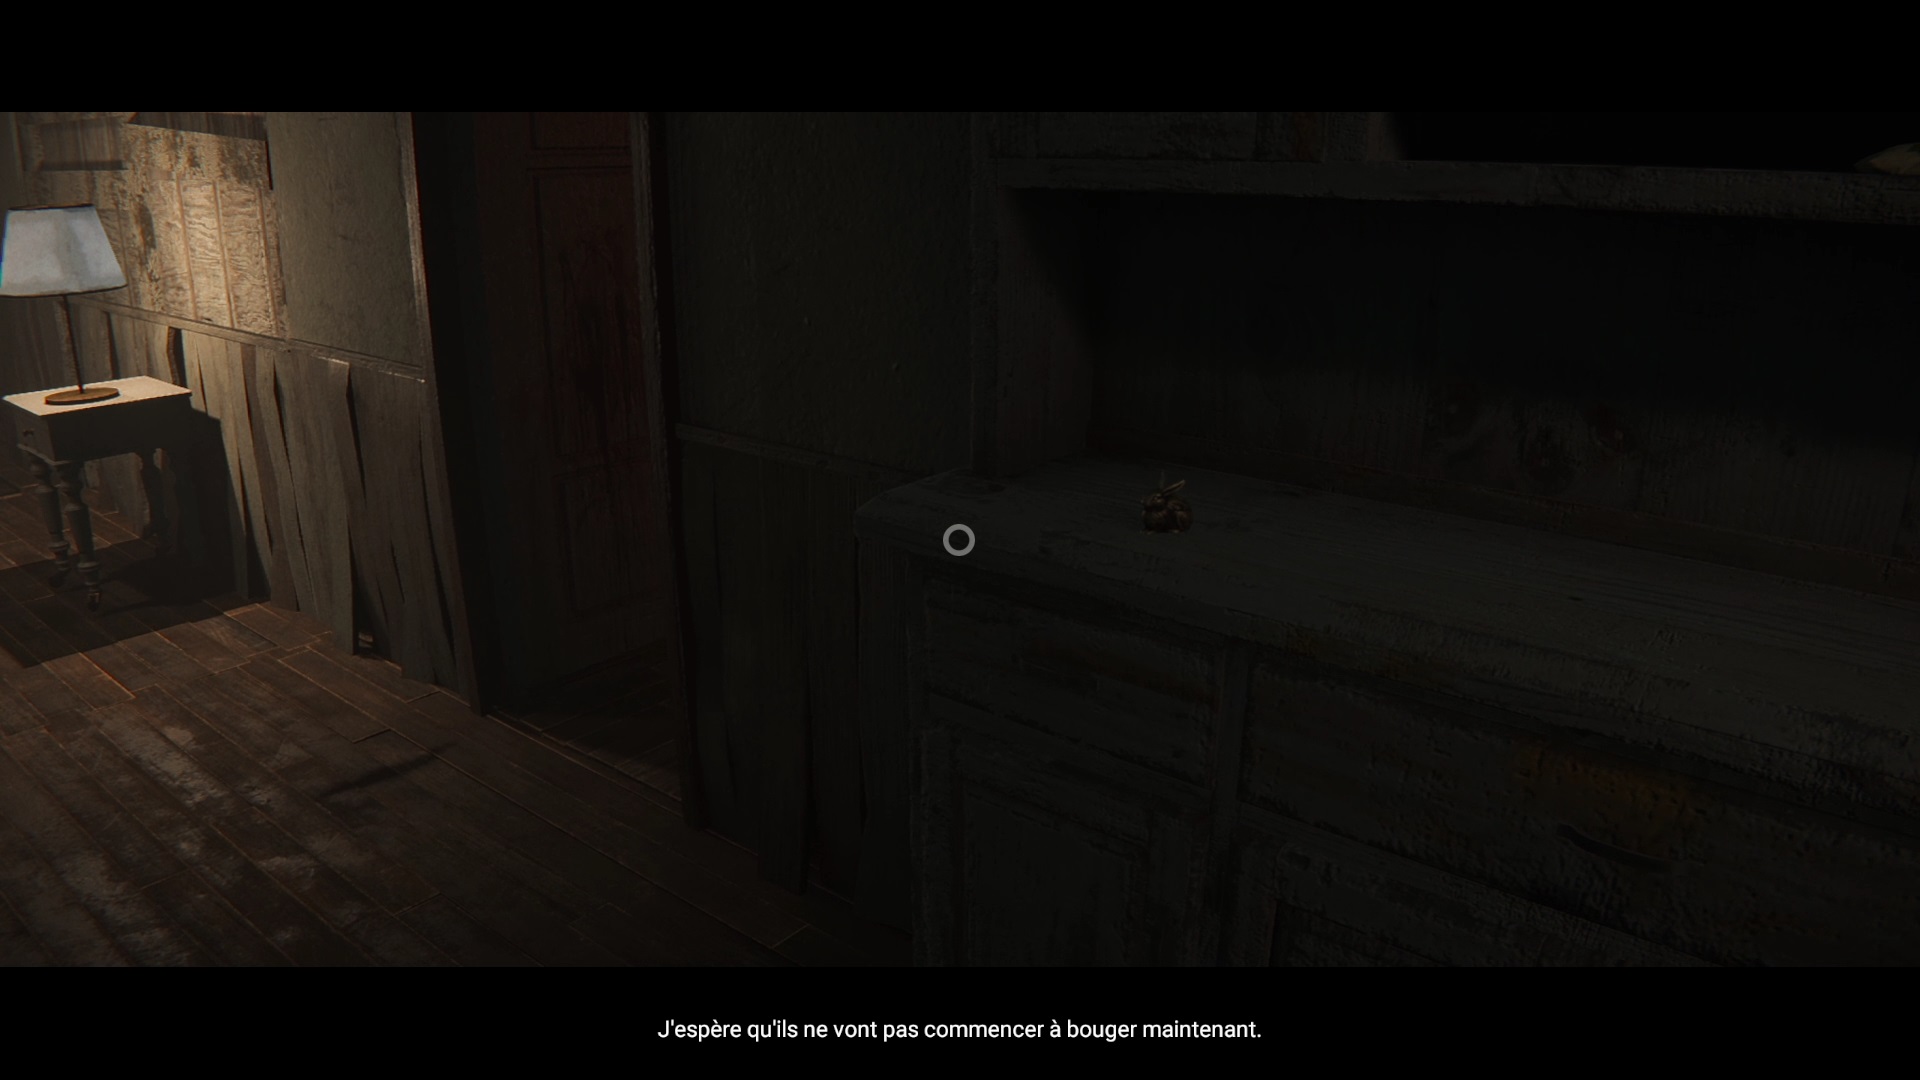
Go to the end of the corridor so that it changes. You can see several bloody doors. Go through the first bloody door. You will find a rabbit statue on the desk, collect it.
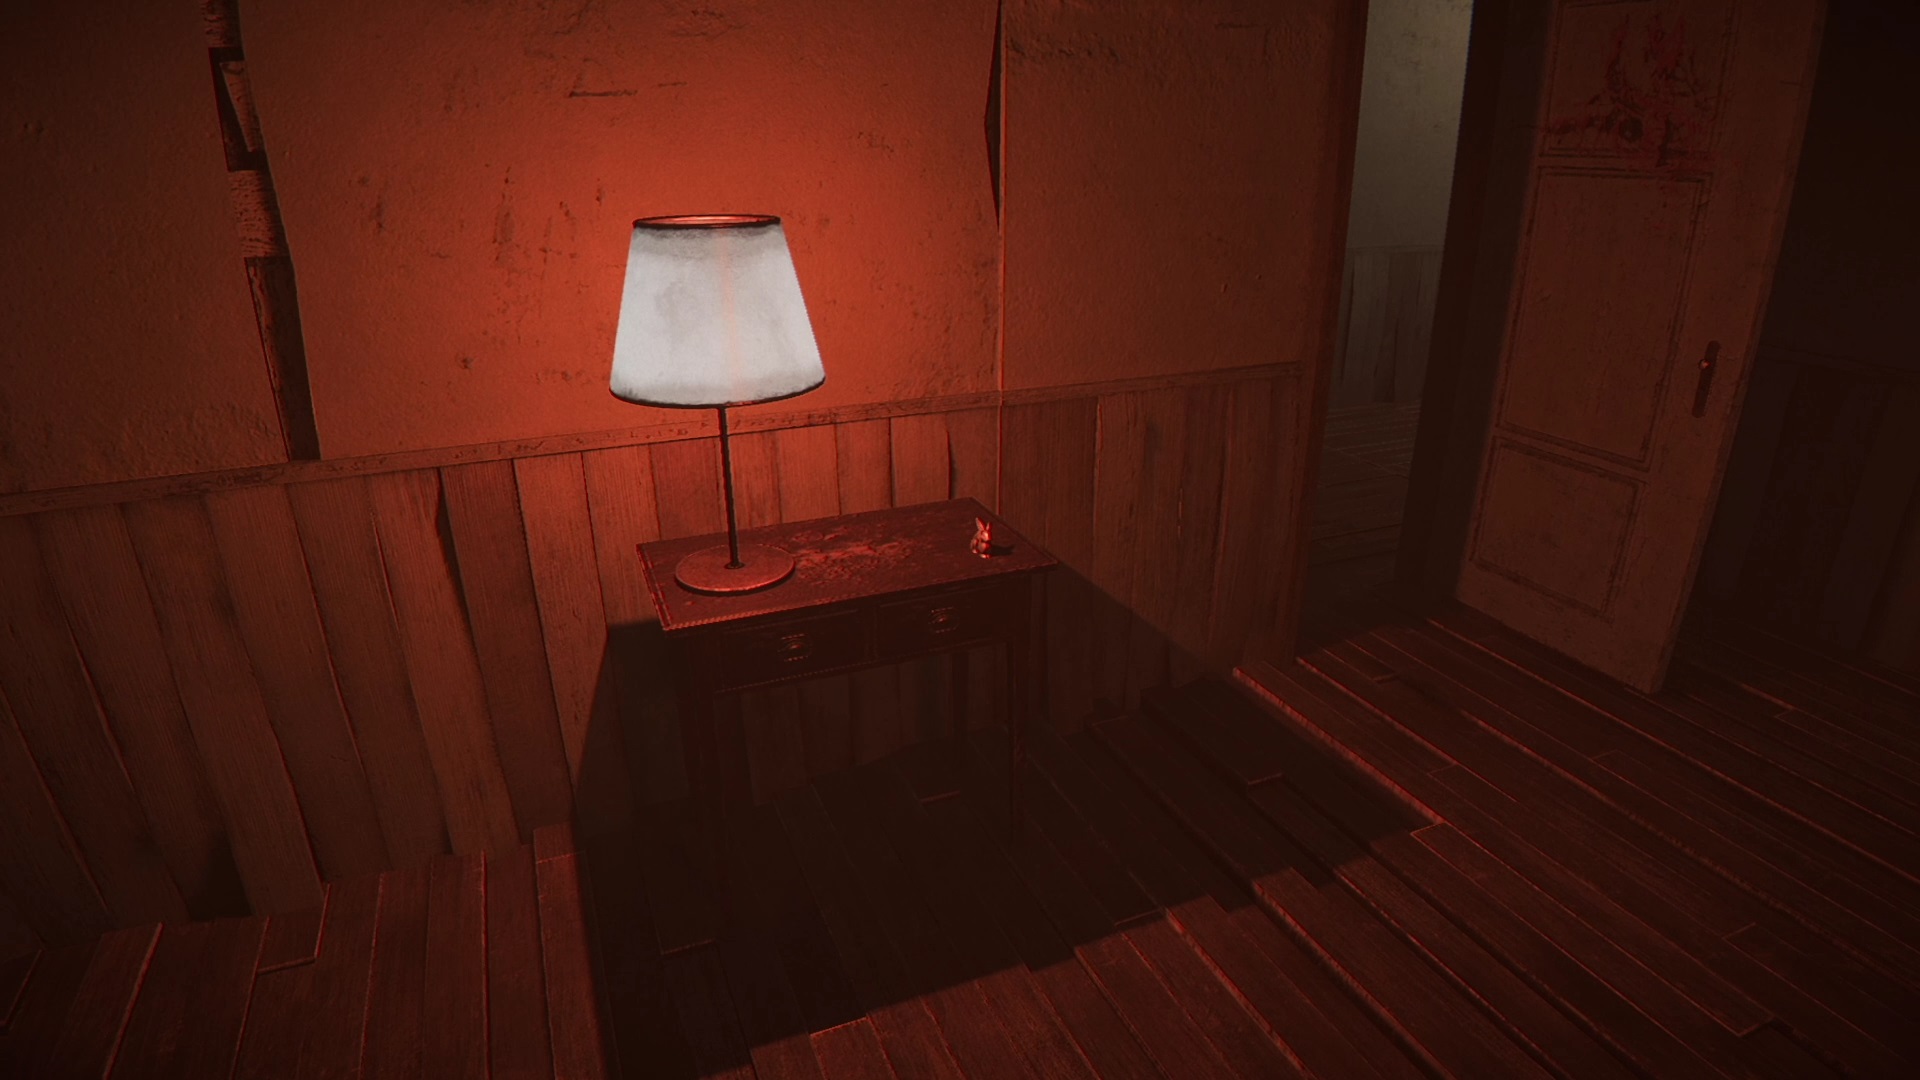
Return to the hallway to find a second bloody door. Near the door you will find a second rabbit statue. Keep moving down the hall to find a third and final bloody door.
You will find in front of the front door the last rabbit statue on a piece of furniture. You might have figured it out by reading the mysterious messages in the hallway, but each bloody room corresponds to a drama related to Jason, David or Michael. To solve the puzzle, you will need to place a rabbit statue matching the correct name.

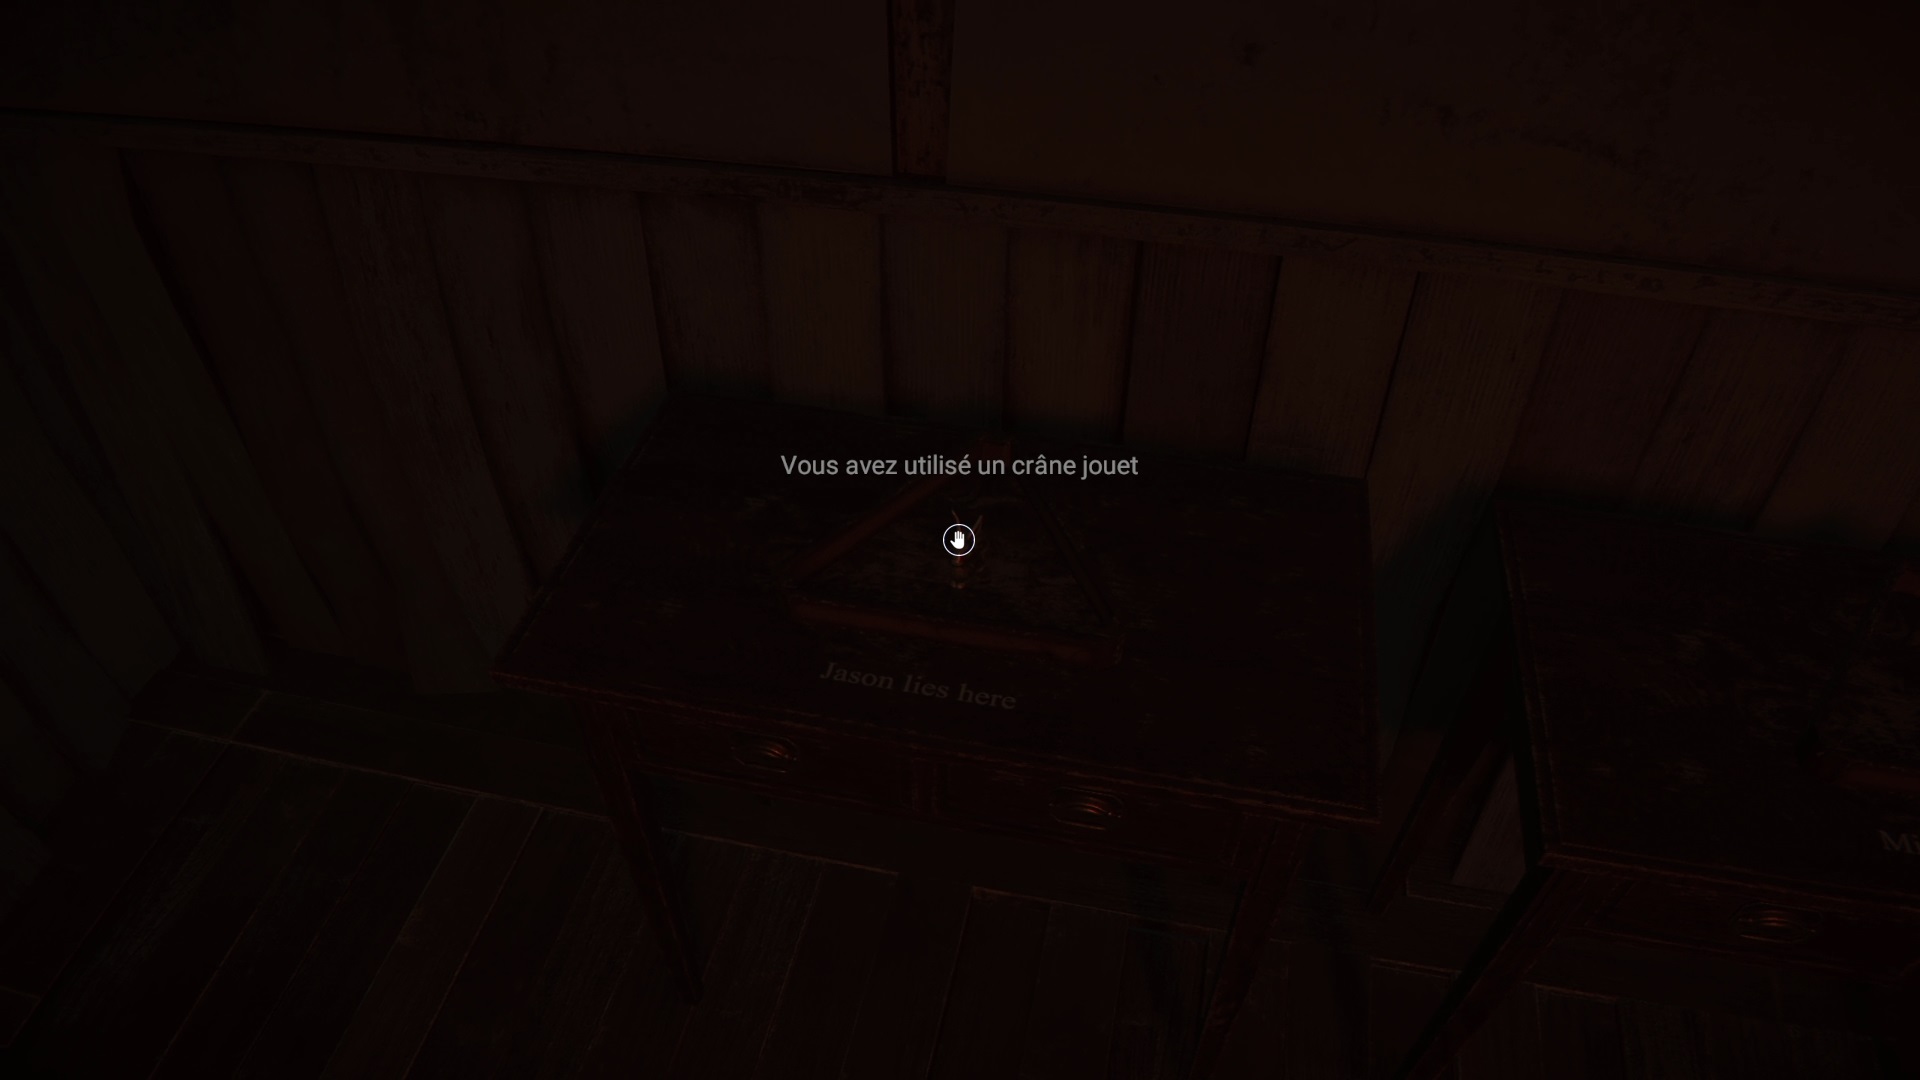
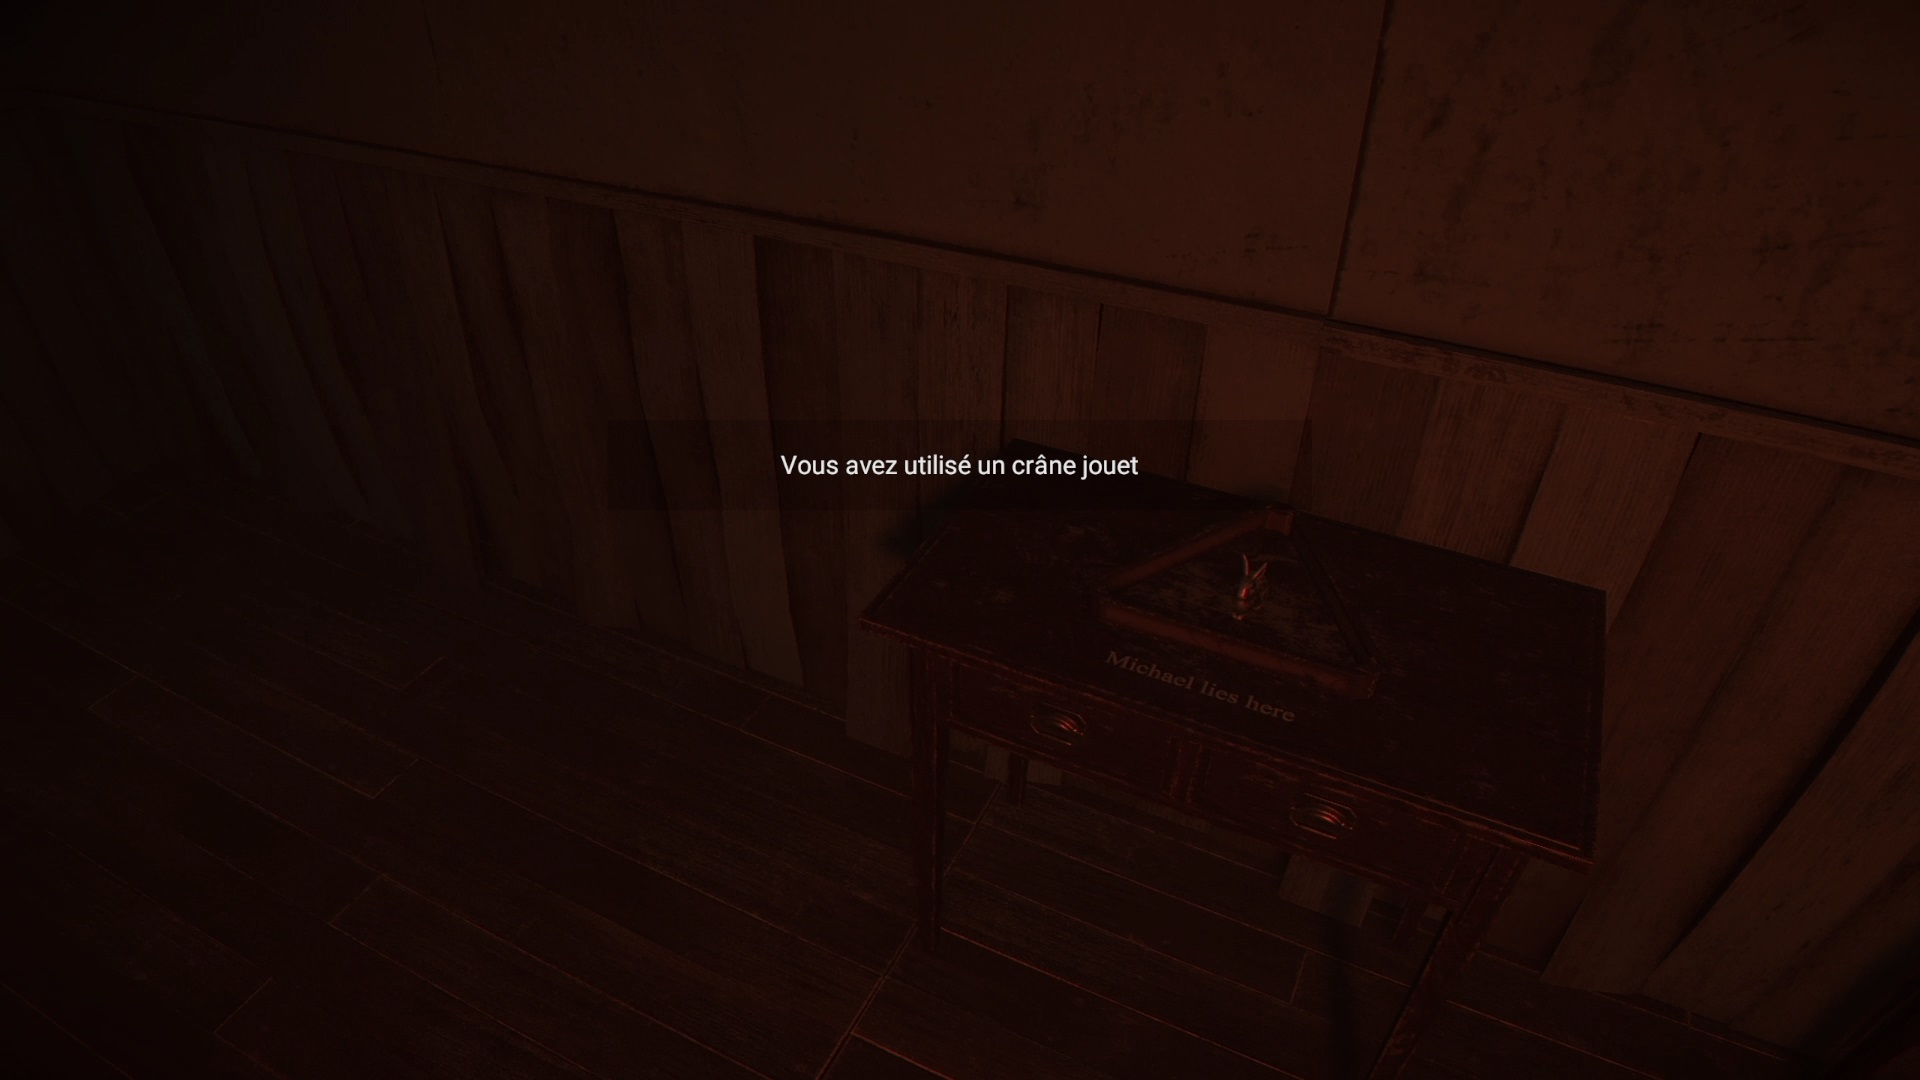
The first coin corresponds to Jason, the second to David and the last to Michael. Then go down the stairs to reach the elevator.
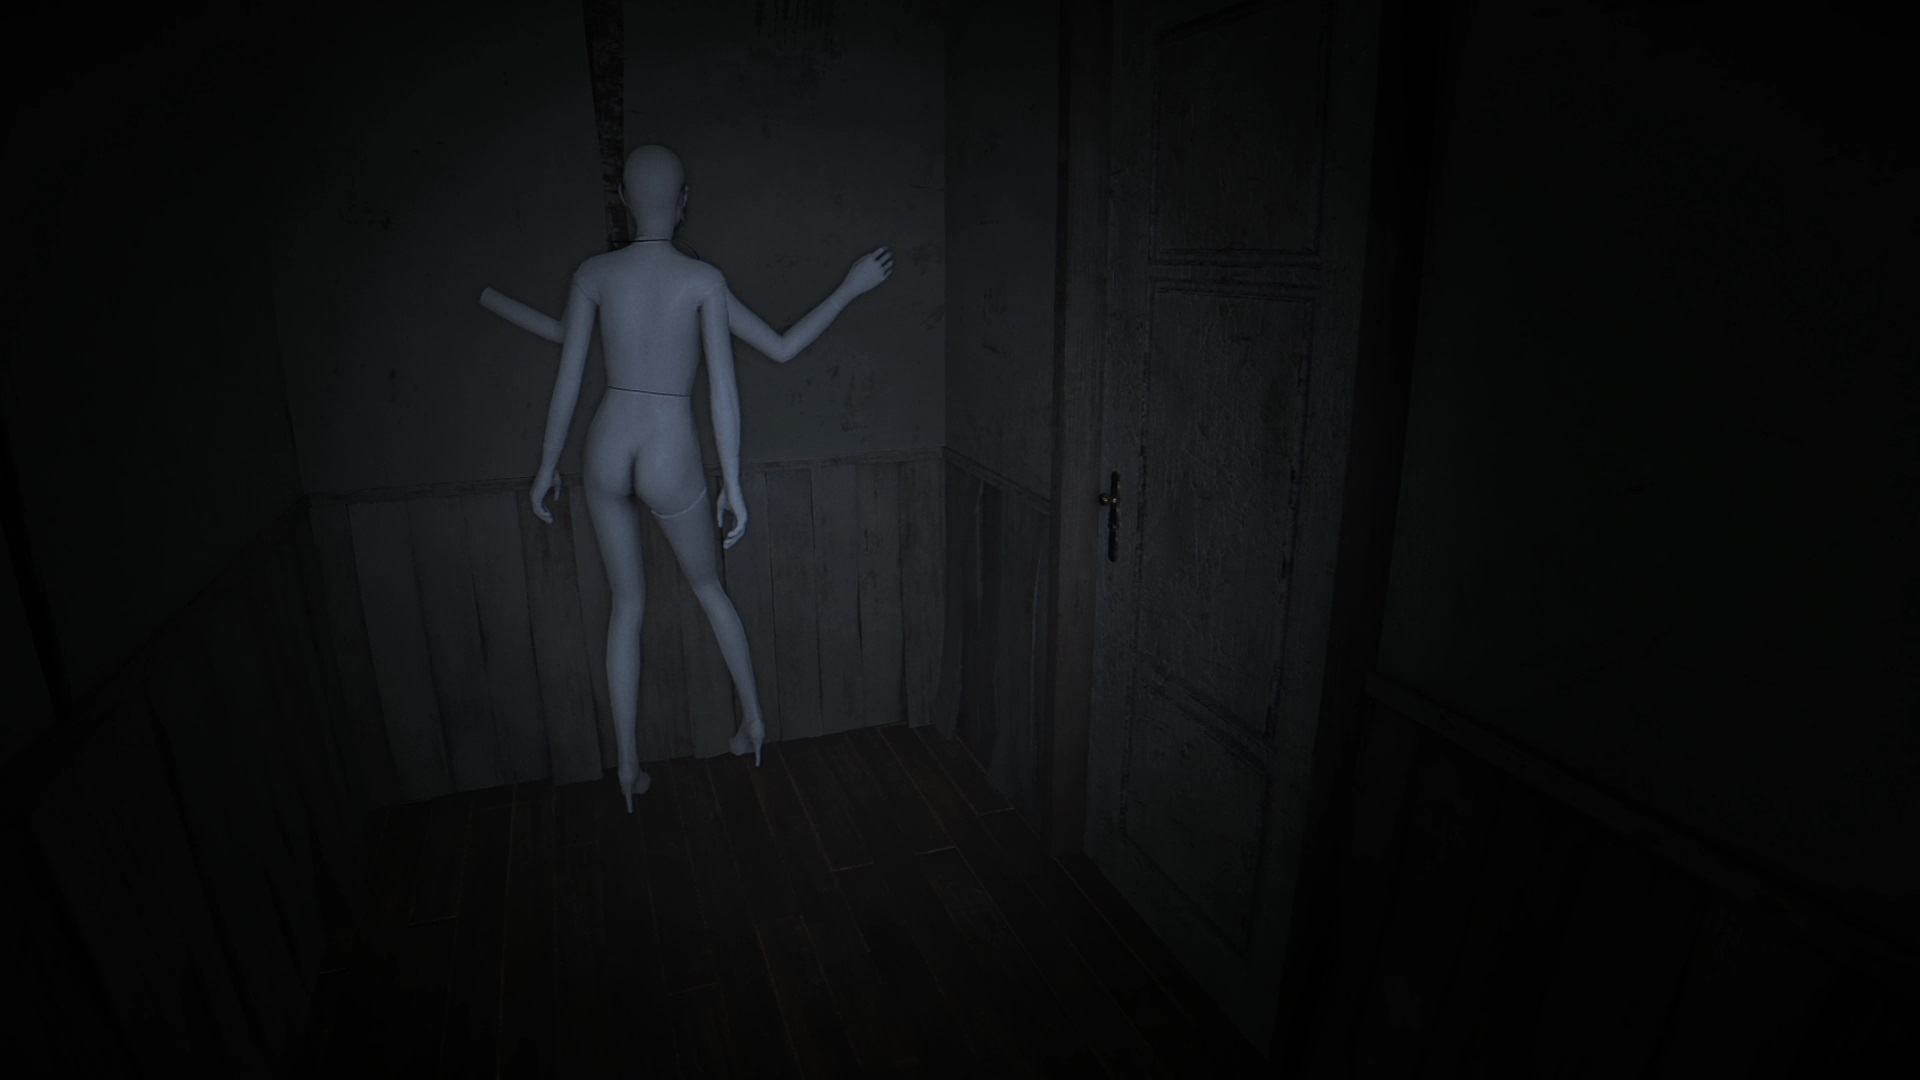
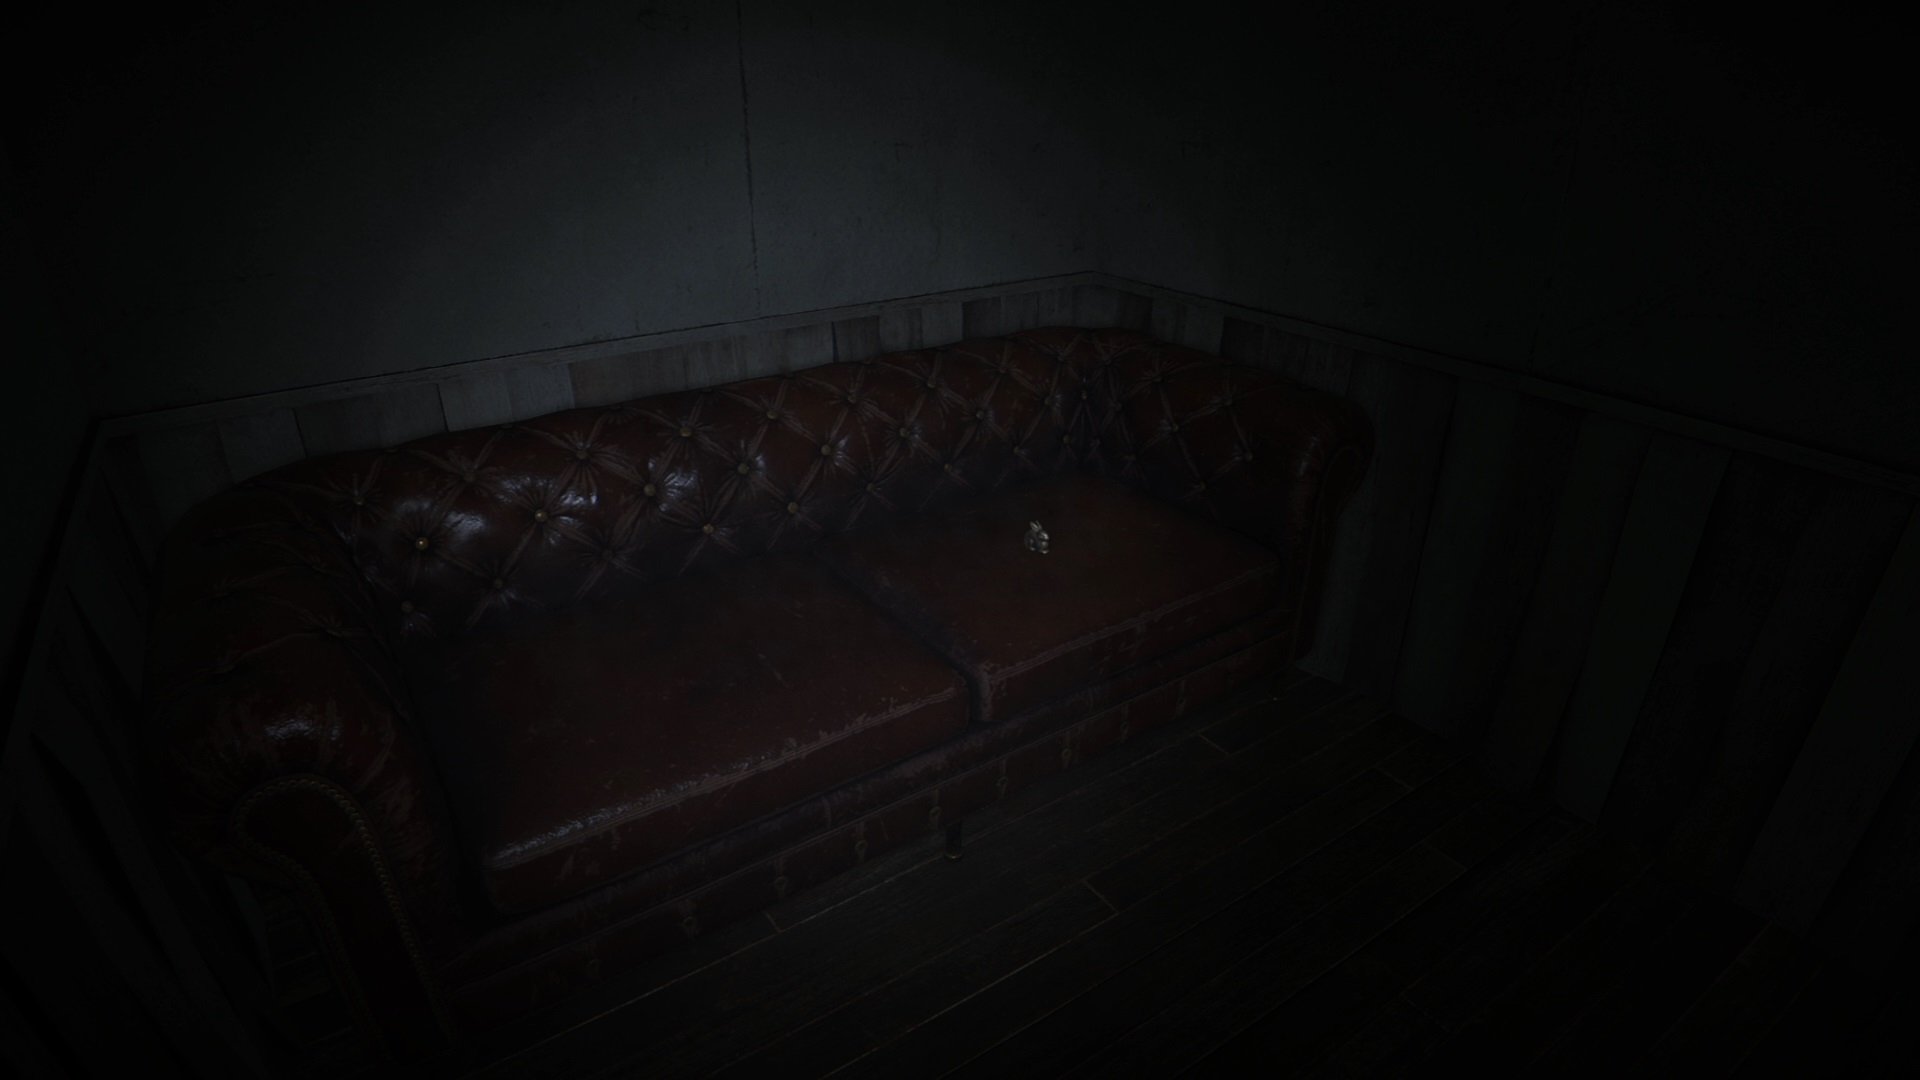
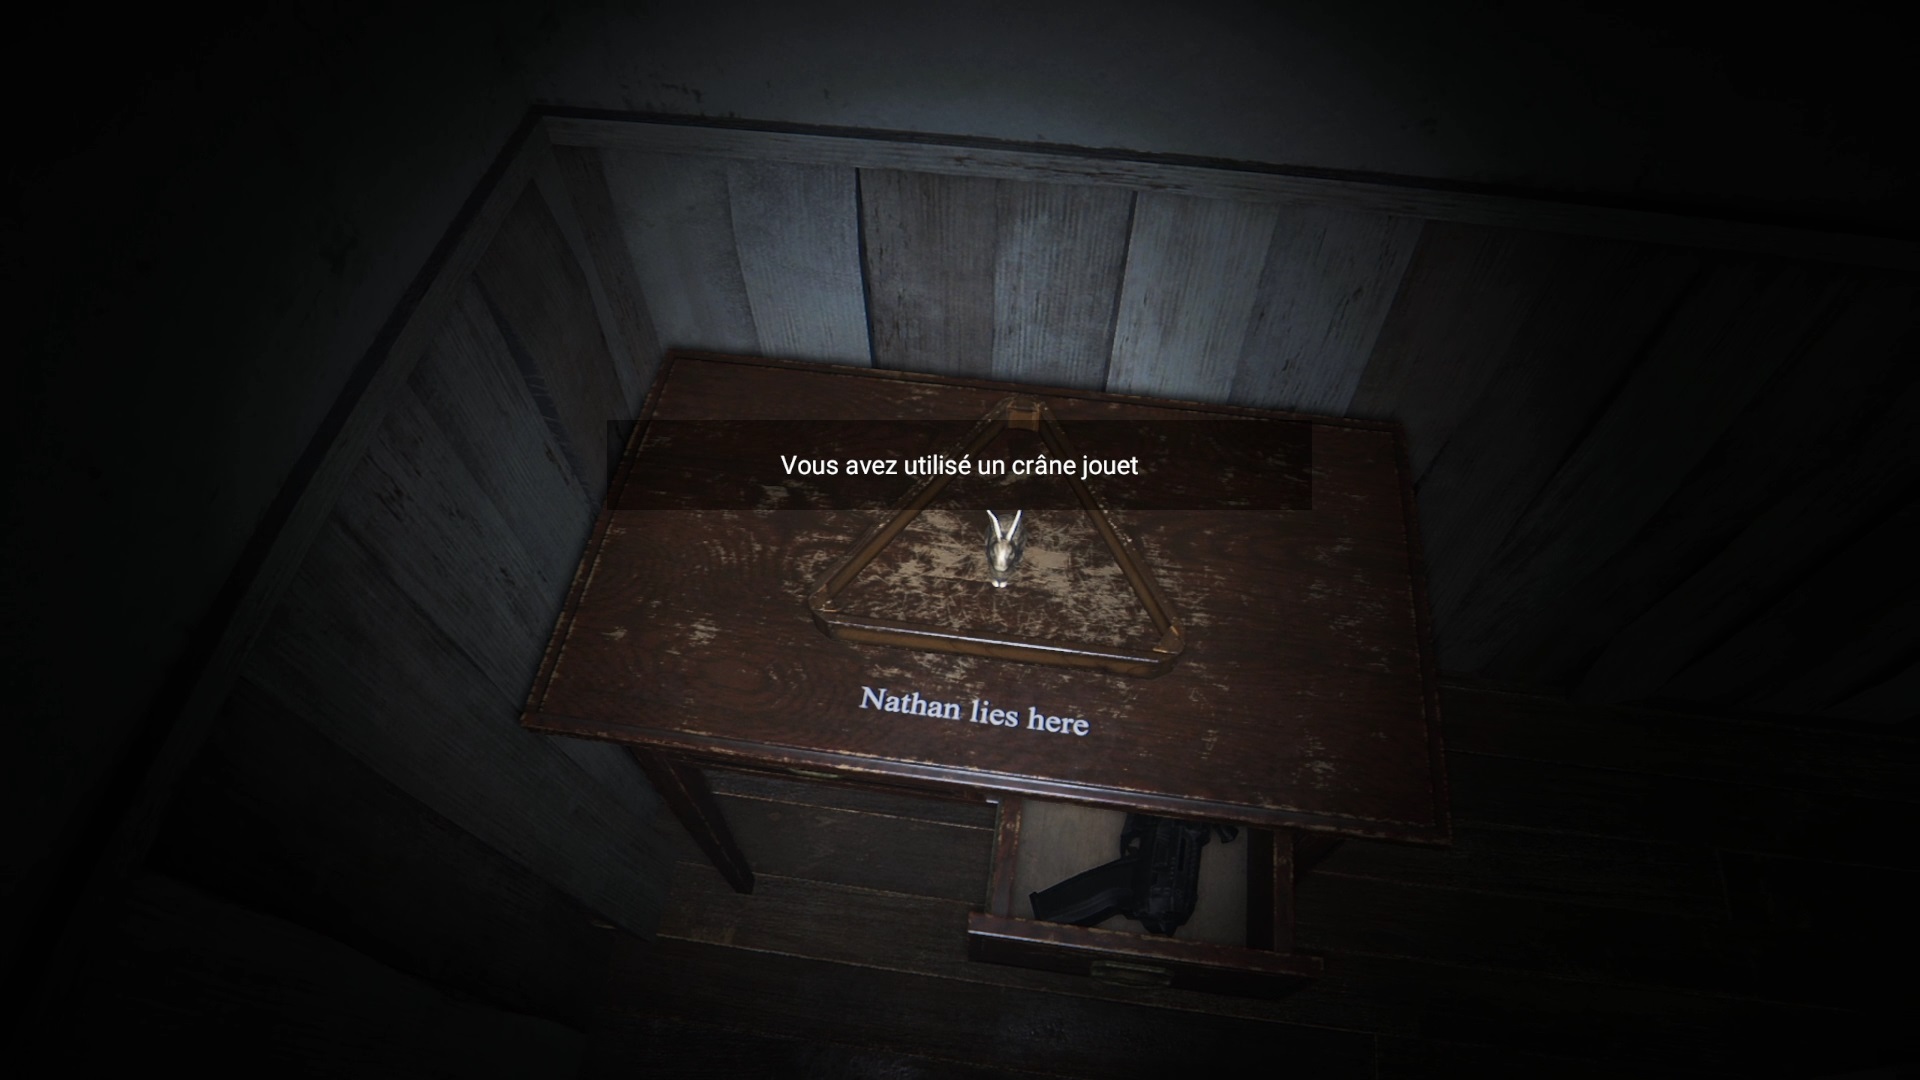
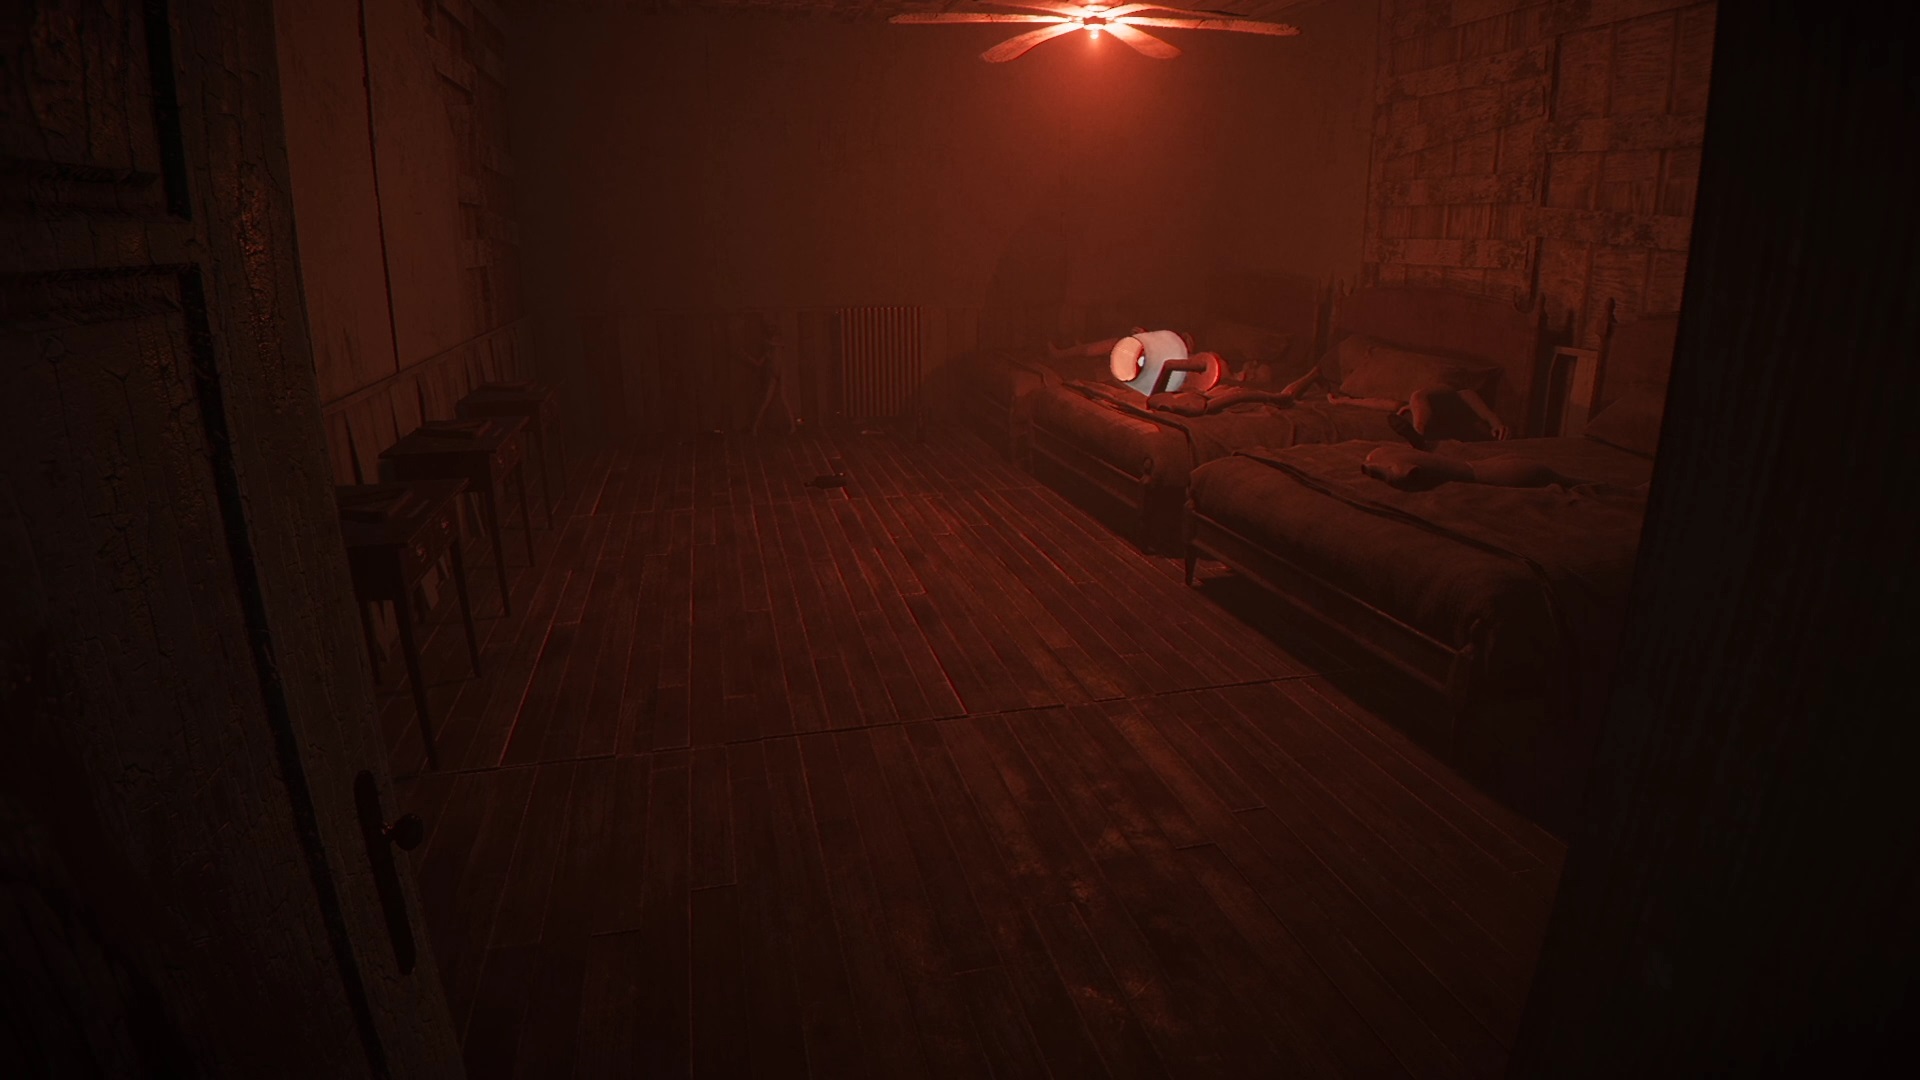
The power supply blew again. Continue down the hall to find a door to the right of a mannequin. Go down the stairs to find a new room. Collect a rabbit statue from the sofa and then place it on the table with Nathan’s name on it.
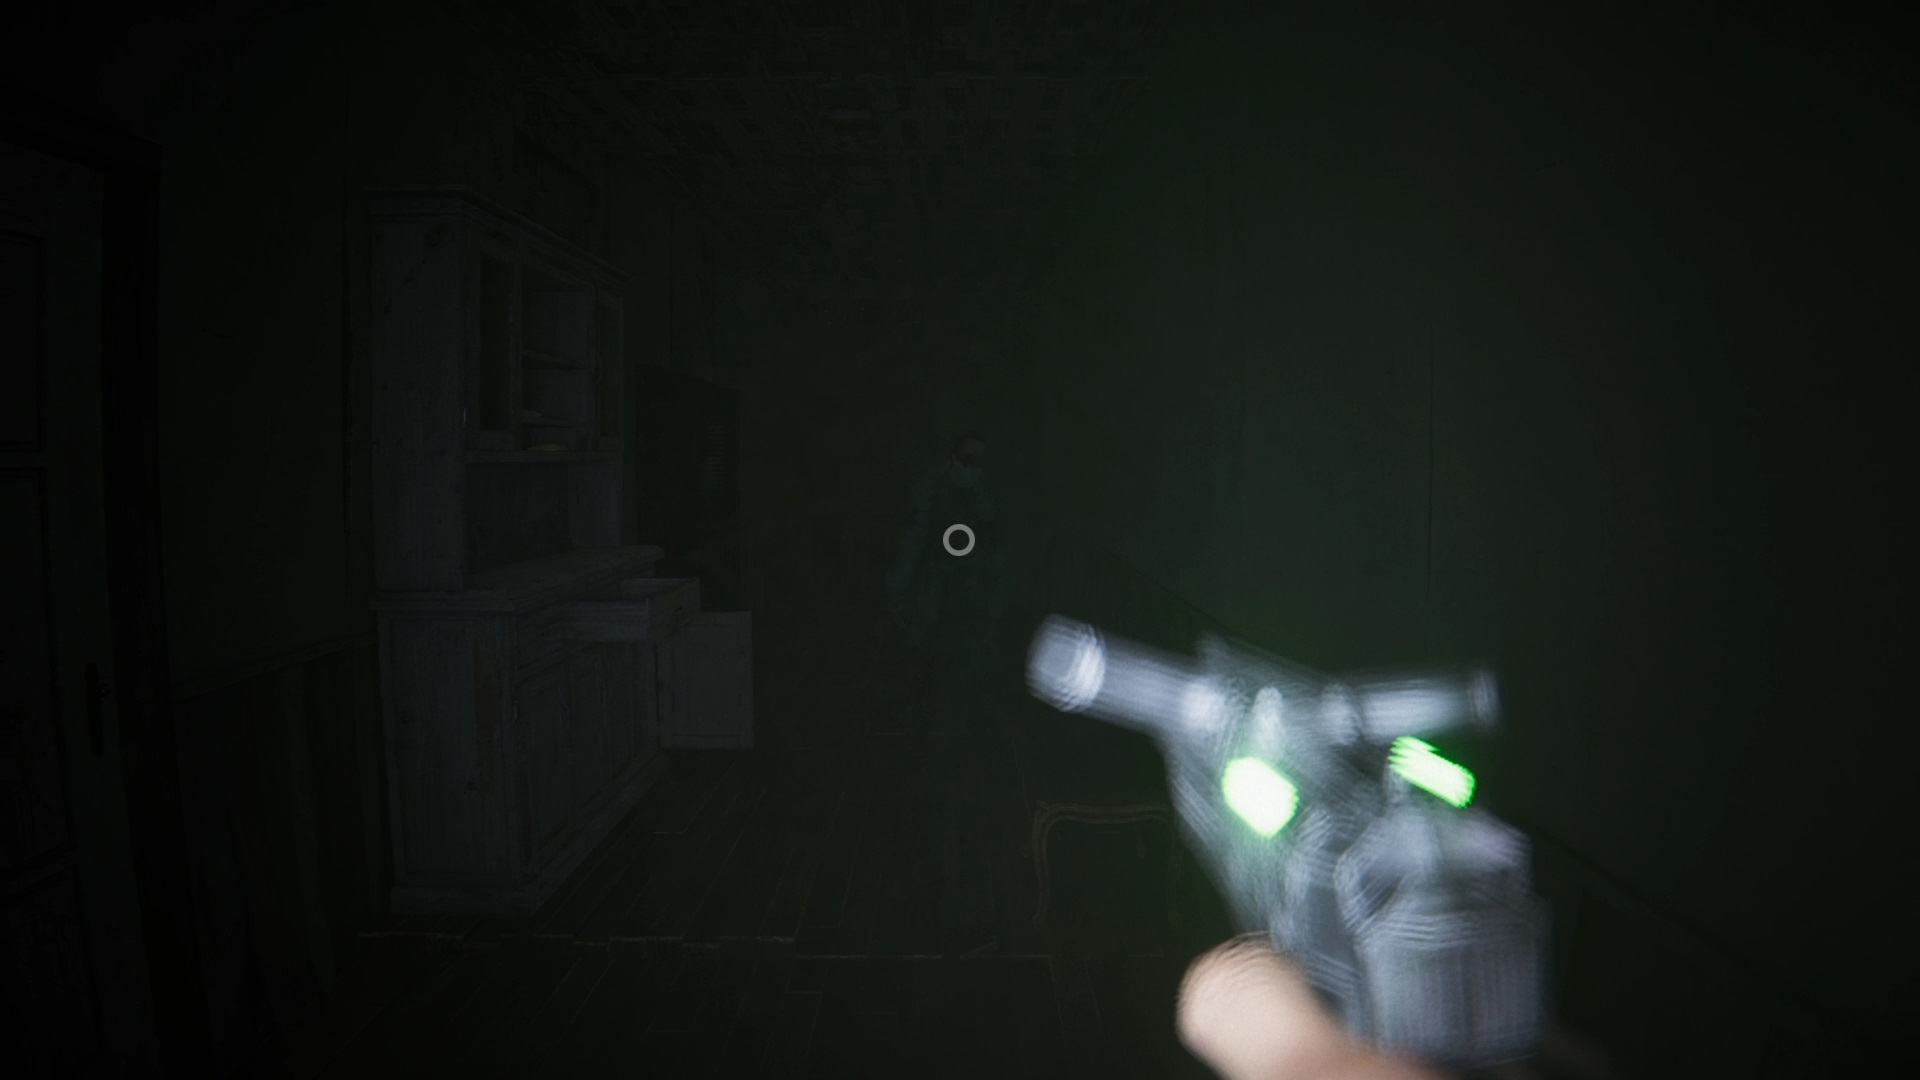
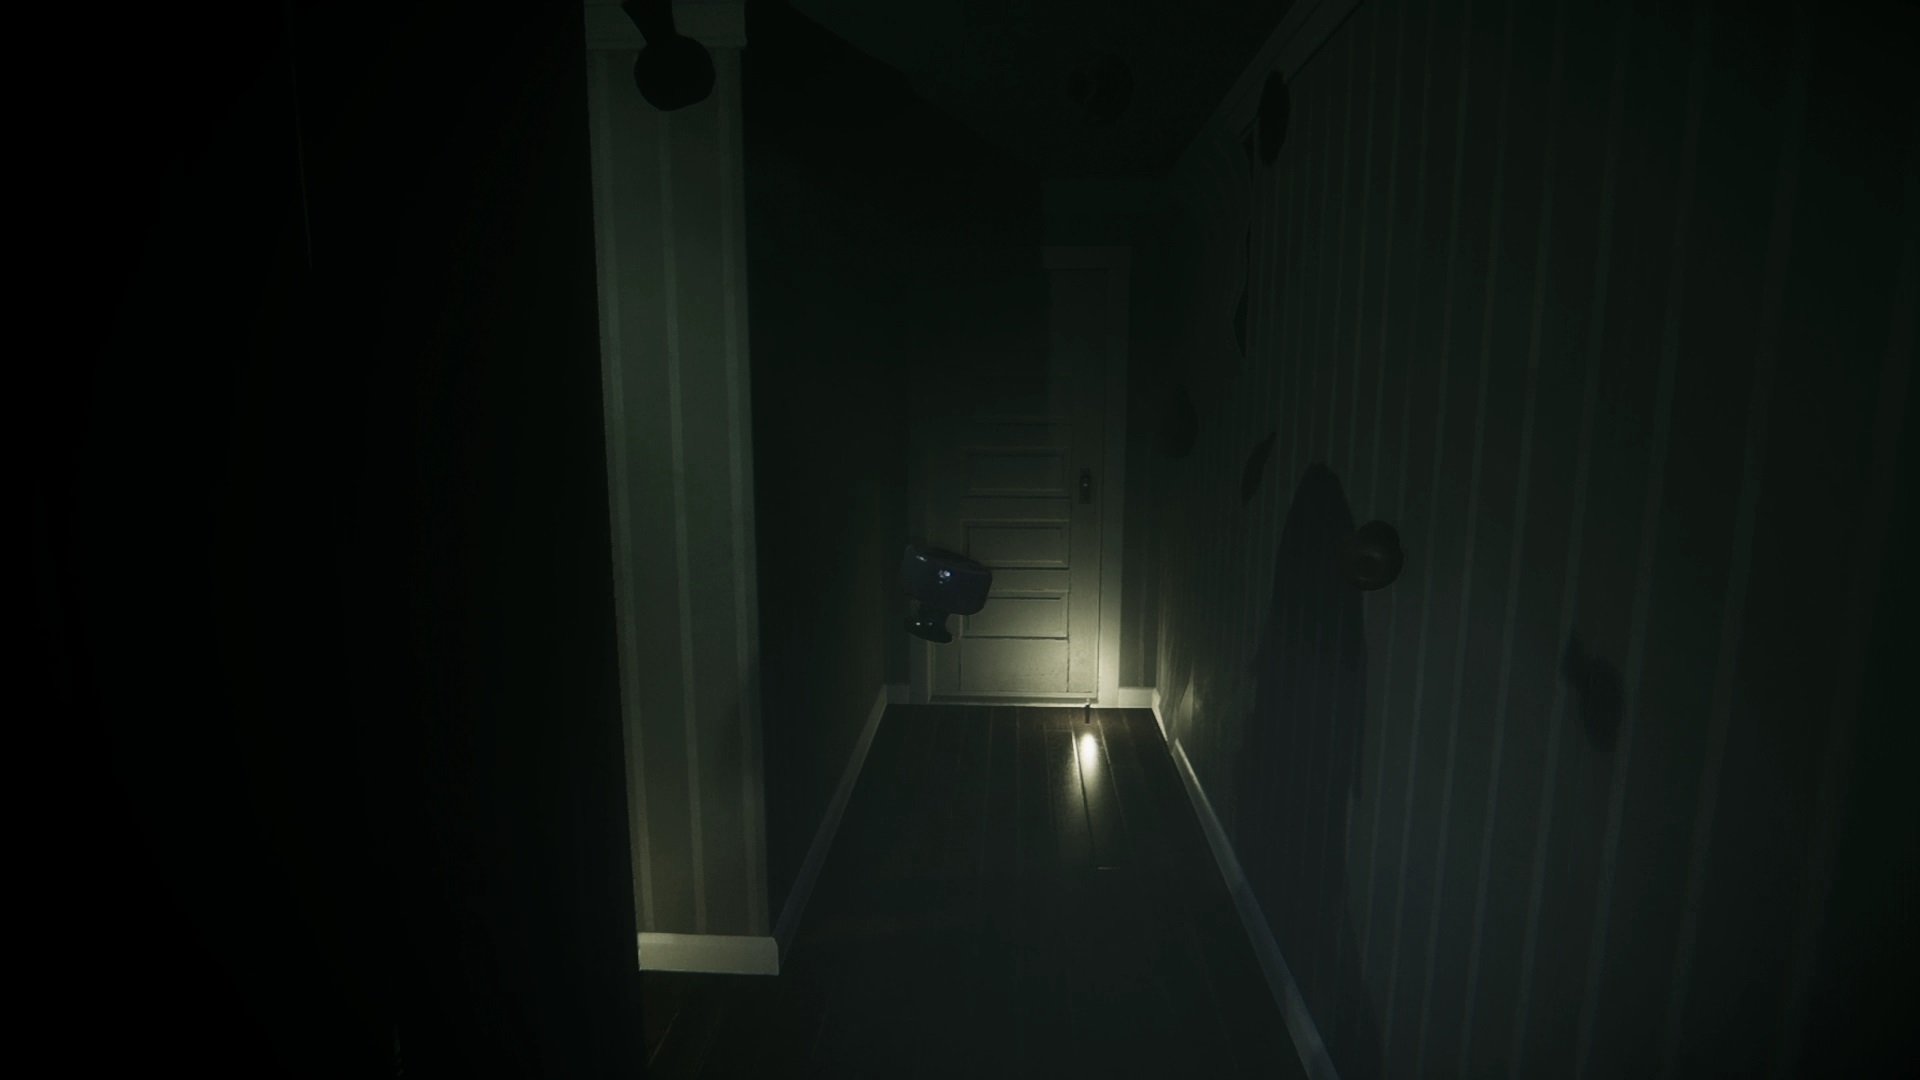
Take the machine from the drawer and return to the elevator. A threat presents itself to you in the hallway. When the machine turns green, you can shoot the action button to get rid of the threat. Go inside the three bloody rooms to find power levers. Pull the three levers to repower the elevator up inside.
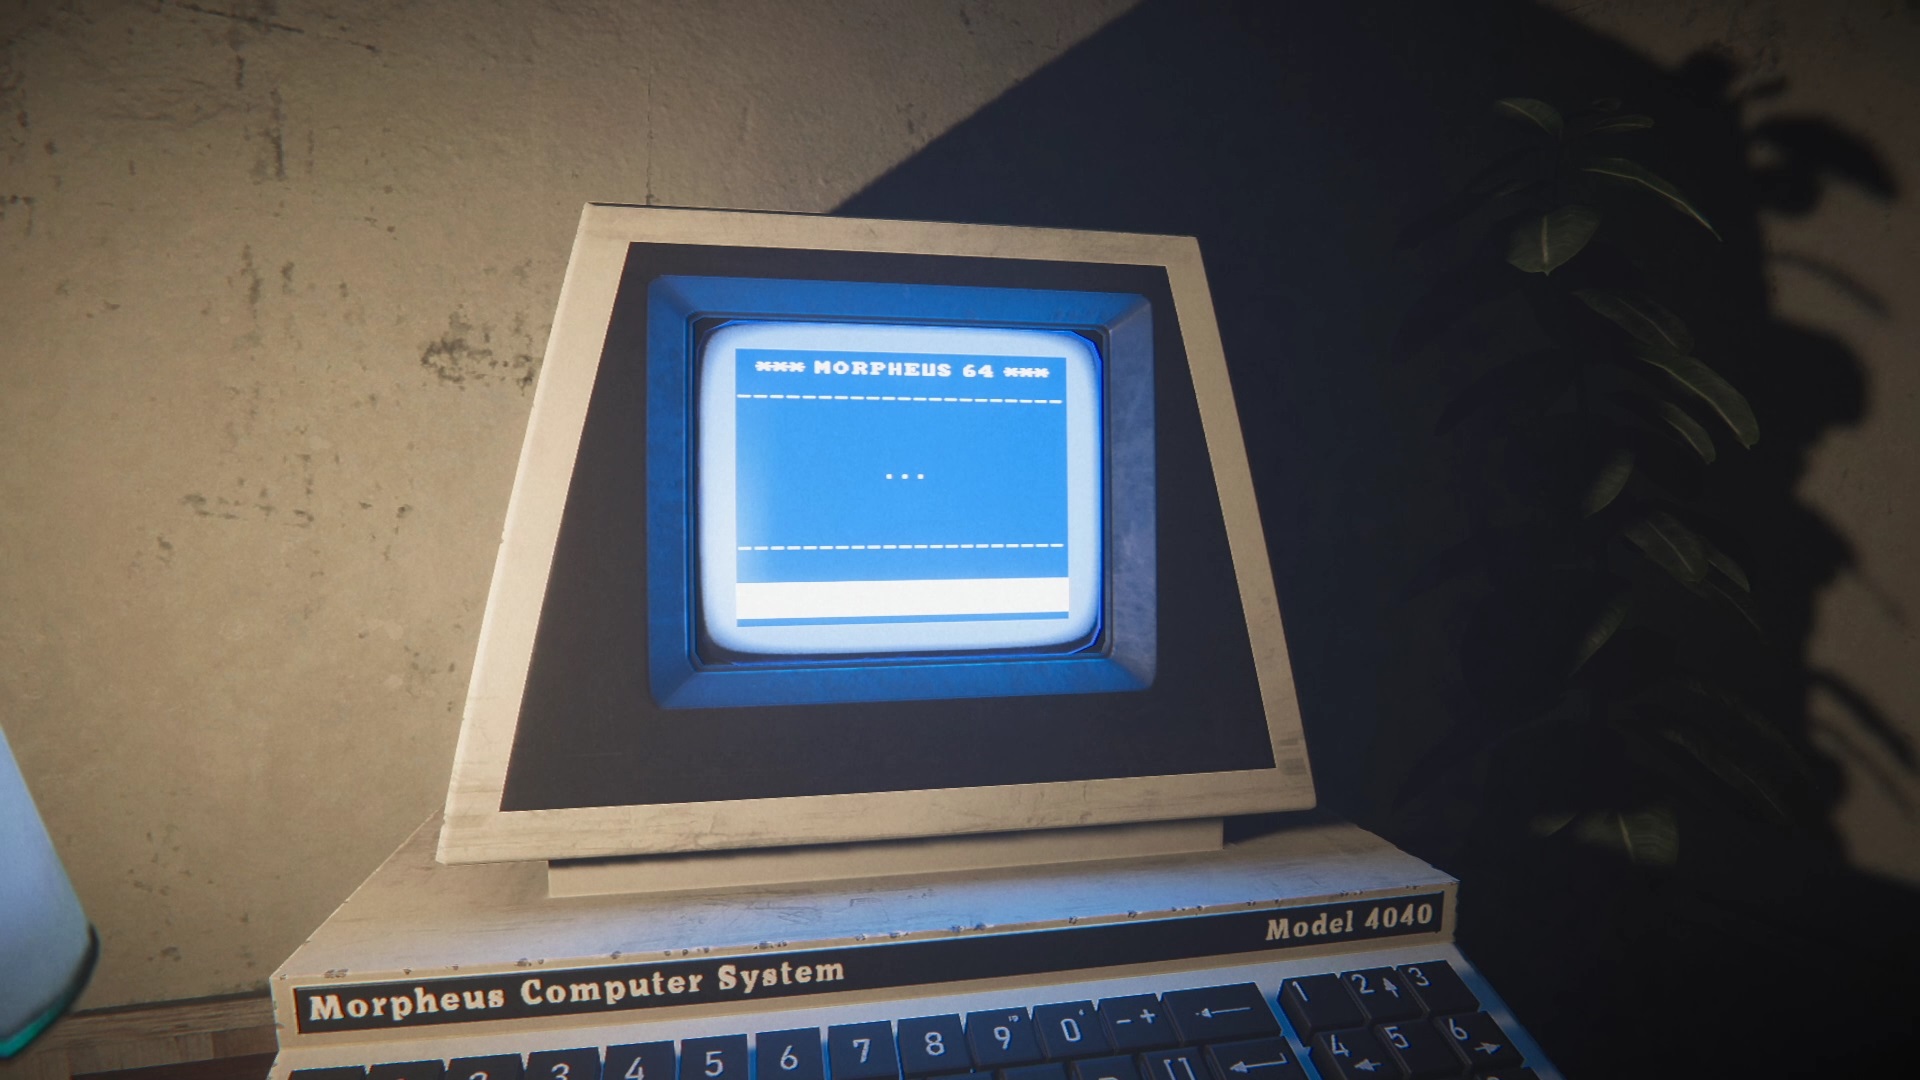
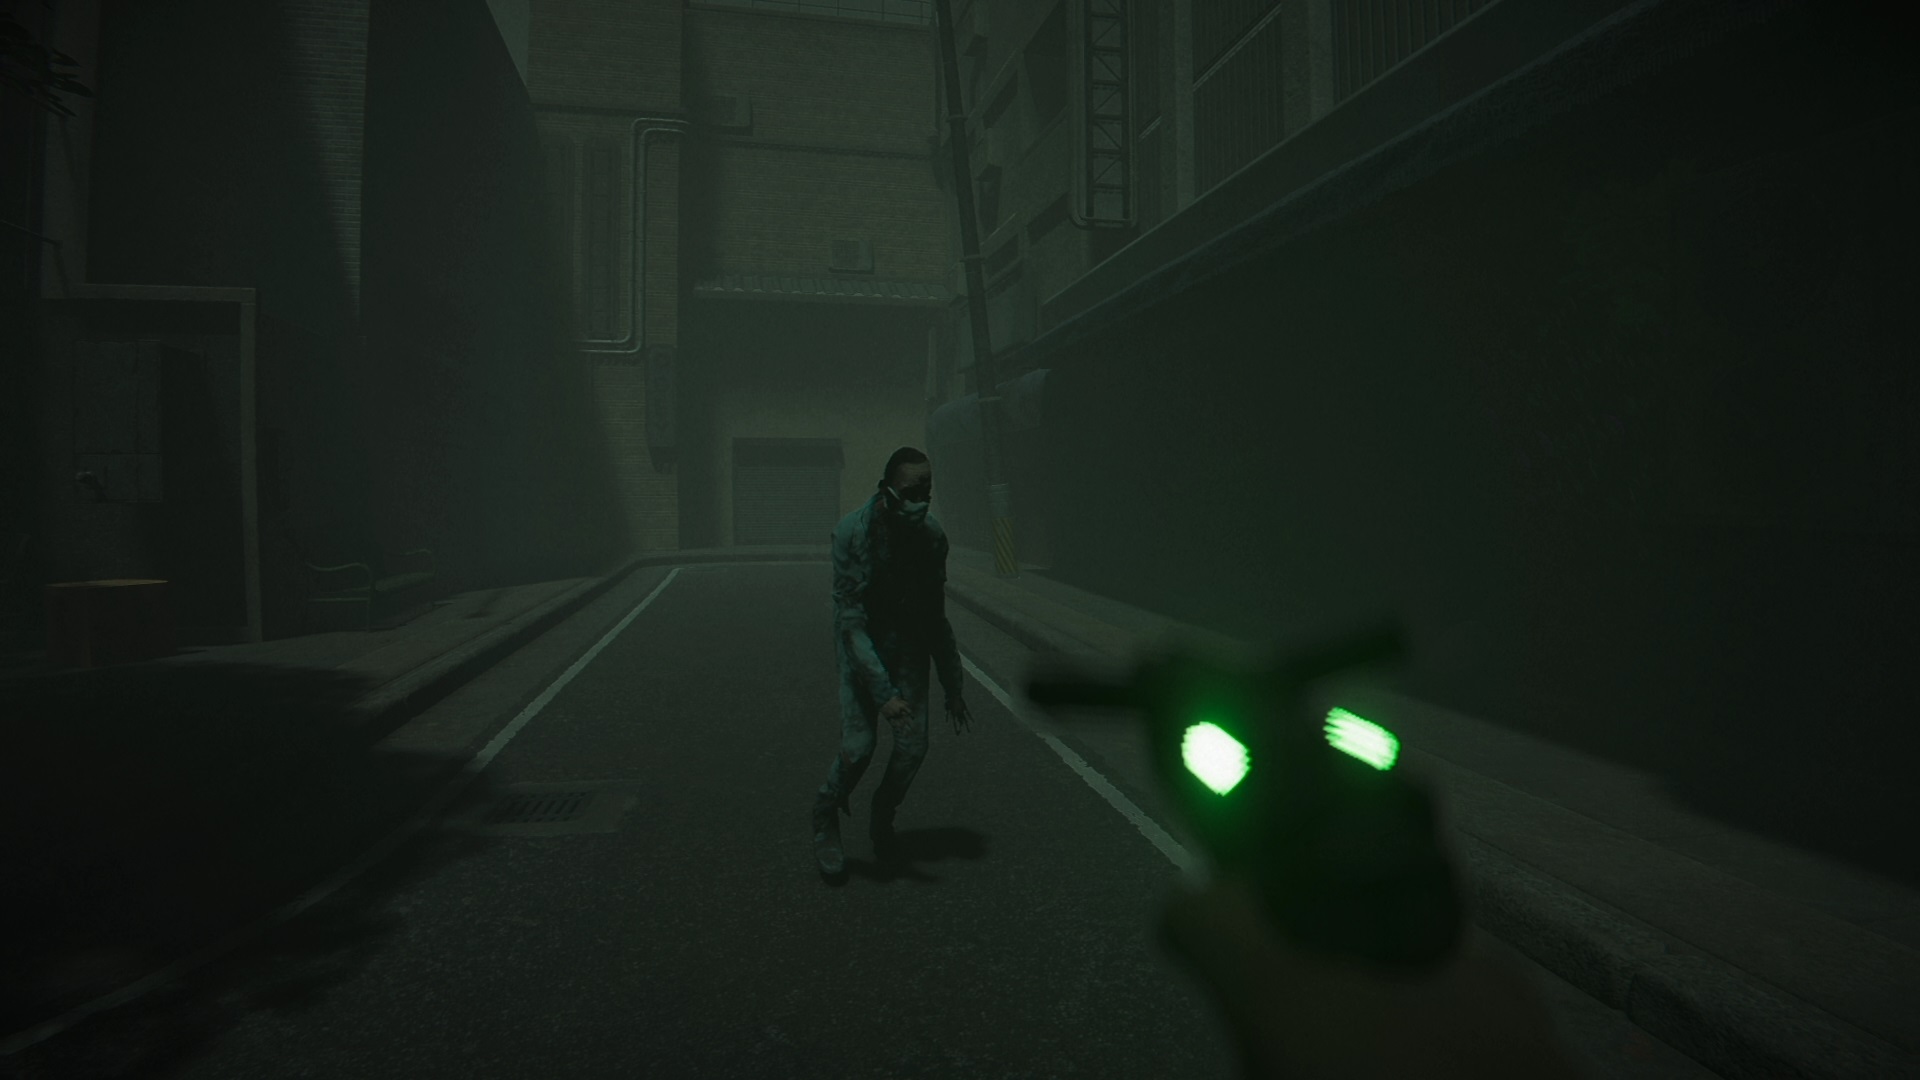
Back with the computer, use the Morpheus 64 to chat and get back in the elevator to go outside. Outside try to join the street to find new threats. Dodge threats and shoot when your machine turns green to eliminate them. Once cleared, interact with the phone near the dead end to finish the level.
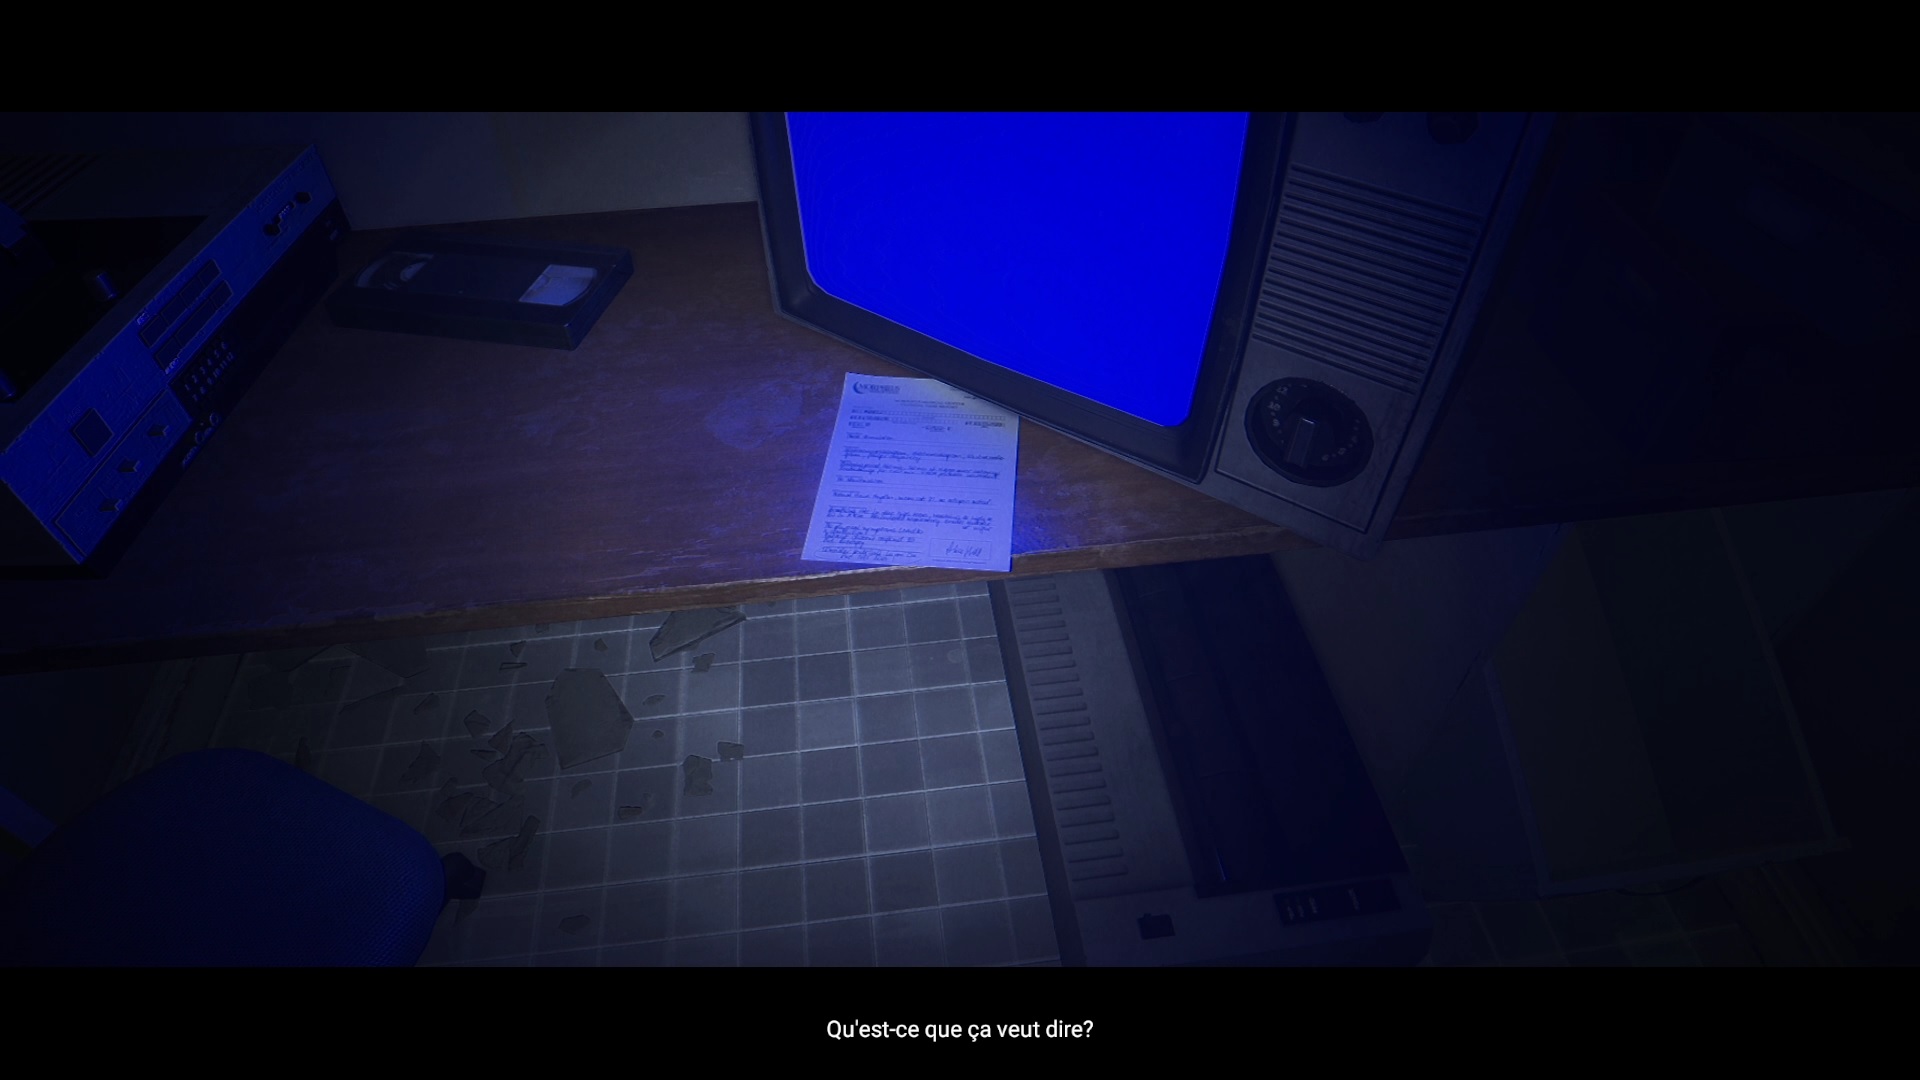

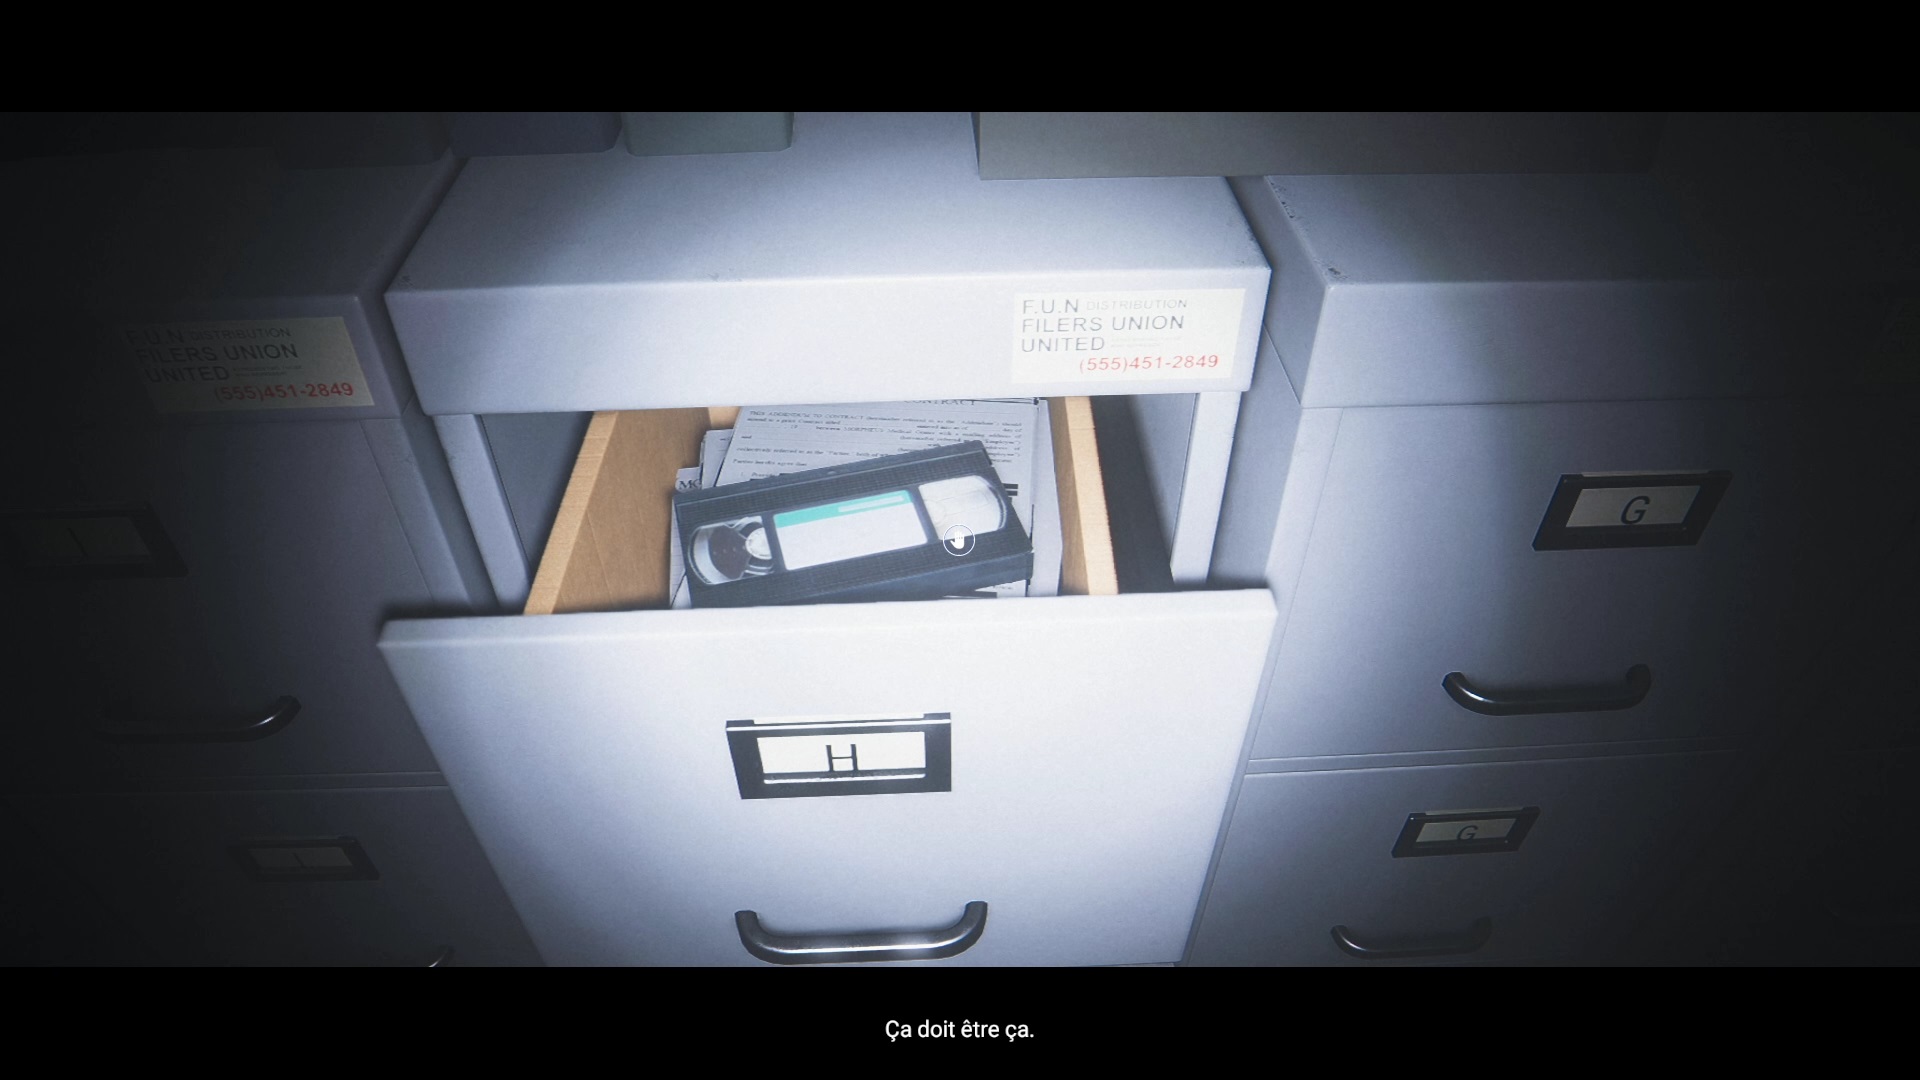
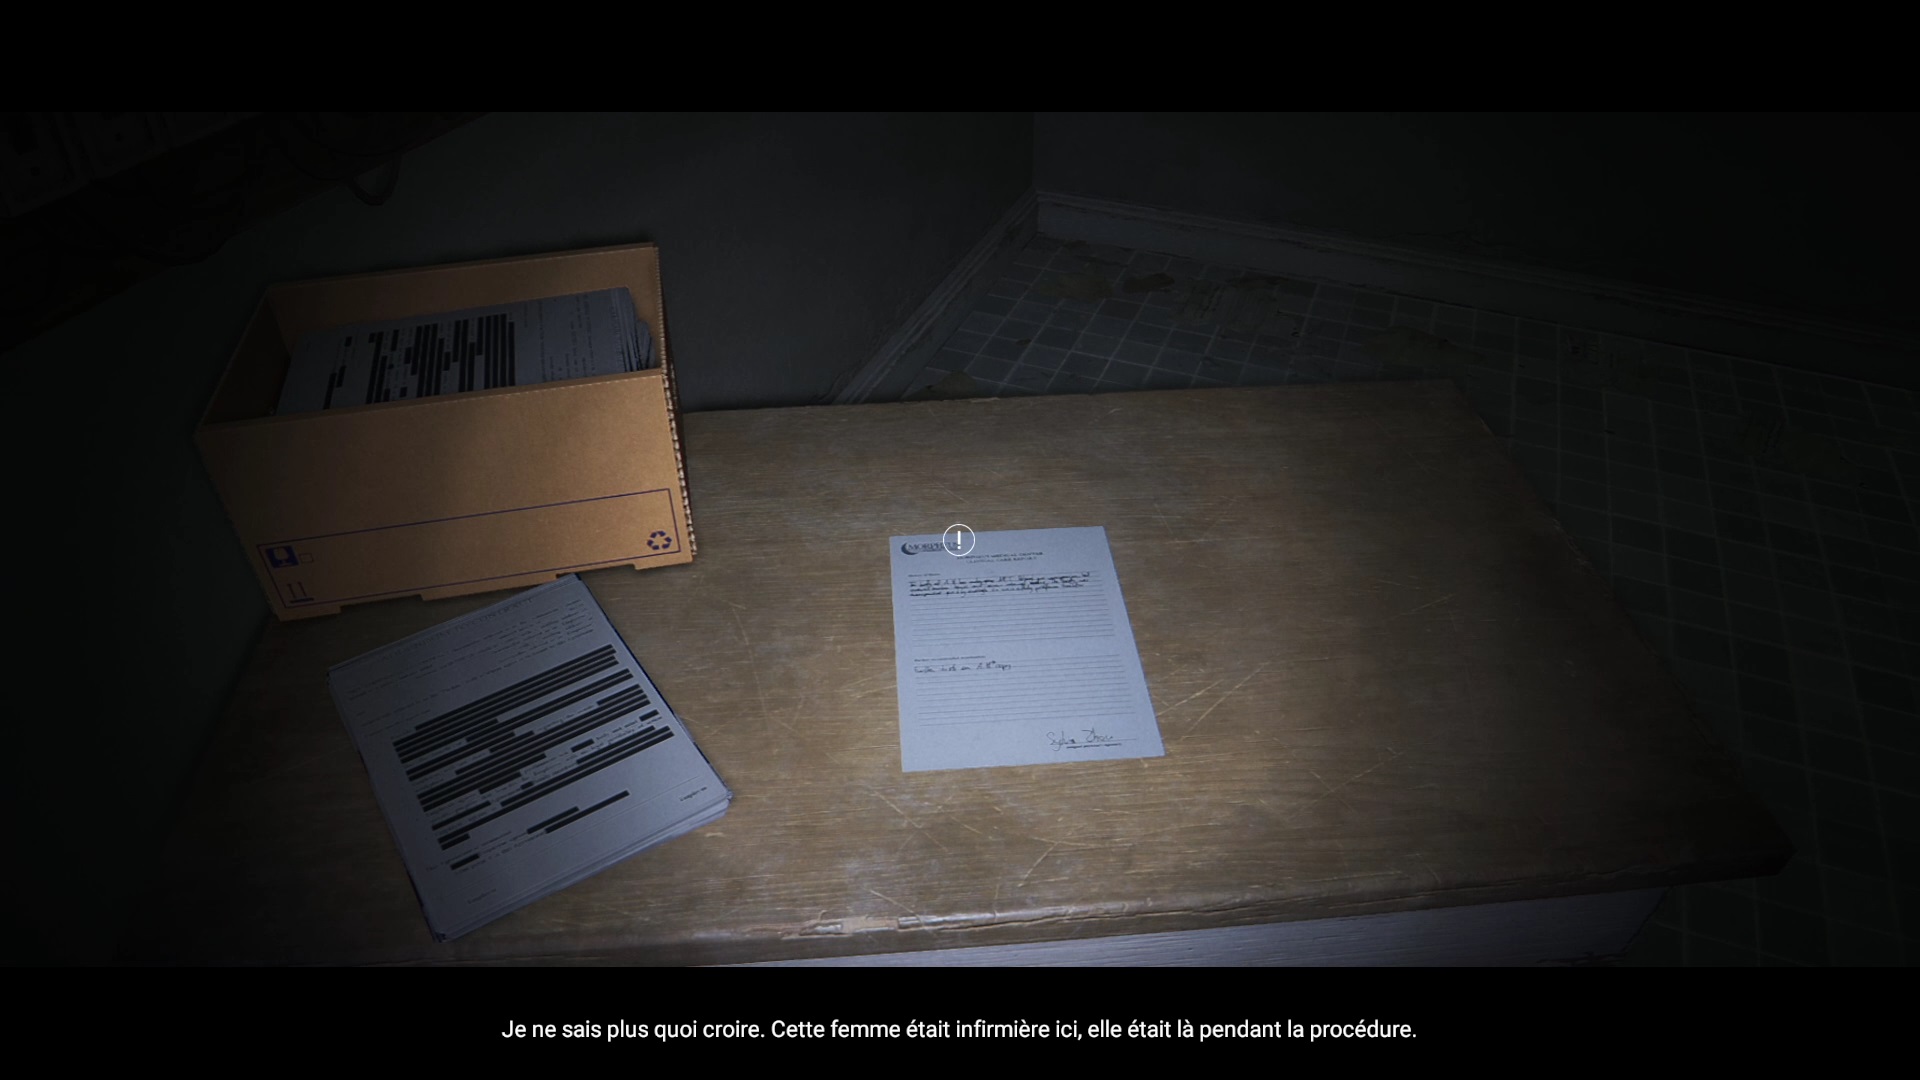
Back in the care building, examine the documents on the table and below the TV to learn about Alice Hill. Go up to the third floor to find and unlock the door to the employee archives. Inside, search the first locker of the letter H to find a tape. Once, the cassette in hand, an alarm retained. Return to the video player room.
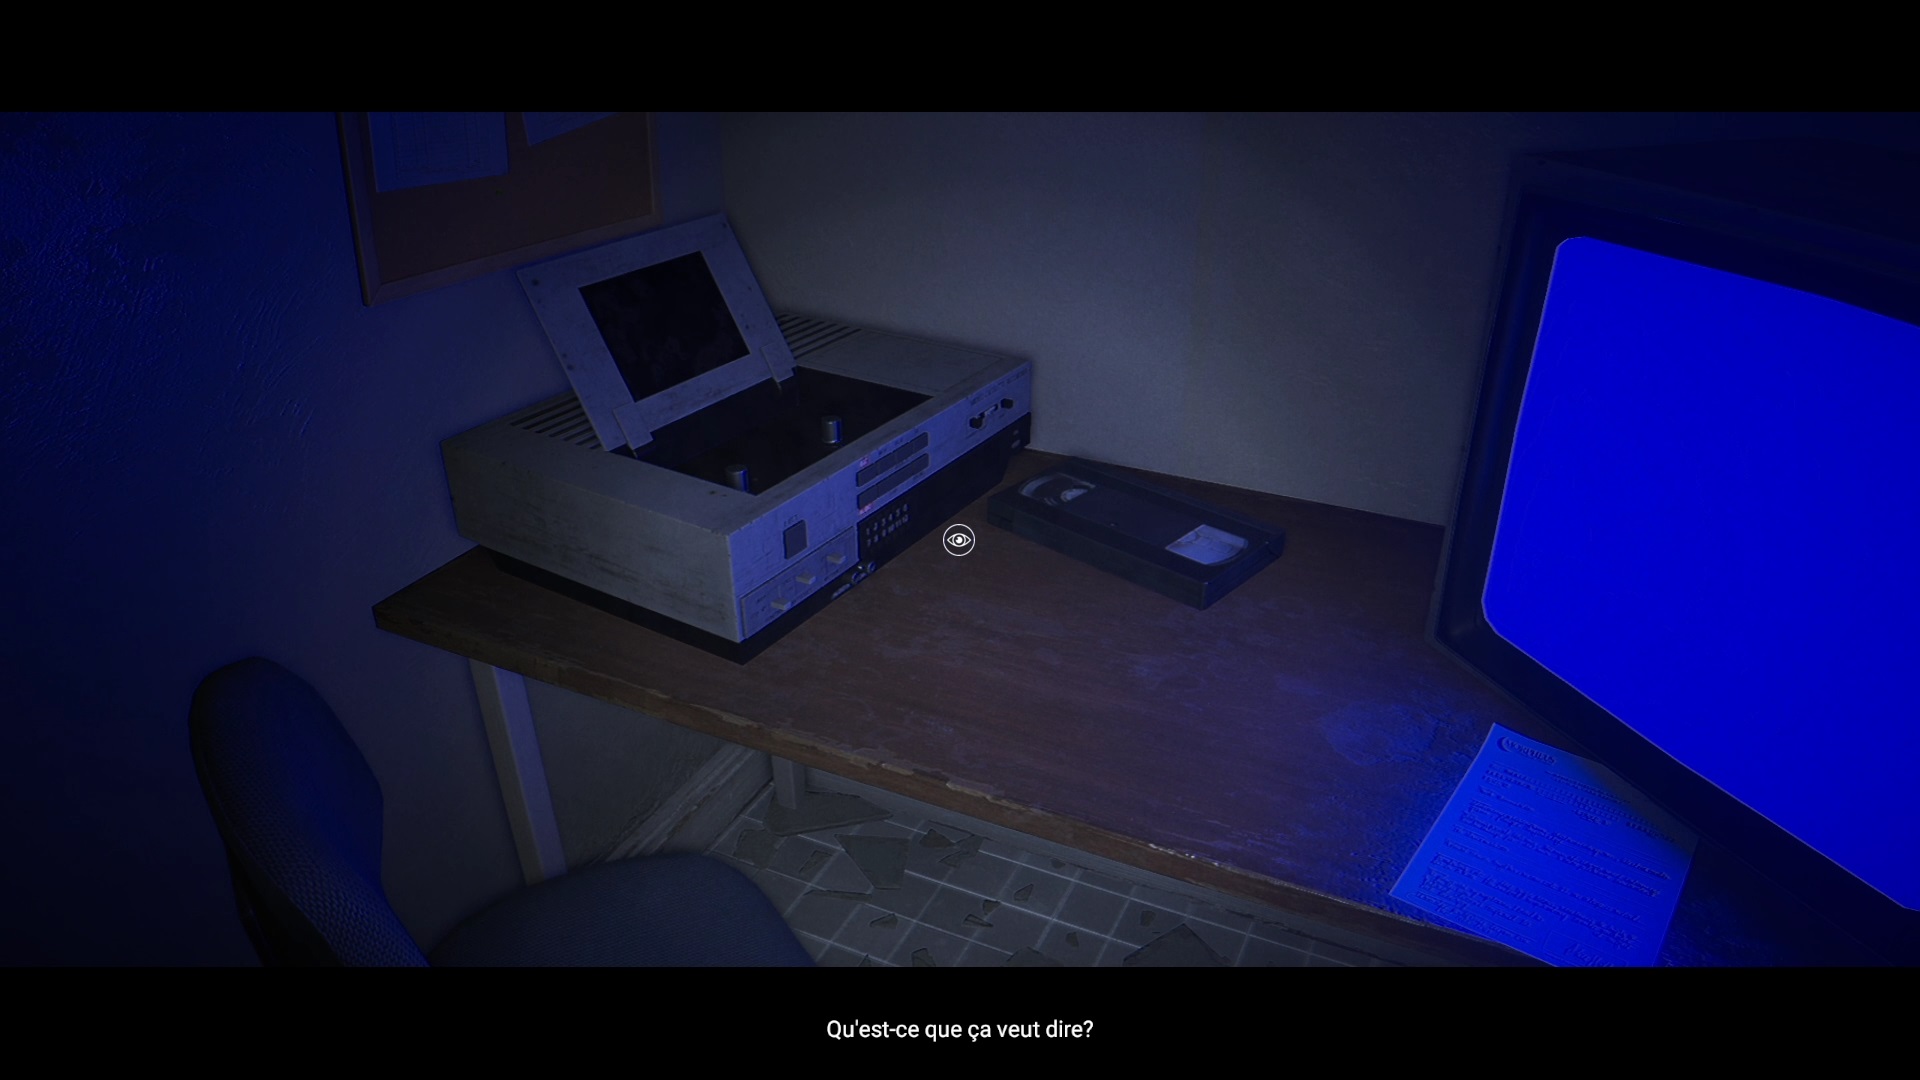
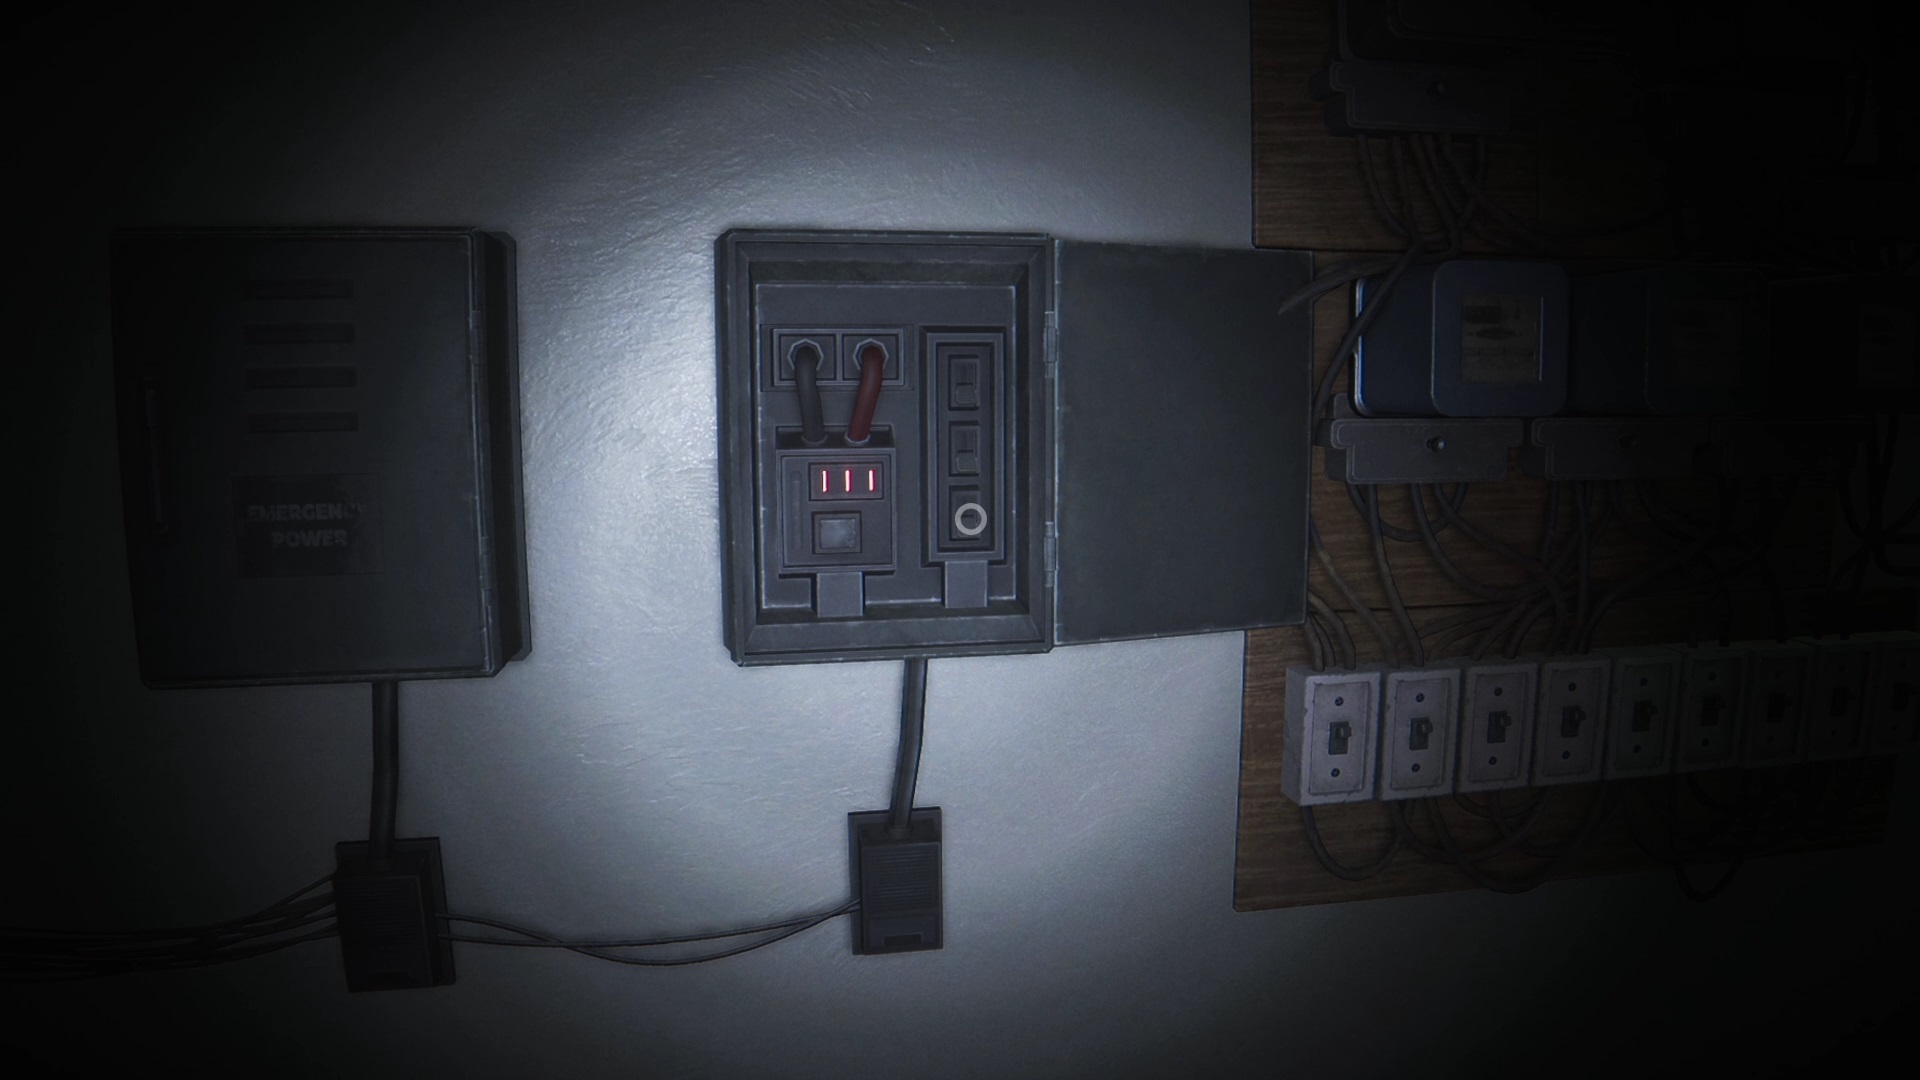
Disable the power by lowering the levers on the case and then power the building by raising them. Then insert the new tape into the video player to start recording.
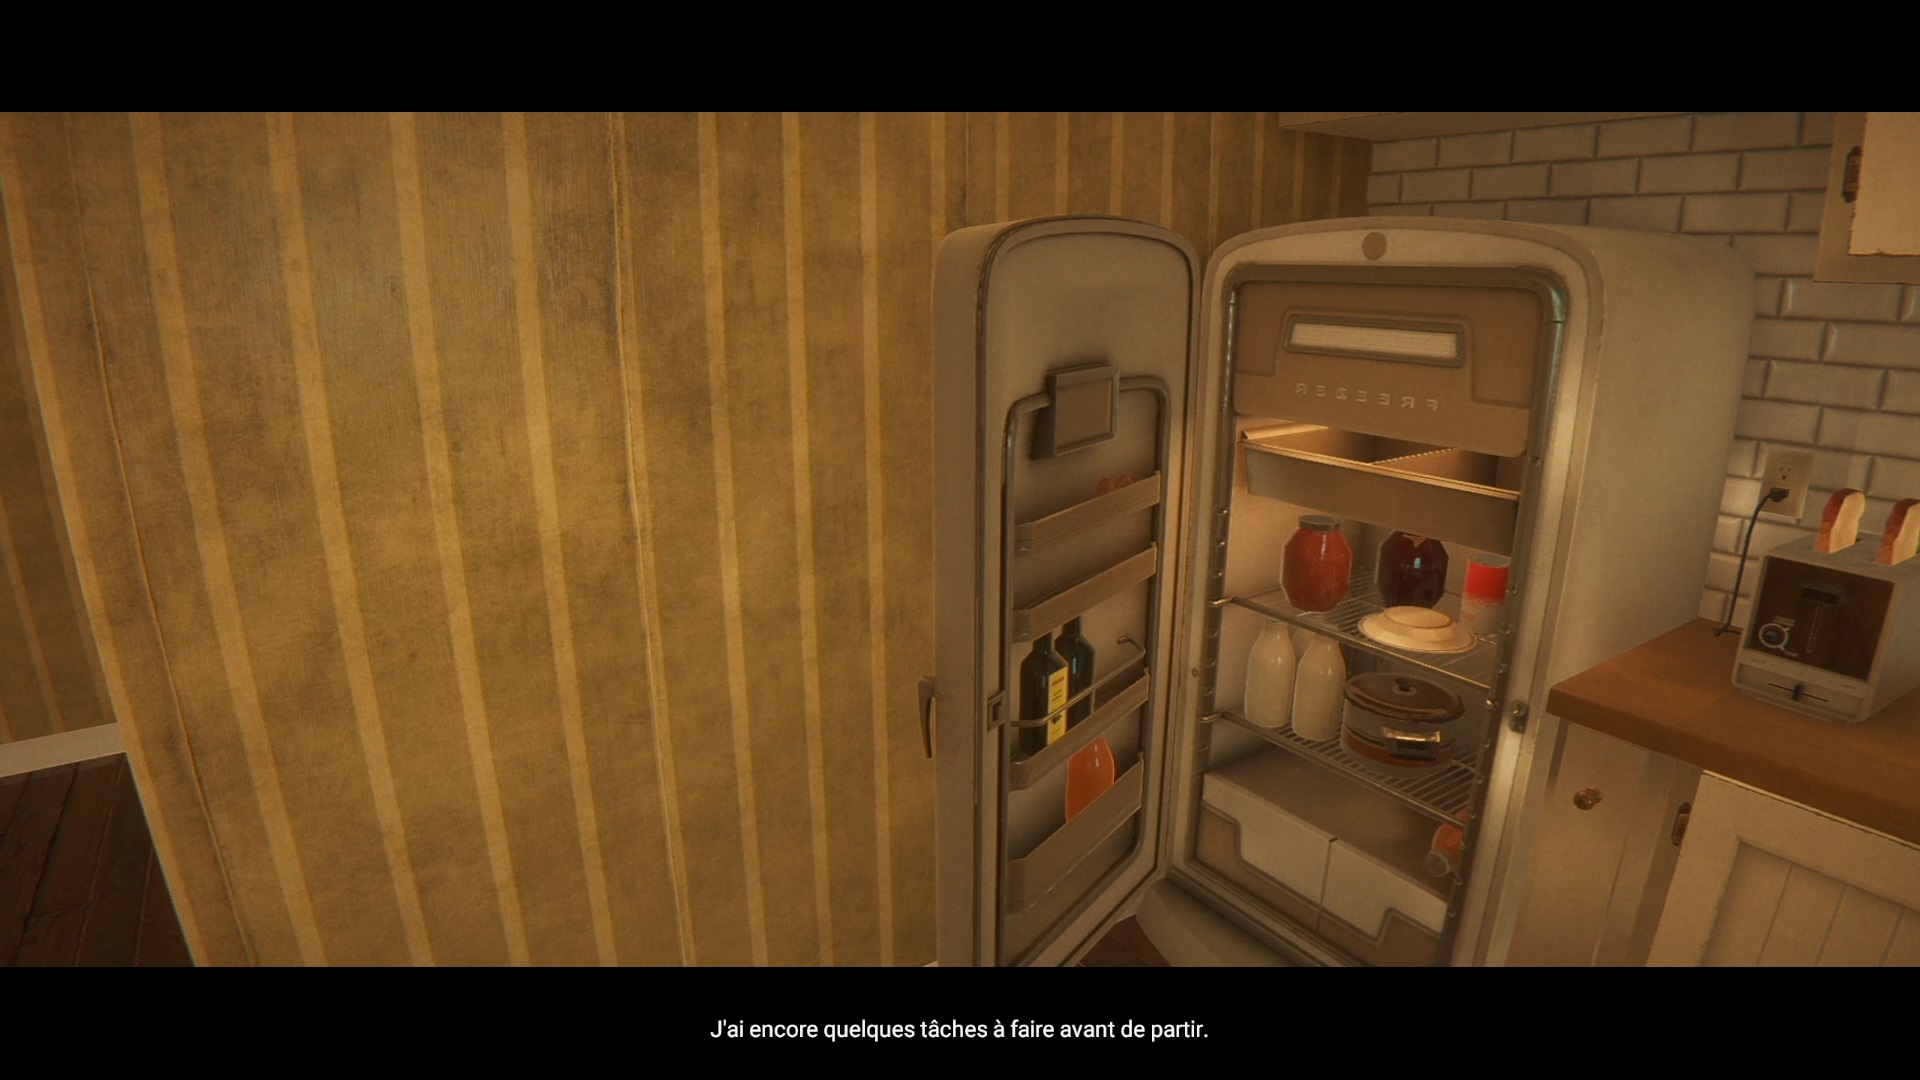
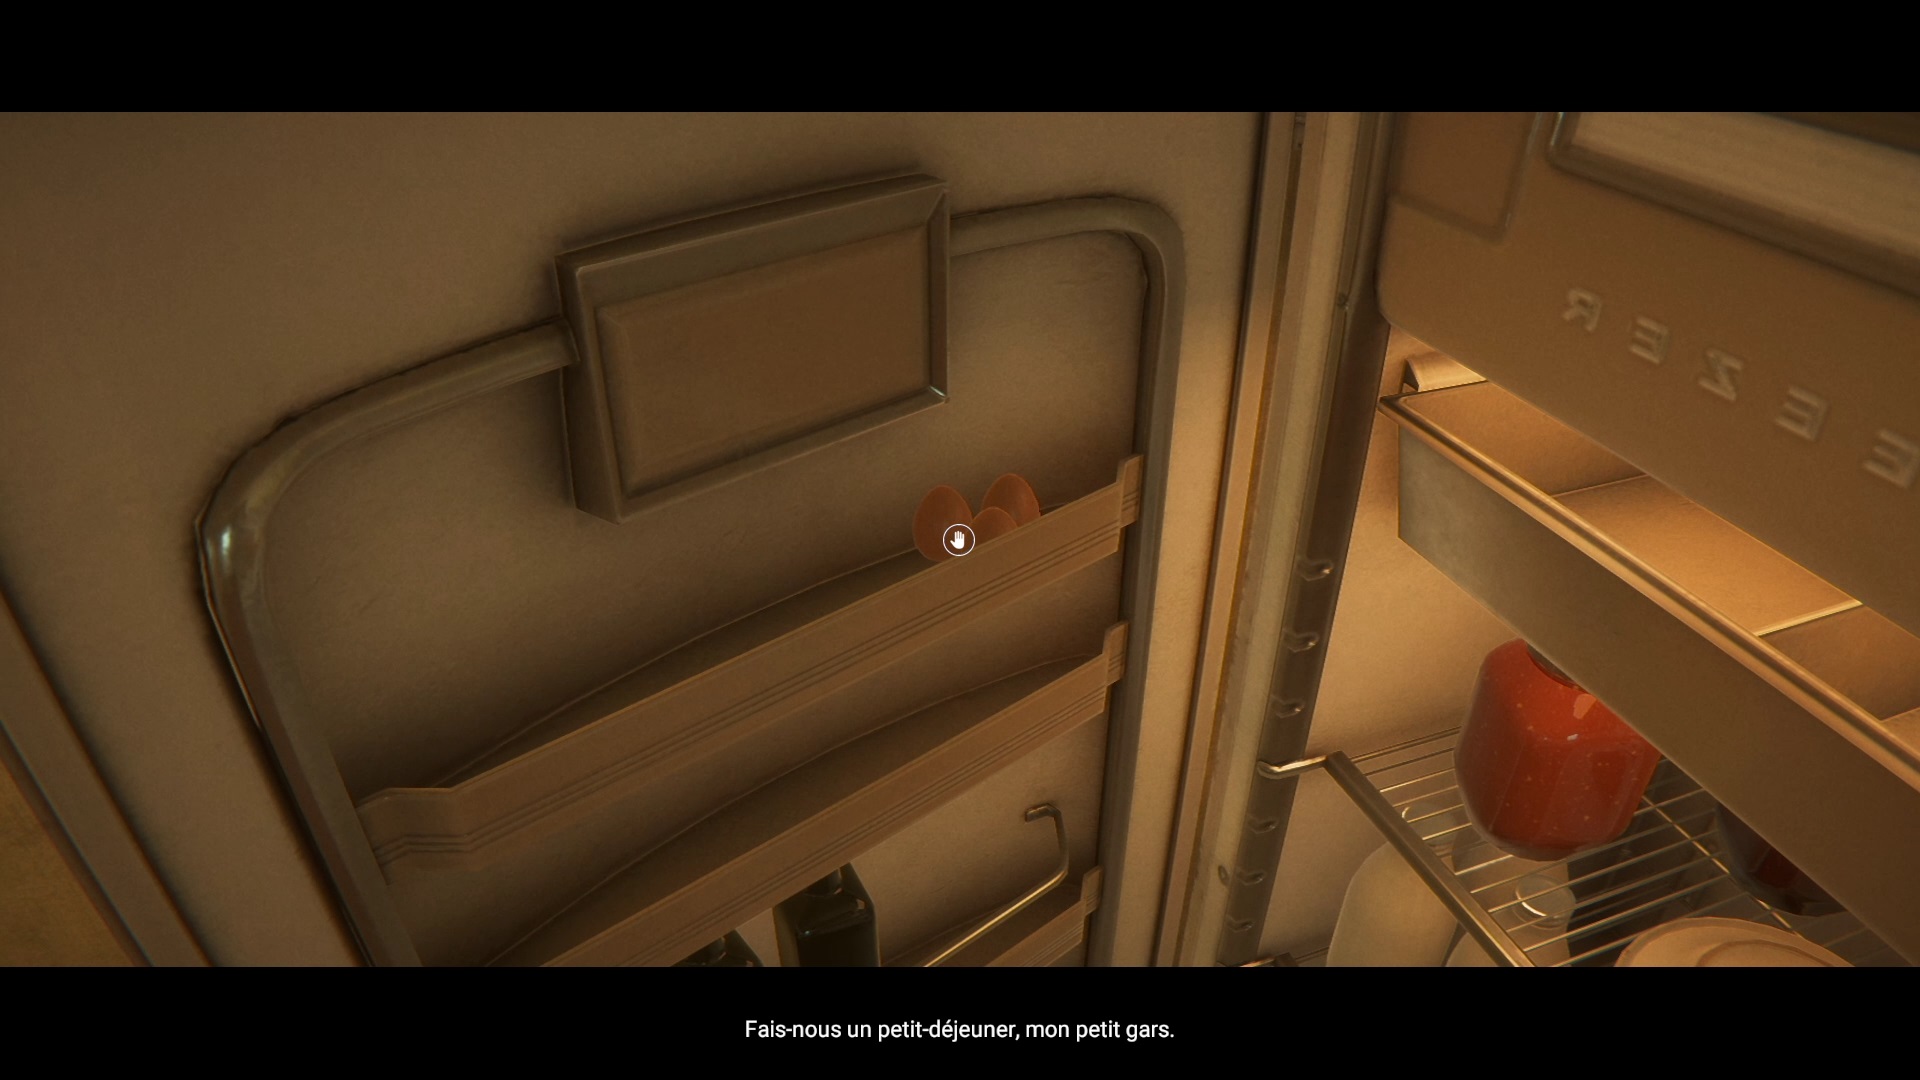
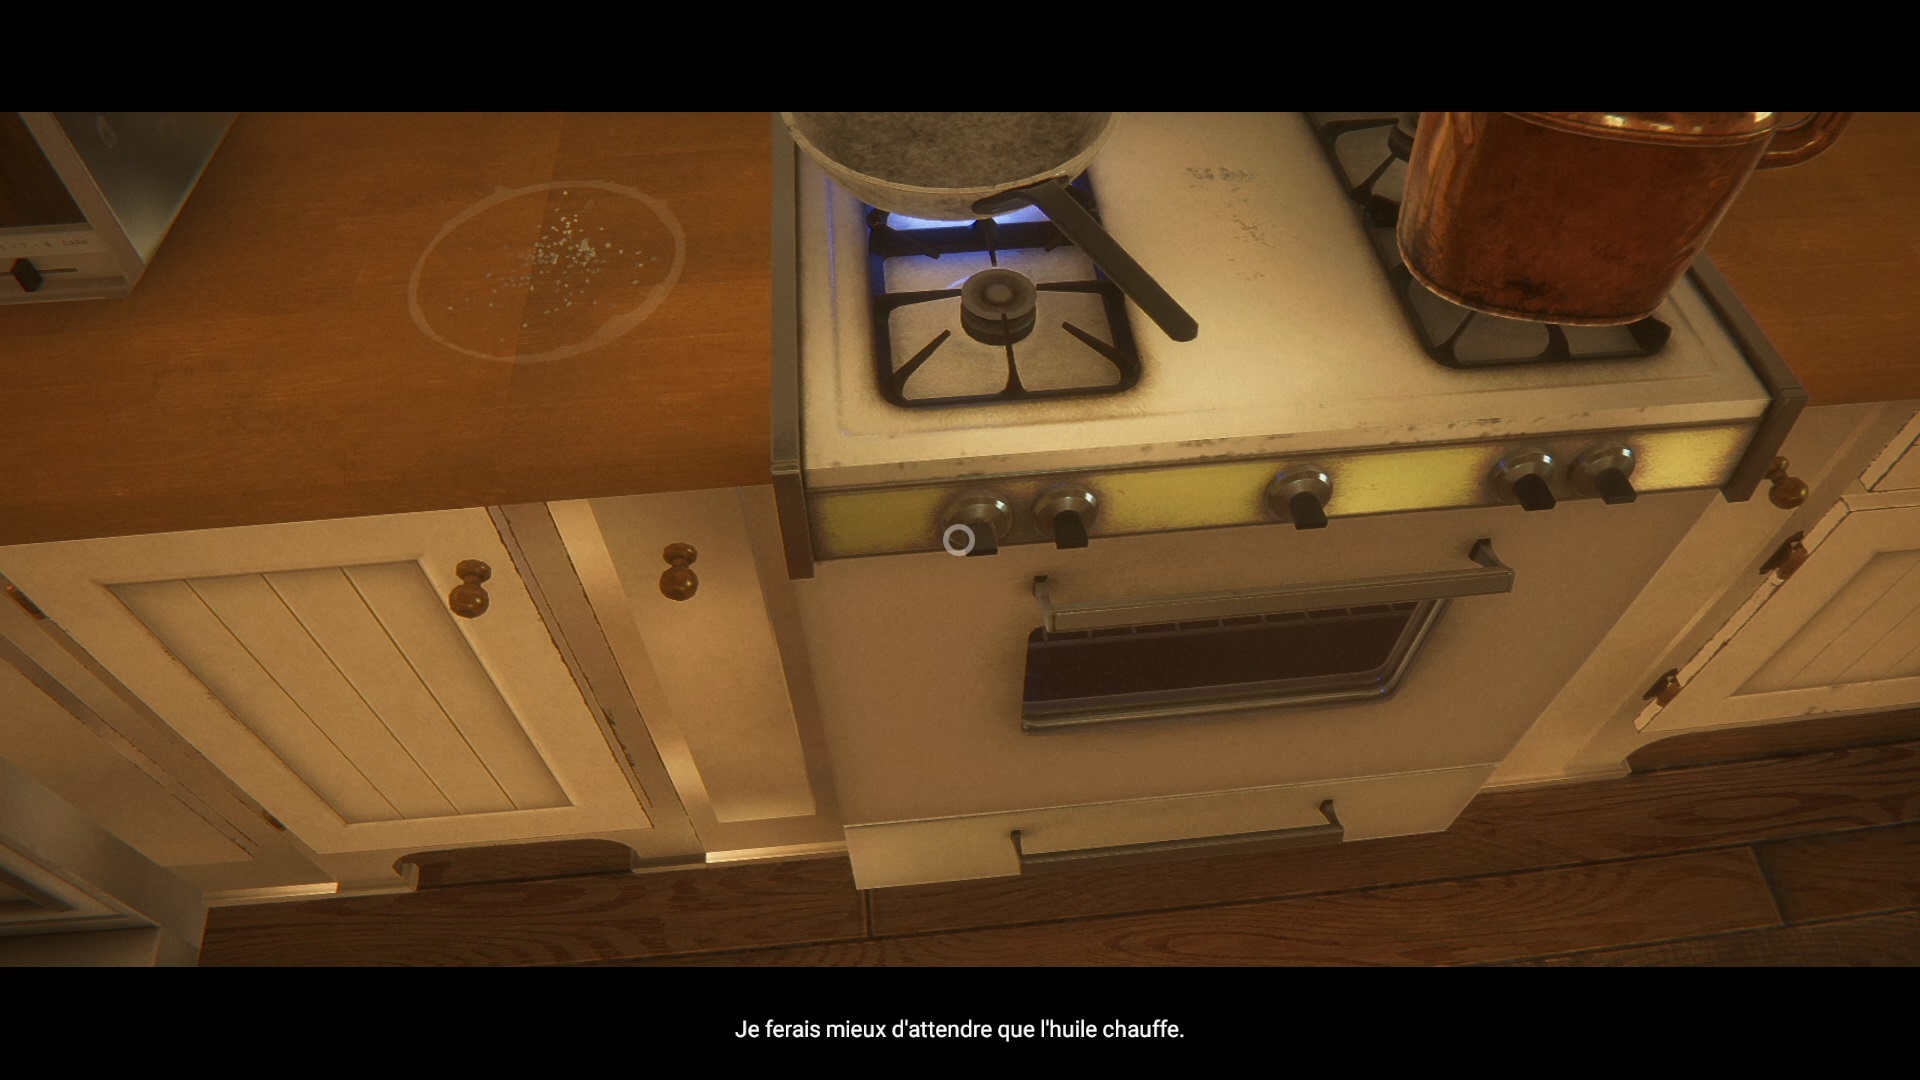
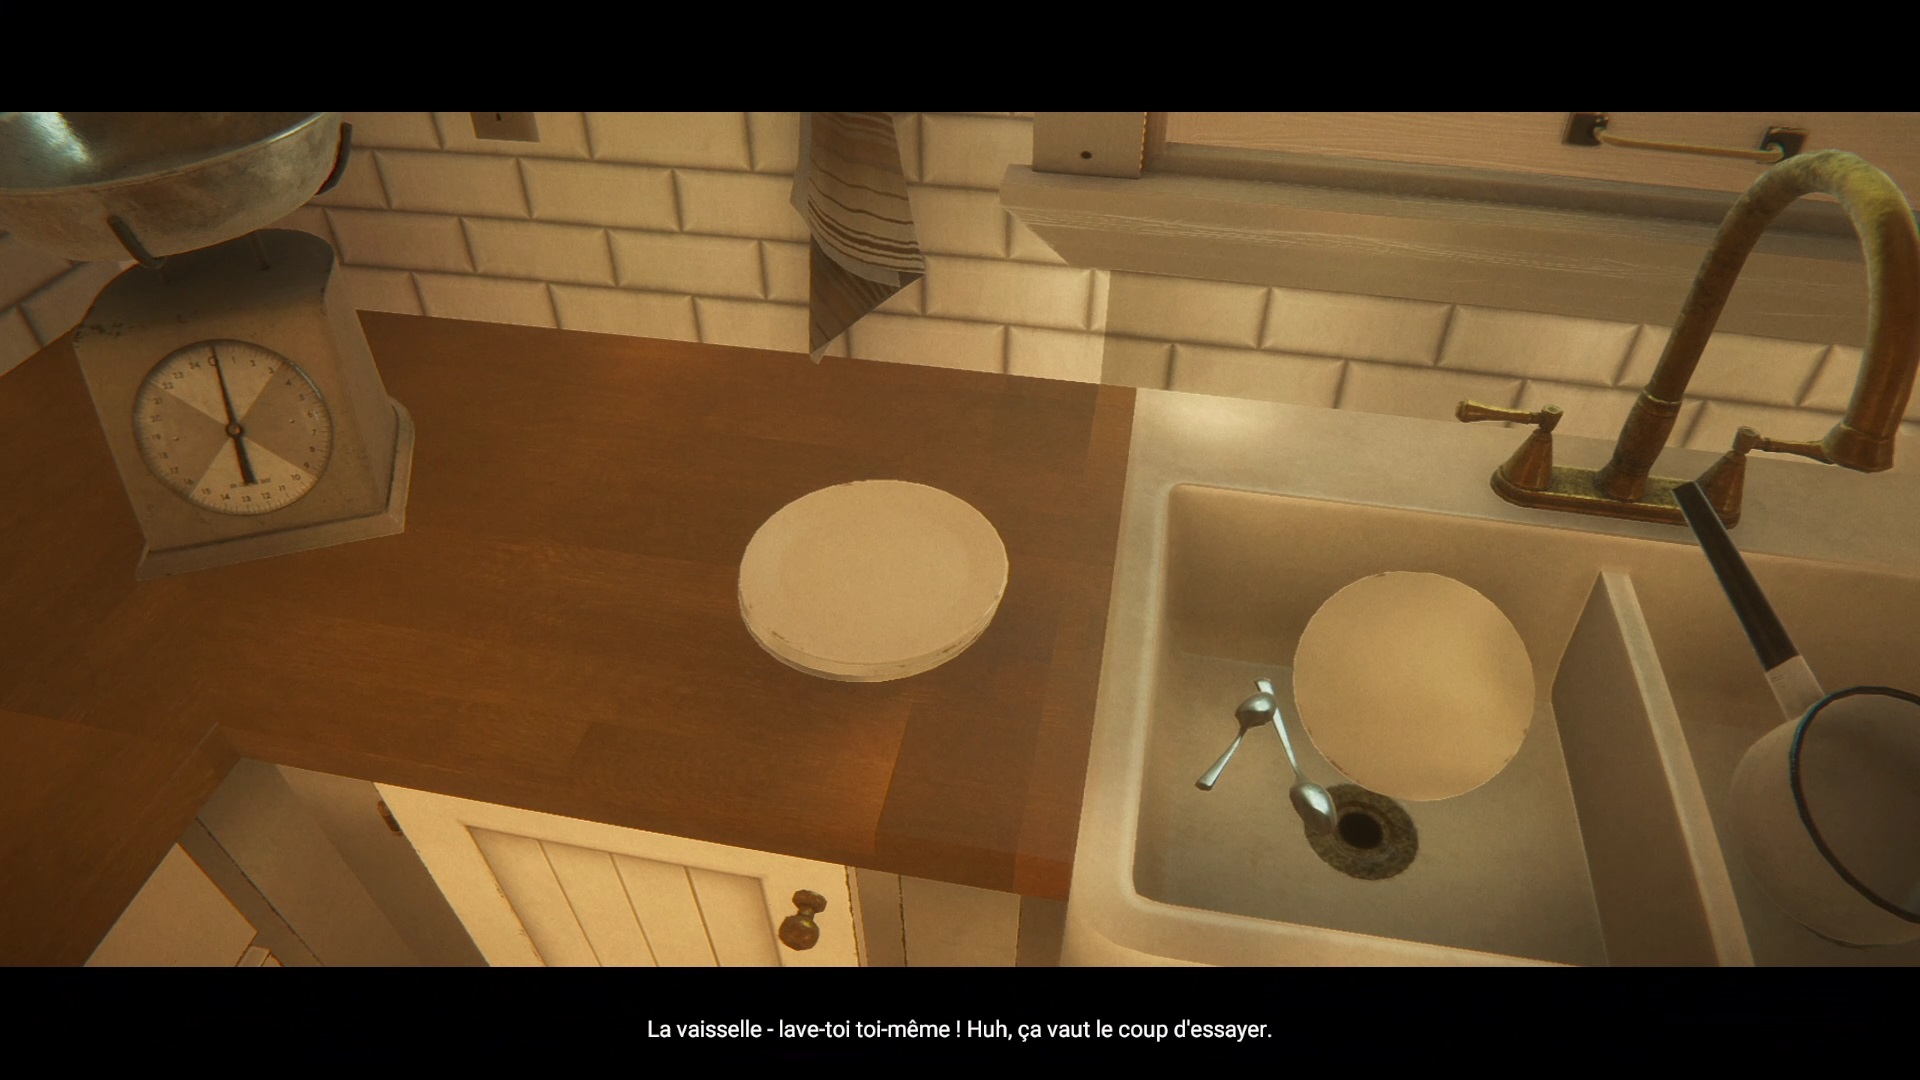
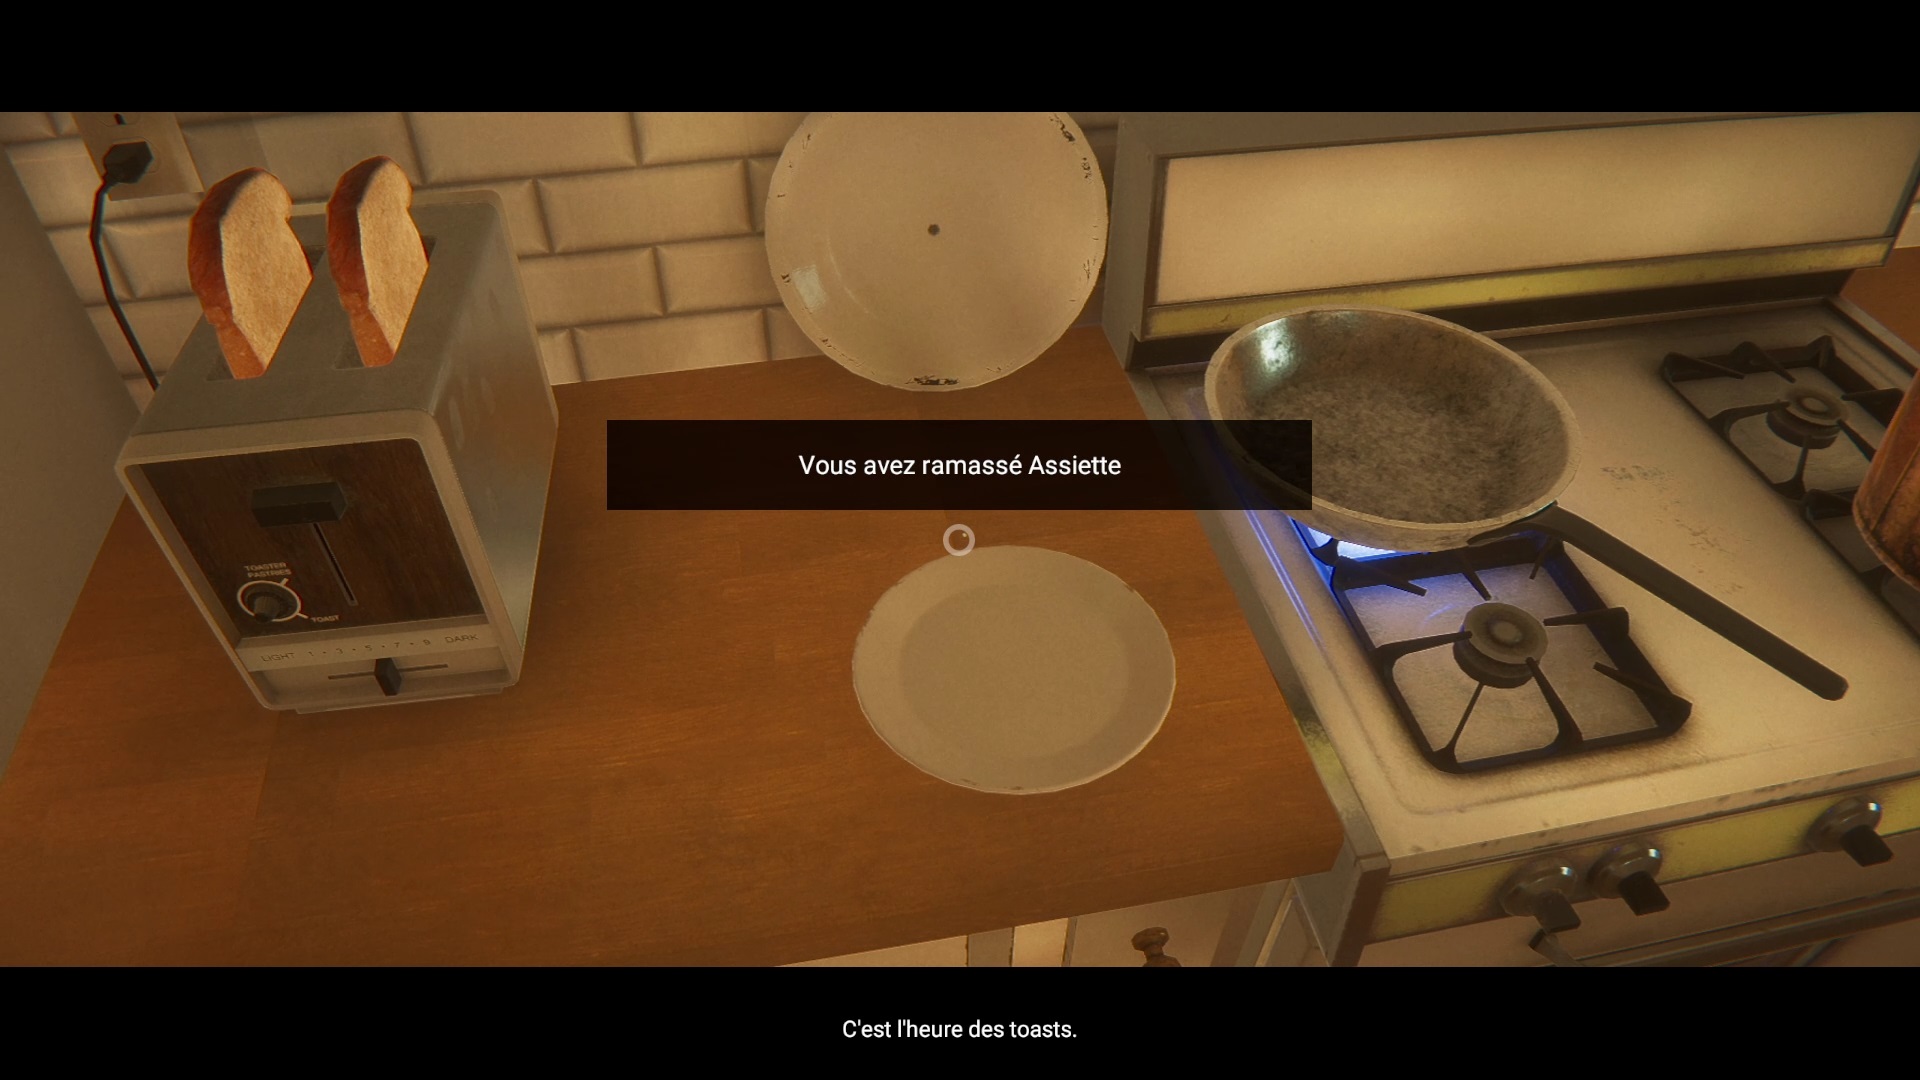
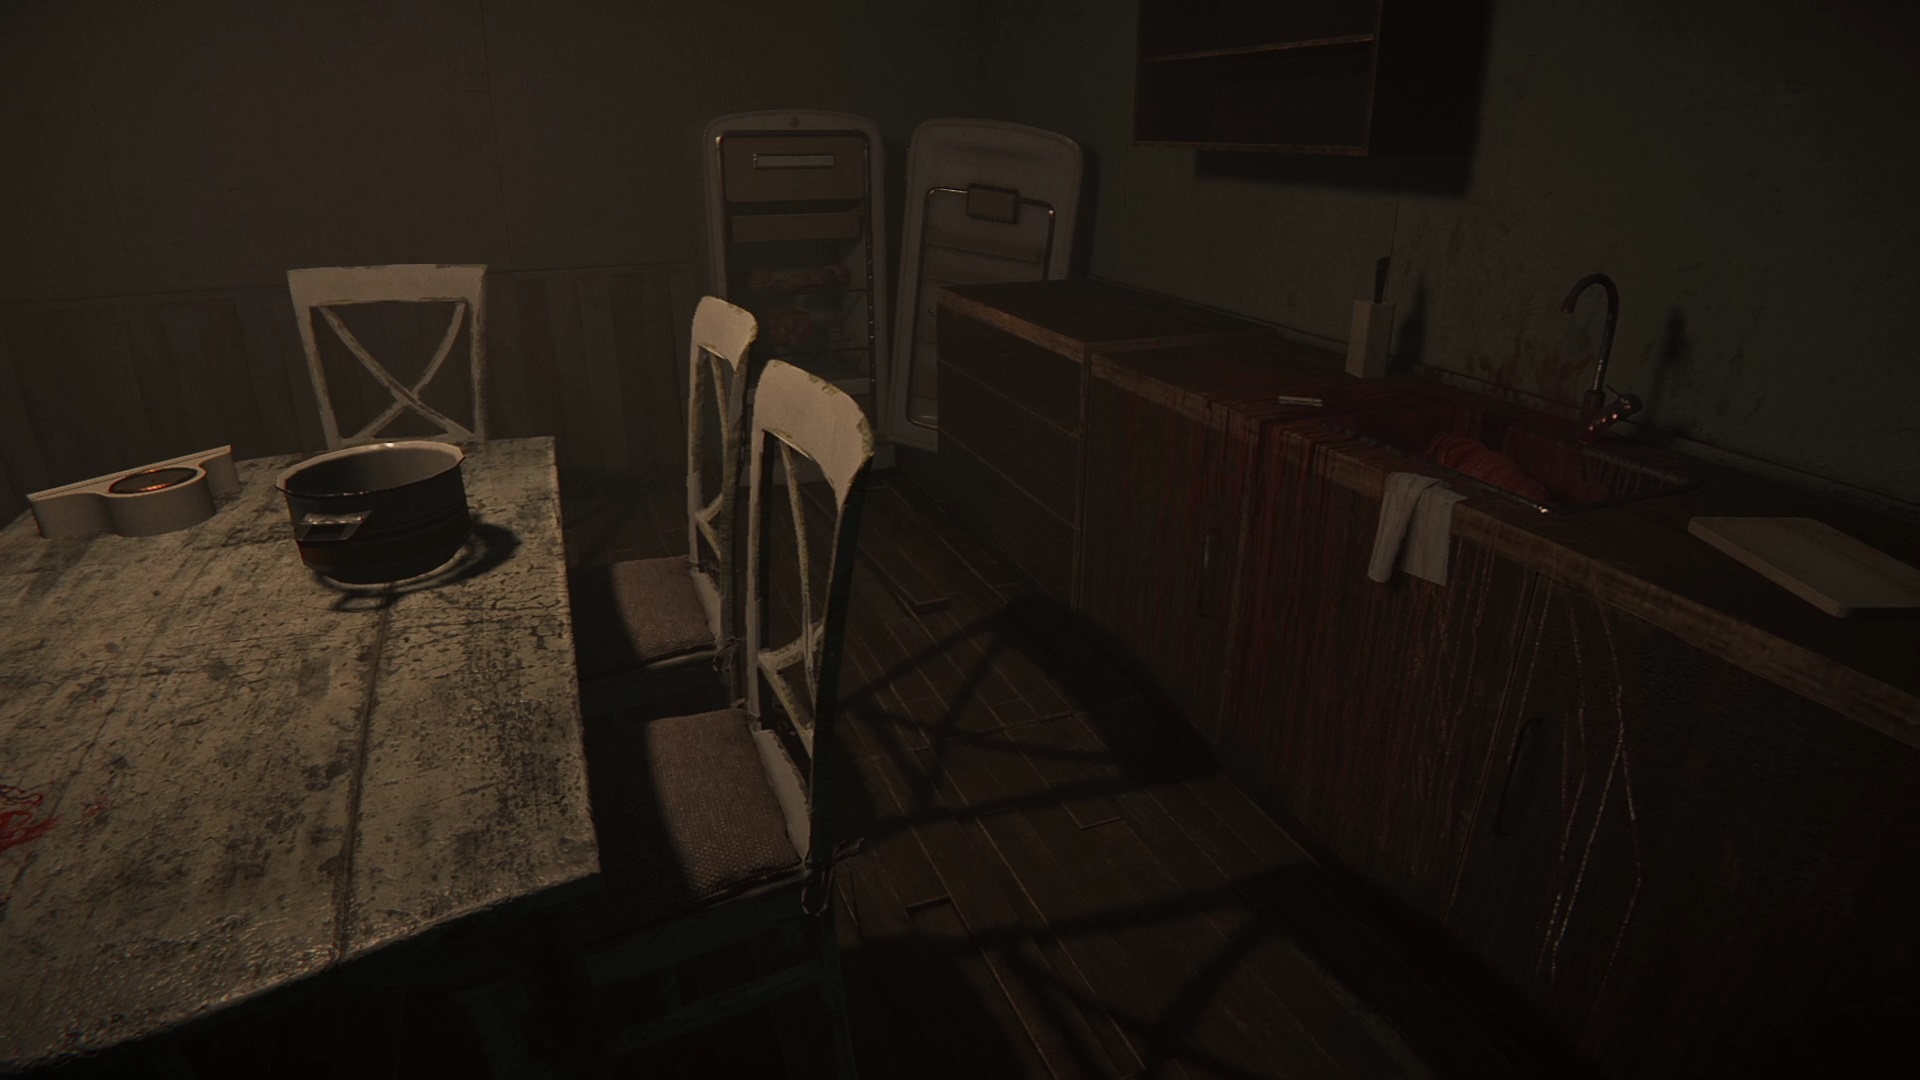
In the shoes of Alice, get up to join the kitchen at the bottom of the house. Search the fridge to complete your first objective. Then collect the eggs in the compartment and heat the pan. Take a clean plate from the left of the sink and place it next to the pan.
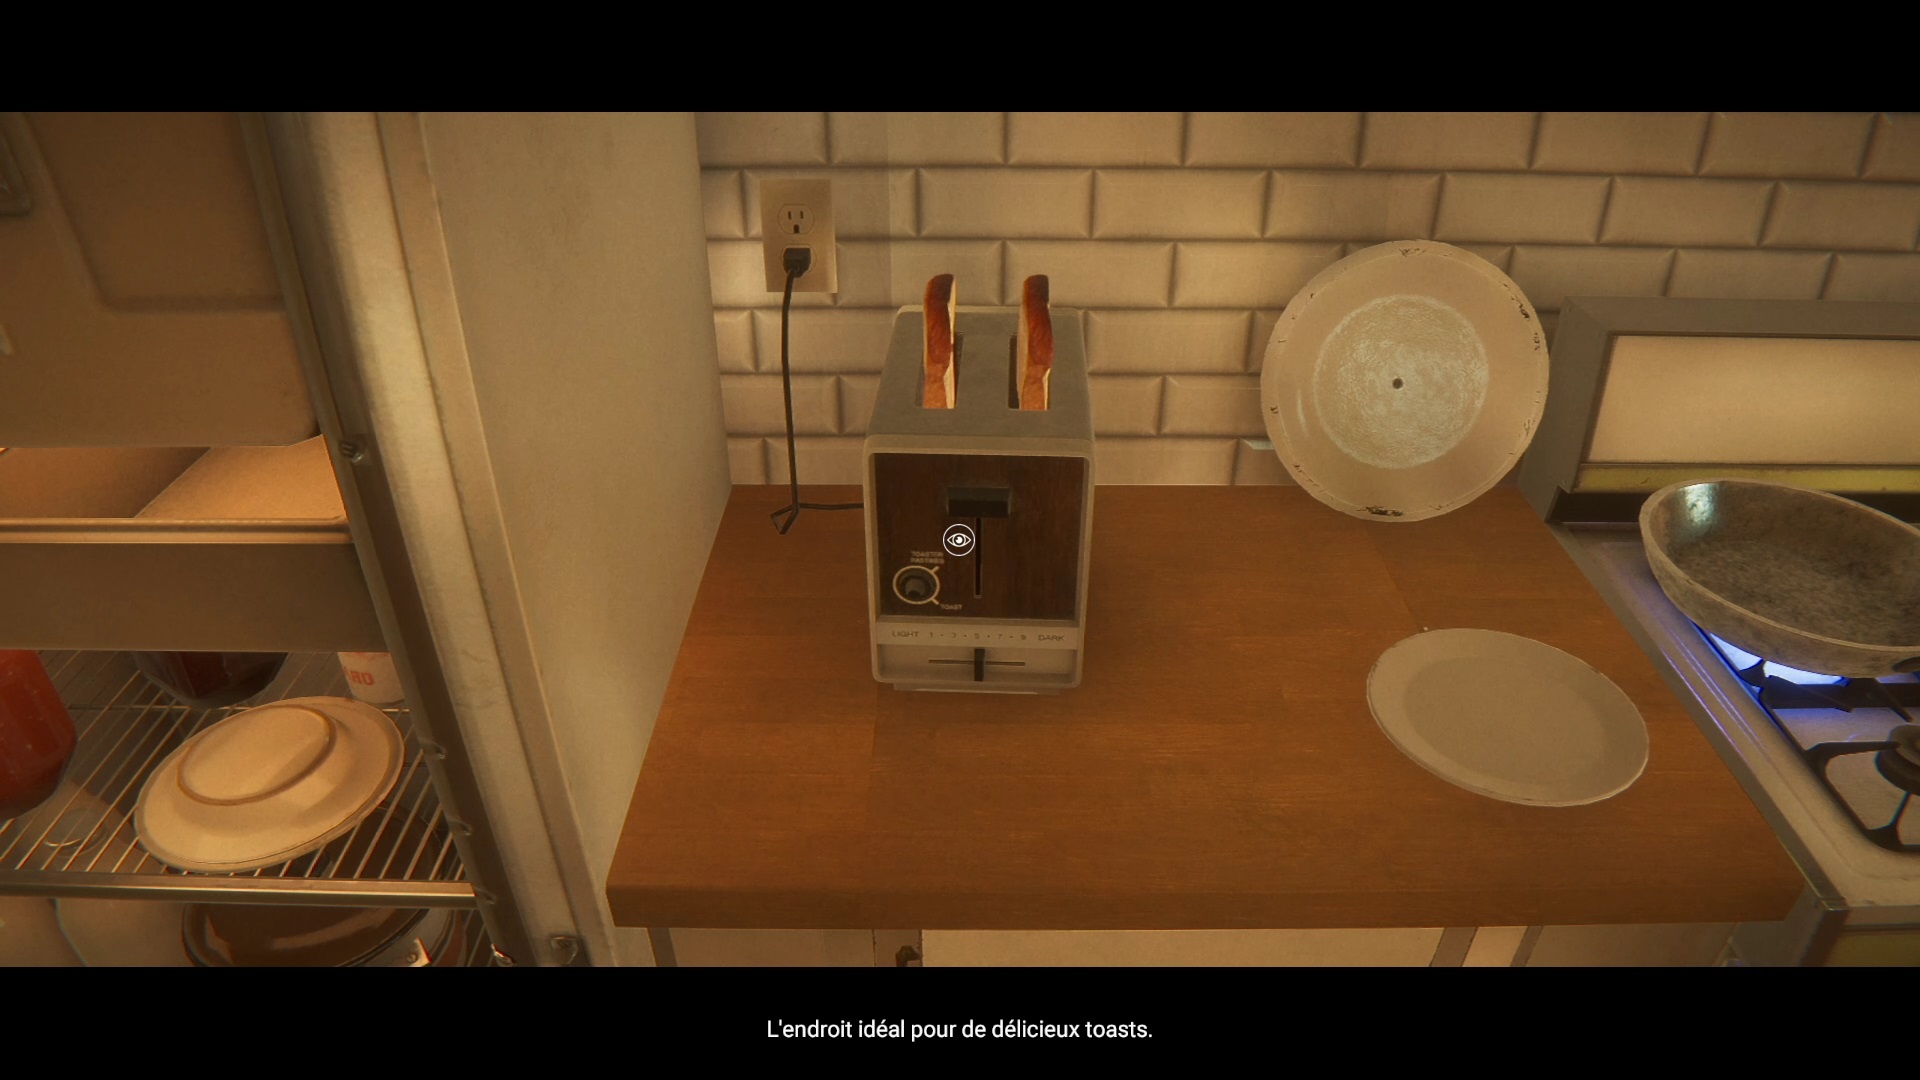

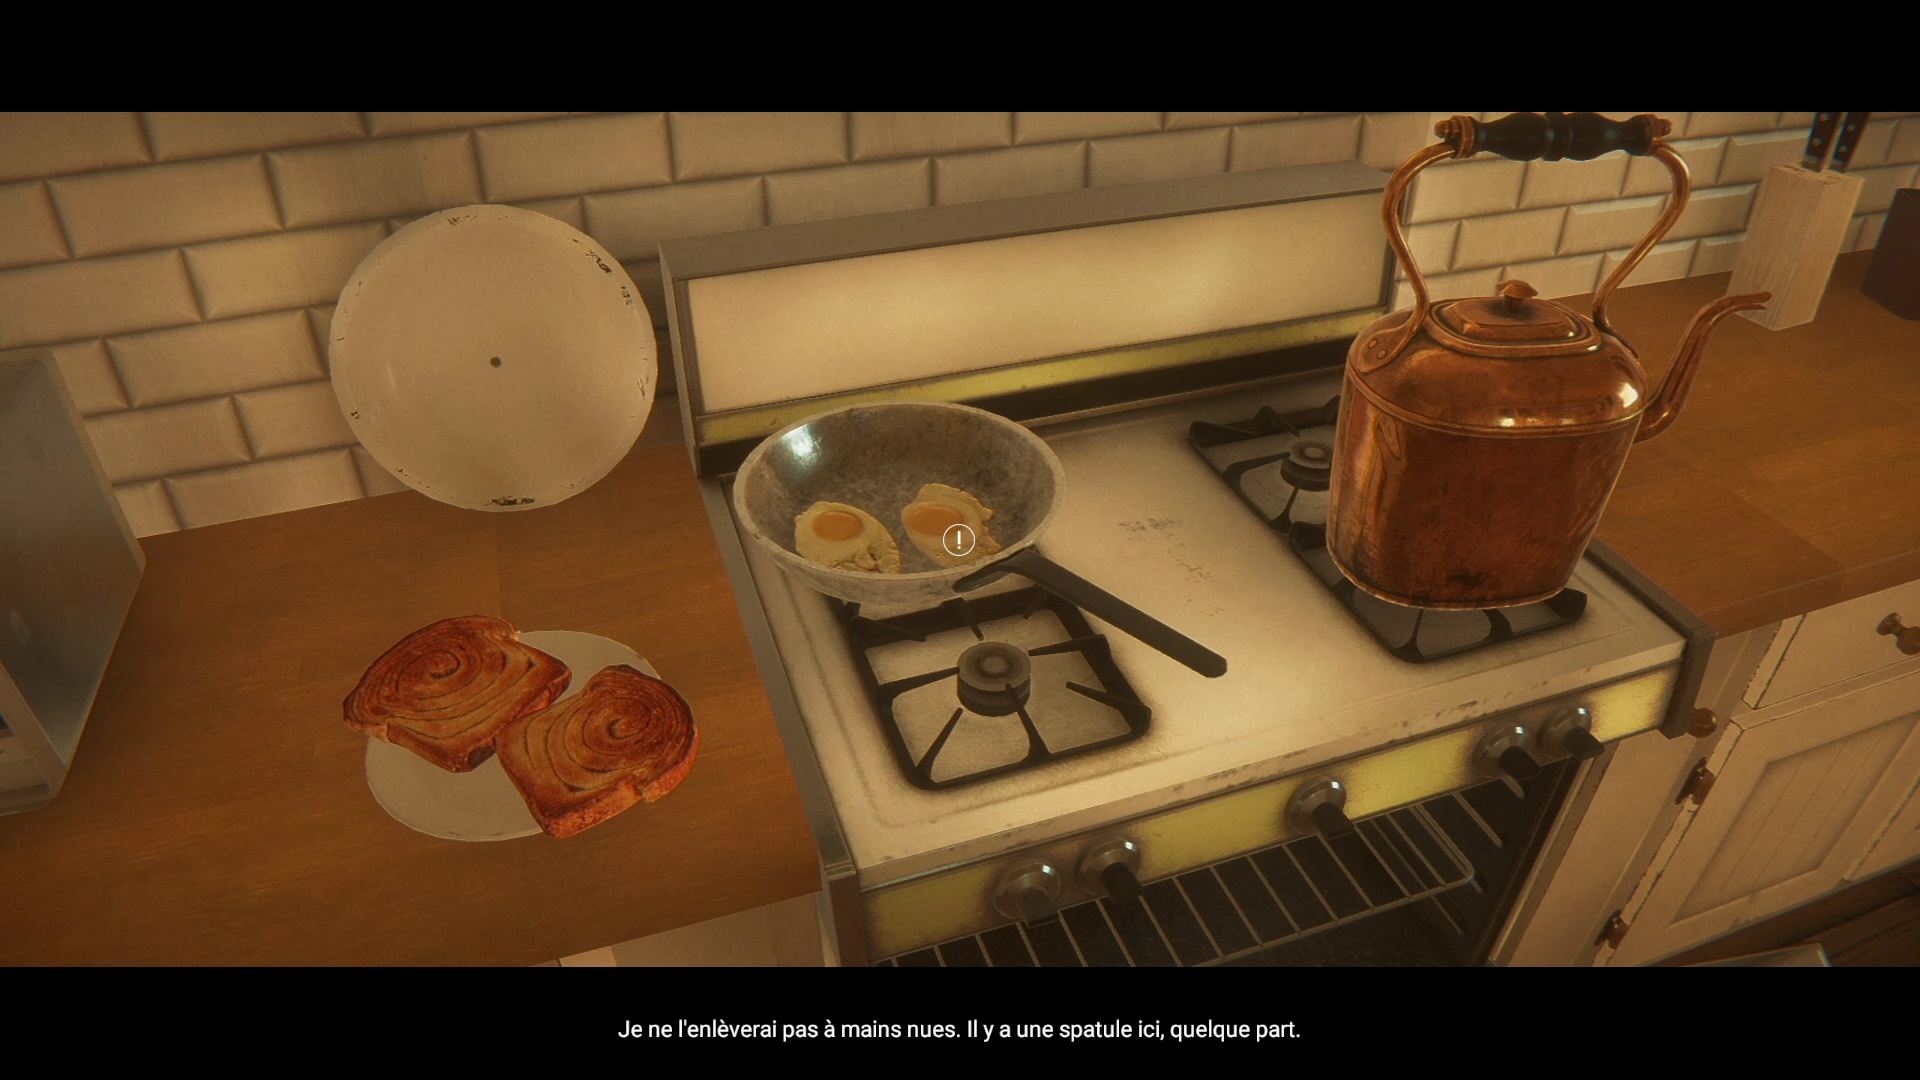

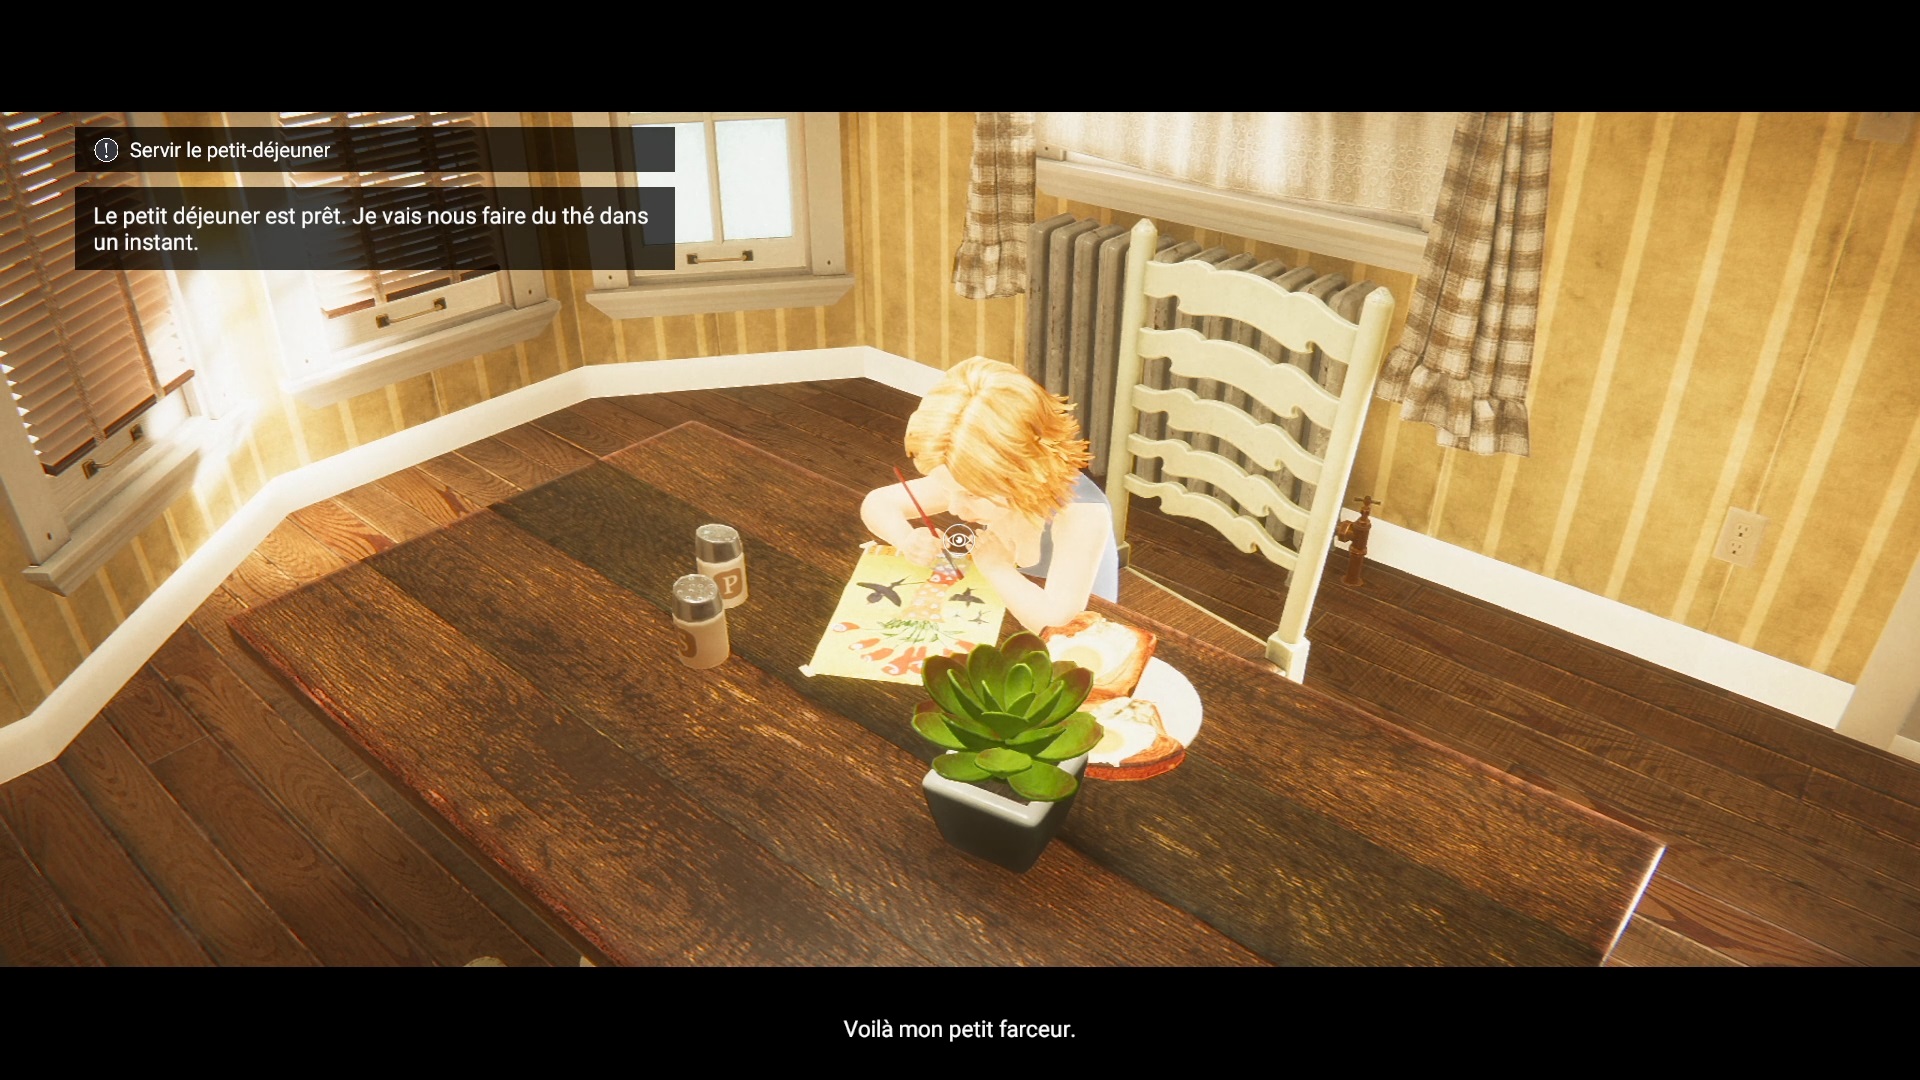
Interact with toasts for leathers. Once the pan is hot, place the eggs on the pan. Then pick up the toast to put them on the plate. Search the drawer on the right to find a spatula and place the eggs on the toast. Take the prepared plate to offer it to the child on the table.
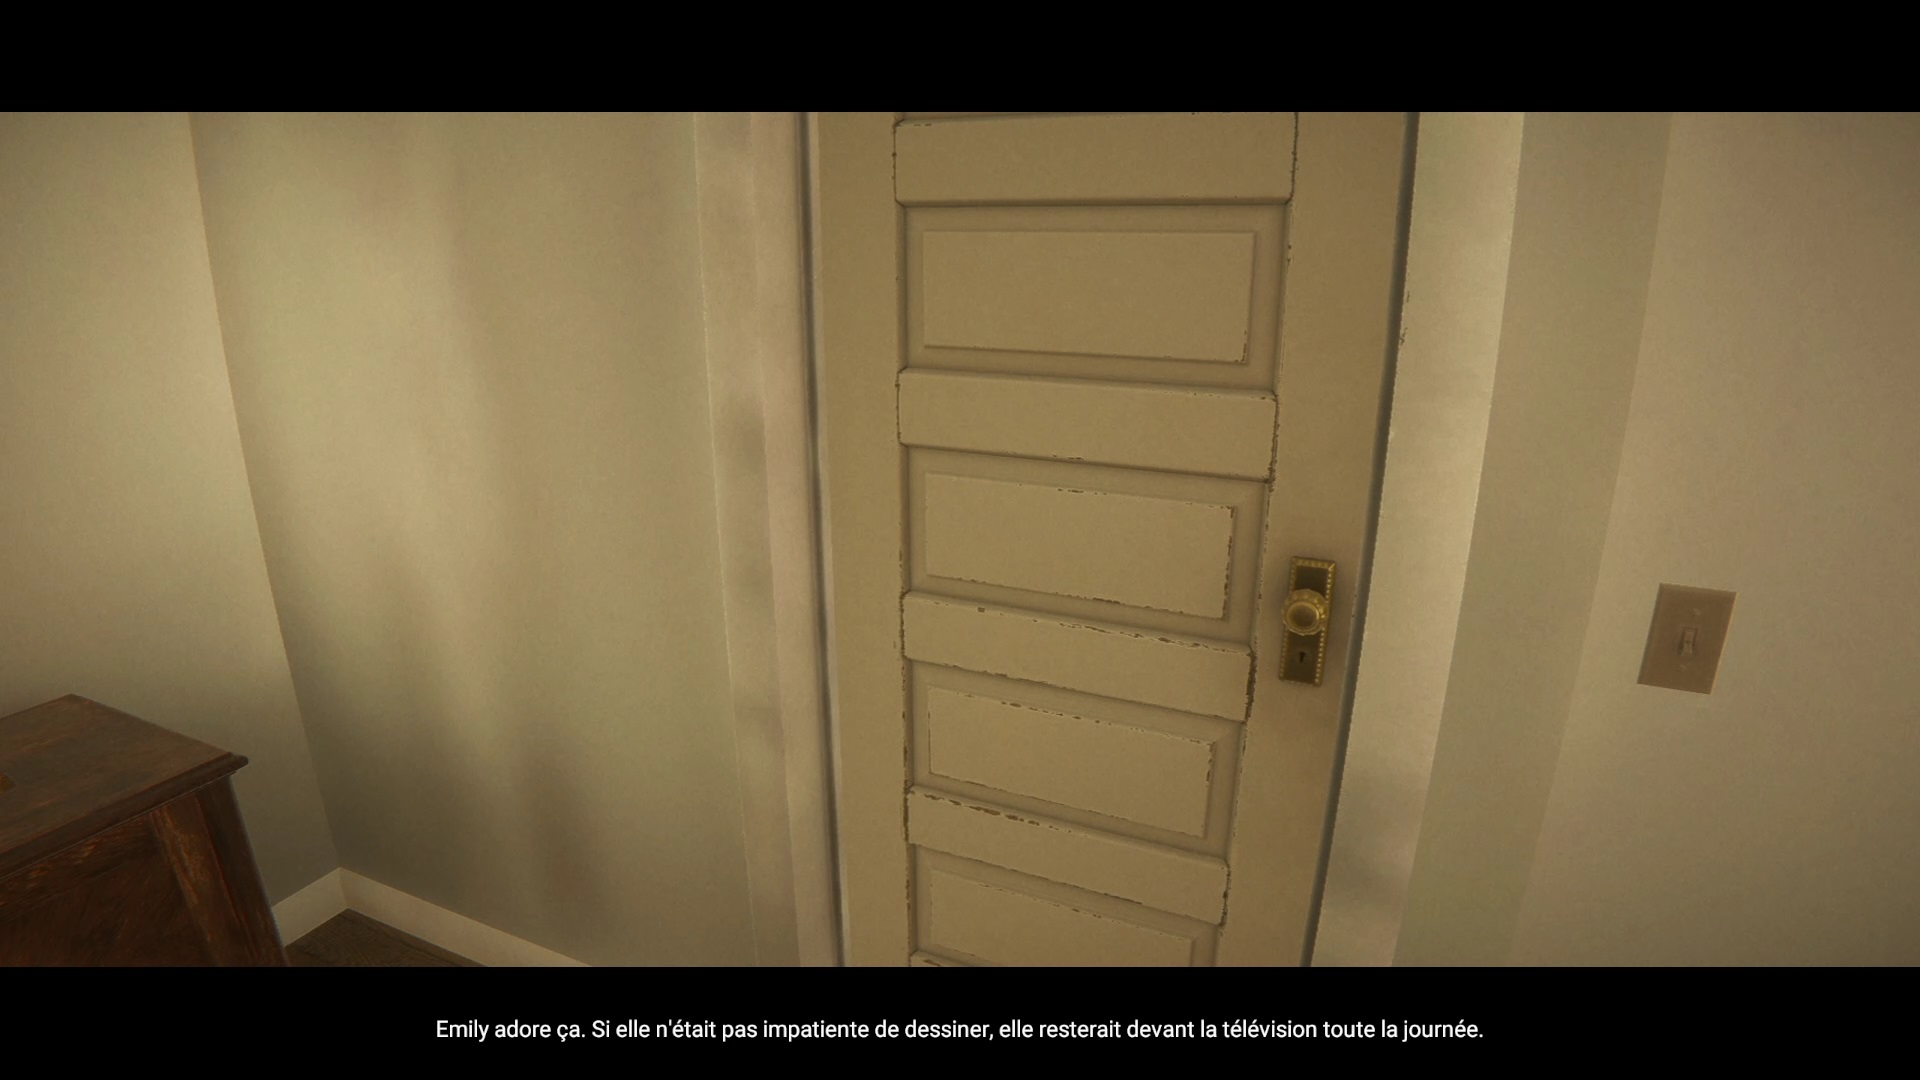
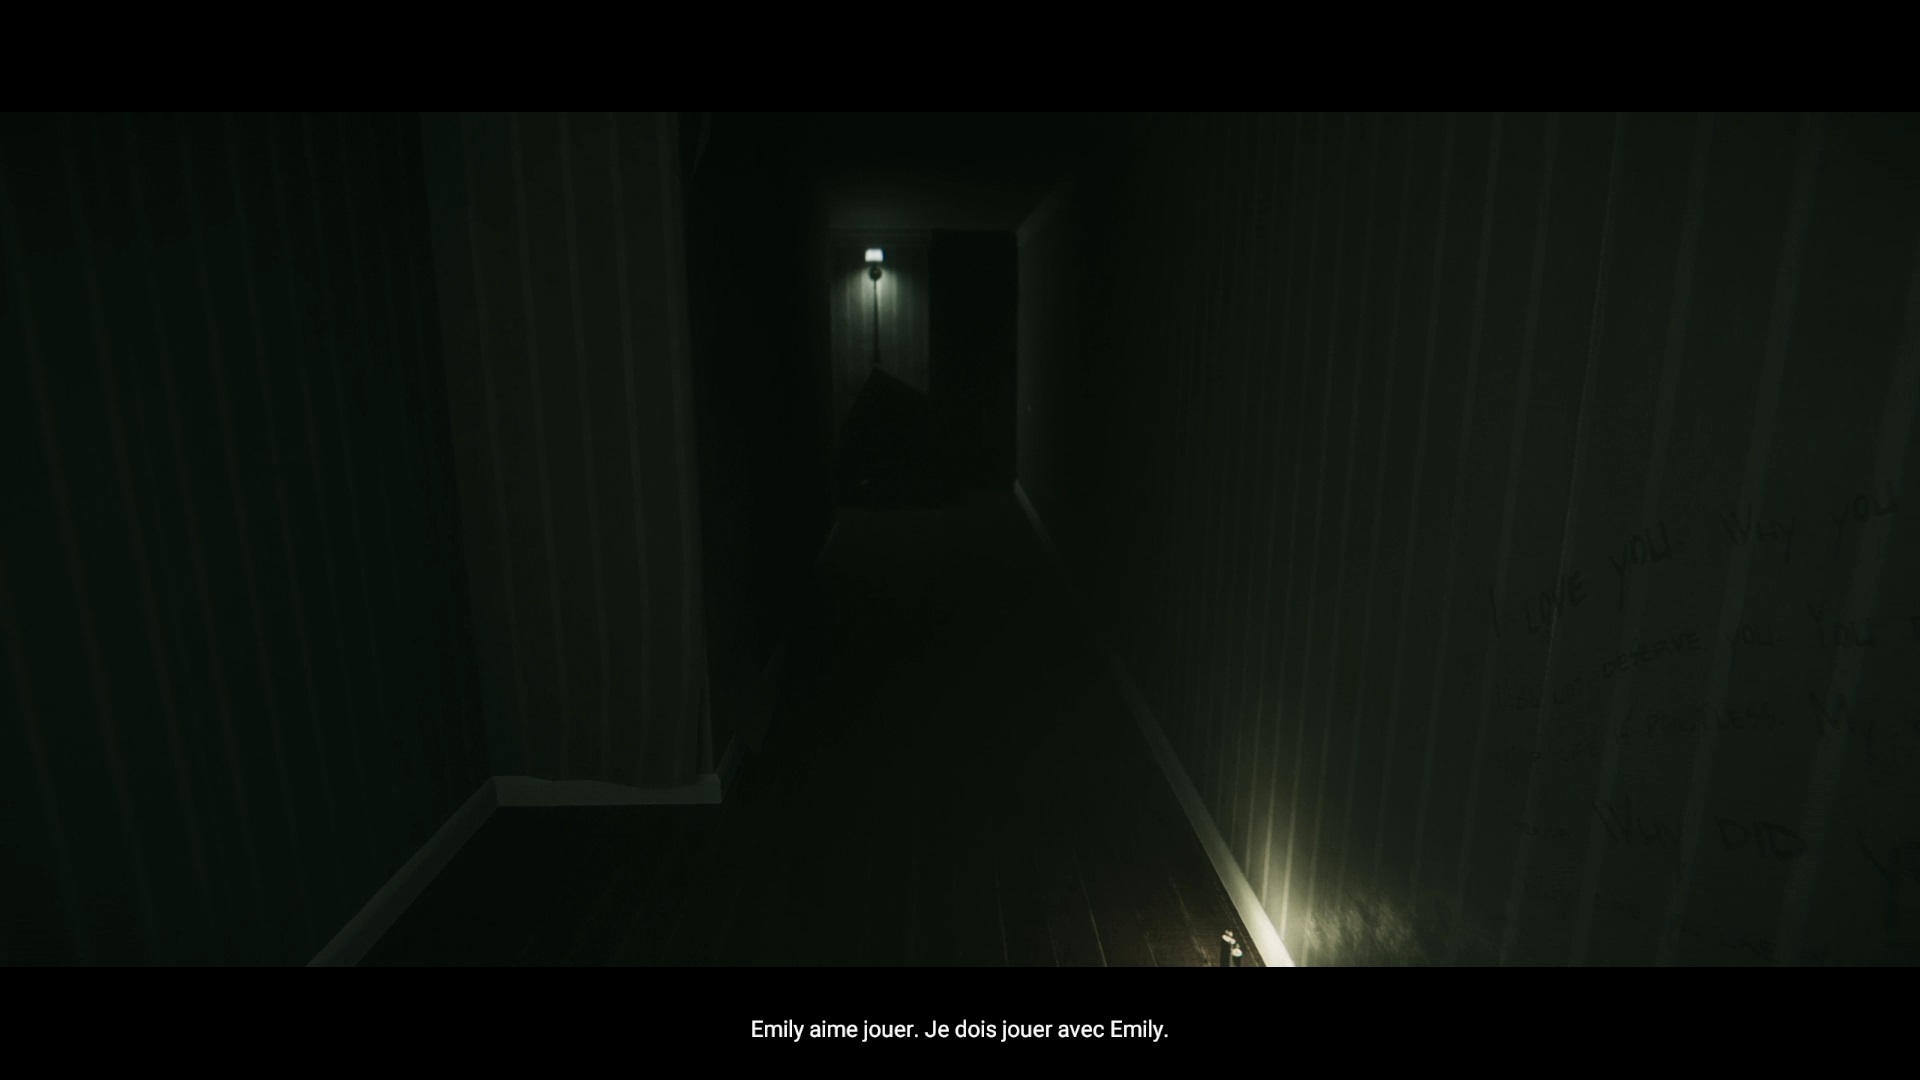
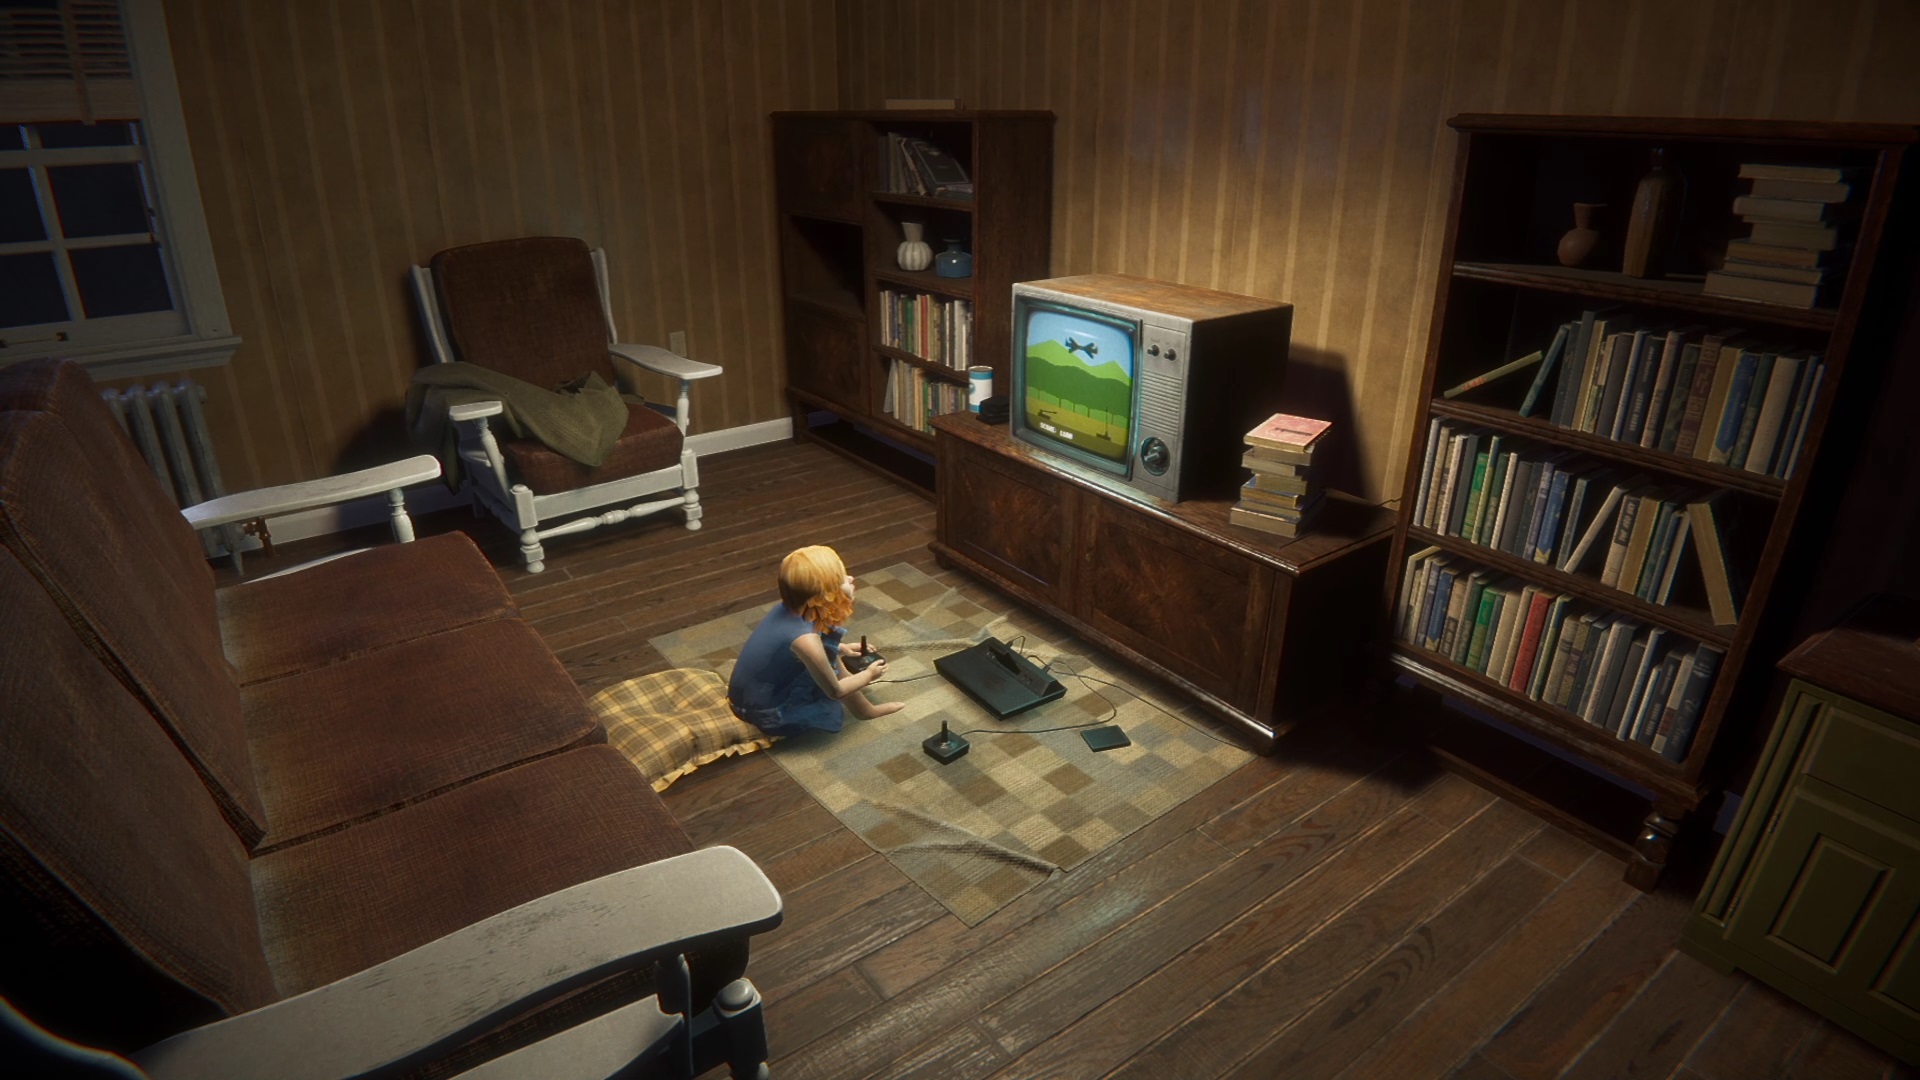
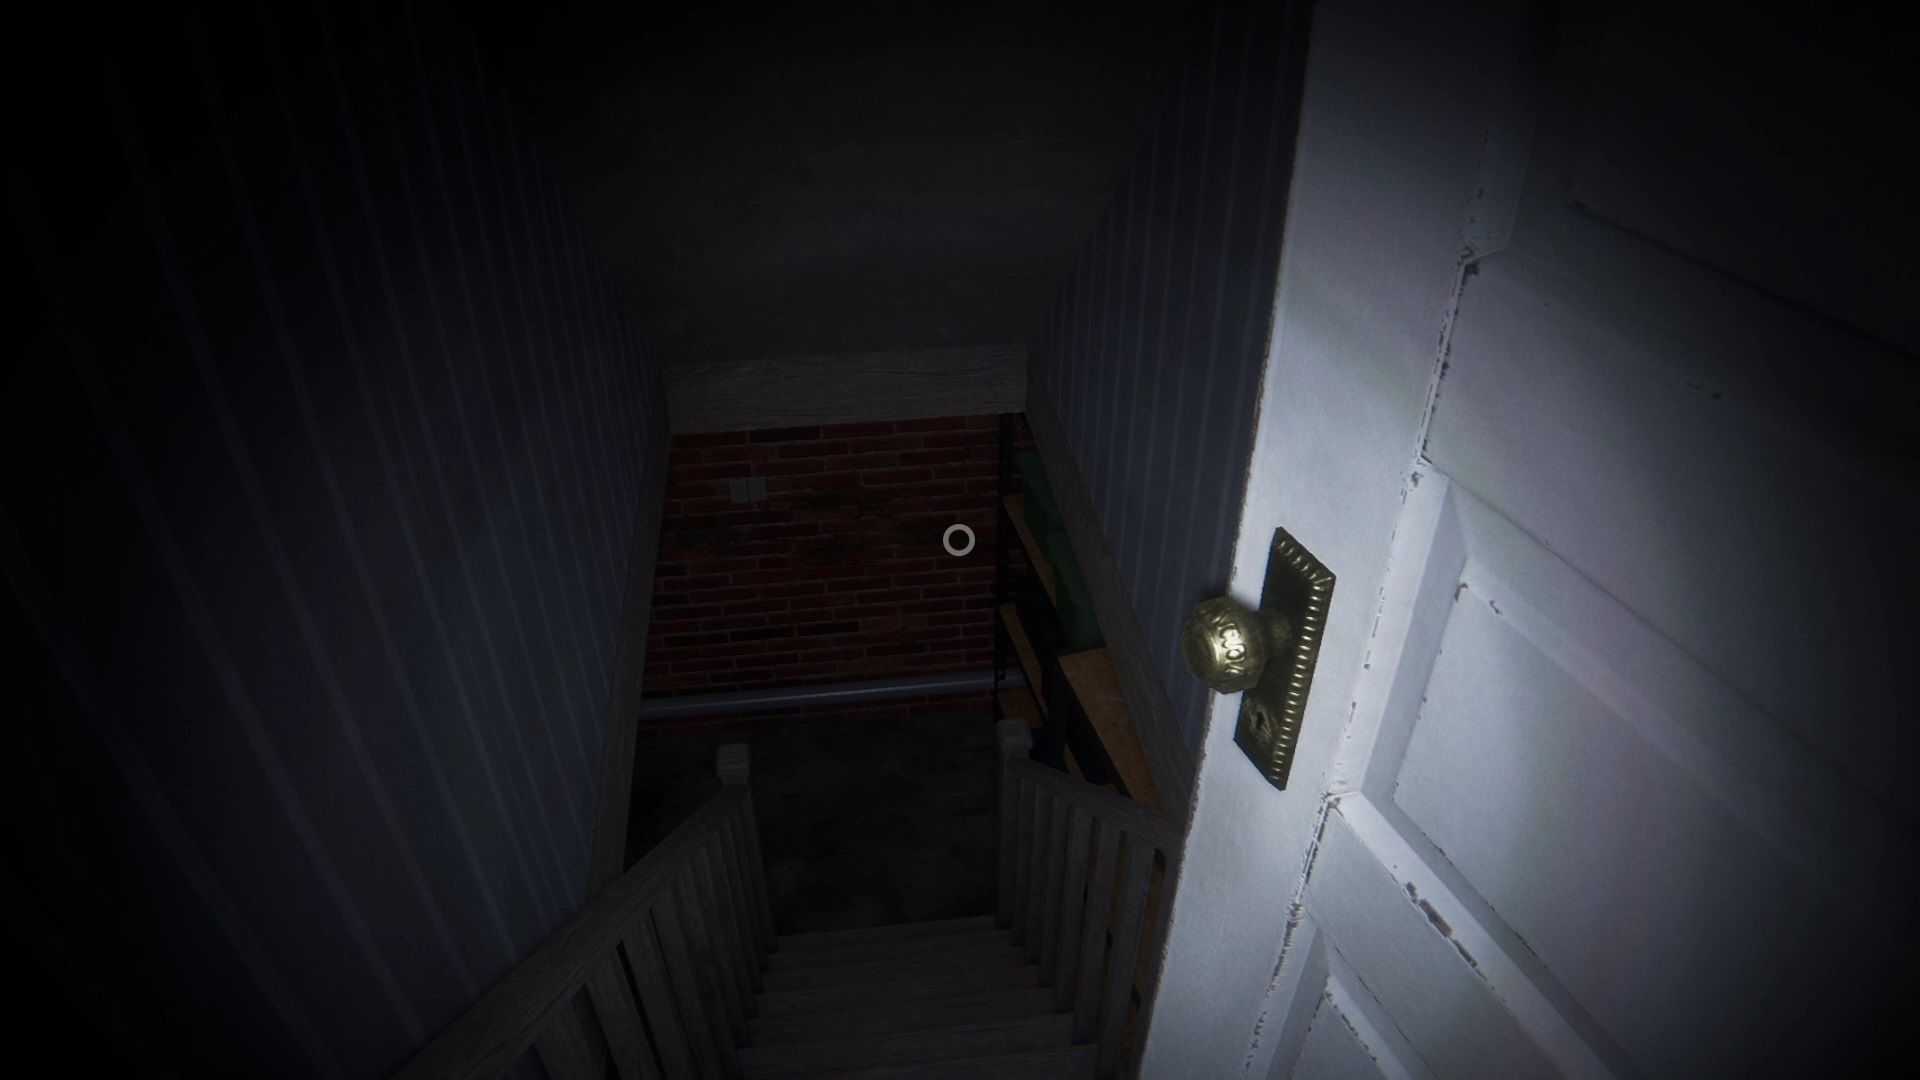
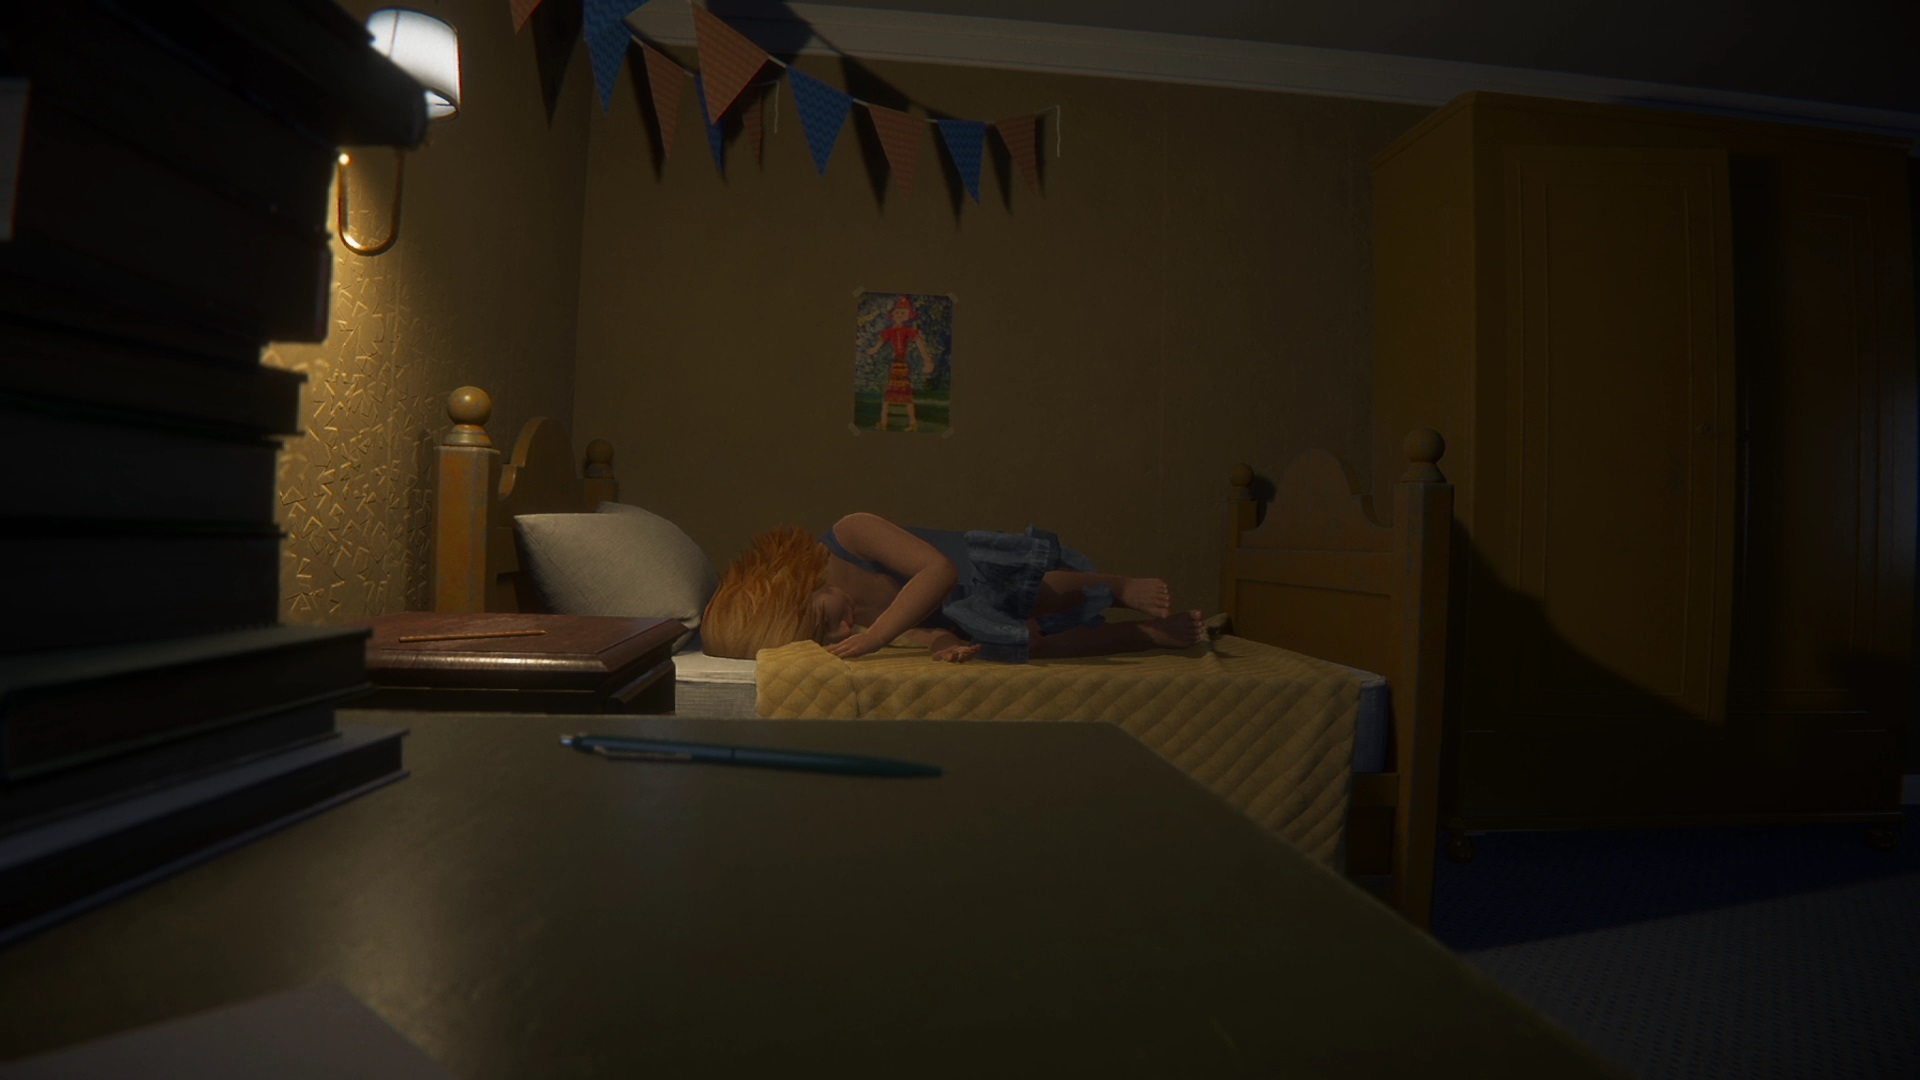
Emily wants to play. Head upstairs to interact with the door to the right of the stairs. Then return to the kitchen to interact with the radio. Go below the stairs to find Emily. Then go down into the cellar to get into an elevator.
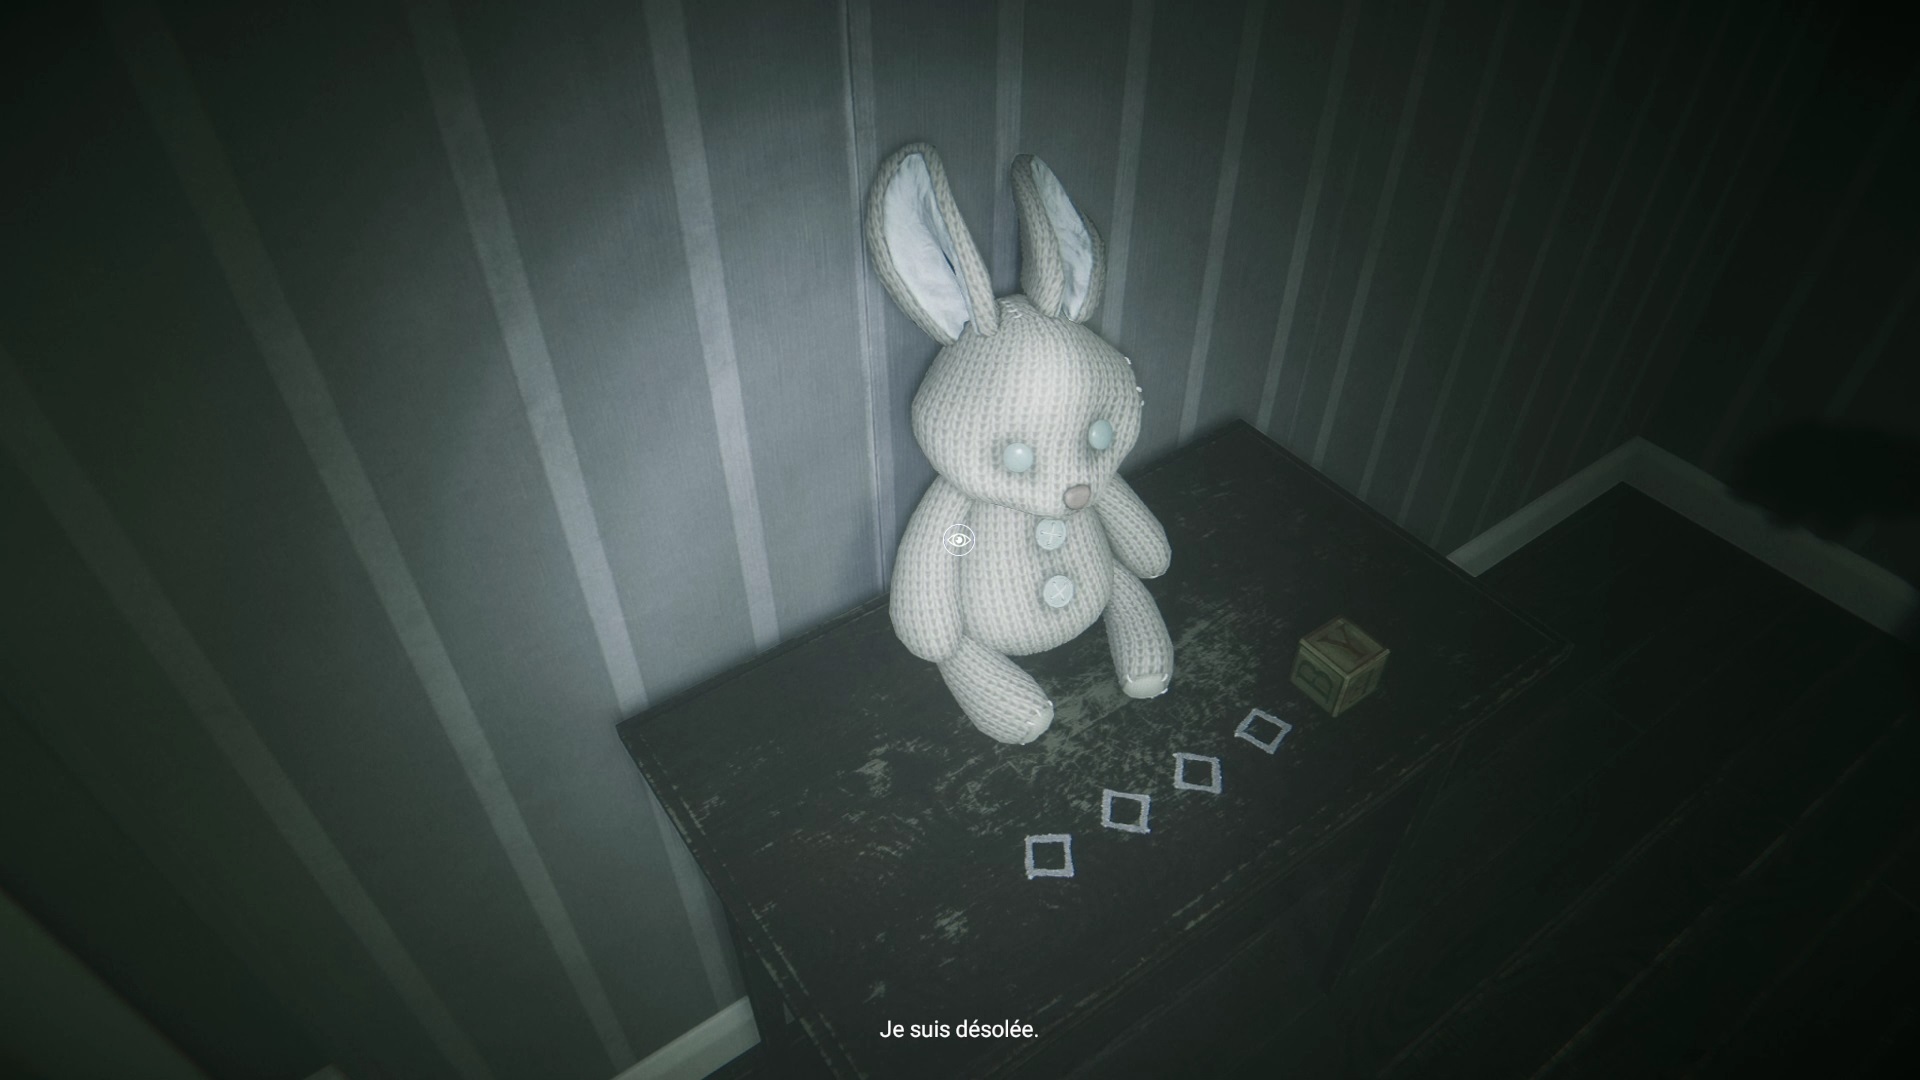
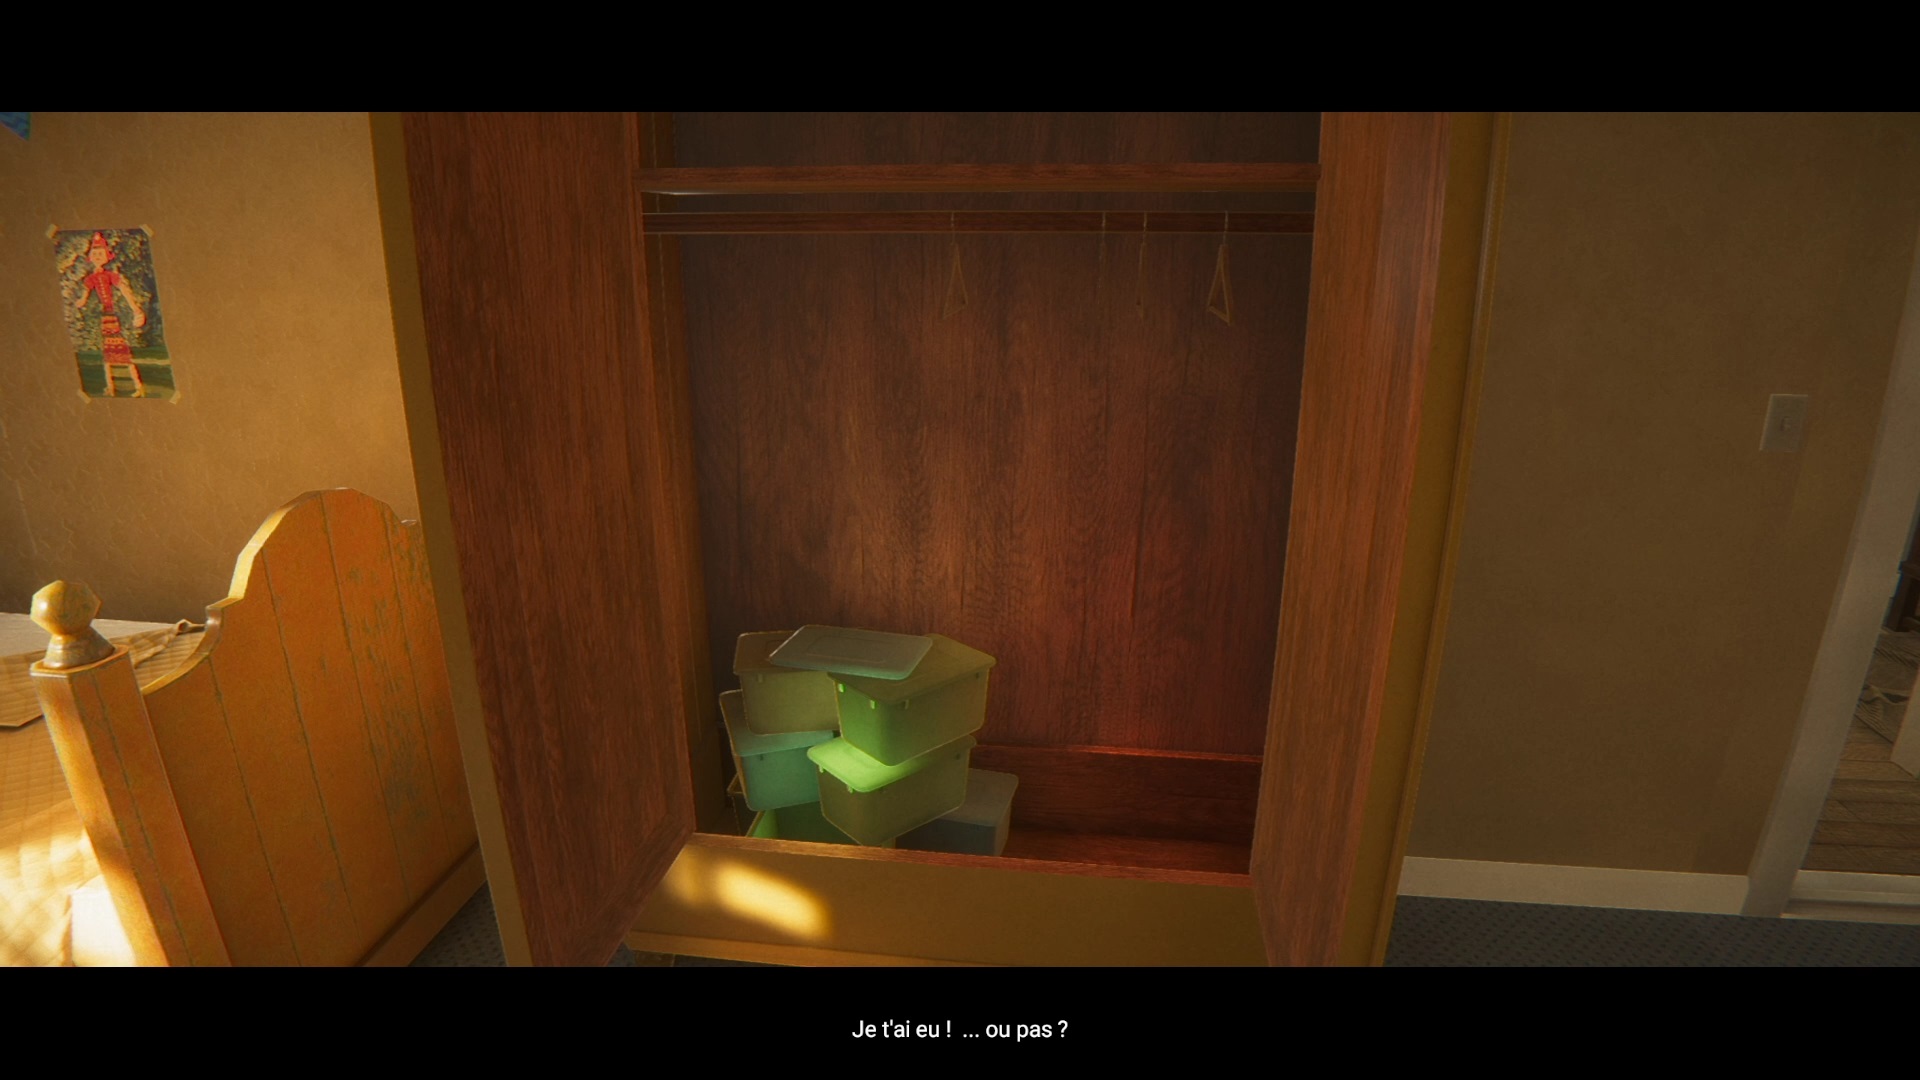
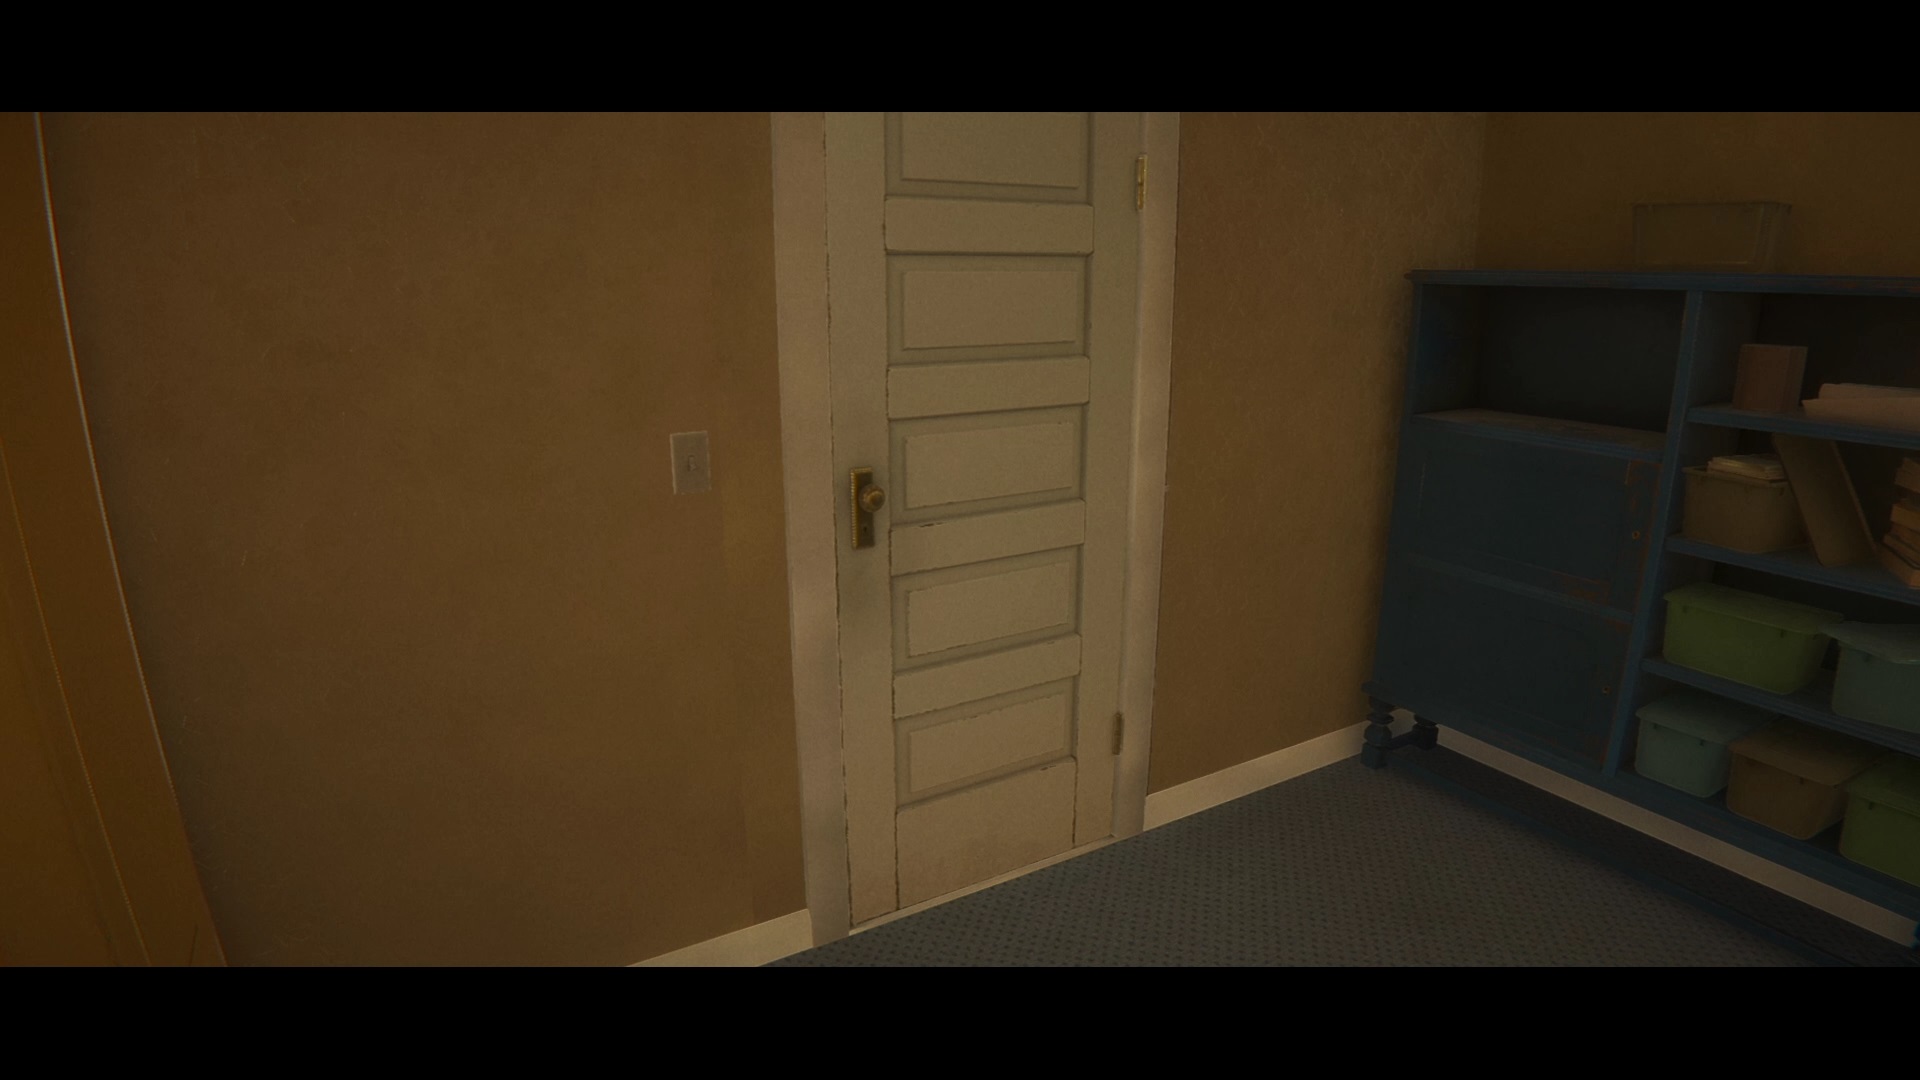
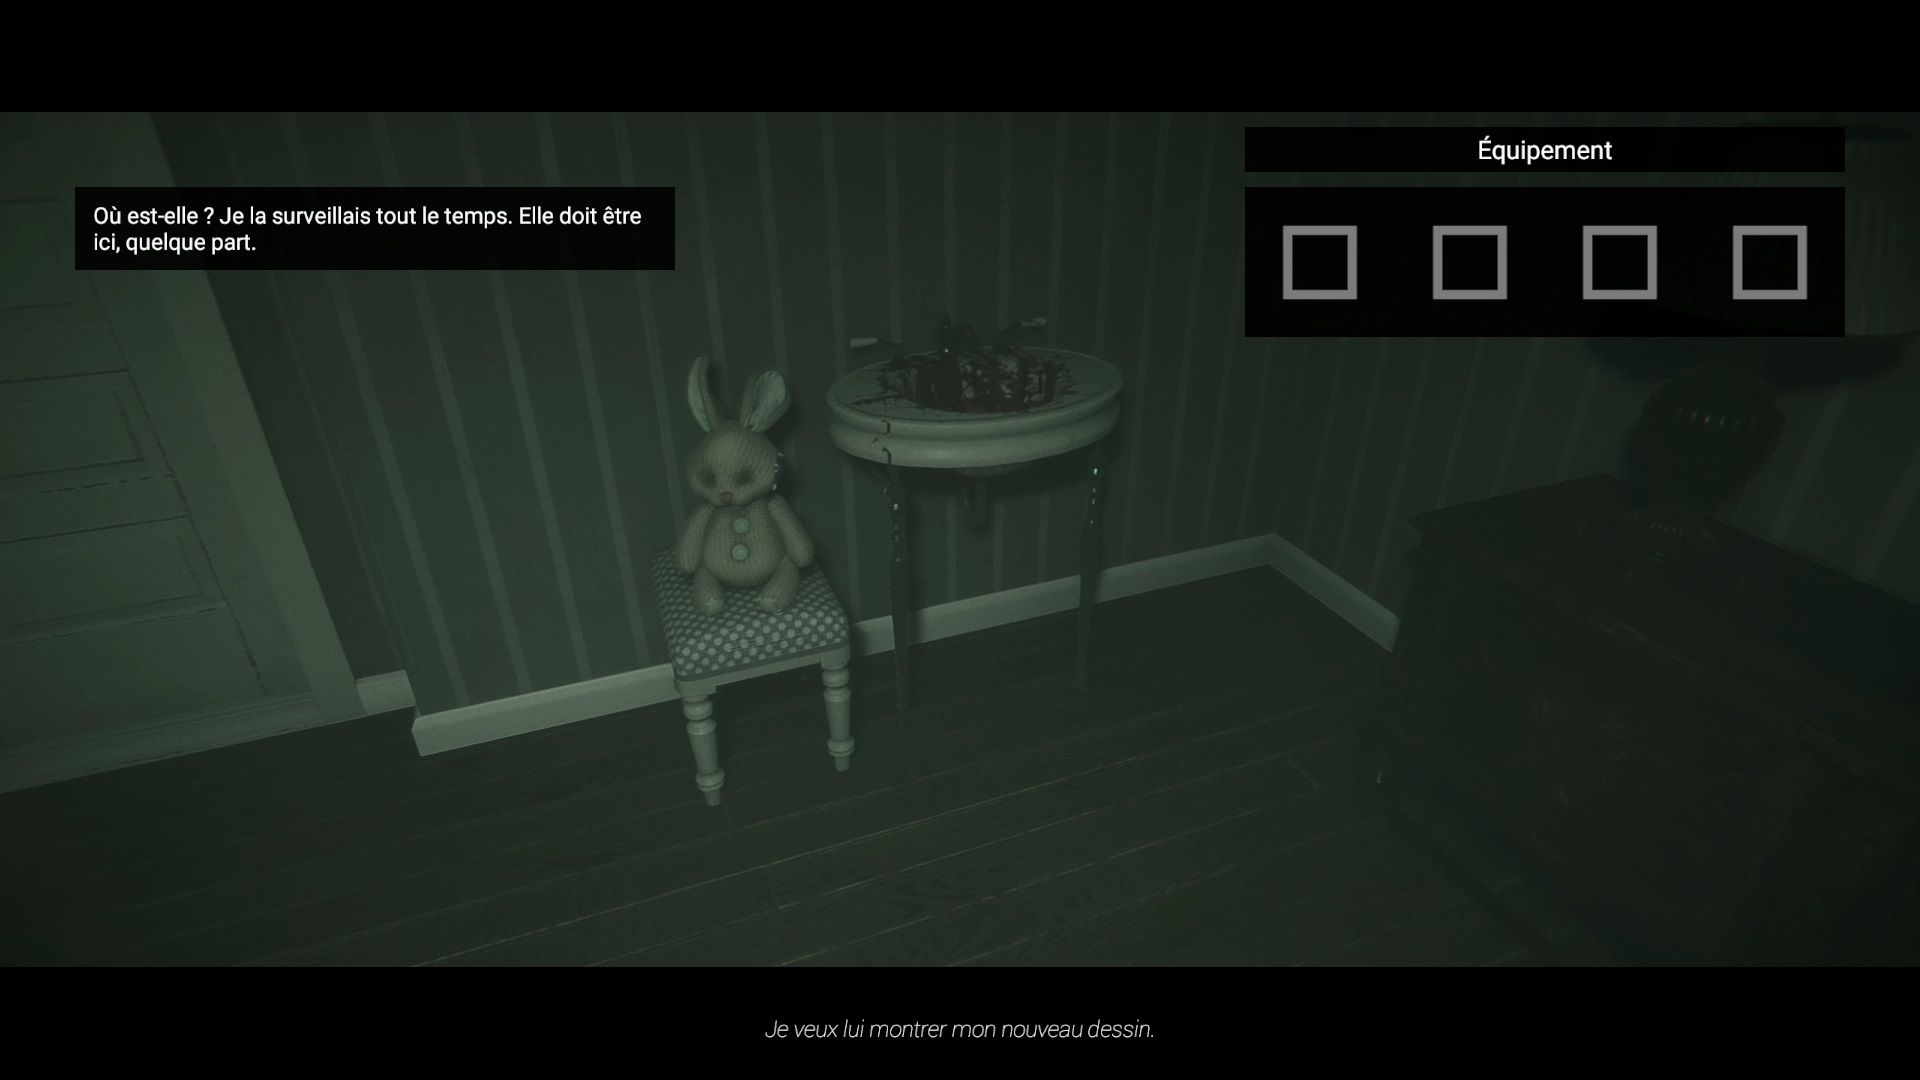
Upstairs, start by exploring the door on the left. At the end of the corridor, you will find a rabbit with a child’s cube. You may have figured it out, but you will have to find the blocks to form the name Emily.


A first cube is on a piece of furniture next to the rabbit. Then go through the door in front of the rabbit to find a new corridor. Examine the levitating cabinet to find a block inside. Go to the bottom to find a third block at the foot of the wall. Go back to the rabbit to open the drawer below and find the last block. Form the name Emily to open the door to her left.
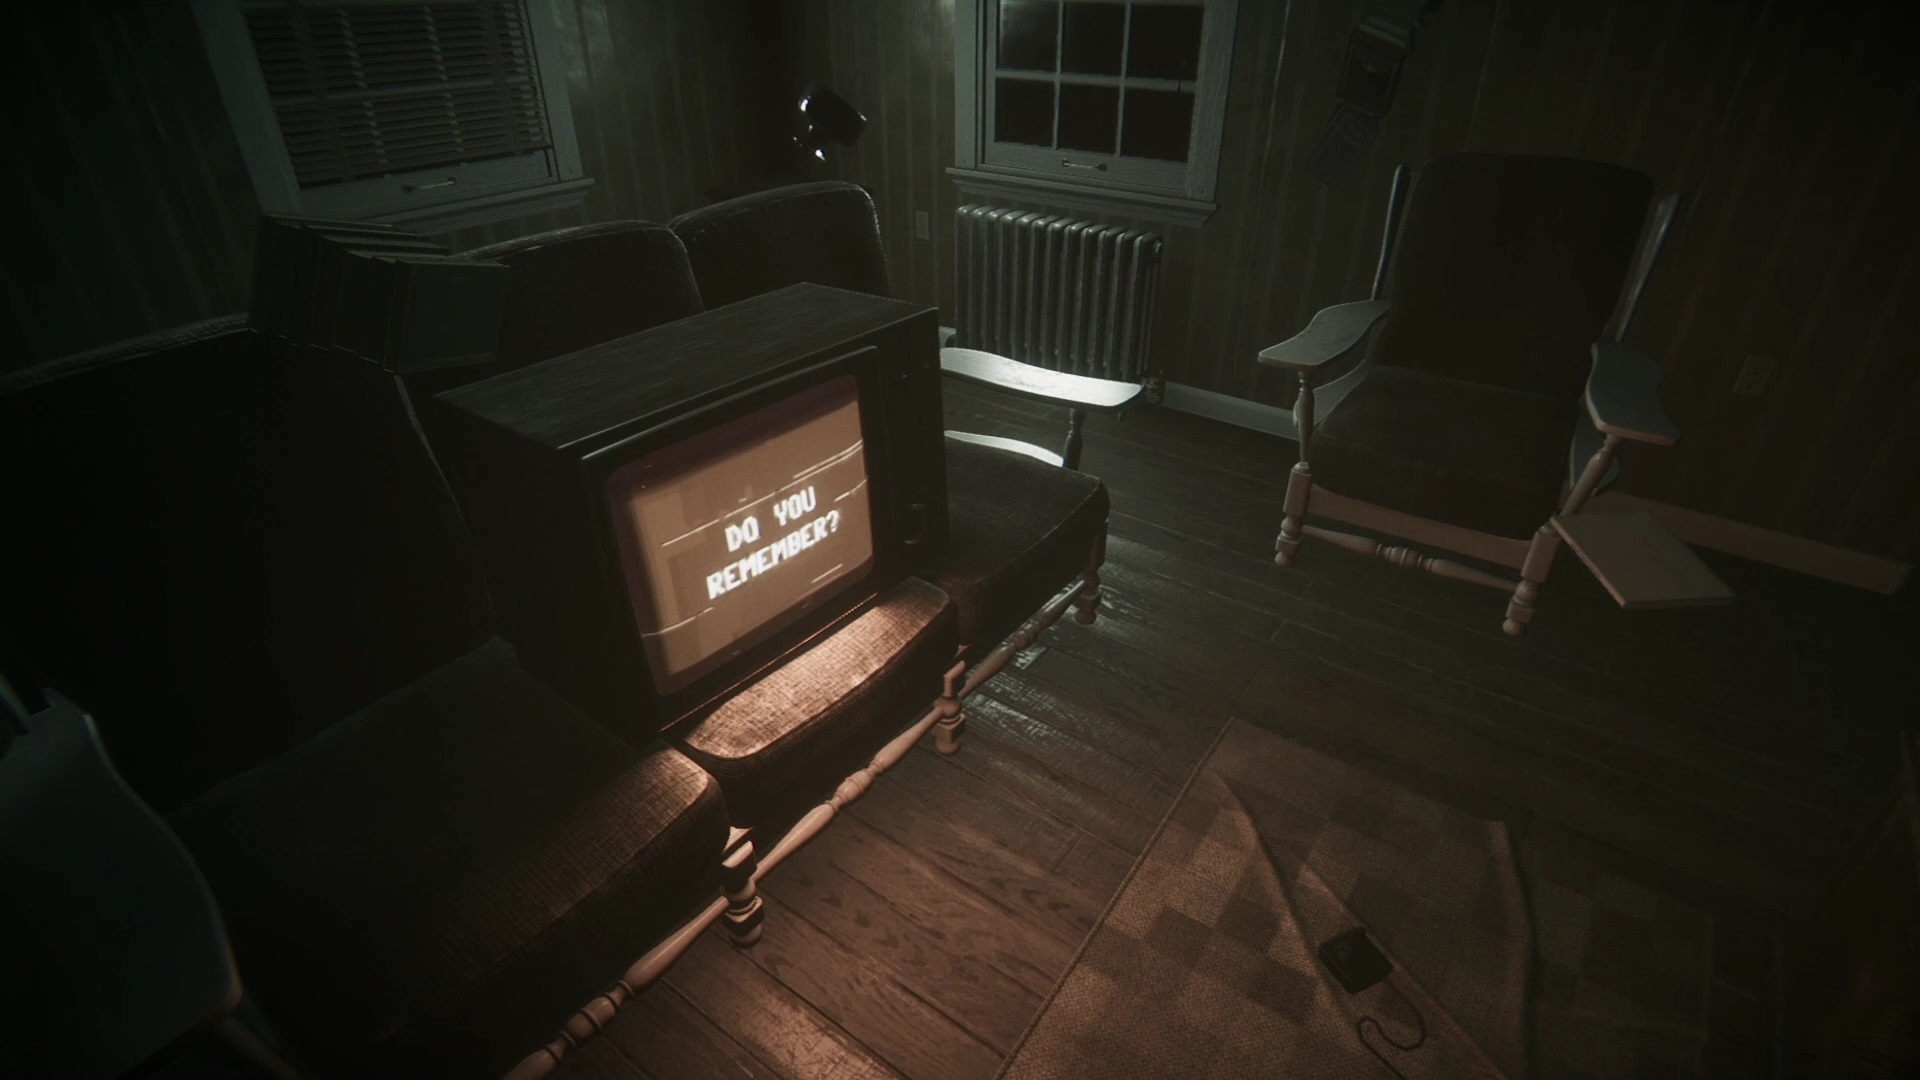
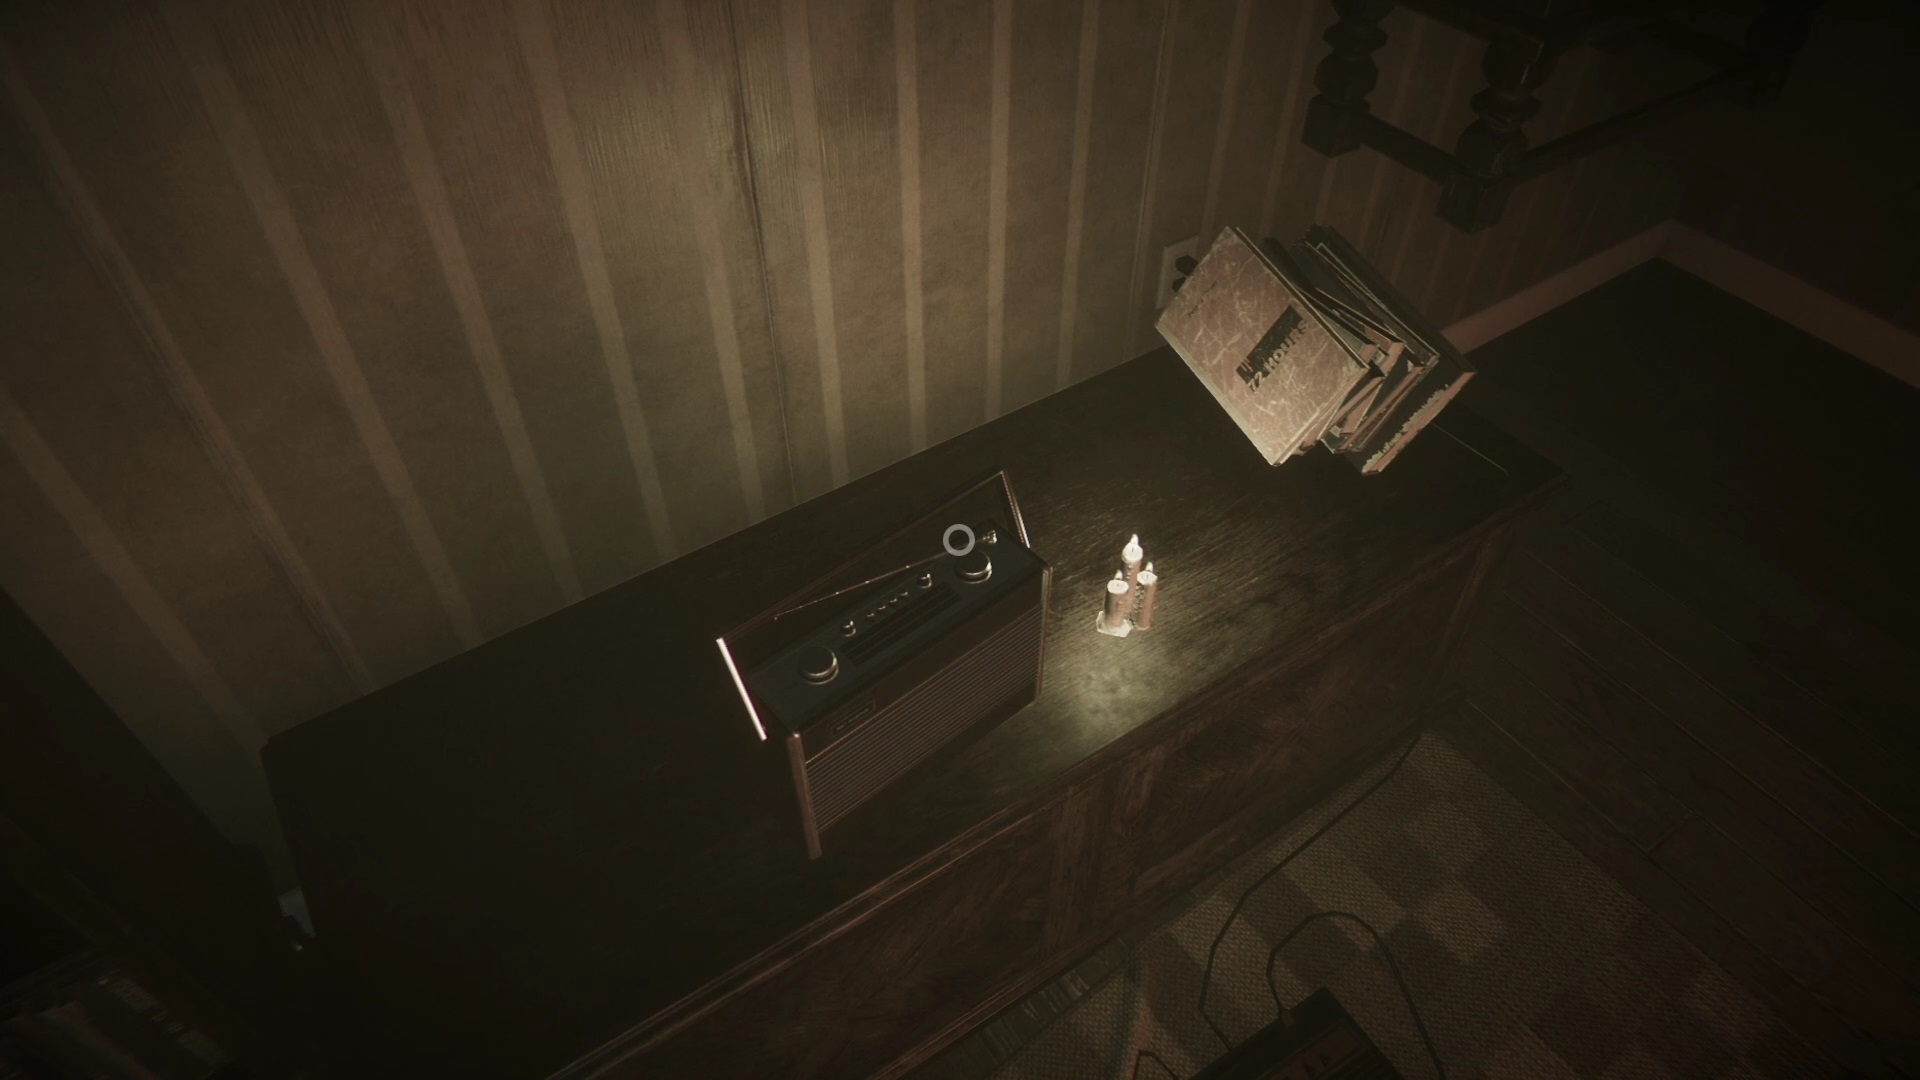
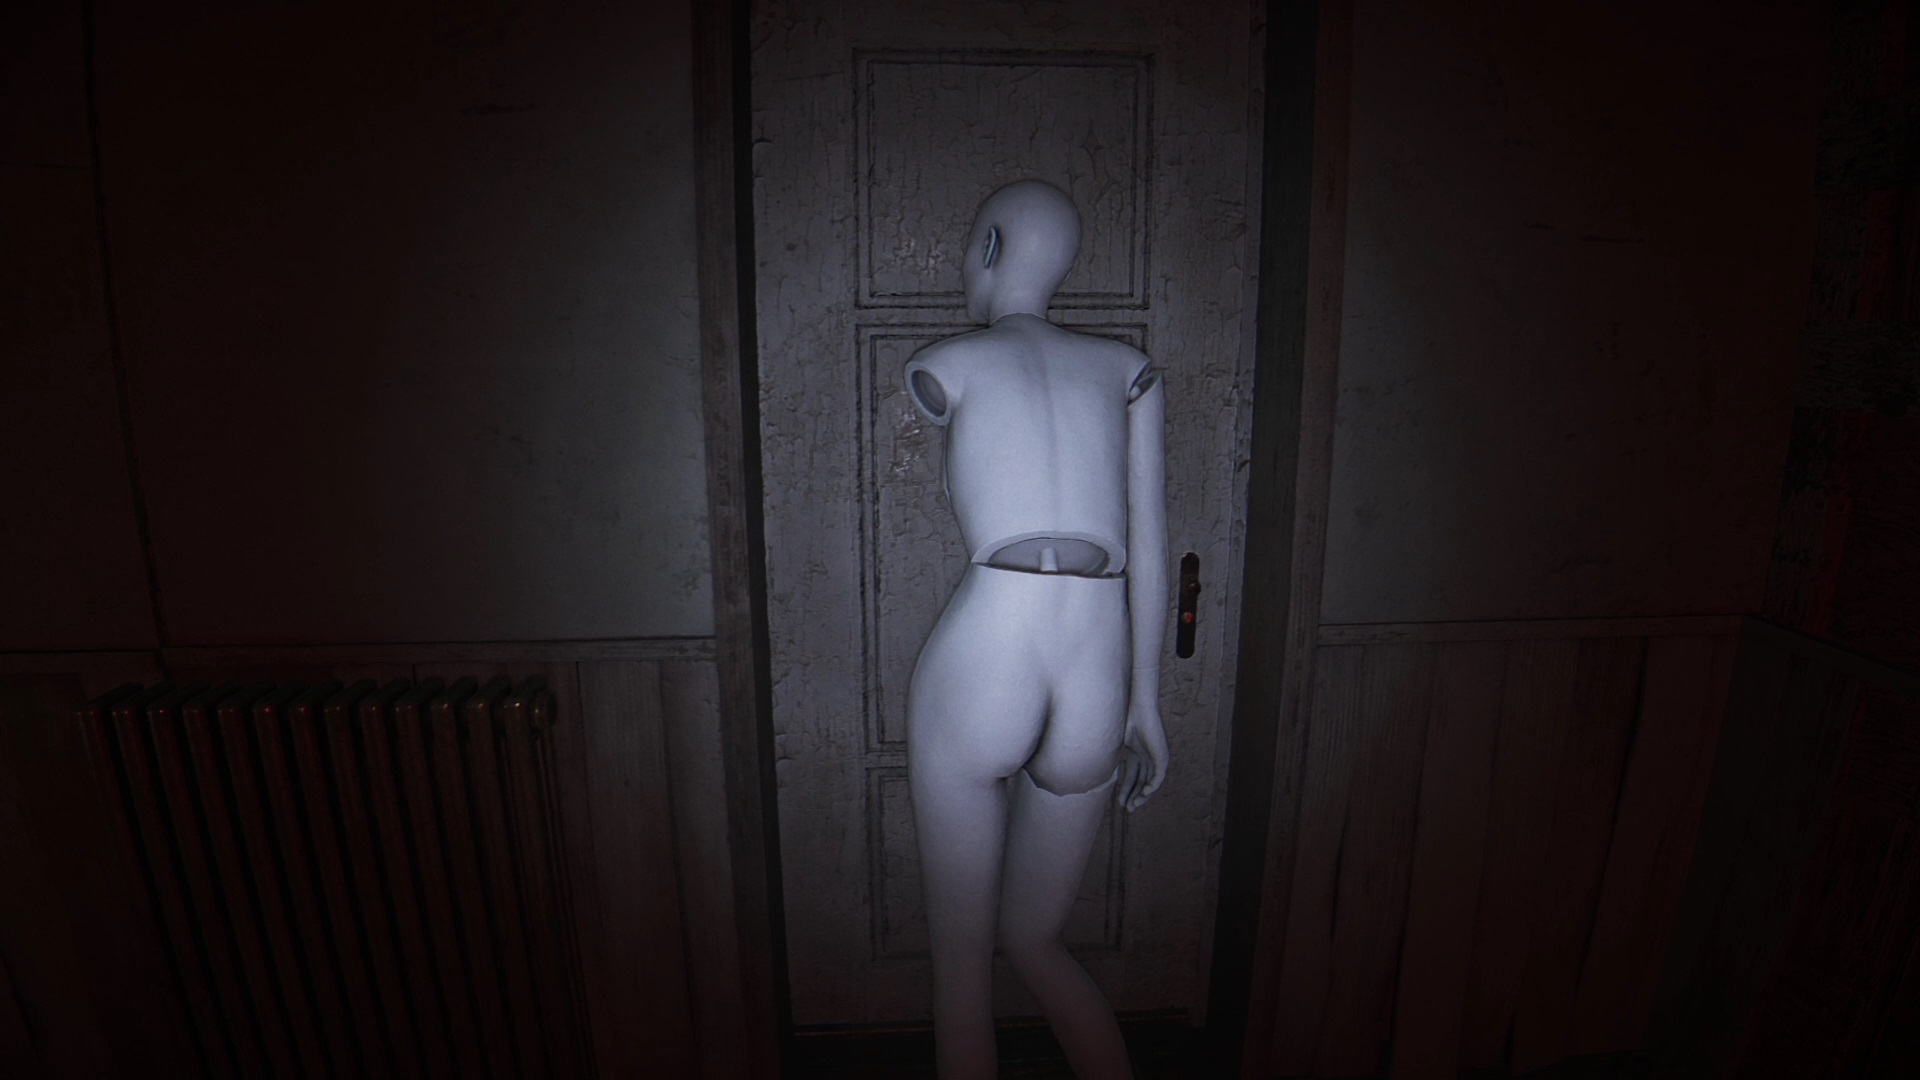
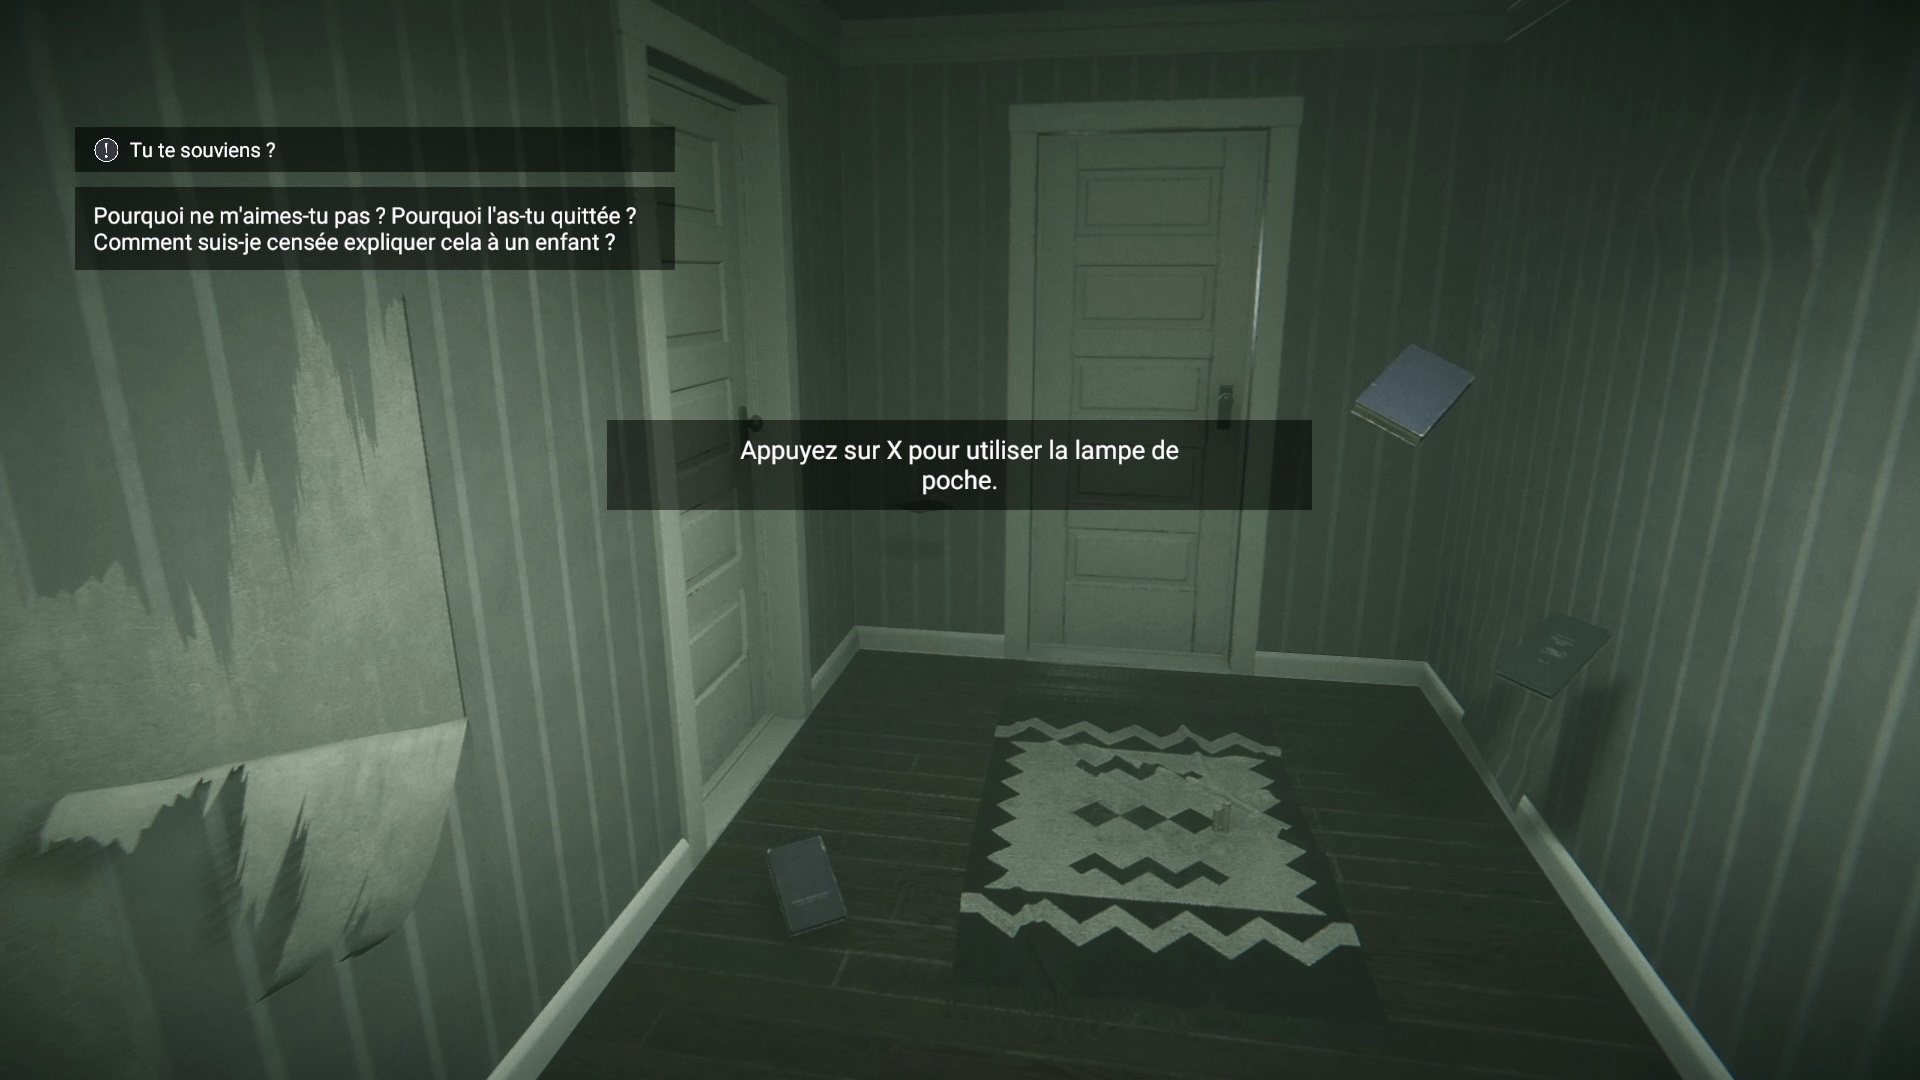
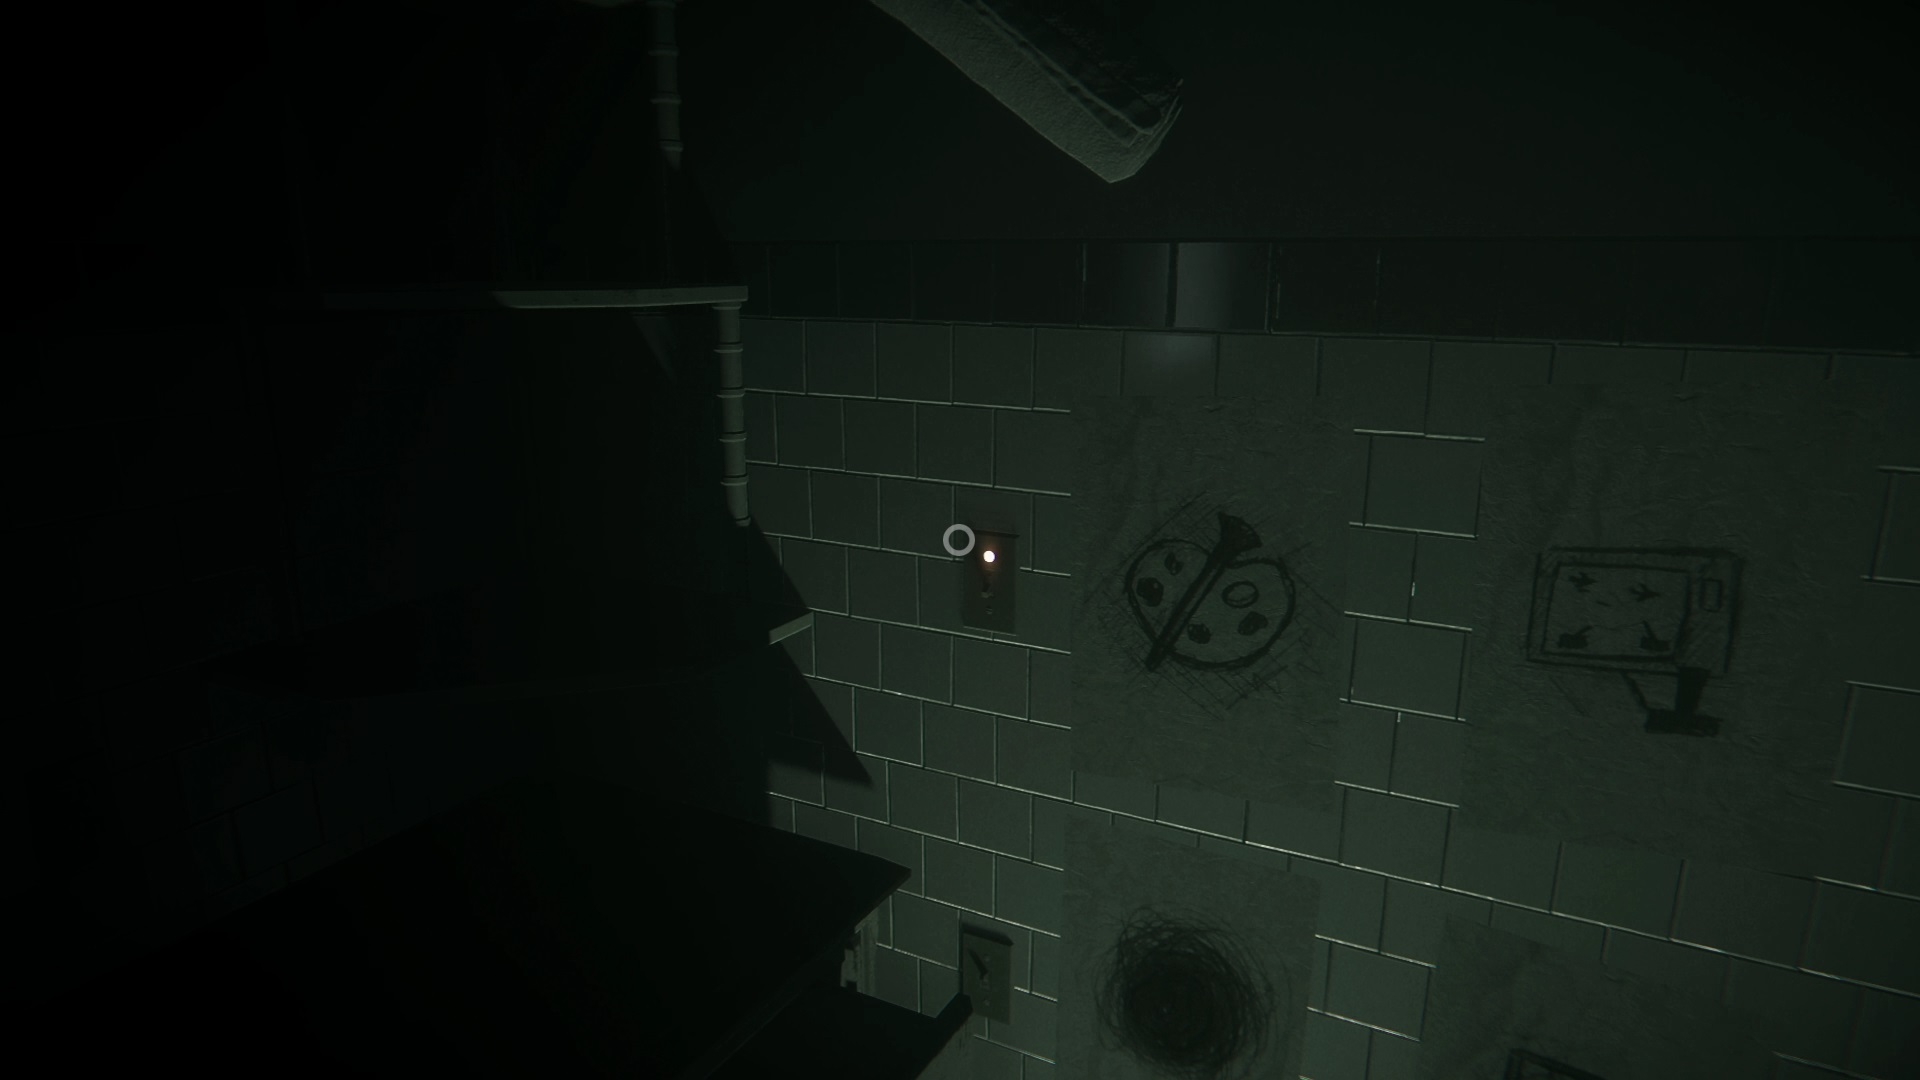
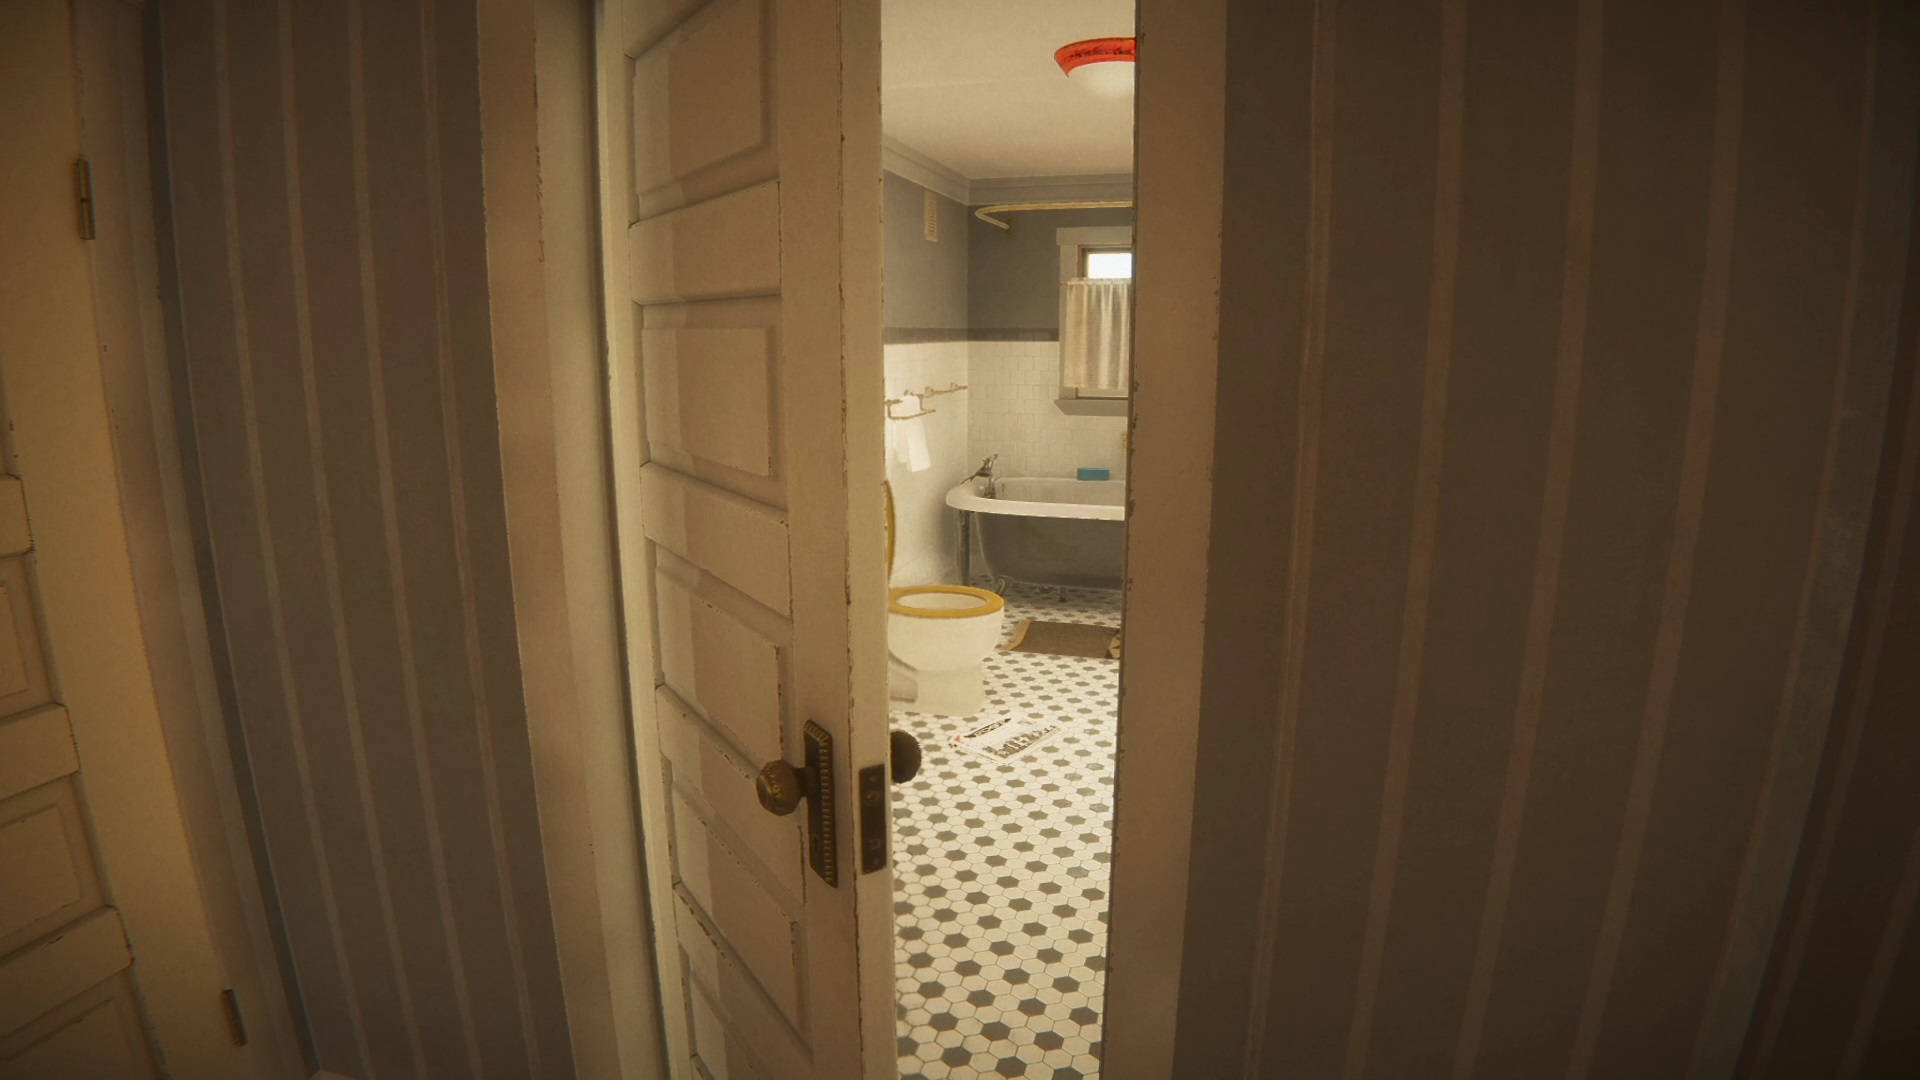
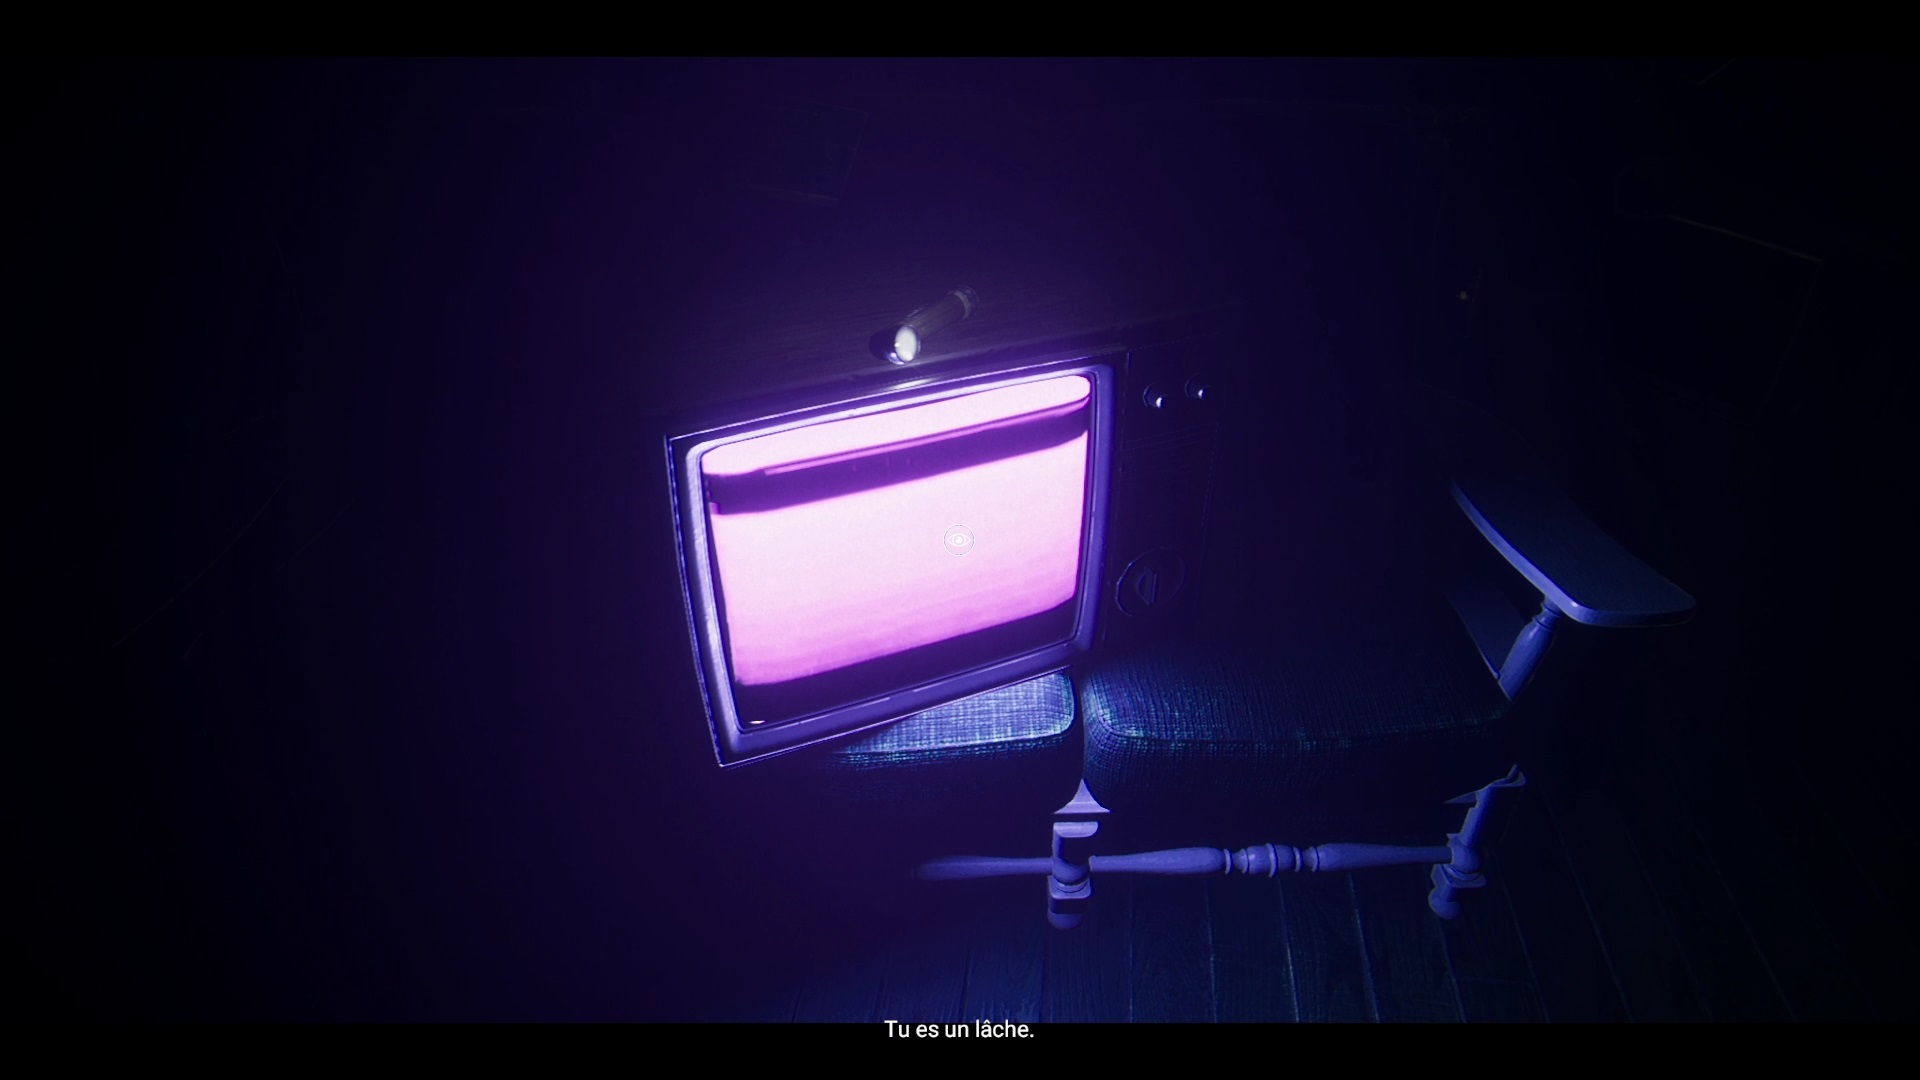
Go through the door to find a silhouette of Emily. Follow Emily to find her room. Go through the bathroom door to make a surprising encounter. After the dialogue, return to the hallway for candles to light up. Following the lights, you enter a living room with a television. Interact with the radio in front of the screen to discover a message.
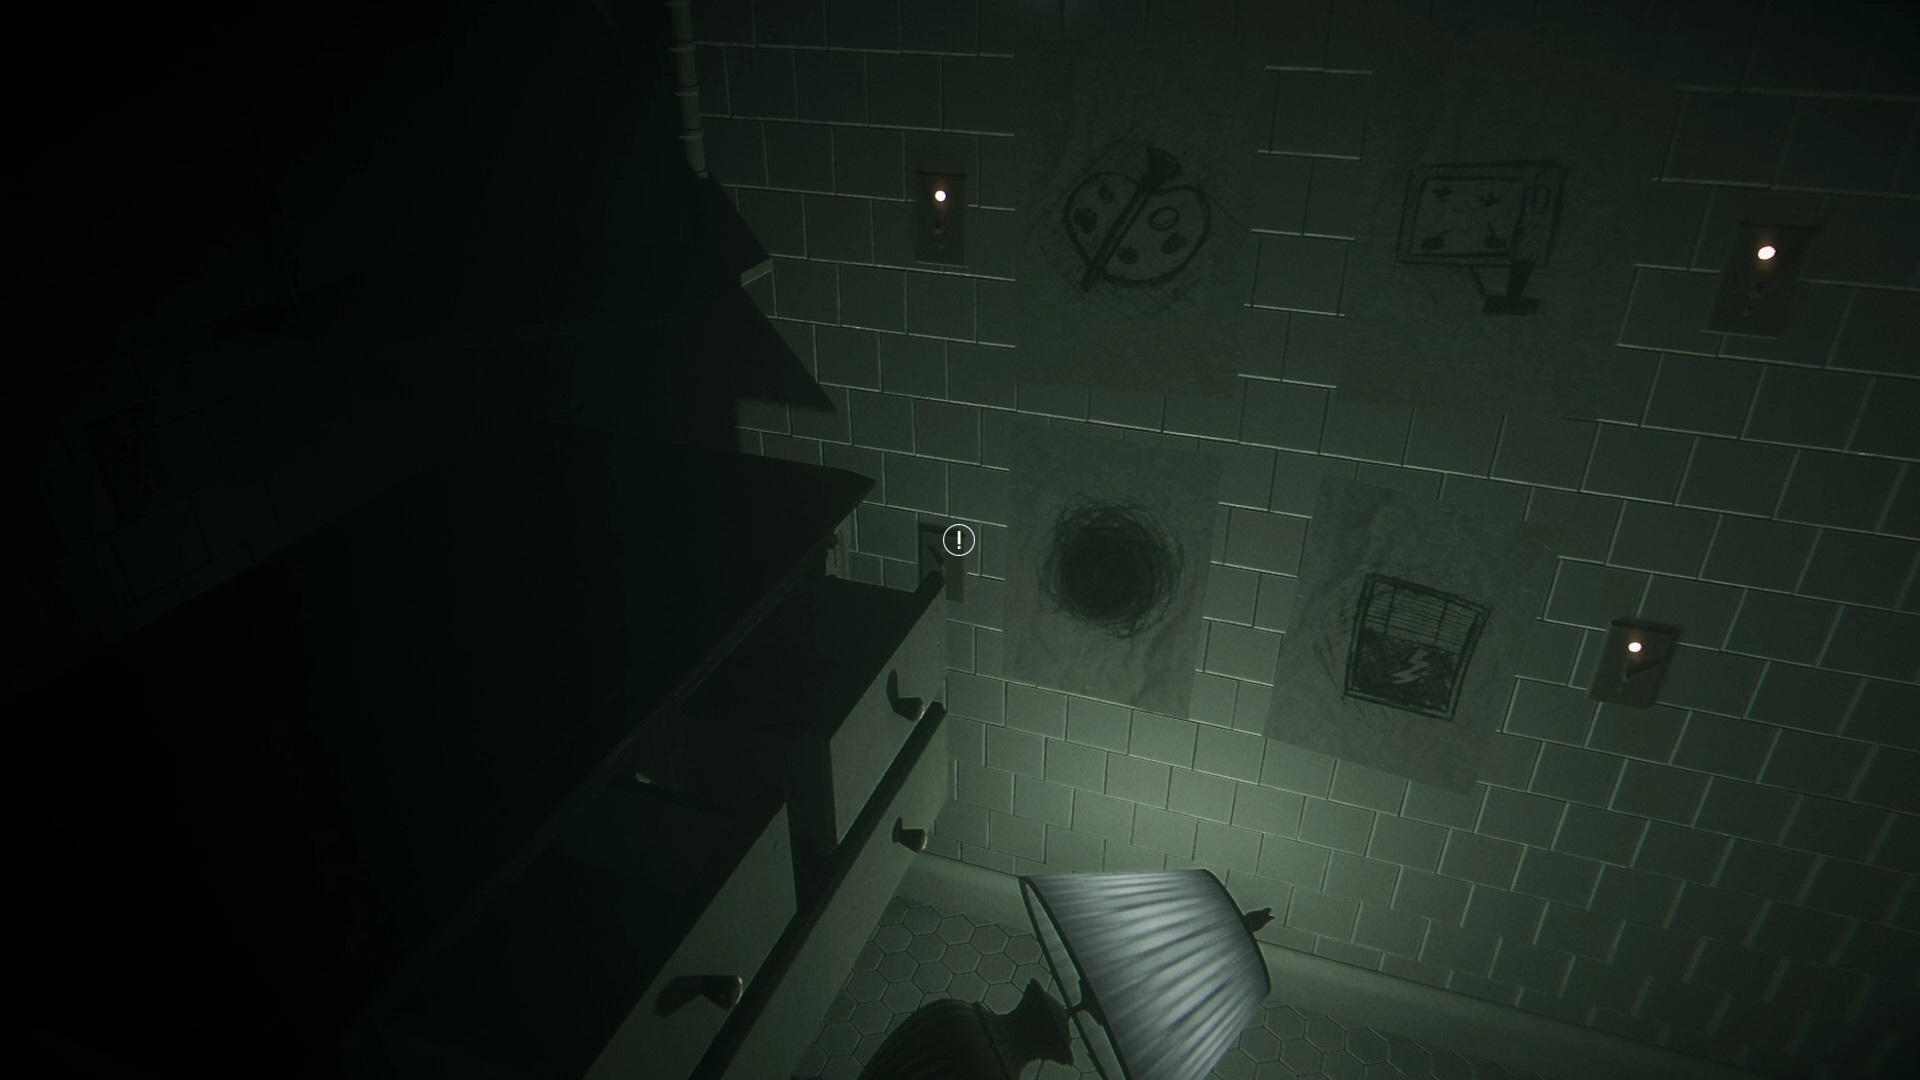
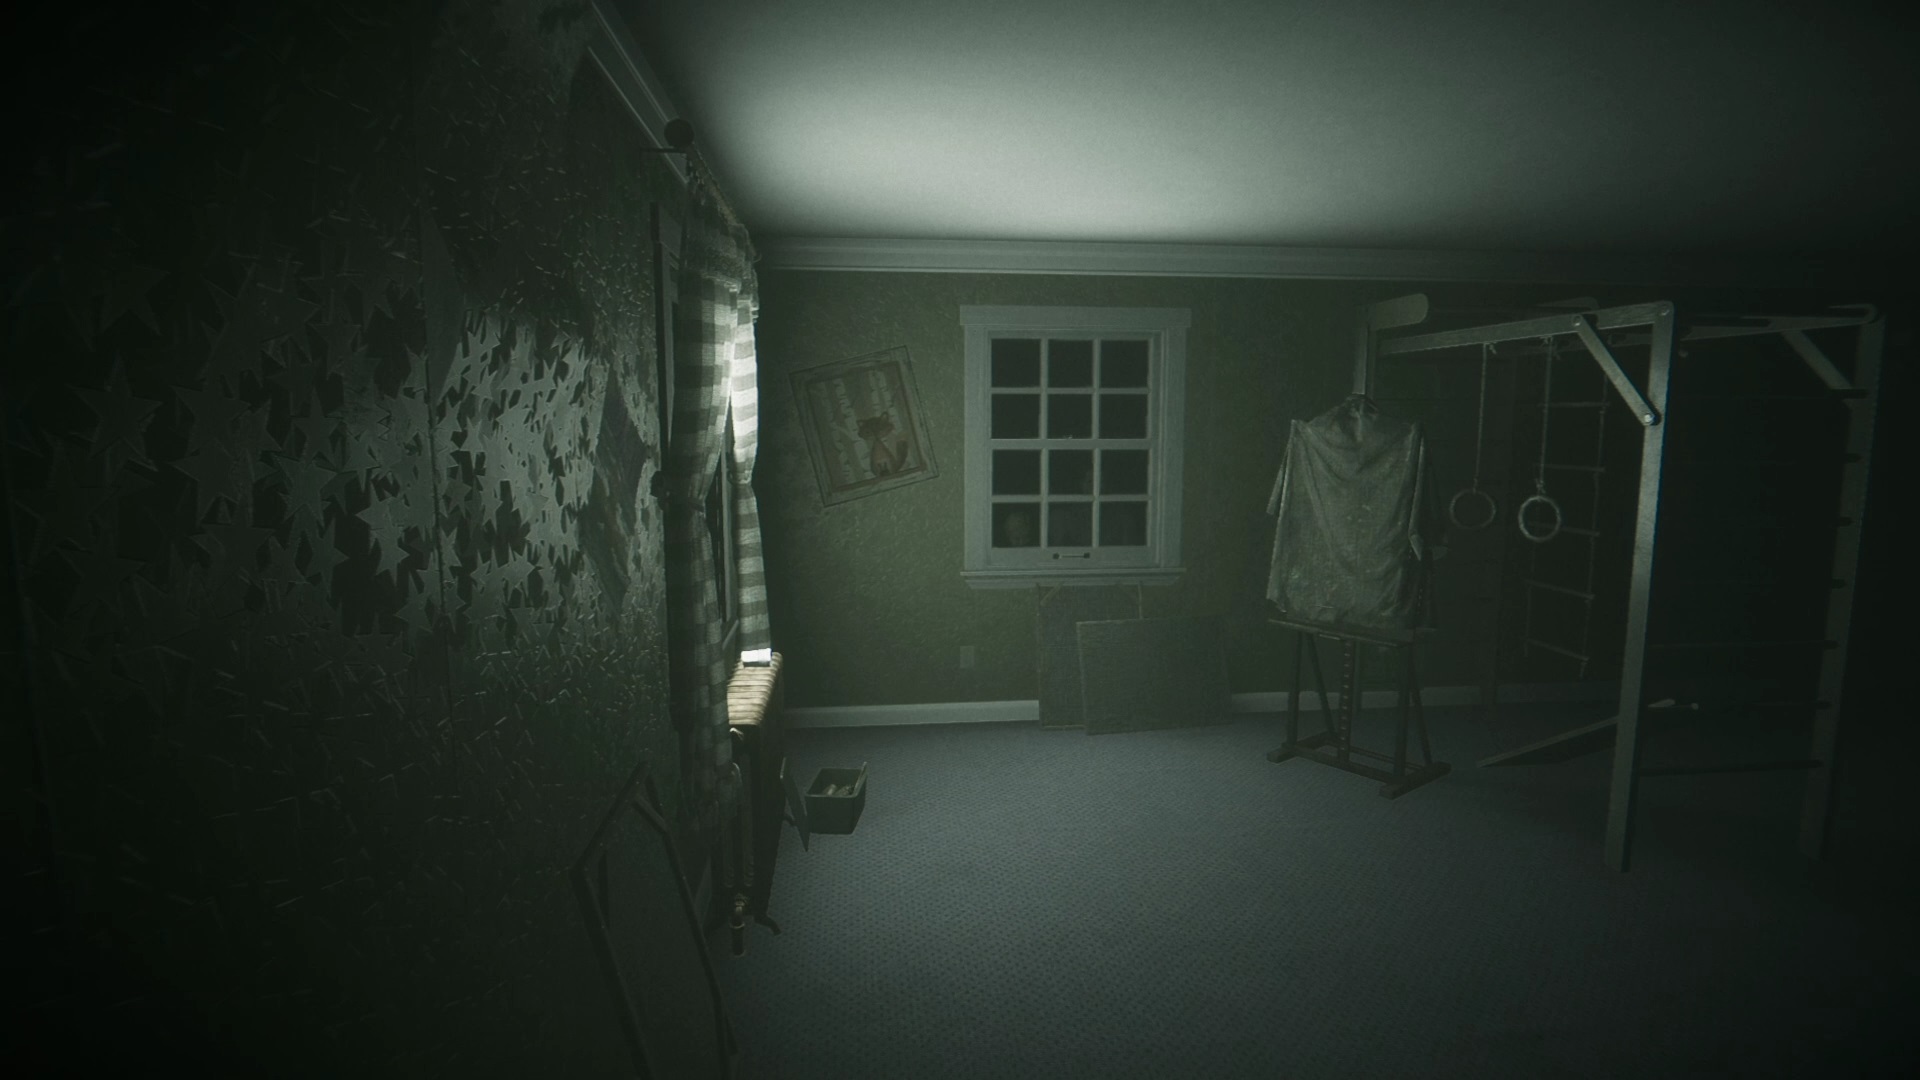
Go out into the hallway to find a second TV. Pick up the drawing on the right wall and keep going down the hall. A drawing appears again in front of a TV, take the drawing. Continue collecting drawings with a third TV. Go deep to find a TV near the caterpillars. Pick up the drawing to its right and go to the bedroom bathroom.
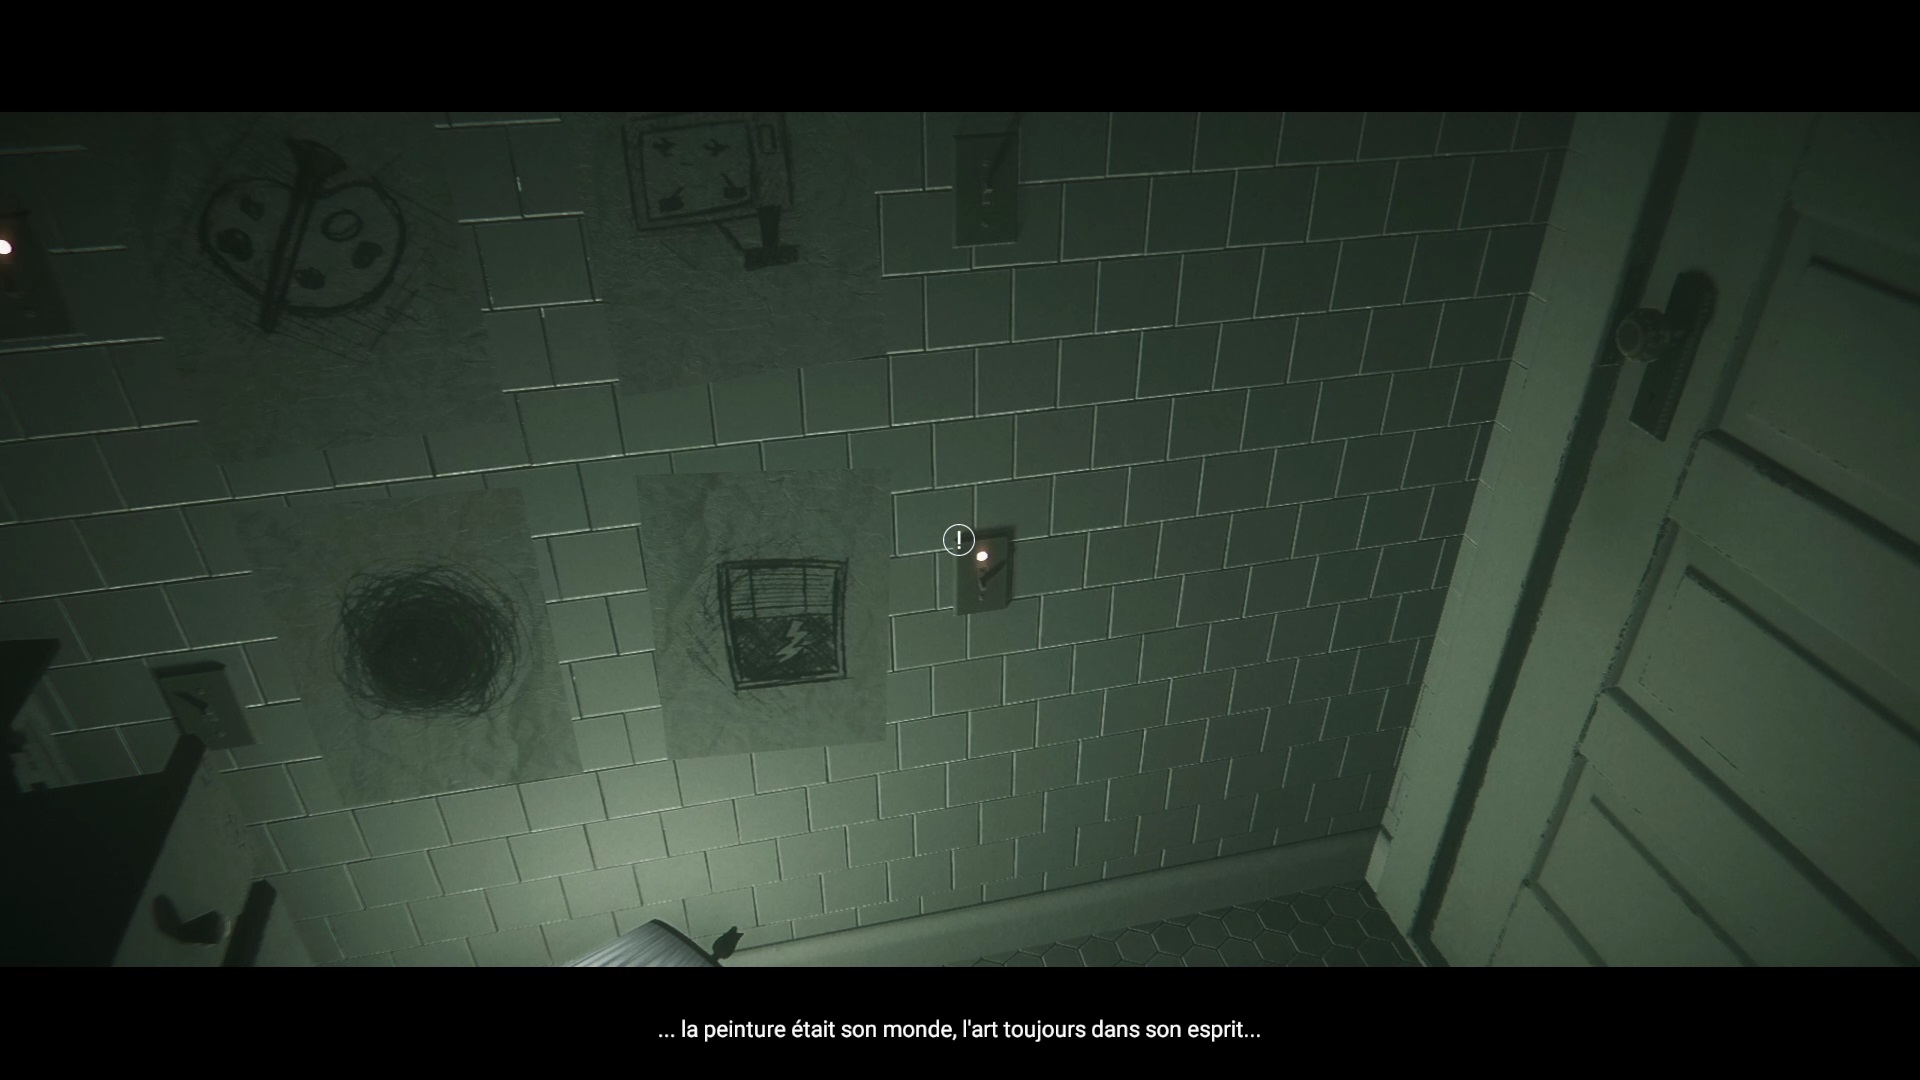
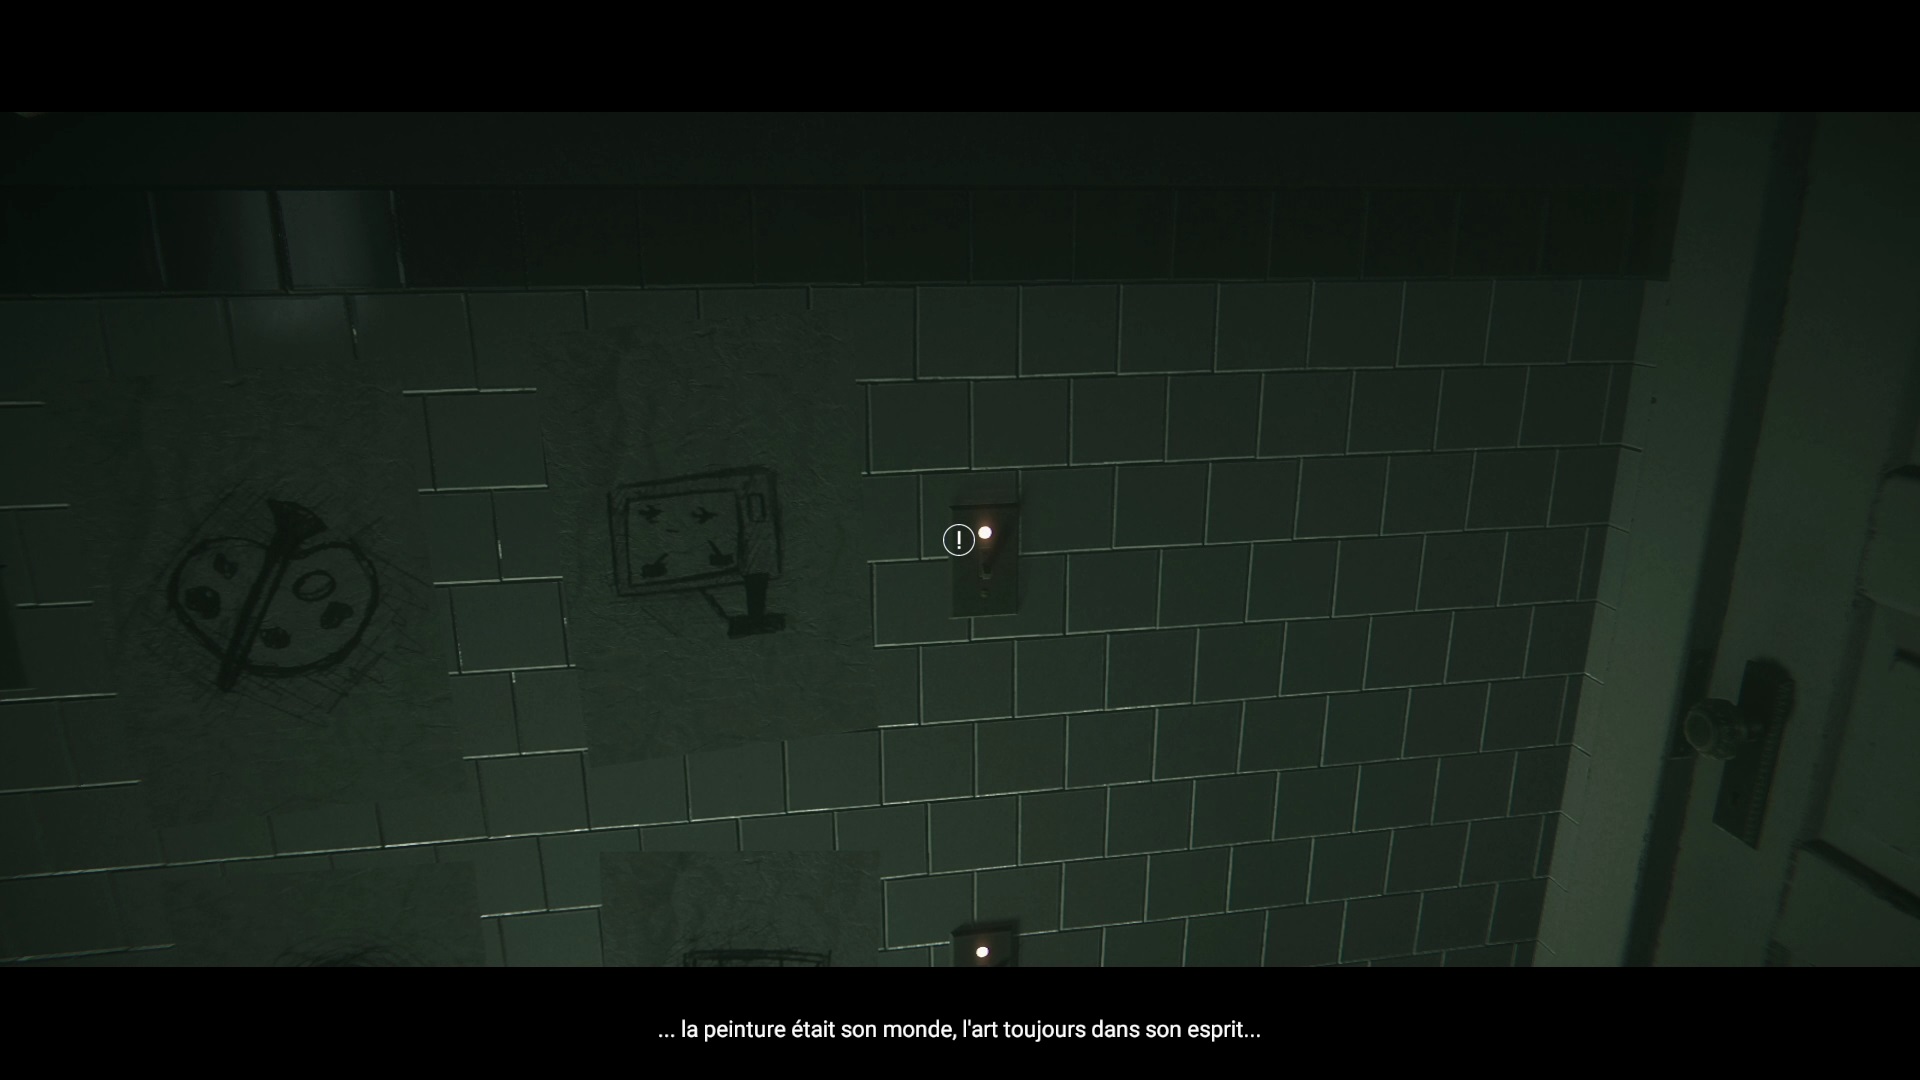
Talk to the eye and place the drawings against the wall. Interact with the drawing at the top left then at the bottom right, at the top right and the last at the bottom left. Talk to the eye again to reveal a door leading to the cellar.
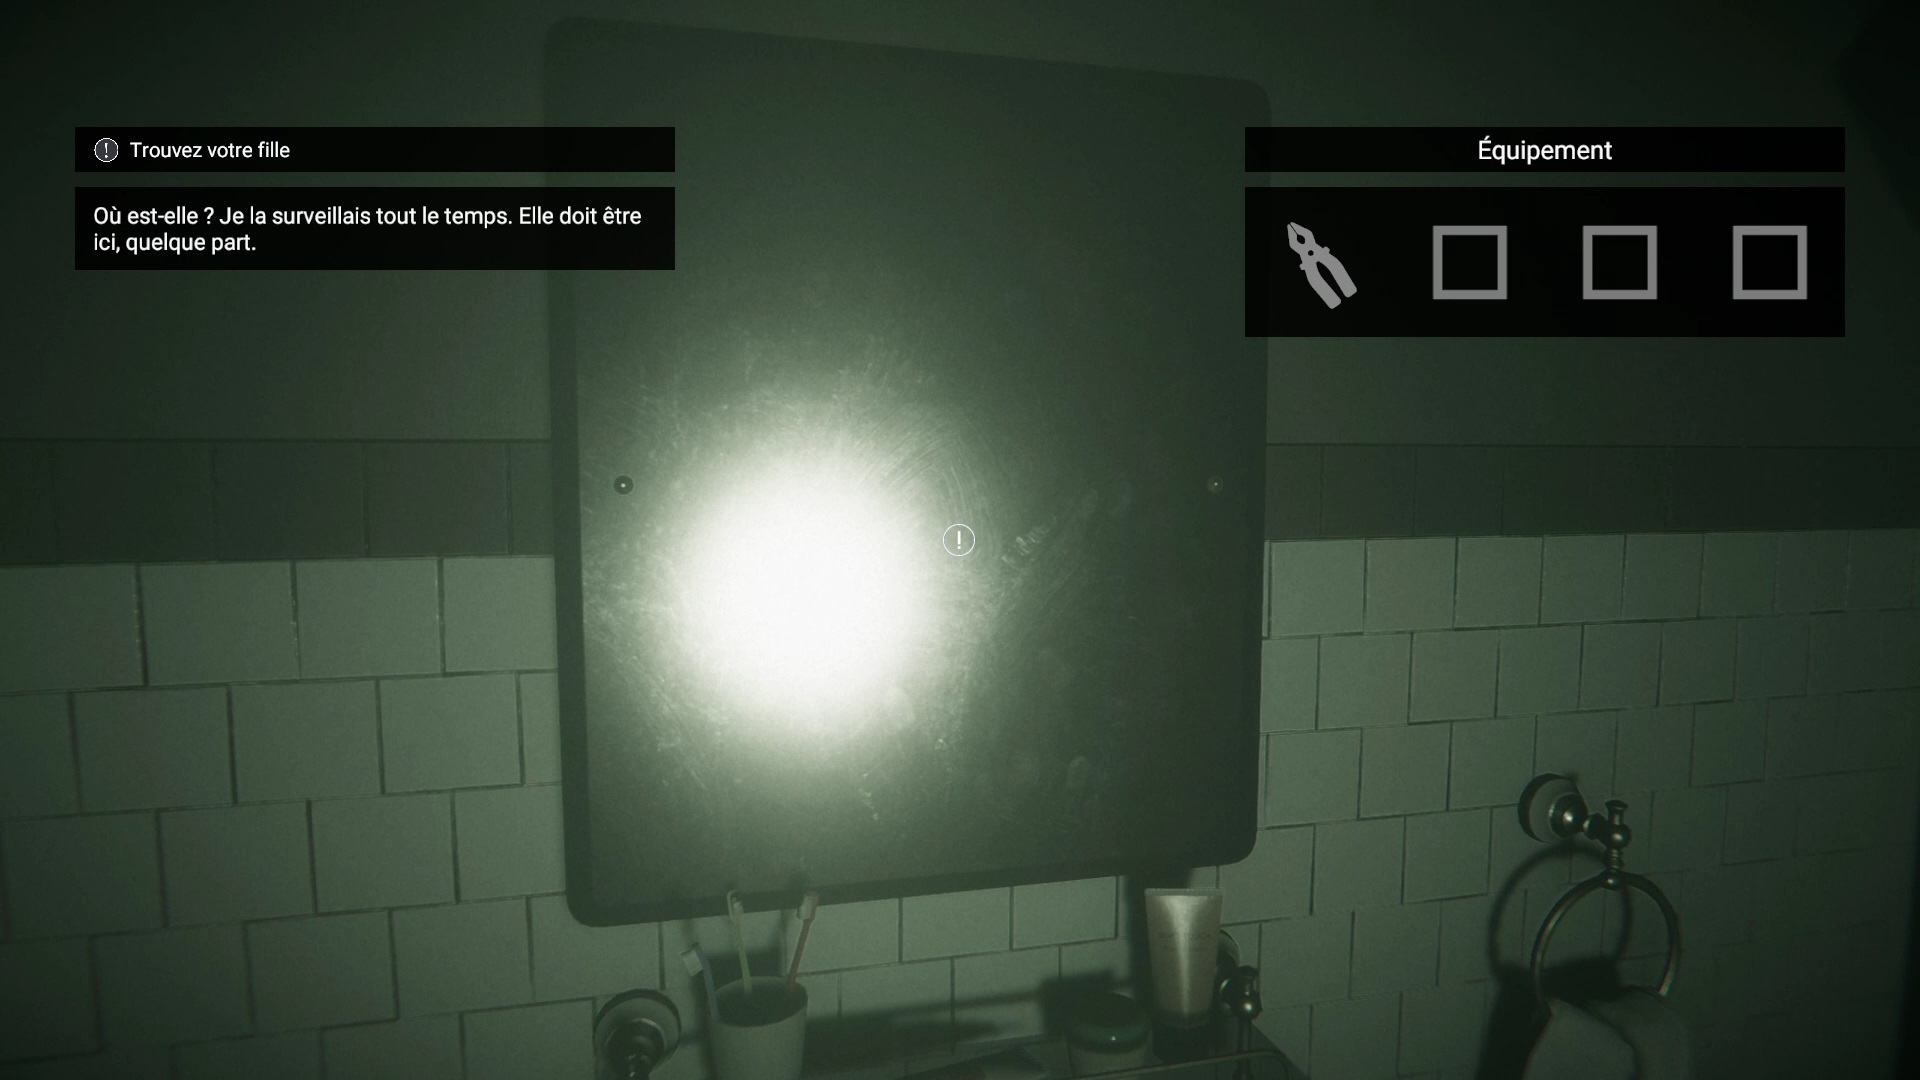
Back home, hide in the bathroom near the cellar door. Once counted to 30, search upstairs in his cabinet. Then go down to the kitchen to hear him in his room. Return to his room to start a cutscene. After finding Emily, go down into the cellar to get on the elevator.
On this floor, talk to Emily’s remains in a sink to get your objective. Search the drawers in the cabinet in front of the rabbit to pick up a spoon. Go through the door next to the cabinet to discover a hallway with corpses. Examine the second corpse to collect its eyes with the spoon.
Then place your eyes on the plush rabbit and talk to Emily to retrieve a clamp from the cabinet. Return to the hallway to remove the teeth from the first corpse. Install the teeth in the plush and talk to Emily to unlock the door. Head down the hall to find a levitating chest of drawers. Take a first statuette from the drawer. Then enter the living room and retrieve a second statuette on a television.
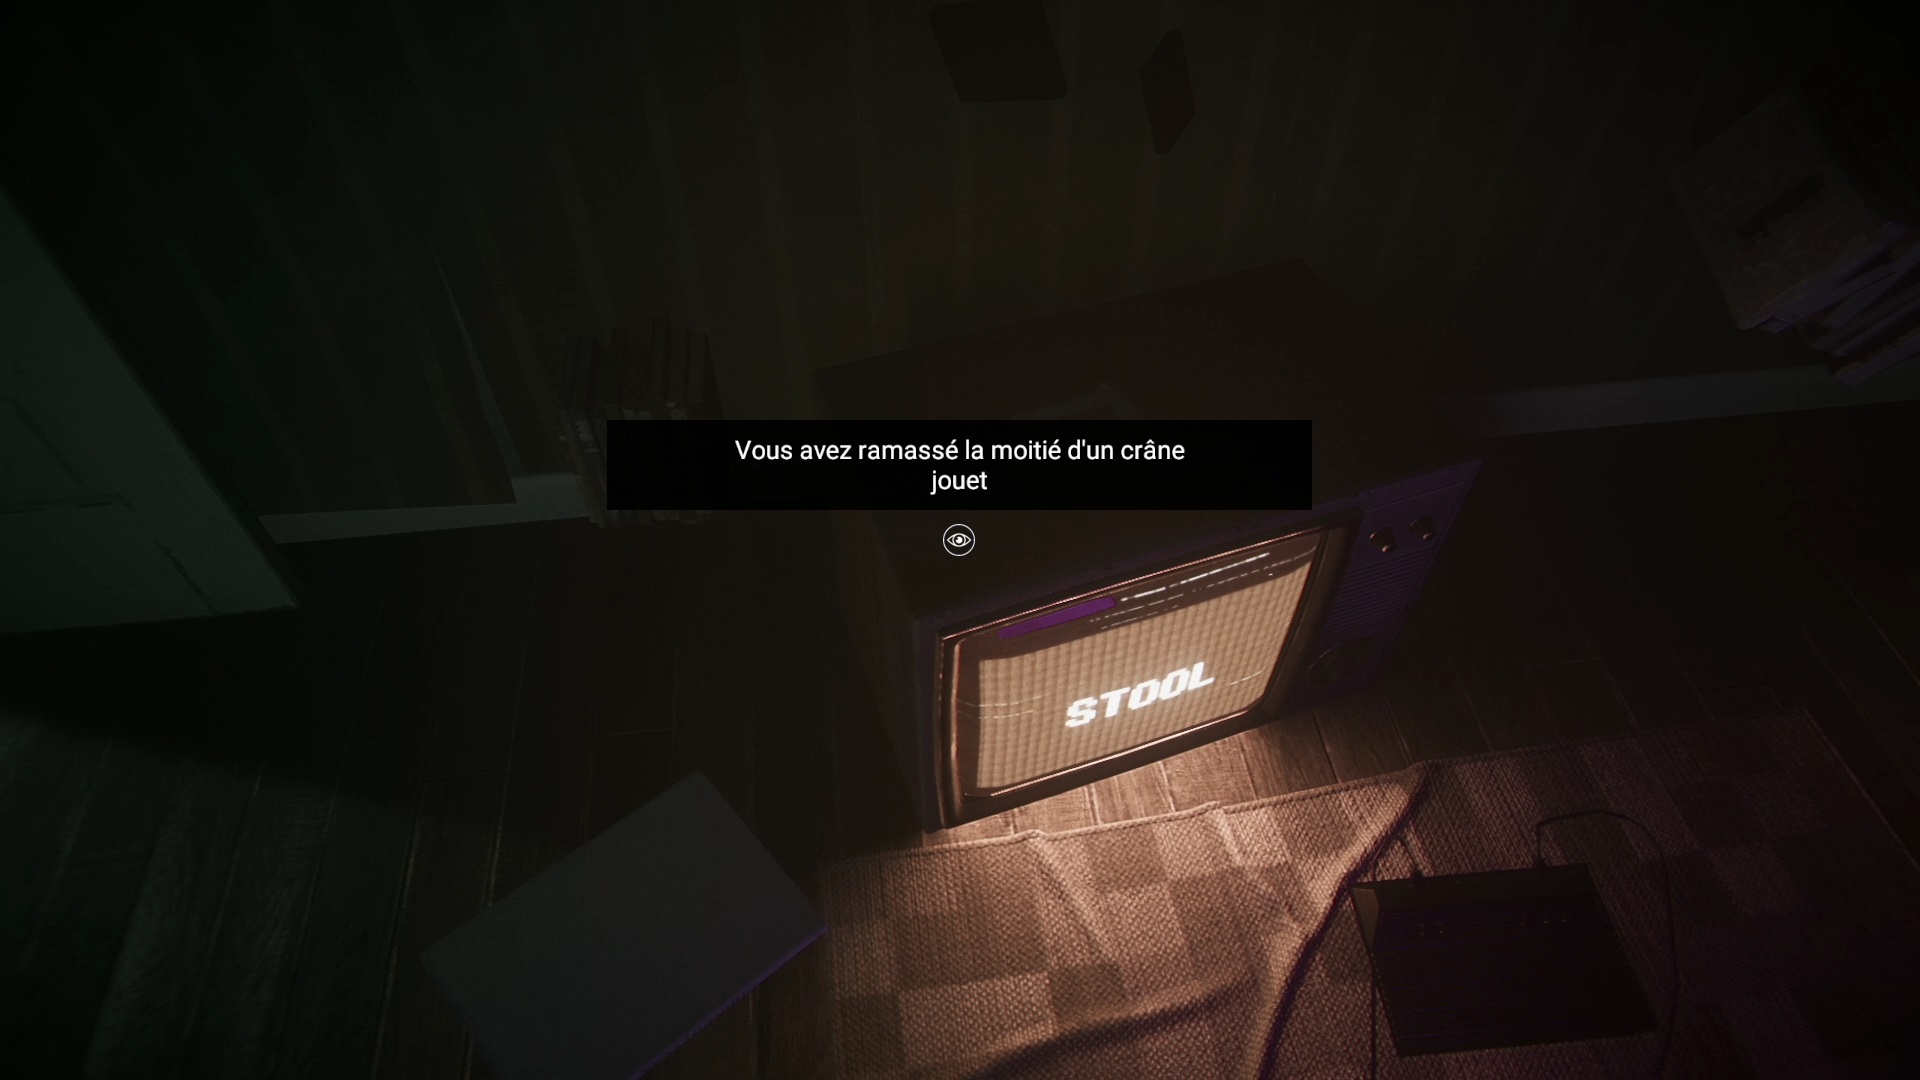
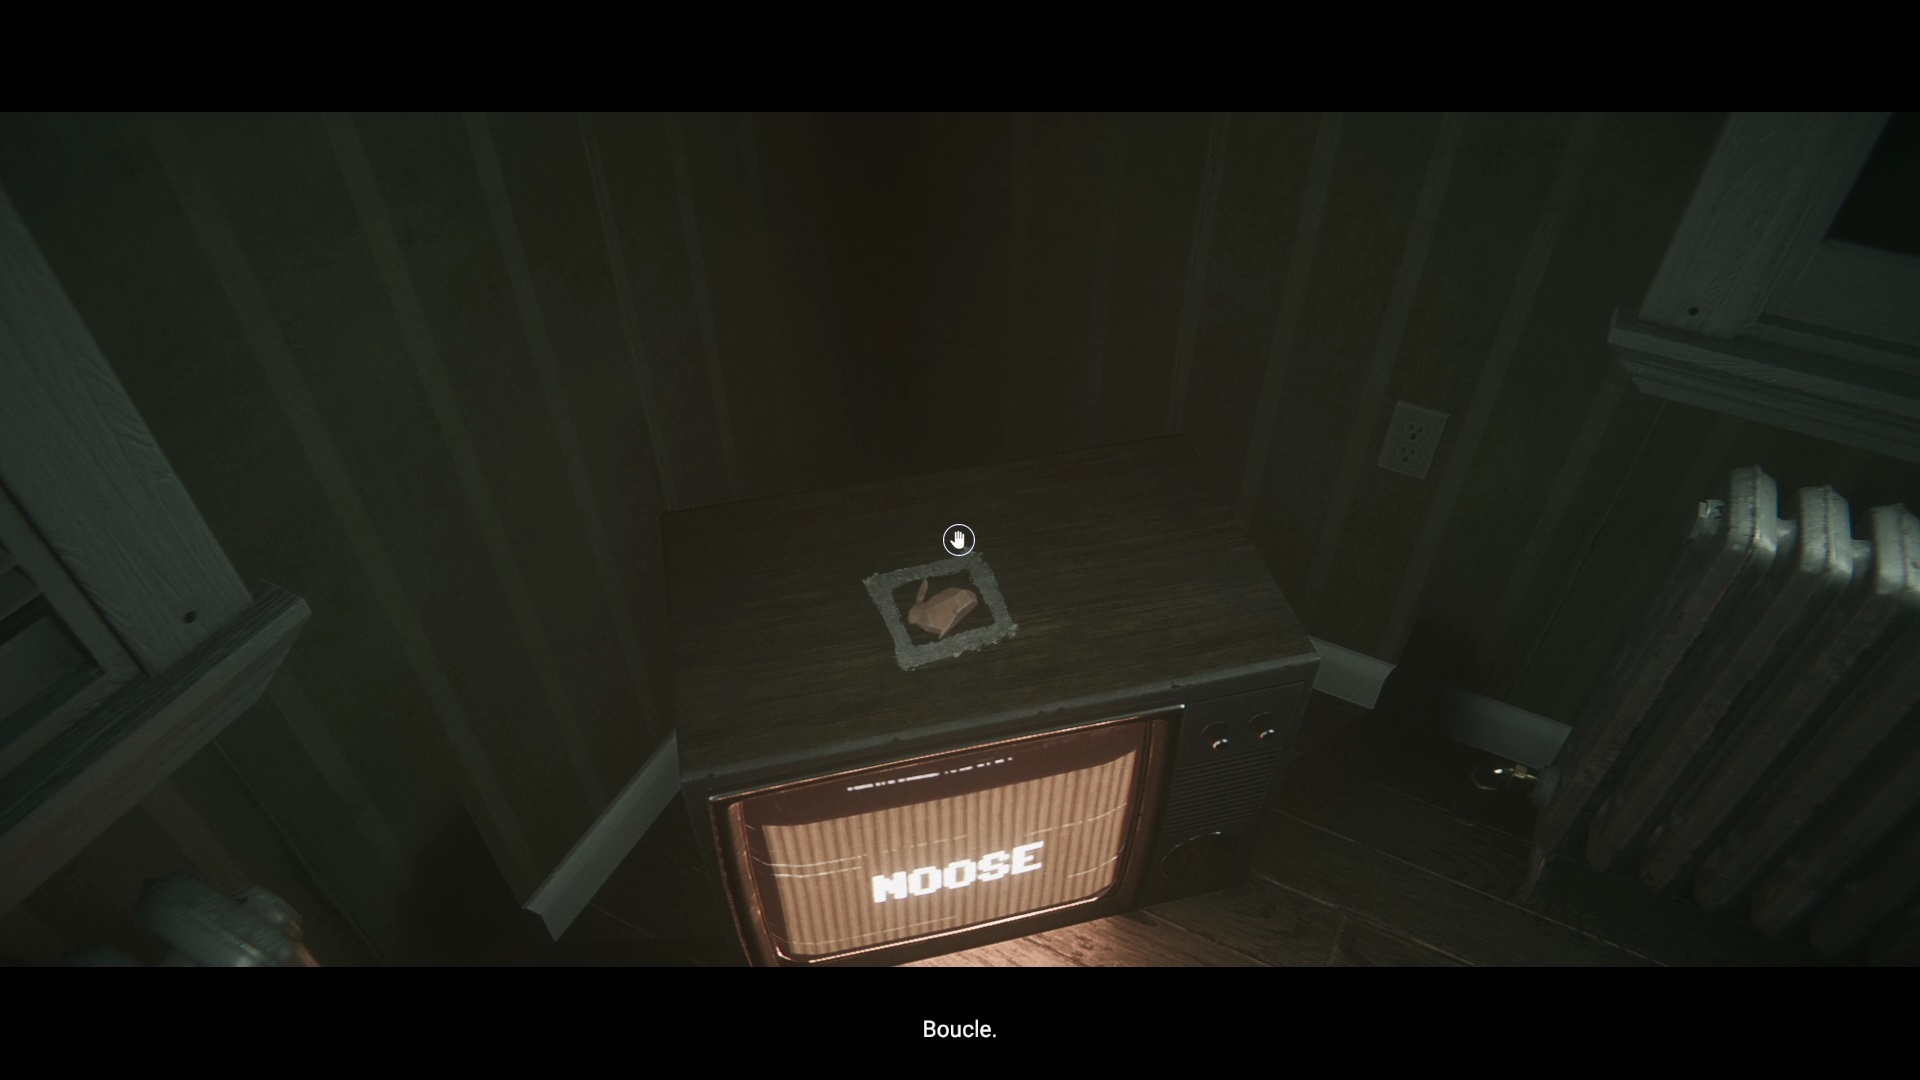
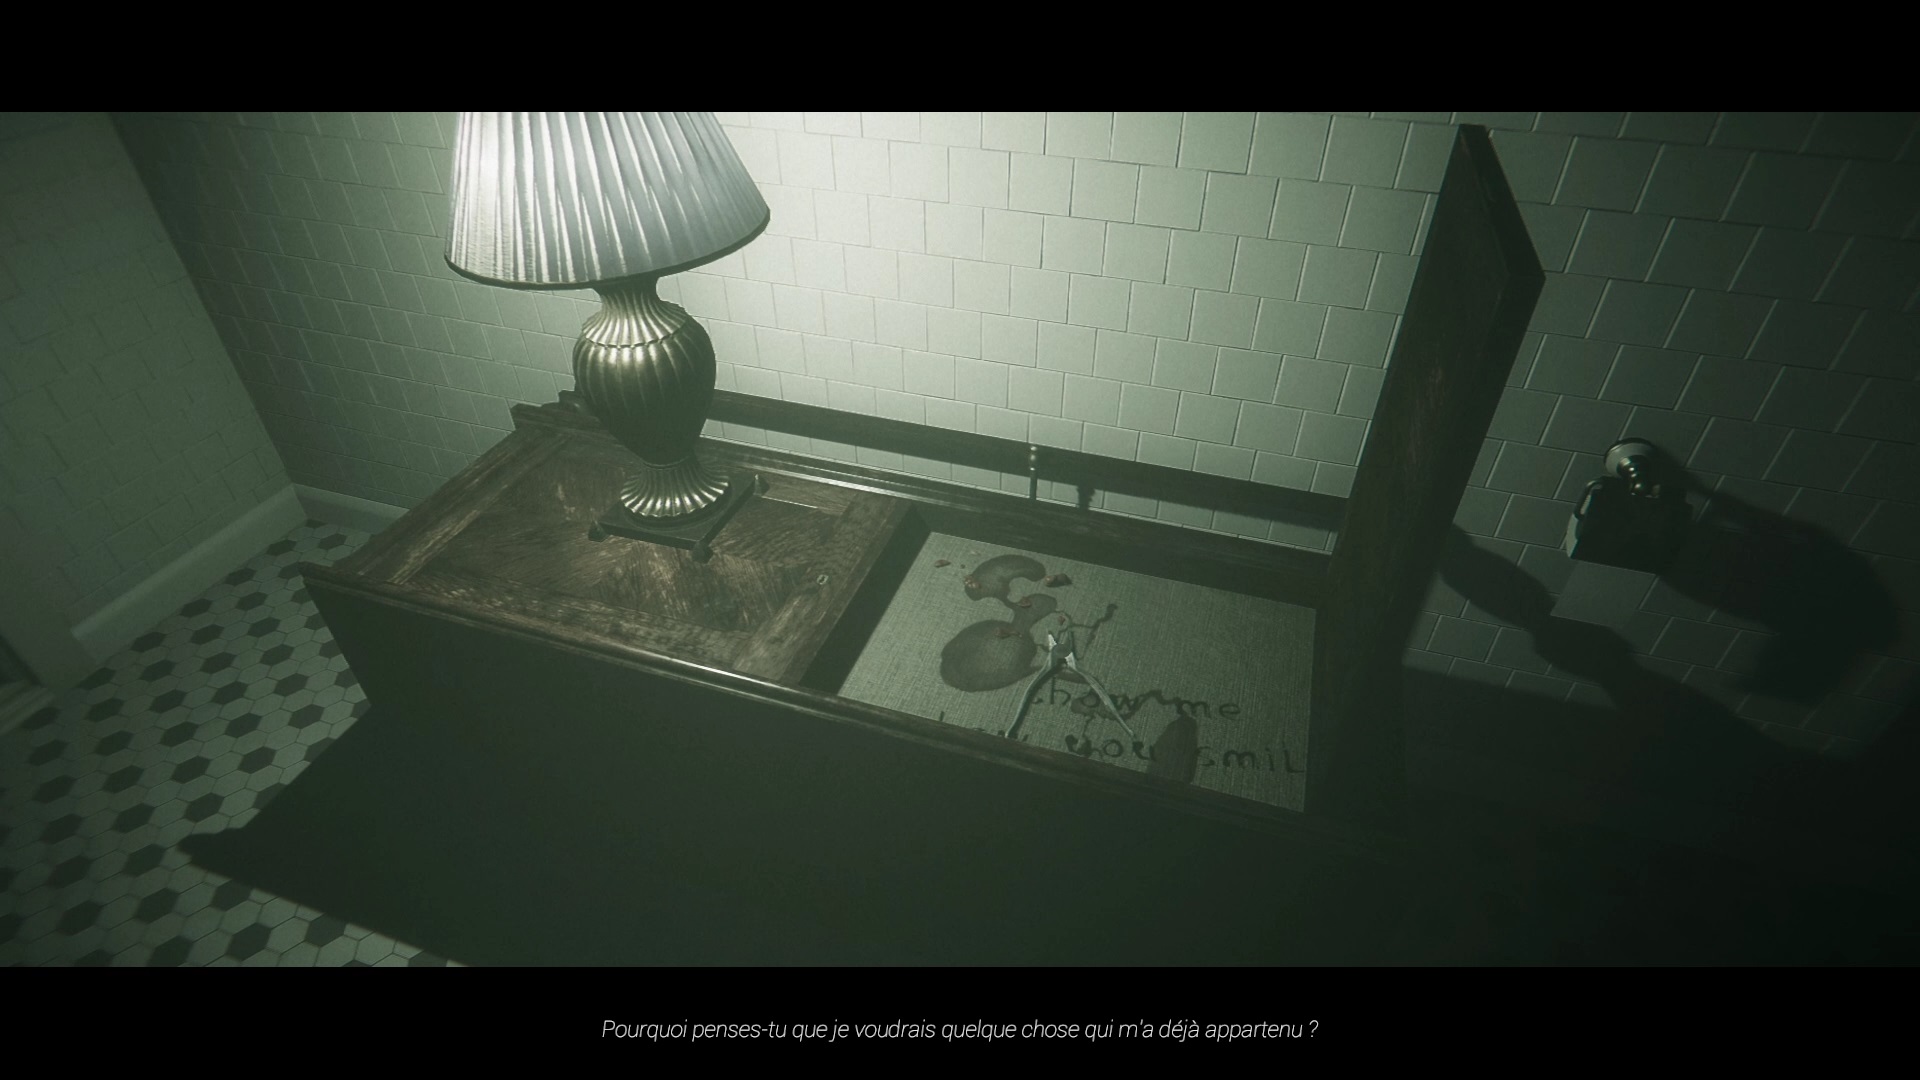
Place the statuettes on the « Noose » and « Stool » televisions. Collect the flashlight from the TV to light the way to a generator. Once the current is back go to the bathroom and talk to the eye. Retrieve nearby pliers and remove your teeth using the mirror.

Back home, start a game with Emily. The pellets blow take the lamp in the chest of drawers and go to the cellar to find a generator. A cutscene starts. After the cutscene, head down the hall to take control of Emily. Go down to the kitchen to find the source of the noise. Go back to your room and hide in the closet.
As Alice, talk to the eye and join Emily and Jason through the window.
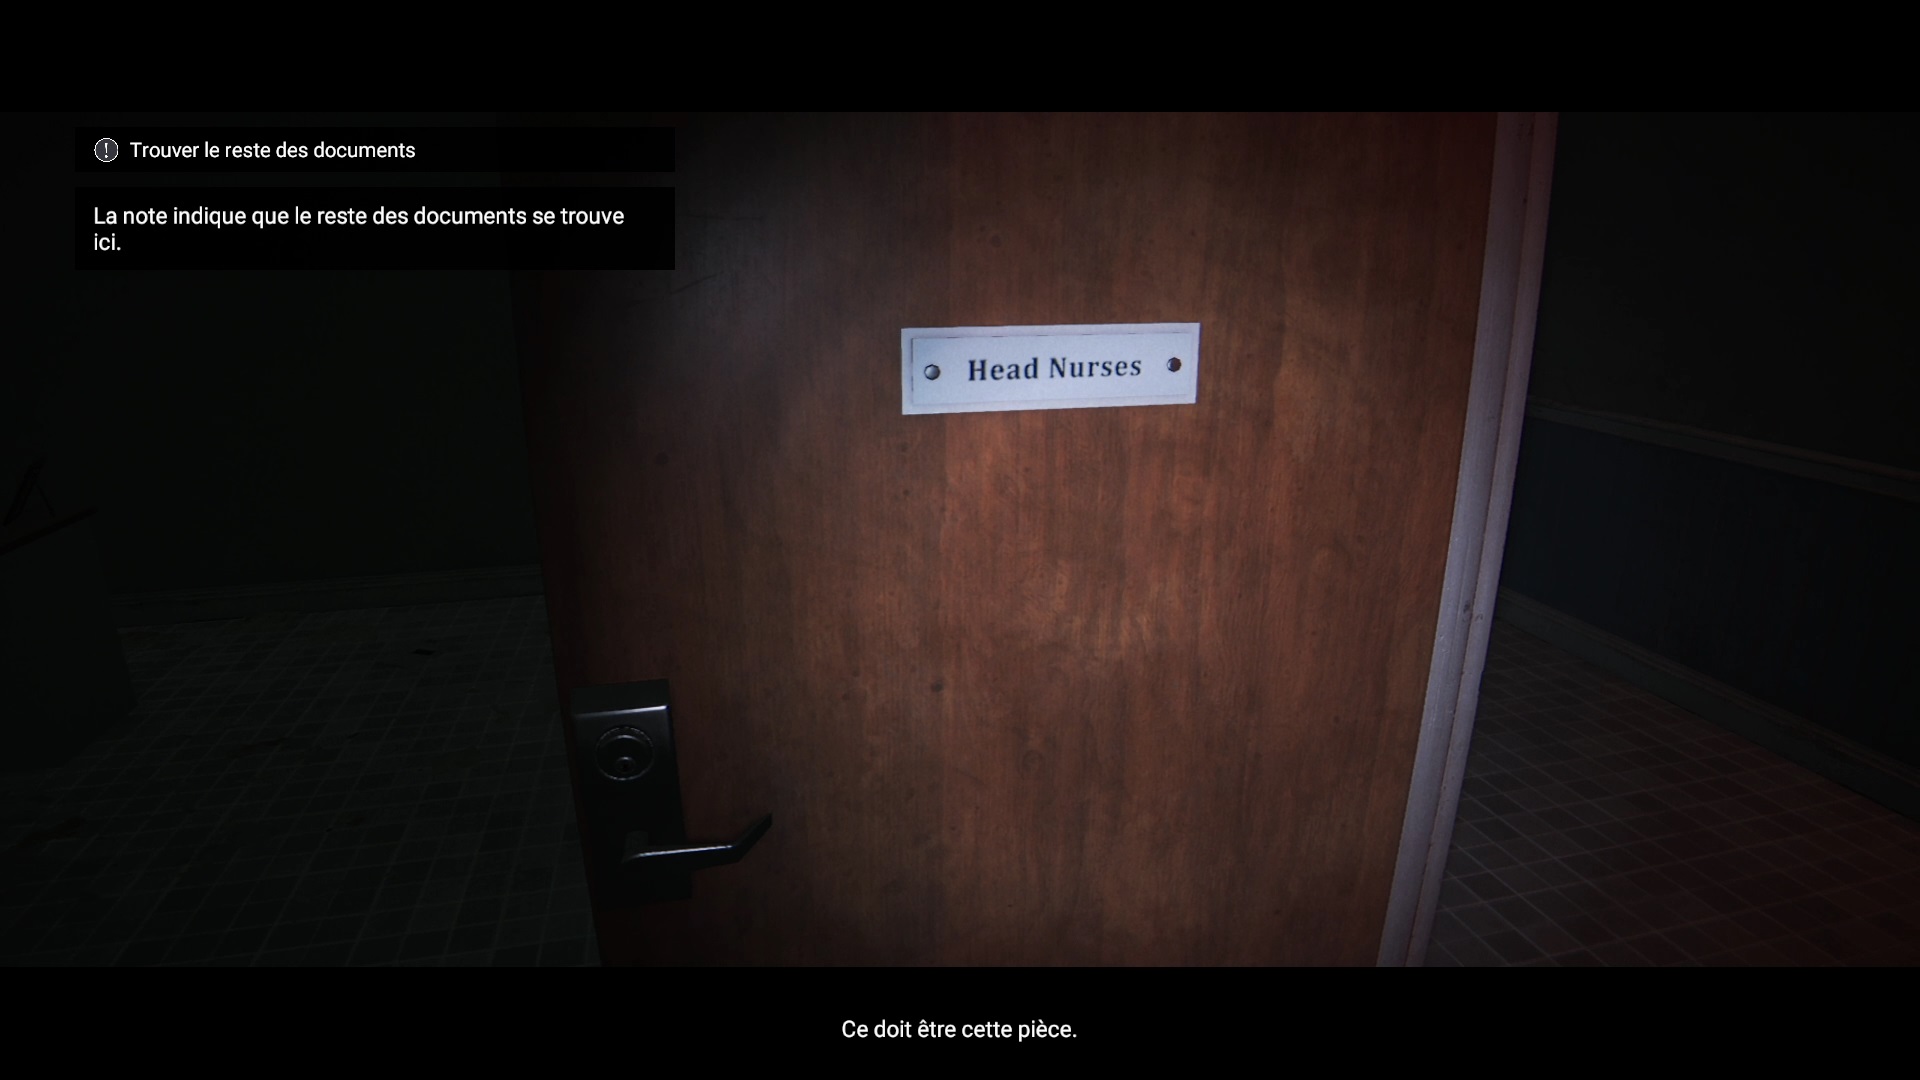
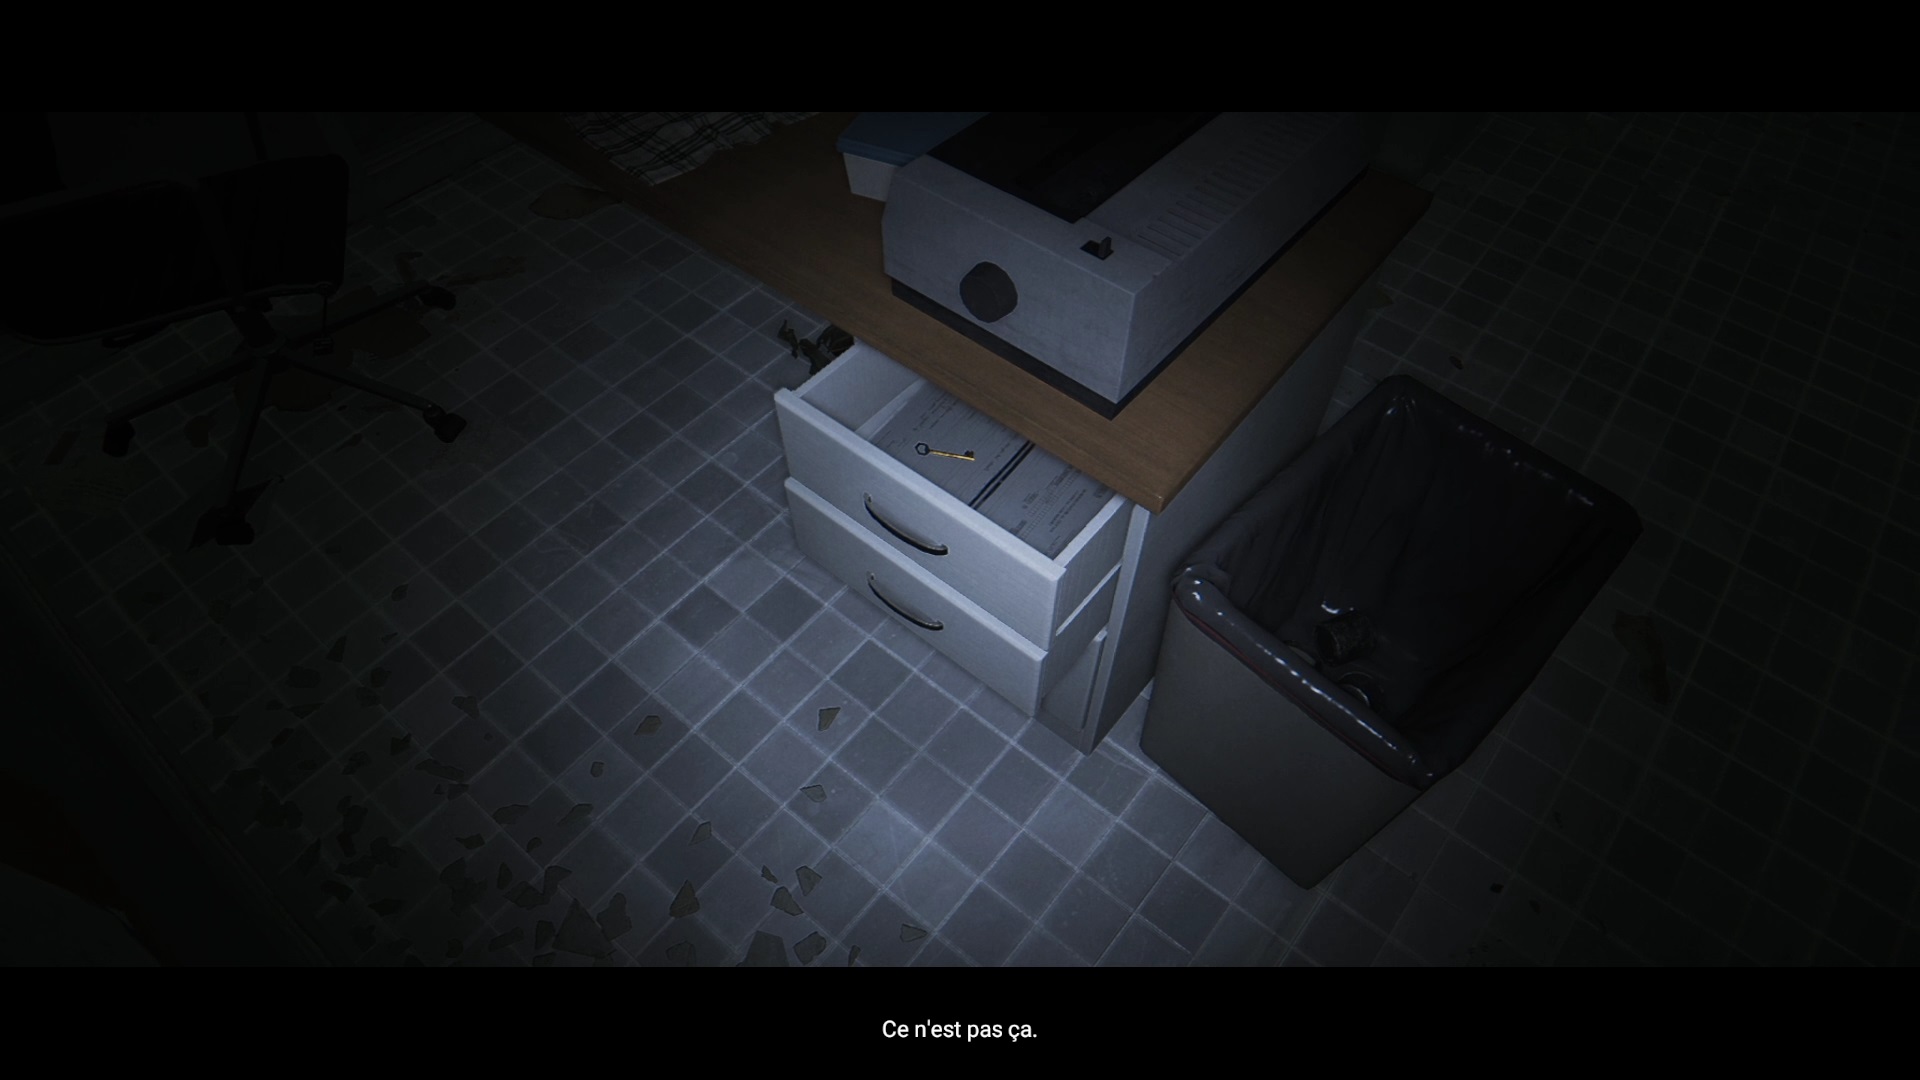
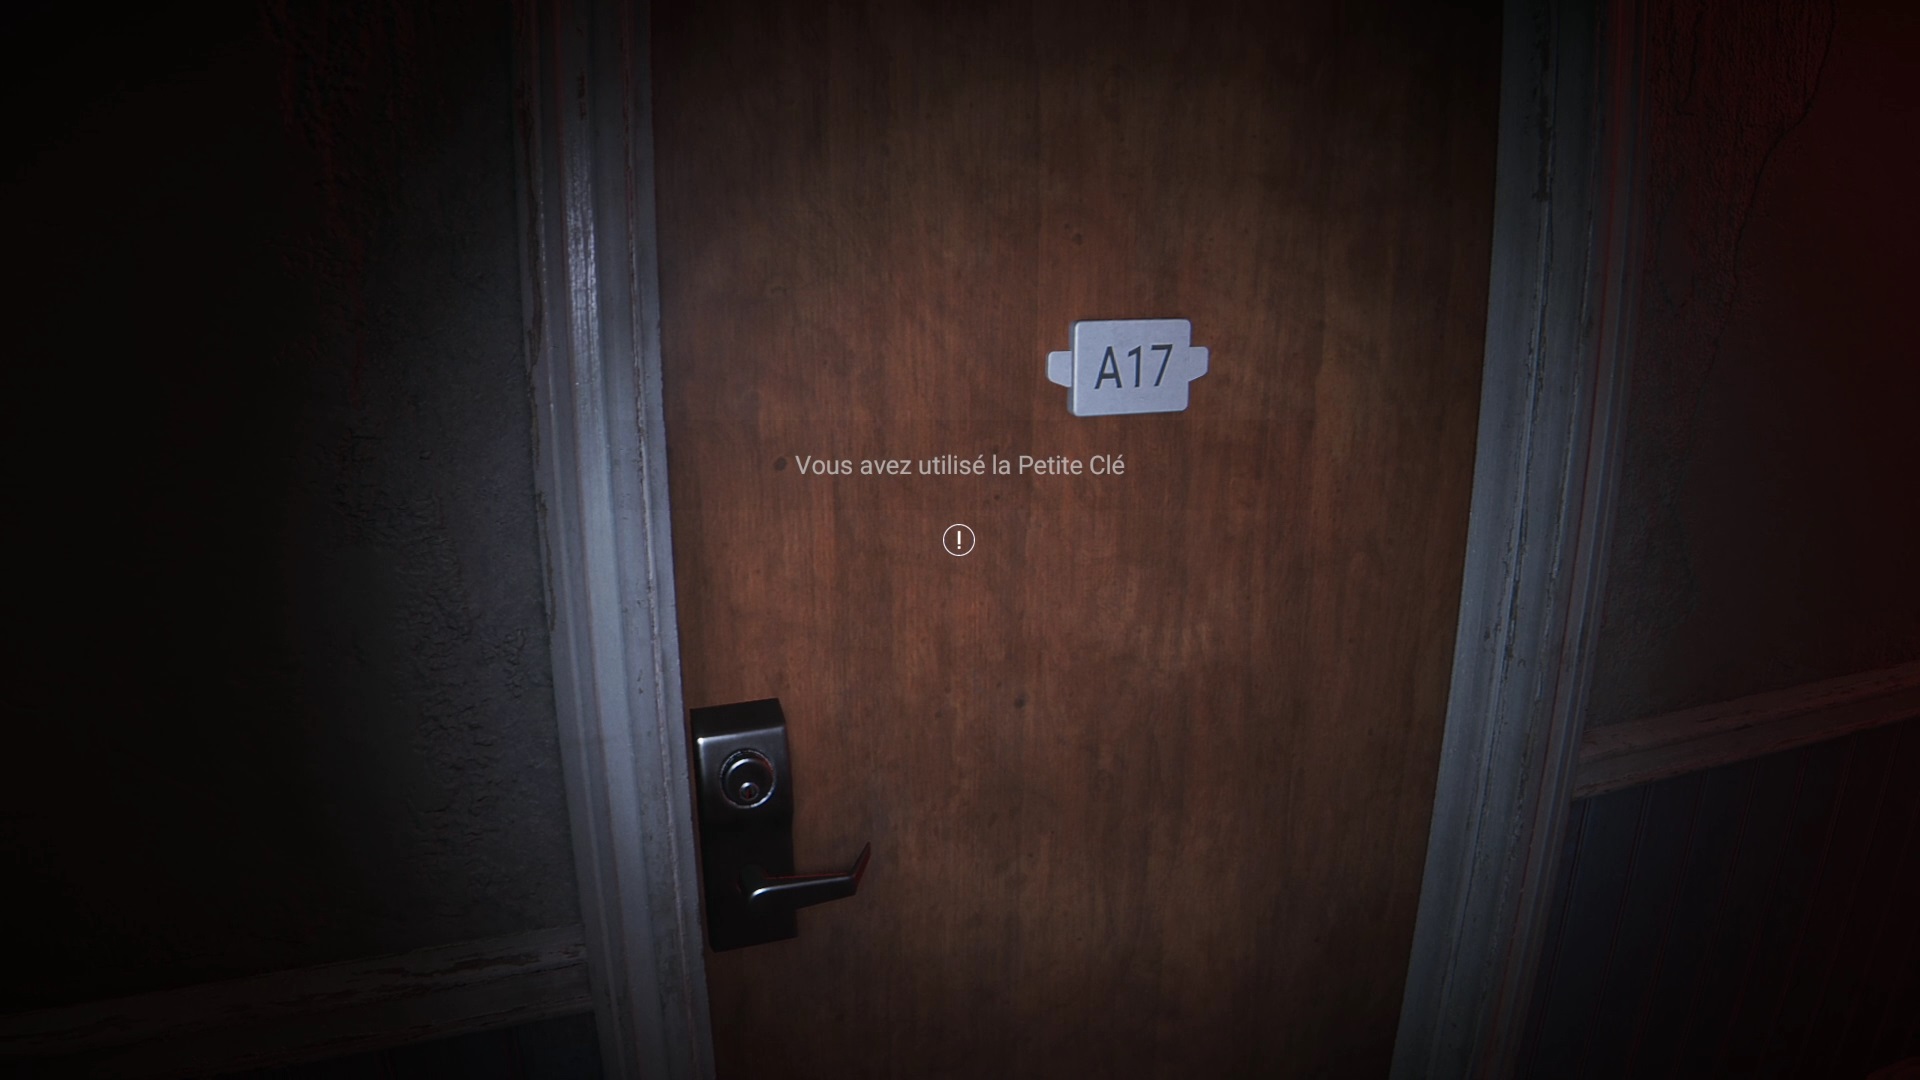
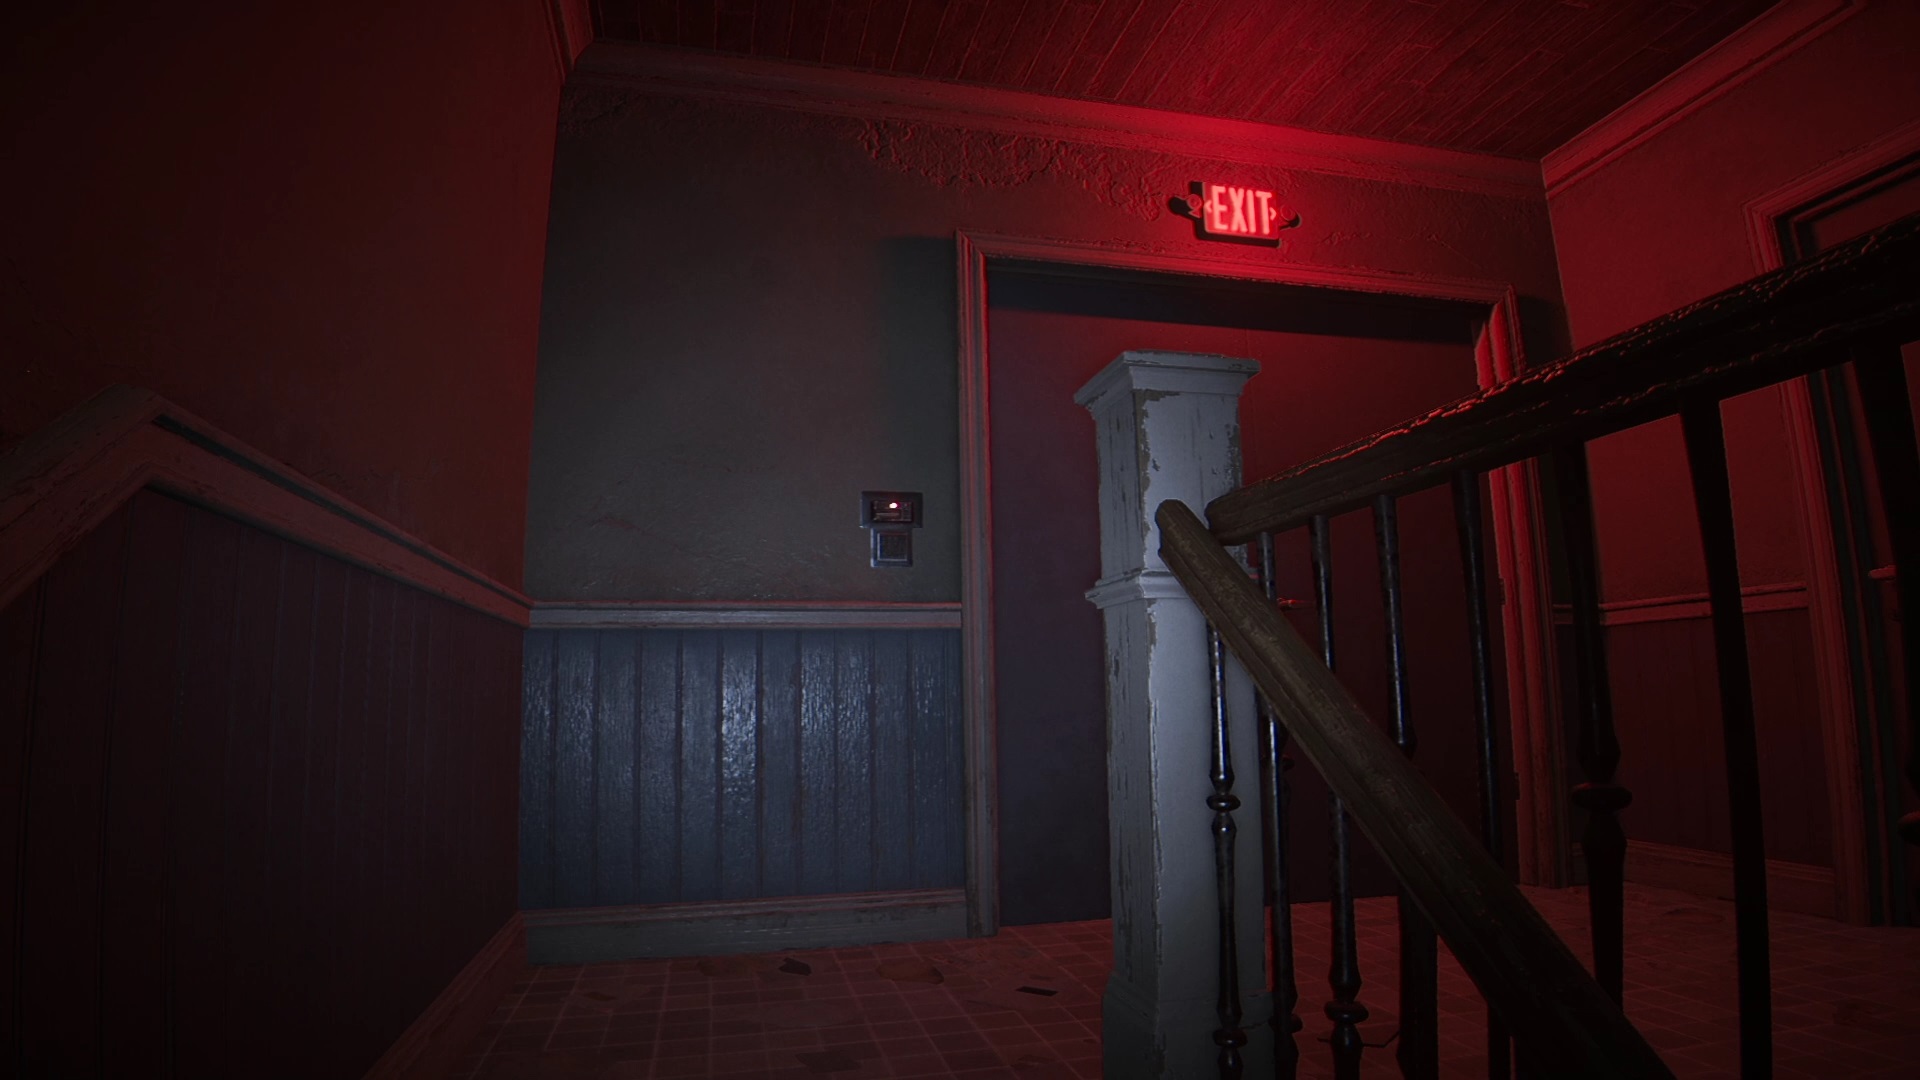
After check-in, examine the documents on the table. Go up to the third floor to find the nurses’ room. Search the desk drawer for a key. Go back down to the video player room to start a cutscene. Flee to Gate A17 and run while closing the doors behind you. Join the corridor to discover the outcome of Anthology of Fear.

Fan de jeux Nintendo, Xbox, PlayStation, PC et de l’univers gaming
Je vous partage ma passion à travers mes articles sur les nouveautés jeux vidéo
Journaliste gameactuality.com