
[Complete Walkthrough] Poppy Playtime: Chapter 3 [EN]
Poppy Playtime Chapter 3 is an episodic horror video game developed and published by developer Mob Entertainment. The player takes on the role of a former employee of the toy manufacturing company Playtime Co., who revisits the abandoned toy factory 10 years after its staff disappeared.
Summary
The tunnels

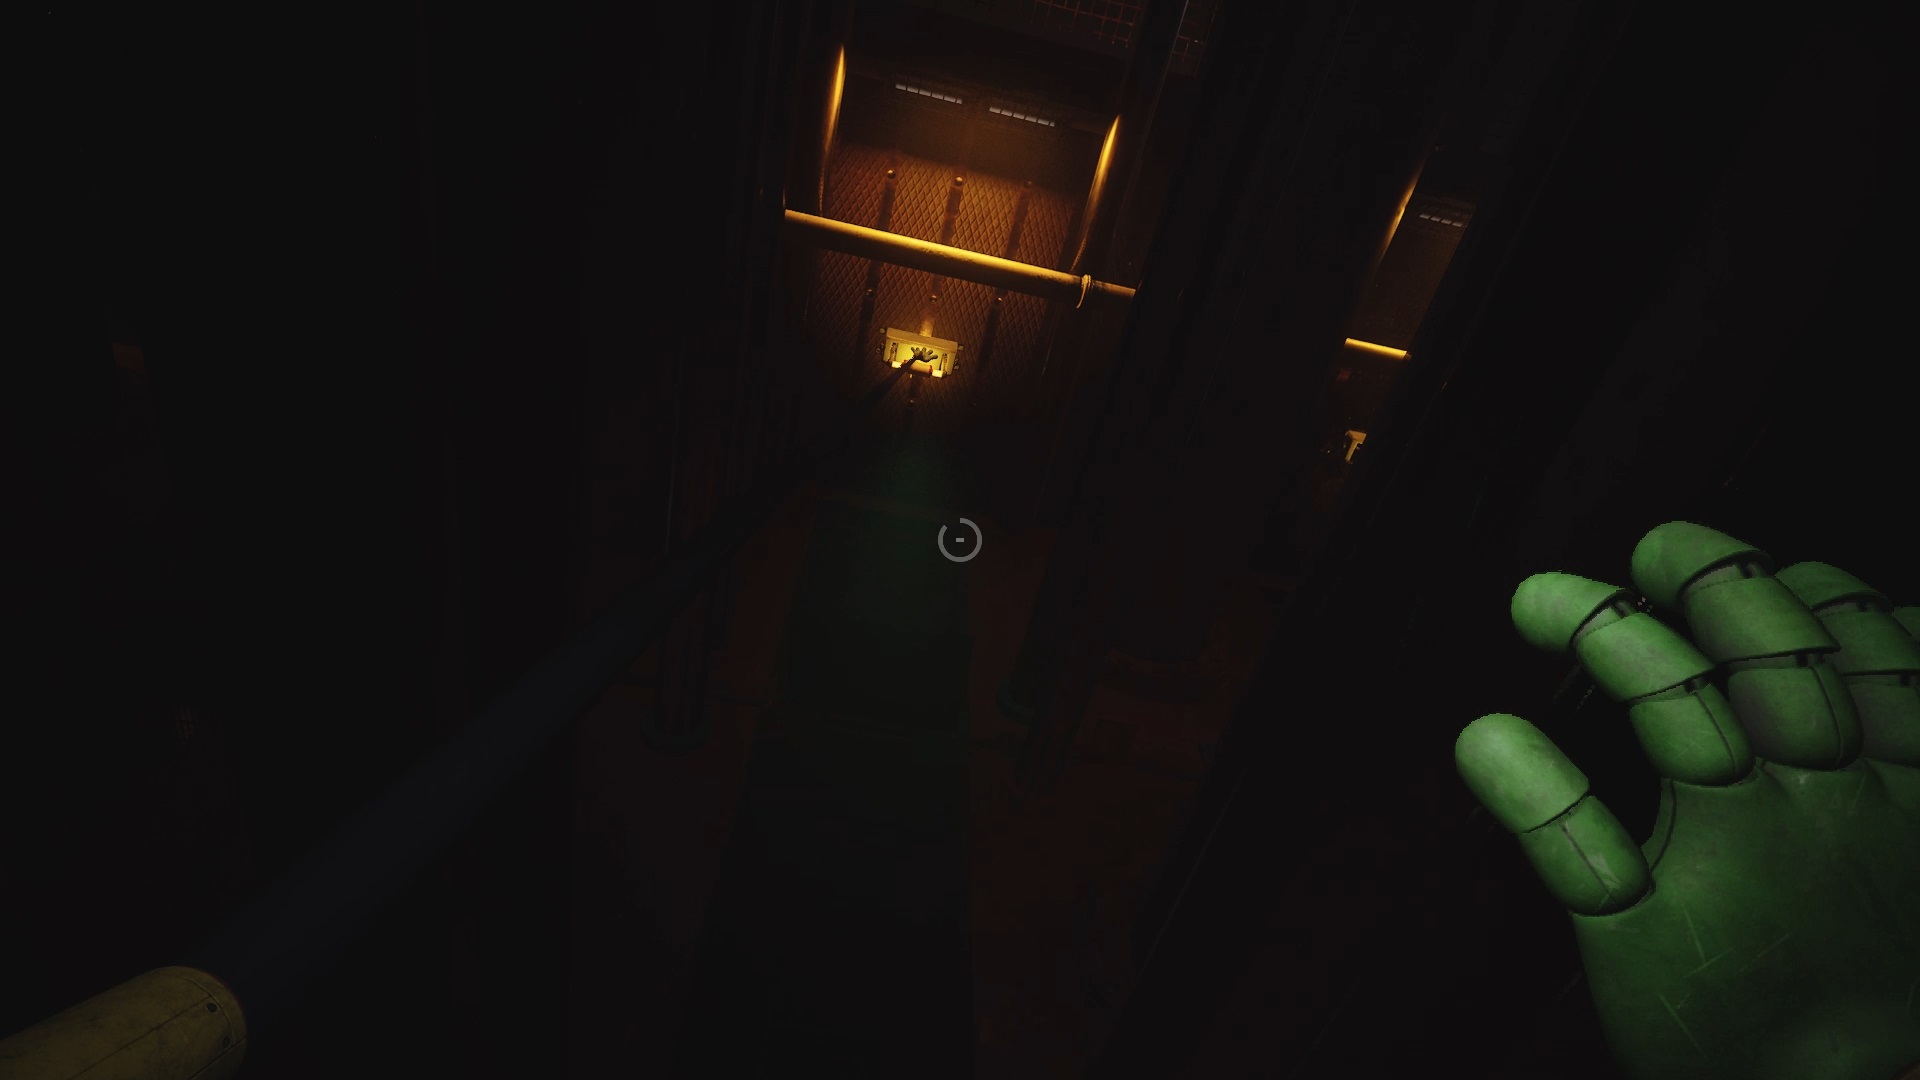
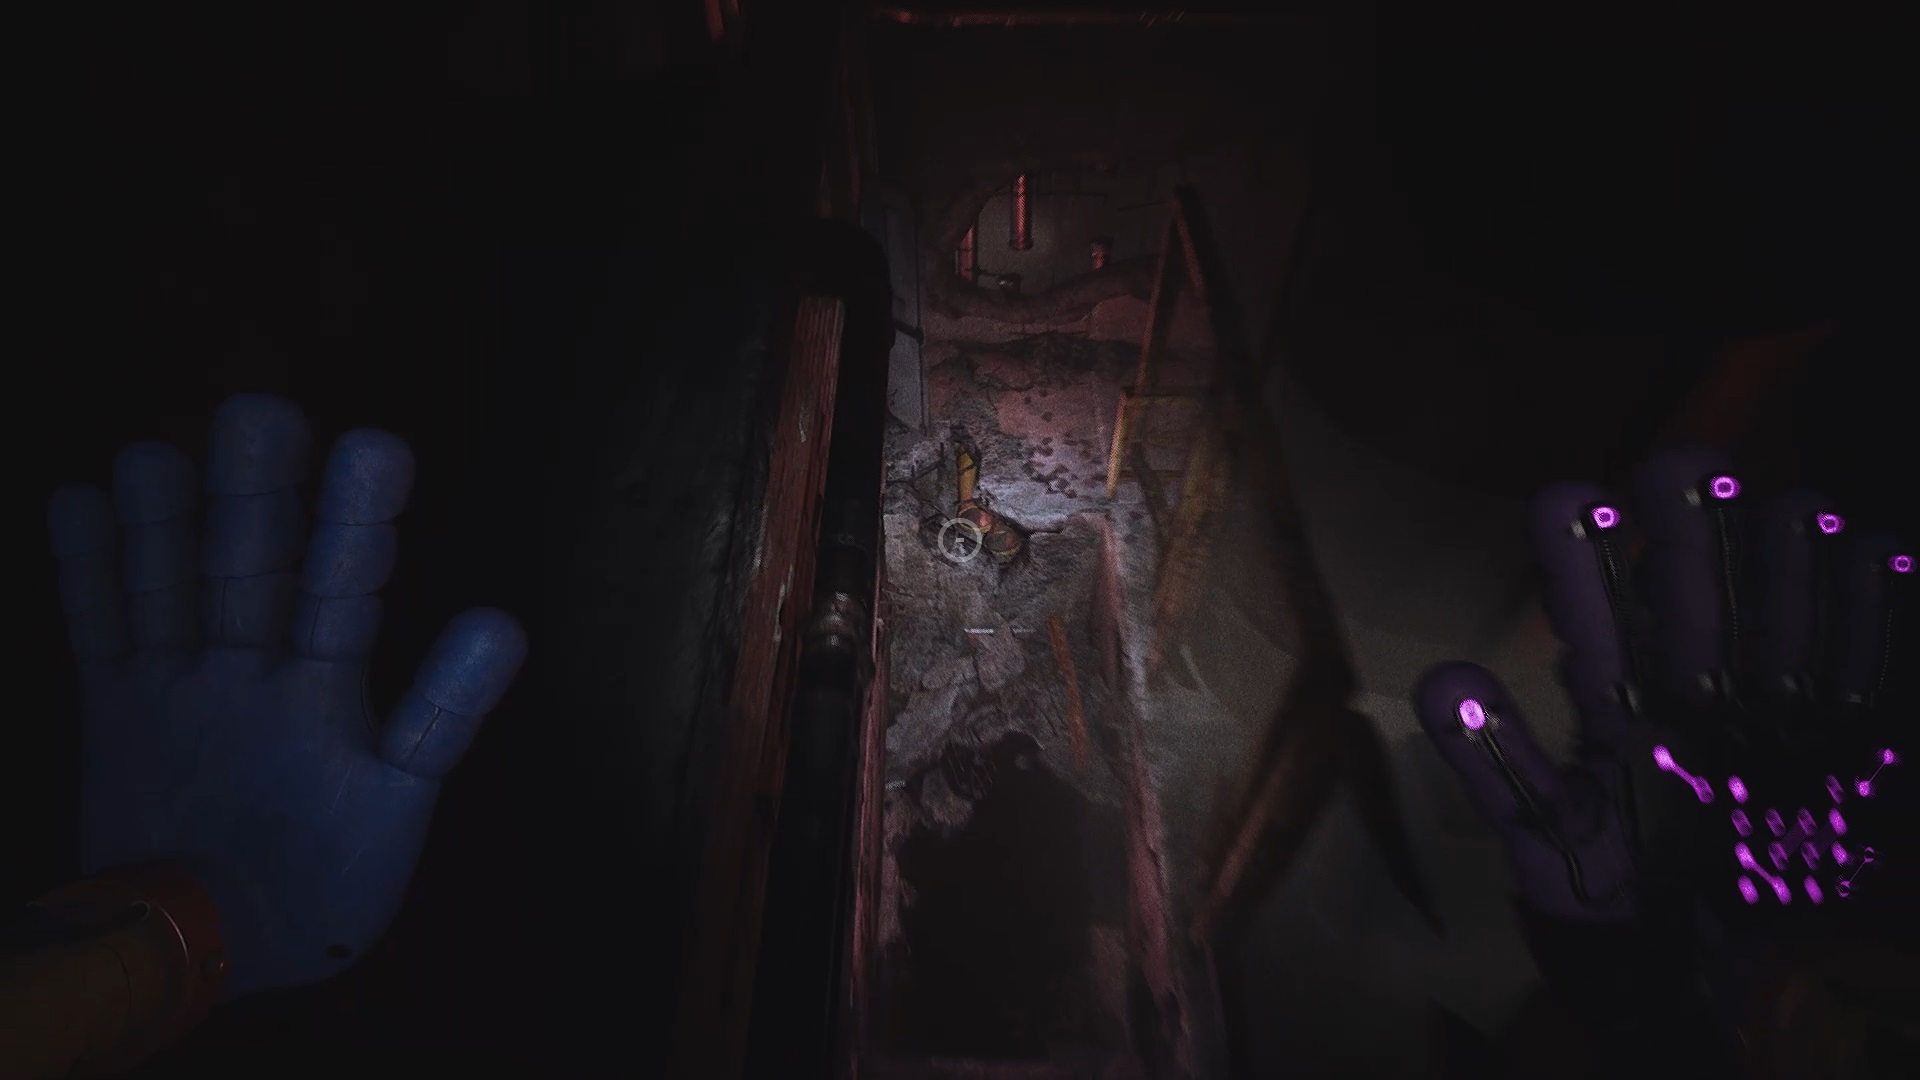
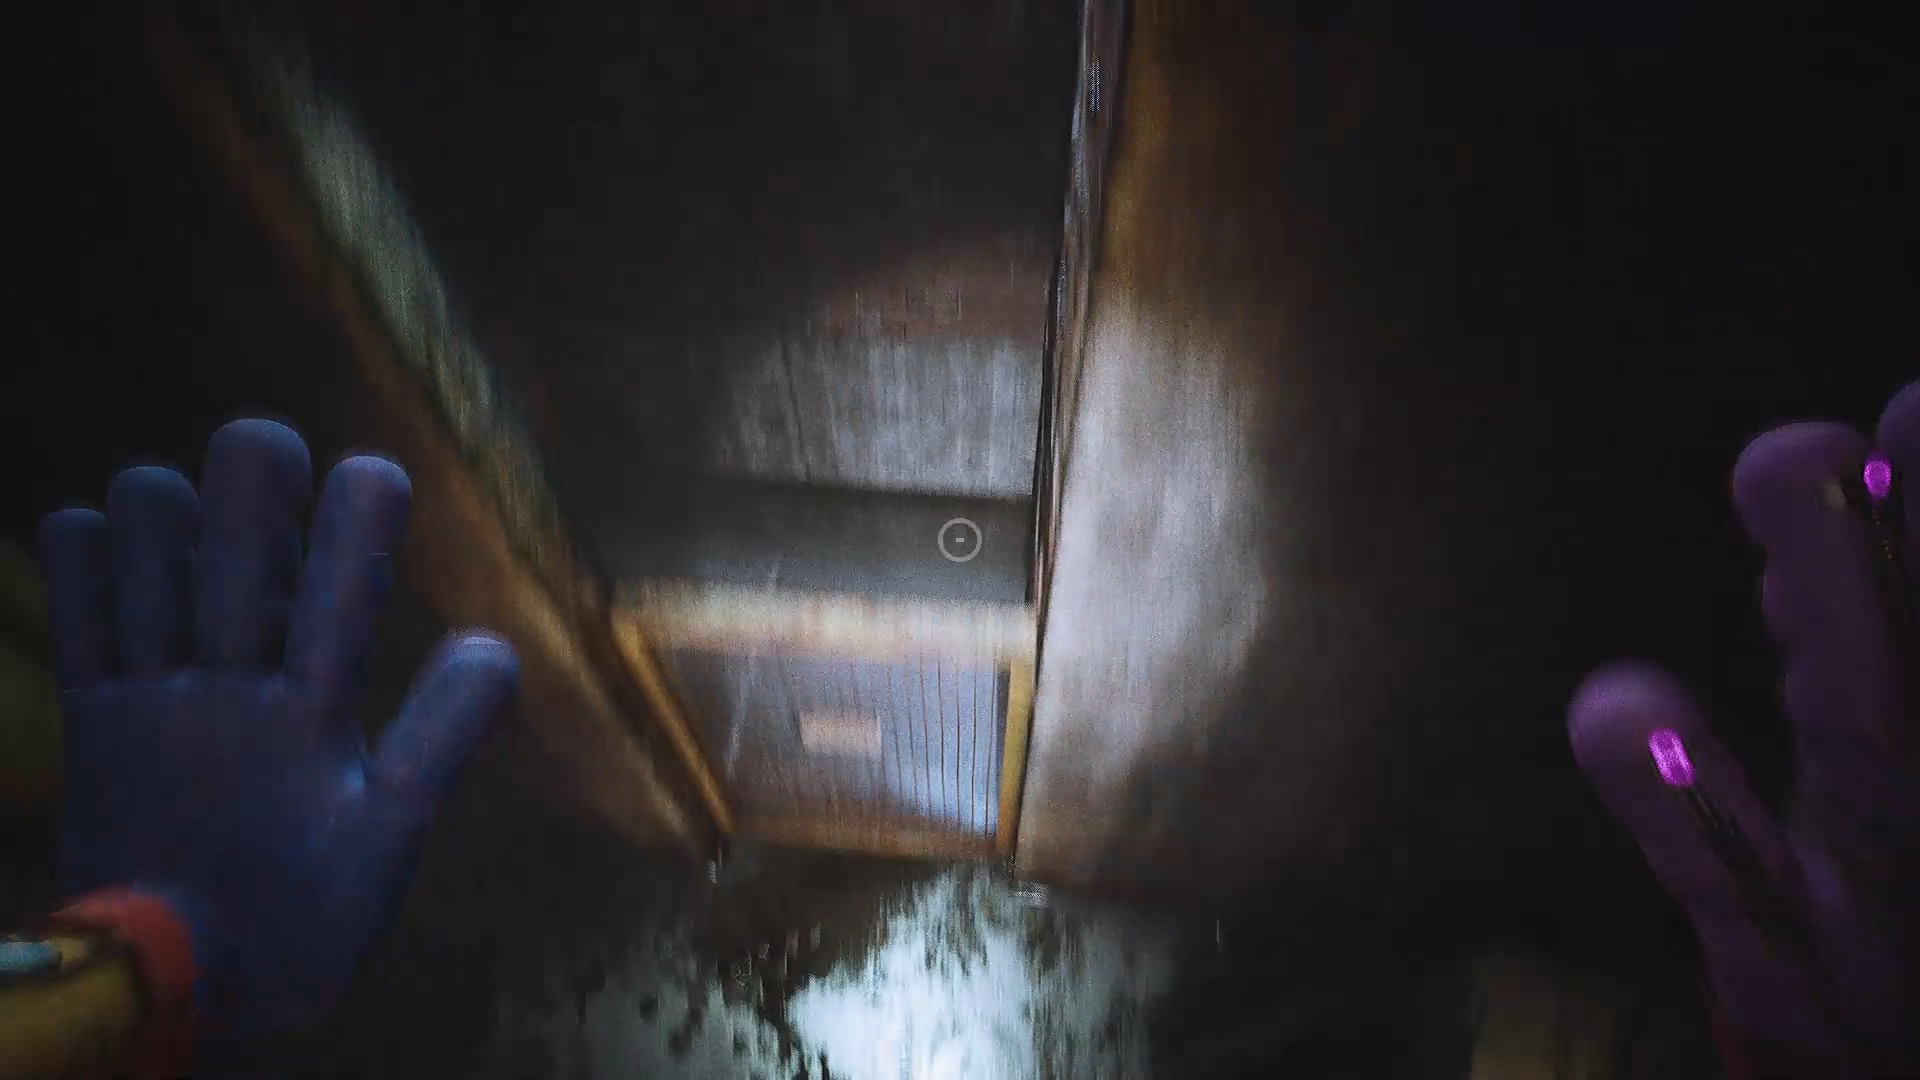
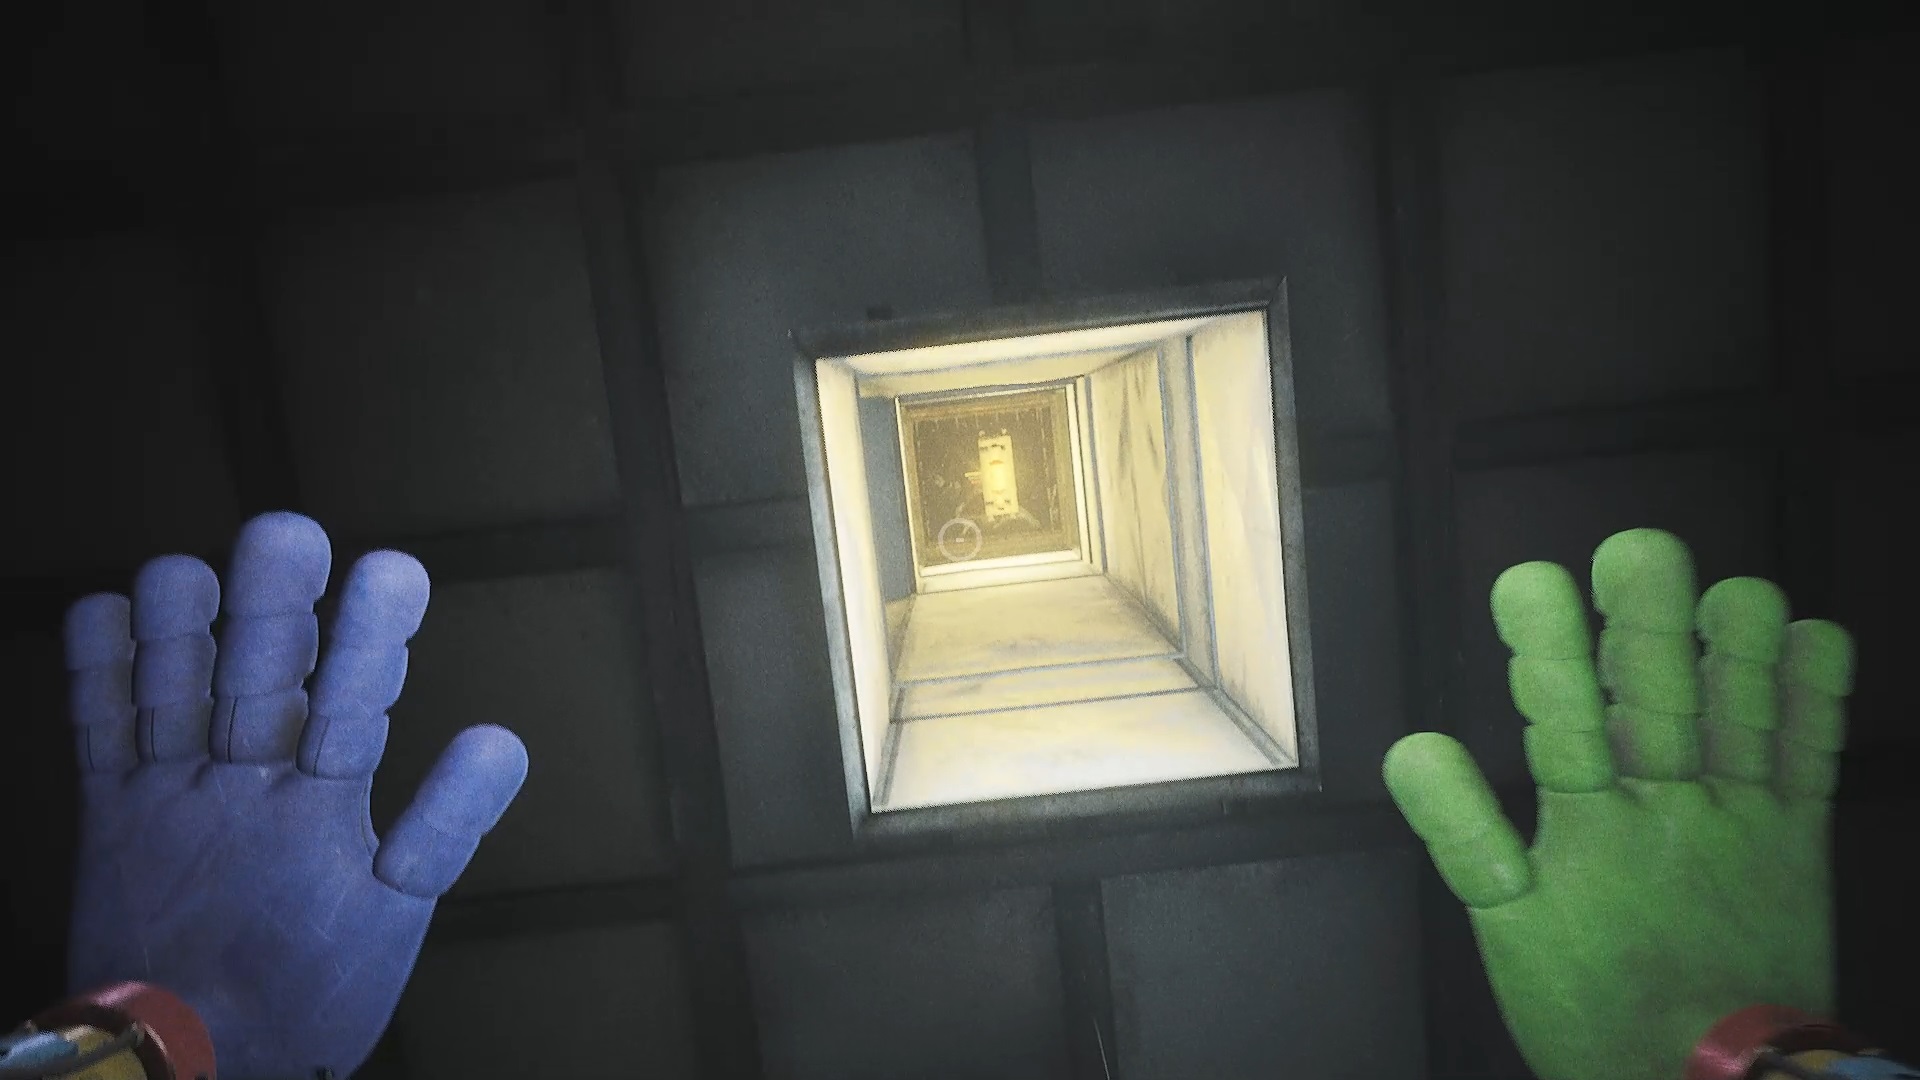
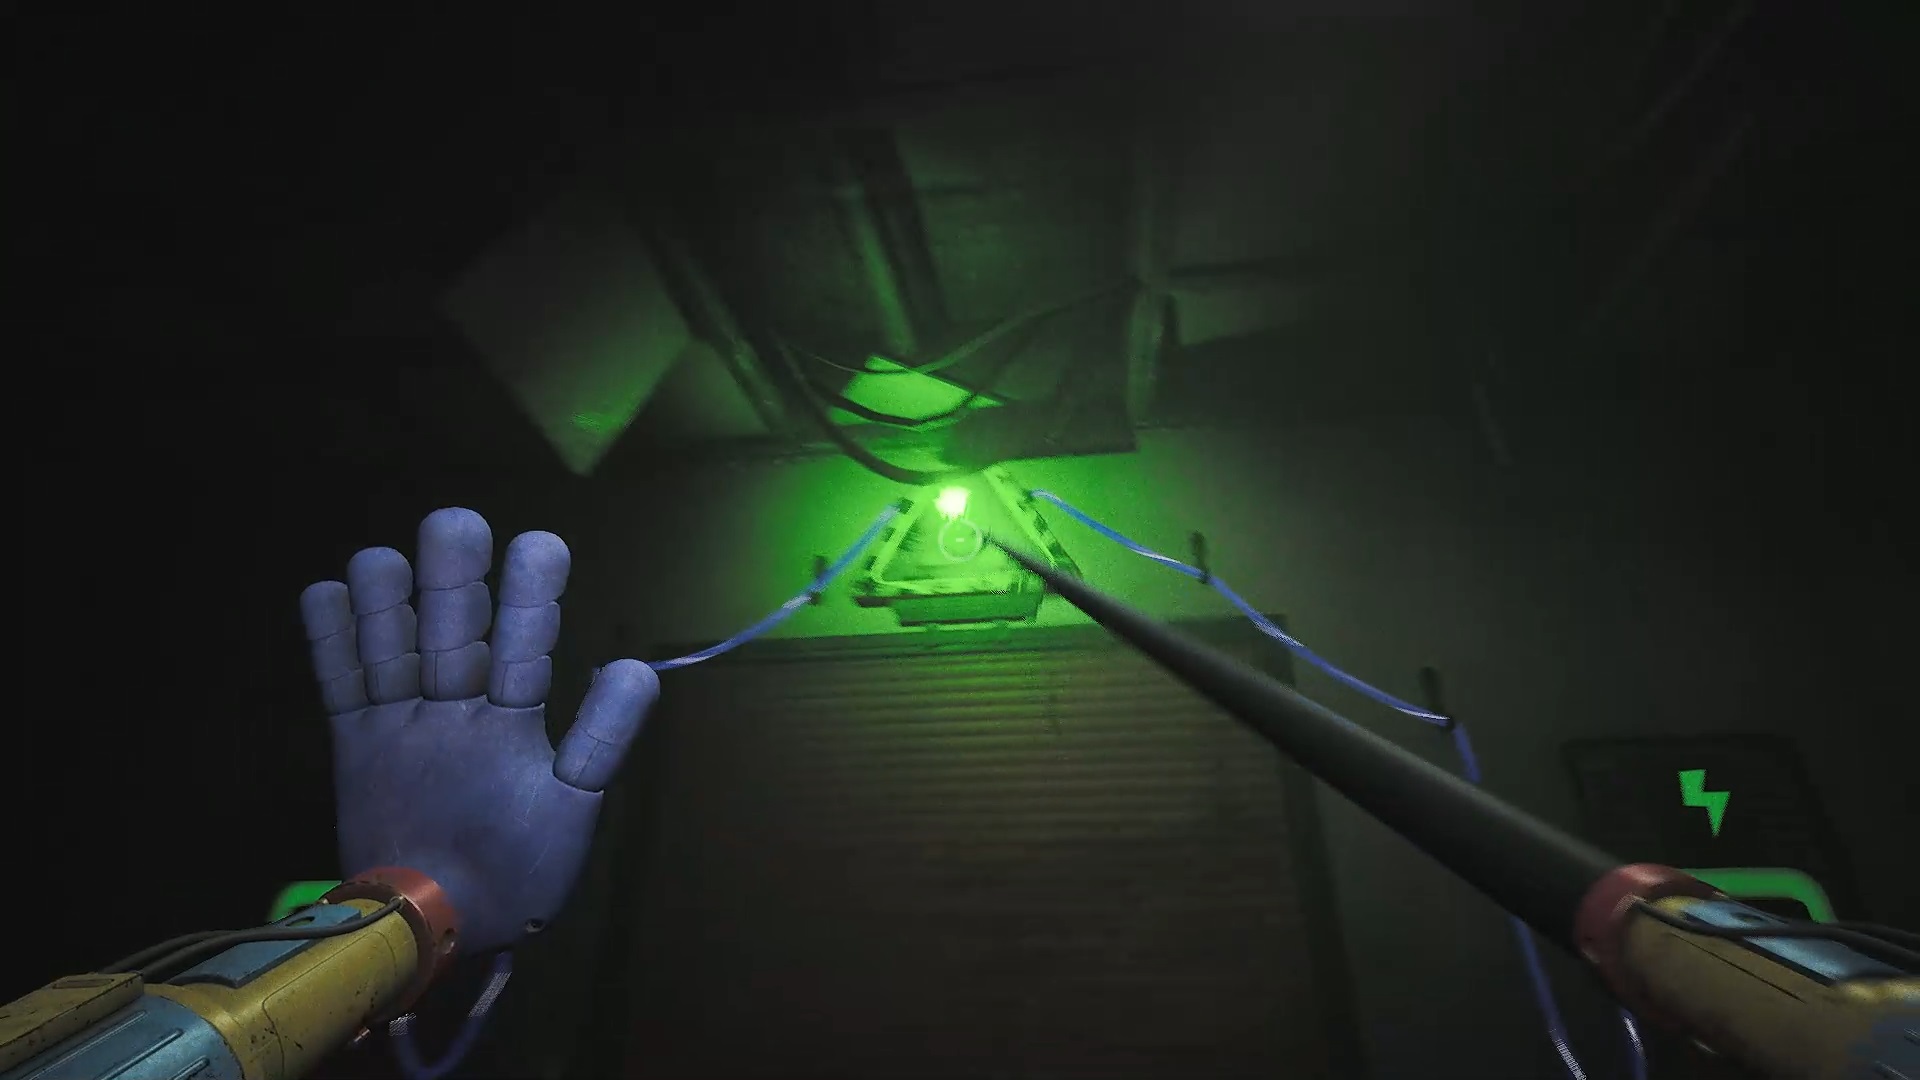
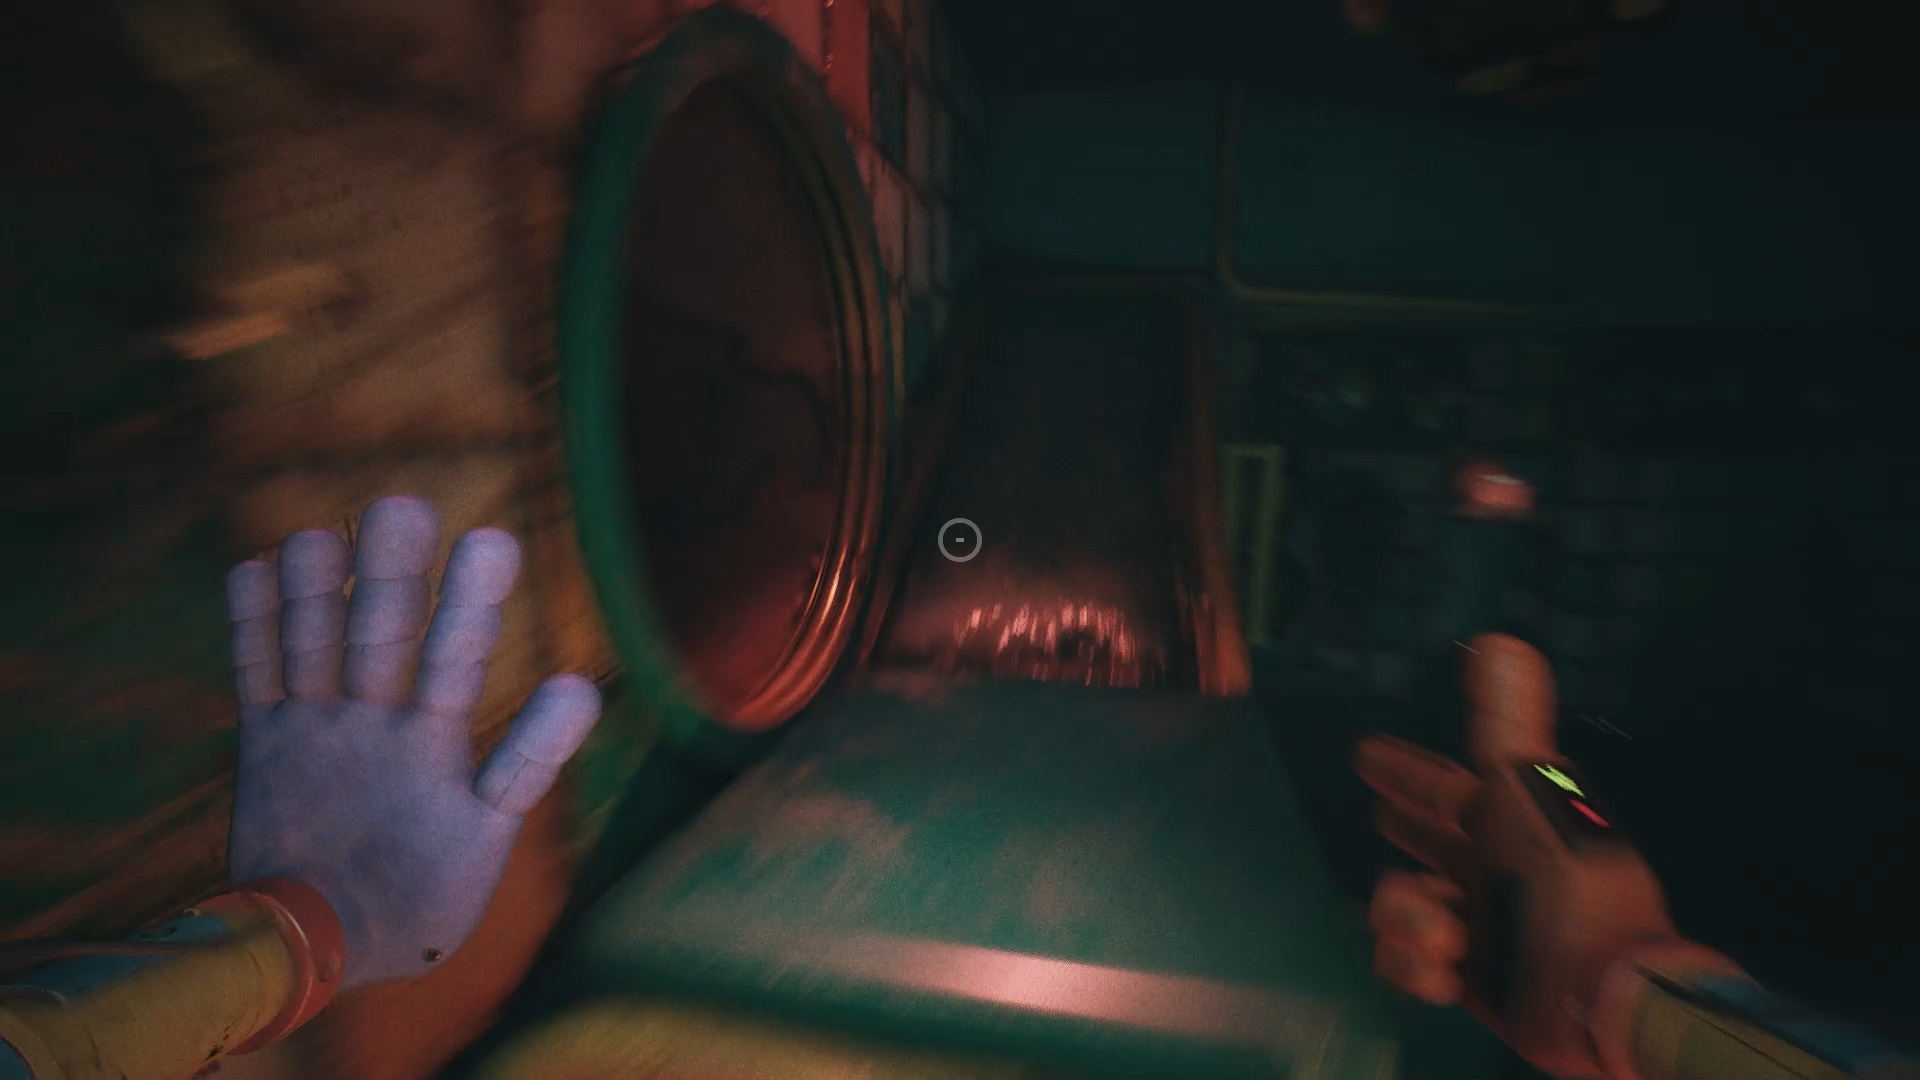
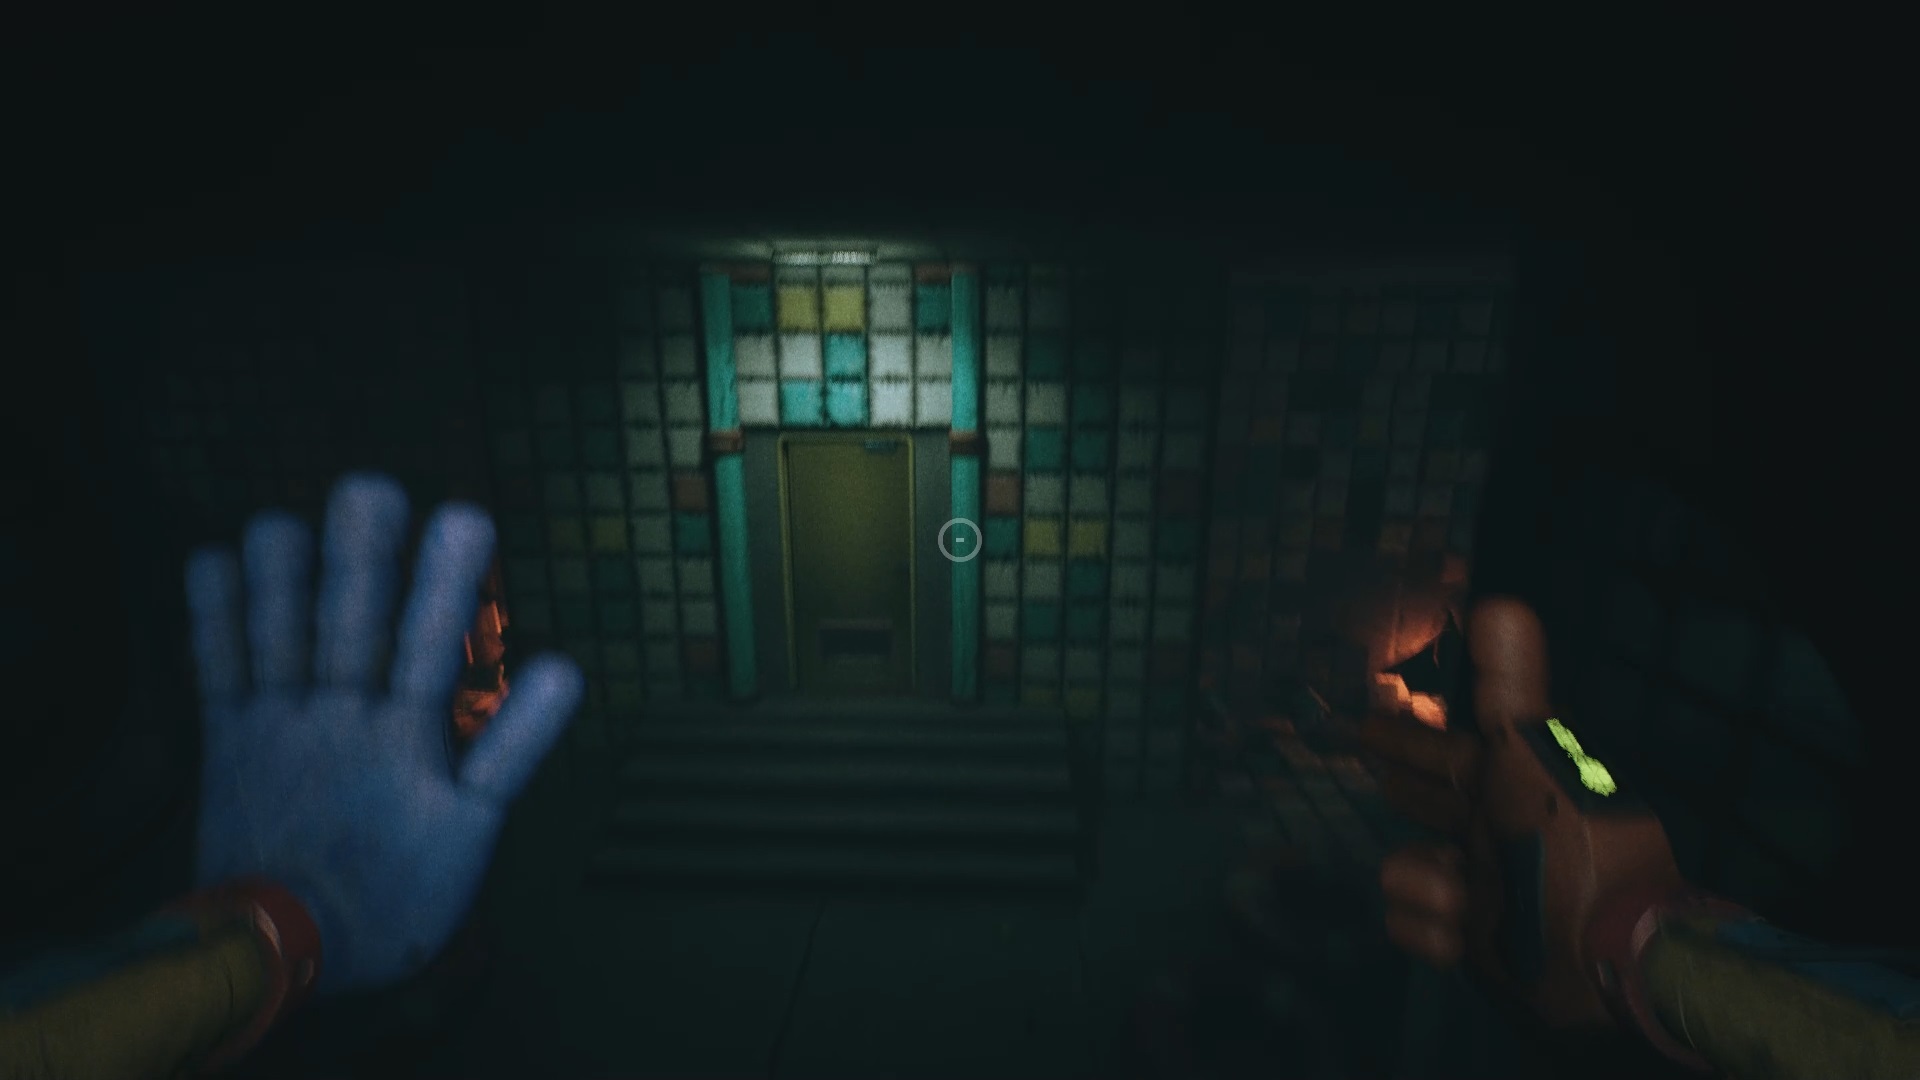
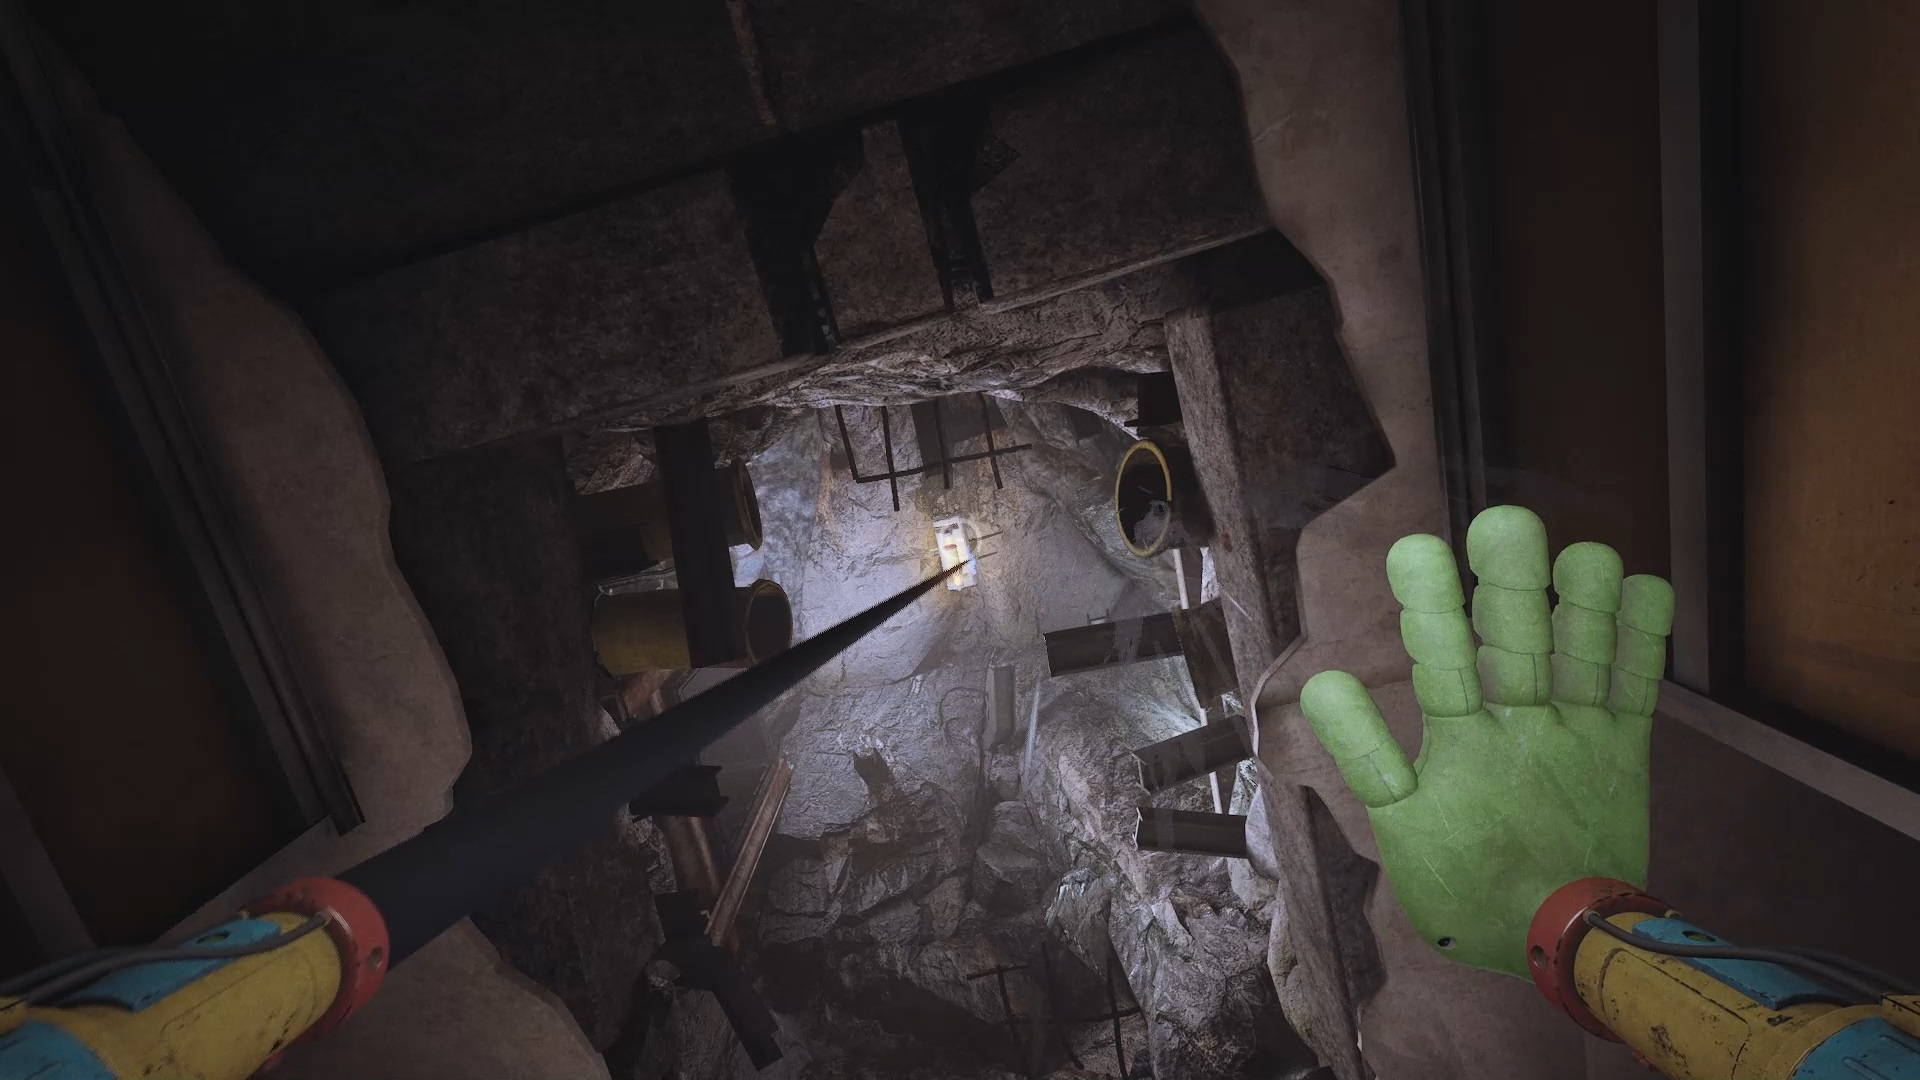
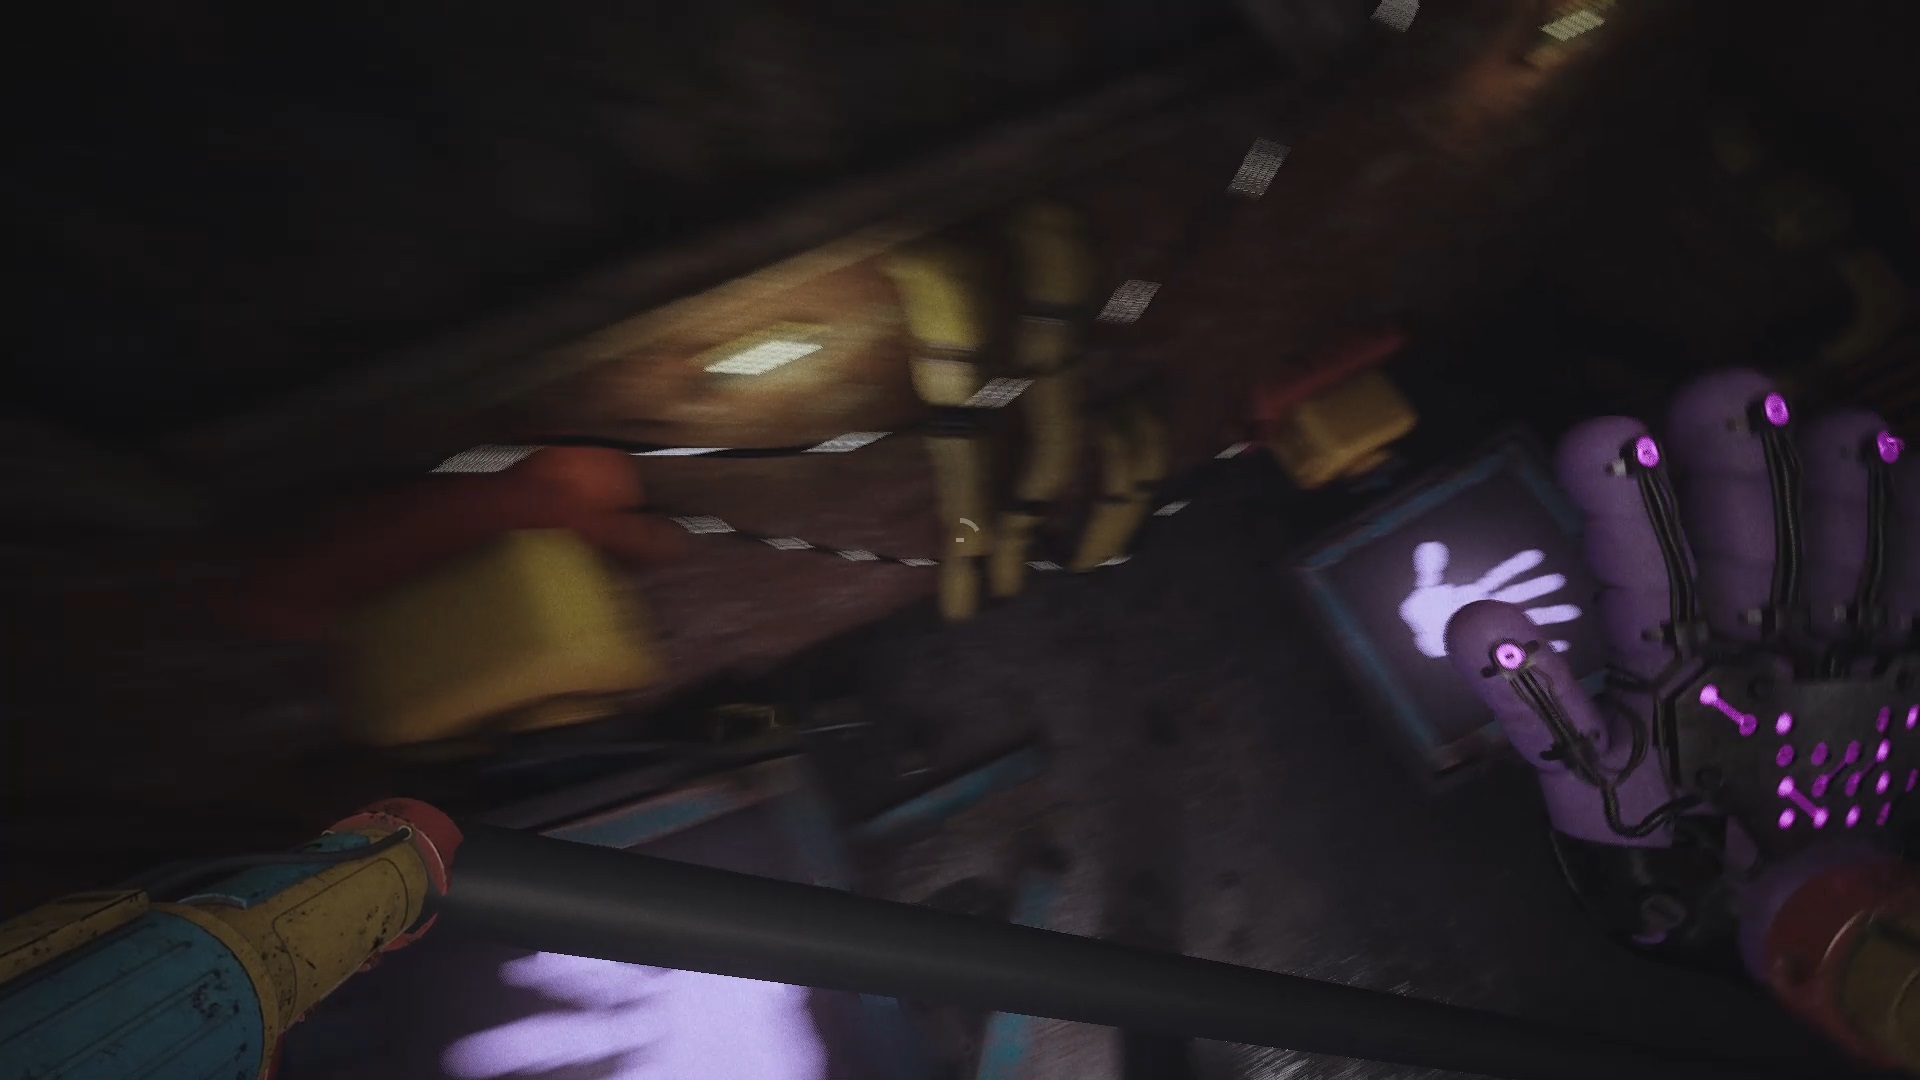
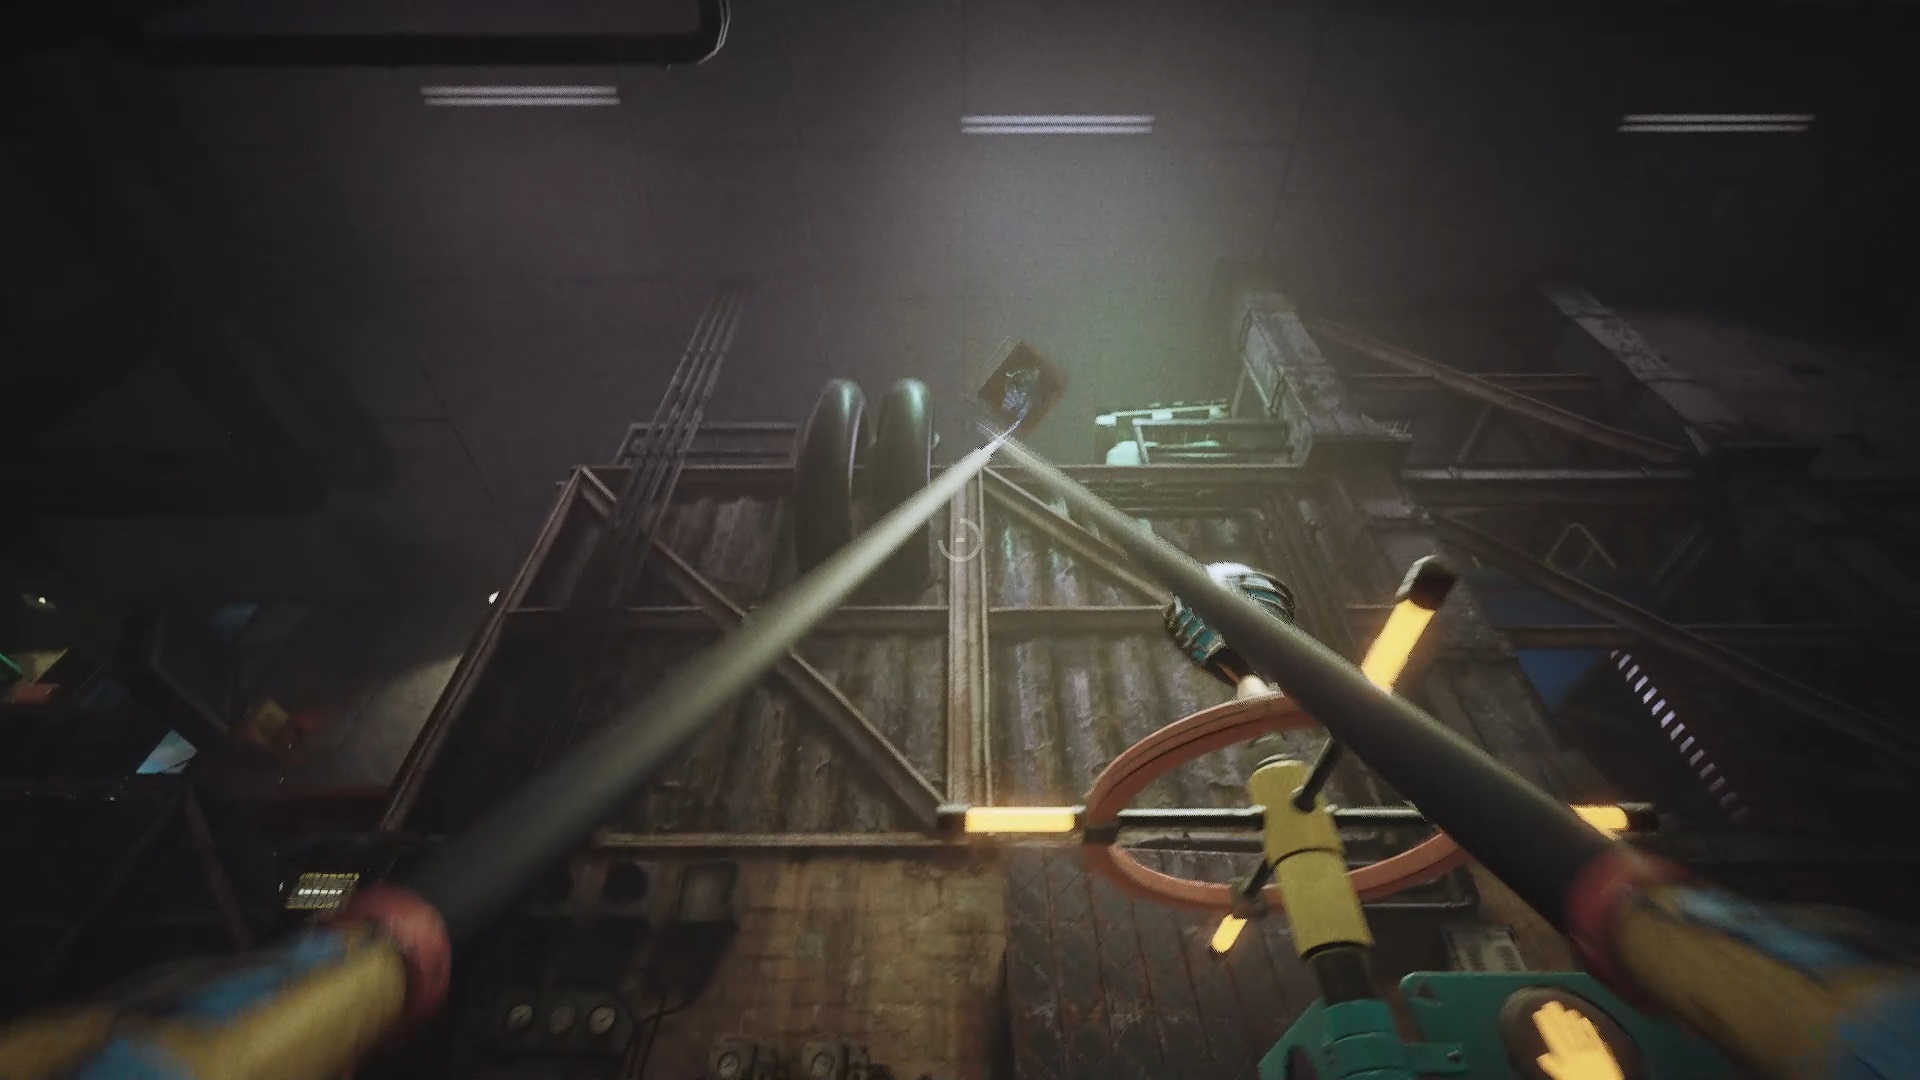
At the start of Poppy Playtime chapter 3, climb the debris to access a tunnel. Direct your gaze upwards to locate an anchor point. Use your hand to pull yourself up and reach a high platform. Then climb up and skillfully jump from one cylinder to another to reach an opening at the bottom.
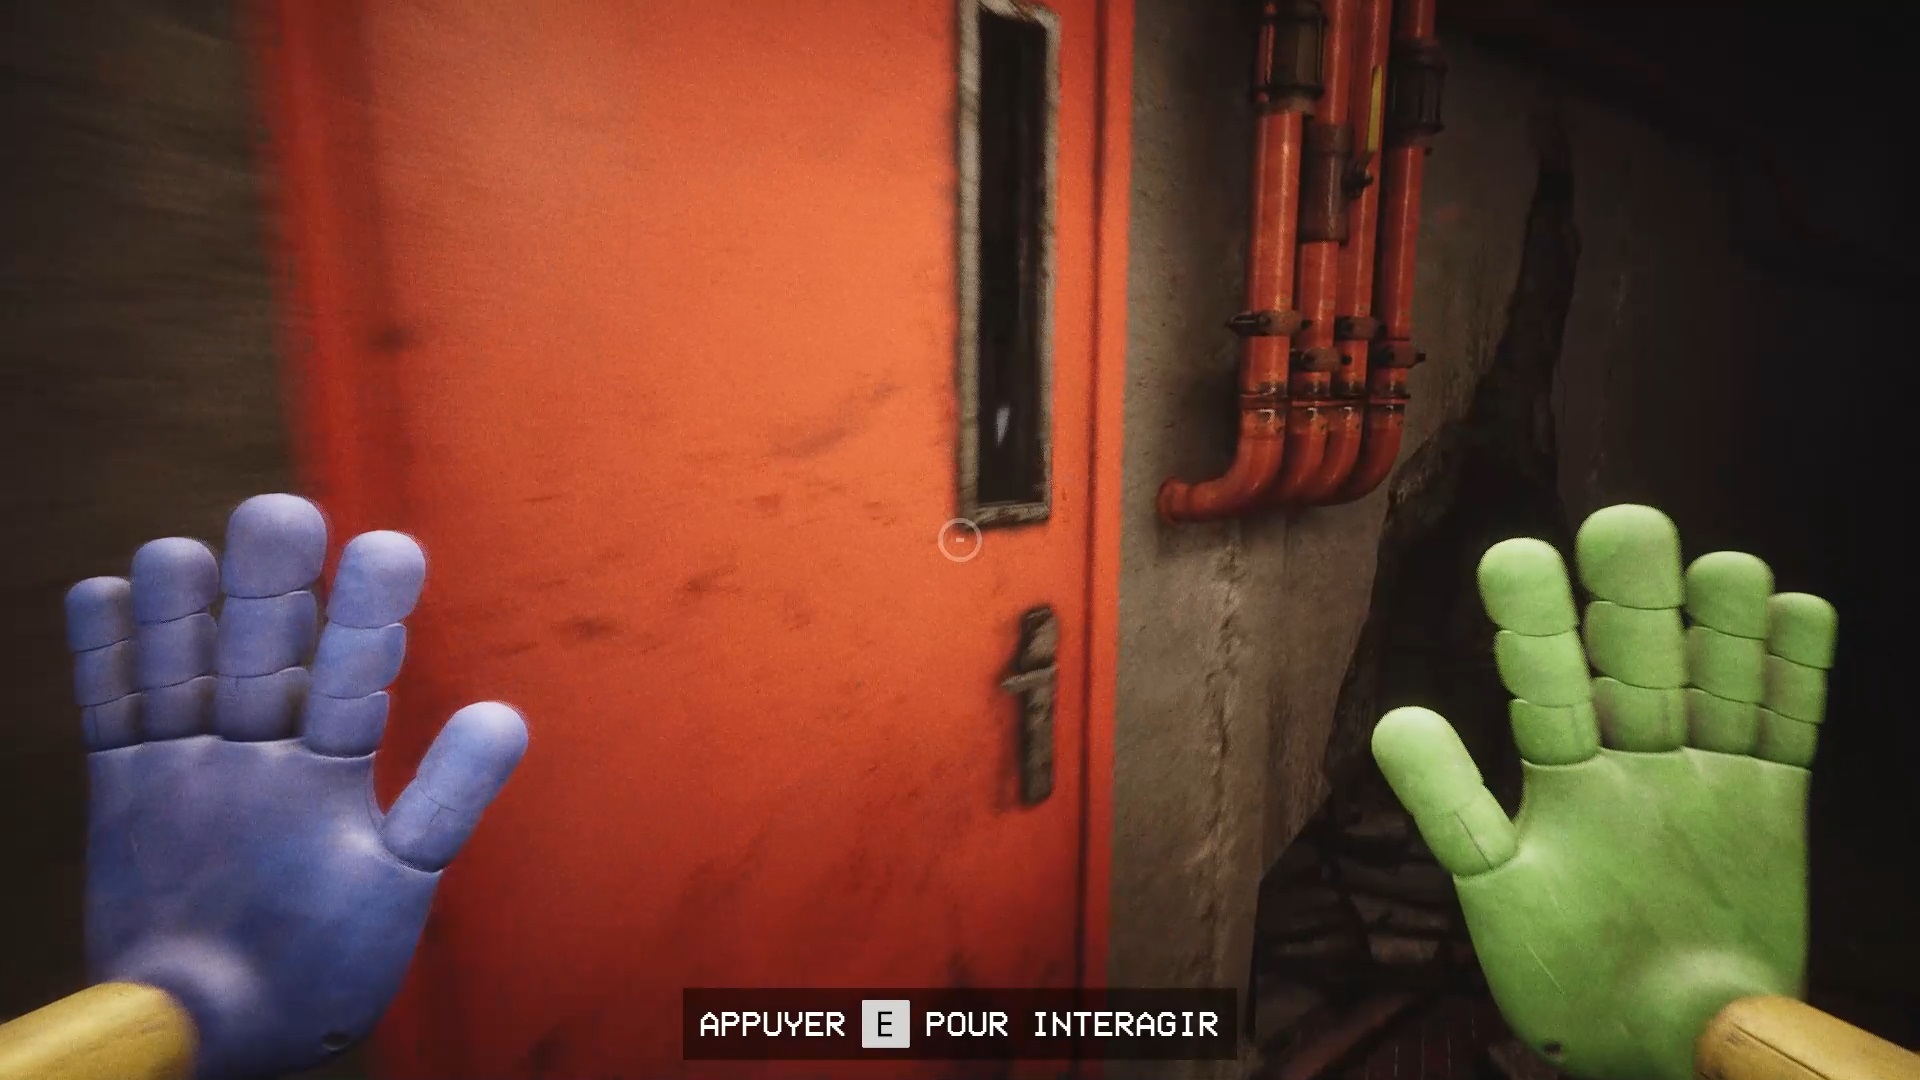
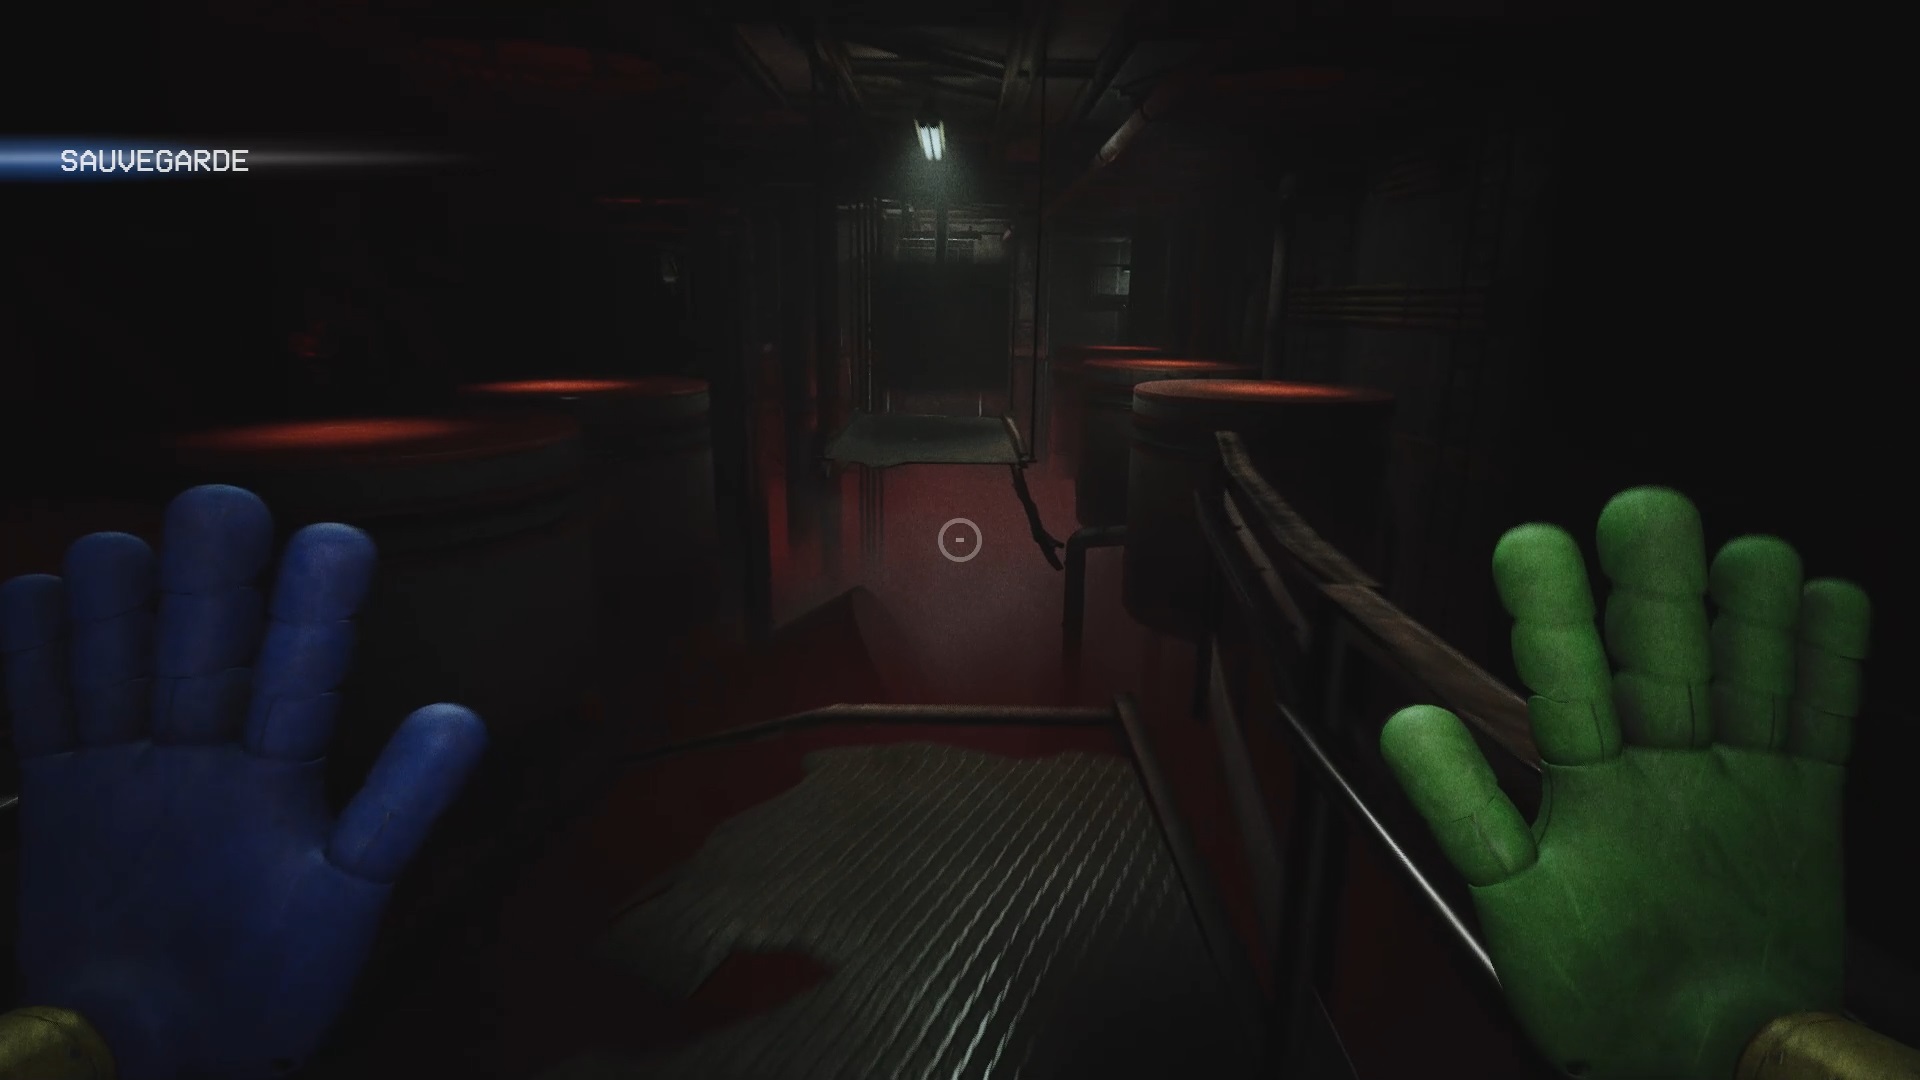
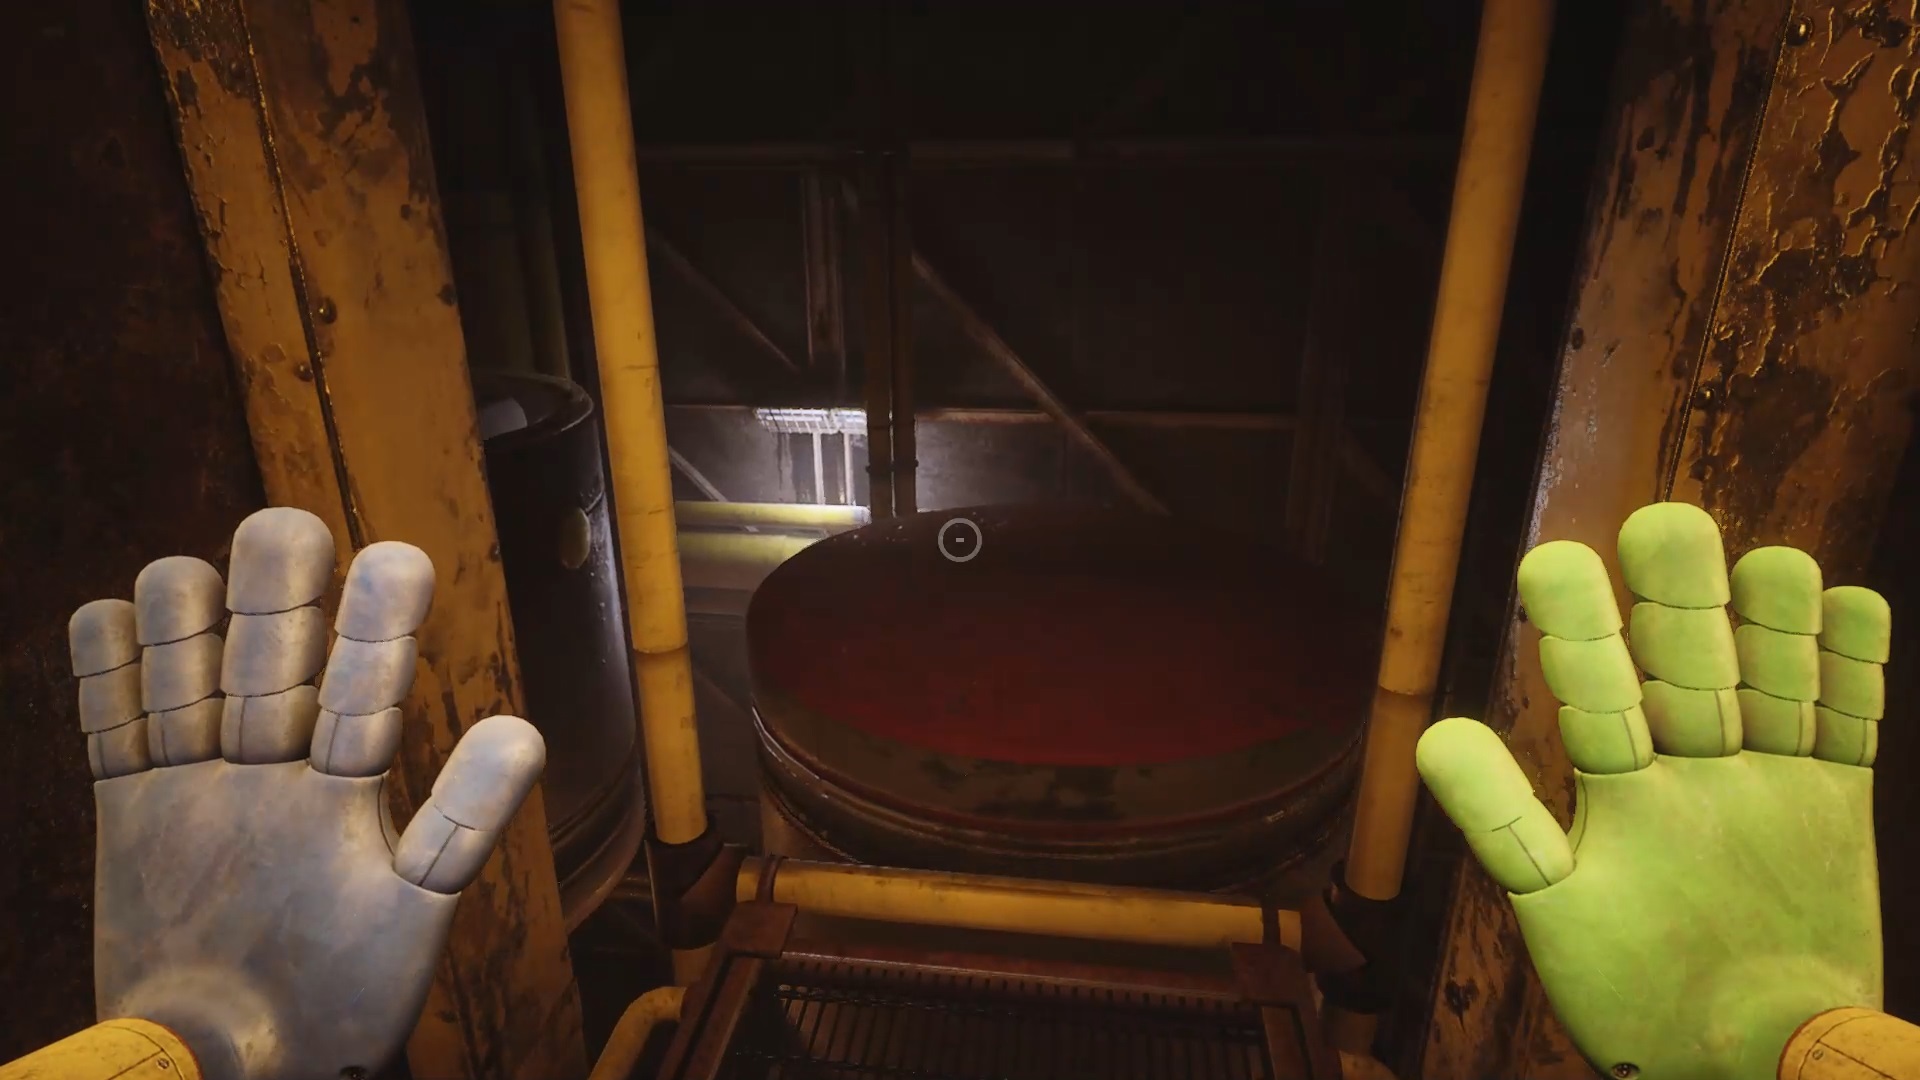
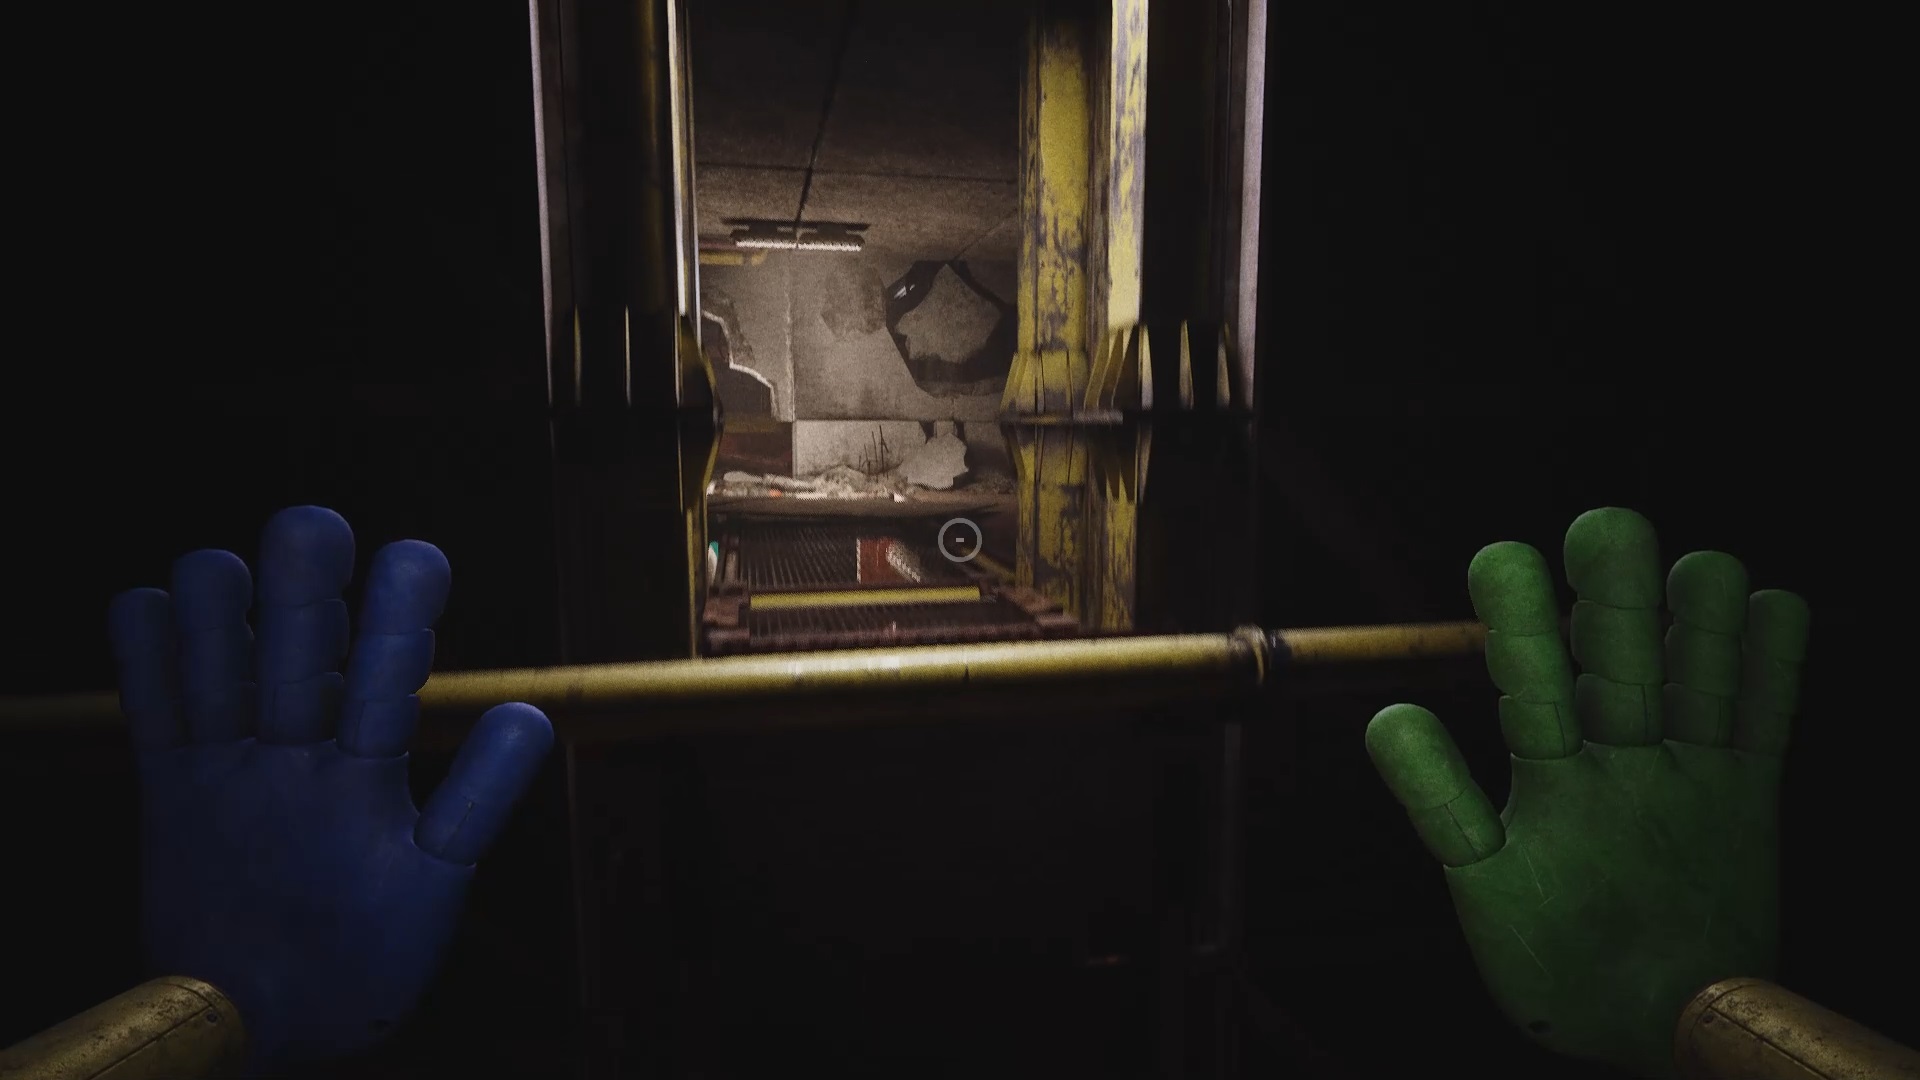
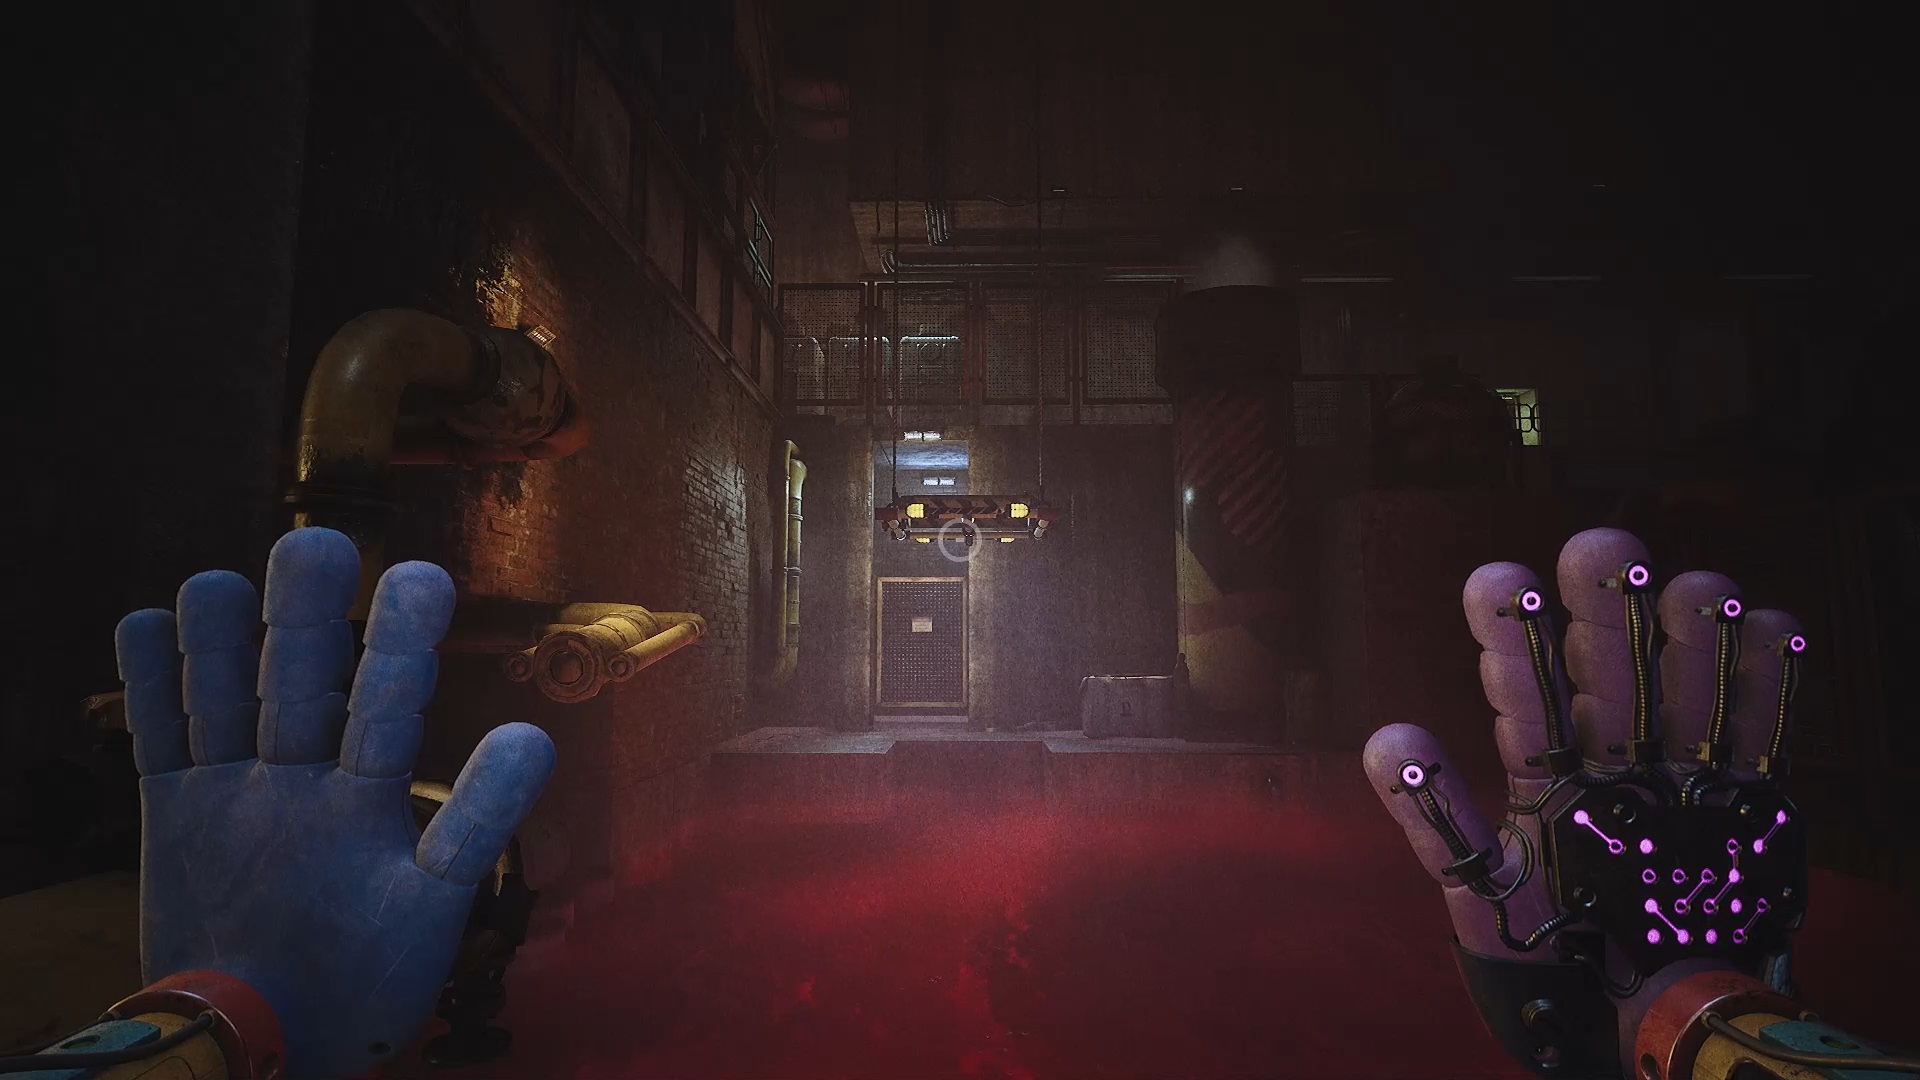
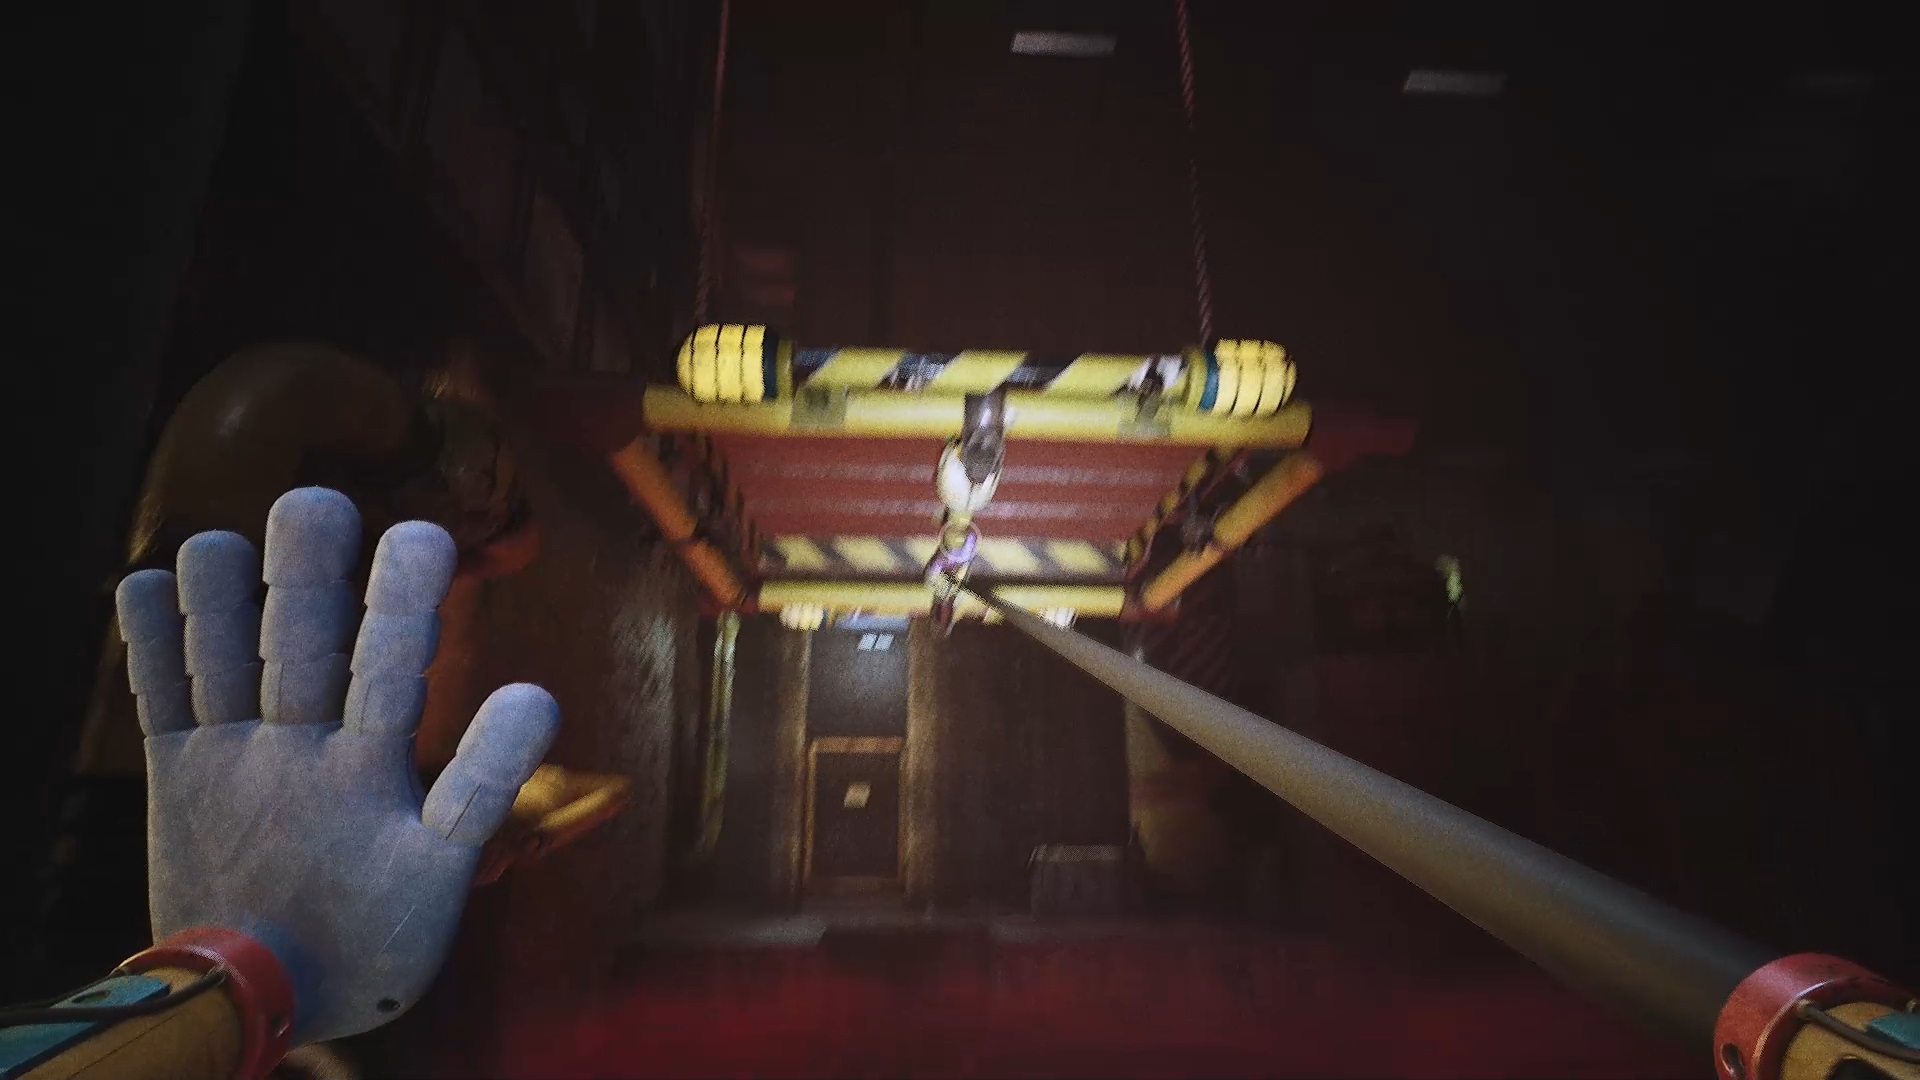
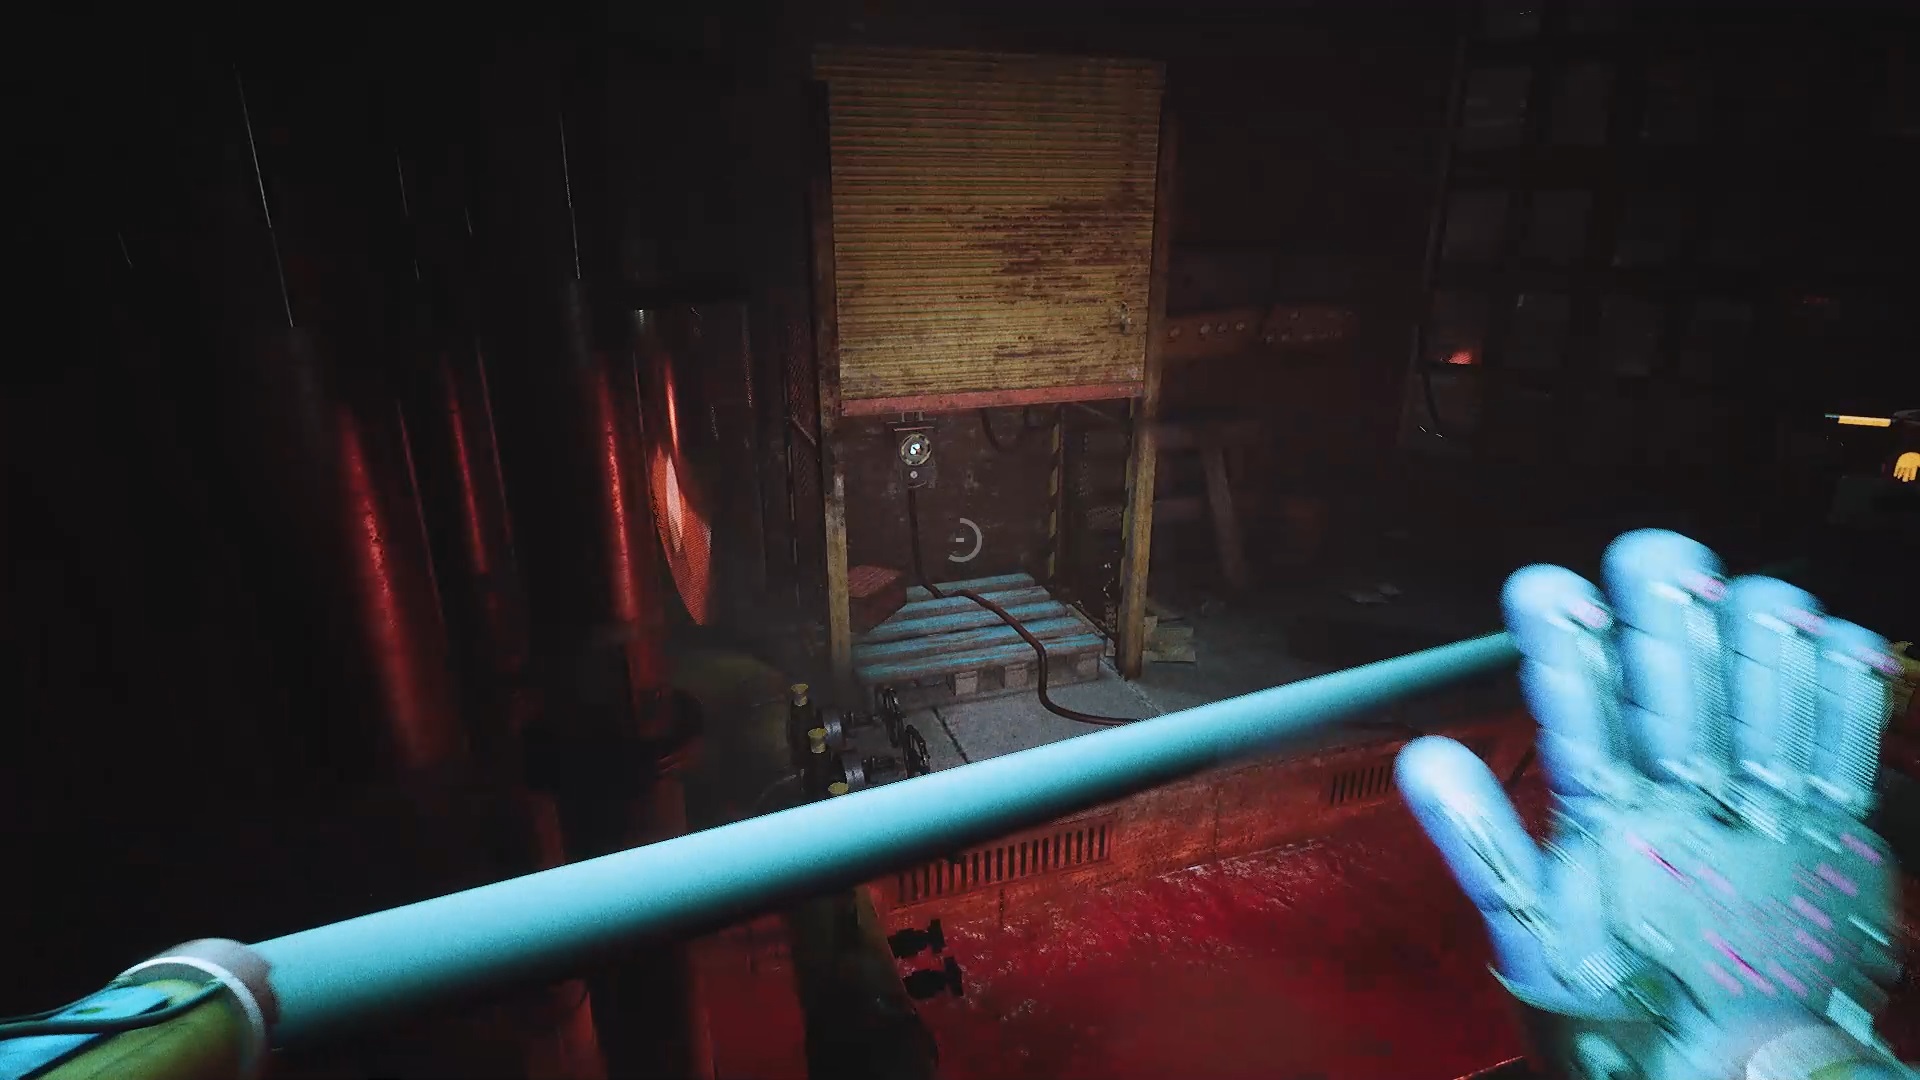
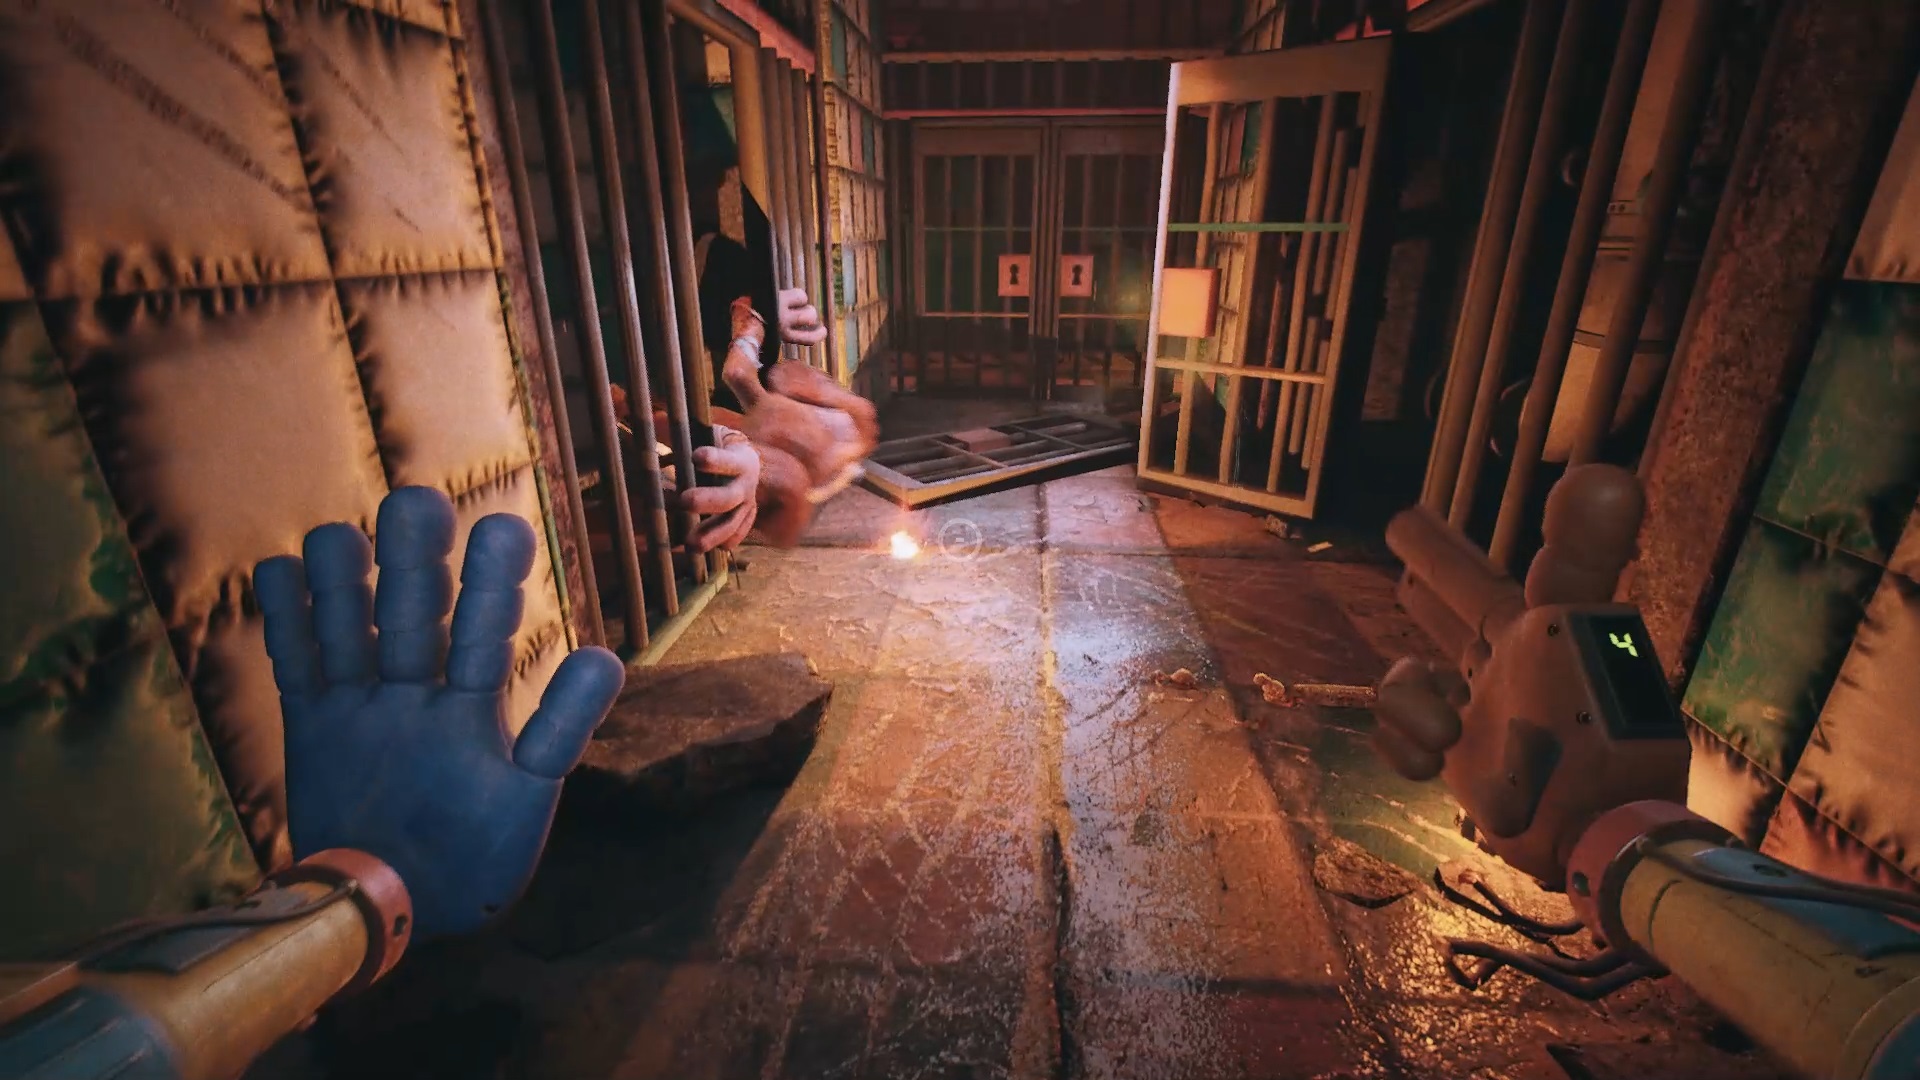
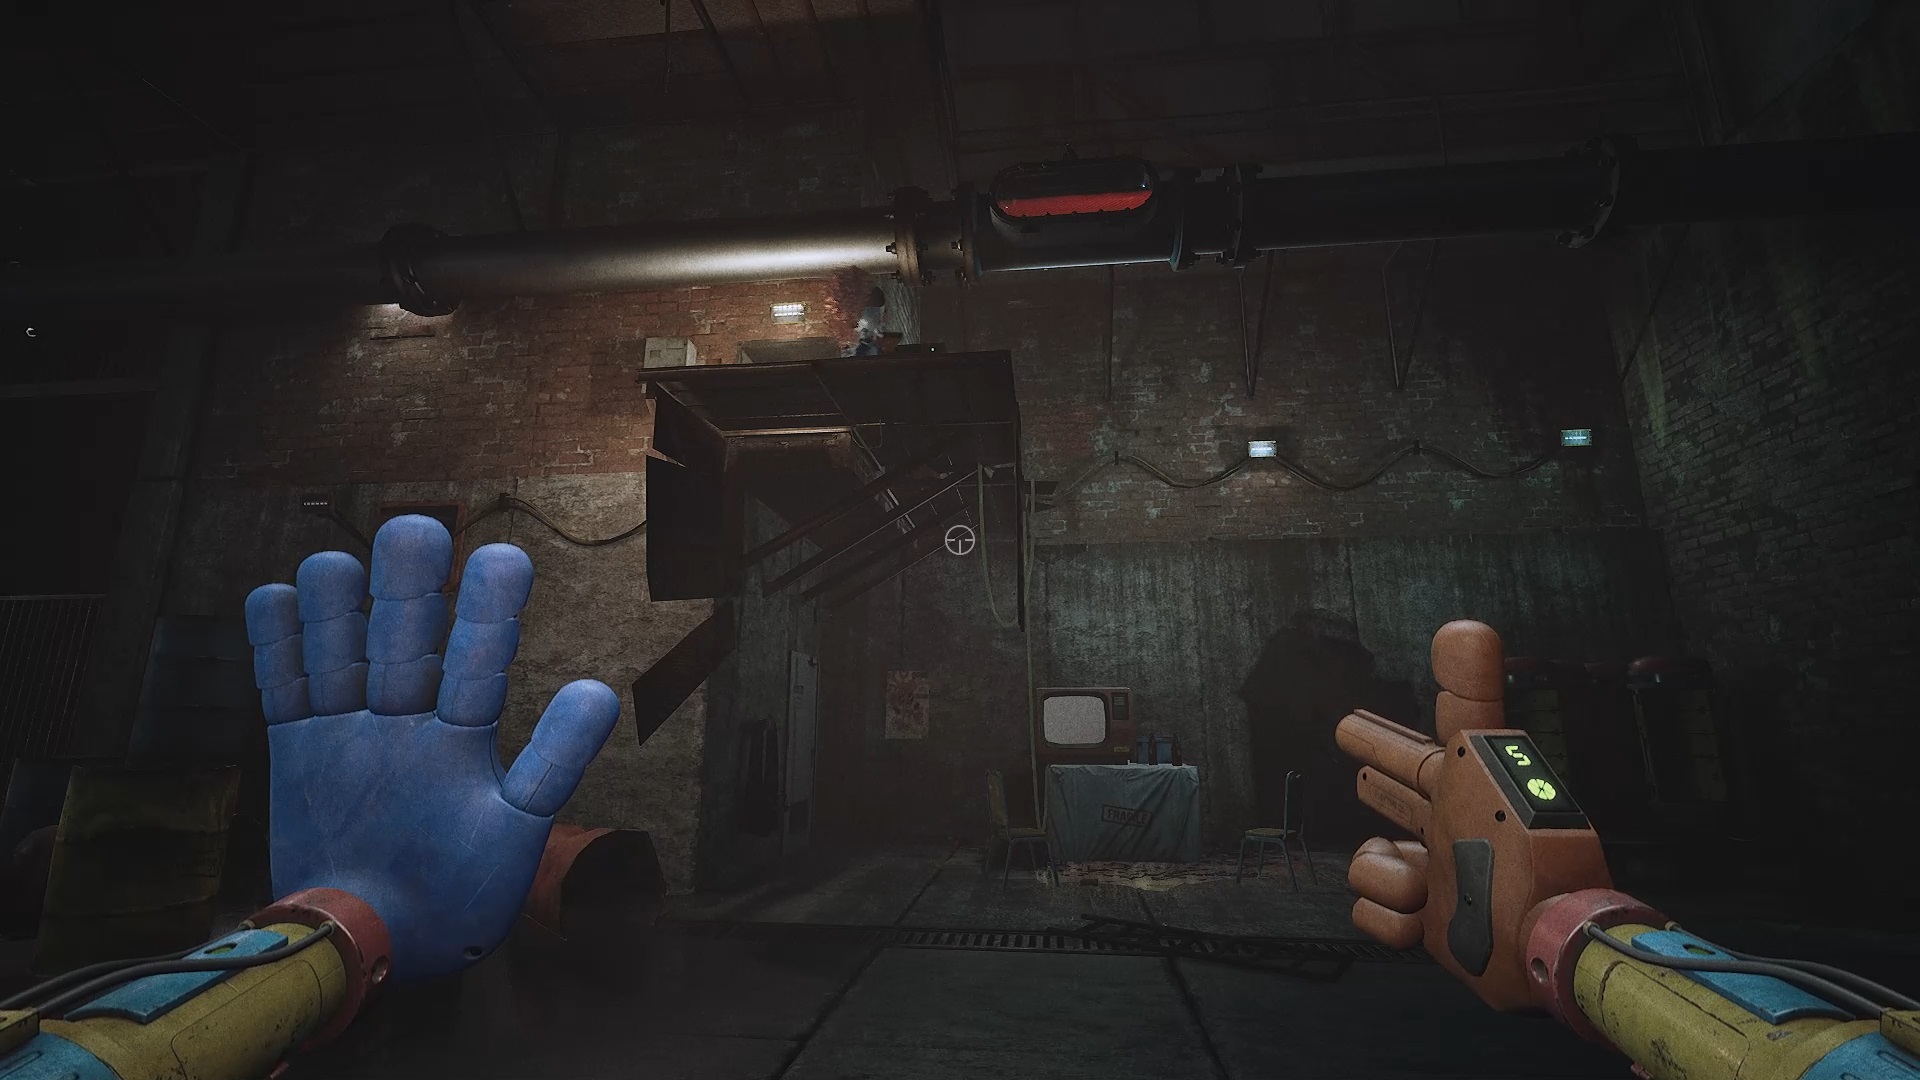
Rush through the gap, then go through the red door. Skillfully jump on the cylinders to reach the end of the room. Then use your mechanical arm to move a platform, allowing you to cross to the other side.
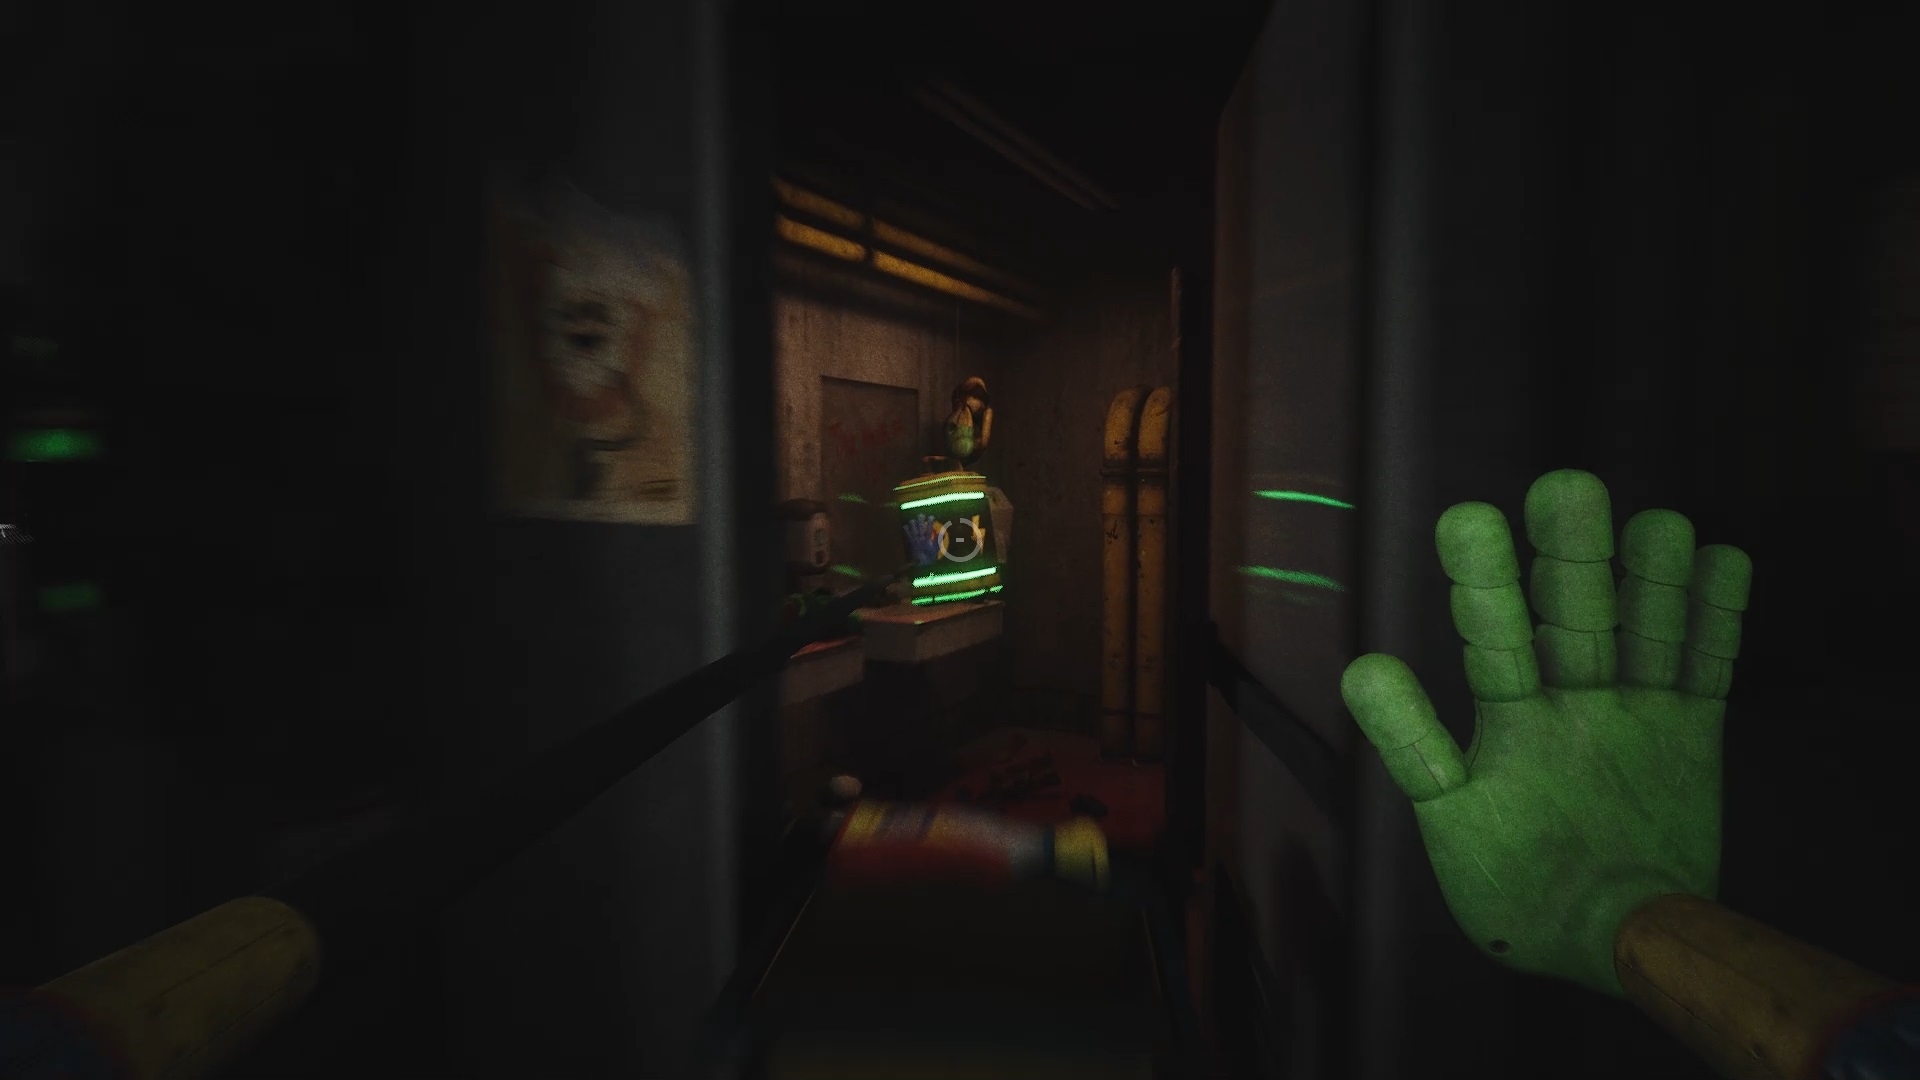
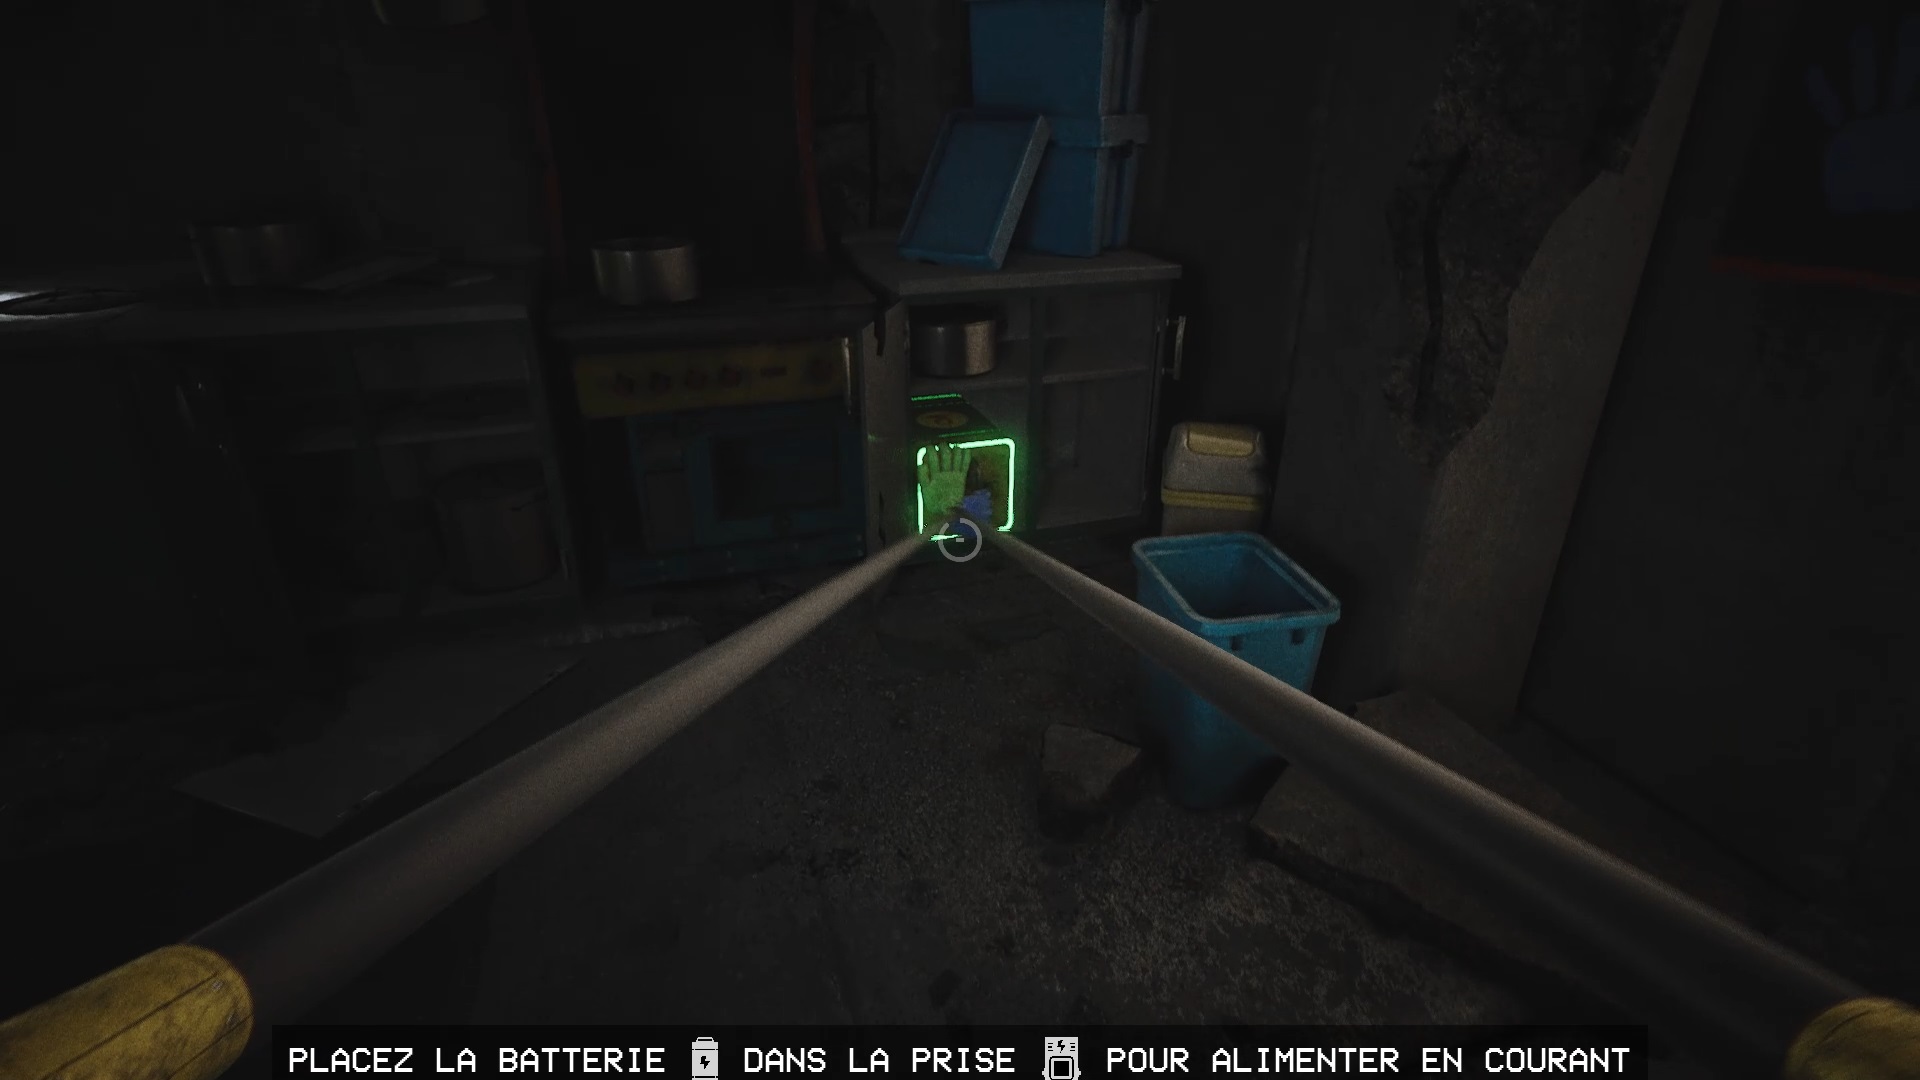
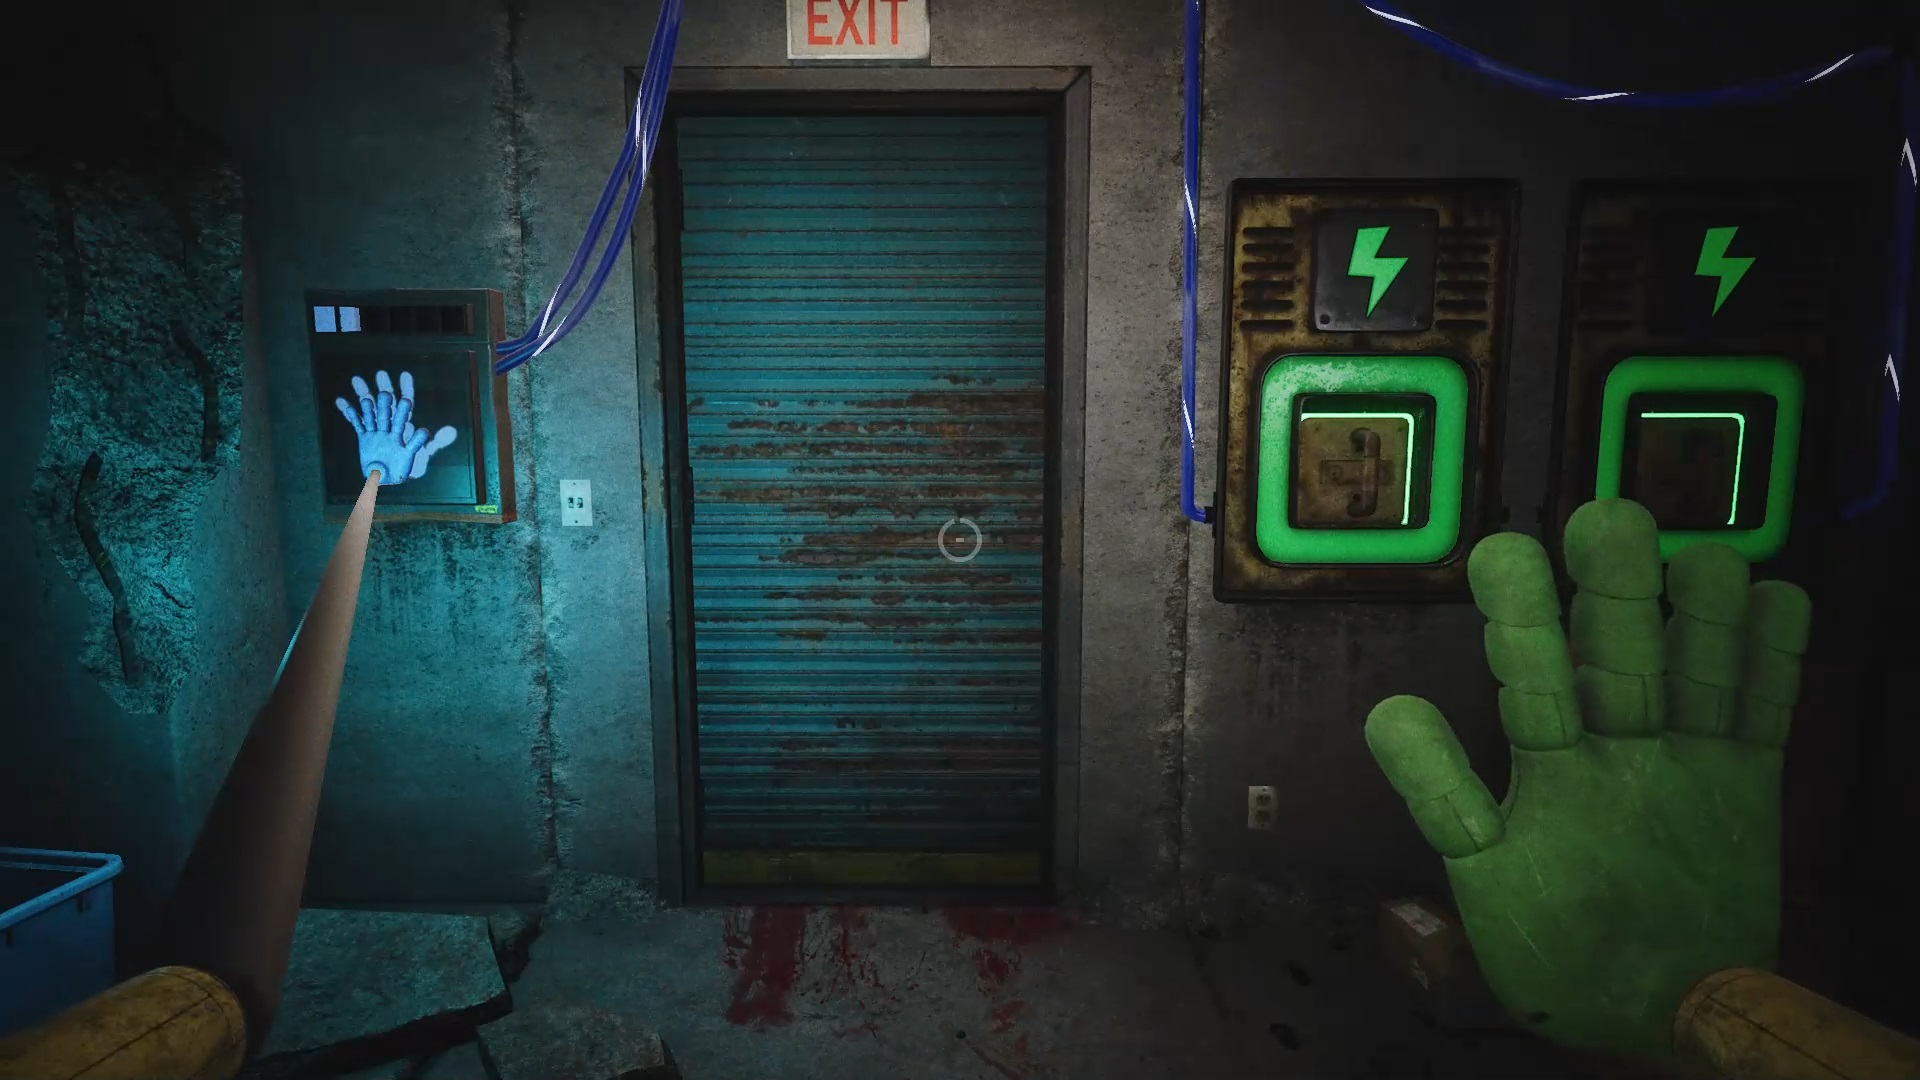
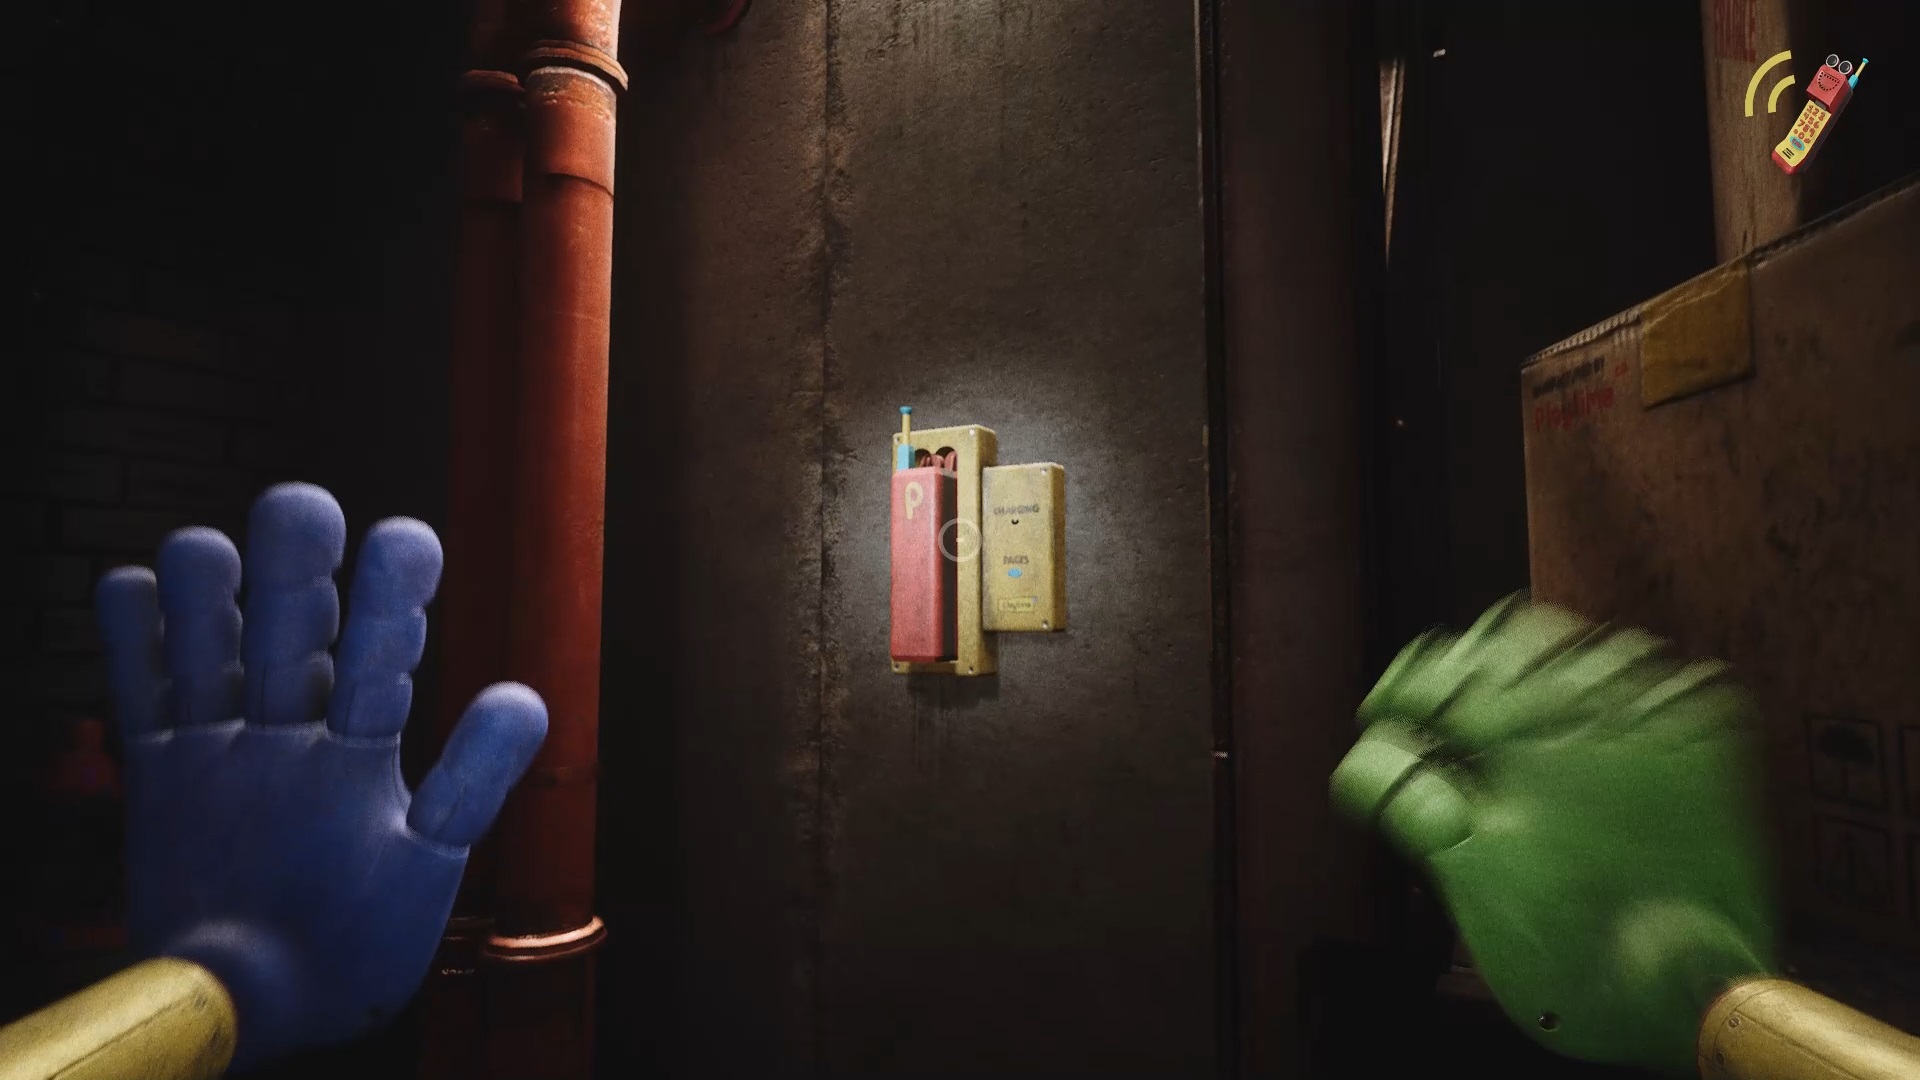
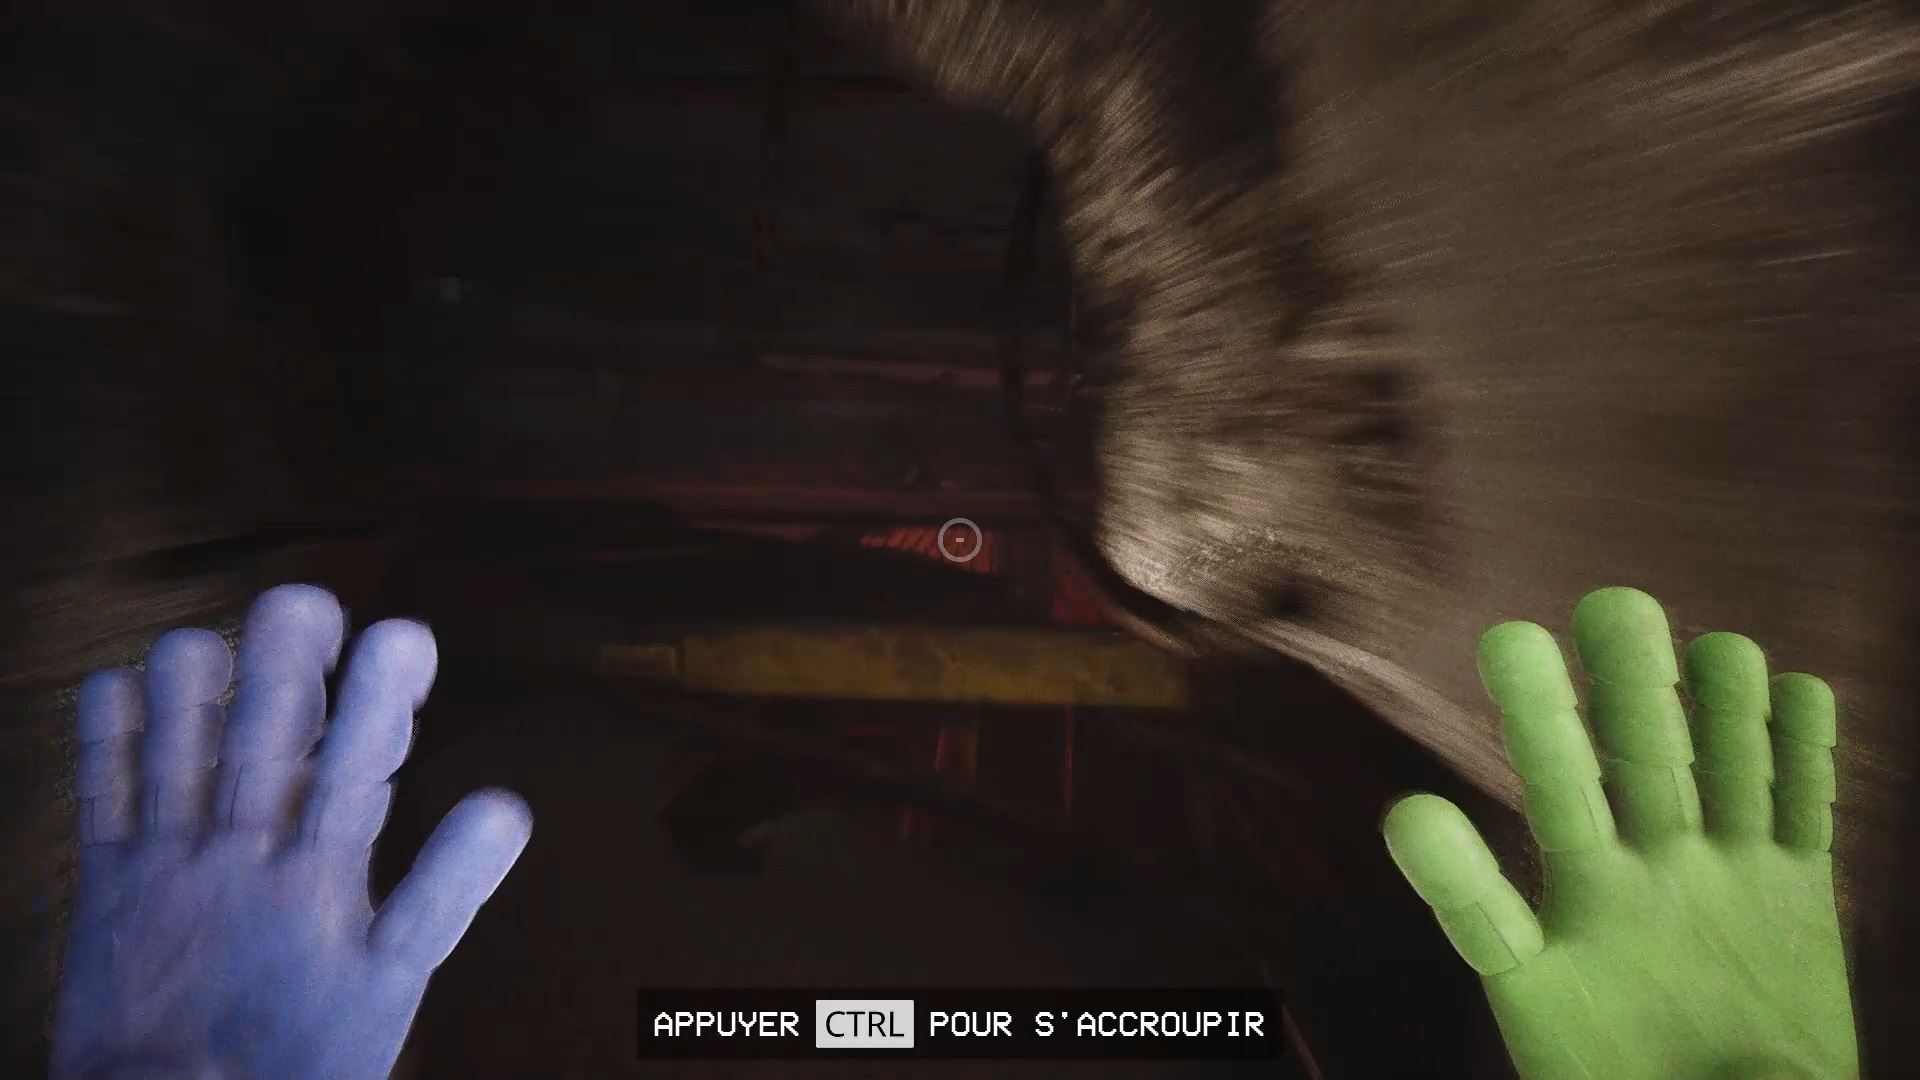
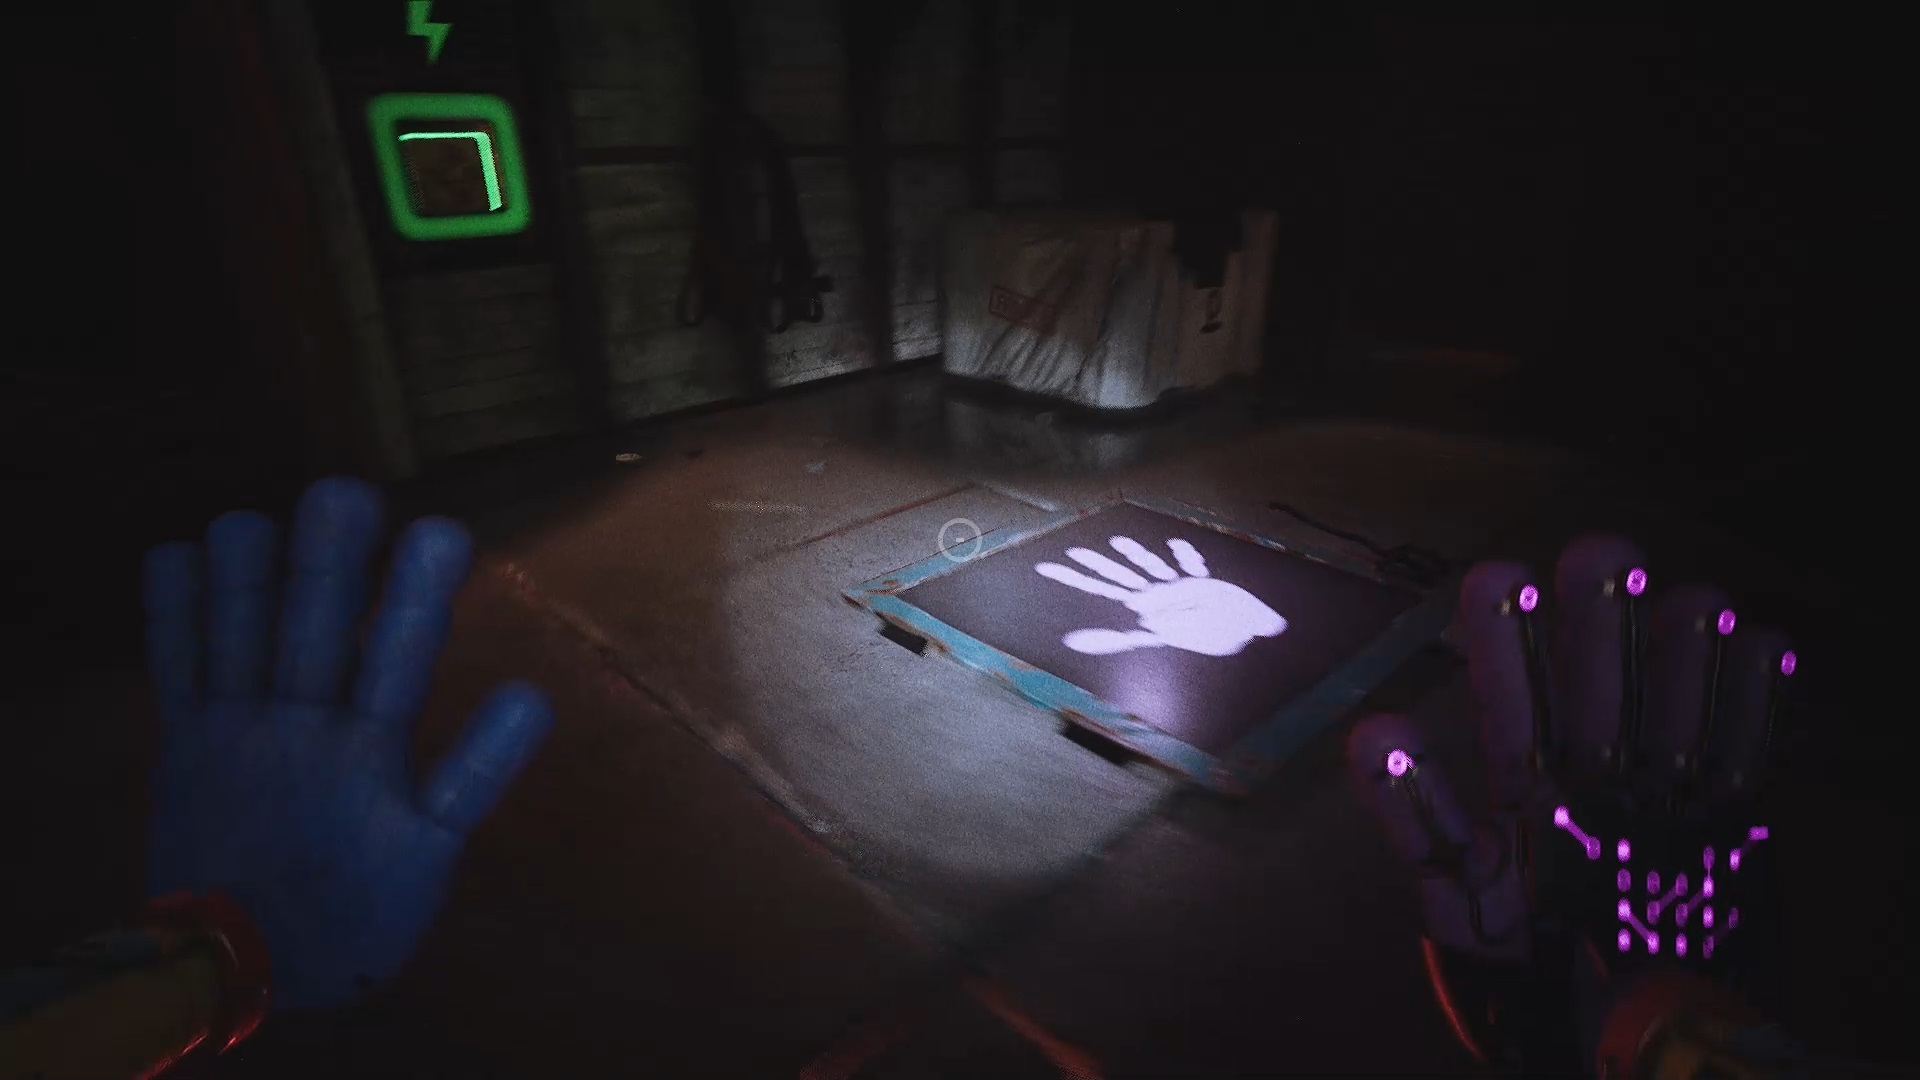
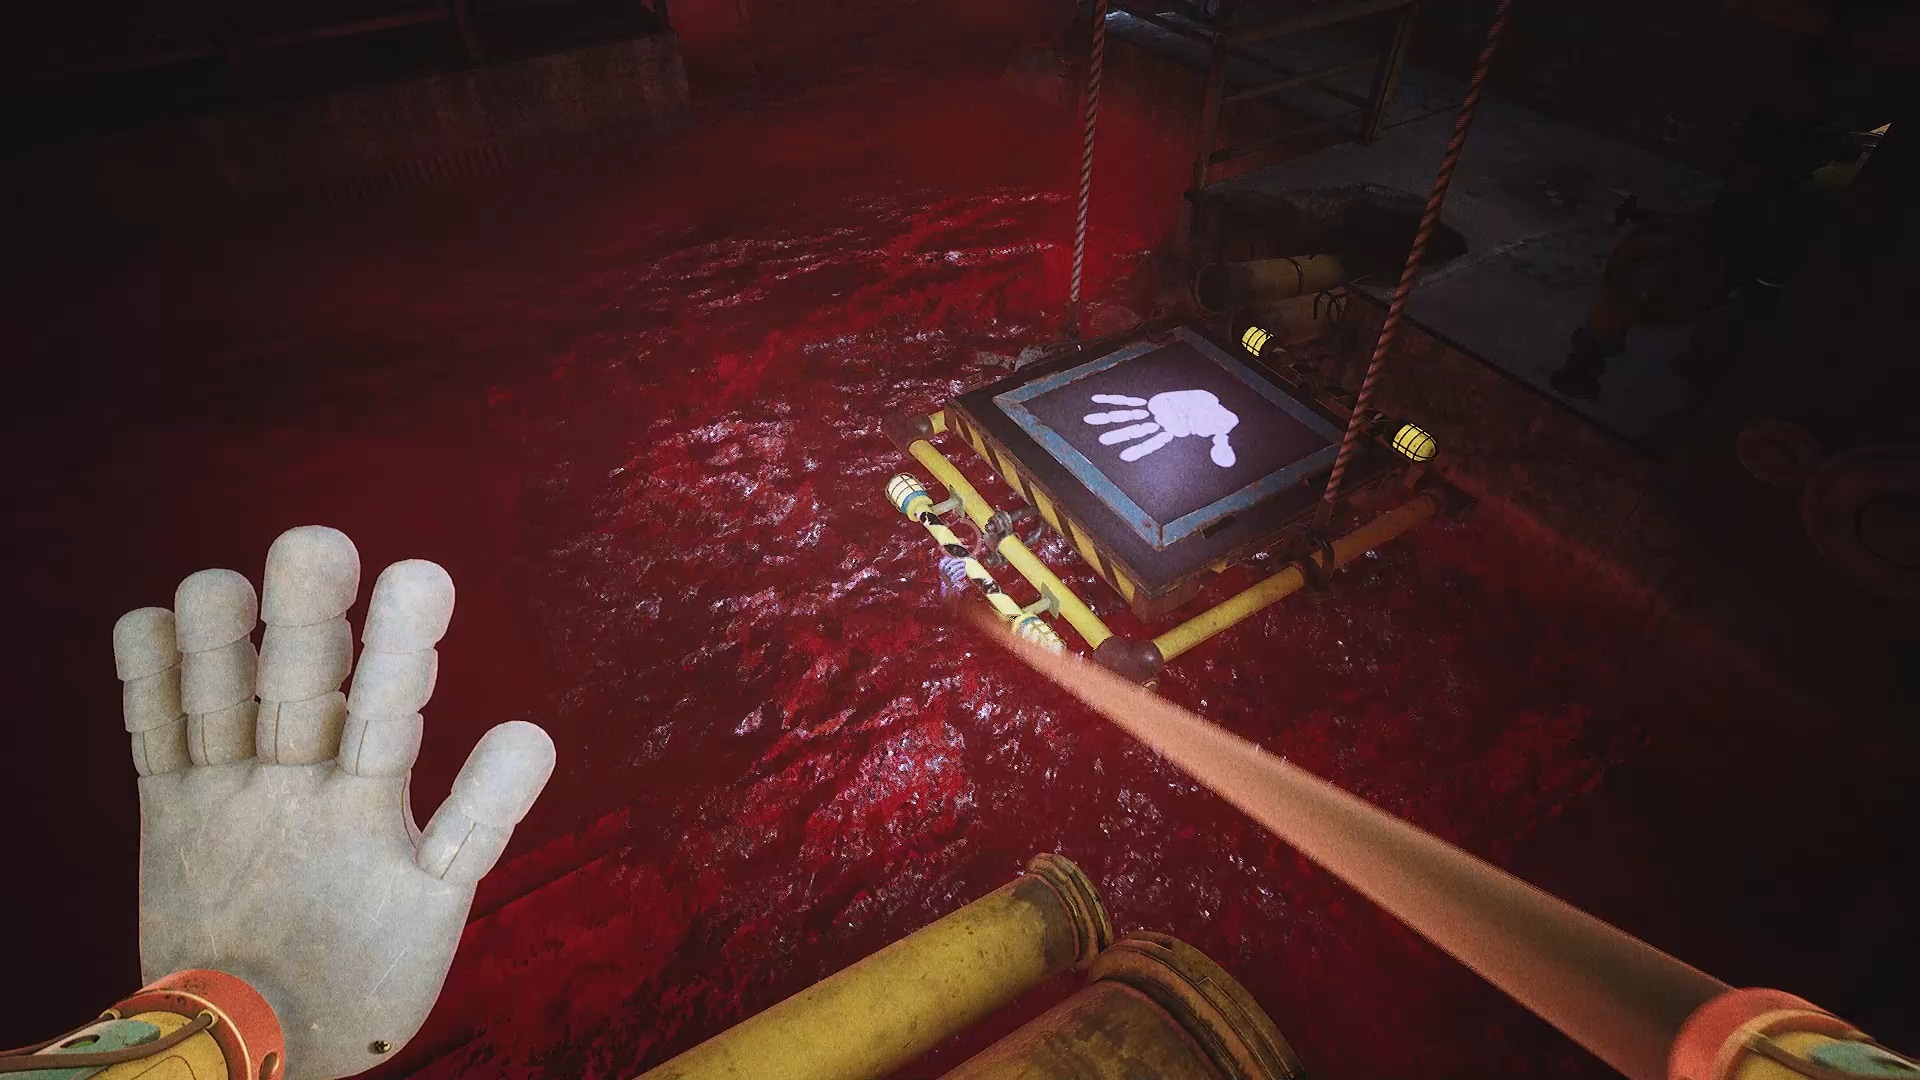
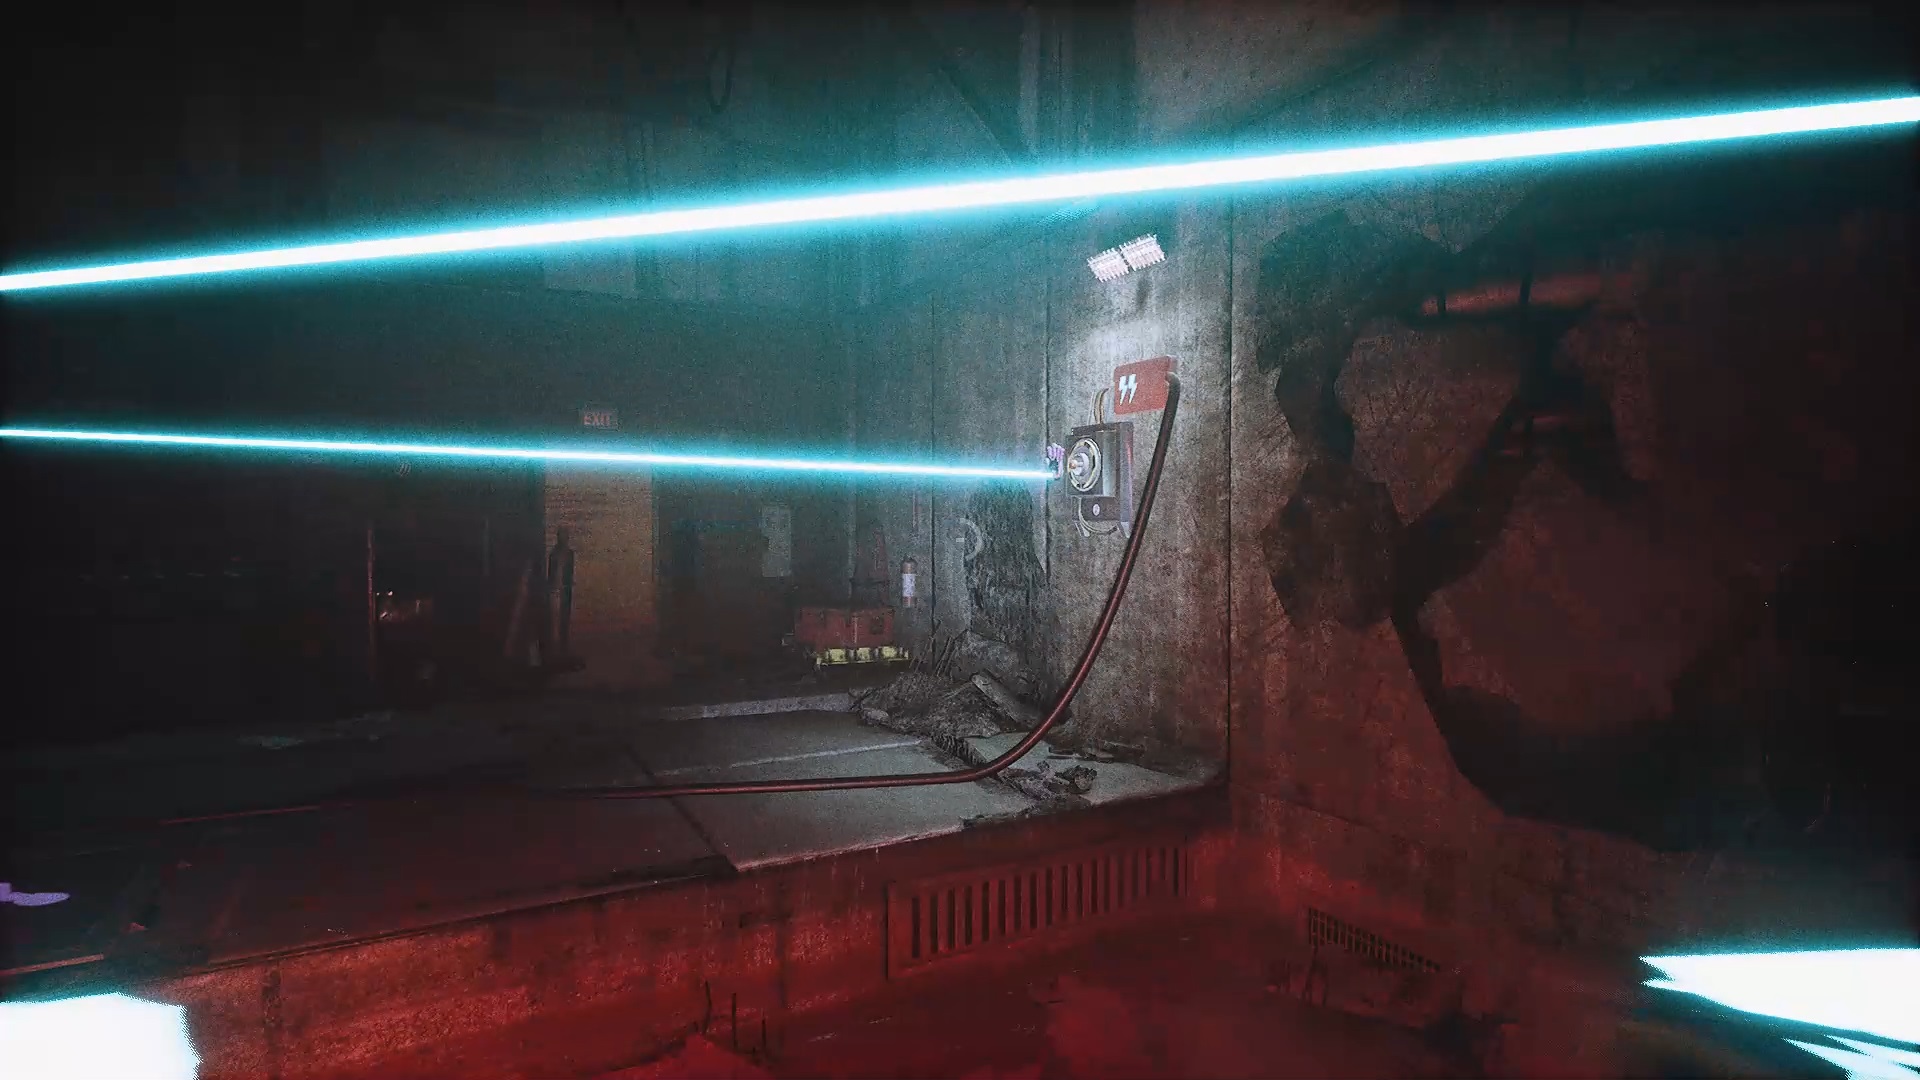
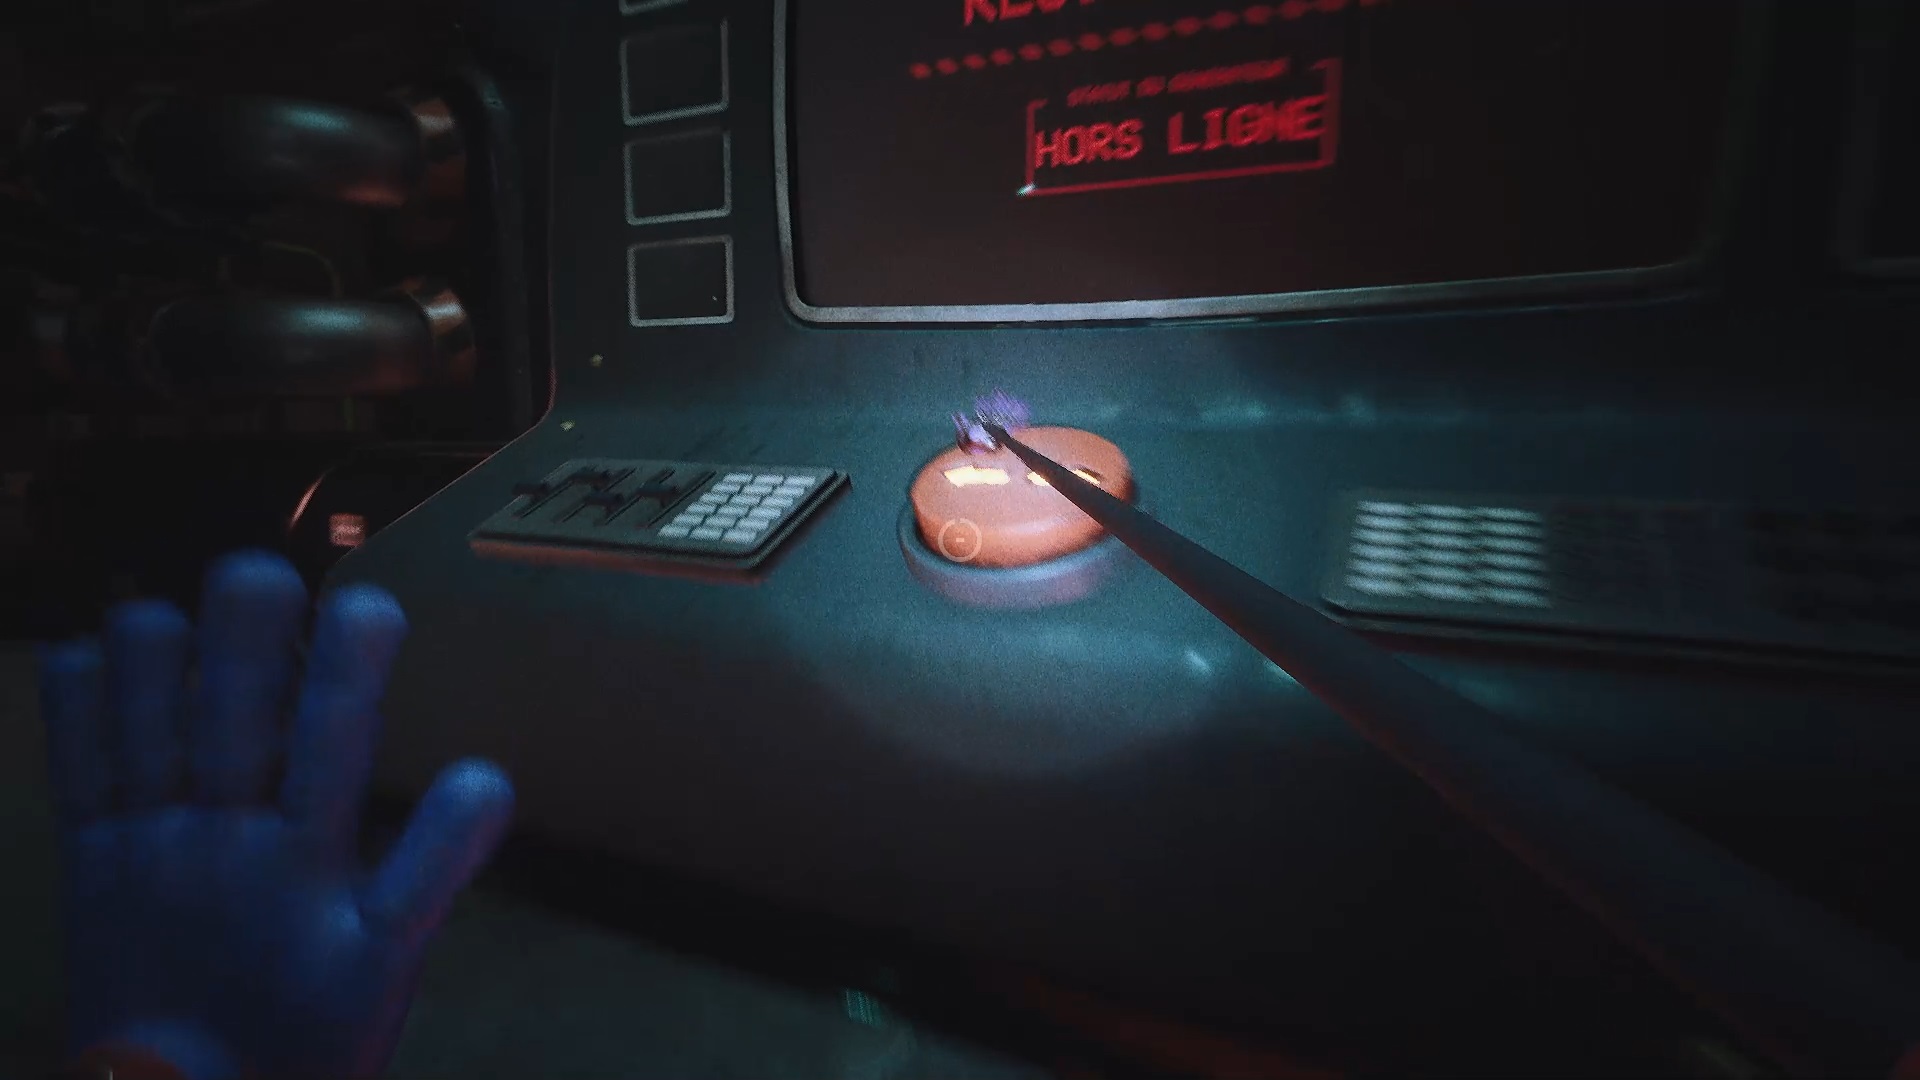
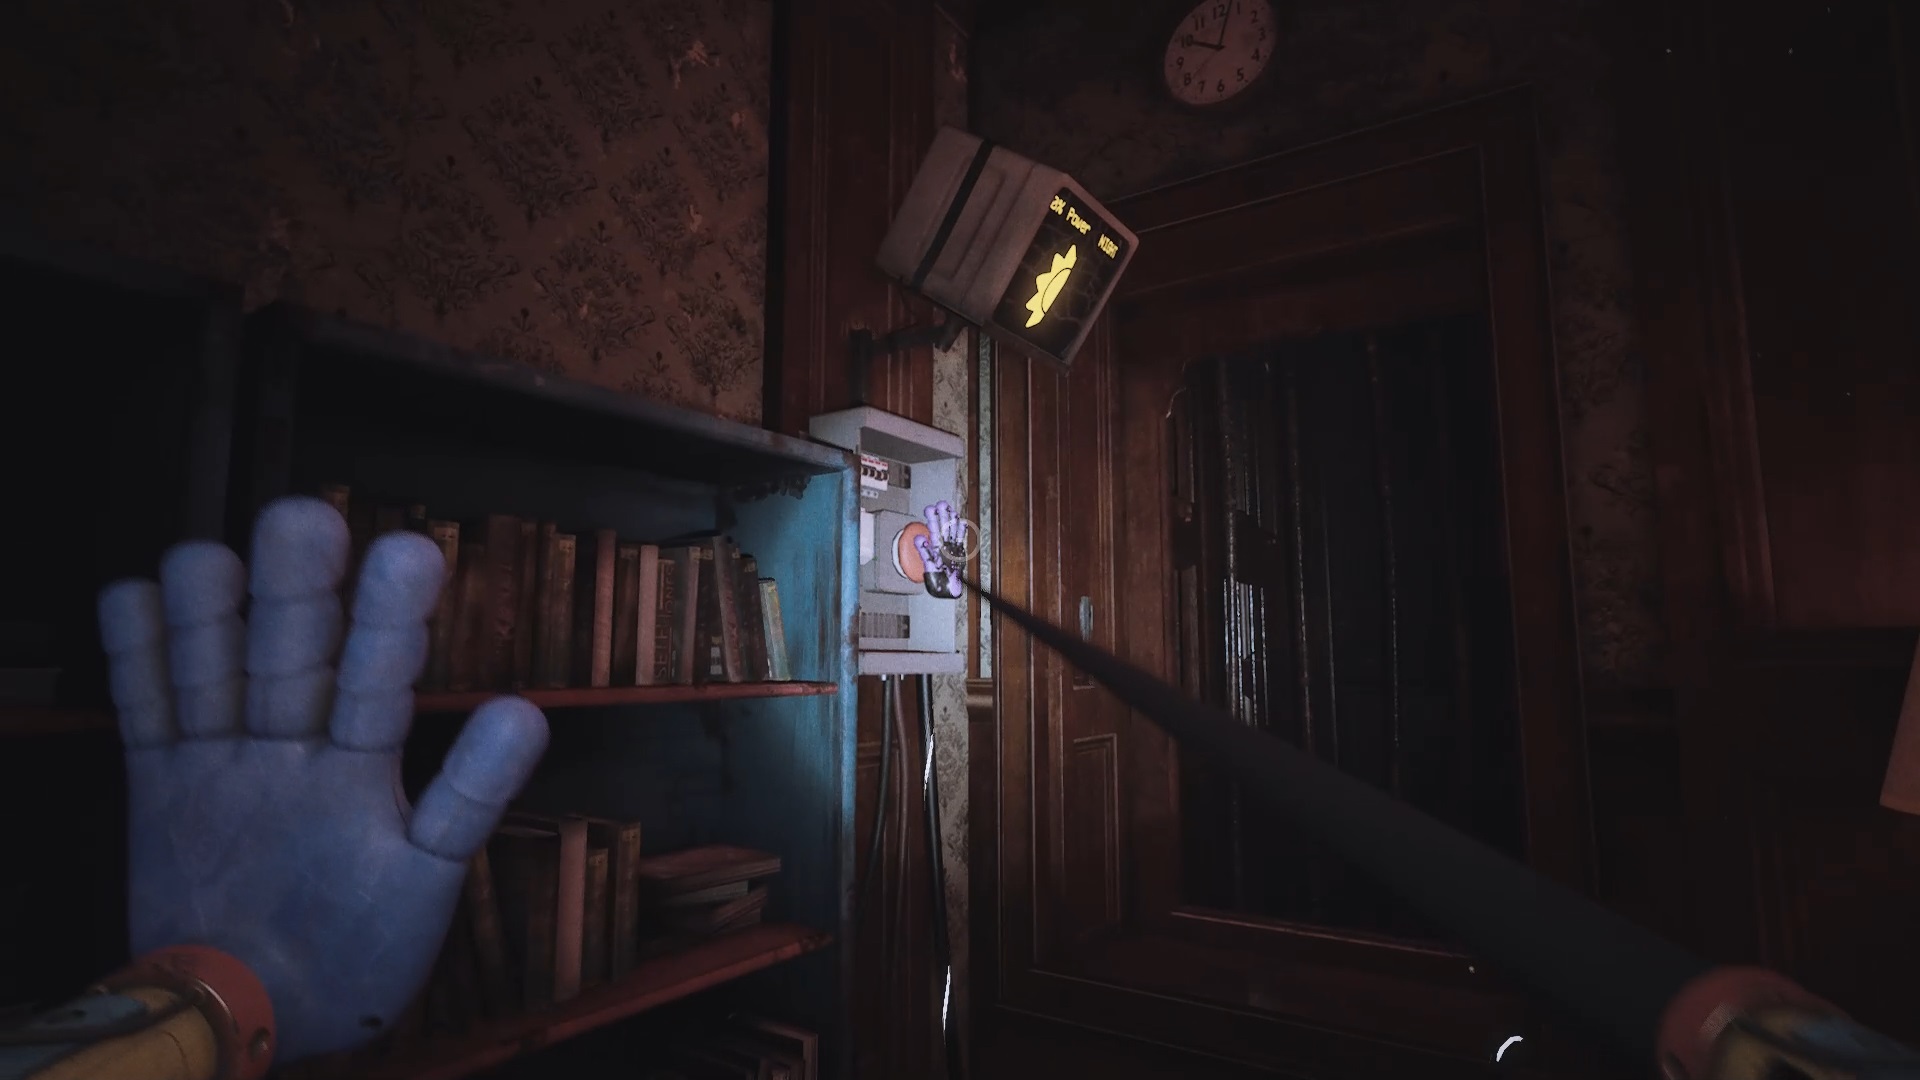
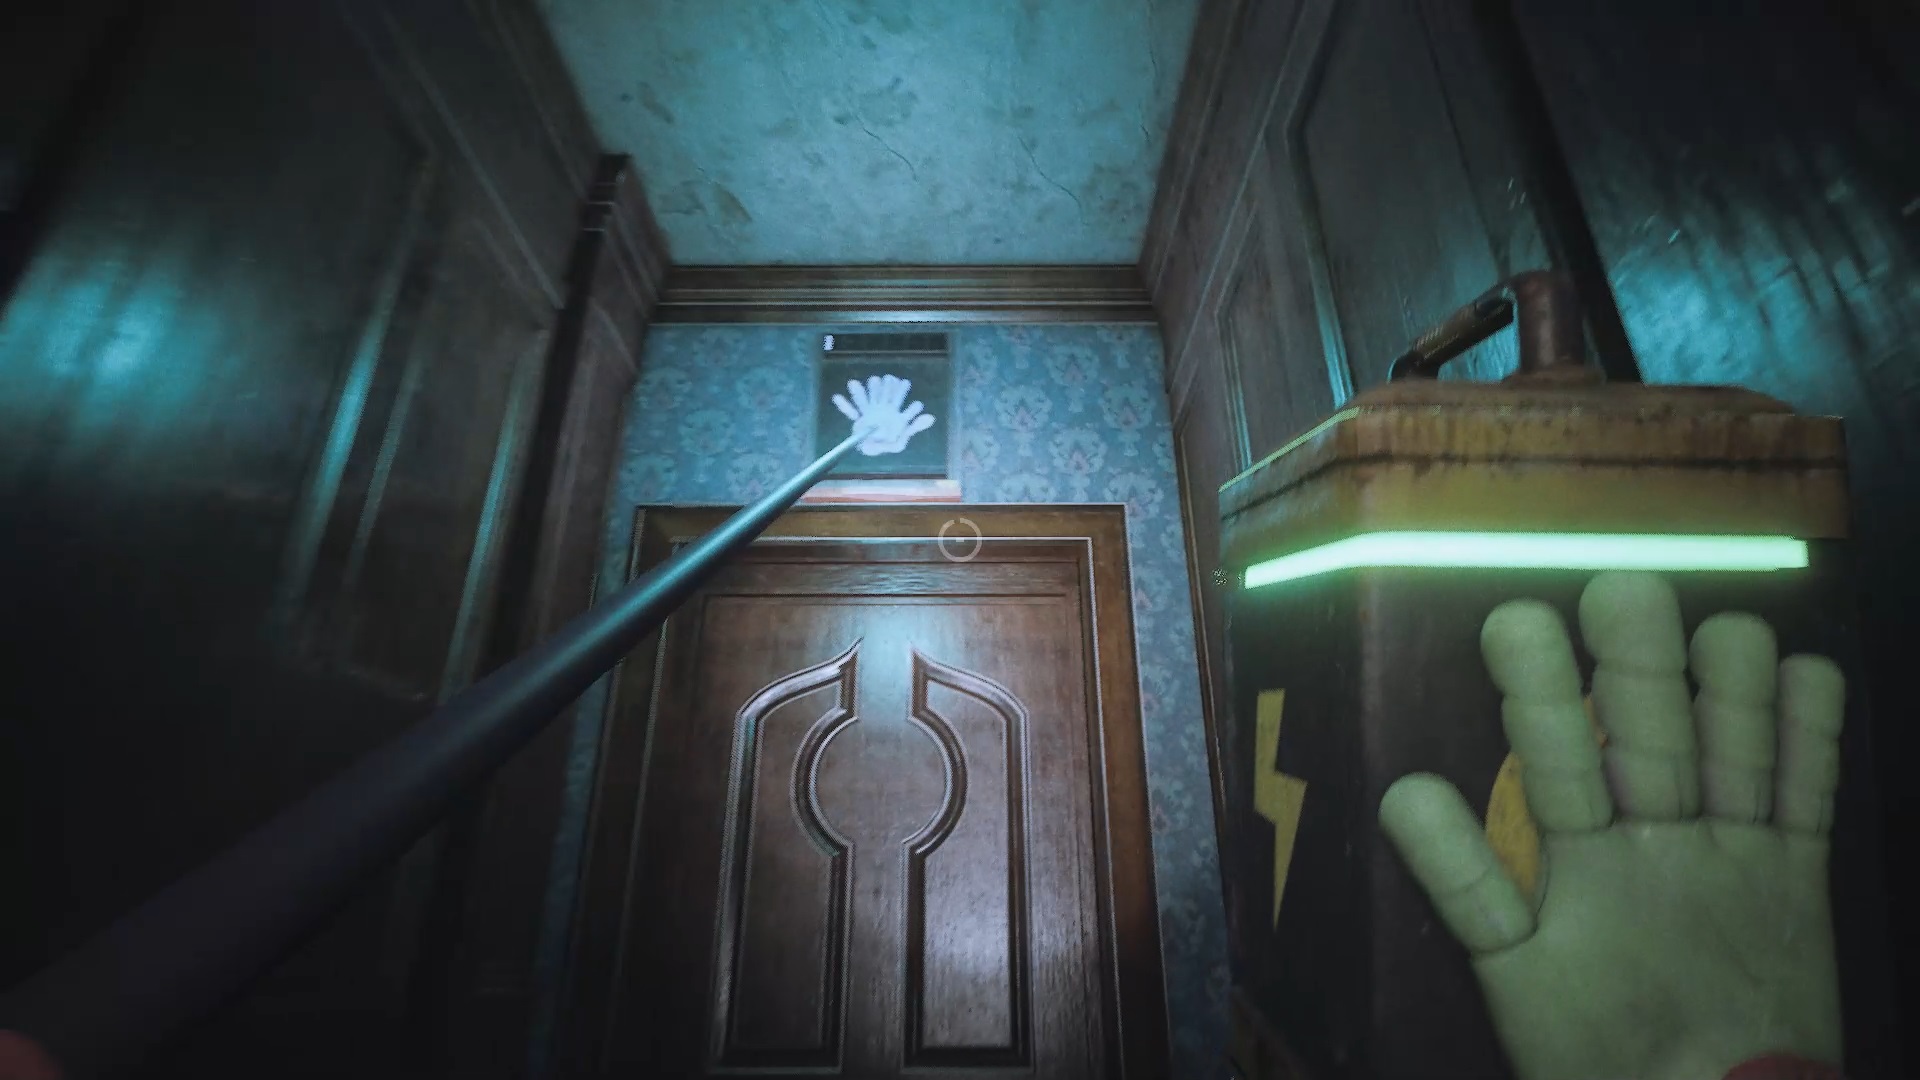
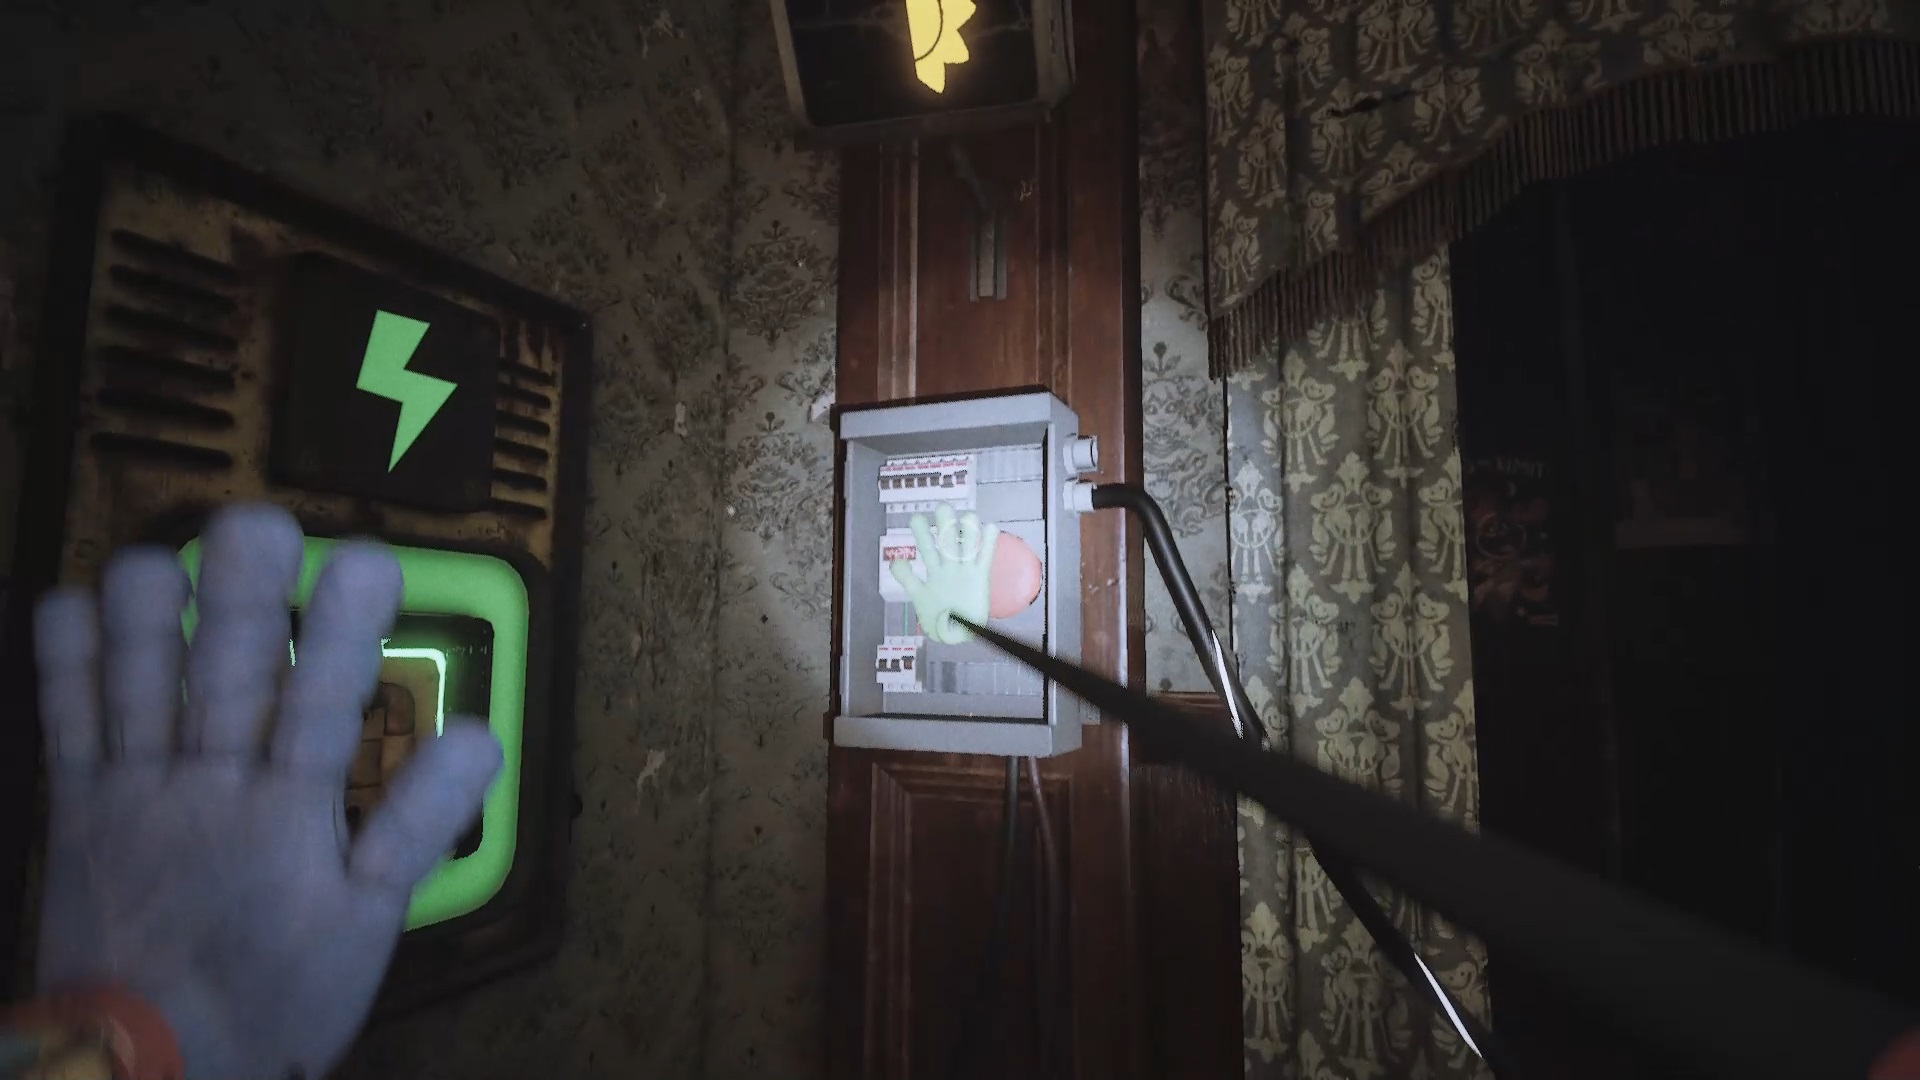
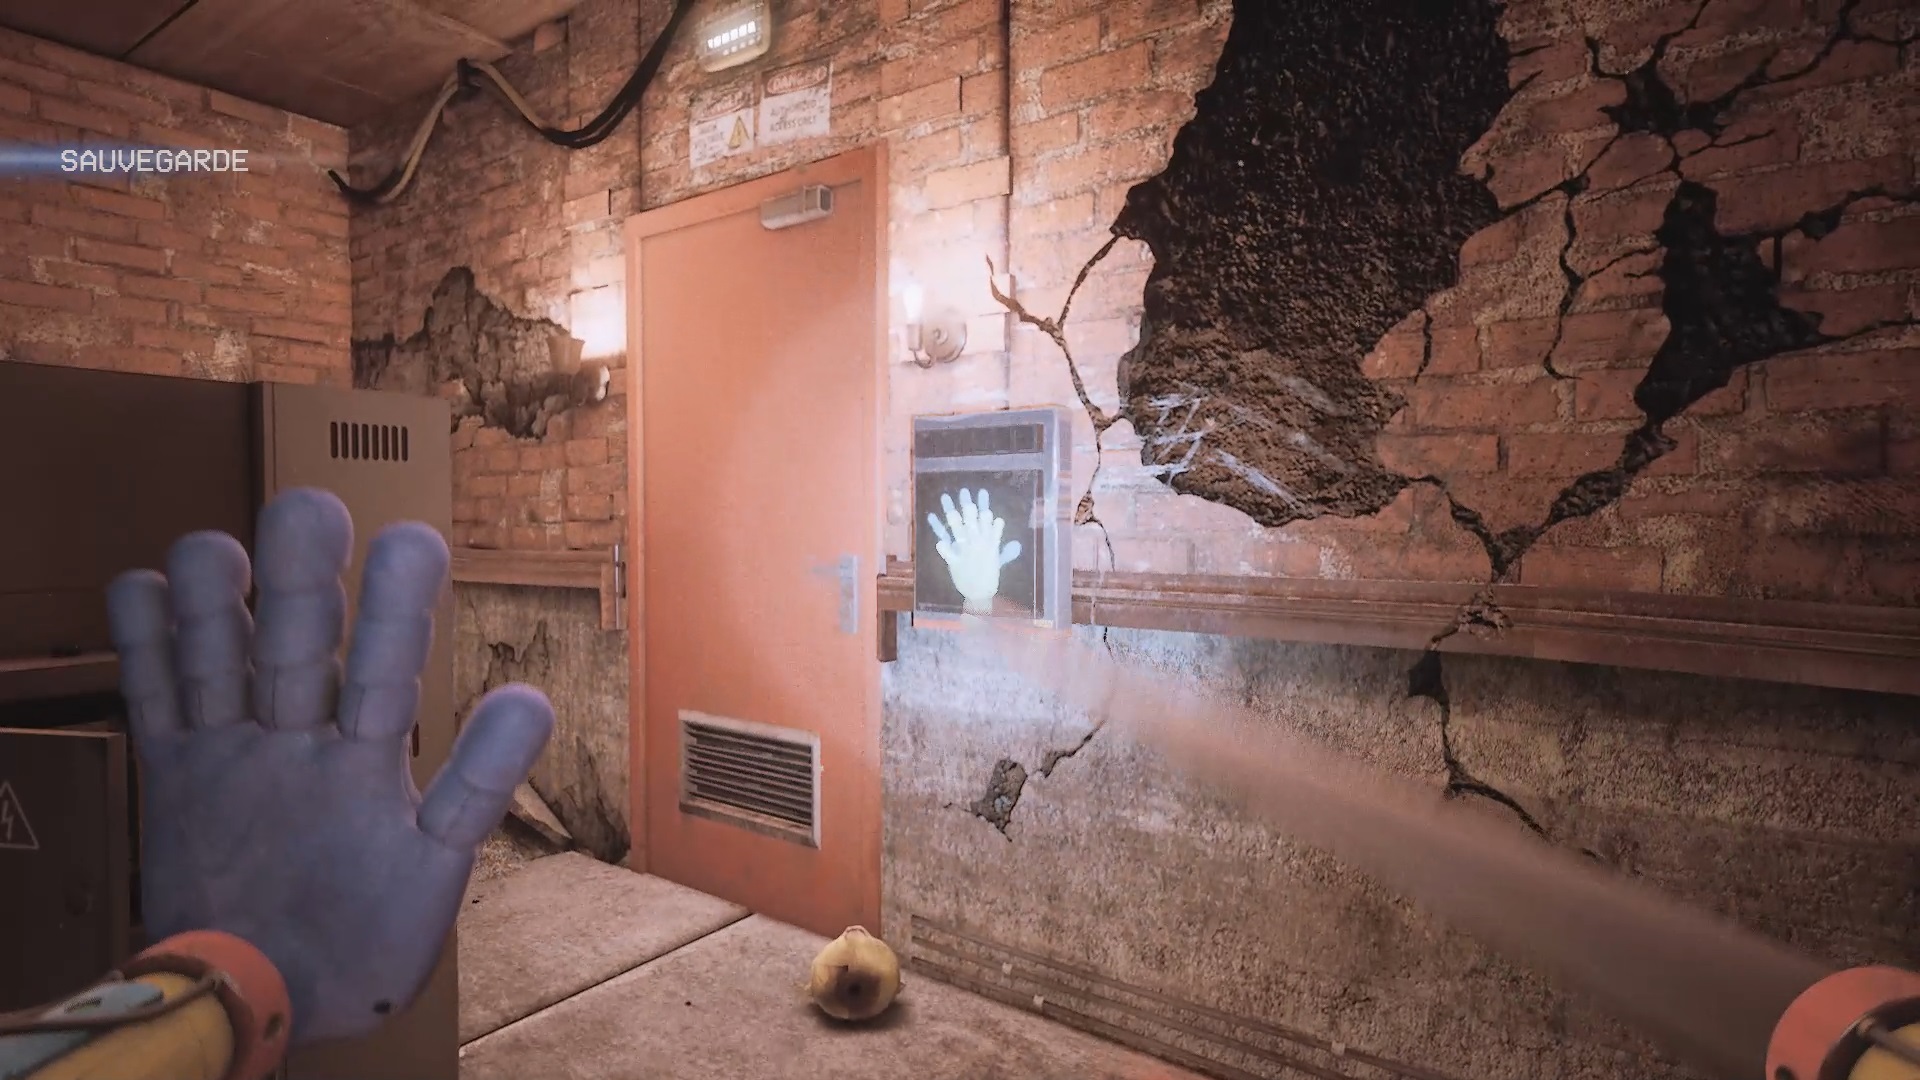
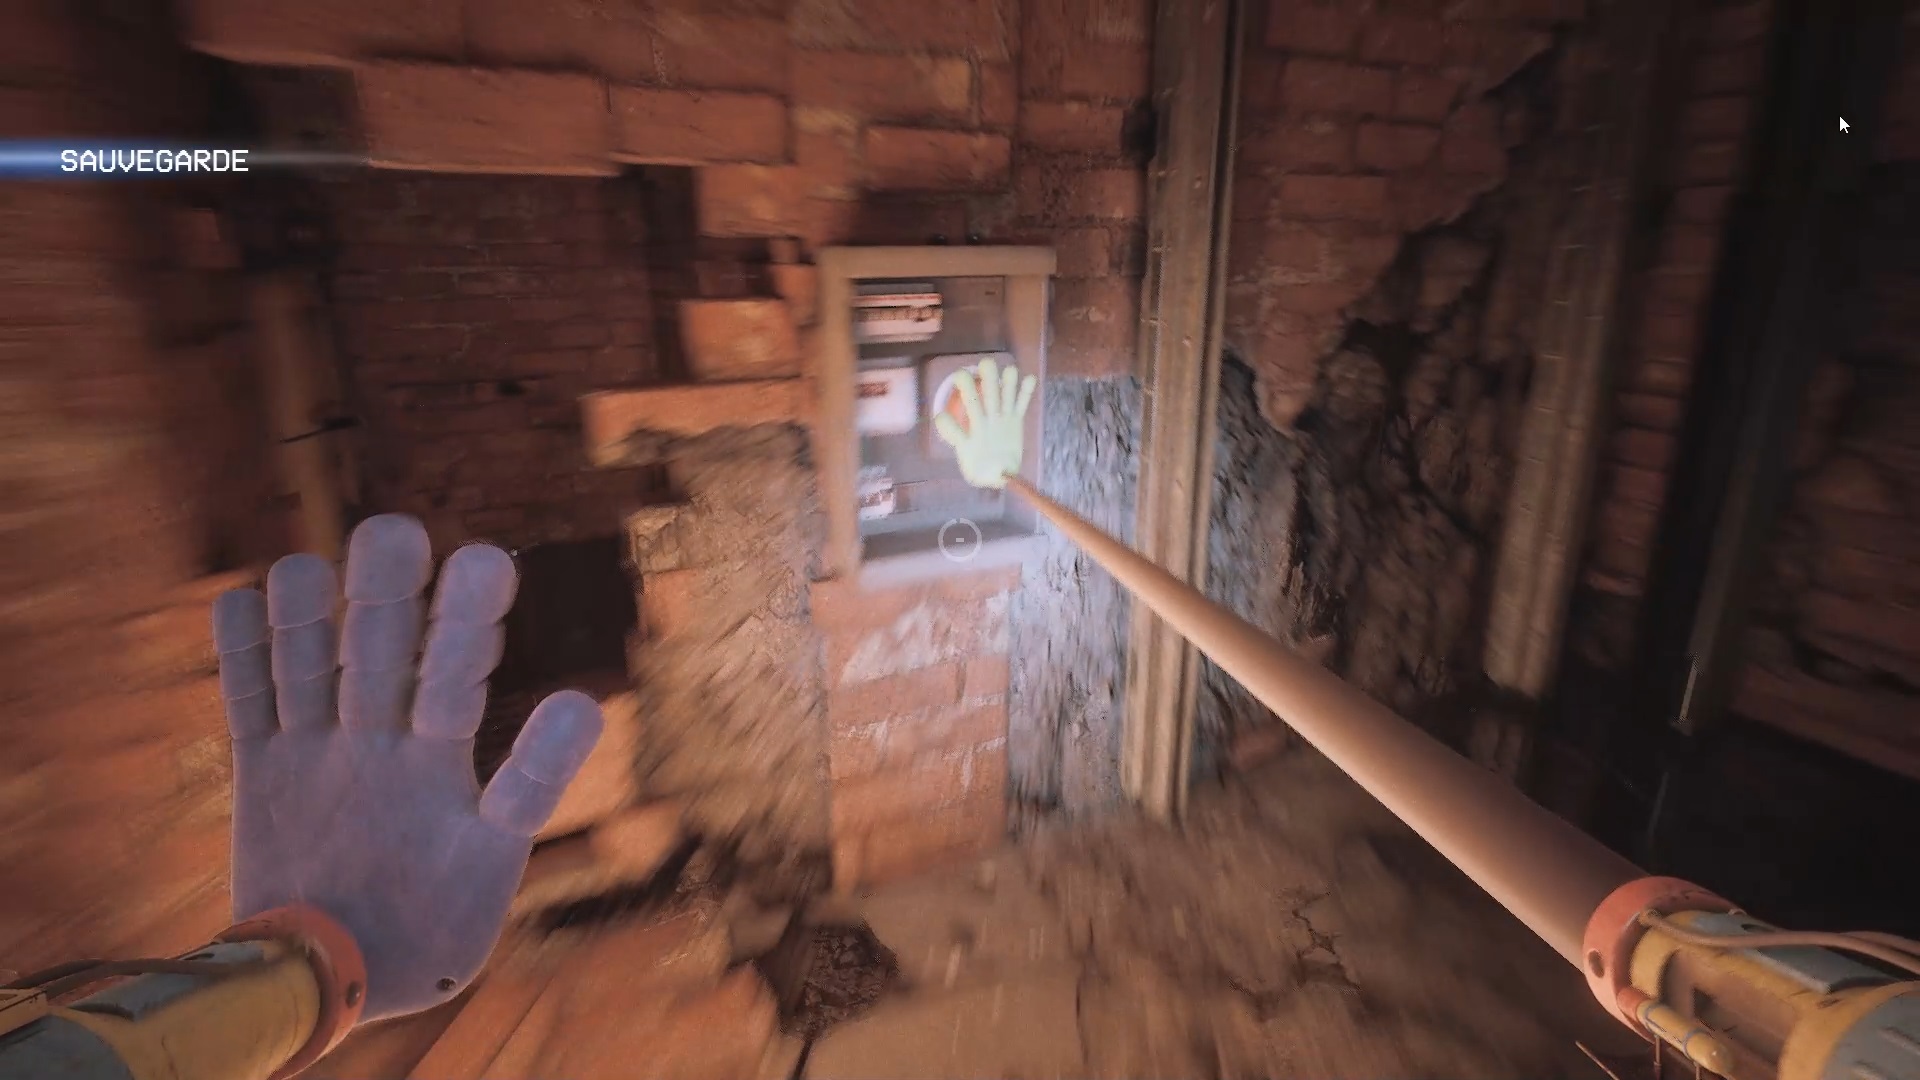
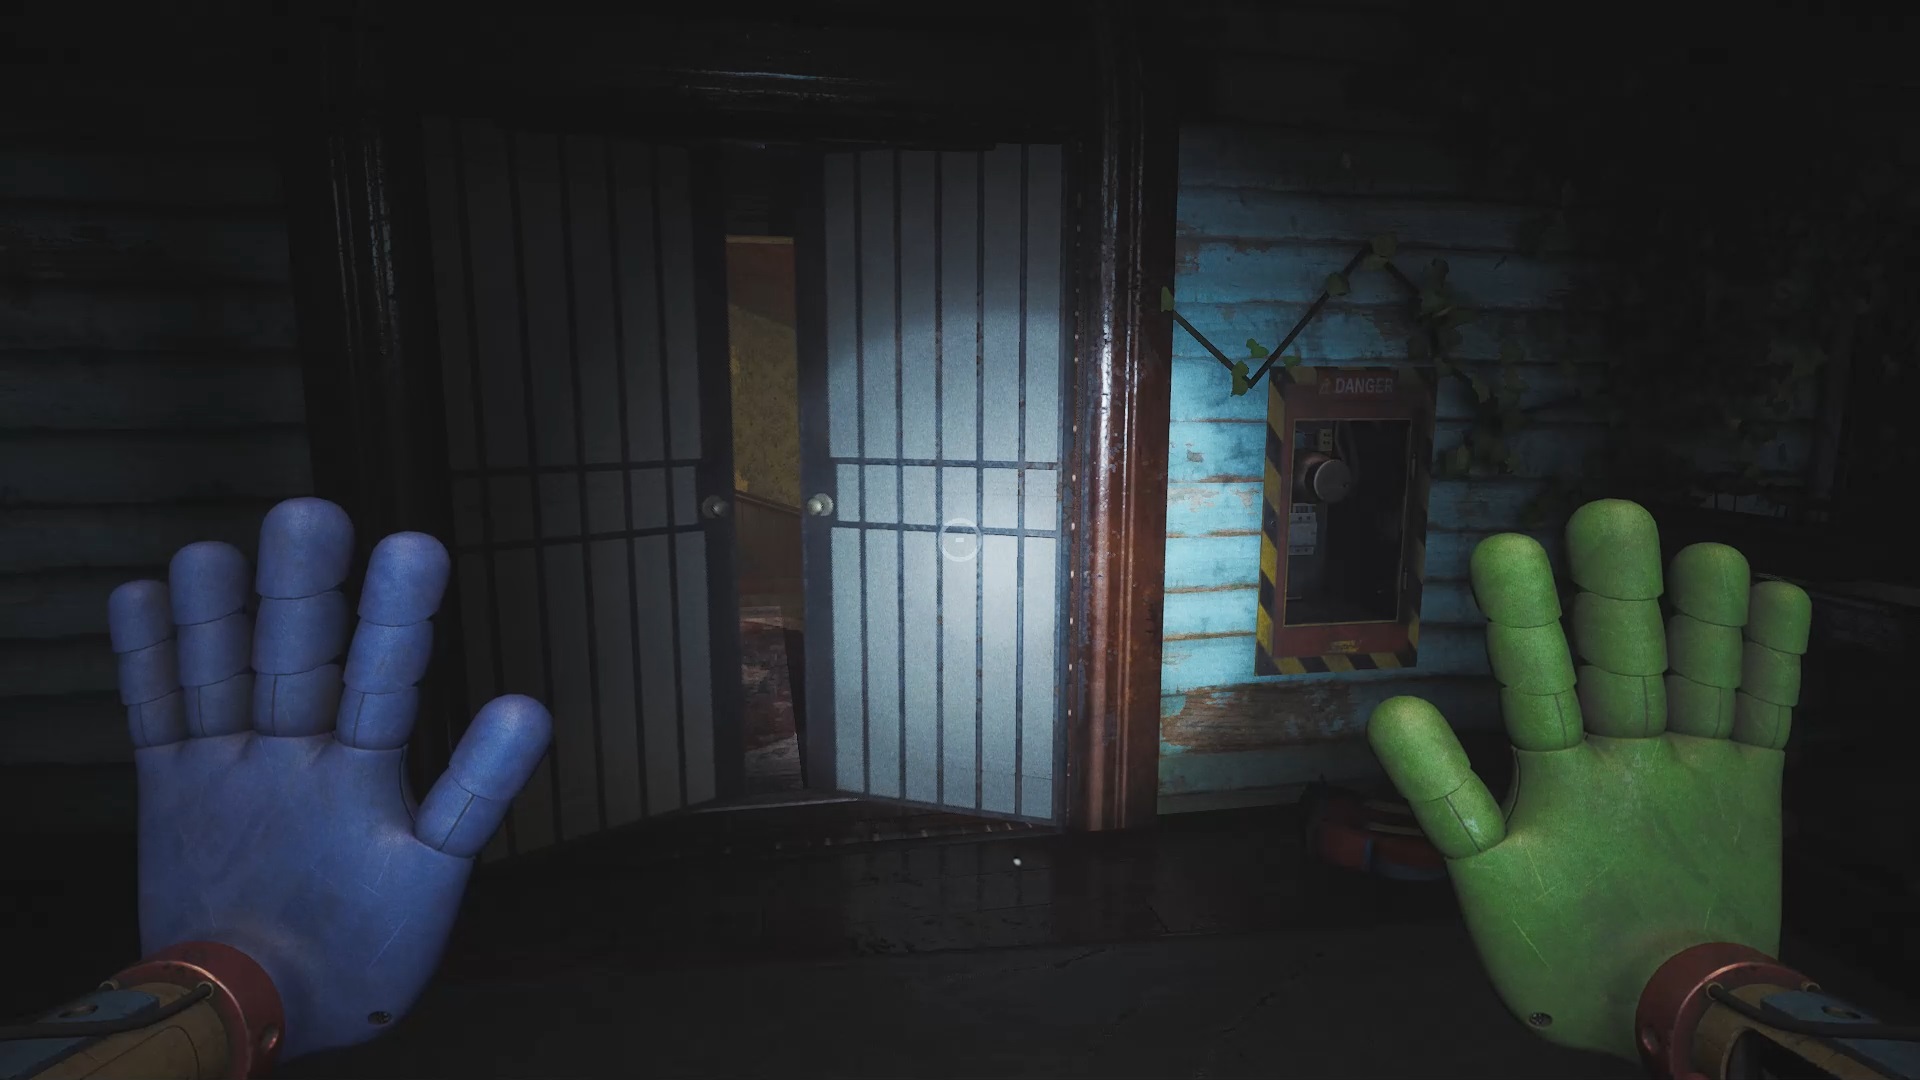
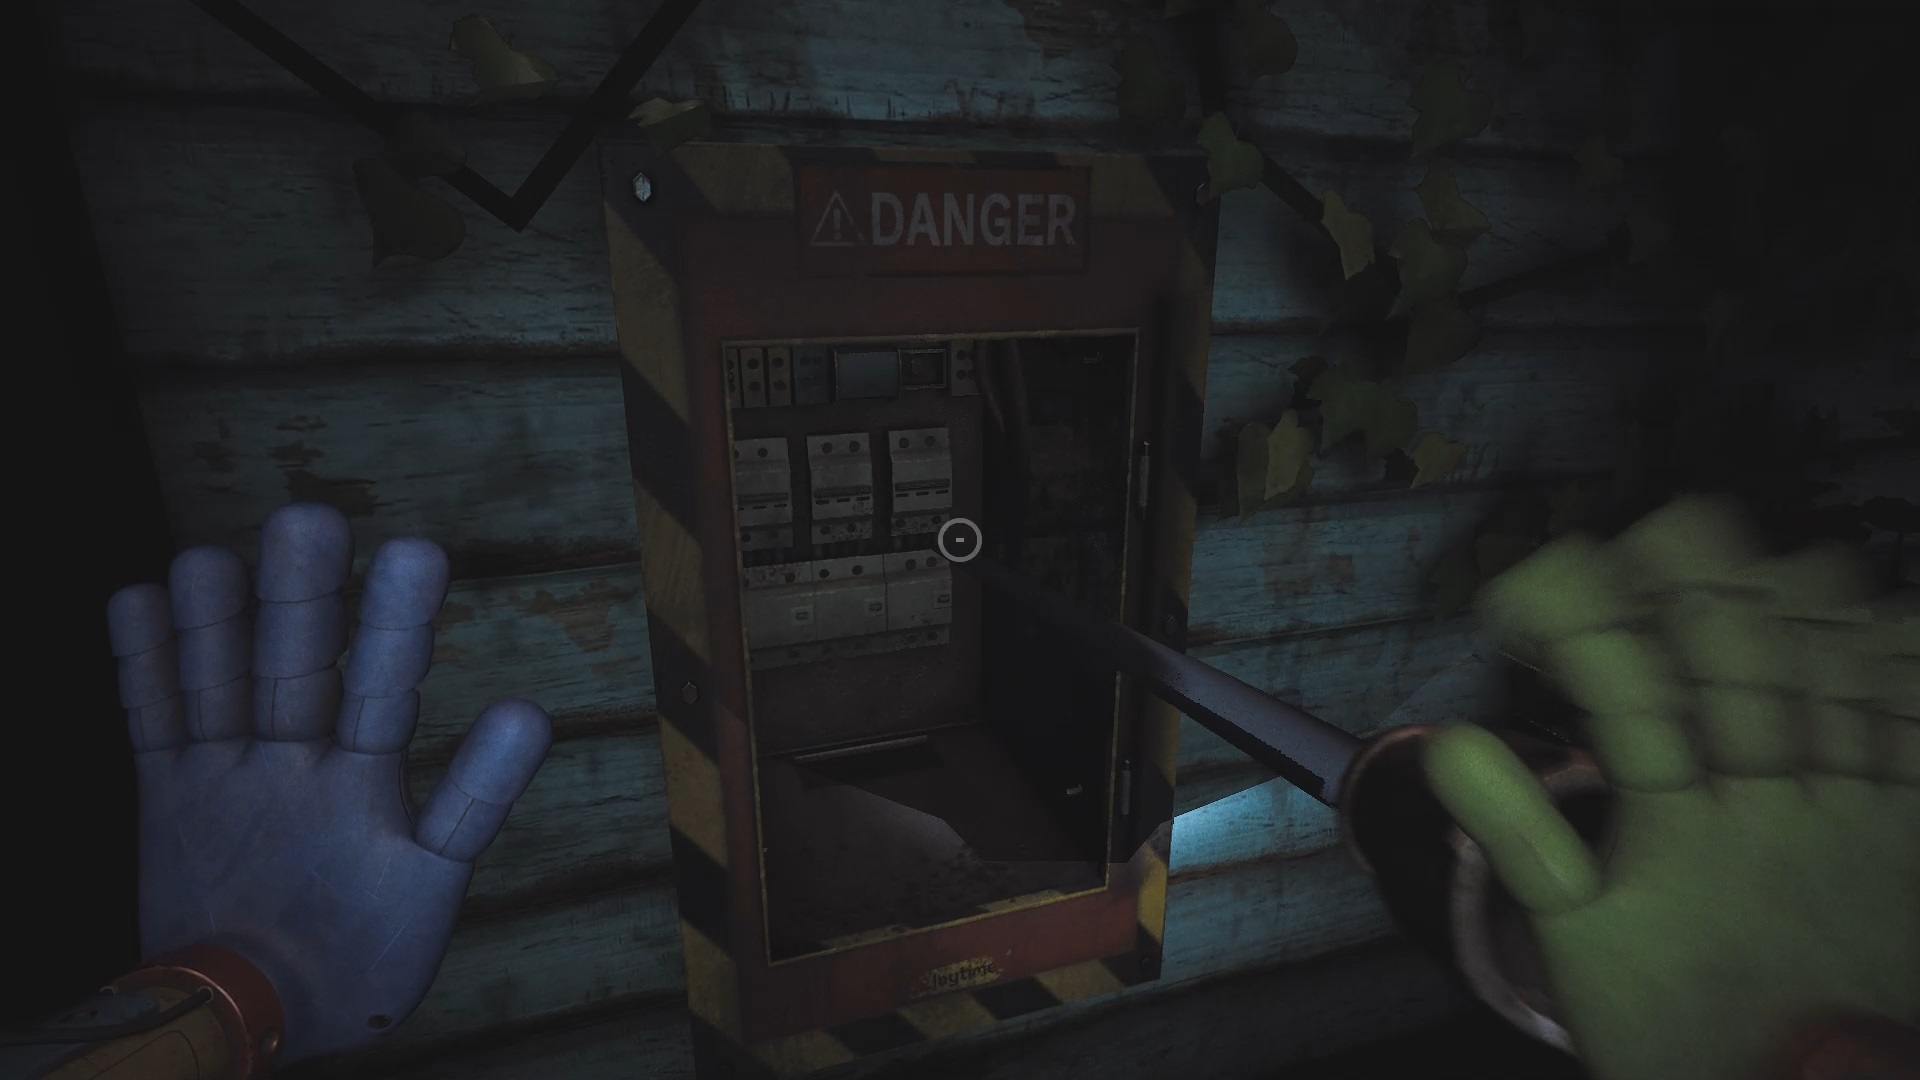
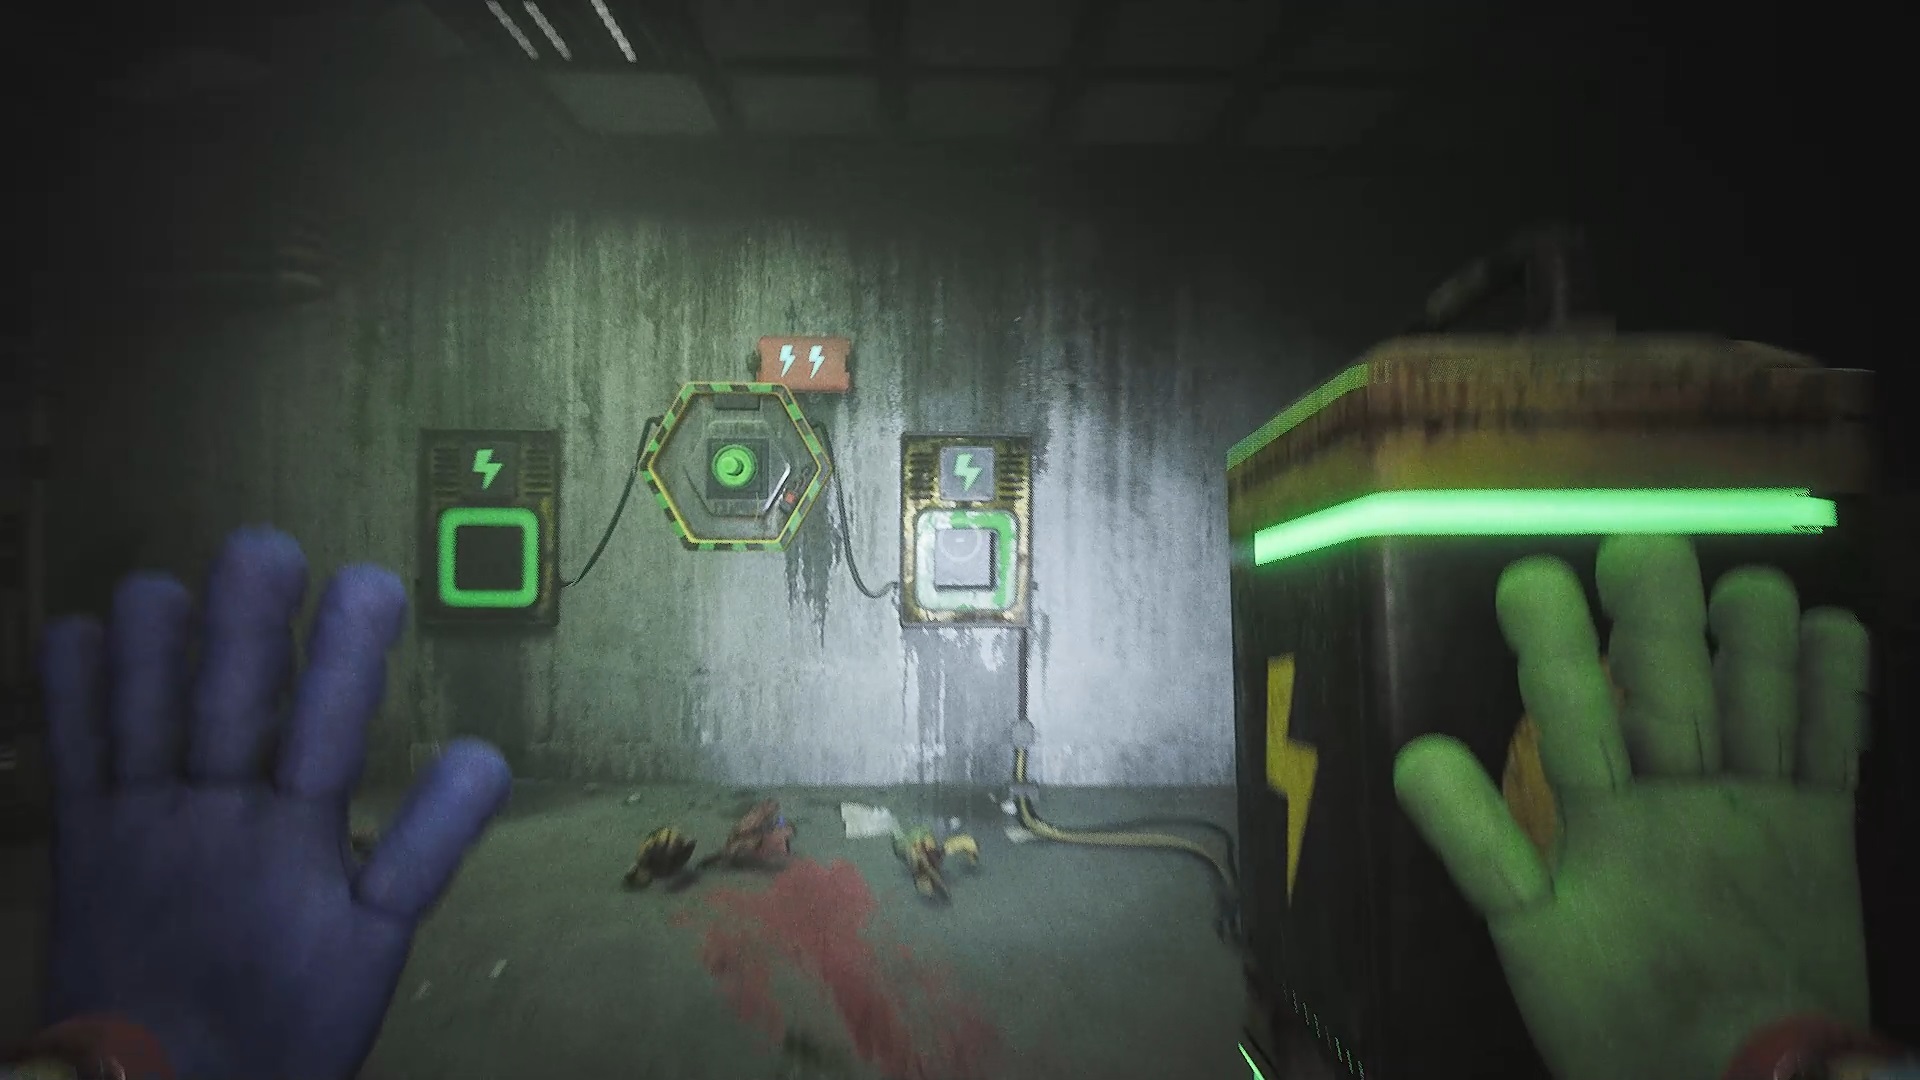
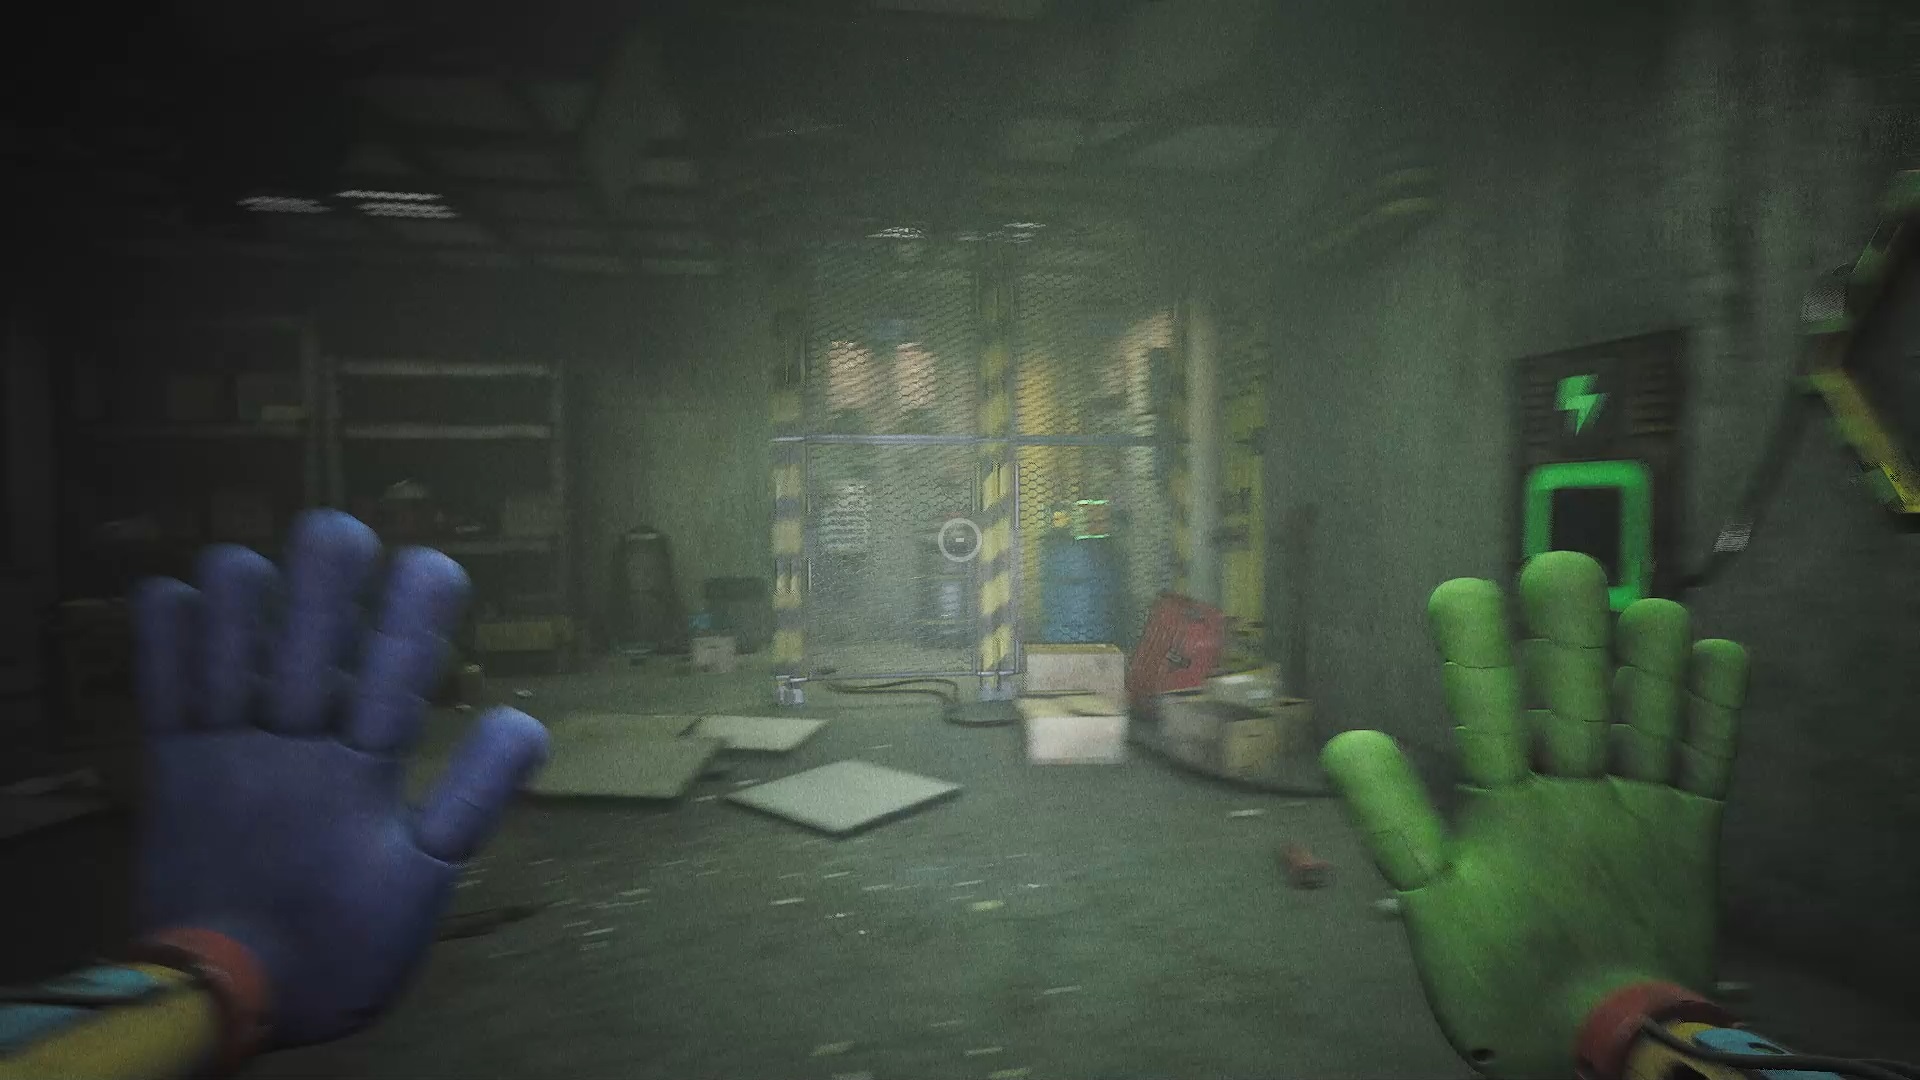
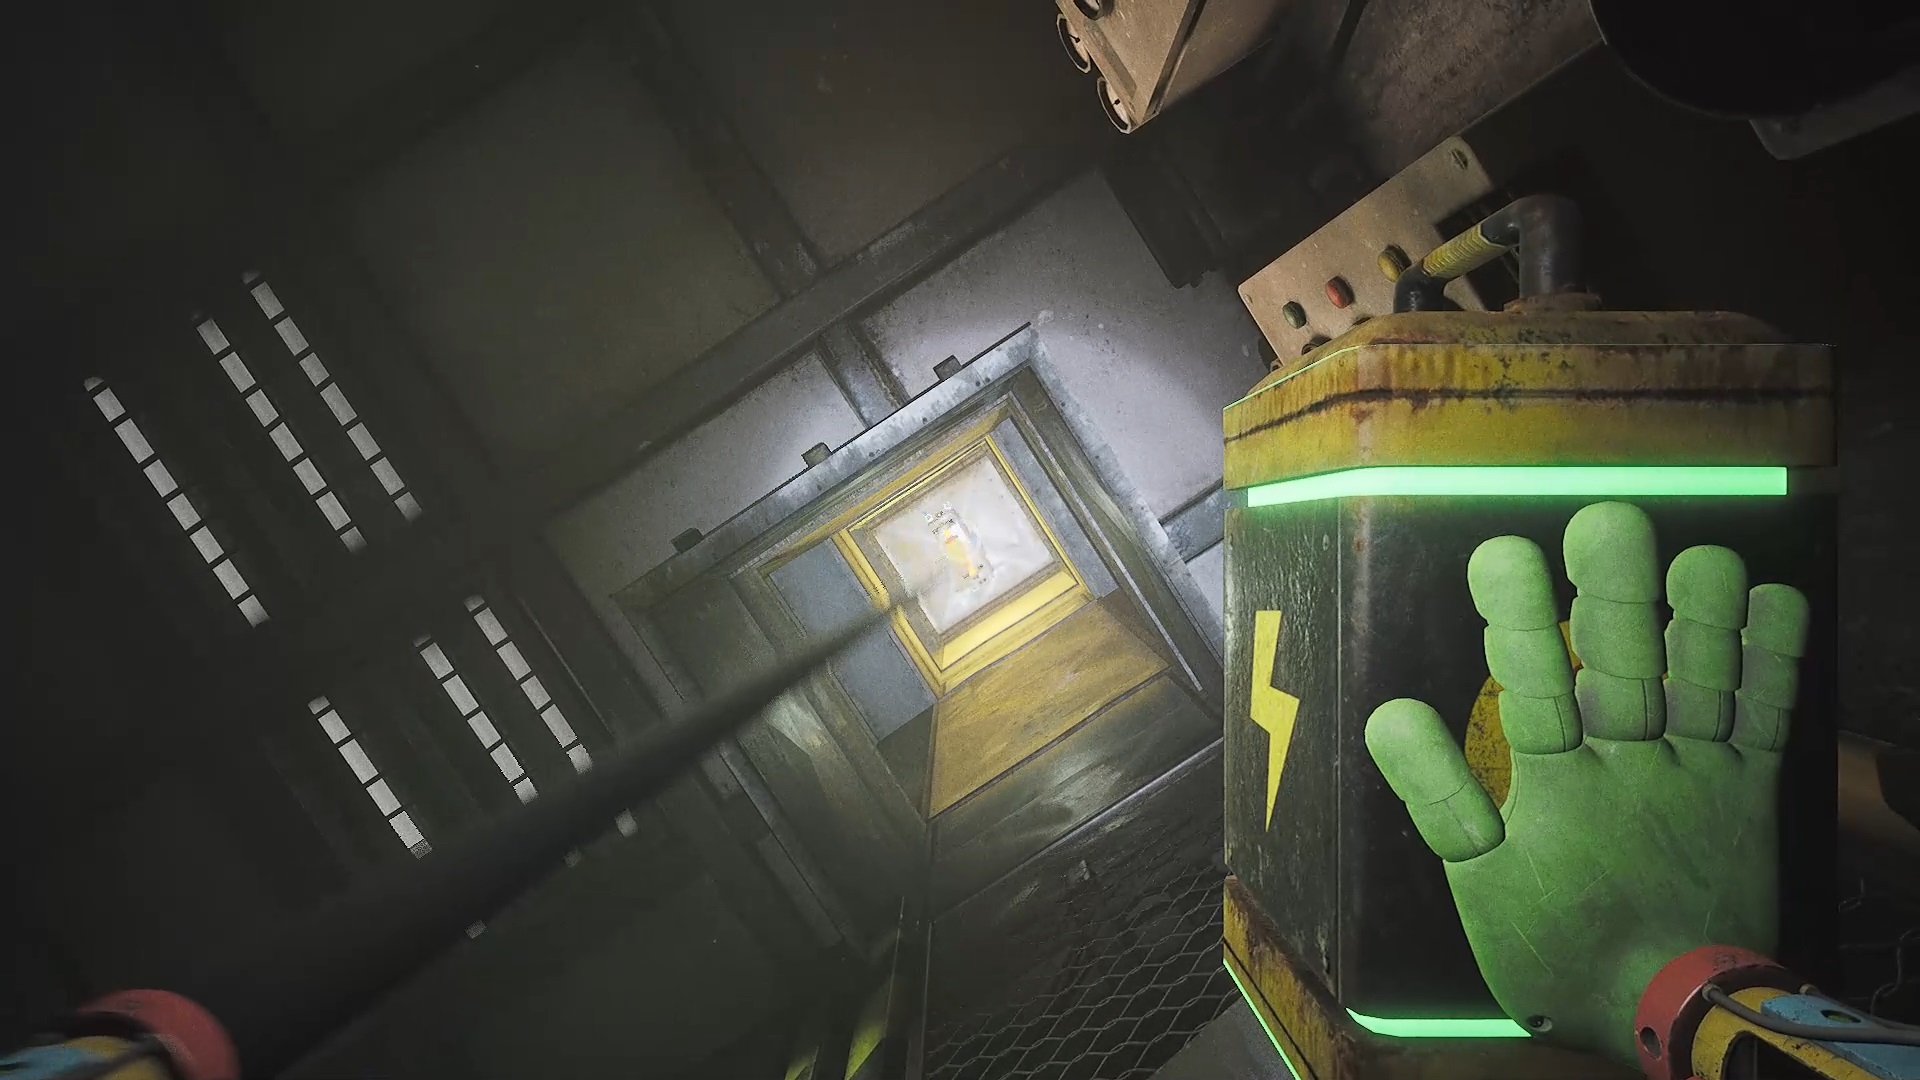
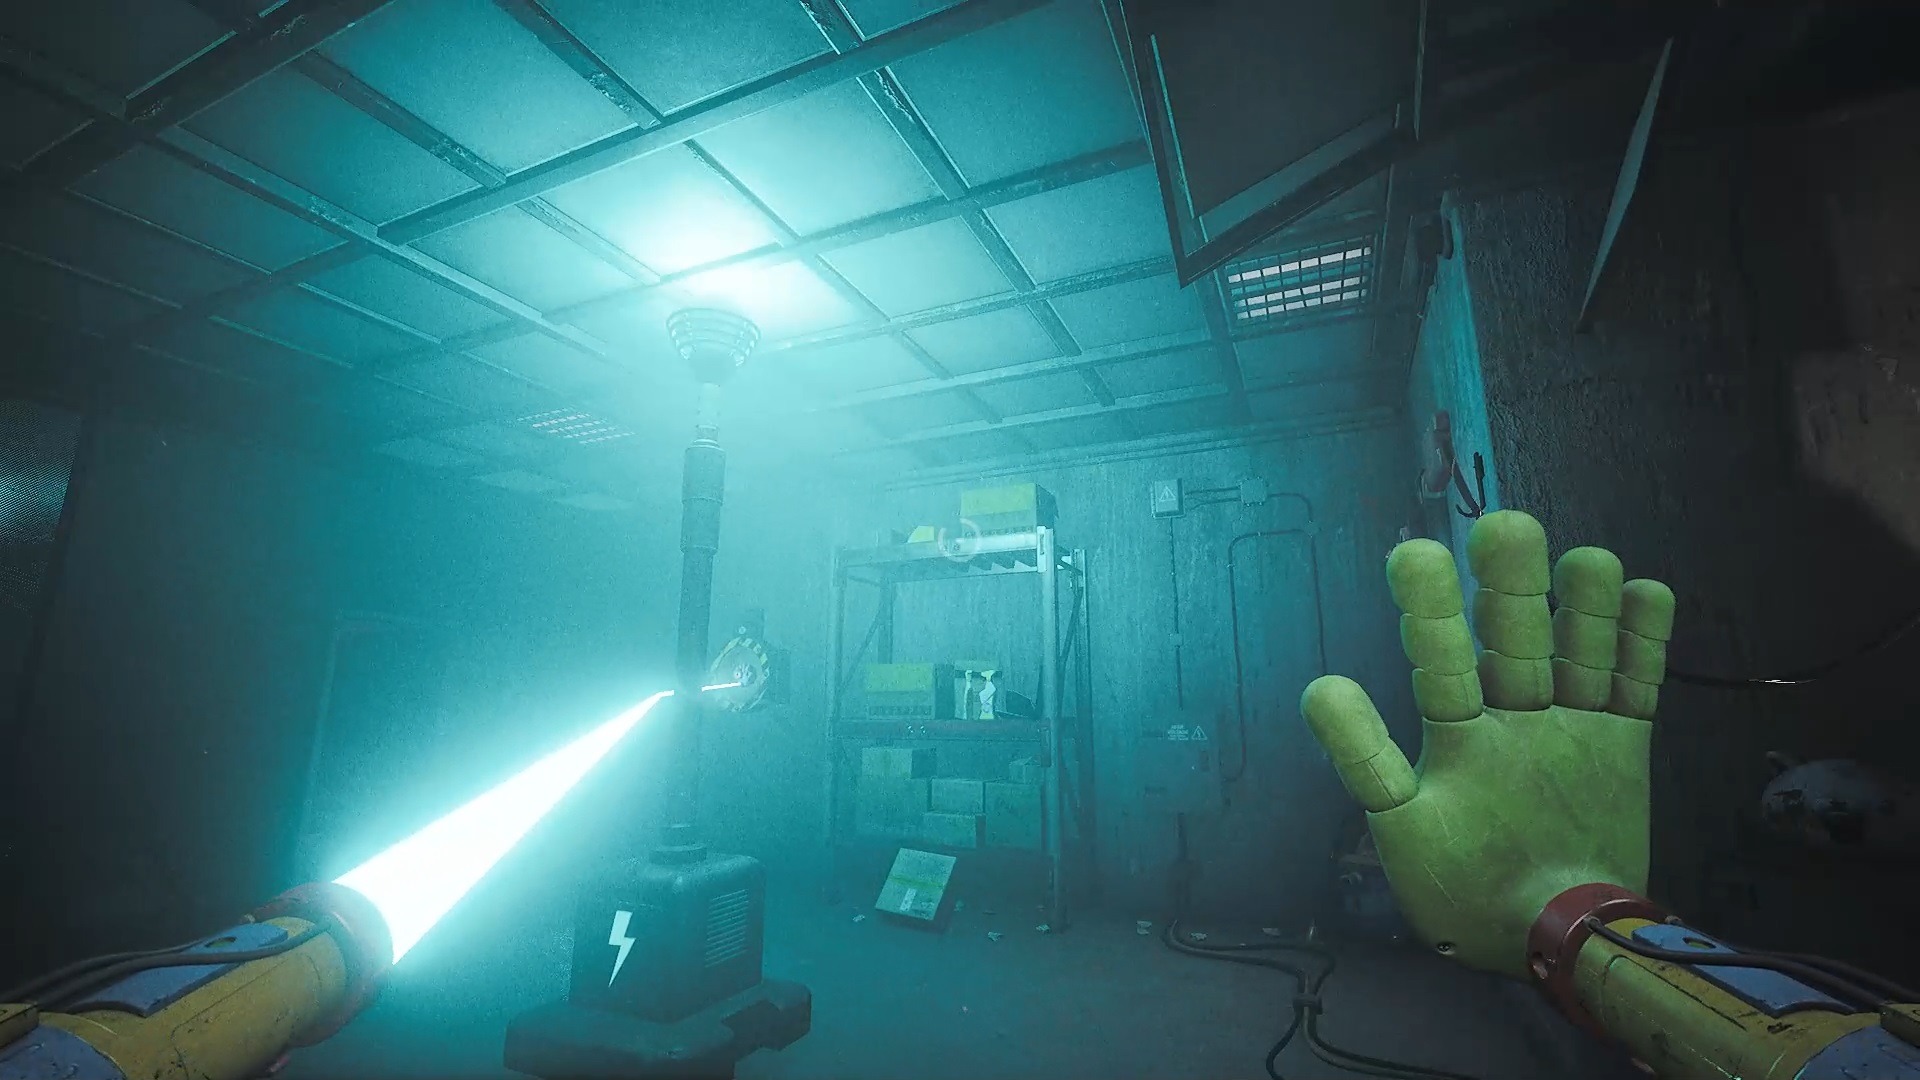
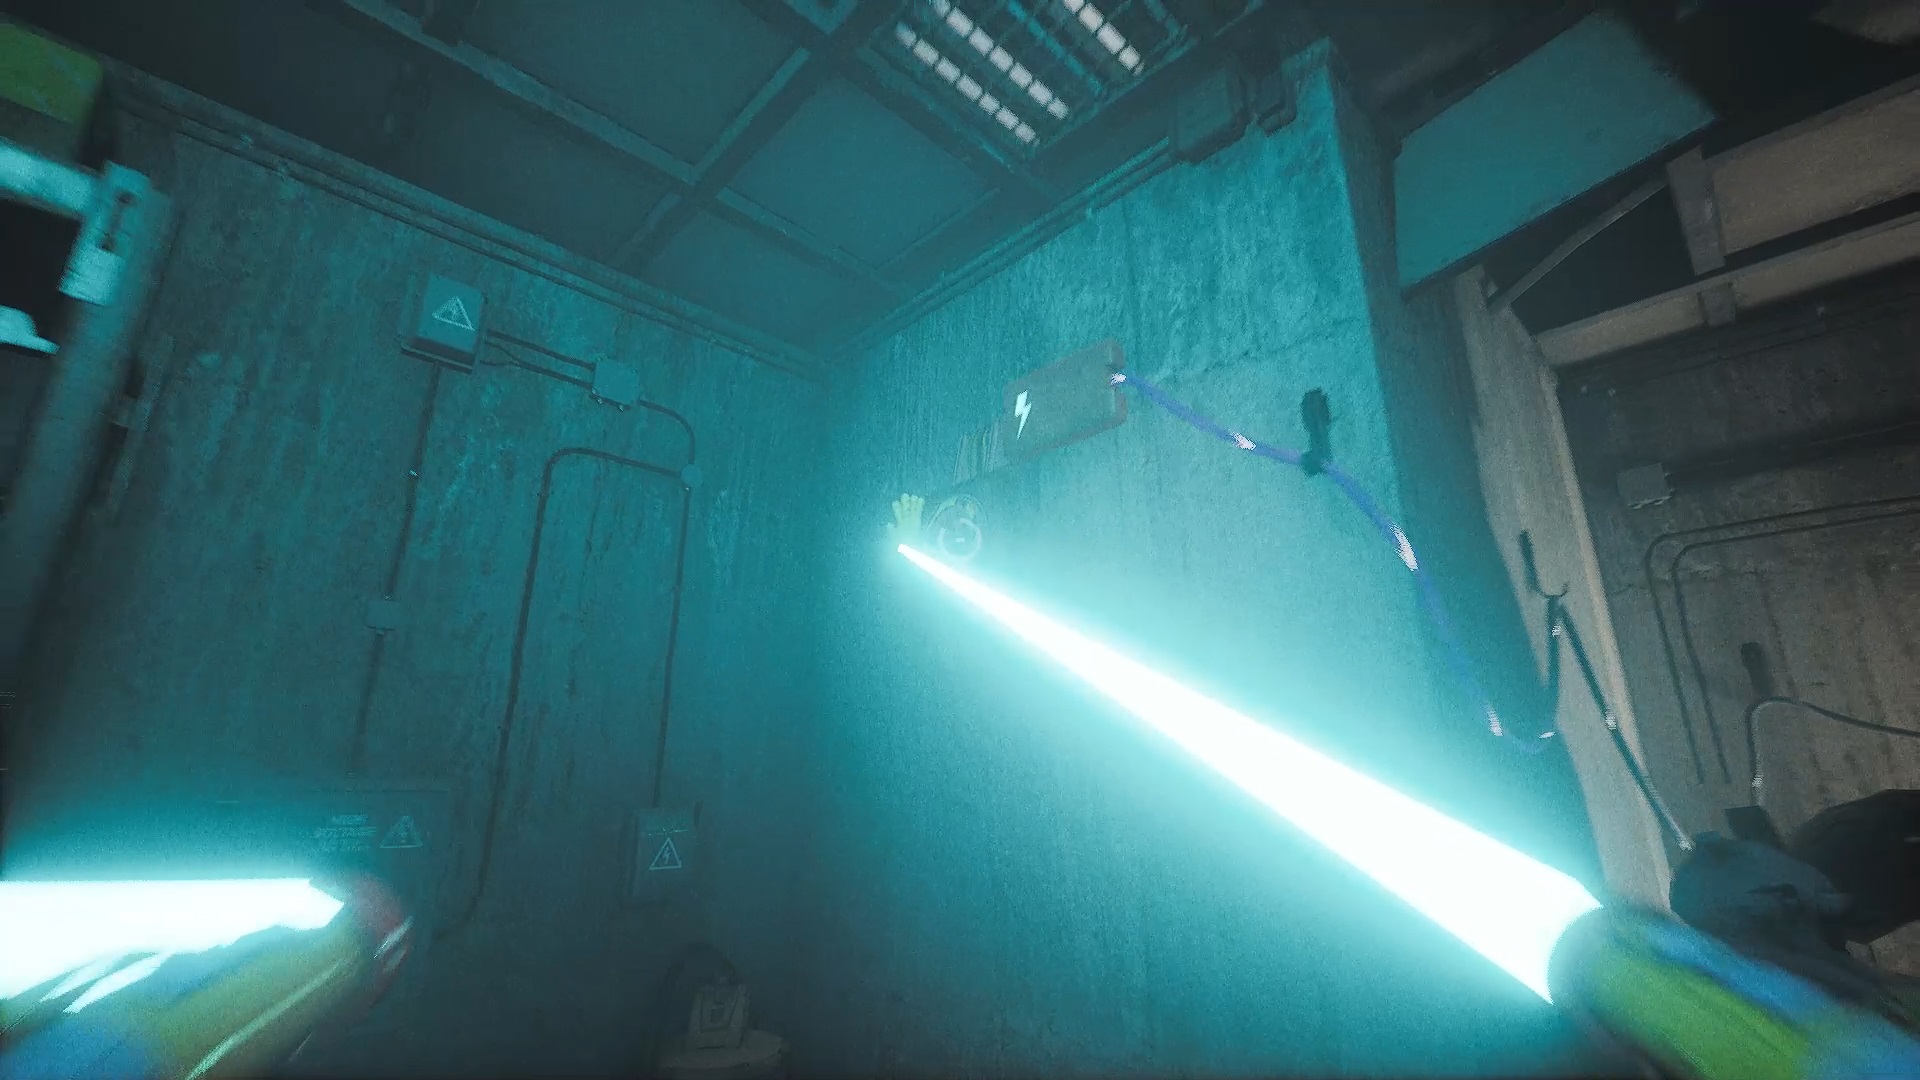
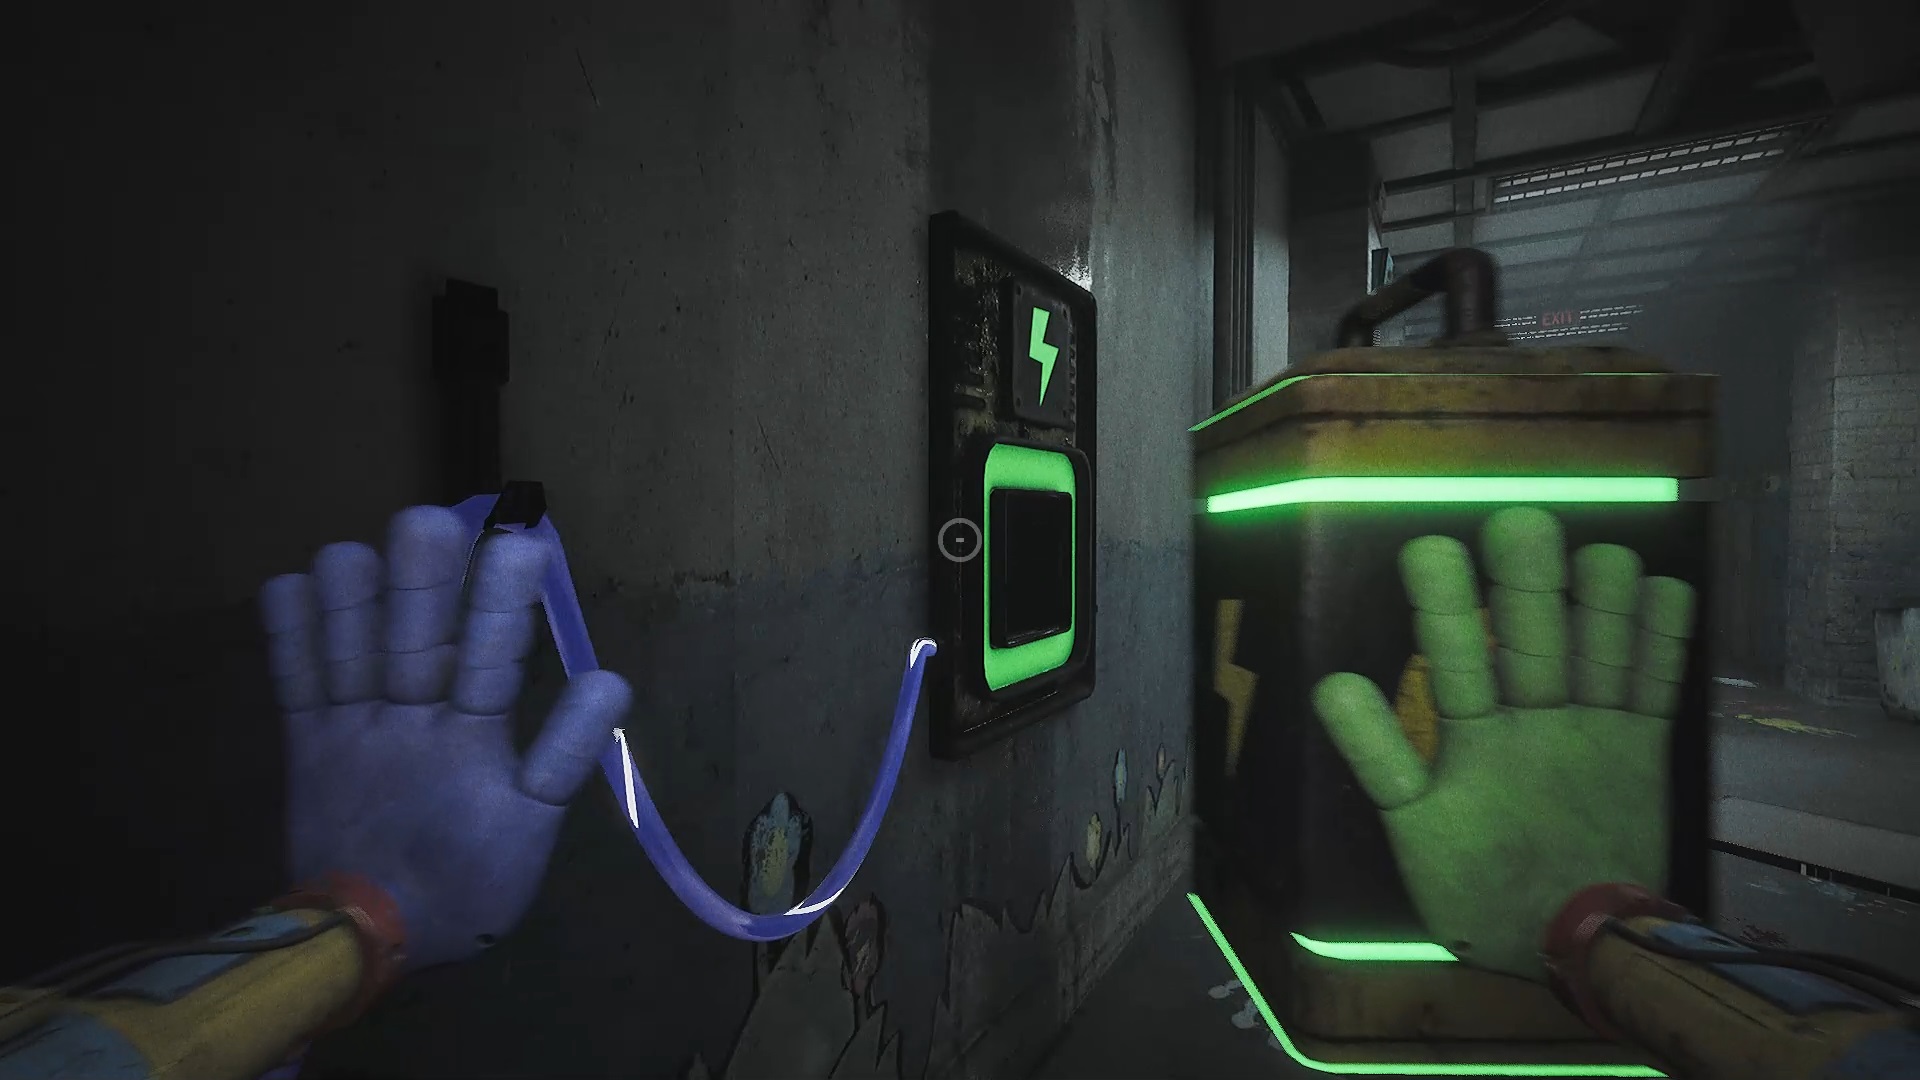
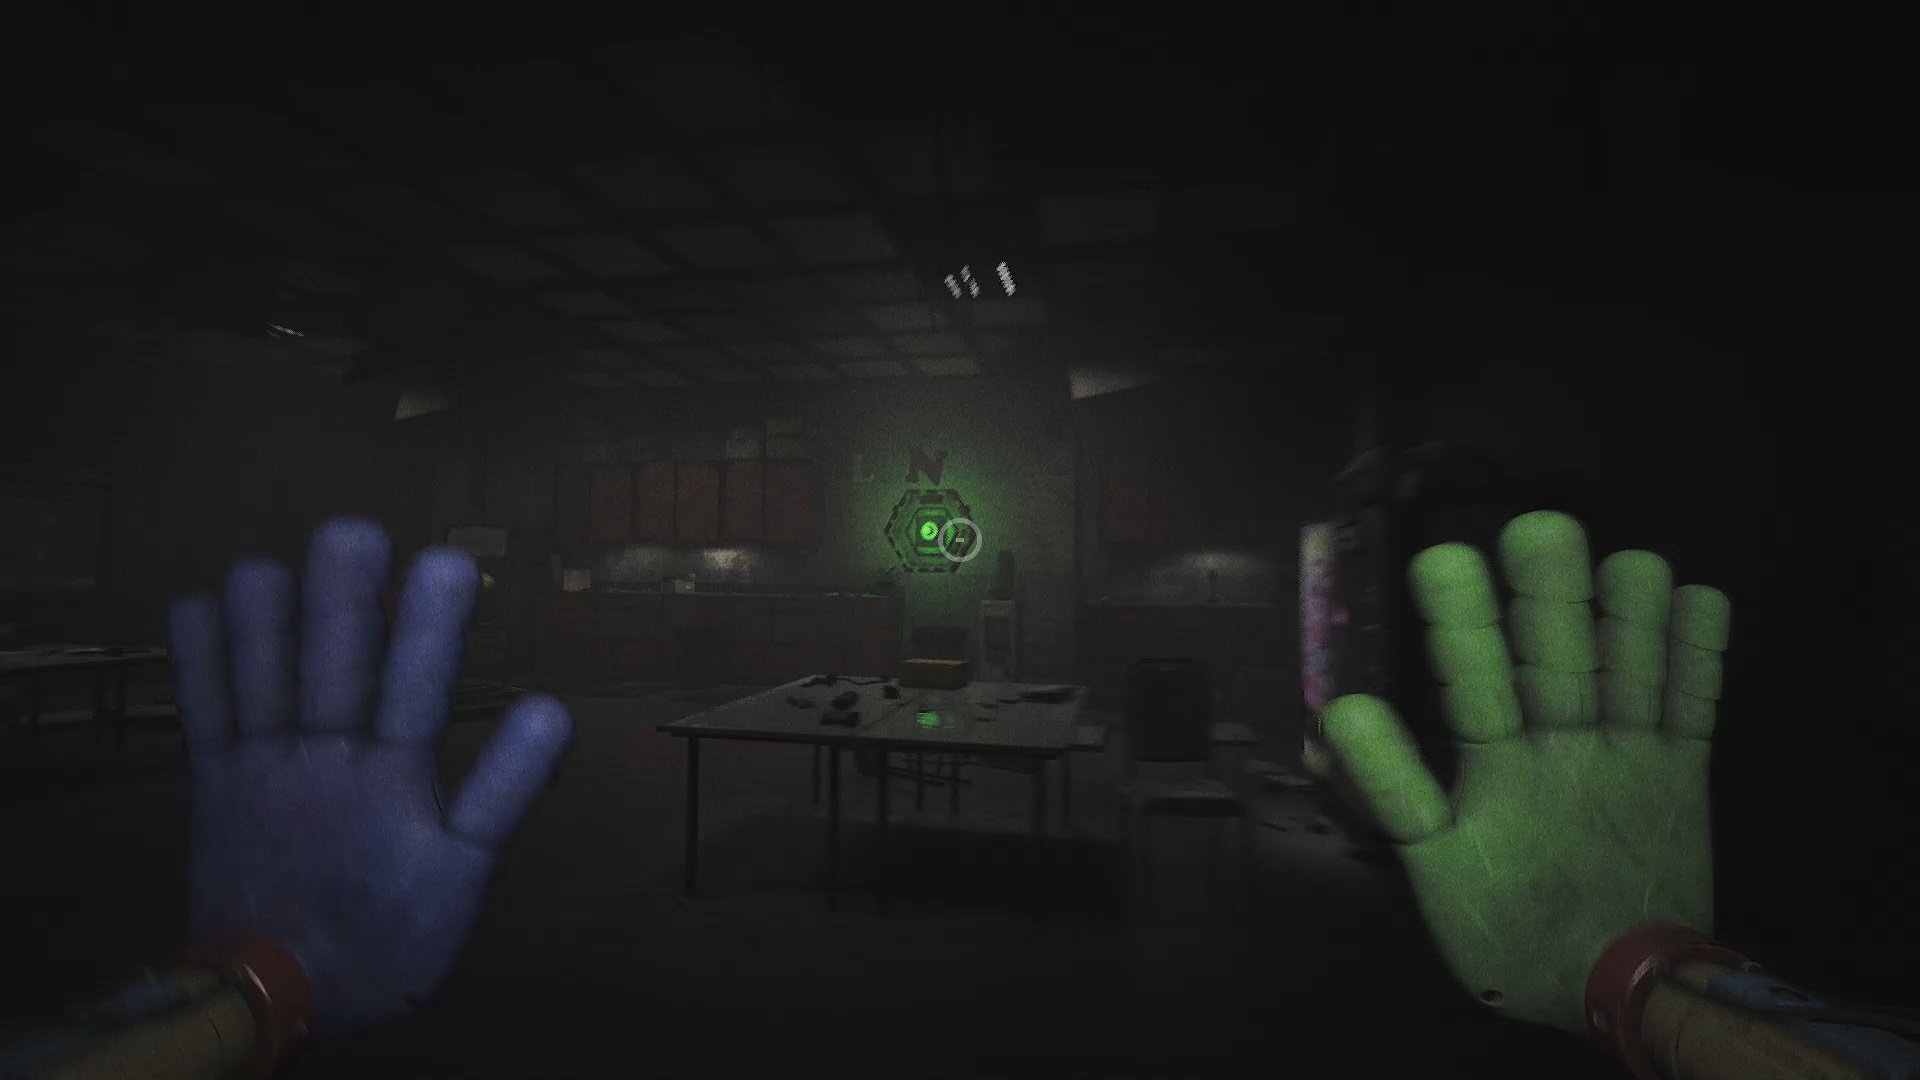
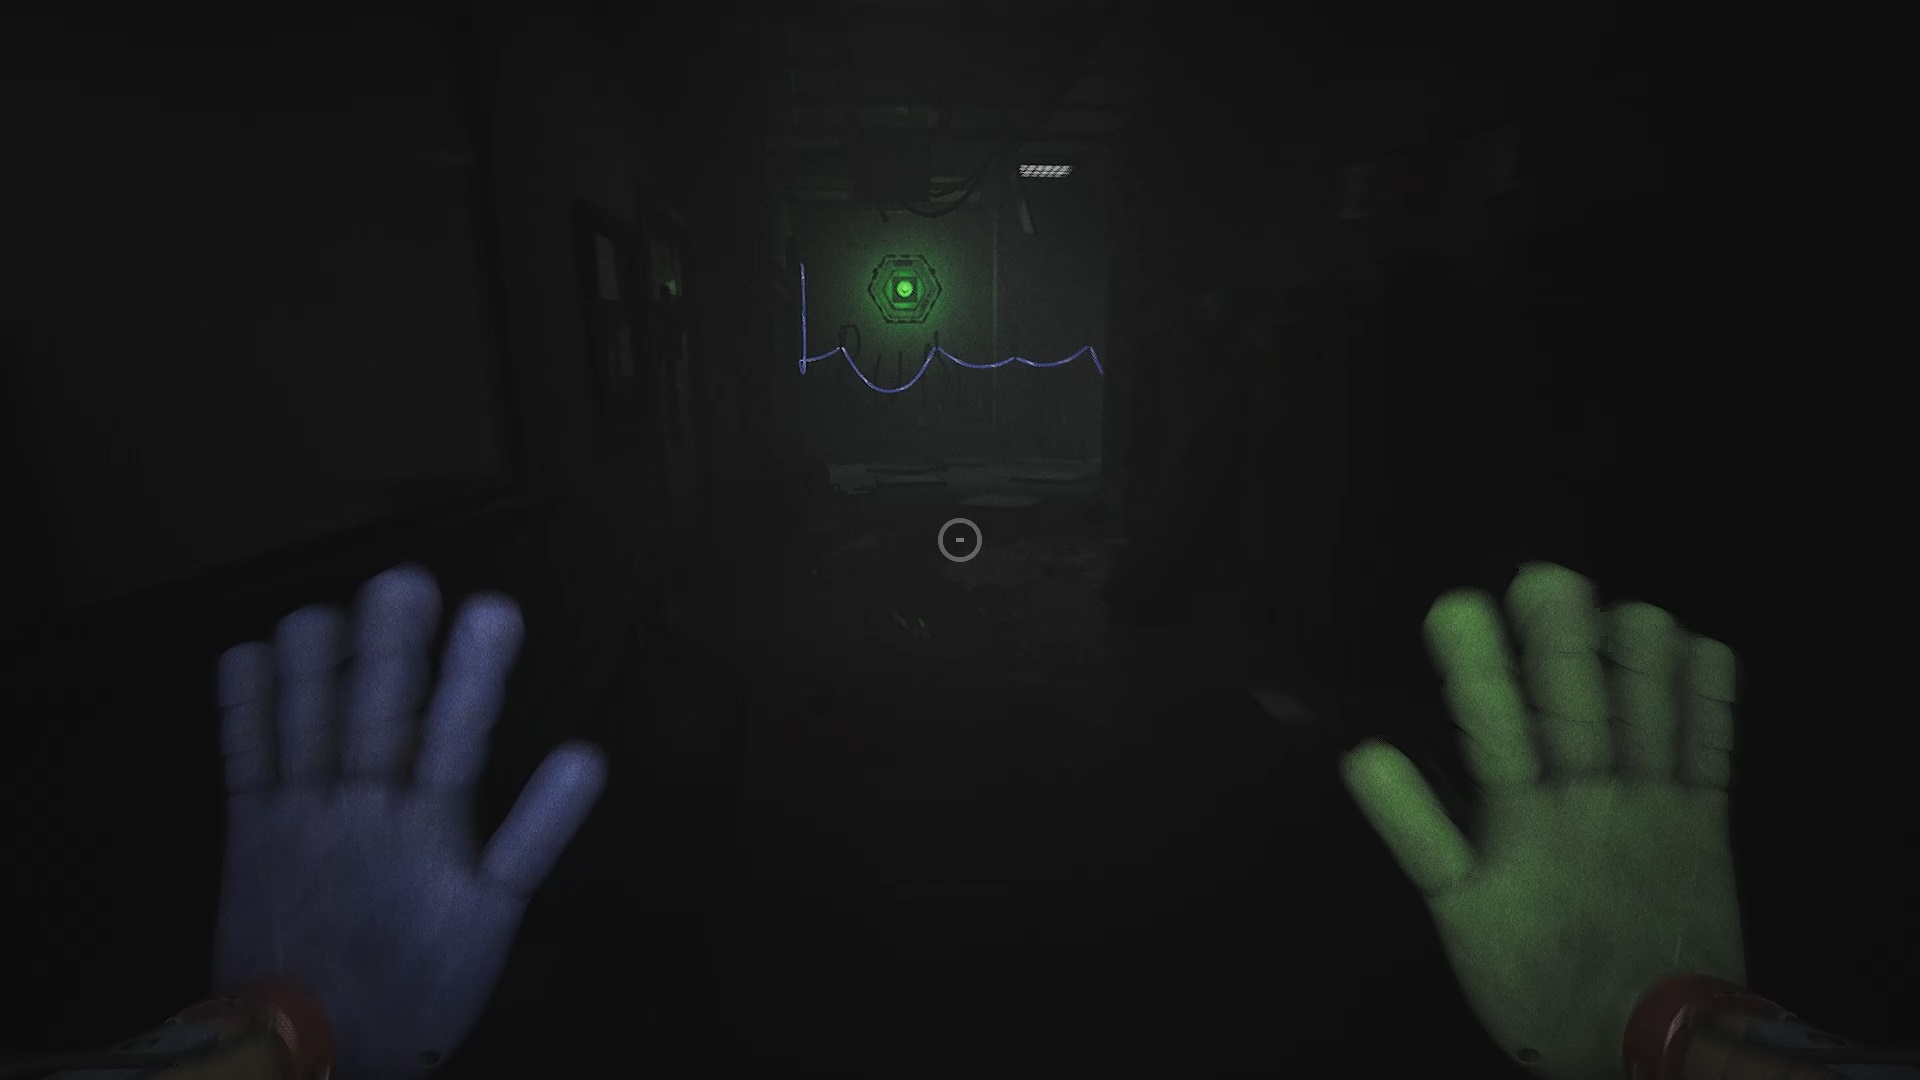
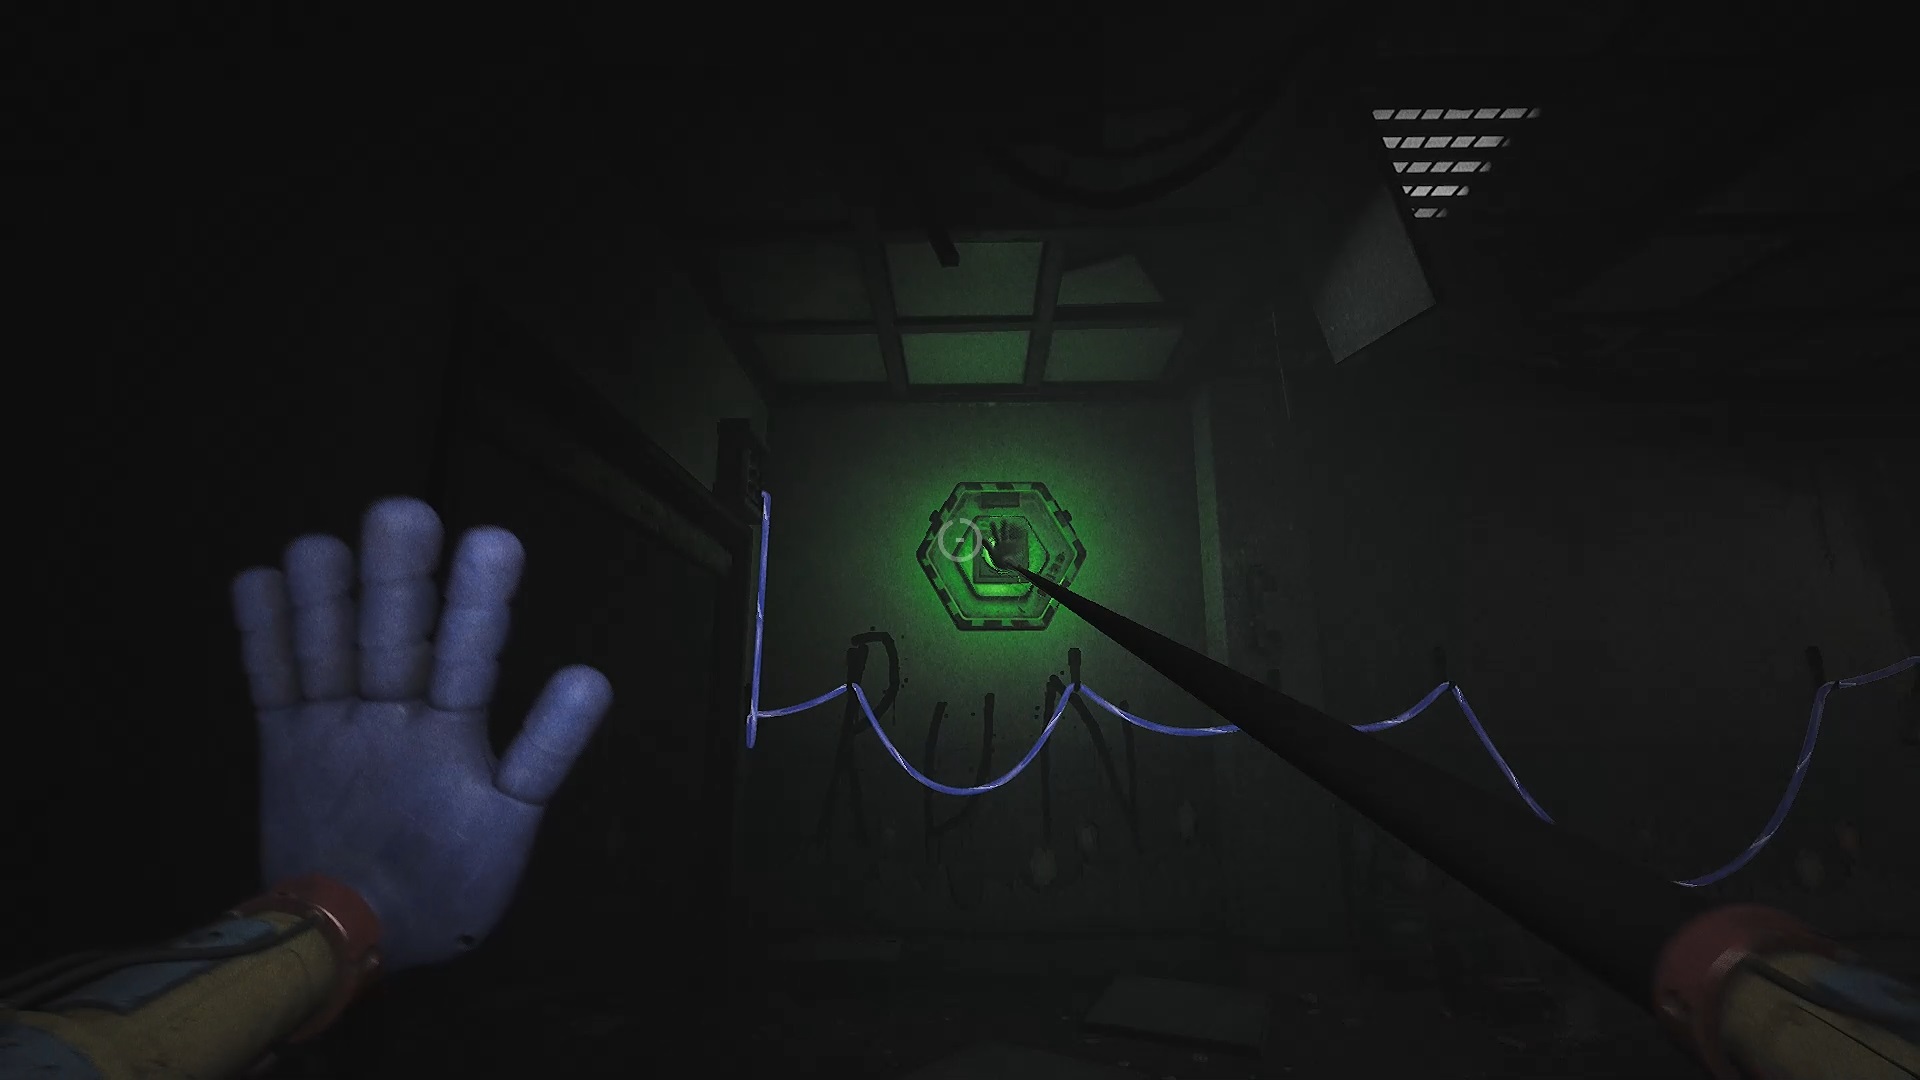
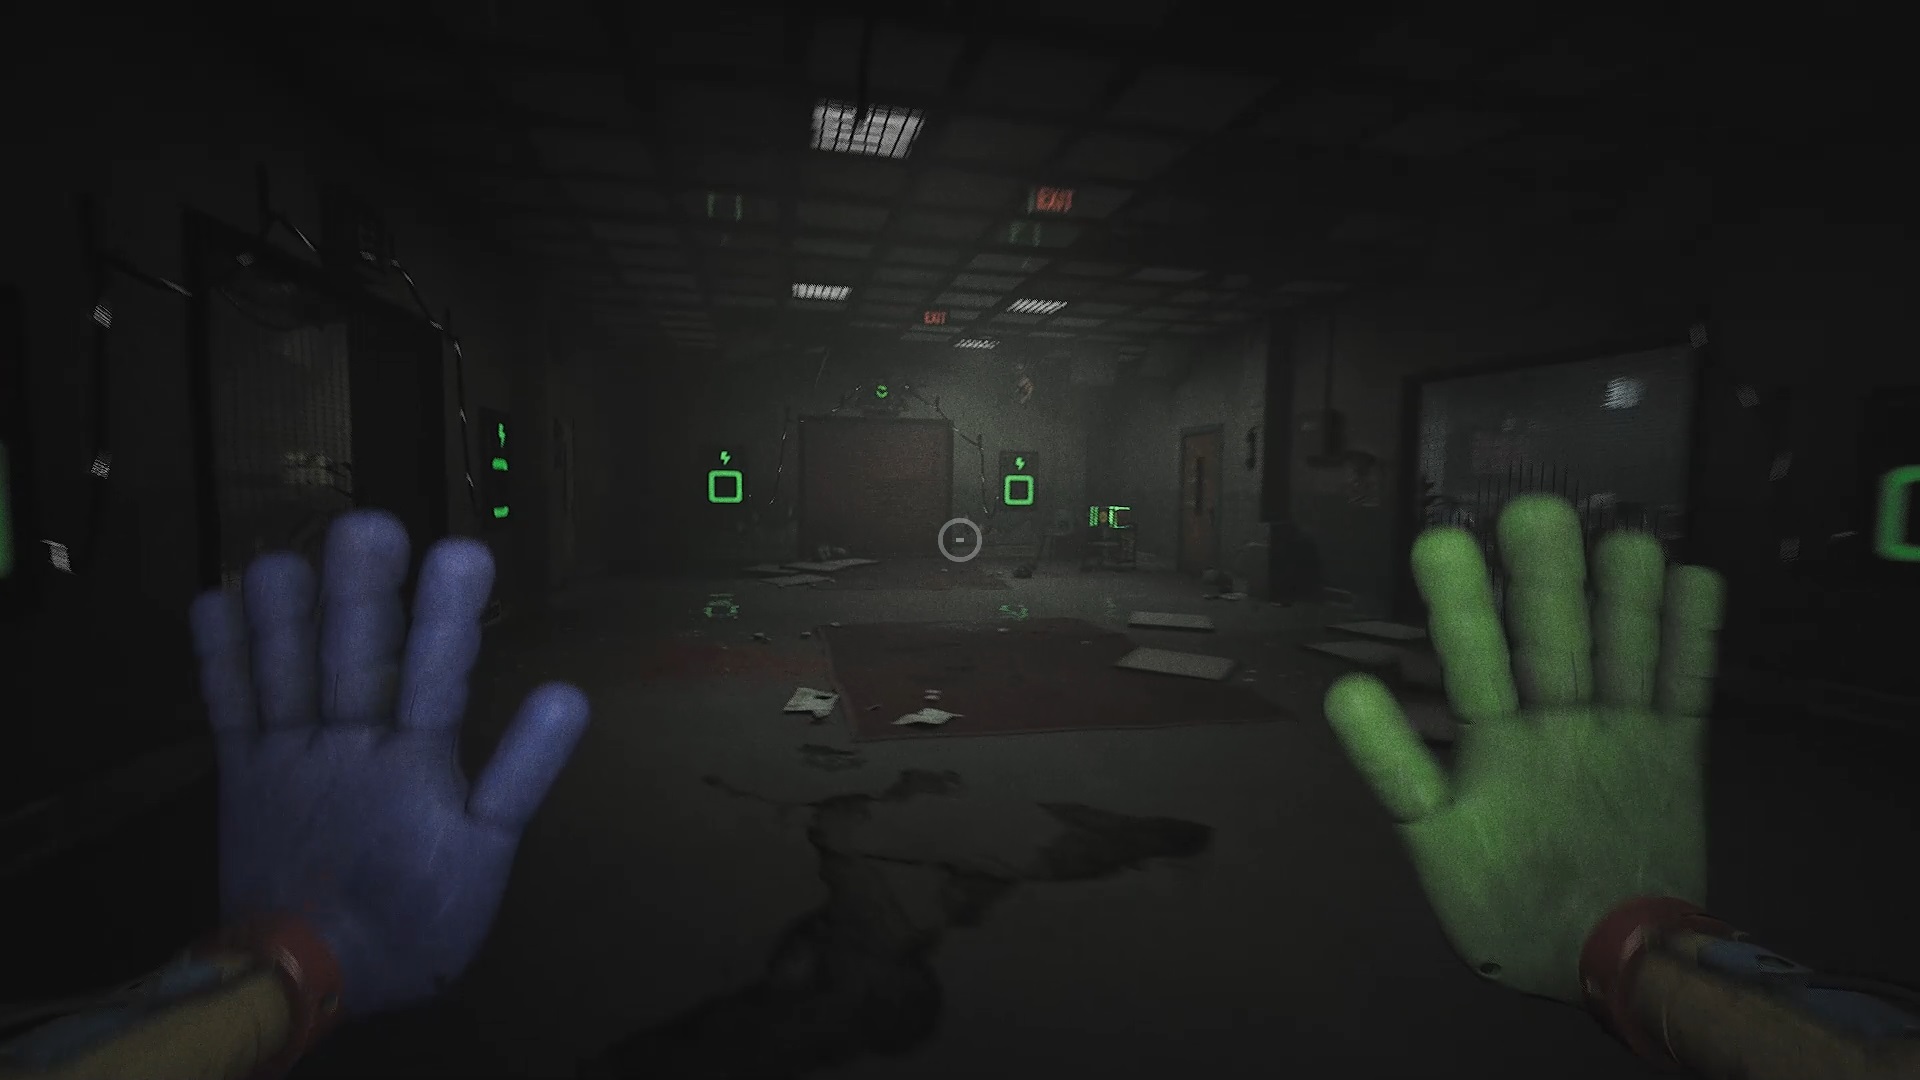
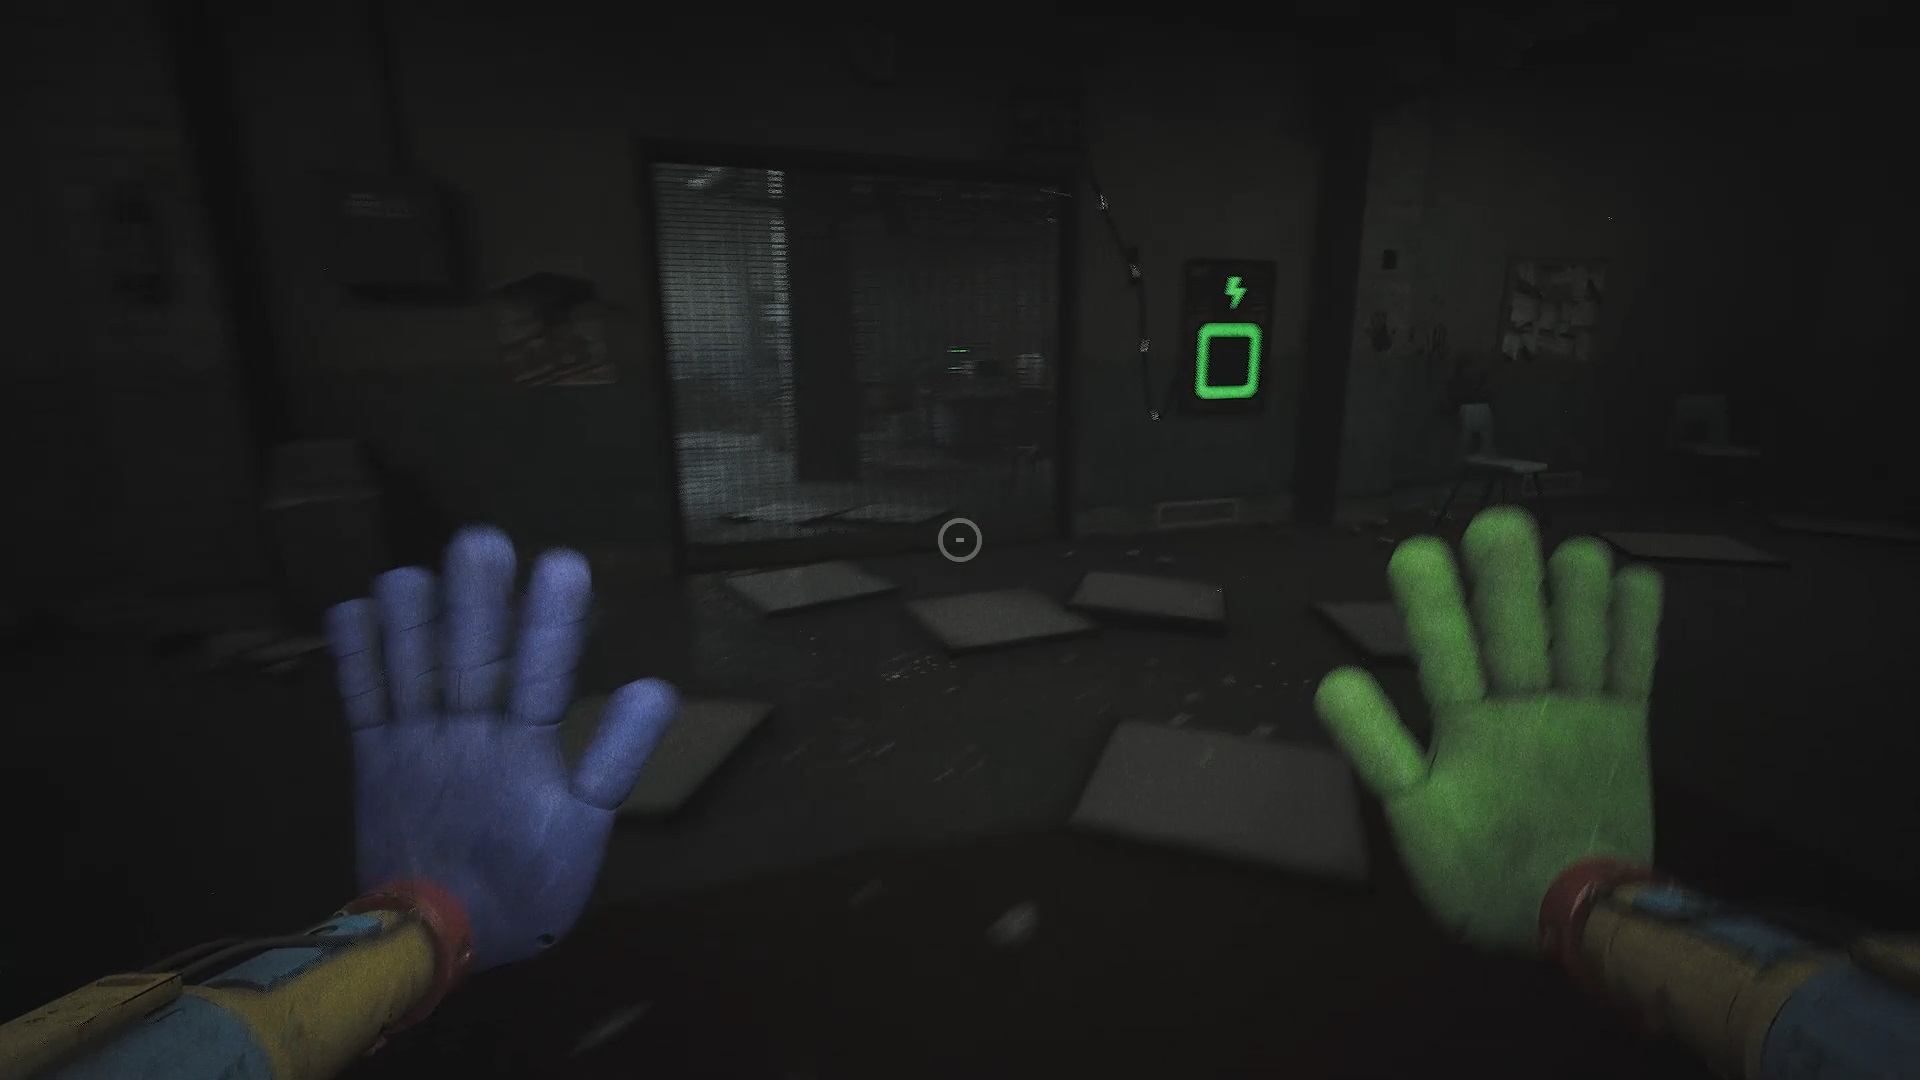
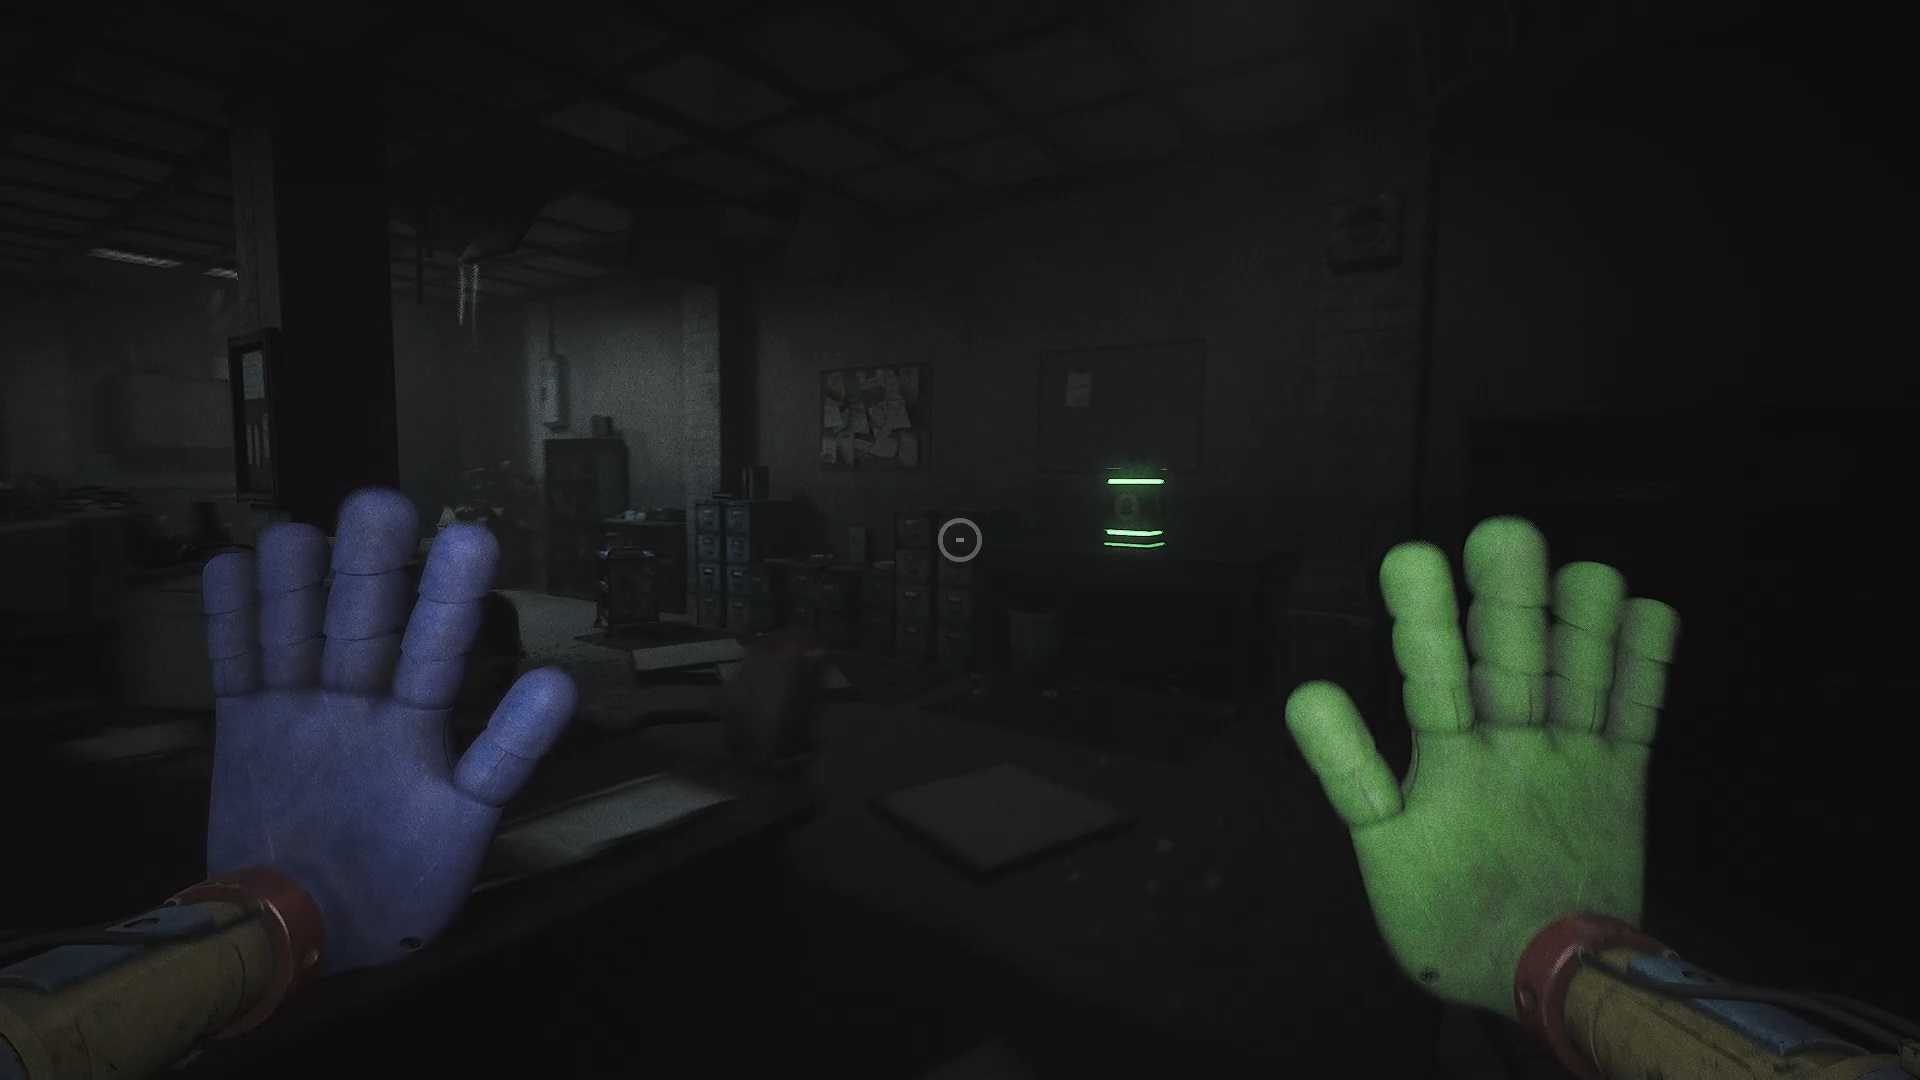
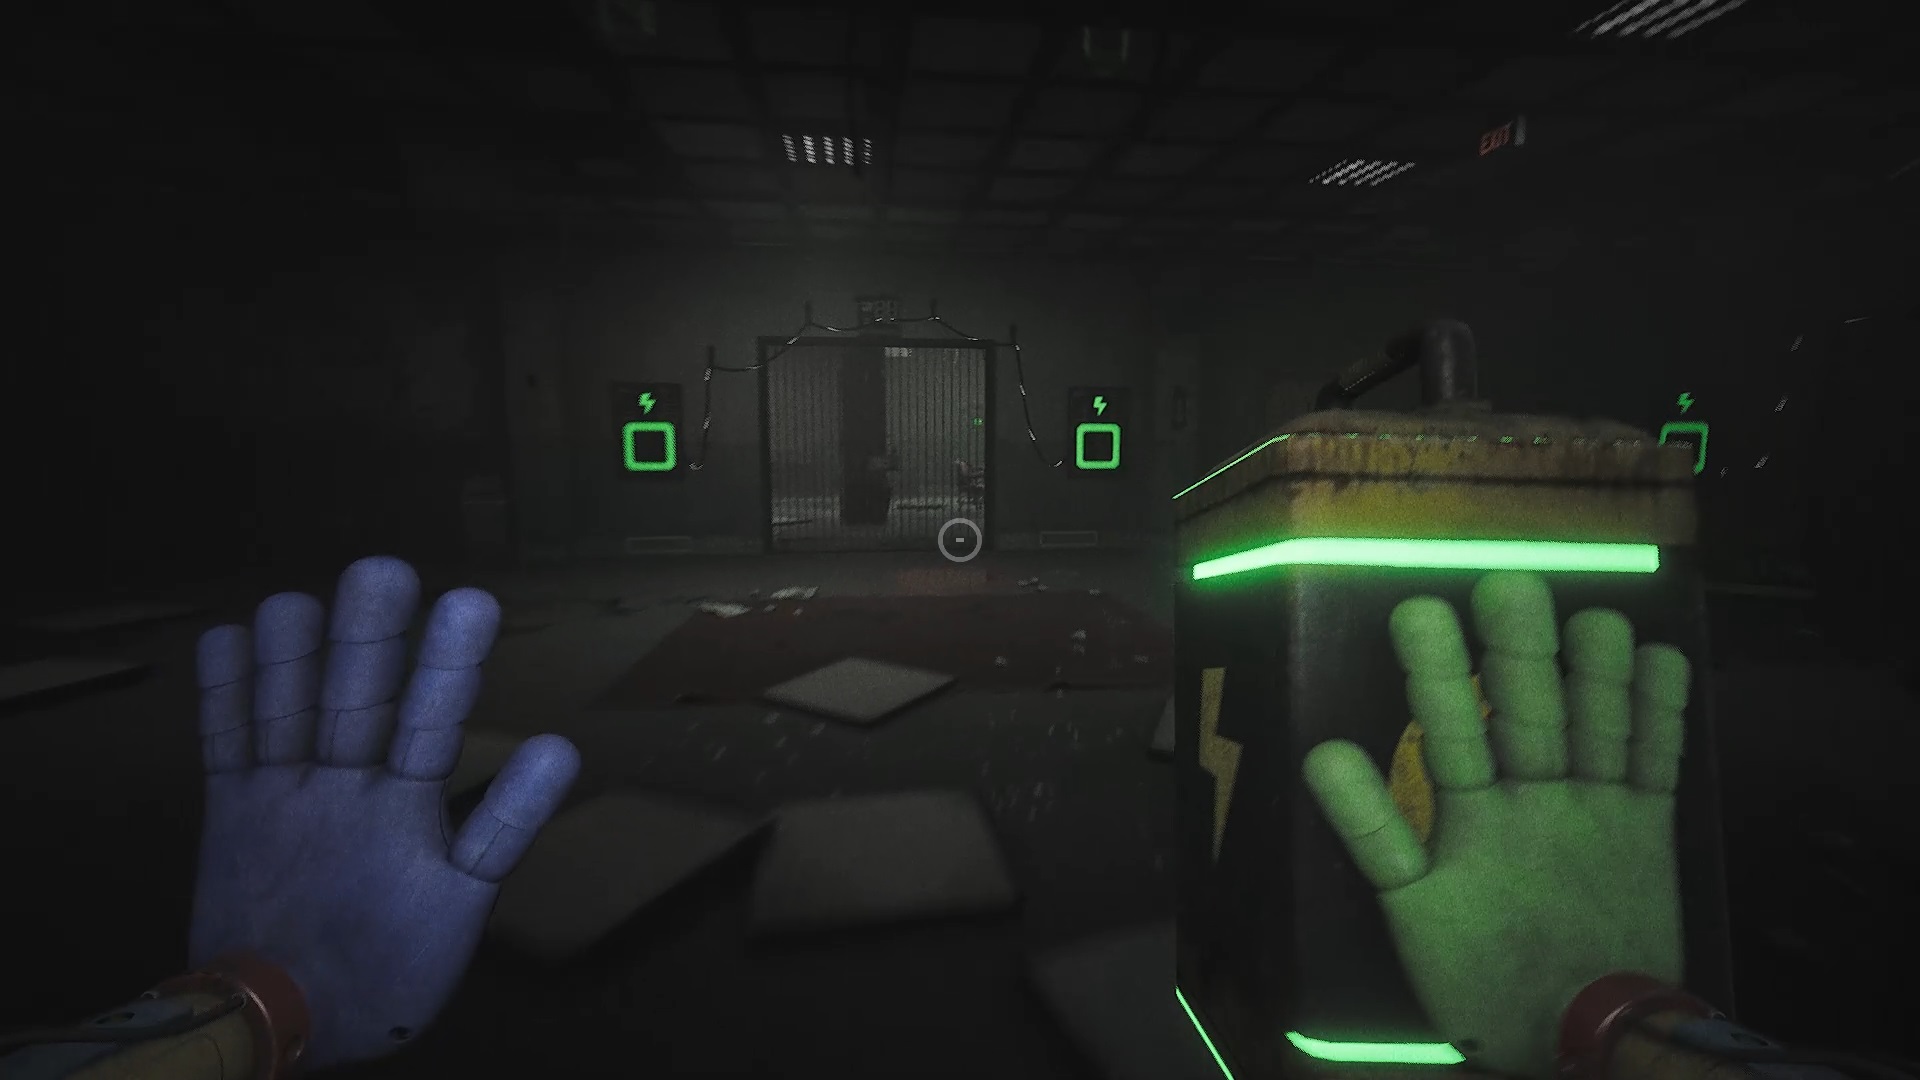
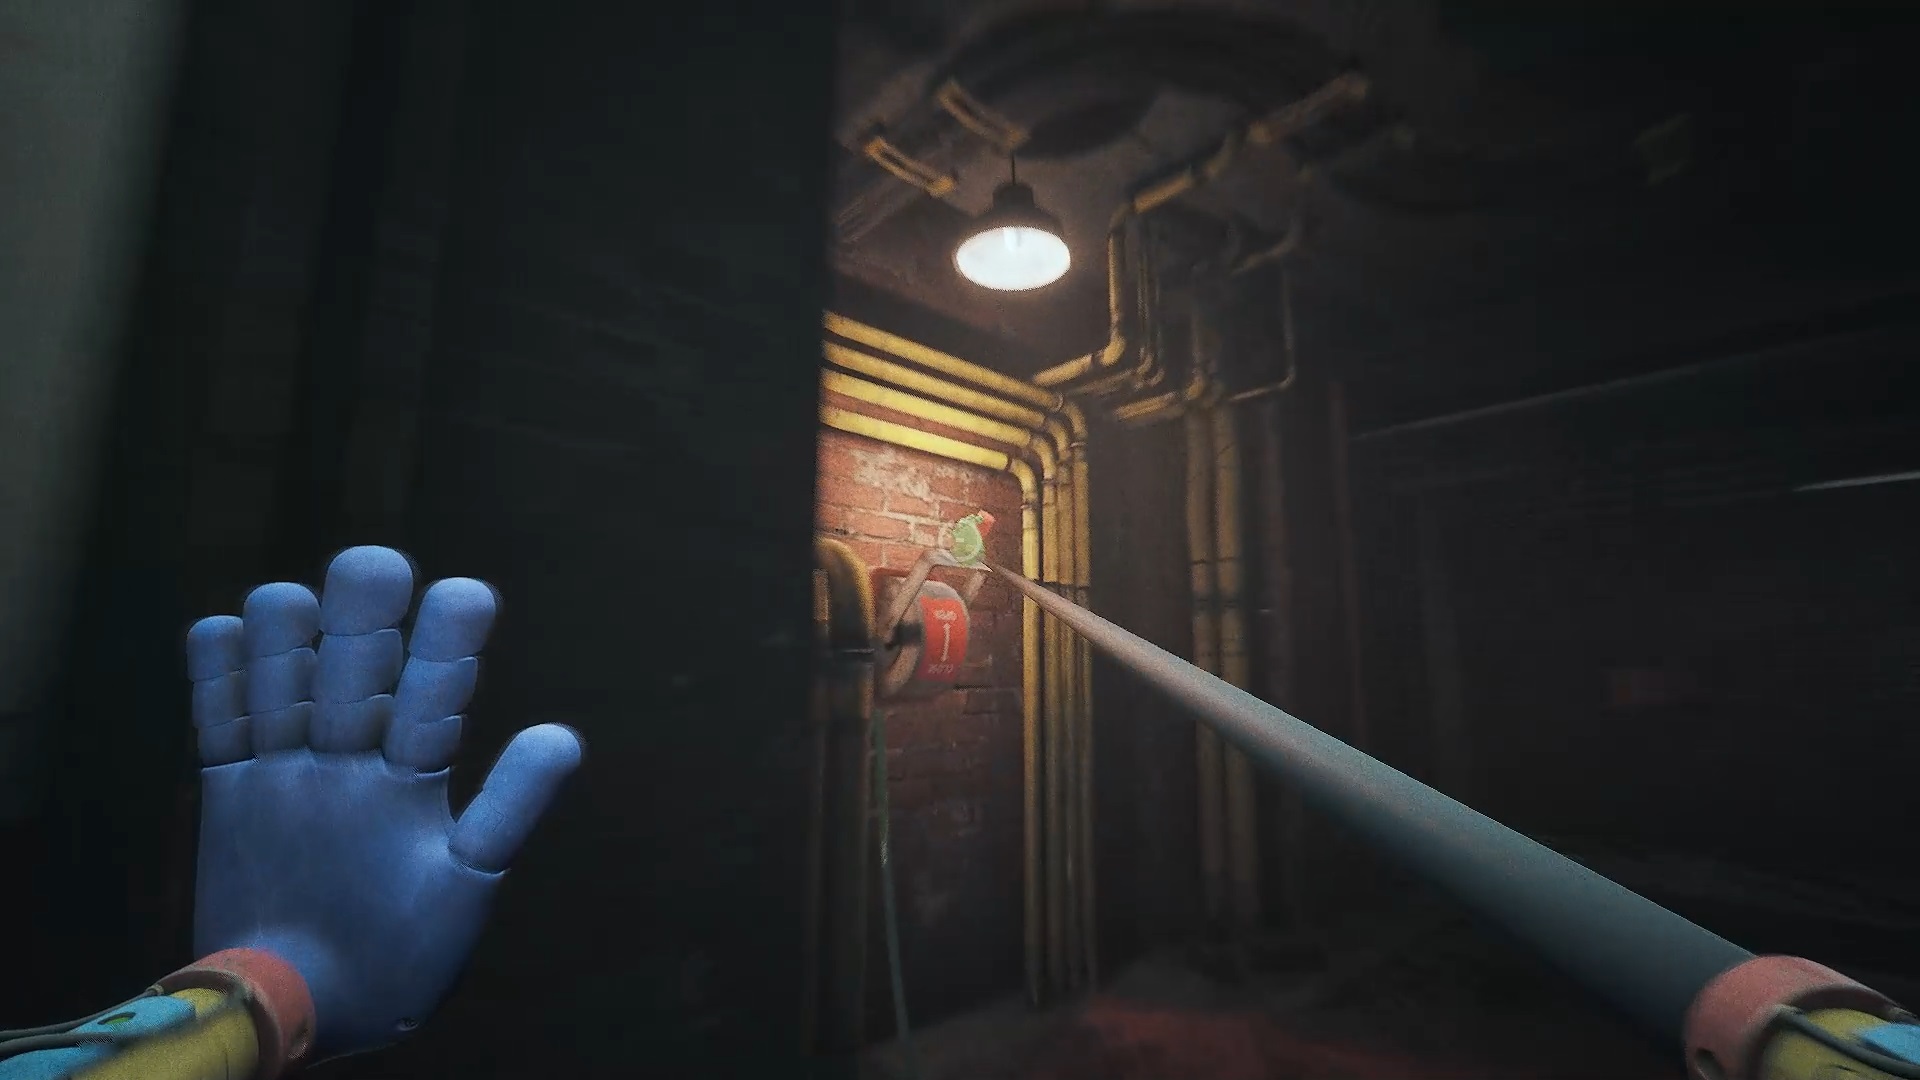
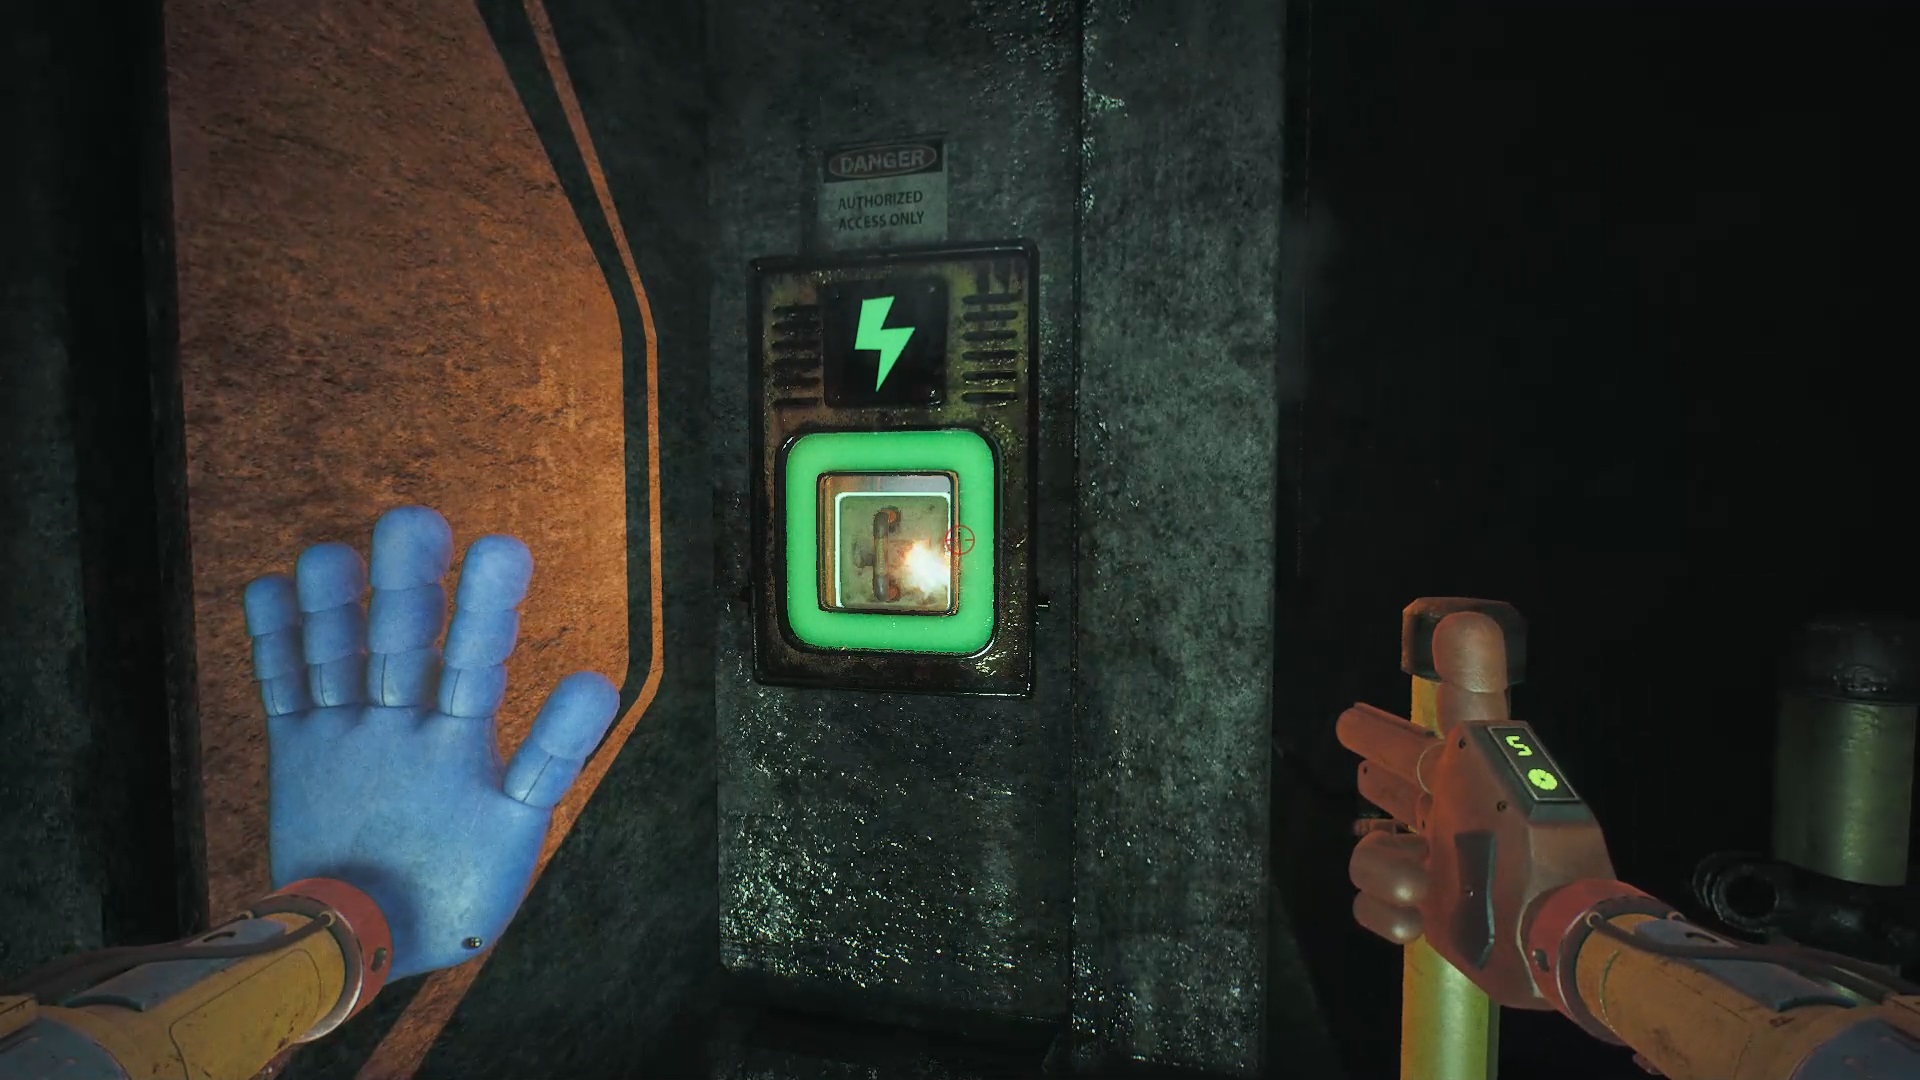
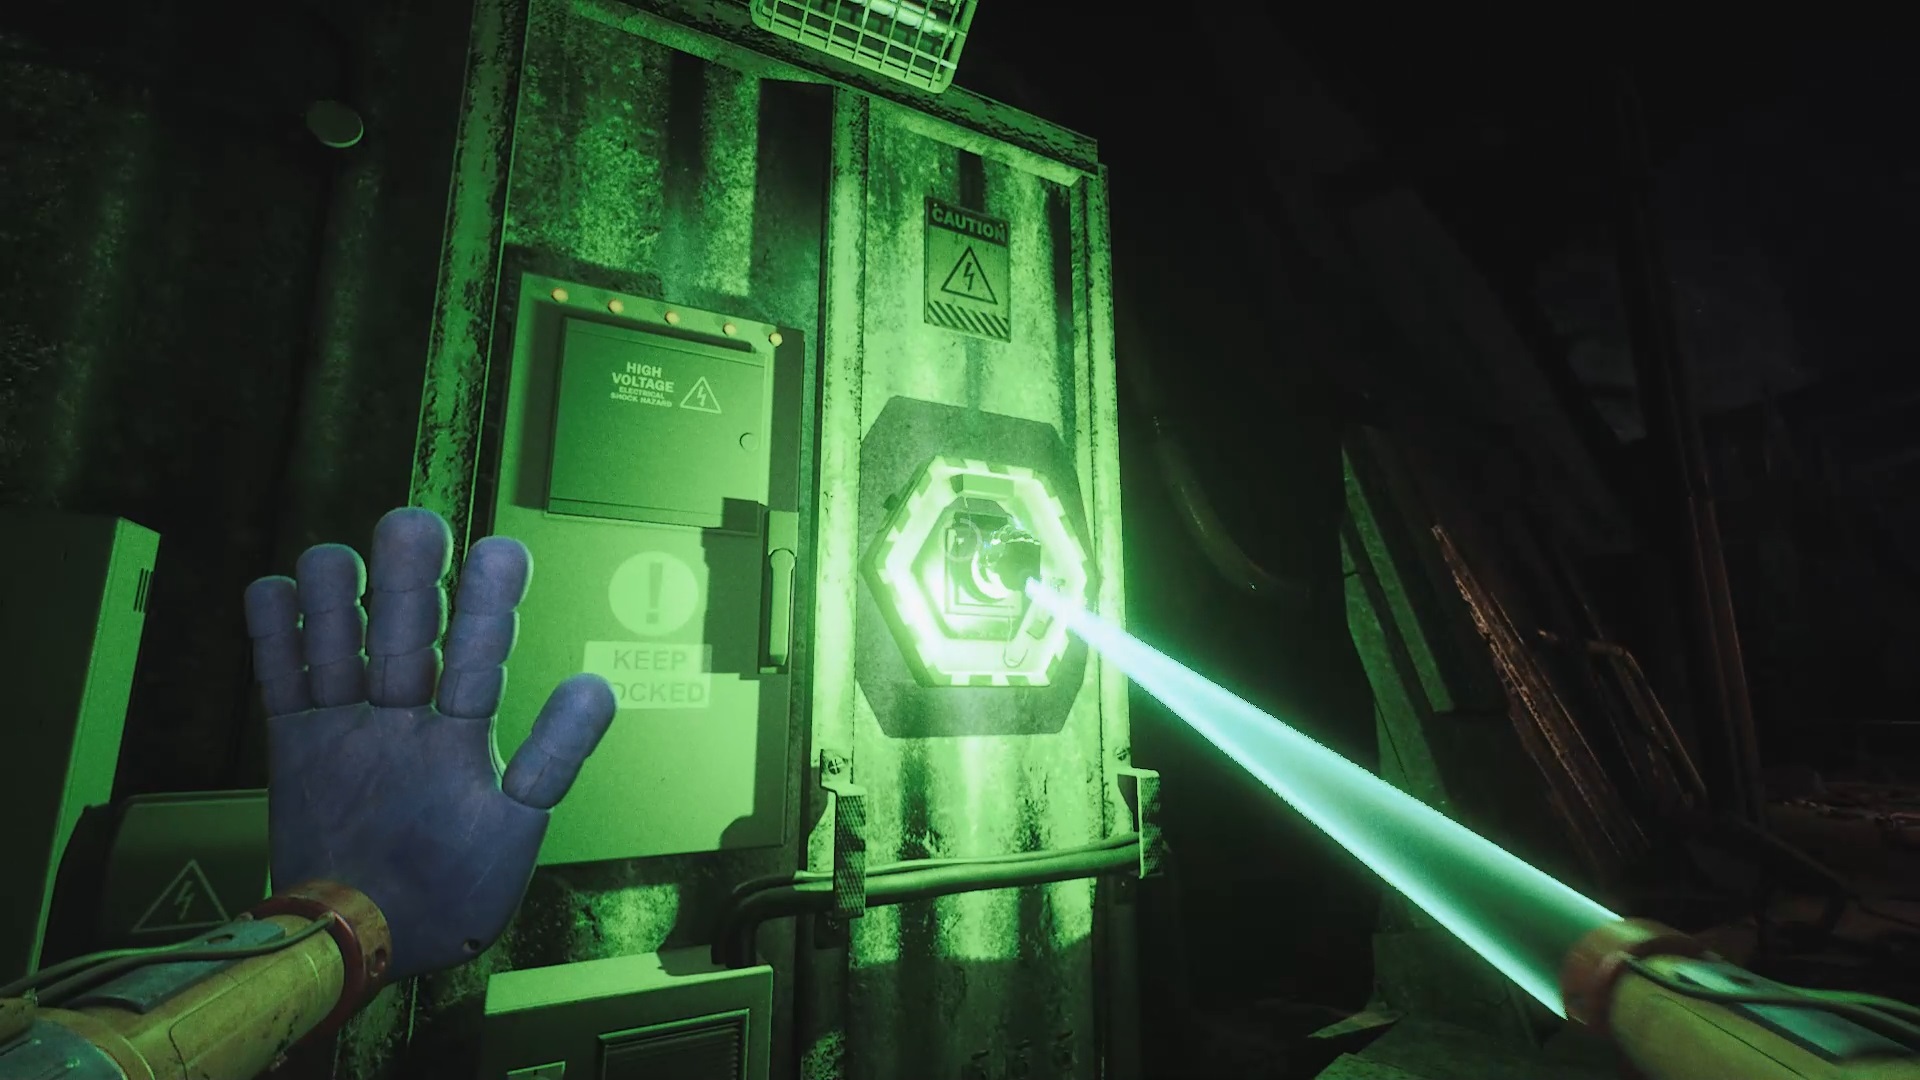
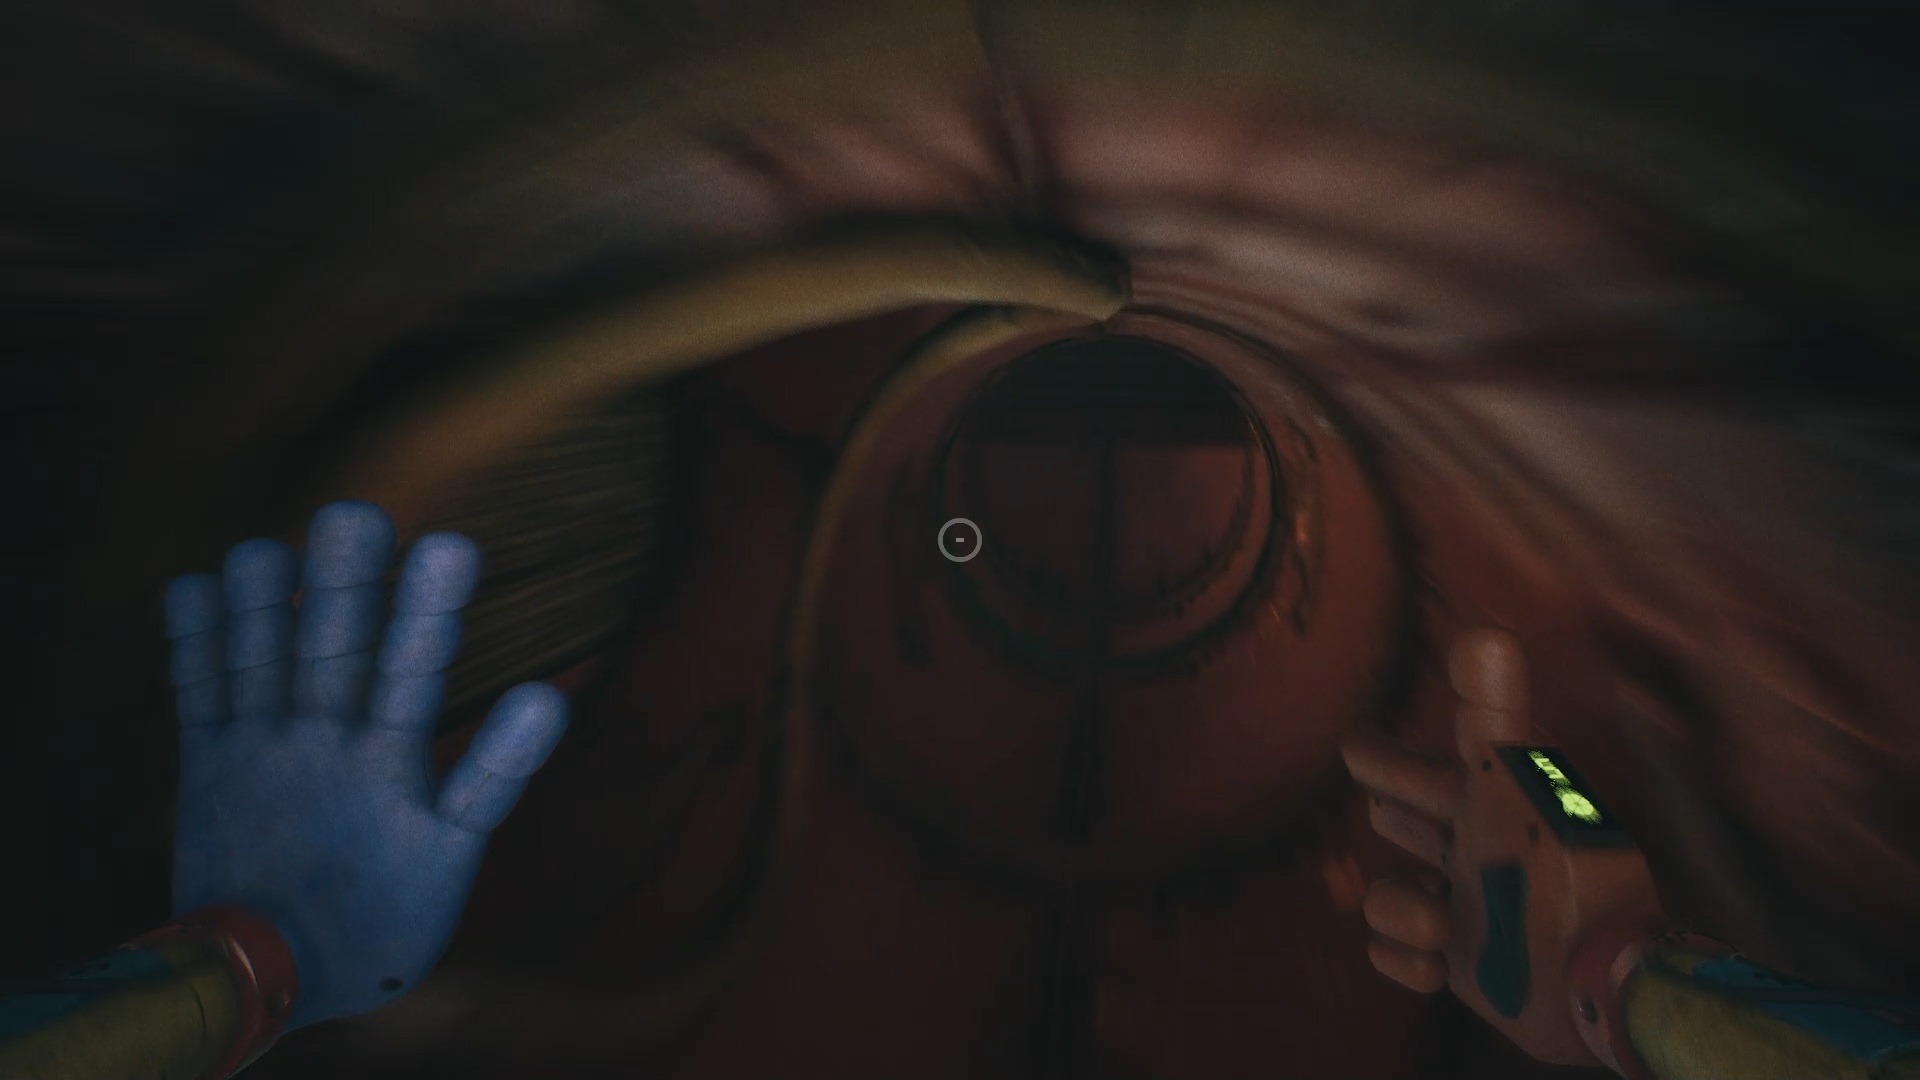
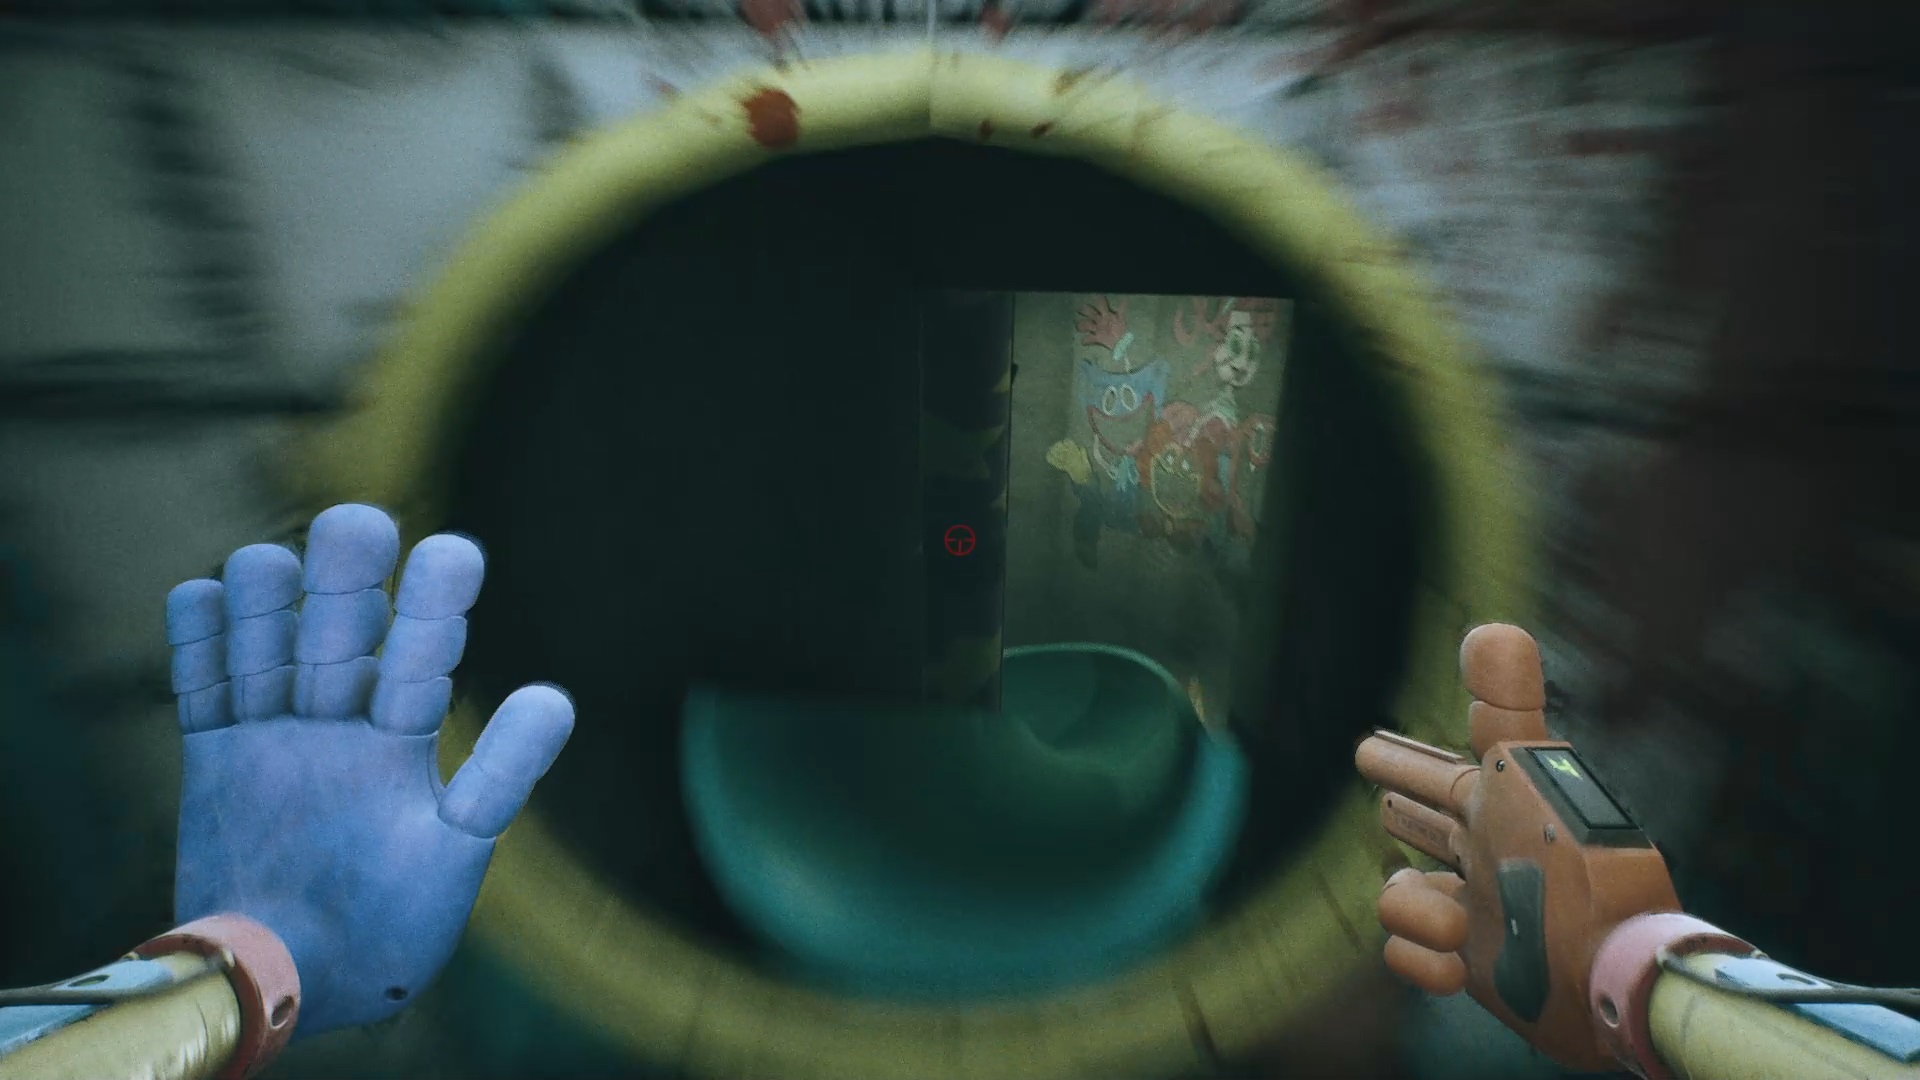
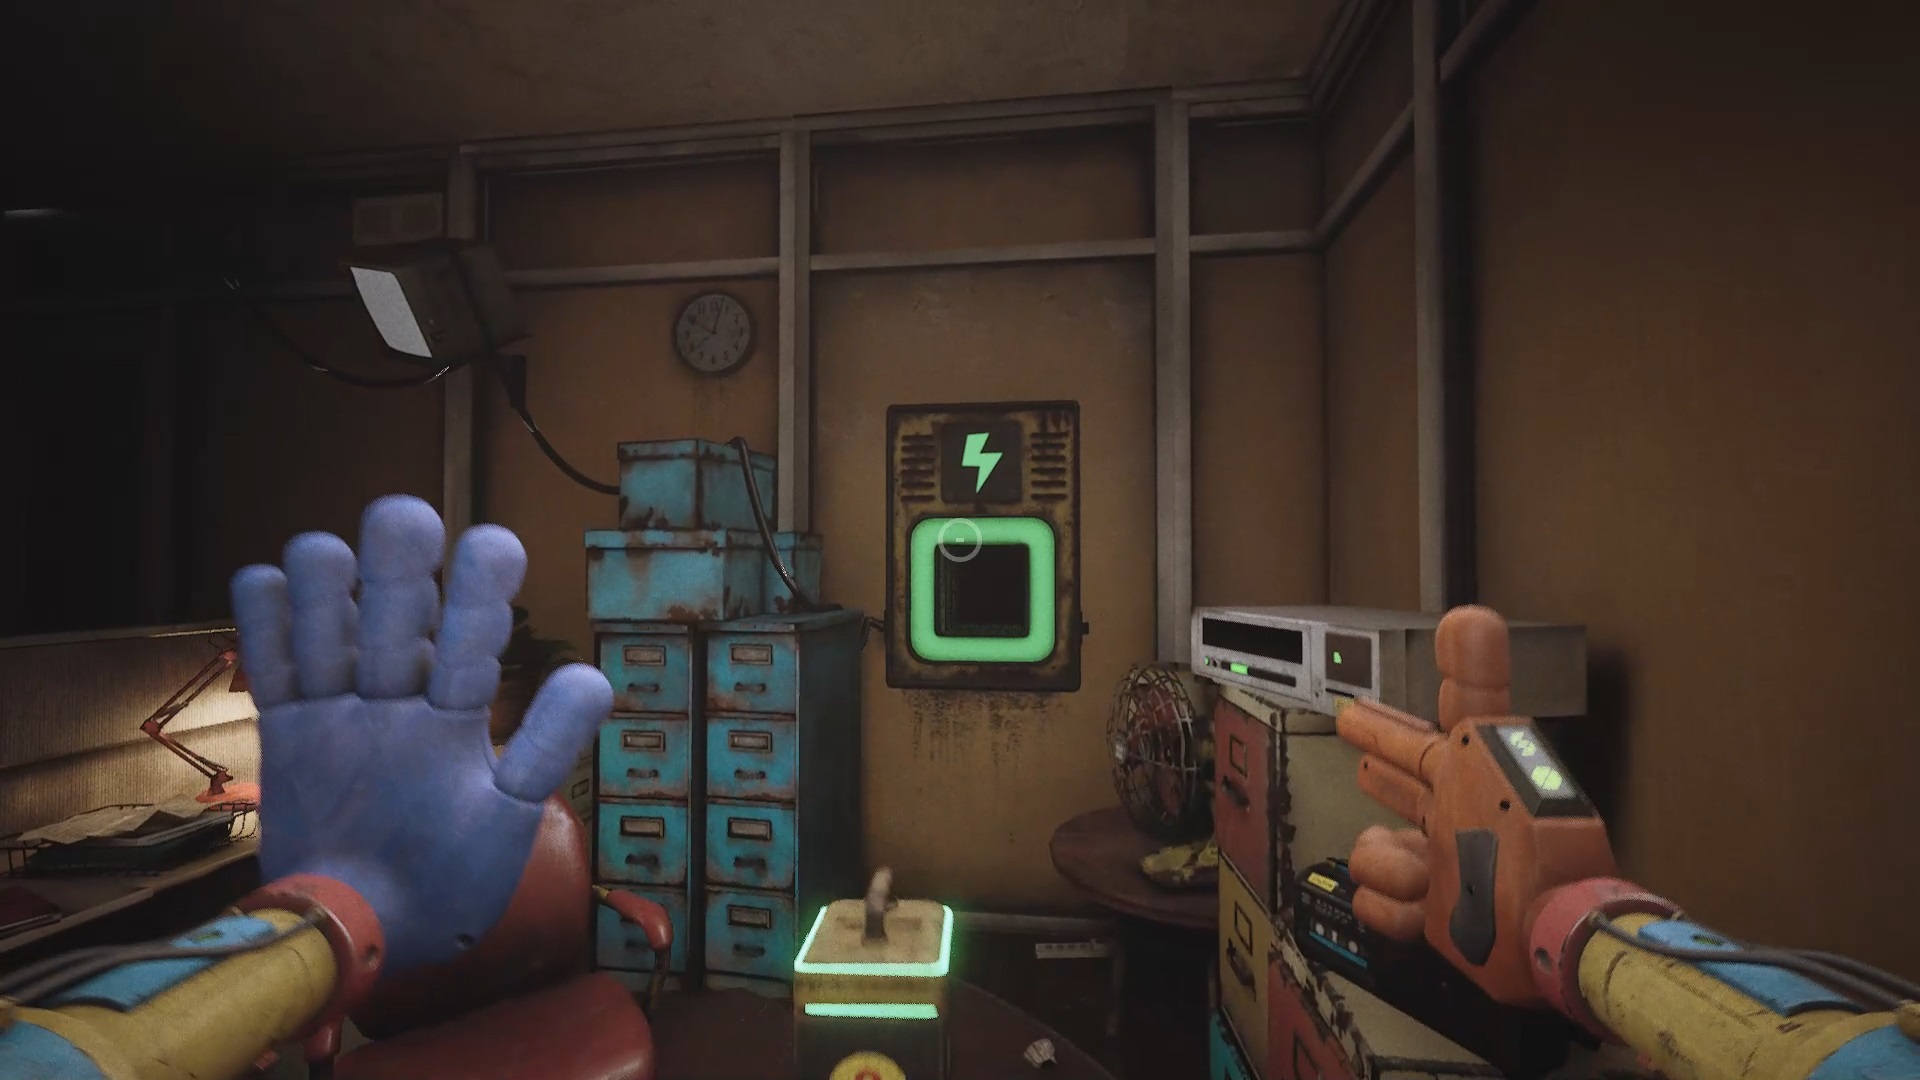
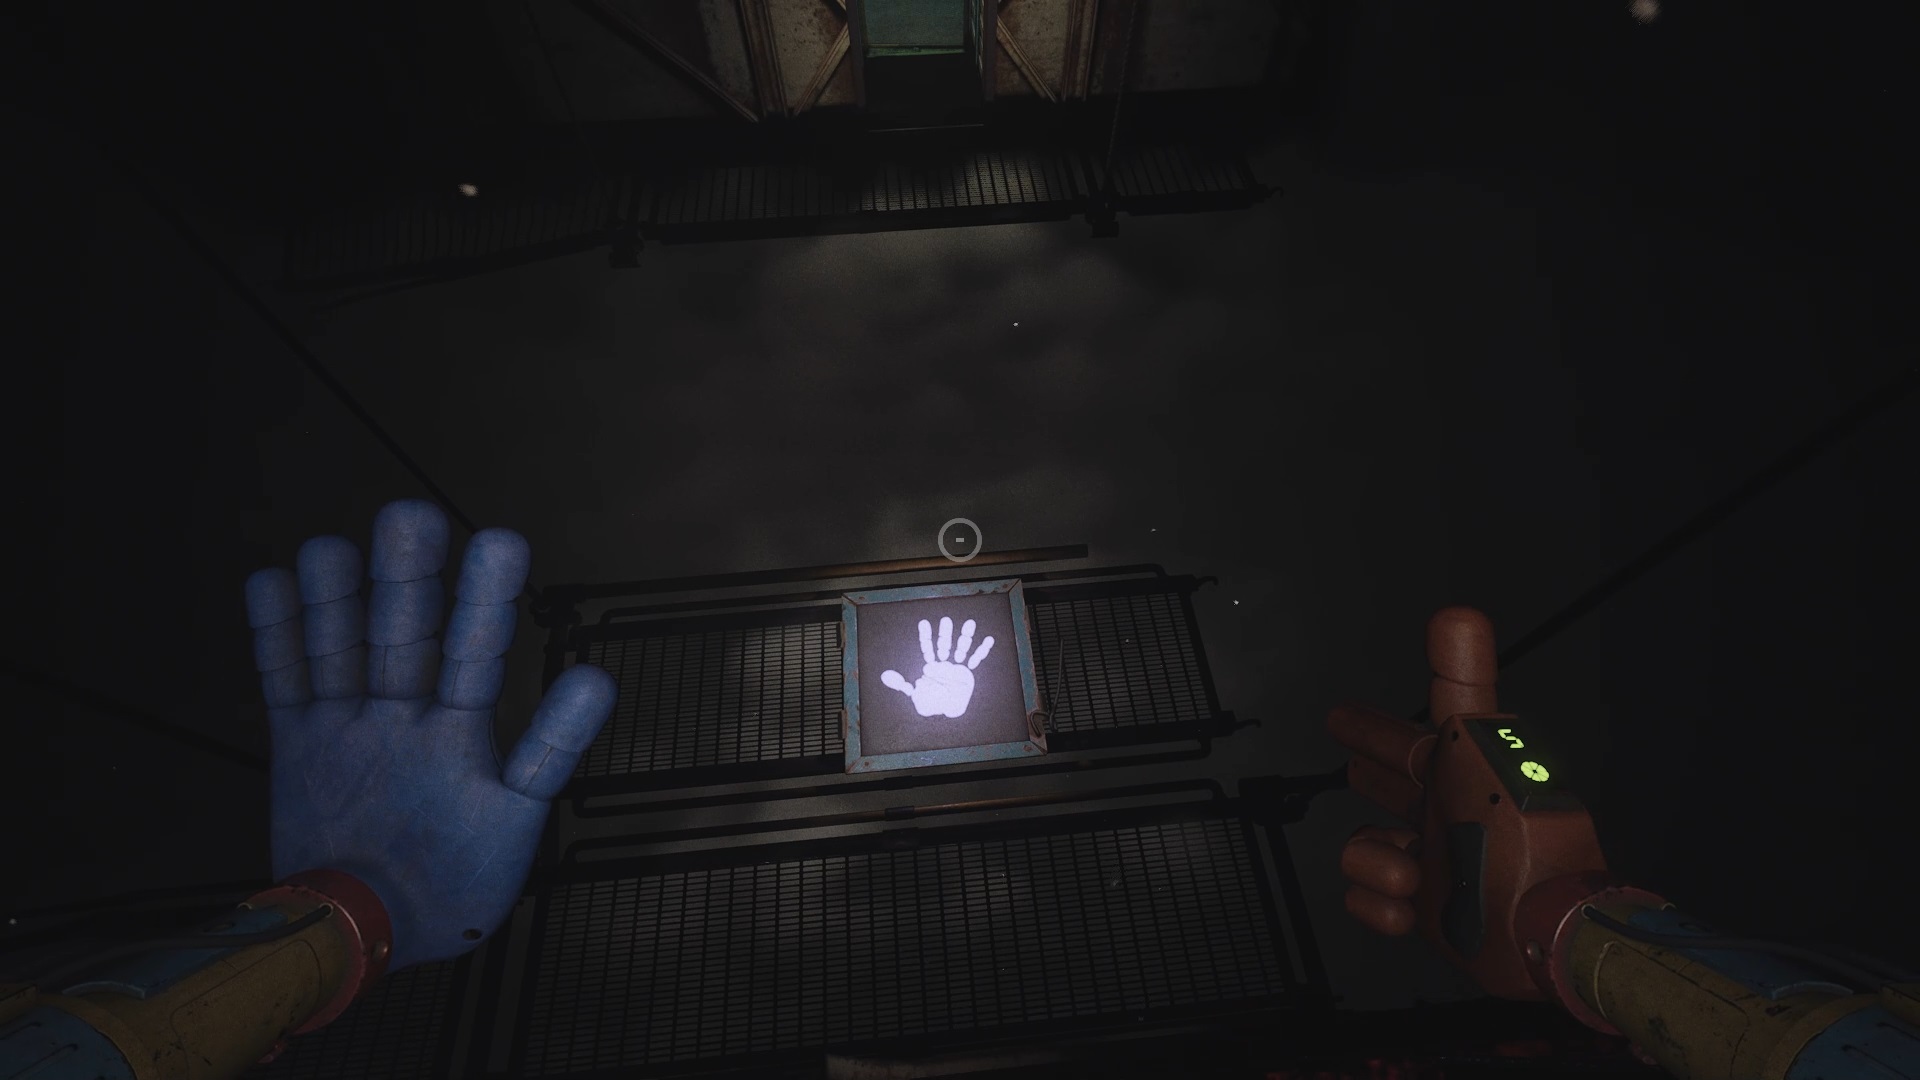
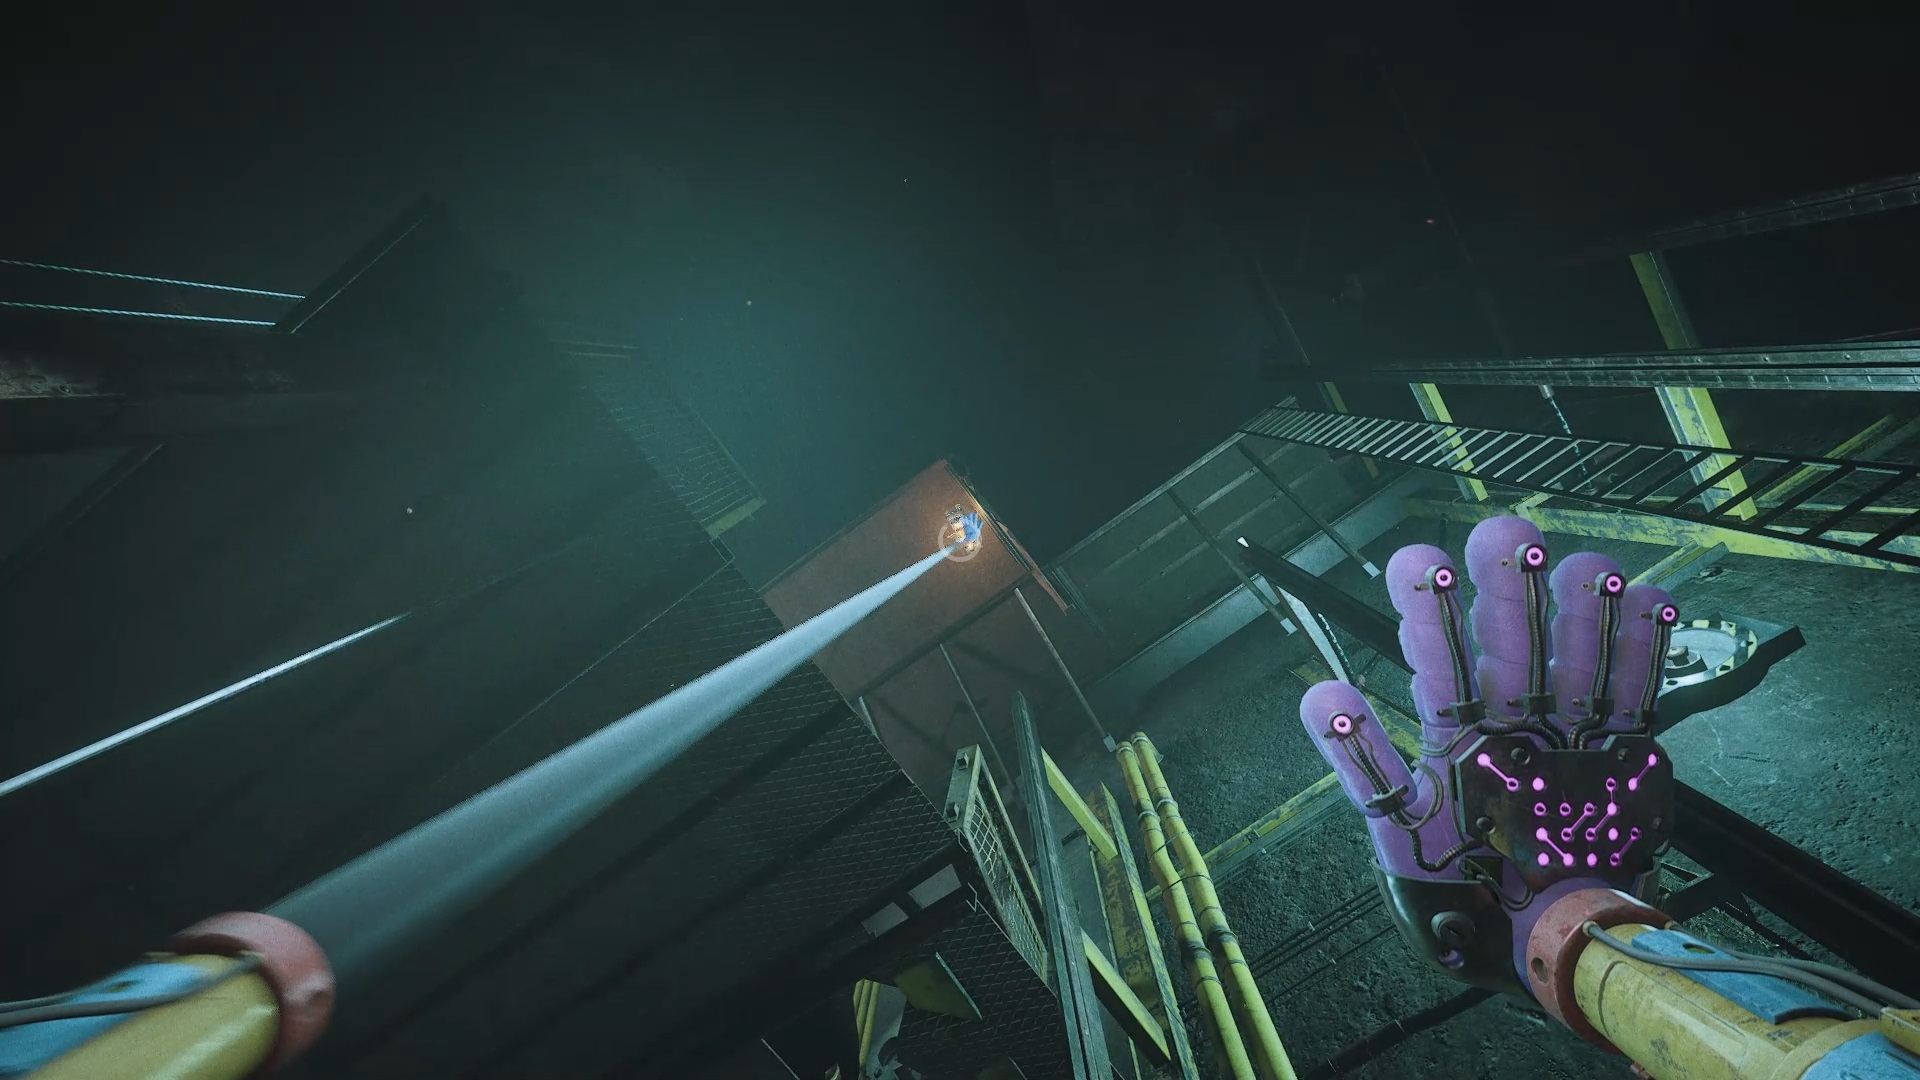
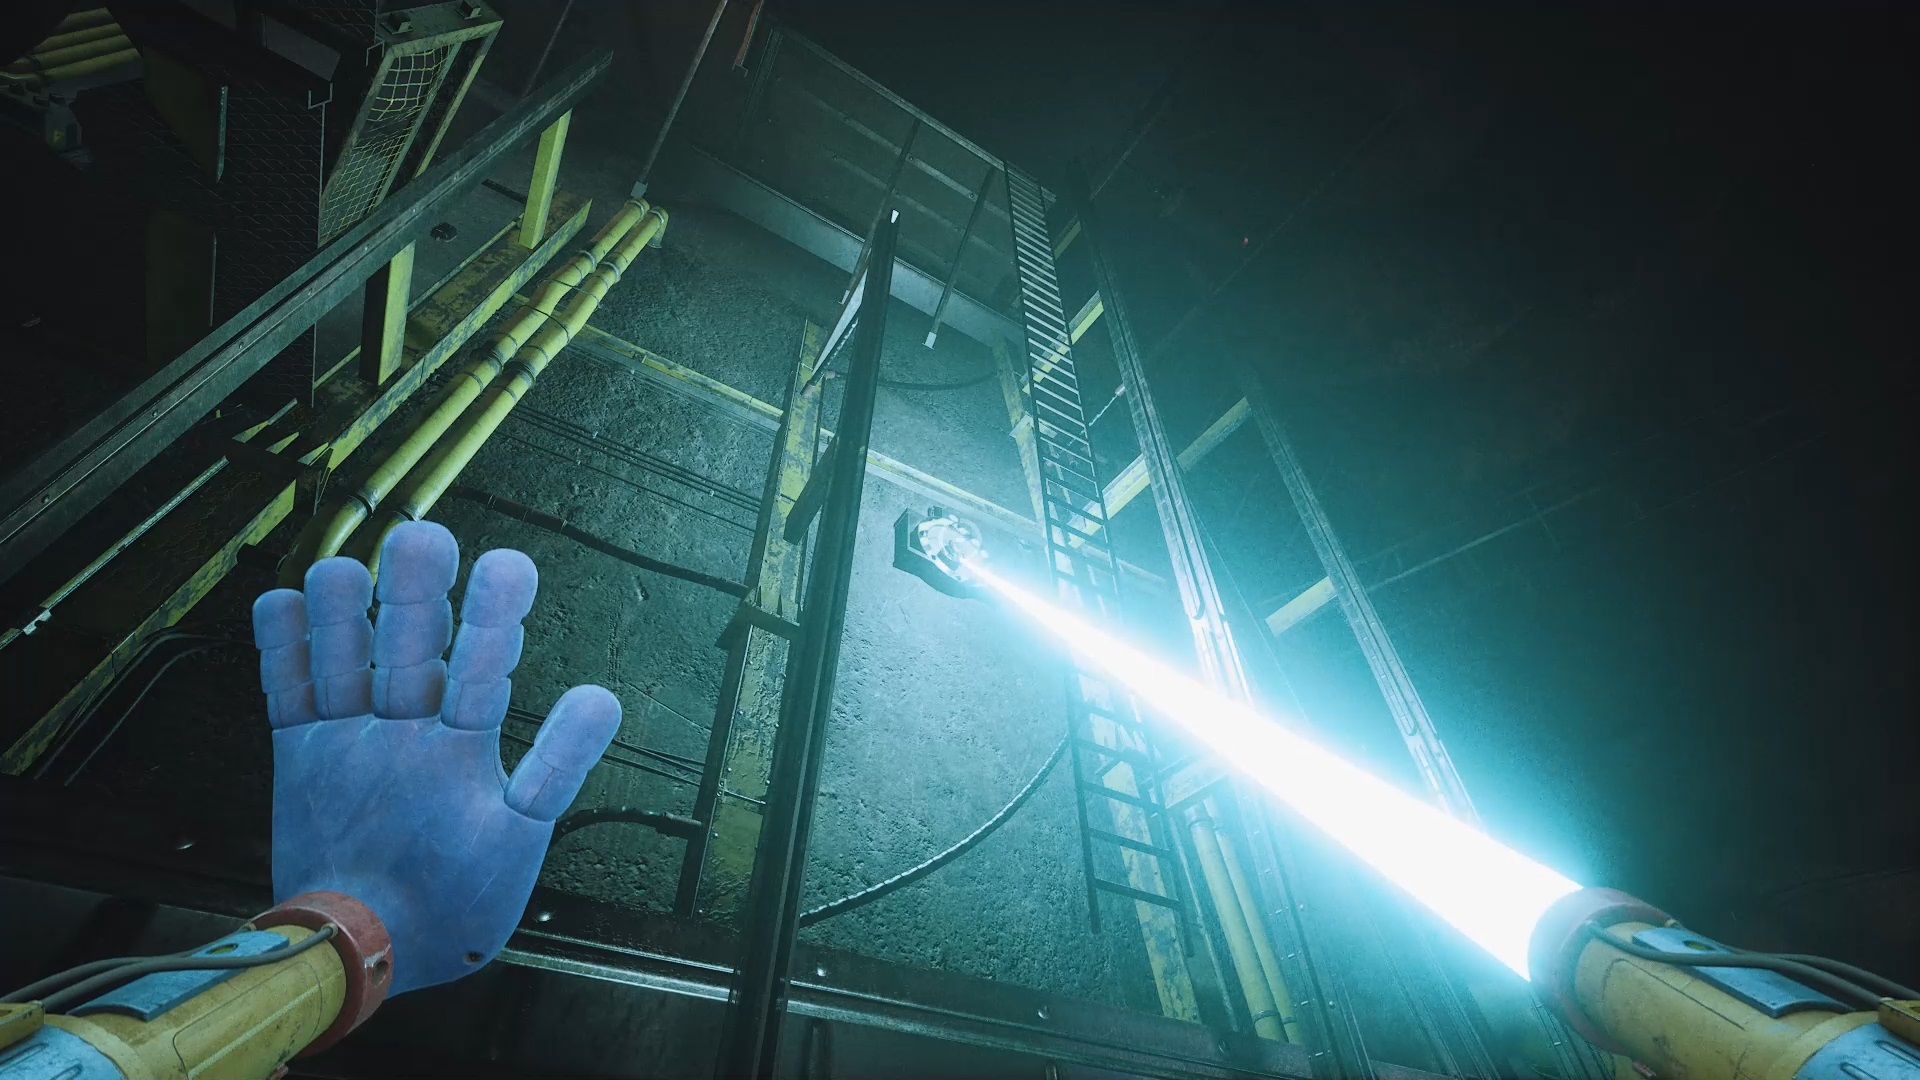
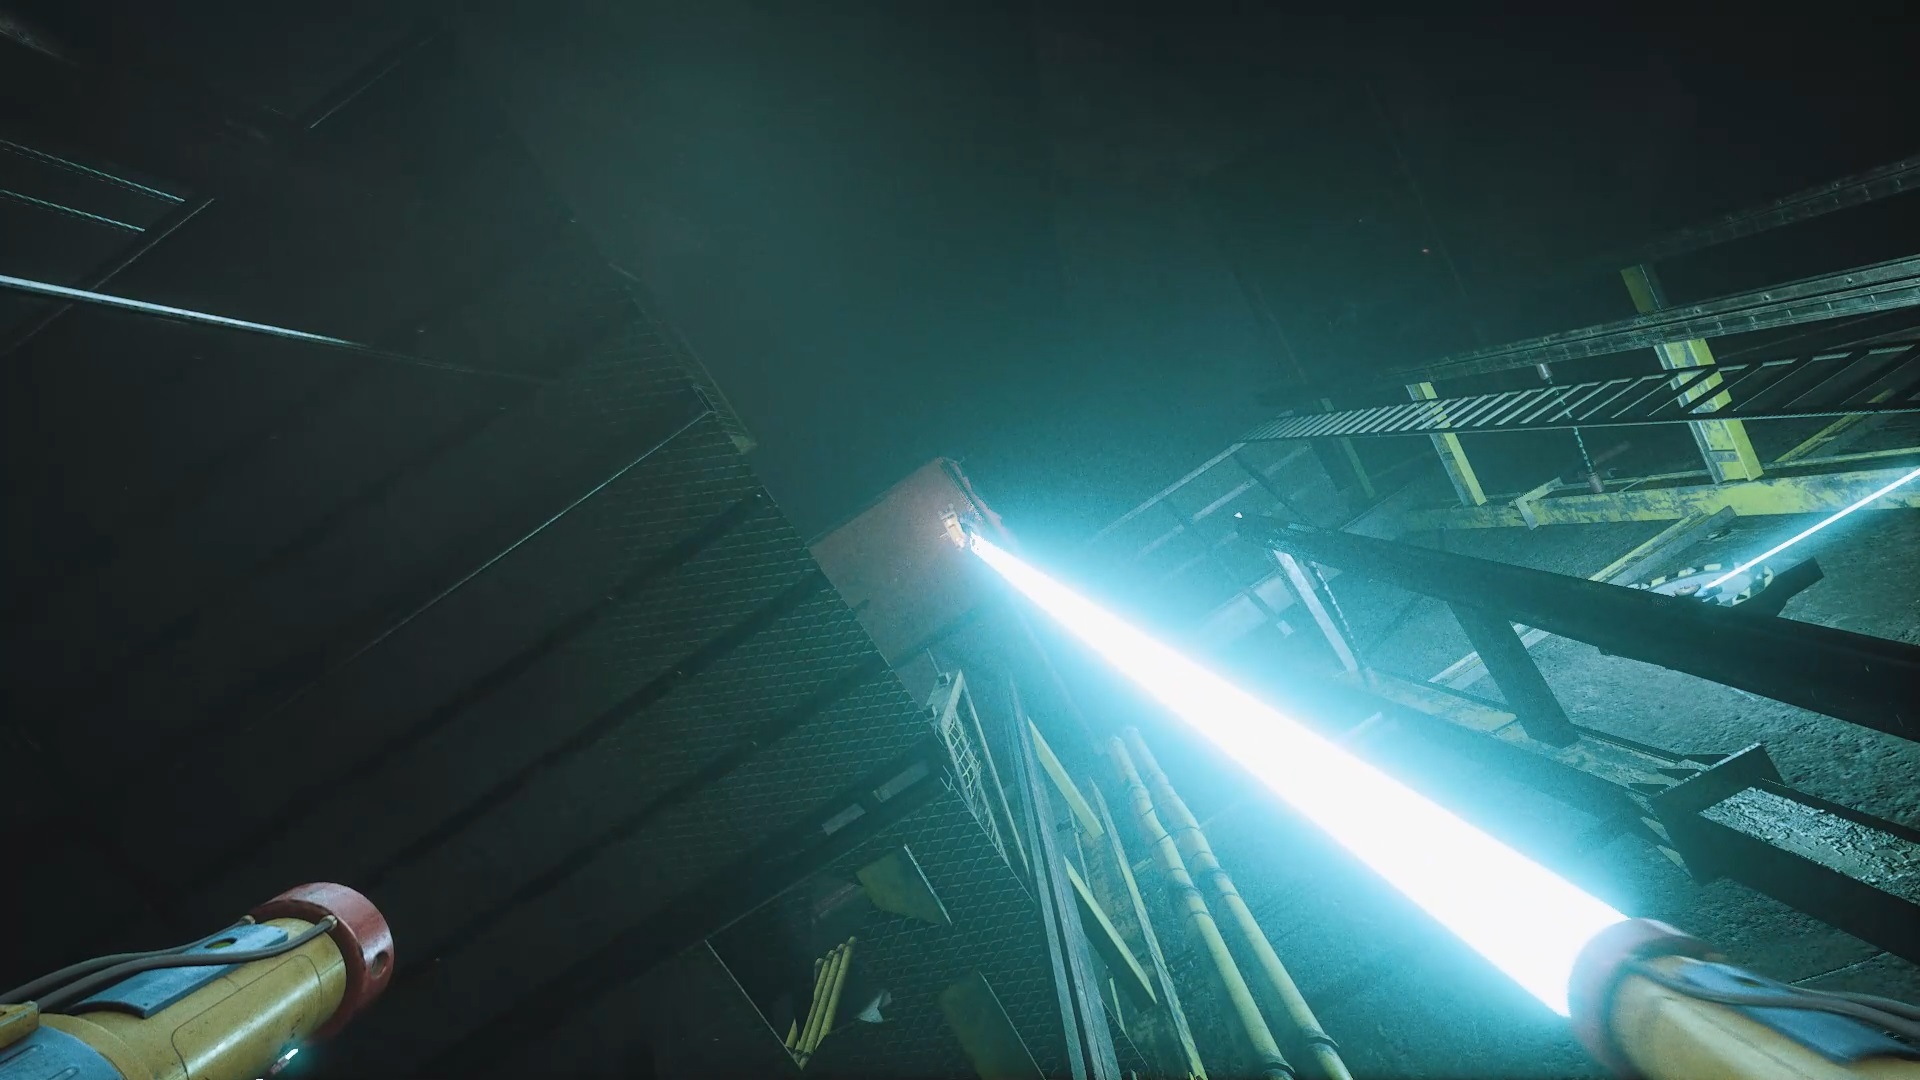
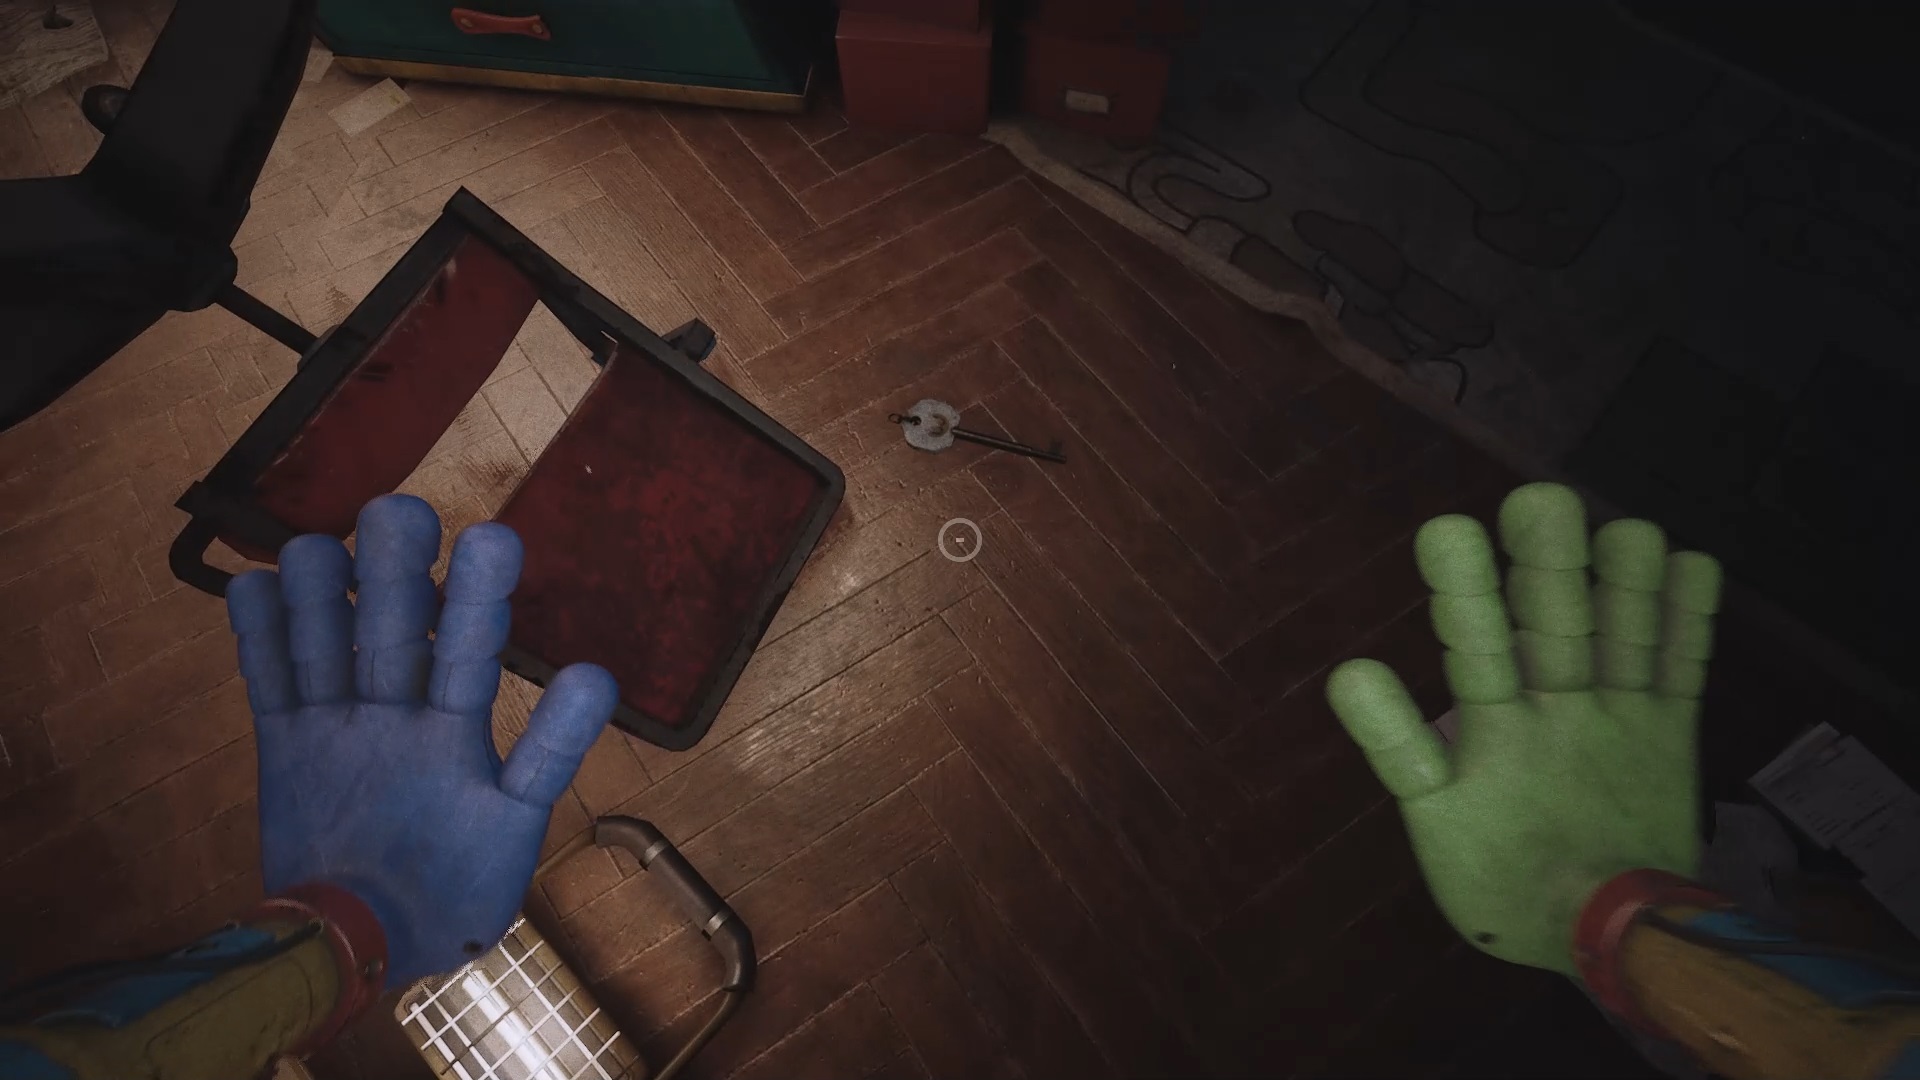
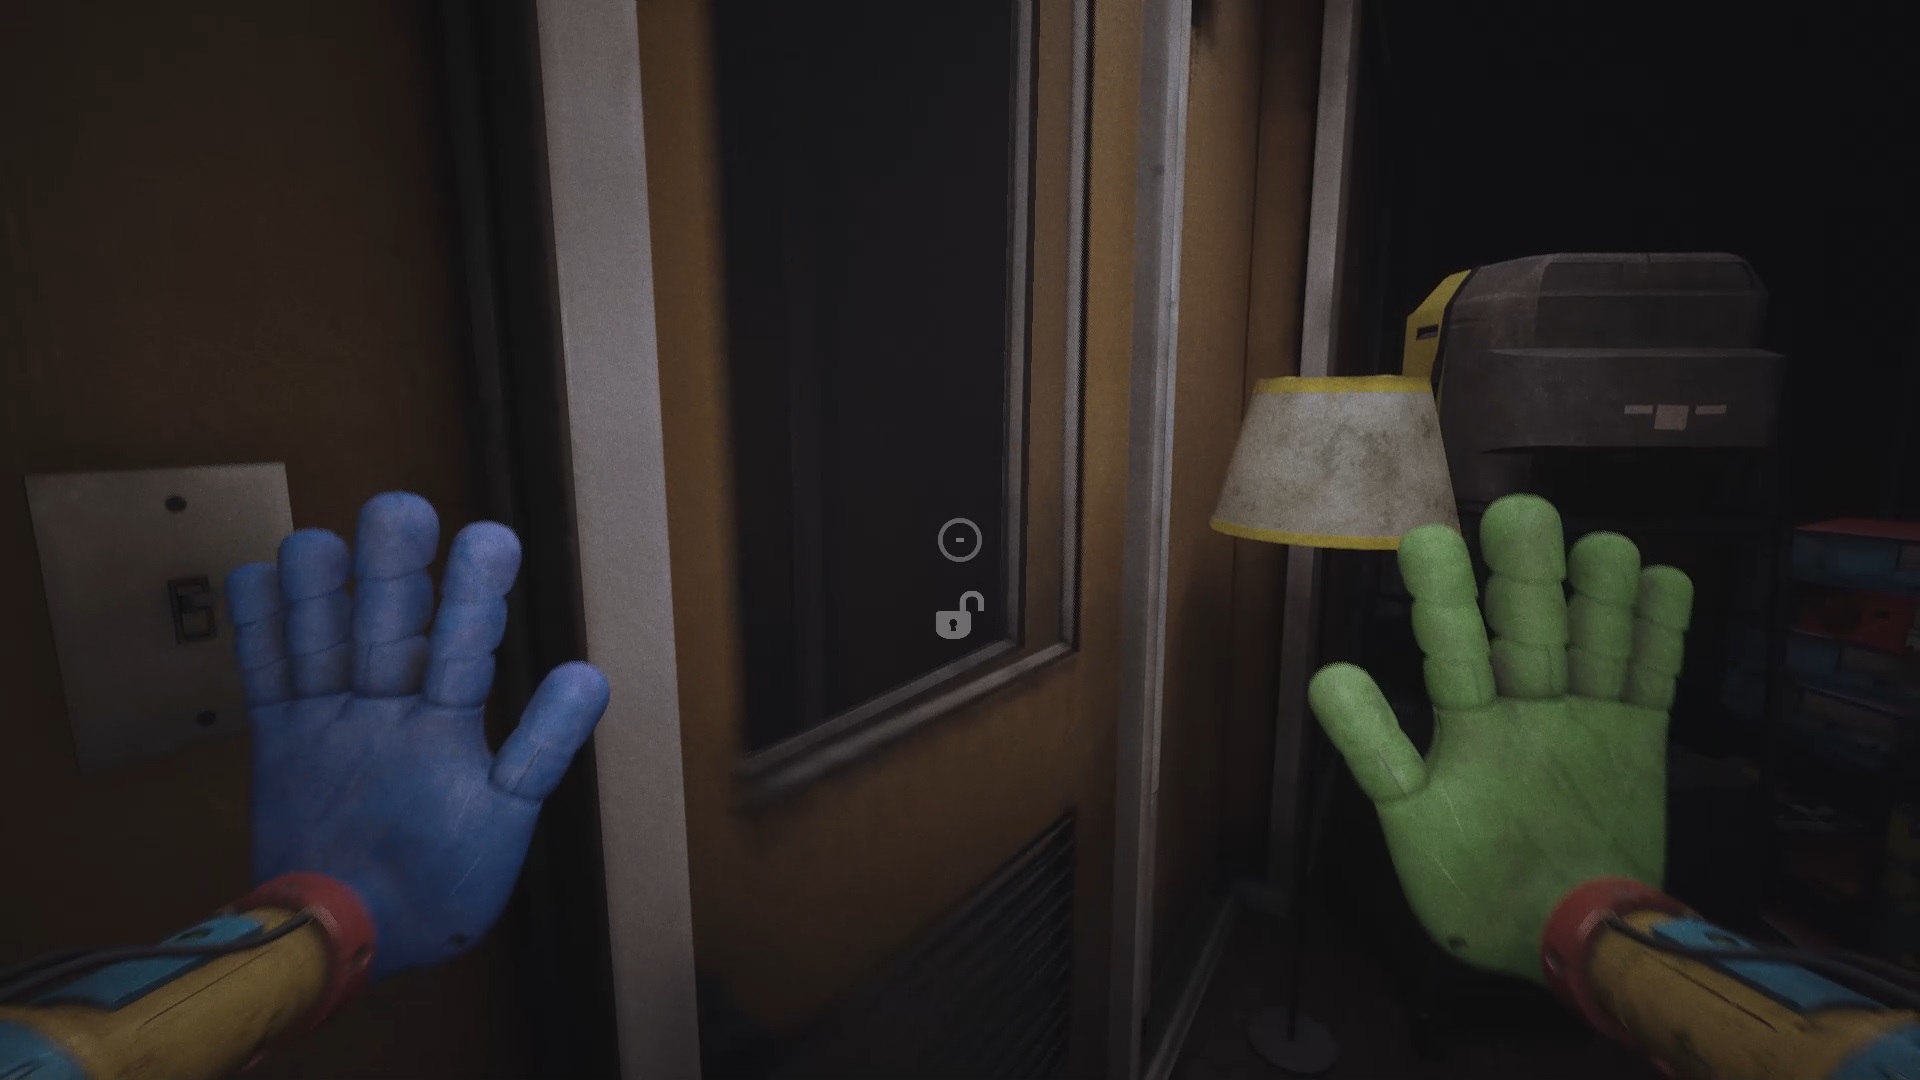
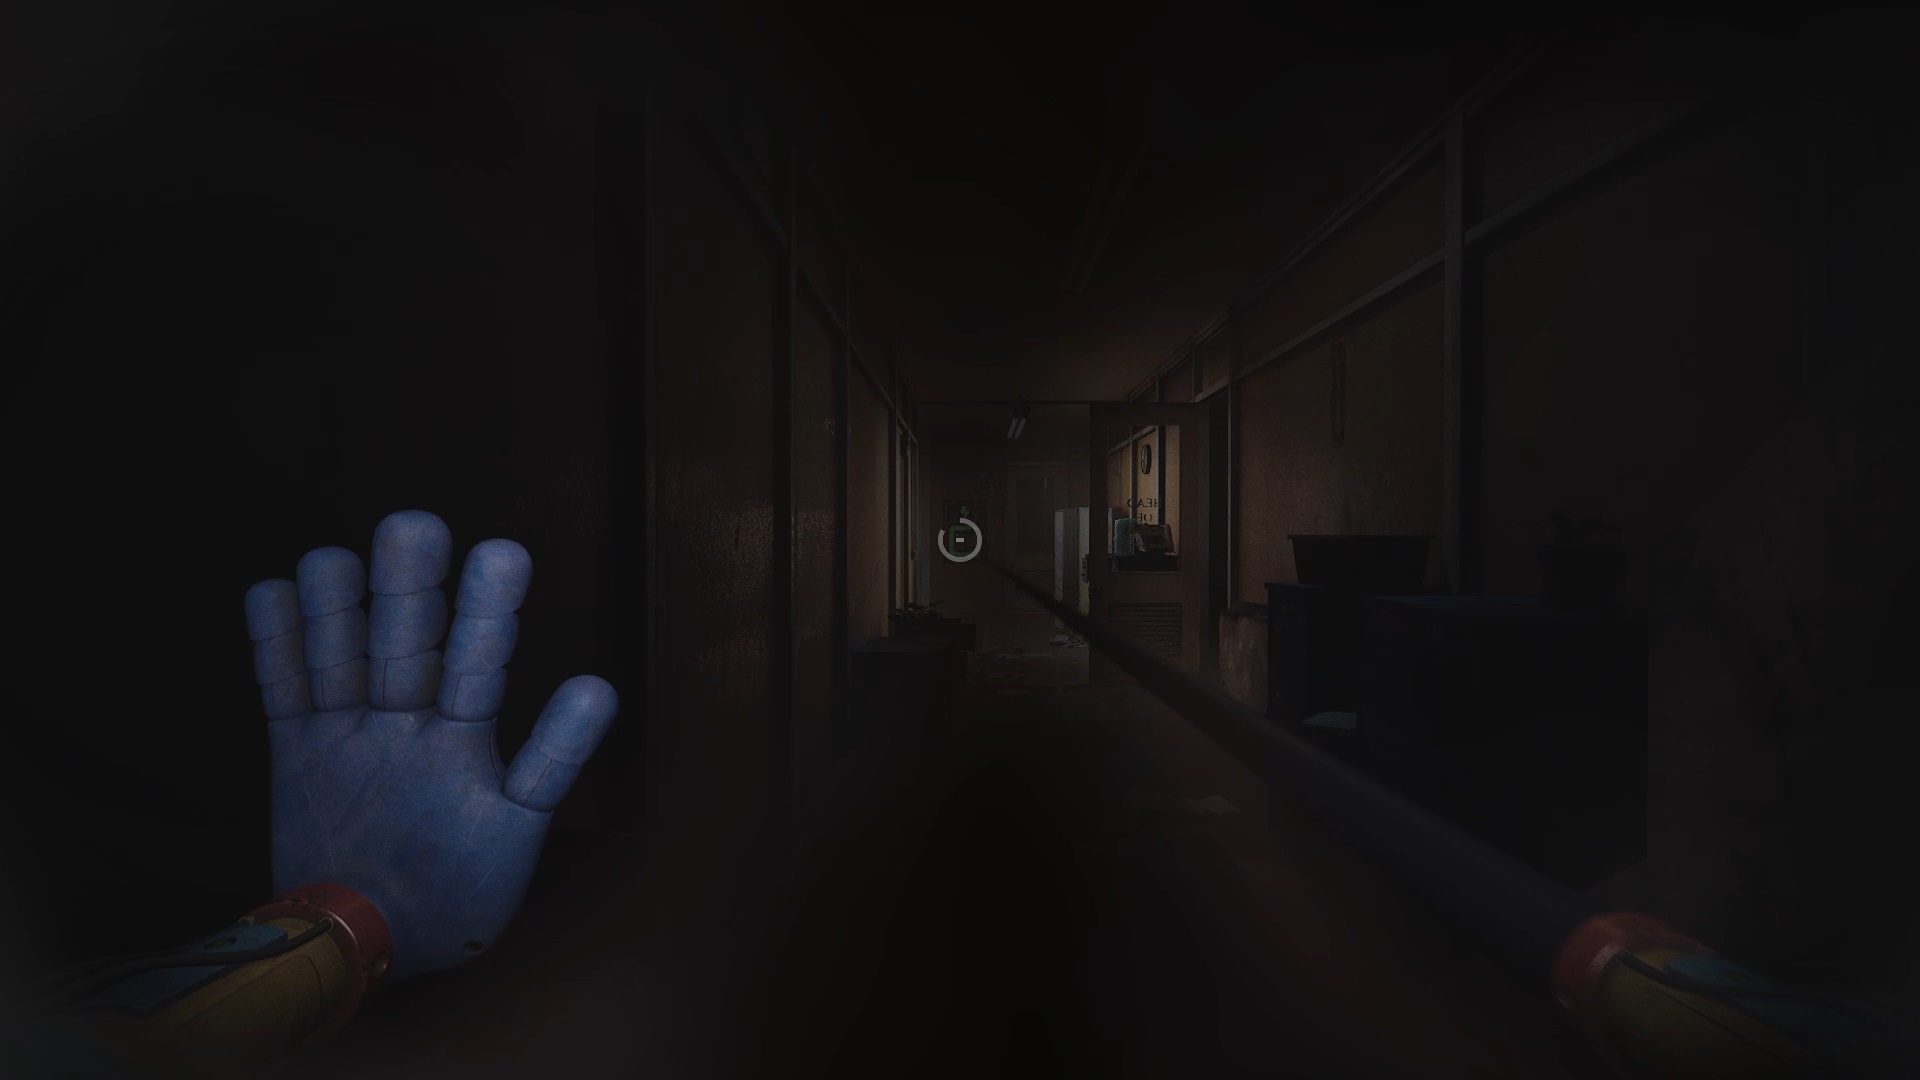
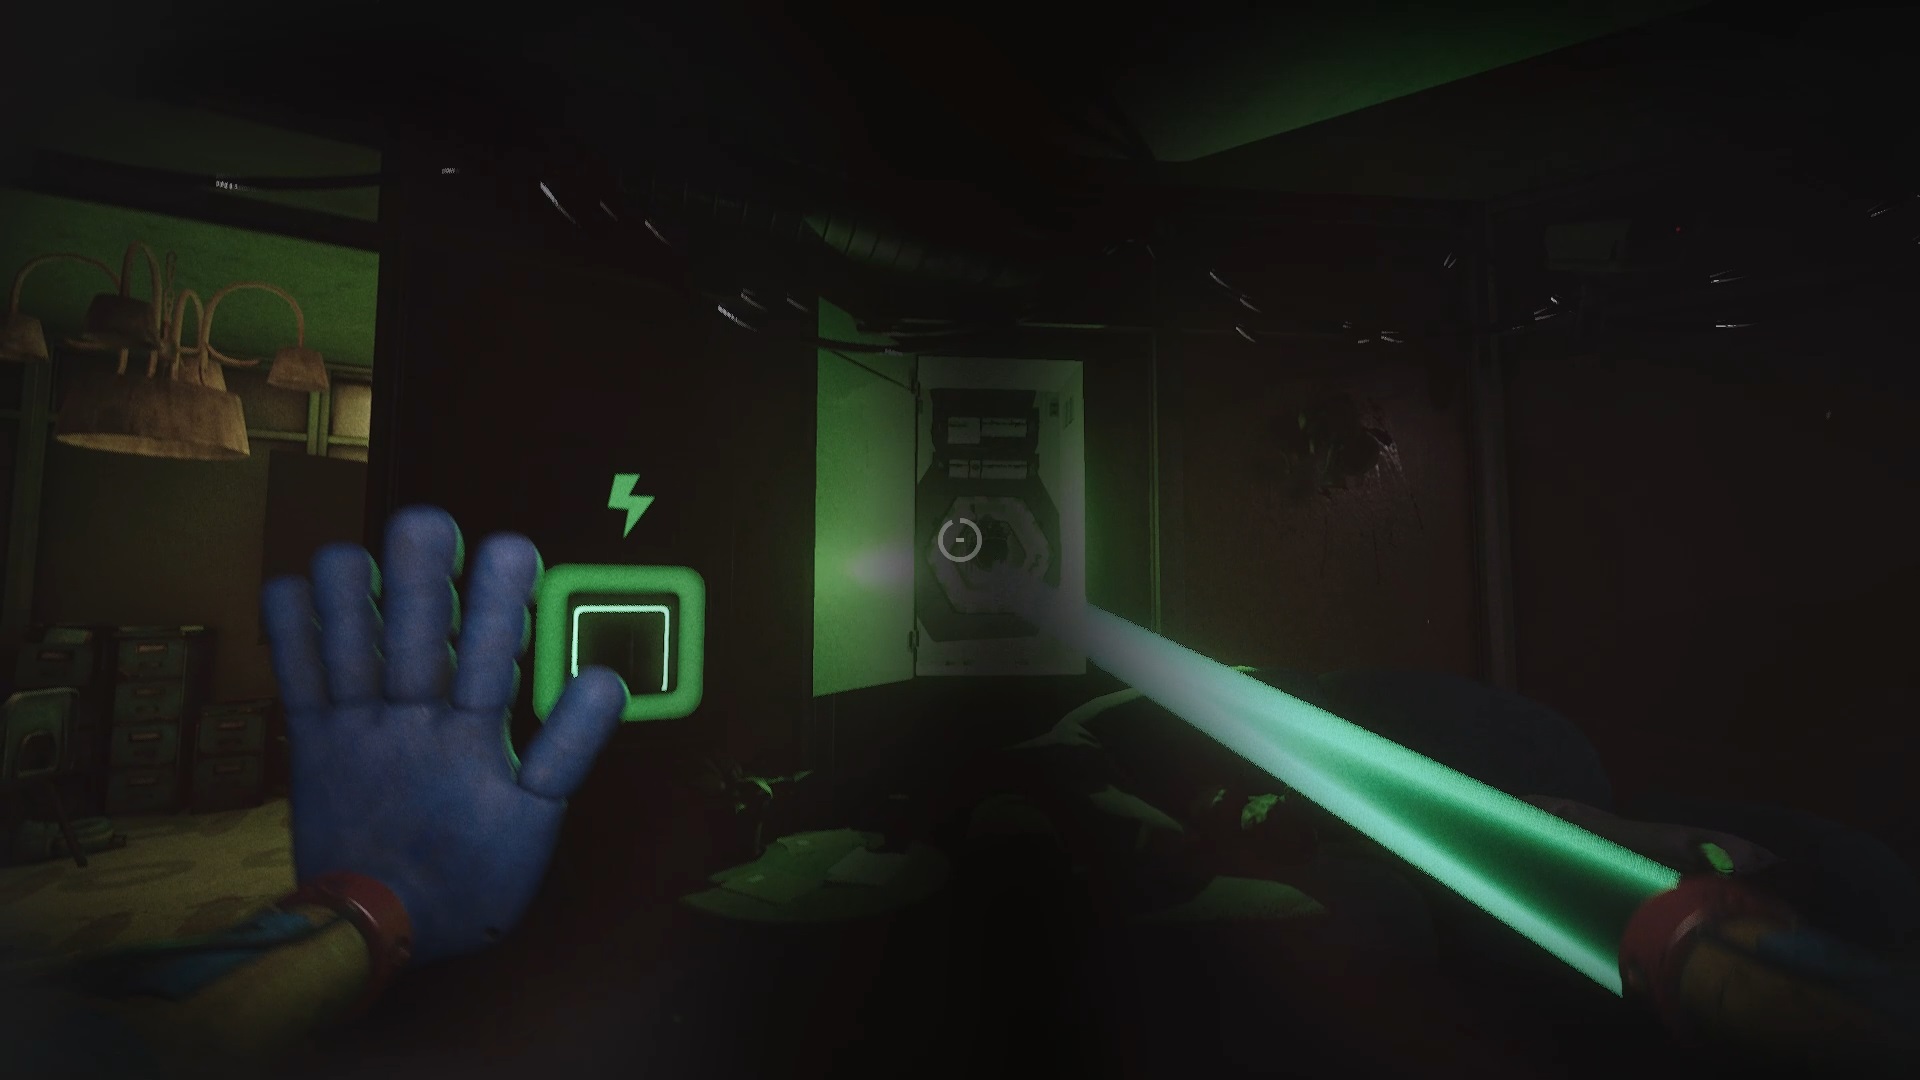
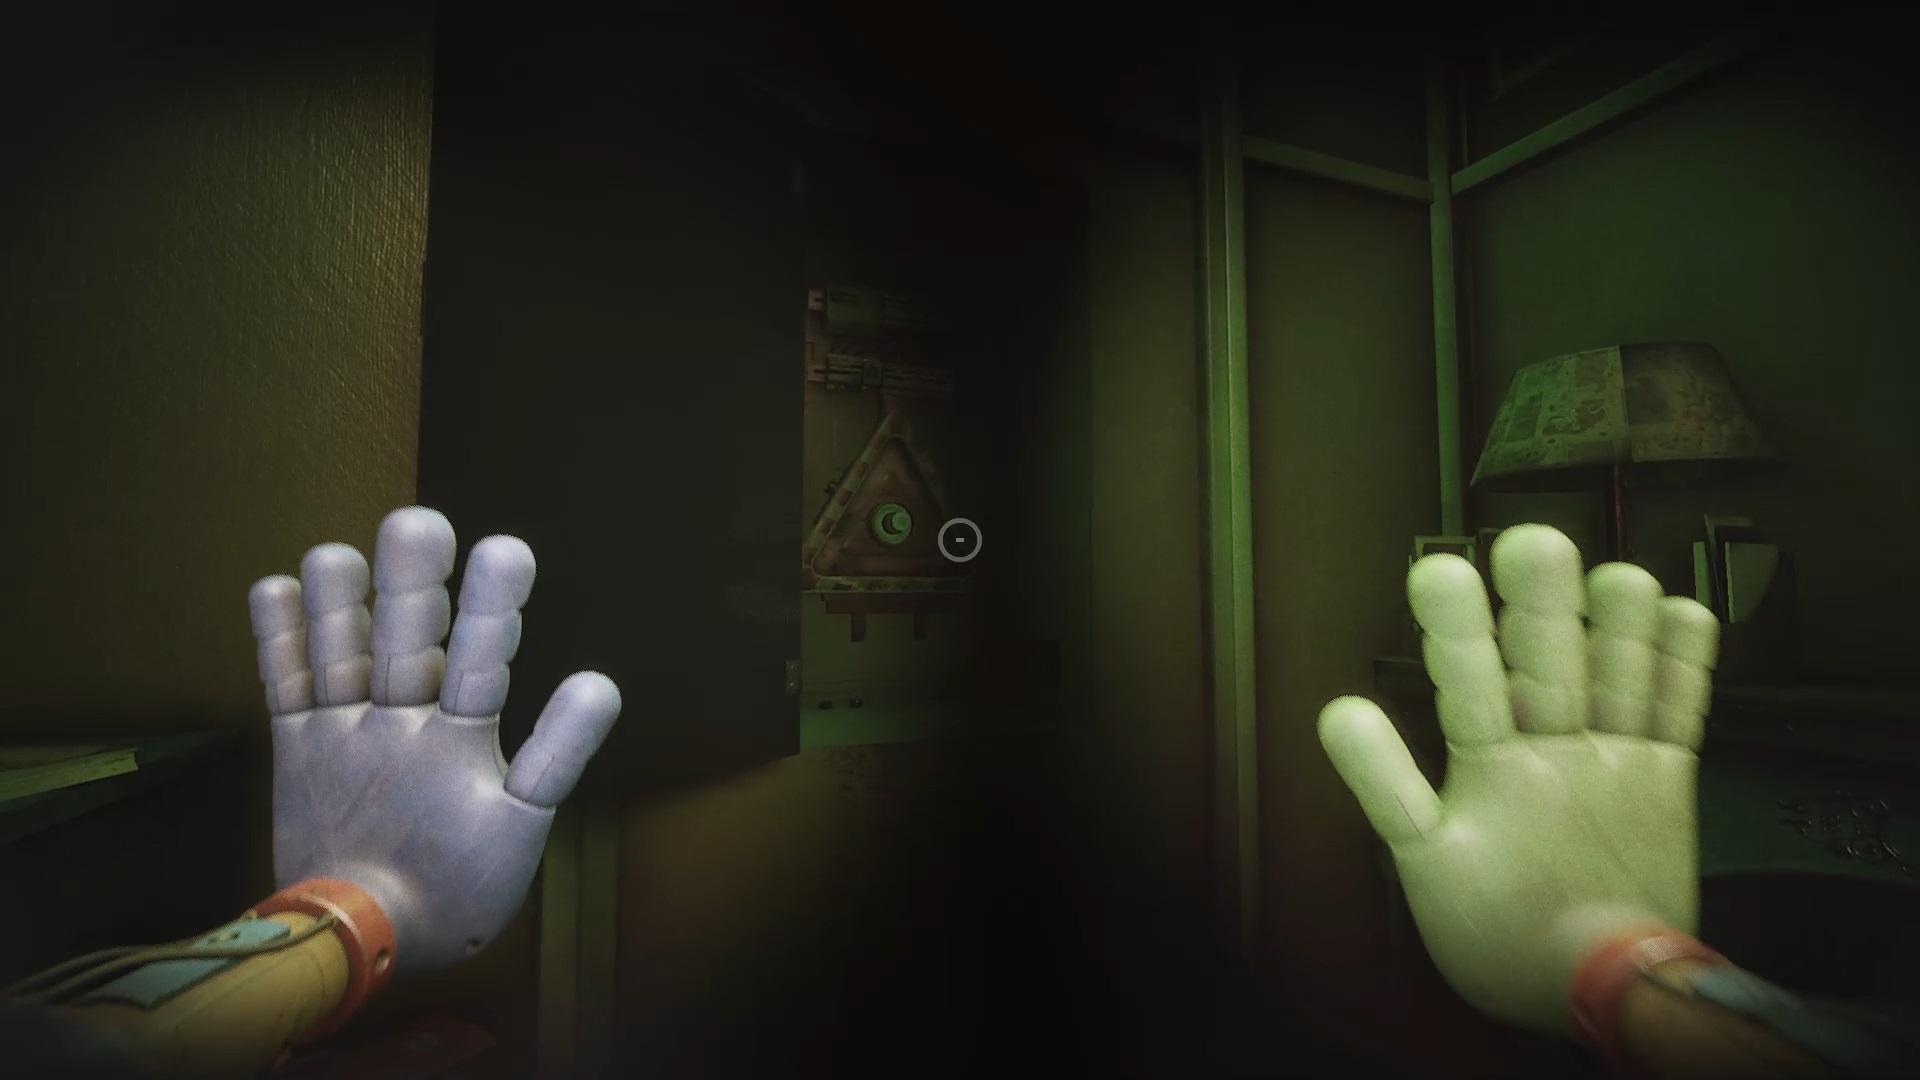
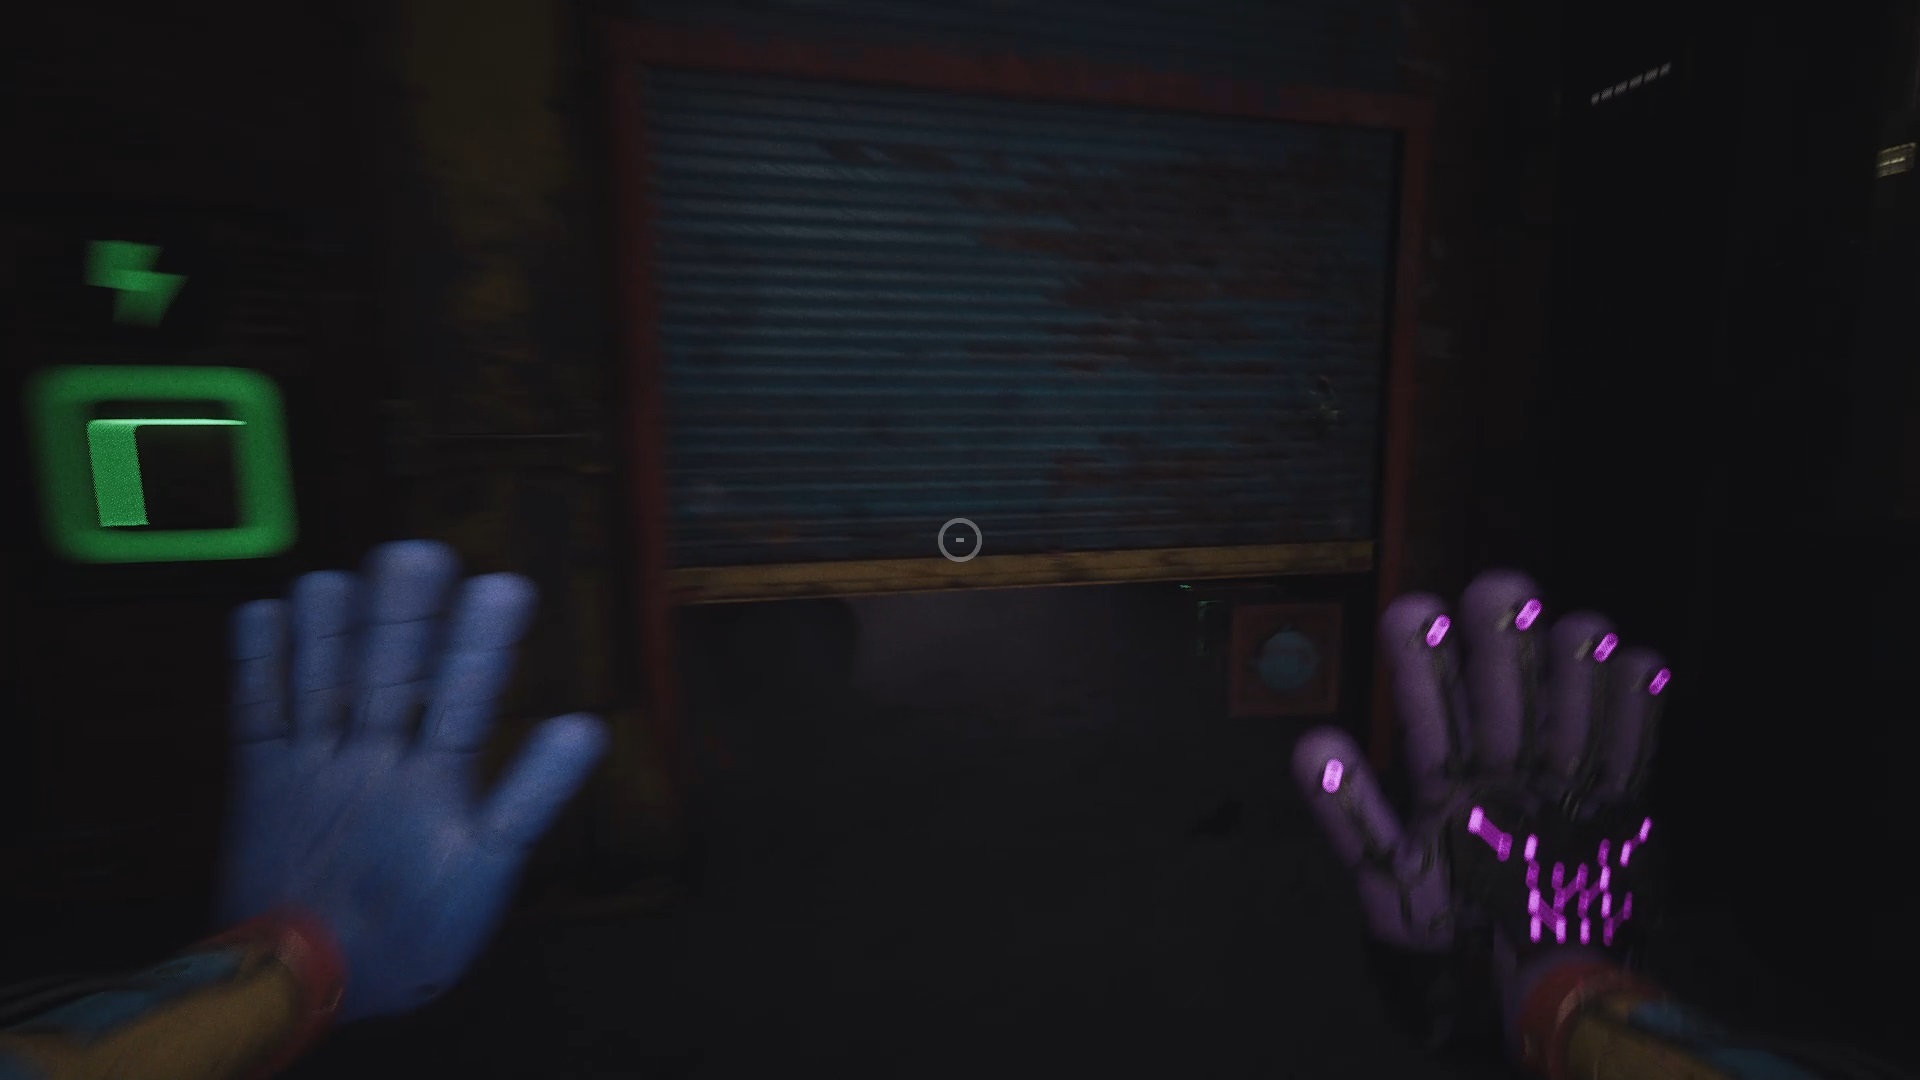
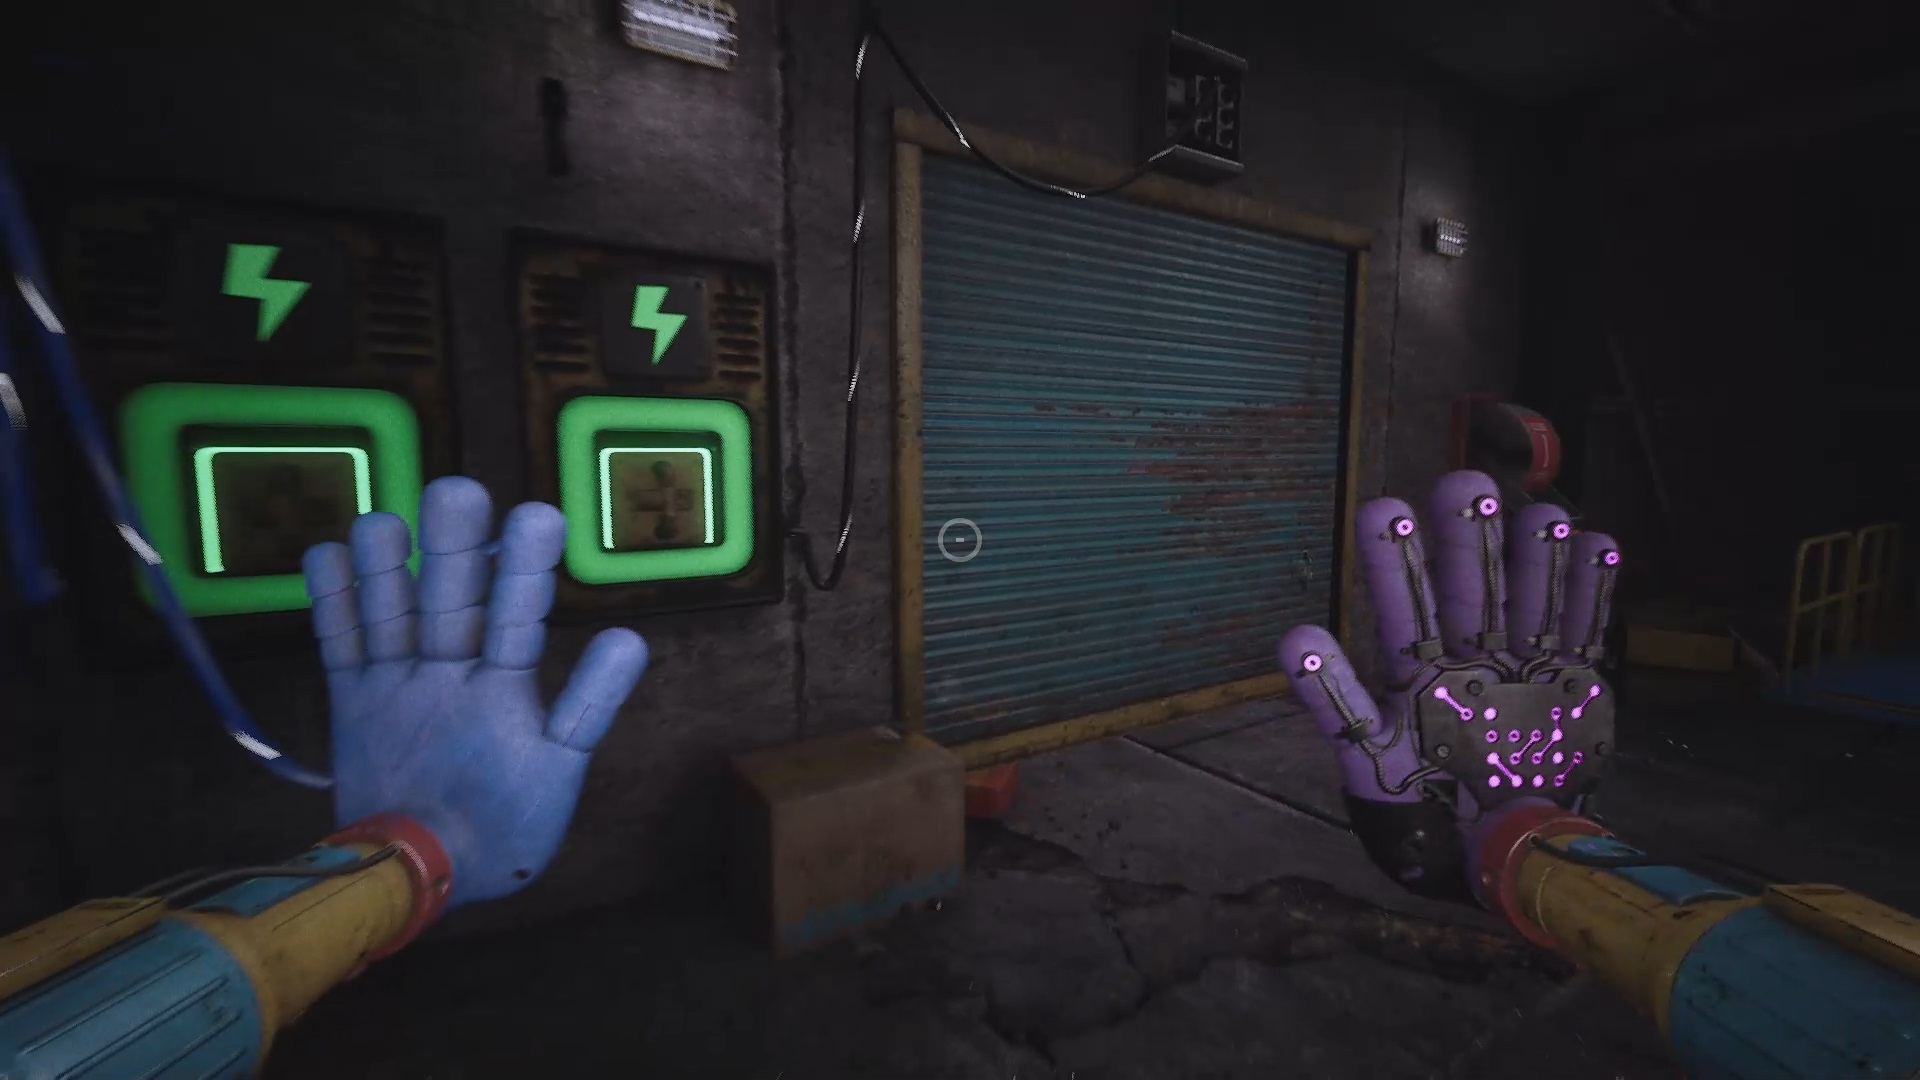
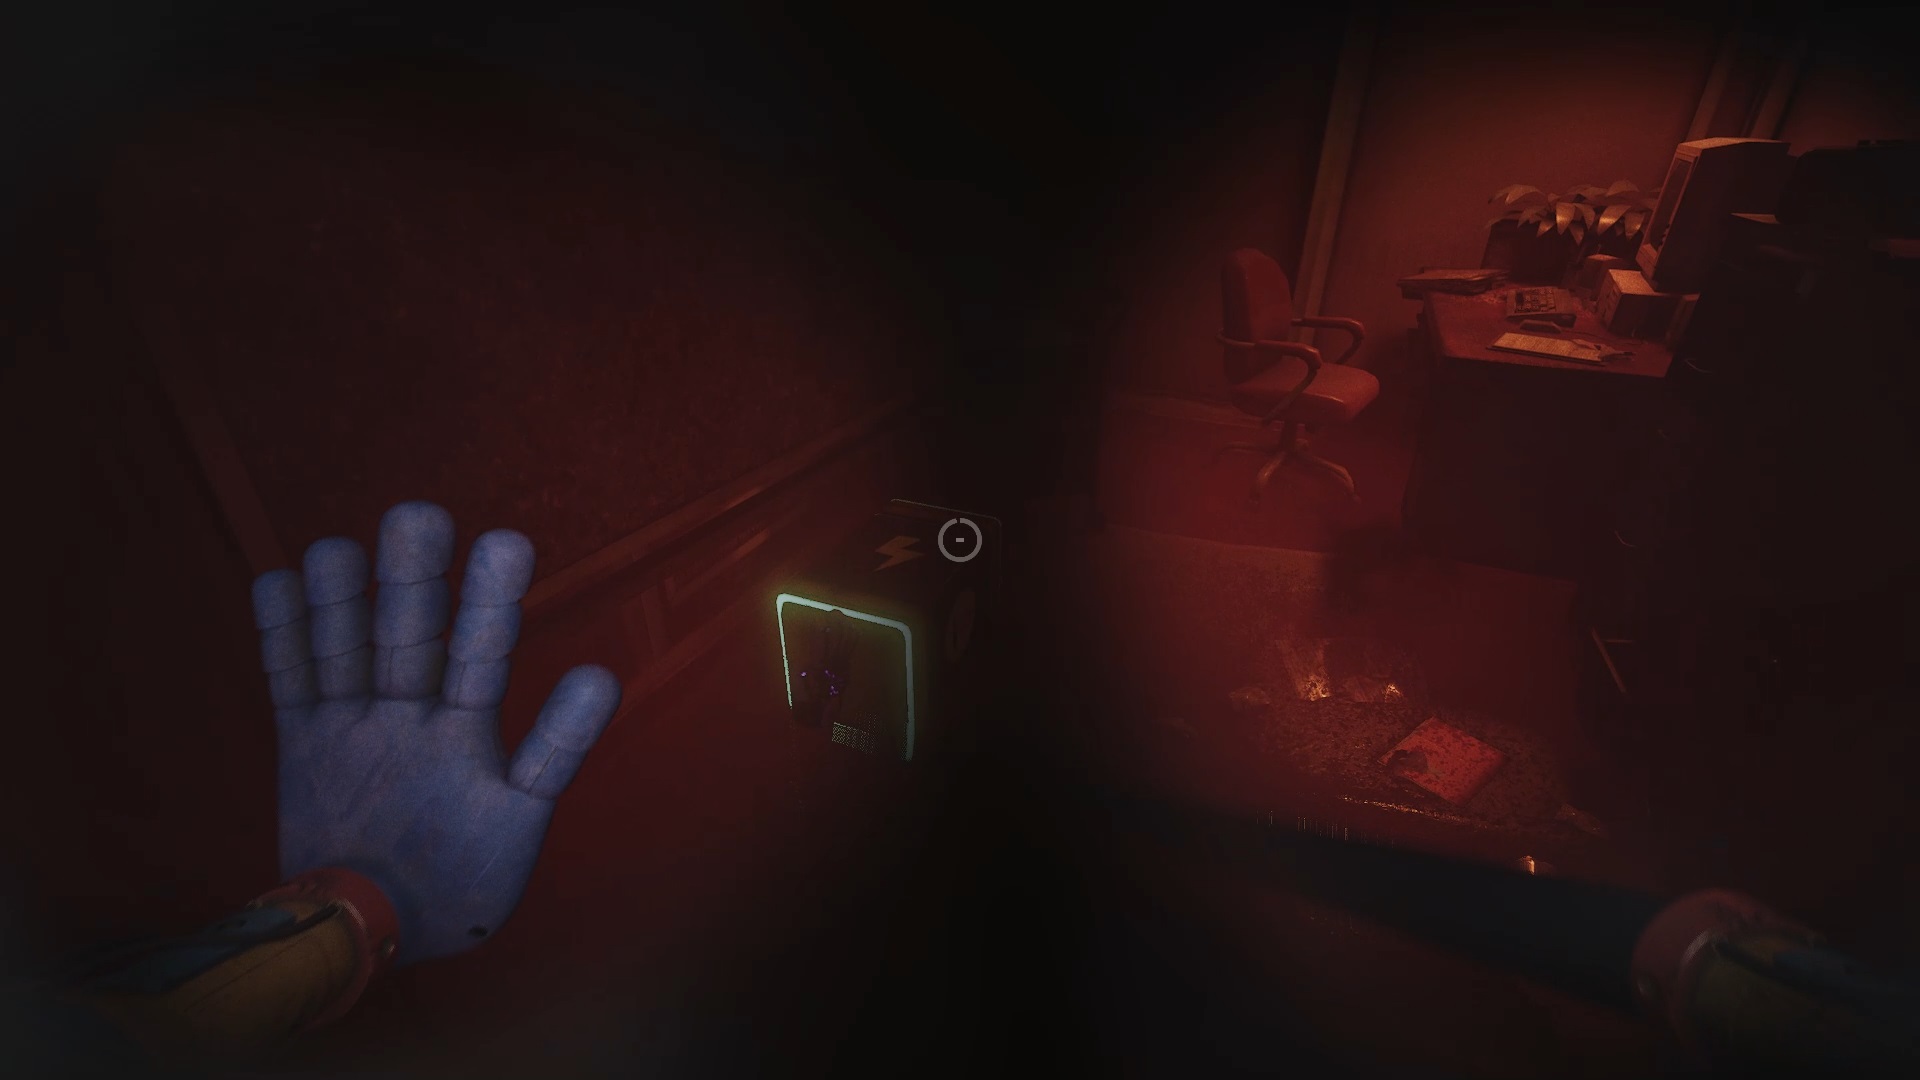
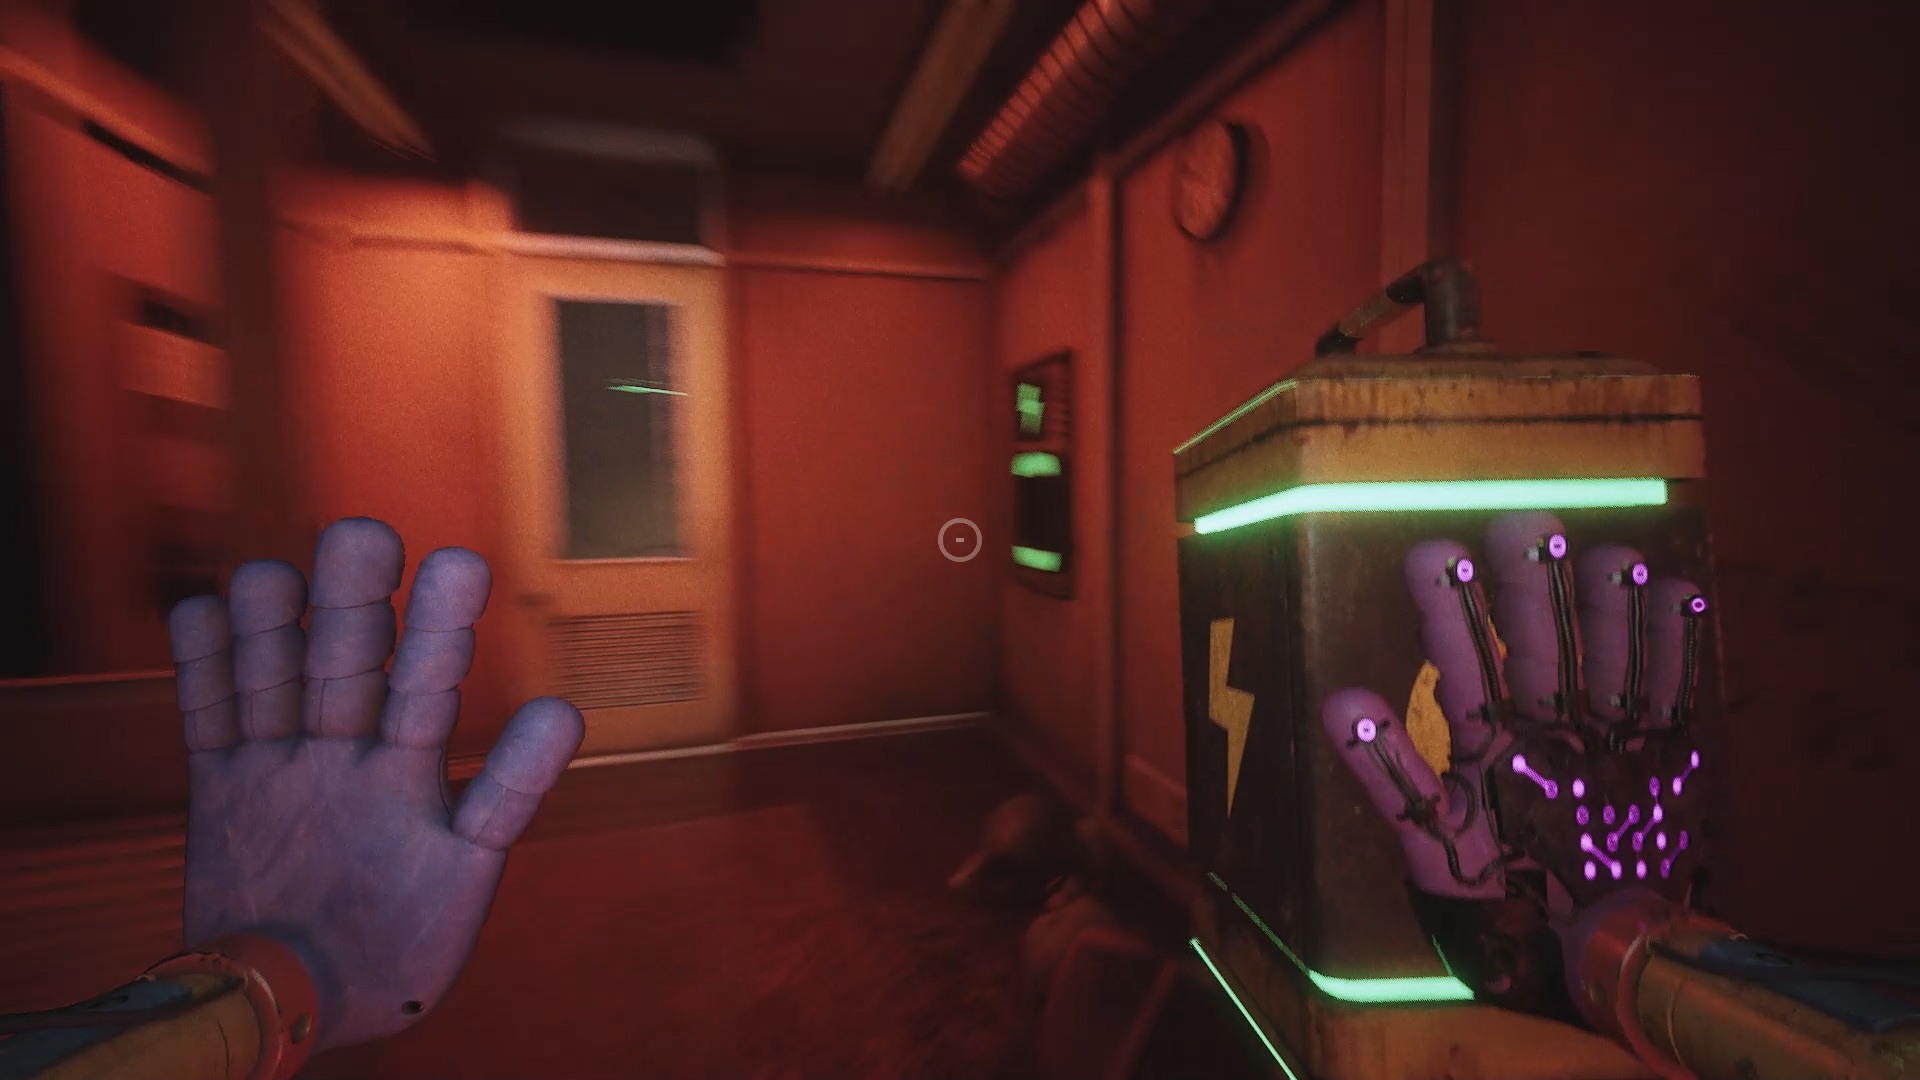
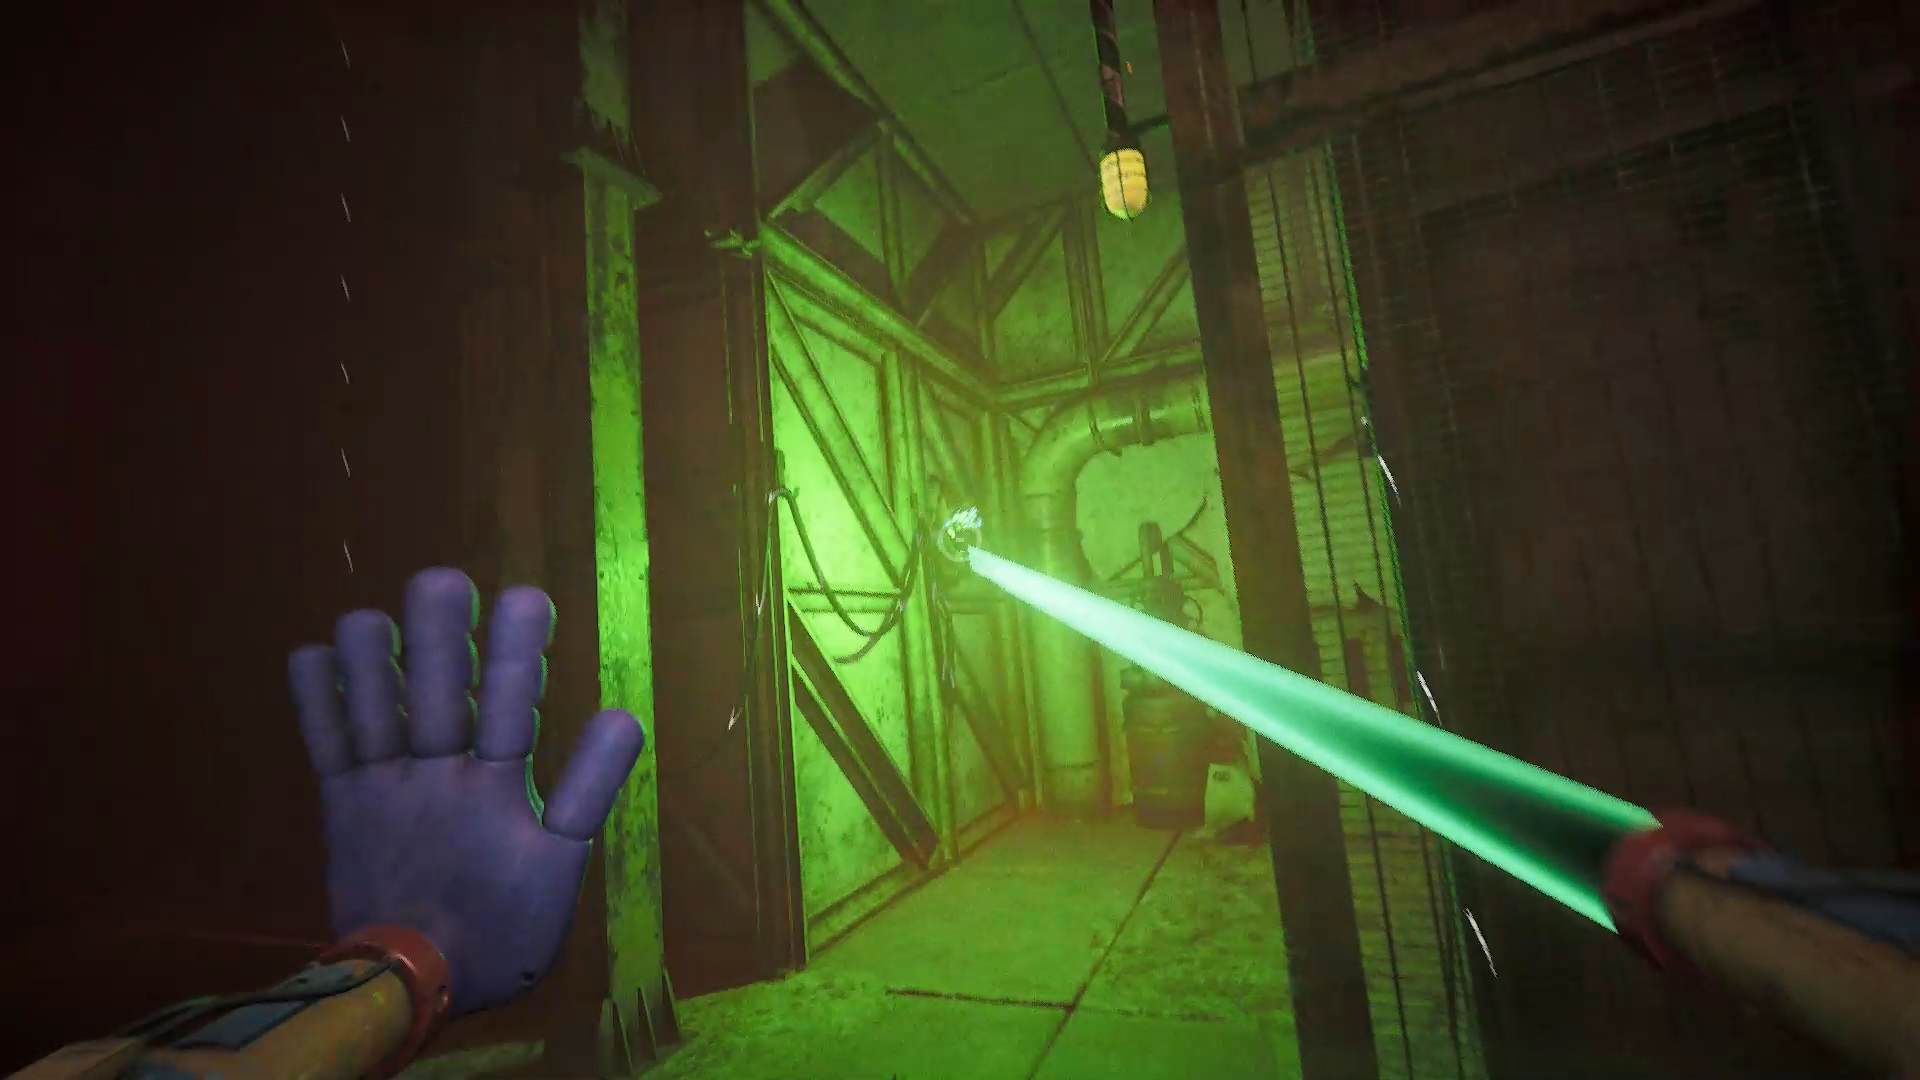
Rush into the conduit and emerge using your hands. Outside, collect a battery behind a half-open door and a second in a nearby cabinet. Arrange the batteries against the wall, then hold your hand against the player to open the grille. Afterwards, go up the stairs and charge your green thumb with electricity using a power source. Then use your electrified hand on a switch higher up to open a door. Take a call by picking up the phone against the wall.
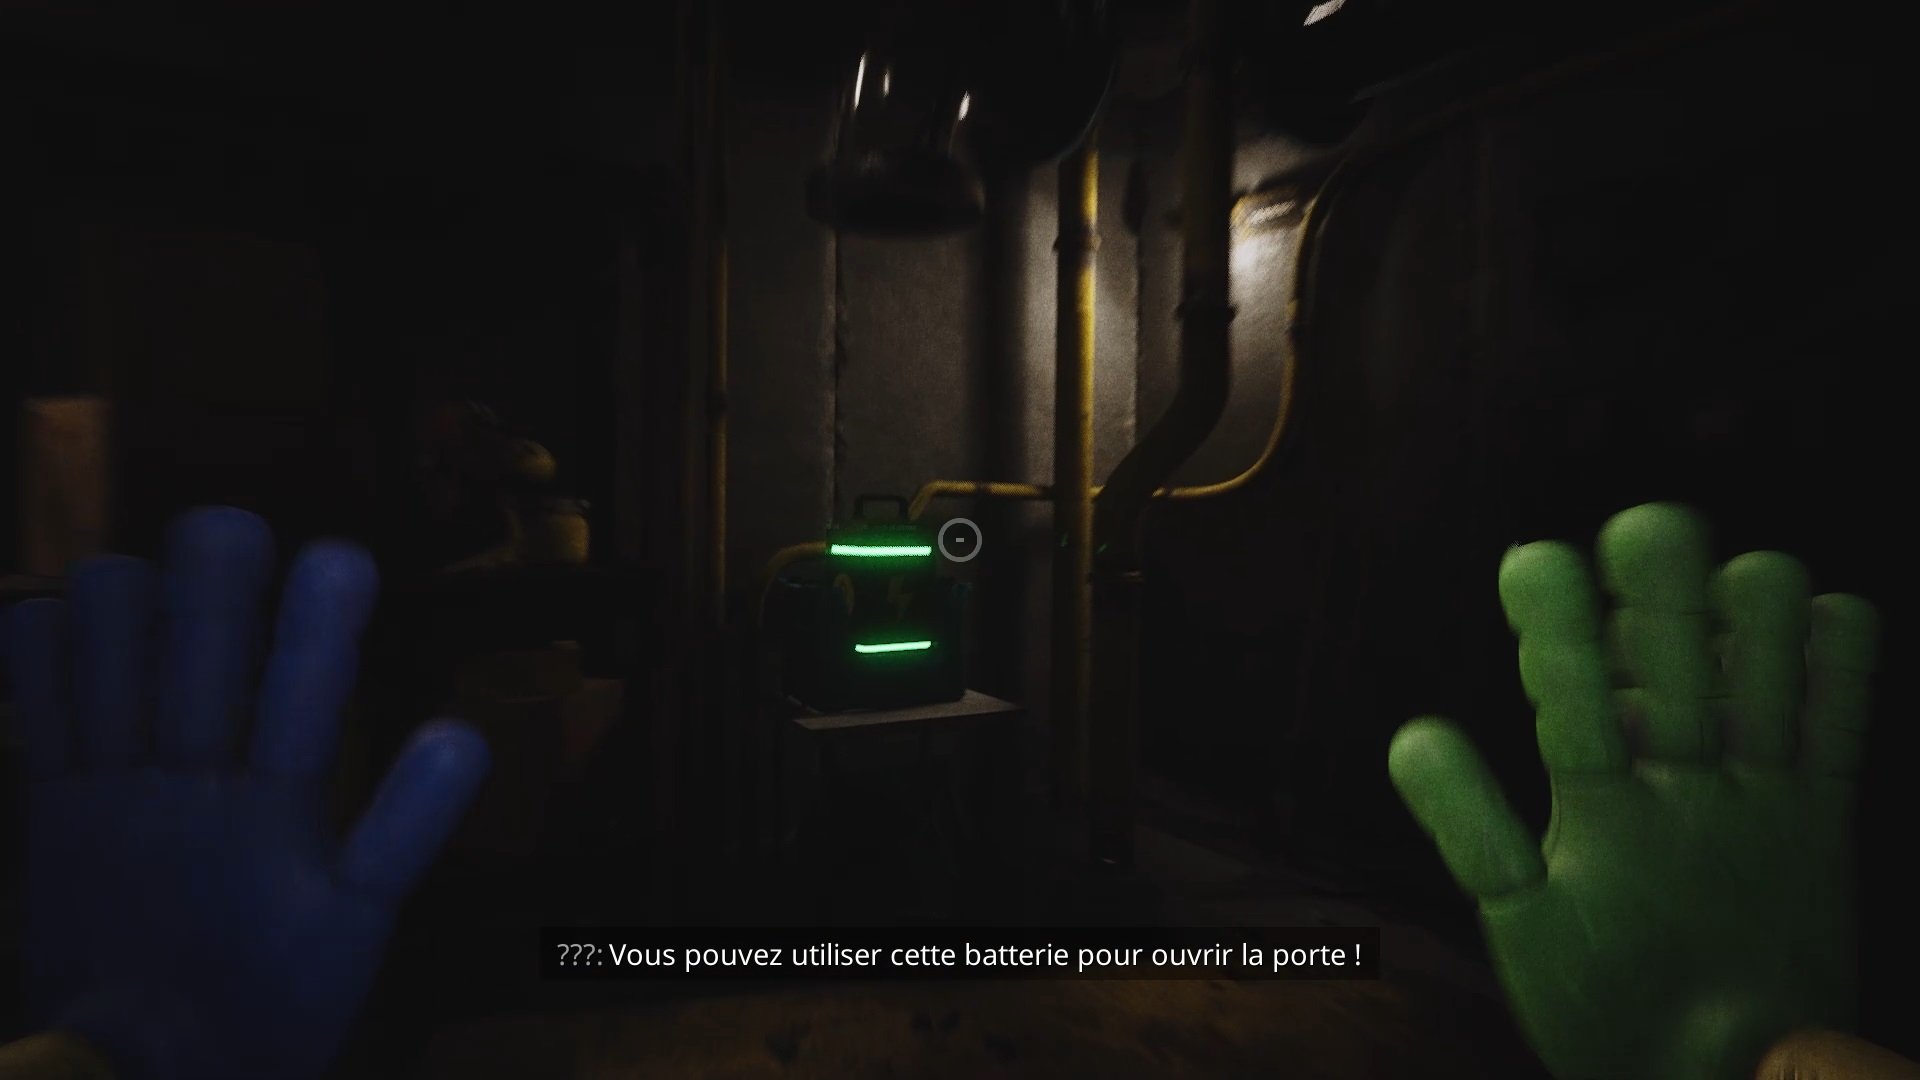
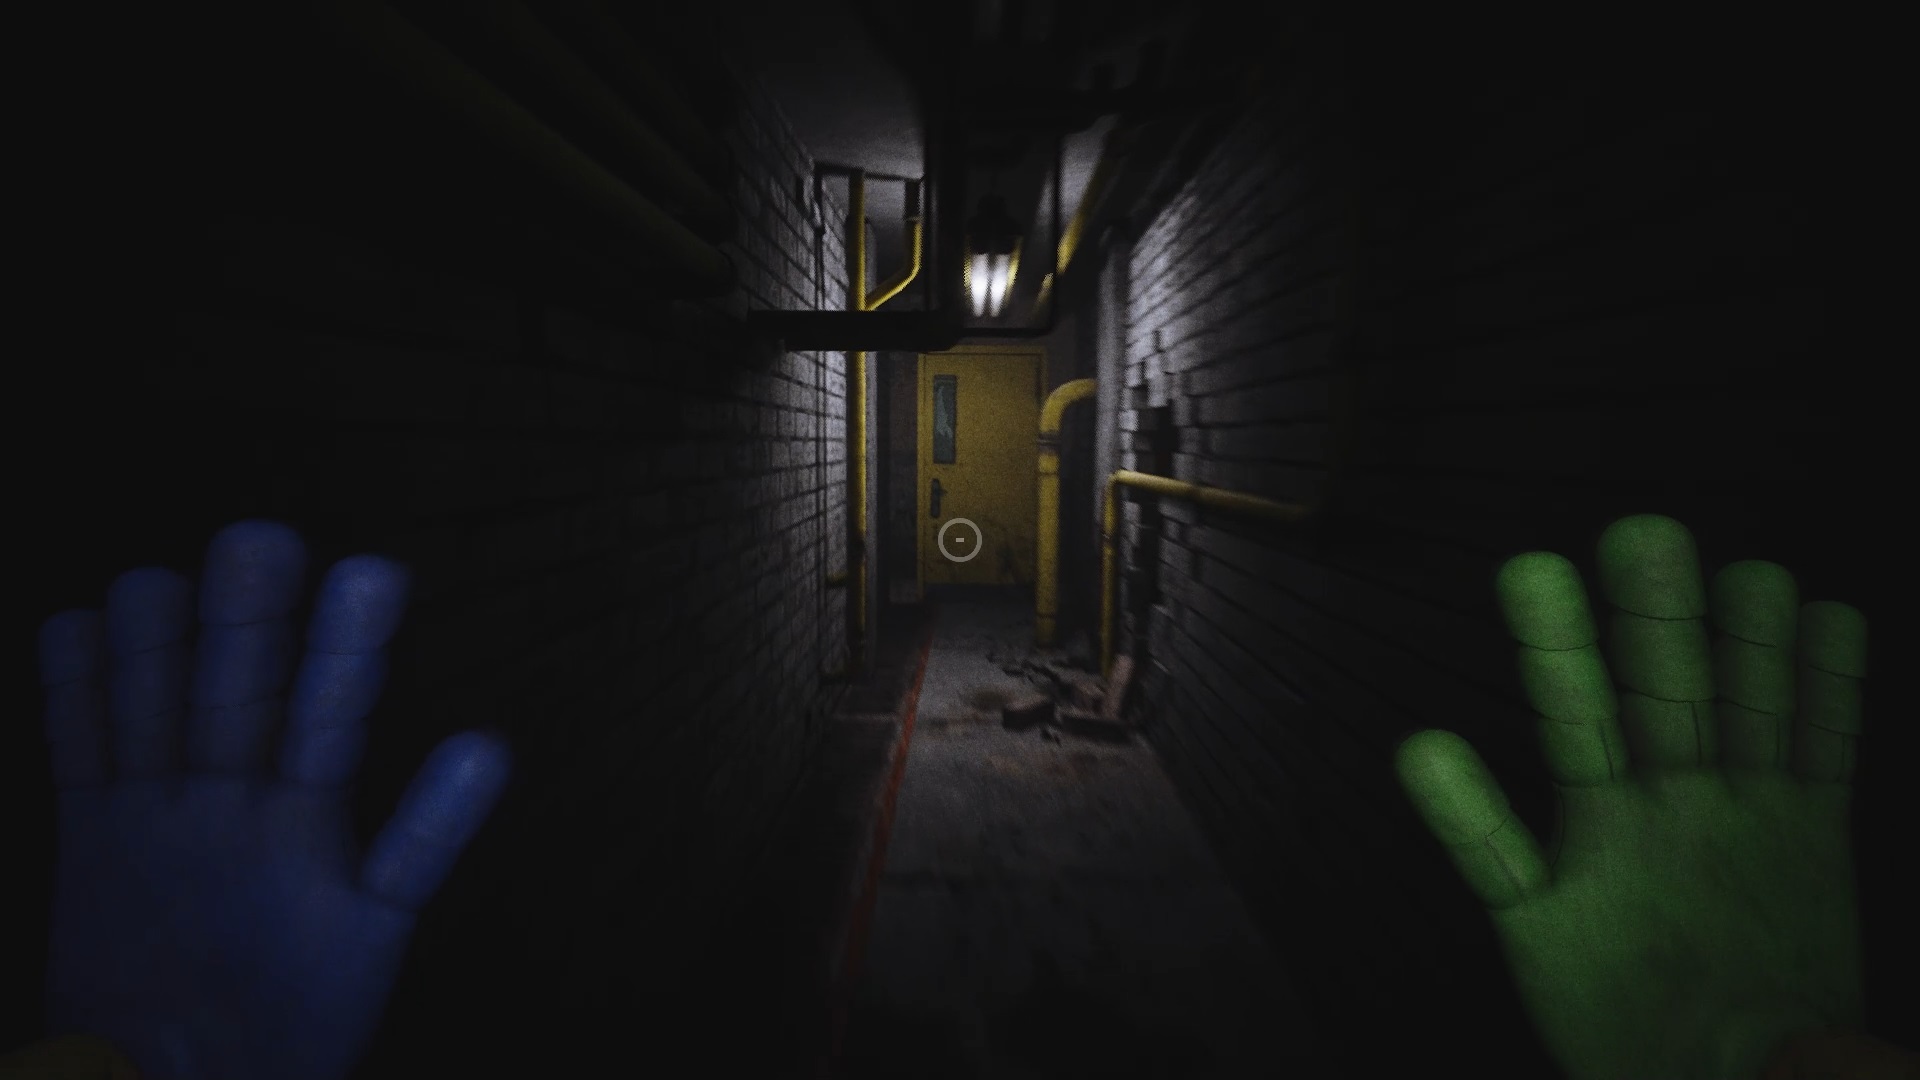
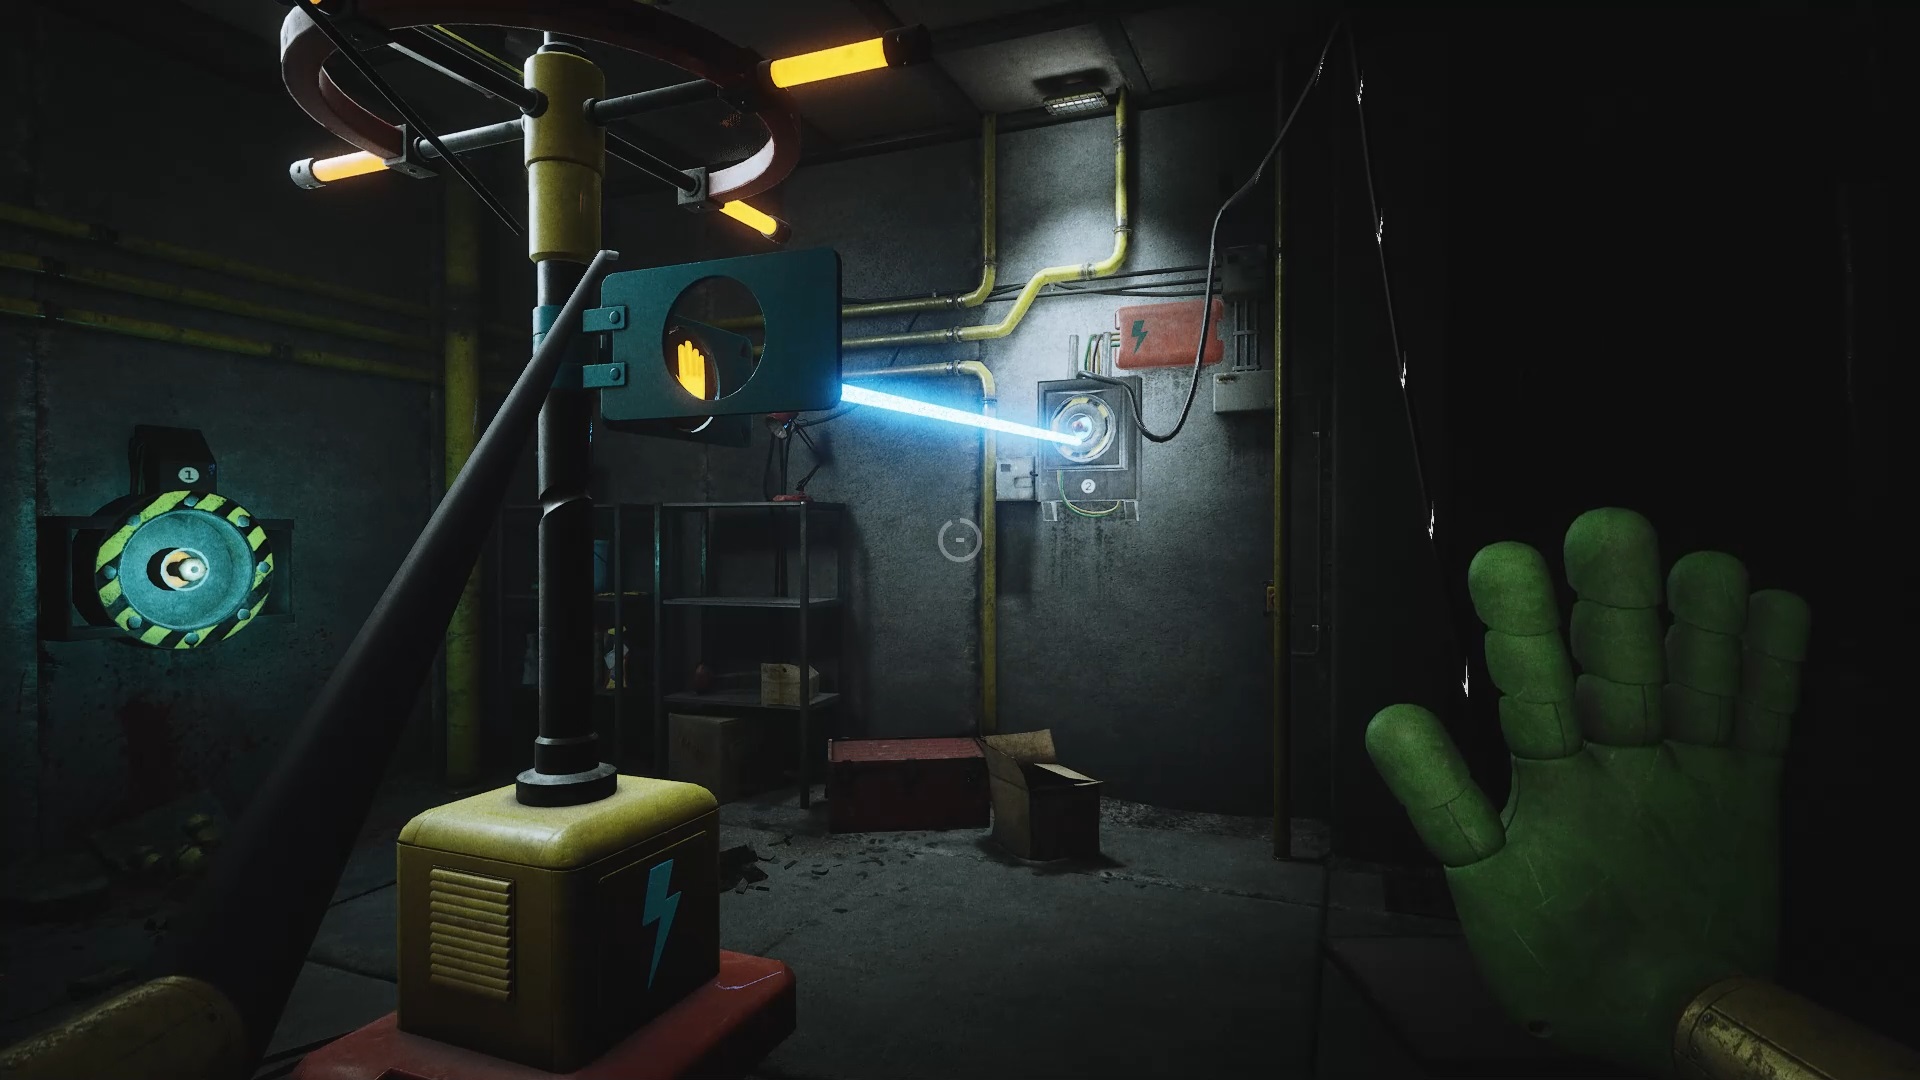
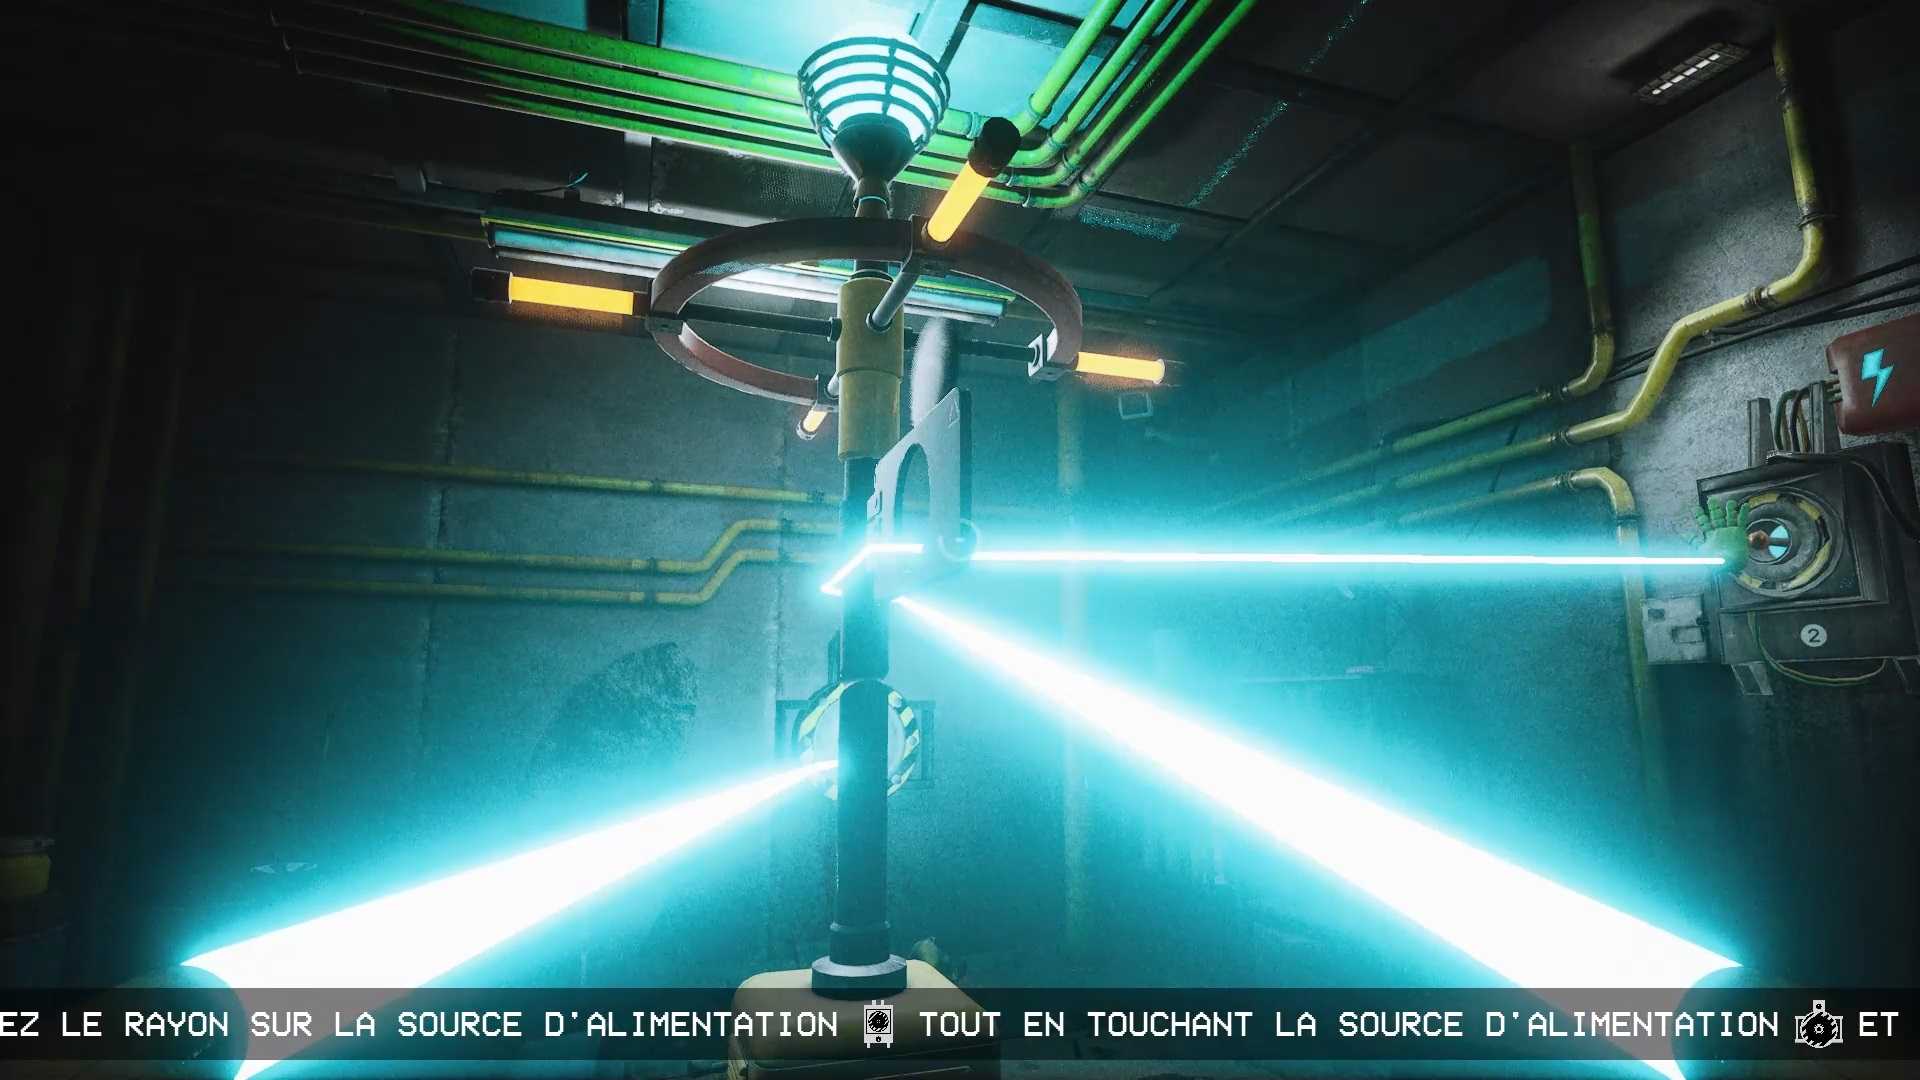
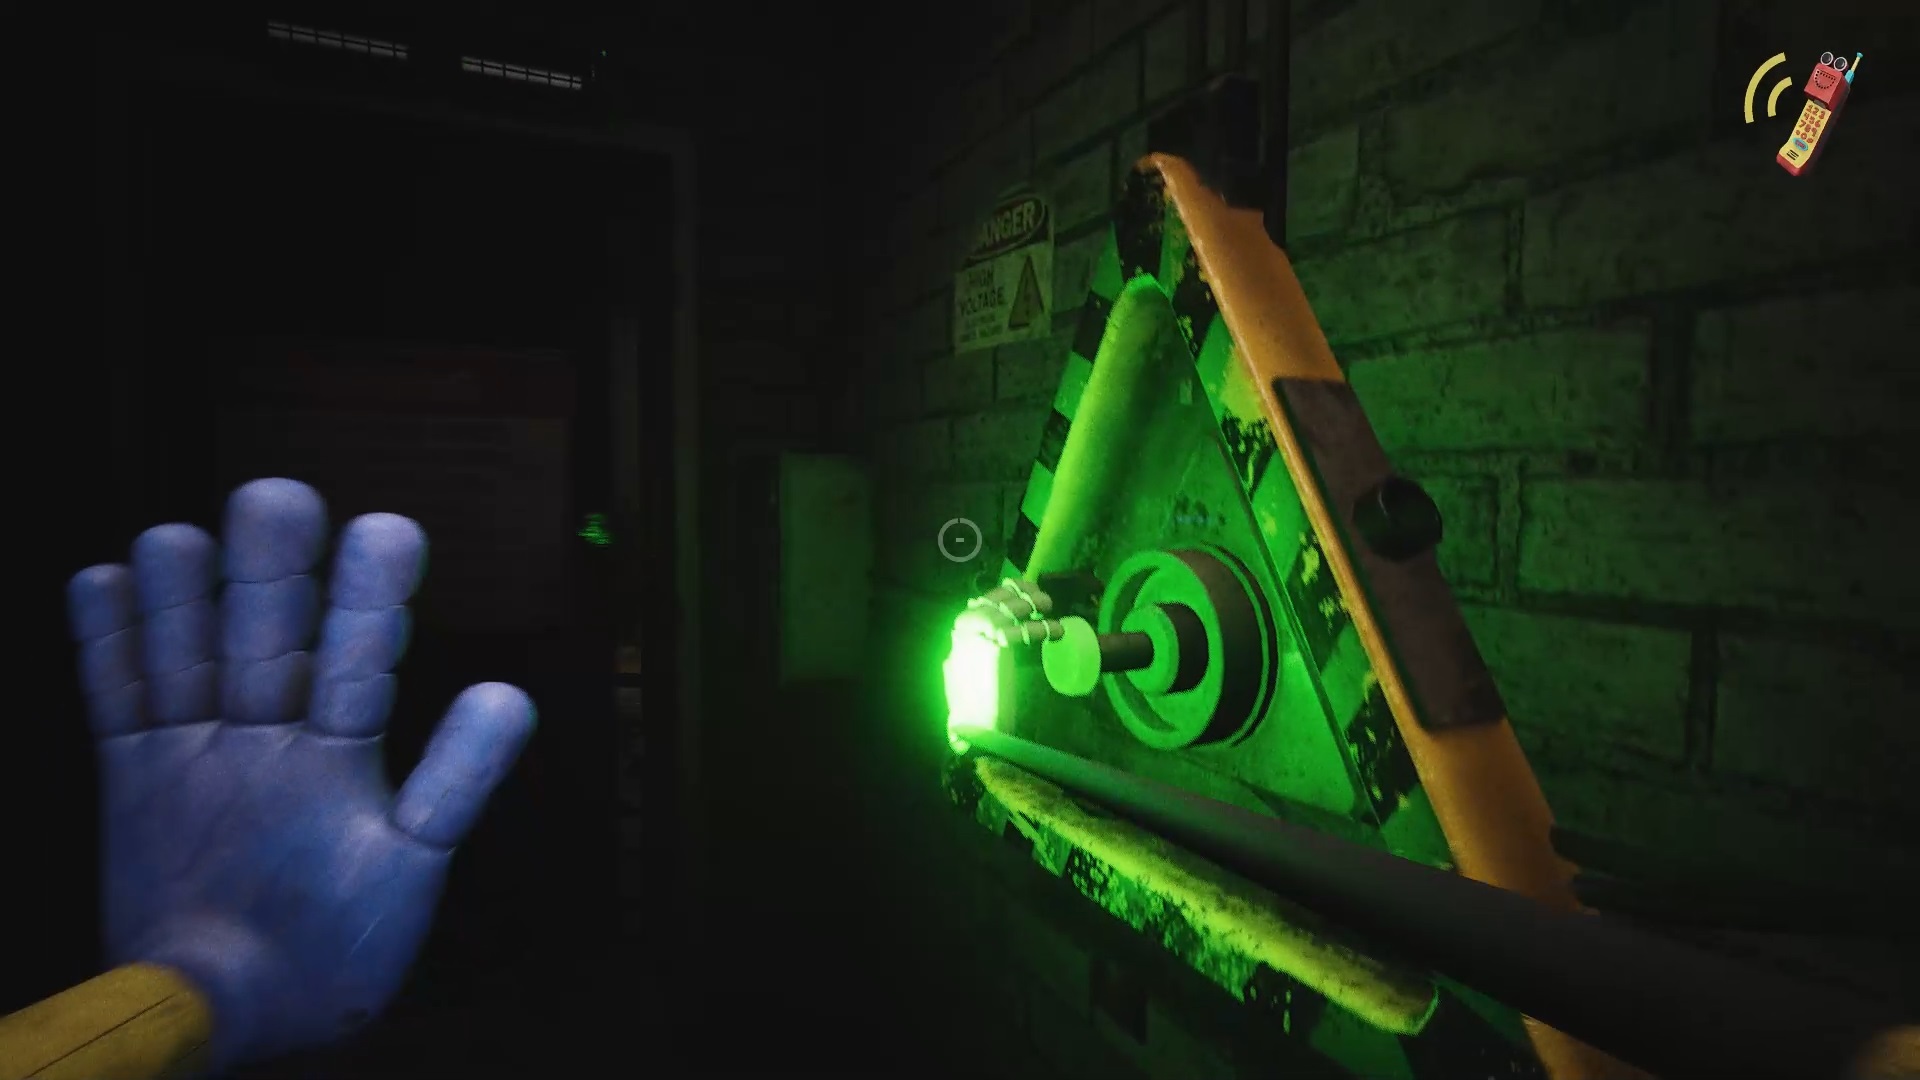
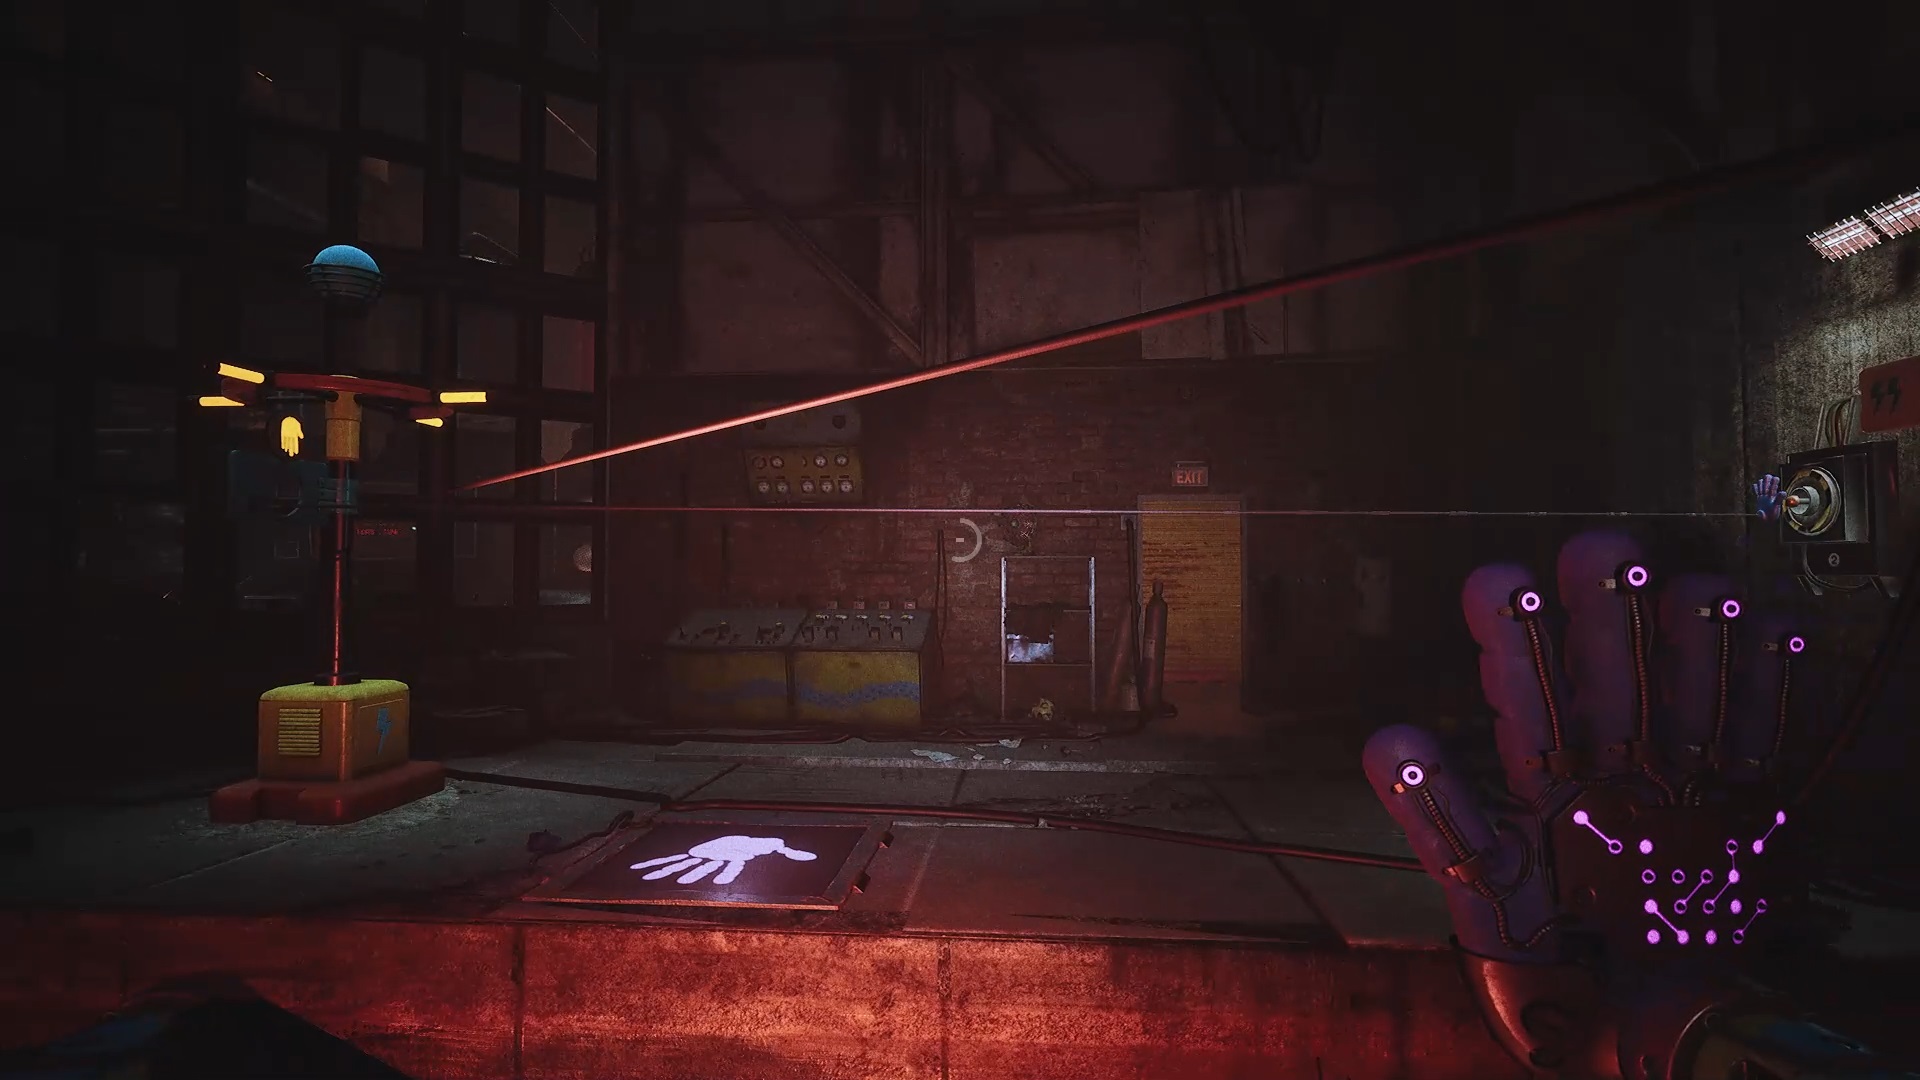
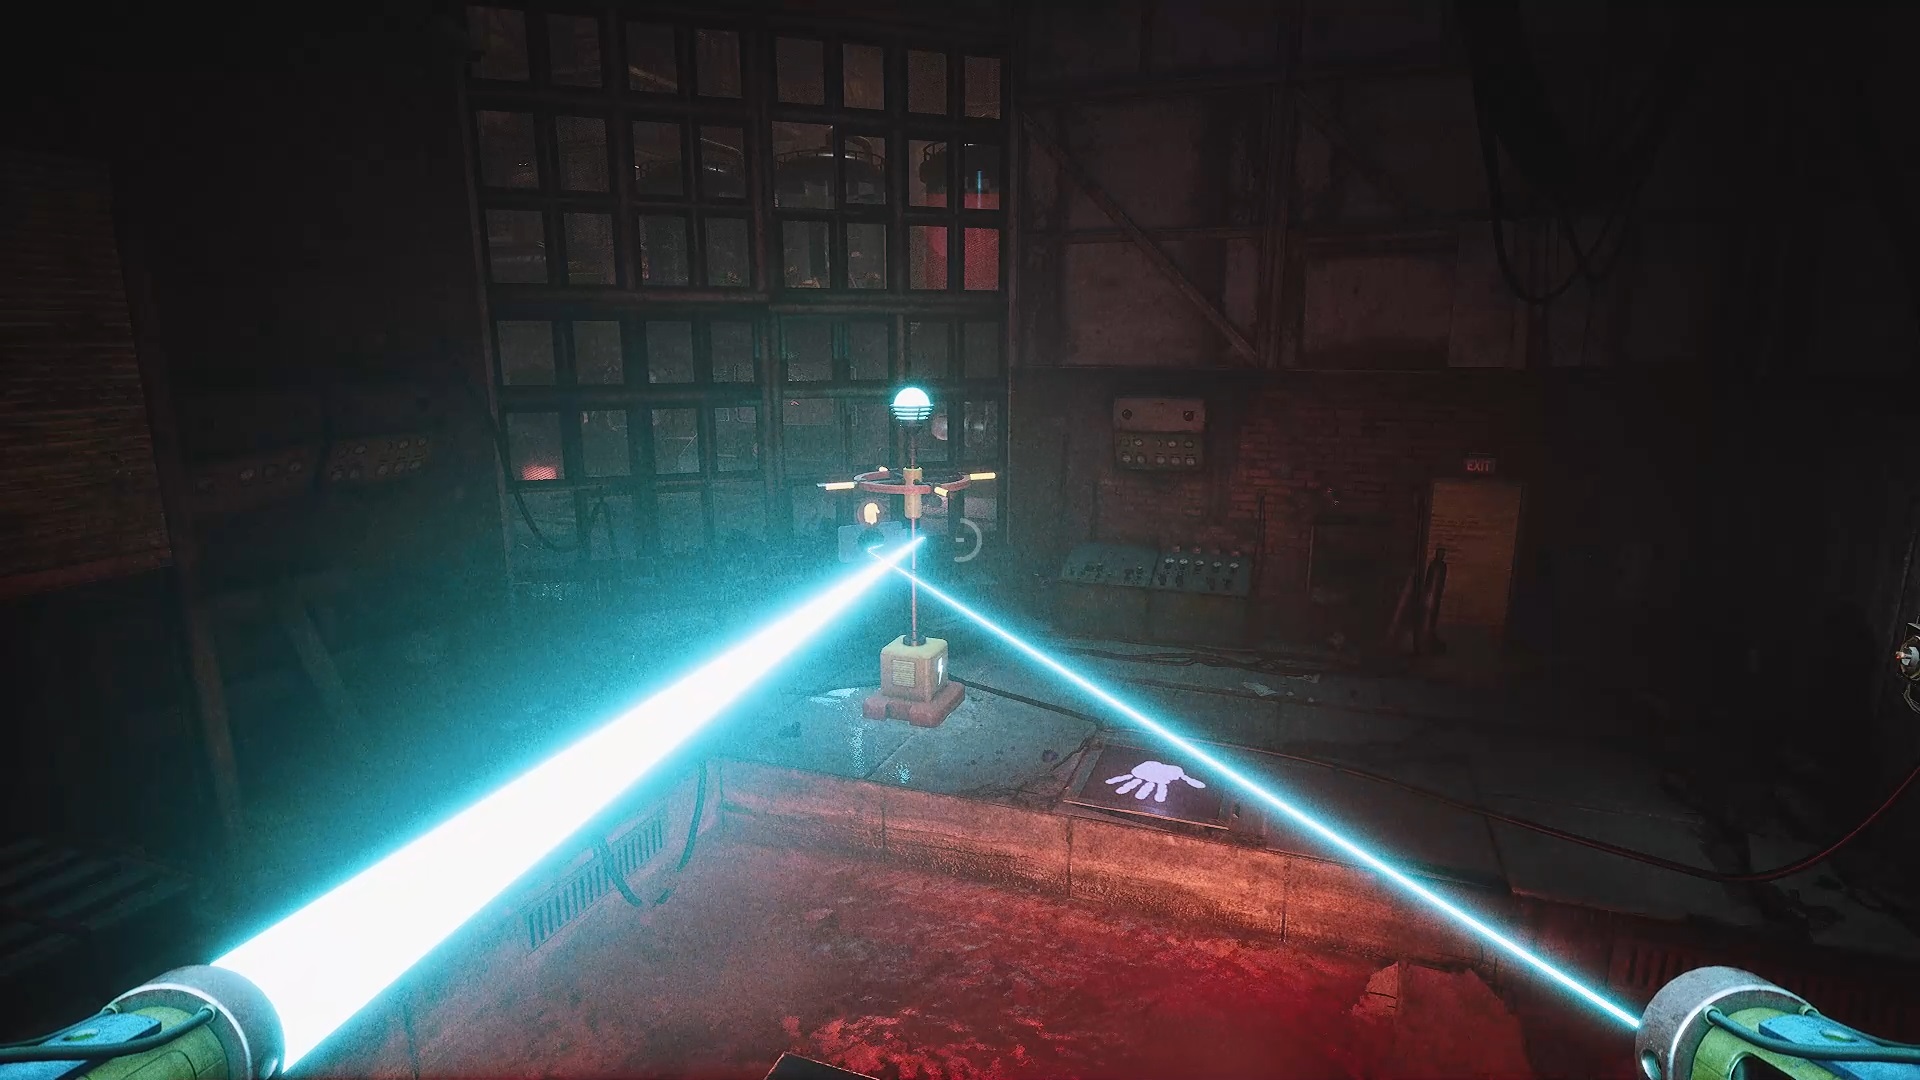
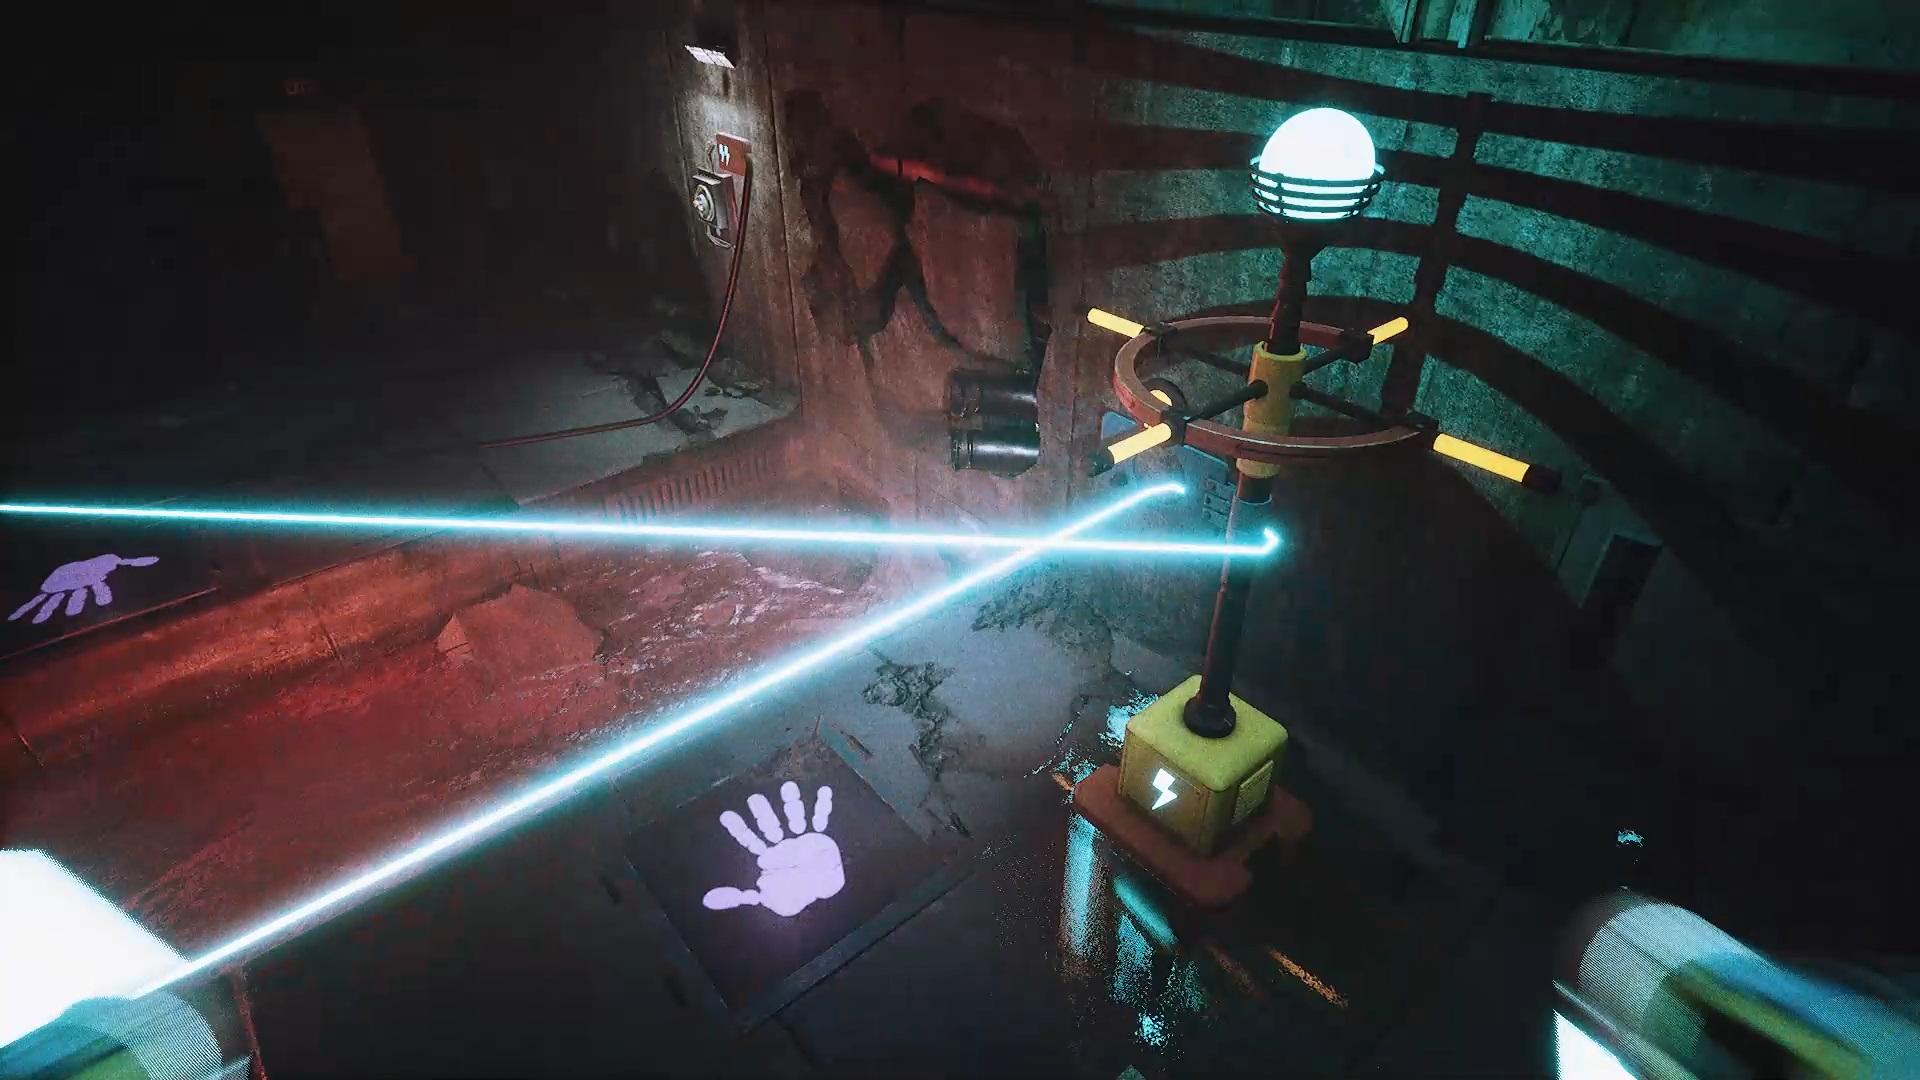
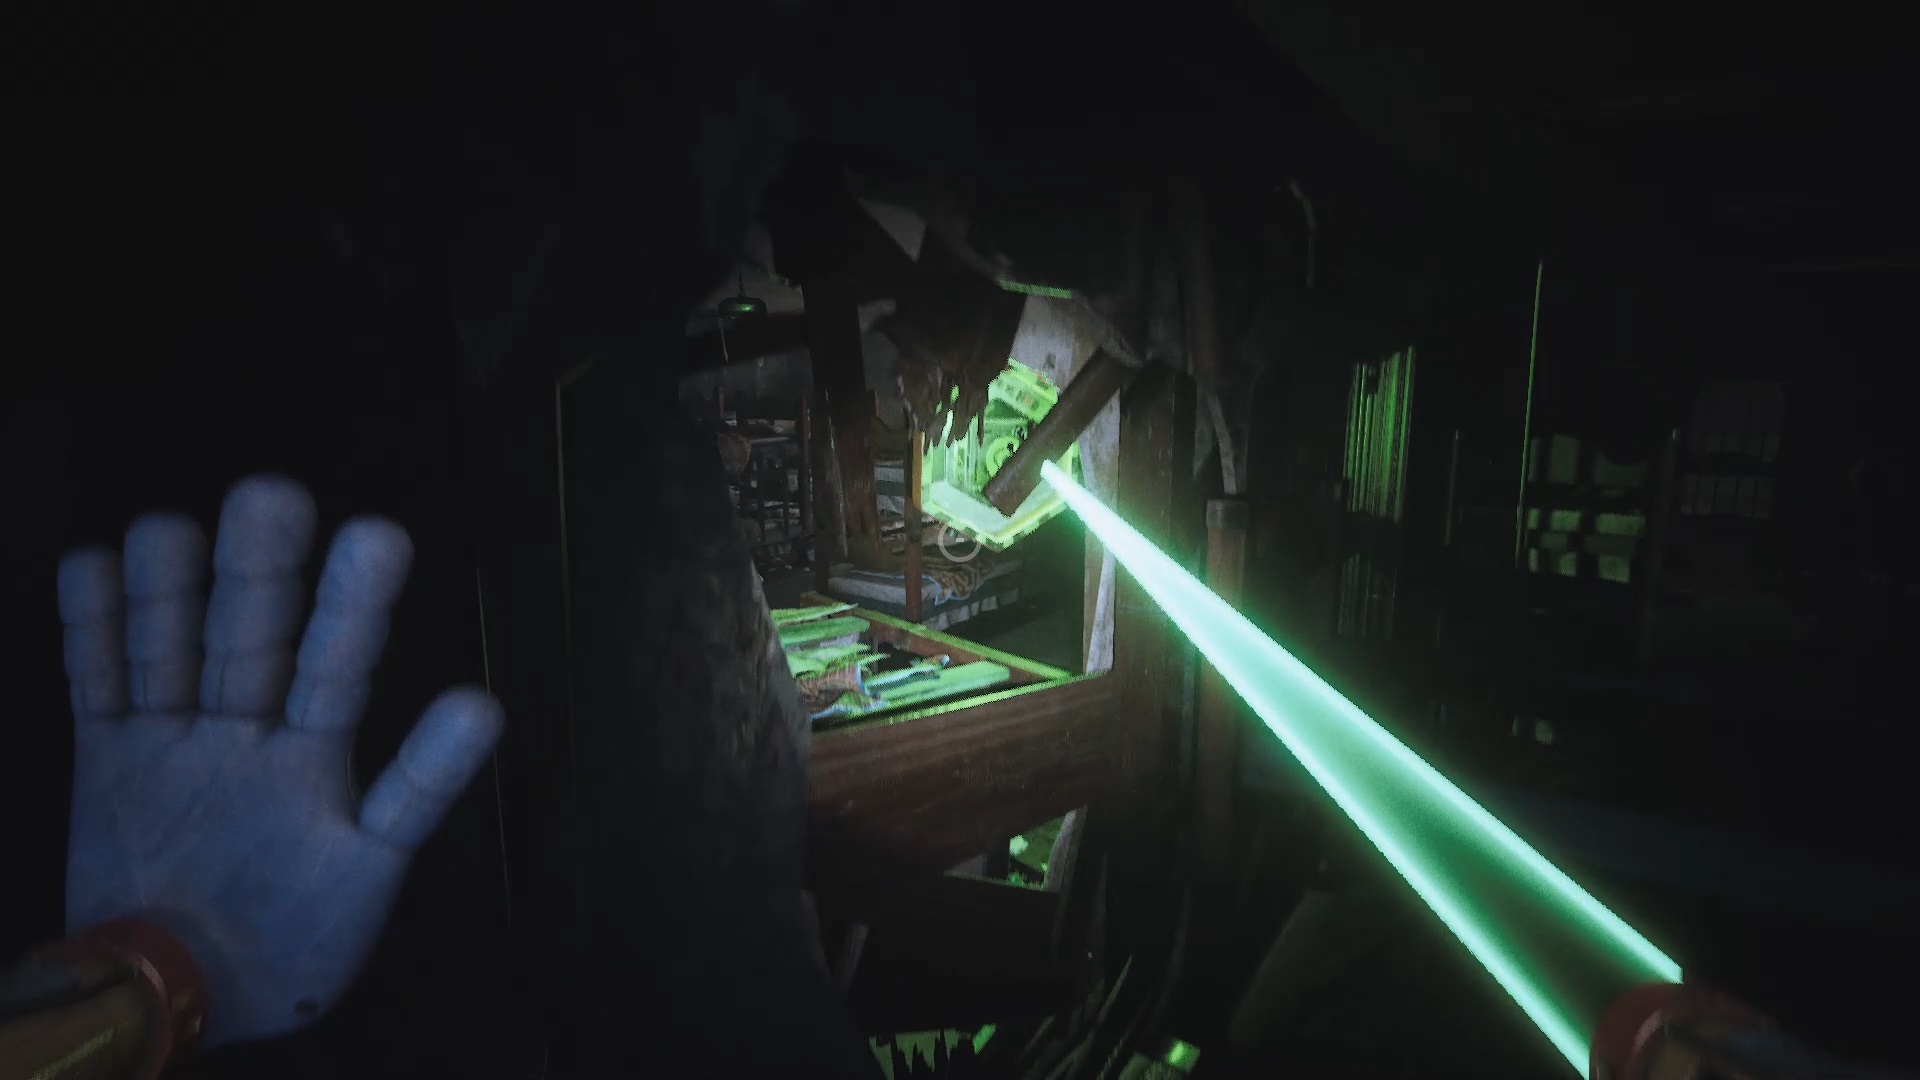
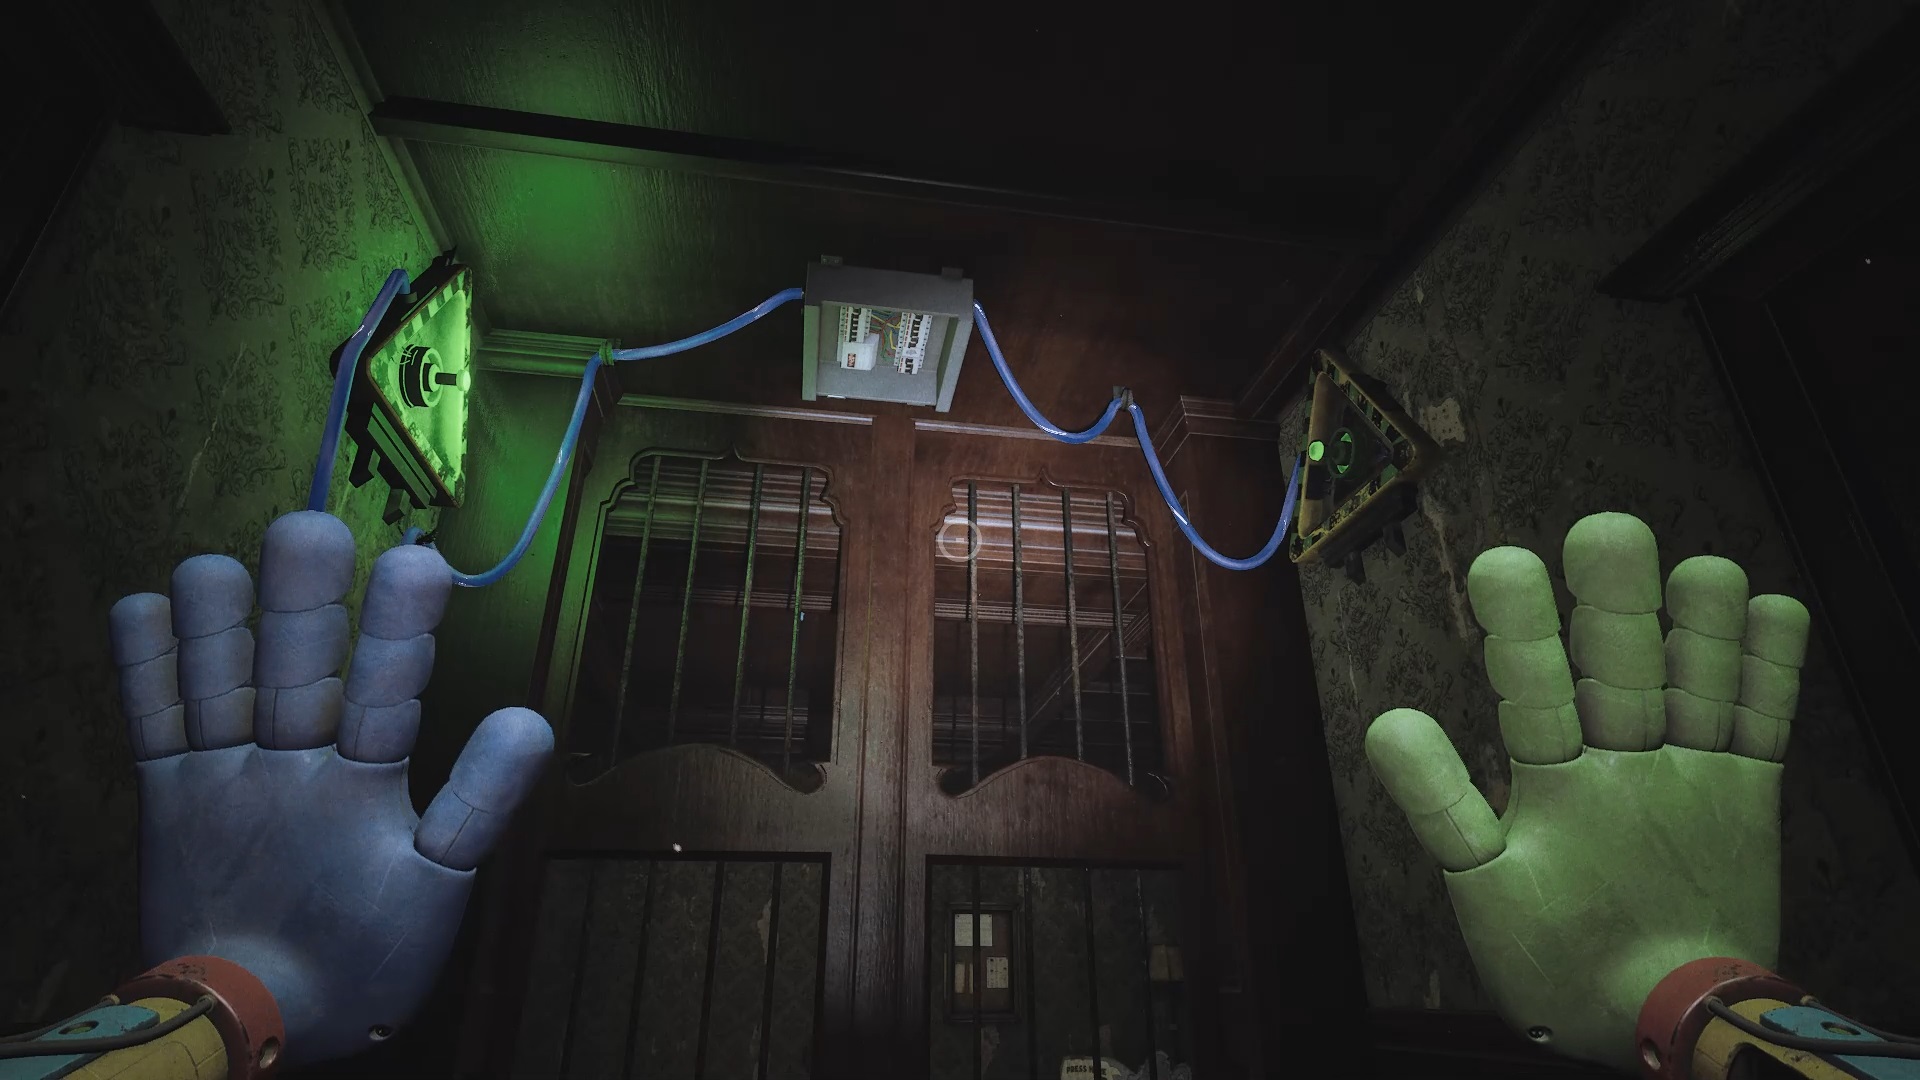
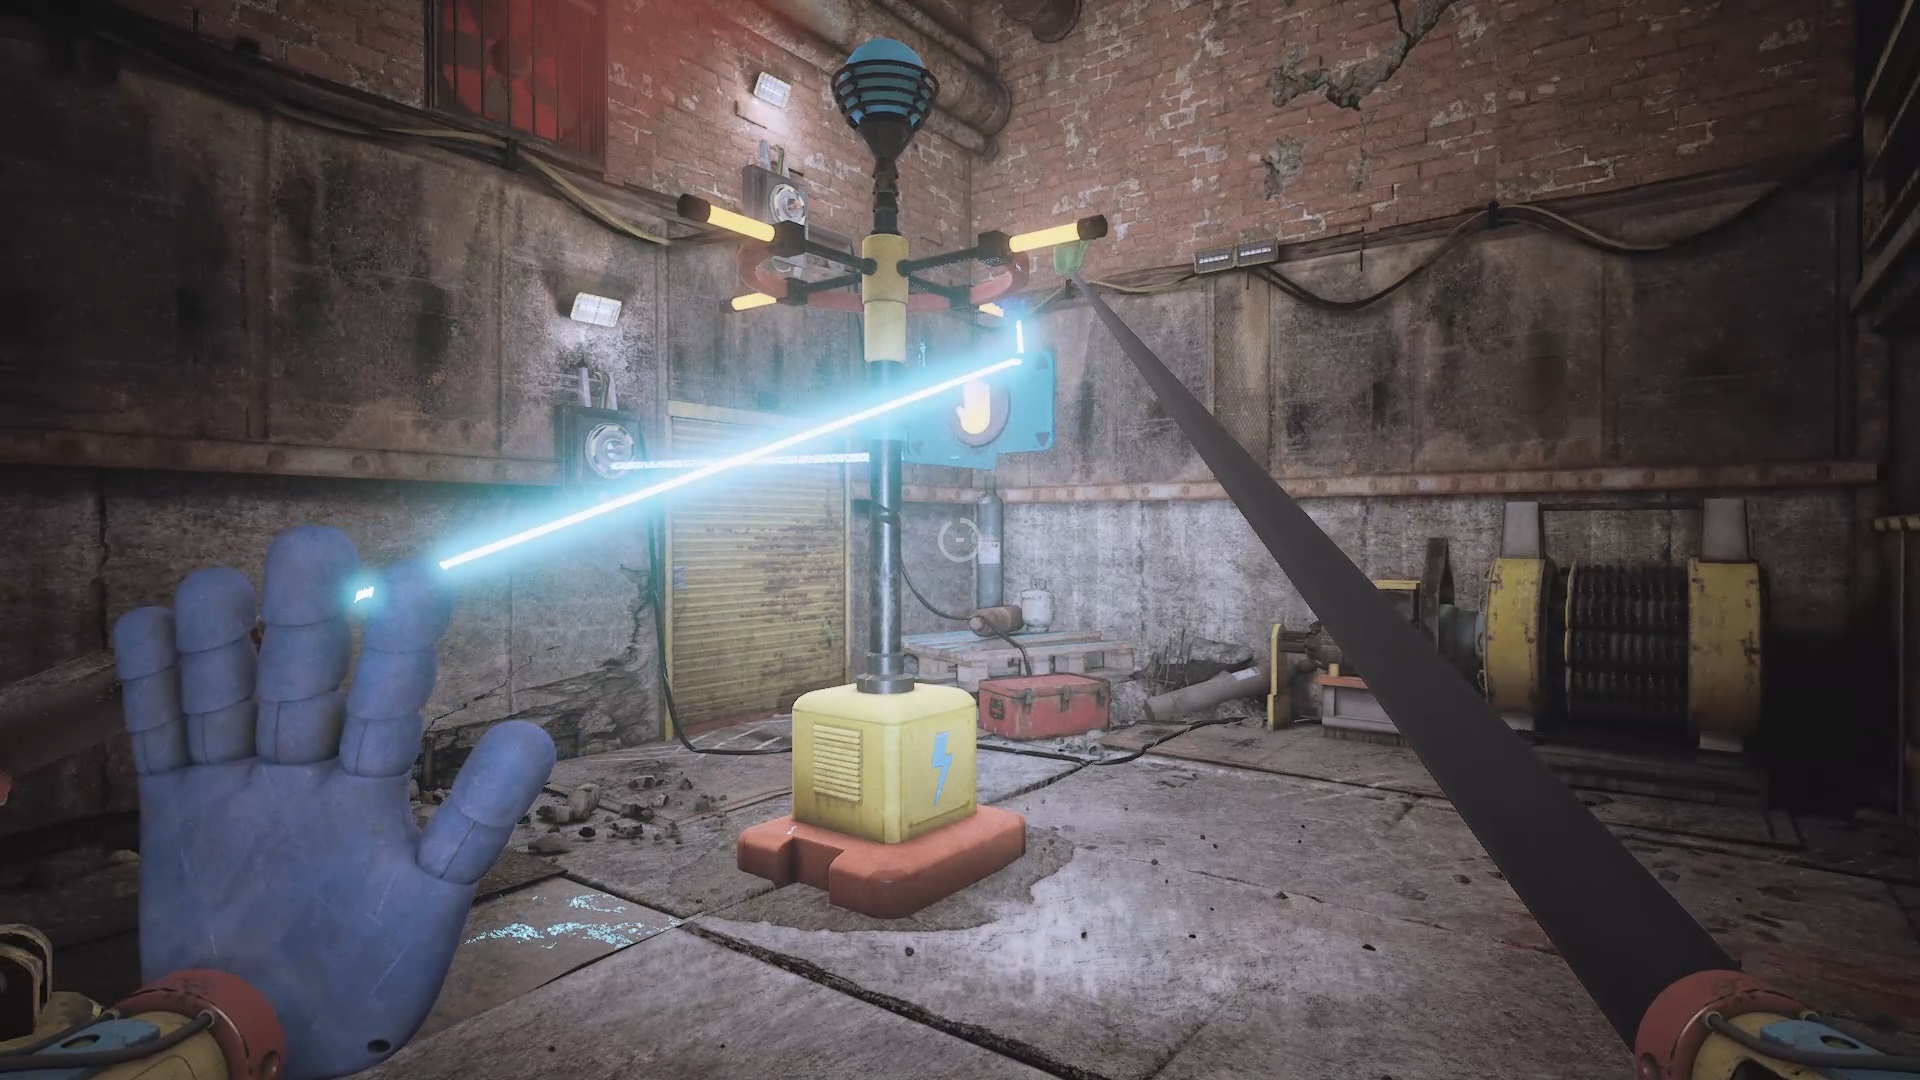
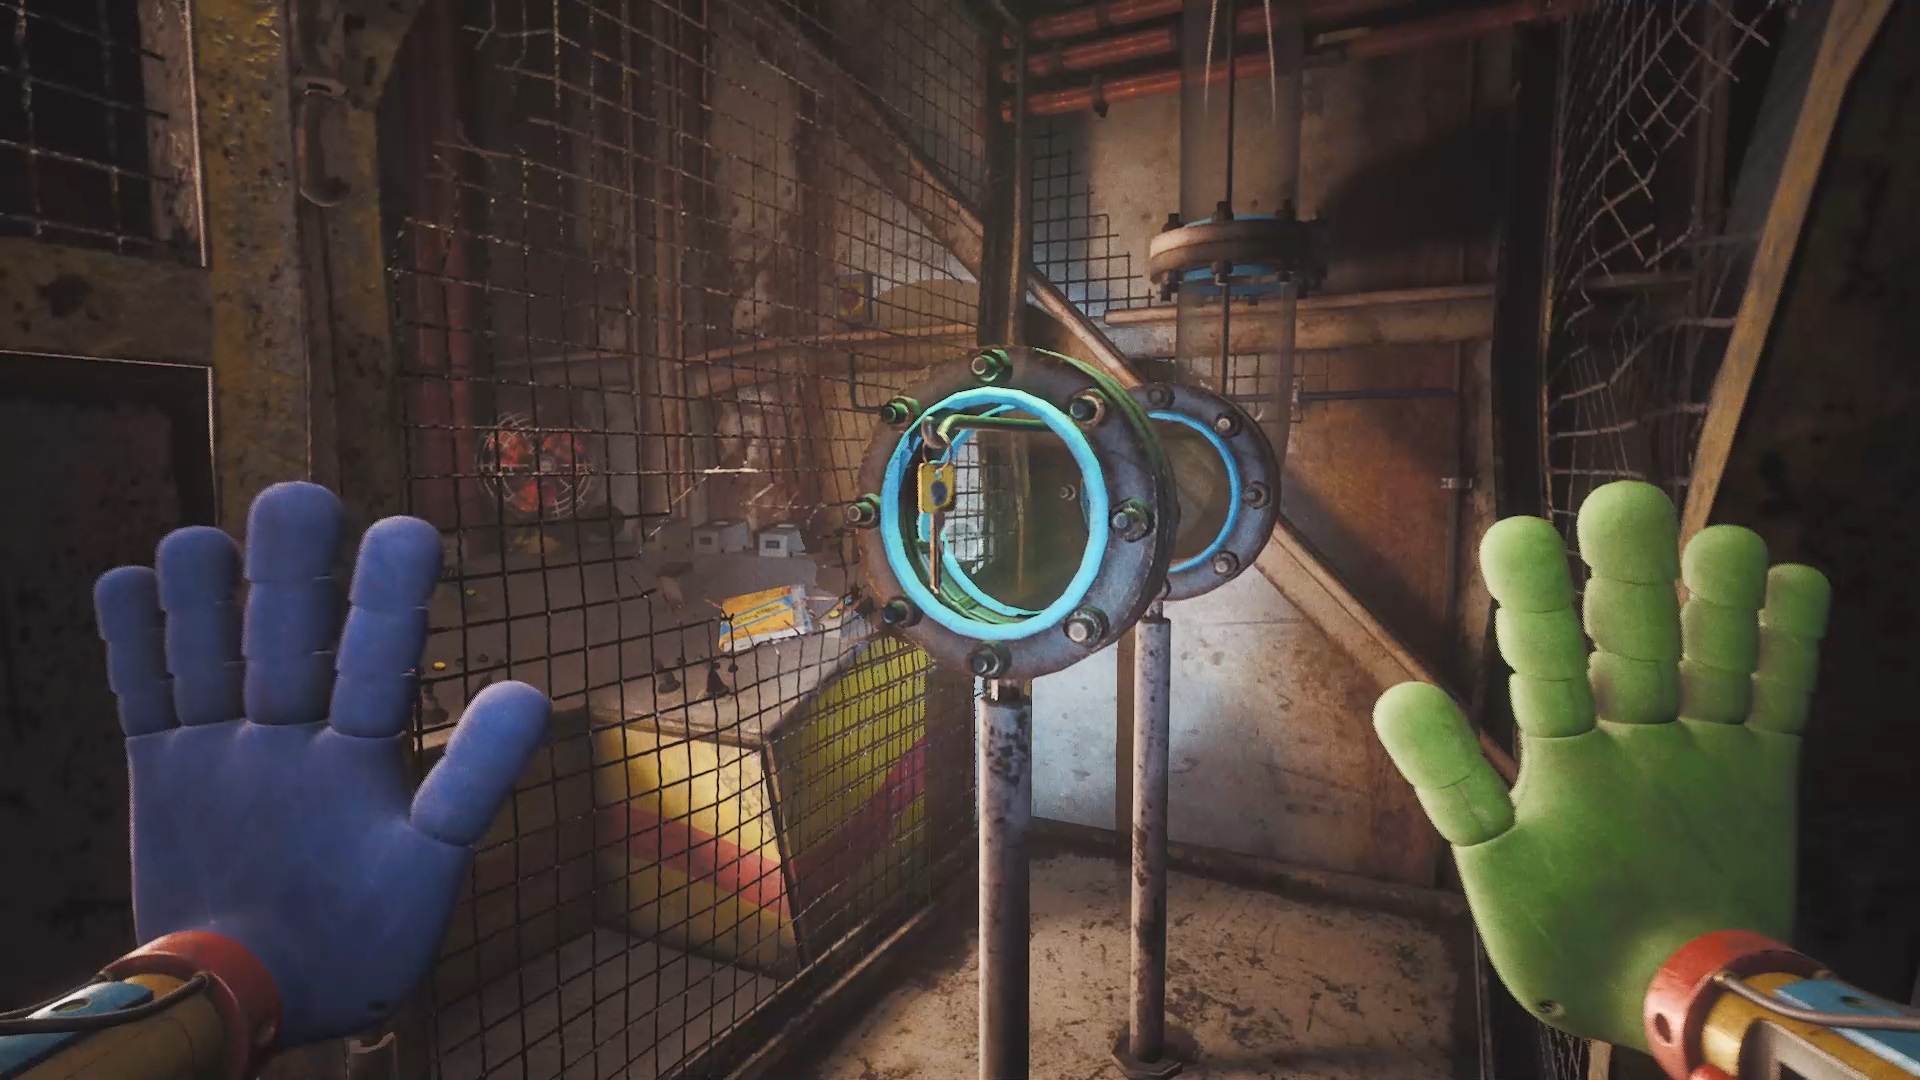
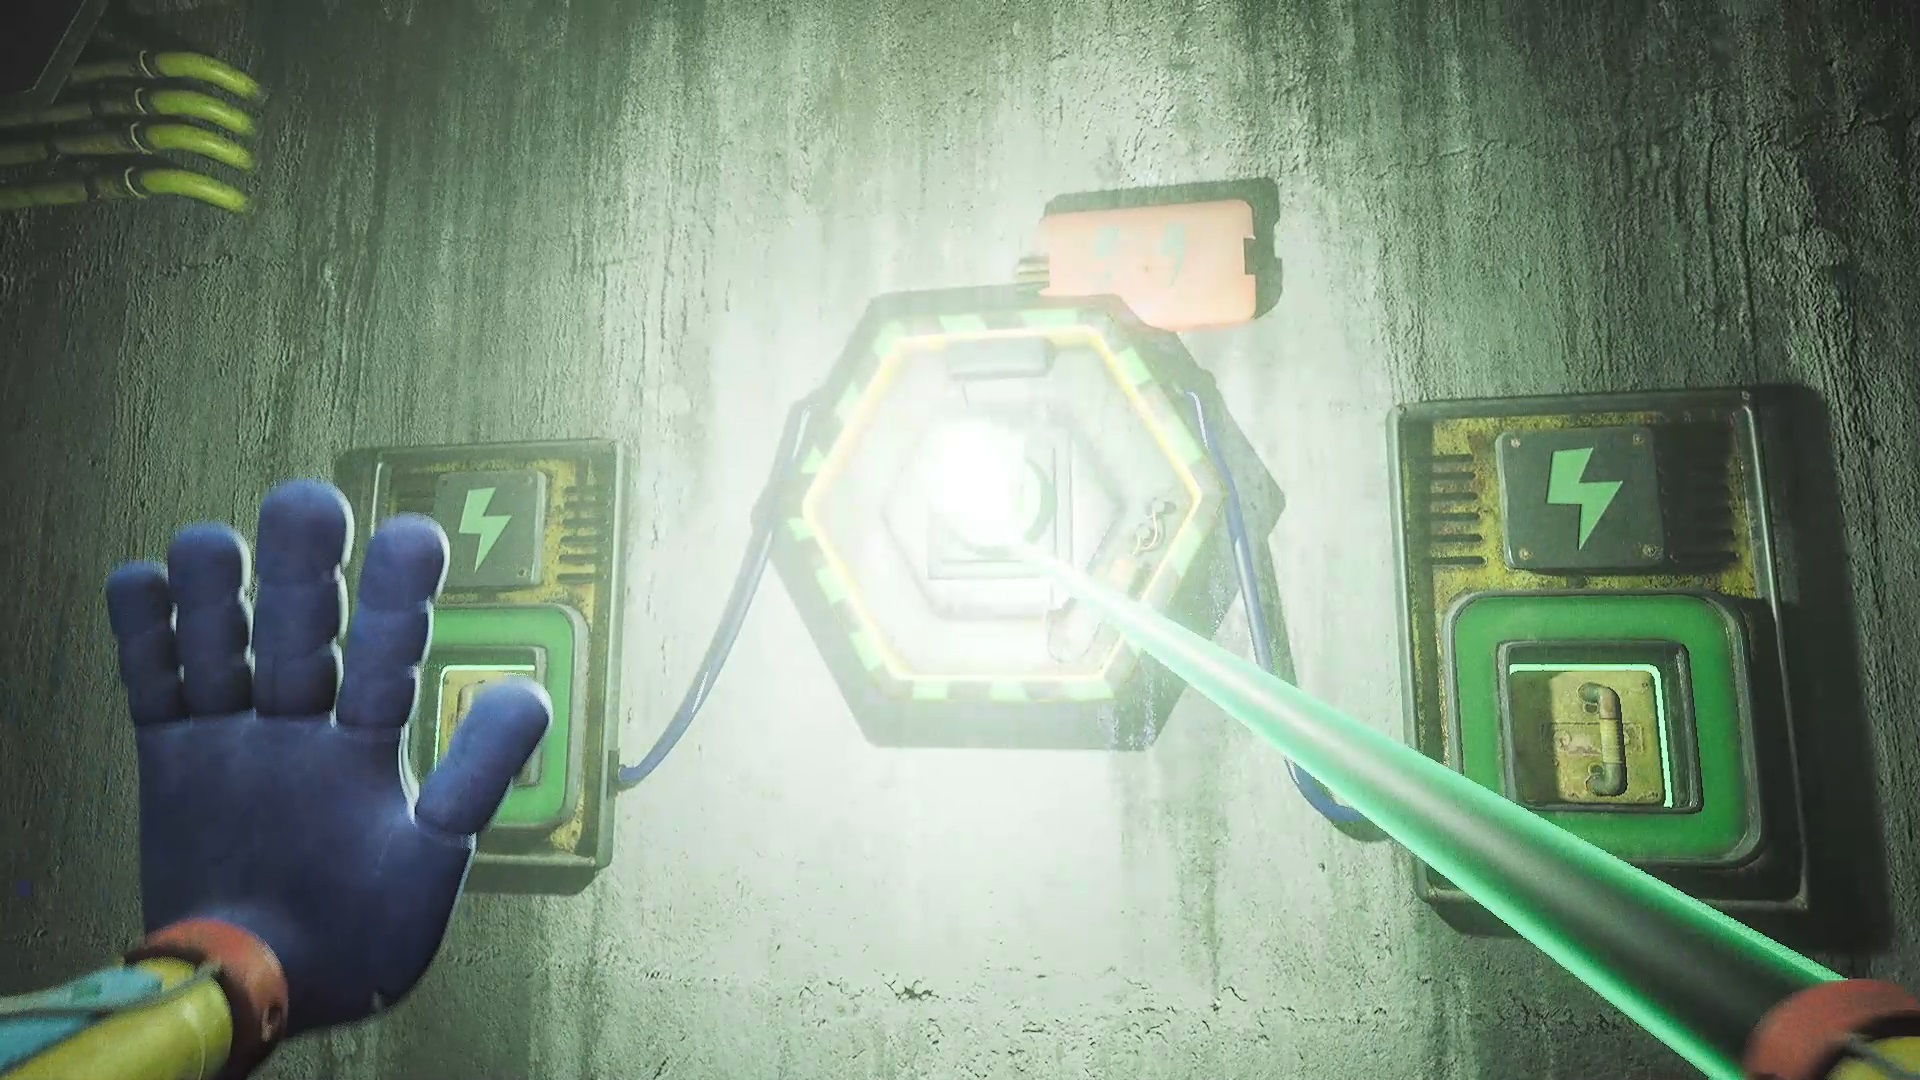
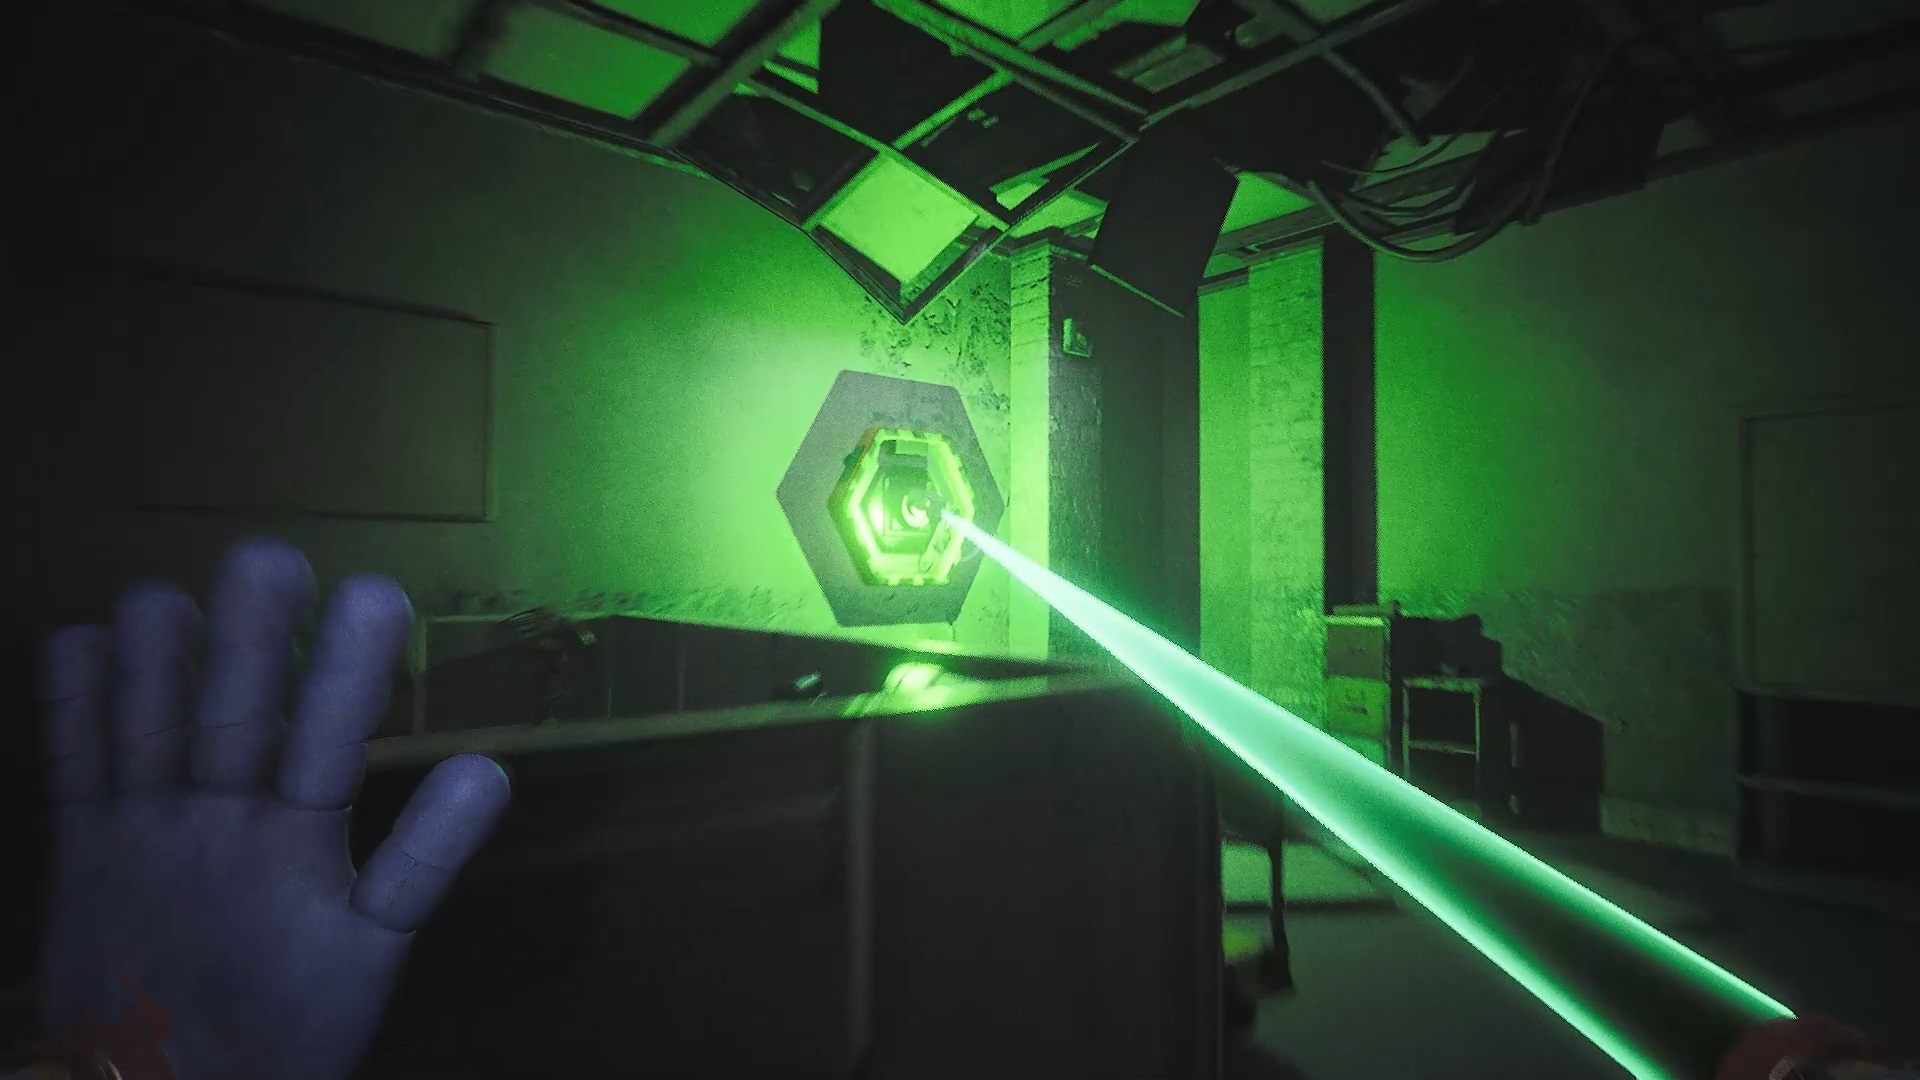
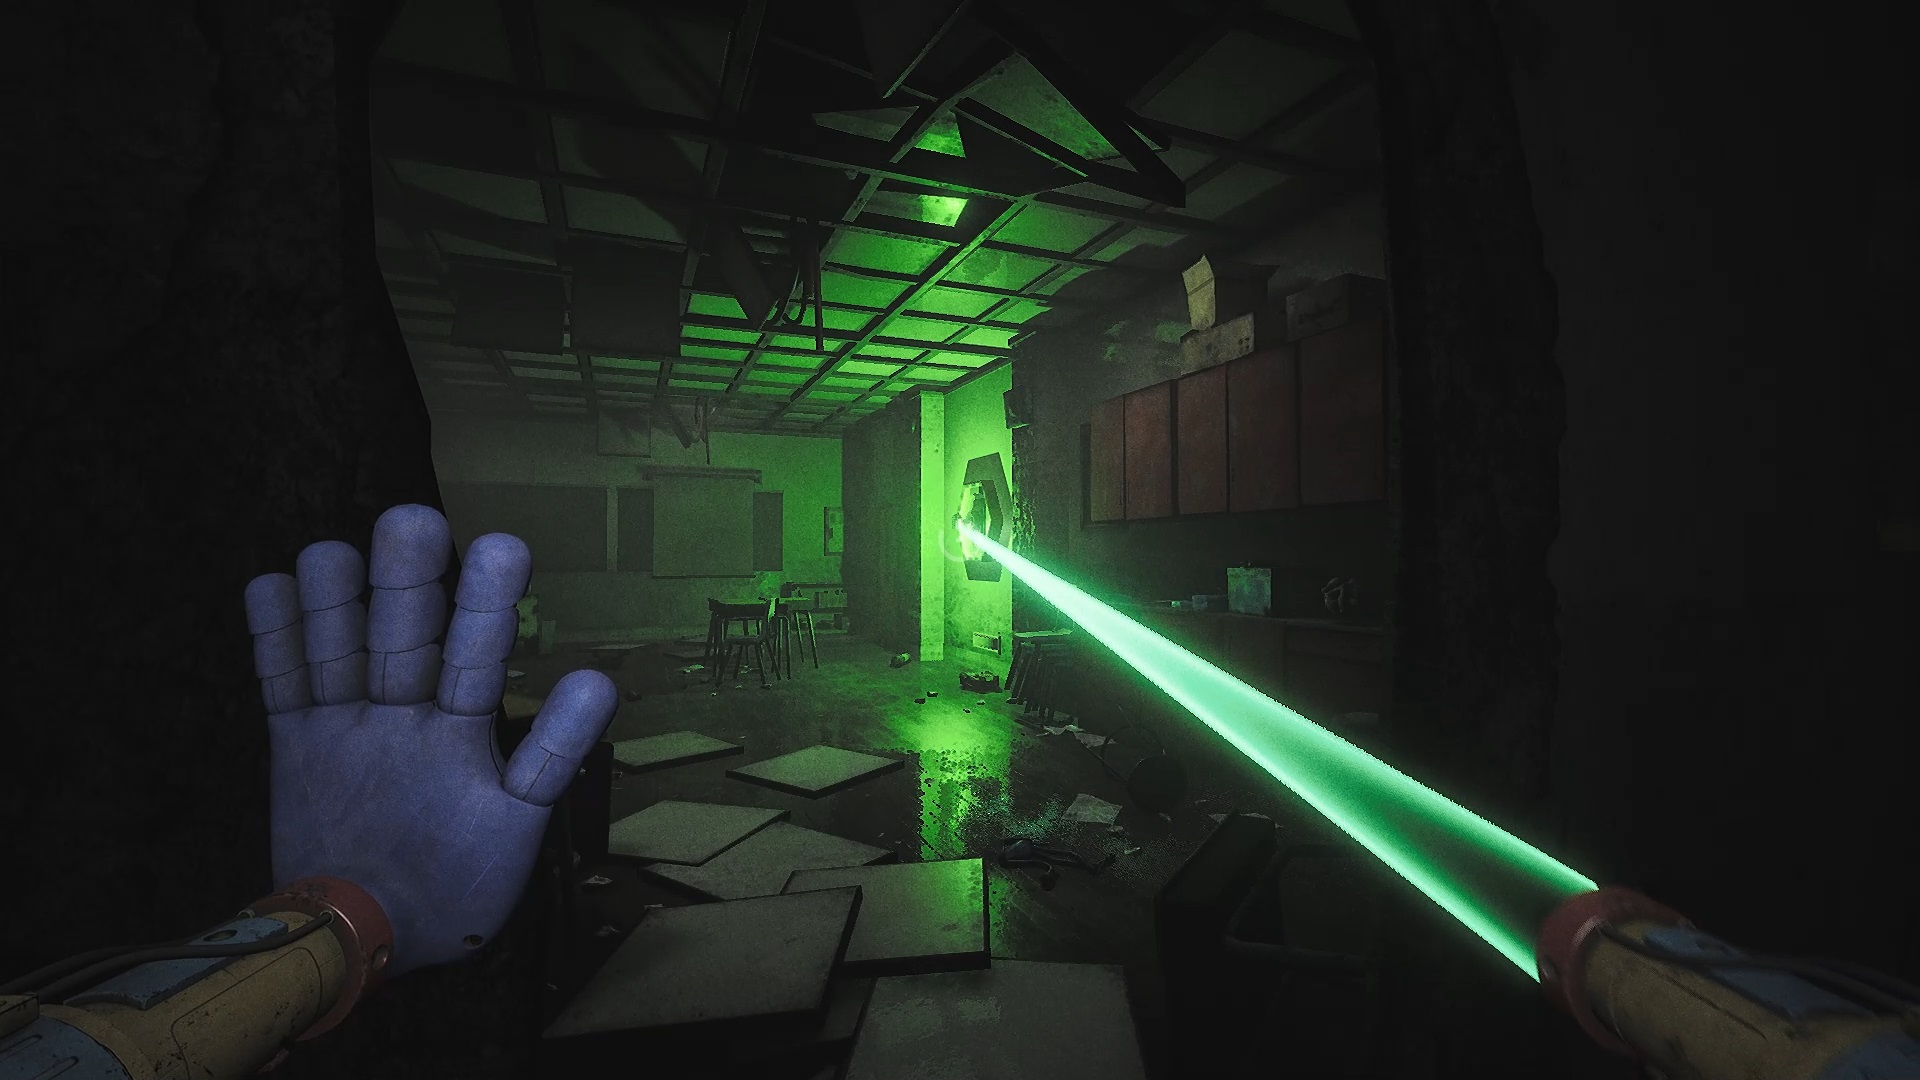
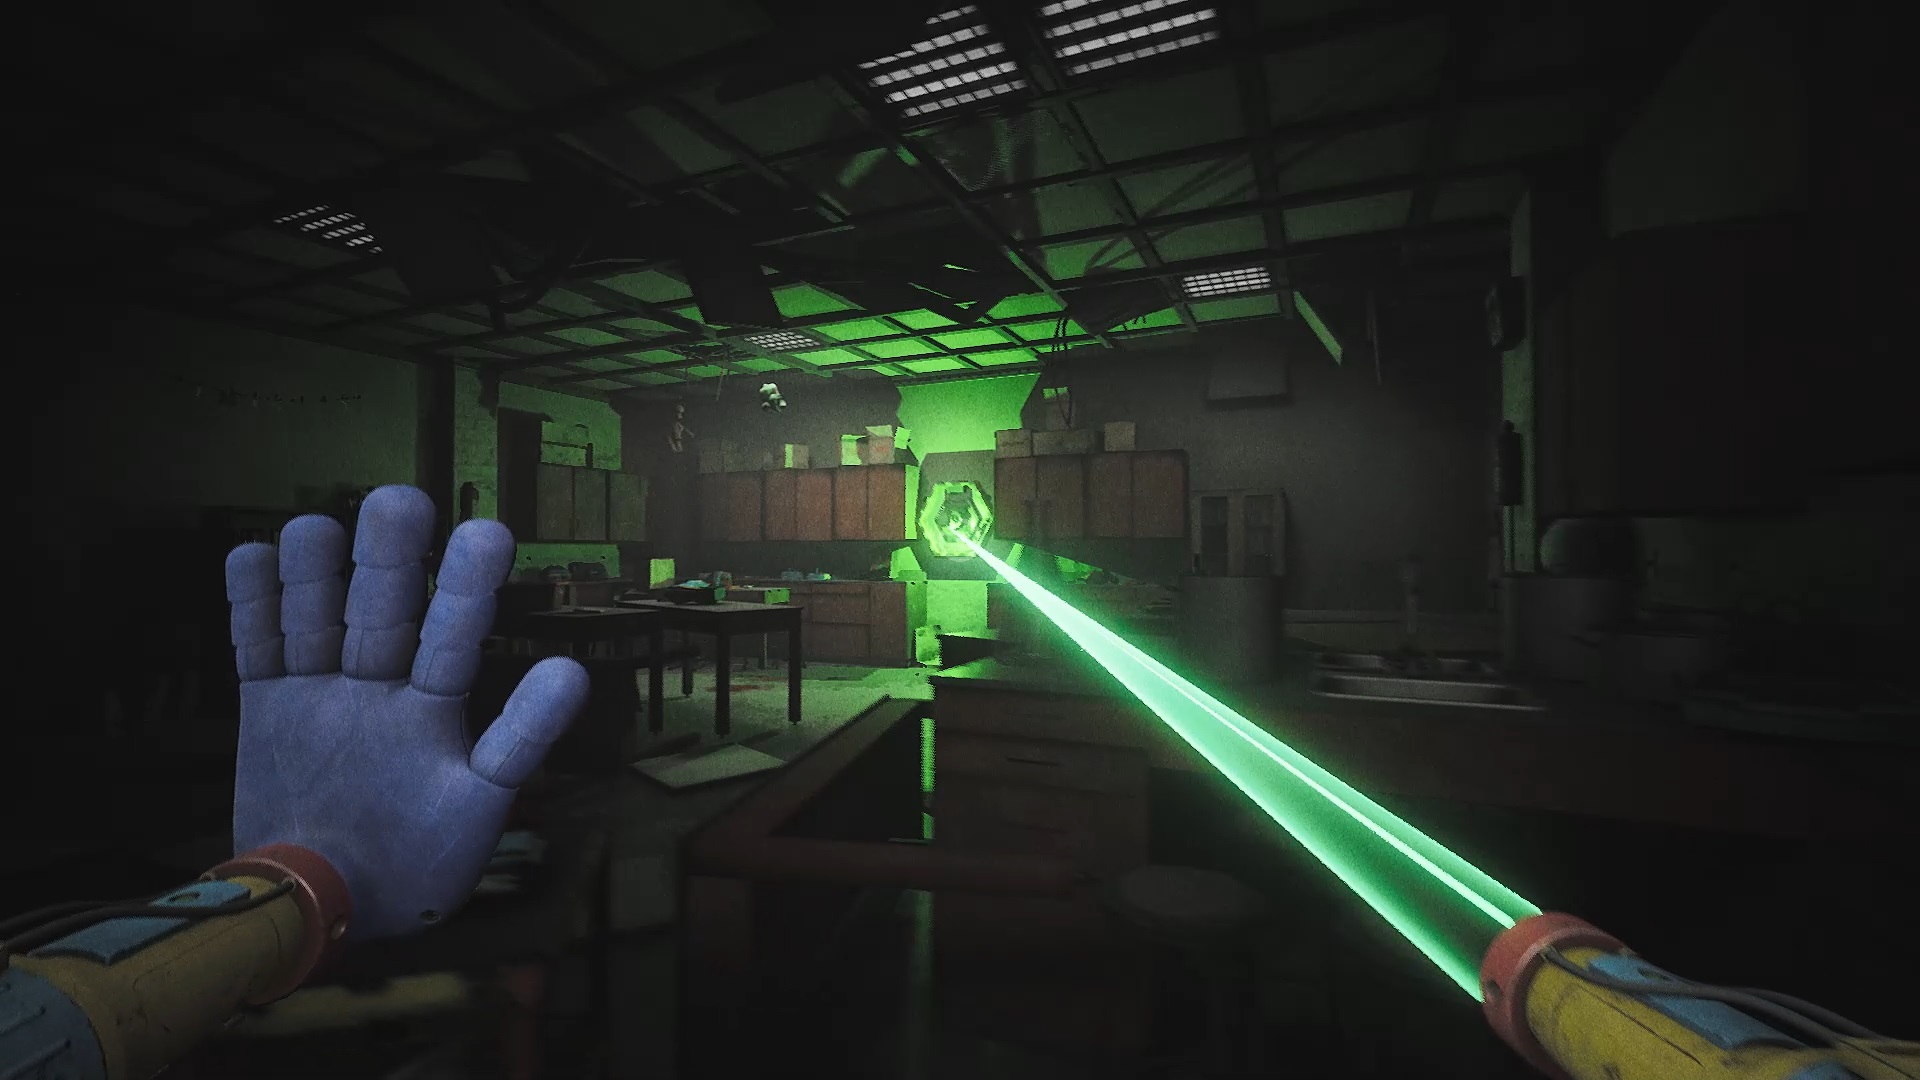
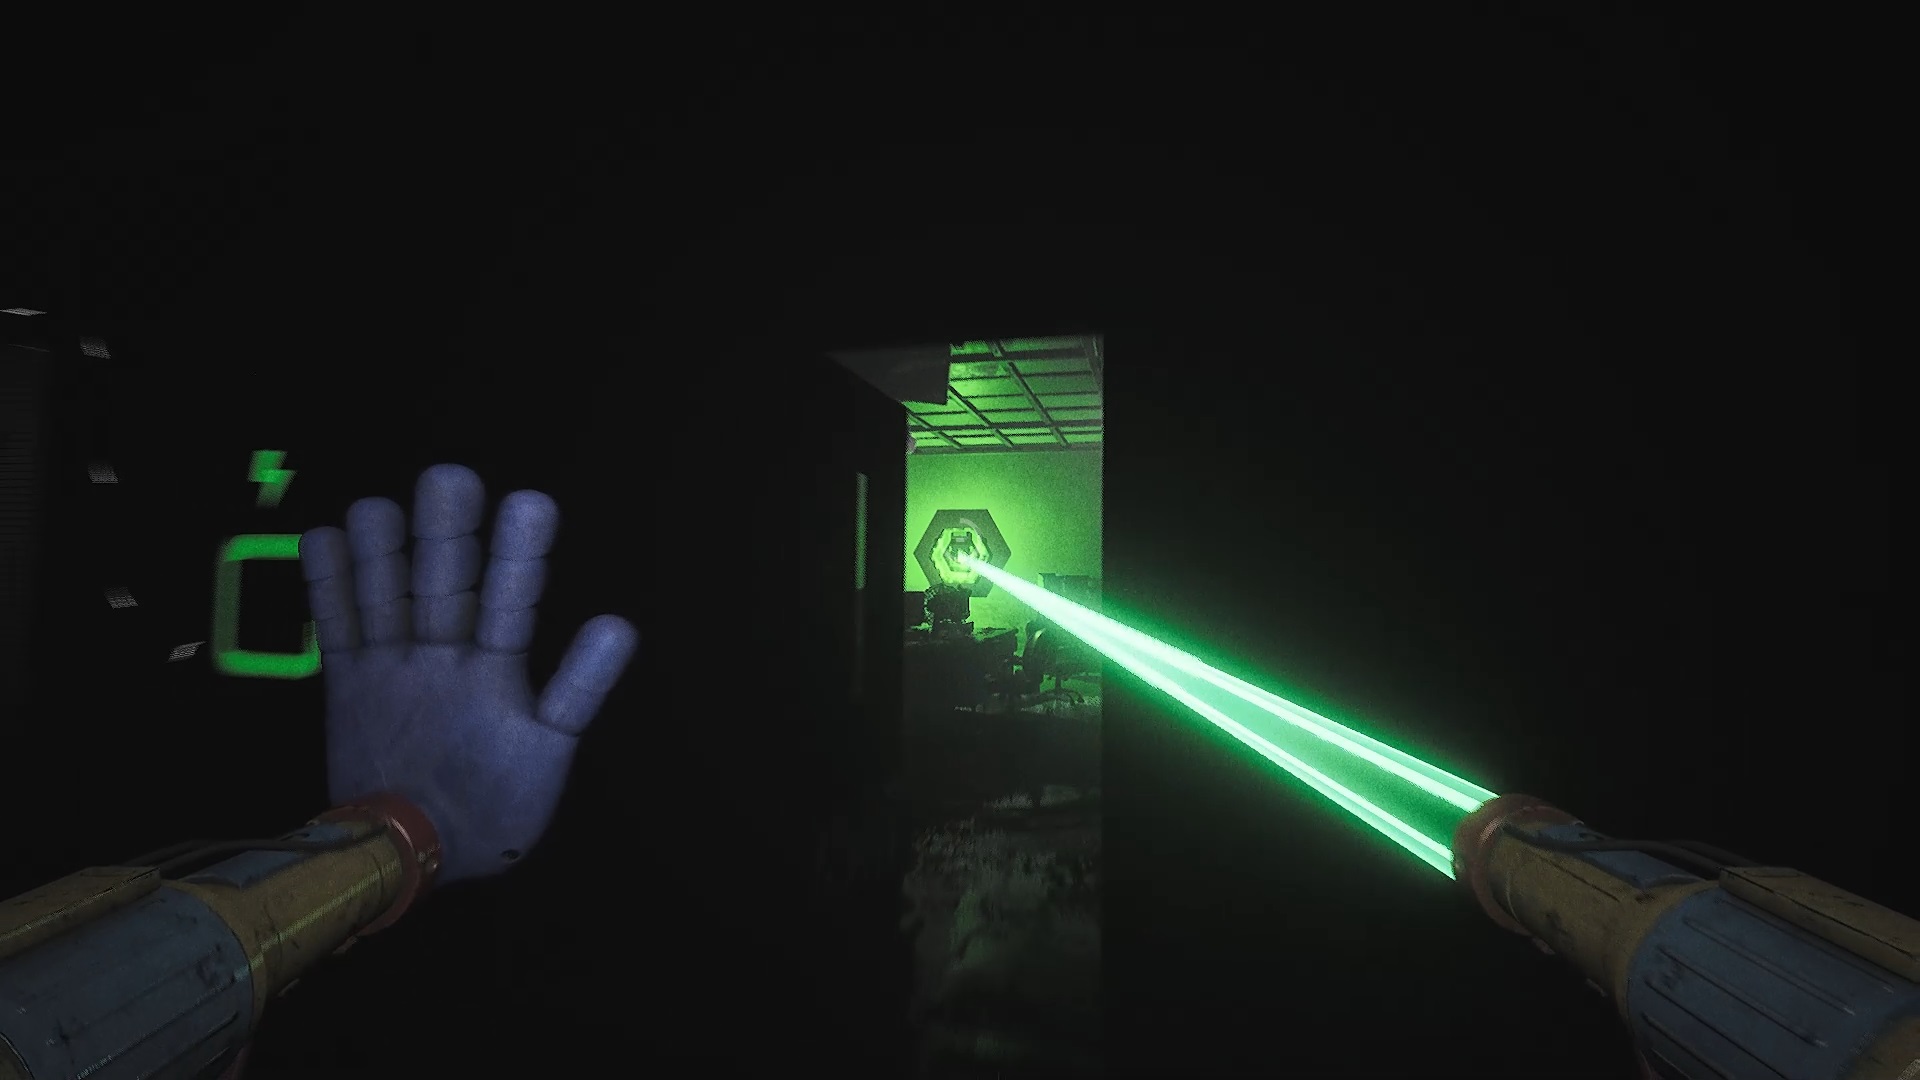
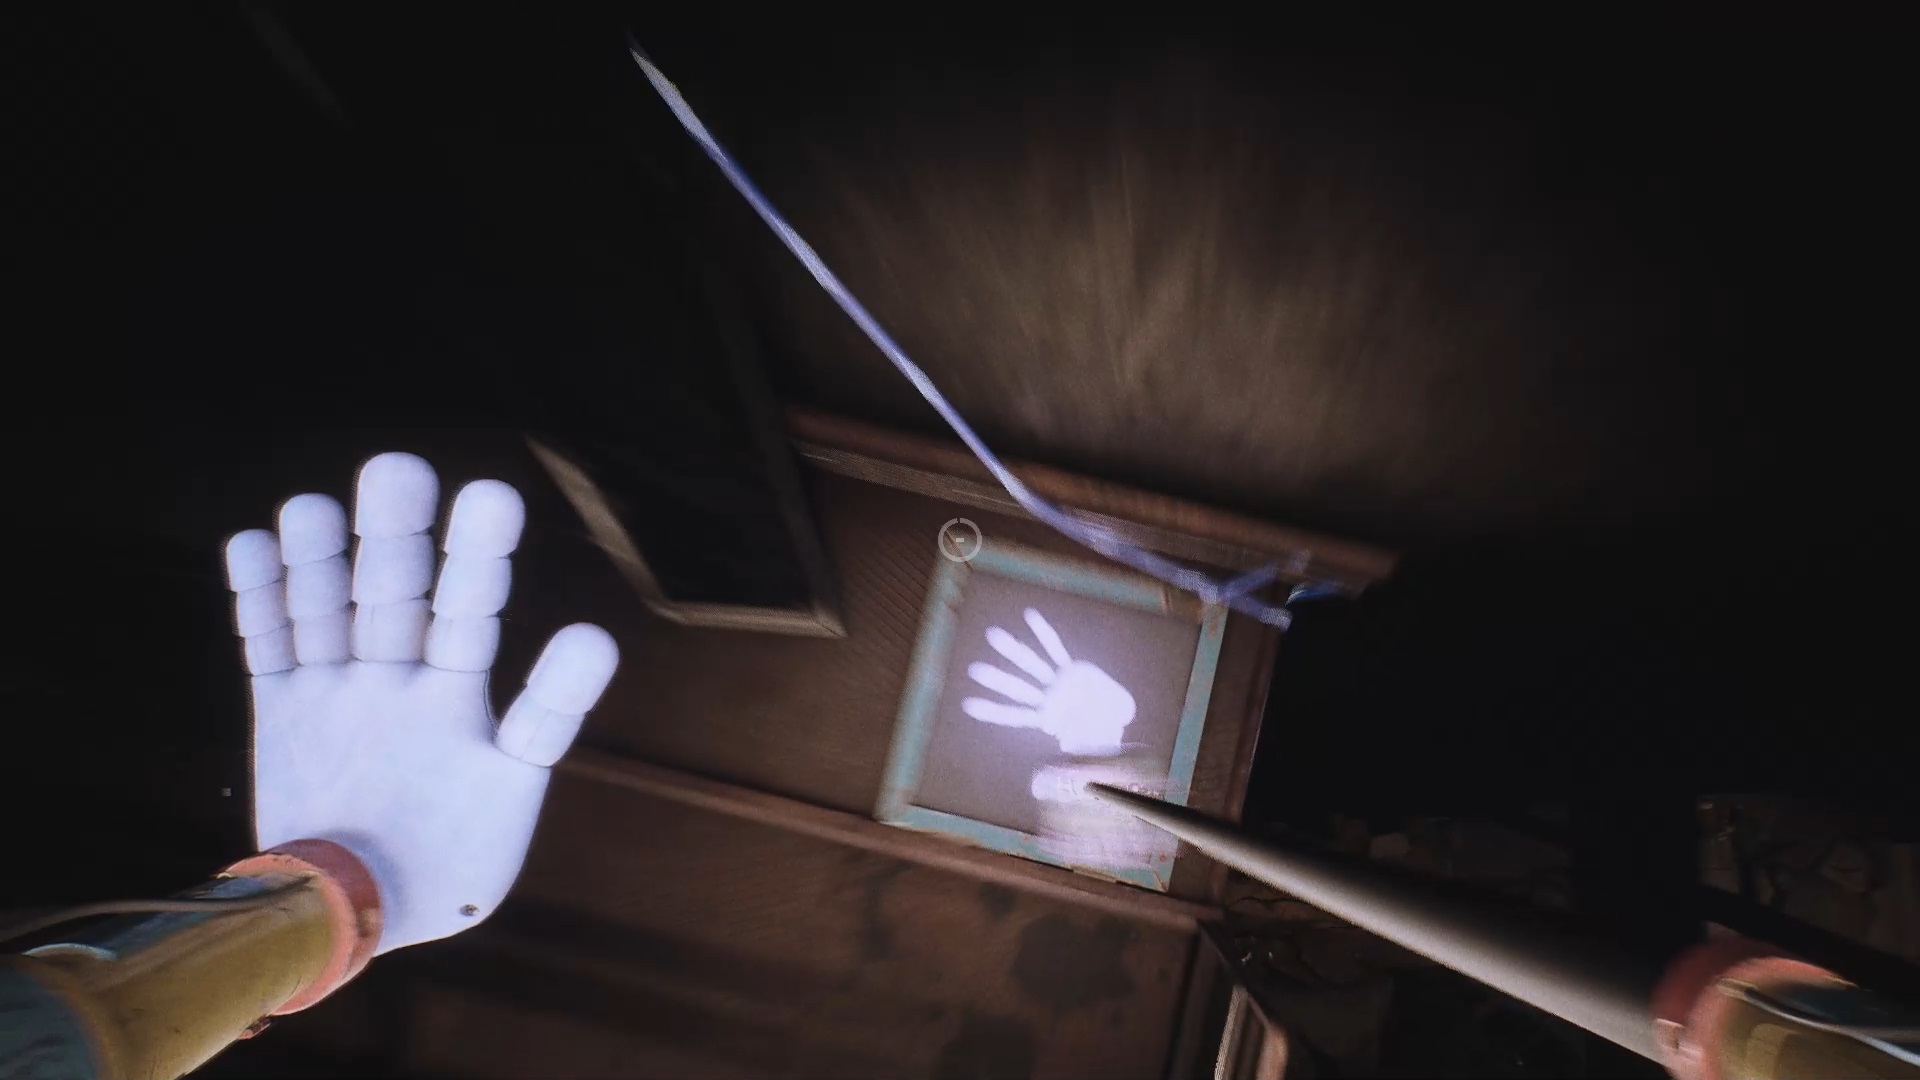
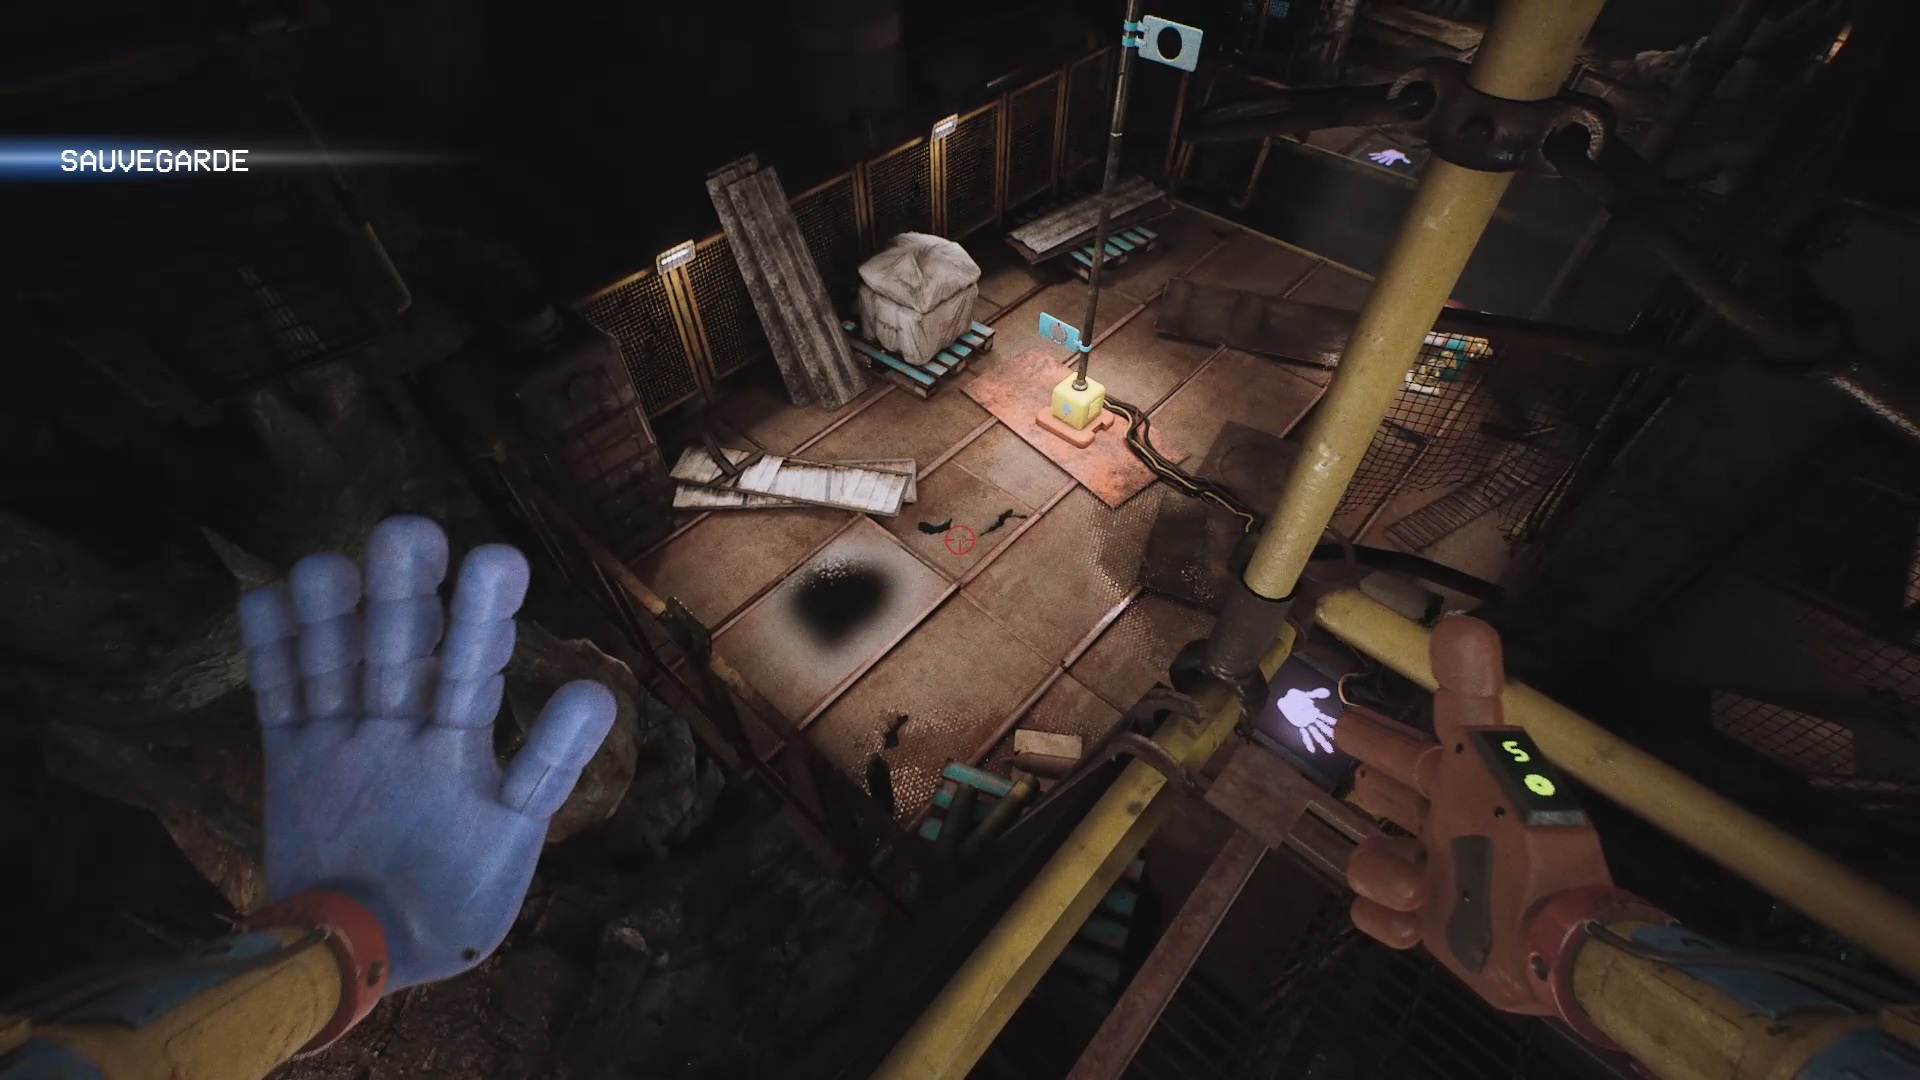
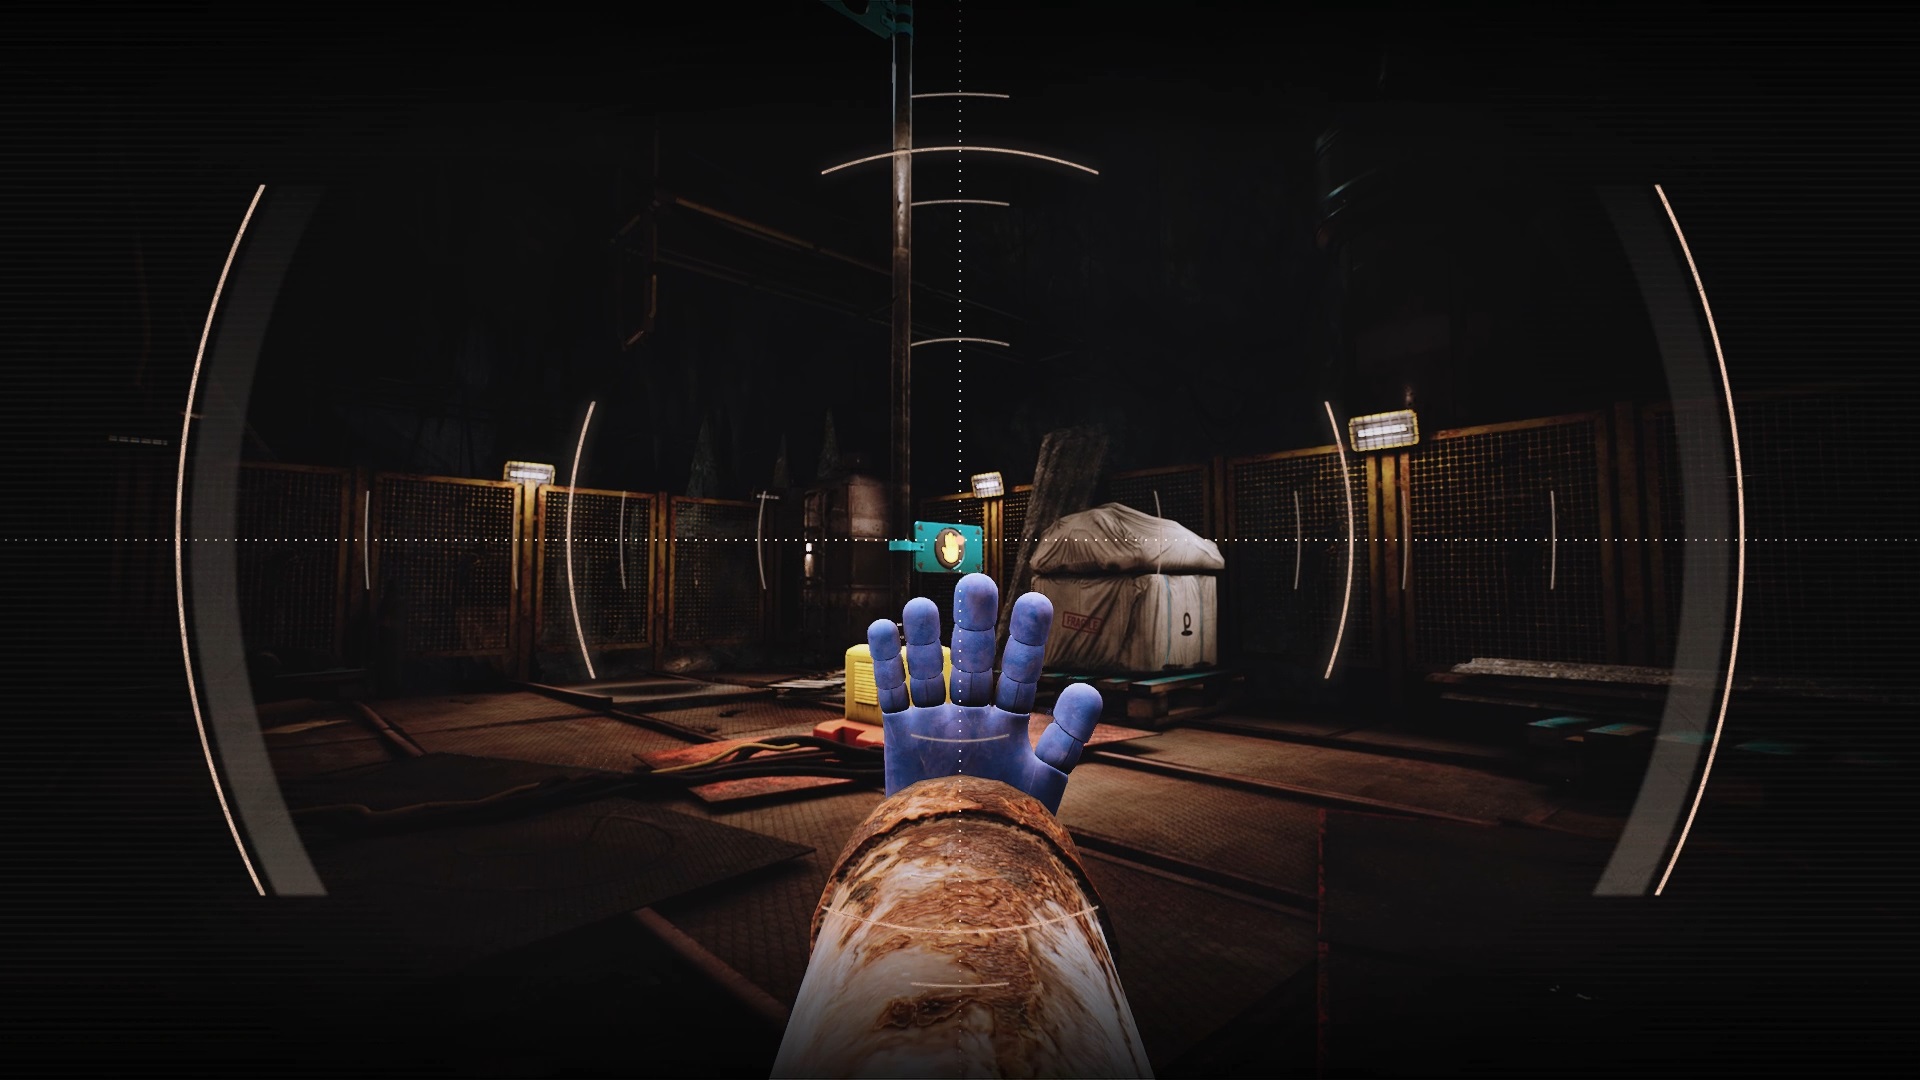
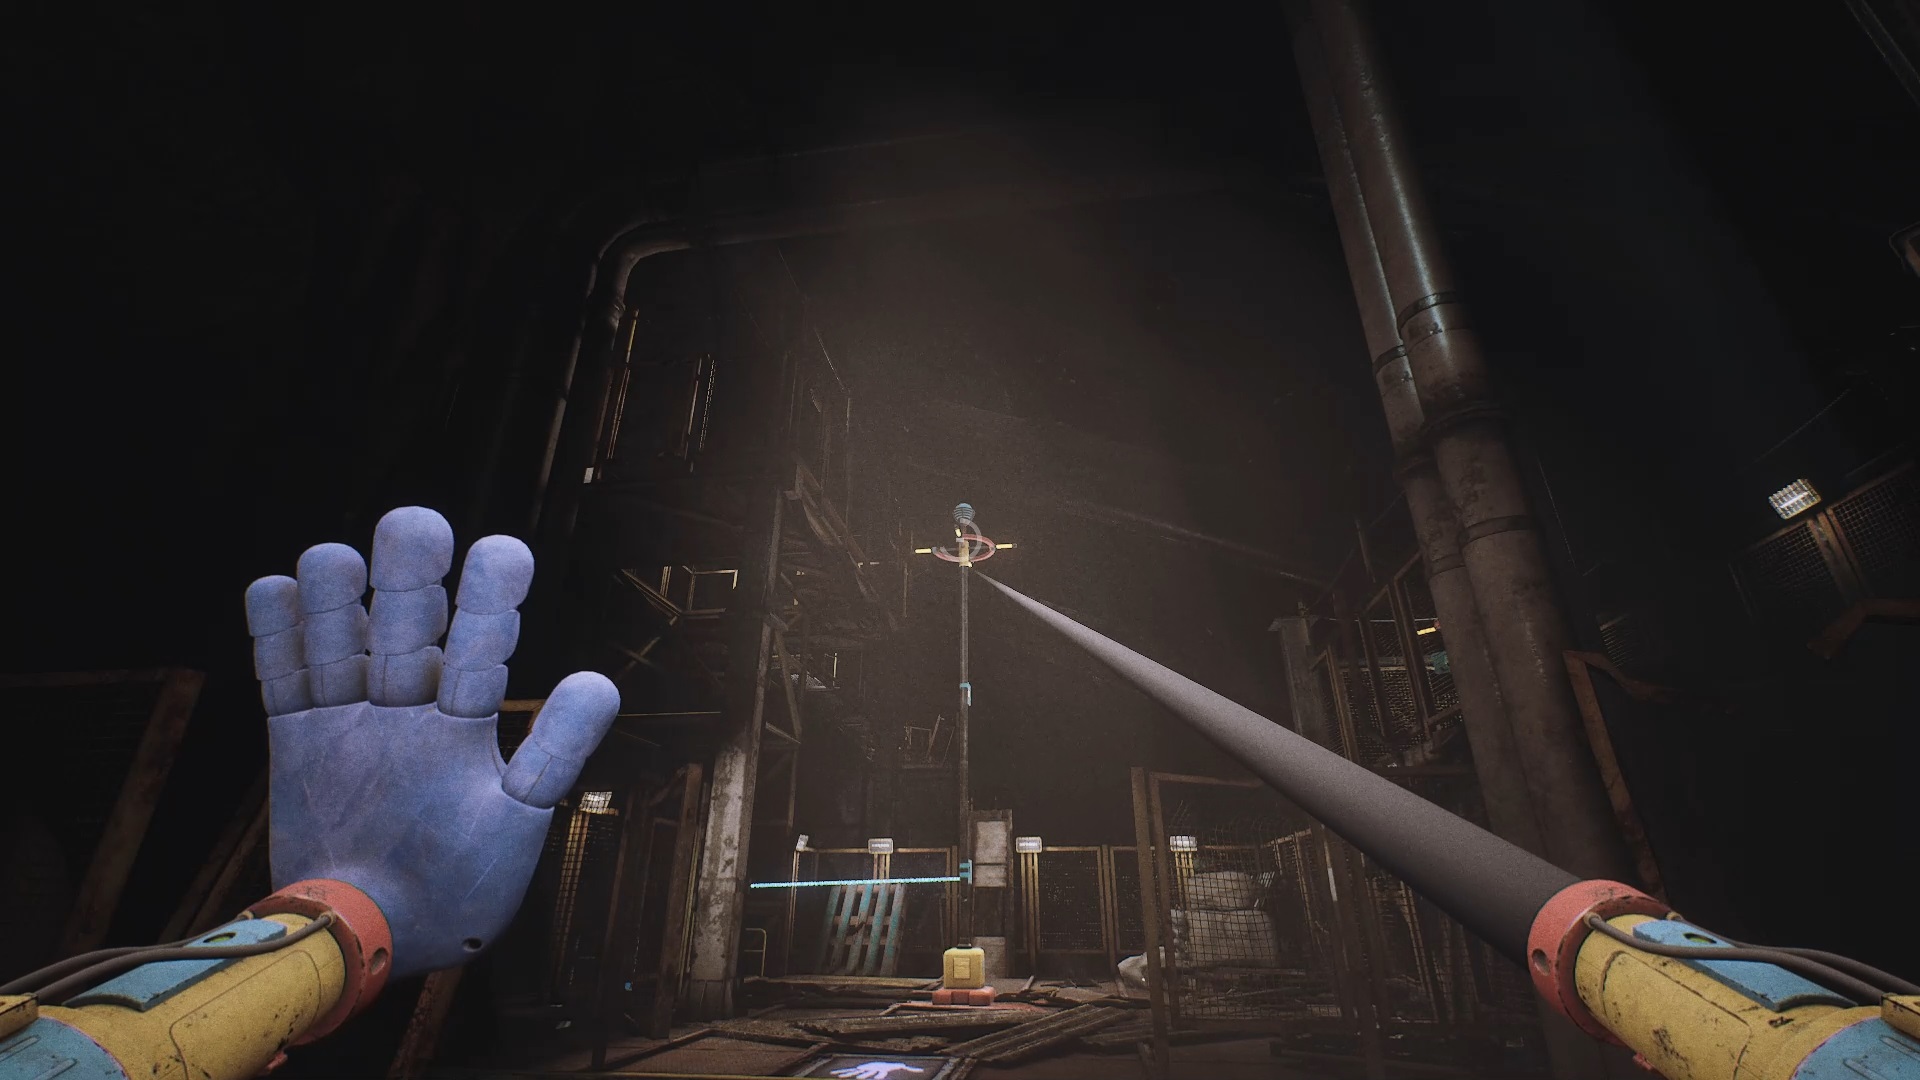
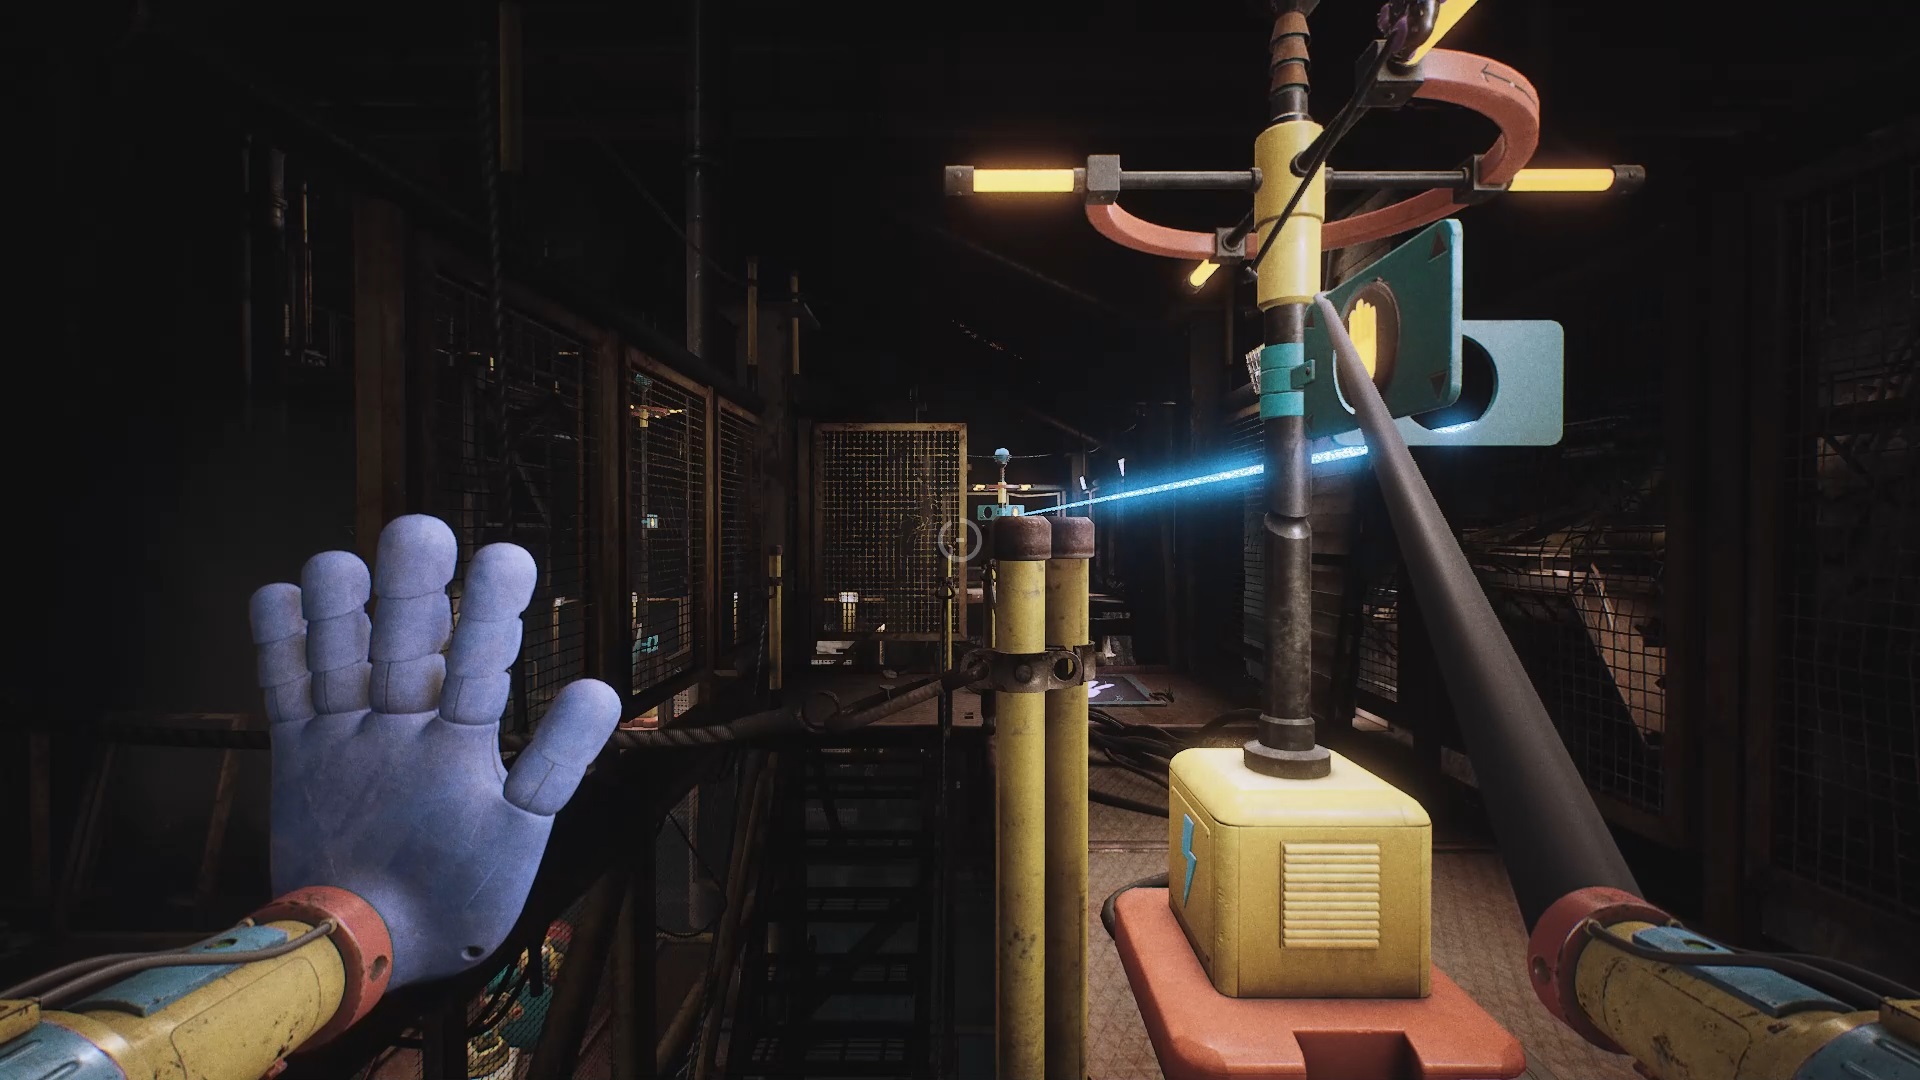
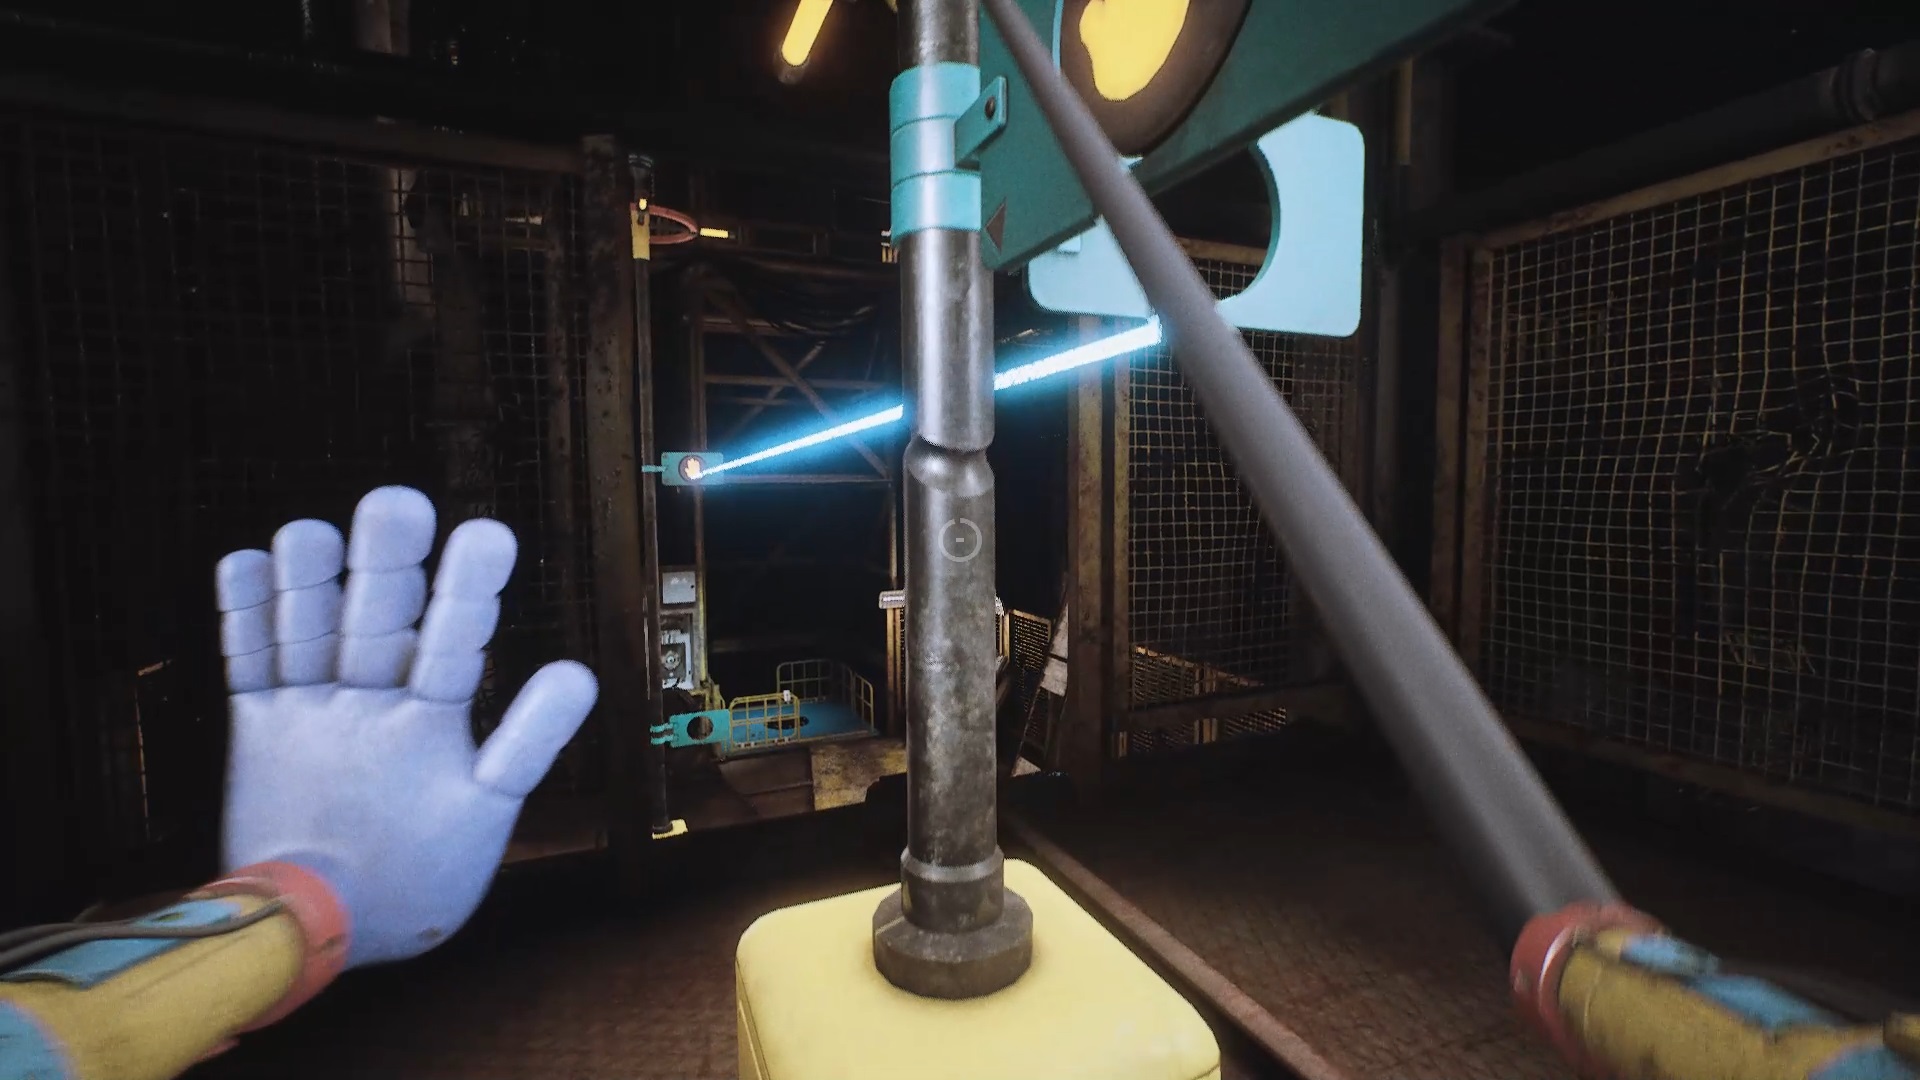
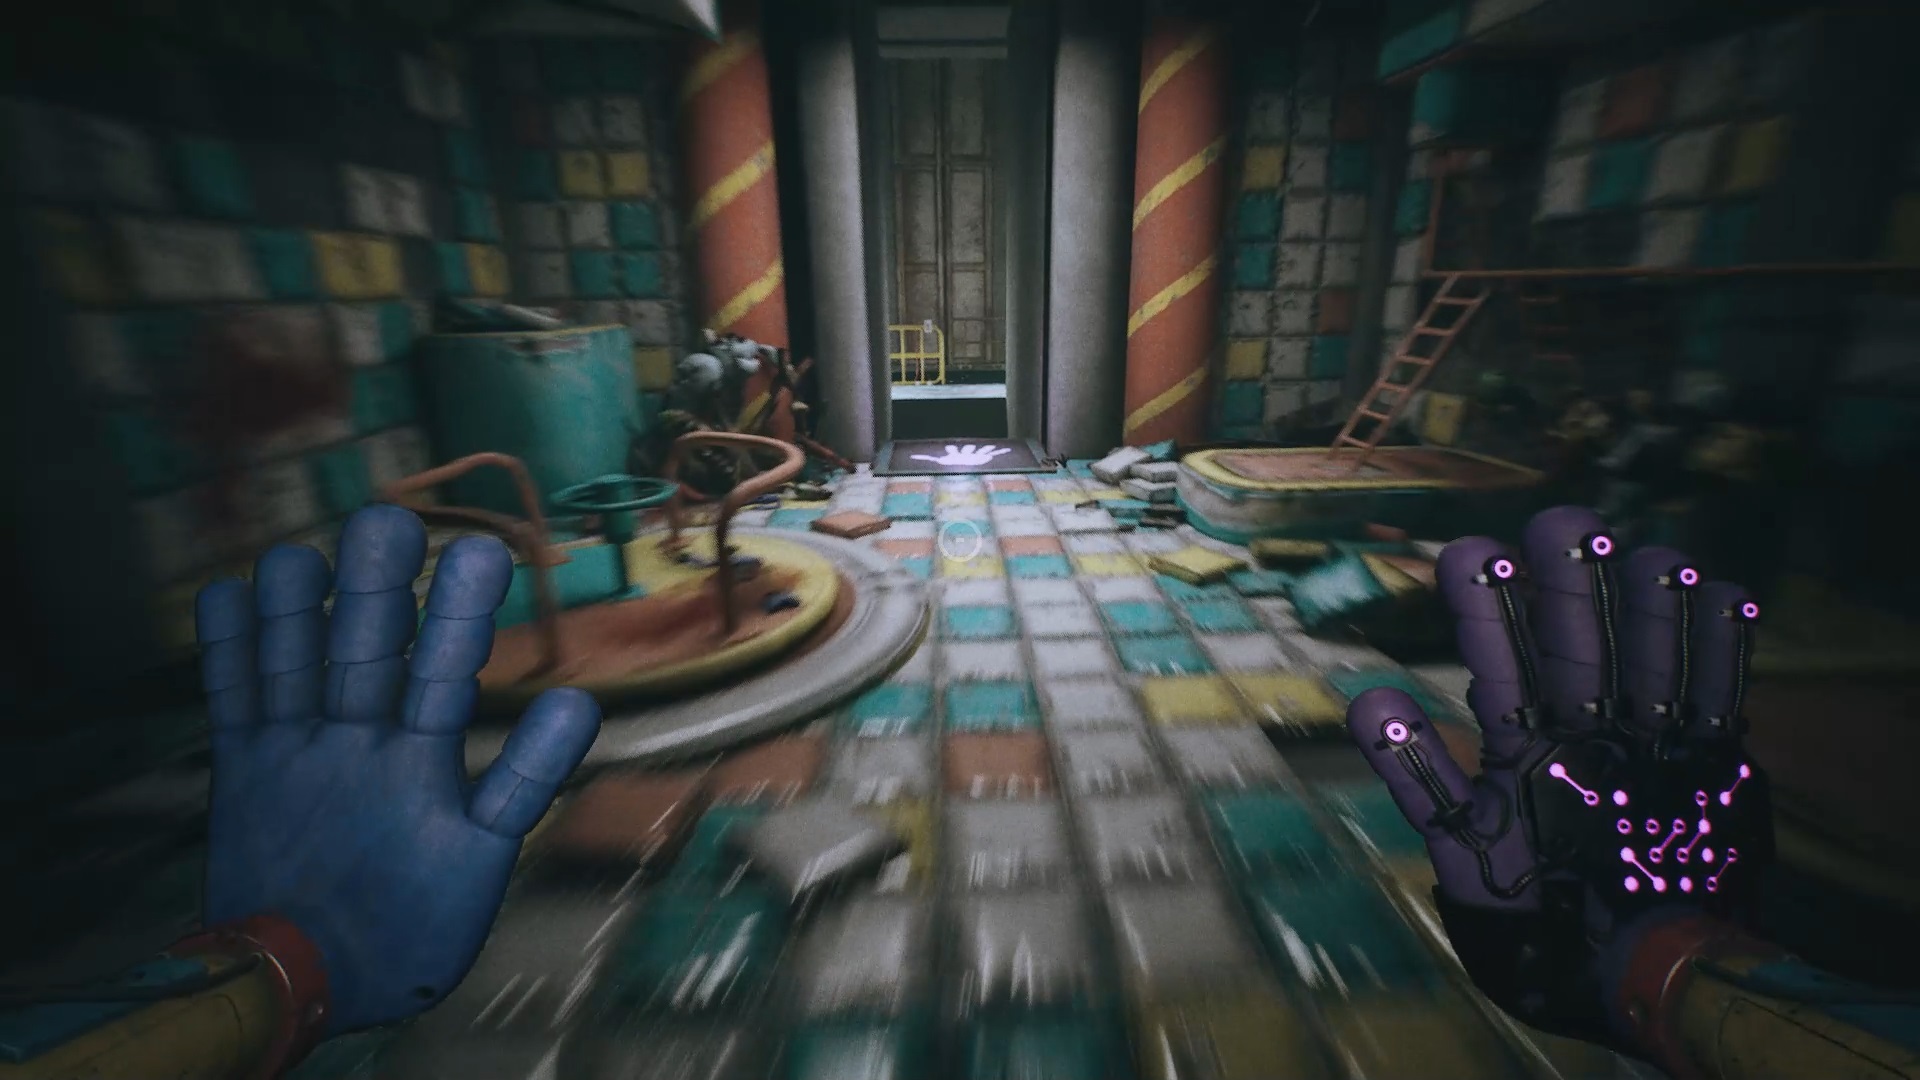
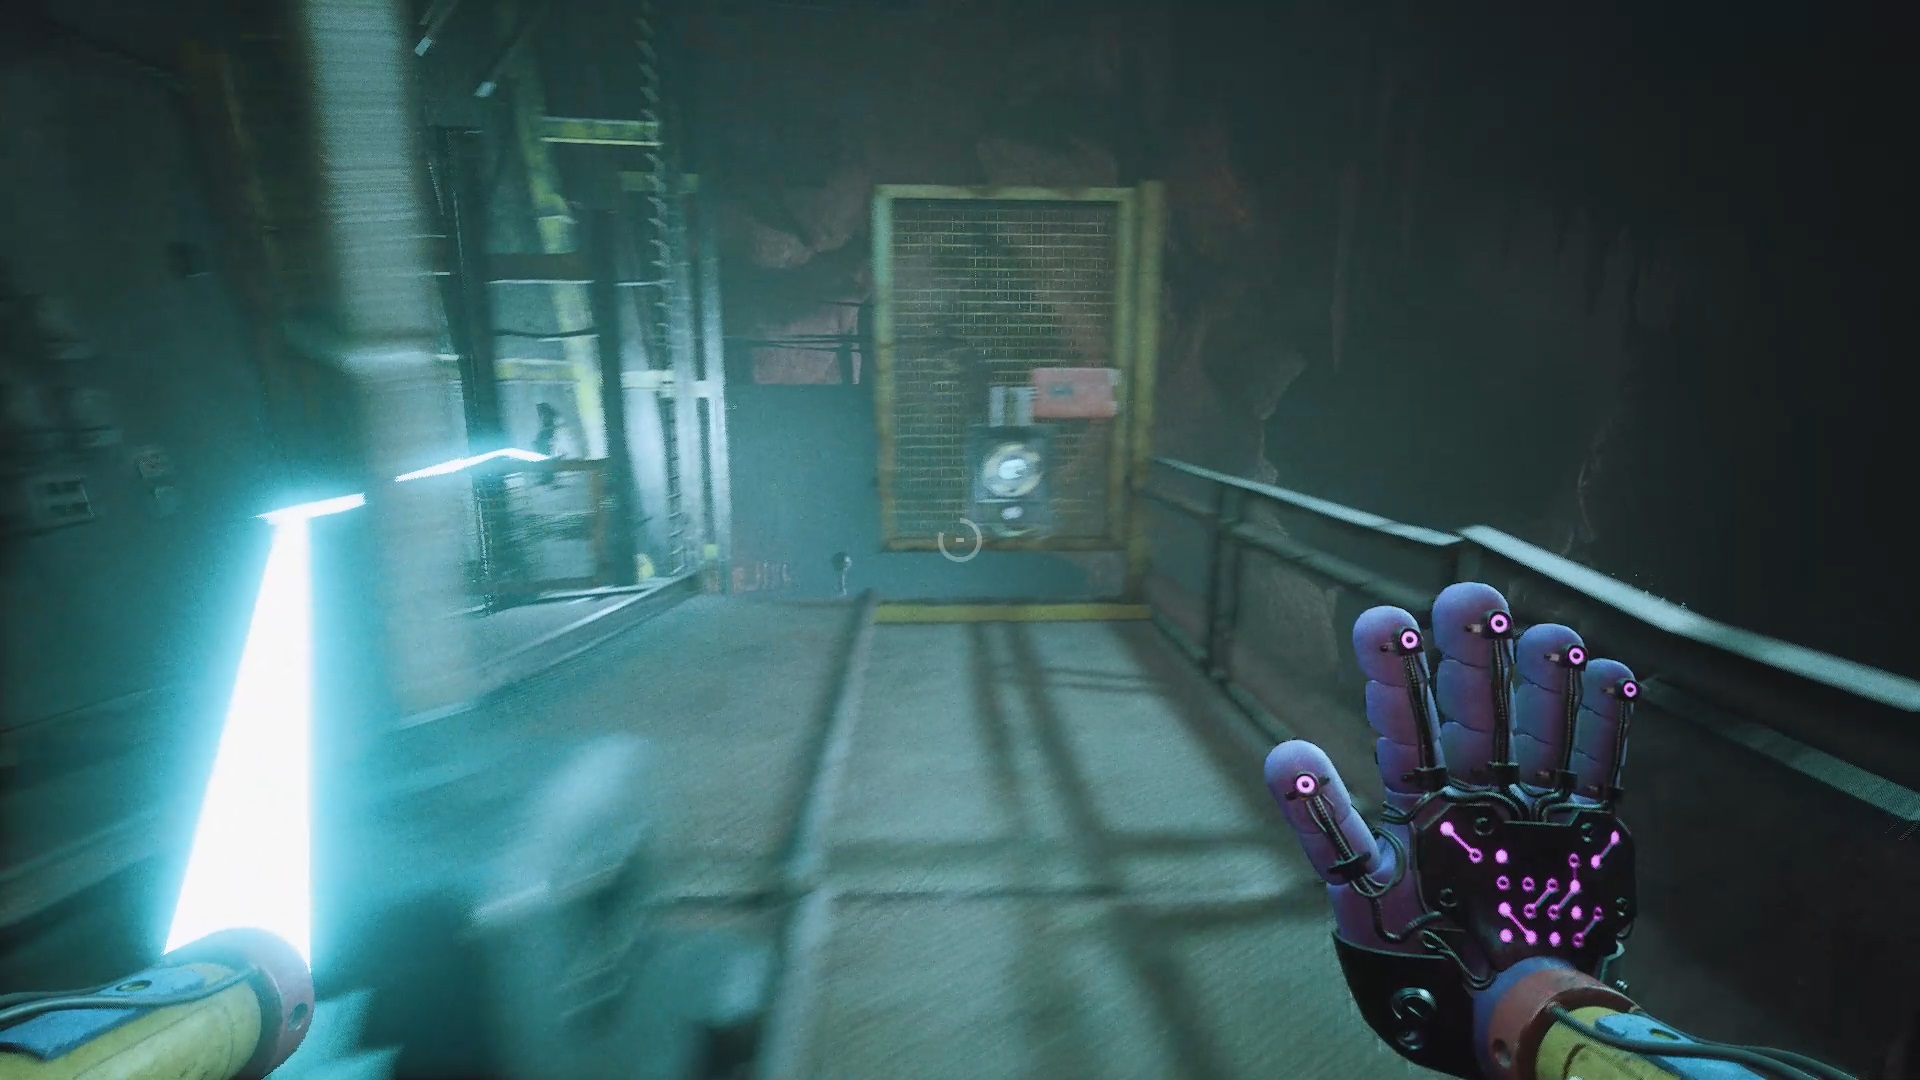
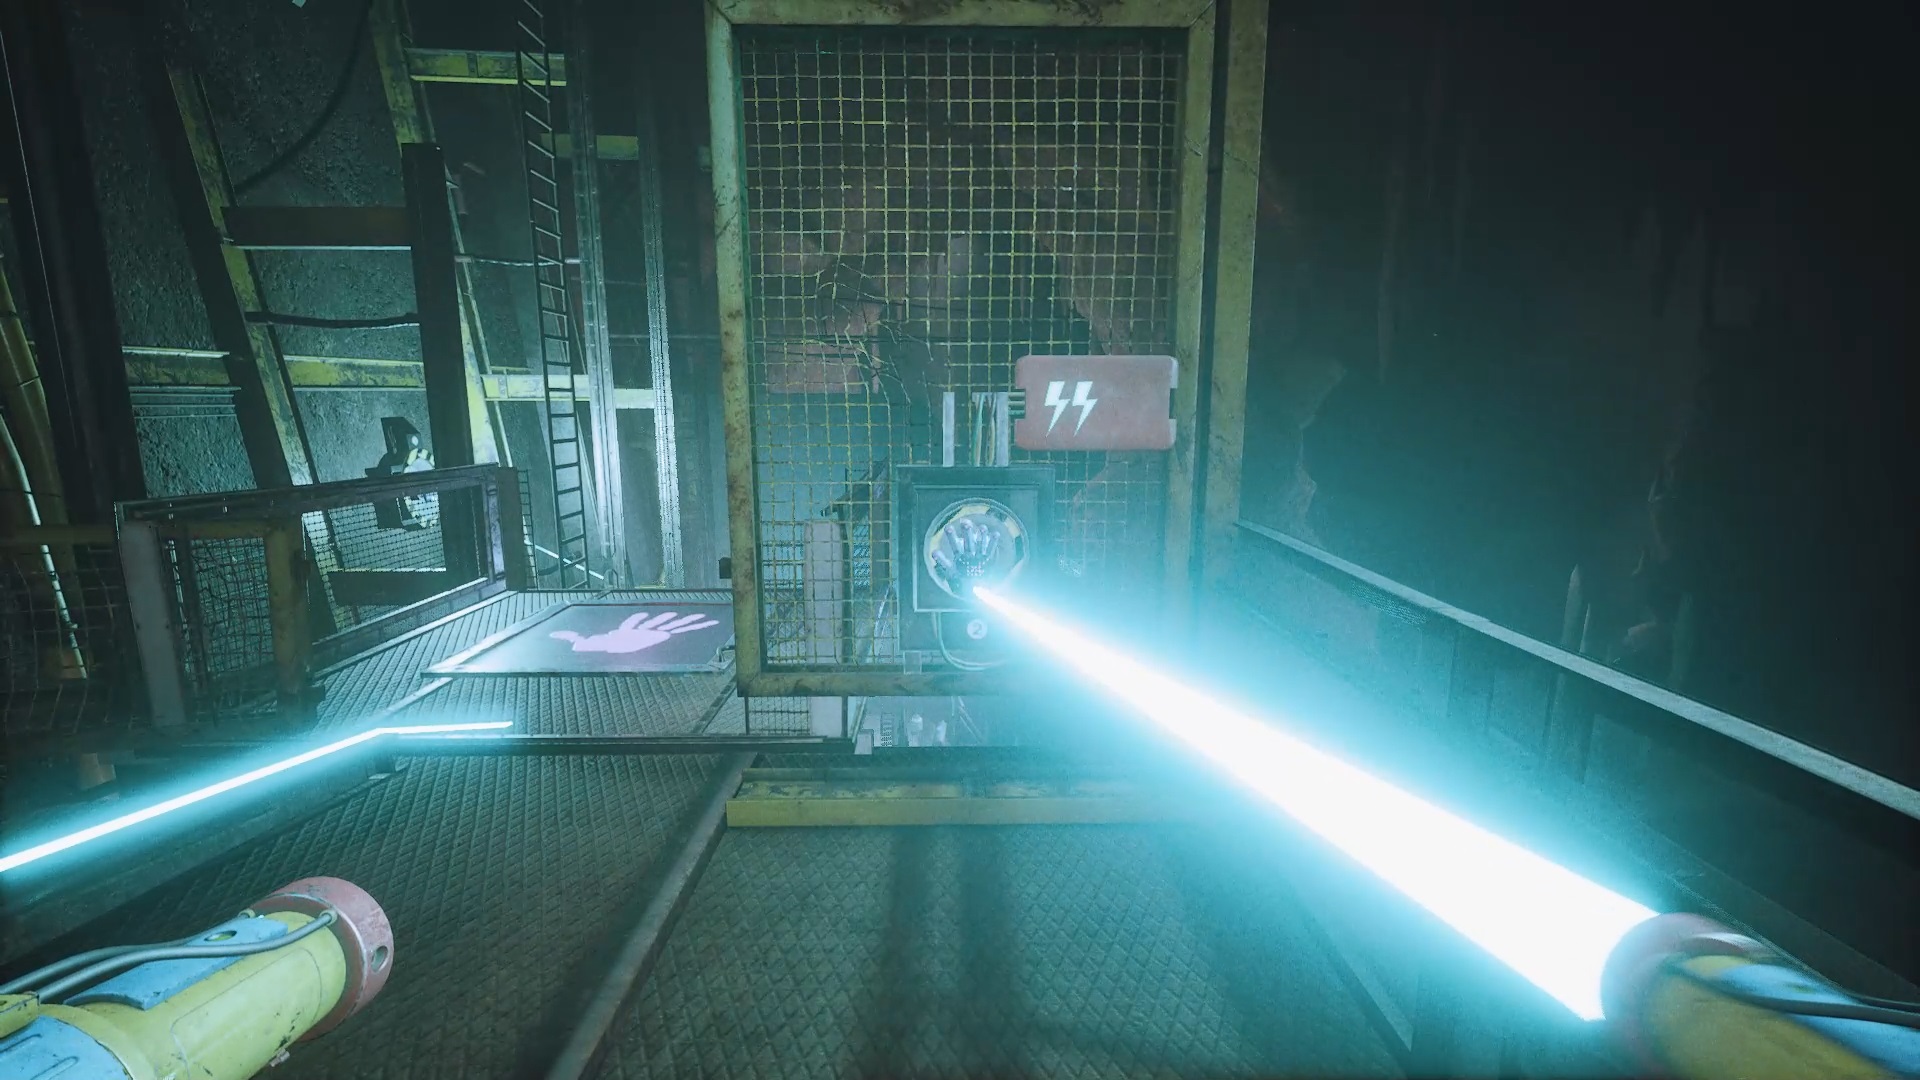
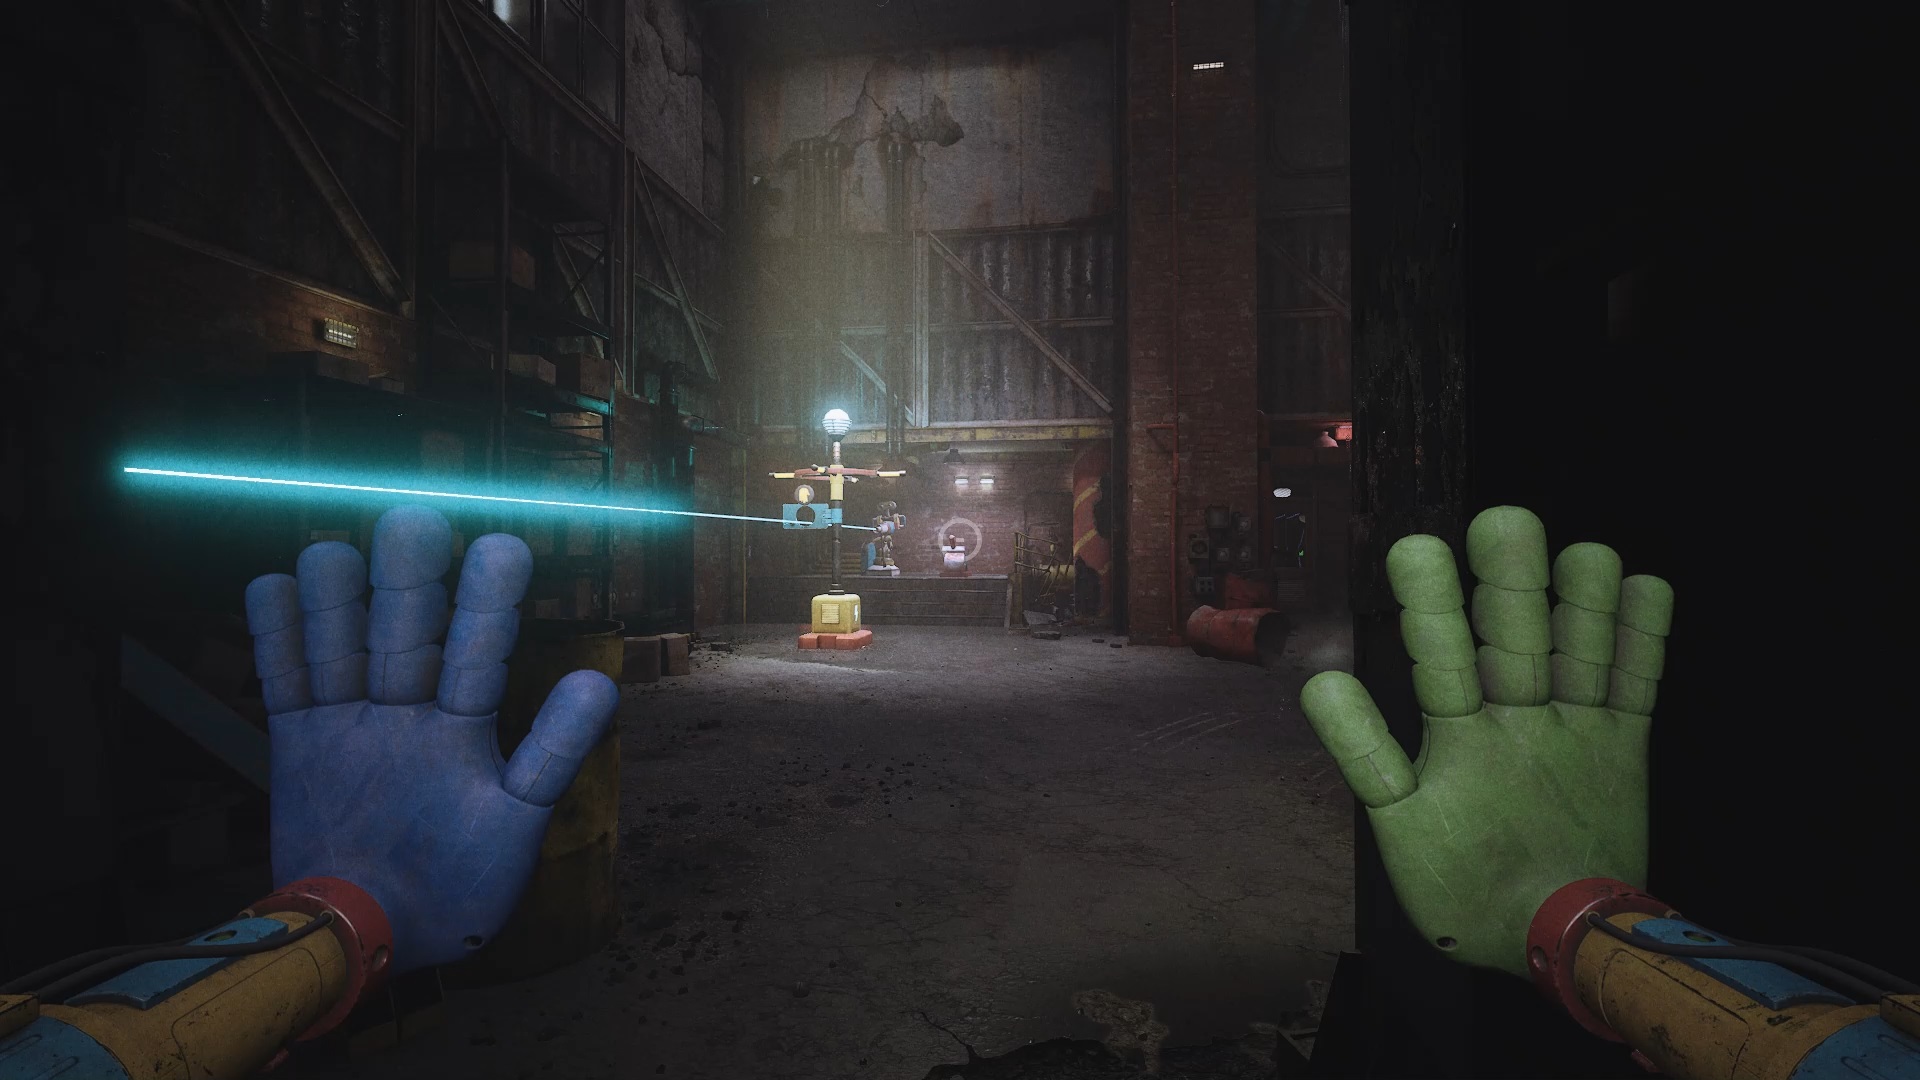
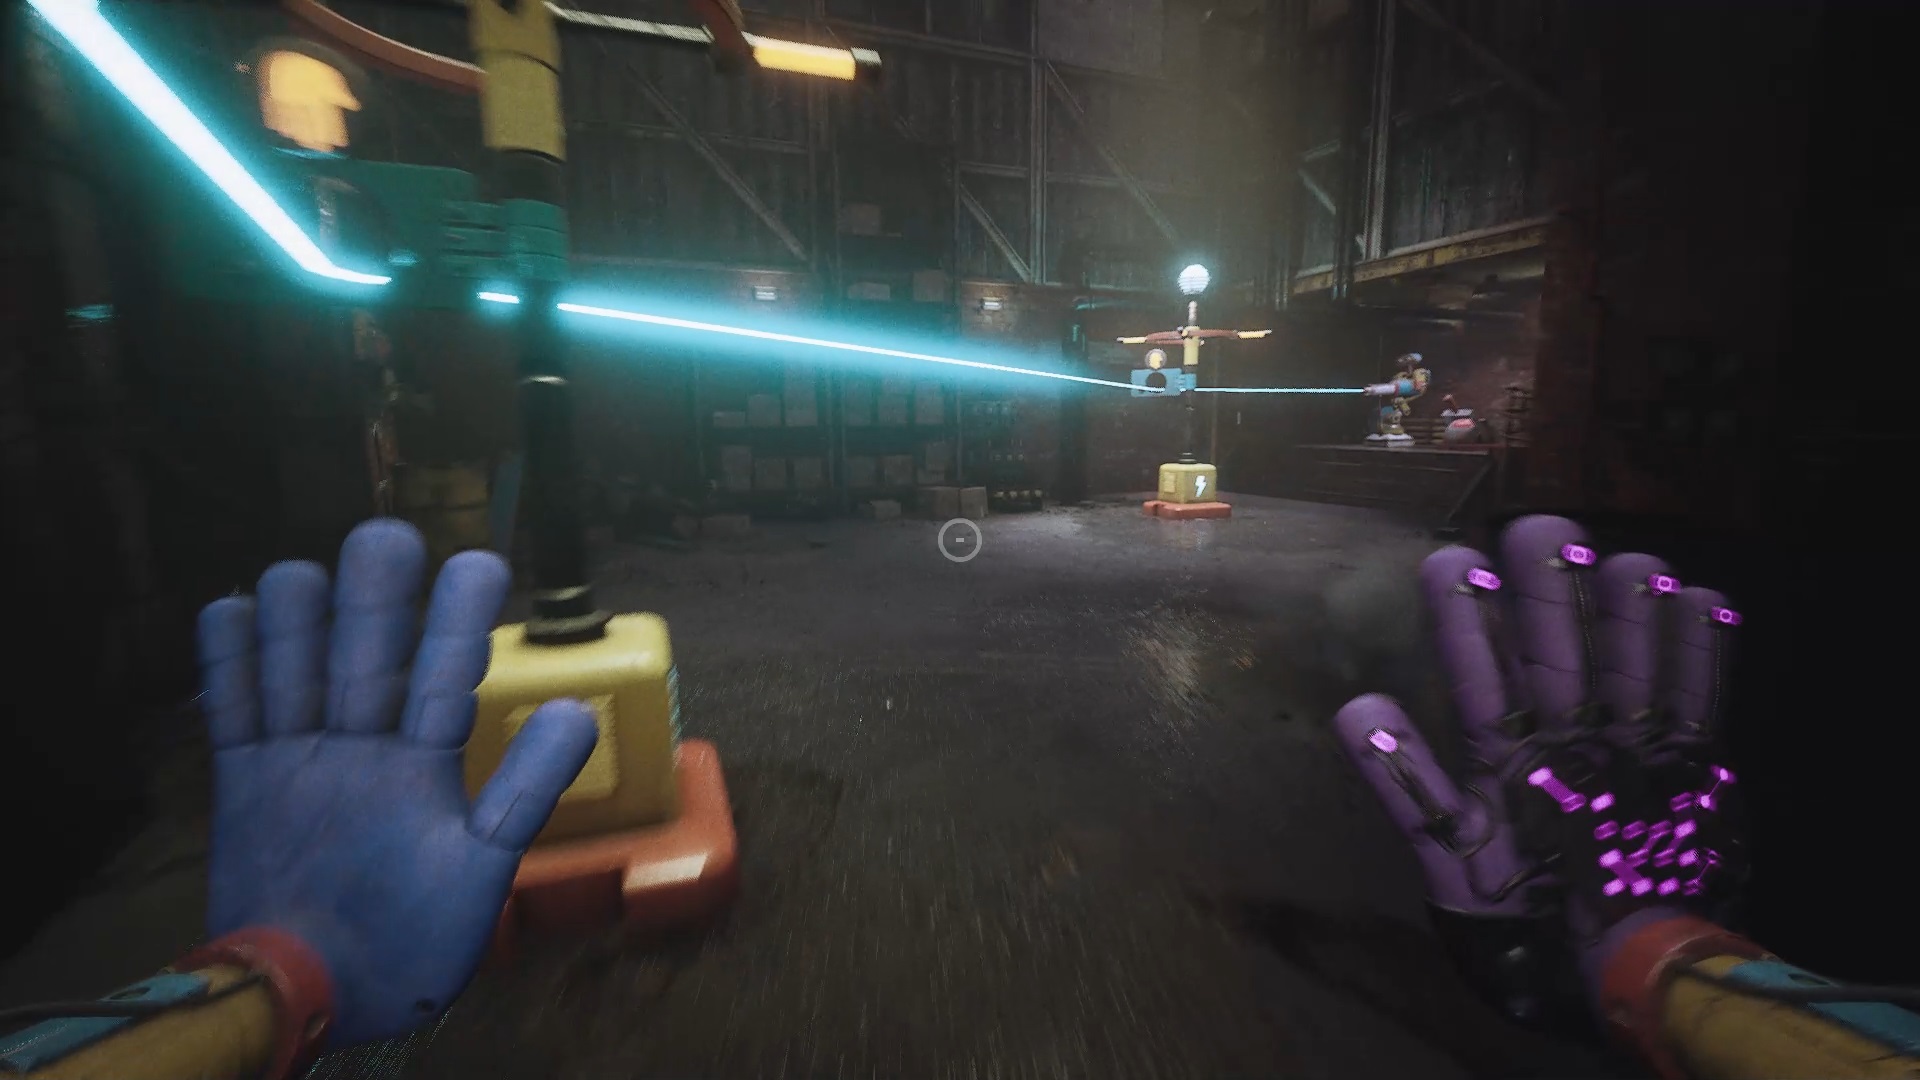
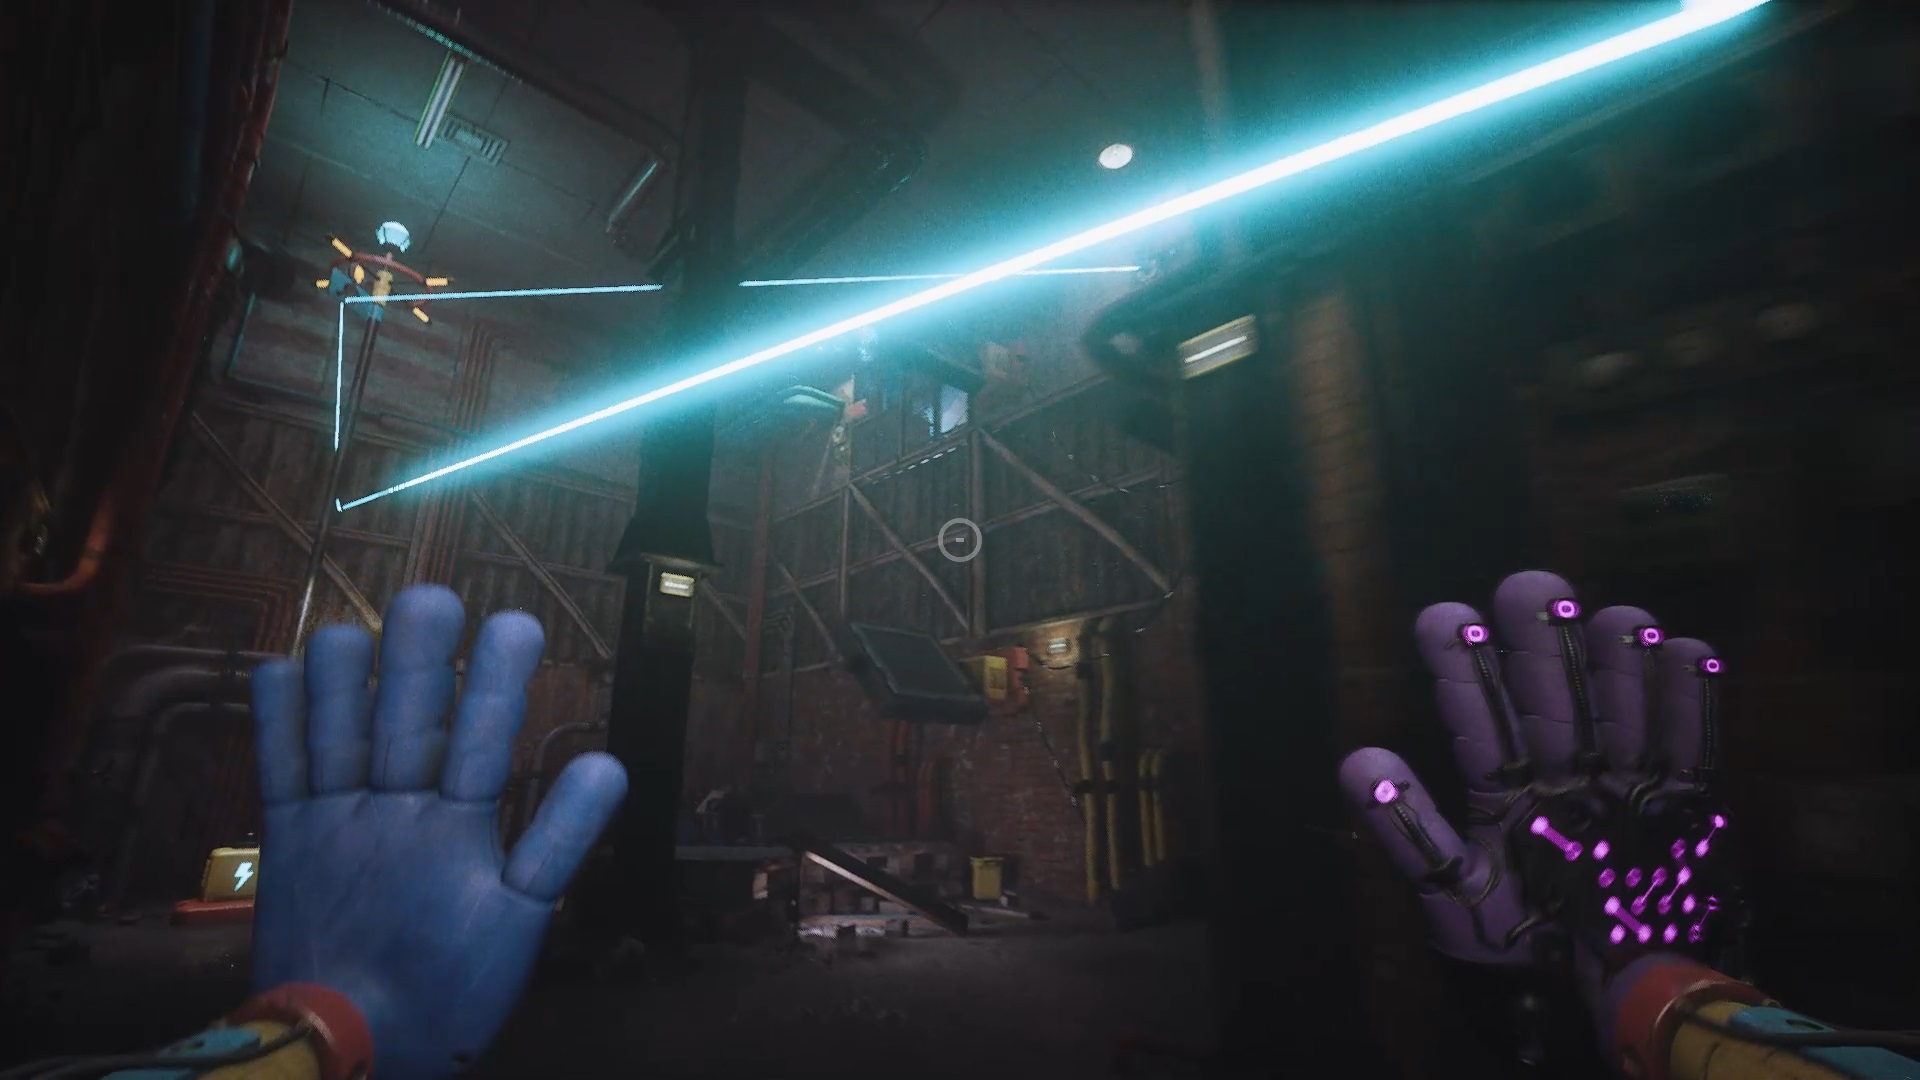
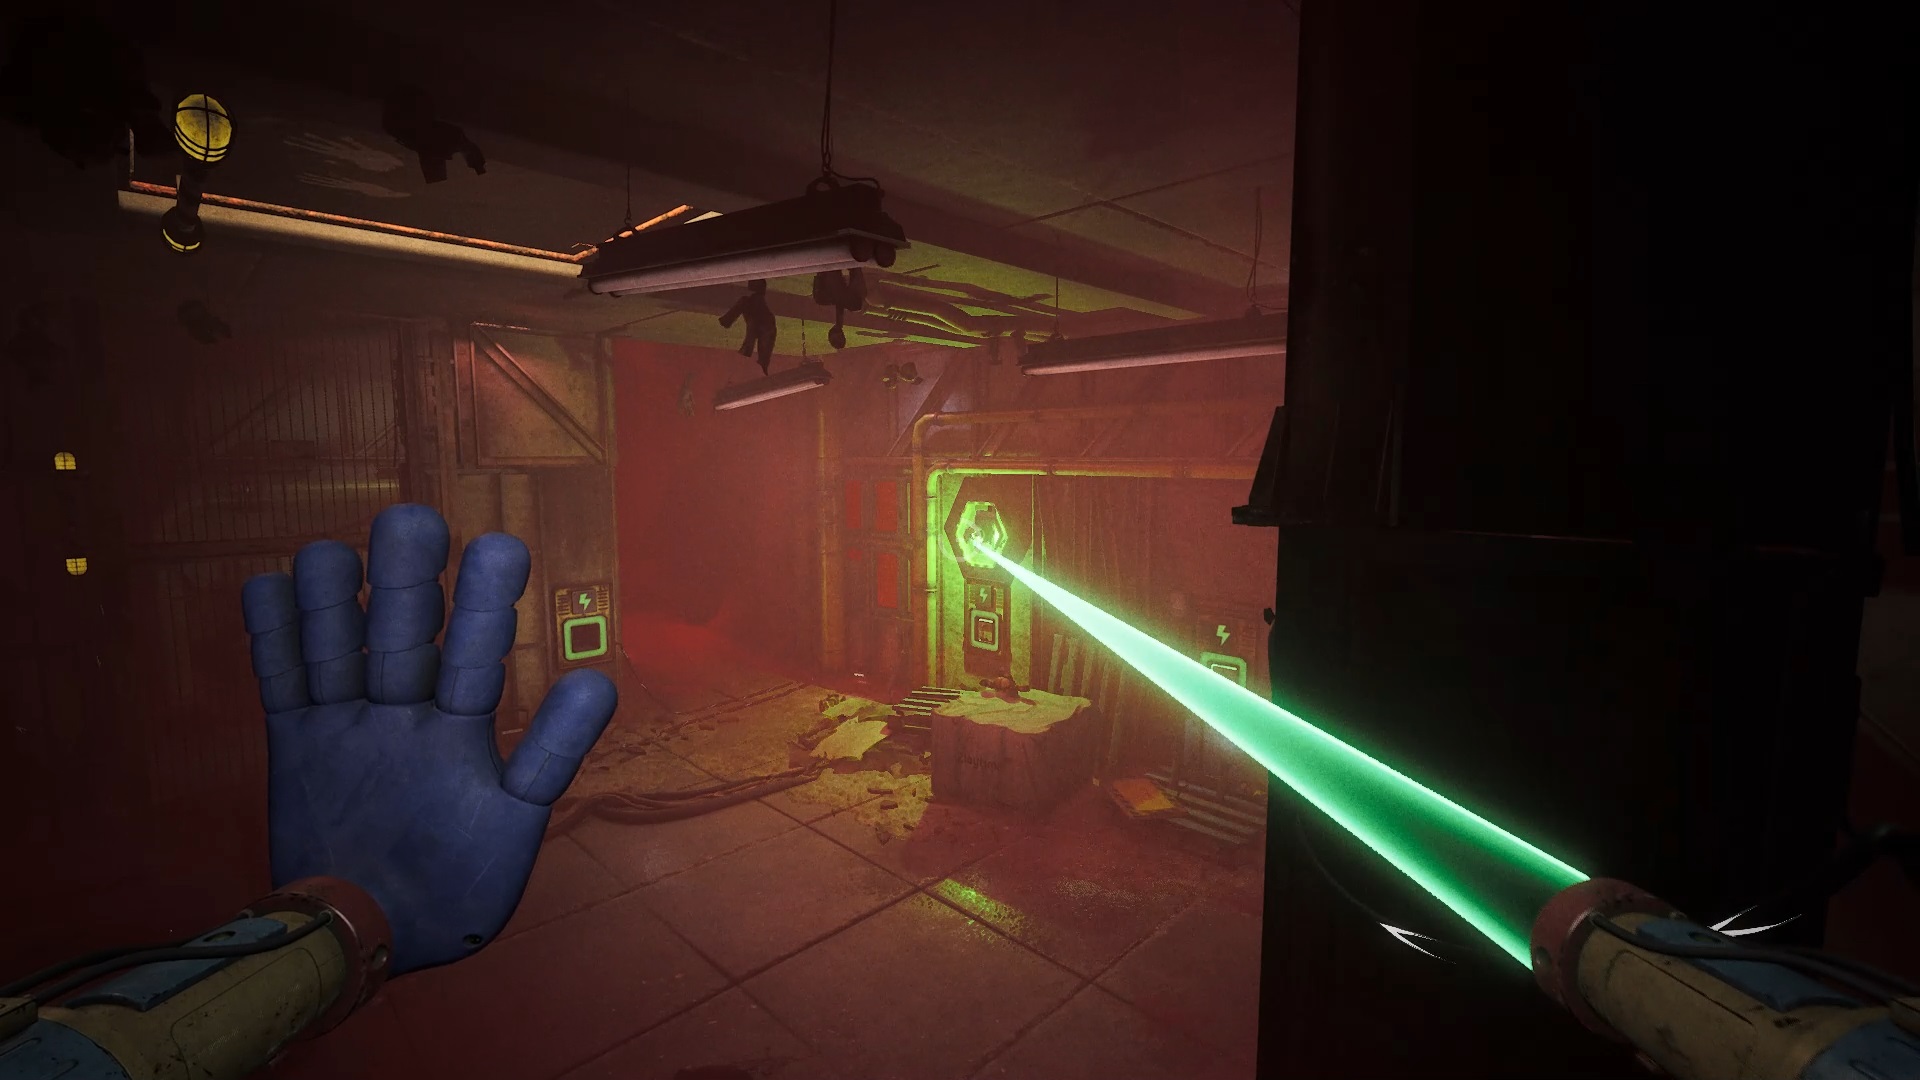
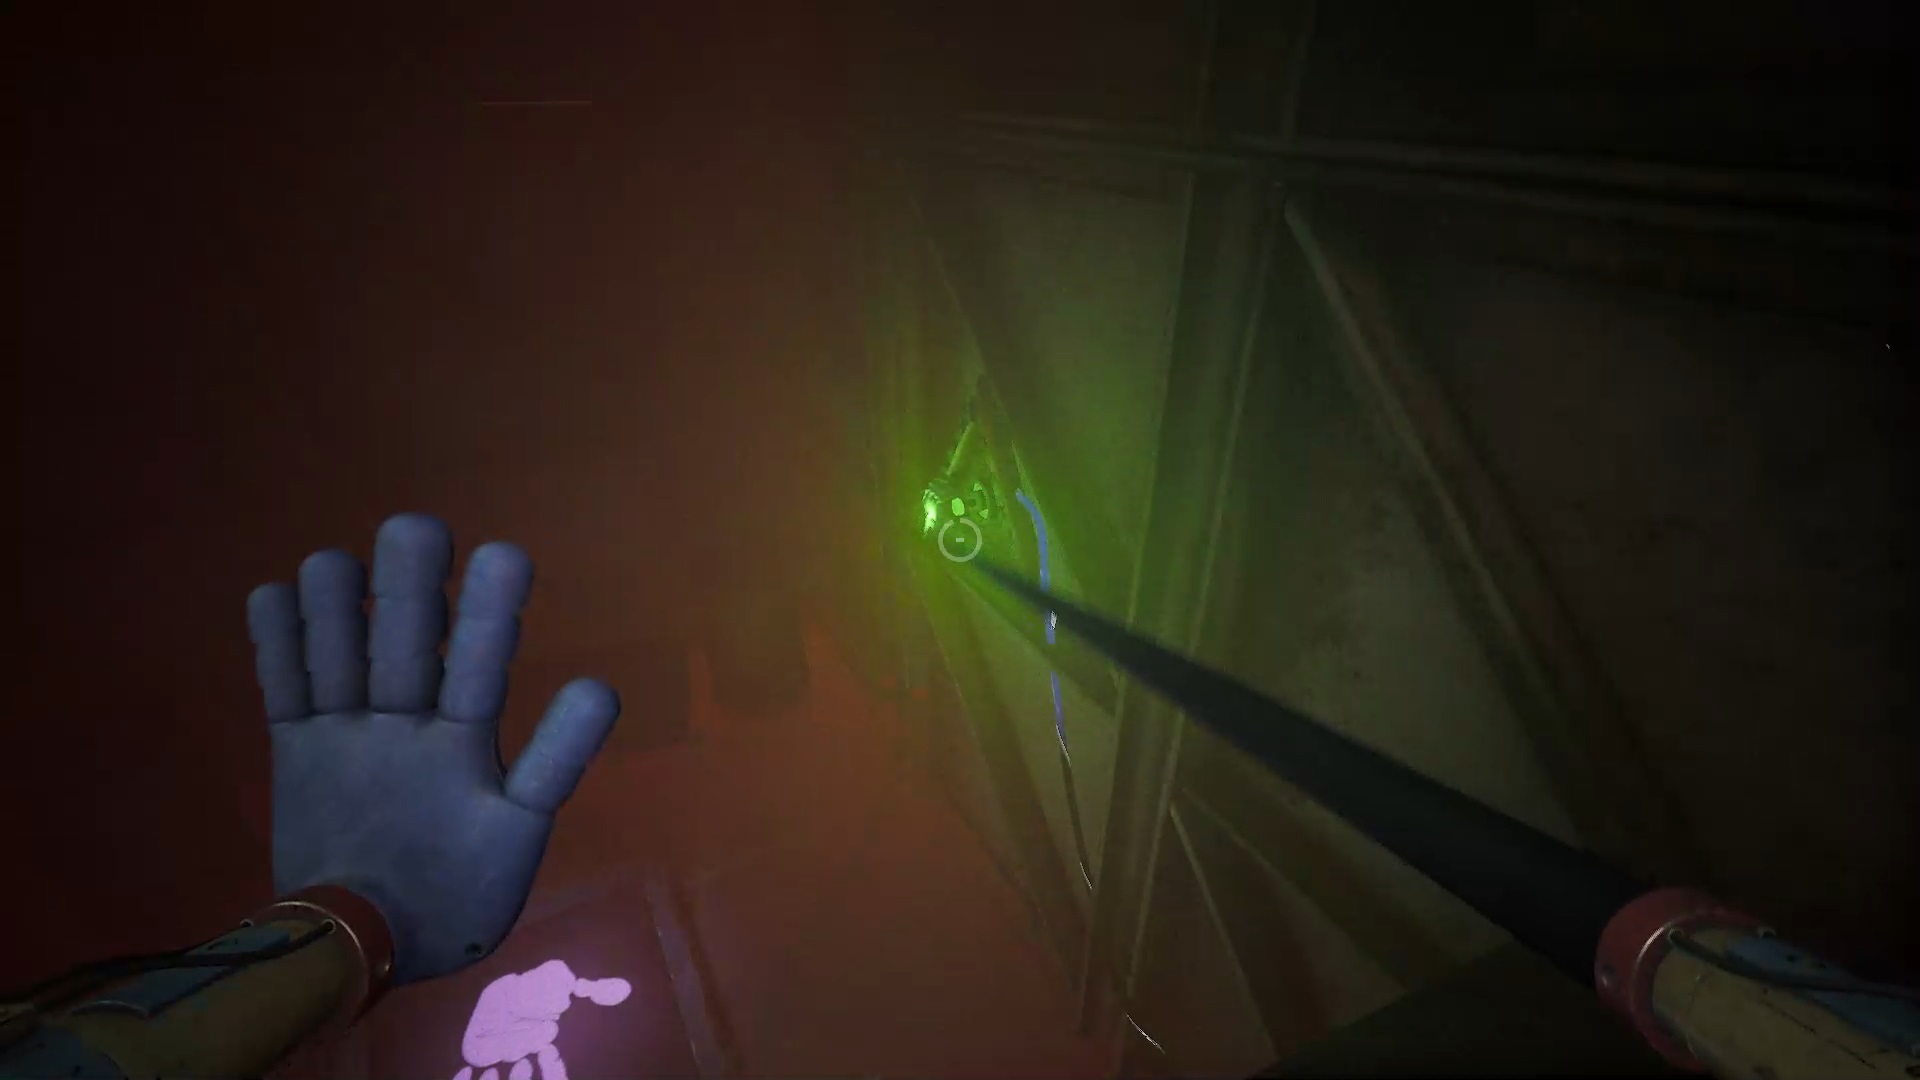
Collect the nearby battery and place it against the wall to access a new tunnel. Head to the security room near the station entrance to go through a corridor. Then go through the yellow door to come face to face with a puzzle. To solve it, start by aligning the pillar by placing a hand against one of its branches. Adjust the radius to coincide with the switch; a slight noise will tell you that the alignment is correct. Once done, power your hand with the nearby power source, then press the second hand into the hand symbol to activate power to the station.
Pass through the station’s gantries to access a funicular. Pull the handles on both sides to power it up and down.
Daycare
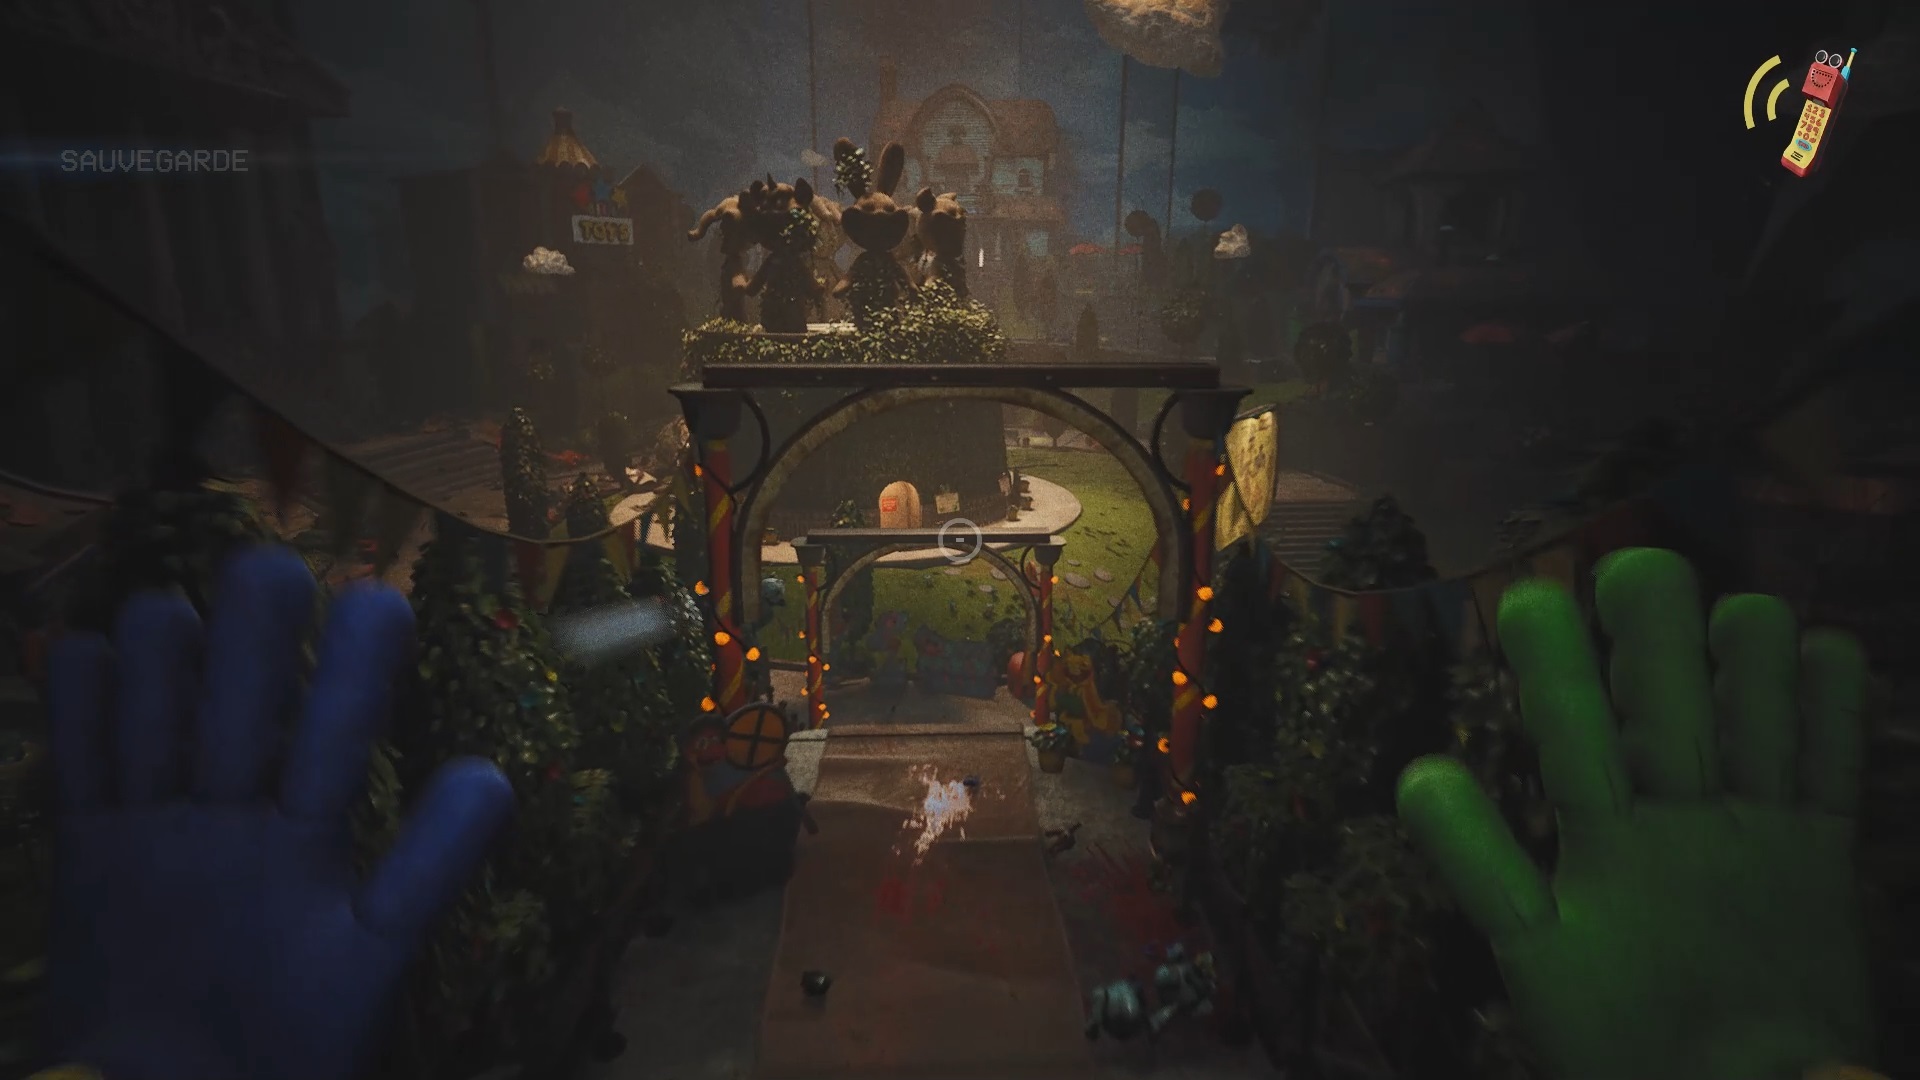
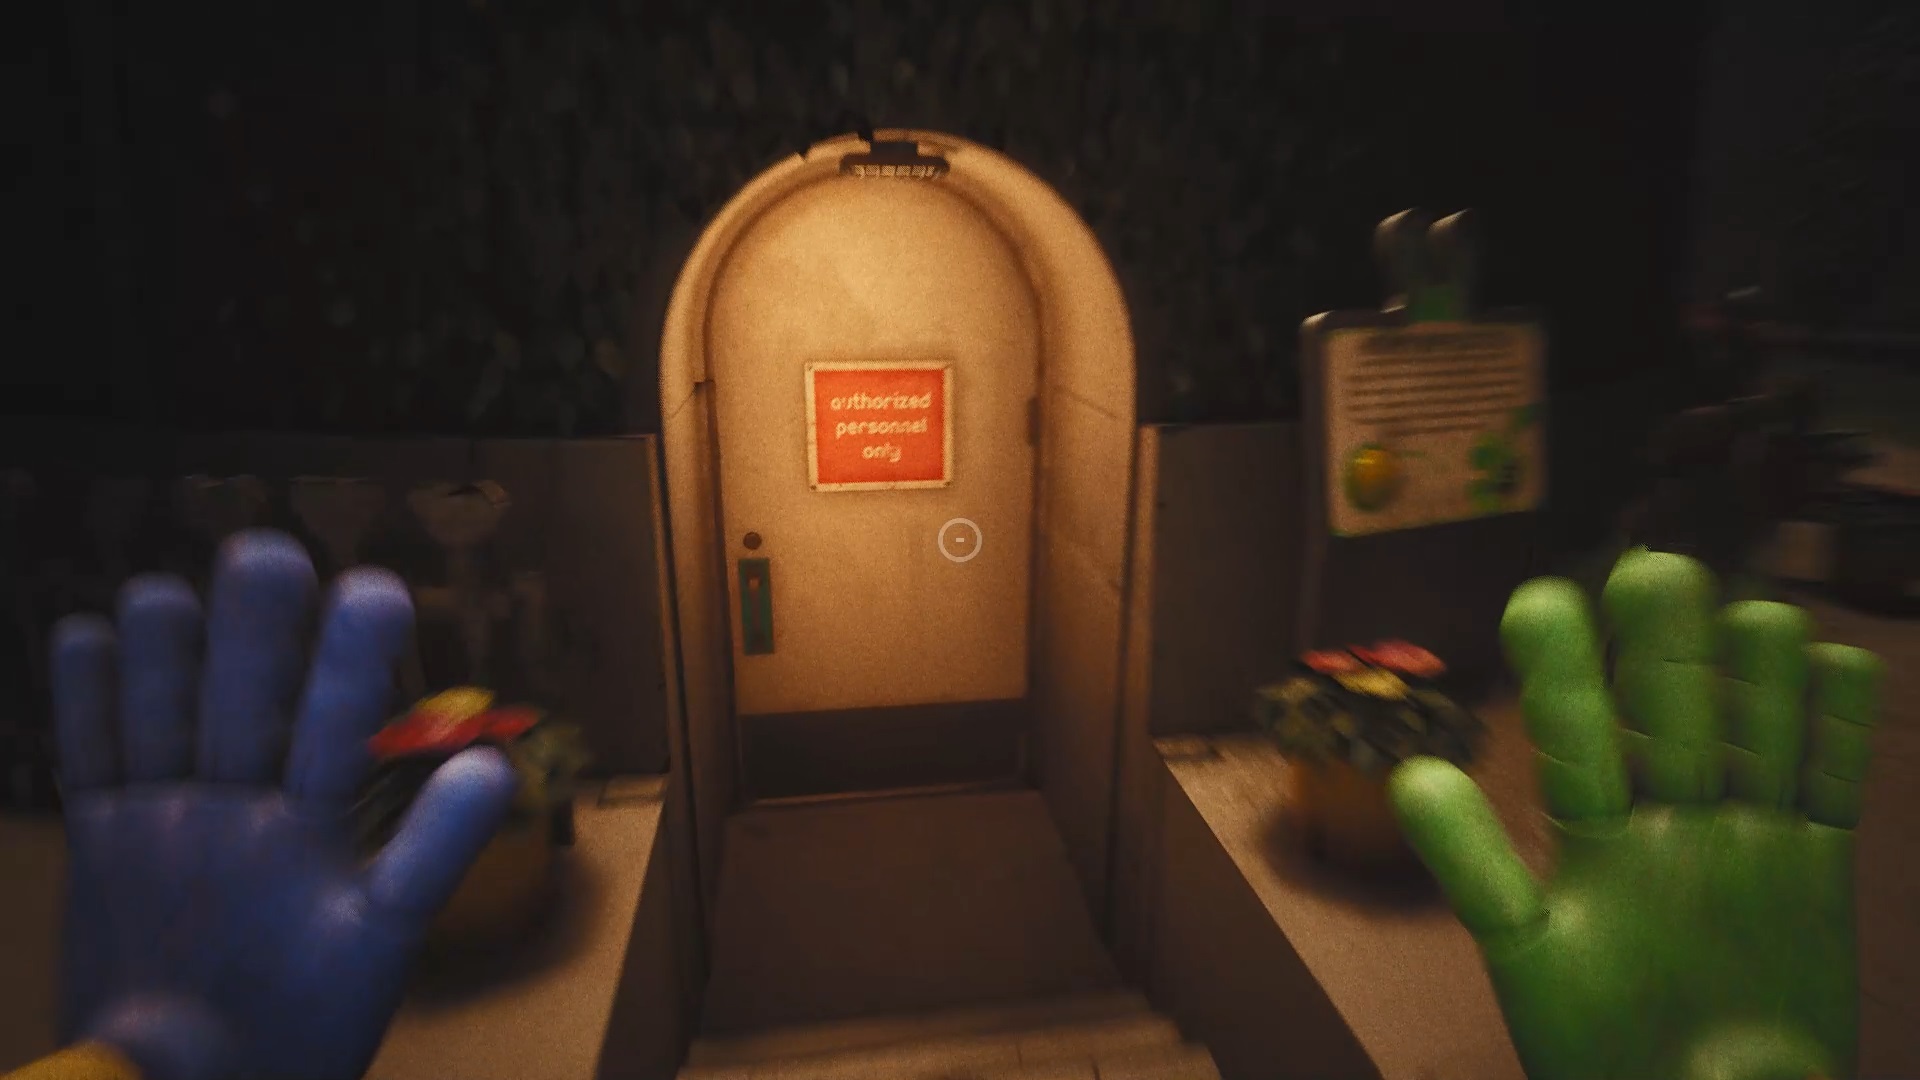
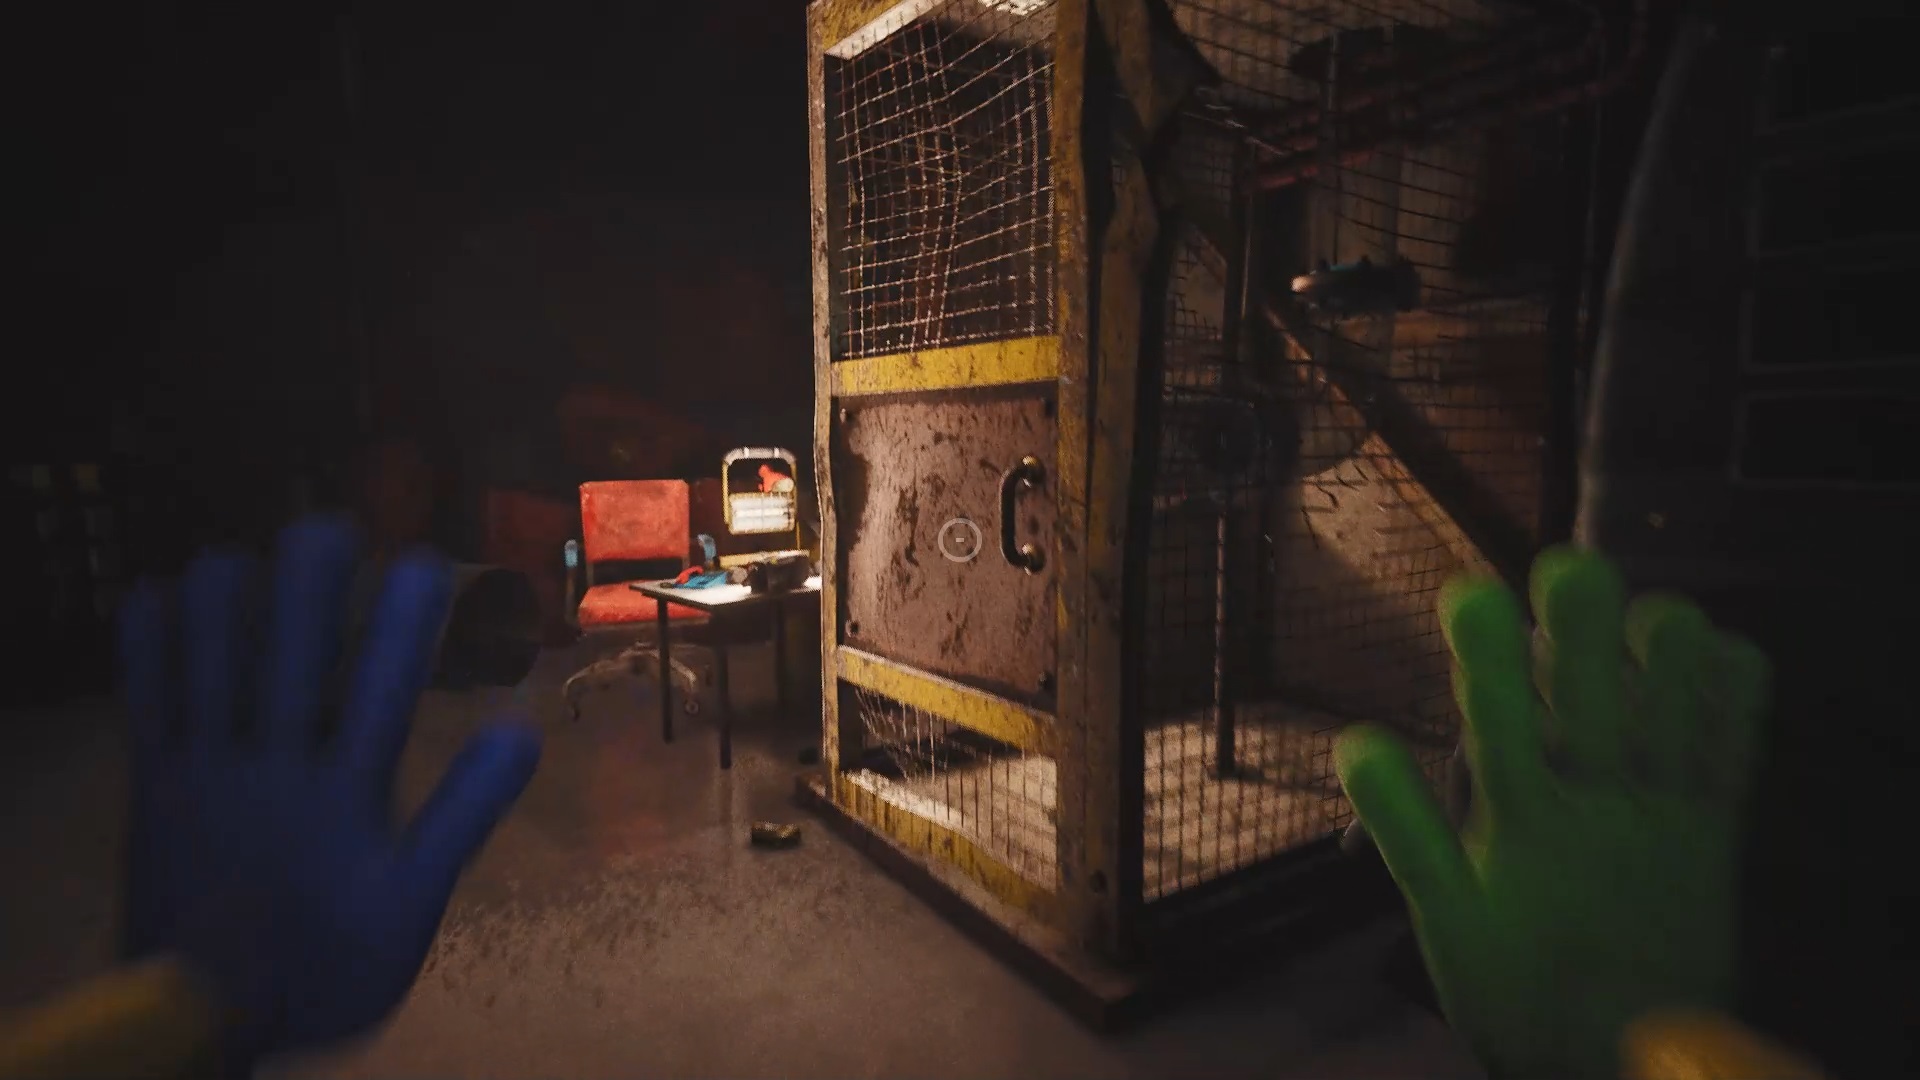
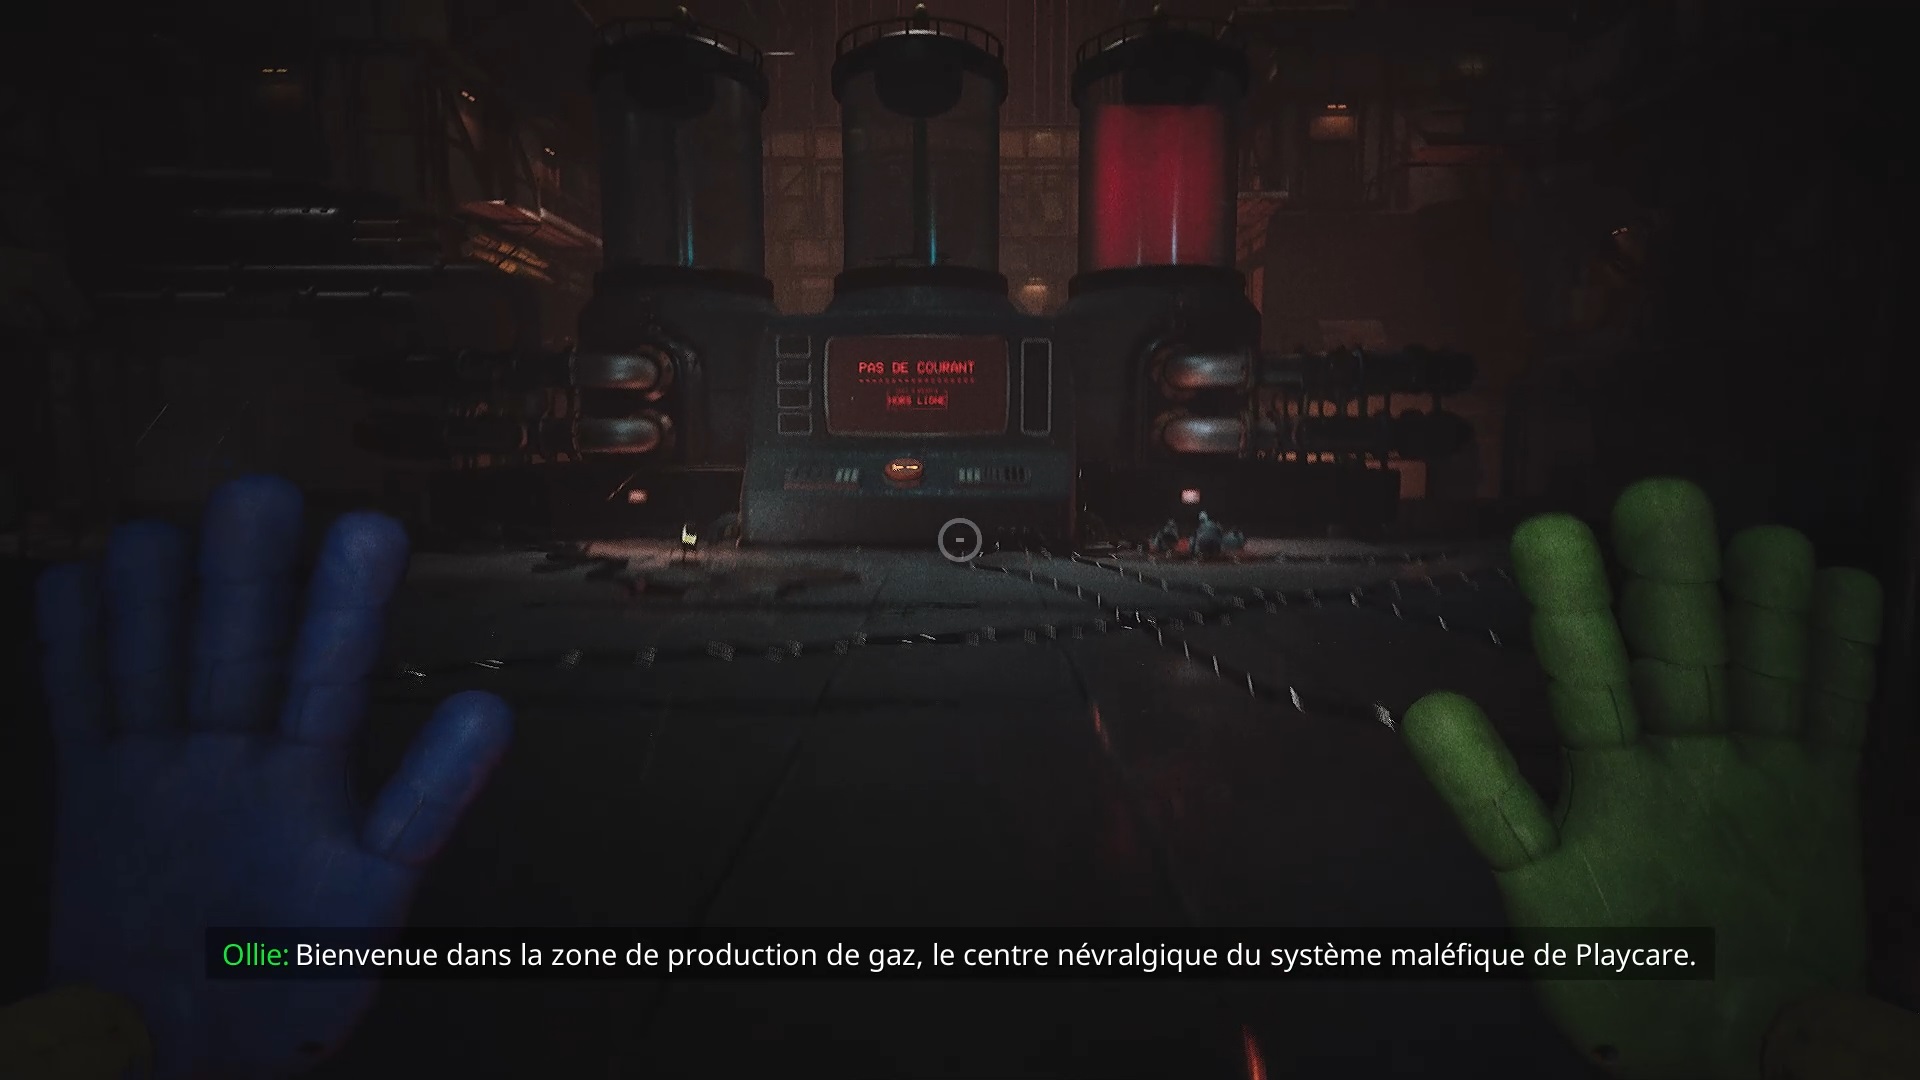
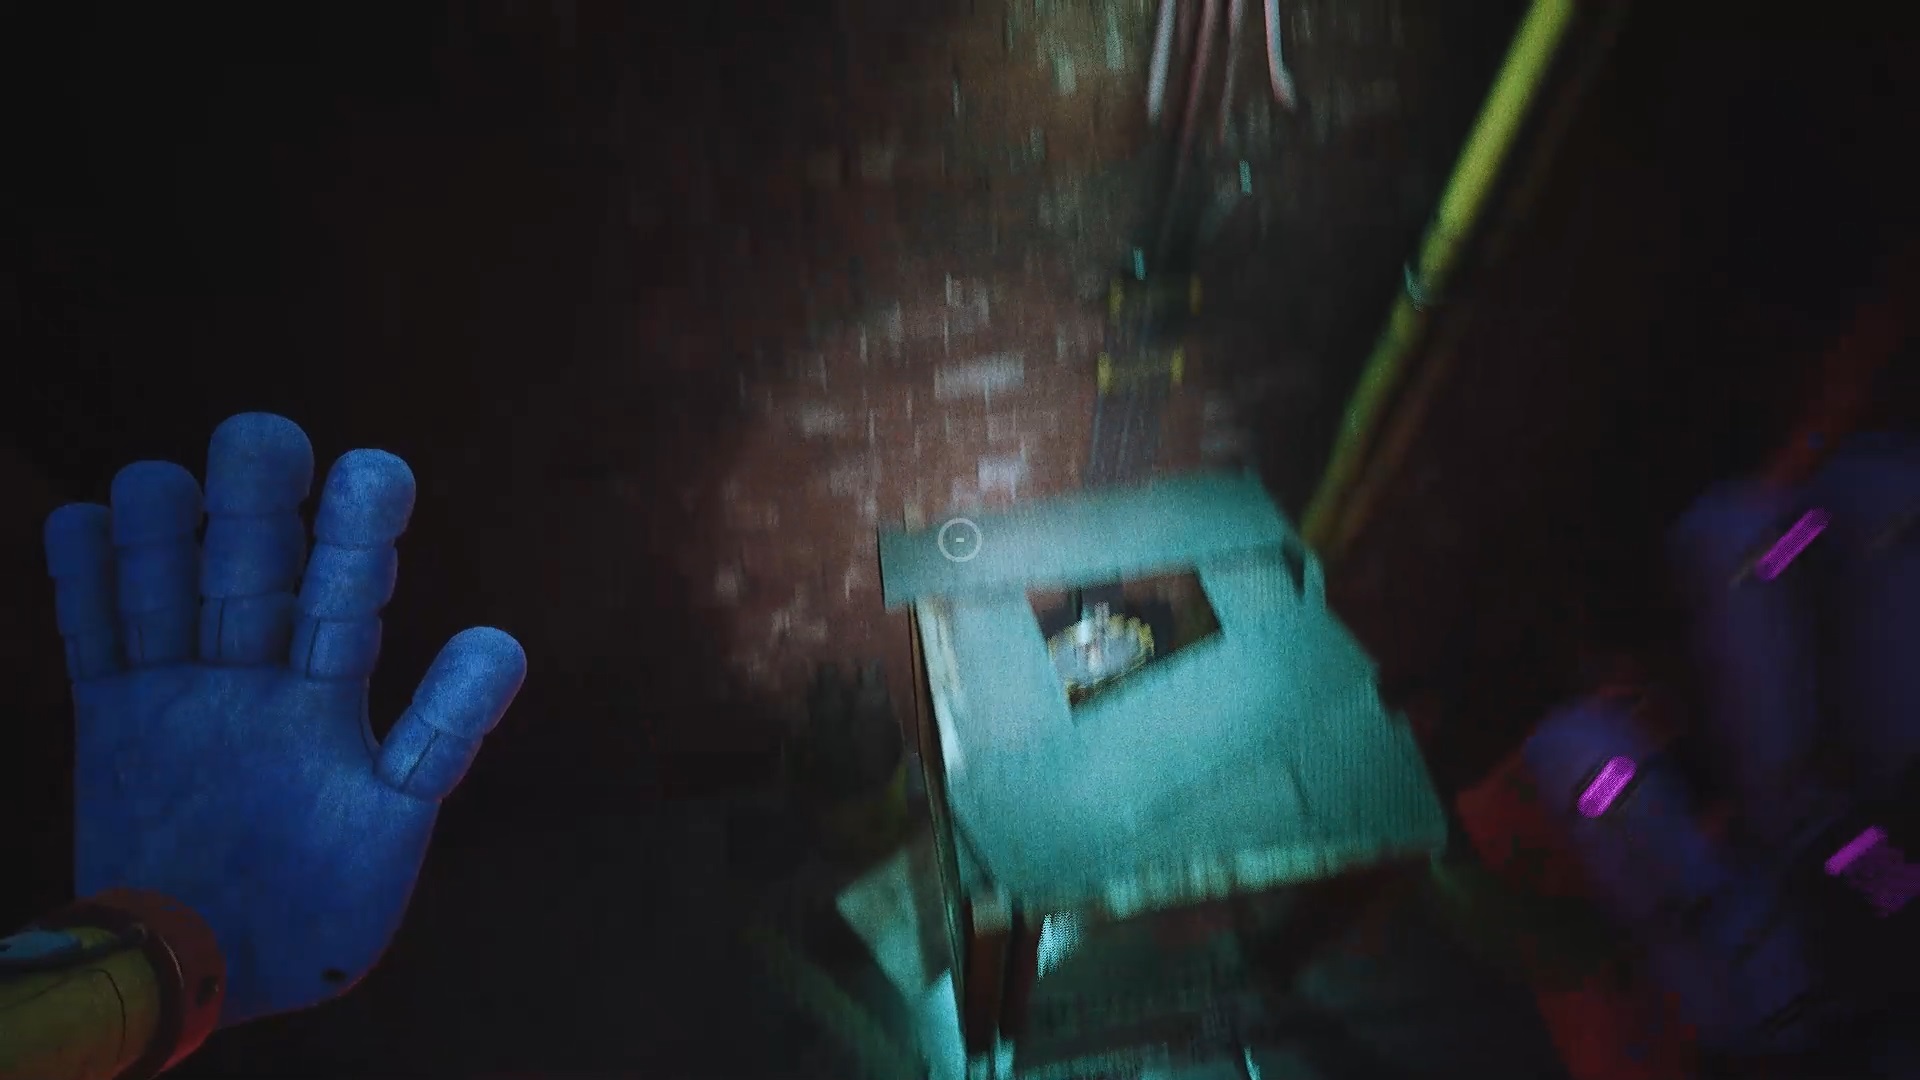
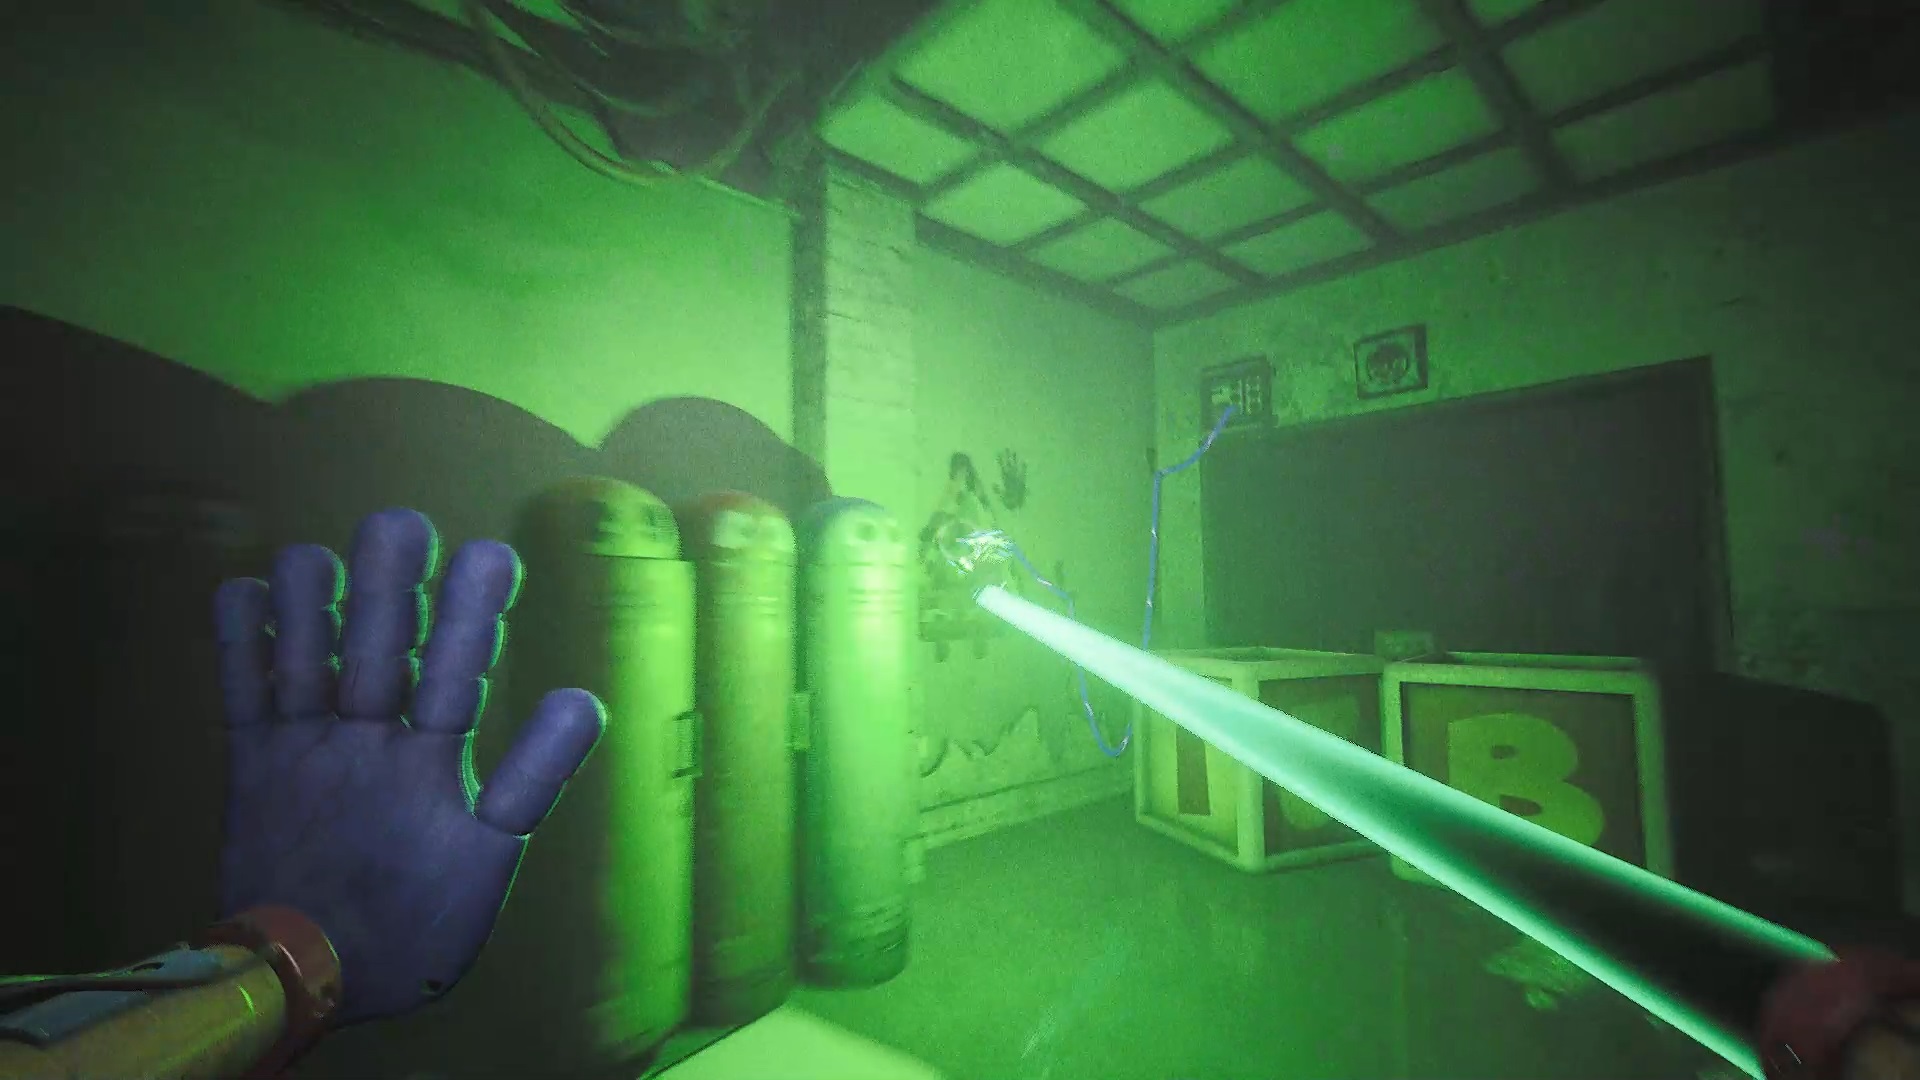
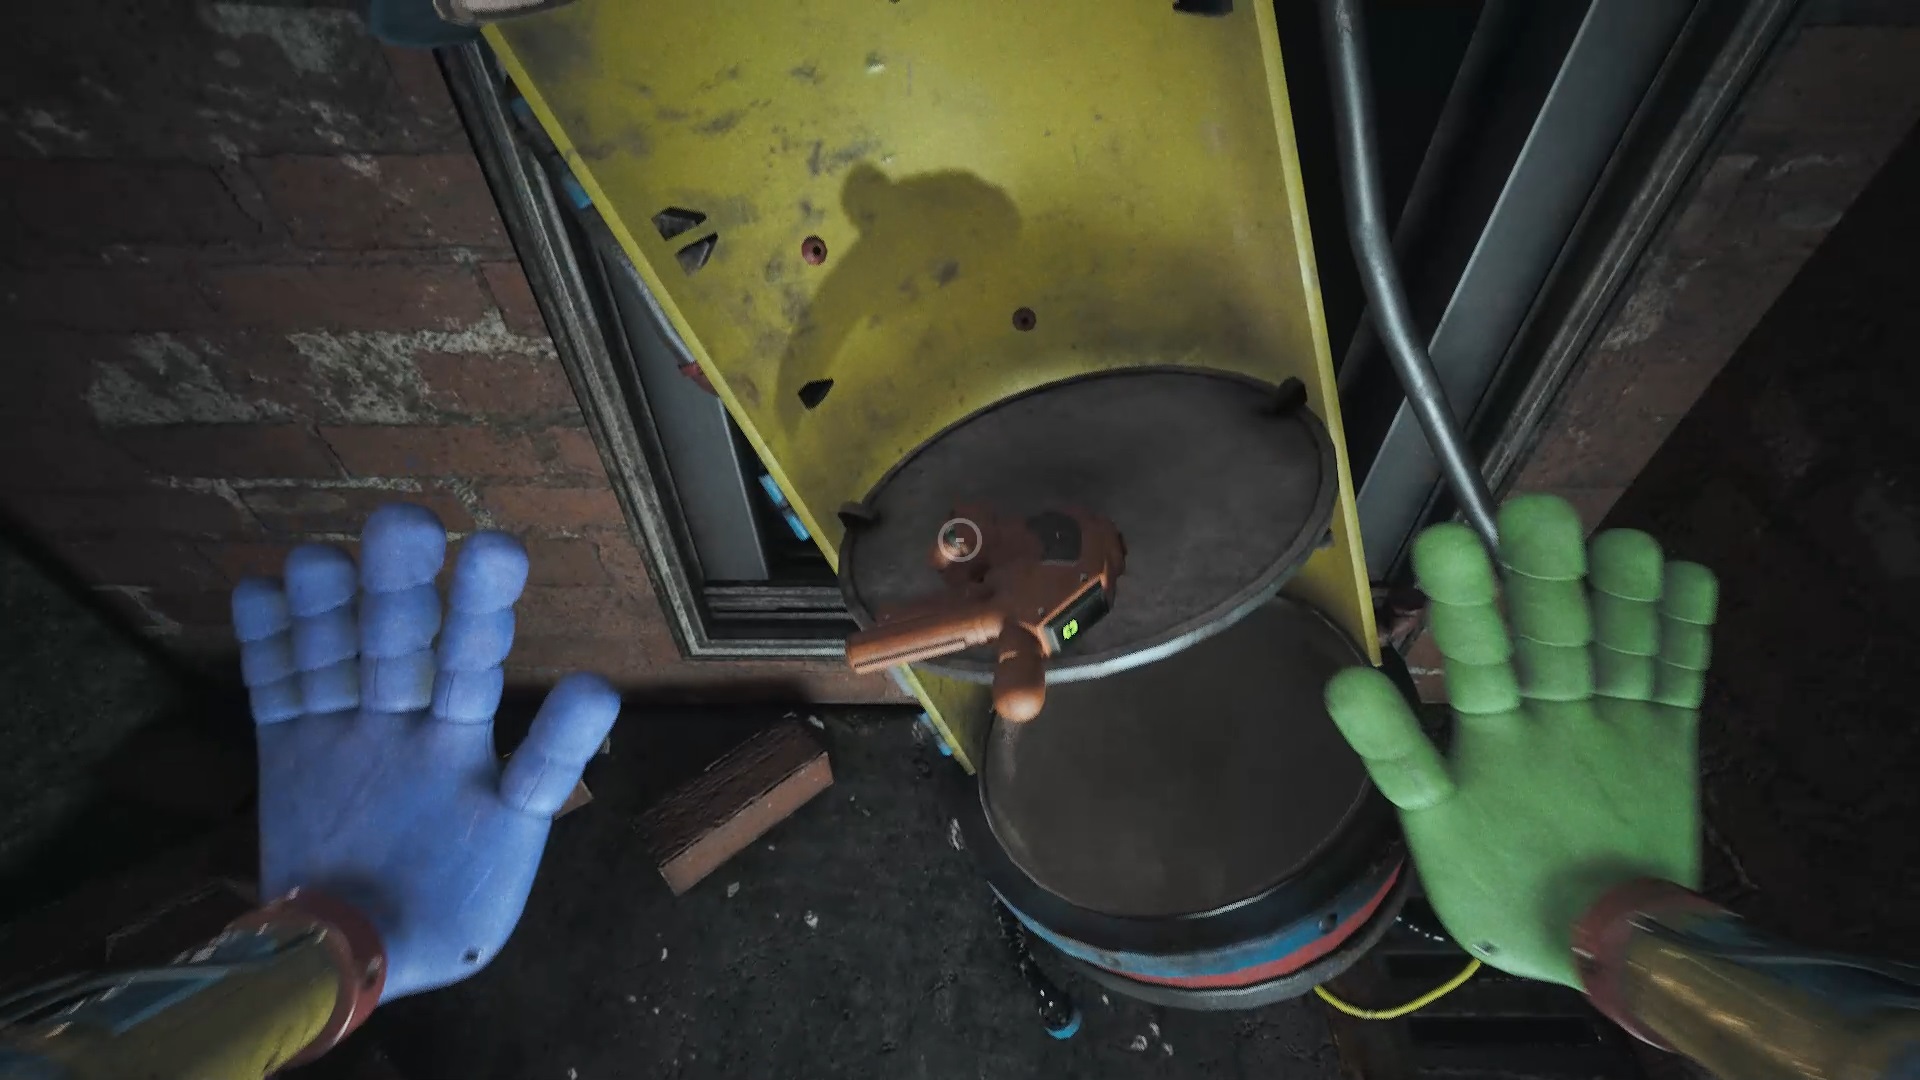
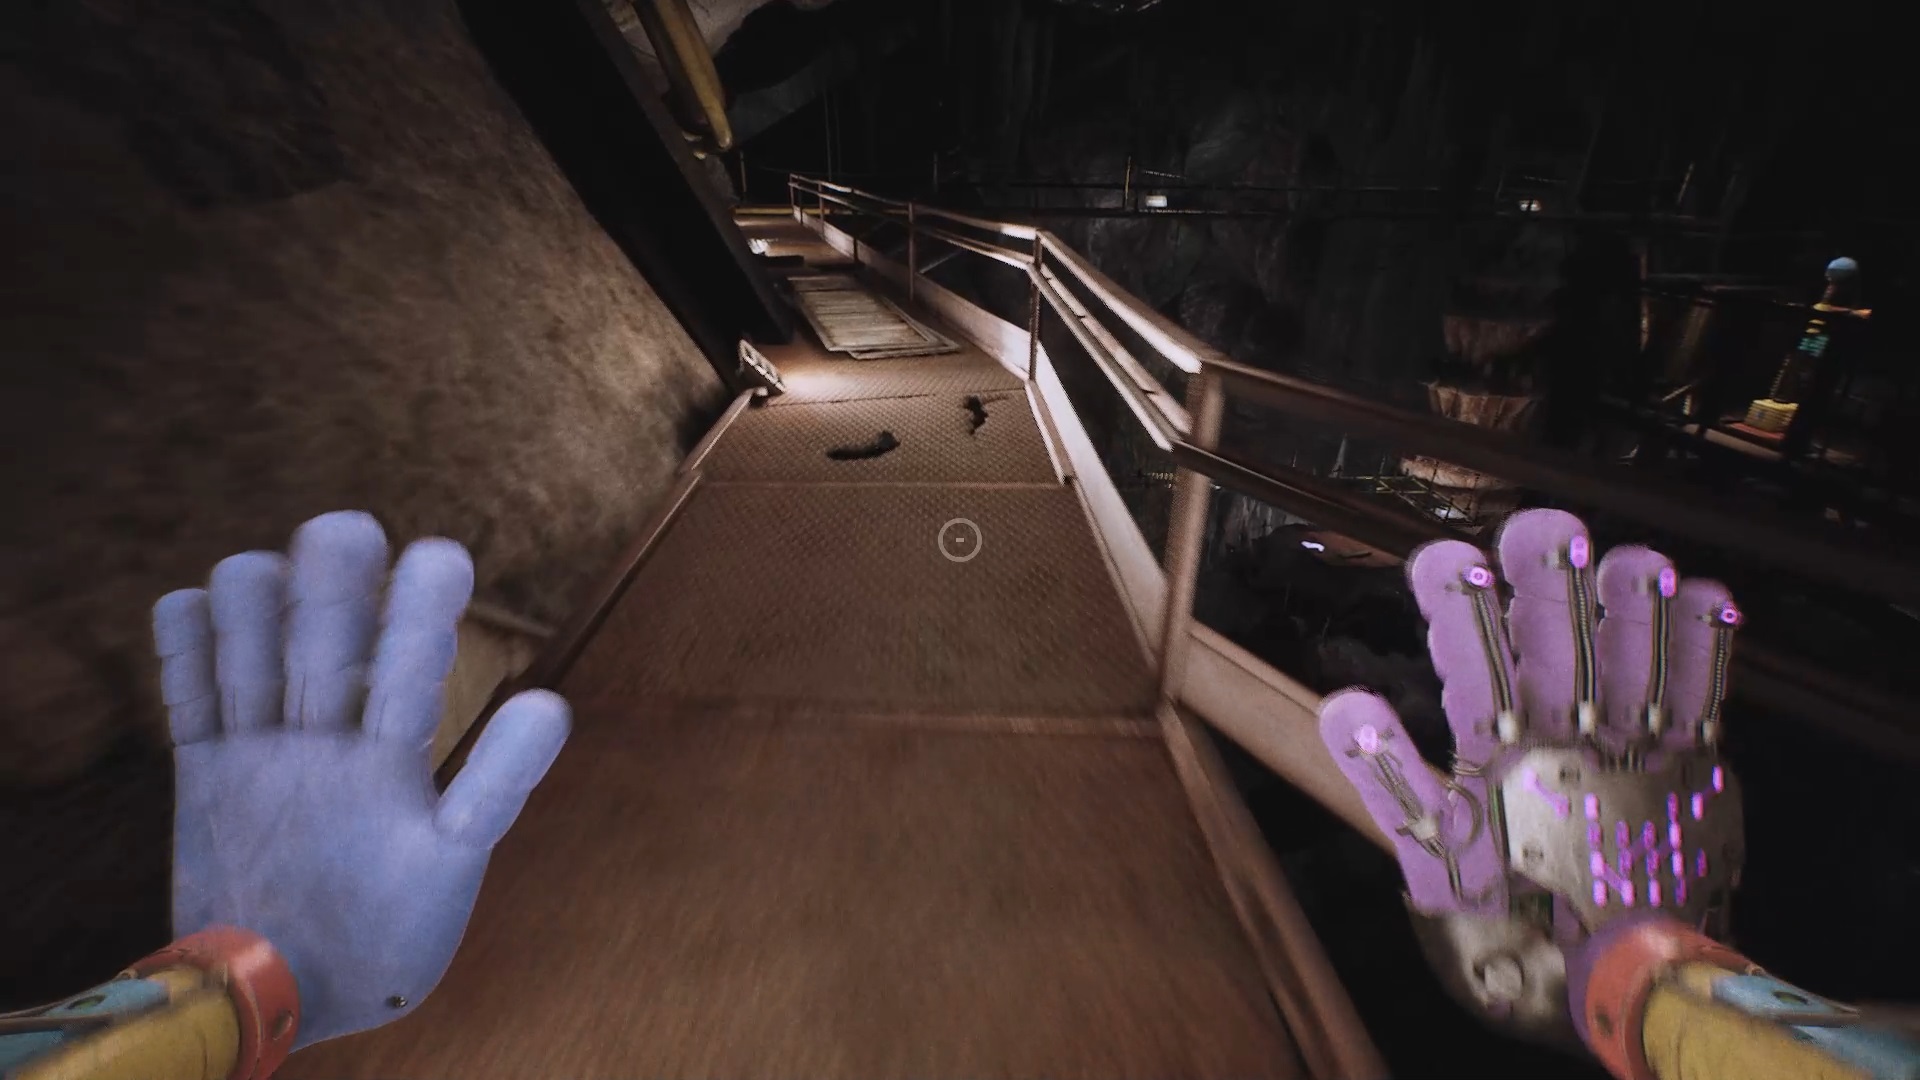
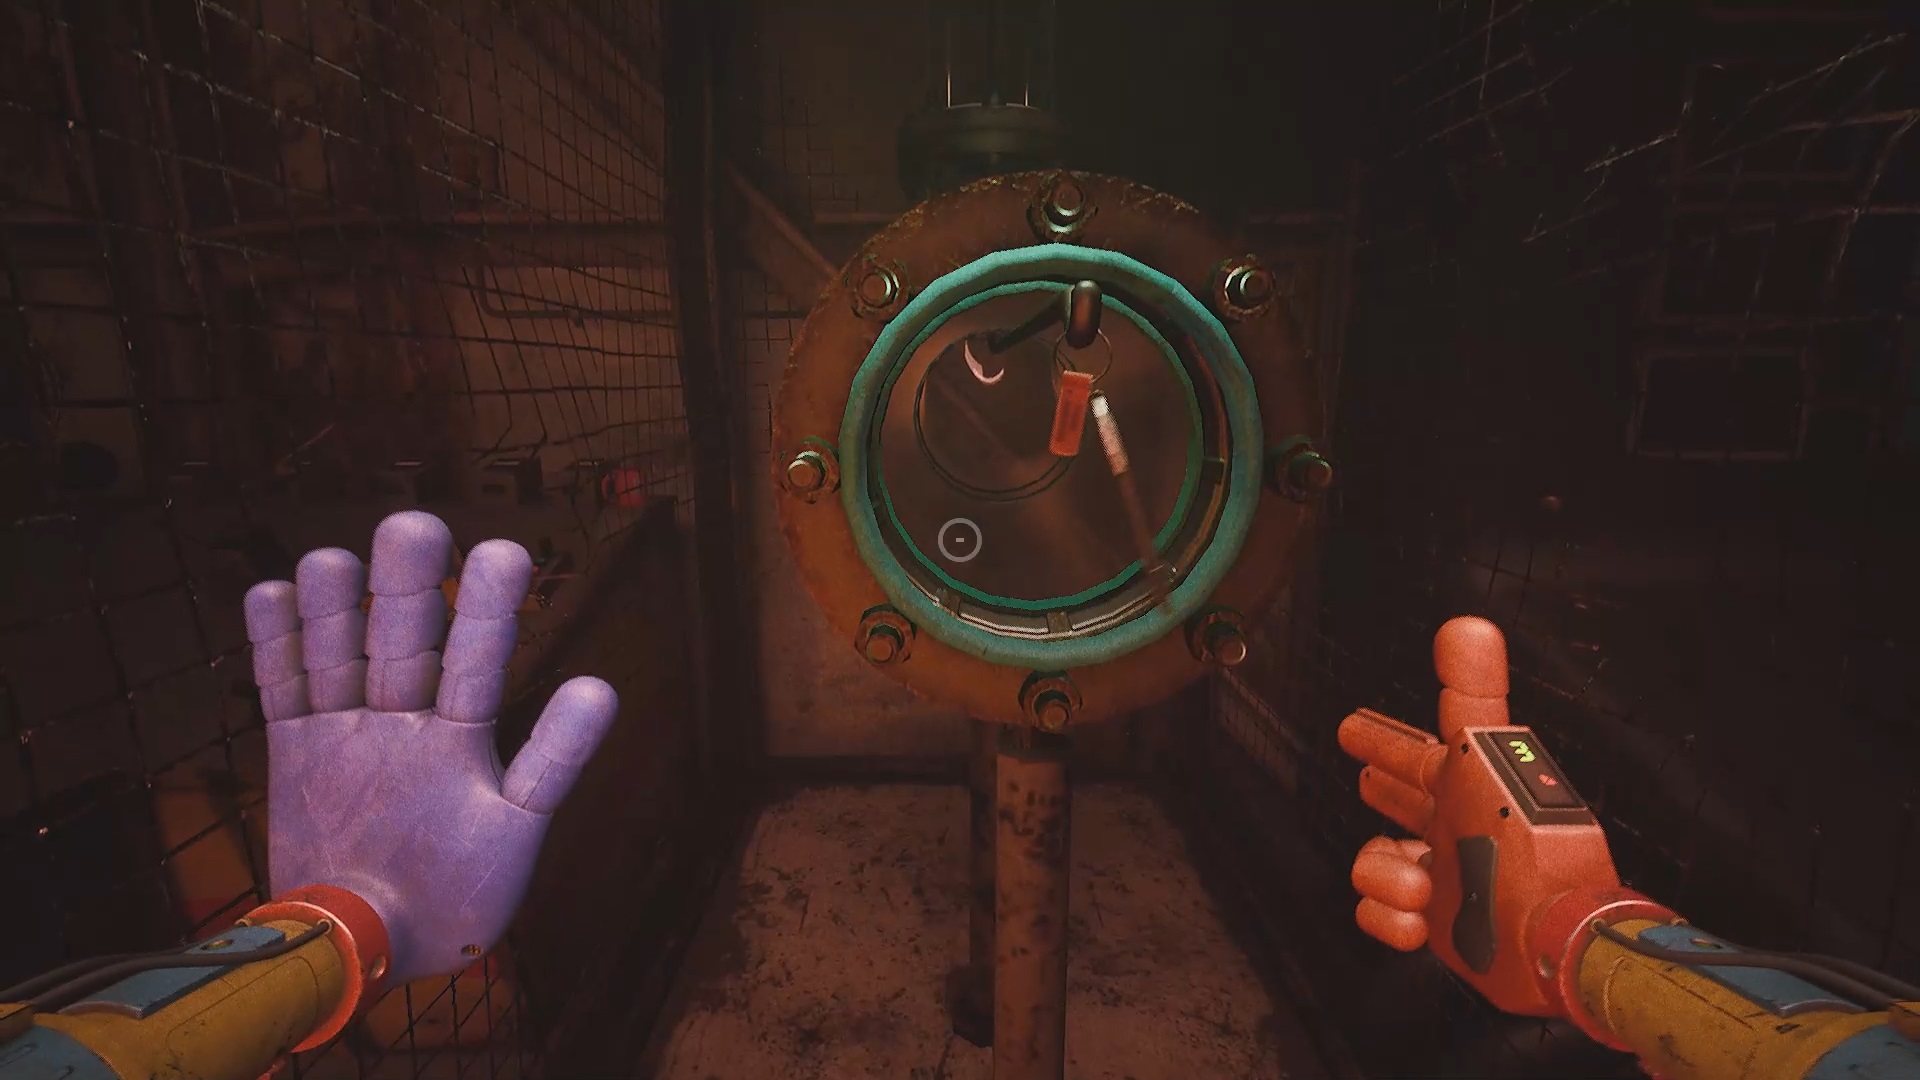
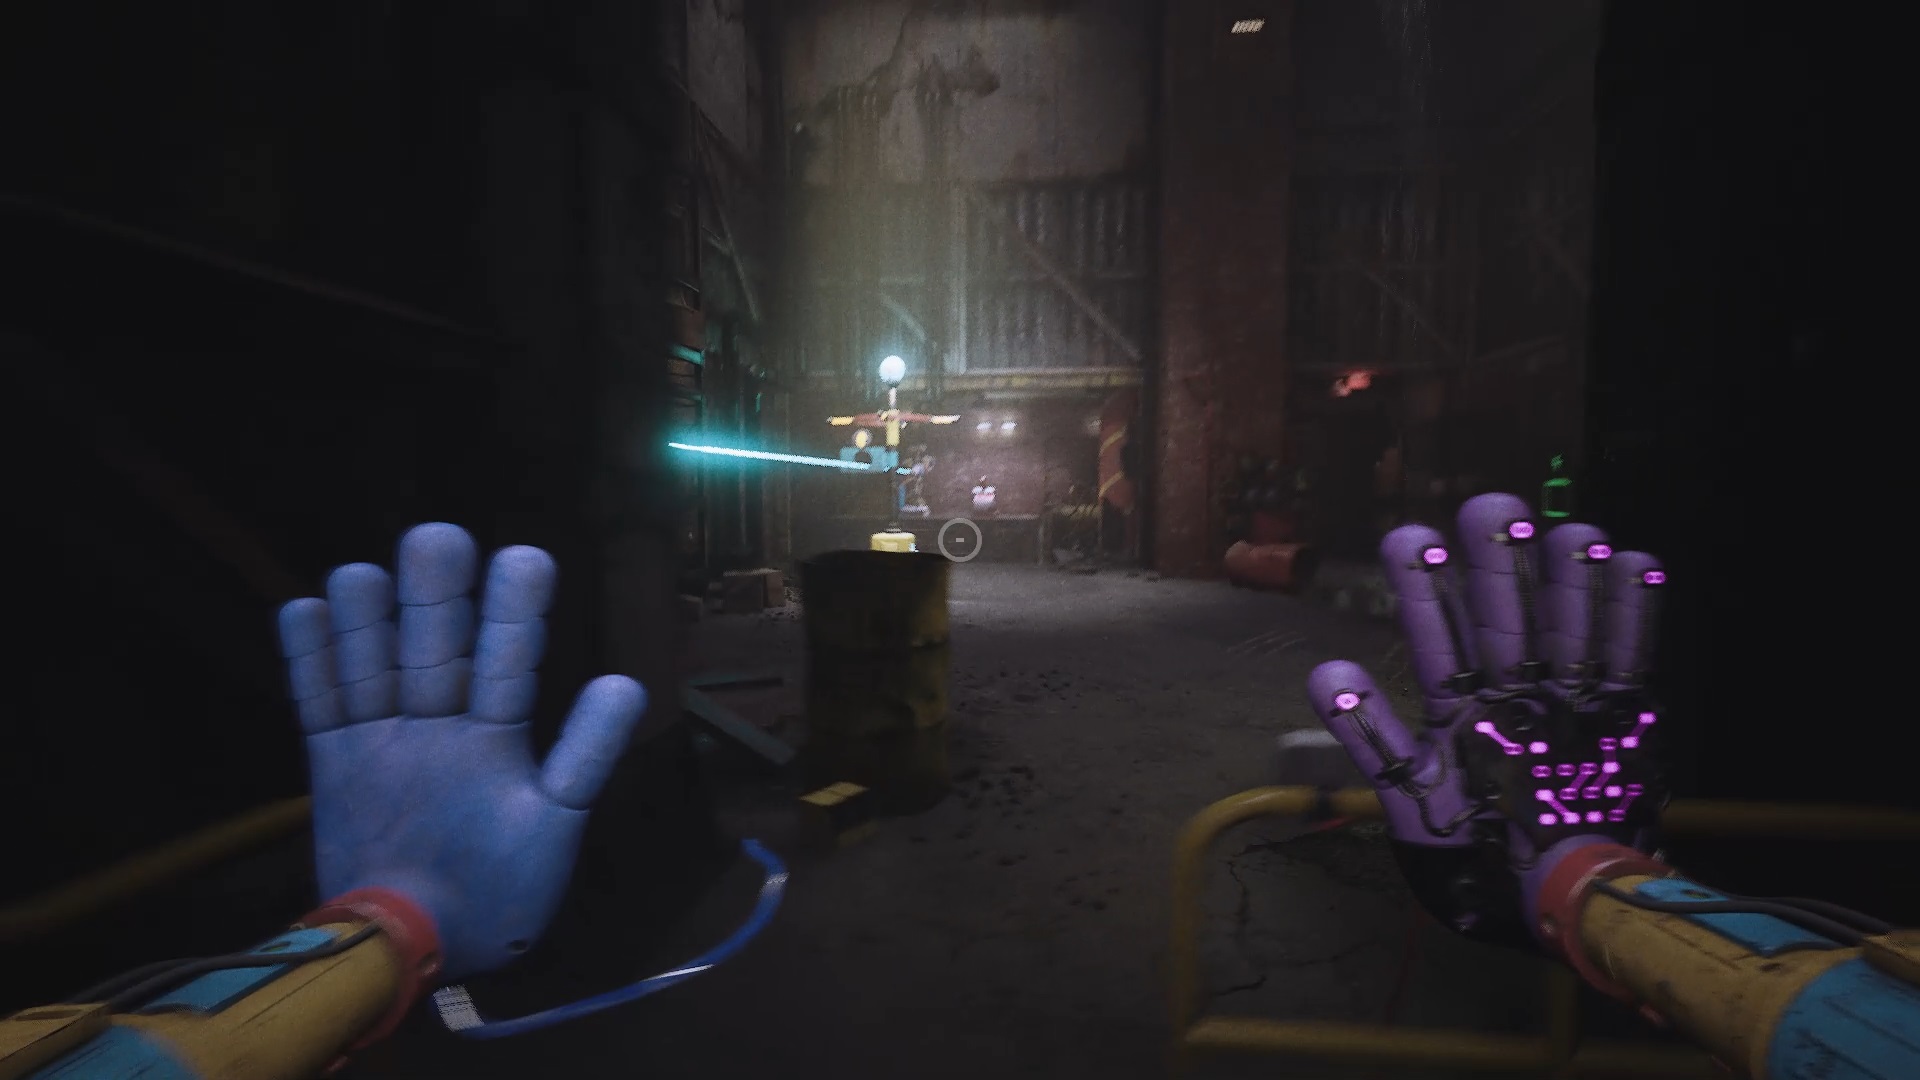
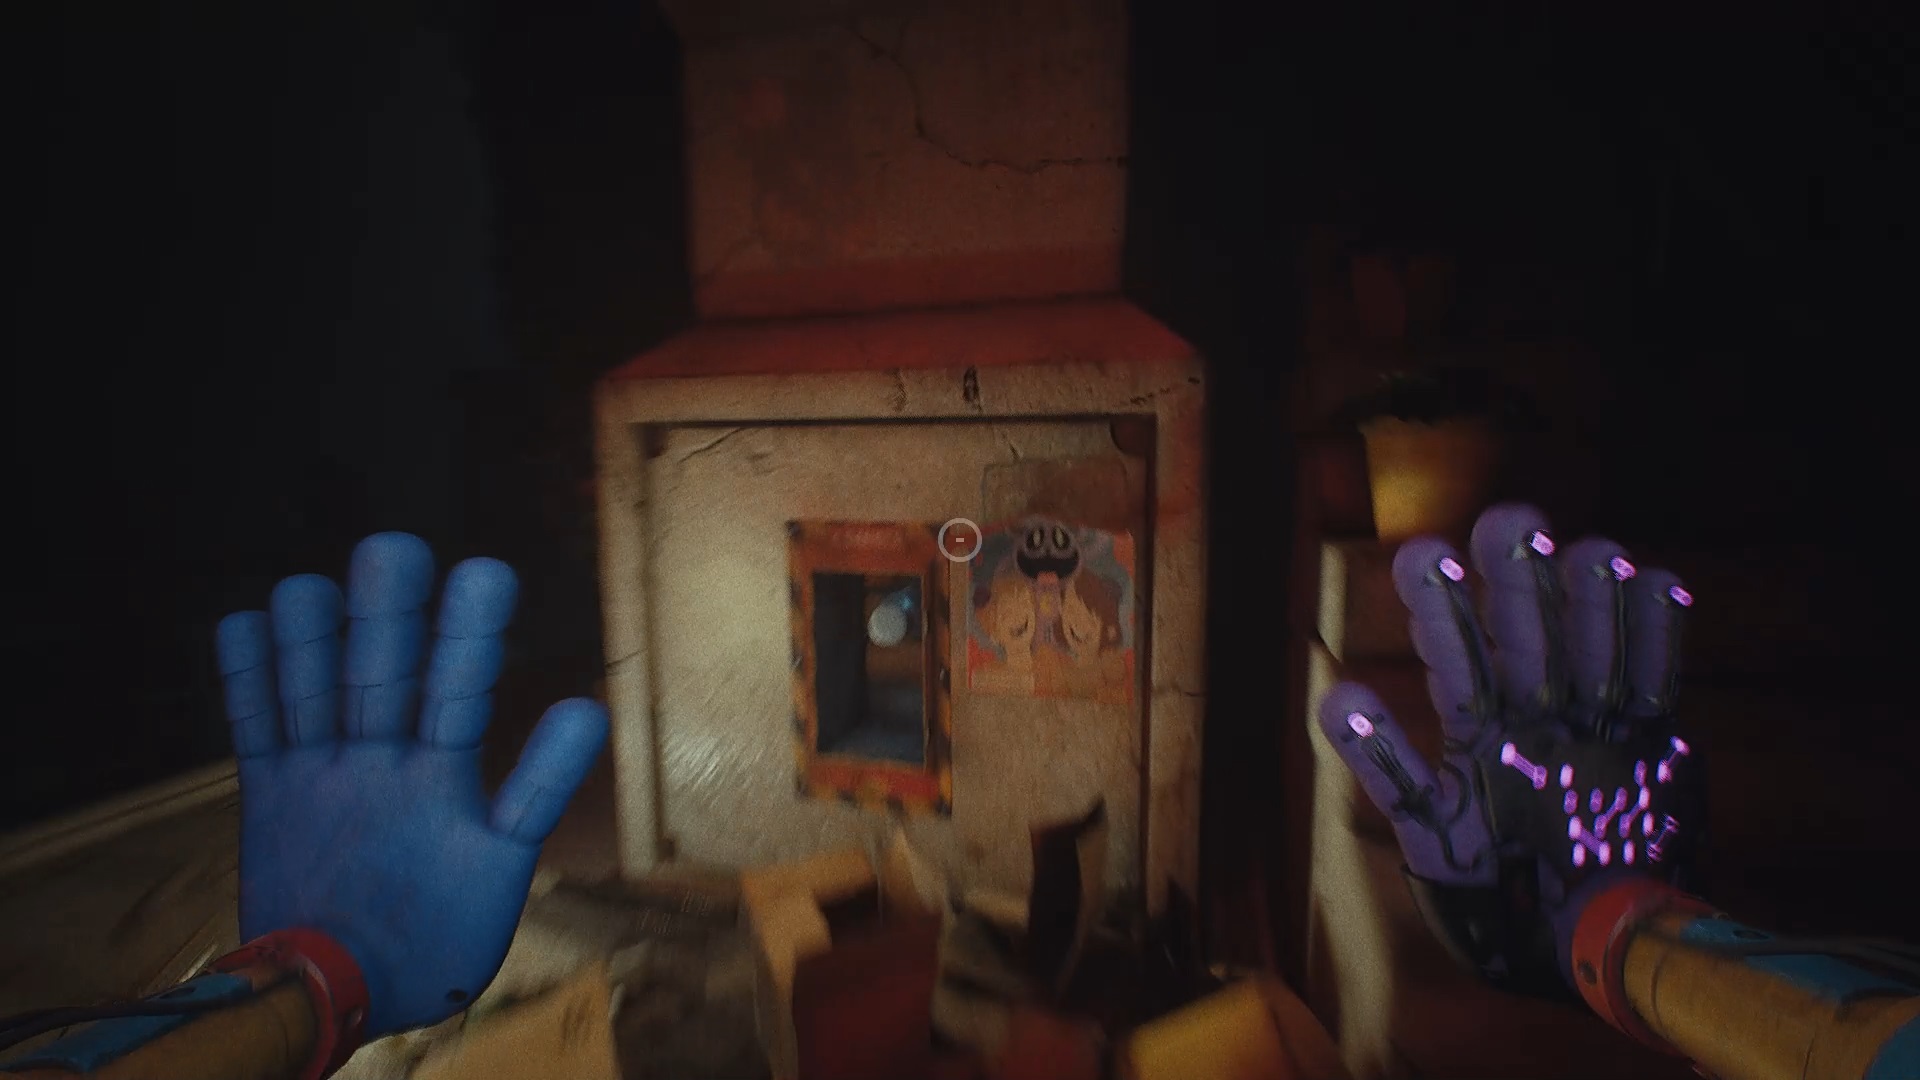
When you arrive at Playcare, head towards the central statue to spot an access leading to maintenance. Collect the keys in a cage, then return to the stairs you arrived at. To the left you will find a maintenance door. Use the key to enter the gas production area. Then continue into the room on the left to find a battery in a freight elevator. Use this battery to open the door to the room on the right, where you will find a new purple hand.
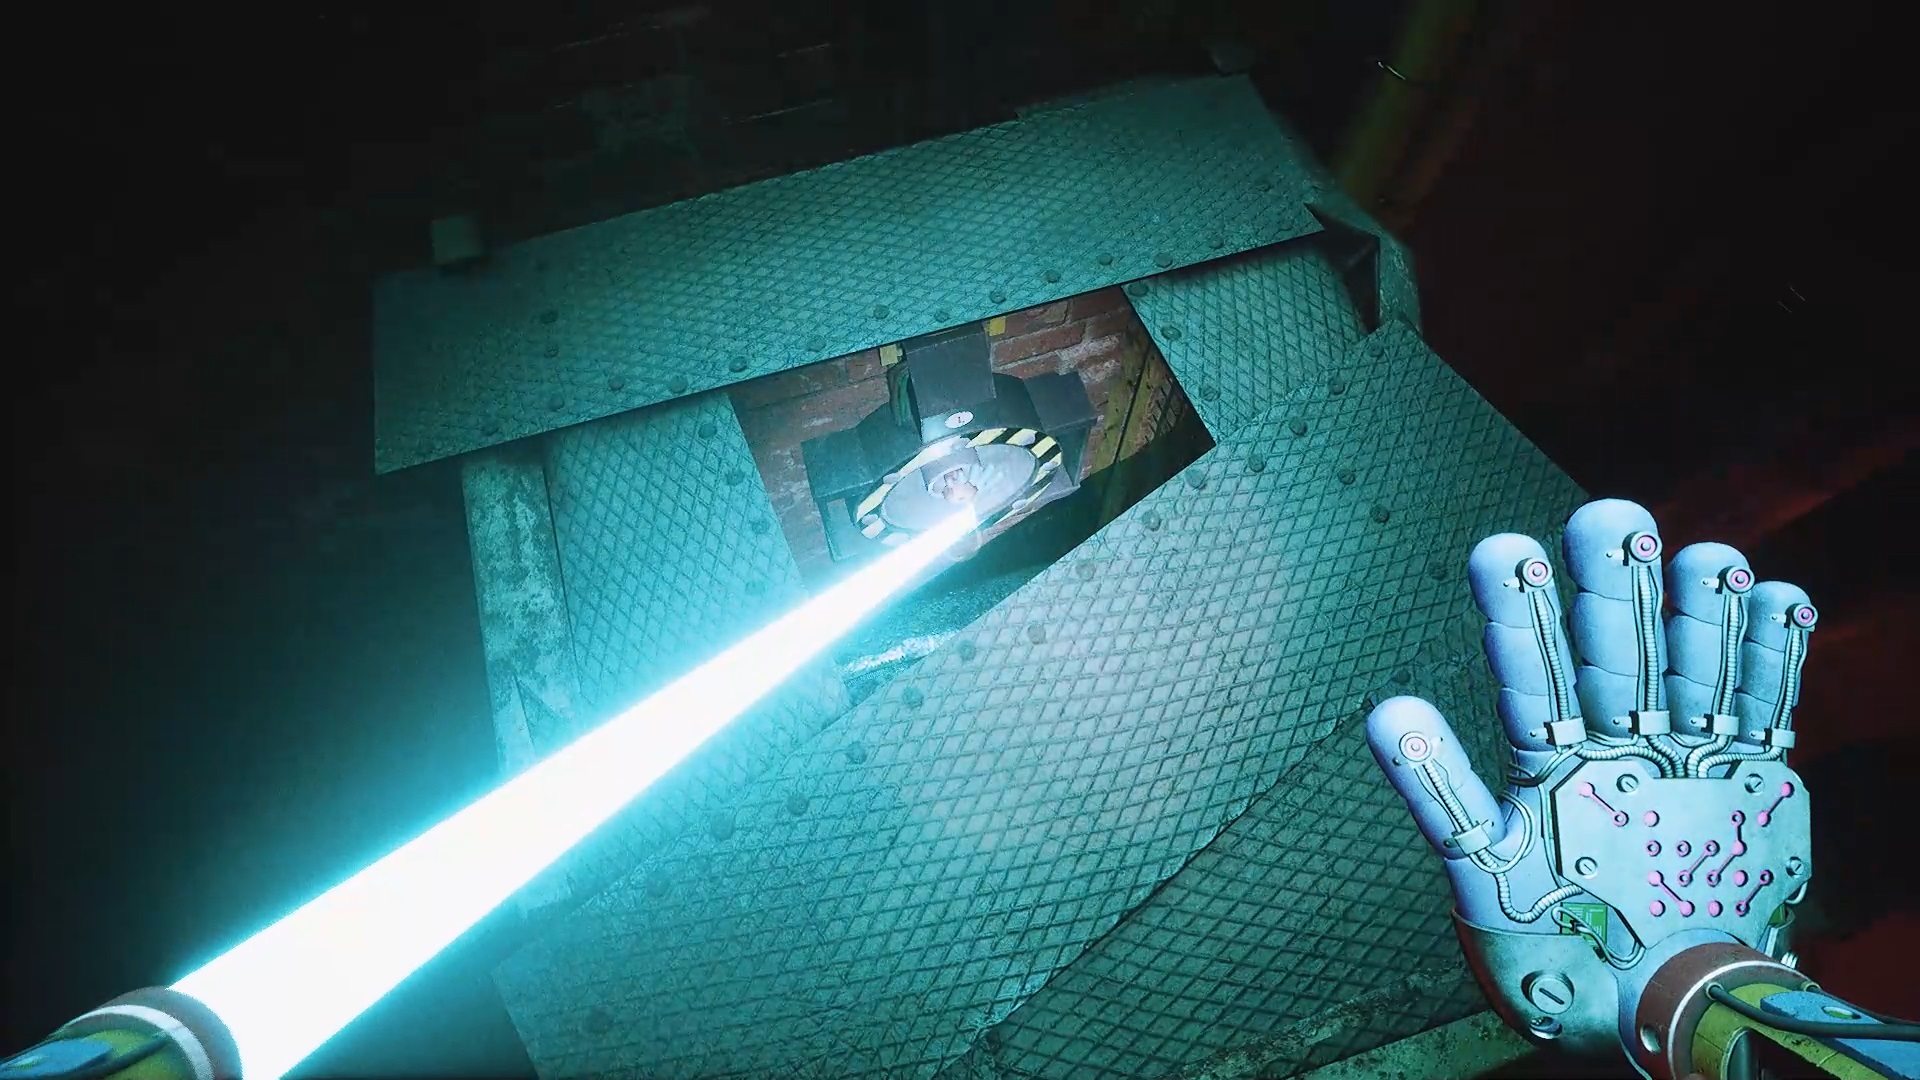
Return to the battery you placed and use your new hand against the ground. You will jump and land on a higher platform. Enter the room to familiarize yourself with your new abilities. Run and jump to reach greater distances. Further on, use your hand to pull a platform towards you. Climb onto it and use the nearby pipes to cross to the other side. Pull the platform all the way to help you cross the grate.
In the next room you will be faced with a new puzzle. To solve it, start by locating the two jumping platforms. We’ll name jump platform one, the one near you, and jump platform two, the one in front. Align the first pillar with the second opposite. Jump over the obstacle and then line up the second pillar with the switch near jumping platform two. Return to jumping platform one, jump to reach the top of the cage nearby. Power your first hand with the power source inside the cage. Next, insert your second hand into the hand symbol of the first pillar to activate the switch.
The switch just revealed a second switch to the left of platform one. Turn the first pillar towards the new switch and turn the second pillar towards the first pillar. Insert your hand into the hand symbol on the second pillar to activate the switch and open the gate. Then pass through the freshly opened grill. Return to the gas production machine and press the button to transfer the gas.

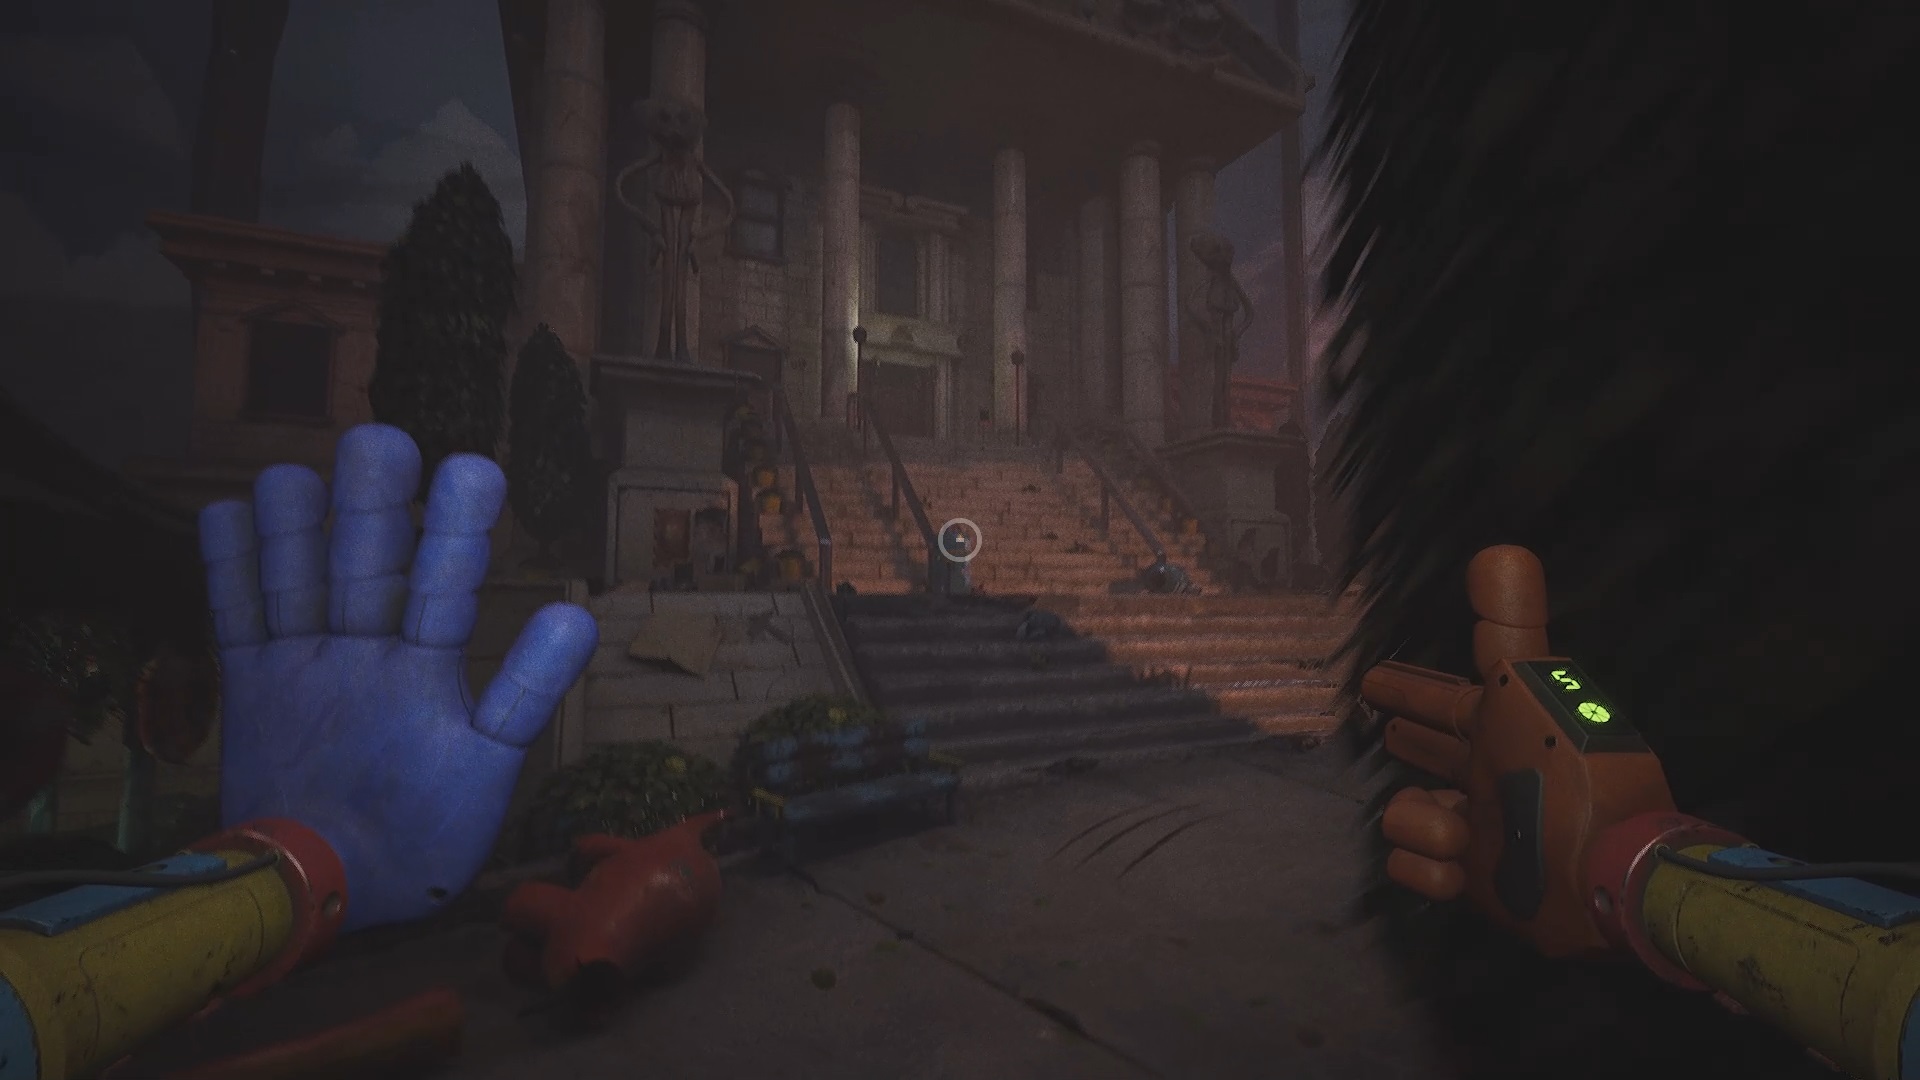
Everything does not go as planned, return under the central statue to collect a new key in the maintenance cage. Then head towards the “Home Sweet Home” building.
Home Sweet Home
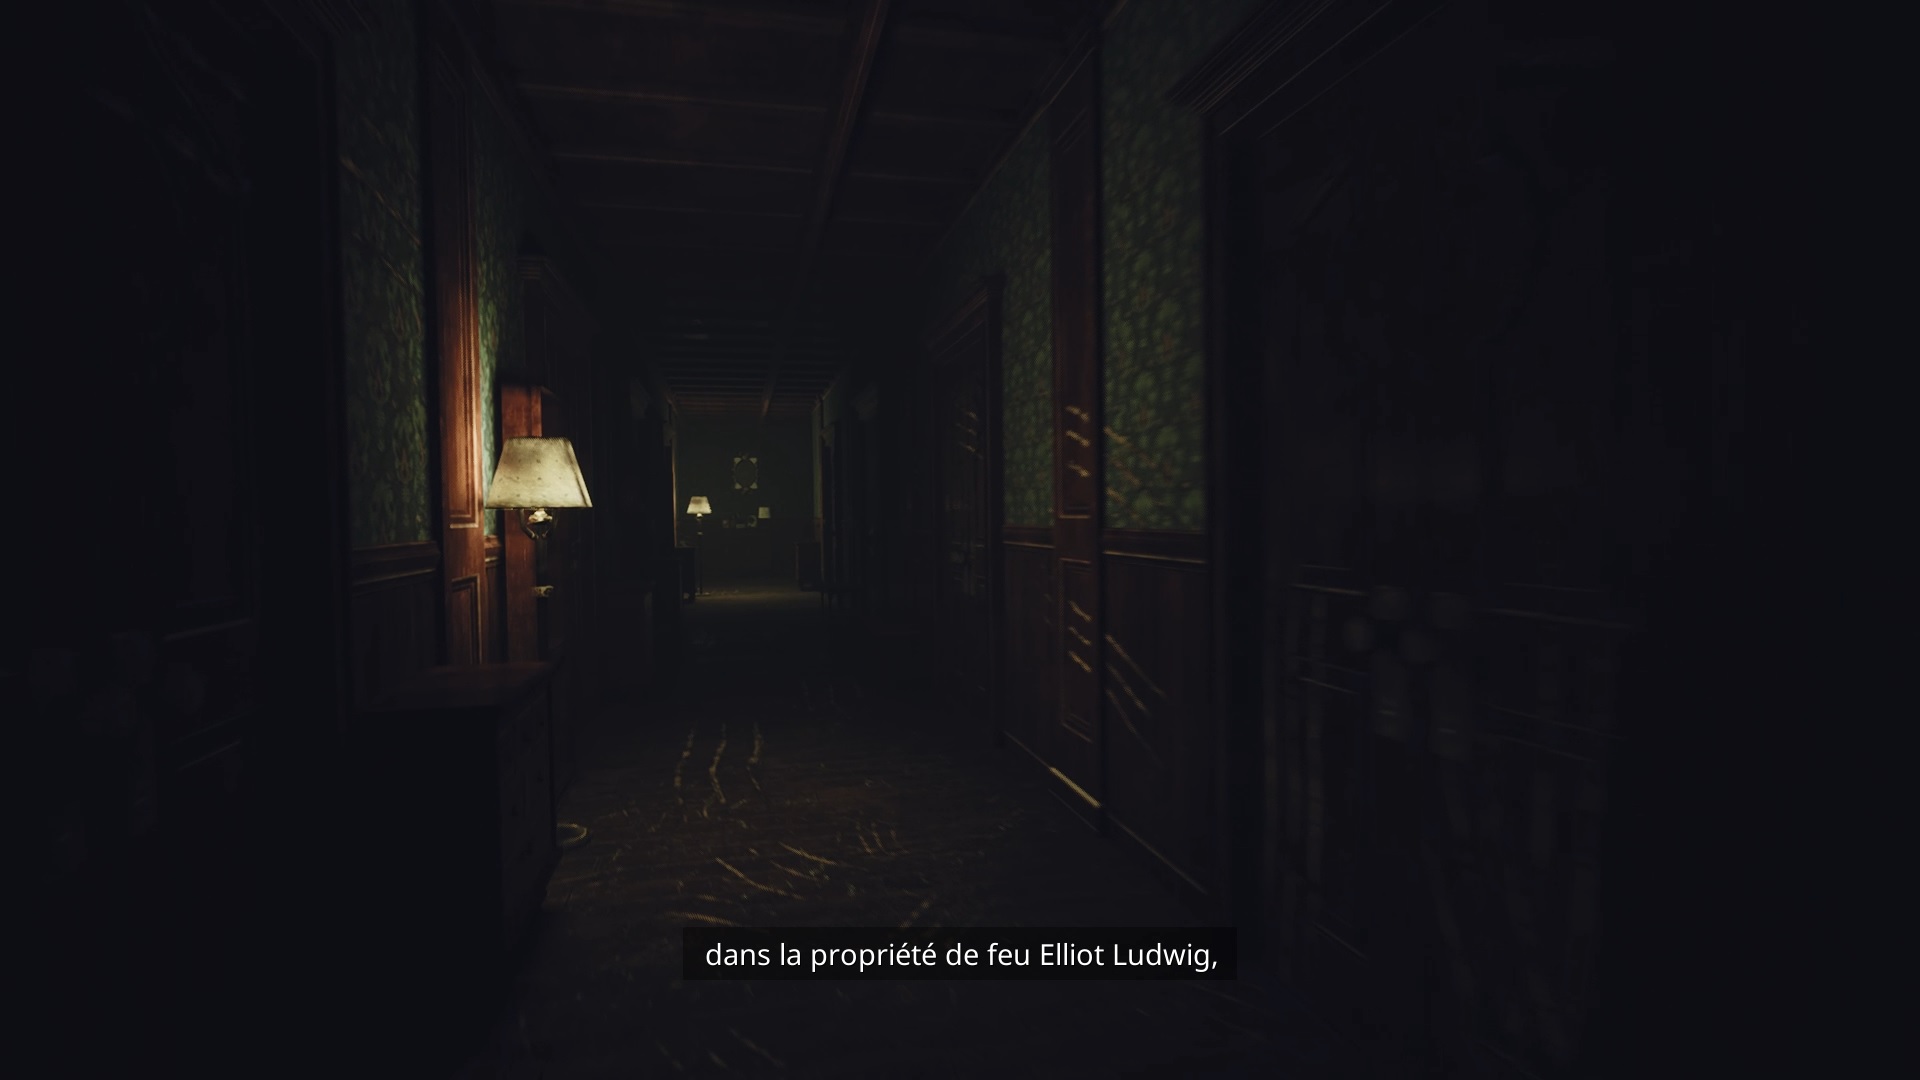
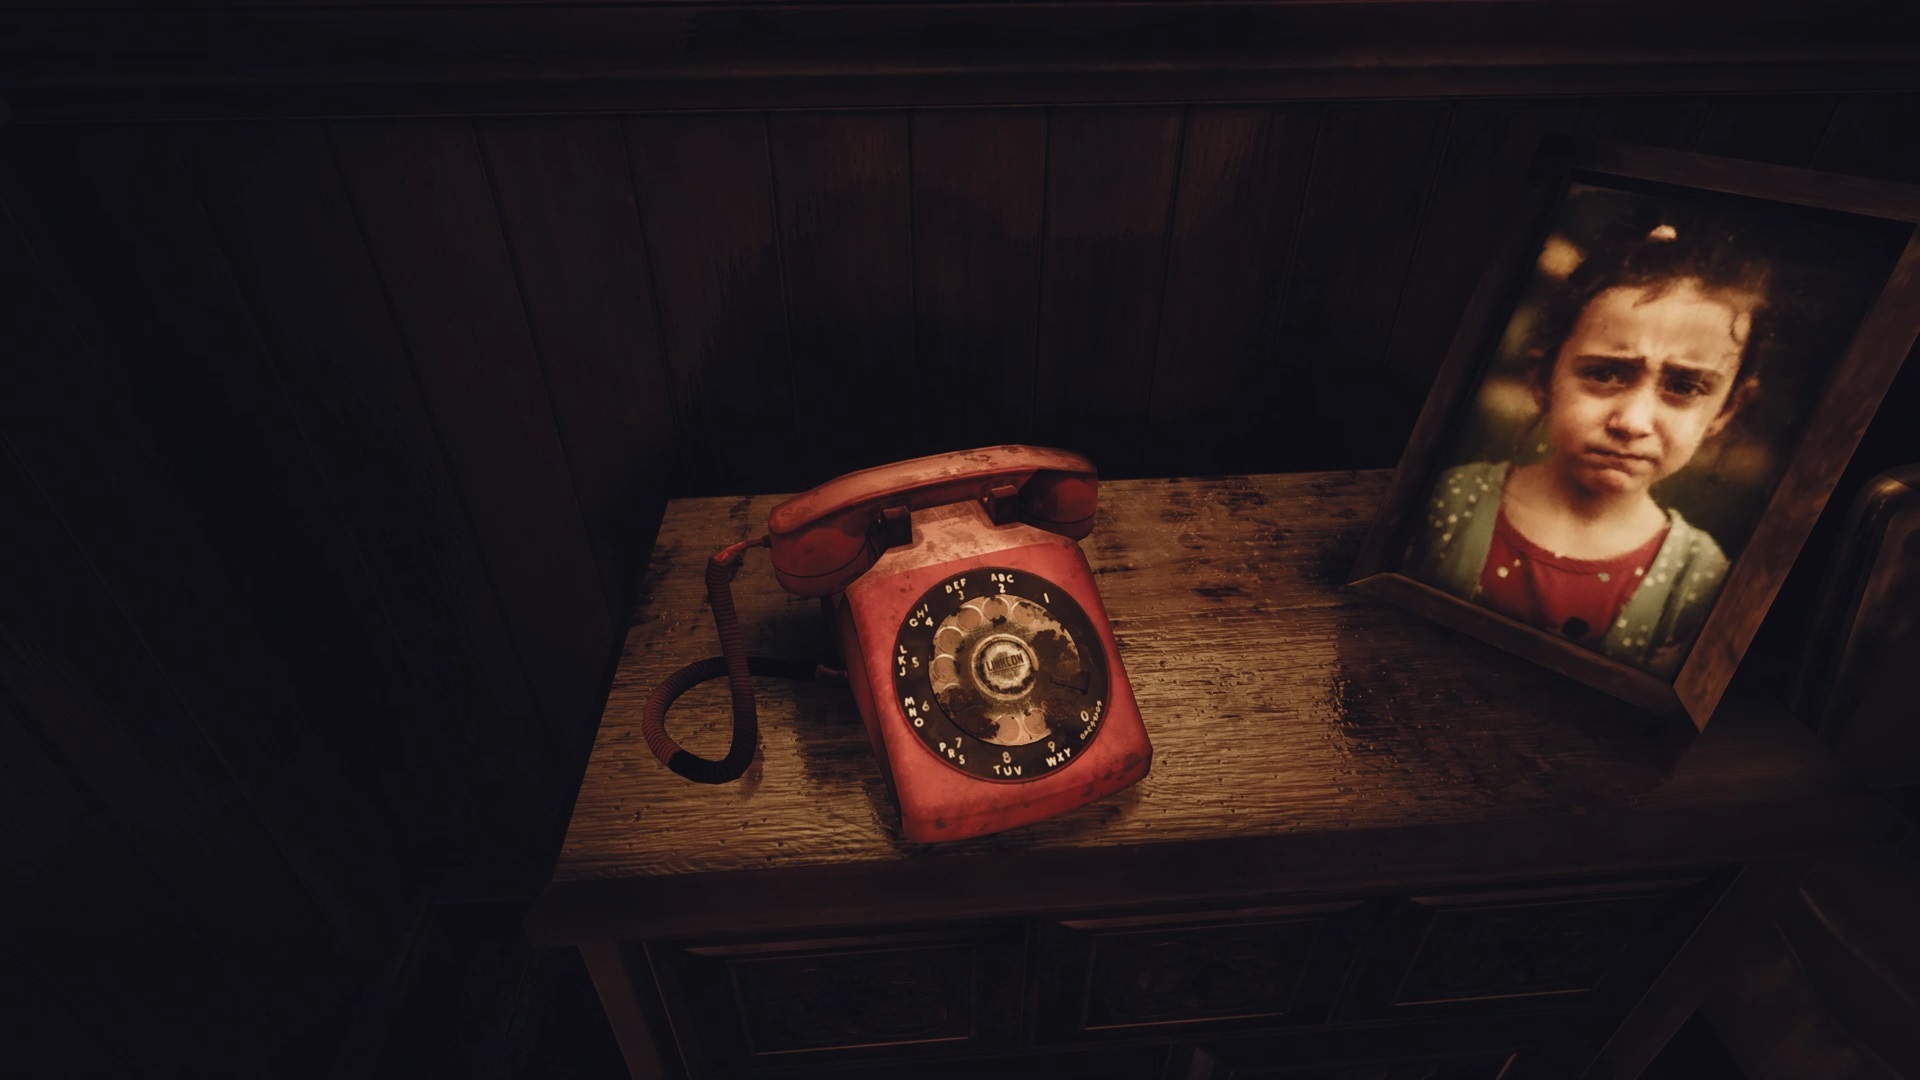
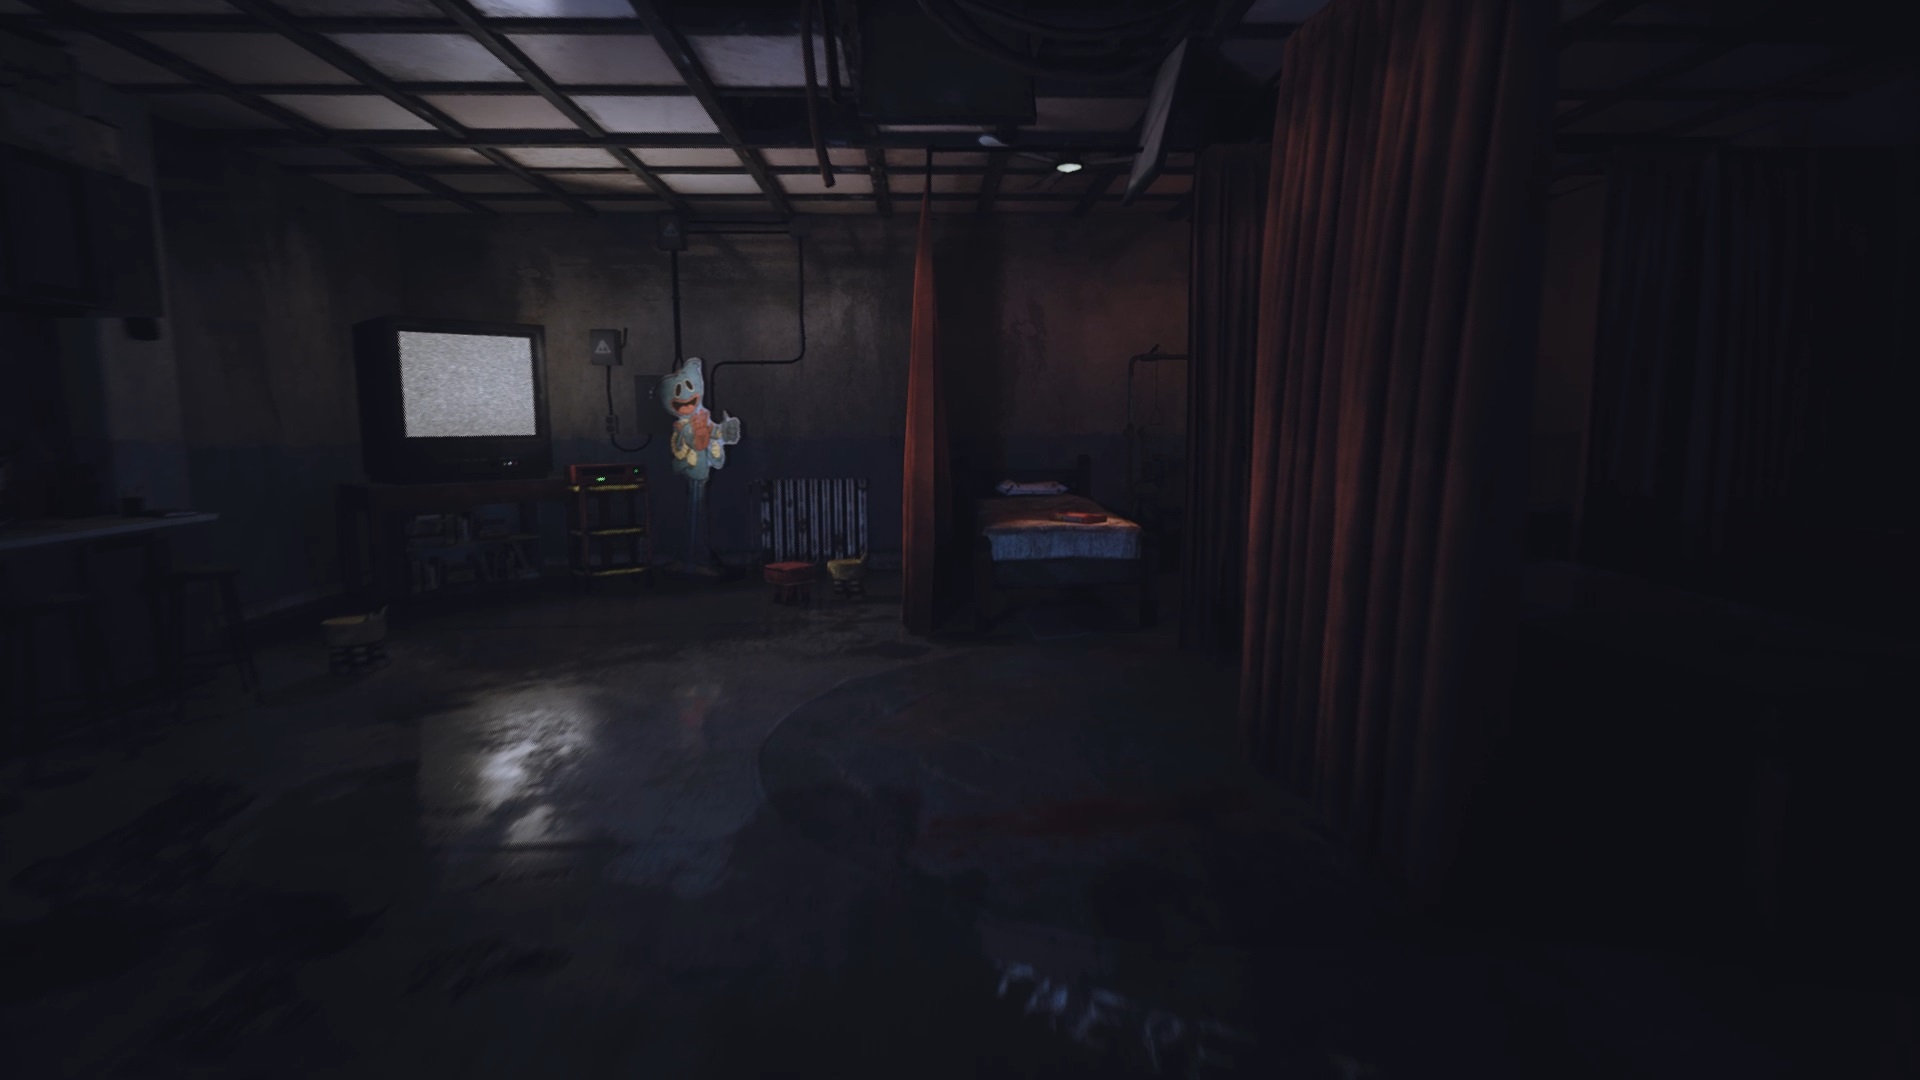
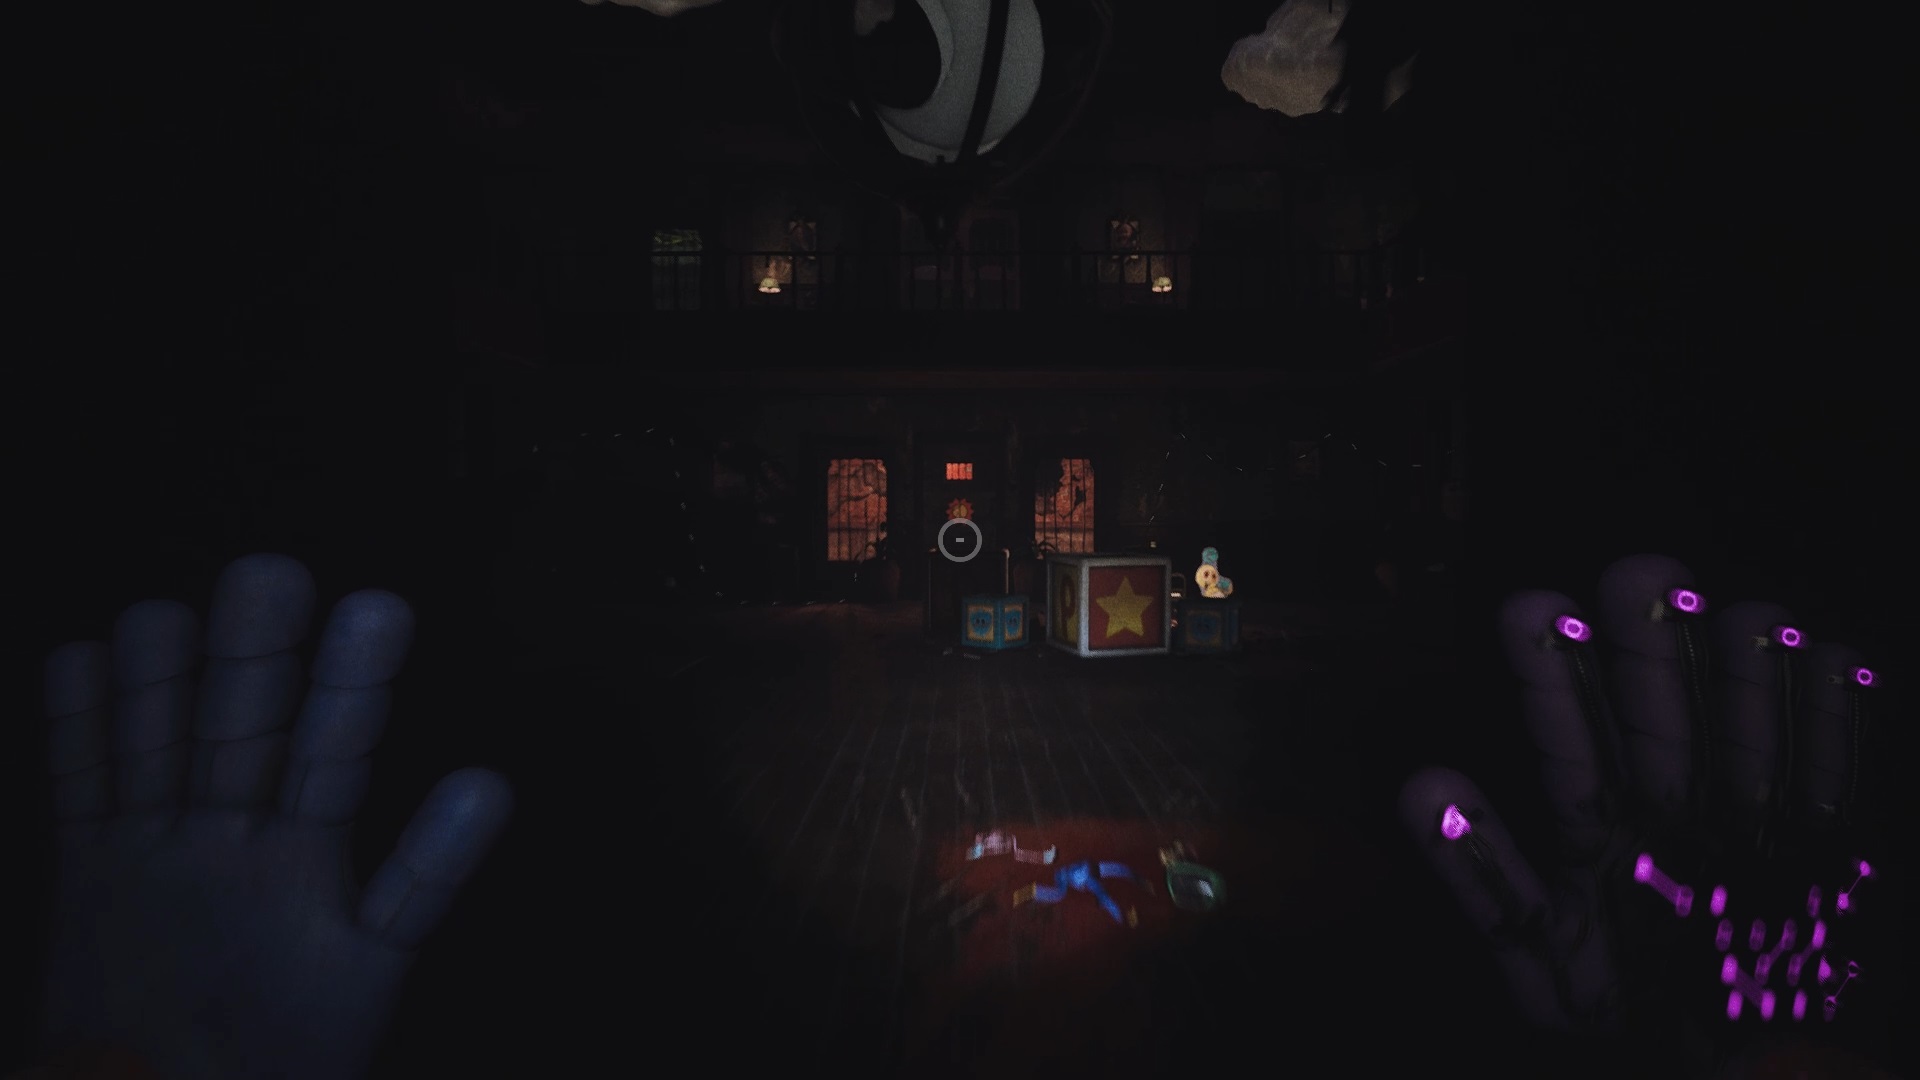
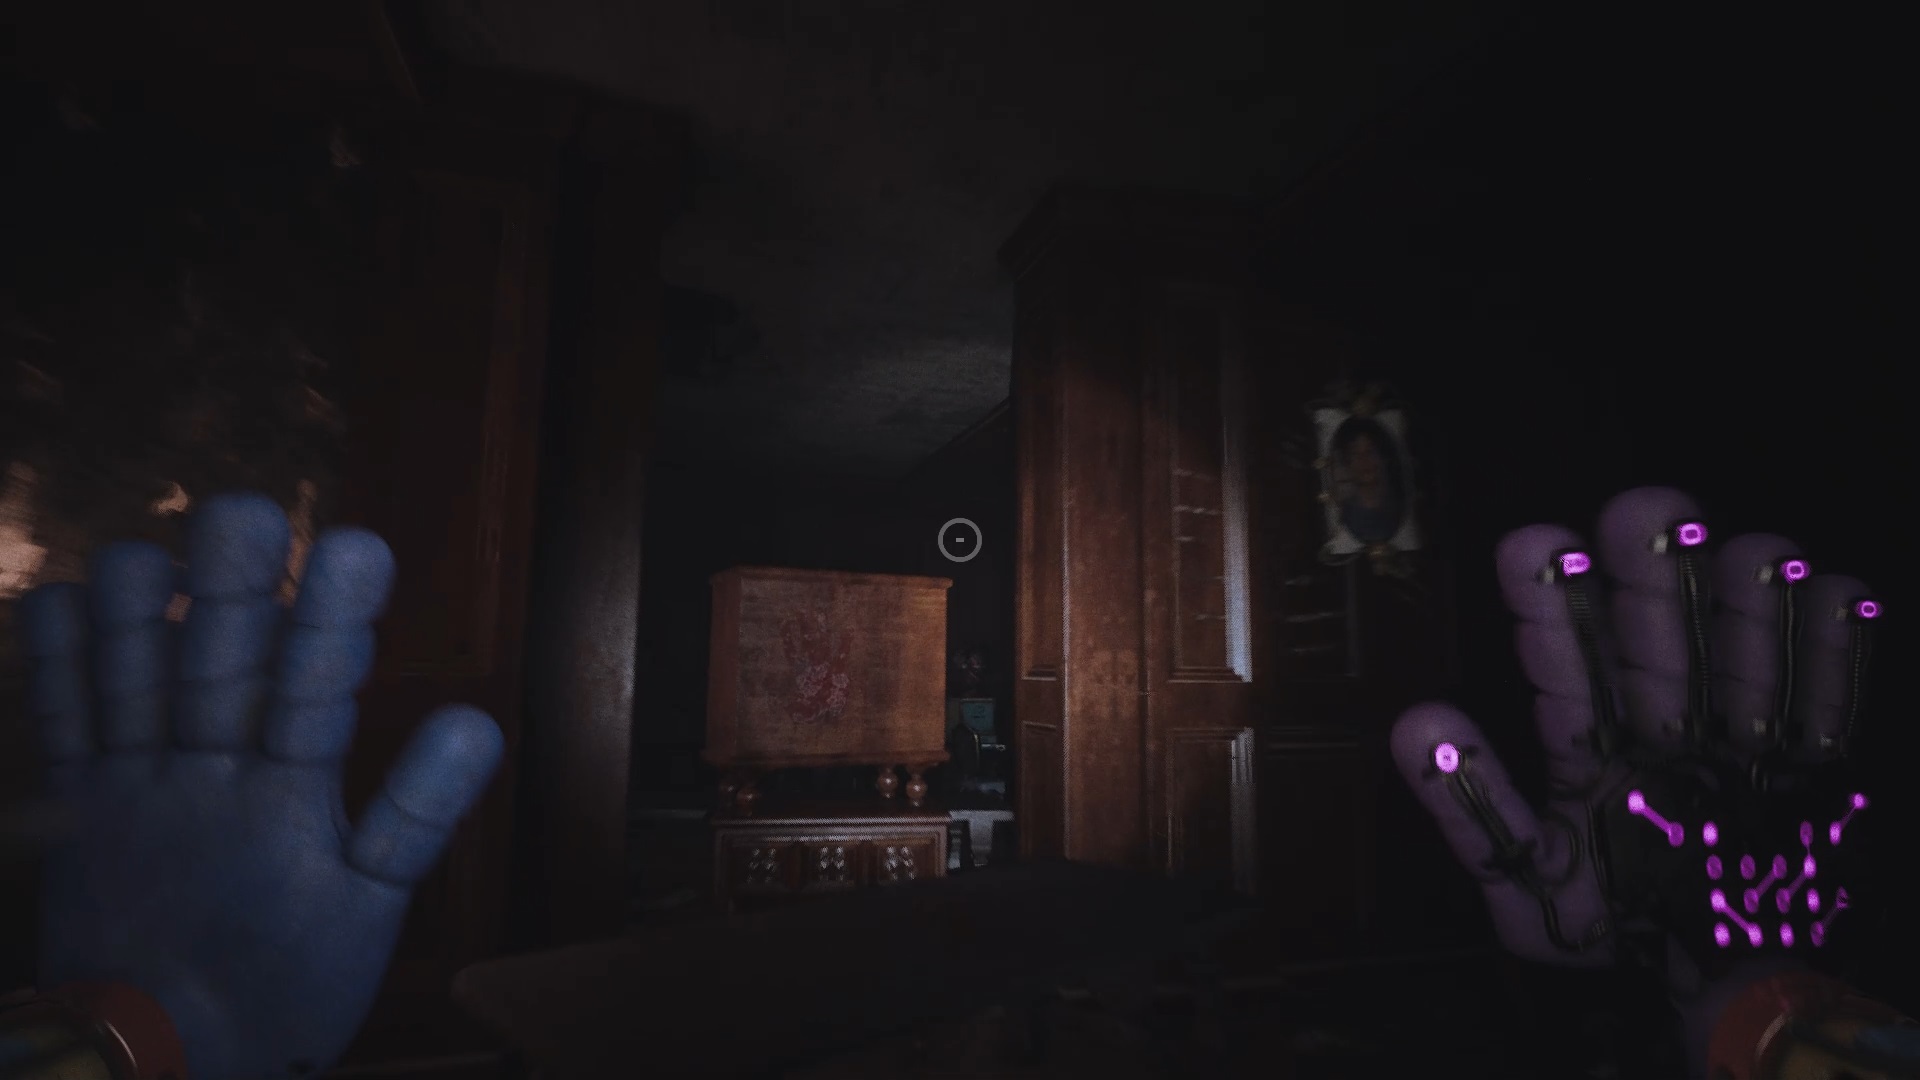
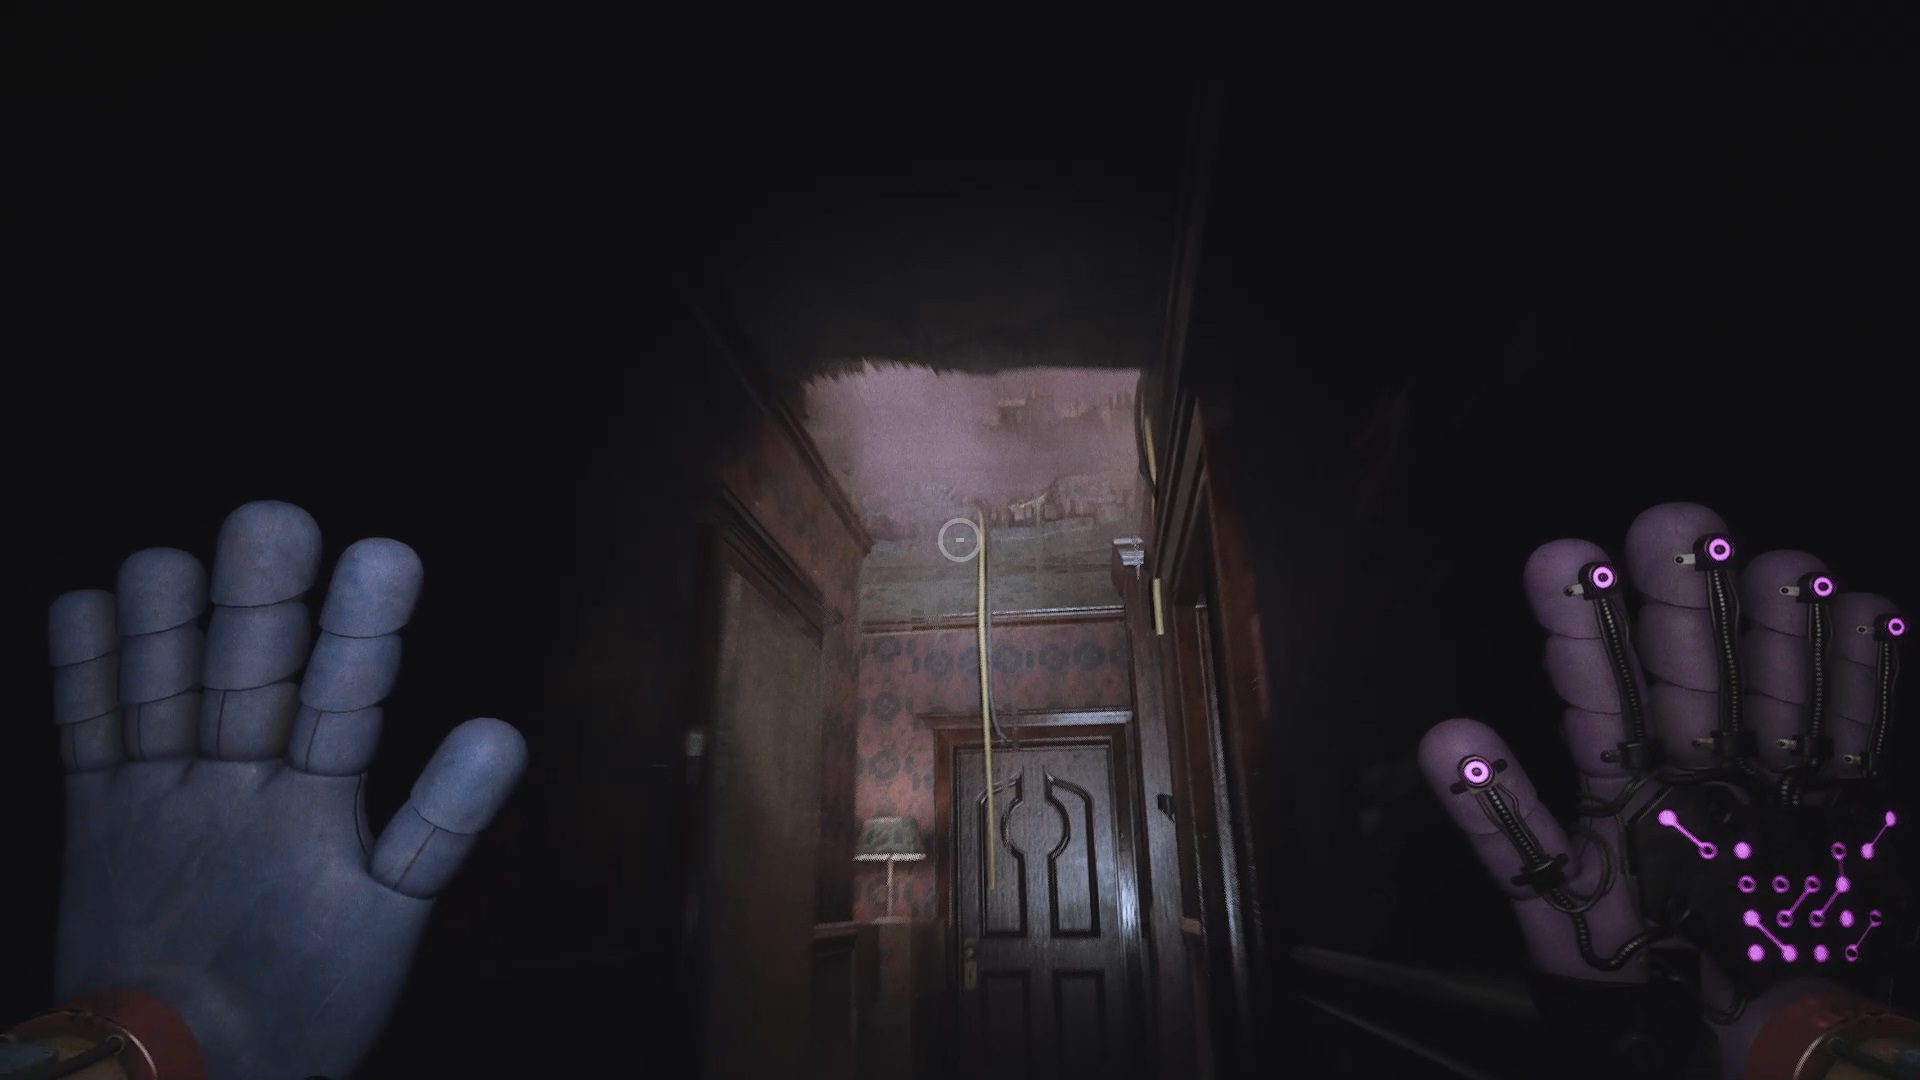
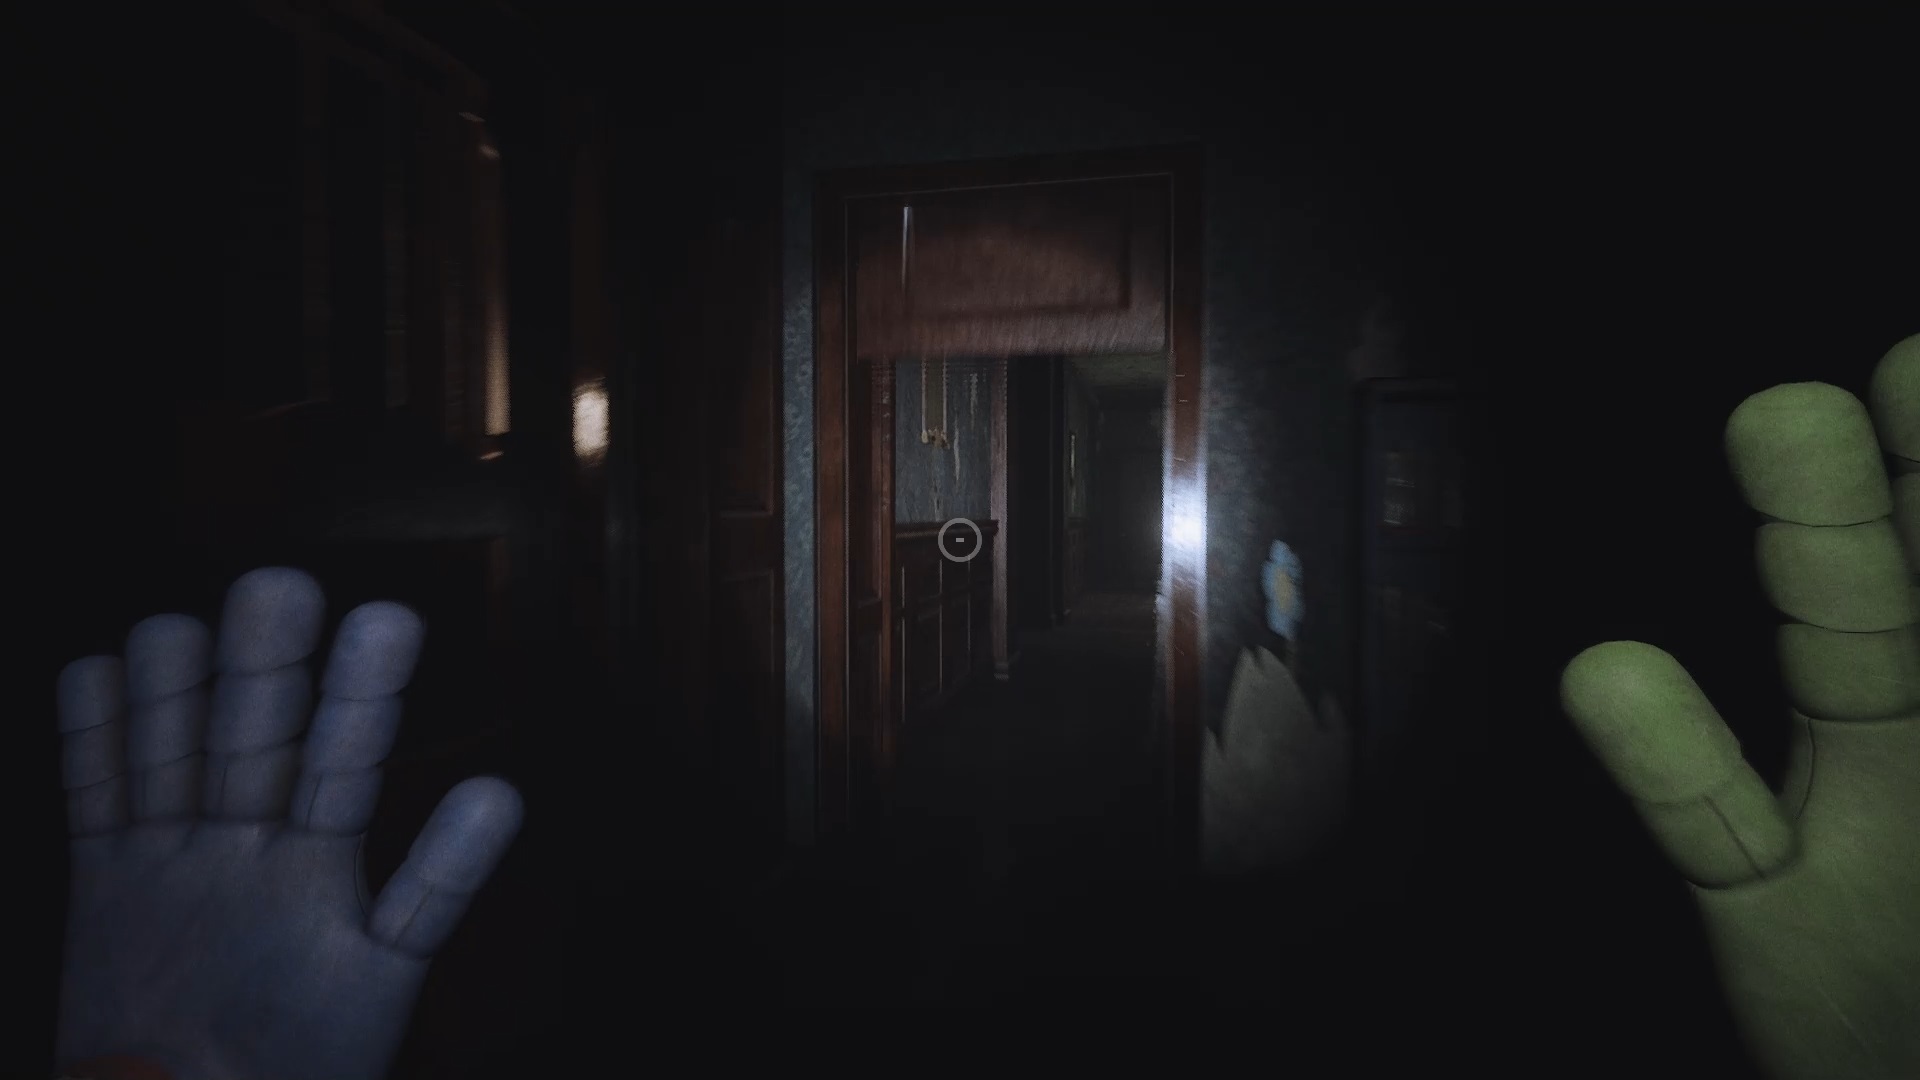
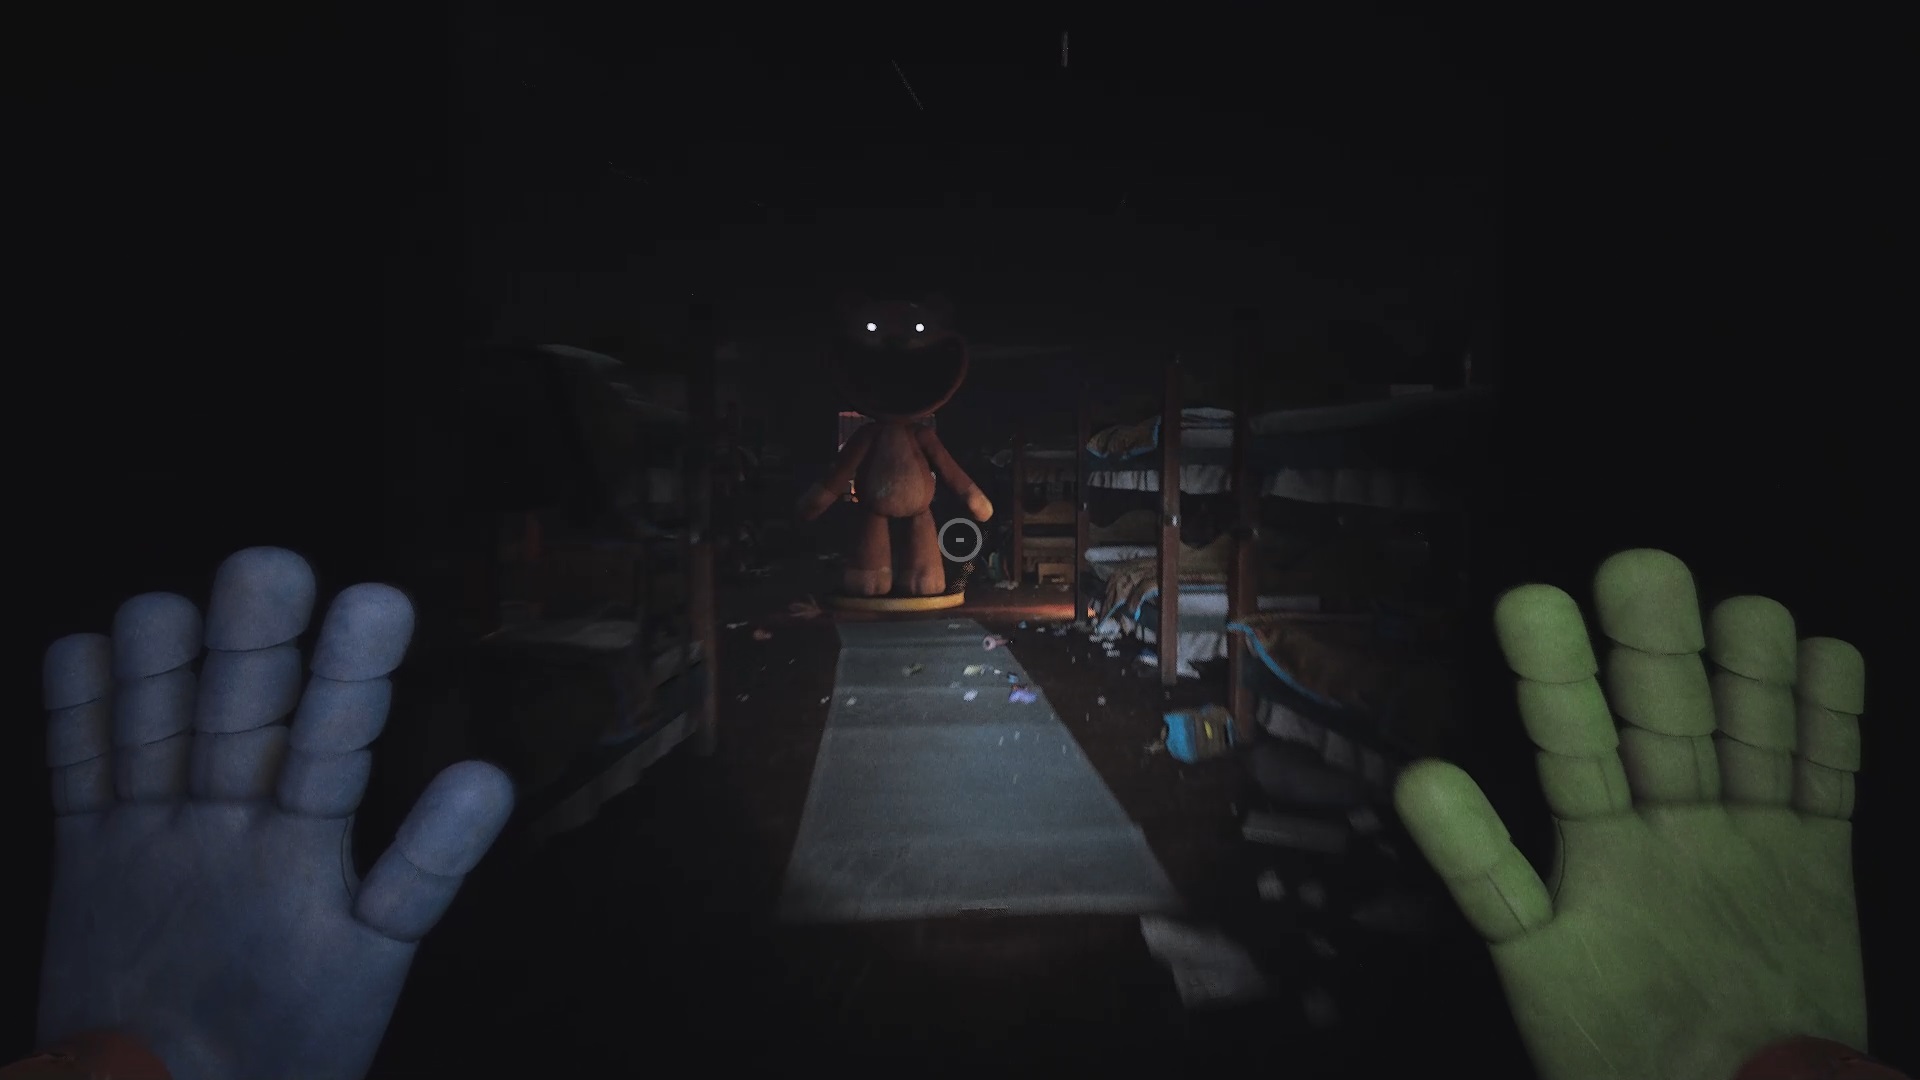
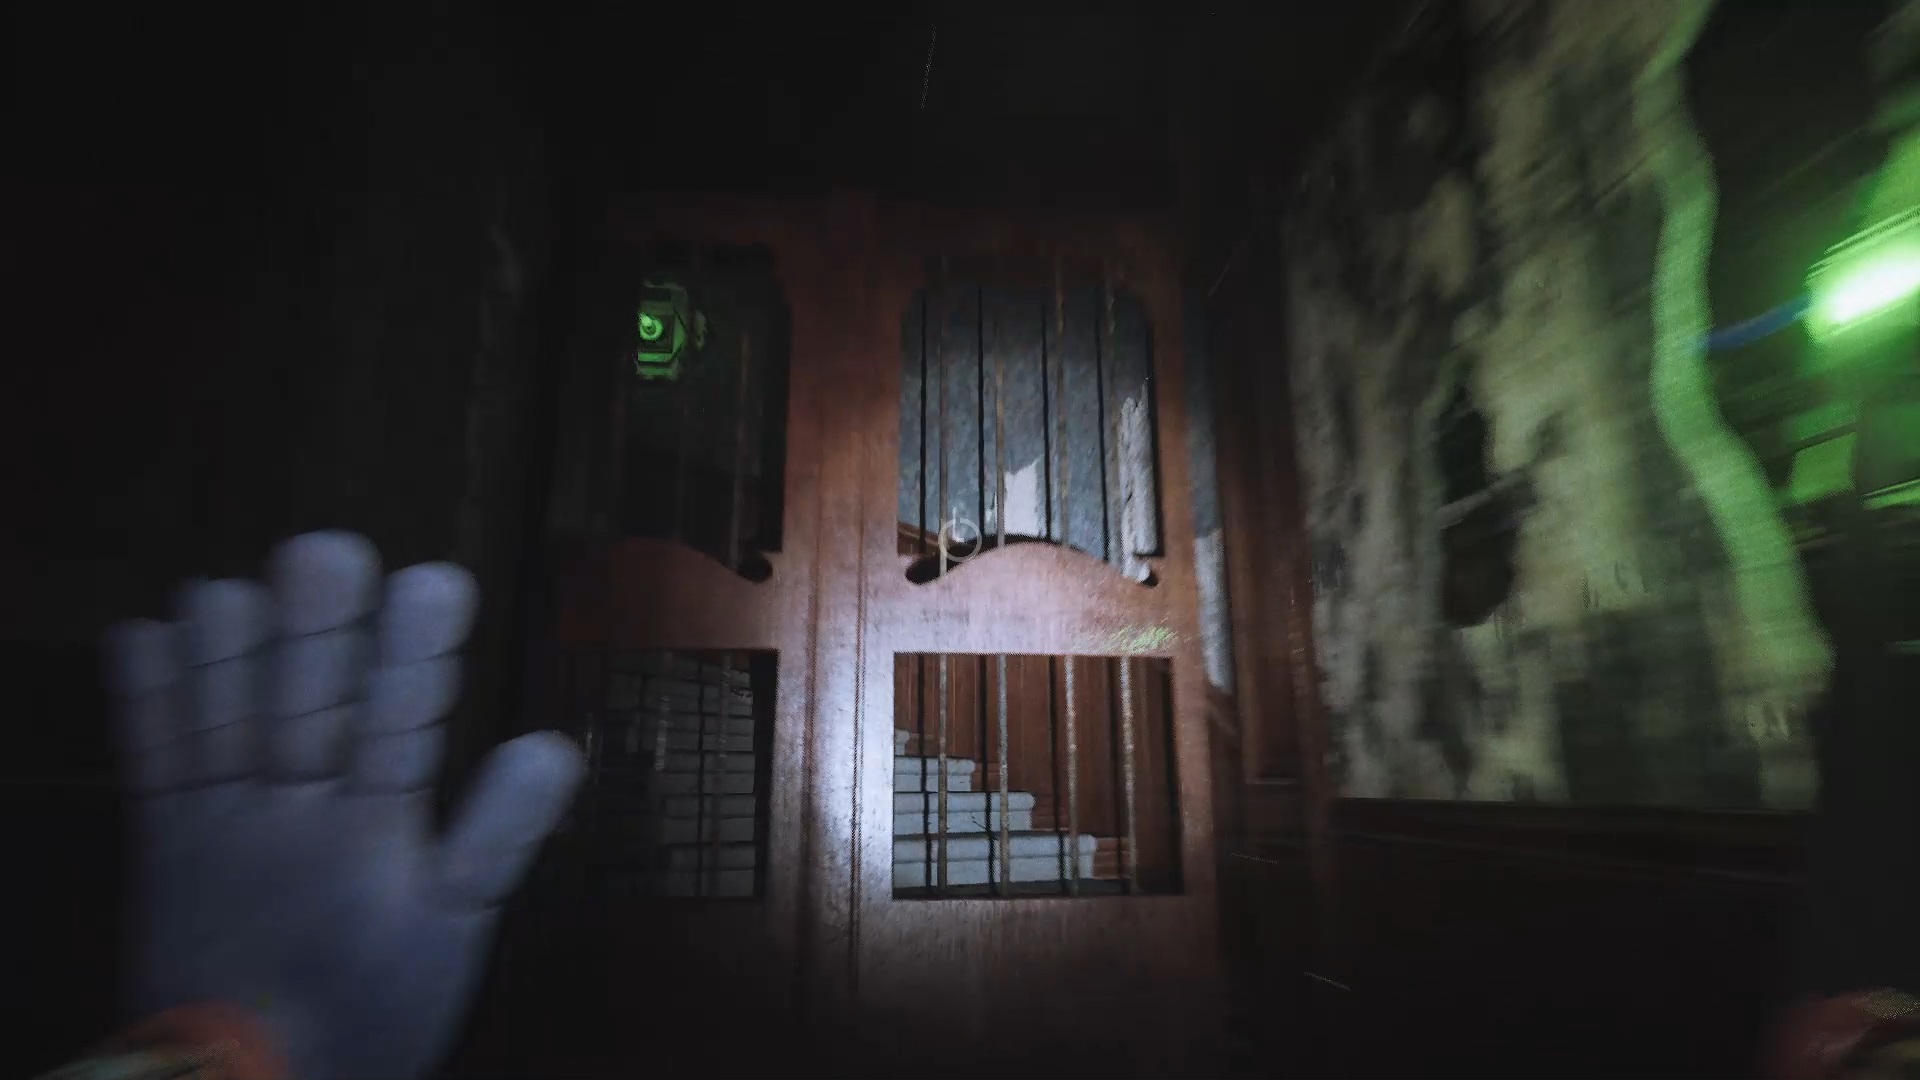
Walk through the corridors of the mansion, following the traces left by claws to advance. Then, follow the sound of the phone ringing to find your way to an abandoned room. Once inside, collect a cassette from the bed and insert it into the VCR located near the television. Avoid Huggy to eventually find yourself in the mansion lobby.
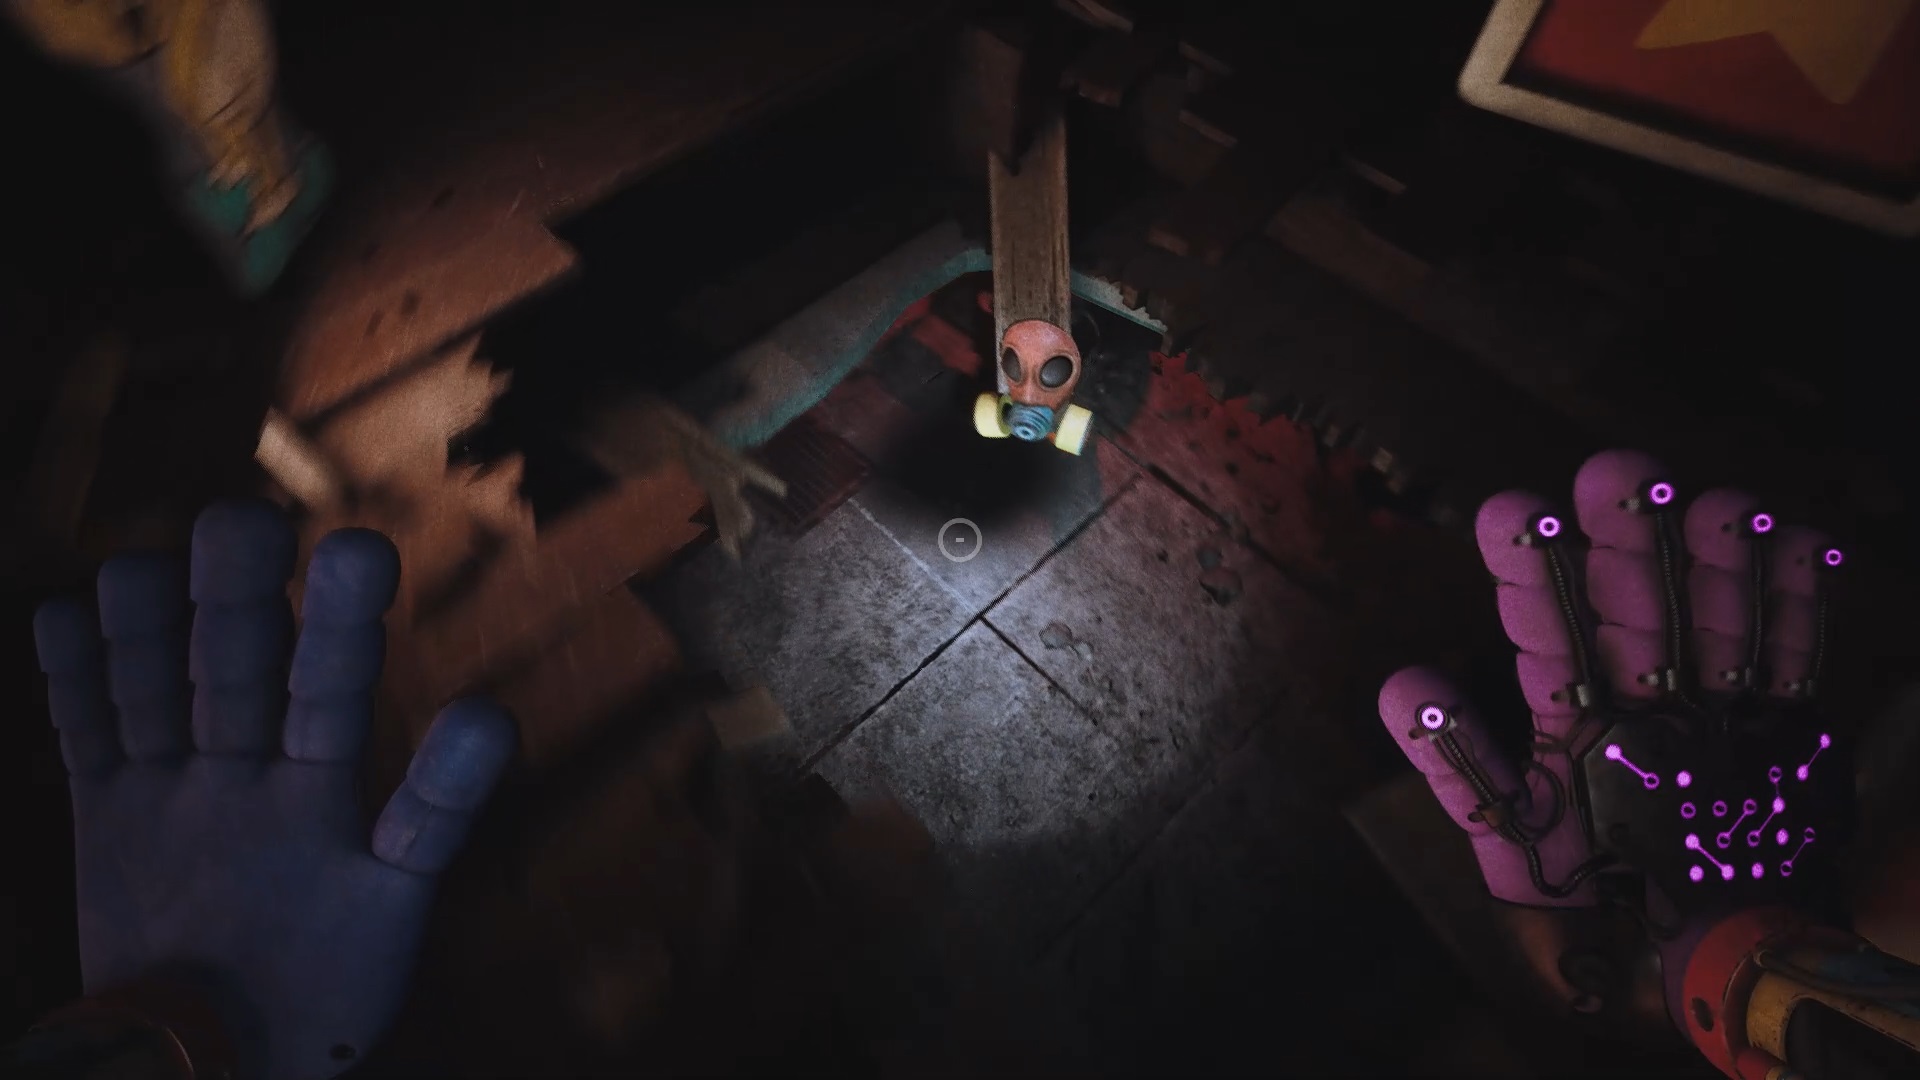
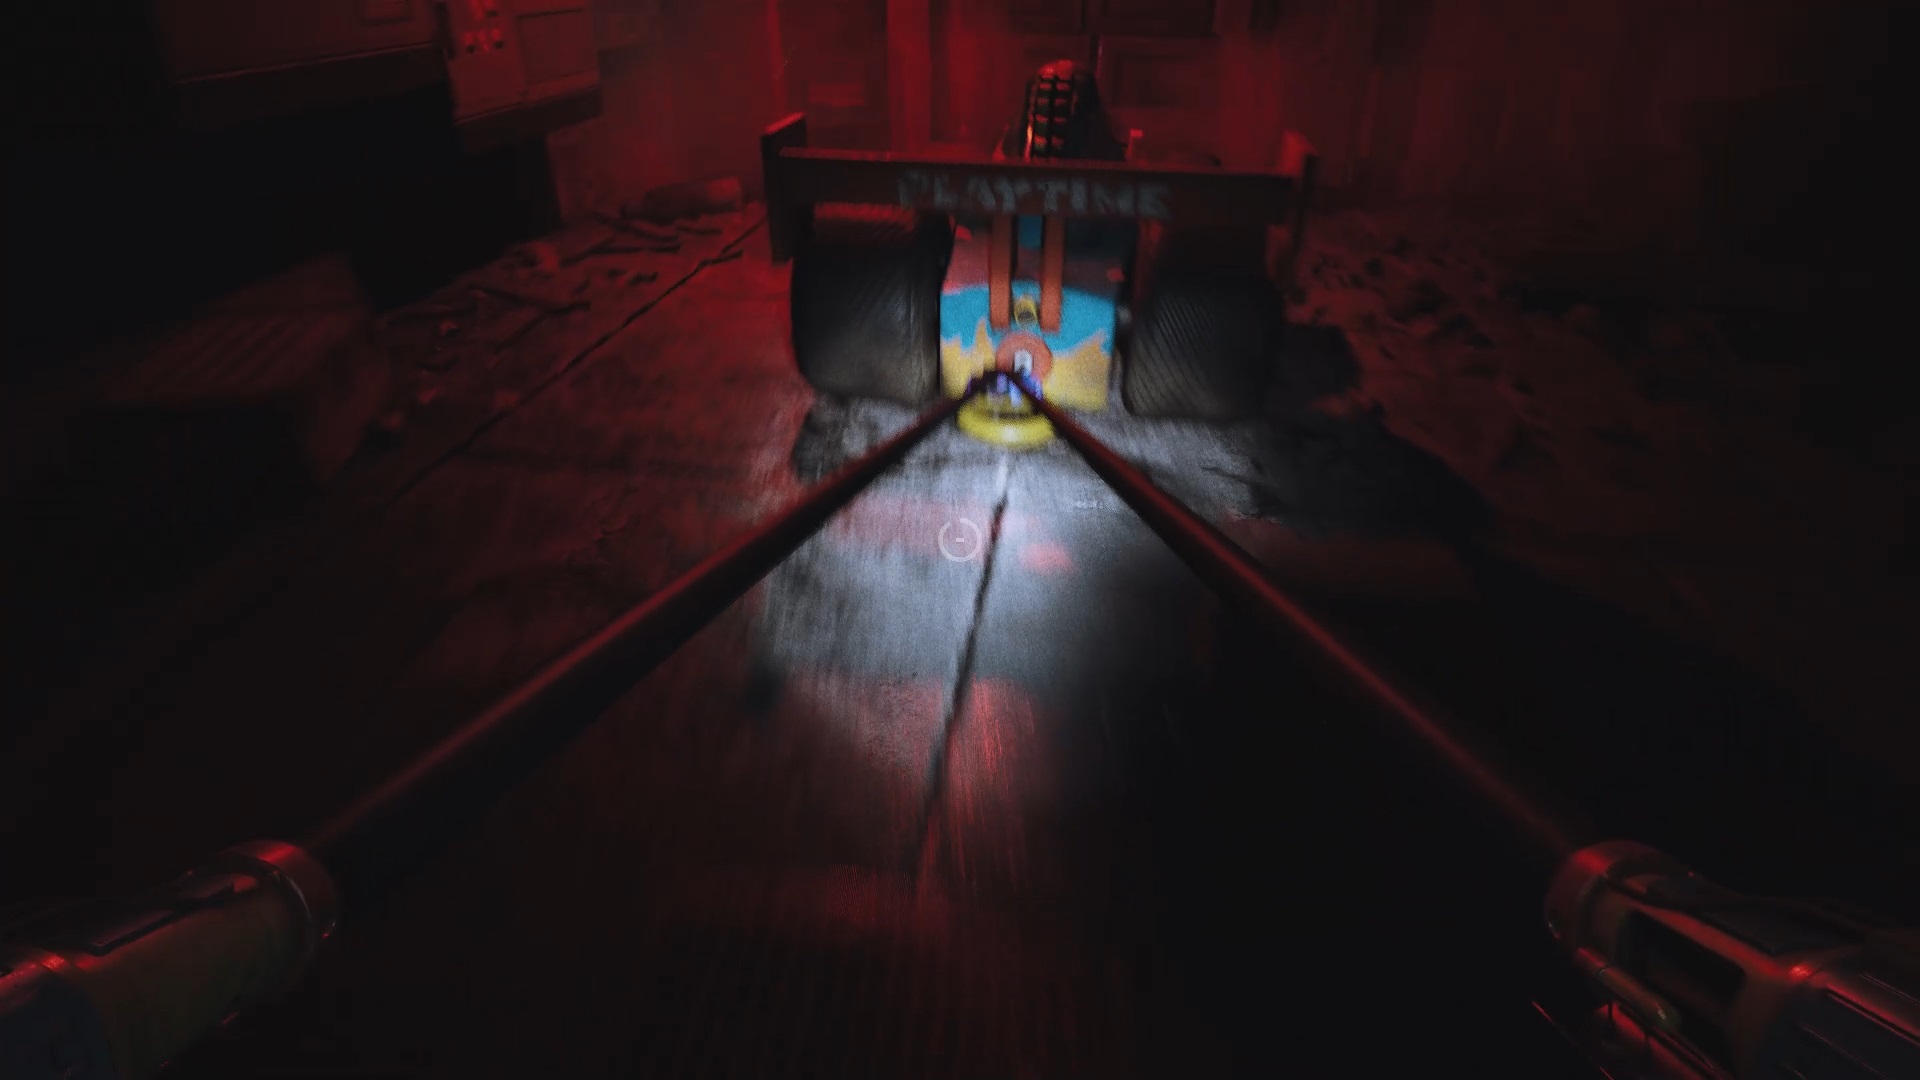
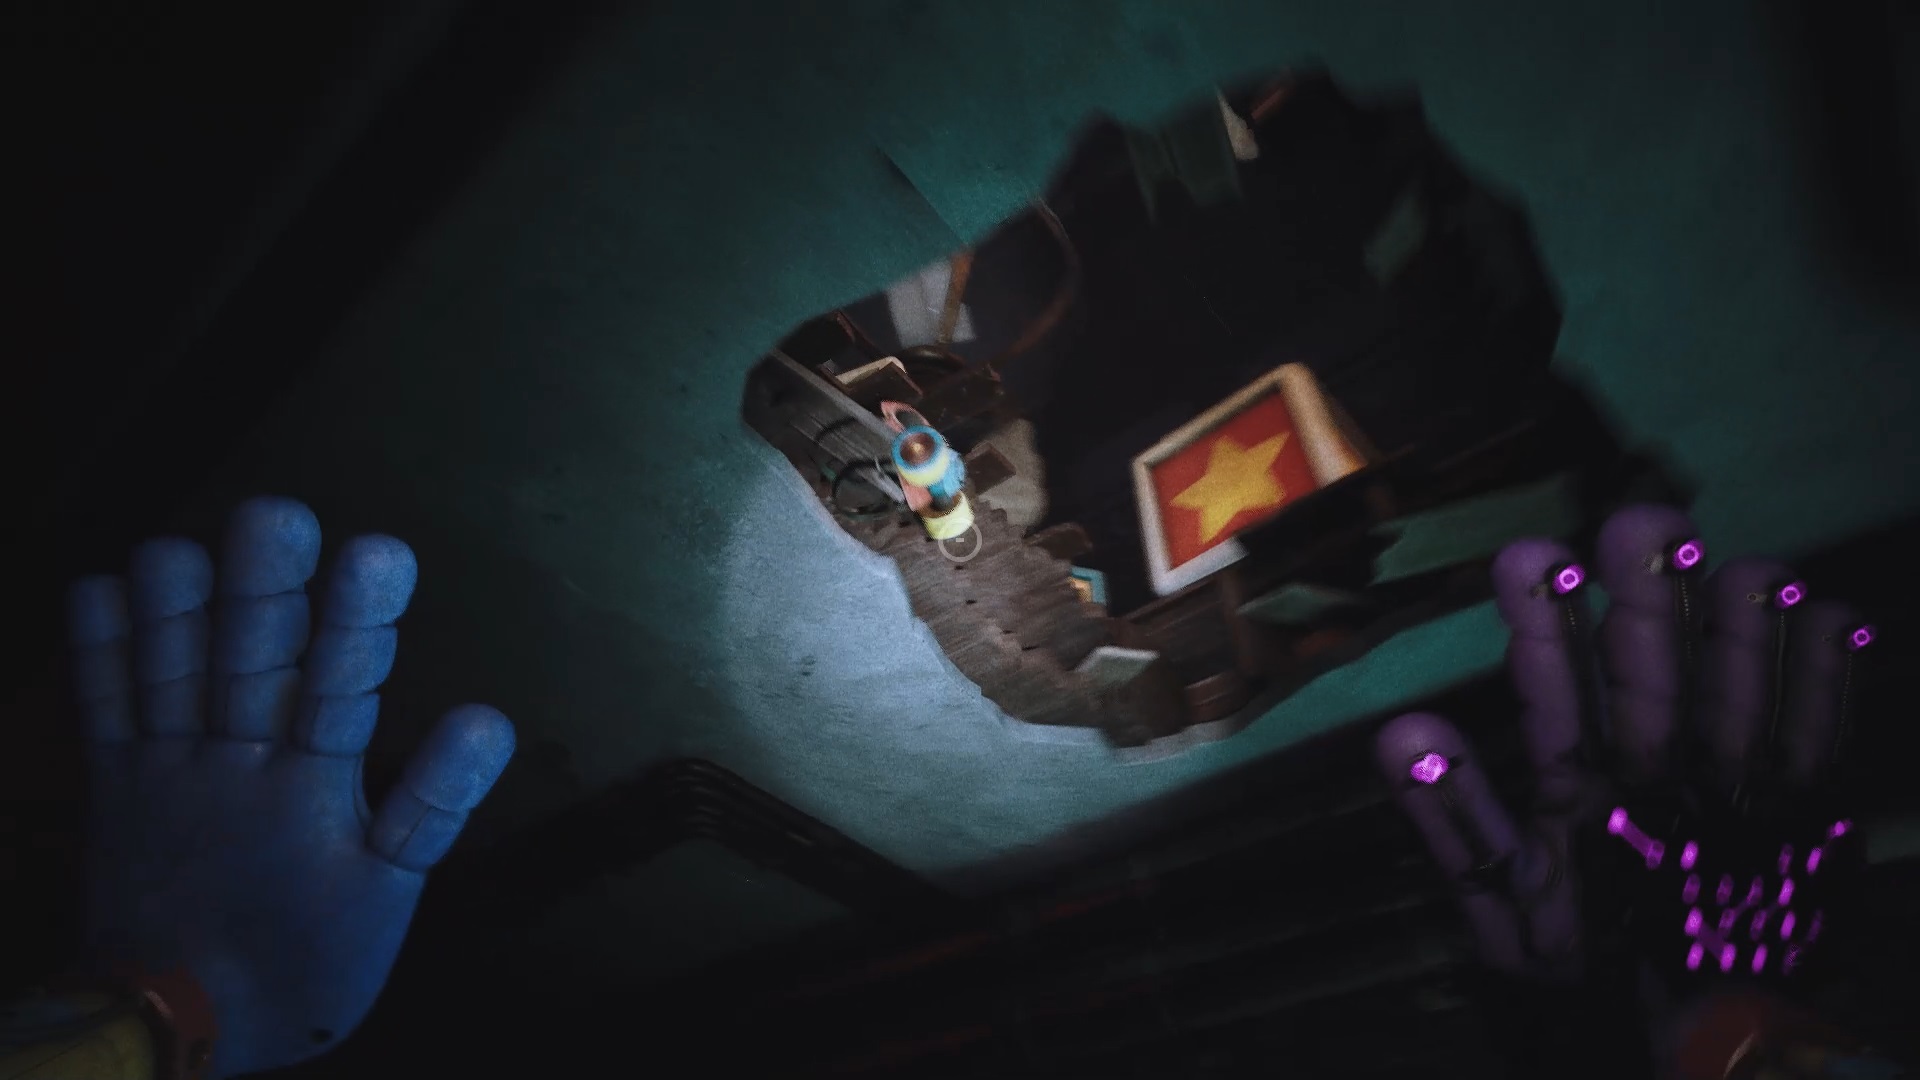

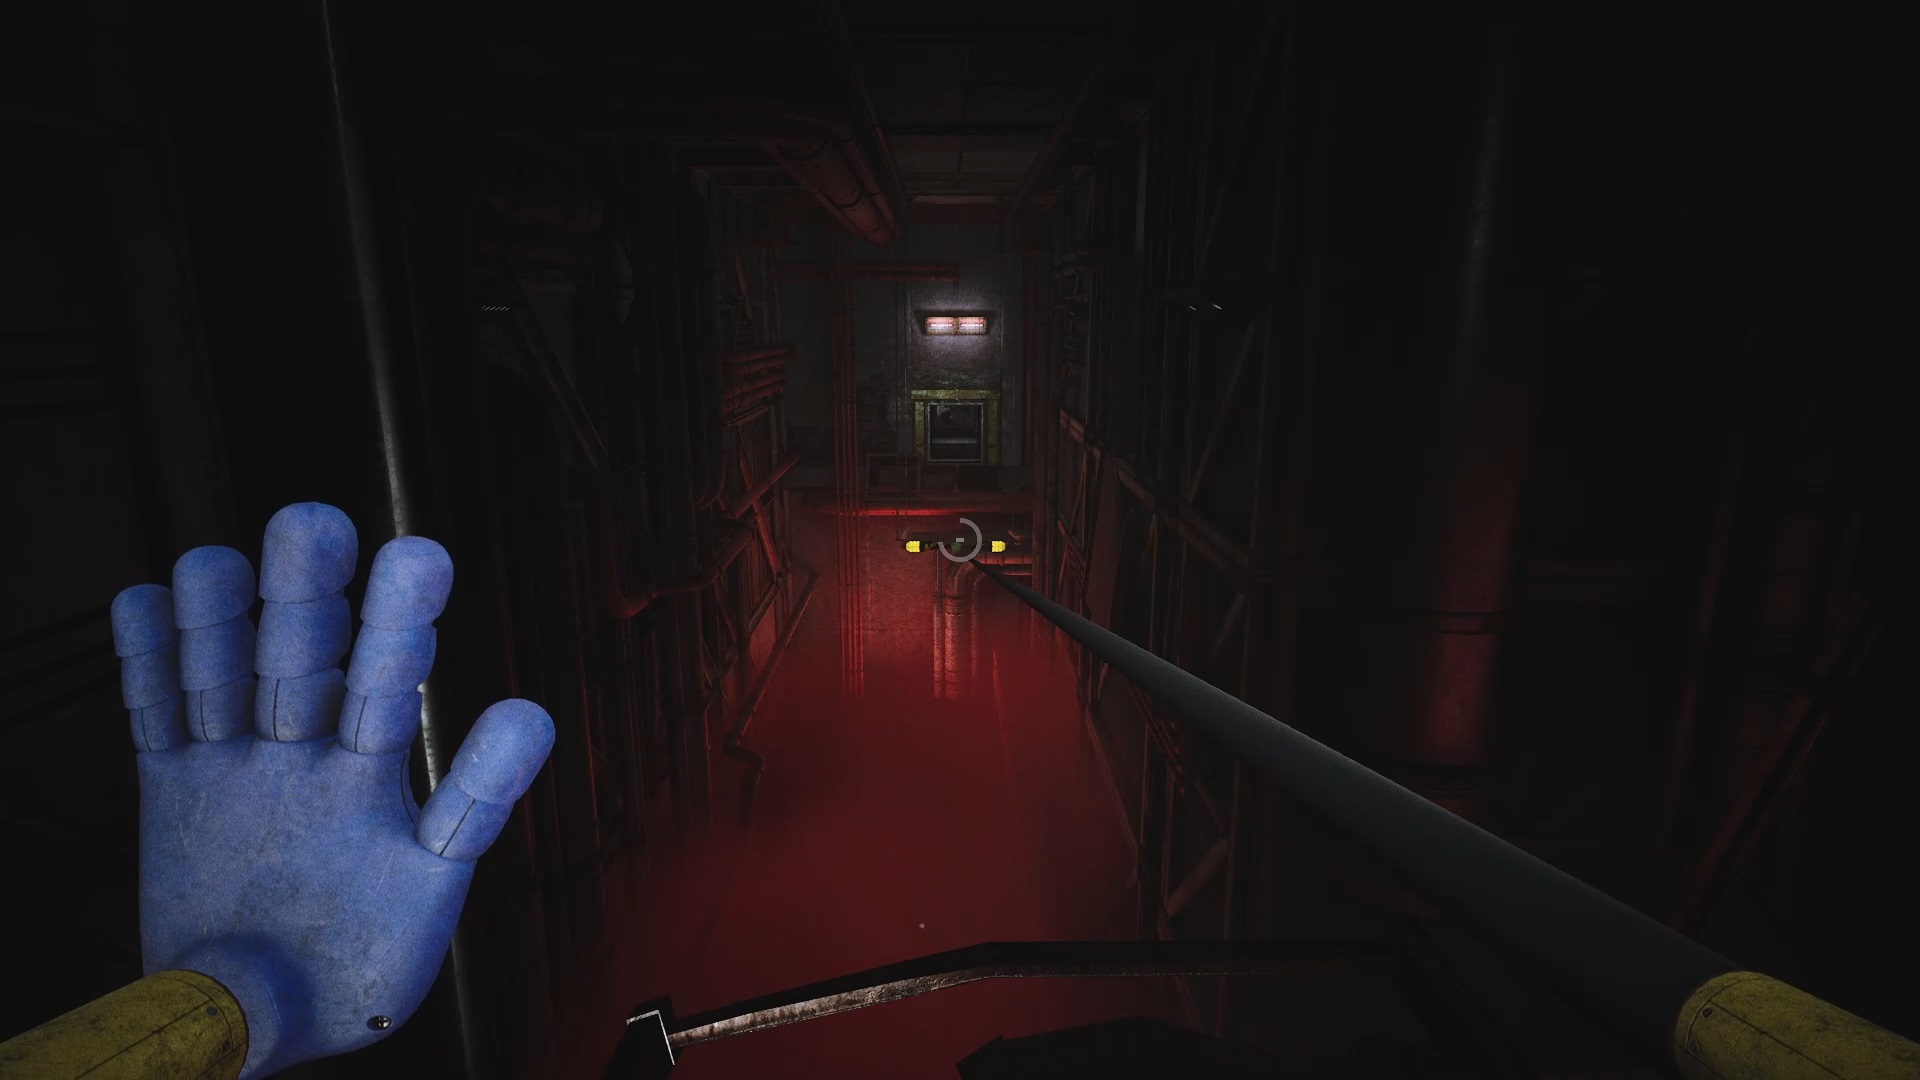
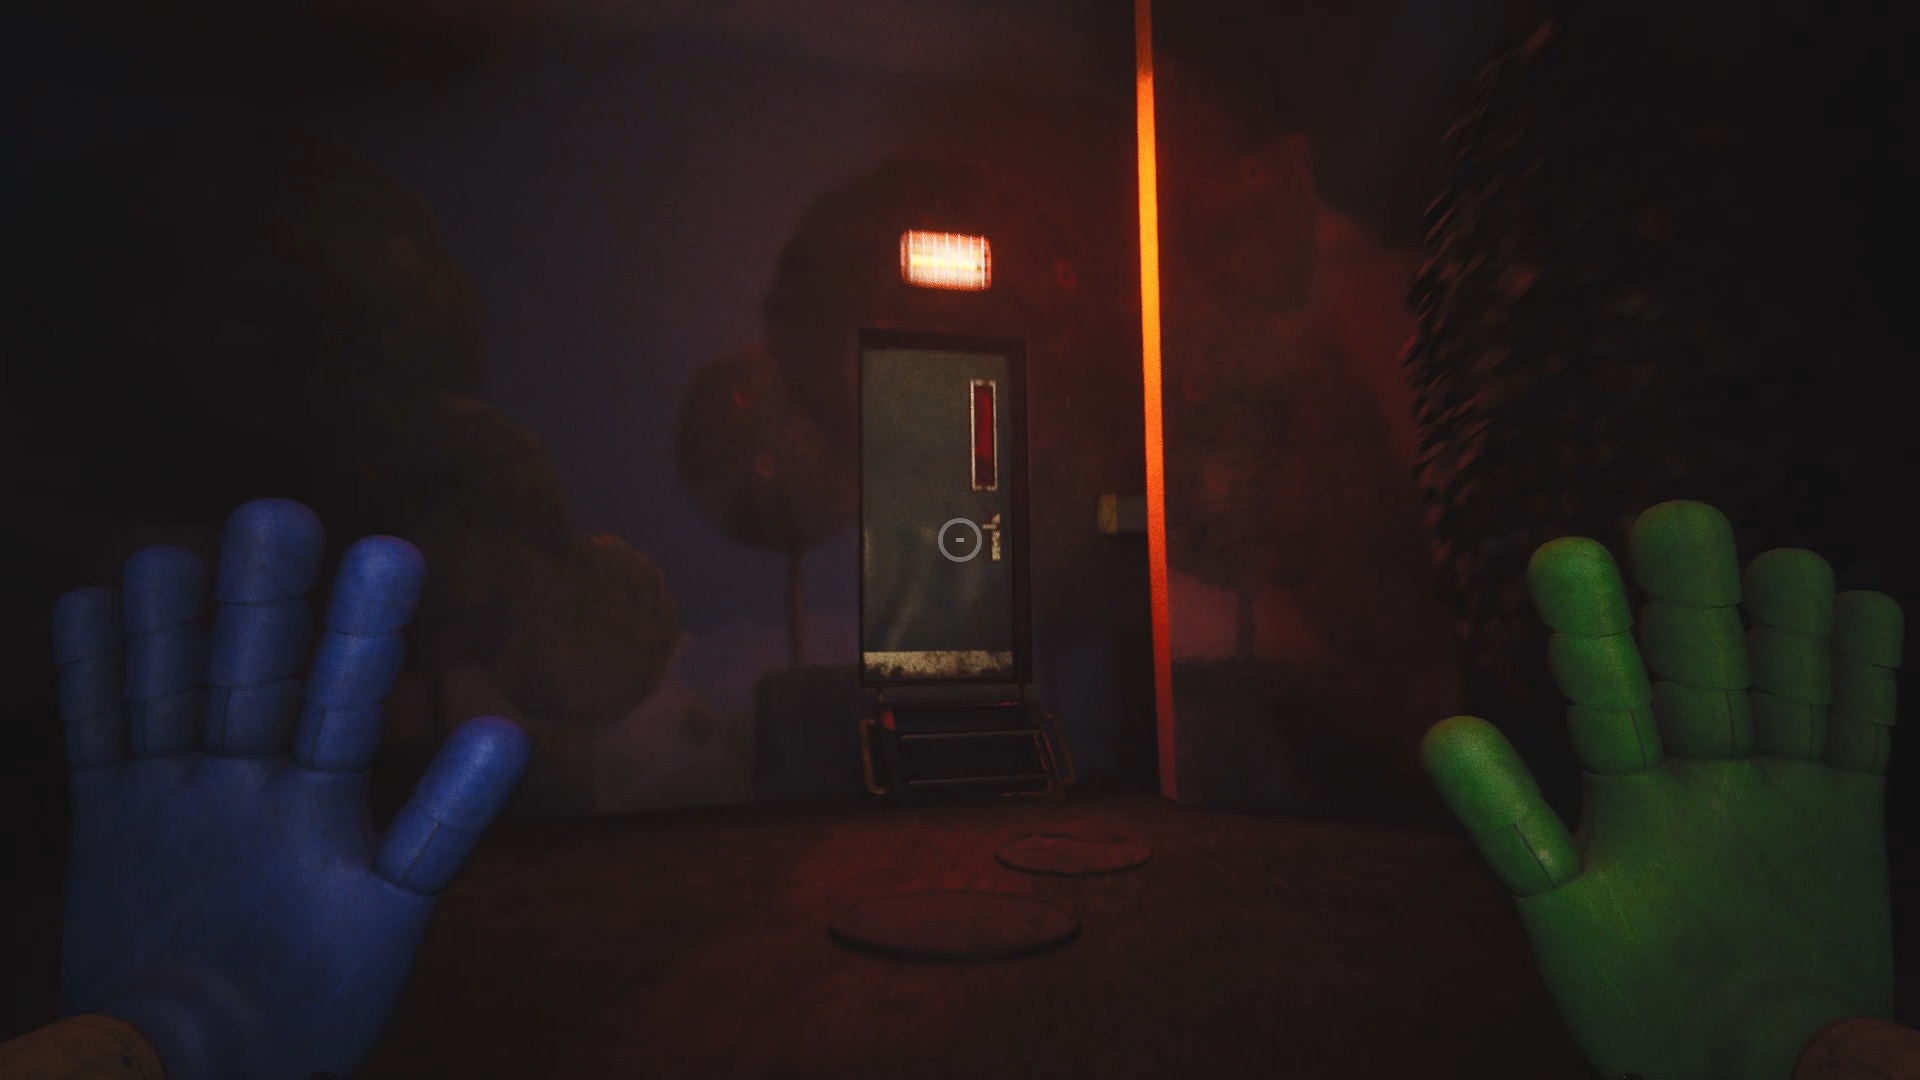
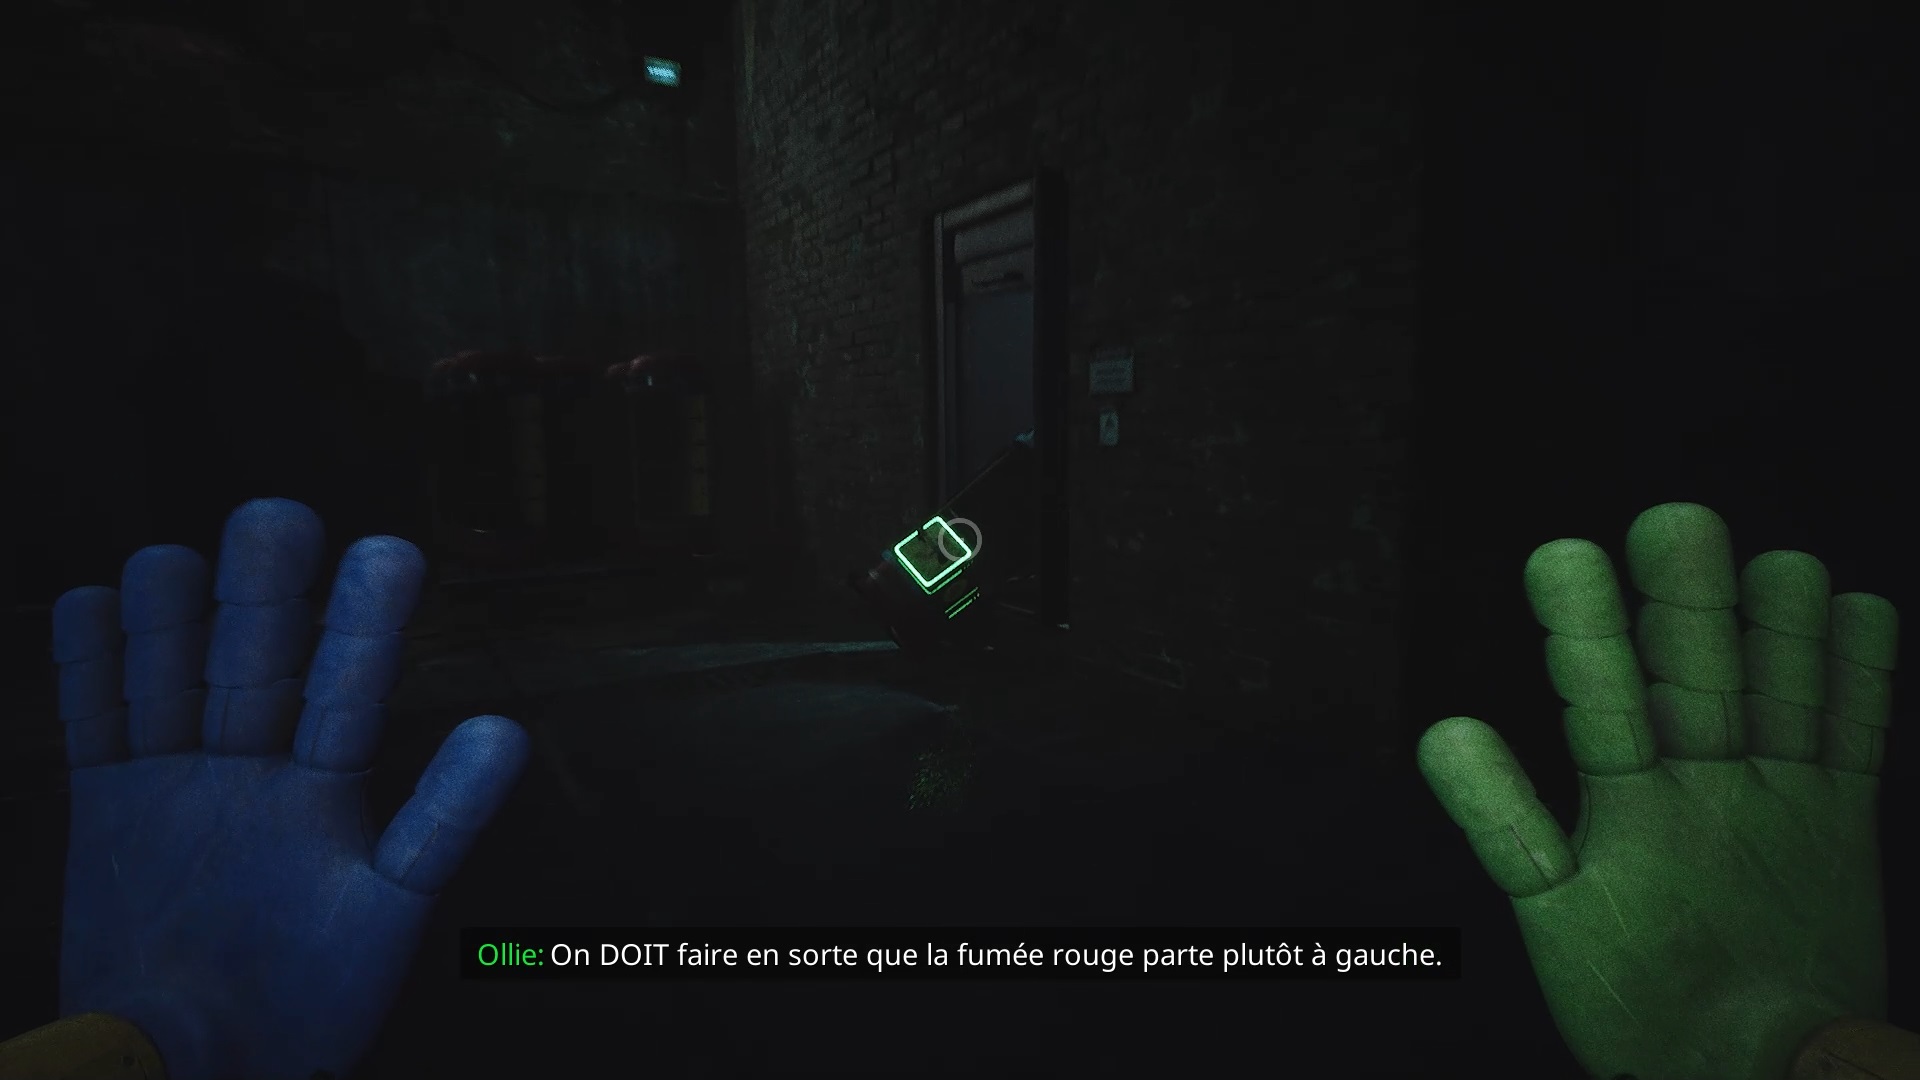
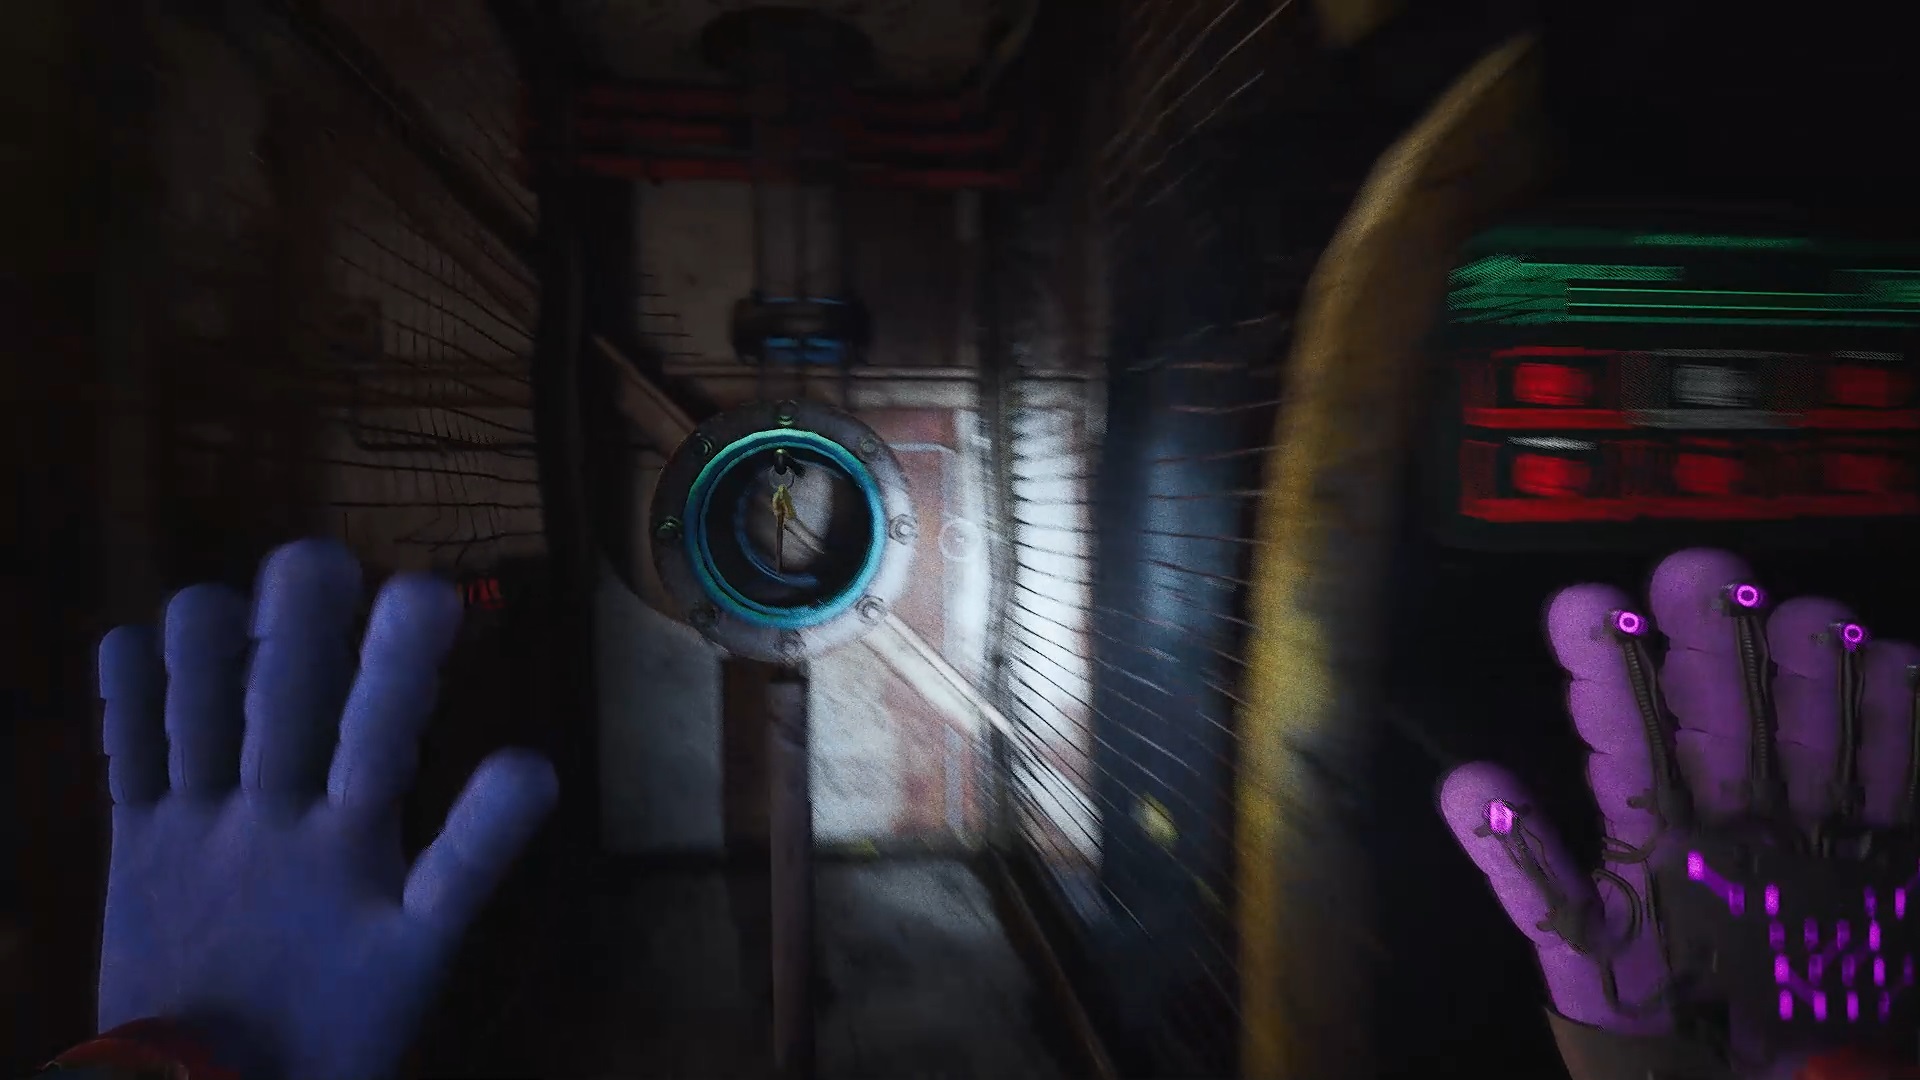
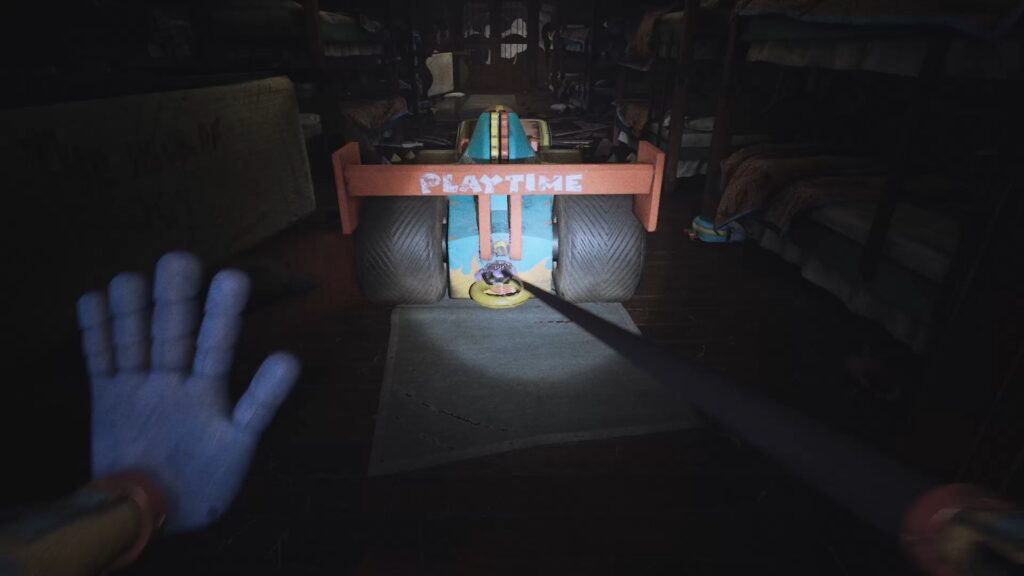
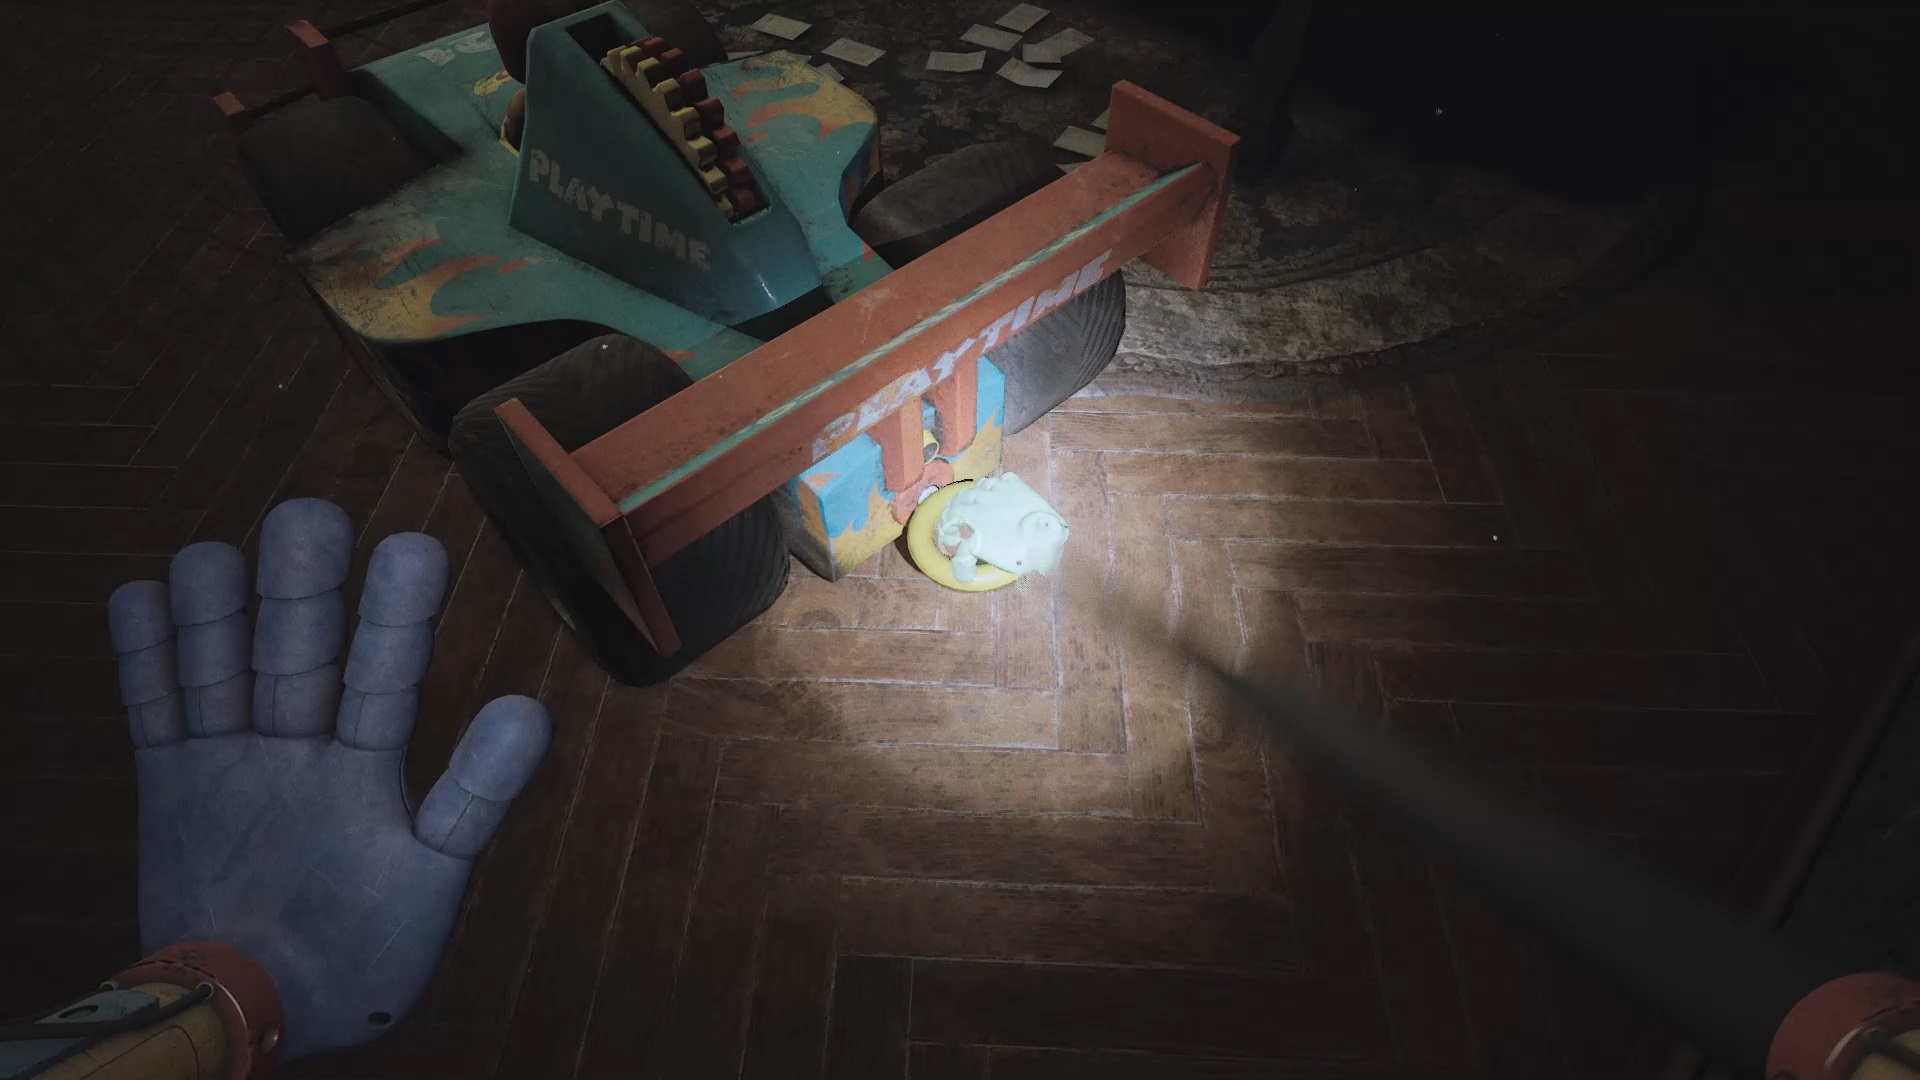
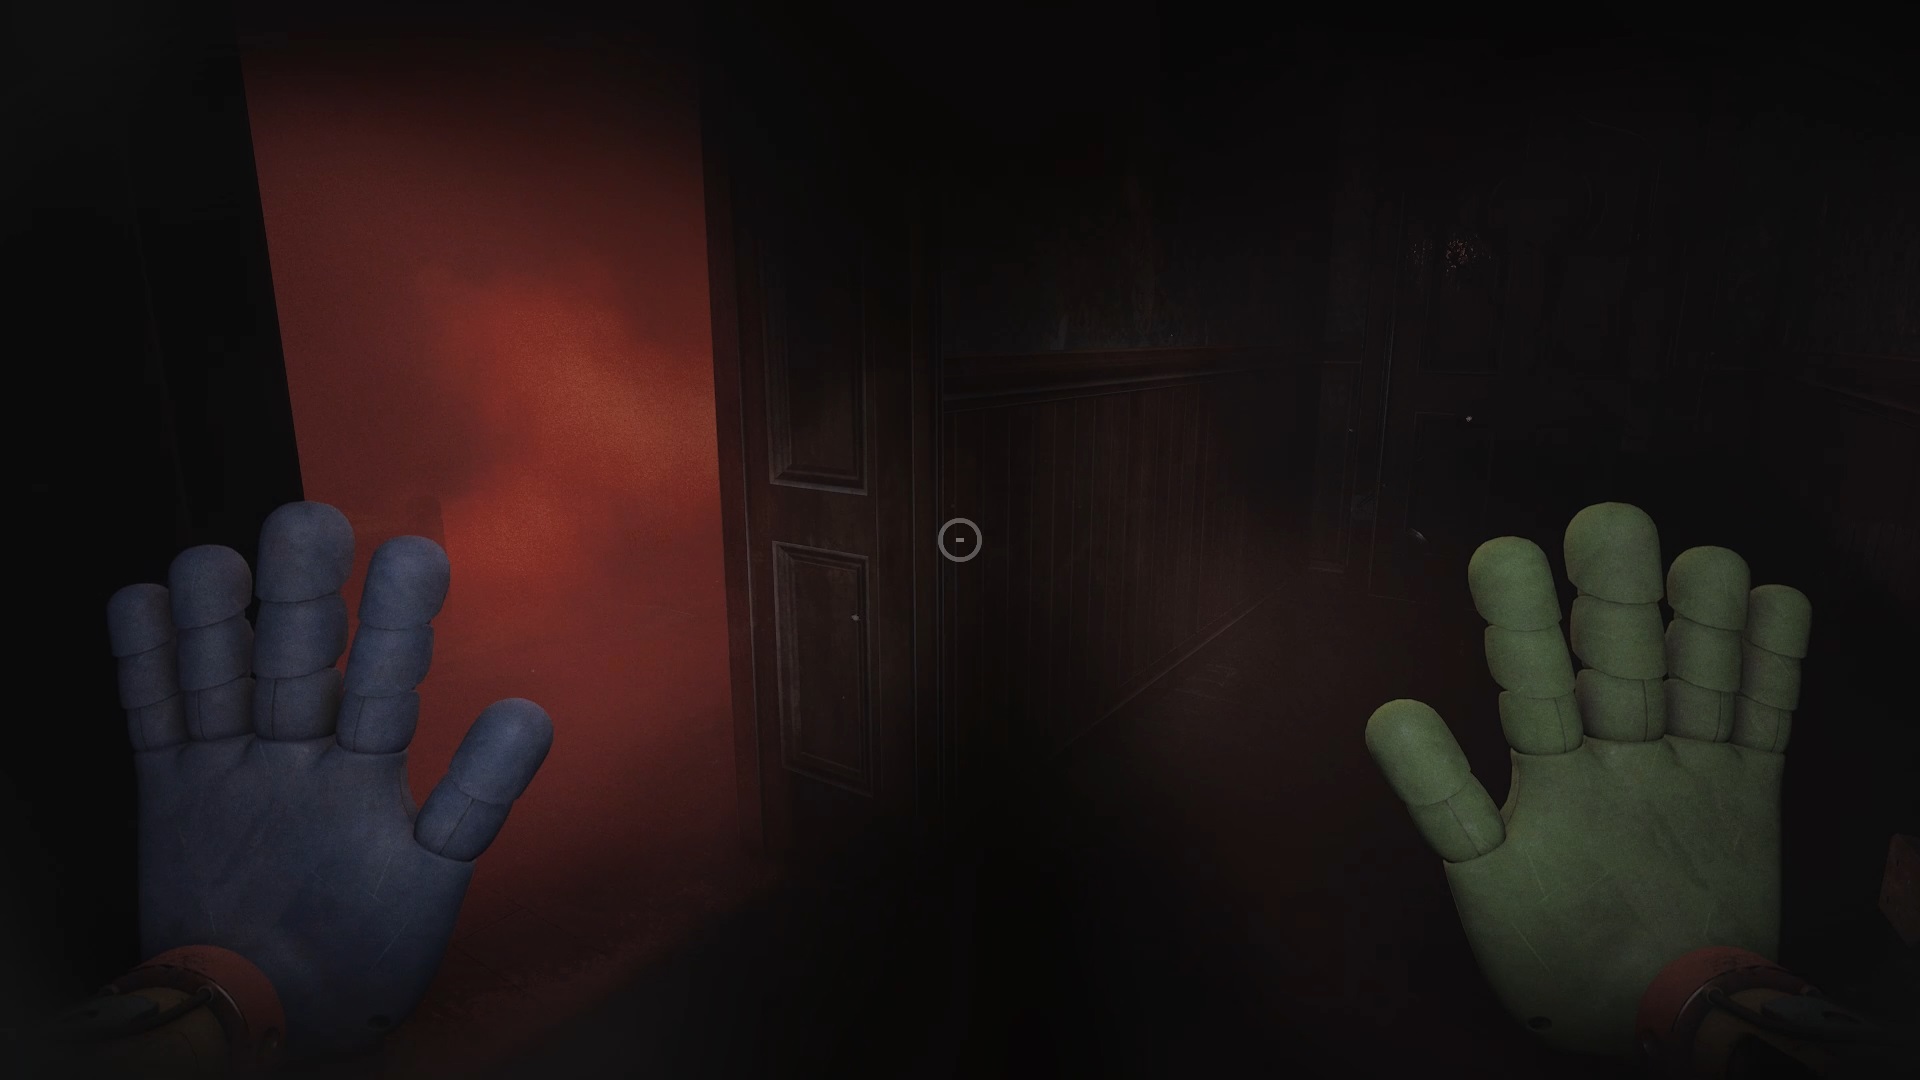
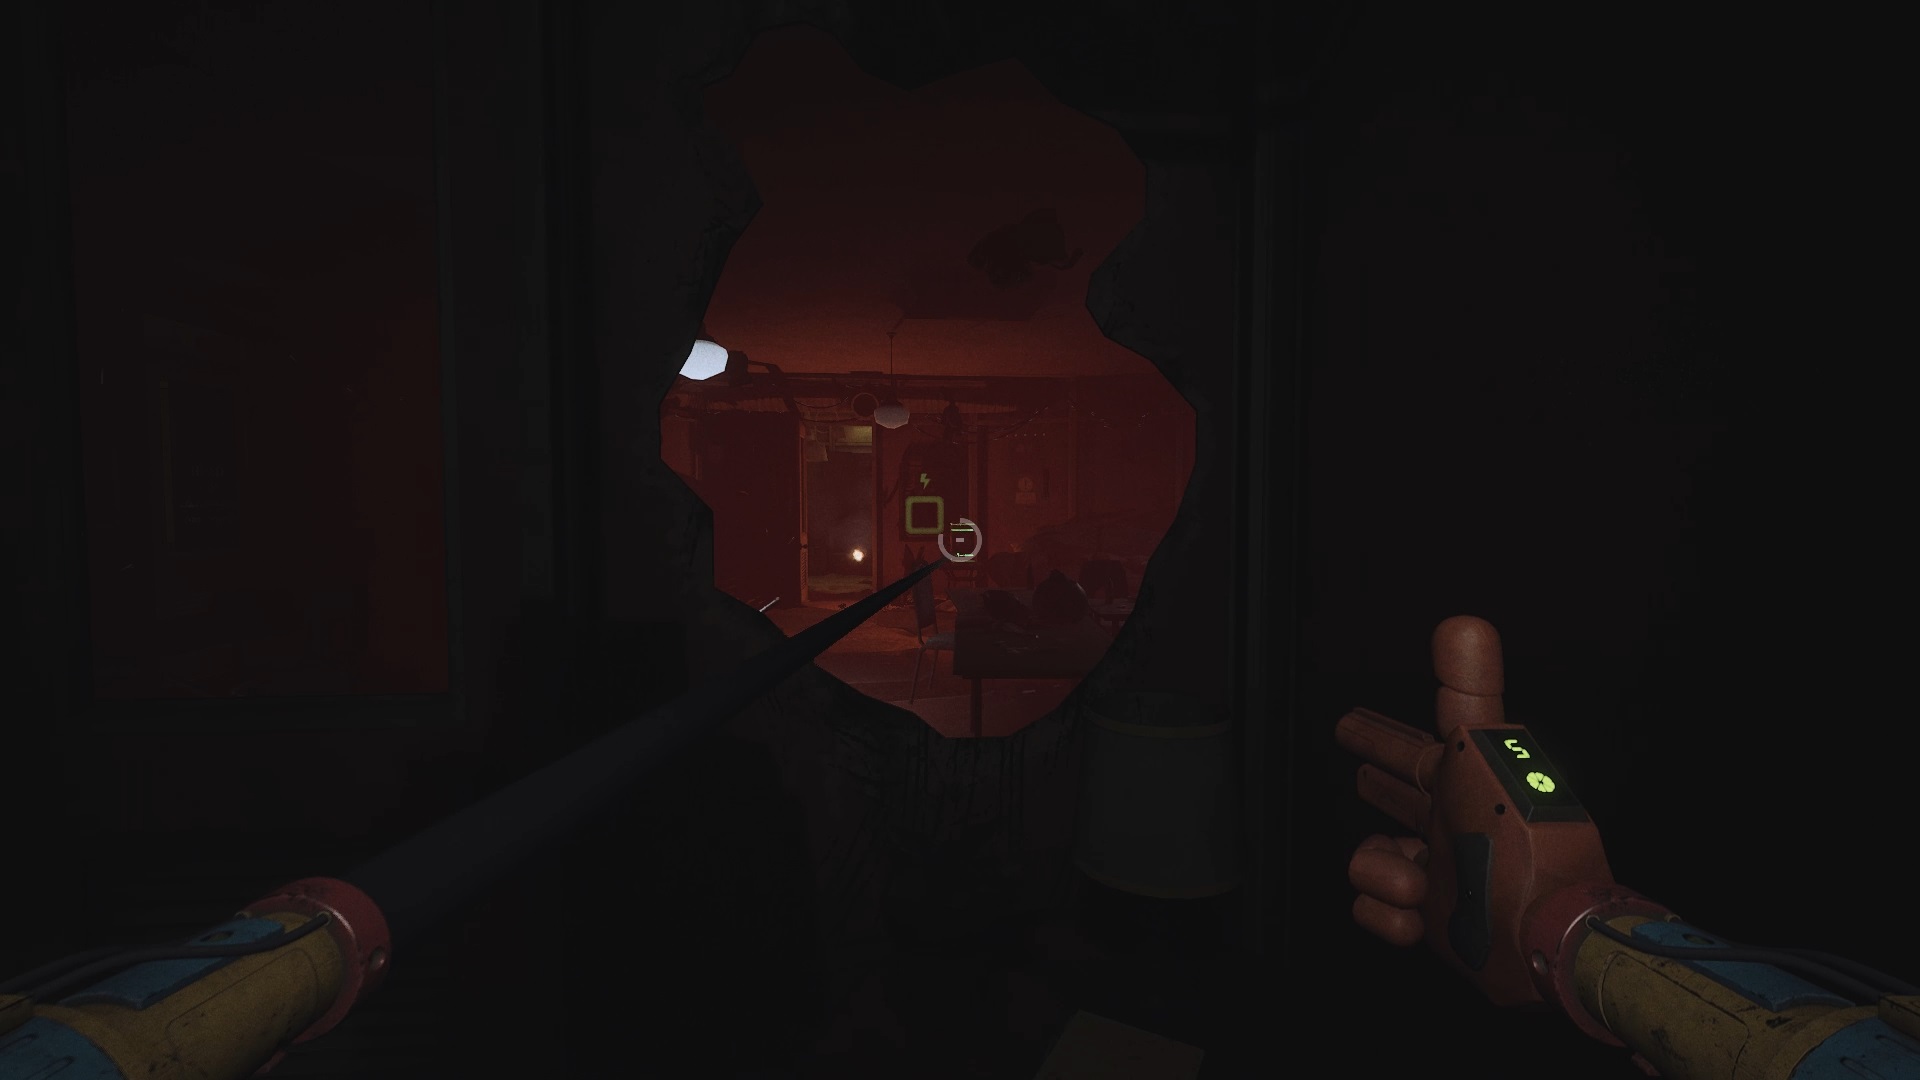
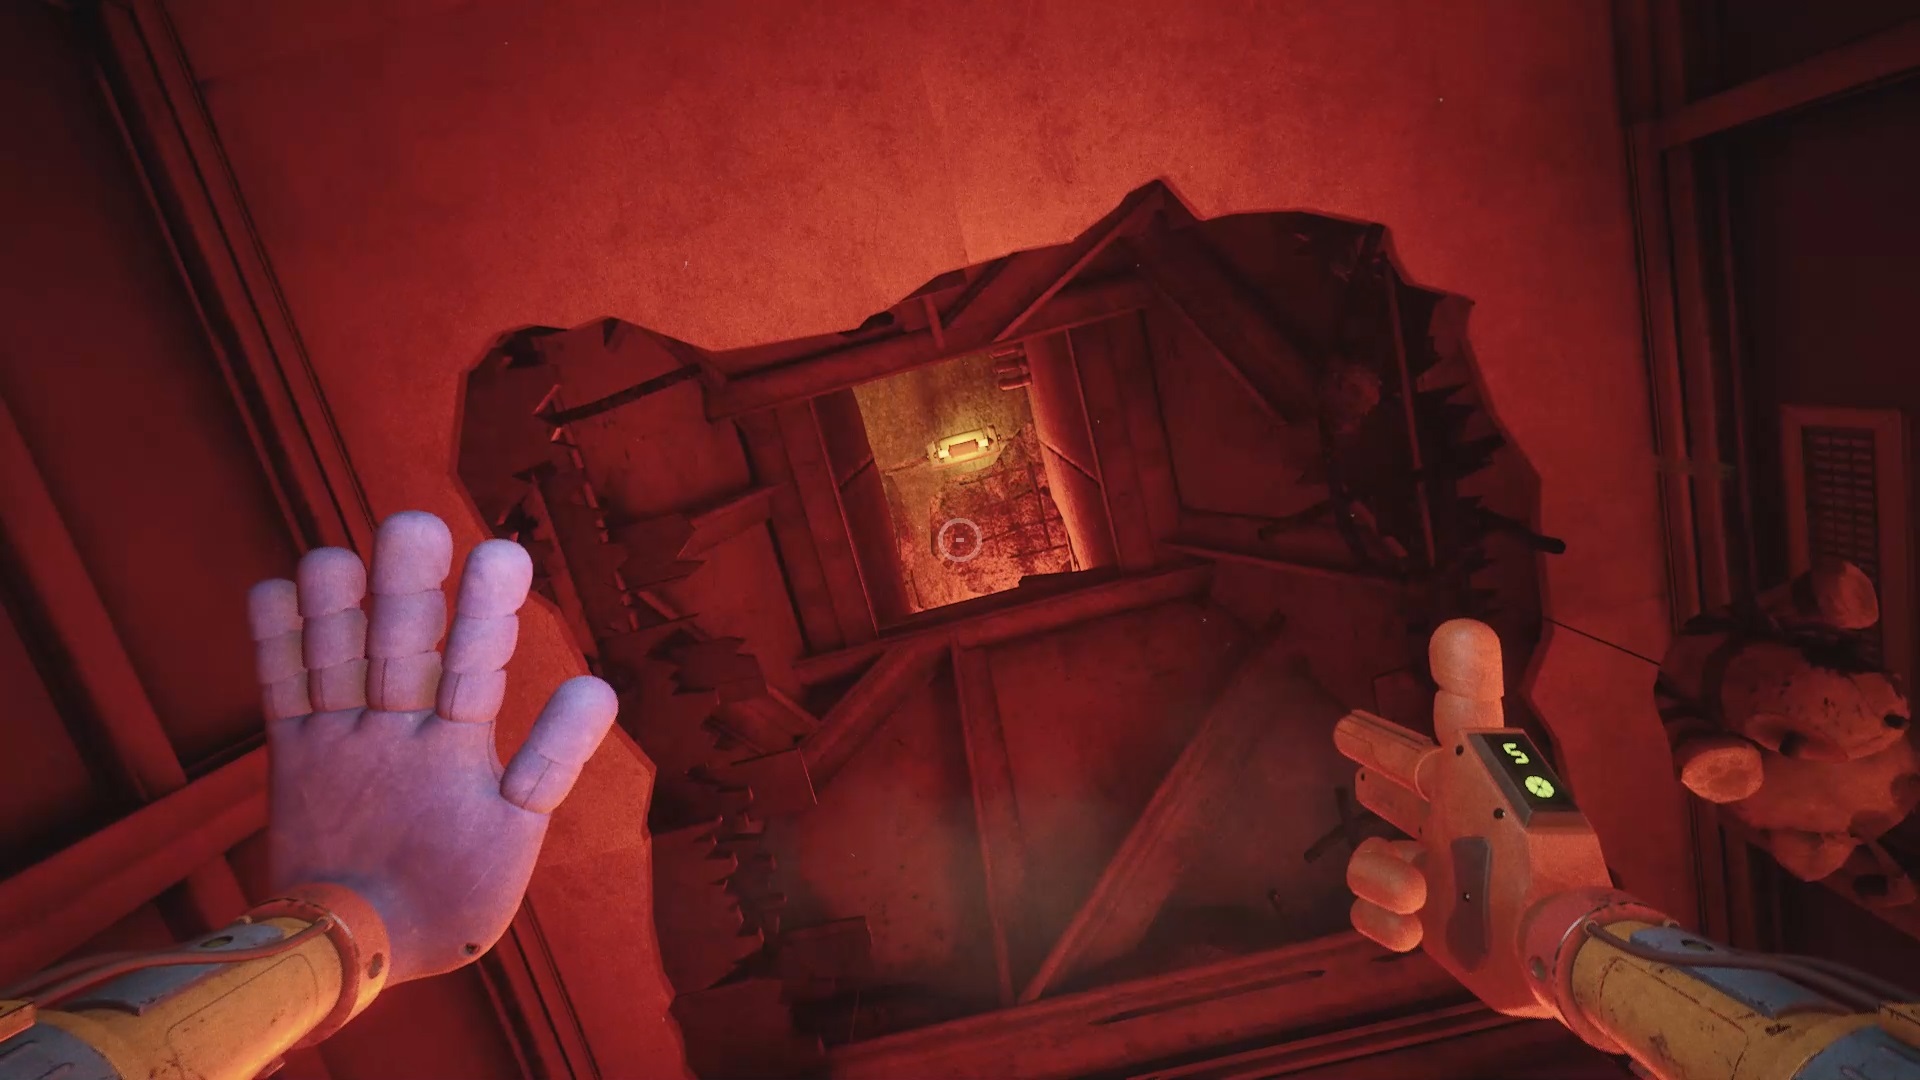
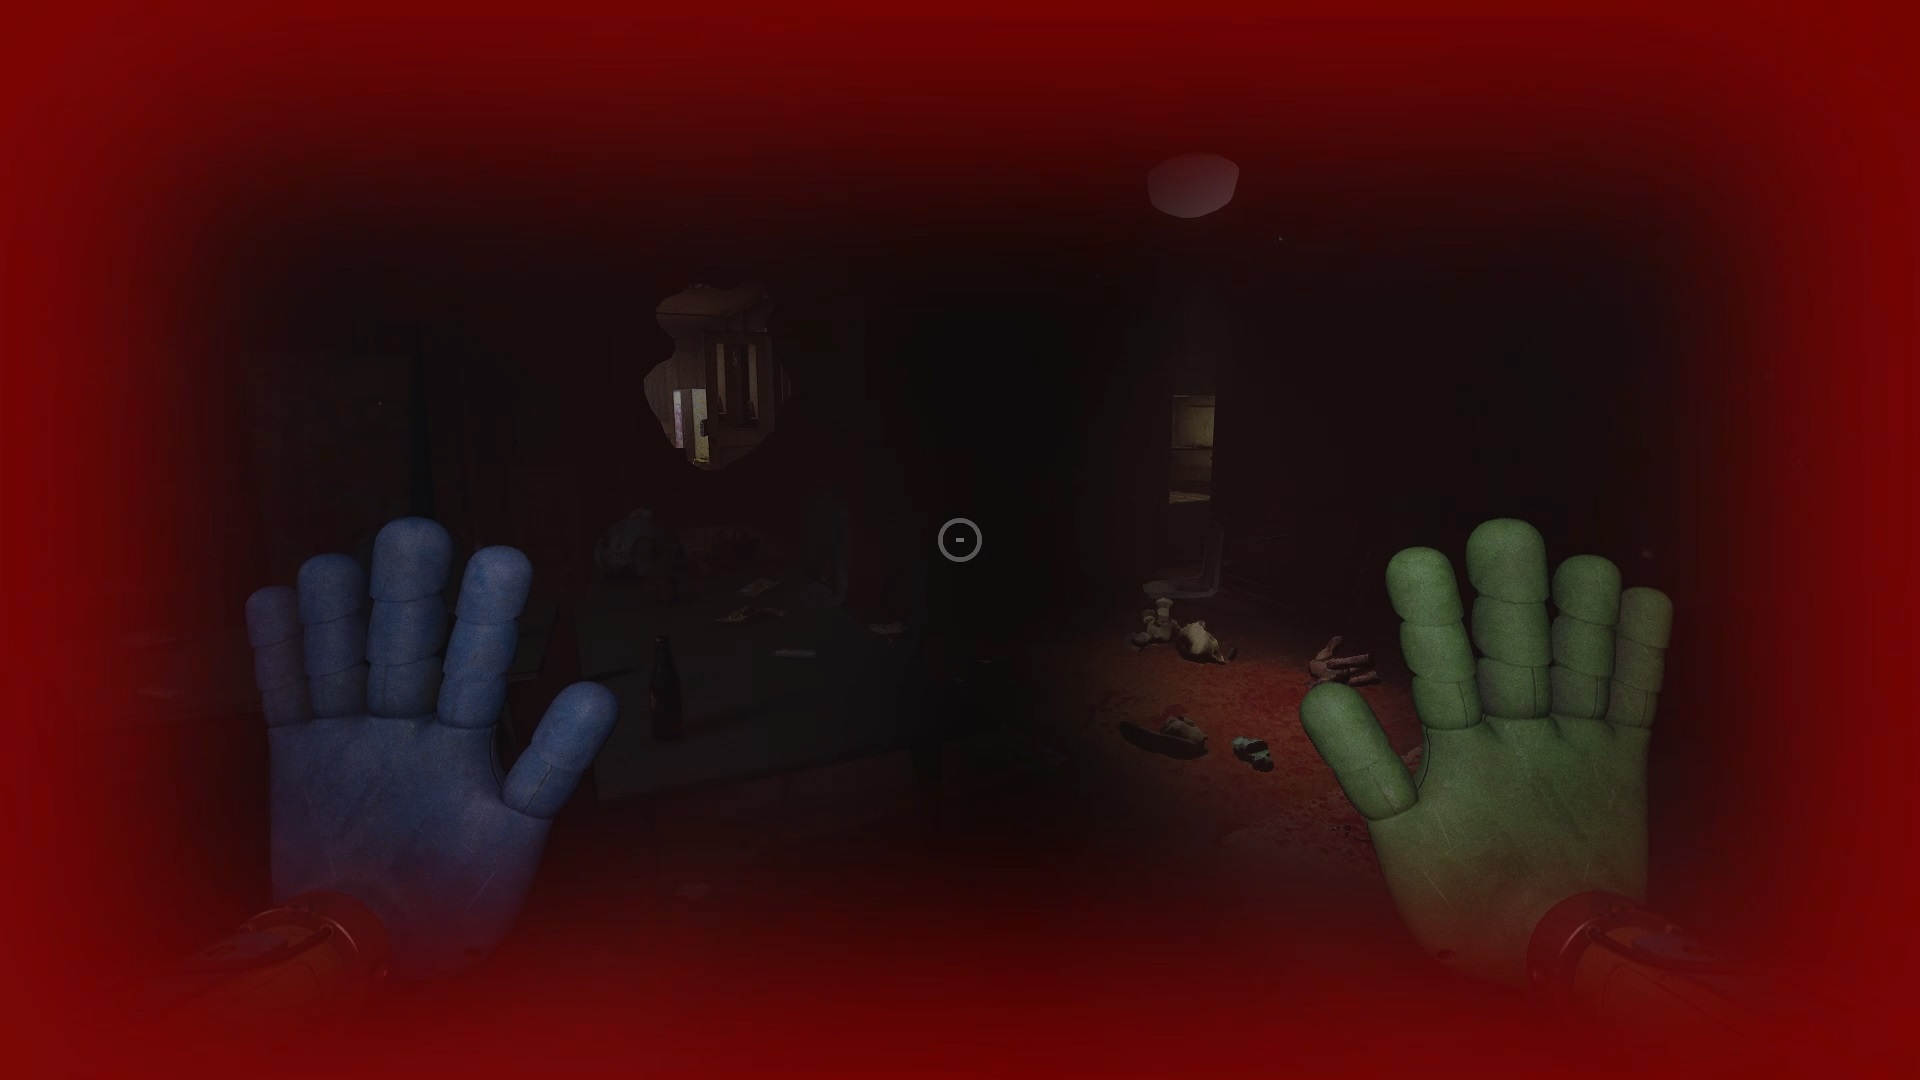
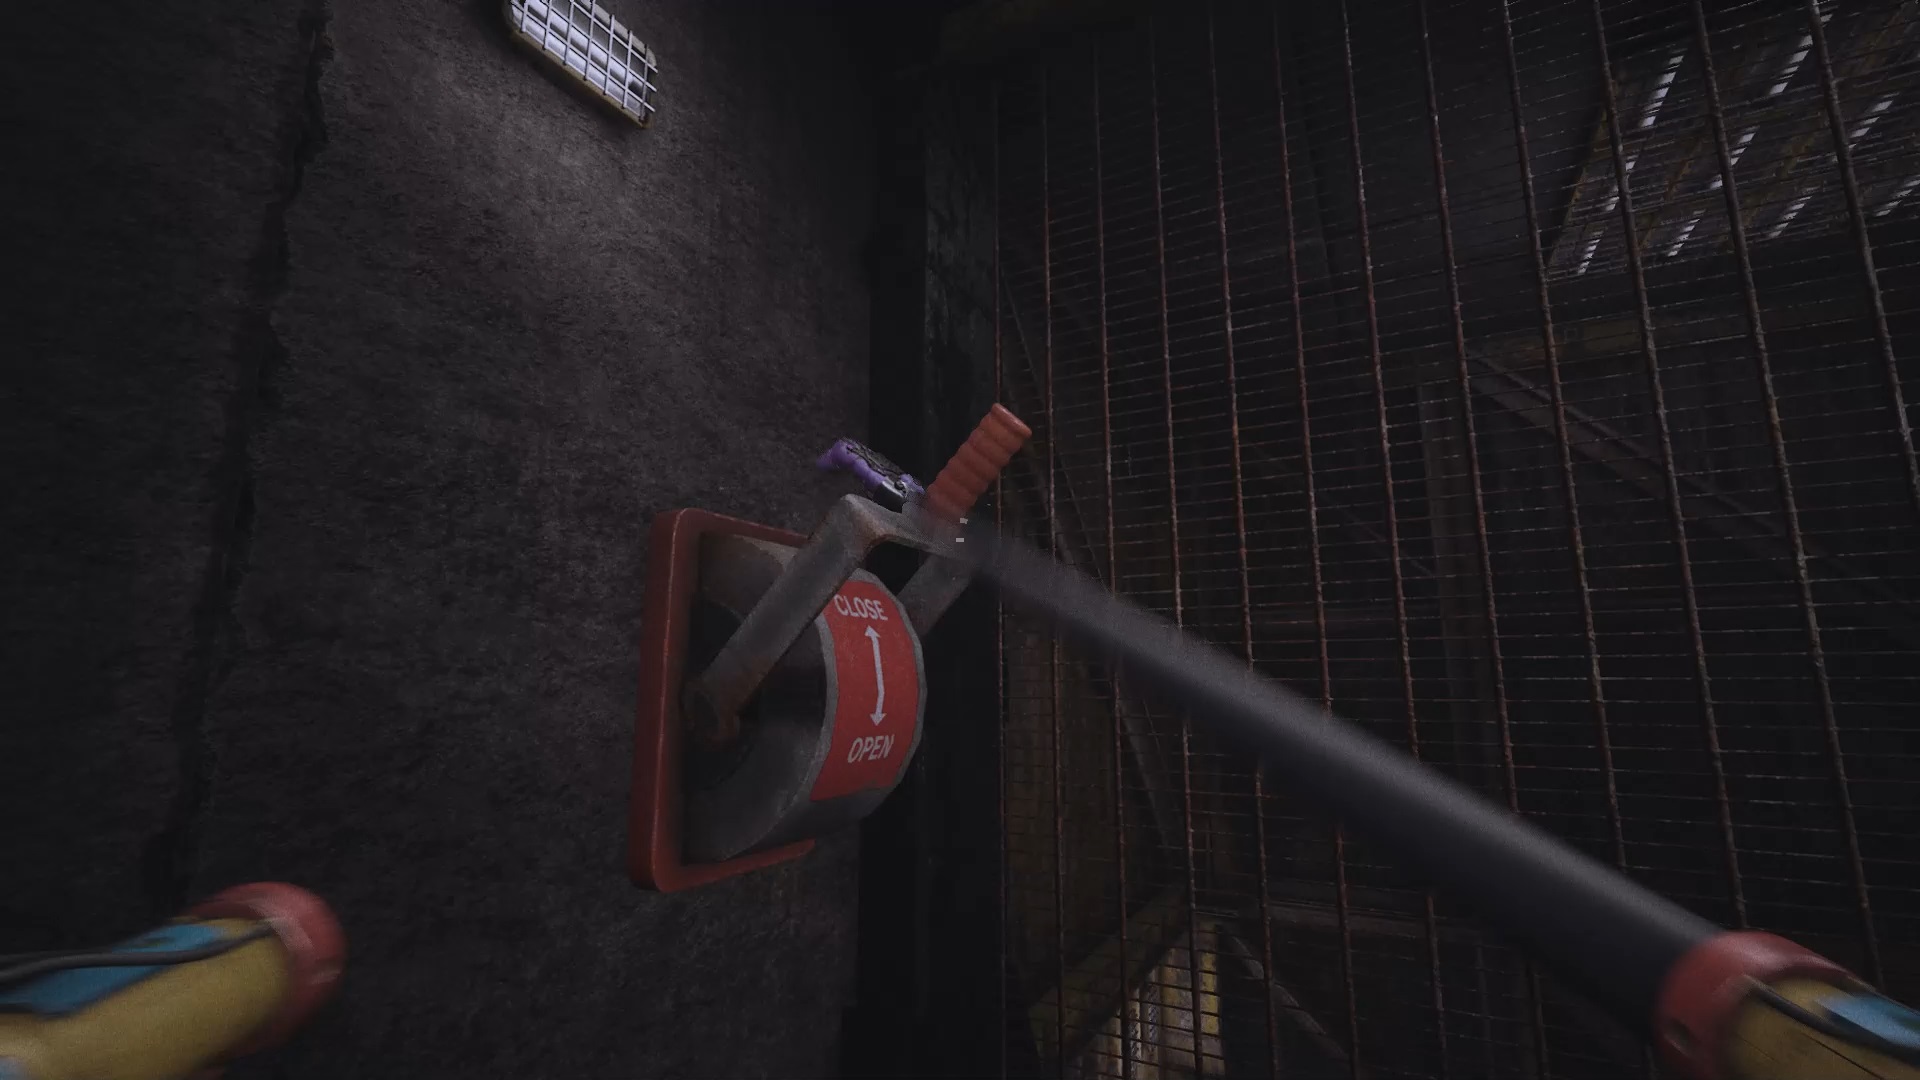
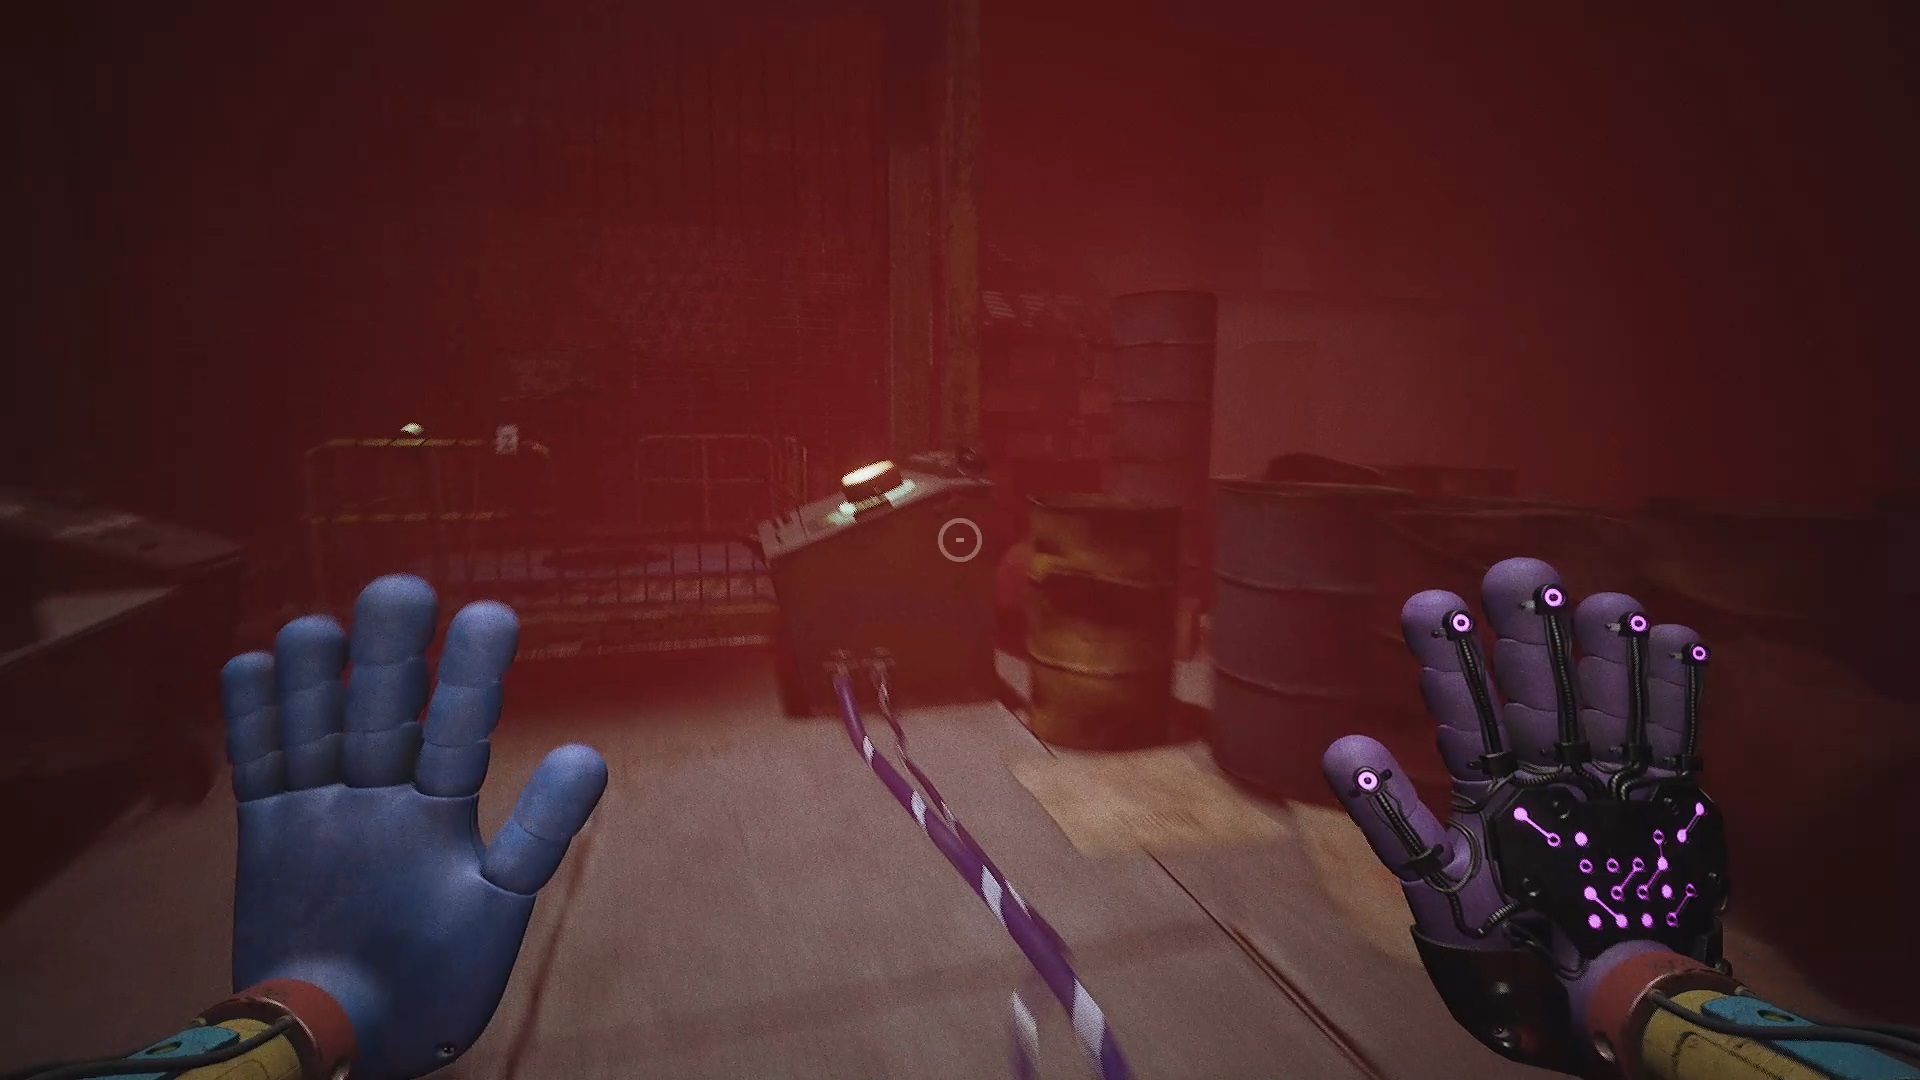
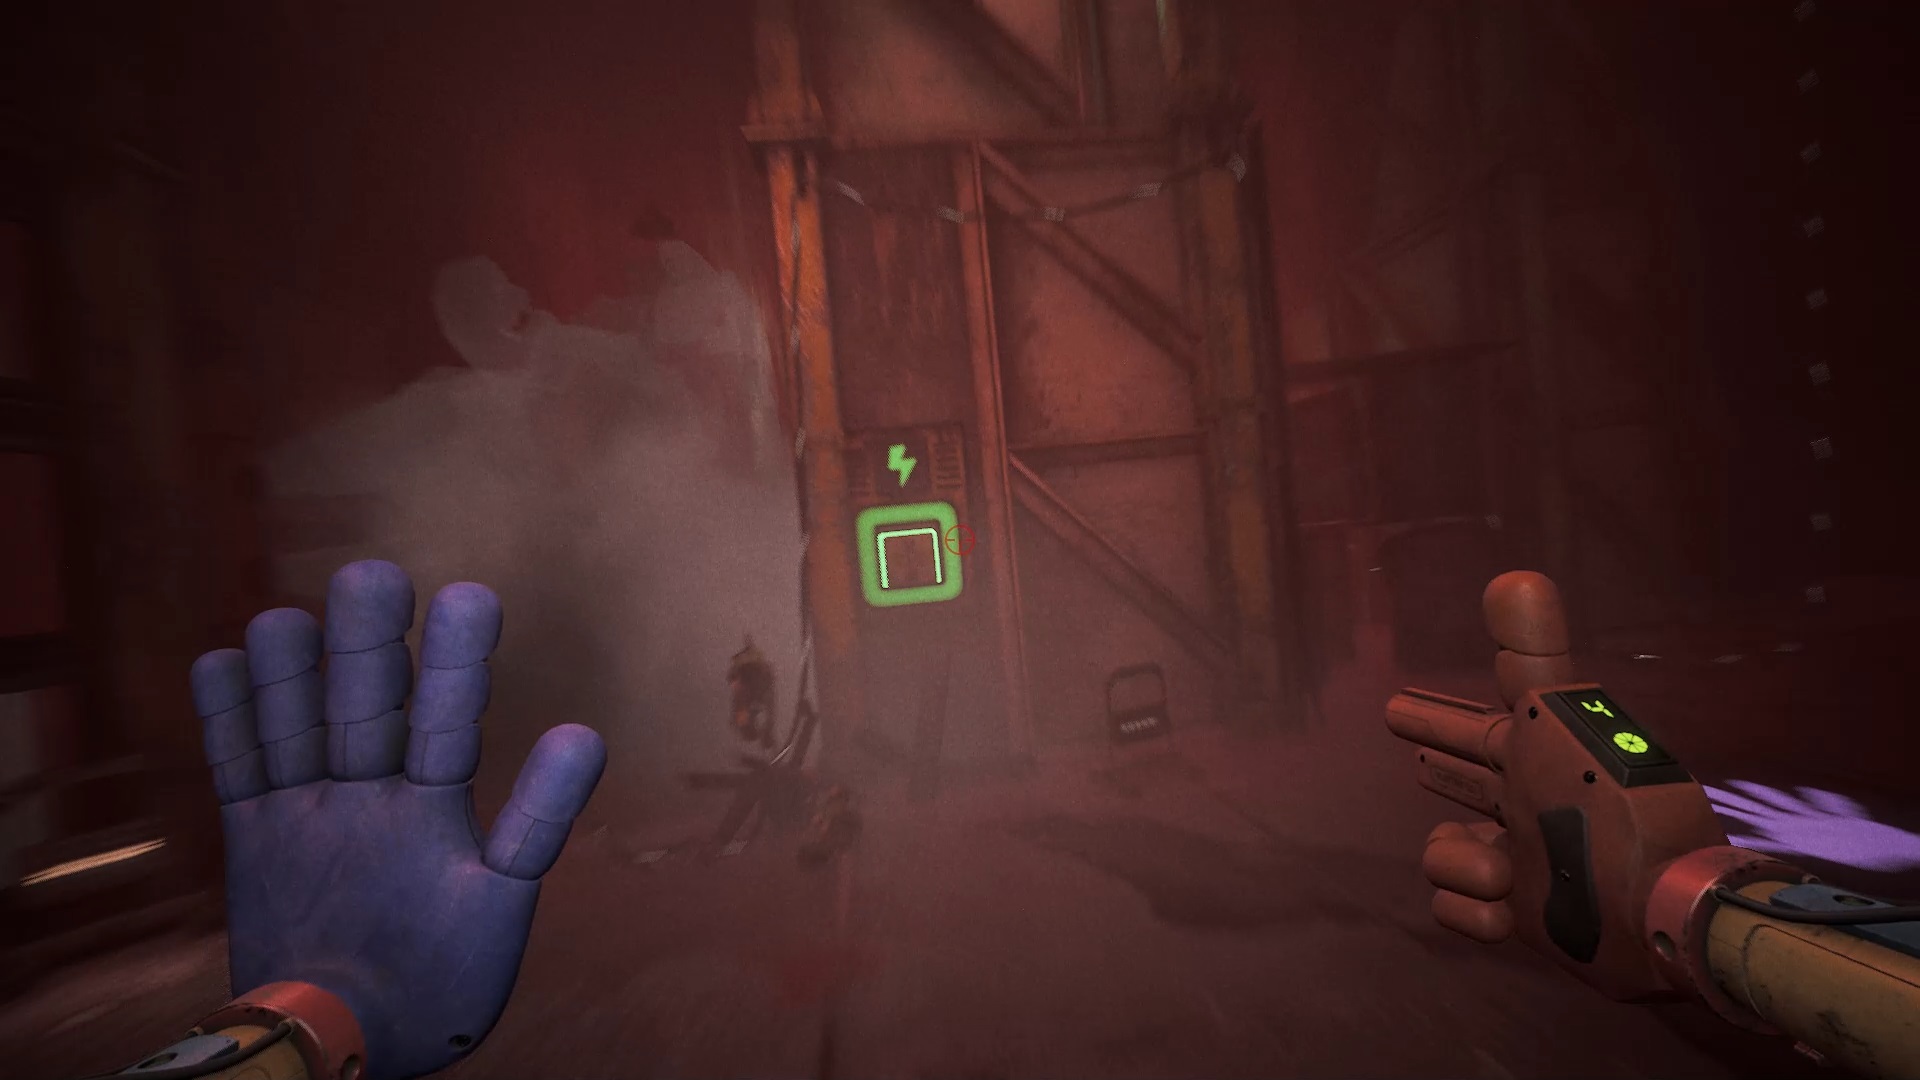
Look closely at the hall floor until you spot a crack. Go down to find a vehicle. Pull the ring on the back to start the vehicle. Next, grab the gas mask hanging in the crack. Use this mask to advance in the corridor filled with red gas. Finally, use the purple glove to jump onto the platform behind the debris.
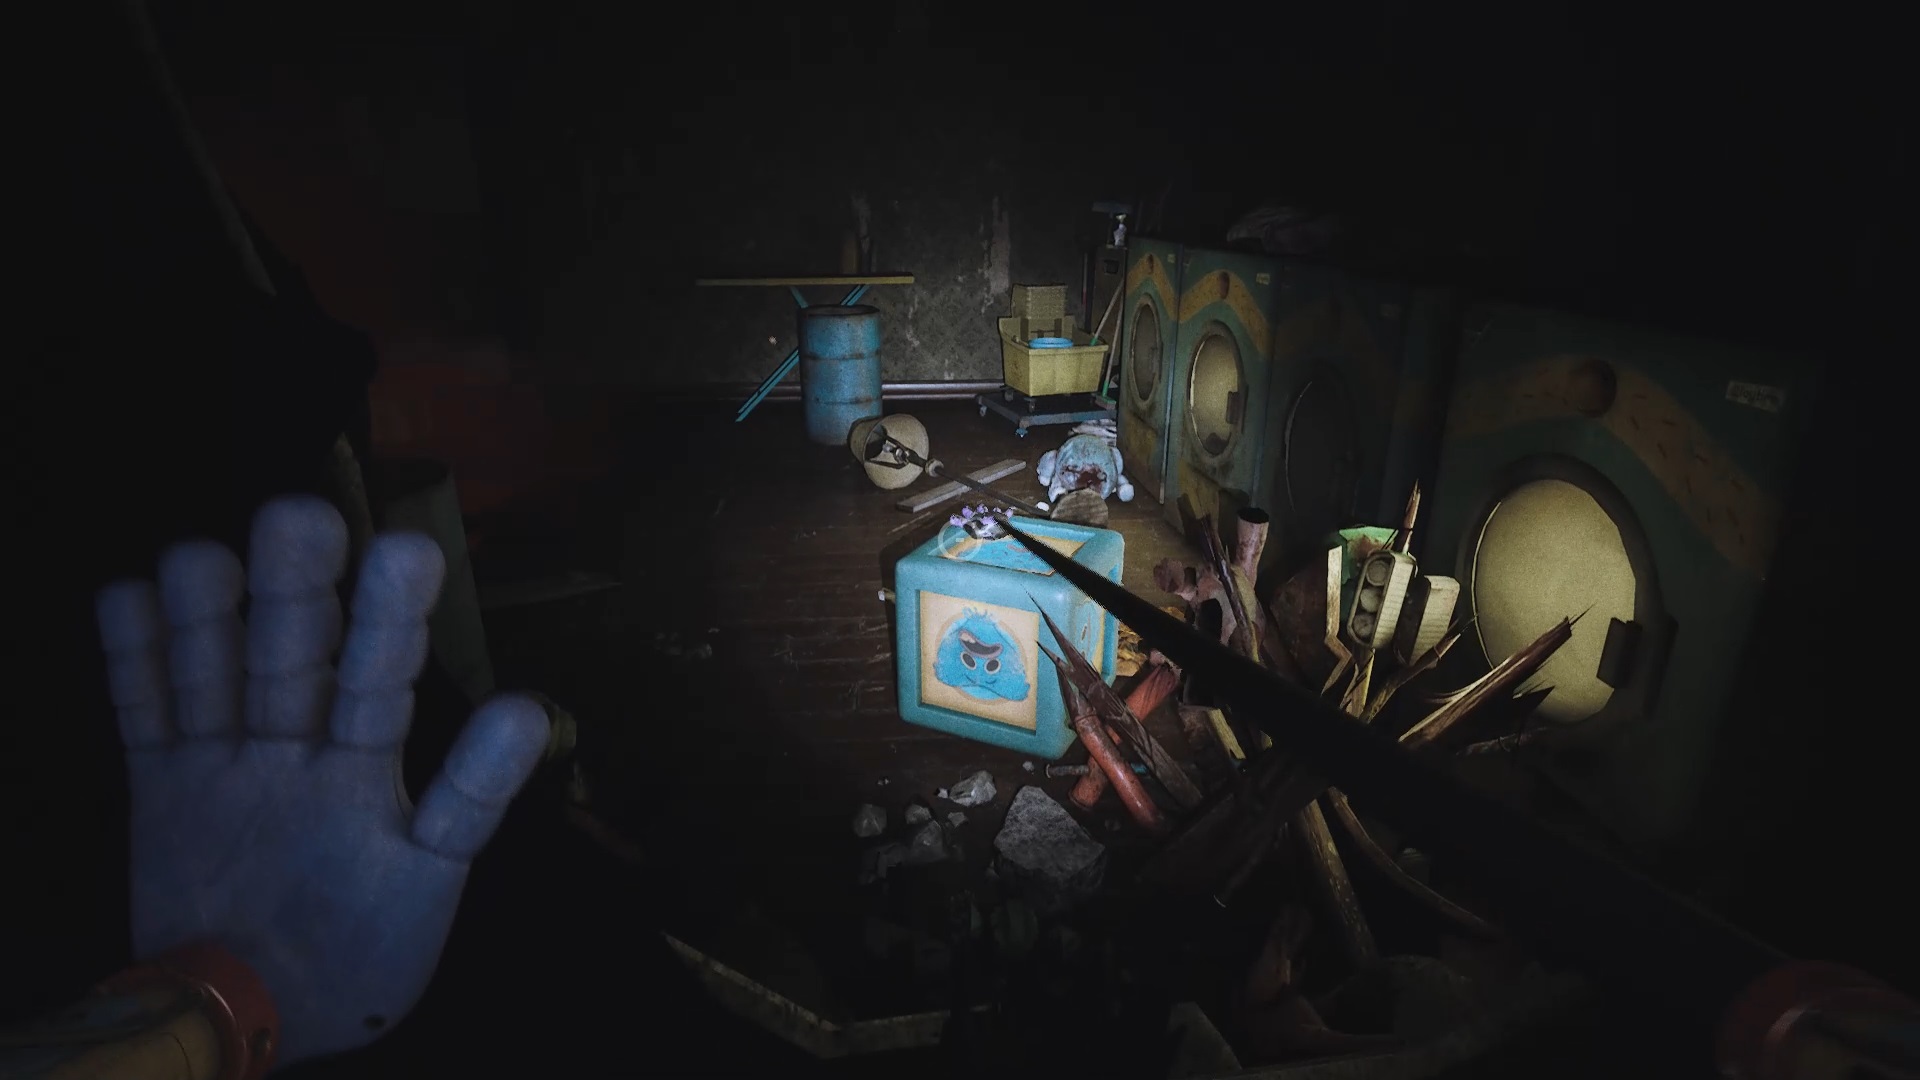
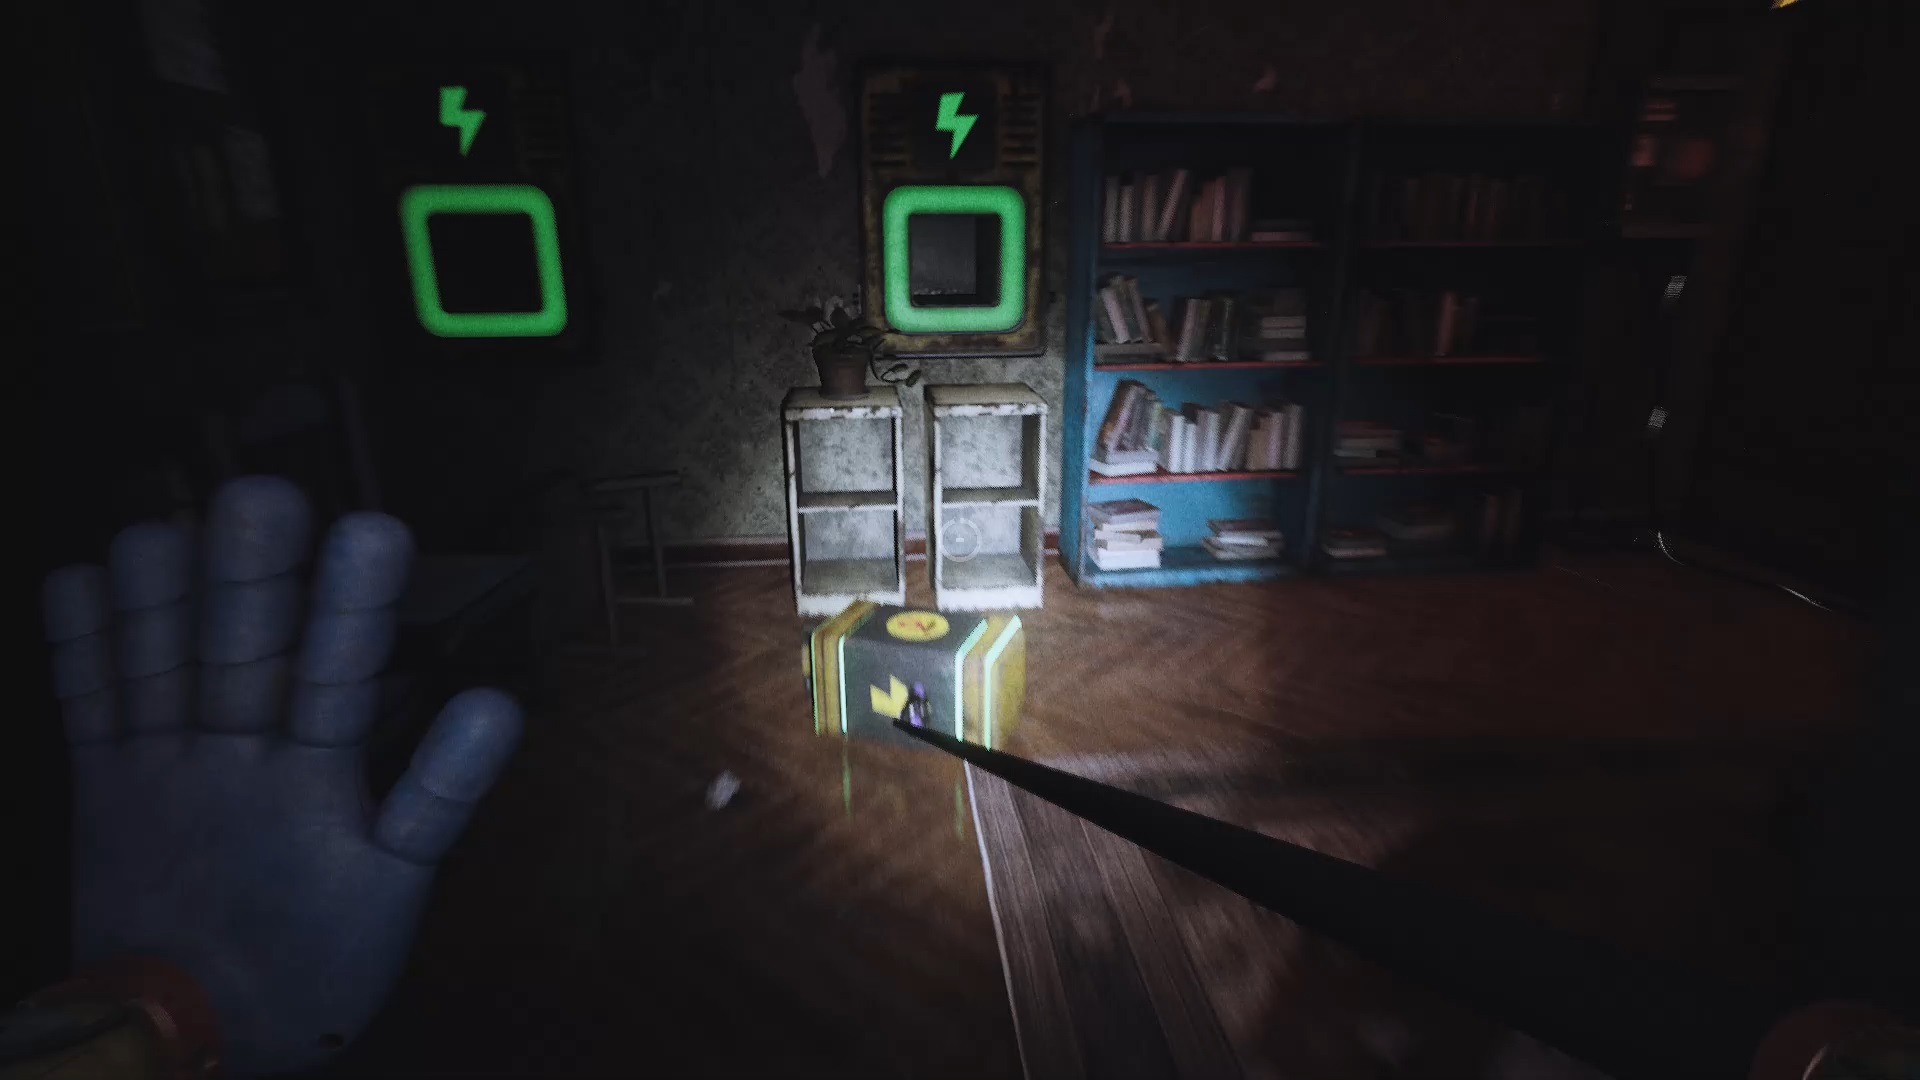
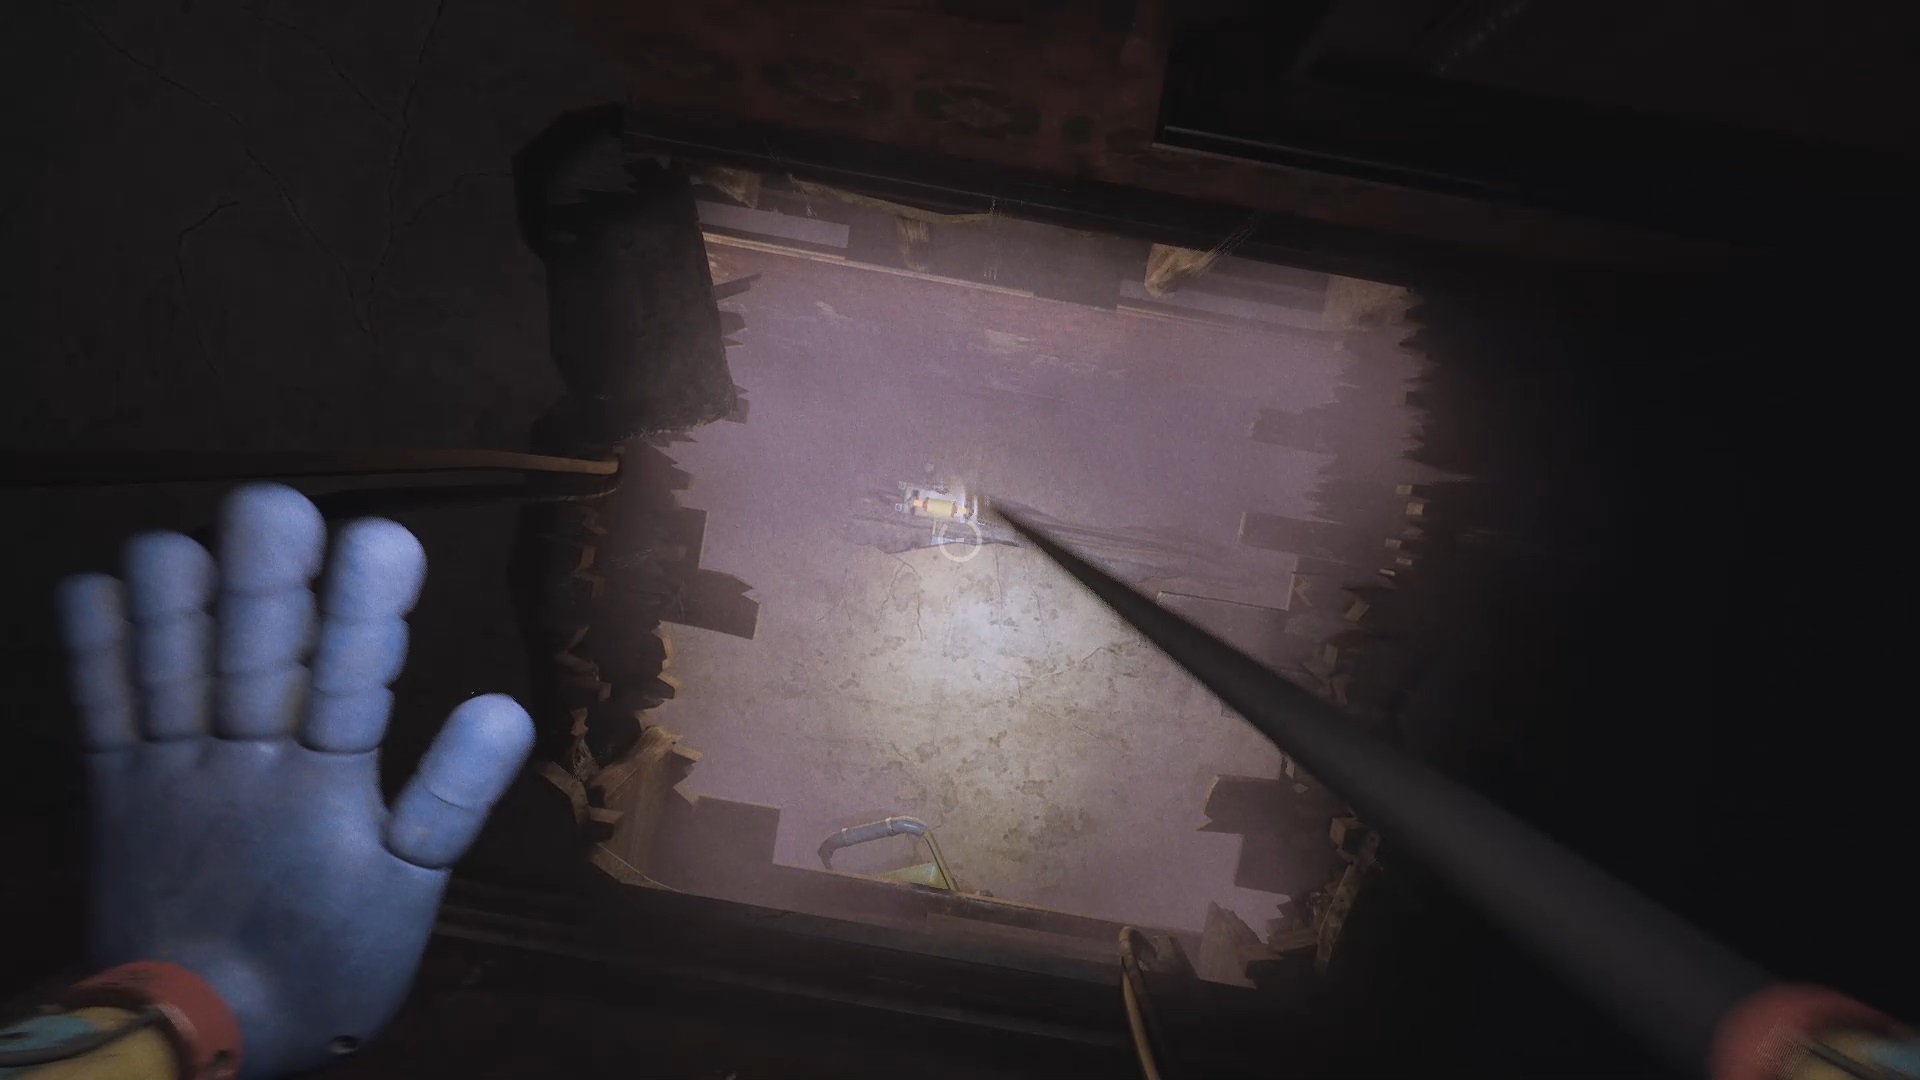
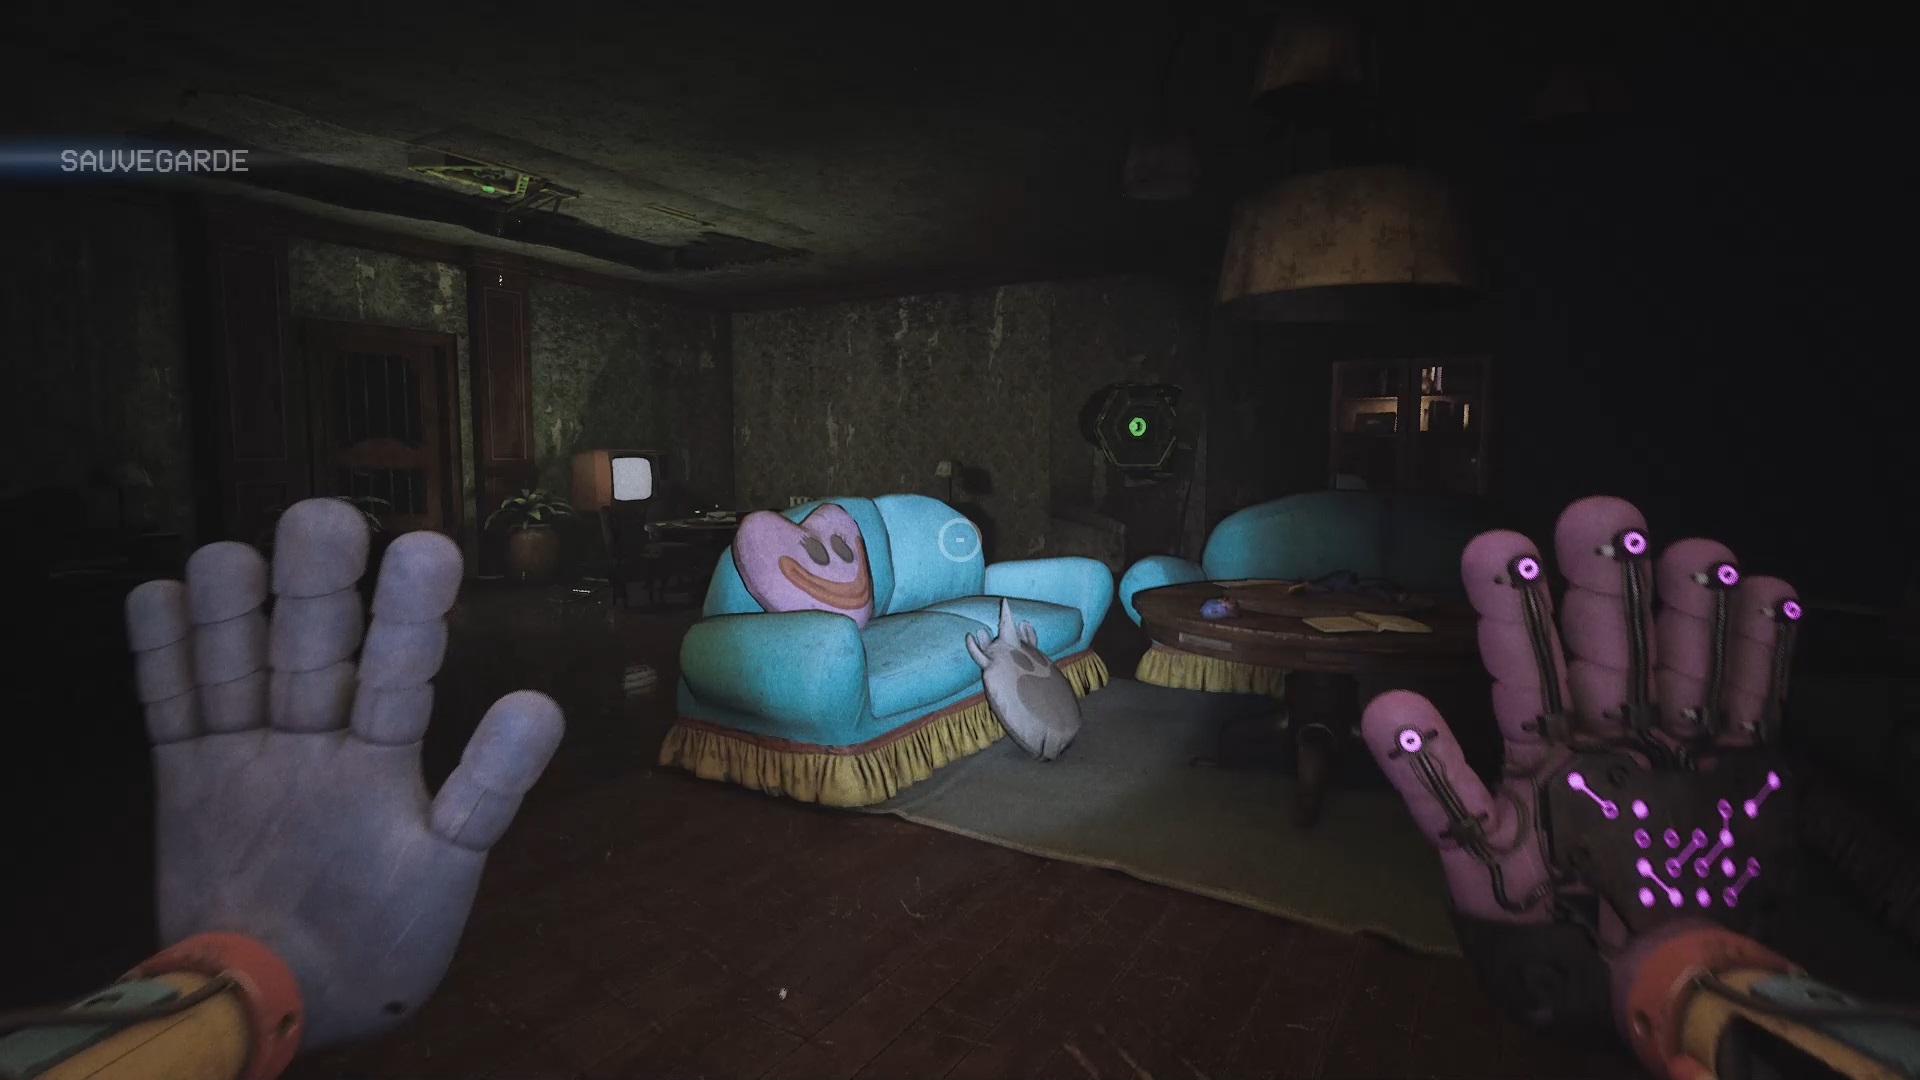
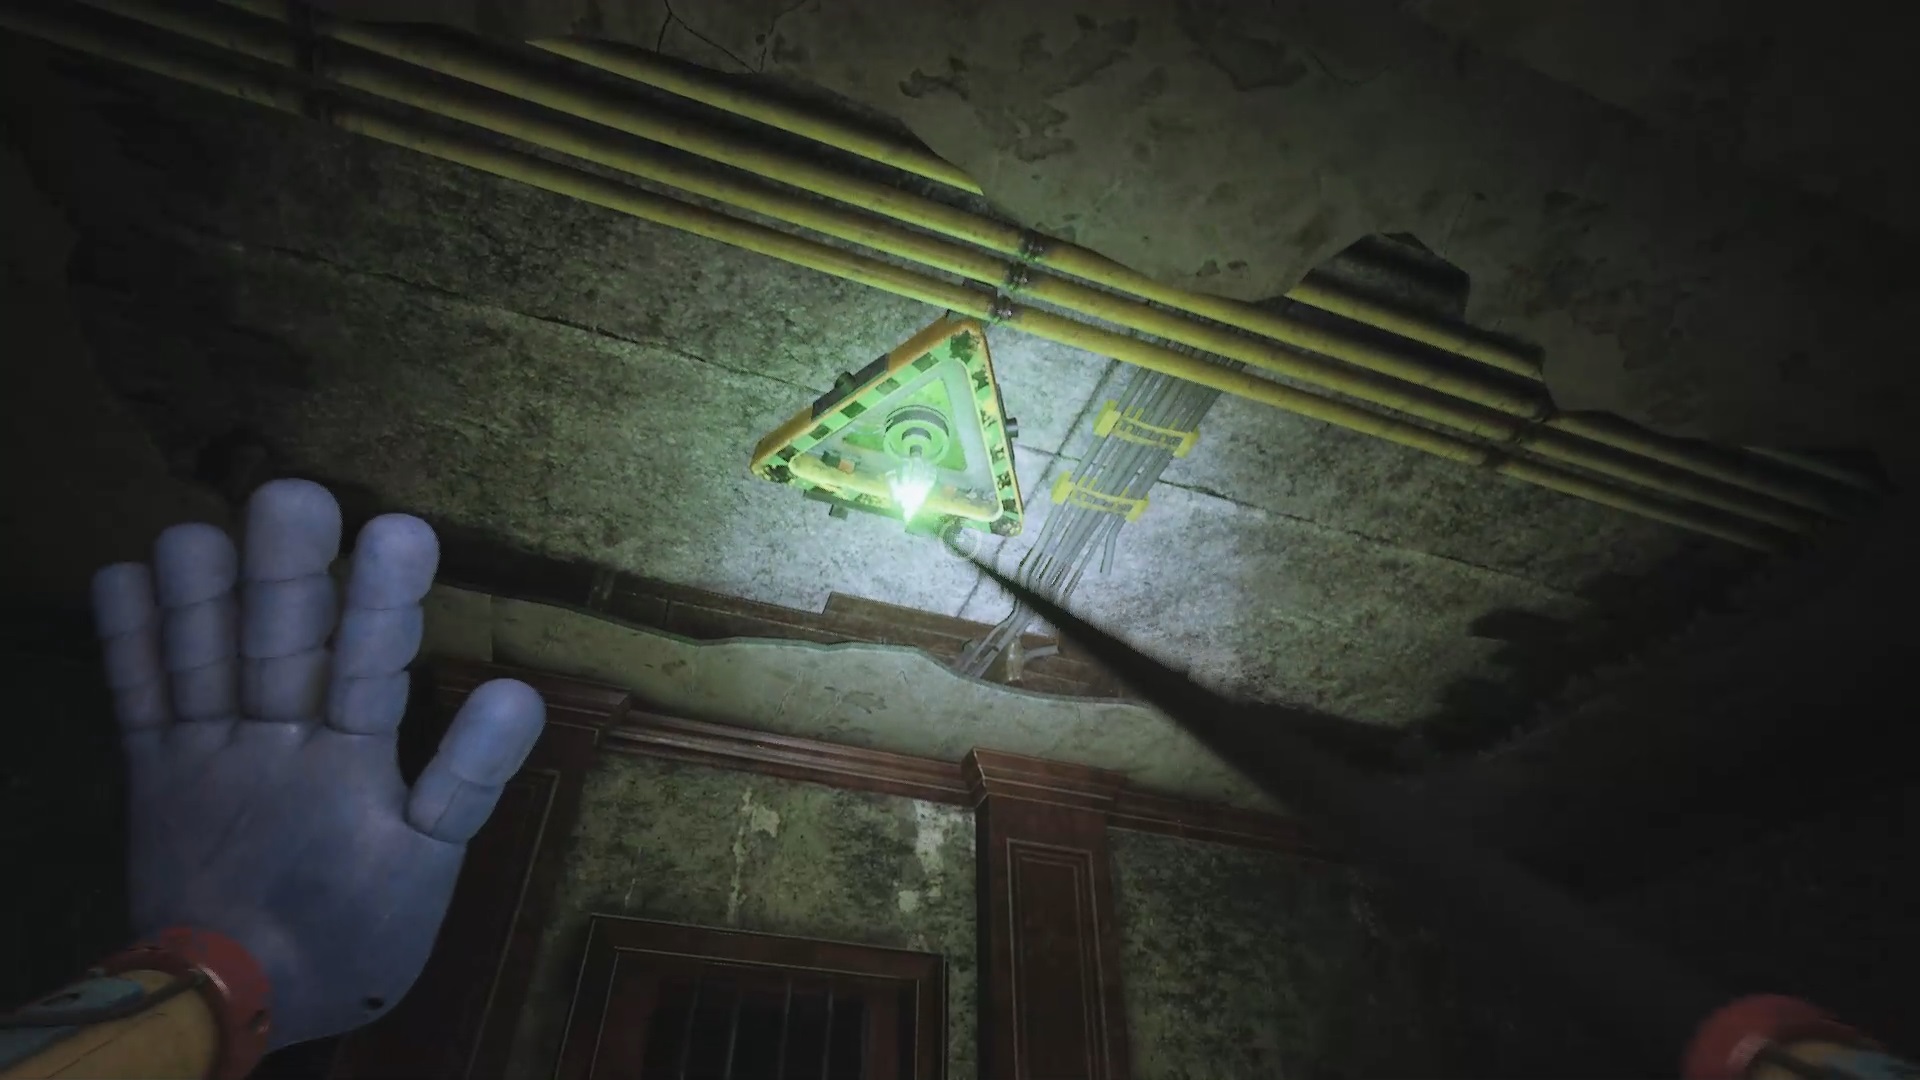
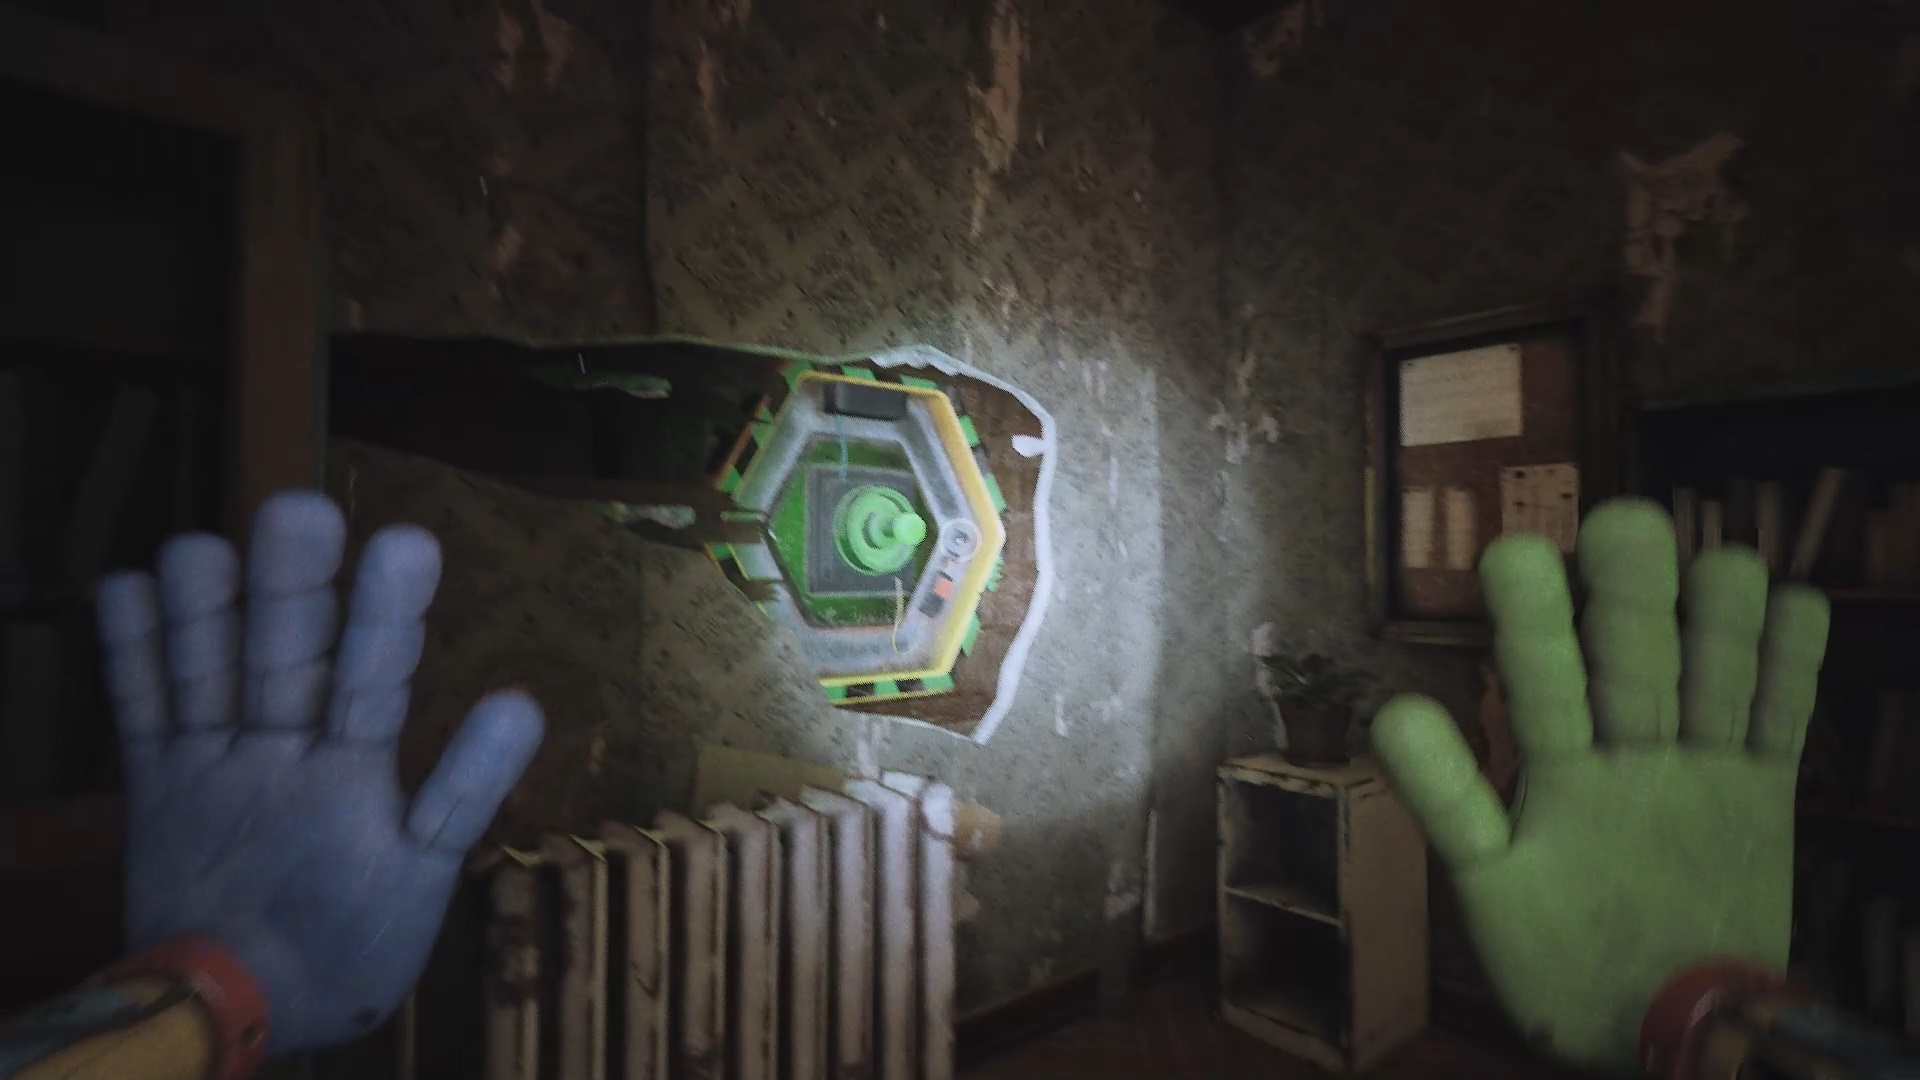
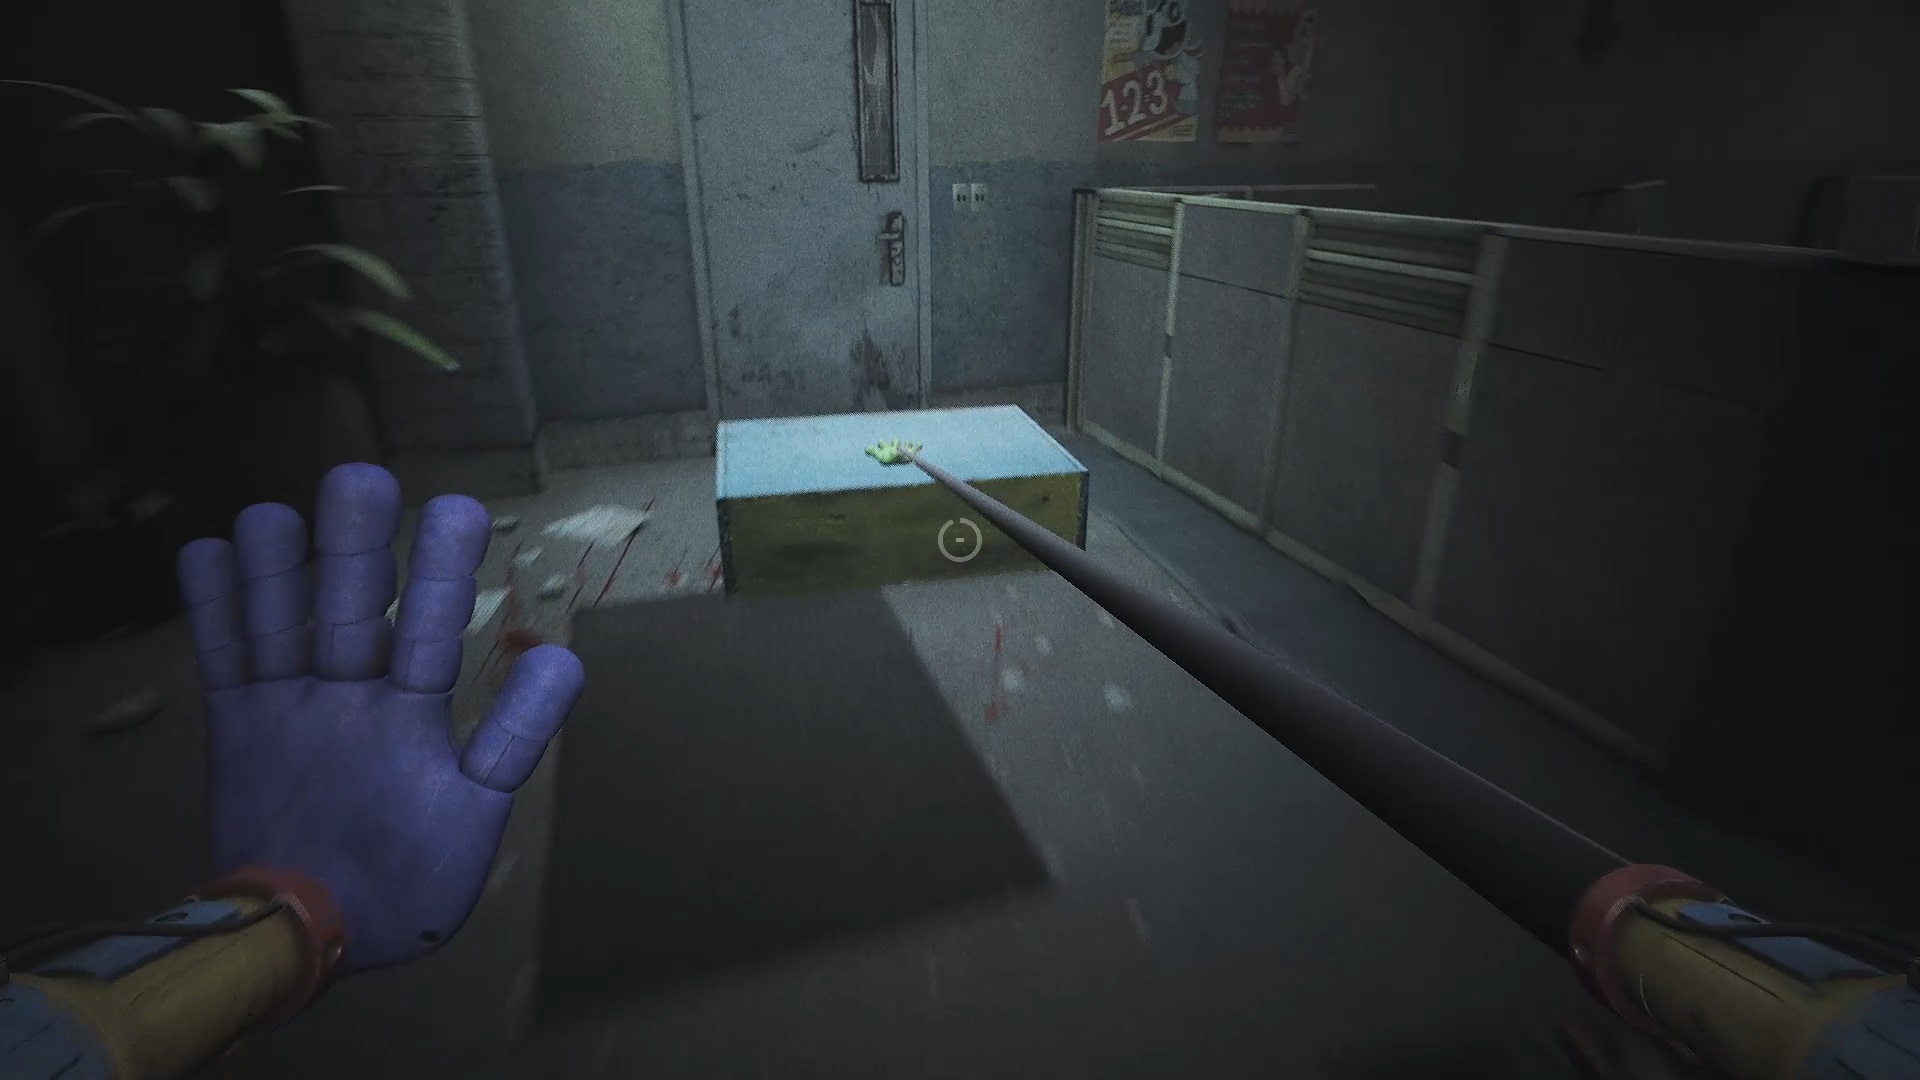
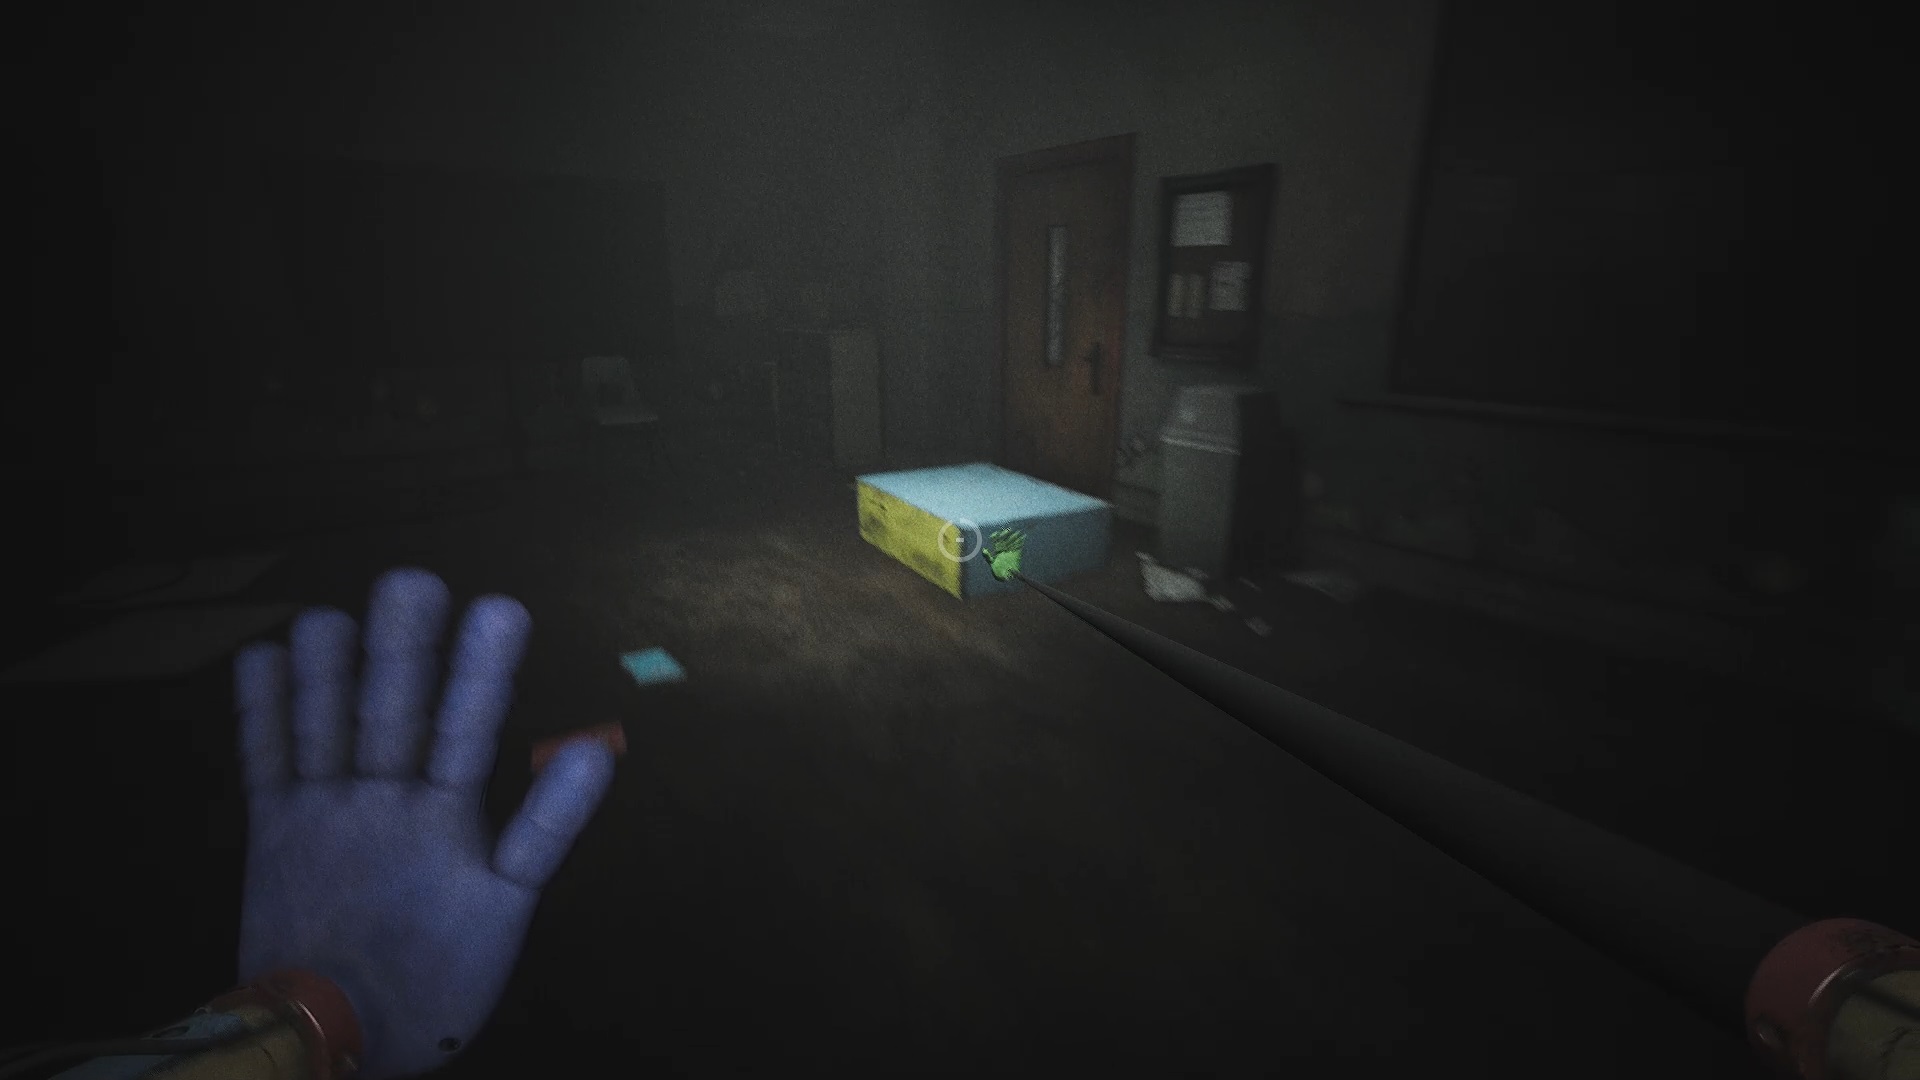
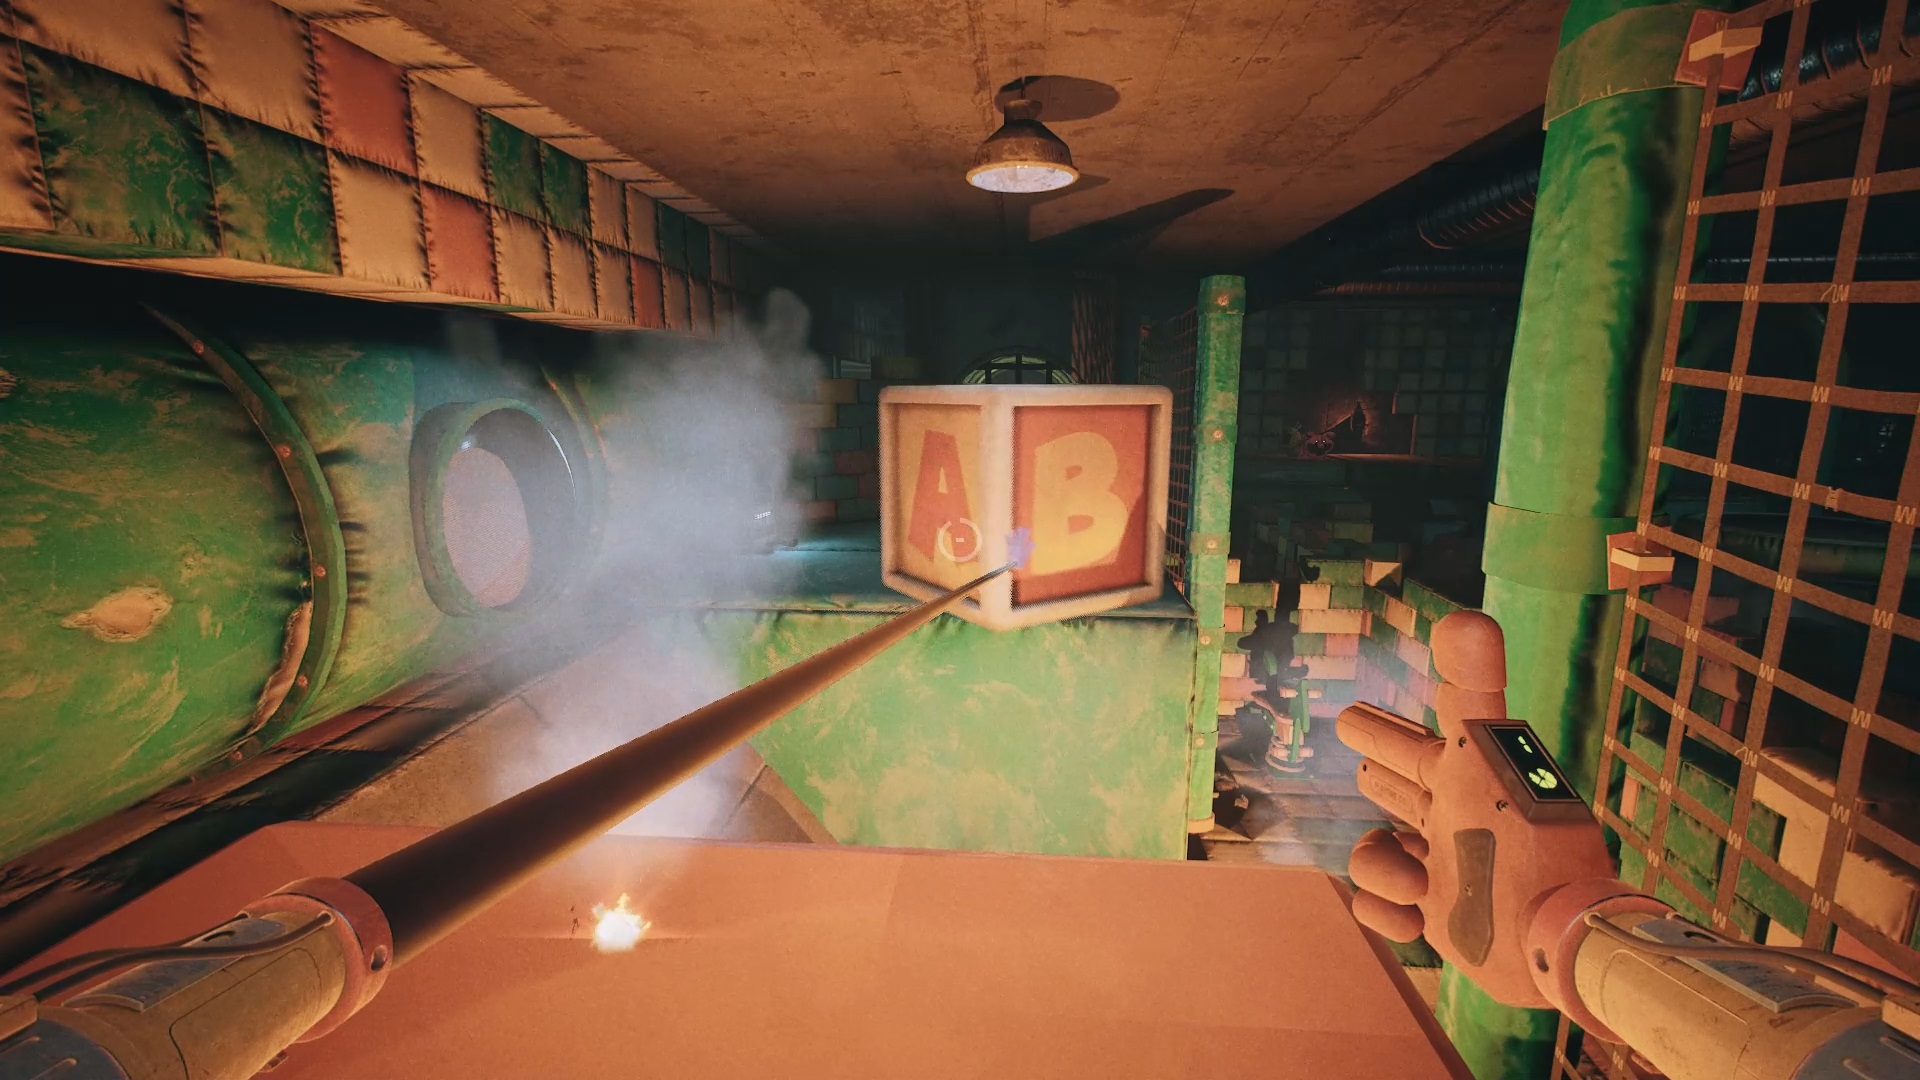
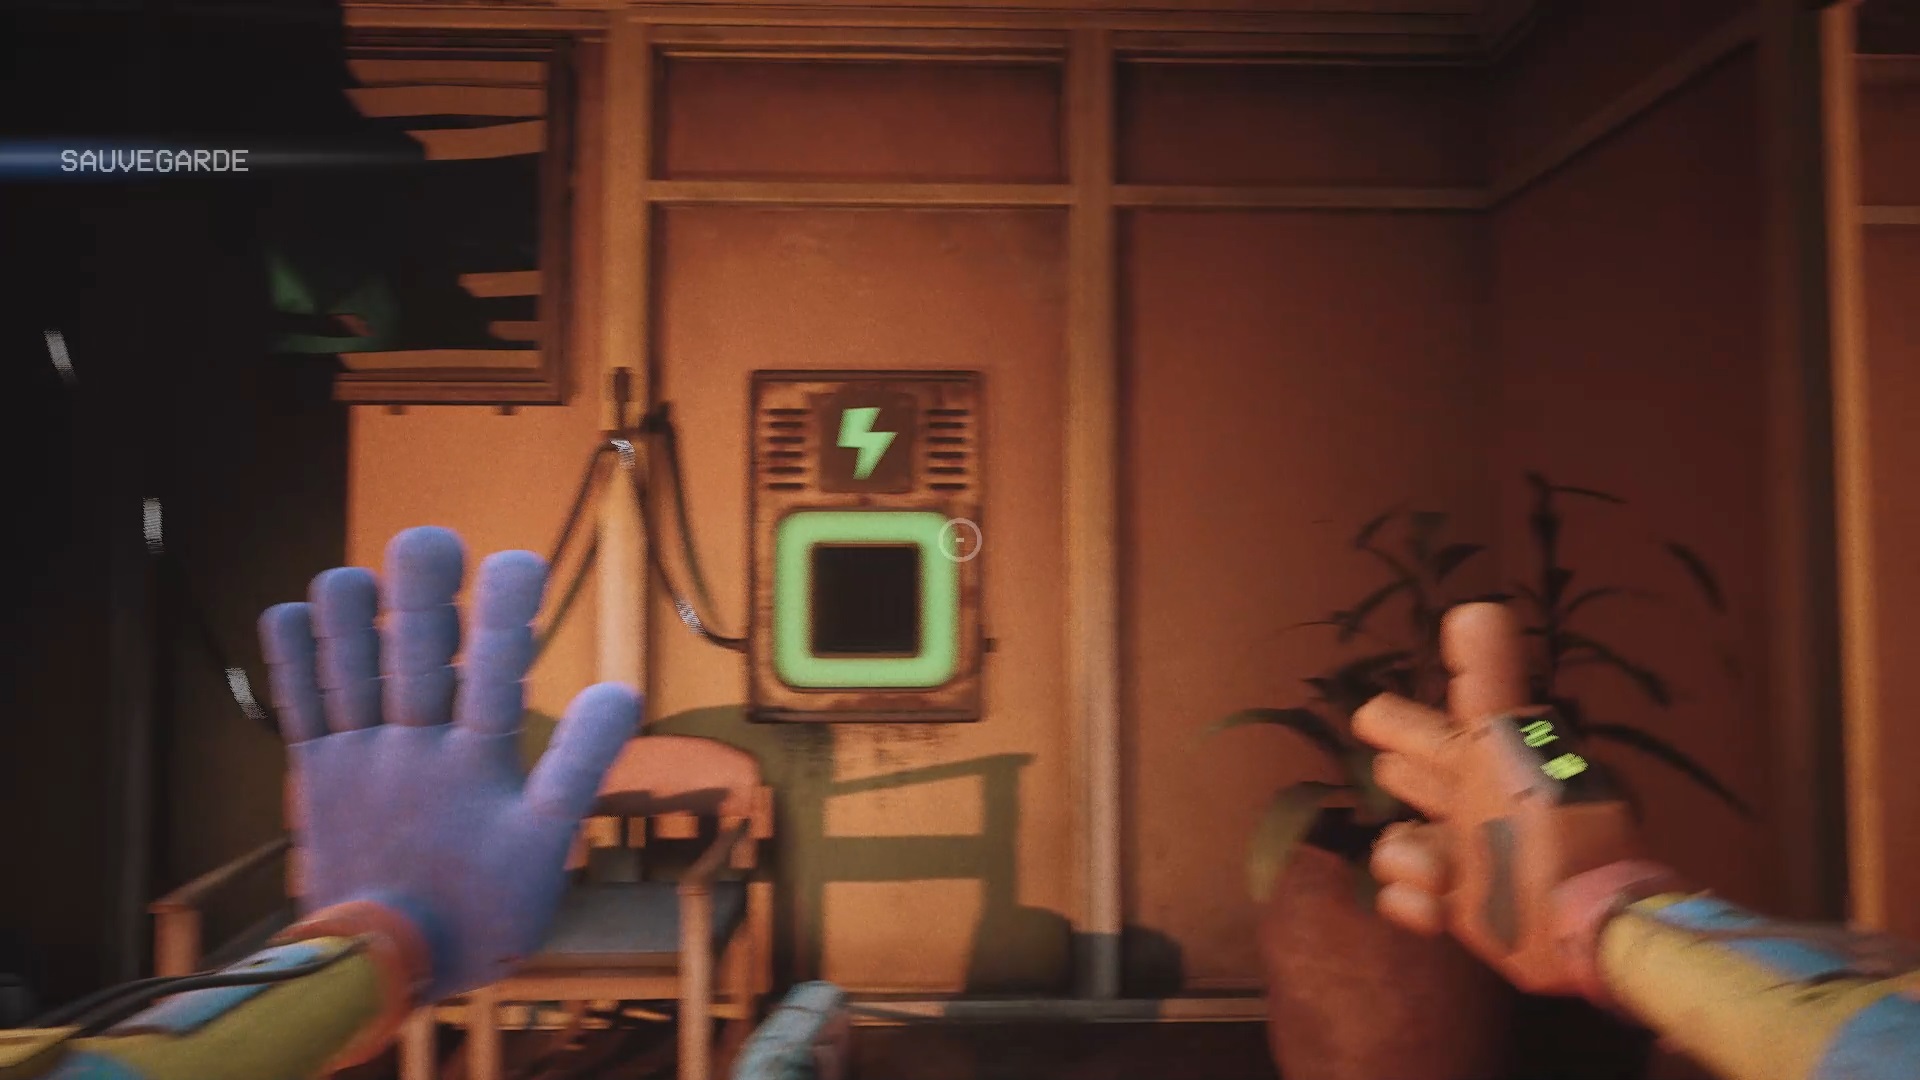
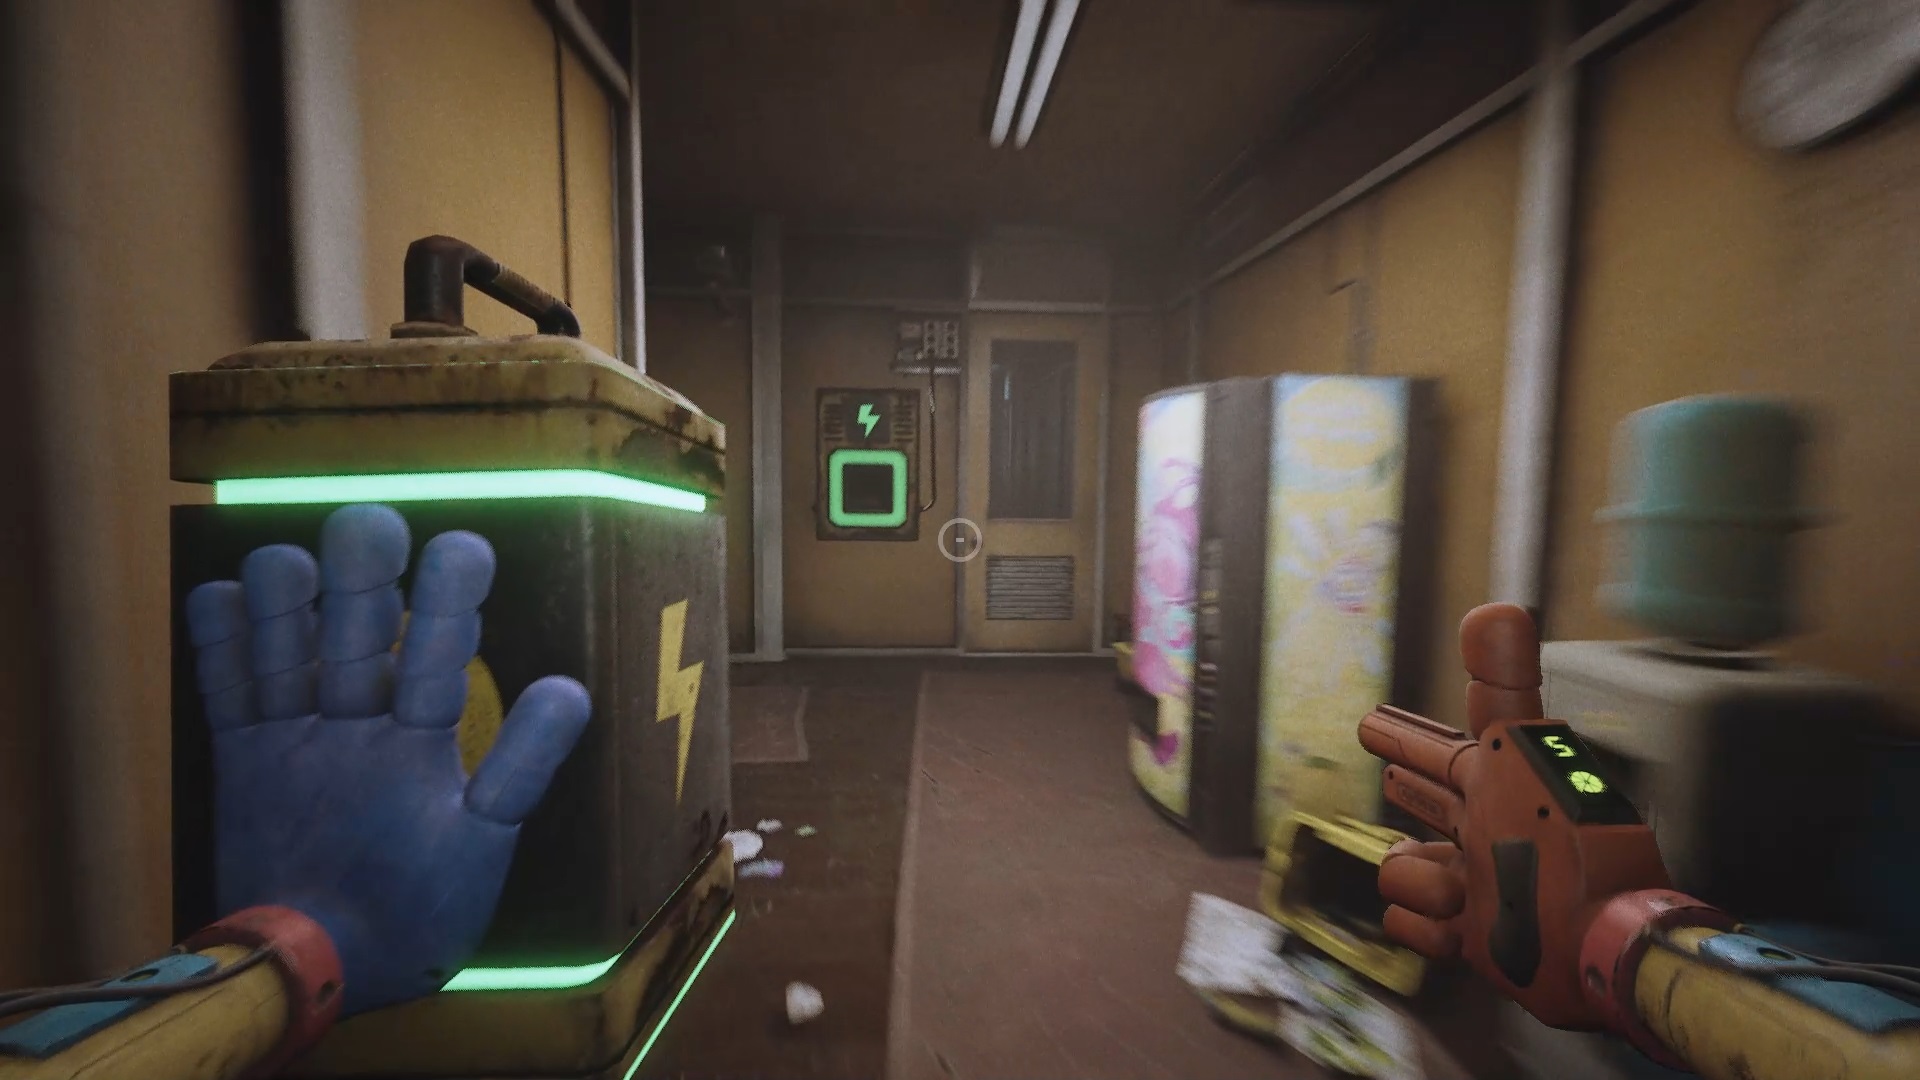
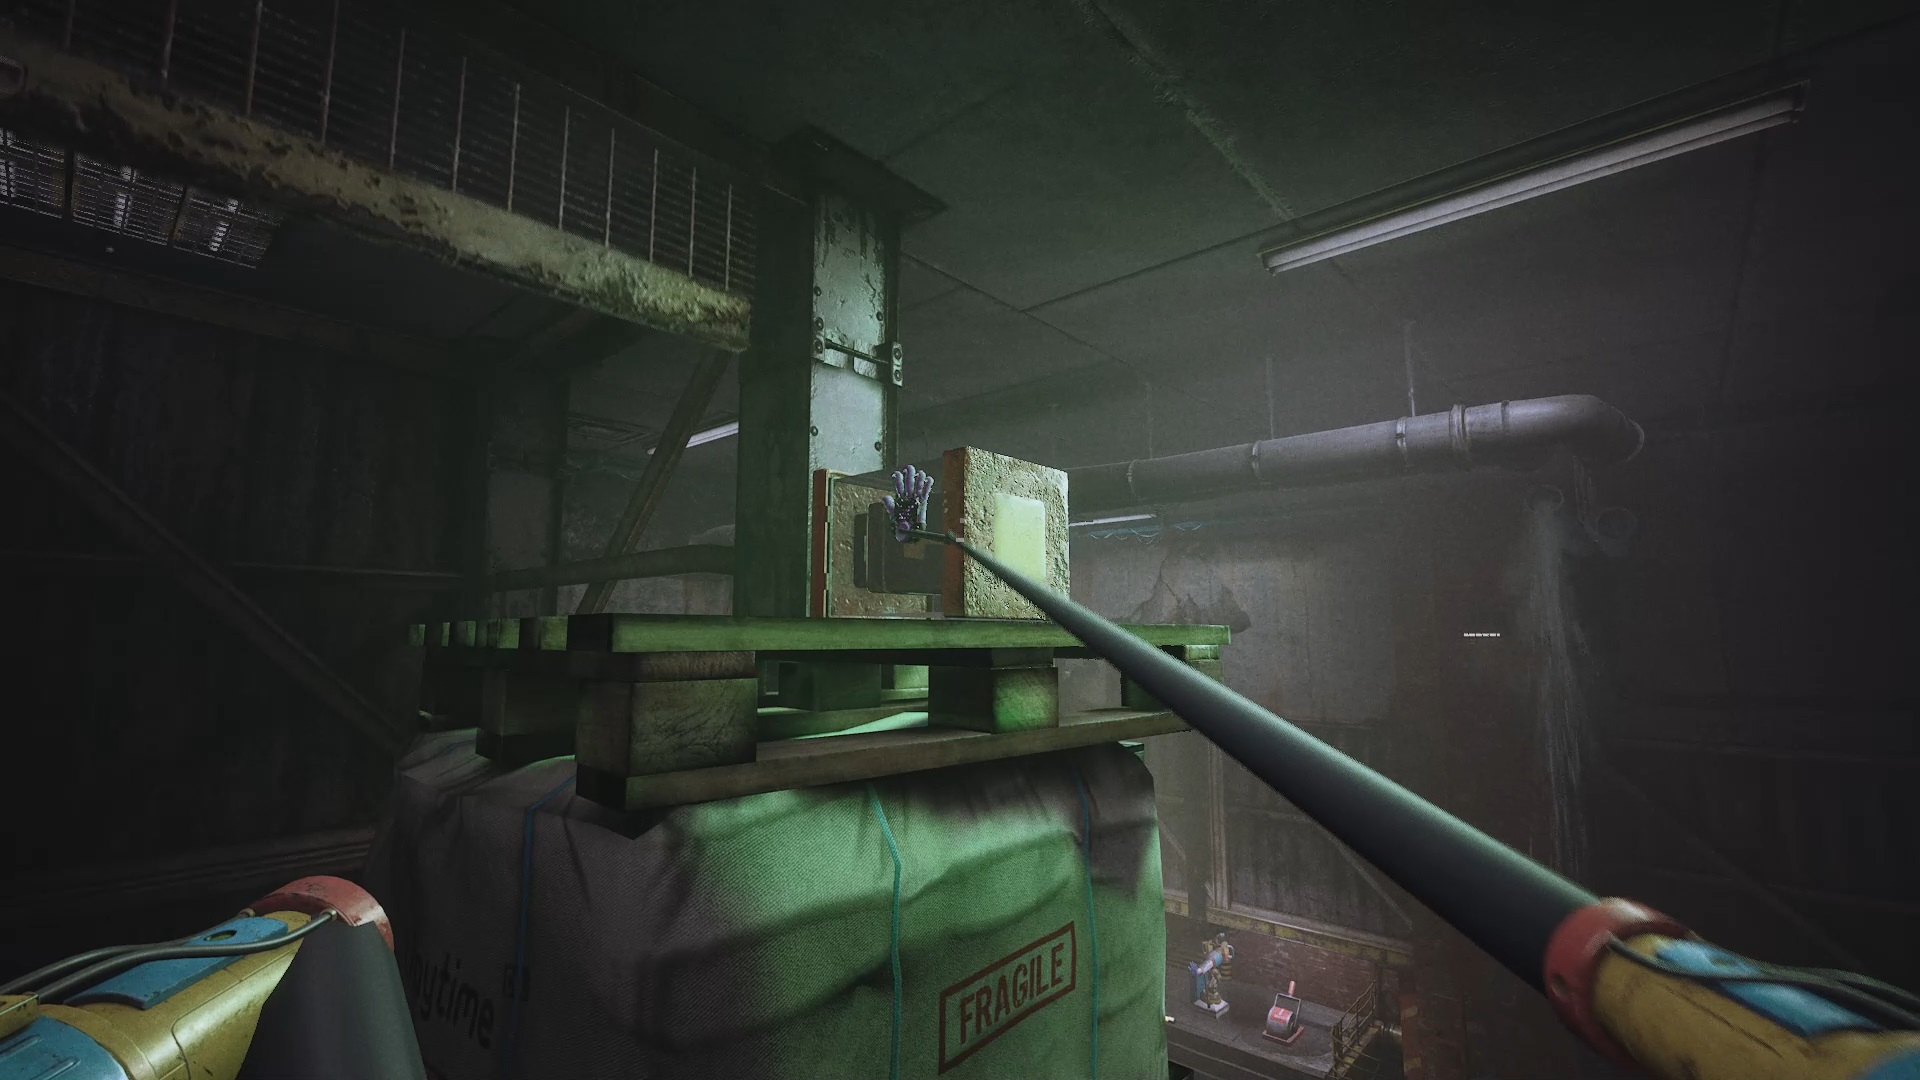
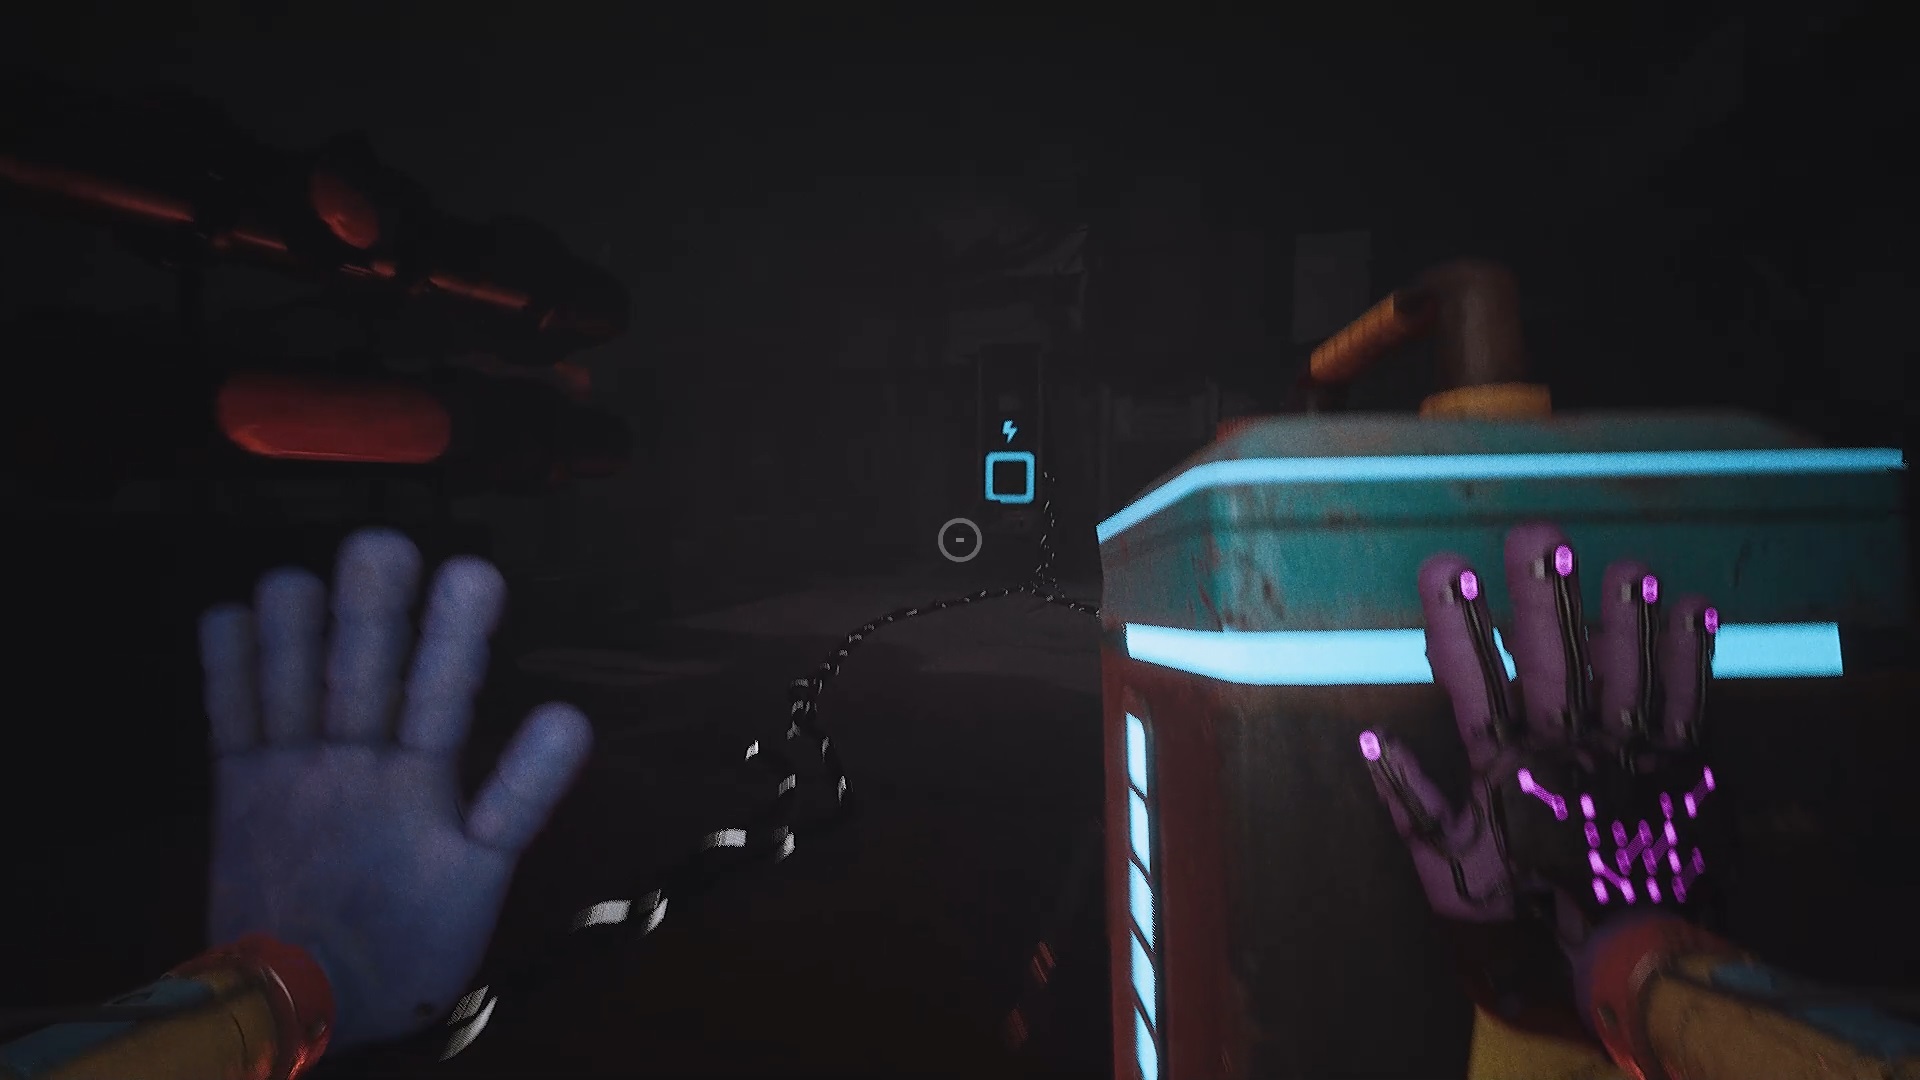
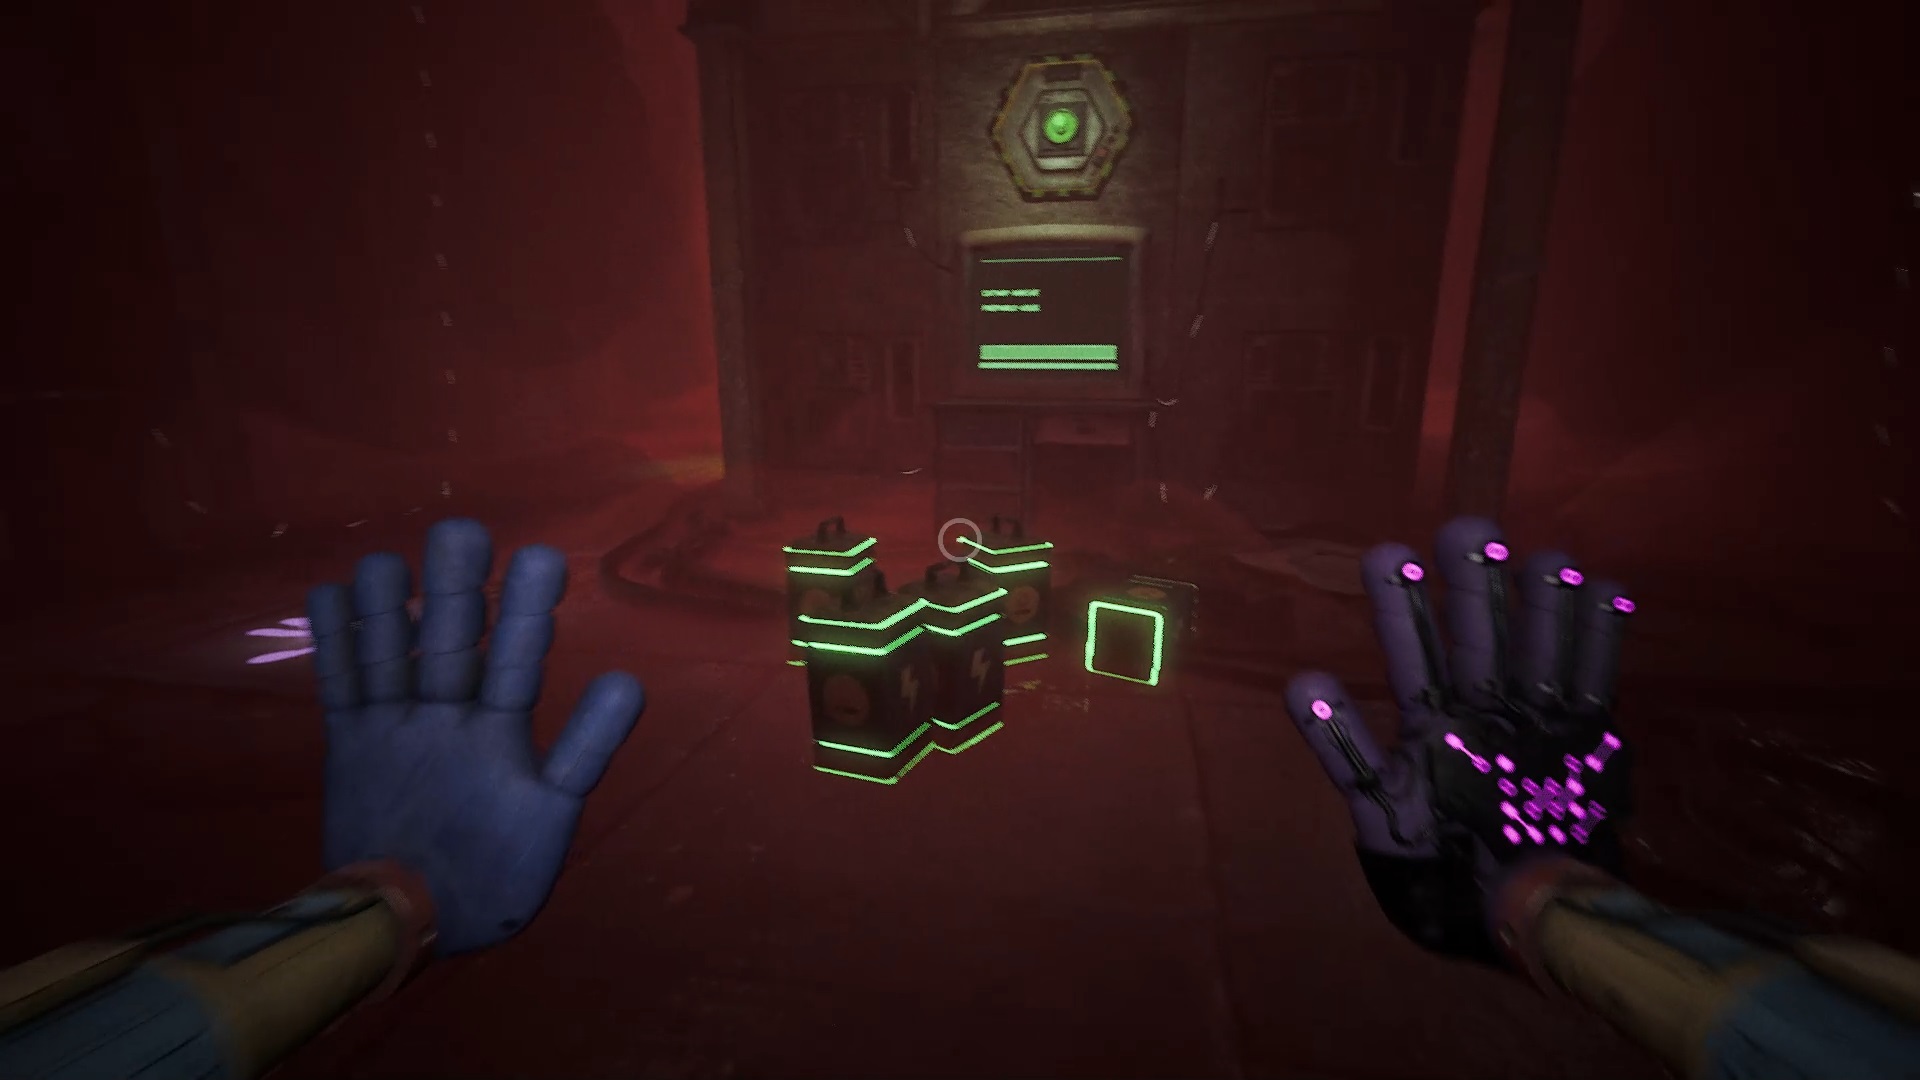
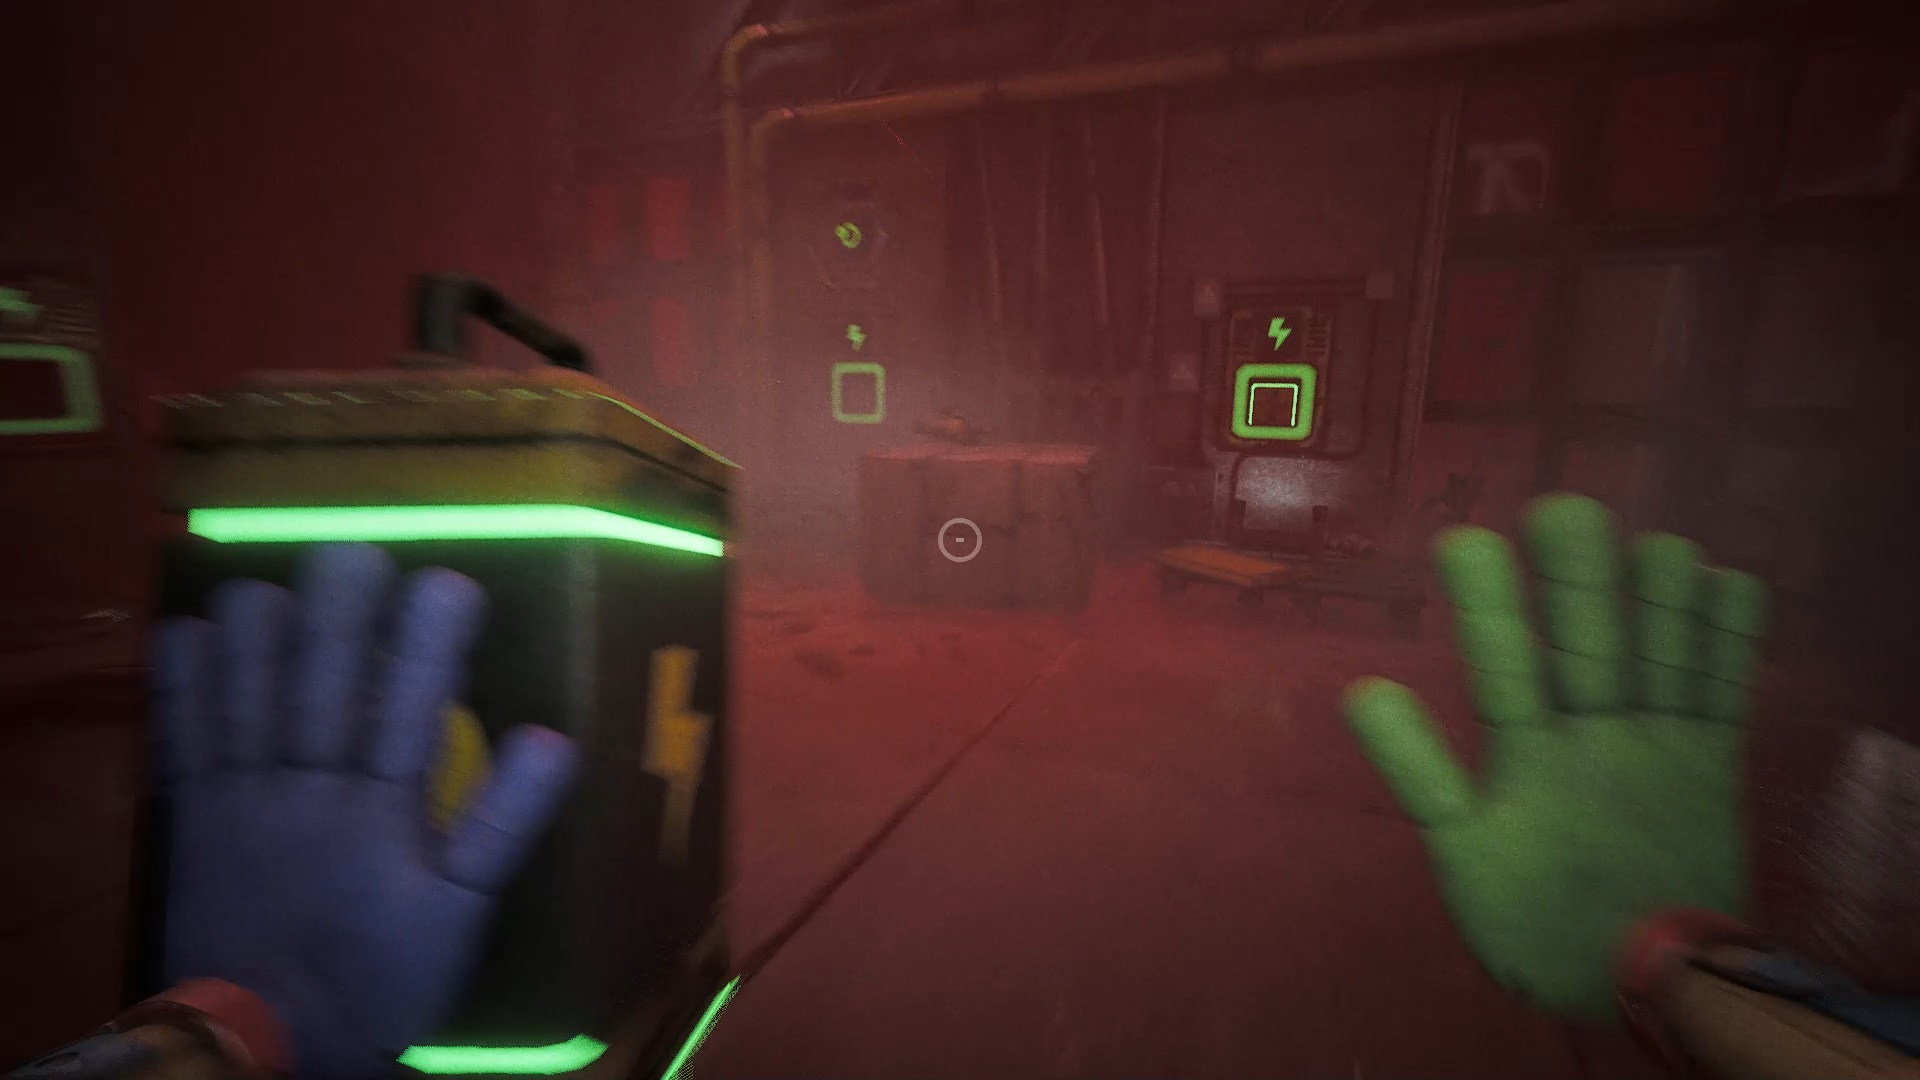
Once at the top, remove your mask and enter the next room to spot a barricade. Move one of the cubes to place it on the table, allowing you to cross the barricade. Explore the rooms to locate a battery near two bases. Insert a battery into the wall. As you move forward in the corridor, direct your gaze towards the ceiling to discover a new crack. Use your mechanical arm to climb up and cross the gap.
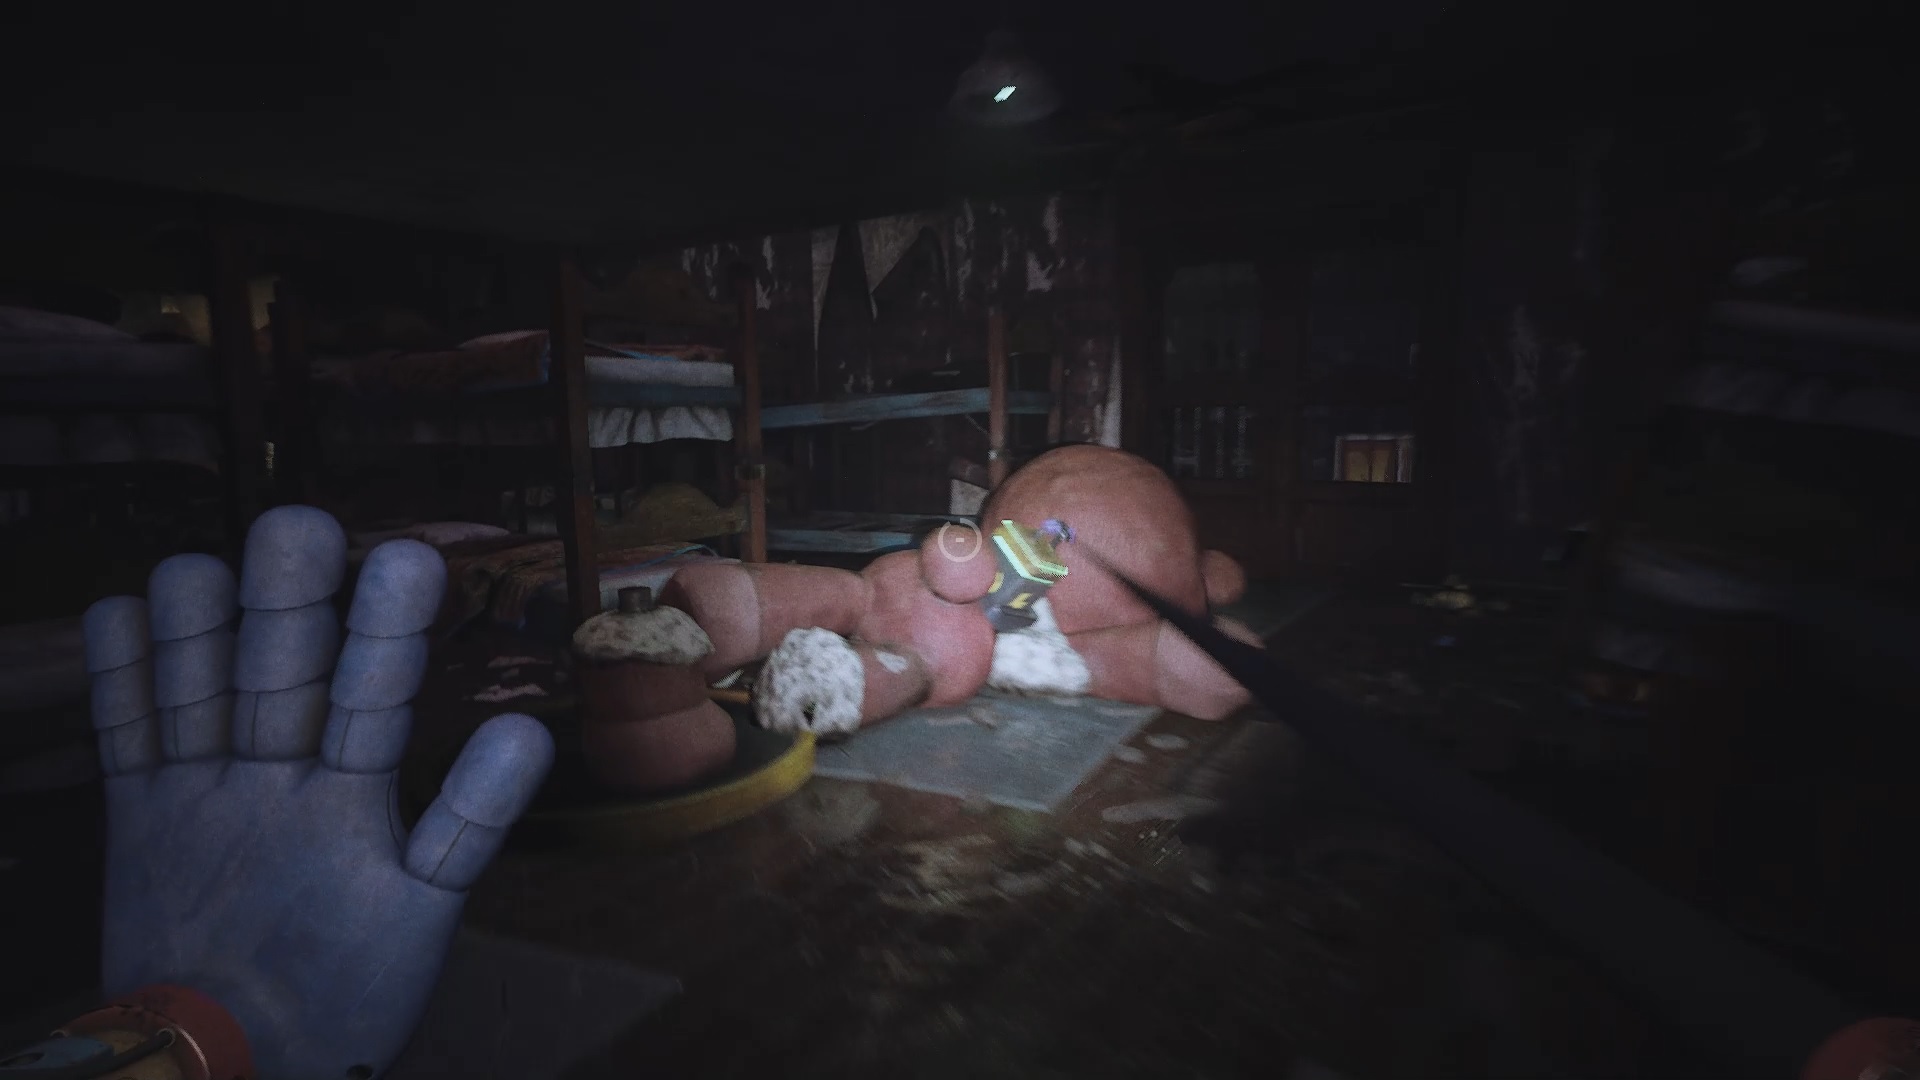
At the top, spot a battery sitting on top of a teddy bear on the ground. Take the battery and drop down through the nearby hole to place it against the wall. Then flip the switch to provide power to that part of the mansion. Go back up the stairs and start the vehicle by pulling the ring to reach the heights of the hall. Cross to the other side to locate an additional power source.
At the top, spot a battery sitting on top of a teddy bear on the ground. Take the battery and drop down through the nearby hole to place it against the wall. Then flip the switch to provide power to that part of the mansion. Go back up the stairs and start the vehicle by pulling the ring to reach the heights of the hall. Cross to the other side to locate an additional power source.
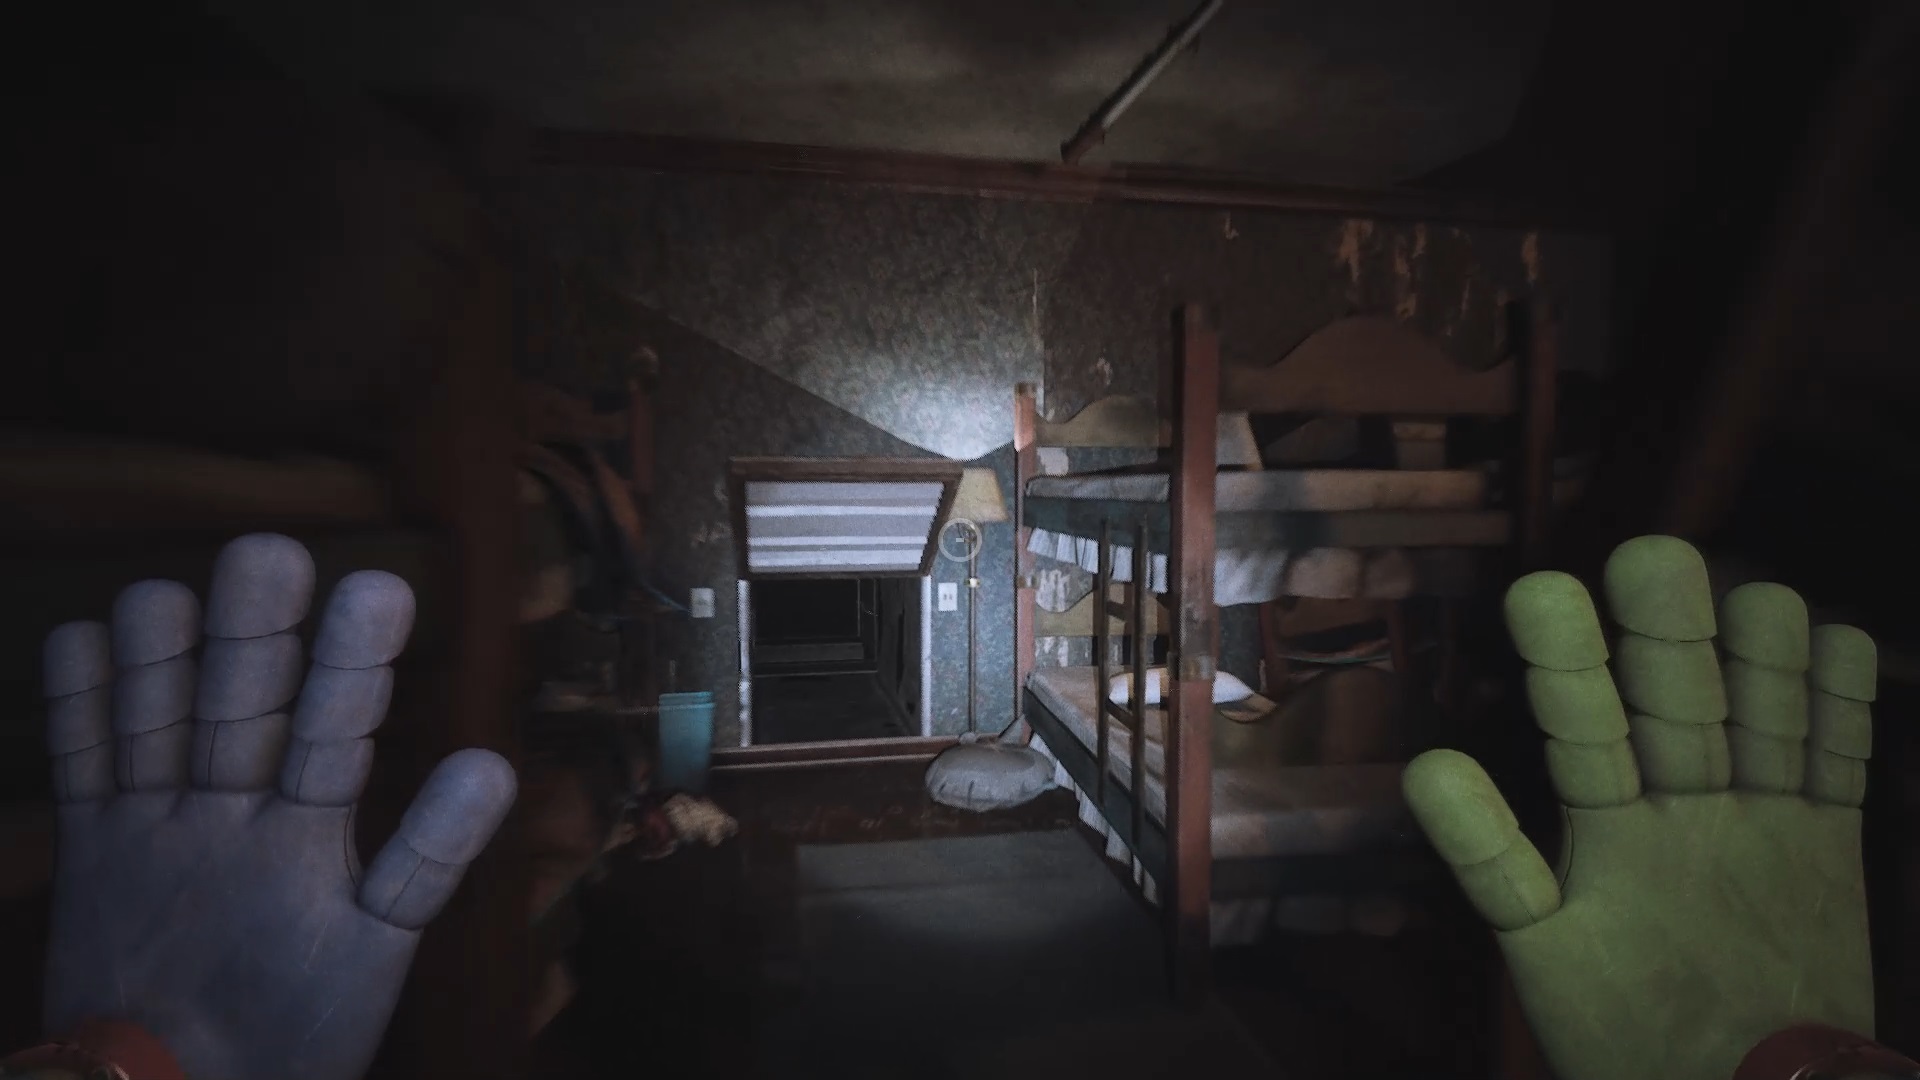
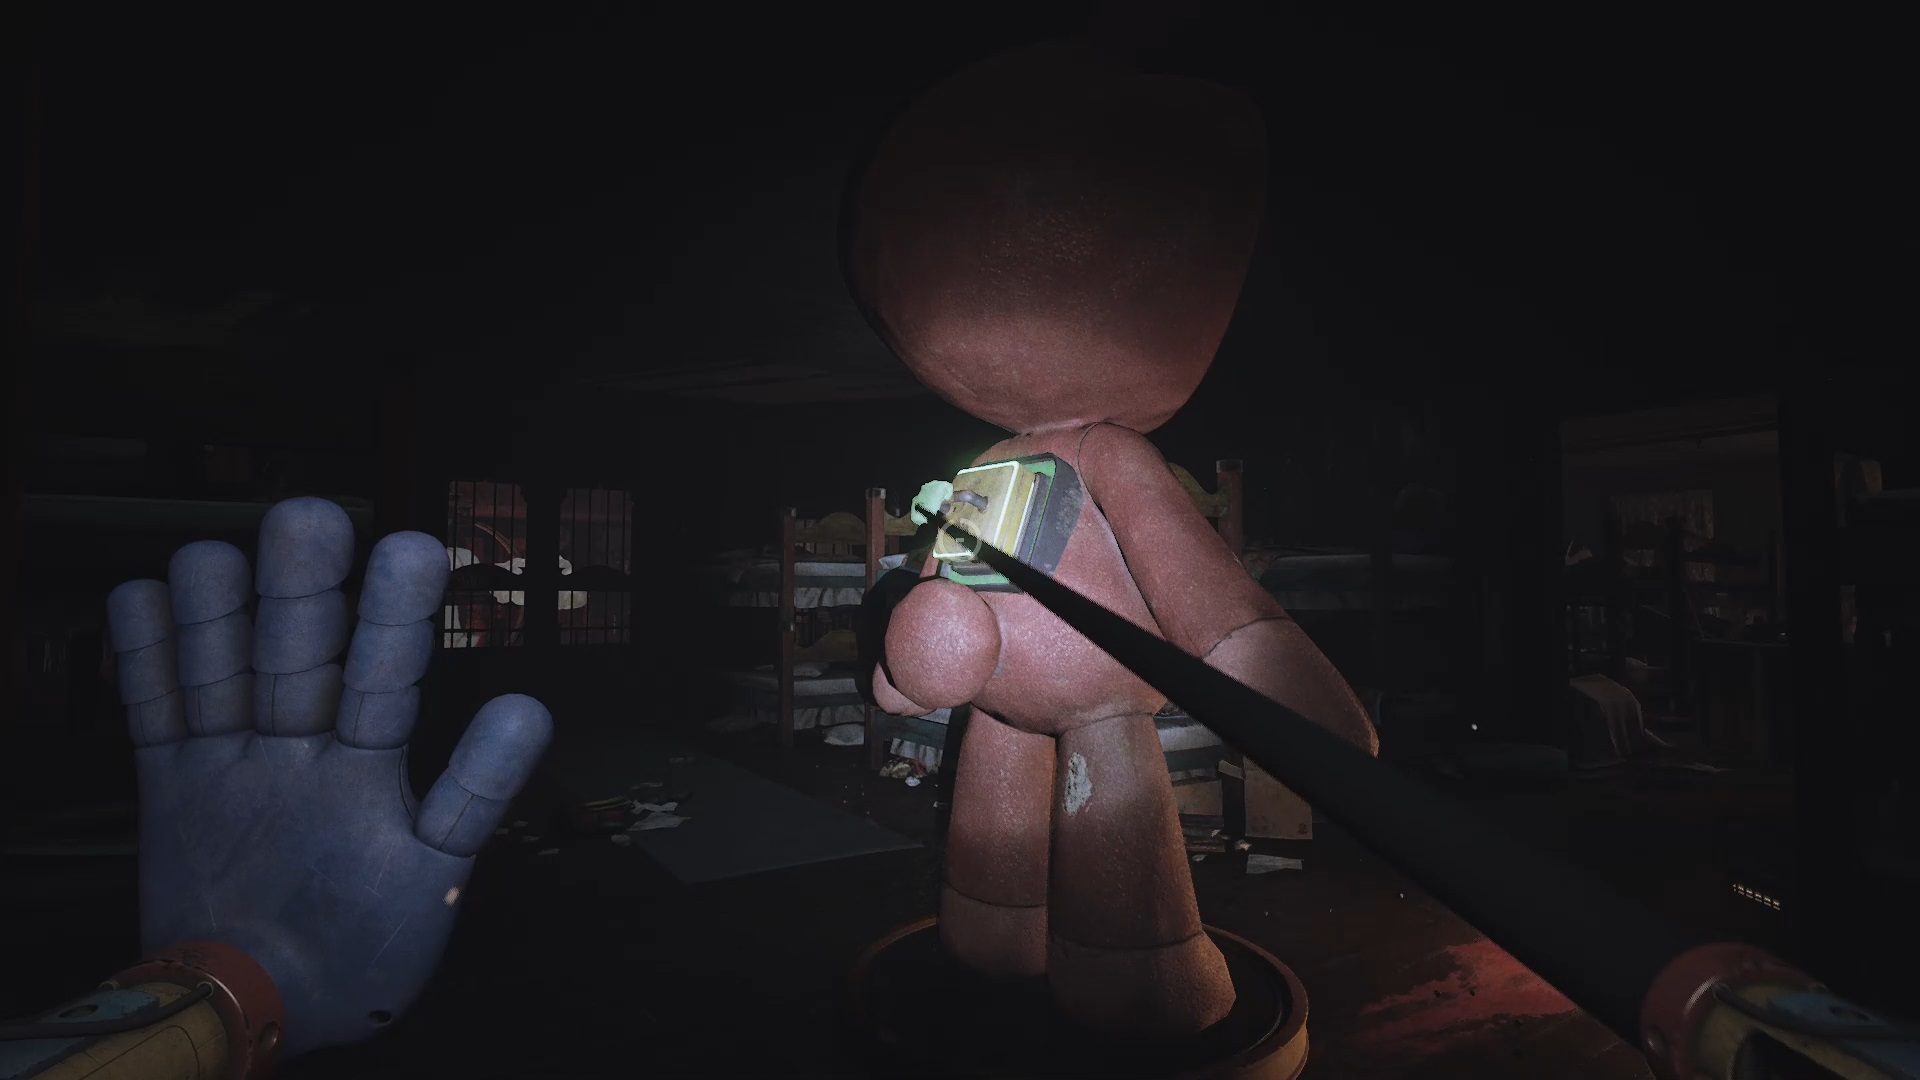
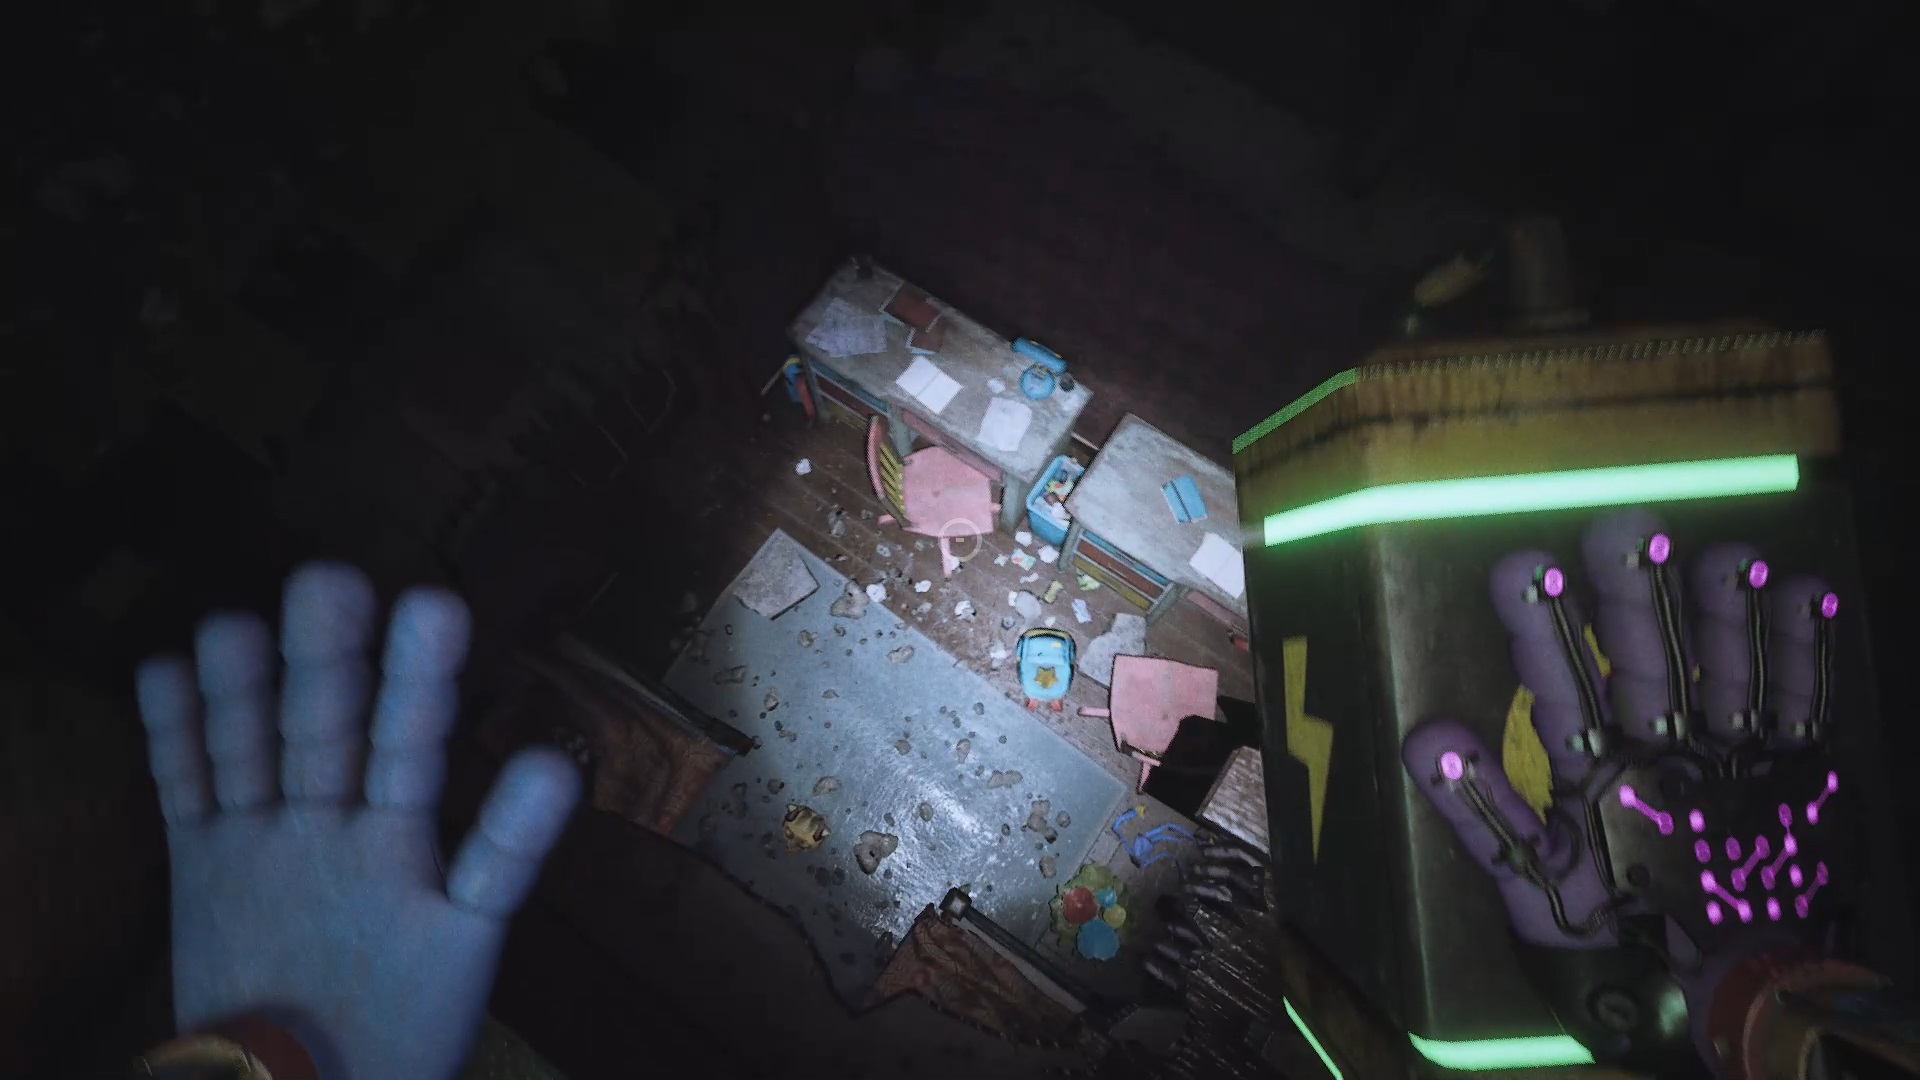
You’ll come face to face with another teddy bear with a battery on his back, but you won’t be able to get the battery back yet at this point. Inspect the bunk beds for a vent. Go down there to access the lower floor. In this hallway, locate a maintenance room with a power source. Charge your hand and use it to flip the switch on the stairs to unlock it. Go back upstairs to collect the battery from the teddy bear on his back.

Insert the battery into the maintenance room through the conduit. We only have one left. In the hallway, you will notice a closed room with a vehicle inside. This room appears to be locked by a mechanism with two switches. Use the maintenance power source to unlock the staircase once again. You will have to be quick. Use the staircase power source to quickly power a first switch. Unlock the stair door before leaving and power the second switch in the same way. Once the room is unlocked, pull the vehicle’s string to open a passage.
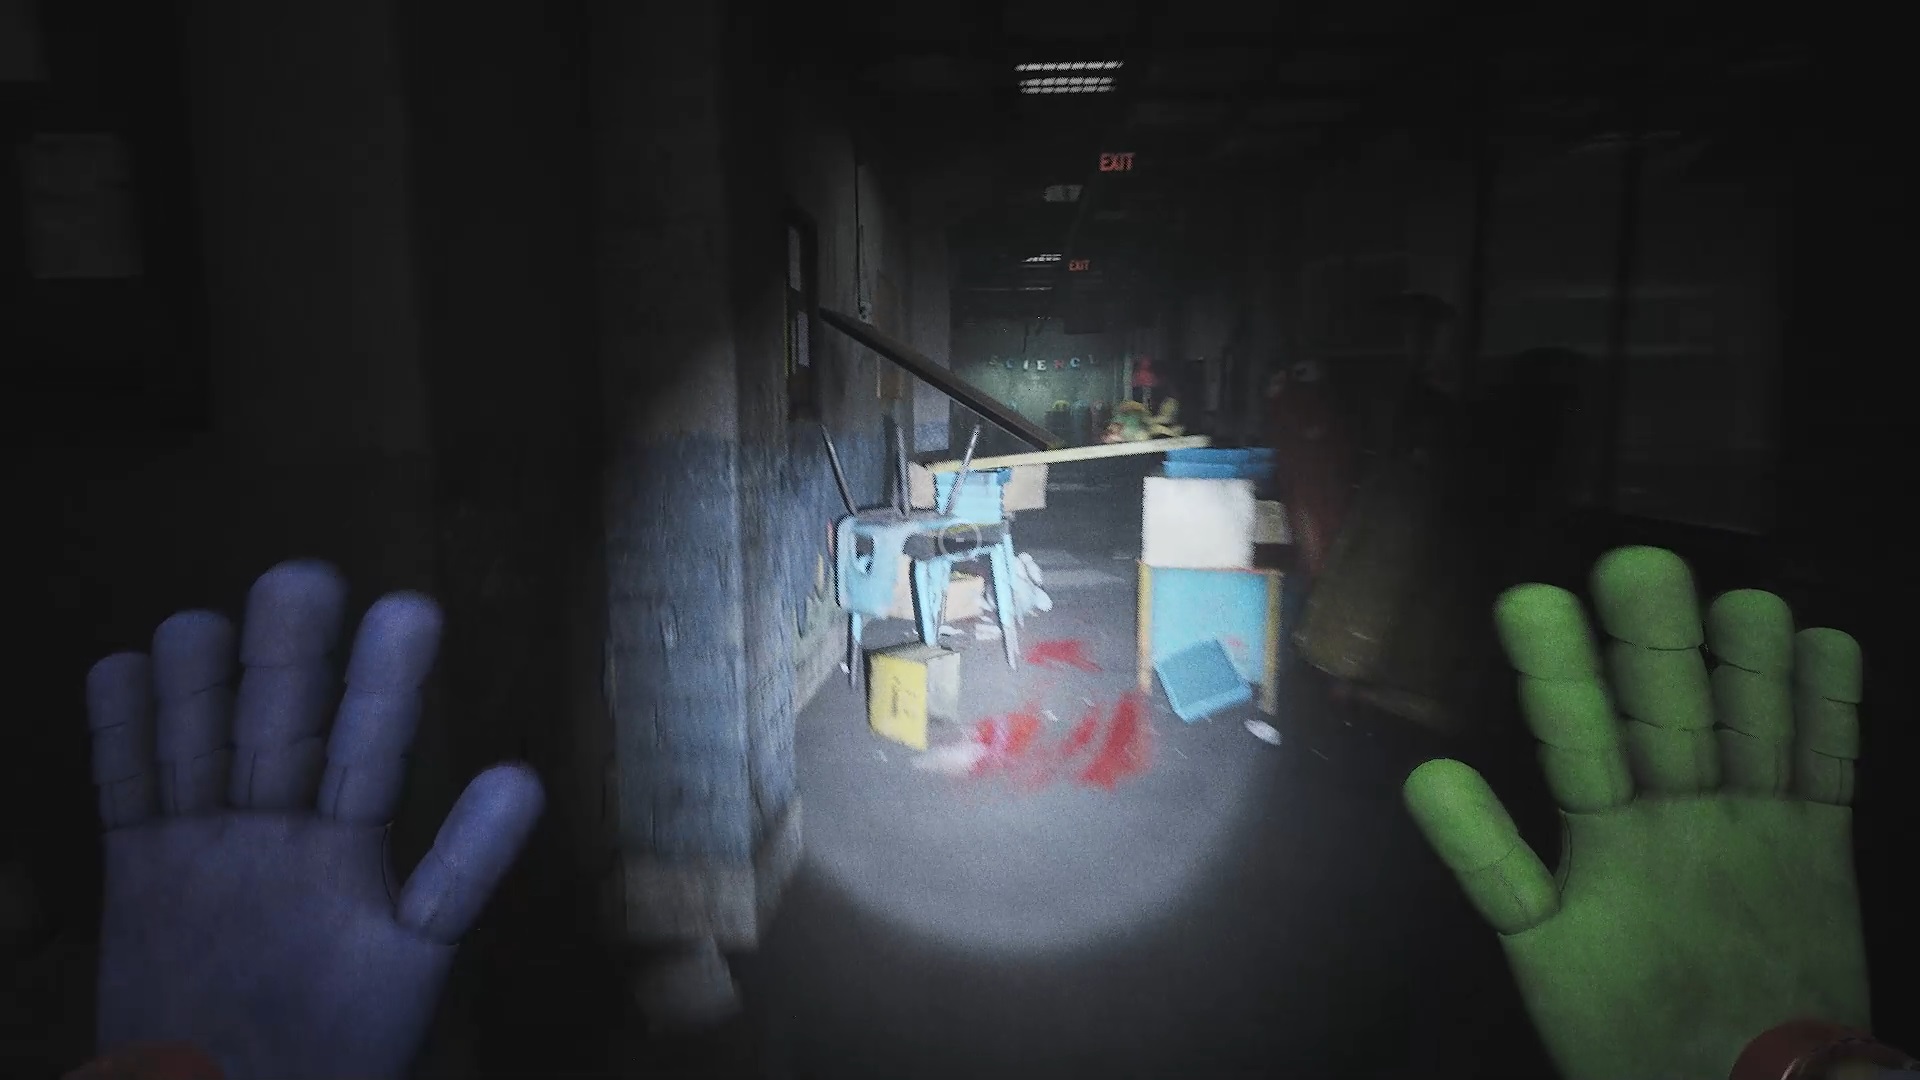
Follow the blood trails to get to a room filled with gas. Equip the mask to enter and pass through the conduit. Once on the other side, collect the battery. Use the reader above a sliding door to unlock access to the maintenance room. Insert the battery into the base in the maintenance room and flip the switch to power the west wing of the mansion.
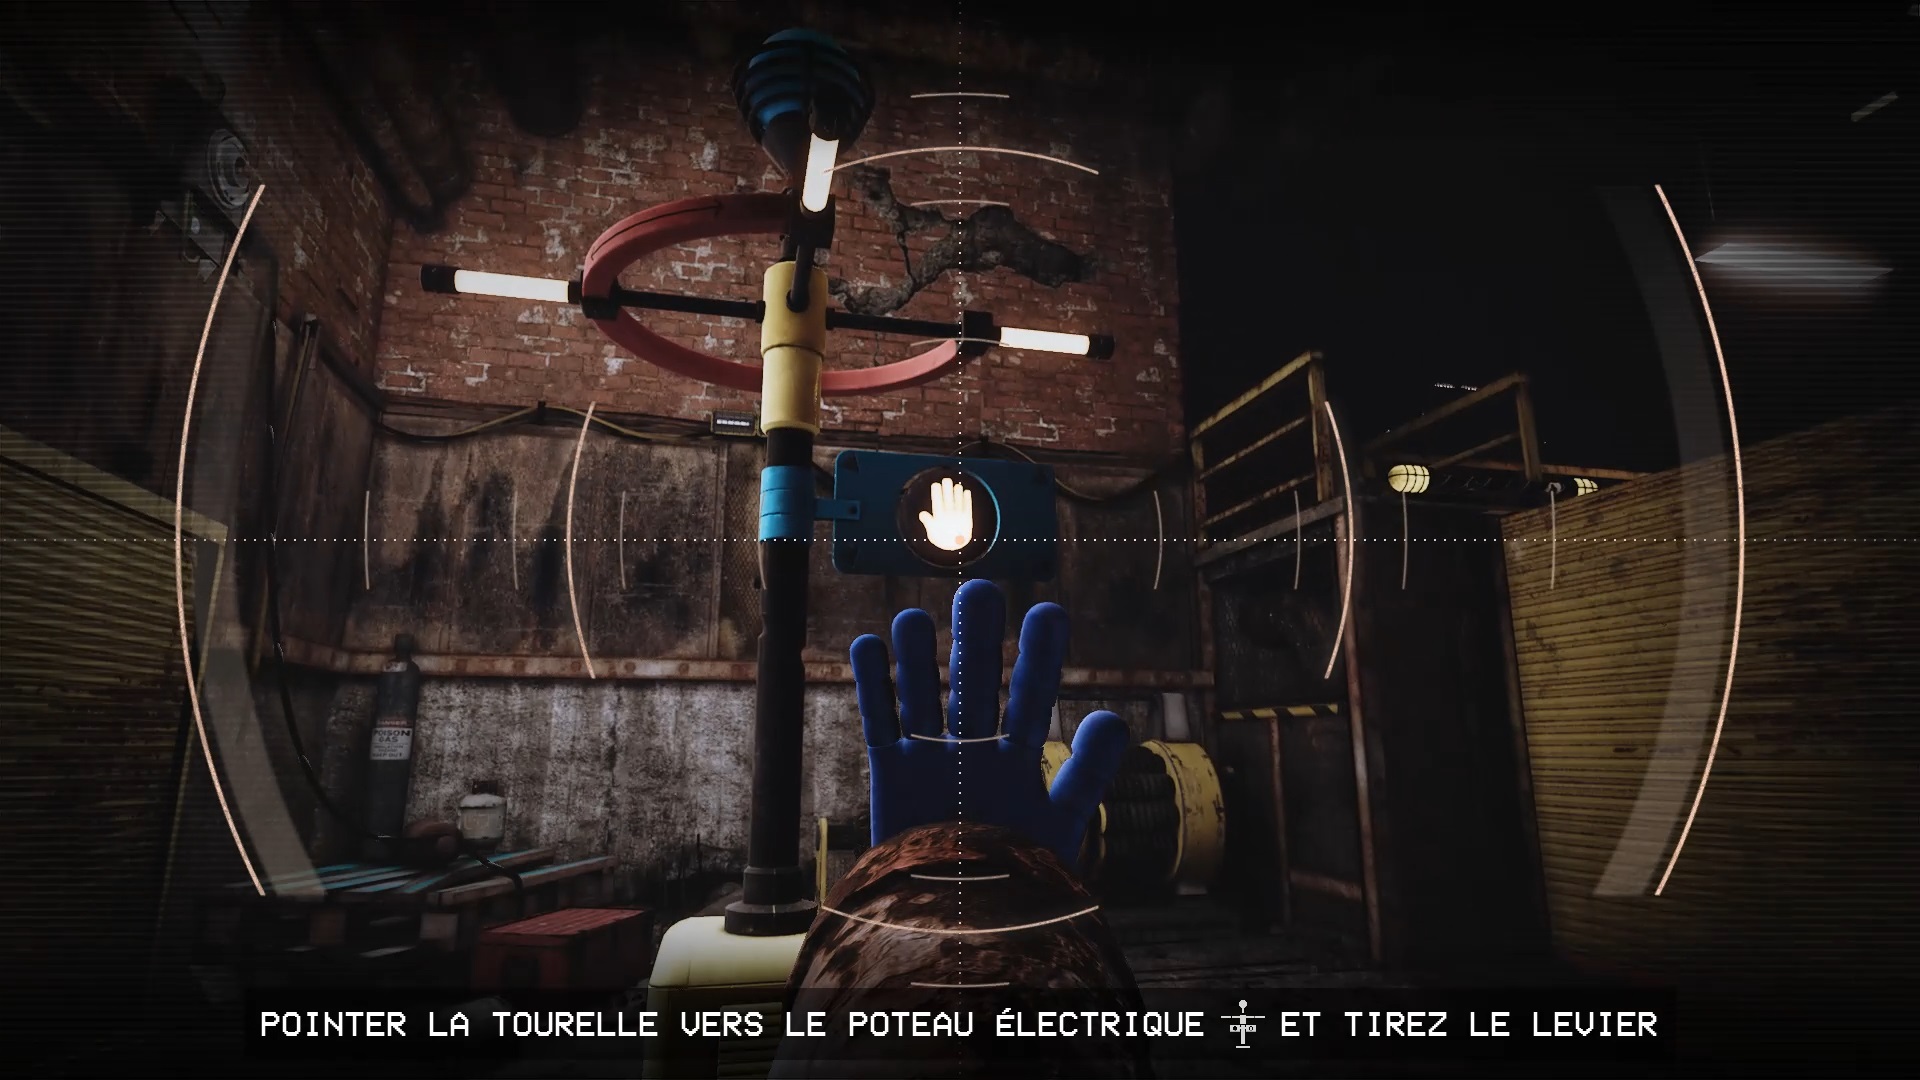
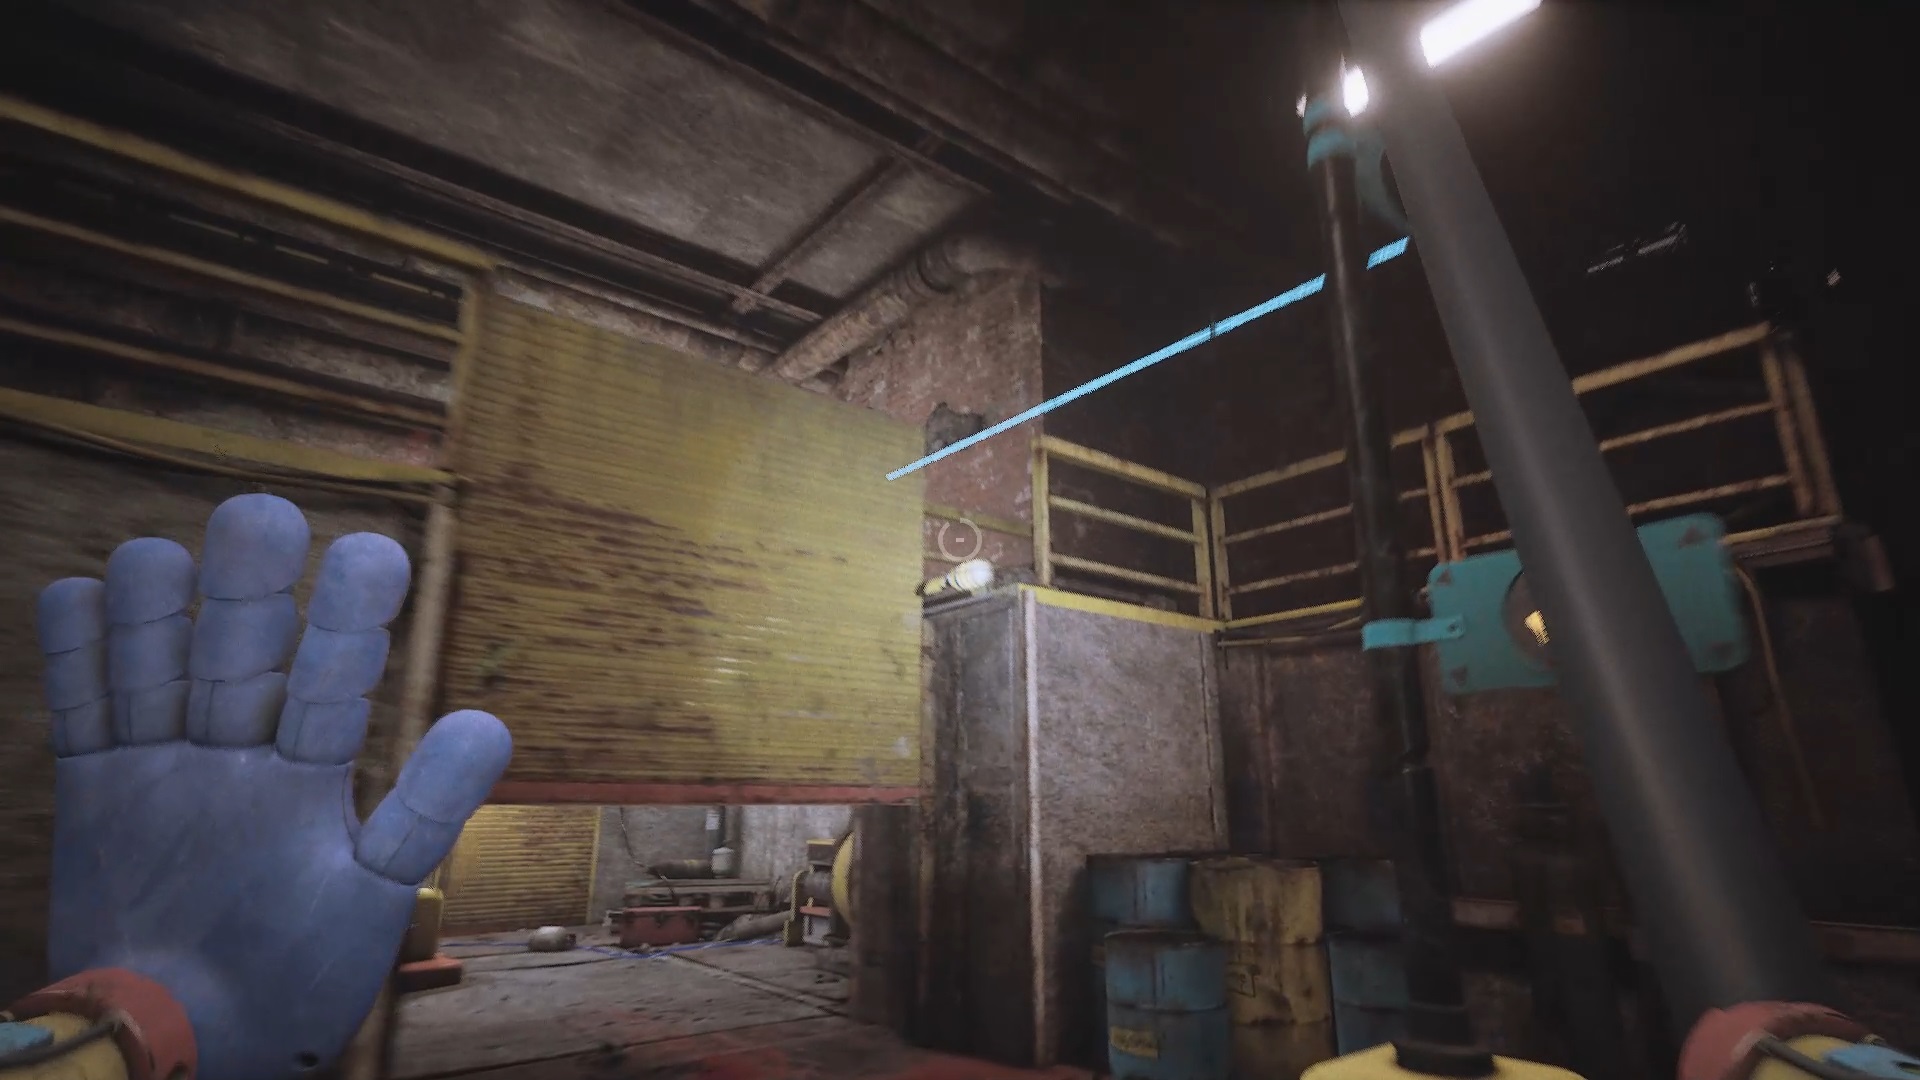
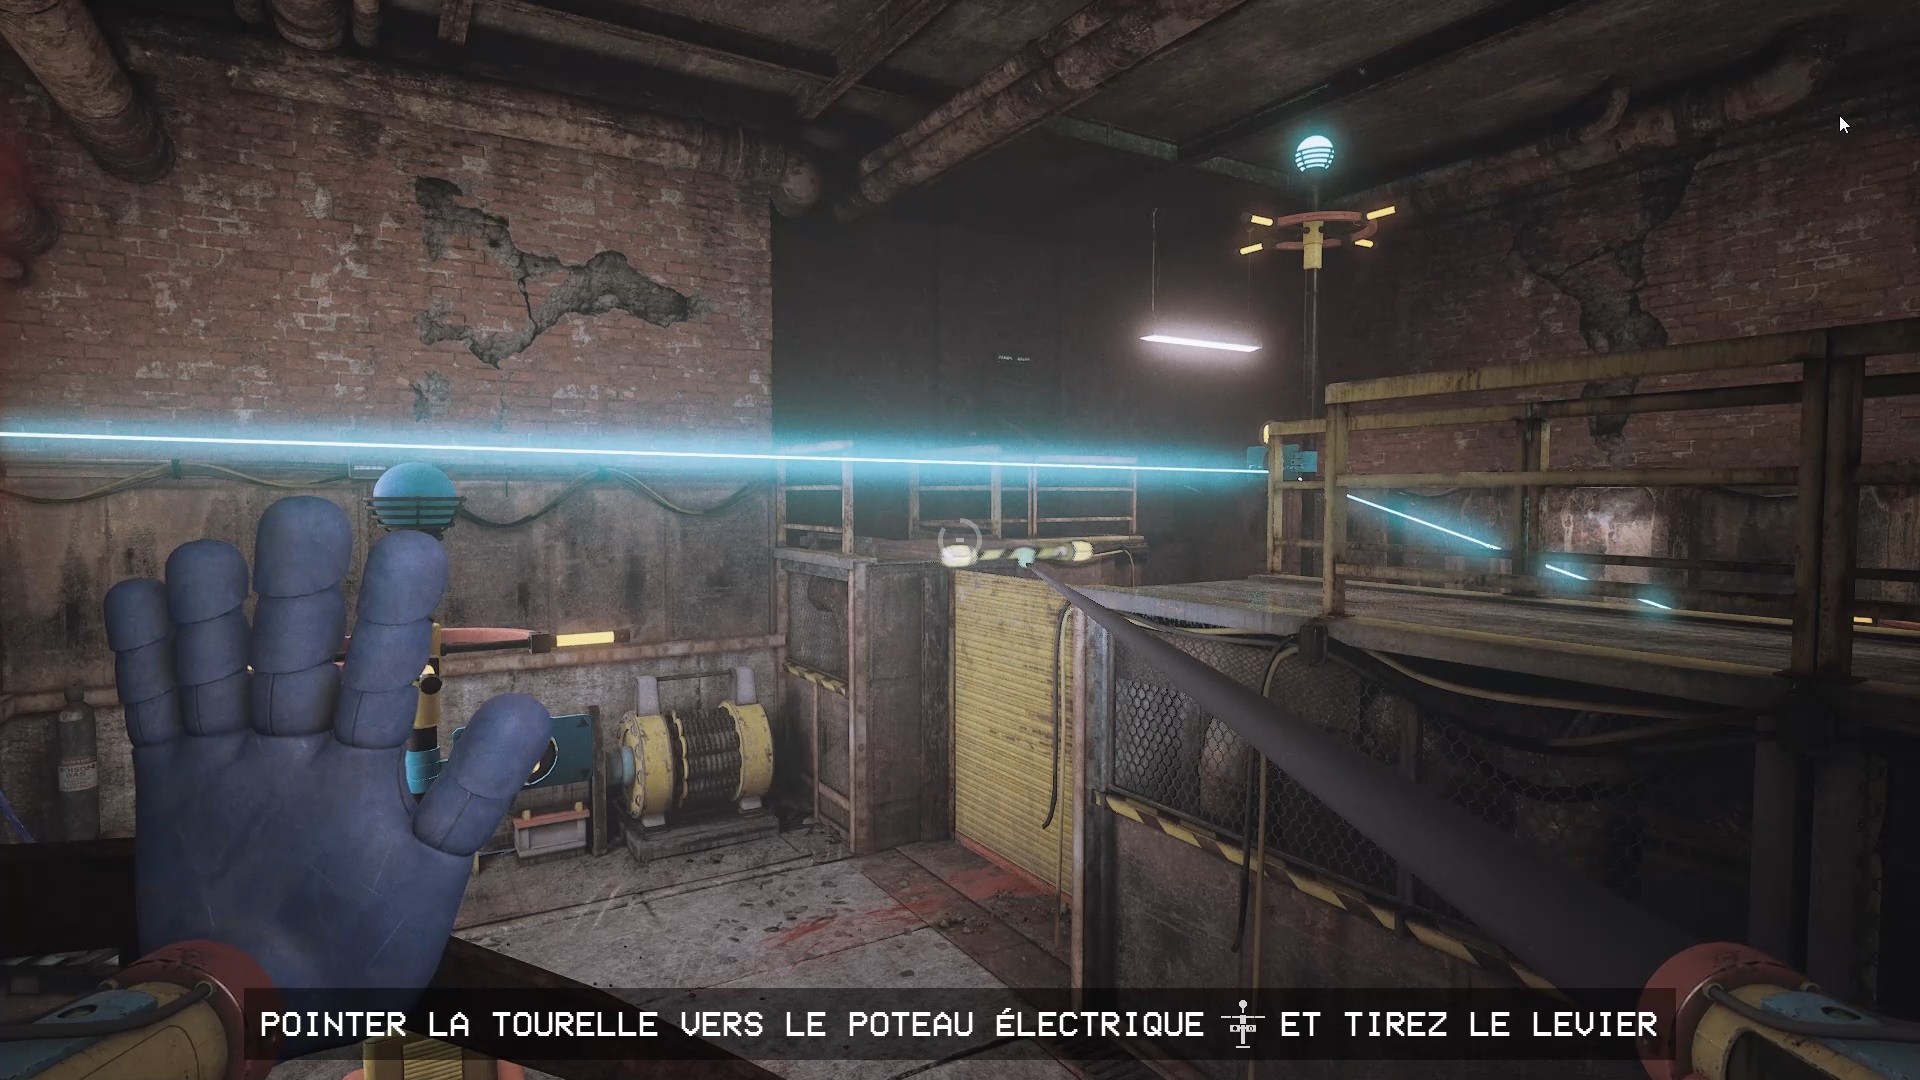
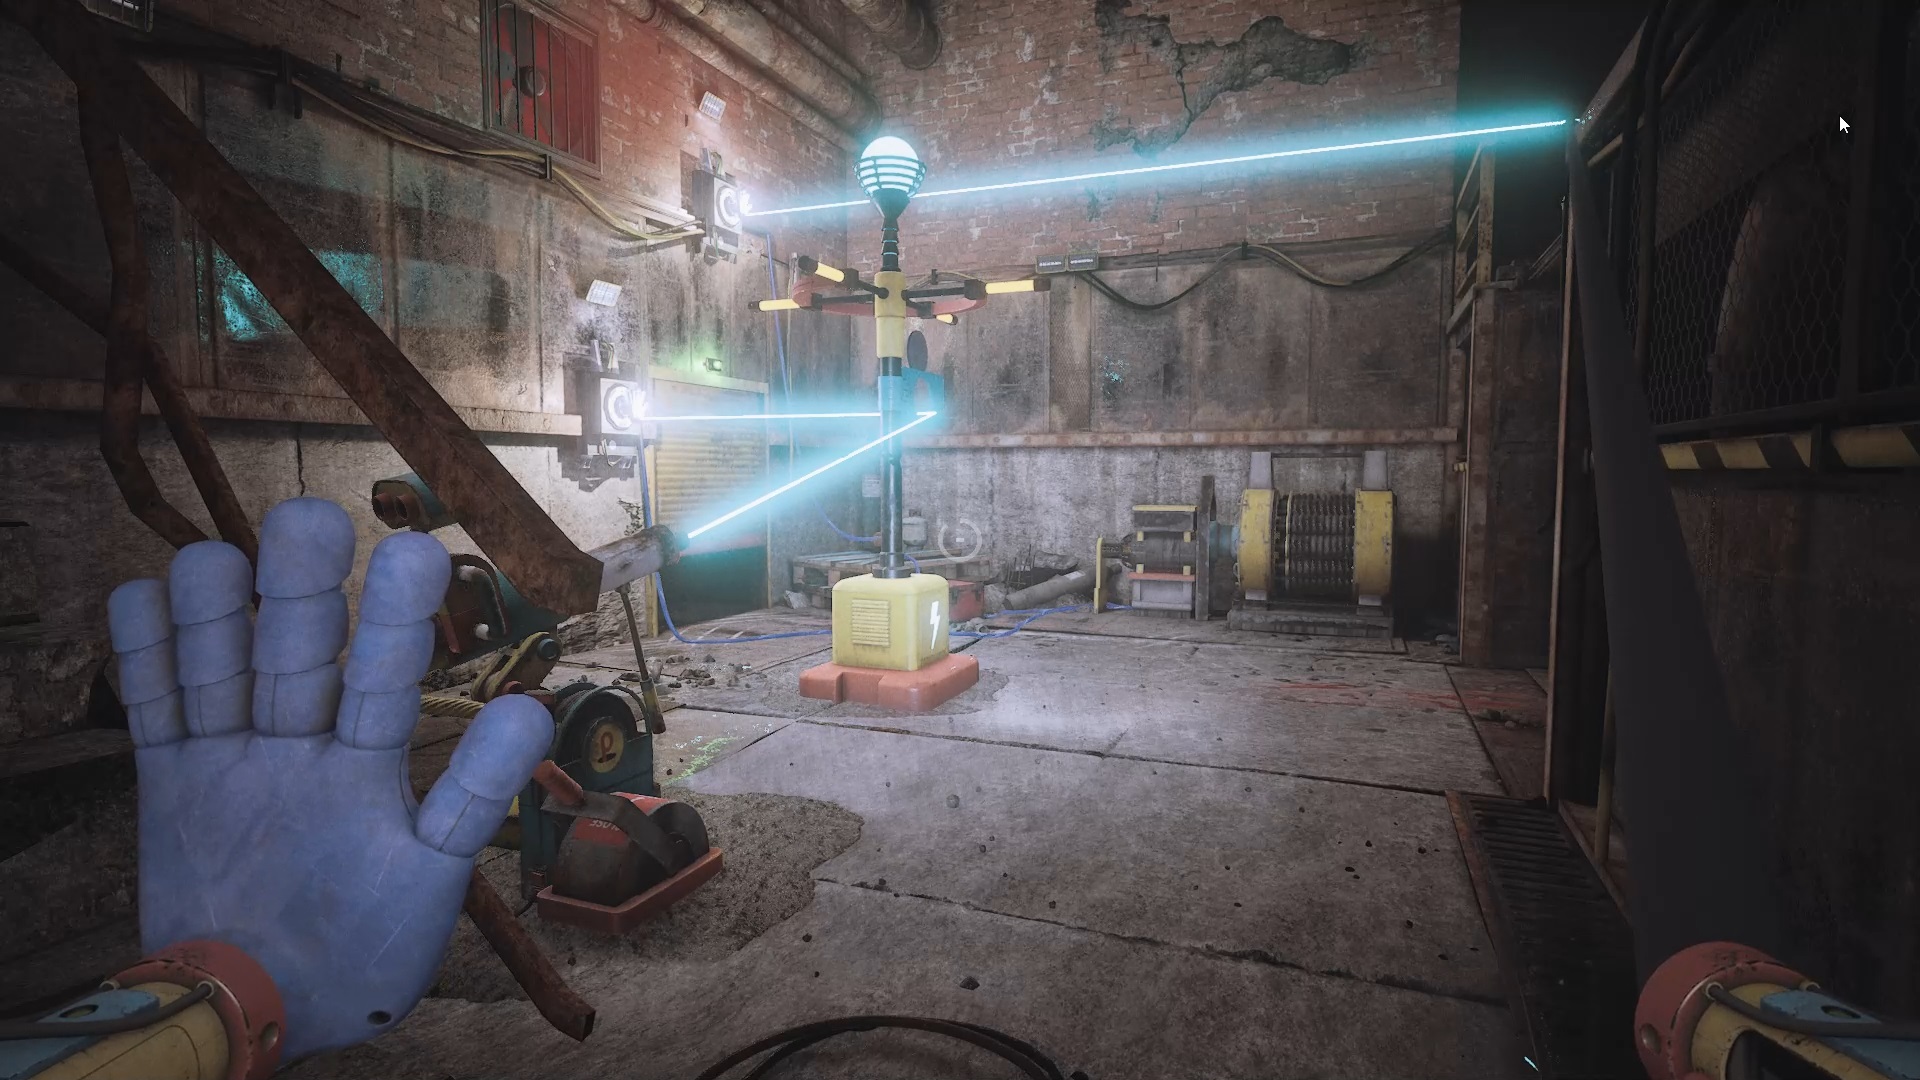
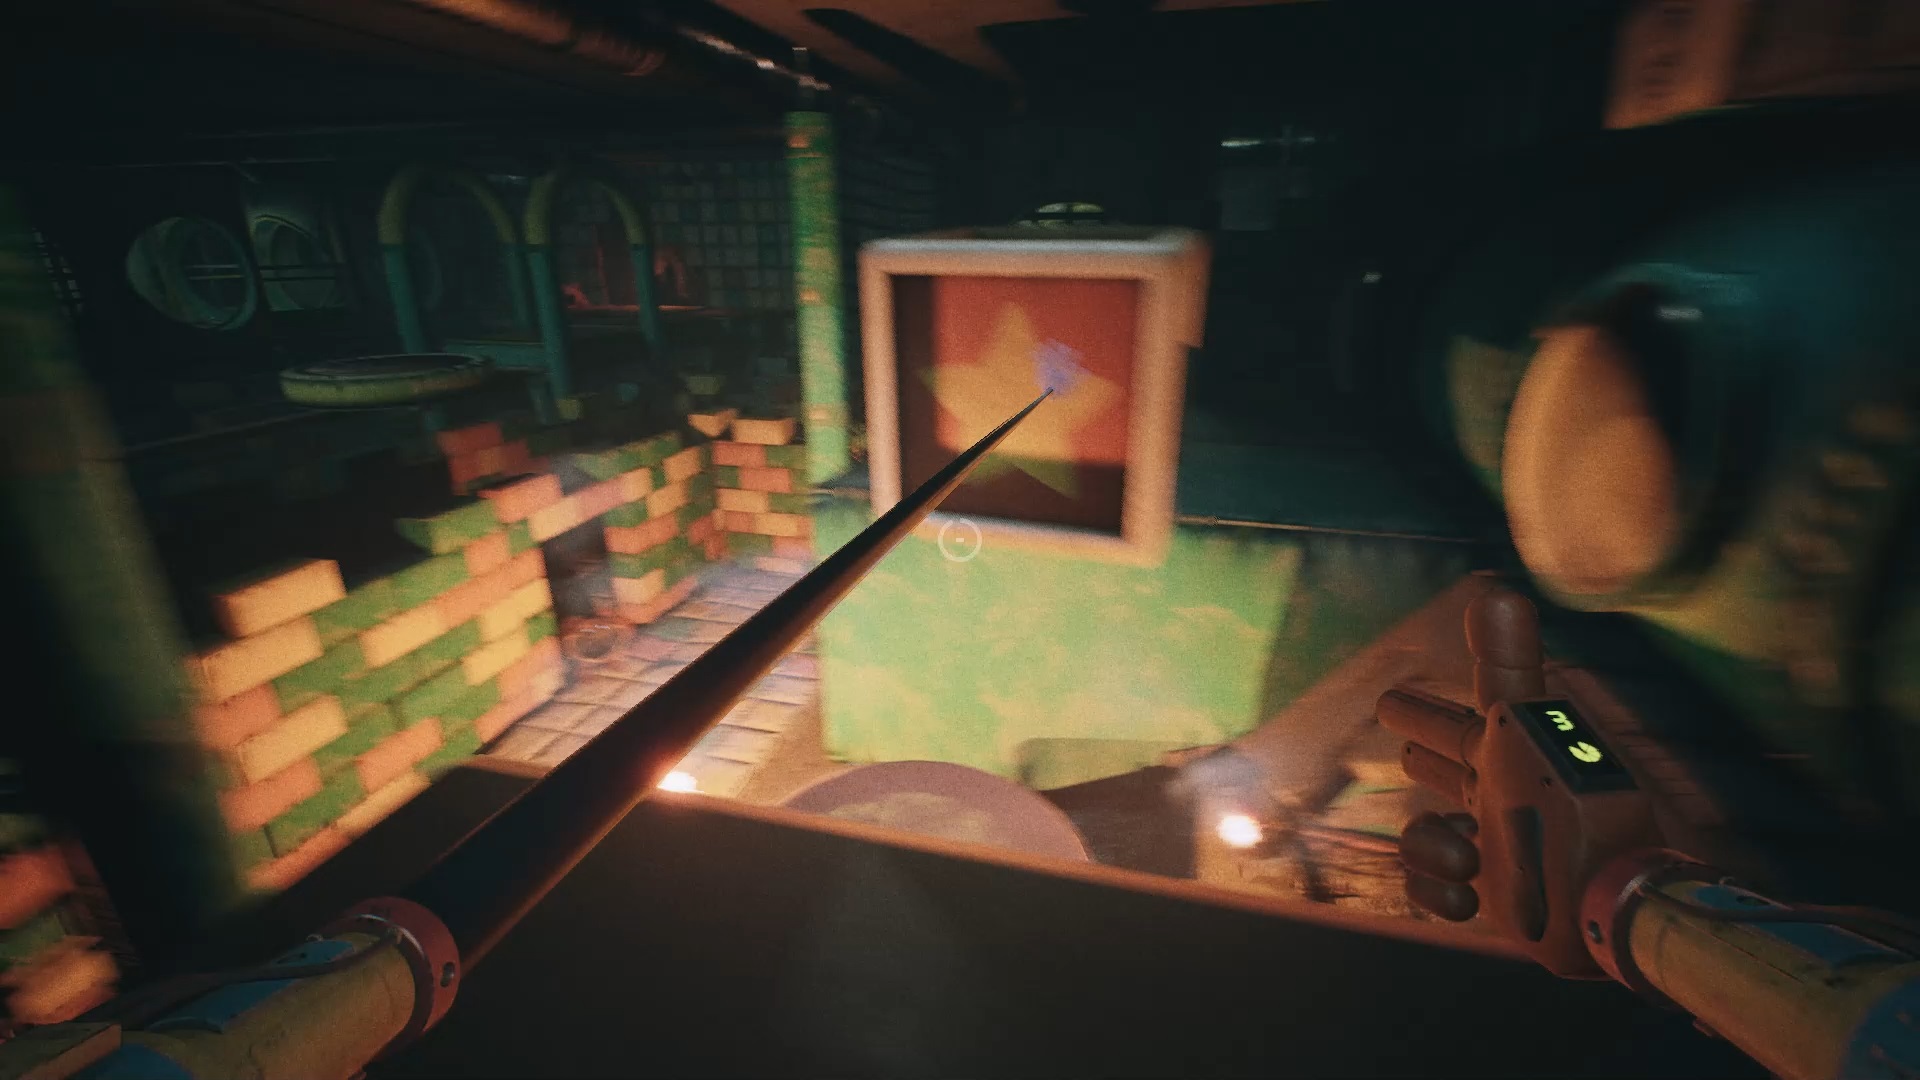
Head into the hall to open the red door. Once in the room, point the pillar facing the cannon towards the switch. You will hear a click when you have made the correct alignment. Next, point the turret at the hand symbol and pull the lever to activate the switch and raise a grate. Cross to the other side and orient two new pillars.
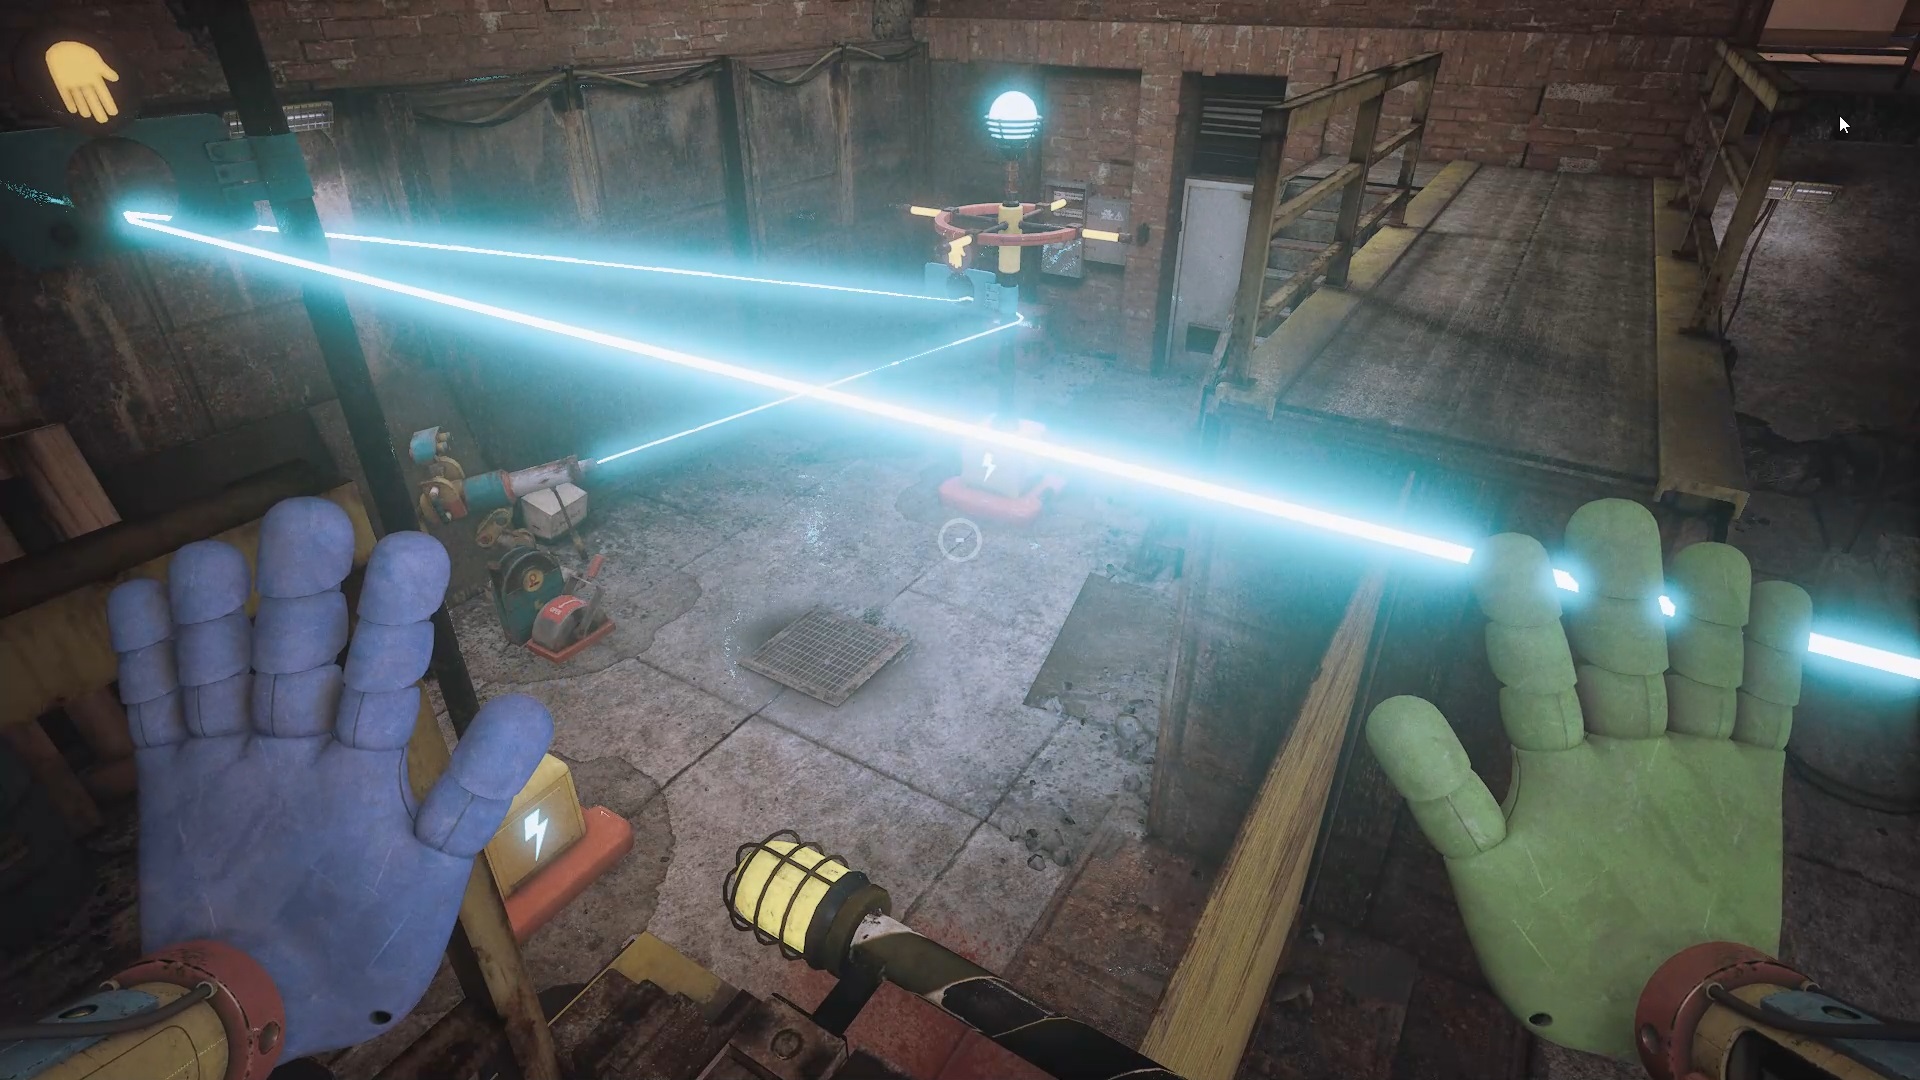
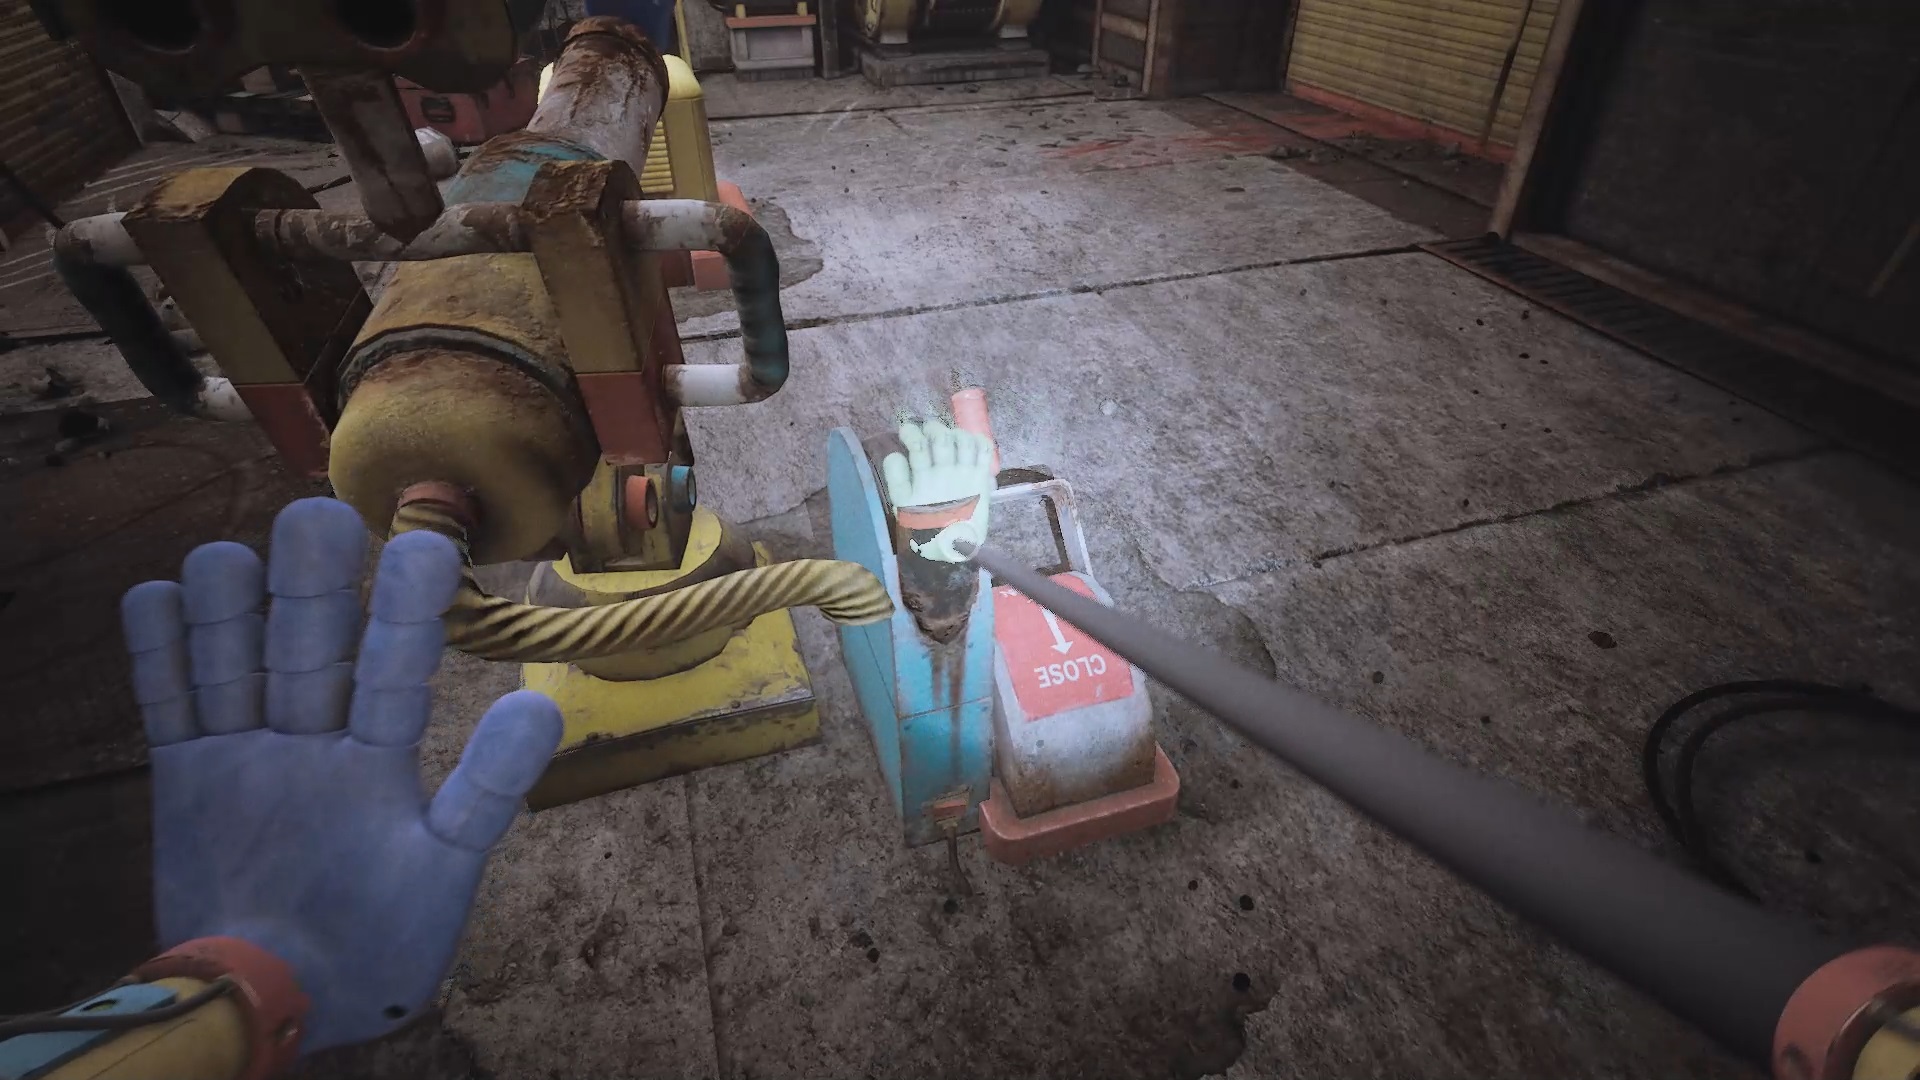
Line up the two pillars to activate the switch against the wall. To exit the room, you need both switches turned on, but a small problem is blocking you: the gate. Get on the bridge and pull the lever of the first cannon again to lower the gate.
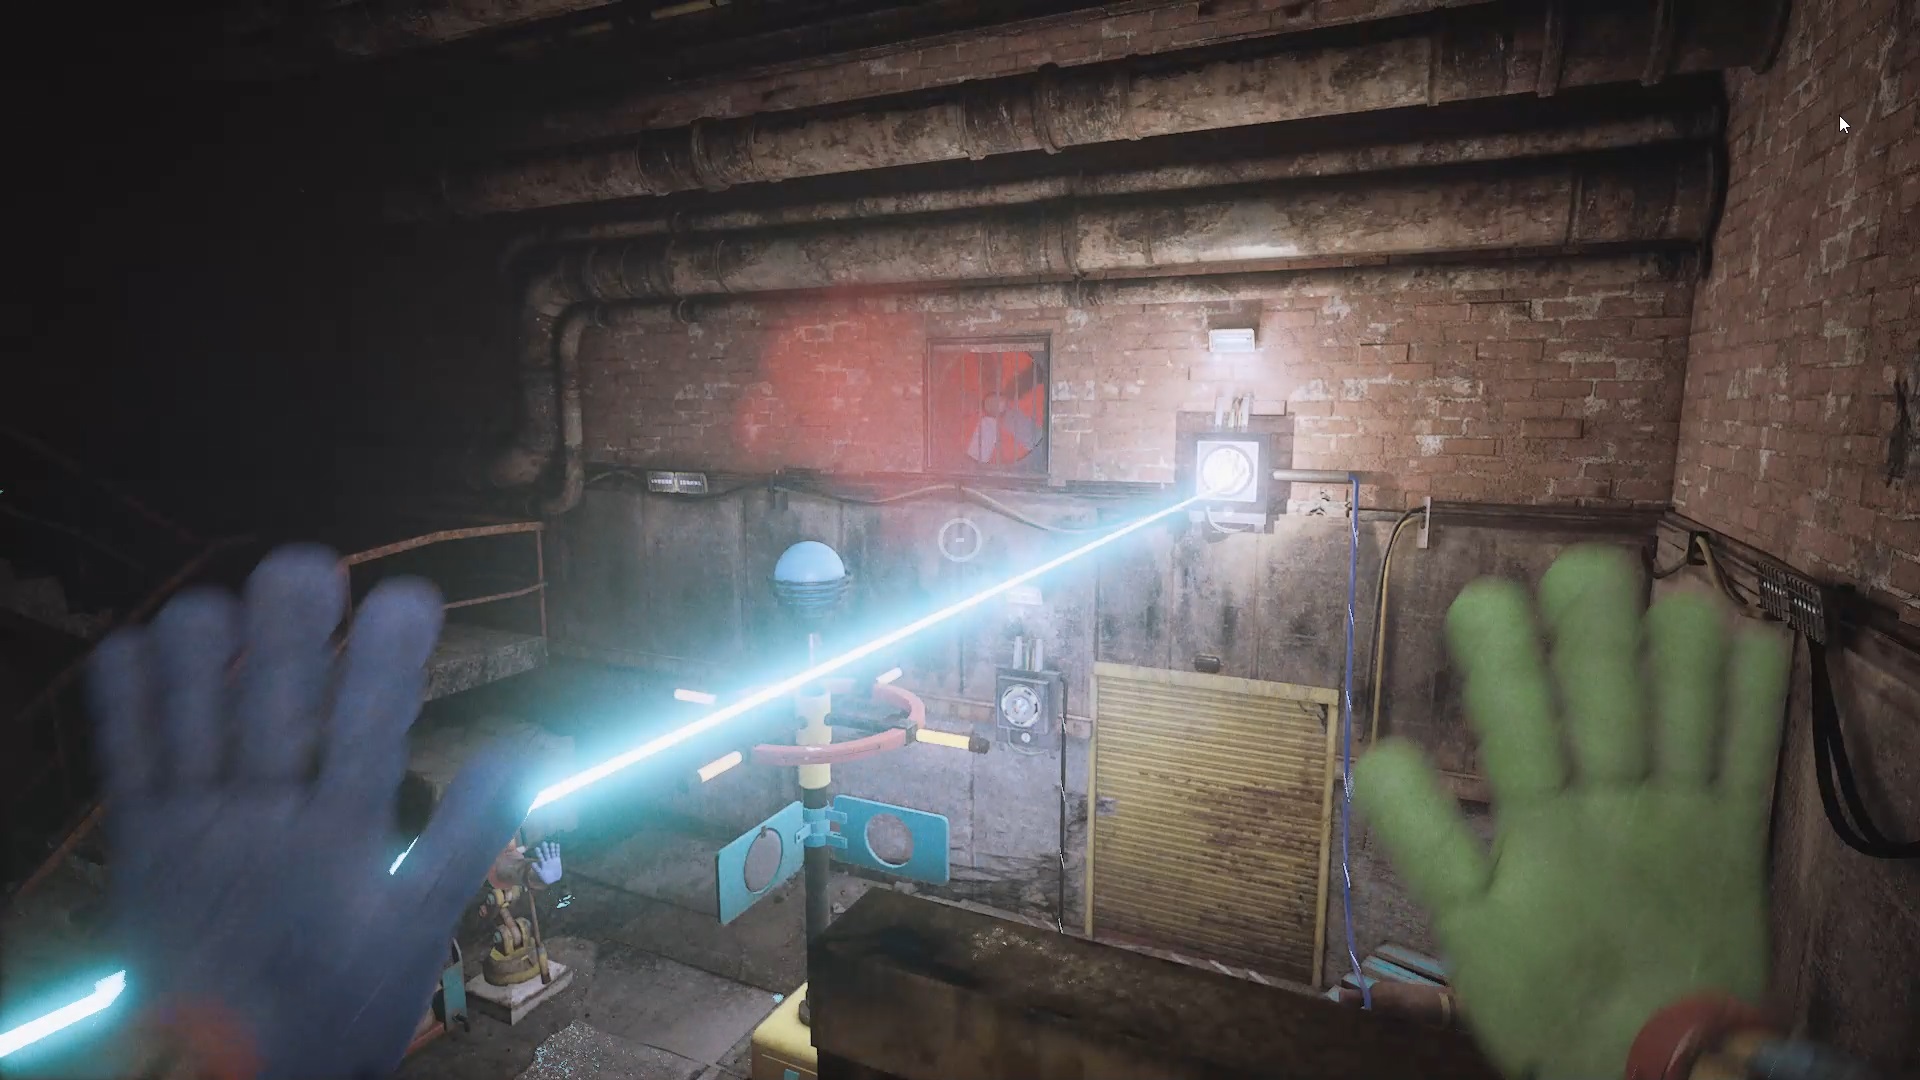
Light the pillar behind the grate and use the ramp above the grate to block it. Activate the first pillar again to succeed. Head down the hallway and press a button to bring down an elevator. Climb on it to exit the mansion.
School


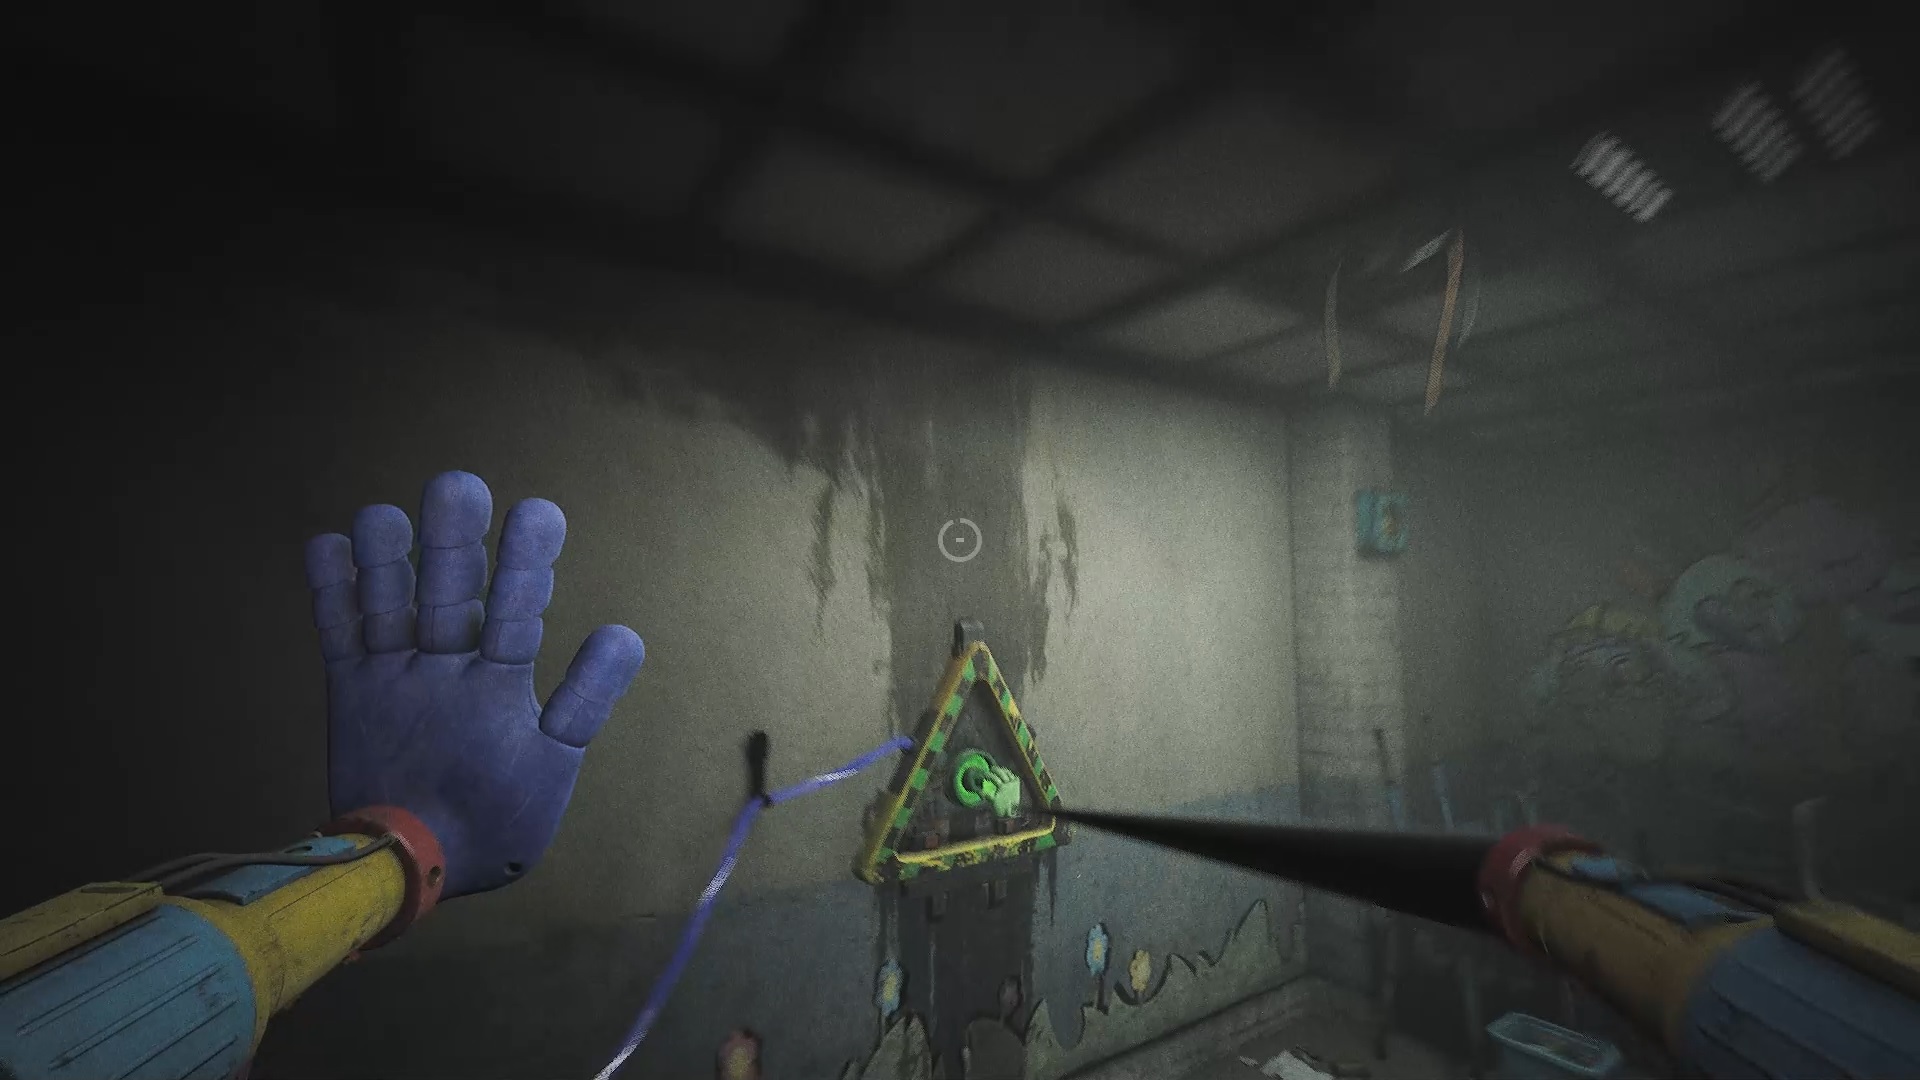
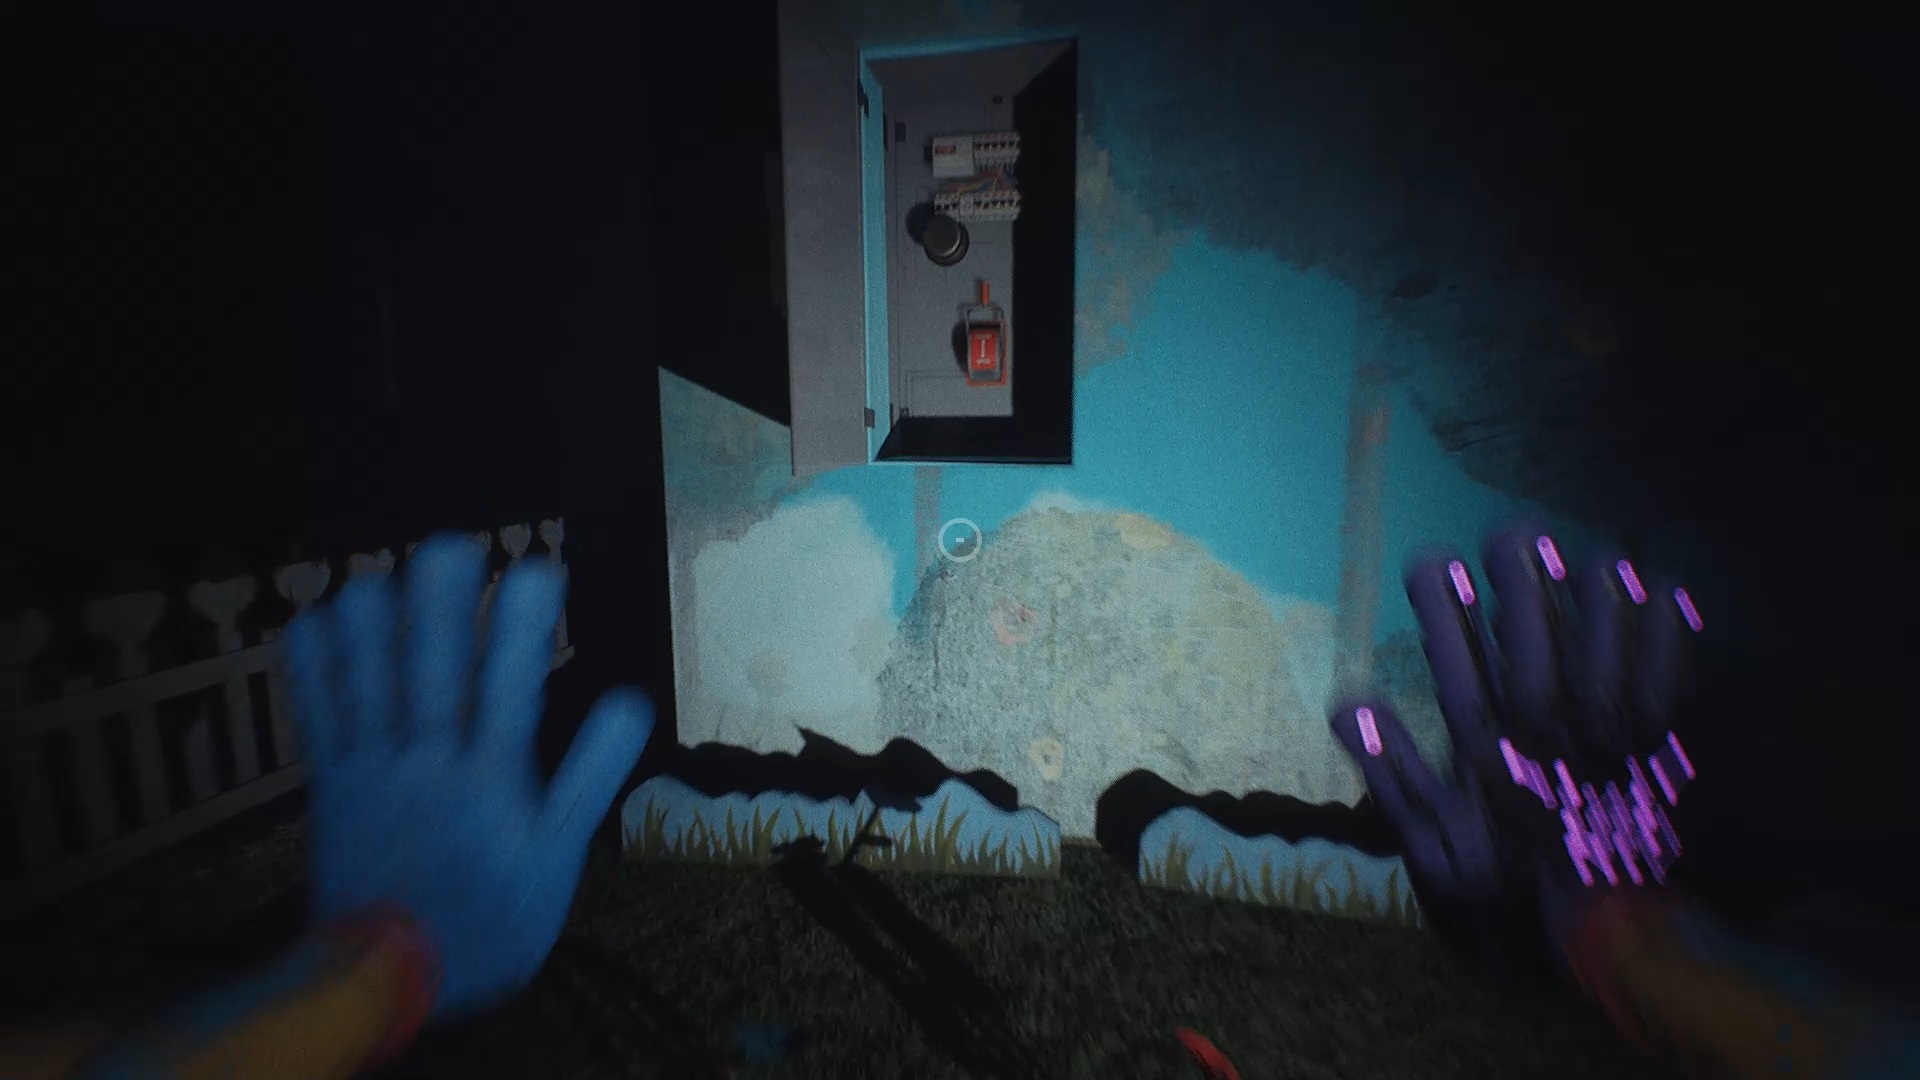
Once you leave Home Sweet Home, accompany Poppy for further explanation. Next, go to the entrance of the Home Sweet Home mansion where you will find a cable marked « Danger ». Pull it to the maintenance room below the statue, then insert it into the electrical wiring panel.

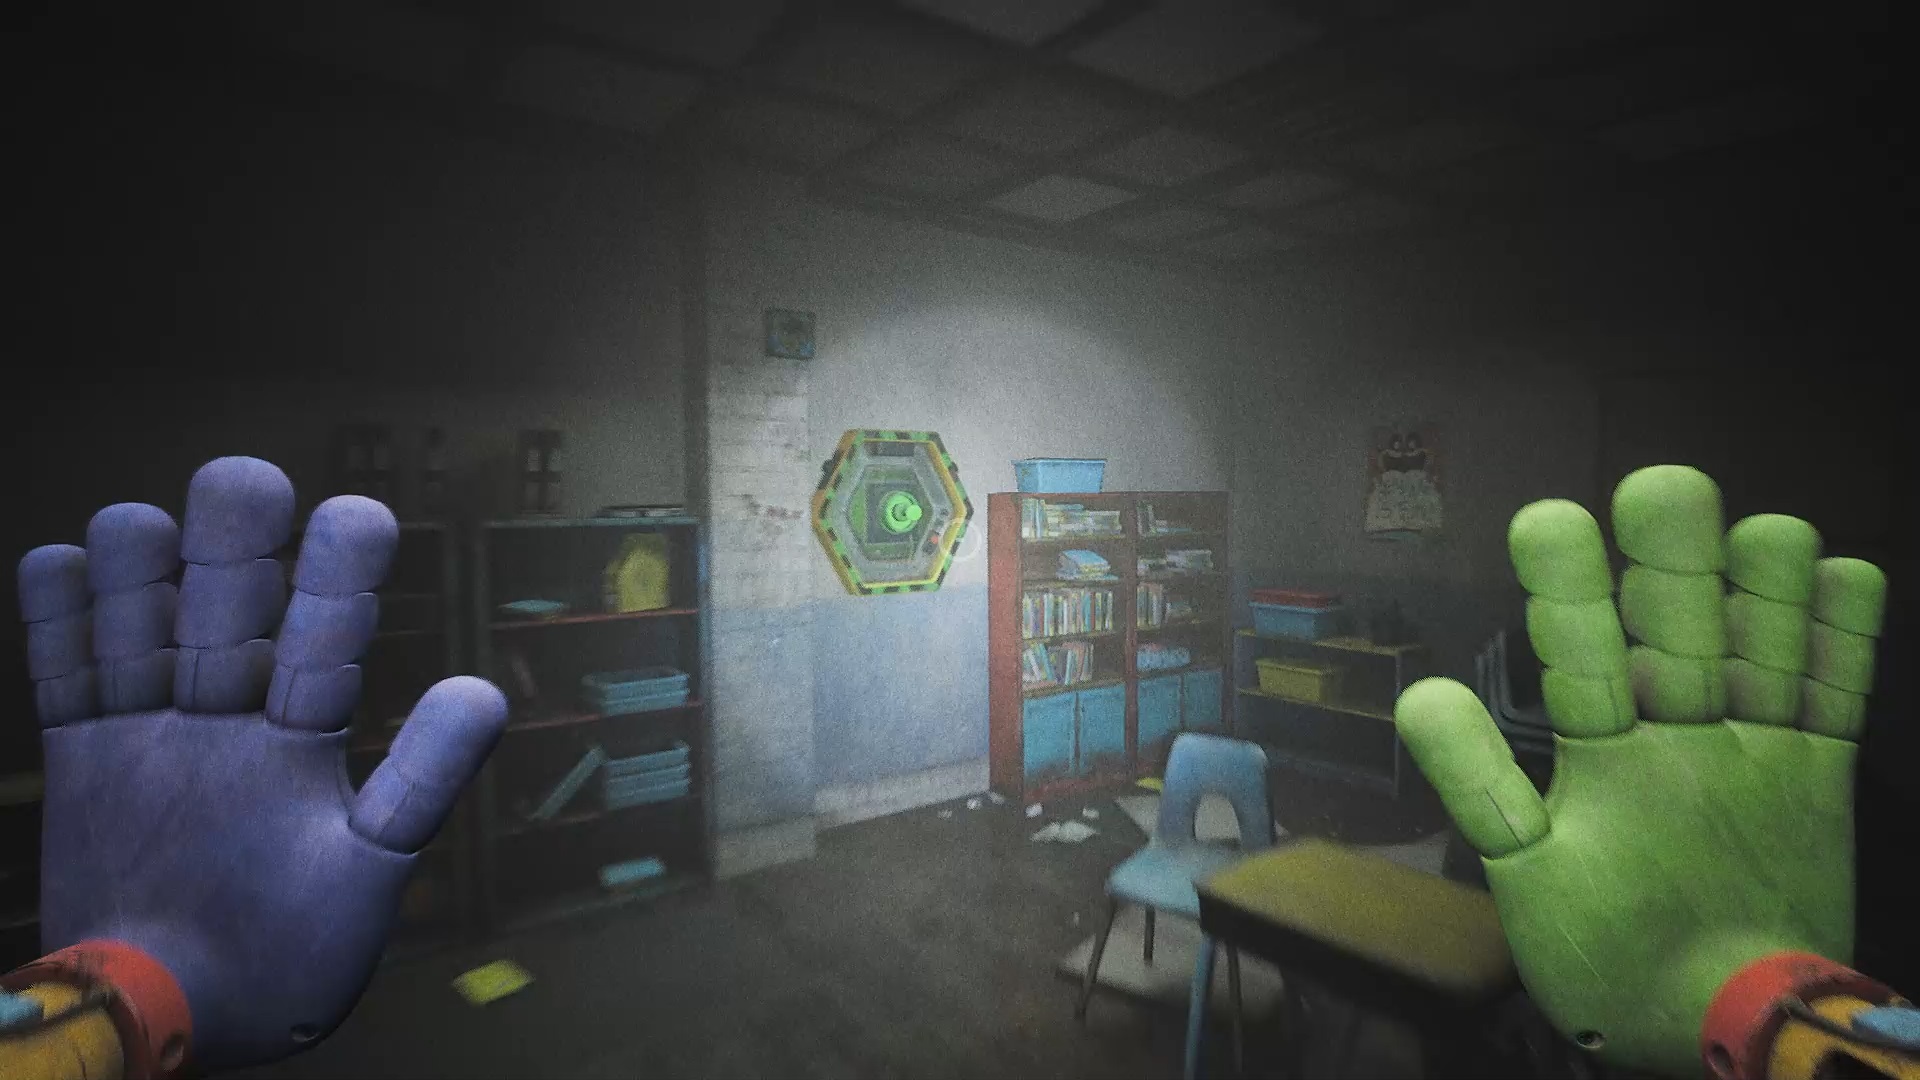
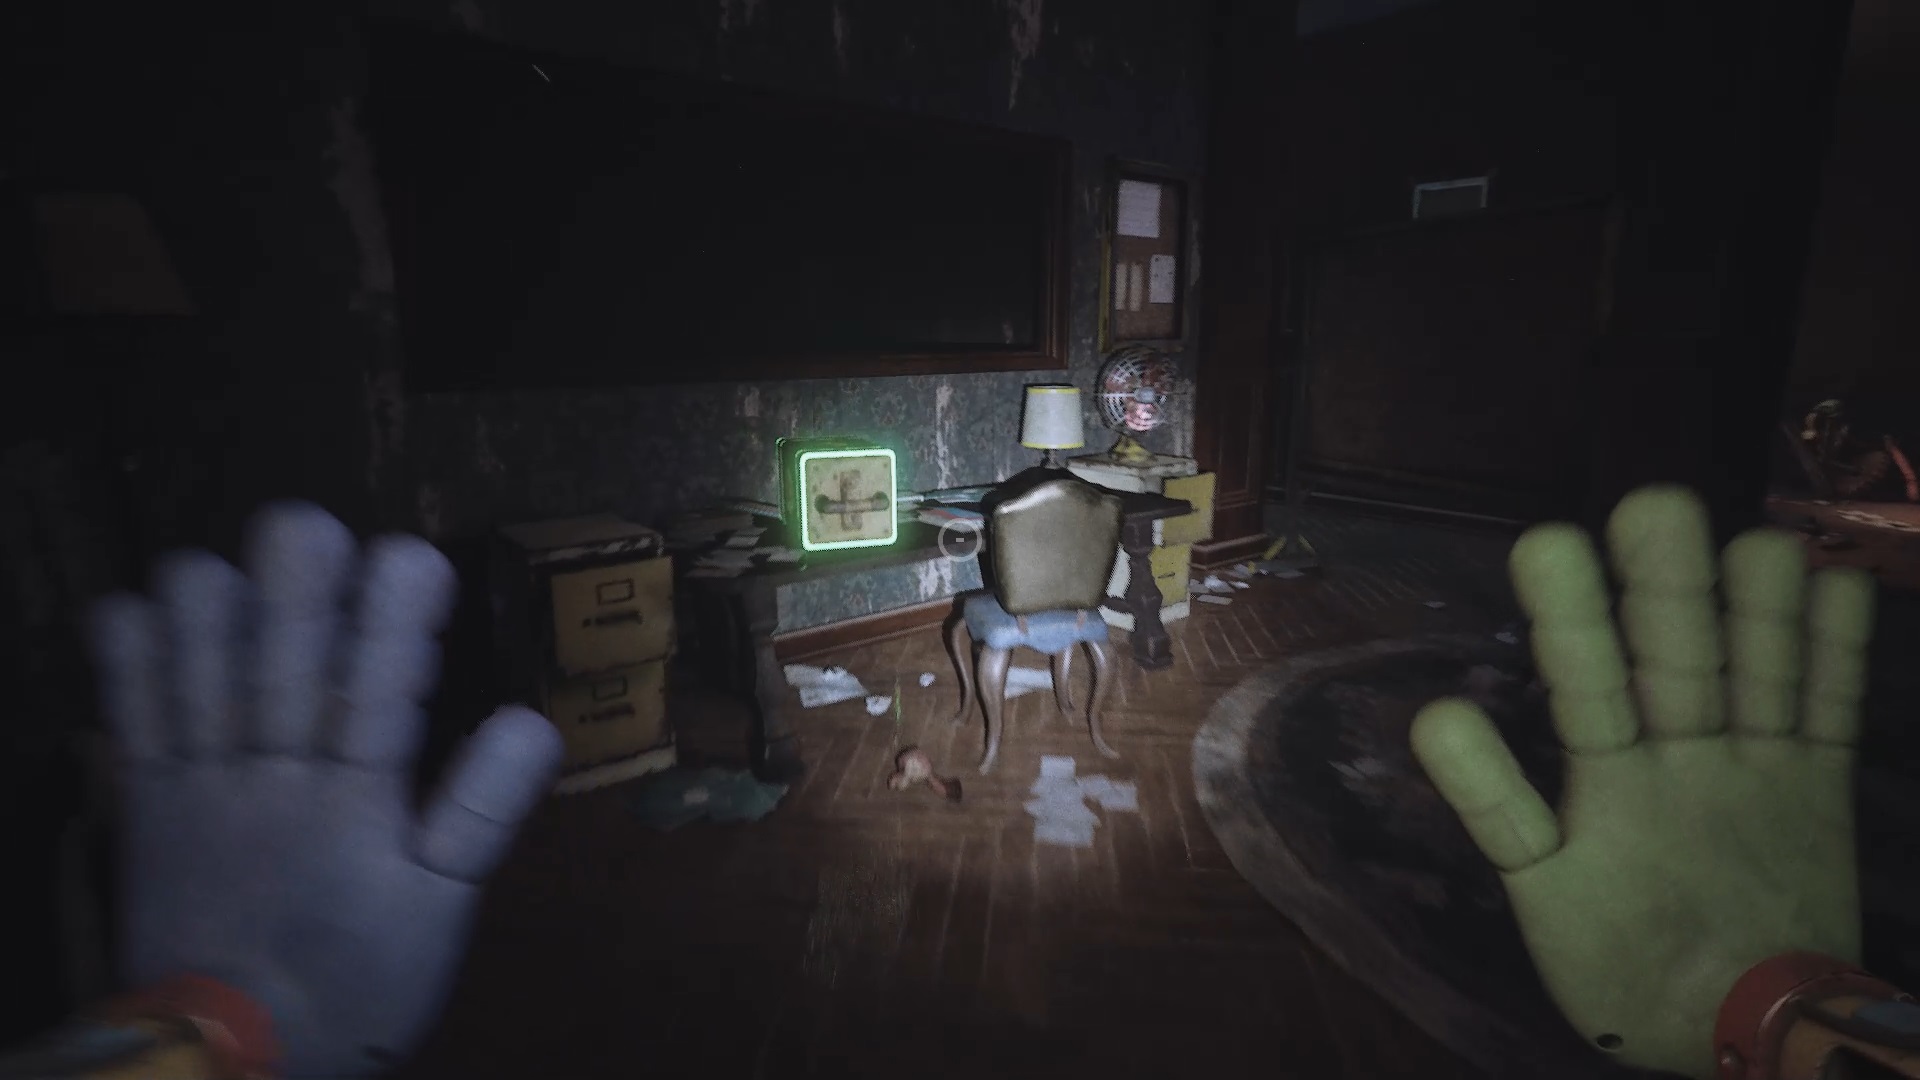
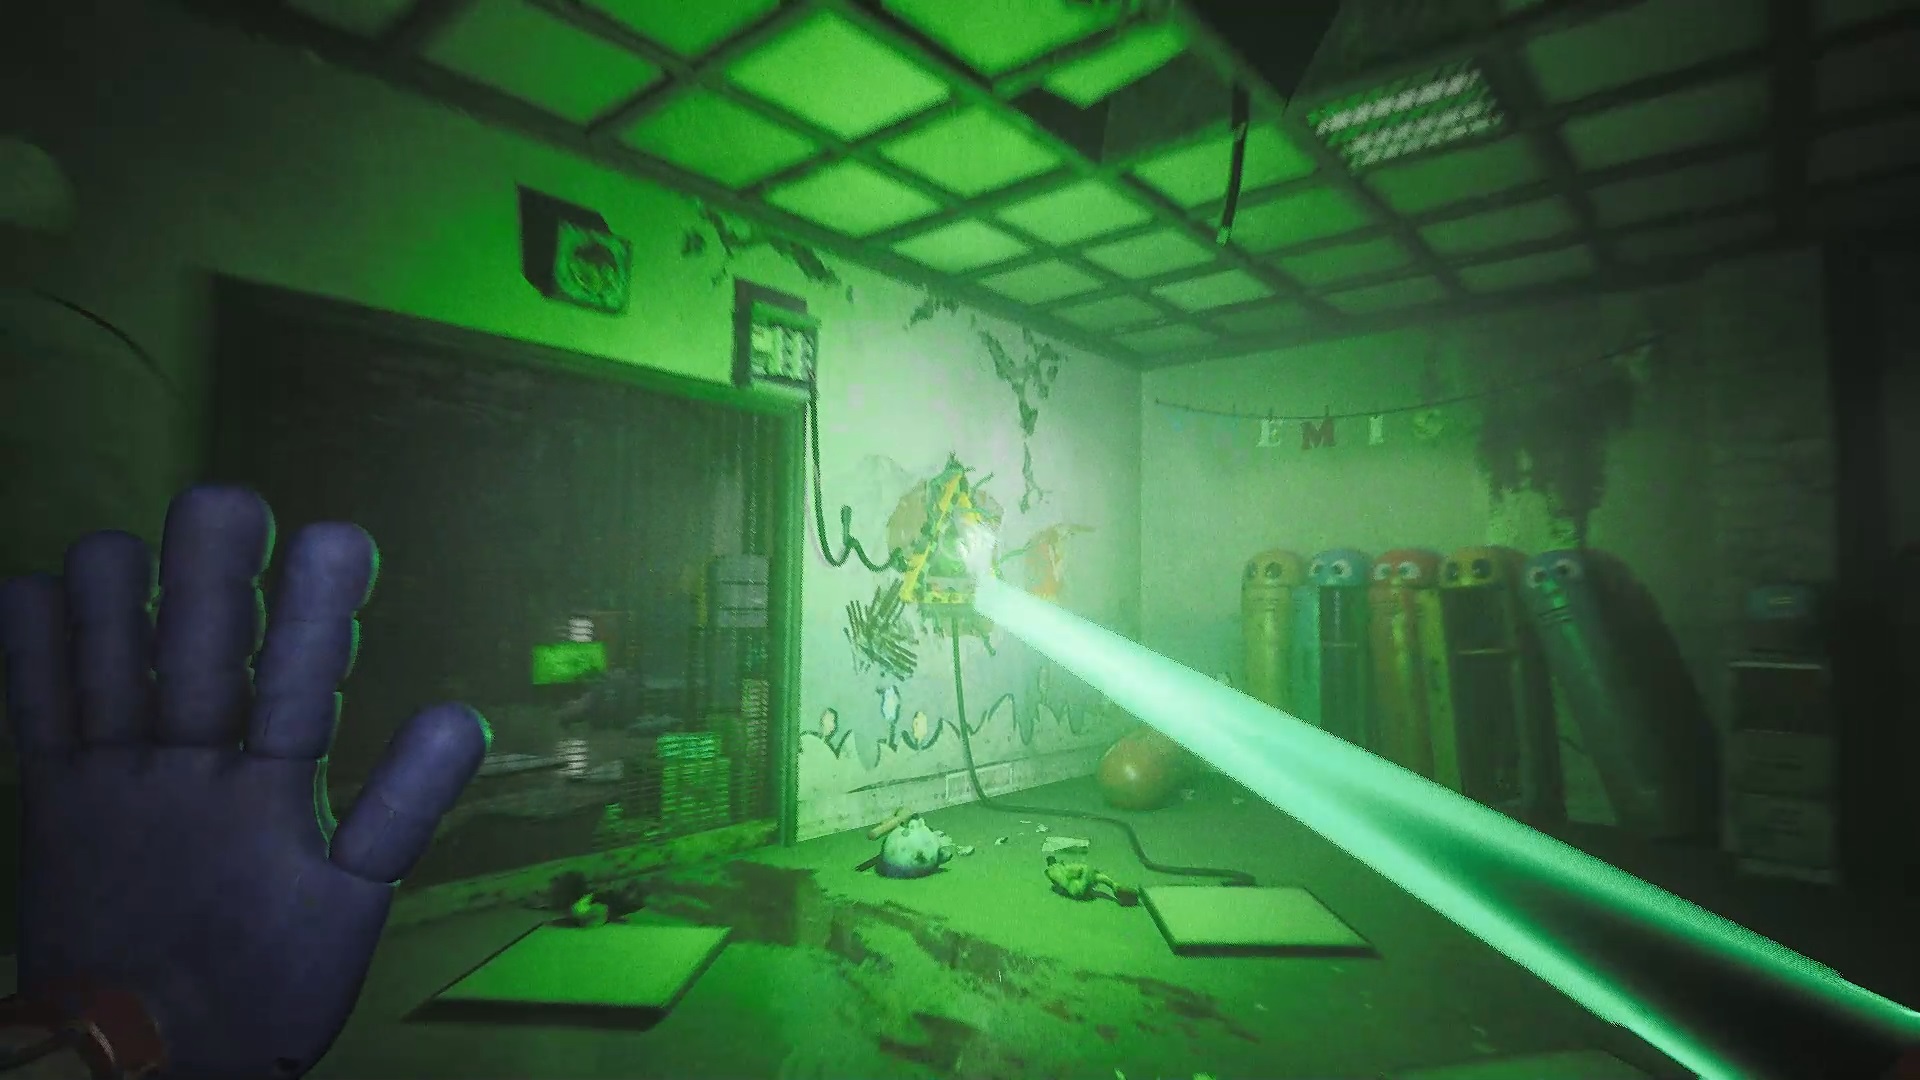
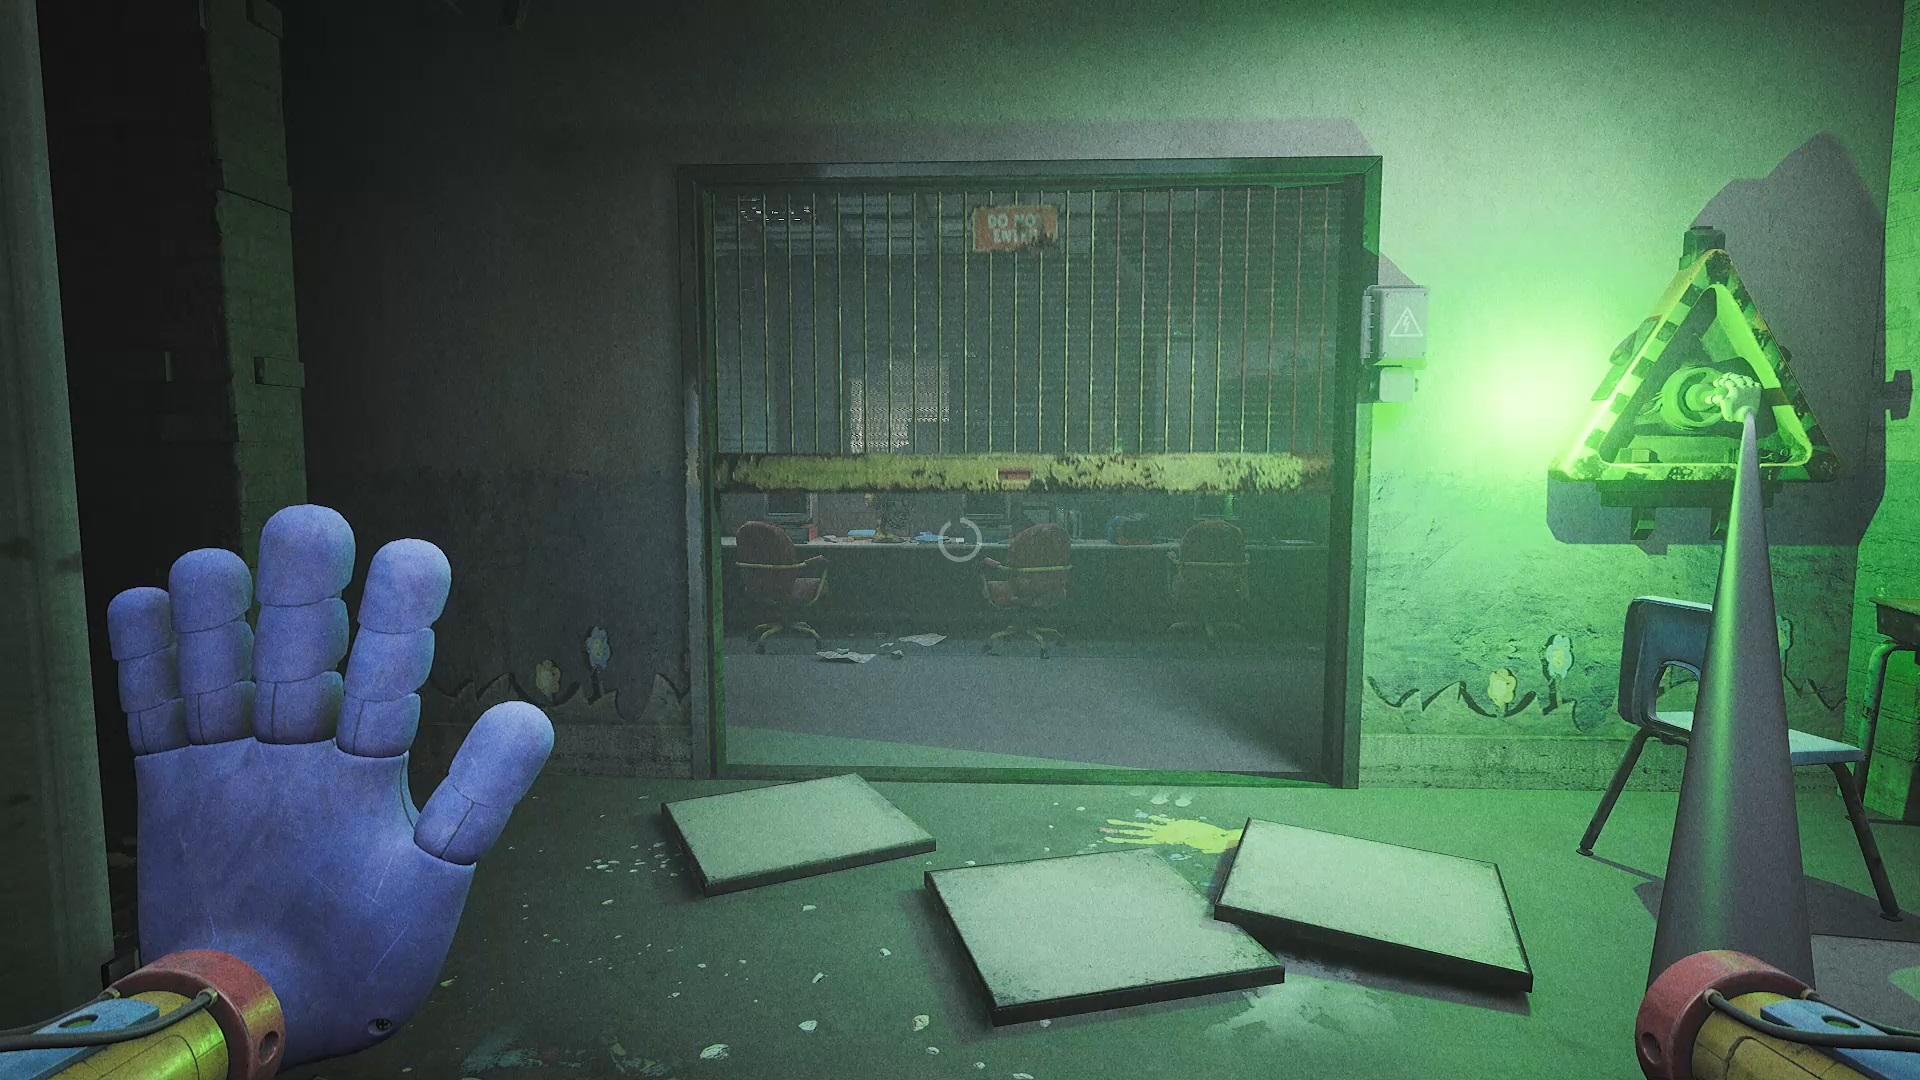
After that, collect the keys from the cage to unlock the entrance to the game house, then go inside. Explore the classrooms to locate a power source, which you can use with the switch in the hallway to open a gate.
Proceed down the corridor until you spot a classroom on your left, where there is a battery. Then explore the corridor on the right to discover two bases. Insert the battery into the wall. Next, examine the fence on the left to find the second battery. Return to the corridor to pass under a barricade. Head into the room on the right to find access to a conduit. Use your mechanical arm to pull yourself inside.
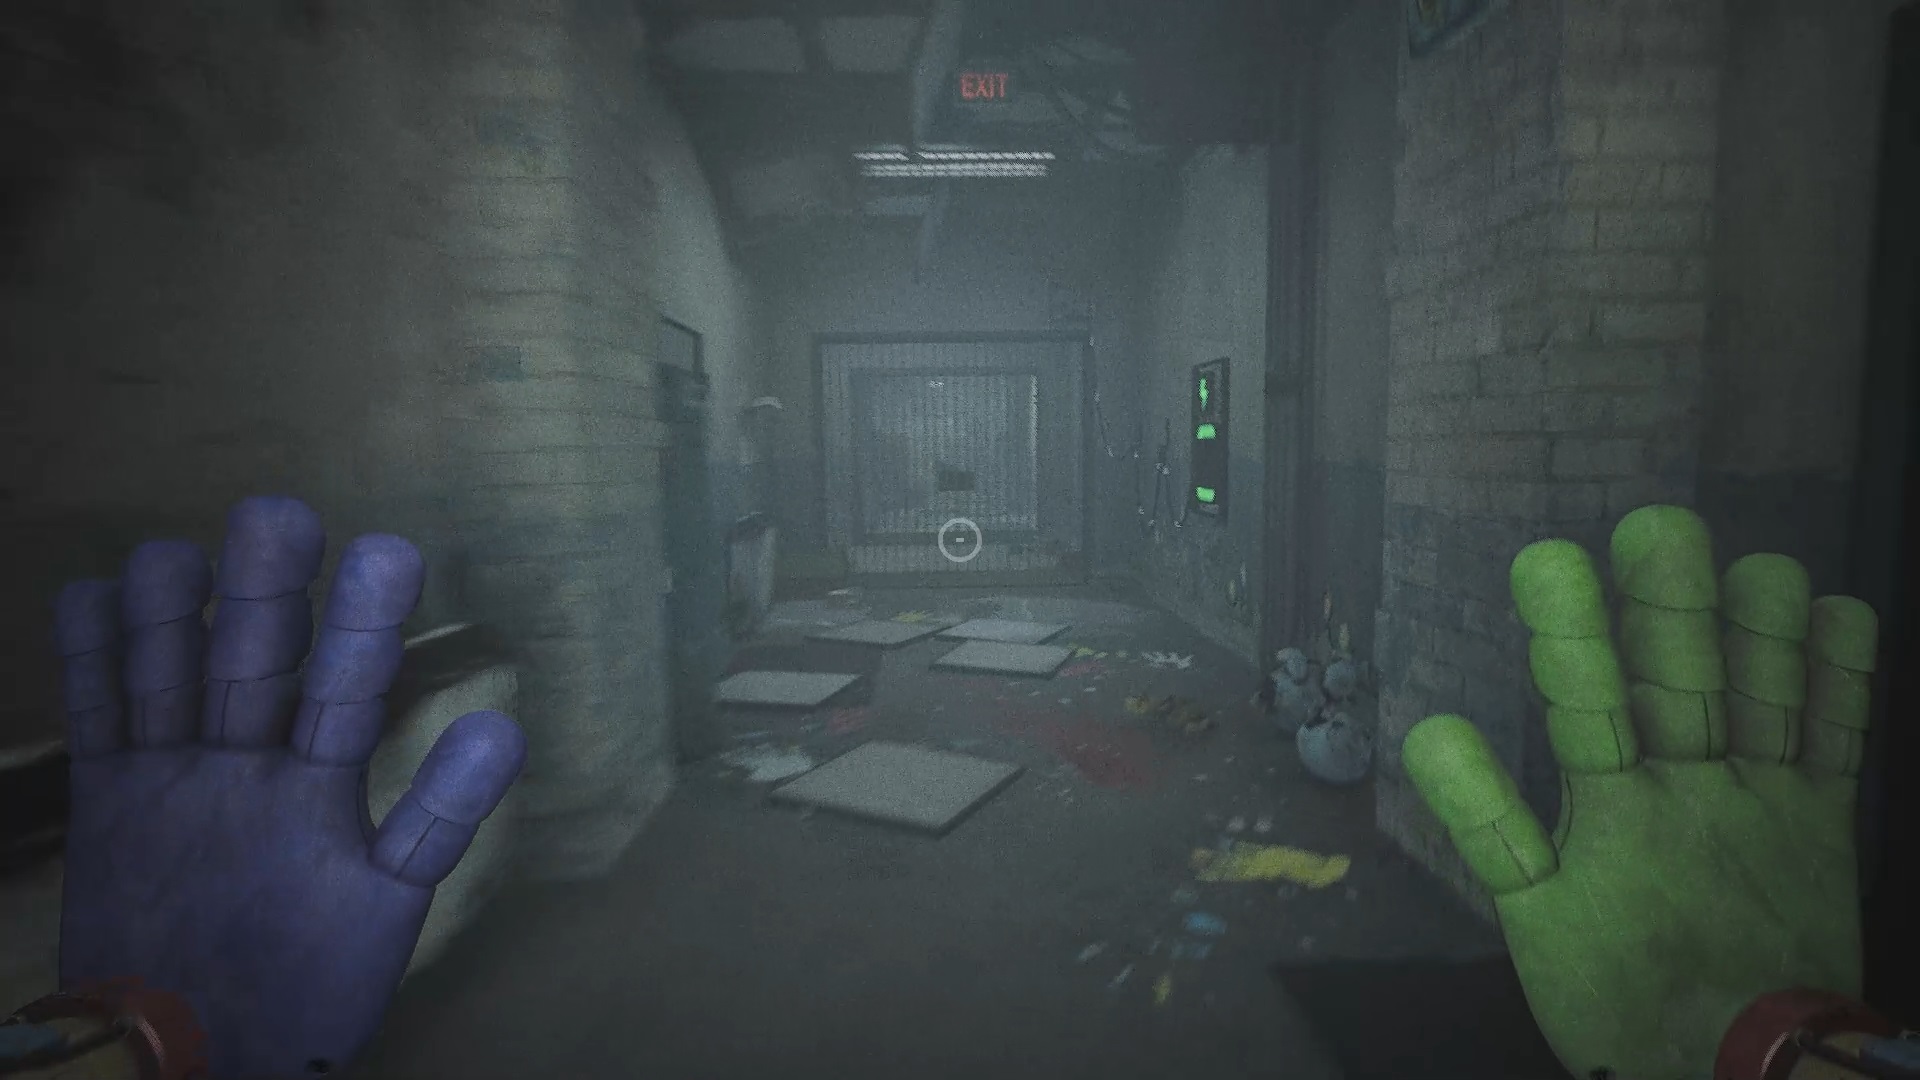
Go down the conduit to collect the battery, then go back up into the conduit to place it in the wall. Electrify your hand with the power source to unlock the gate behind the barricade. Further on, you will encounter a new barrier.
Explore the room to locate access to a conduit in the ceiling. In the next room, use your arms to move the furniture blocking the exits. Use the power source available in the room to unlock the nearby barrier.
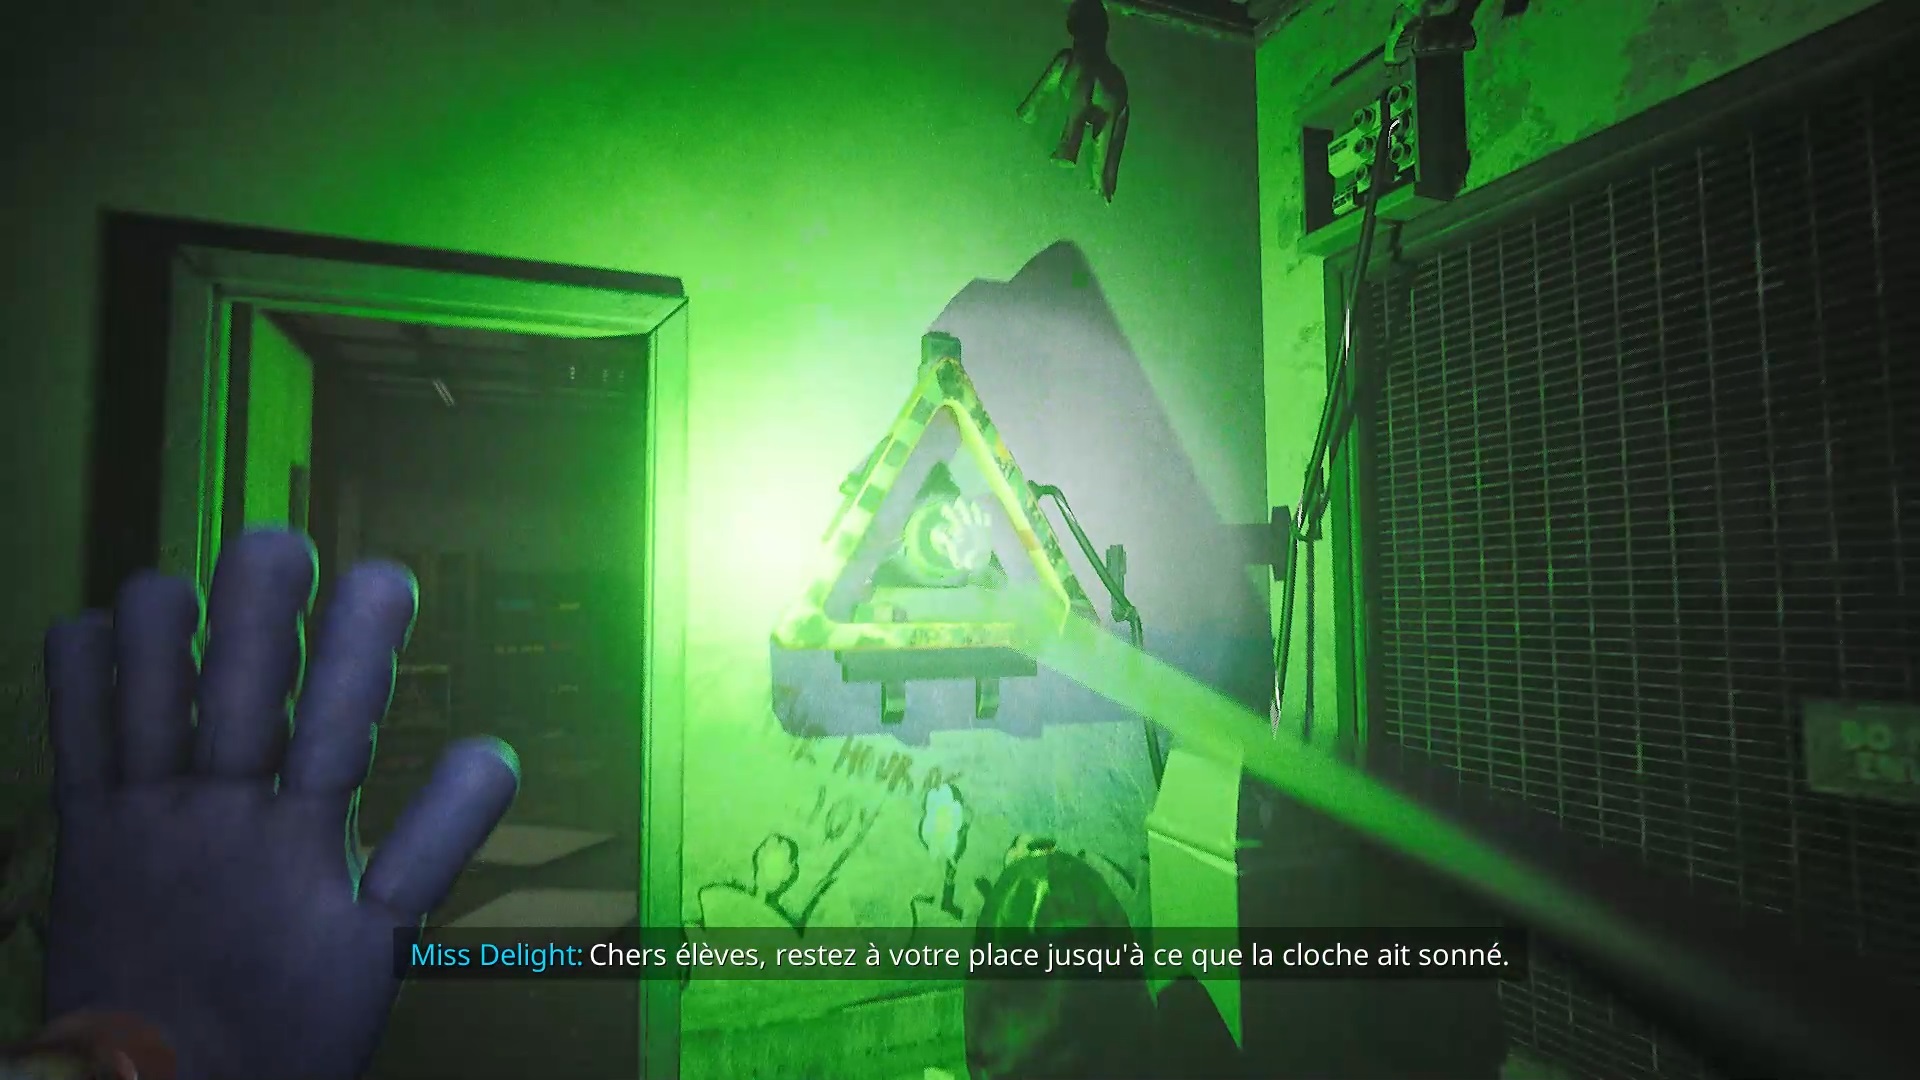
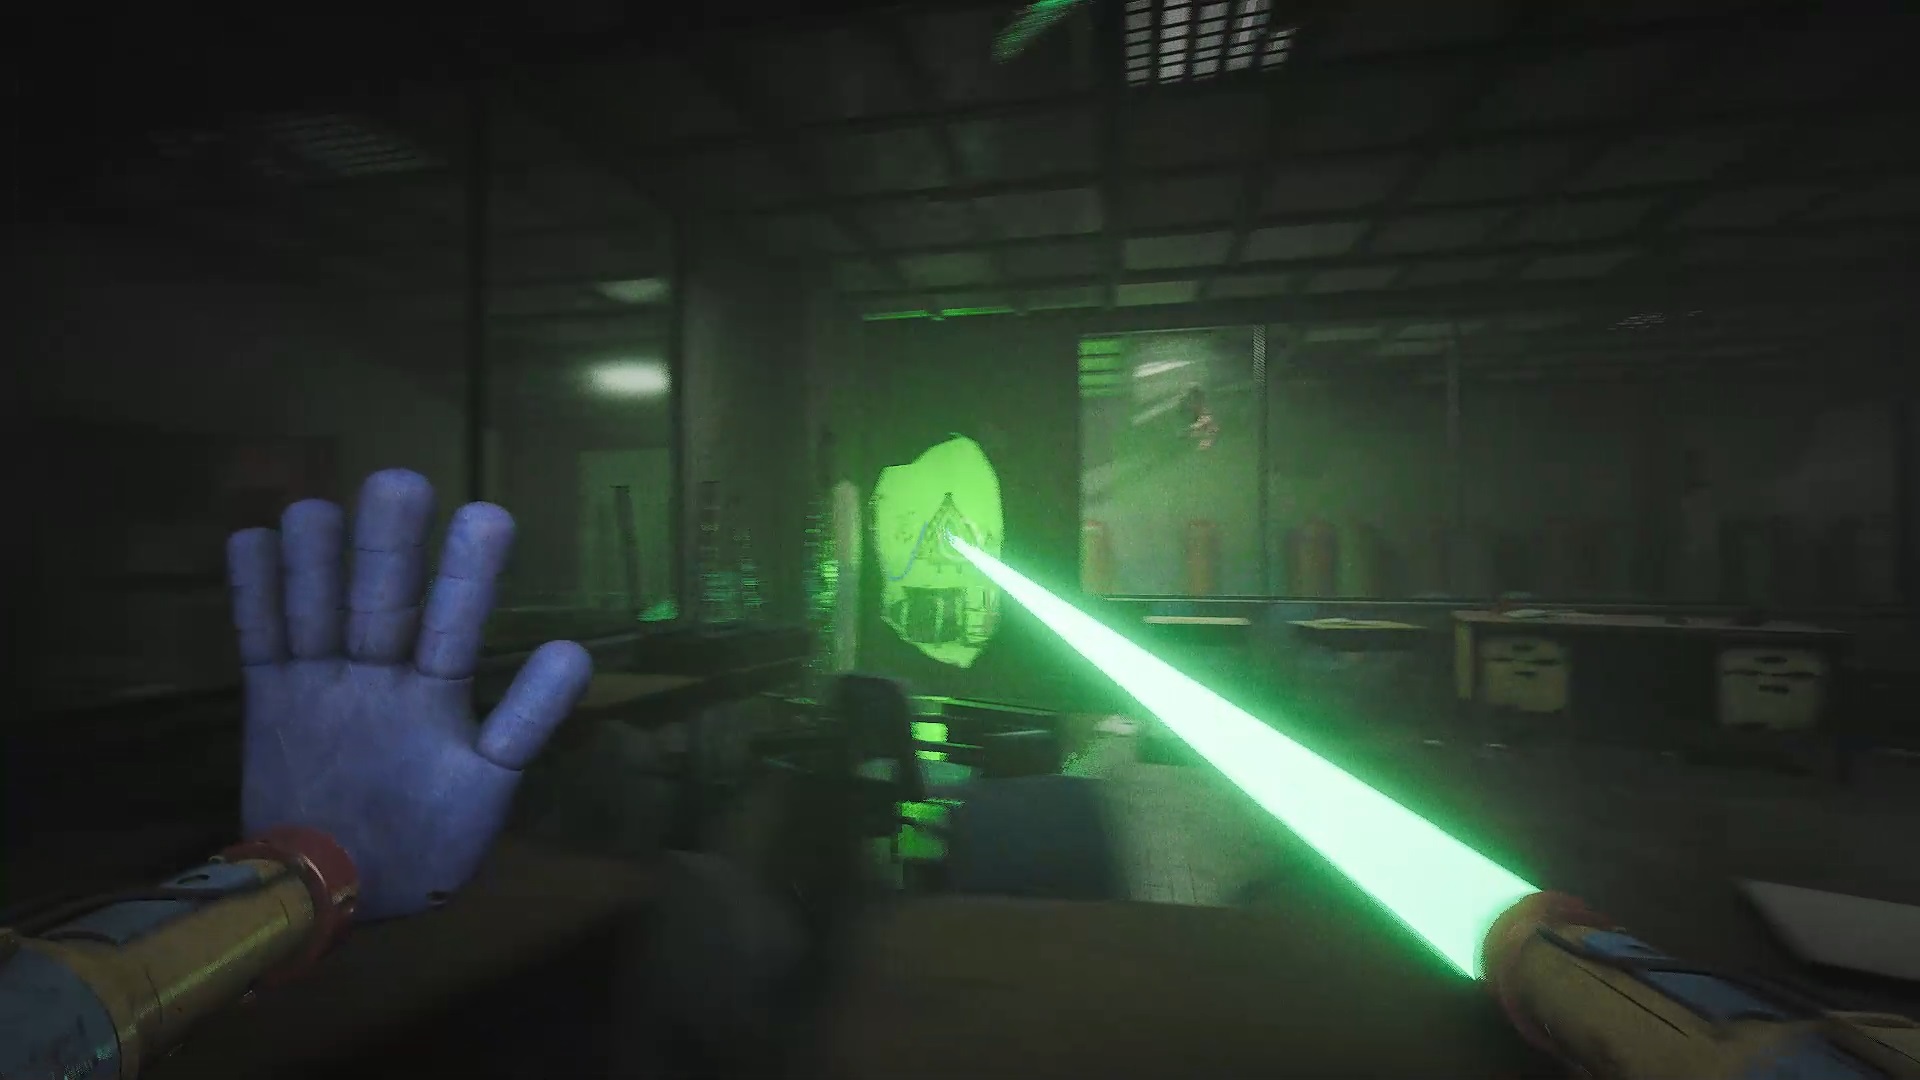
Continue your progress to discover a generator. Use your mechanical arms to reach the pillar and the switch using the power source. Pay attention to the arrival of Miss Delight; it is crucial to keep it in sight at all times to avoid dying. Collect the battery that is on the ground in order to place it in the corridor behind the closed fence that you encountered previously.
In the next room, take the power source attached to the wall and use it on the switch in the hallway. Before continuing, we recommend creating a barrier with the cubes in front of Miss Delight to limit her ability to follow you. In the next room, interact with the power source on the wall to power the switch next to it and thus raise the gate.
Head into the room near the hallway to unlock an entrance leading to the previous hallway. Use the power source you previously obtained to power the switch in this room and thus raise the gate. In the next room, you will need to activate two switches, each located in a nearby classroom. Use your long arms and the openings in the walls to quickly power the two switches and progress.
We are almost there. Start by collecting the battery from the table and inserting it into the wall near the base of the fence. Next, collect a second battery from the room and insert it into the wall near the base of the two-slot fence. Then move the first battery to open the fence. In the new room, free the exit by moving the furniture. Locate the power source and place the previous two batteries on the last rack. Power the switch above with the power source and get ready.
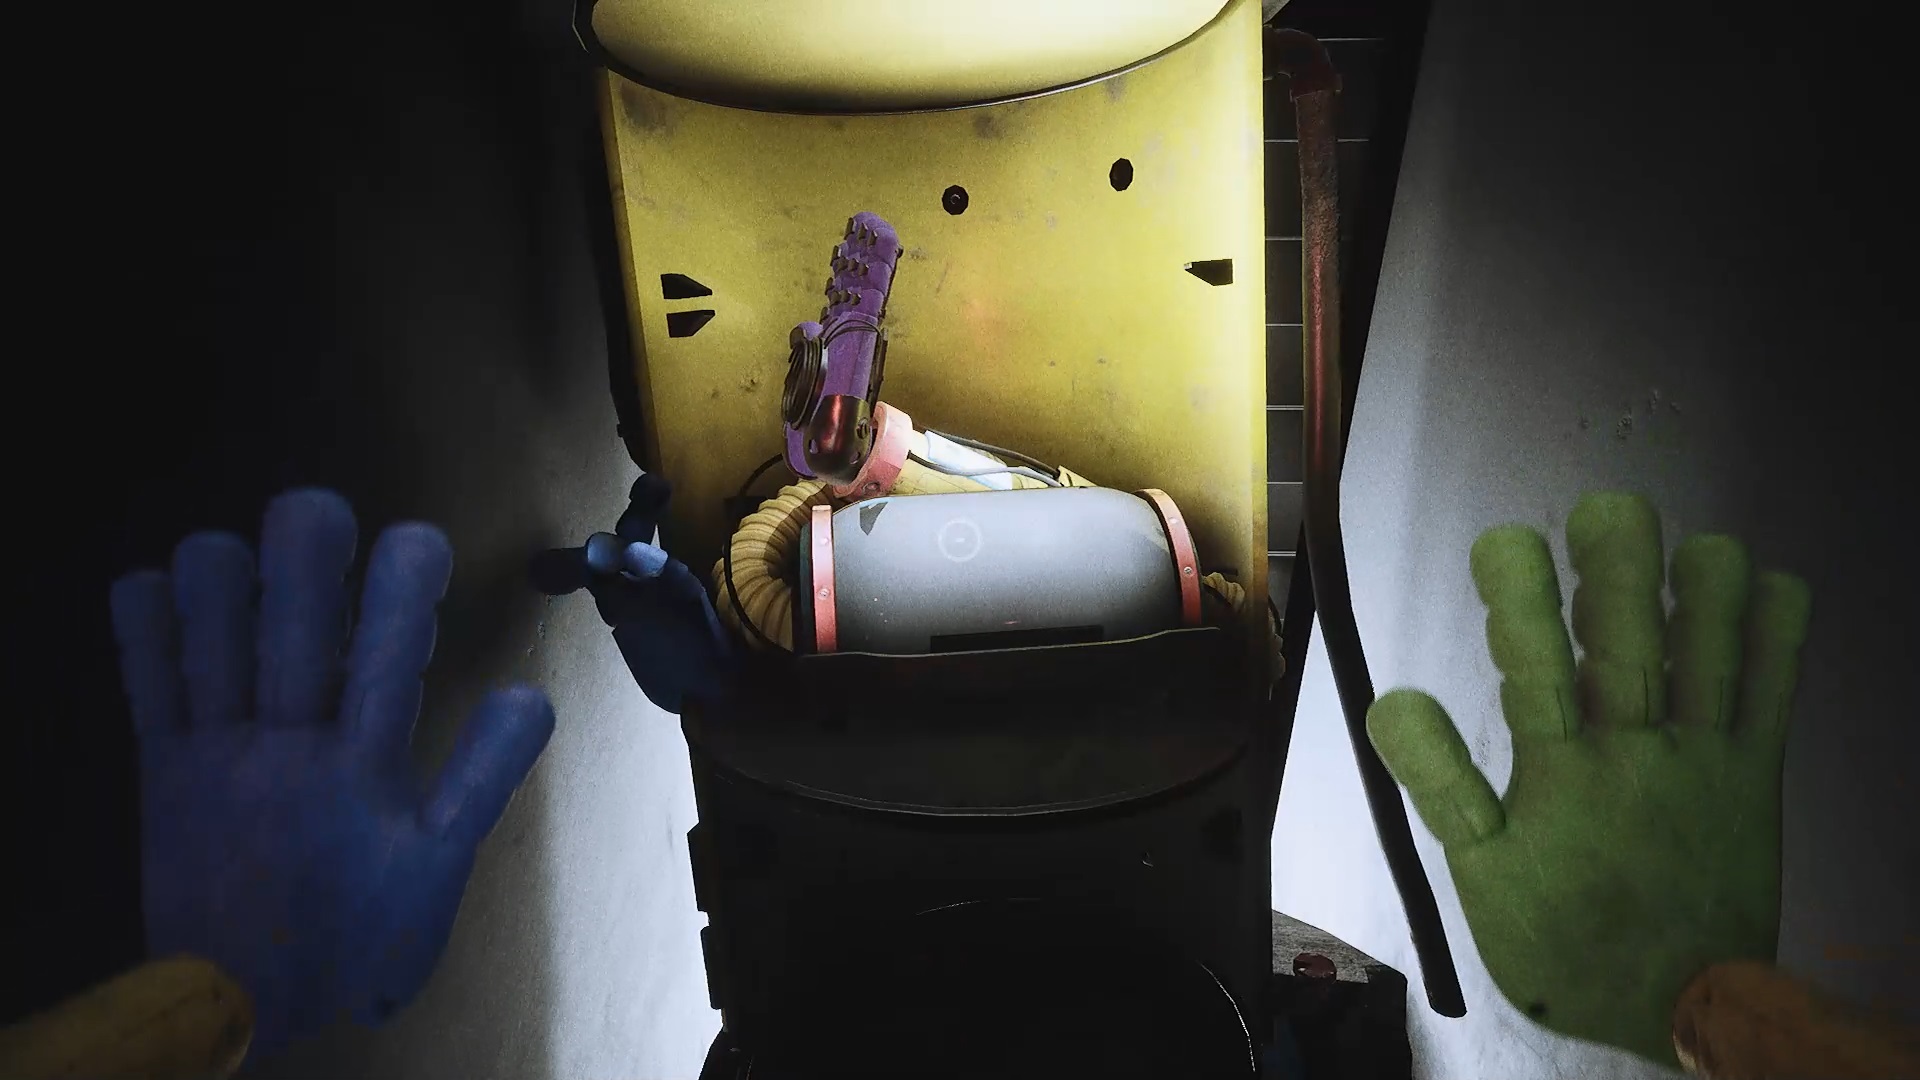
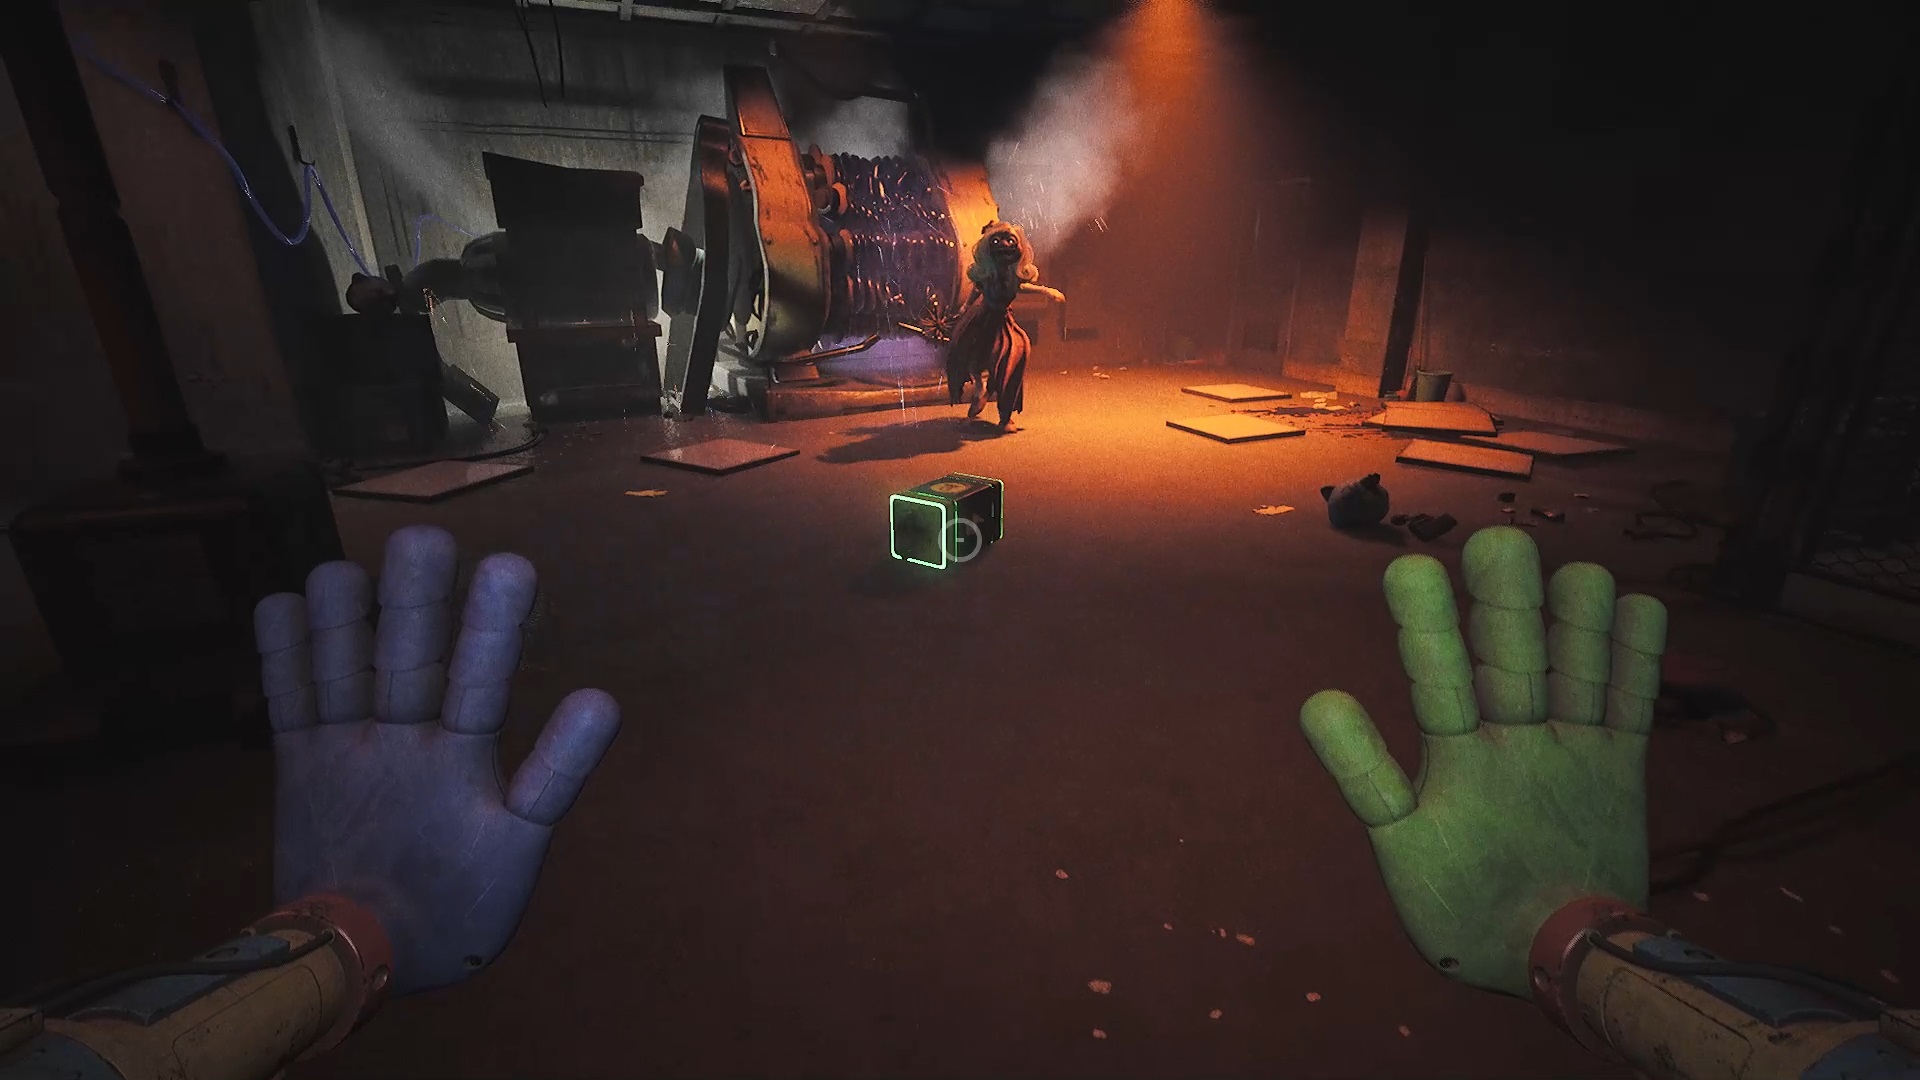
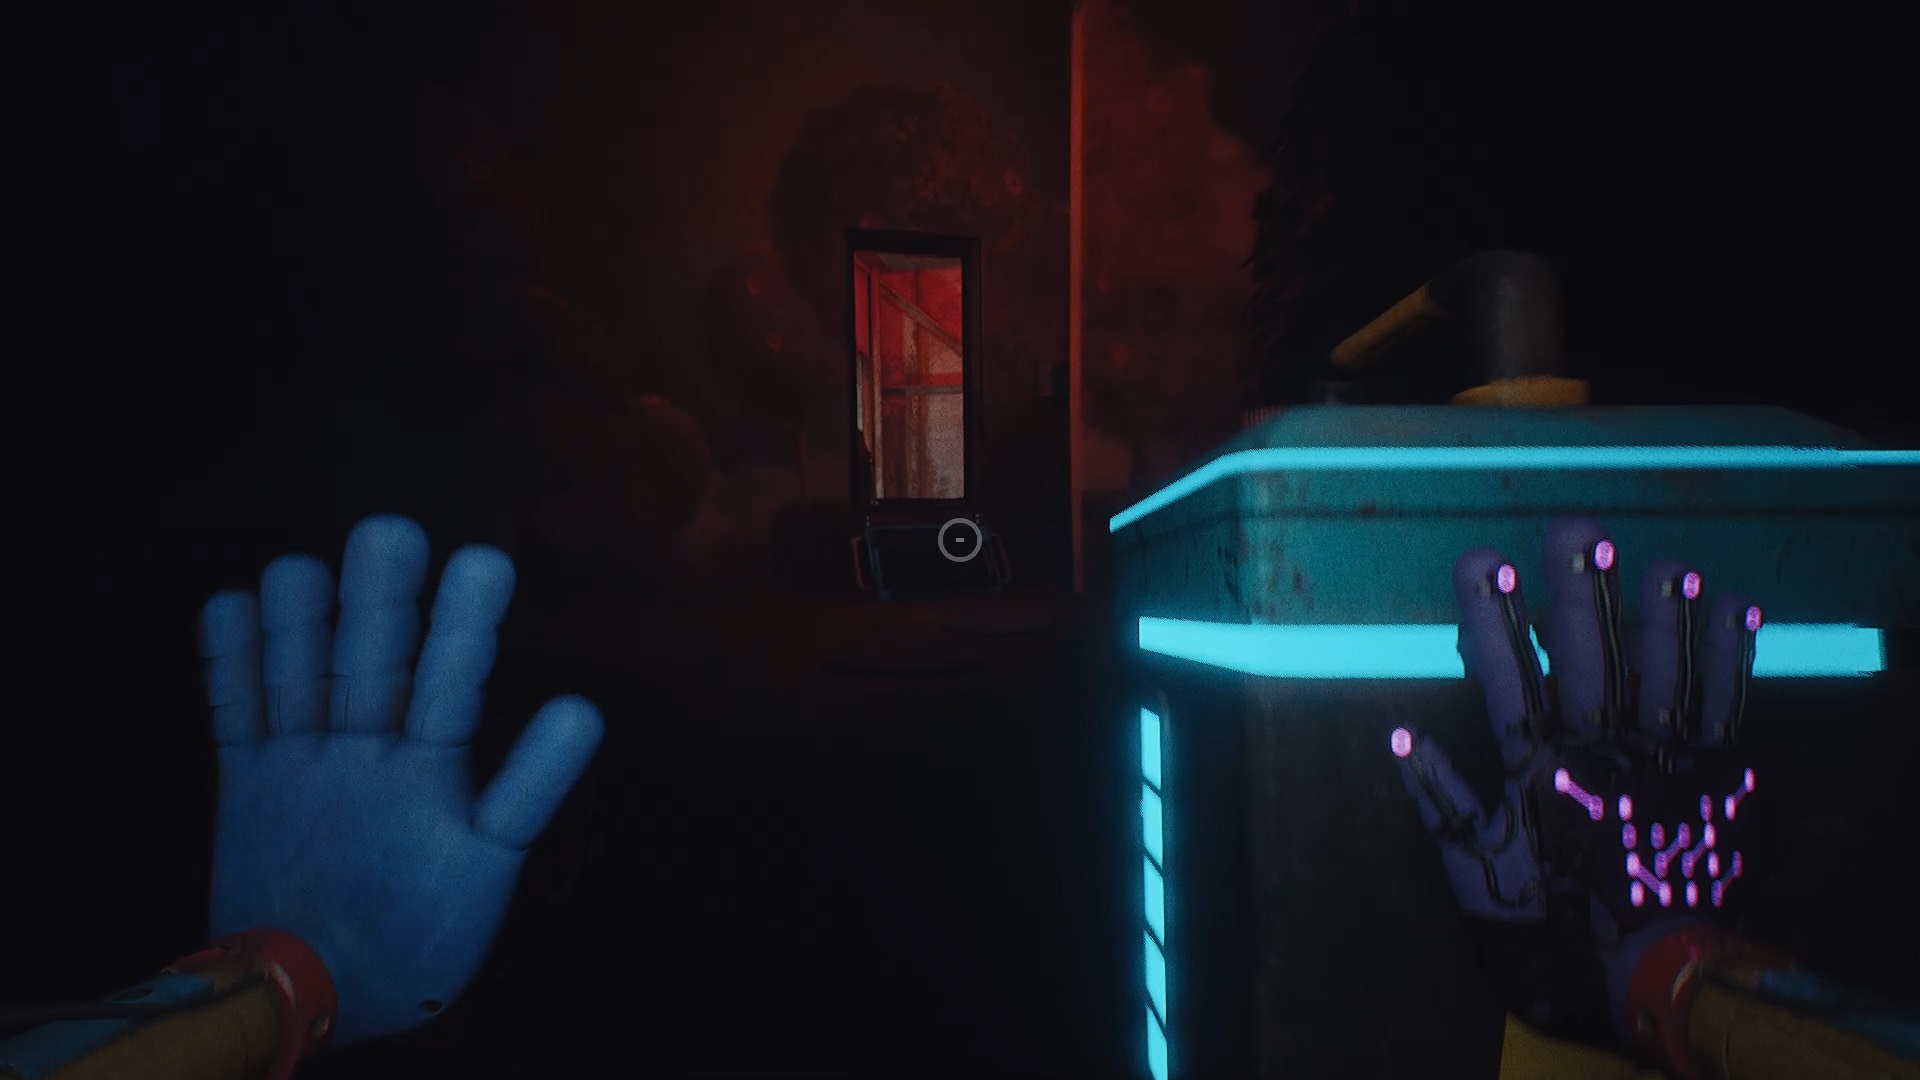
Miss Delight returns to the attack. Run without turning around and pull the lever on the right to finish it. After this chase, collect the orange hand in the tank. On the bridge a little further on, look to your right to find a battery. Take it and insert it into the base to continue your progress.
On the next platform, use the purple hand to propel yourself forward. Activate the platform using the power source and the switch on the generator, then quickly take advantage of this power to climb up to the top right. Then, go down to the next platform to solve a puzzle.


To solve this puzzle, start by aligning the cannon with the hand symbol while aiming at the pillar opposite. Next, line up the pillars so that they touch the switch near the elevator. Once the pillars are correctly positioned, approach the elevator and pull the cannon lever to go up. Then continue on your way to discover a new place.
Playhouse

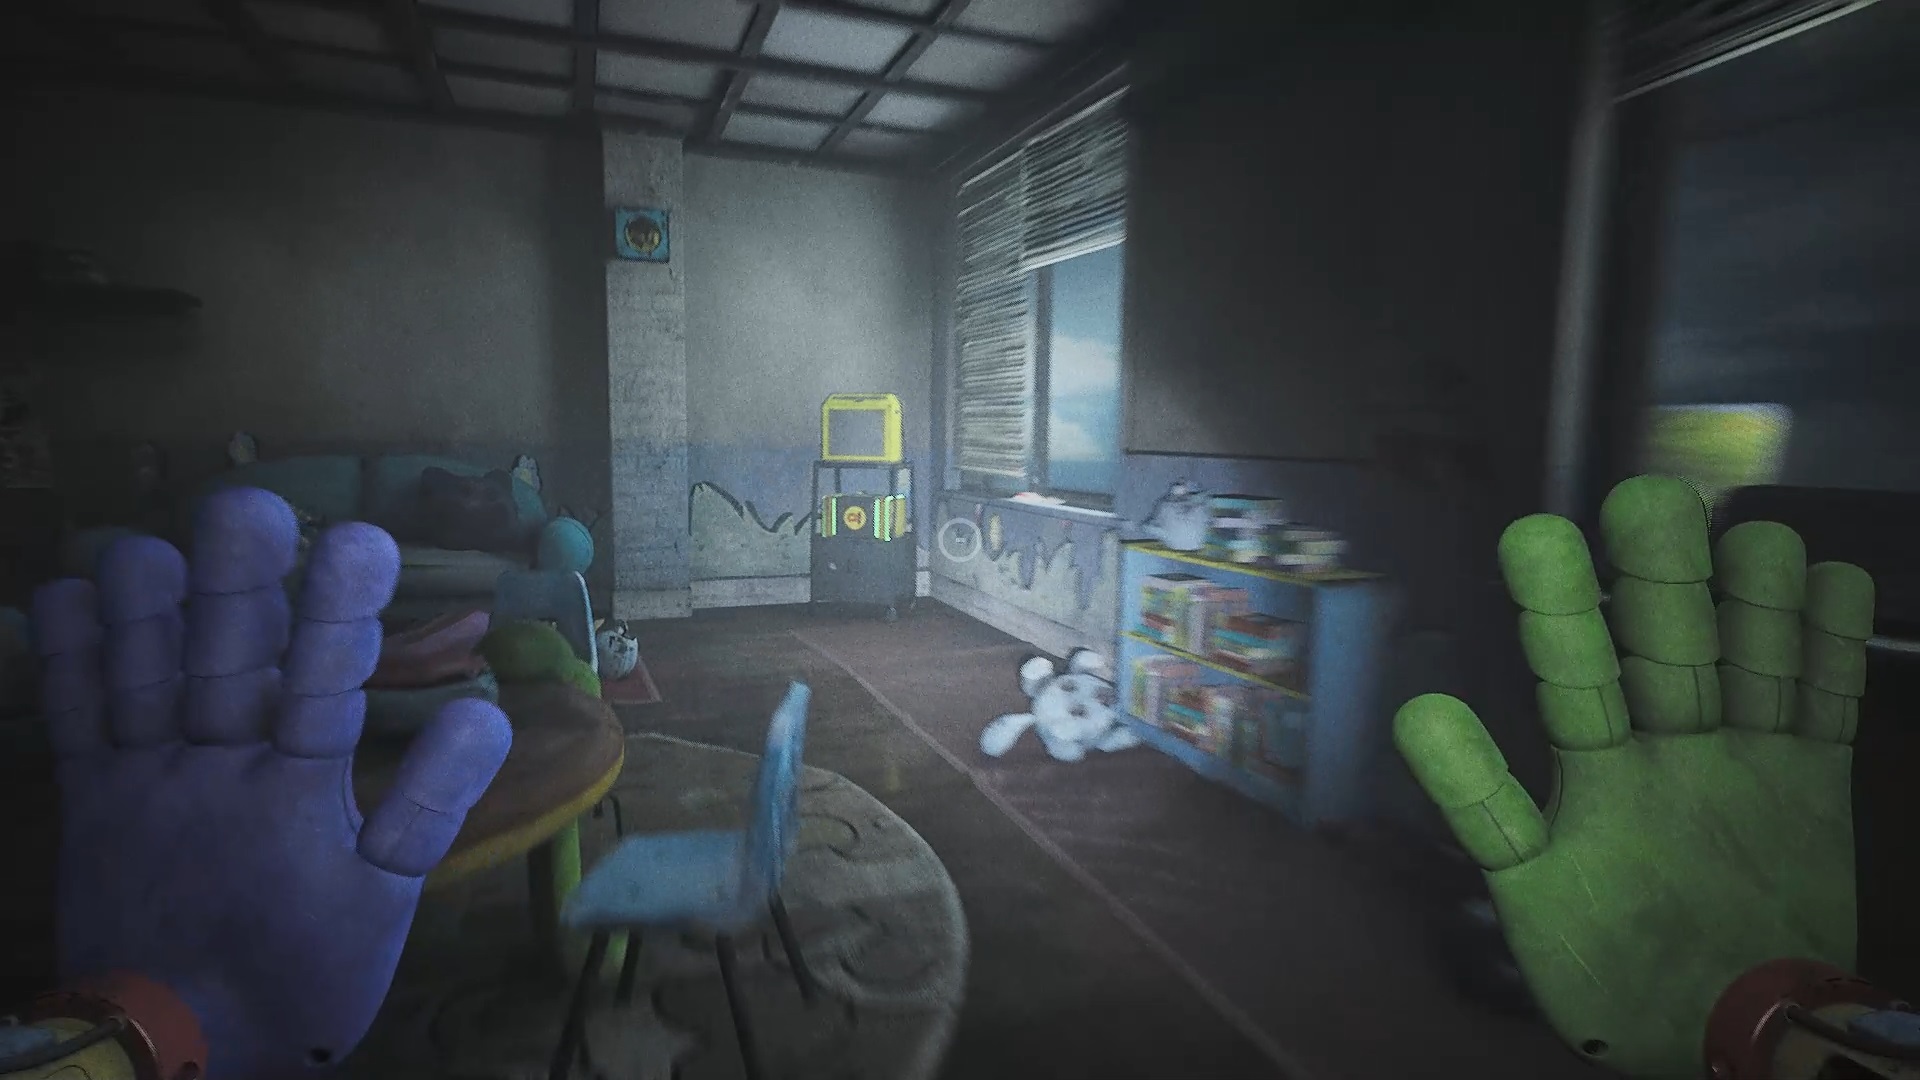
Once you arrive at the gambling house, a small intruder greets you. Use your orange glove near him to scare him away. Remember this tip to keep similar creatures away. Continue to advance through the conduits while pushing back the small creatures in order to reach a play area. Climb to reach the heights and enter a pipe. Continue your exploration in the play area to access a new area.
To leave this area, you will need to rotate the central platform by pressing the button. To do this, activate two switches on either side of the room using the cubes. Make these cubes fall using your mechanical arms. Next, push the yellow door to access a staircase. Go down this staircase to reach a swimming pool. Explore the pool halls to find Dogday.

Escape through the pipes and, if necessary, use your orange glove to ward off the small creatures. At the intersection, continue straight to the bottom left, then immediately right. Then go down the middle slide and immediately turn left to use your purple glove and jump towards an exit. Then slide down the slide to leave the playhouse.
The Office
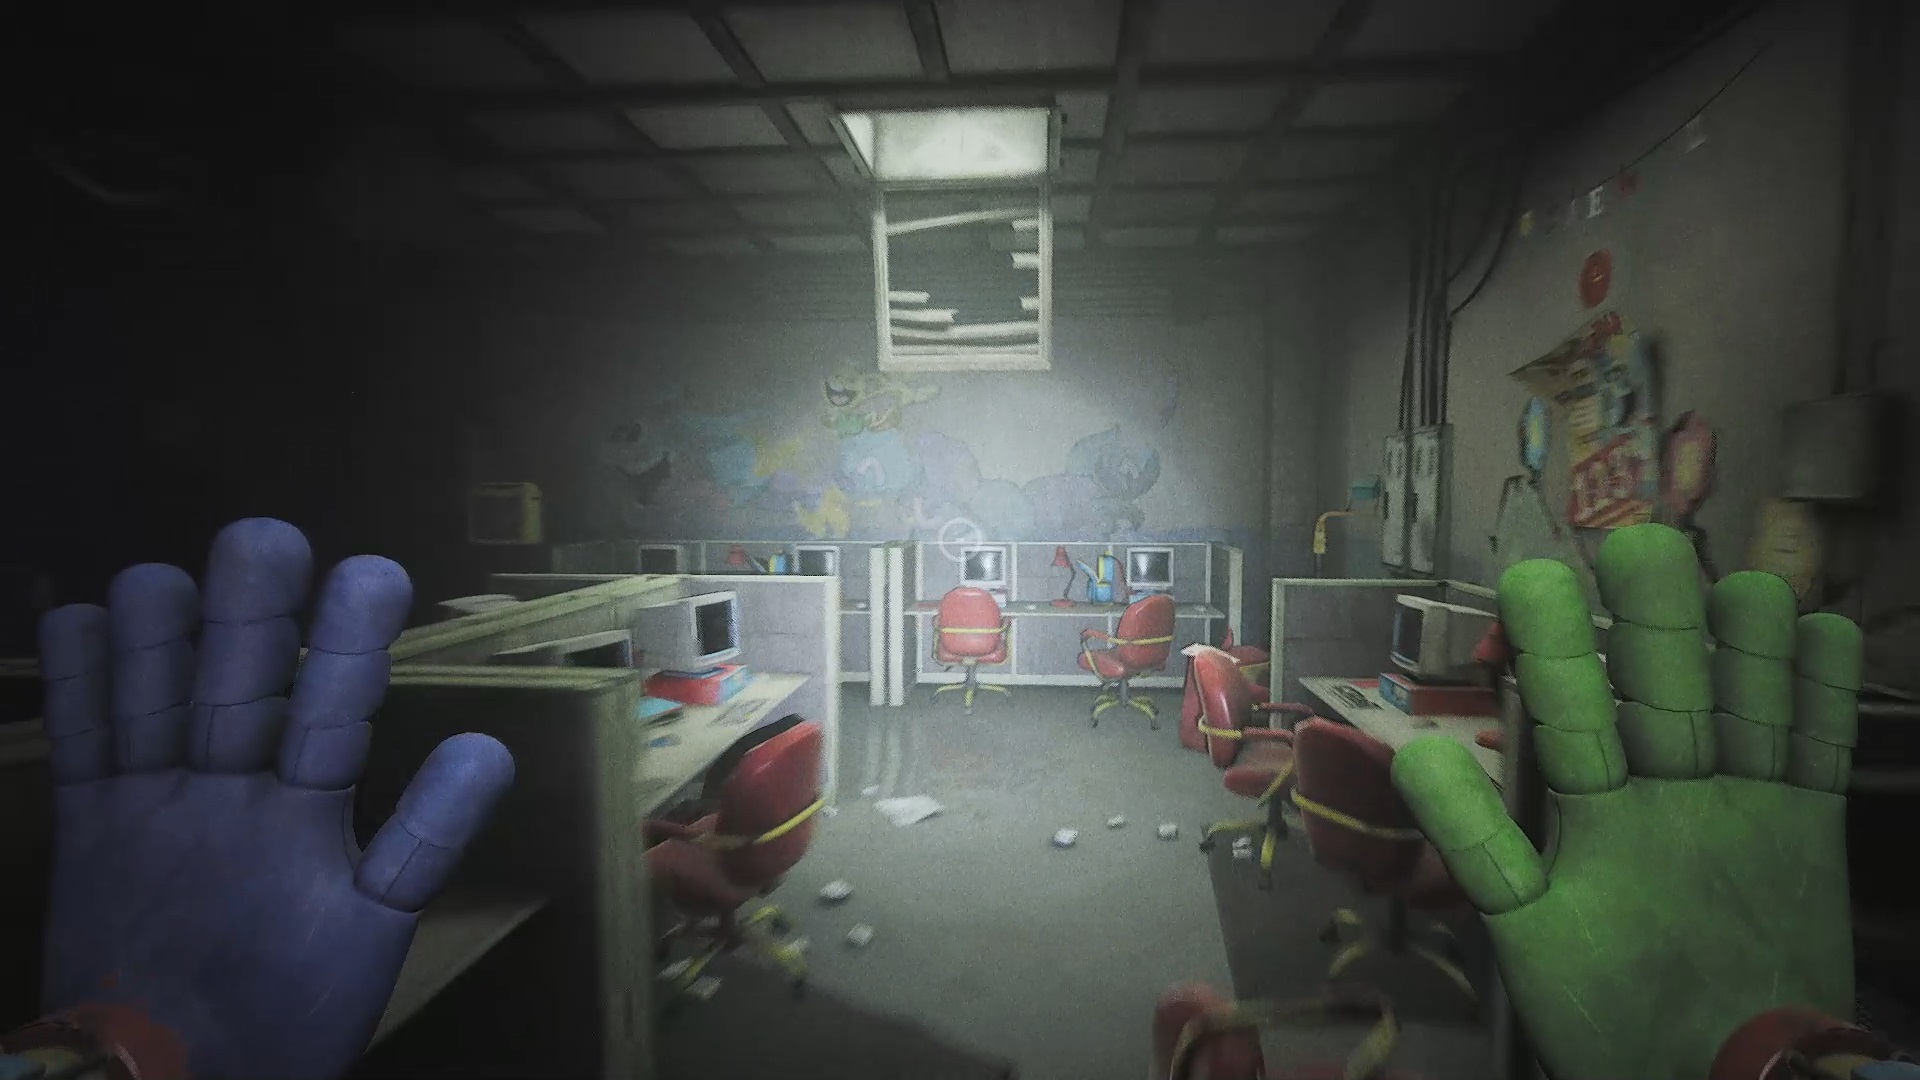
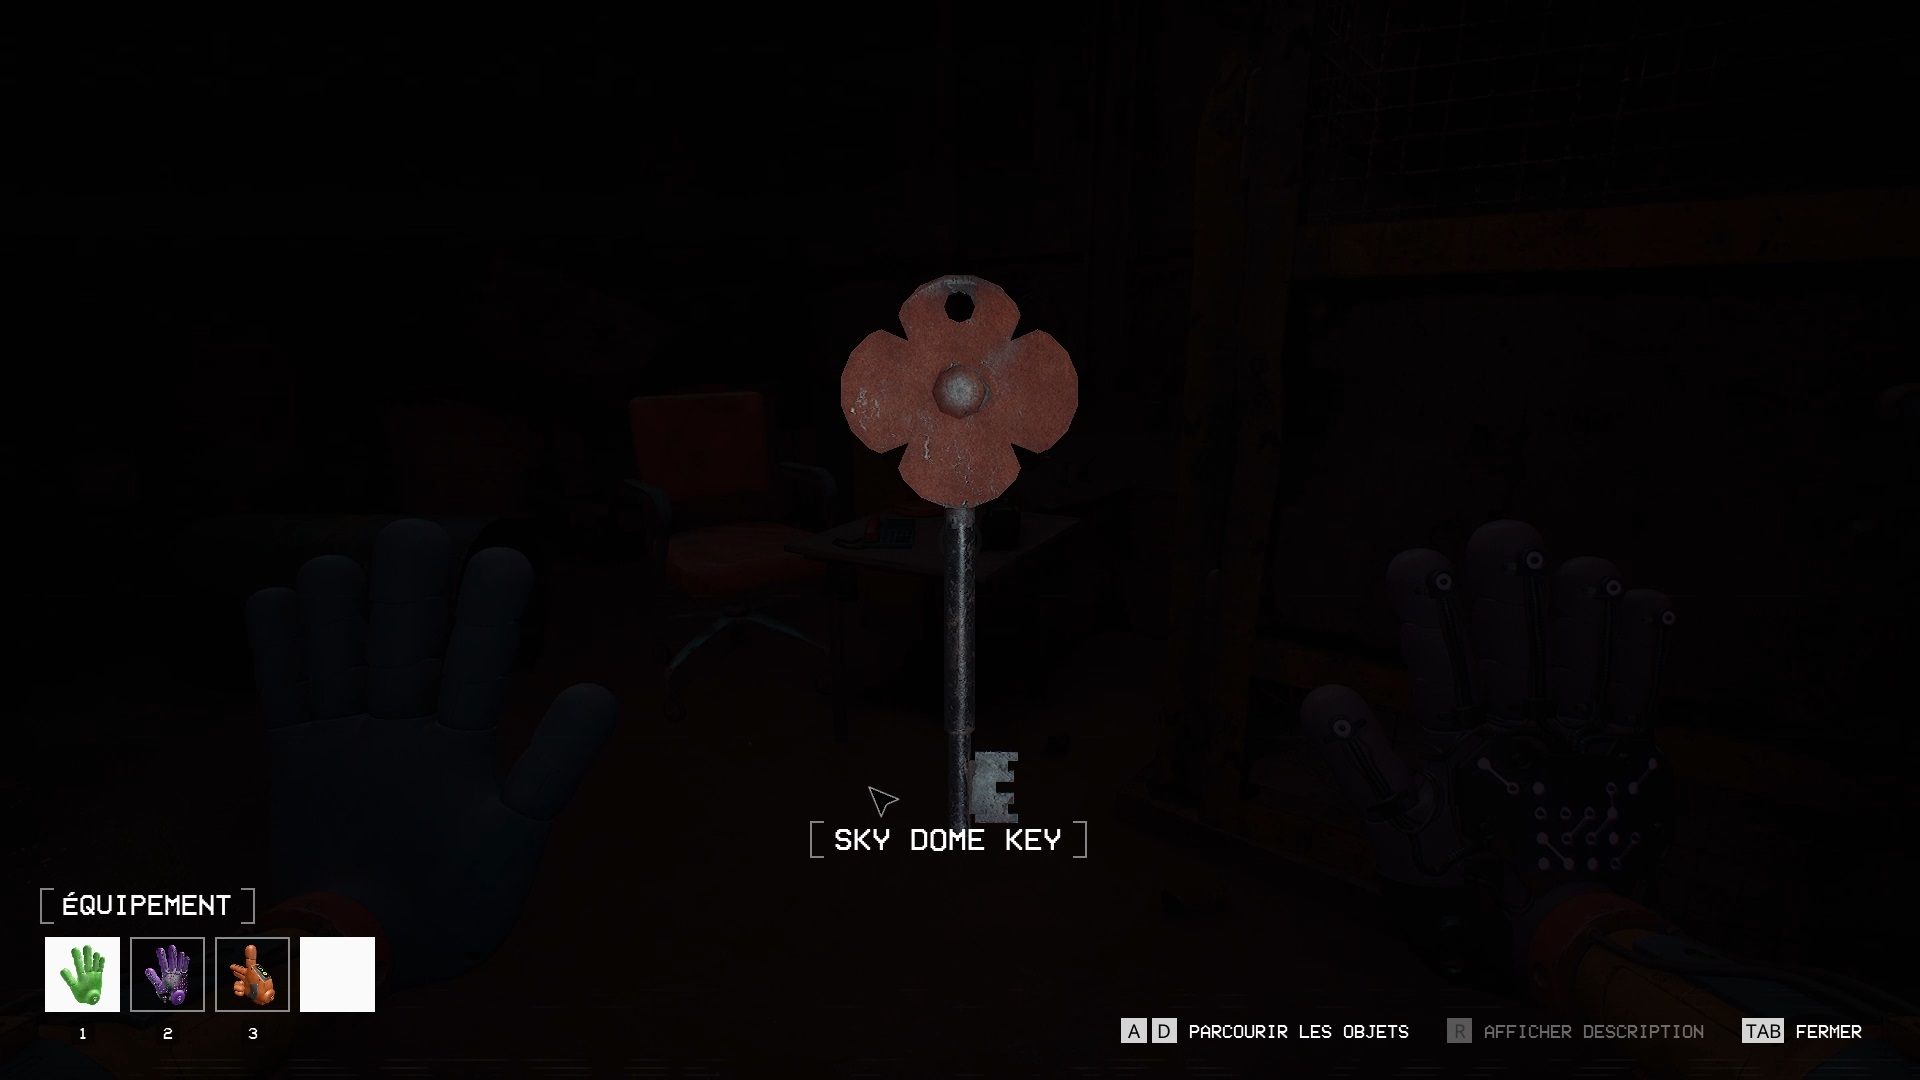
Back at Daycare, start by collecting the key for the office, located under the statue in the maintenance room. Once in the office, locate a battery base. Explore the conduit to find a battery that you will insert to progress. Then, collect the previous battery and place it in the next base to advance further. Head into the hallway to spot a gap in the ceiling. Further on, light the room to spot a battery in the red gas, which you will recover later.
Unlock the door just behind to be able to move forward. Then head towards the end of the corridor to spot a gap in the ceiling. Use your arm to lift yourself up. In the next room, use the purple glove to pass.

In the next room you will be faced with a puzzle. To move forward, you will need to power both pillars on a switch. Use the hook point at the top of the stairs to pull yourself up and reach the heights, then jump towards the platform opposite. Use your hand to touch the power source located behind the ladder against the wall. Touch the first pillar, then go back down to reach the second pillar using the hook point. Then, touch the switch to bring up two platforms leading to the exit.
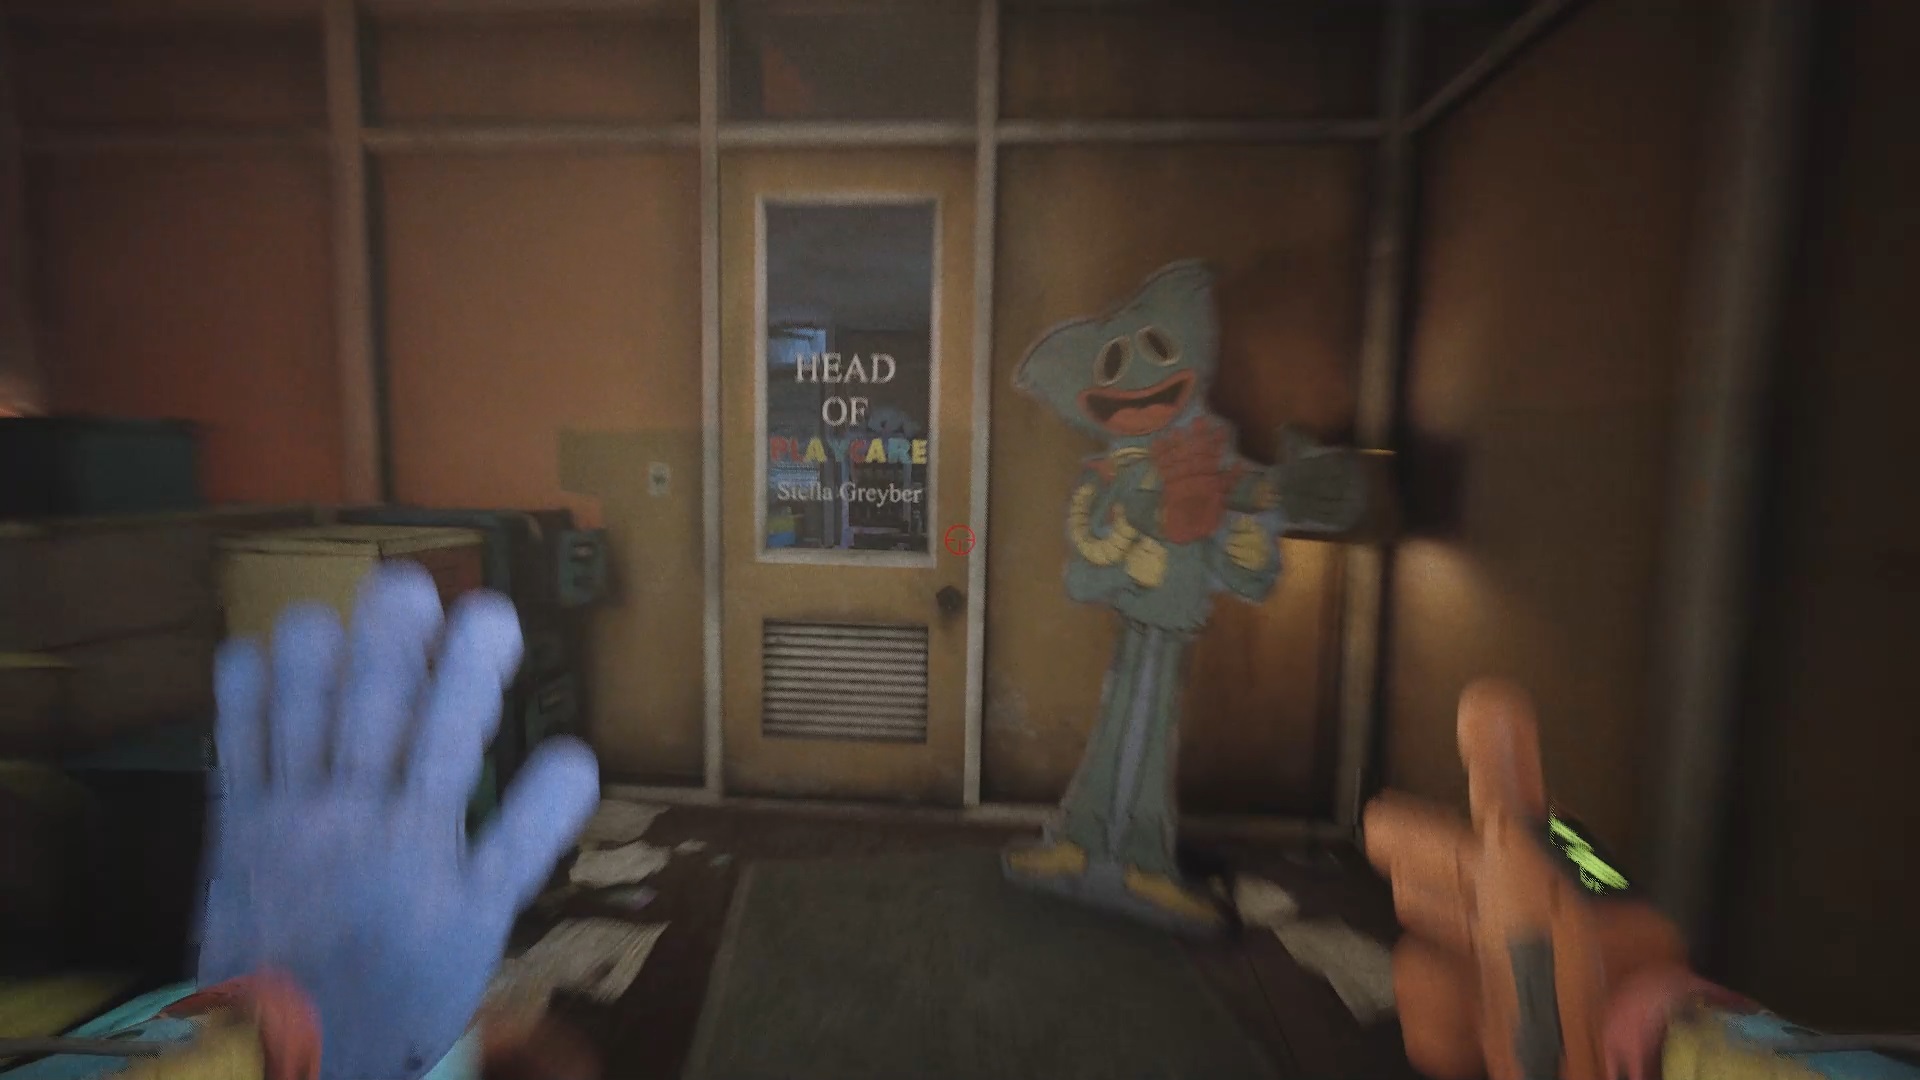
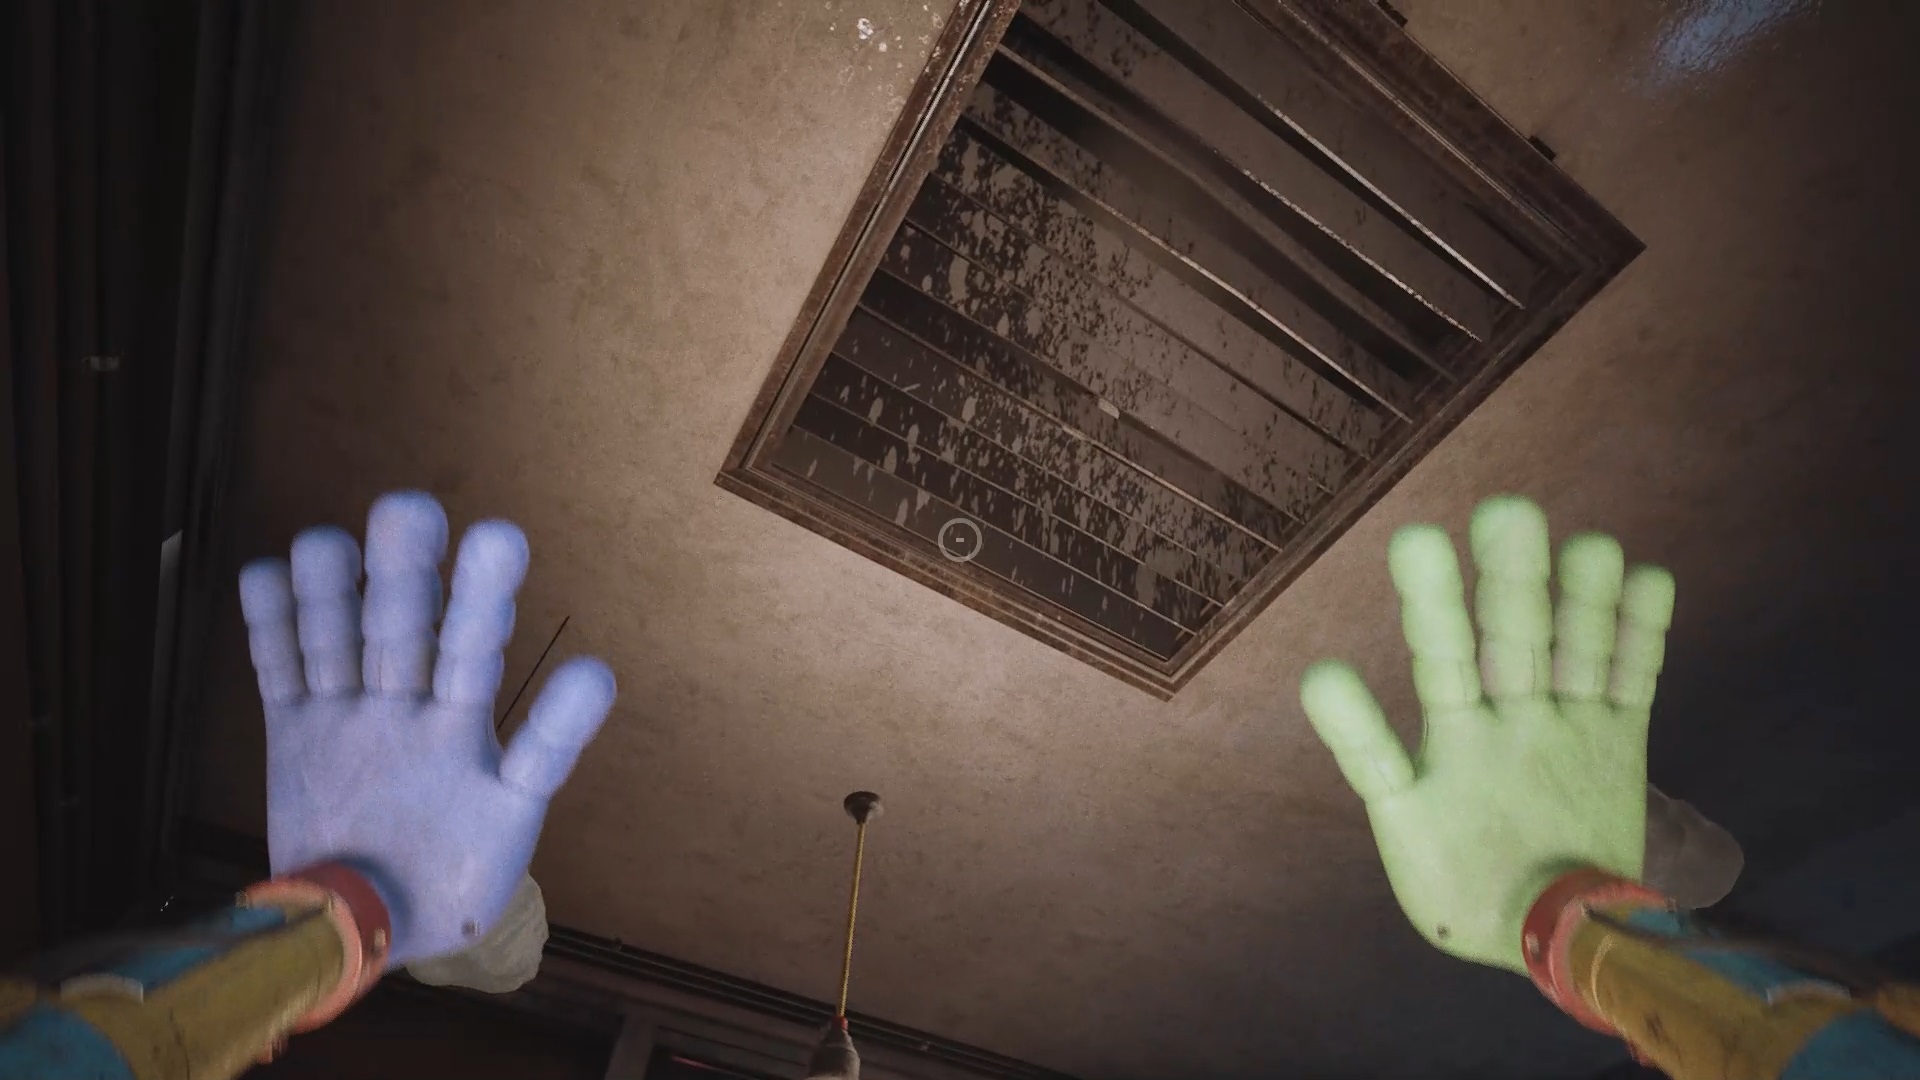
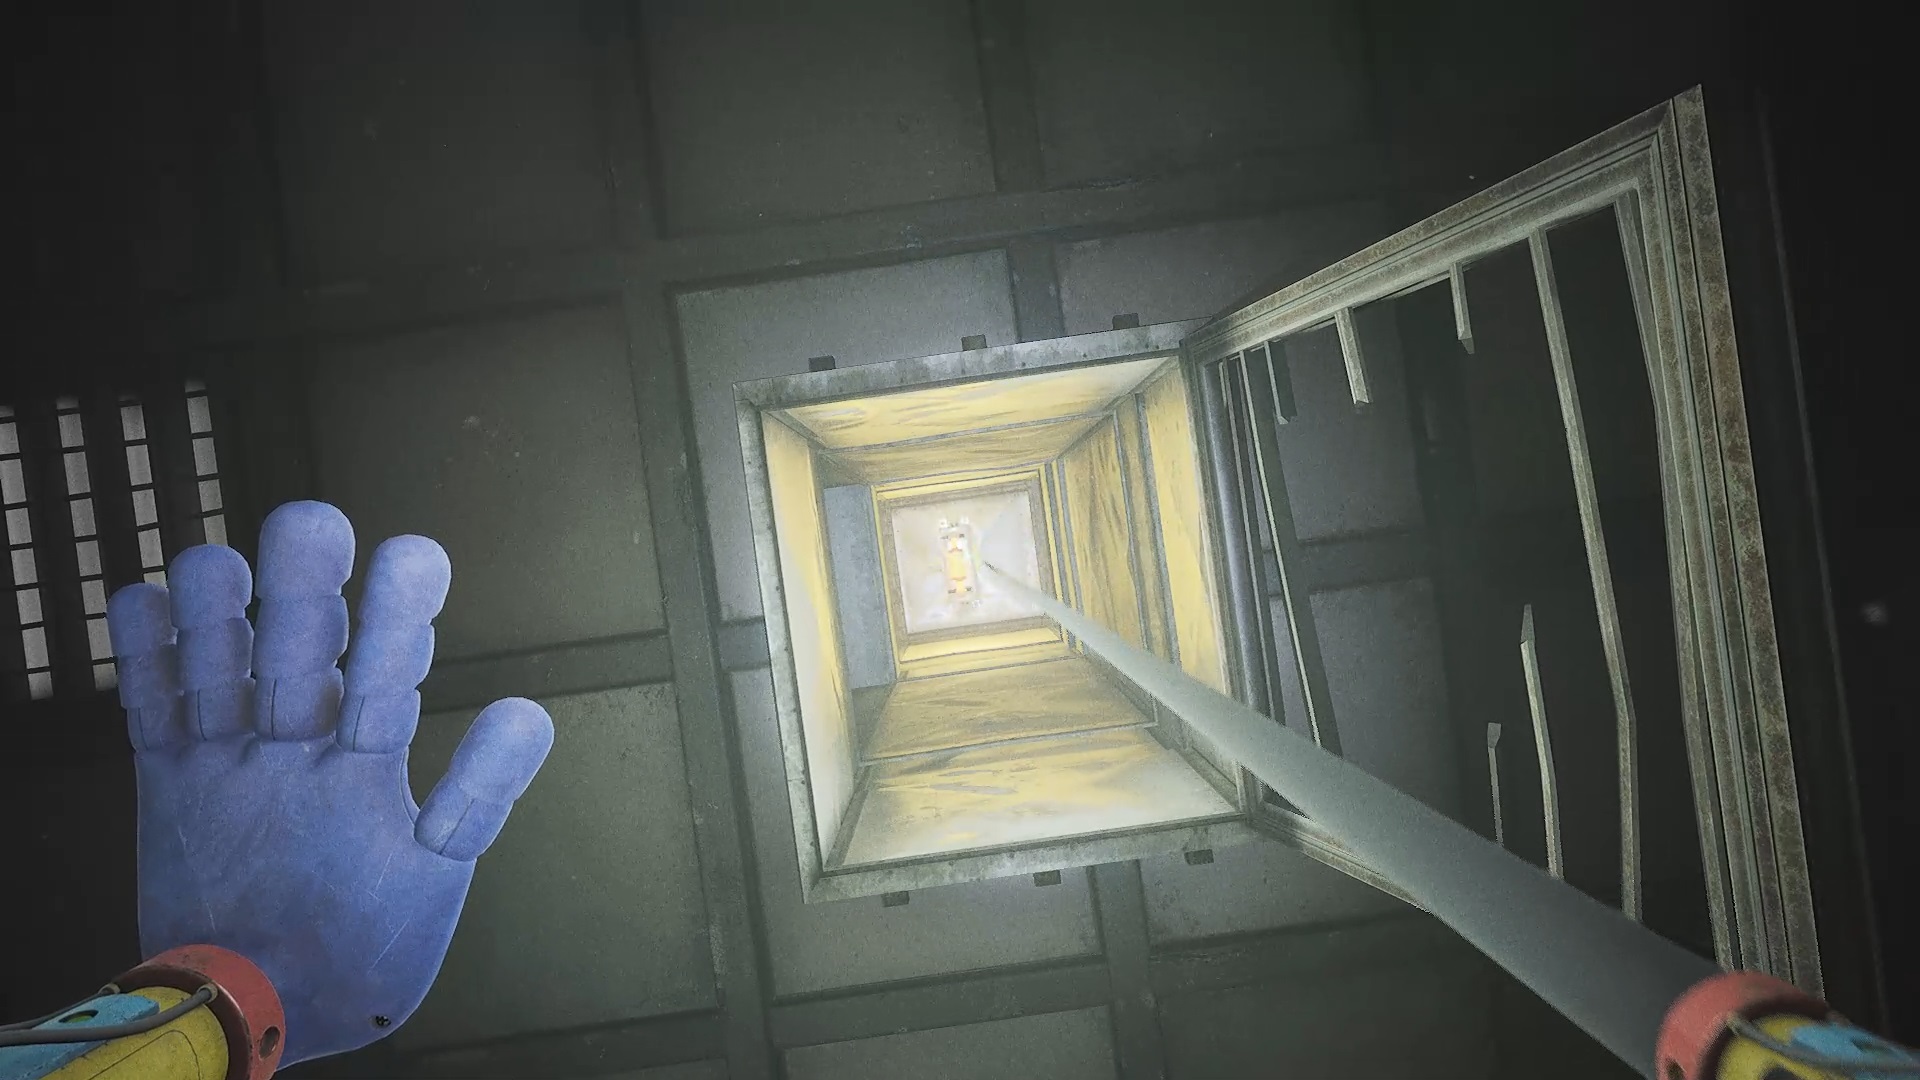
Continue exploring Stella Graber’s office. Search the vent in the ceiling to drop a key, then use that key to unlock the locked room in the previous room. Then, climb up to the hanging point using your mechanical arm.
Go into the conduit to fall into the room filled with gas. Use your mask to breathe safely. Look in the gap in the wall again to collect the previous battery. Place it in the nearby cradle to power a power source hidden in a case. Open the boxes in the nearby offices and power them all up so you can get out.

You are faced with a new puzzle. Start by aligning the first pillar with the elevator switch, and the other two with the height switch. Once done, run your hand through the second pillar near the elevator to power up the purple platforms. Climb above and pull the lever to raise the elevator gate.
Nearby is a sealed battery. Drop it from a height to free it. Use this battery with the base near the curtain to reveal a second battery. Stand in the elevator with the sealed battery and power it with the pillar cannon by pulling the lever. Once at the top, lower the battery to release it. Come back up with the two batteries and insert them into the sockets of the outlet. Line up all the pillars so that they are pointing towards the switch above to open the exit. Replace the first pillar the elevator to go up and exit through a conduit.
Collect a battery from the ground and place it in the nearby pedestal to unlock the exit. Head to the exit on the right to complete the level.
Catnap

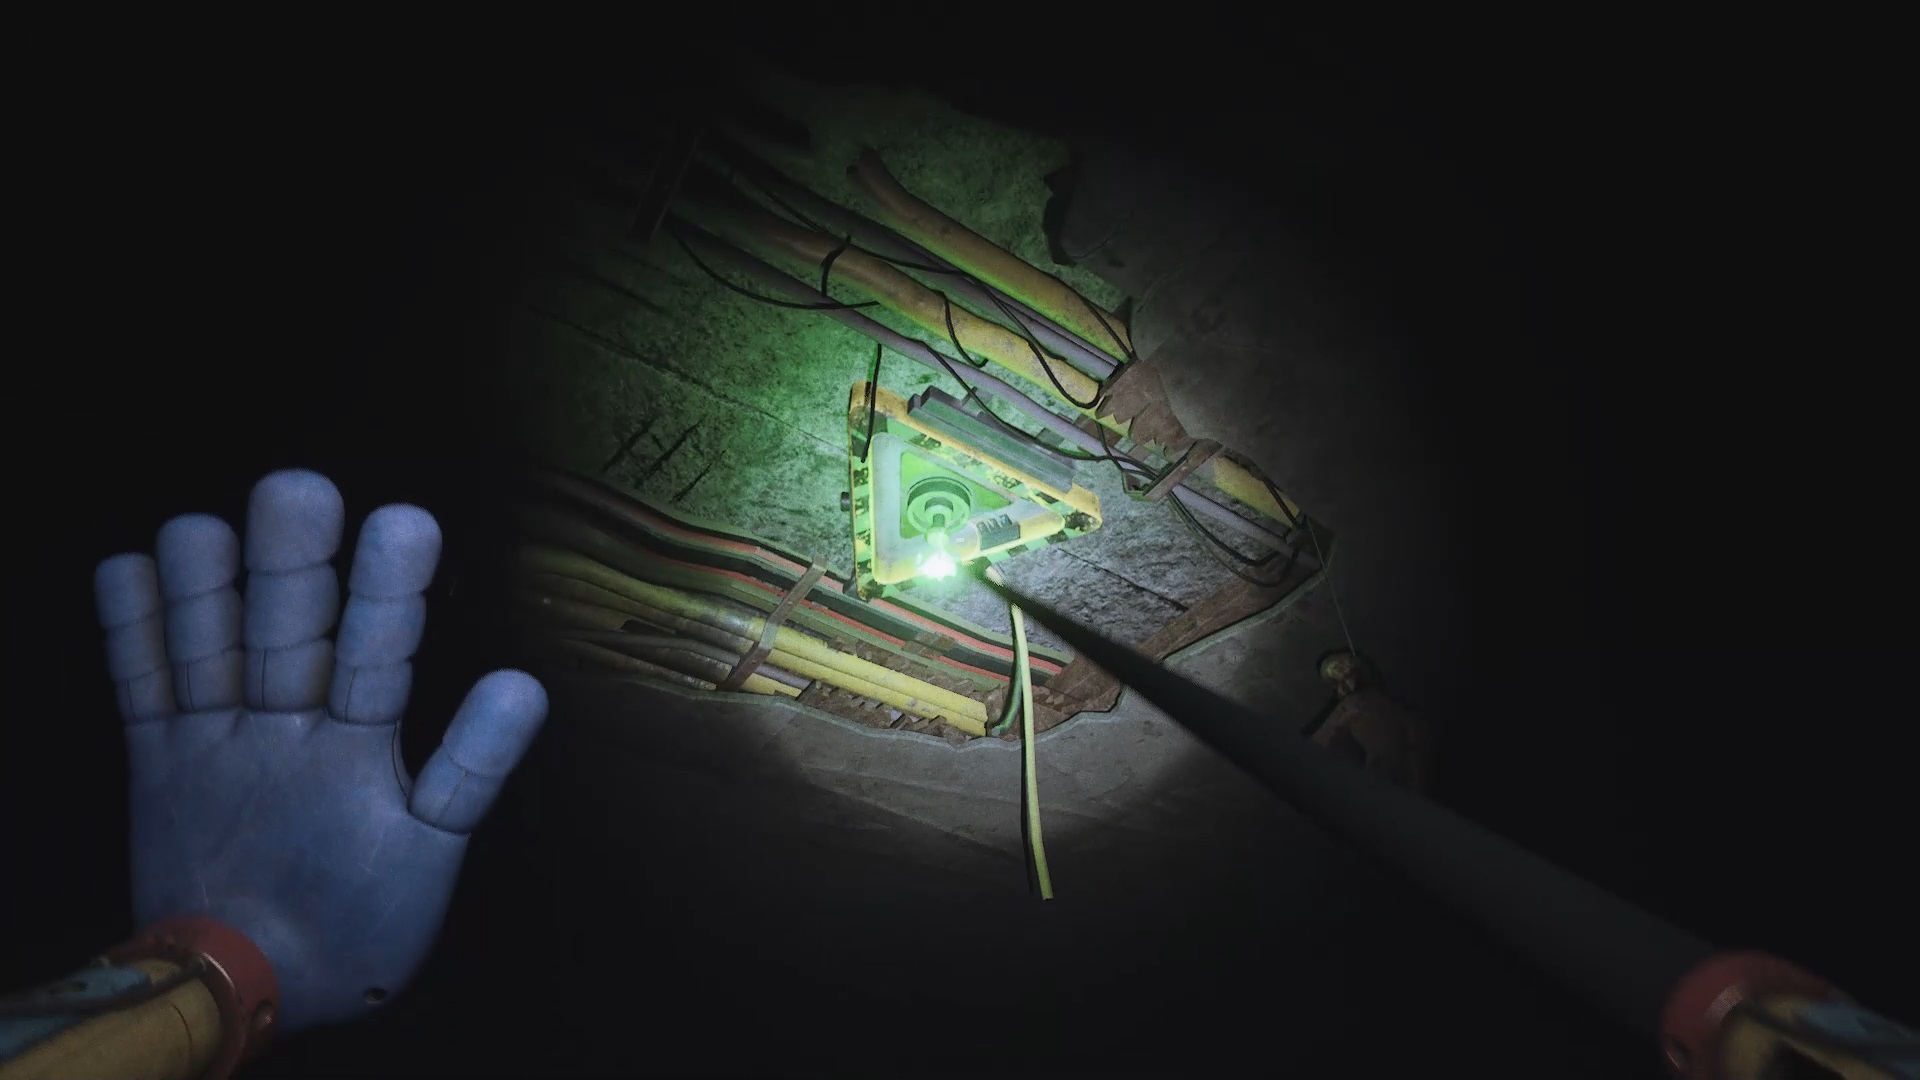
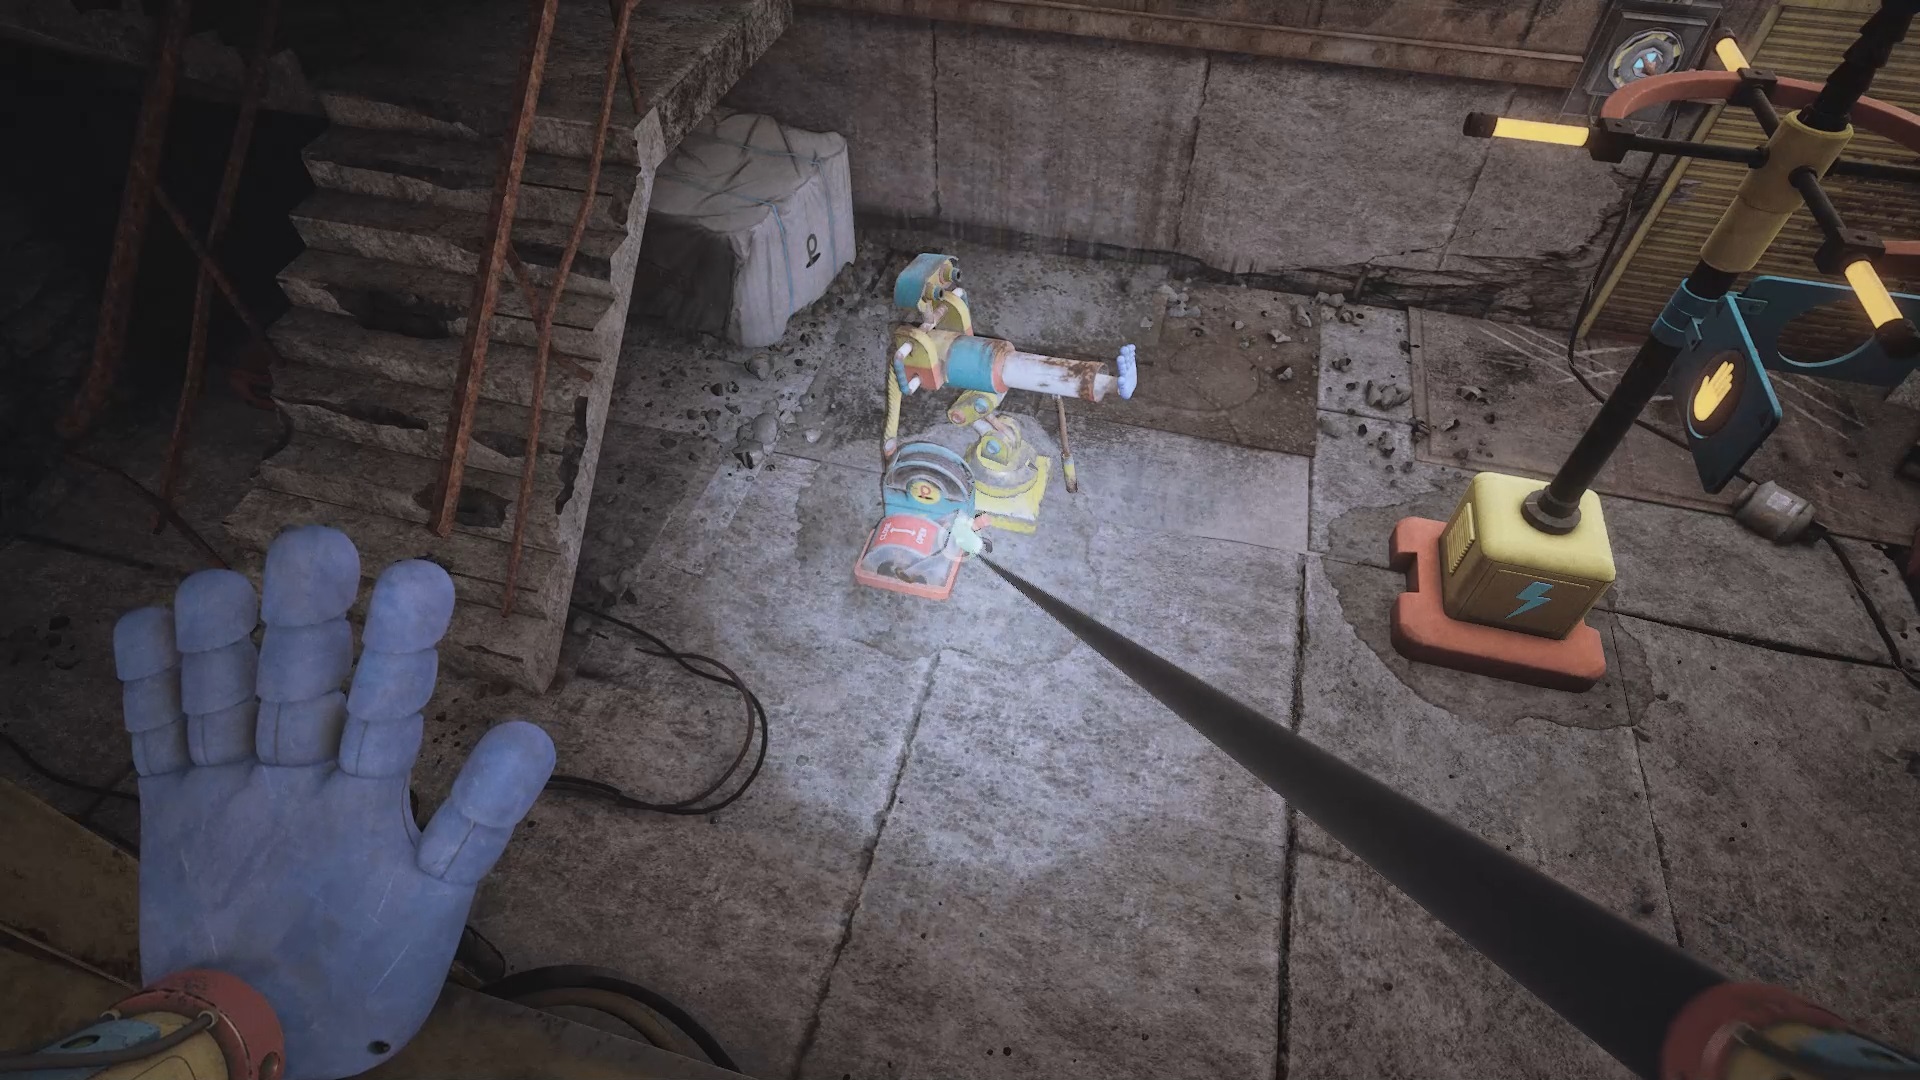
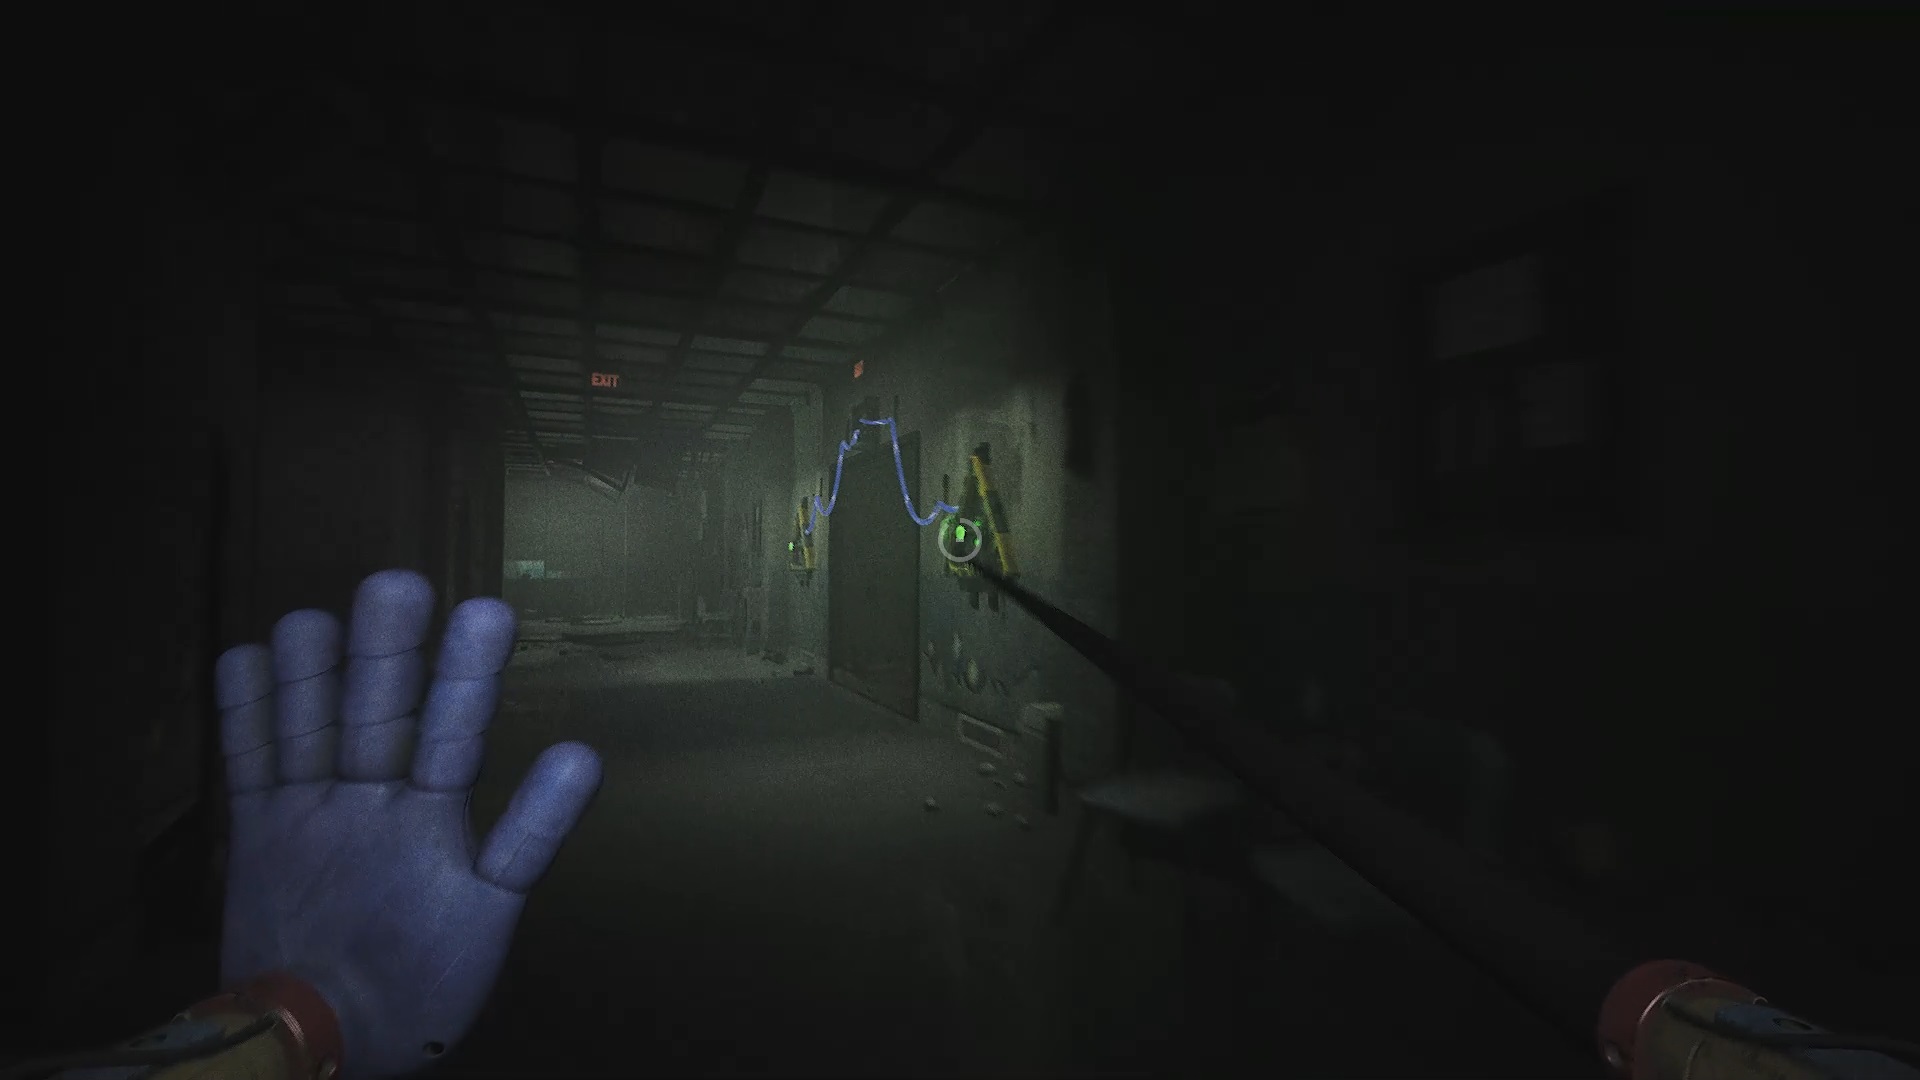
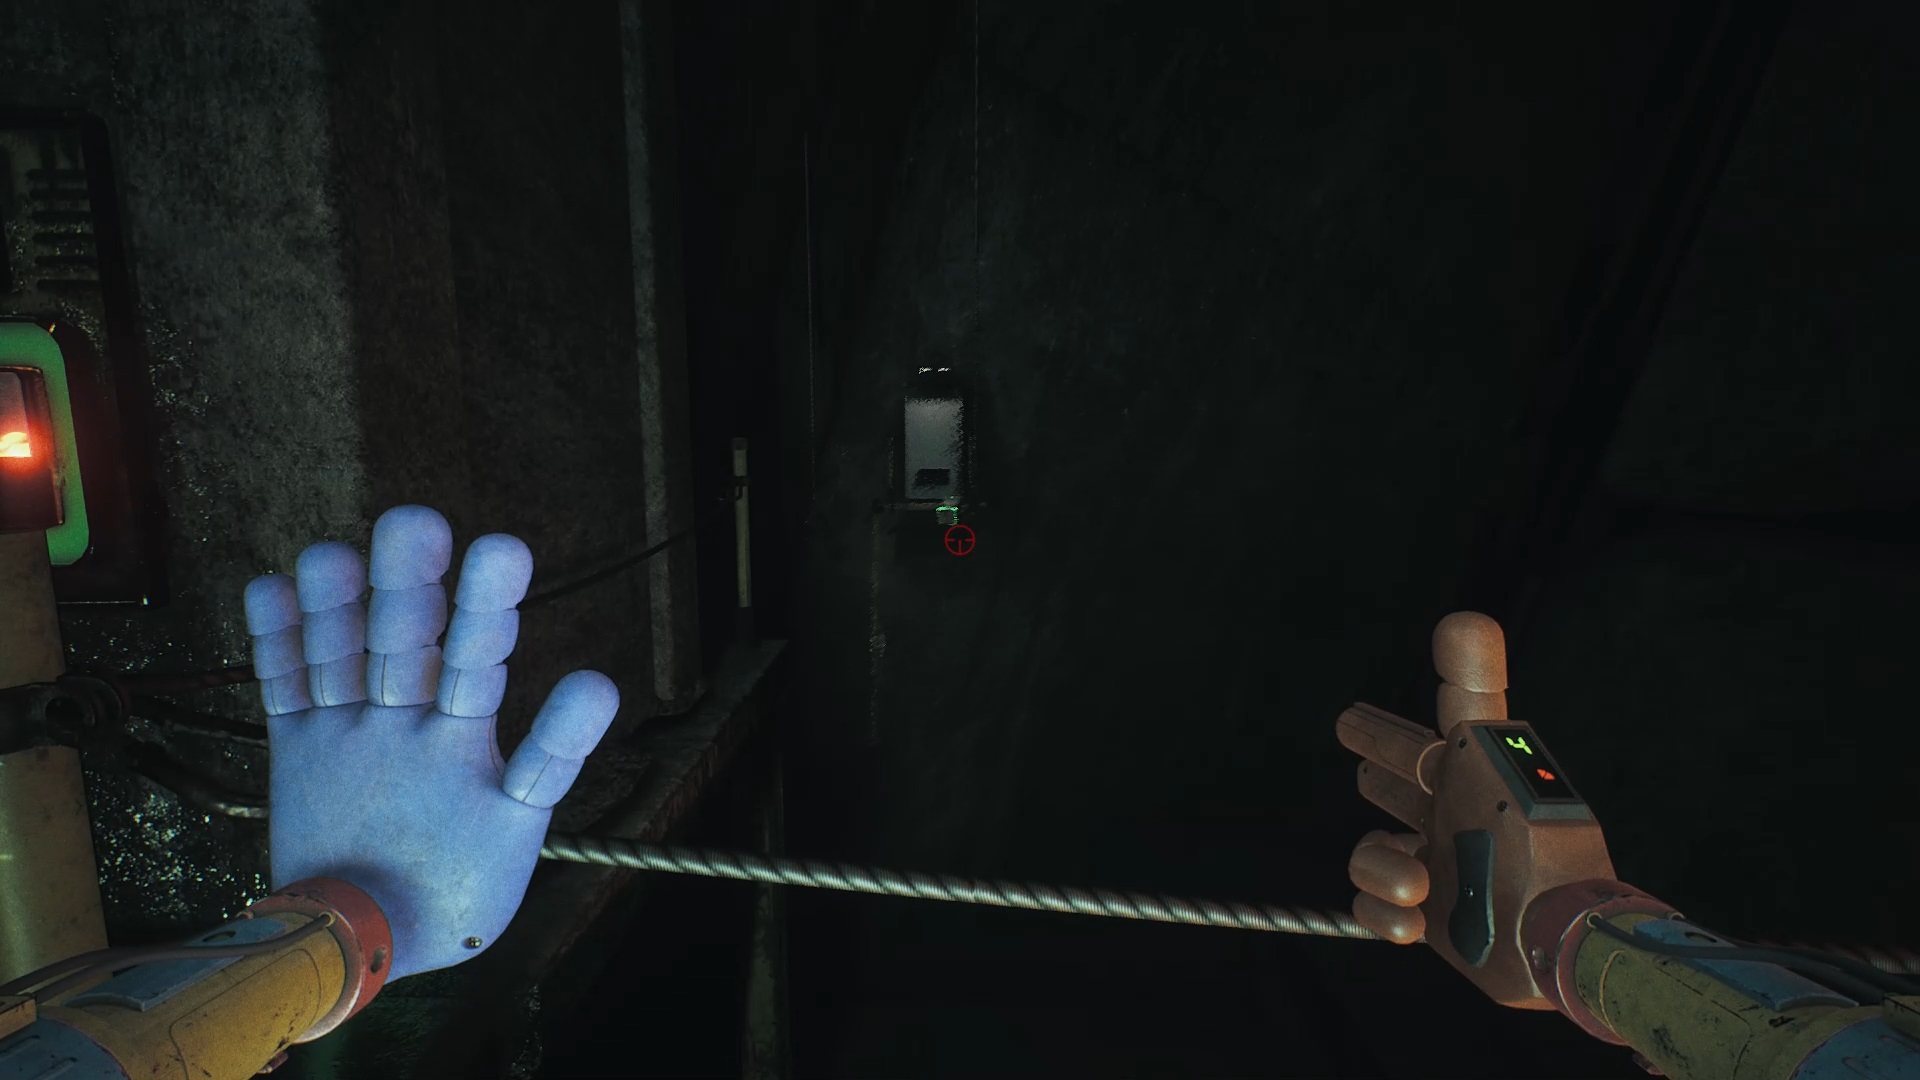
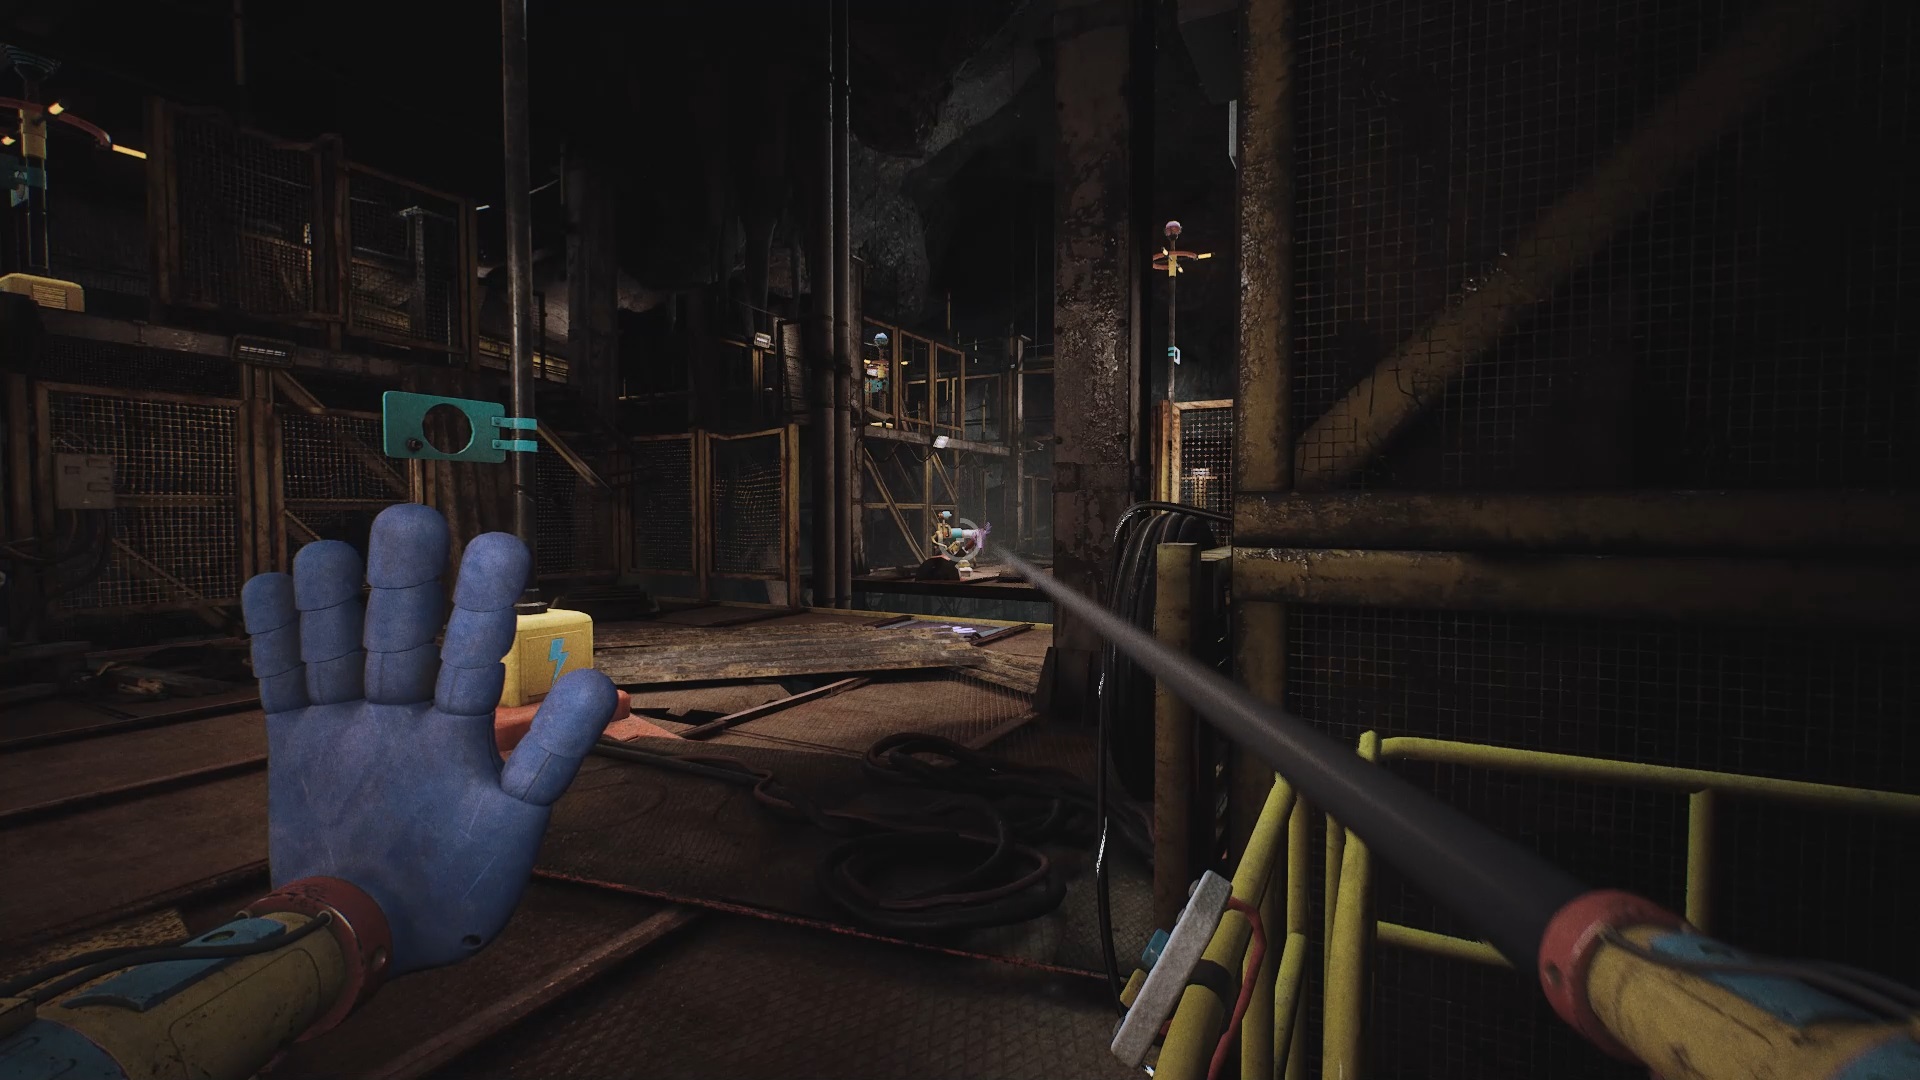
Back at Daycare, your final task is to pull the power cables to the Office, located on a pillar, and those to Home Sweet Home, using the generator in the maintenance room. You will spot the cables by the noise they make and their characteristic glow. Make sure you connect them correctly to restore power. Then collect the keys in the maintenance room.
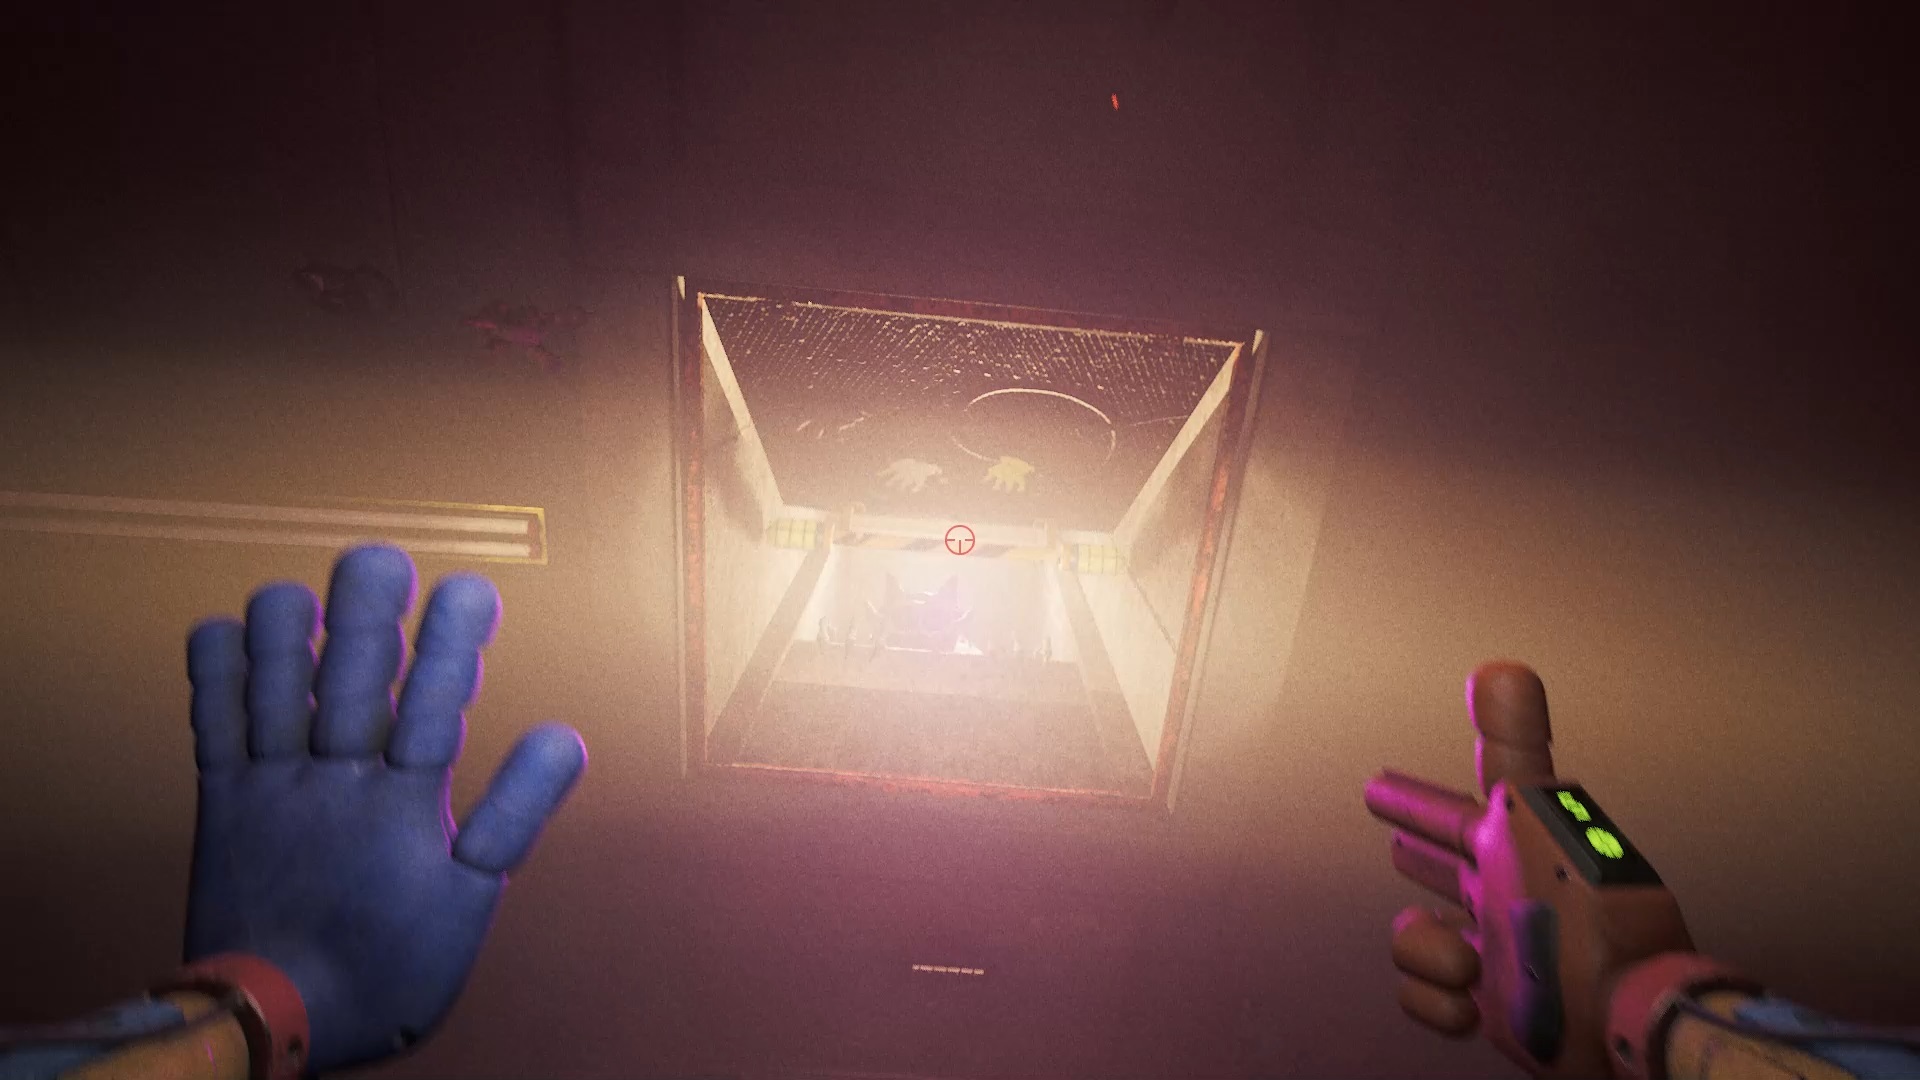
Then return to the gas production room with the big battery. Try to place it on the right, but Catnap stops you. Run towards the elevator behind to save yourself.

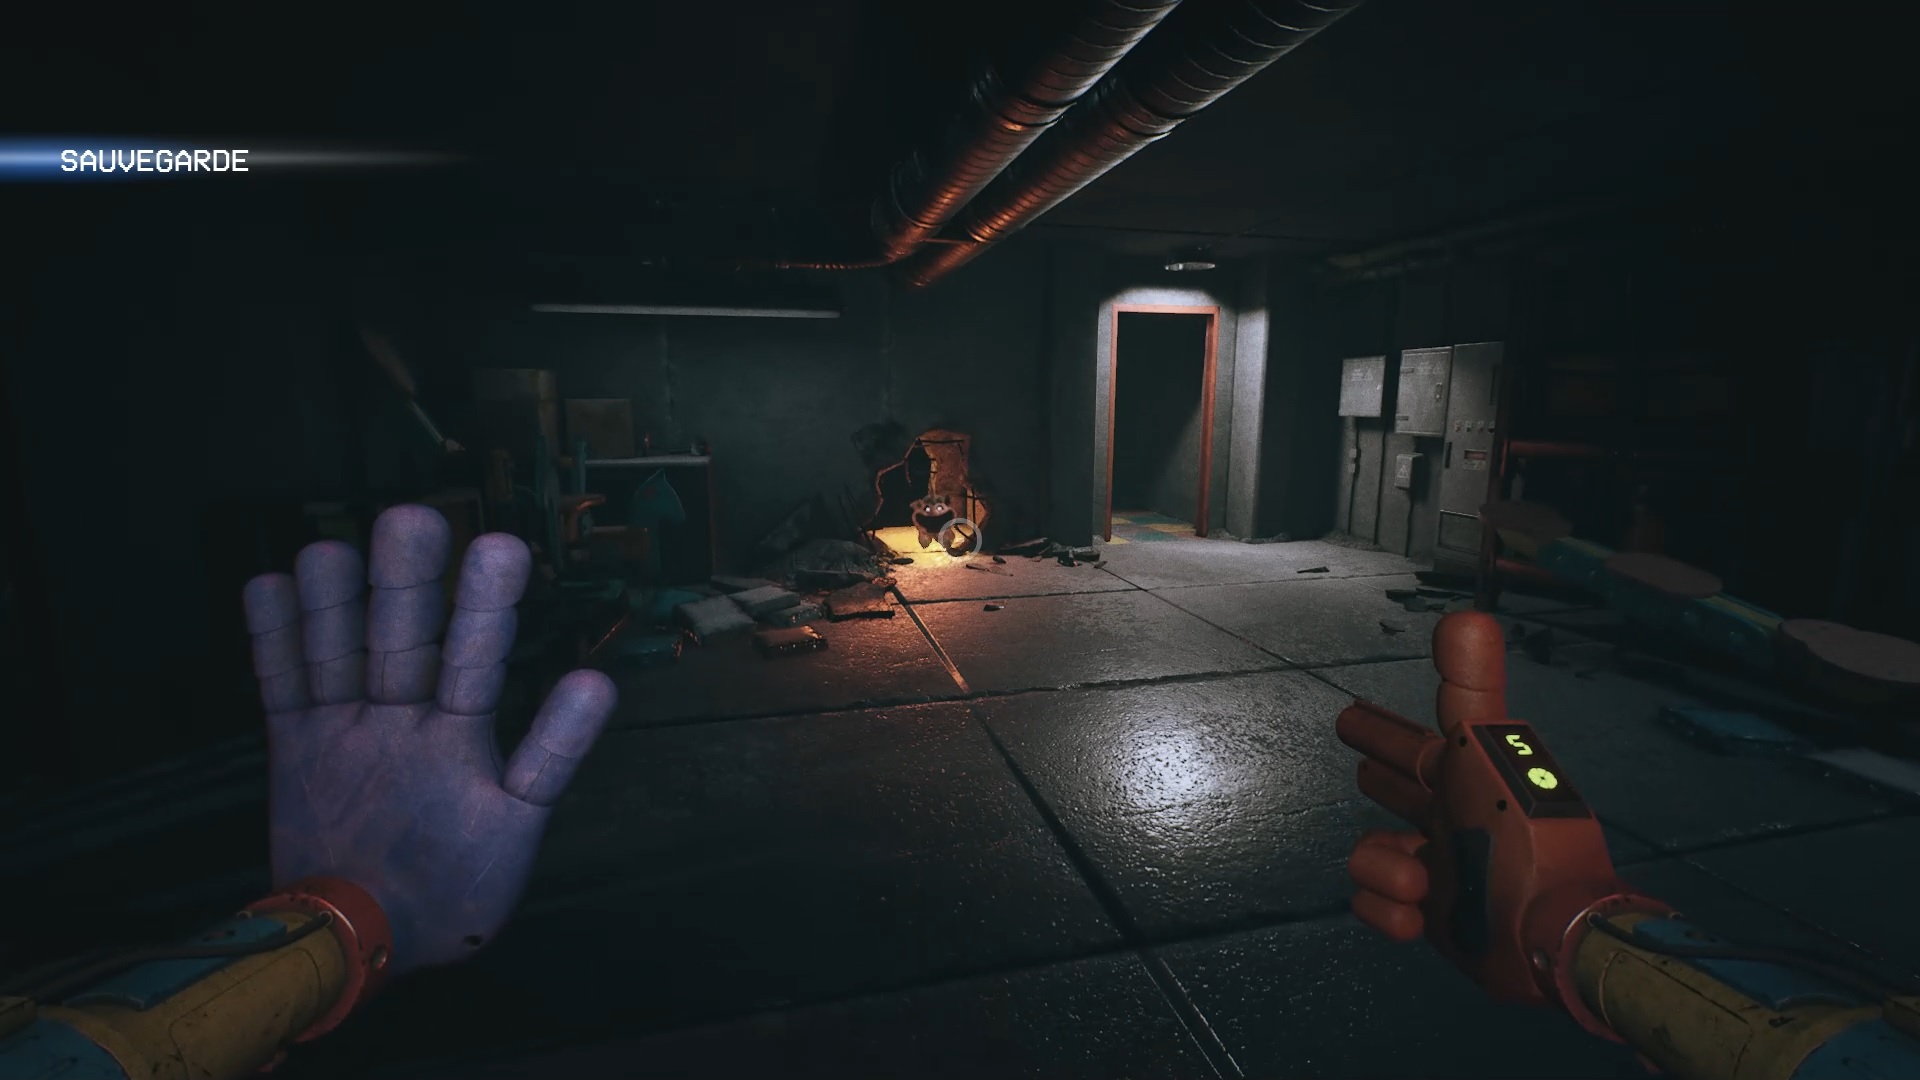
This is when everything will play out. Read the on-screen tutorial carefully to understand that you will need to keep Catnap away from this room. Like a game like Five Nights at Freddy’s, Catnap will try to approach via one of the available paths. You will have to stop him before he gets to you. Use your orange glove to disperse Catnap’s illusions and keep him at bay. Be attentive and react quickly to successfully push him away.
In this crucial phase, the two front paths are powered by a switch which must be activated via the power source on the wall behind you. On the other hand, the two rear paths require a battery to be powered. Throughout your survival, you must also ensure that you power the main generator with batteries to prevent the gas from spreading. If the gas spreads, you will start to stagger, which could be fatal. Start by powering the power source and lighting against the wall first. Immediately collect the battery behind the right grate. Place all remaining batteries in front of the tutorial screen. Insert all external batteries first, then as a last resort, insert the battery intended for lighting for the generator. Keep an eye on your surroundings, stay focused and act quickly to survive.
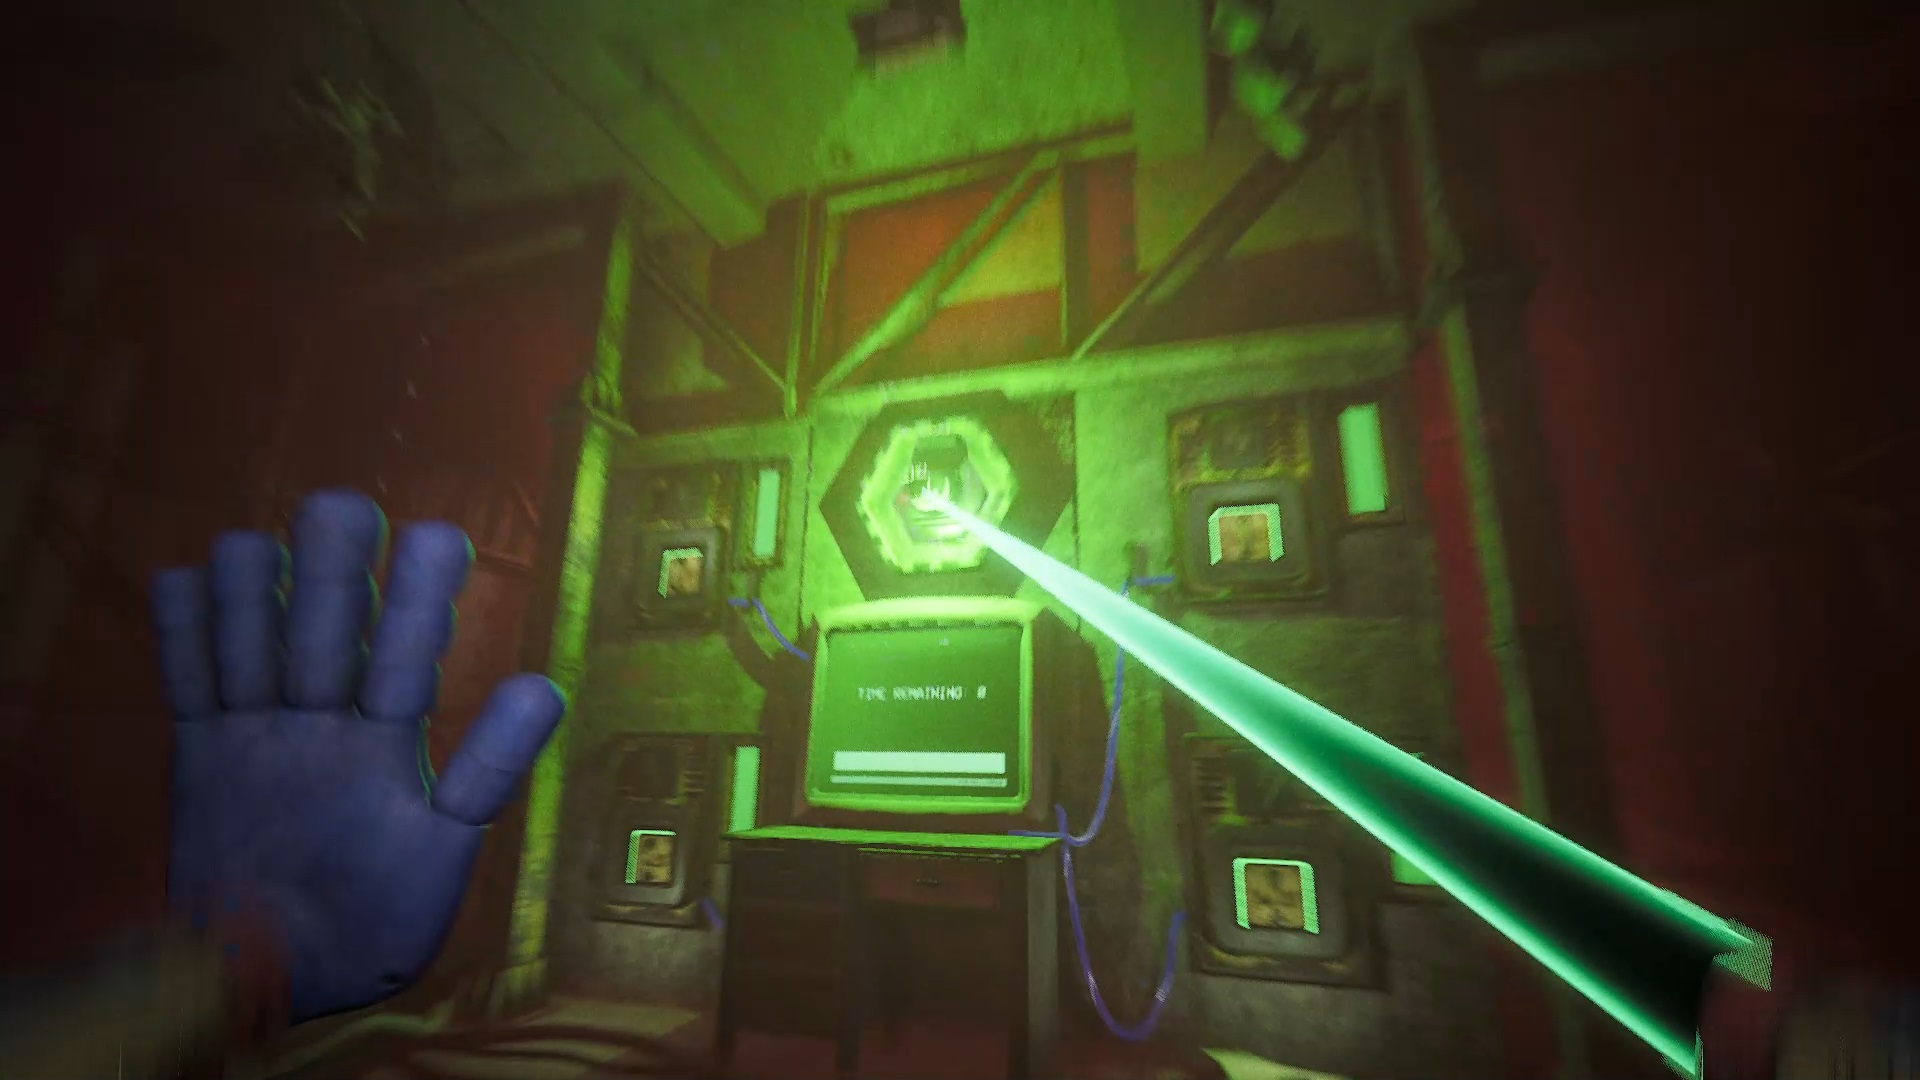
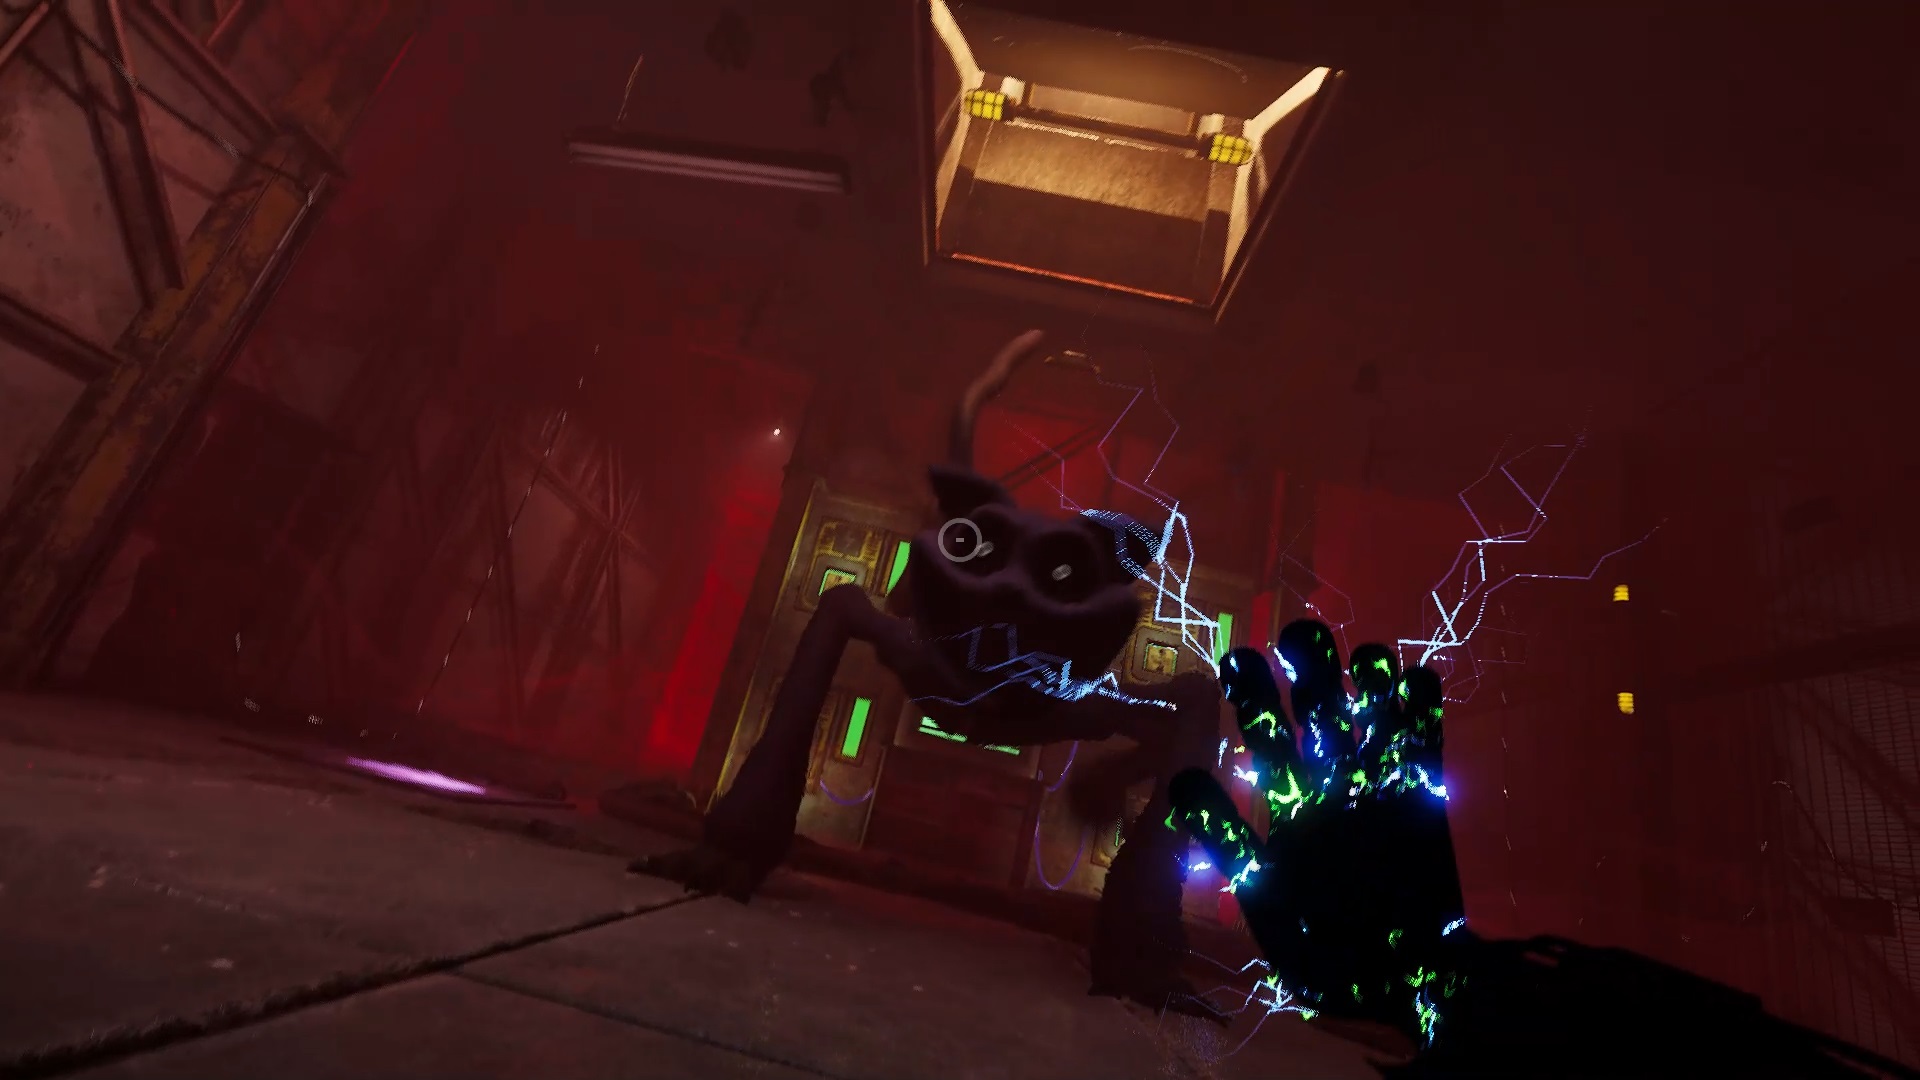
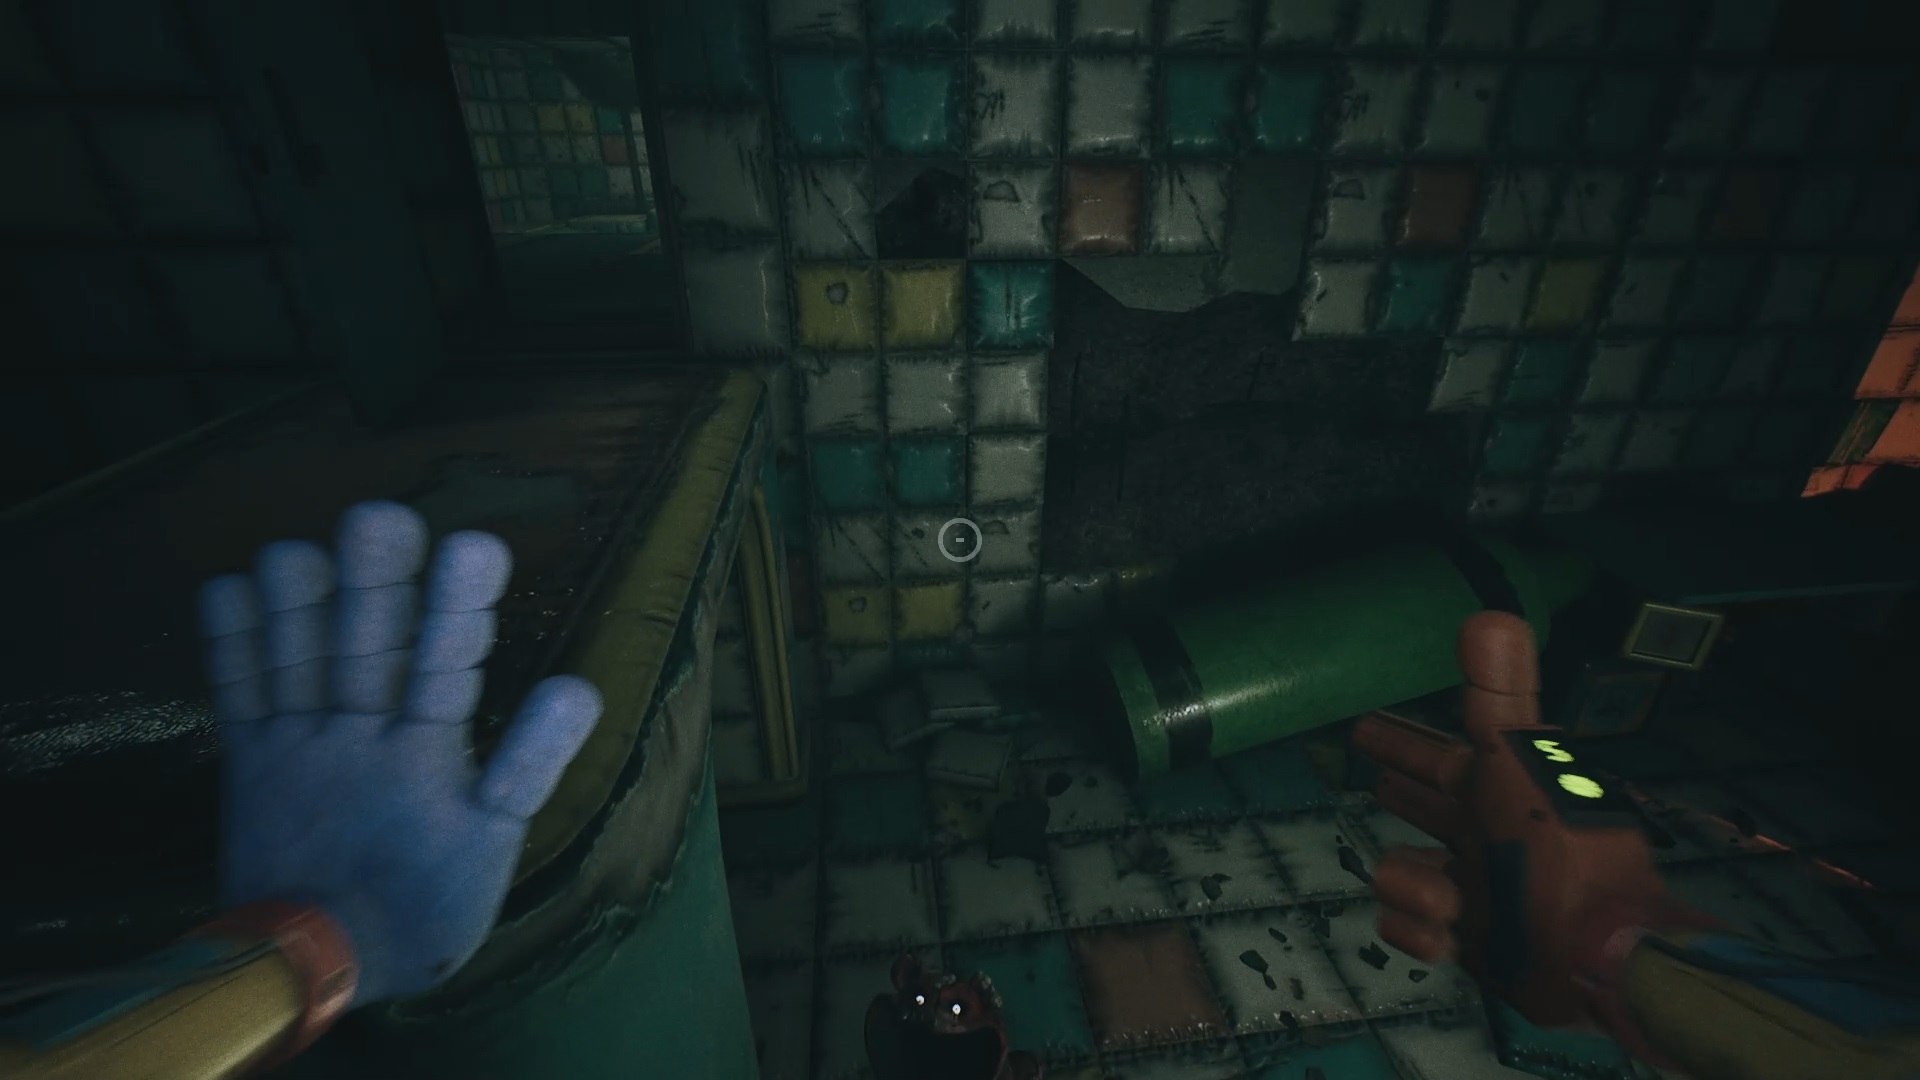
Keep an eye on all paths at all times. It may happen that Catnap appears through the trapdoor above. In this case, keep the hatch closed until the spotlights disappear. Act quickly by juggling the appropriate gloves to succeed. When the countdown comes to an end, power the main generator with electricity from the power source. Then immediately shoot with the right glove to eliminate Catnap. Be sharp and precise in your actions to win this intense test.

Then, head to the gas production room and insert the large battery into the base provided for this purpose. Transfer the gas into the machine on the left, then join Poppy for the final scene in the room on the left

Fan de jeux Nintendo, Xbox, PlayStation, PC et de l’univers gaming
Je vous partage ma passion à travers mes articles sur les nouveautés jeux vidéo
Journaliste gameactuality.com


Suiiui
Plesse you poppy playtime chapter 3 وسادفع لك 2000$
Hello
Poppy playtime Charter 3
poppy
playtime chapter 3