
[Guide] Everything is for humanity – Full Walkthrough
Everything is for Humanity: complete walkthrough of the game path. Find all the solutions to riddles and puzzles in our article.
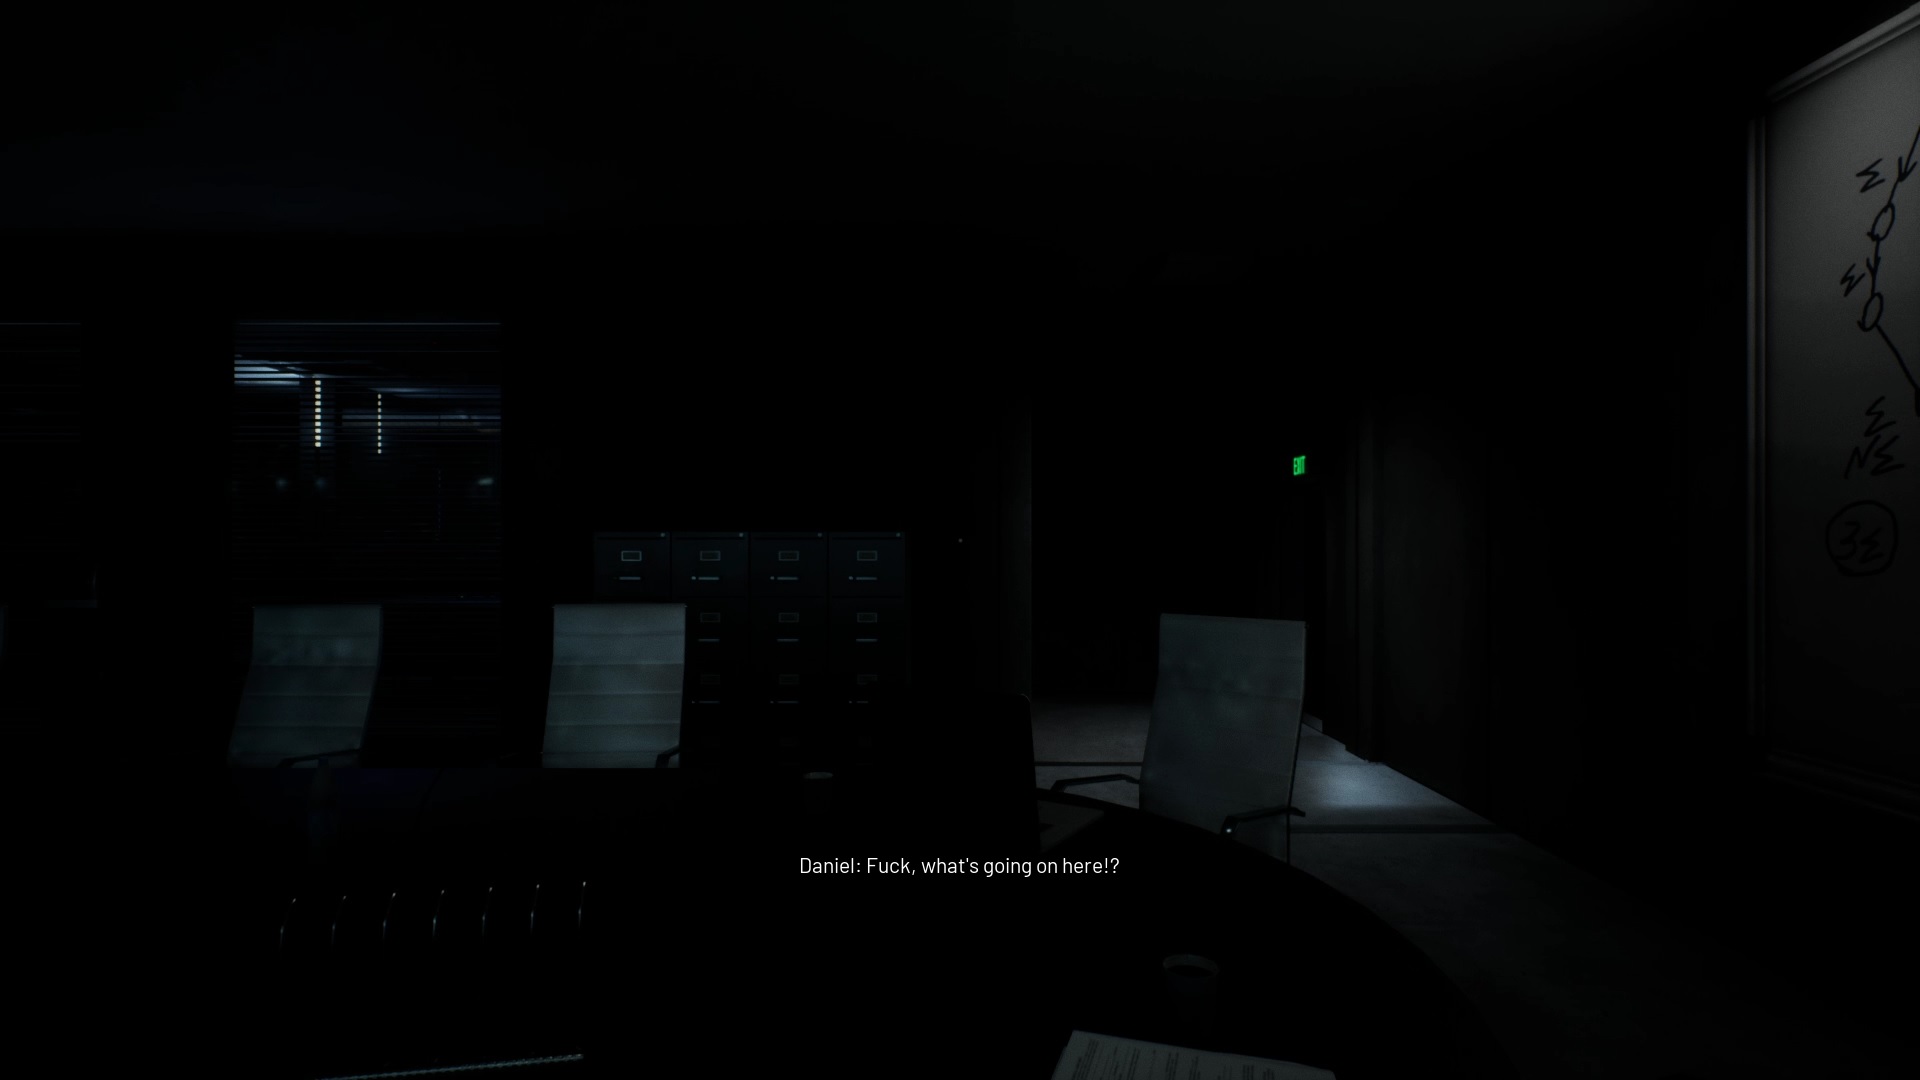
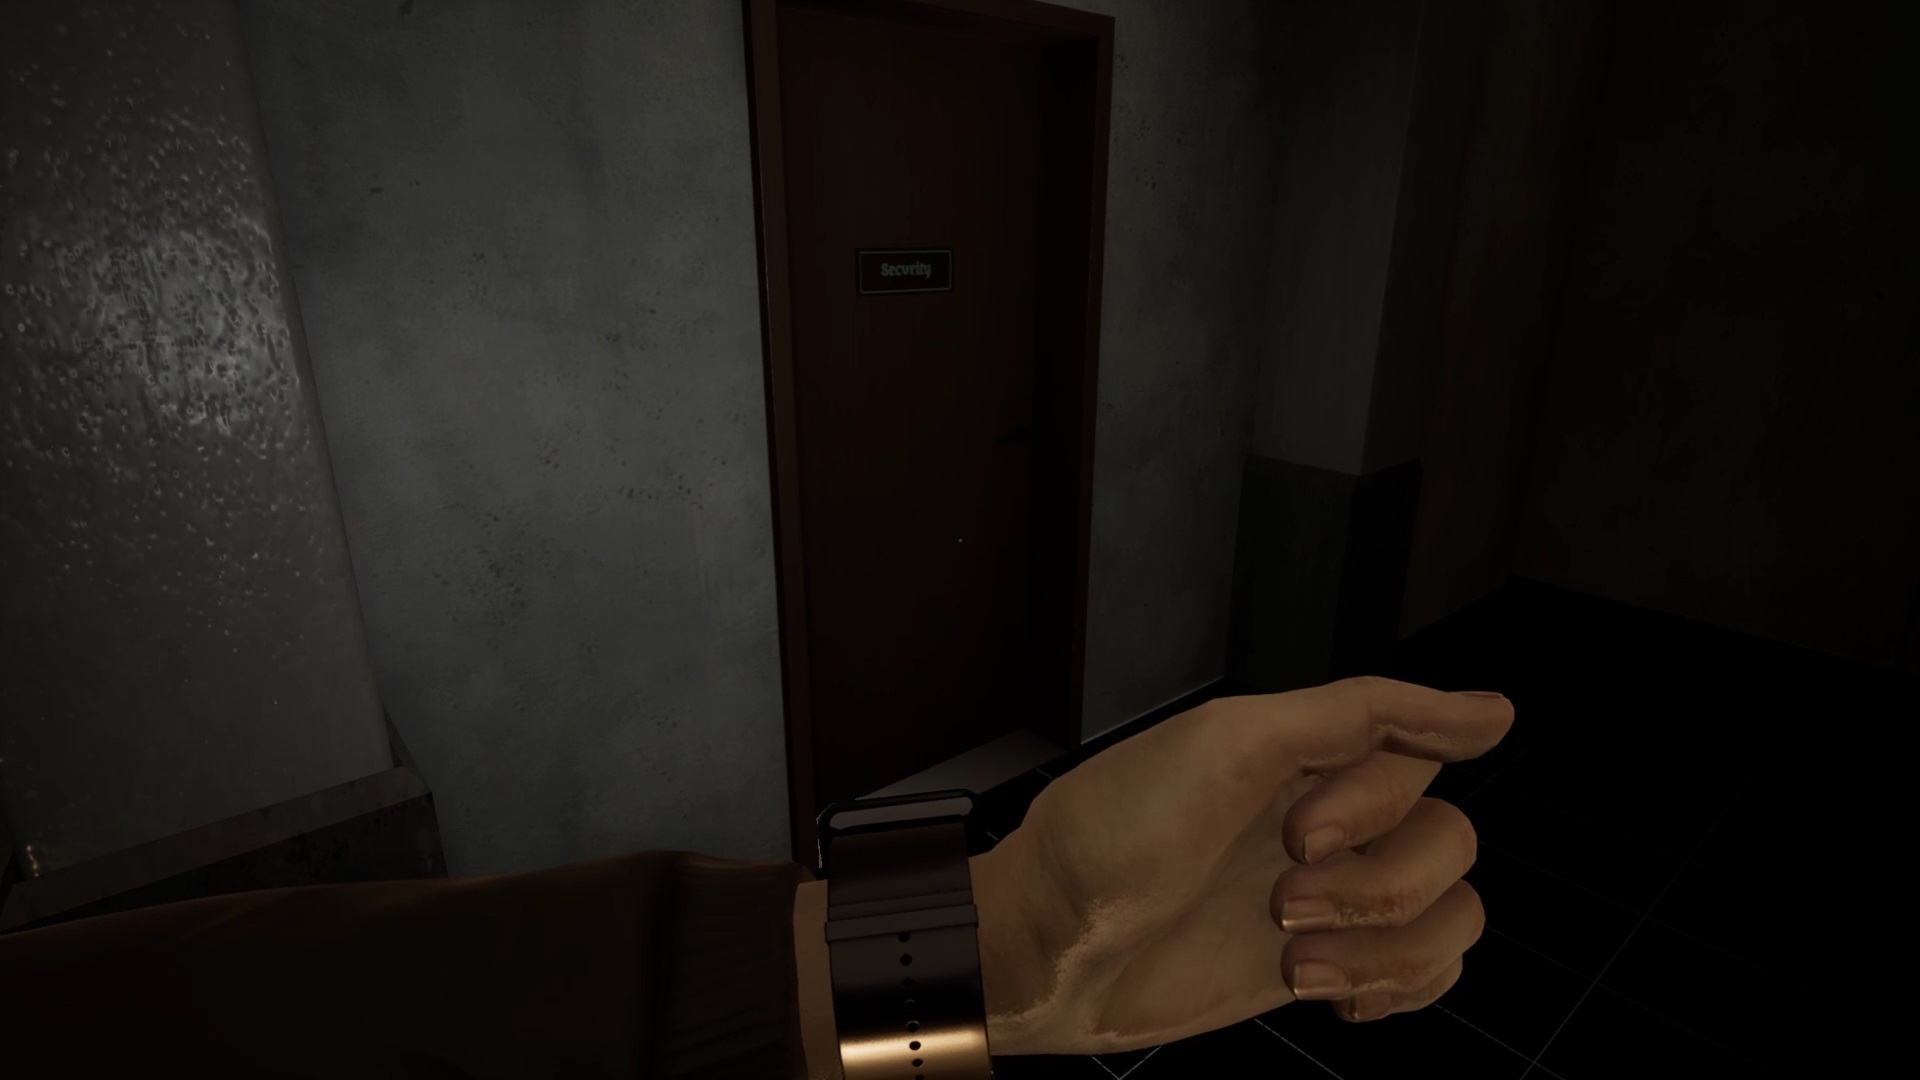
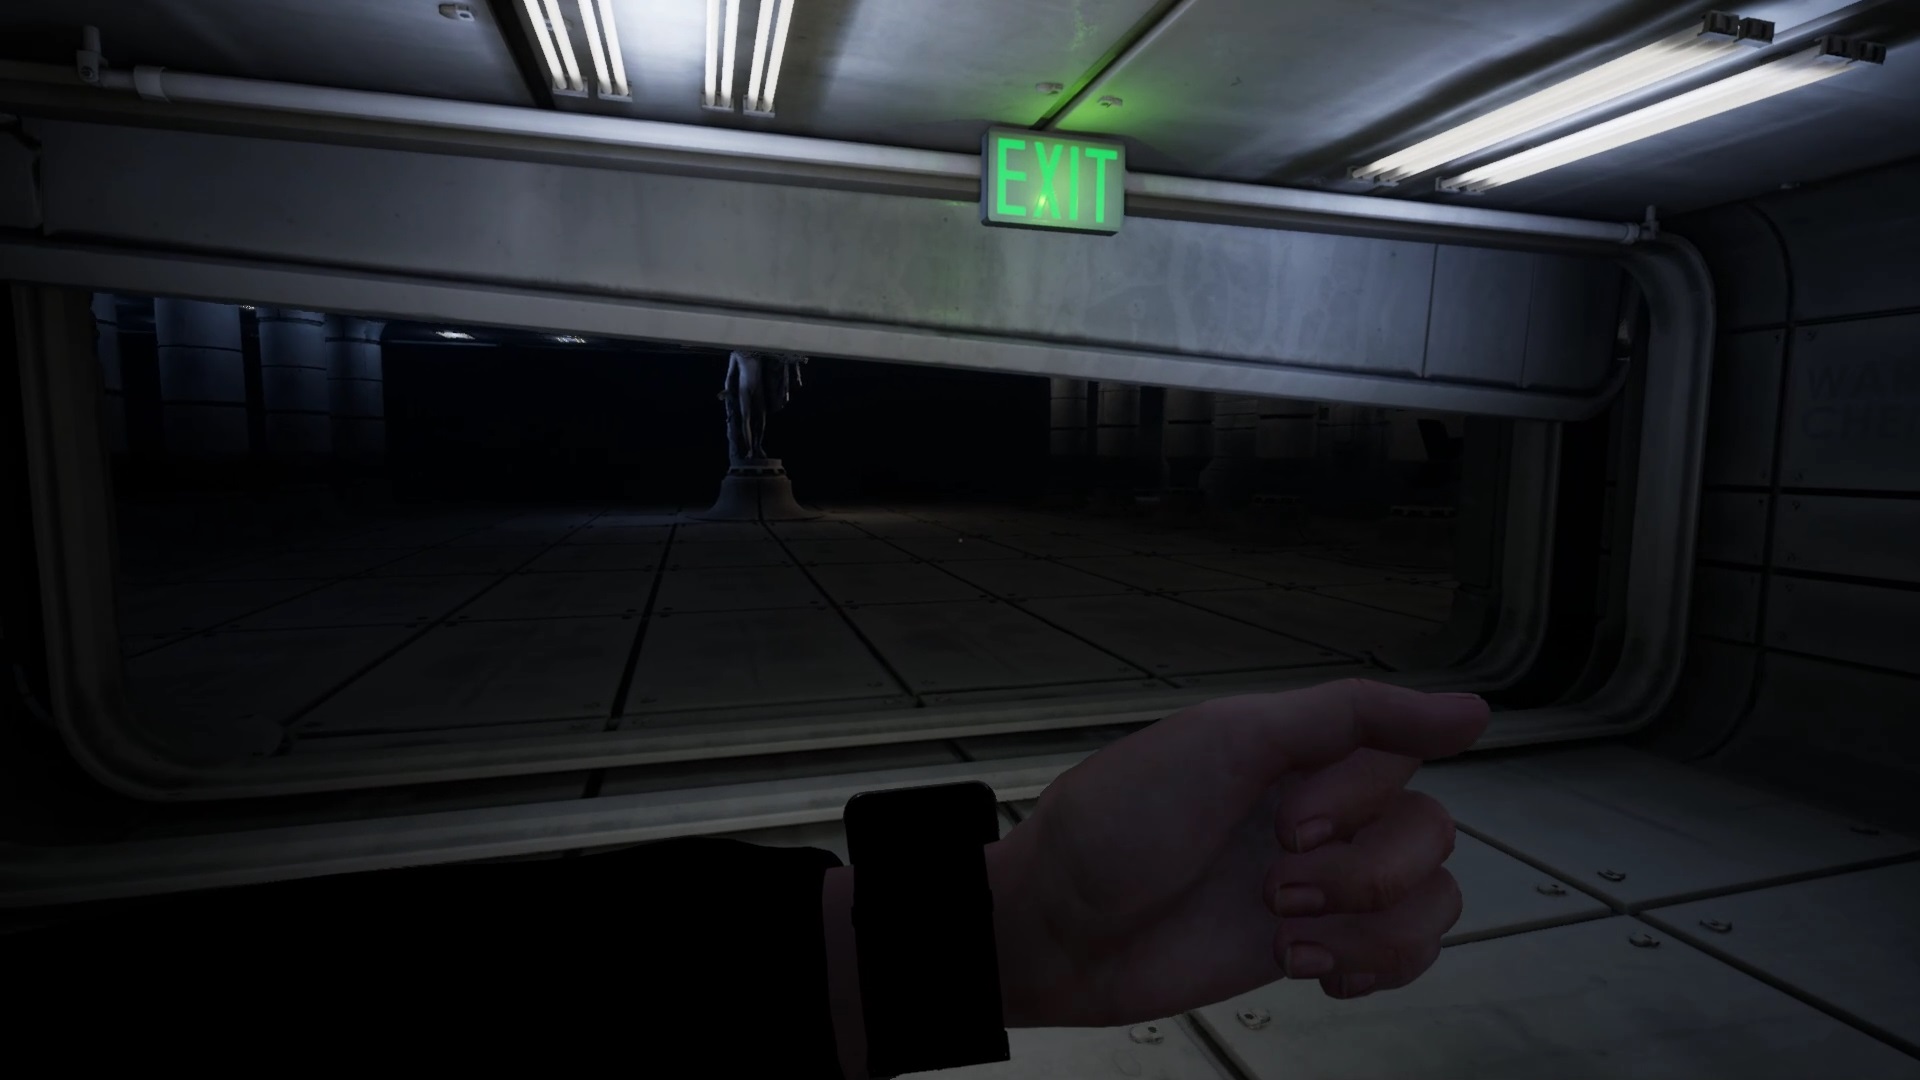
You wake up as Daniel in a meeting room. Exit through the exit door to the right of the painting. In the next room, follow the exit sign to find a closed automatic door. Walk to the right of the automatic door to find the security room.
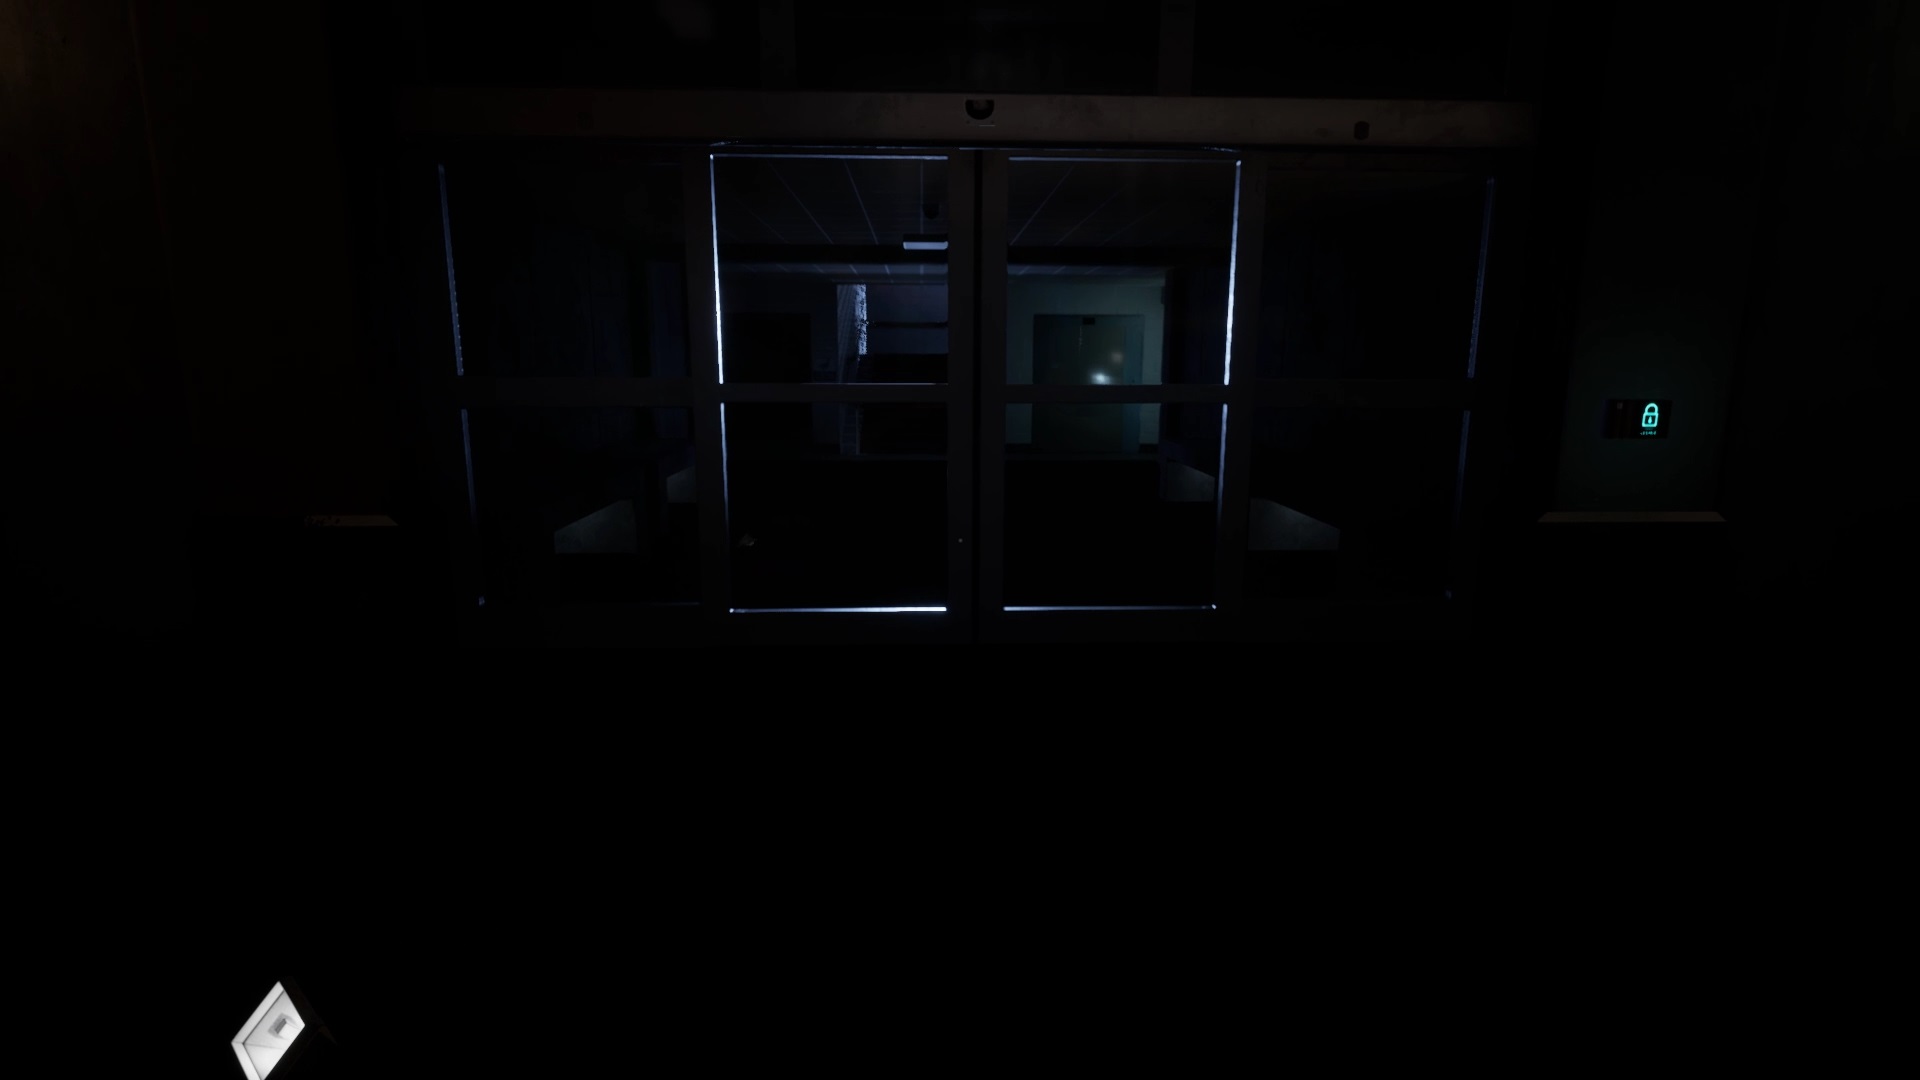
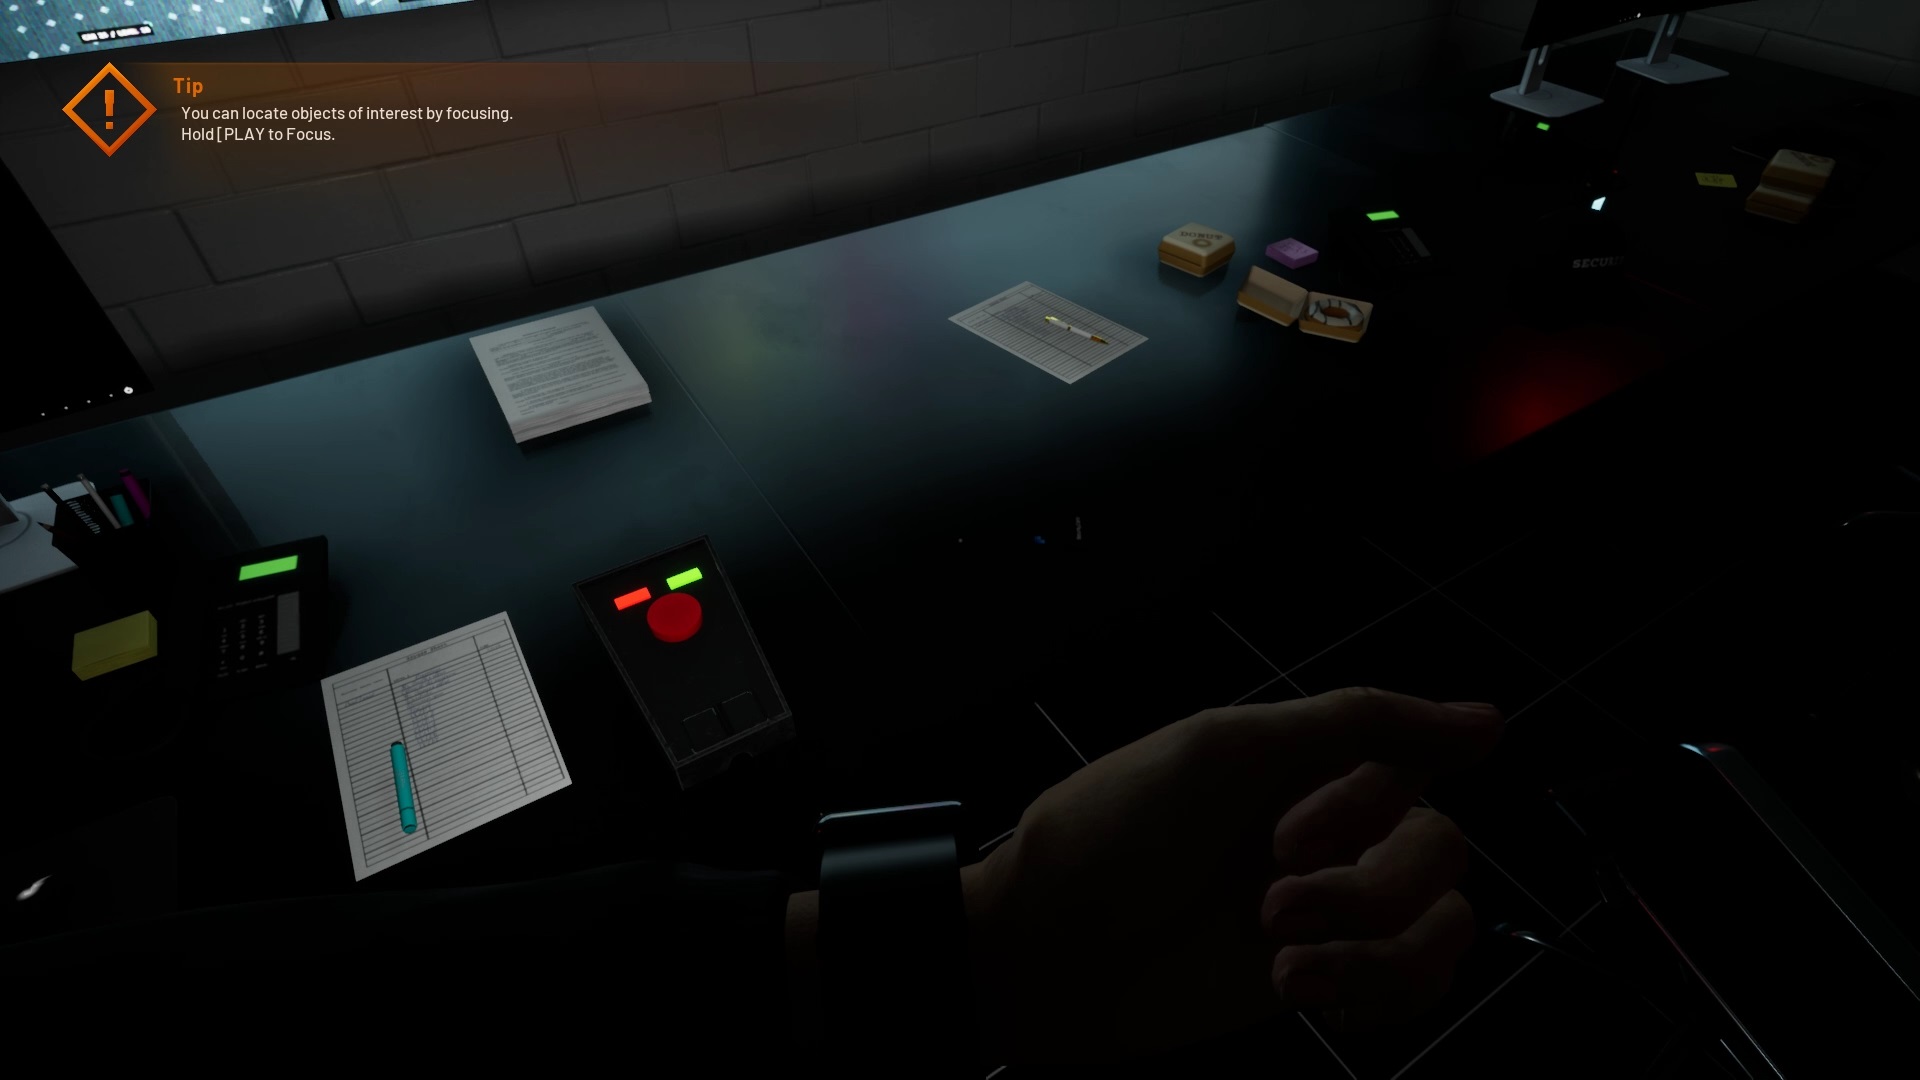
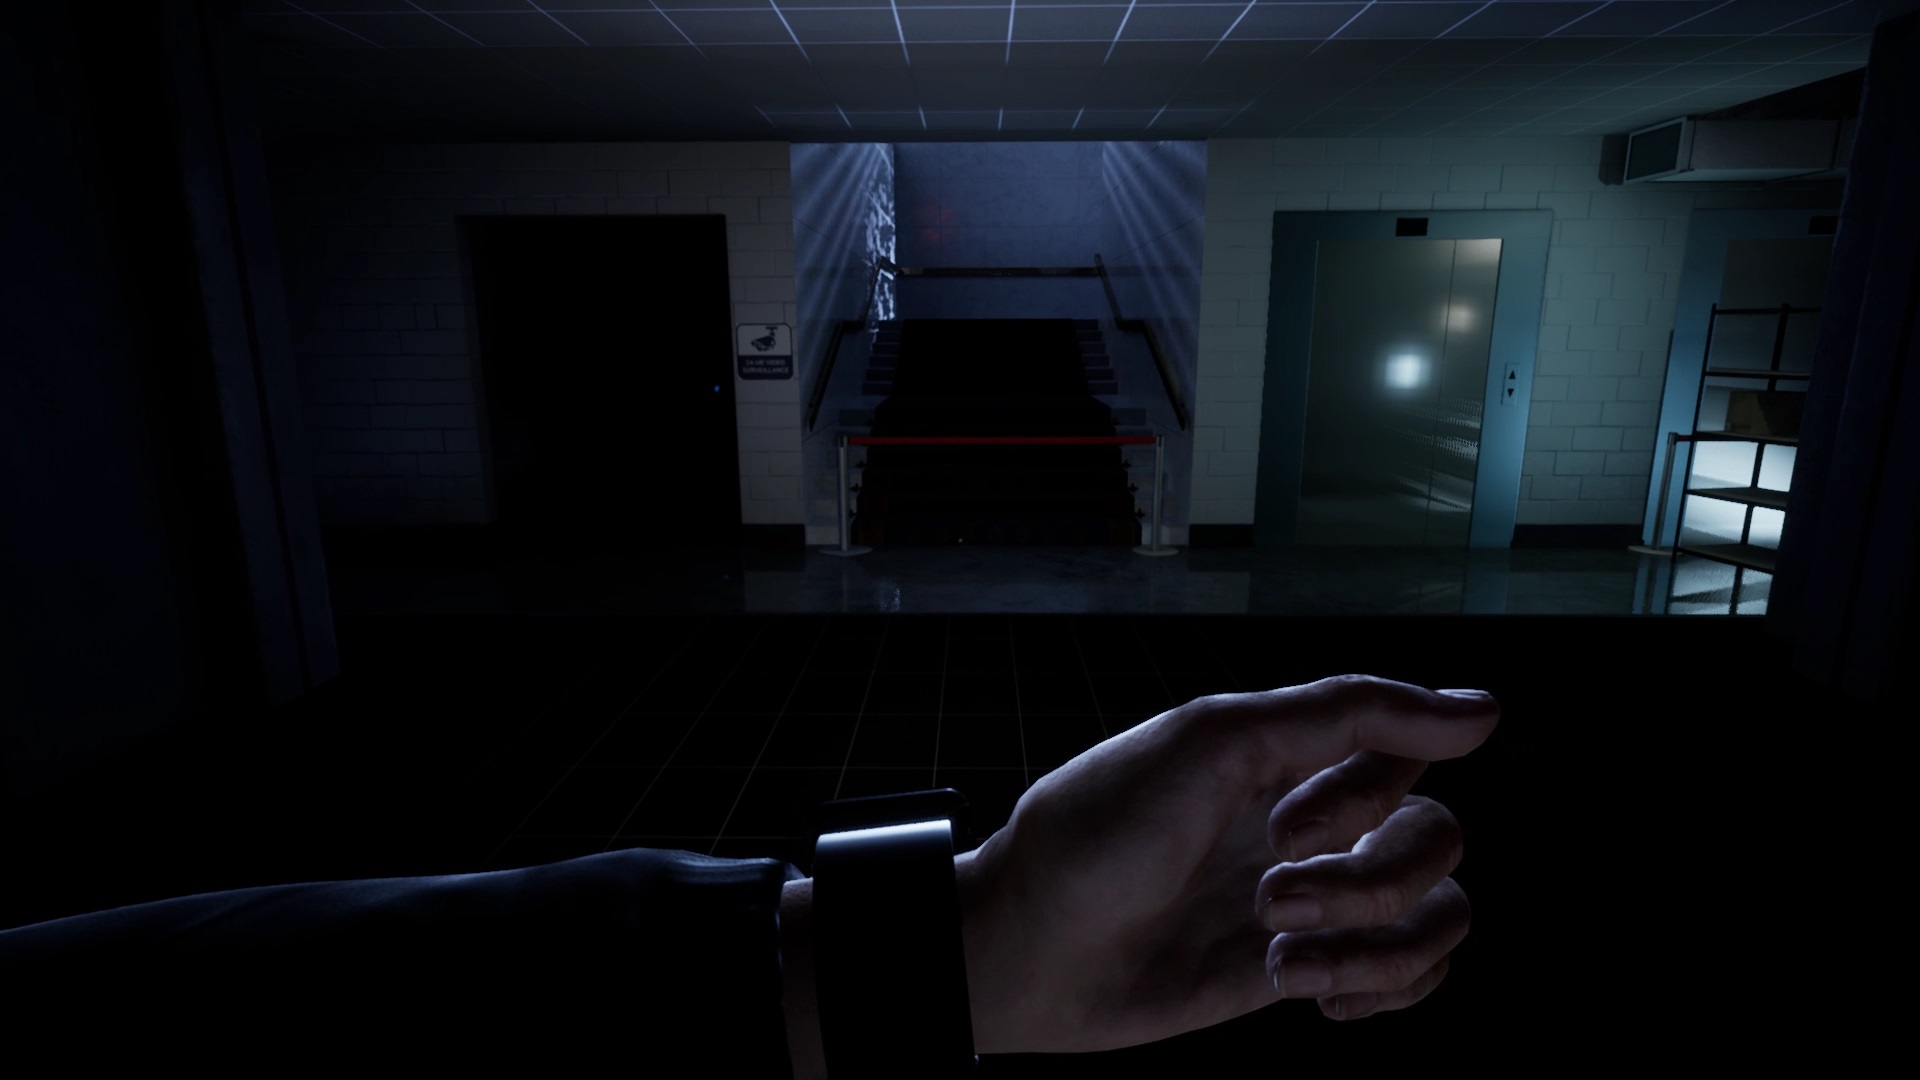
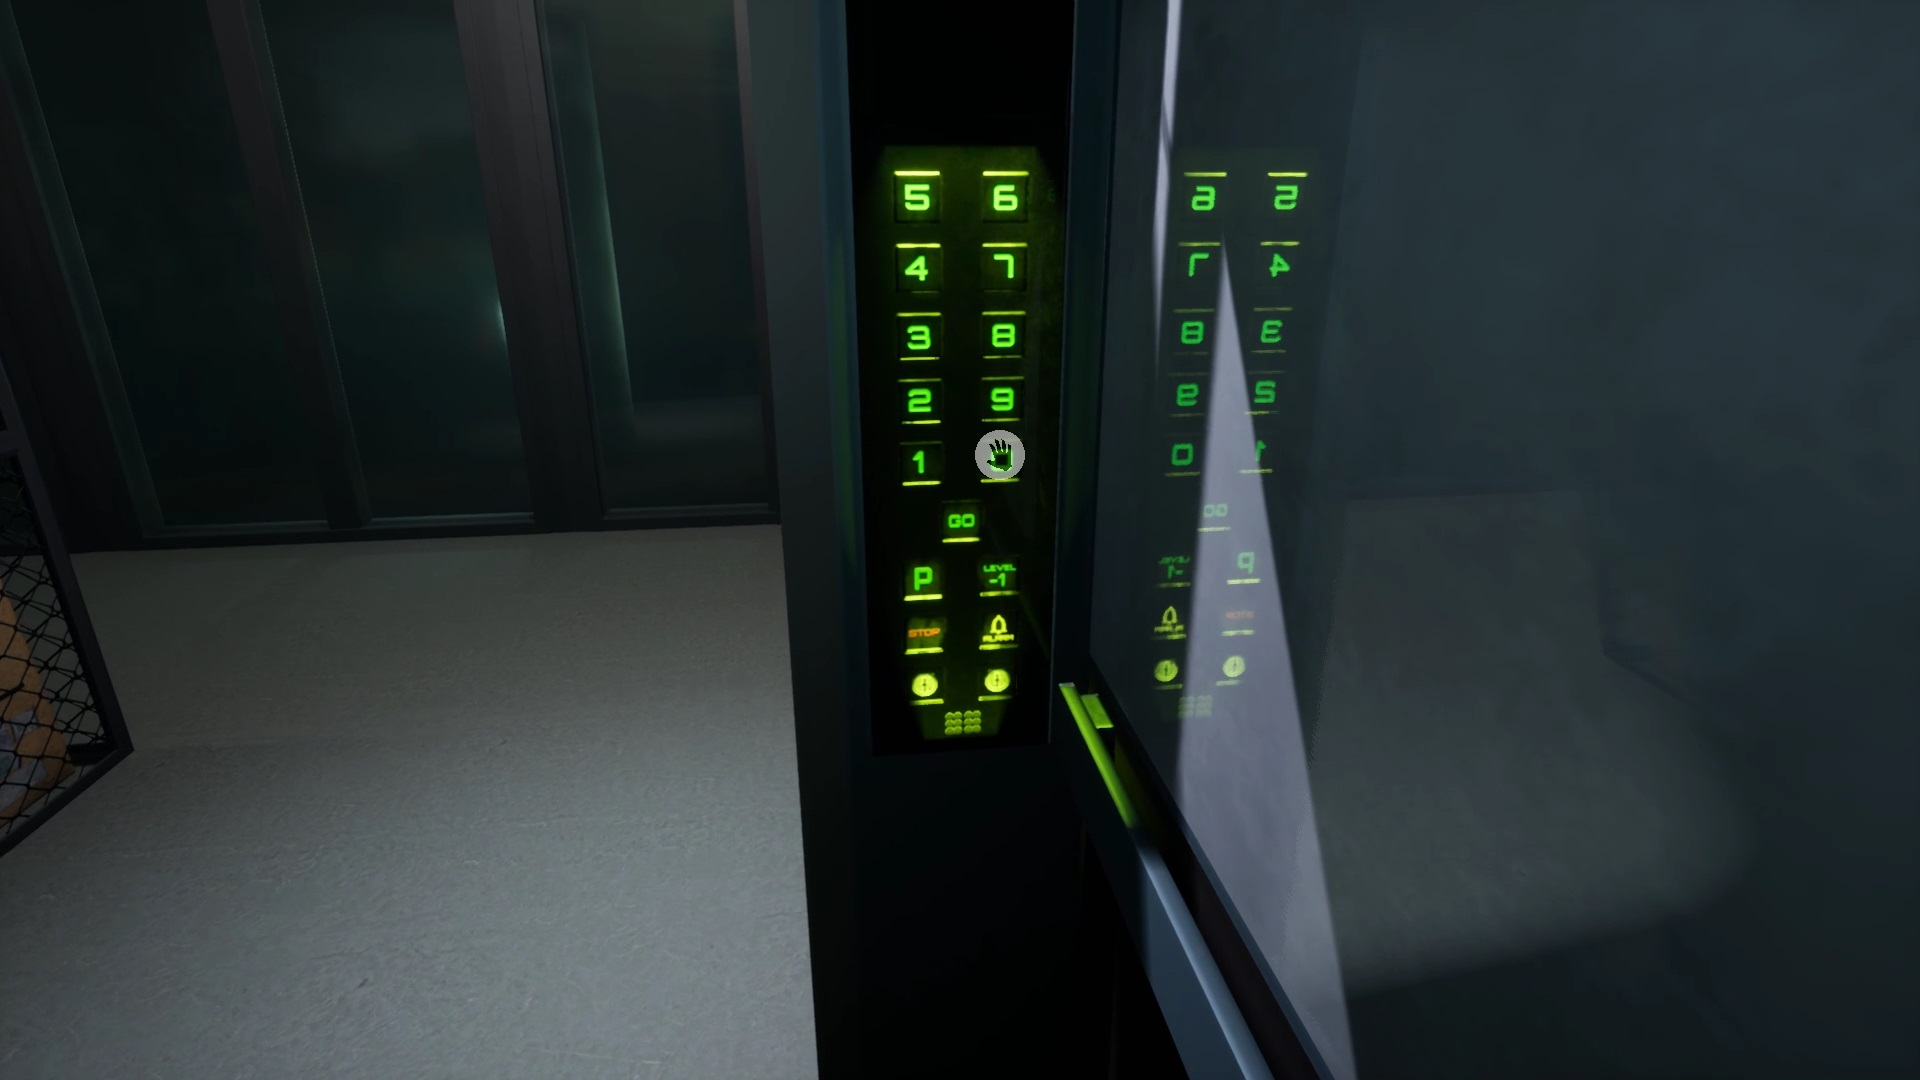
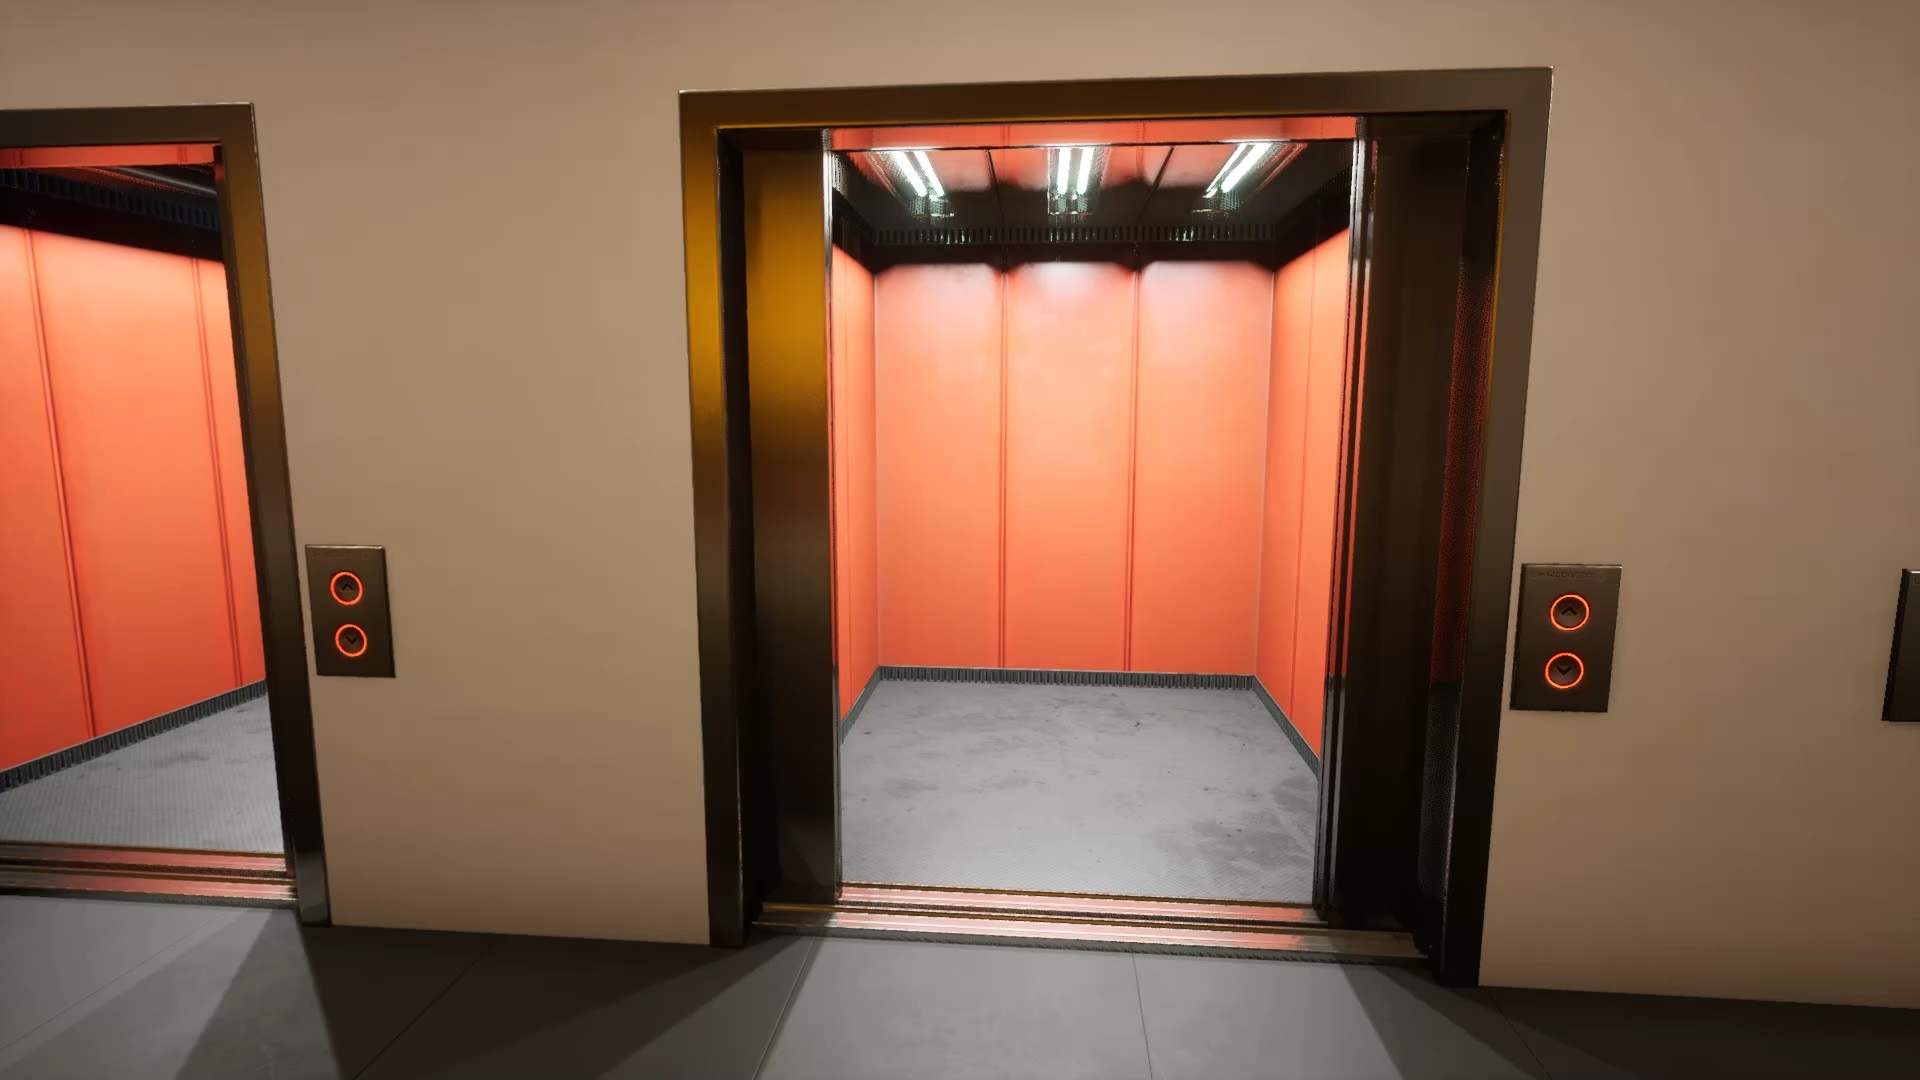
Enter the security room to retrieve a security keycard from the table. Get out to open the automatic door. Go through the doors and take the elevator down.
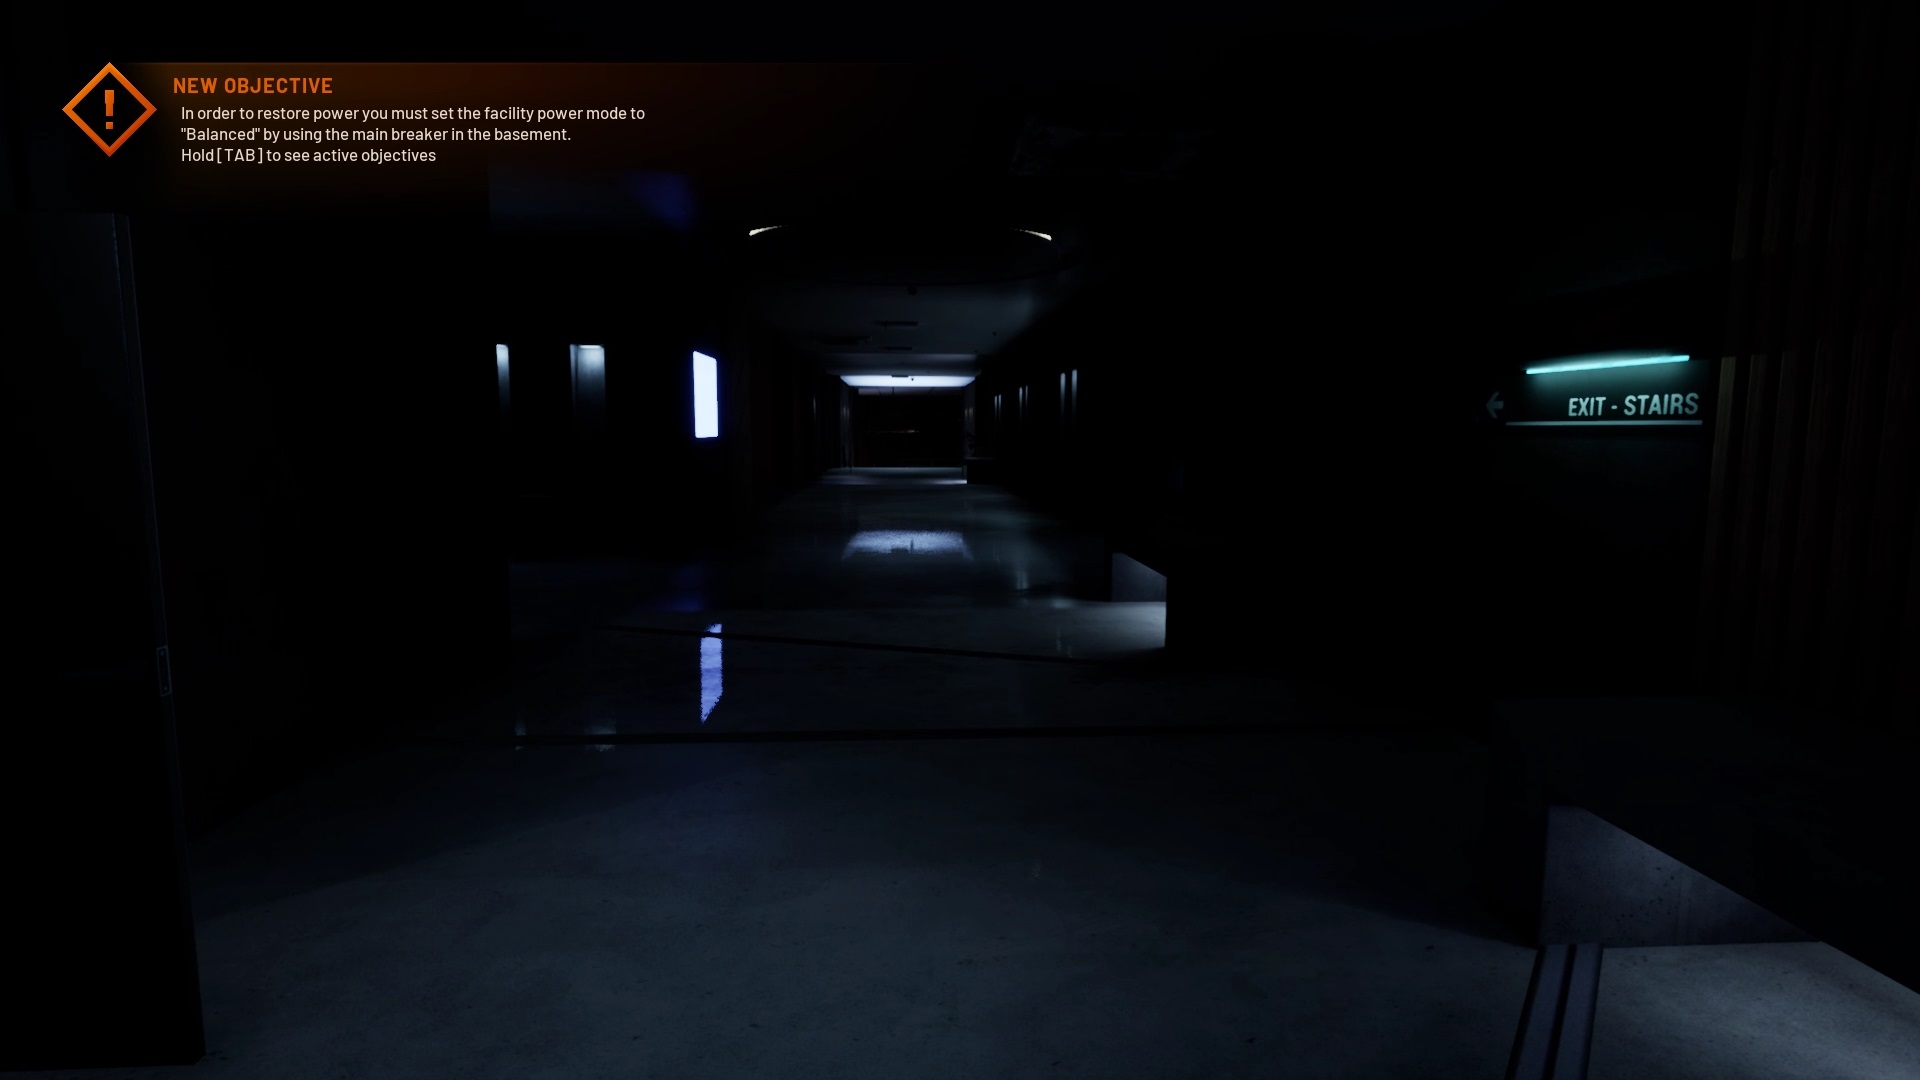
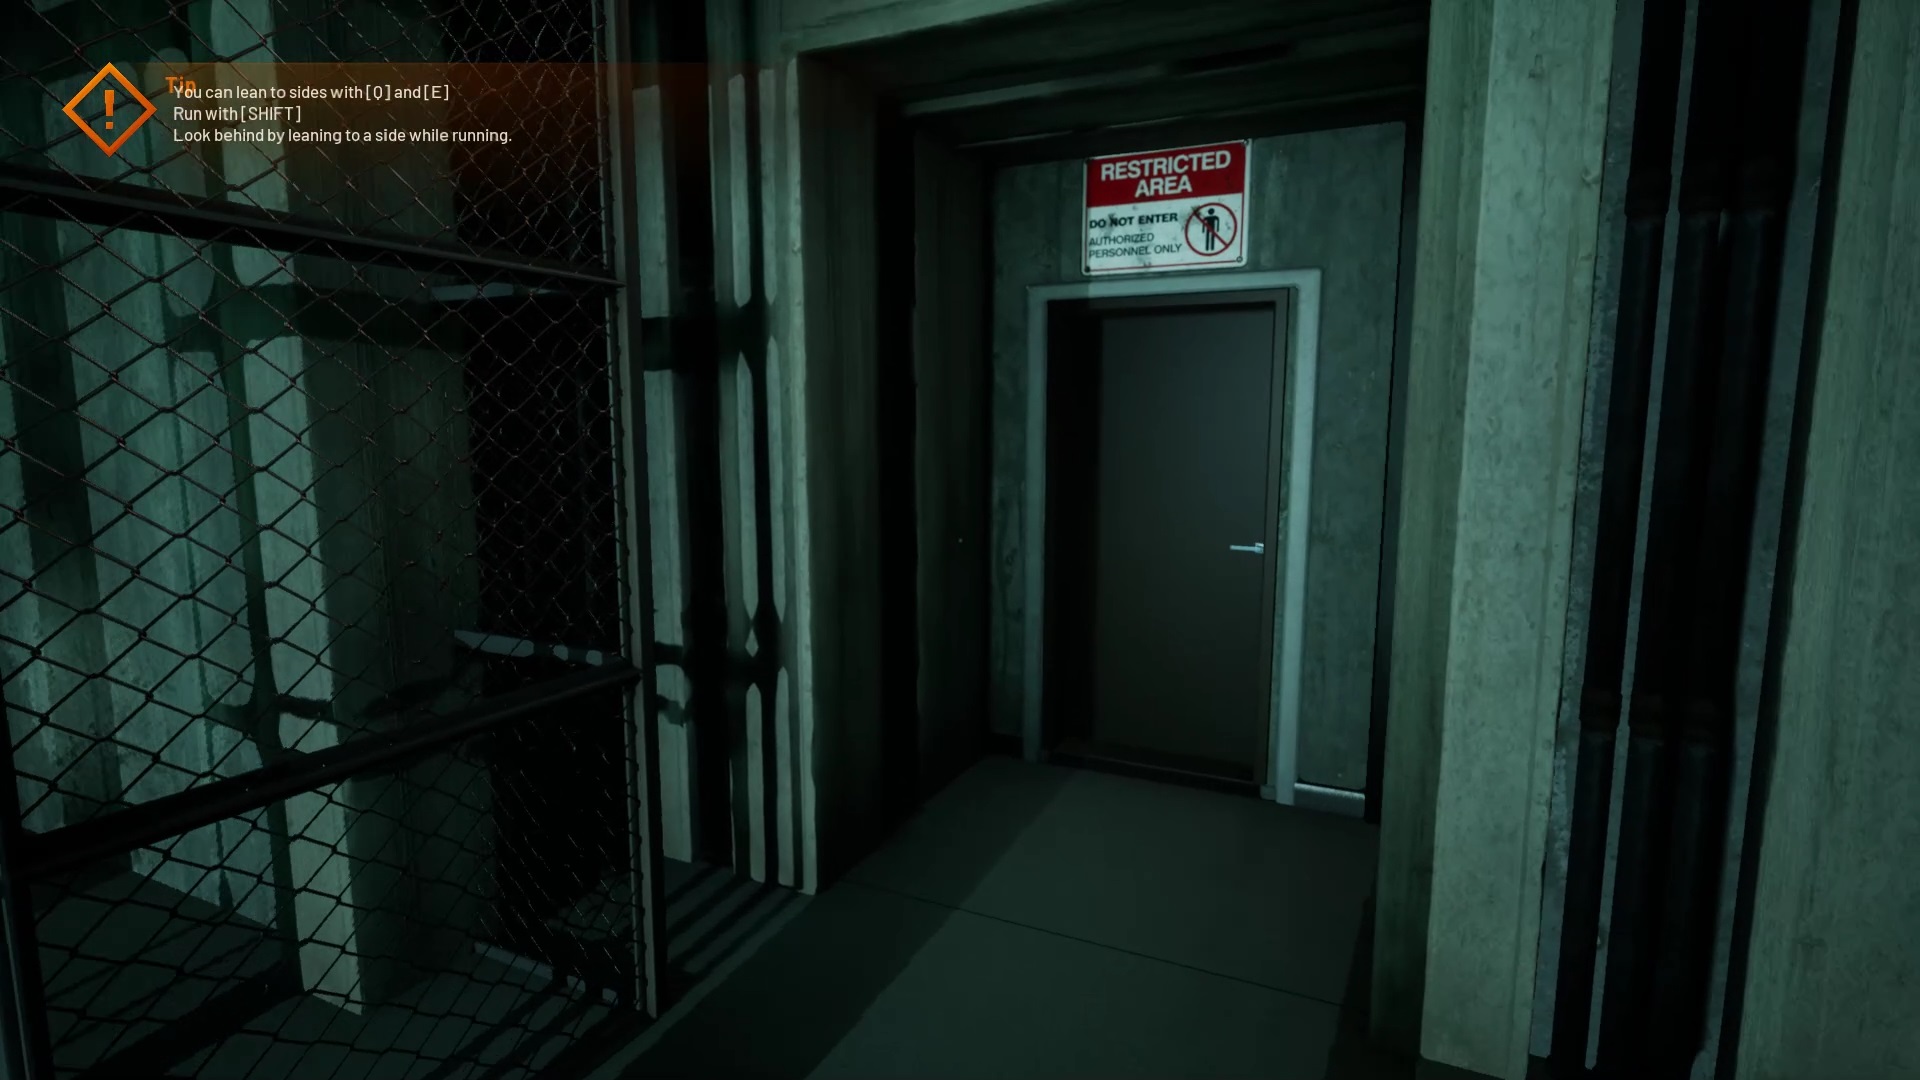
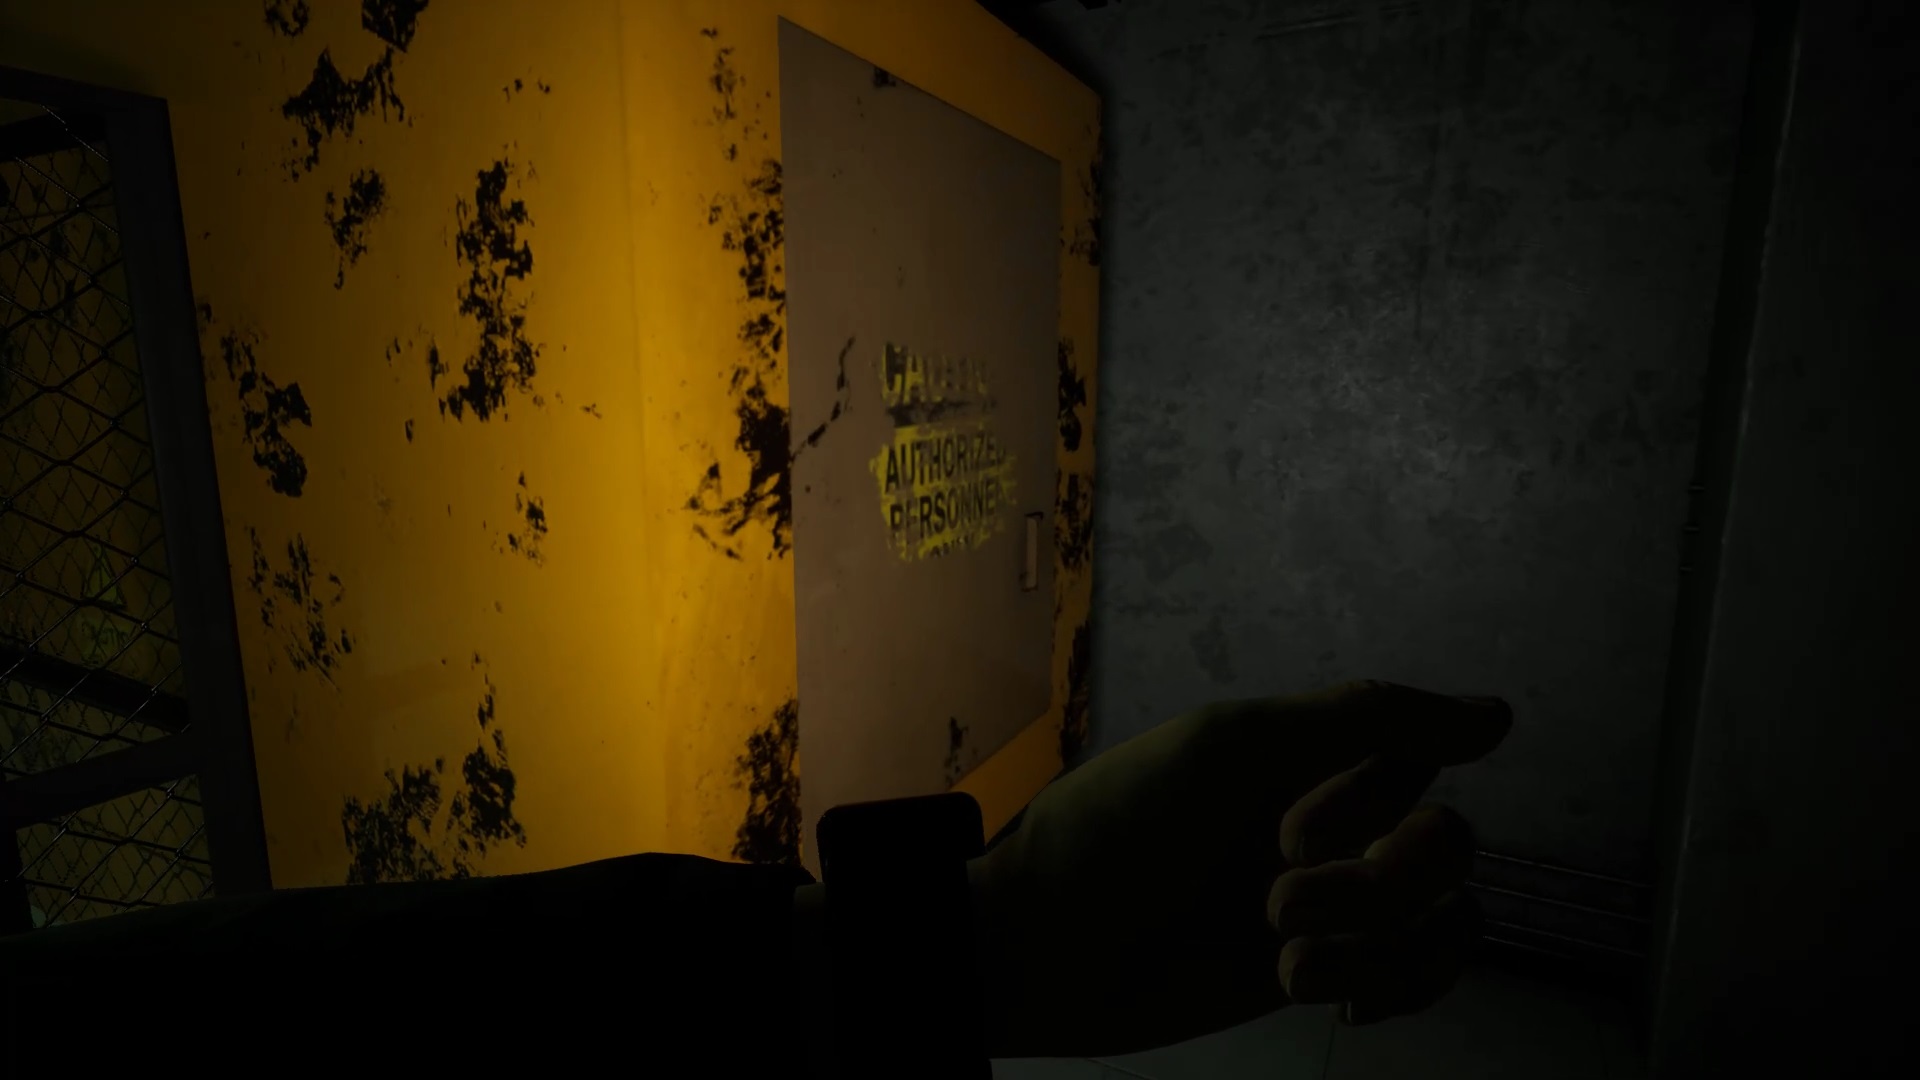
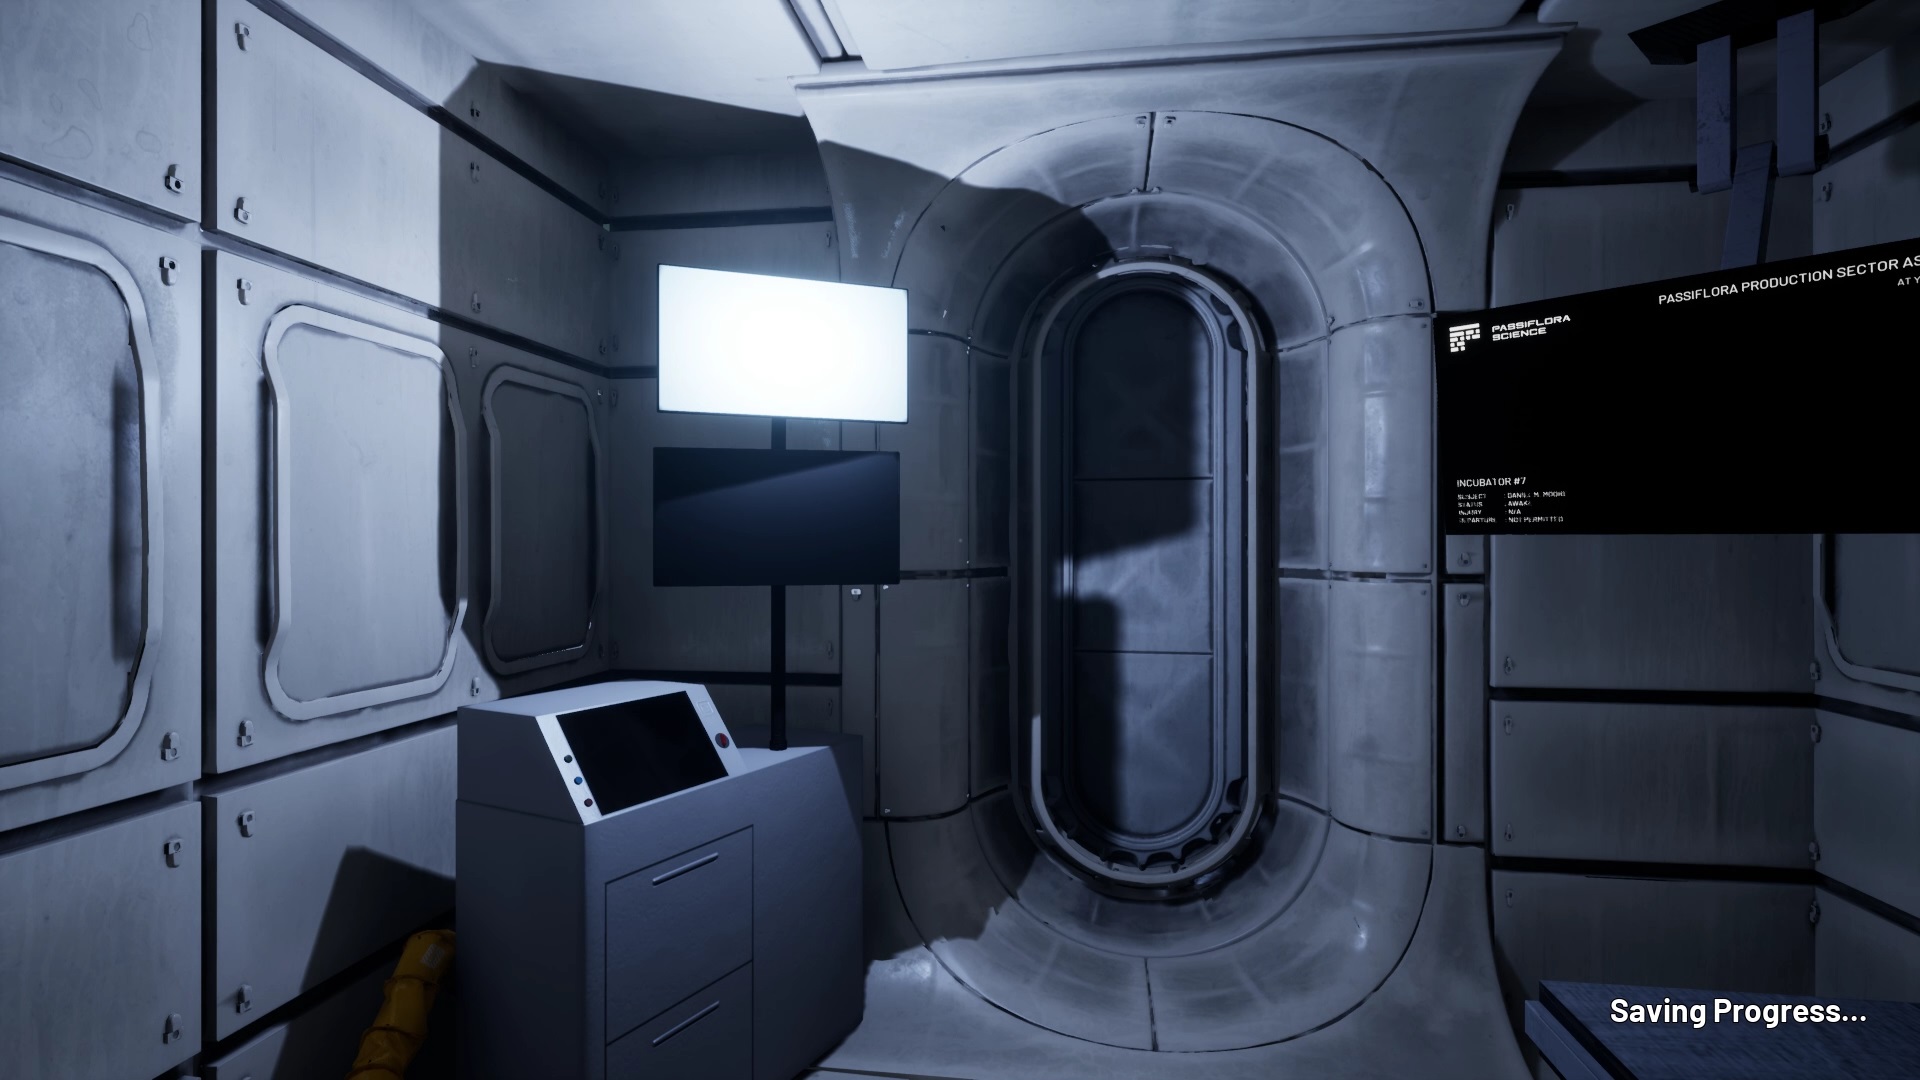
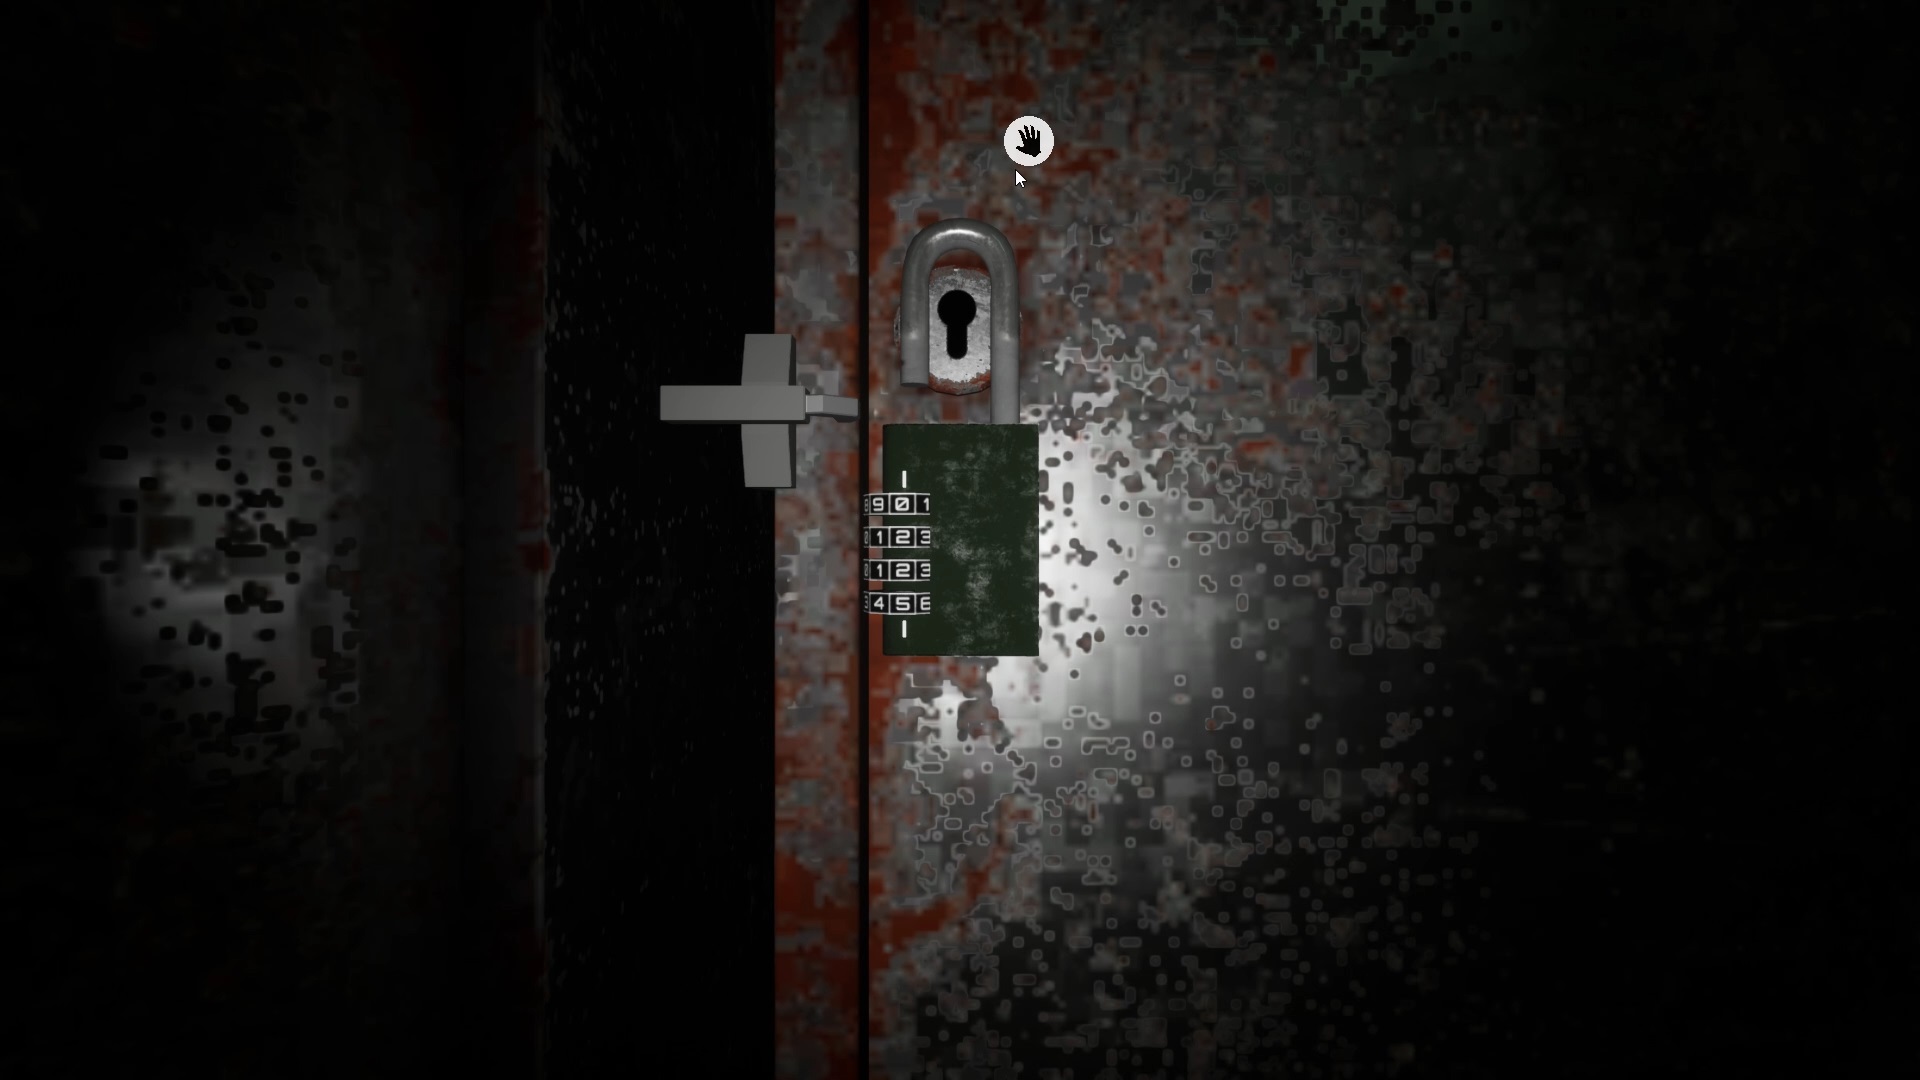
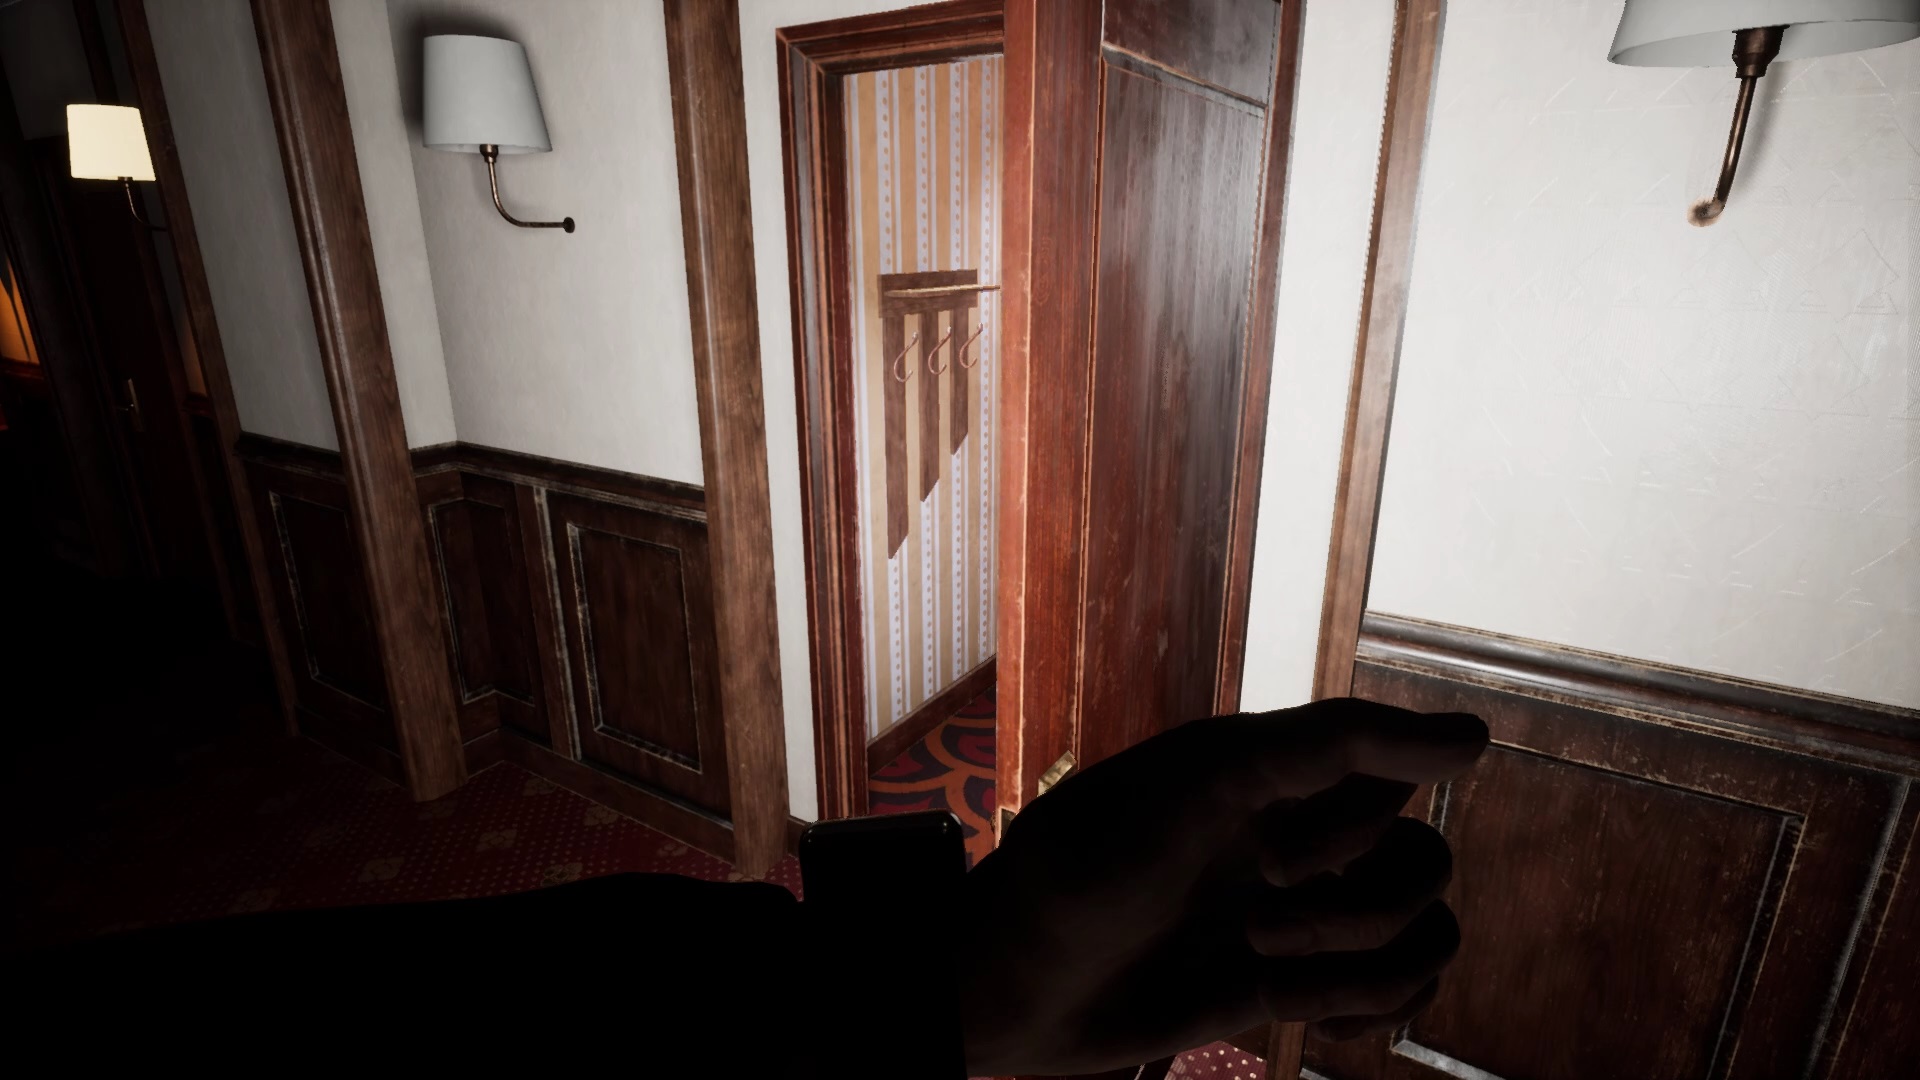
In the basement, exit the elevator and go down the hall on the right. Unlock the door at the end of the corridor by removing the lock. On the other side is a sign indicating several rooms. Hold the position of the Breaker Room.
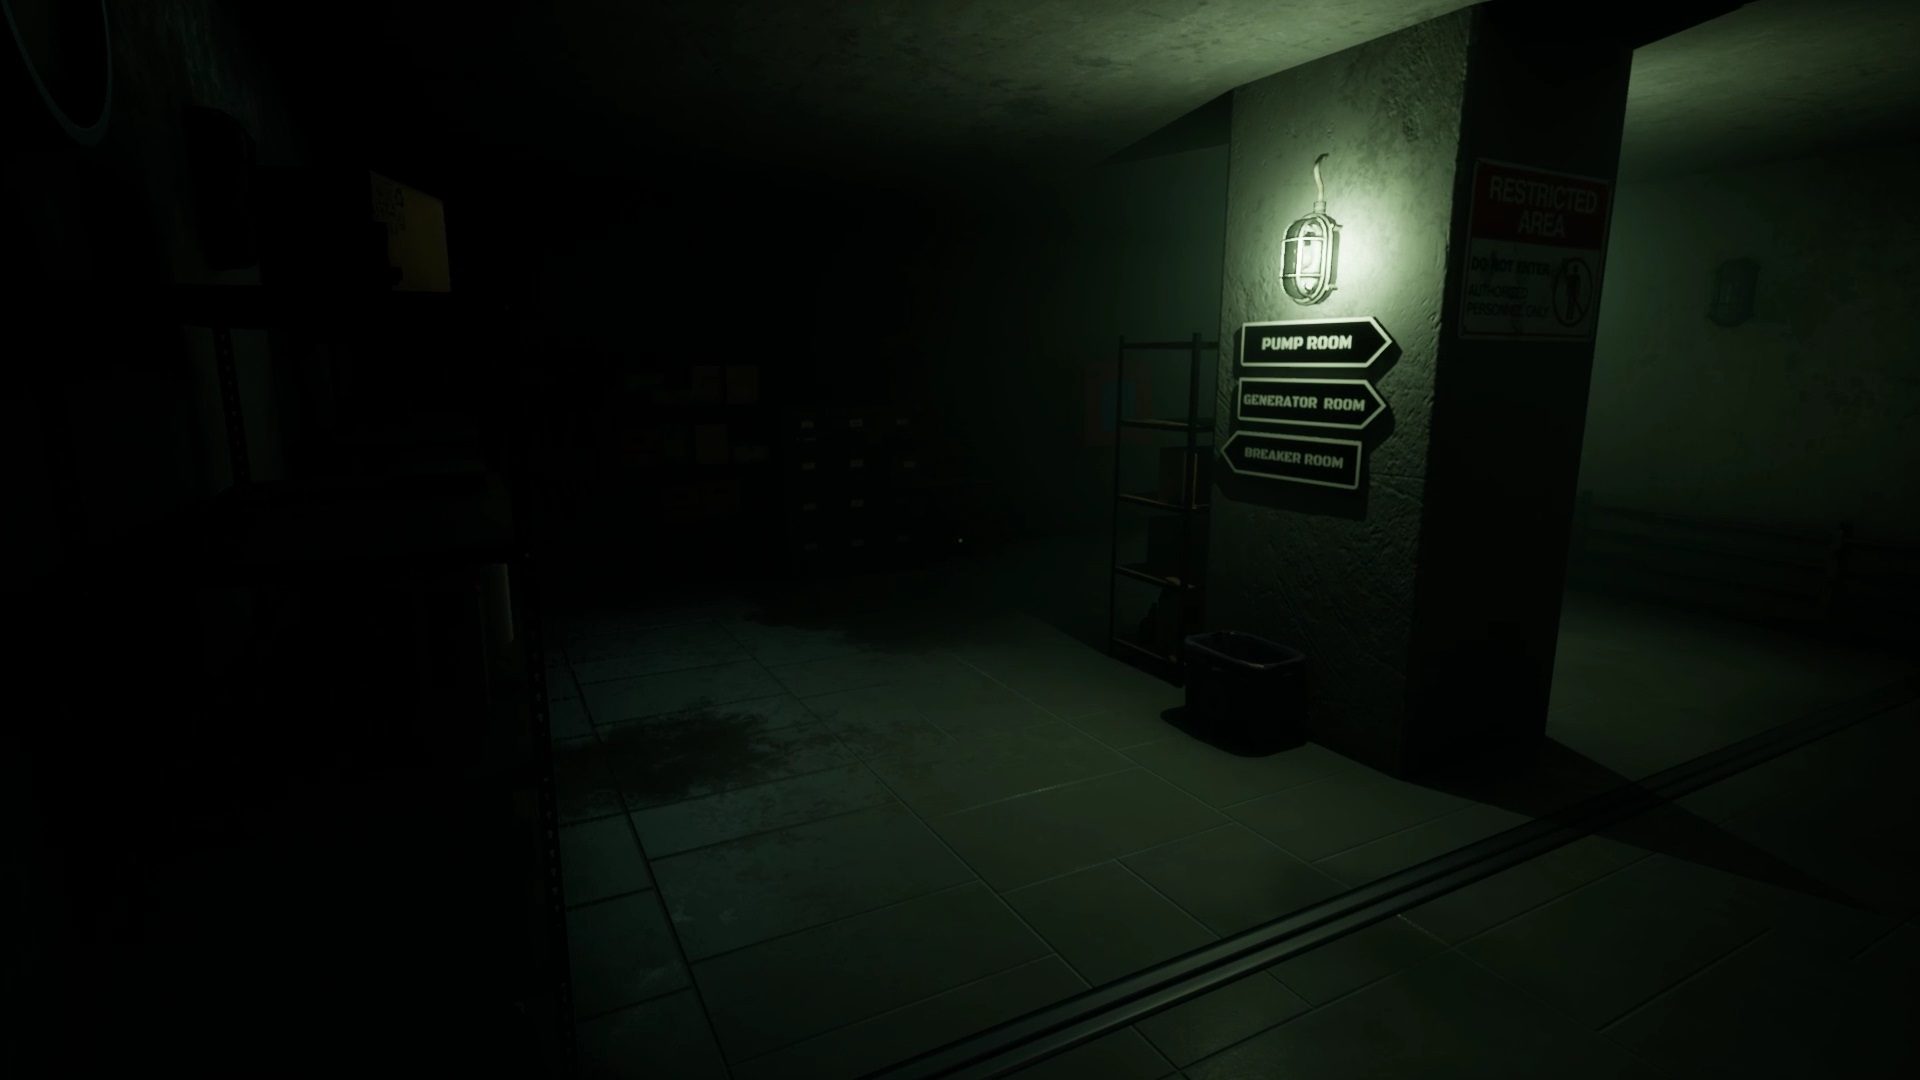
Go to the Pump Room to find a jerry can of gasoline on the ground. Collect the object and go to the Generator Room to power a generator.
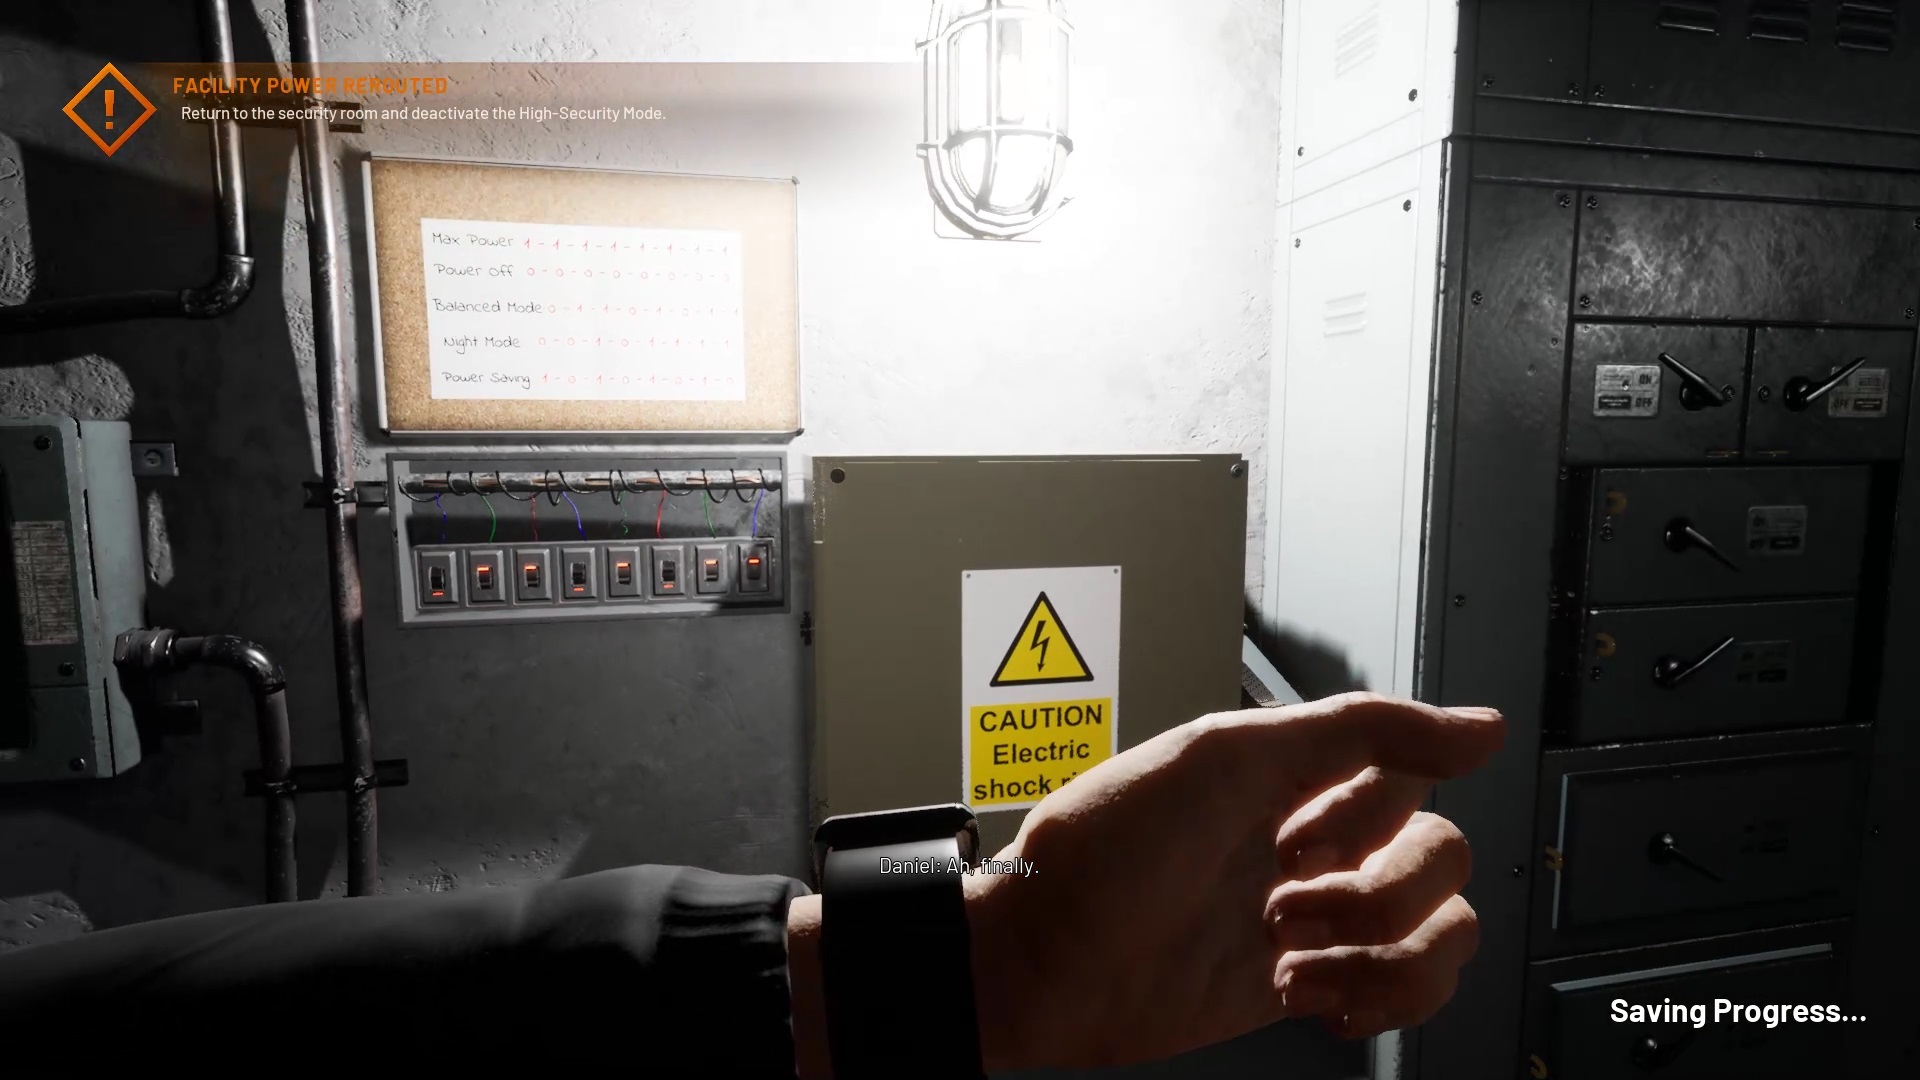
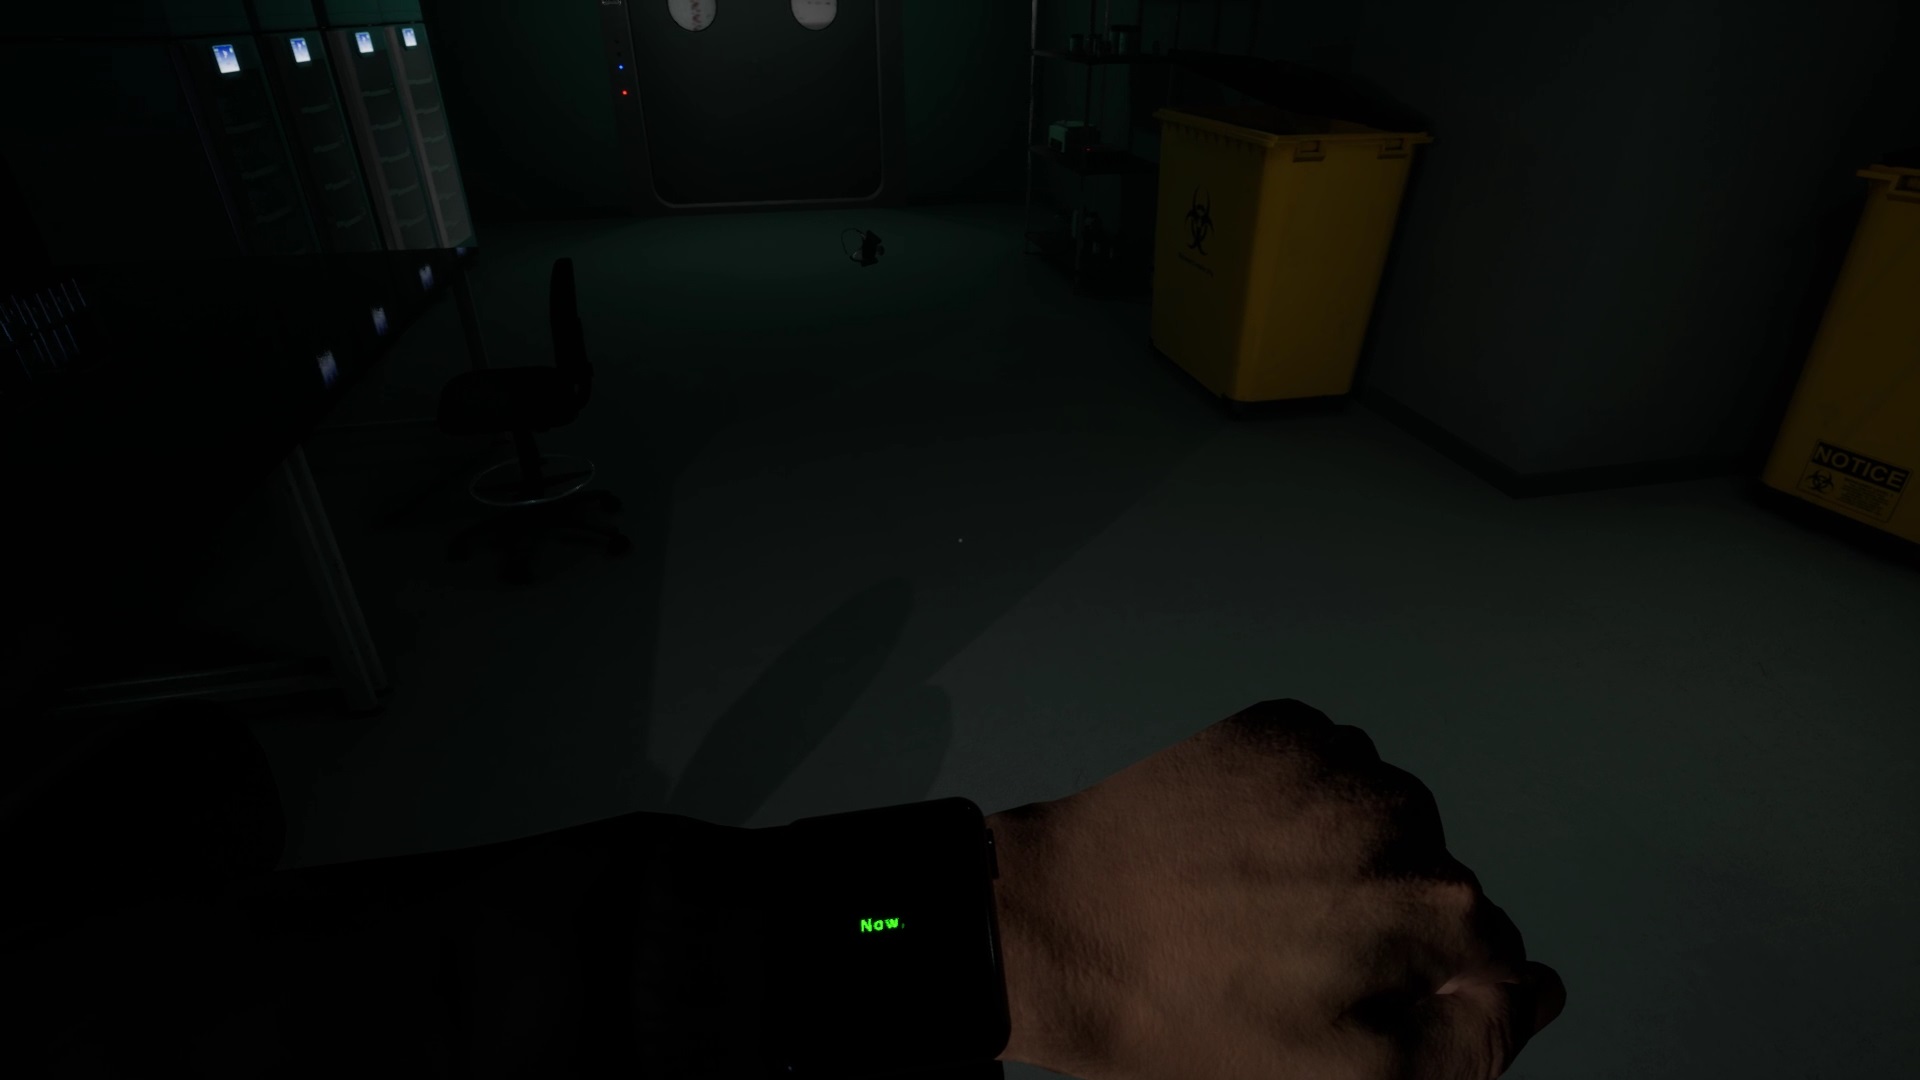
Press the generator button to restart it. And the trouble begins. The generator is only active for one minute and thirty seconds. Don’t waste a second. Walk from now on so that you are not heard. Go to Retrace your steps to return to the Breaker Room. In the hallway, remember to close the two locks on the doors so that the woman does not reach you. Enter the Breaker Room and interact with the fuses against the wall. Activate them according to the Balanced Mode either: 0-1-1-0-1-0-1-1. Pull the lever to the right to power up the building. Return to the elevator to complete the level.
Back at the top go back into the security room to press a red switch. The woman is back. Hide under the table of the room so you don’t get caught.
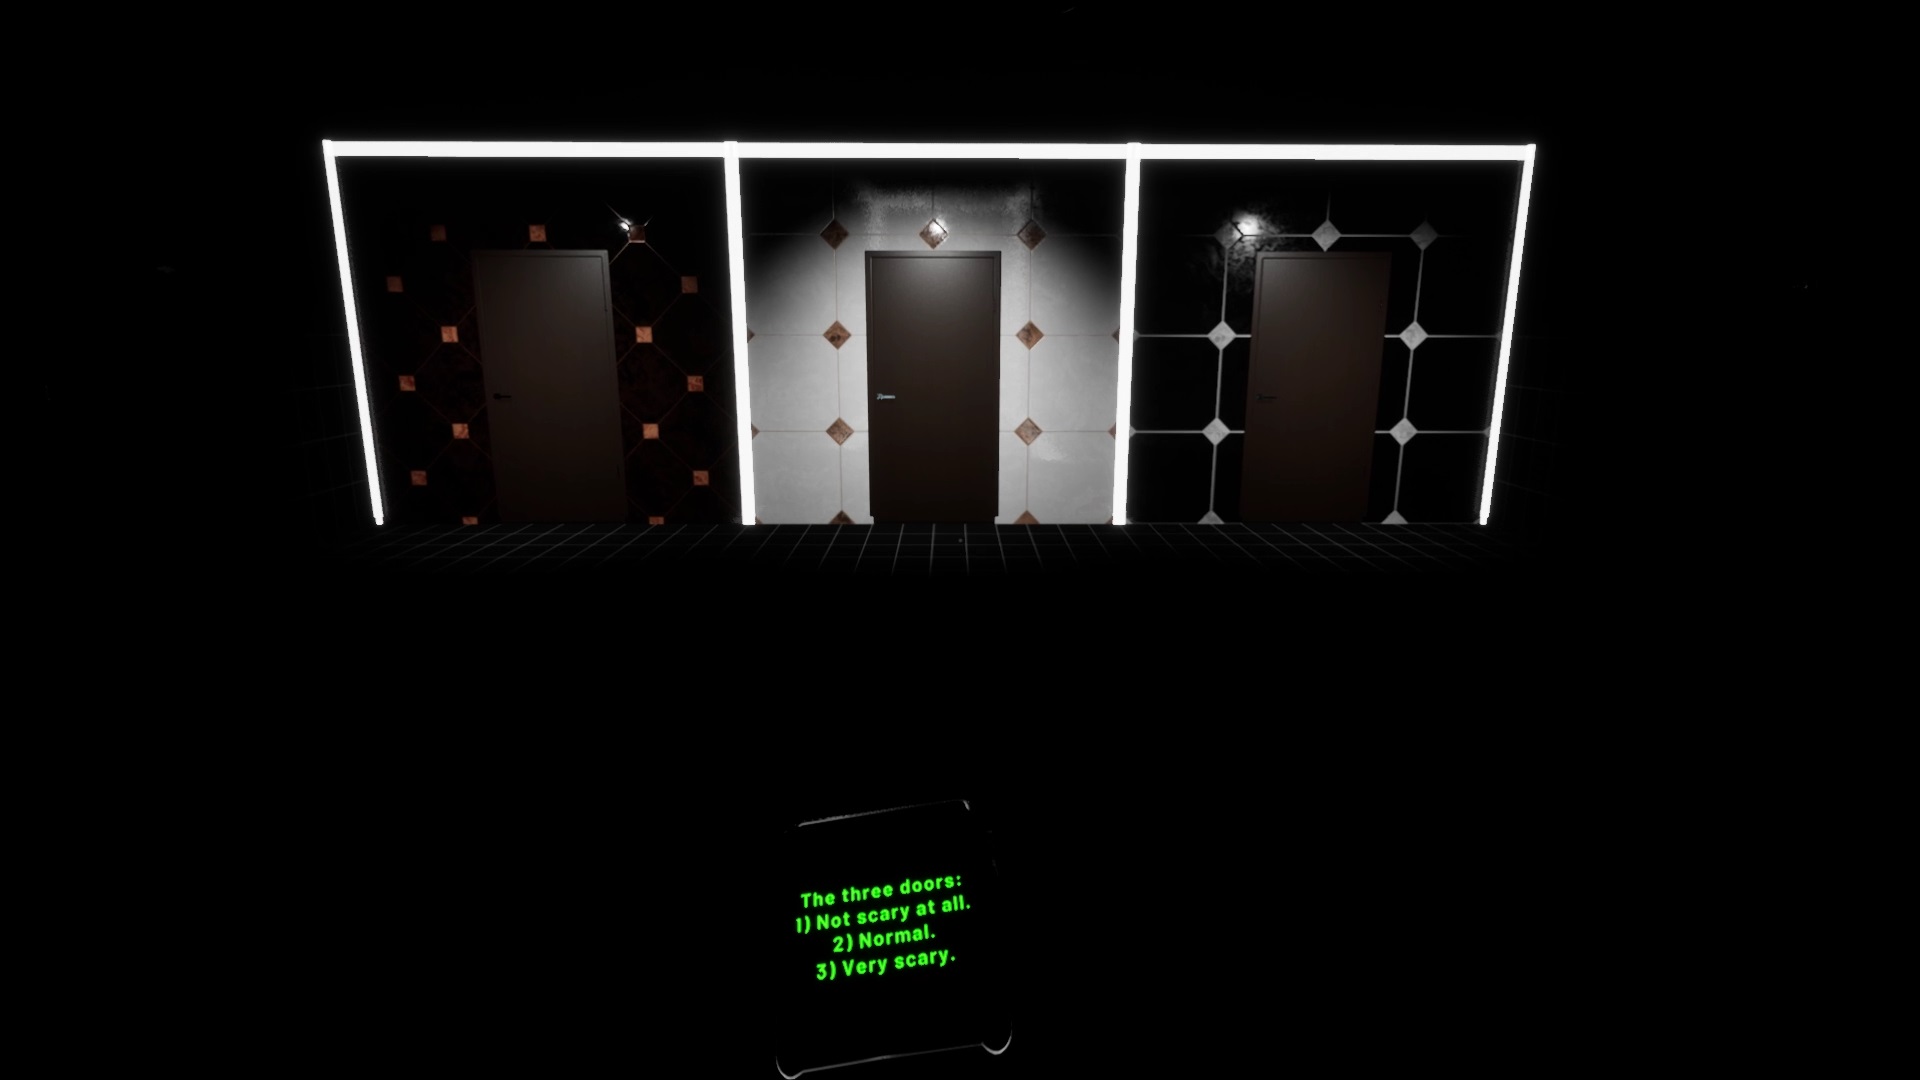
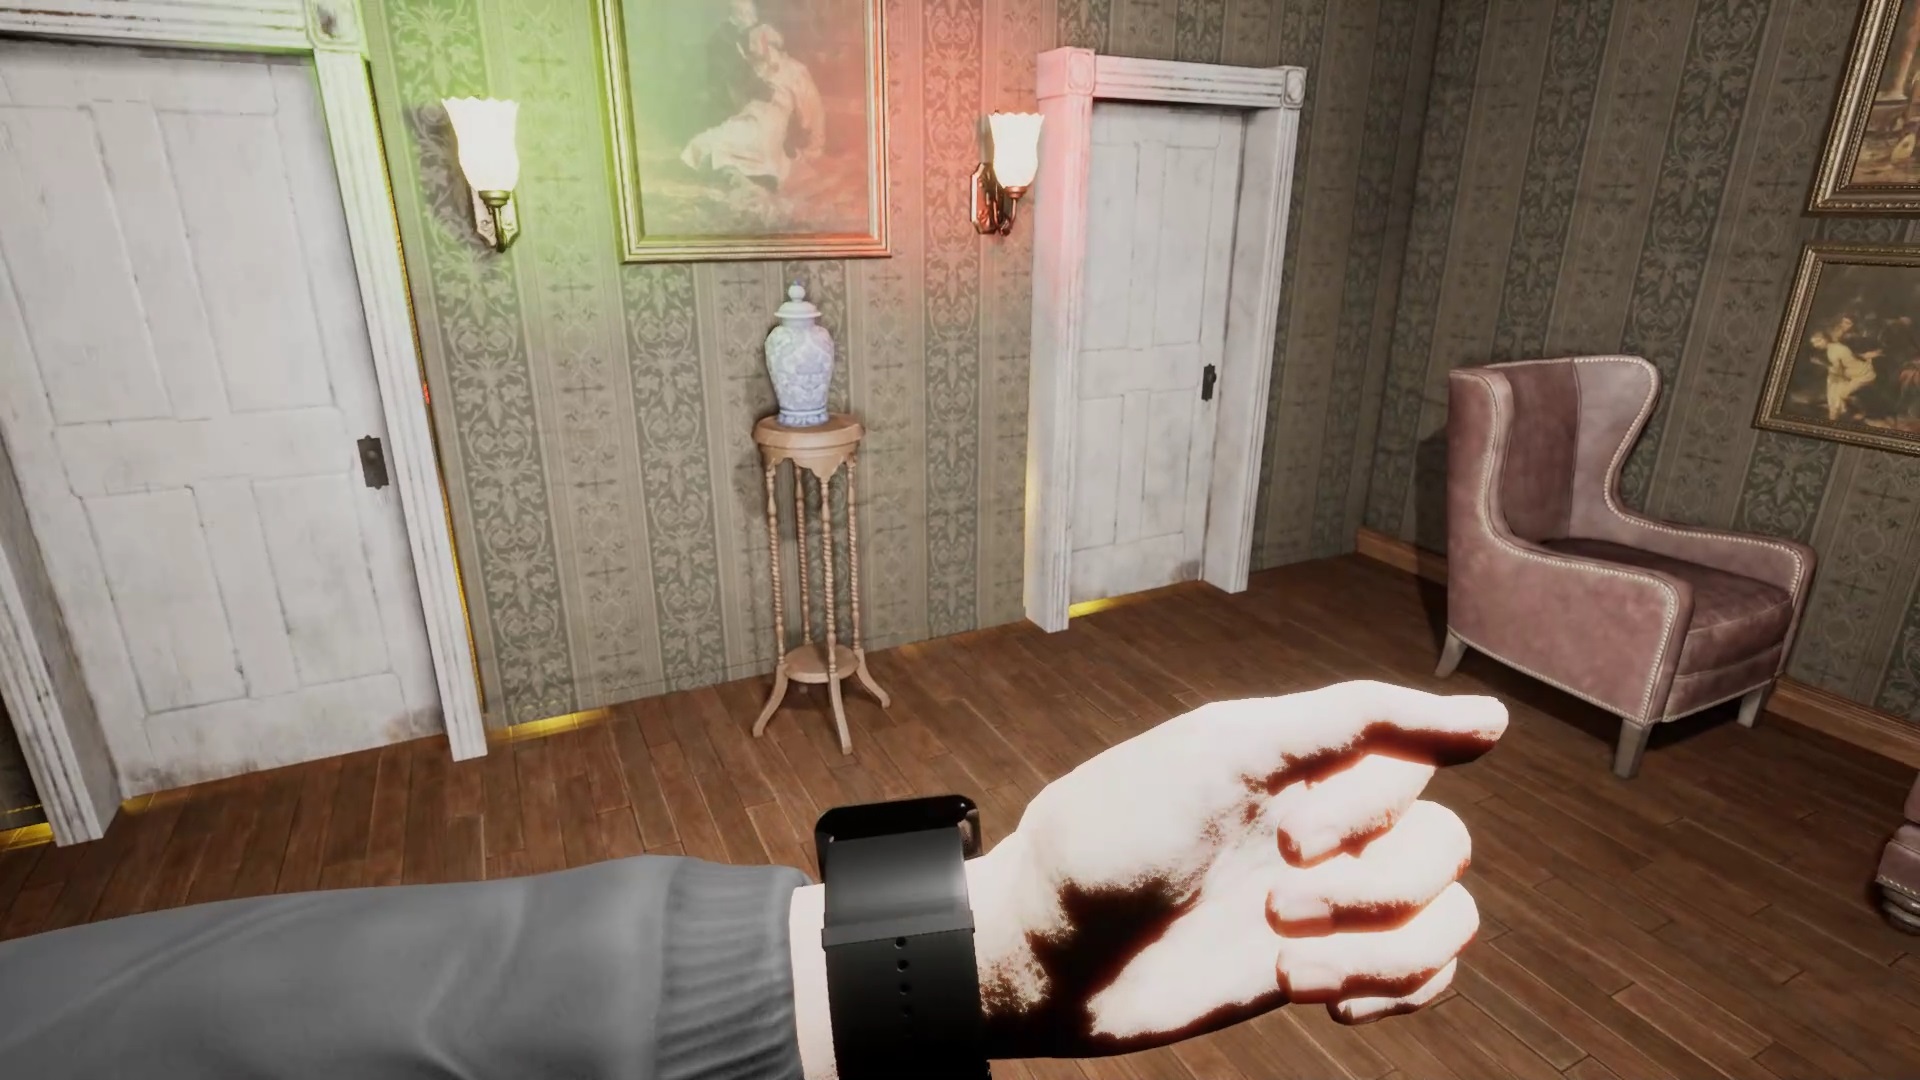
In the strange world follow the instructions displayed on your watch. When choosing the door choose the third so that nothing happens to you. Proceed down the hall and retrieve the rabbit on the ground.
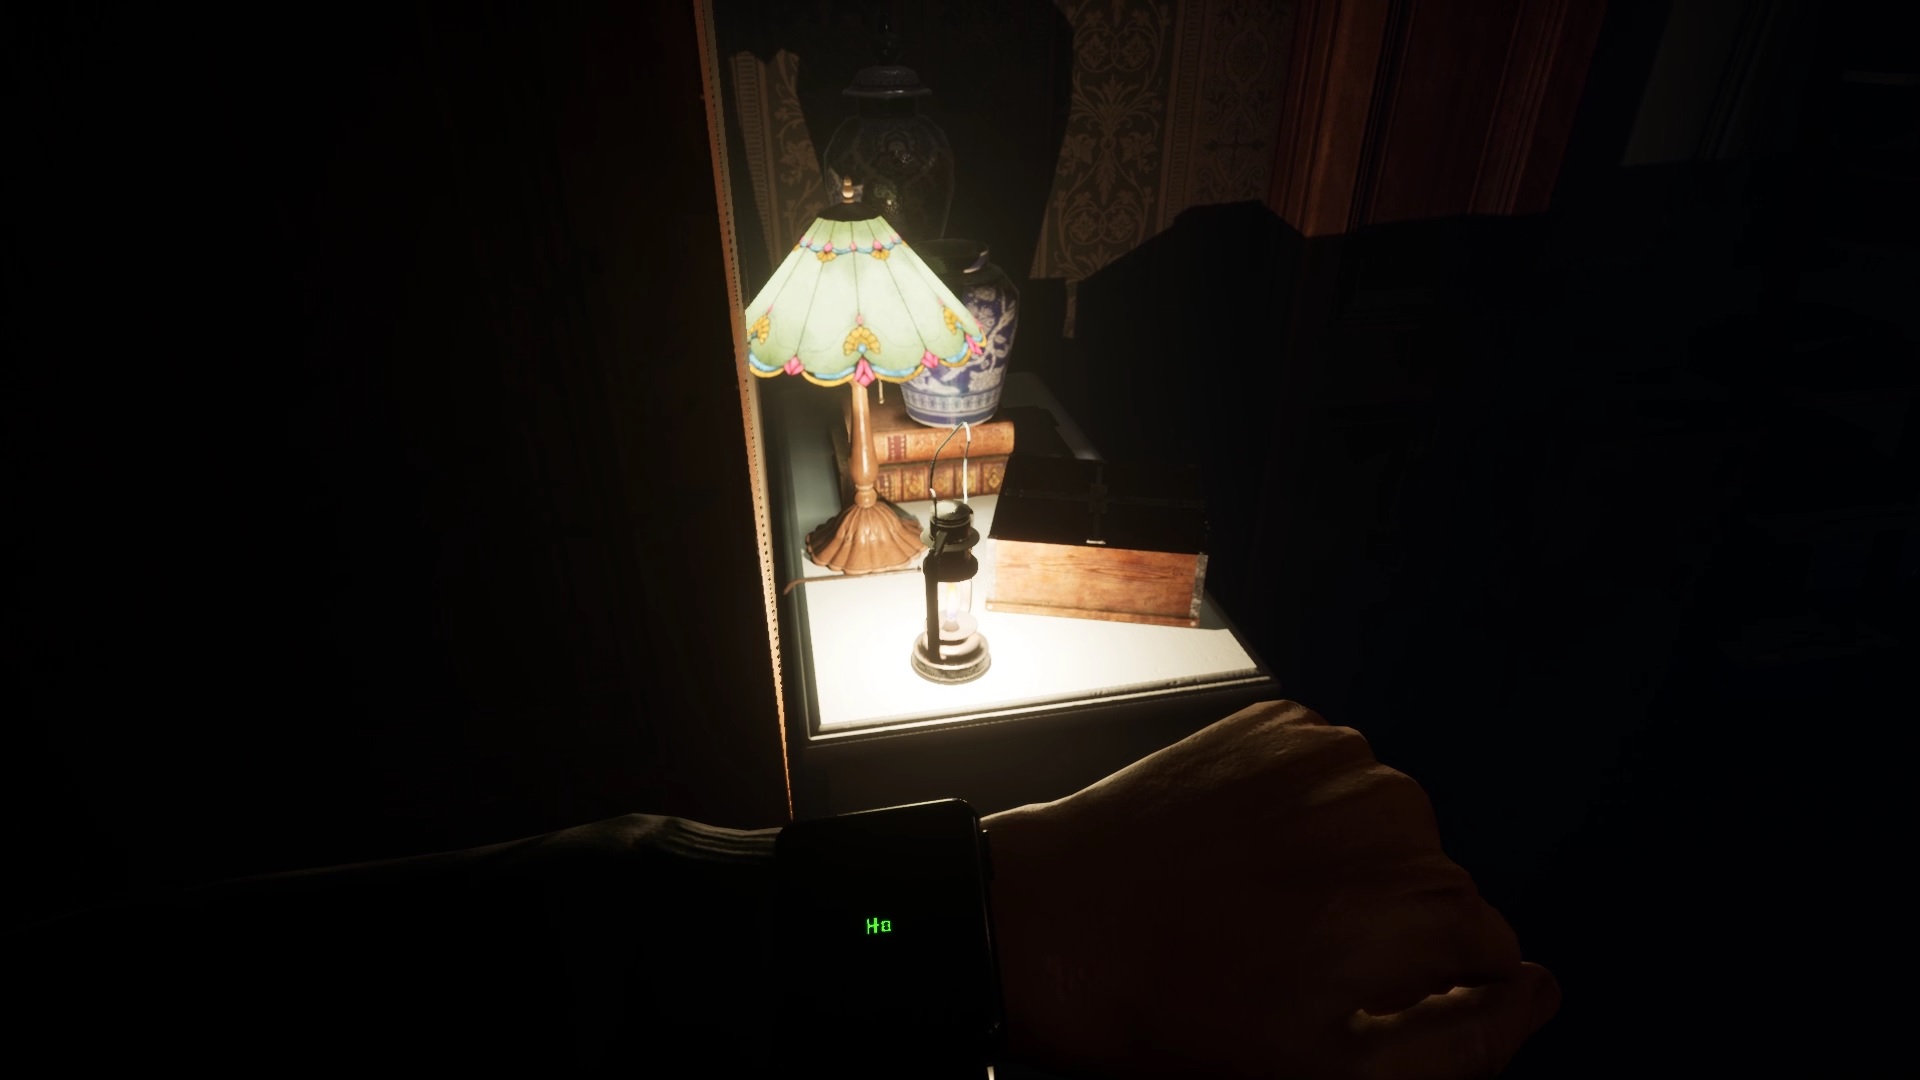
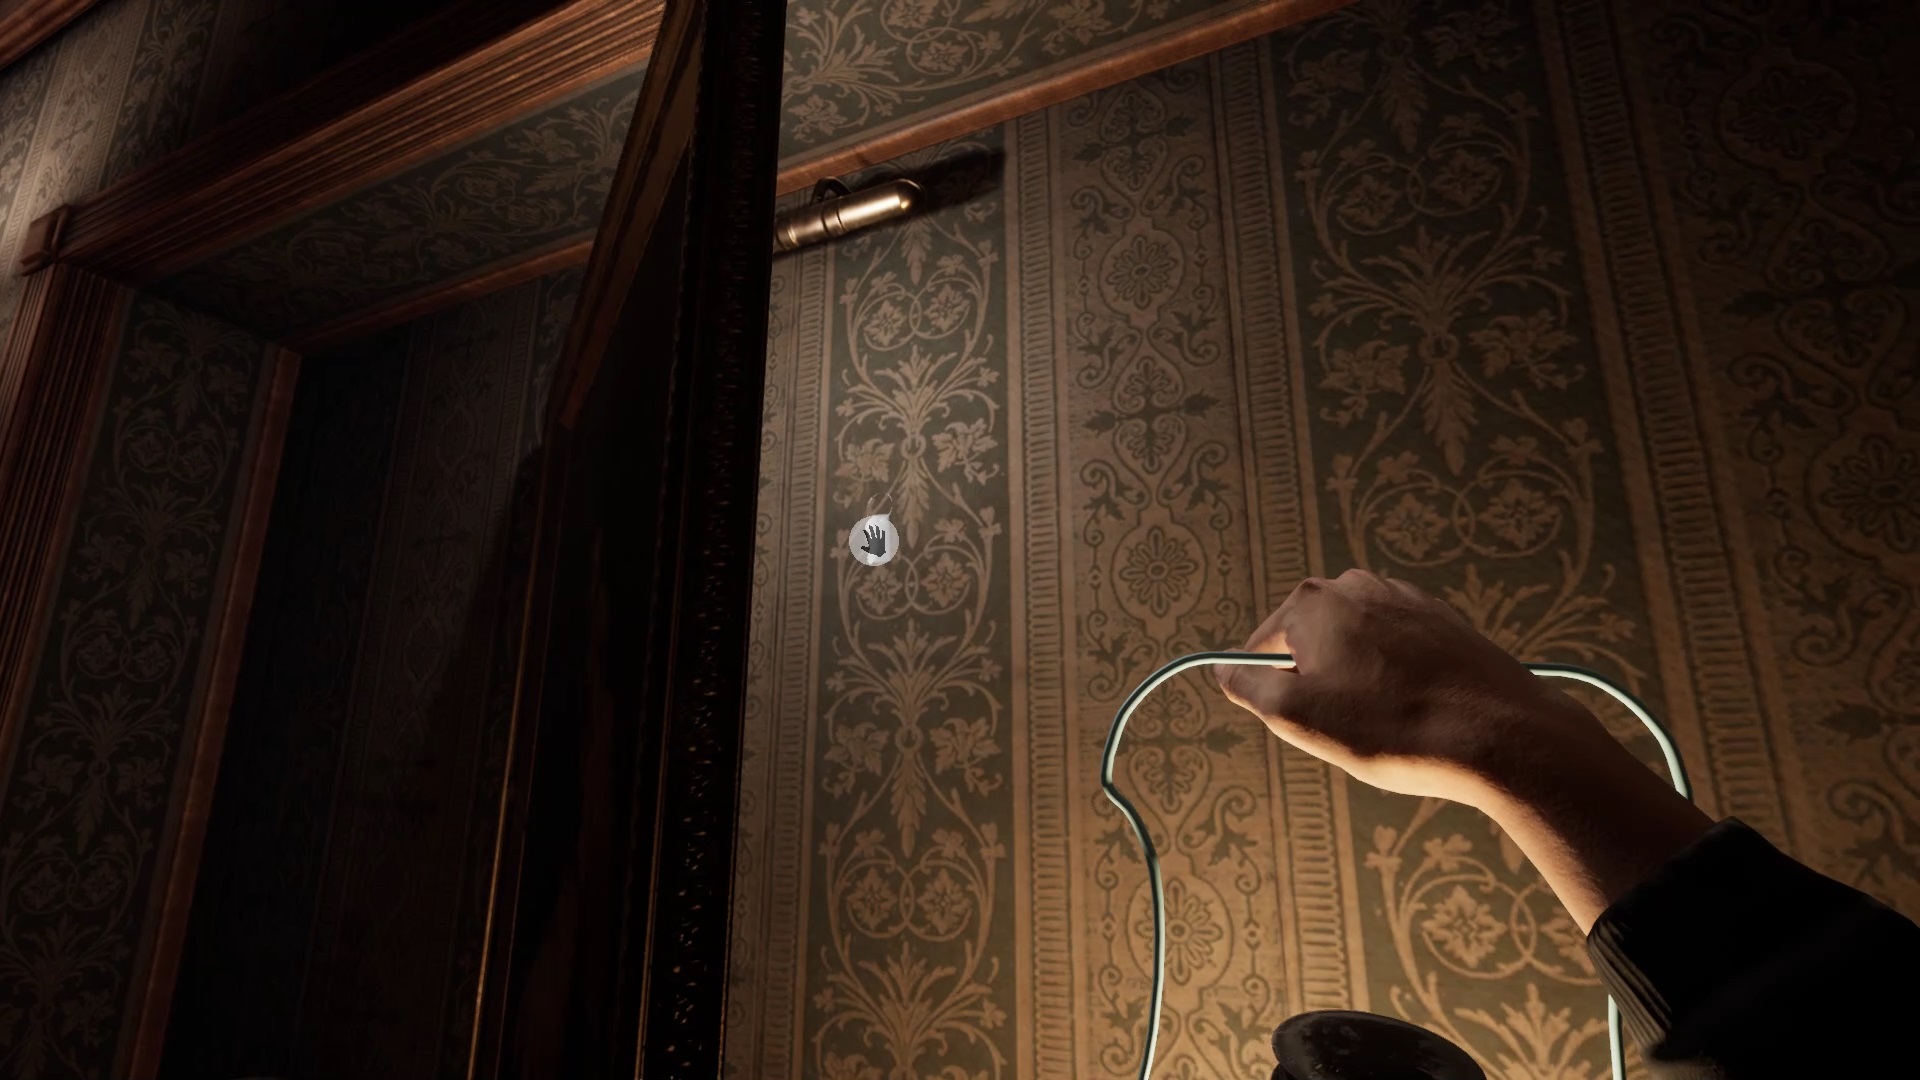
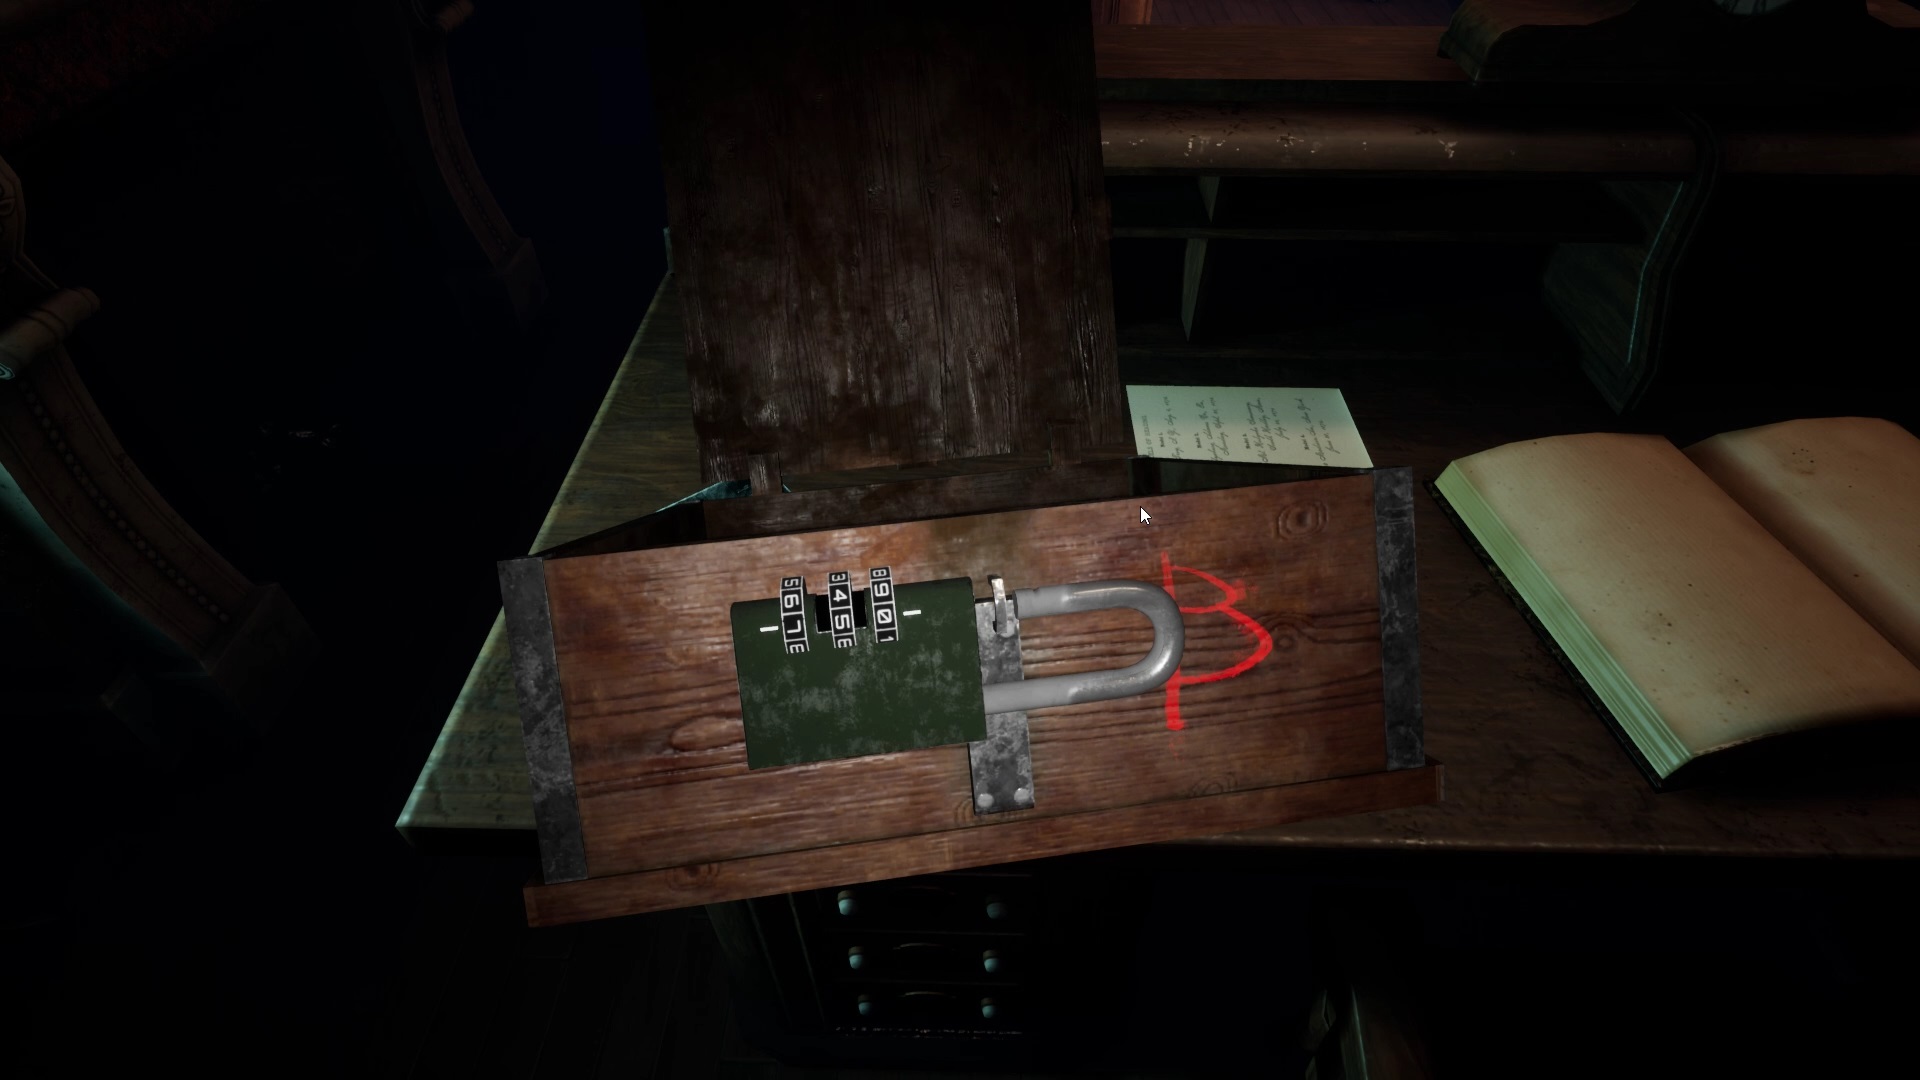
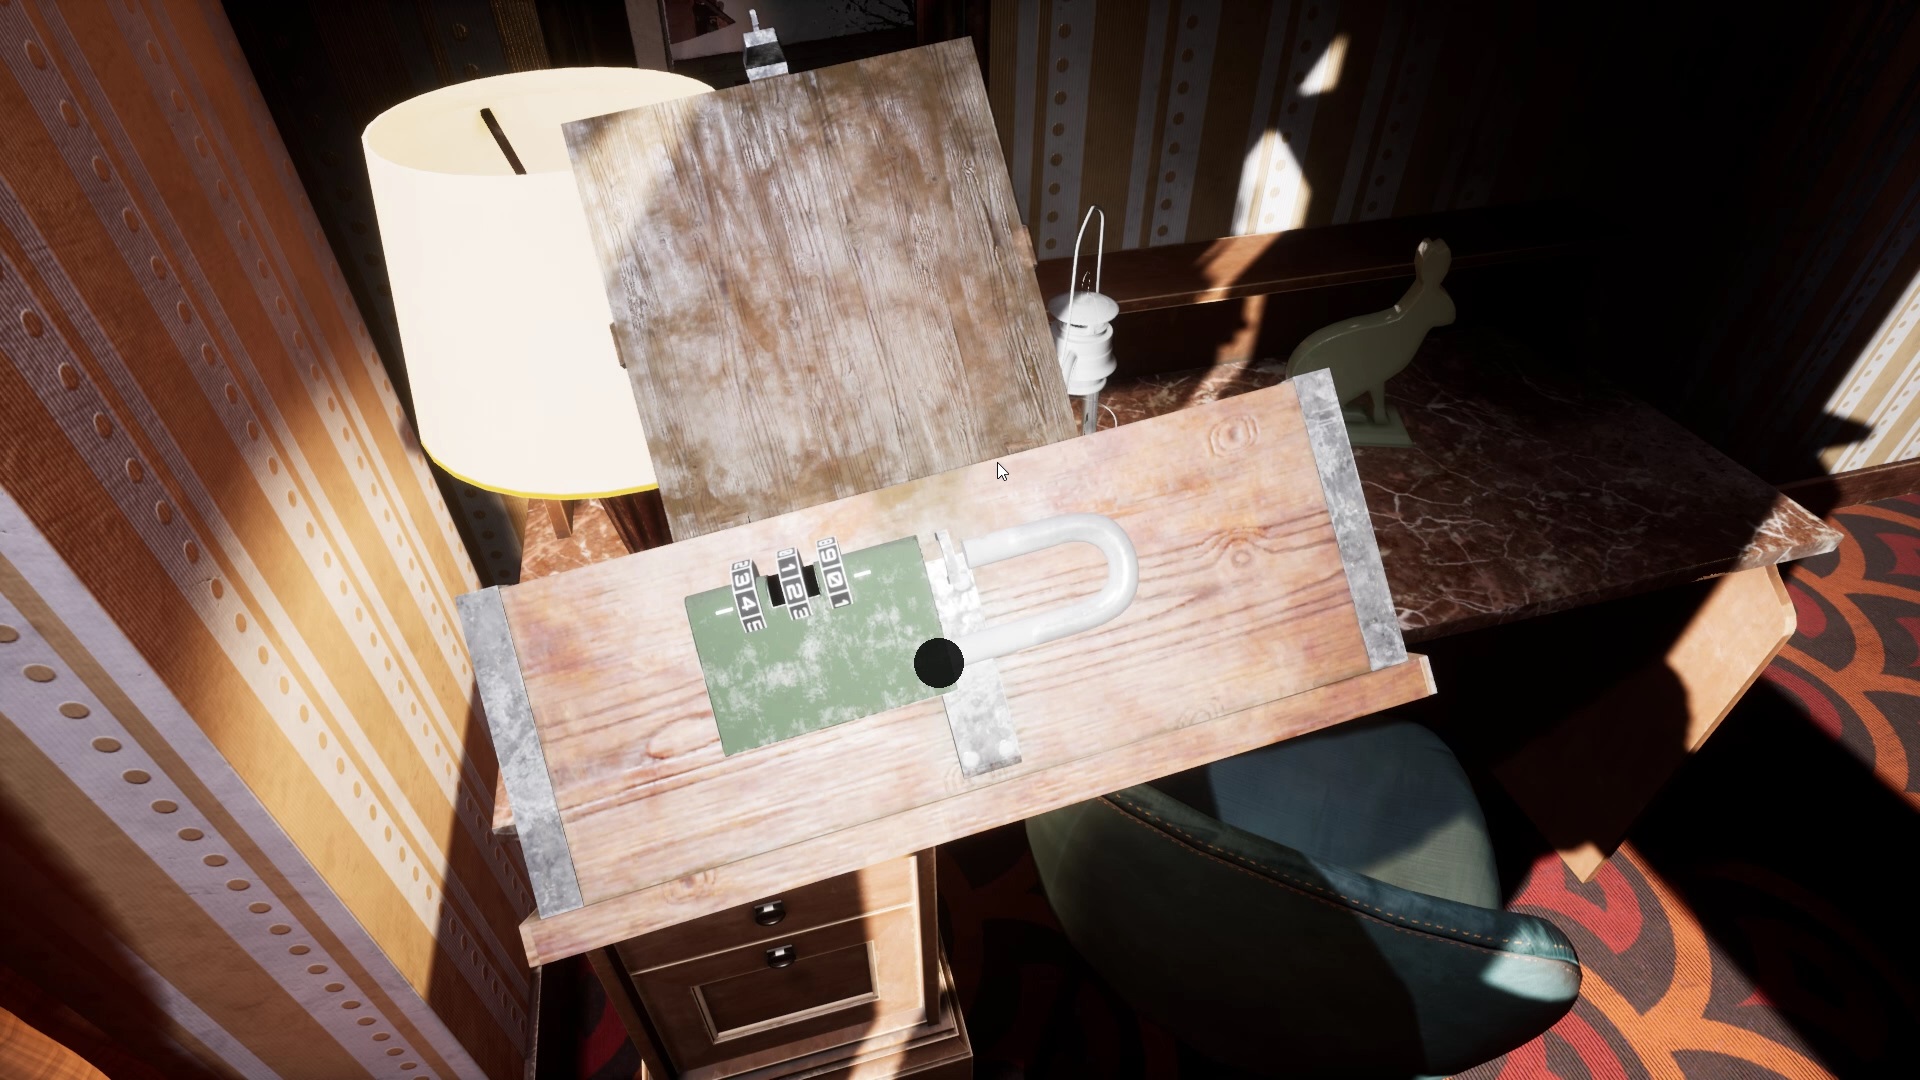
You land in a house. Your objective is to find four rabbits. As soon as you arrive, collect the lamp on the left on the bedside table to light you up. Enter the room on the right to find a living room with a bunny floating in the center of the room. Against the wall is a painting. Move the board to find a hidden key. Once you have the key, go up the stairs. Enter the room at the top of the stairs on the left. You will find a rabbit above a bedside table. Continue with the room at the end of the corridor. A box with the letter B sits on a desk. Use the code 0-5-7 from right to left to open the chest. Go back down the stairs to find a second box with the letter A. Use the key to open it and get a code. Go to the starting gate and use the code down, up, down, right on the lock on the door to the right. Open the door to collect the last rabbit.
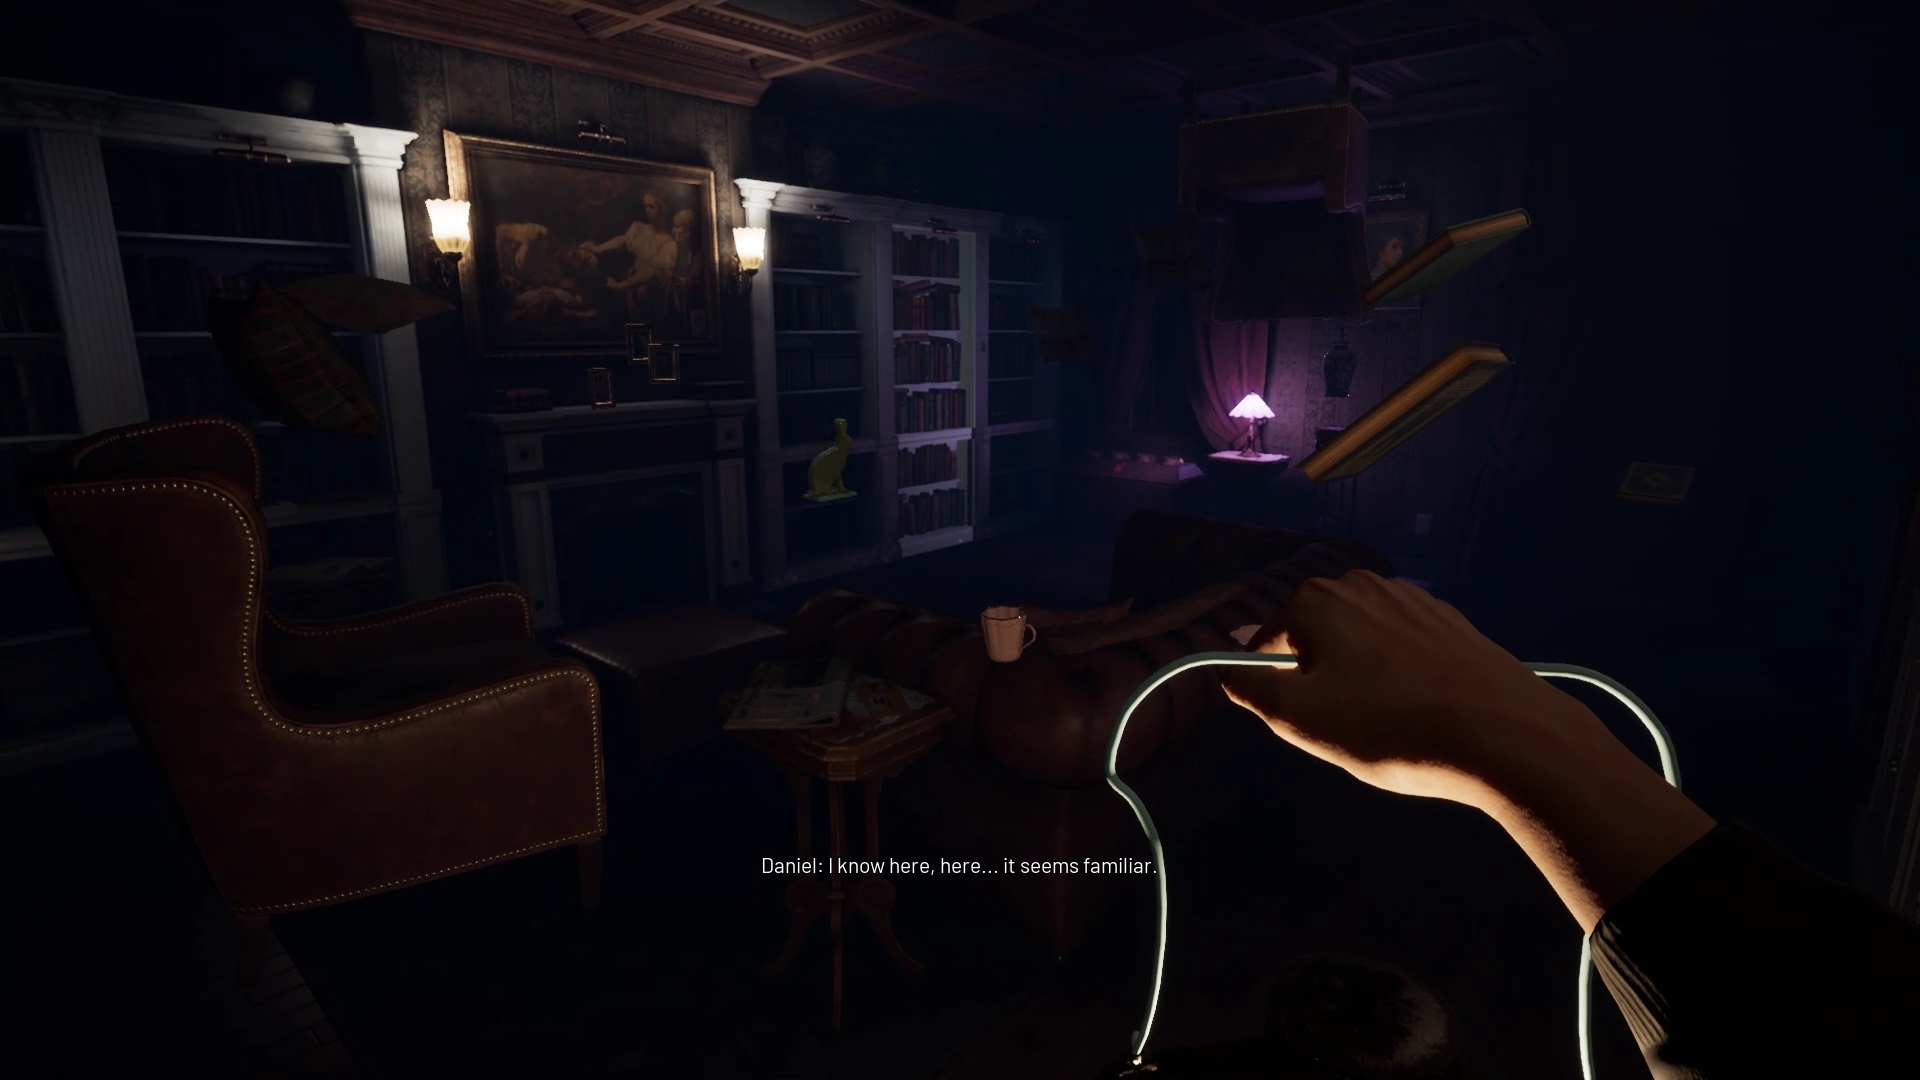
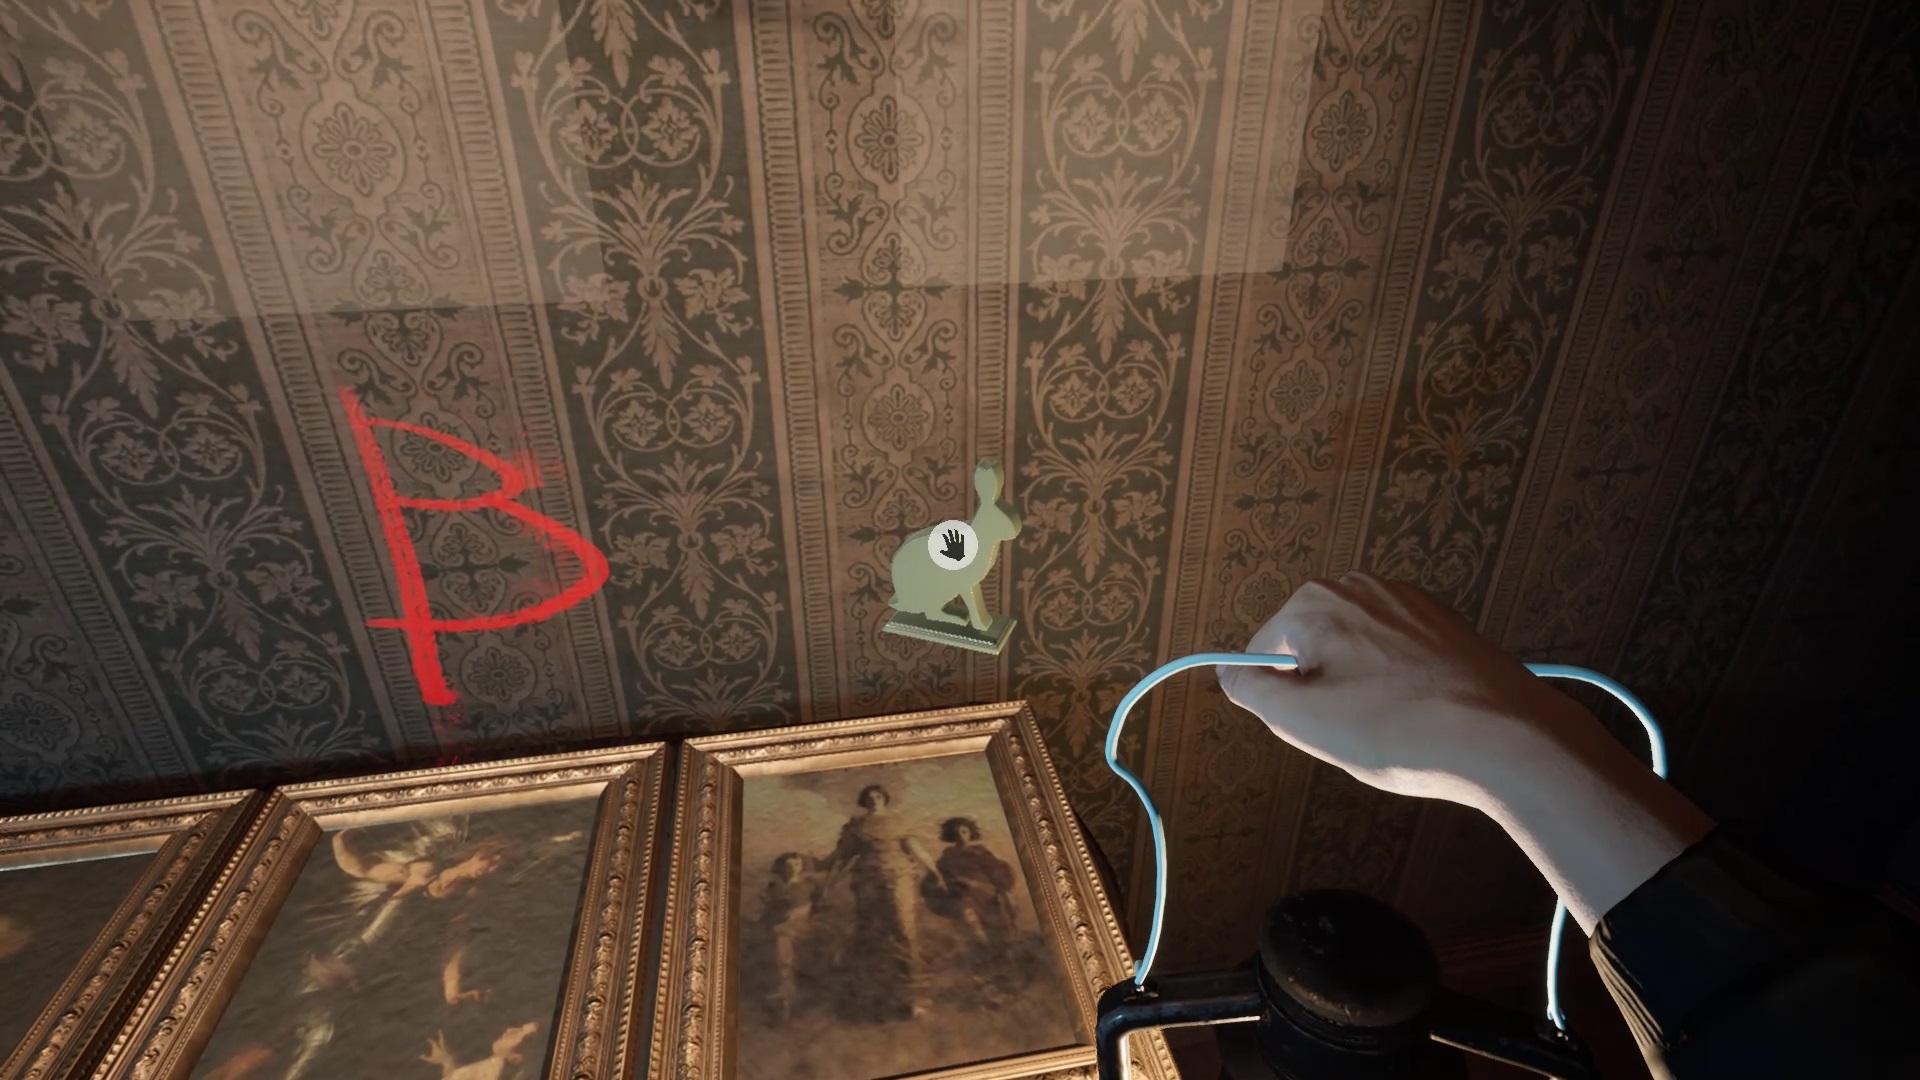
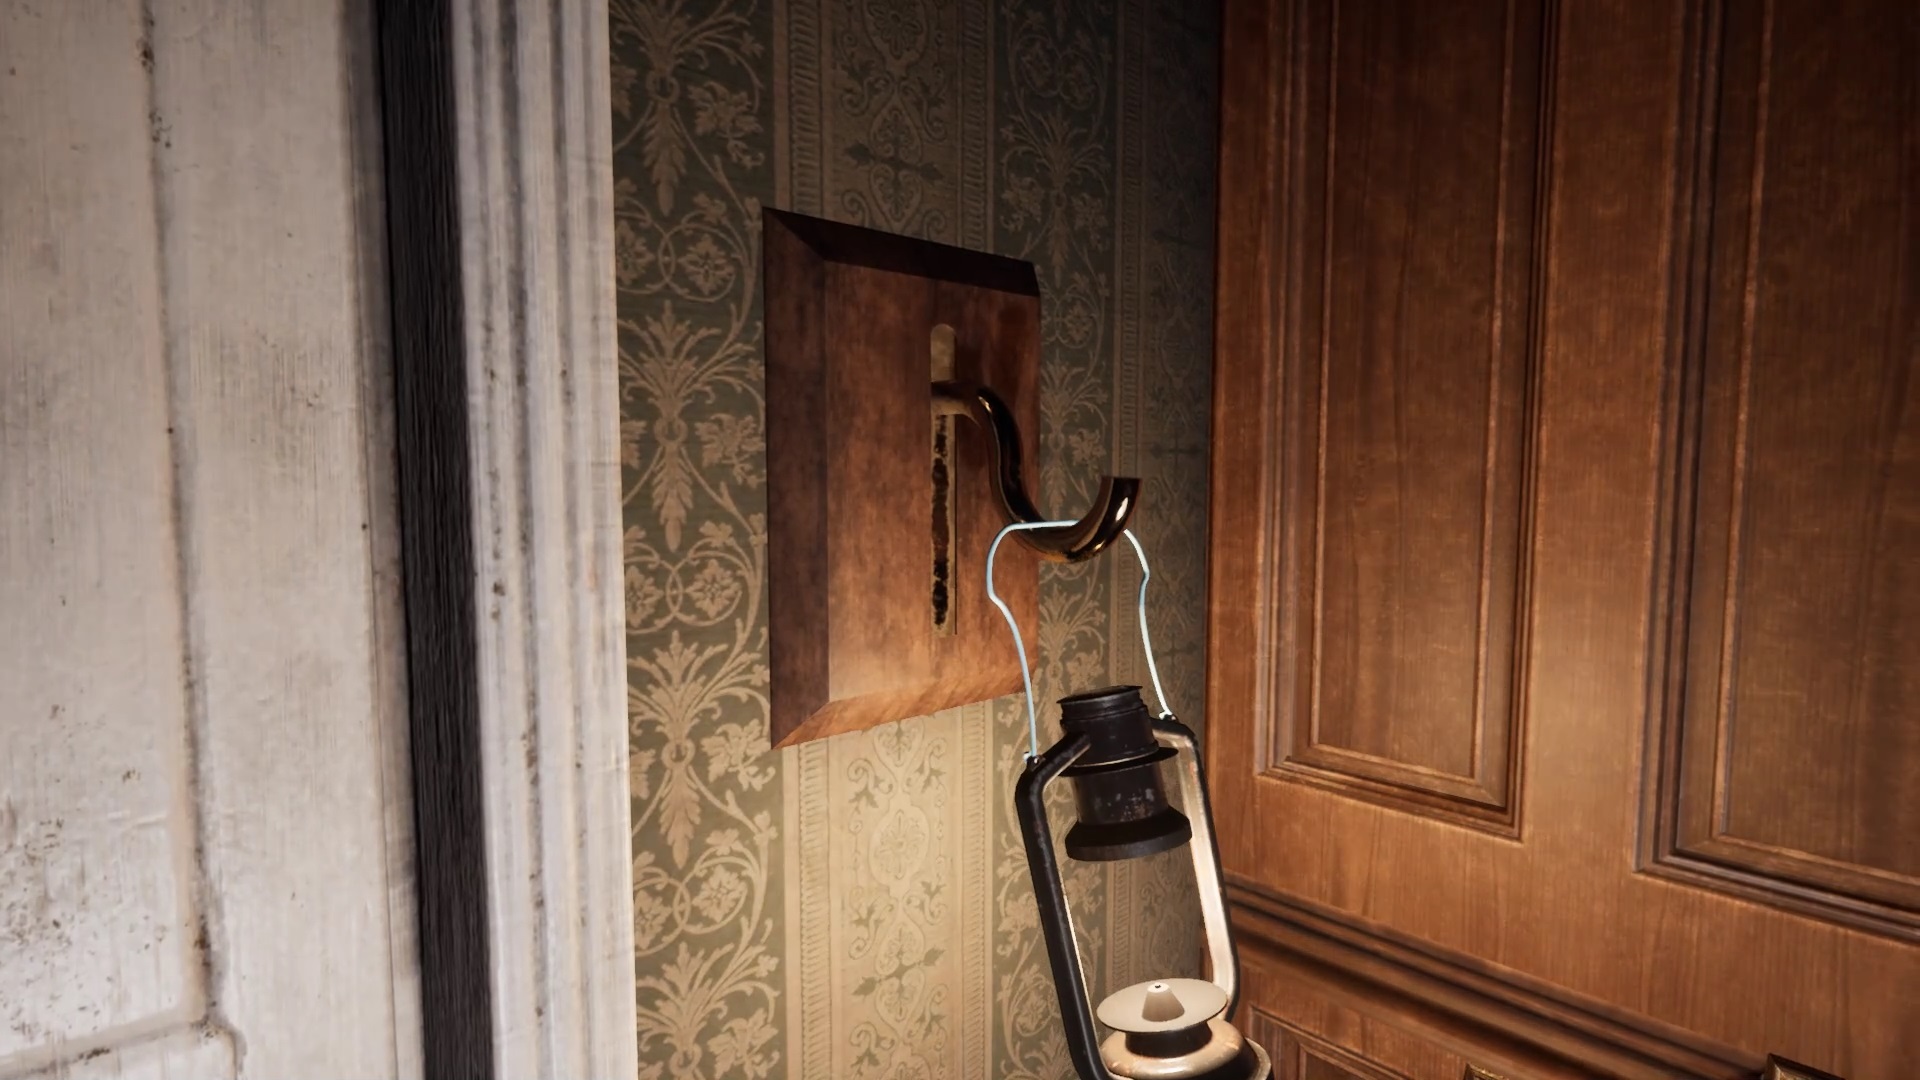
Head to the living room to put down all the rabbits and open a secret passage. Go down the passage and put the lamp on the hook to enter a mysterious room.
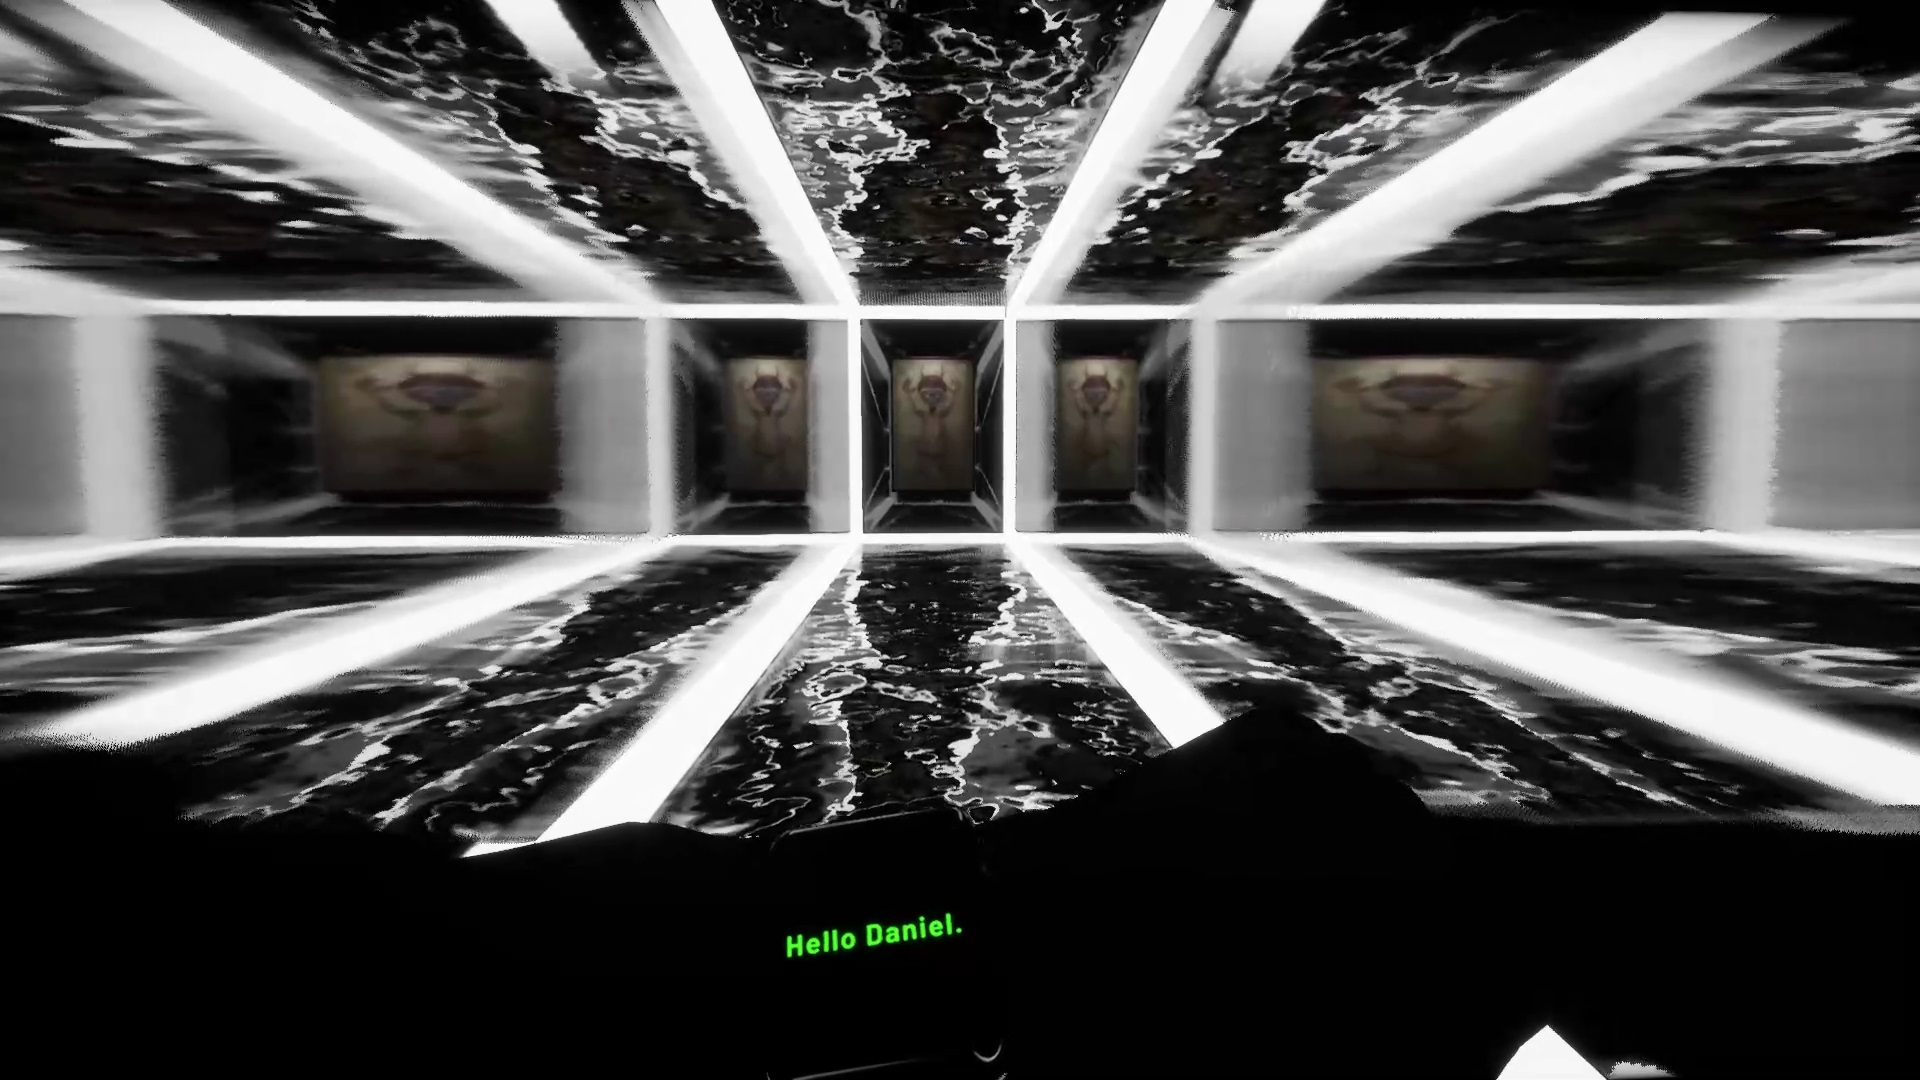
Exit the mysterious room to find yourself in a complex that is just as mysterious.
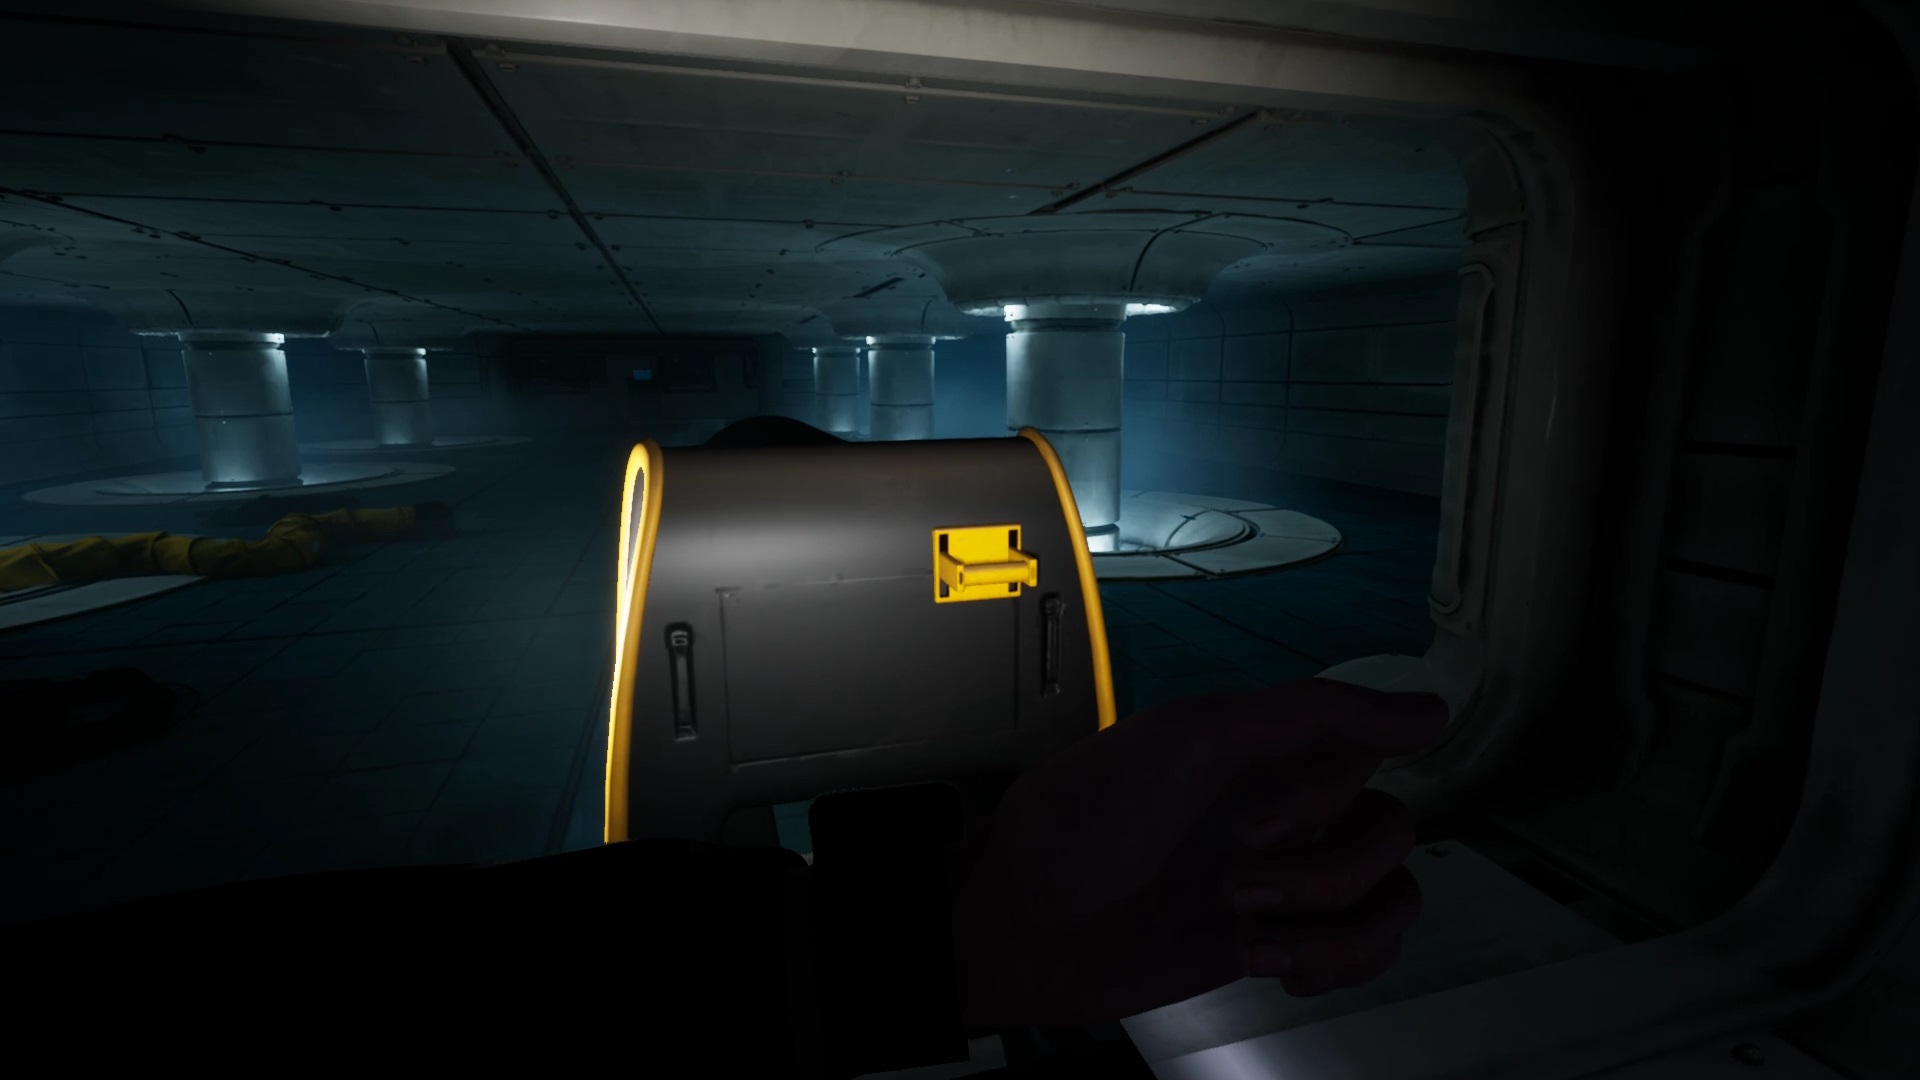
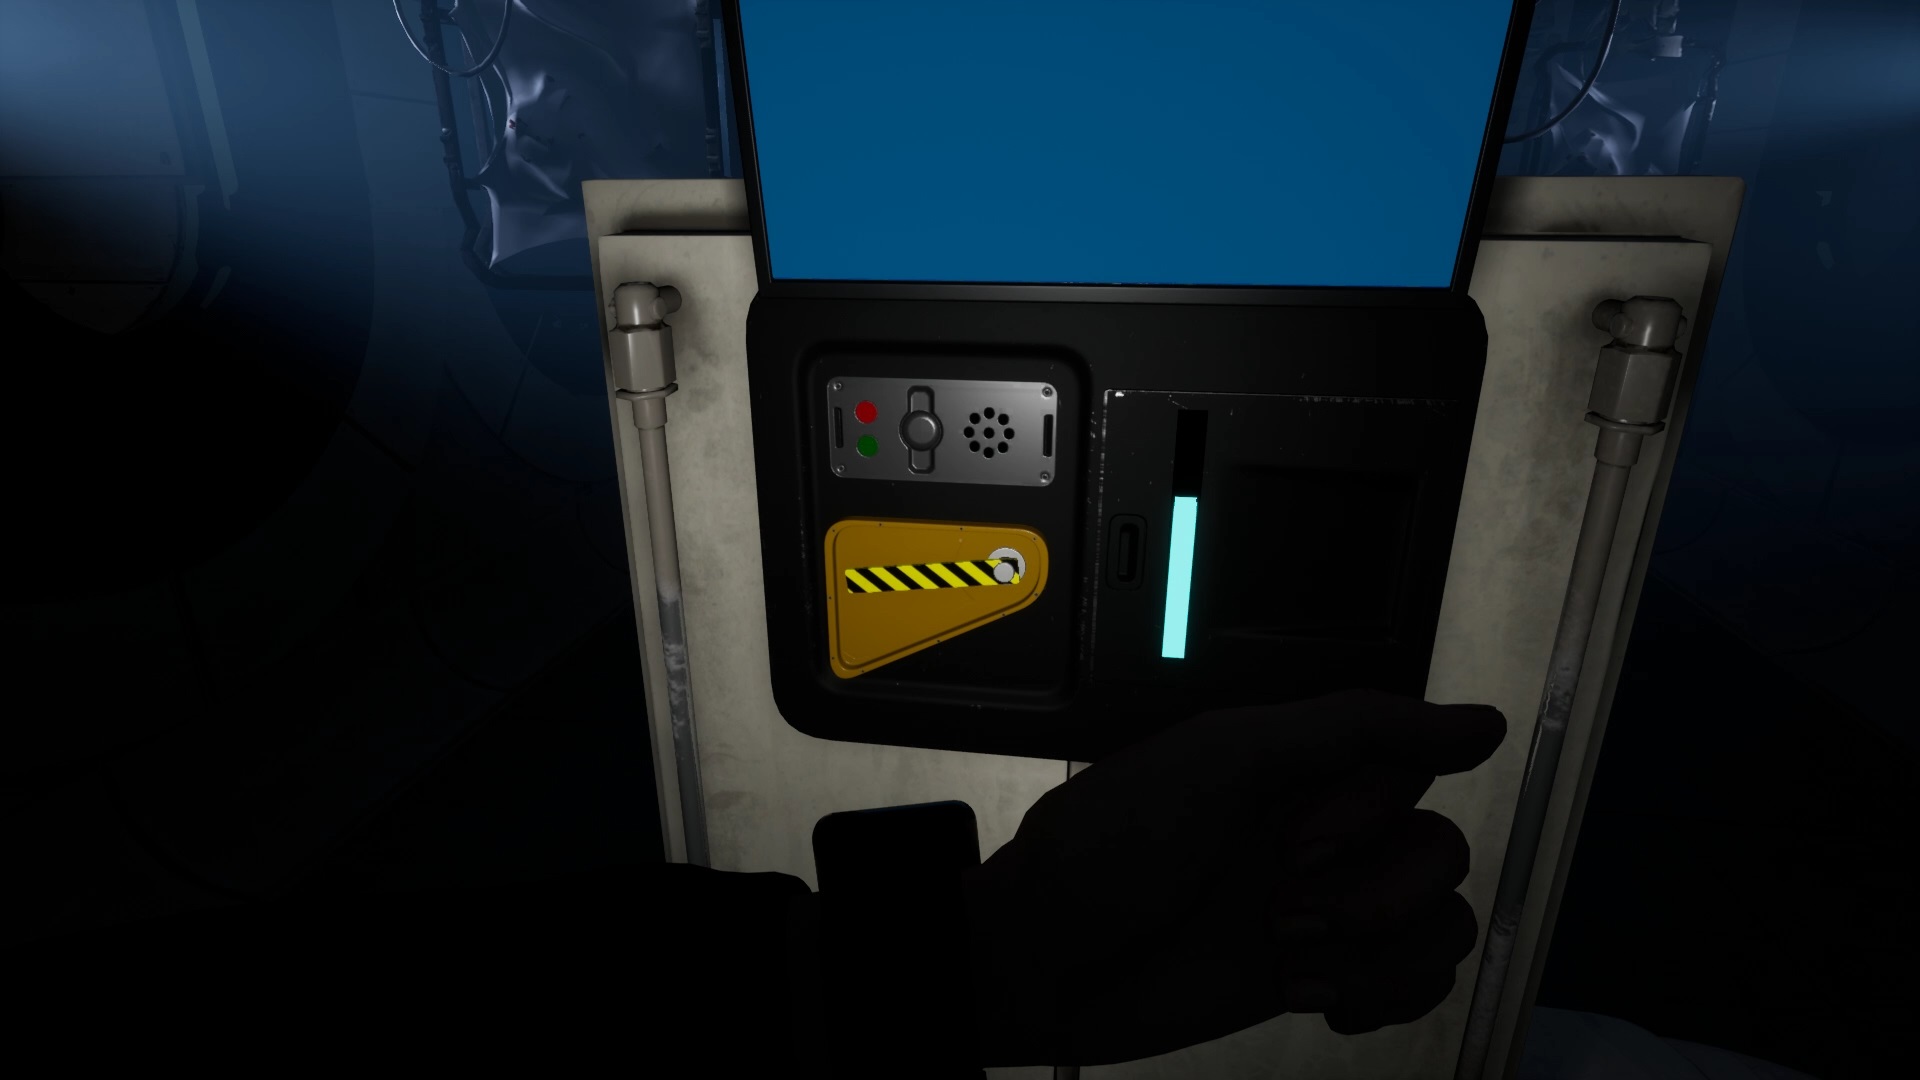
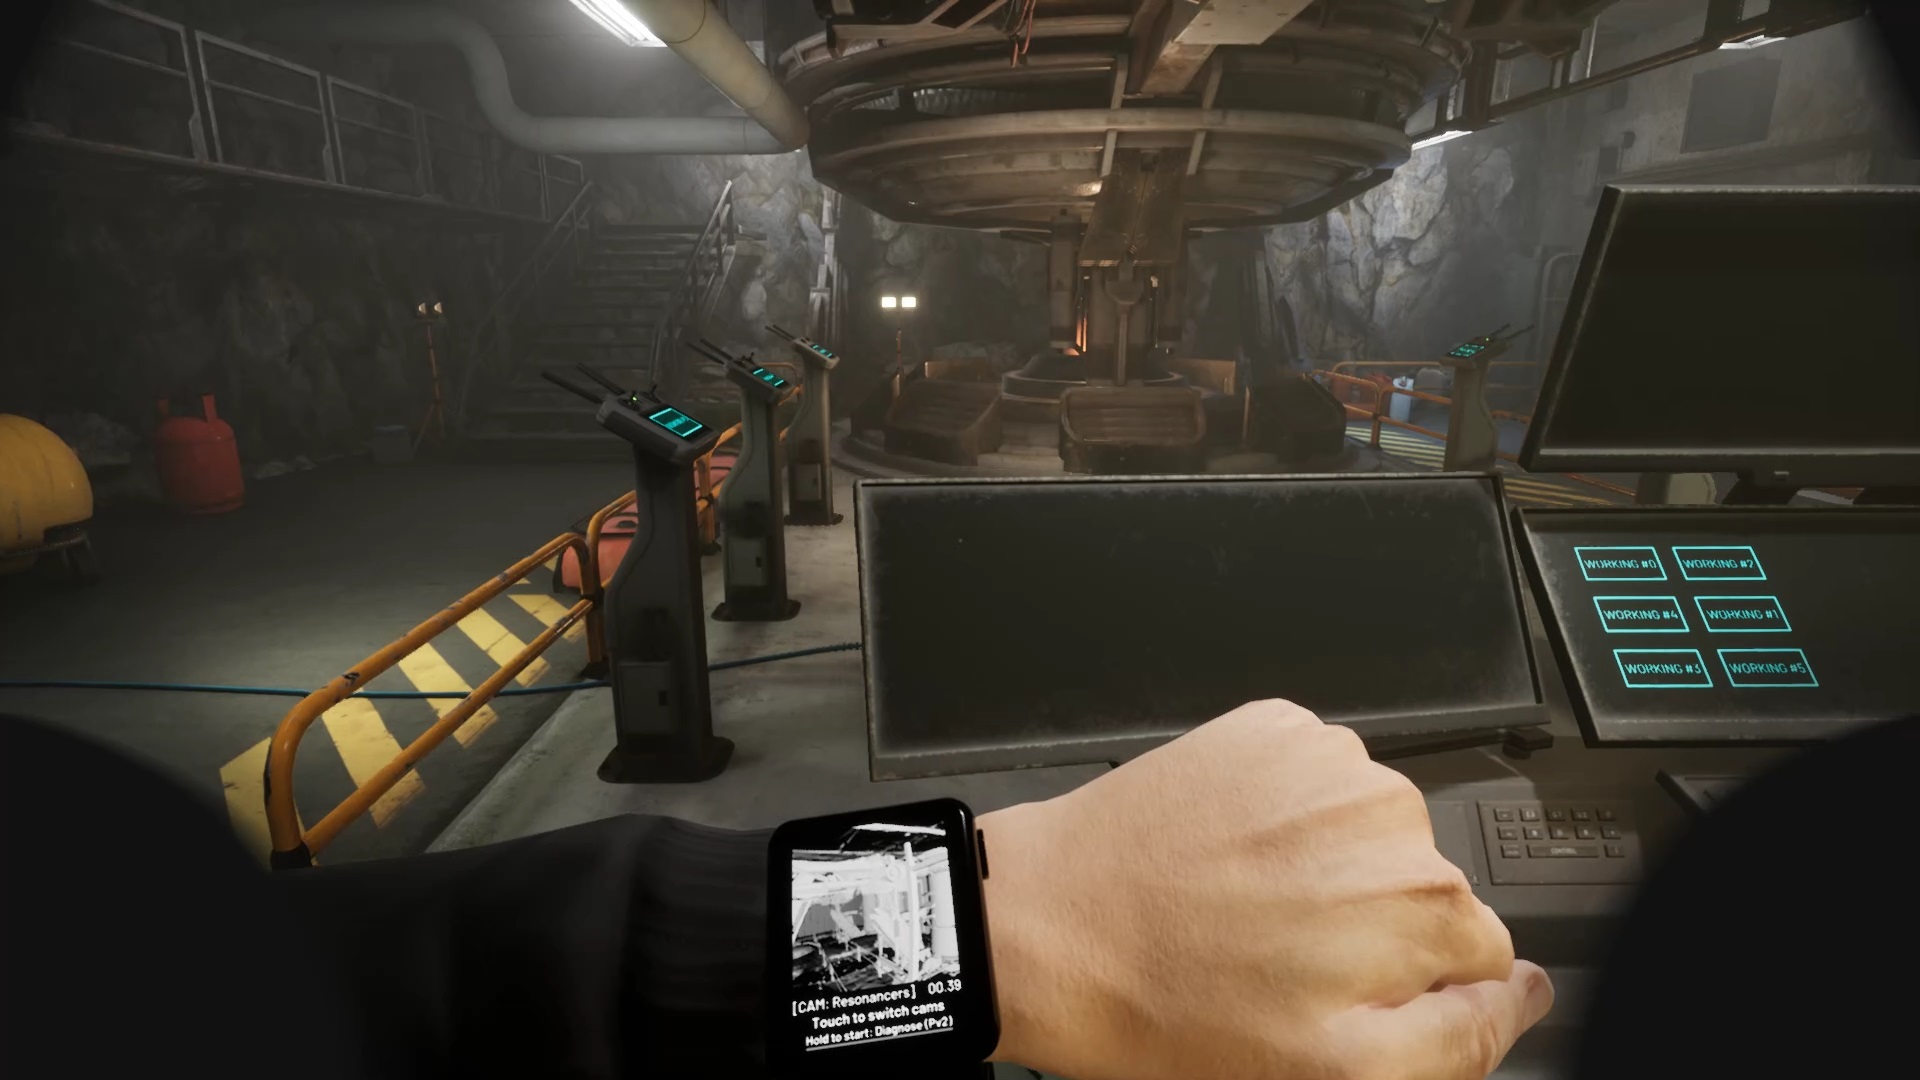
Head to the exit in the center of the hallway to find an elevator in the far right against the wall. You notice that the elevator needs power. To do this, return to the hallway. Find a track. Walk along the rail to find a trolley. Switch the cart at the end of the corridor to find a generator. You must proceed quickly. Use the generator by pressing repeatedly. Once green, take the cart and go across the hall to find a second generator. Power it in the same way as the previous generator to activate the room in front of the exit. Join the room and press a red switch to the right of the specimen. Elevator energy is activated. Exit by the elevator.
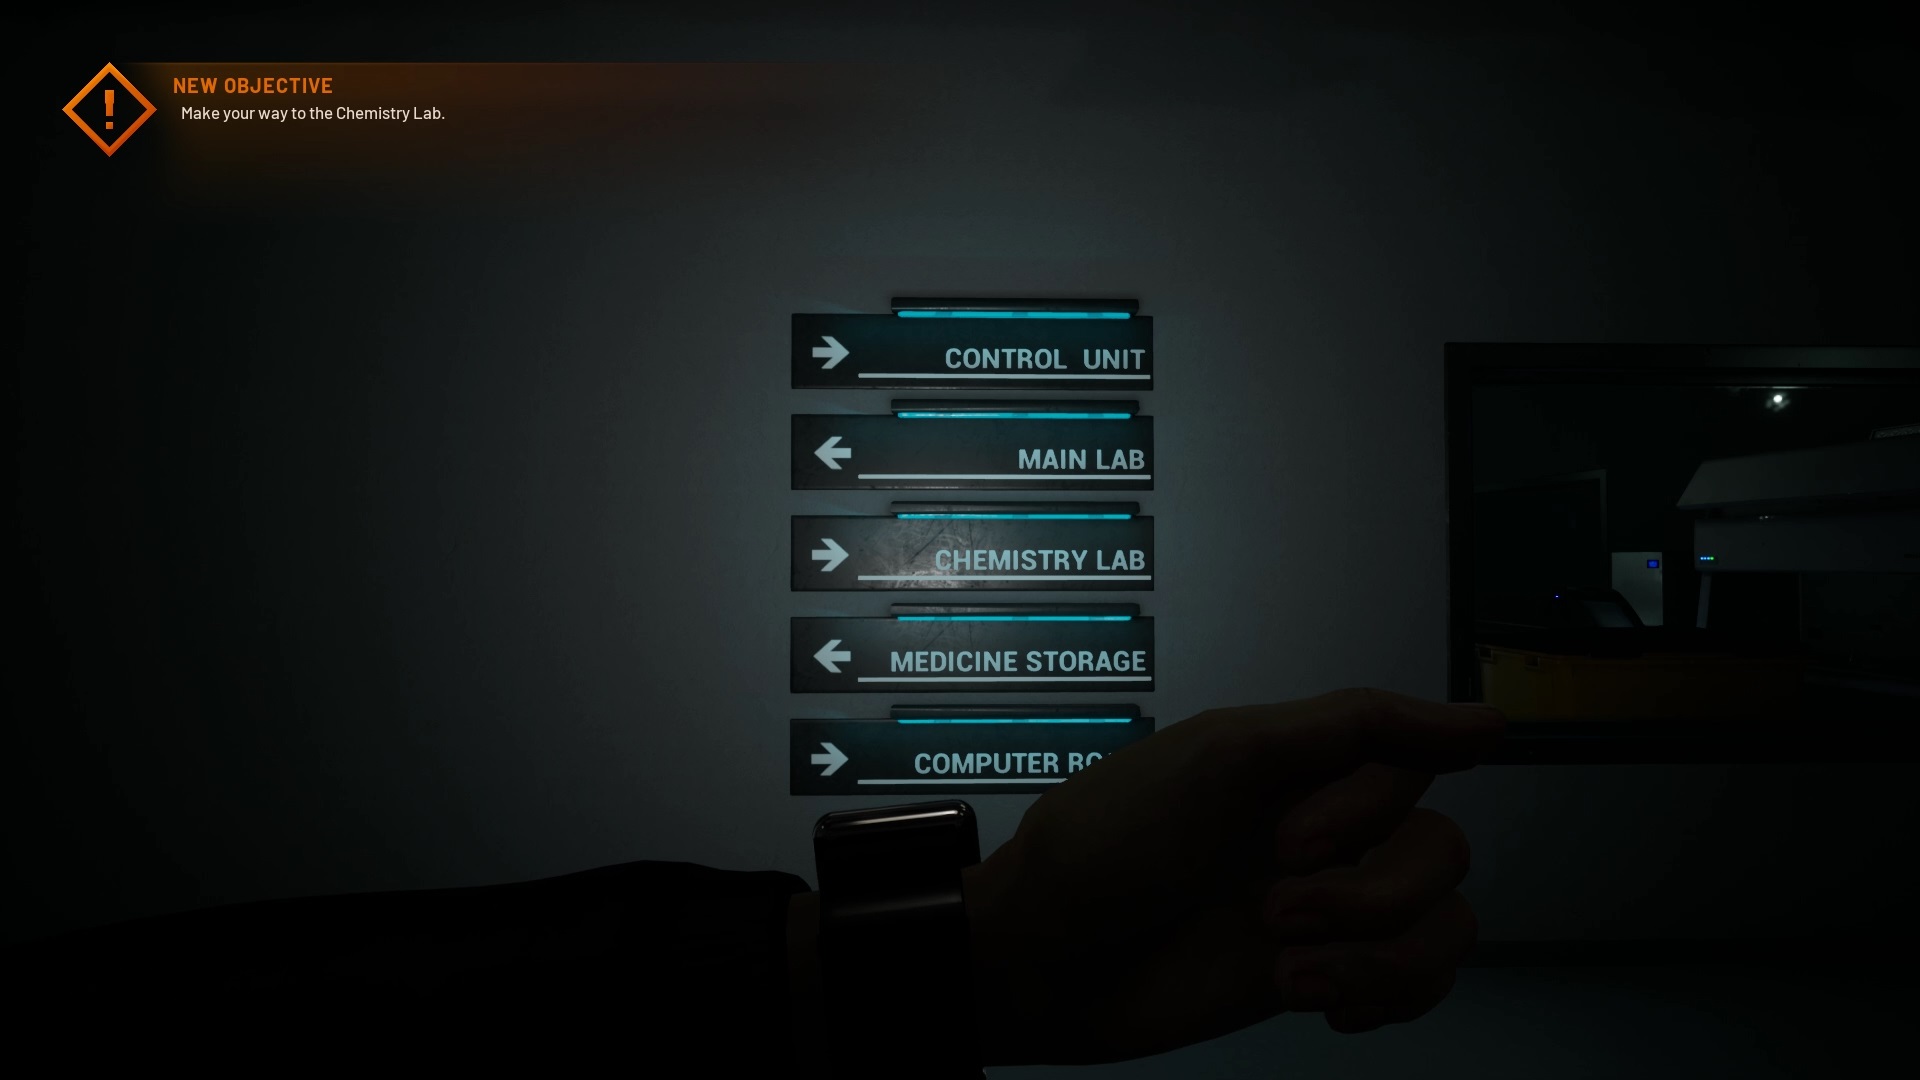
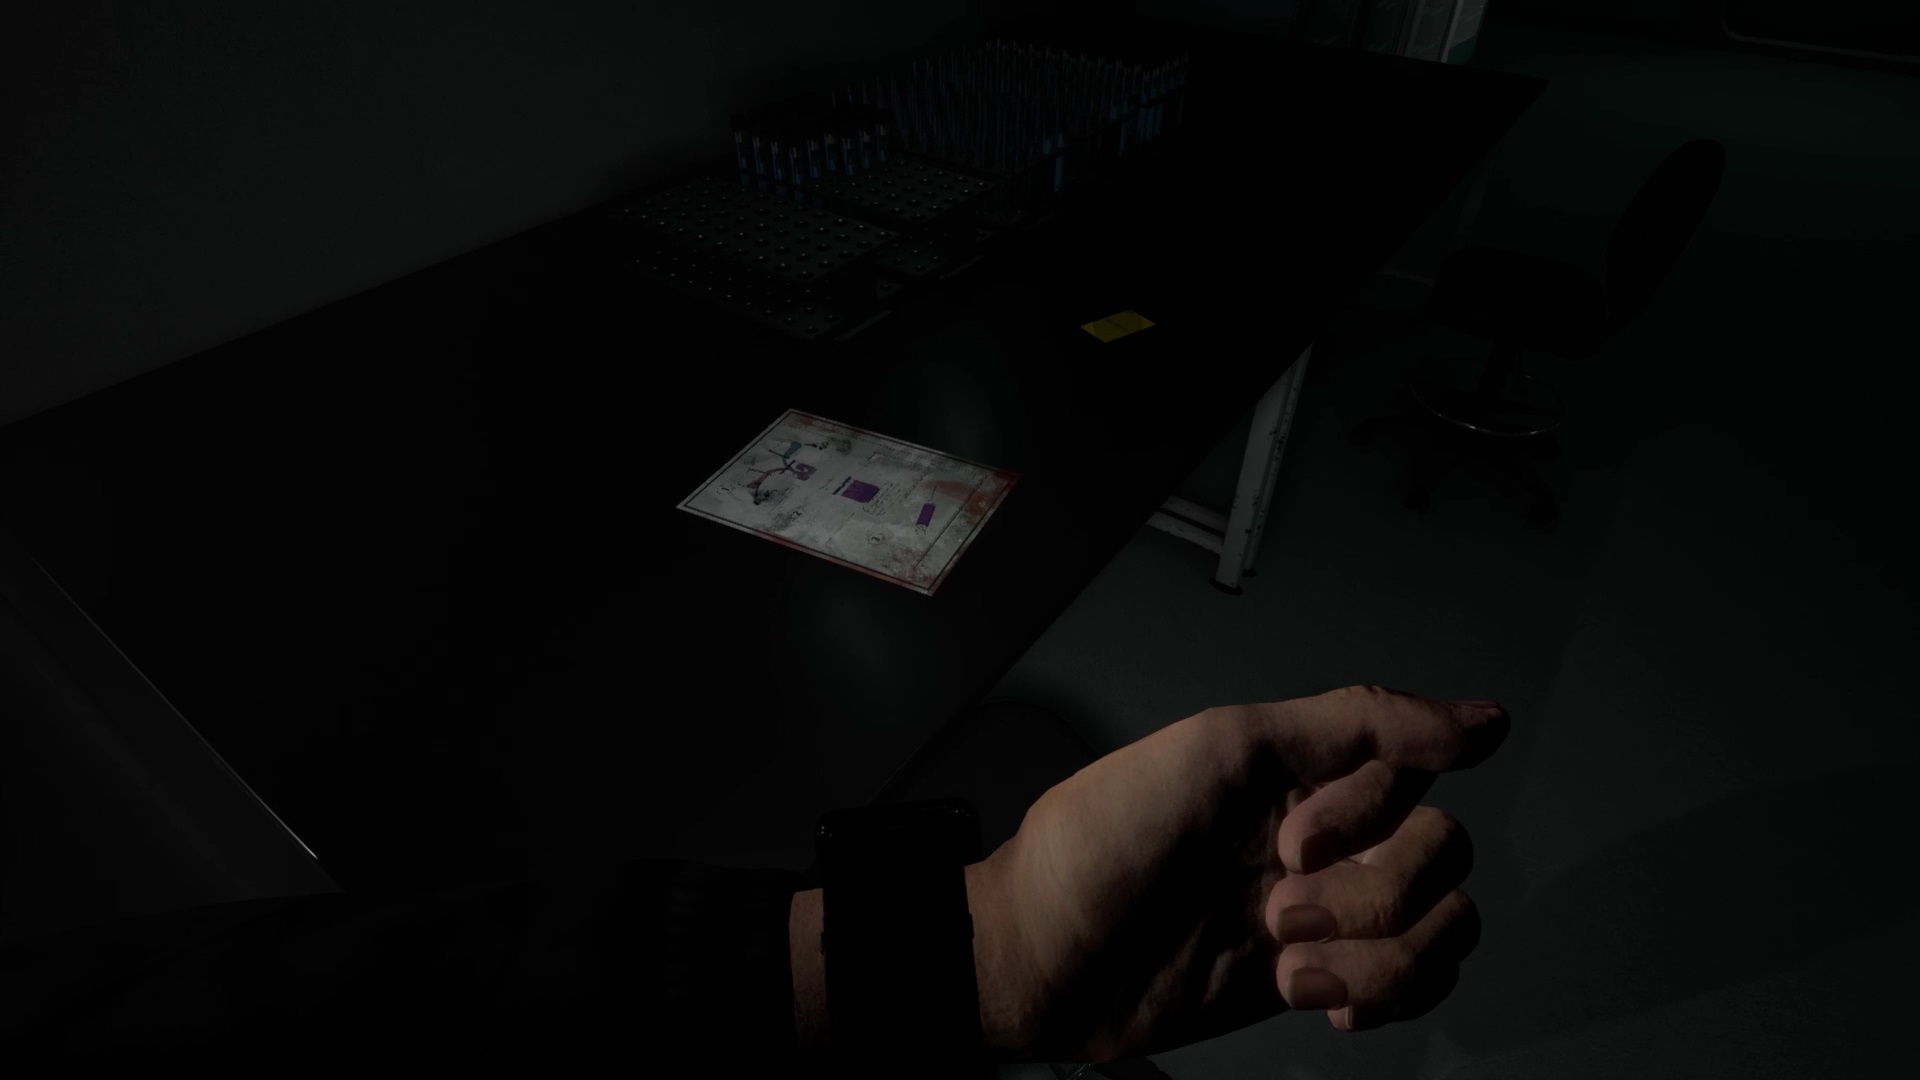
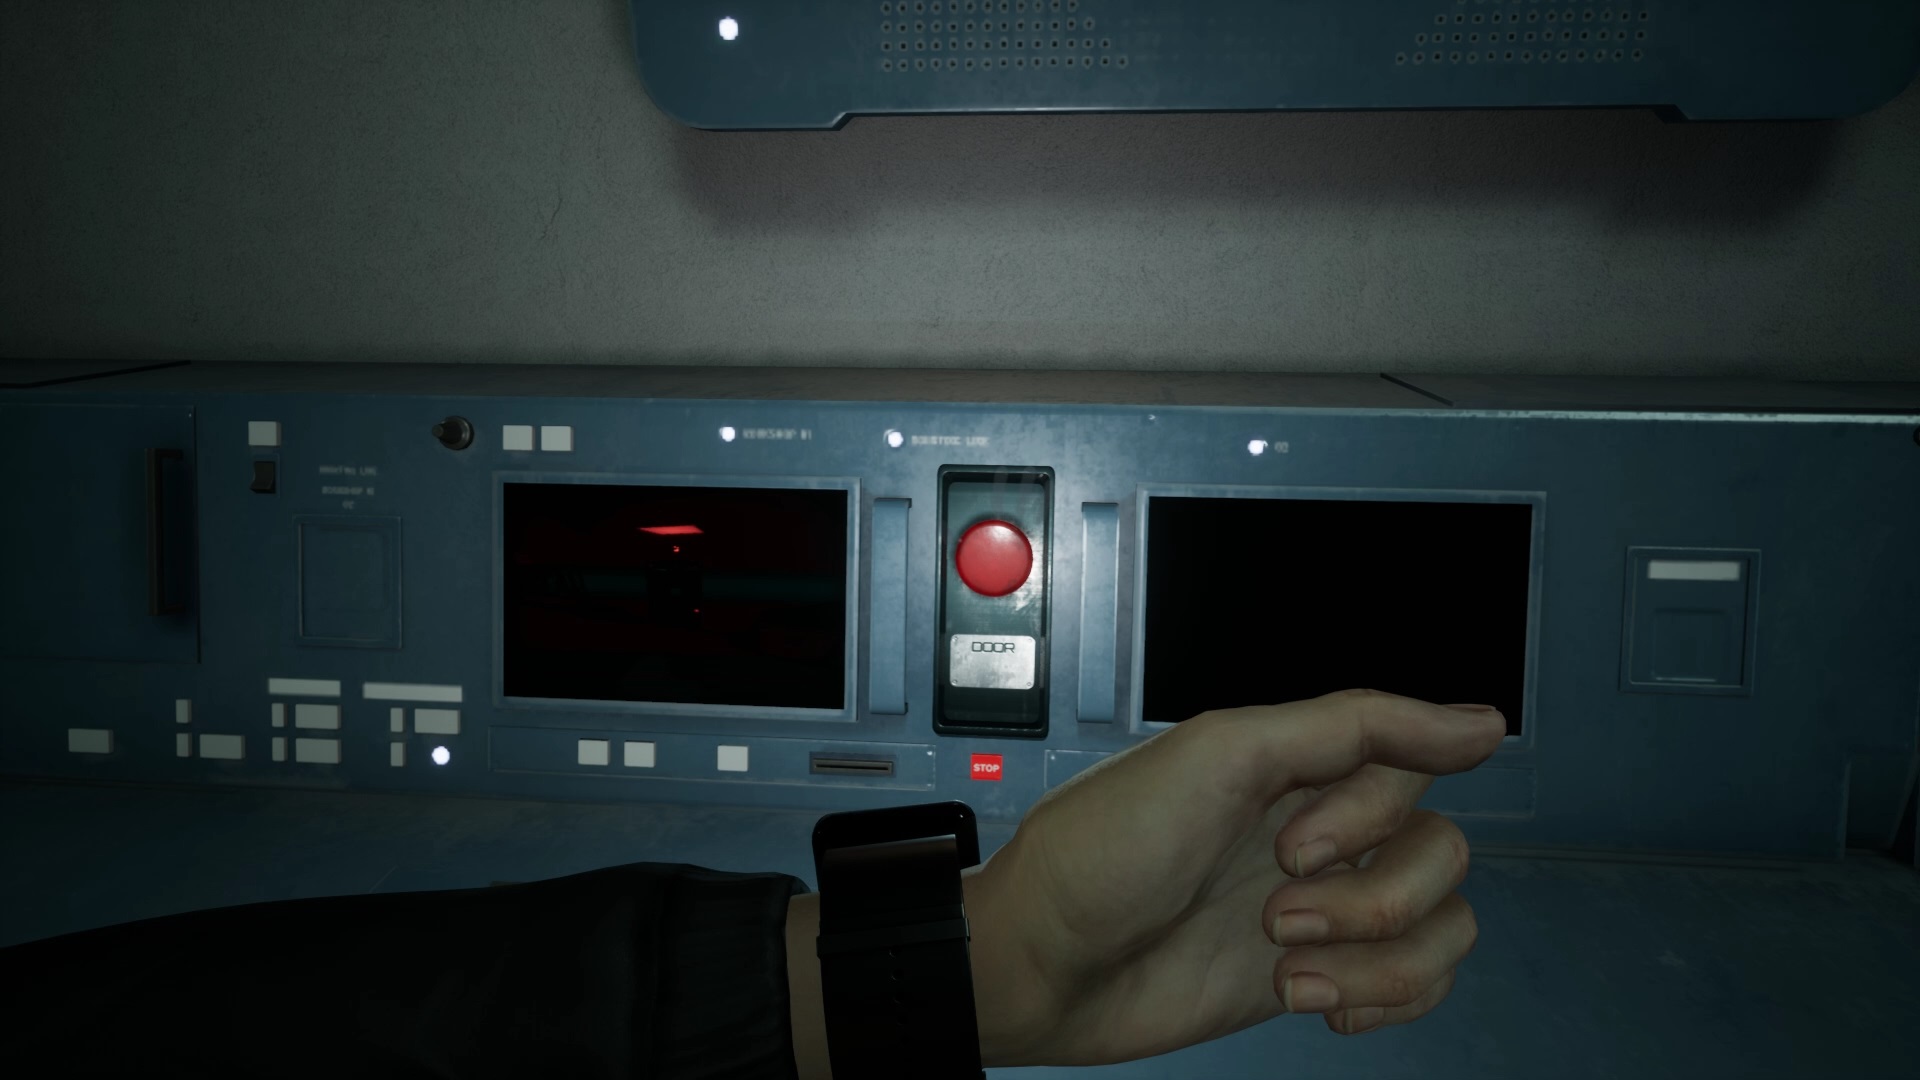
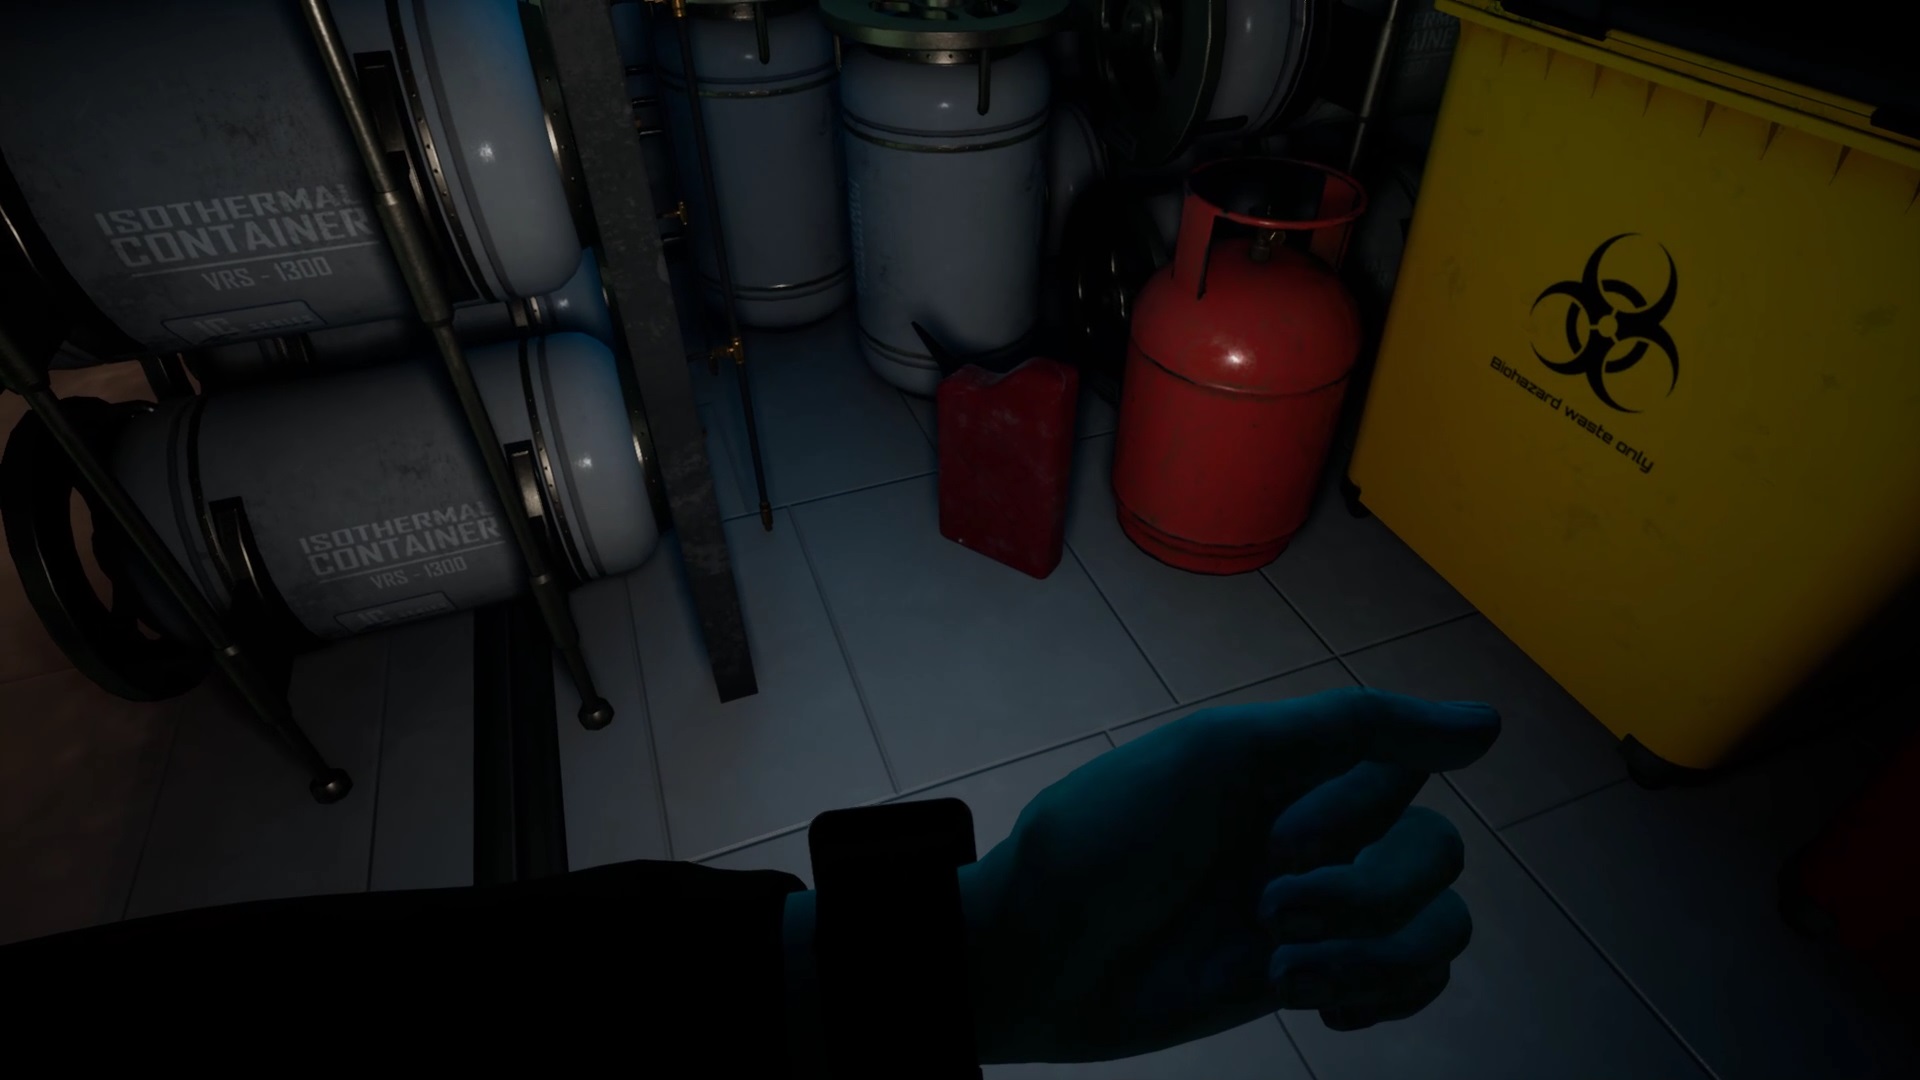
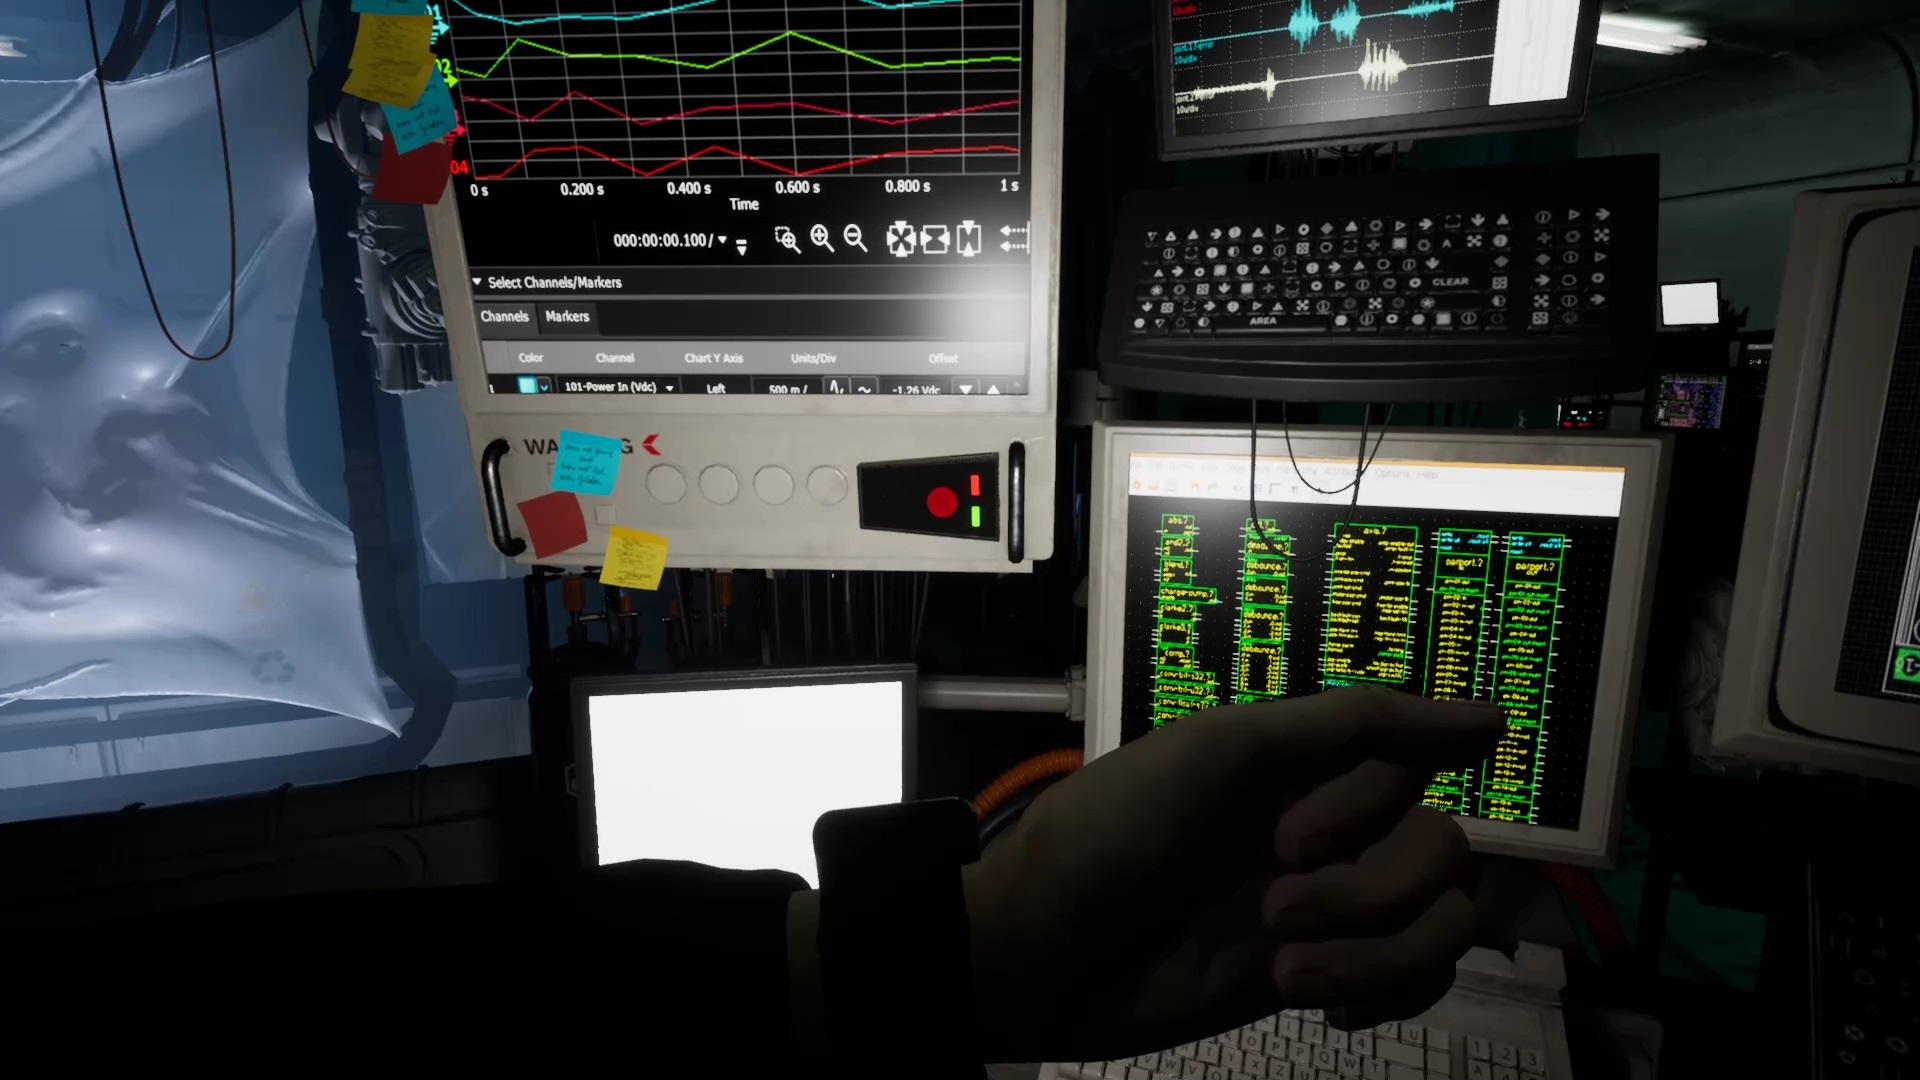
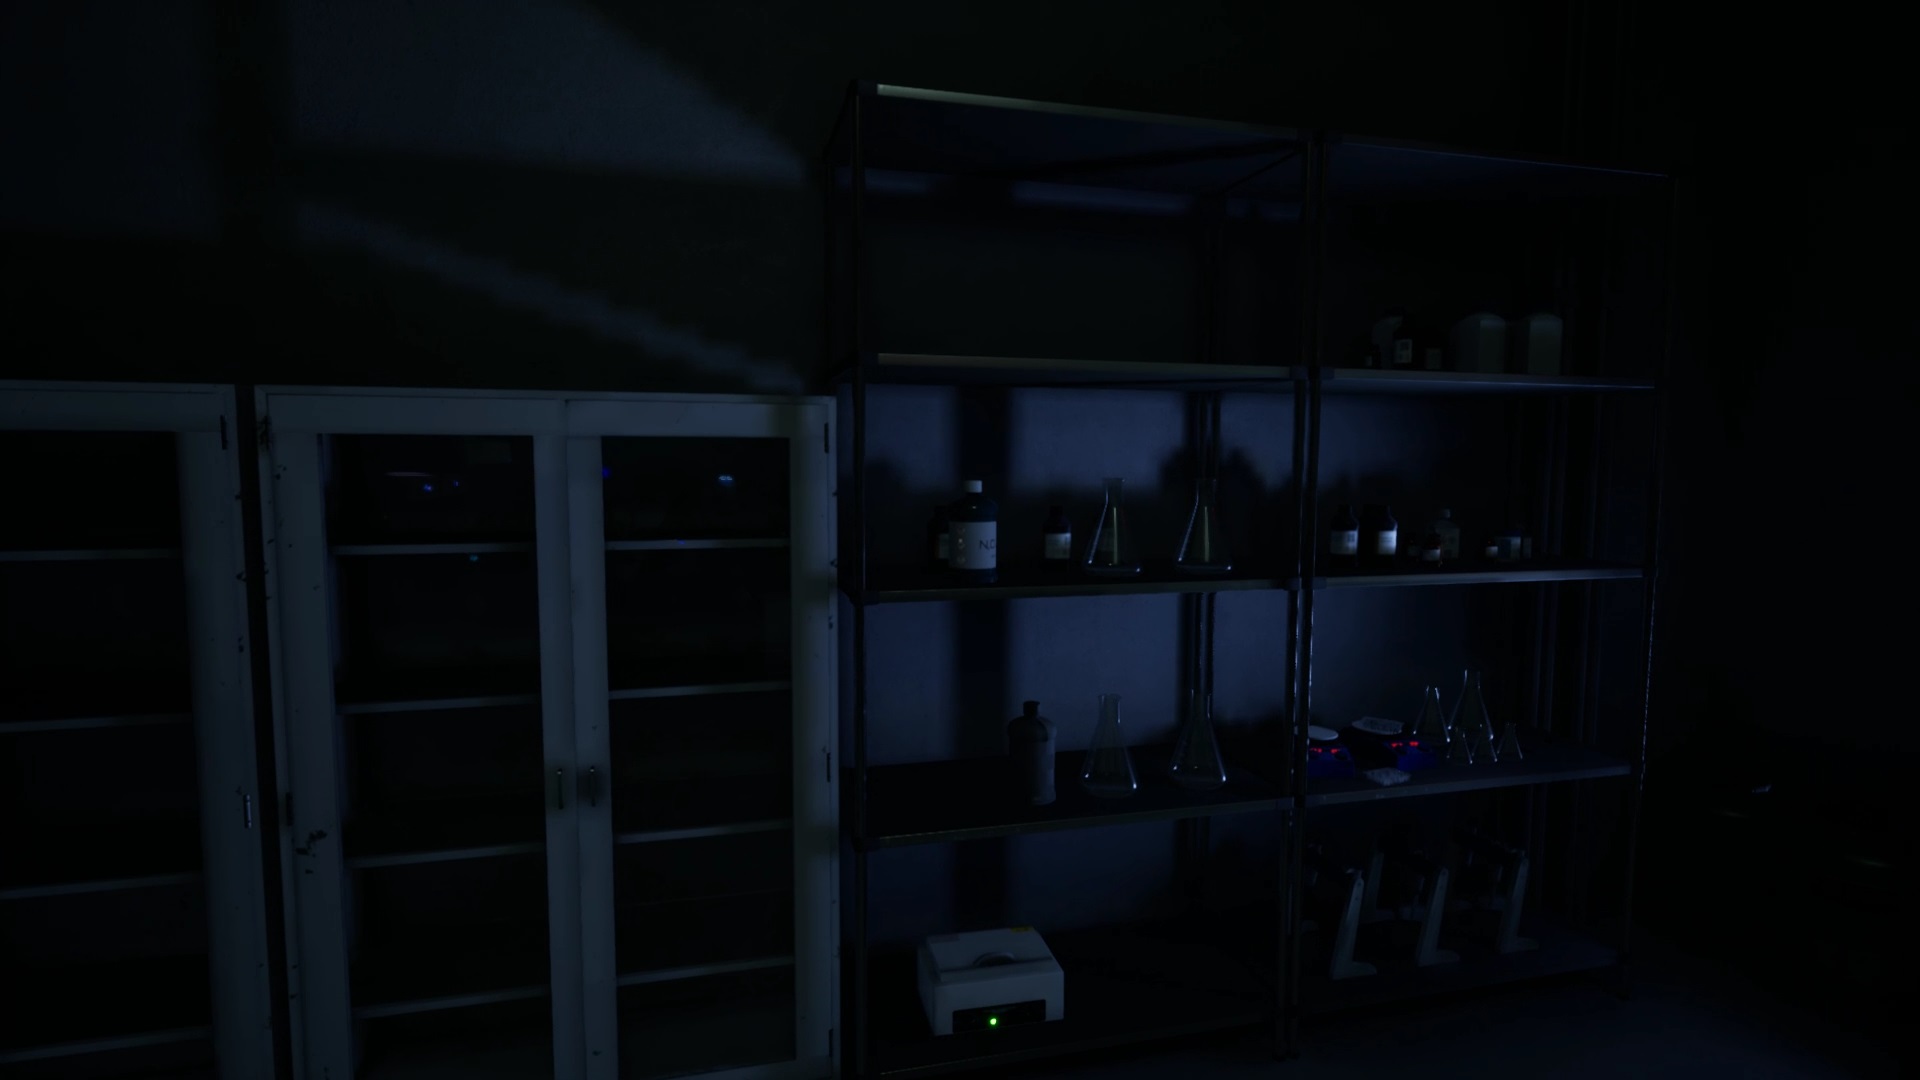
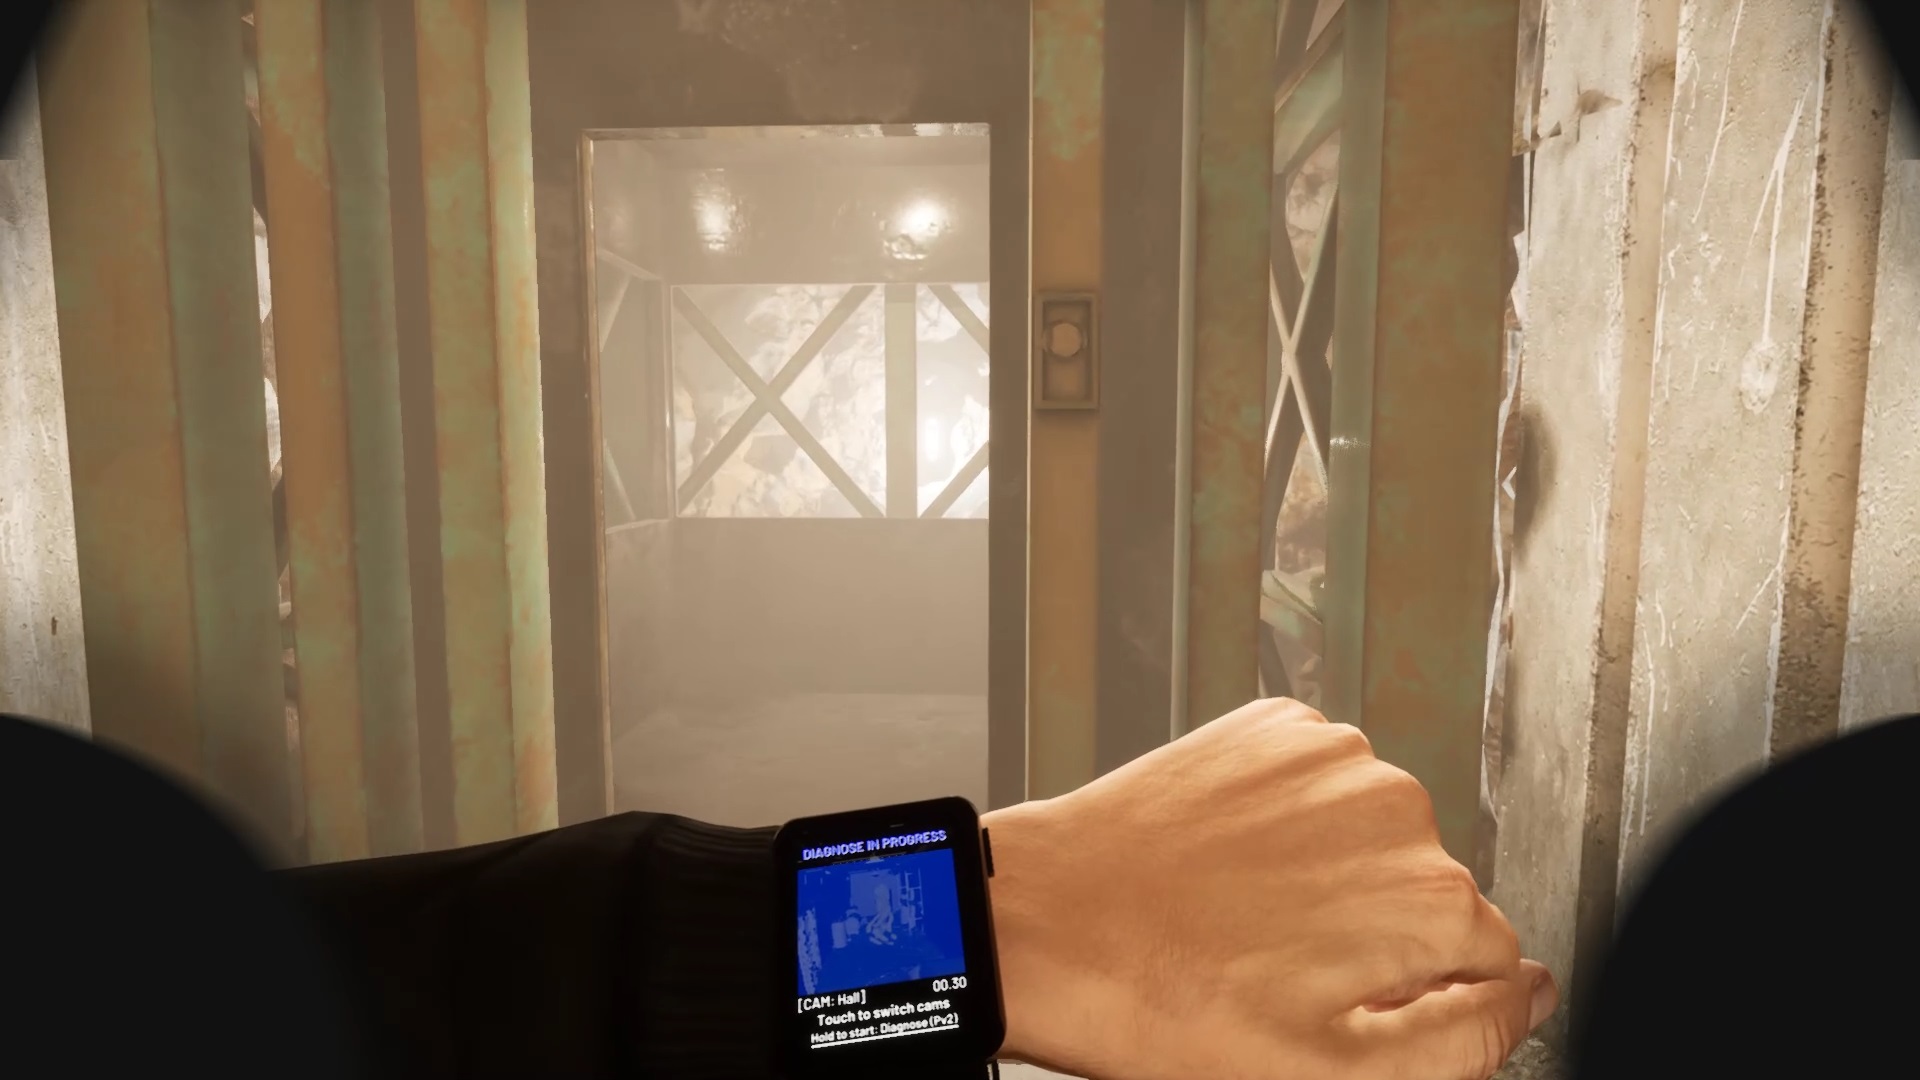
In this new floor, go through the decontamination corridor. You spot a sign on the other side showing you the different rooms. Join the Chemistry Lab room by entering through the back door. You notice near a machine a plan on a table and a key for the computer room. By reading the blueprint you understand that to synthesize the solution you need one syringe and two two chemical solutions. Let’s go first of all to resupply the floor towards the Control Unit room in front of the Computer Room. Swipe the card through the reader to the right of the door to open it and hit the switch inside.
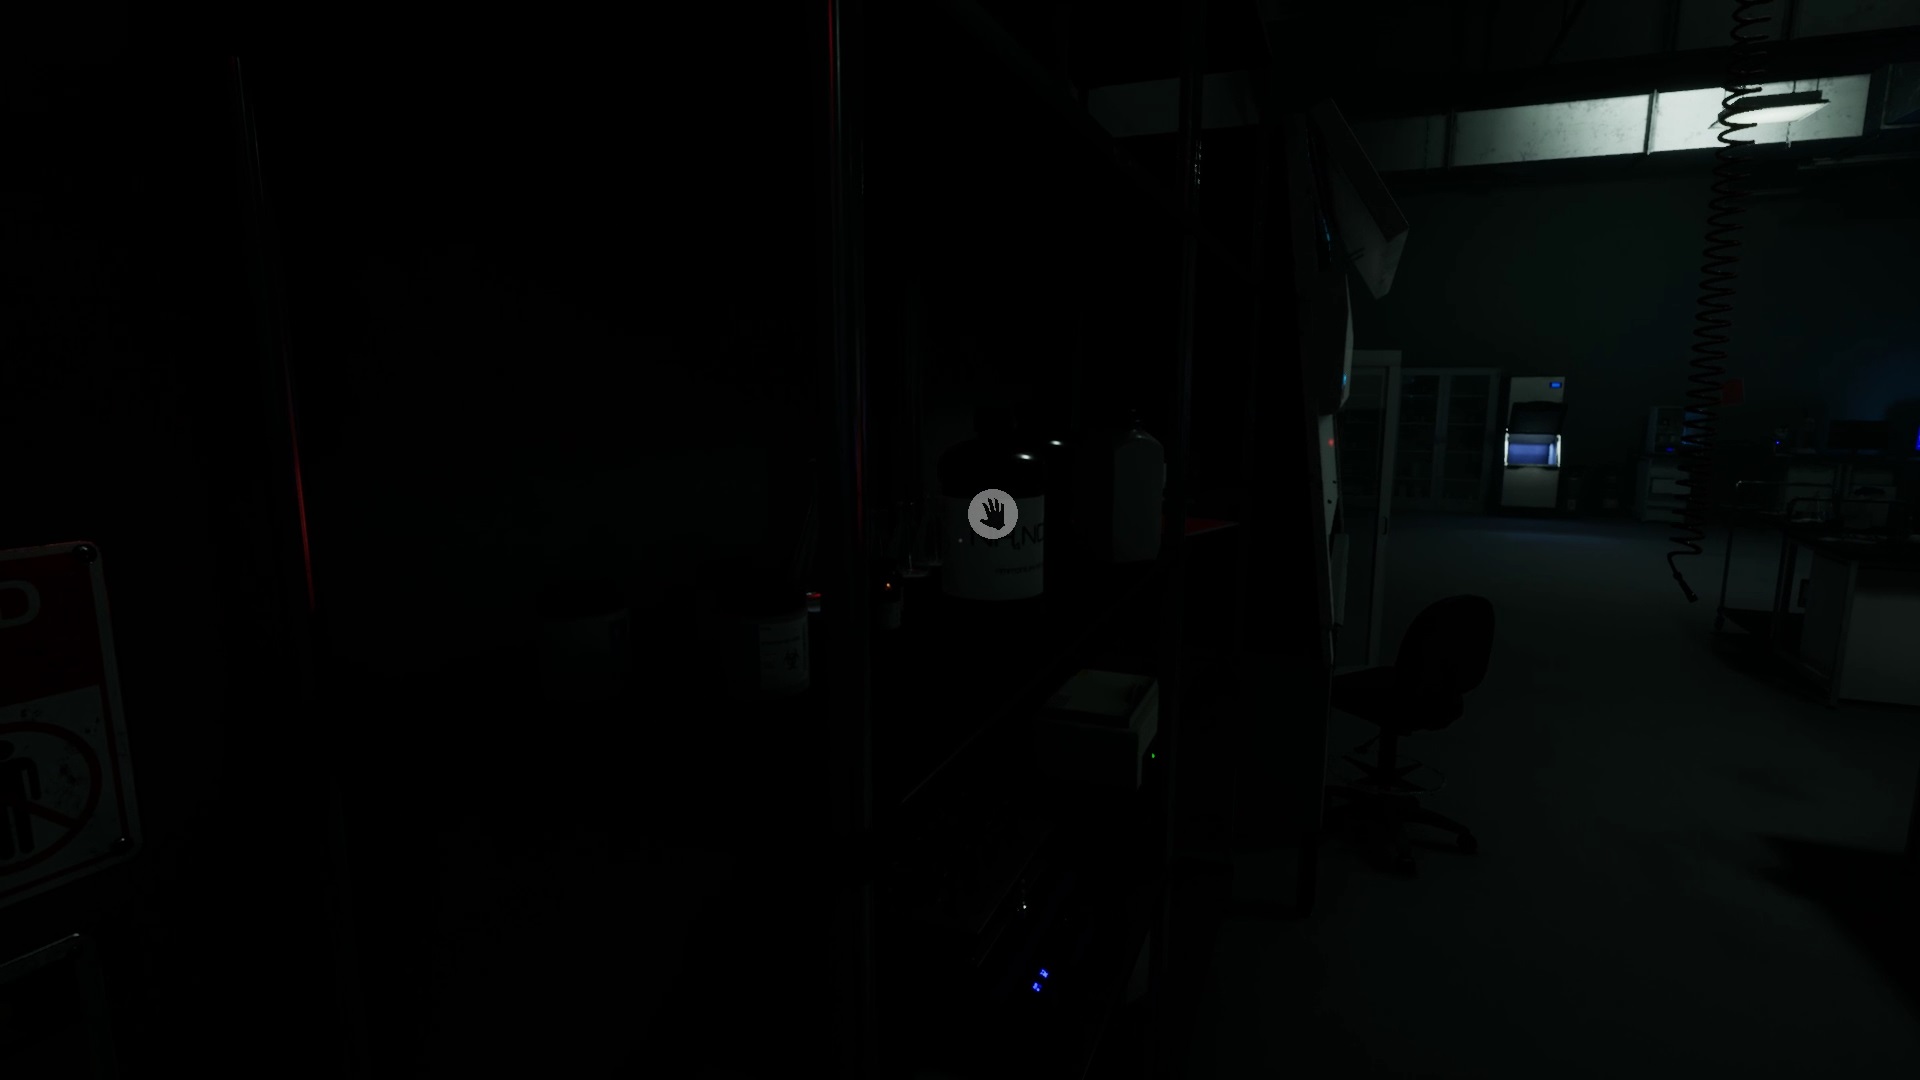
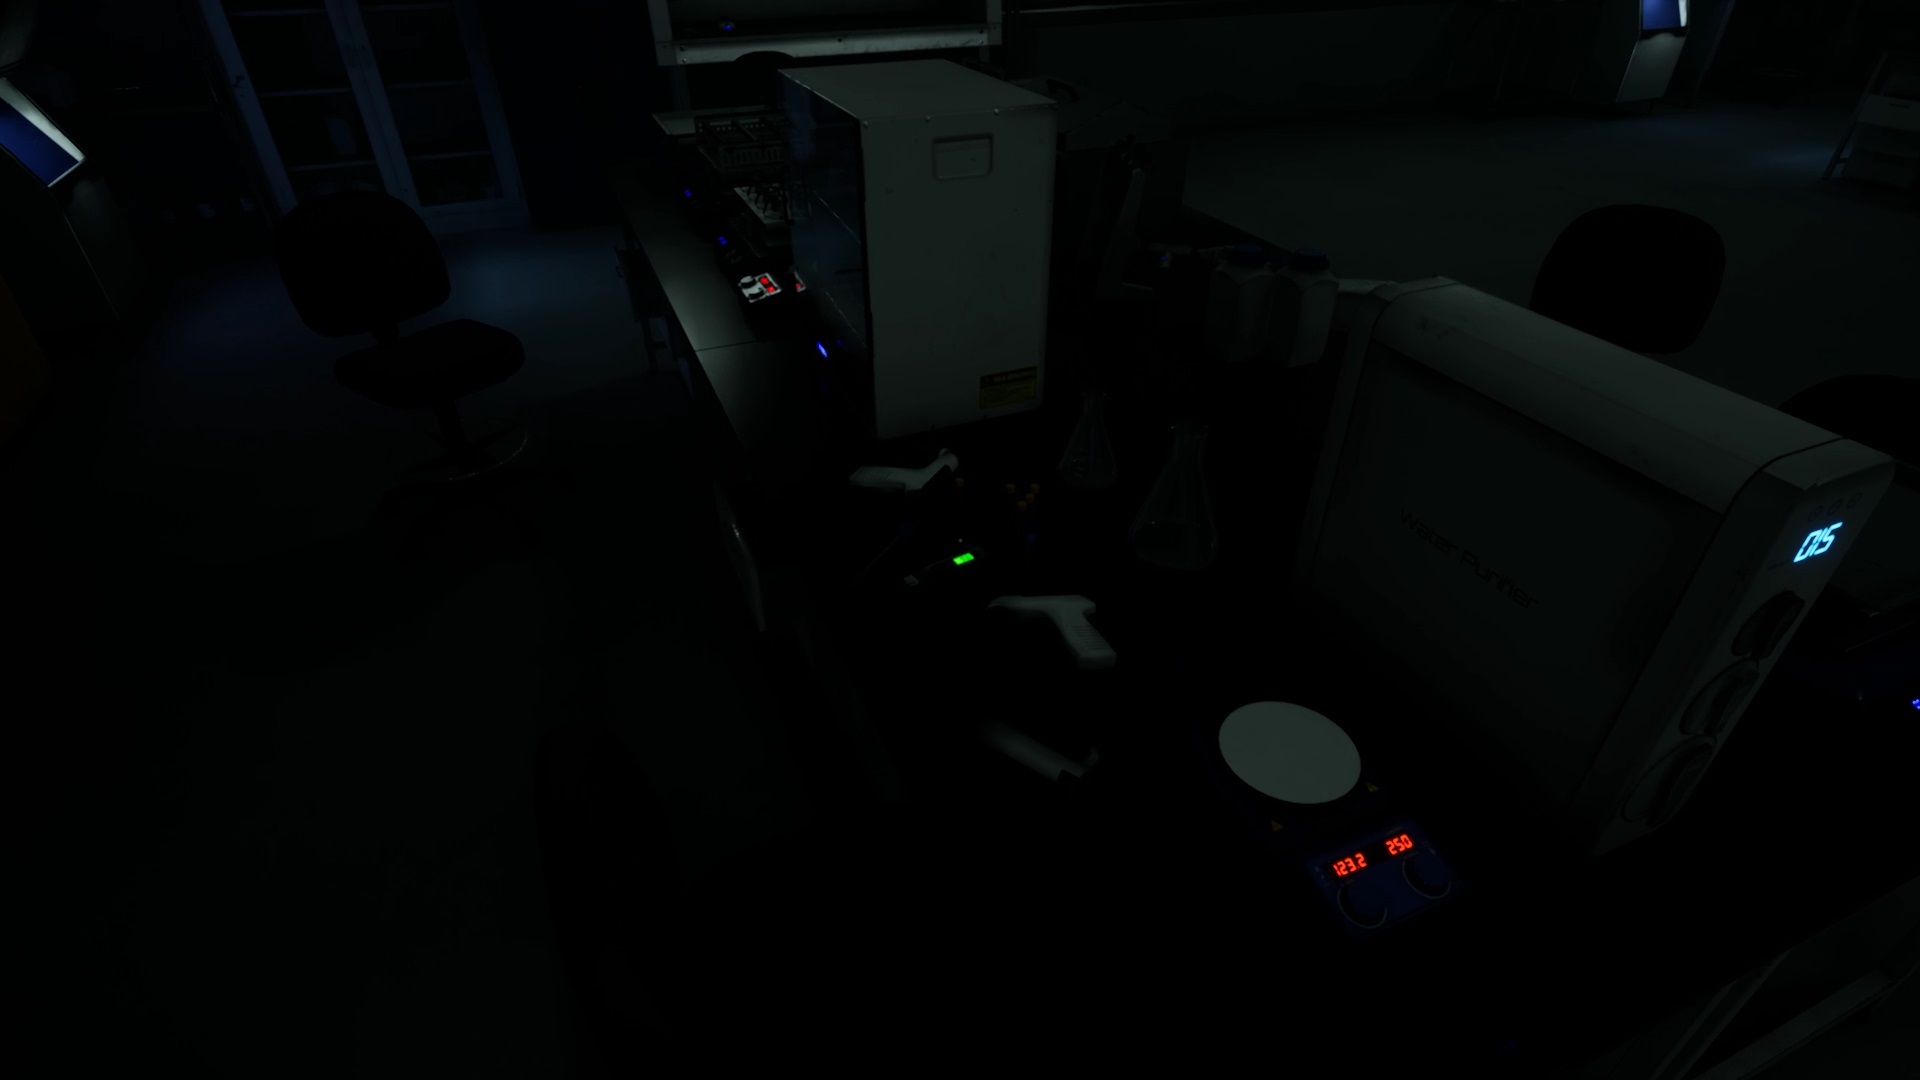
And the troubles start again. A monster appears upstairs. Don’t be seen so you don’t get spotted. In case of pursuit, use the switches of the doors to lock it up and continue your progress. Start by discreetly searching for the two solutions in the Chemistry Storage room. You will find them both on shelves. Then enter the Main Lab to retrieve a syringe from one of the desks. All you have to do is synthesize the solution on the Chemistry Lab machine and extract it using your syringe. You can close the doors of the room for more precautions. After recovering the solution, not a minute to lose. Put on the gas mask behind you and quickly go down the decontamination corridor. Use the elevator to complete the level.
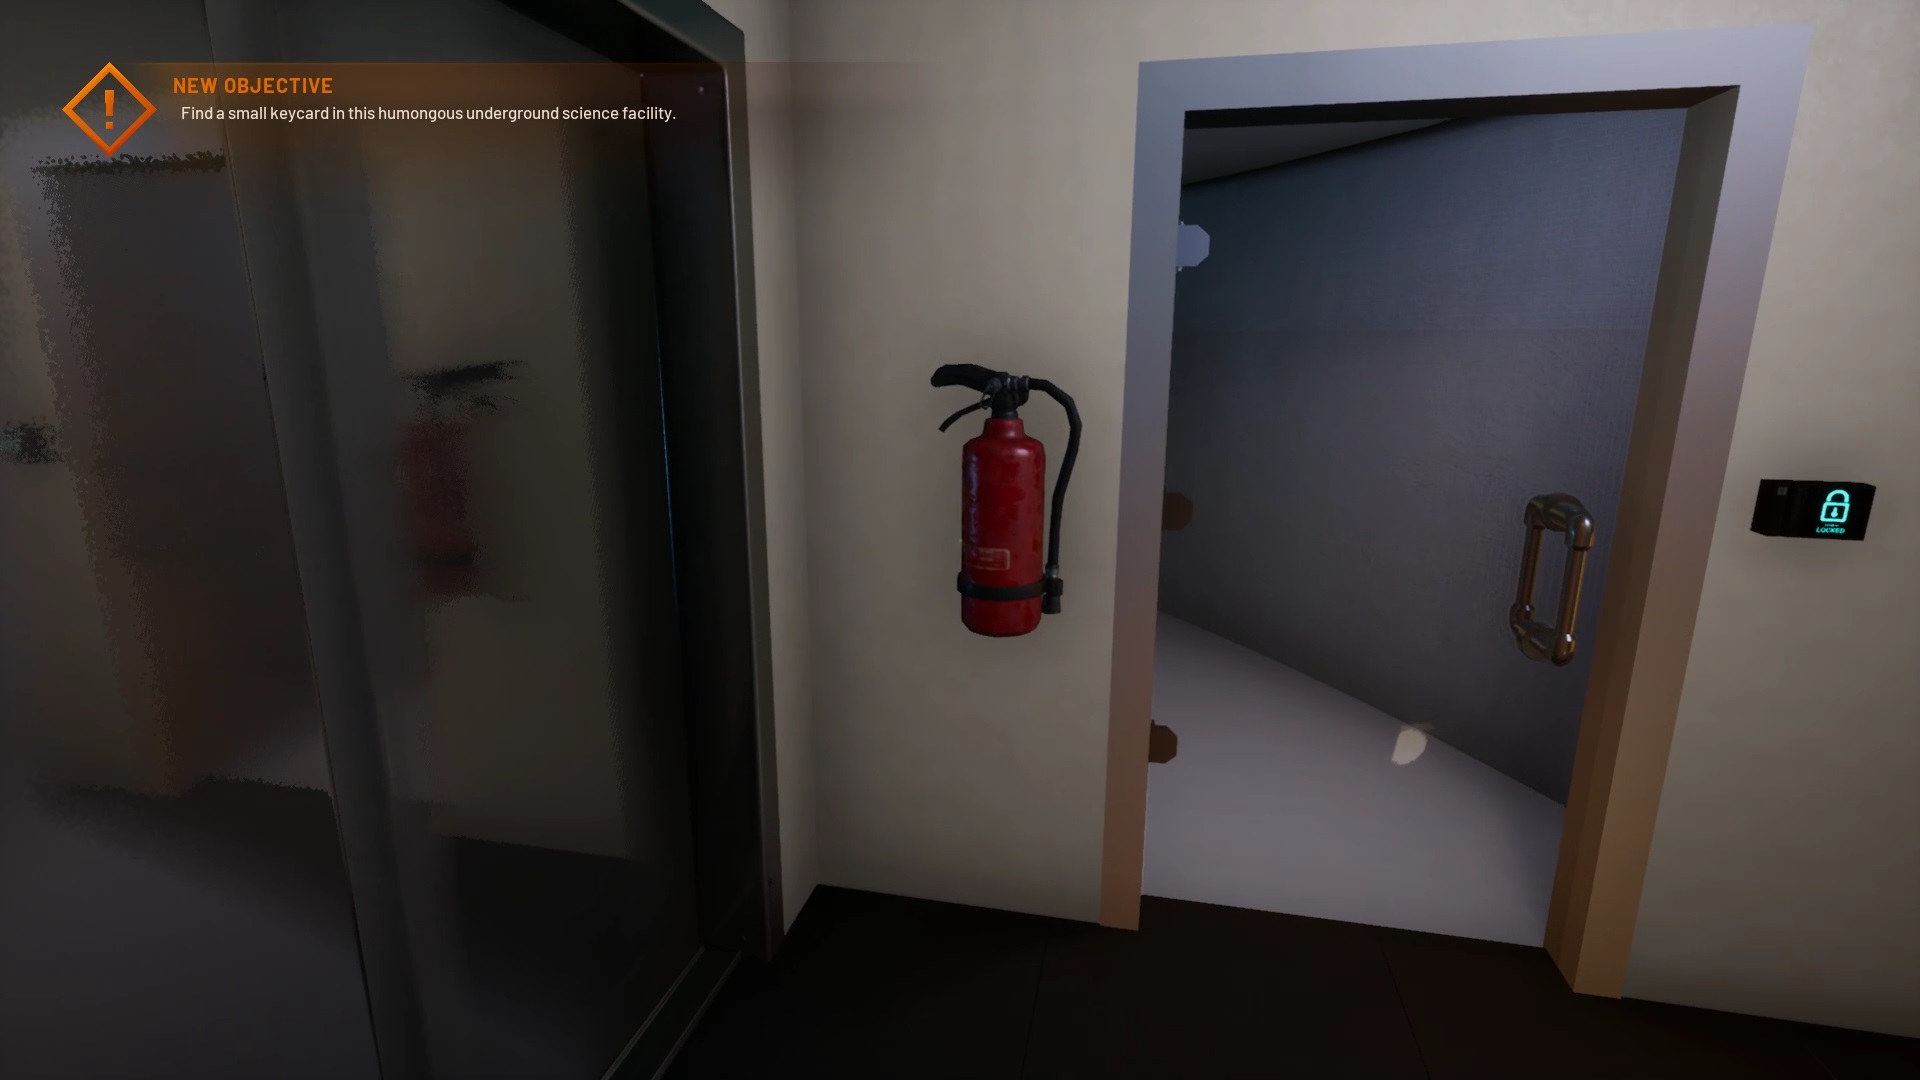
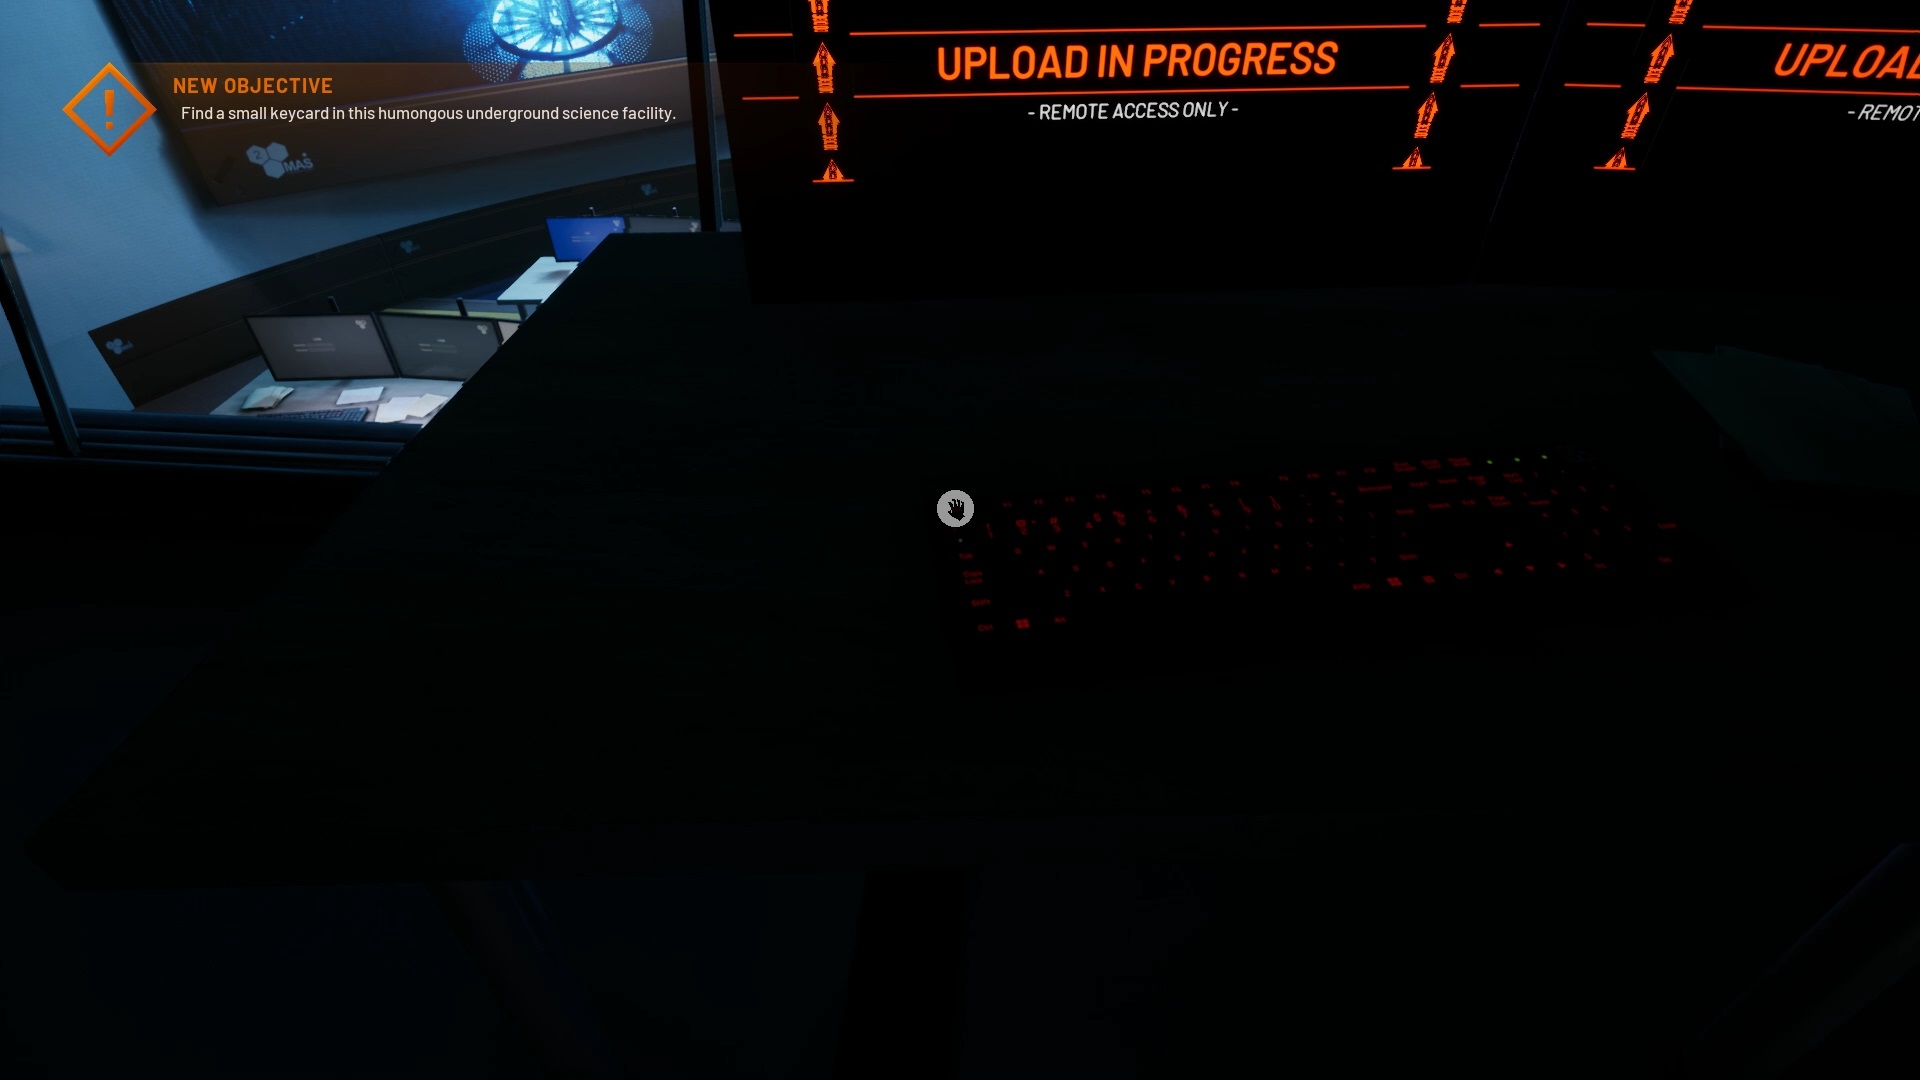
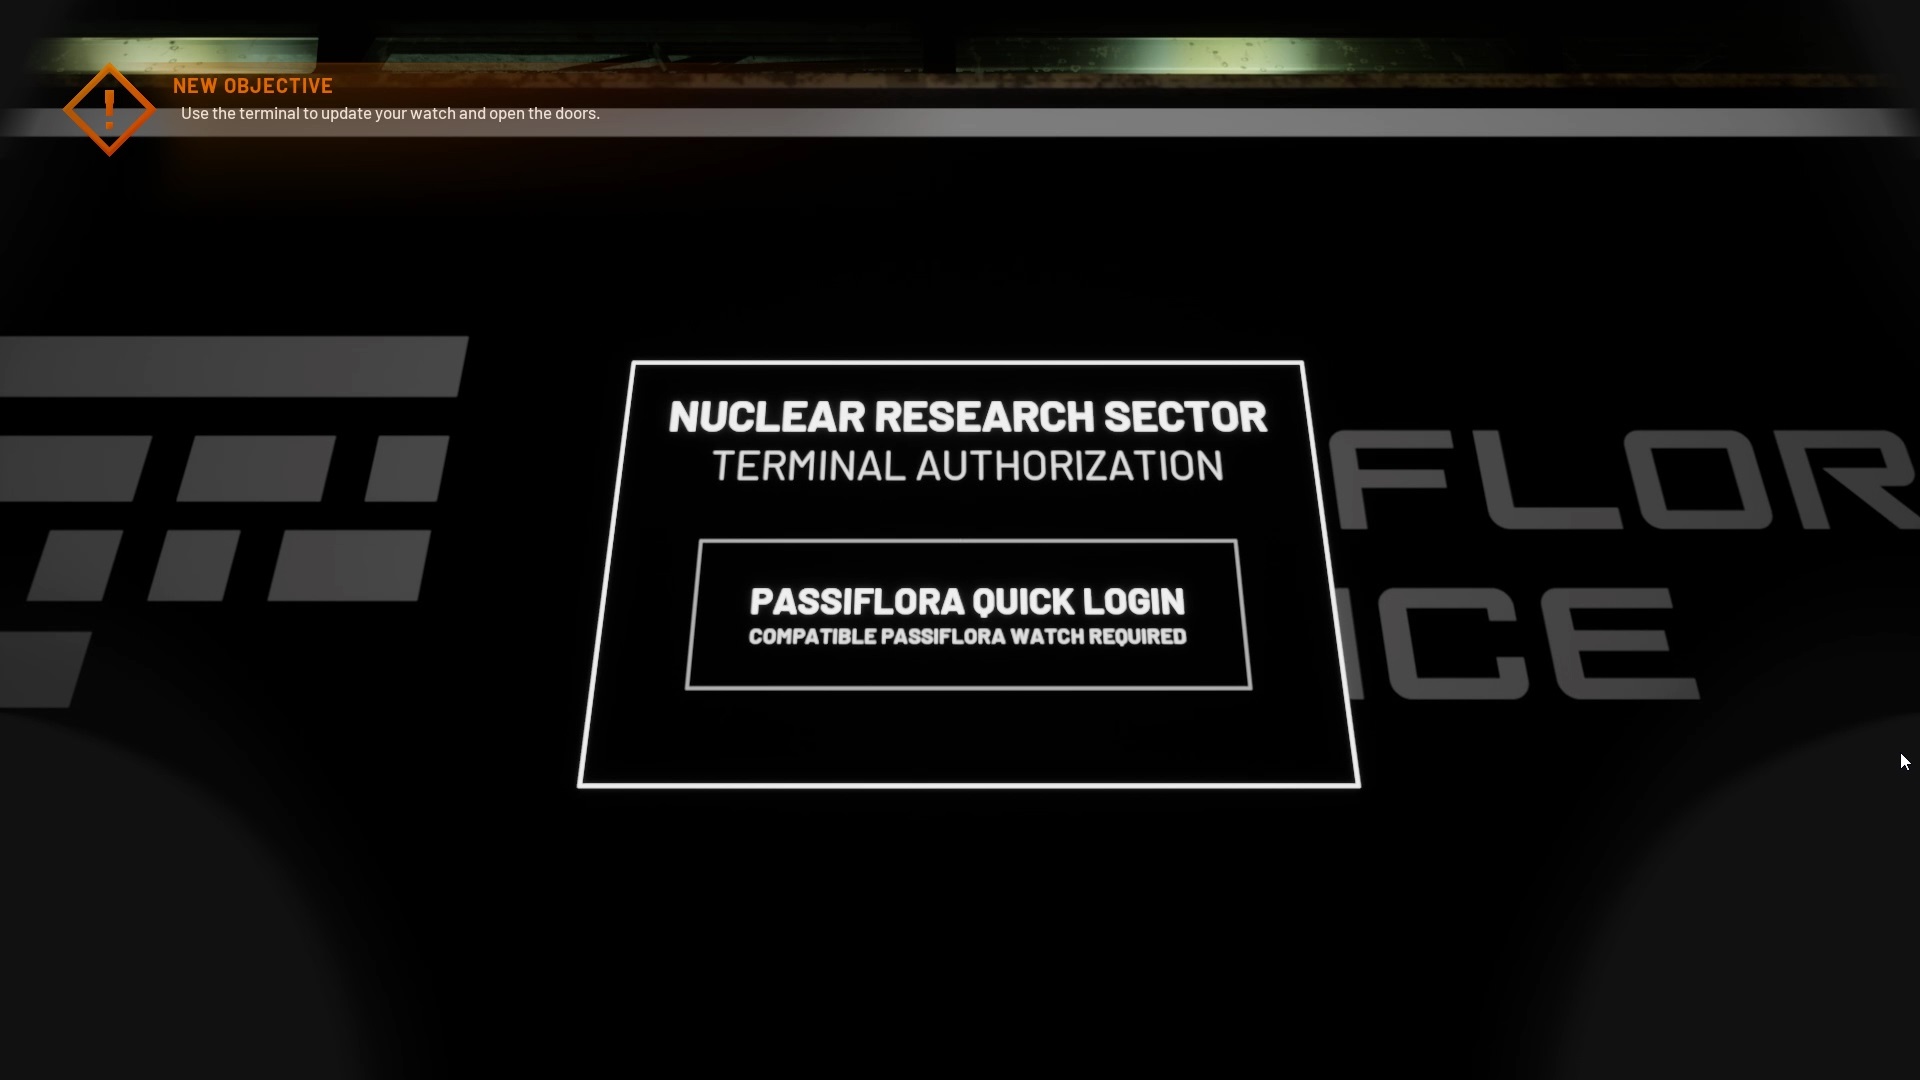
Follow the instructions on your watch to rejoin the elevator. Go forward and go right down the hall to reach a new elevator. On the floor above, get the fire extinguisher and break the glass door with it to move forward. In the control room, interact with one of the keyboards to get a new objective. Leave by the elevator of the departure to reach the basement.
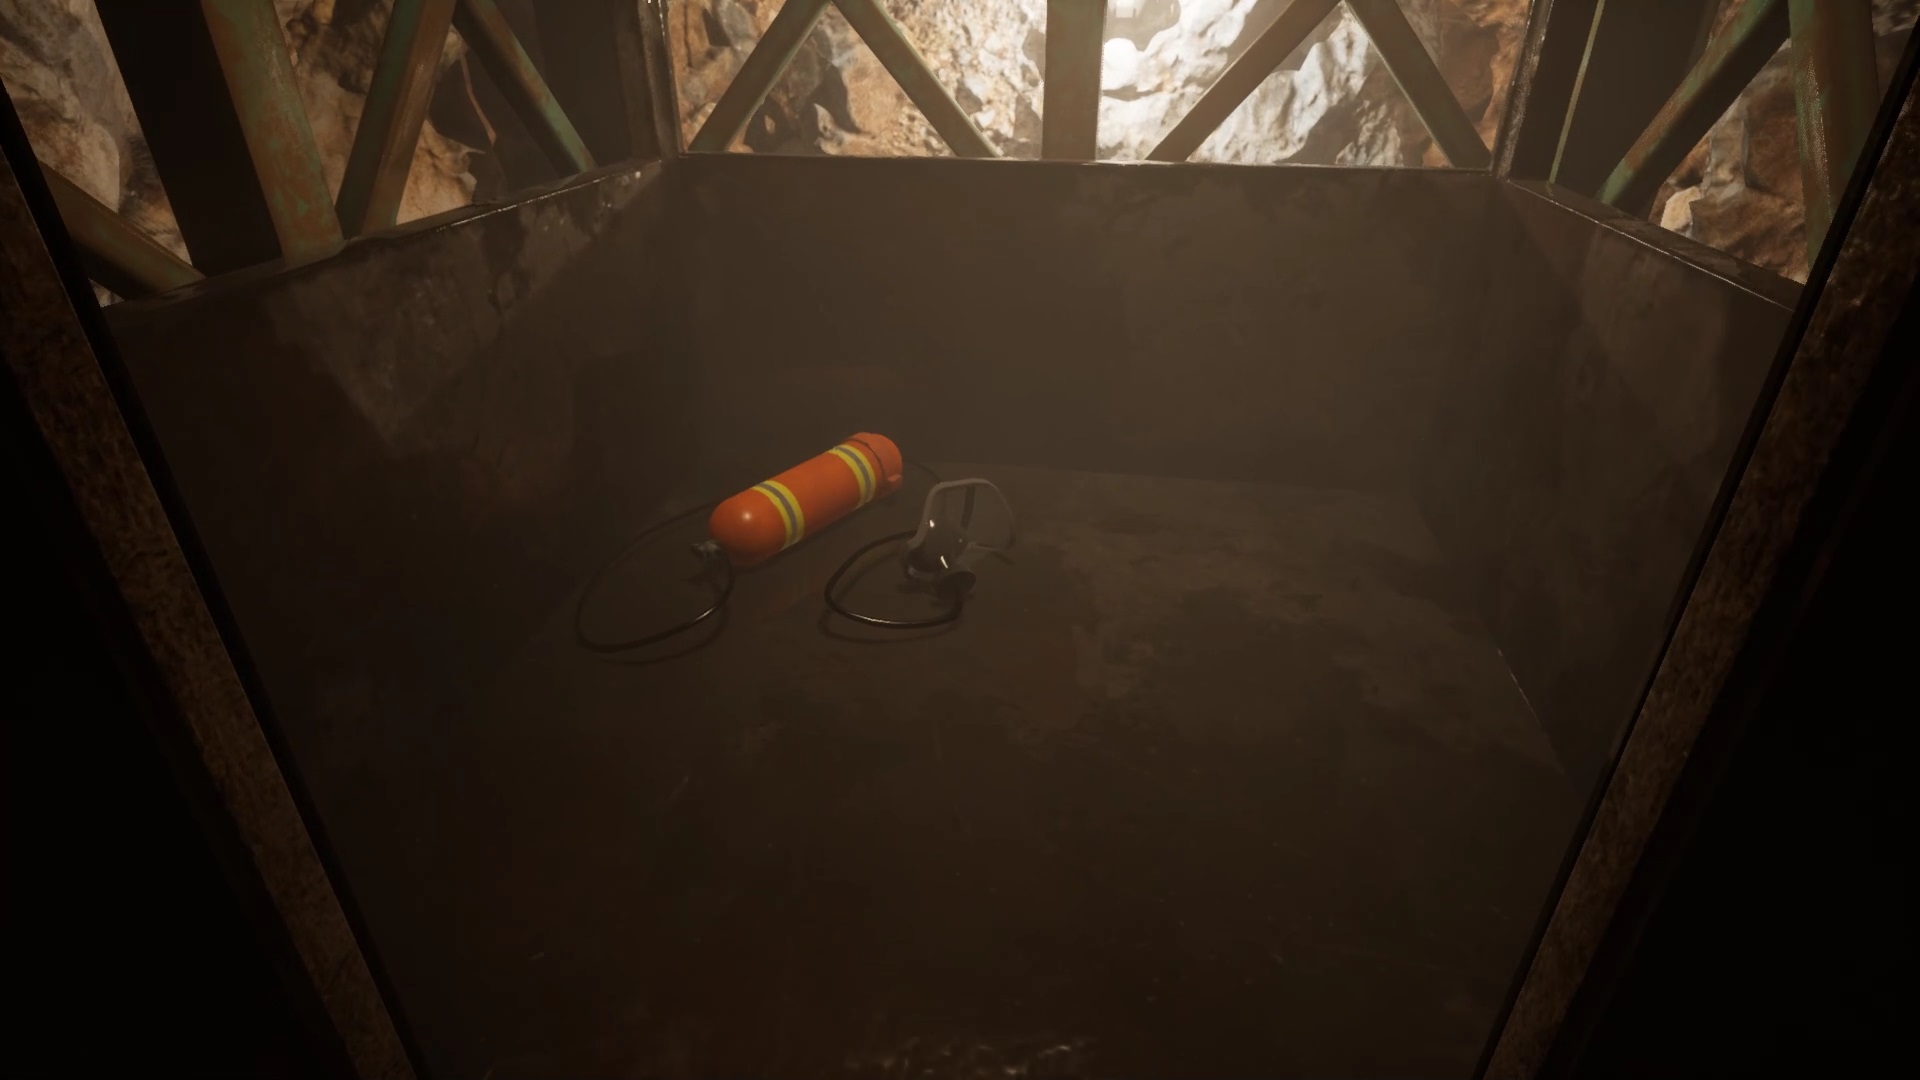
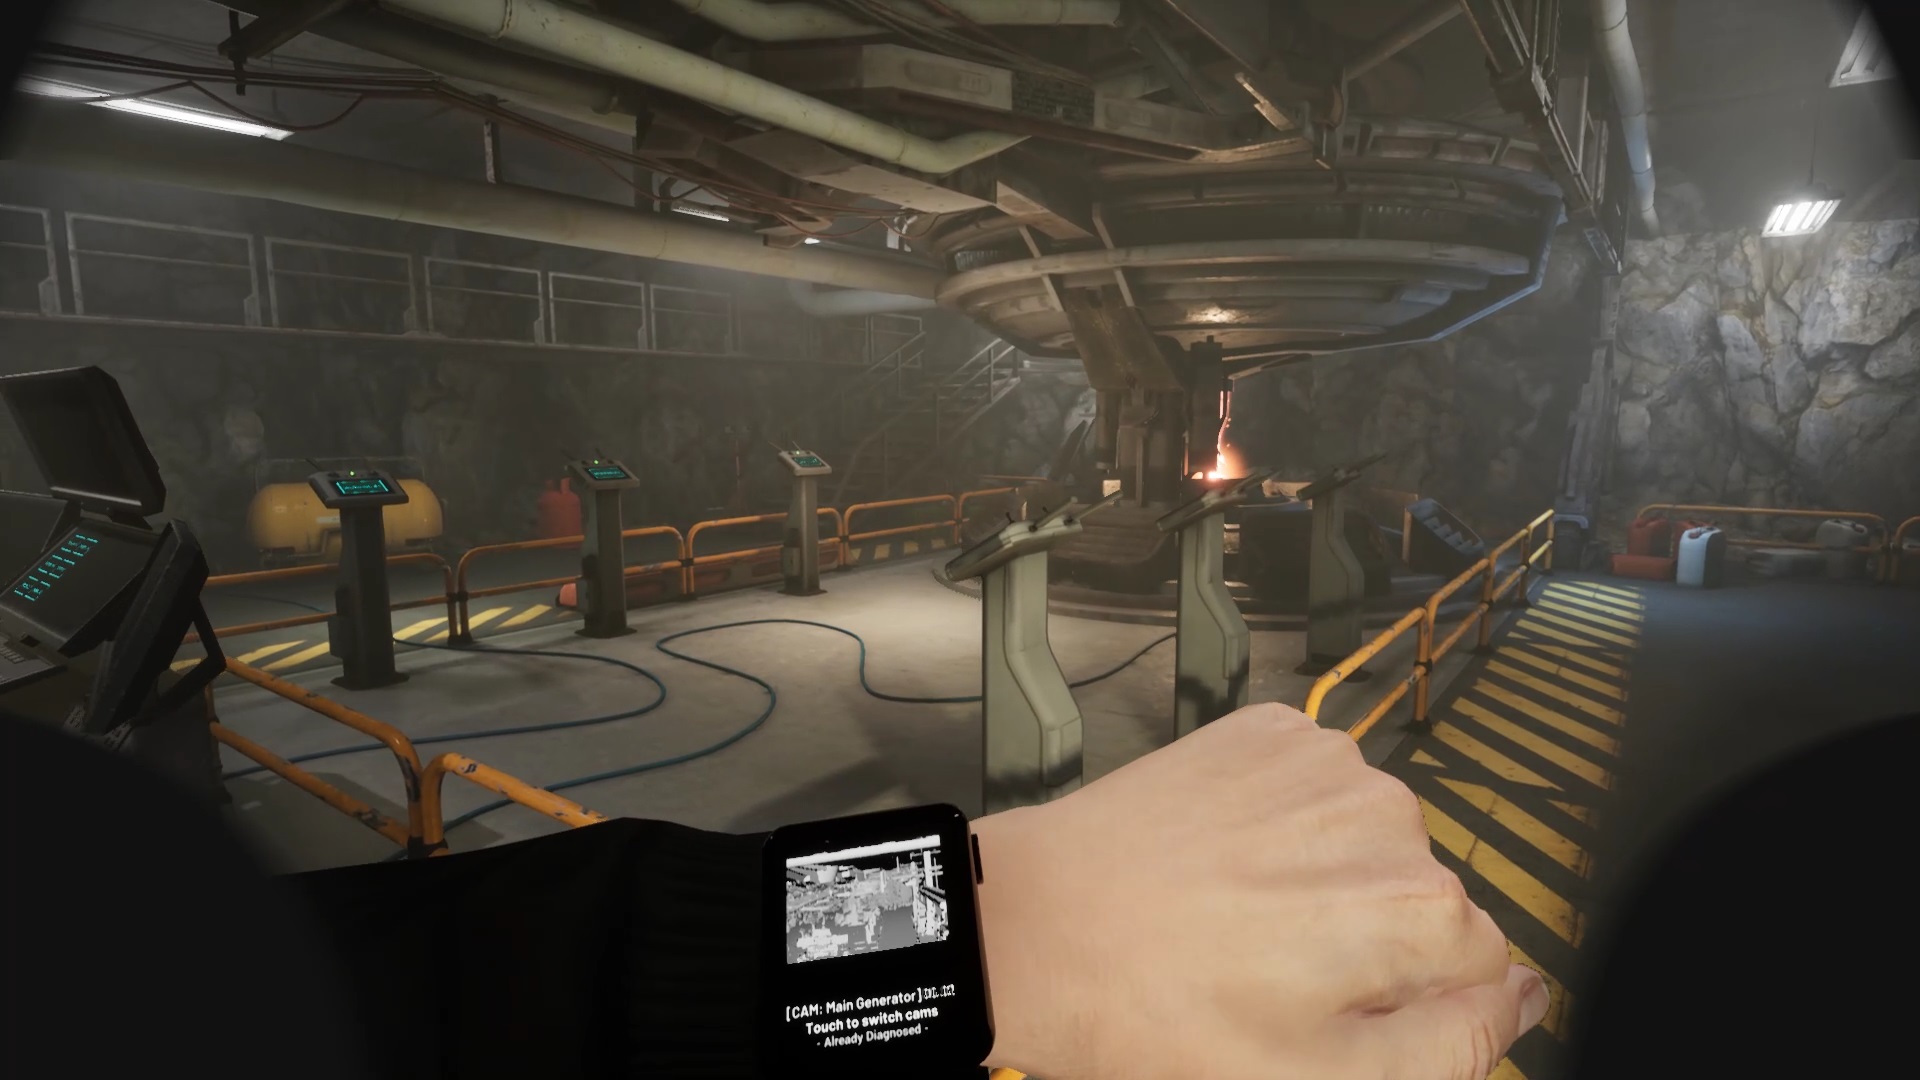
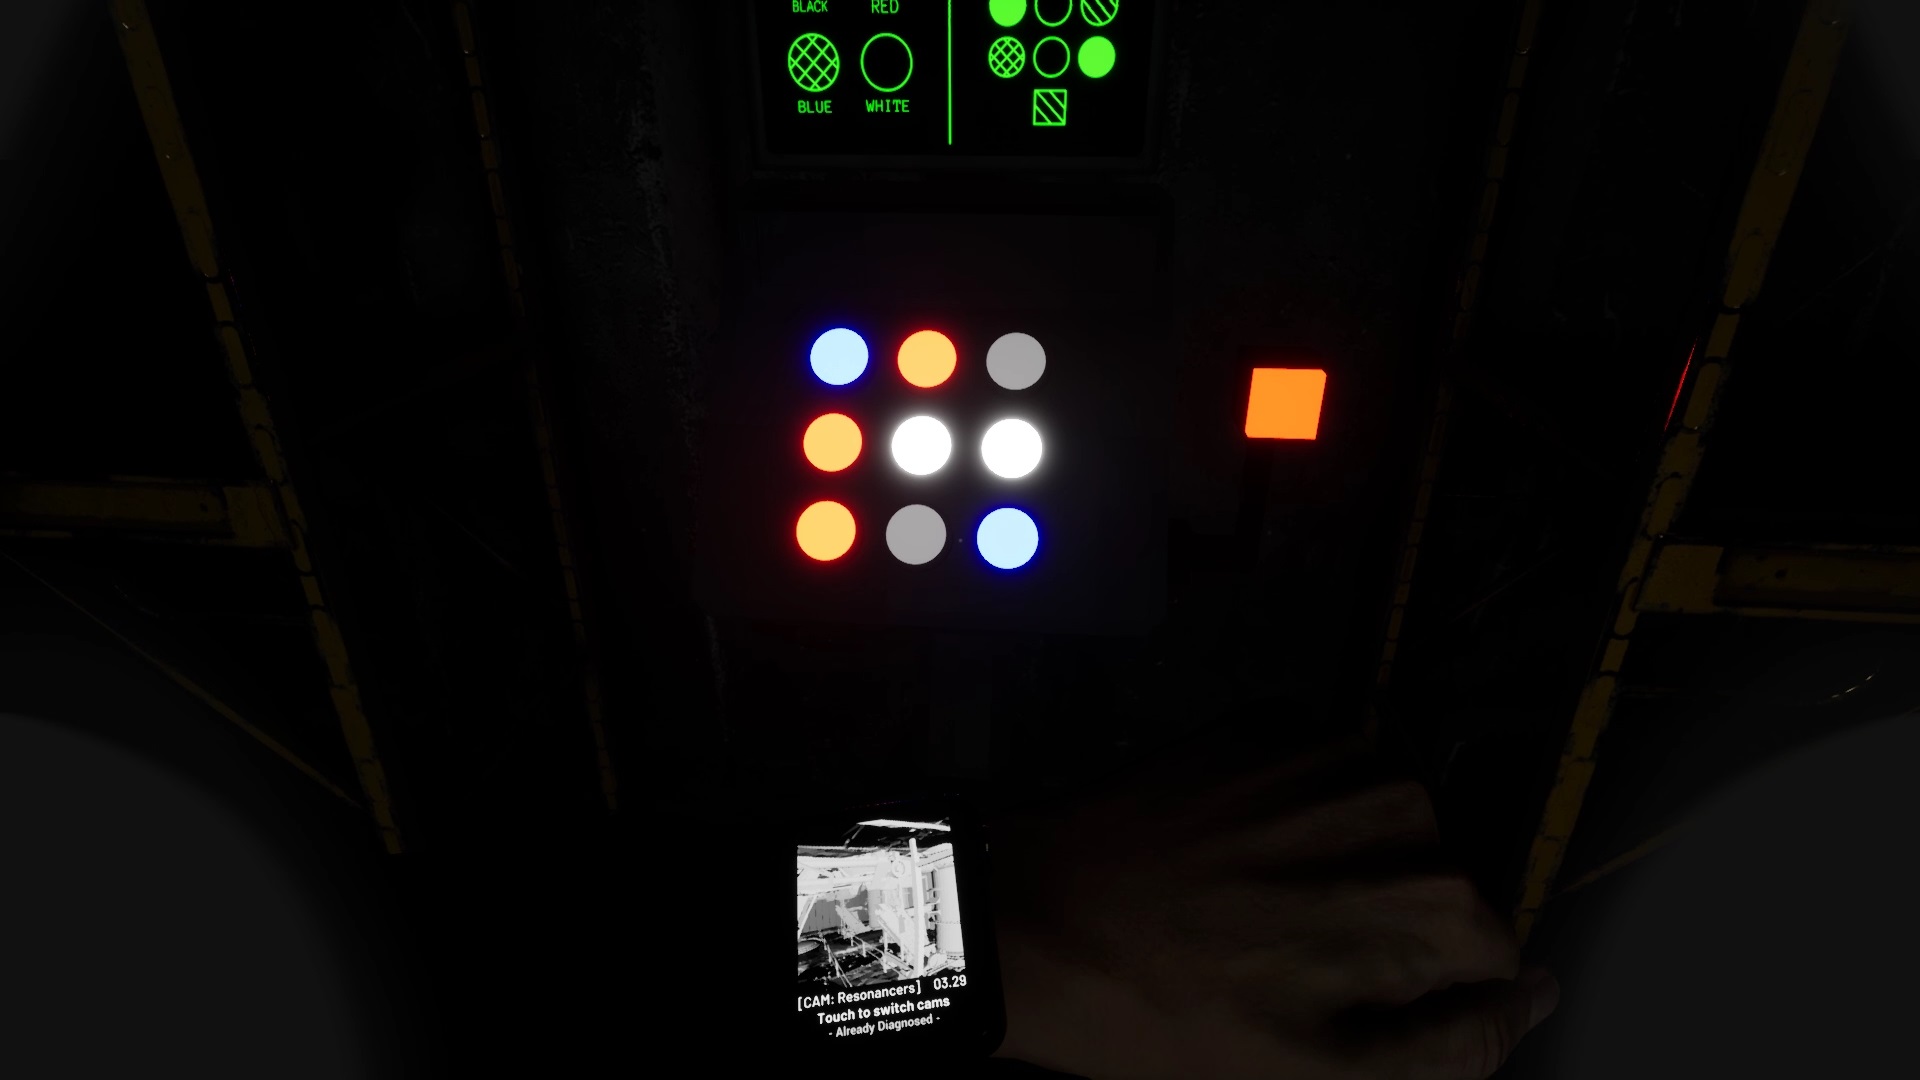
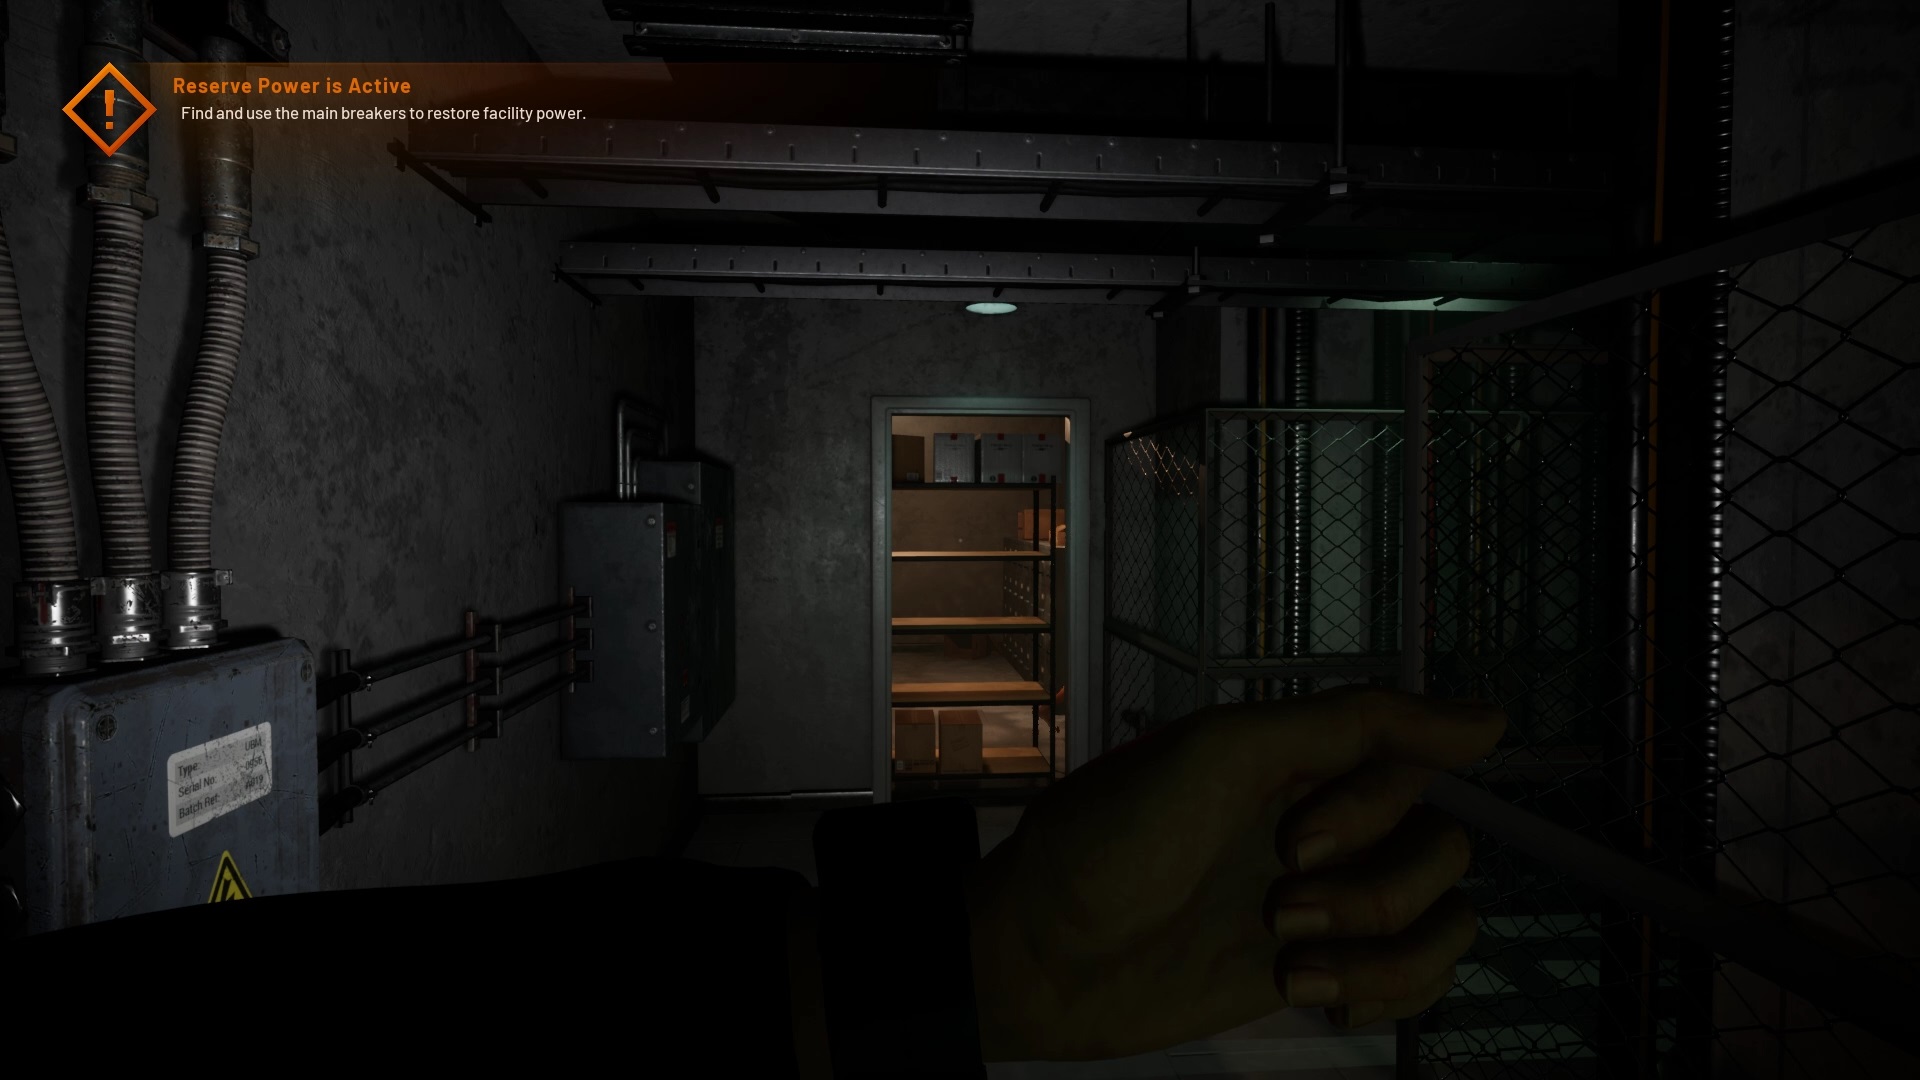
In the basement, interact with the lock on the third locker. Use code 0225 to unlock the locker and get what’s inside. Open the elevator shaft and put on the equipment to descend into the depths. Below, interact with the monitor to update your watch with a new feature. Use the door next to the monitor to find a generator down the hall. Write down its position for later. Go back to the hallway and up the stairs for a control panel. Line up the colors with the symbols shown on the diagram to replenish the basement.
A new monster appears. You must move it away from your position by attracting it to the other rooms via your watch. Be careful, the monster is blind, but hears the slightest footsteps, so don’t run. Go to the generator room and activate the stations in front of the monitor according to their number from zero to five: top left then middle right, top right, bottom left, middle left and bottom right. Escape through the construction elevator when finished.
Exiting the elevator, you arrive in a new hallway. Go to the end of the corridor to open a door. Go inside the room to find a box. Use the code 0-2-4 to open it and get a key. Exit through the hallway. Watch out, the woman is back. Run to the opposite side without stopping. Follow the inscriptions on the wall to find your way.
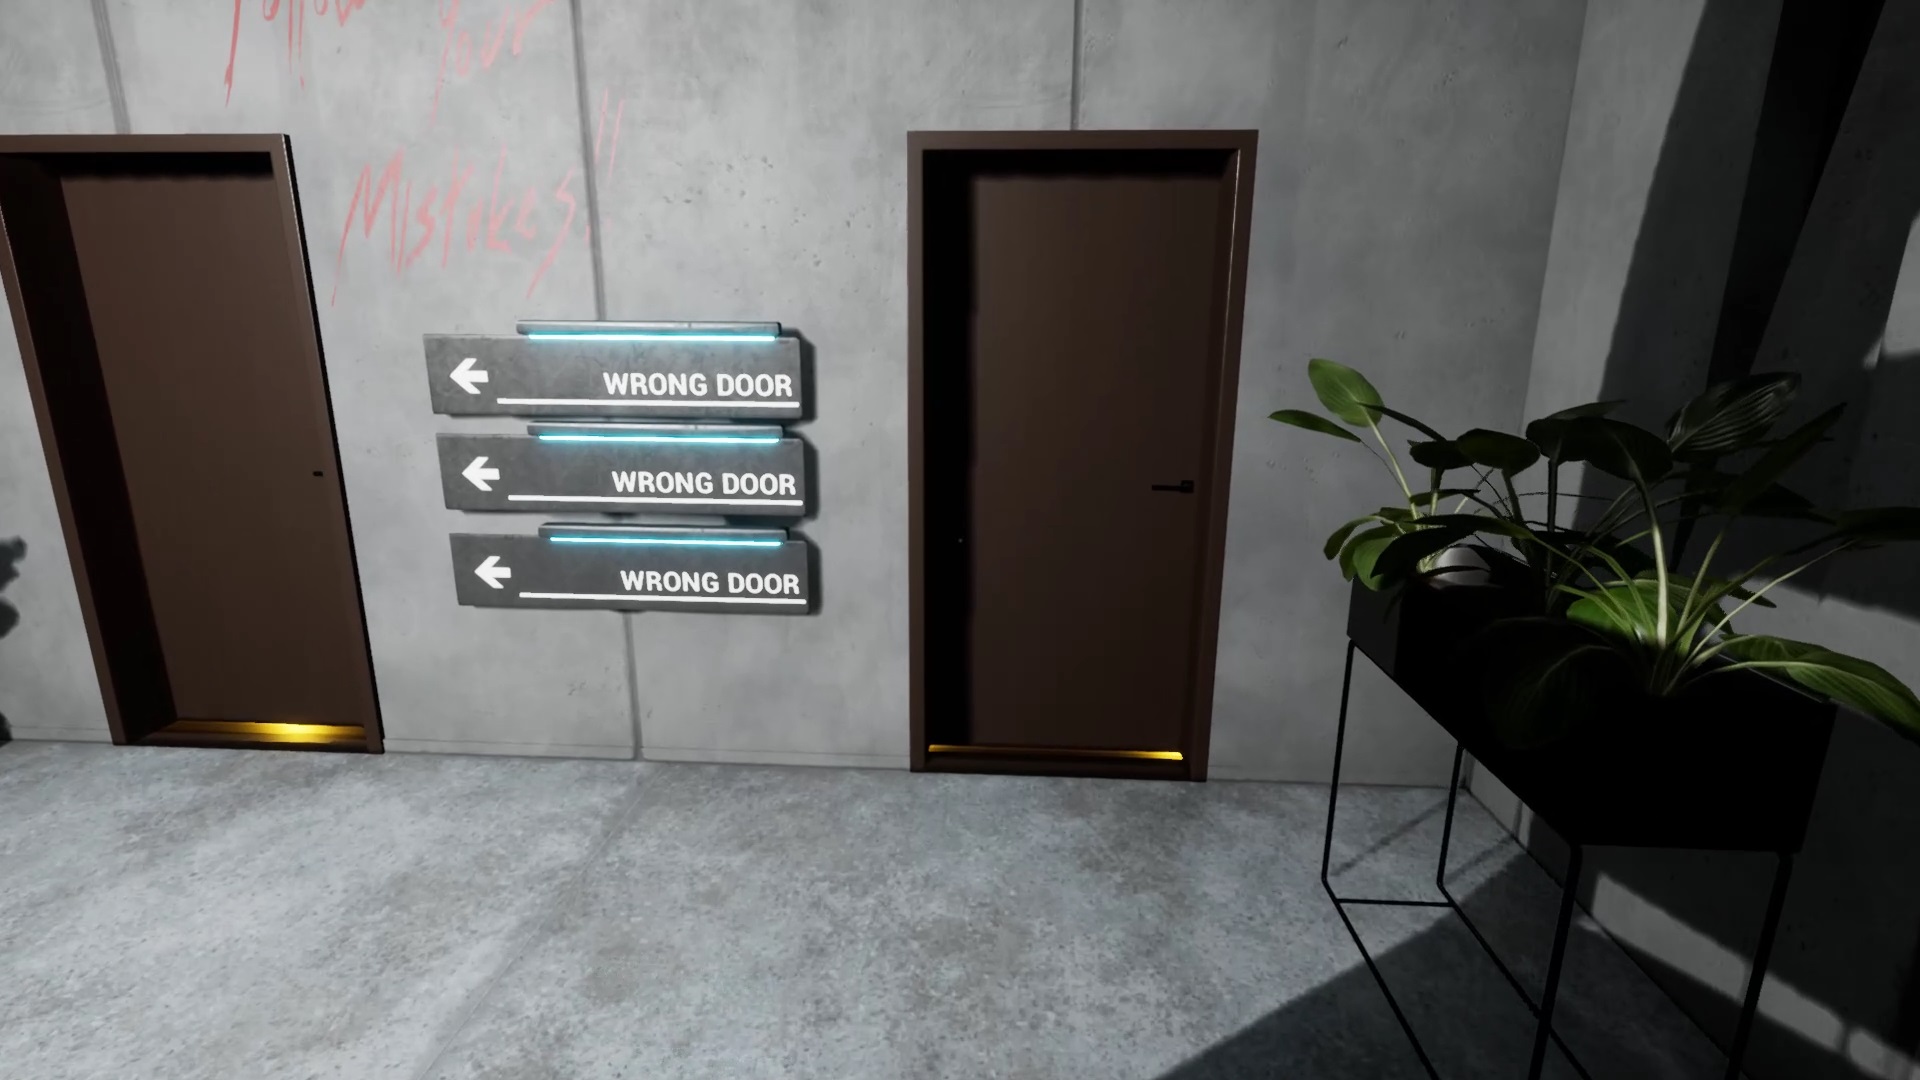
Once in front of two doors never follow the indications and always take the opposite door. If you are offered two colors always follow the red light. Don’t waste time if the screen goes dark, you’ll have to start over. At the end of the corridor, go through the door to join the specimen and end the nightmares.

Fan de jeux Nintendo, Xbox, PlayStation, PC et de l’univers gaming
Je vous partage ma passion à travers mes articles sur les nouveautés jeux vidéo
Journaliste gameactuality.com