
[Guide] System Shock Remake : Full Walkthrough [EN]
Full Walkthrough of System Shock Remake. System Shock is an action-adventure game developed by Nightdive Studios and published by Prime Matter. It is a remake of the 1994 video game of the same name, originally developed by Looking Glass Studios. The game was released in May 2023 on PC. Some items may differ depending on your game.
Summary :
- Infirmary
- Research Labs
- Reactor
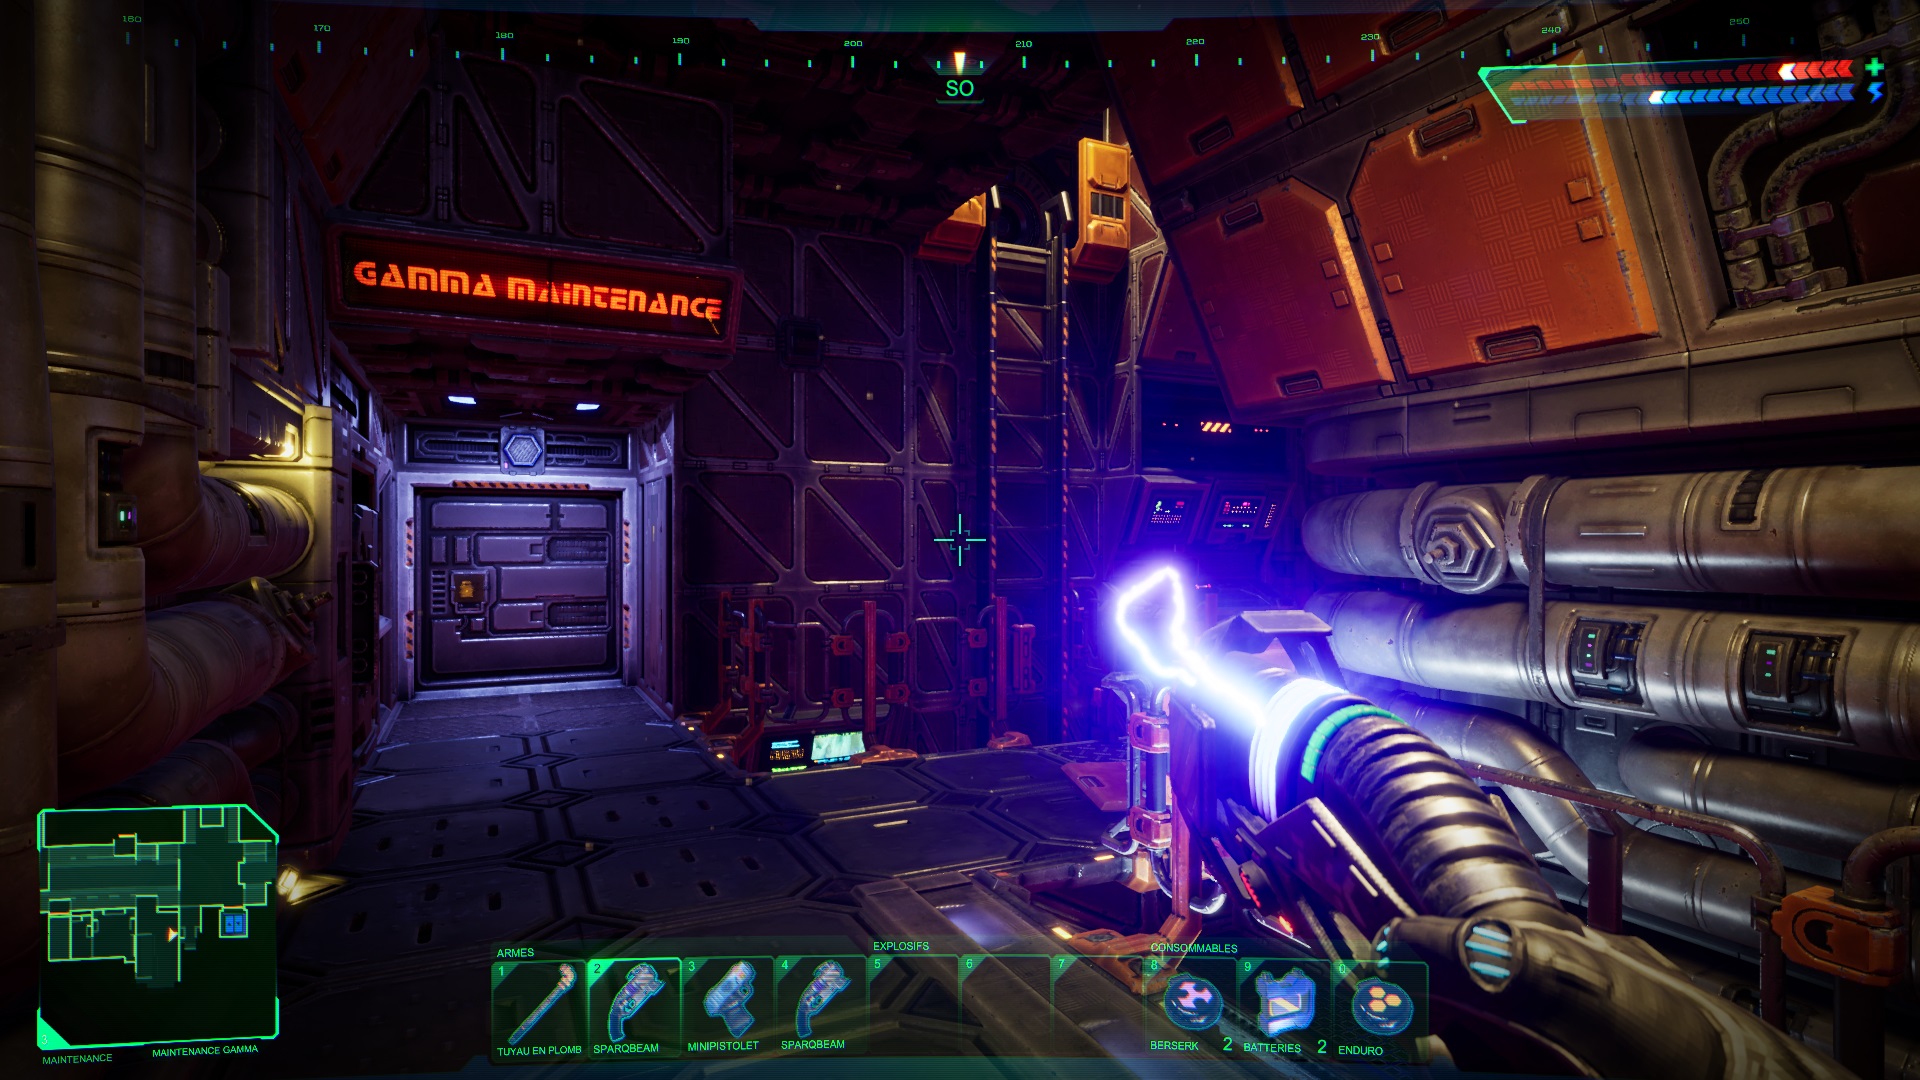
- Maintenance
- Storage
- Flight deck
- Executive
- Engineering
- Security
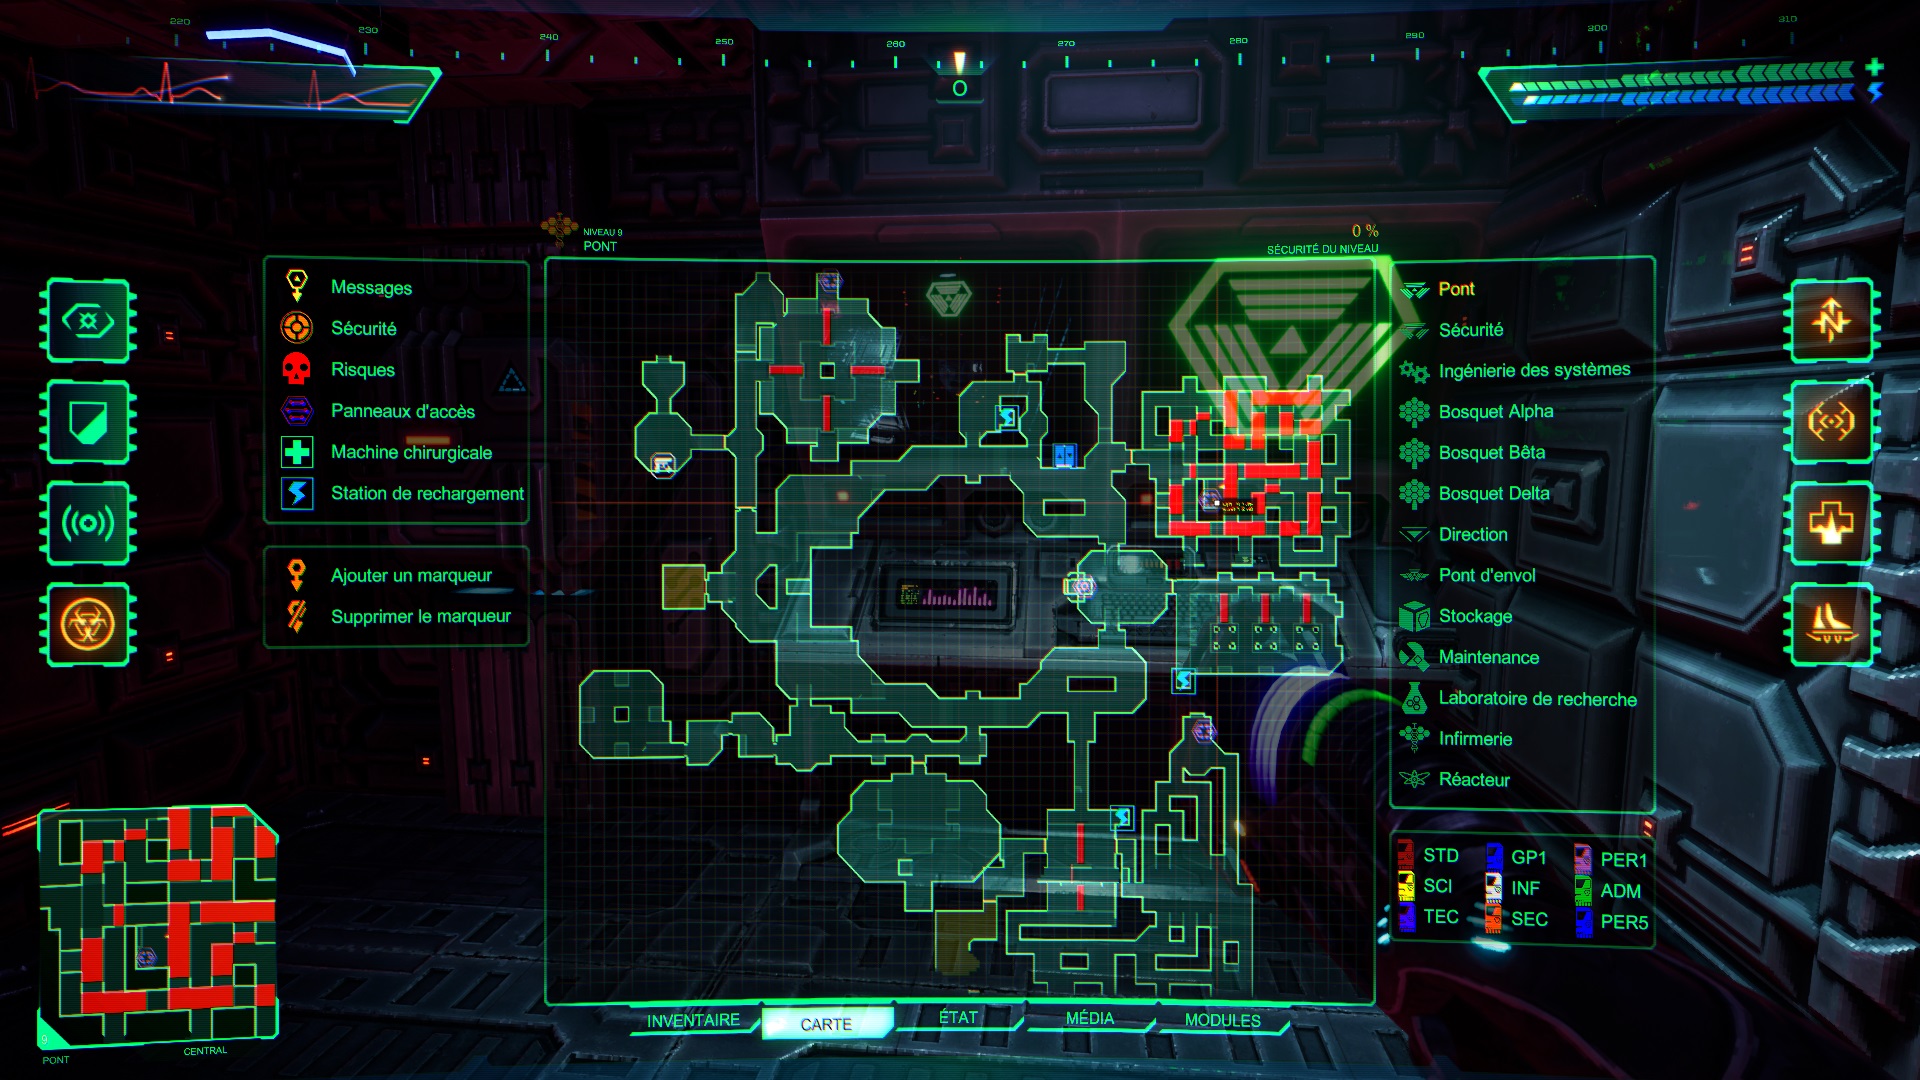
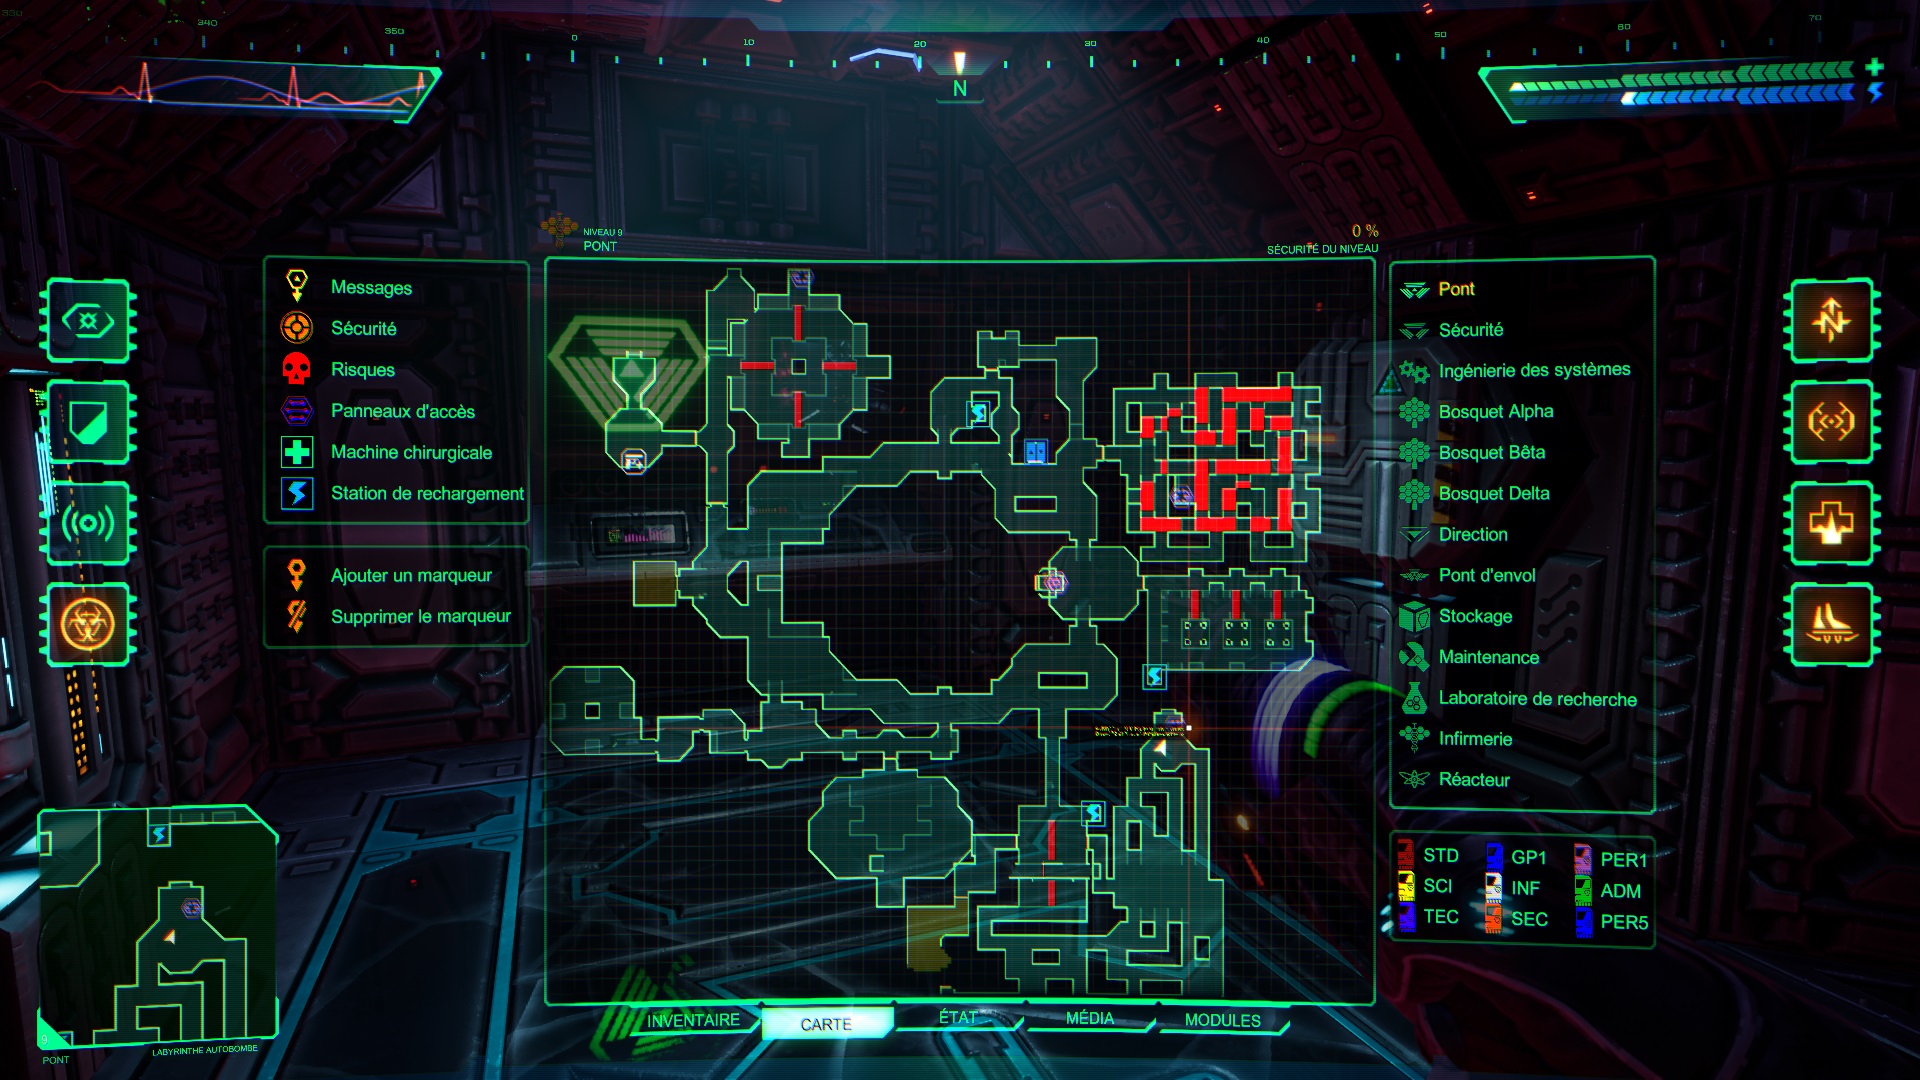
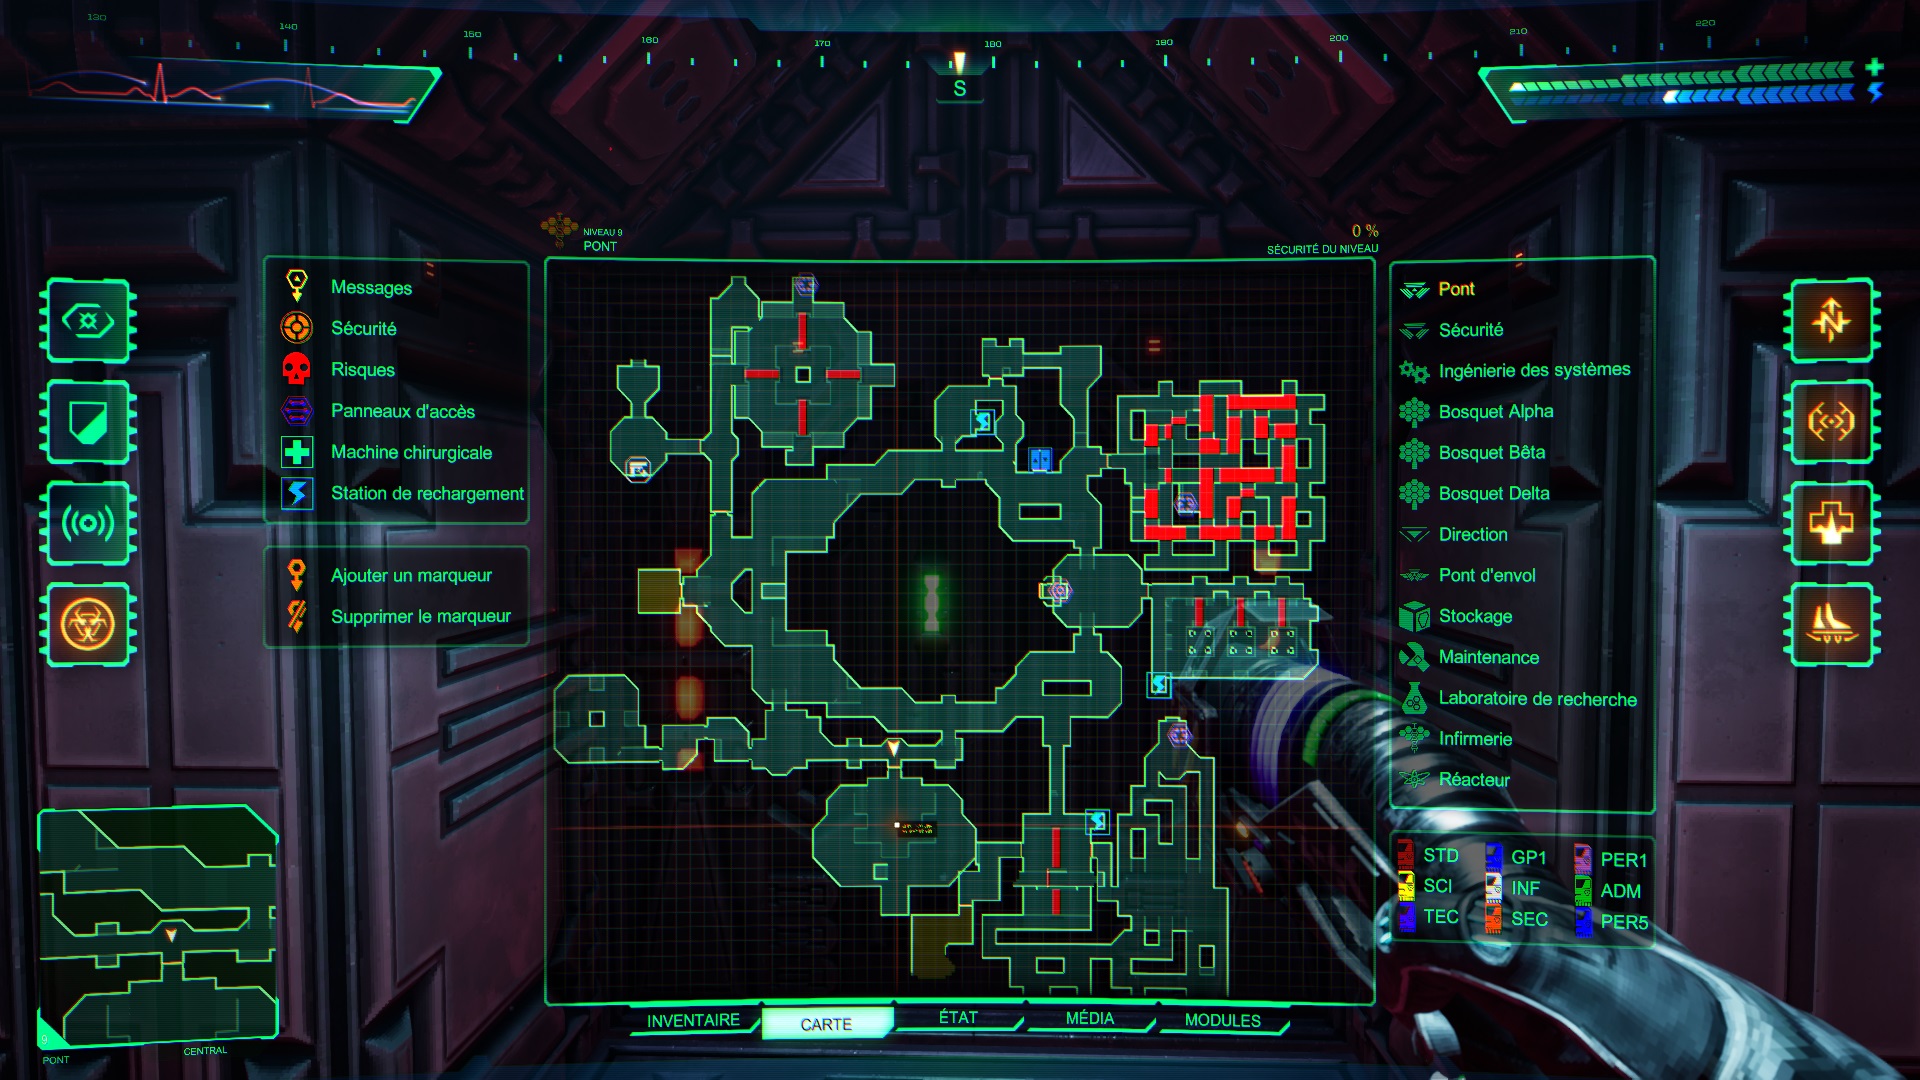
- The Bridge
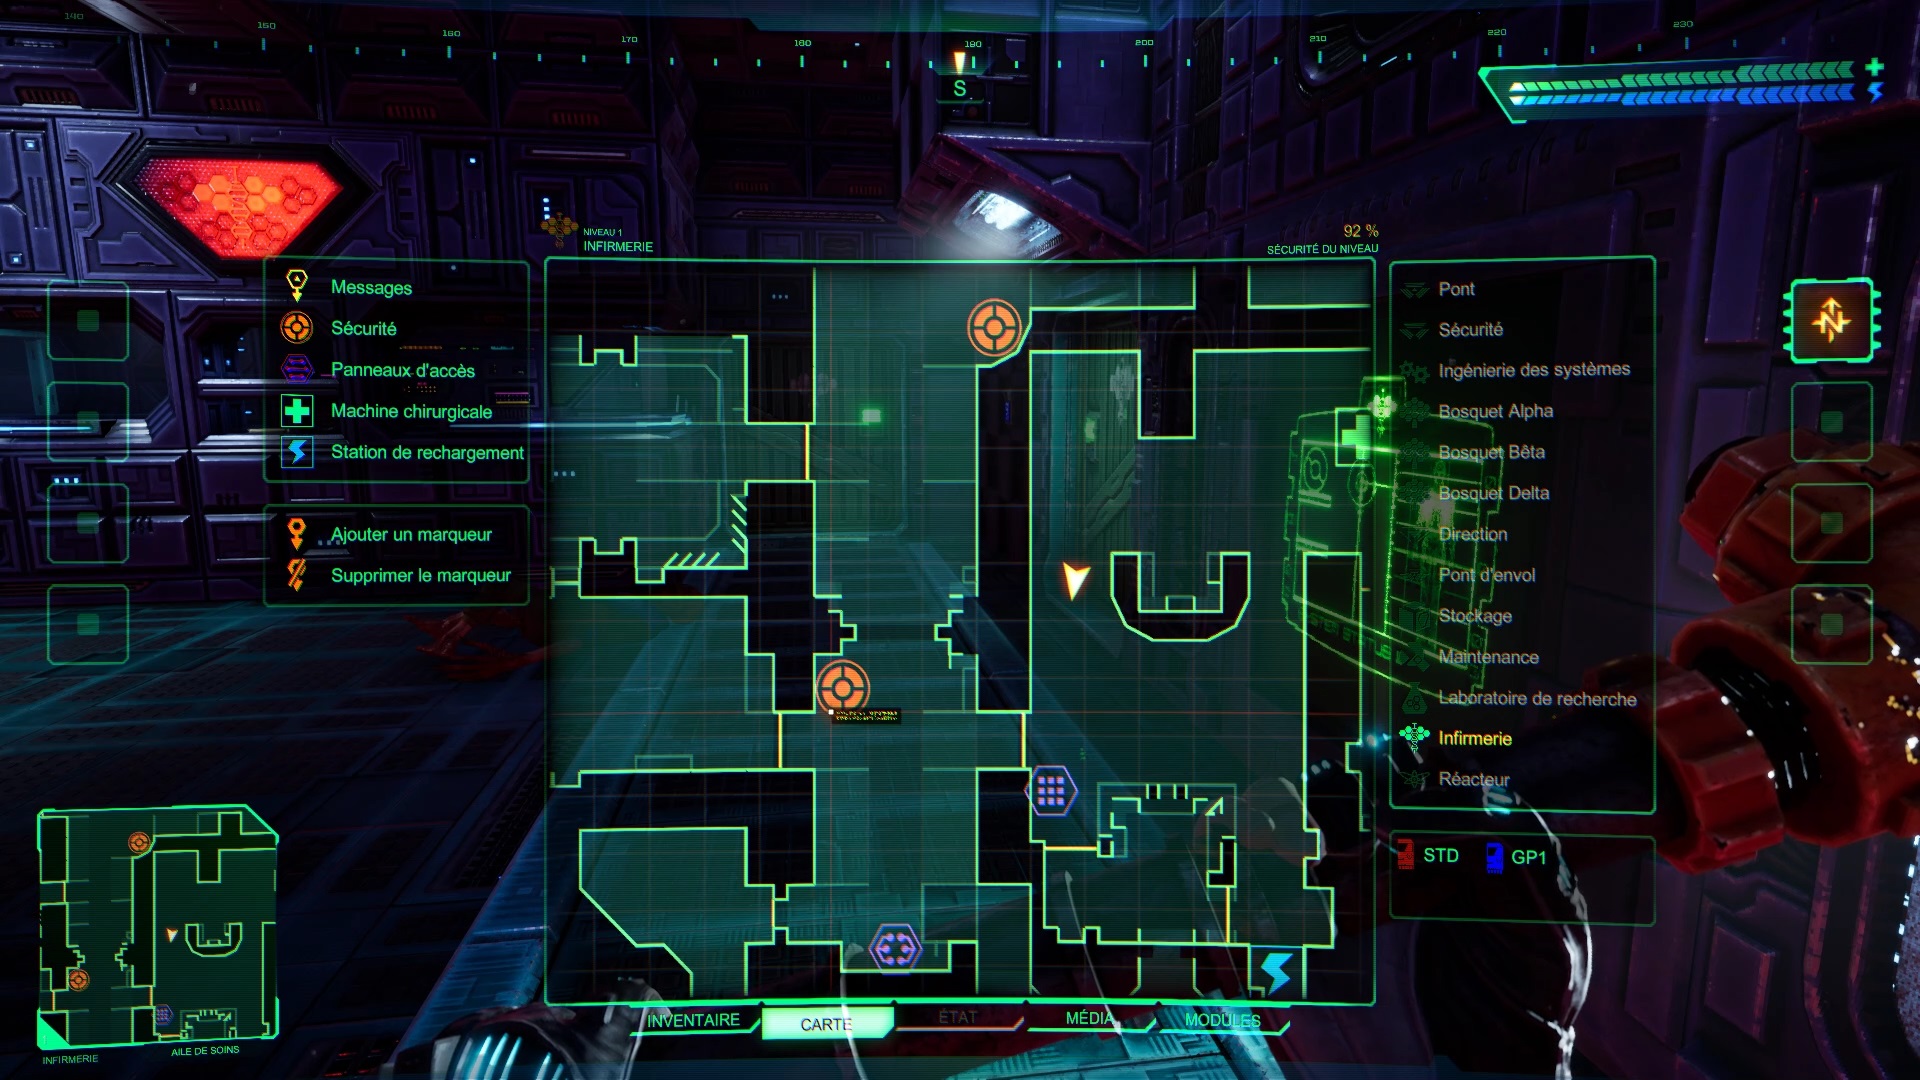
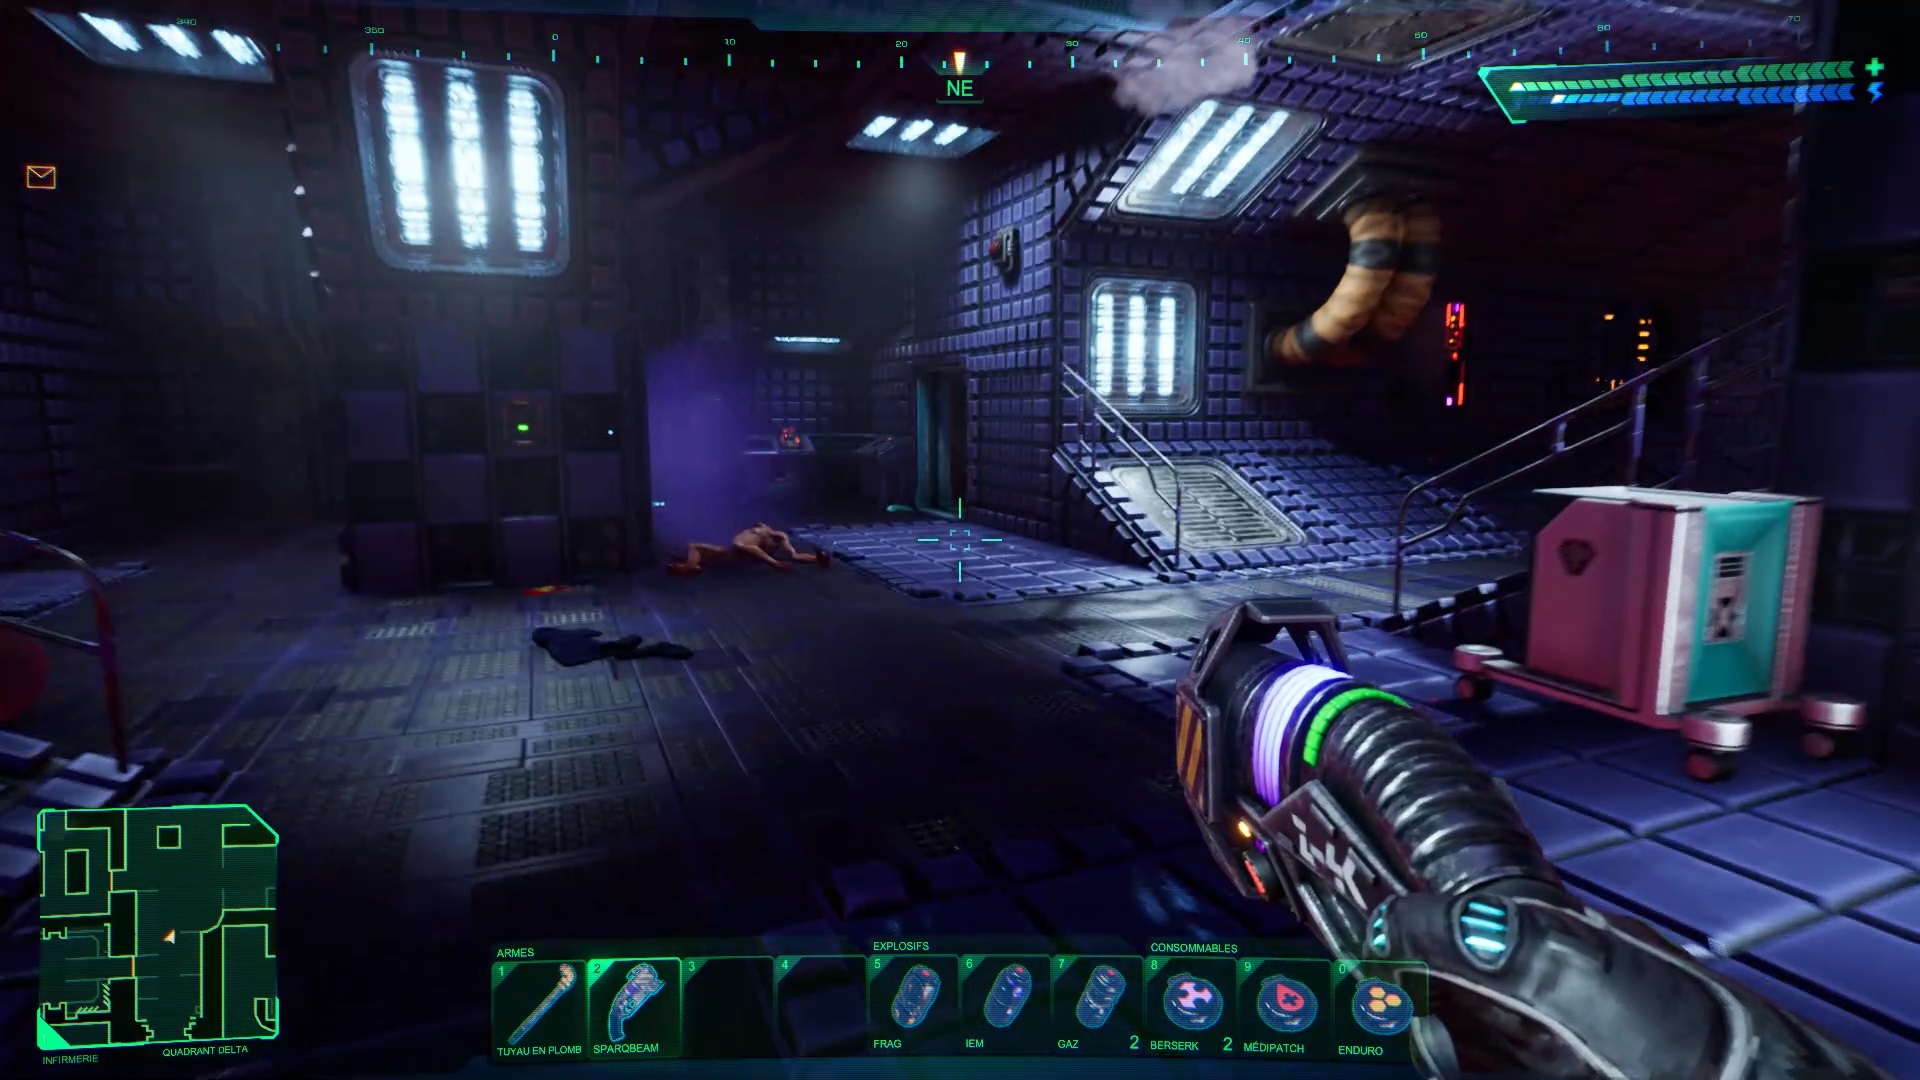
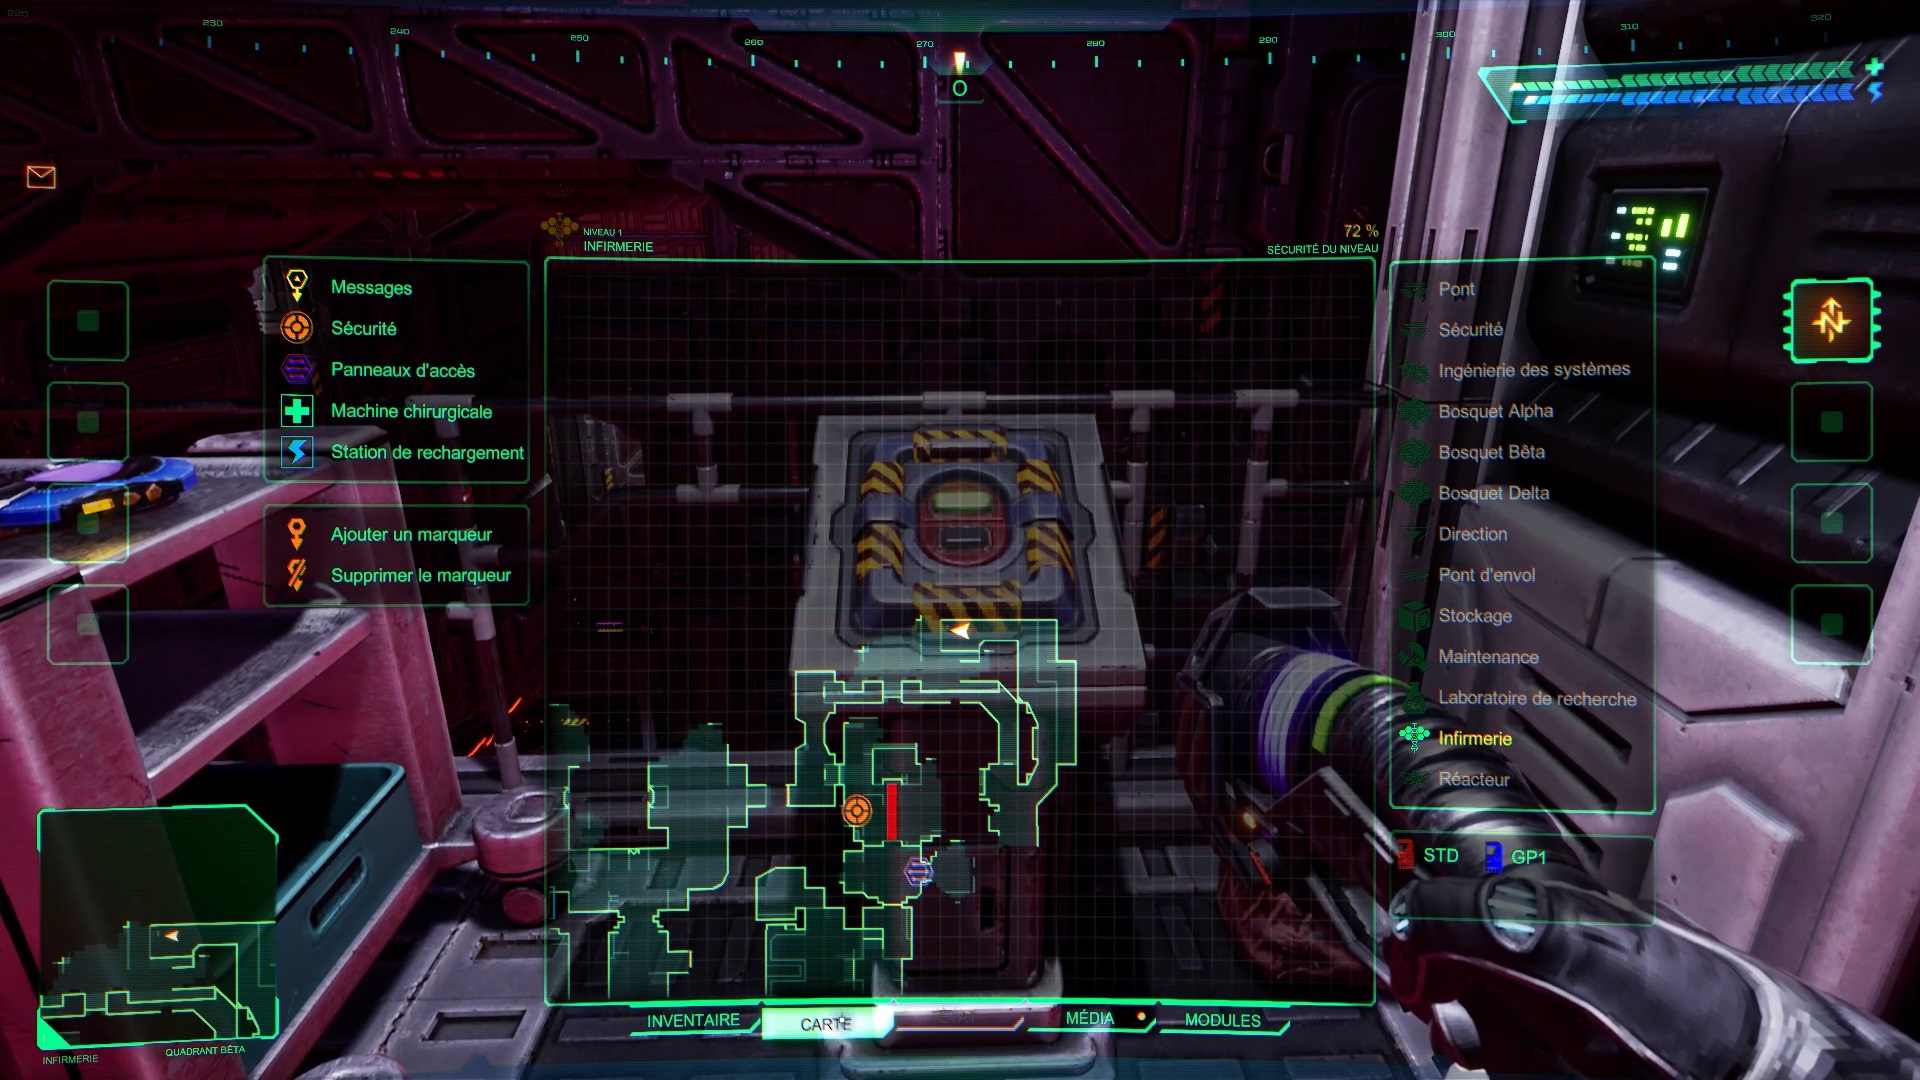
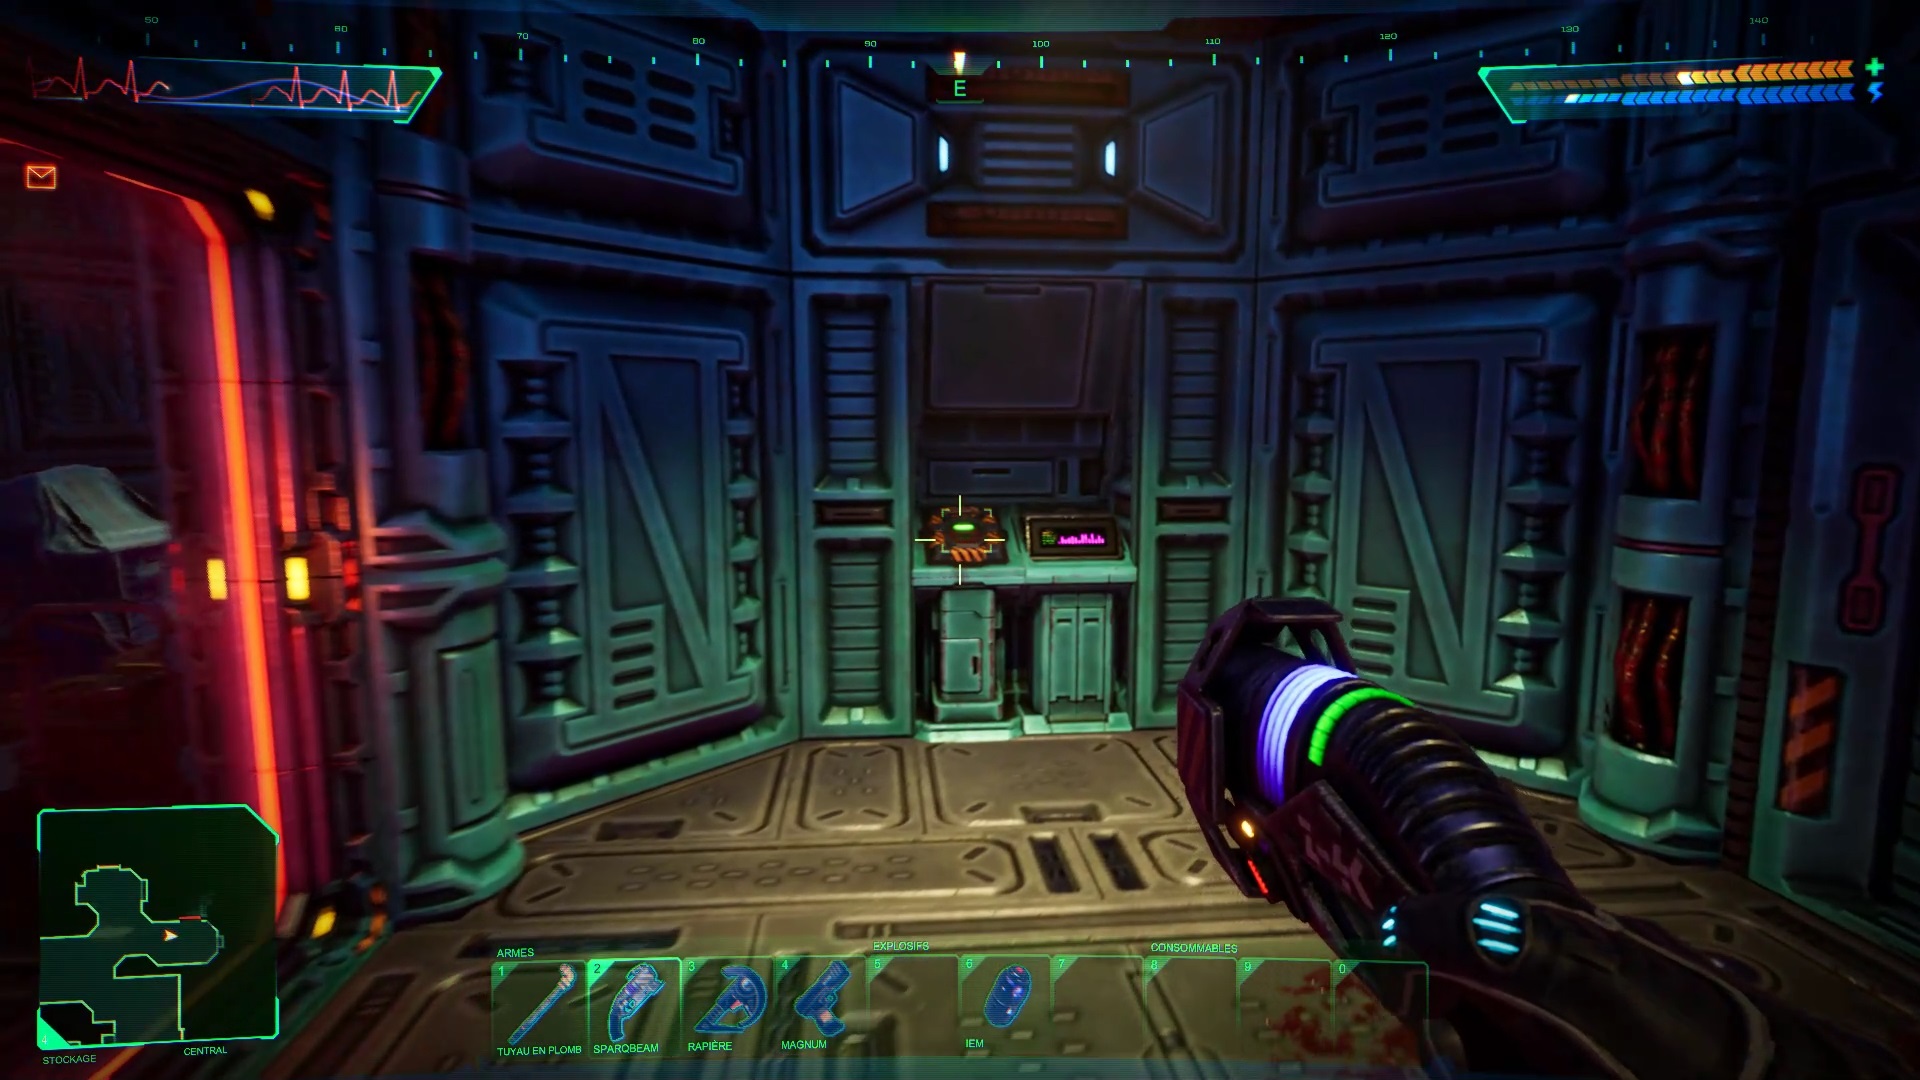
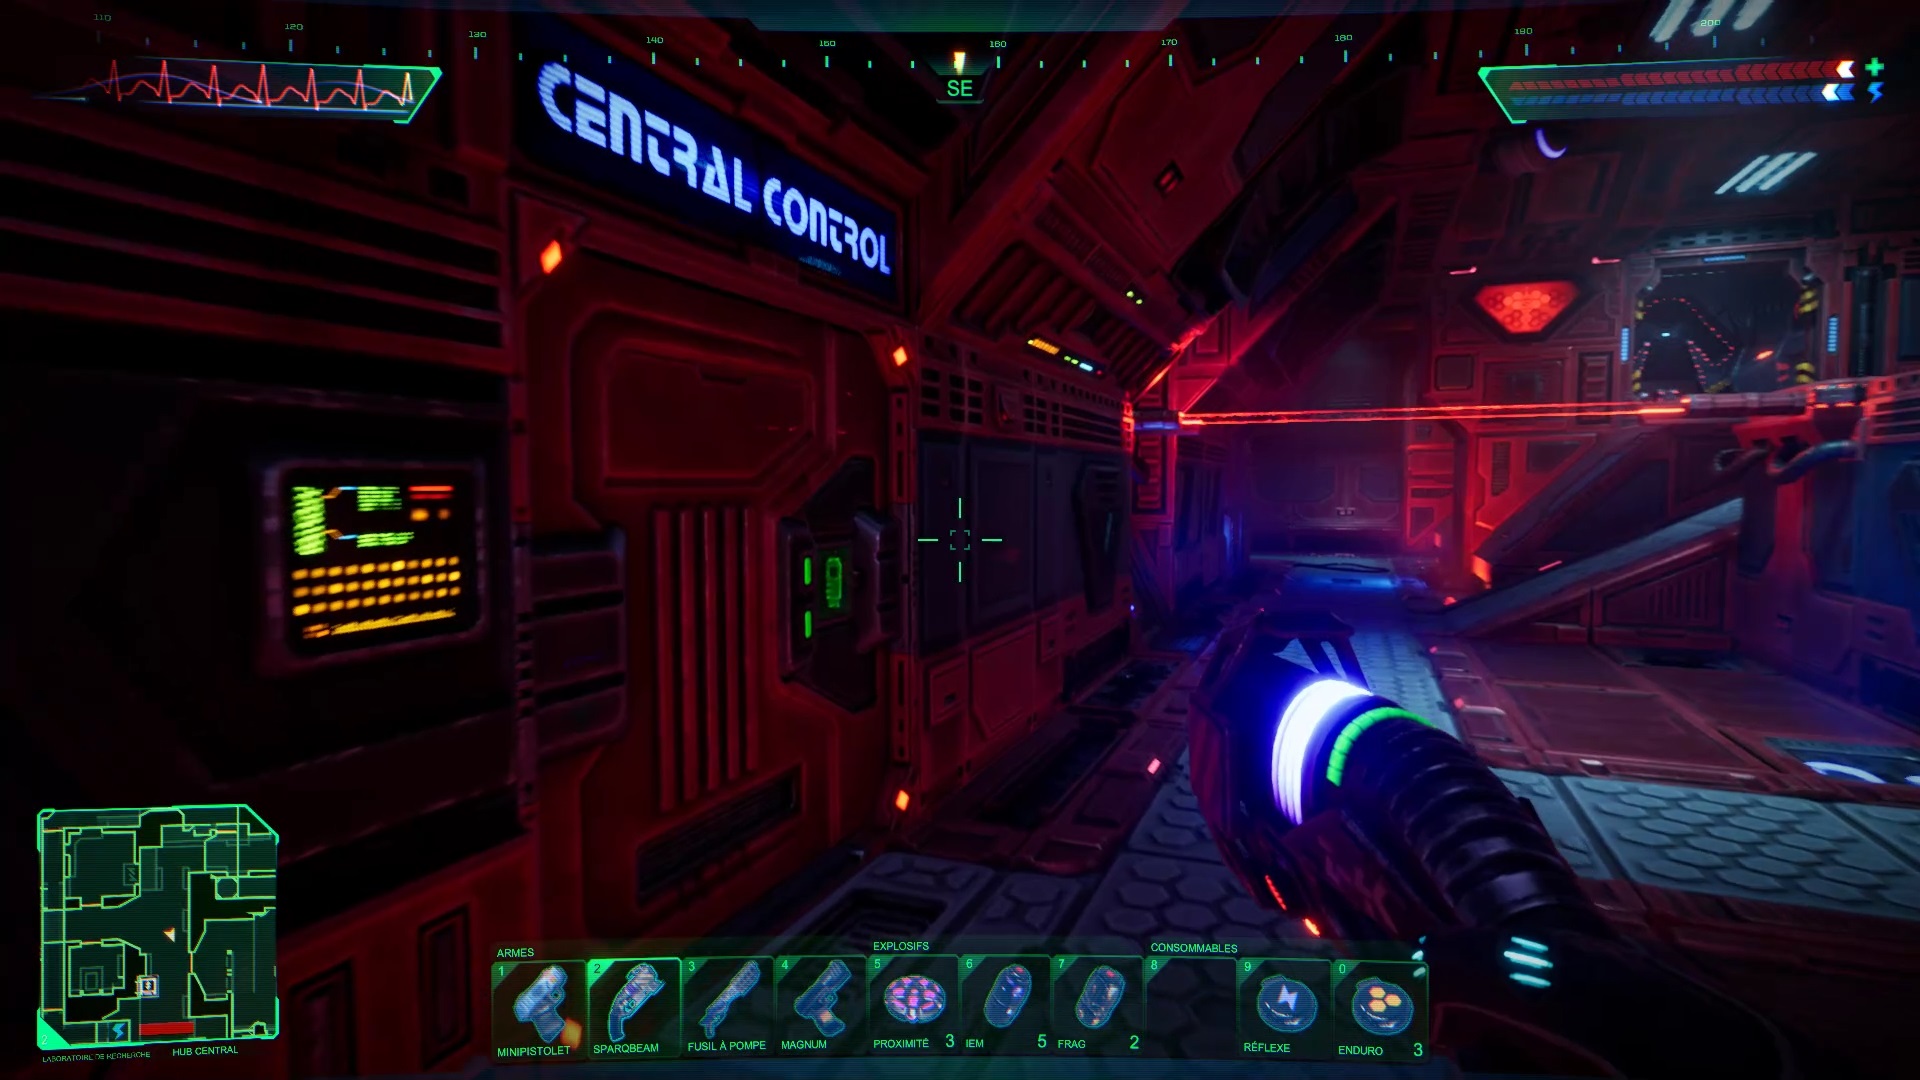
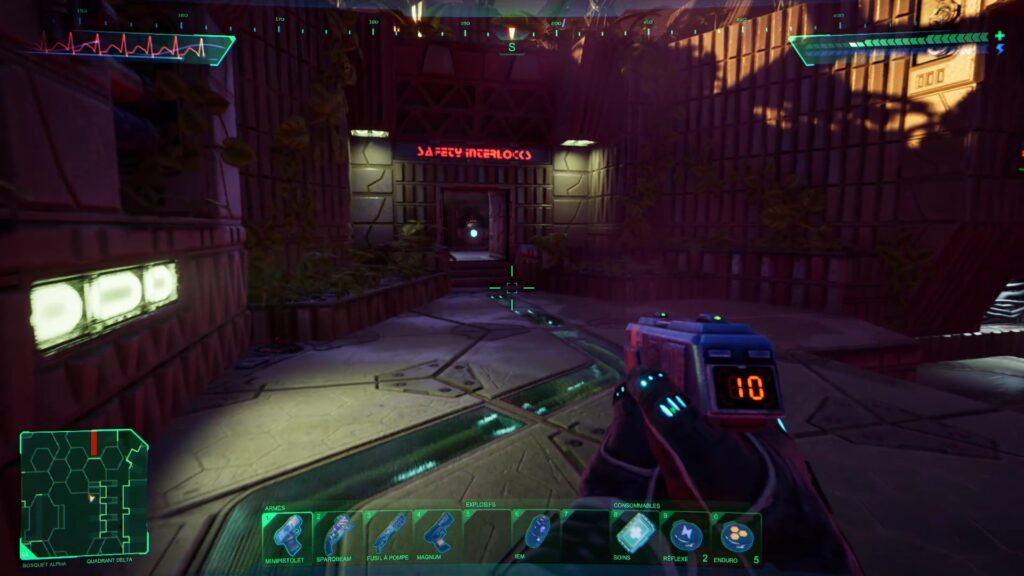
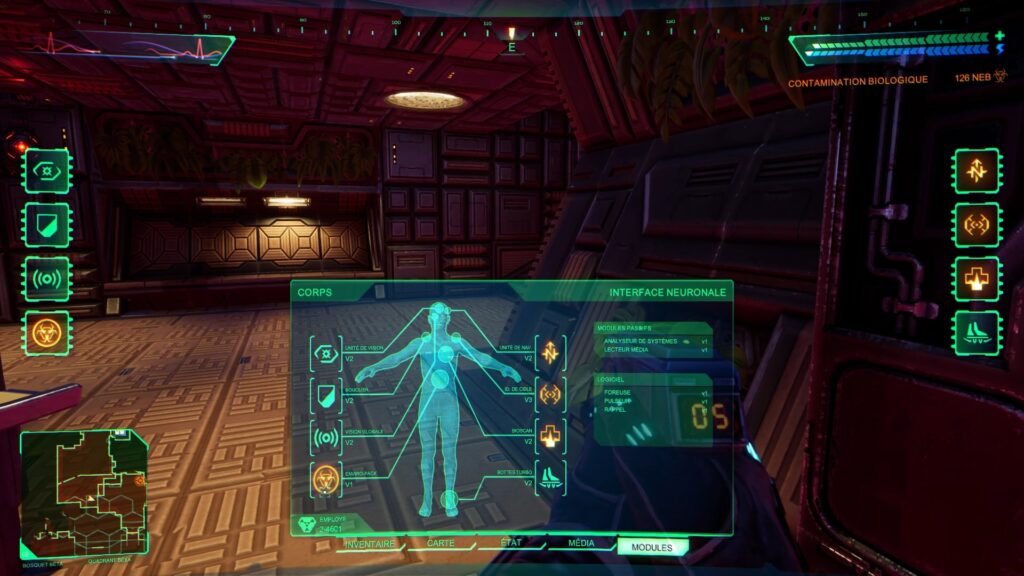
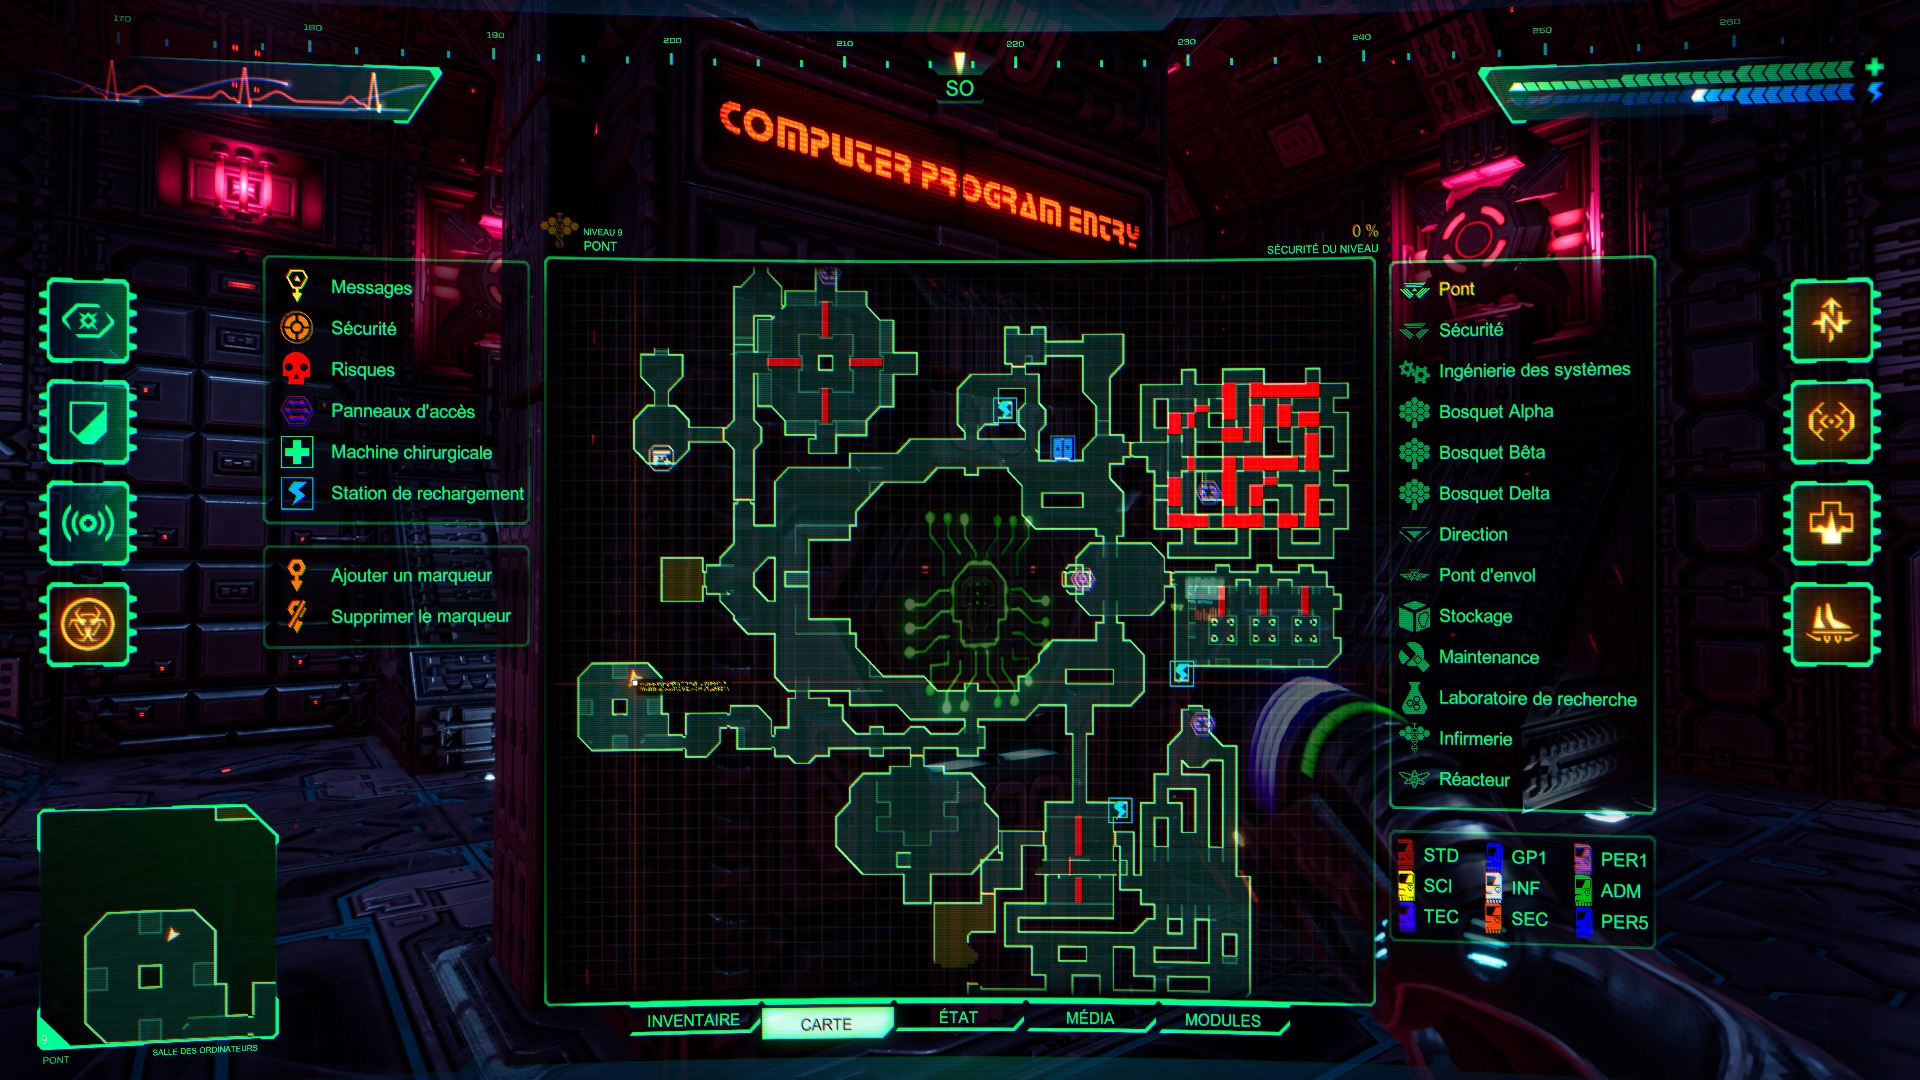
Infirmary
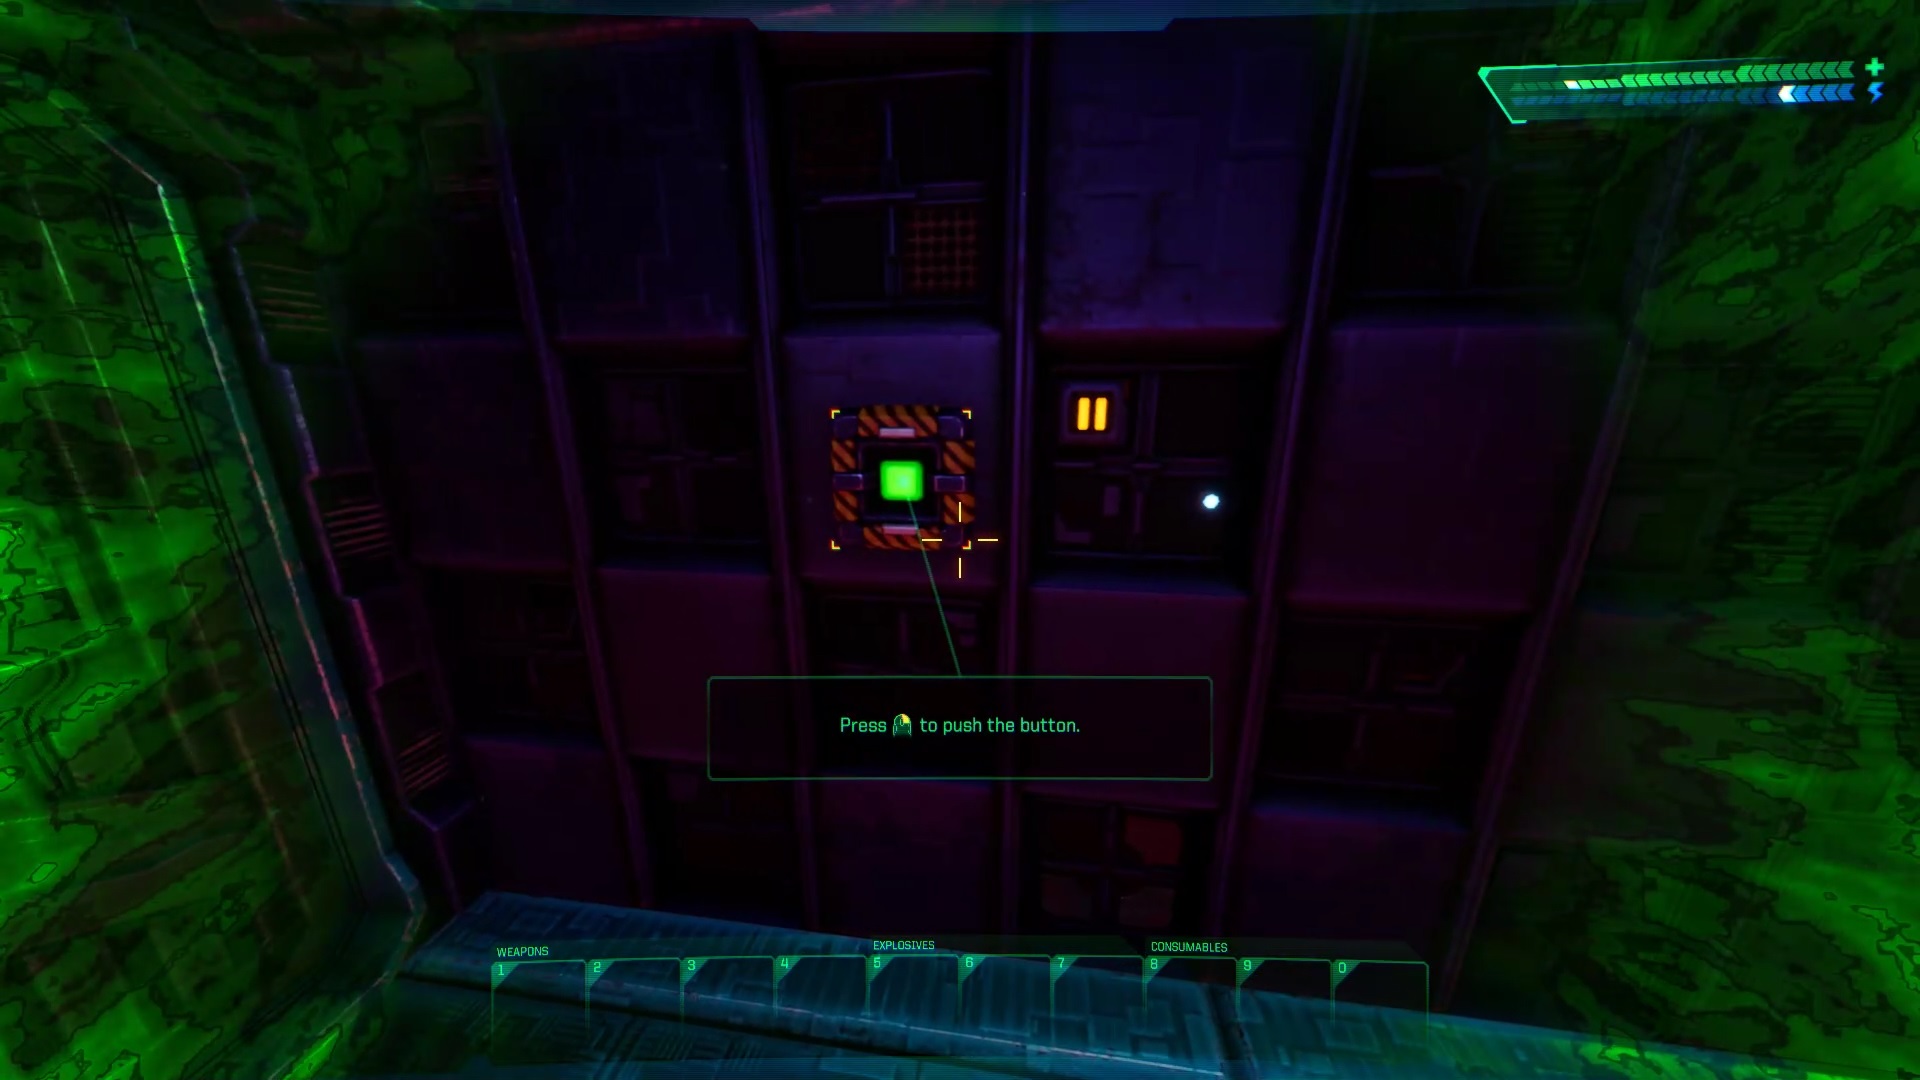

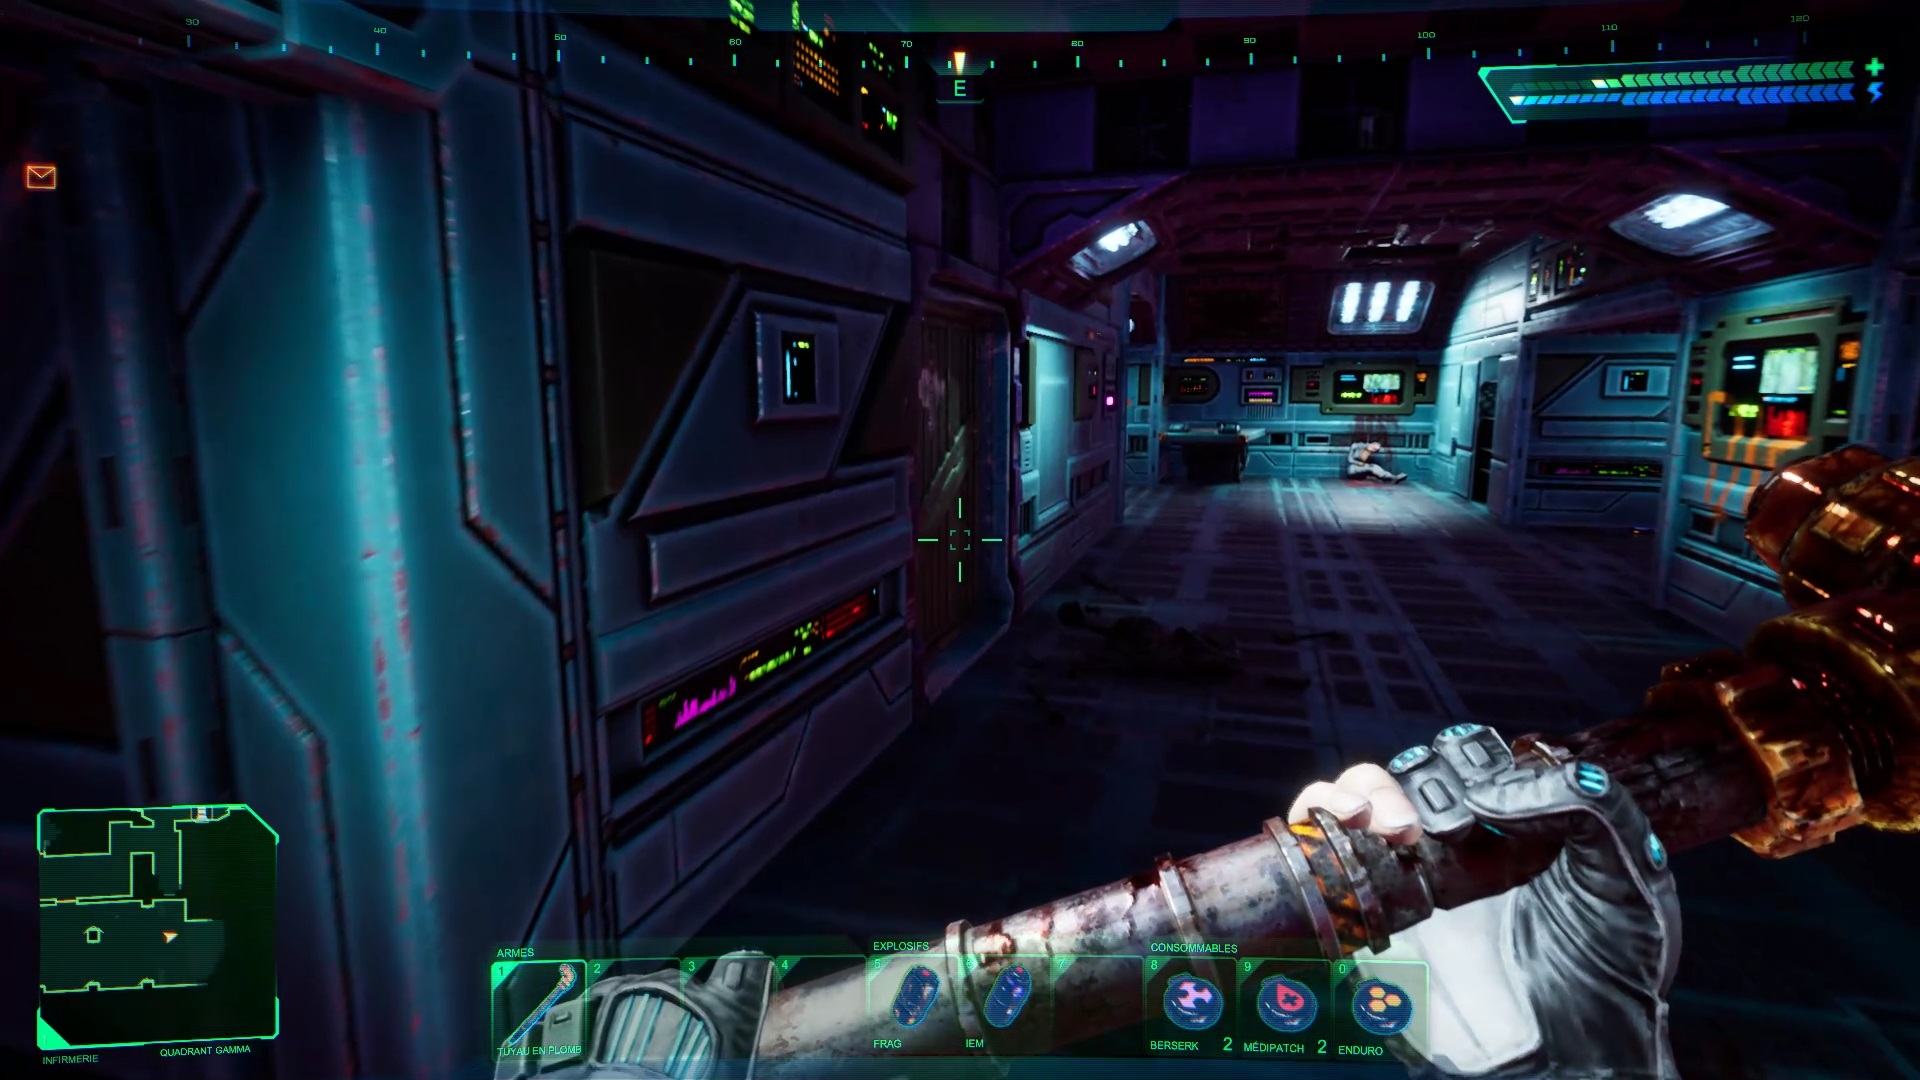
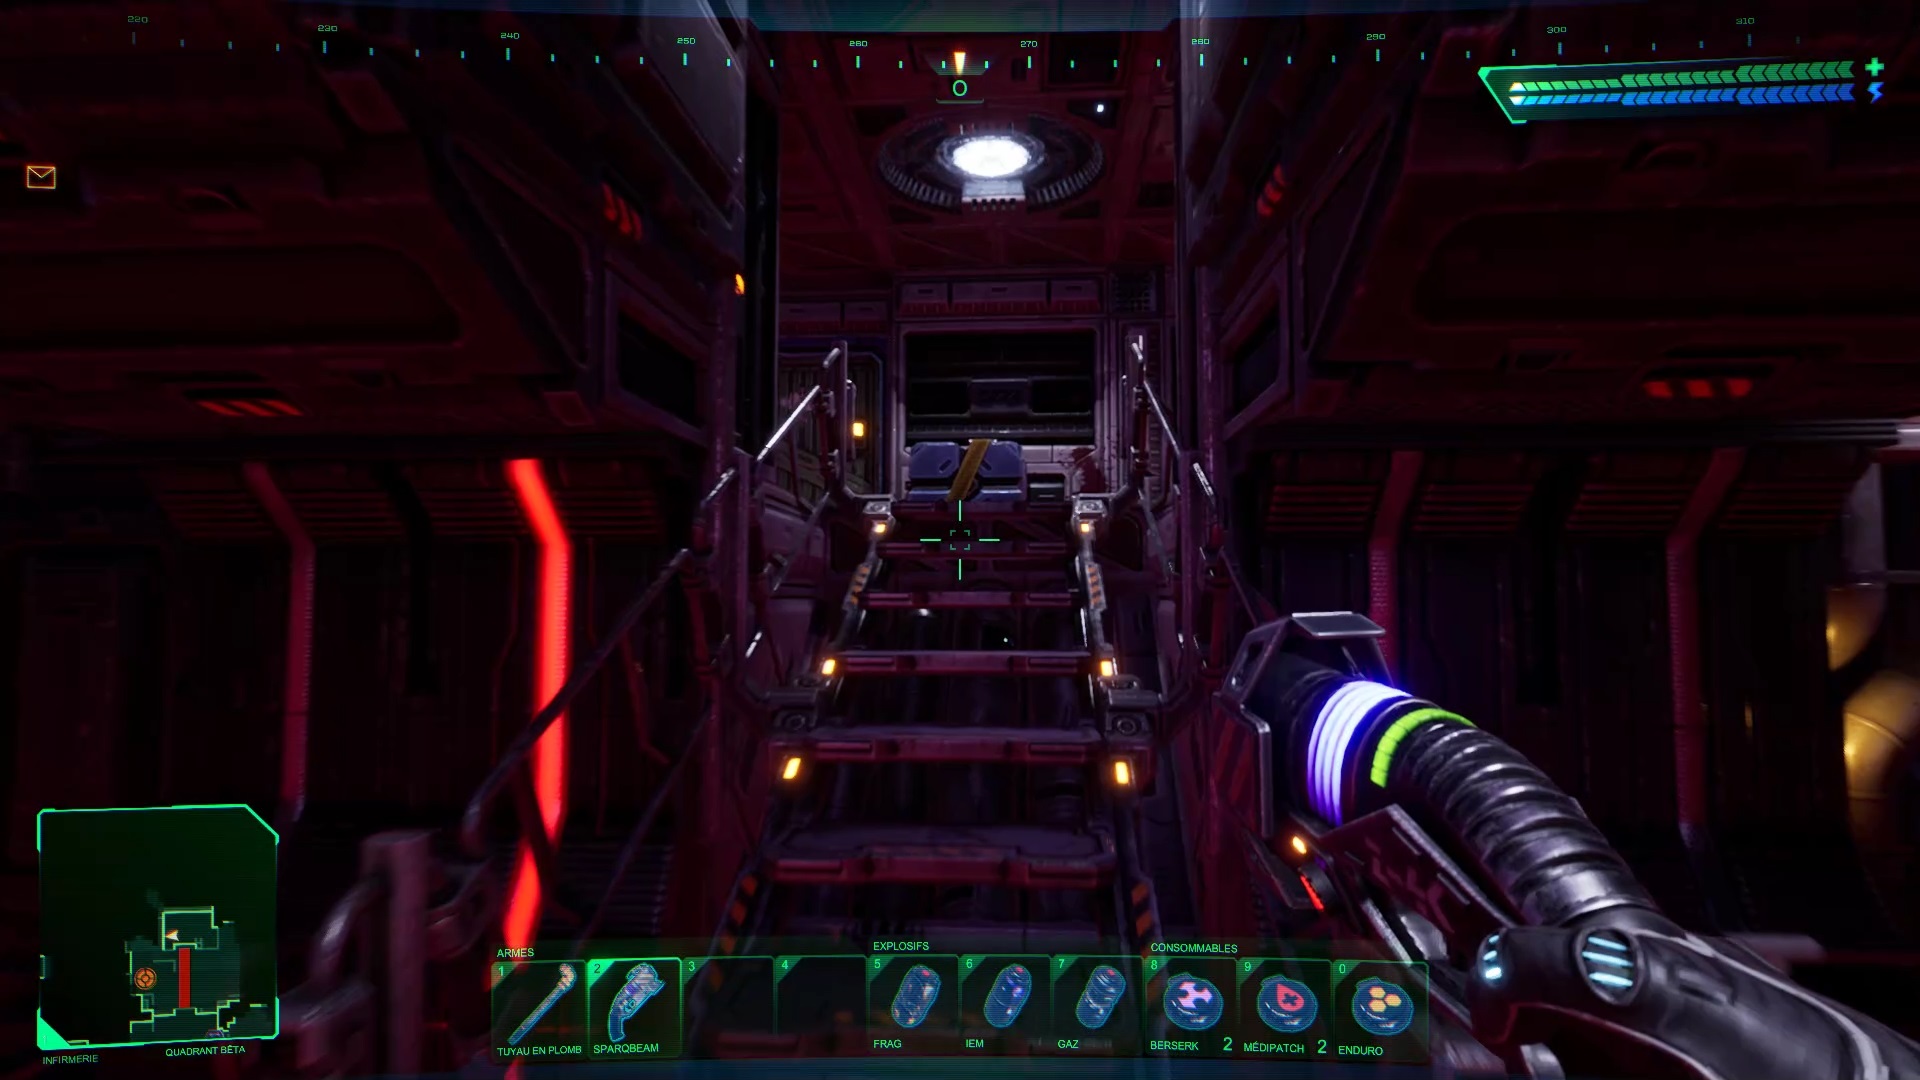
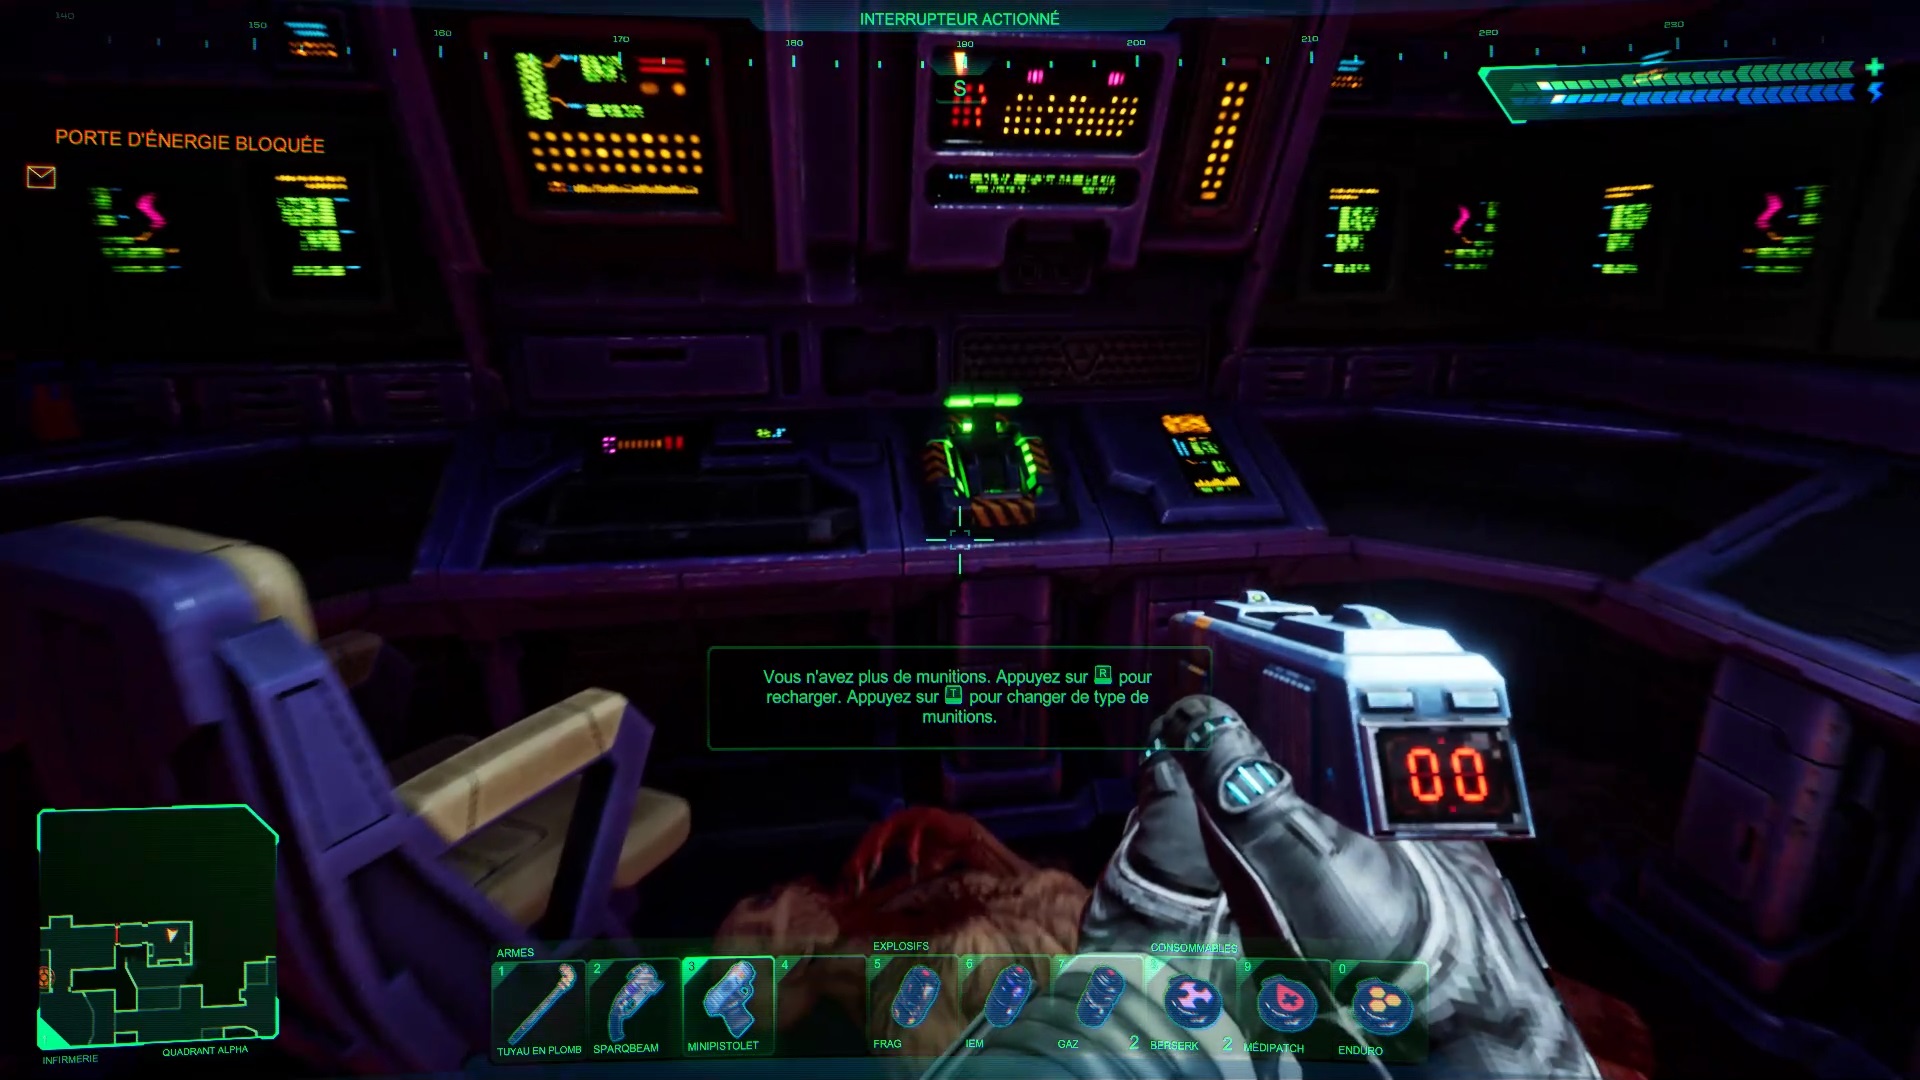
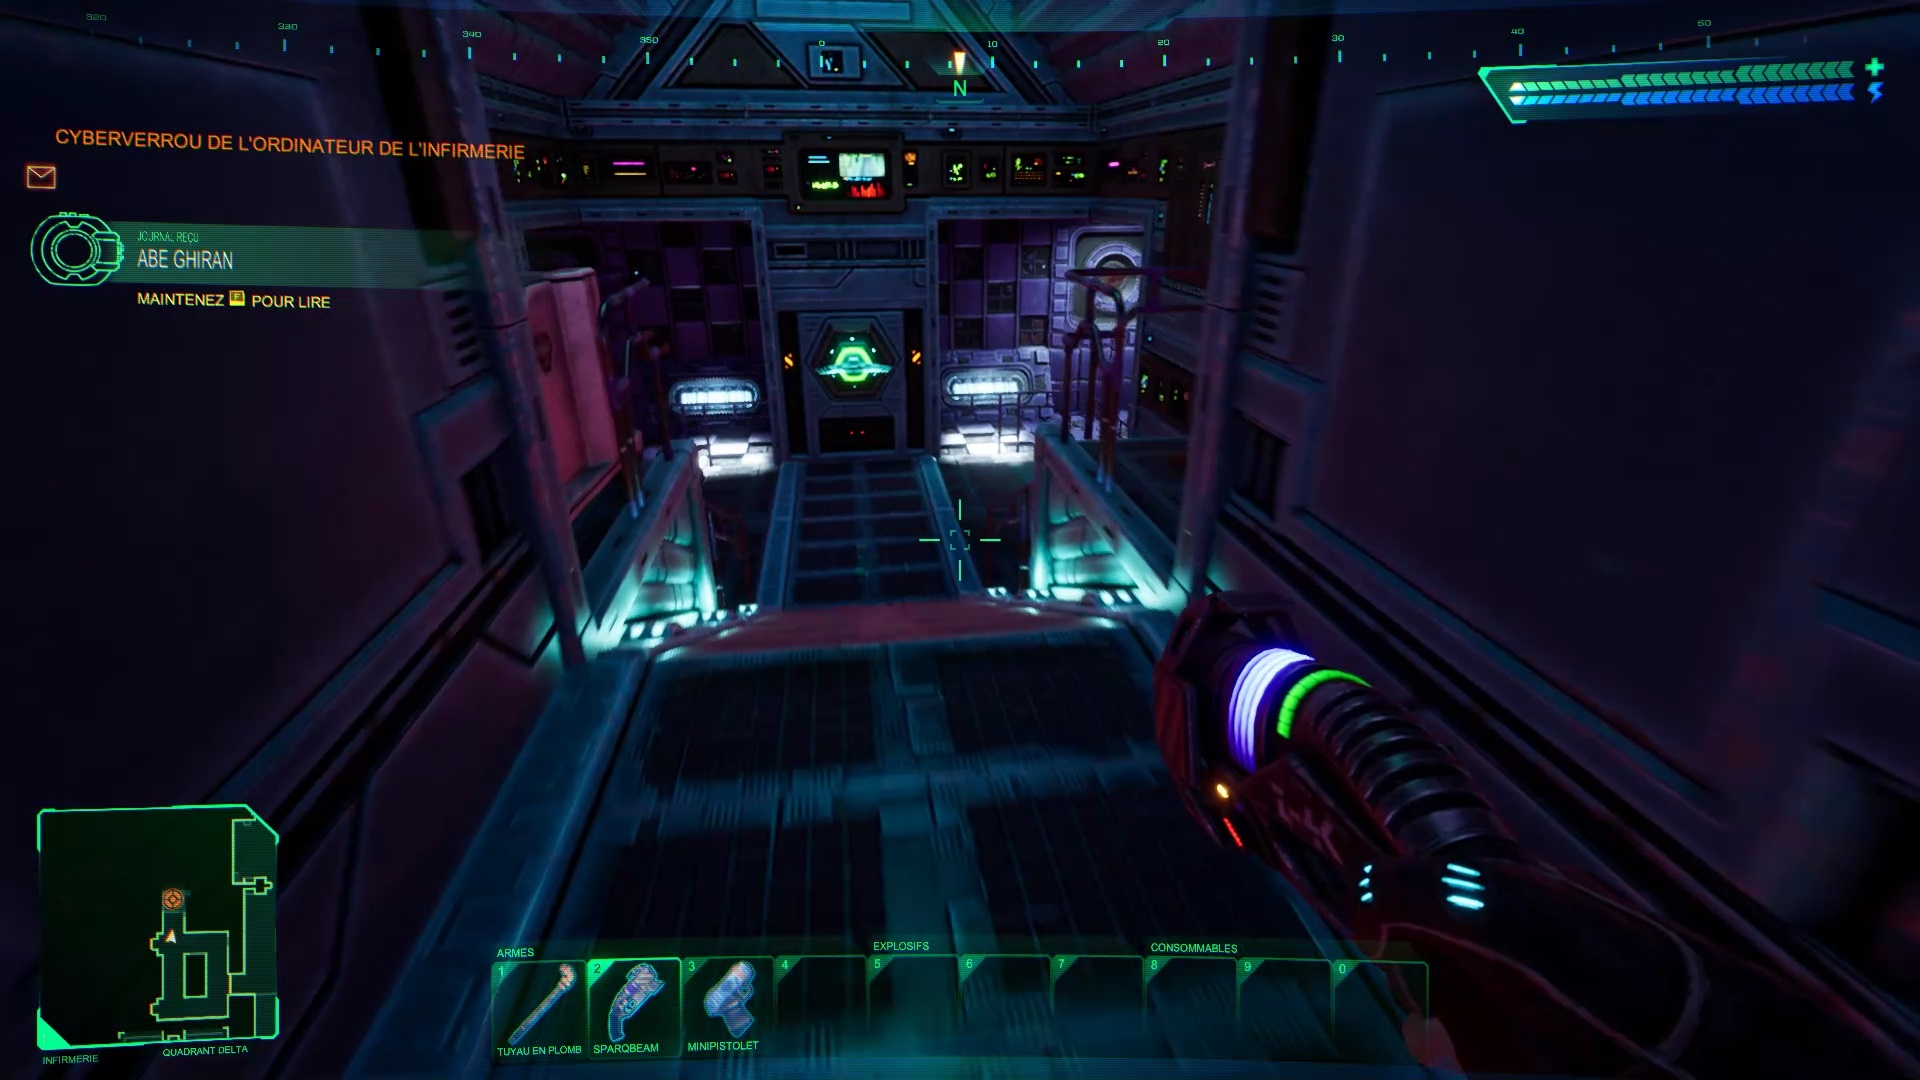
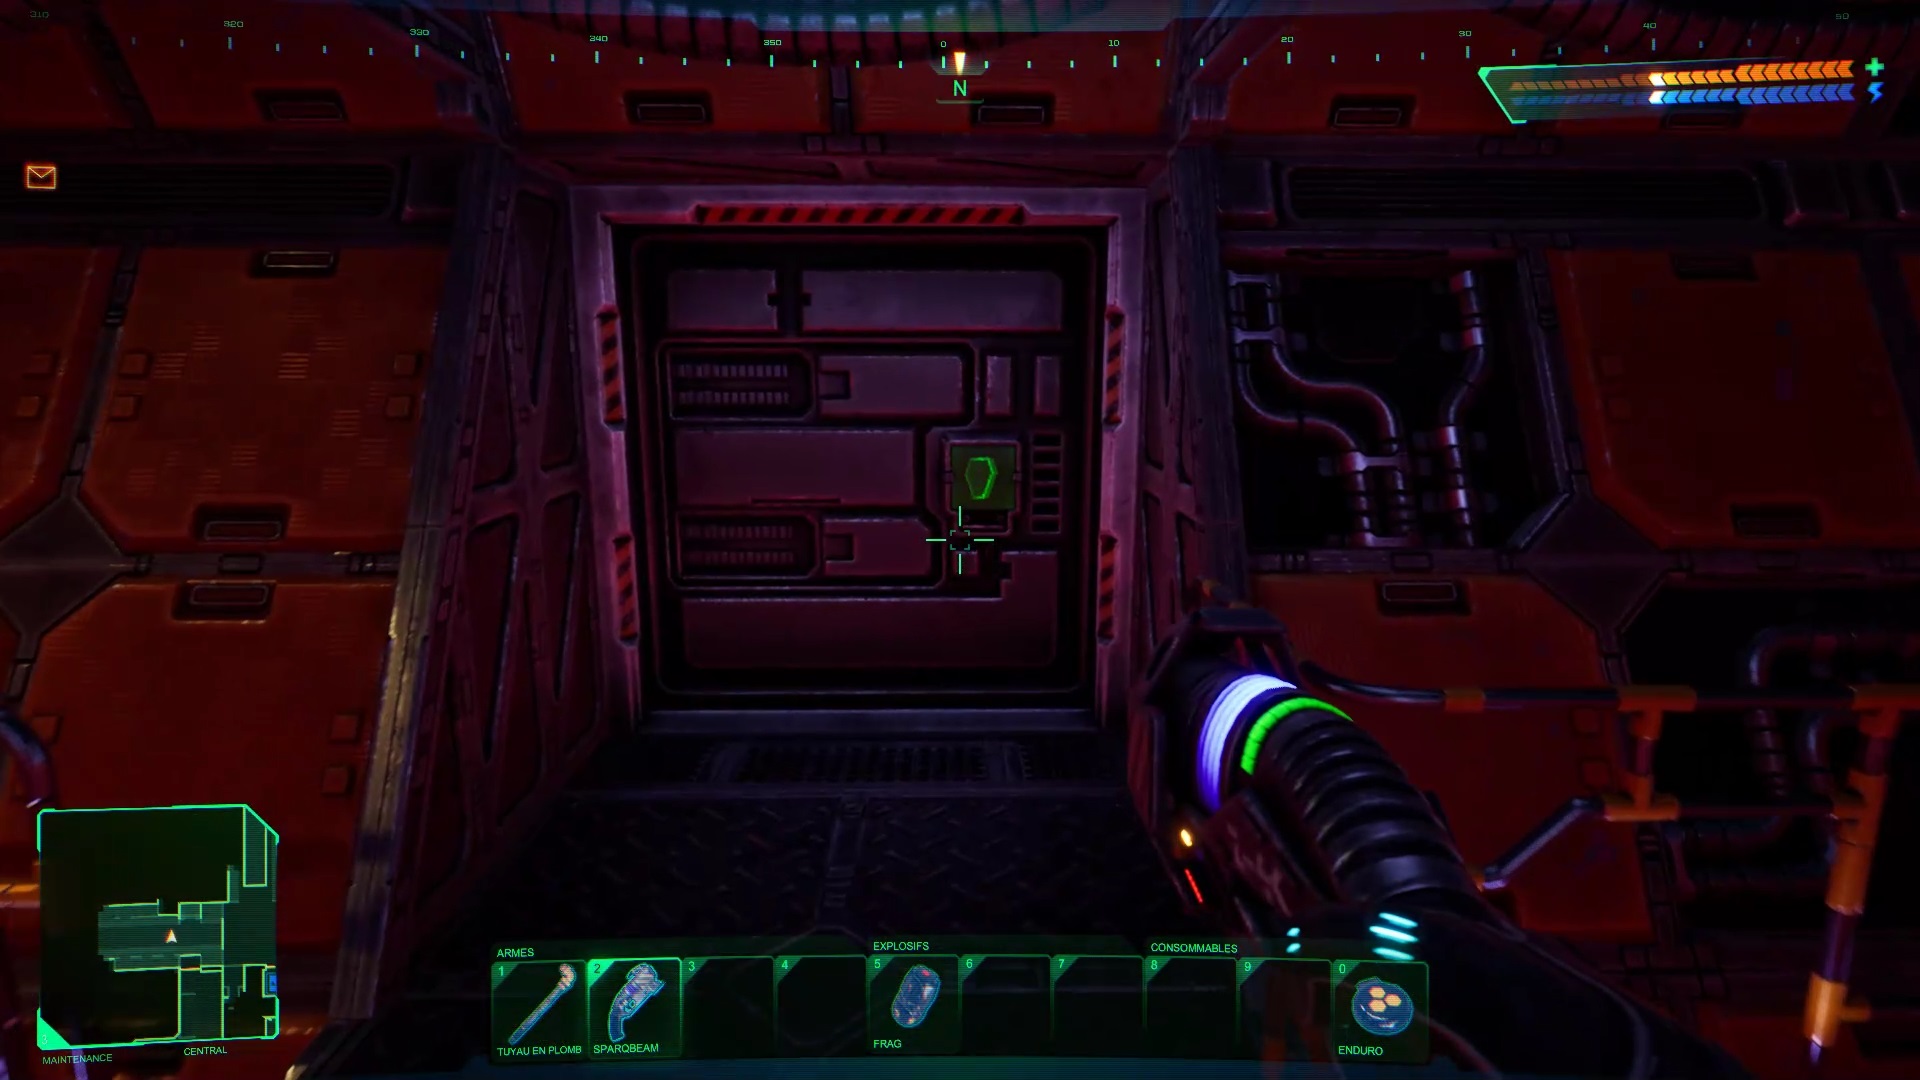
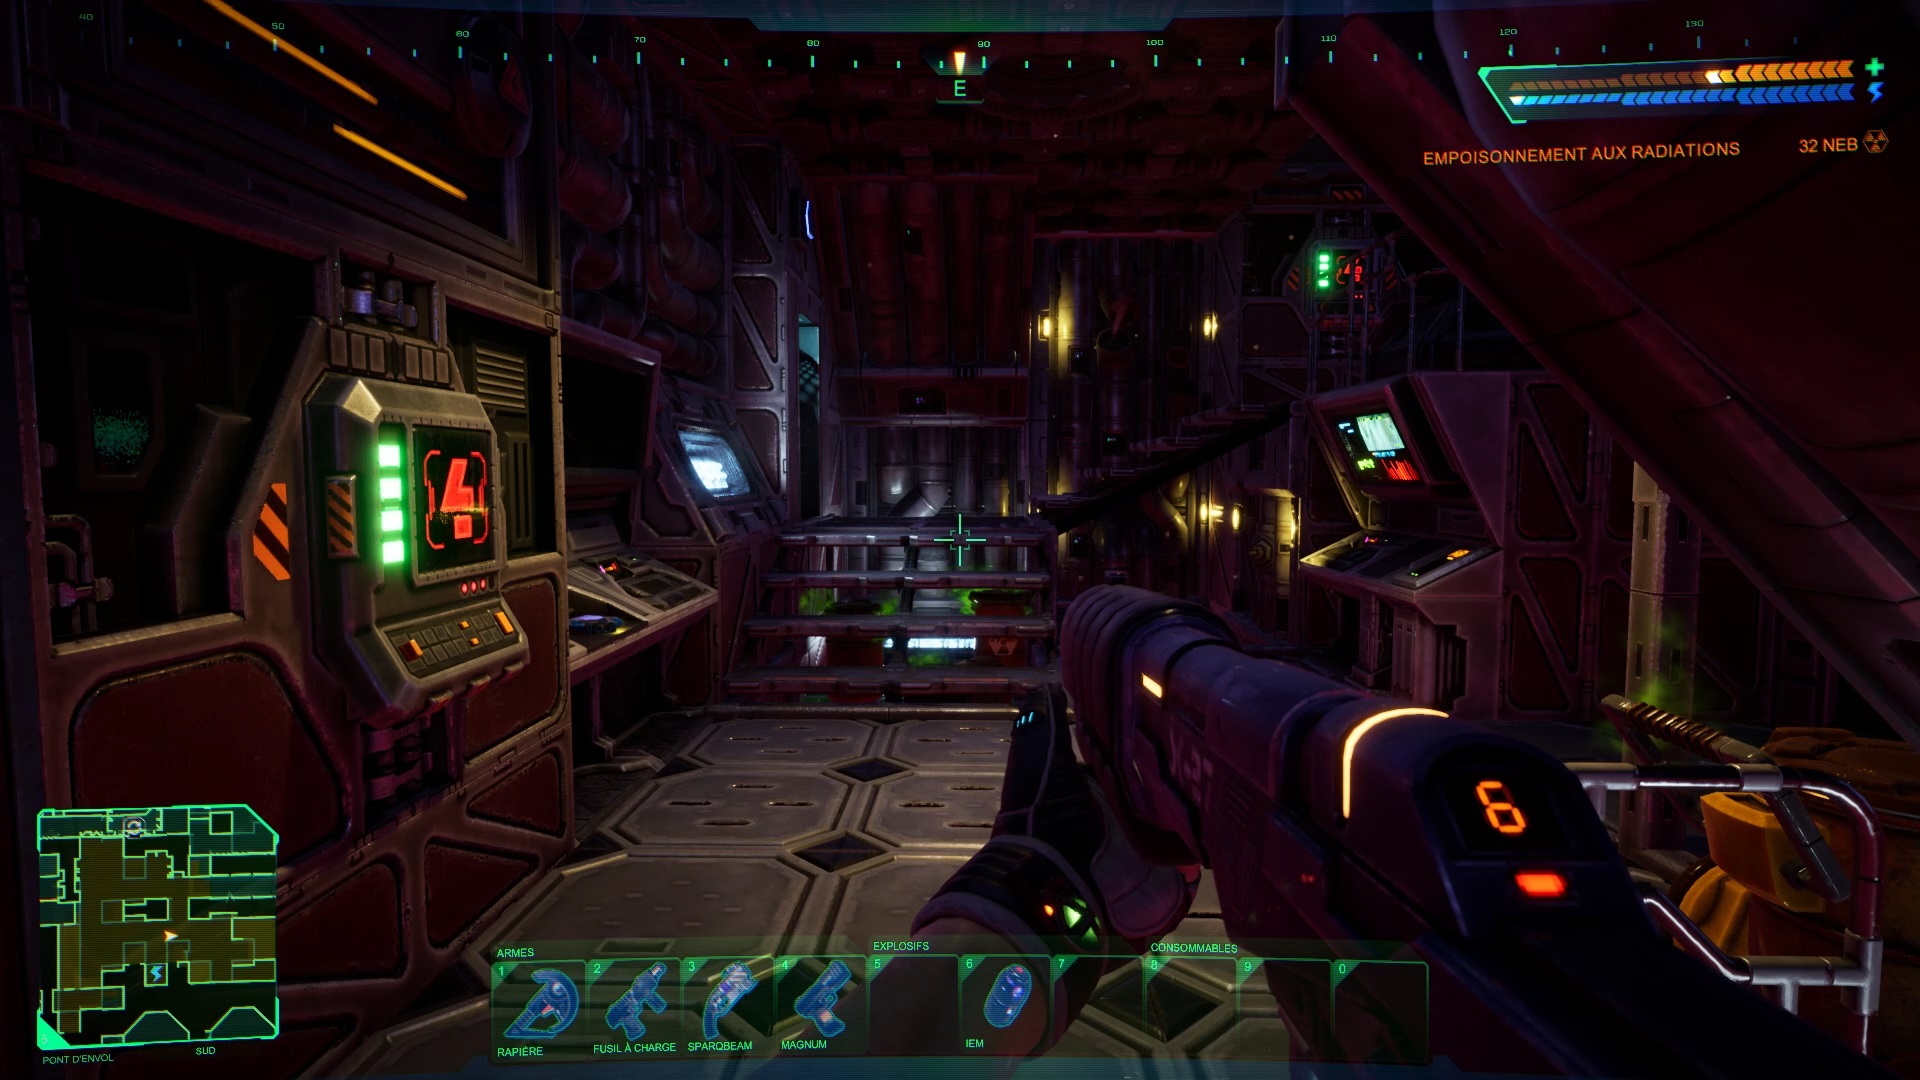
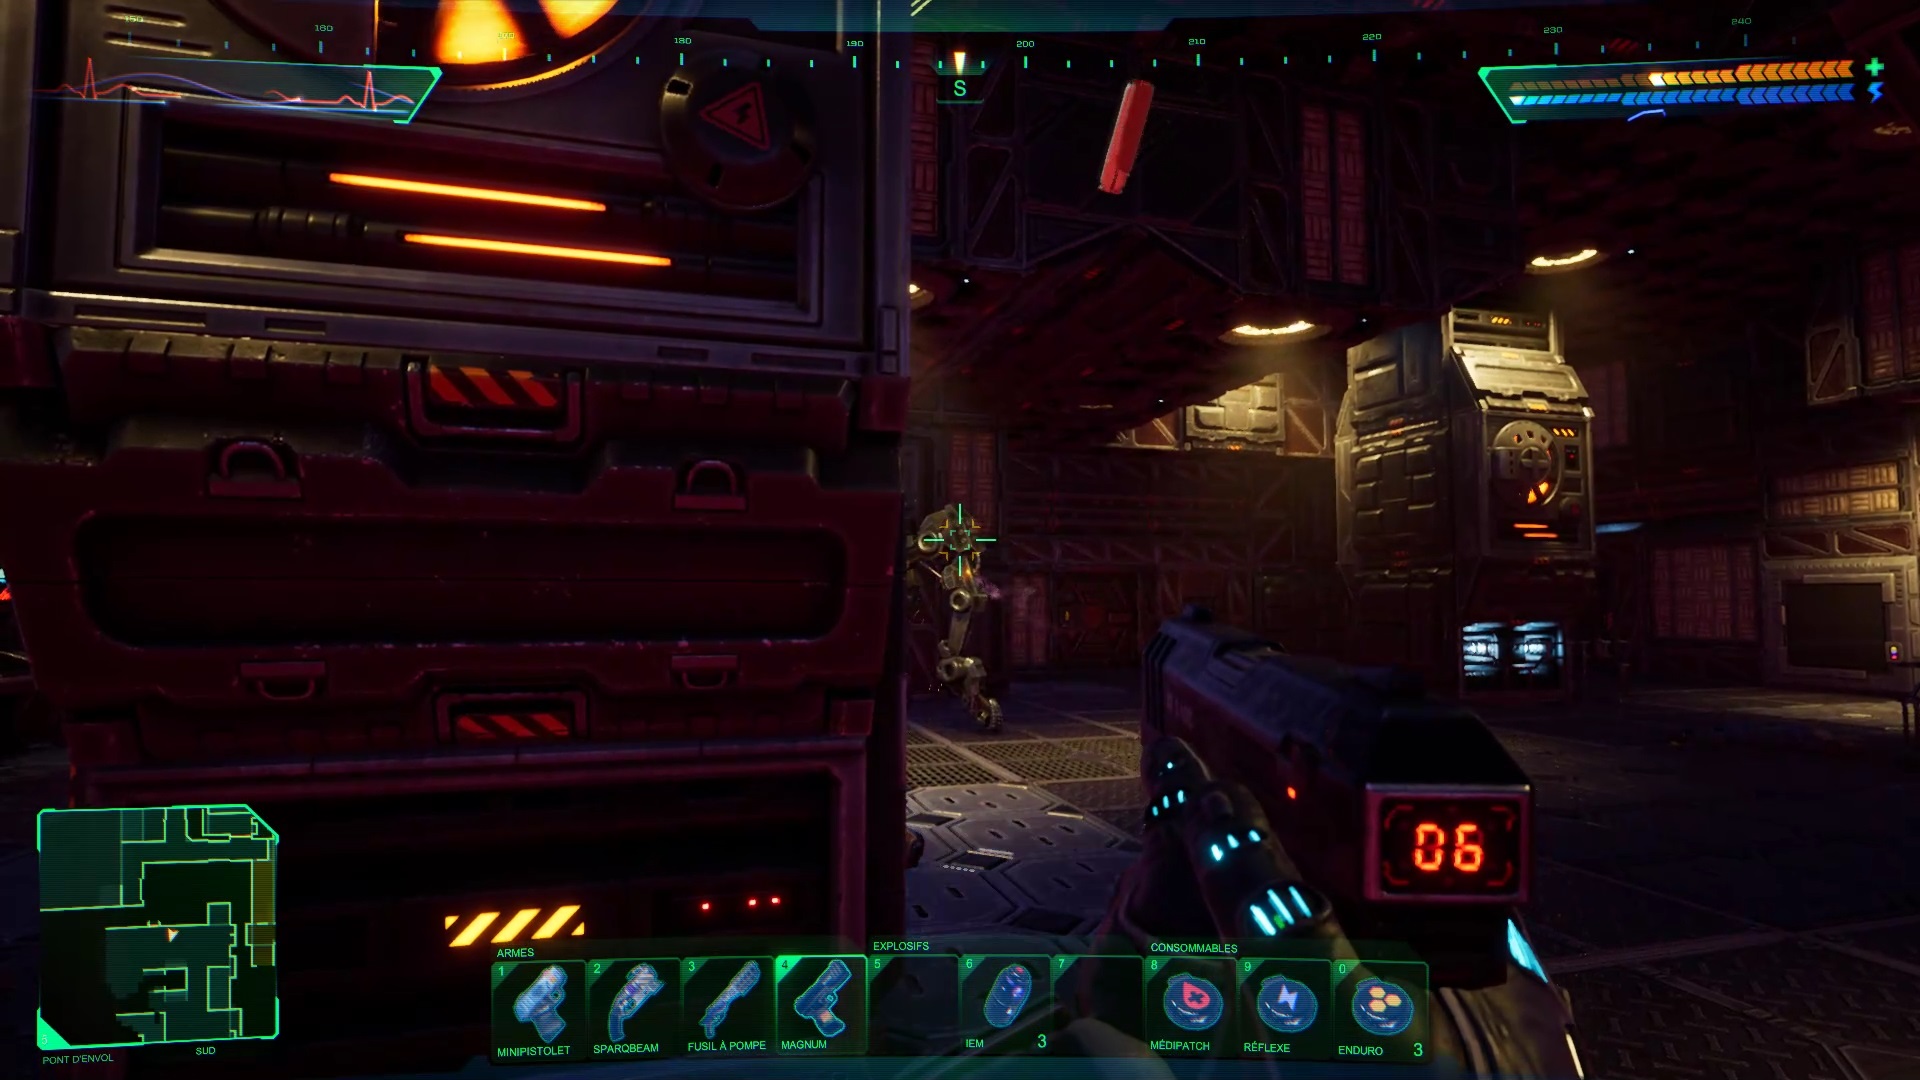
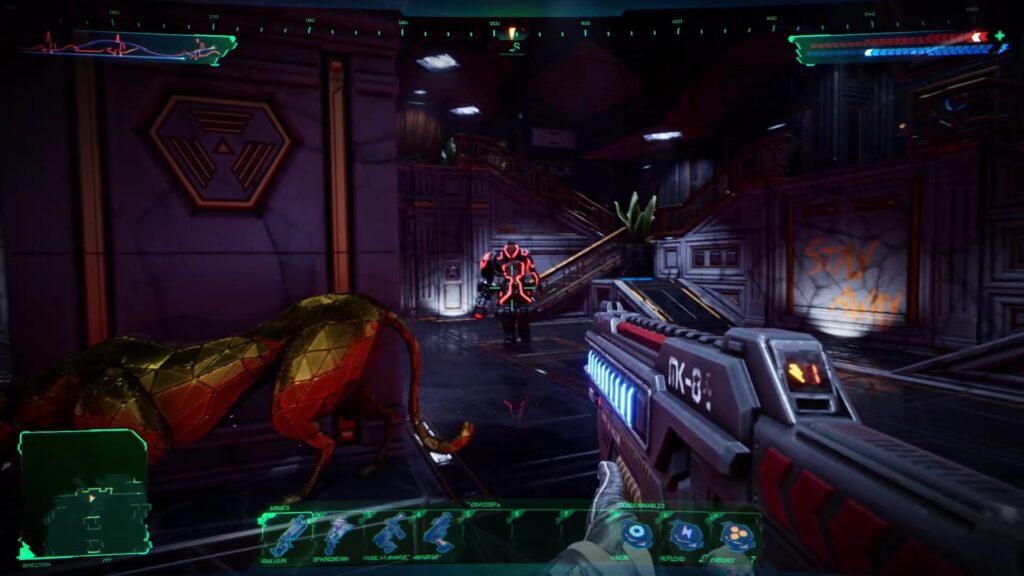
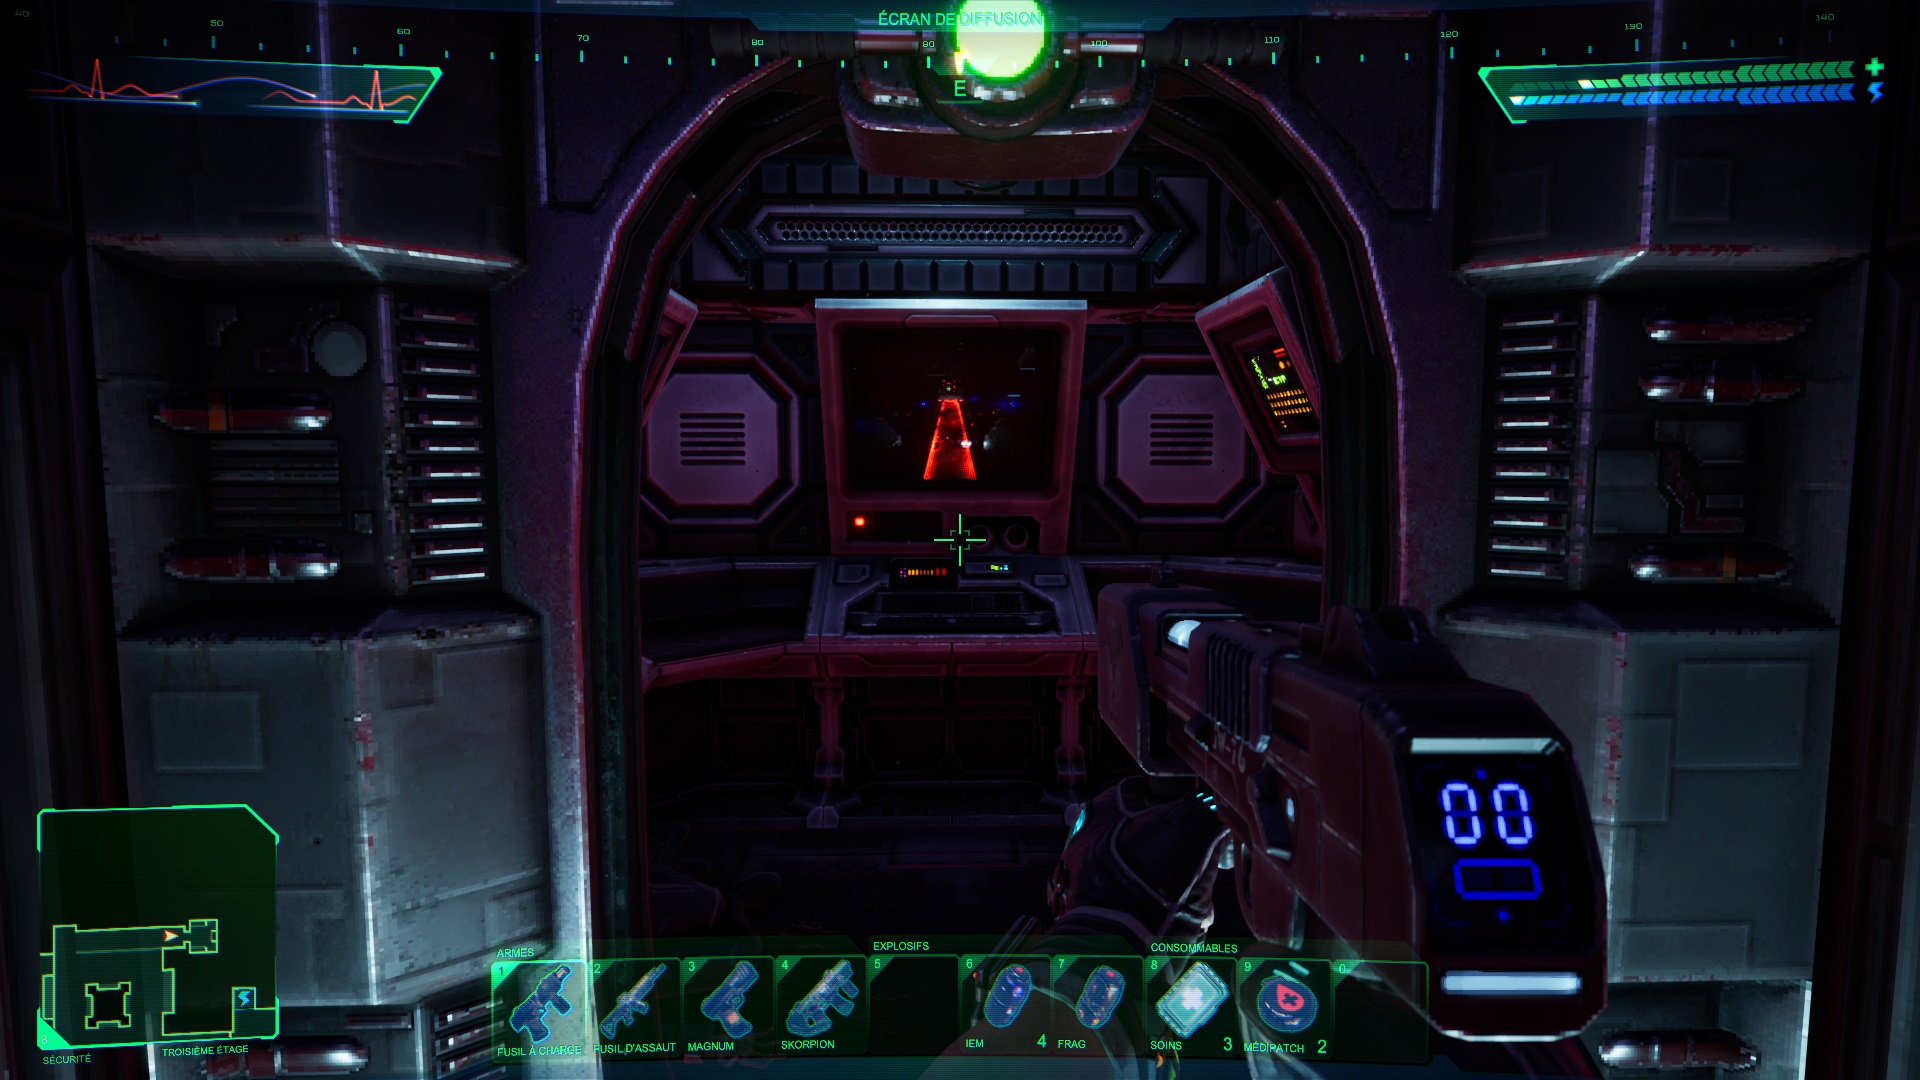
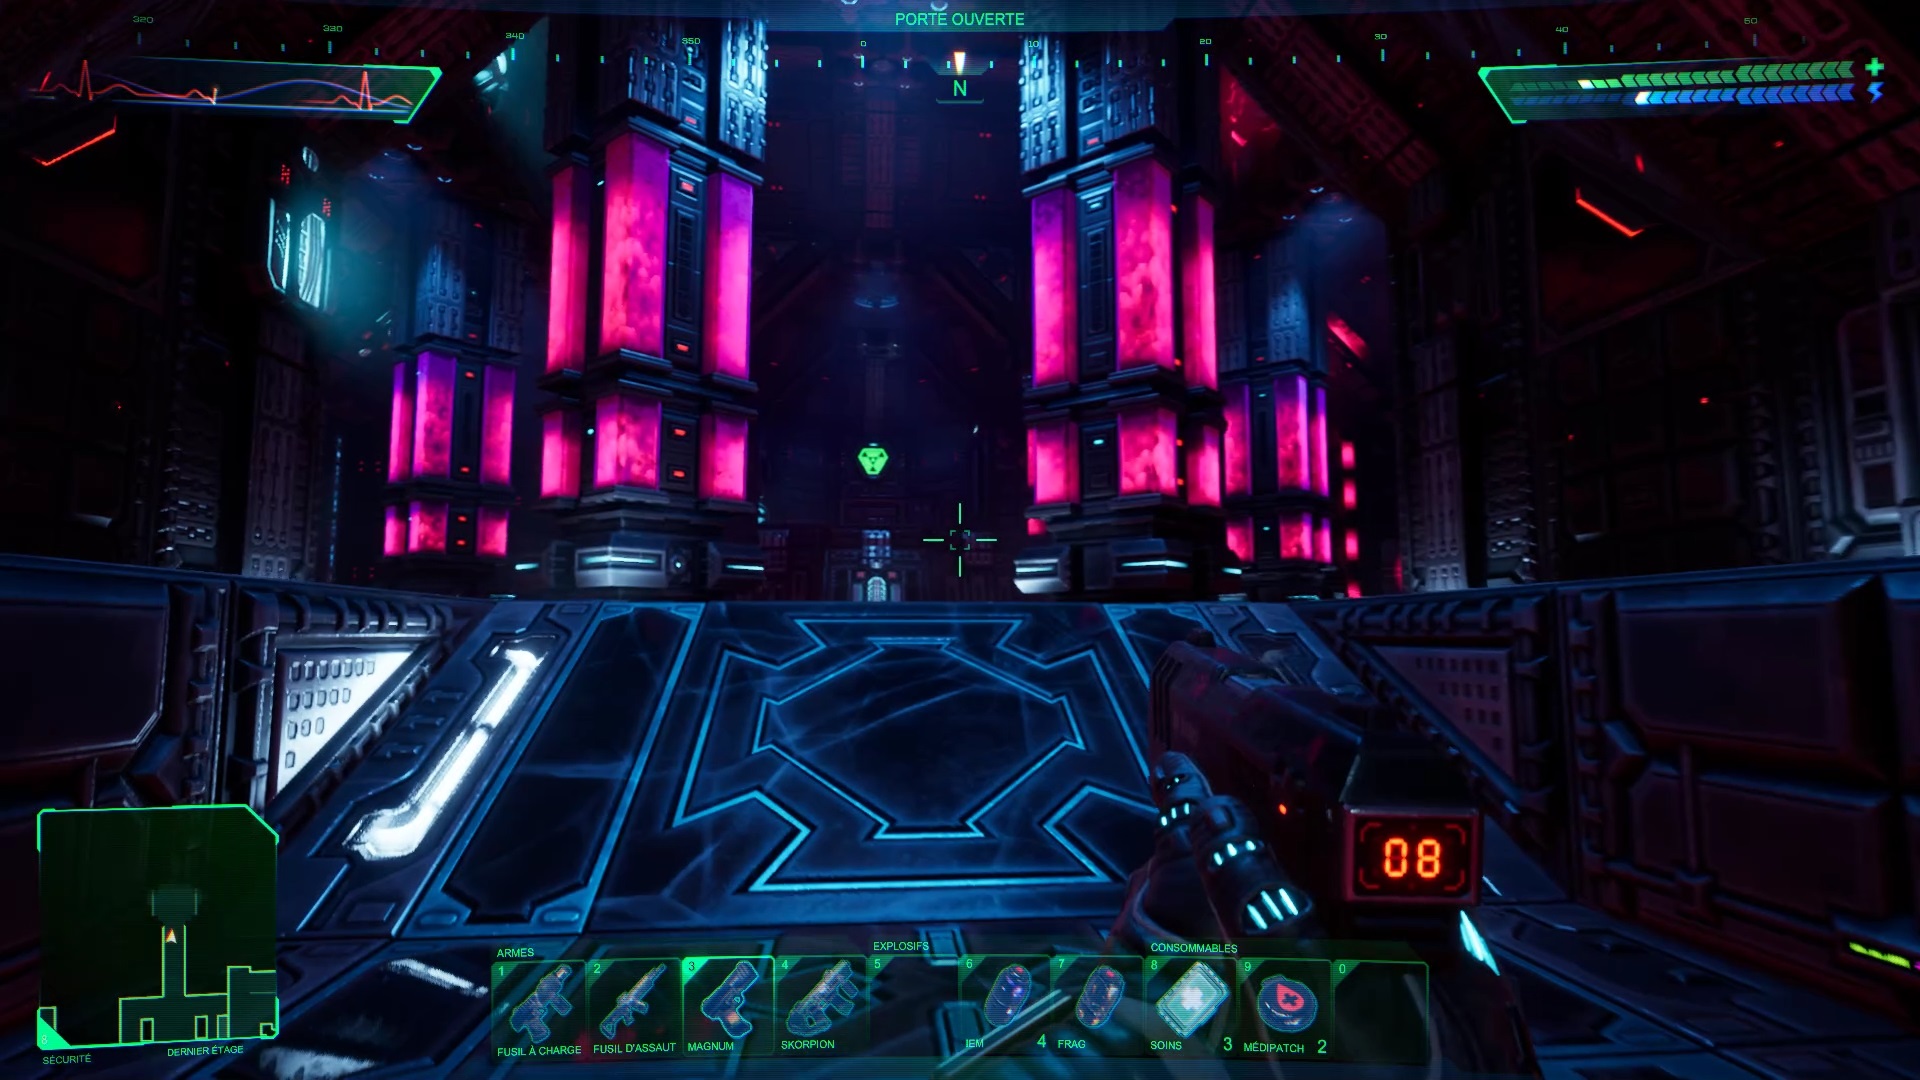
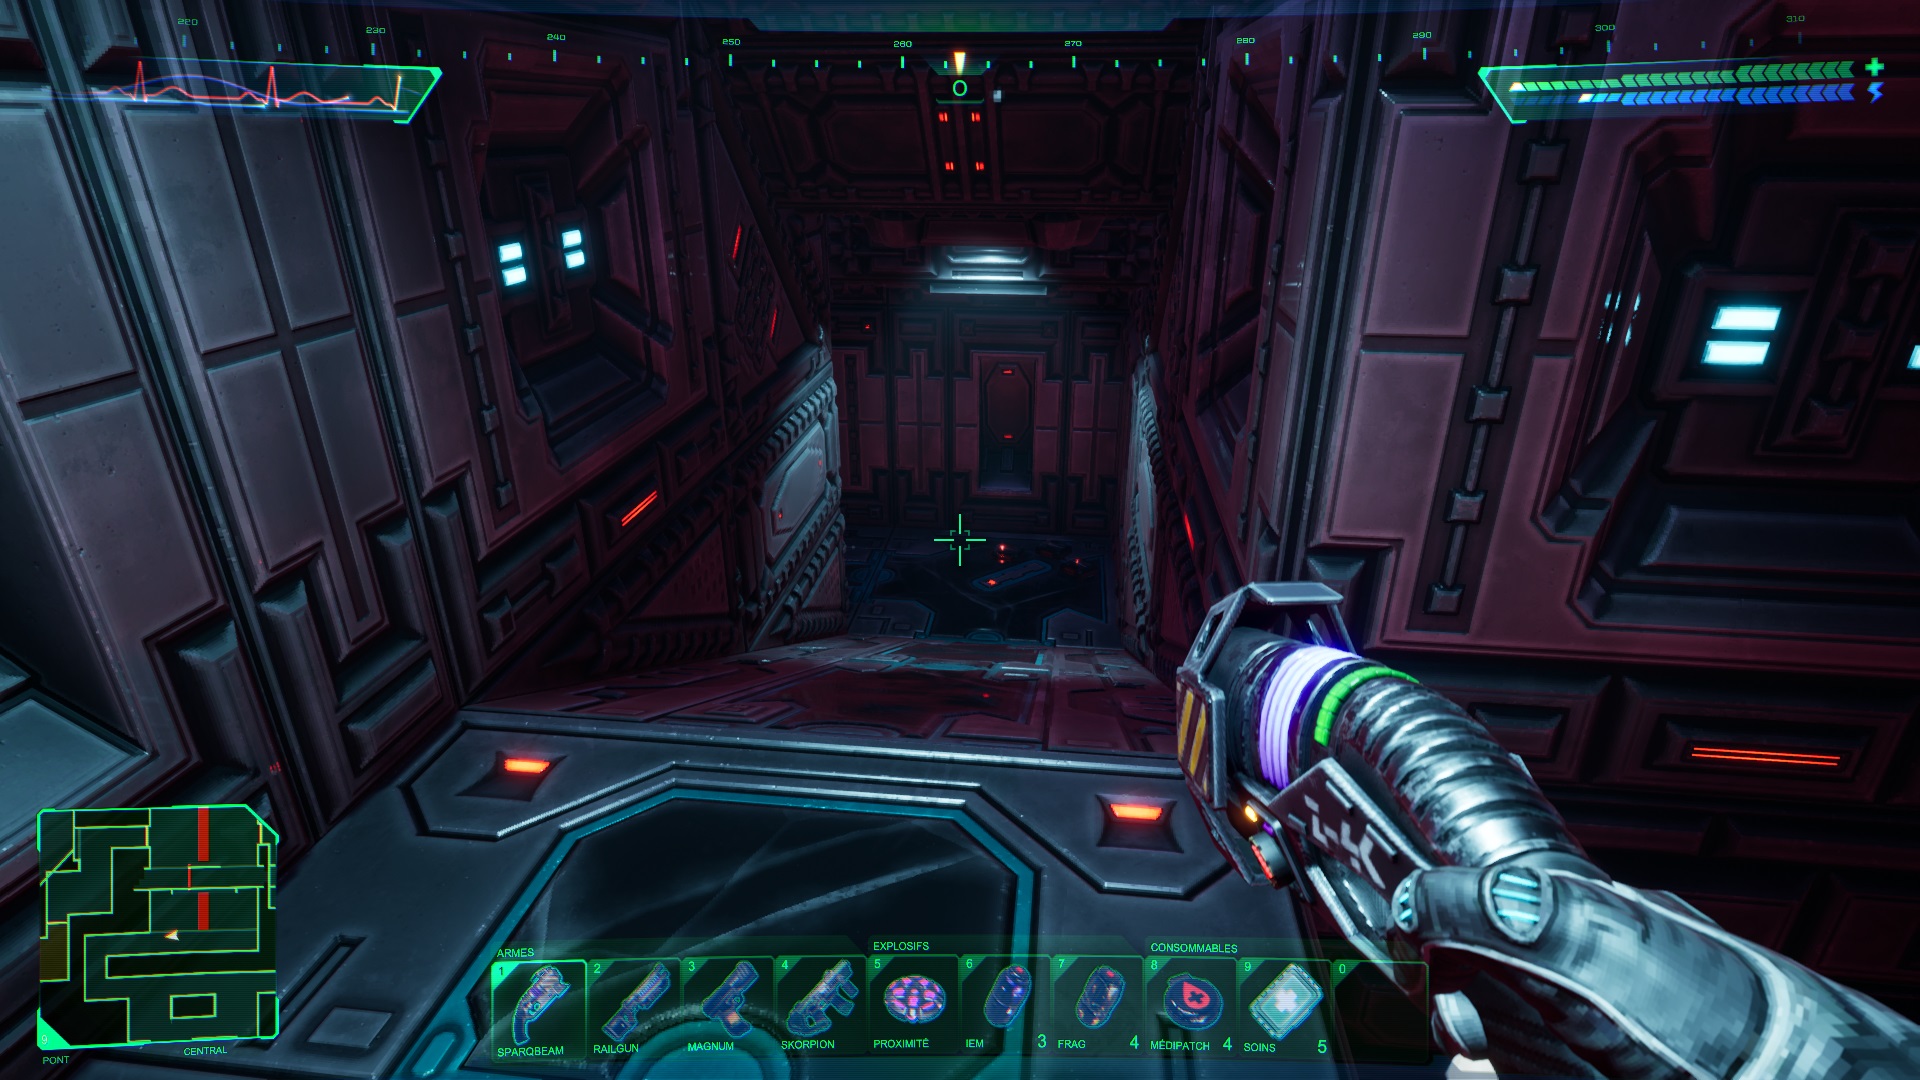
After the cutscene, you wake up in System Shock Remake’s first level: the Infirmary. Go down the slope in front of you to interact with a button. A door opens nearby. Take the contents inside the crates and use the access card to exit the cryonics room.
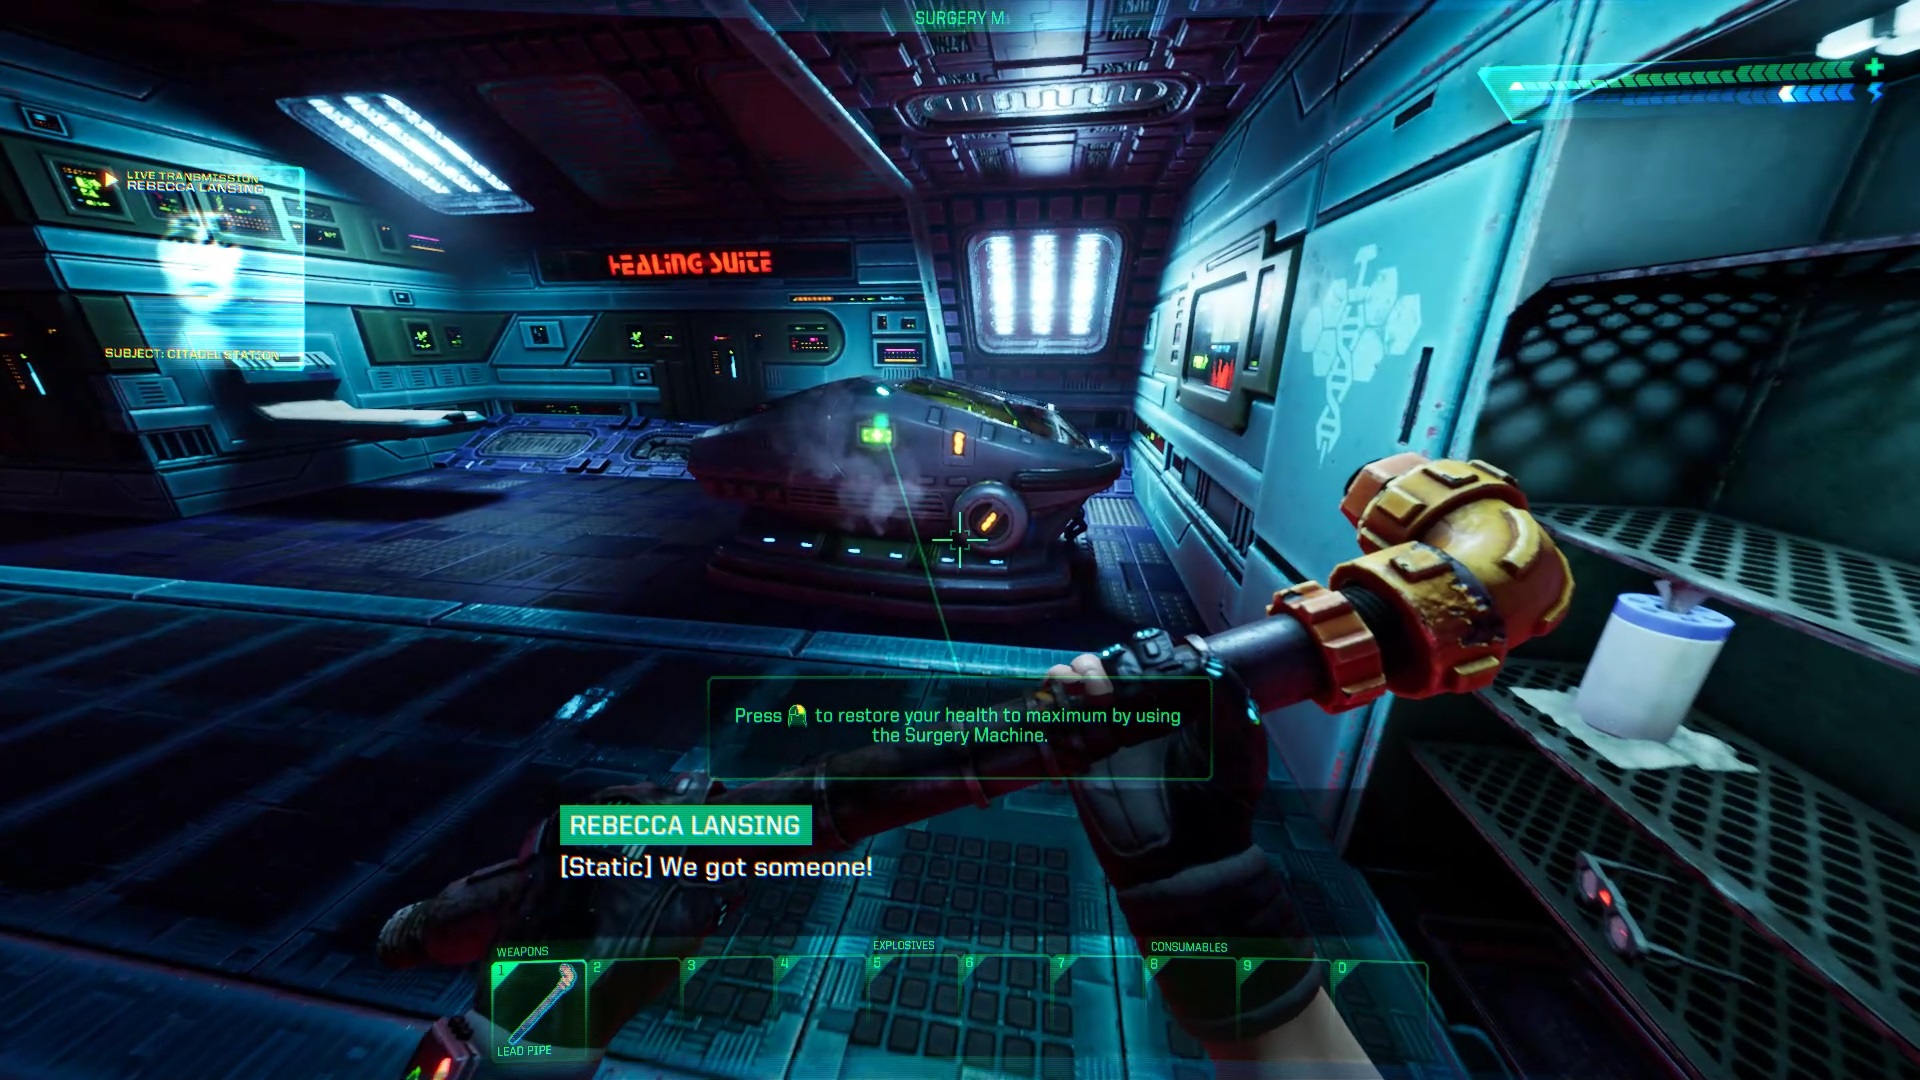
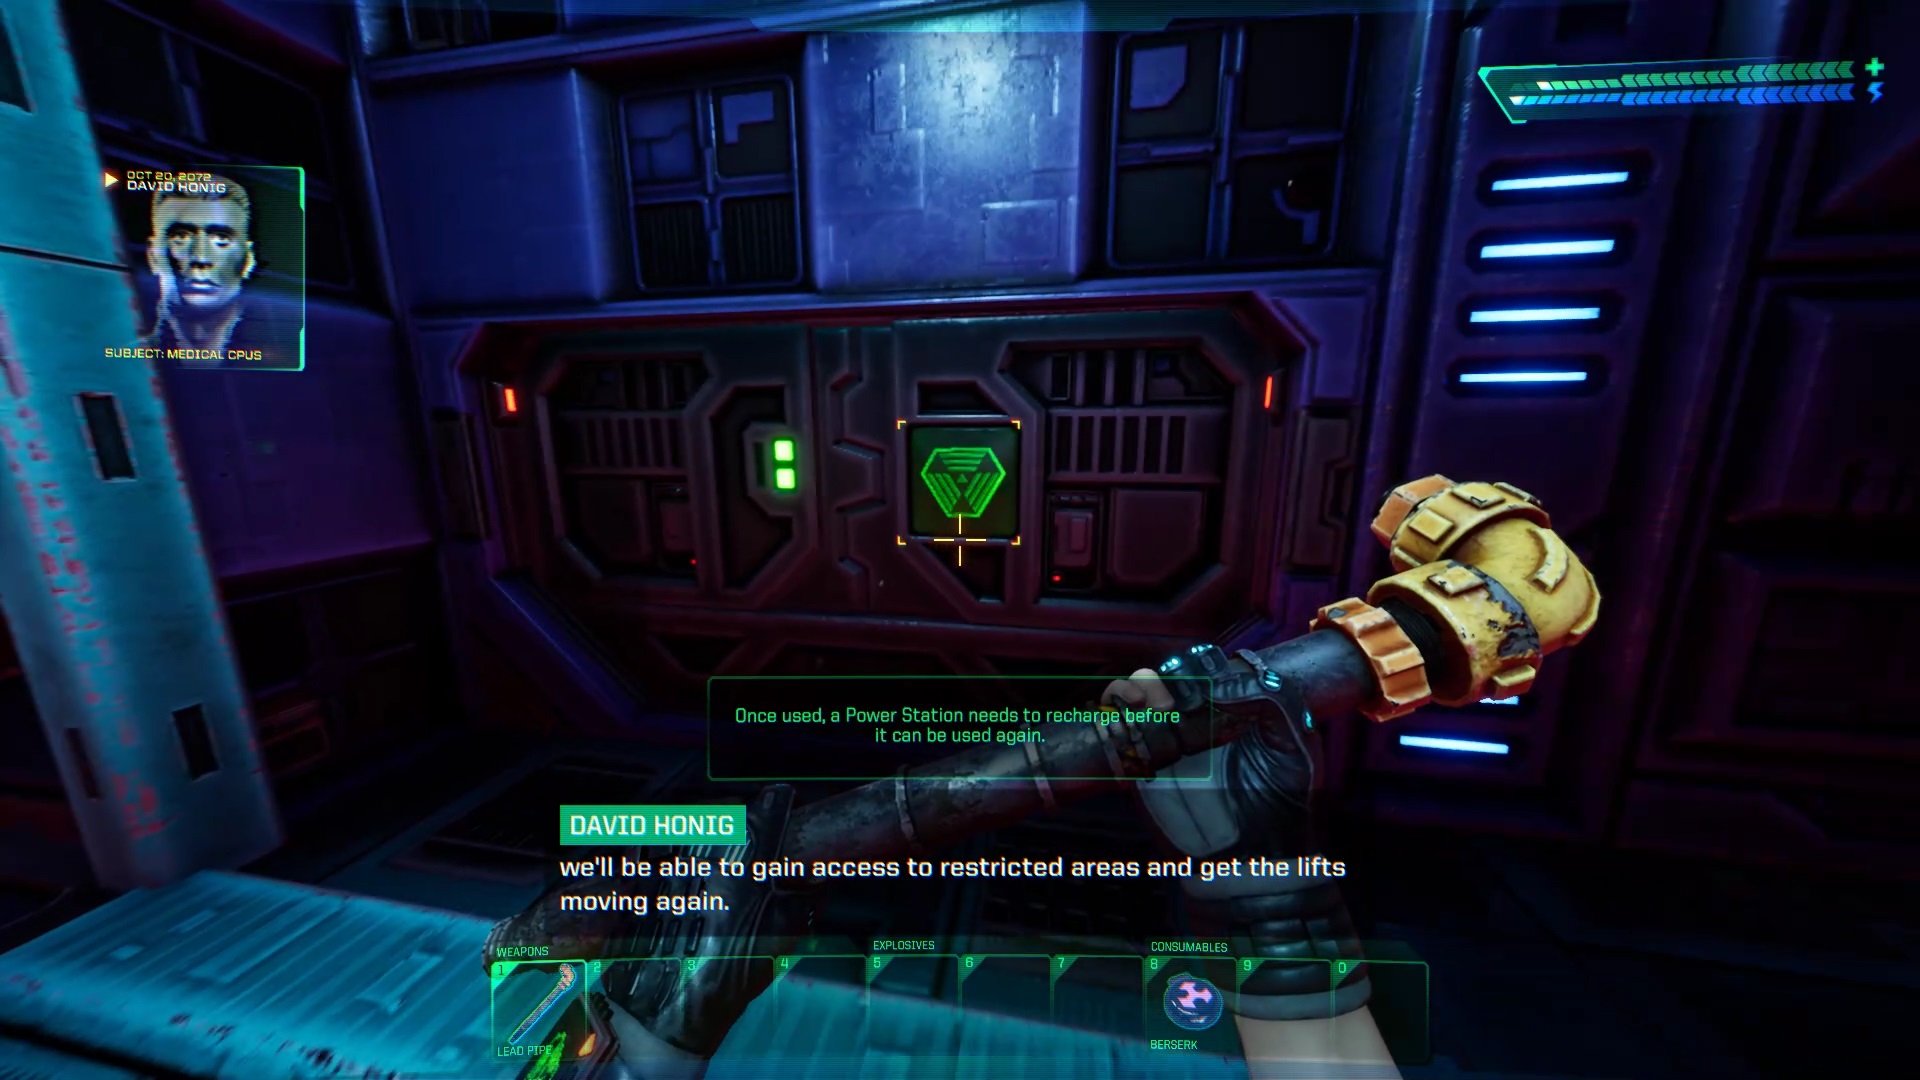
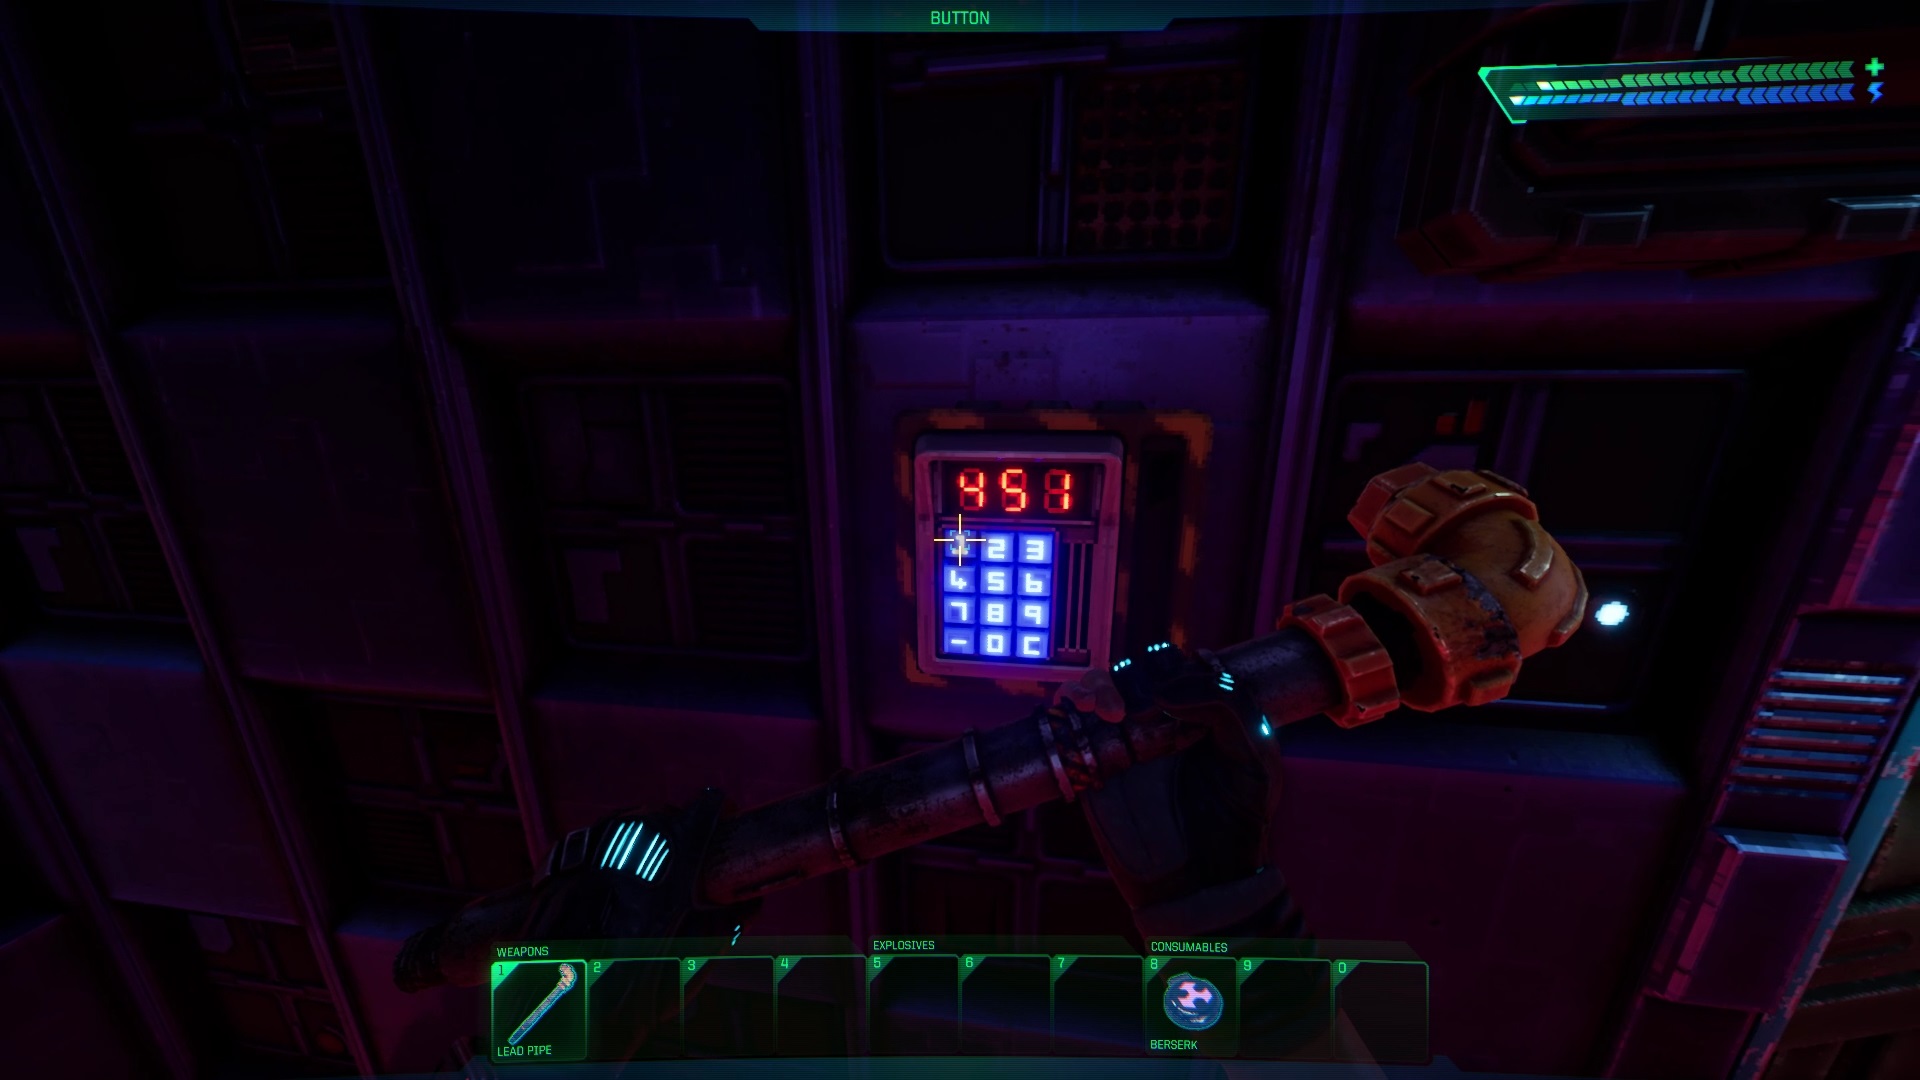
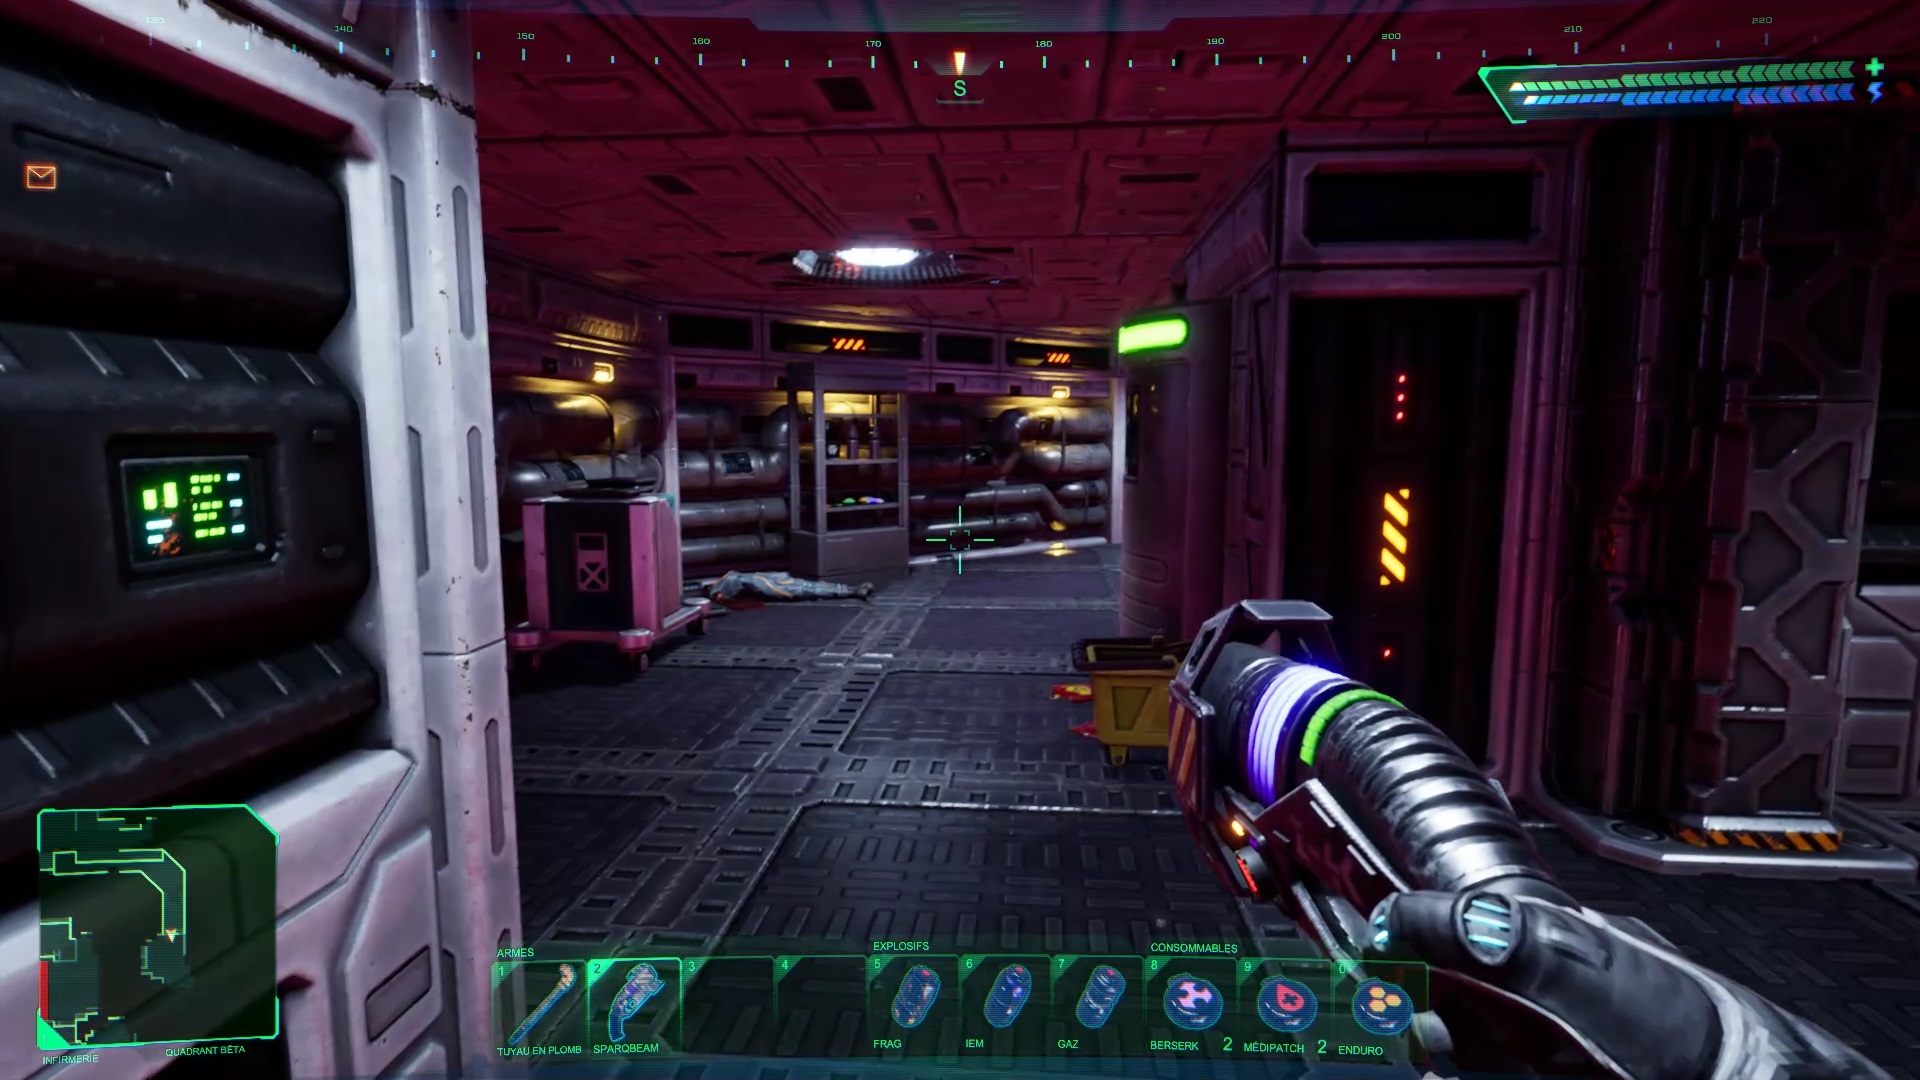
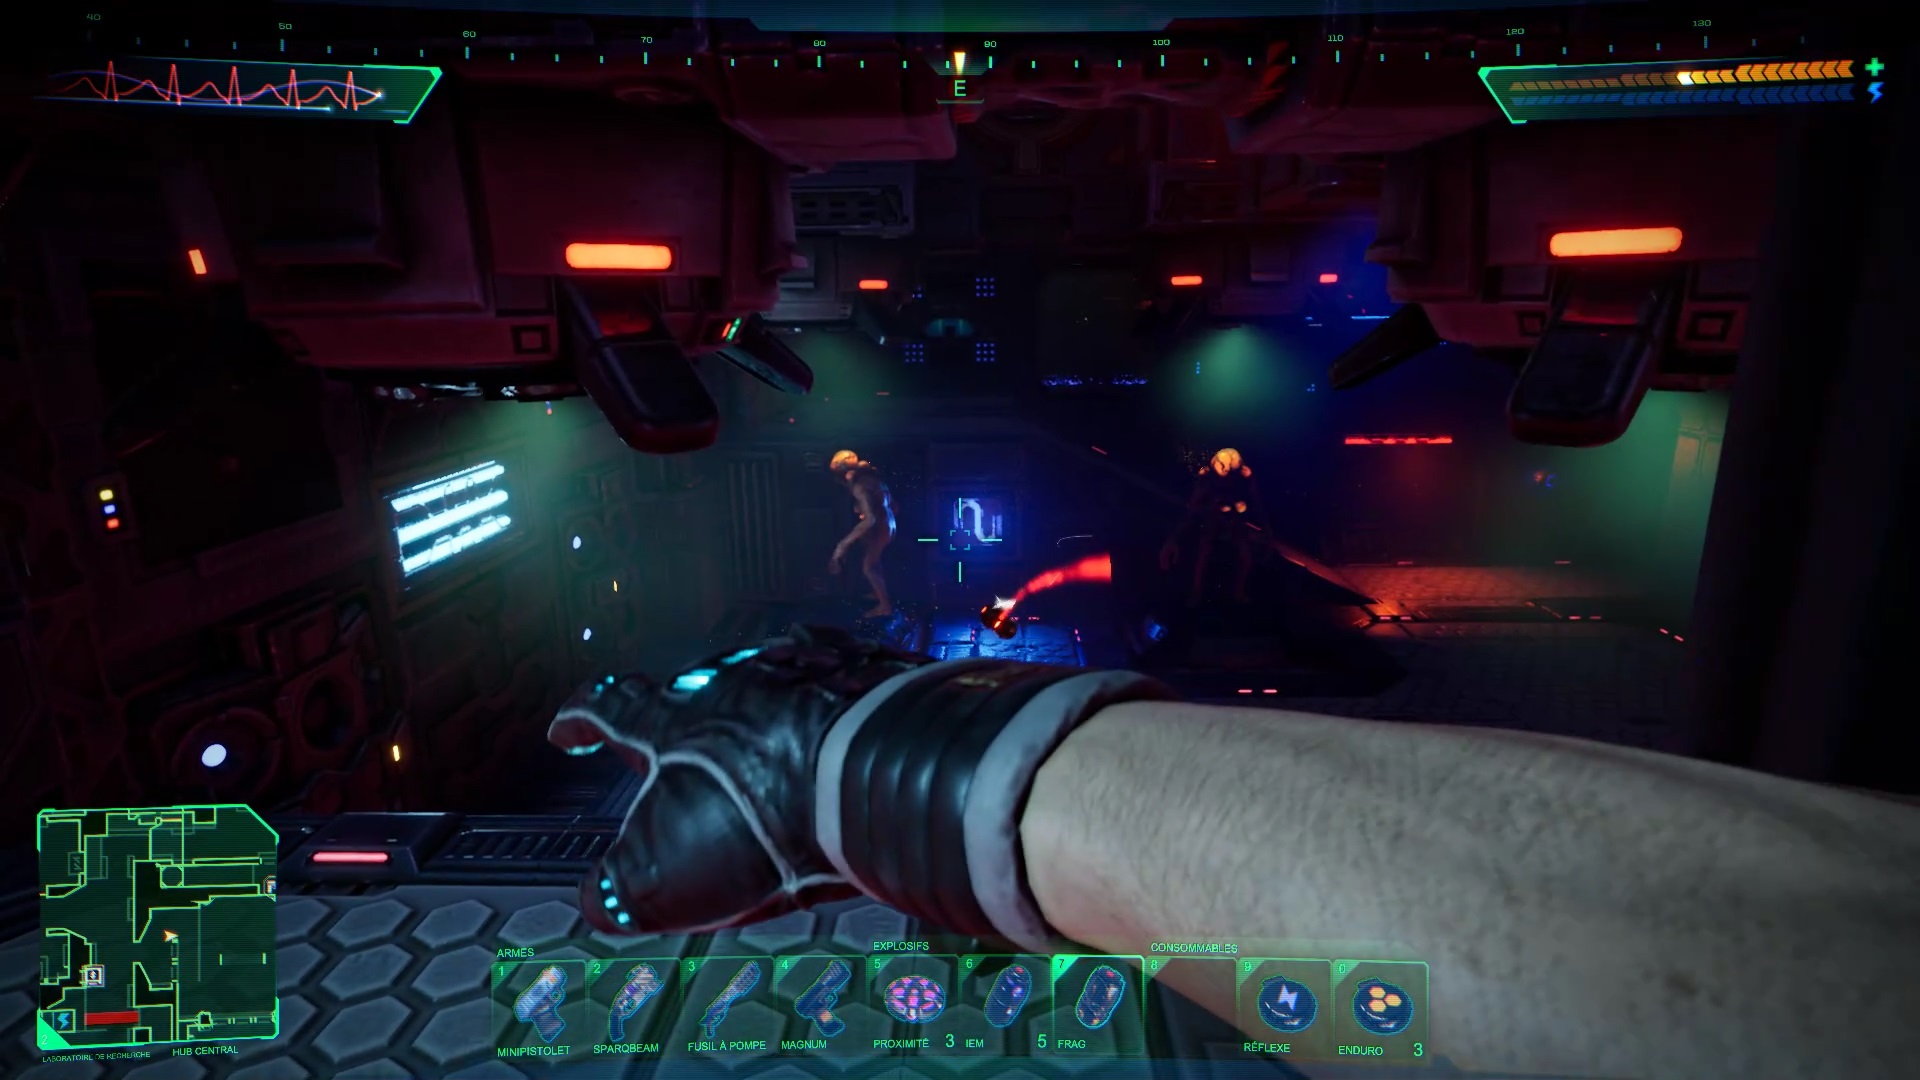
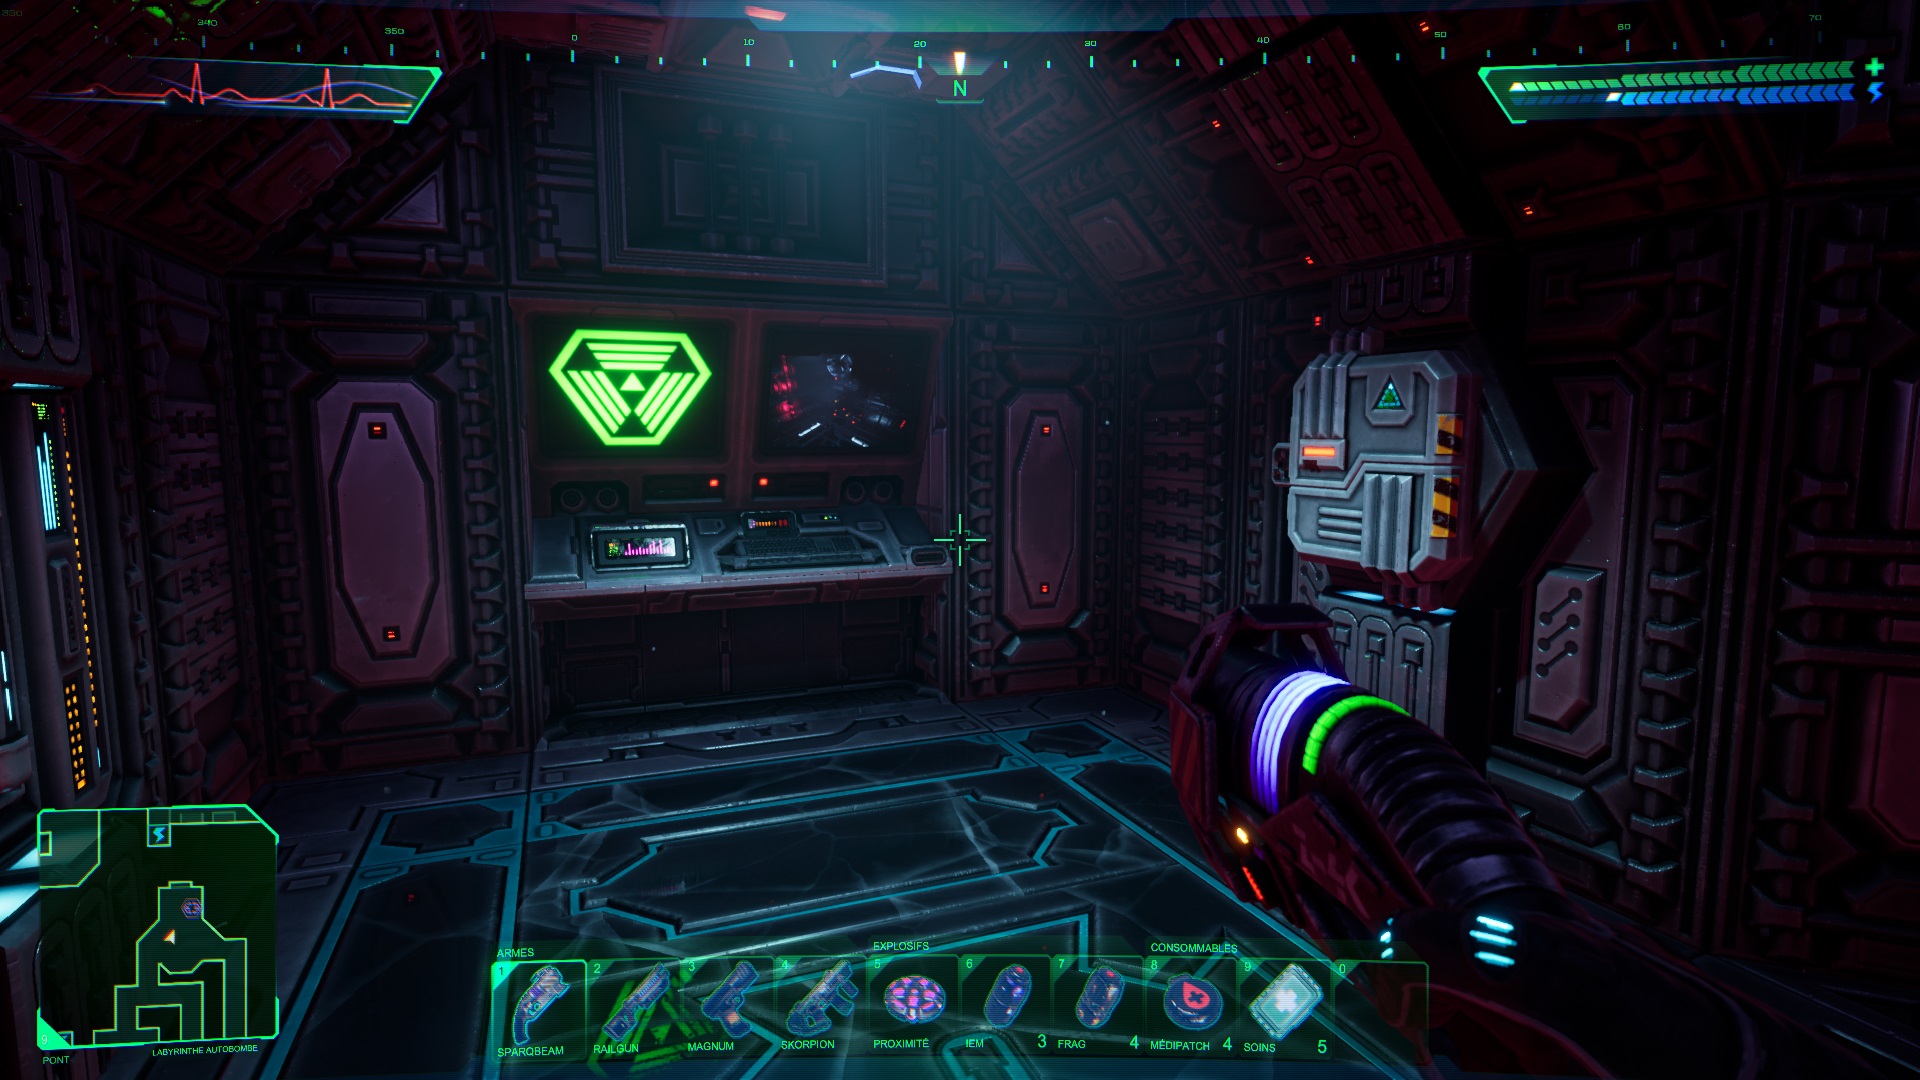
In the other room, using your pipe, get rid of the enemies. Then identify the surgical machine and the charging station to improve your condition. Feel free to return to that spot in the level to restore your health and powers. You will find a hatch to the south near the charging station. Squat down and go inside to enter the reception. Retrieve a digital document from the reception desk to find a code: 451.
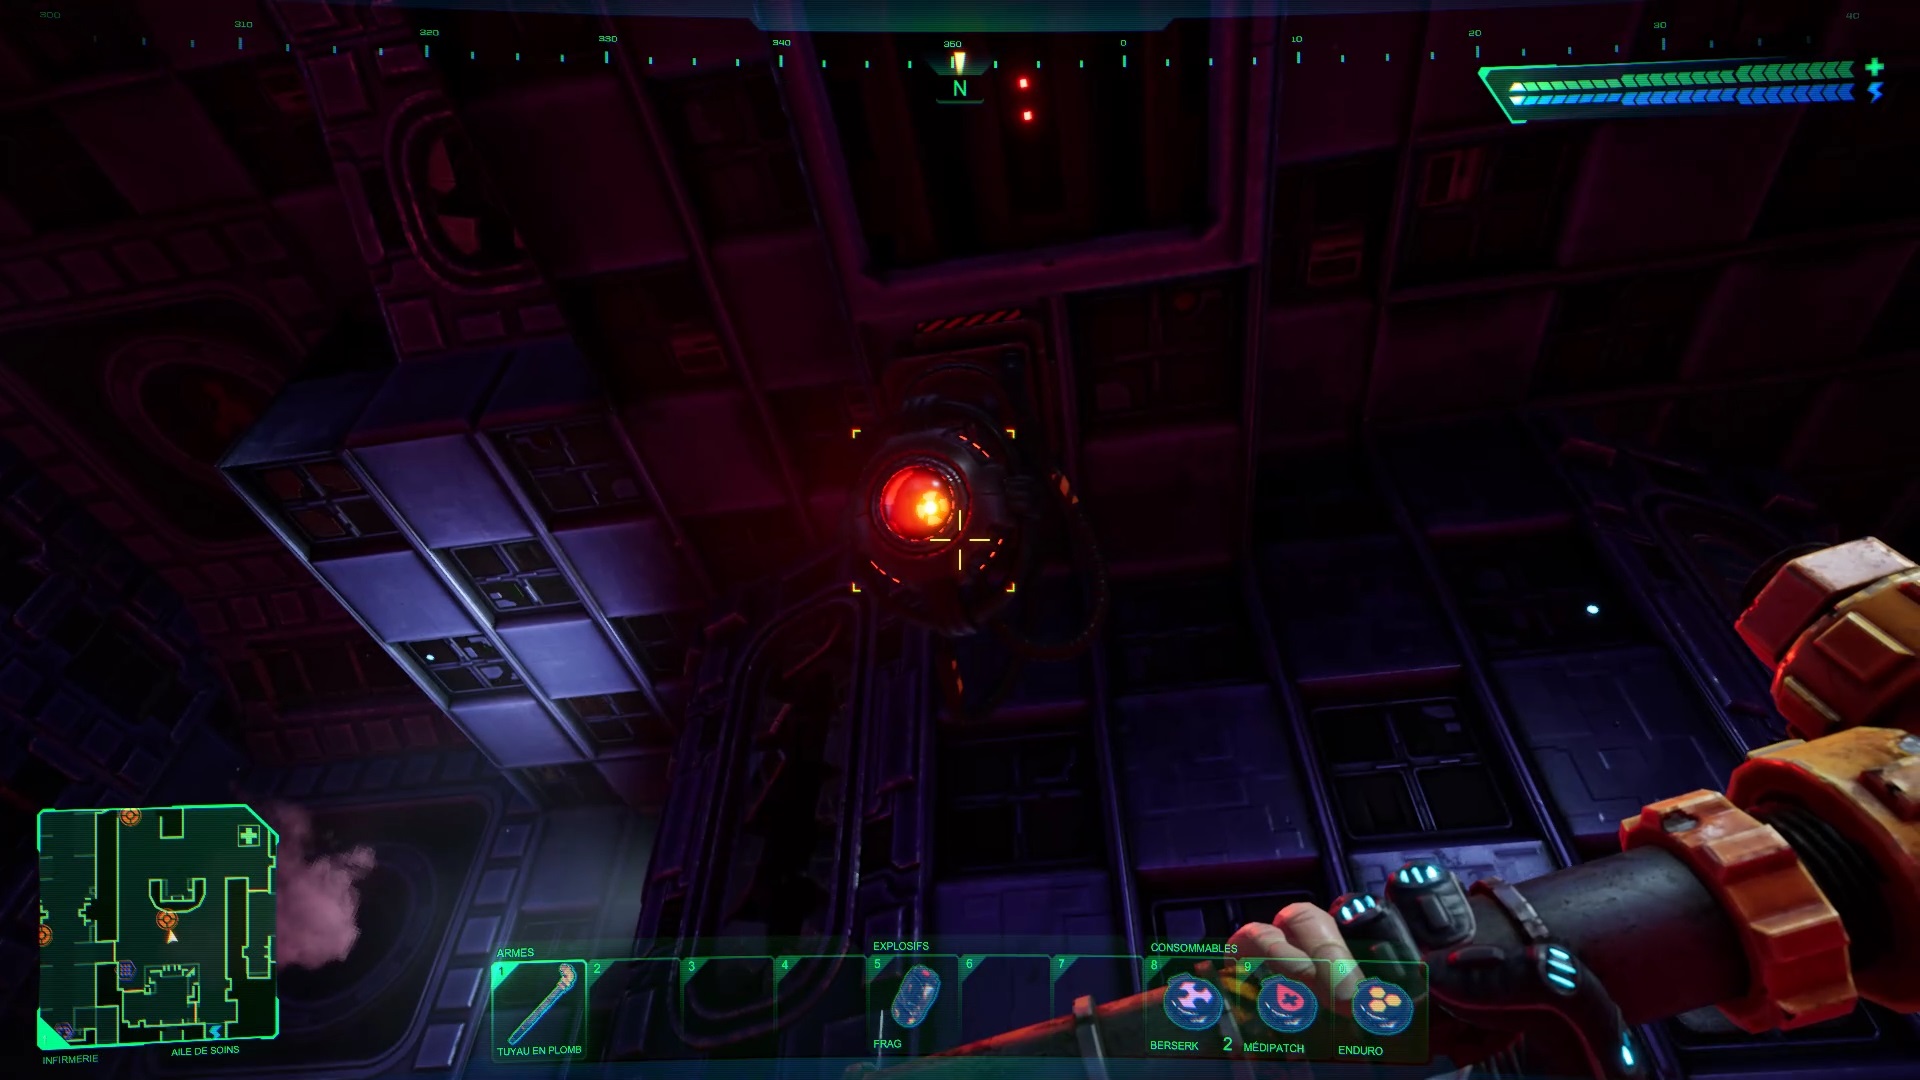
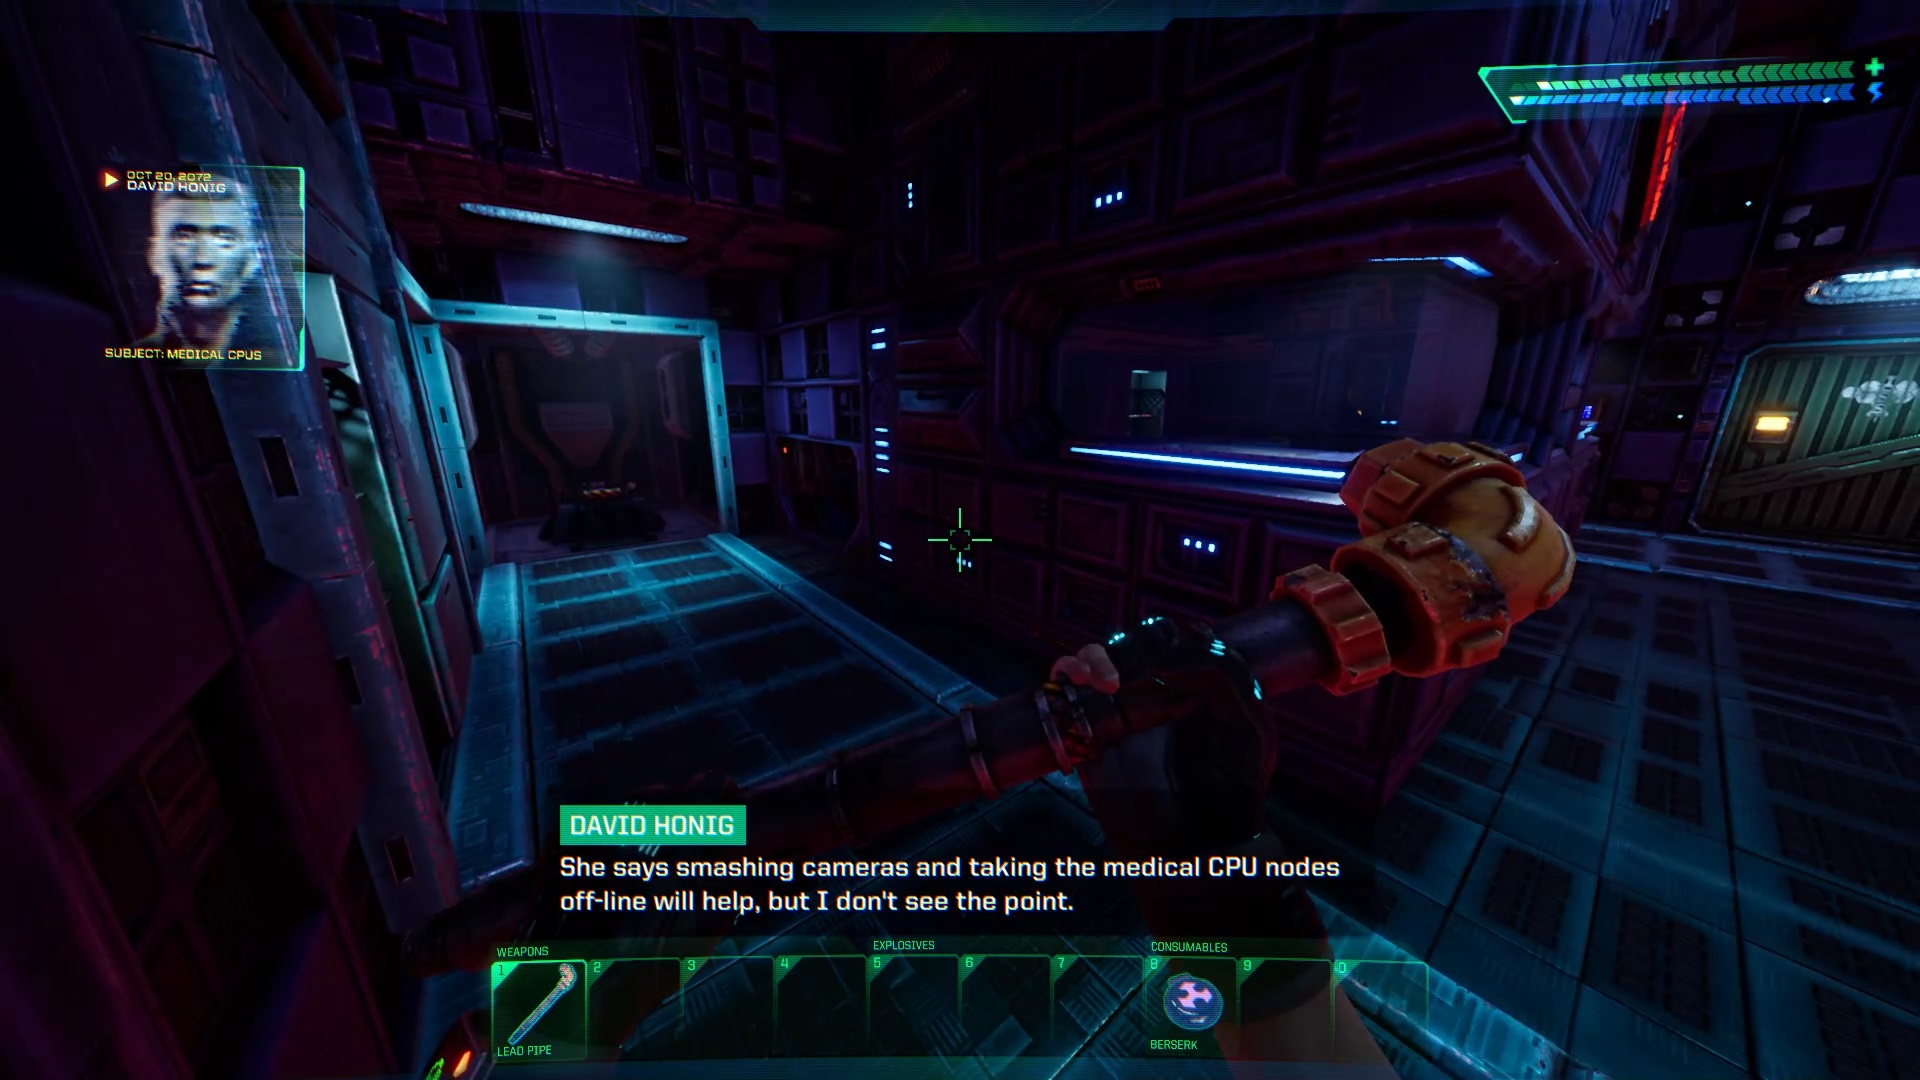
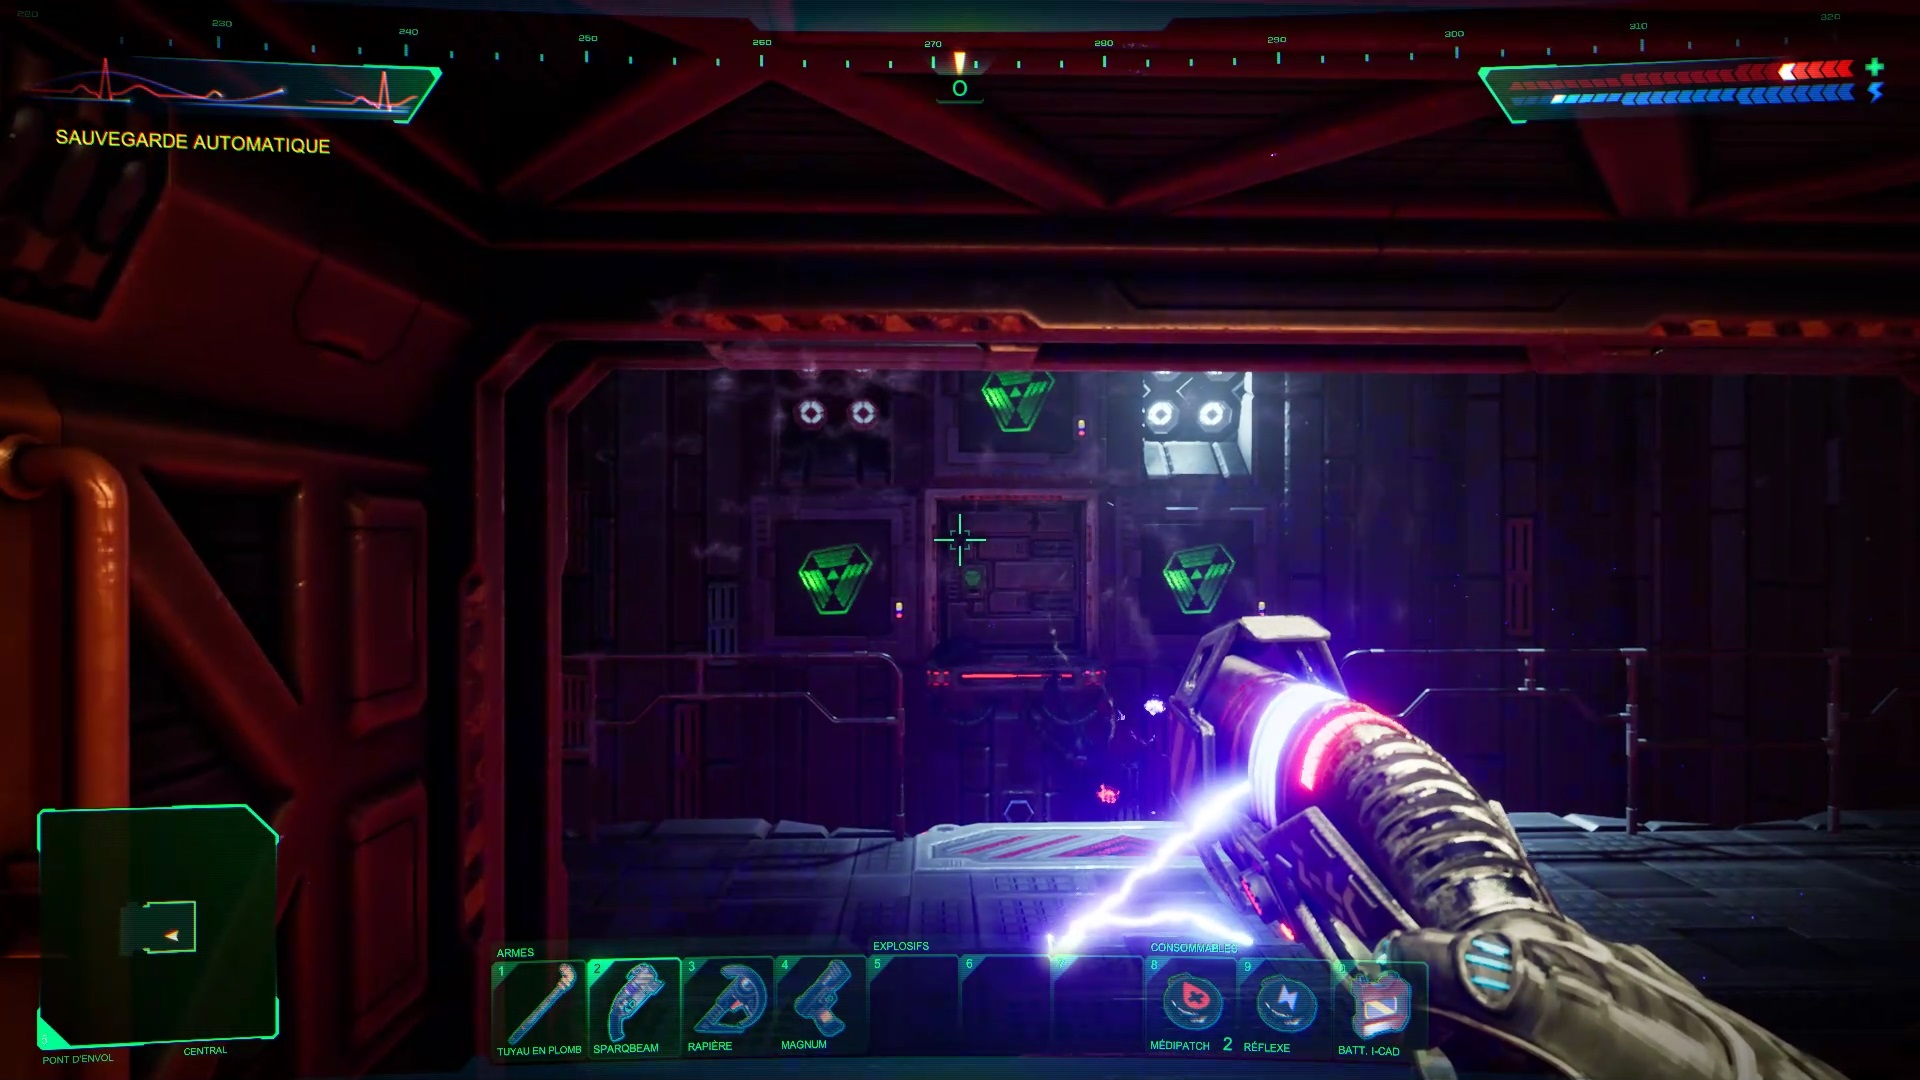
Before exiting the room, you will notice a camera hanging from the ceiling. You can identify it by the orange symbol on your map. Destroy all cameras along the way to reduce Shodan’s presence and unlock shortcuts.

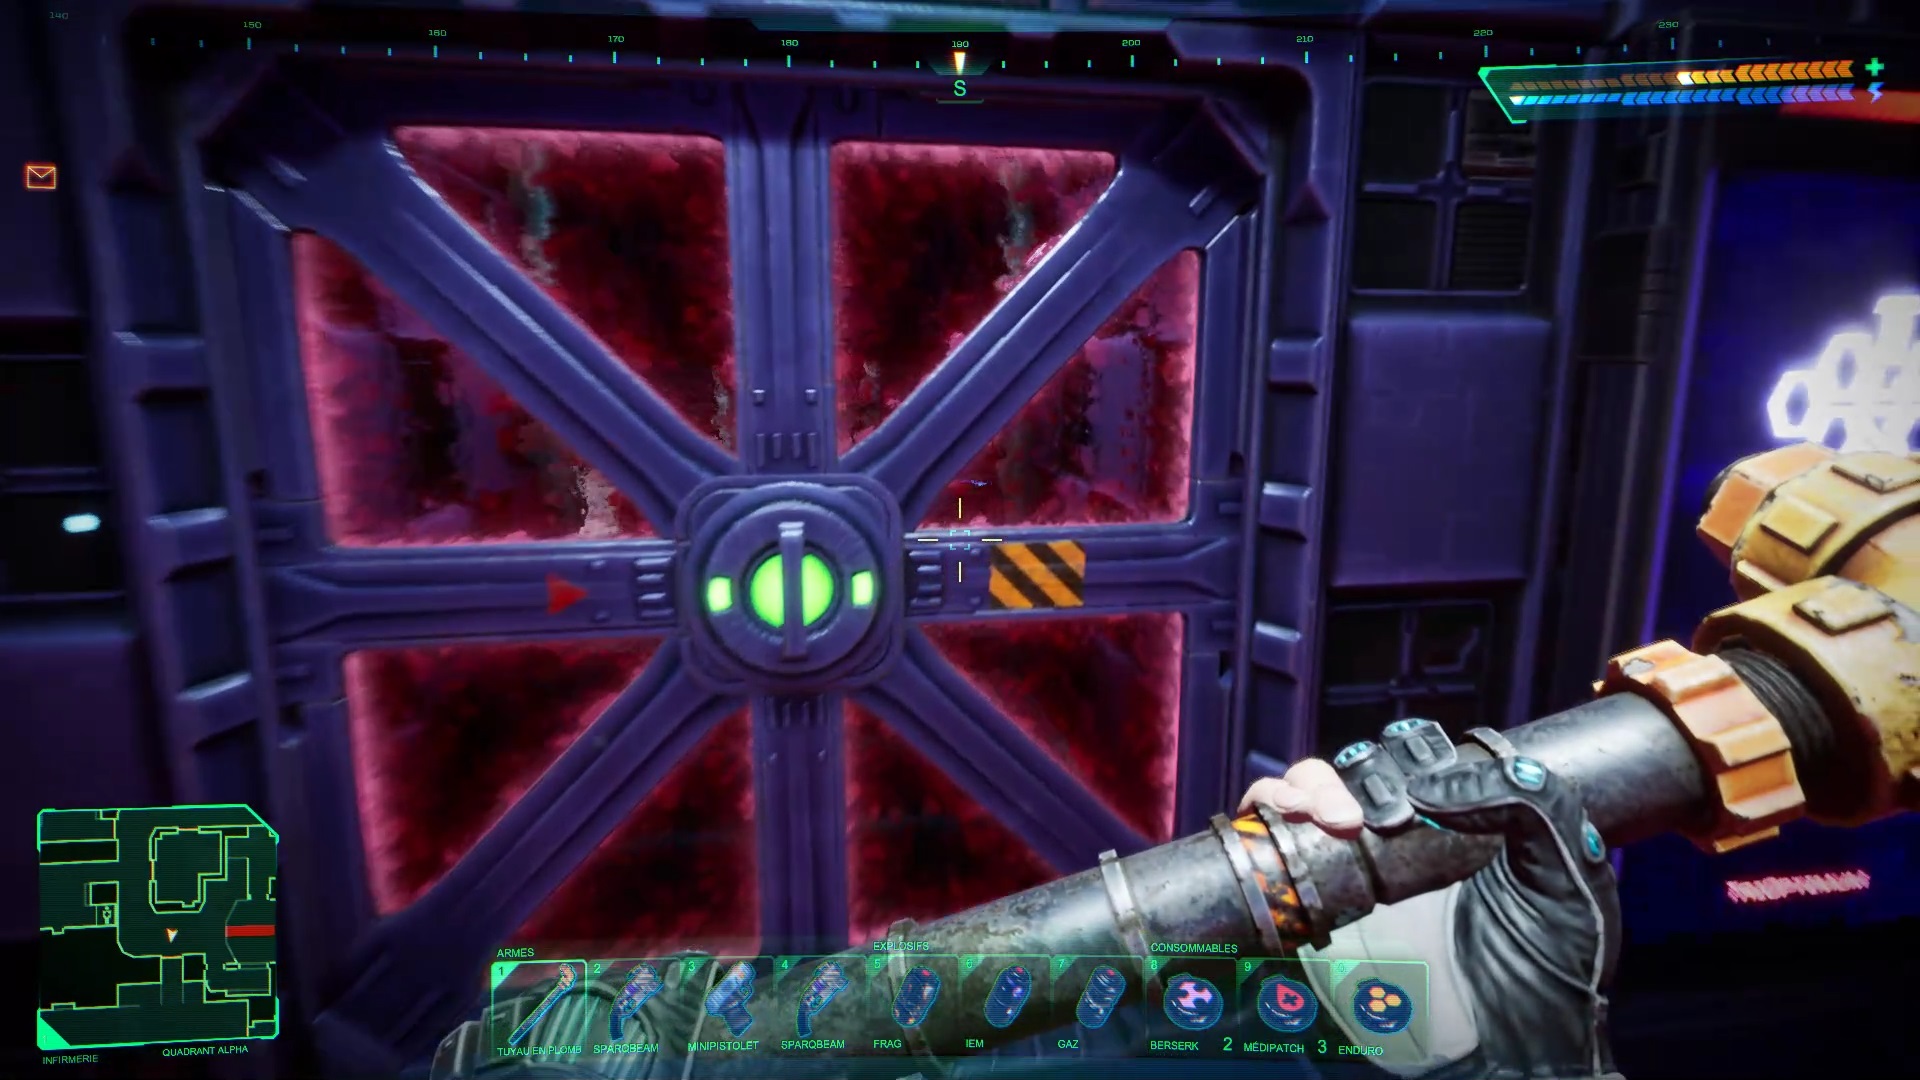
Then use the code found previously to exit. Go ahead and unlock the door opposite with your card to find a blue card inside on a shelf. Exit and pull the lever in the hallway to open a portal to the north.
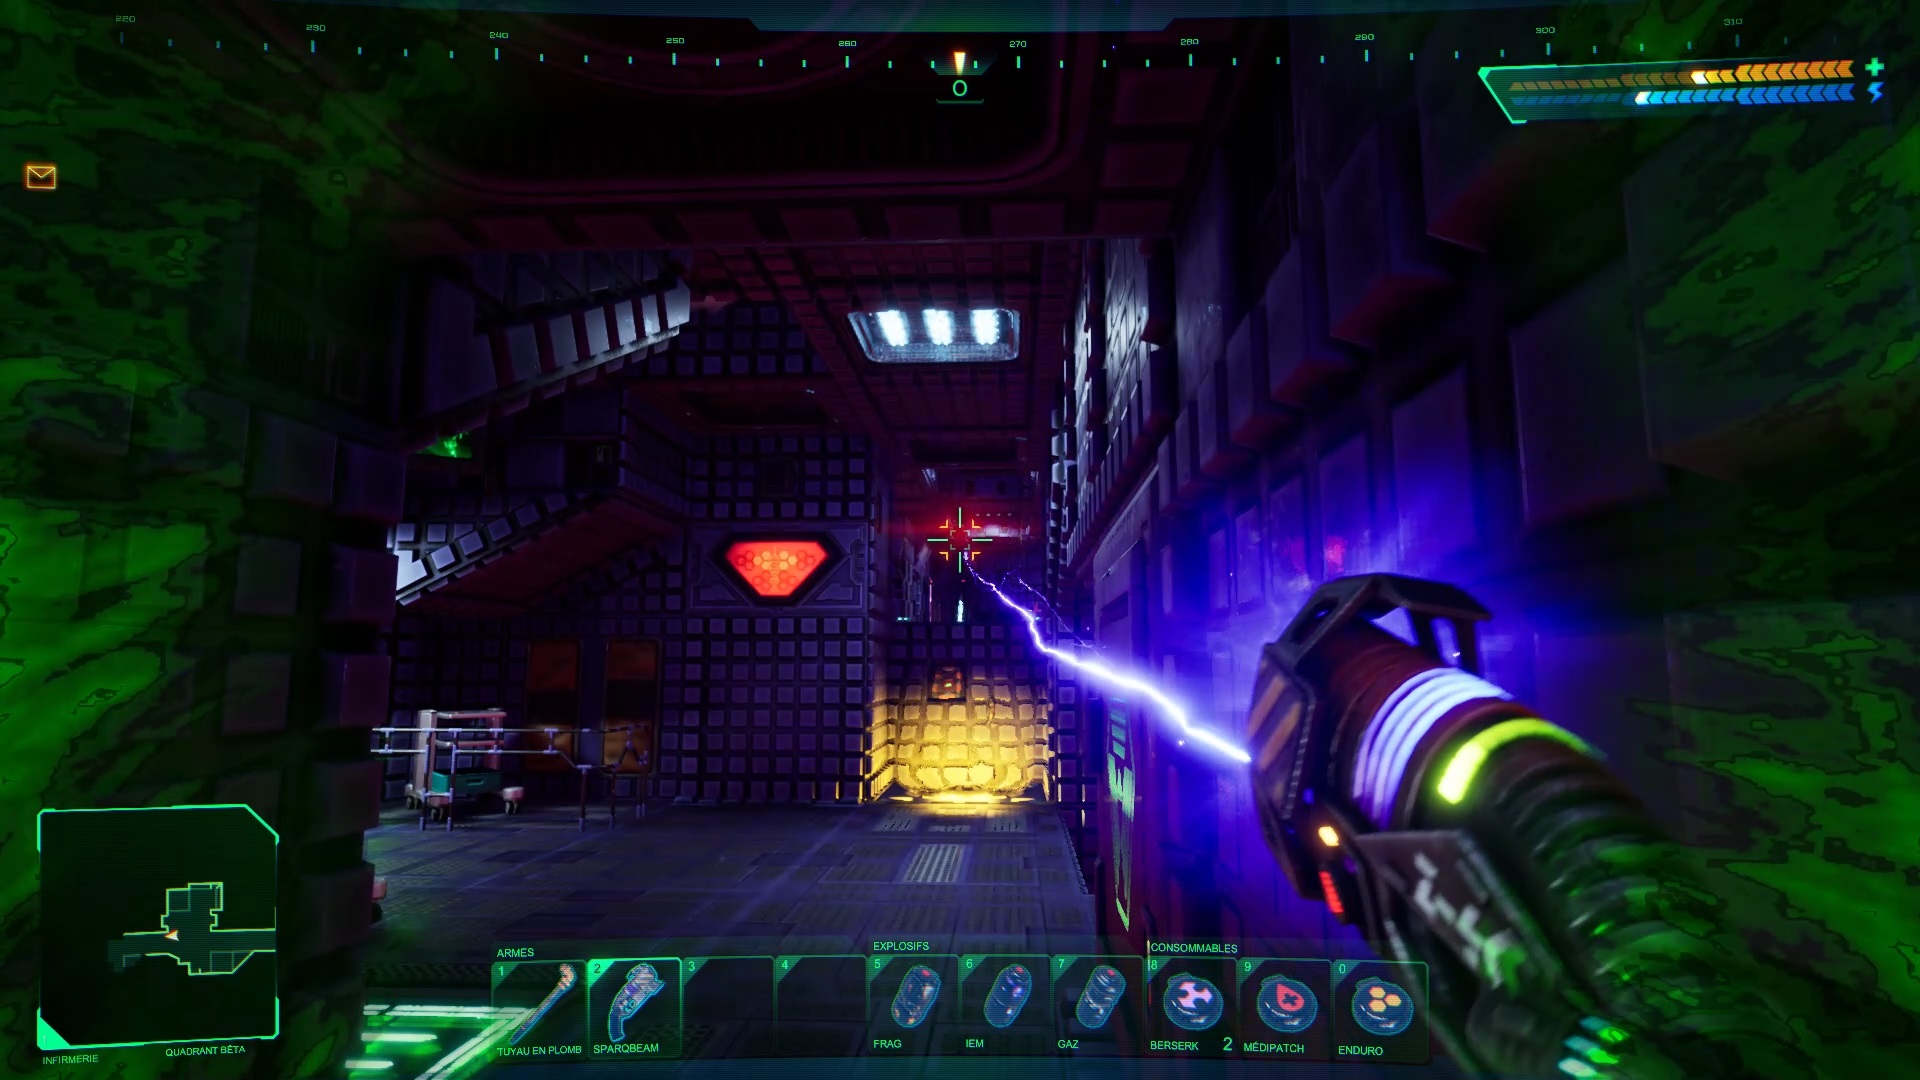
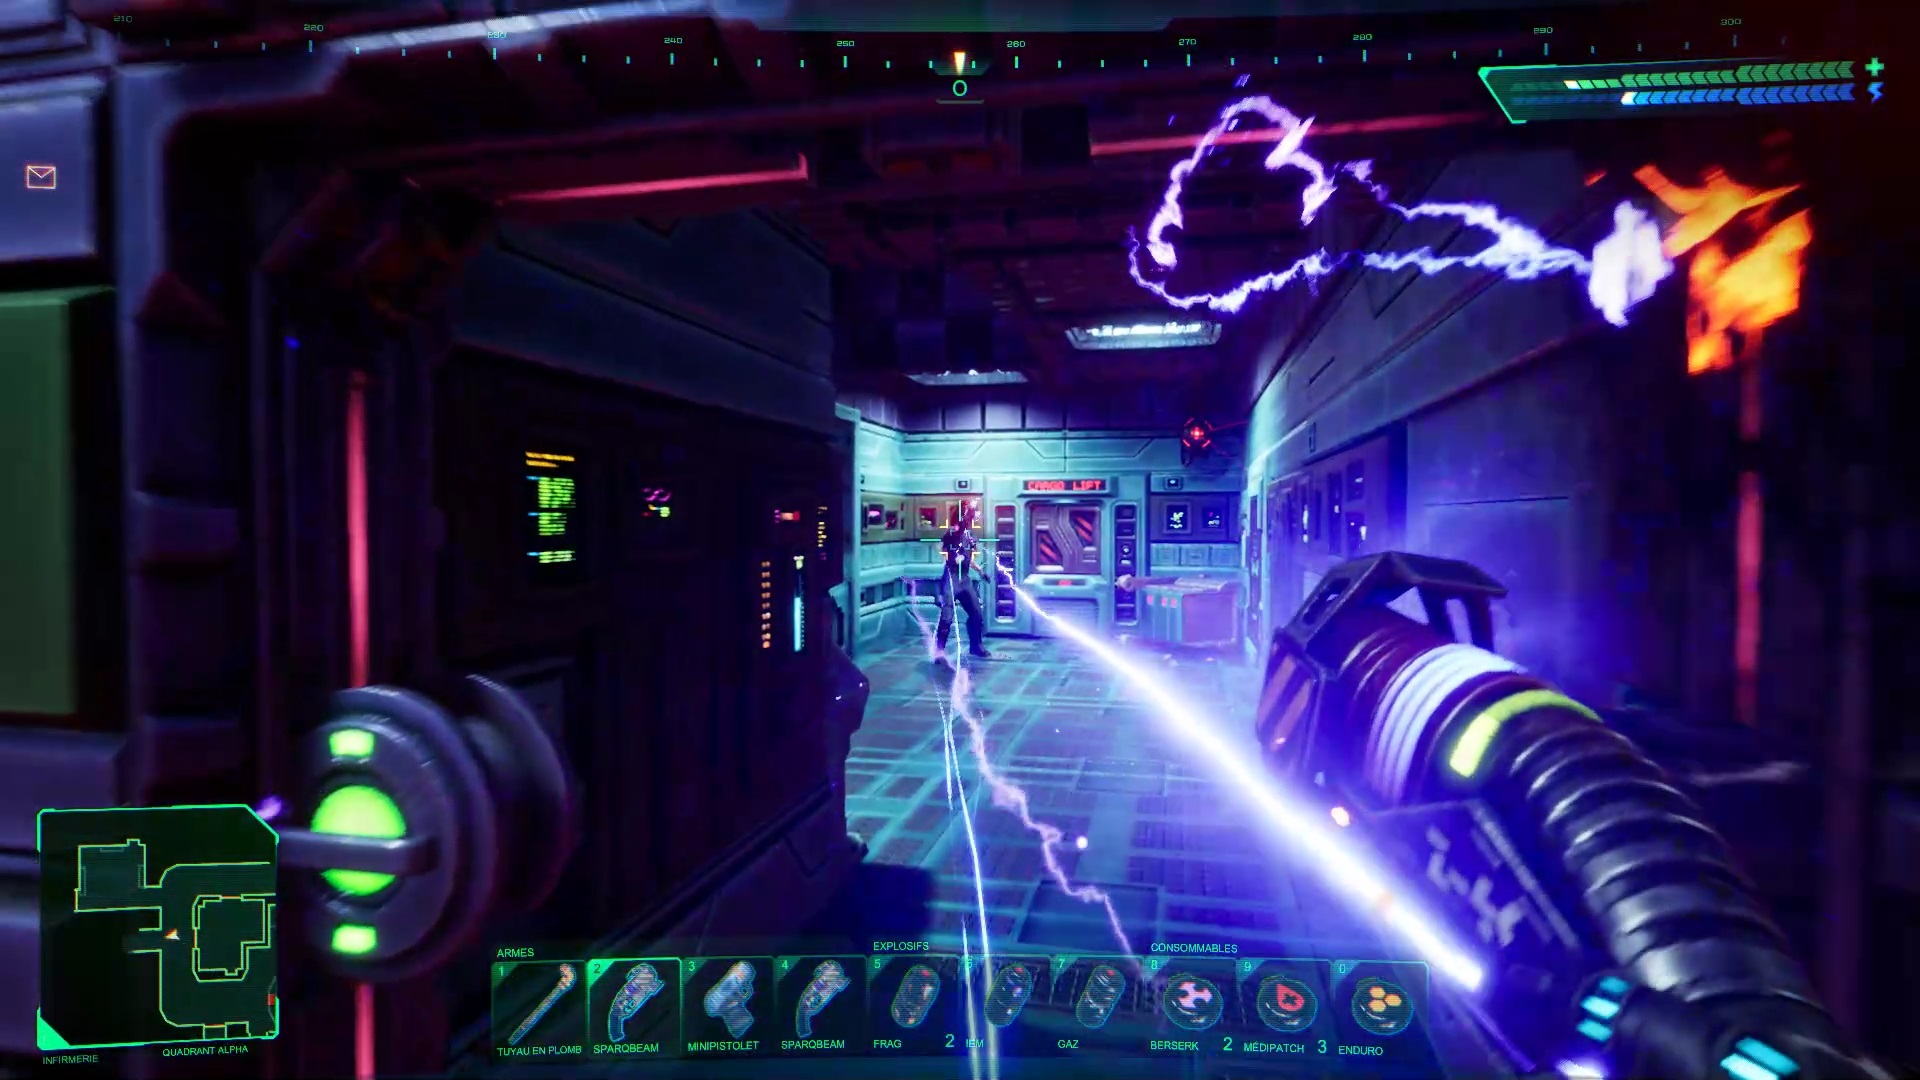
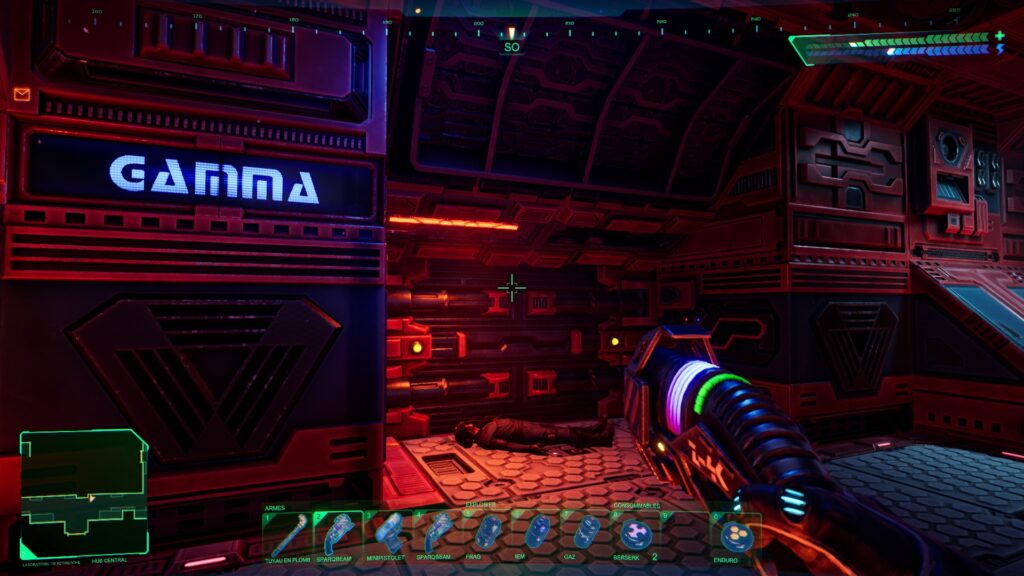
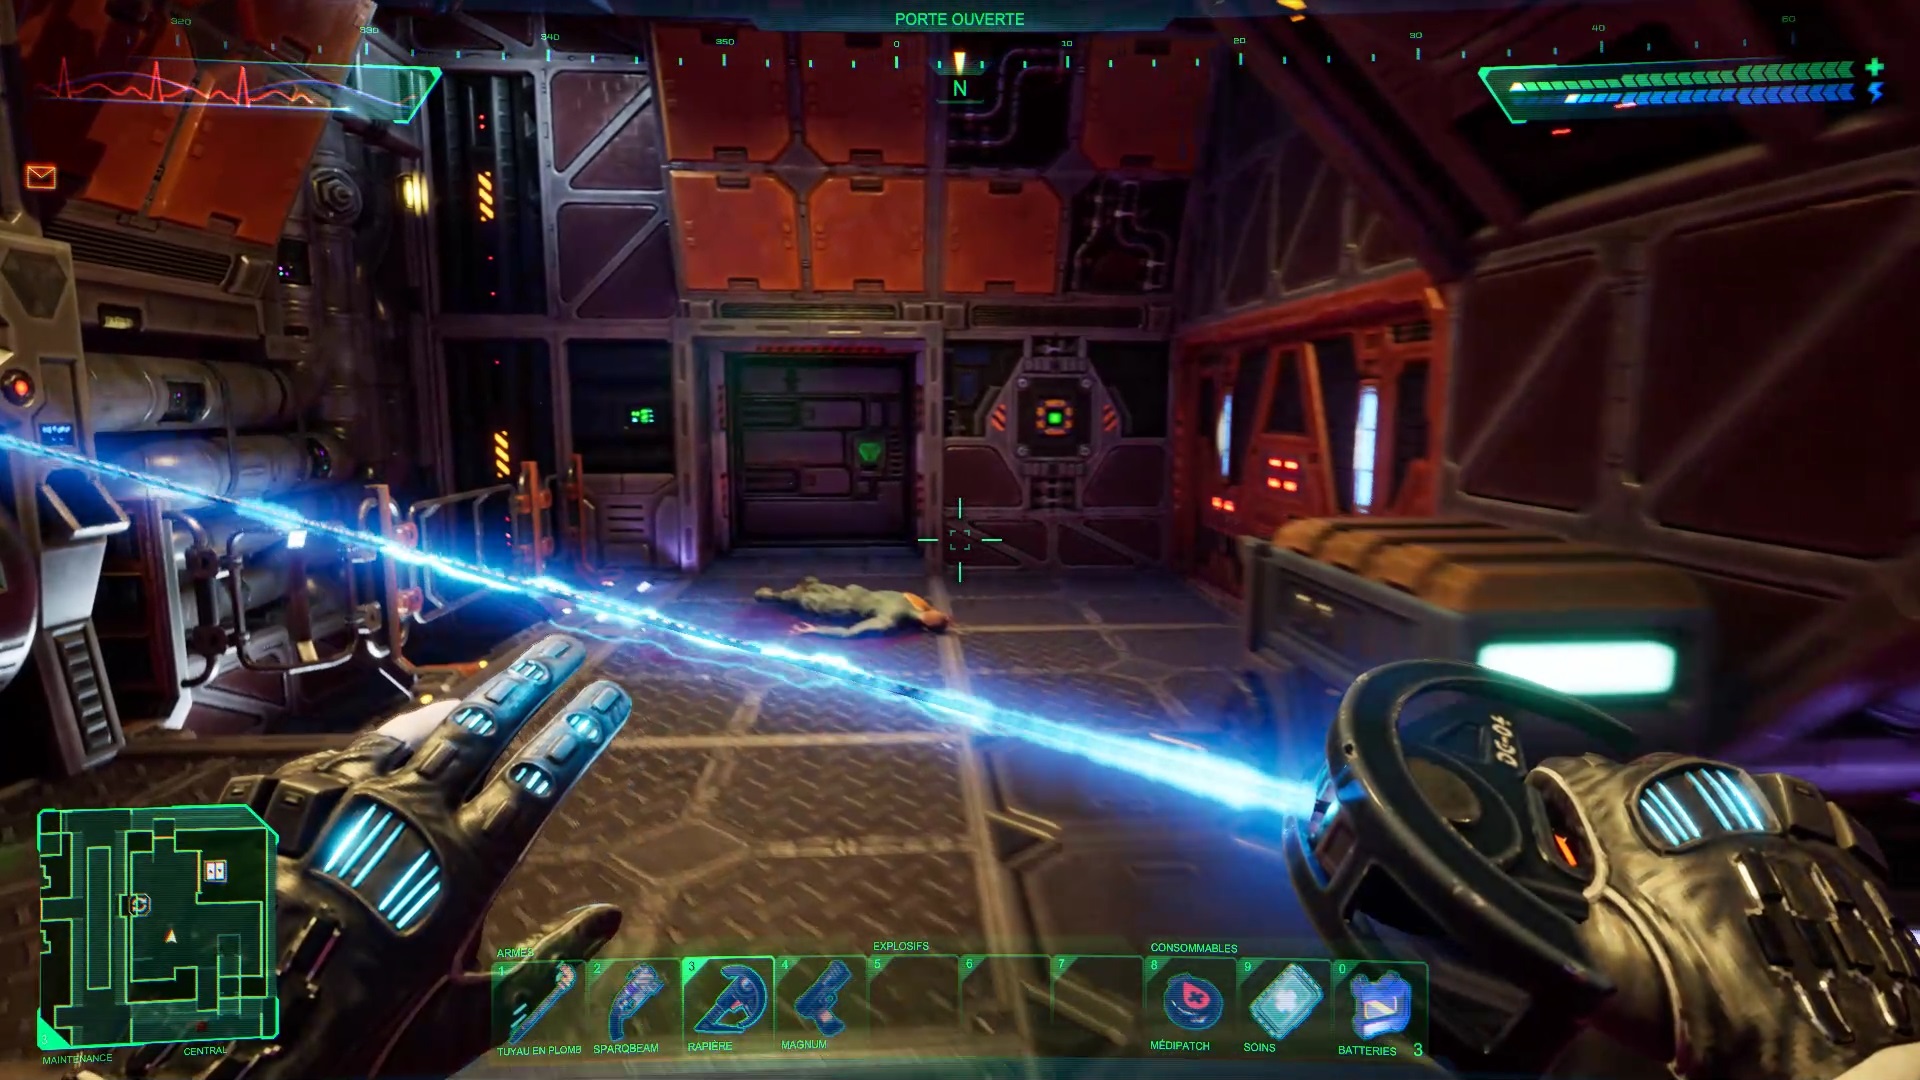
Clear the area and turn on the light with the switch to notice an entrance near a pillar to the north. Go inside to find a new weapon on the ground. Exit and continue down the hallway east to reach the Gamma Portal. Pull the lever to join a new room. Take care of the threats and enter through the door to the south.


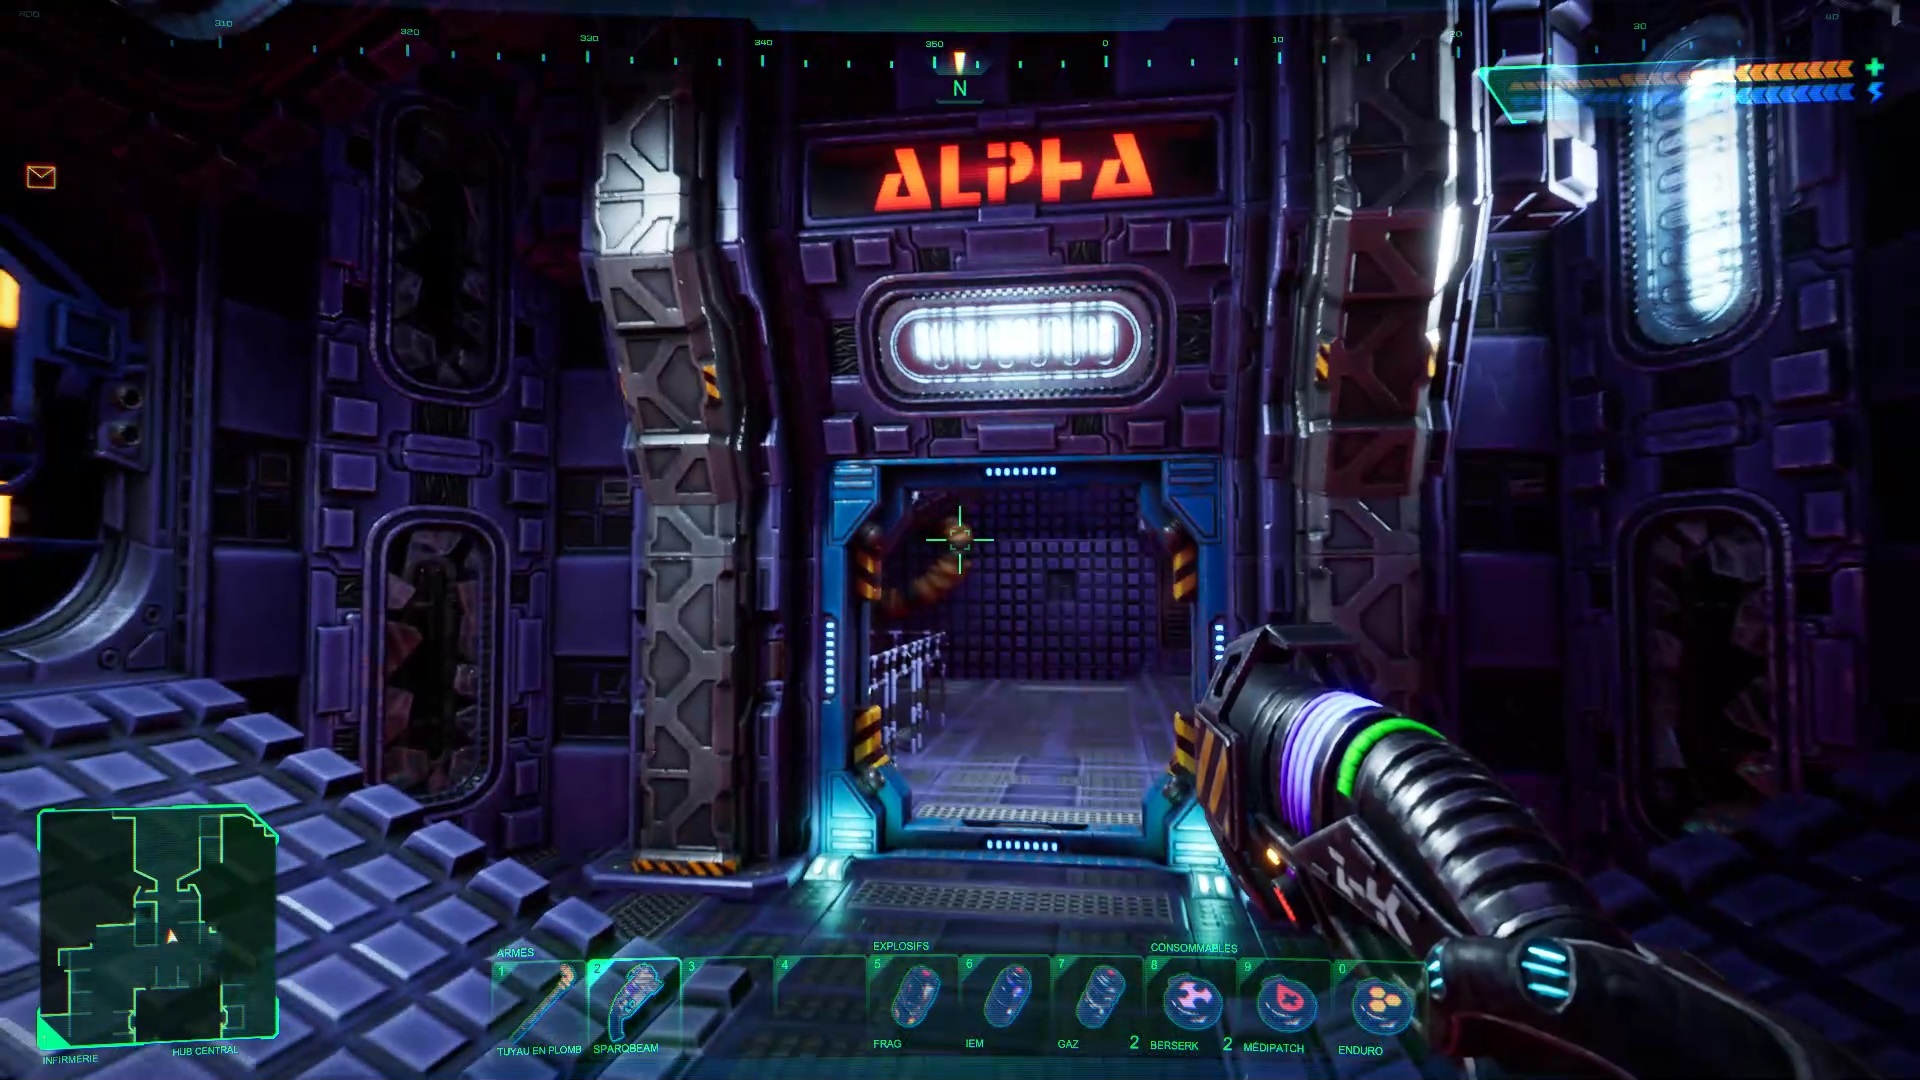
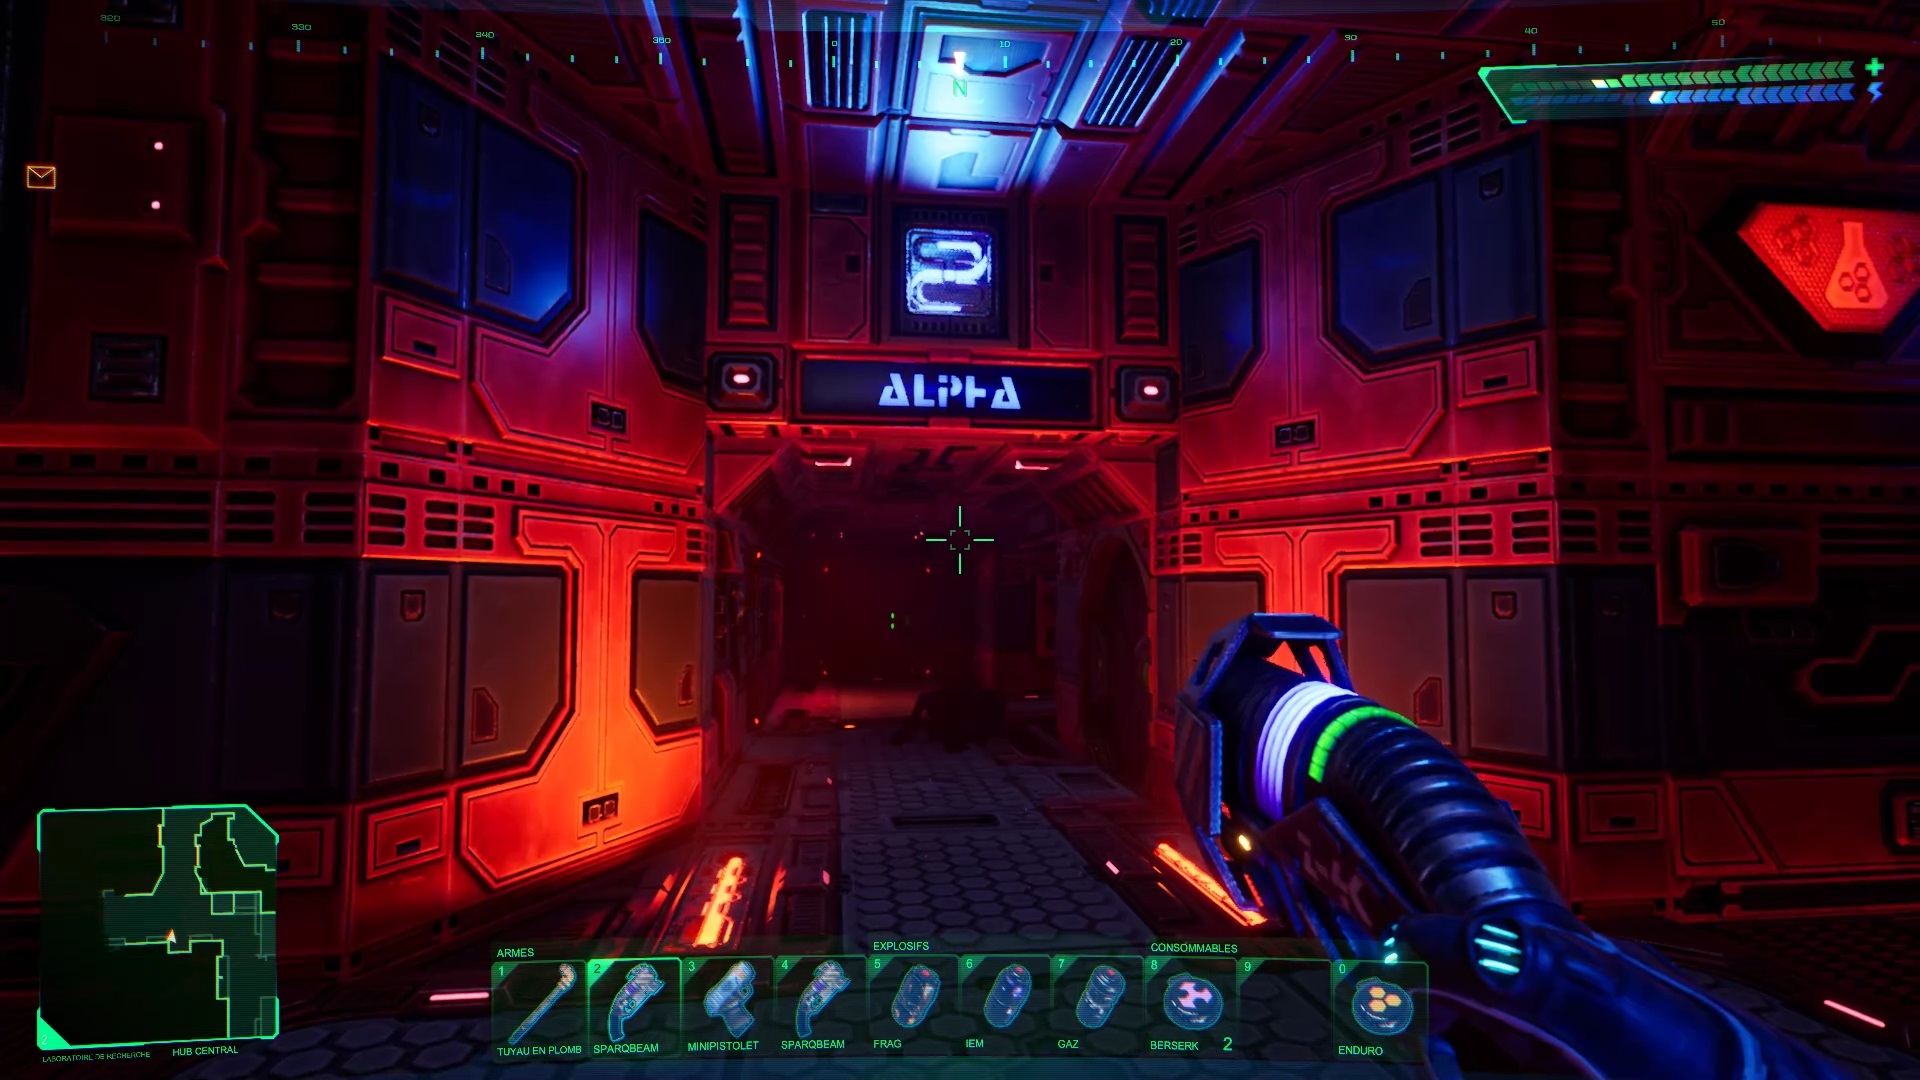
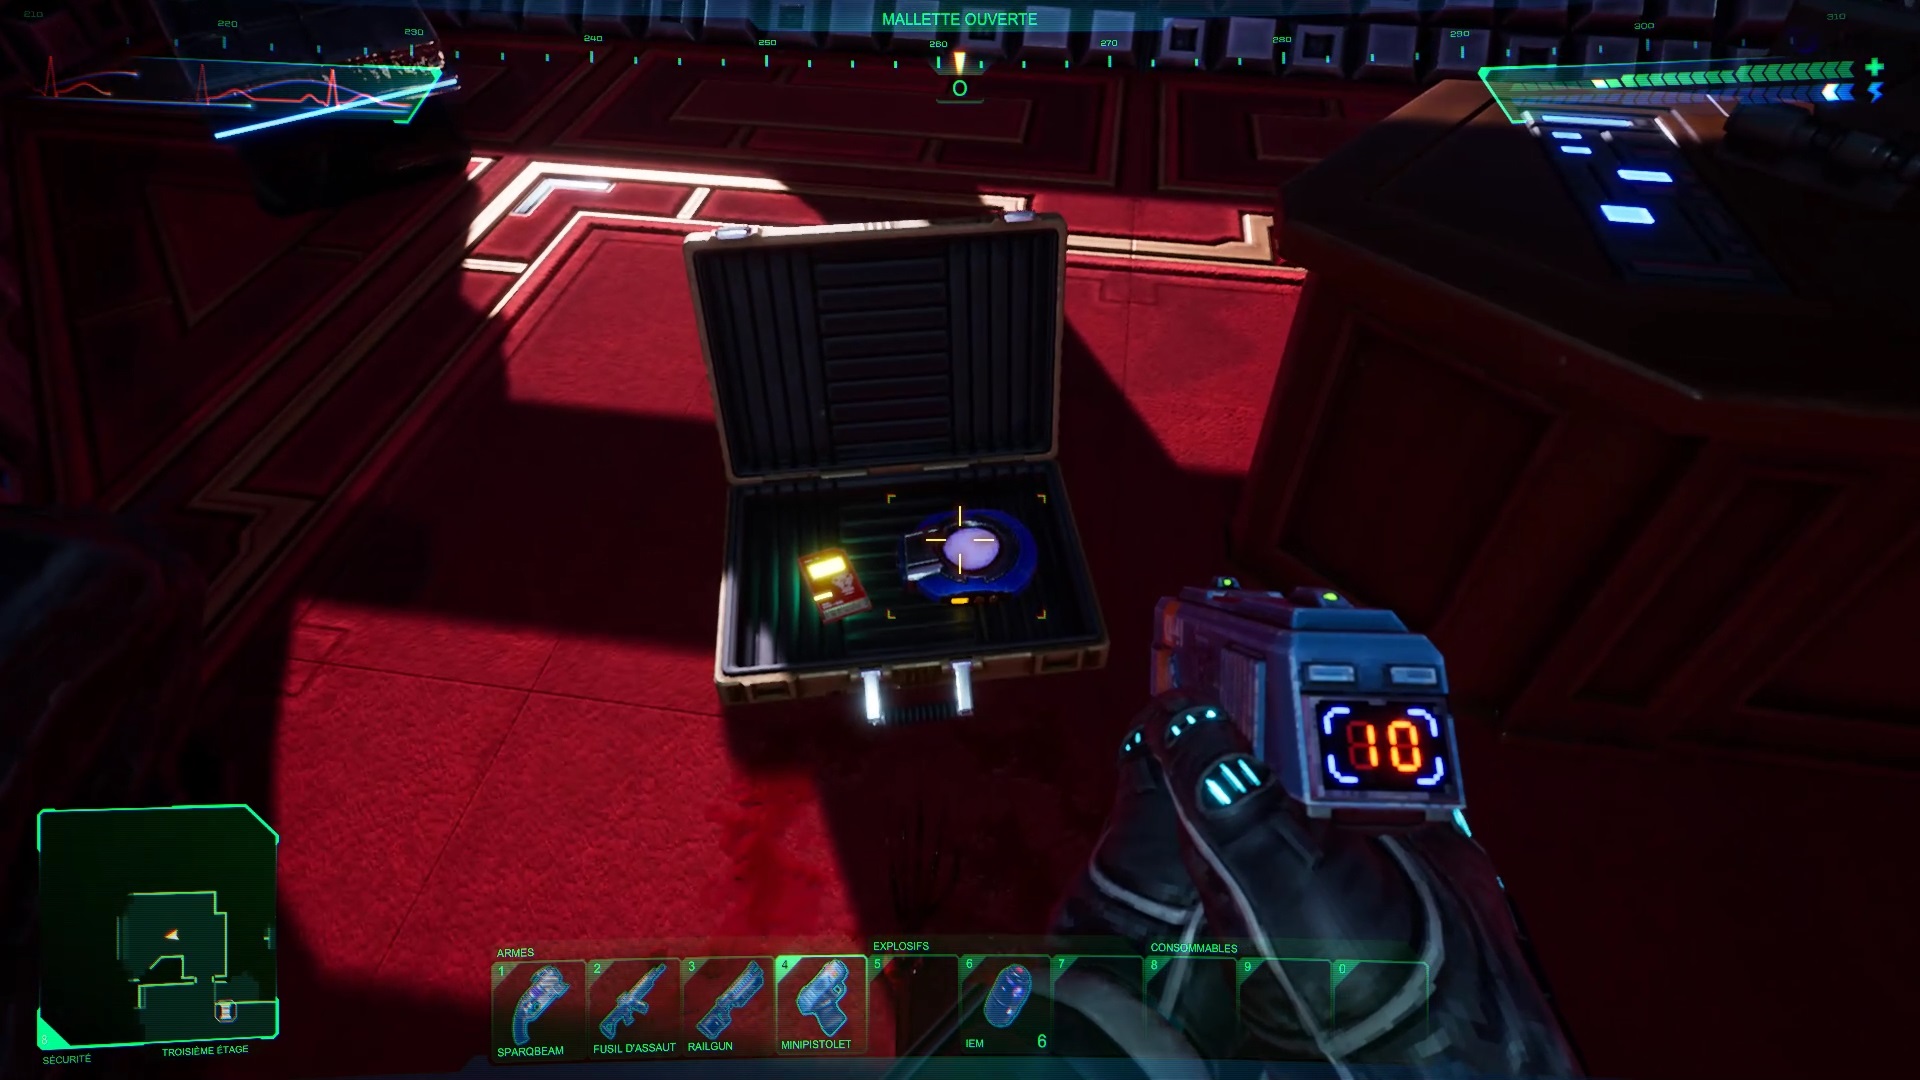
In the room, eliminate the enemies and open the door in front of the inscription « Die » to find a briefcase inside. This contains a new access card. Exit and head east to find a new door next to the « Resist » sign. Use the map to lead the way. Fight the threats and search the table in the center of the room to collect a new weapon. Then climb the stairs to the Alpha Zone.
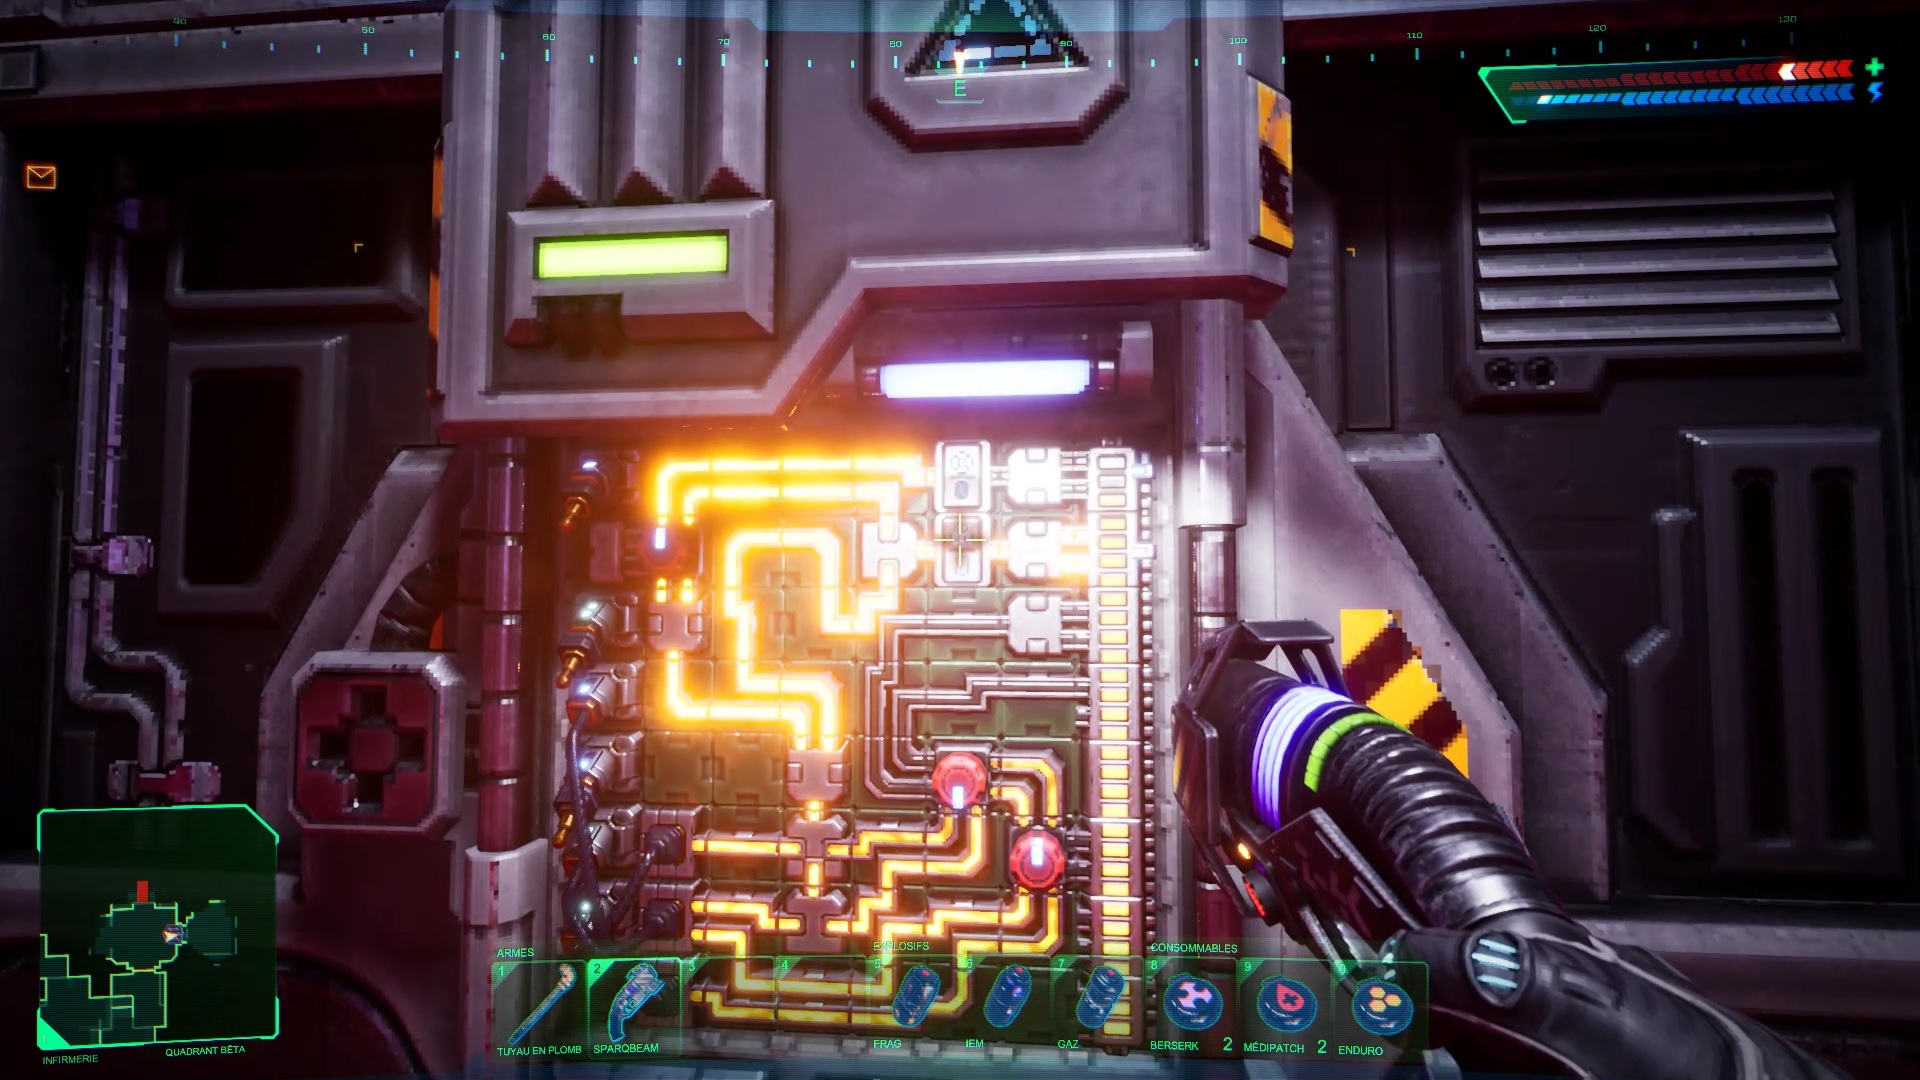

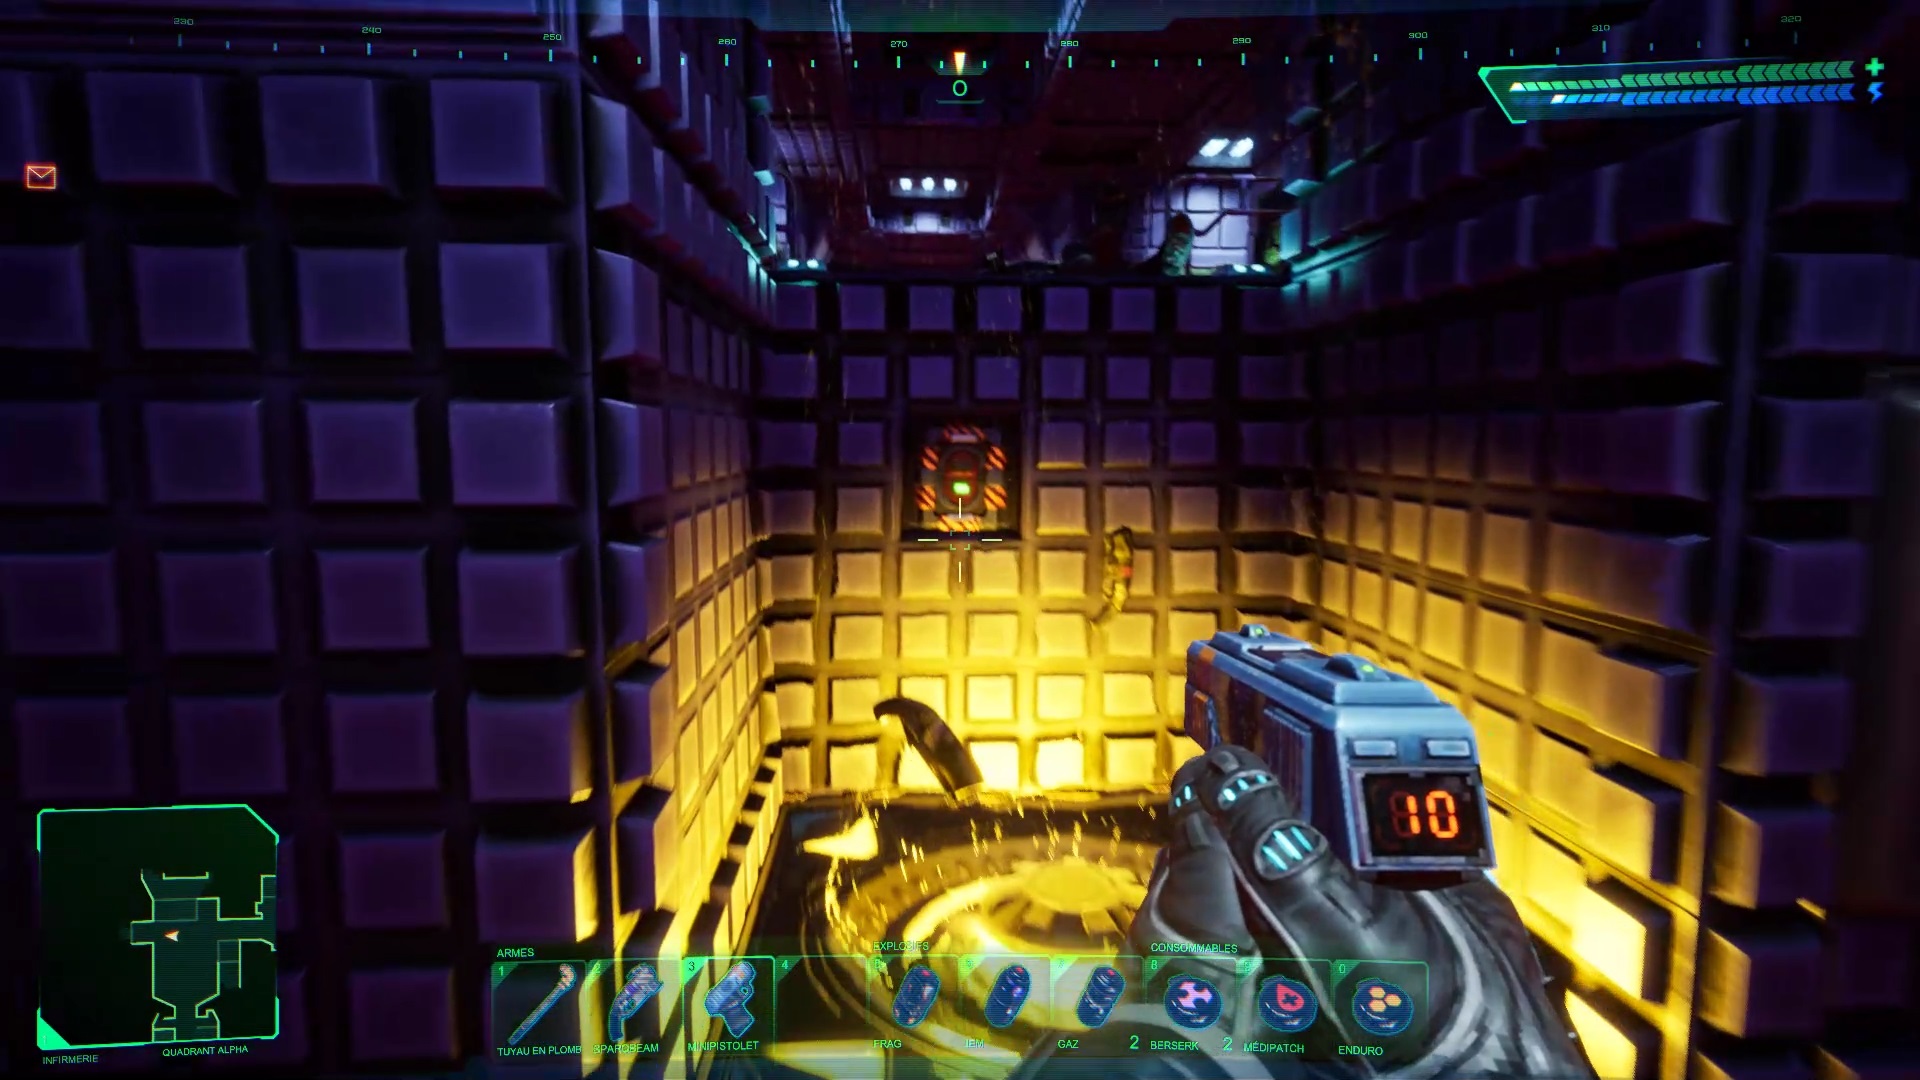
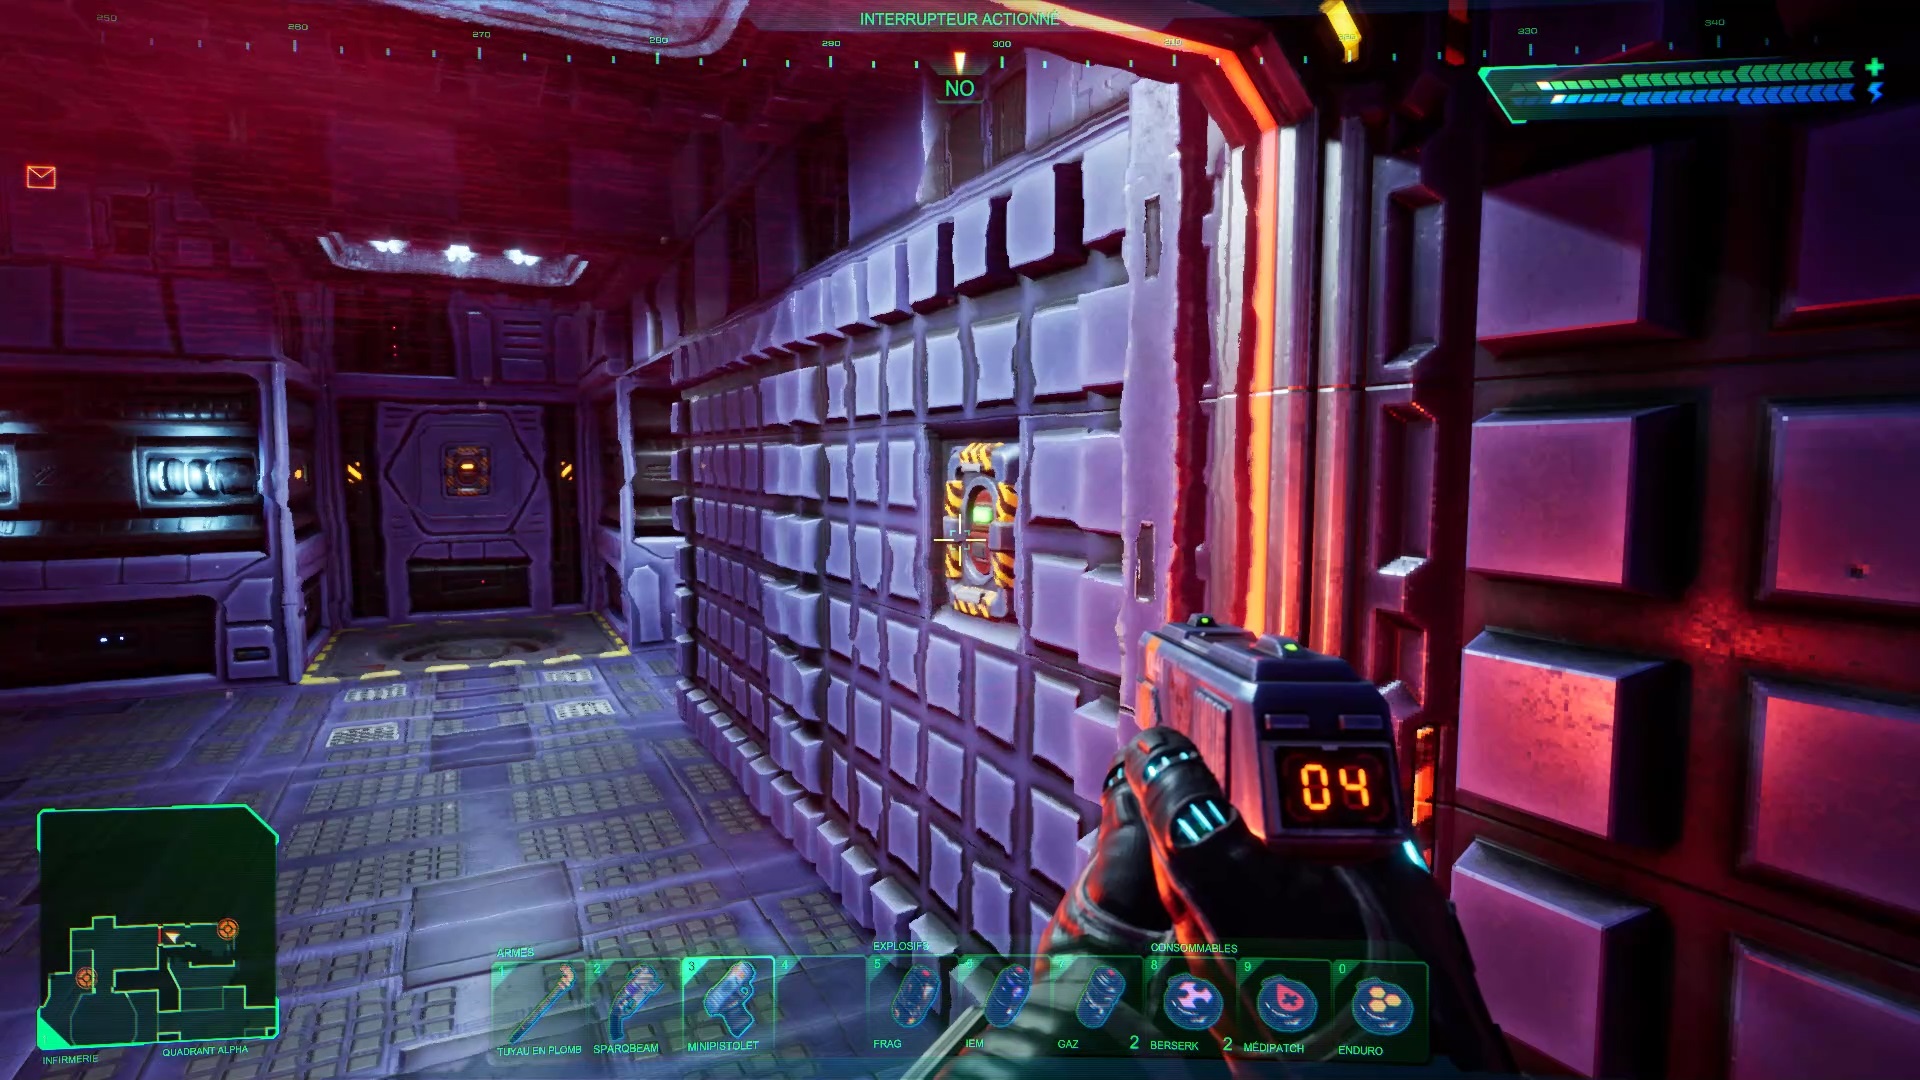
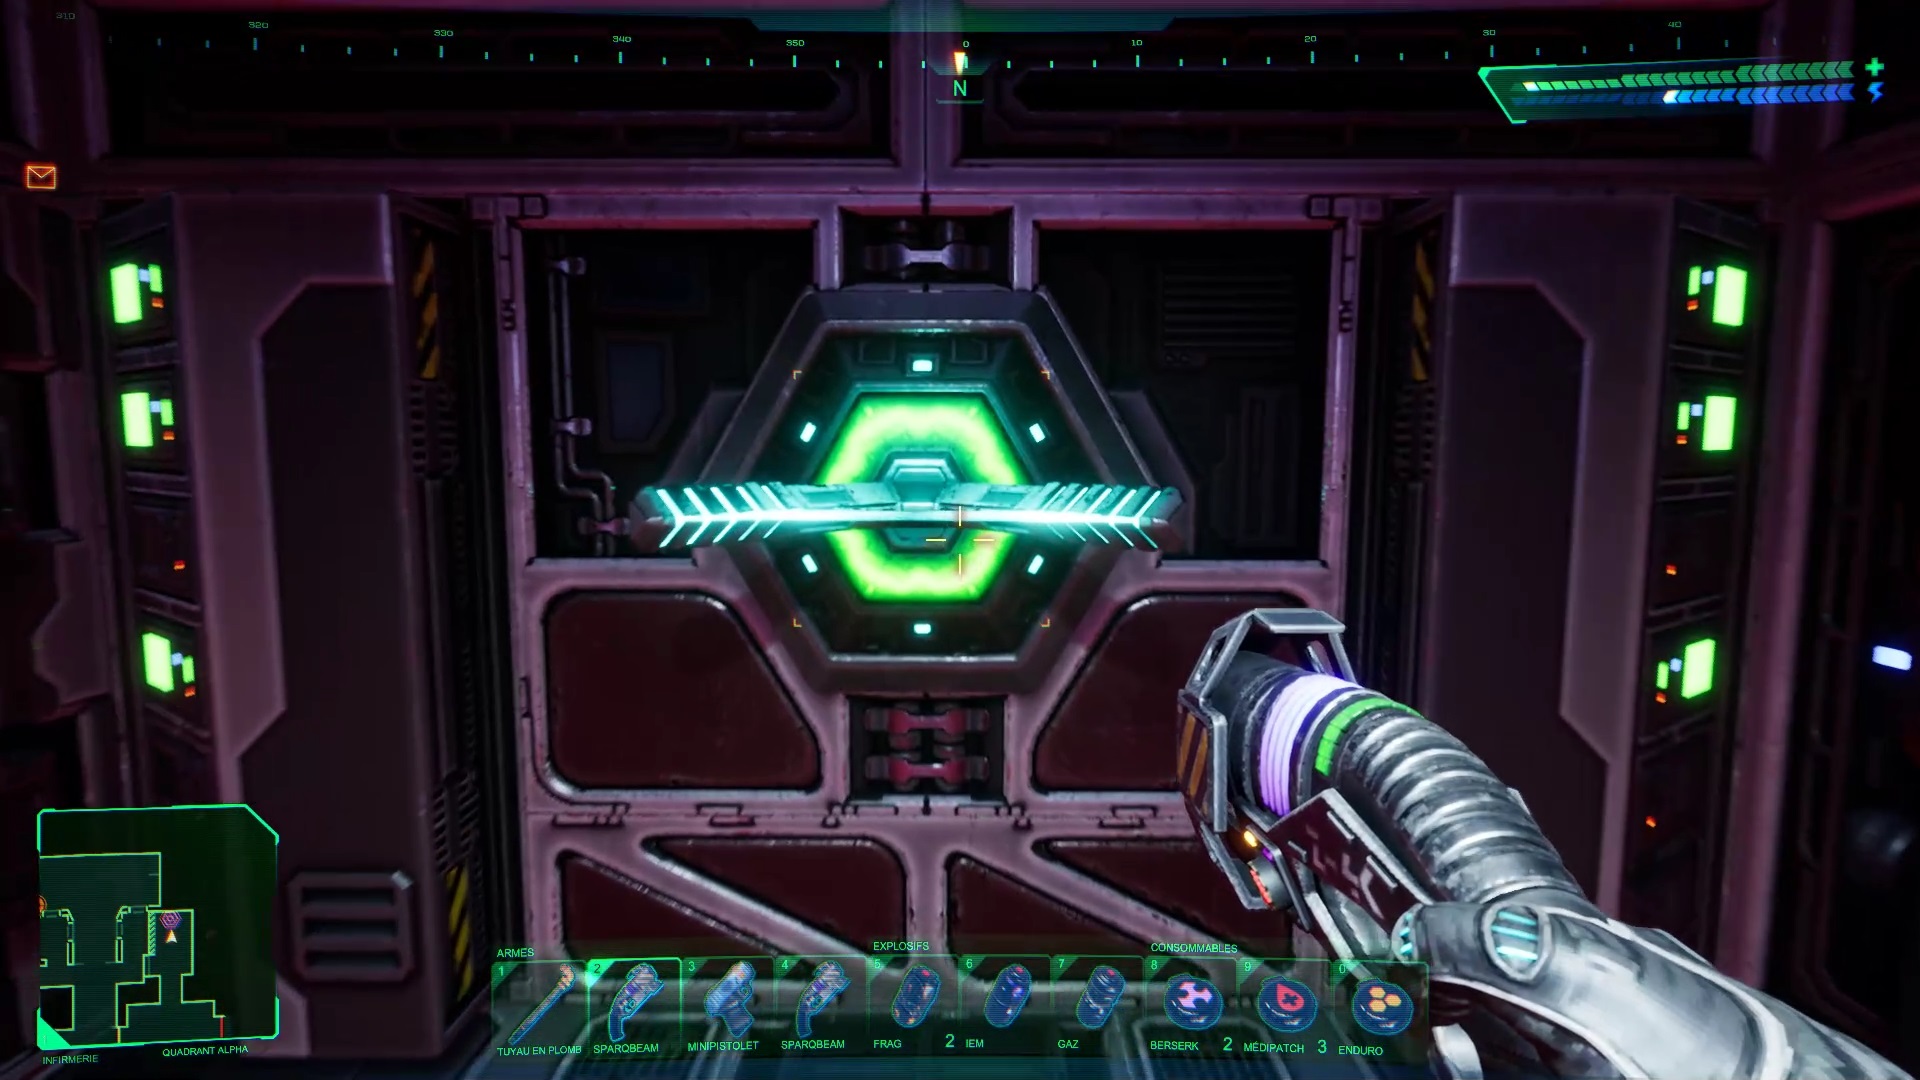
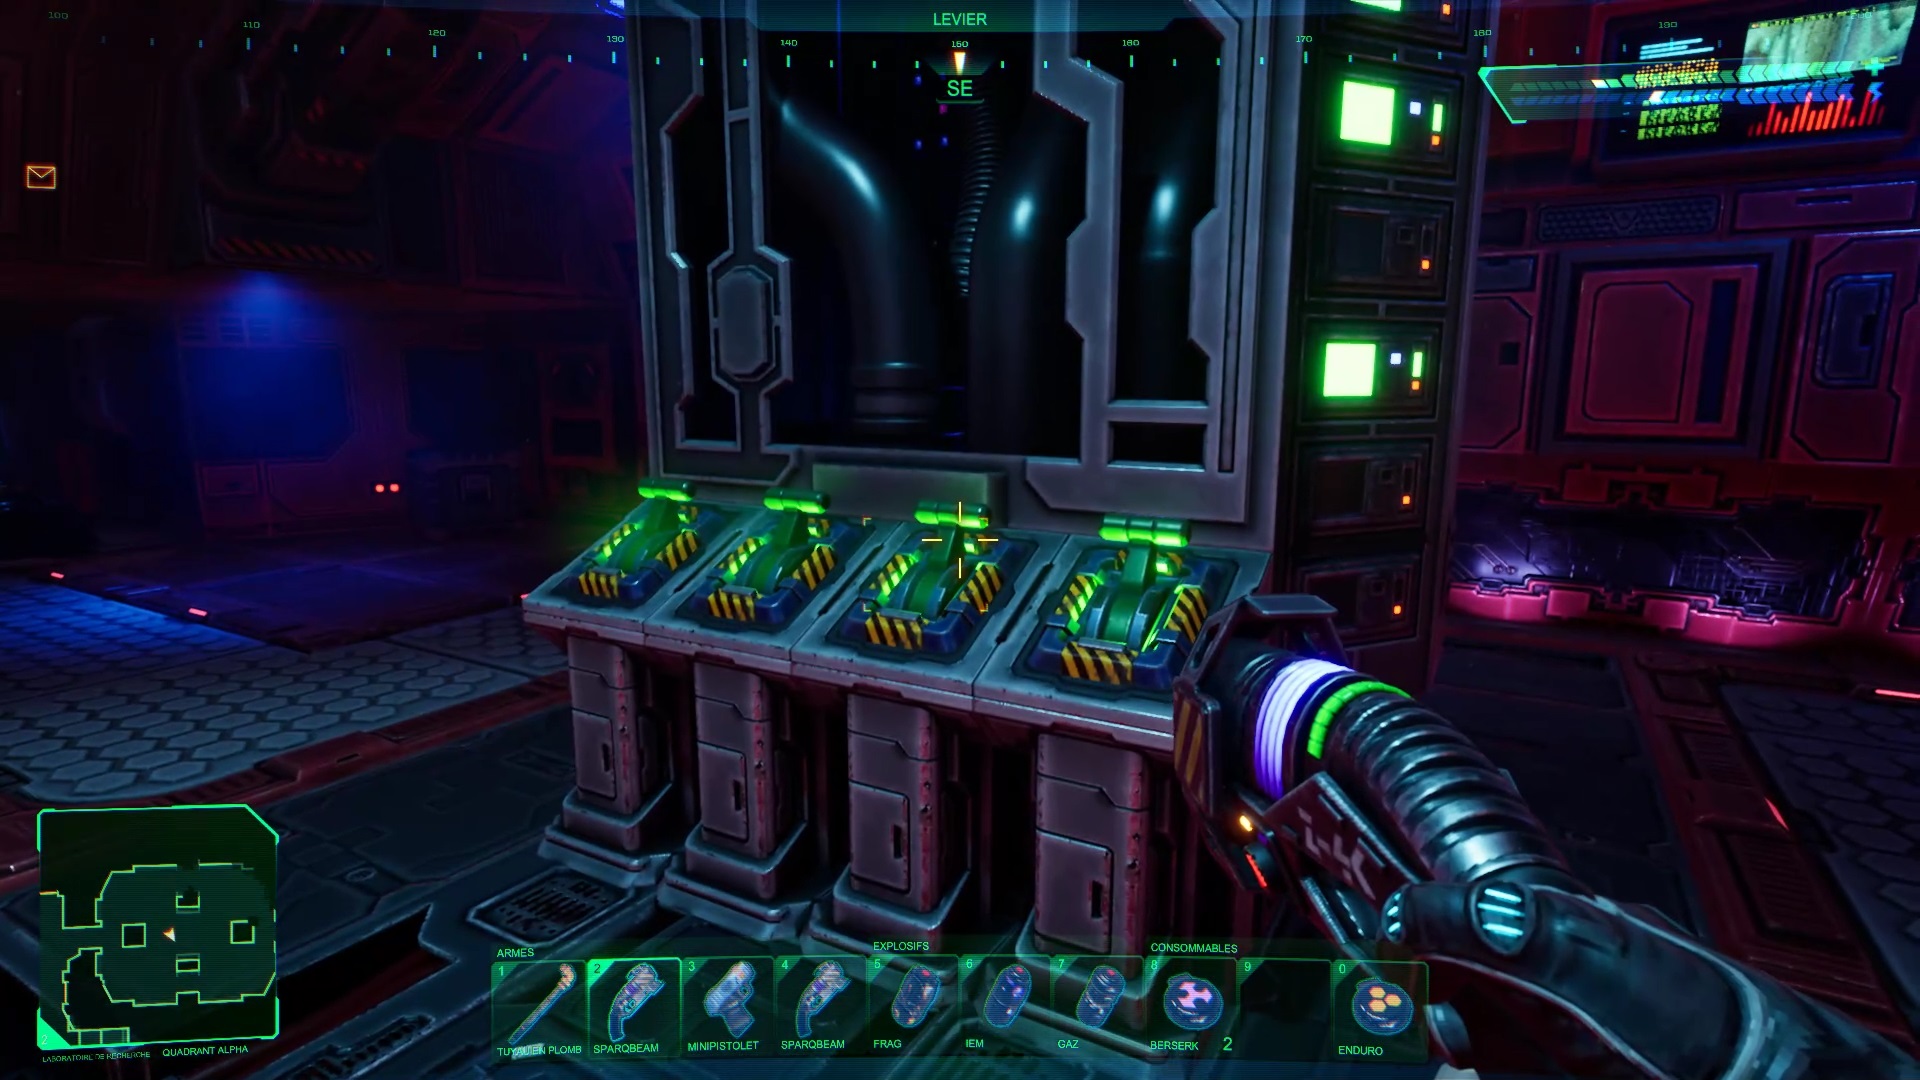
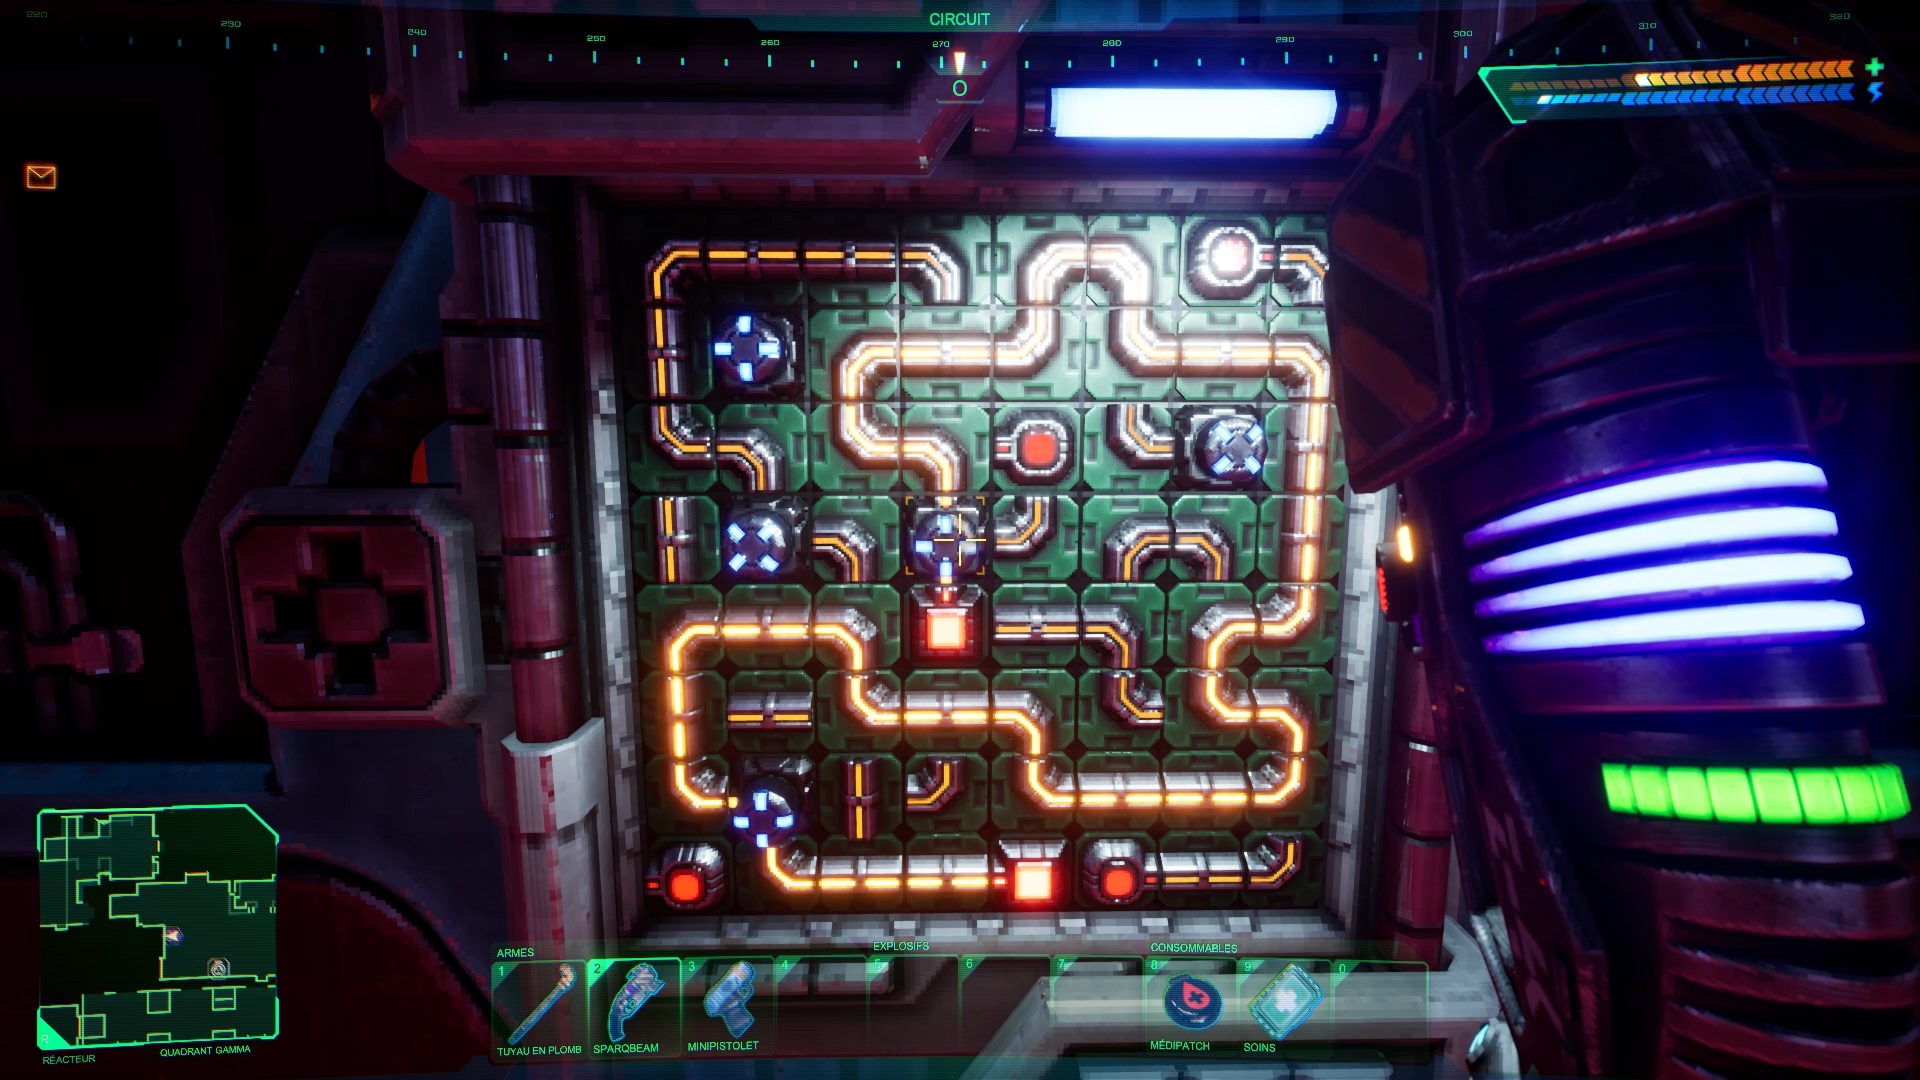
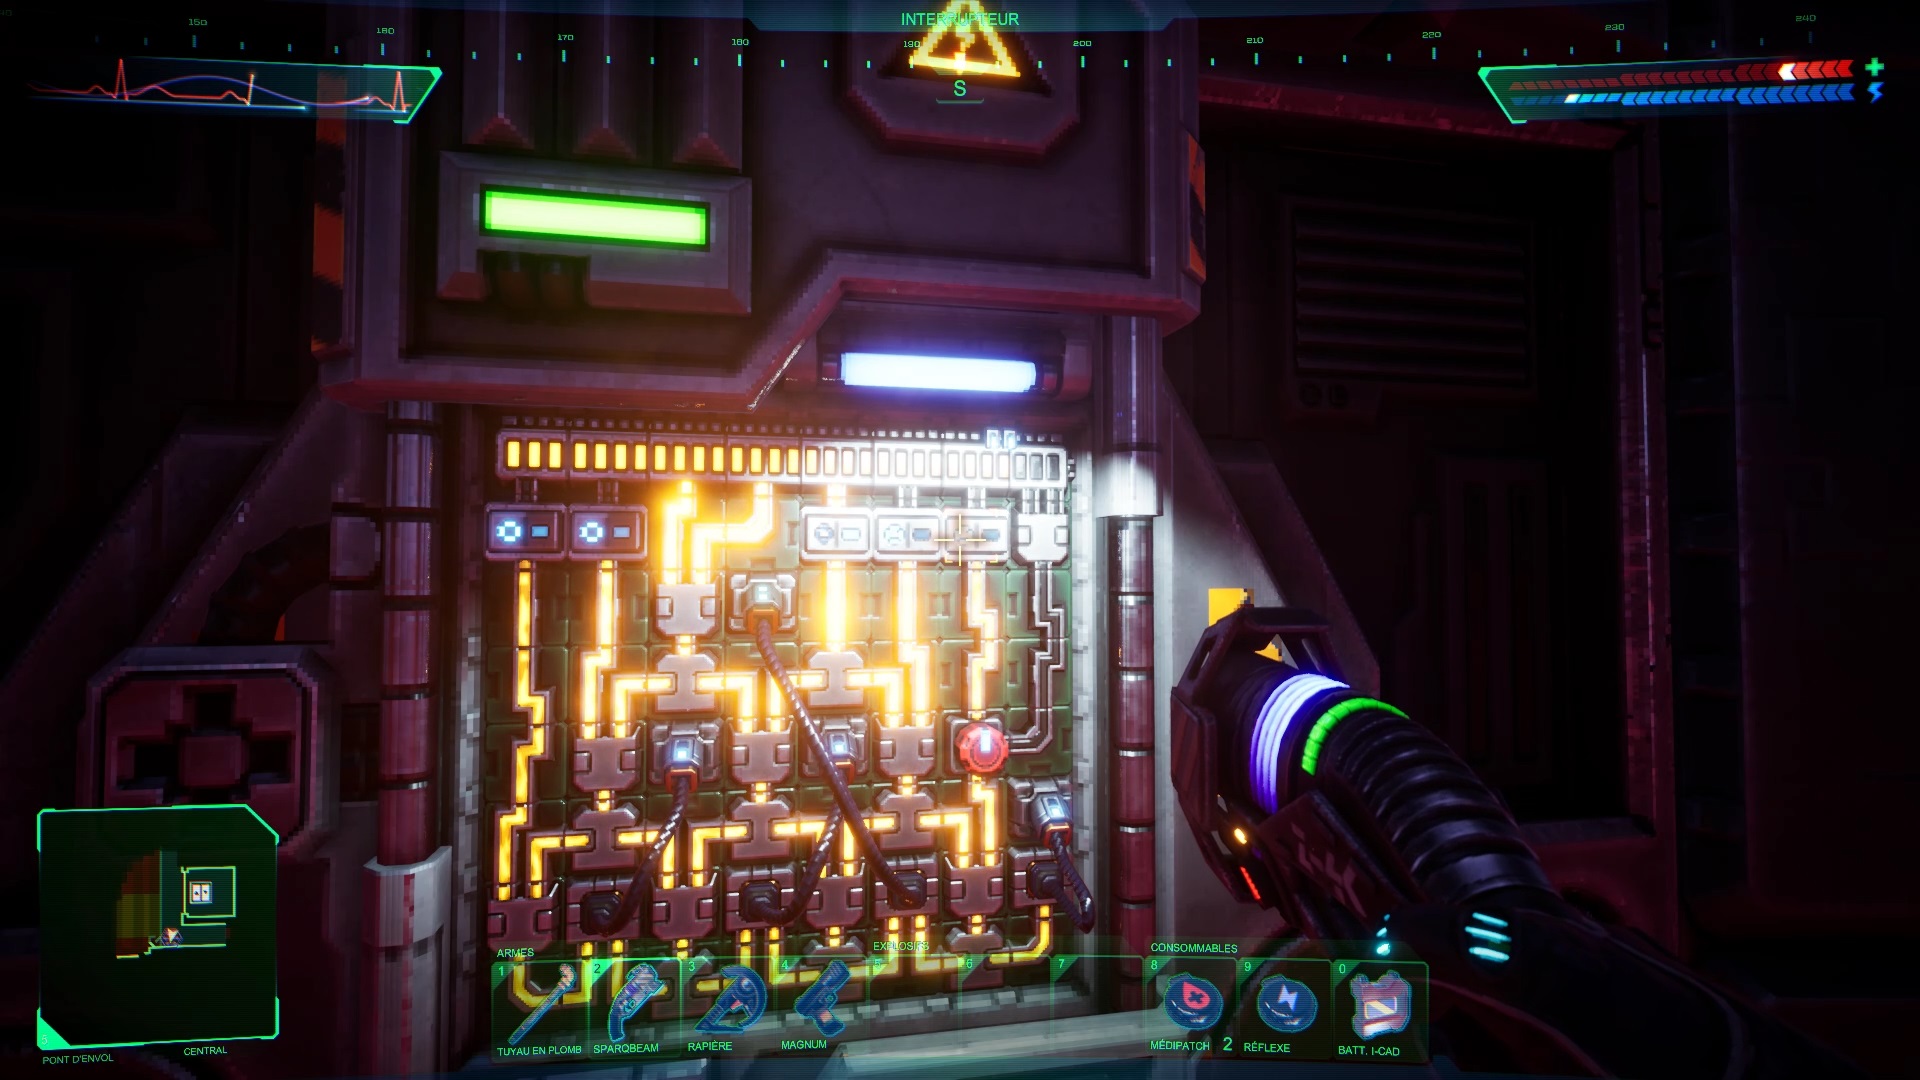
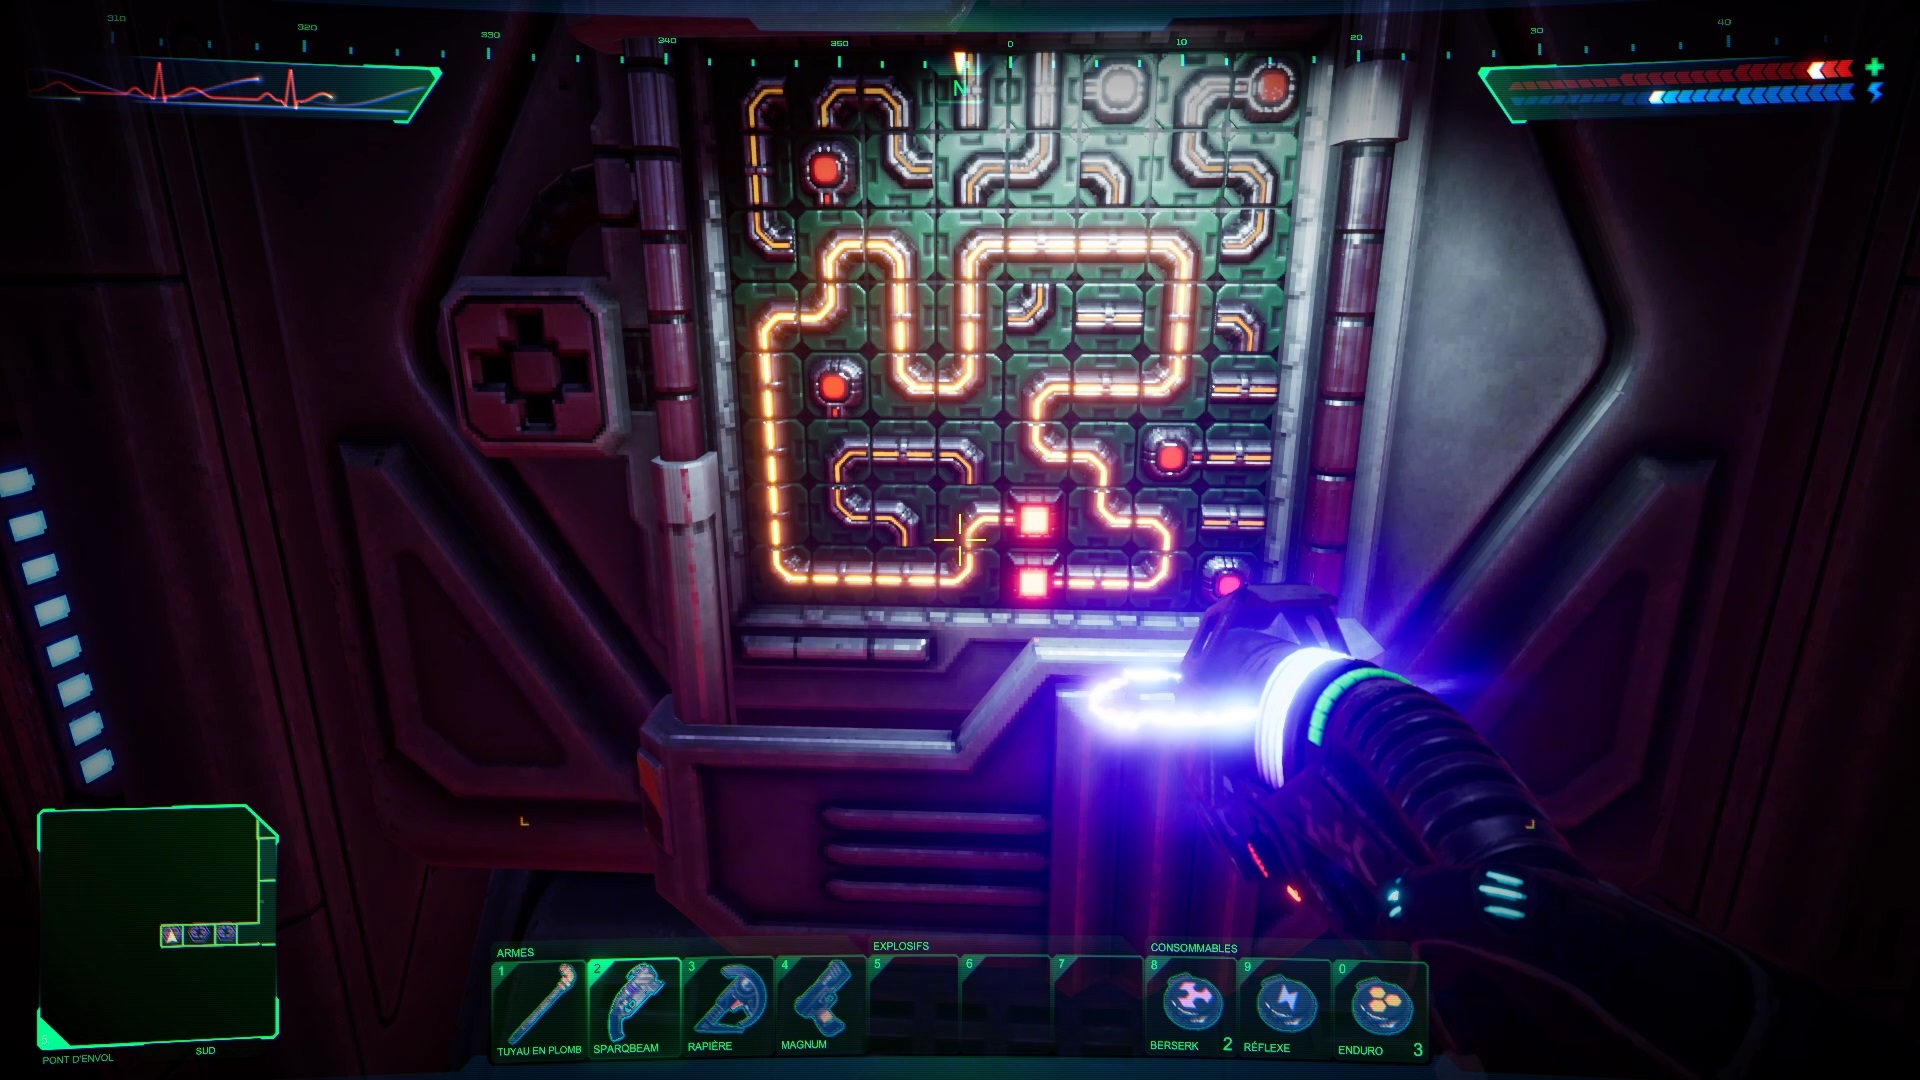
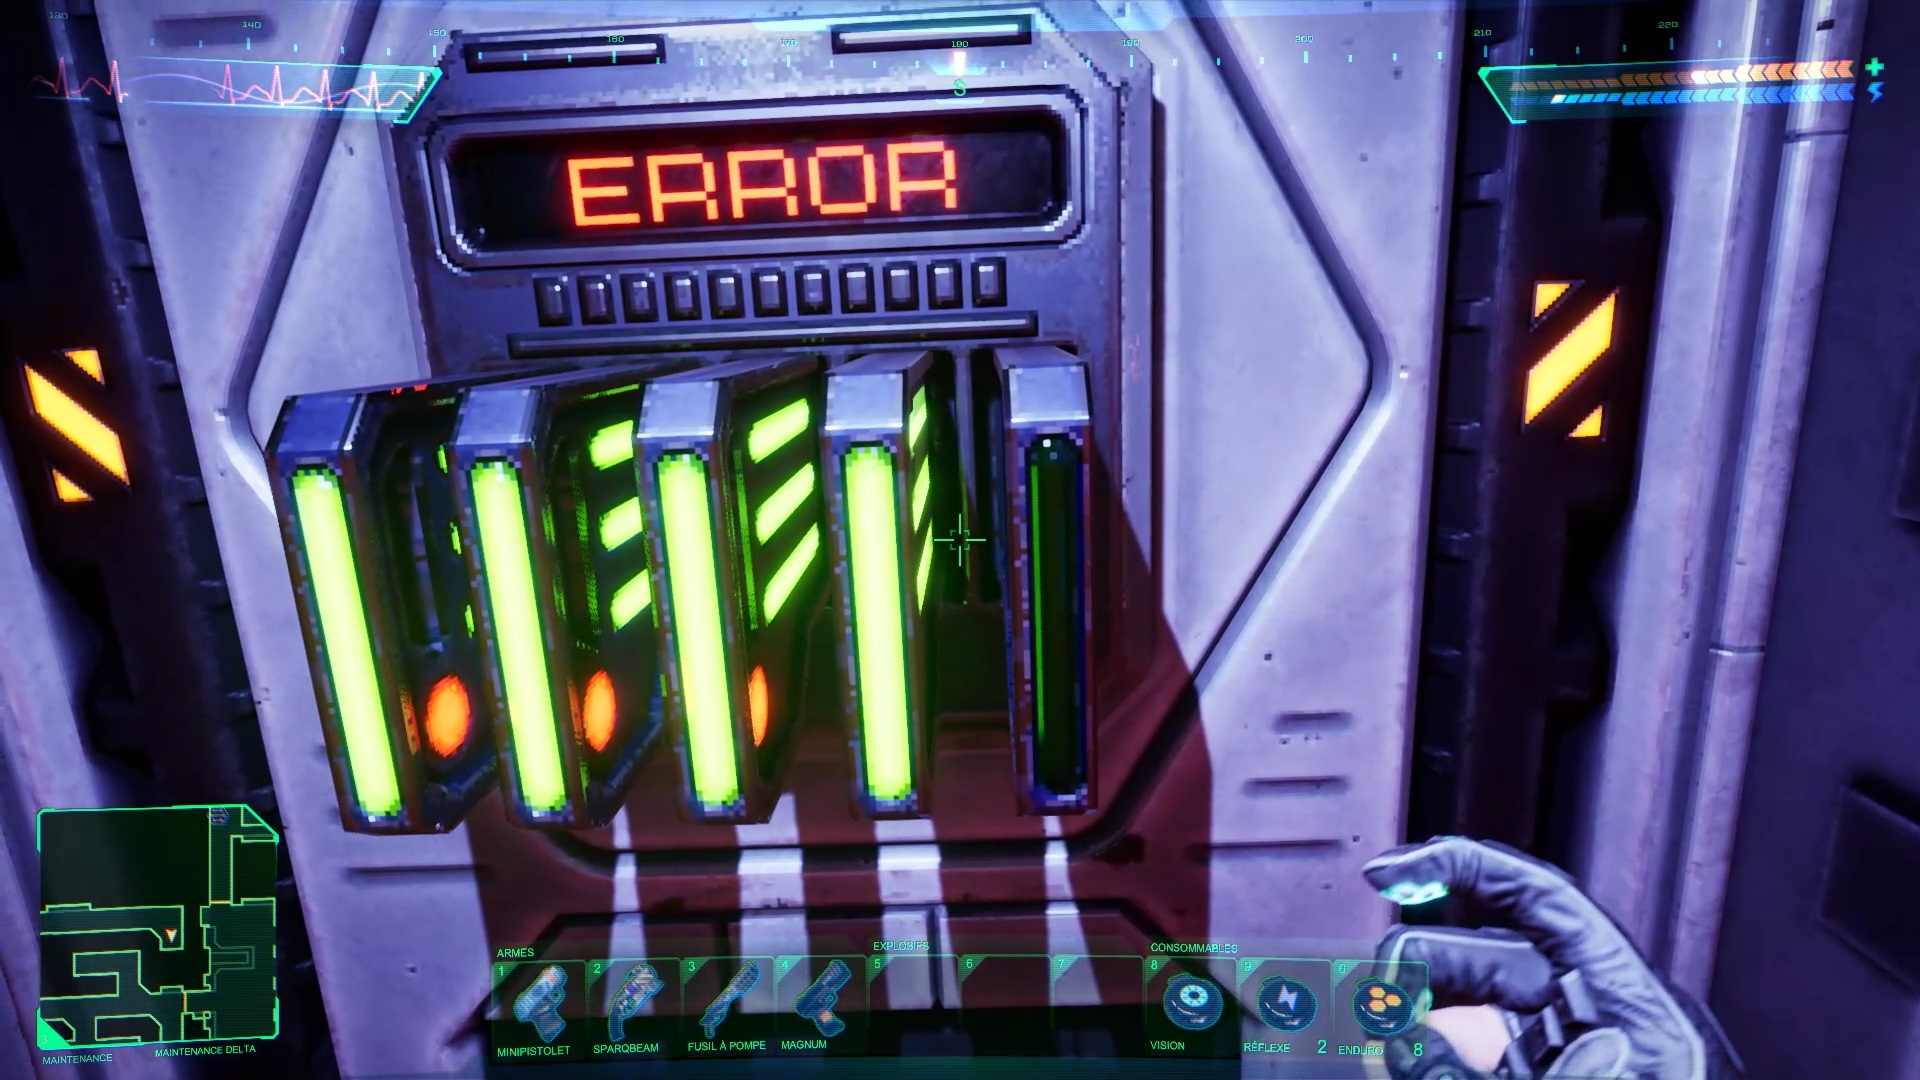
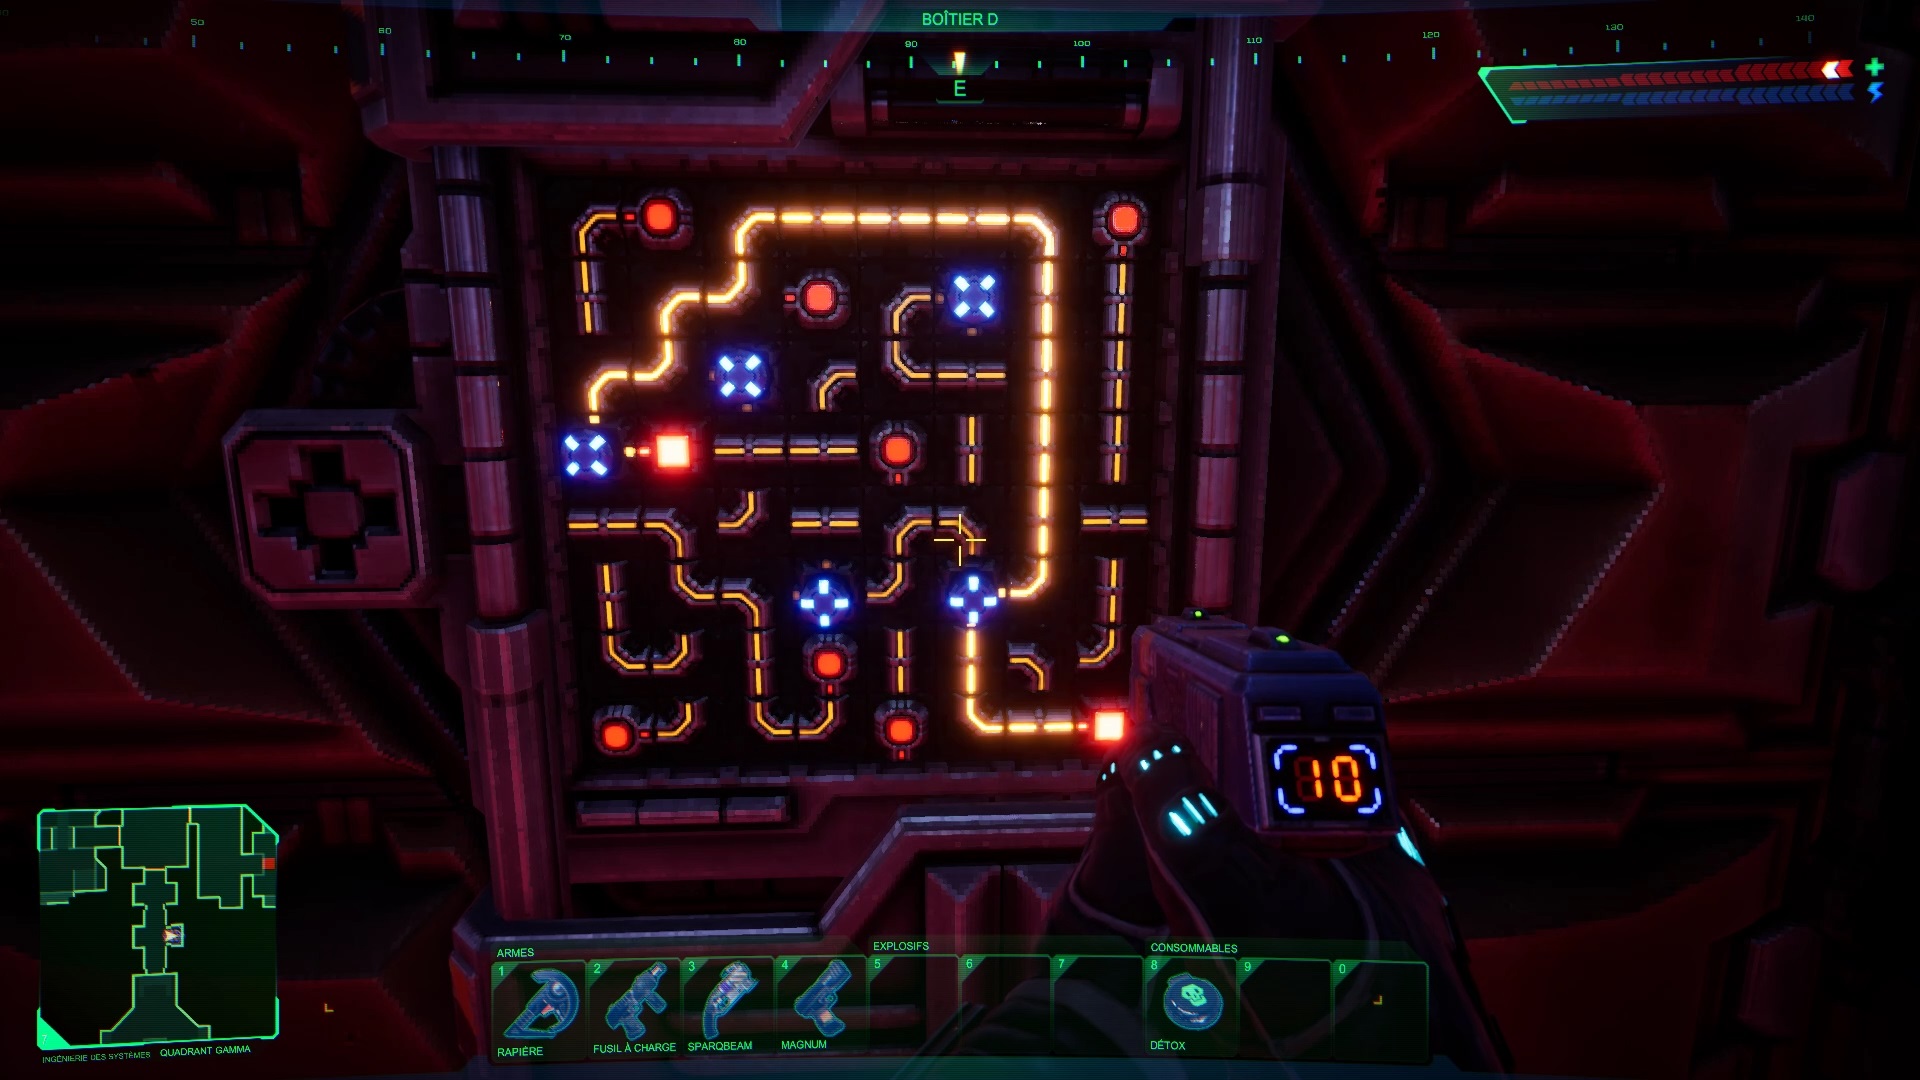
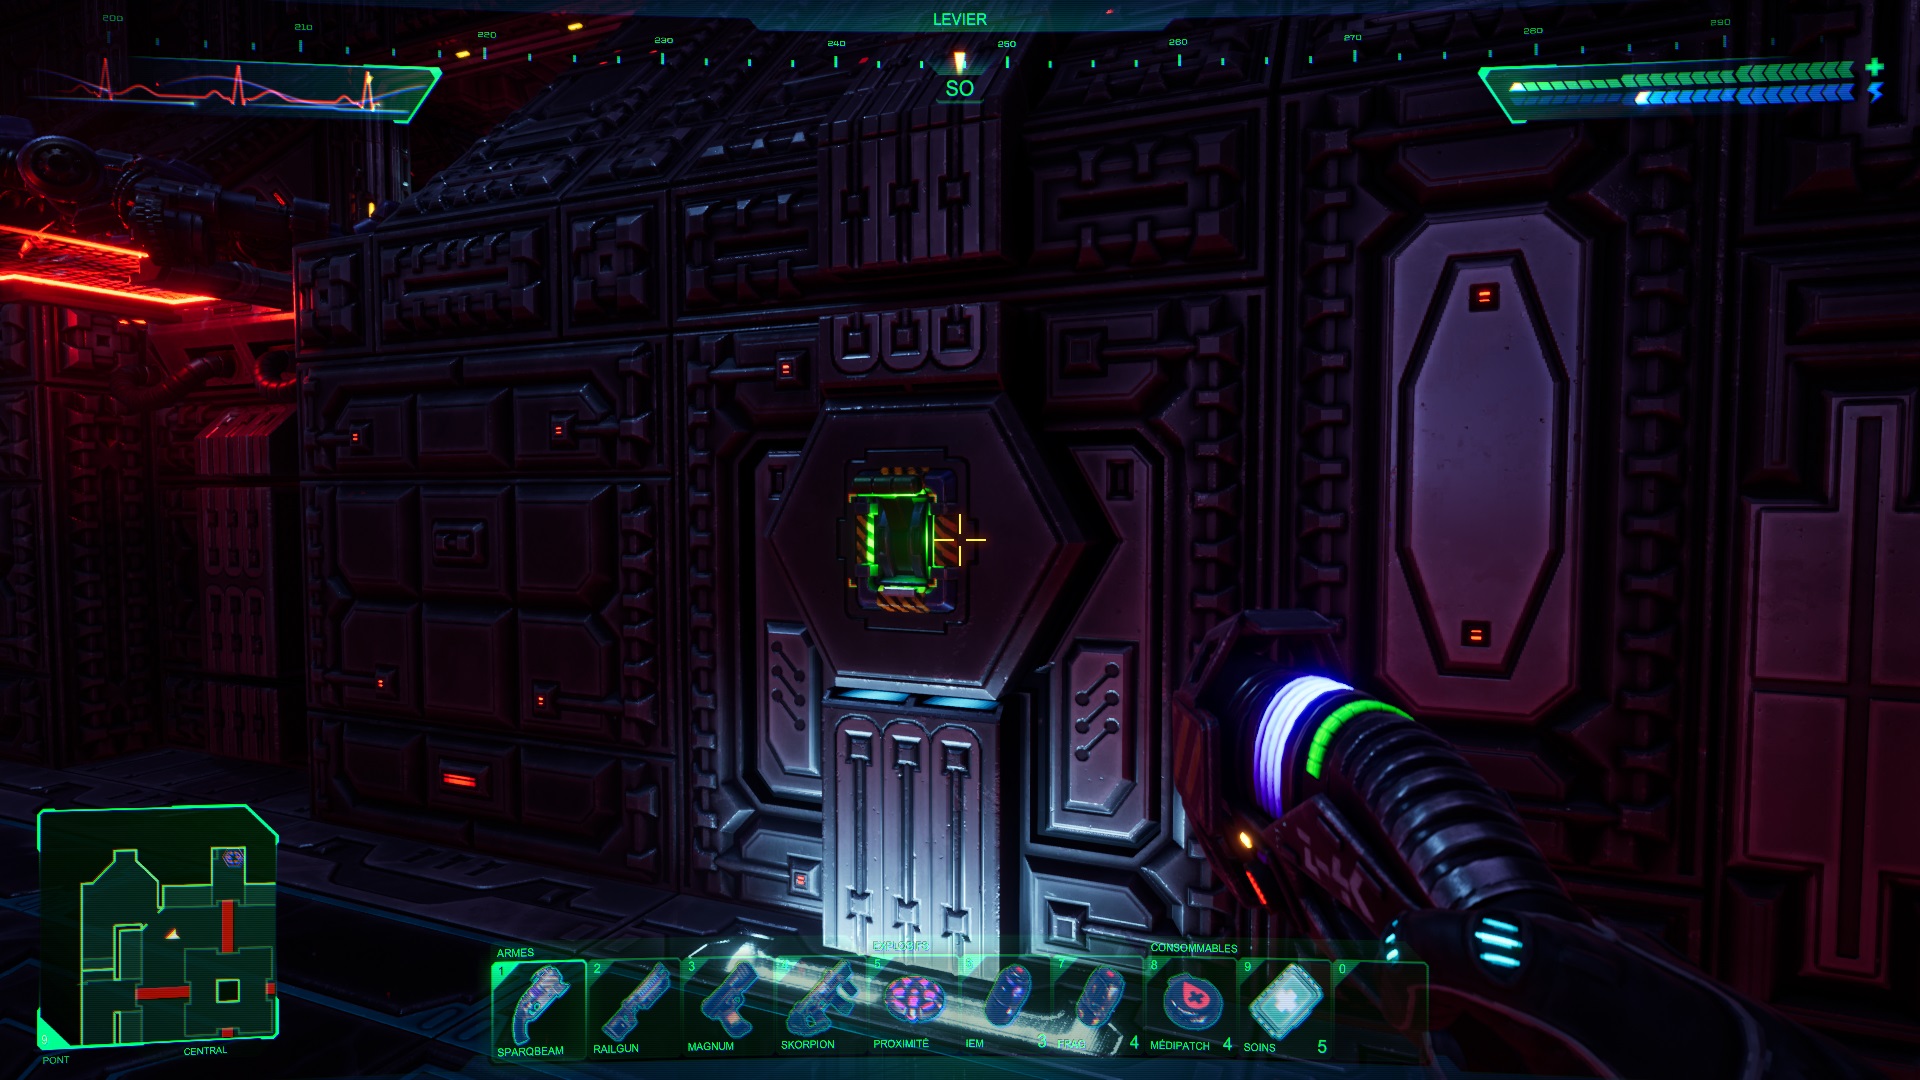
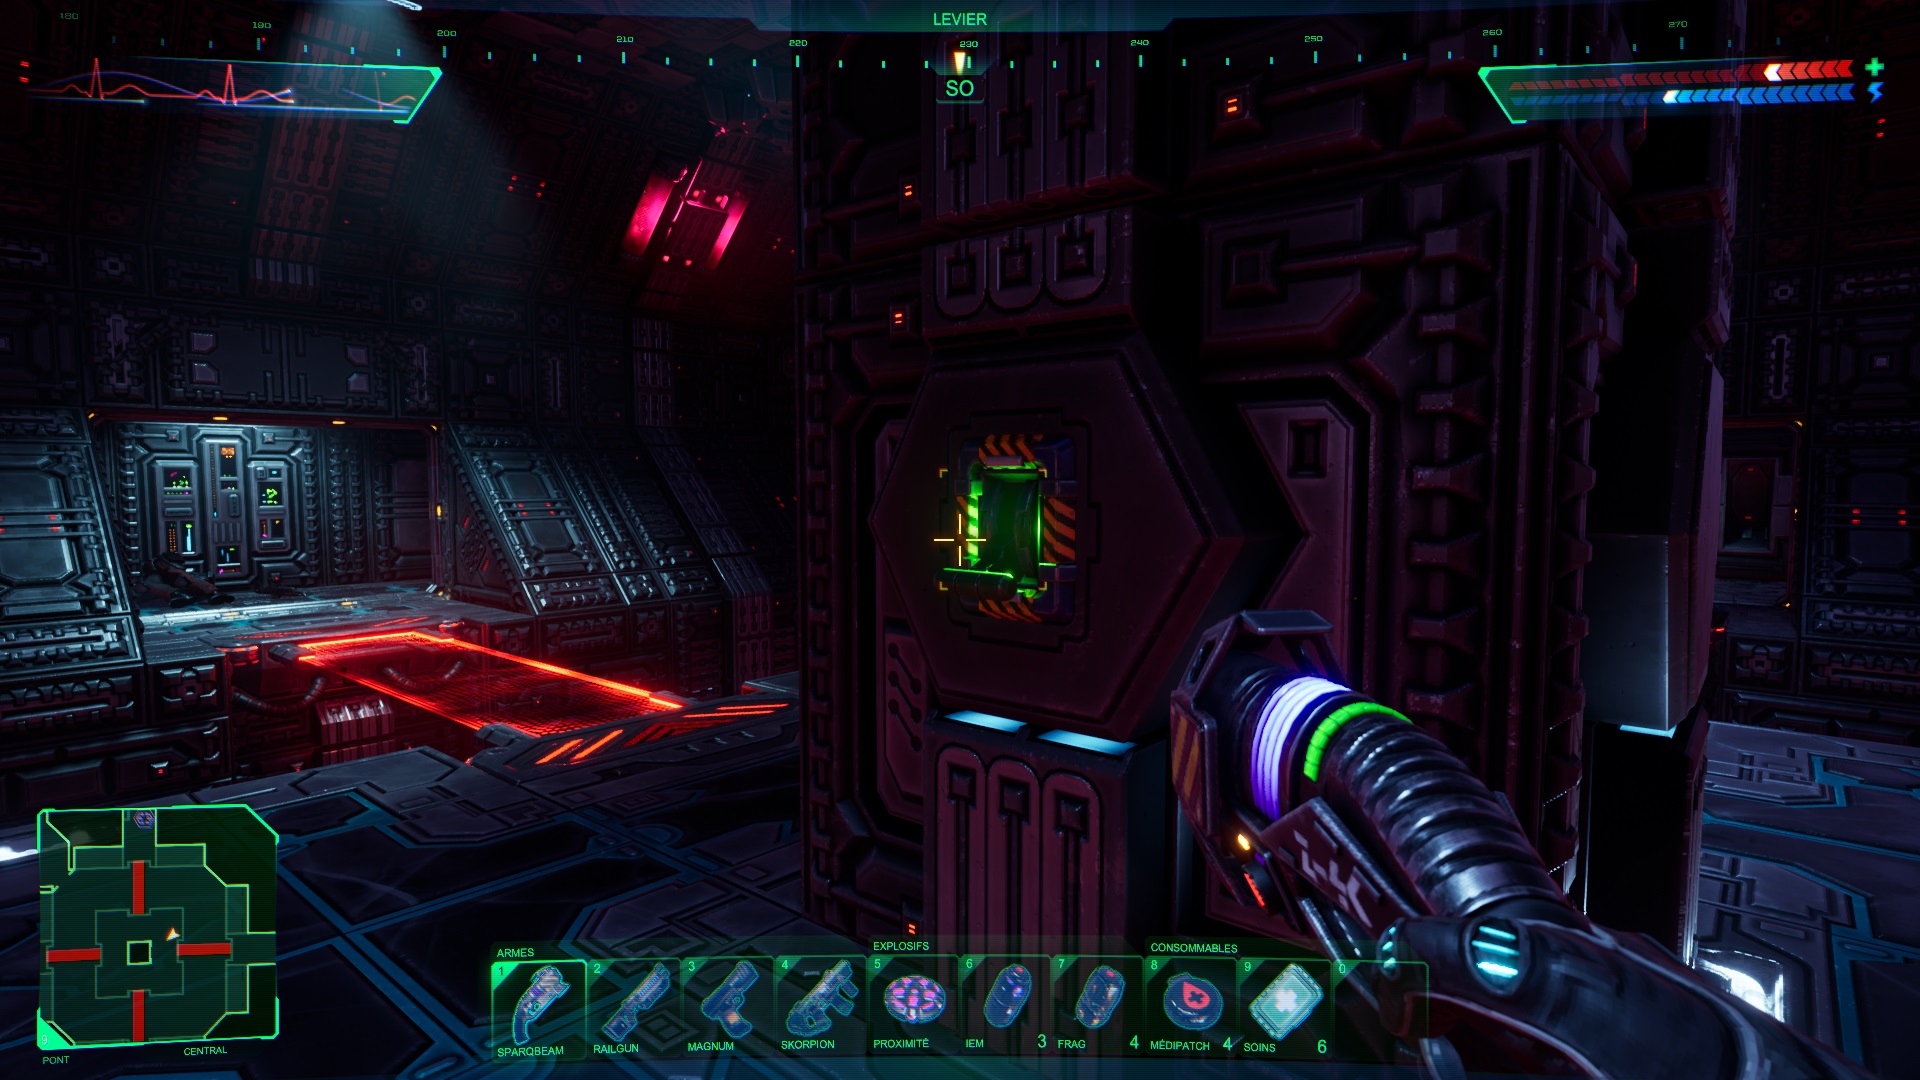
Inside, interact with the panel on the wall to solve a puzzle. The objective is to power up the panel in order to reach the gauge markers. Our picture solution can match your puzzle depending on the level of difficulty. Then cross the bridge which has just opened to reach a staircase. Climb the stairs and go forward until you reach a toilet. Turn left and continue through the east passage to find a switch. Press it to make a second bridge appear.

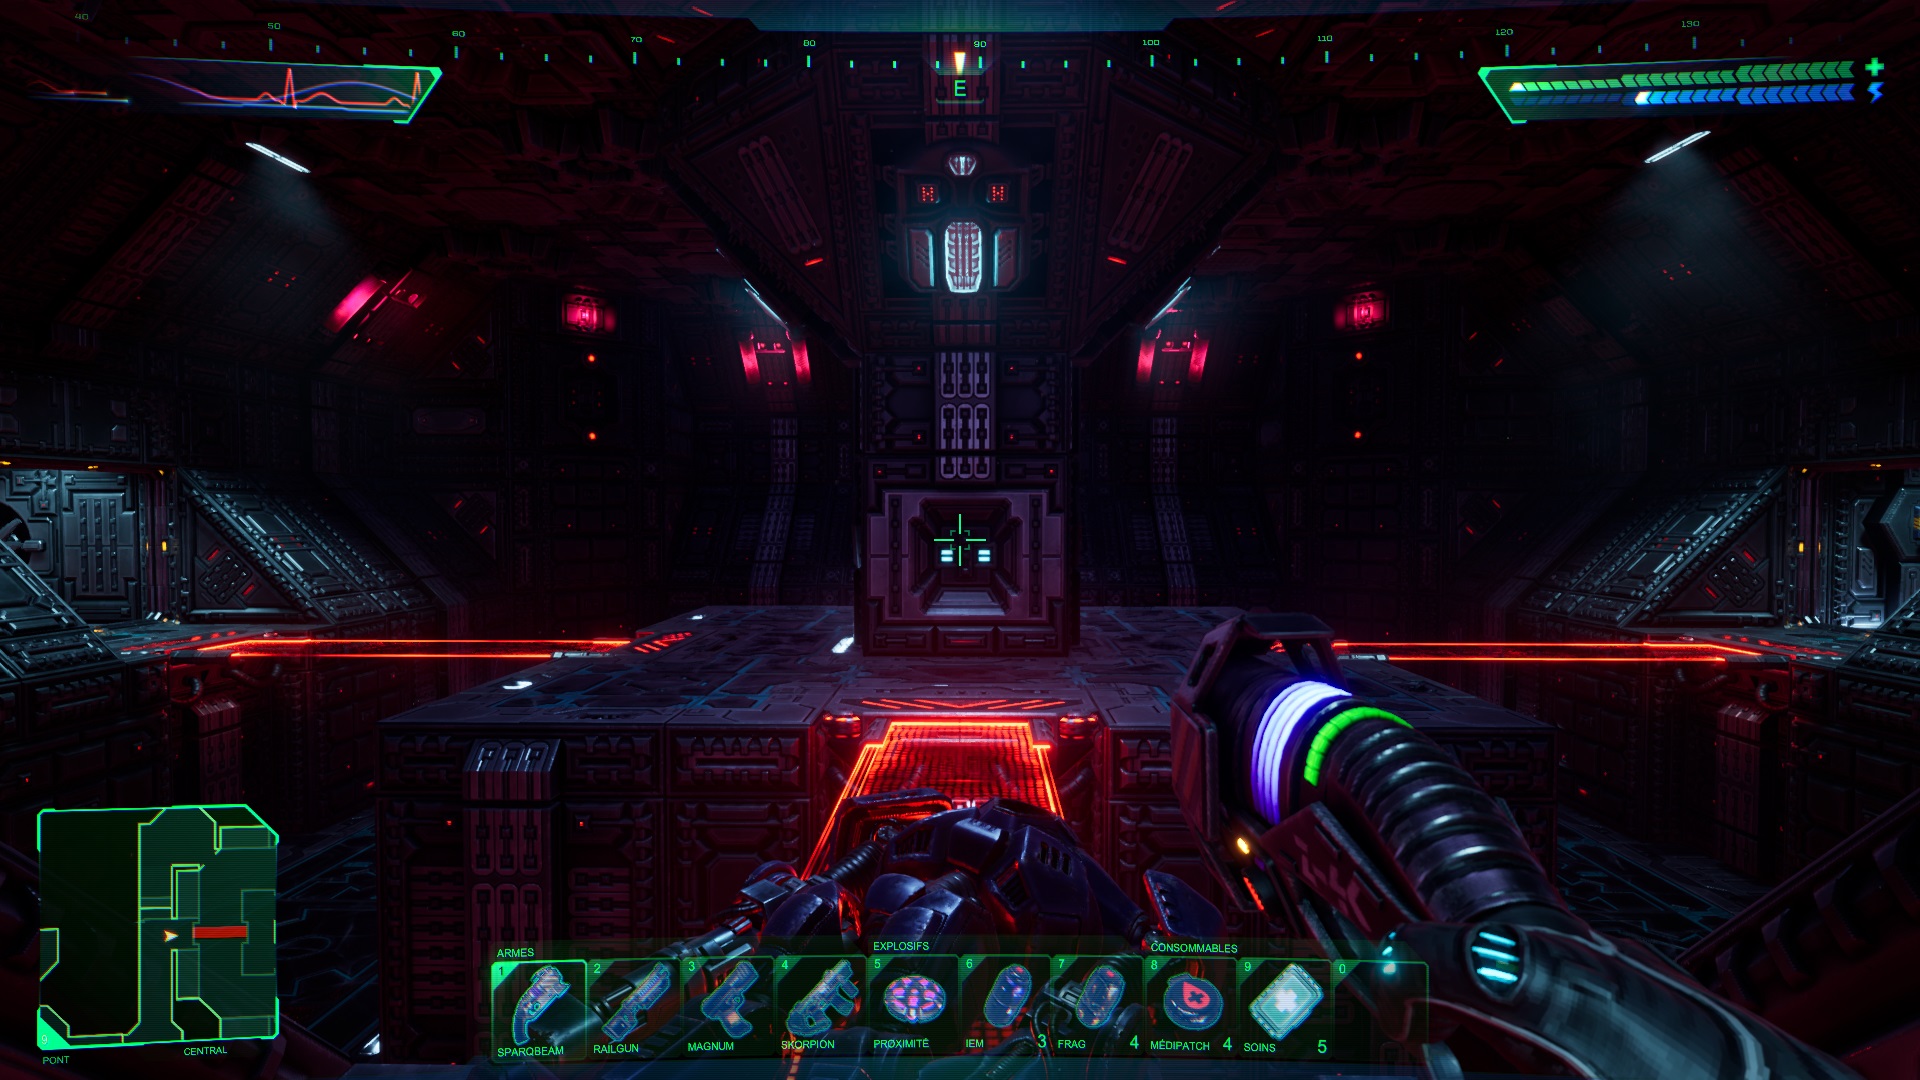
Take the bridge and continue forward to reach a new room. Get rid of the enemies and unlock the Alpha area with the lever near the laser portal. You must have destroyed enough cameras to pull the lever. Then continue by operating the gravitational elevator. A new bridge stands in front of you. Cross the bridge to fall into a trap.
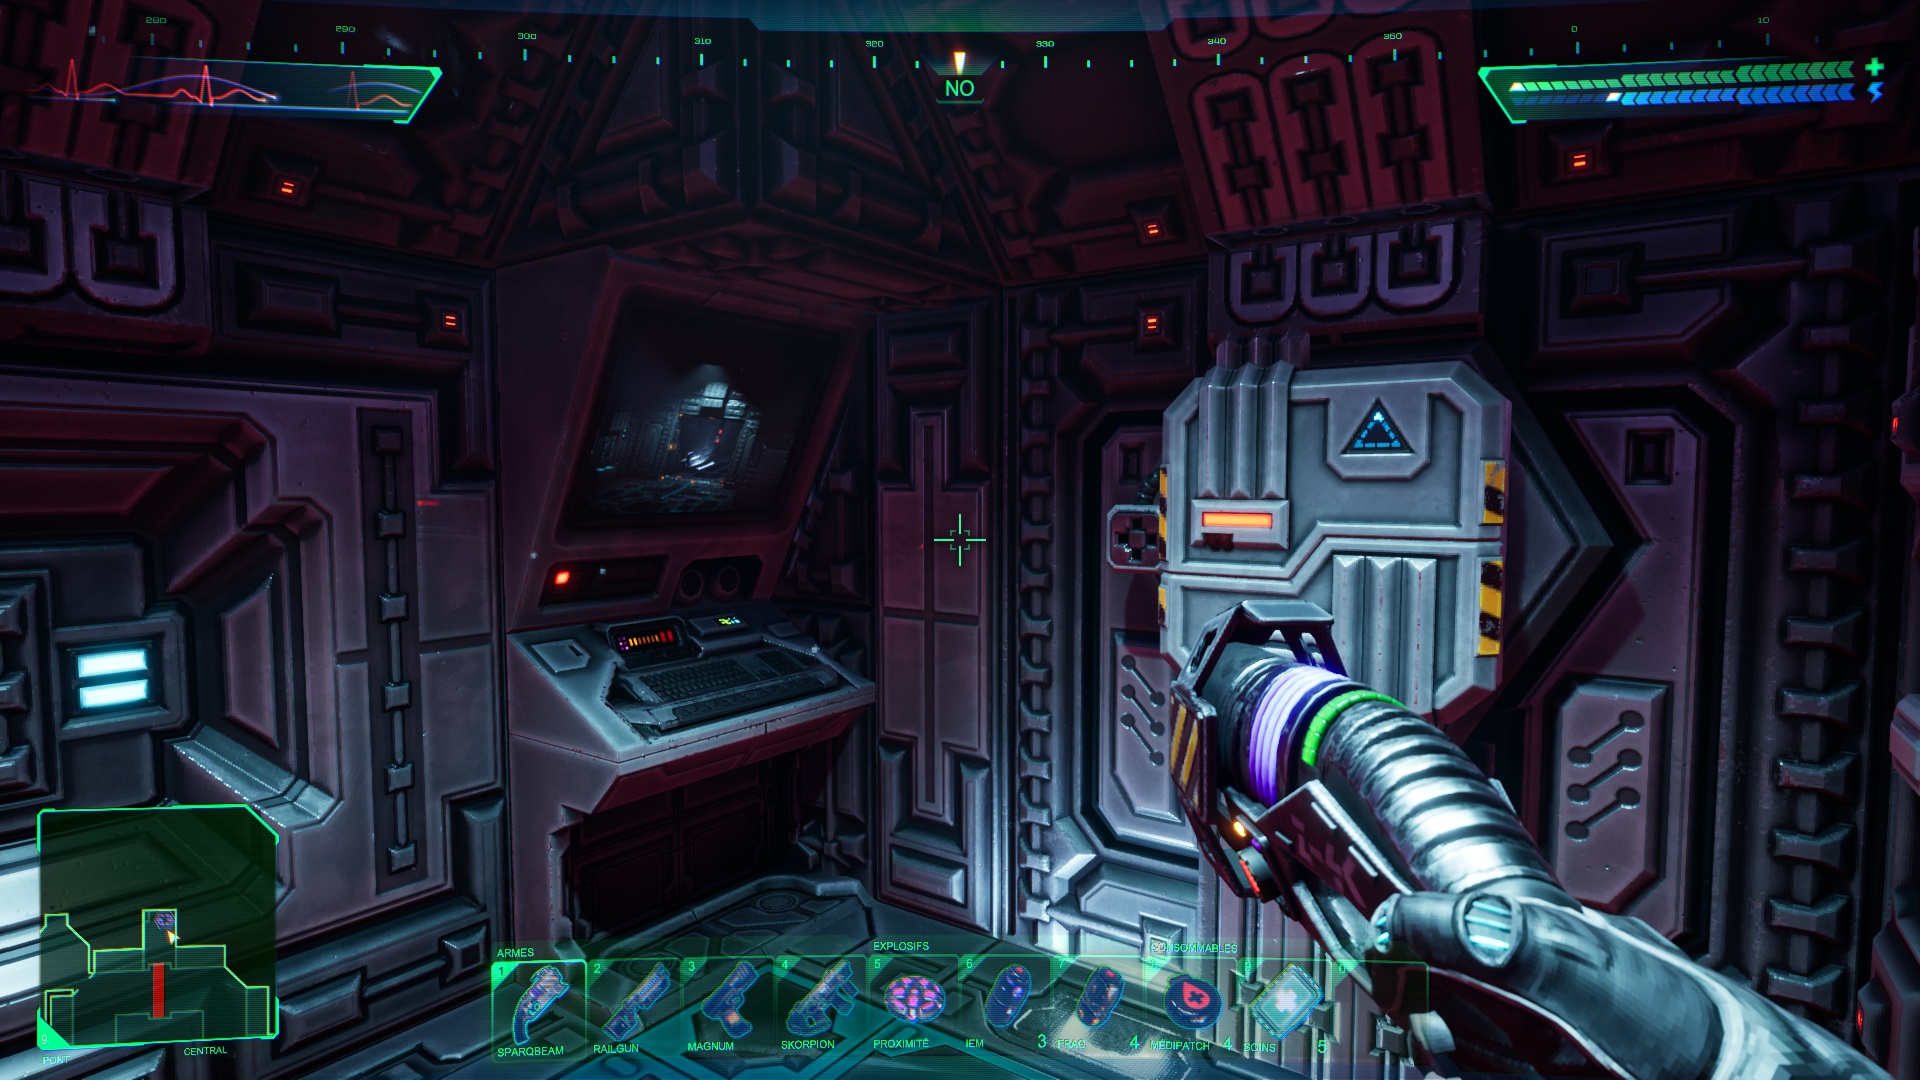
Below, enter the airlock and use the switches against the wall to go to a control room. In the control room, pull the lever to activate an elevator and be able to go back up. Once above, go down the hall and through the door to the west. Inside you will find a resuscitation machine, very useful for the future.
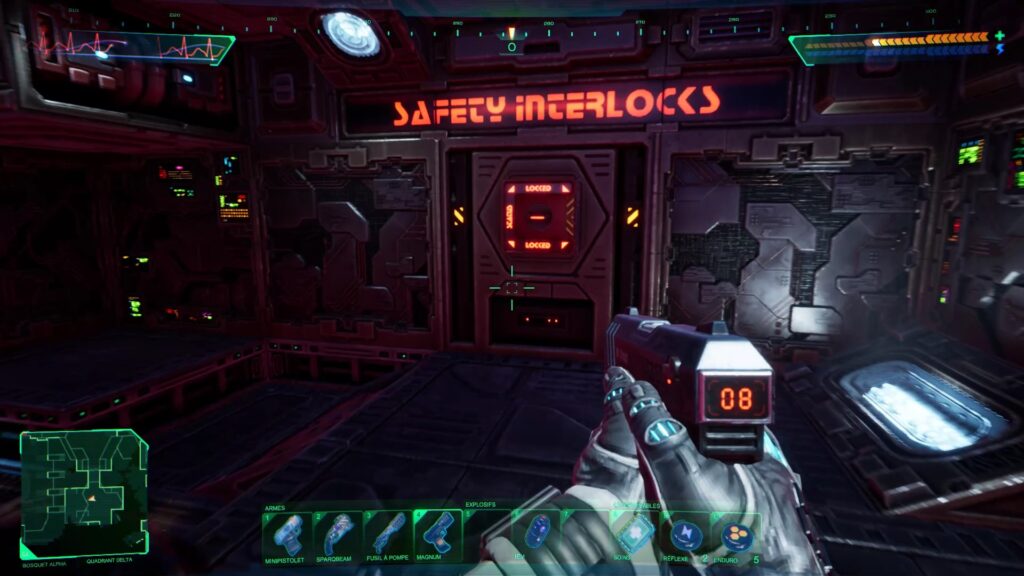
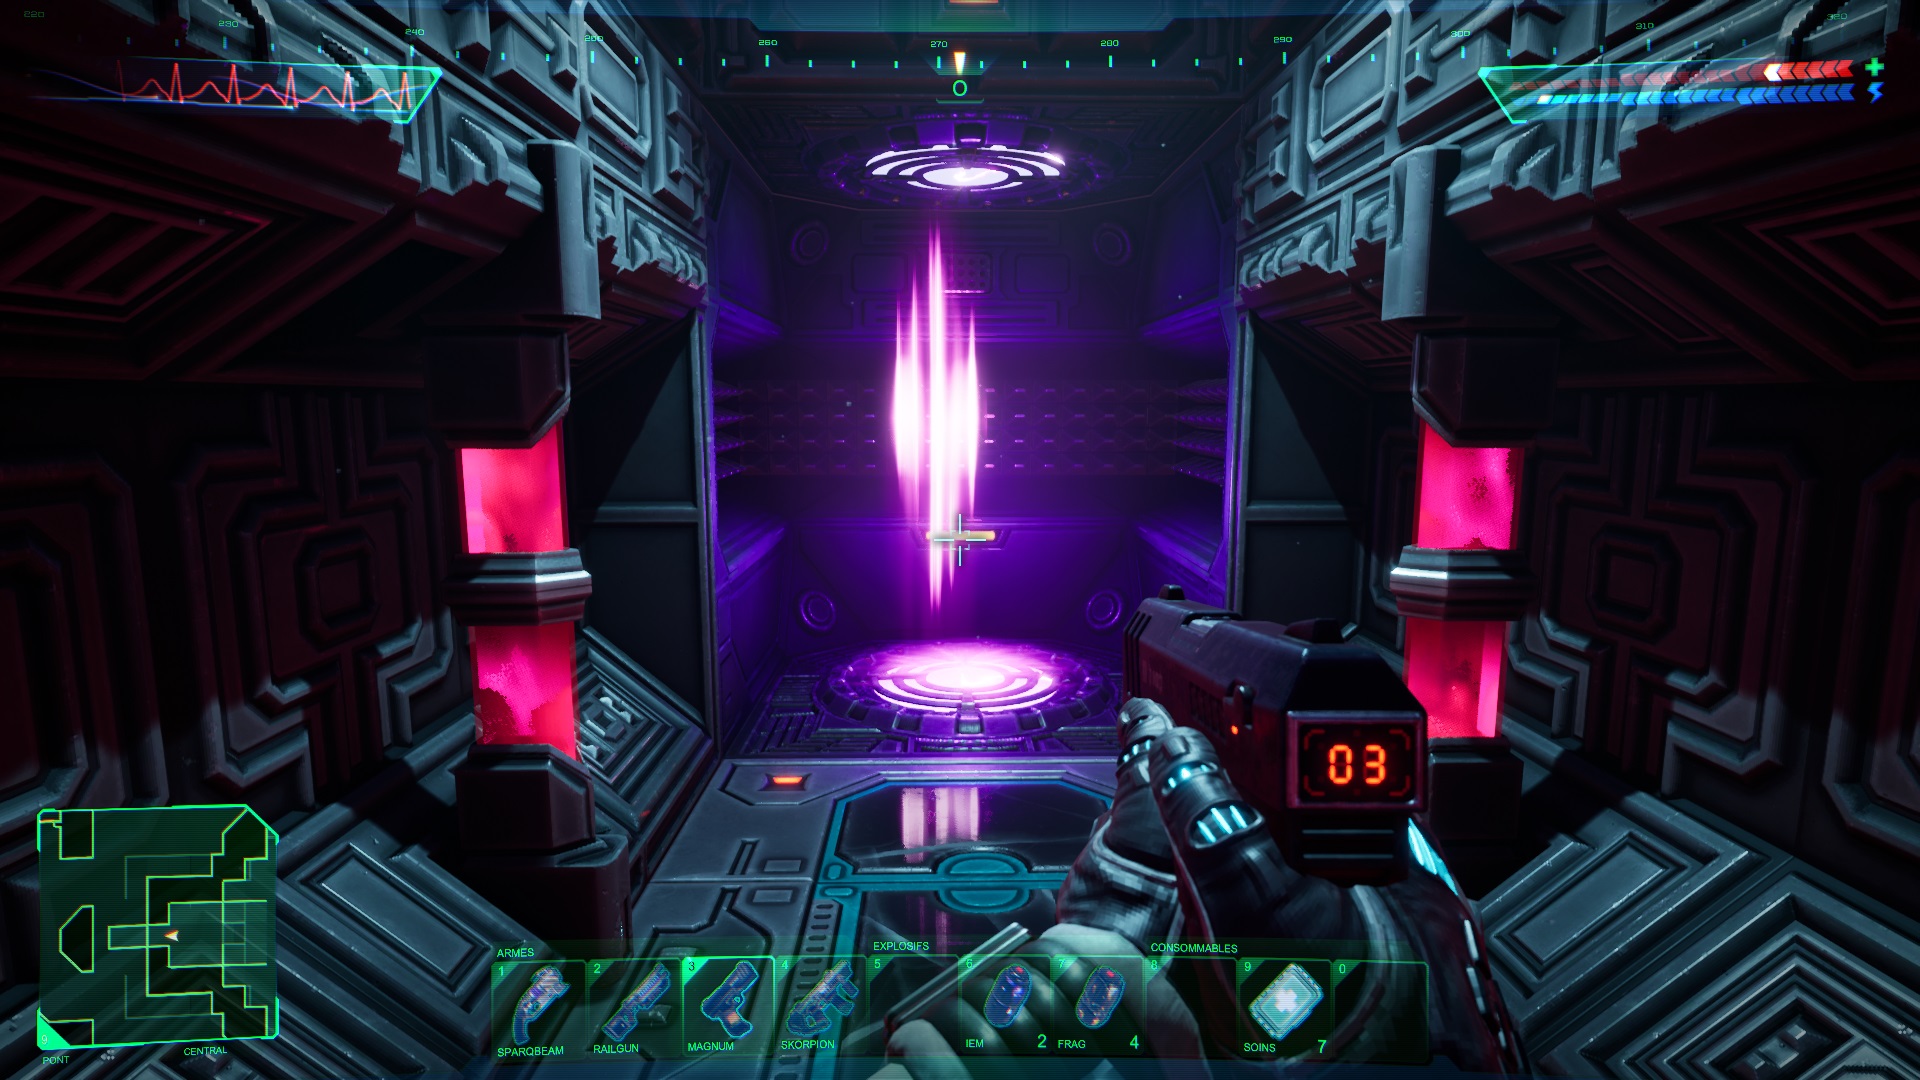
Get out and go down the hall to the east to find a door with a machine symbol. Eliminate threats to encounter a force field. To destroy the force field, go left to find a new door with an electronic core symbol. Go inside and interact with the device against the wall to hack Shodan.
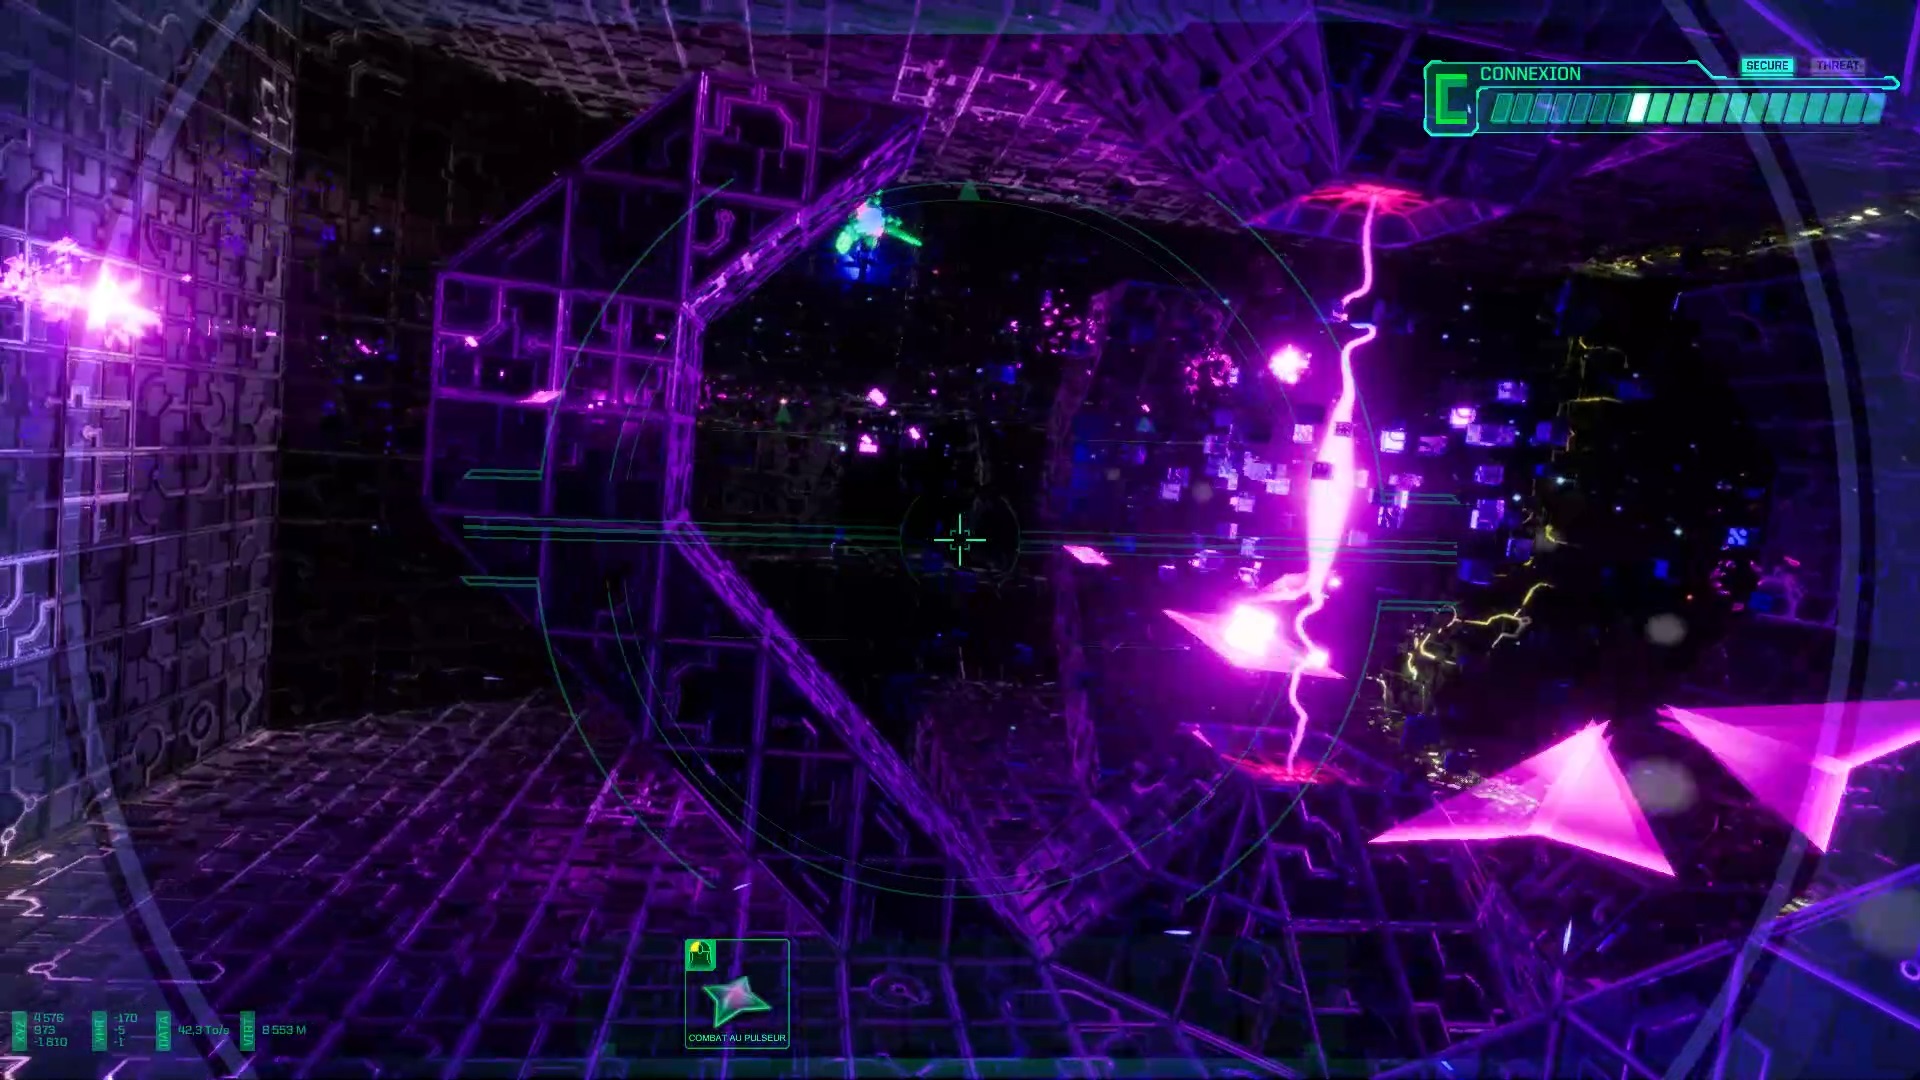
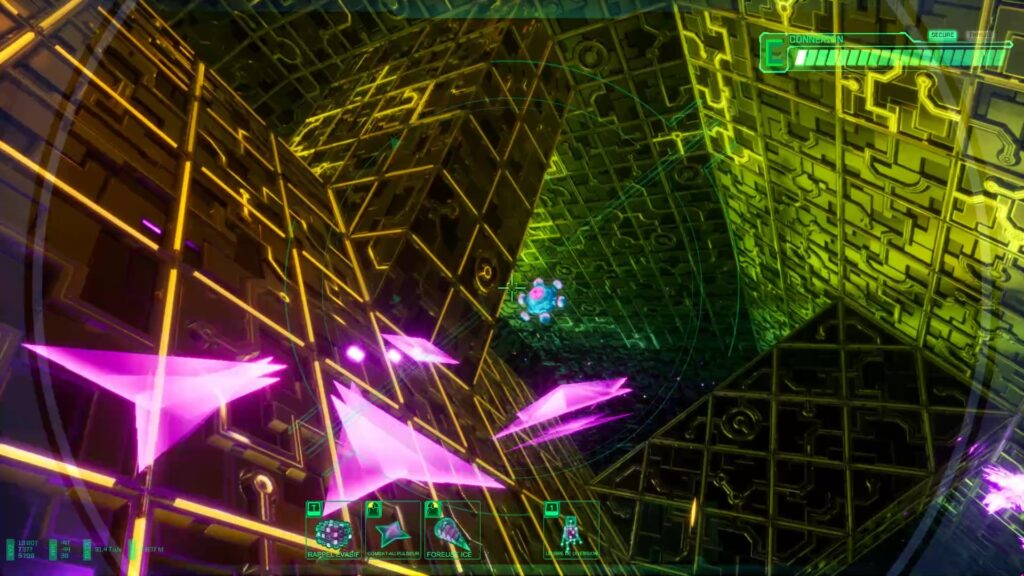
You are projected into a digital dimension. Your goal is to sneak deep into the dimension and reach the core so you can hack it. Use the conduits to sink inside. When no way forward is possible, eliminate Shodan’s defenses to create a passage to the core. Once at the core, destroy Shodan’s defenses to hack the force field.
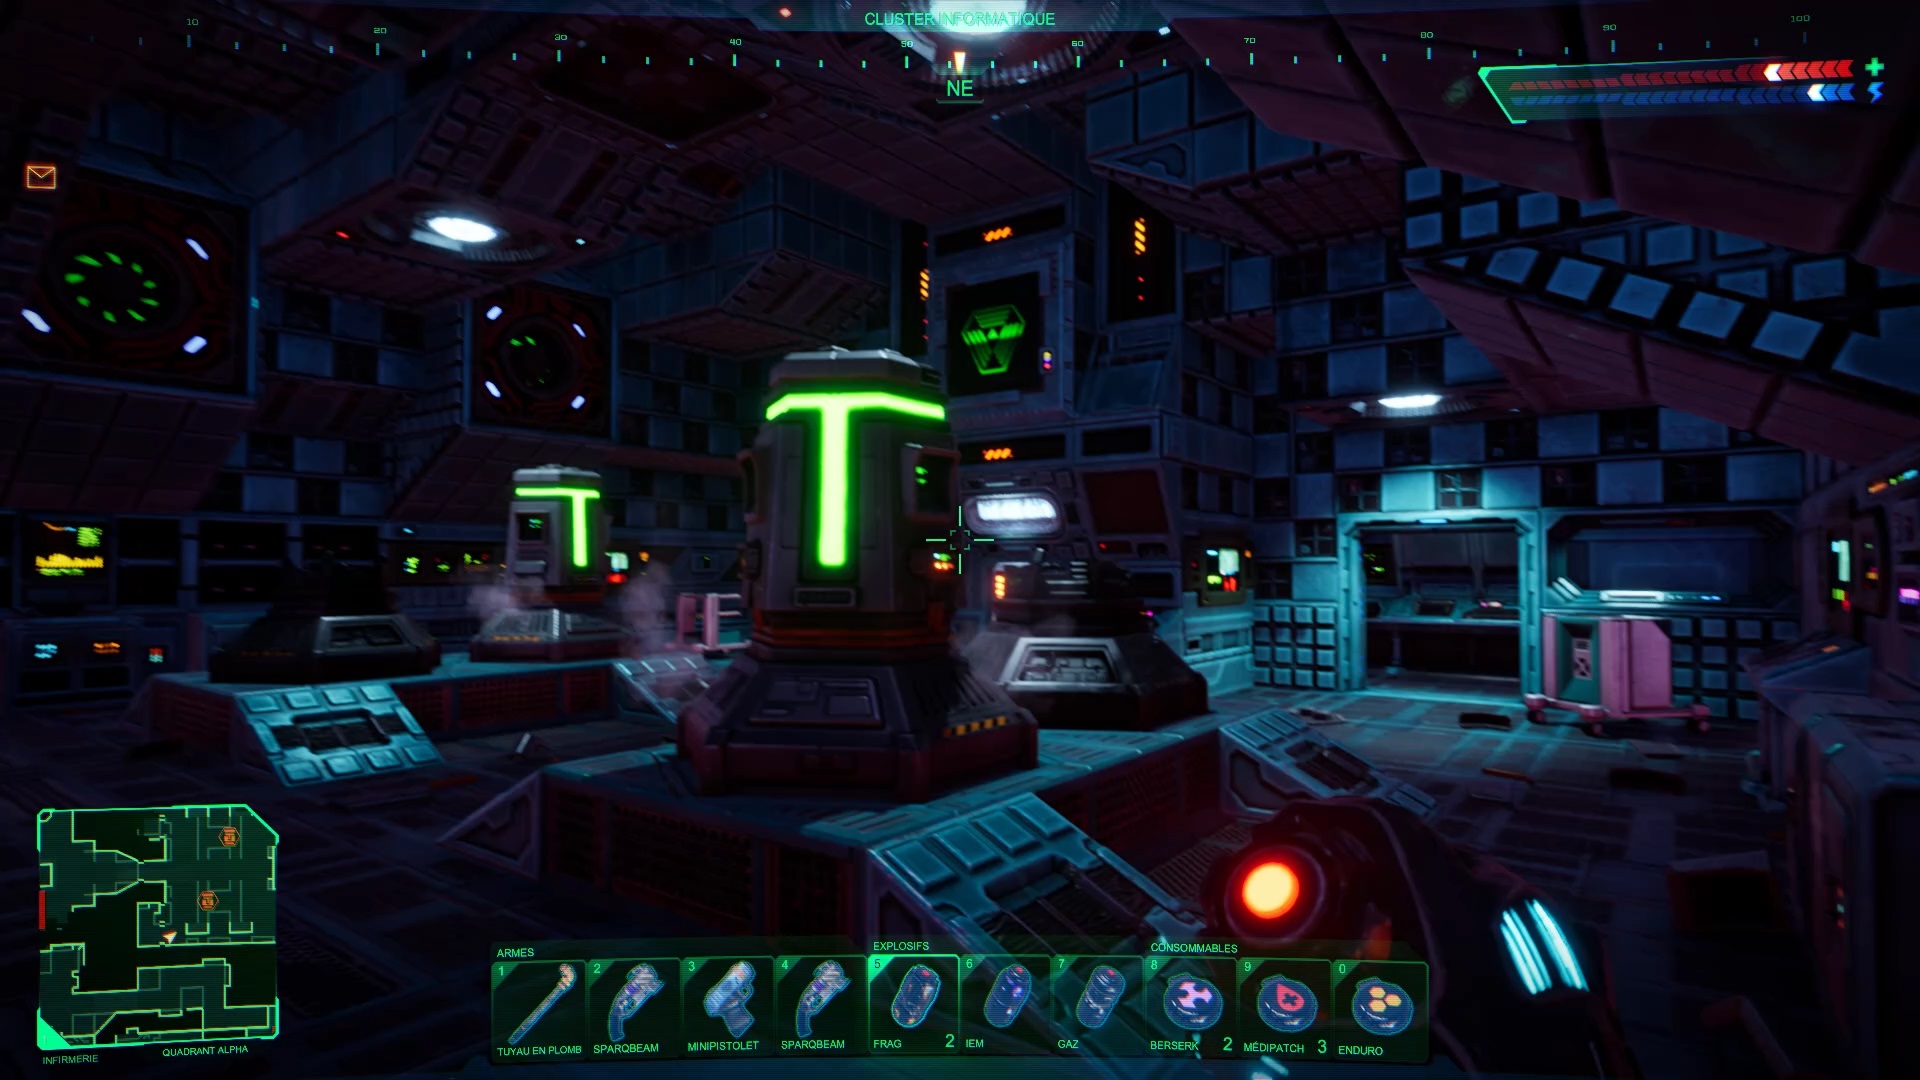
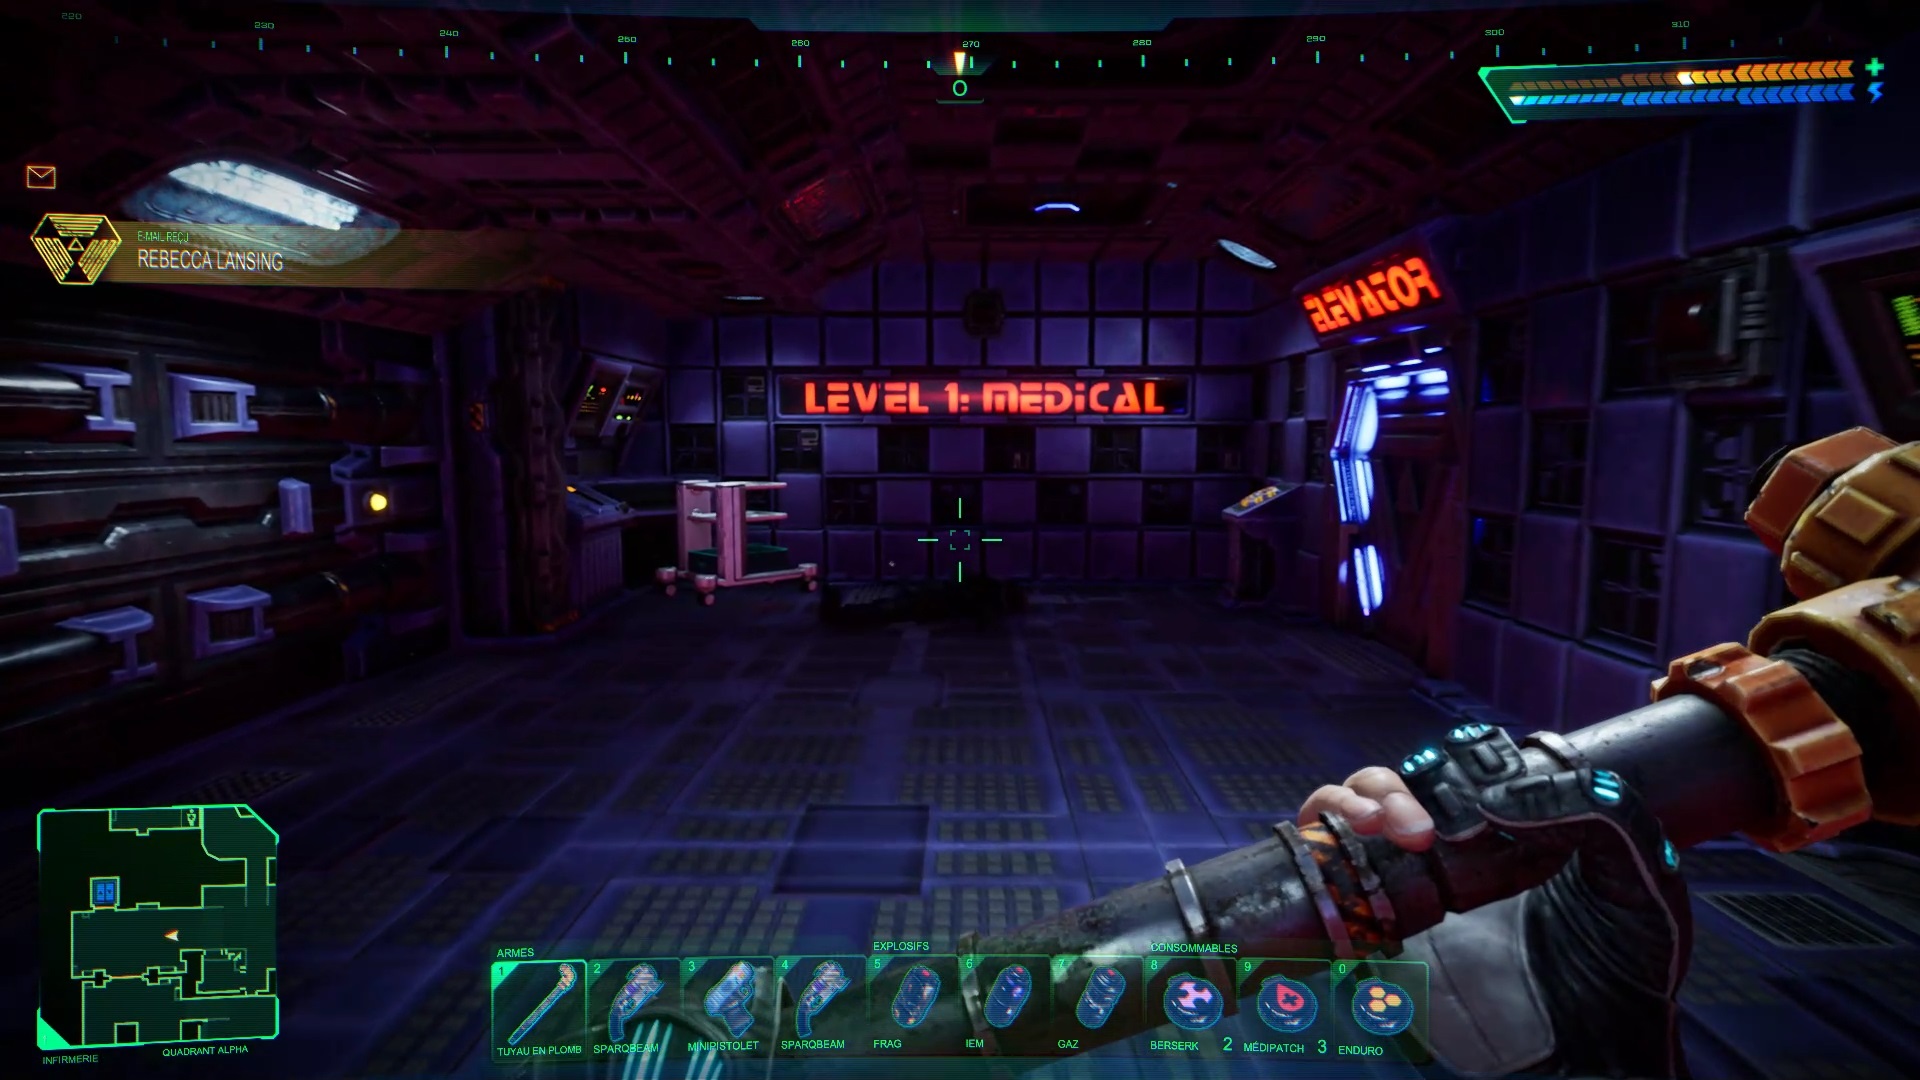
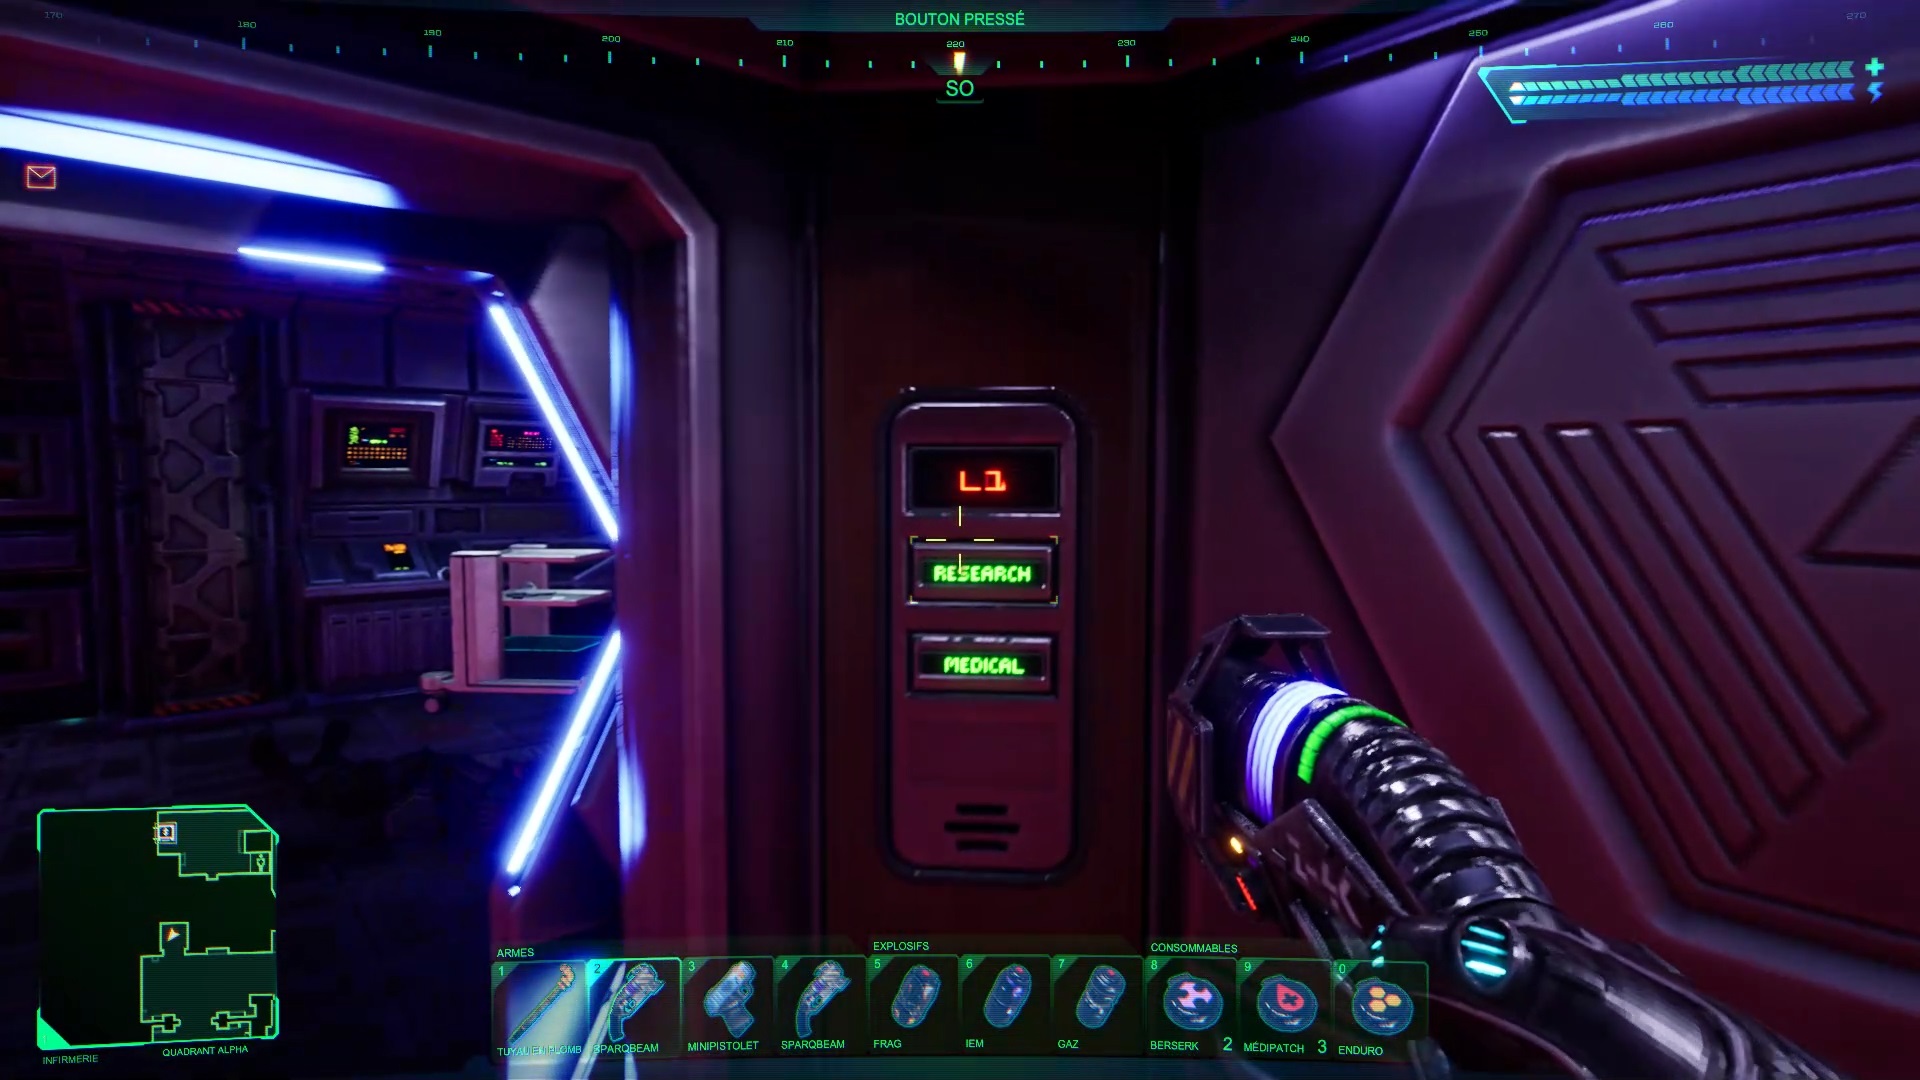
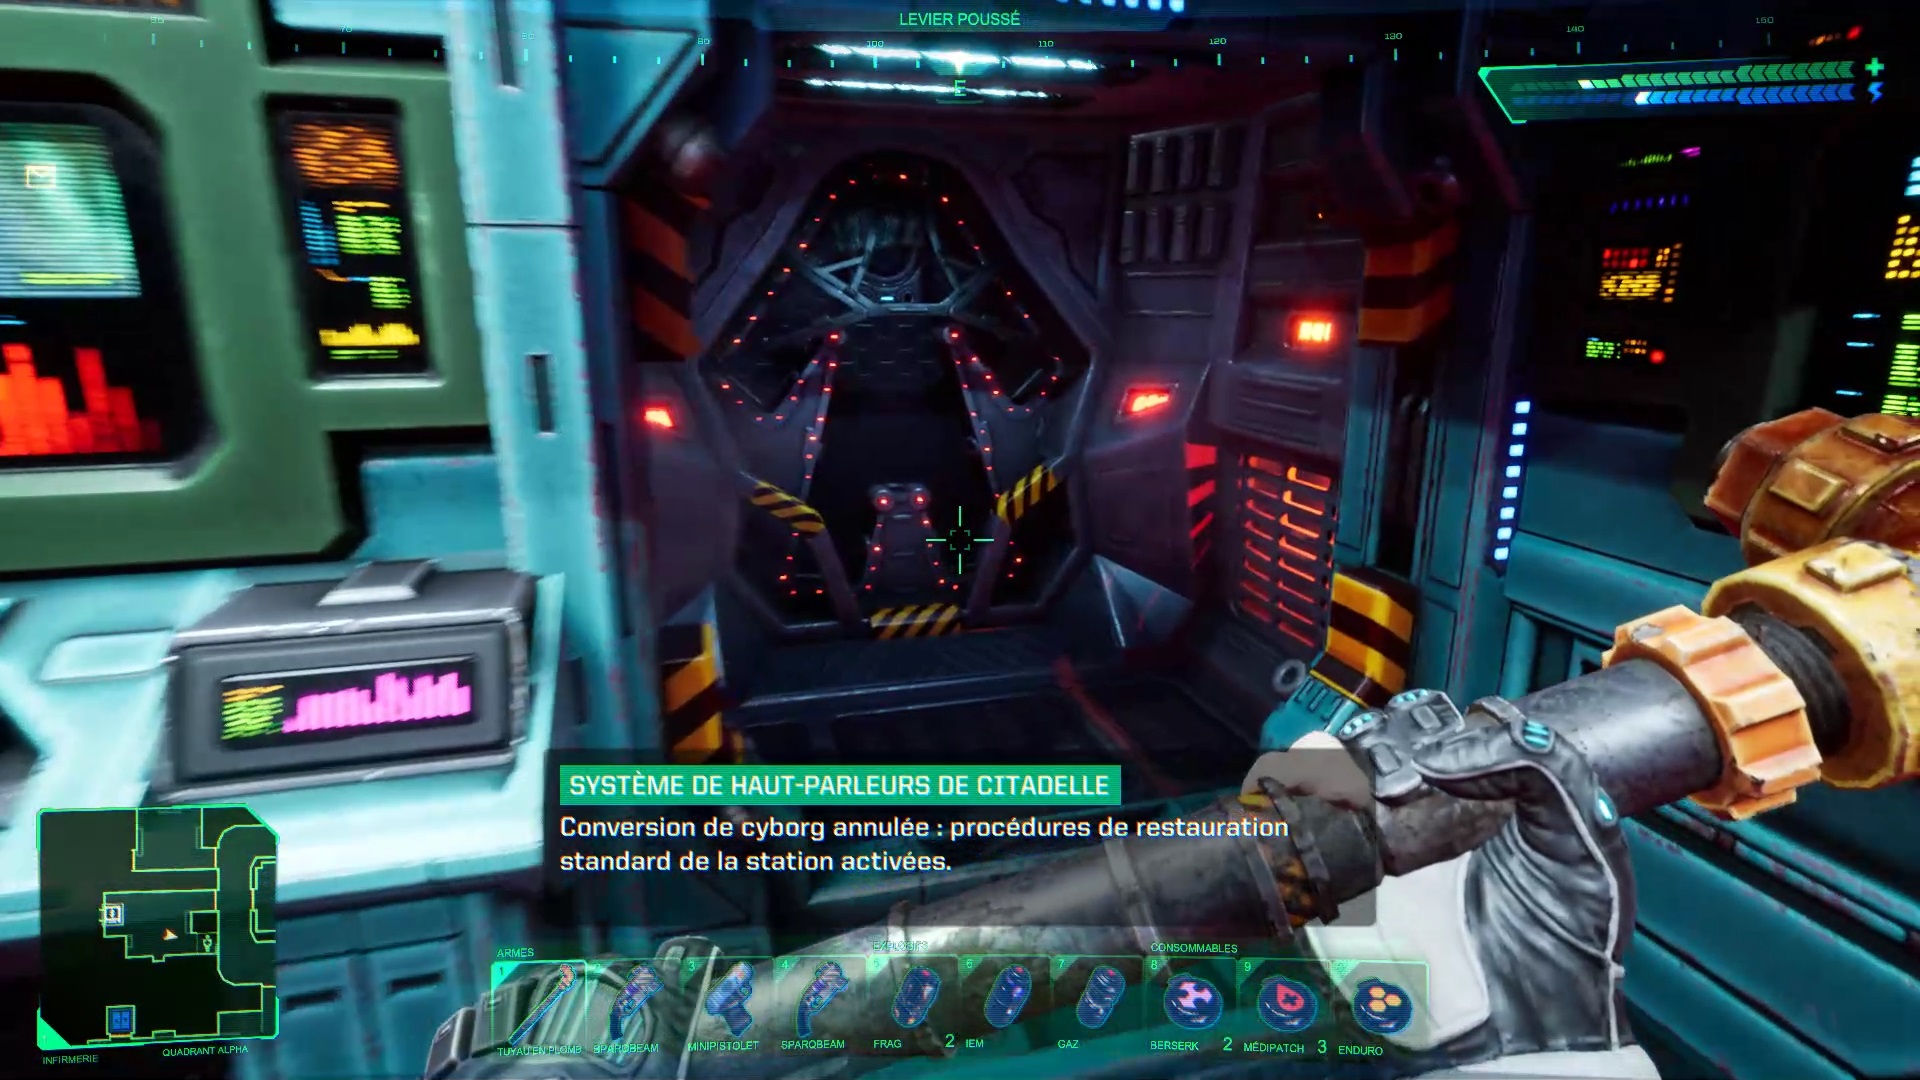
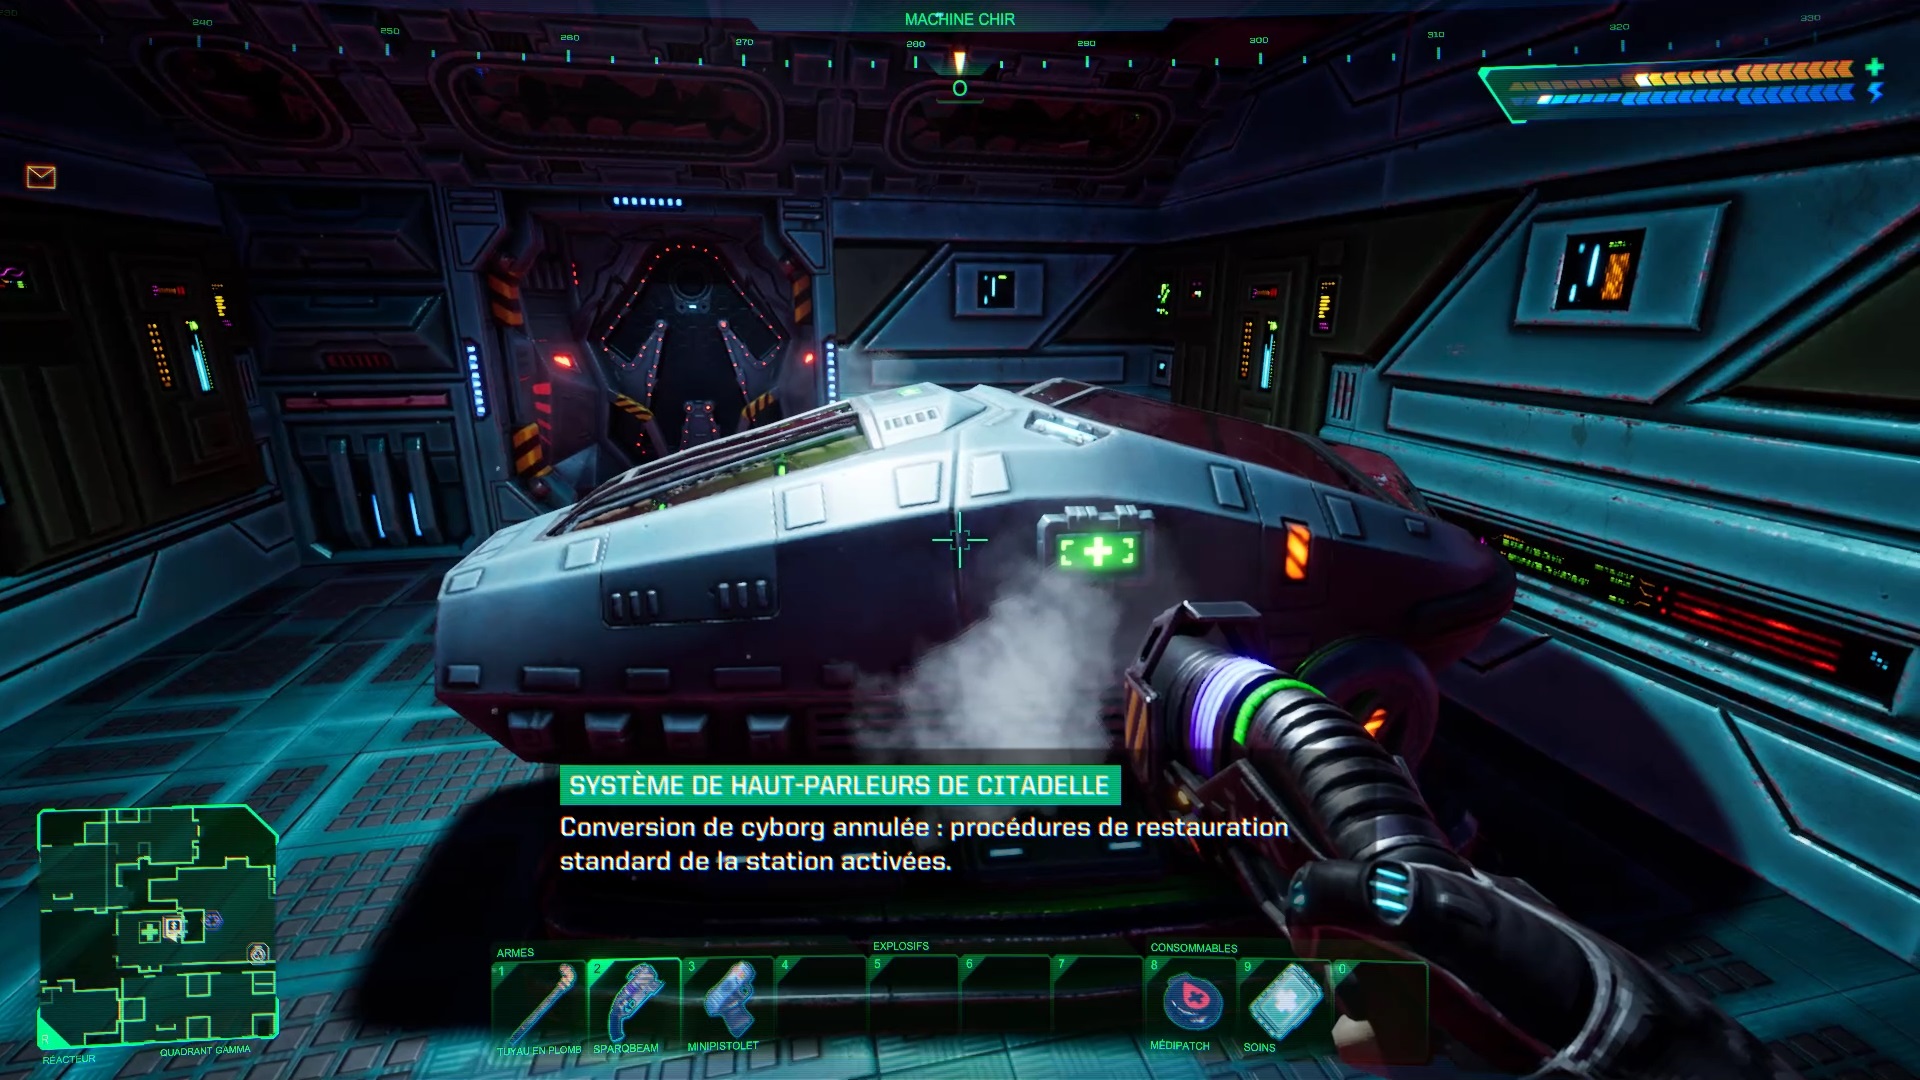
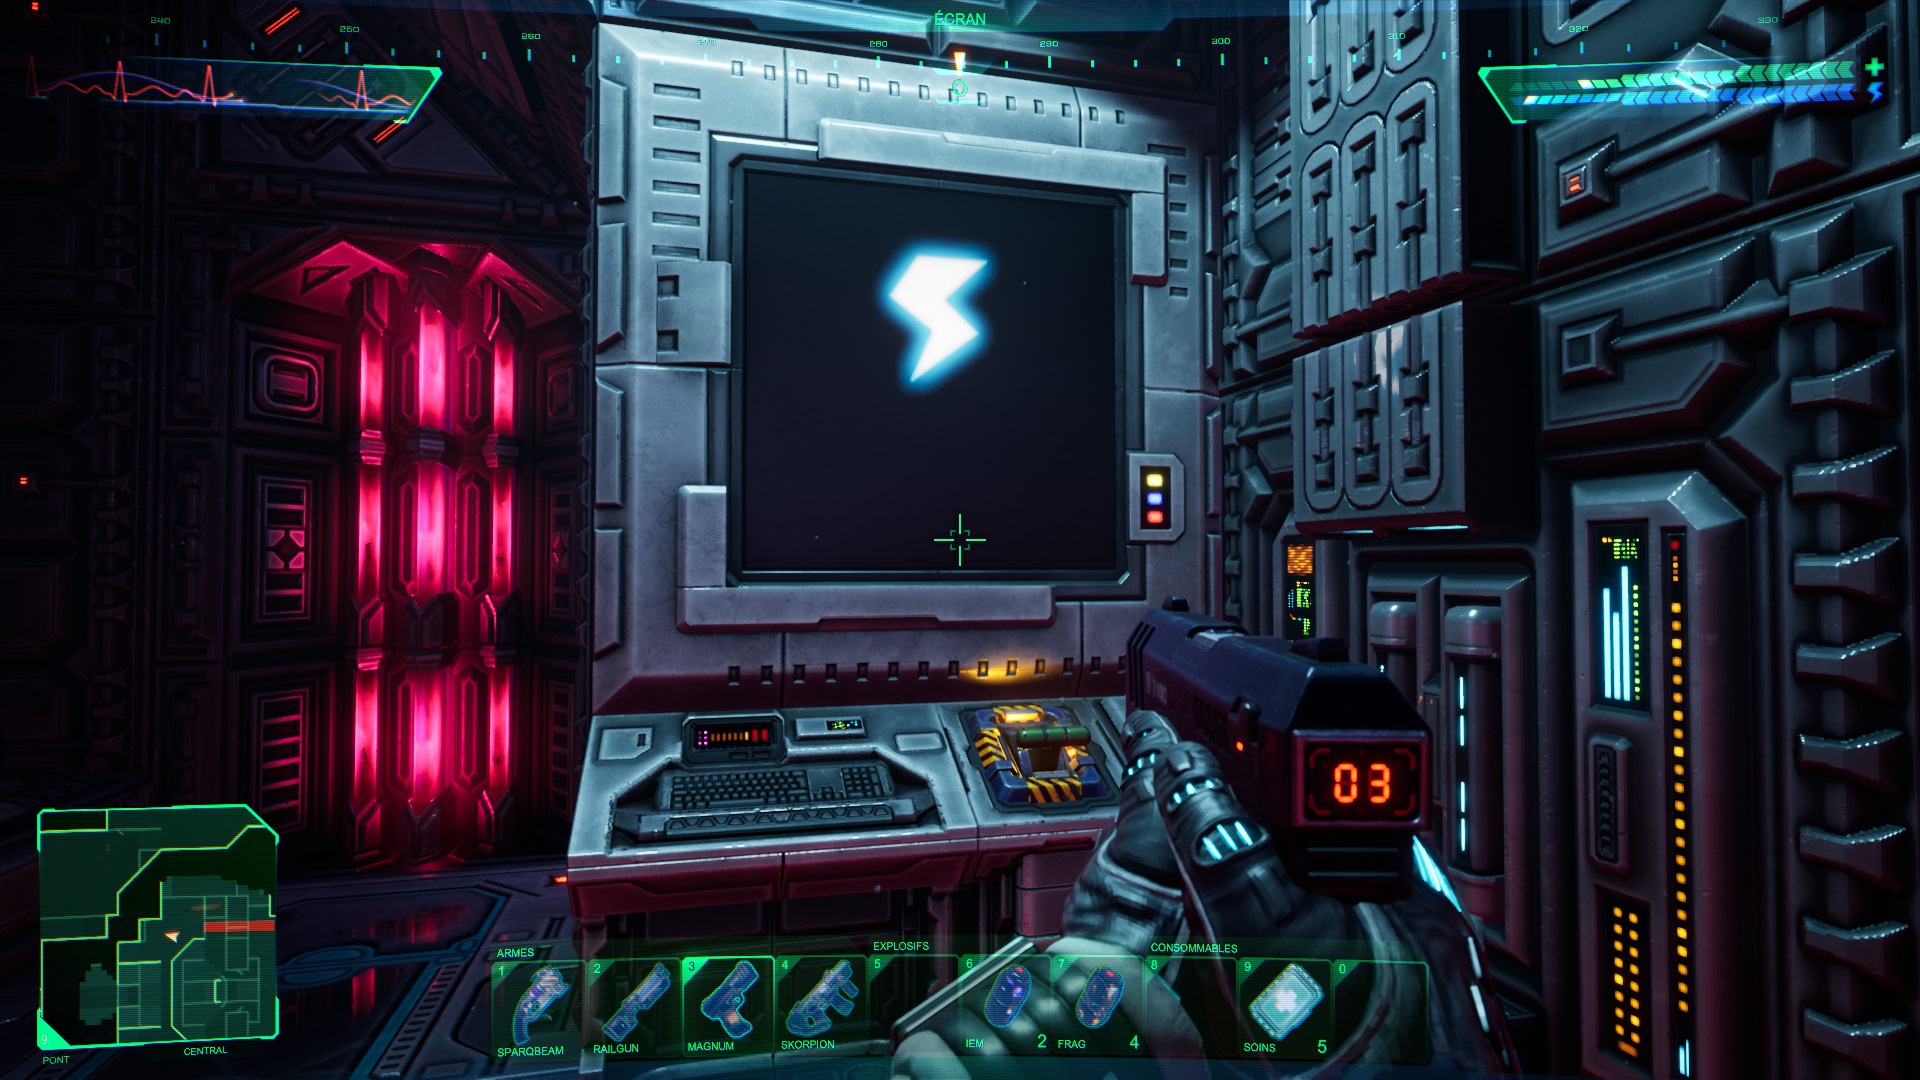
Back to reality, go to the unlocked force field to encounter a new threat. Destroy the threat and go underneath to reach a computer cluster room to the east. Destroy the clusters with a grenade or with your weapons to destroy Shodan’s presence in the infirmary. A number appears on the screen. Write down the number for later. Then go up the hallway to find the elevator to the south next to the resuscitation room leading to the second level.
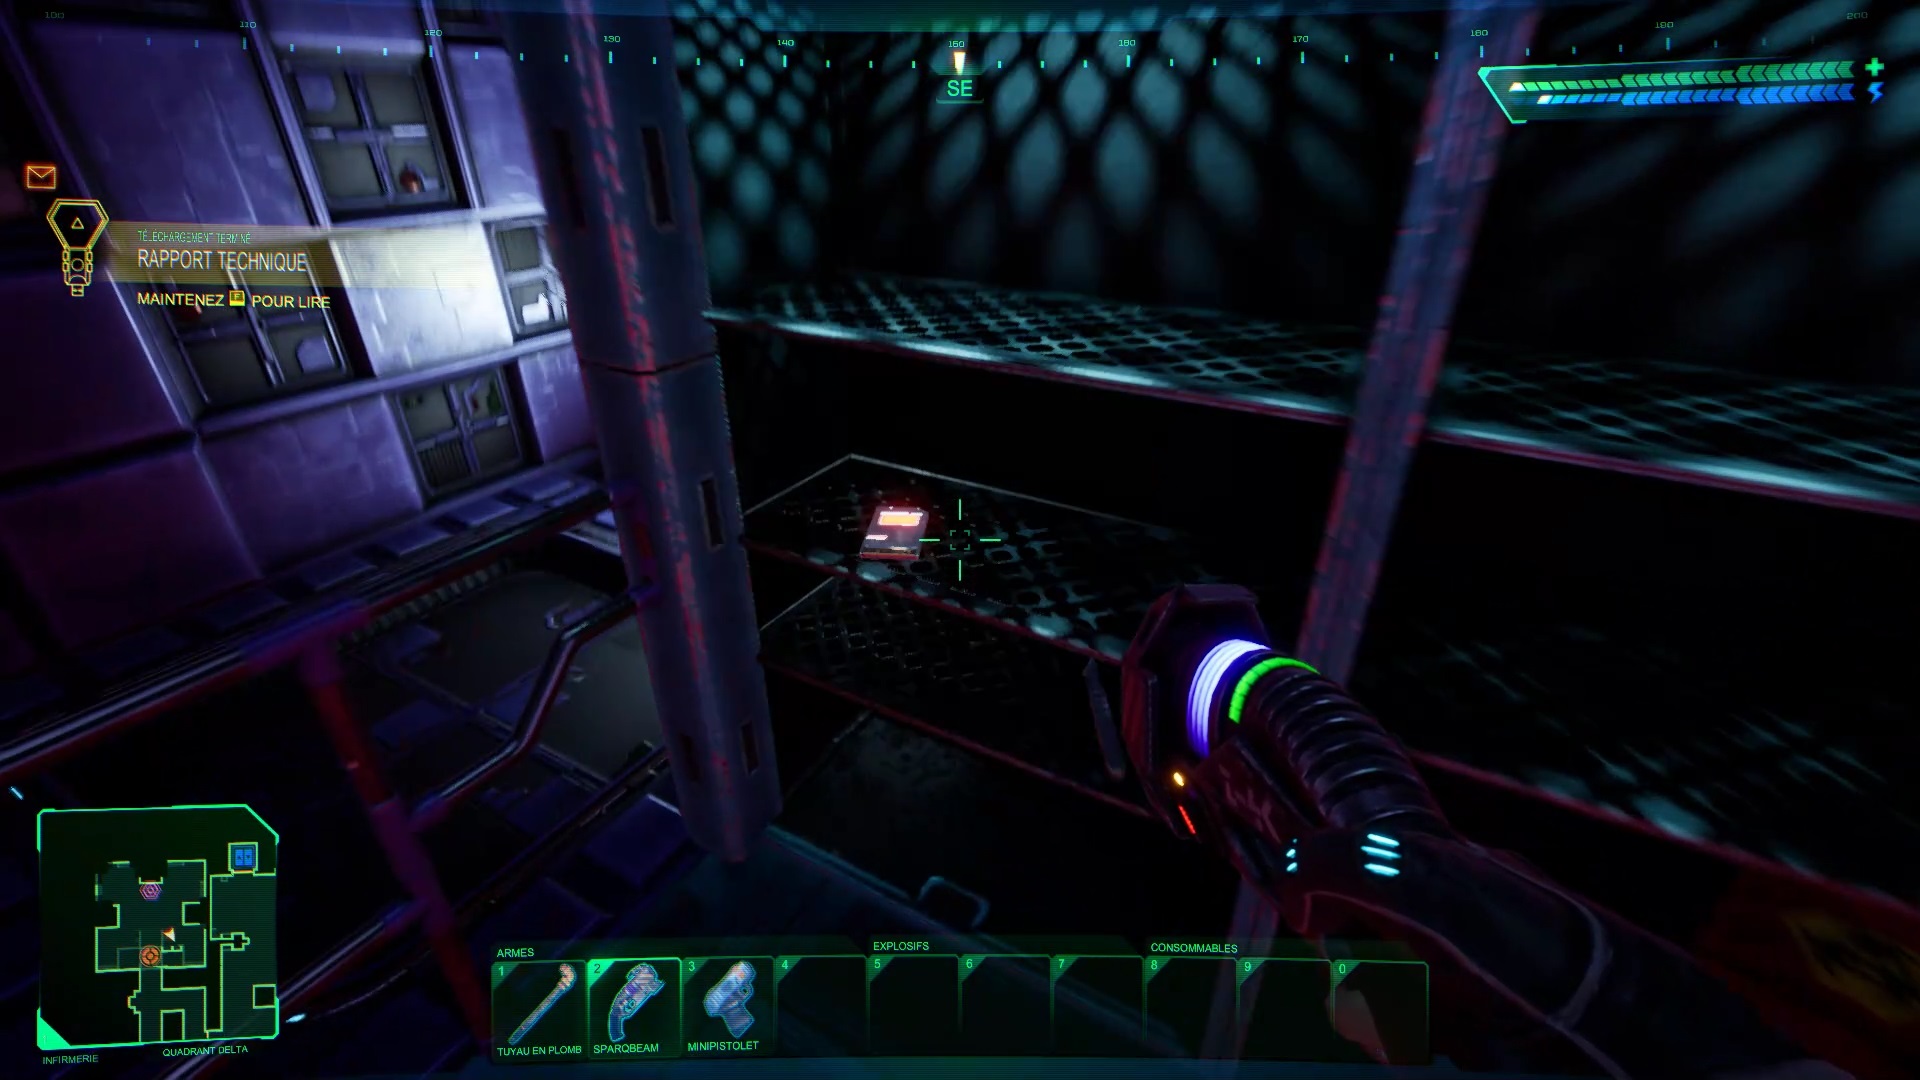
Before leaving the infirmary level, we recommend that you go through the room to the west of the elevator. You will find a room leading to cyberspace. Search the shelf to retrieve a new access card for later.
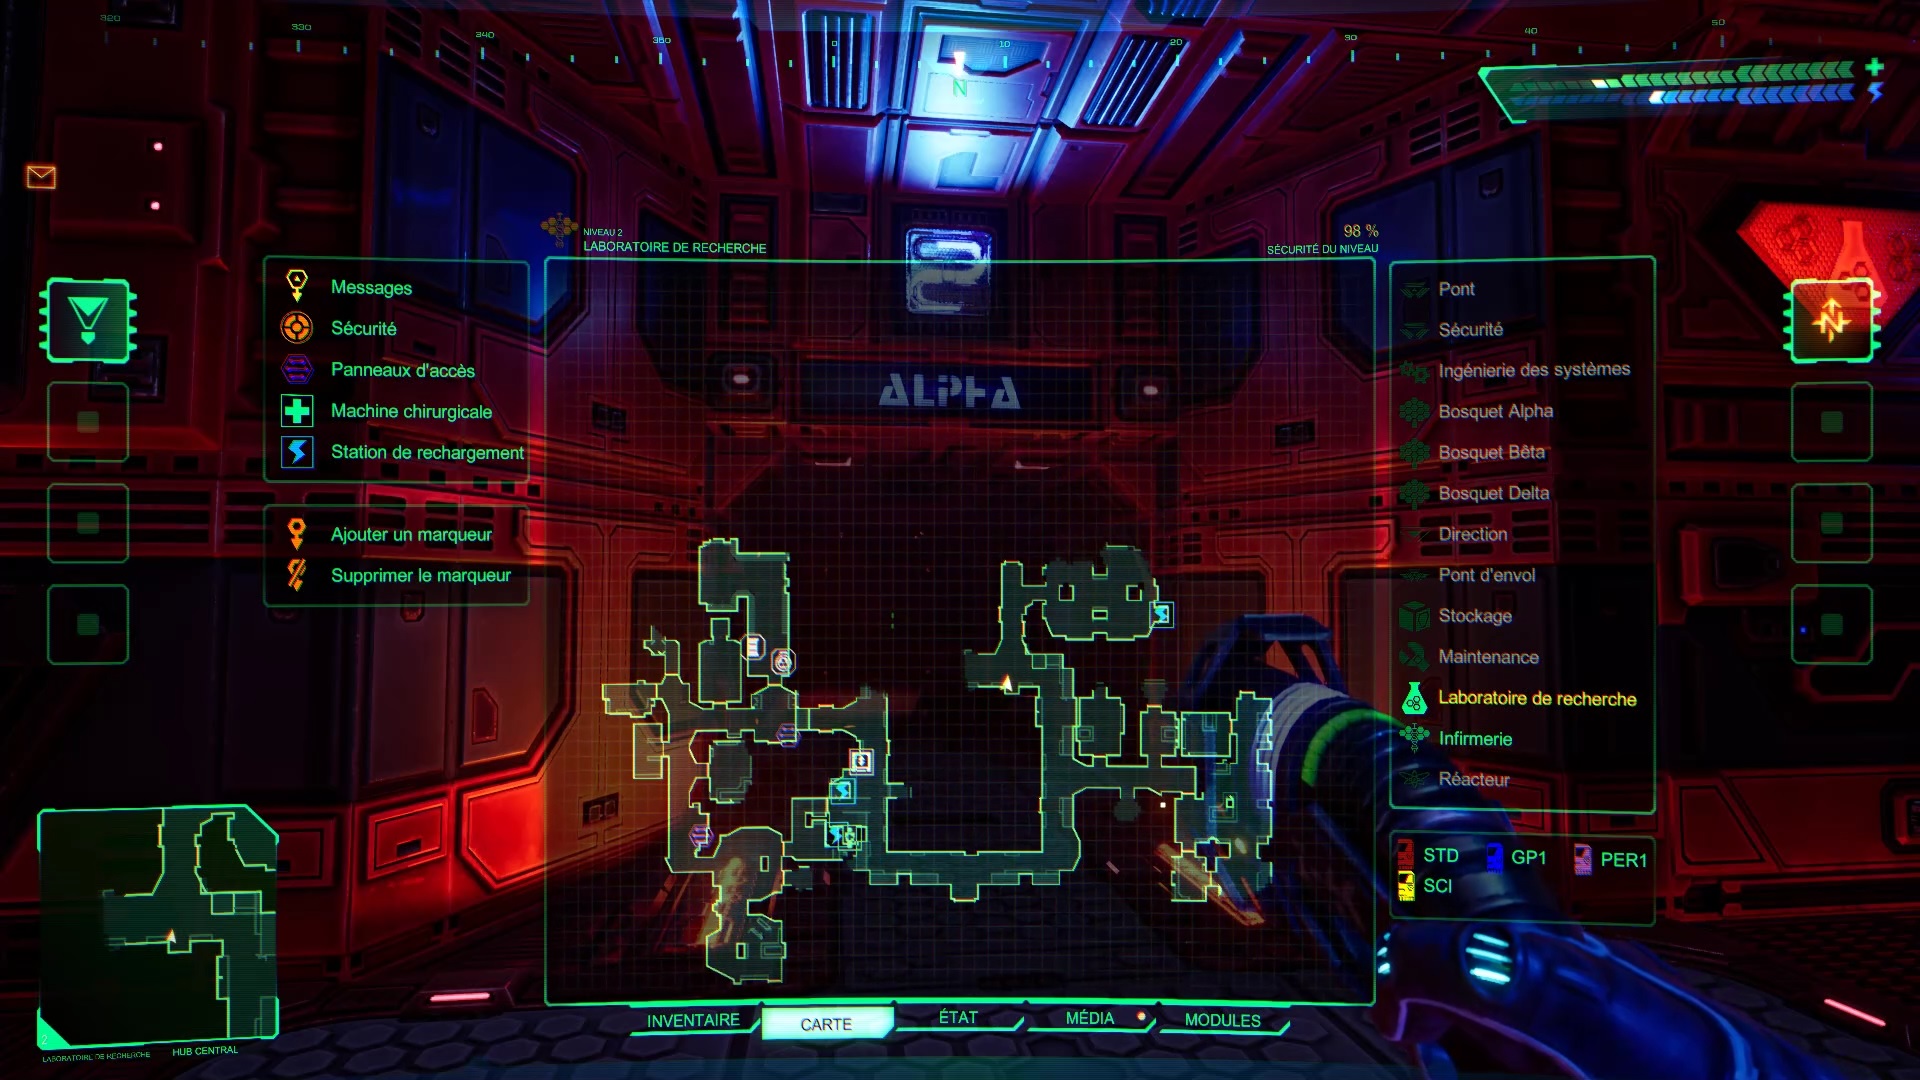
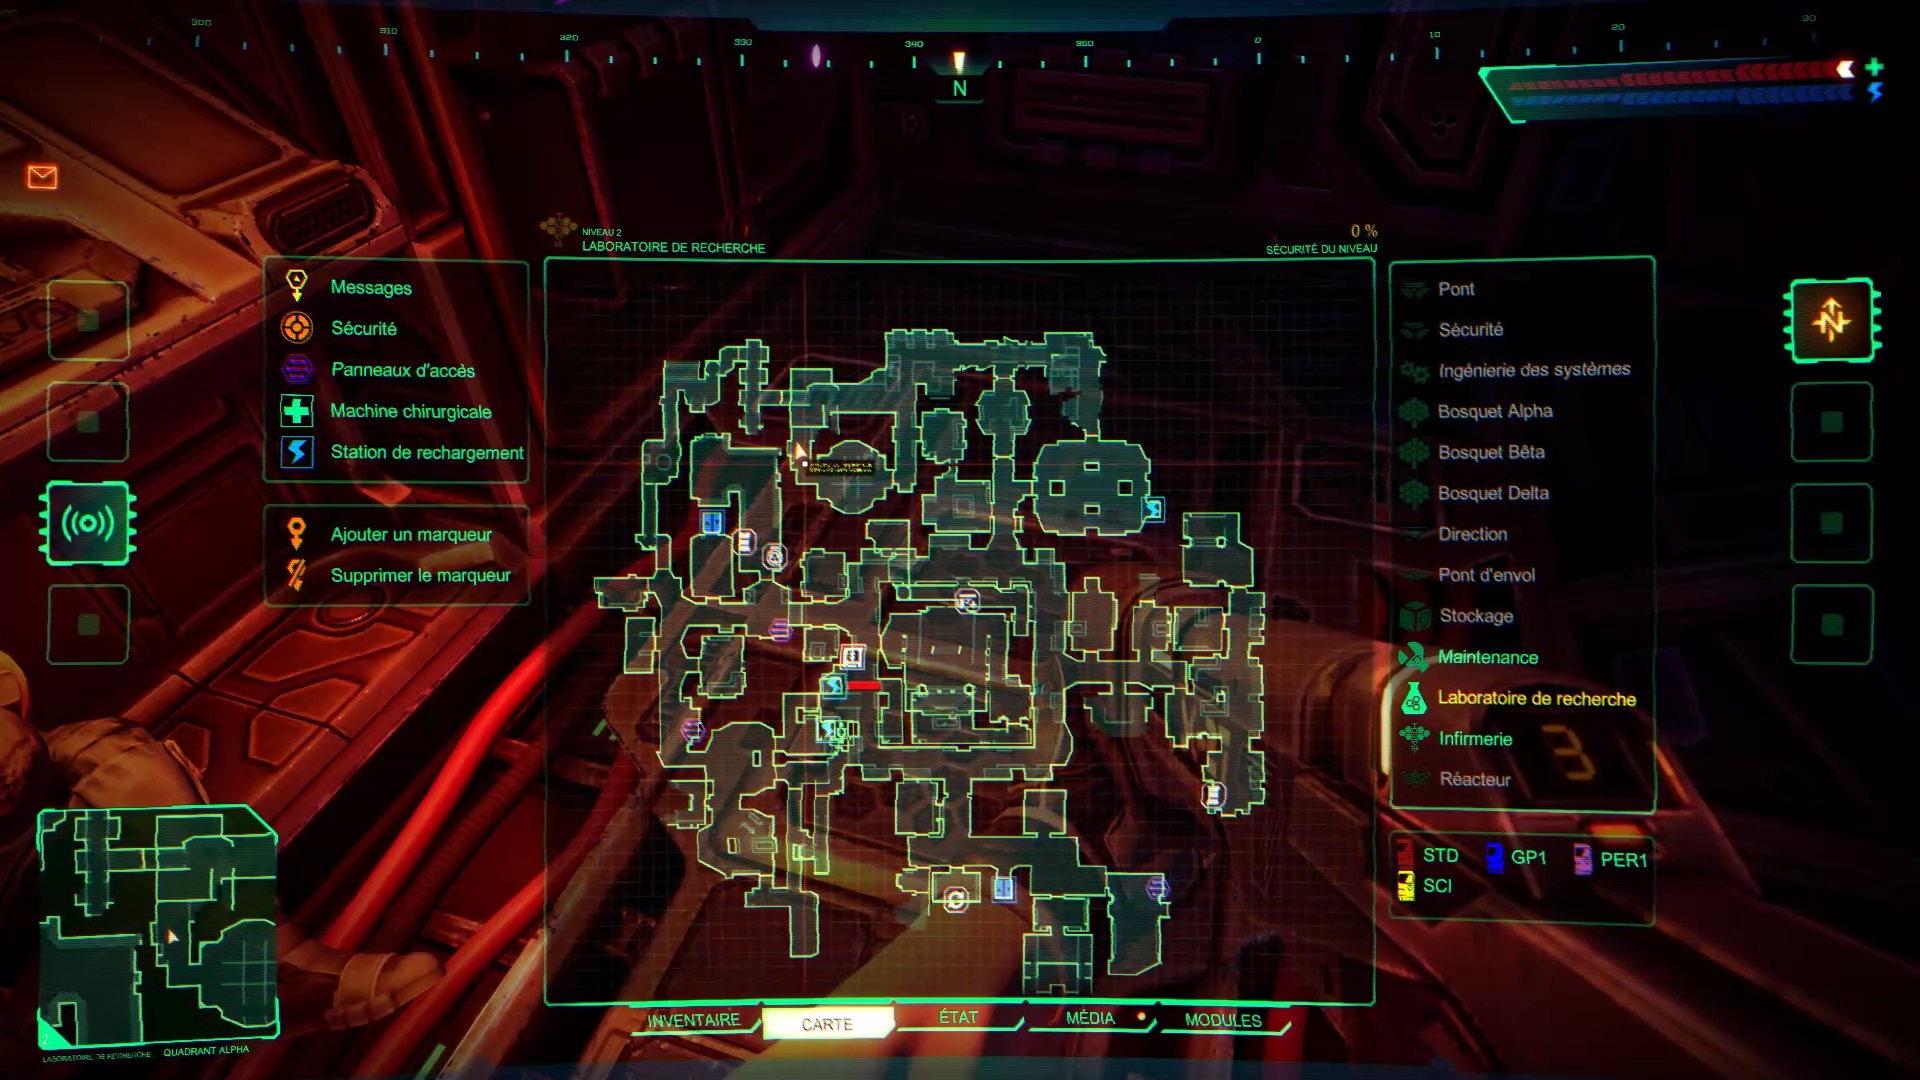
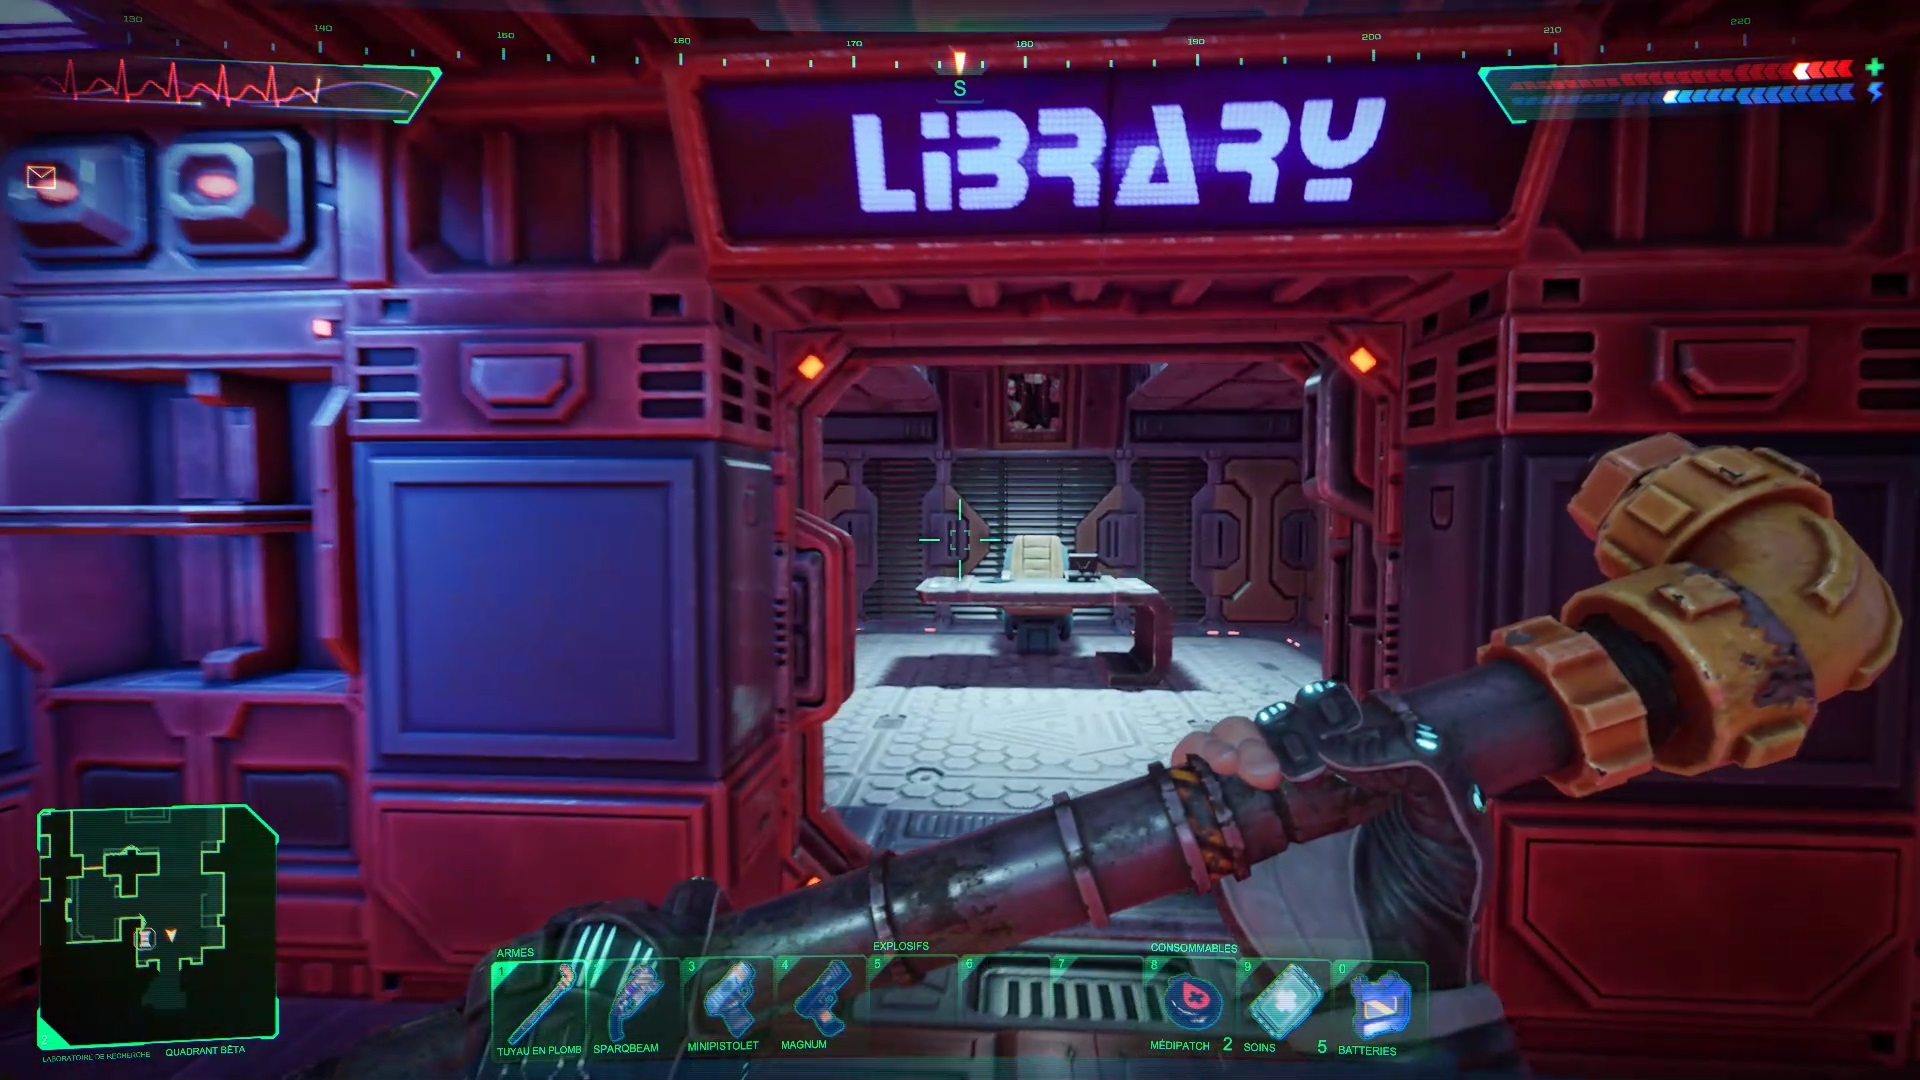
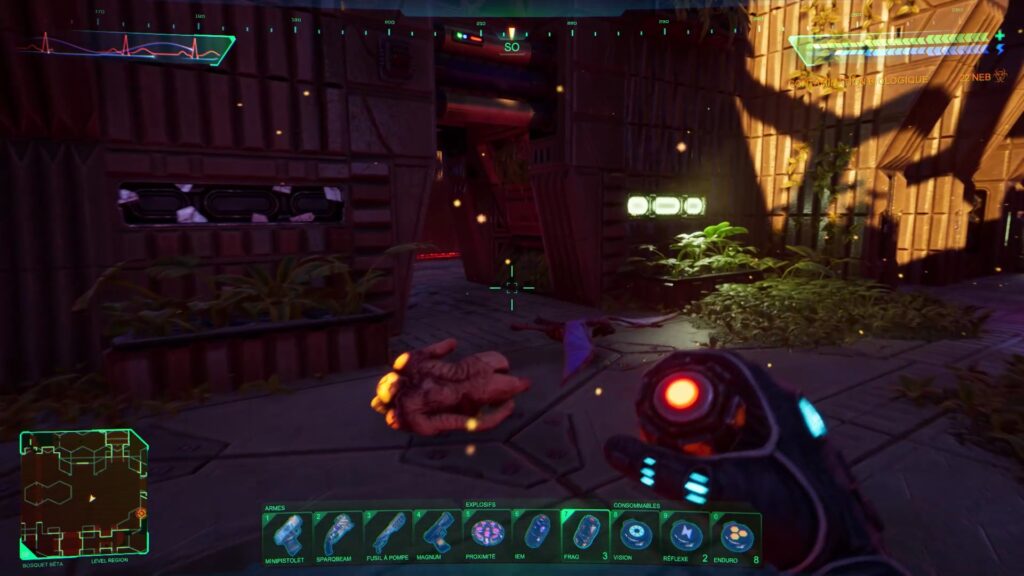
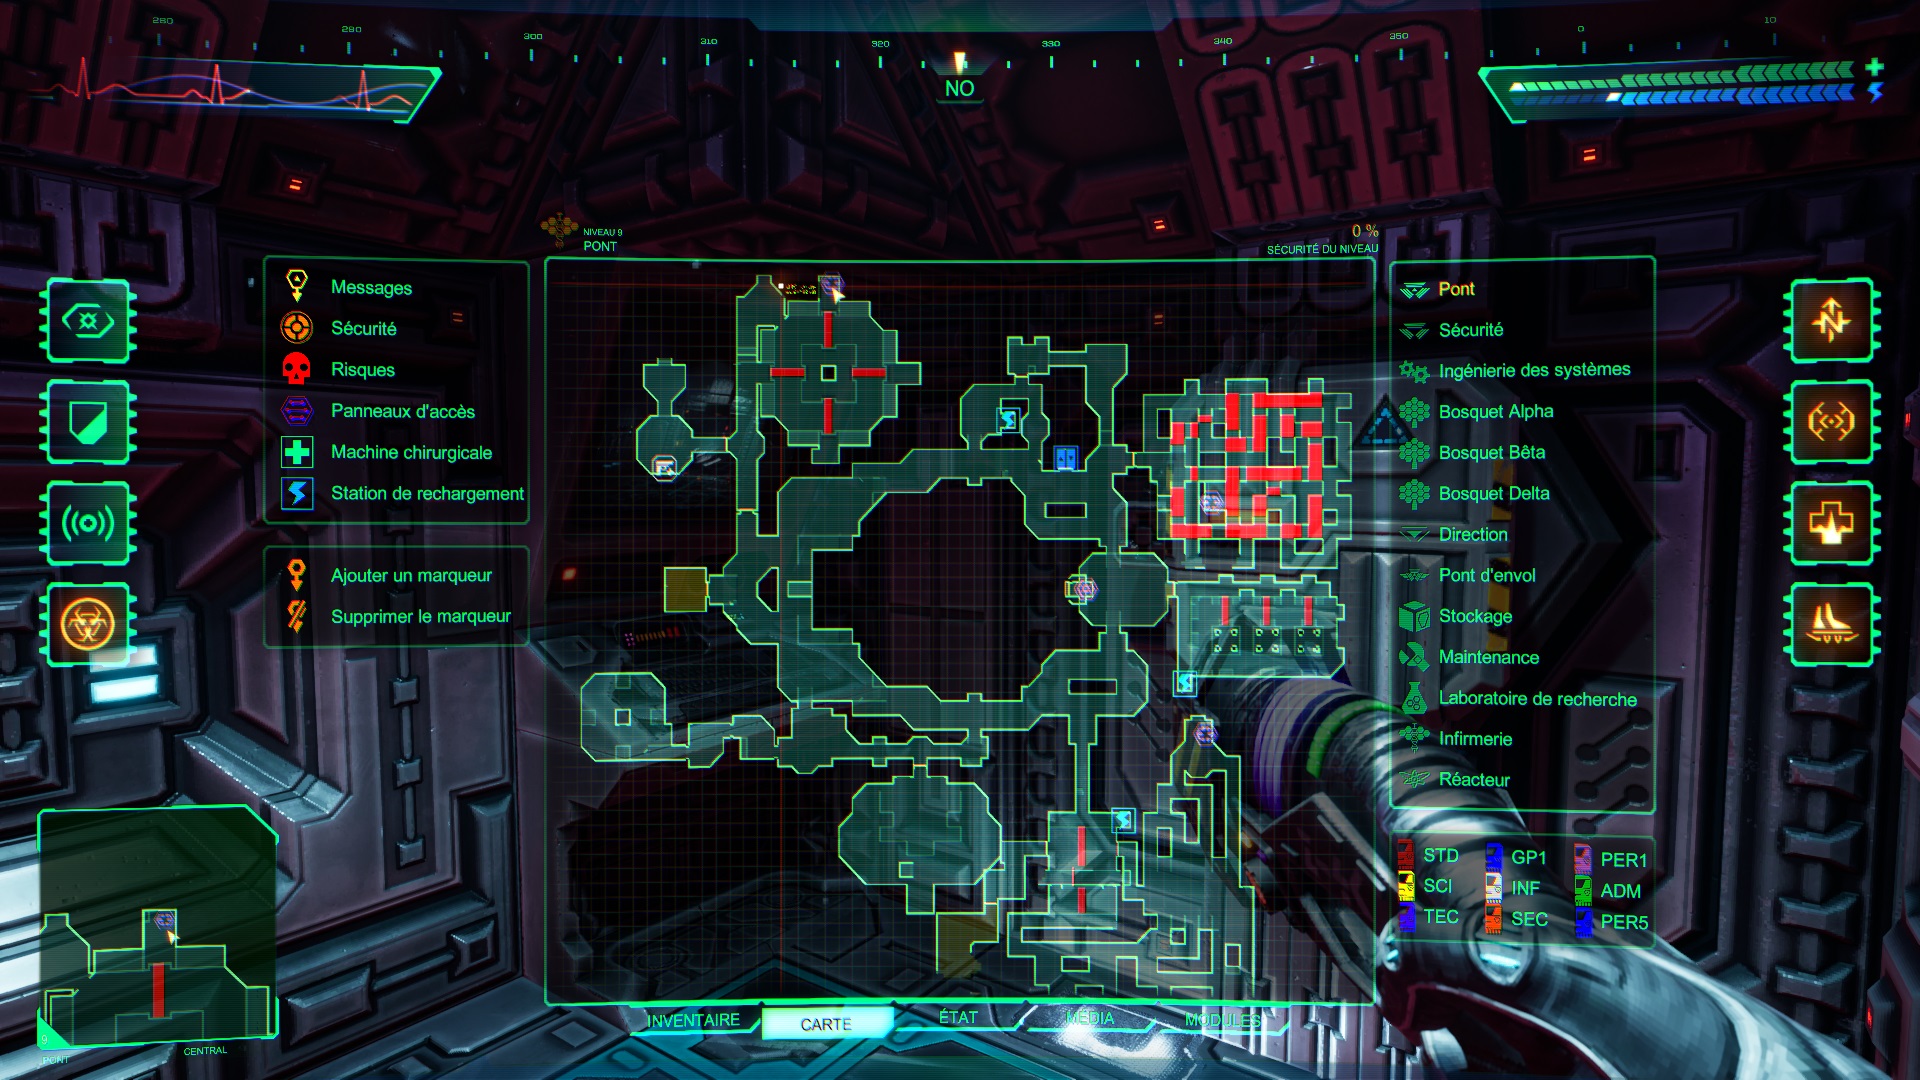
Research Labs

Once we get to the research lab, let’s start by unlocking the recovery chamber. As you exit the elevator, head southeast to find the room. If this is not activated, you can enter through the door nearby to activate it with a lever.
Before we continue, we need to power up the area. Head north to find Alpha Wing. Then enter the room east of the Alpha Corridor to find several levers. Pull the levers up to power them all up.

Search the northeast of the alpha wing for a shotgun on the ground.
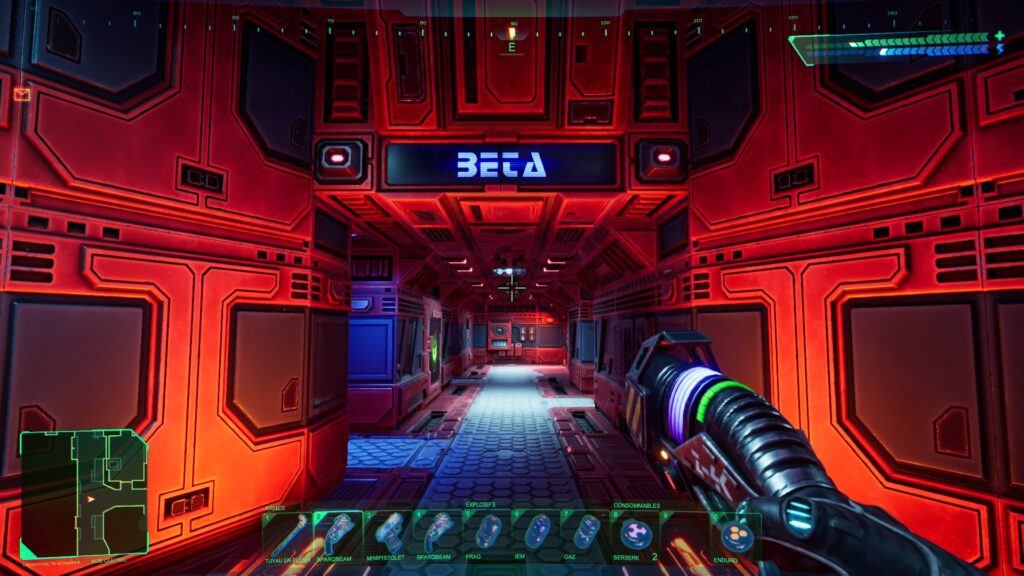
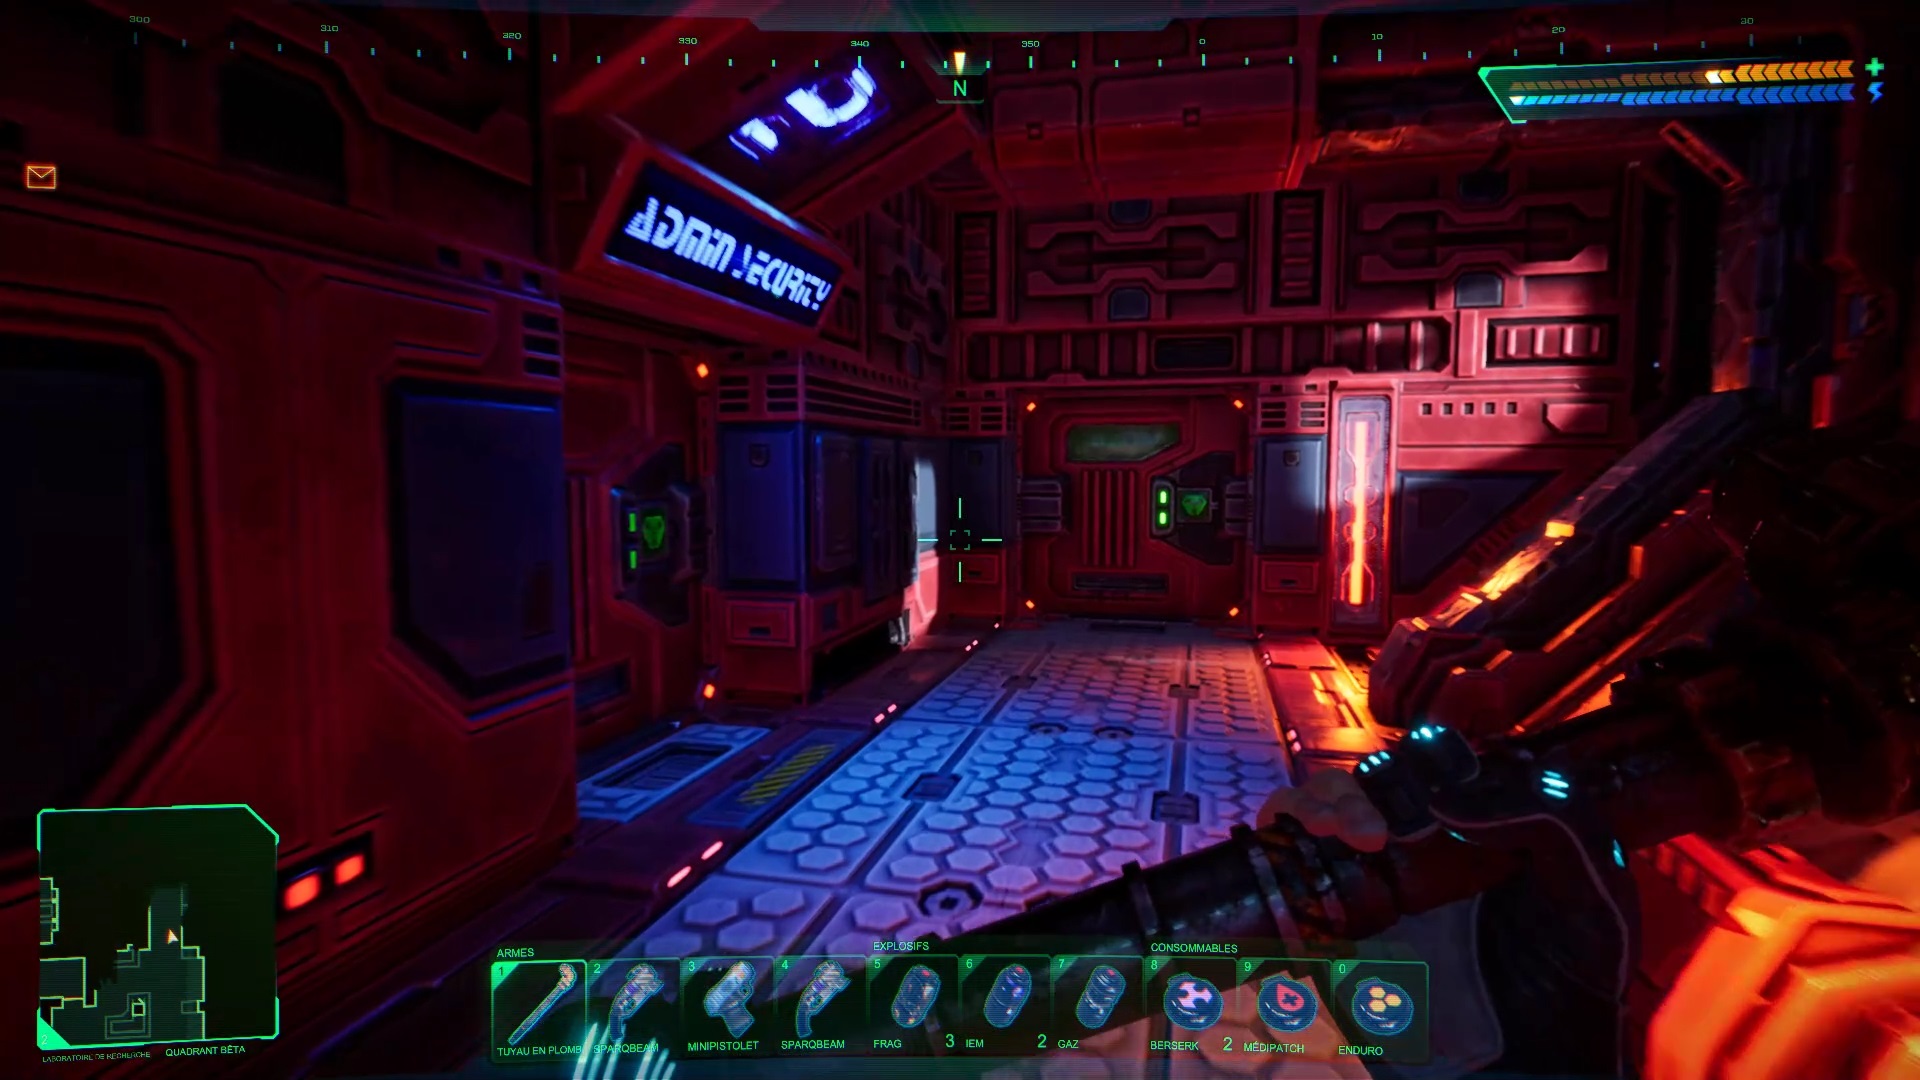
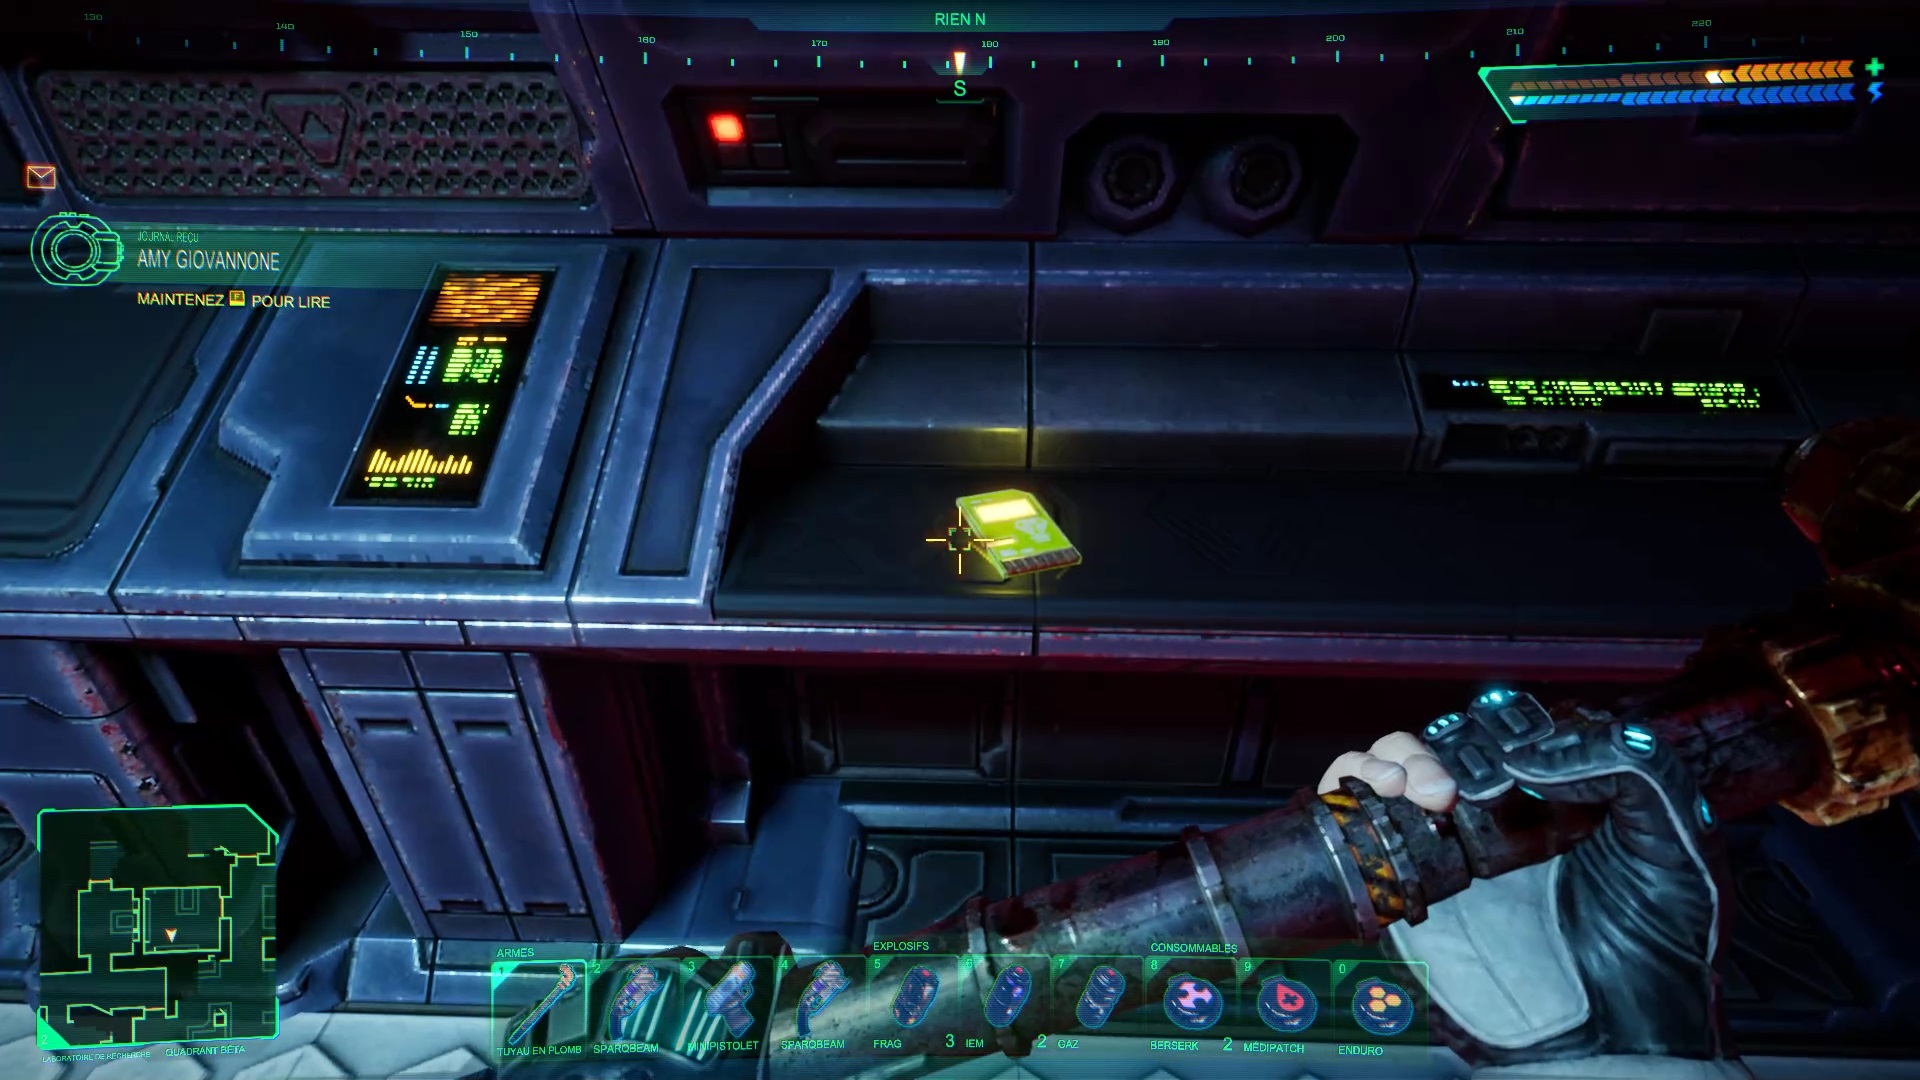
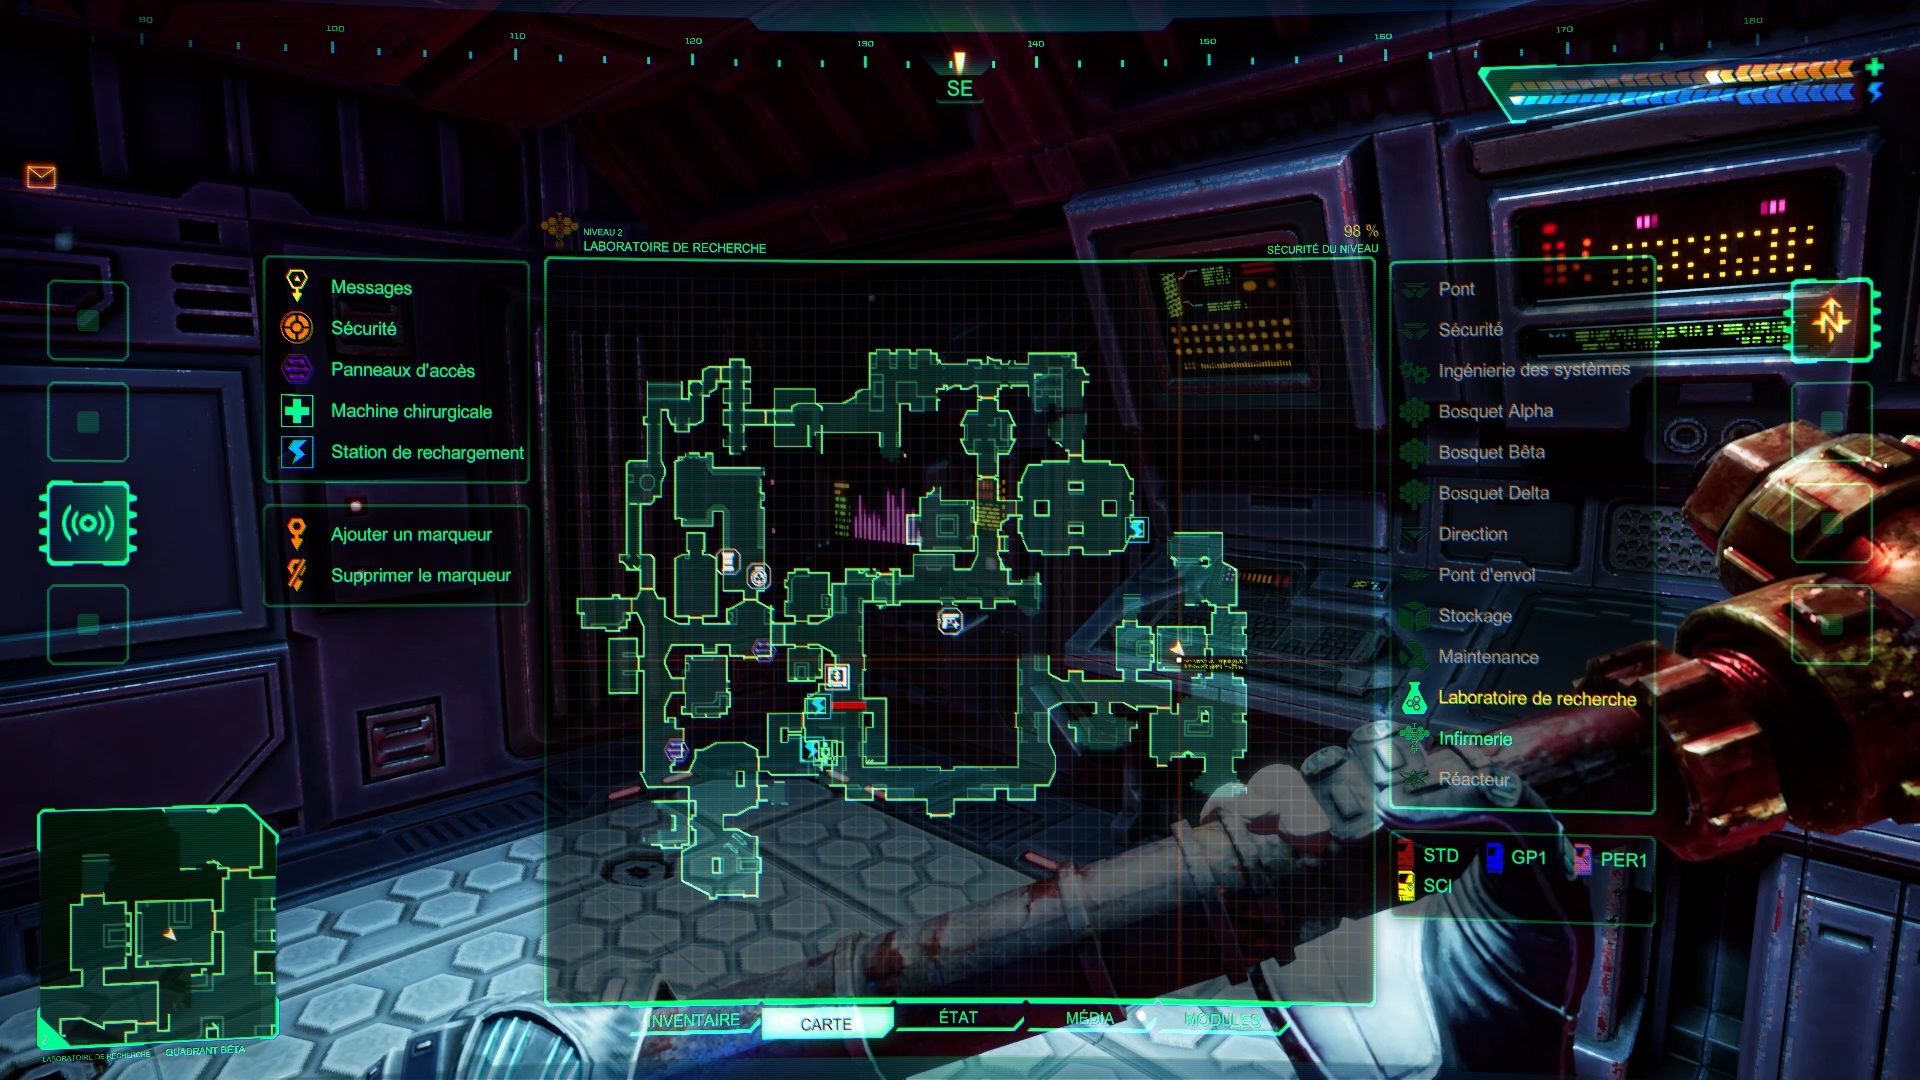
Then continue your investigation towards the east to find the Beta wing. Head east to find the safe room. Eliminate the guard inside and get a new access card.
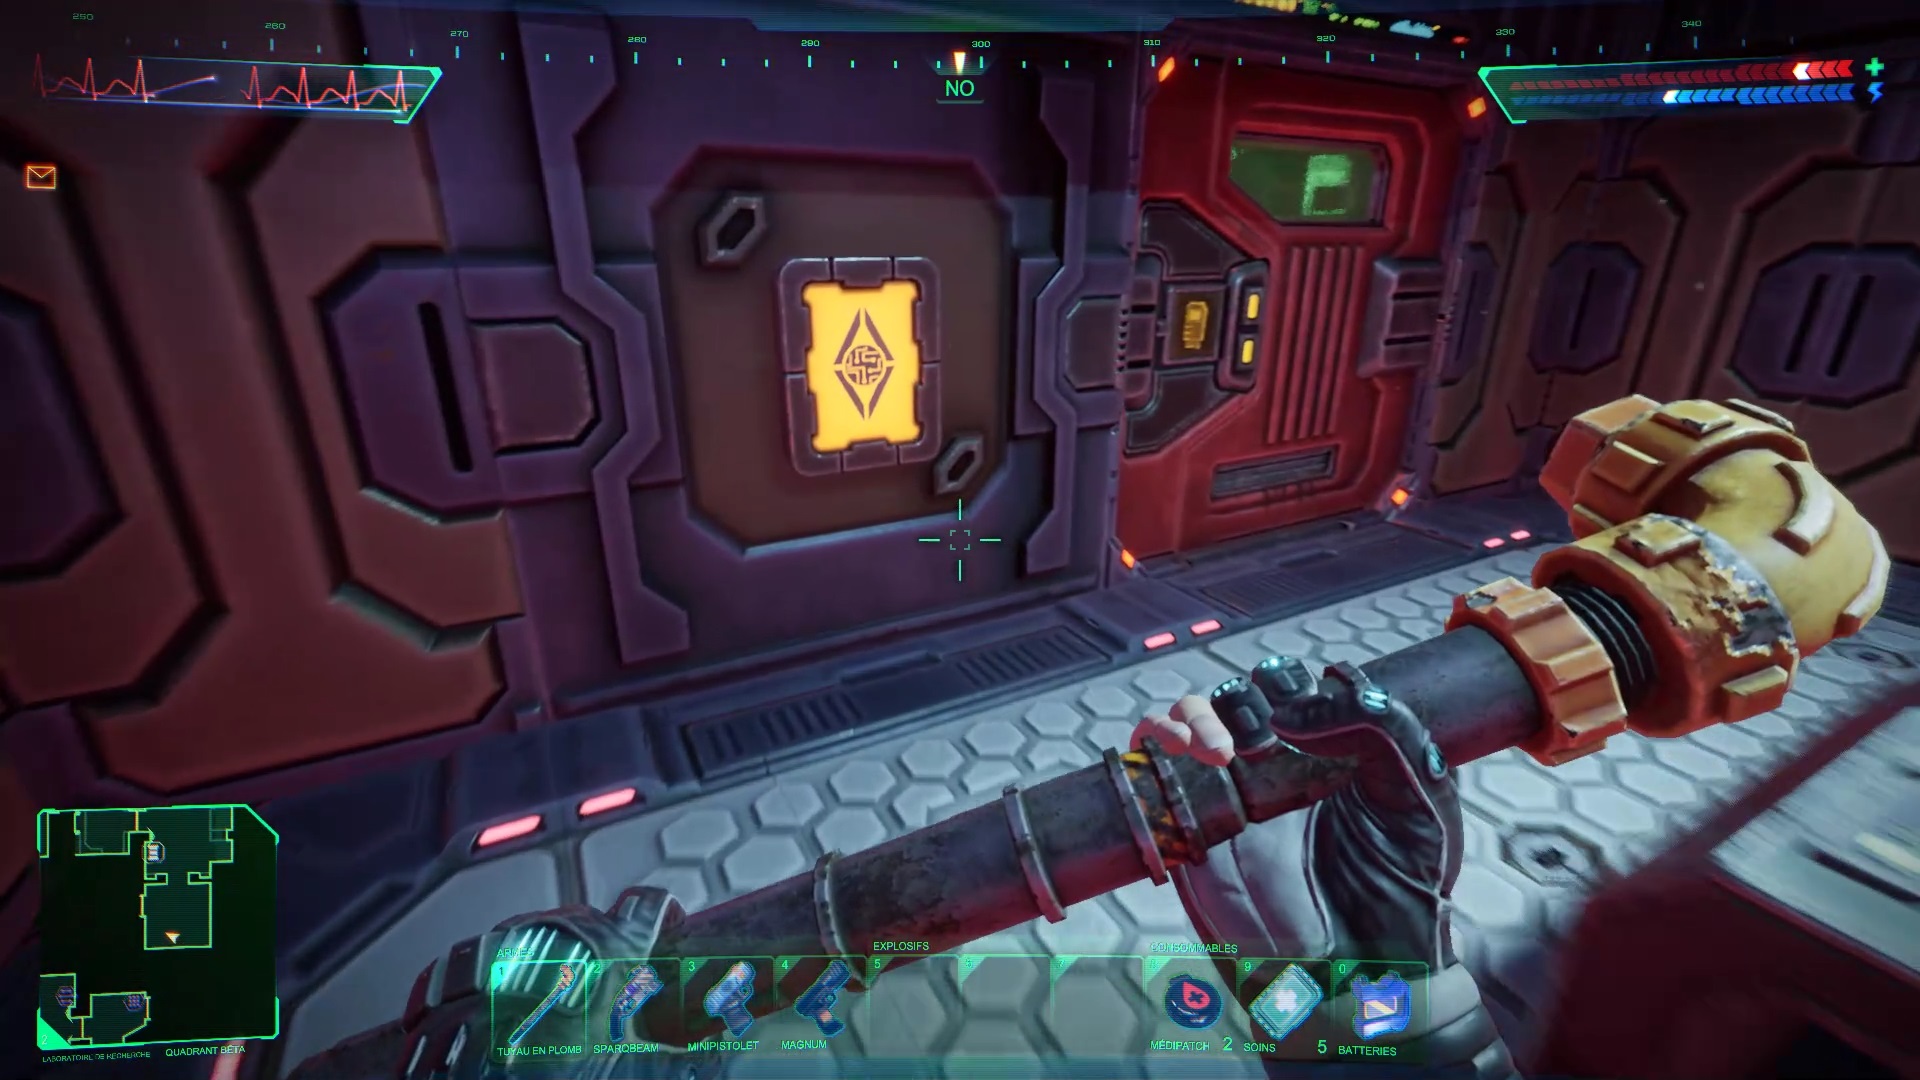
Then go down to the south of the Beta wing to unlock the library. Launch into cyberspace to destroy cores and collect a code for later.
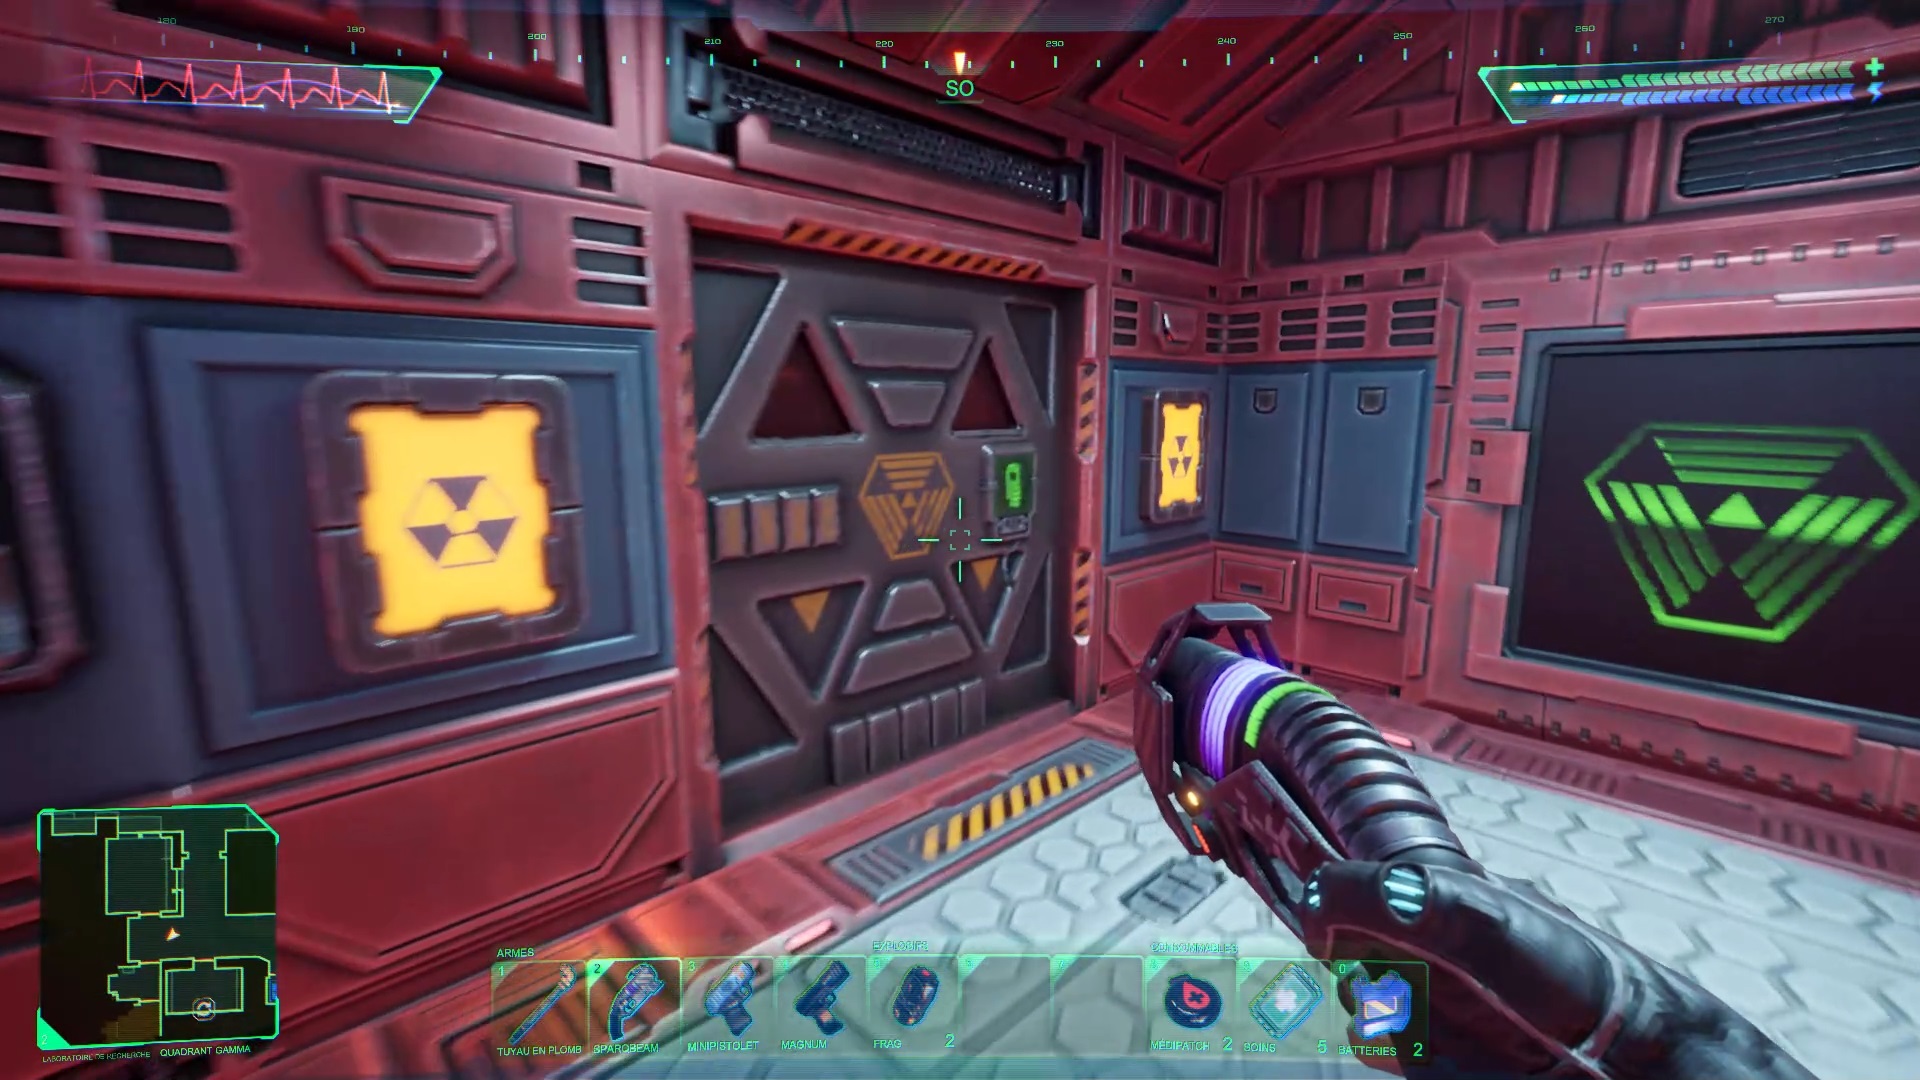
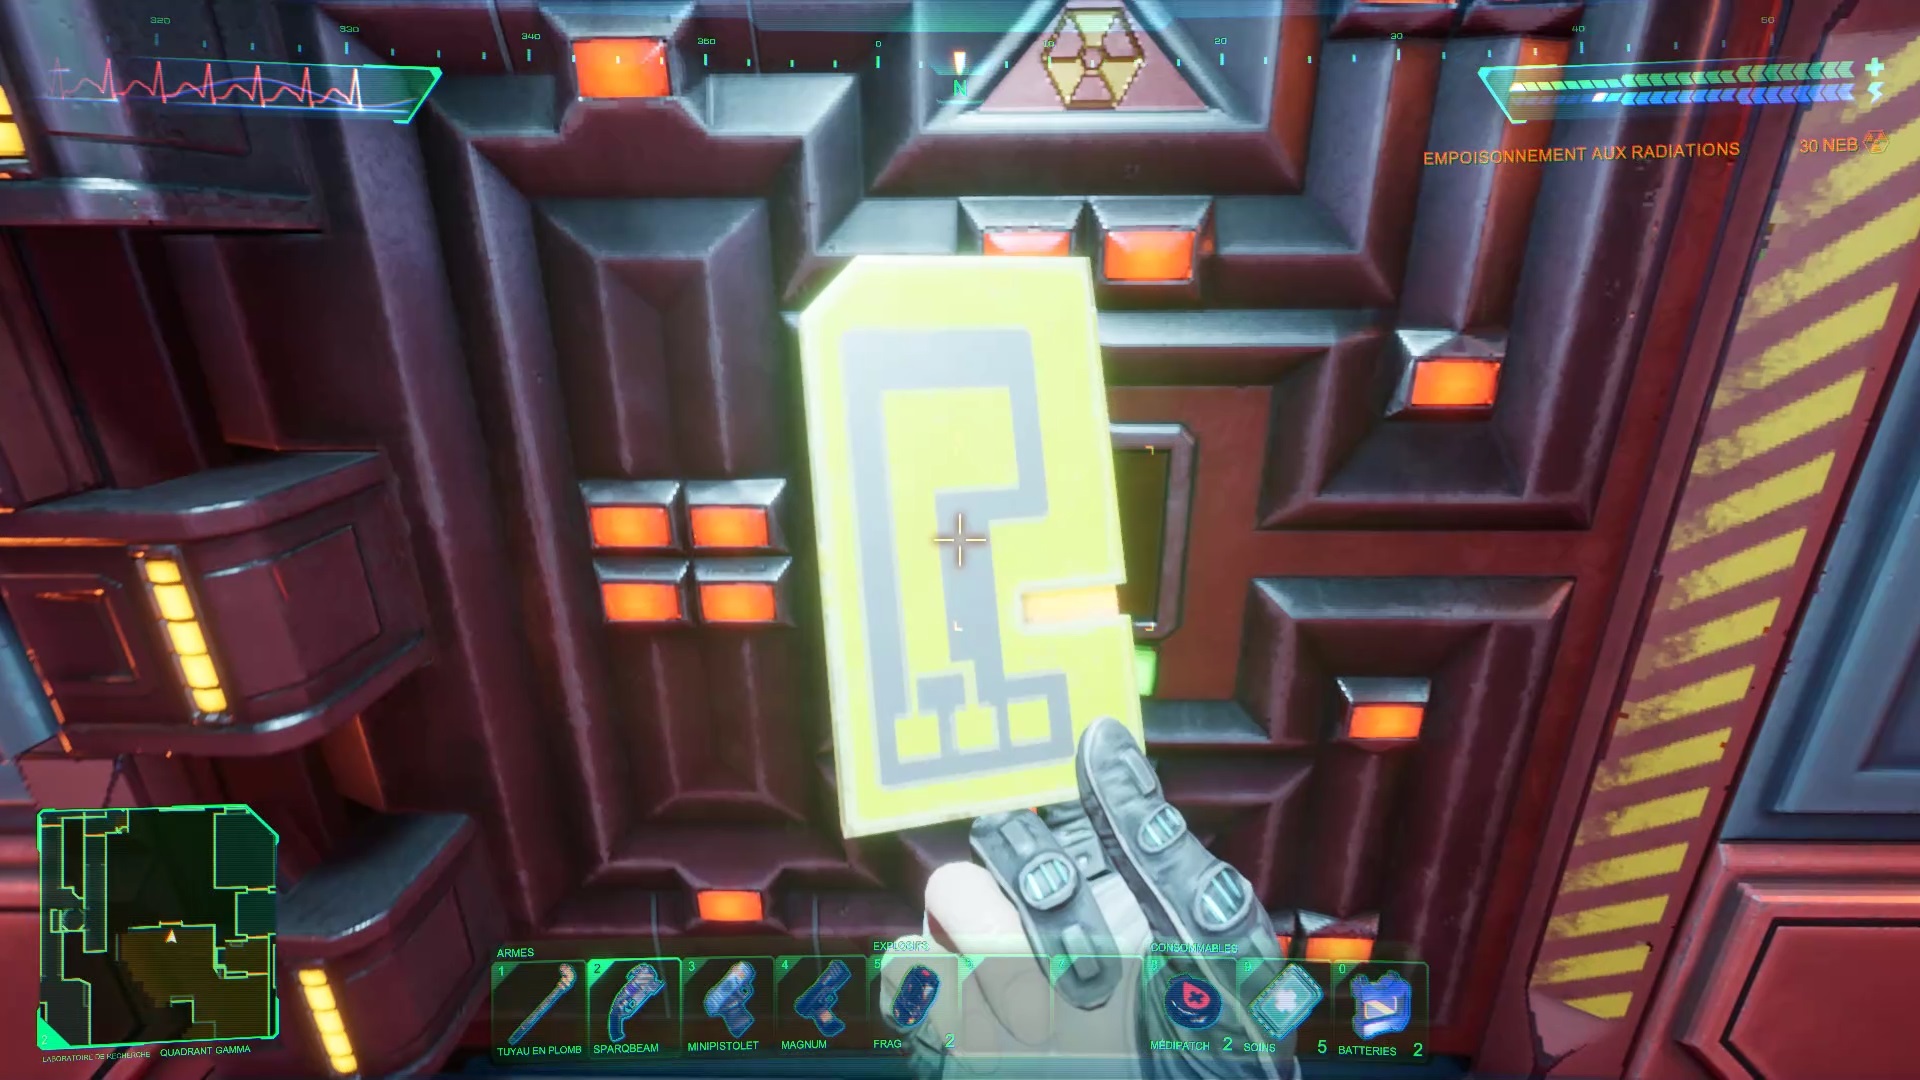
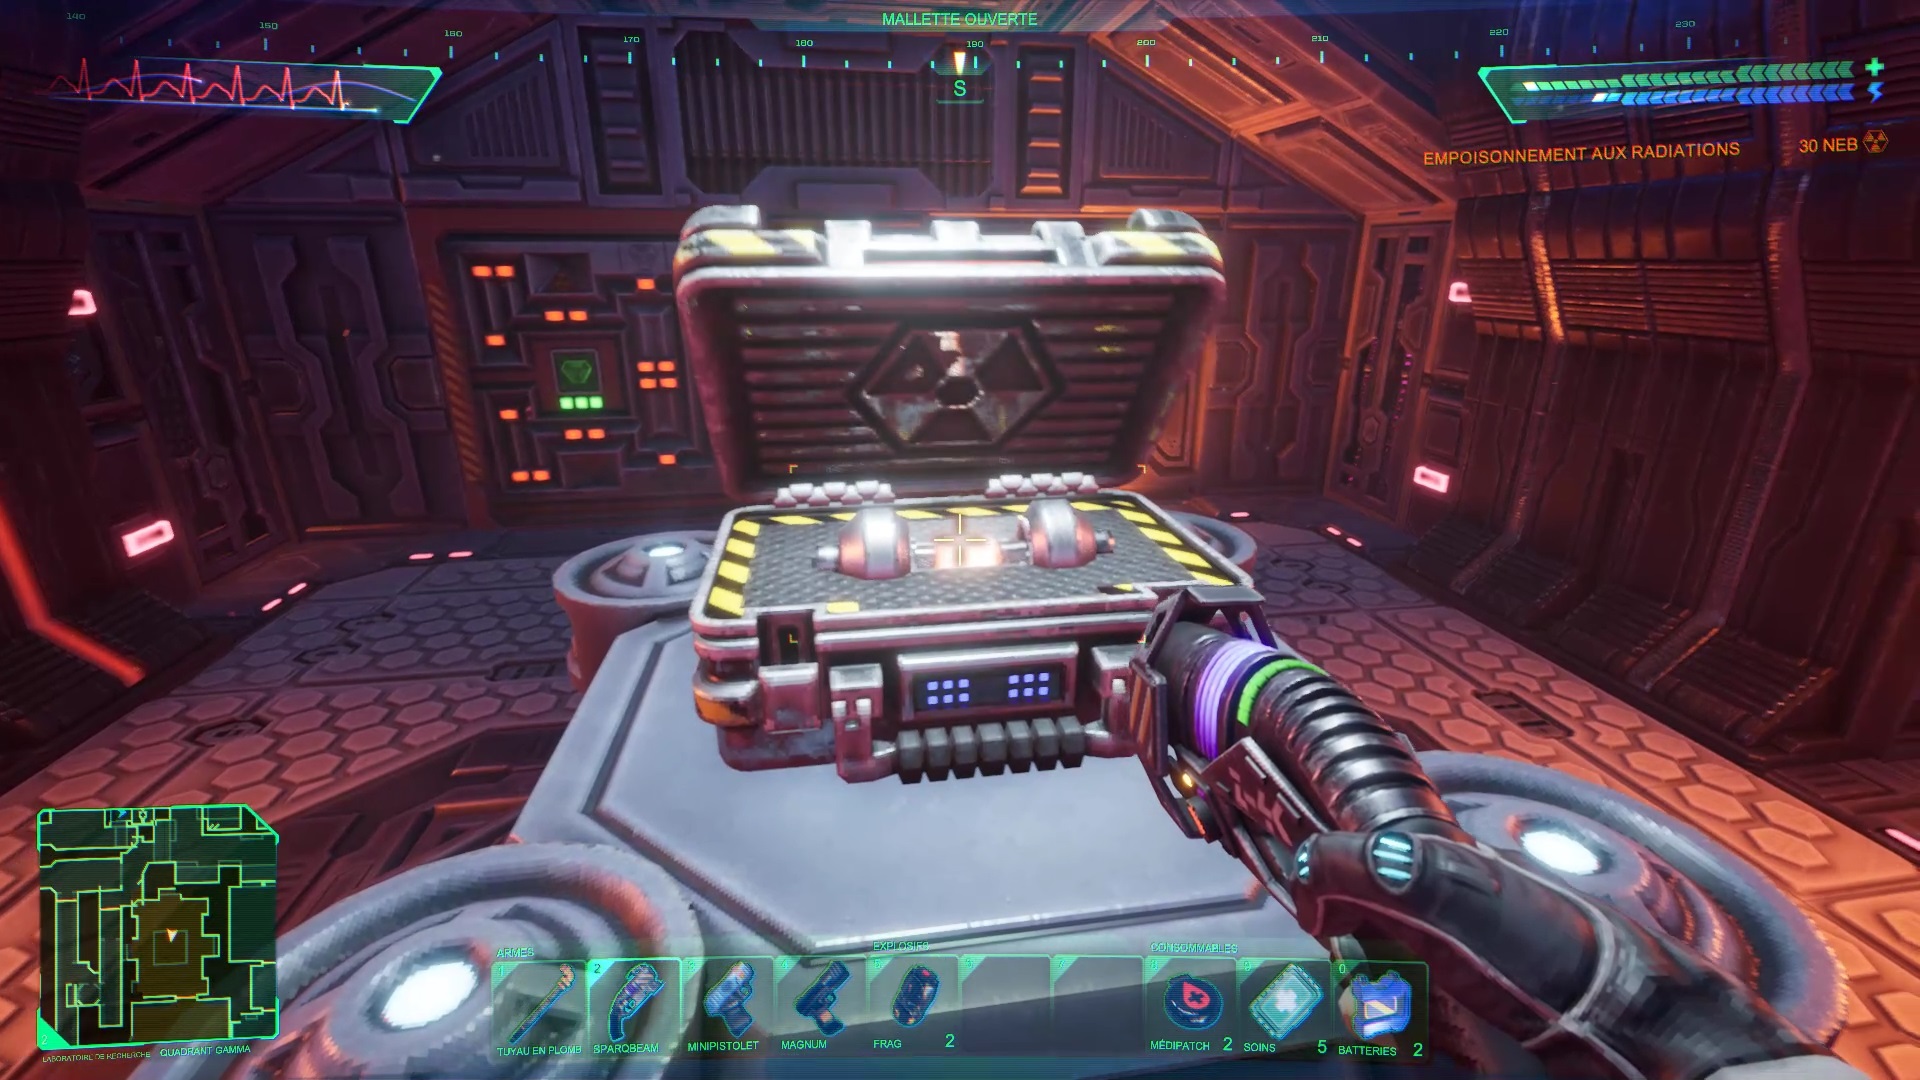
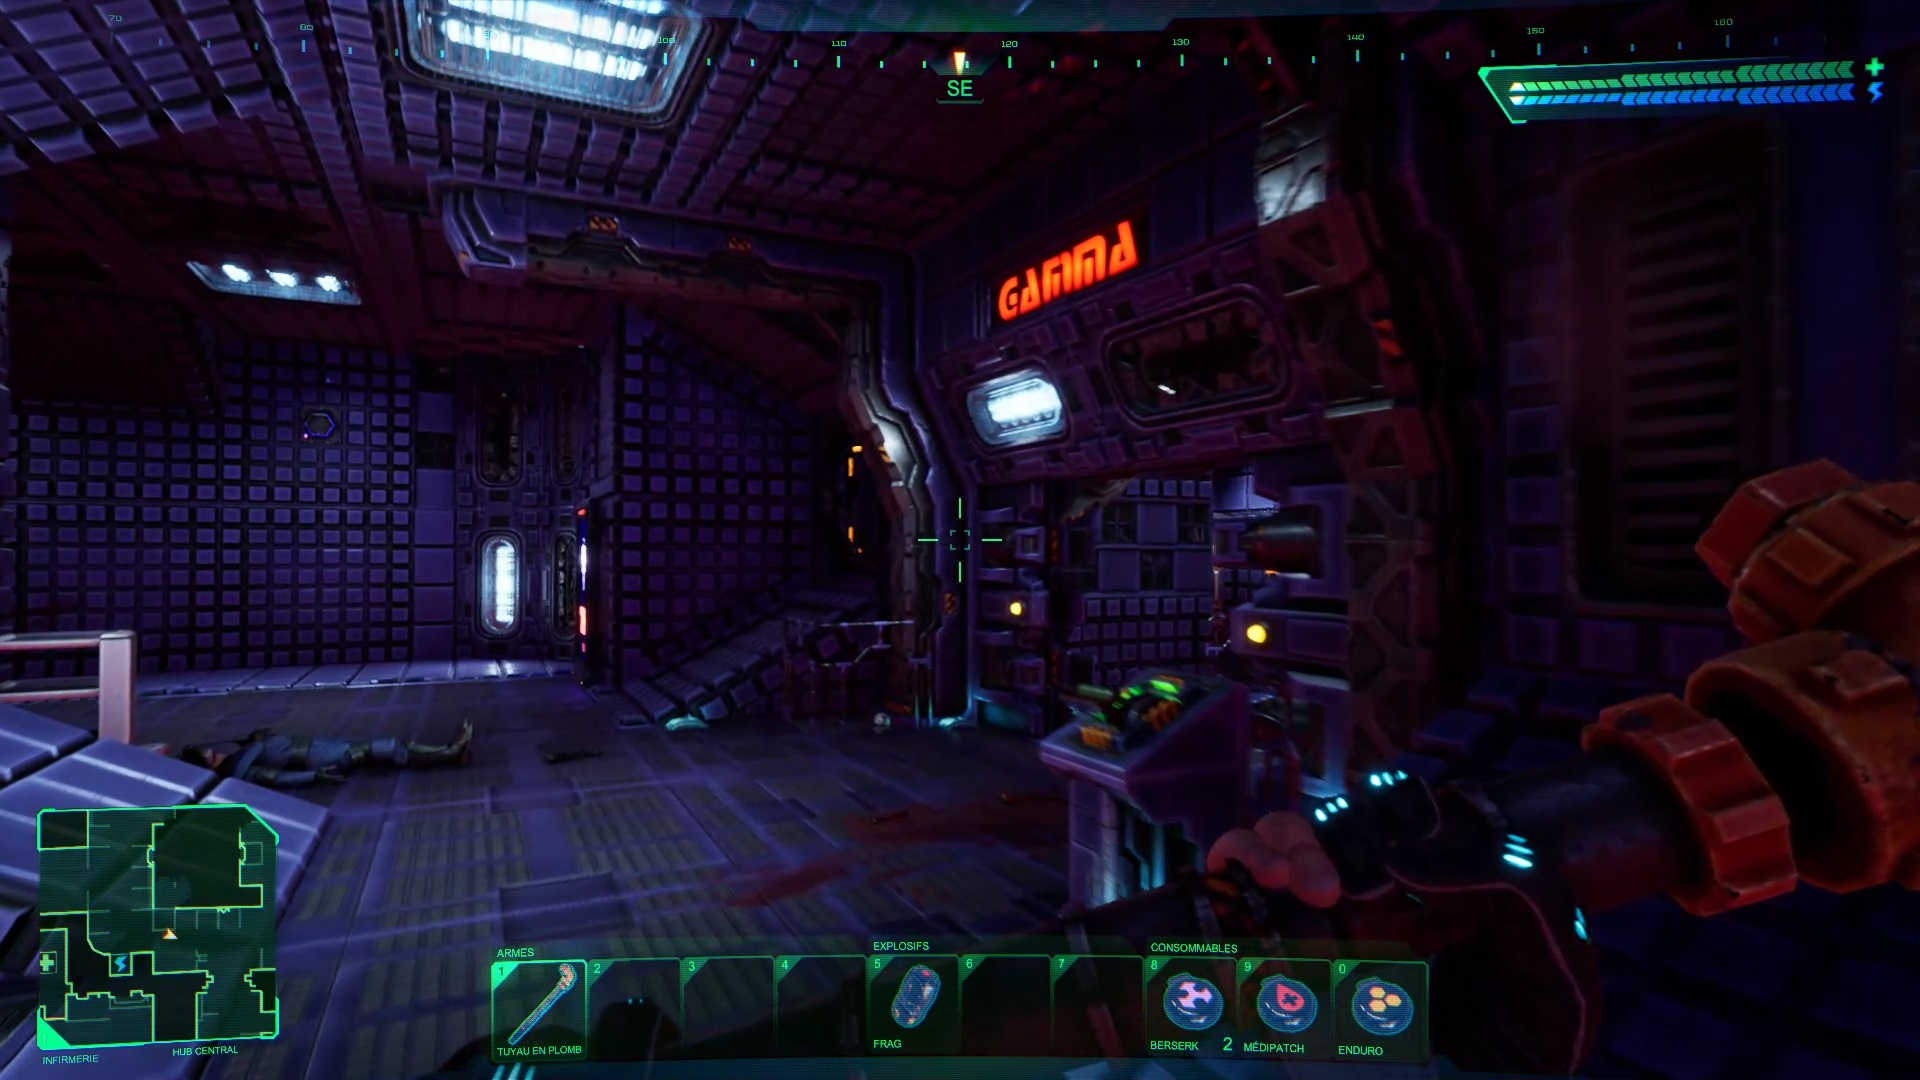
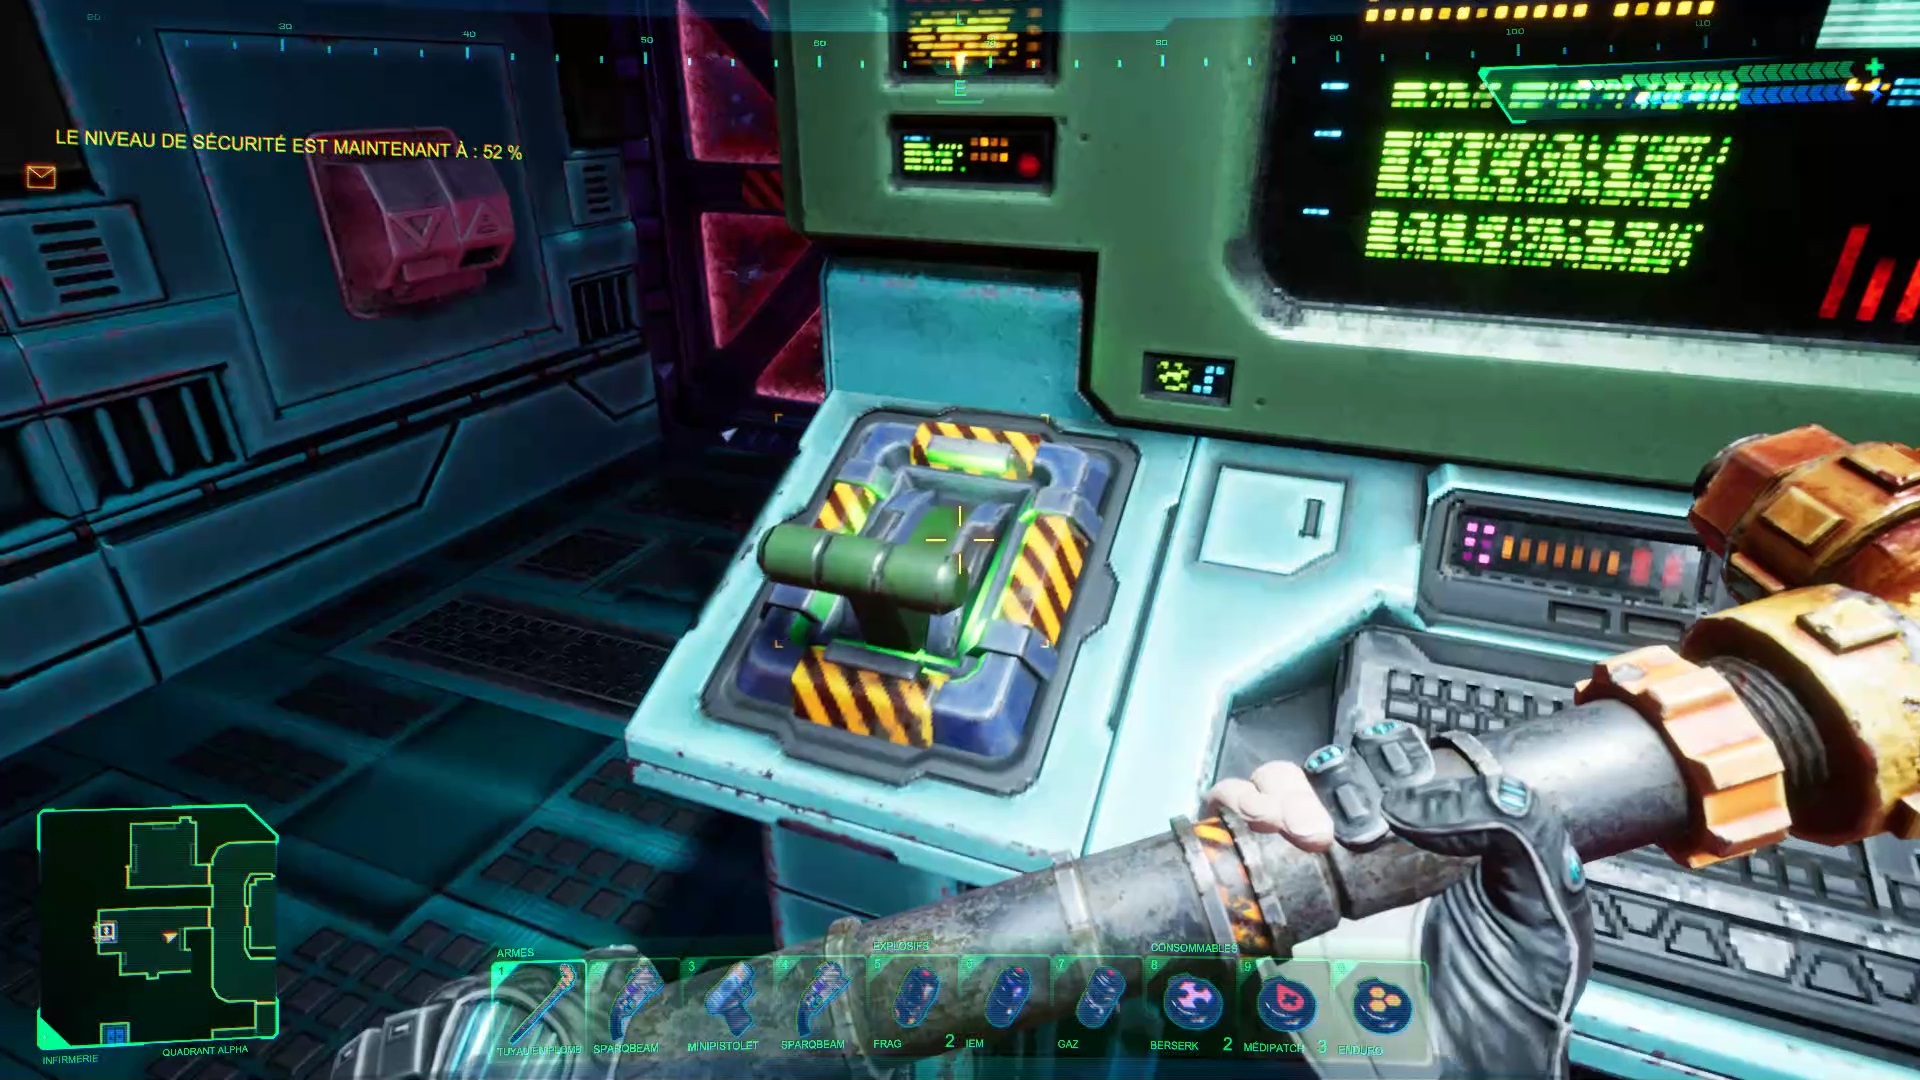
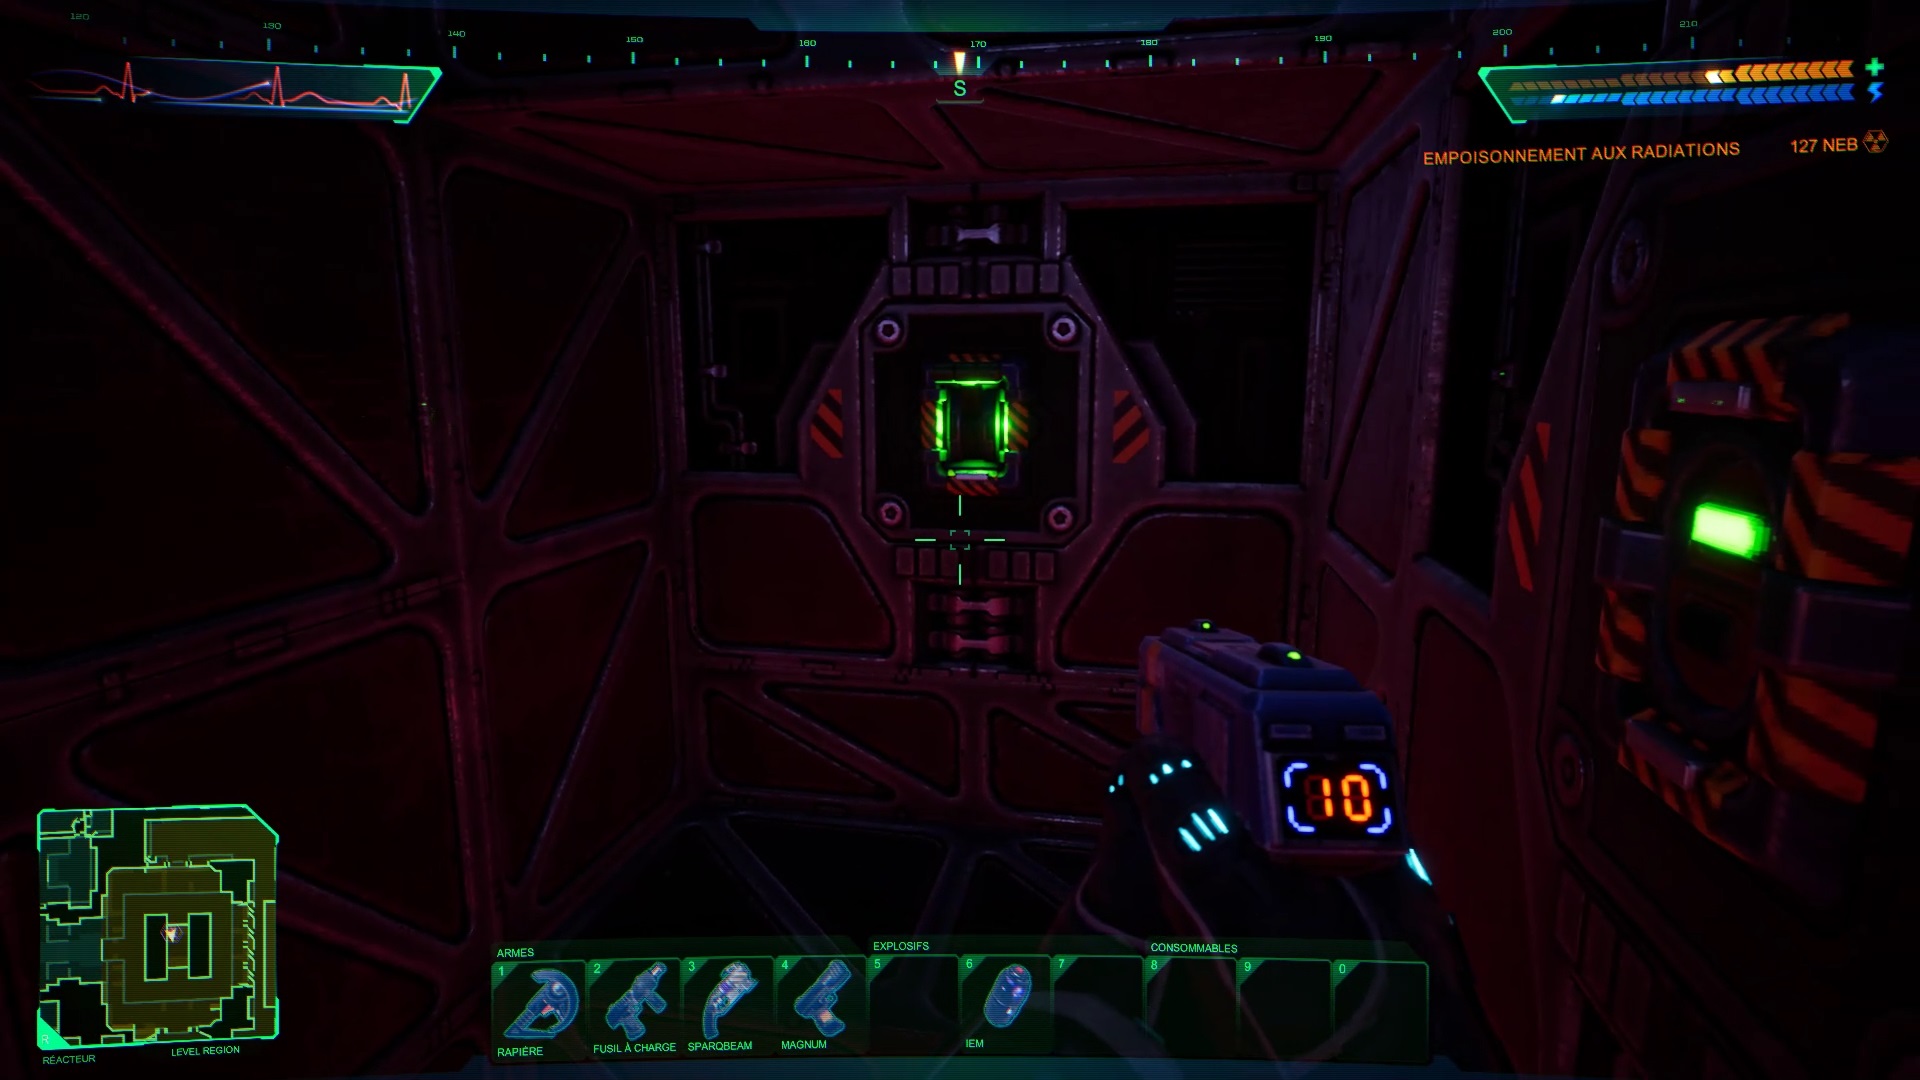
Go south of the lab to find the Gamma Wing. Go to the corridor to the west to find a radioactive area. Prepare to react quickly so as not to take too much damage. Unlock the door and turn left to find a room with a safe briefcase. Use the switch at the bottom to reach the briefcase and retrieve an isotope for later.
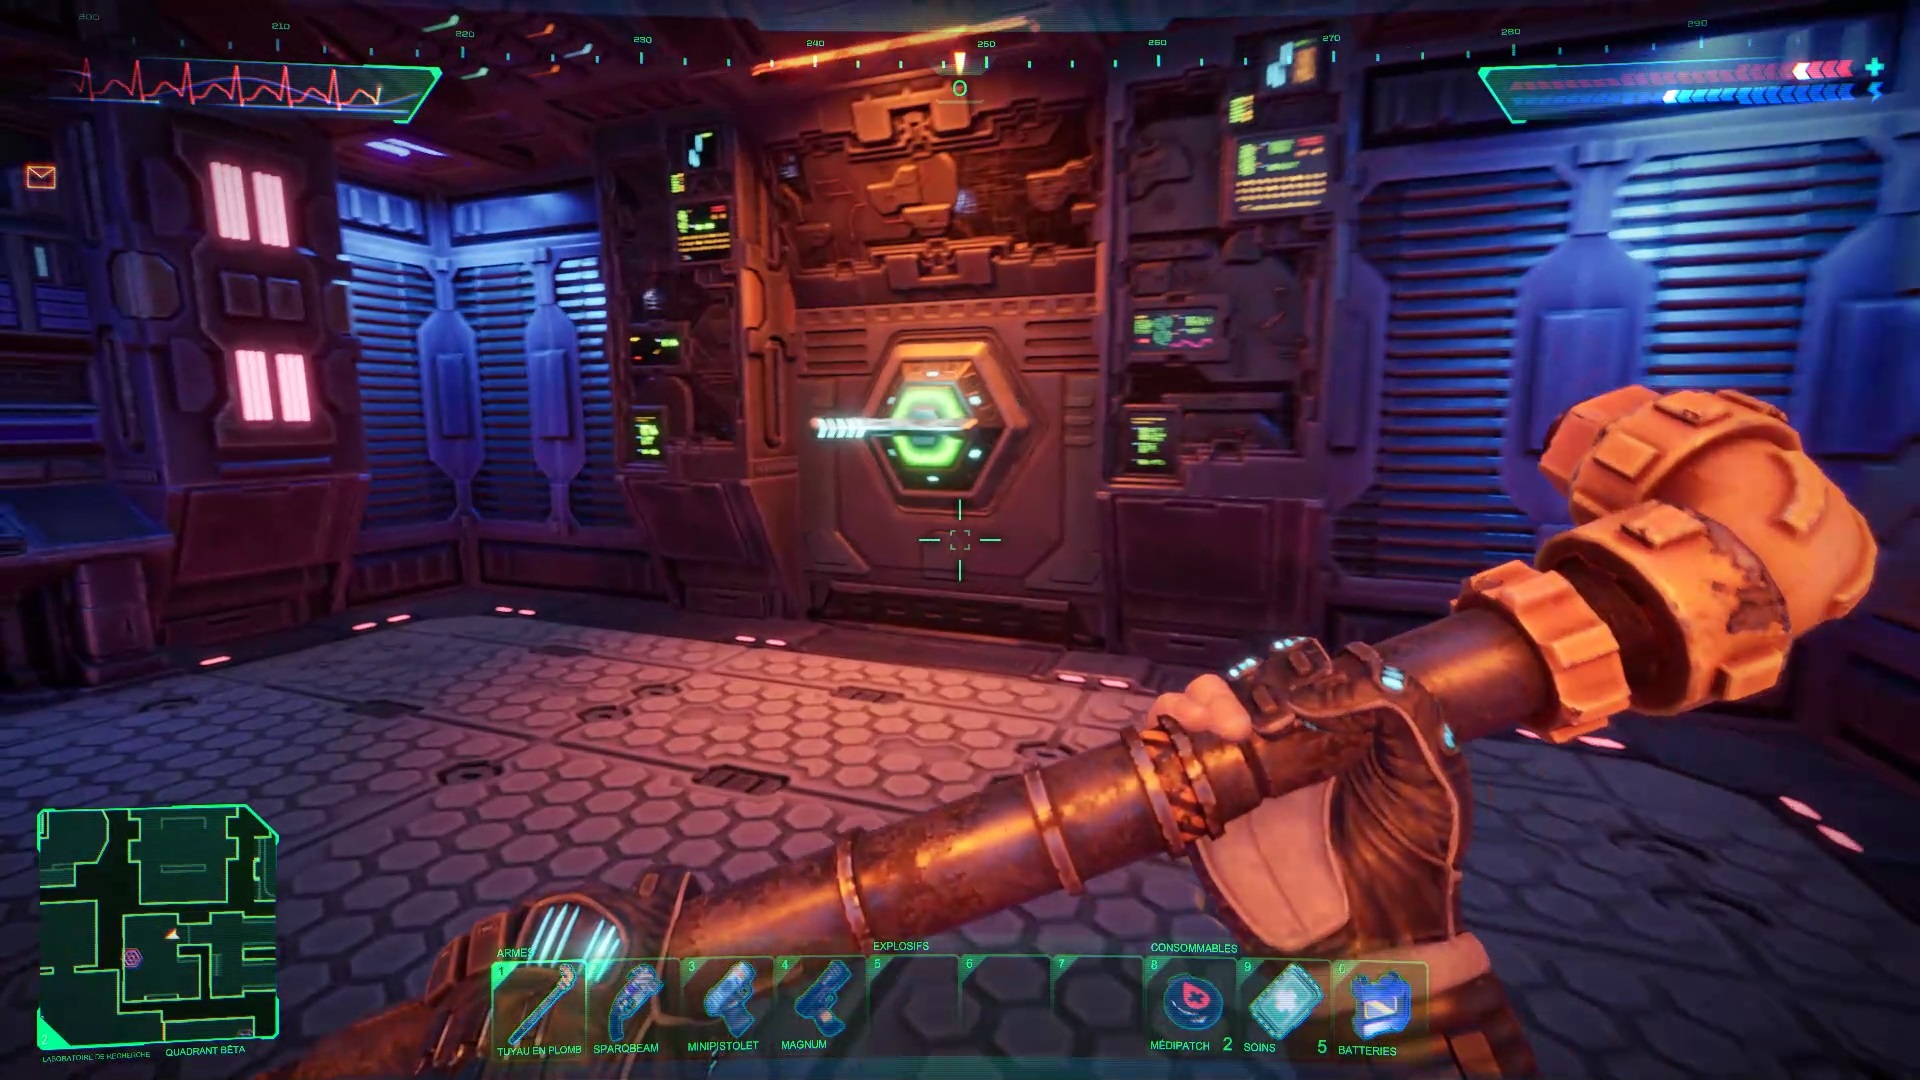
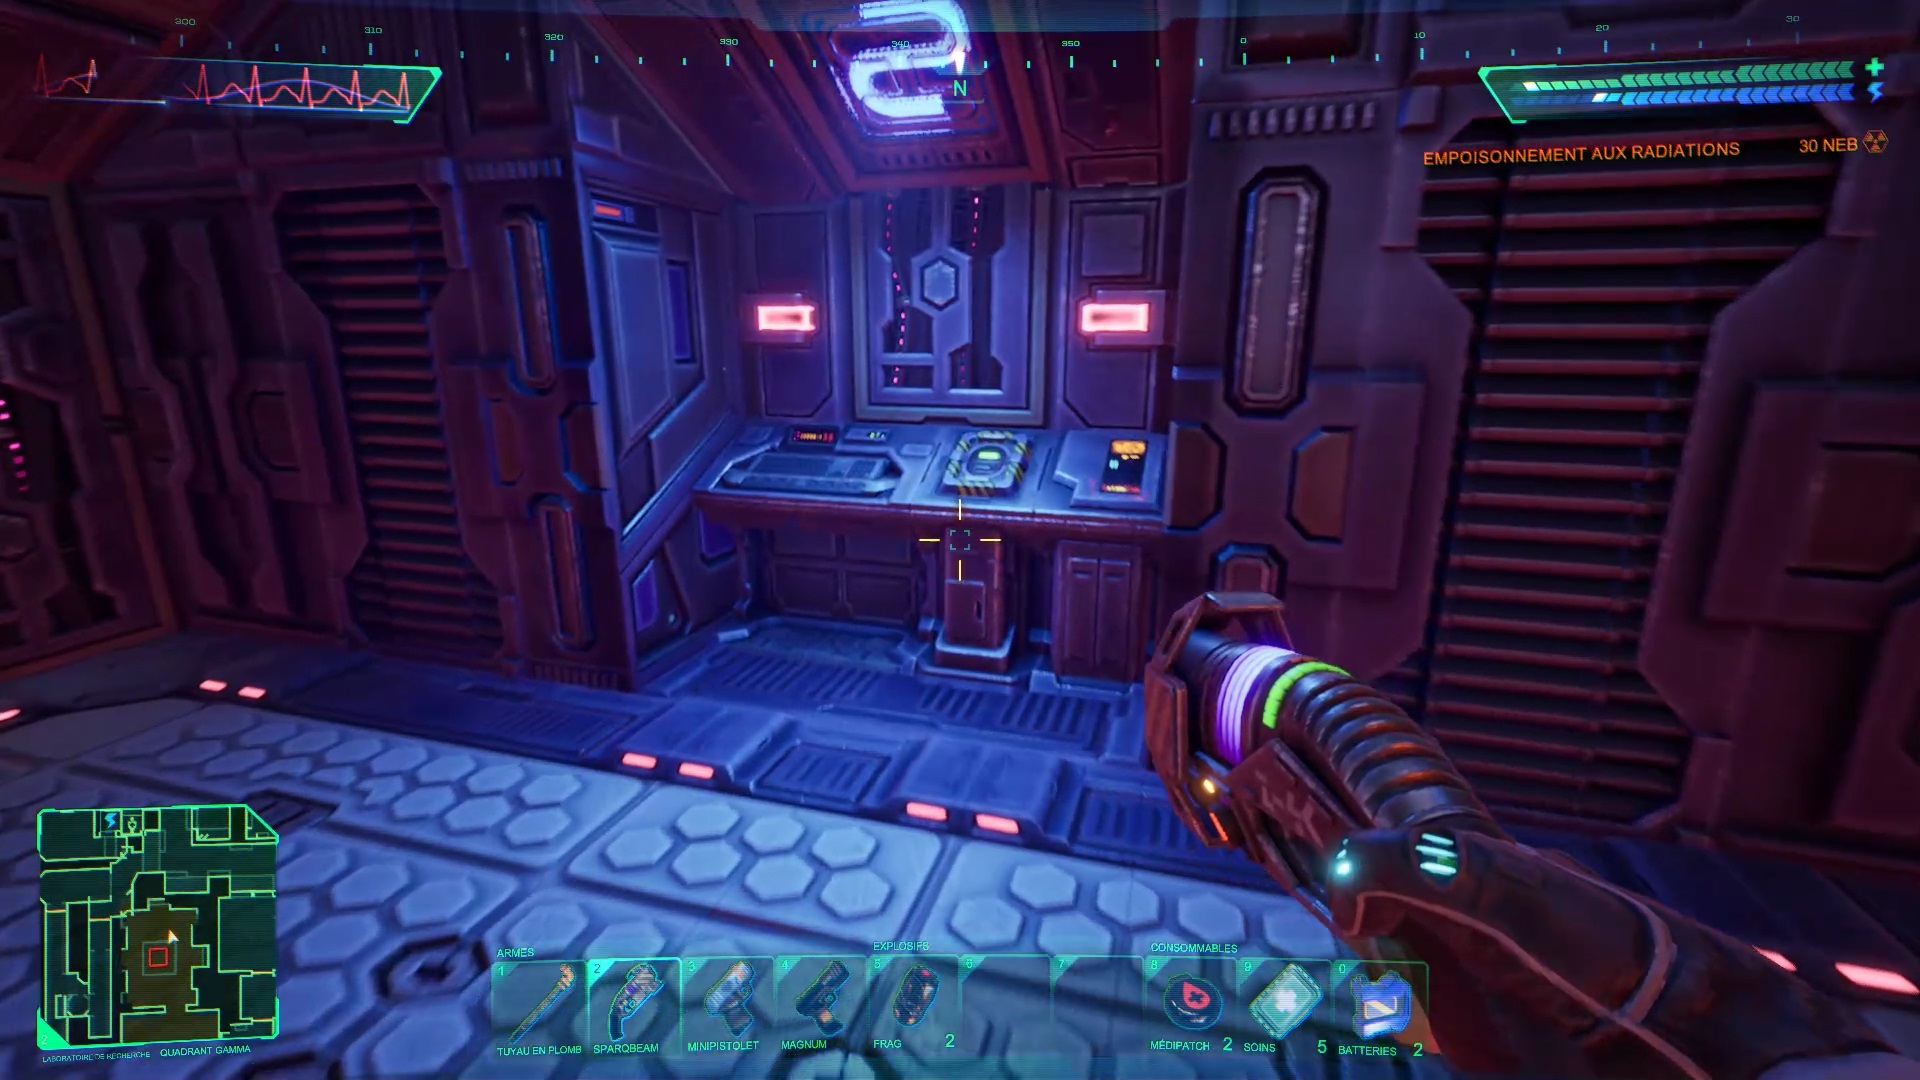
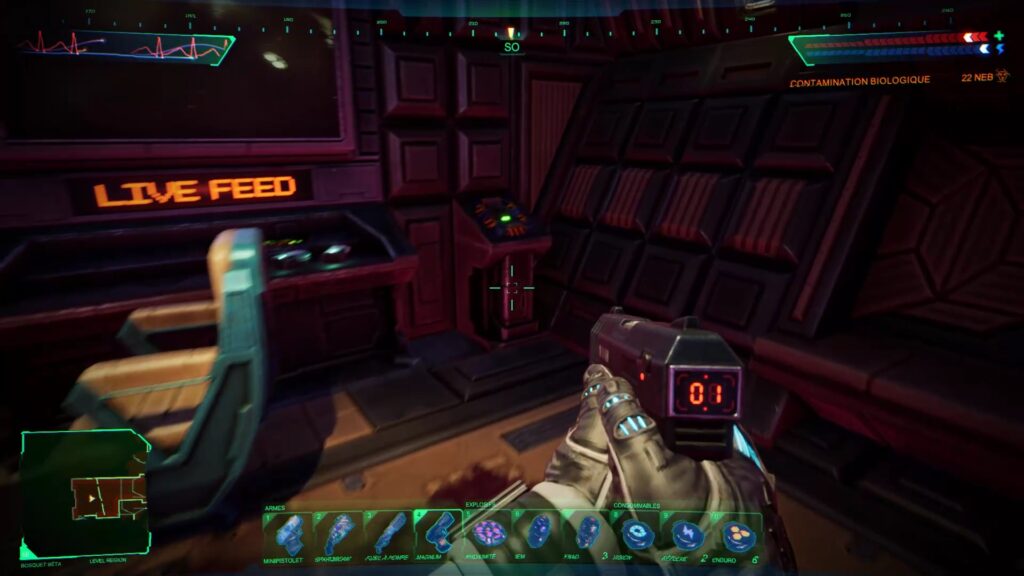
You will find near the room a new elevator. Before leaving, go east to find the computer room. Destroy the drones inside and pulverize the servers. Let’s then go down to the level of the Reactor.
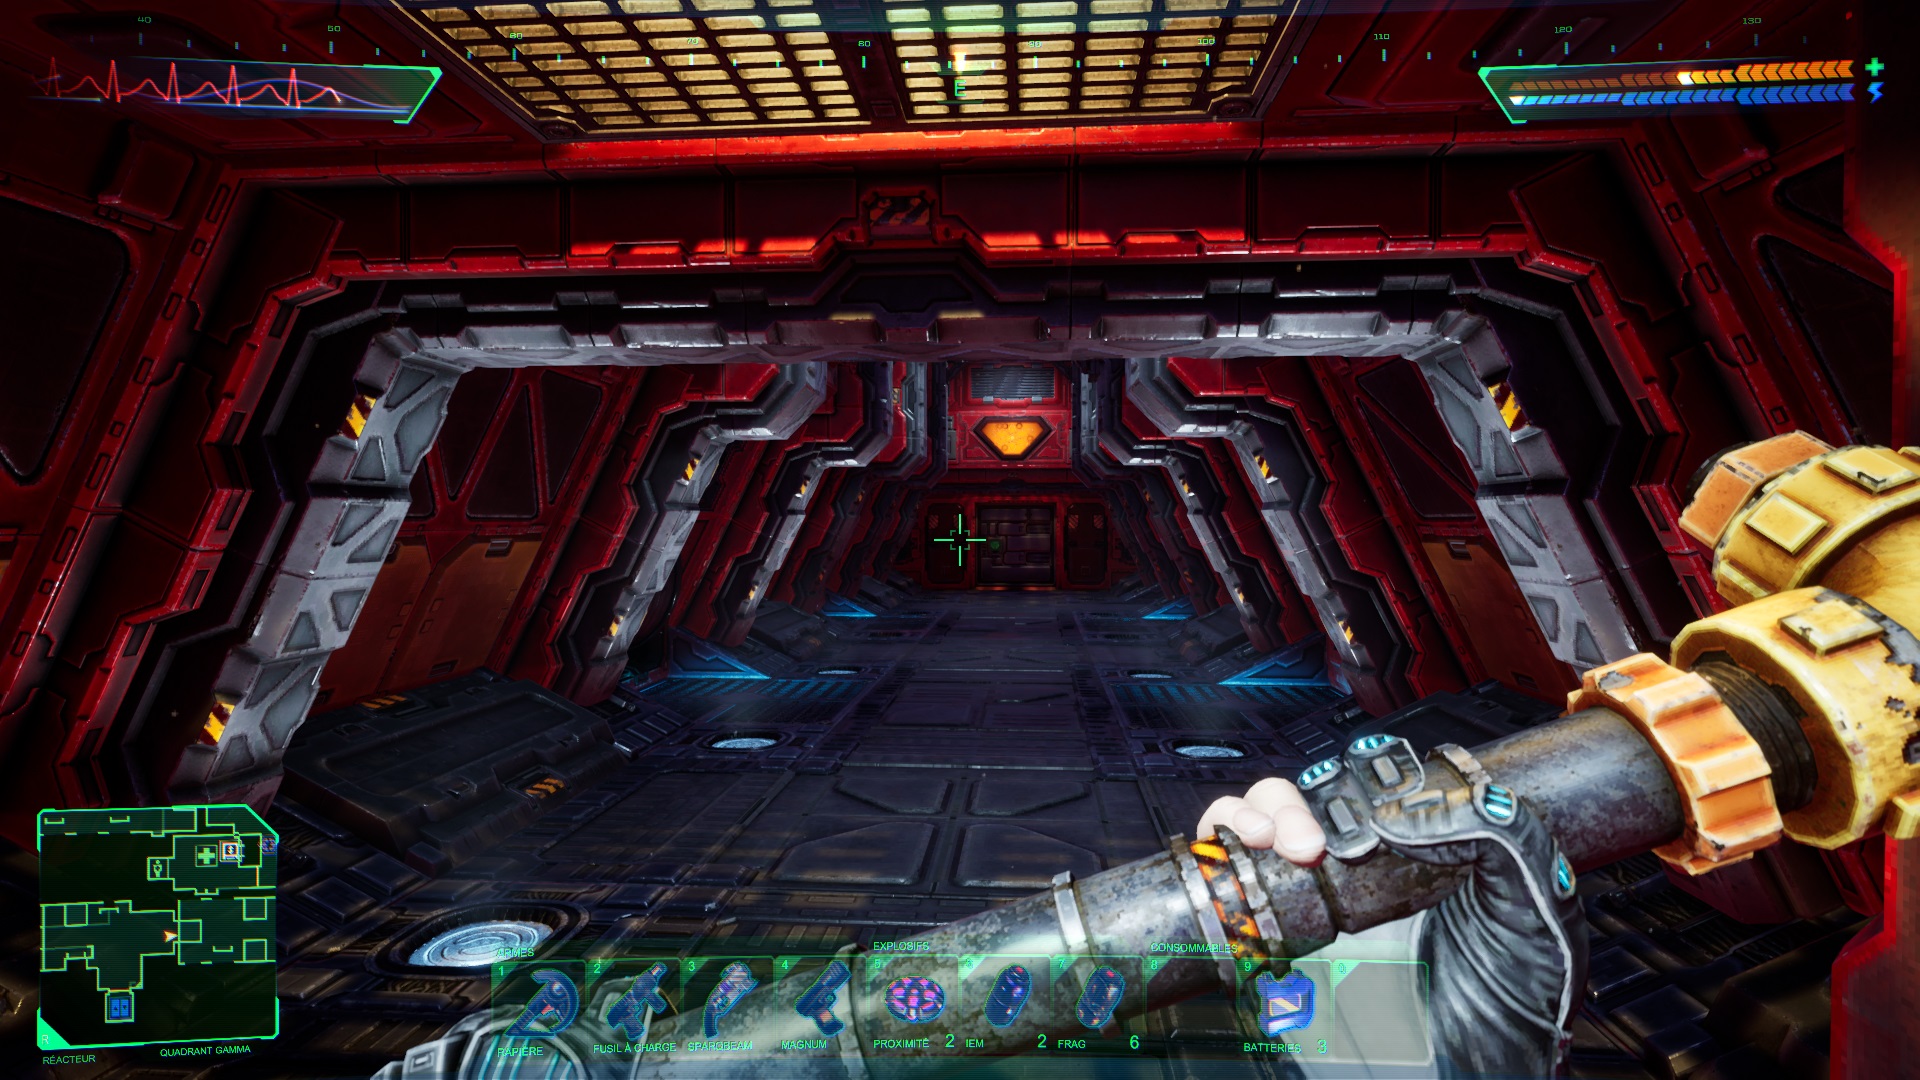
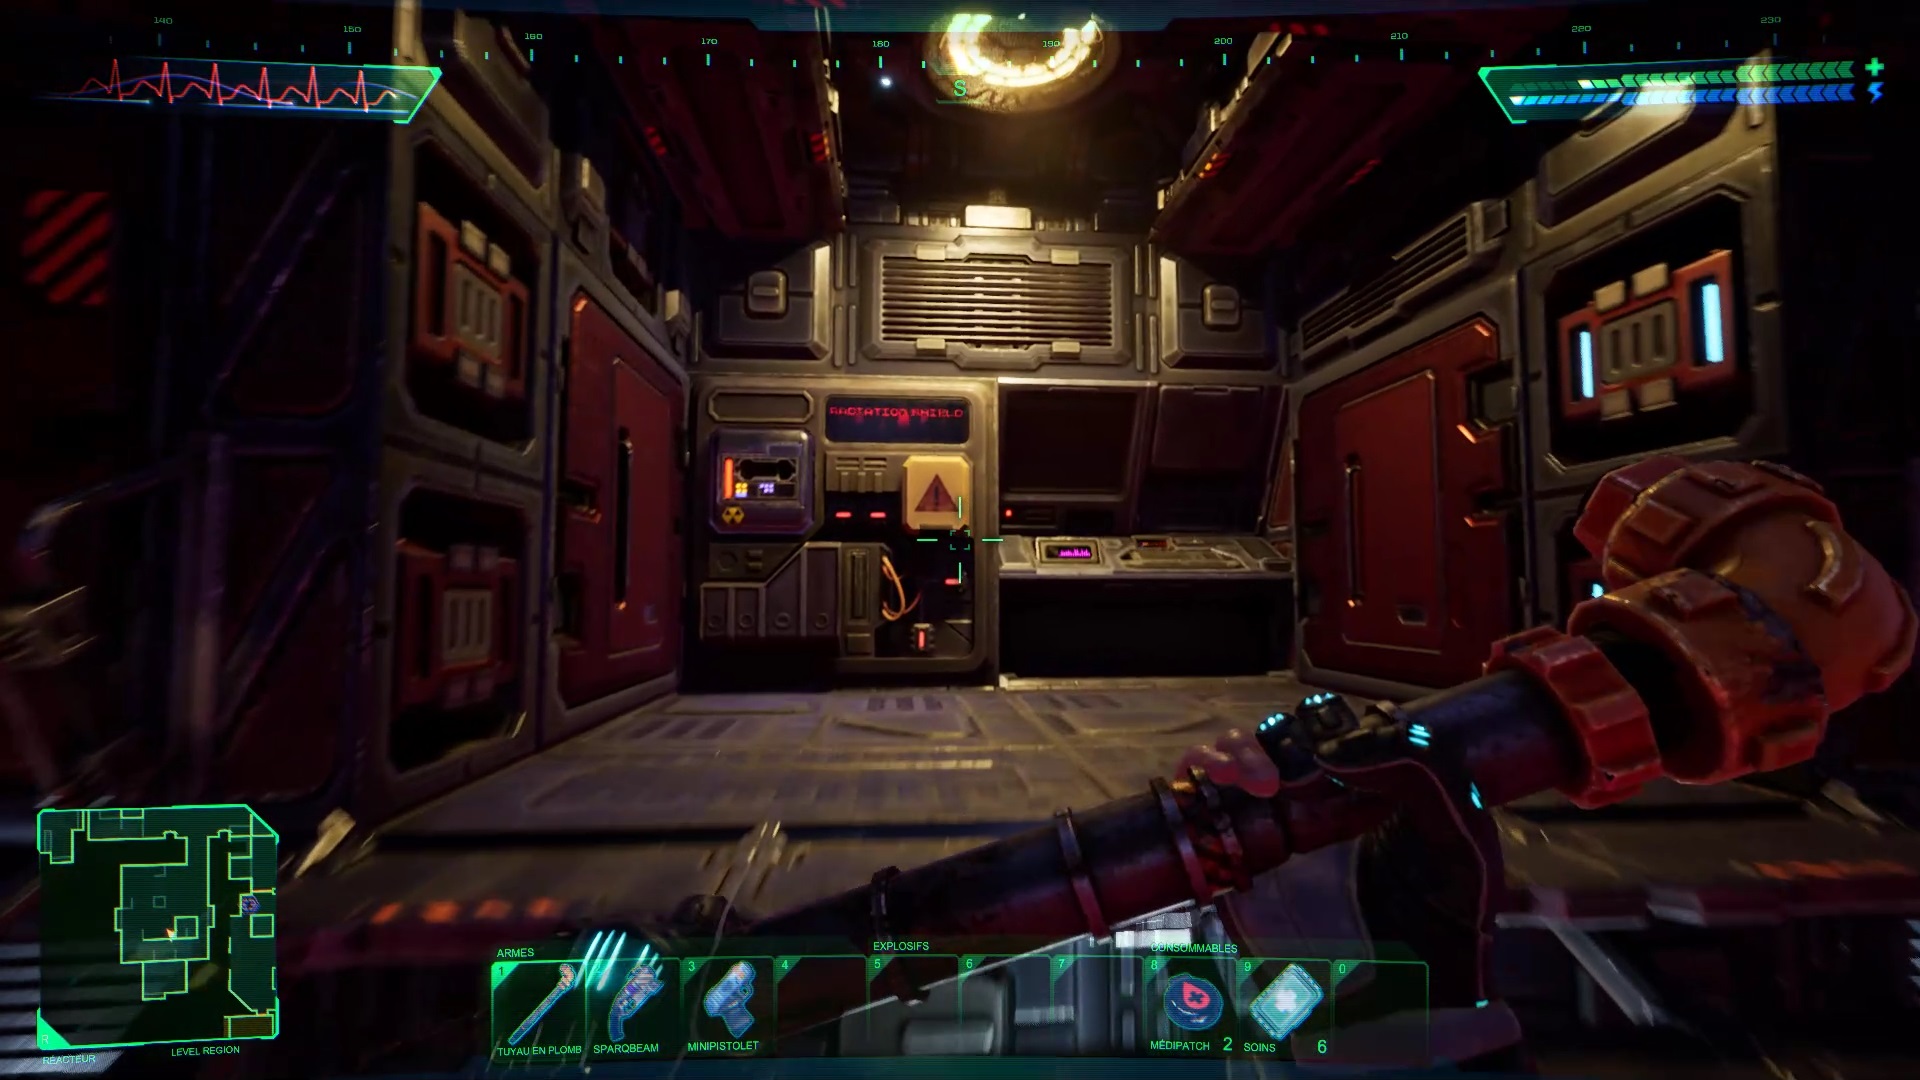
Reactor
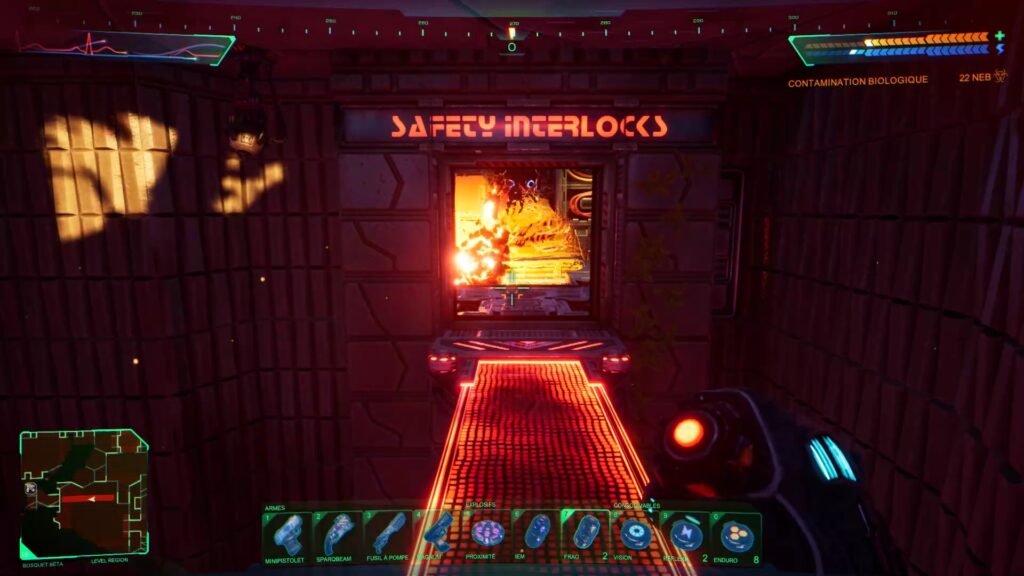
In the Reactor level, go east to find an infirmary door. Thanks to the card collected previously, you will be able to unlock the door. Solve a puzzle inside to unlock the surgical machine and a recovery chamber.
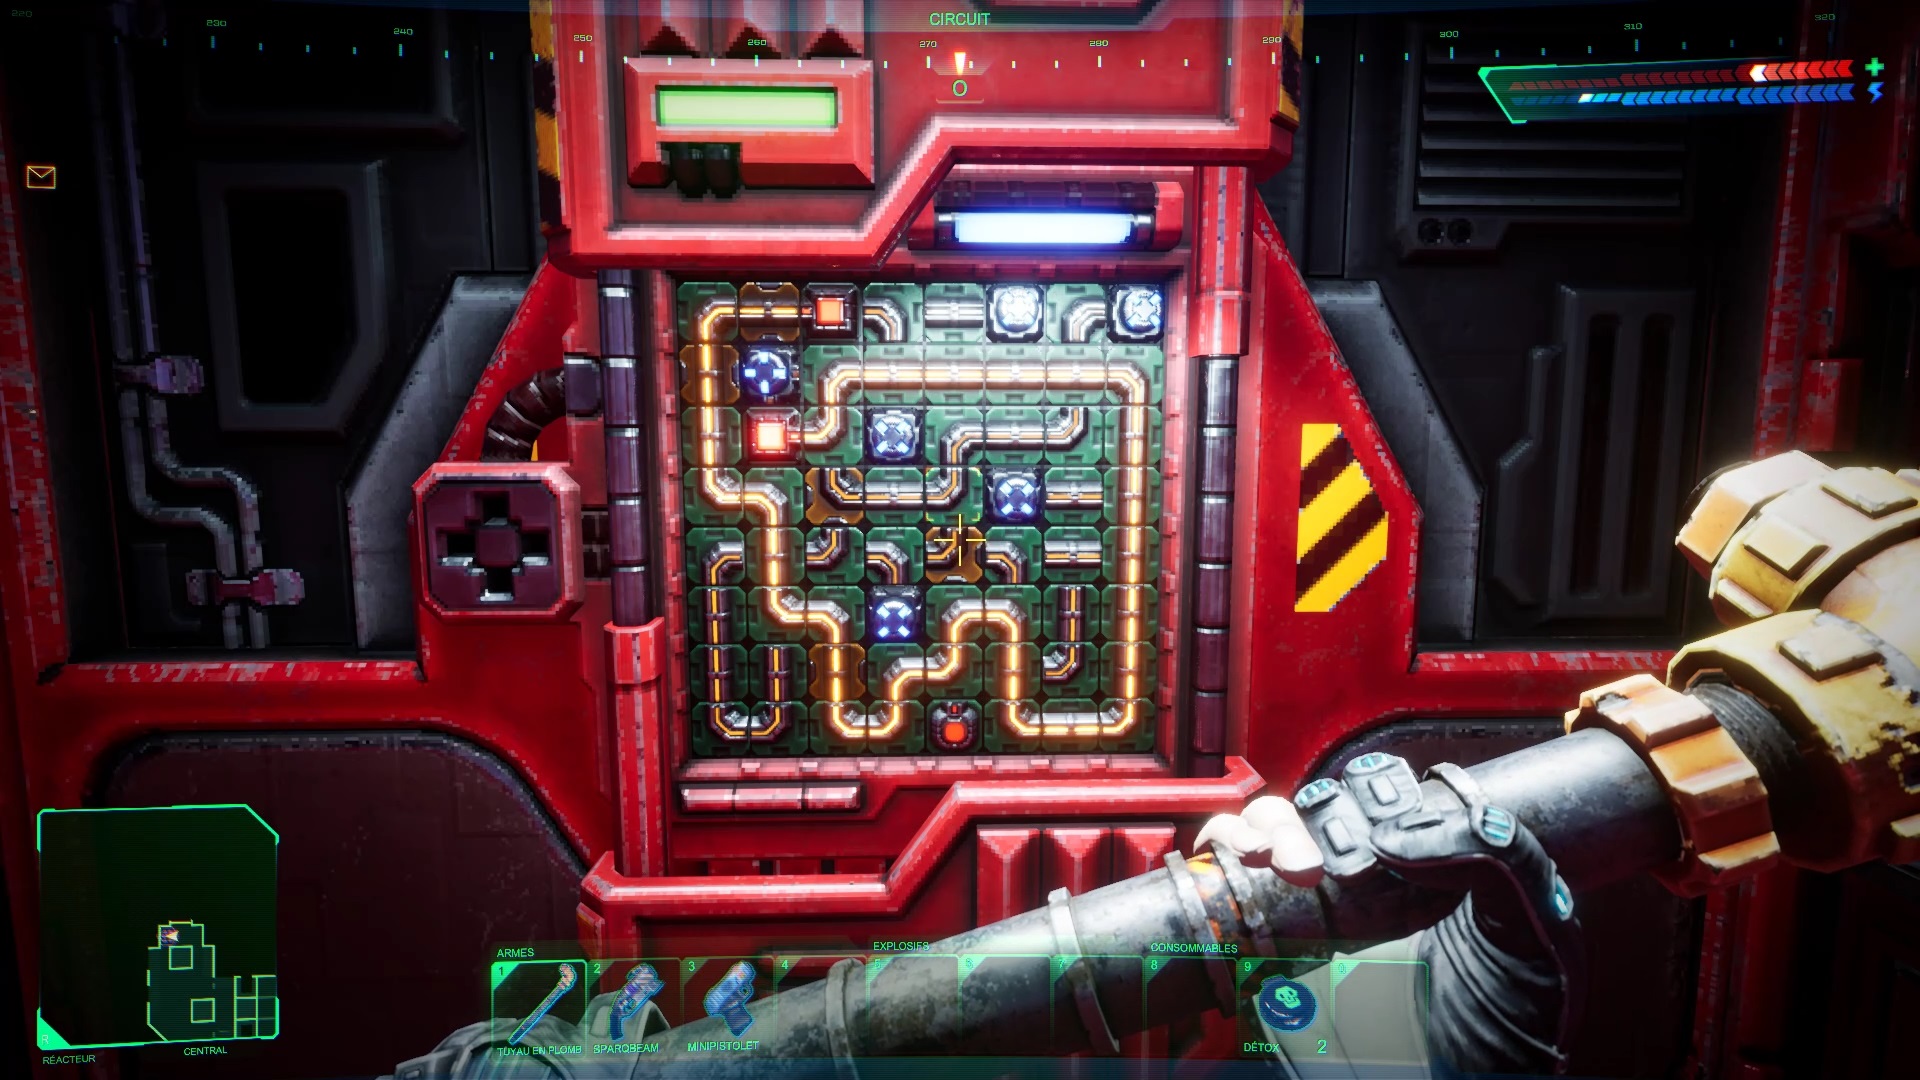
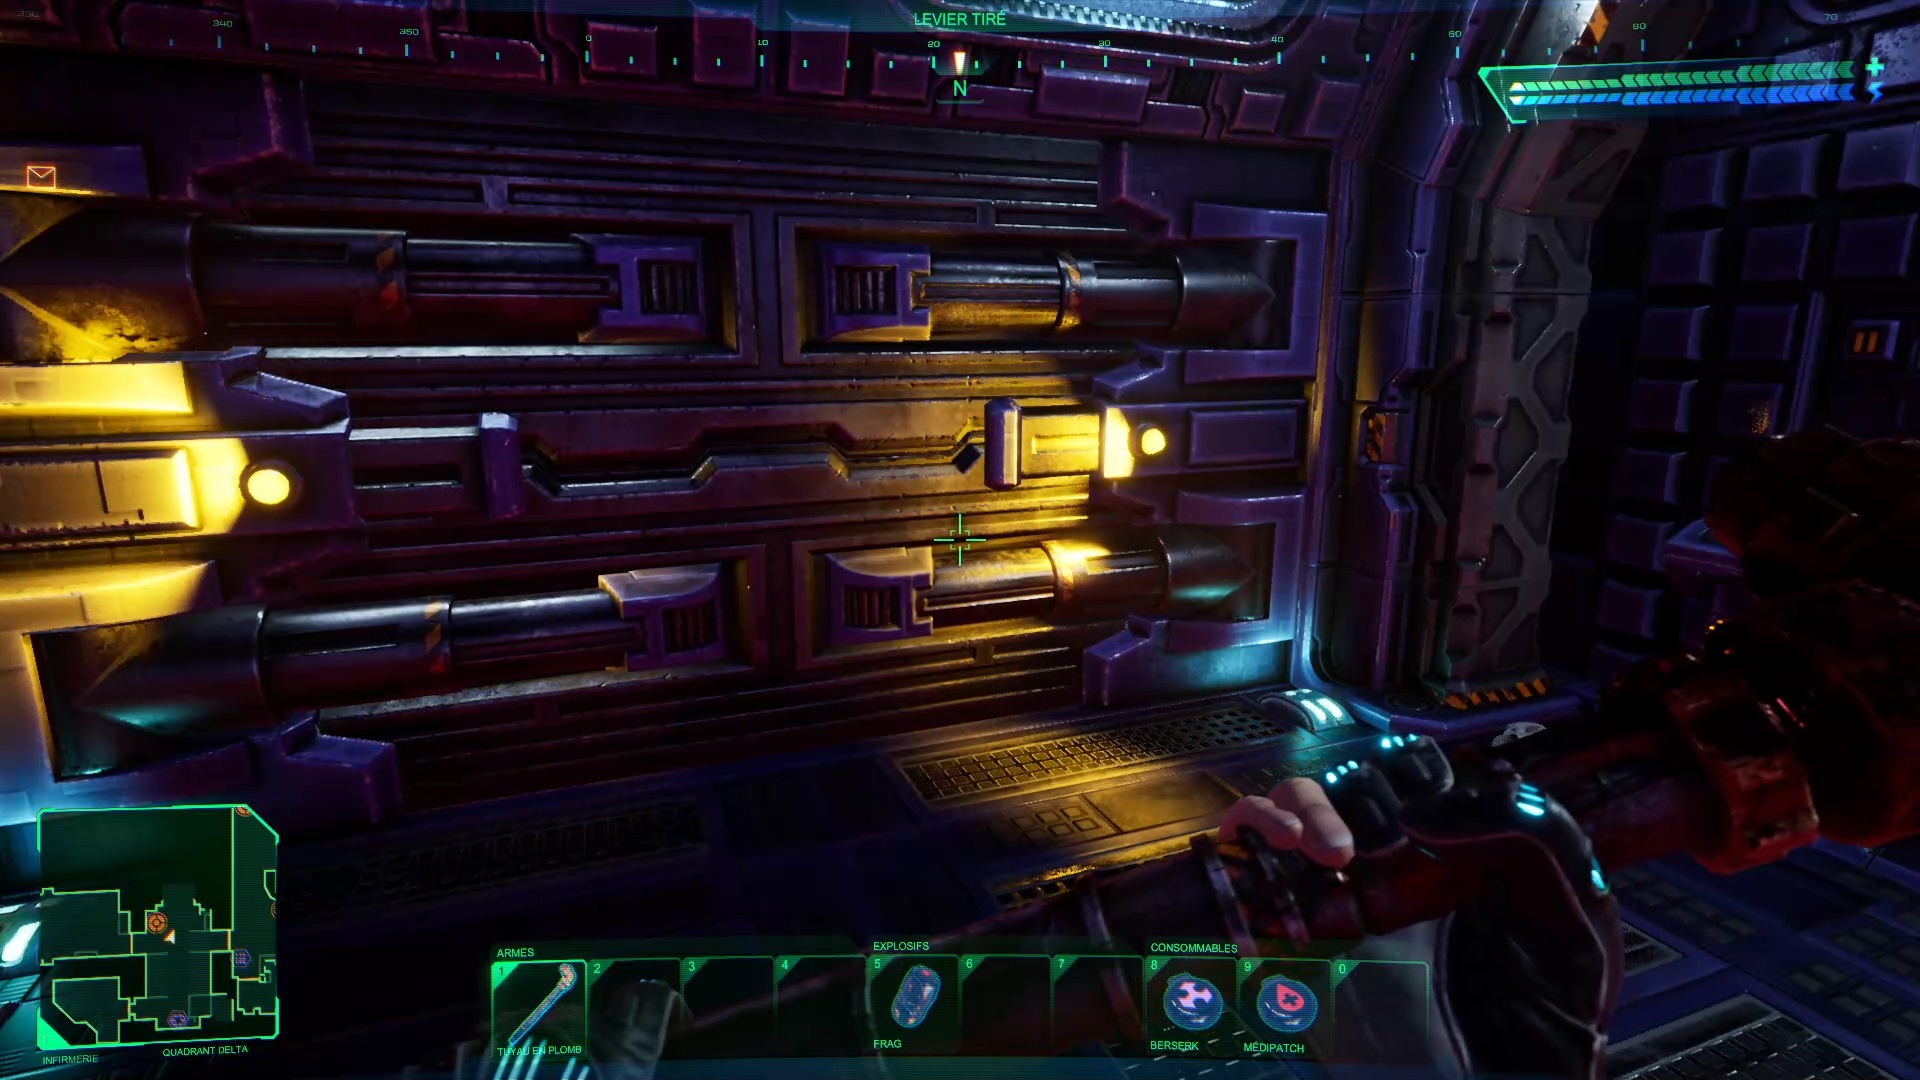
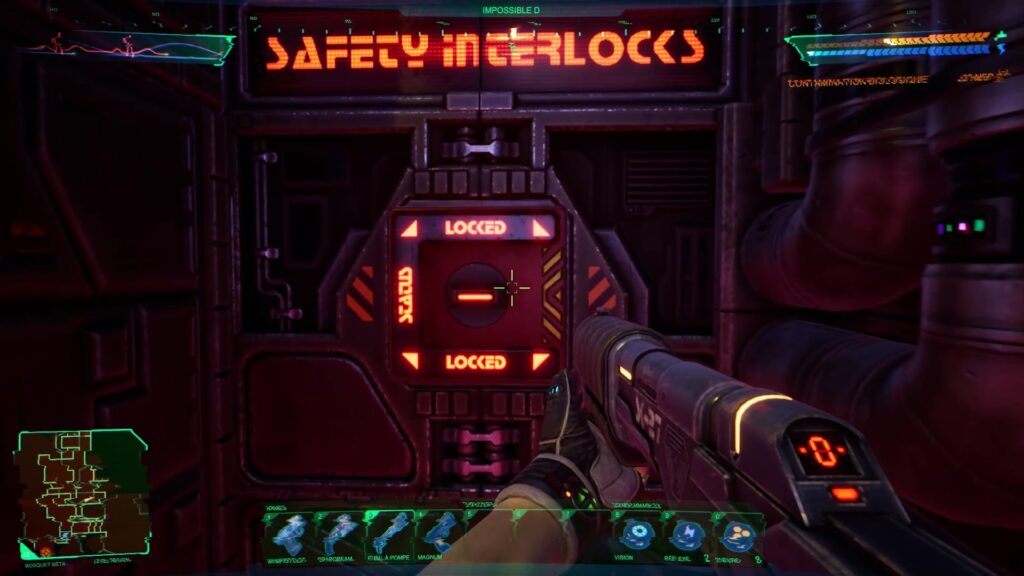
Then continue to move west to open a blocked door. Solve a puzzle to open the door.
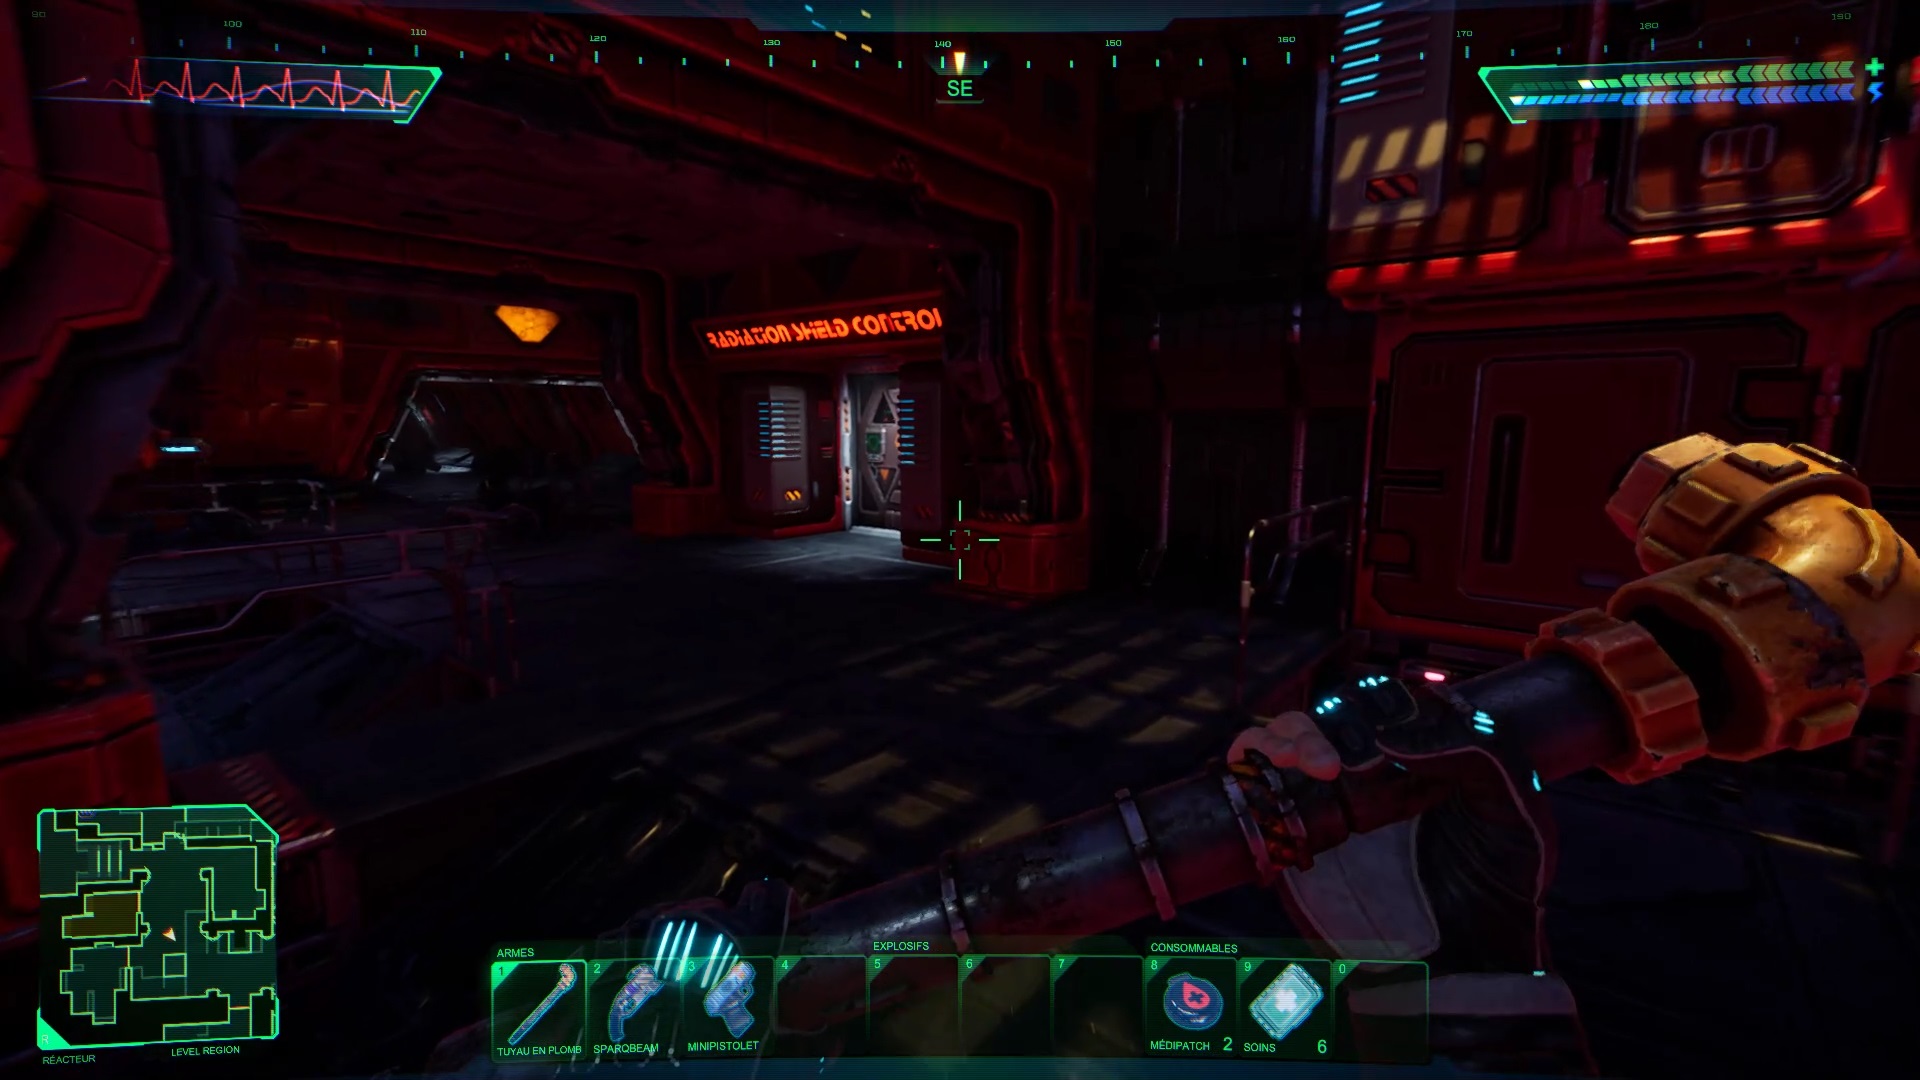
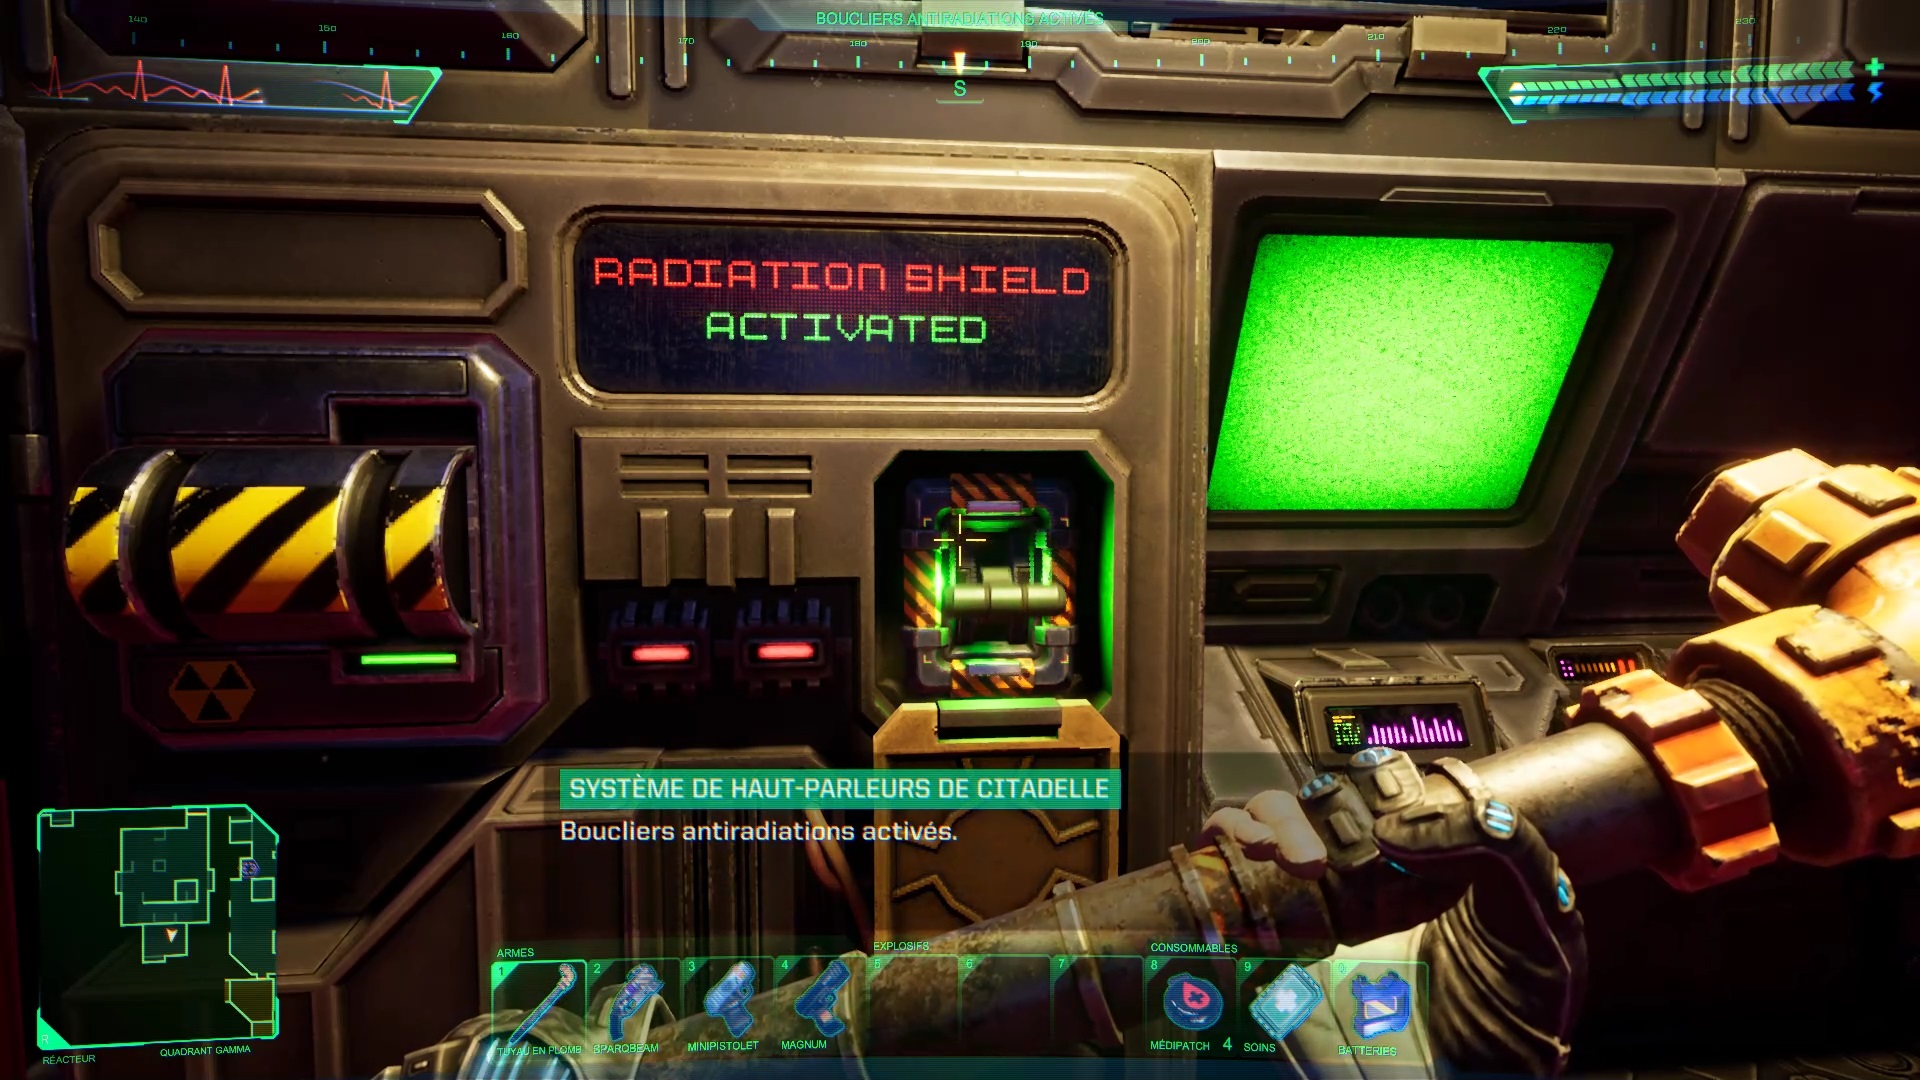
Then turn left to find a radiation shield control room. Use the isotope recovered from the research lab to activate the shield.

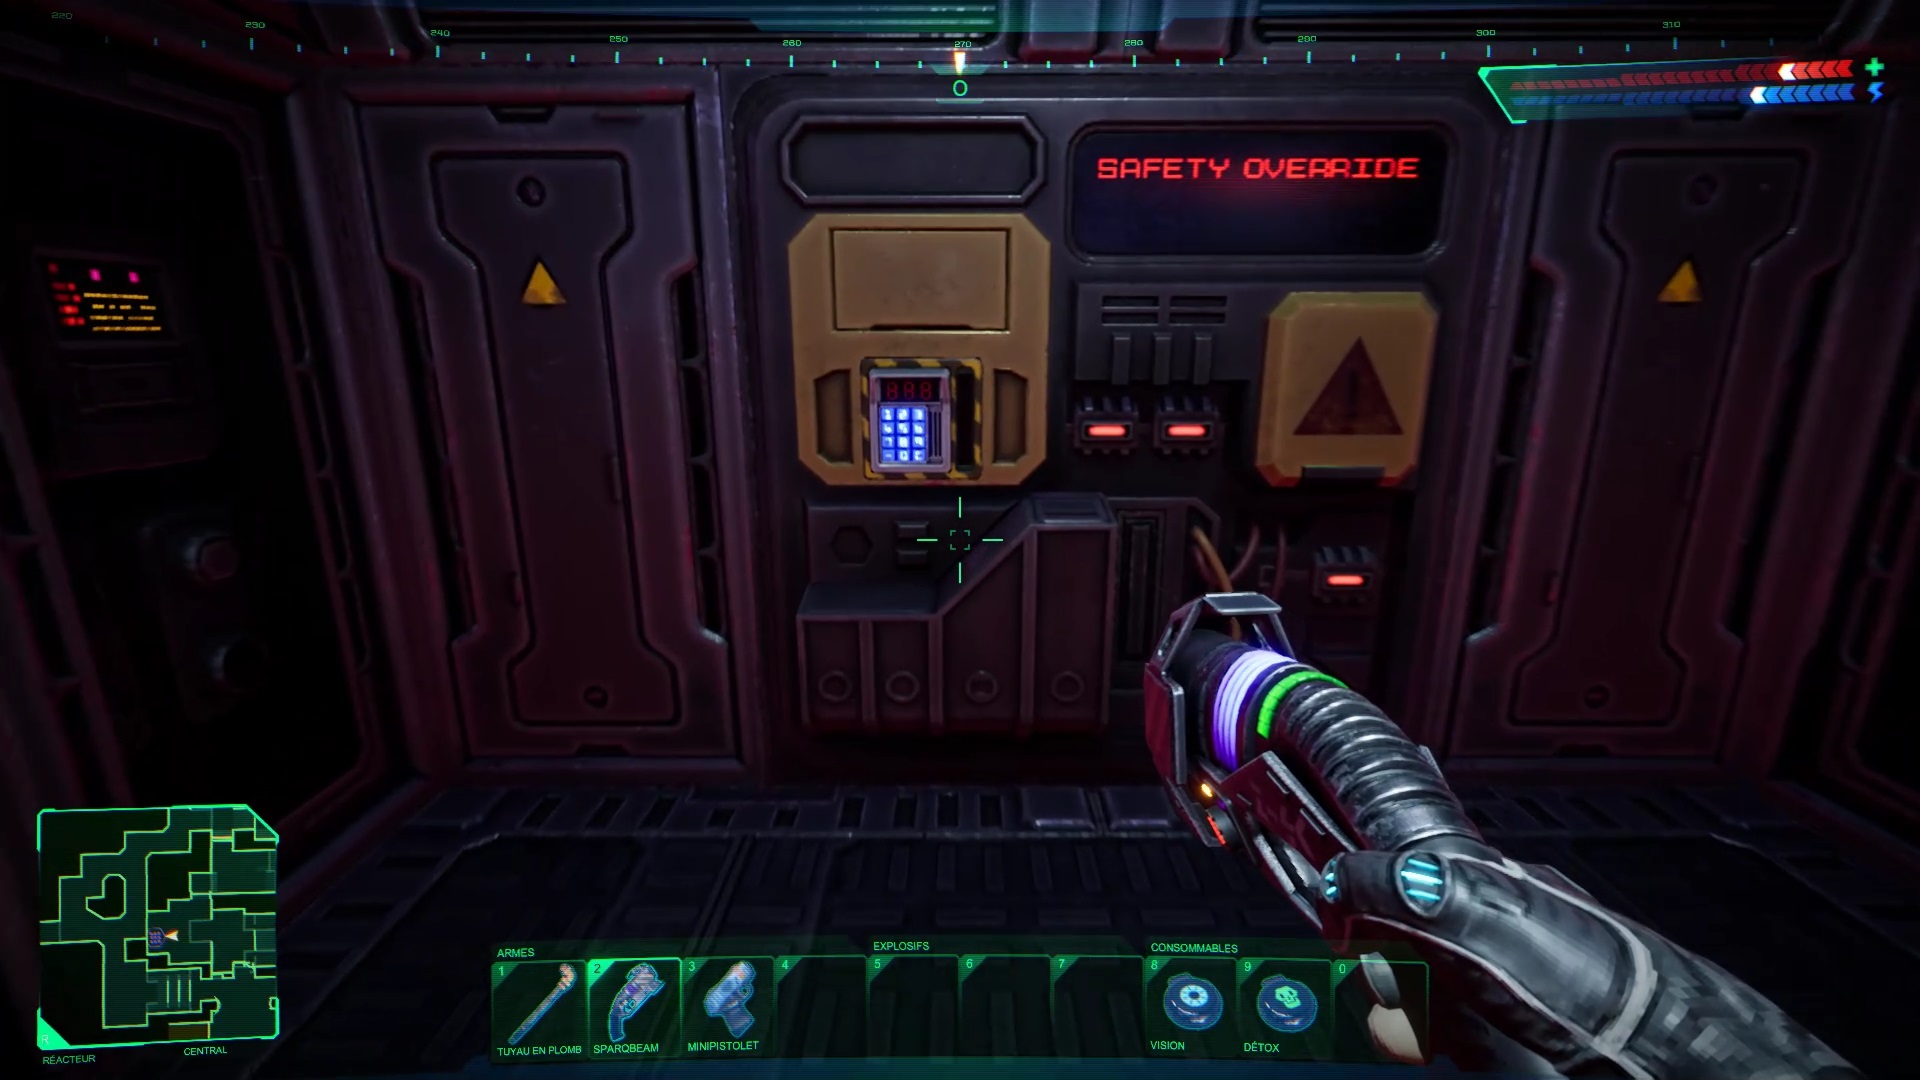

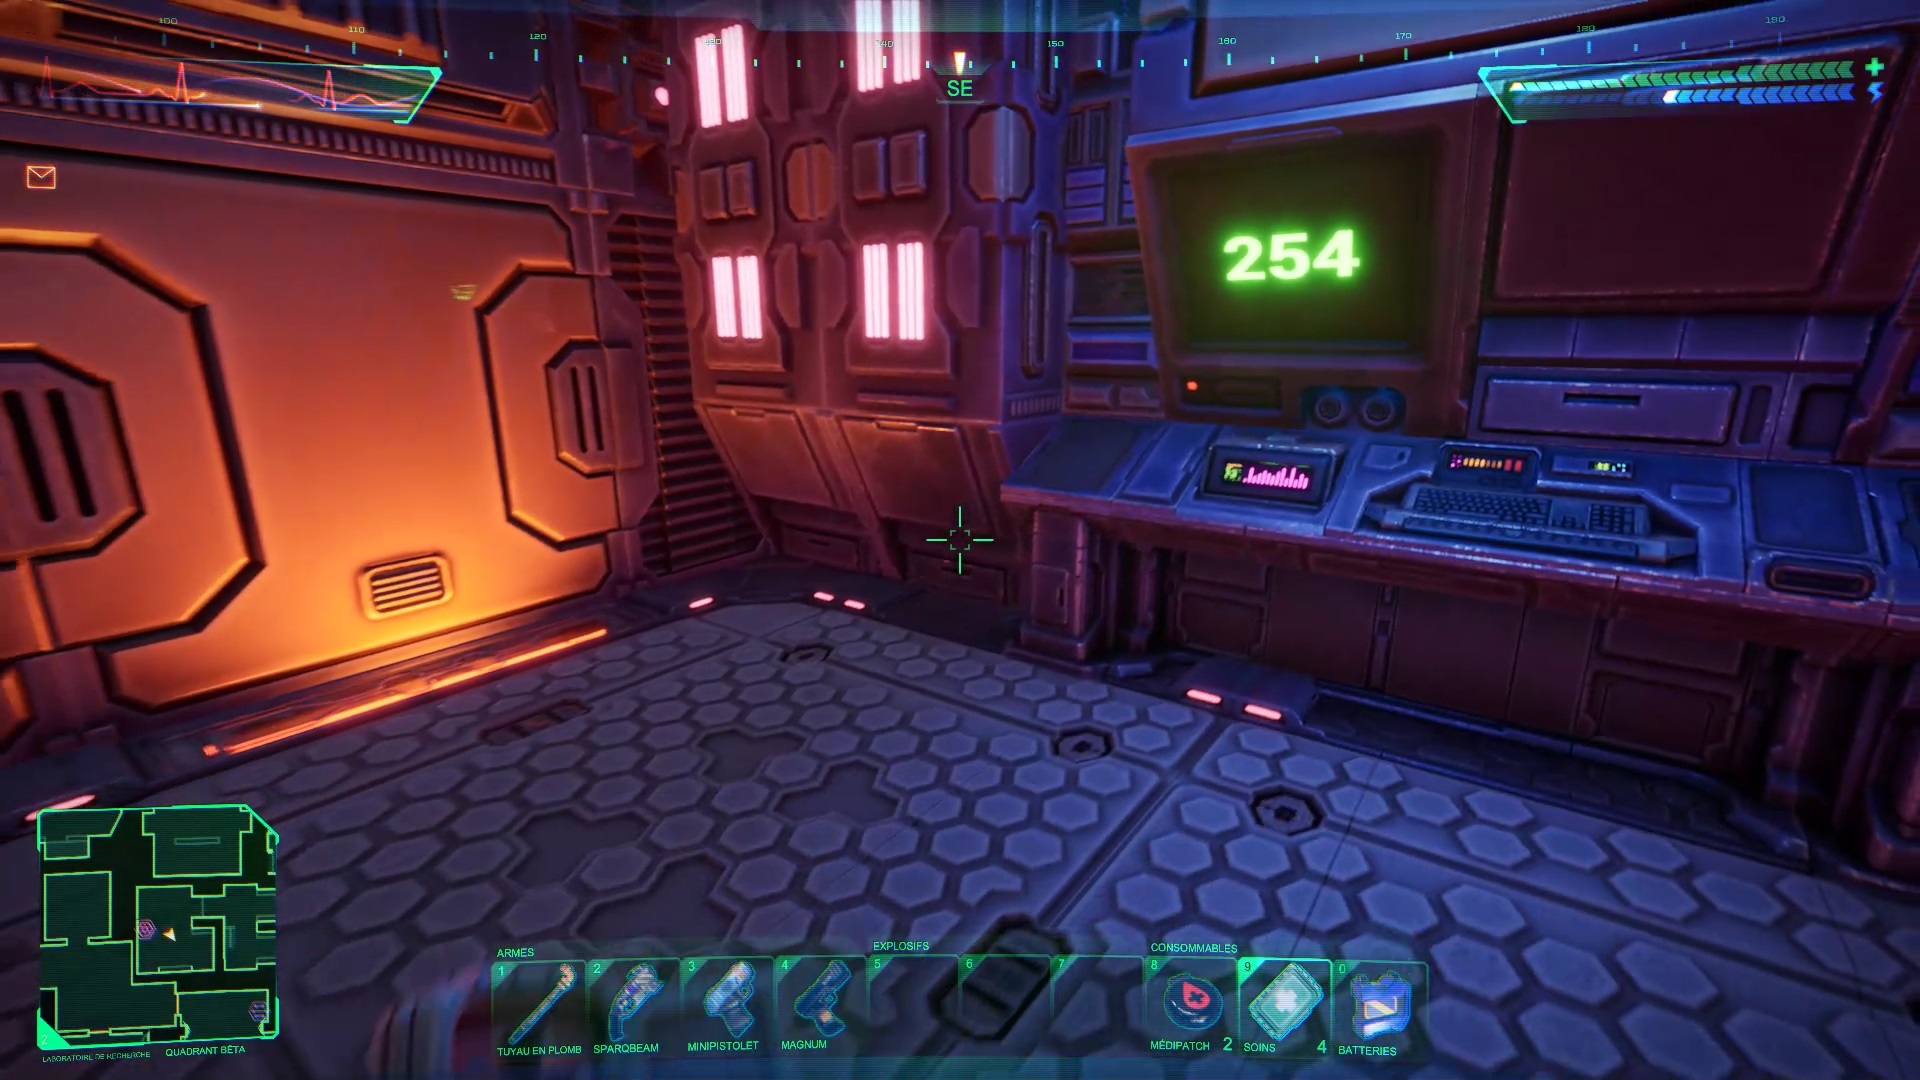
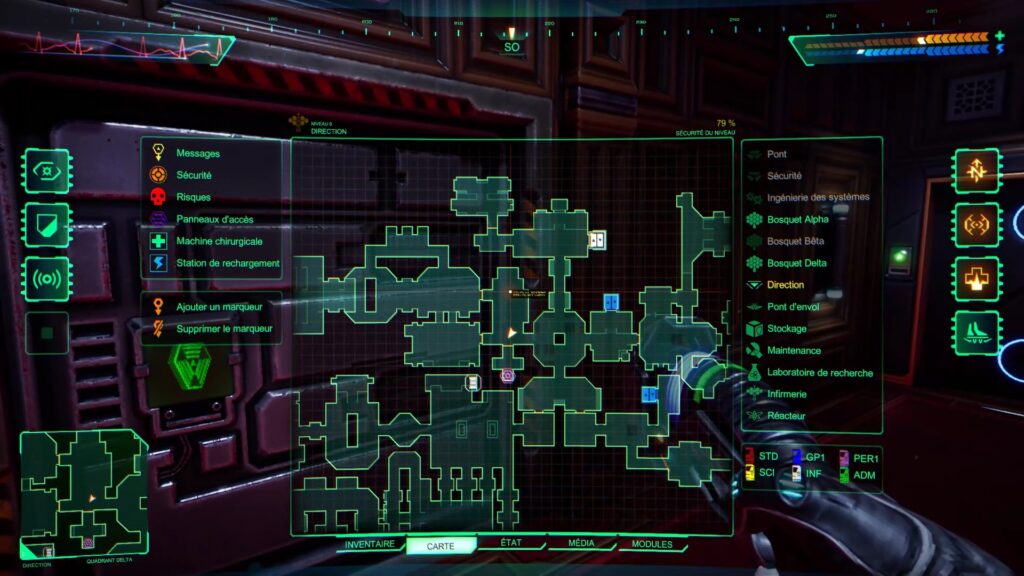
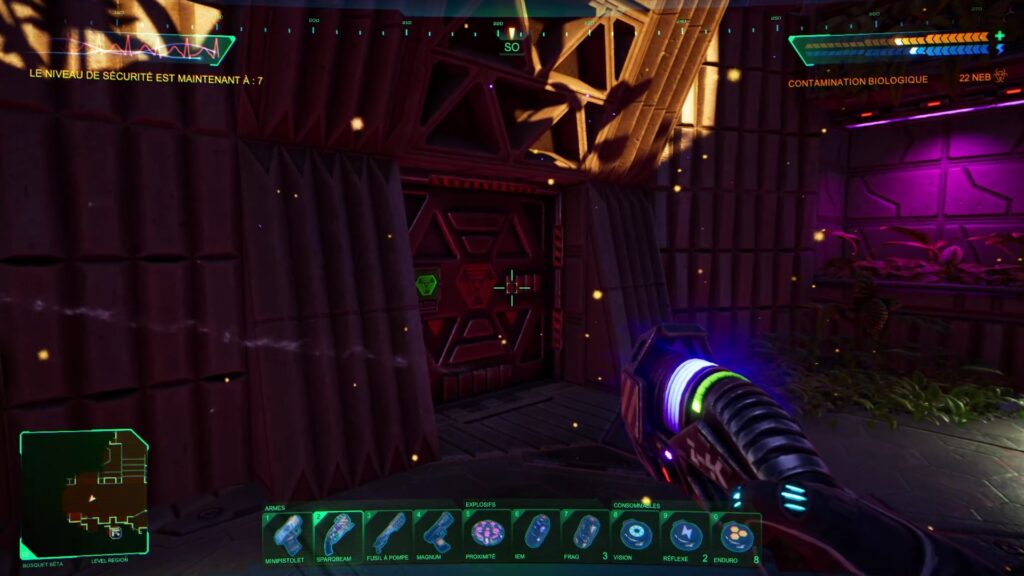
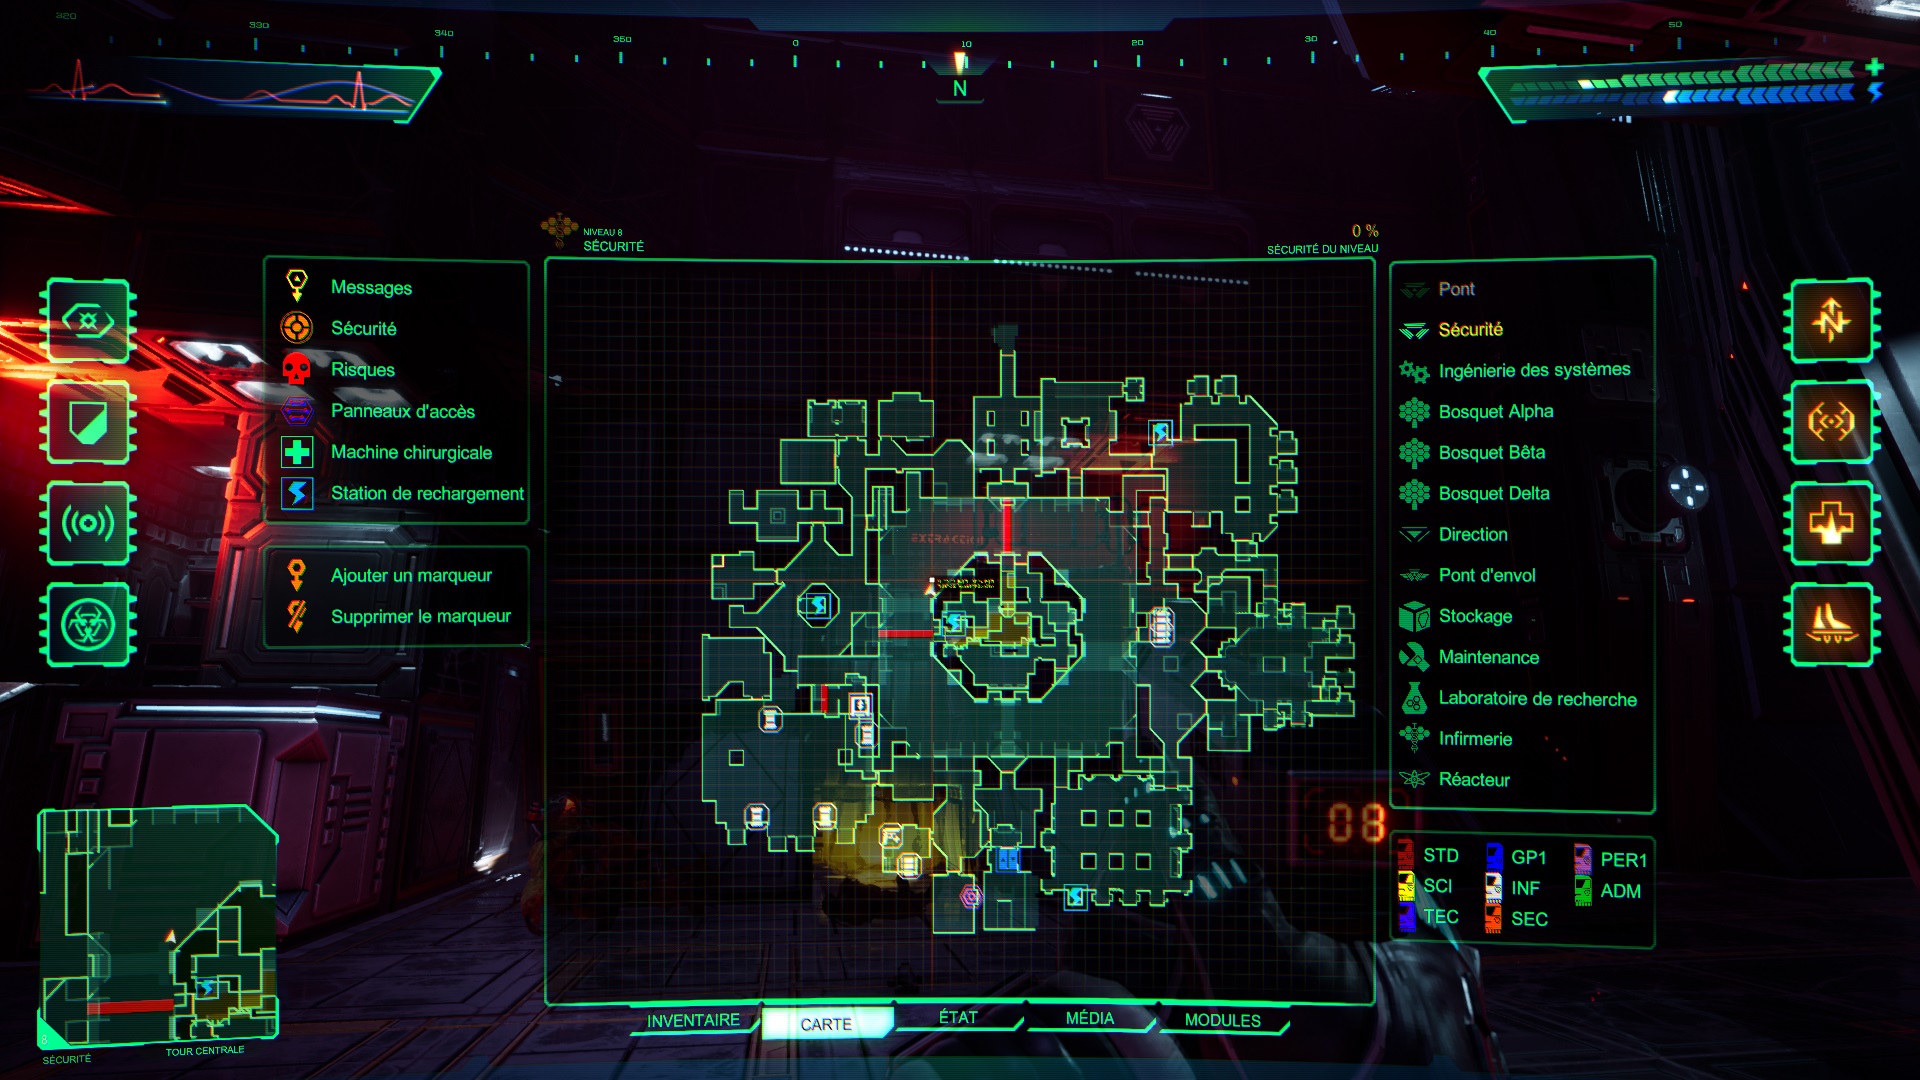
Go after to the west of the Reactor to go up to the north. You will find access to a security panel. Join the panel and enter the code 254 found in the research lab to activate it. Then retrace your steps to reach the maintenance level via the elevator. You have nothing more to do at the Reactor level for the moment.
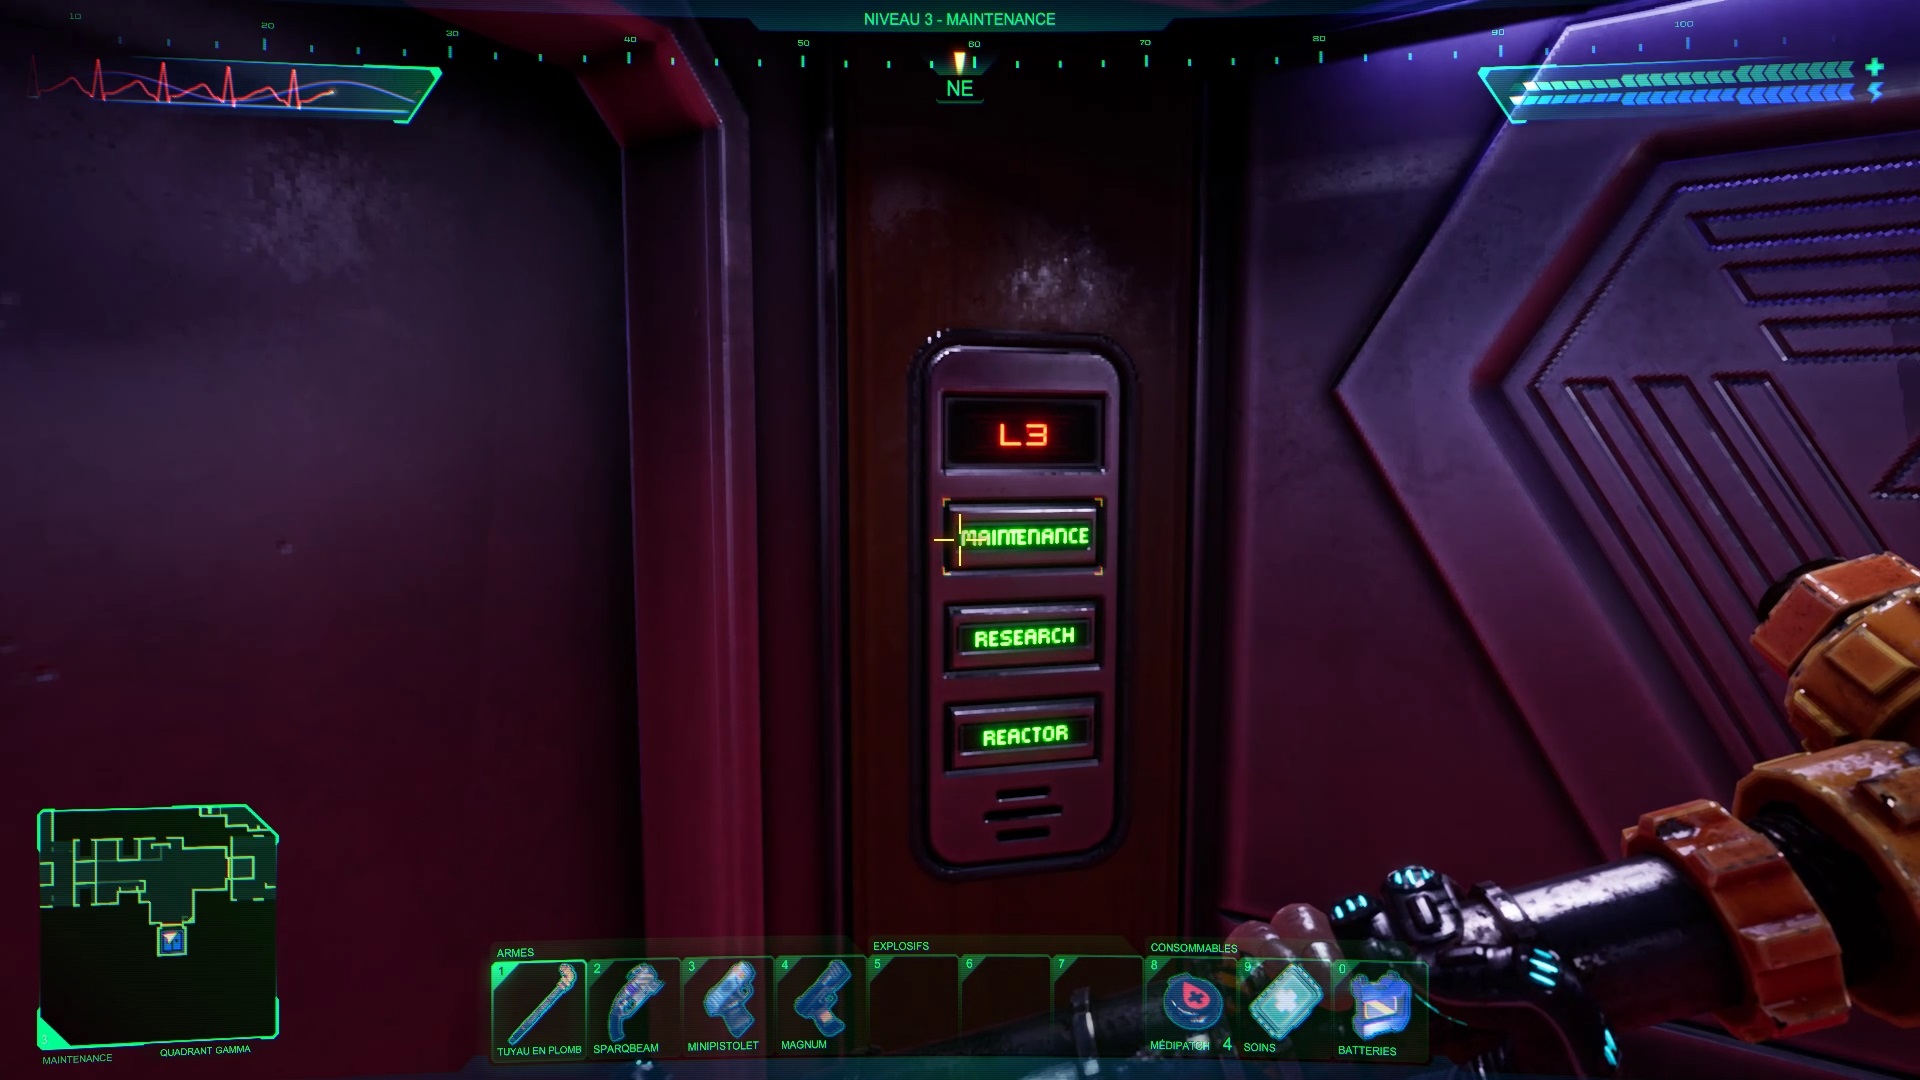
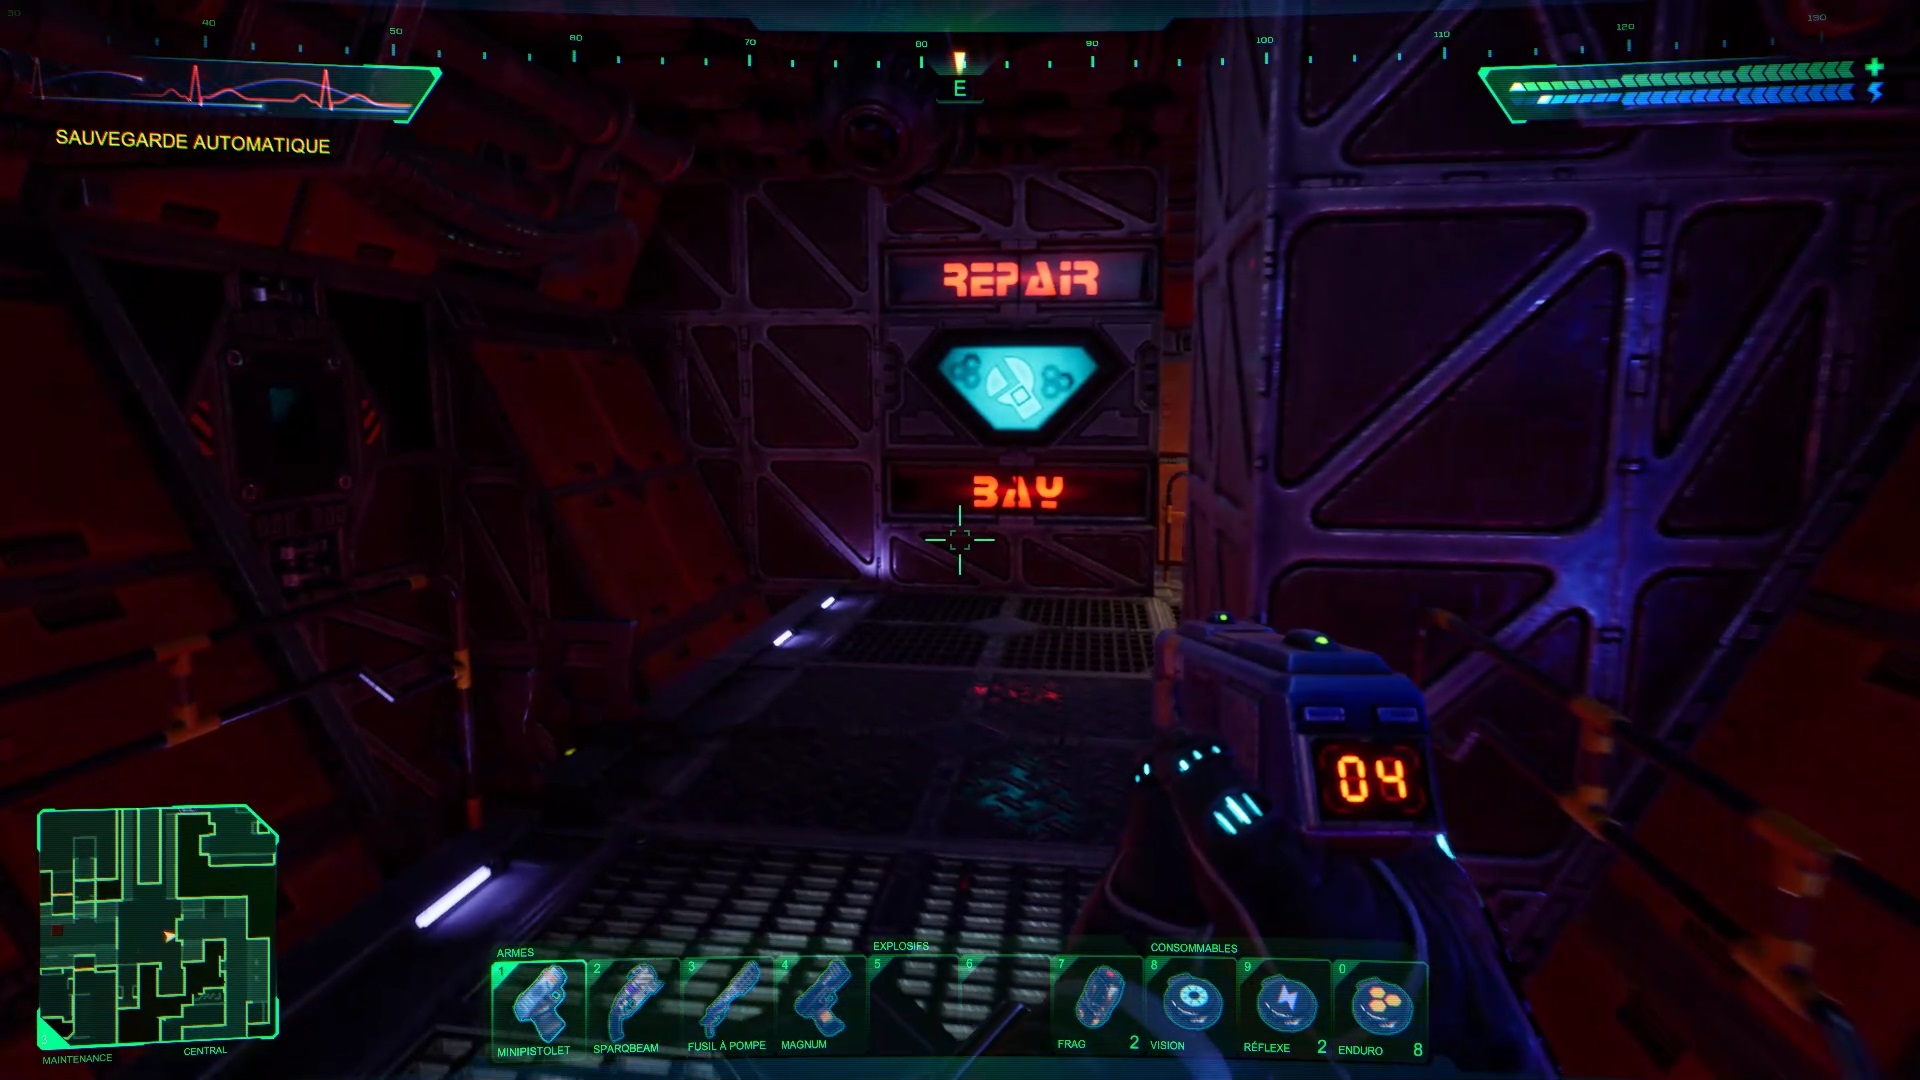
Maintenance
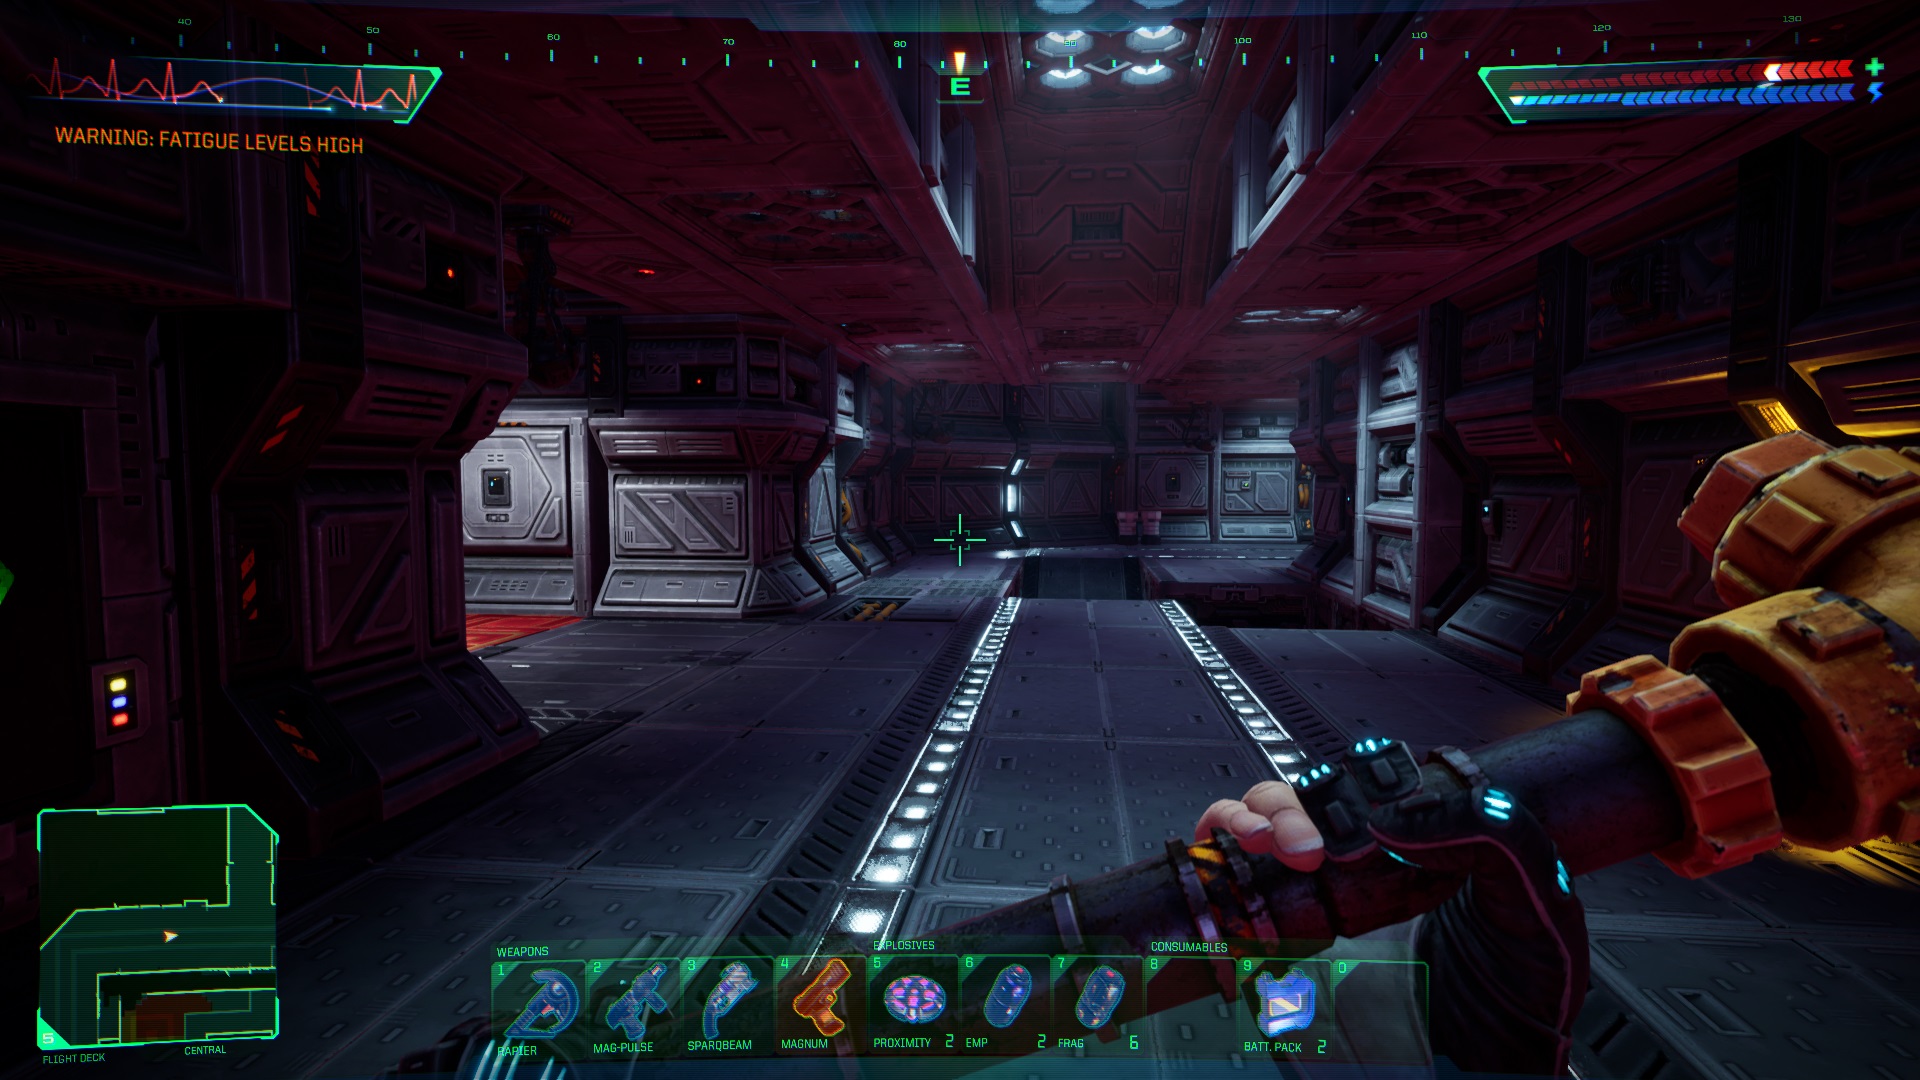
You have reached the Maintenance level. You don’t have much to do at this level except join a second elevator, but let’s take this opportunity to redo our inventory.

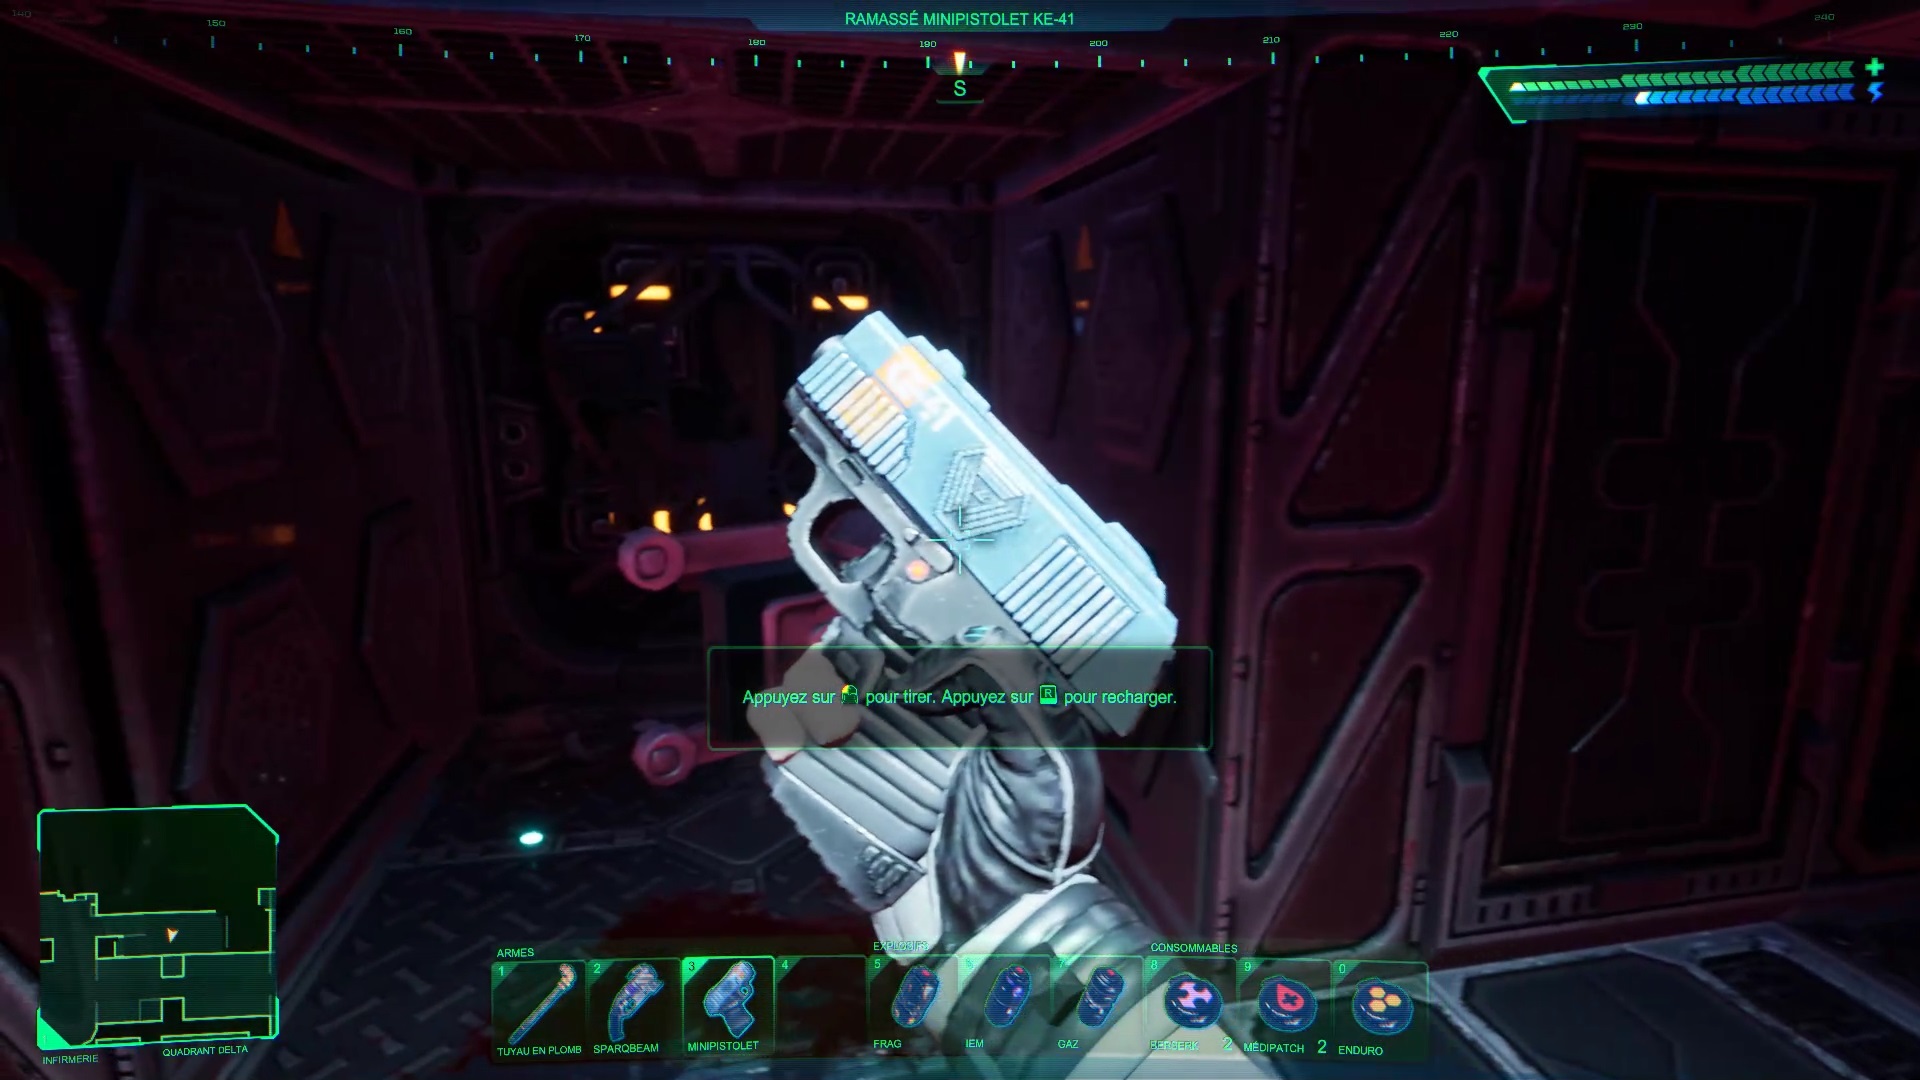
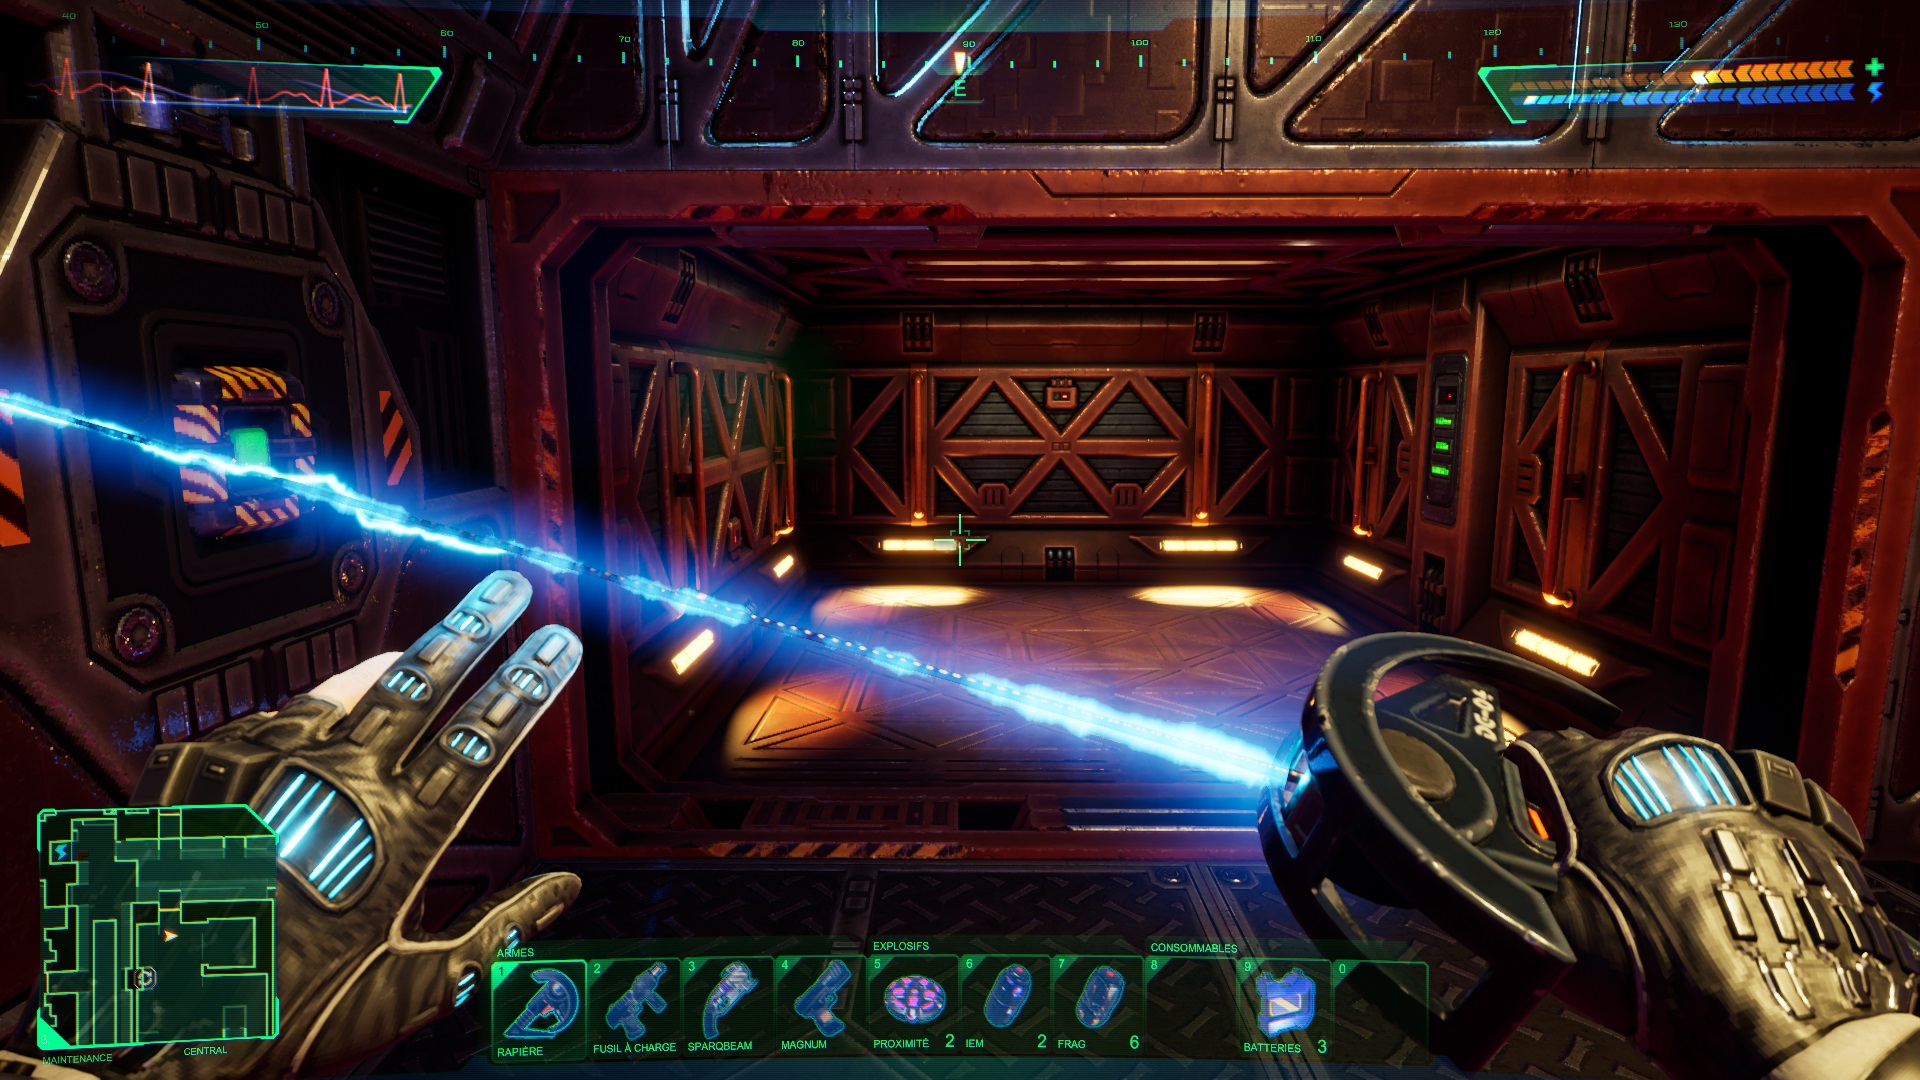
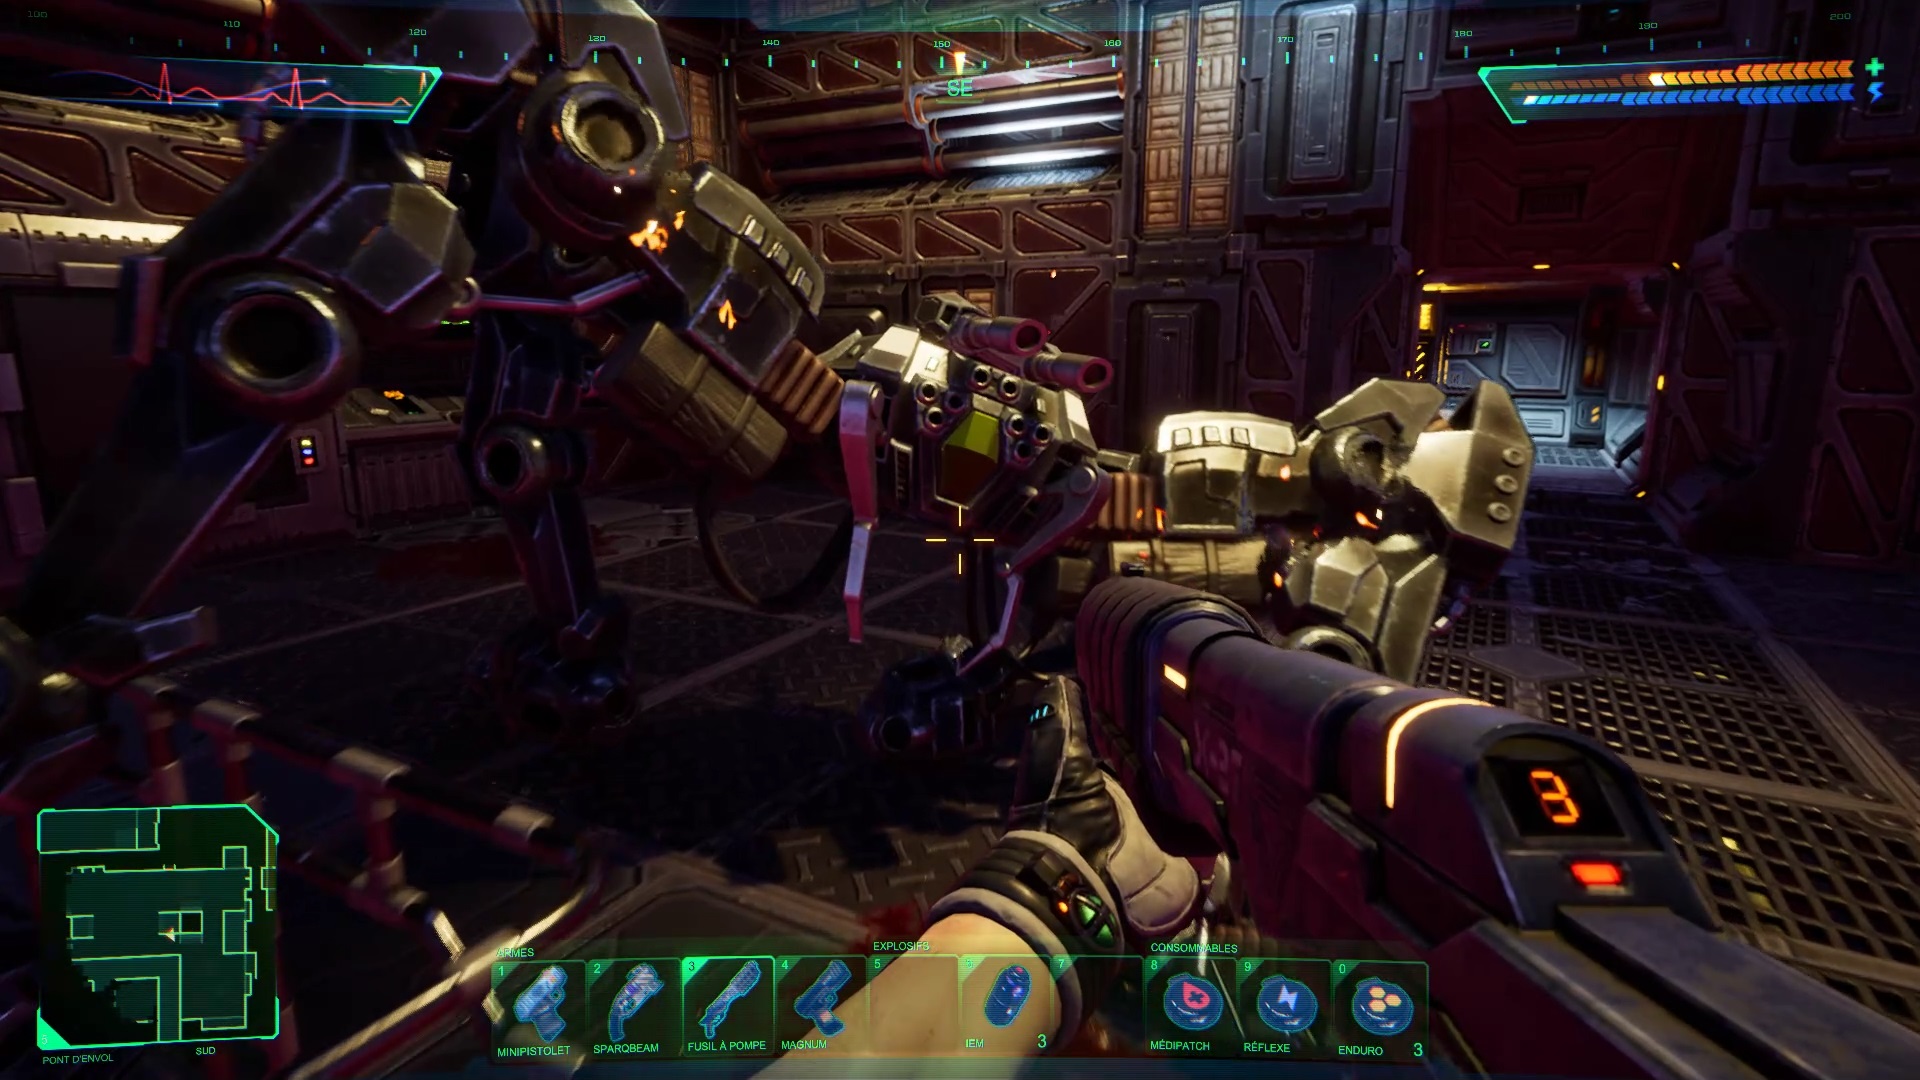
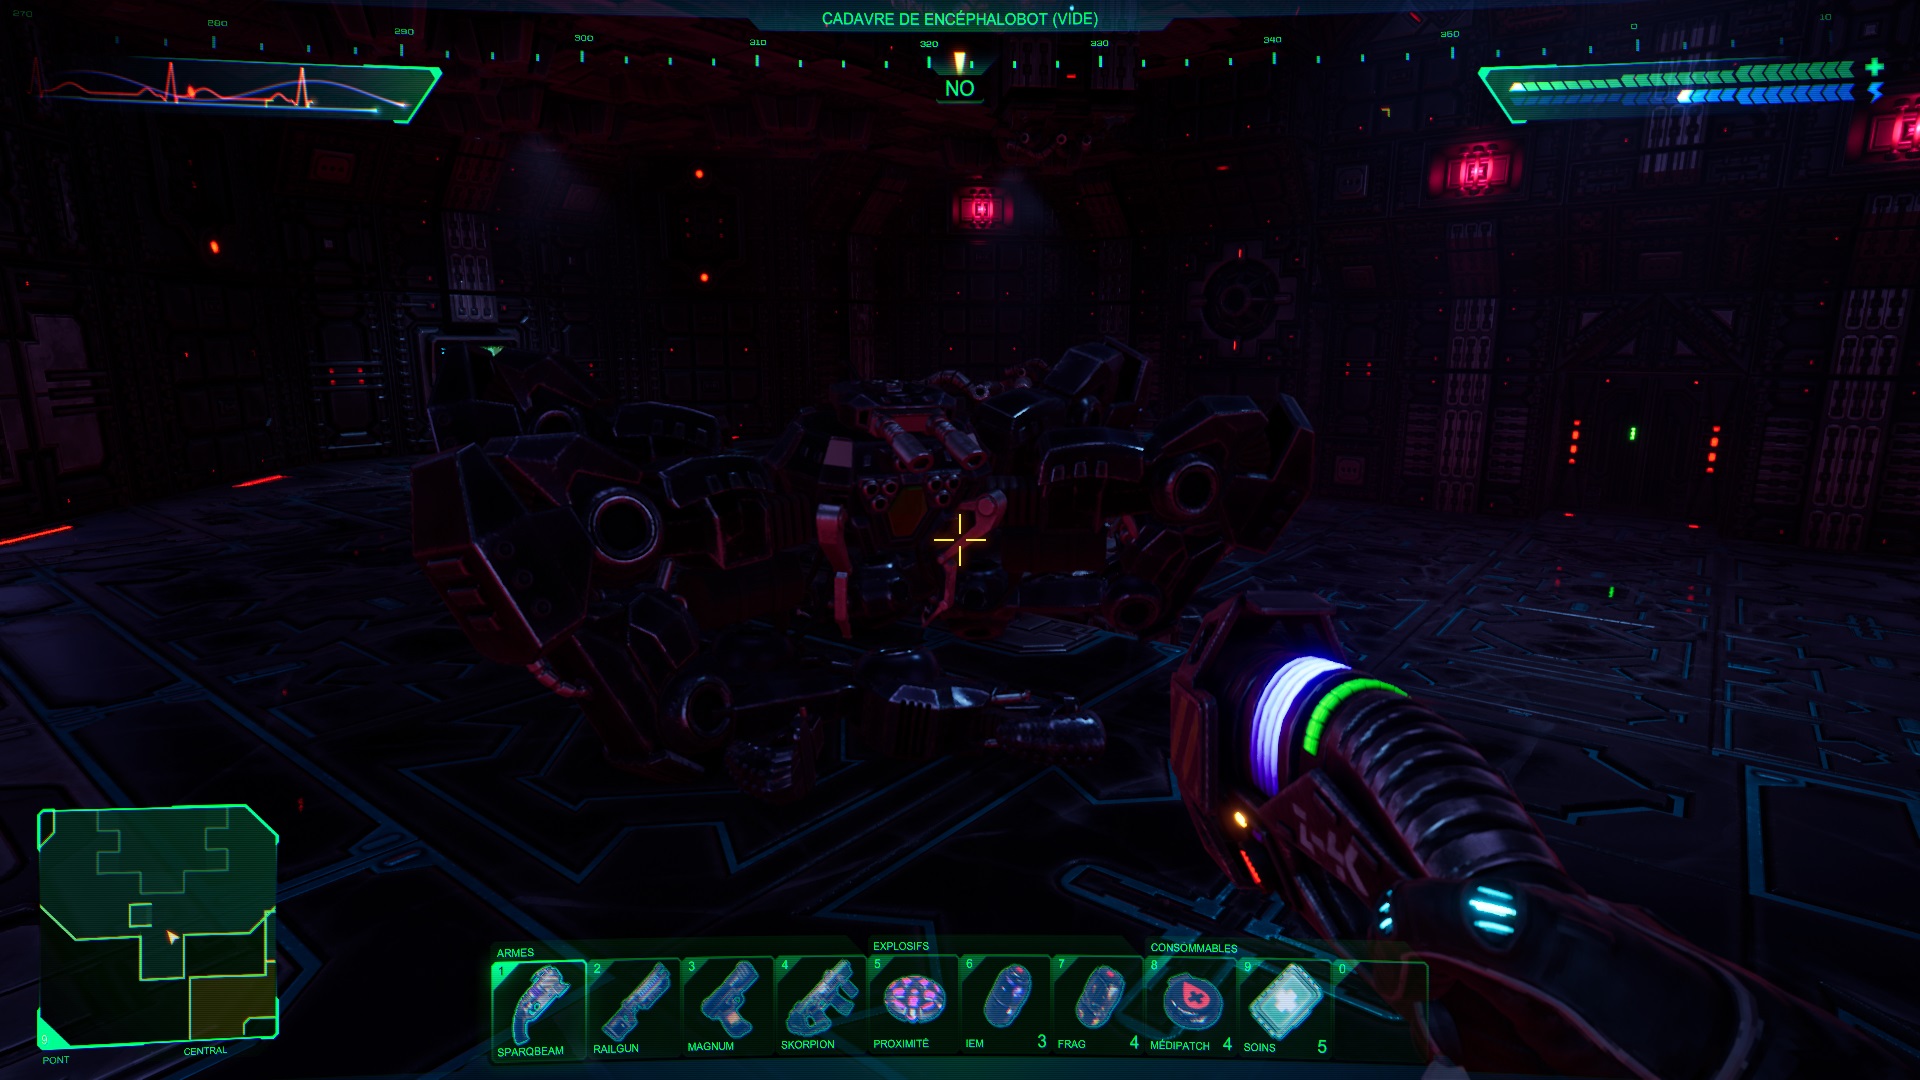
Let’s start by joining the hallway west of the elevator. You will find a ladder with a robot waiting for you above. Destroy the robot to retrieve a new weapon from the shelf: the Laser Rapier.
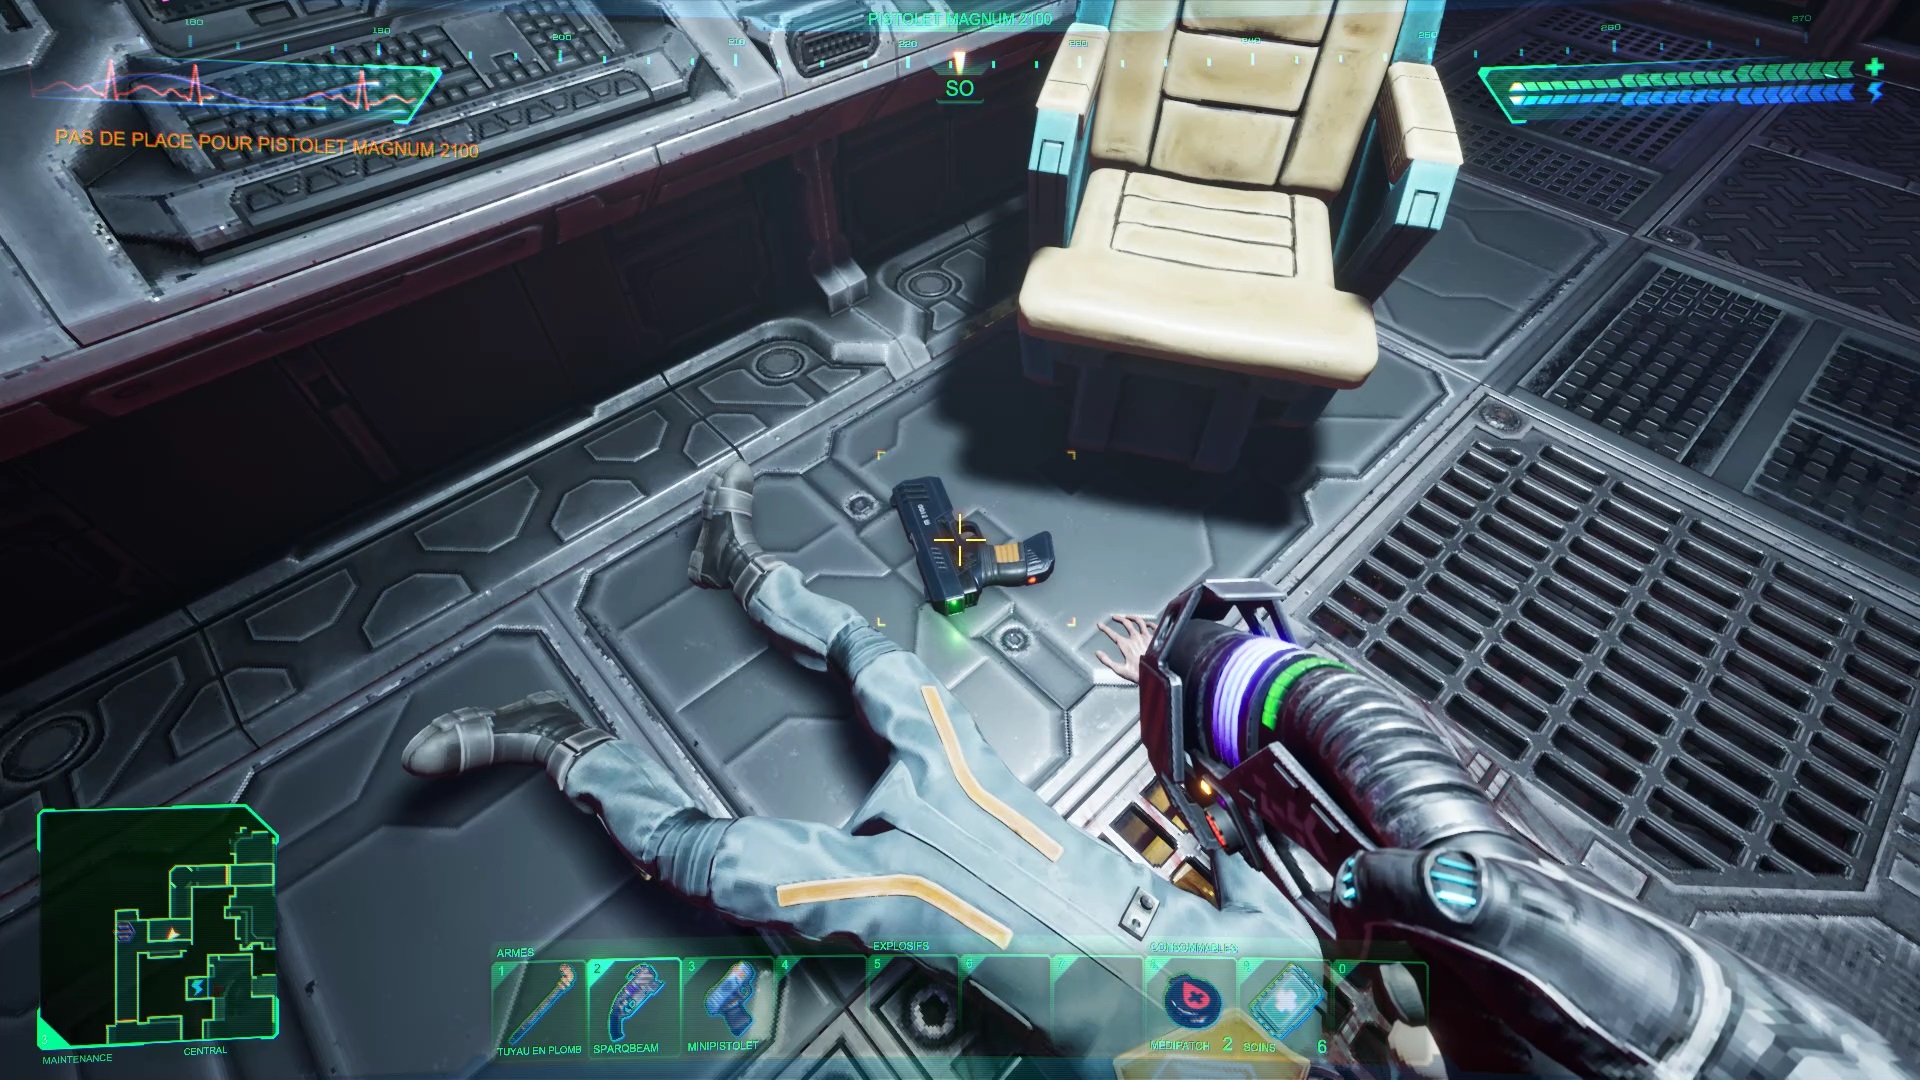
Then explore the door north of maintenance to find a hatch. Sneak inside to pick up one of System Shock’s deadliest weapons: the Magnum.
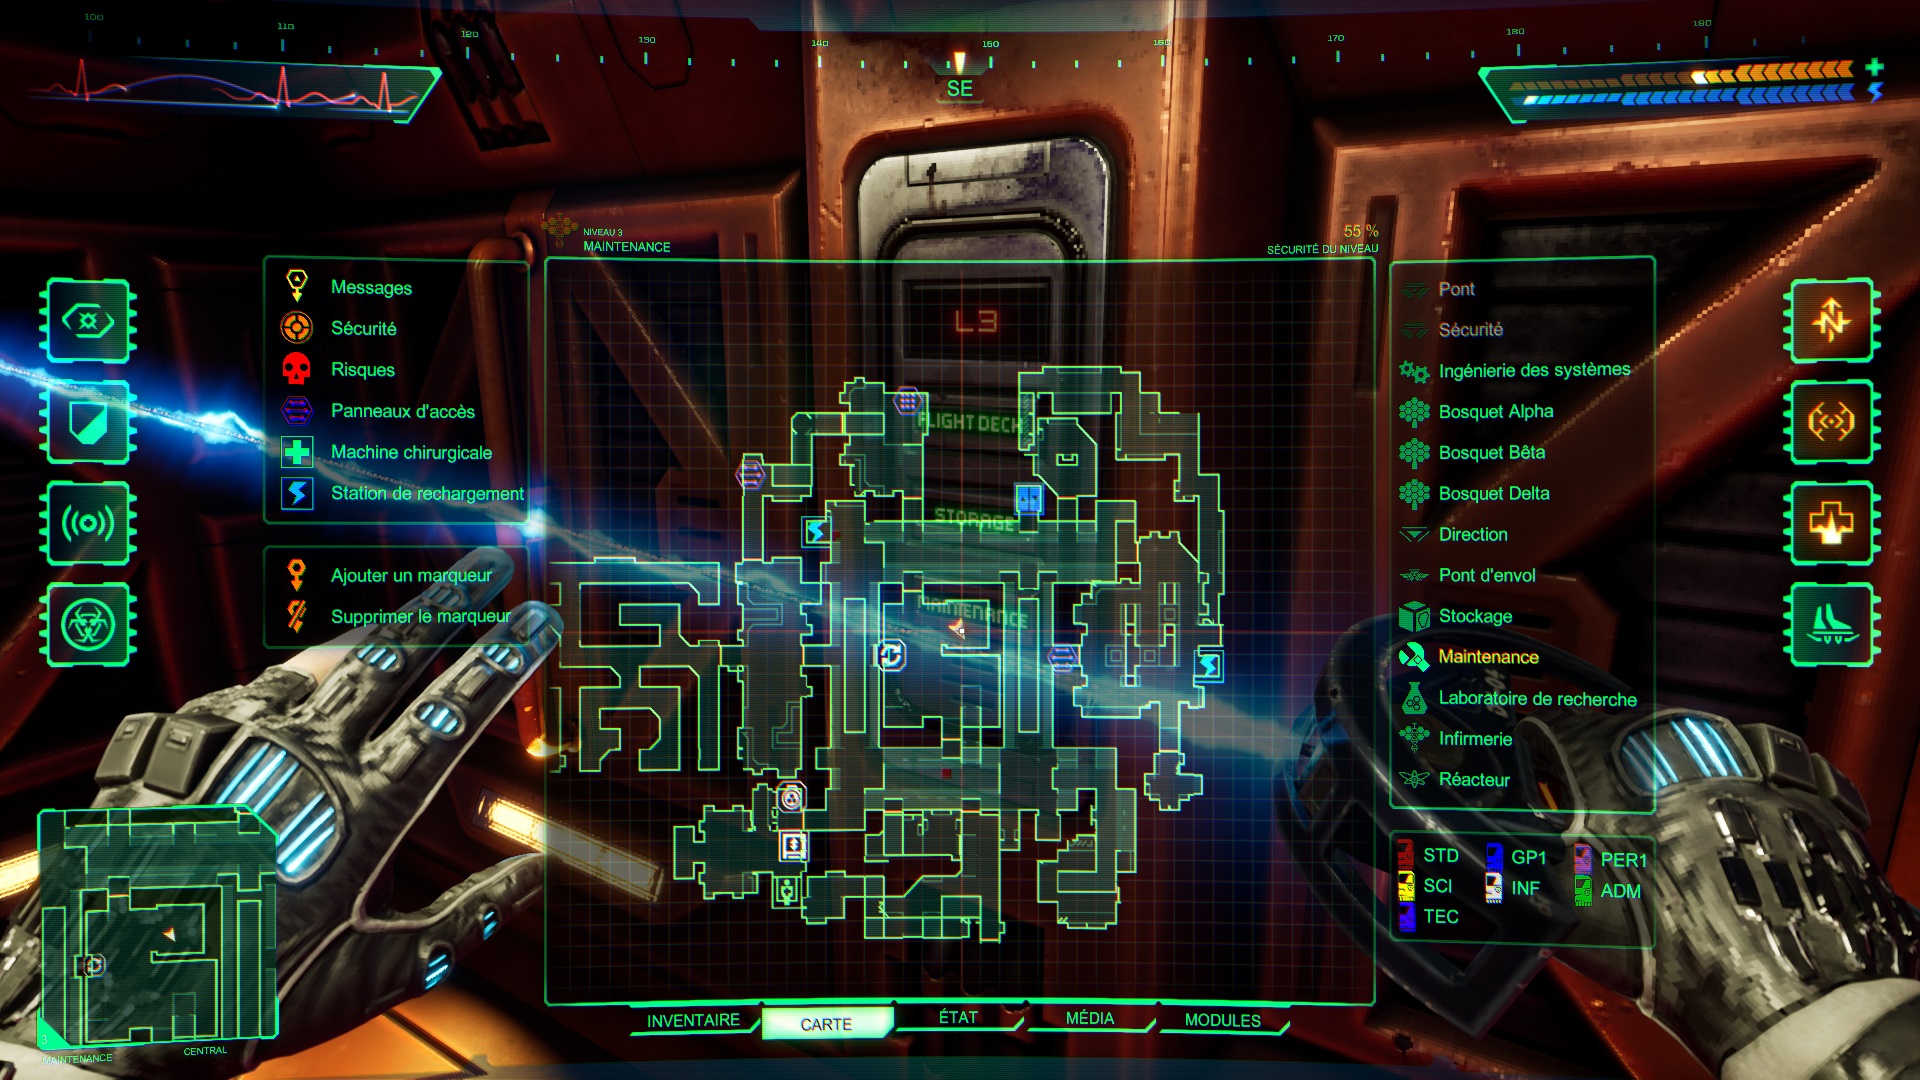
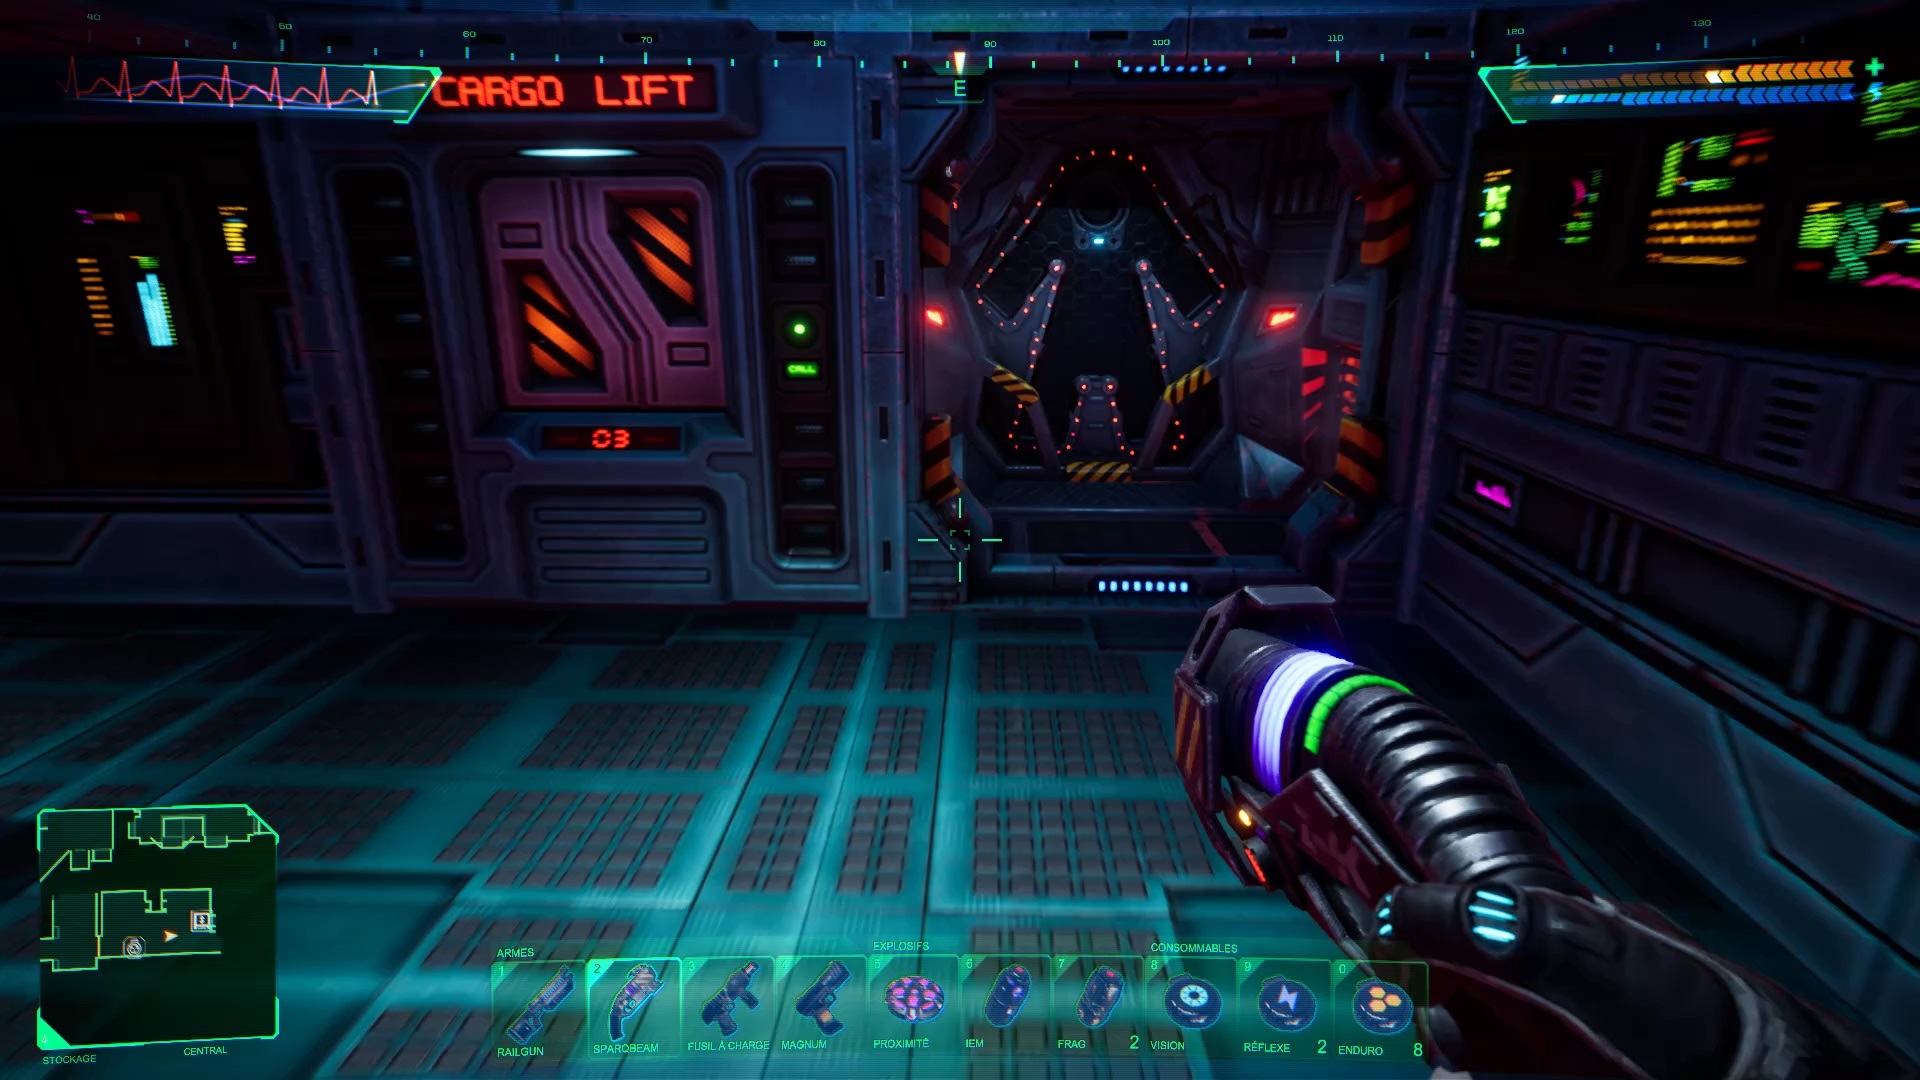
Thanks to these new weapons, you are ready to join the storage room. Go to the maintenance center to find a switch against the wall. Press it to unlock the elevator and reach the storage room.
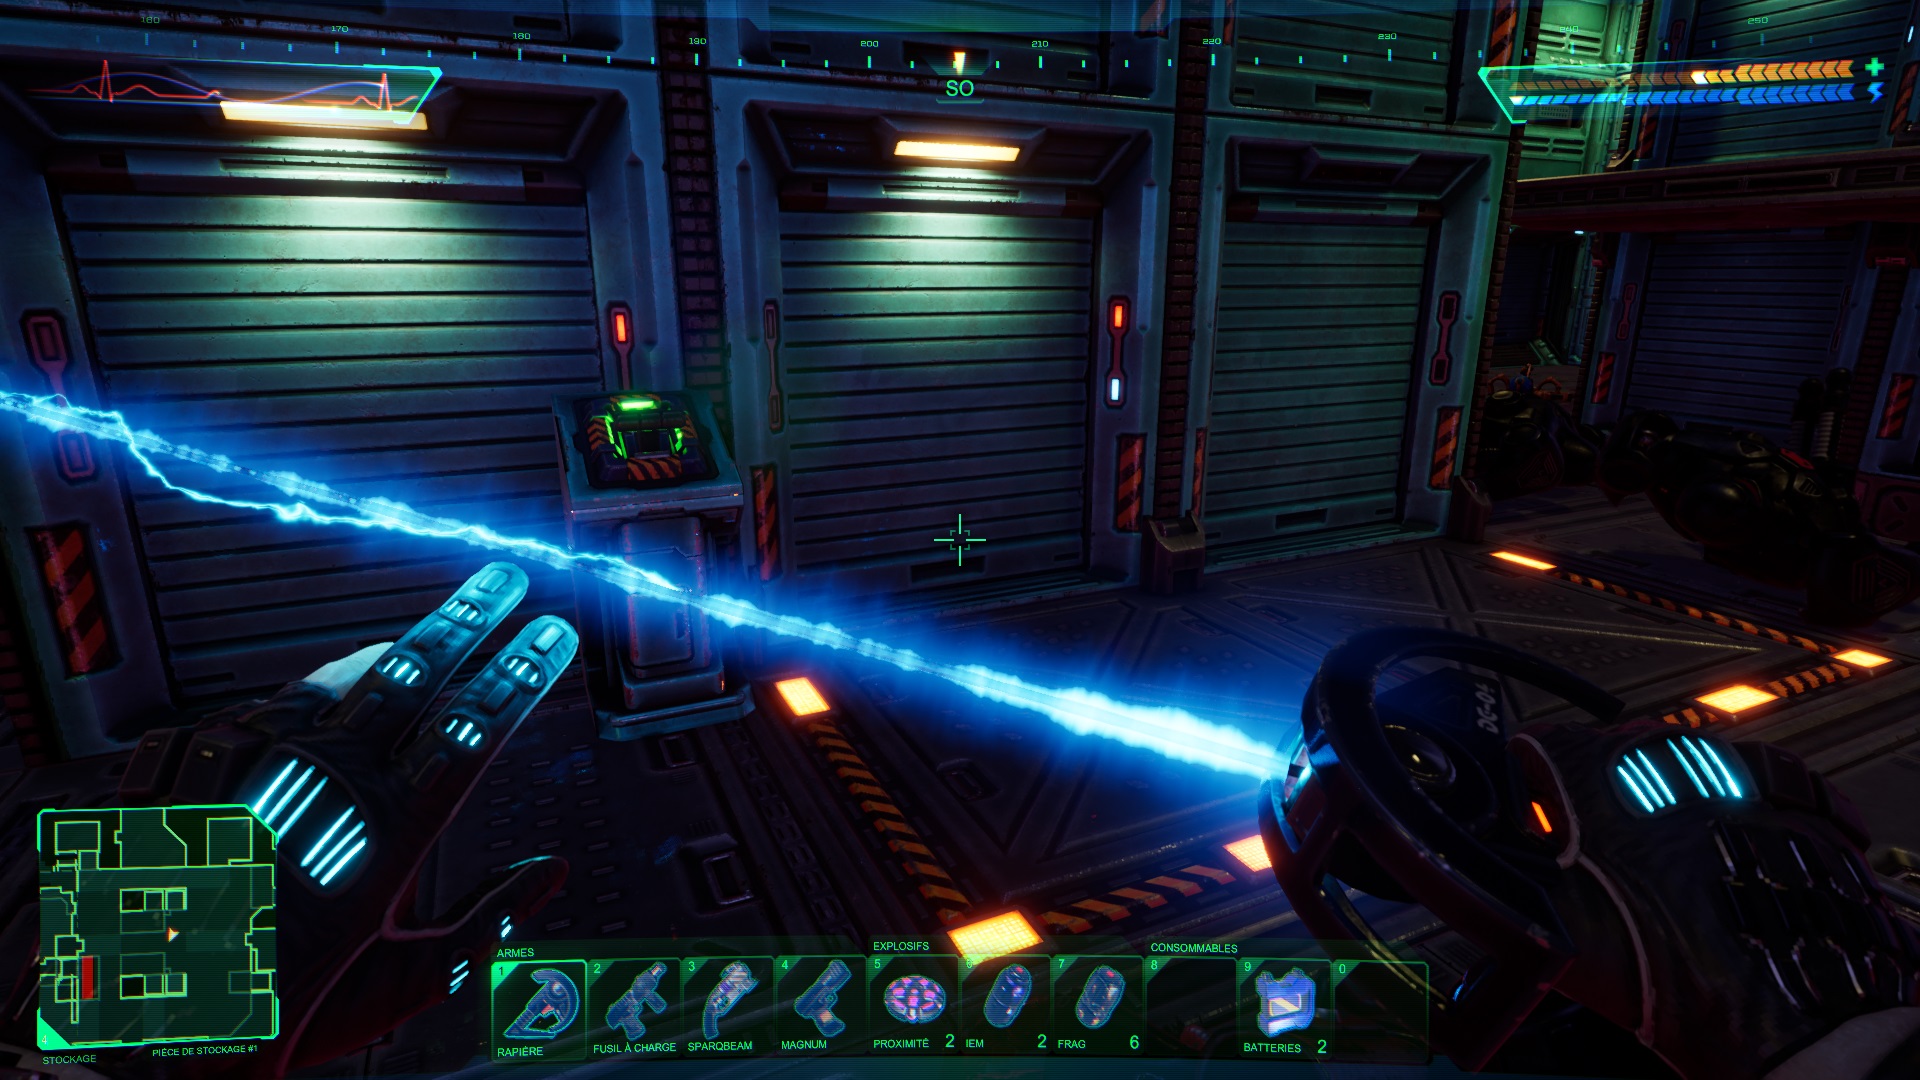
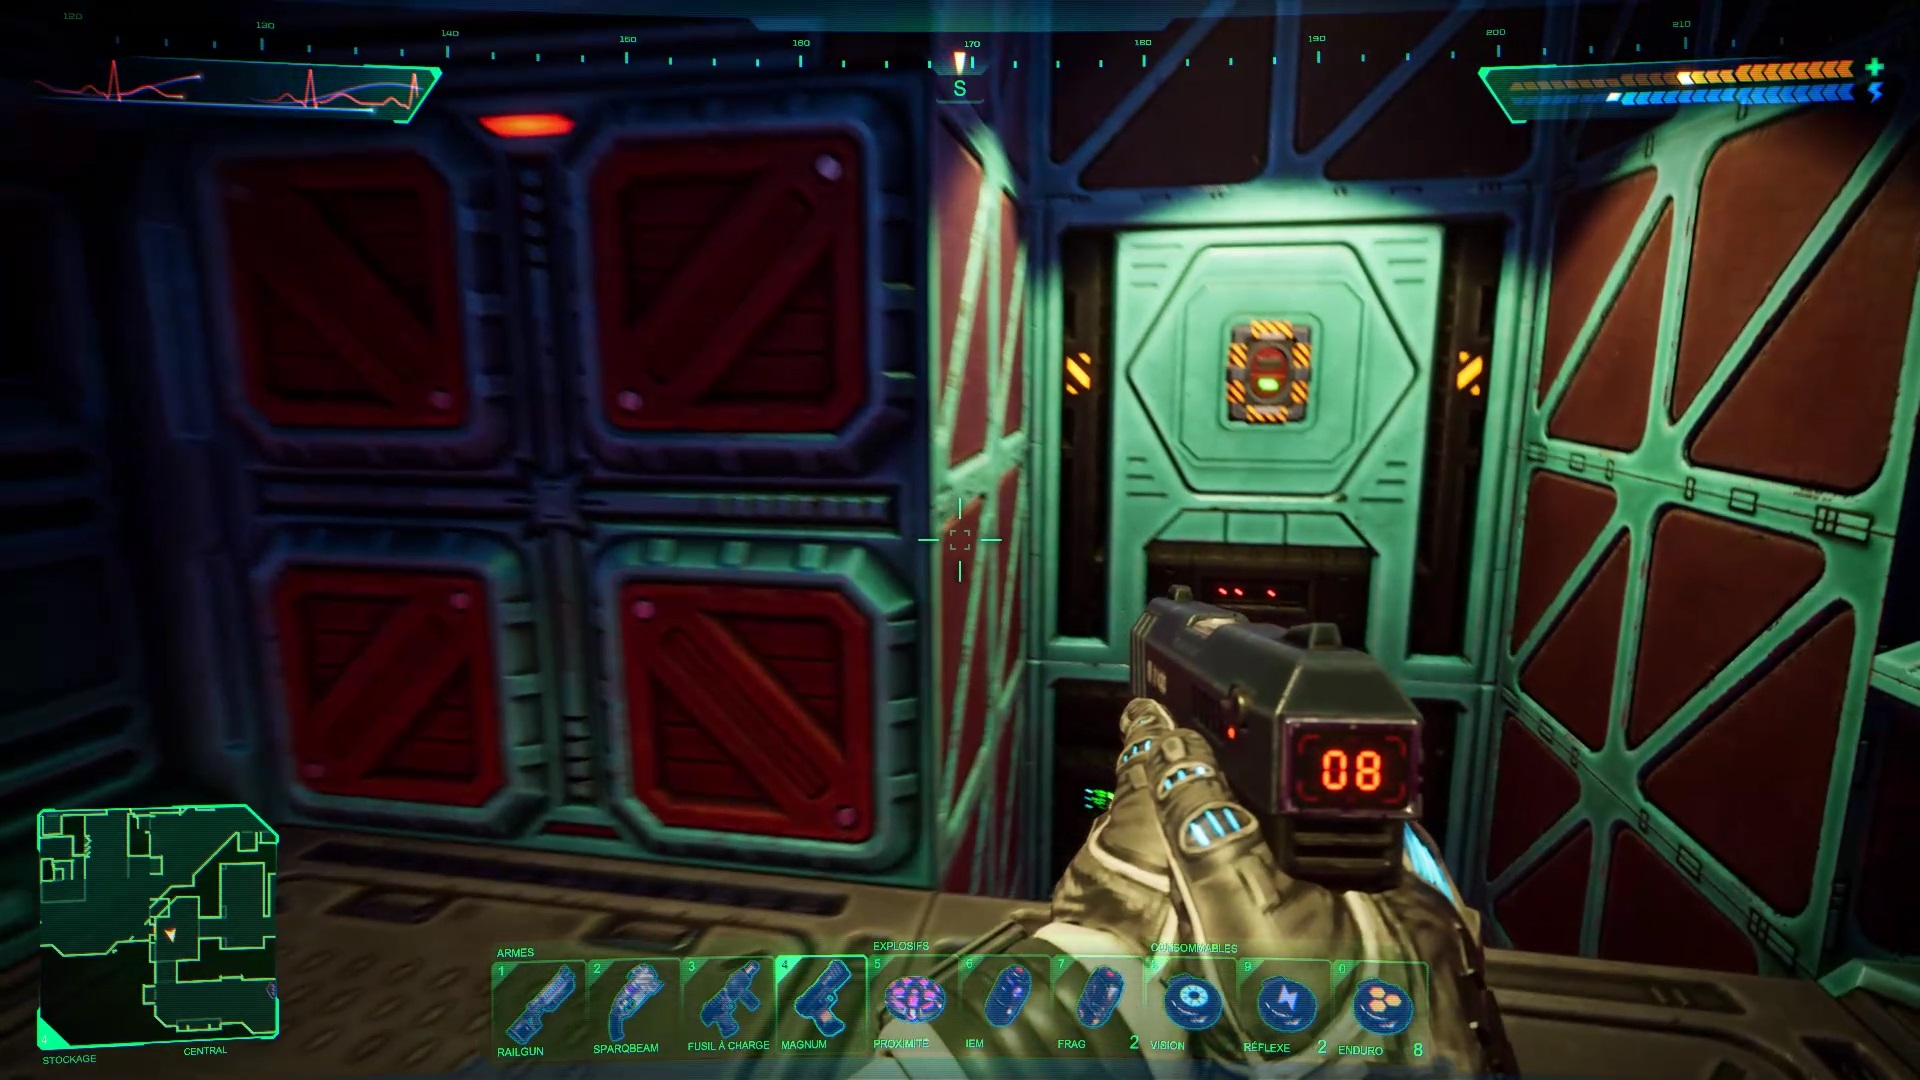
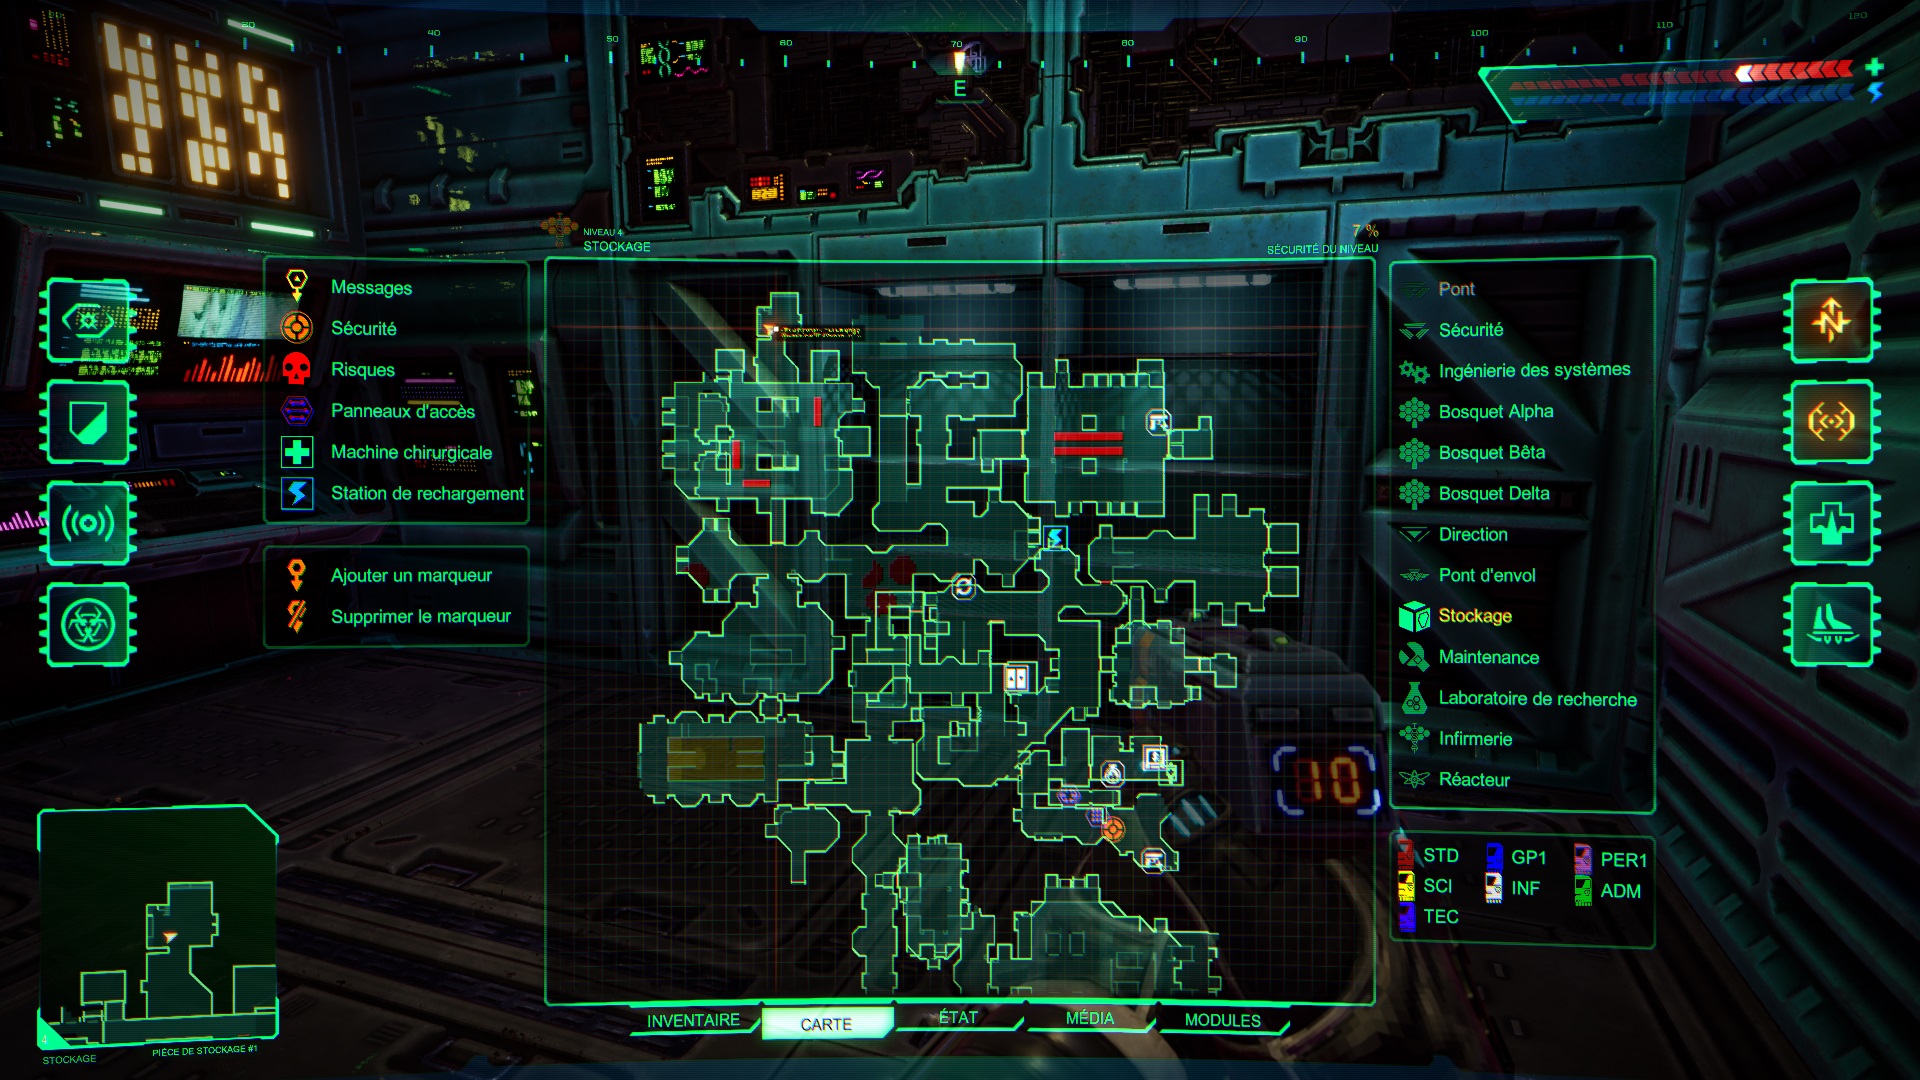
Storage
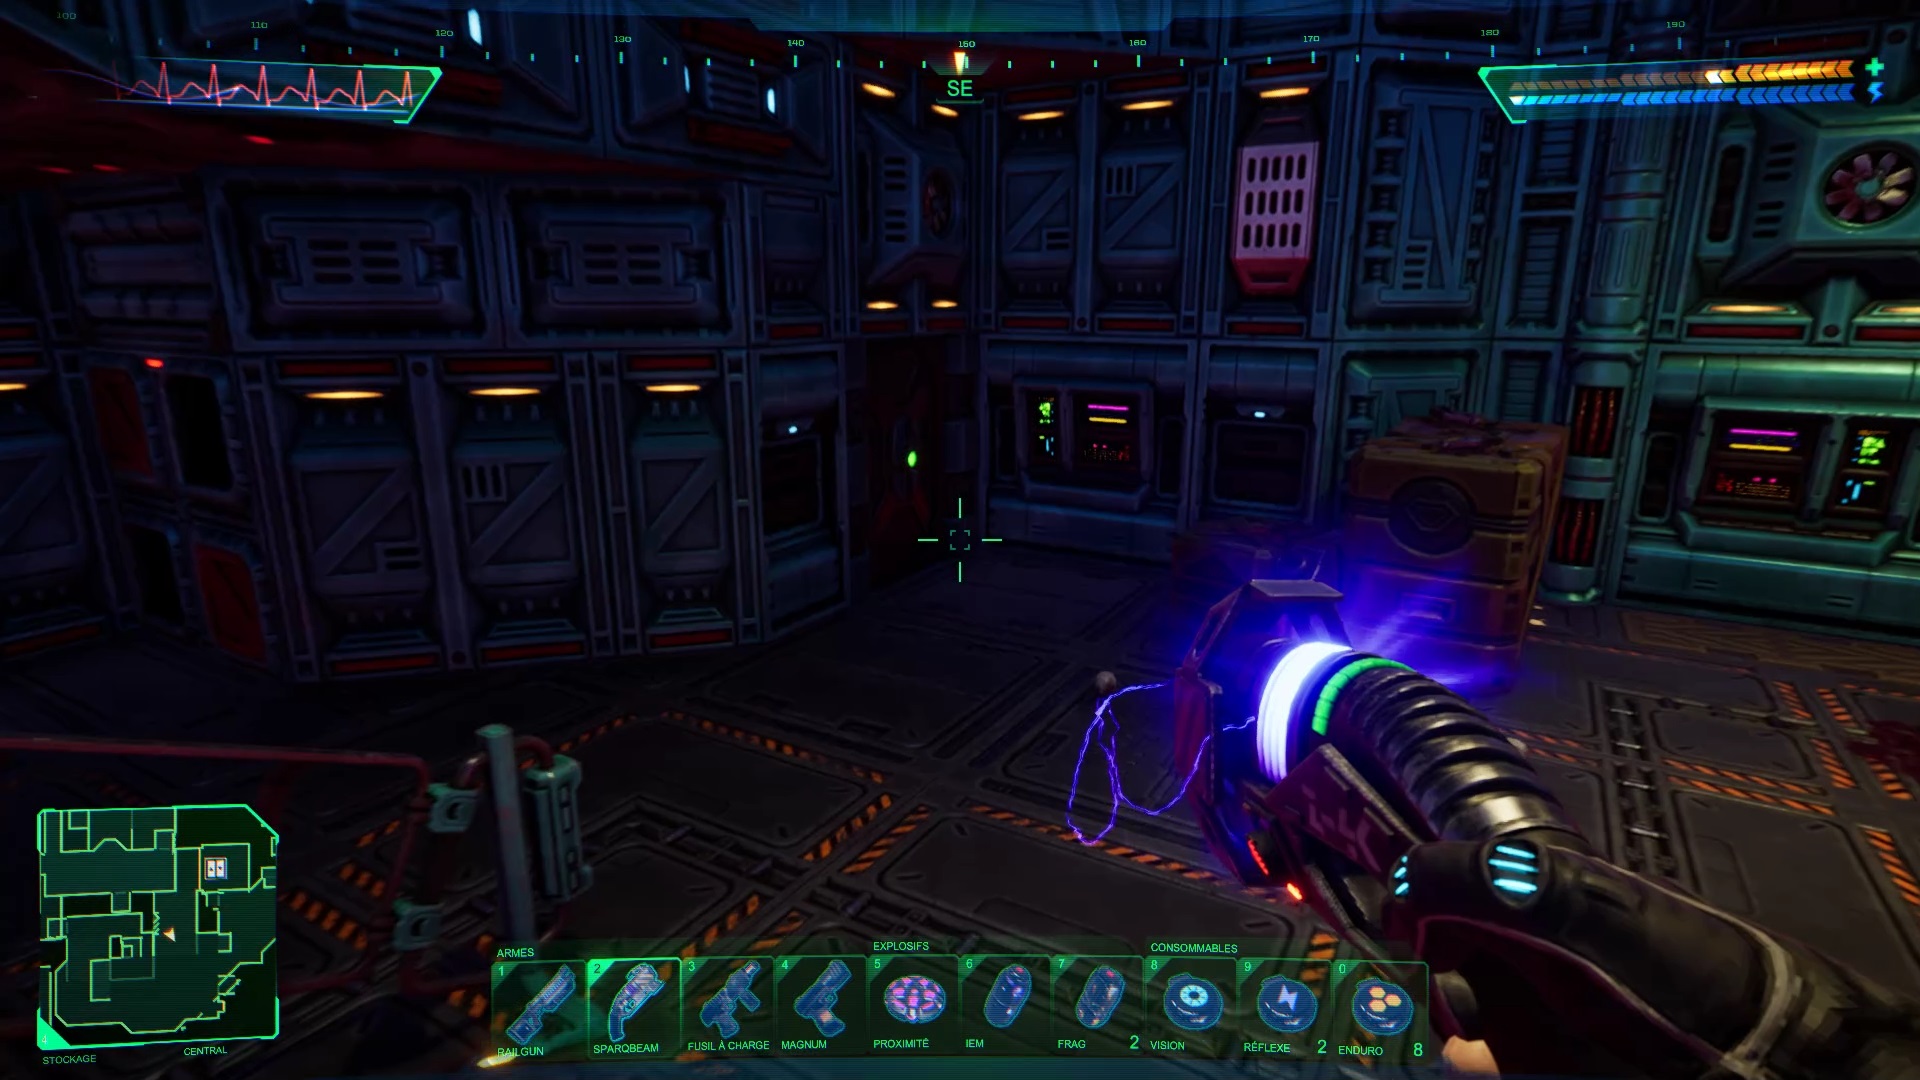
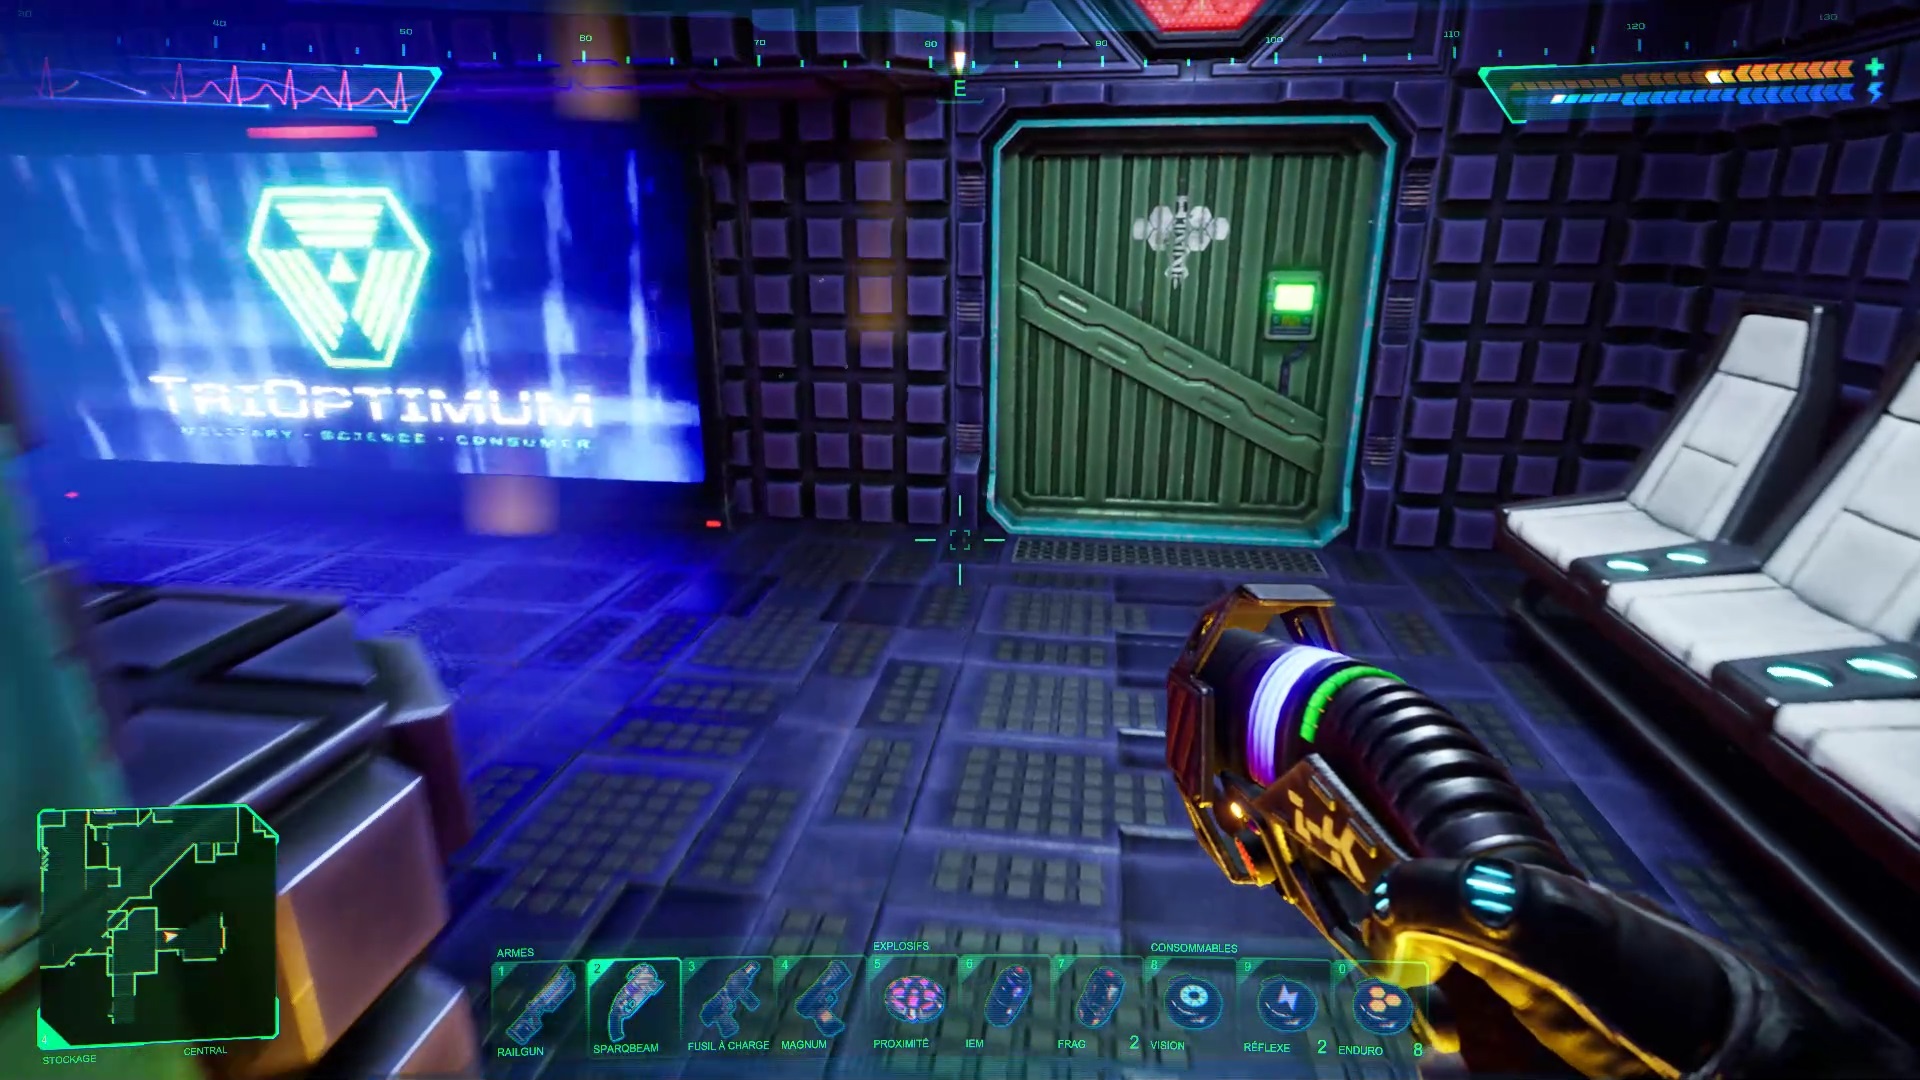
Let’s cover our backs first, once out of the elevator go down the slope to the south to find an armored door behind some crates. Inside, continue east to reach an infirmary and activate the recovery chamber if needed.
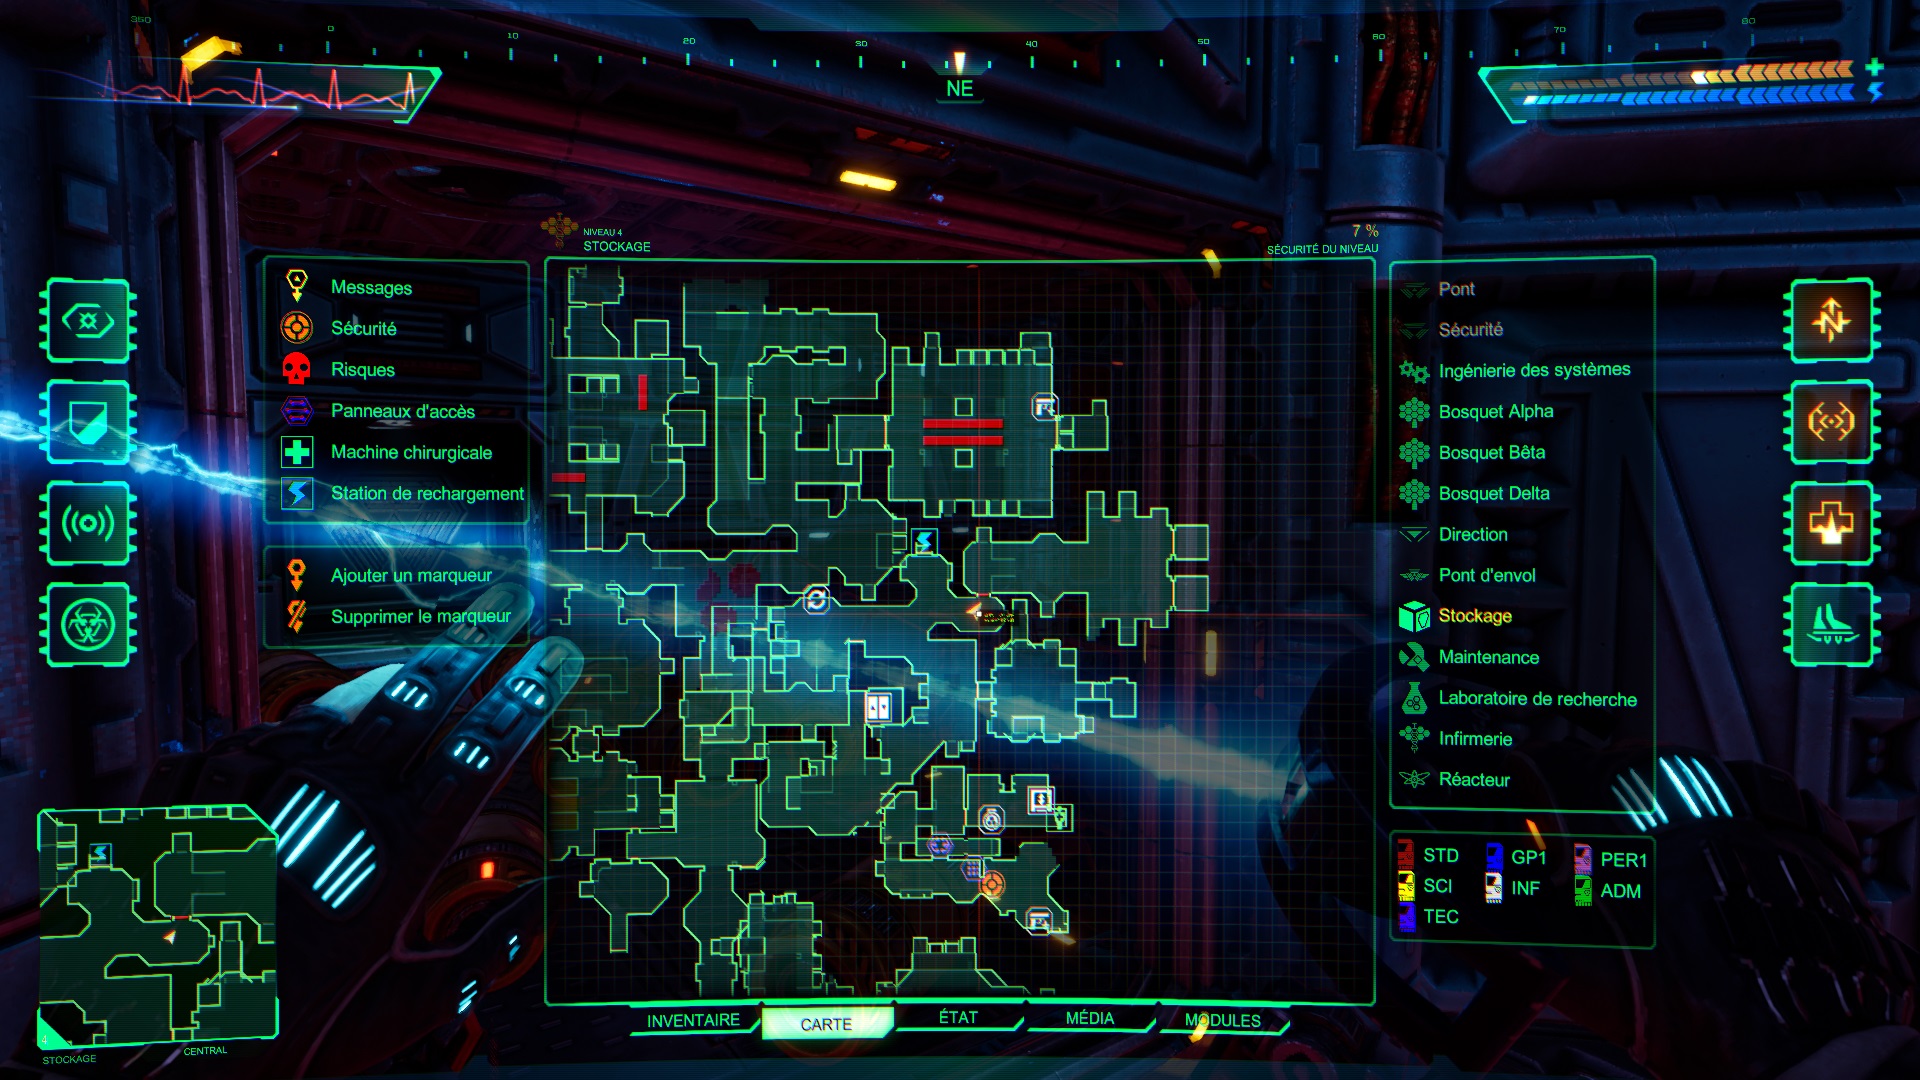
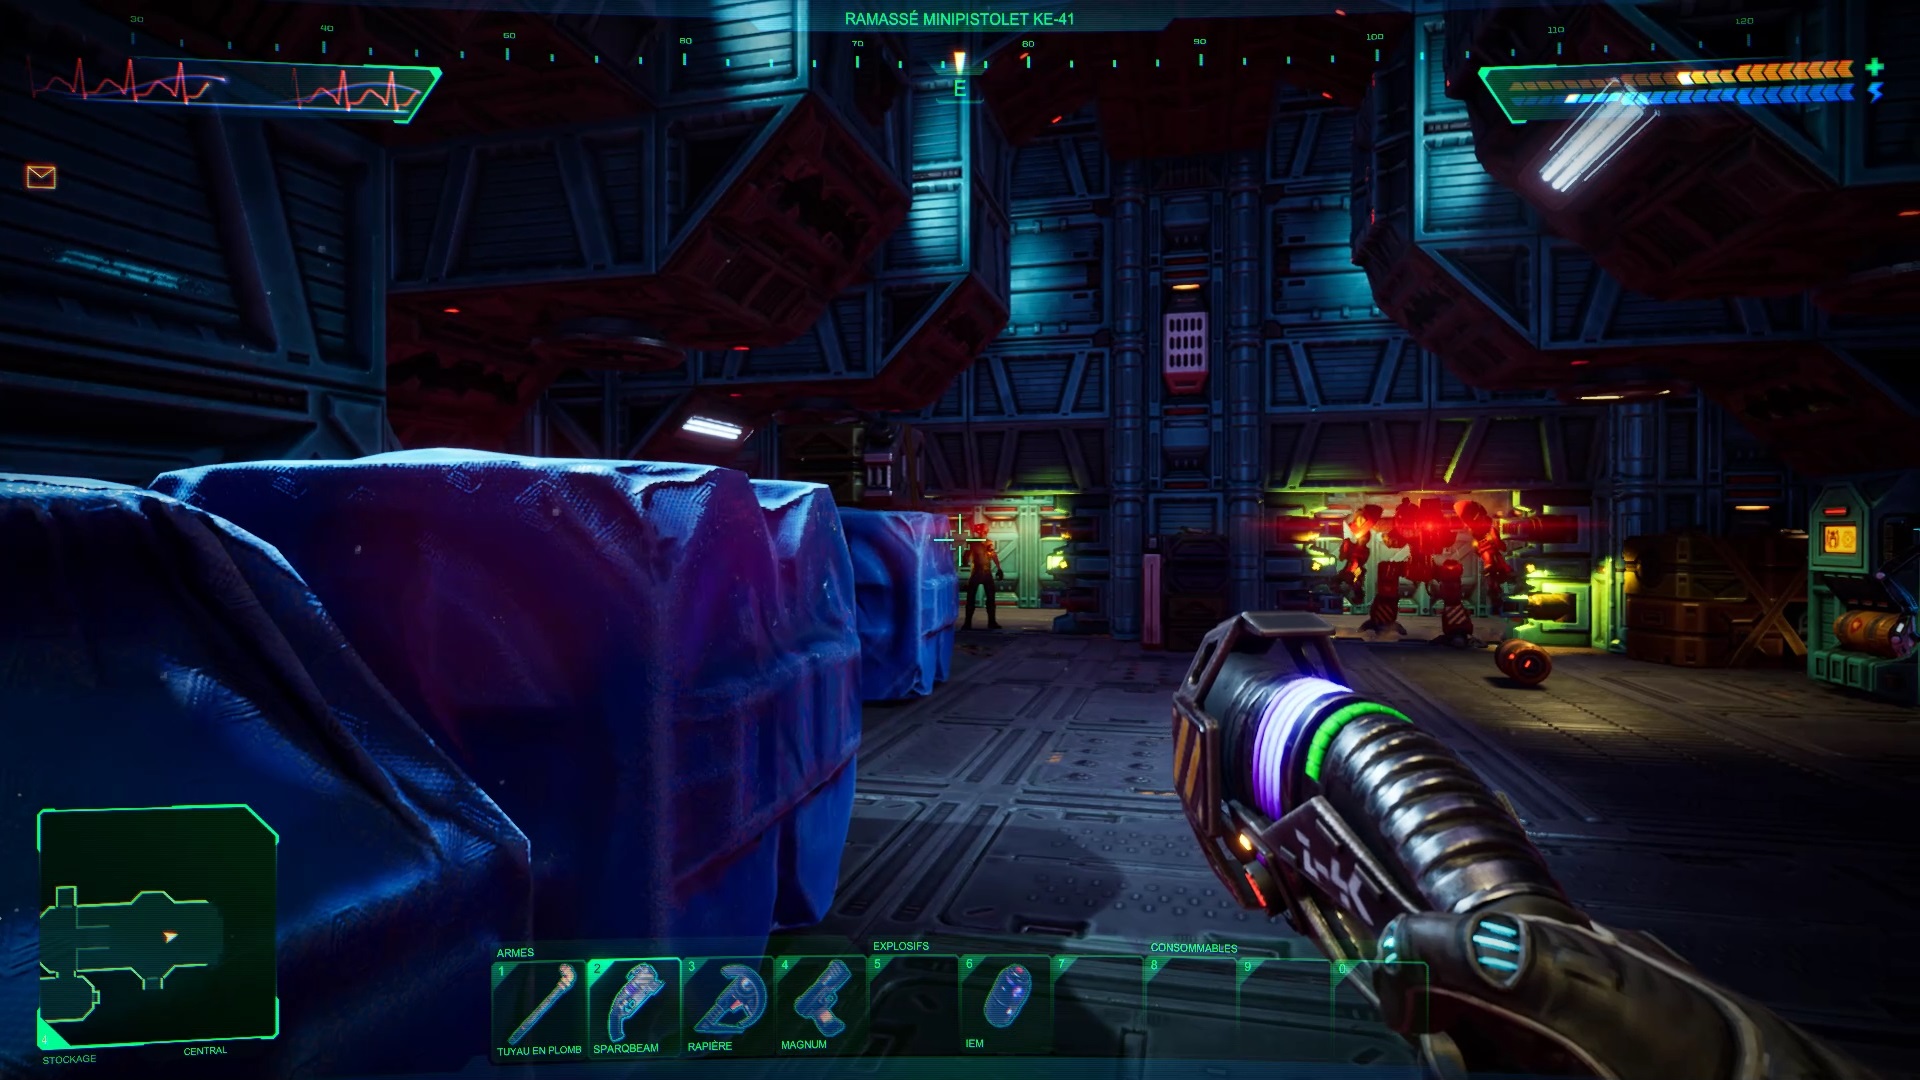

With that done, head northeast from the elevator to find a room protected by a laser barrier. Use the nearby switch to remove the barrier. Several robots are waiting for you inside. Destroy threats and then take care of edge computing clusters. A number appears on the screen. Write down the number for later. You are free to join the flight deck now, but we recommend that you stay in storage for the rest of the adventure.

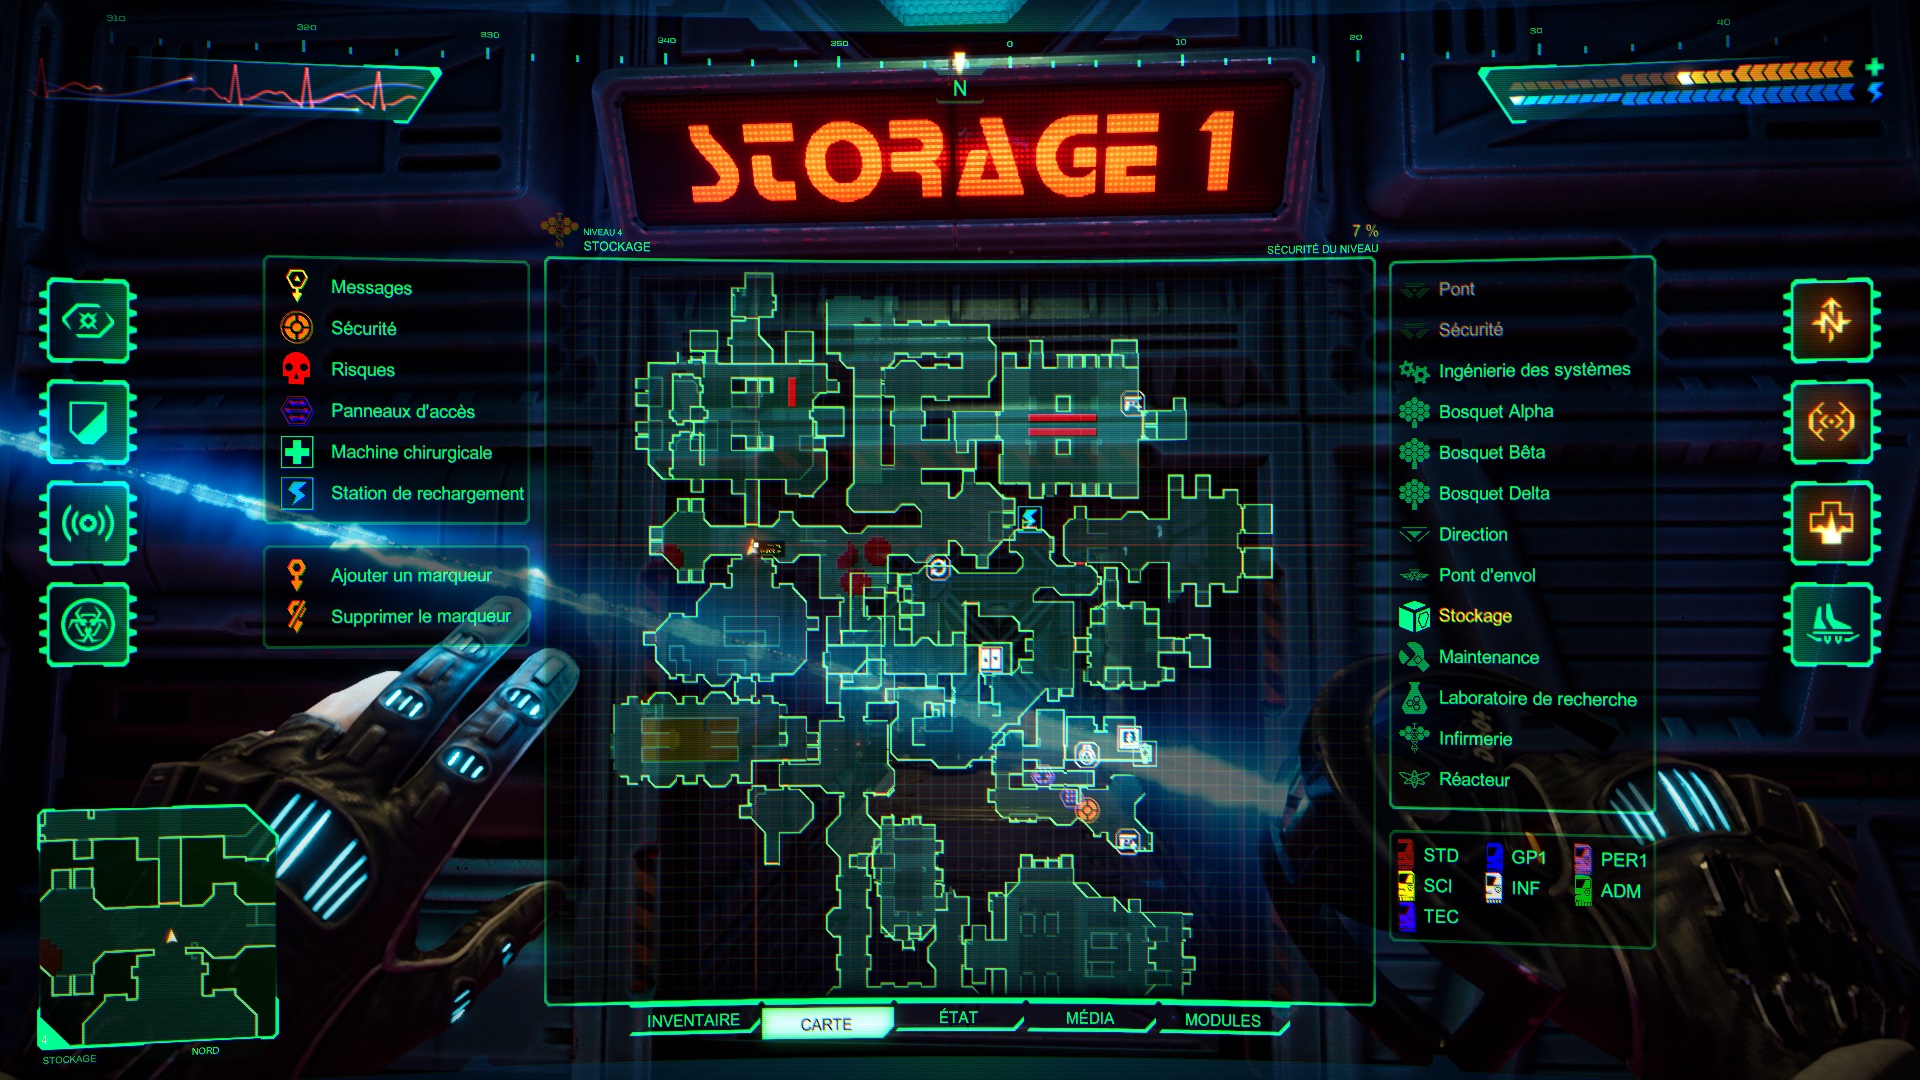
Go northwest to open a portal. Then enter storage room number 1. Carefully descend using the gravolift. Eliminate the scorpions on the ground and raise the levers to create platforms above. Go up thanks to the gravitational elevator and reach the back of the room thanks to the platforms.
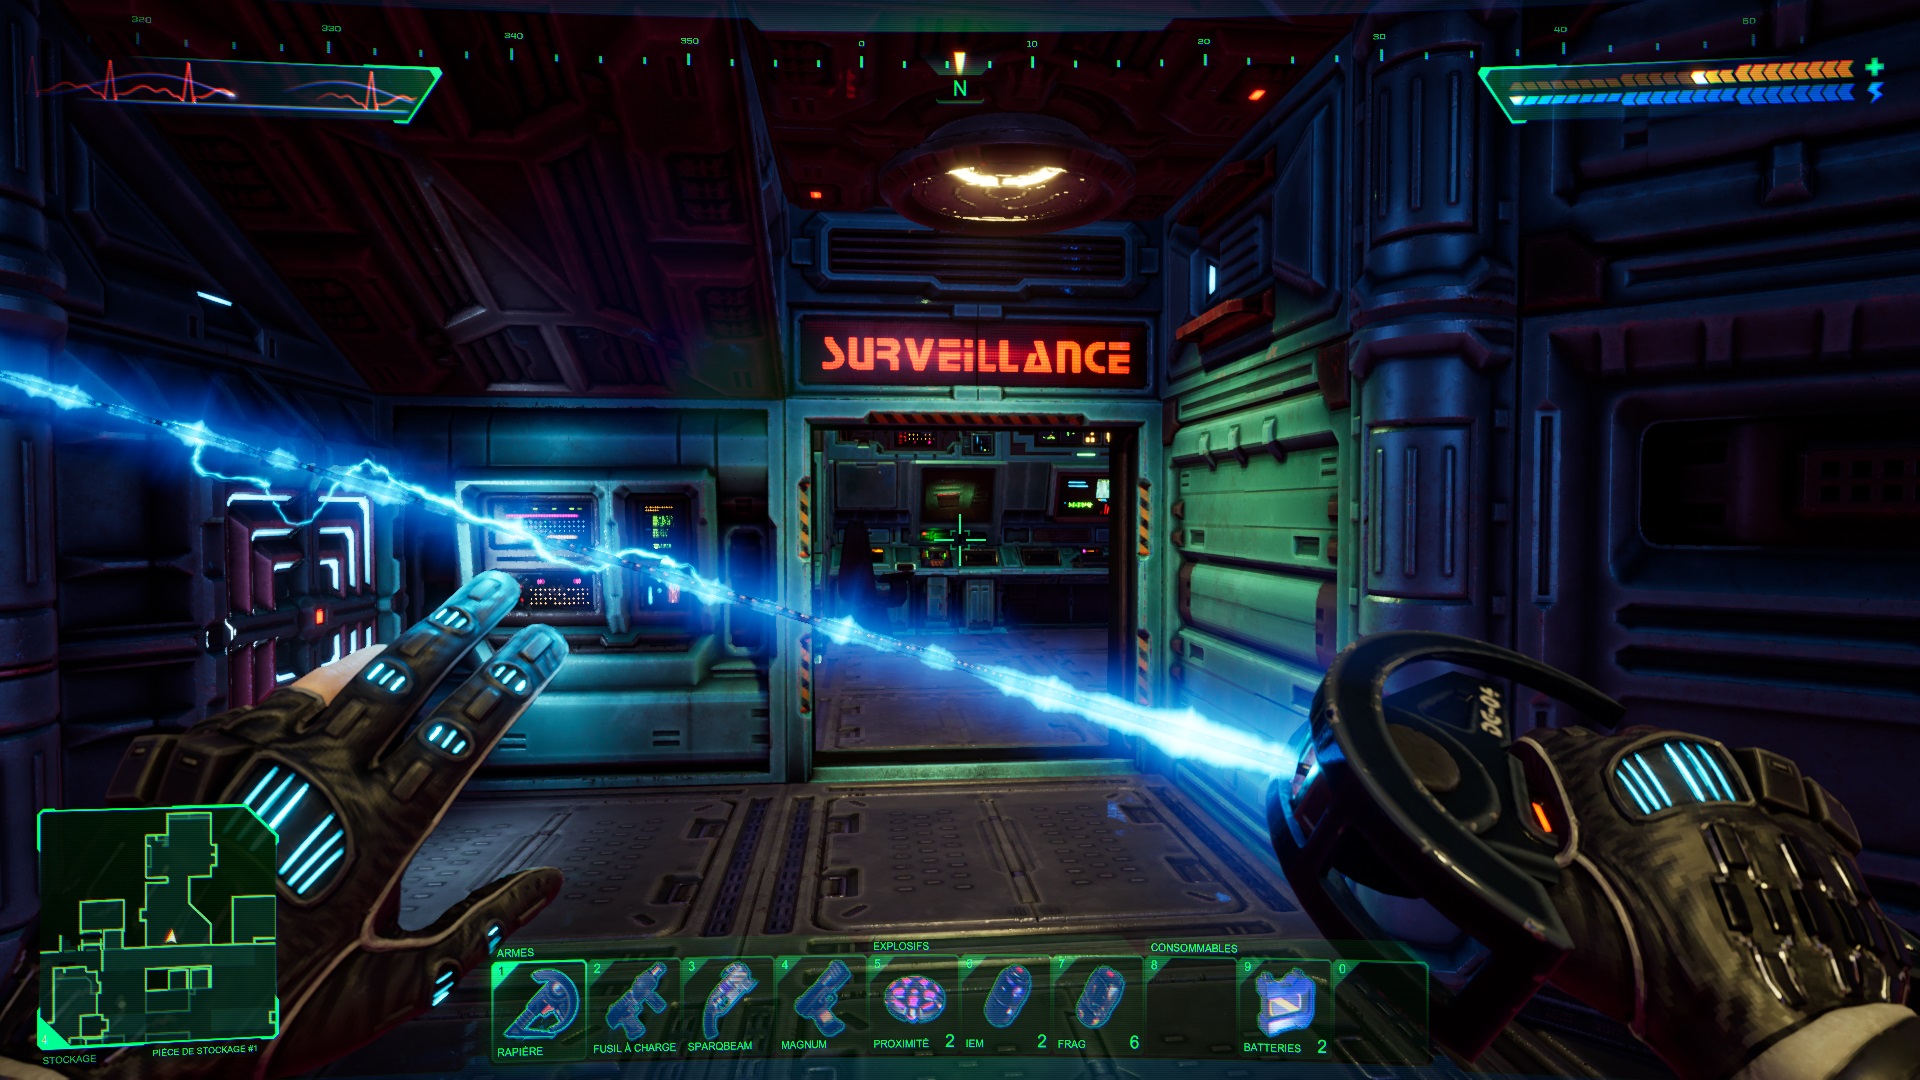
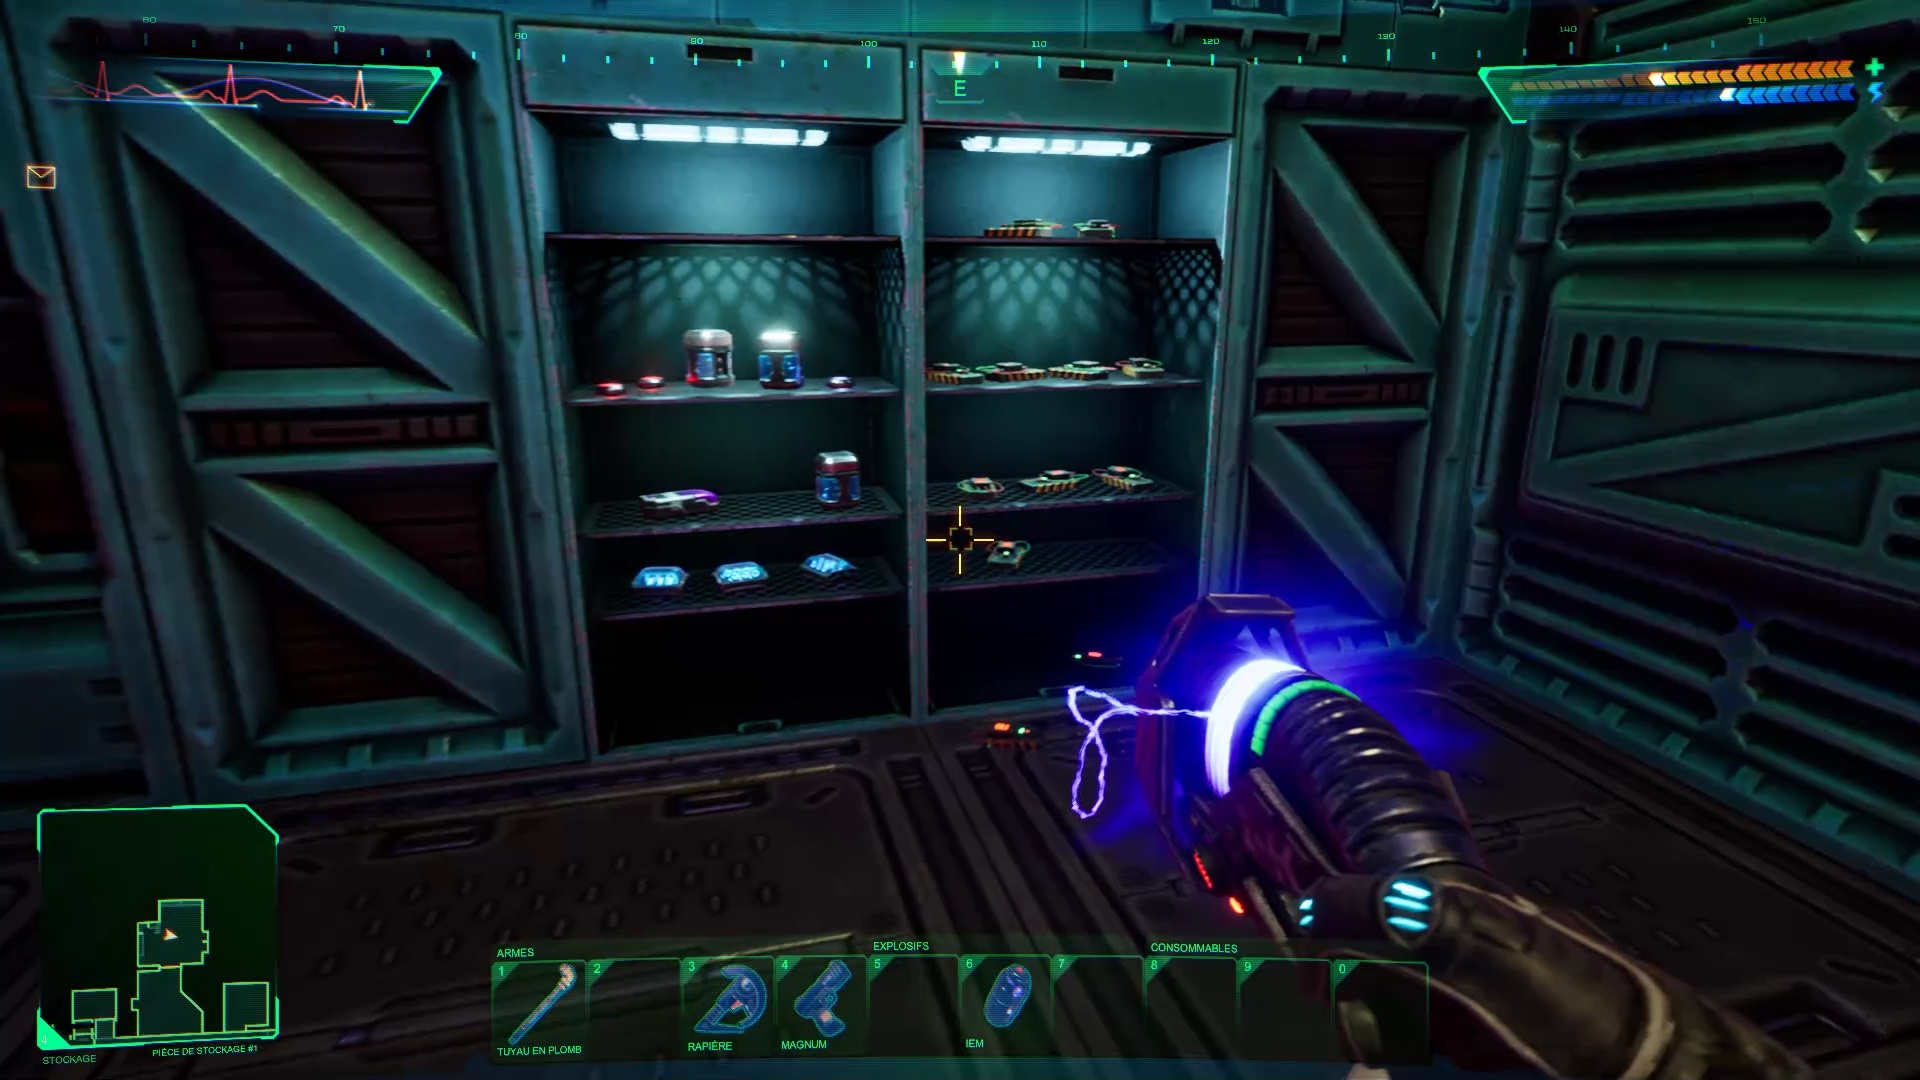
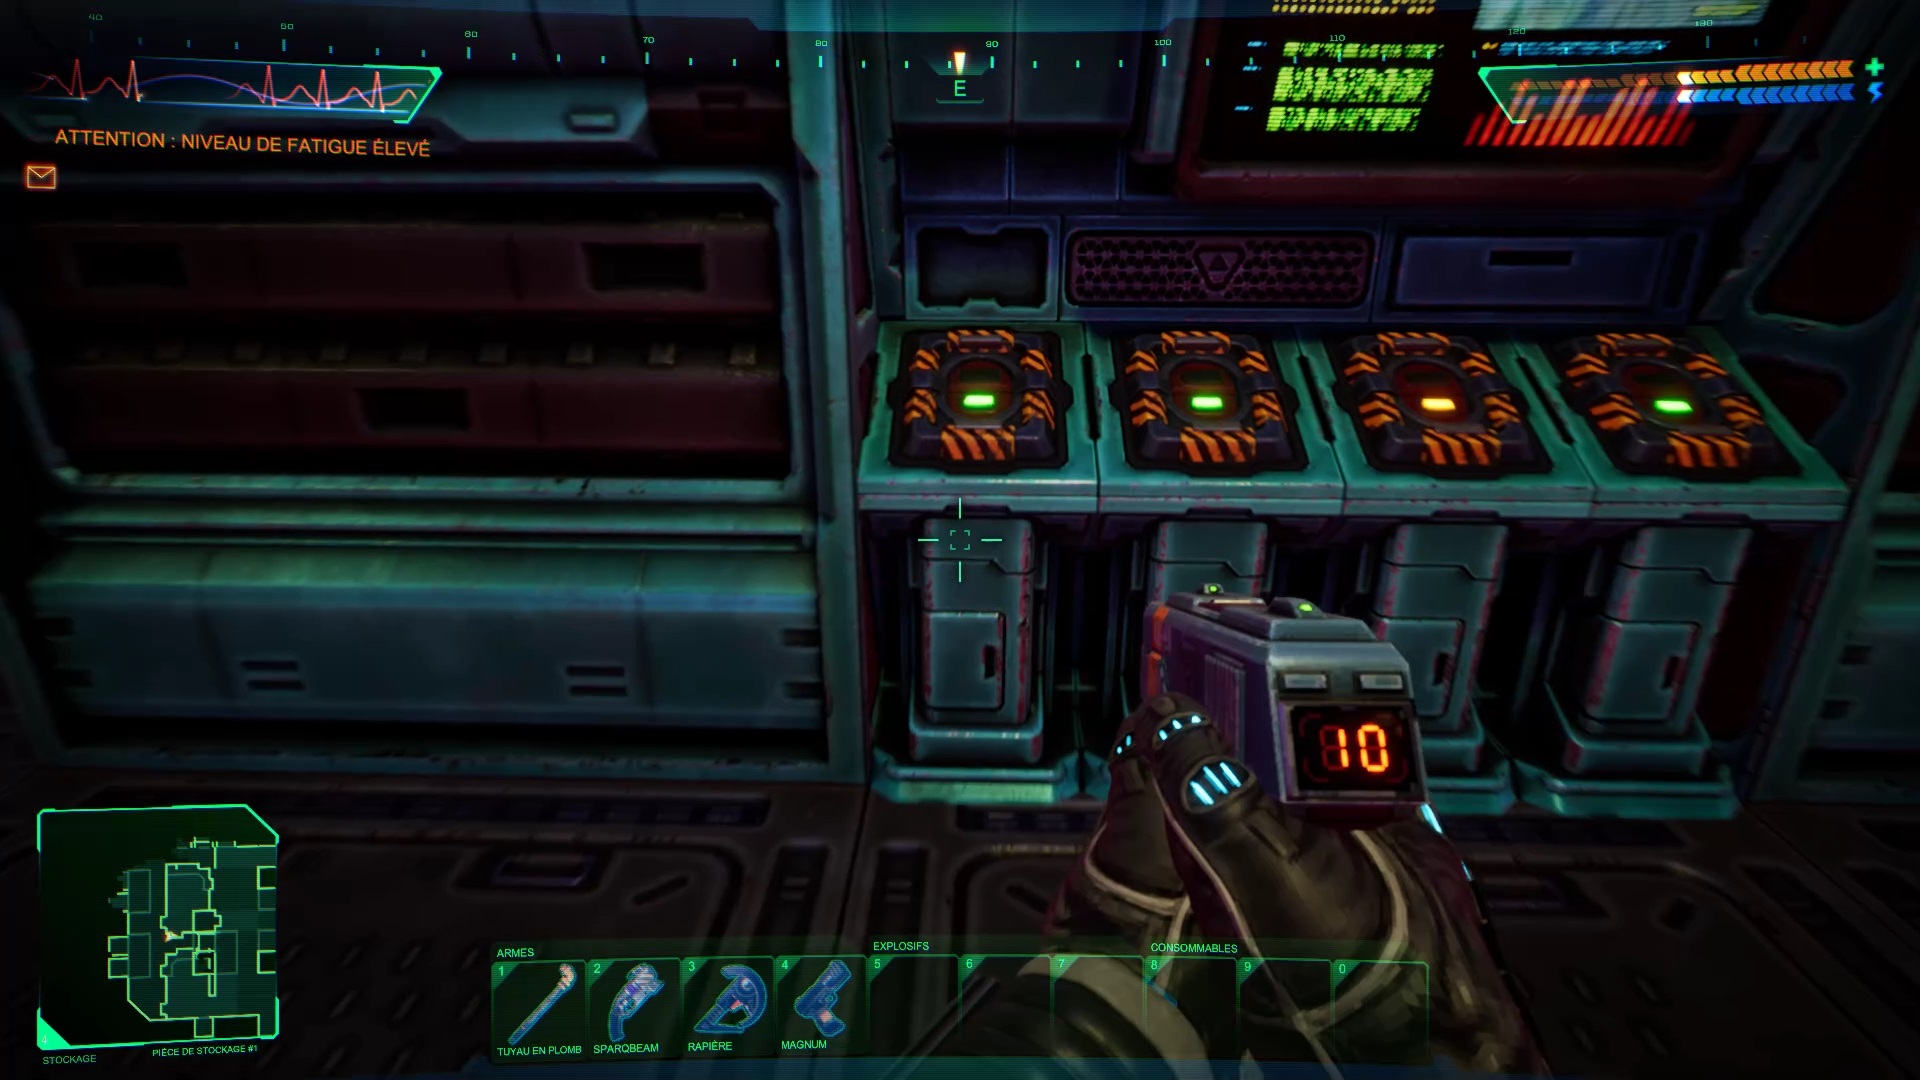
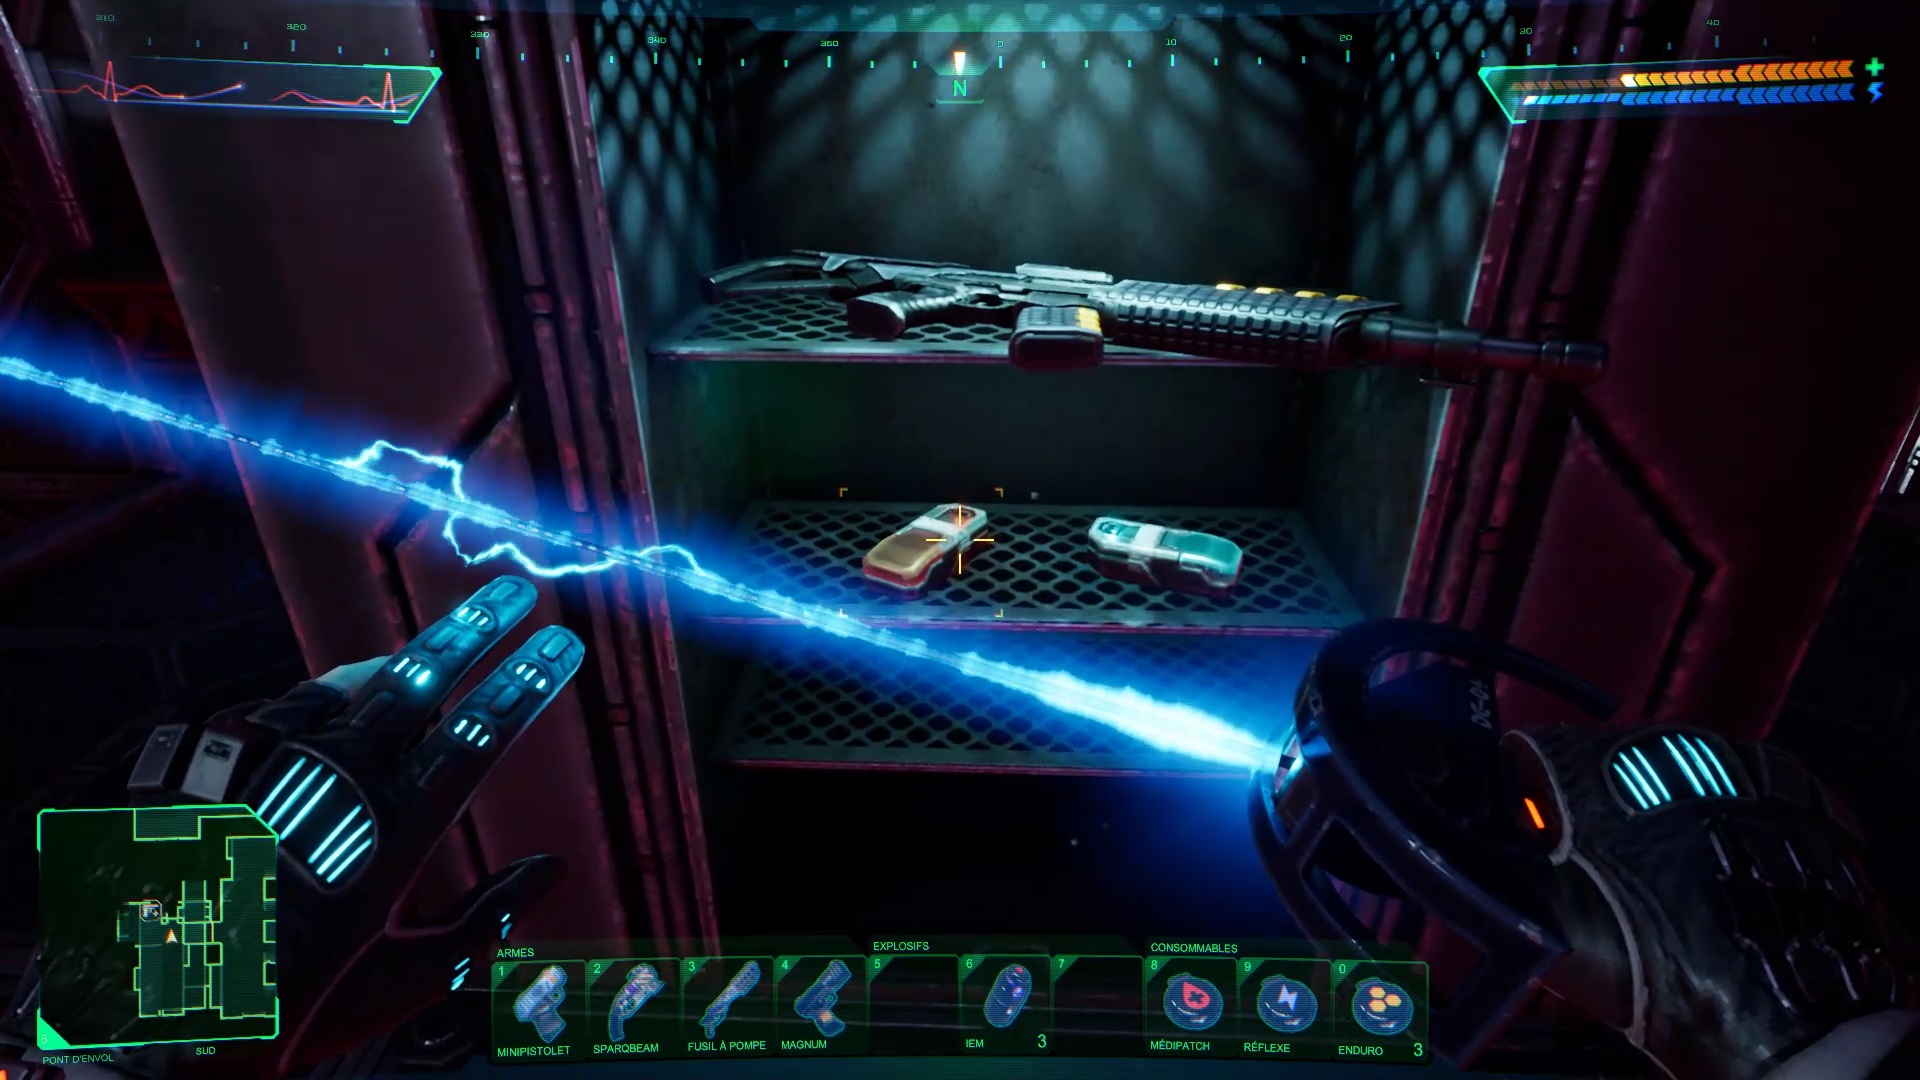
You will find the surveillance room which contains charges of C4. Remember this location for later. Don’t pick up the charges now at the risk of losing them.
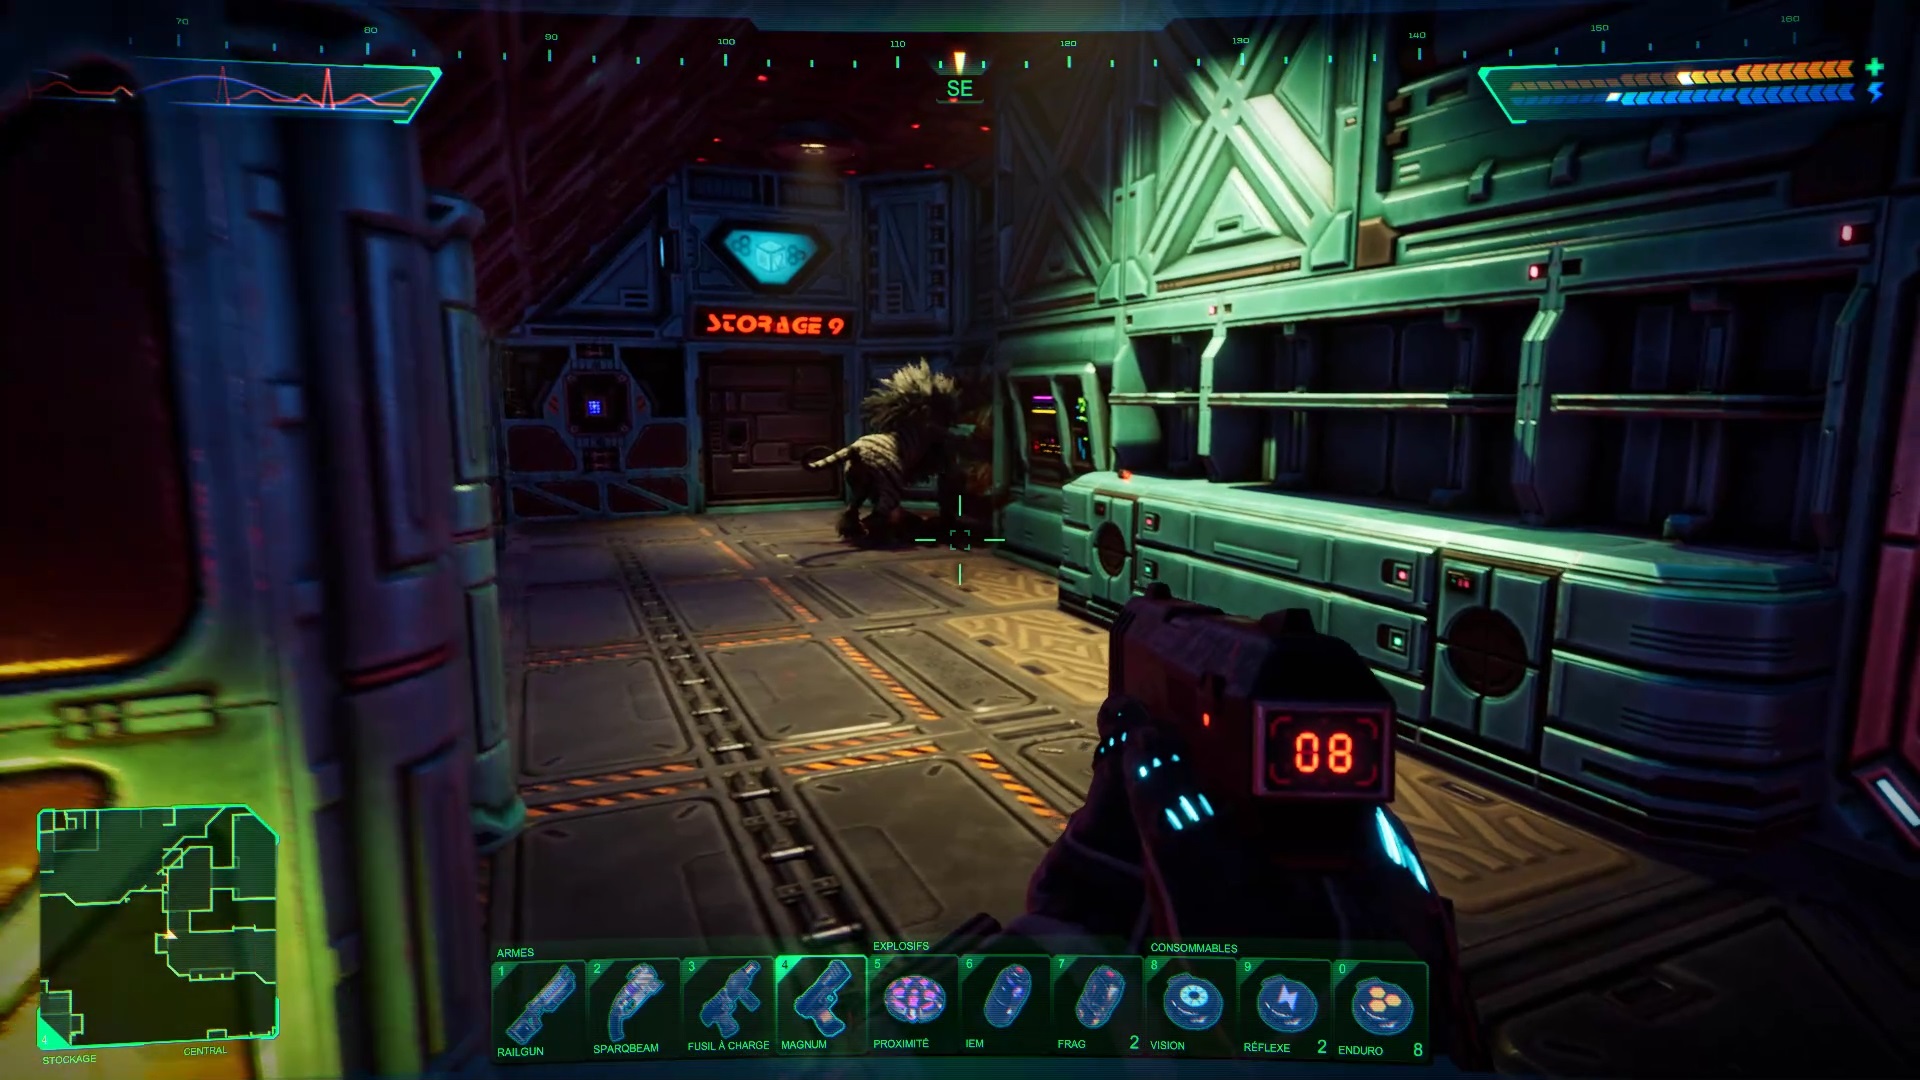
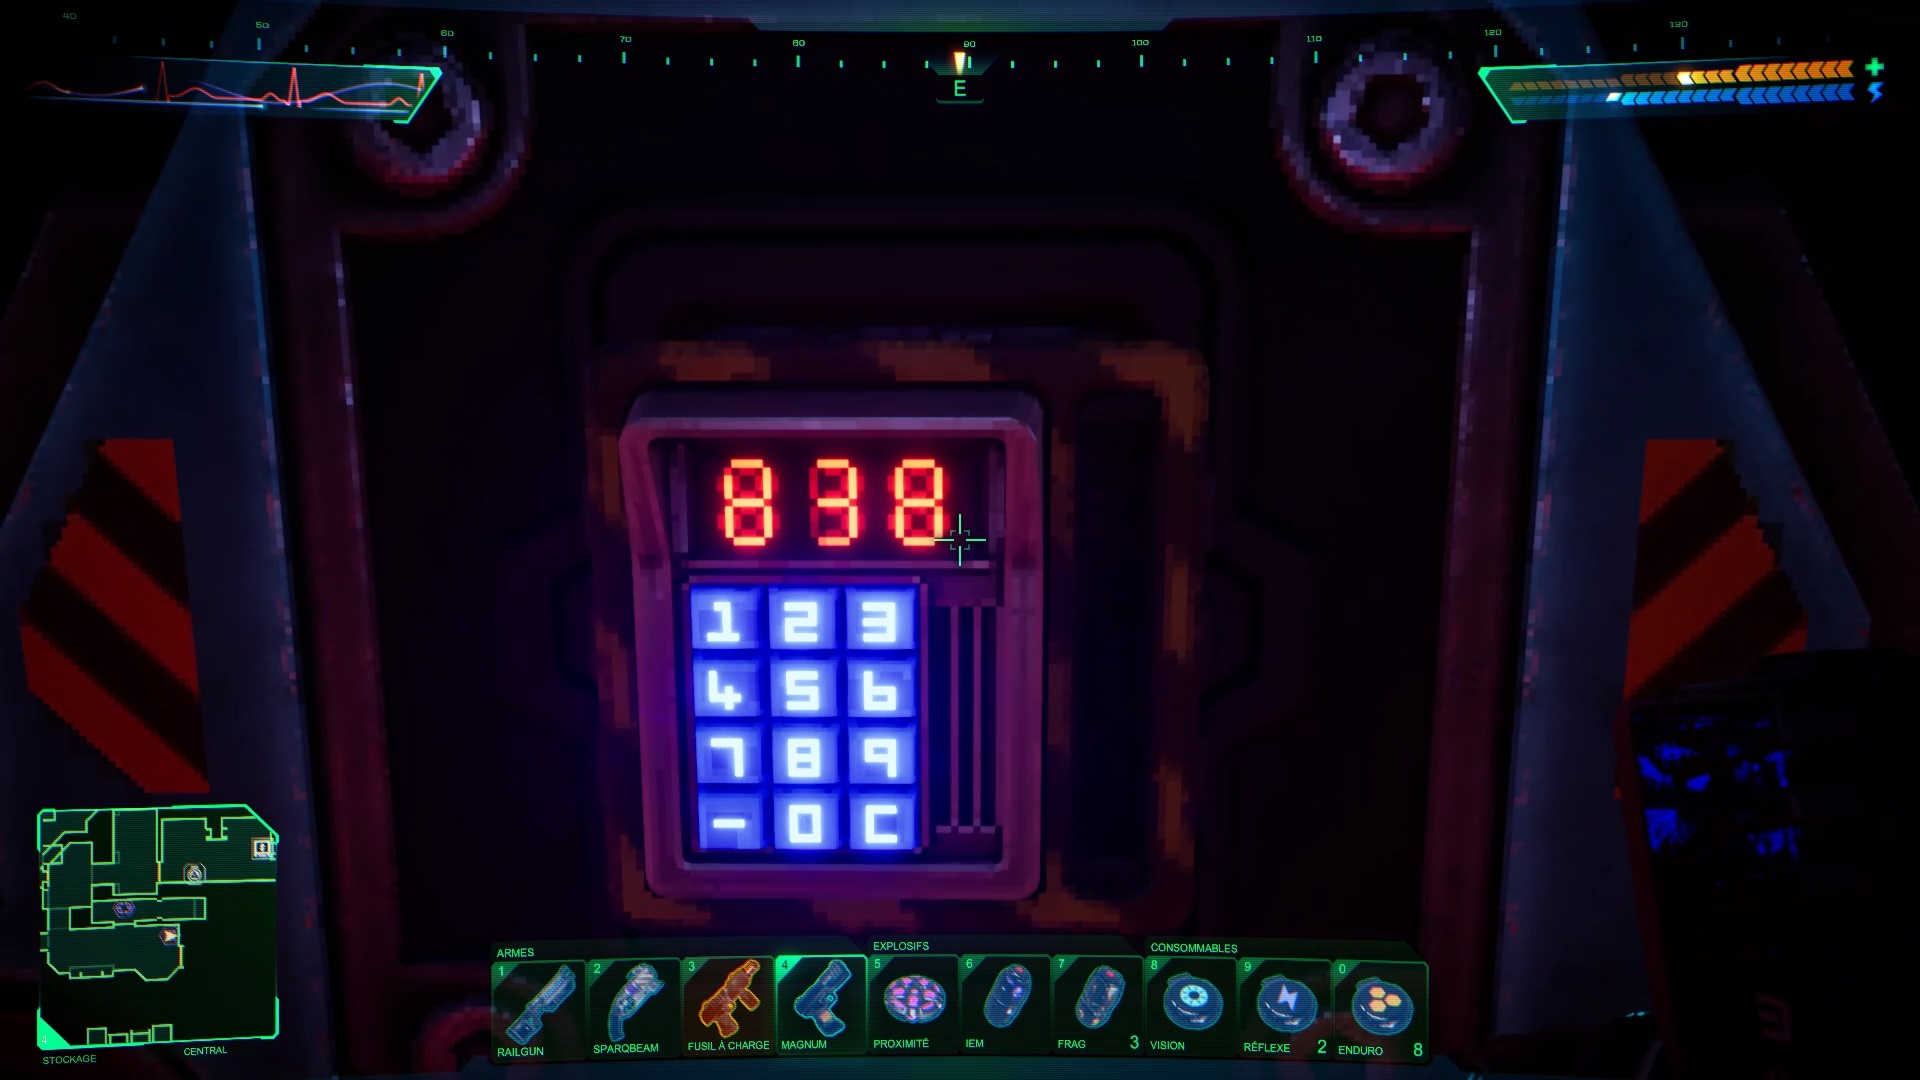
Let’s finish with the storage room by exploring the southern part next to the recovery chamber. Eliminate the beast in the hallway. If you’ve explored around, you’ll get two audios for a code starting and ending with 8. Use code 838 to unlock the door and get in storage room number 9 the environmental protection pack. It will be used for later. Go to the elevator to now reach the Flight Deck.
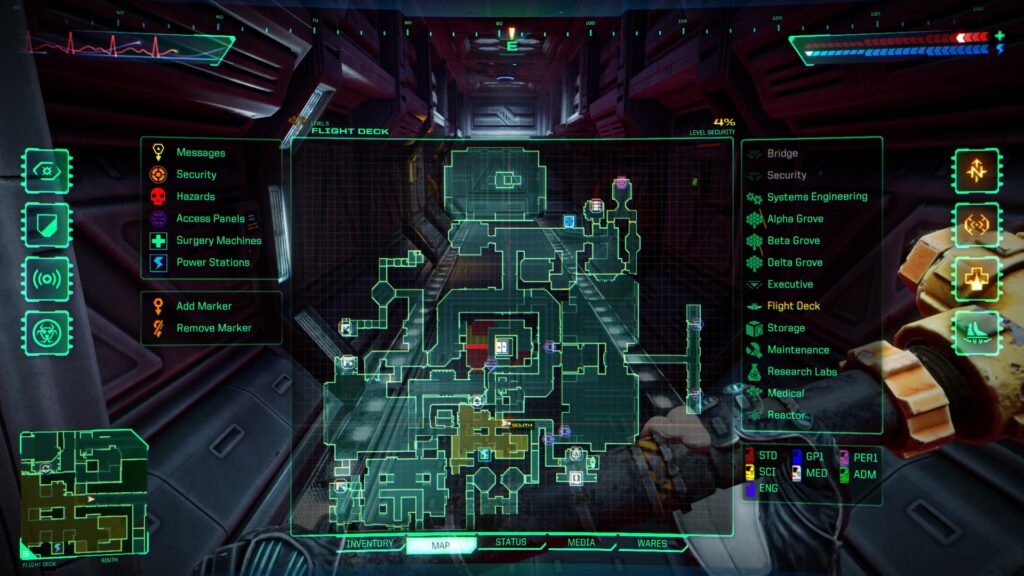
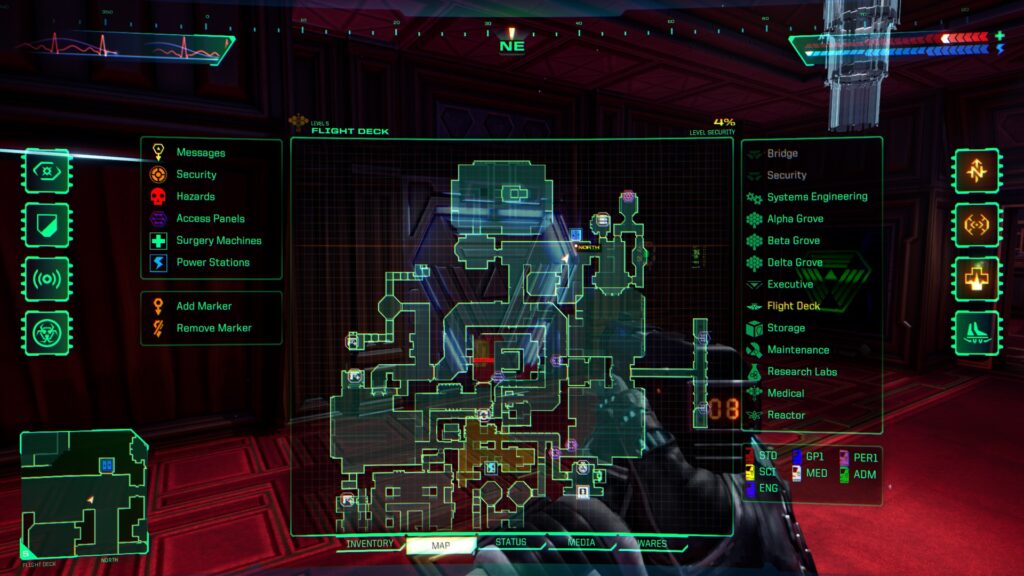
Flight Deck
You have arrived at the flight deck level, the sixth level of System Shock. Eliminate the guard in front of you and turn left to open a panel. Solve a puzzle to reveal a bridge. Cross the bridge and turn right to reach a small irradiated staircase. Search the area to destroy a computer cluster. A number appears on the screen.
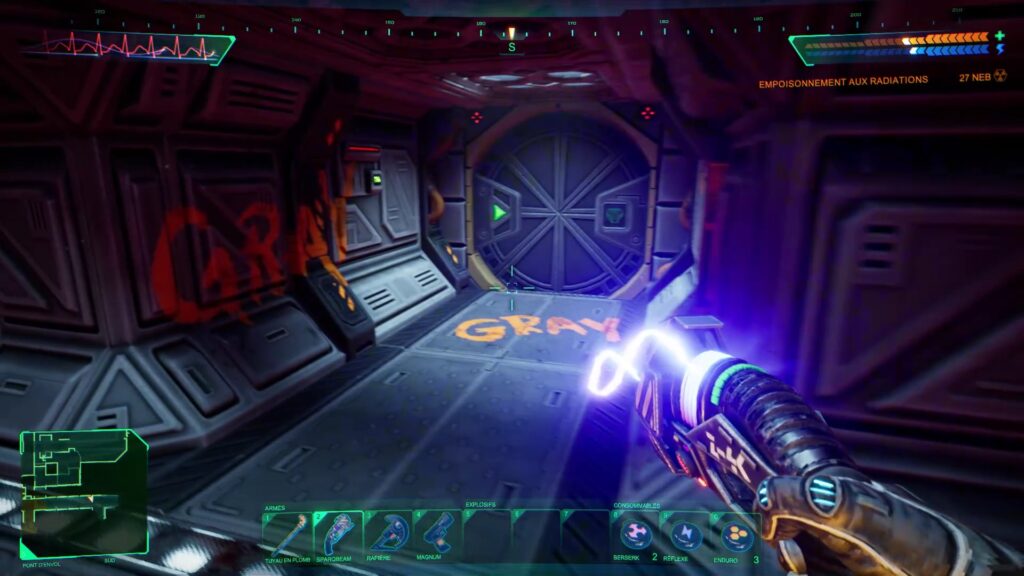
Then return to the stairs and turn left to reach a corridor with the inscription « Gray ».

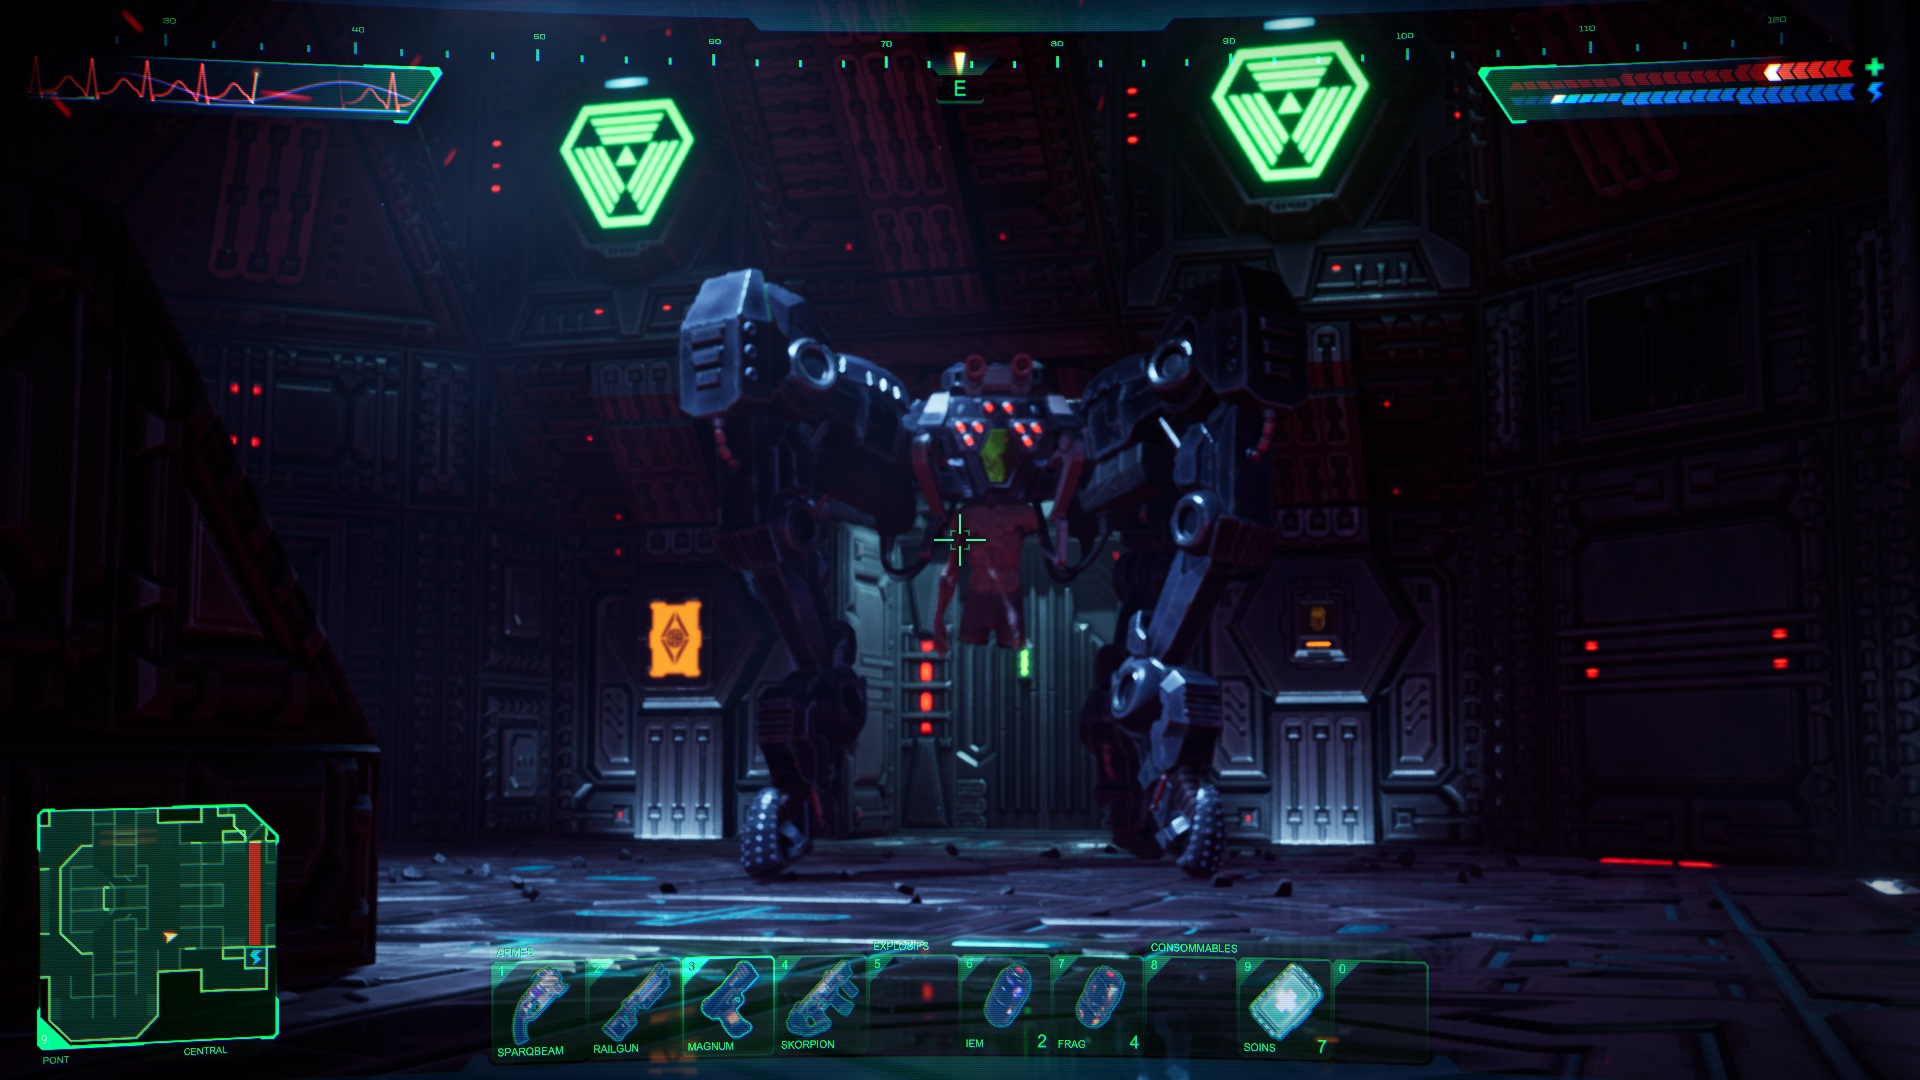
After facing a robot and going through two gravitational wells, you will find two laser barriers. Use the nearby panels to hack them and solve two puzzles. Be careful, a boss is waiting for you after the next laser barrier. Manually save and prepare before moving forward.
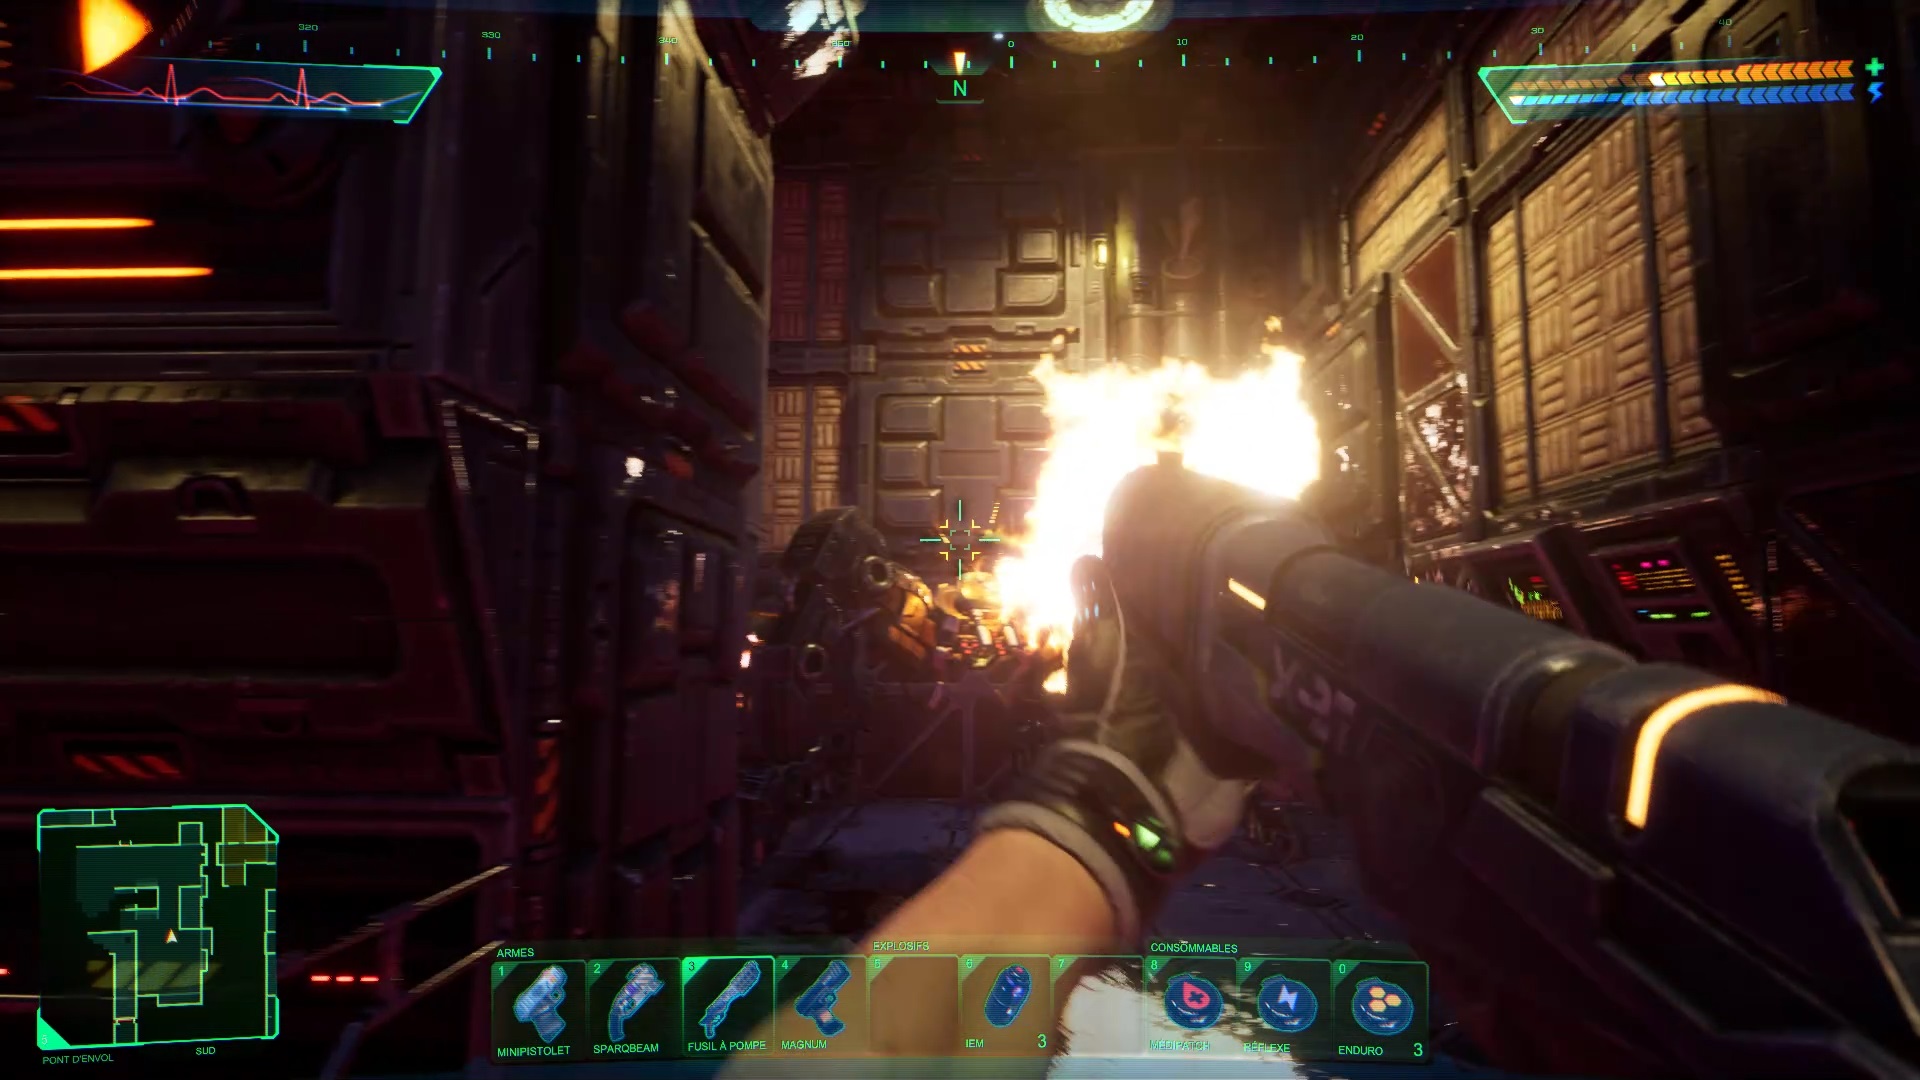
Against the boss, use the pillars in the arena to protect yourself against his shots. Flee by turning around a pillar to avoid its charges. Use explosives like proximity mines or grenades to cause great damage and weaken it. To complete the boss, use your magnum and the shotgun.

After the fight, search the room to the west to find a new weapon on a shelf in the lower level.
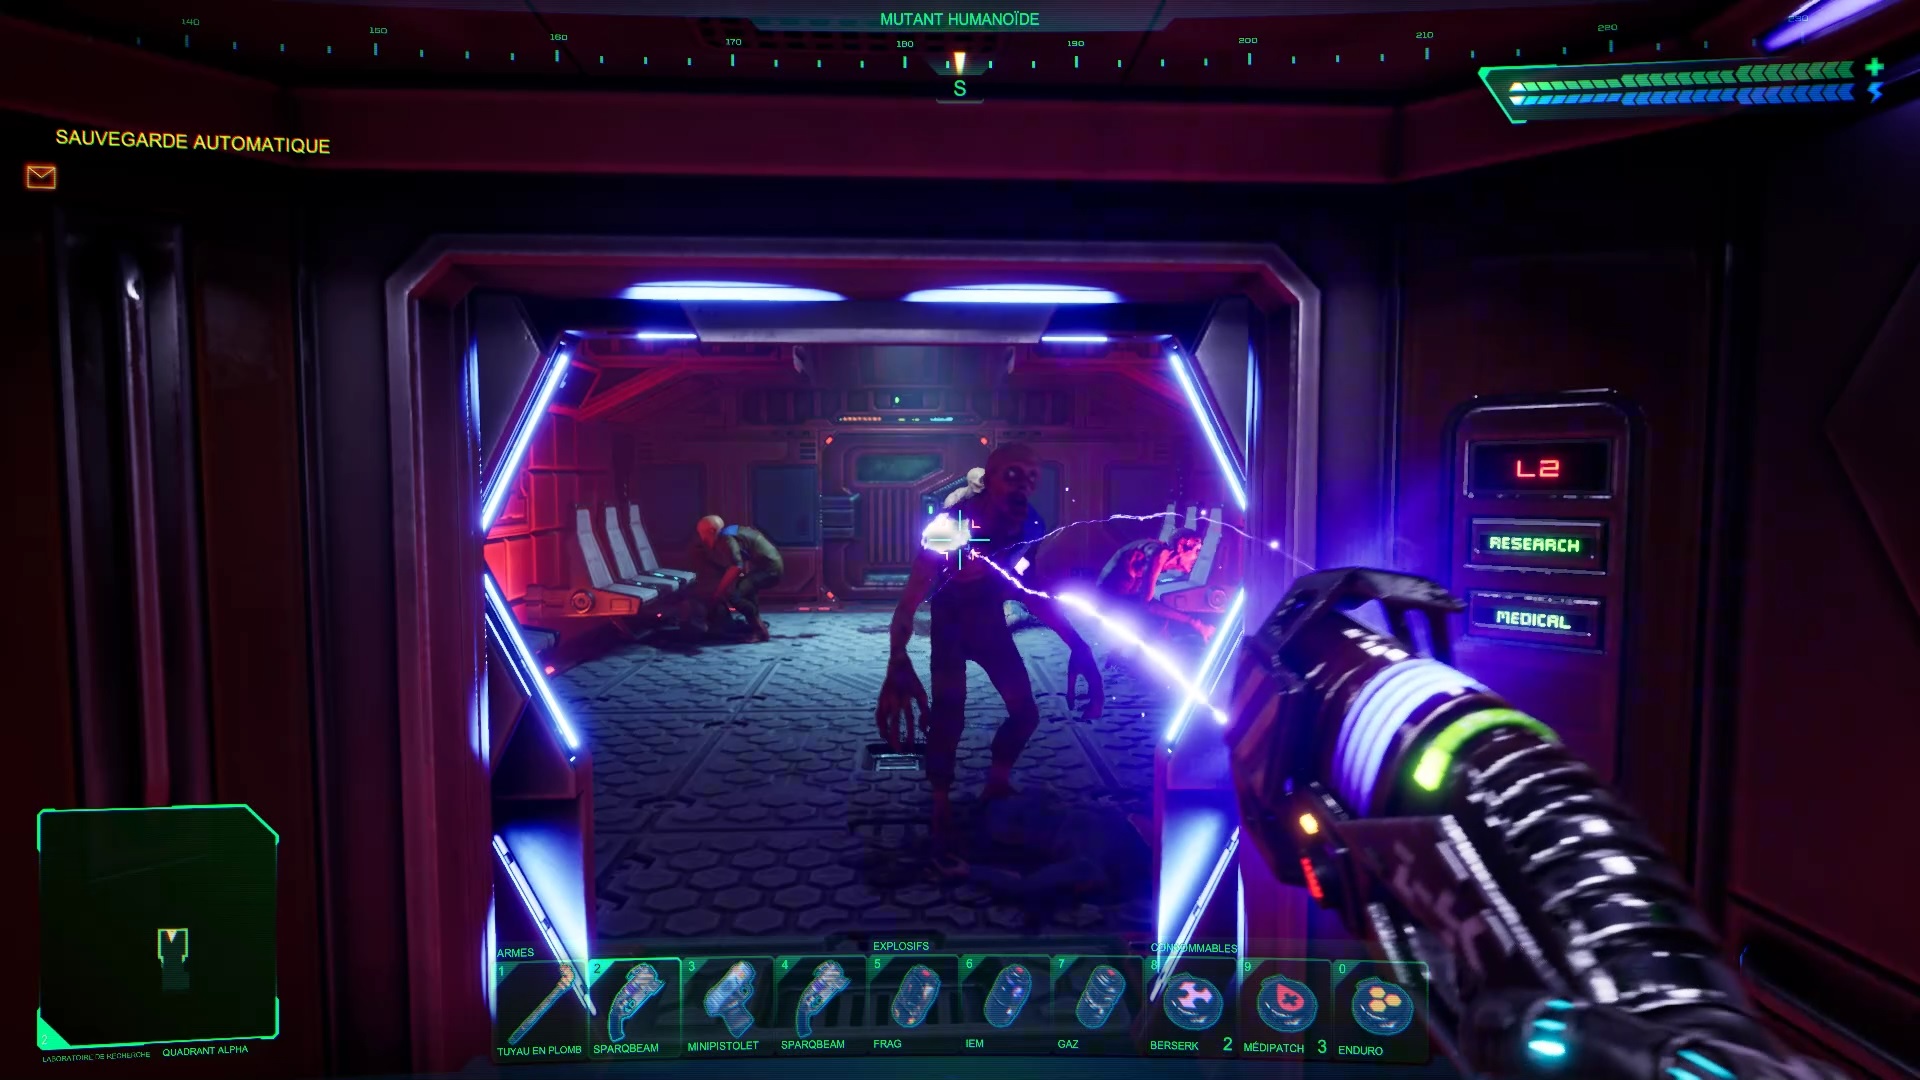
Following the recovered audios, you must return to the research lab to stop Shodan. Go to the control center across from the recovery chamber. Eliminate the mutants in the room and join the screen at the back of the room to deactivate the laser. You now have access to the Executive level.
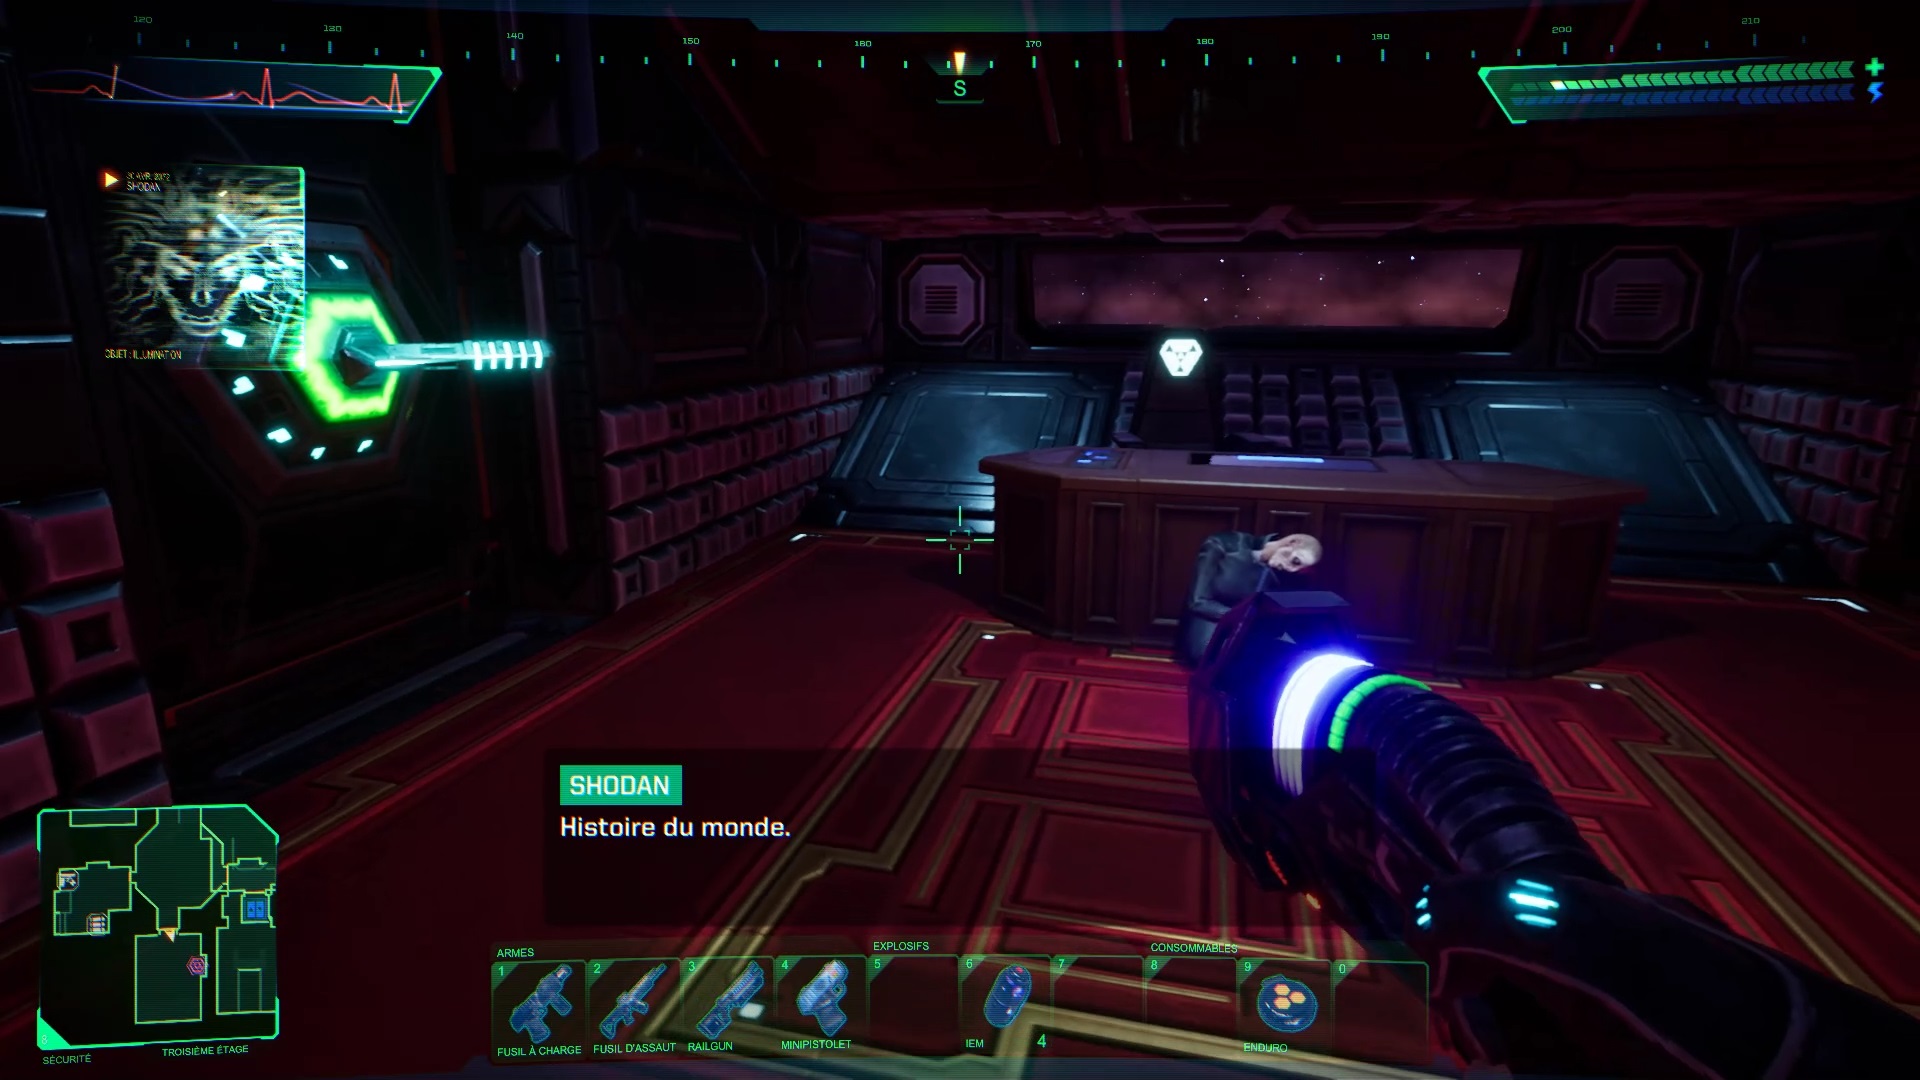
Executive
To explore the Executive we recommend that you take the elevator located in the flight deck.

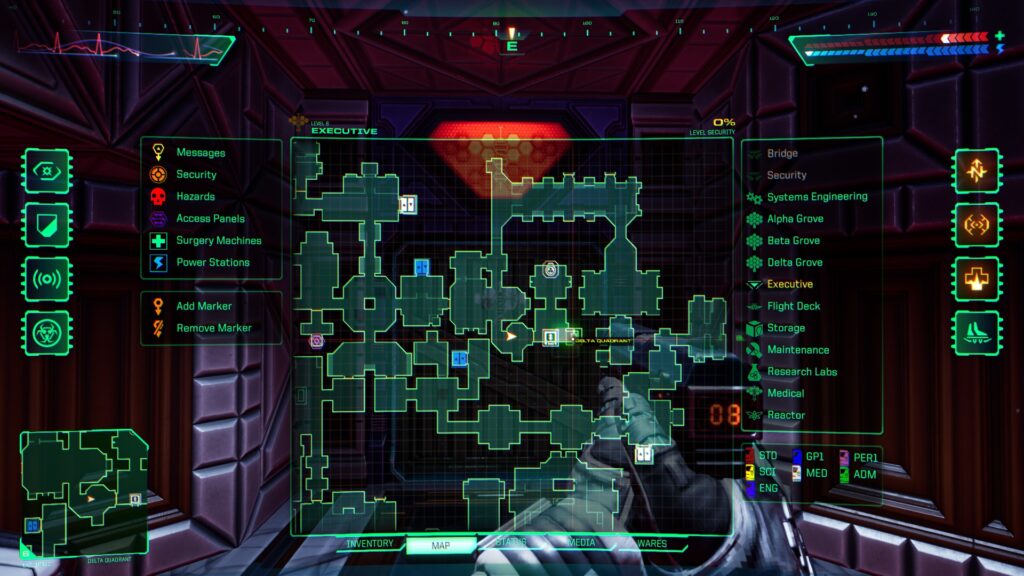
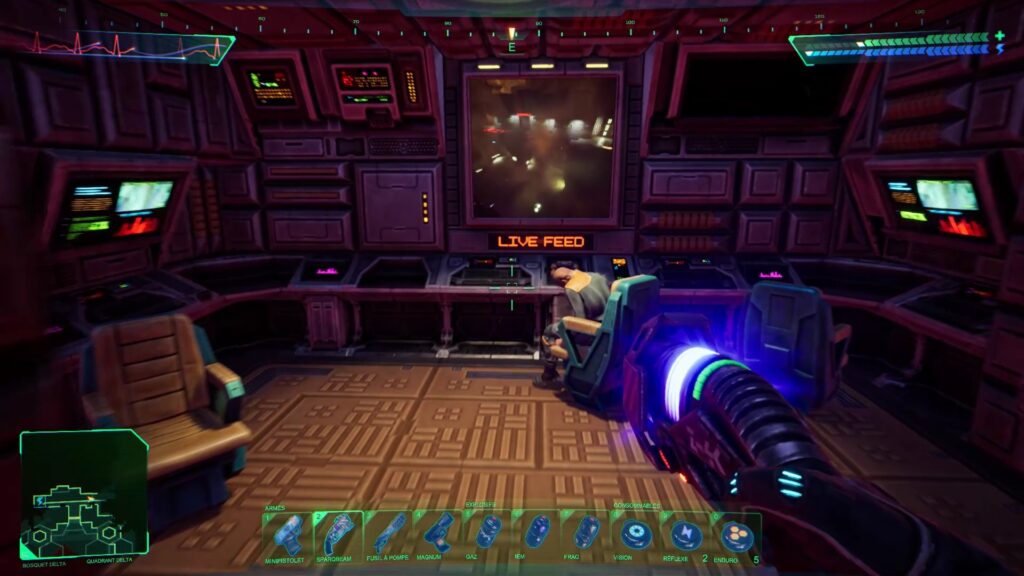
Once there, head east to find a recovery room. If you check the audios in the vicinity, you will be warned that Shodan is preparing a virus in the Groves. The Grove Gamma has been ejected, only Delta, Alpha and Beta remain.
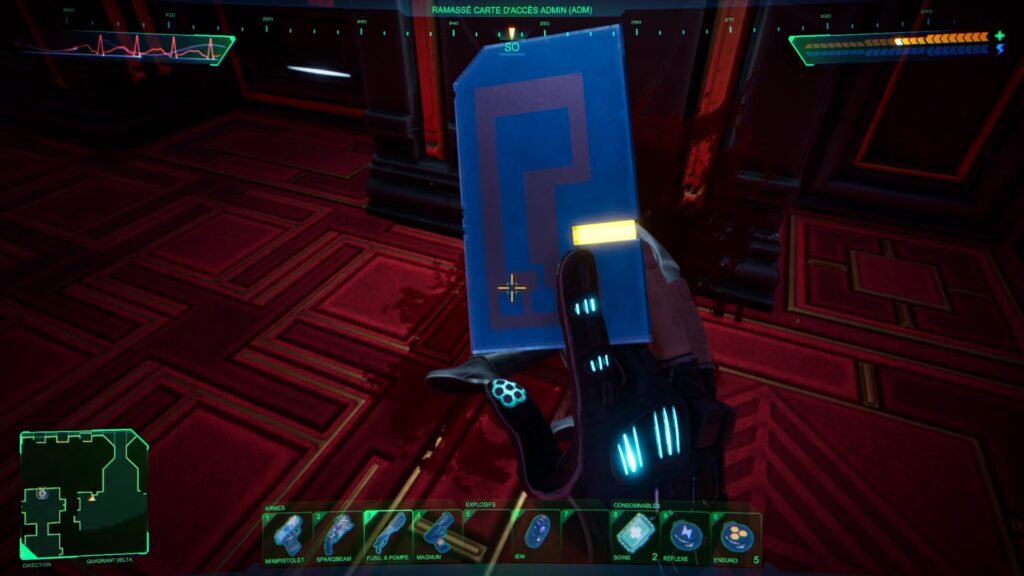
Let’s start by searching the area northeast of the elevator. You will find a meeting room filled with corpses. Examine the ground to find an access card.
If you wish, you can explore the area to the southwest to find two new effective weapons for the sequel. The Railgun and Magnetic Charge Rifle.
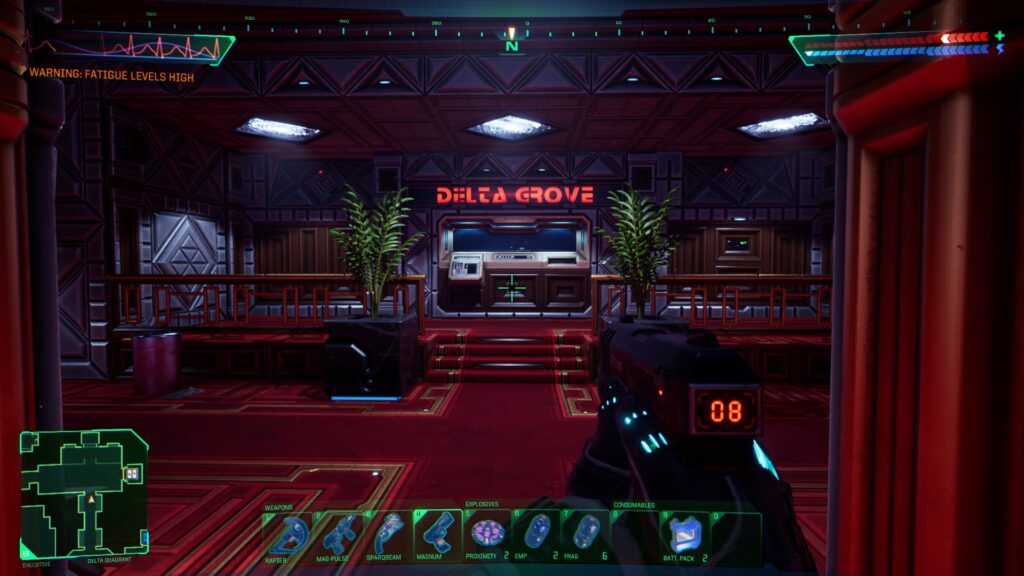
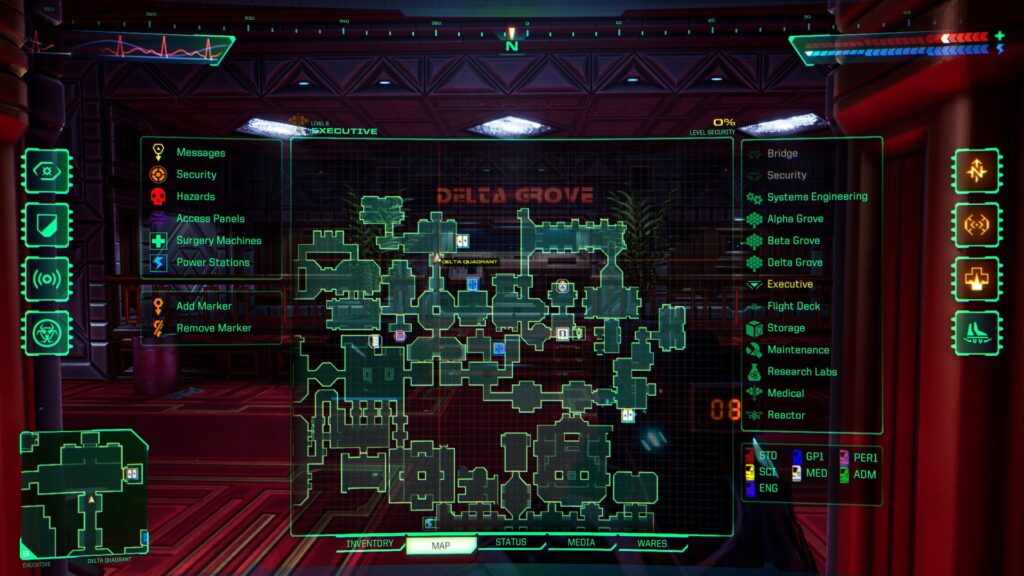
Now let’s set off to find the groves. Go northwest of the elevator to find the Delta Grove. Be careful, always save manually before entering a grove to avoid having to start all over again.

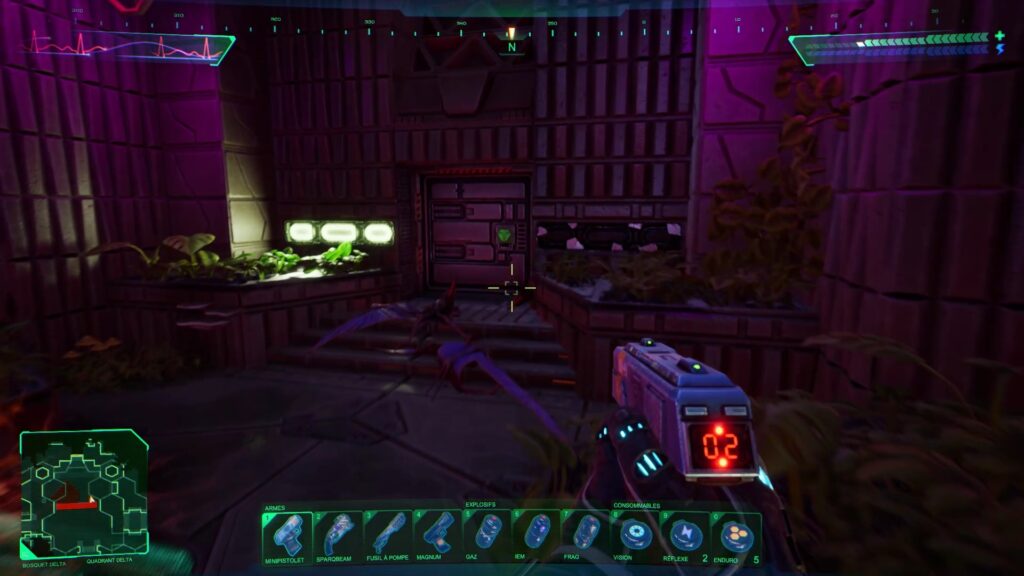
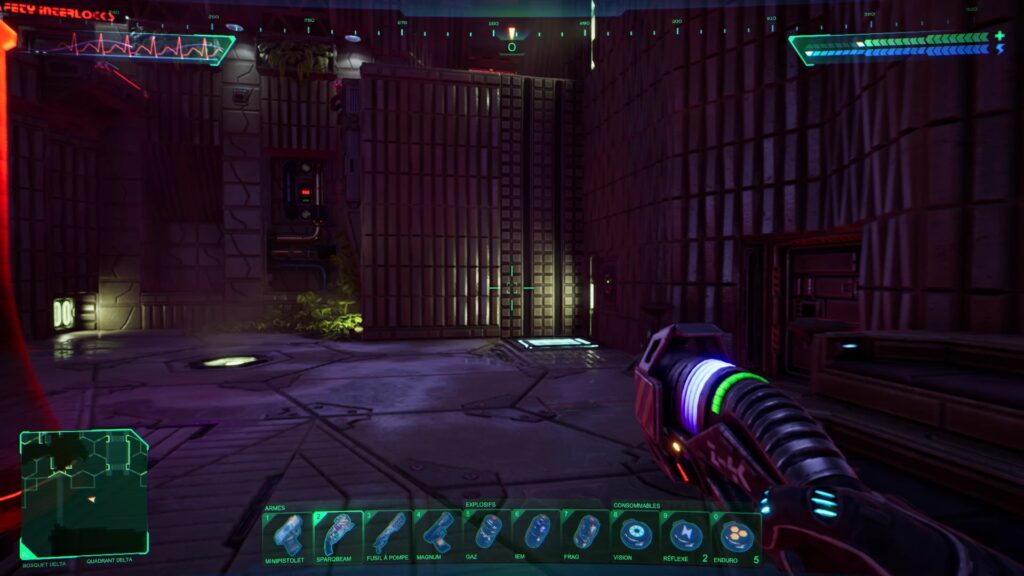
In the Delta Grove, go north to find a switch unlocking an elevator. Then head northwest to find the elevator and reach the Grove’s security lock. Then return to the Citadel.
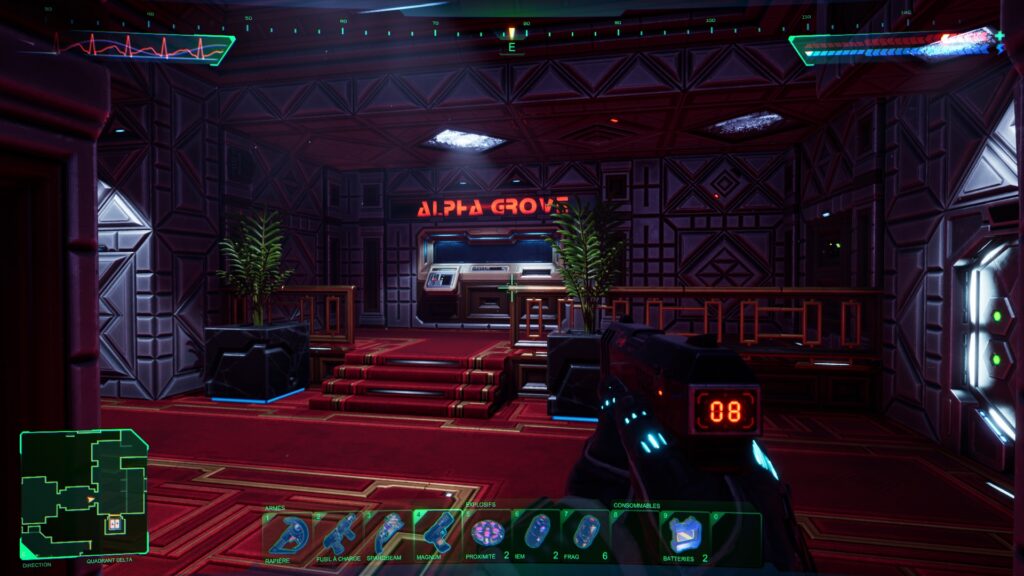
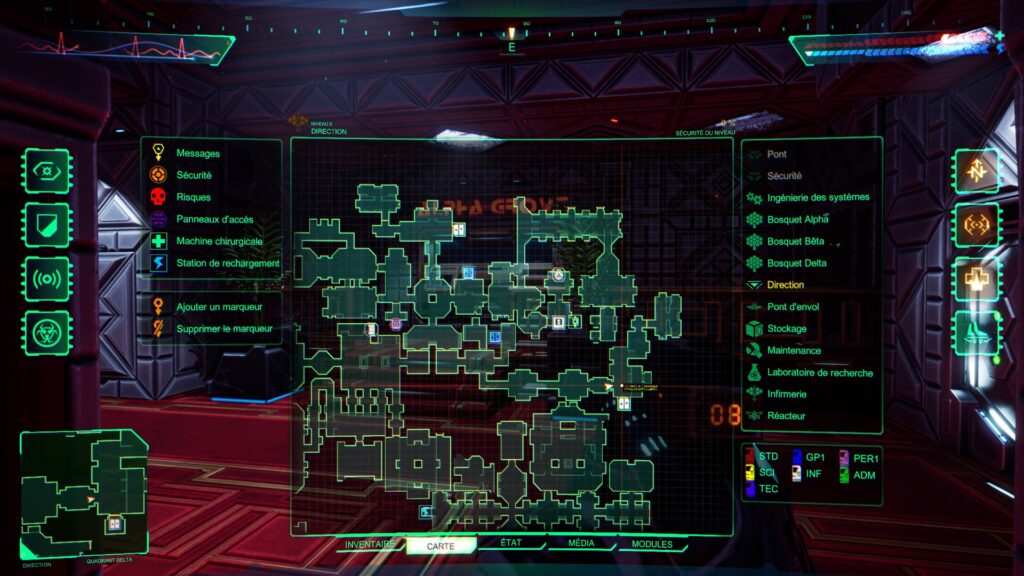
Then go down towards the east of the direction to find the Alpha Grove. Use the switch against the wall to get inside the vehicle and go to the Grove.
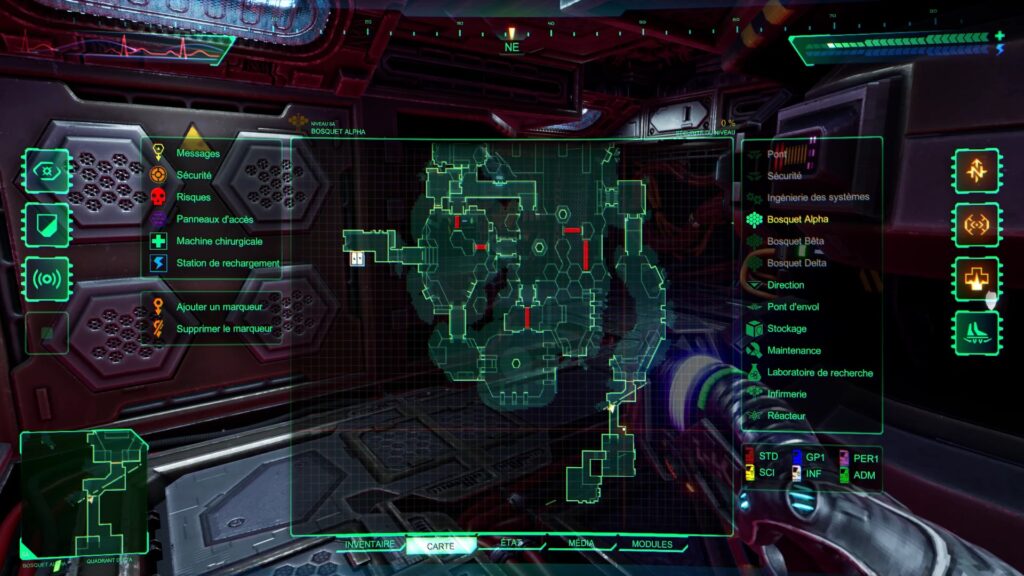
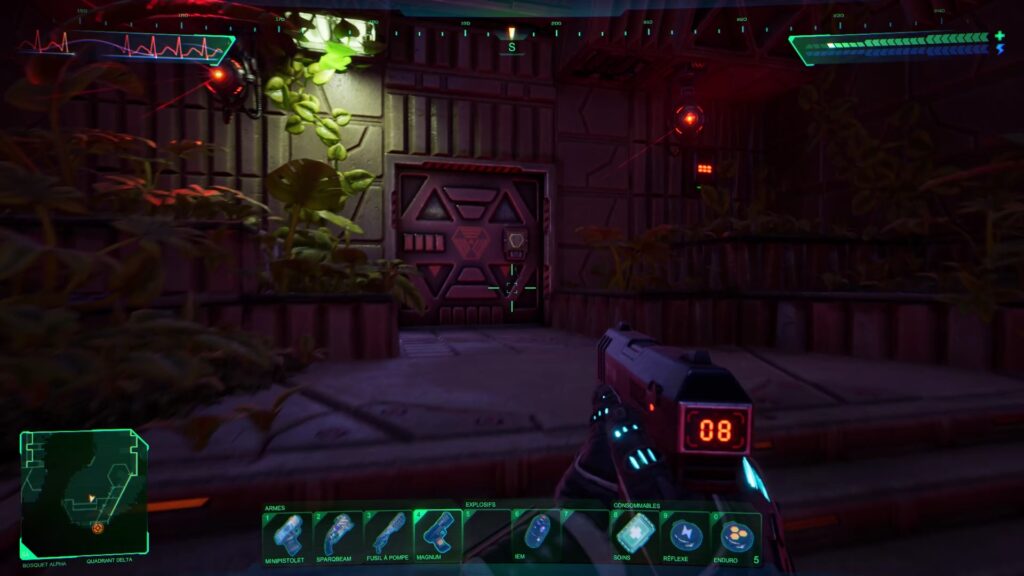
In the Alpha grove, reach a door guarded by cameras to the southeast. Go inside and go south to find a lever to drop against the wall. You have opened a way south. Retract and deactivate the Grove’s security locks. Then return to the Citadel.
Before reaching the Beta Grove head west of the elevator to find access to Cyberspace. Destroy the cores to unlock access to the Beta Grove transport.

Back at the Citadel head southeast of the elevator to a door down a few steps. Eliminate the threats in front and pass the Beta door using the access card found previously.
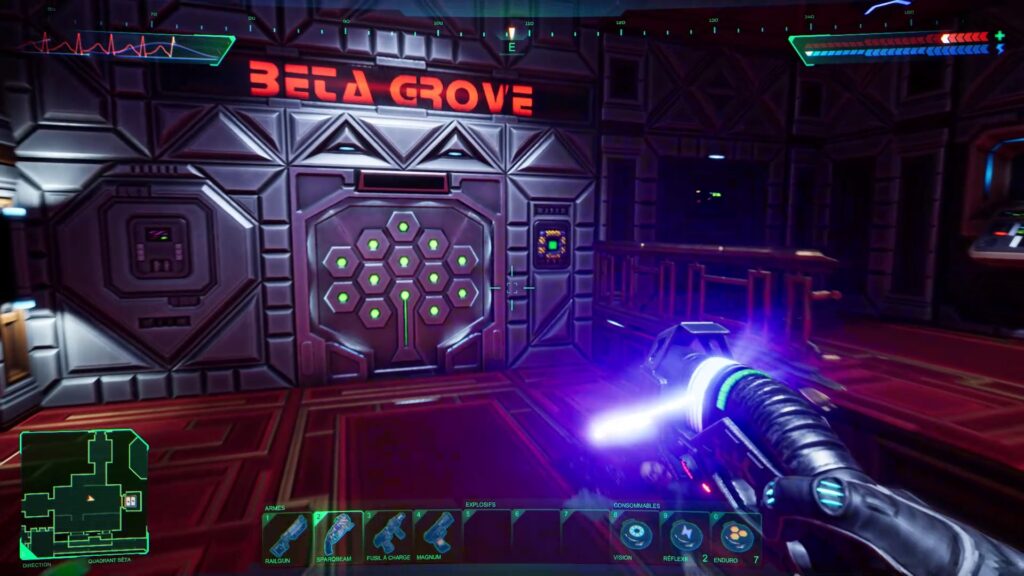
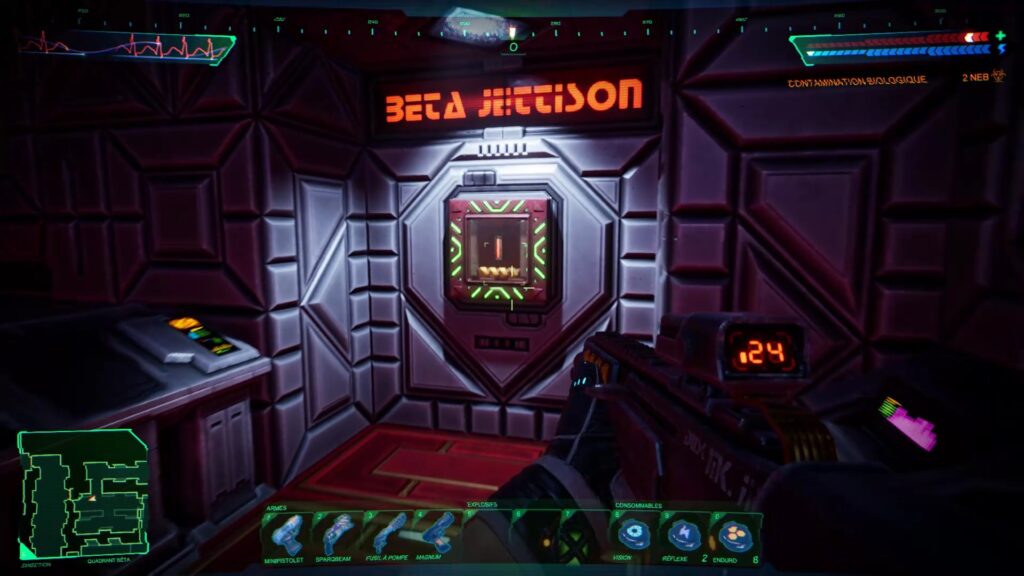
In the hallway go straight through the door to the south. You will find the station leading to Grove Beta. In the Grove, imperatively activate the environmental protection found in the Storage in the modules. You will lose less health, but you have to act quickly. Go up the elevator and go up the steps to the west to find a door. Activate a bridge inside by pulling the lever.
Go back to the starting elevator and go under an arch to find the bridge. Get rid of the threats inside and disable the Grove’s lockdown. Then return to the Citadel in the hallway of the Beta wing.
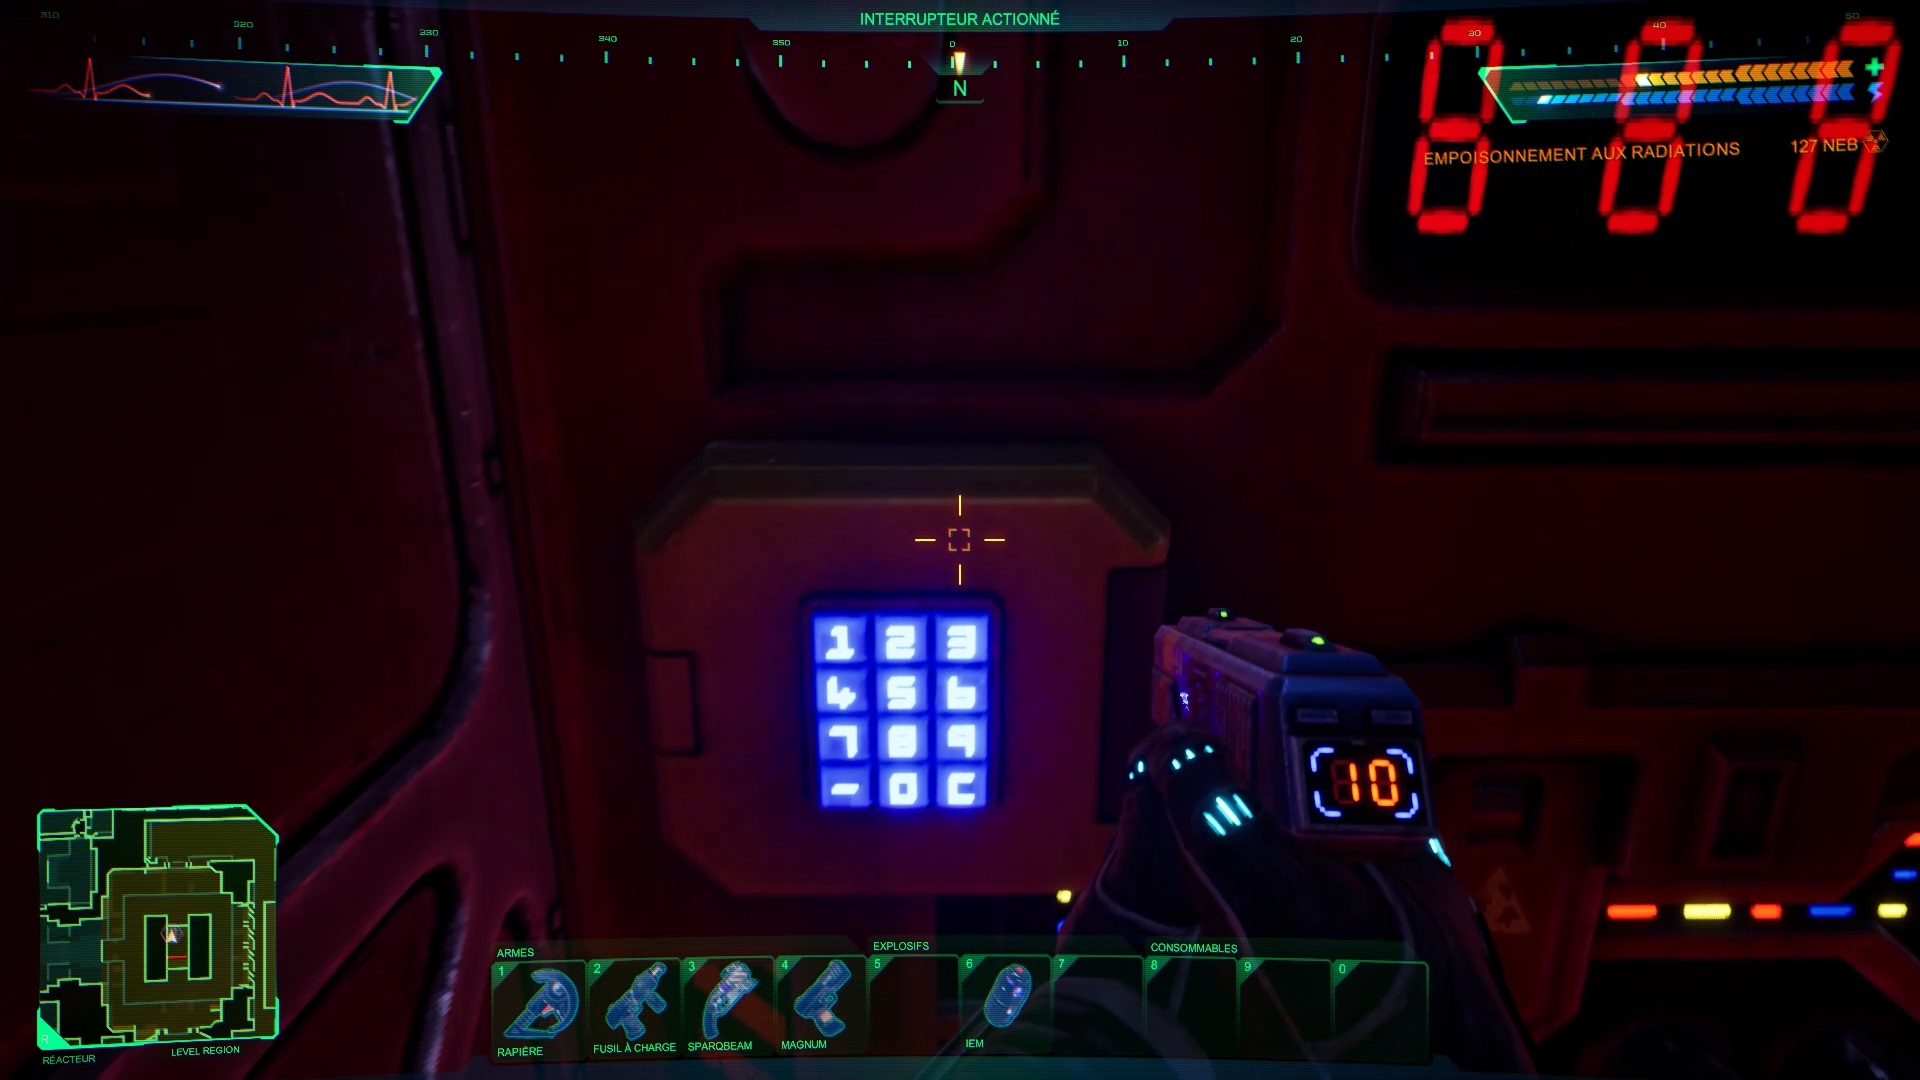
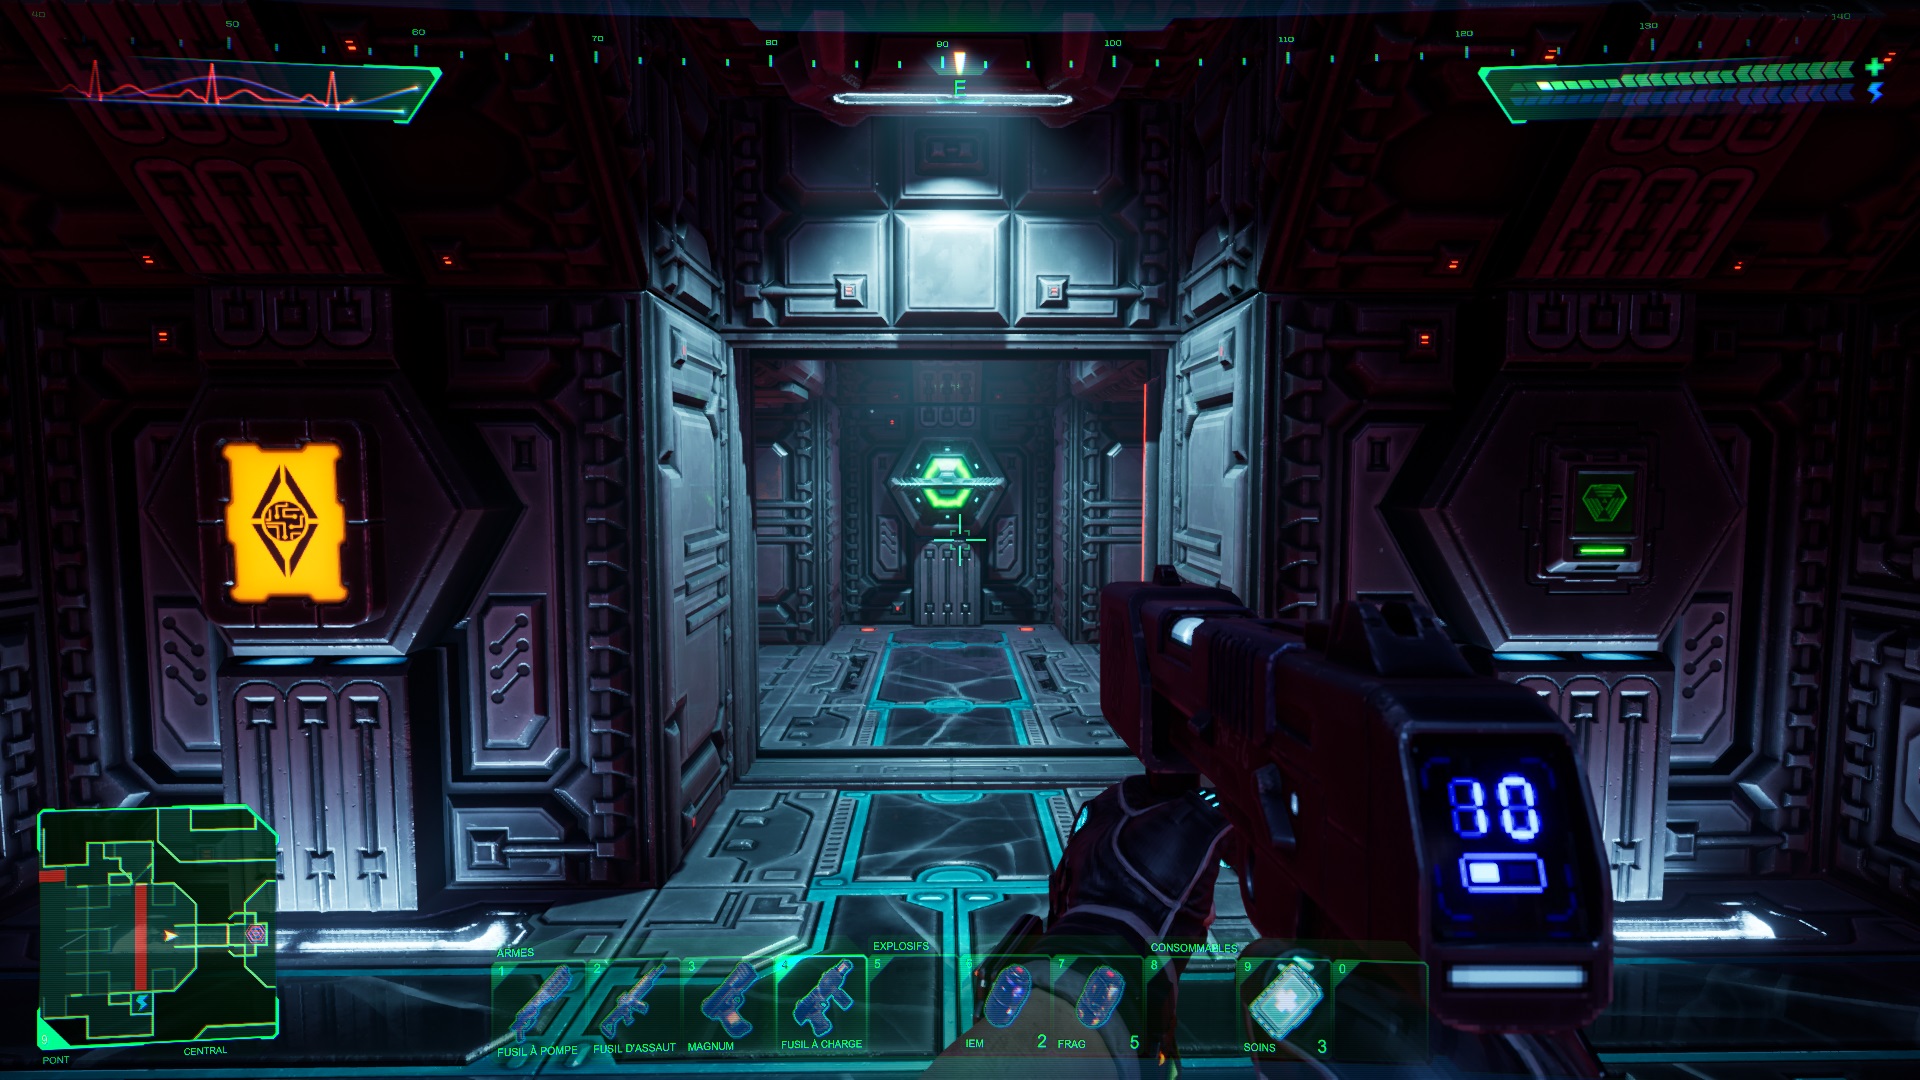
Go to the far right of the hallway to reach a game room. Examine the area to the southeast to find a door closed by a number pad. If you’ve been paying attention to the screens near the level’s elevator, you must have seen some codes. Use code 163 to open the door and you go through a trapdoor. Halfway through the conduit, take care of the robots and go down to the lower level to destroy a computer cluster. A number appears on the screen. Write down the number for later. Then get ready for a boss fight before continuing to the bottom of the conduit.

Against the boss, use your Magnum and the Railgun to defeat him quickly. Stay high and drop down into the lower level when he charges at you. You can also, like the first boss, use the pillars as ramparts.

After the fight open the door to the east to find a security lock directly against the wall. When you try to deactivate it, it appears to be malfunctioning and asks you to perform an additional maintenance task. To quickly go to maintenance go north to activate a switch behind a desk. Go through the teleporter to reach the elevator to maintenance.
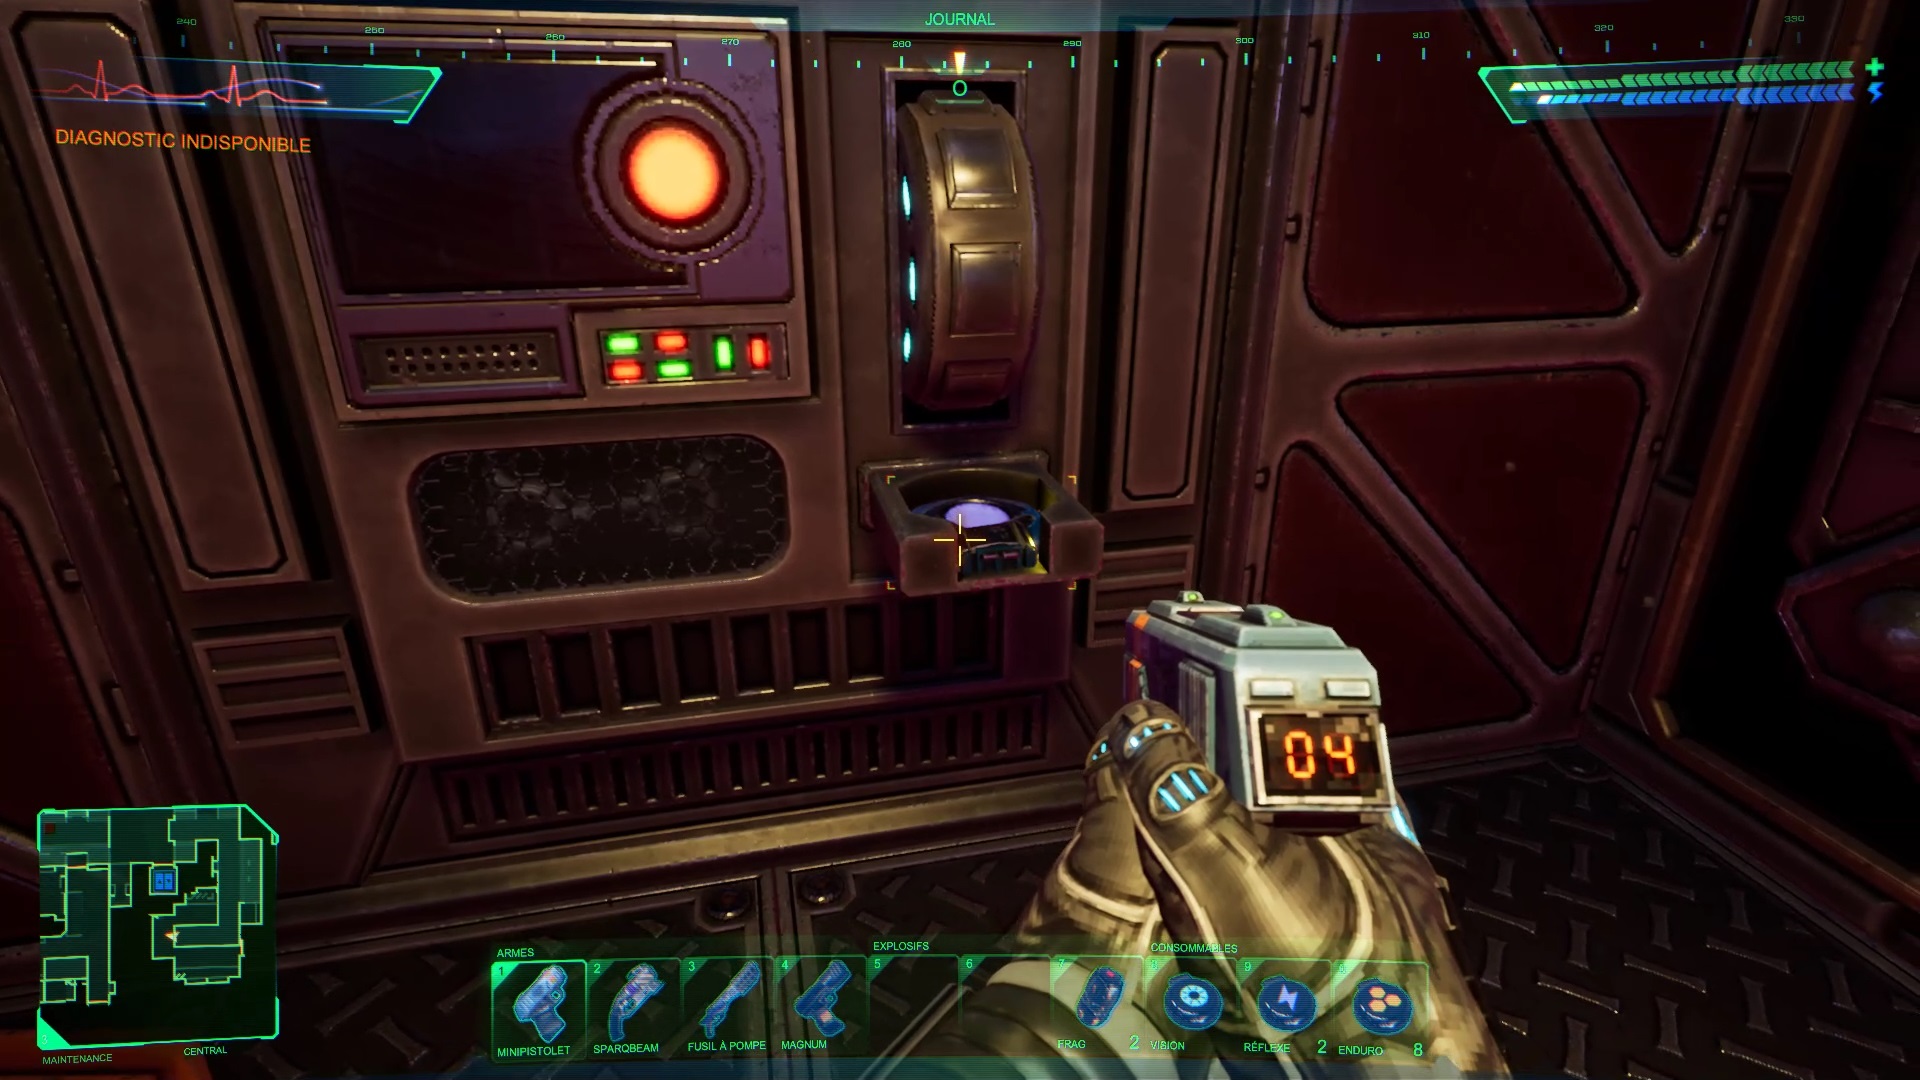
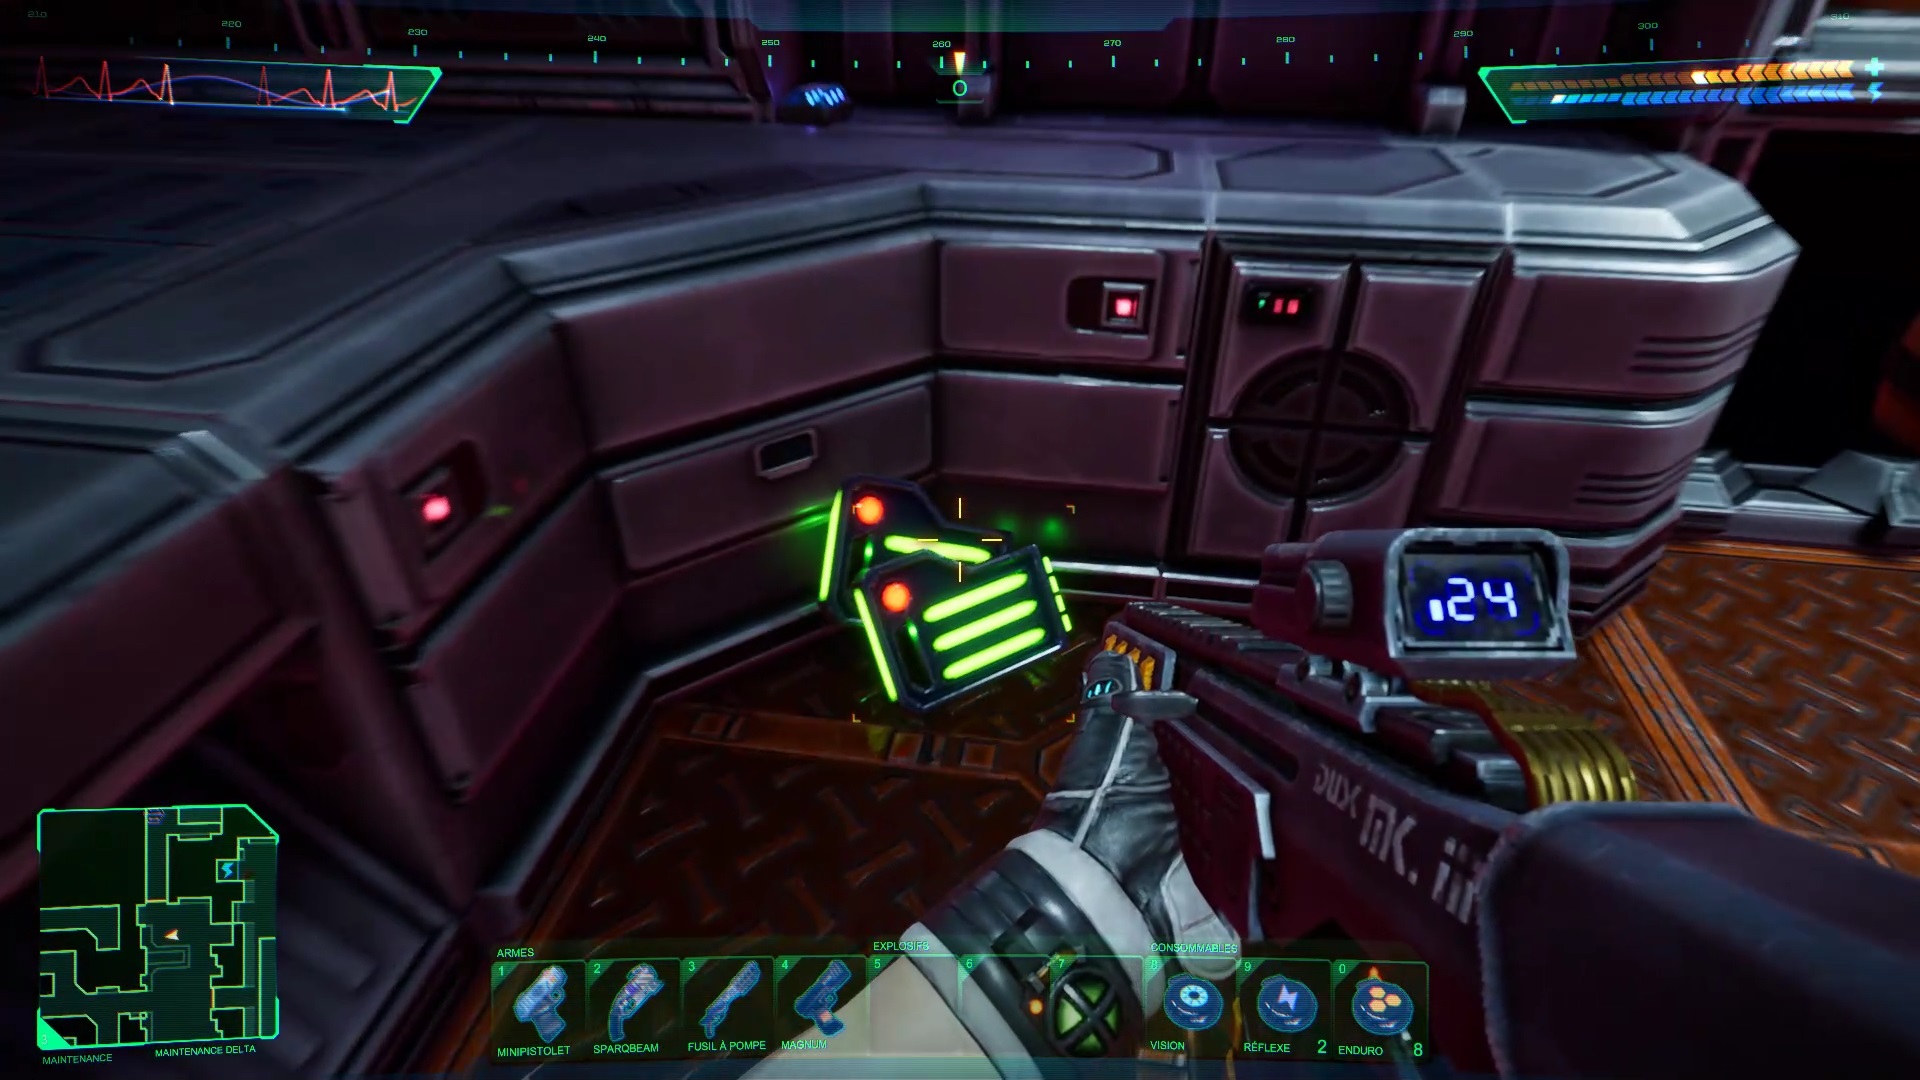
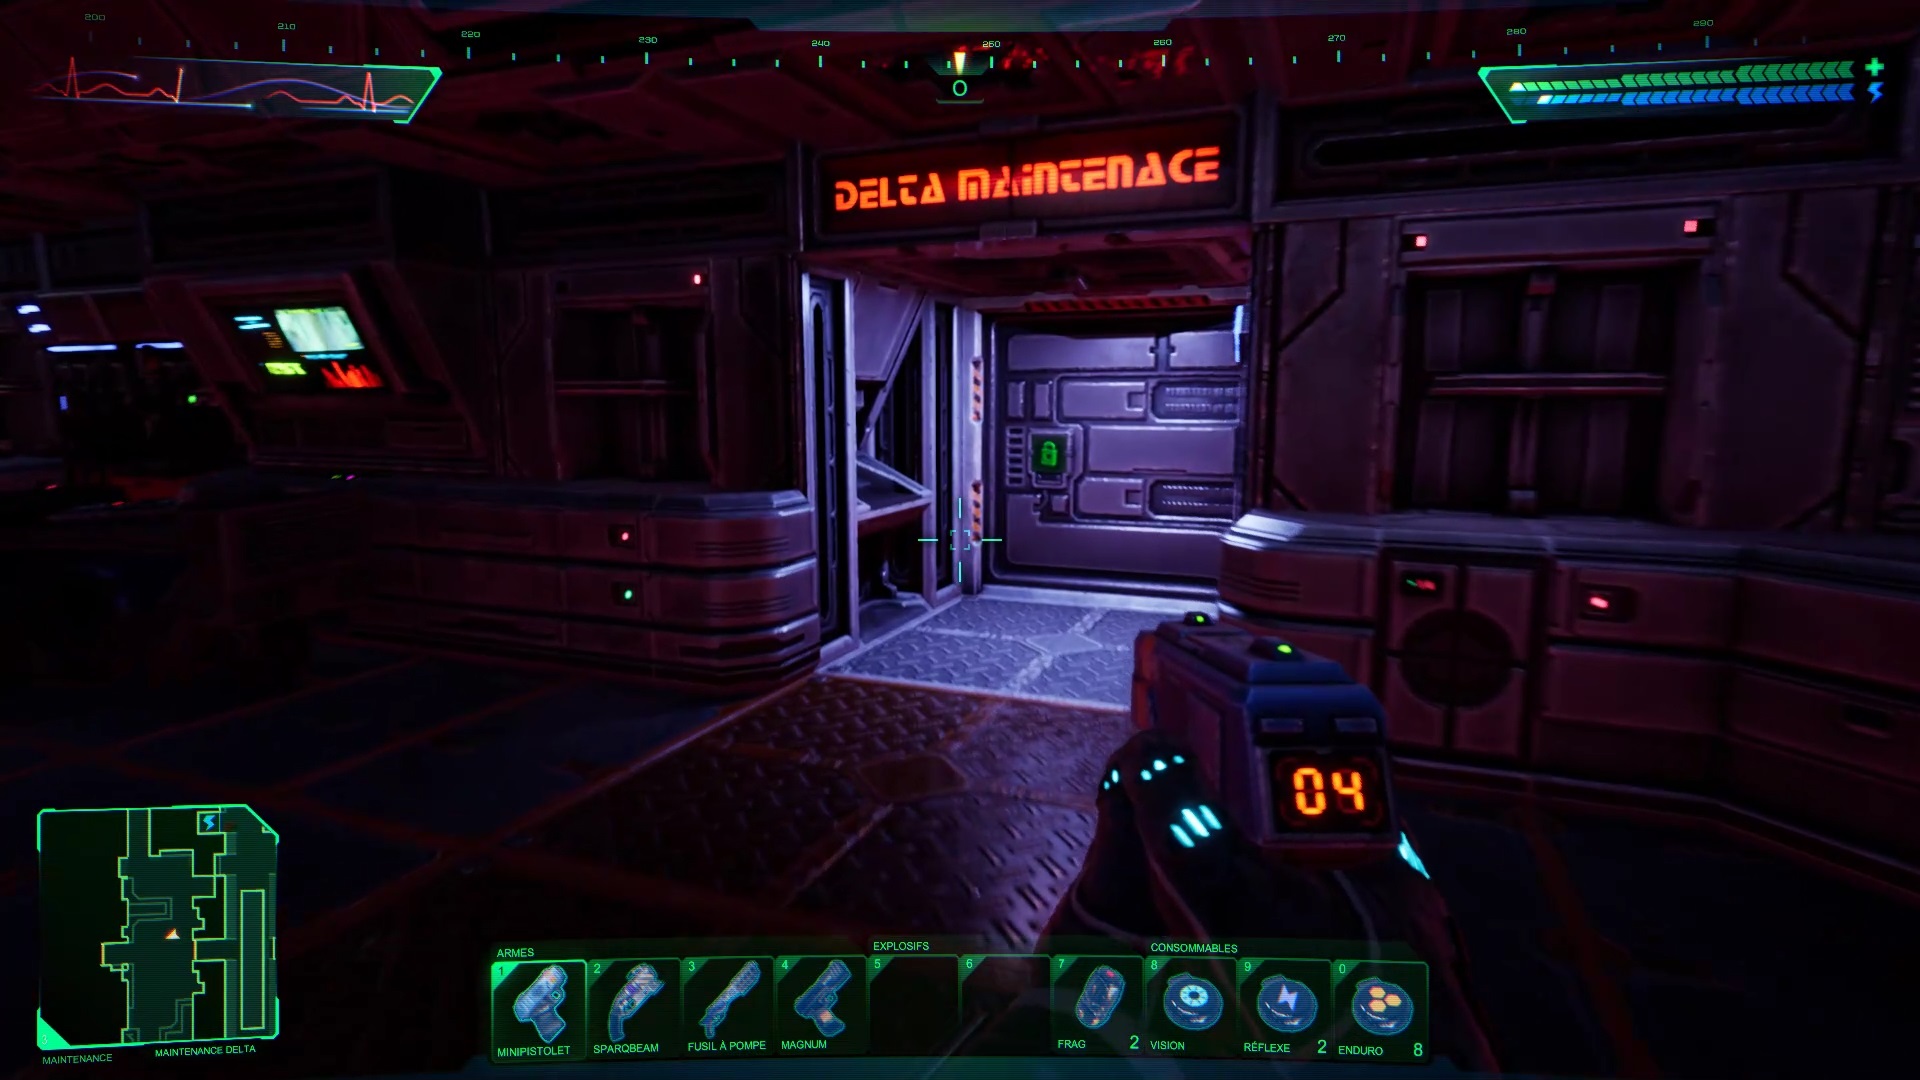
Upon exiting the maintenance elevator, head east into the repair wing. Interact with the analysis machine to get audio. Then go northwest to find the Relay Analyzer. Enter the code 428 to find out your task and enter the hatch nearby. Take a demodulator on the way and go to delta maintenance. Go to the northeast of the room to replace the demodulator.
Then return to the beta grove station to eject the grove. You can now use the elevator in Diego’s office to reach the Engineering.
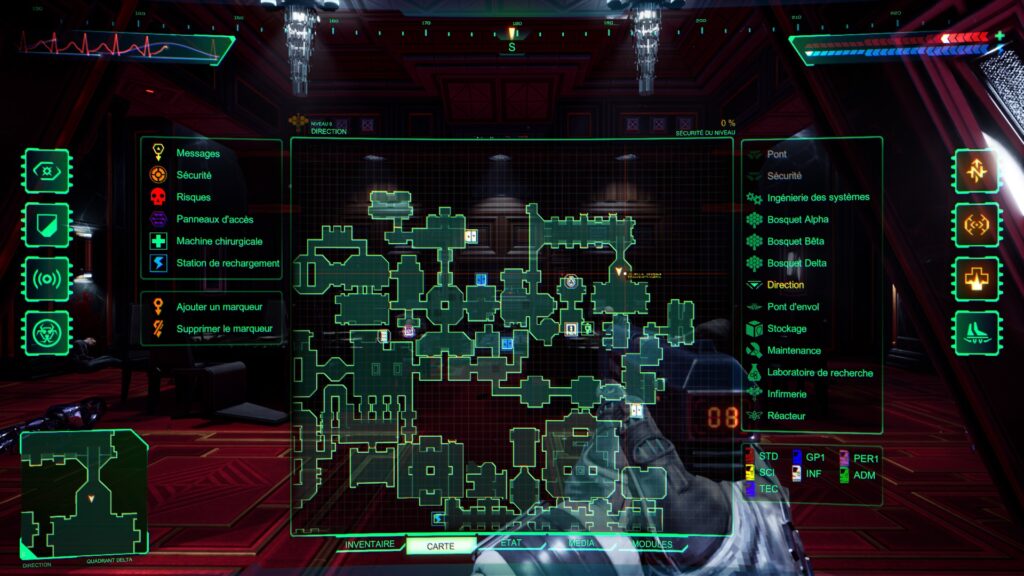
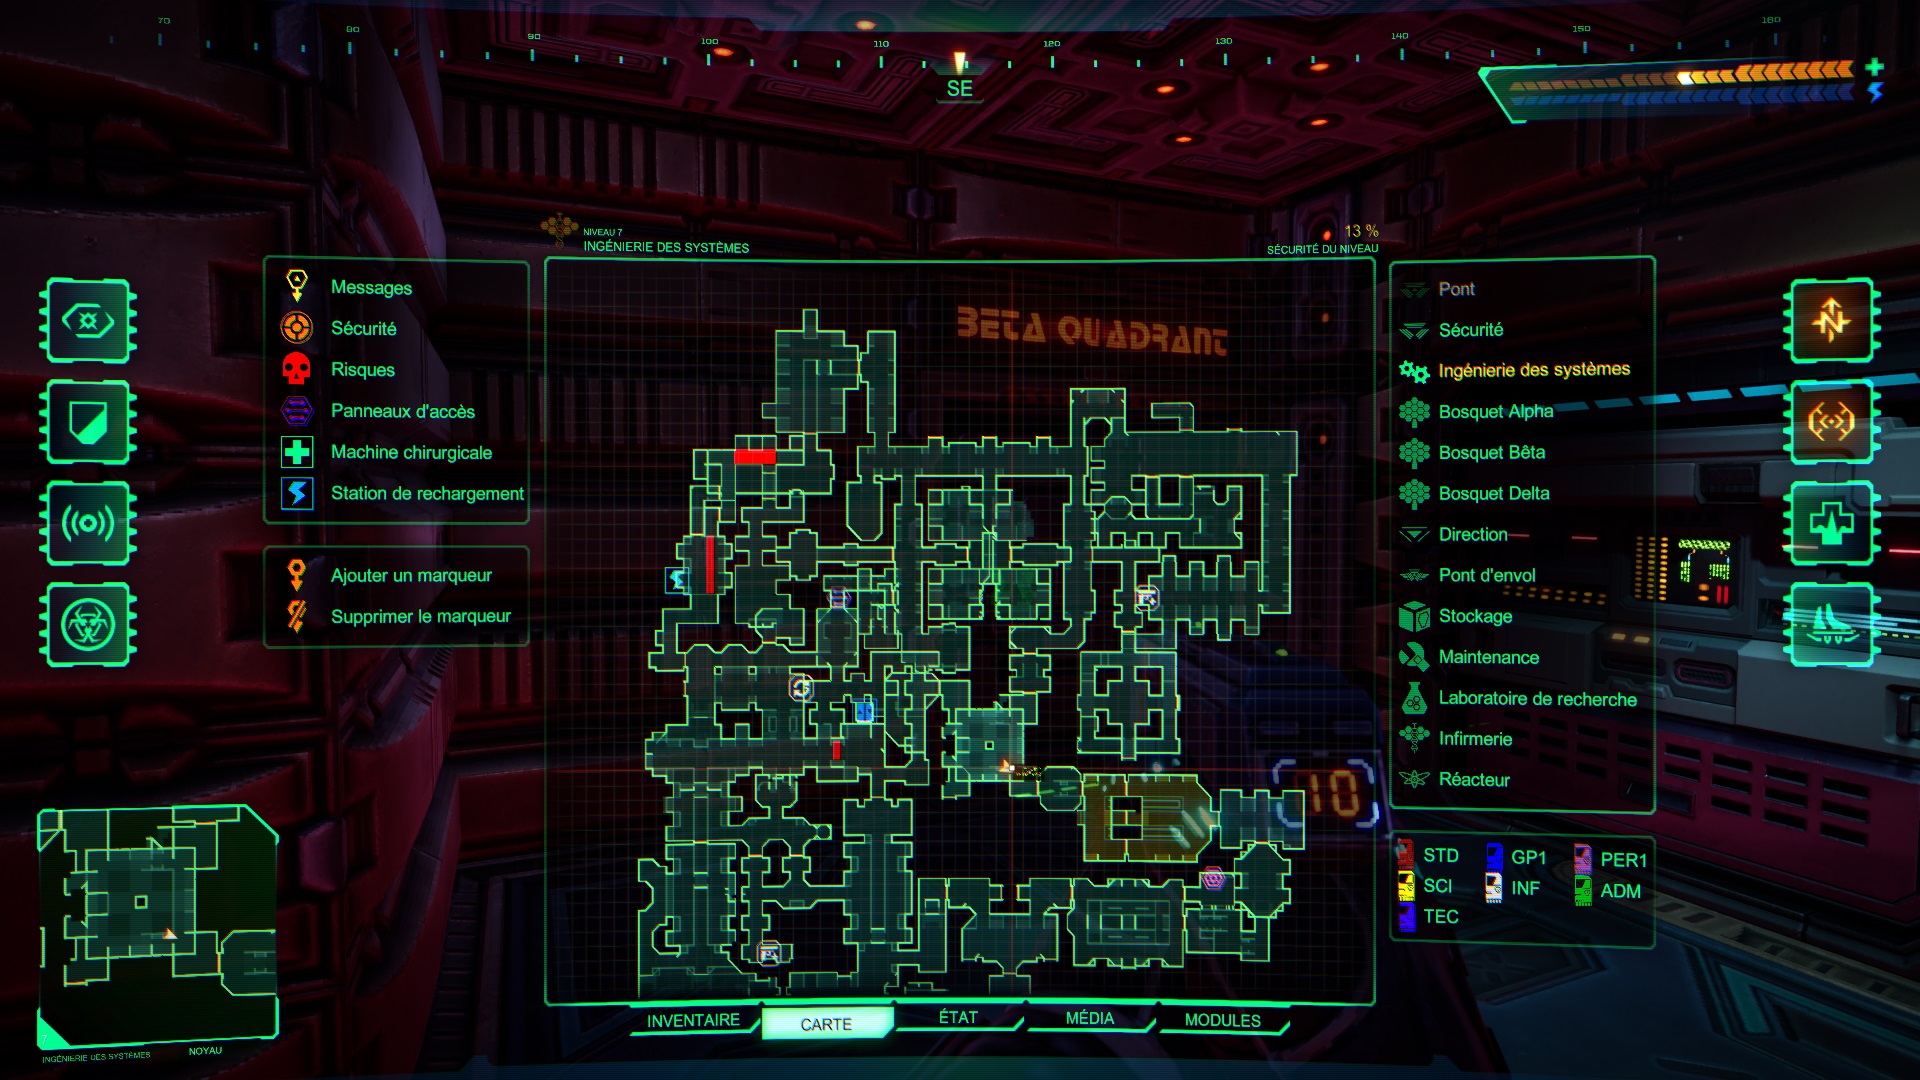
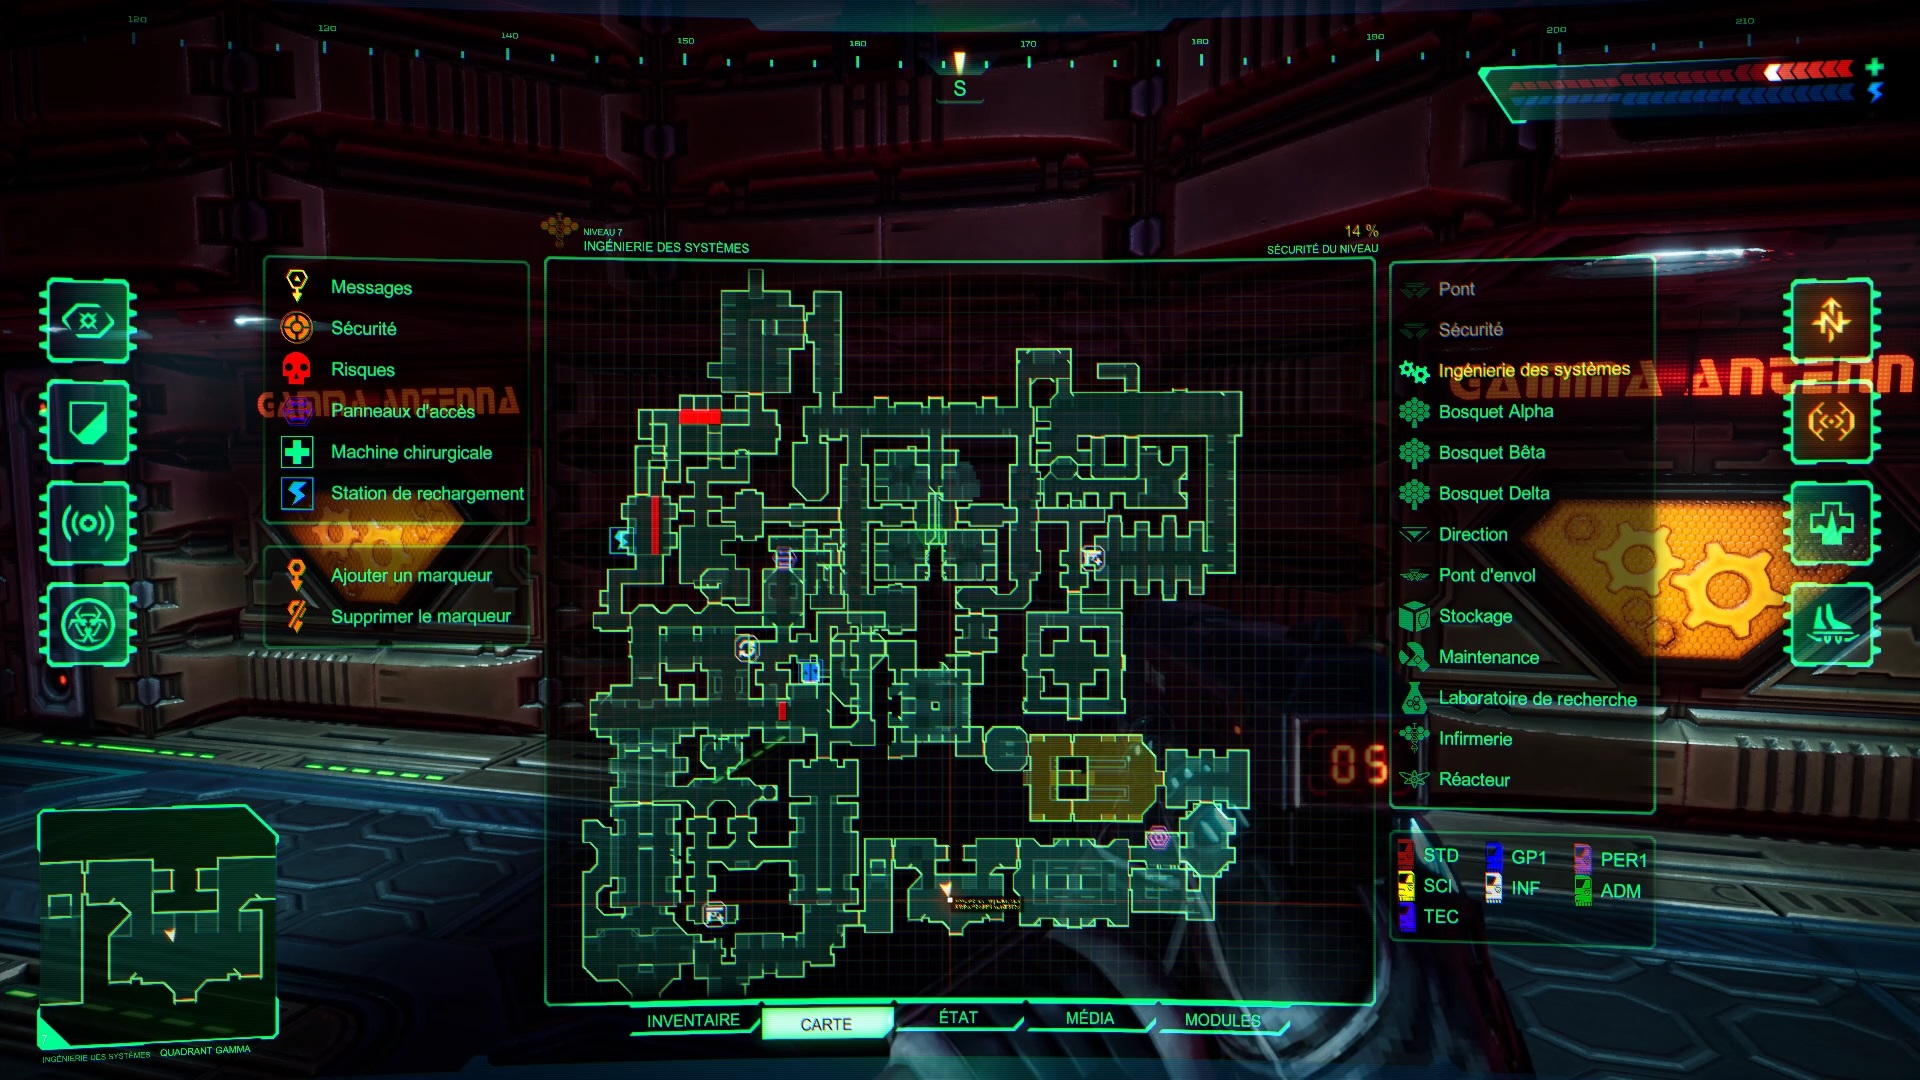
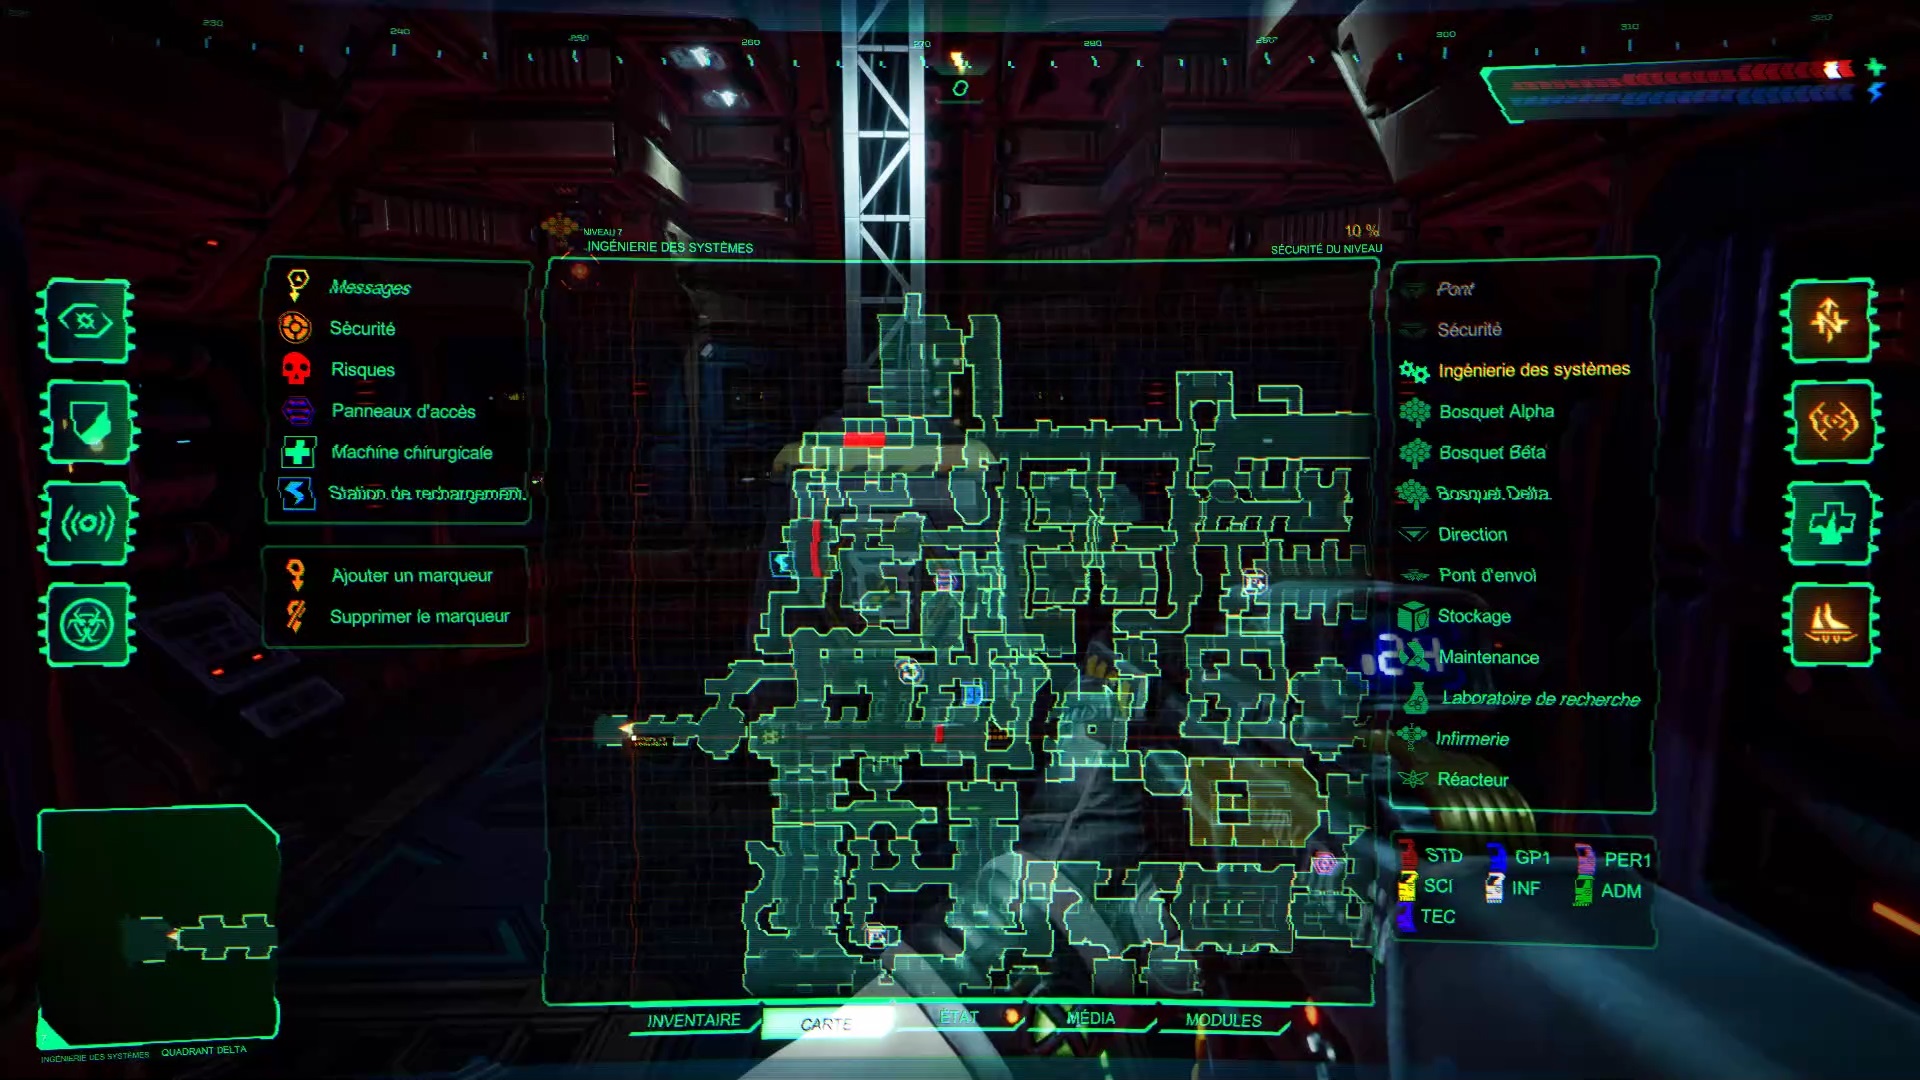
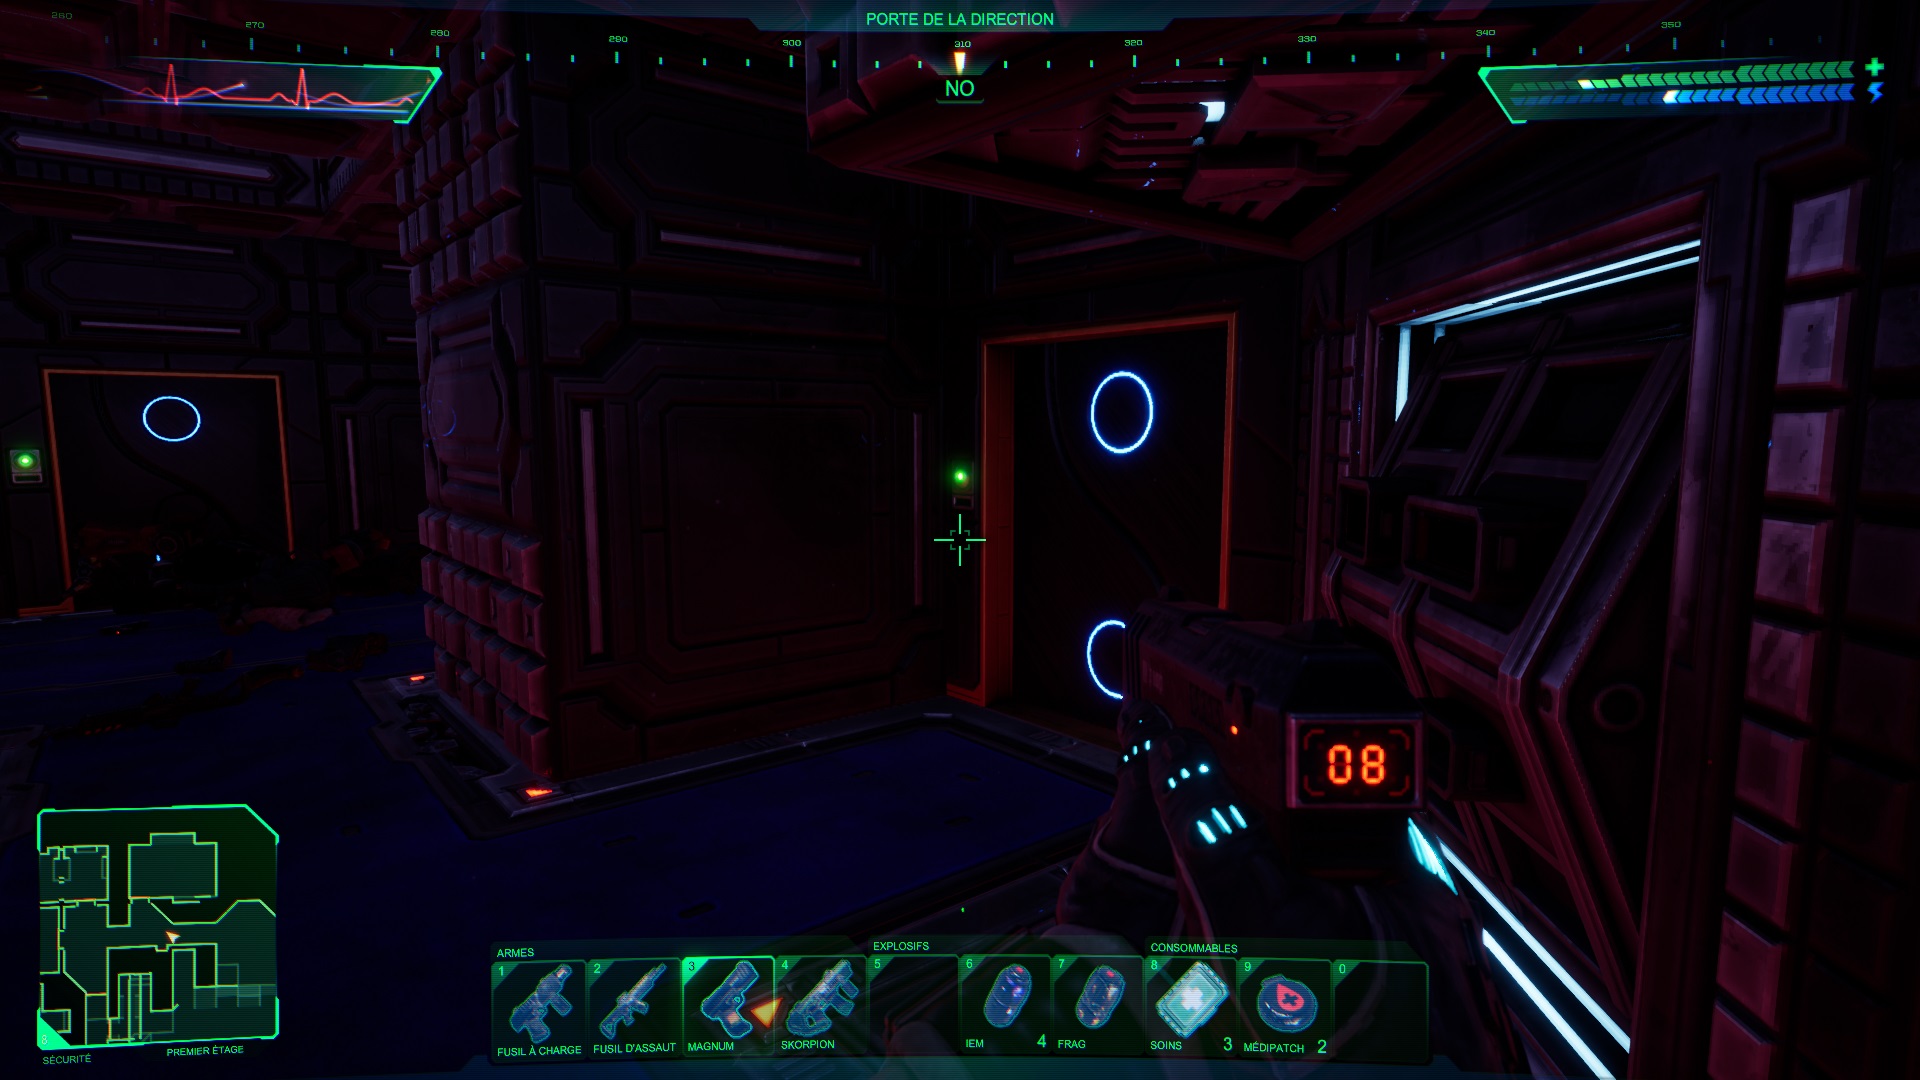
Engineering
Before proceeding to the Engineering, collect the C4 charges found earlier in the Watch Room at Storage in your inventory. Then take the Direction elevator to reach Engineering.
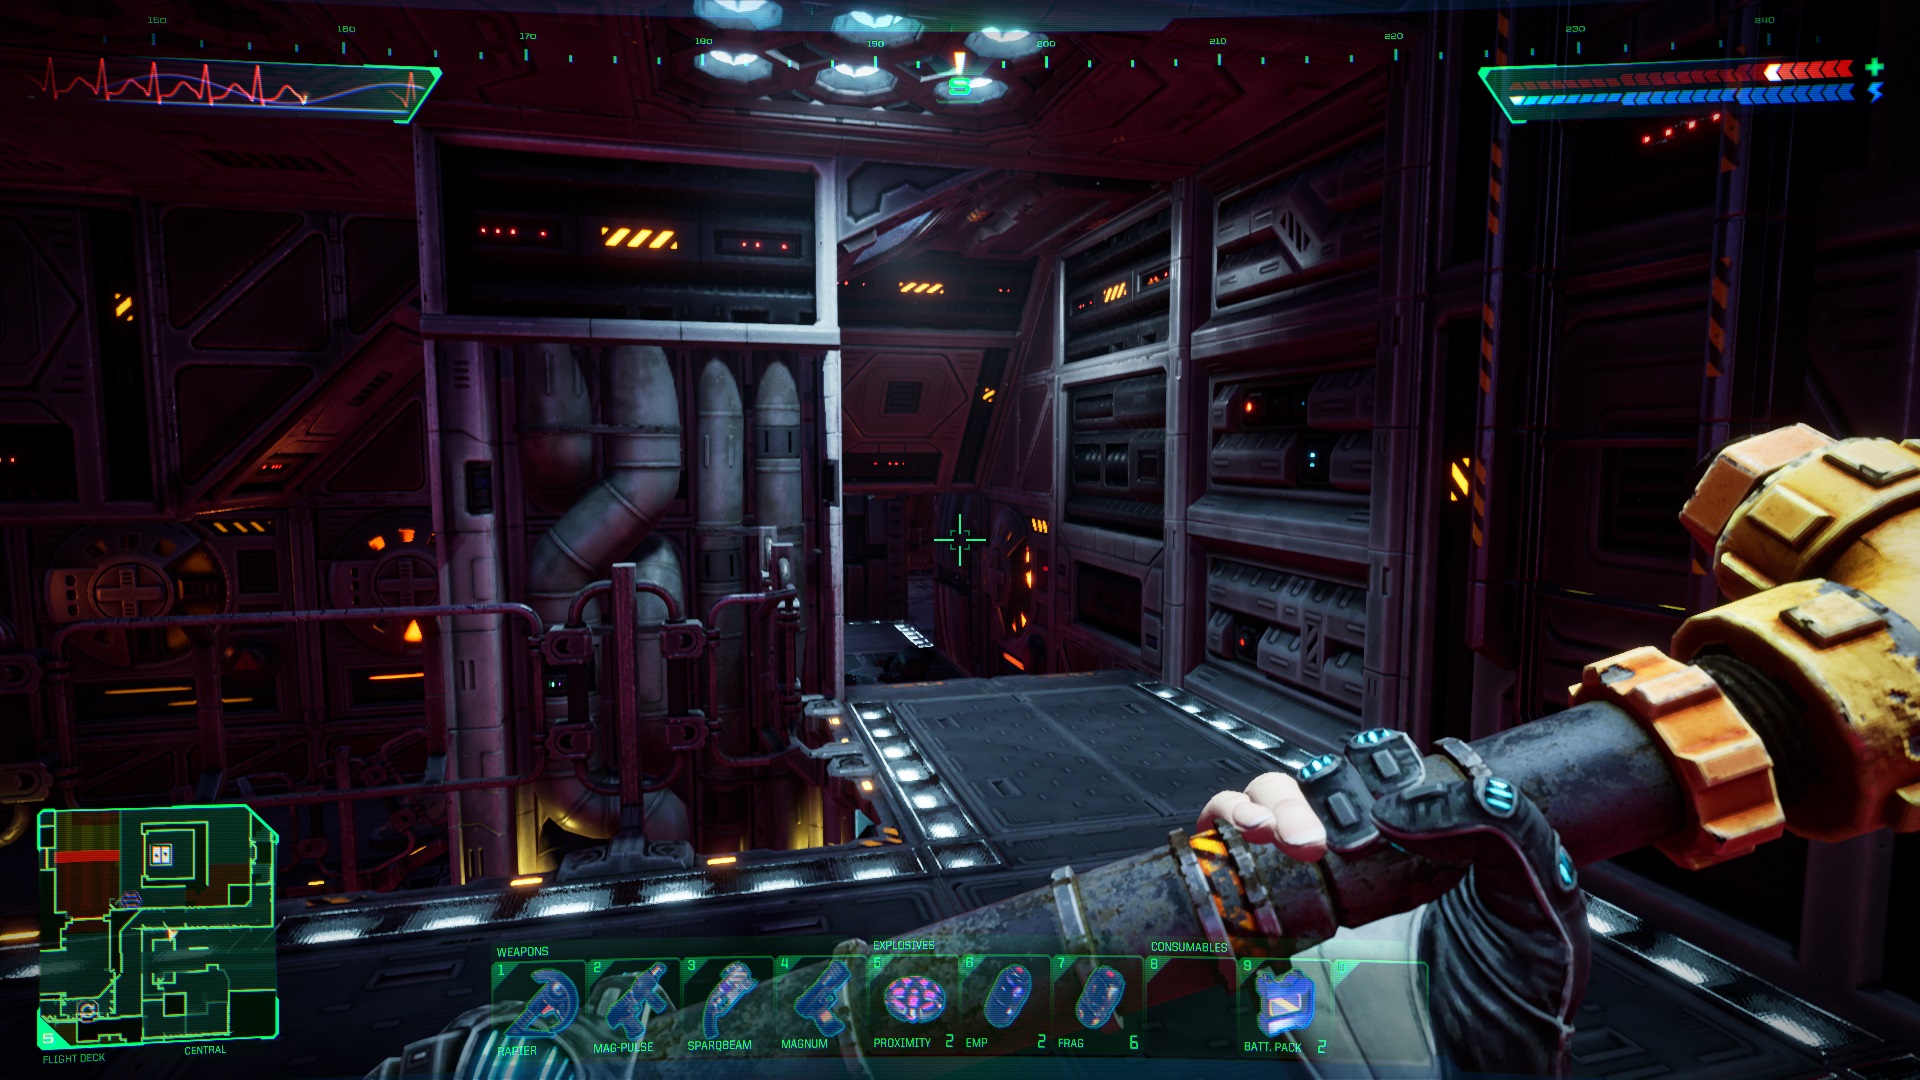
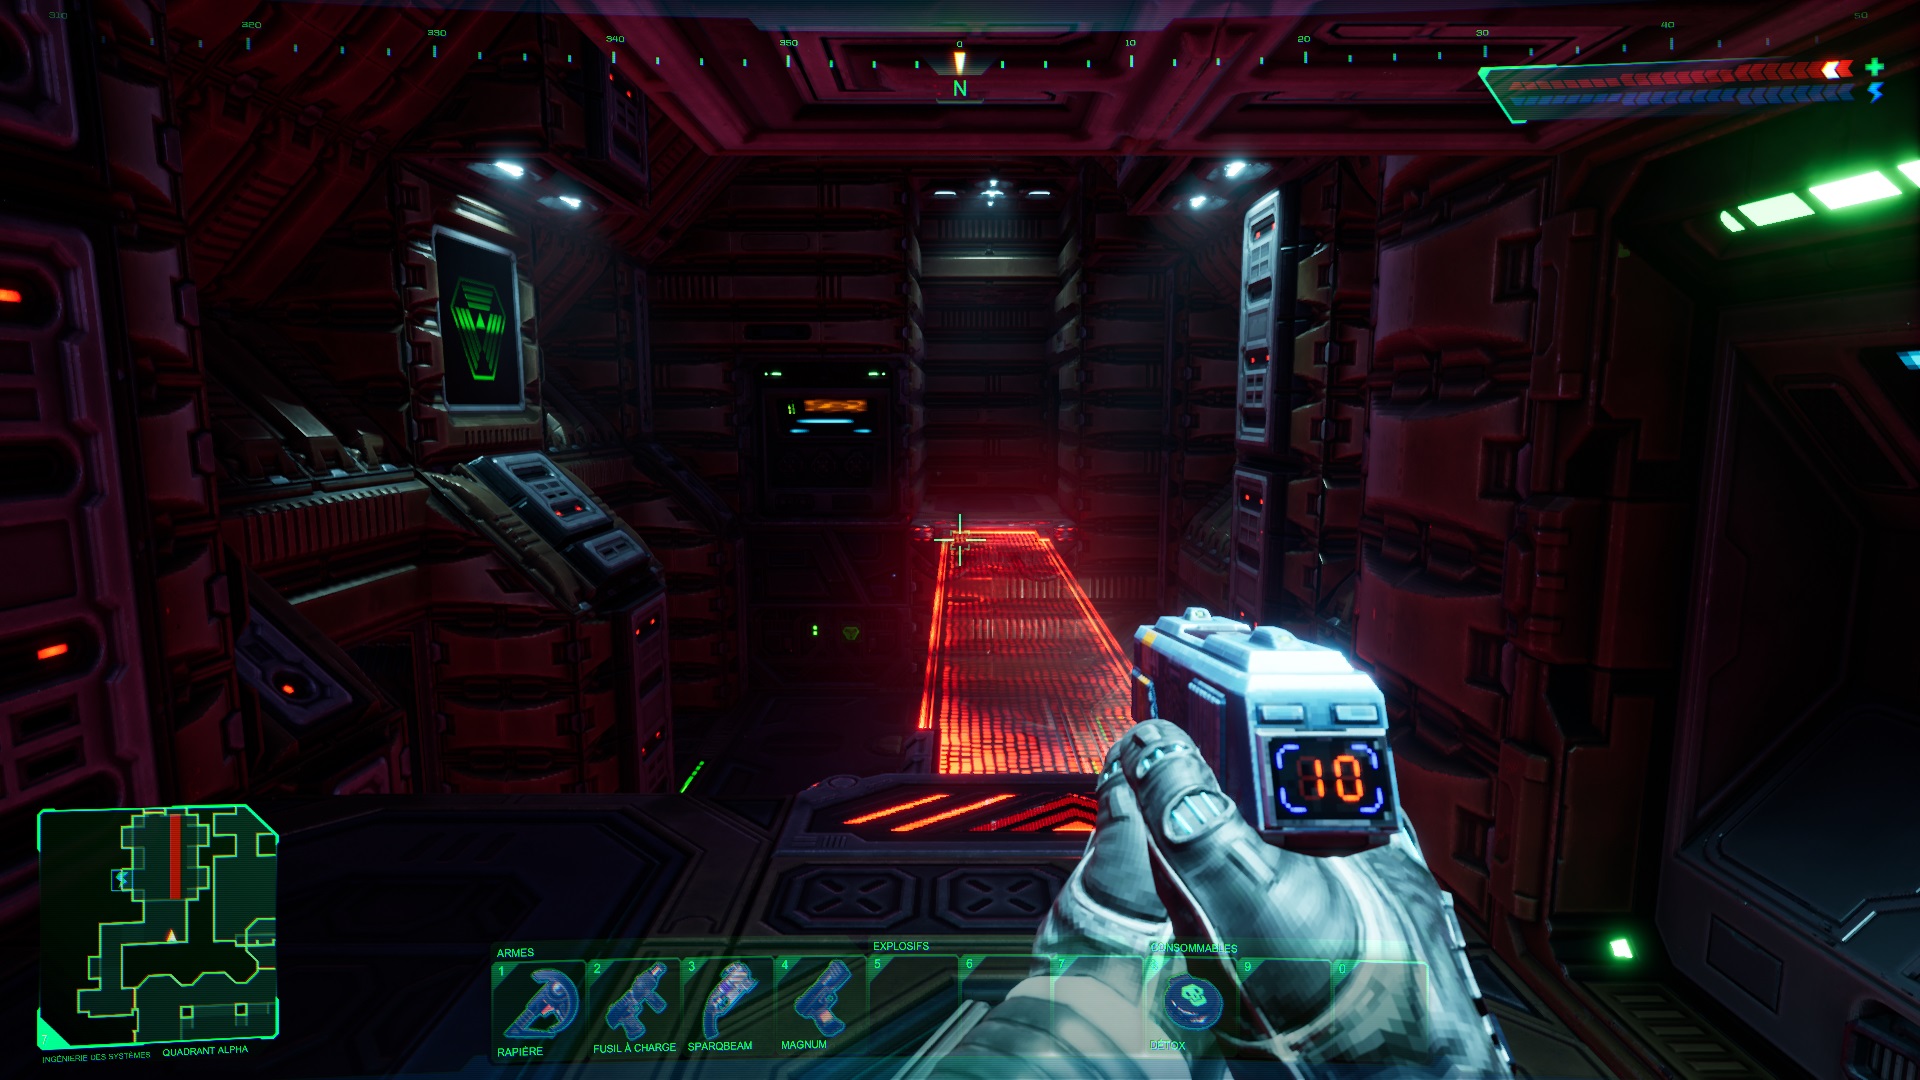
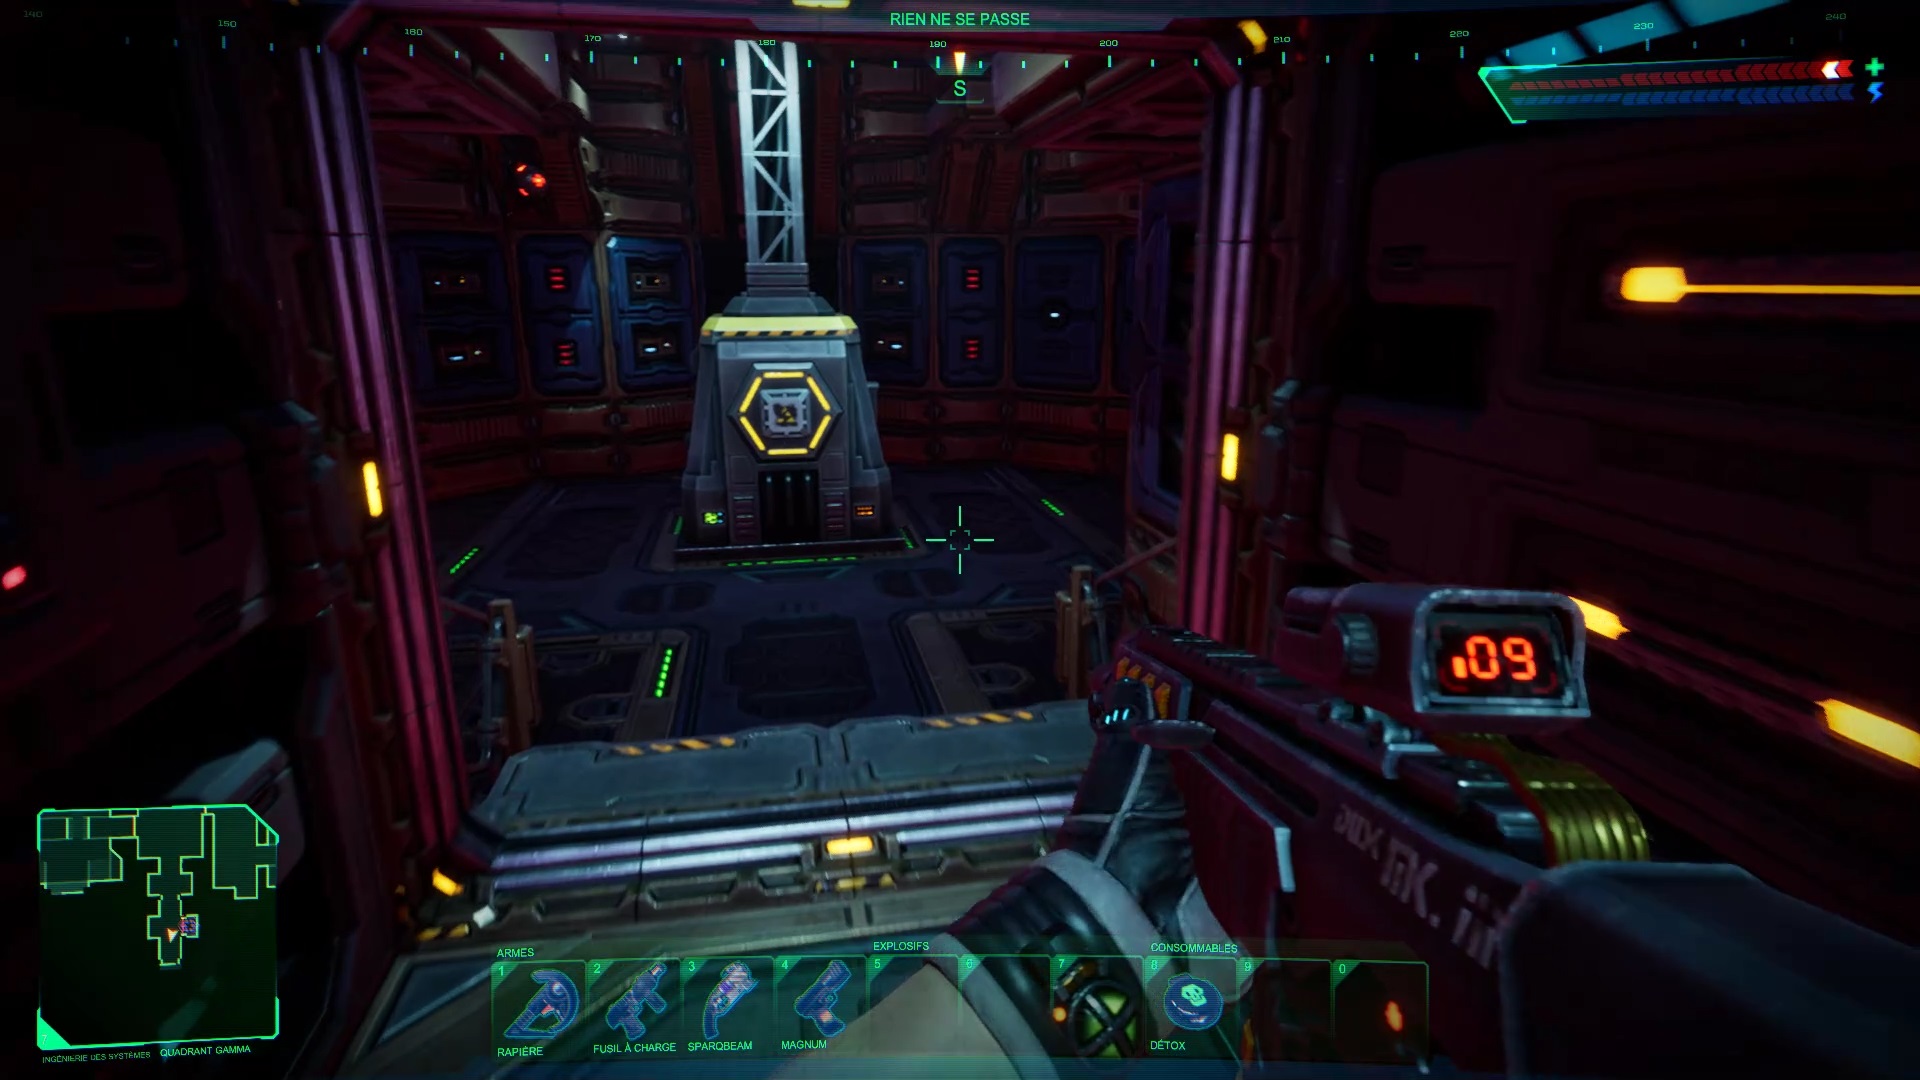
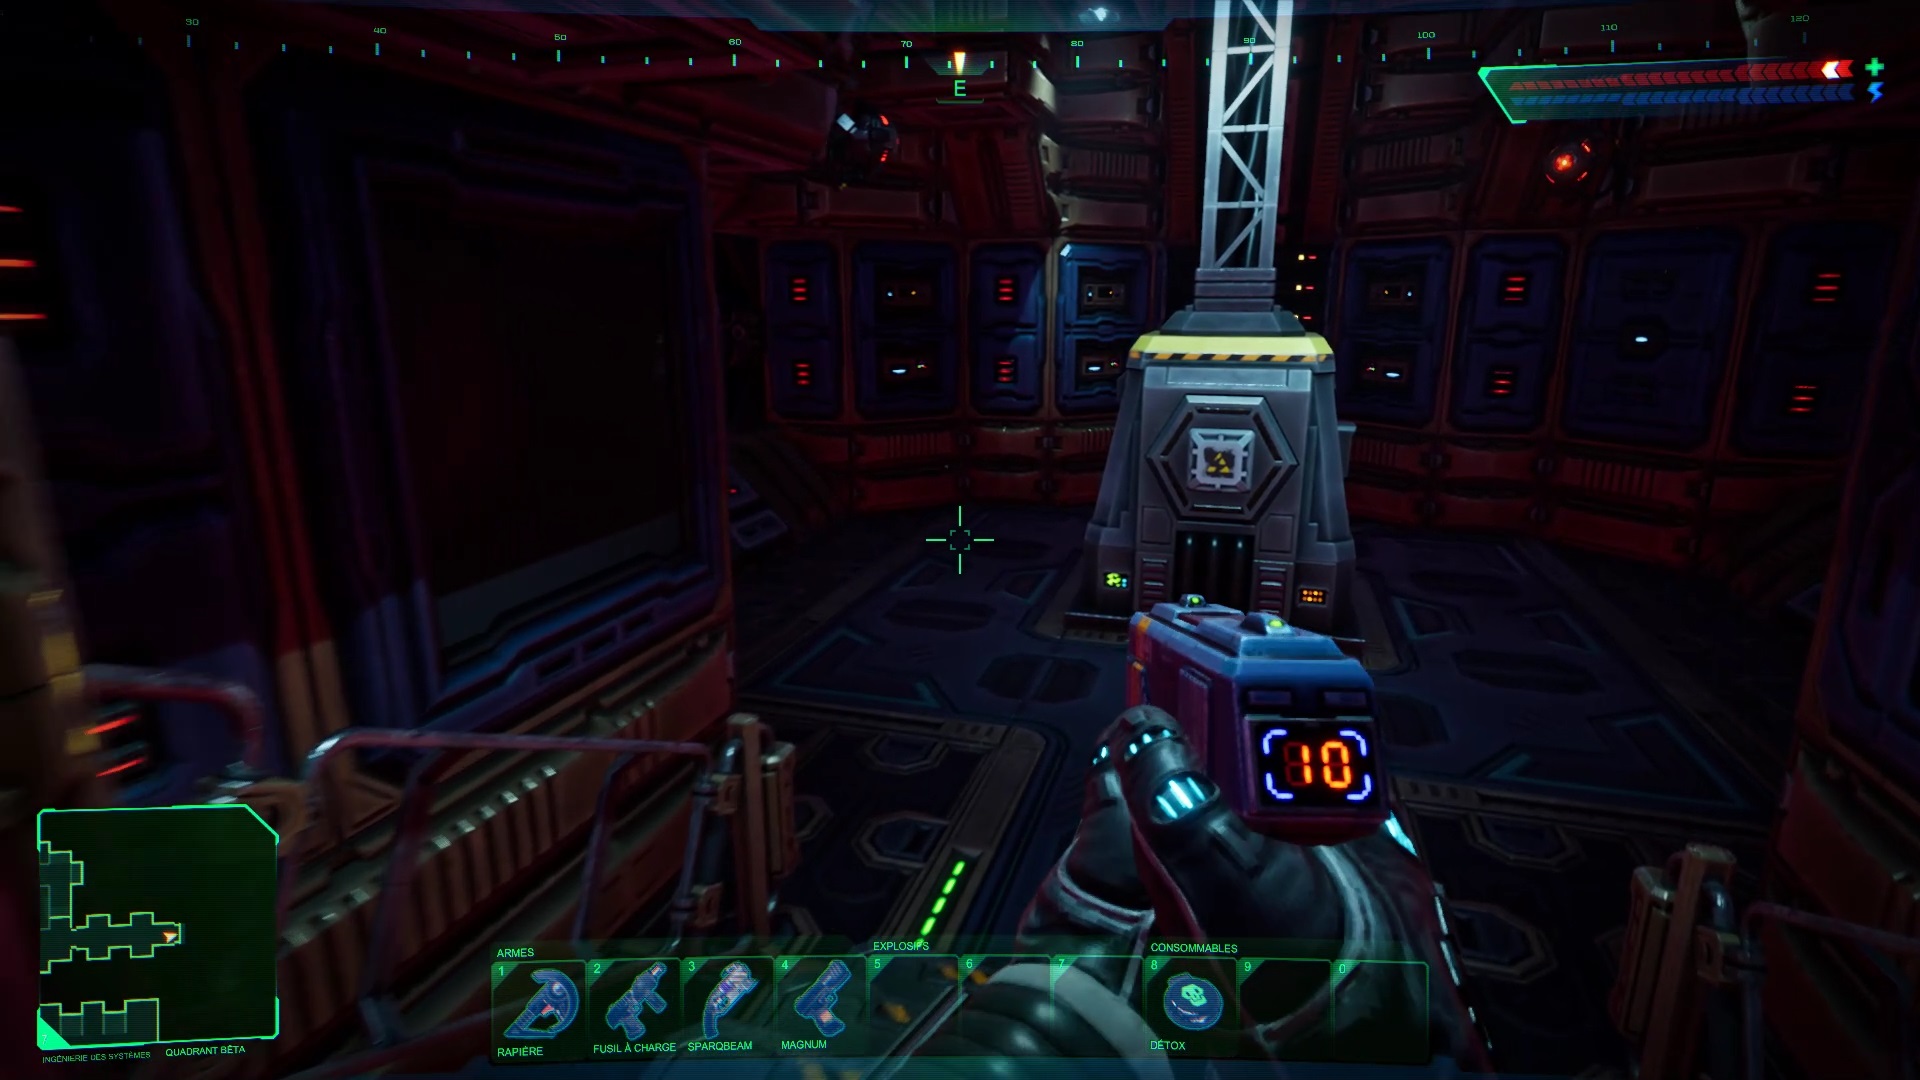
You are now at System Shock Level 7: Engineering. When you arrive in the level, turn right to see above a ladder the blocked door of the Delta antenna. Go up and continue by opening the door on the right to reach a laser bridge. Examine the lower level of the bridge to find a pair of Turbo Boots. This is a very useful improvement for the rest of the adventure.
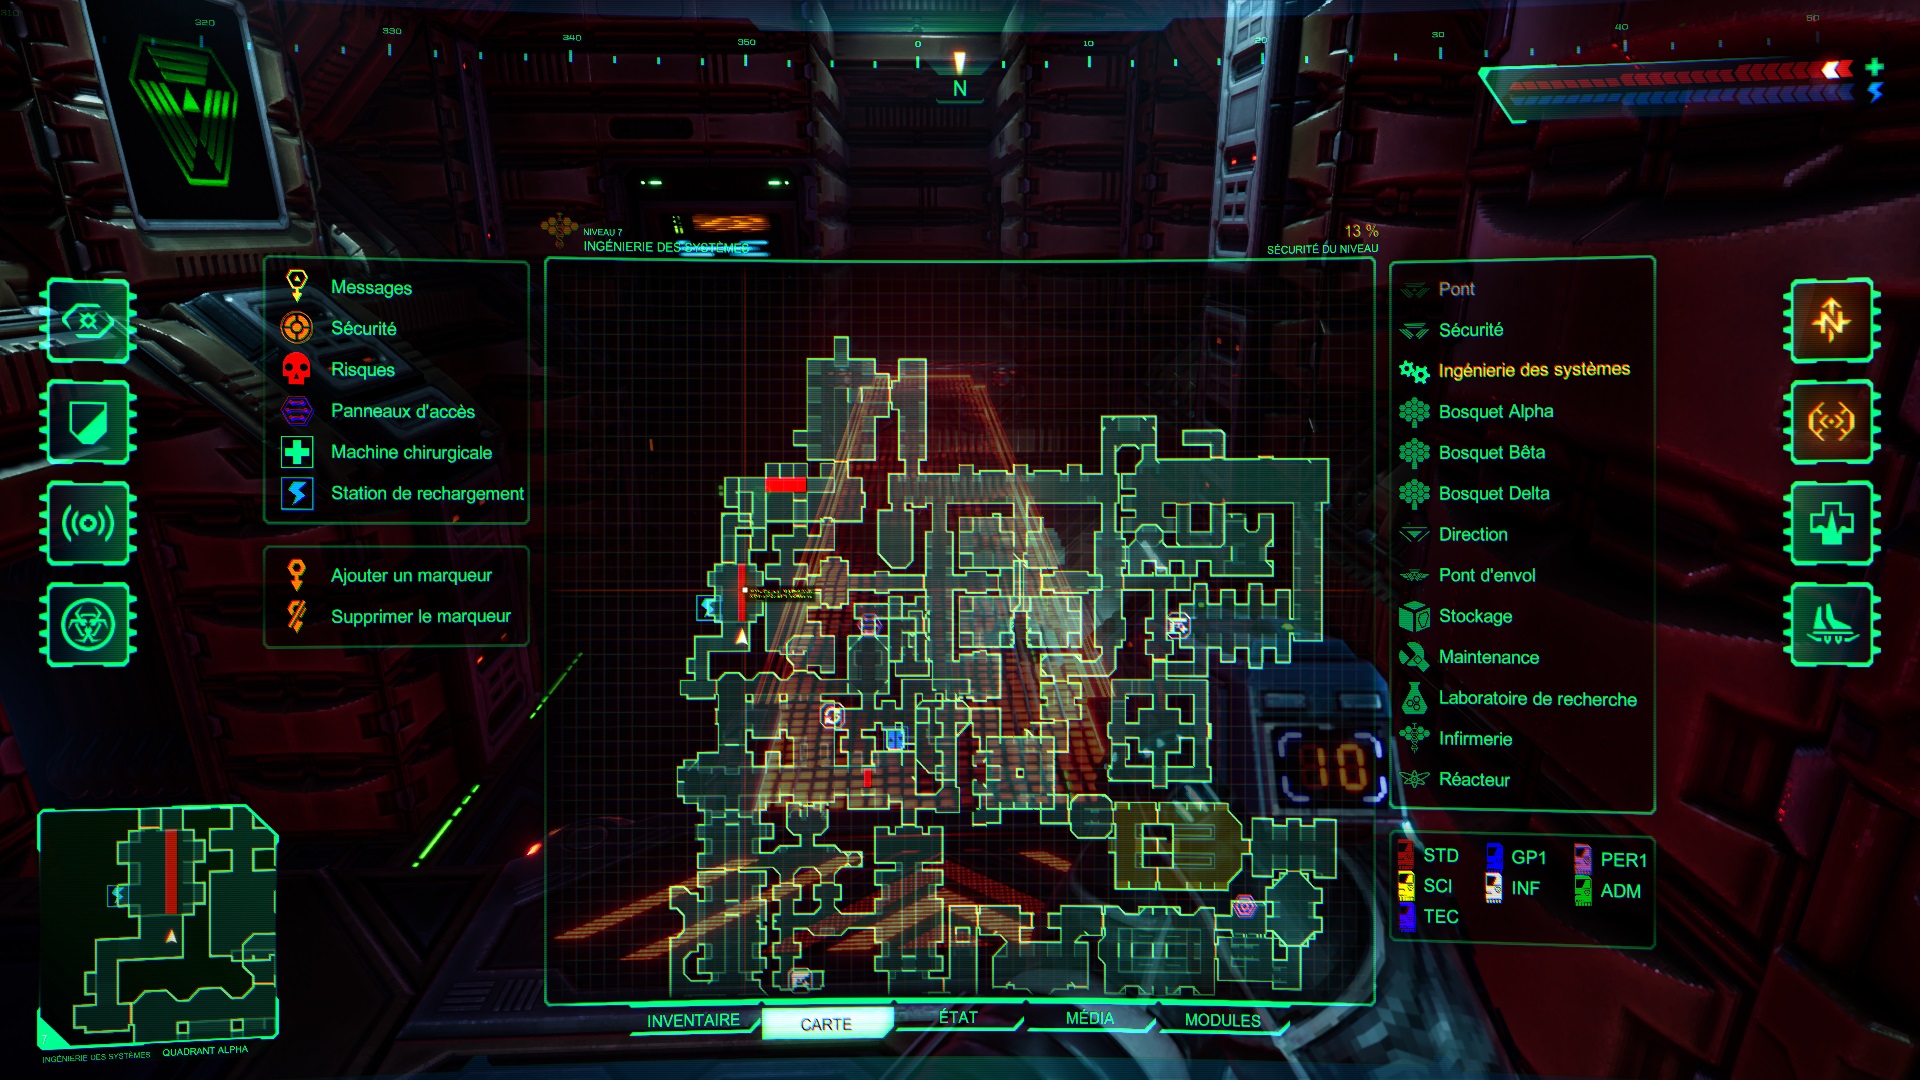
With your new pair of boots in hand, head northeast, you’ll find a trapdoor in the middle of a hallway. Go down the duct to find the Engineering access card.
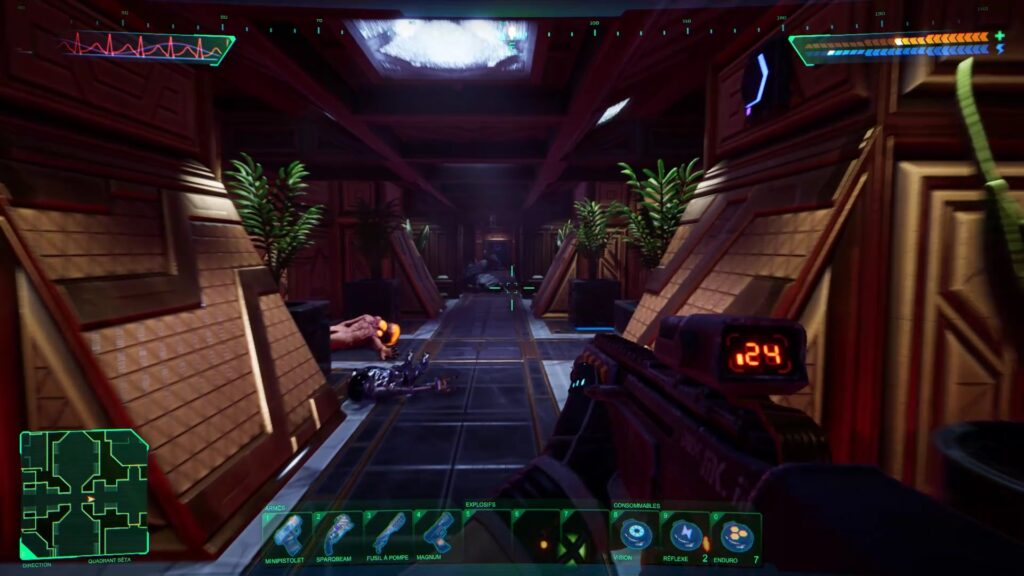
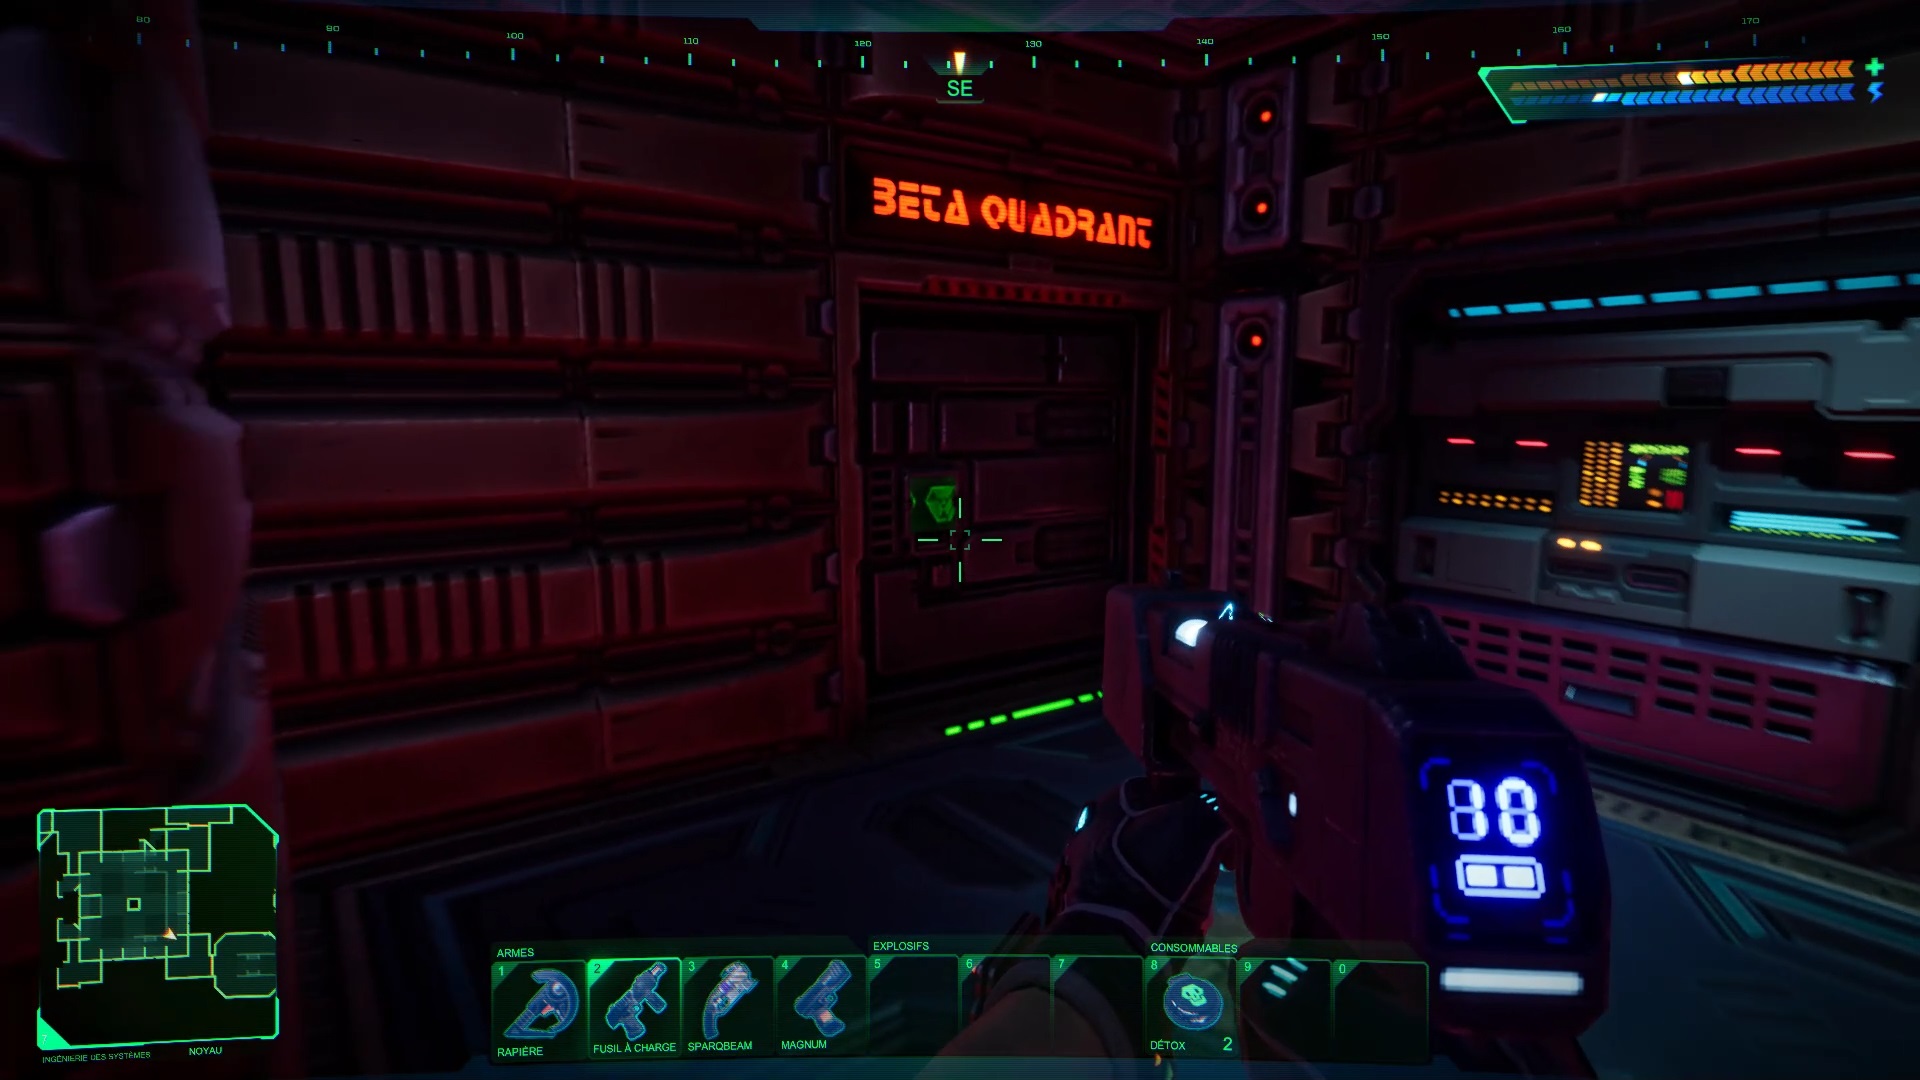
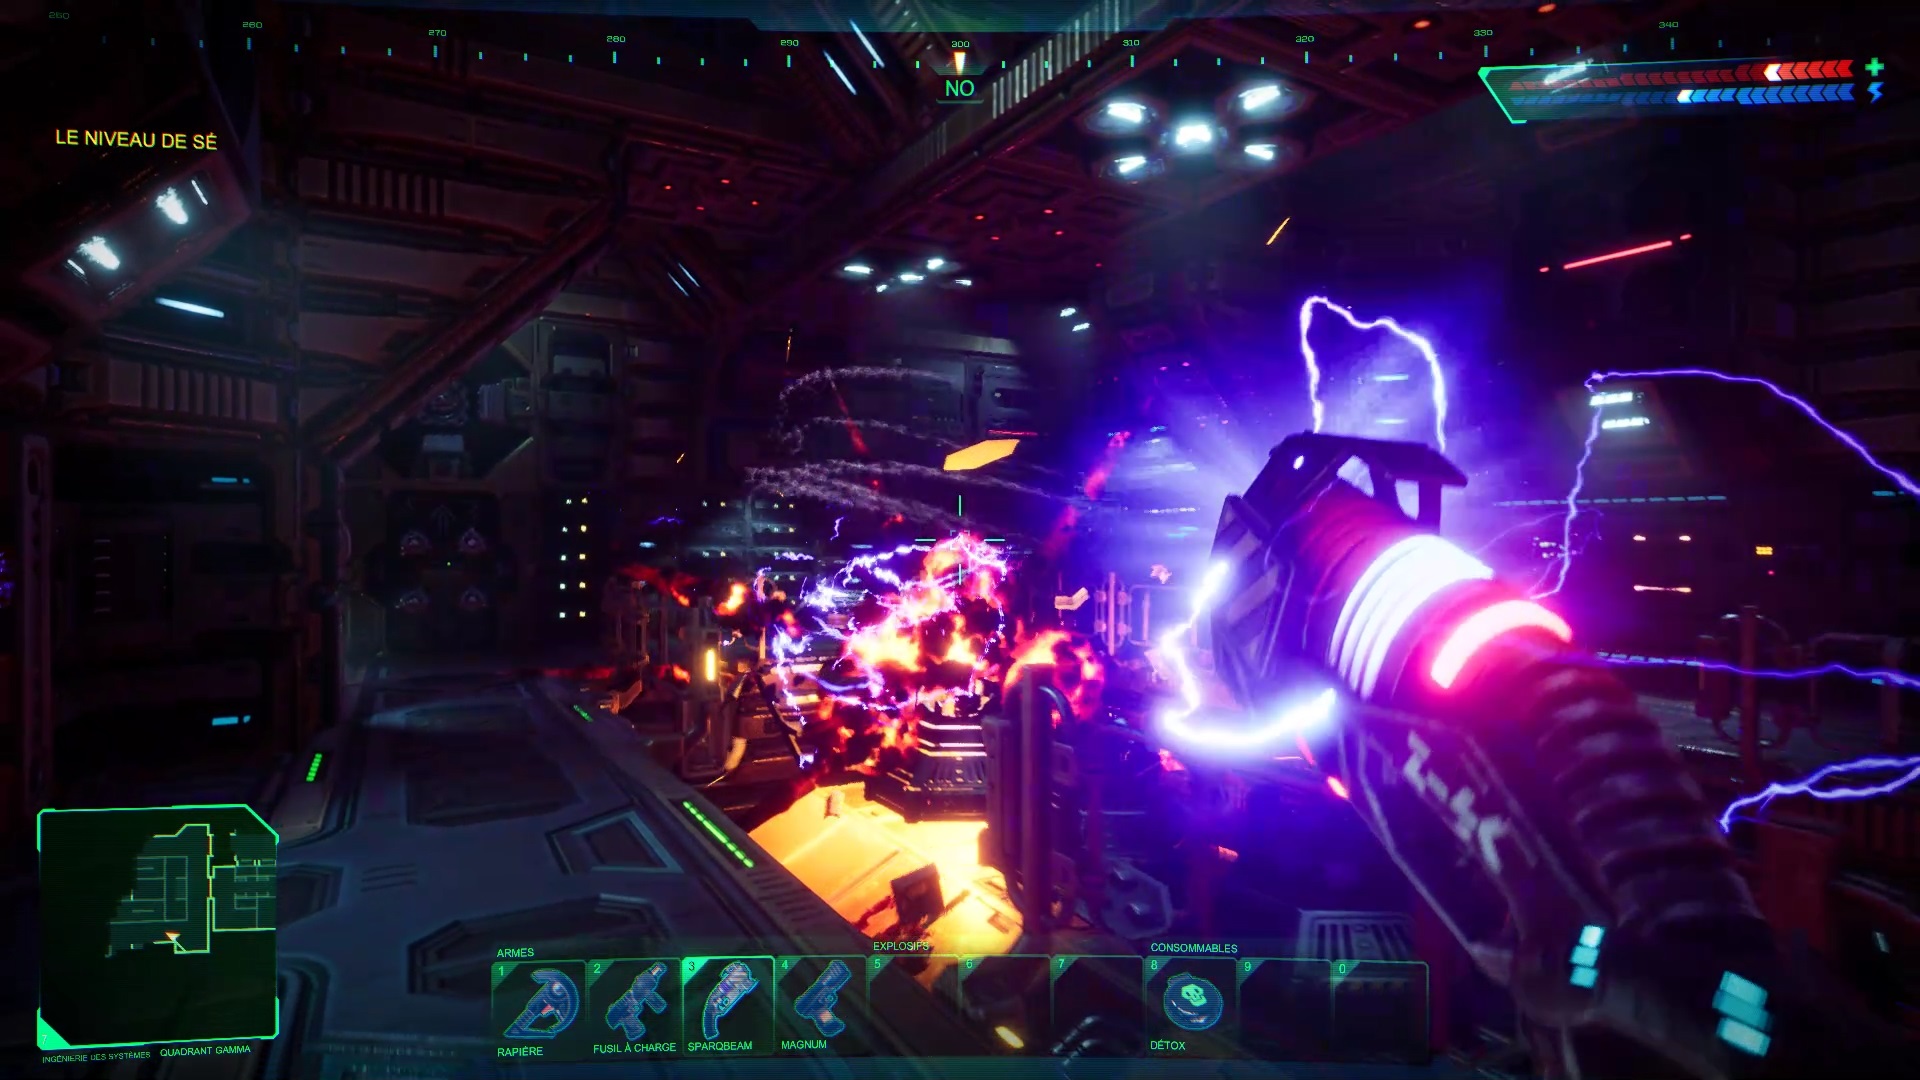
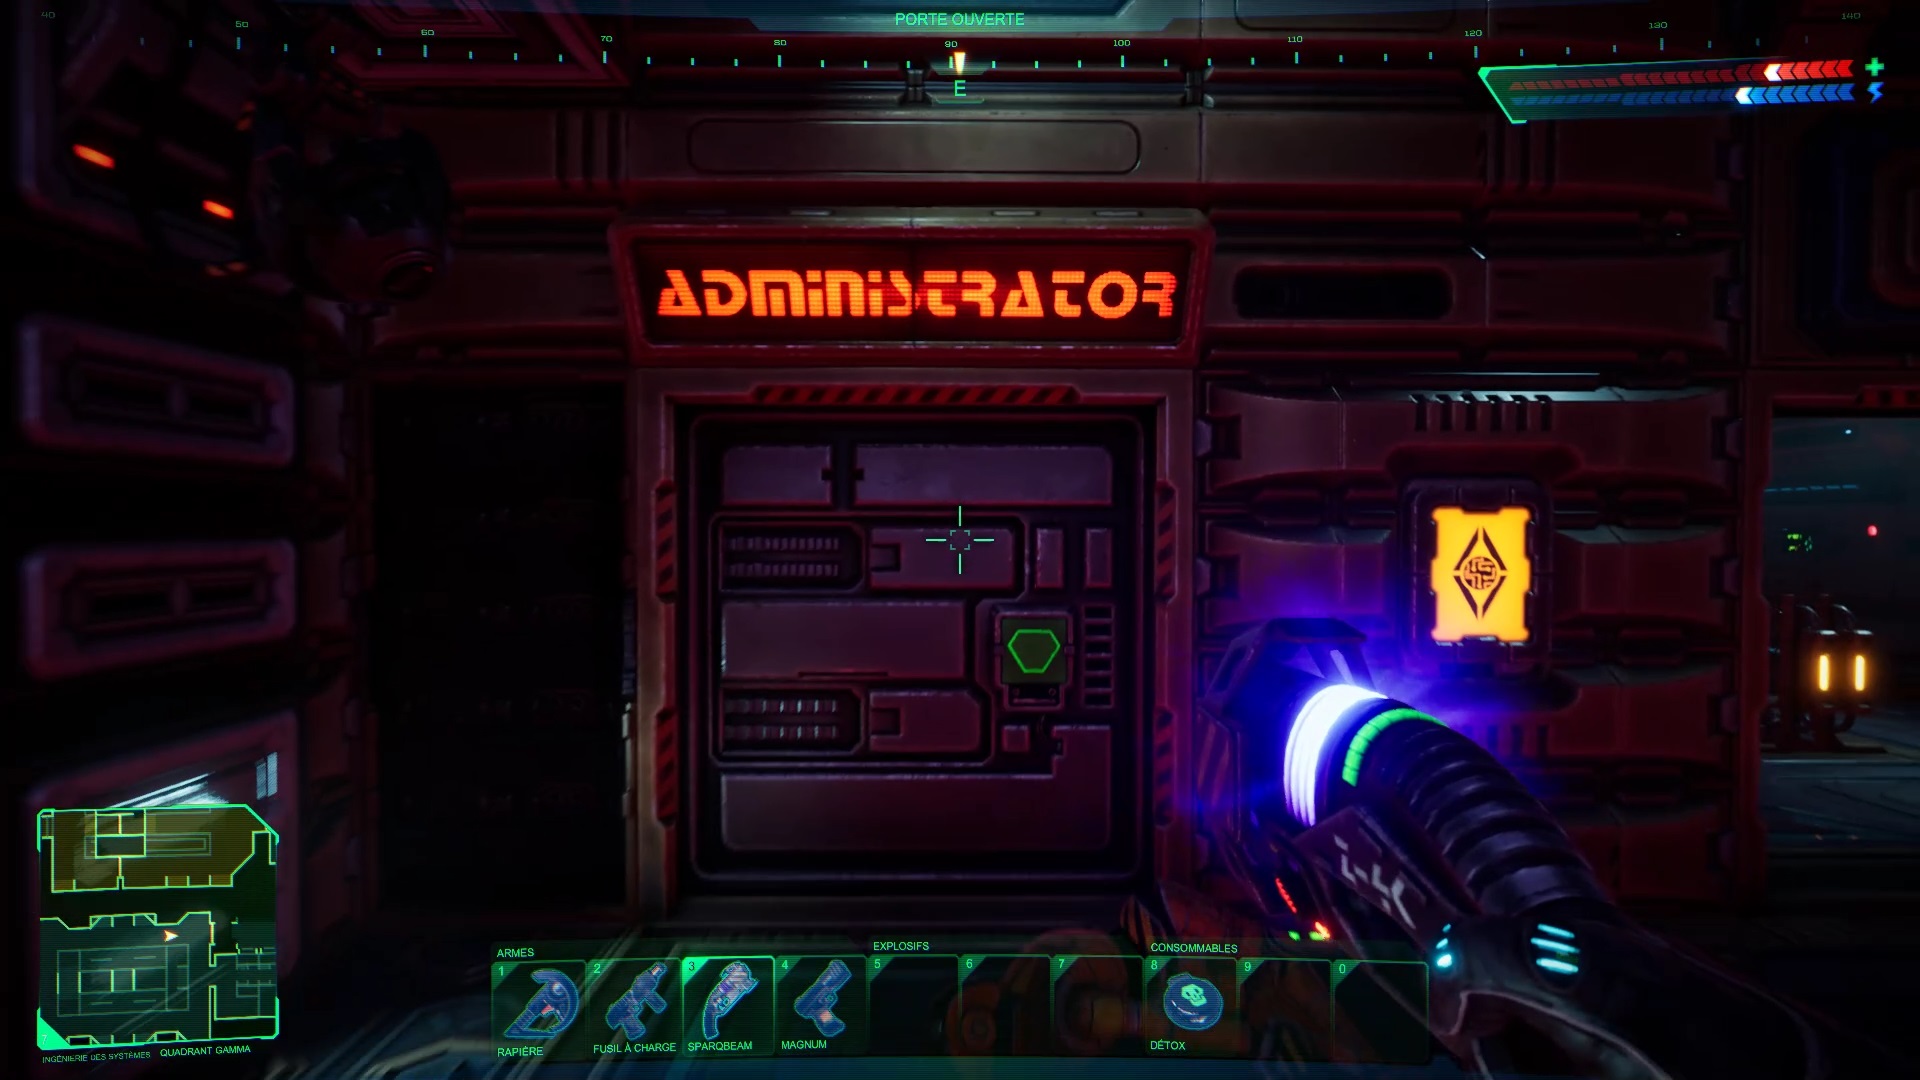
Then go southeast of the elevator to find the Beta Quadrant. Proceed through the corridors to the south. Use the environmental protection to pass the radiation and reach the administration room. Before entering destroy the computer cluster. Once inside, enter cyberspace and destroy the computer cores to unlock the four antenna doors.
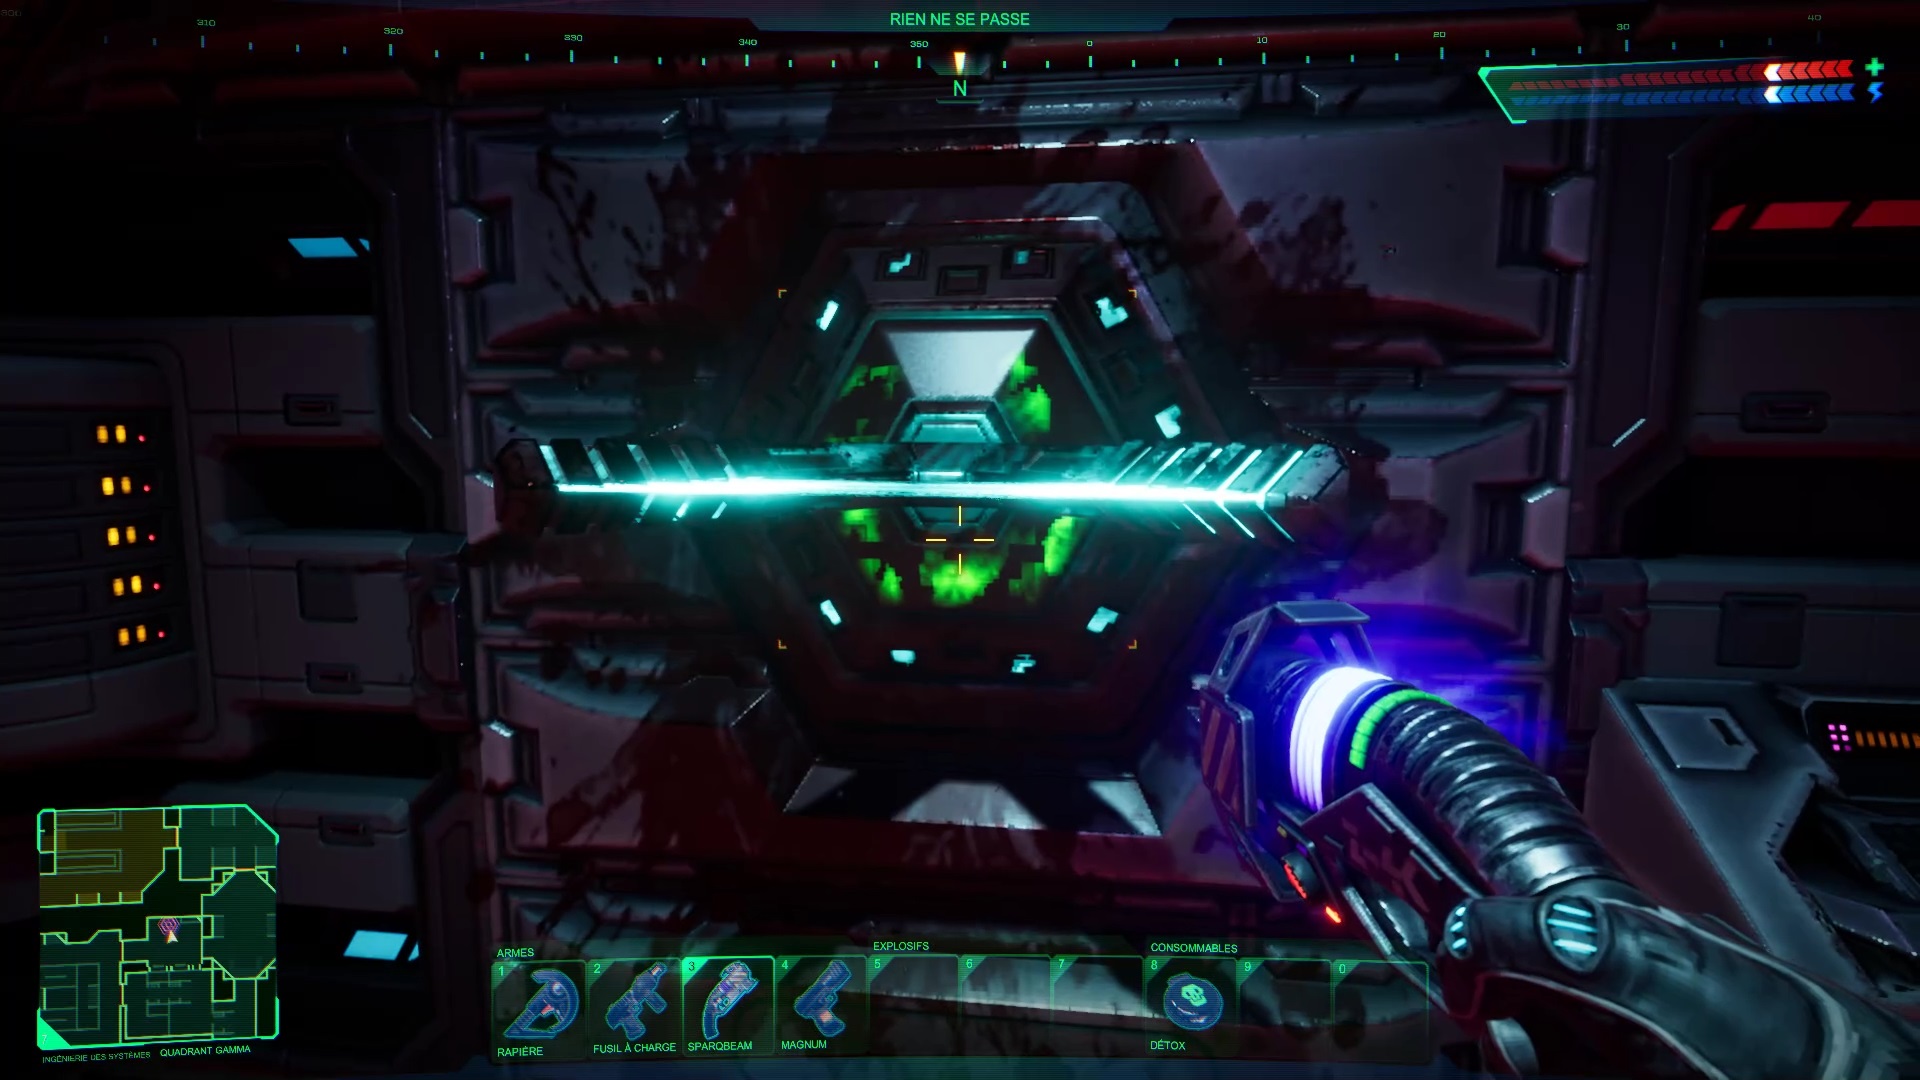
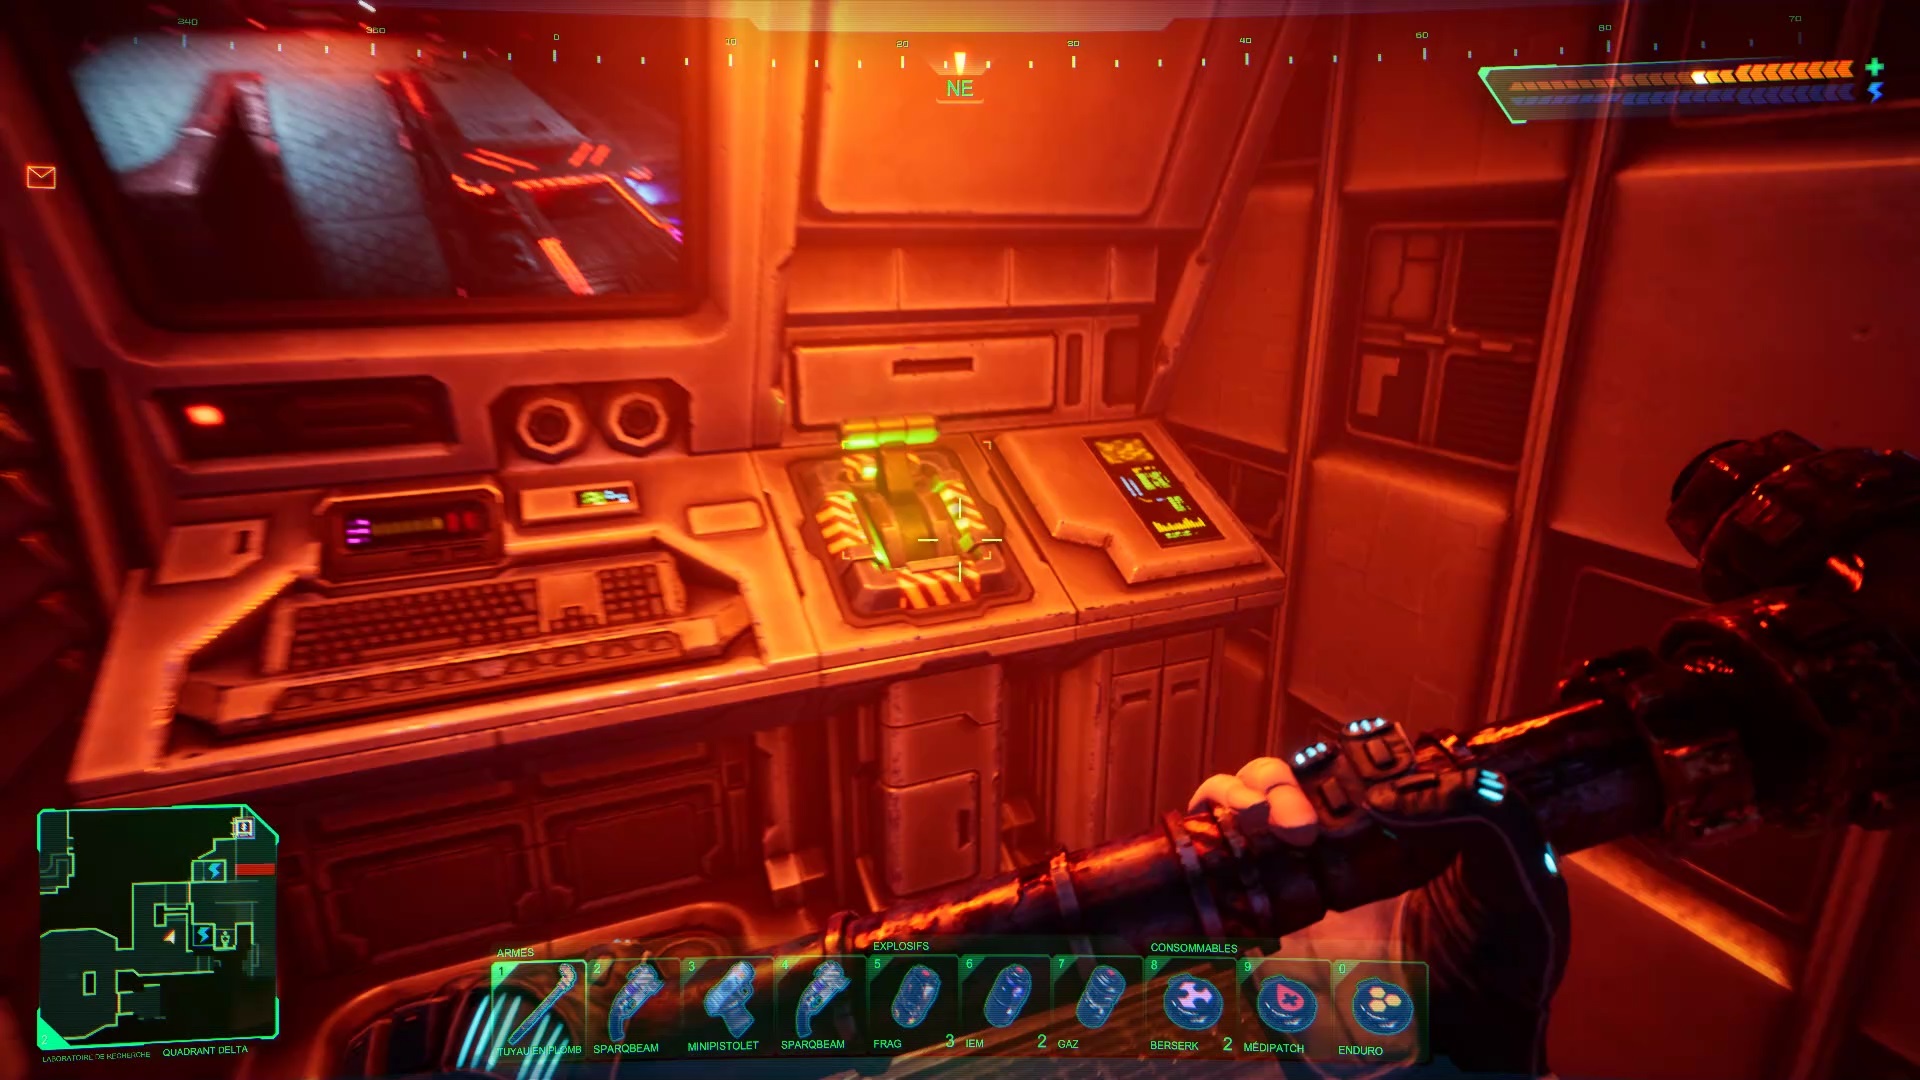
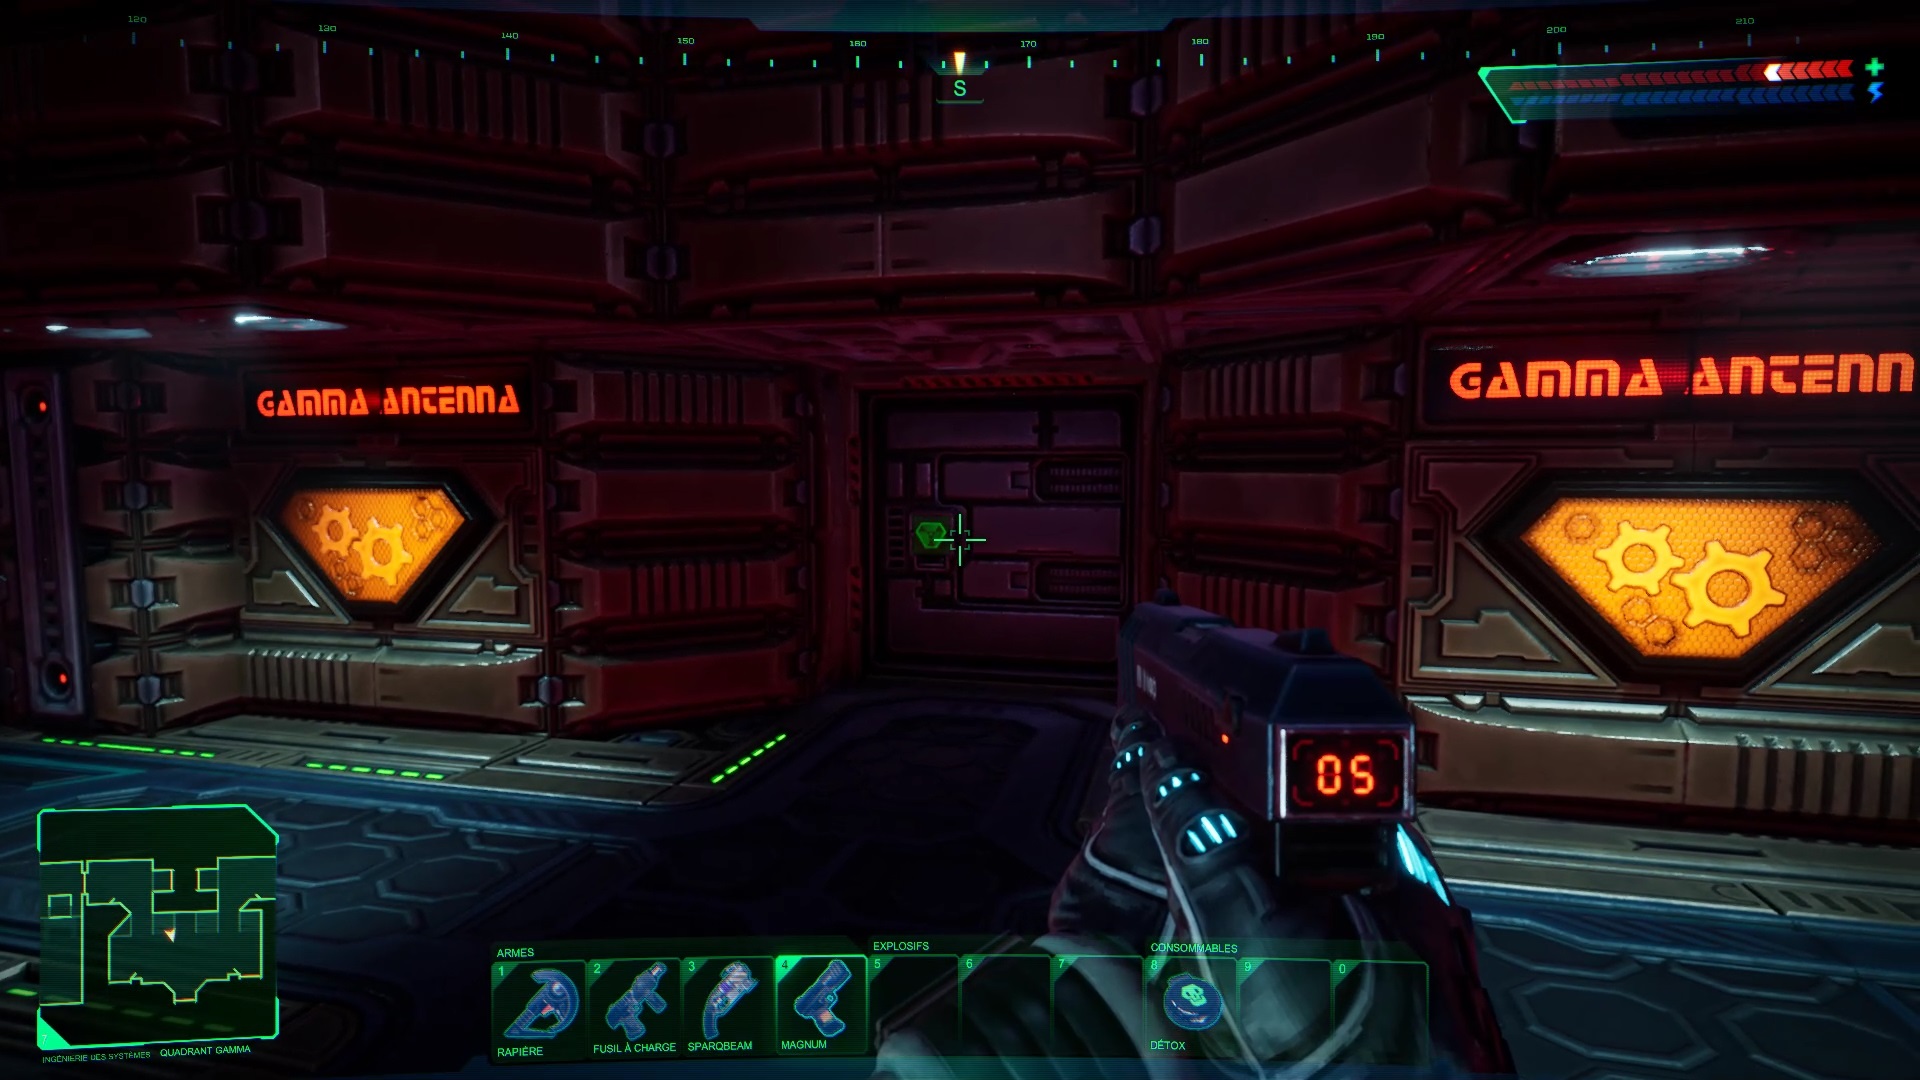
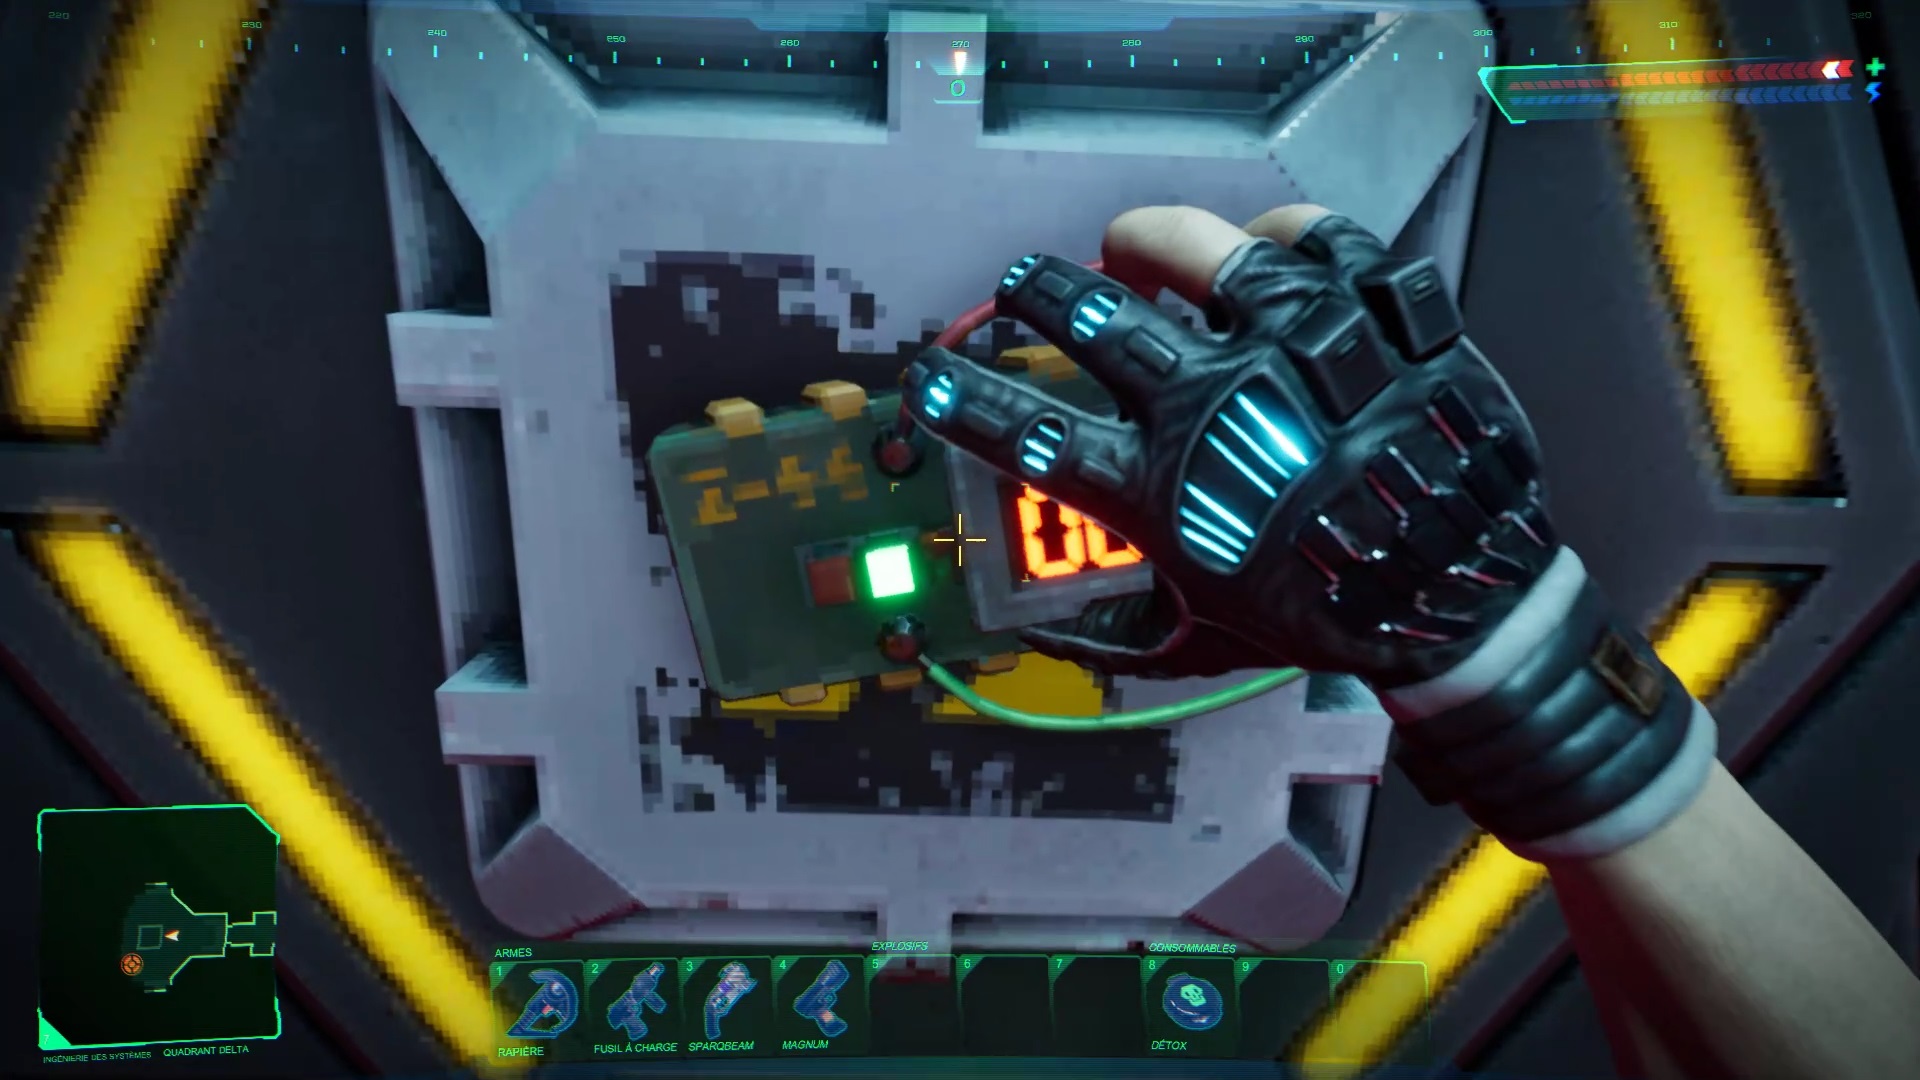
Let us now take the direction of the south of the Engineering to join the Gamma antenna. Continue south to find the antenna and destroy it with a charge. Shodan thinks he’s smart locking you up afterwards. Interact with the nearby panel to solve a puzzle and exit.
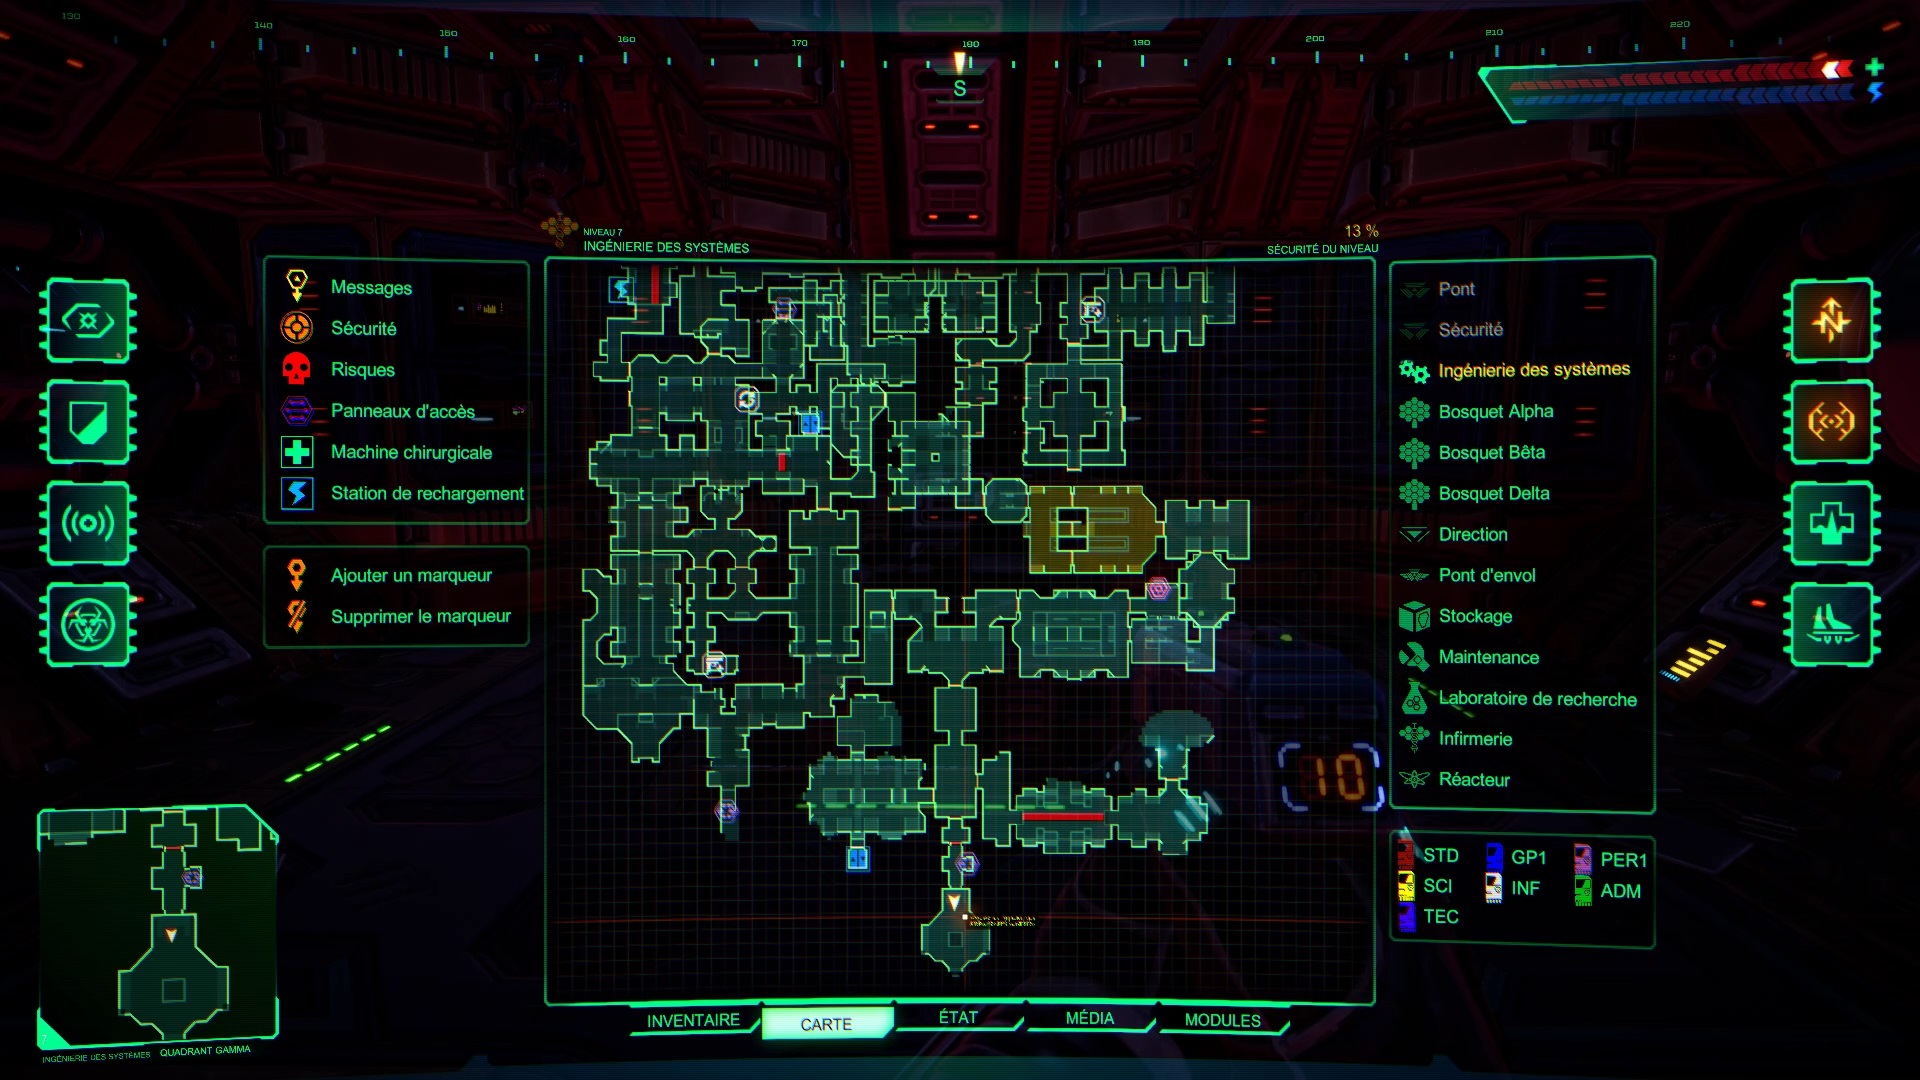
Go east to find the Beta Antenna. Continue down the hall to find the antenna and destroy it.


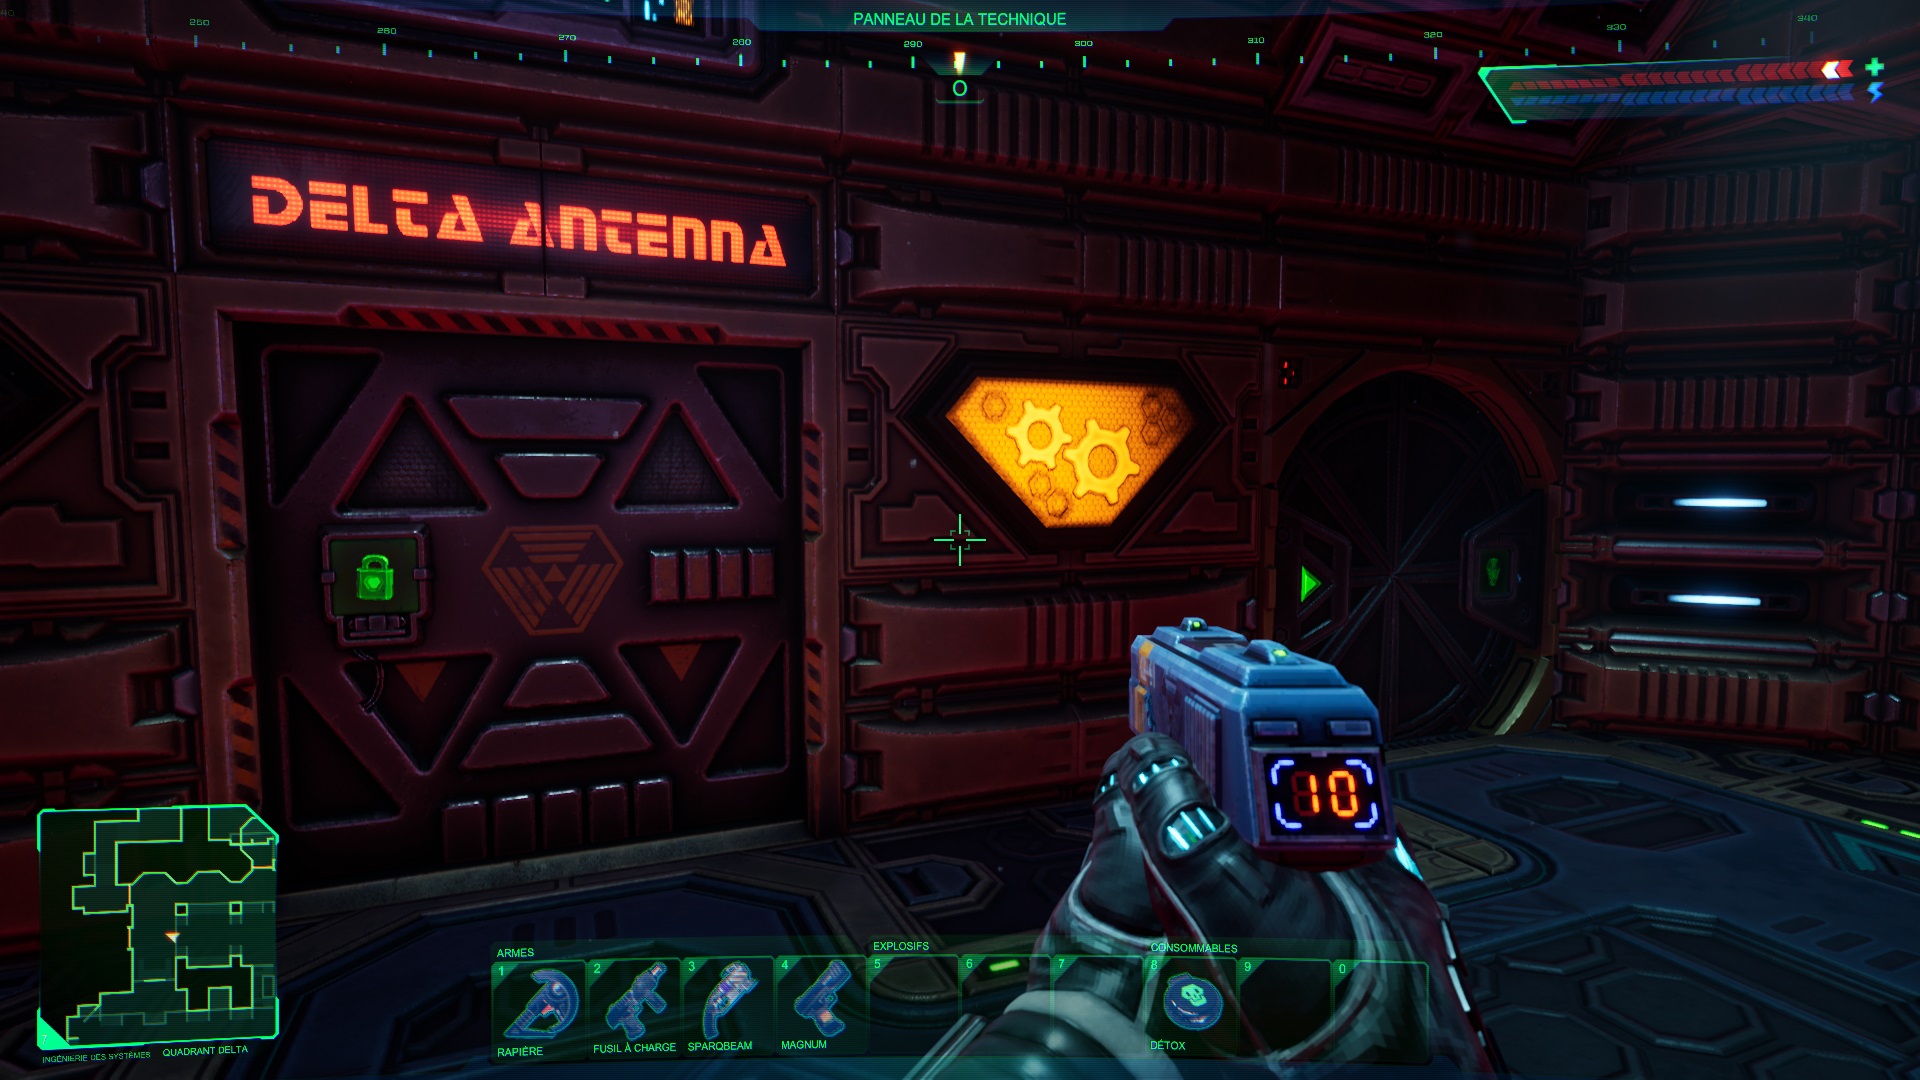
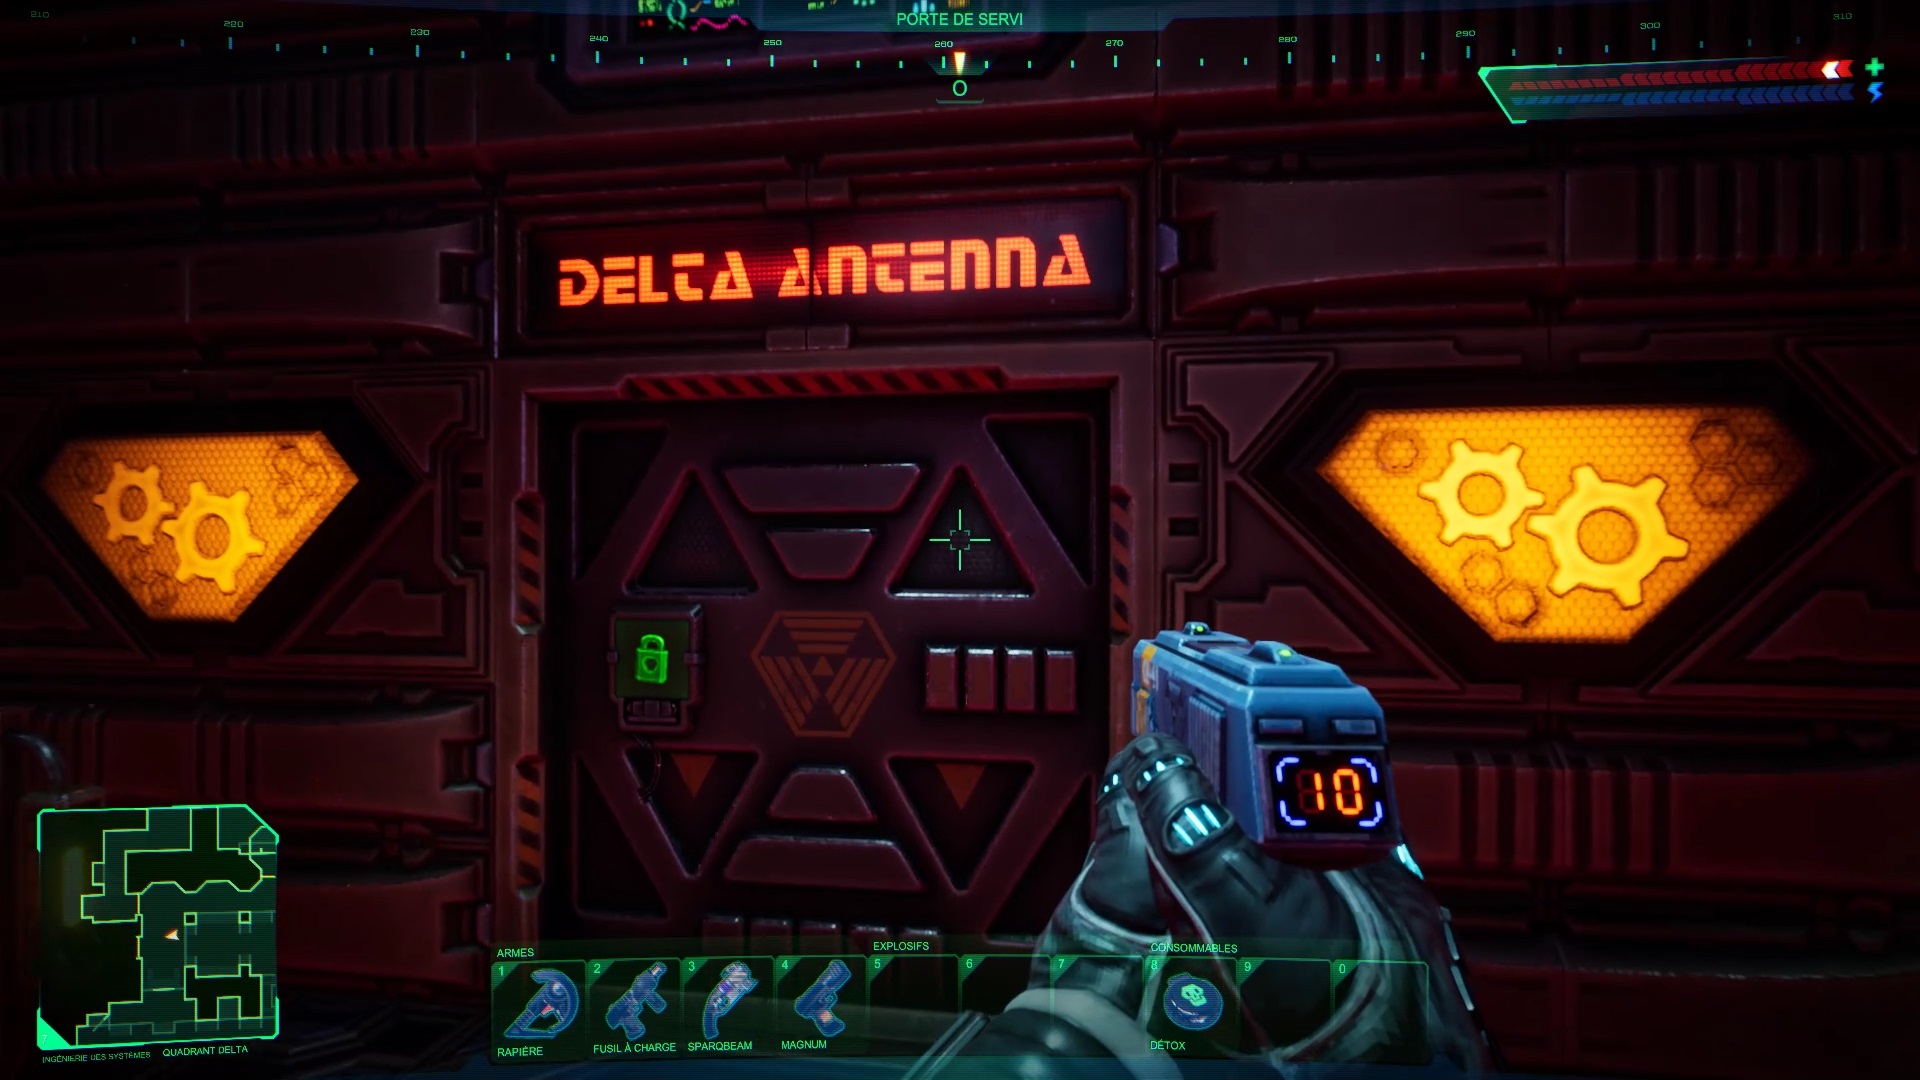
Head opposite, west to find the Delta Antenna. Continue west to reach the antenna and destroy it.
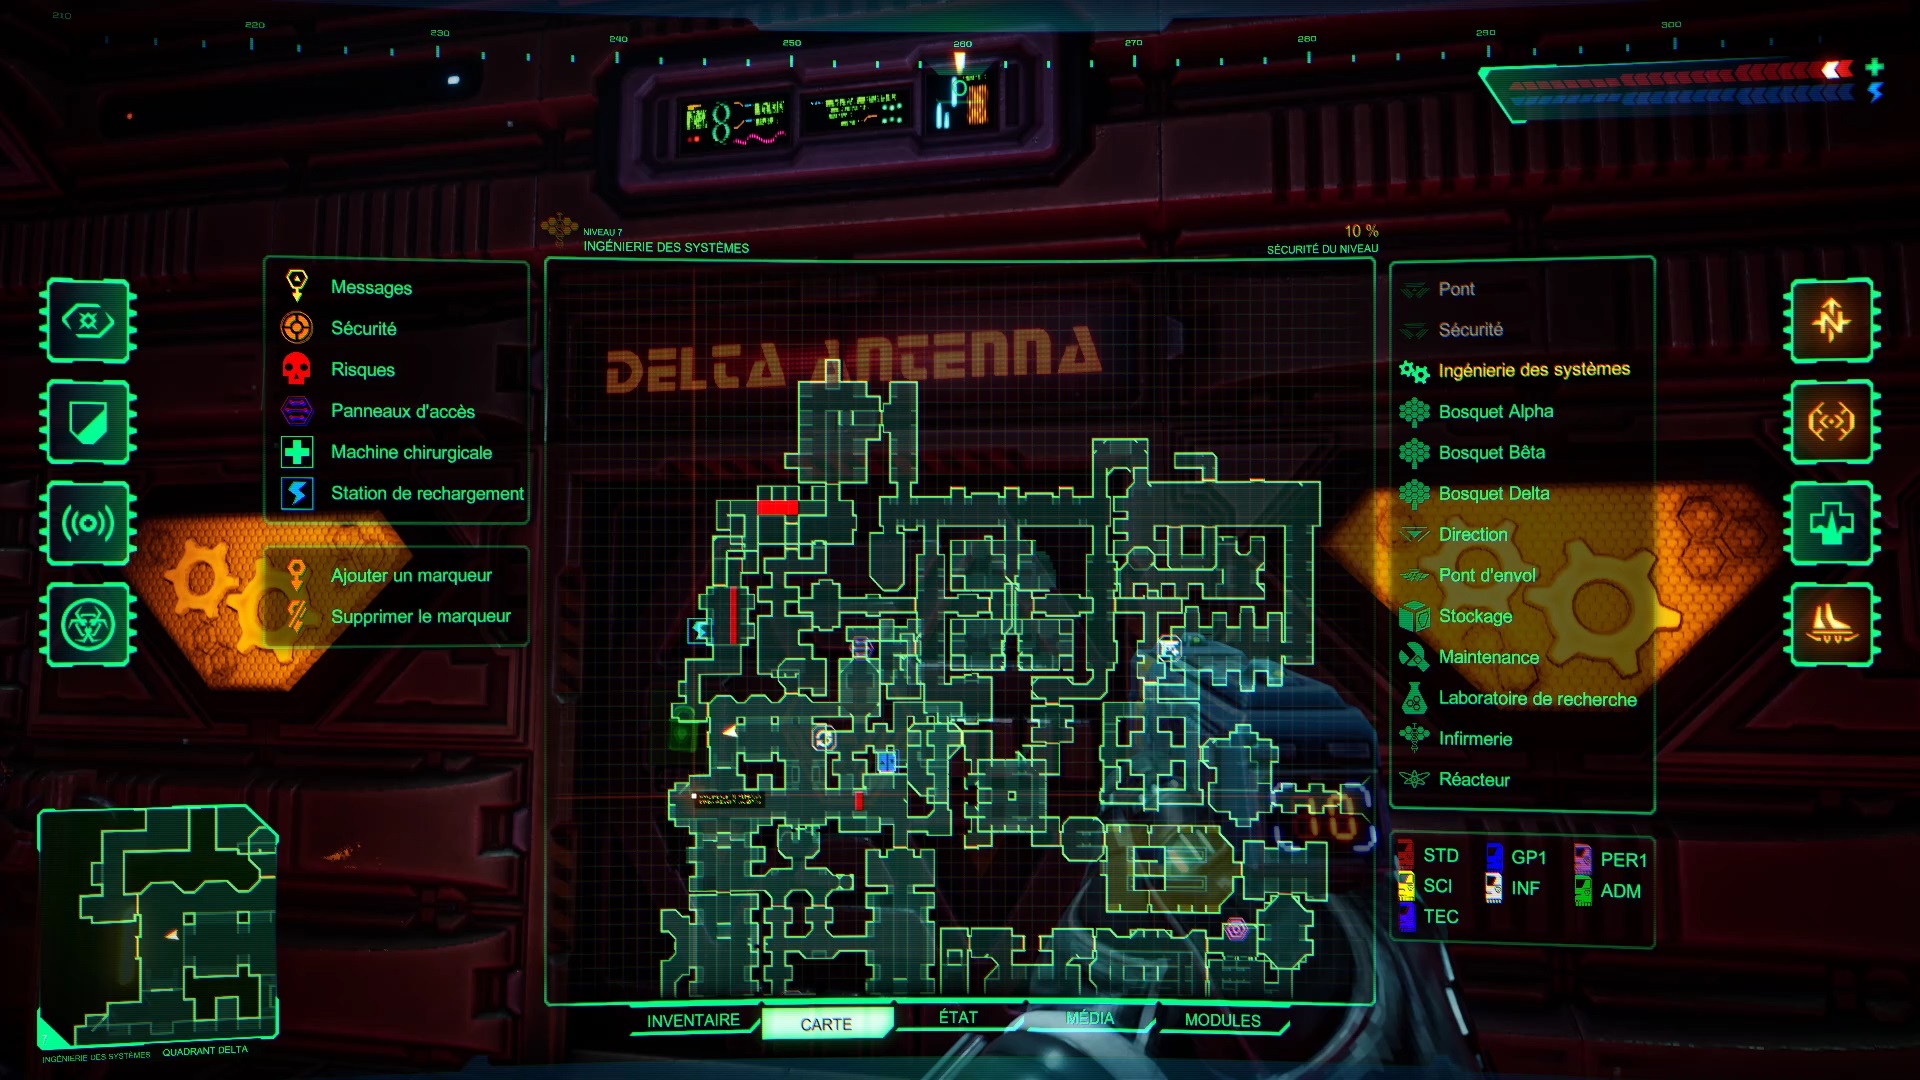
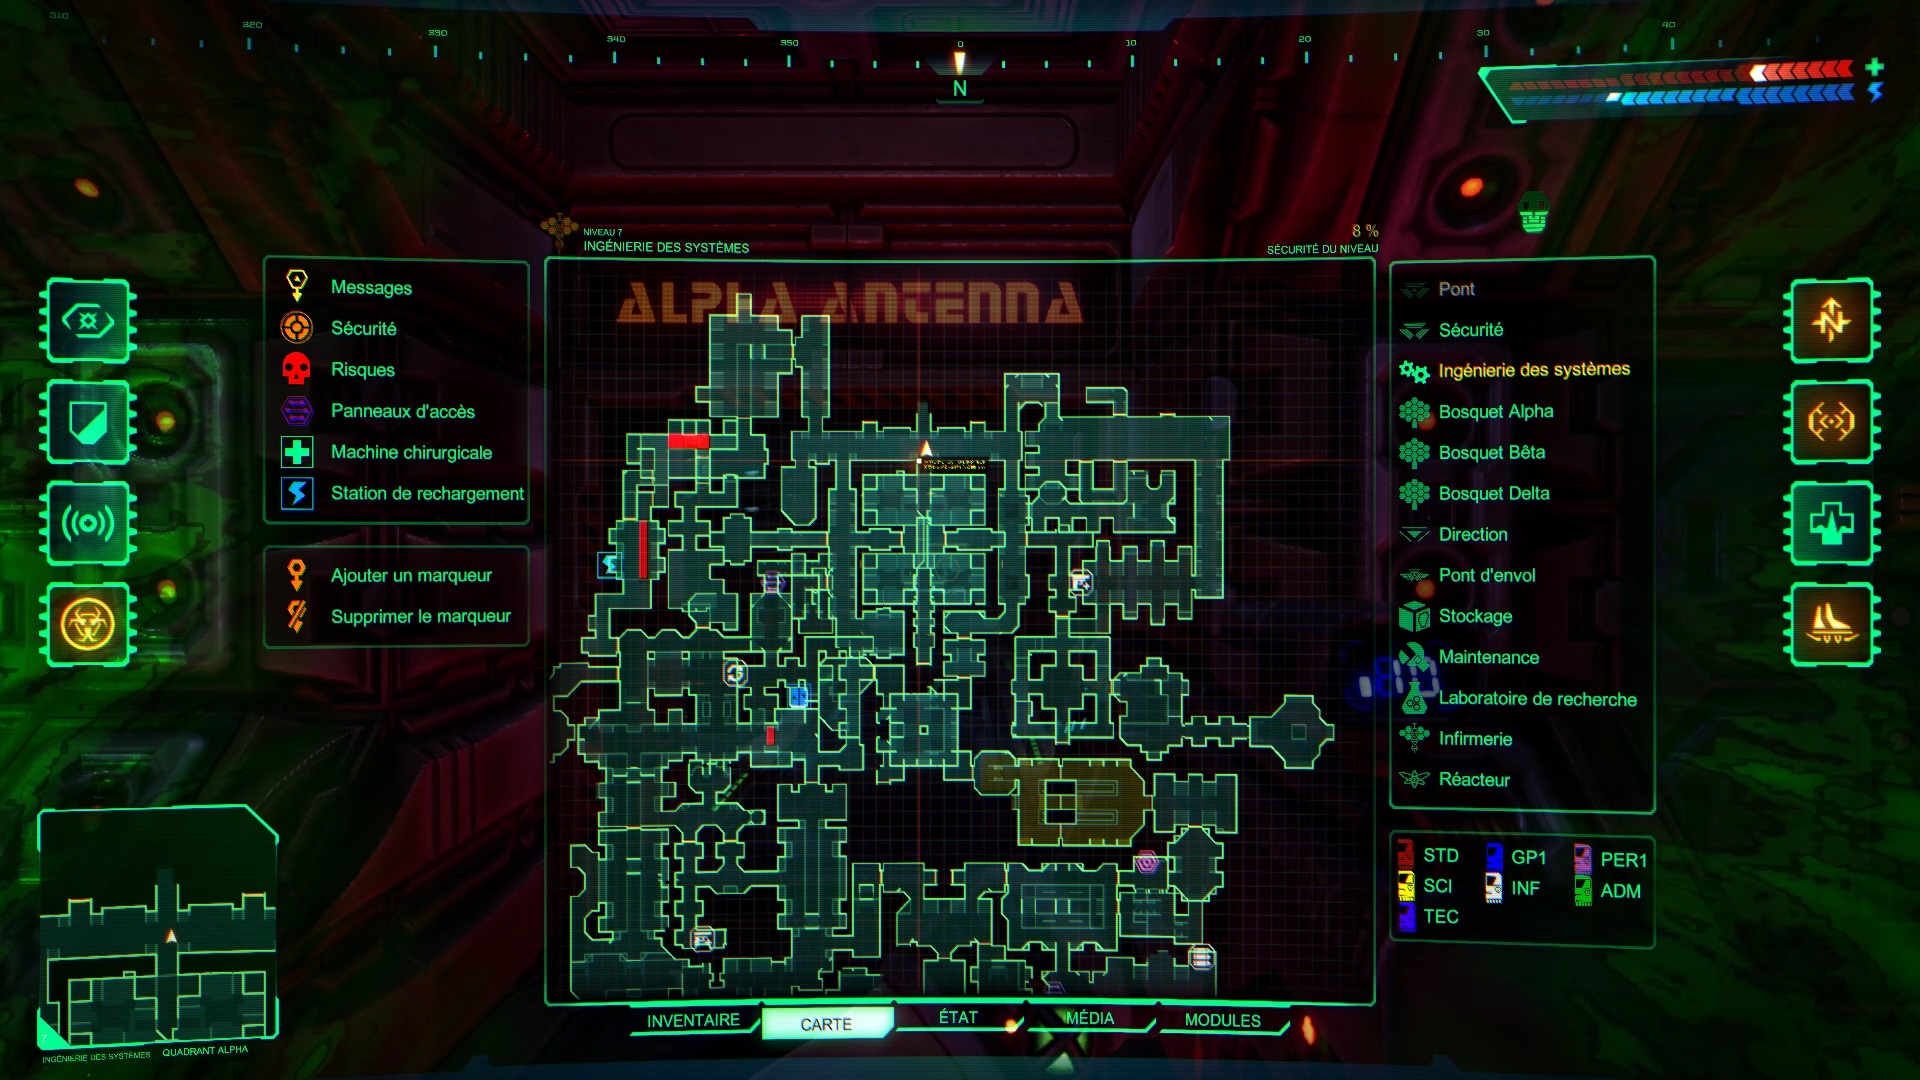
Only the Alpha antenna remains. This is located to the far north. Open the door and destroy the antenna to prevent Shodan from exporting.

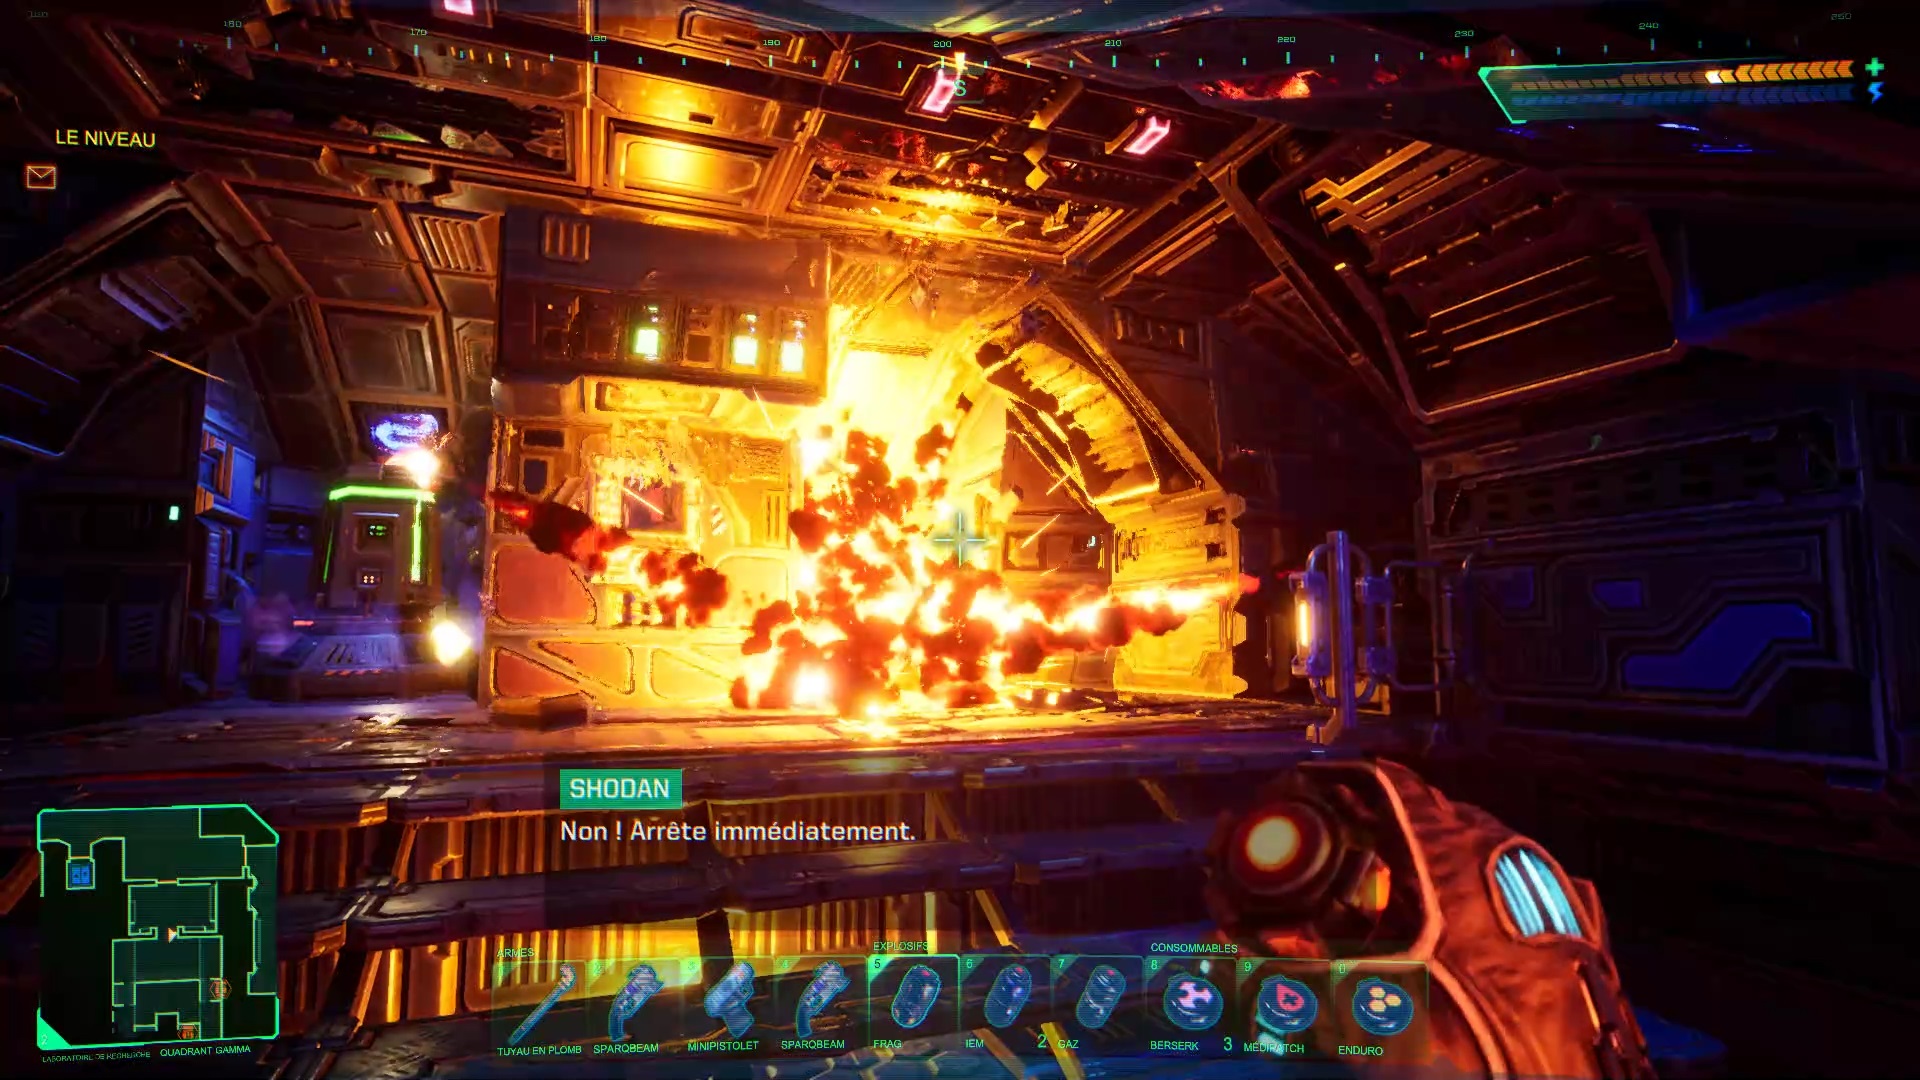
You have destroyed all antennas. You must now start the self-destruct procedure. If you have explored the Citadel enough you will have obtained audios informing you that the only way to open the door and use the digits of the computer clusters. You must align all the digits of levels 1 to 6 displayed in the screens to obtain the code. In our game, the code was: 782649.
Go to the center of the reactor through the environmental protection. Activate a lever in the hallway to reach the reactor’s gravolift and enter the code. Pull the self-destruct lever to gain access to the security level.

Take a second elevator in the Engineering south of the first to reach safety.
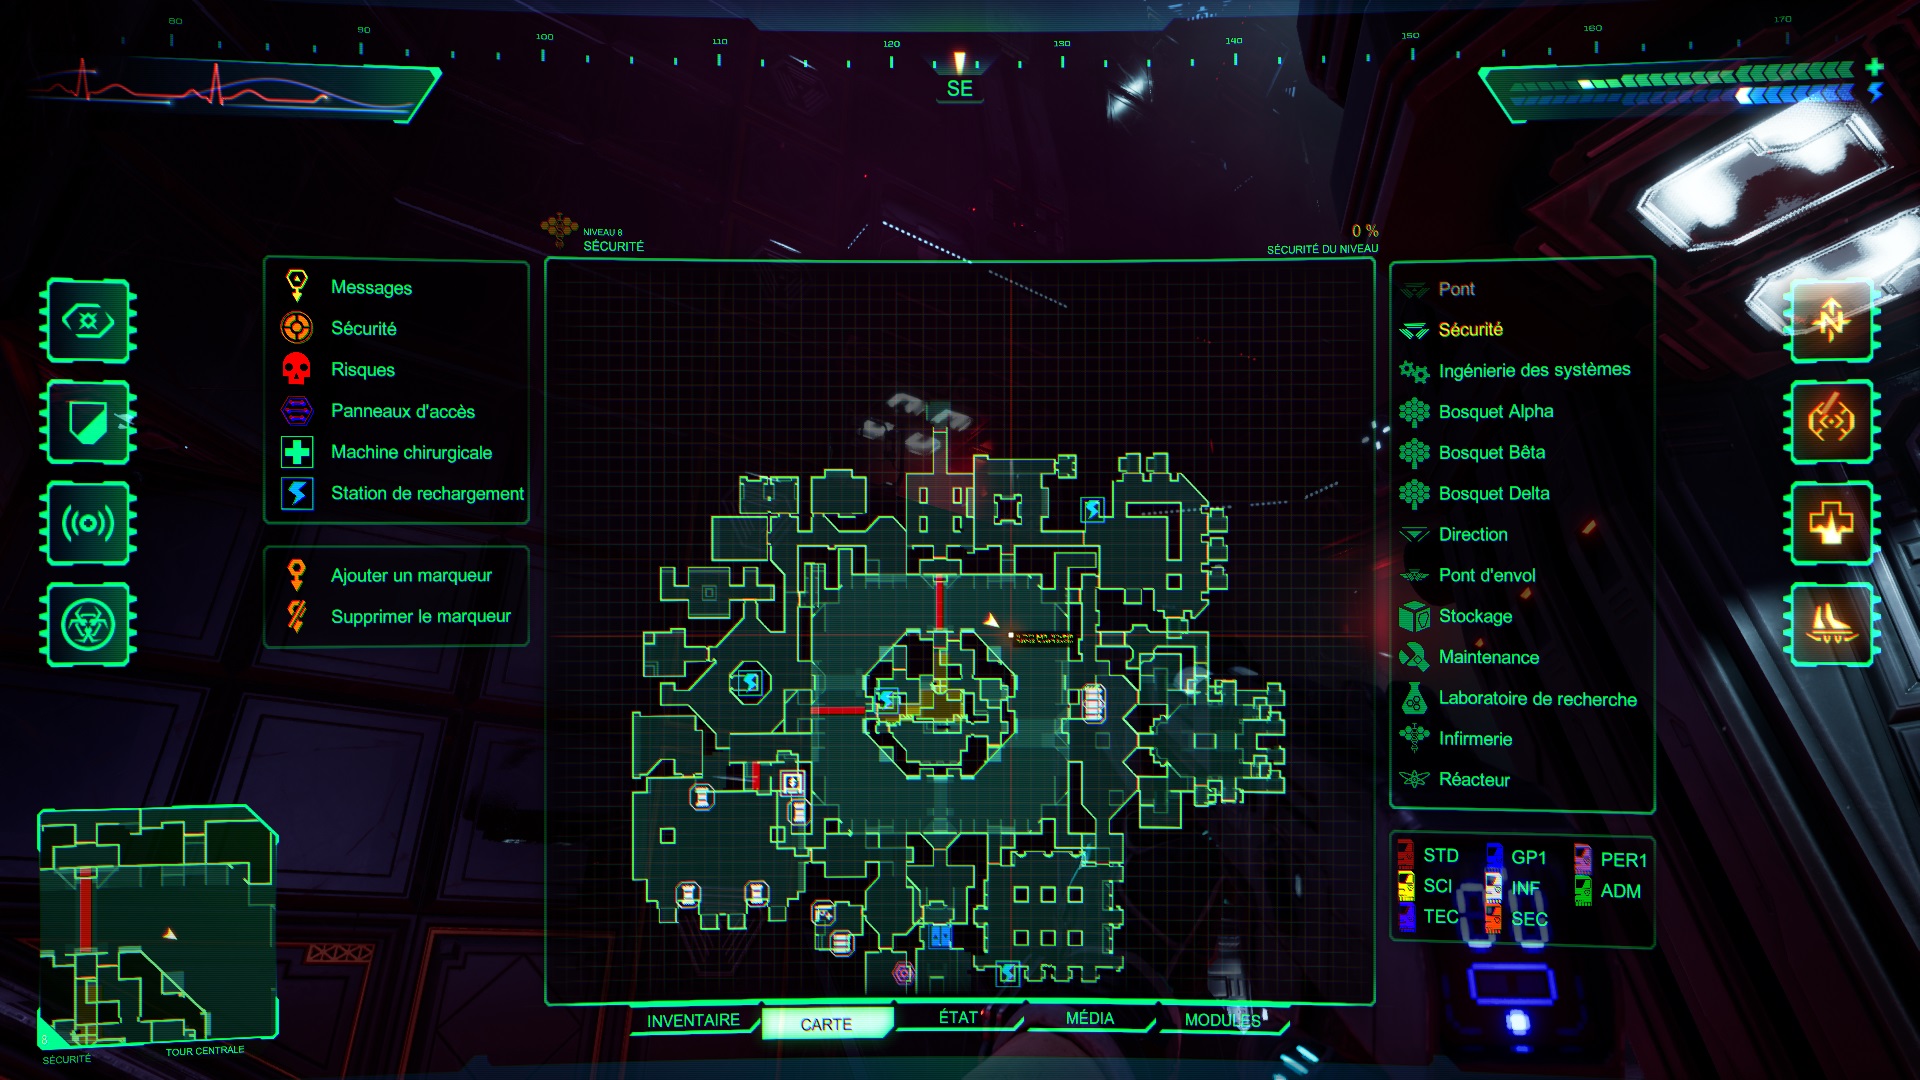
Security
You arrive at level 8 of the Citadel security. Be careful, the level of difficulty goes up a notch. Each of your deaths brings you back to the last autosave. We encourage you to save manually very frequently to avoid frustrations. No return to the Citadel will be possible after passing through the first gate. Be prepared and refuel before riding.
At the exit of the elevator, an ambush awaits you. Deal with threats using your arsenal. If you are low on resources, explore the area for ammo. After the fight, head northeast to find a gravolift leading to the extraction. Above, go through the door on the right to find a switch. Press it to clear the path of the laser barrier.


Above, you have access to the experimental room with a new weapon. You must destroy Shodan’s presence in the level to pick up the new weapon.
Continue your ascent with the gravity lift. Go through the door to the northwest to enter an office. Open the briefcase to retrieve the security access card.
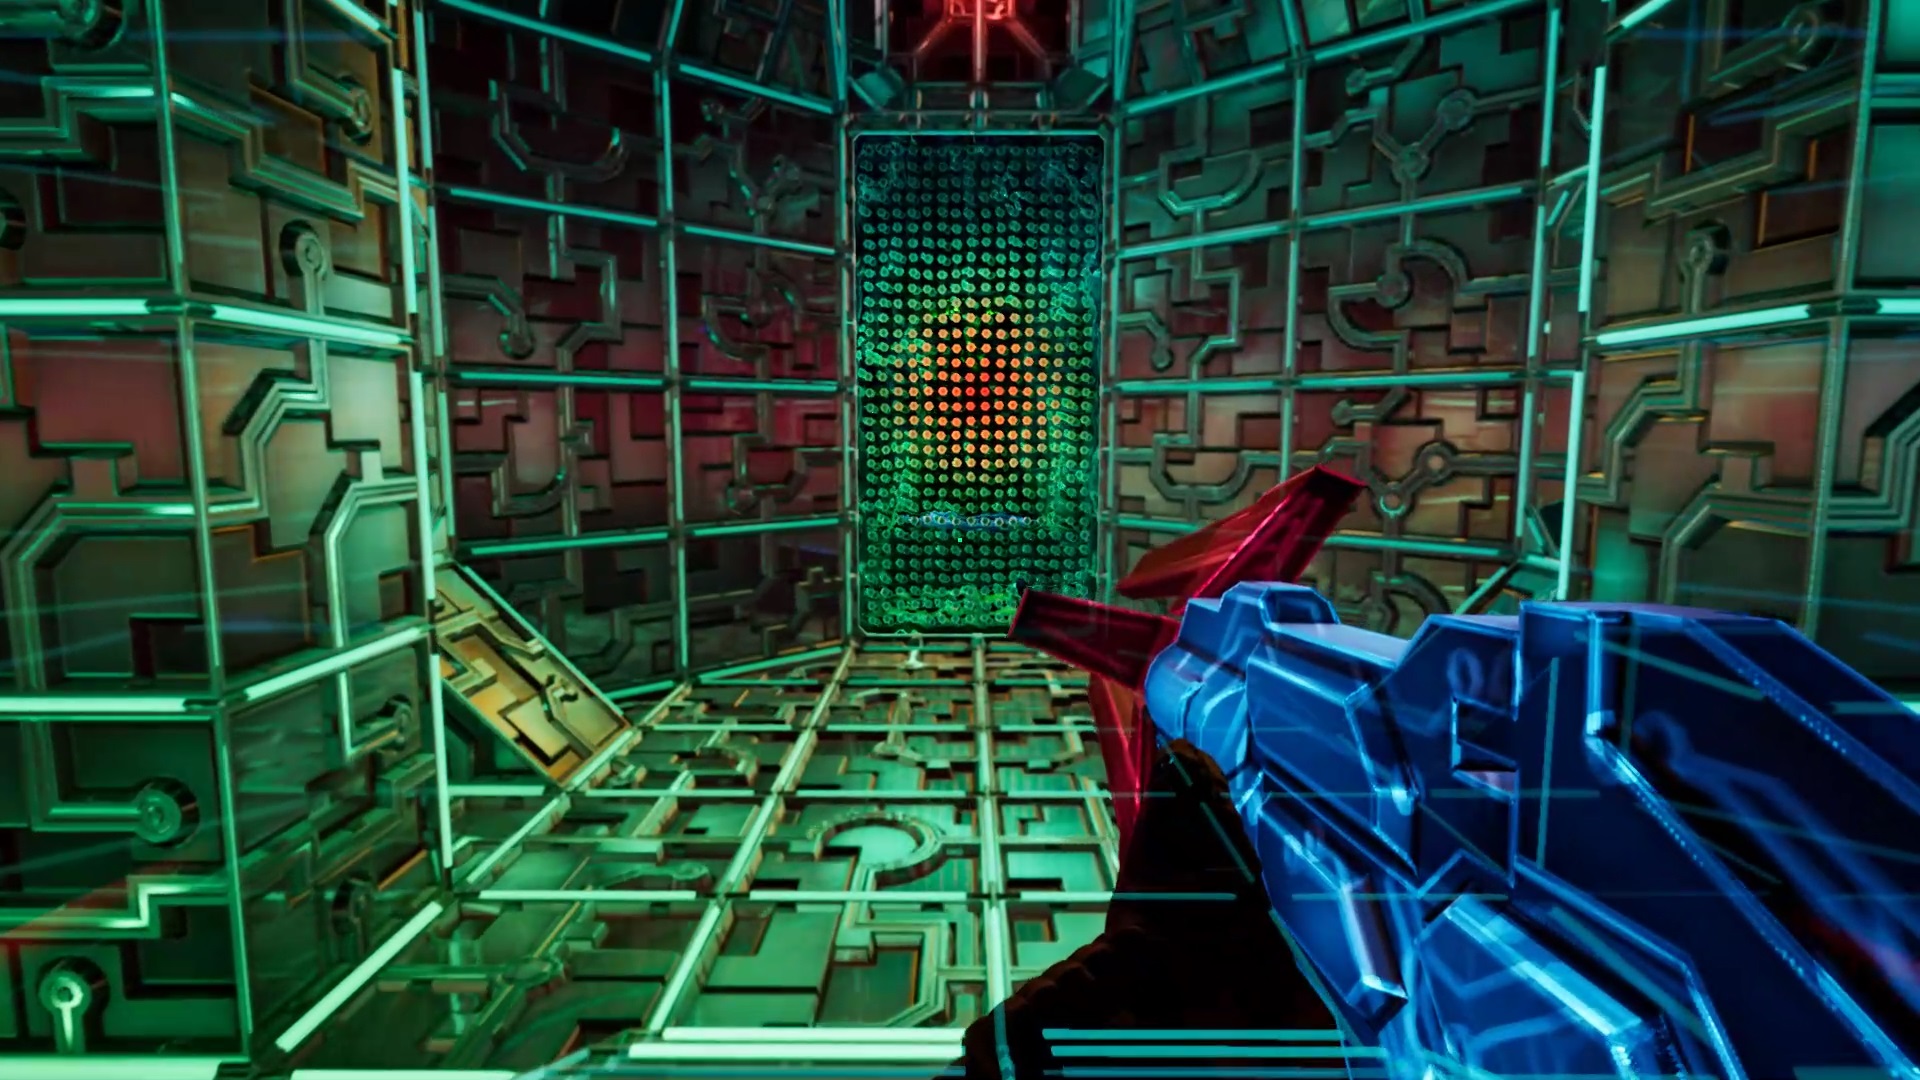
Proceed east to find a staircase leading to three rooms. The first to the west is a computer cluster room. Use the lever against the wall to reach the processors and destroy them. Search the room in the center to find an access to cyberspace. Destroy the computer core to gain access to the detention room.

Using the access card, go northeast from security, you will find an elevated entrance. Jump on the small platform opposite with your turbo boots to reach the entrance. Head north to find a checkpoint. Press the switch to unlock a security center access to the top.
Use the gravolift southeast of security to cross the bridge and enter through the access. Use environmental protection to climb without fear of radiation. Go through the door leading to the bridge when you are ready.
A boss fight begins. Use the pillars to protect yourself from the boss’s shots. Use the Turbo Boots to quickly dodge rockets. Preferably use the Railgun, Magnum and Explosives to finish the fight quickly. If you are lucky like us, you can position yourself below the steps to touch the boss without him being able to reach you.
The Bridge
You have reached the final level of System Shock: the Bridge.
Exit the elevator and go northwest to reach several cells. Go down to the lower levels to find a lever. Shoot it to make bridges appear. Use the bridge to access a second lever. The lever opens a cell. Eliminate the threat and pull the lever in the cell to open another one. Continue until you reach a checkpoint with a sign. Solve the puzzle to disable a laser barrier.

Head northeast to reach a new area. Use a switch against the wall to open a passage to the lower level. Eliminate the robot guards and reach a second control panel. Solve the puzzle to disable a second laser barrier.
Continue your search southeast. Eliminate the threat and move forward to reveal a bridge. Go west to find a passage to the lower levels. You will find a third control panel to the southeast with a puzzle to solve. Once the puzzle is solved, the last laser barrier rises.
Now that the laser barriers, head southwest to find an arena. A familiar boss appears. Eliminate it to pick up a flea on its carcass.
Then go east of the bridge to find the program computer. Insert the chip to open a passage west of the bridge.
When you reach the room to the west, prepare to face a wave of enemies. After facing the first wave, go northwest to find a high checkpoint with a lever. Face a second wave and cross the bridge in front of the lever to find a second. A second wave is coming. Head under the platform to find the third and final lever.
You survived the enemy waves, go west of the room to find a gravolift. Confront the mechanical spider a third time and gain access to cyberspace towards Shodan.
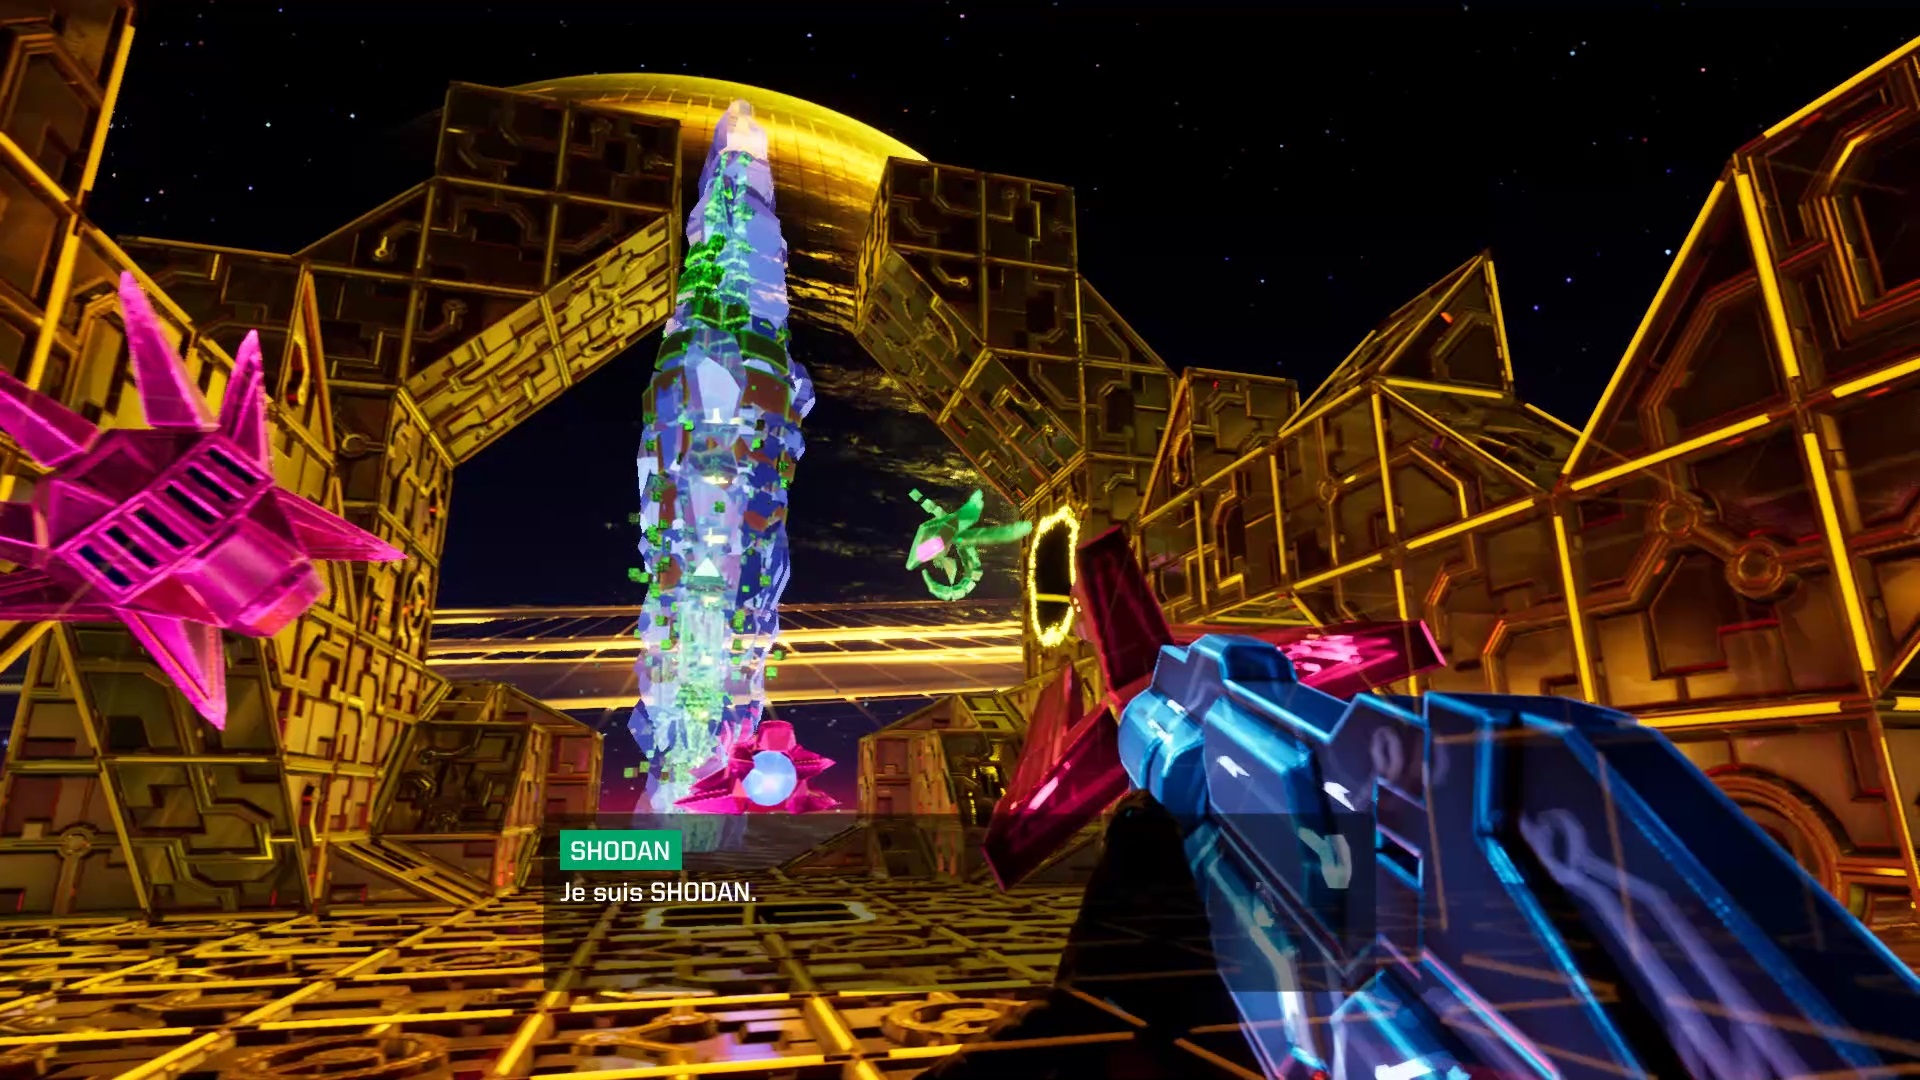
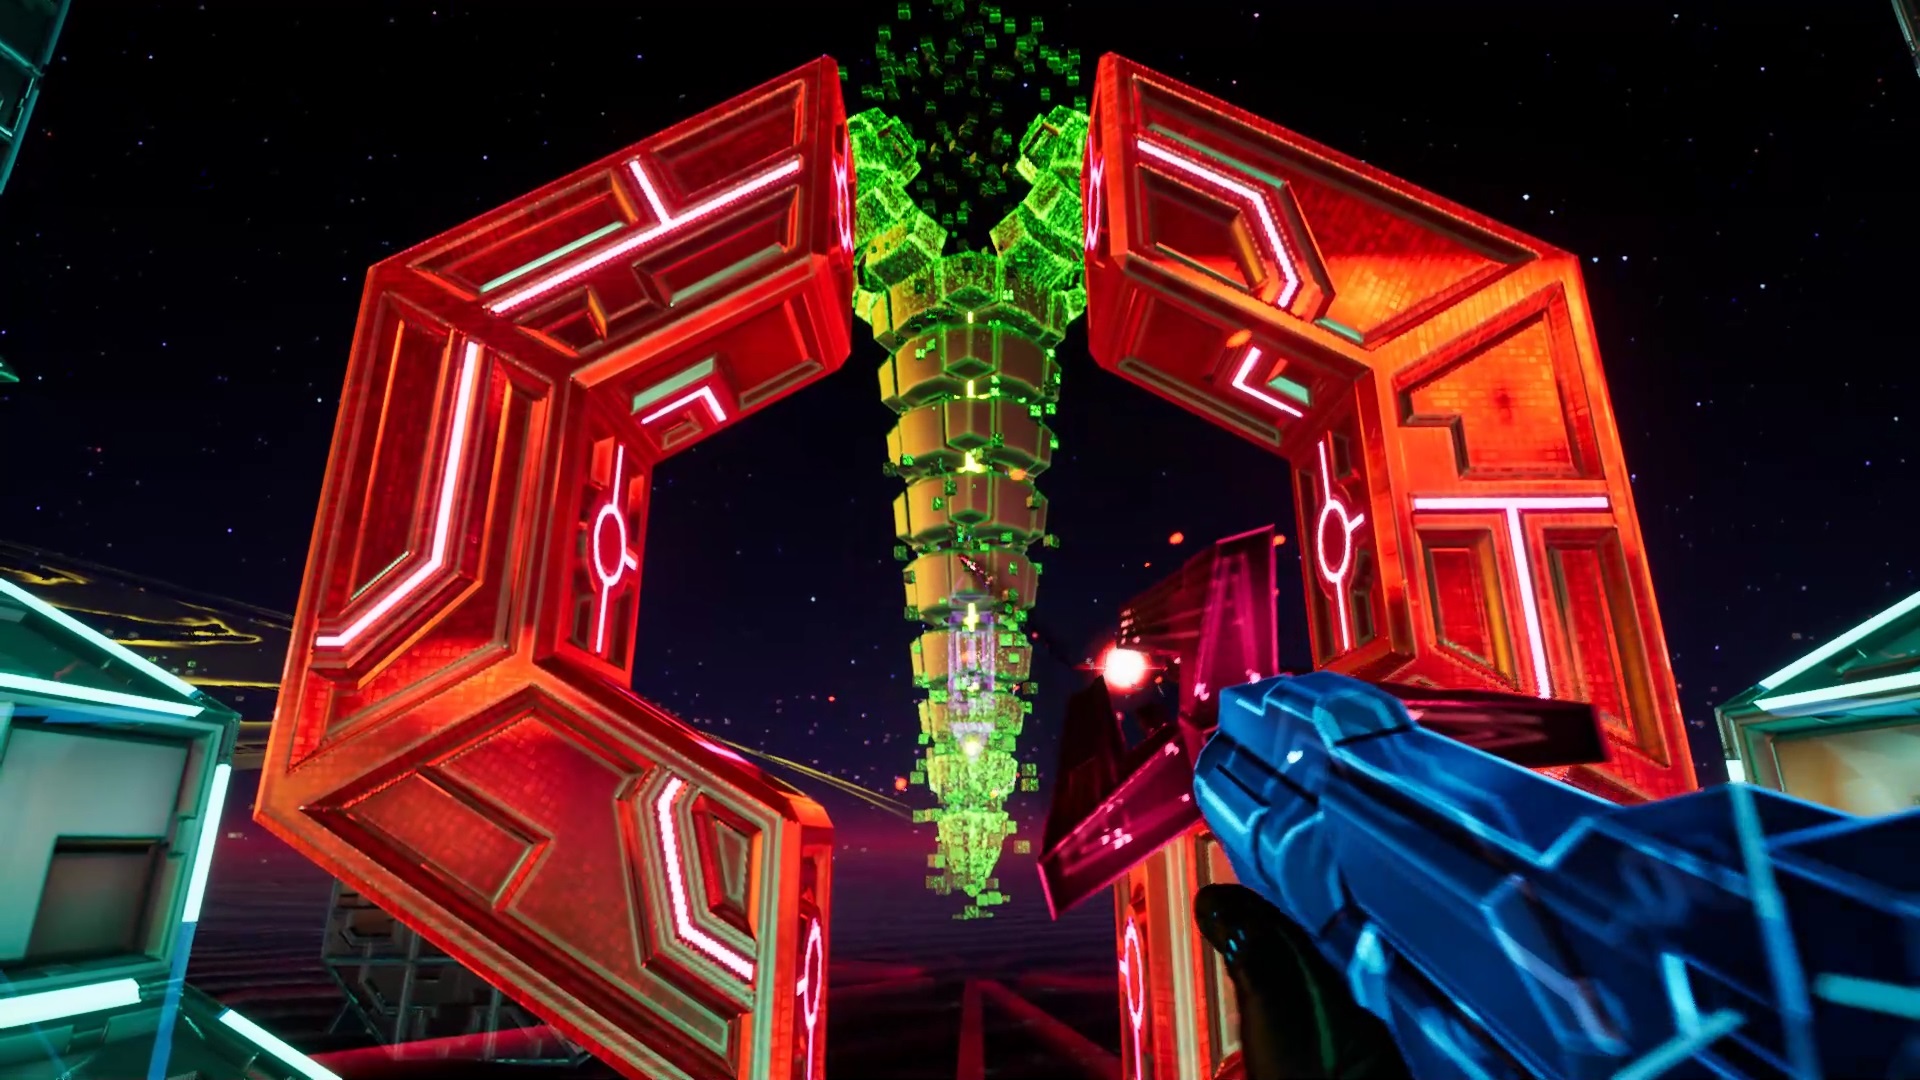
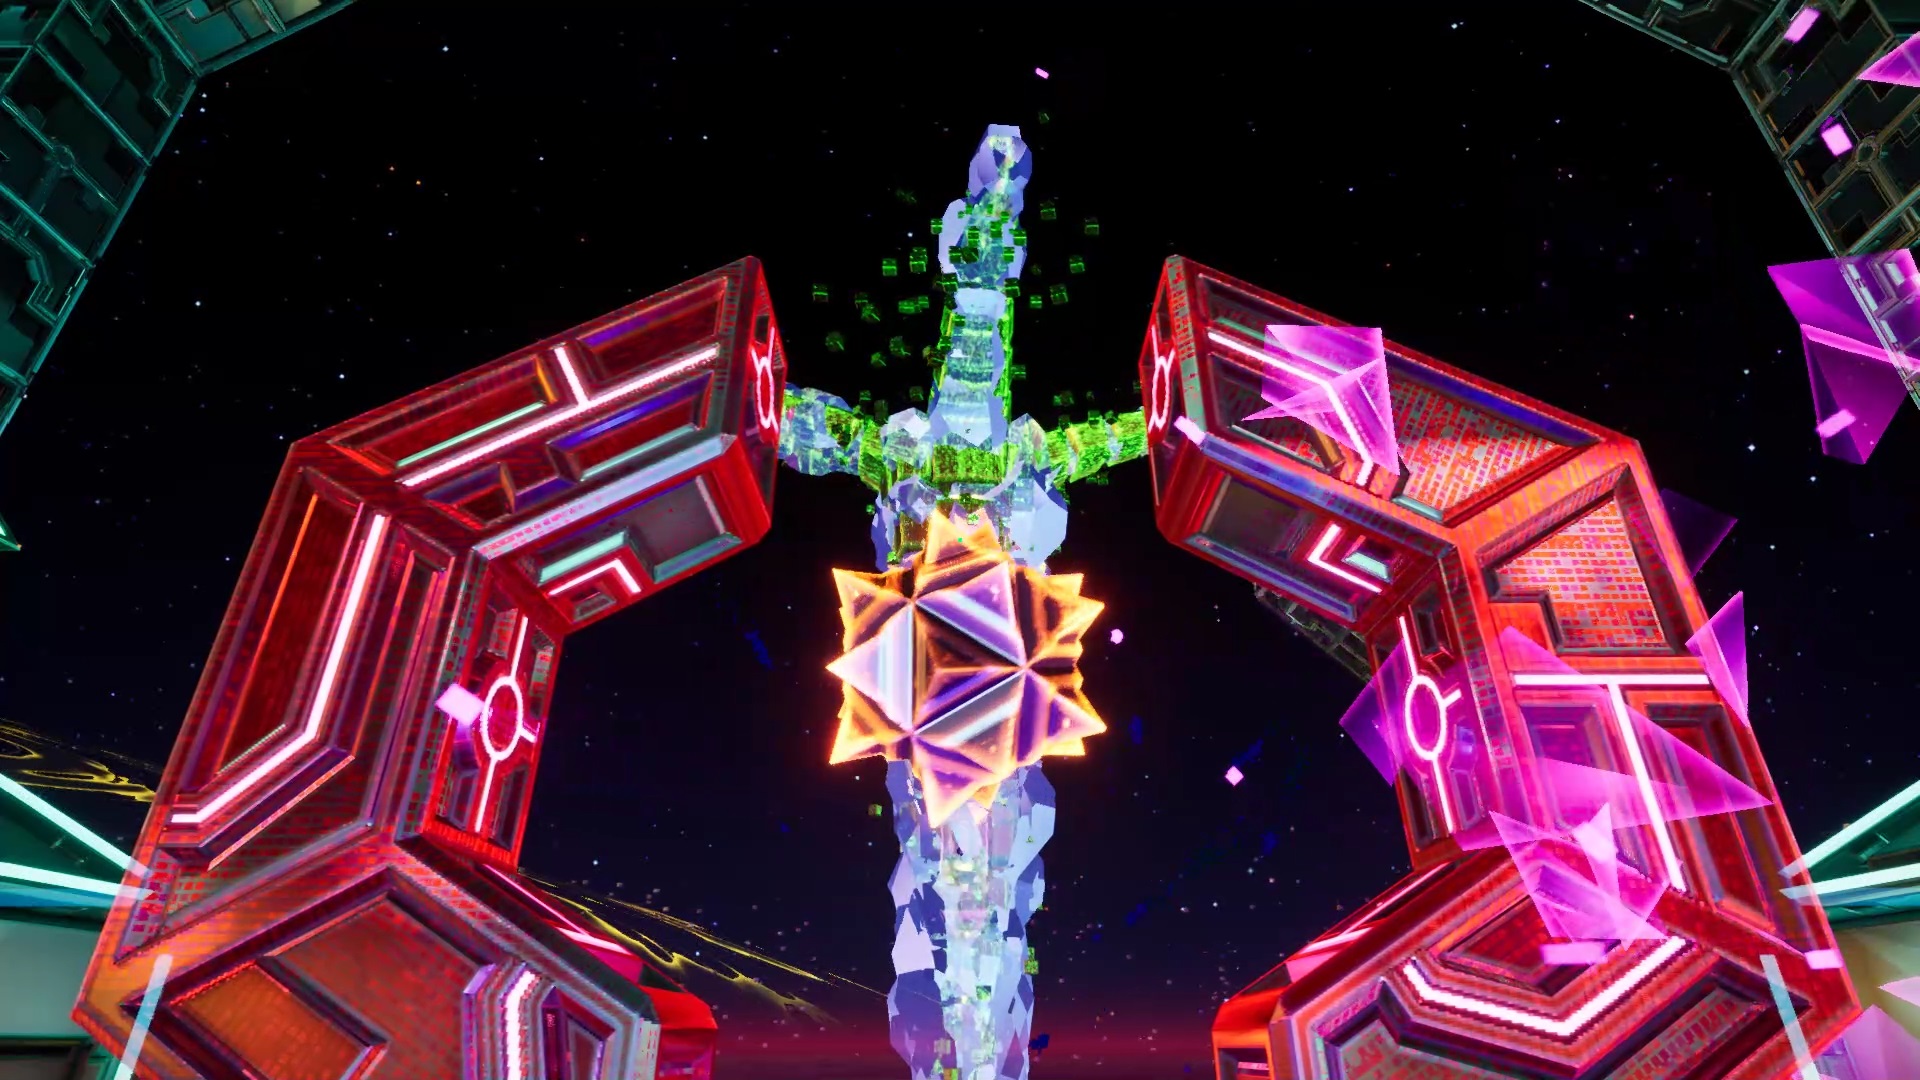
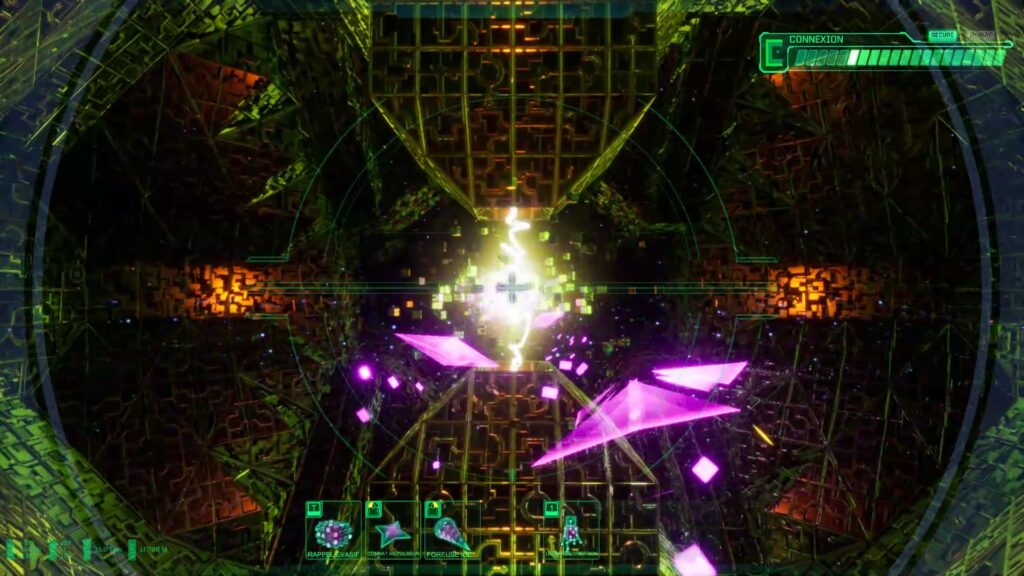
In cyberspace, collect the weapon and destroy the barrier in front of you. Go to the altar to join a new arena. Fight the threats and stand on an altar to reach a pillar. Use the altars towards Shodan’s Tower to make a ring appear. When wielded, Shodan’s tower is vulnerable. Shoot the tower to build a cell to lock up Shodan. Repeat with the other two pillars to seal and contain Shodan.

Journaliste gameactuality.com


You missed the part when you must revert power from Level R in order to get access to the executive levels.
Thank you for the guide
Thanks for the guide. Would be difficult to beat without it.