[Guide] Senua’s Saga Hellblade II : Full Walkthrough [EN]
Discover our complete guide to the Senua’s Saga Hellblade II walkthrough. Our solution will guide you through the entire game, with tips for solving puzzles and defeating enemies. Walk through our detailed step-by-step walkthrough with pictures to help you solve each puzzle.
Summary:
- Chapter 1 : Reykjanestá
- Chapter 2 : Freyslaug
- Chapter 3 : Rauðhólar
- Chapter 4 : Huldufolk
- Chapter 5 : Bárðarvik
- Chapter 6 : Borgarvirki
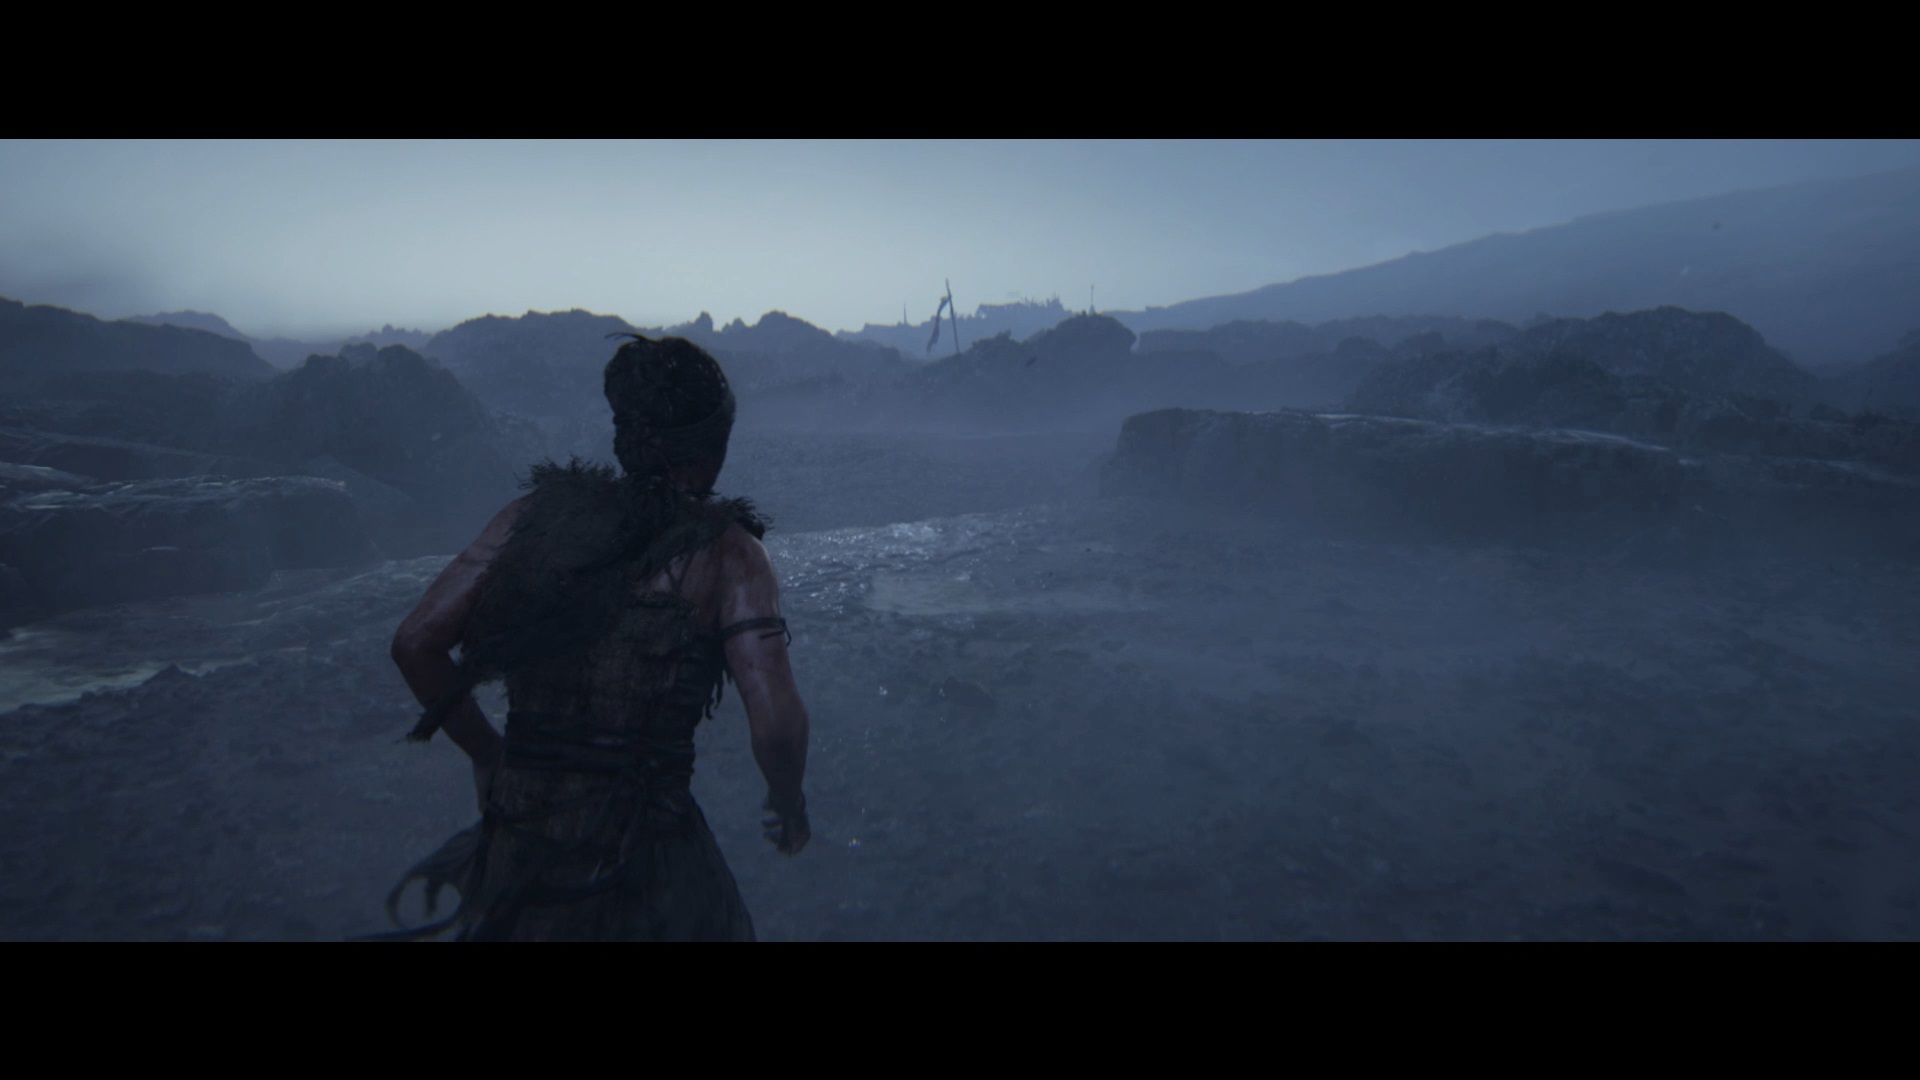
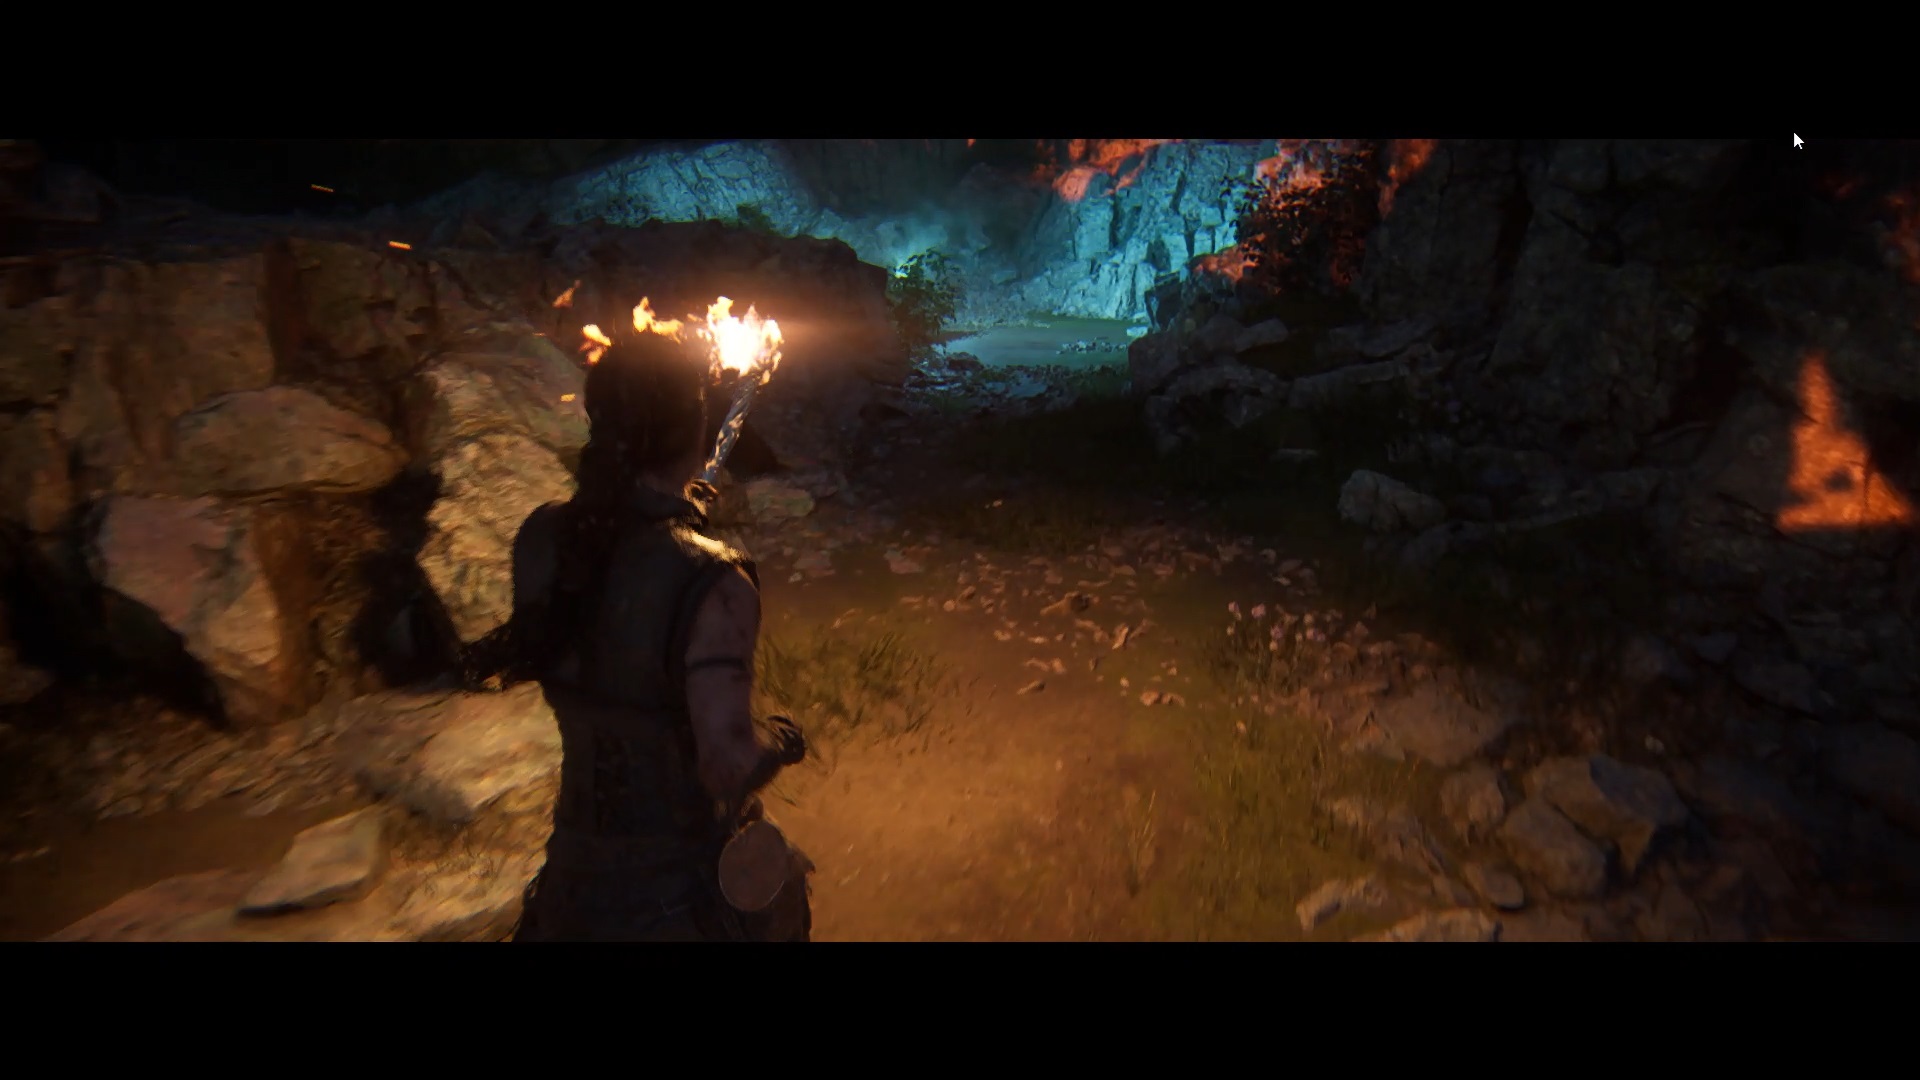
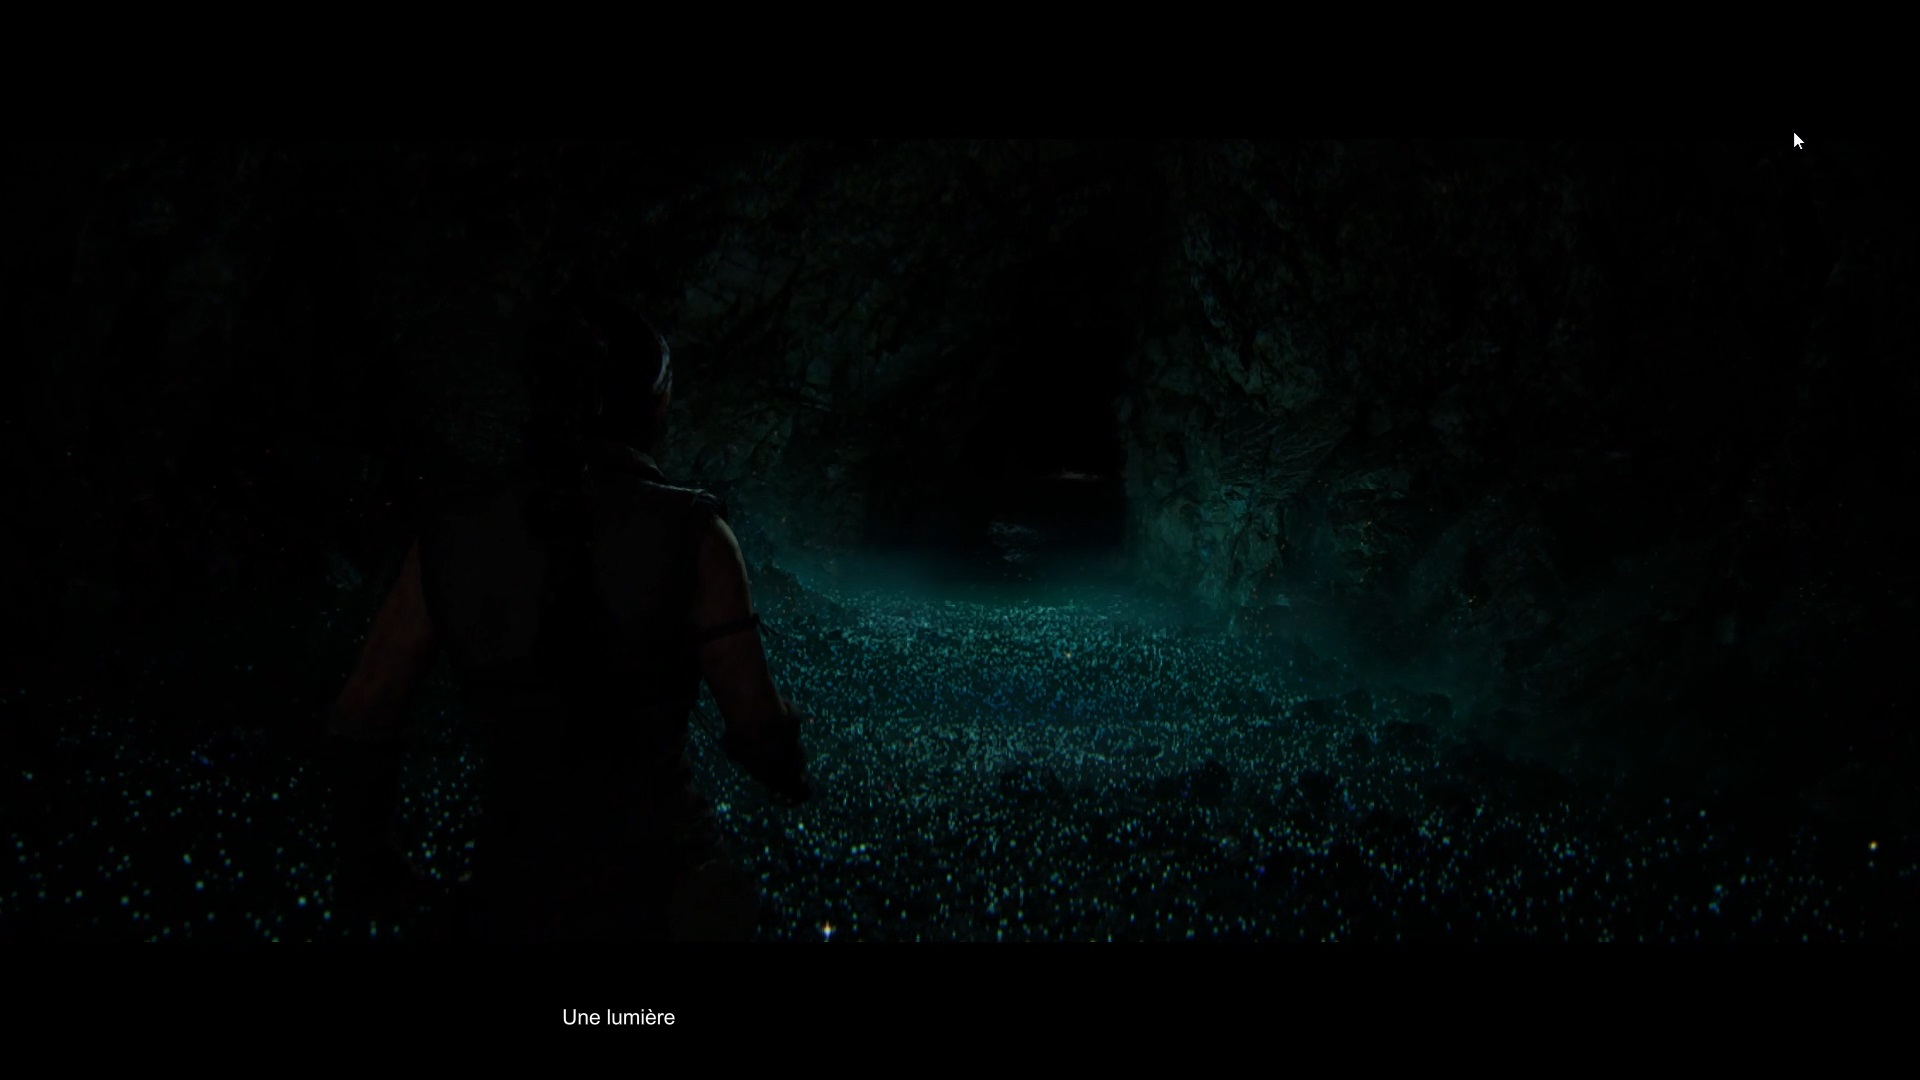
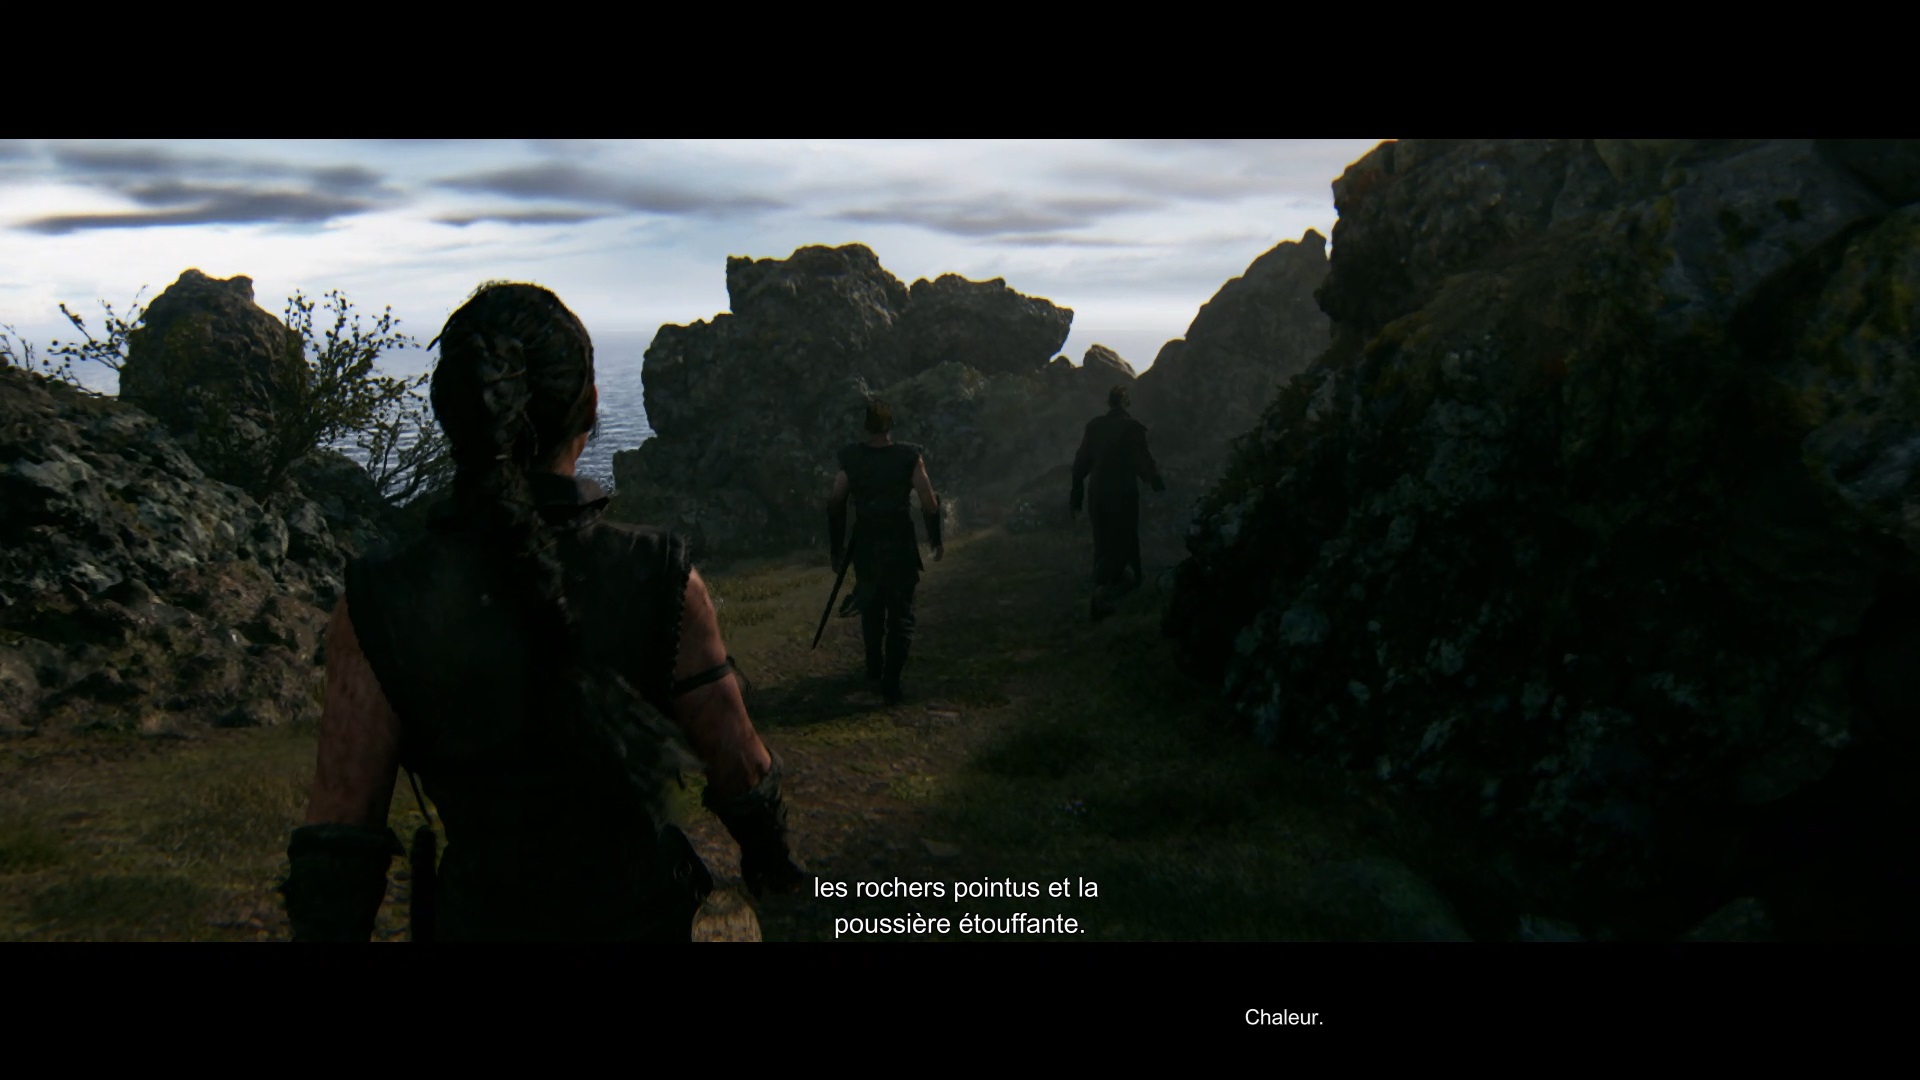
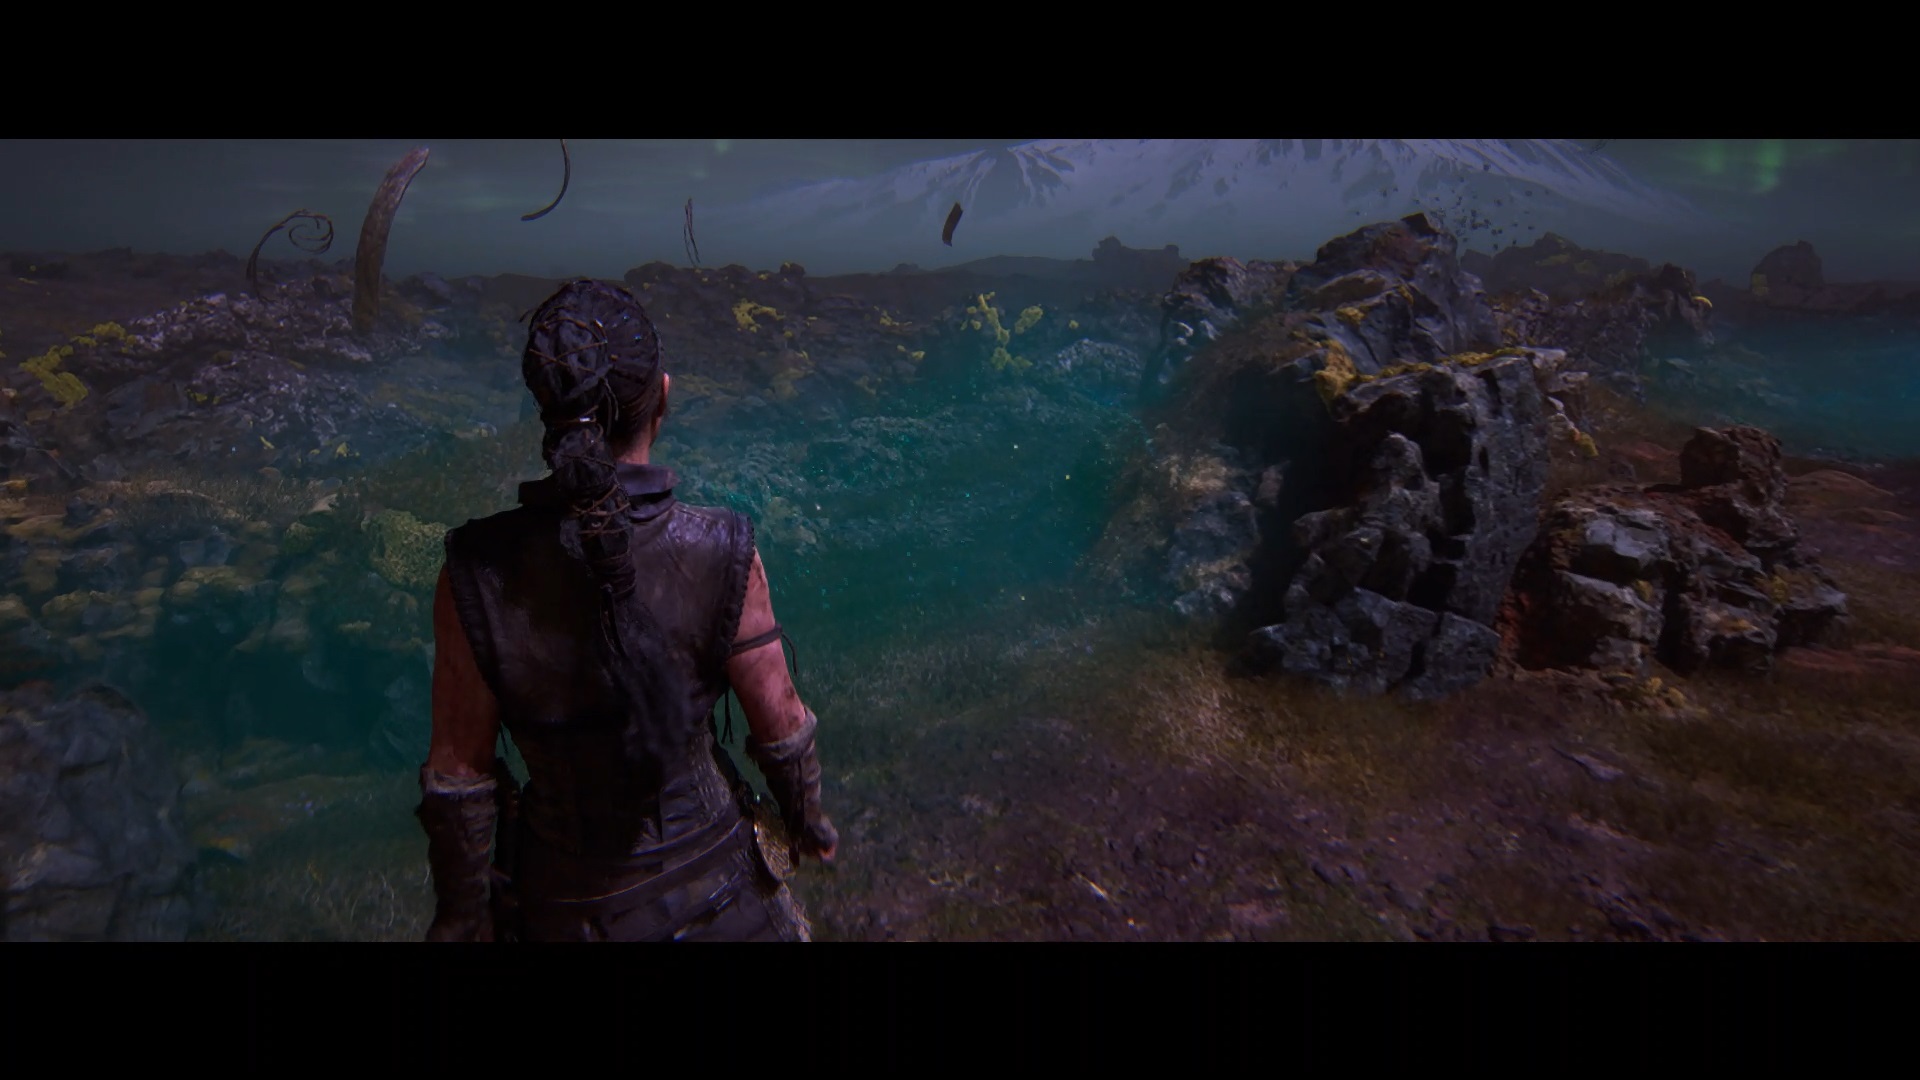
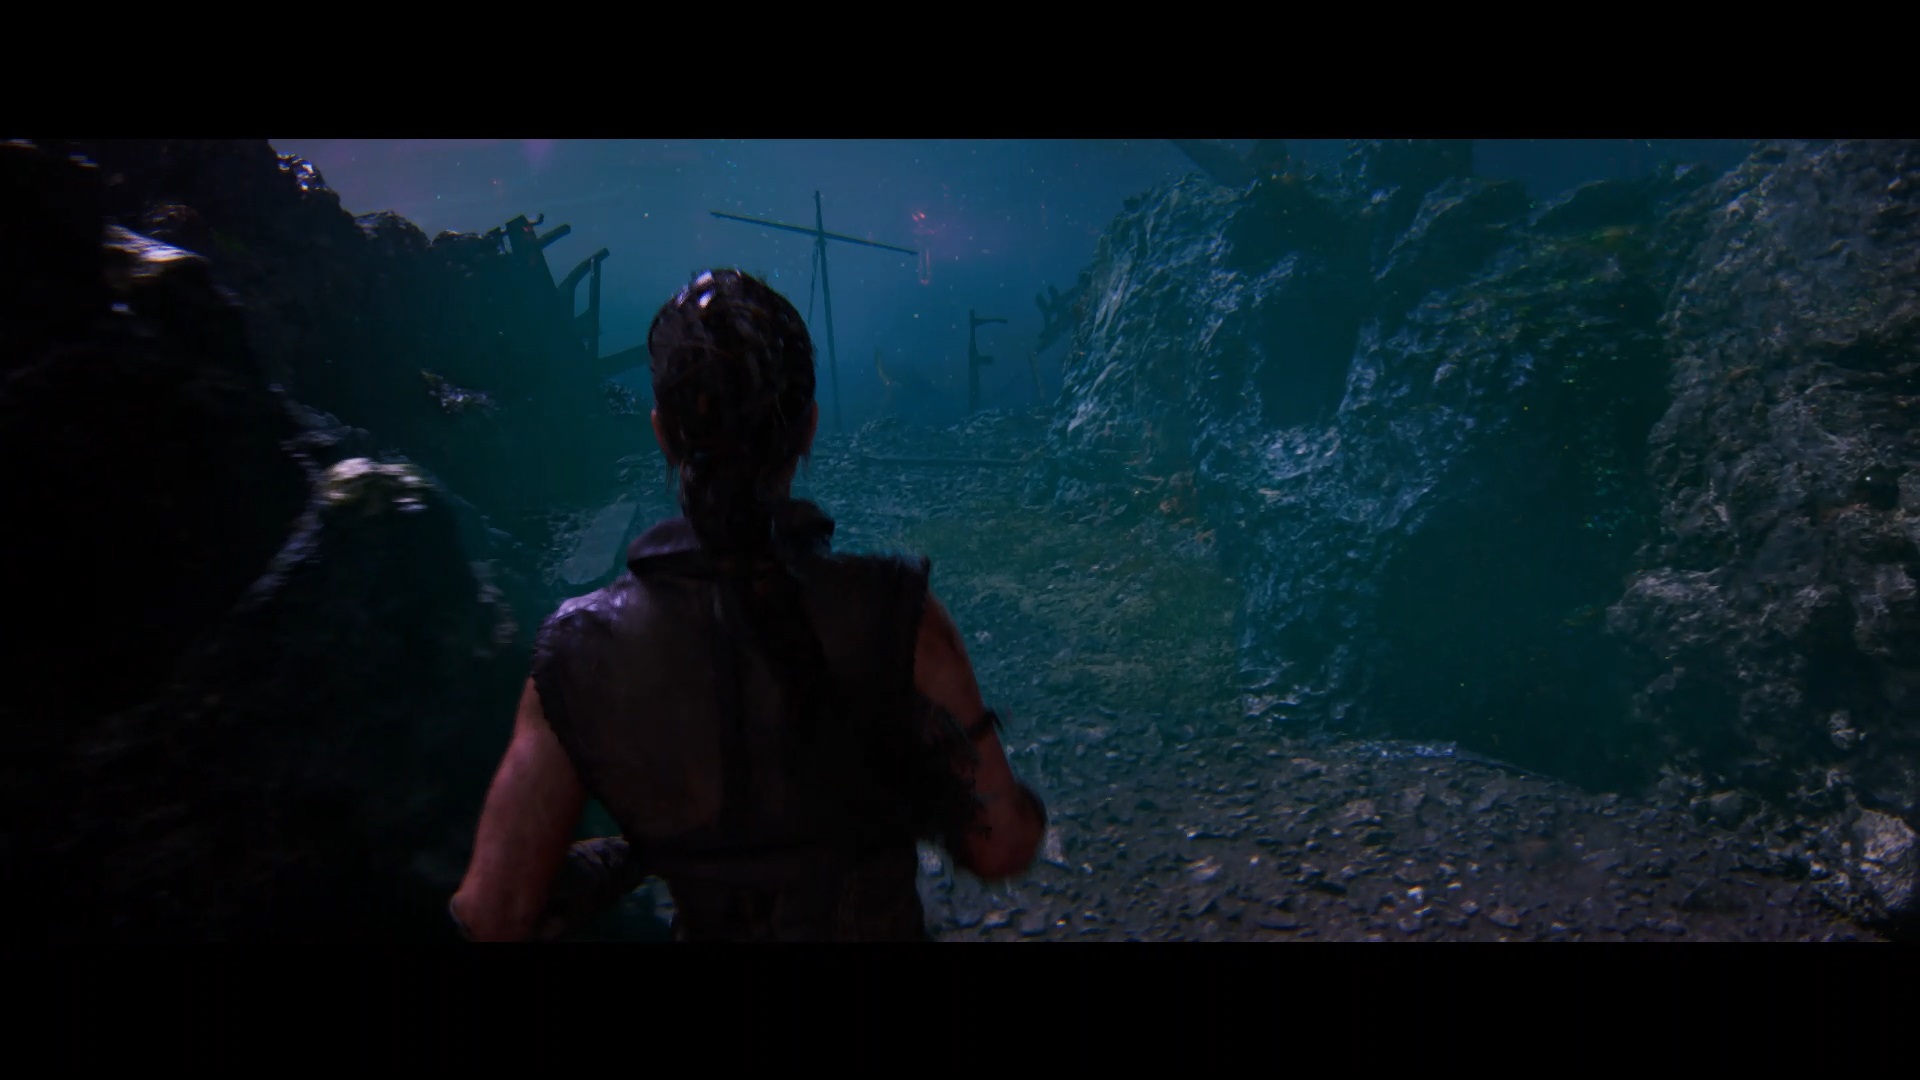
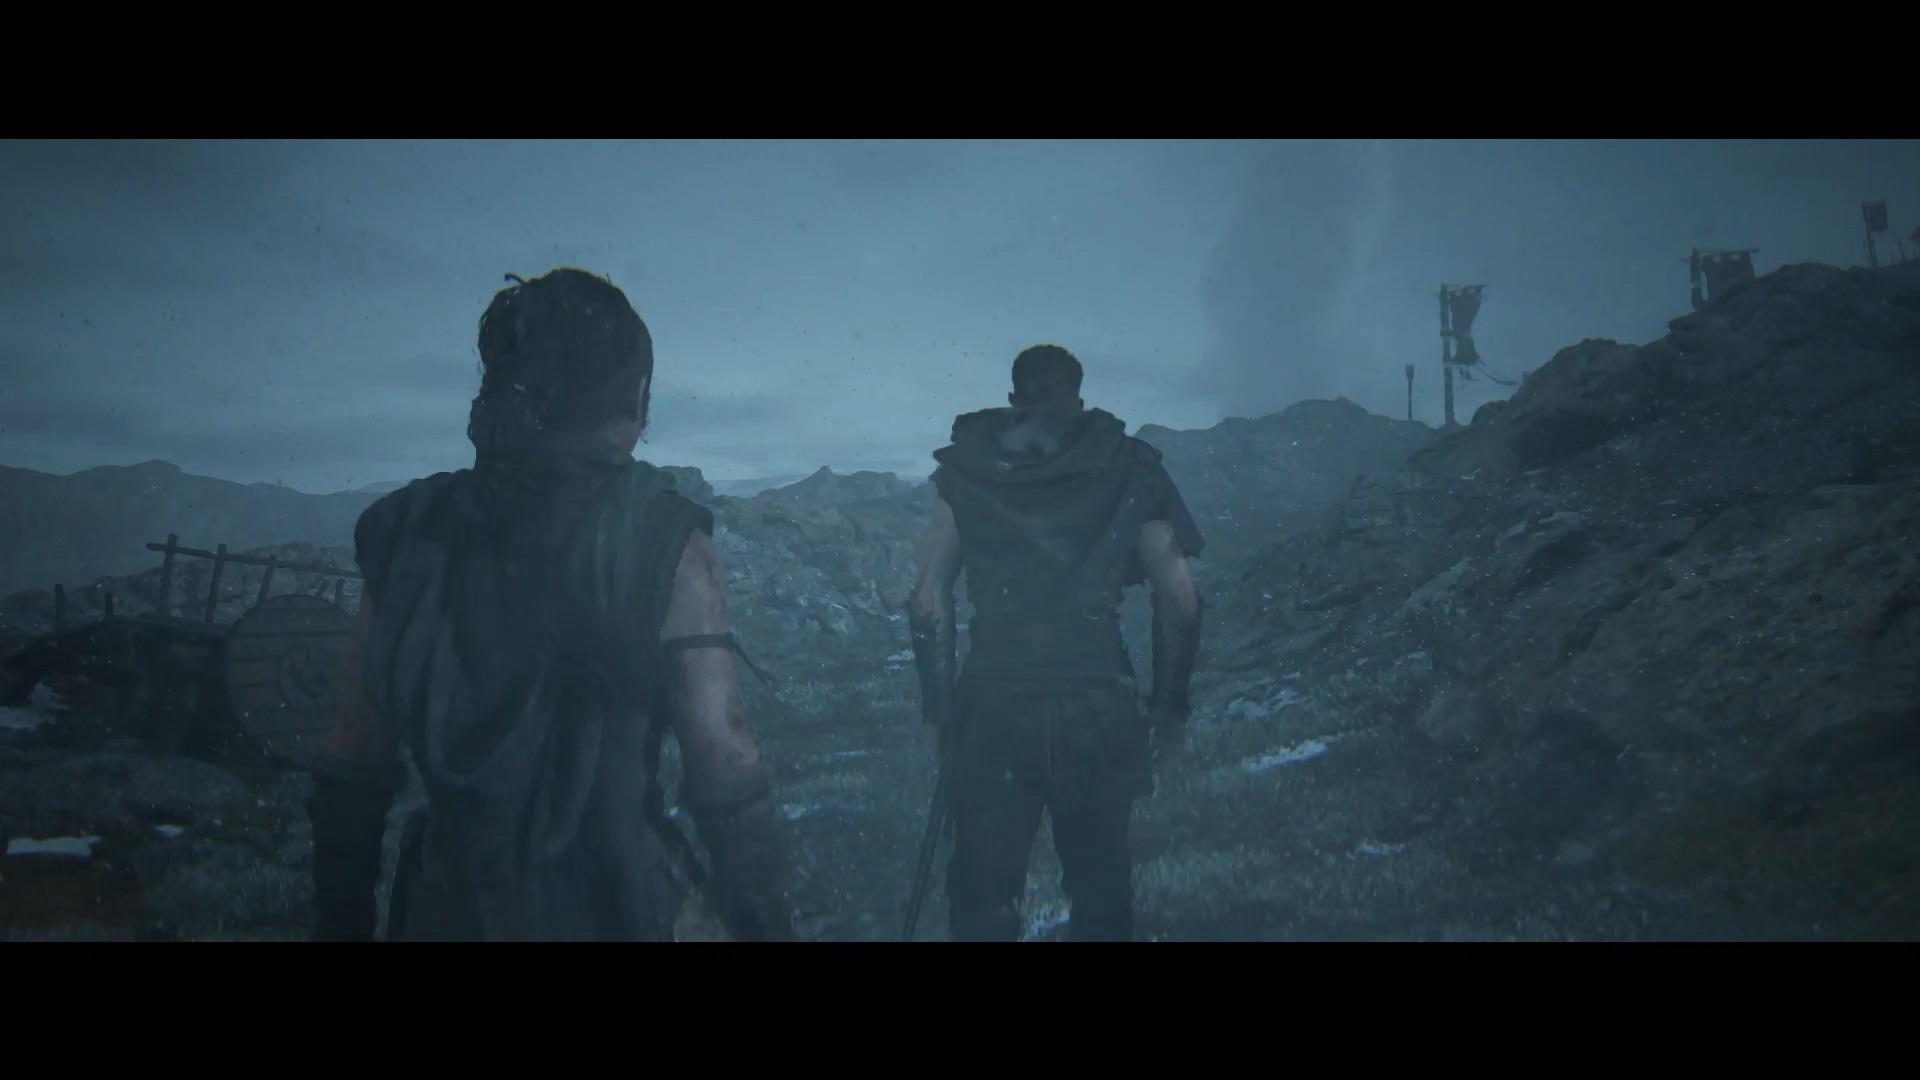
Chapter 1: Reykjanestá
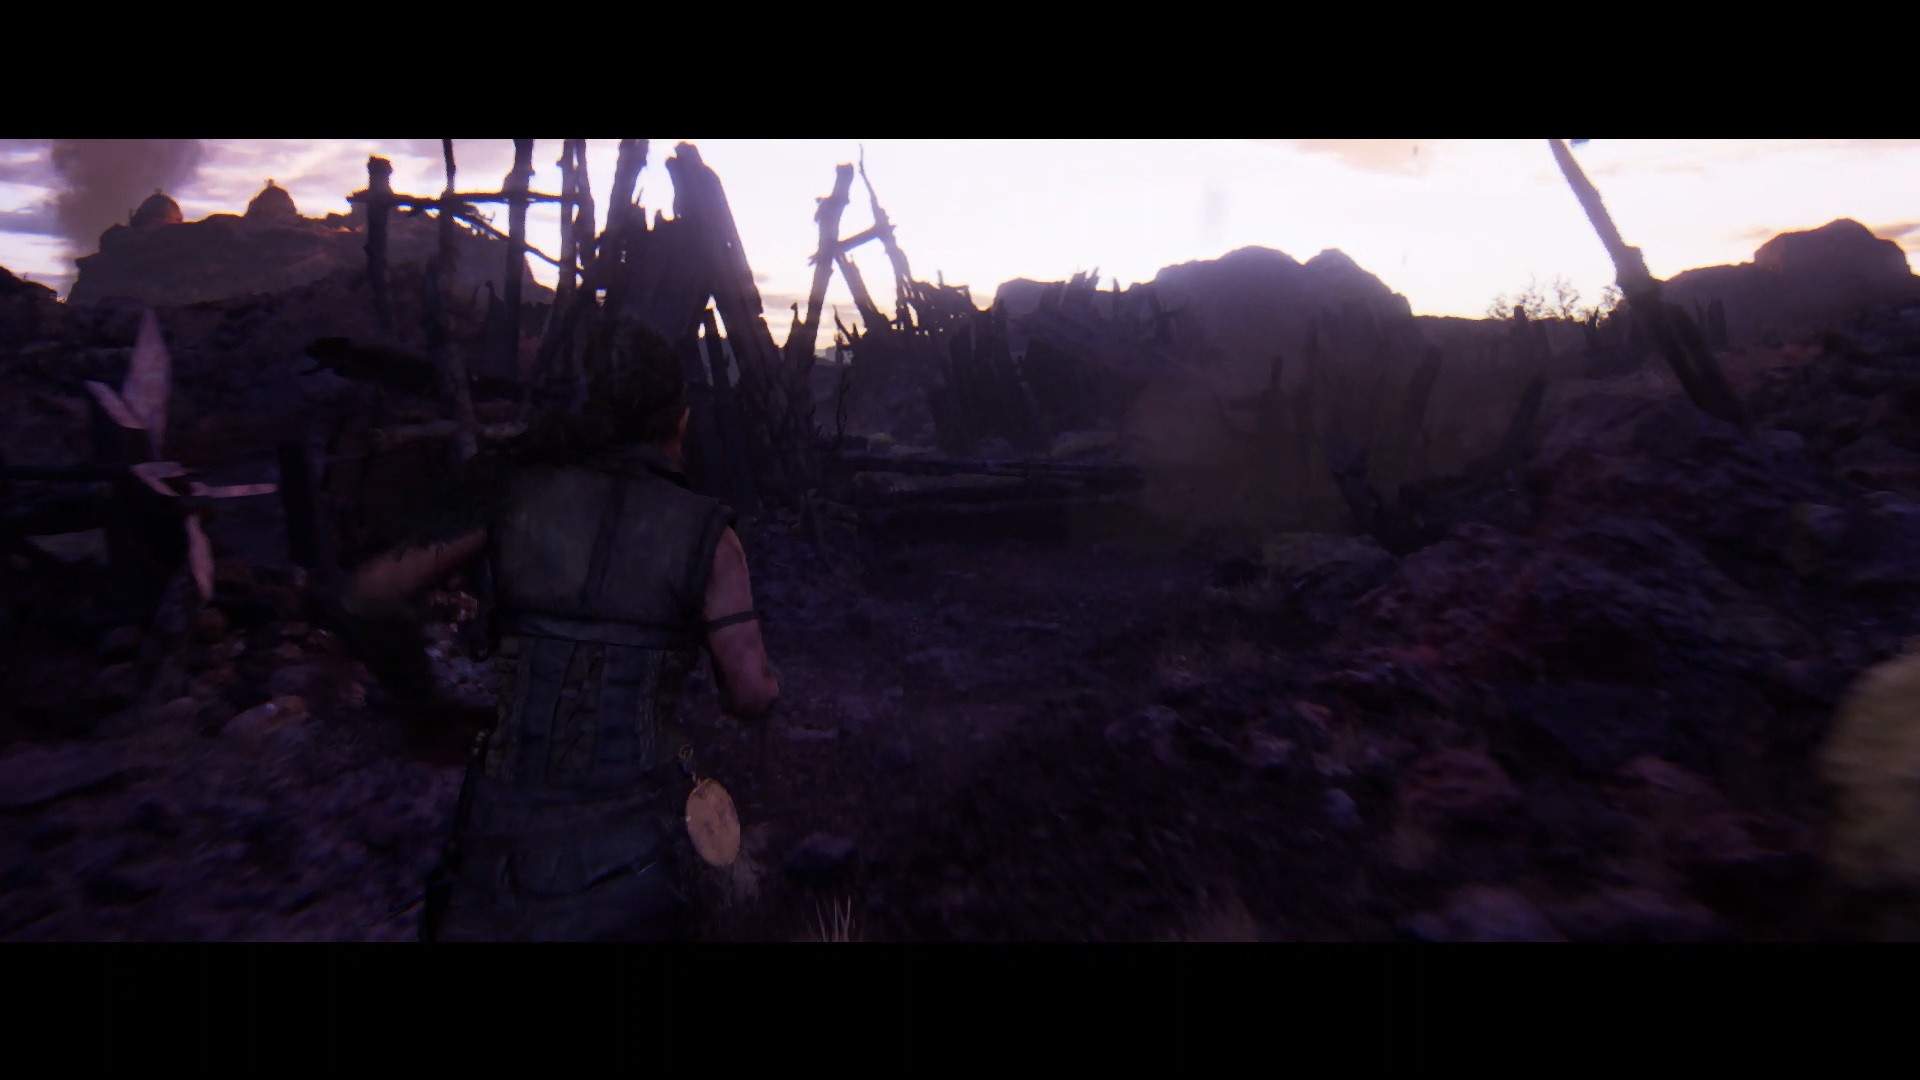
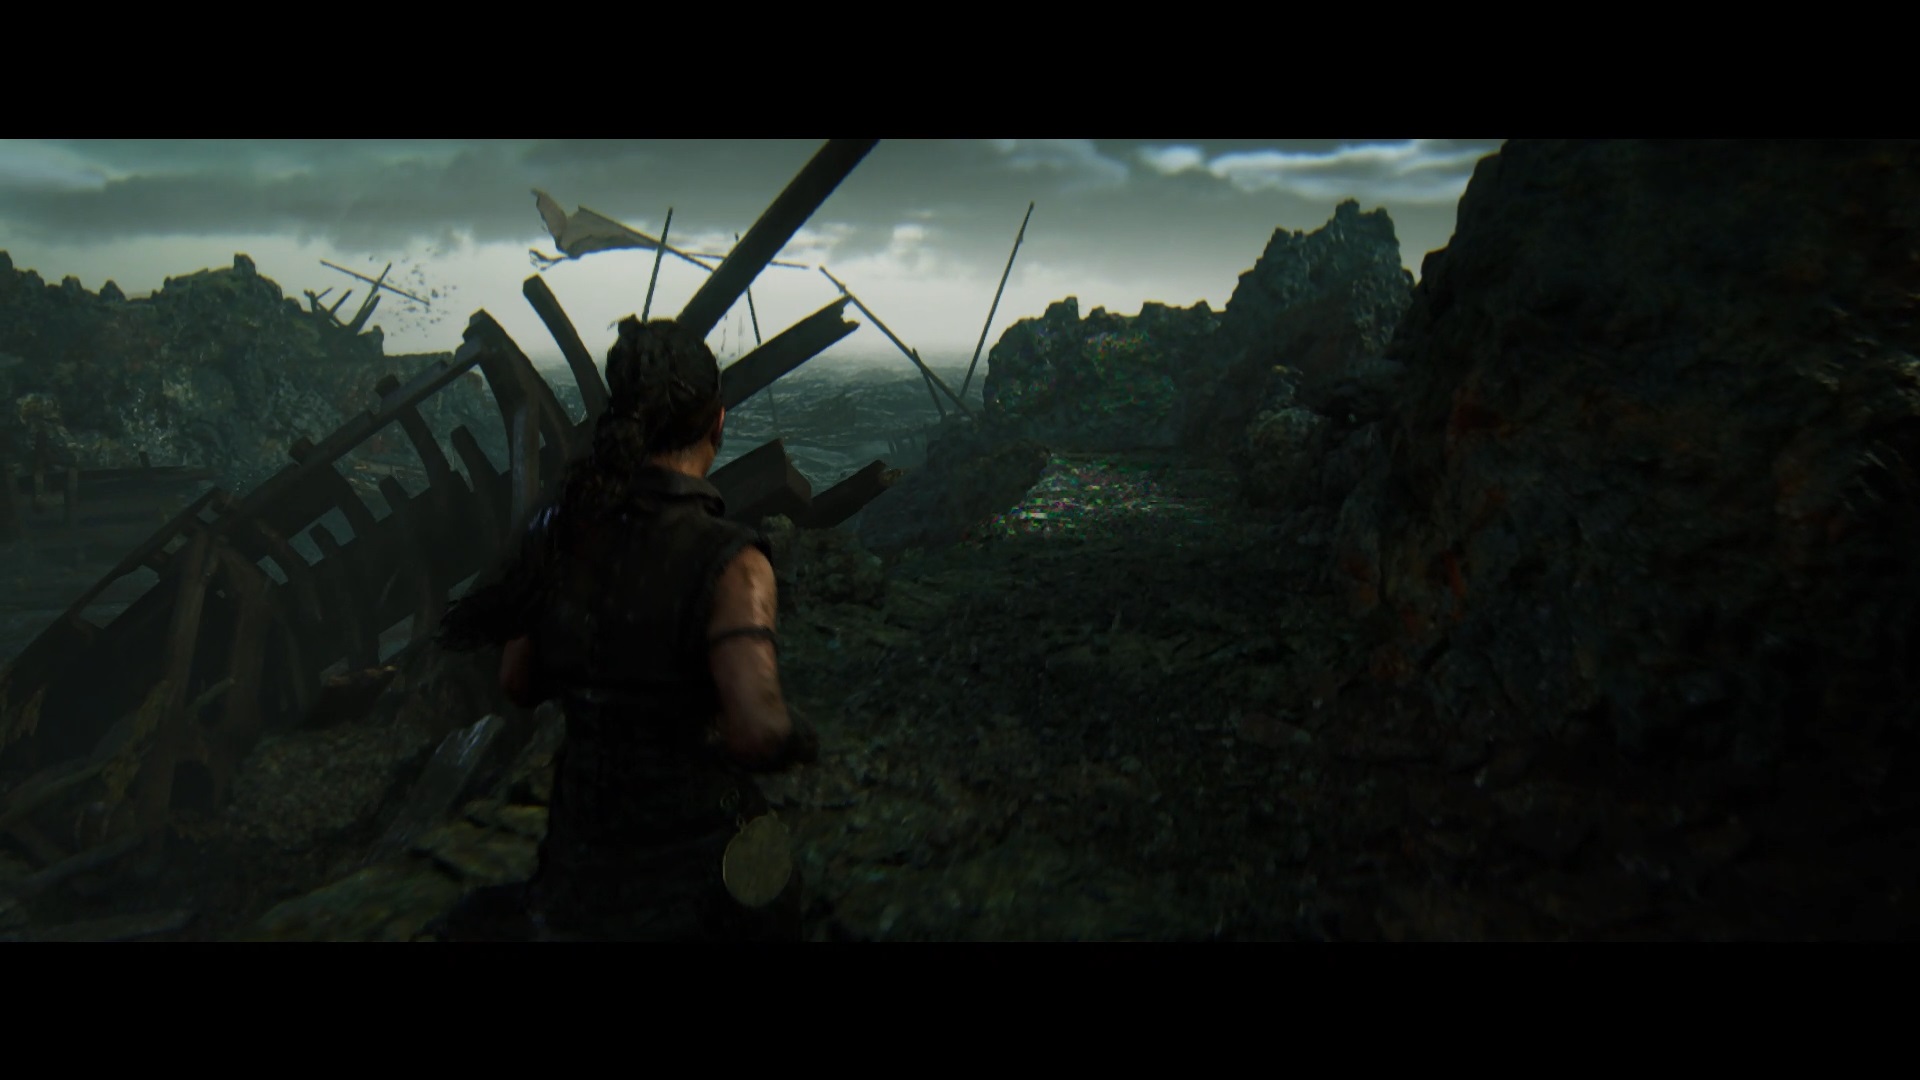
You begin your adventure in the shoes of Senua after the shipwreck where she was a prisoner. To move forward, climb the wall in front of you. Then follow the path in front of you until you reach a stone wall. Climb on it to trigger a cutscene.
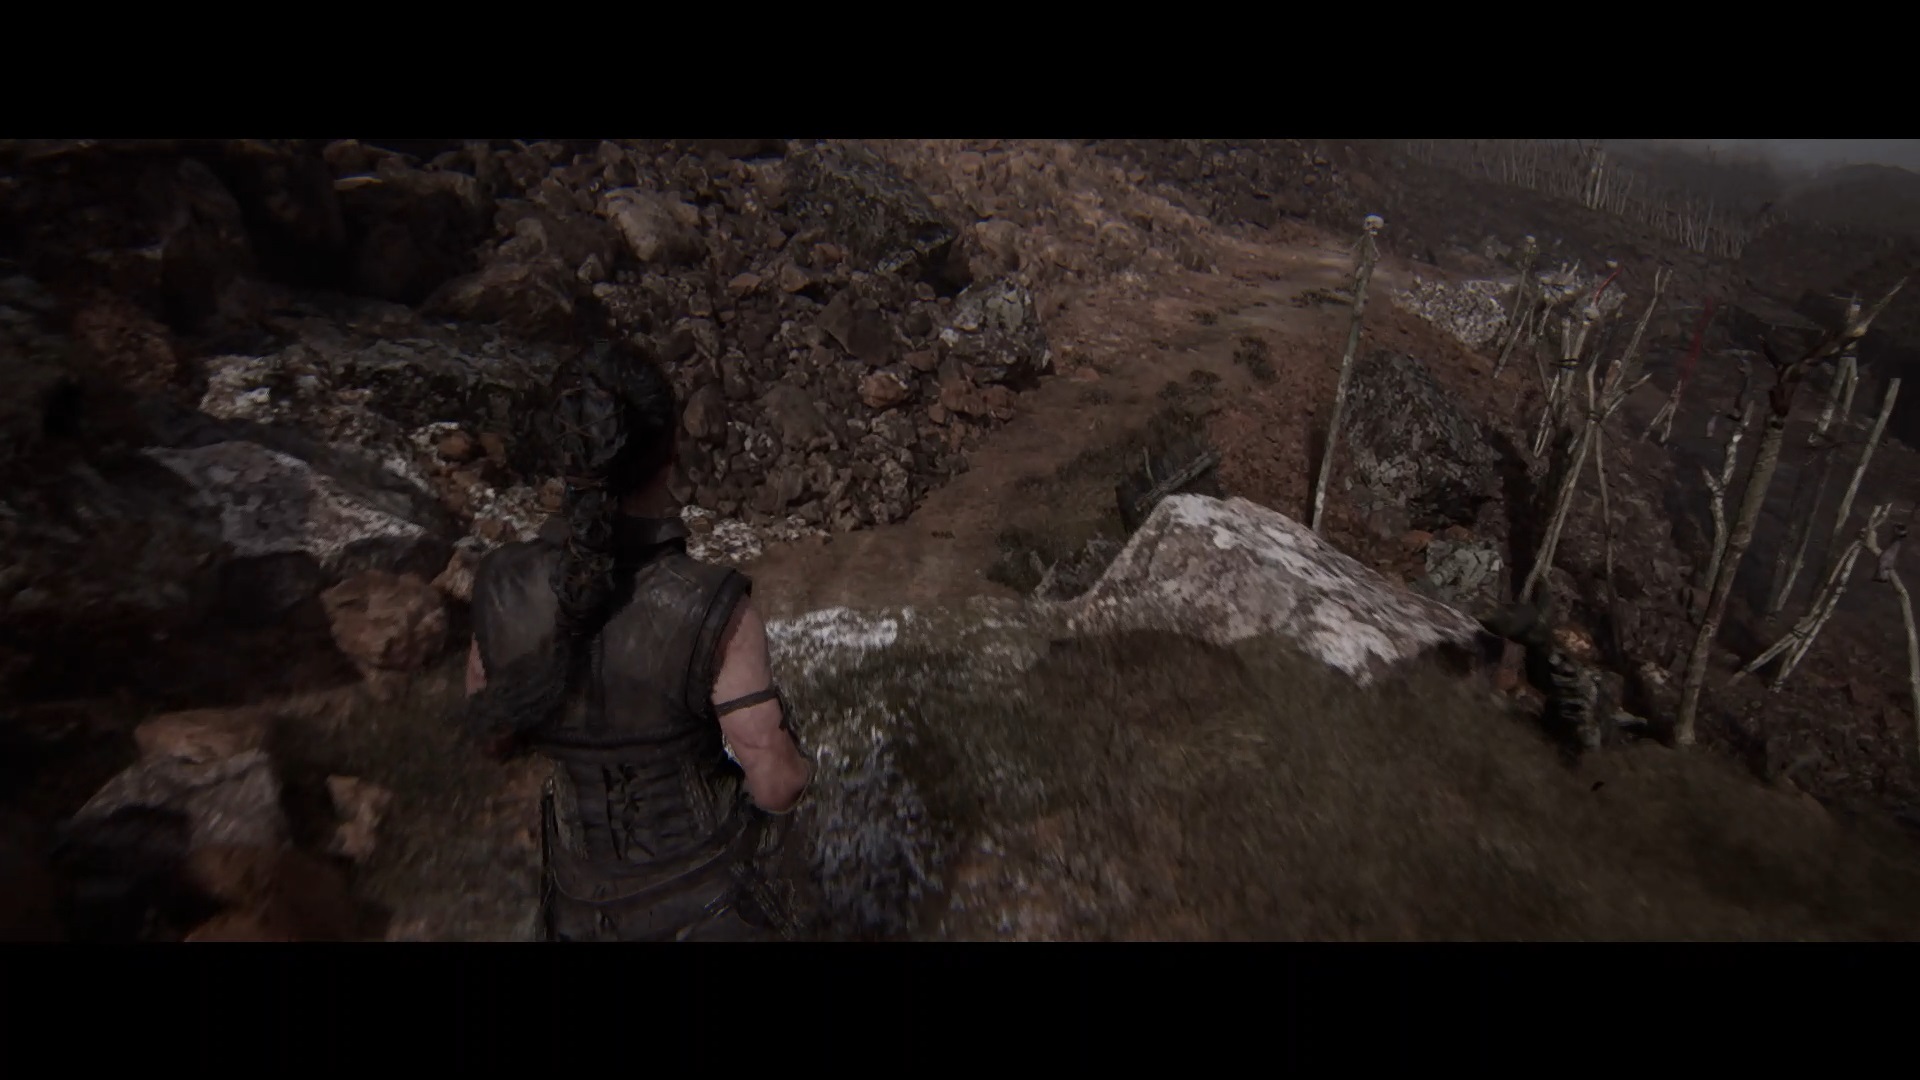
After the cutscene, walk towards the flag in front of you. The path is blocked near the flag, you must take the path on your right to reach a ledge. Follow this ledge to reach the flag.
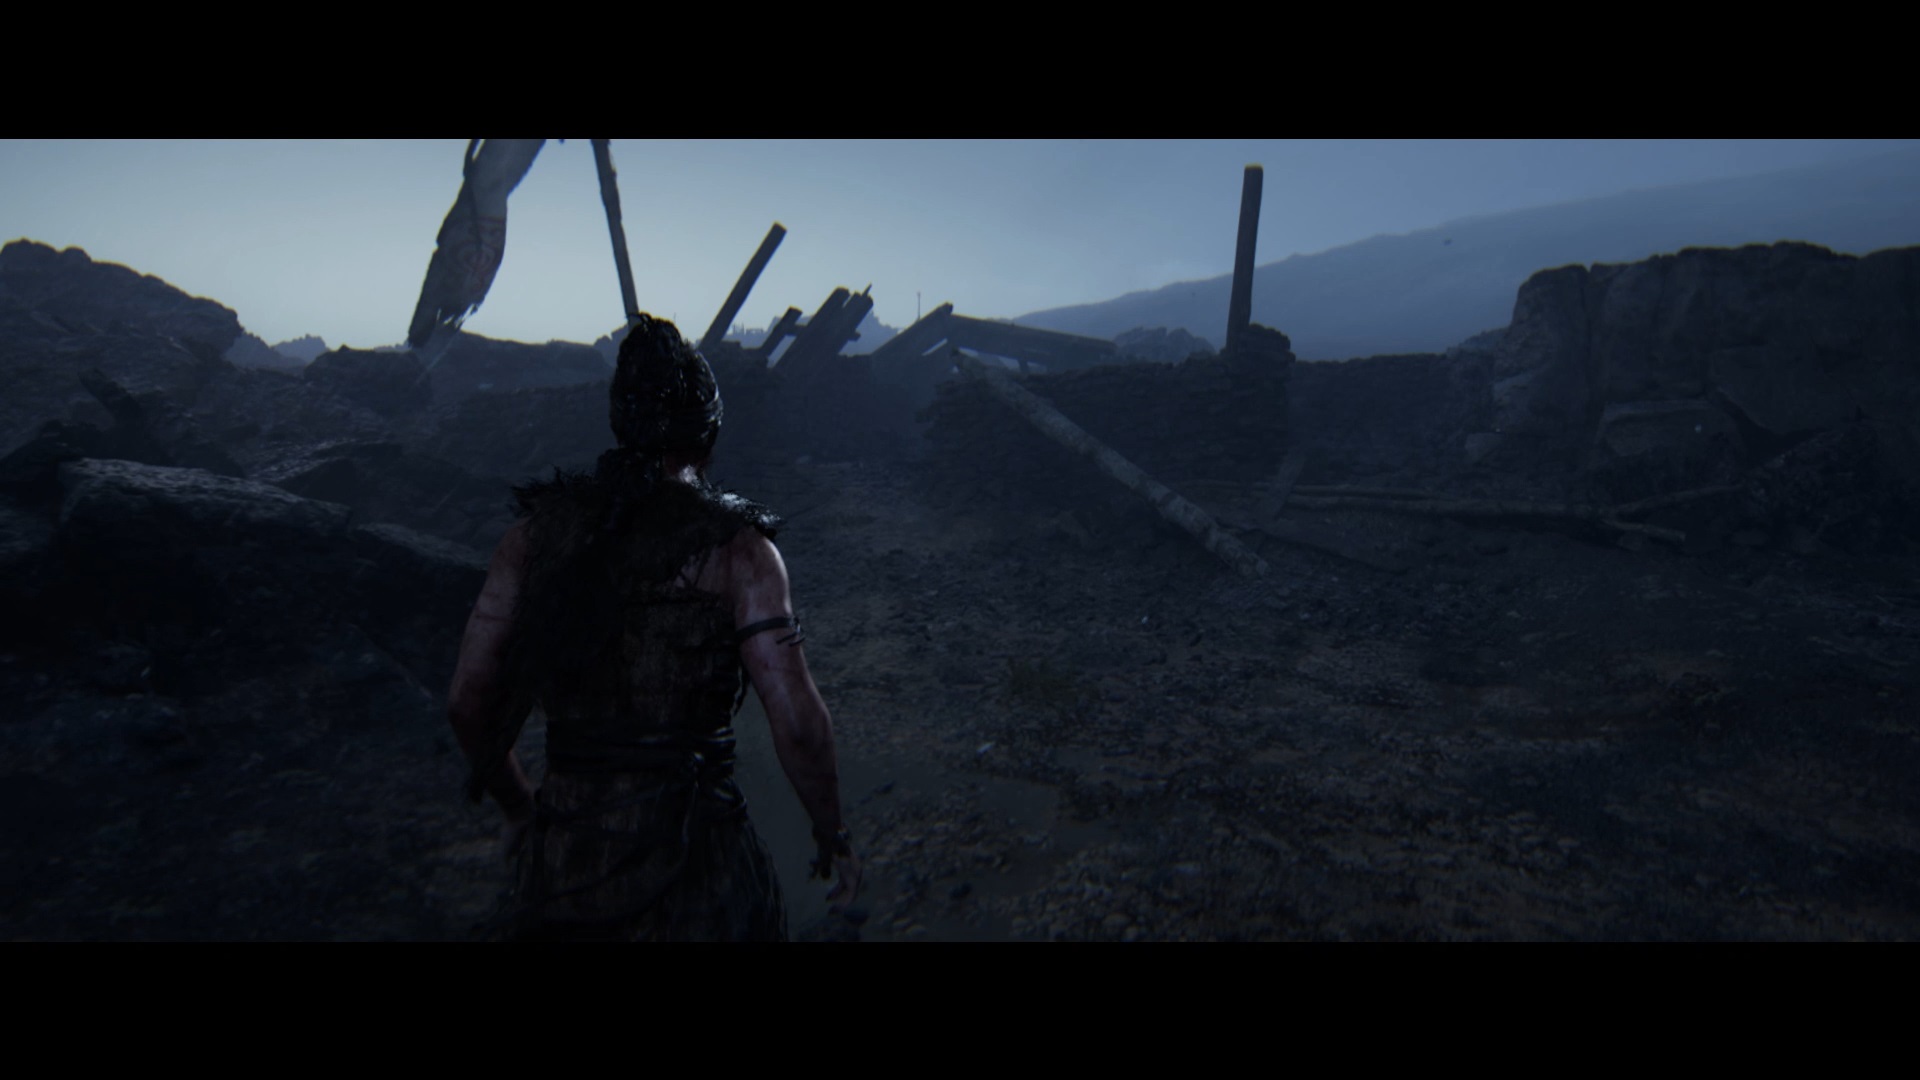
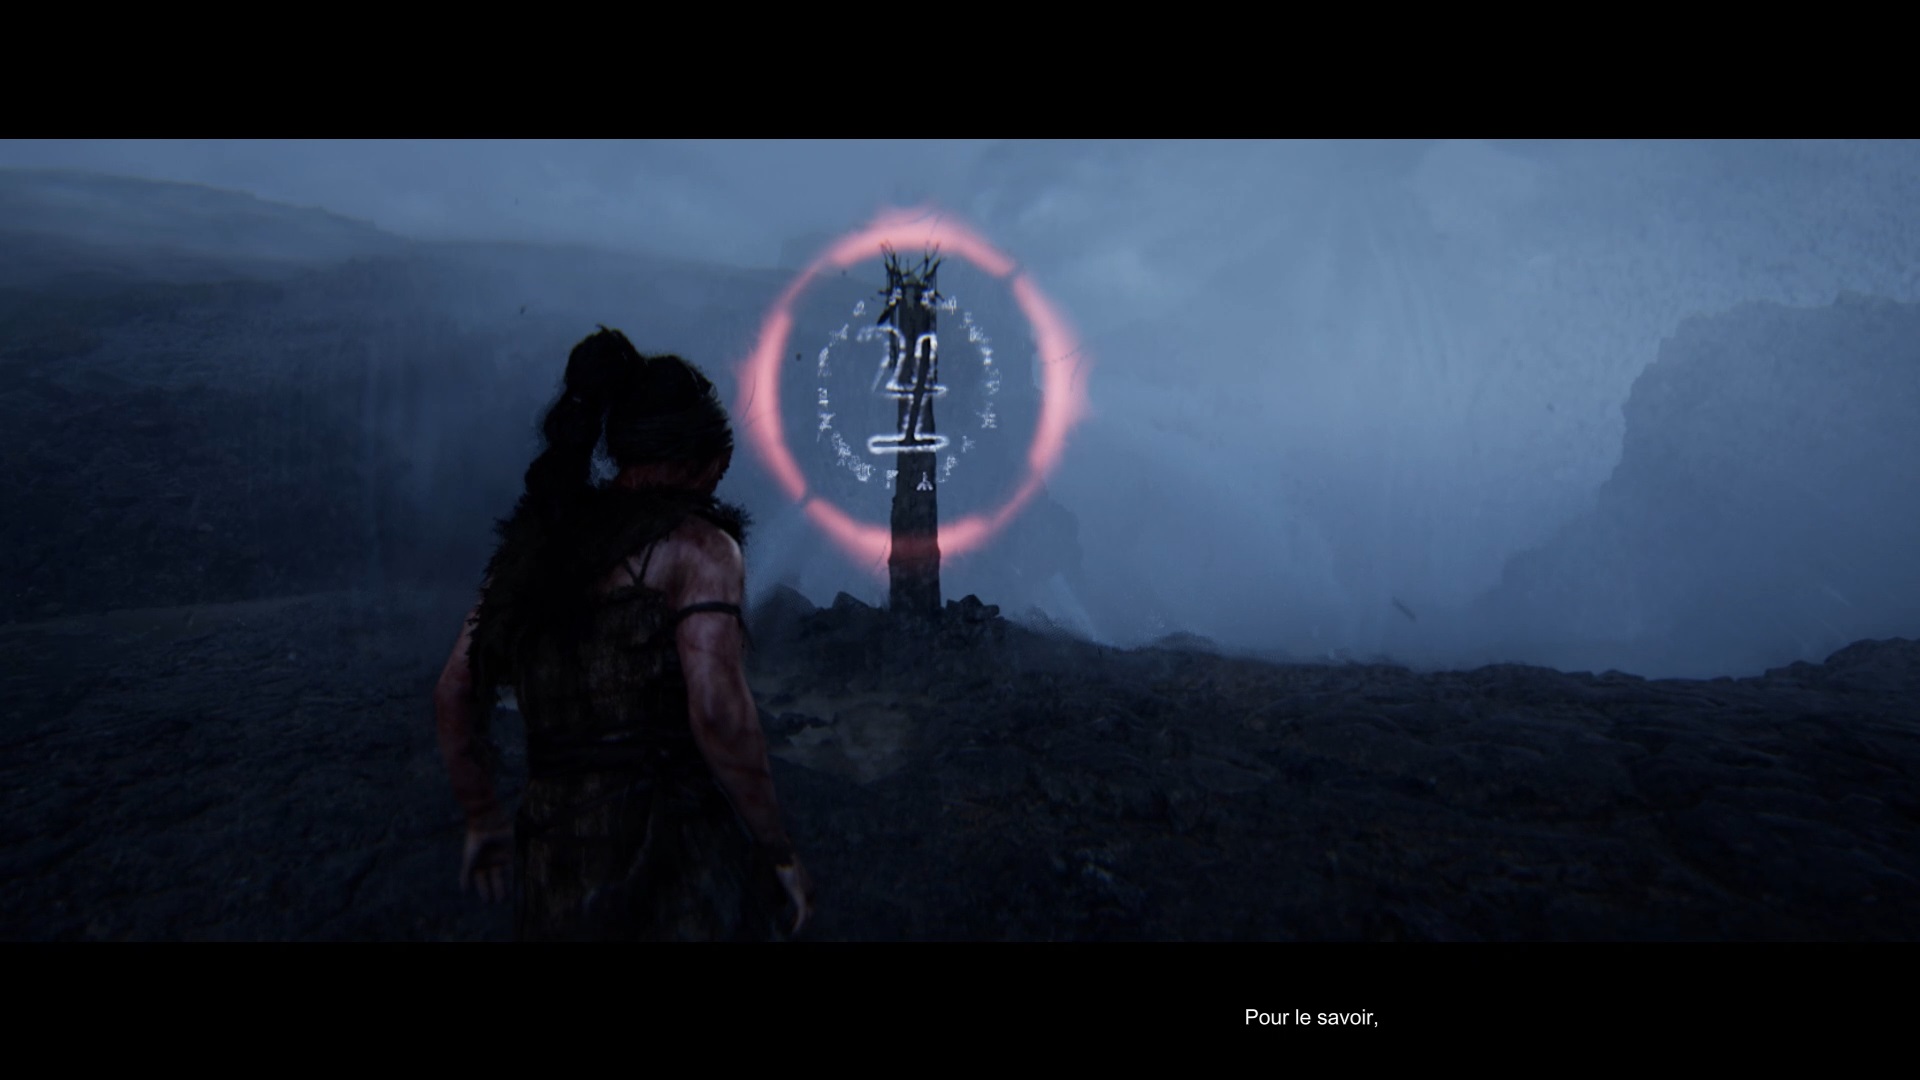

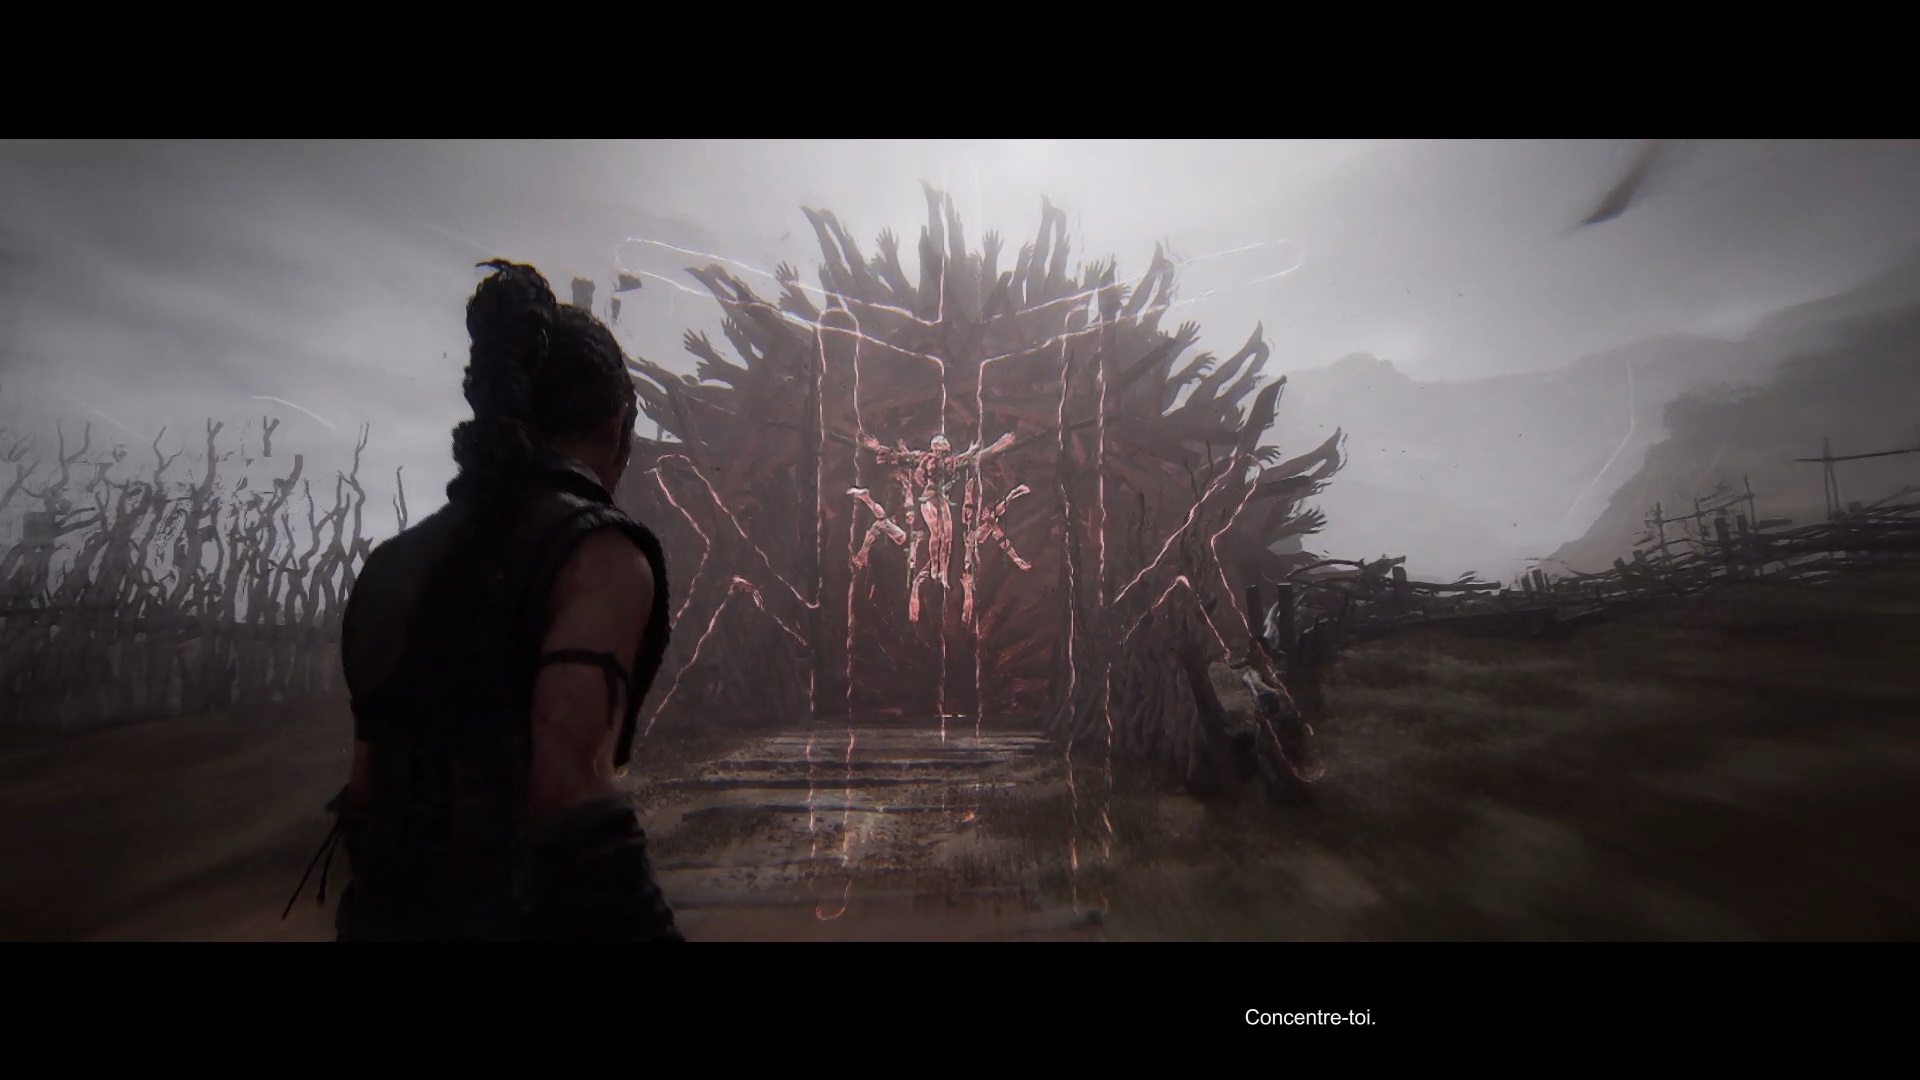
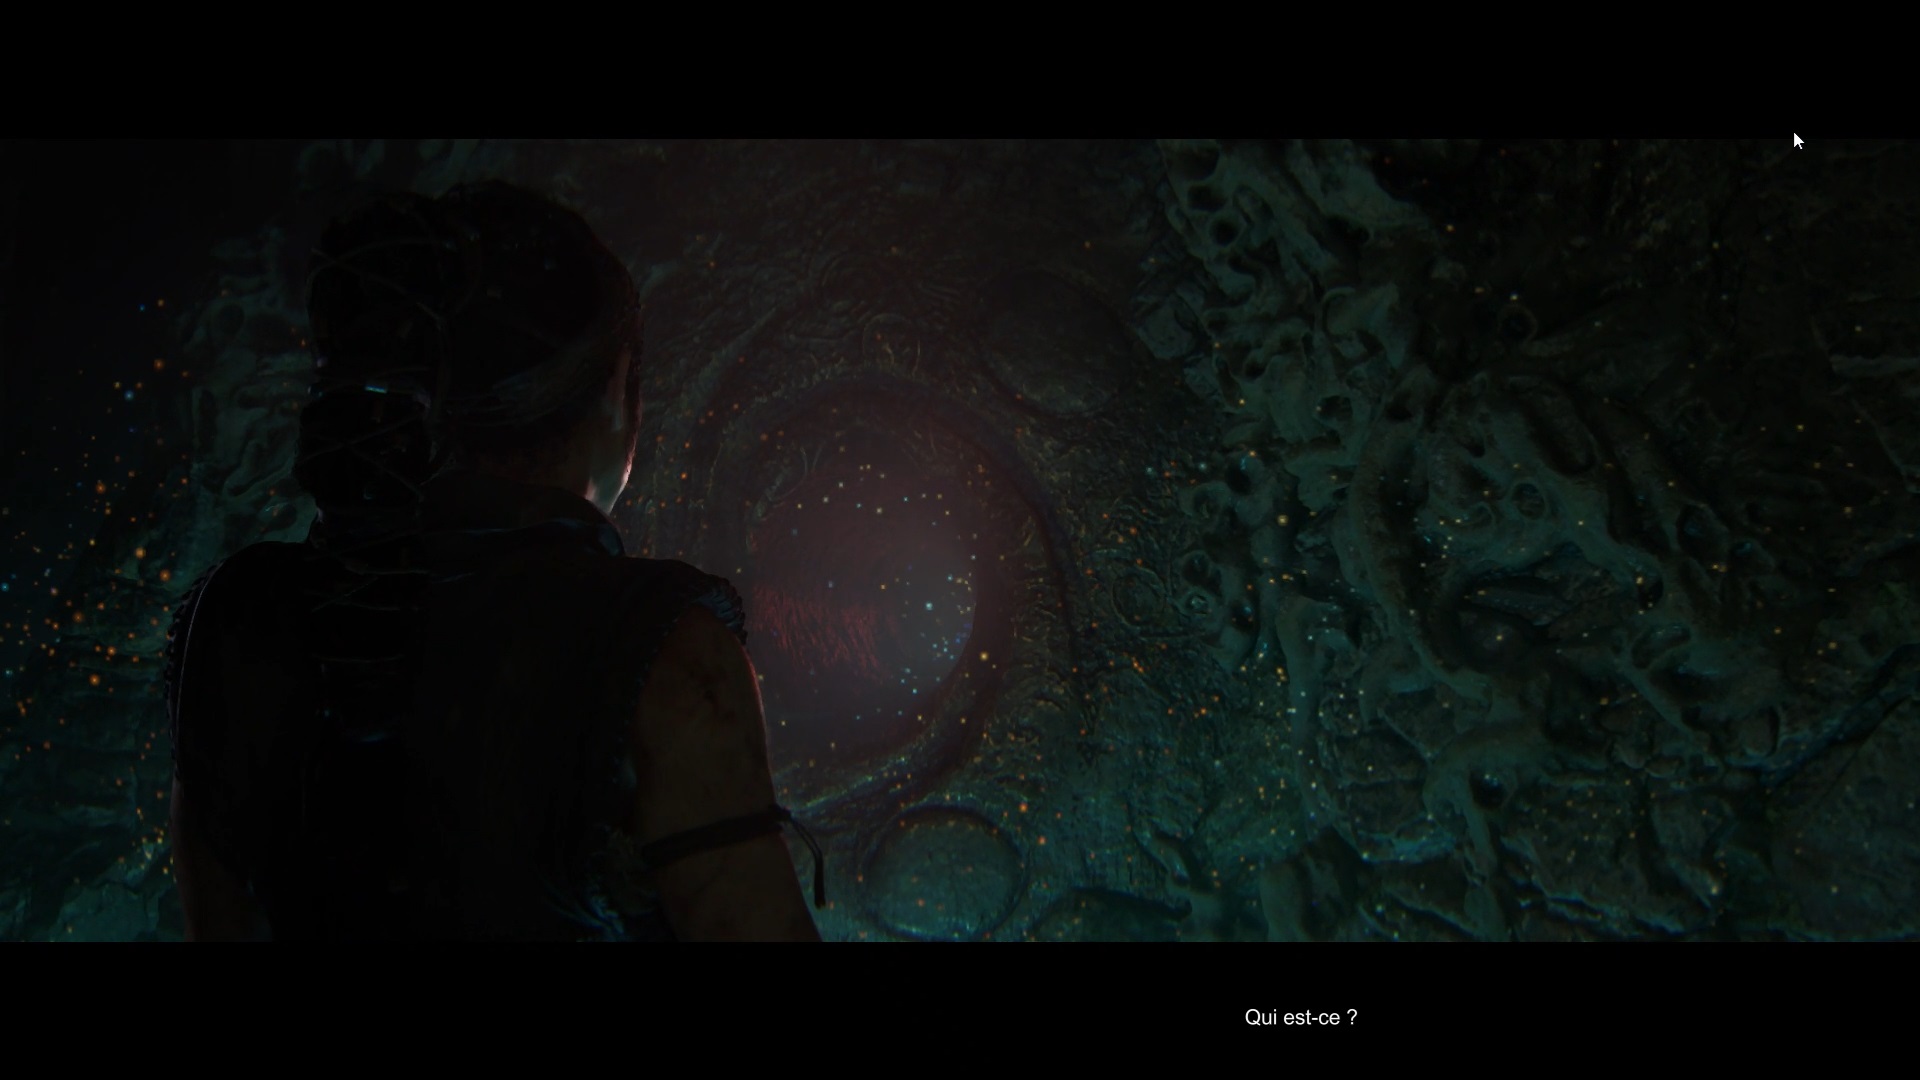
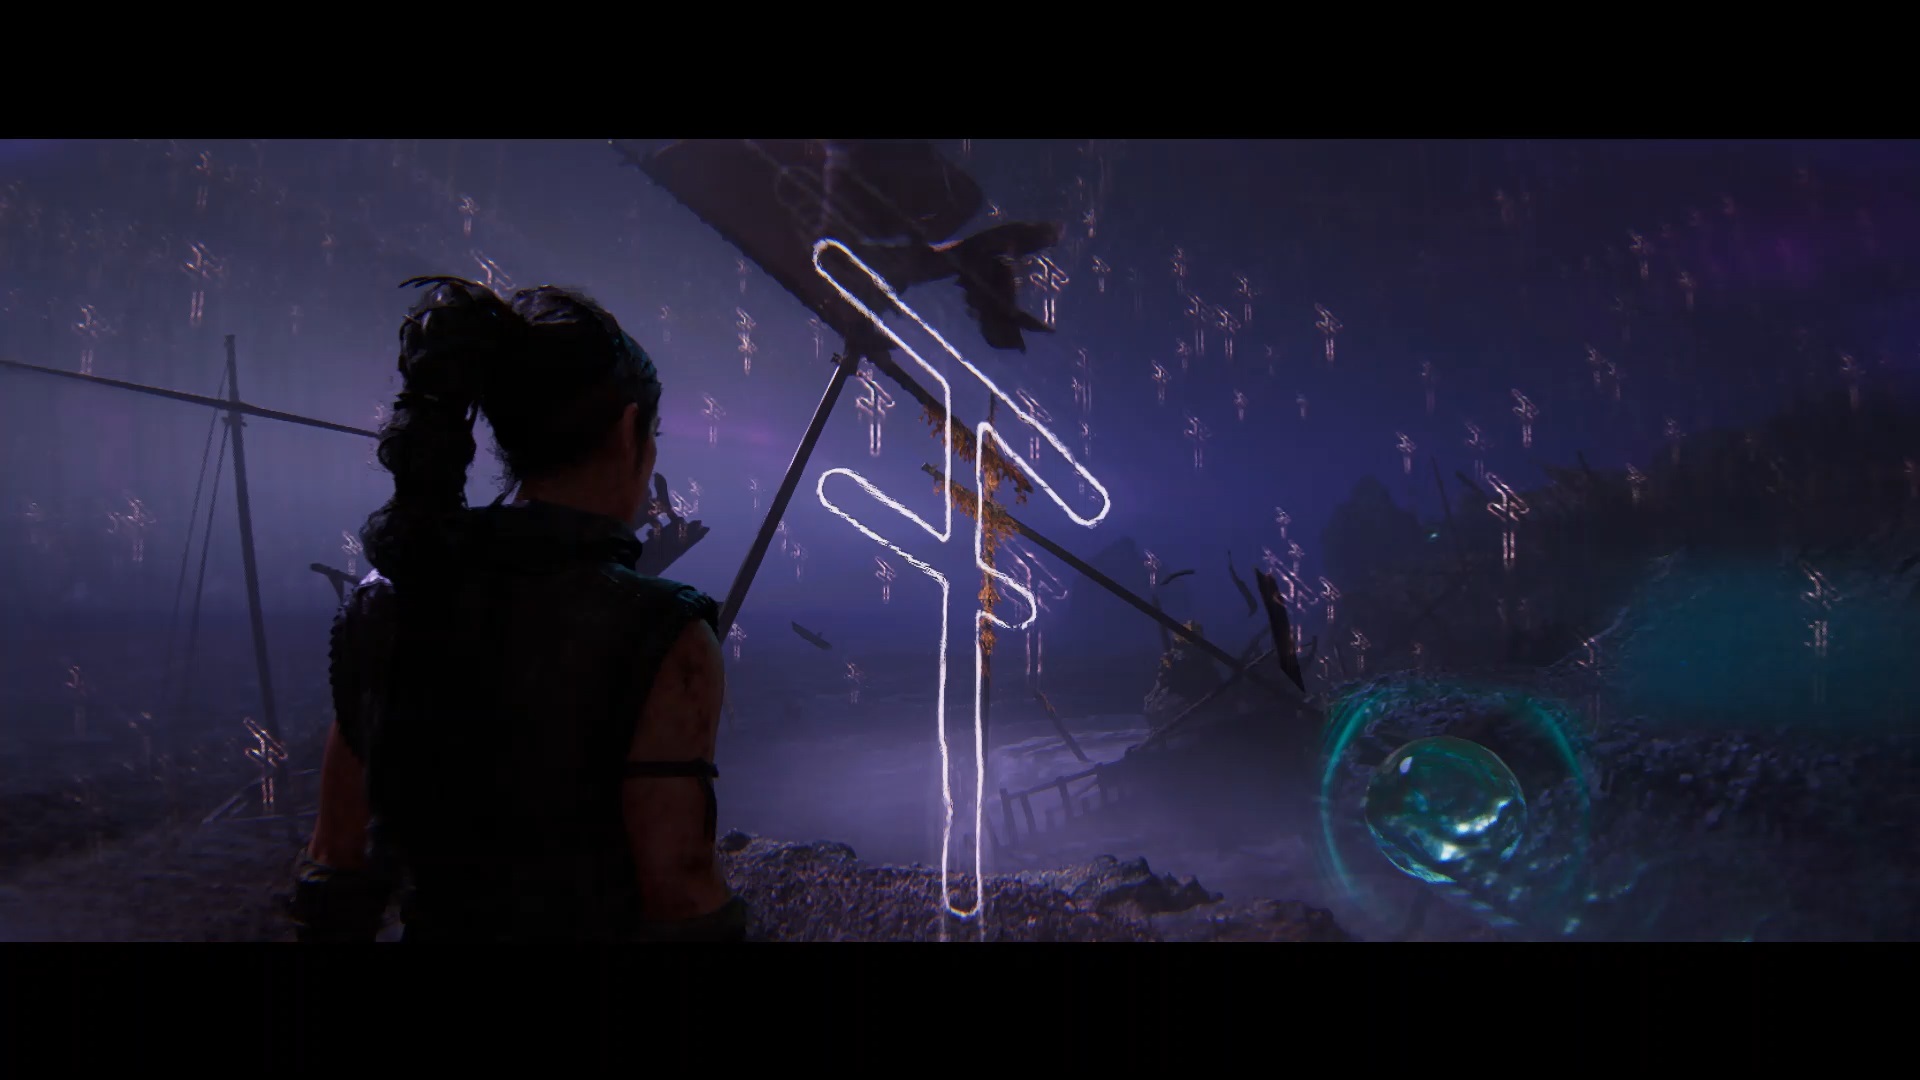
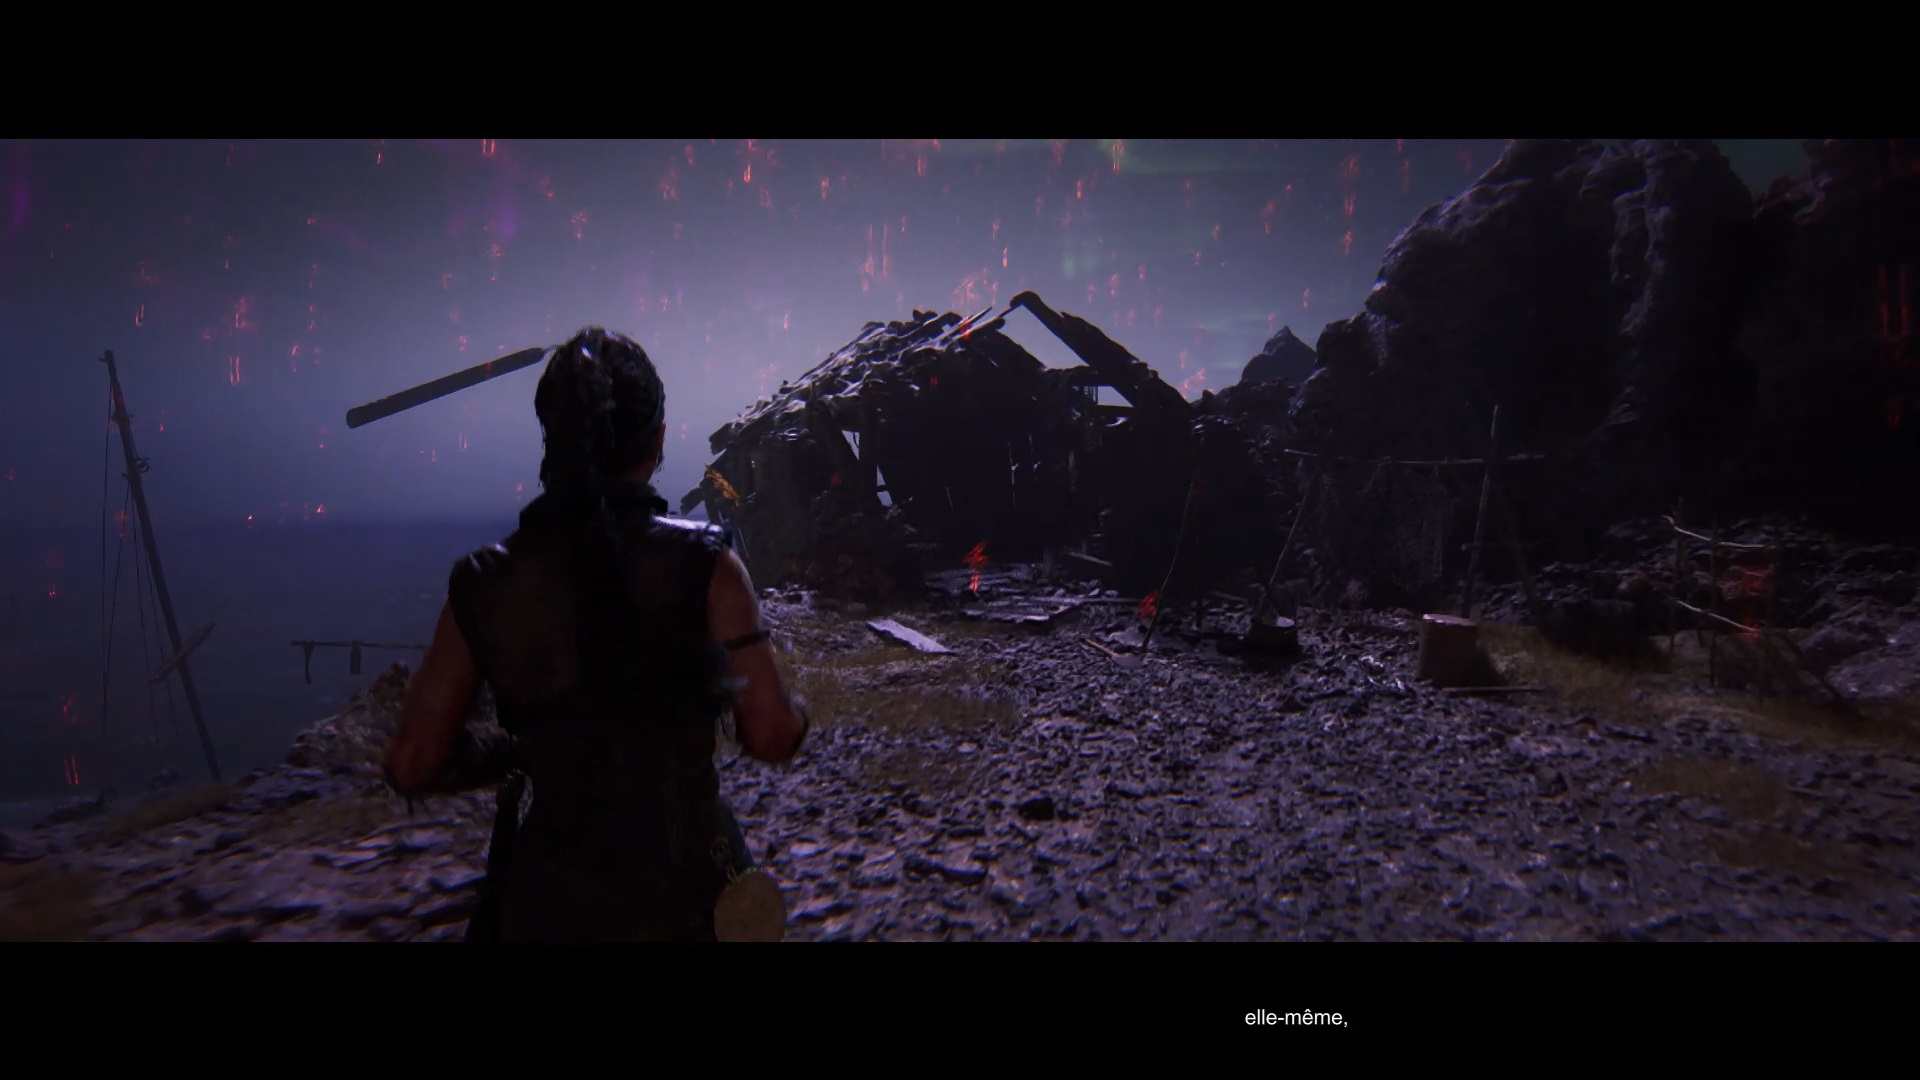
Continue moving through the ruins. Along the way, you will come across a pillar decorated with symbols. Focus on these symbols to unlock one of Druth’s stories. Then continue your route towards a ruined building on the heights of the path.
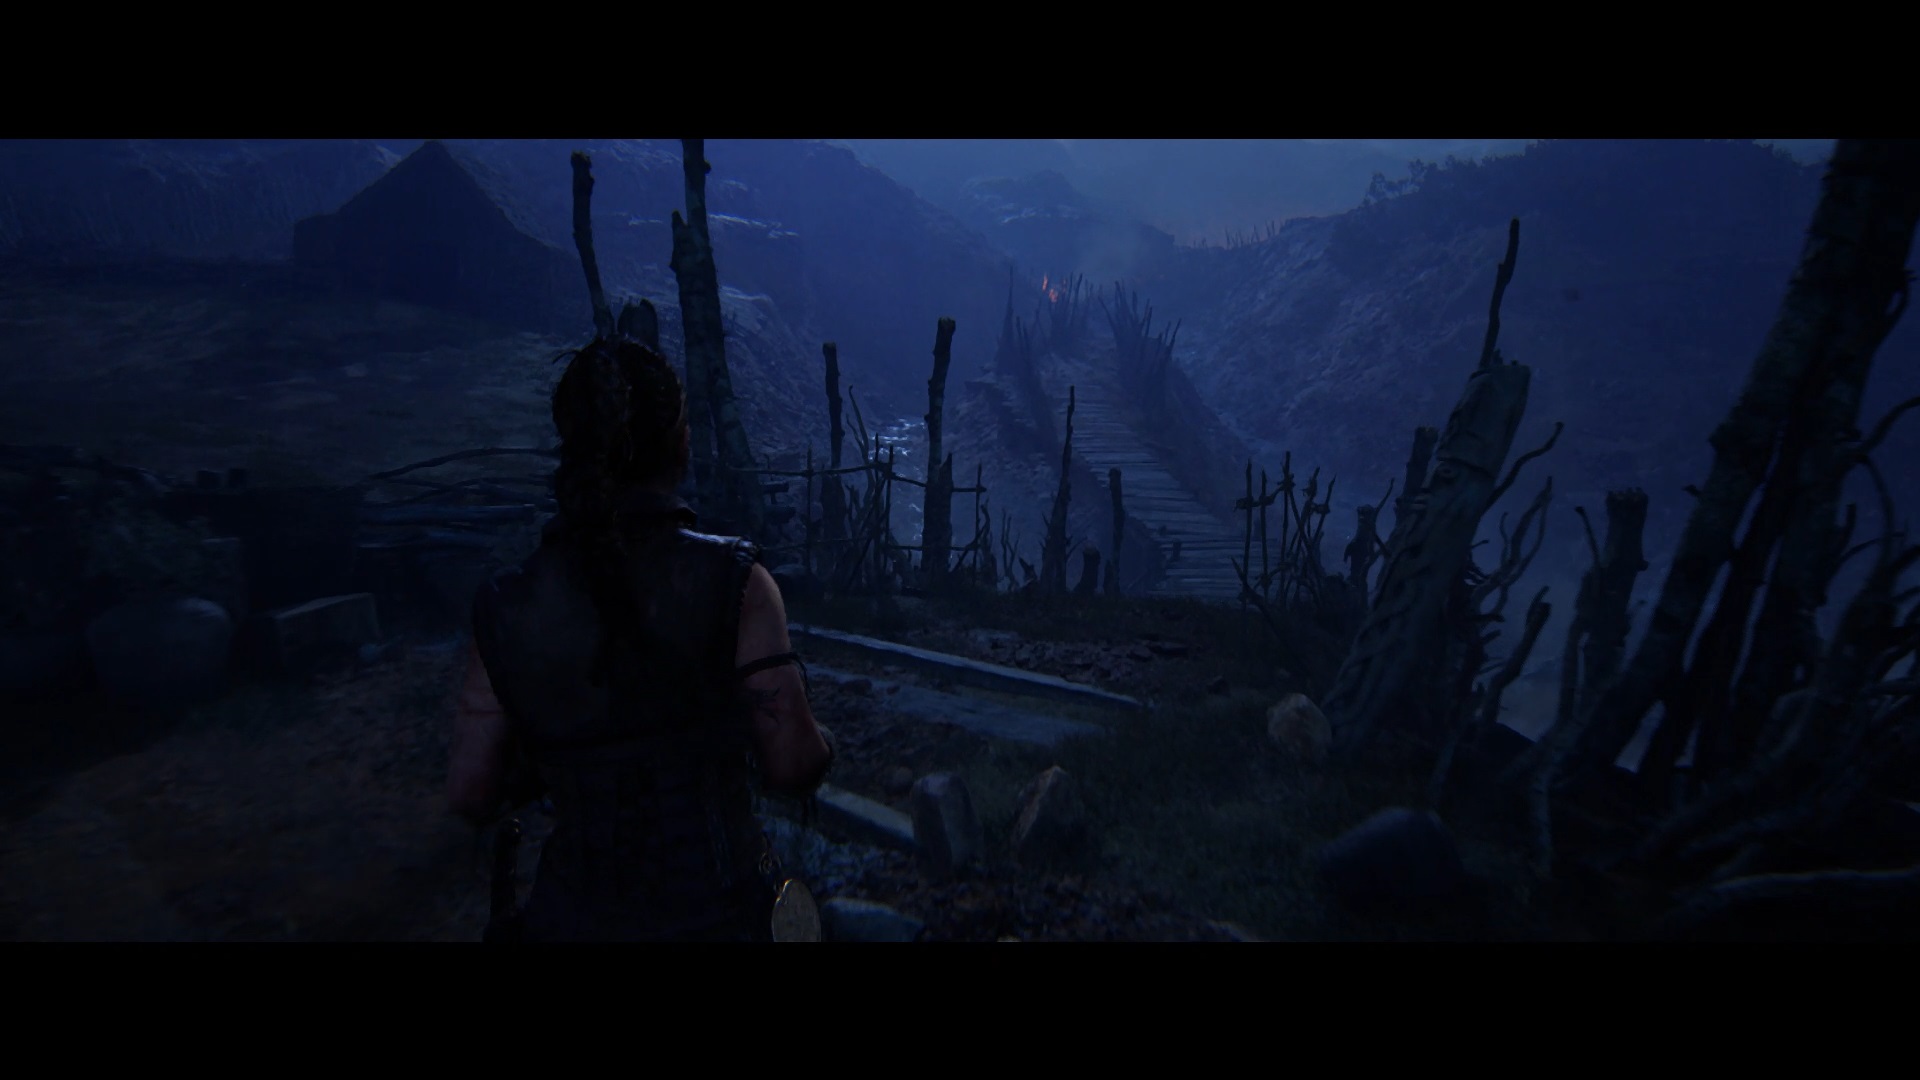
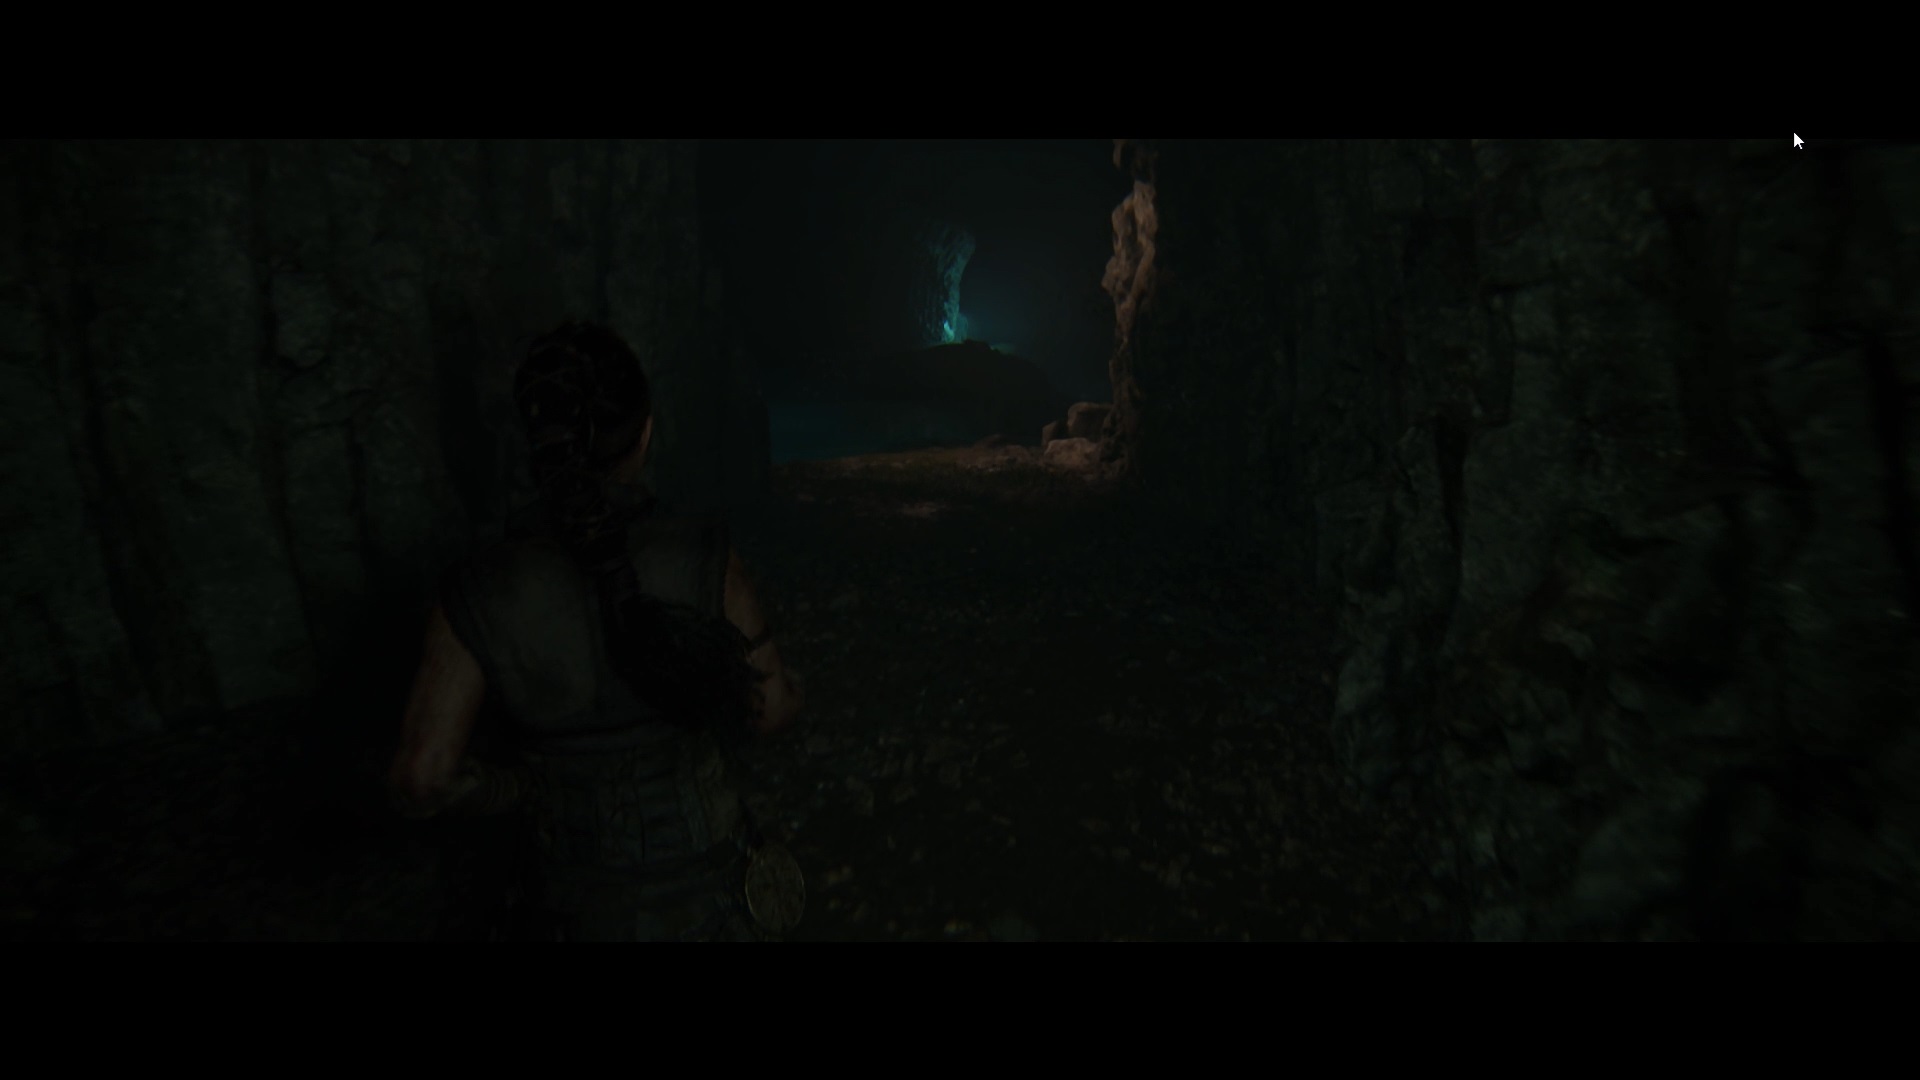
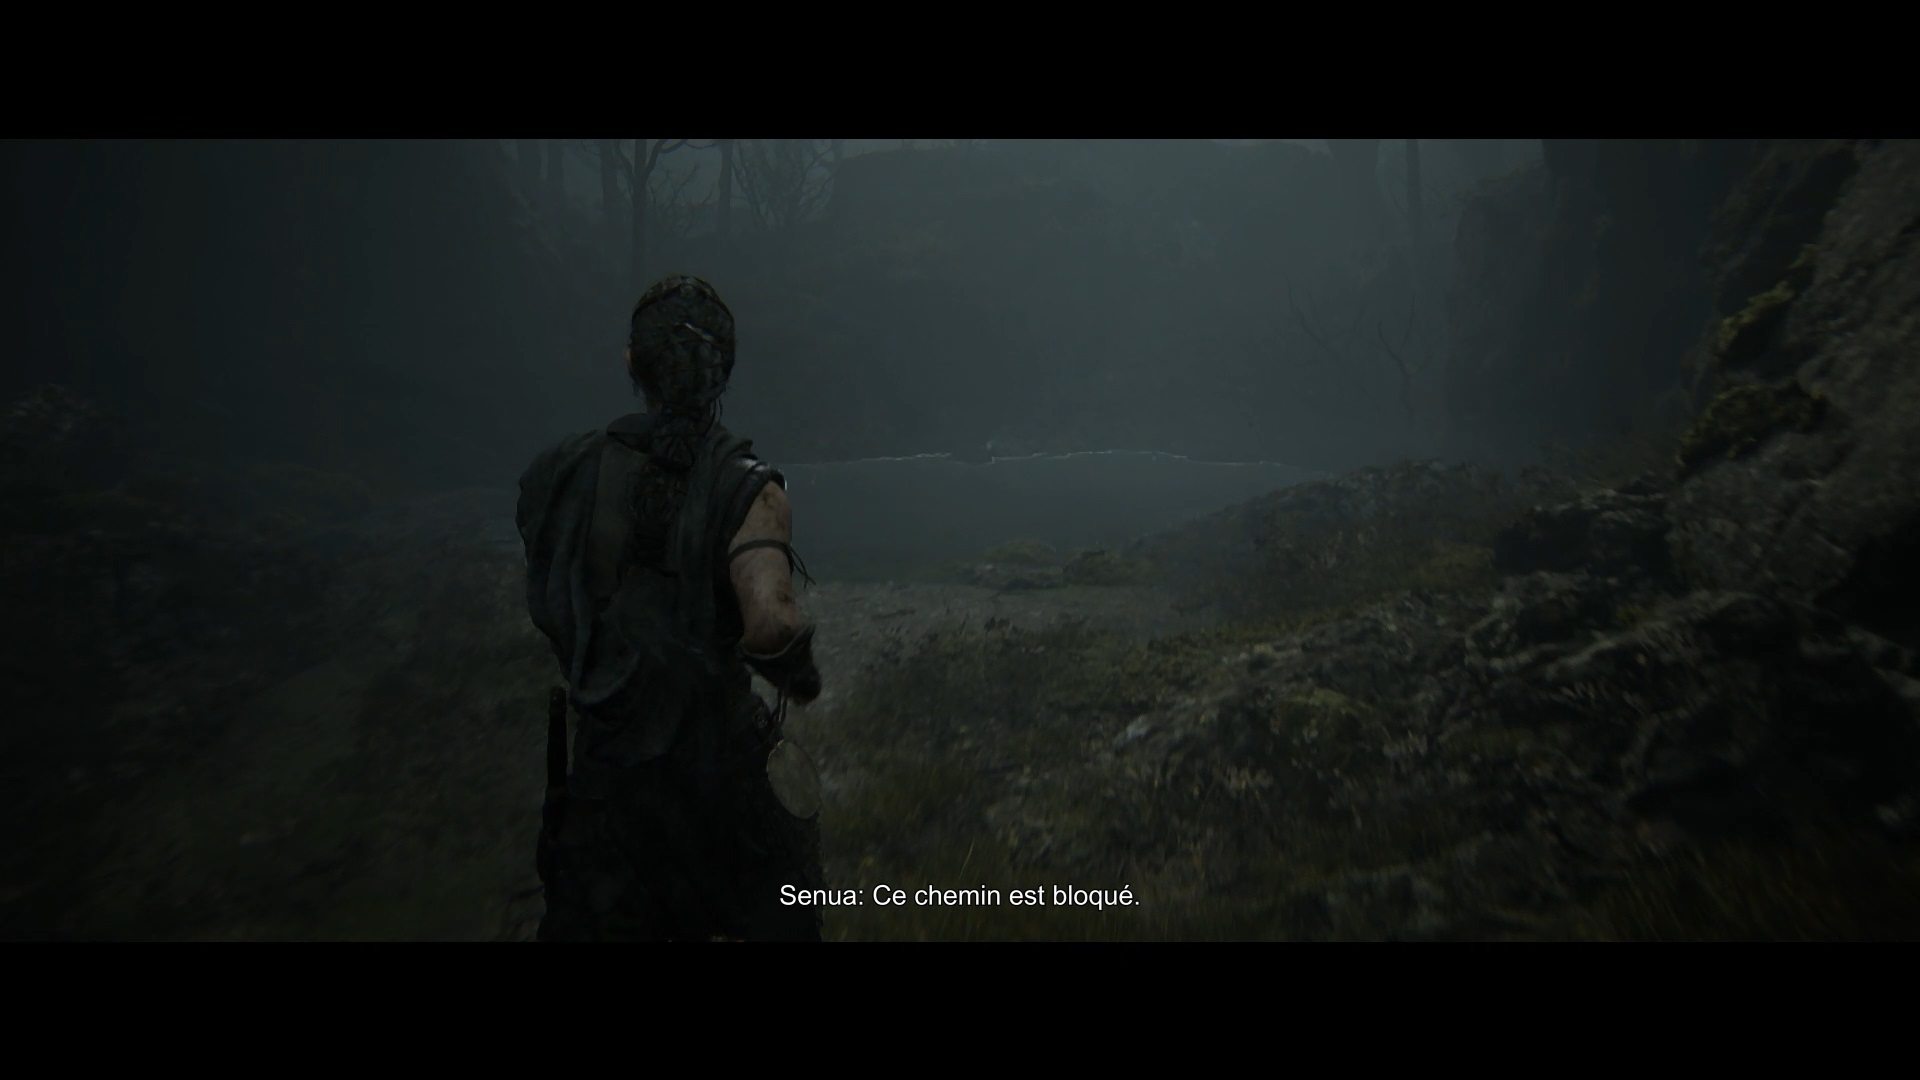
As you approach the building, a cutscene triggers. The path you need to take is behind the ruined building. Go down the rock path heading north. Follow the wooden sticks to identify the path to follow. Along the way, you will pass through an area with rocks floating in the air. In this area you will be blocked by a seal.

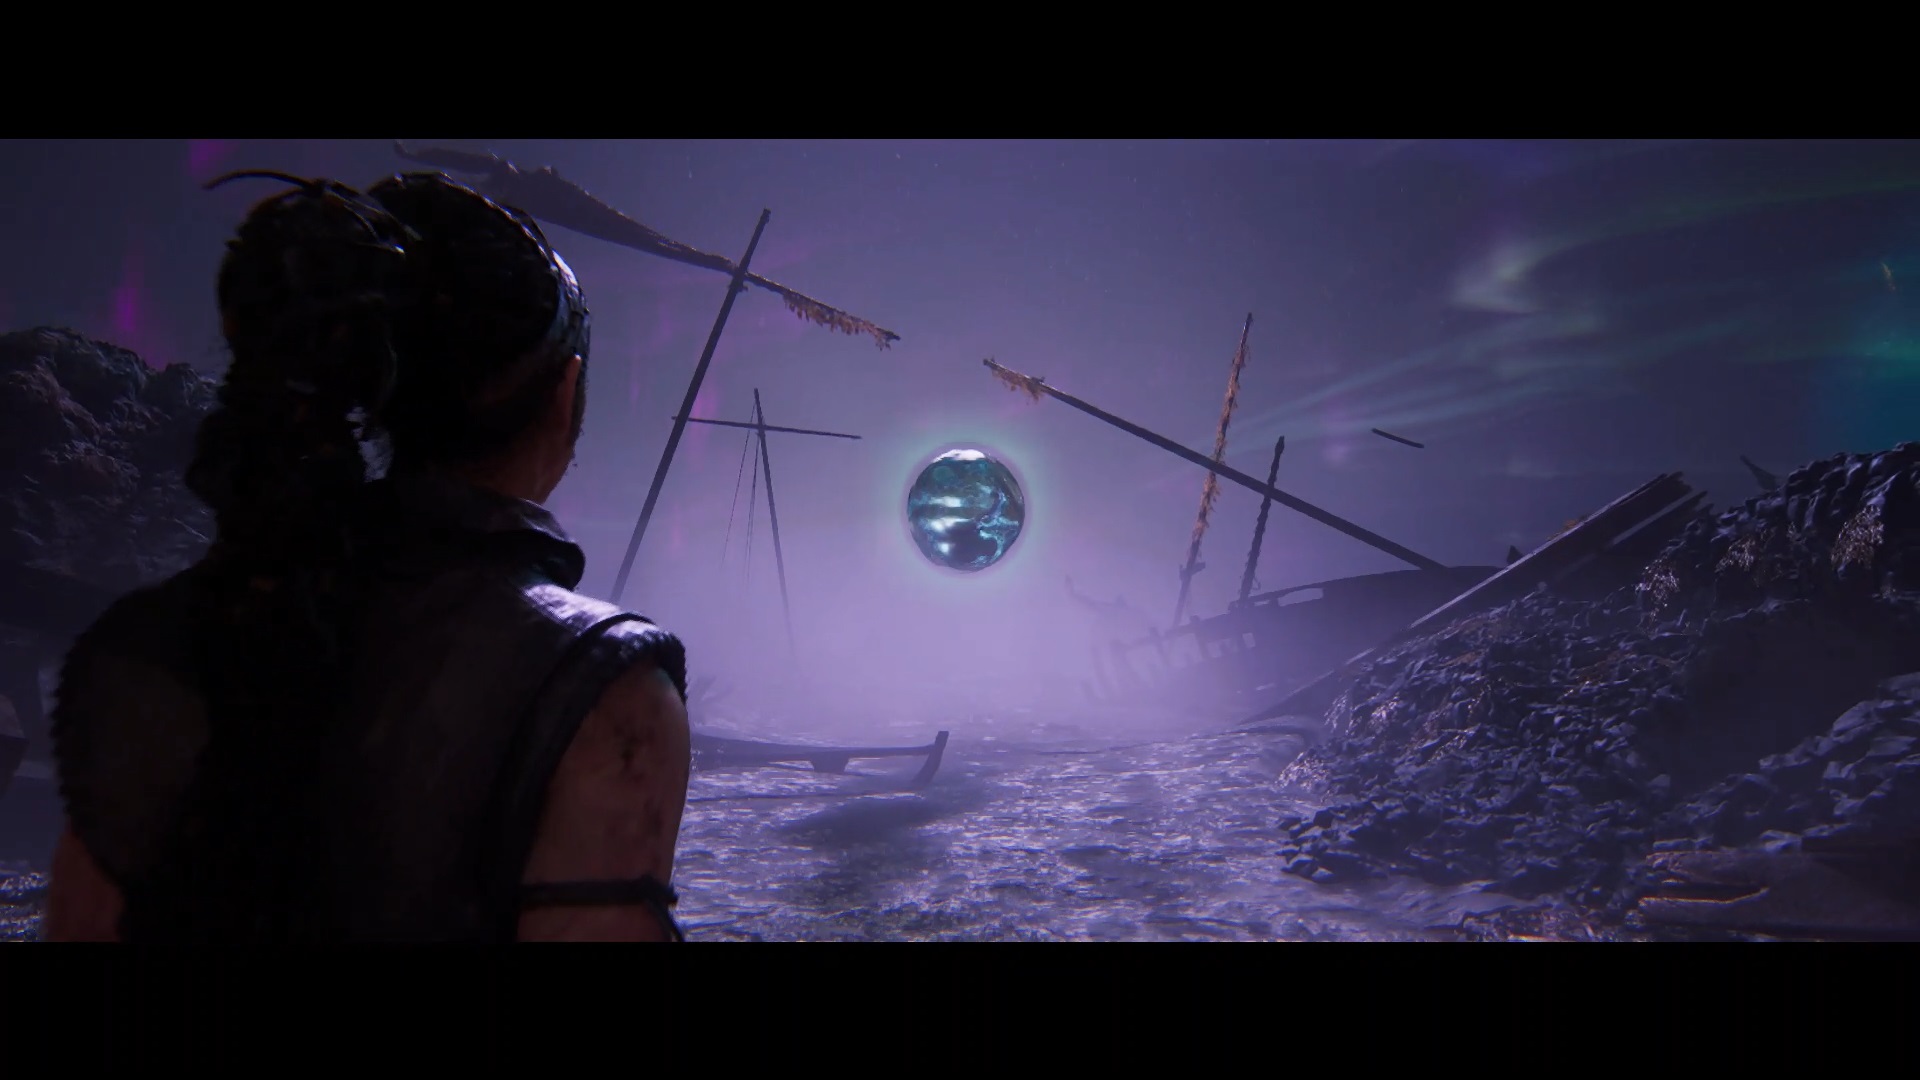
To unlock the passage, you must find the seal in the area and line it up correctly. Opposite the blocked passage is a large rock on the ground. You will find symbols above the rock. Align them correctly to recreate the seal and unblock the passage. Continue moving towards the ship on the beach.

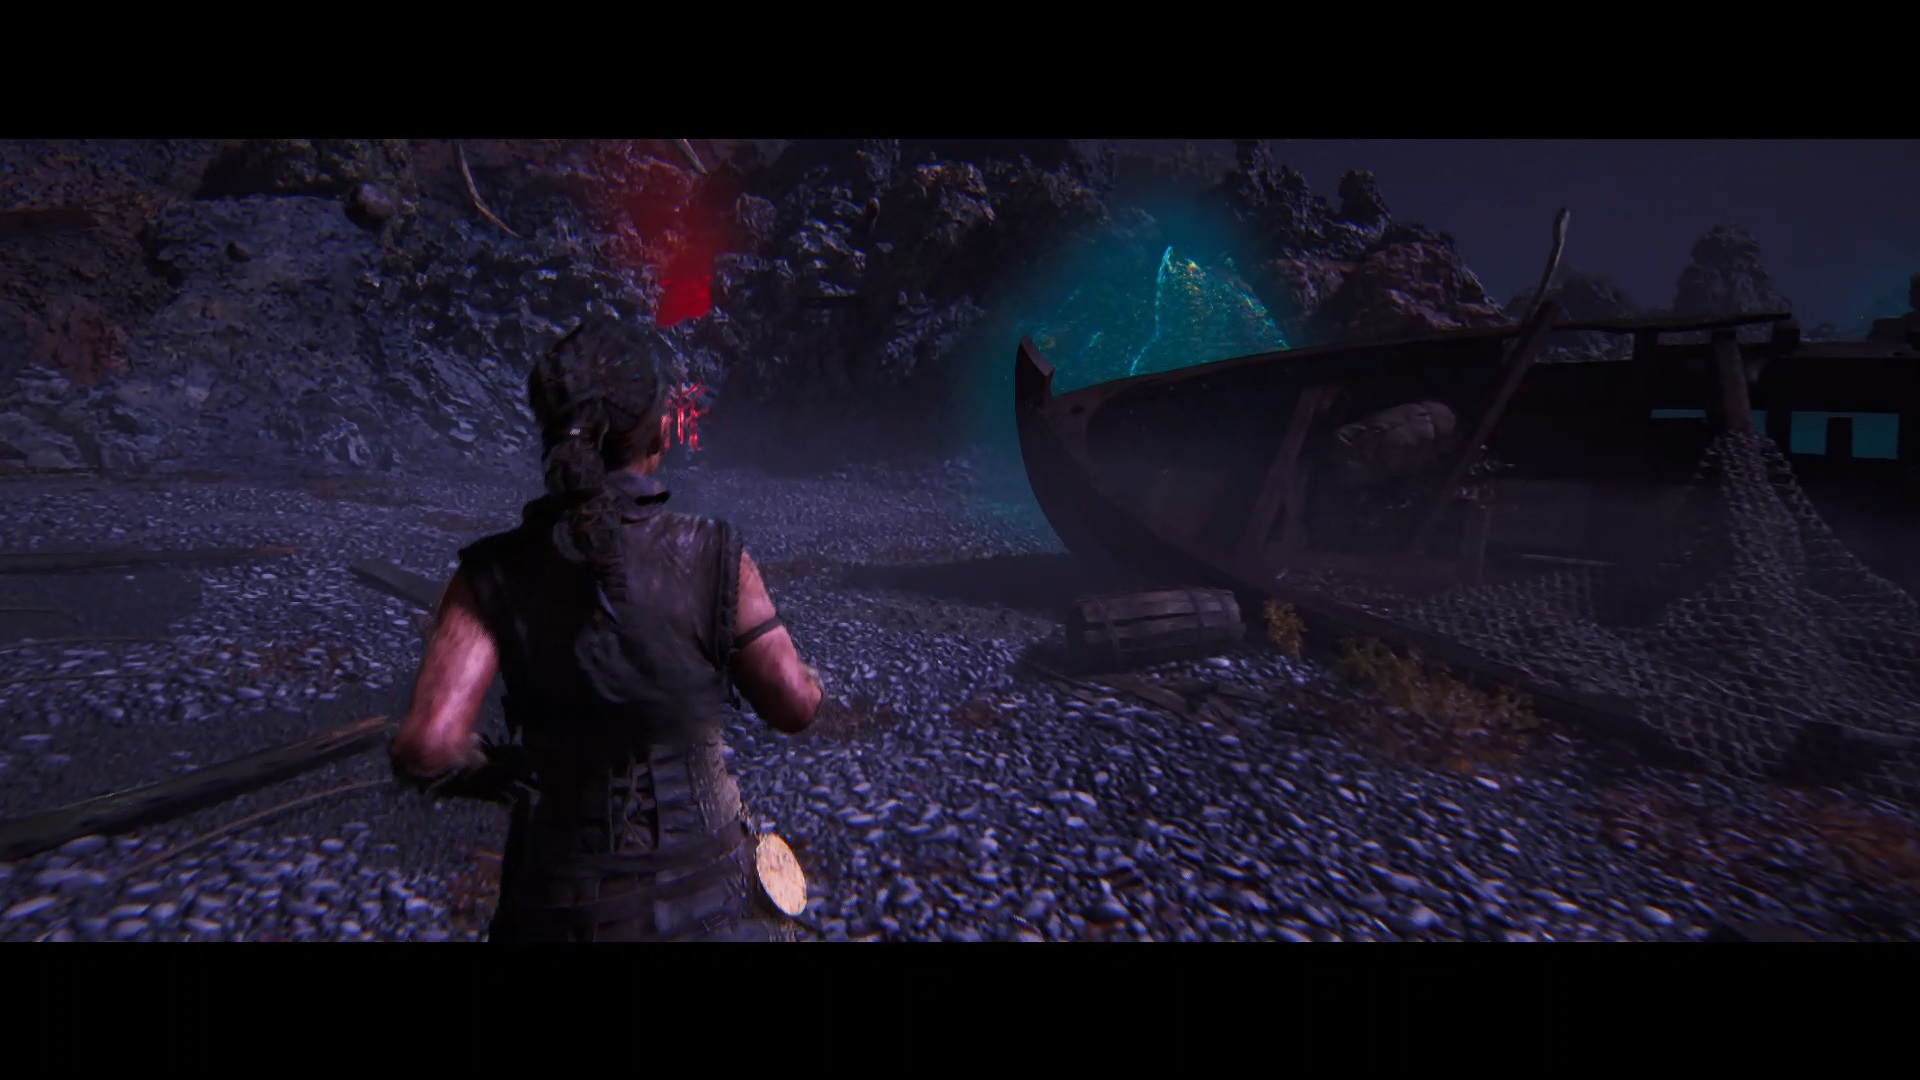
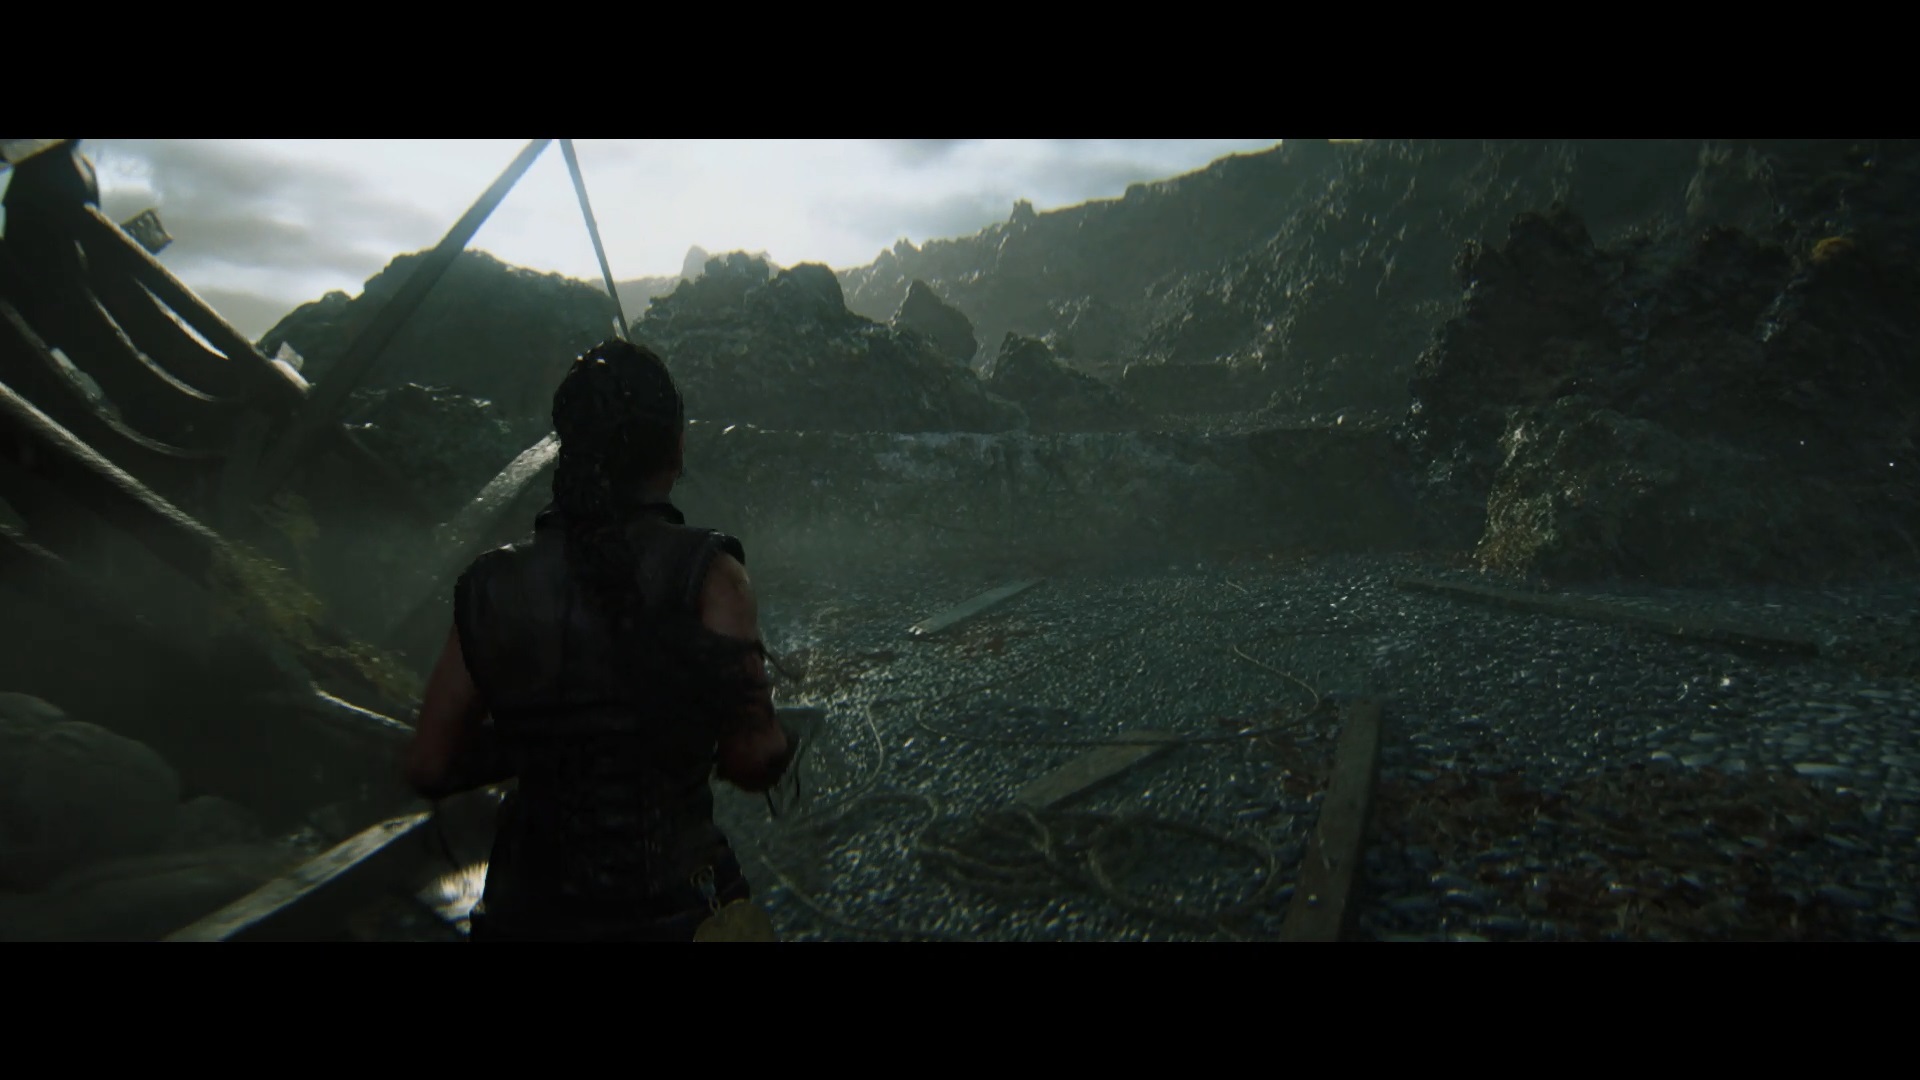
Continue to walk along the beach after the beached boat. Head towards a flag. Near the flag, sneak through the rocks to reach a new area and trigger a cutscene.
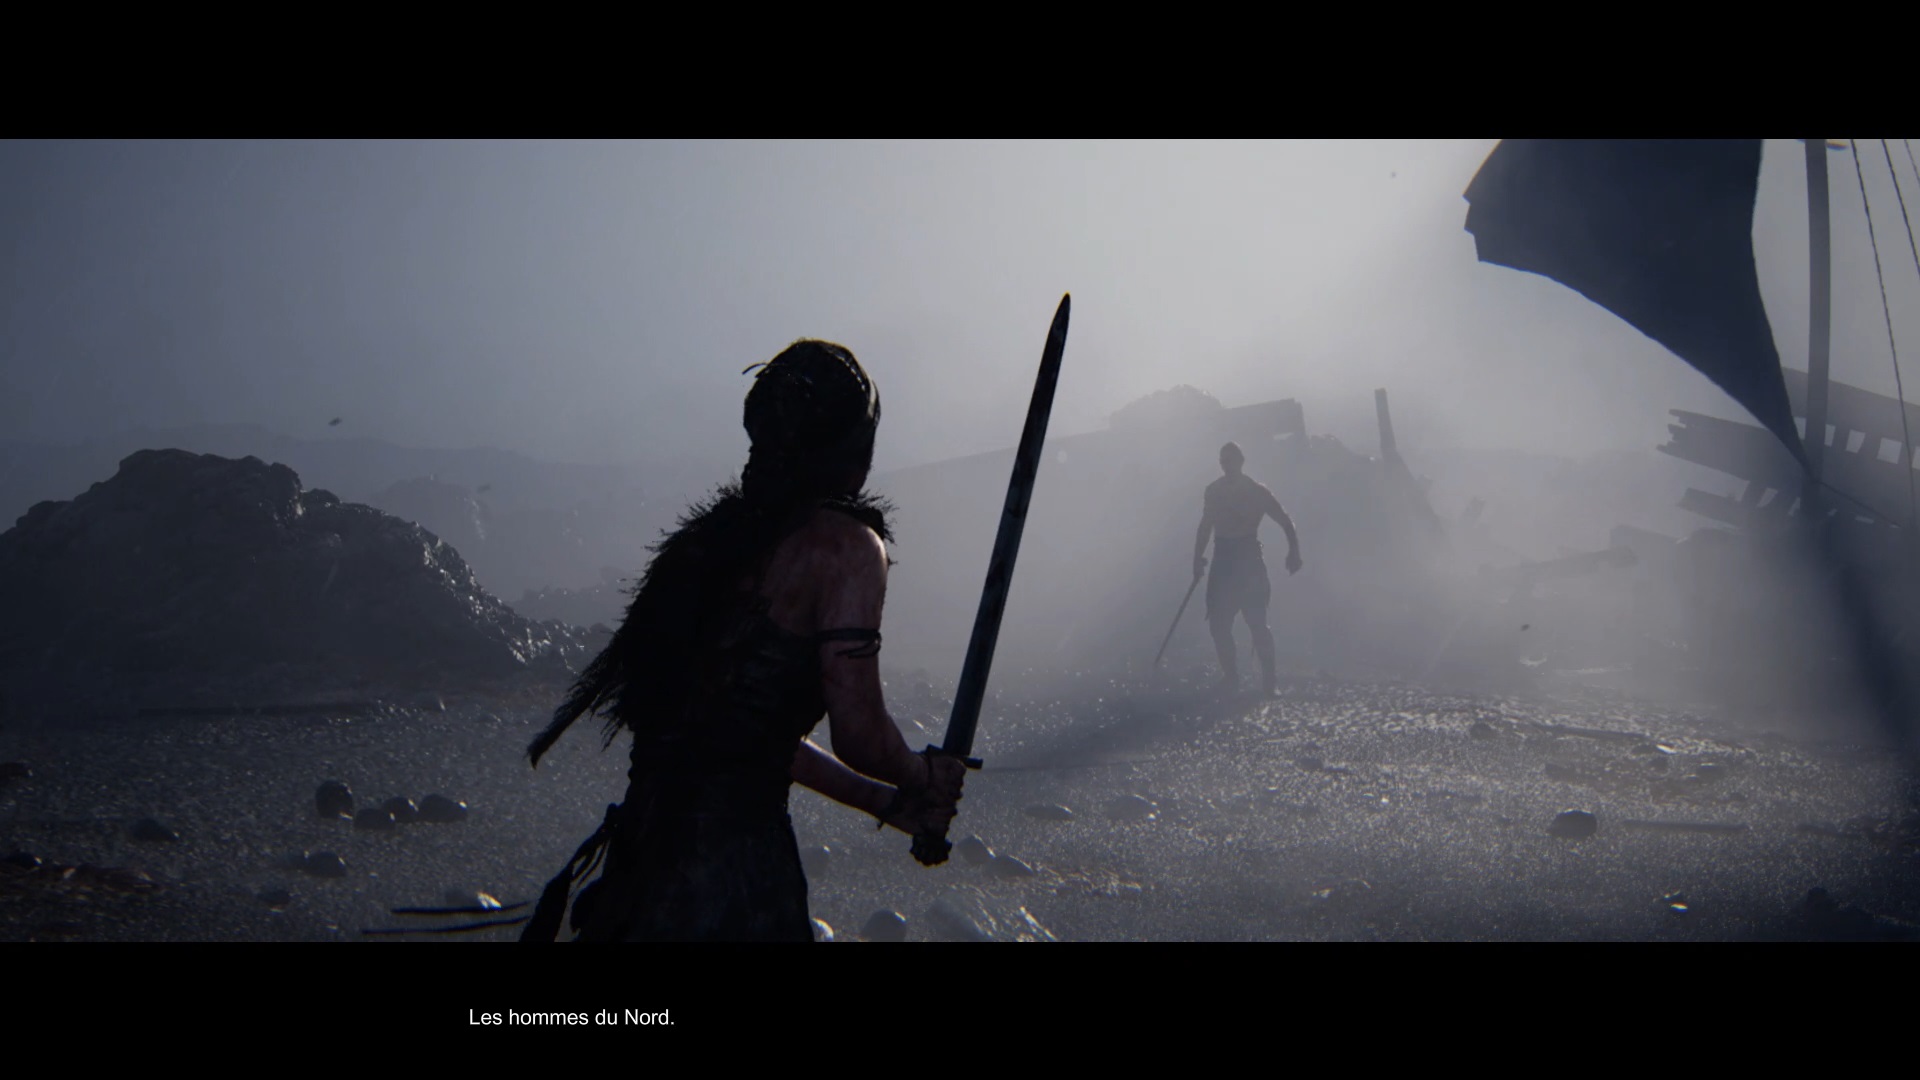
You meet your first enemies. After the cutscene, continue moving towards the stranded boats to engage in your first fight. Chain weak and strong strikes and dodge at the right time to defeat him. Once cleared of the enemy, continue your path passing over a wooden plank to the left of the wreck.

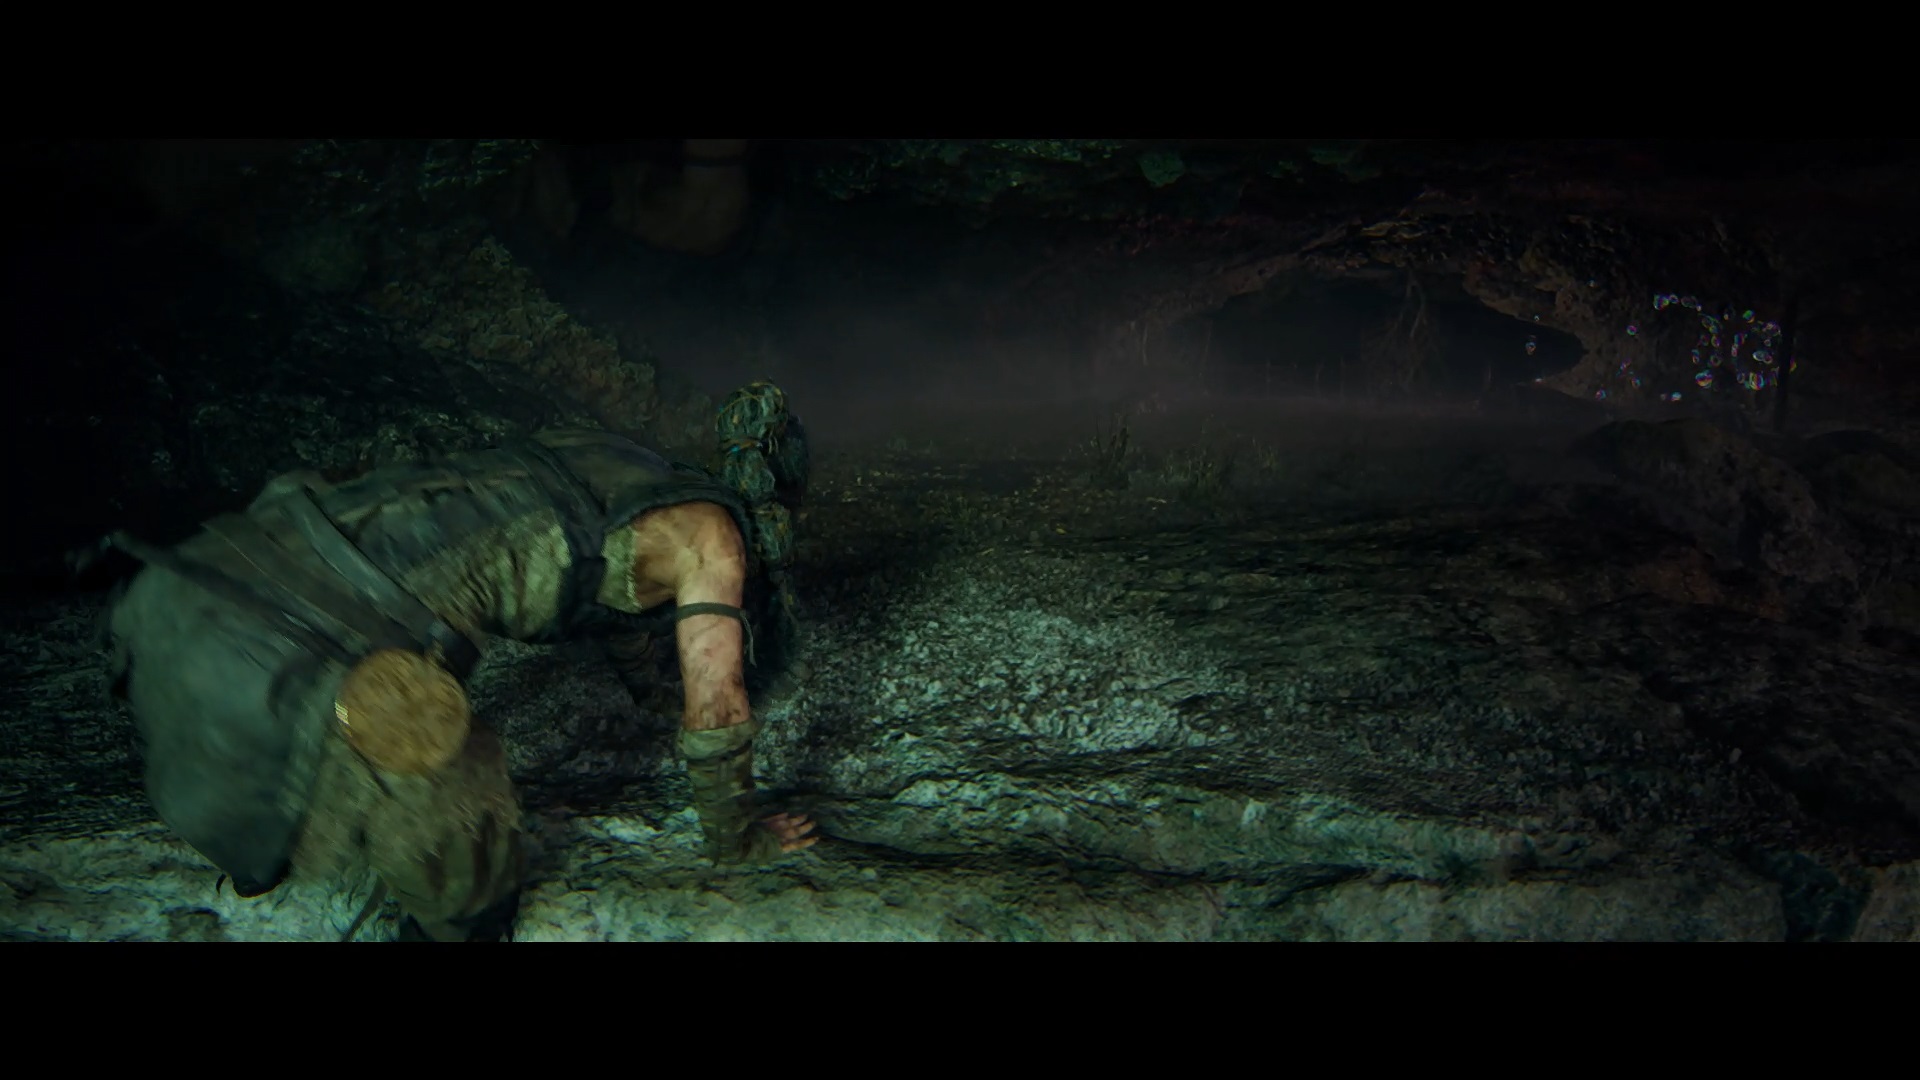
Continue walking along the beach towards each of the new wrecks on your way. Chain fights, dodge at the right time to counter and defeat enemies quickly. Your path is blocked by an overturned boat. Crawl under the boat to get to the other side.
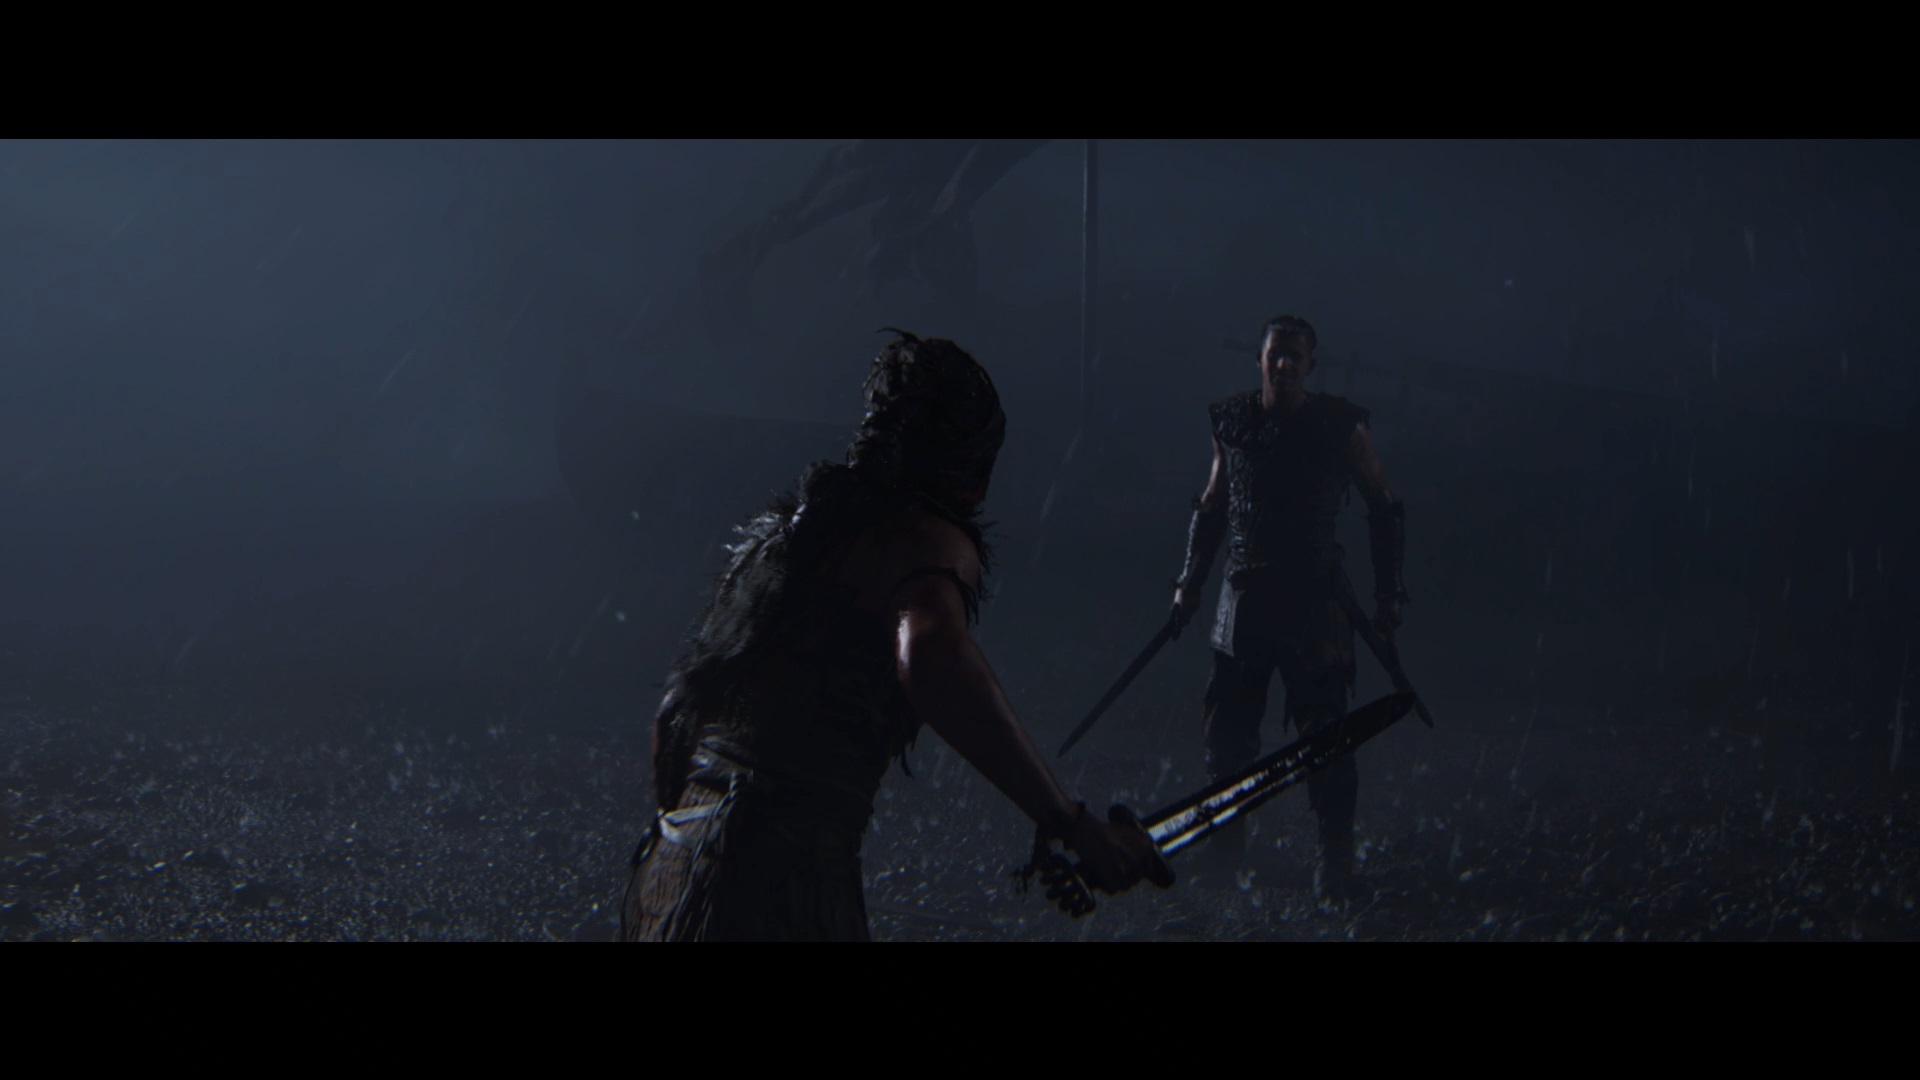
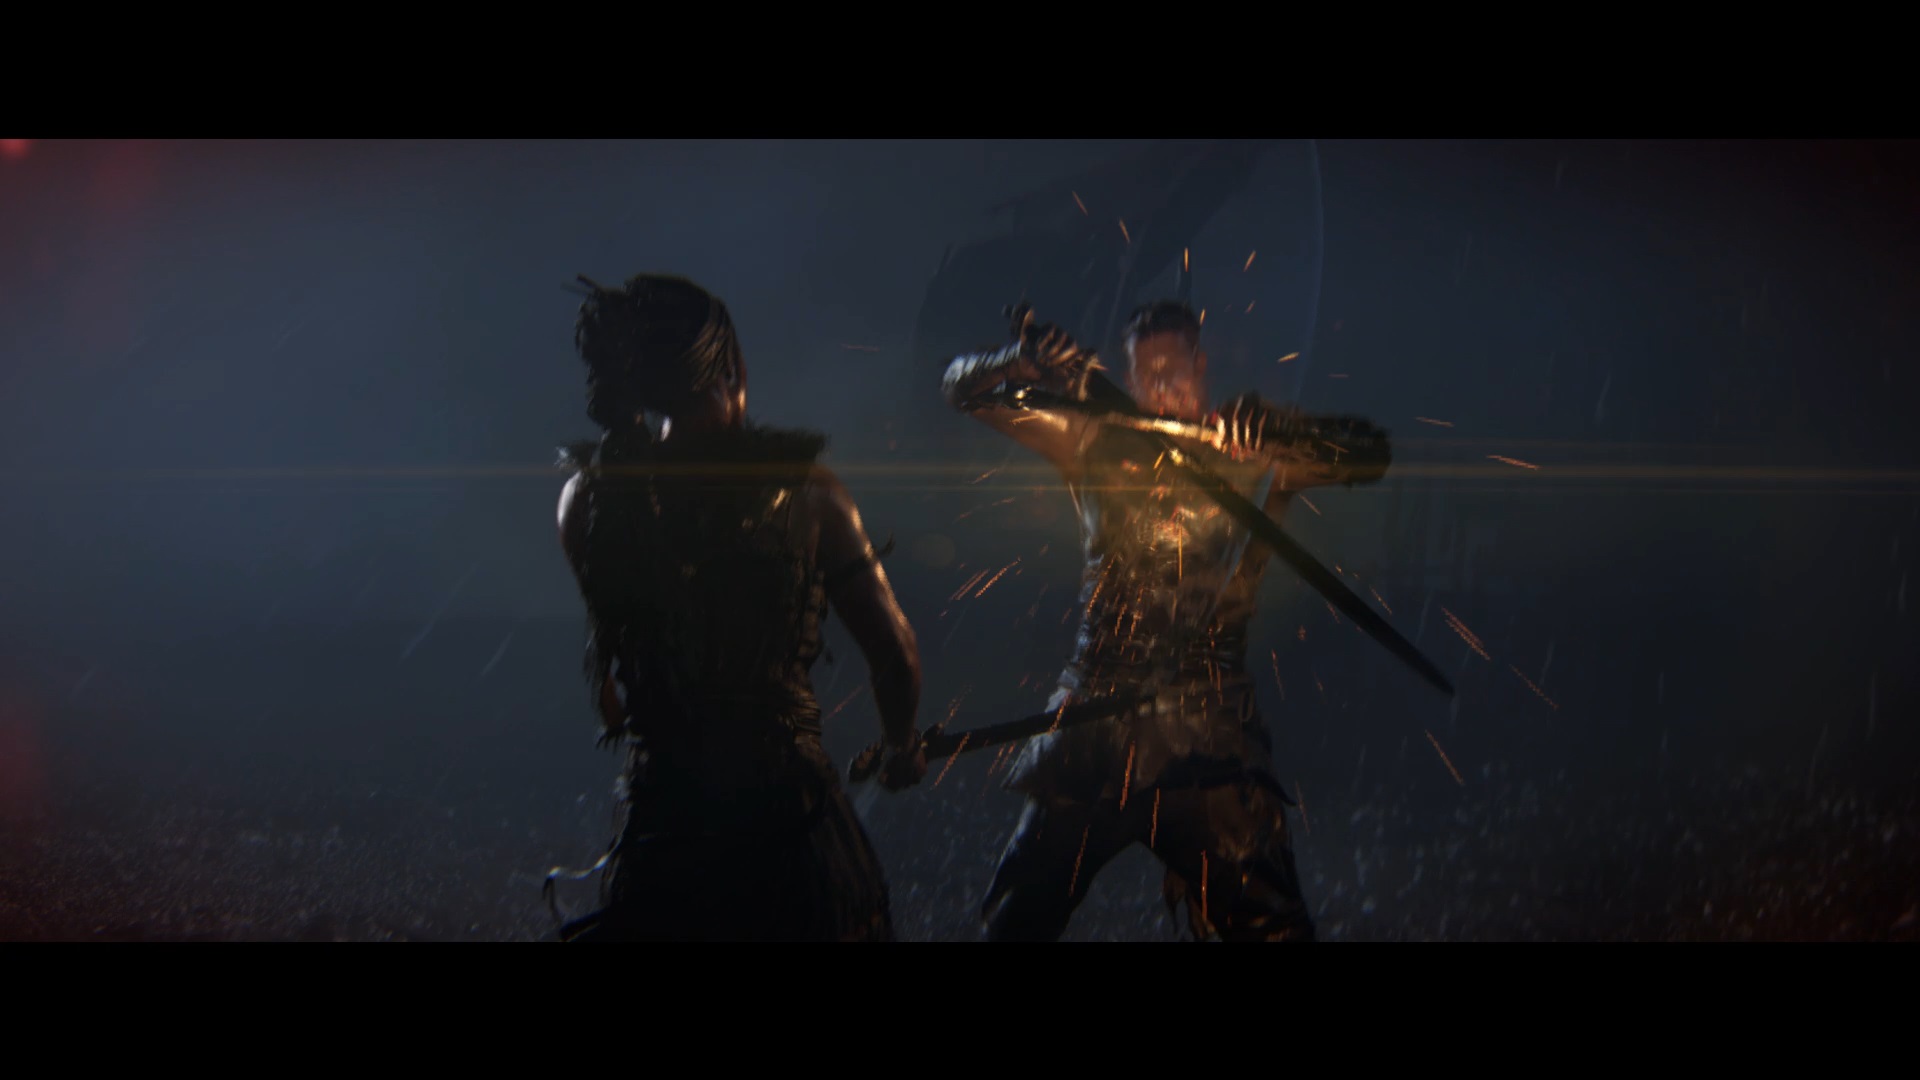
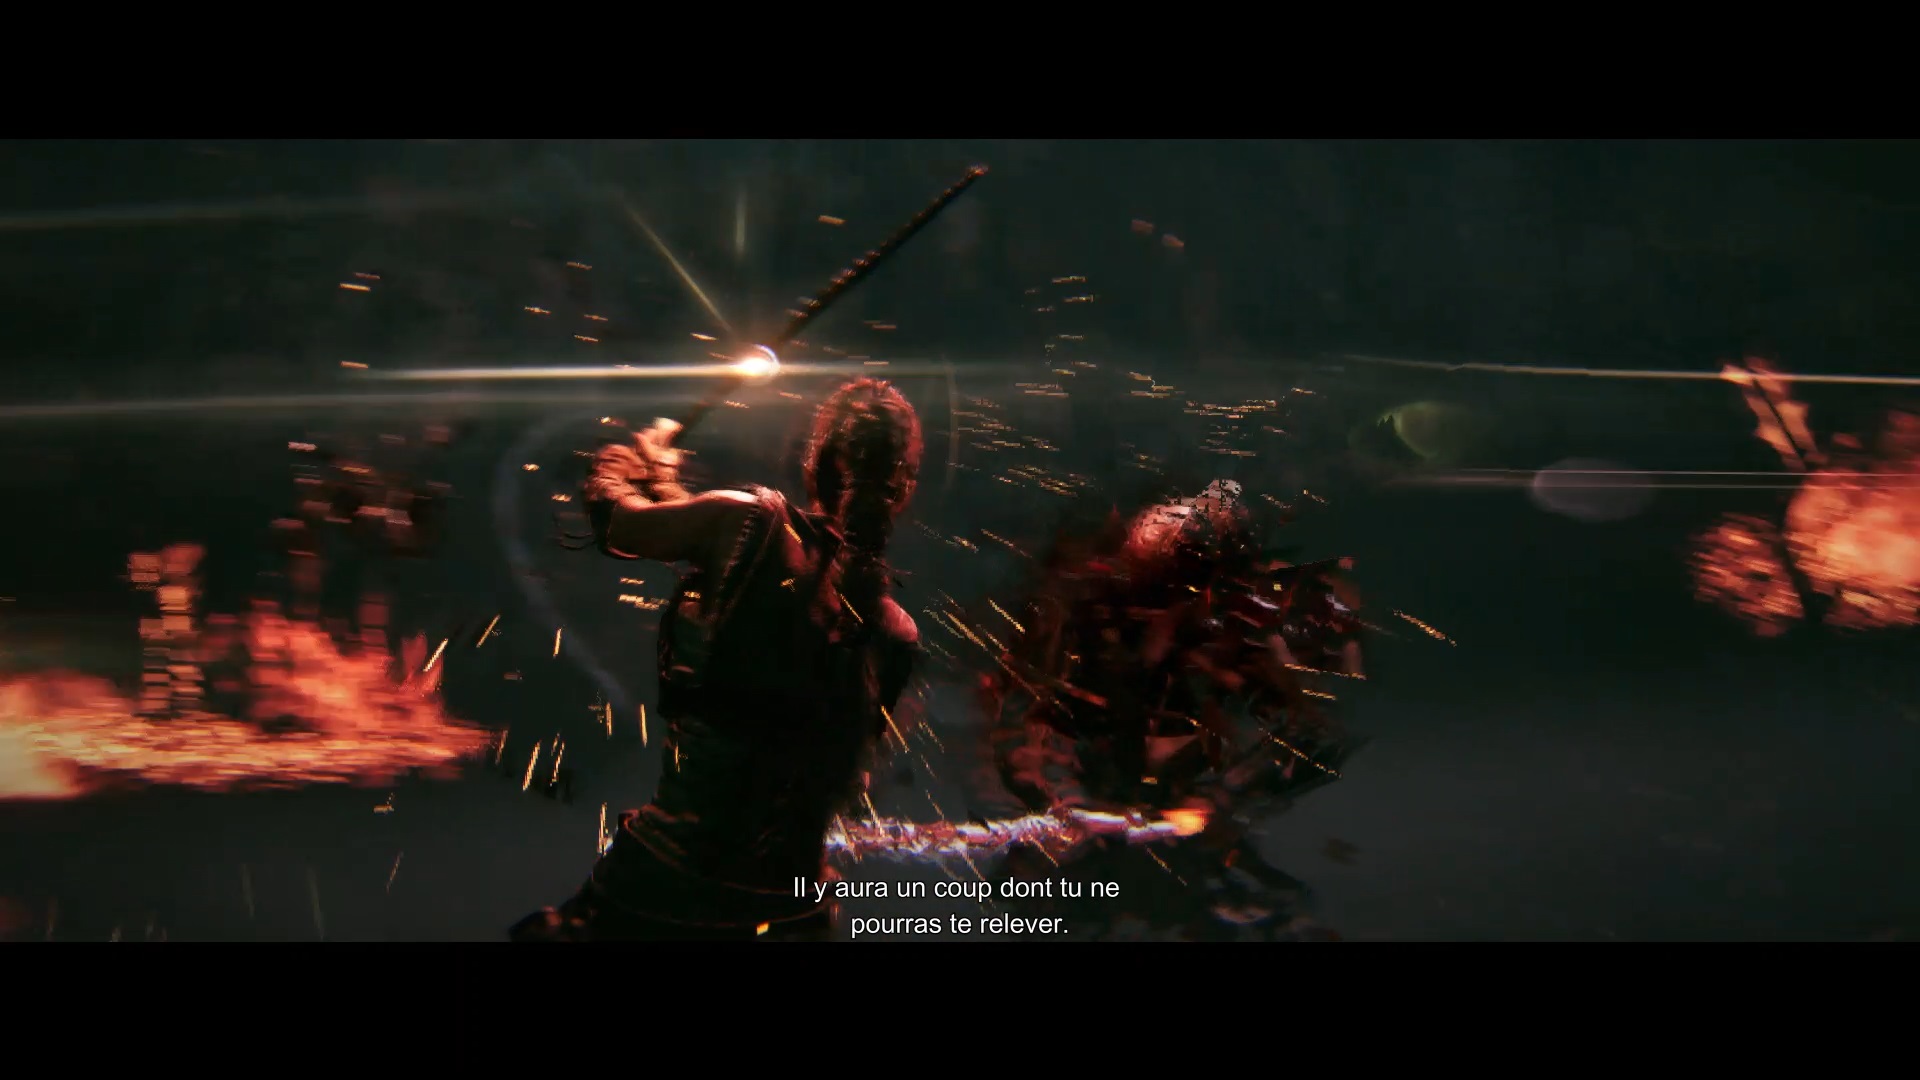
Continue your exploration to reach your first boss: the leader of the slavers. To beat him, dodge his blows when his weapon turns red and parry at the last moment when he uses rapid strikes. When he guards, use strong strikes to break his guard. Once defeated, you complete the chapter.
Chapter 2: Freyslaug
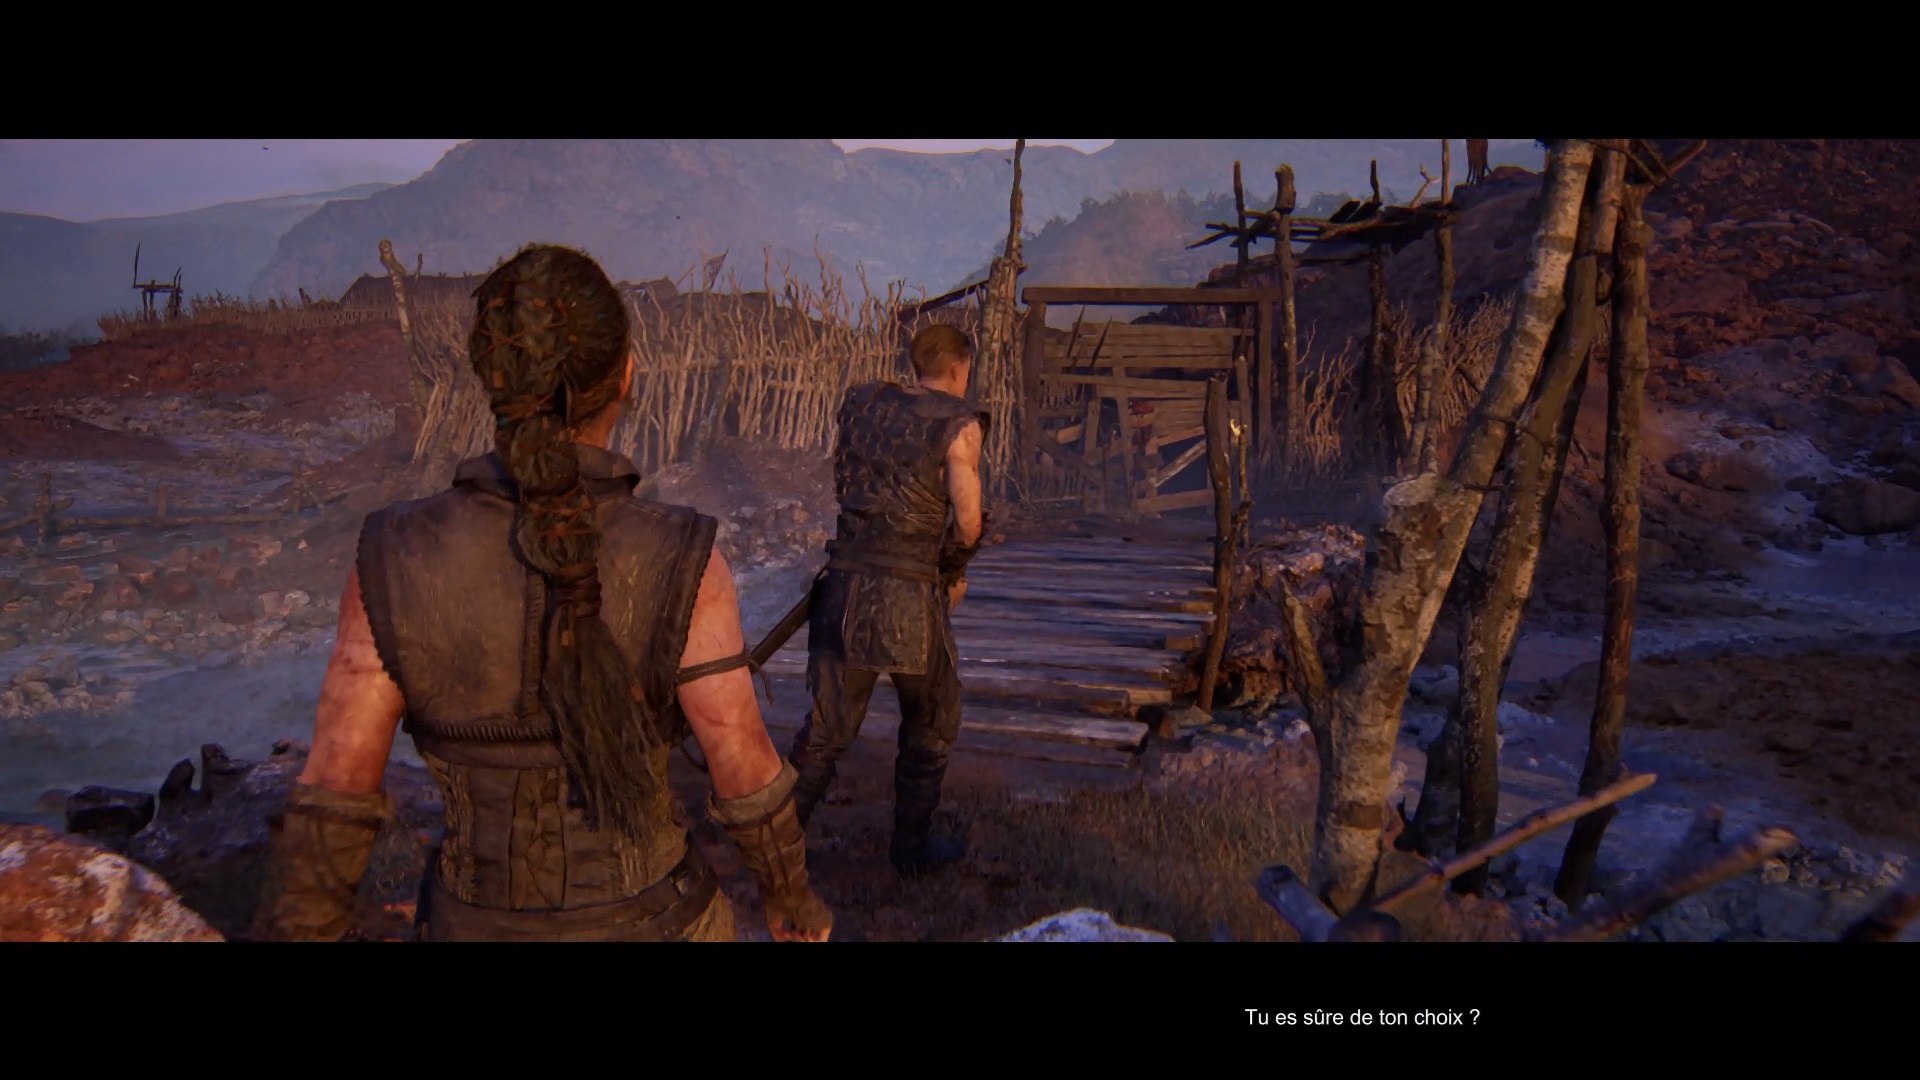
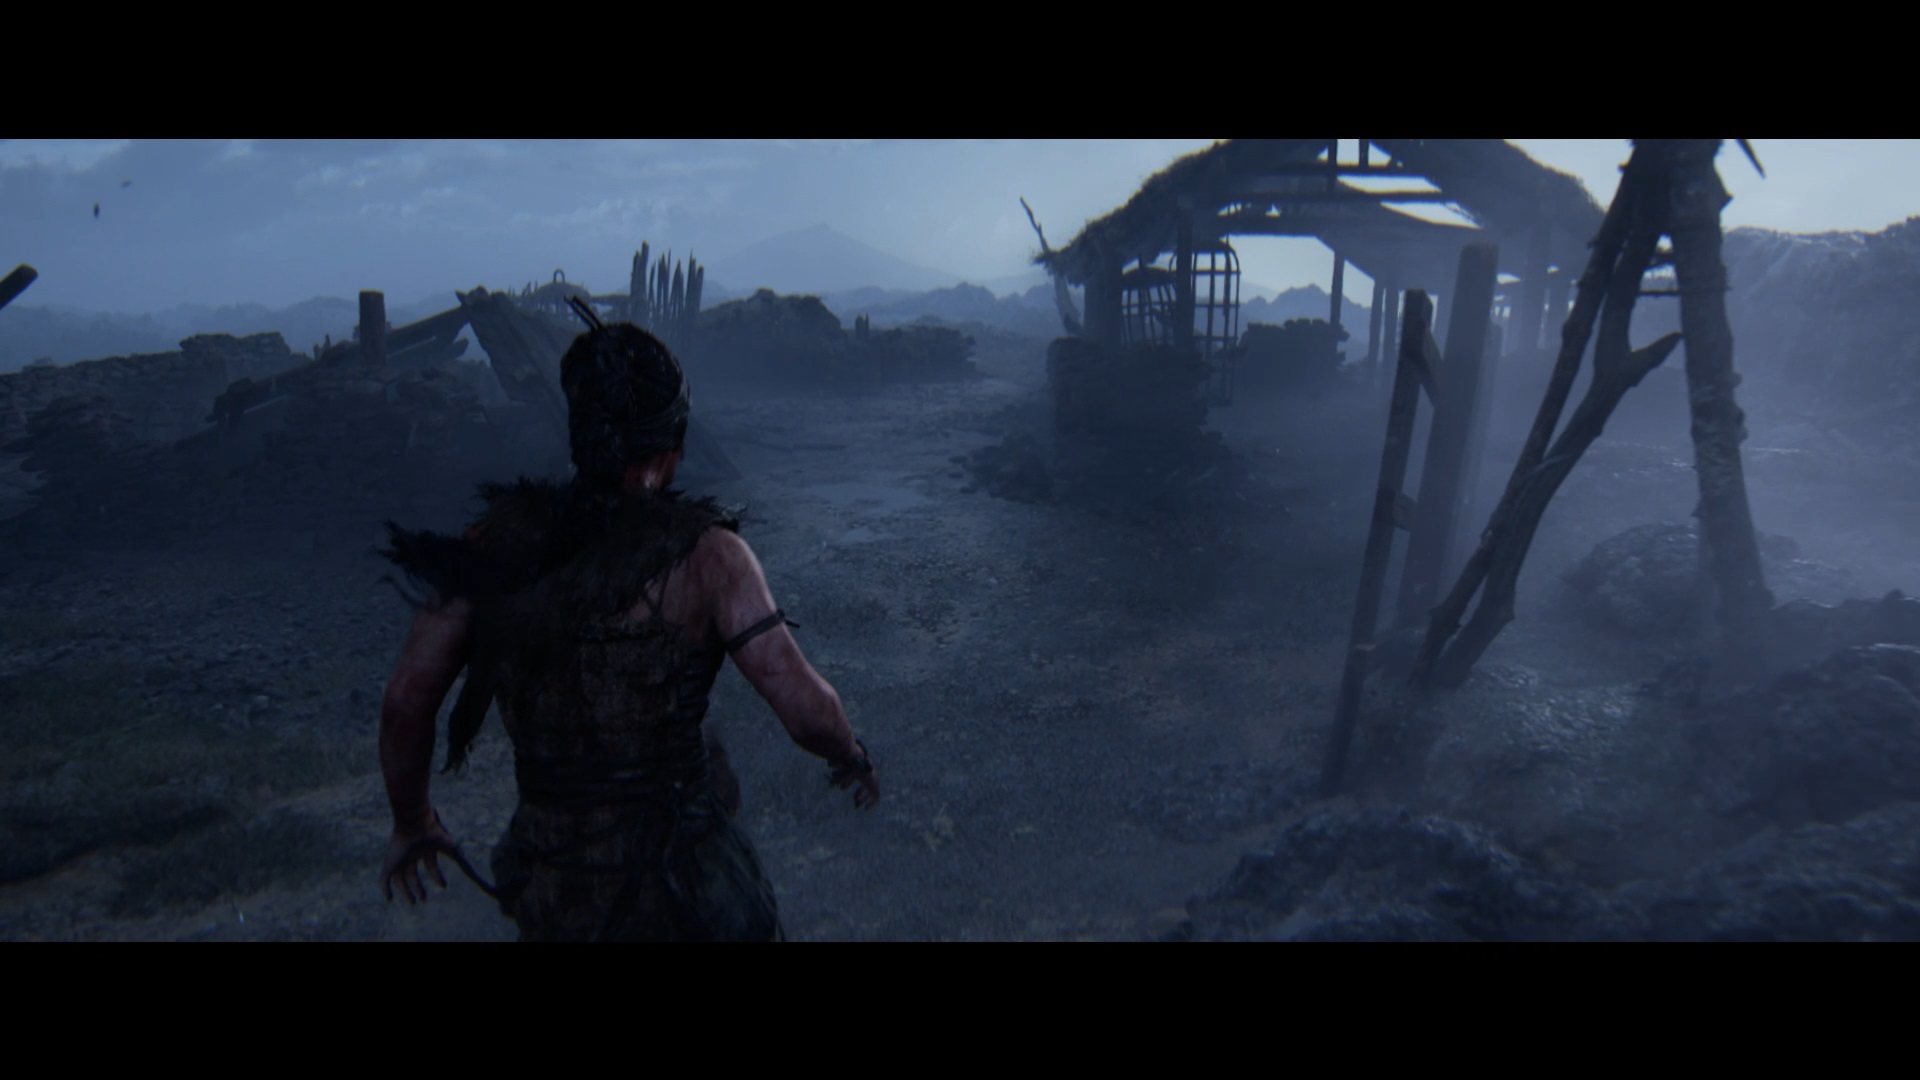
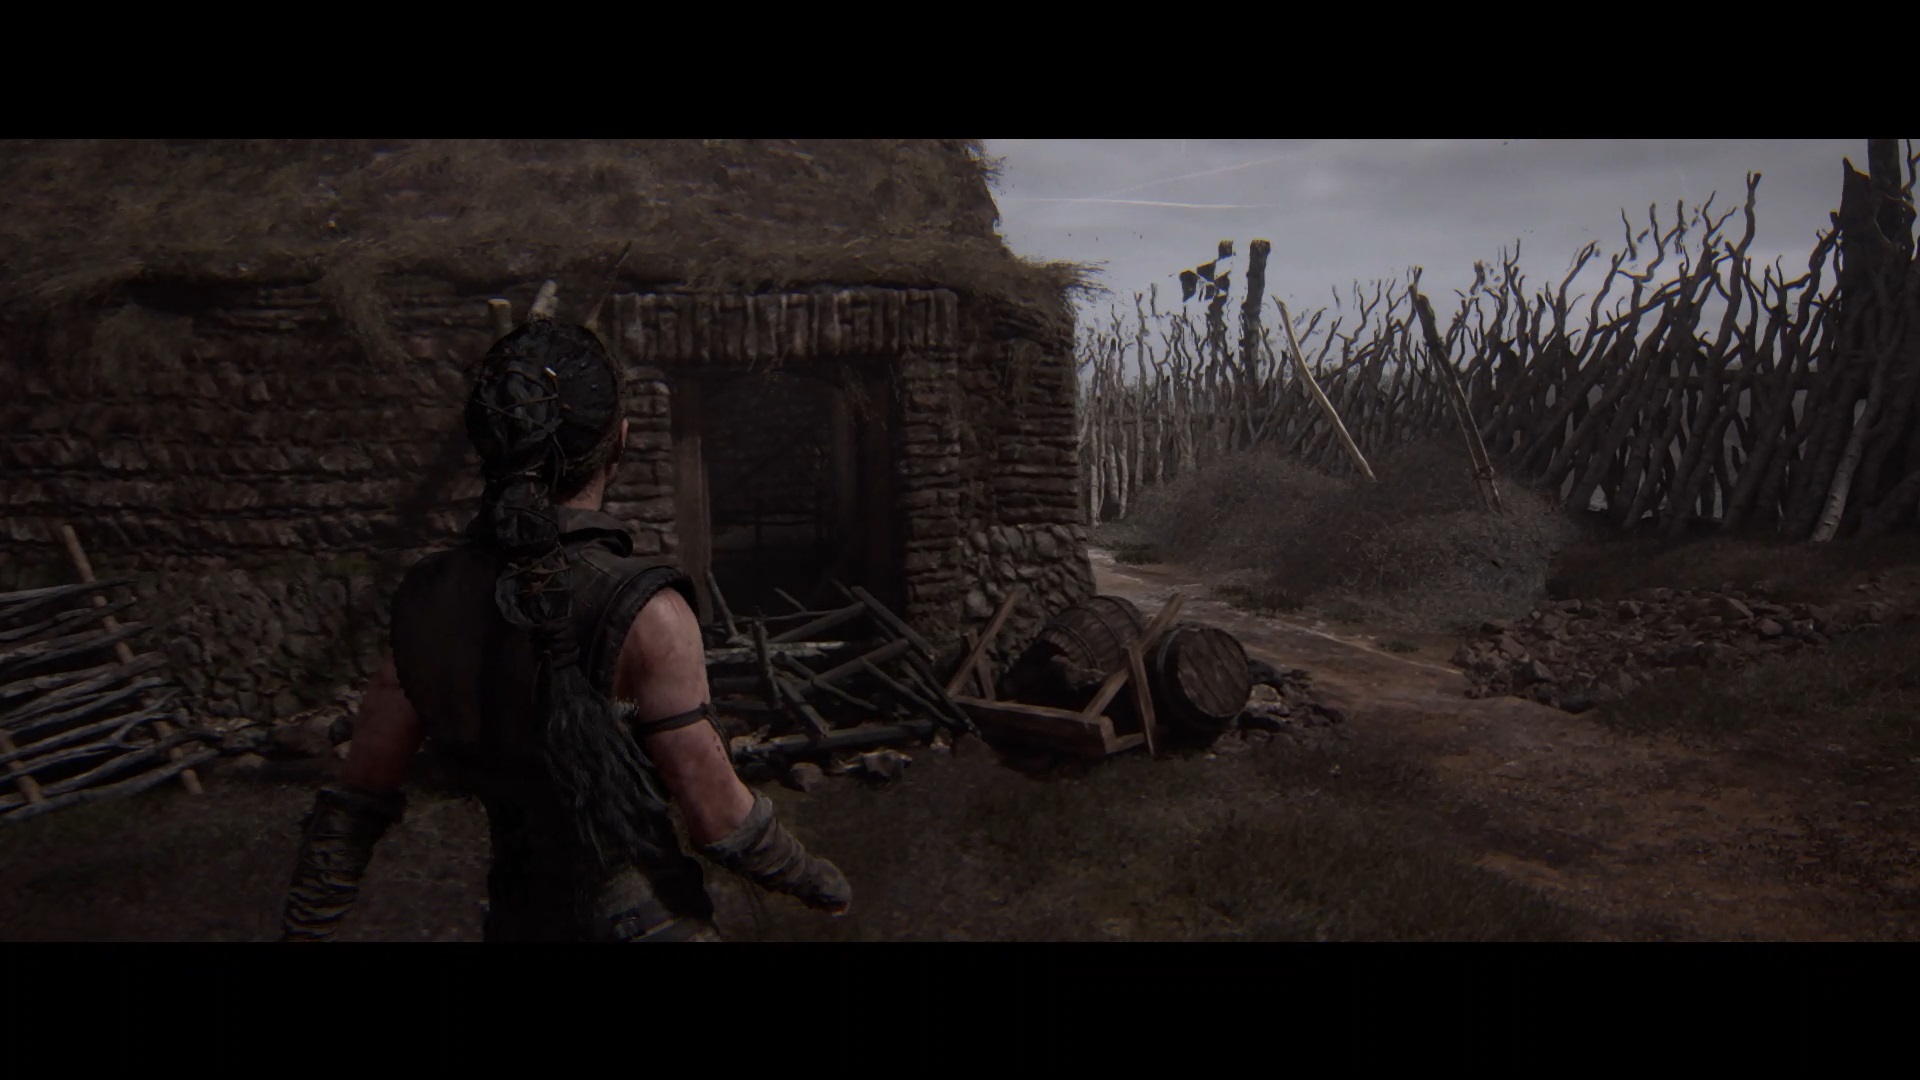
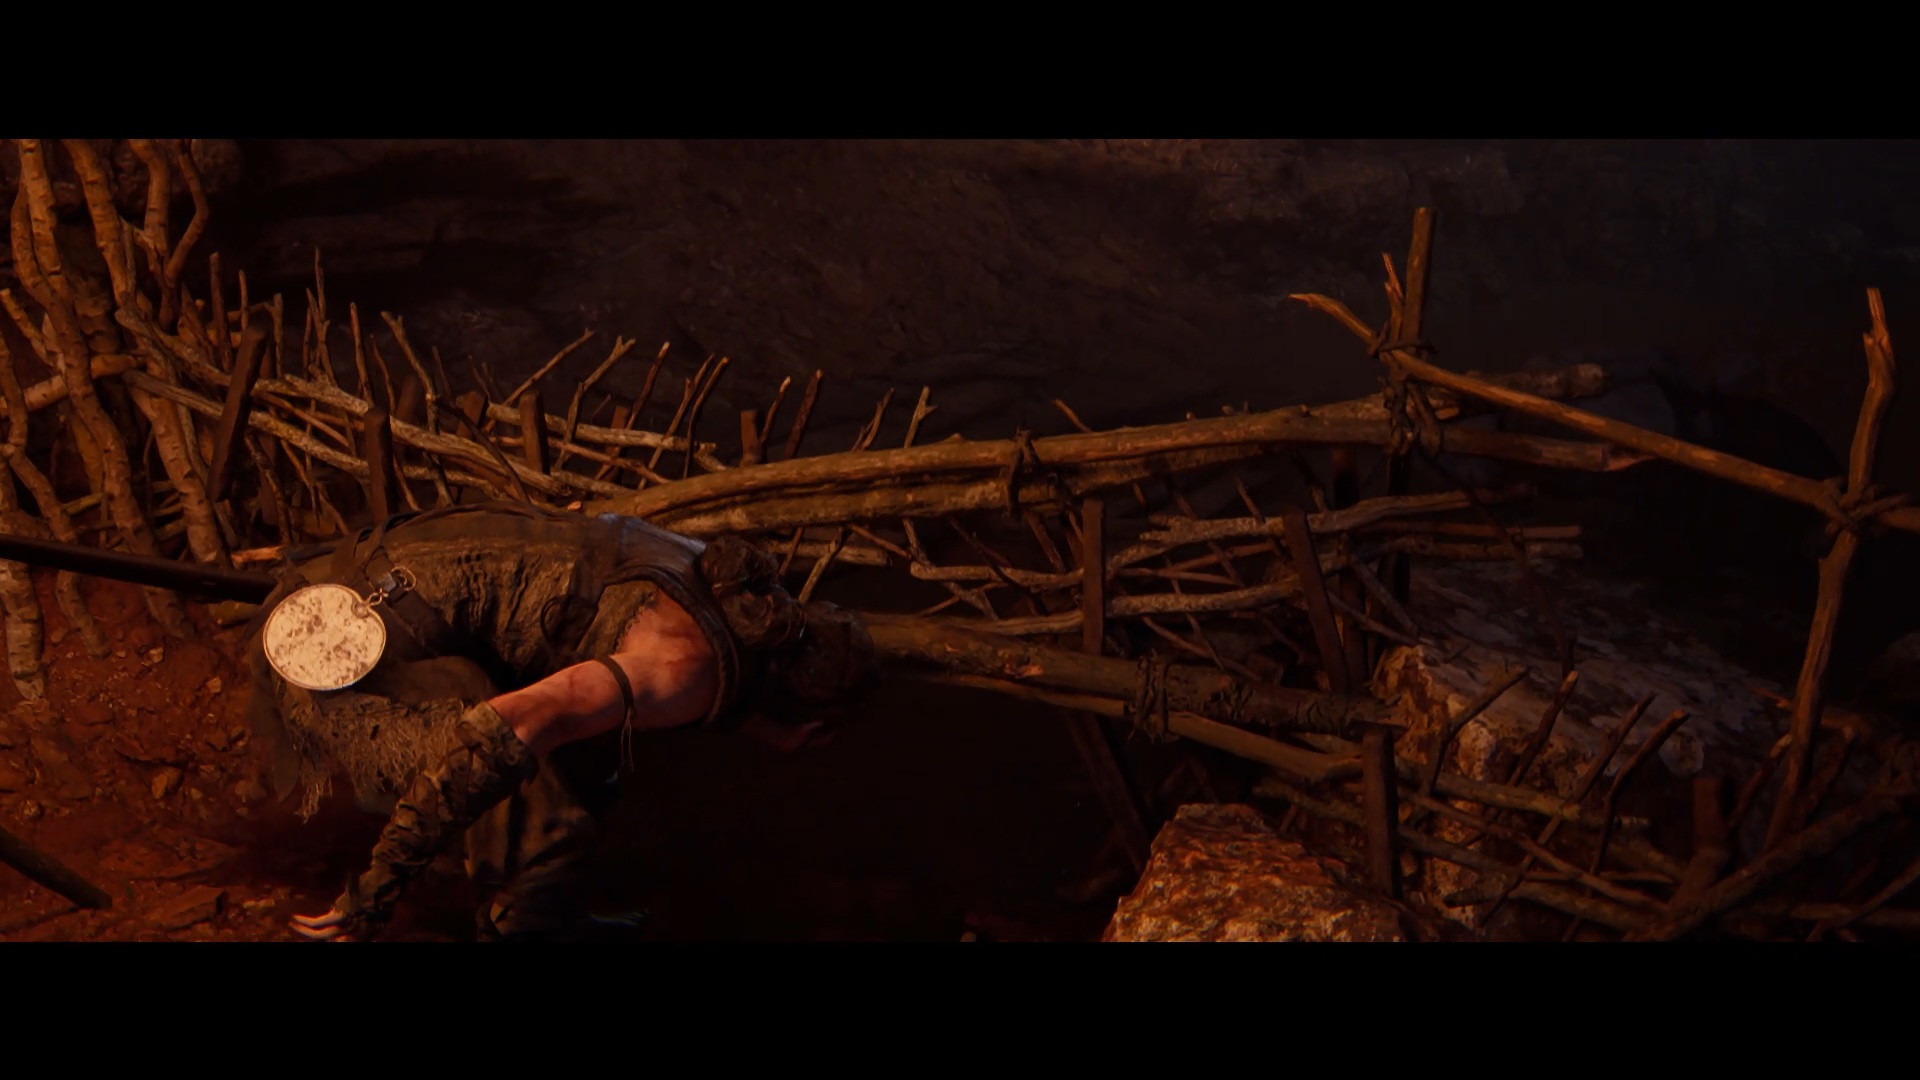
In this chapter, you have captured the slaver and are heading towards his village. Follow it to reach the entrance to the village. After the cutscene and leaving the slaver chained, pass through the wooden planks in front of you to enter the village.
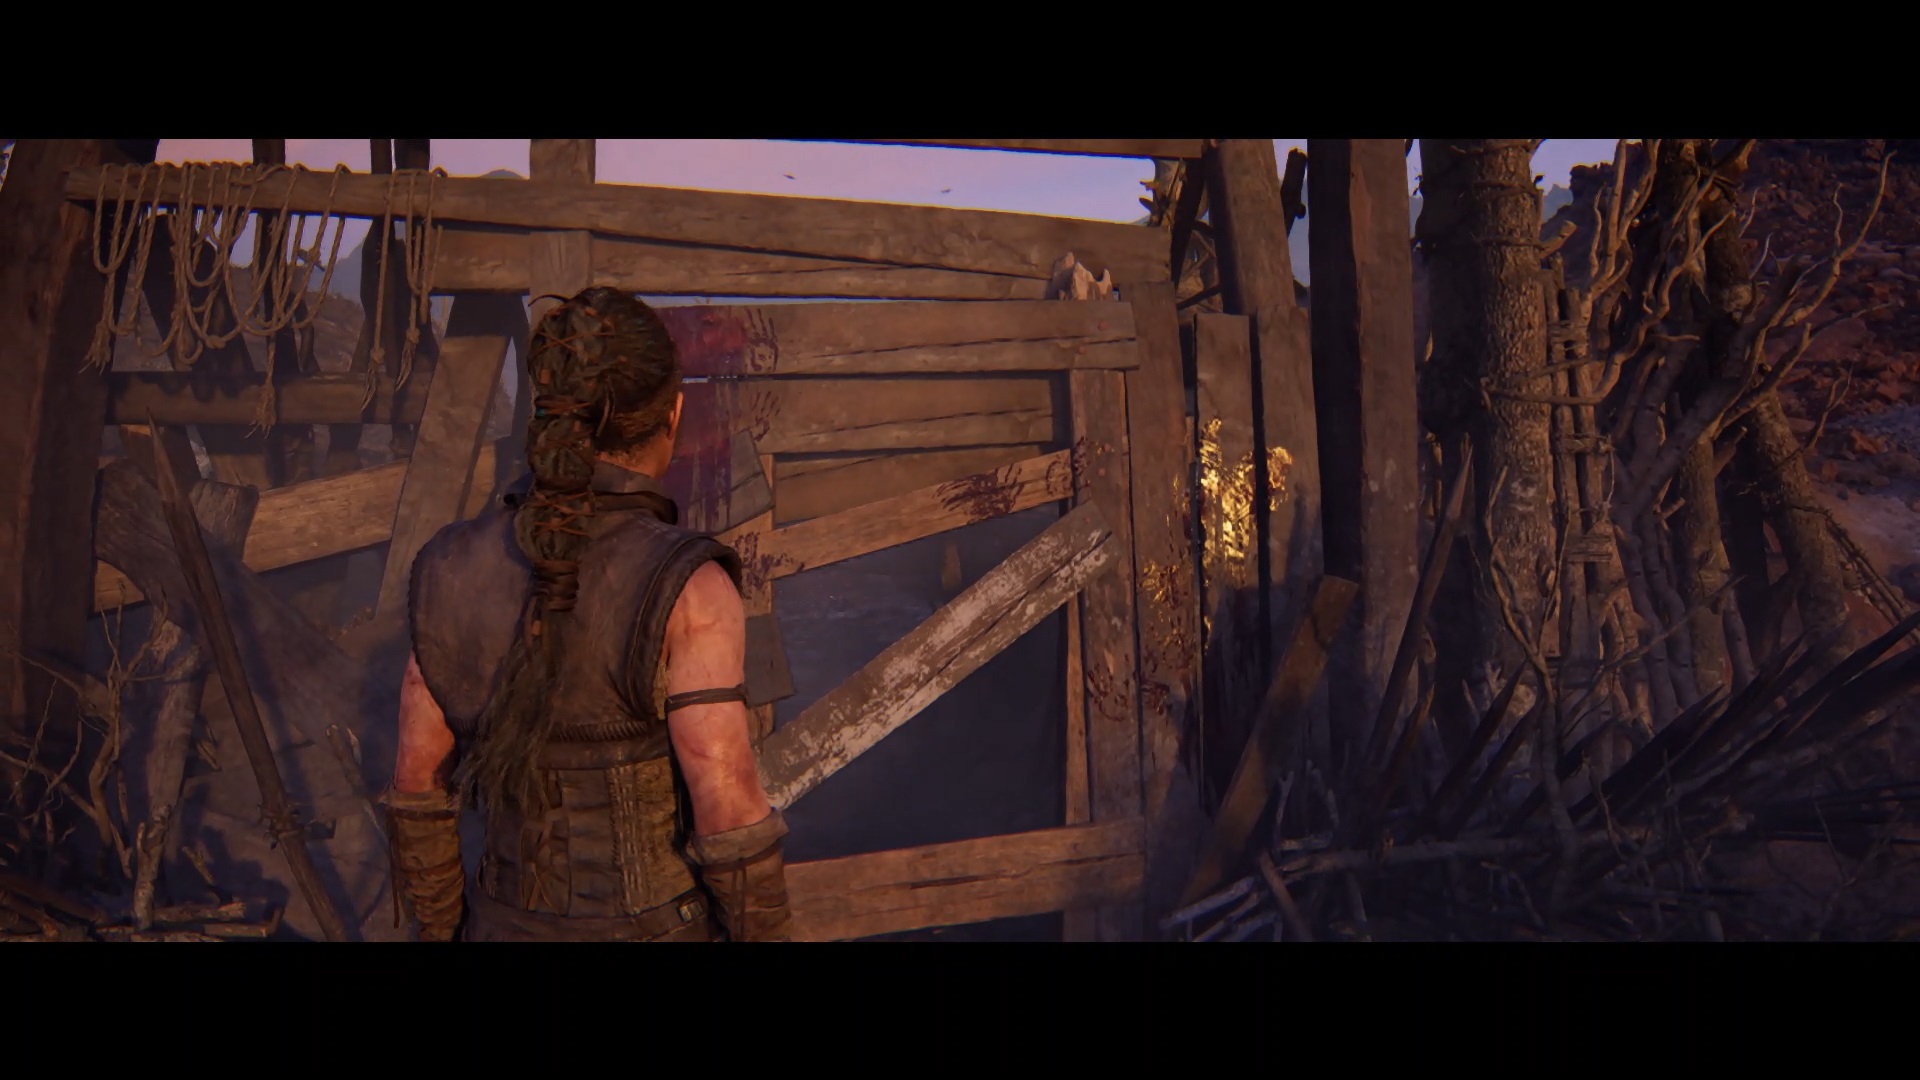
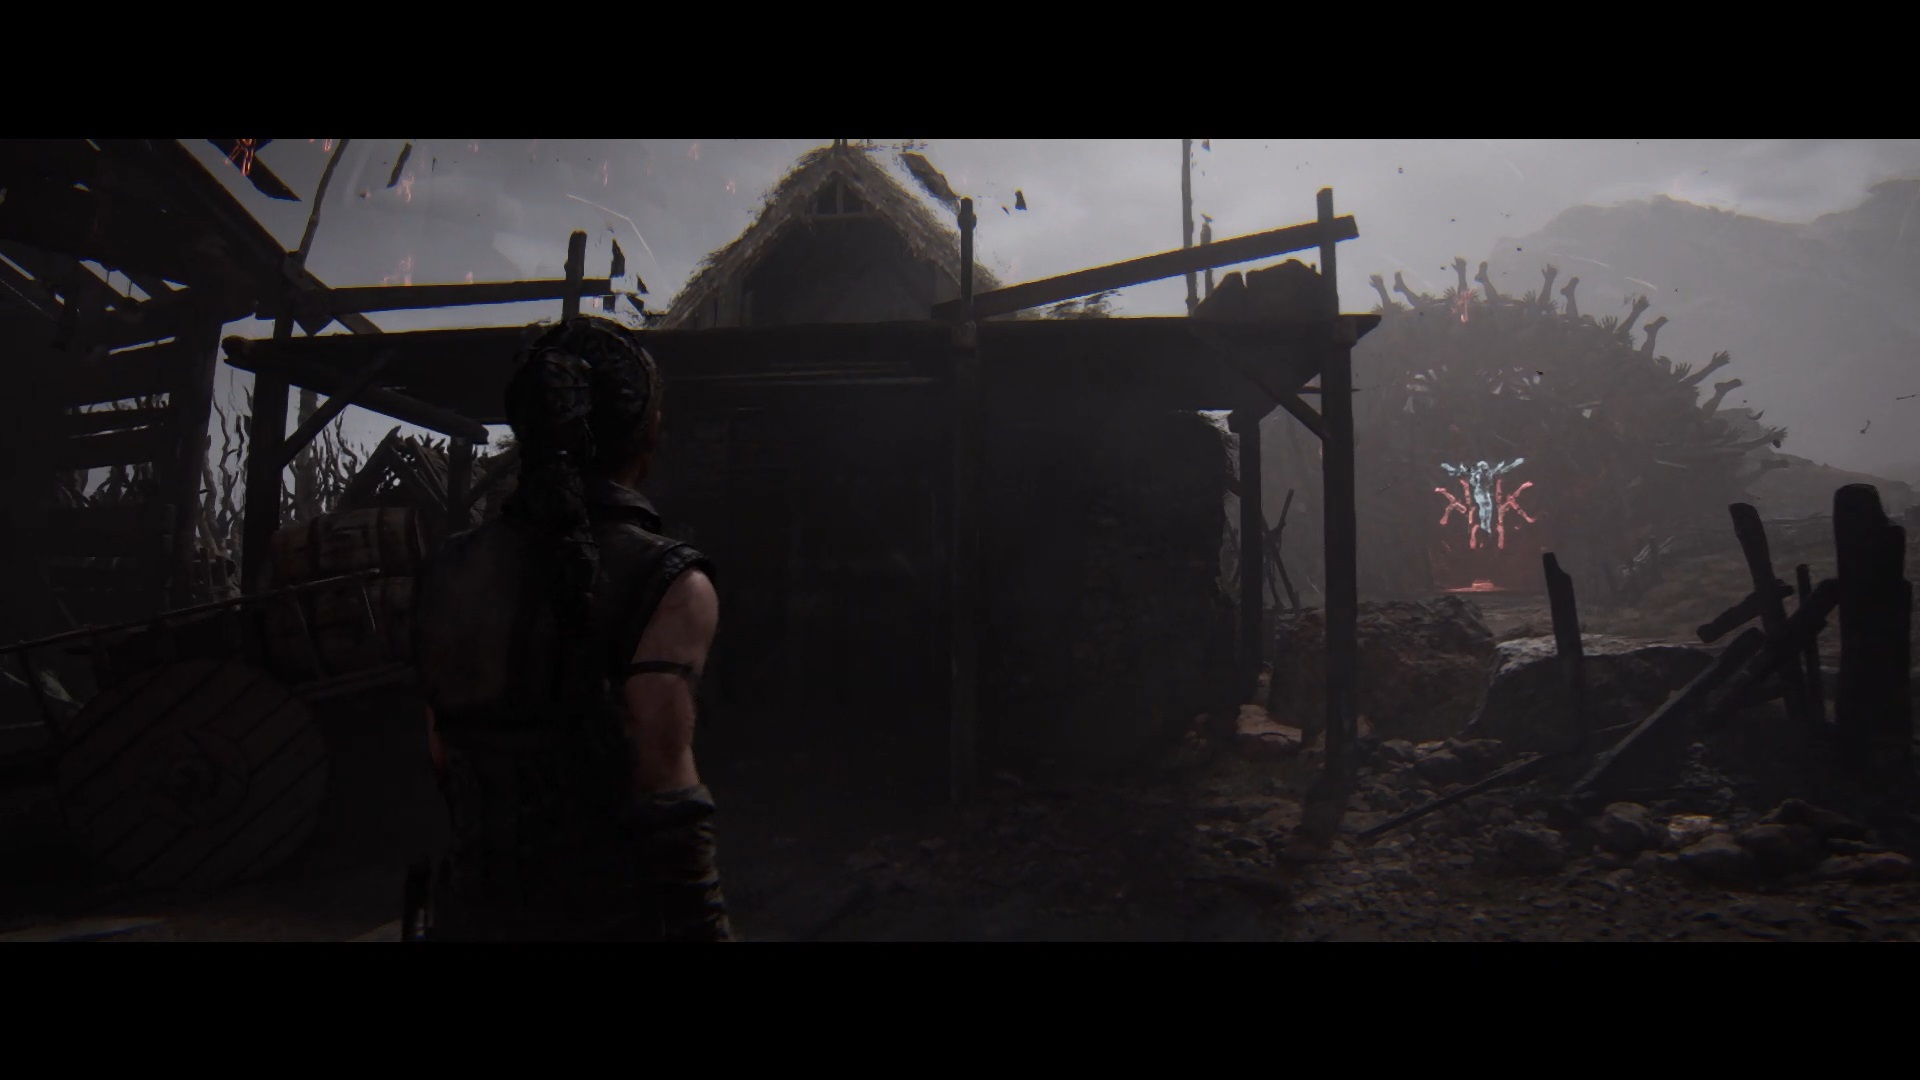
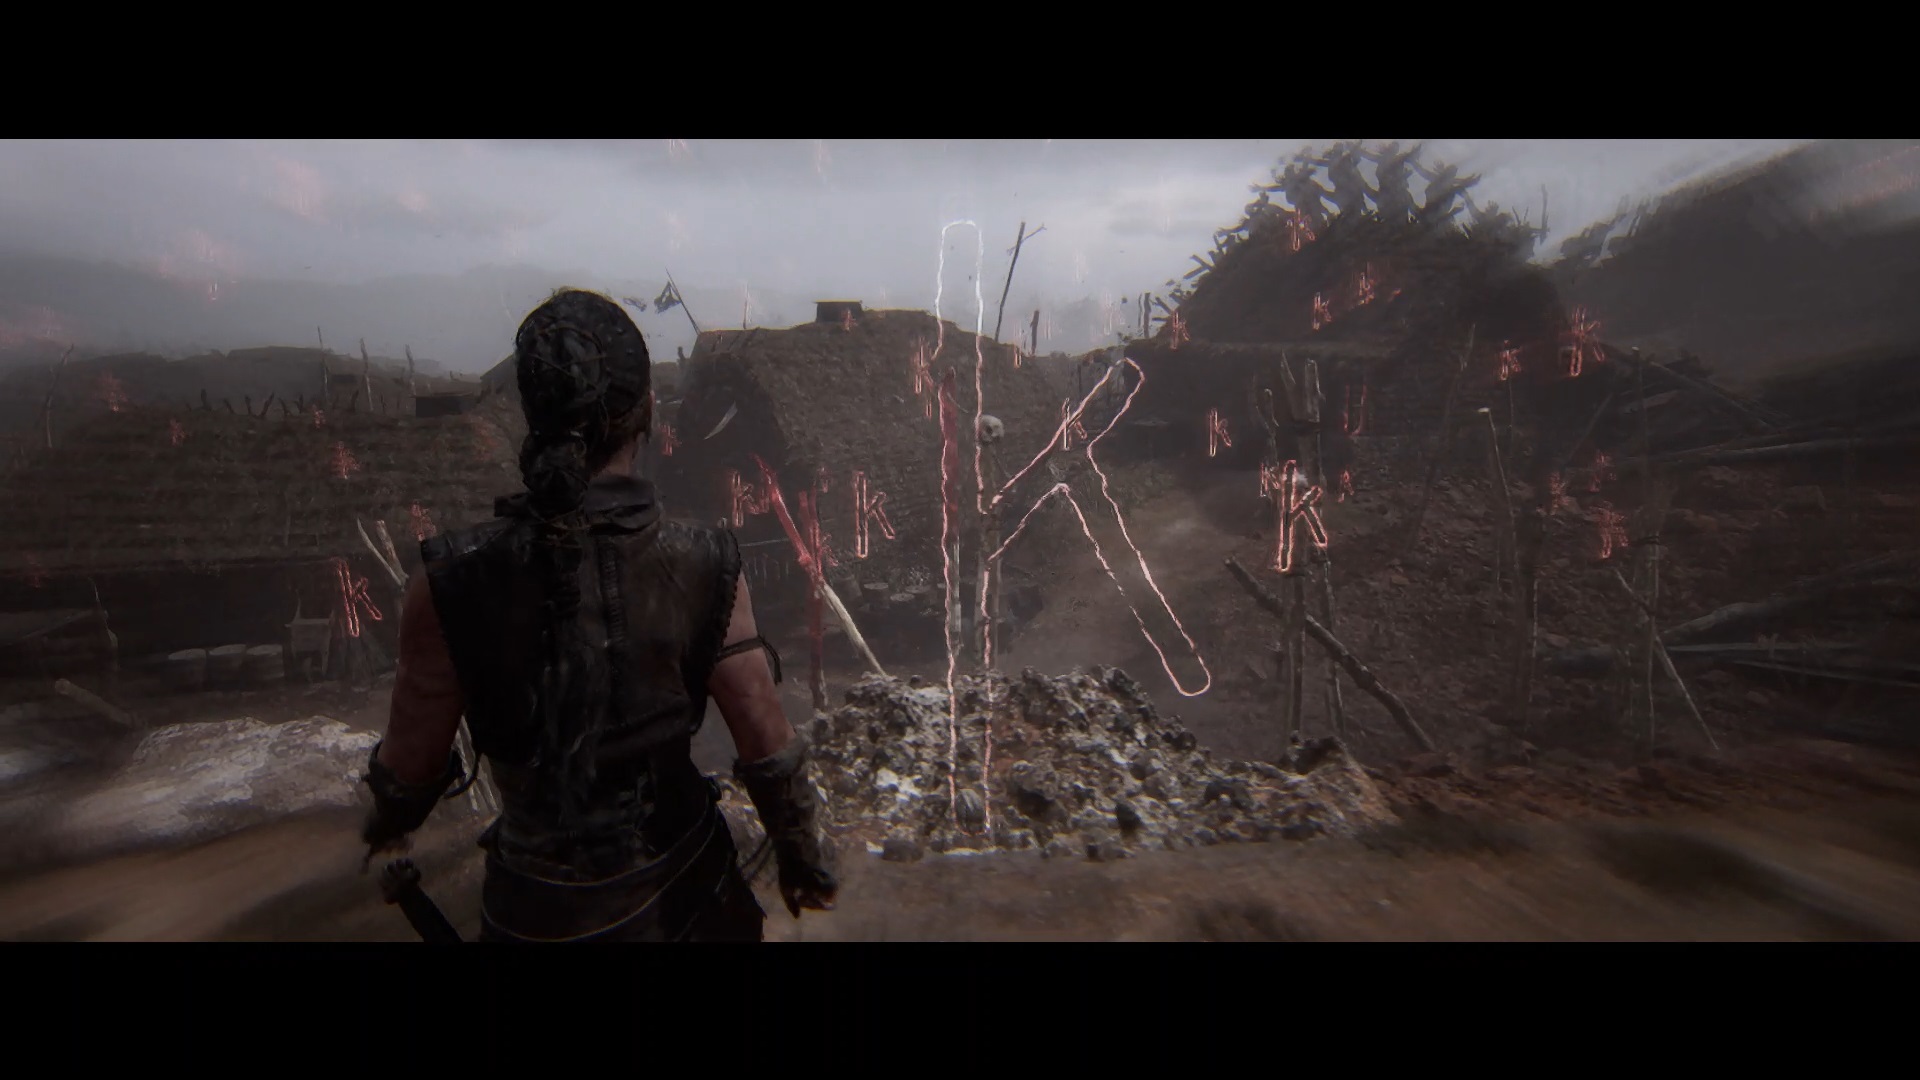
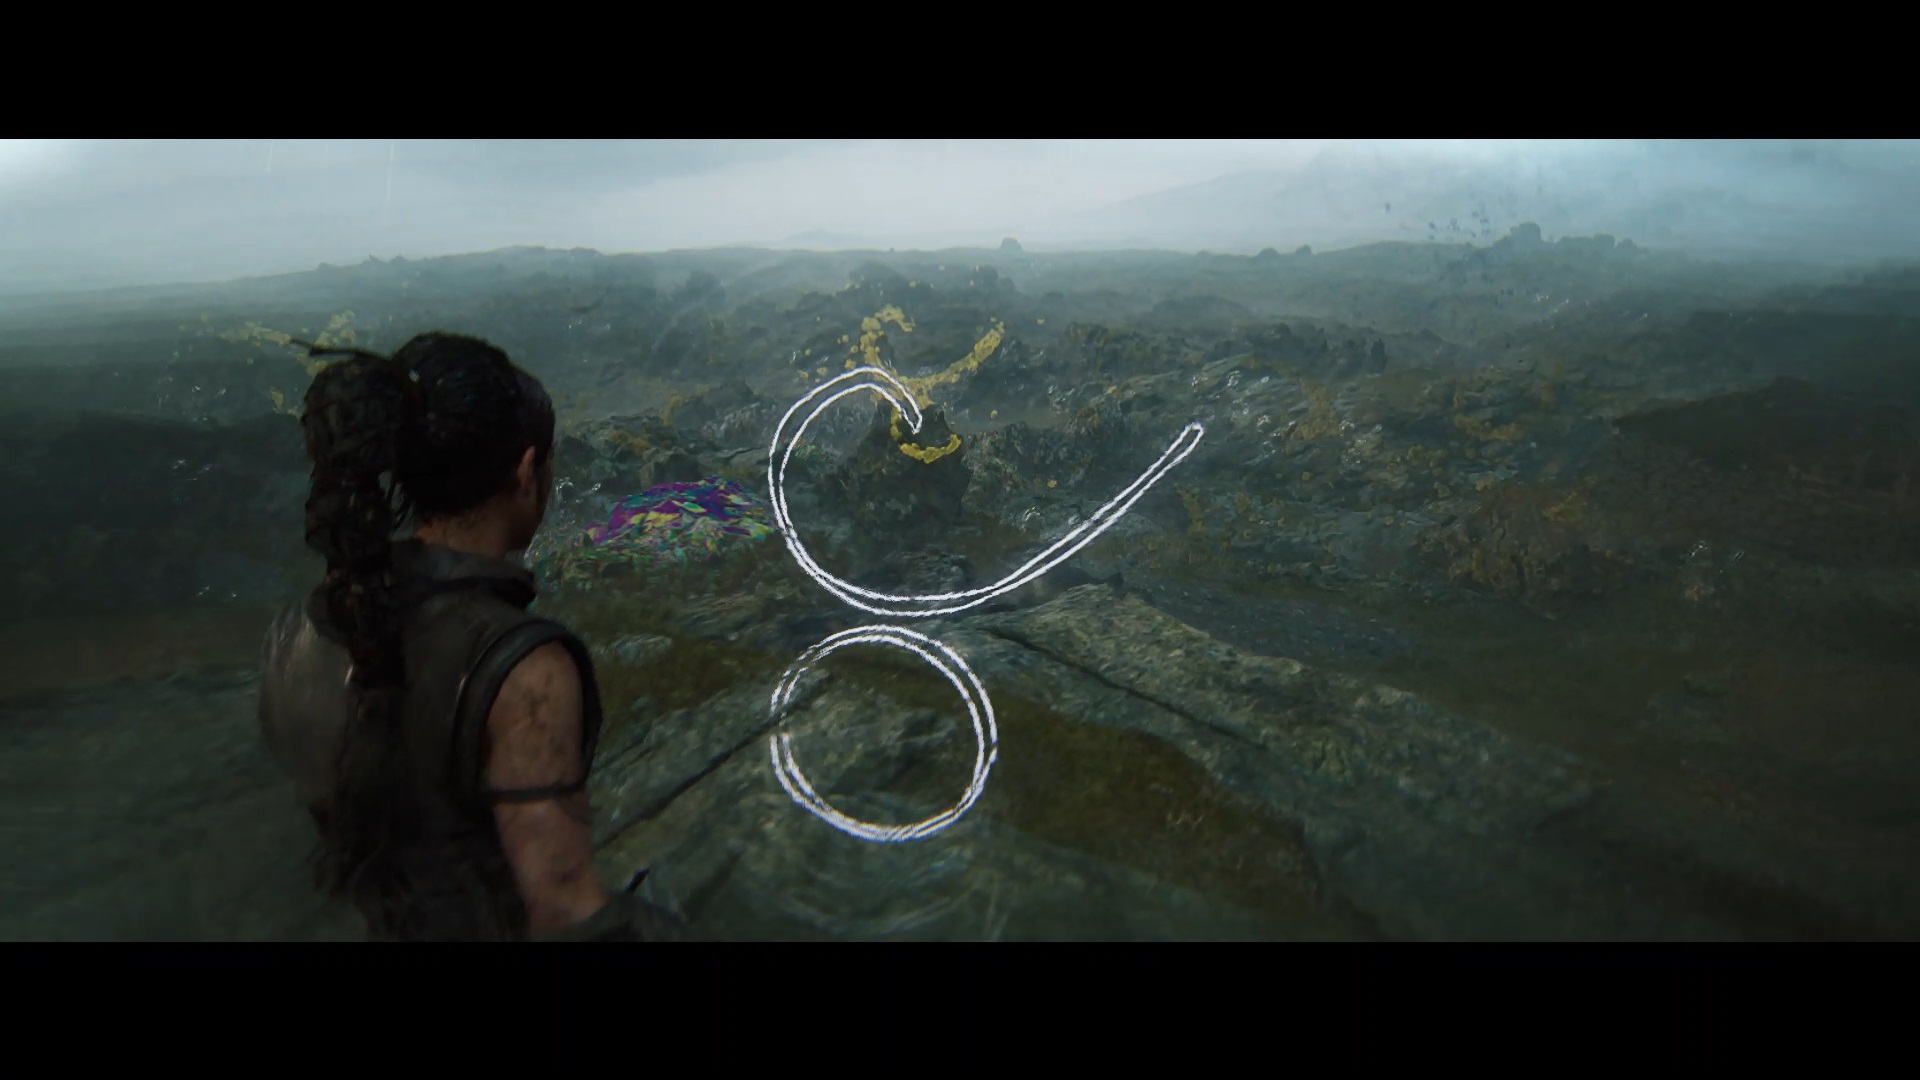
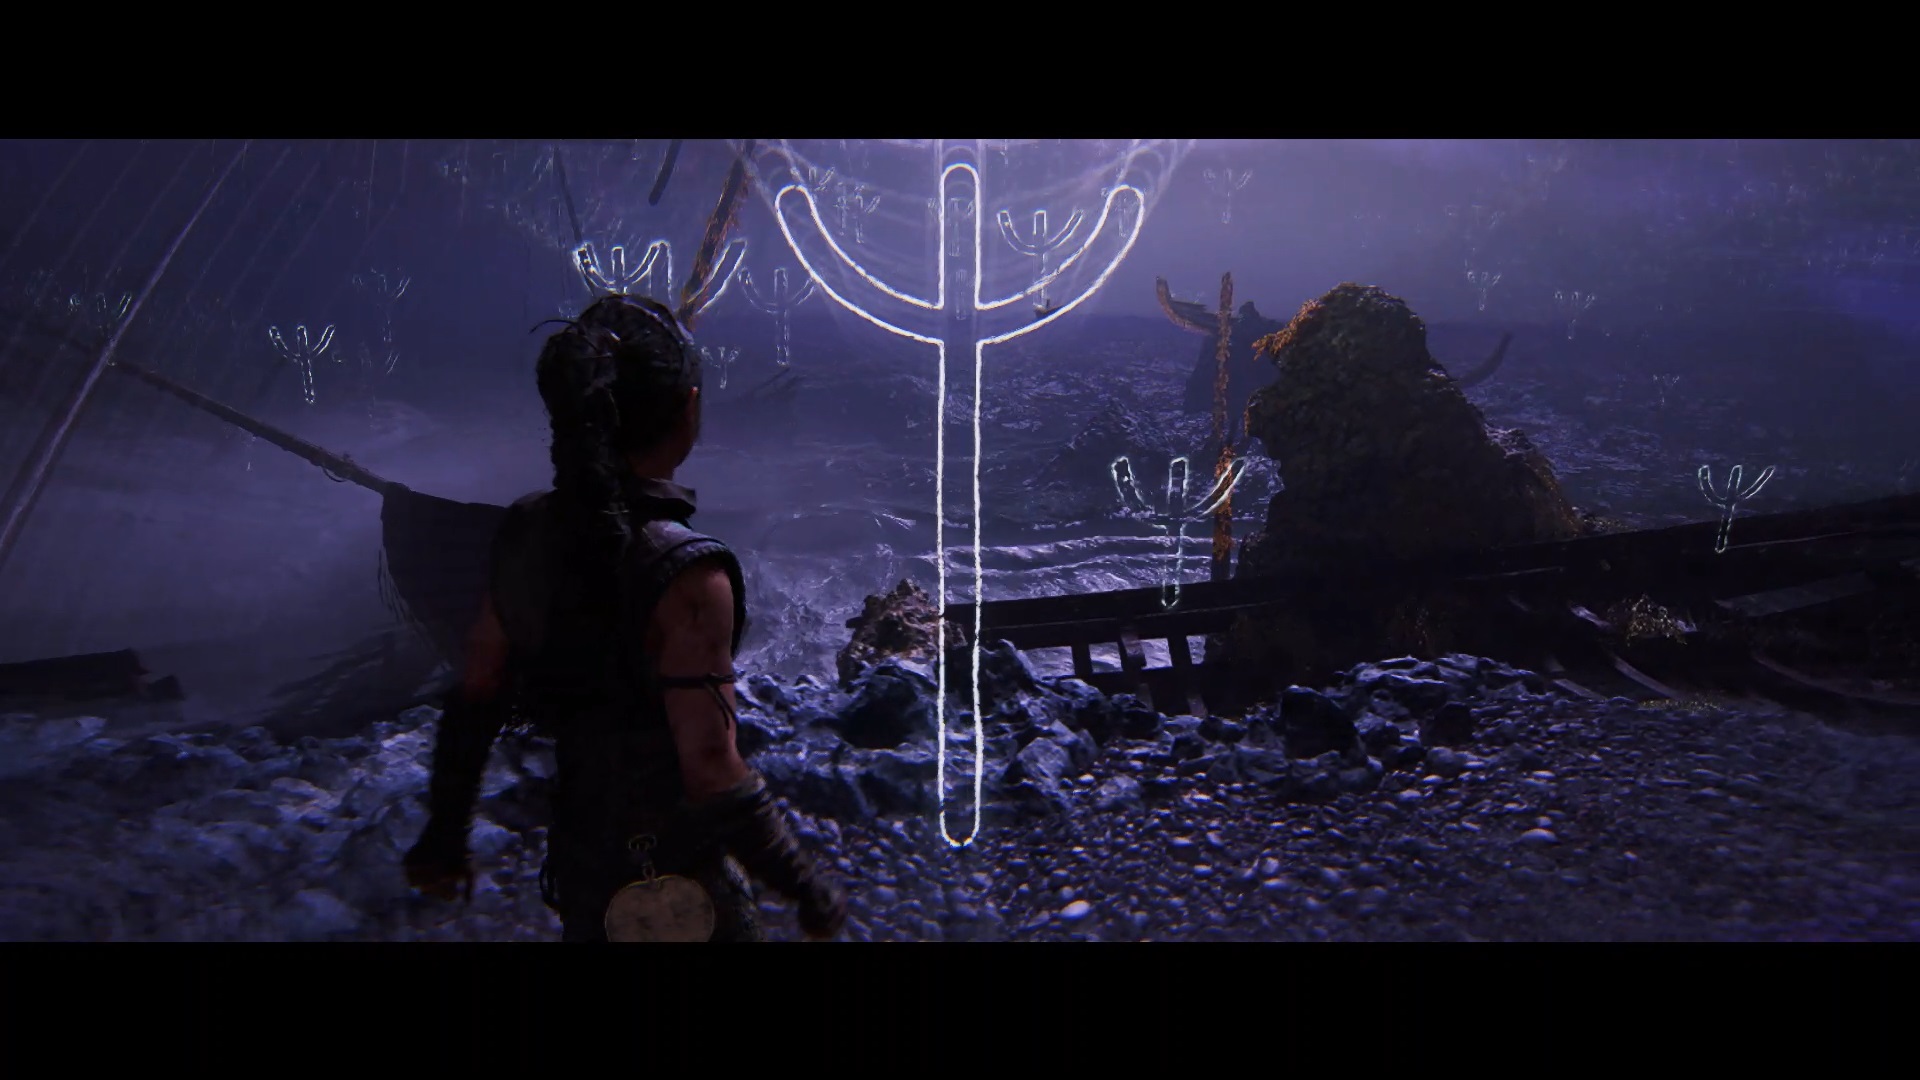
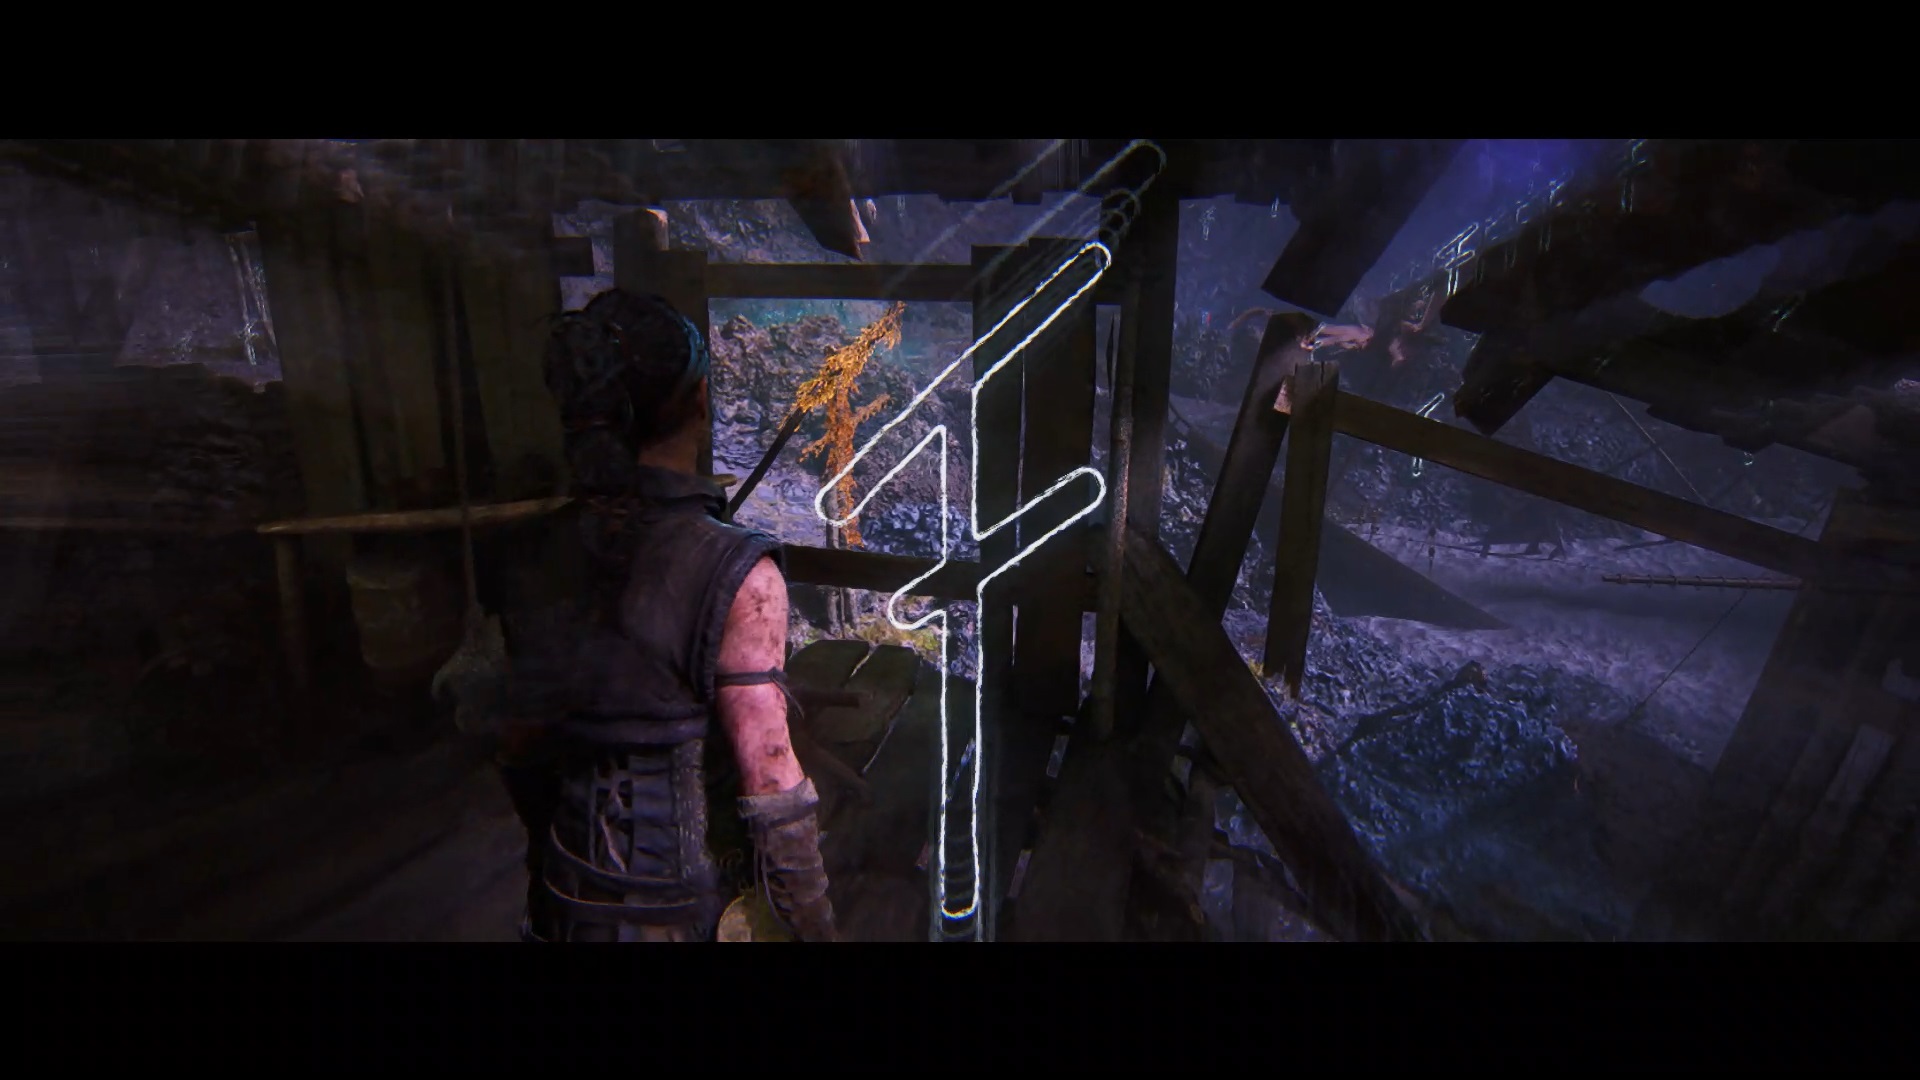
In the village, enter the building on the left. Go straight ahead and enter a second ruined building to explore the village. On your way, you find yourself blocked again by a seal. Focus on the symbols to find out what you need to reproduce. This time, you must go to three locations to align three different symbols and unlock the passage.
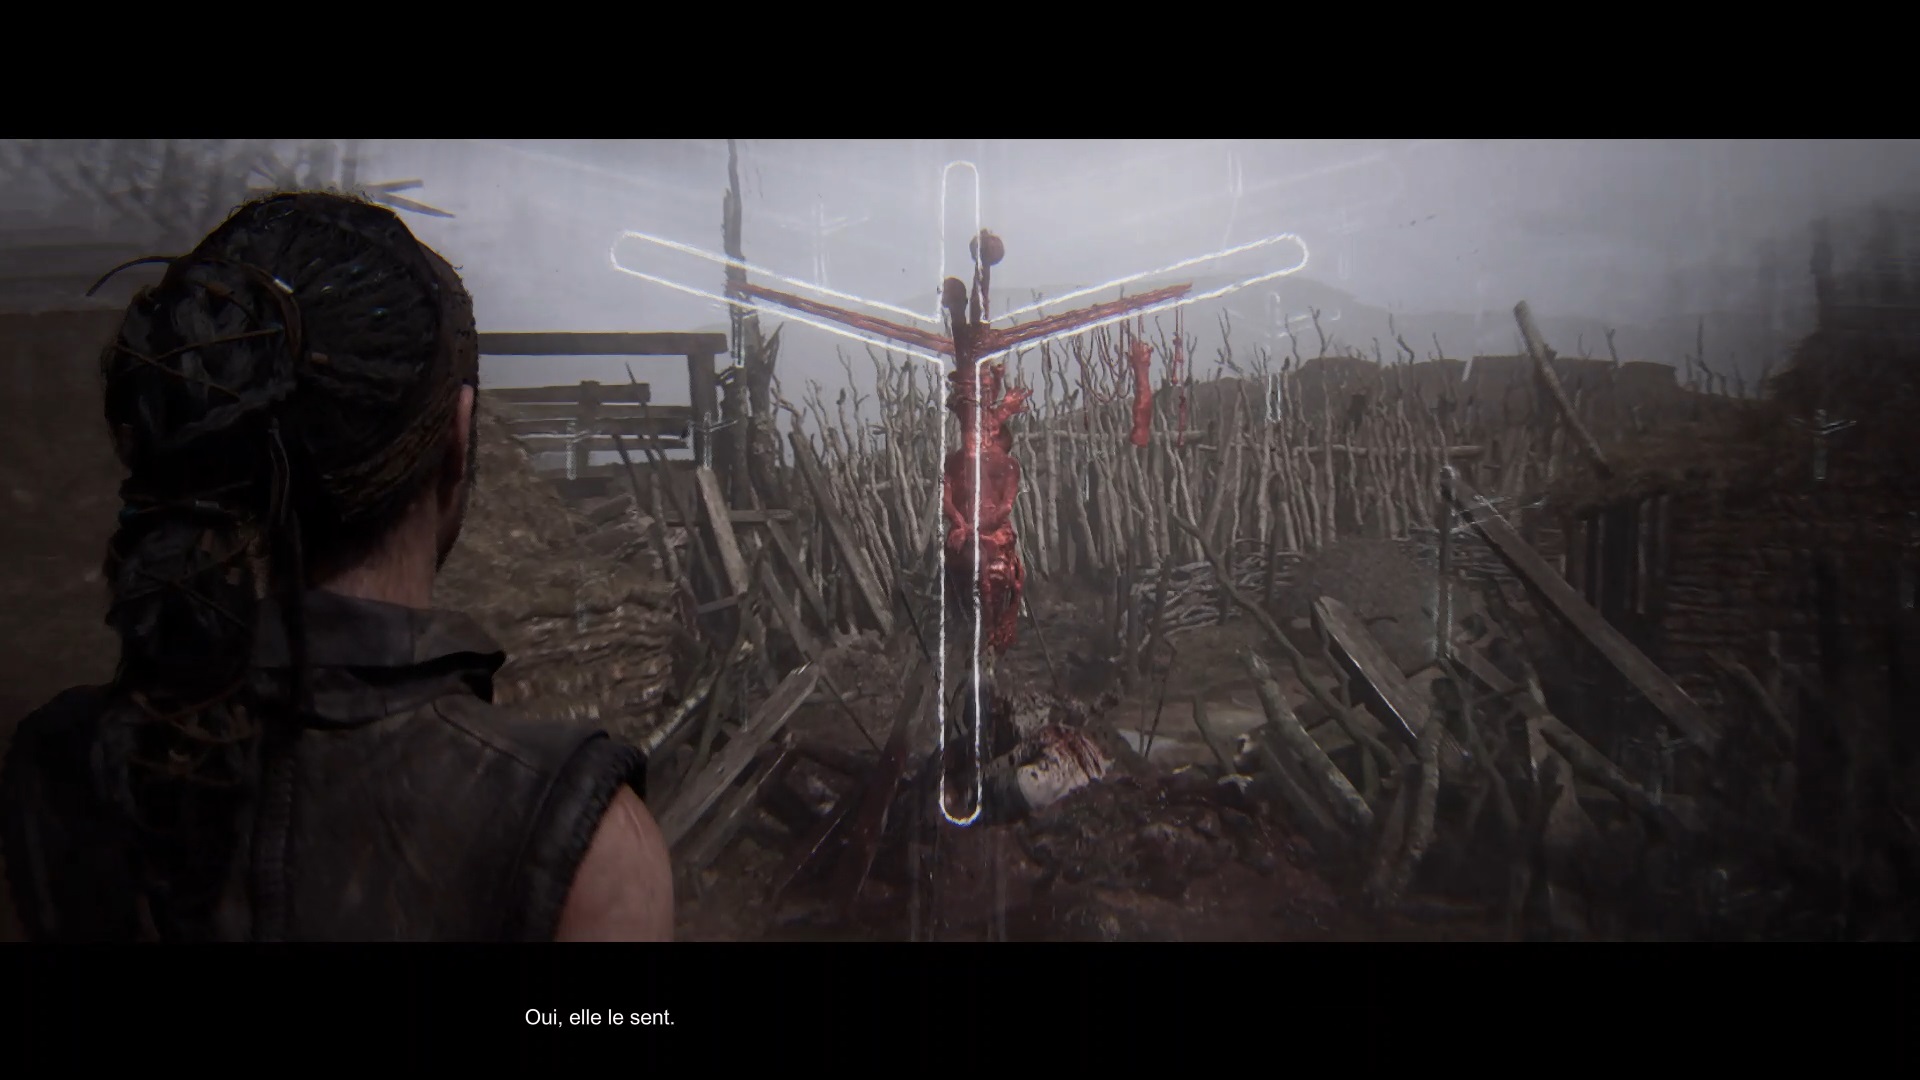
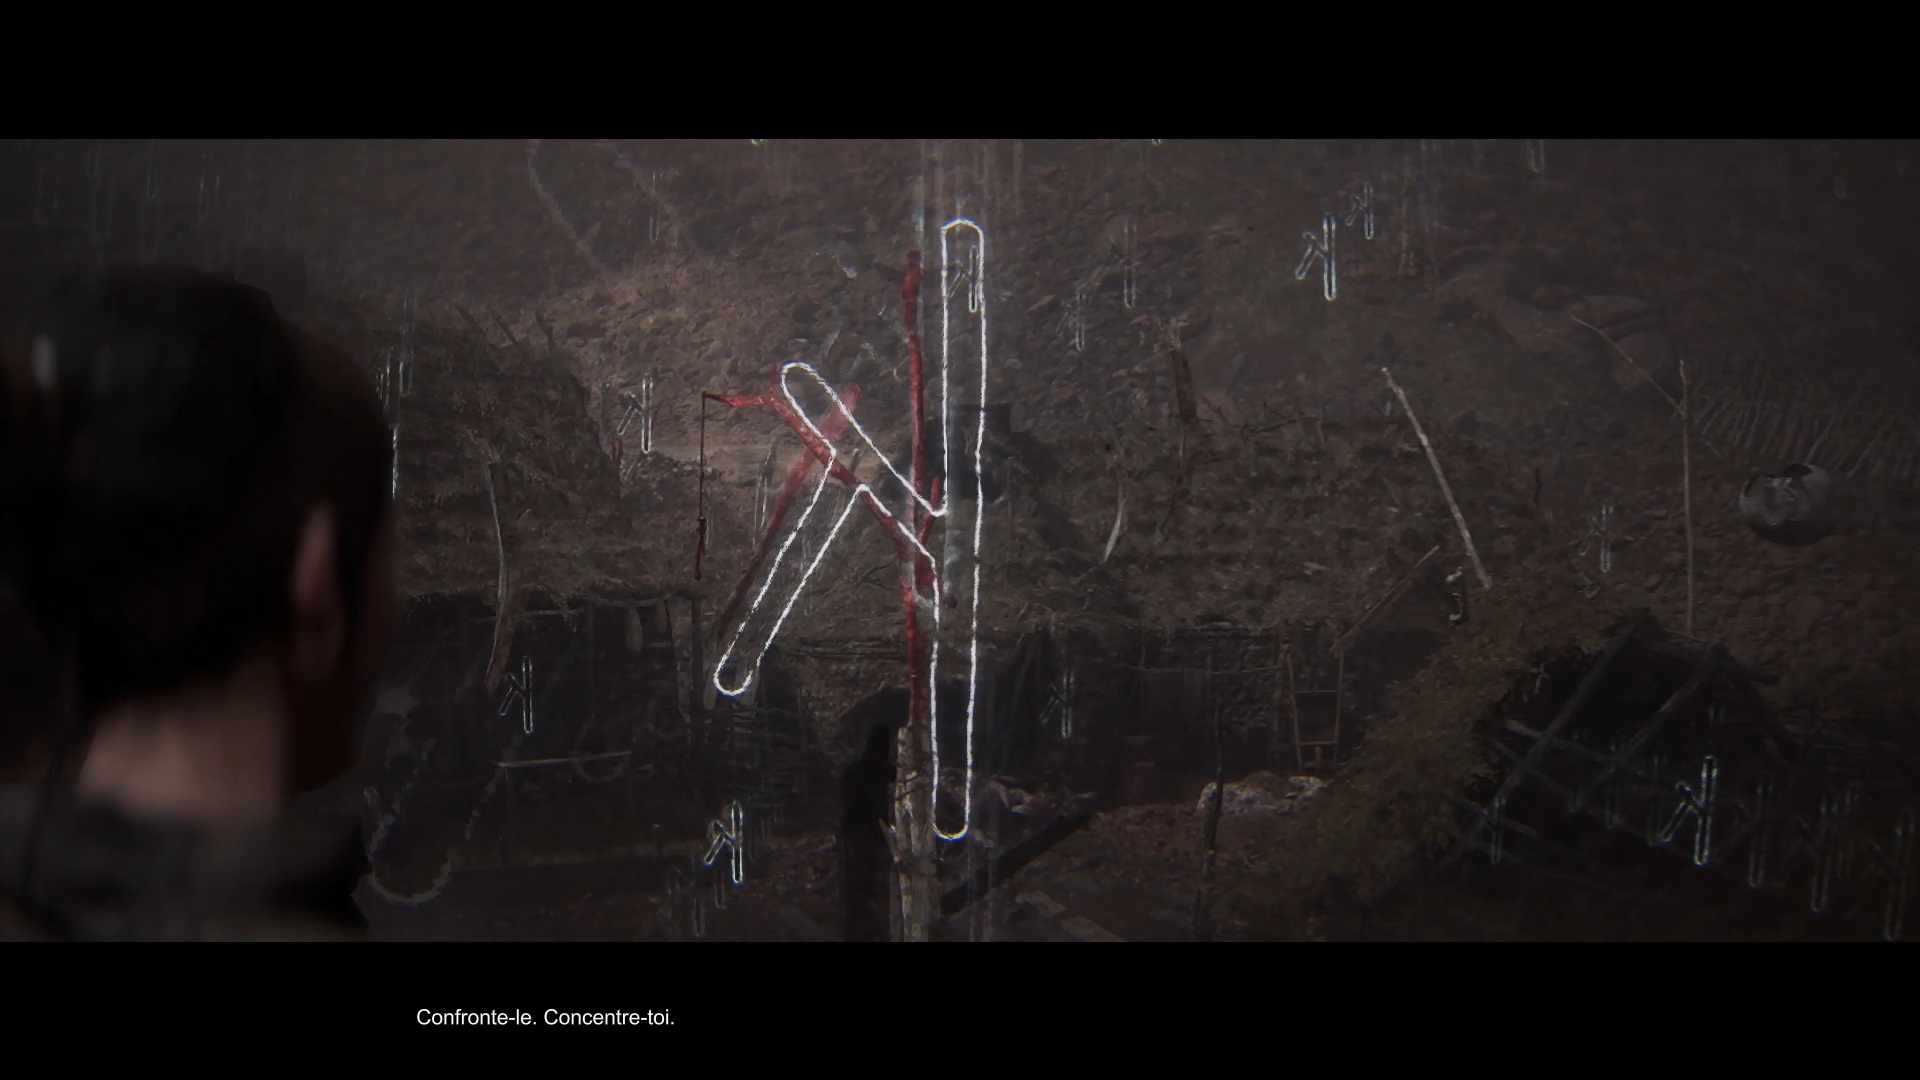
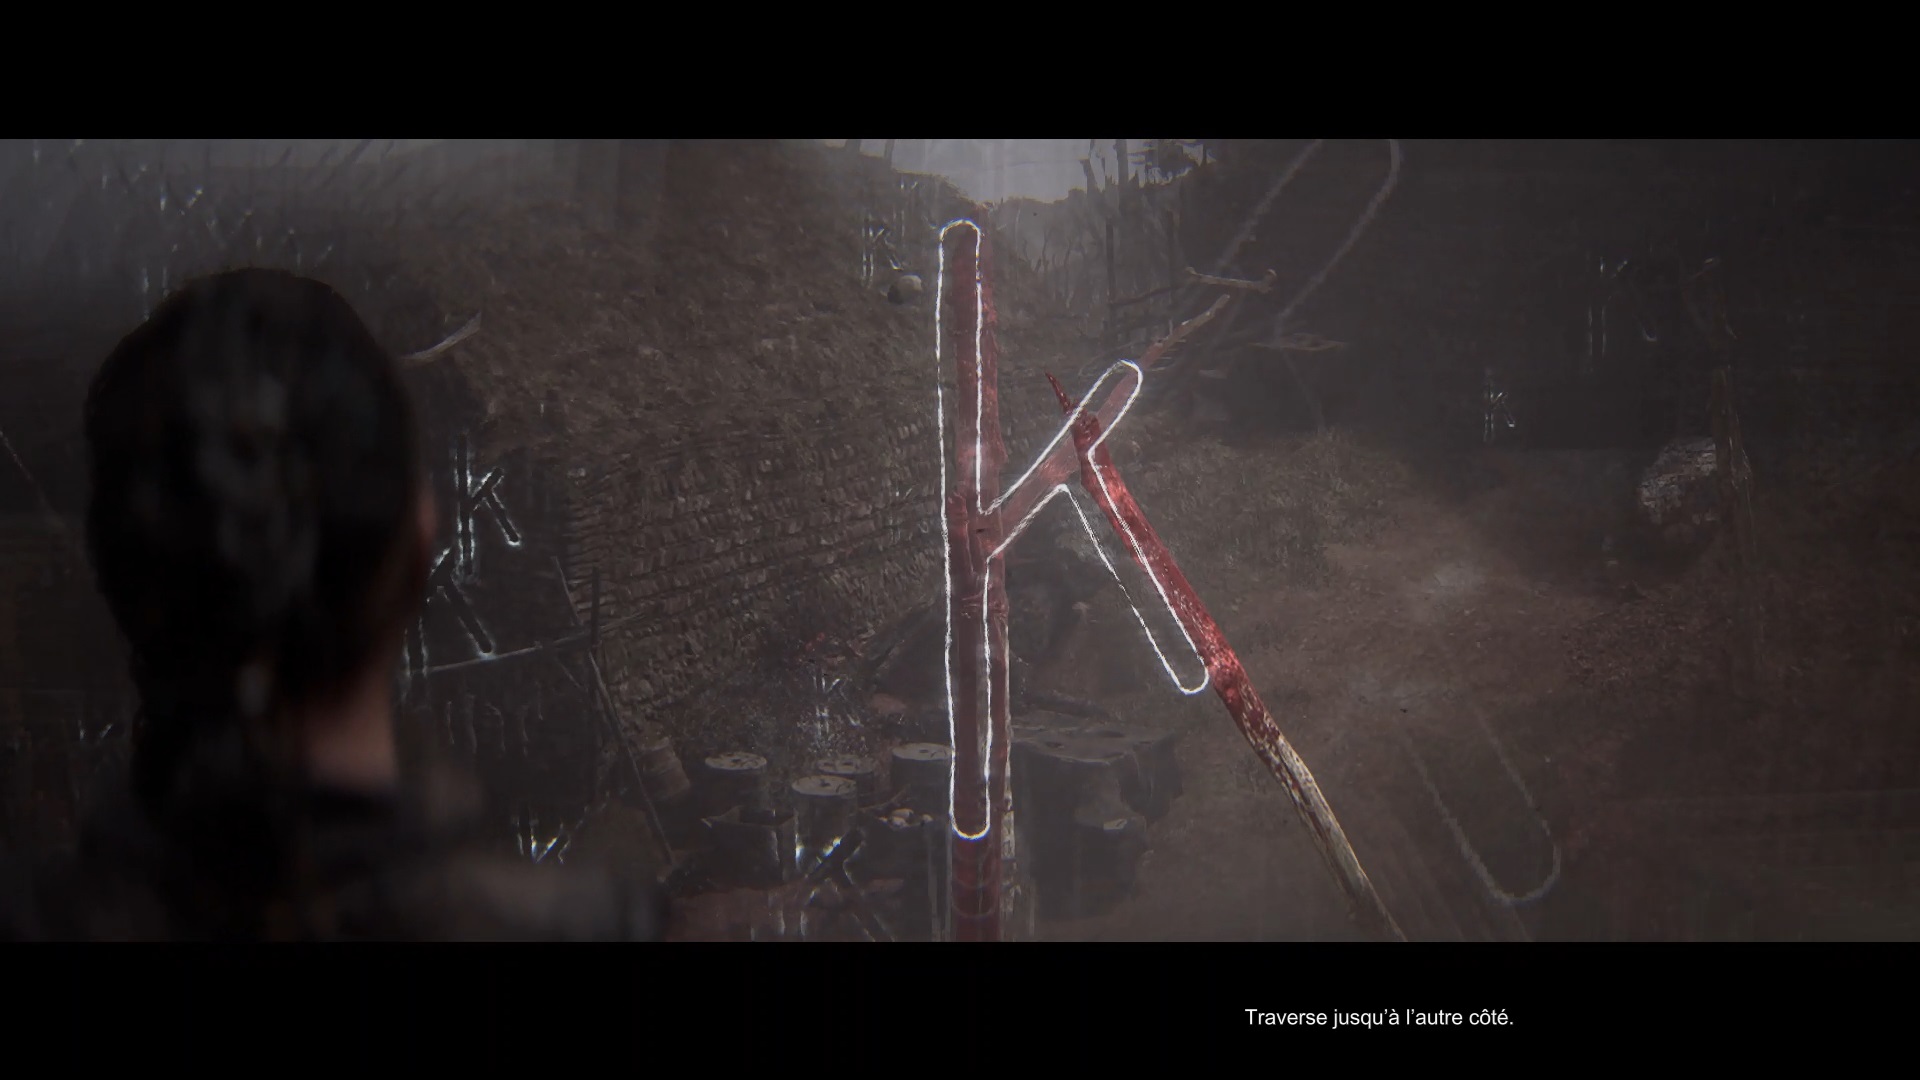
The first symbol is near the second ruined house you passed. To the left of the house exit, focus on the corpse hanging on a post. Line up the post with a second post near it, highlighted in red, to recreate the symbol.
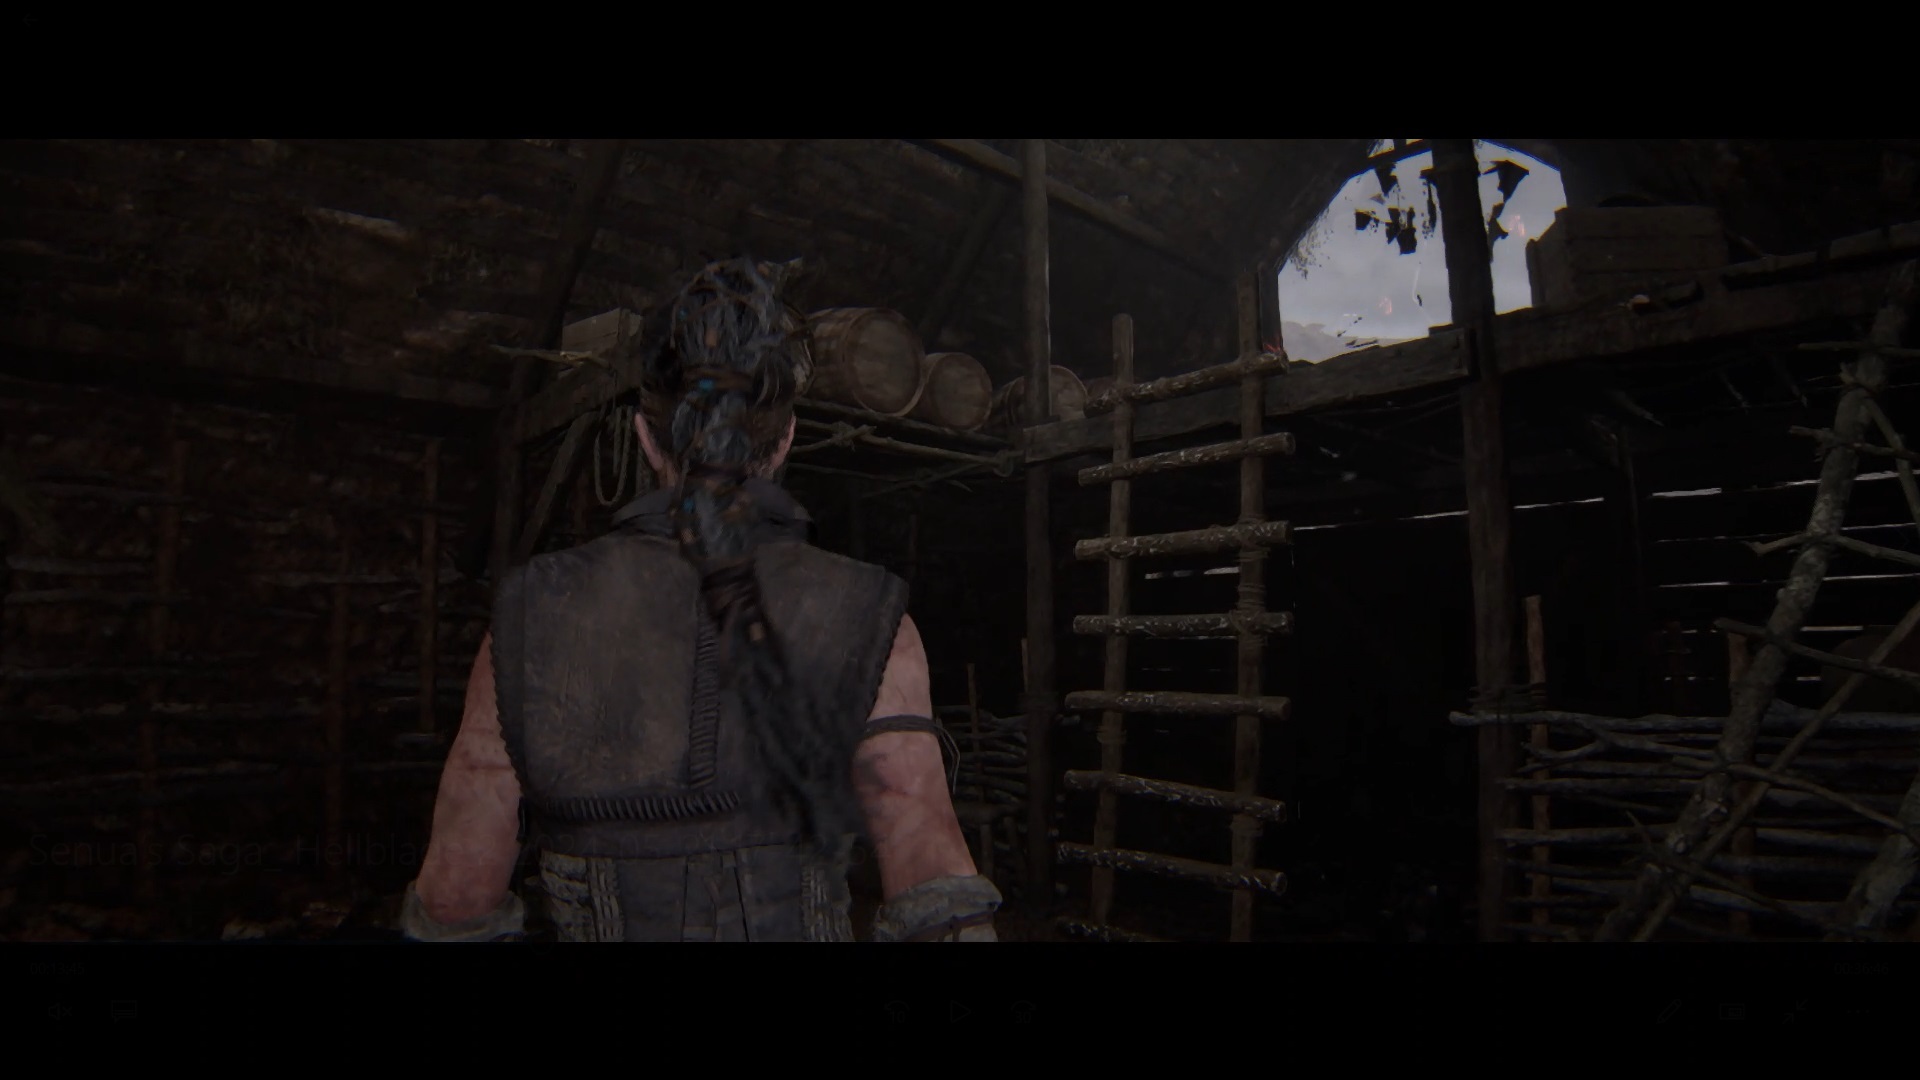
A second symbol is located near the blocked passage. You must enter the house near the passage. Although it has a window opening, you have to go around the back of the house to access it. Once inside, climb the ladder to reach a wooden walkway. Outside on the walkway, line up the two red wooden sticks facing you to recreate a symbol.
To recreate the last symbol, take the path to the right of the blocked passage. Walk to the end of the path and focus on the red wooden posts to recreate the last symbol.
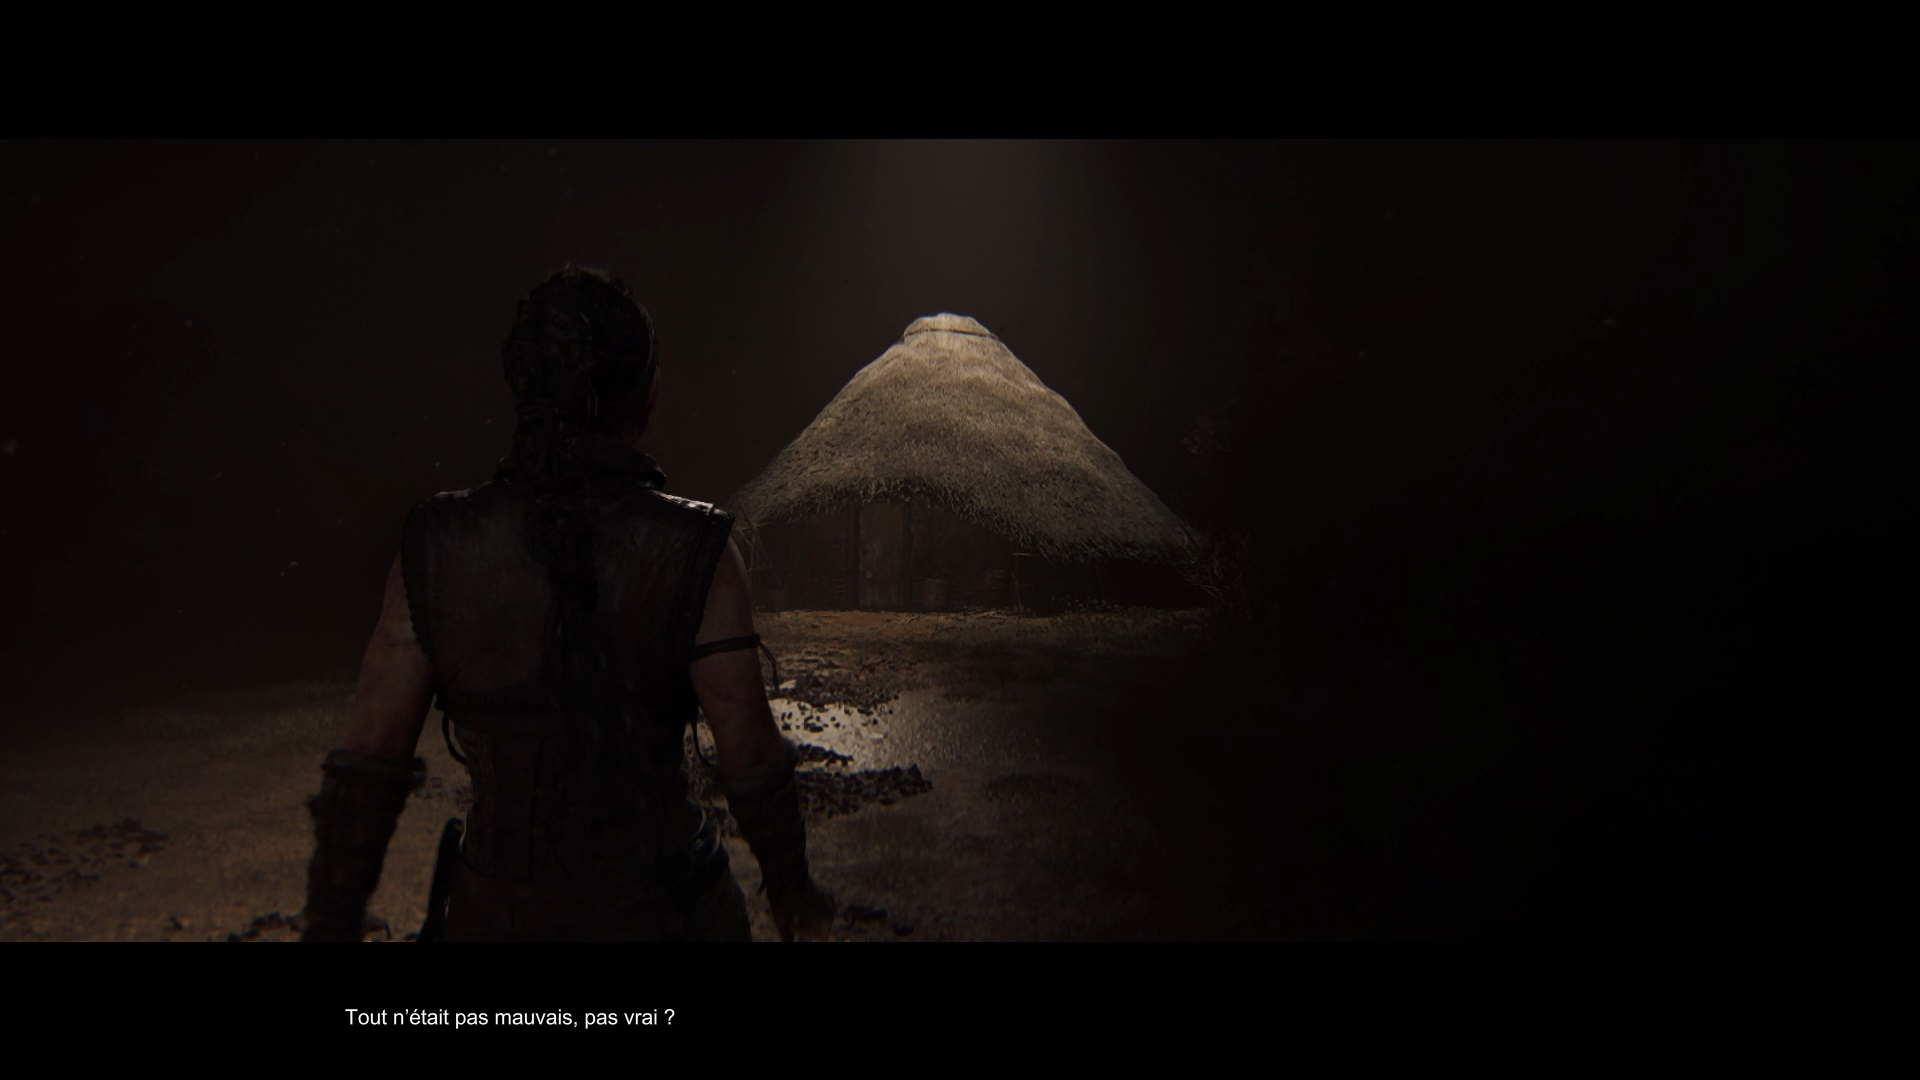
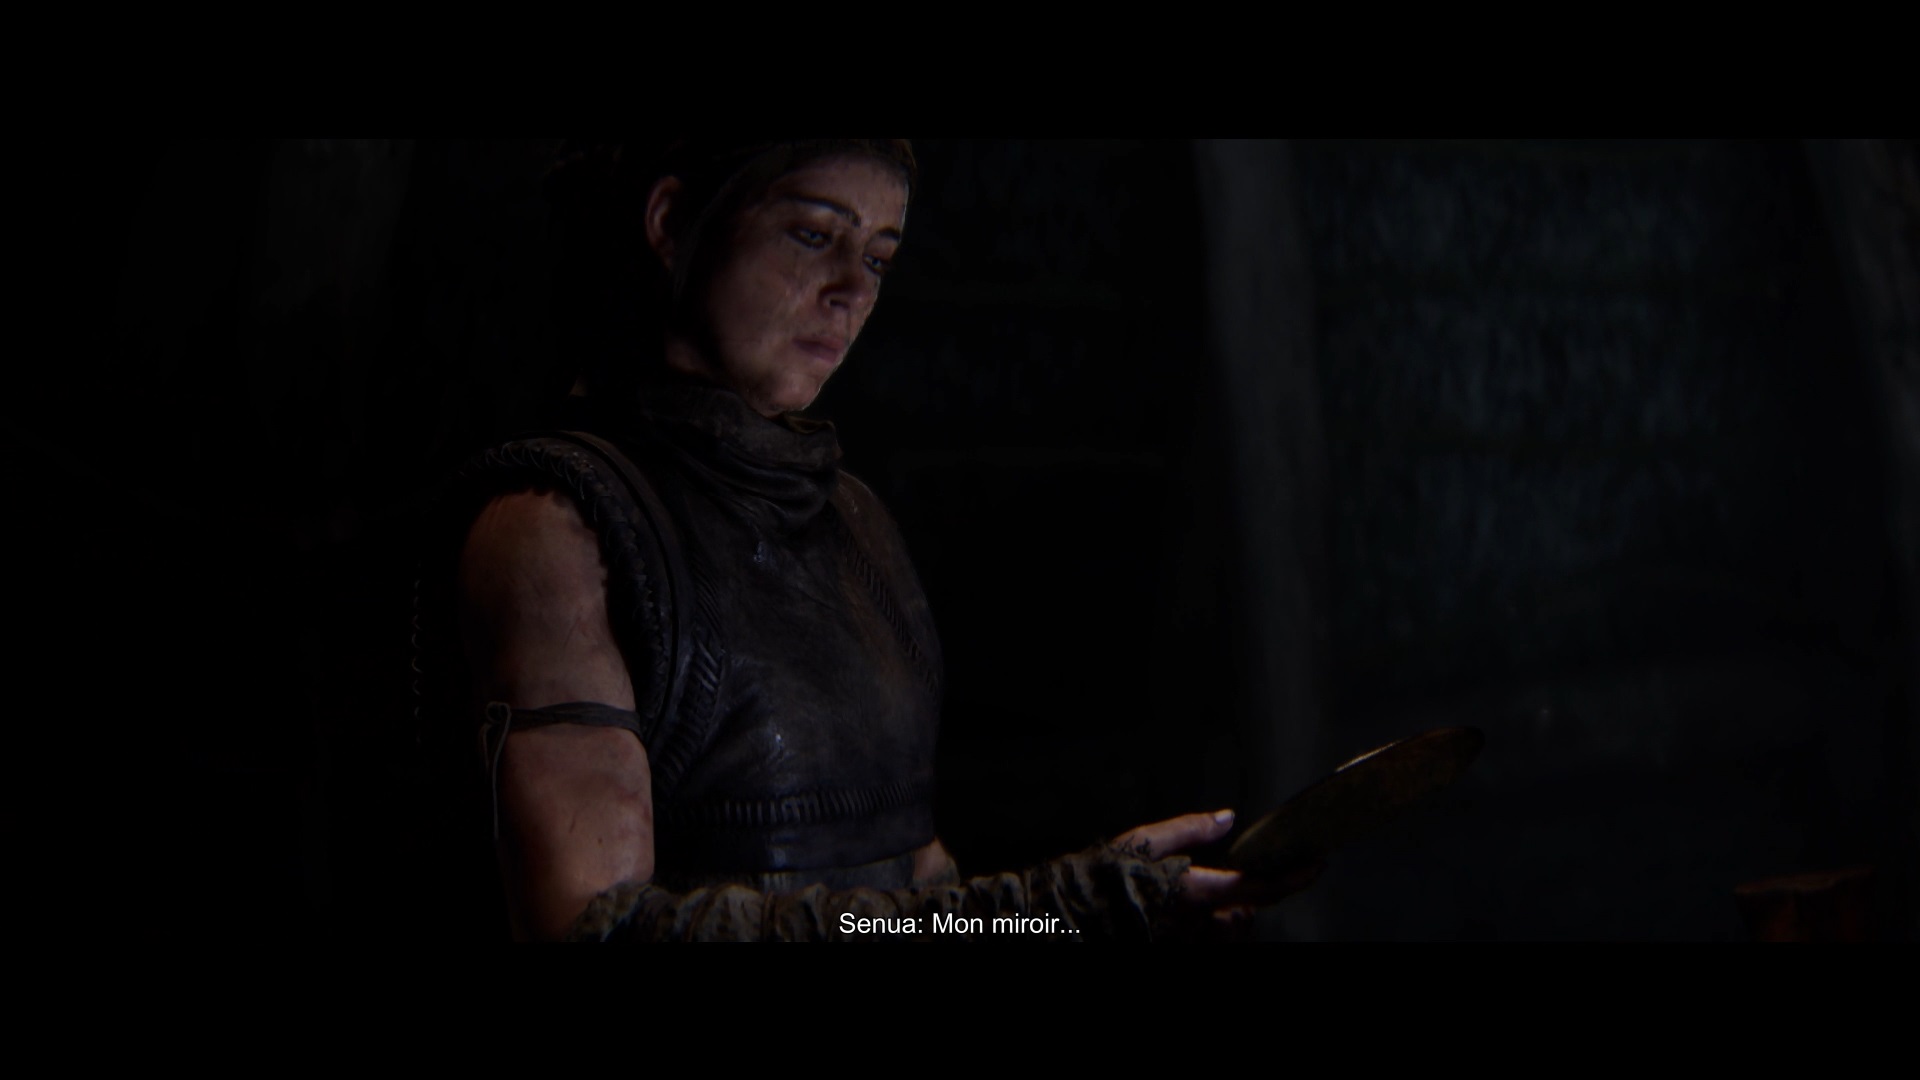
Retrace your steps and take the unlocked path. Head towards the hut and collect the mirror from the table once inside. The mirror allows you to attack your enemies more quickly or even kill them in a single hit. To use it you need to charge it. To charge it, strike or protect yourself to increase the mirror gauge. Once filled, concentrate on using the mirror. A tutorial awaits you in the burning village once you have the mirror.

Once you have completed the tutorial, move forward to unlock a cutscene. Continue your path in the darkness to reach buildings blocking your path. Enter through the rubble of the building on the right and cross the building to reach the other side. Now head west to reach a wooden bridge.
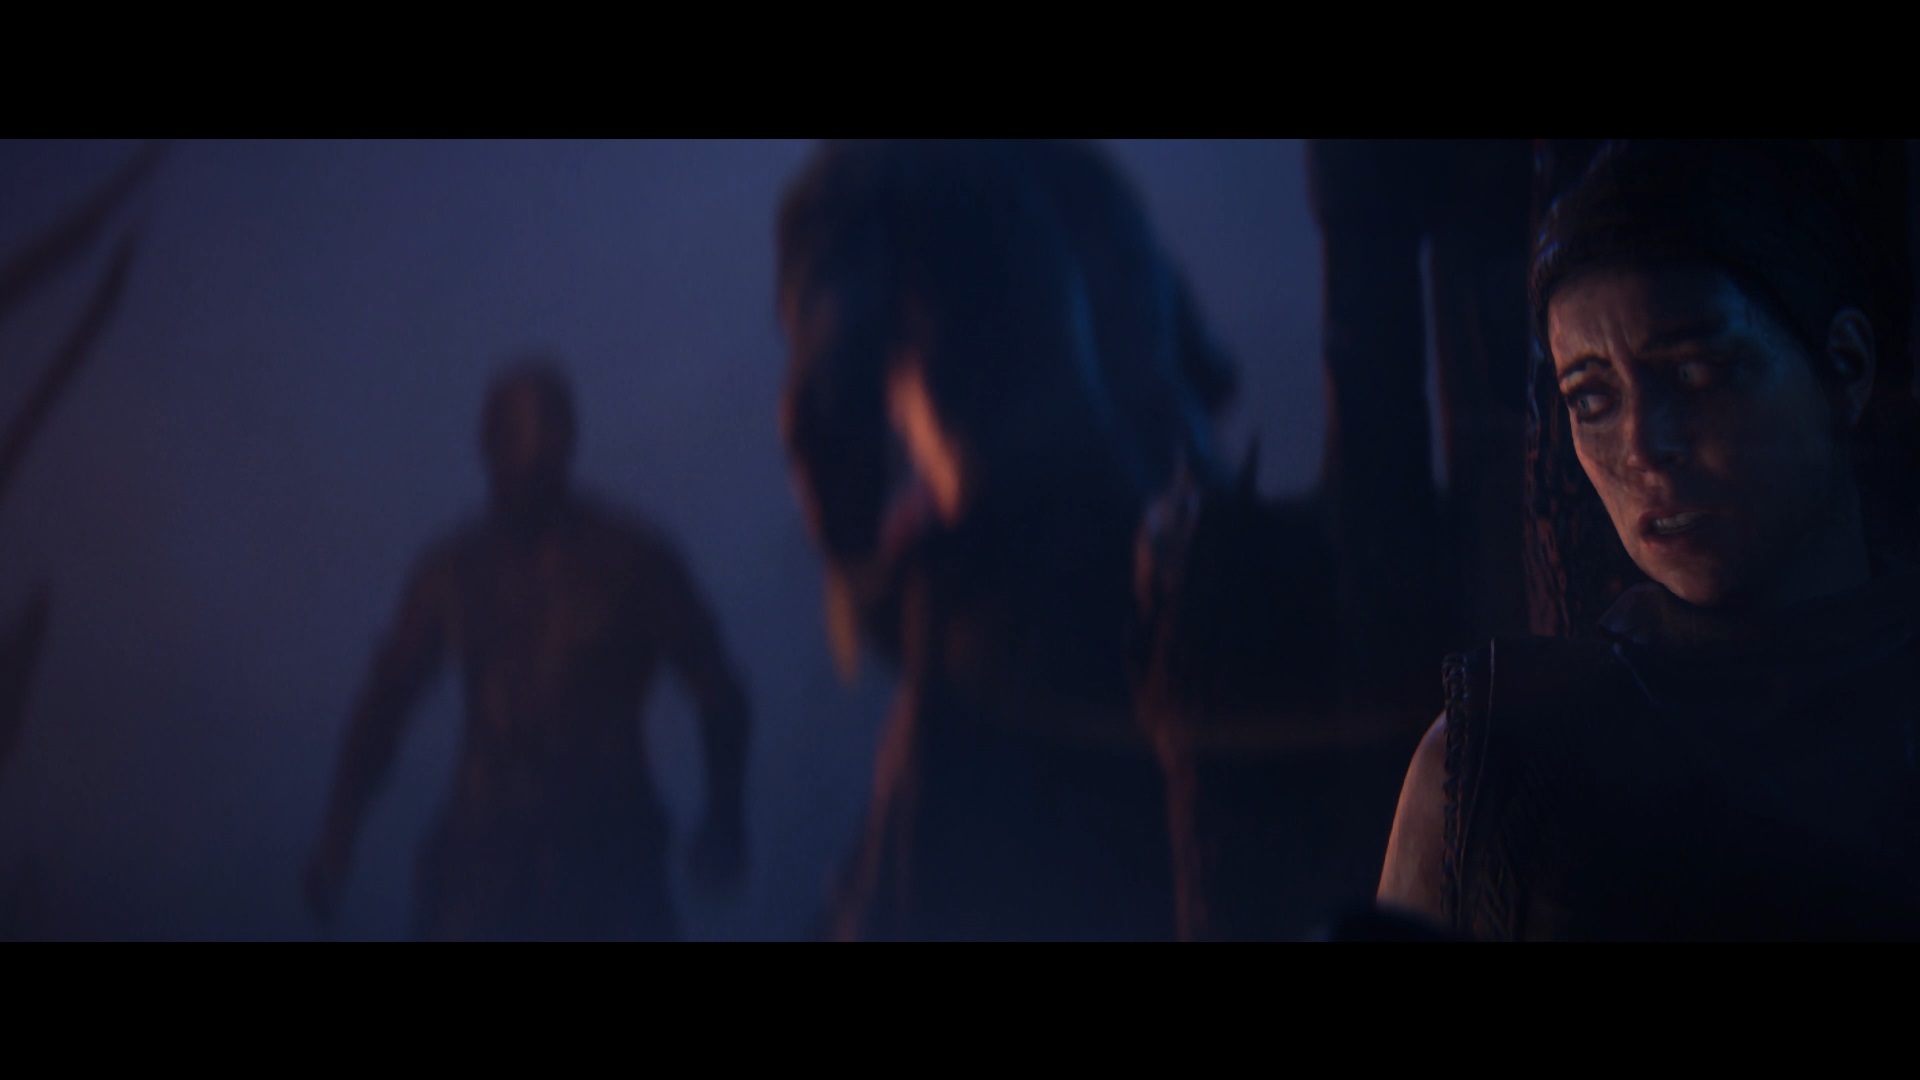

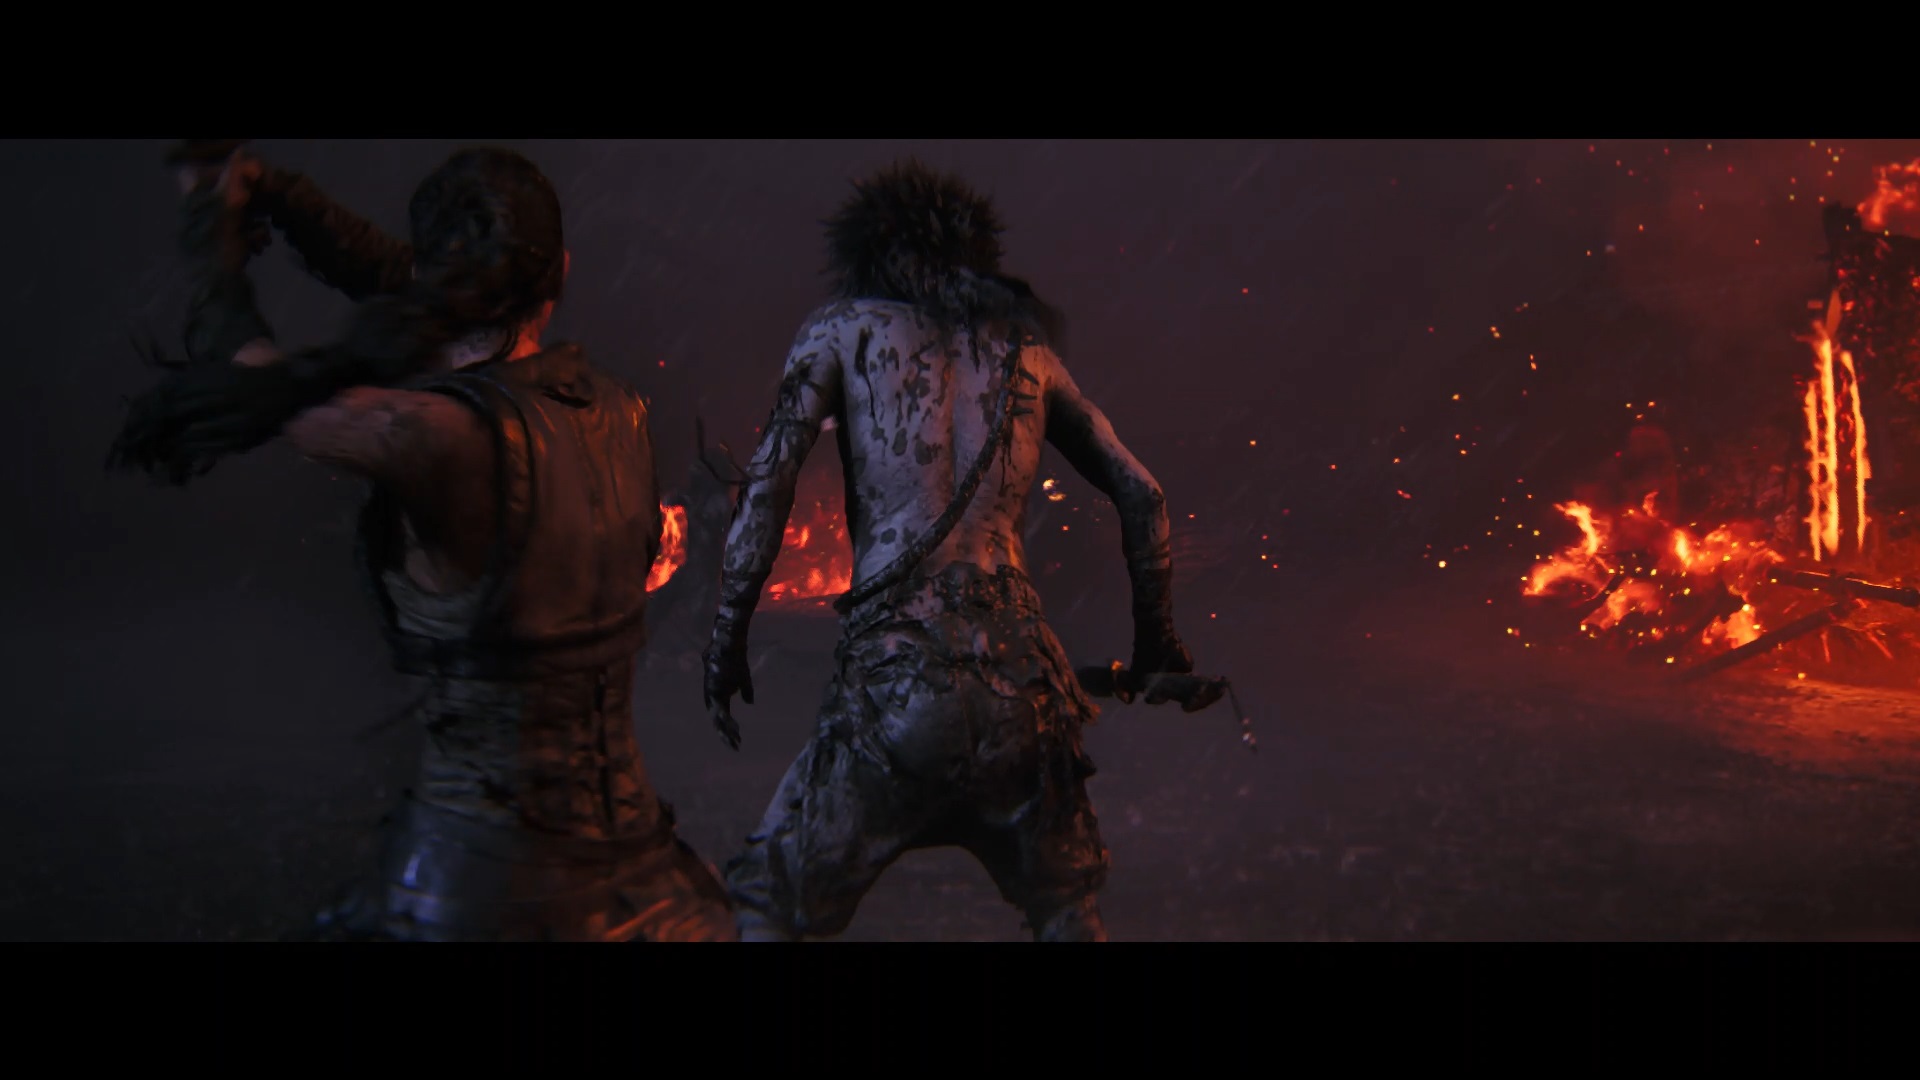
Always go straight ahead to trigger a cutscene and meet the Draugrs. Then continue to advance on the path in front of you. Alternate between cutscenes and exploration to reach a combat zone.
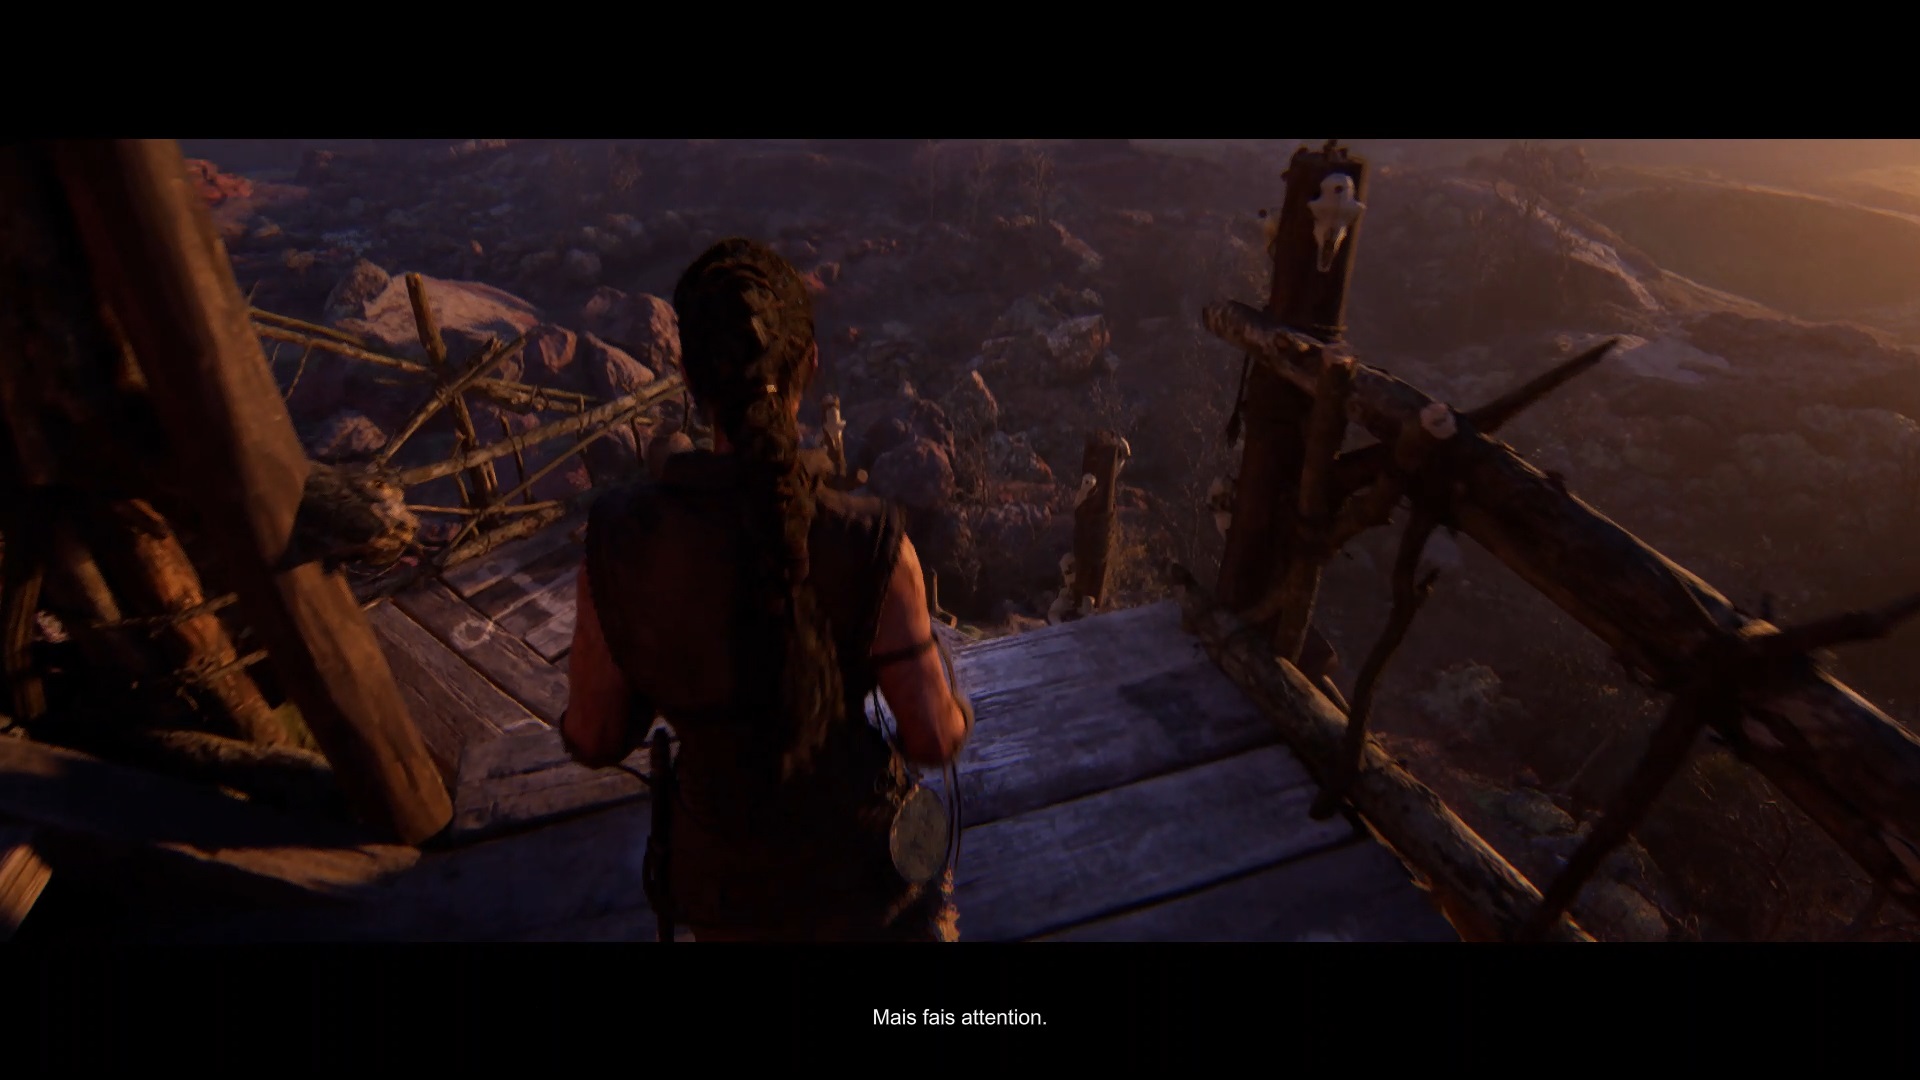
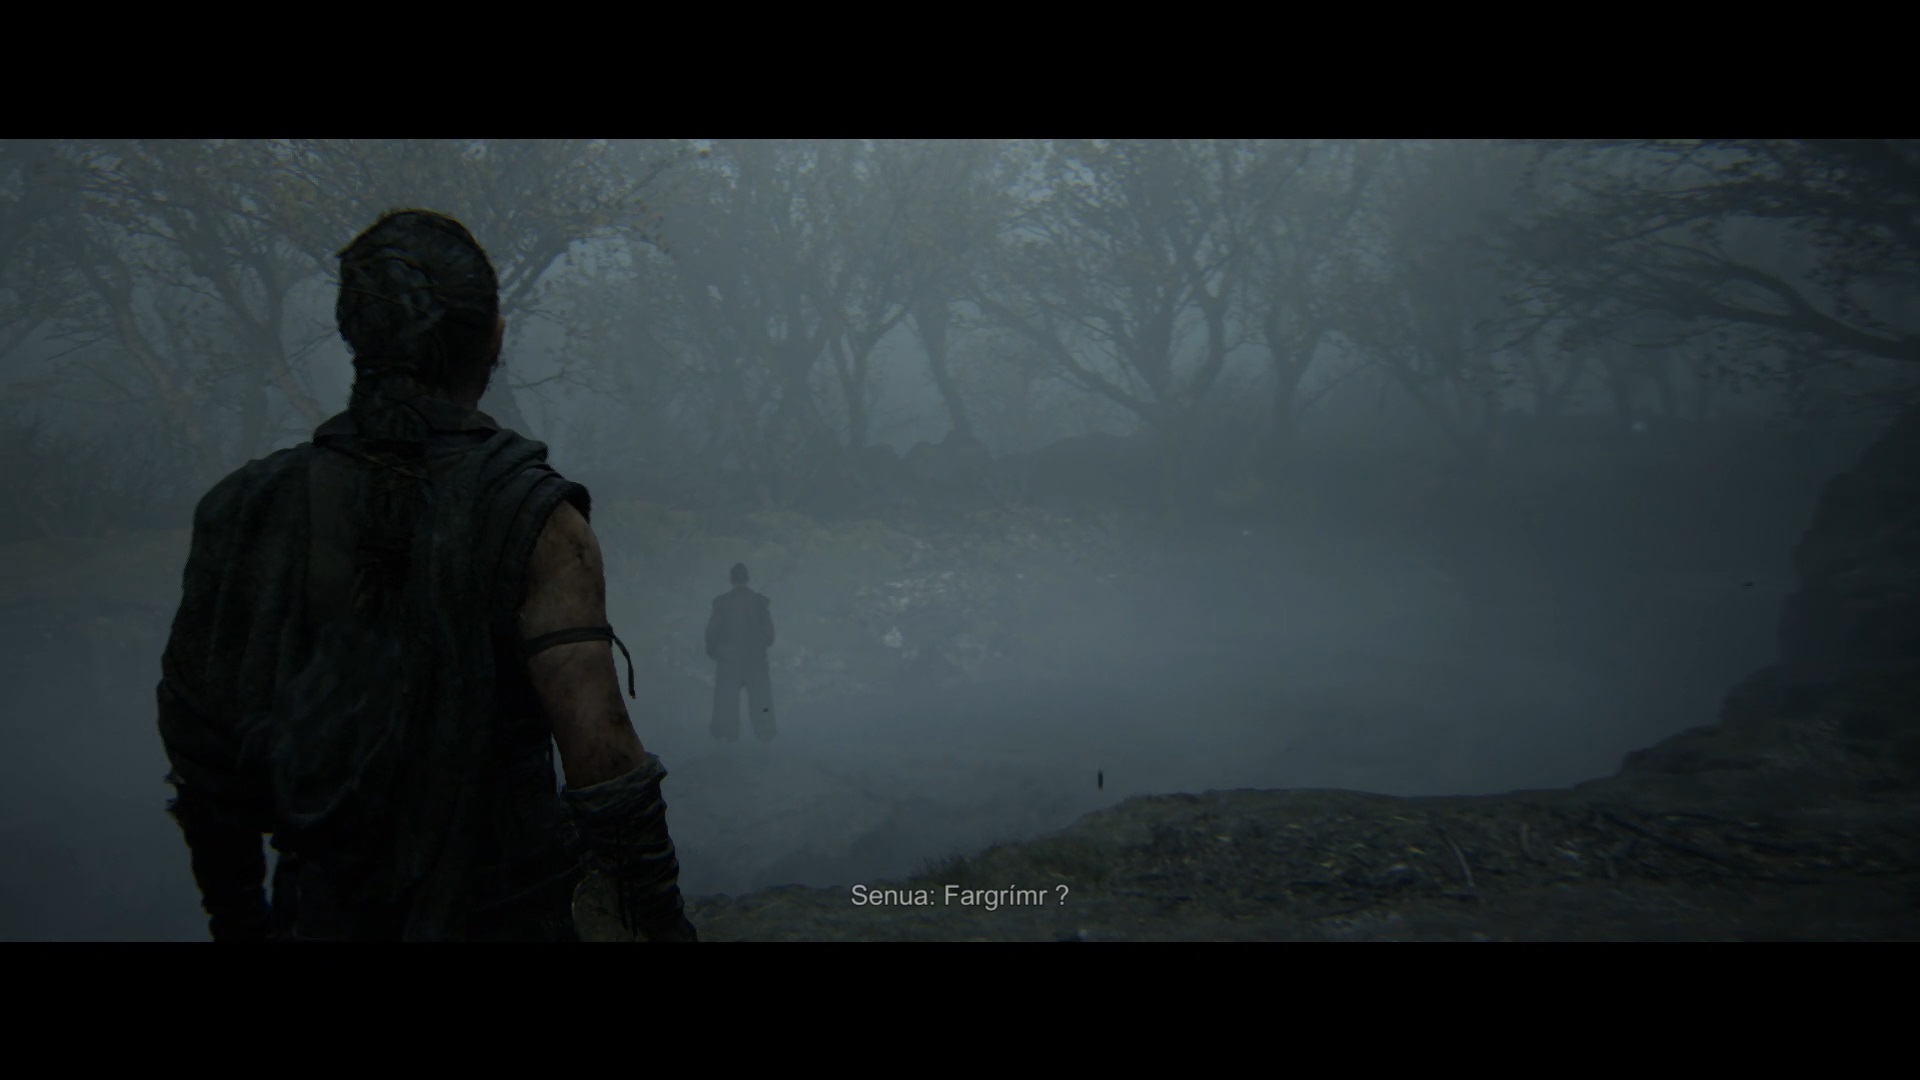
Fight enemies using your mirror. Facing enemies with fire, dodge them as soon as they blow their torch and hit them. Protect yourself at the right time to make a perfect dodge and counterattack. After the fight, you free Fargrimr. Follow him to the entrance of the village where you will find the slaver.
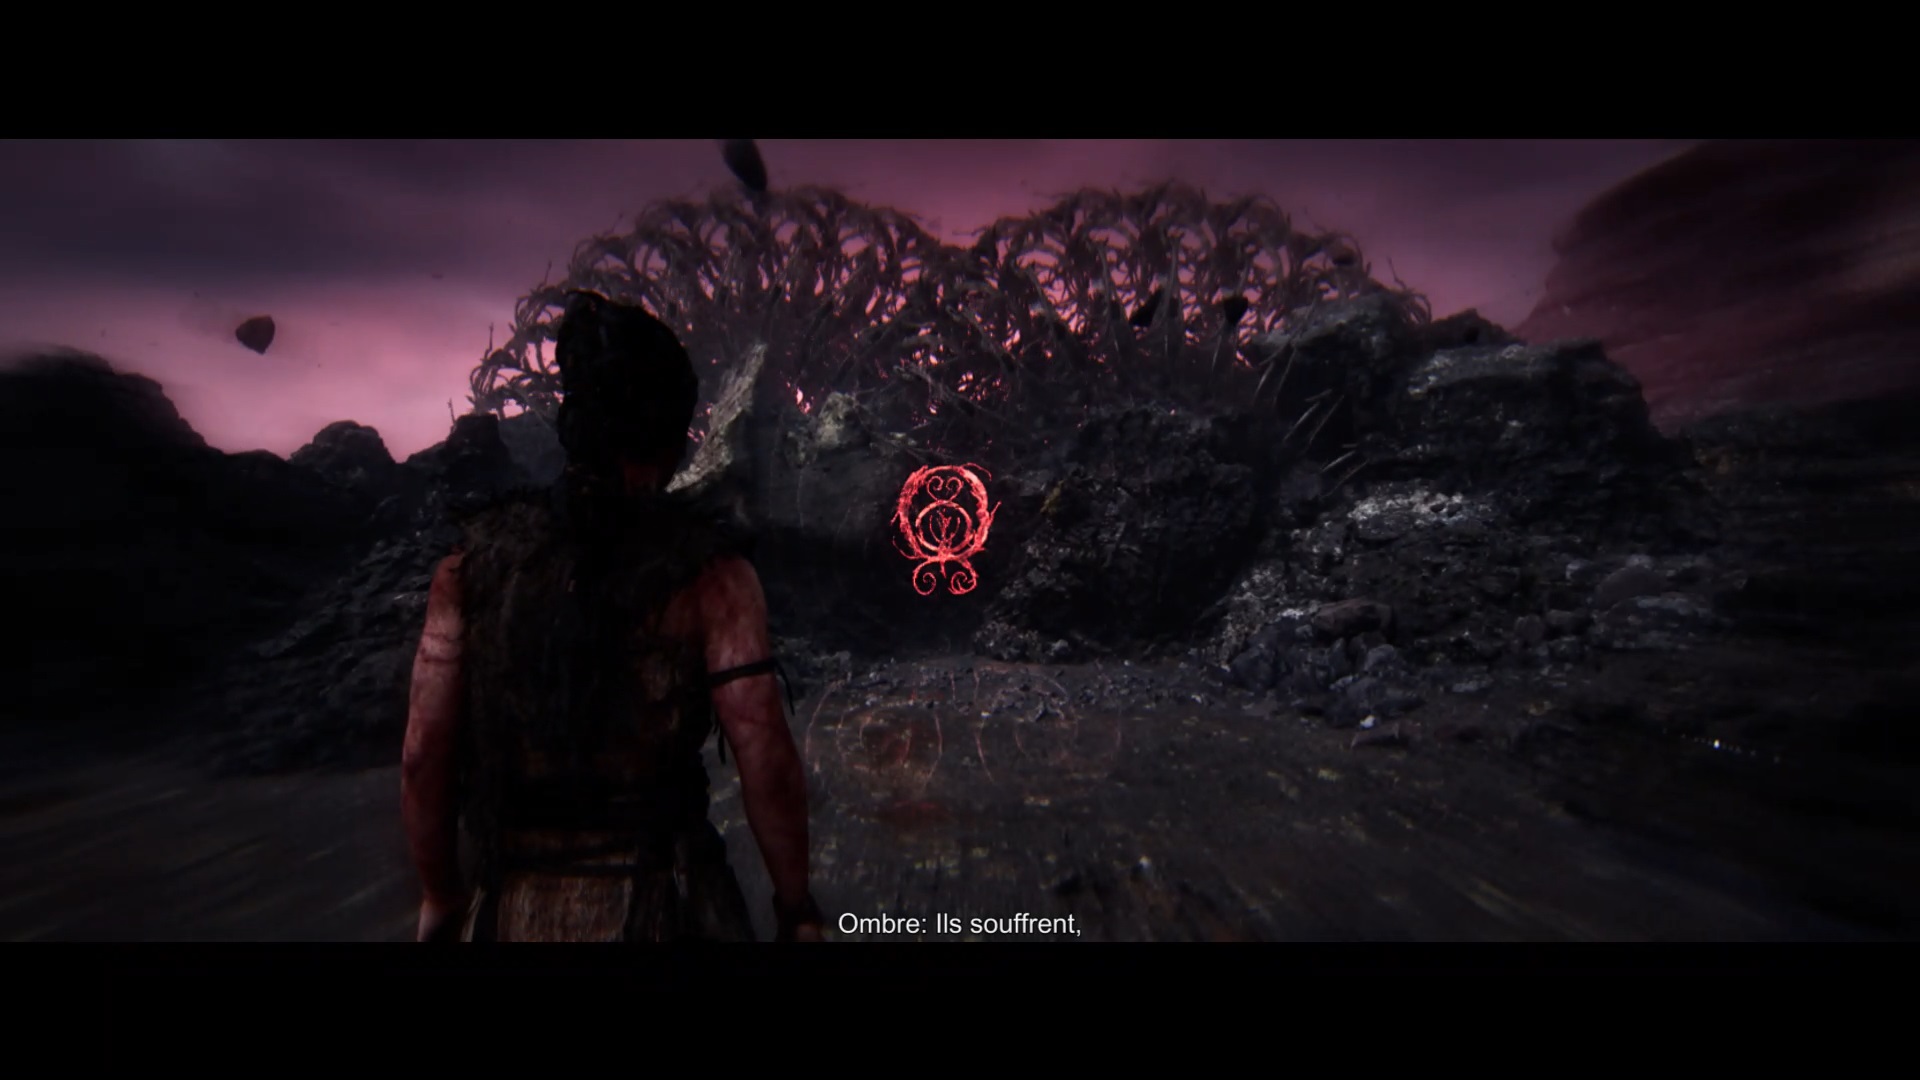
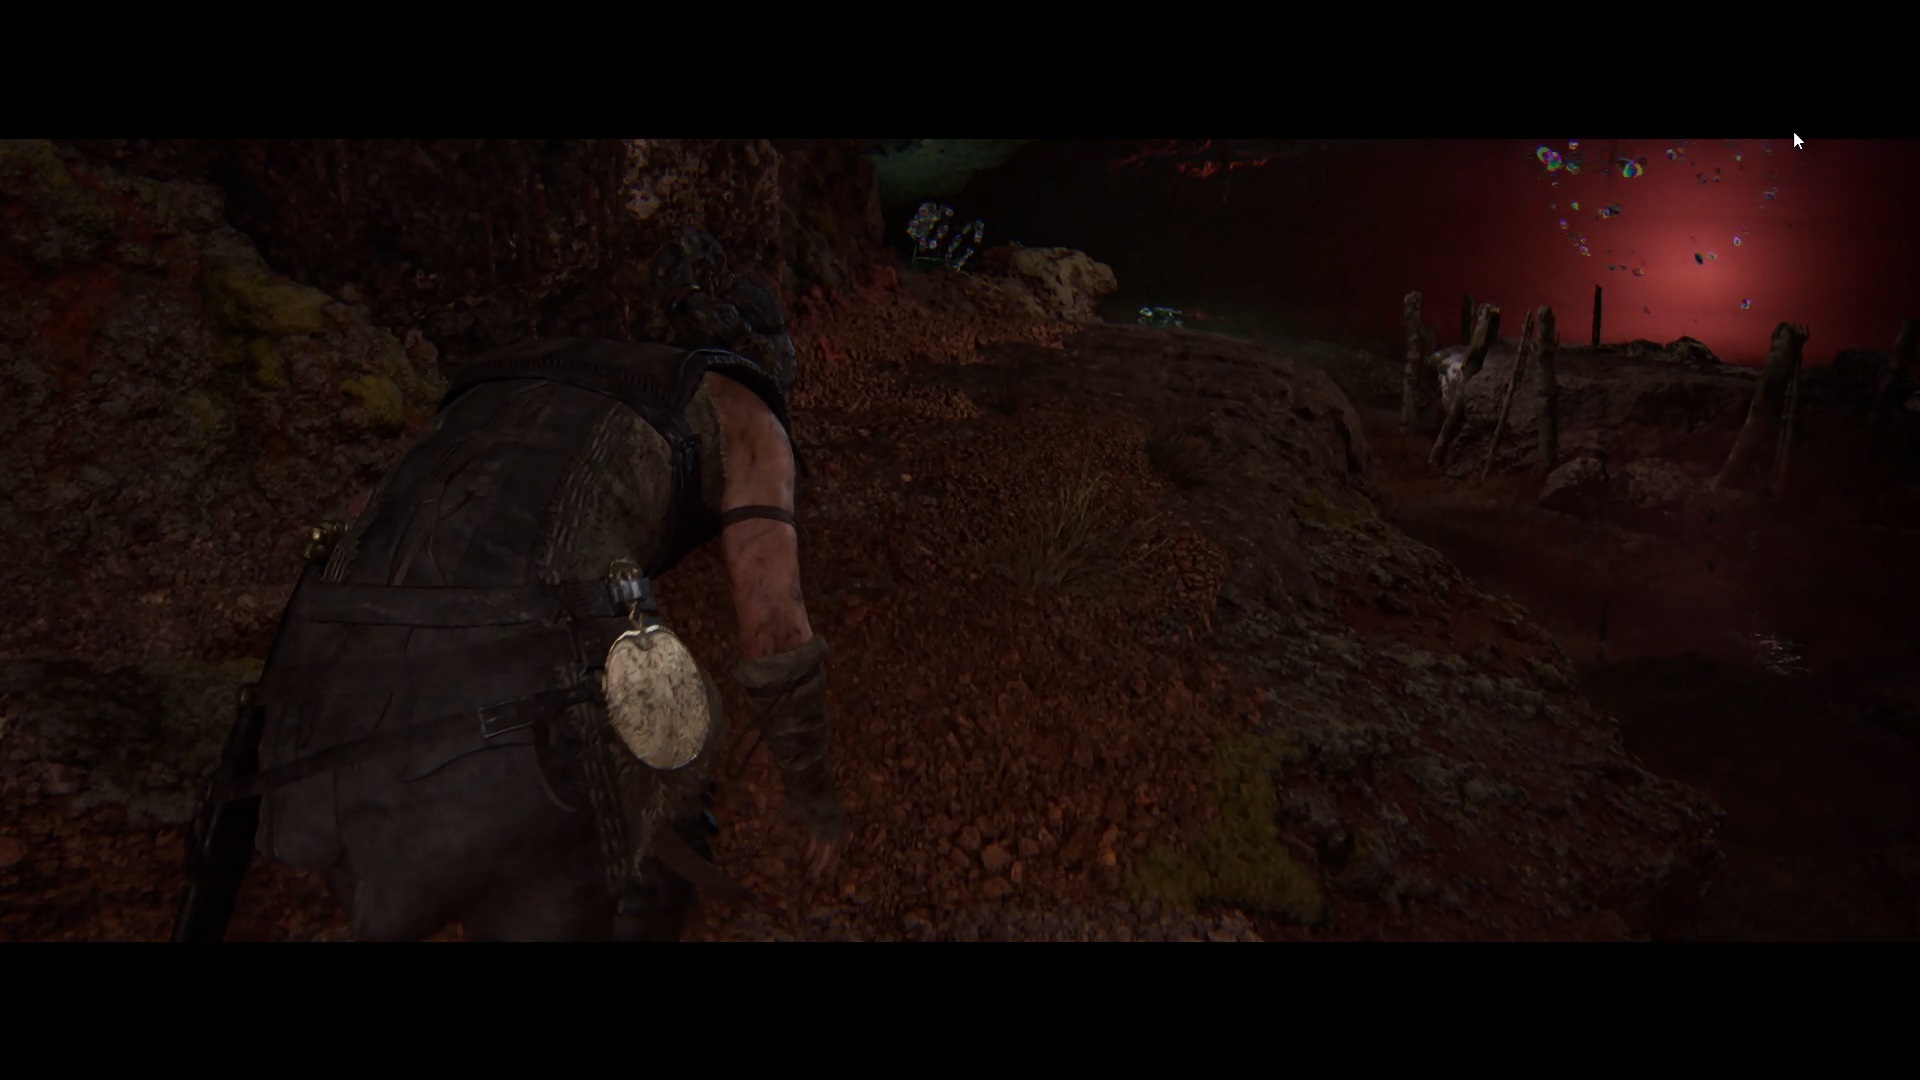
Chapter 3 : Rauðhólar
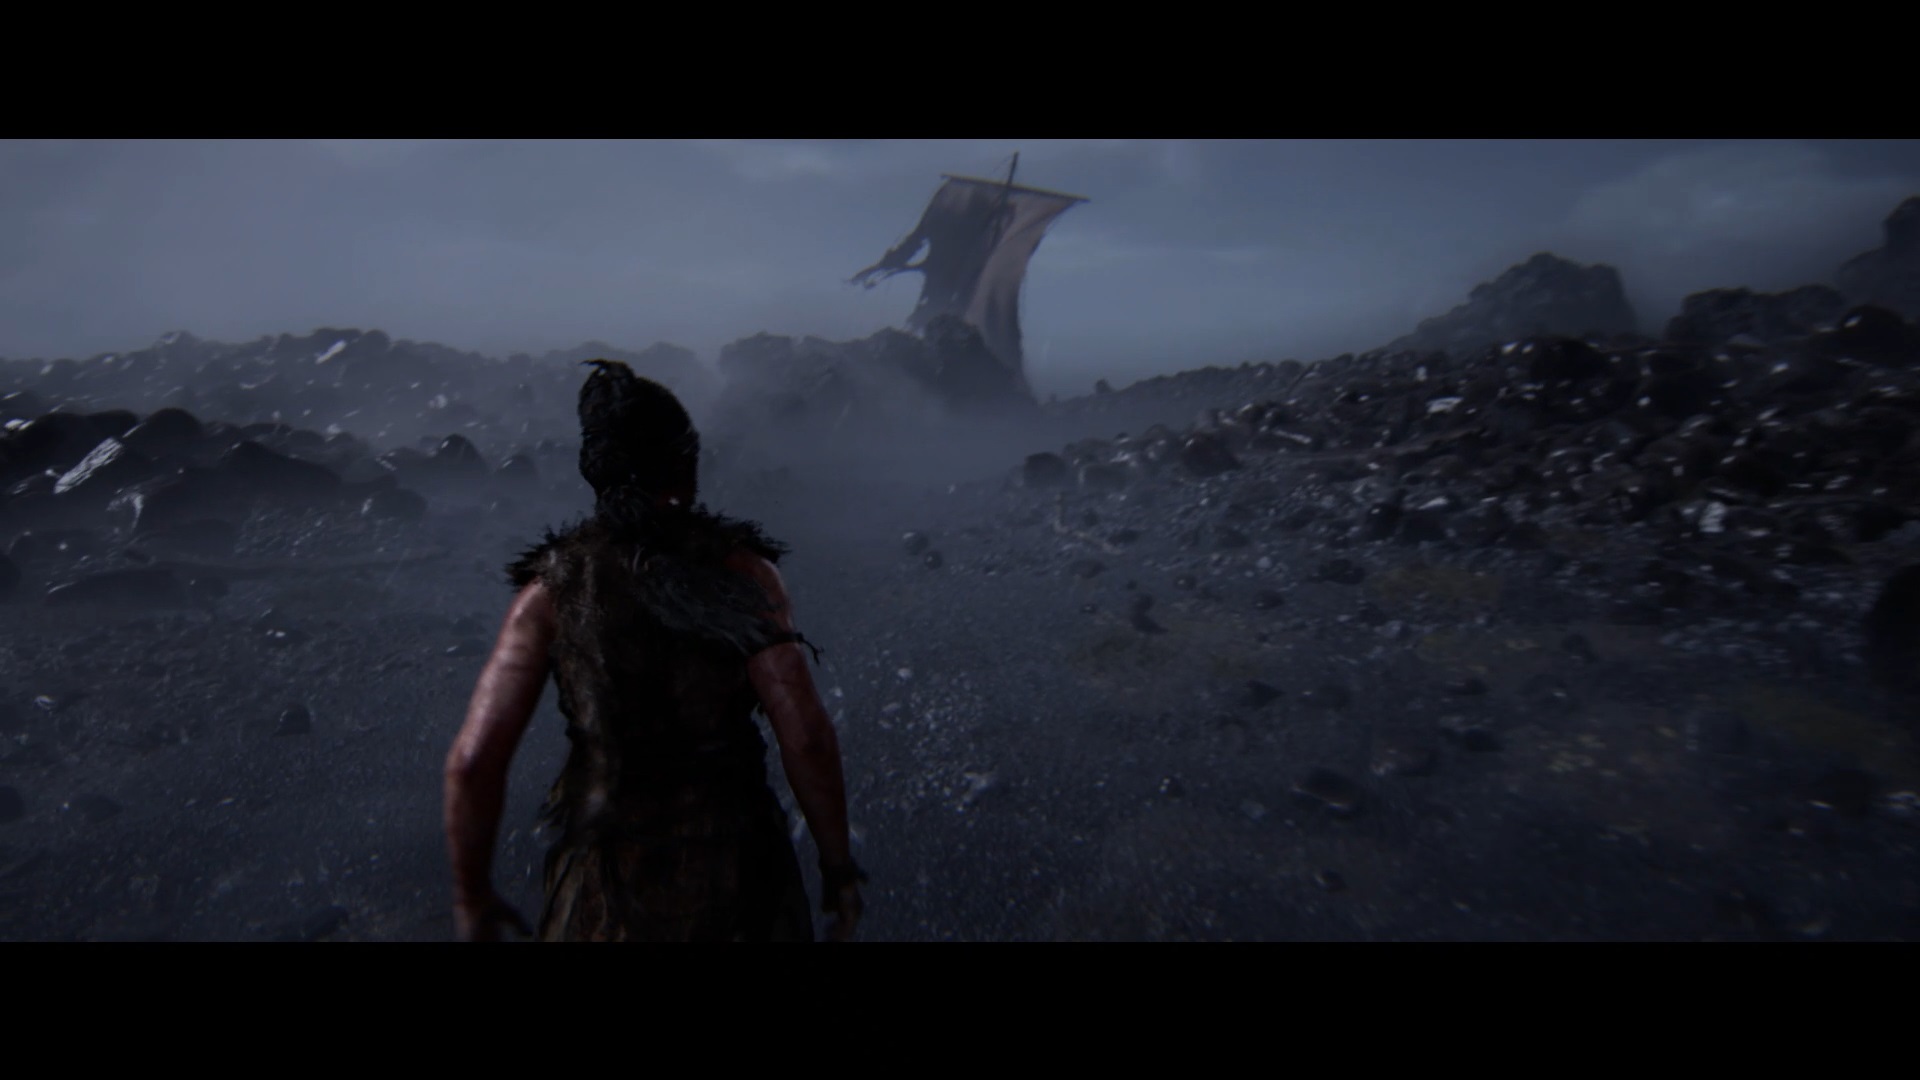
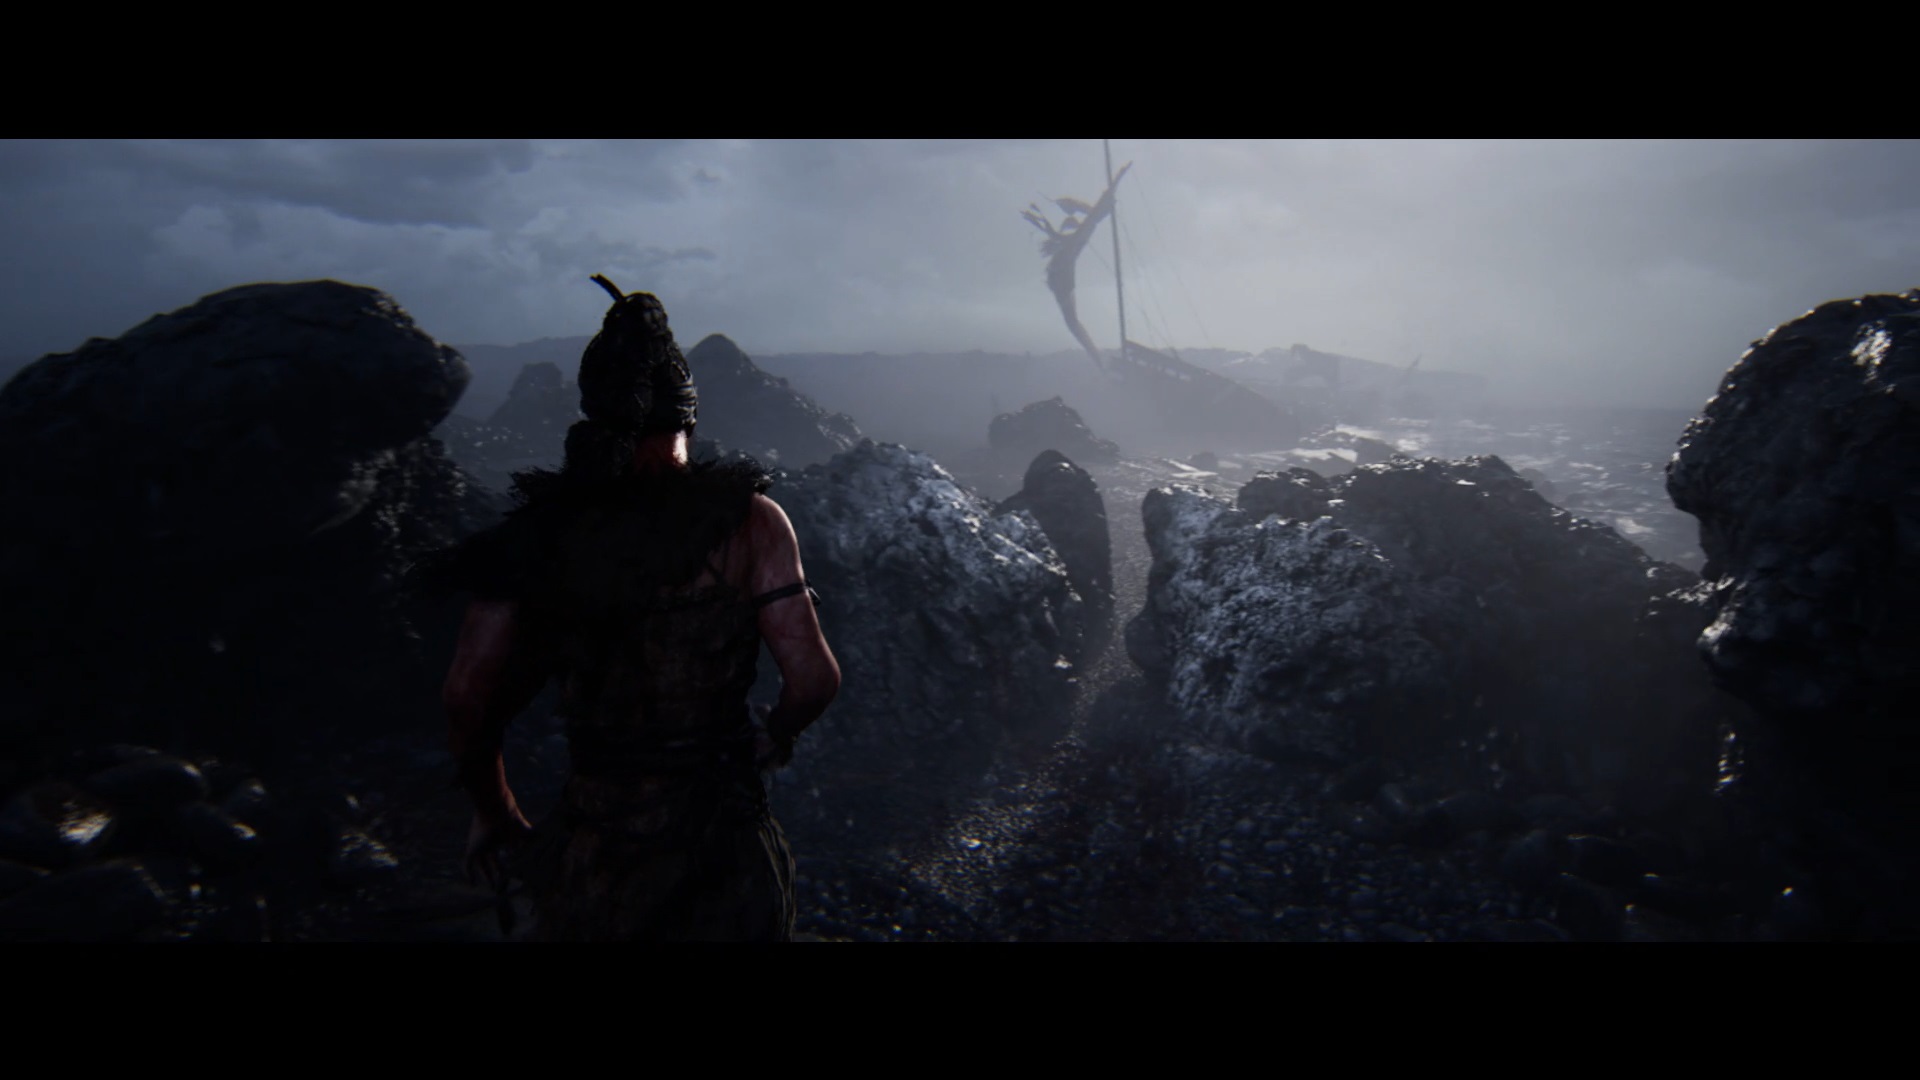
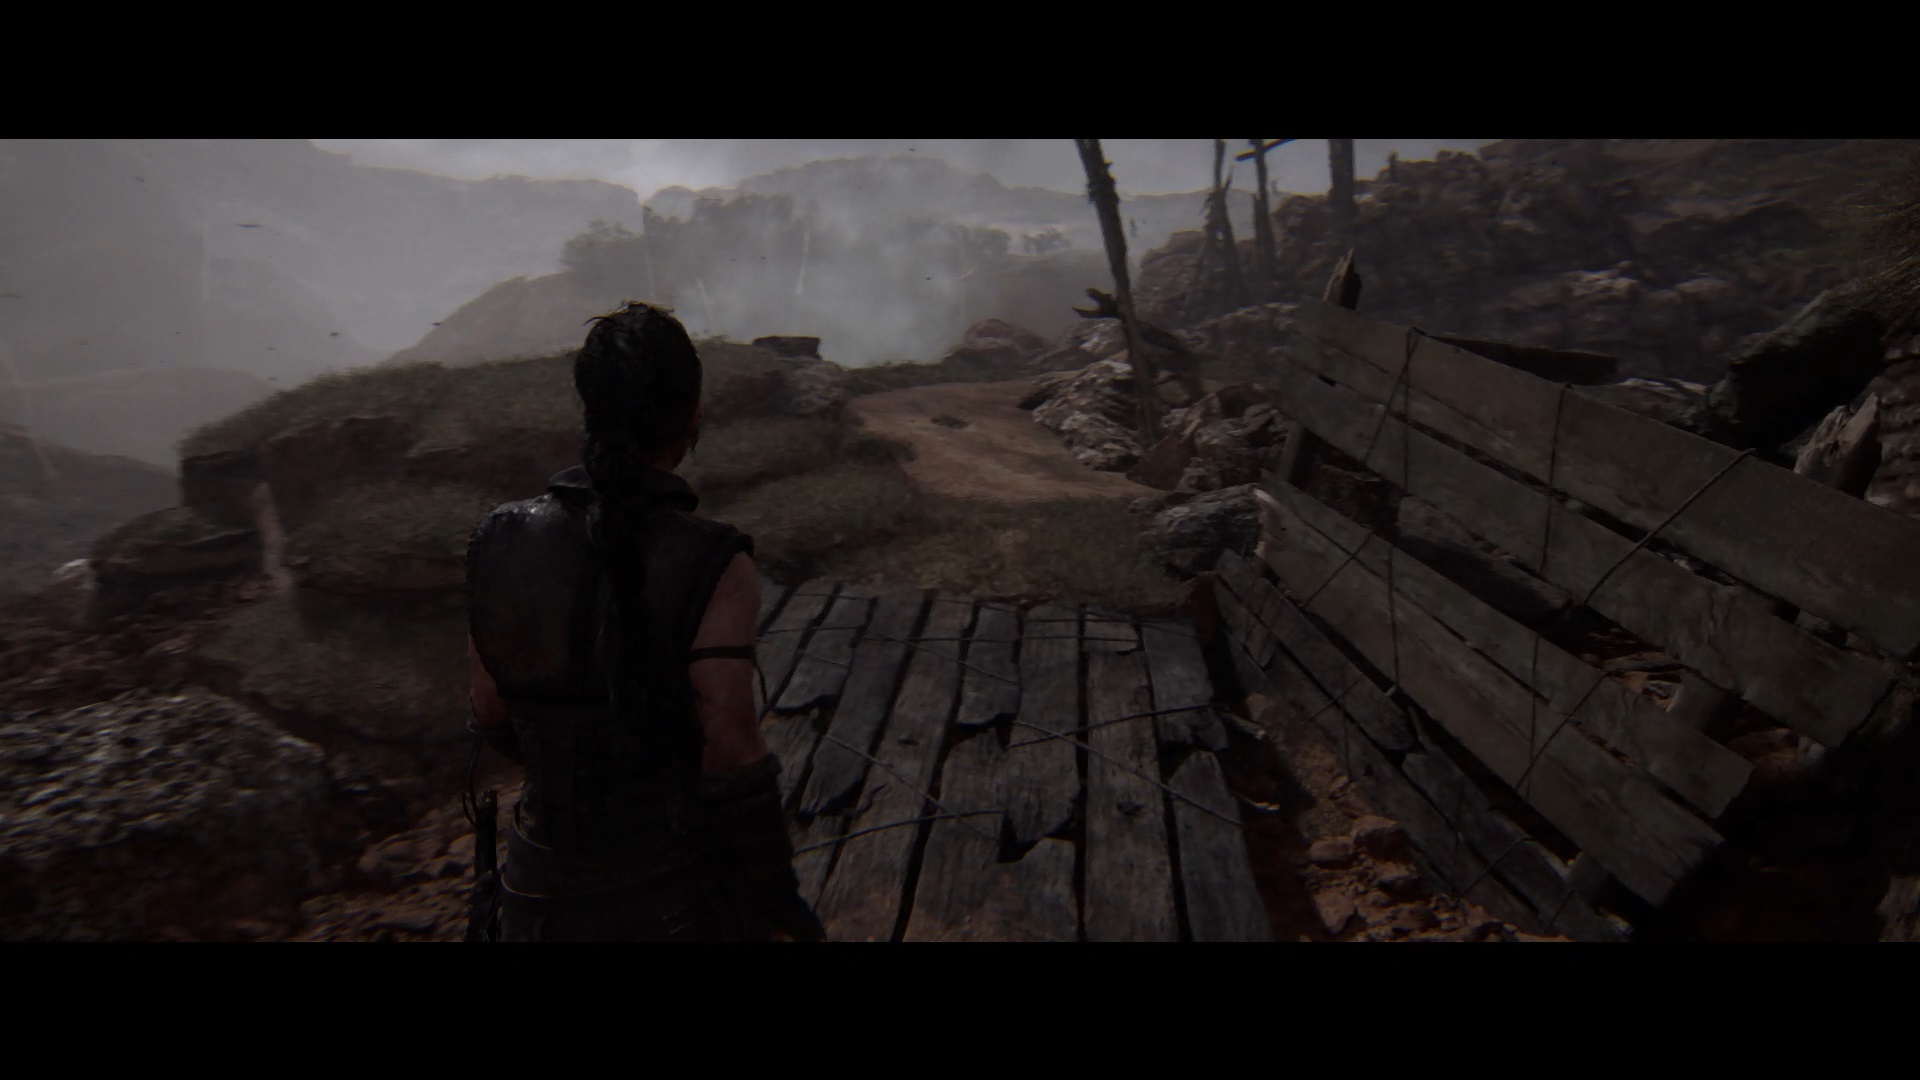
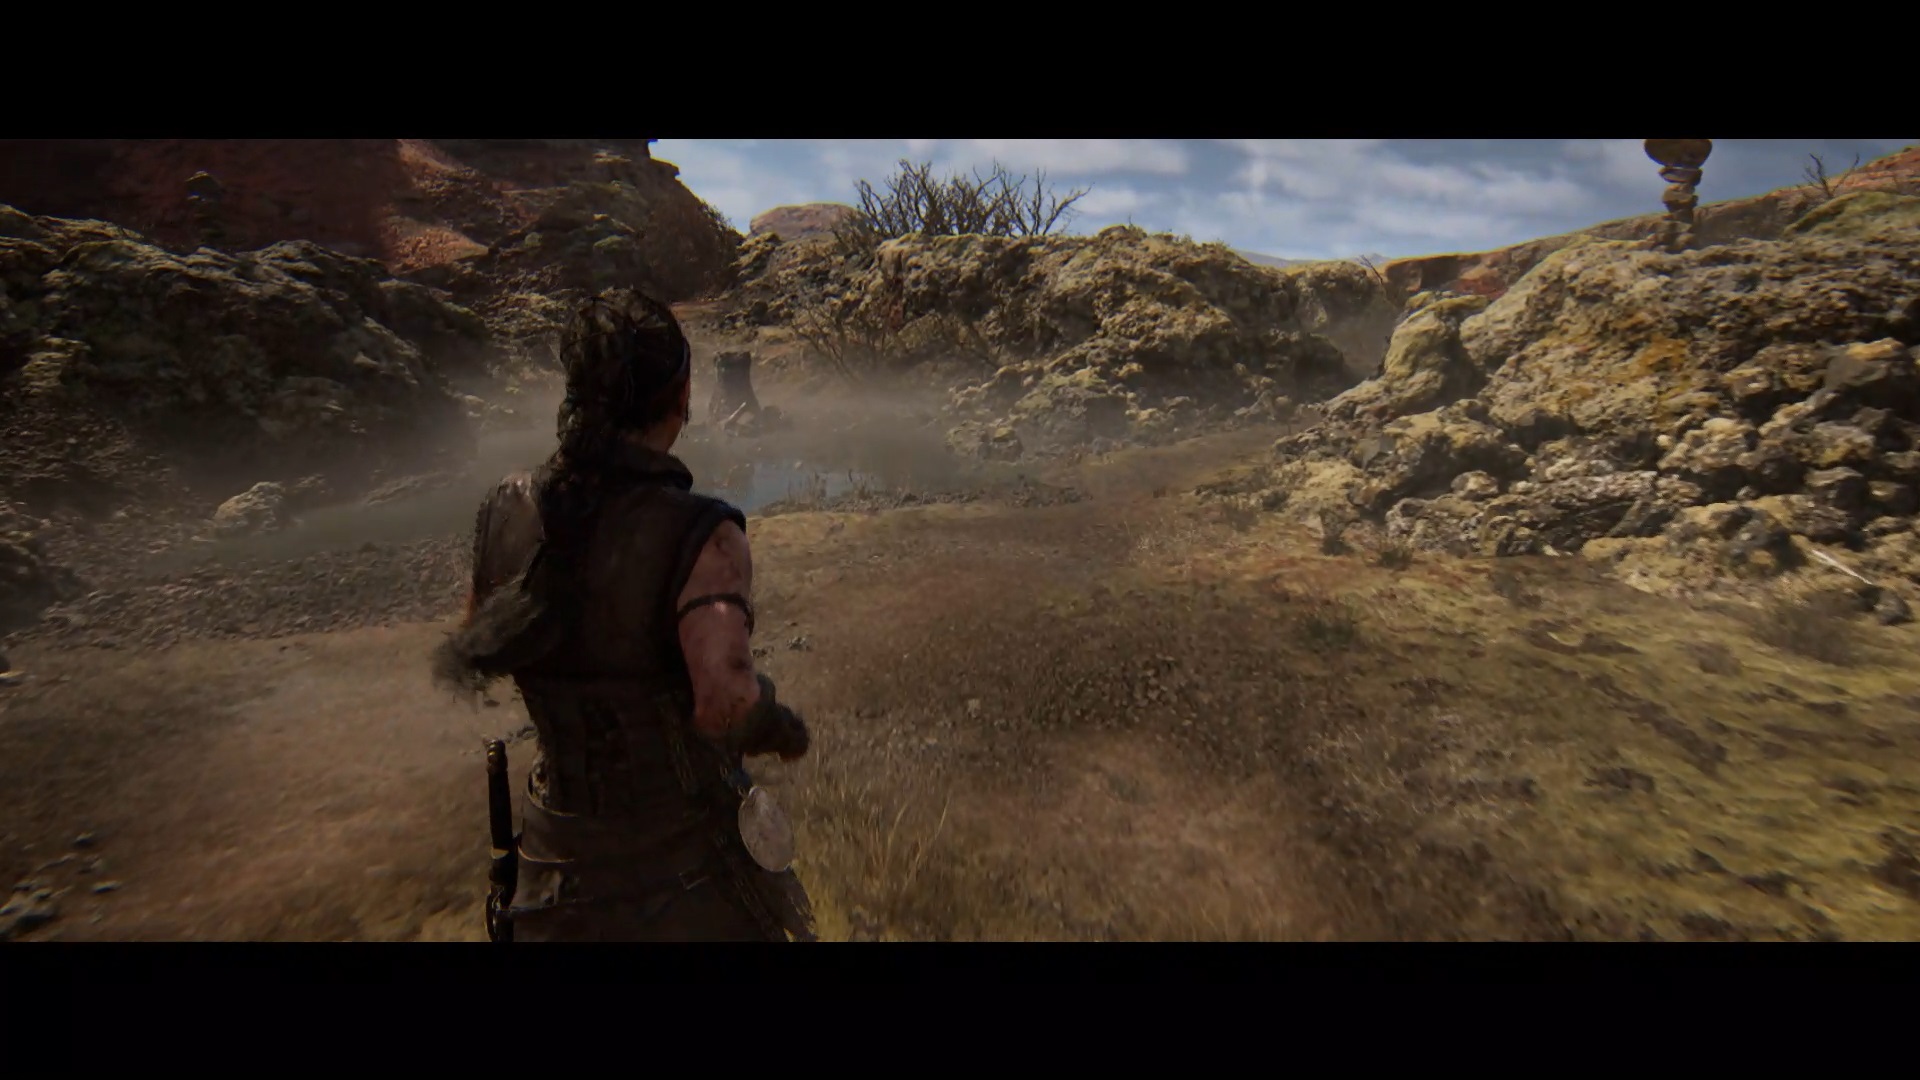
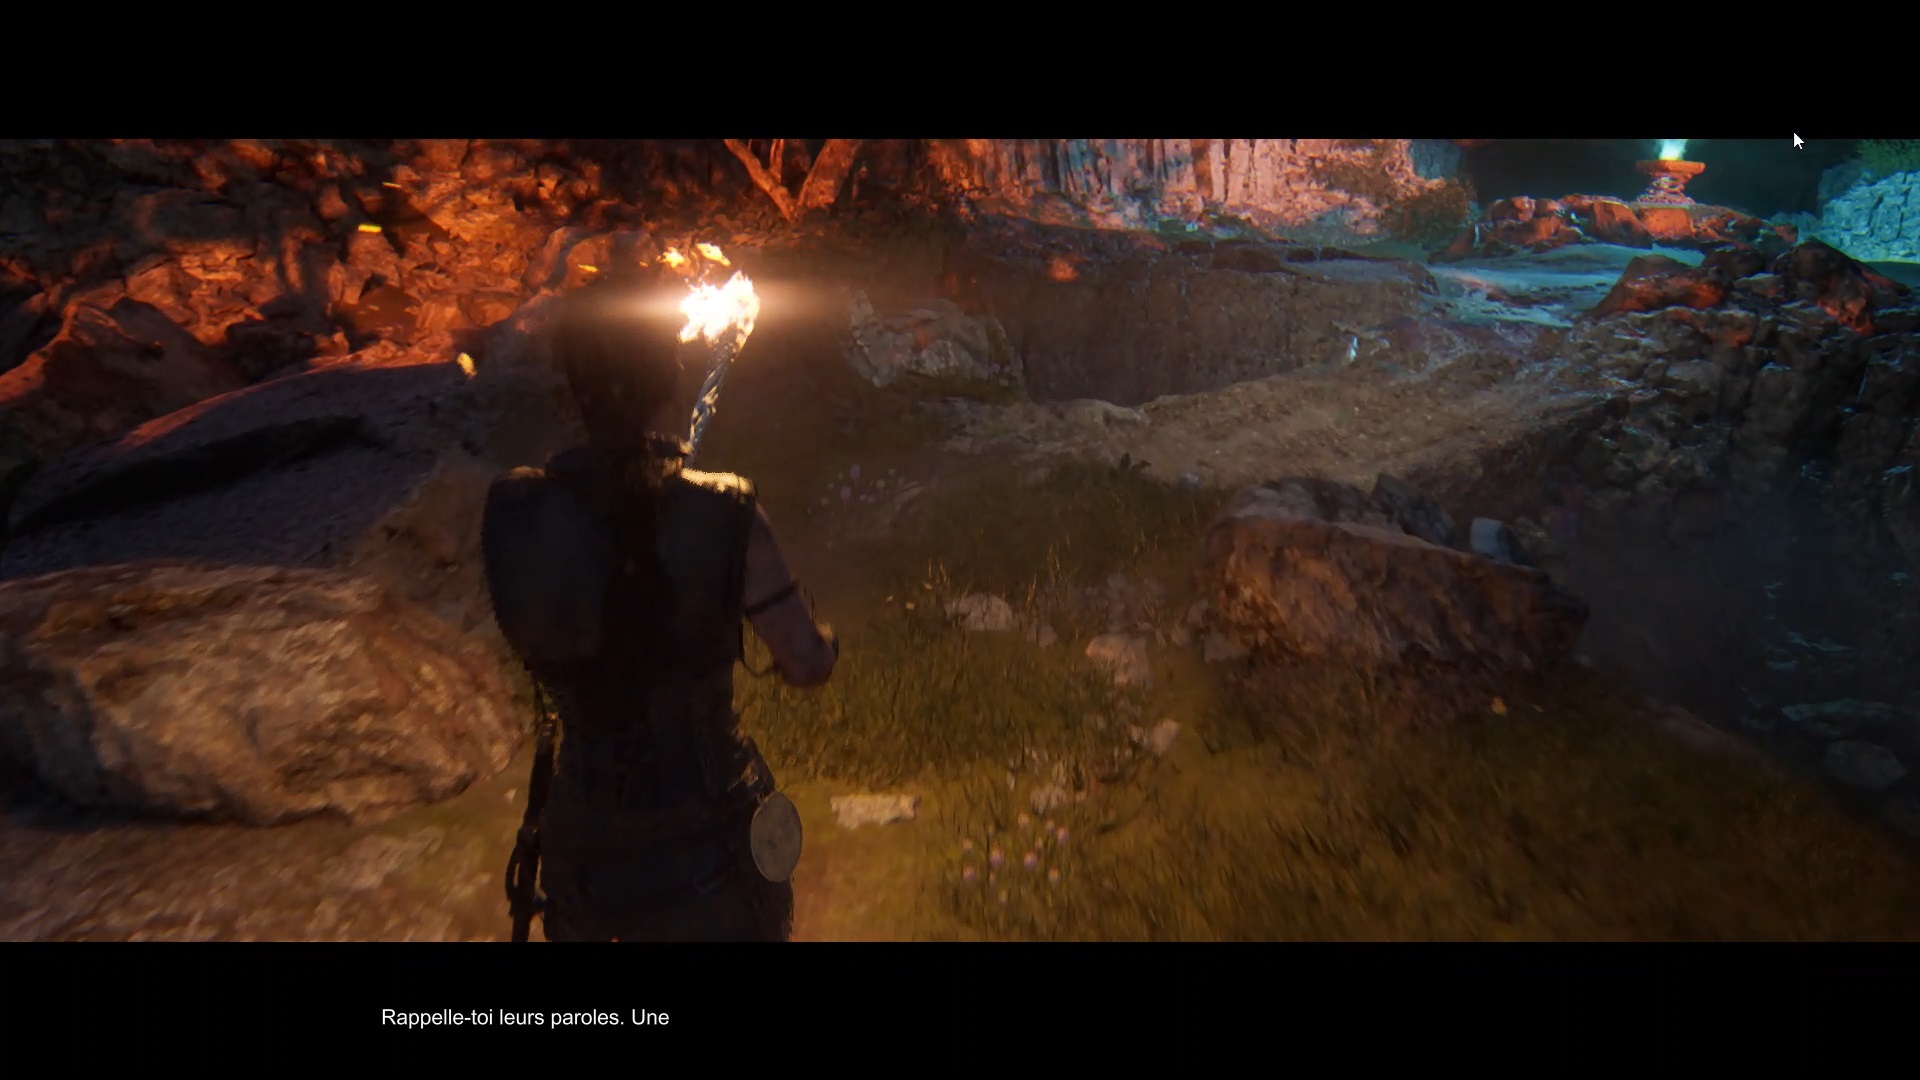
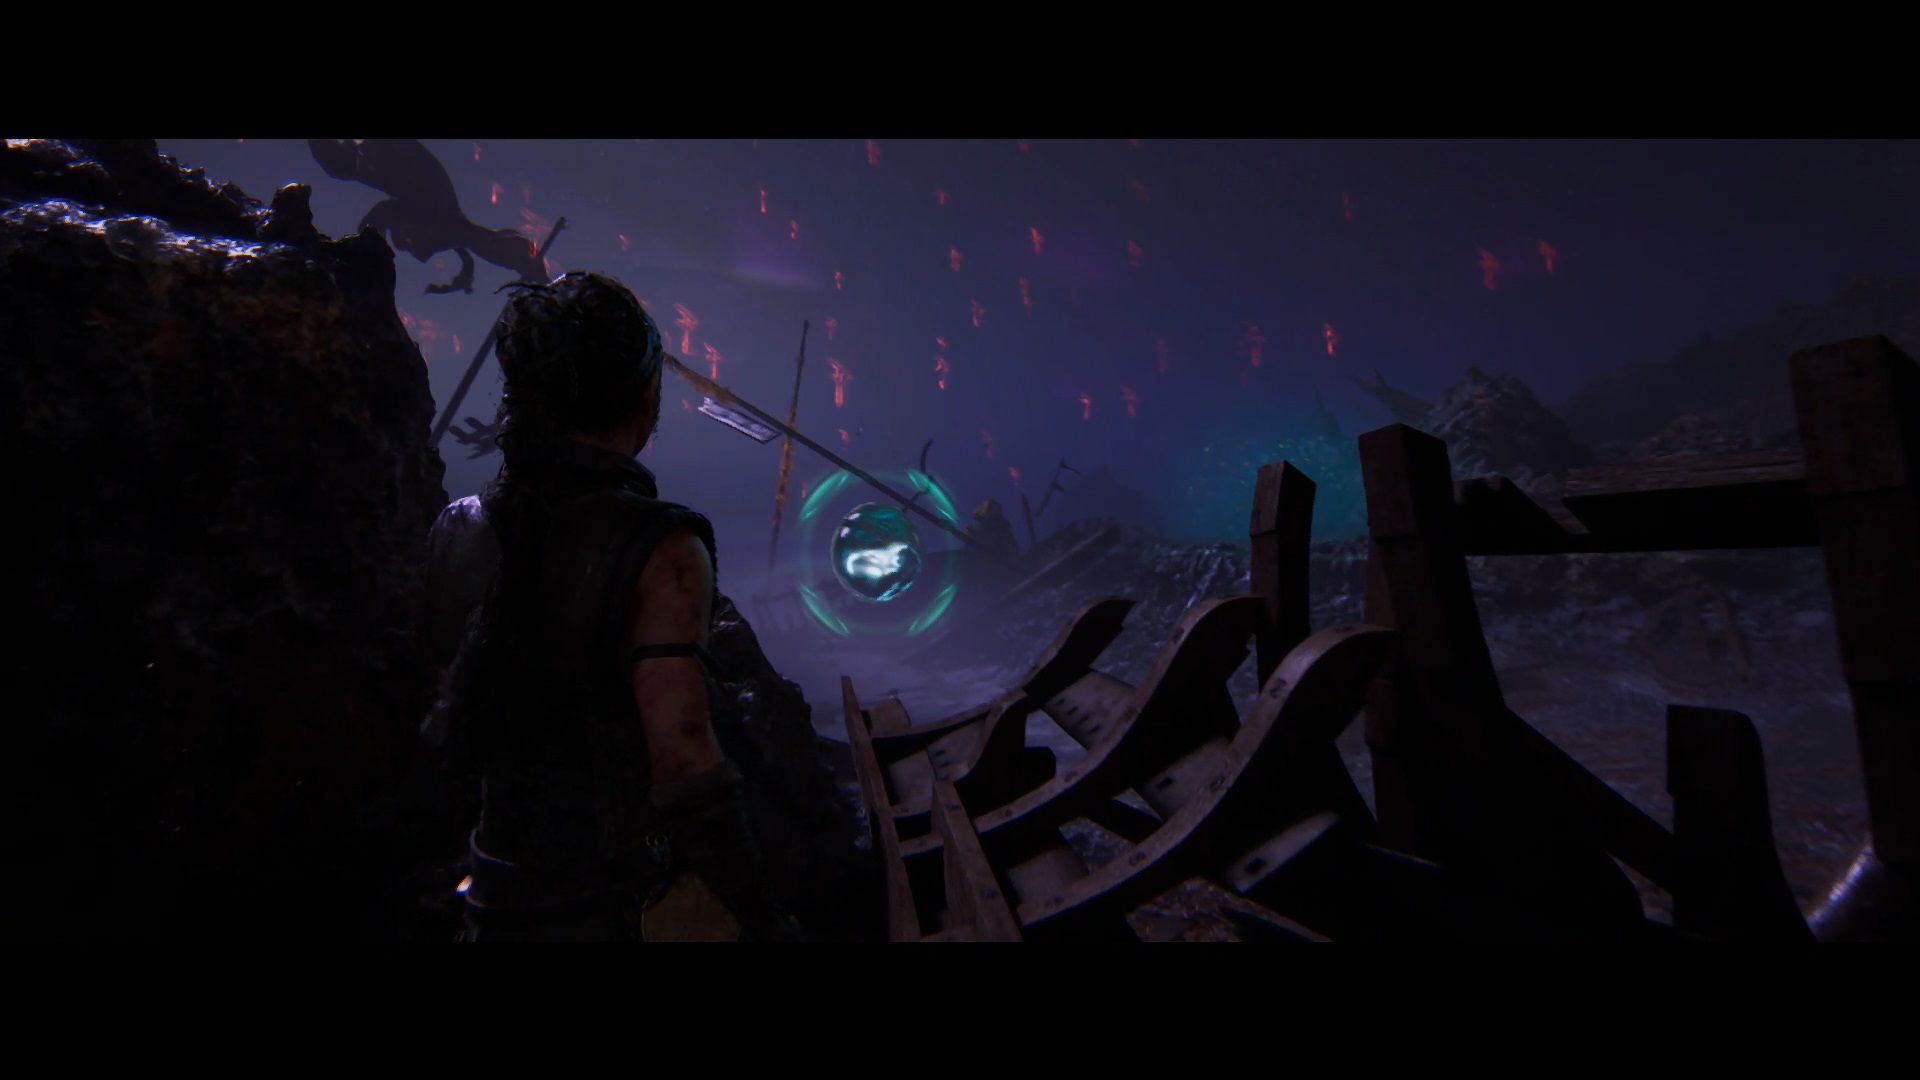
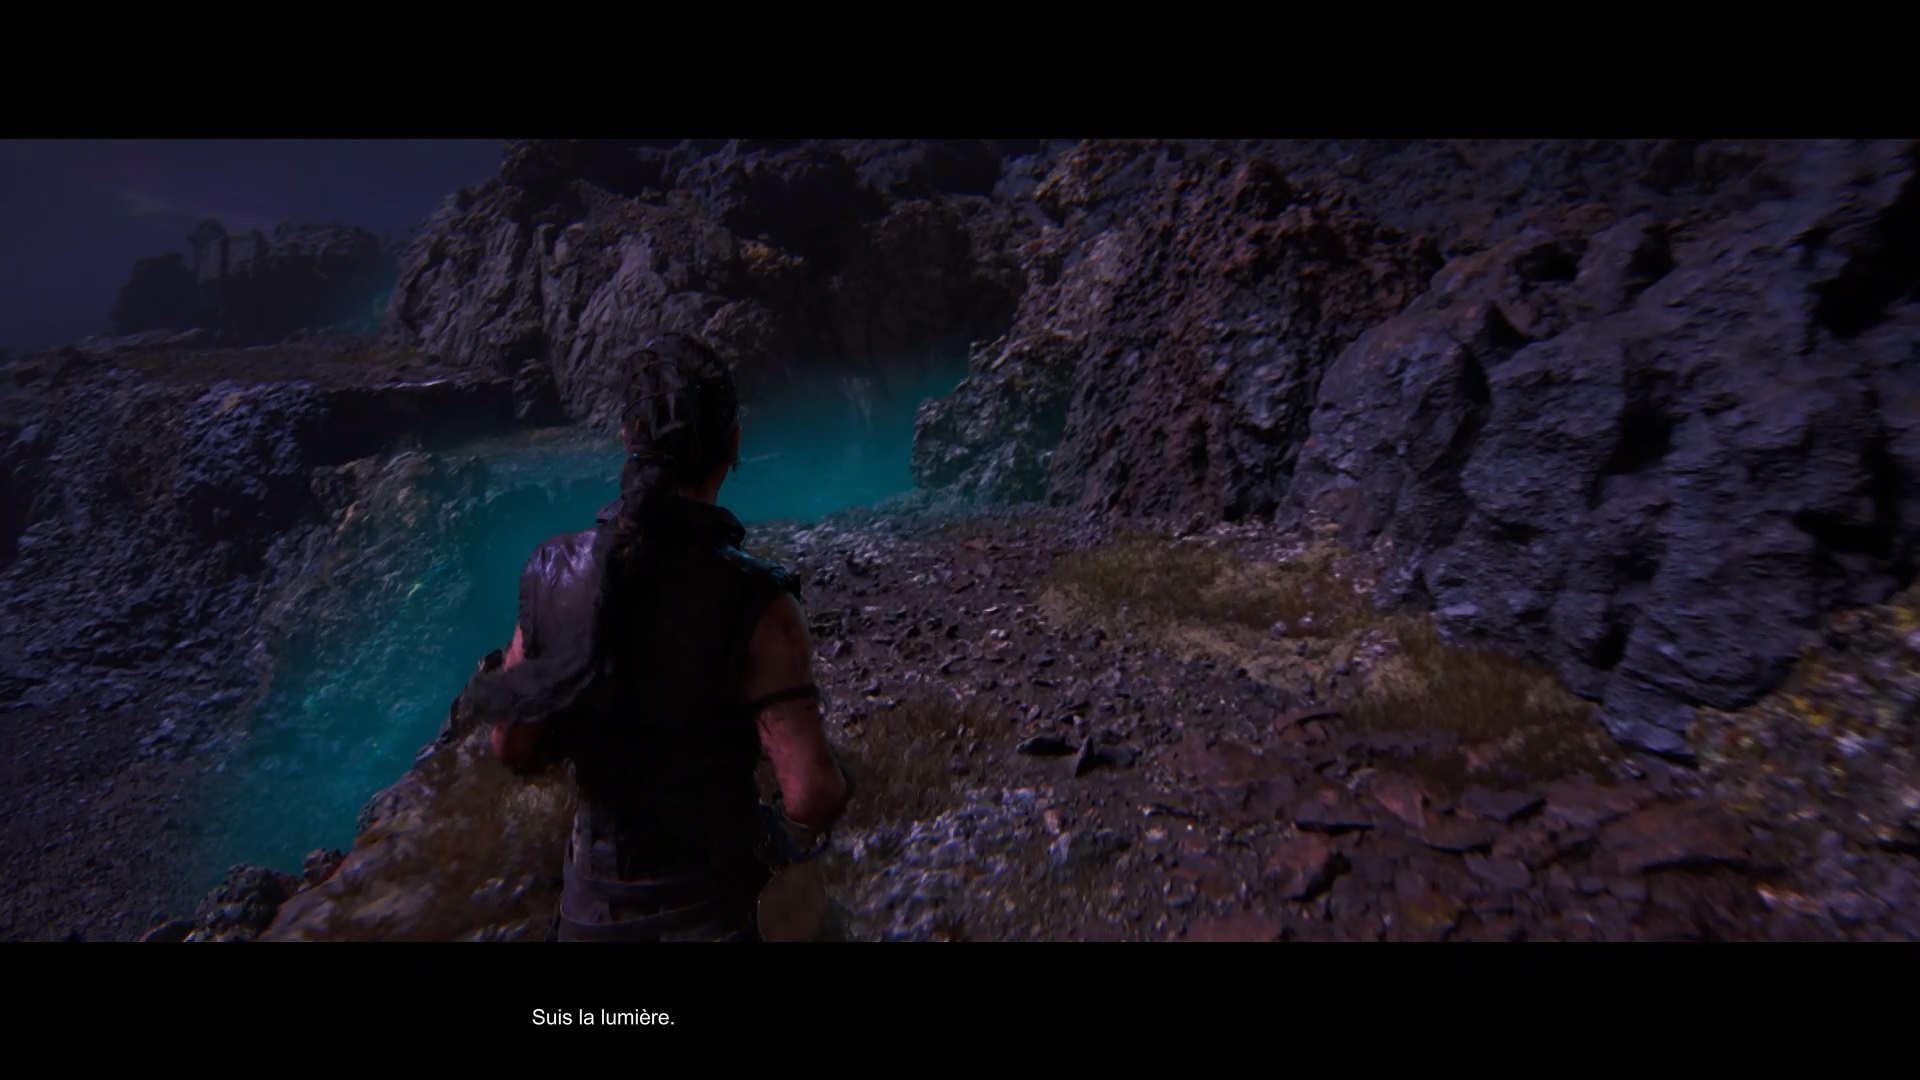
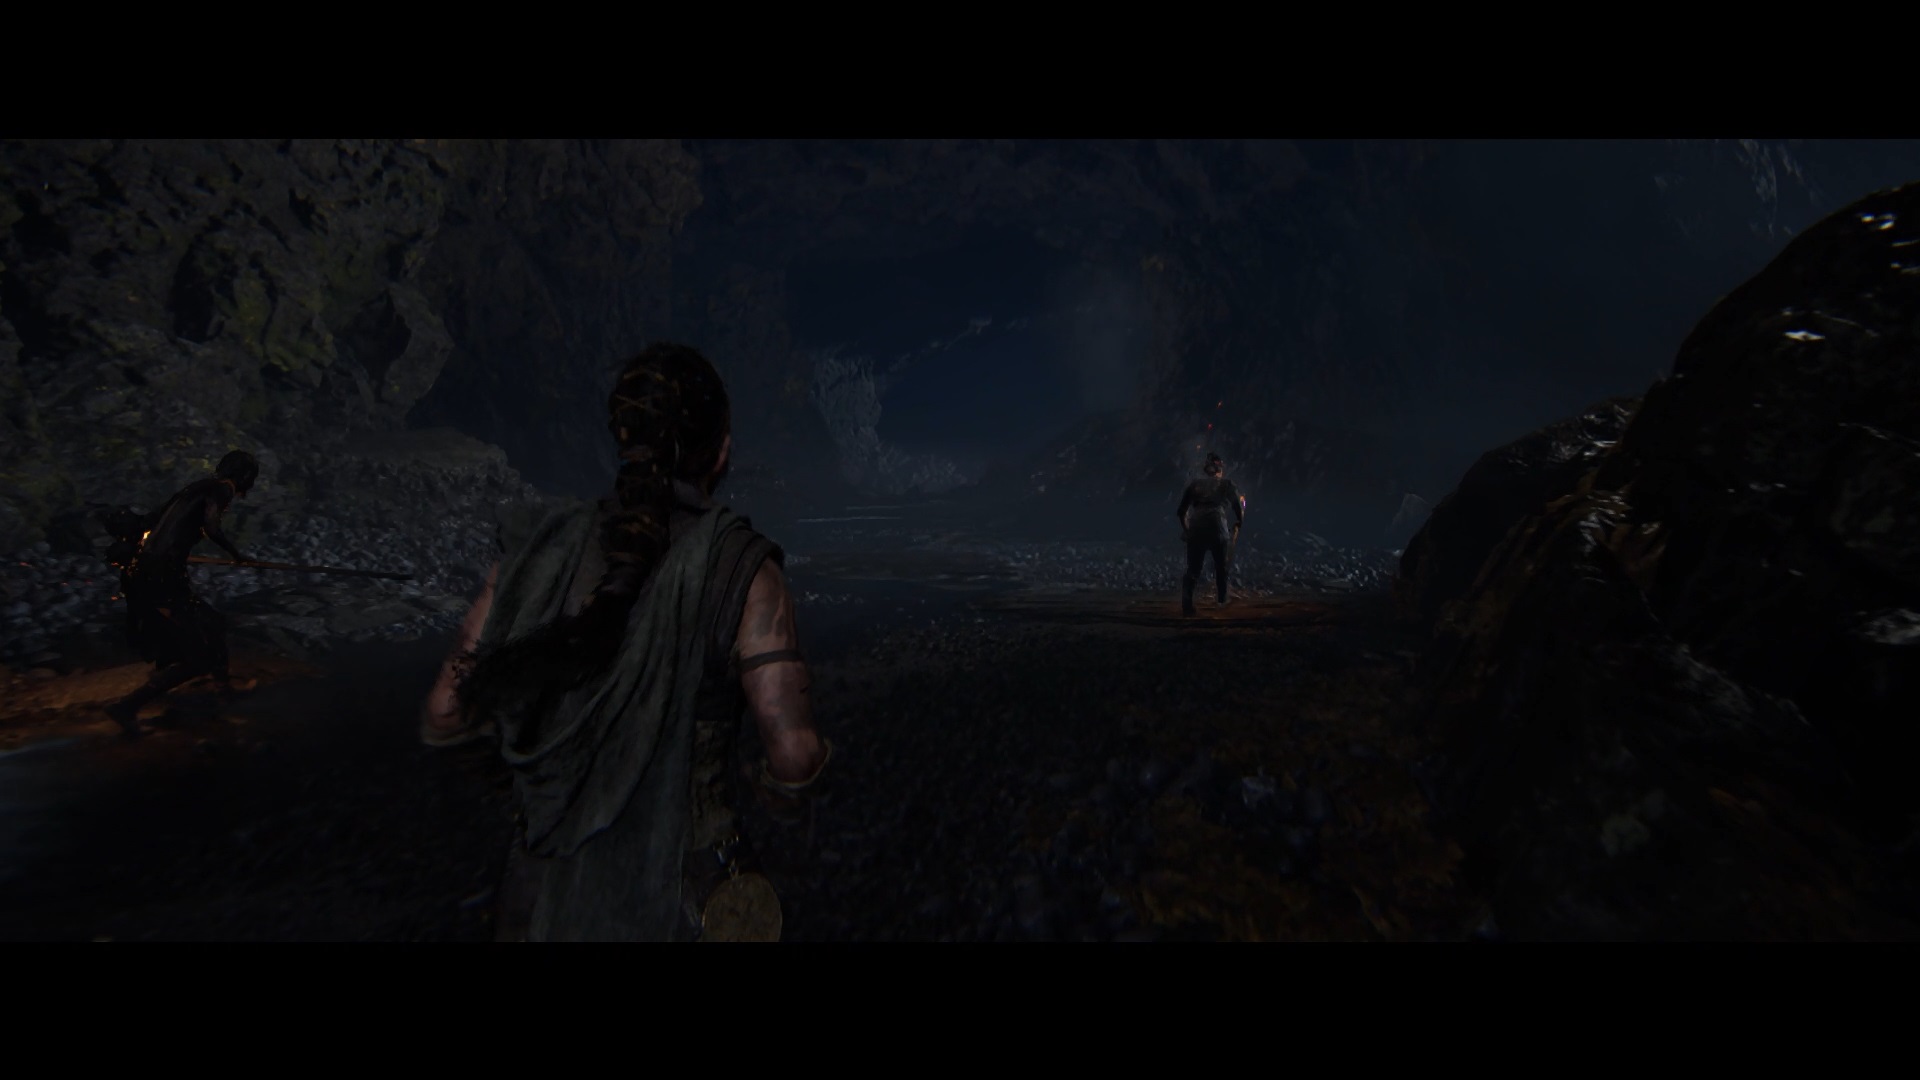
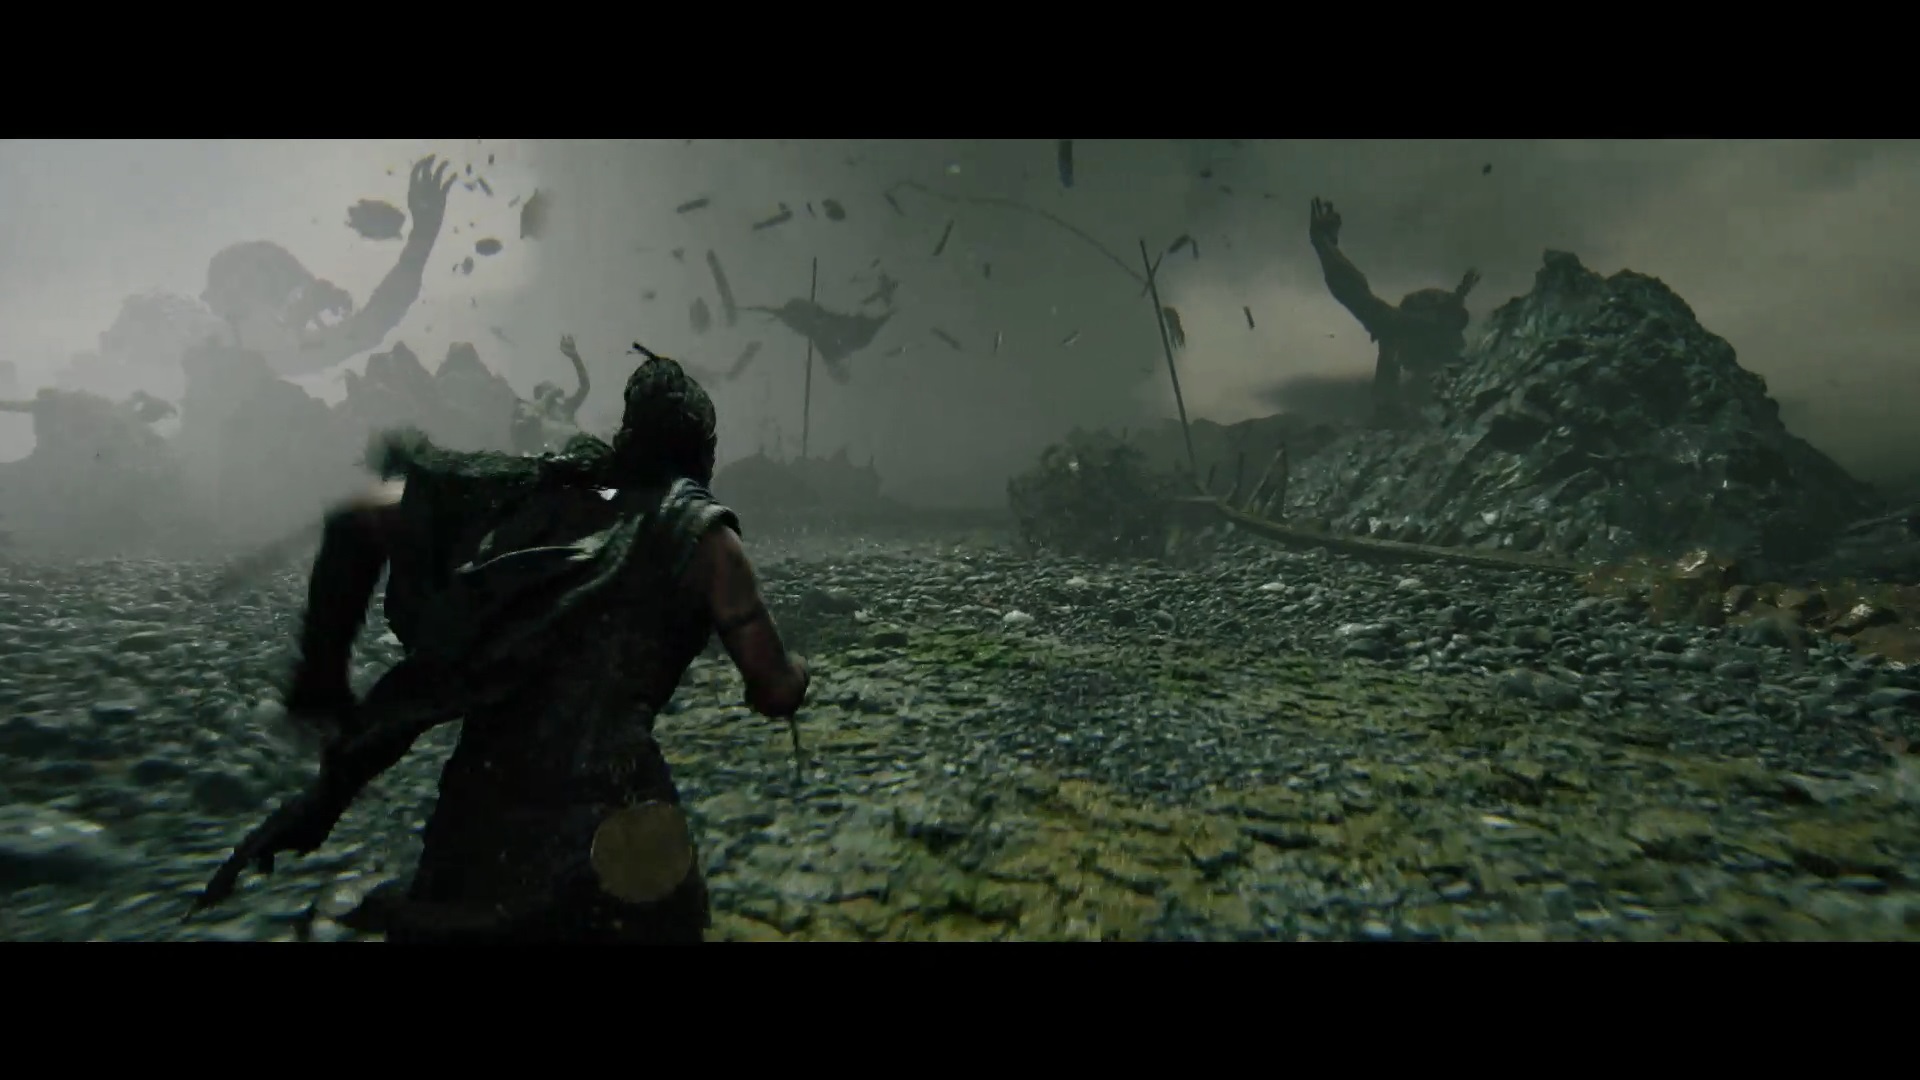
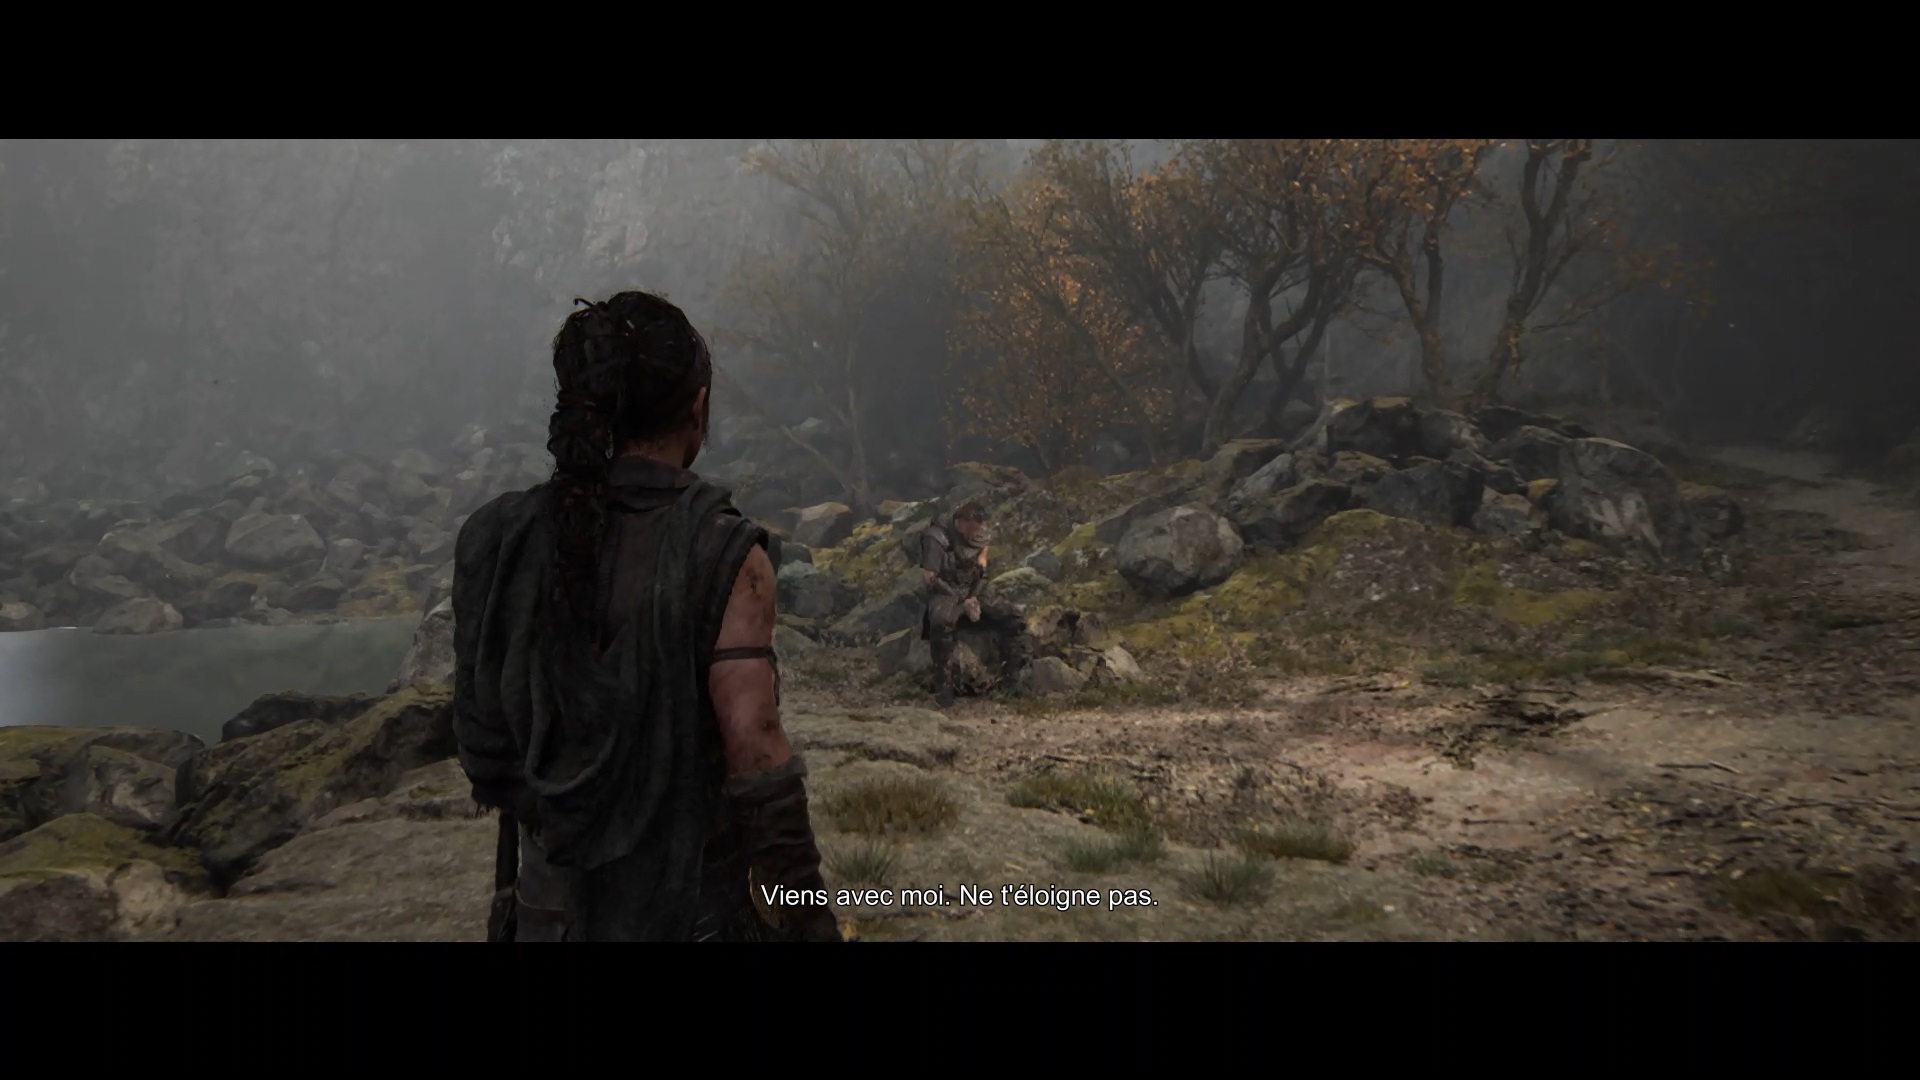
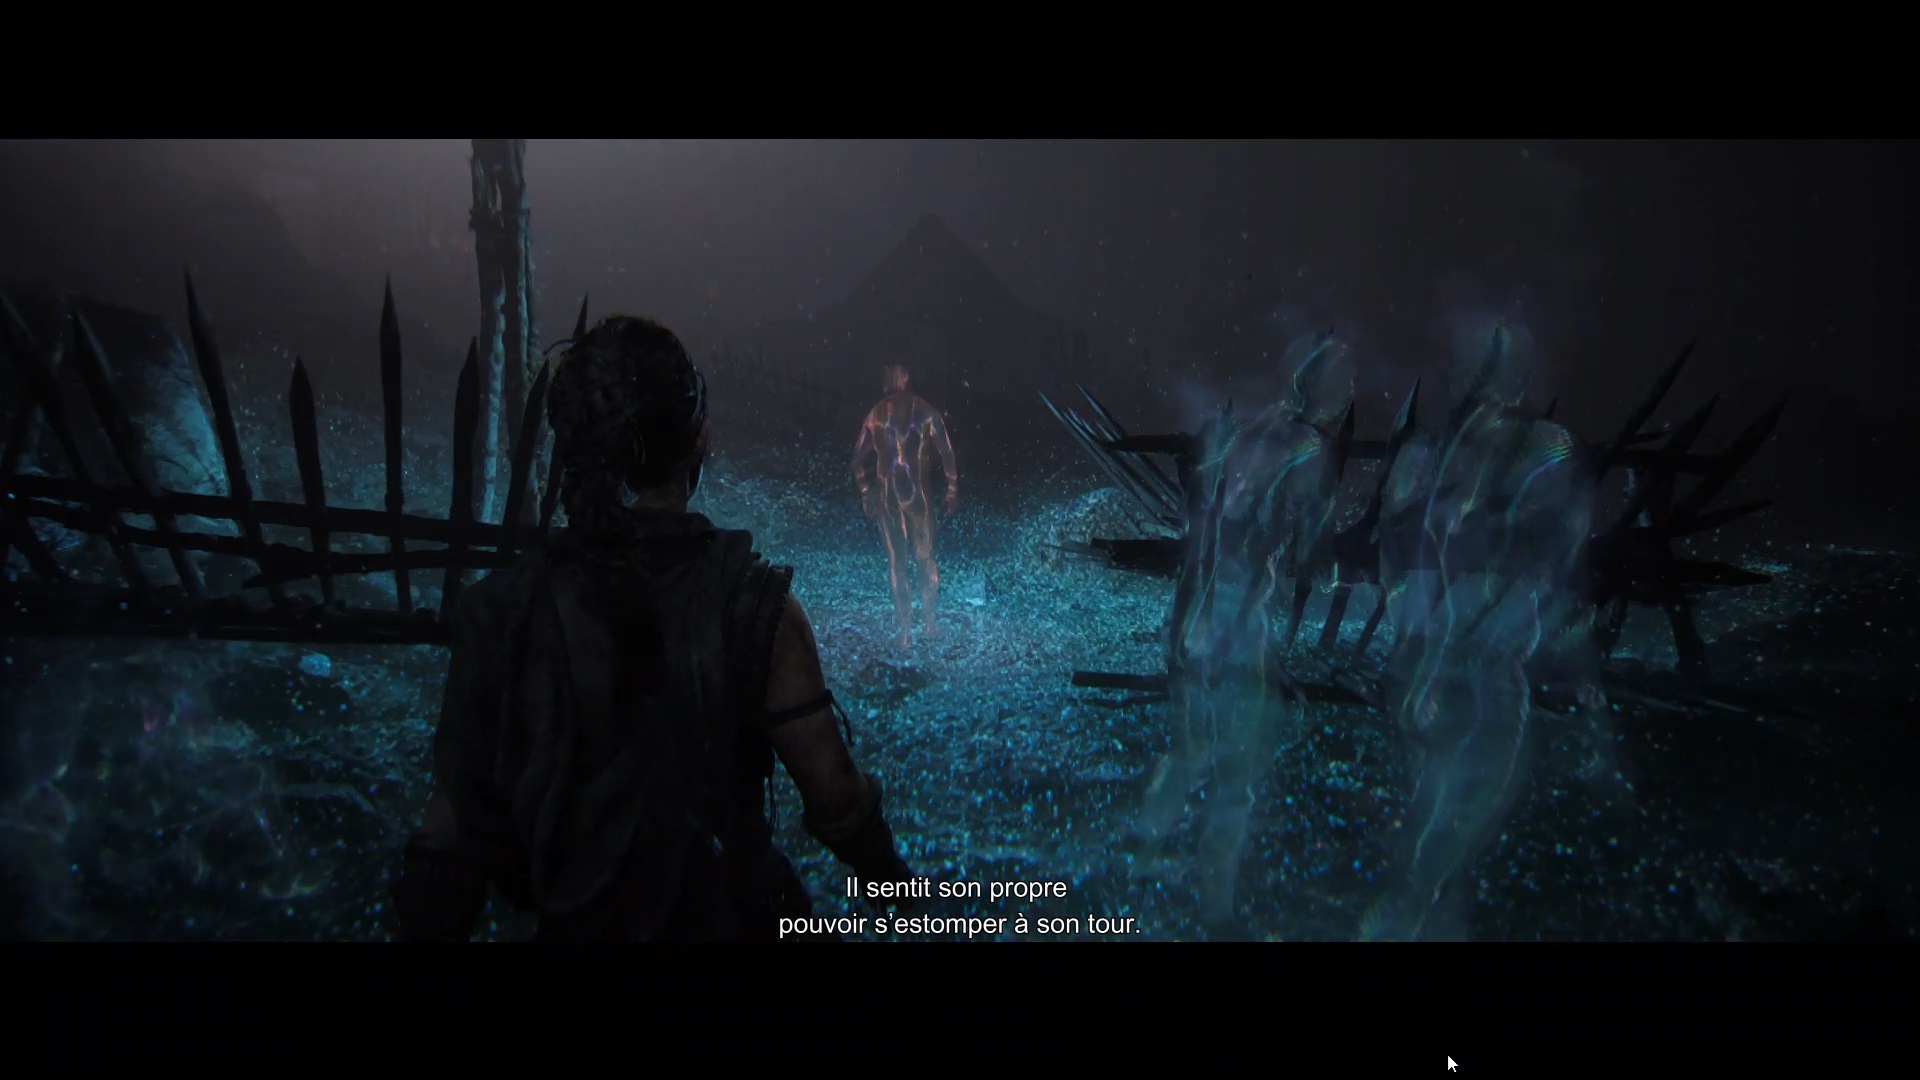
In this new chapter, advance following Fargrimr and Thorgestr to start a cutscene. You must escape Illtauga. Run following the path that forms in front of you. Jump over obstacles and take opposite paths when debris blocks your path. At the end of your journey, you find your two friends before being immersed in the mind of Senua.
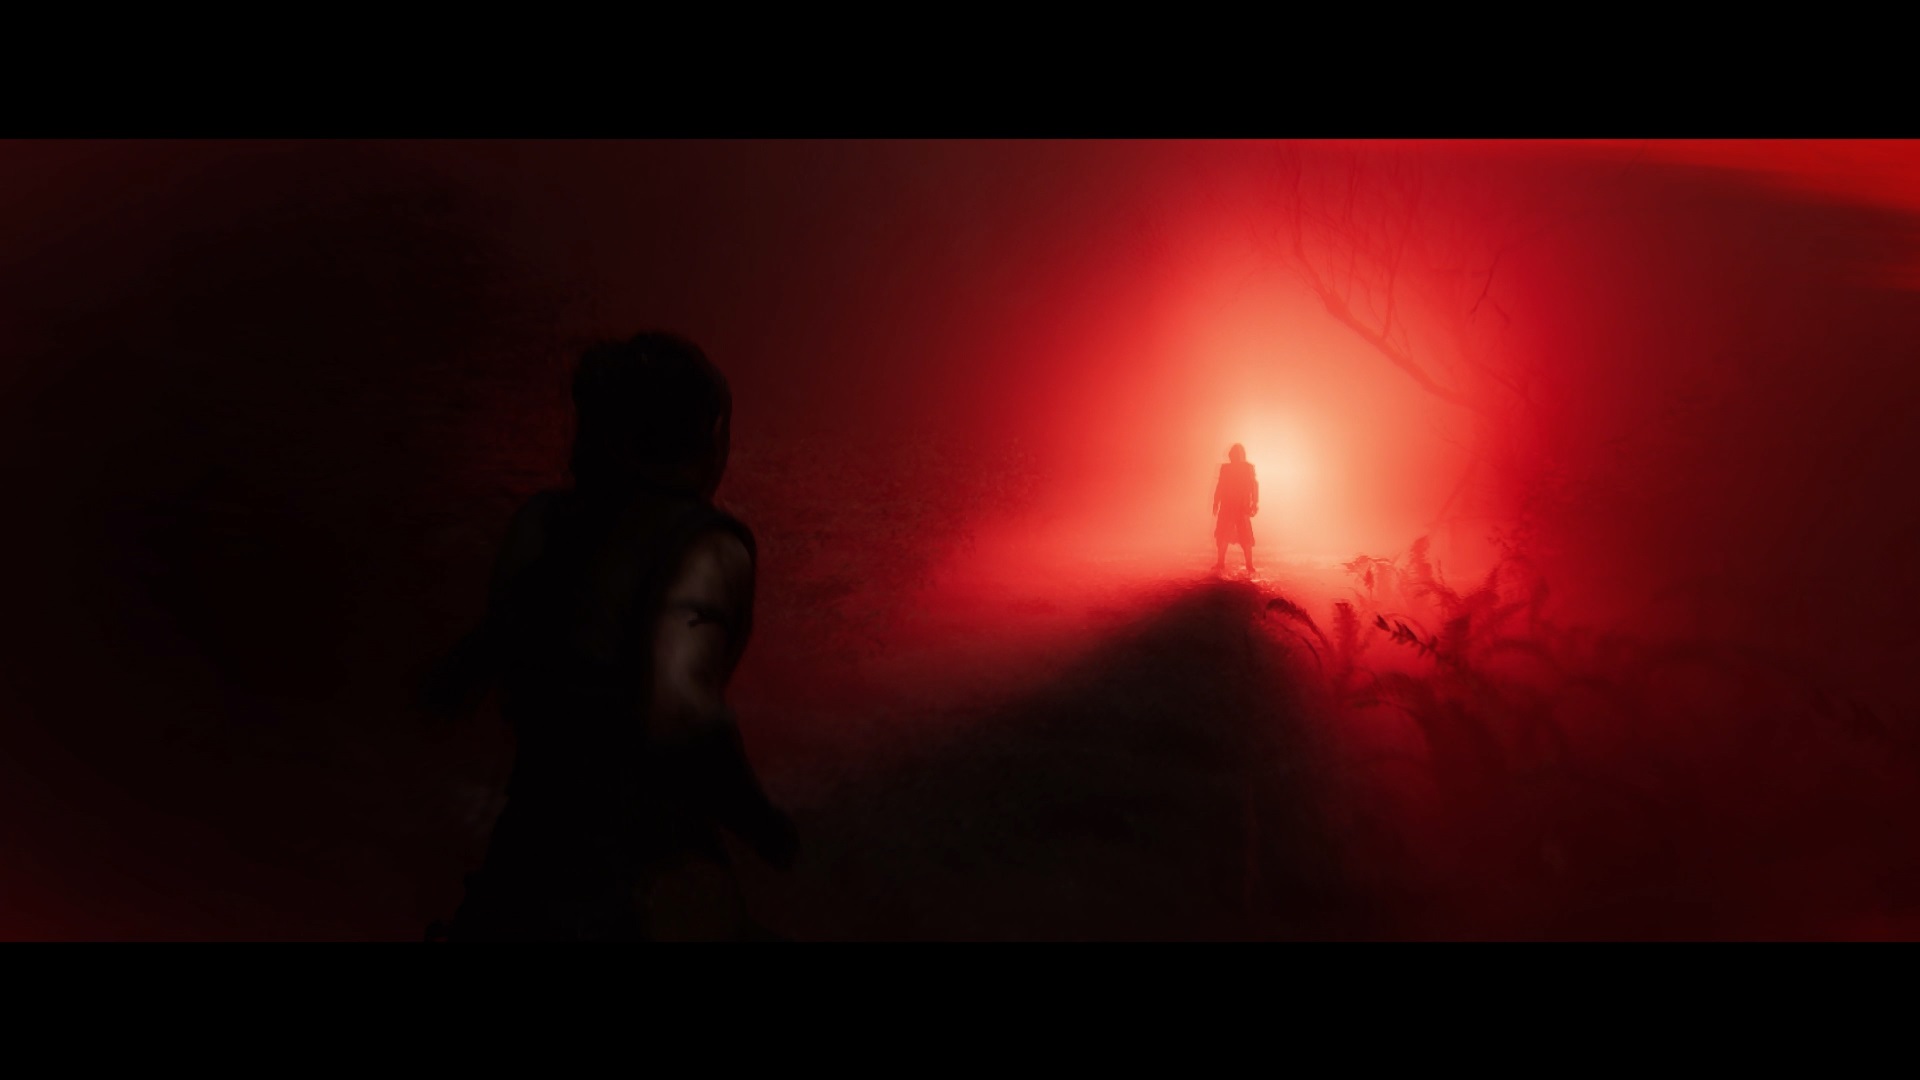
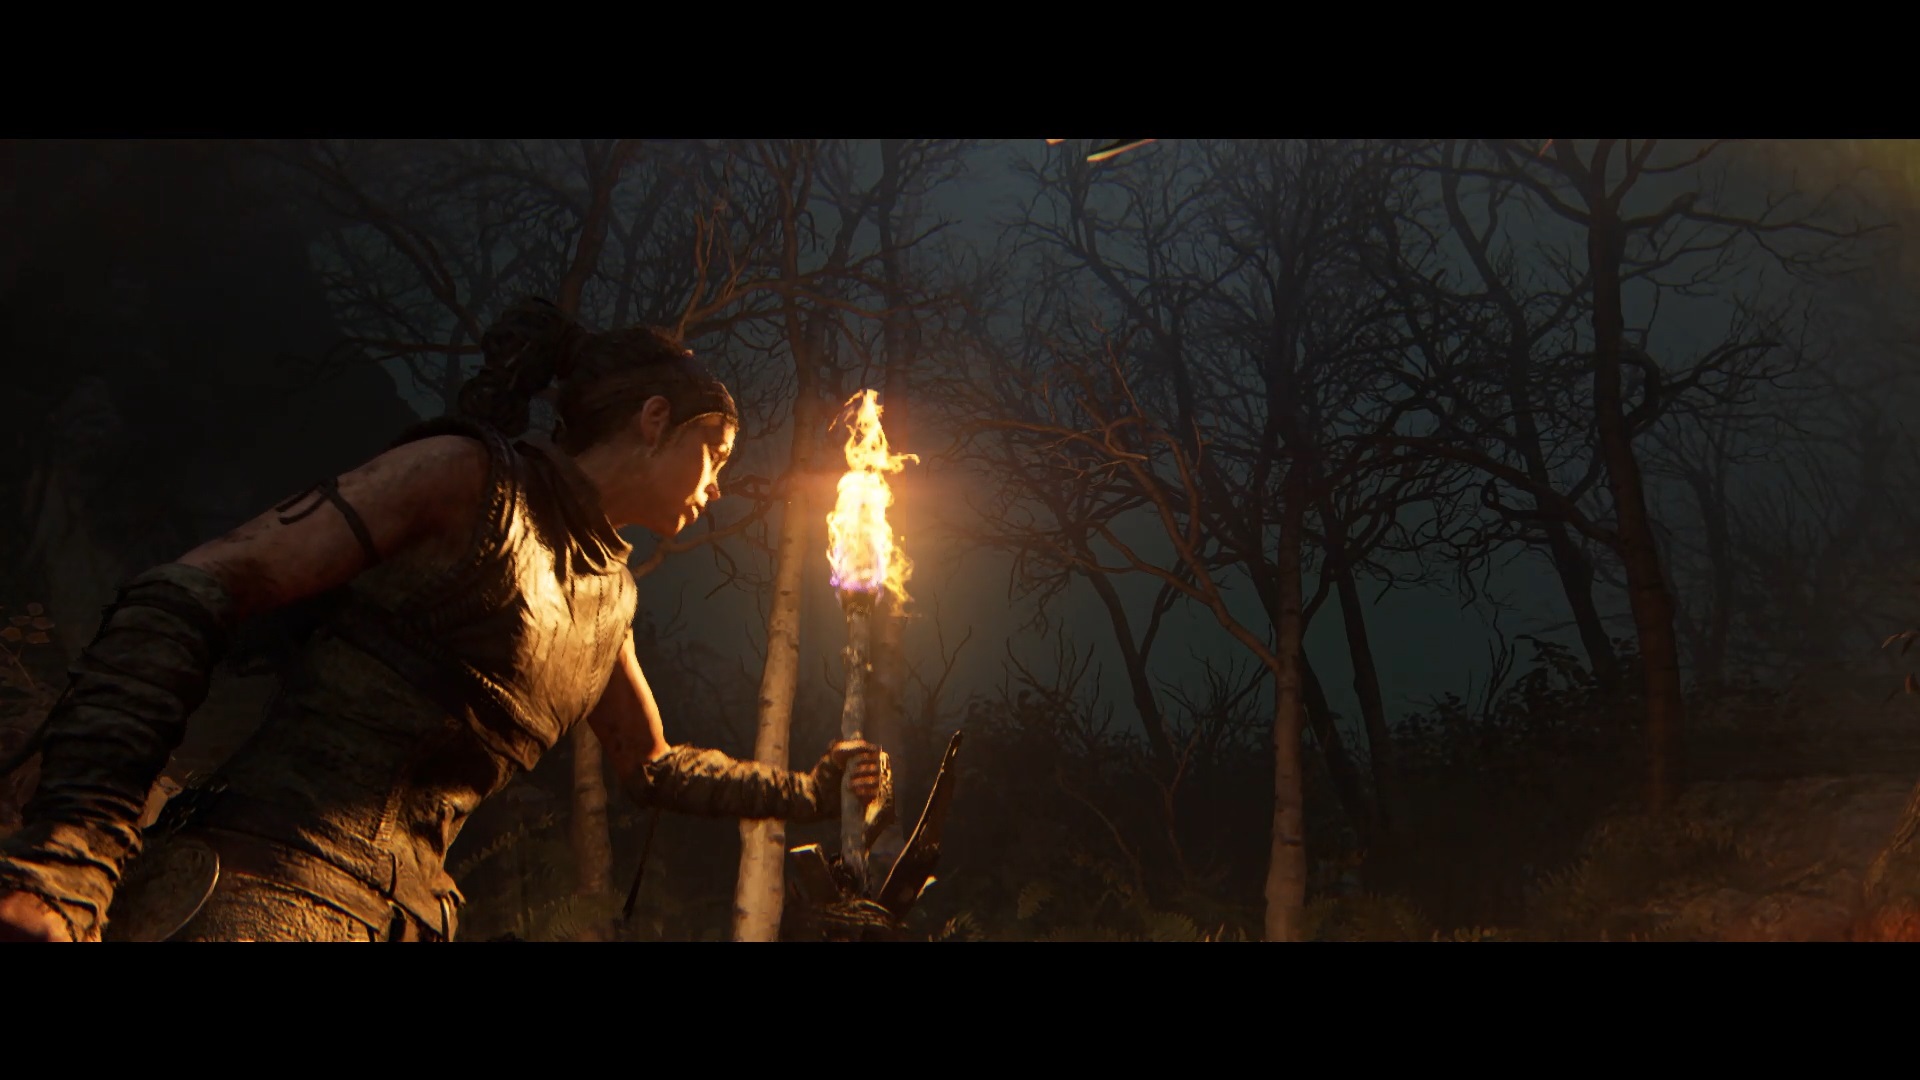
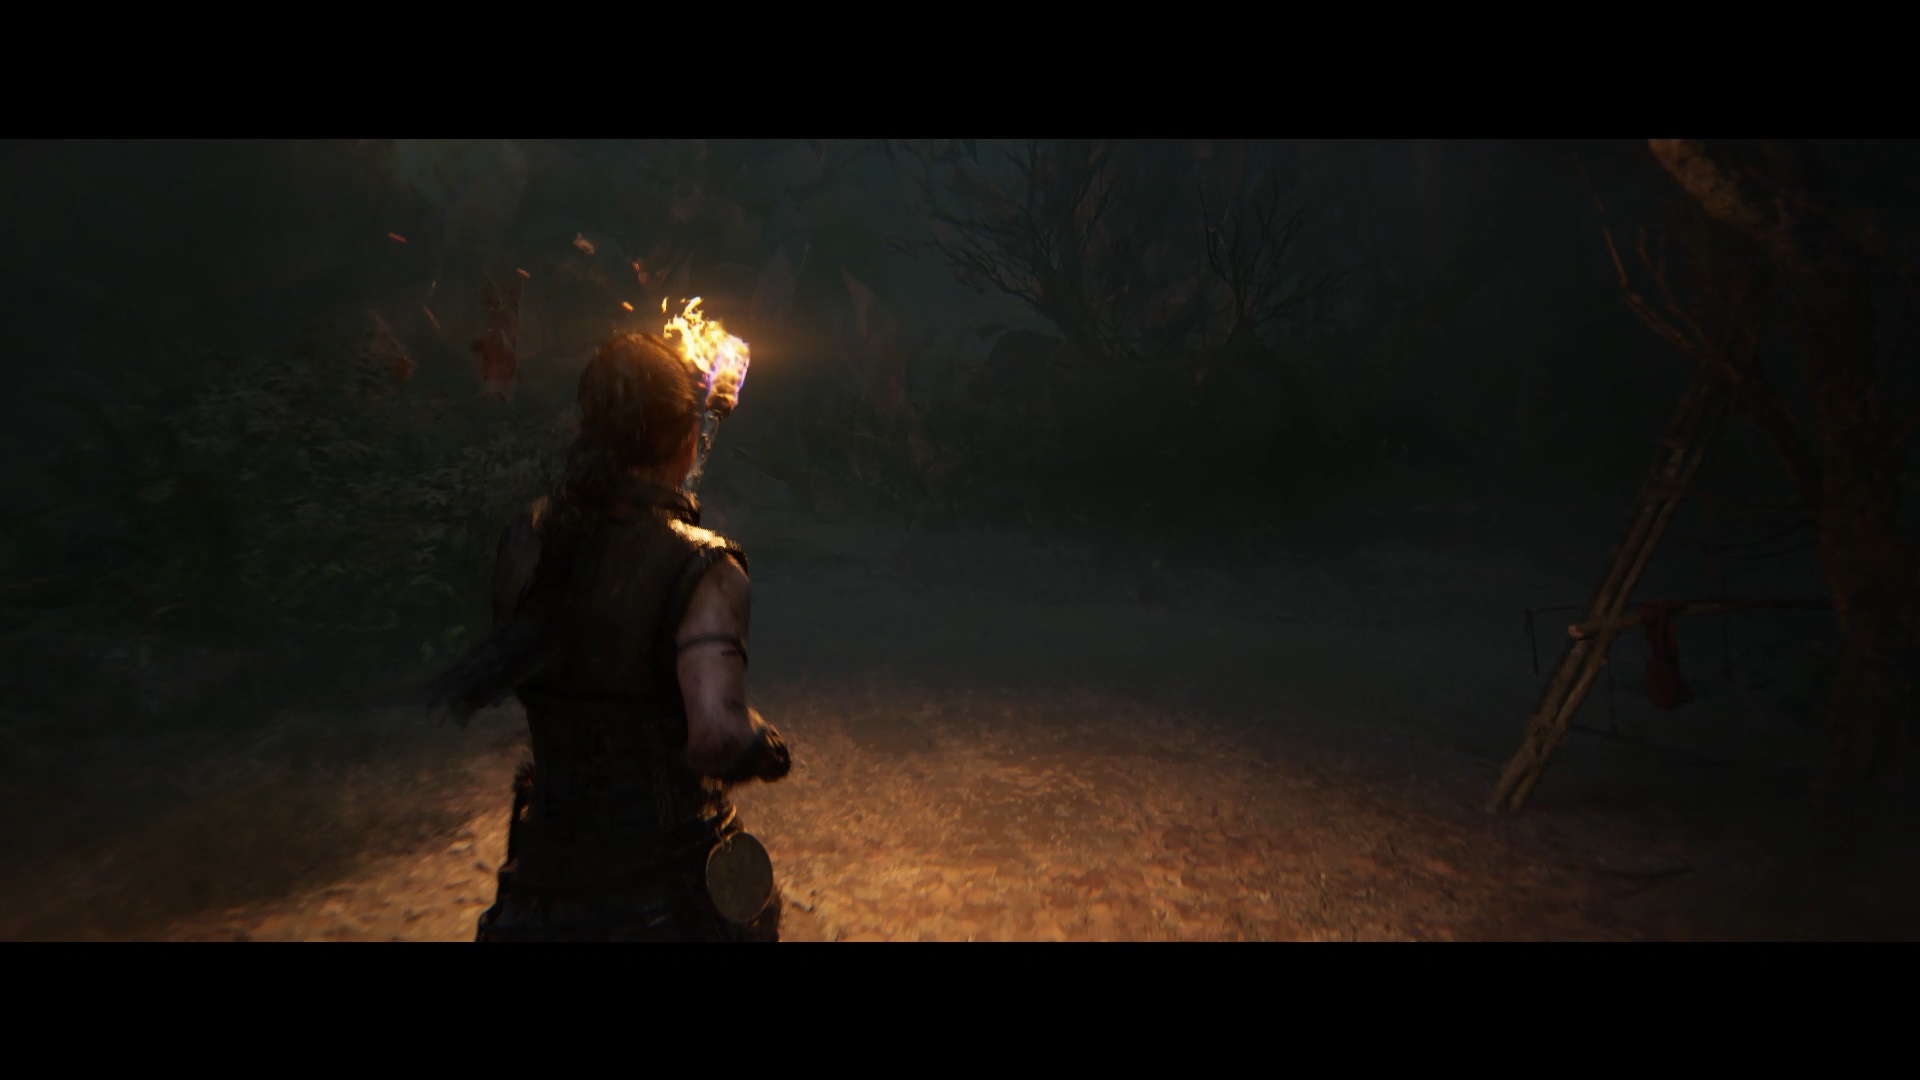
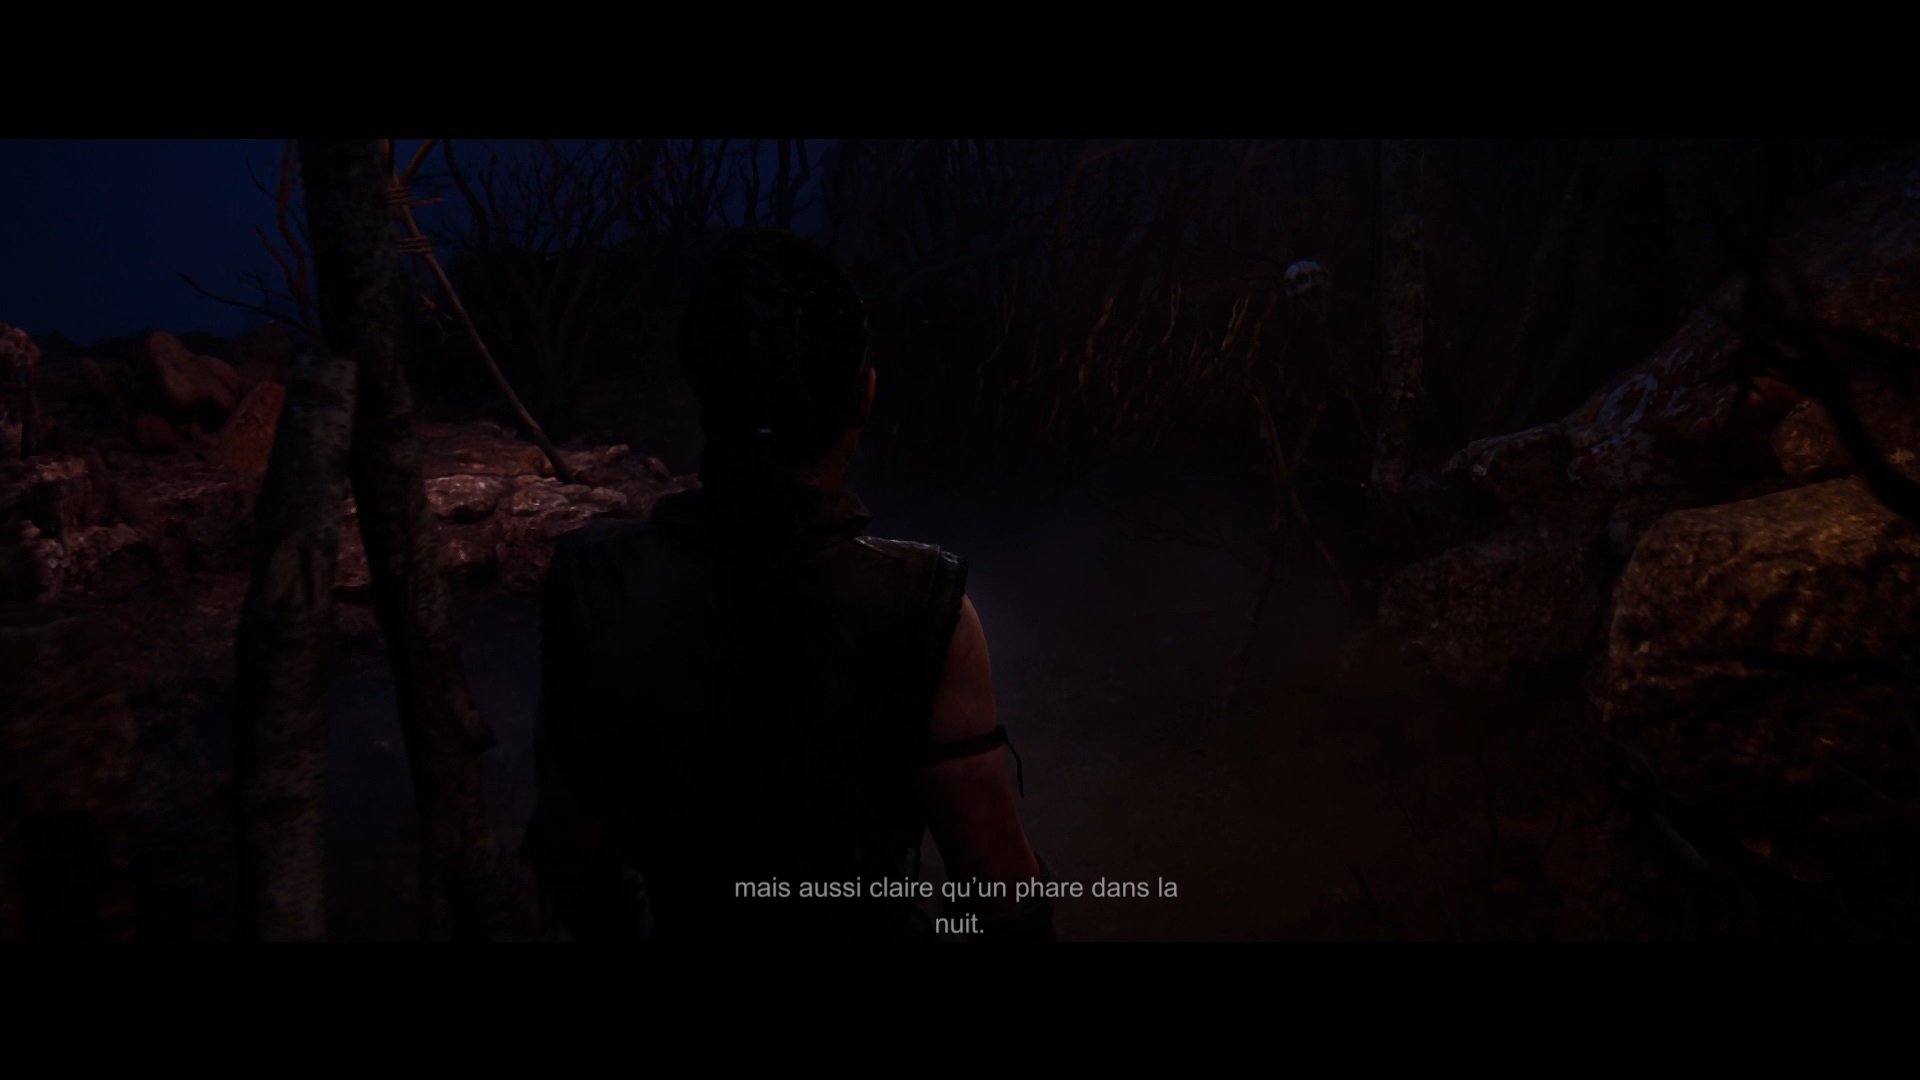
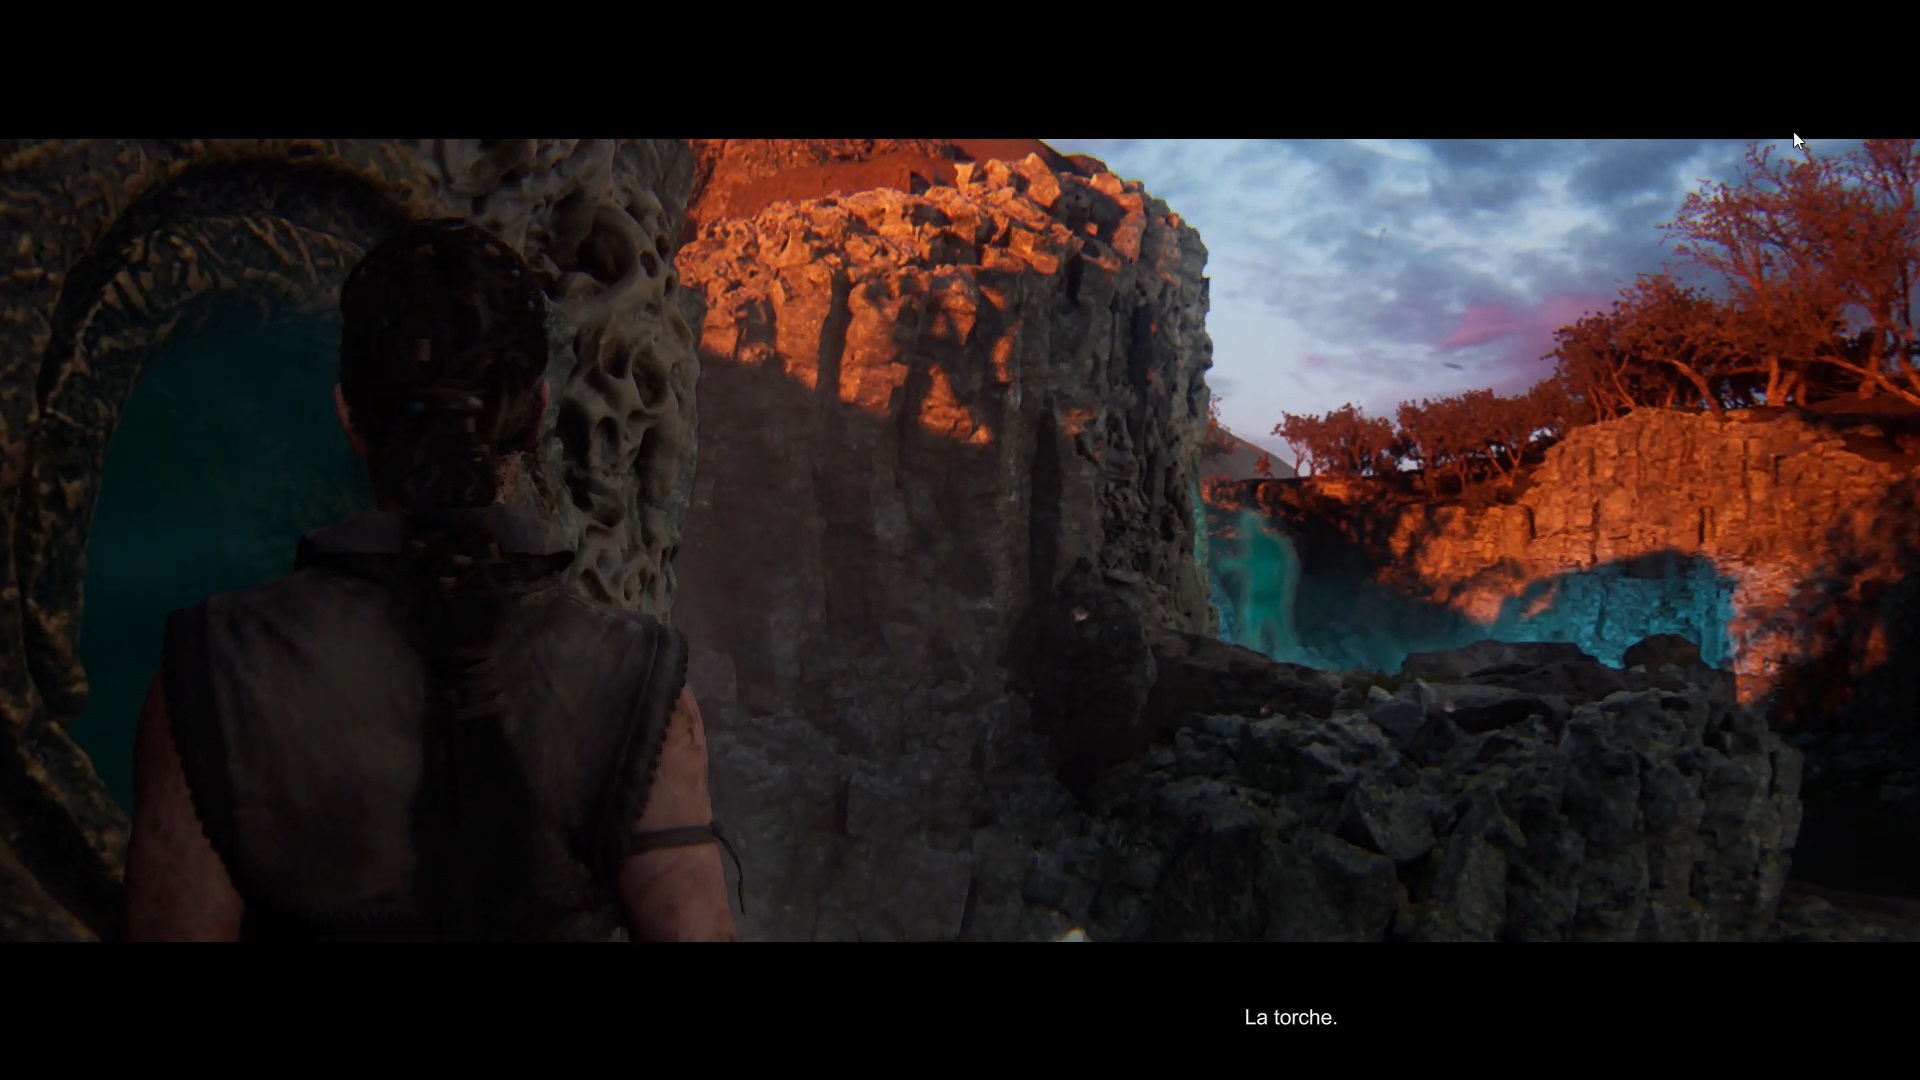
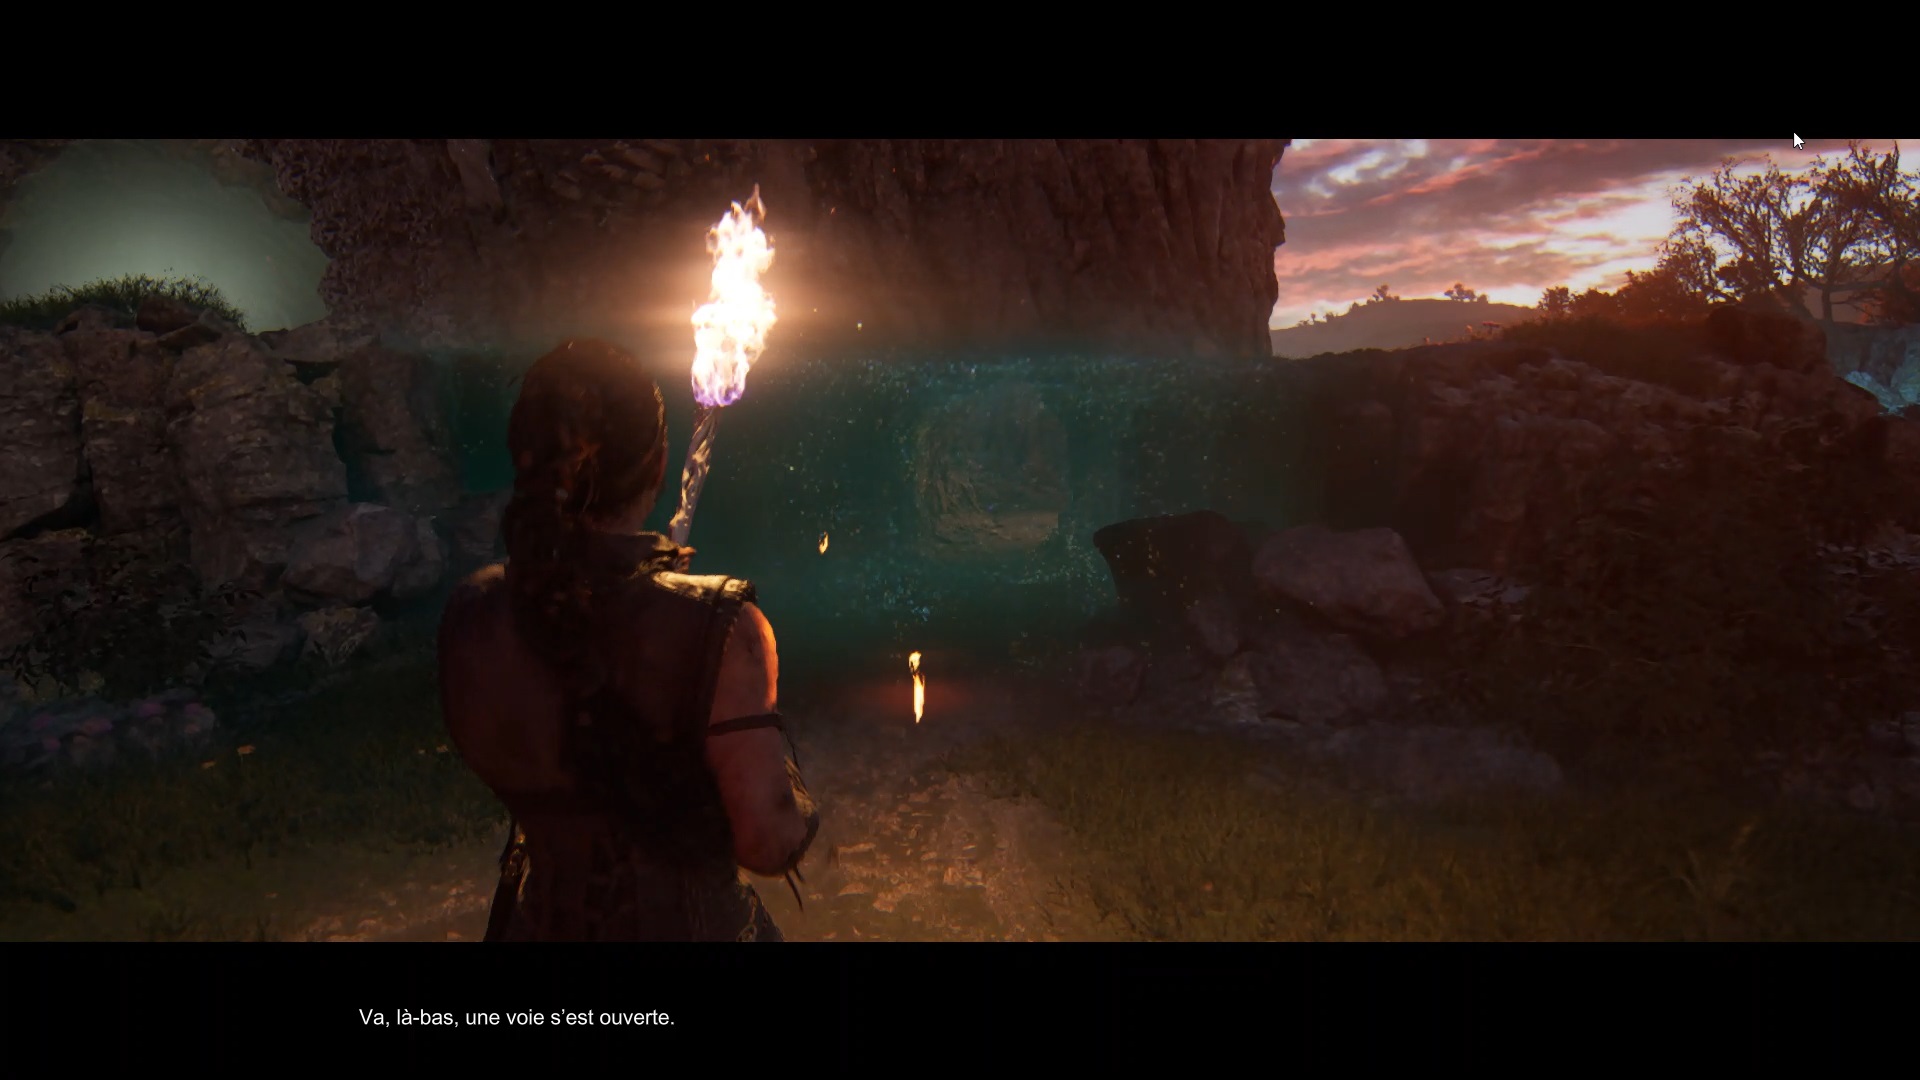
In the forest, move towards the shadows to reach an invisible wall. Take the path on the right and slip between the stones to continue your exploration. You reach for a torch, pick it up. Return to the invisible wall and use the torch to pass through the wall.
You will reach a first junction of three paths, take the middle one. Continuing your path, you fall into an arena. Use dodge and counterattack to defeat enemies. Once defeated, collect your torch in the center of the arena and take the middle path. Continue your journey by moving forward and slipping between the rocks.
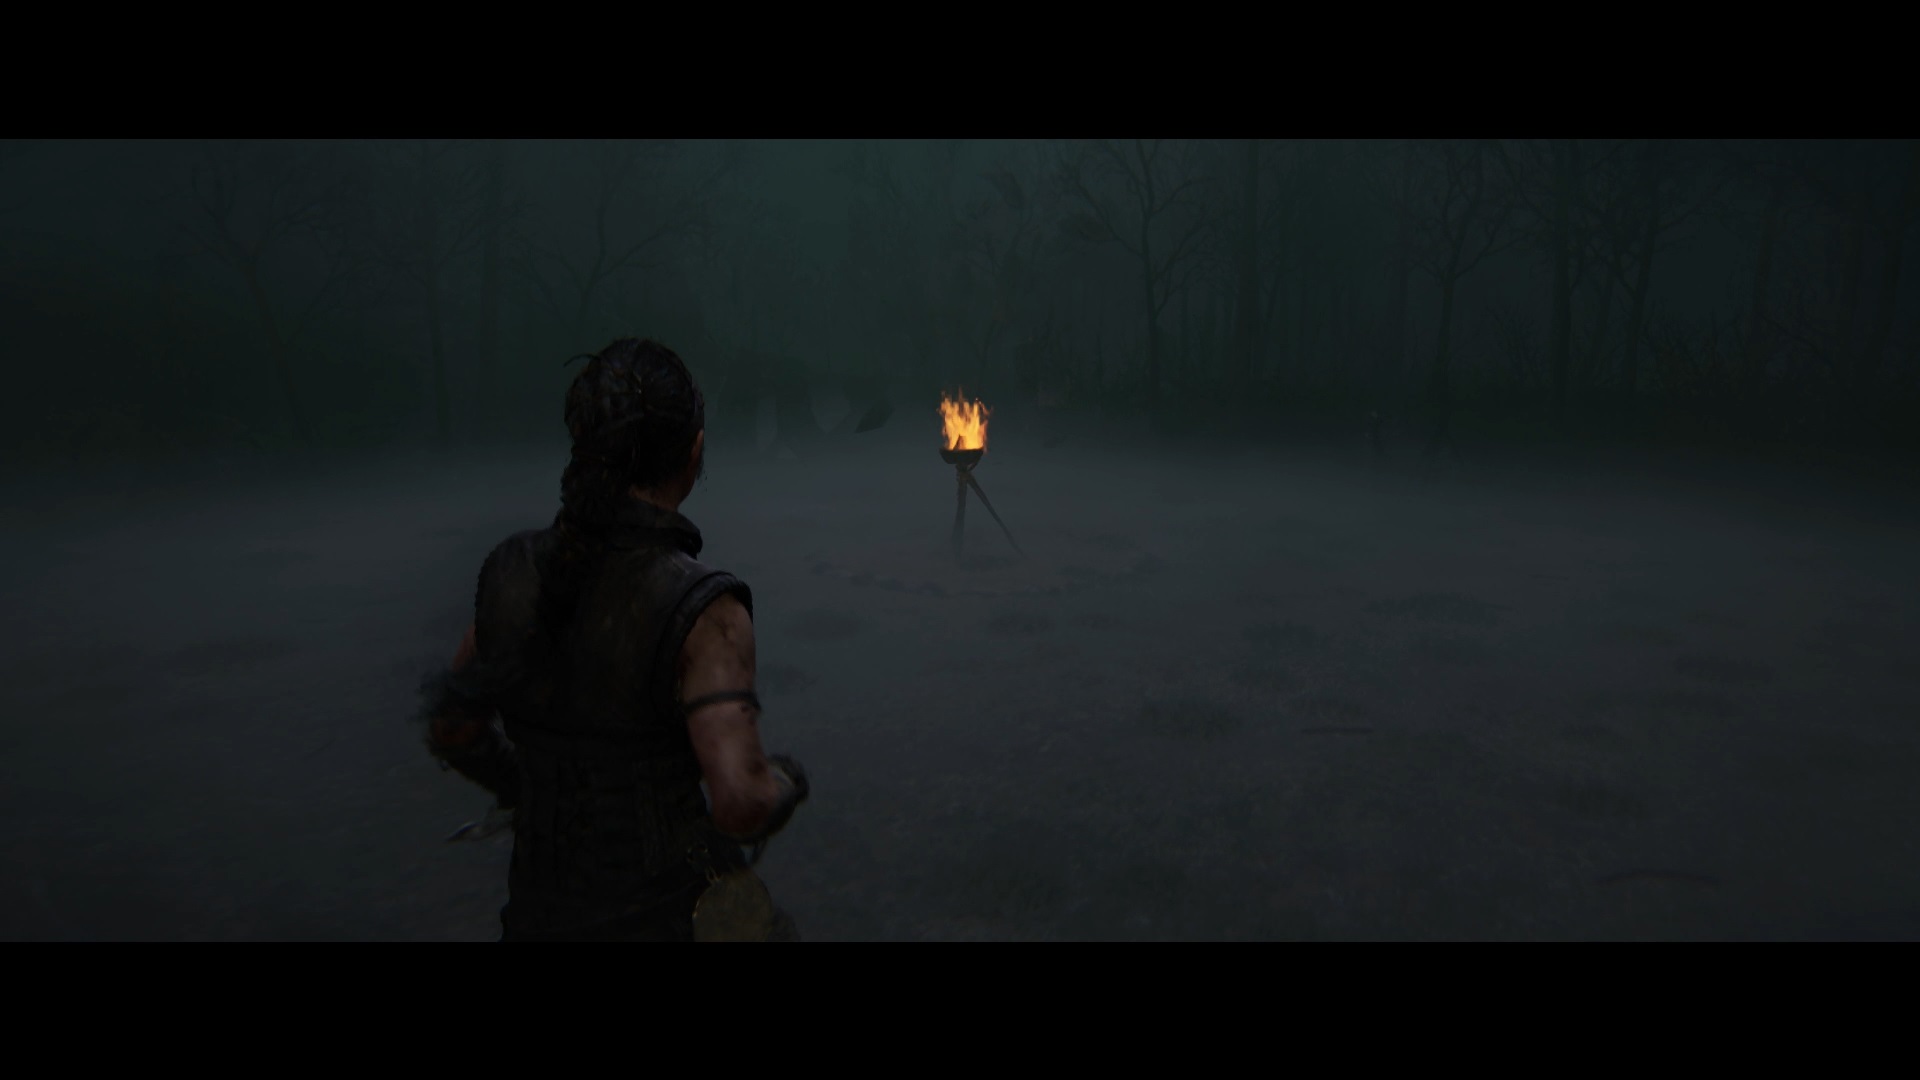
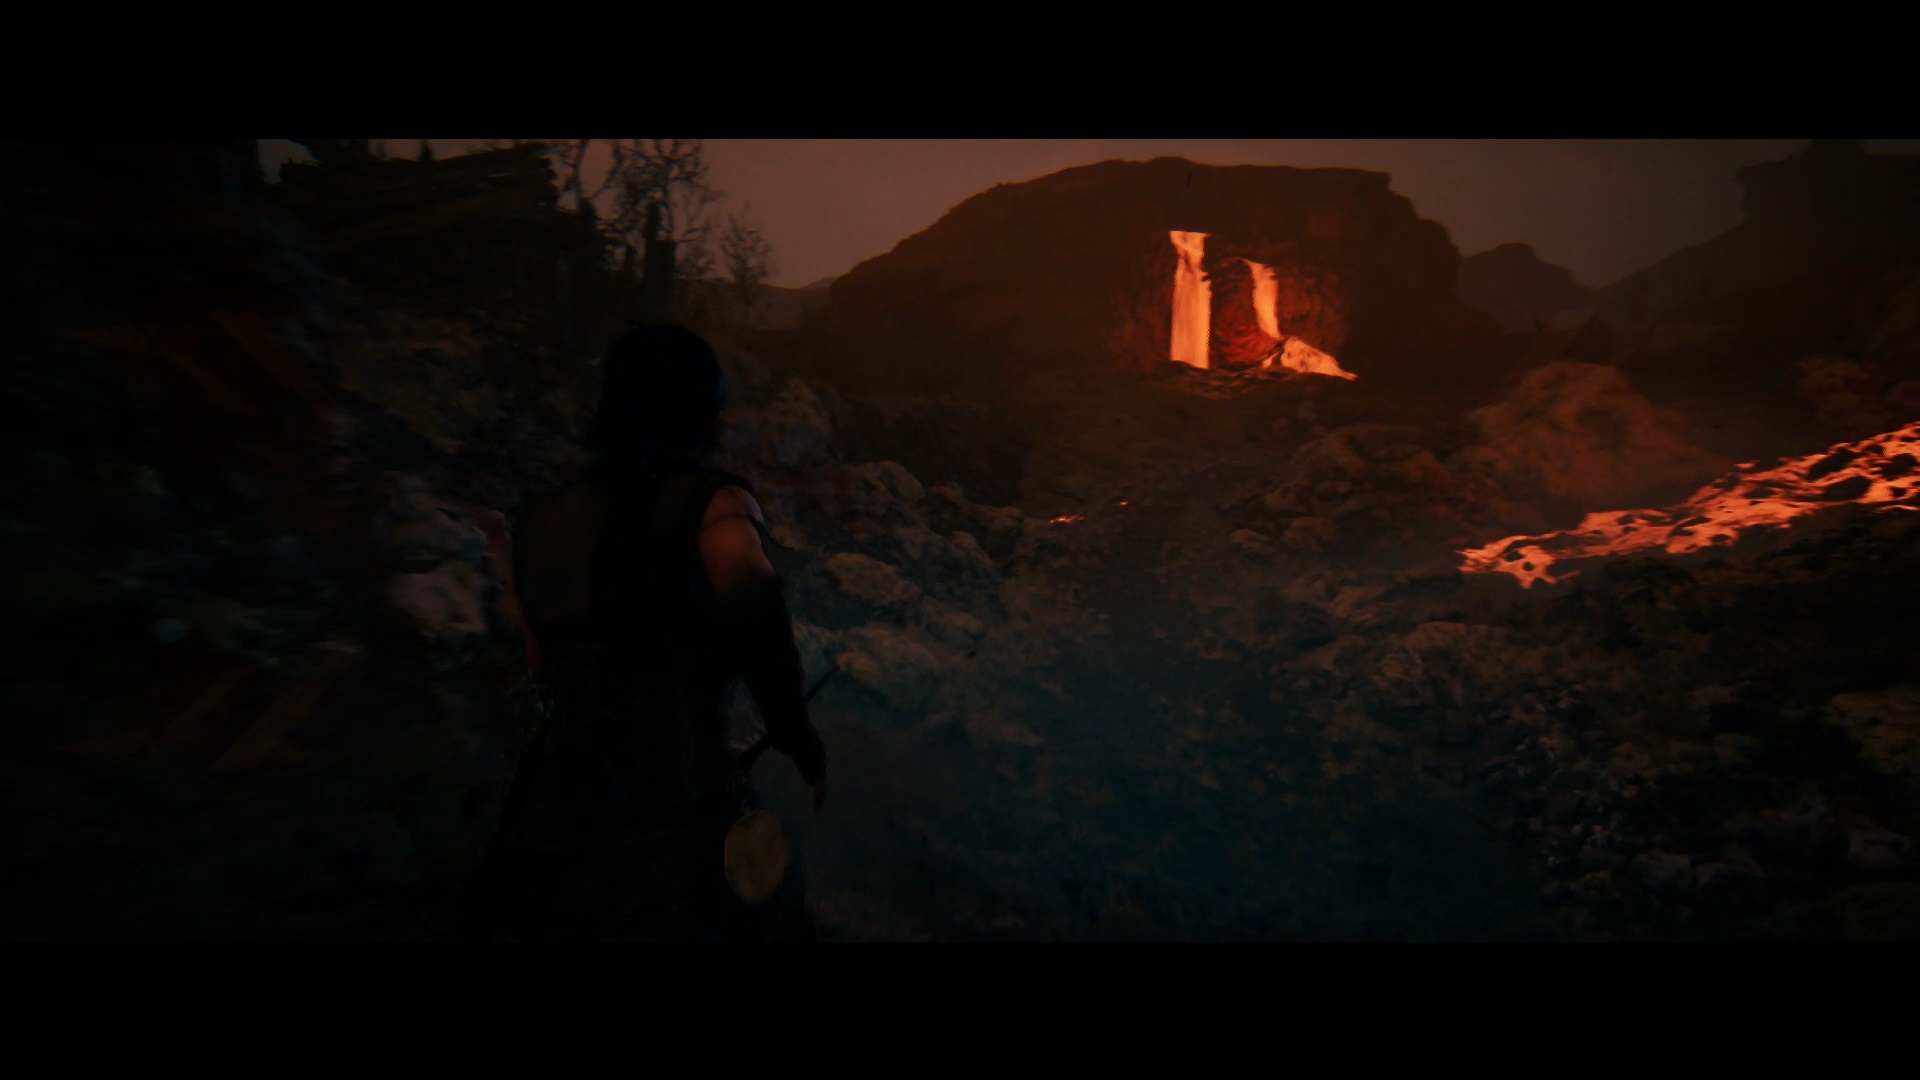
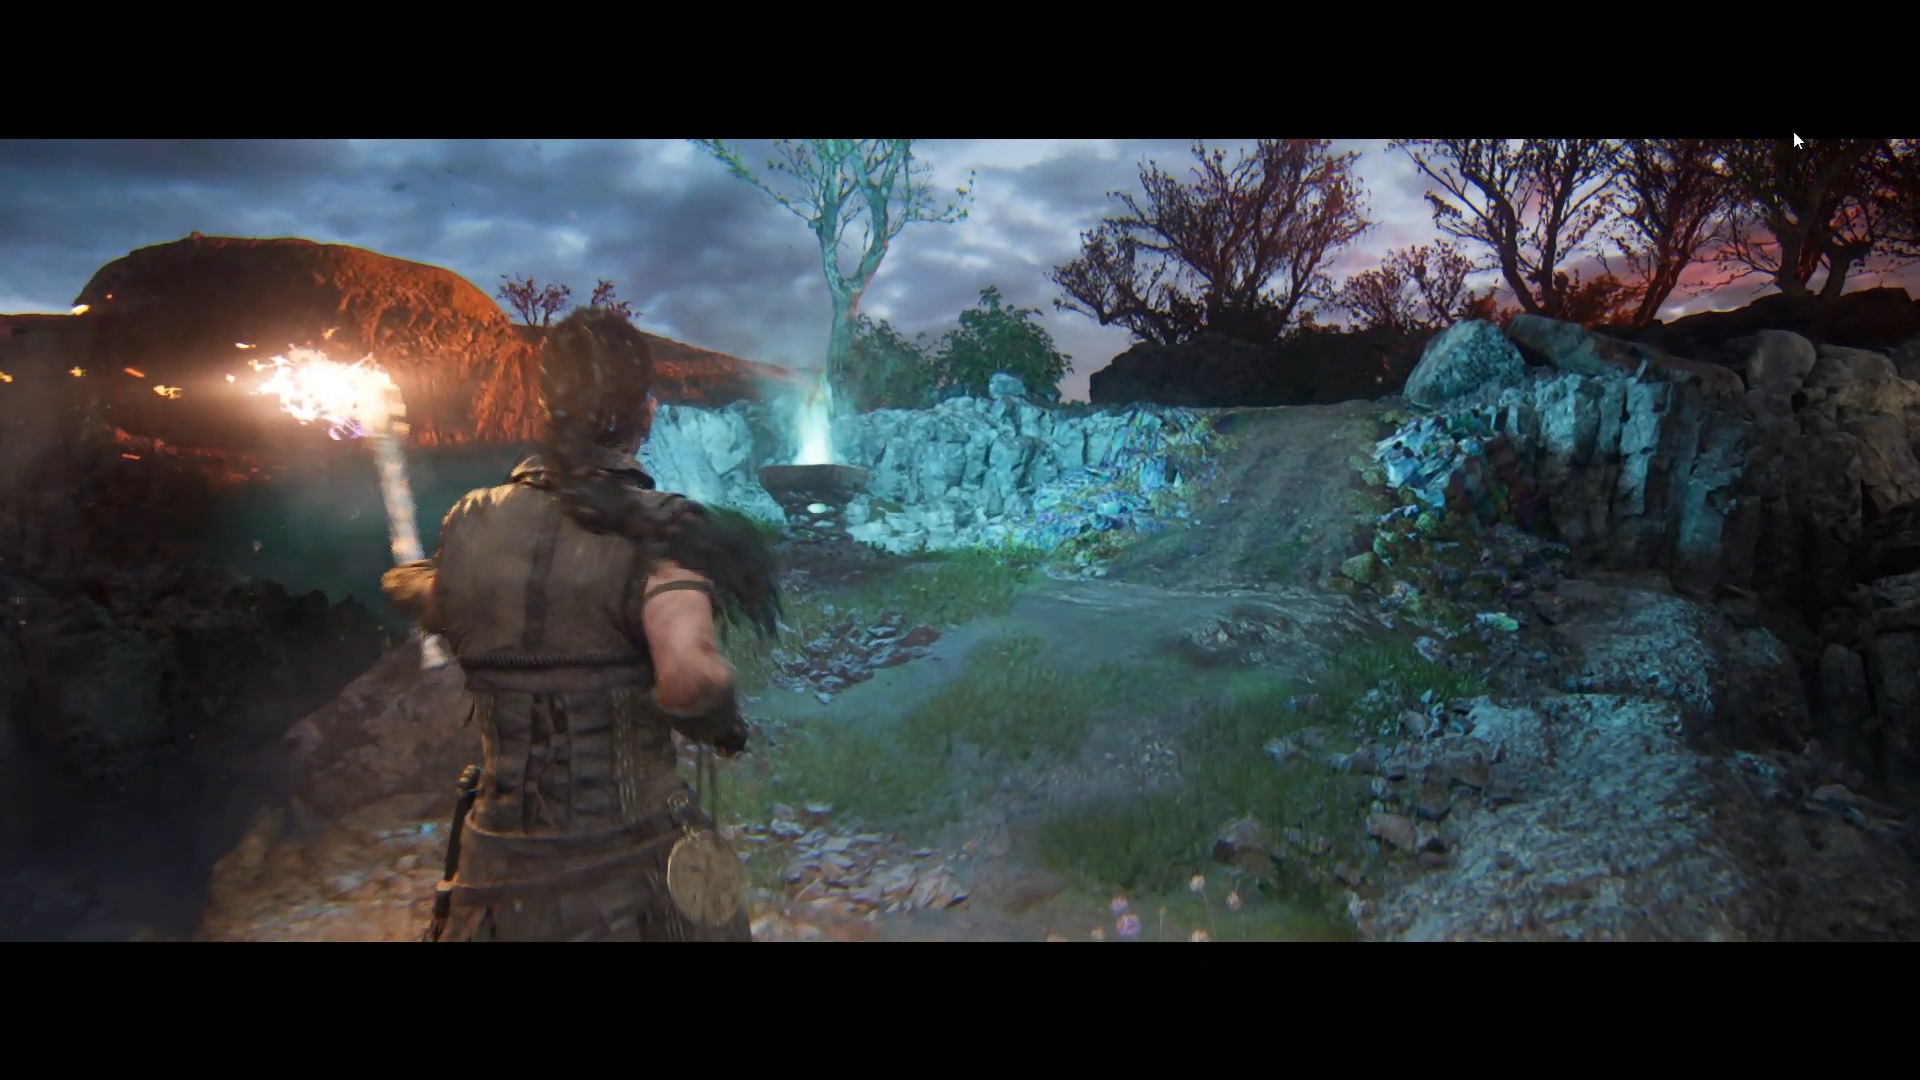
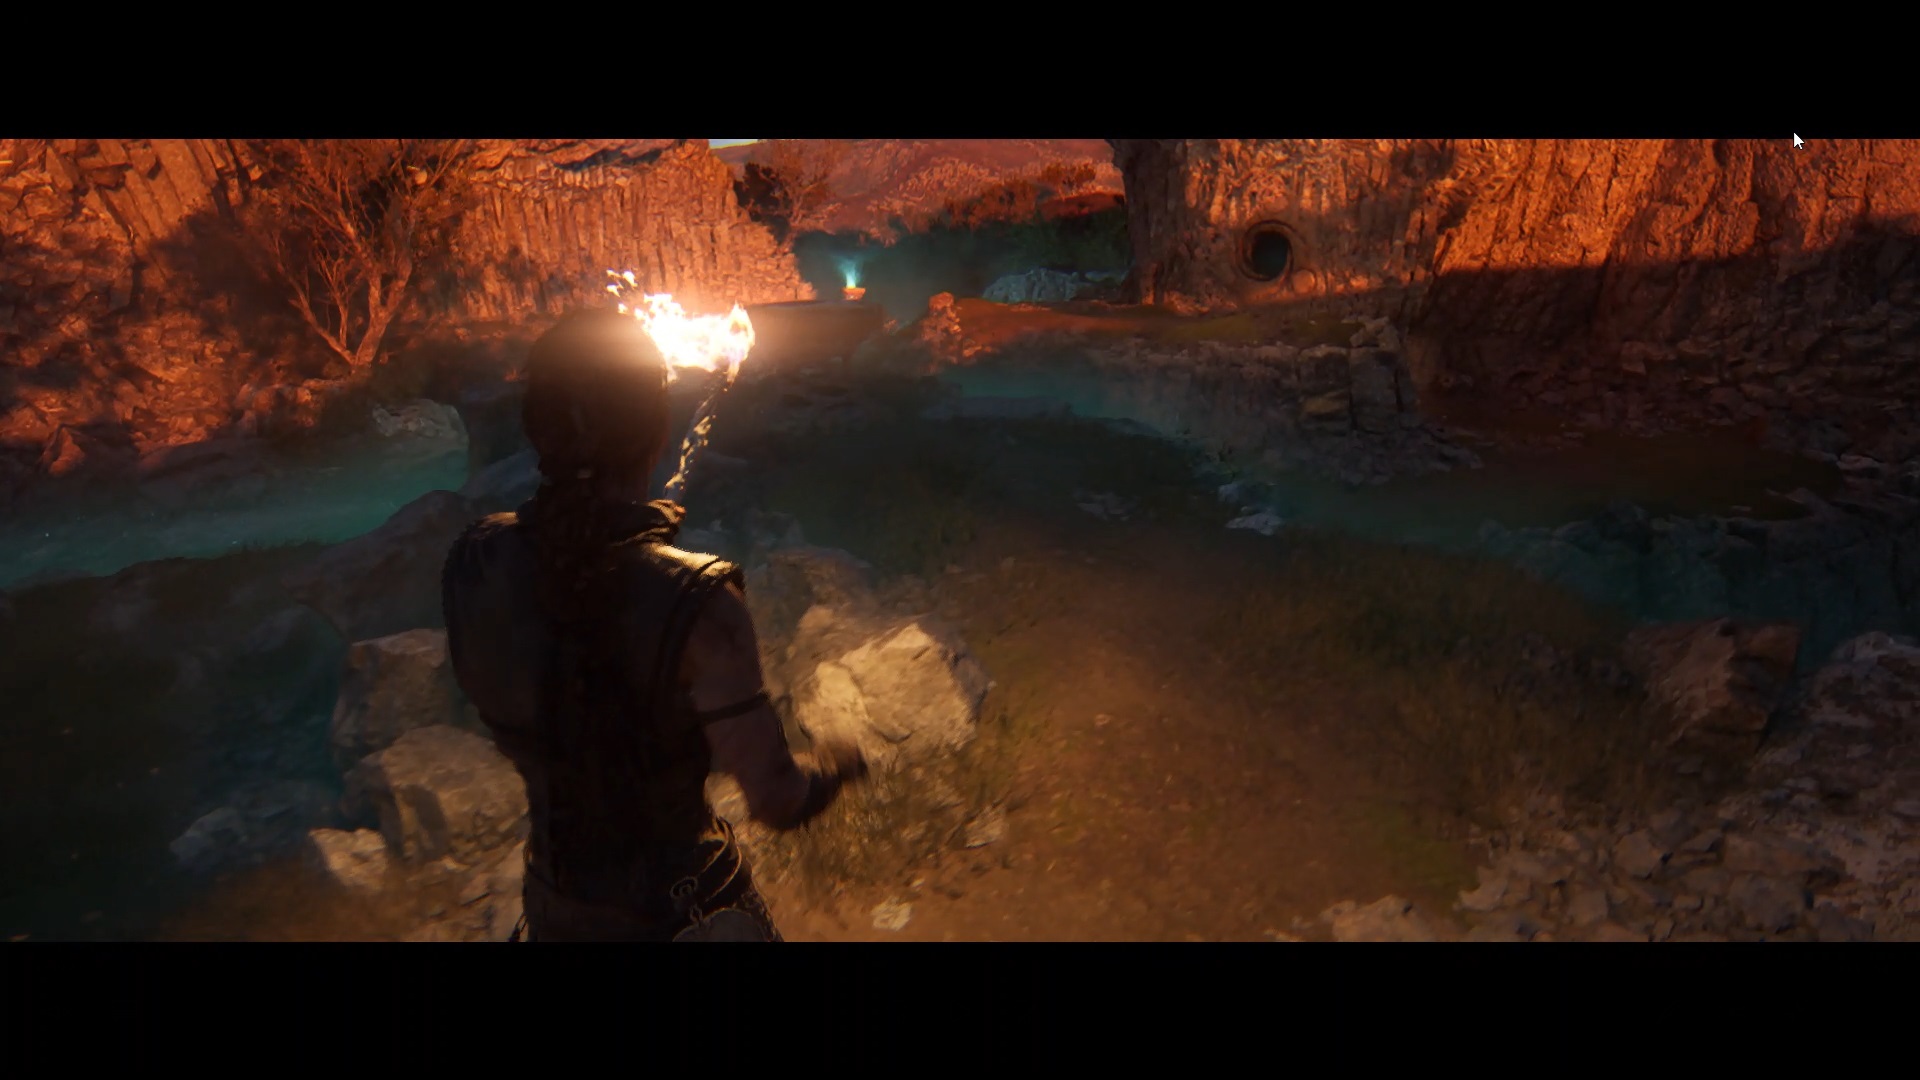
As you move forward, you lose your torch. You must continue moving forward to reach a blaze. Interact with fire to spawn an enemy. Defeat the enemy and collect the torch from the ground again. Take the path on the right and move forward to reach a giant blaze. Light the blaze to return to reality.
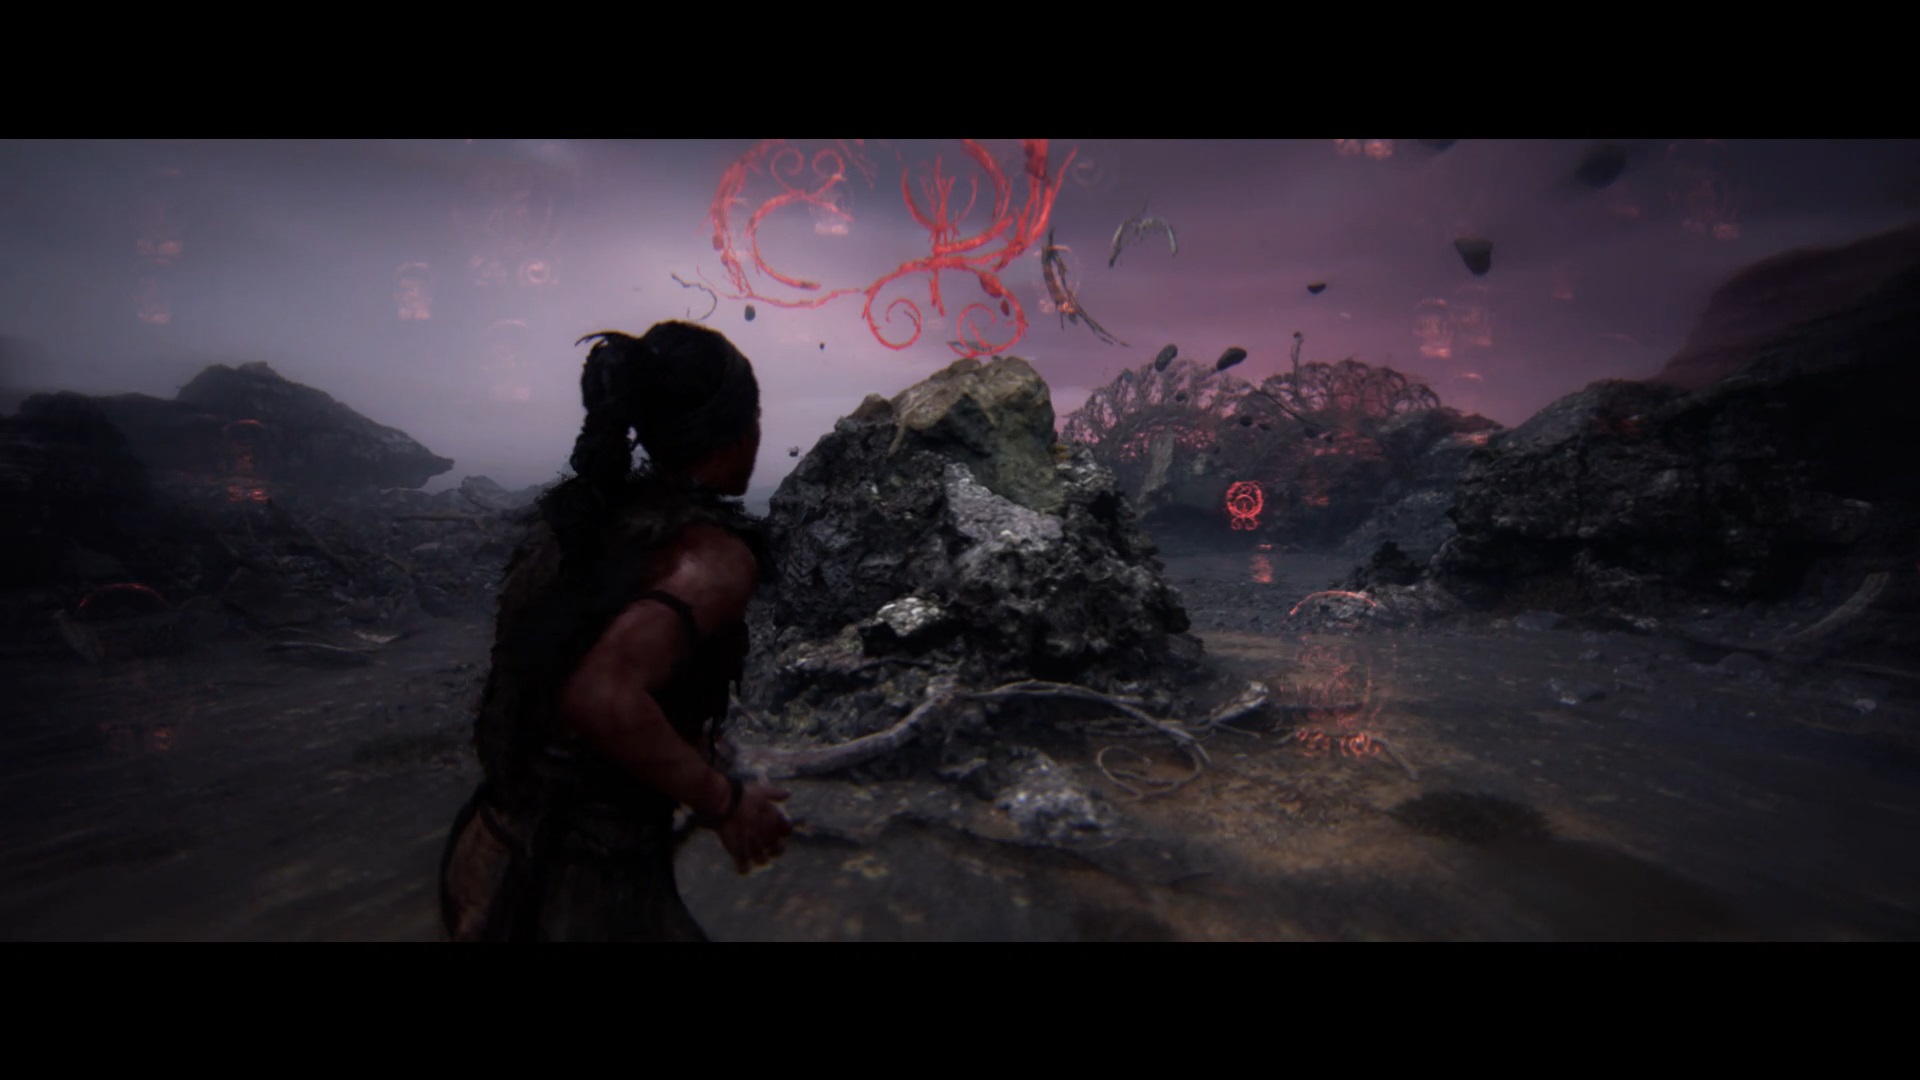
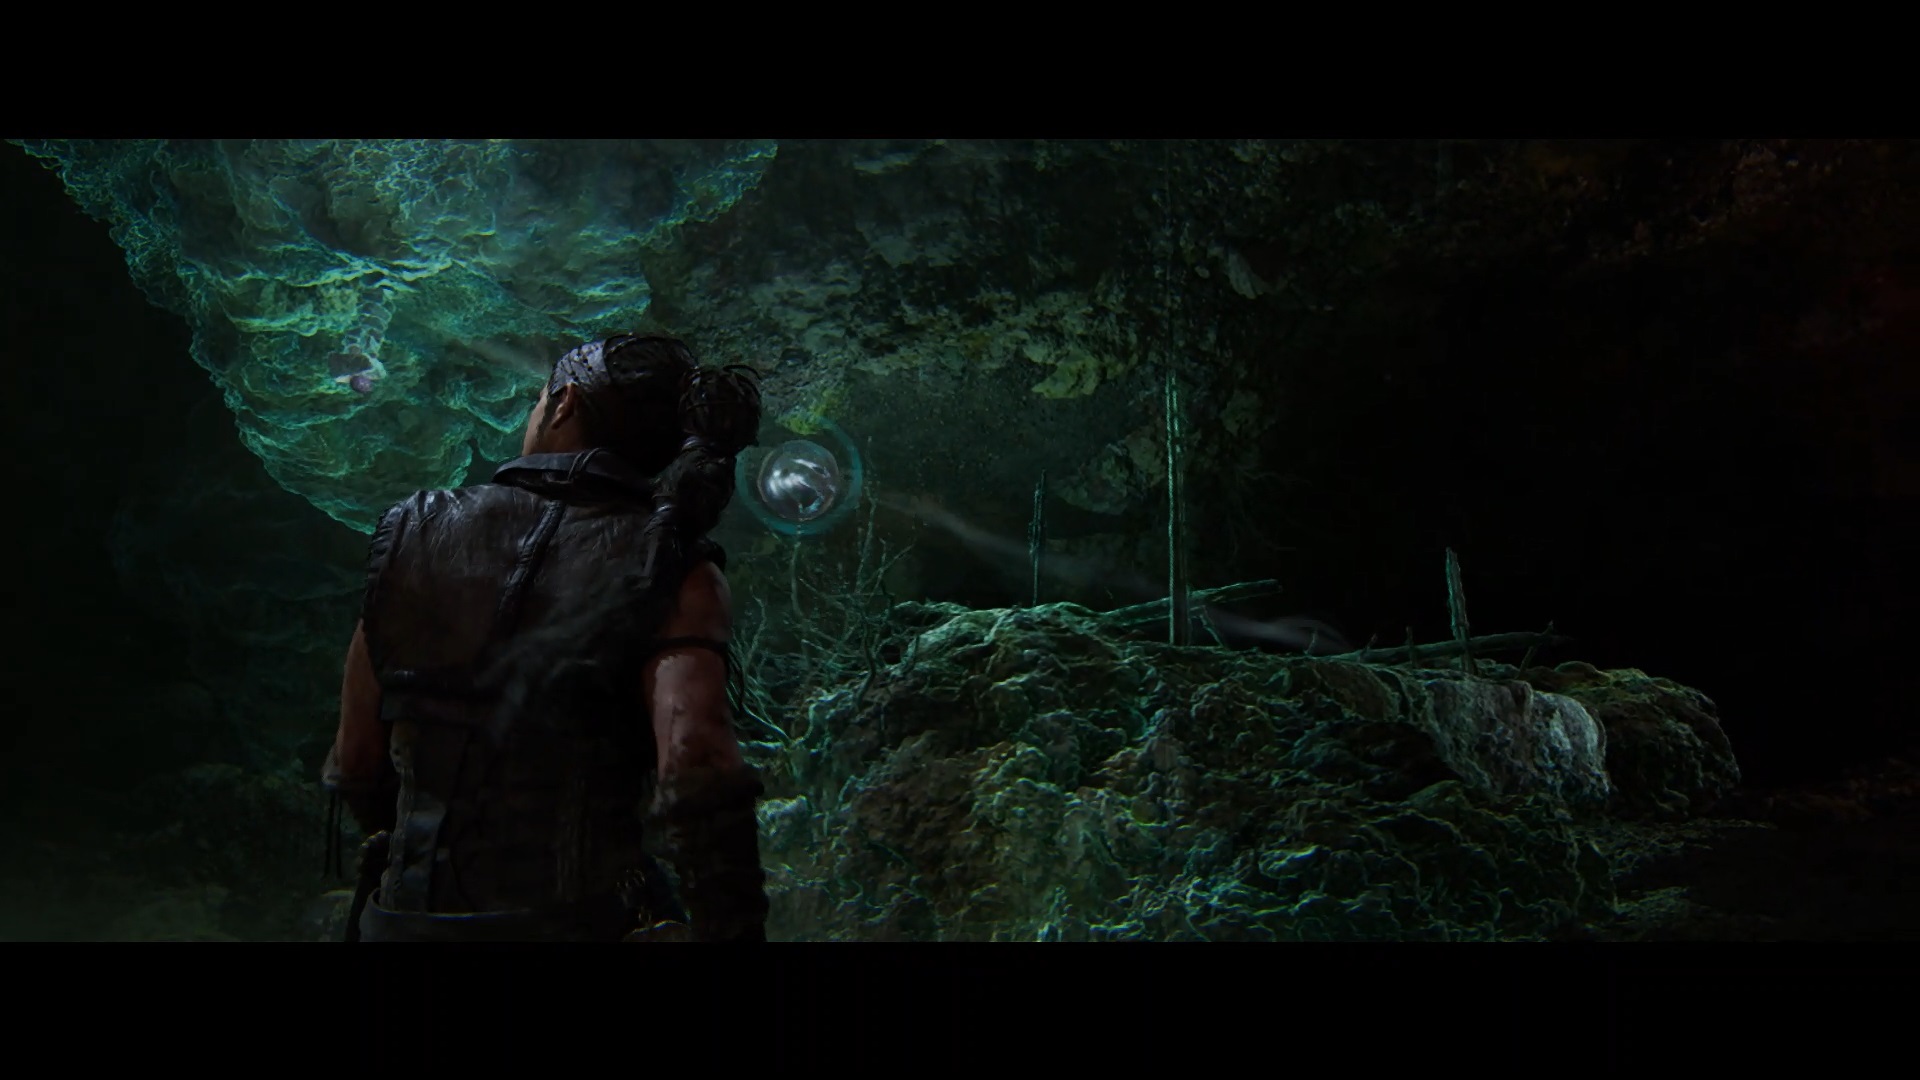
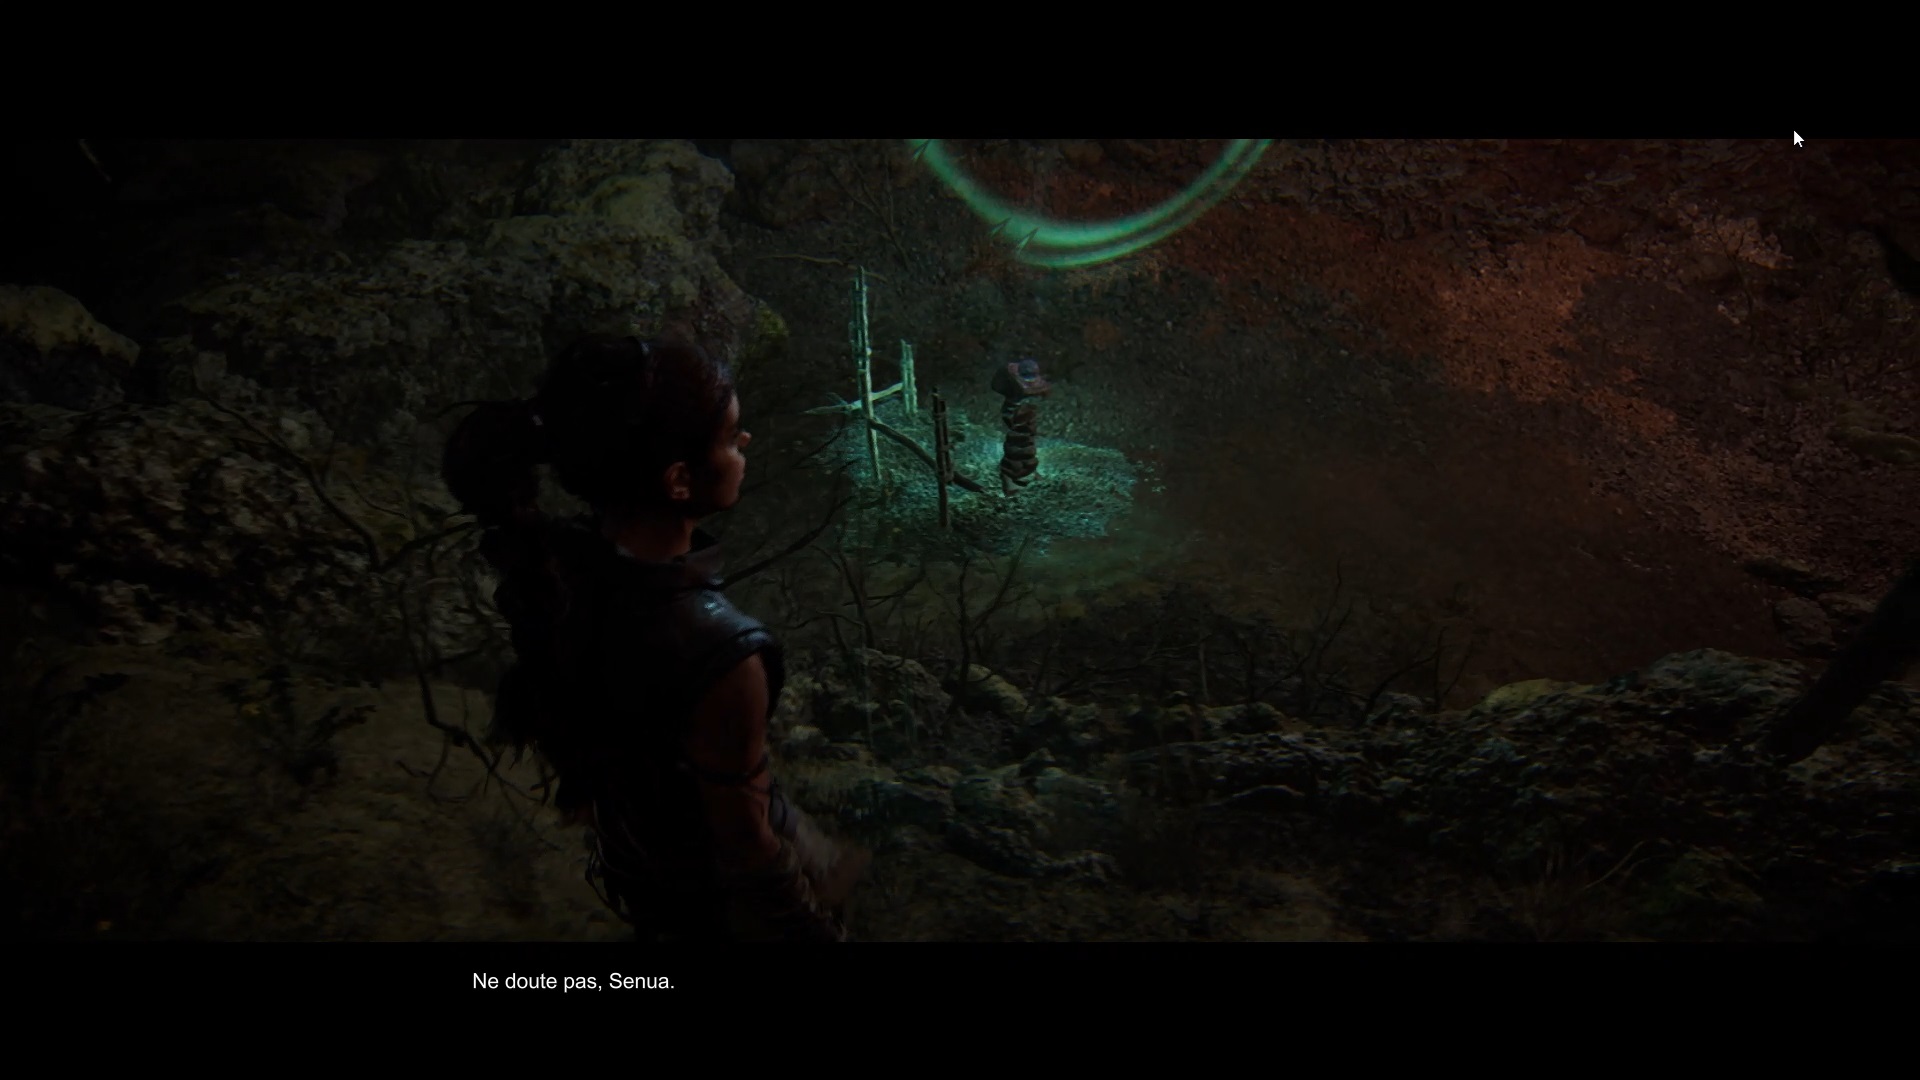
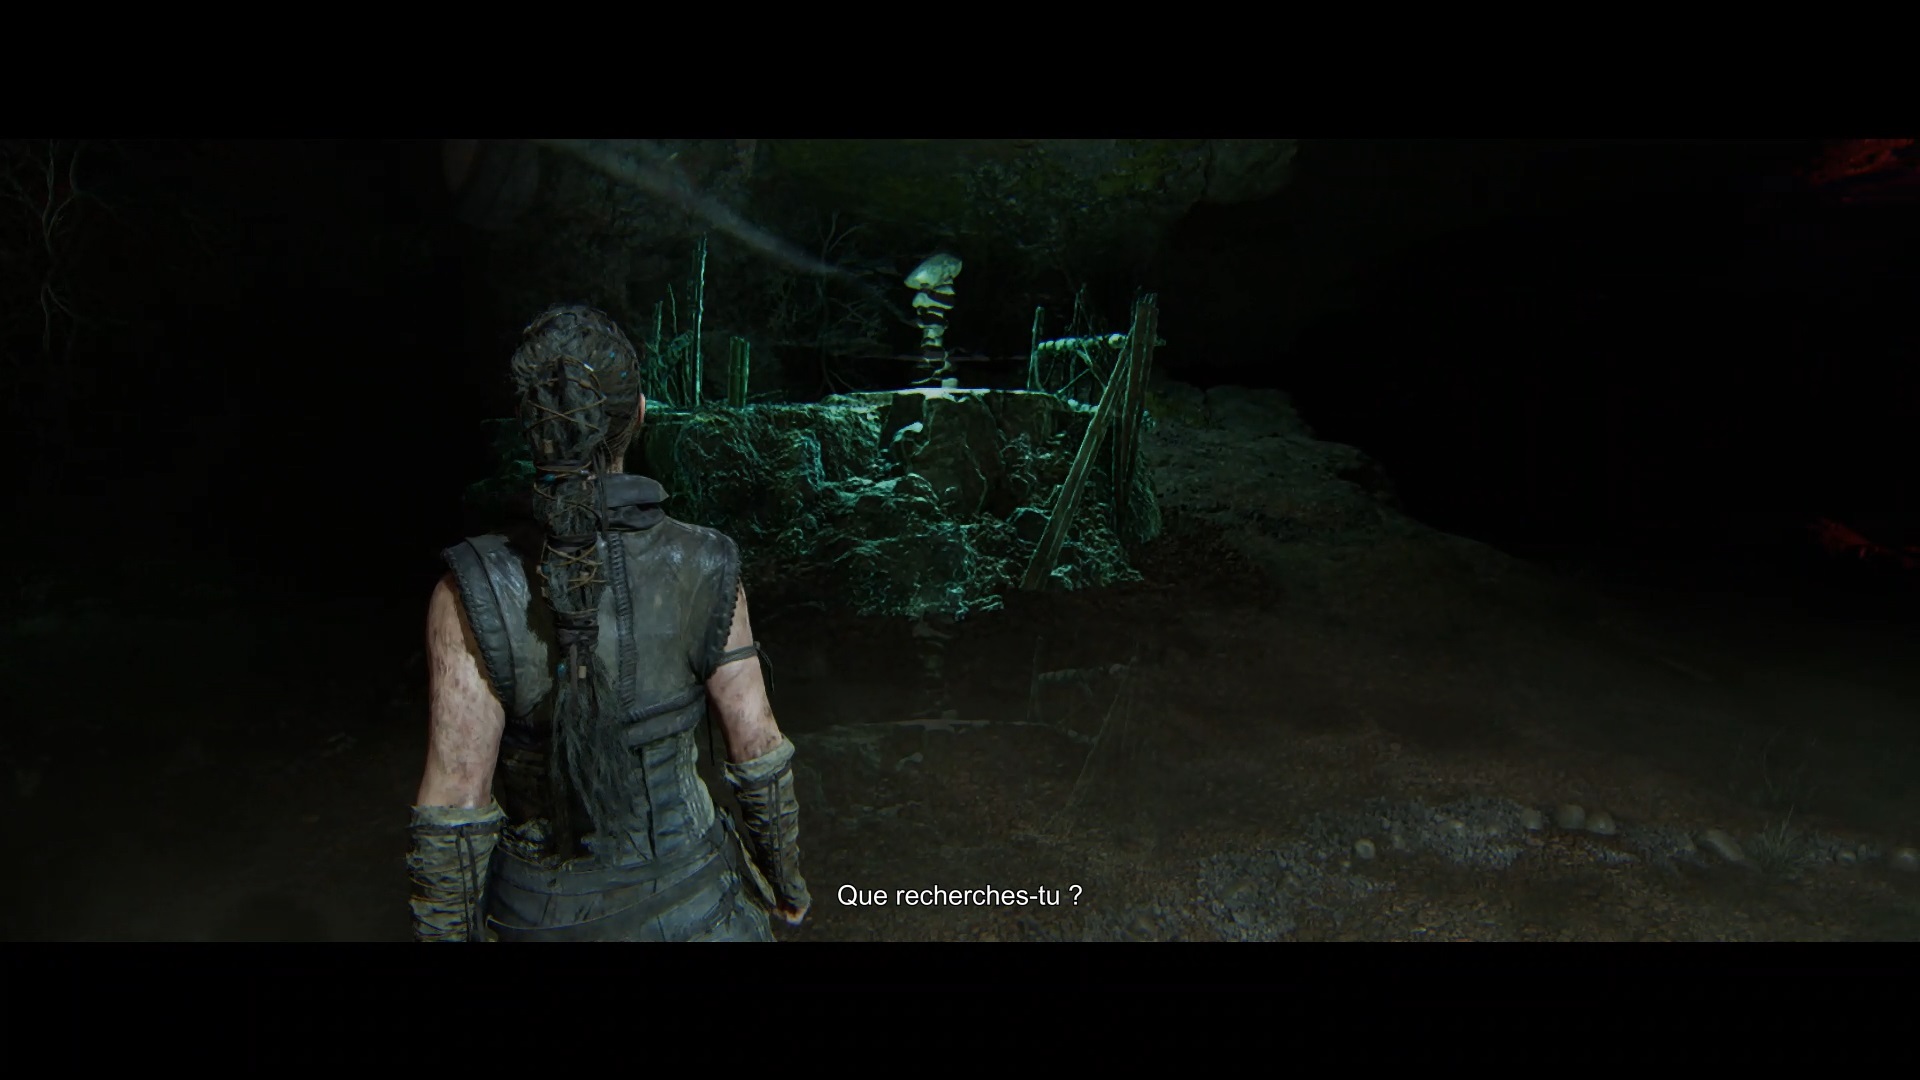
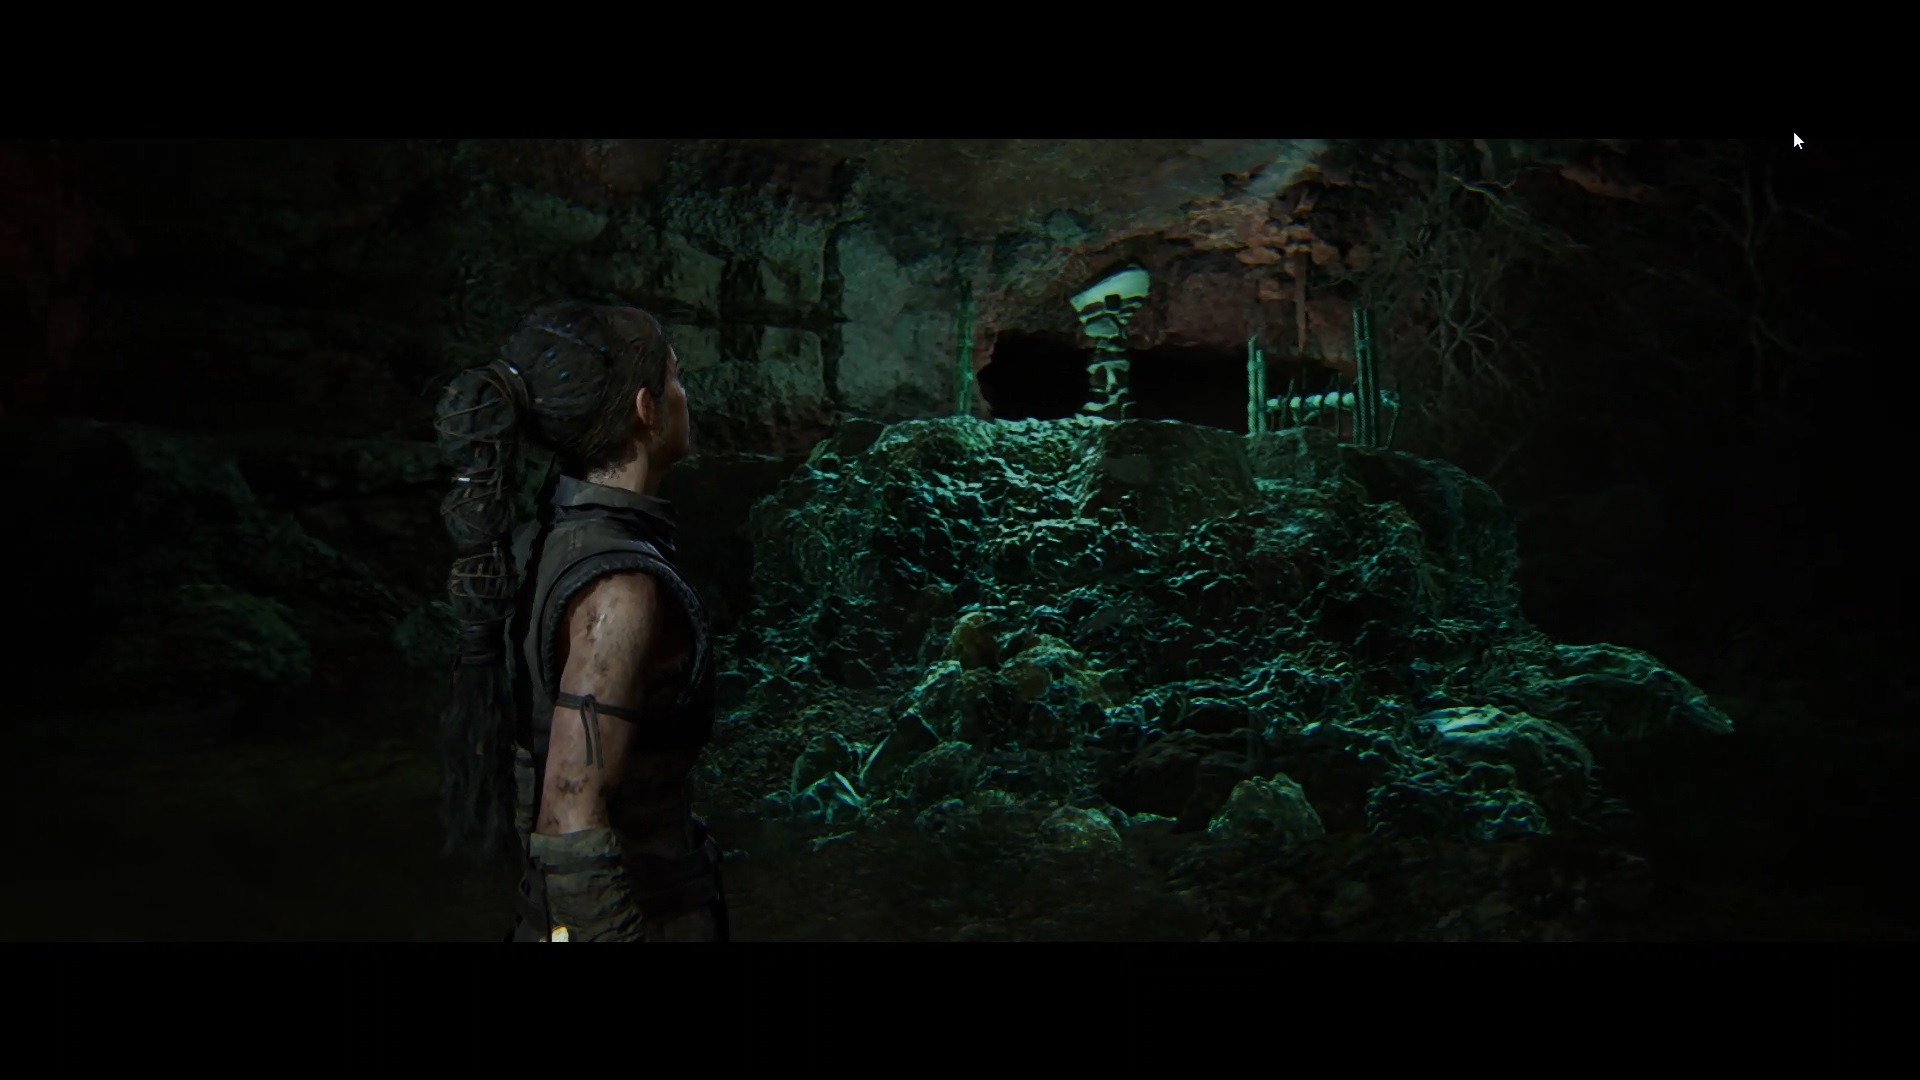
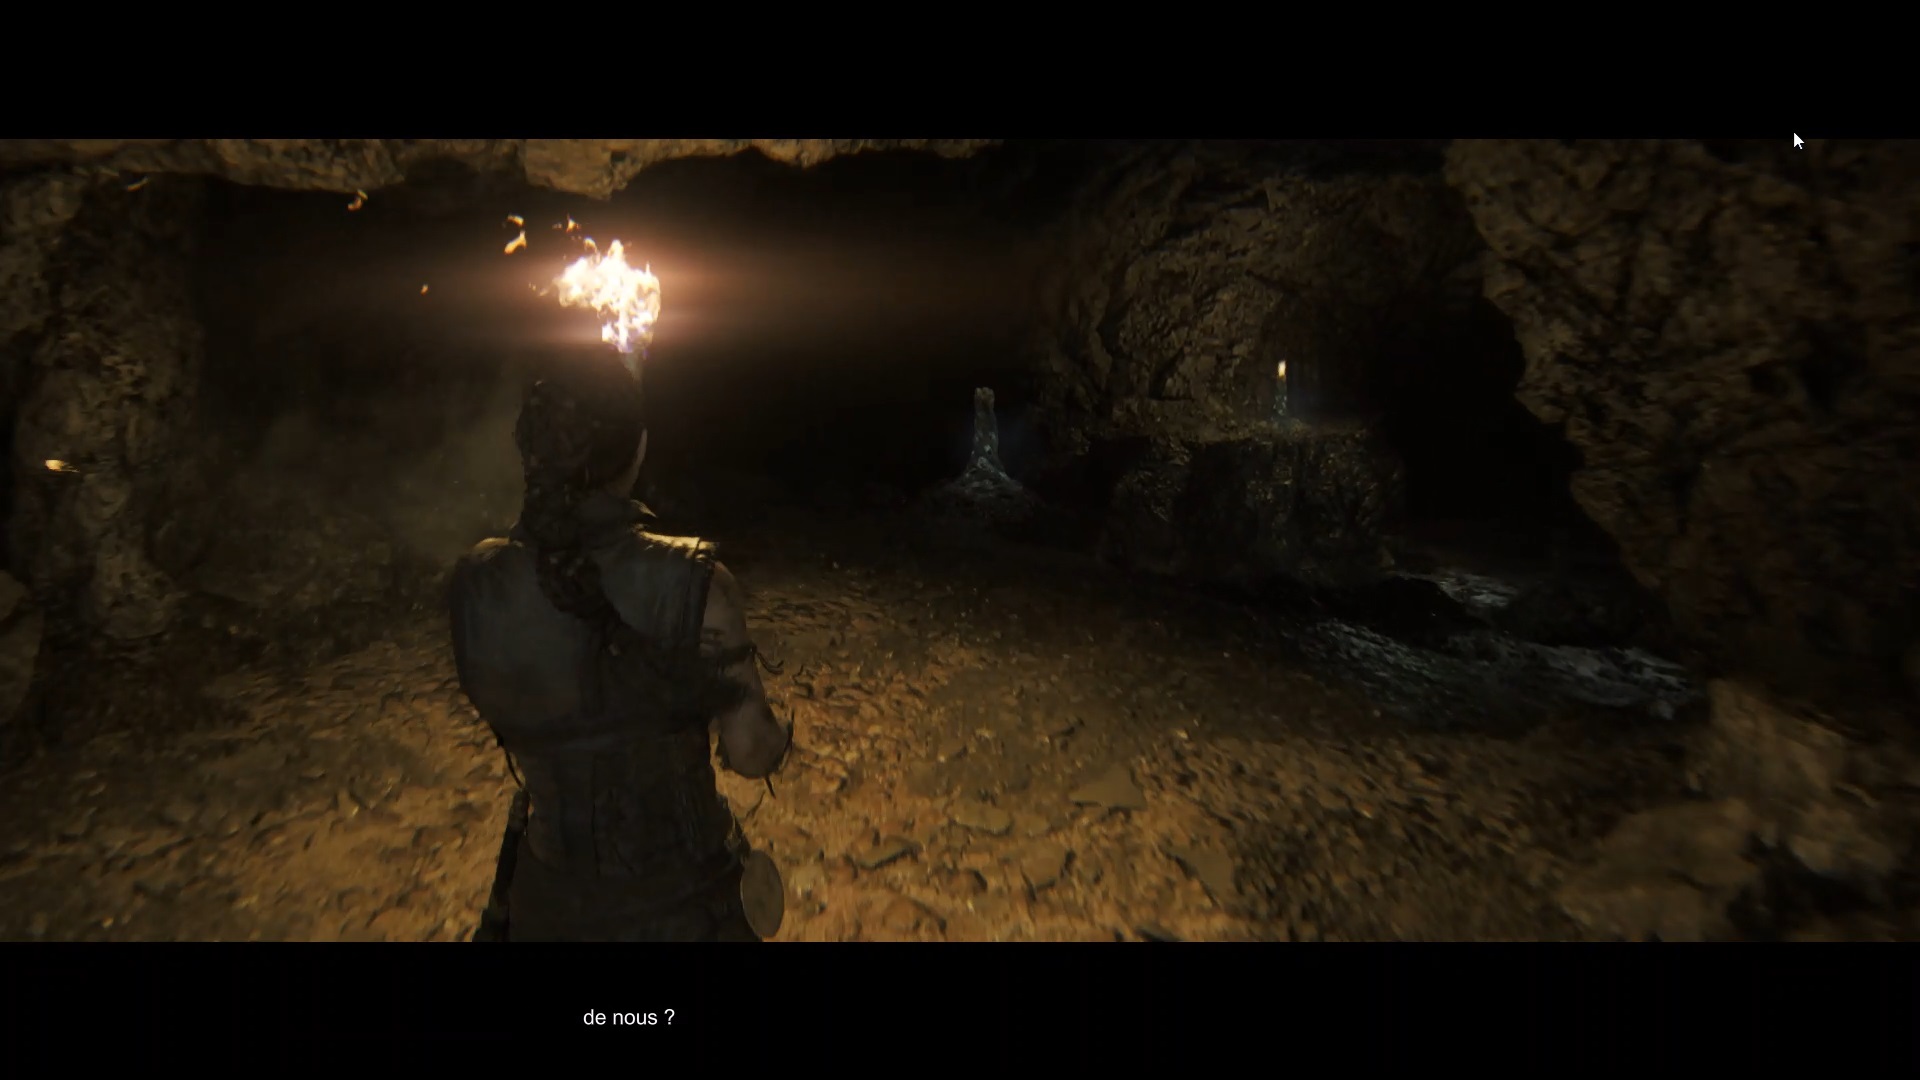
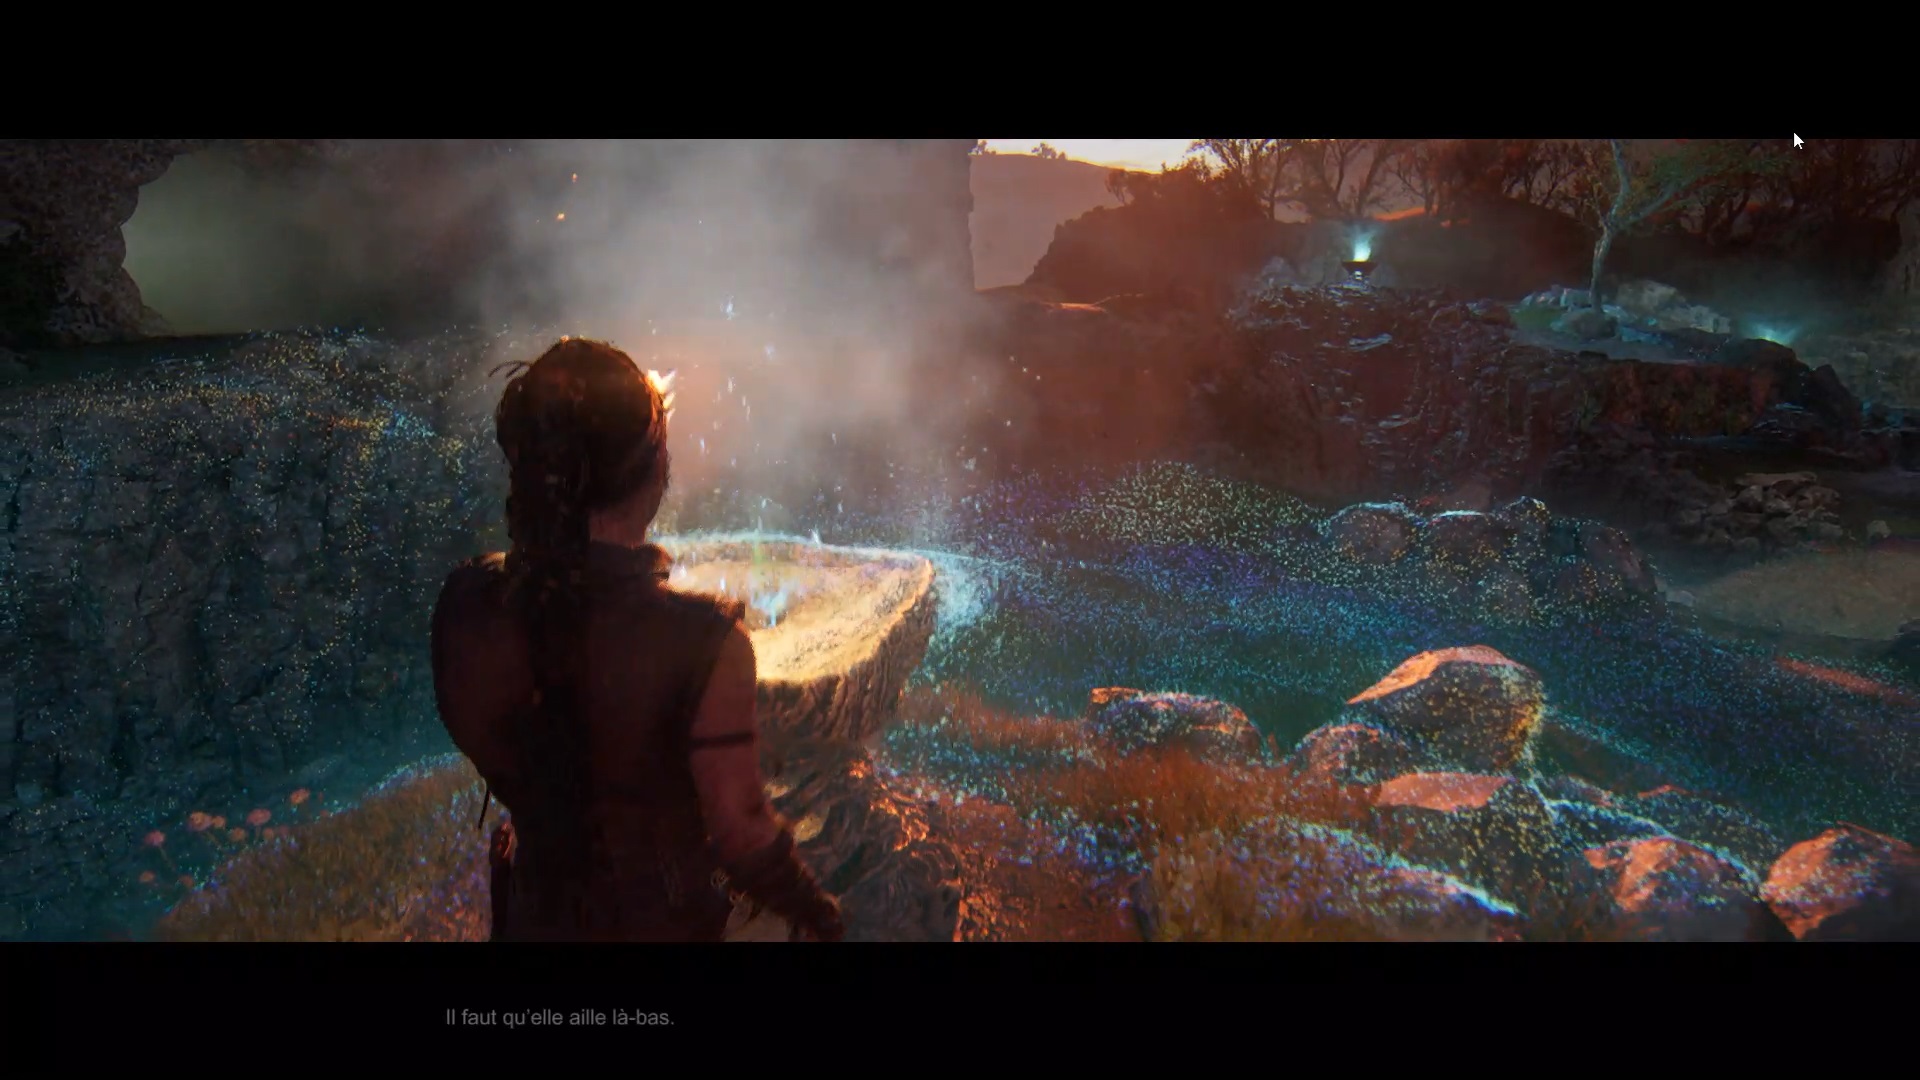
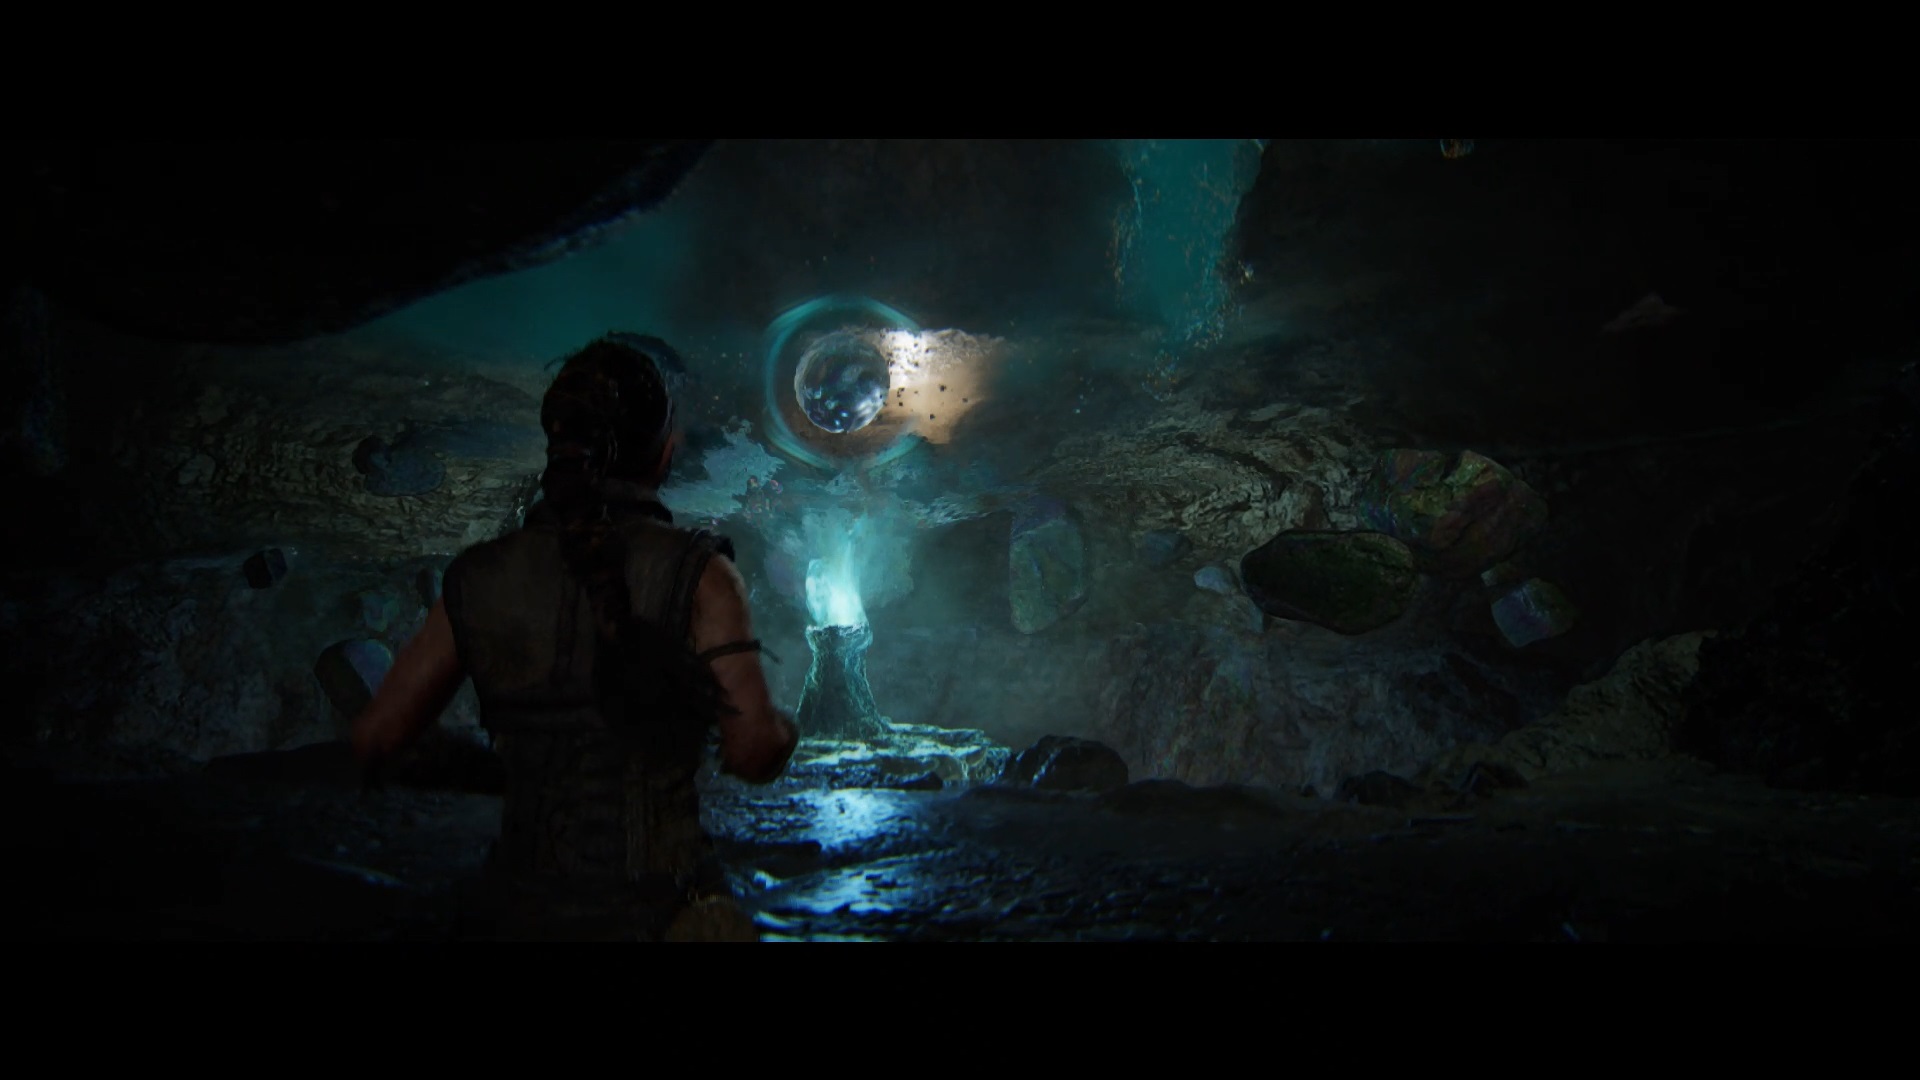
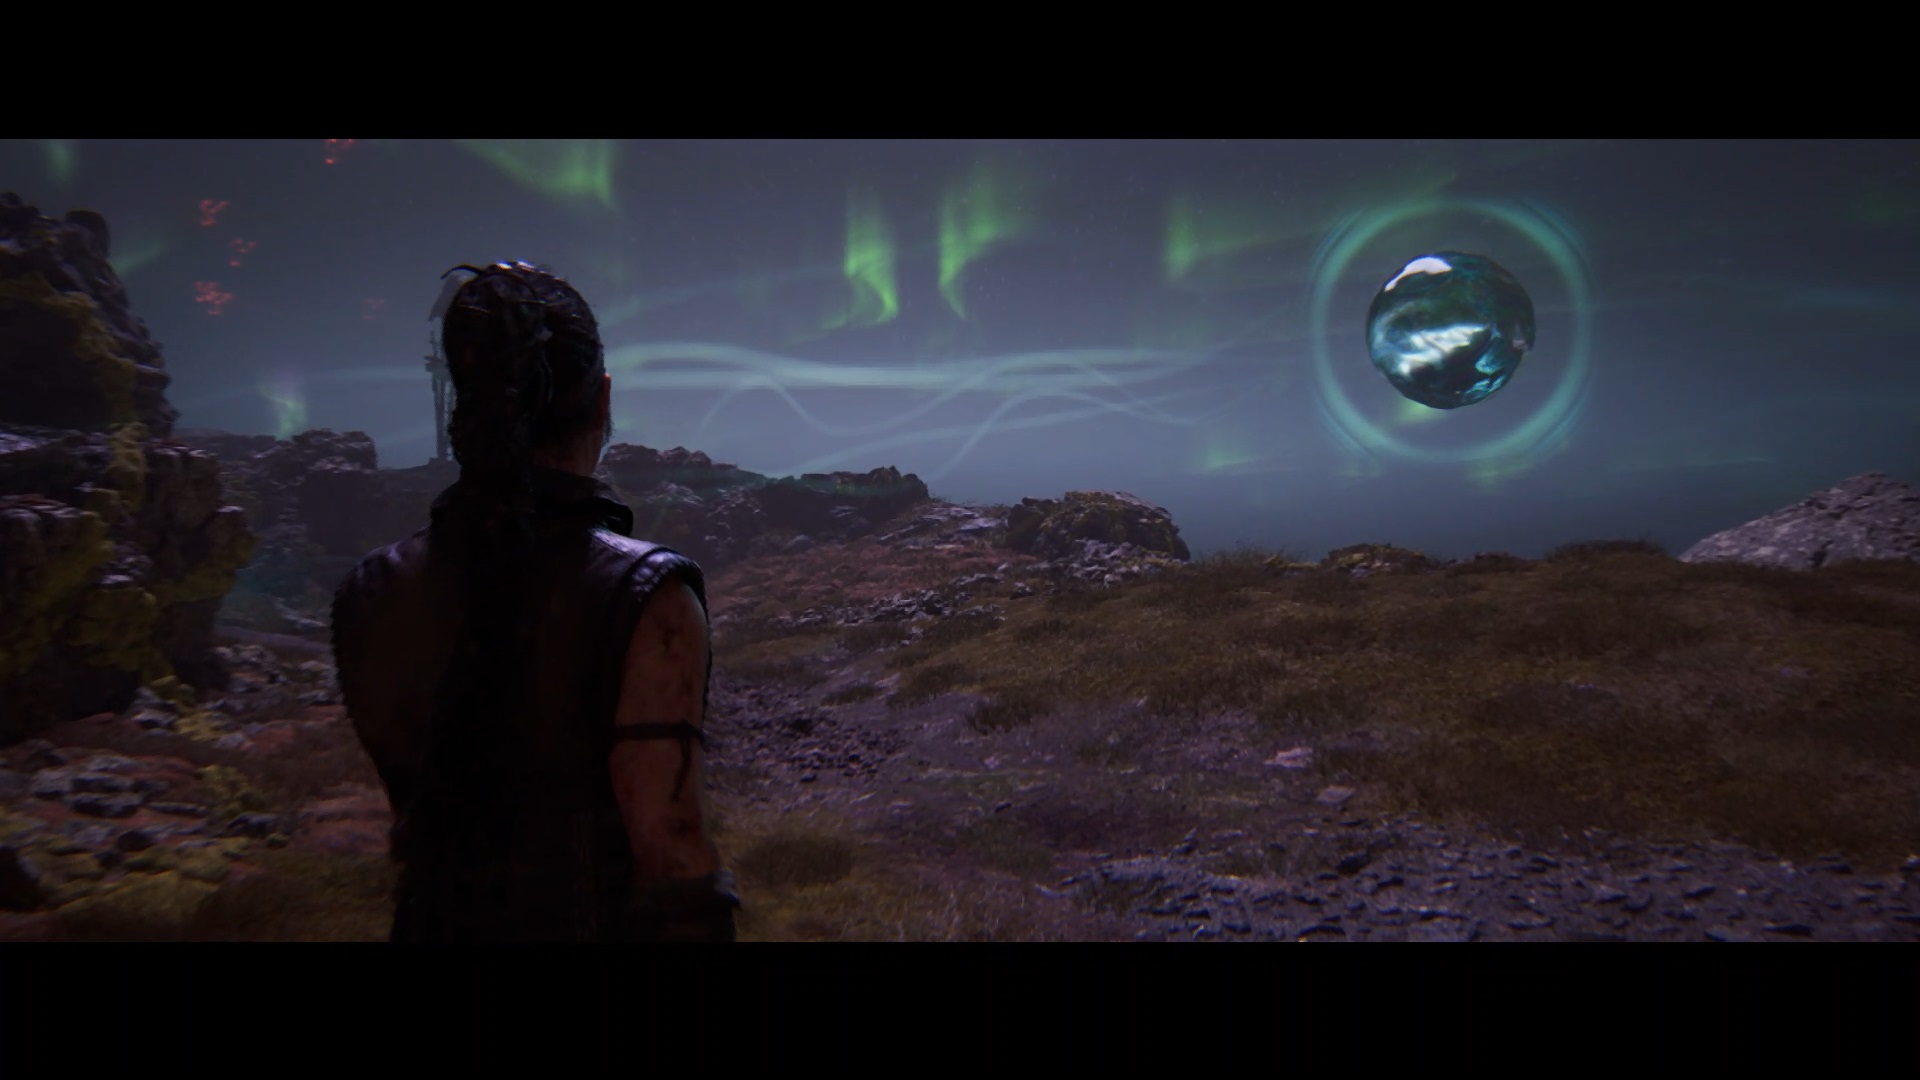
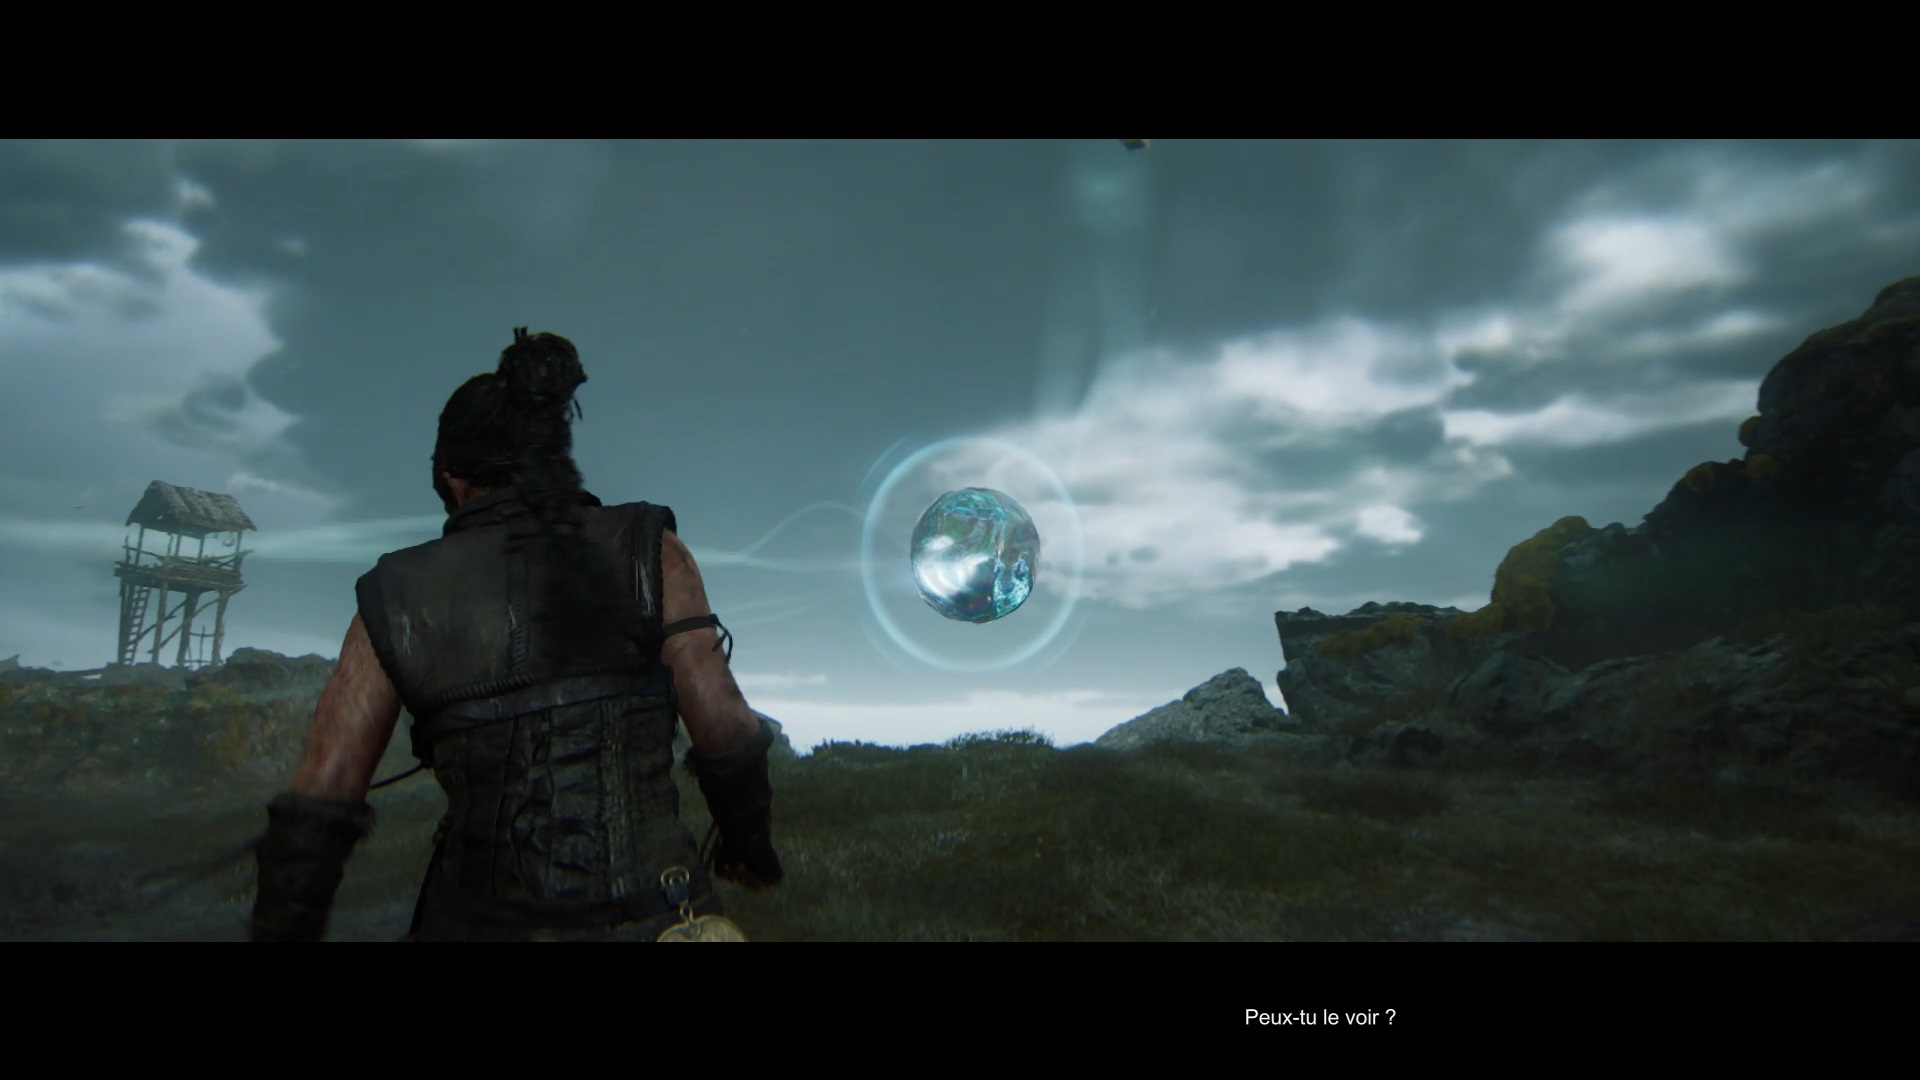
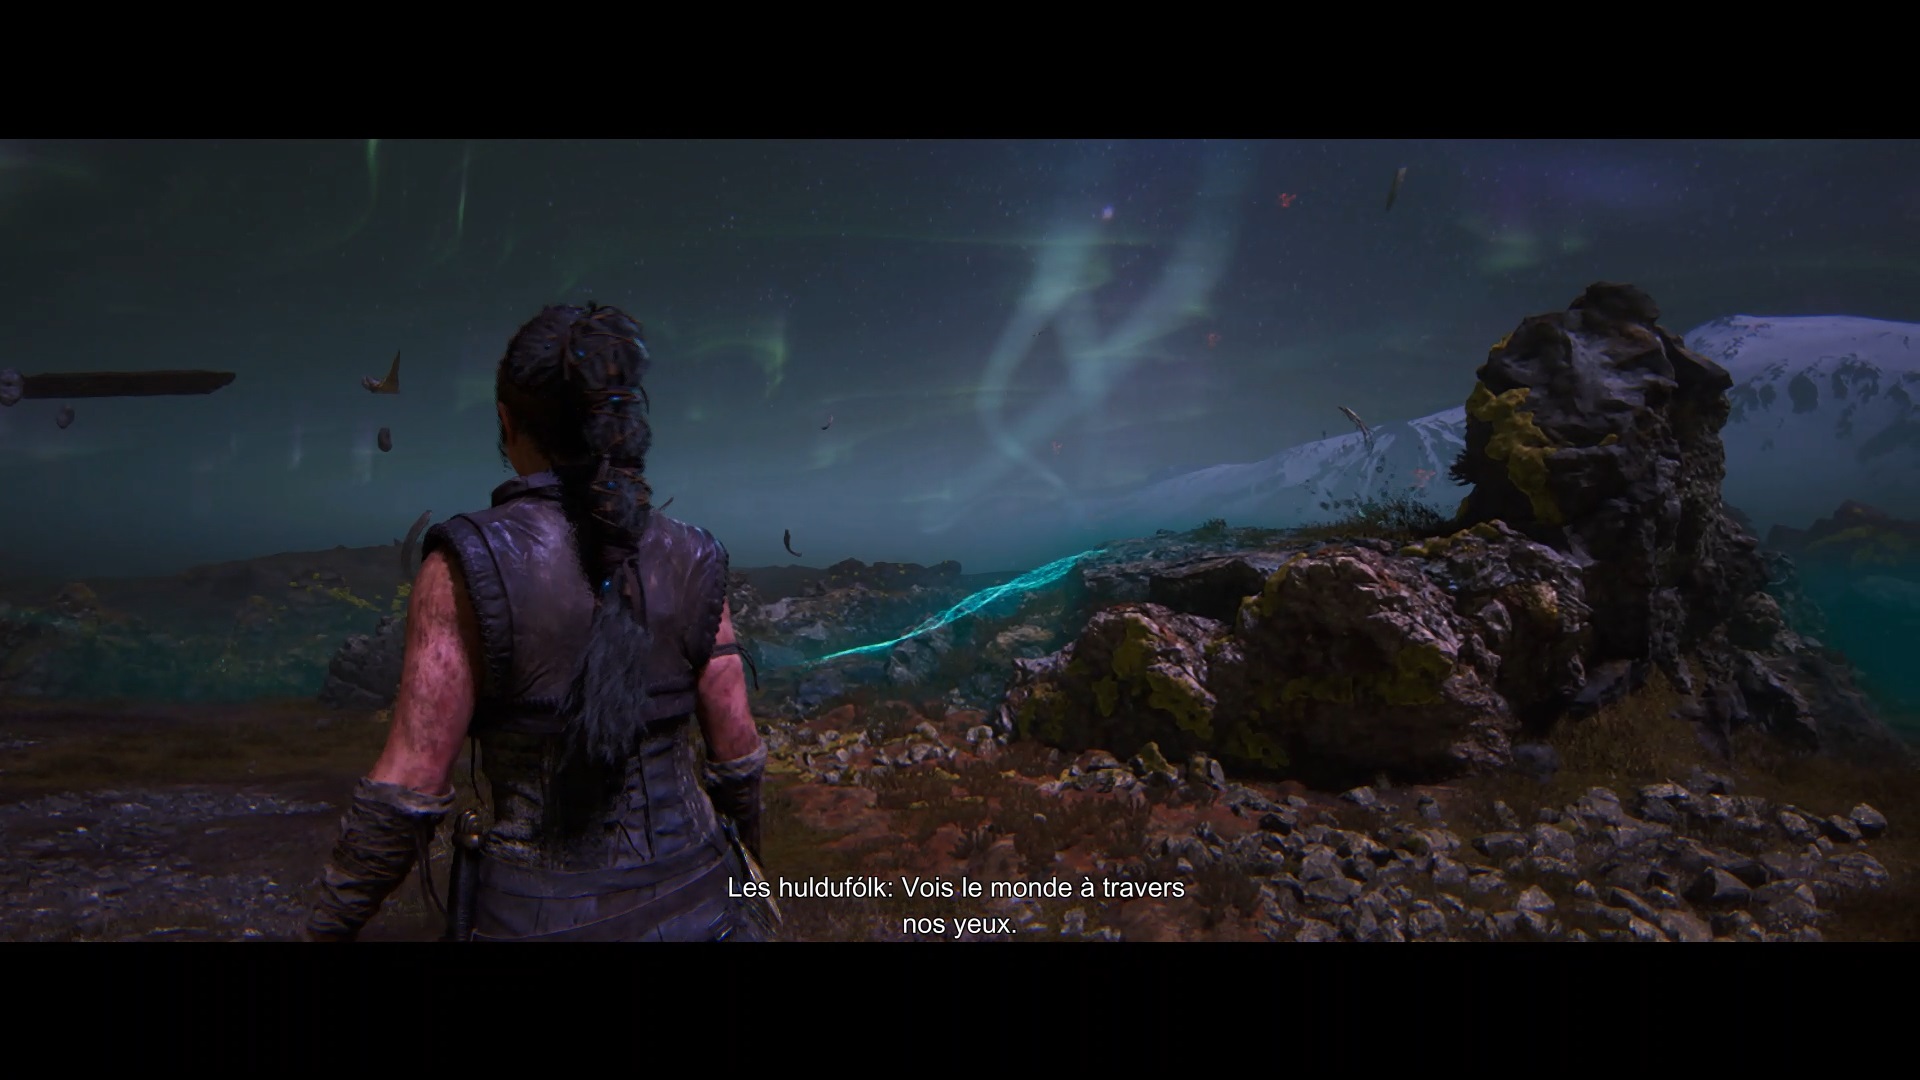
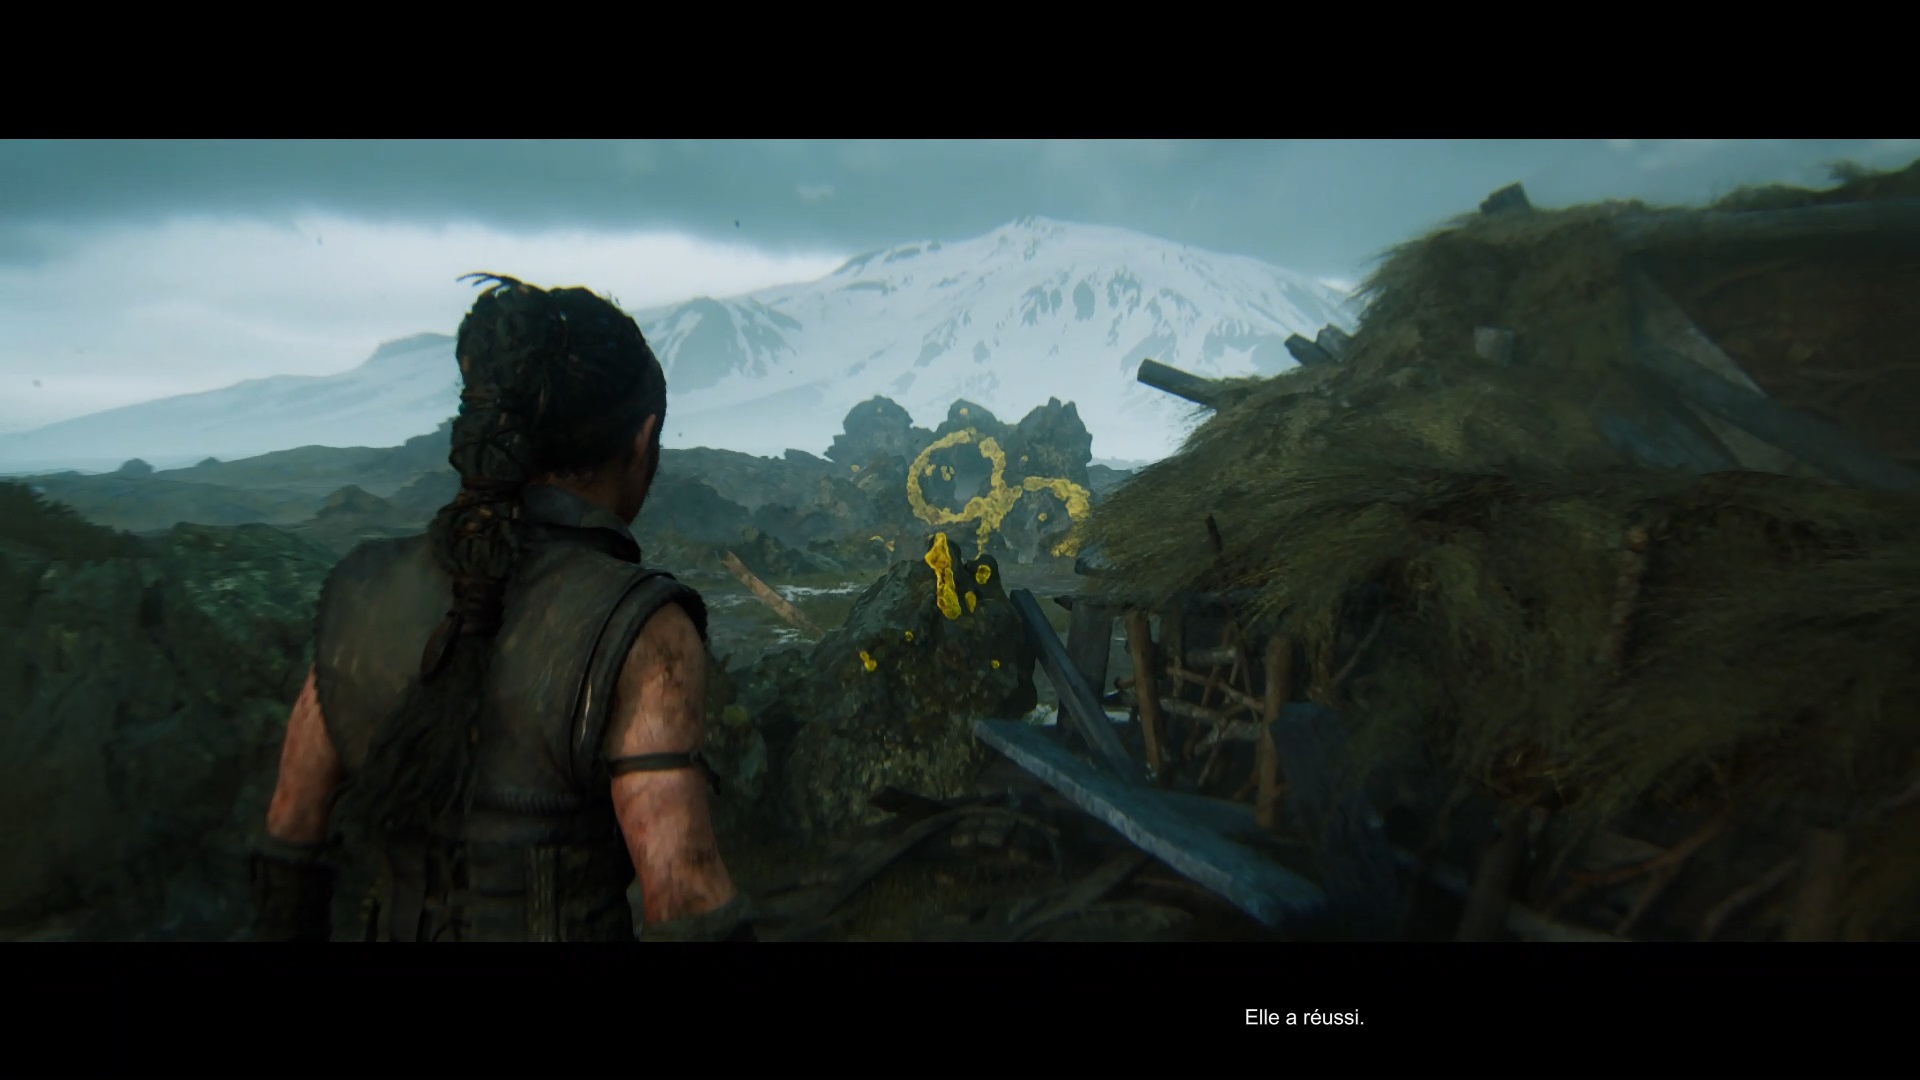
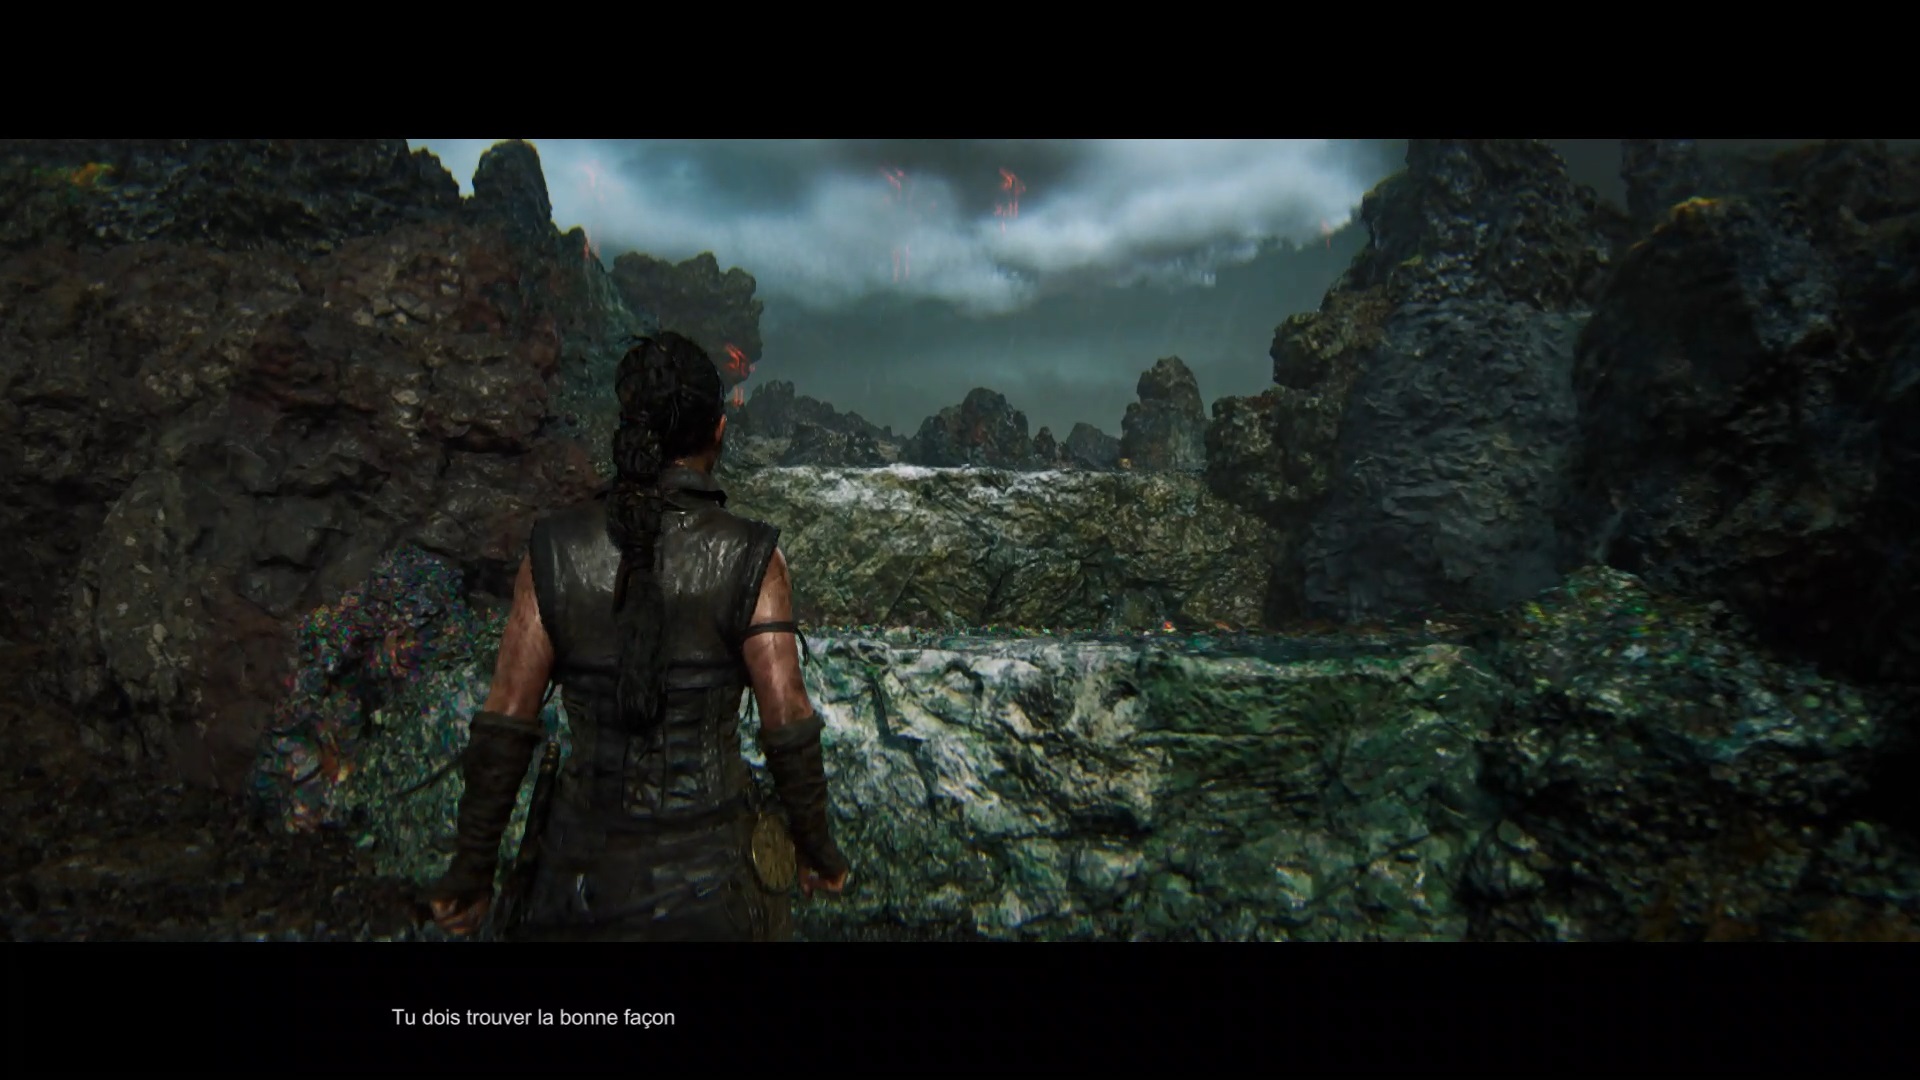
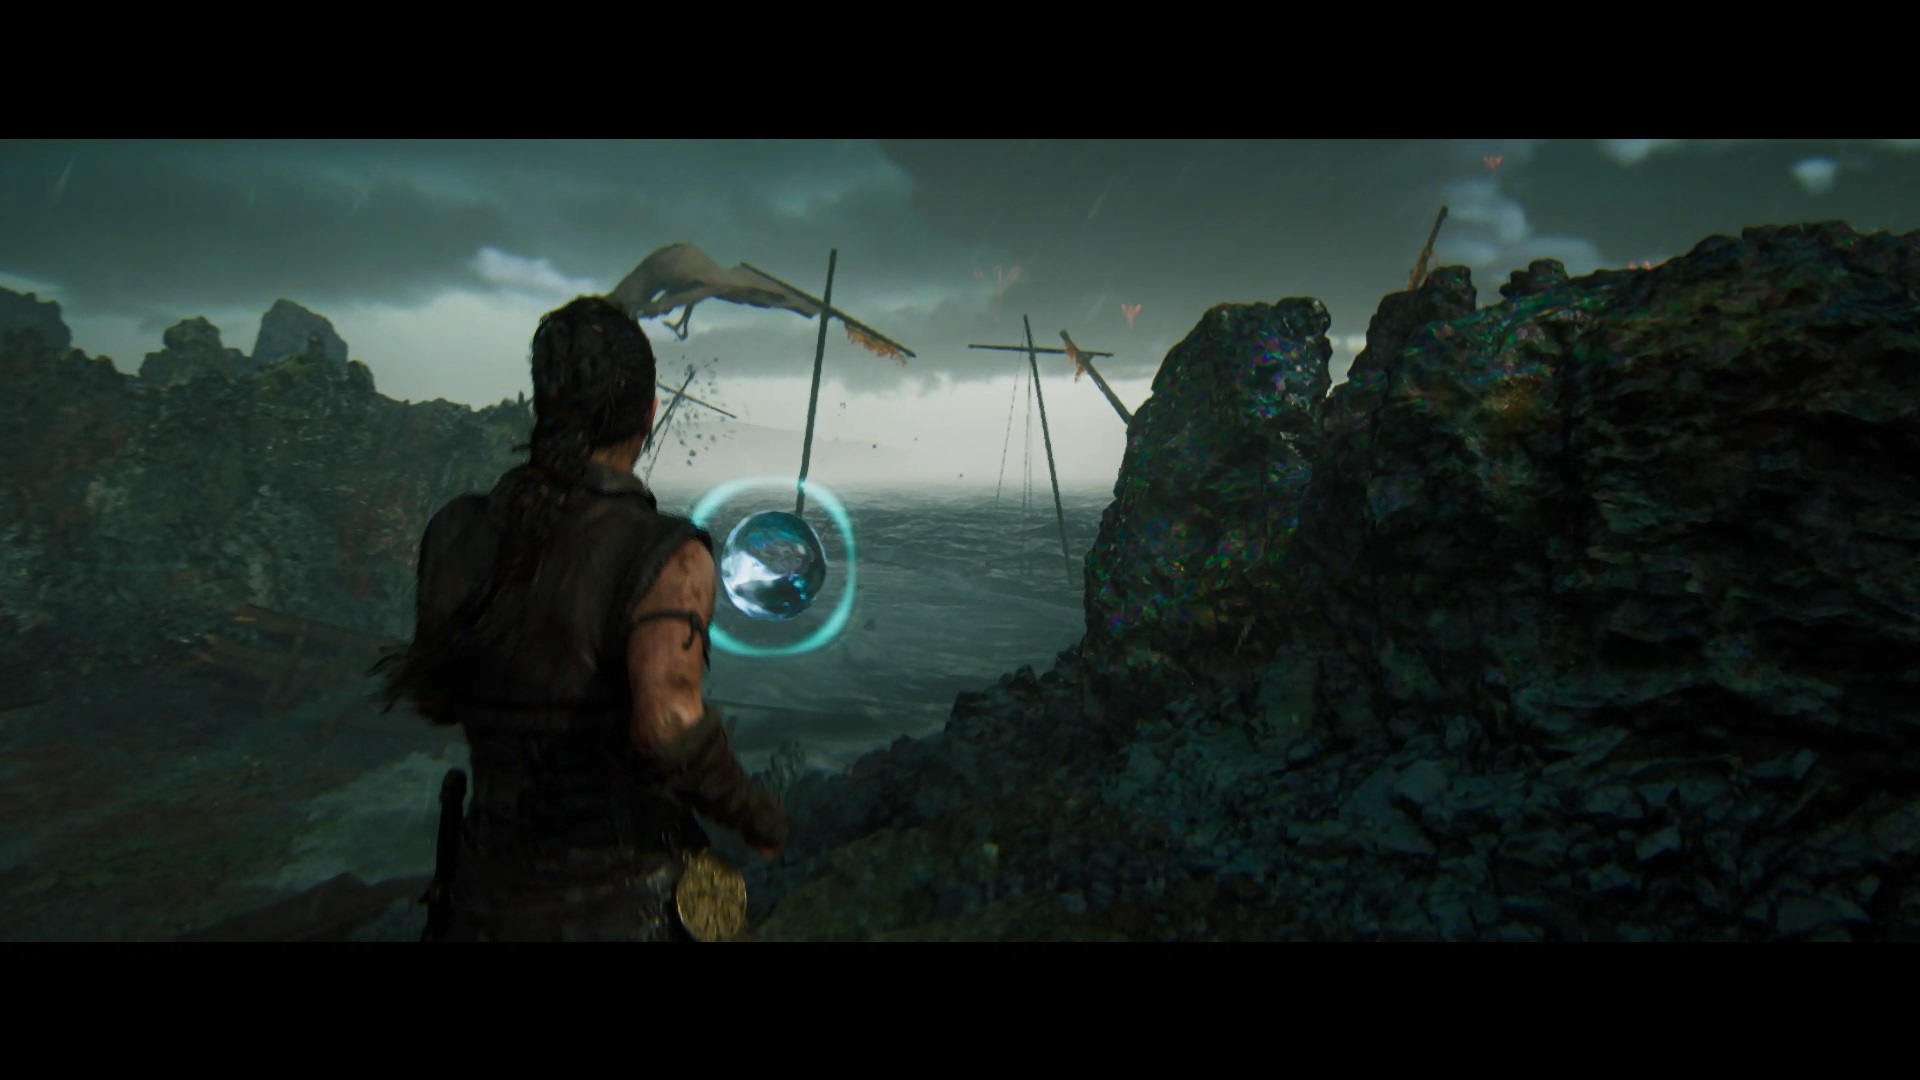
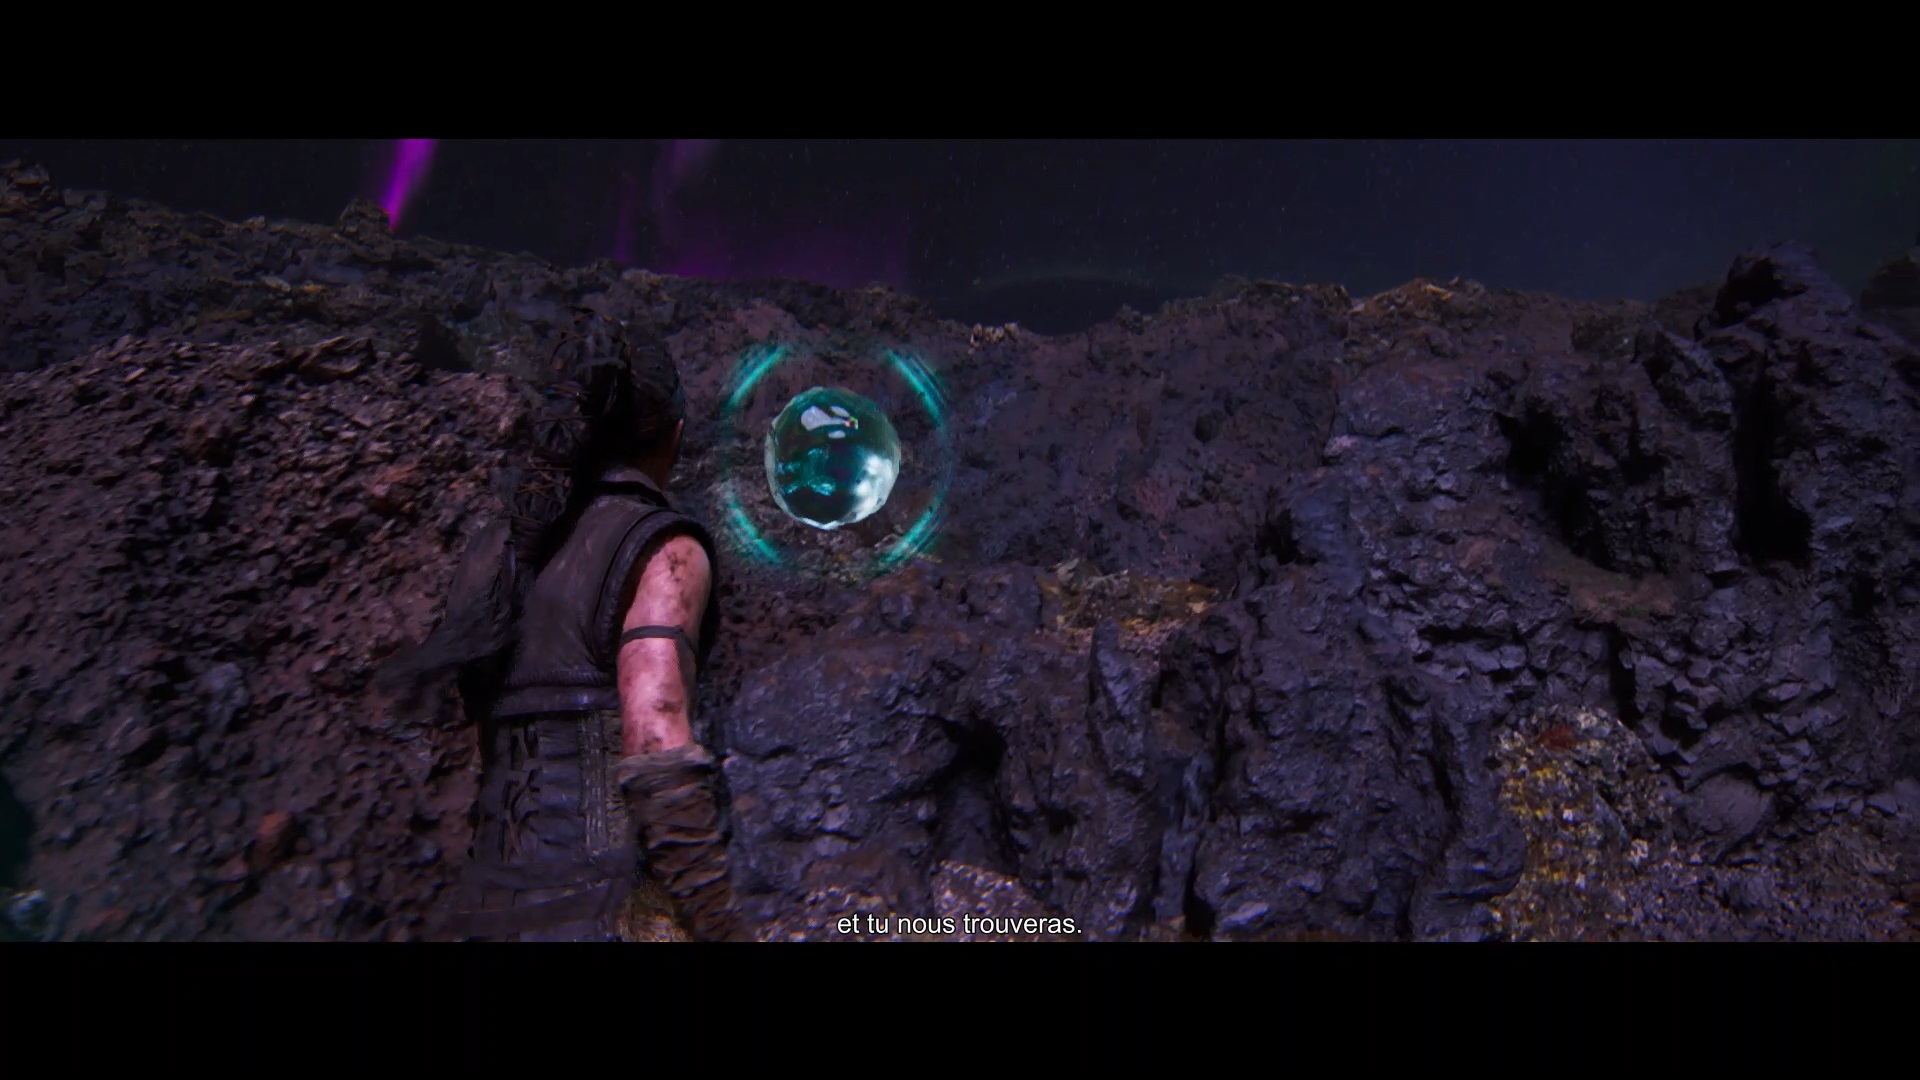
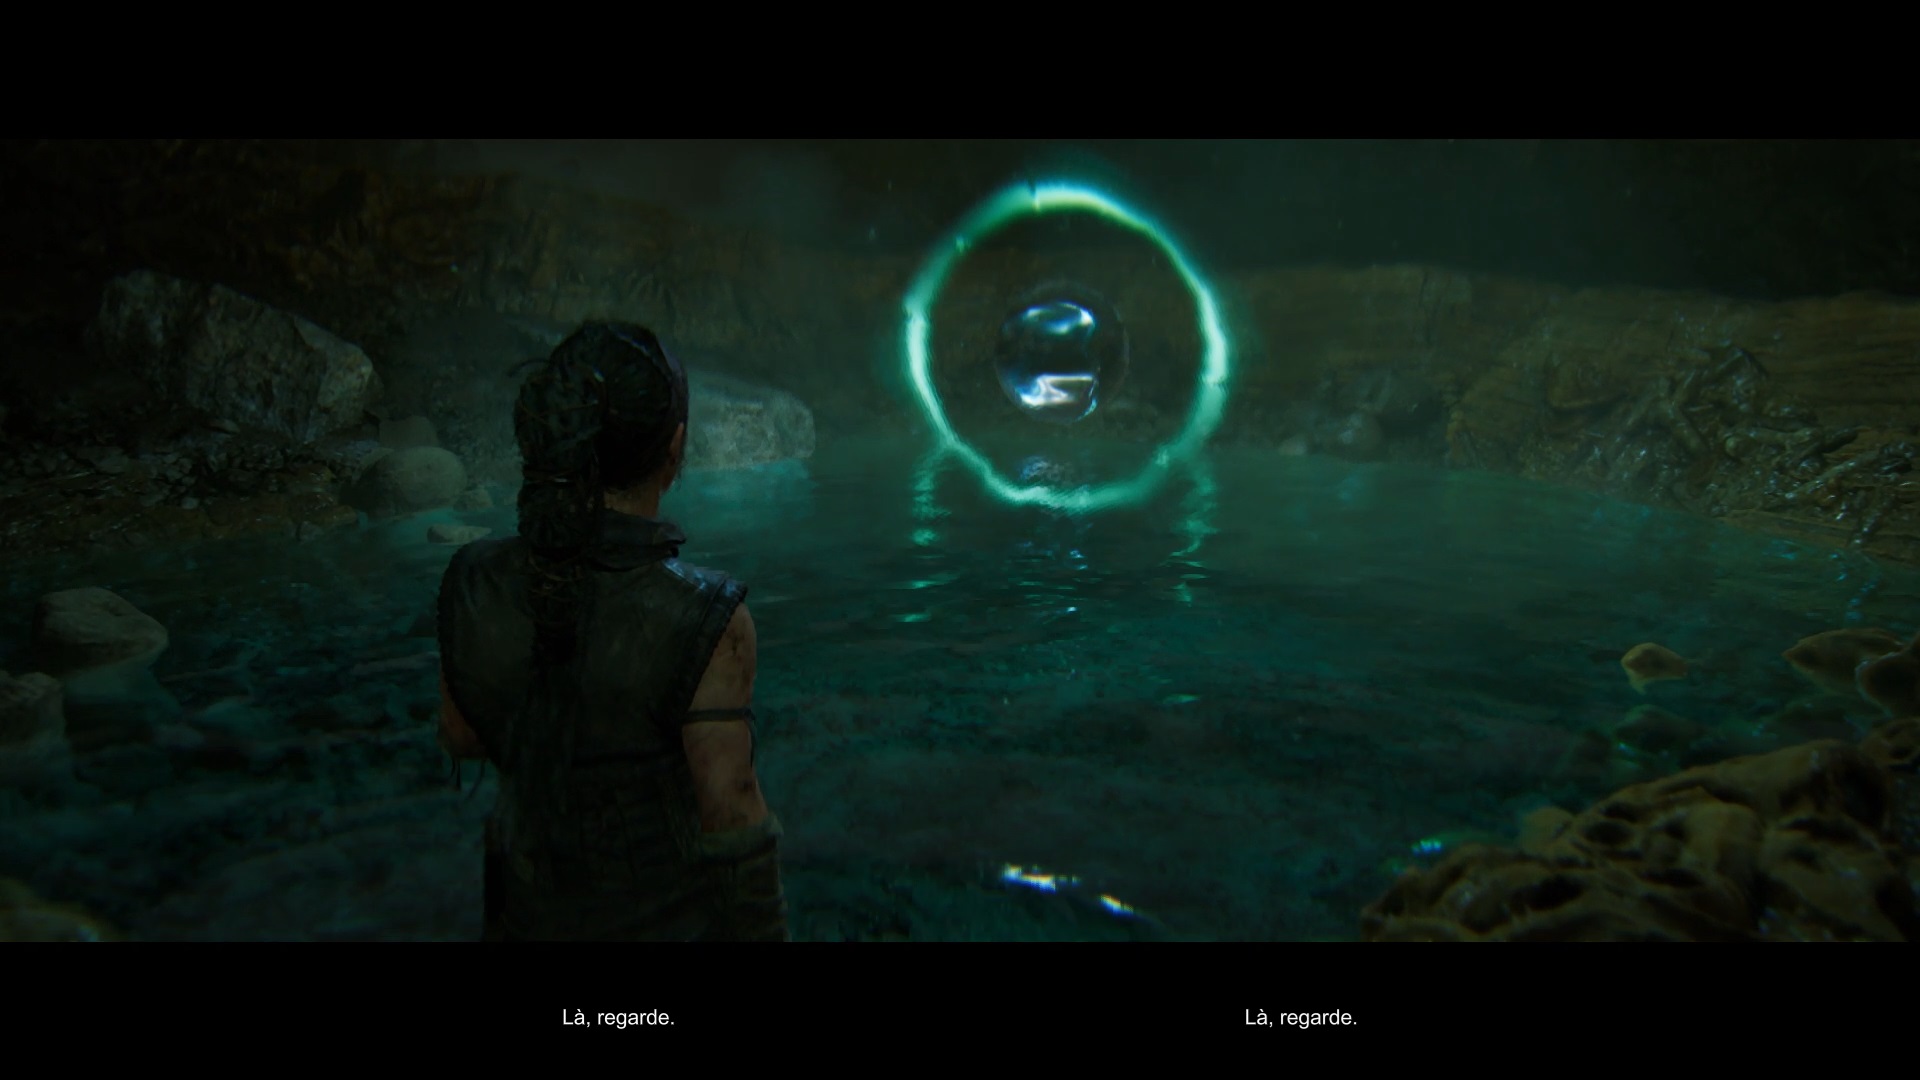
You are now embarked on a new quest: find the Huldufolk. Take the path towards the lower part of the valley to reach a pillar. As you approach the pillar, the path in front of you becomes blocked. You need to find an orb and place it in the pillar. Take the path to the left of the pillar to find the orber. Collect it and place it in the pillar.
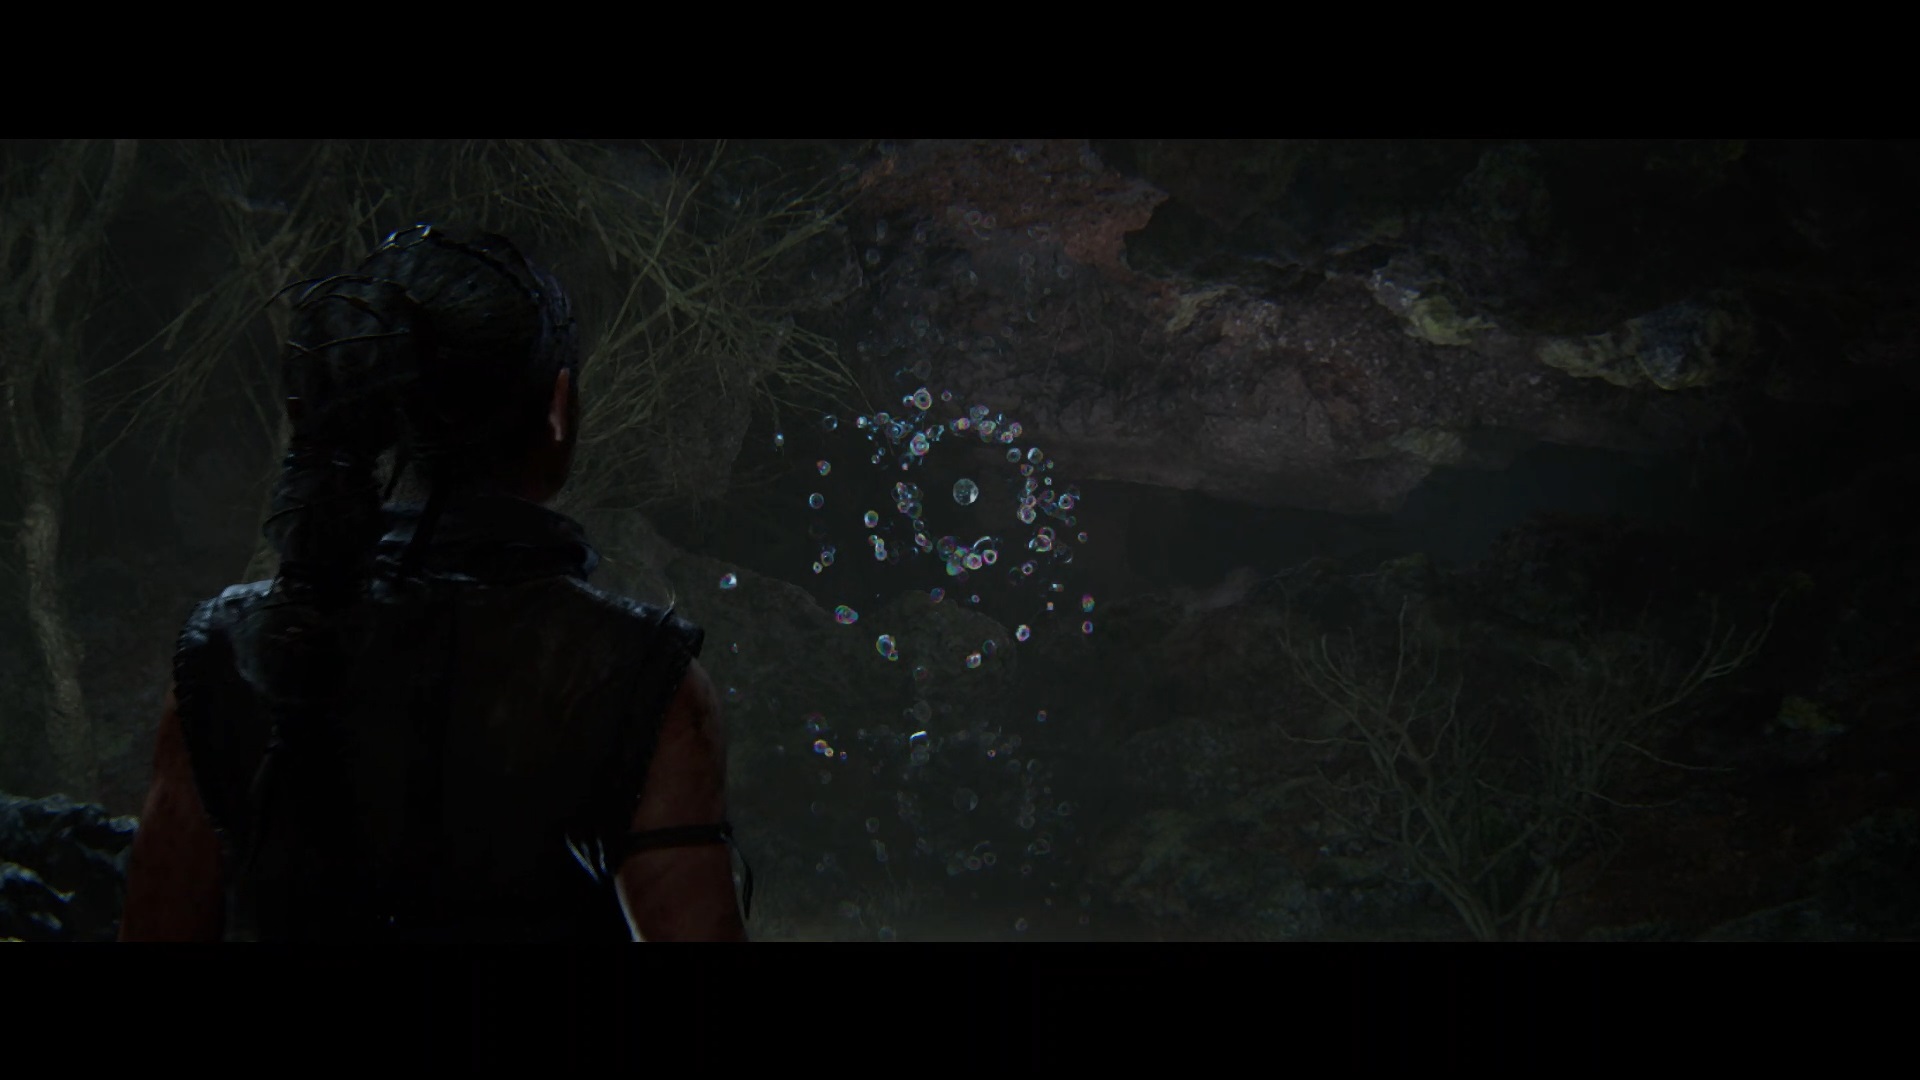
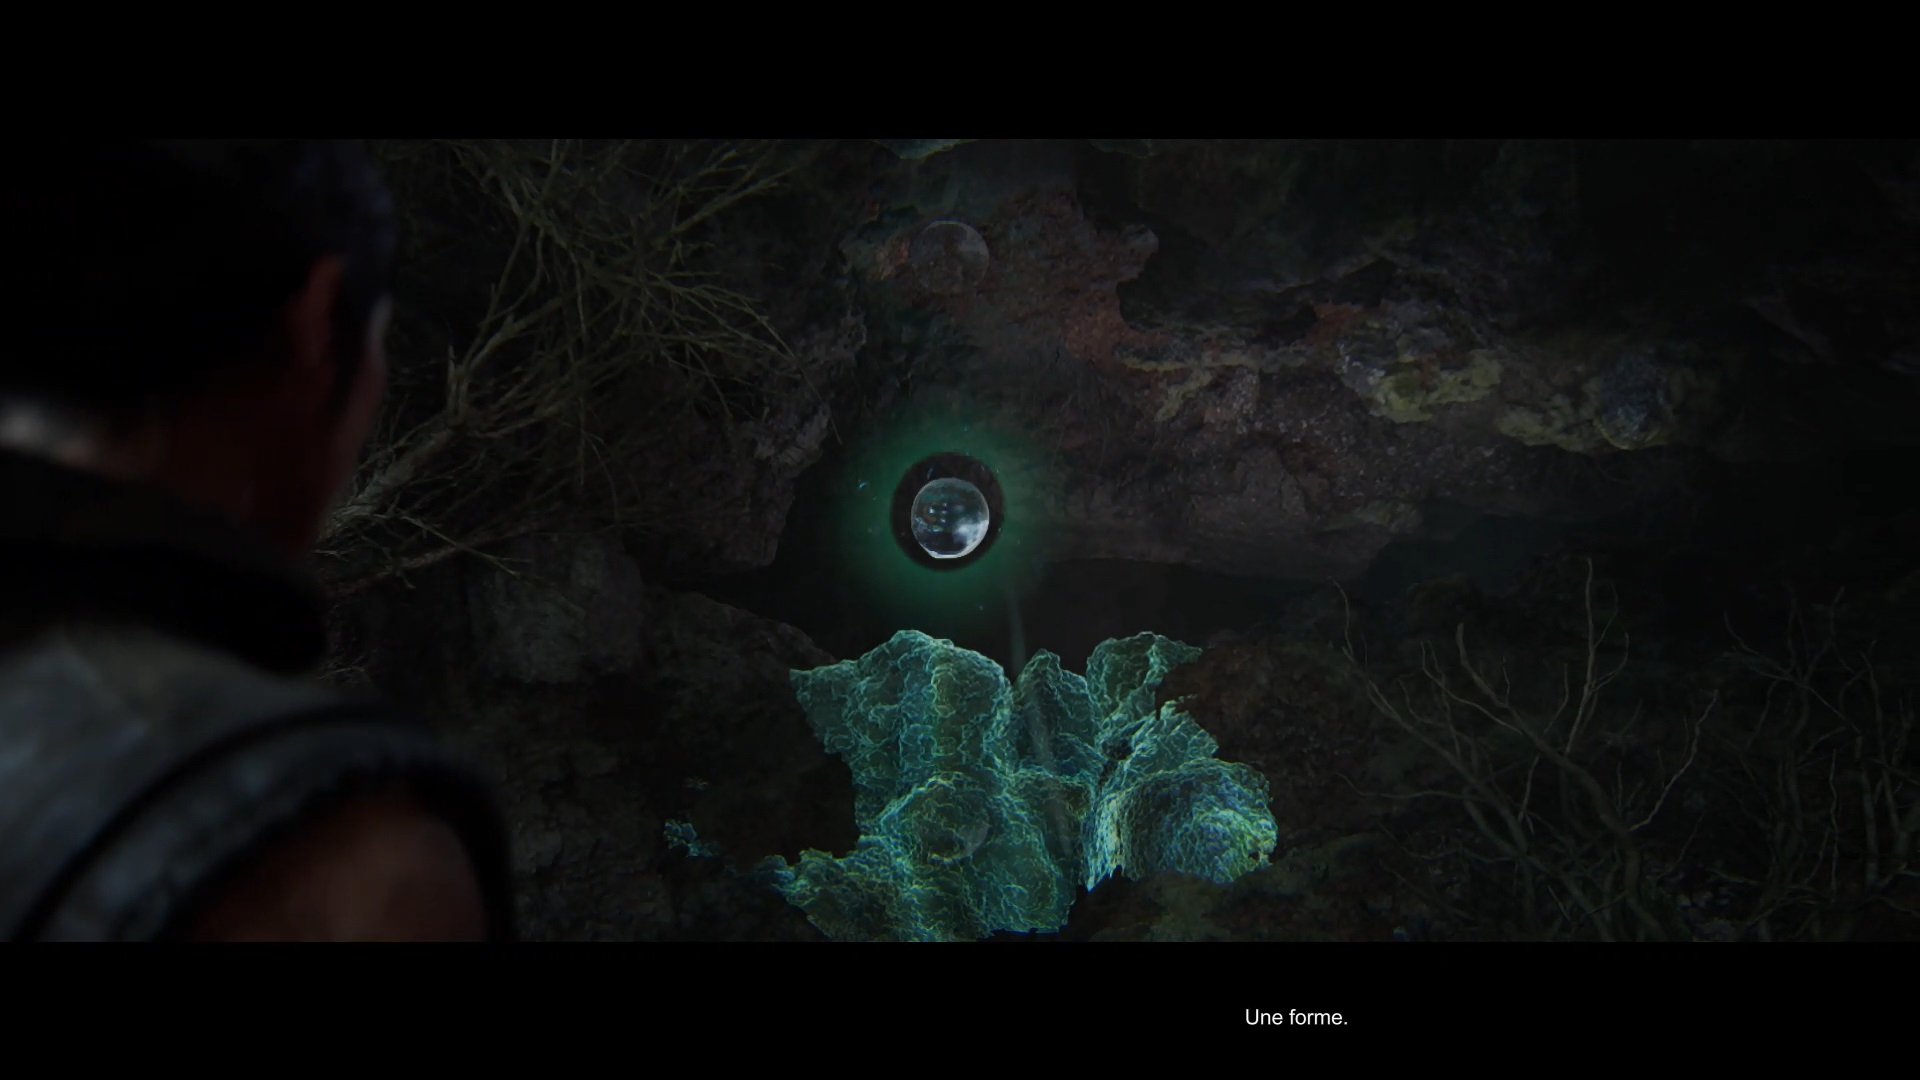
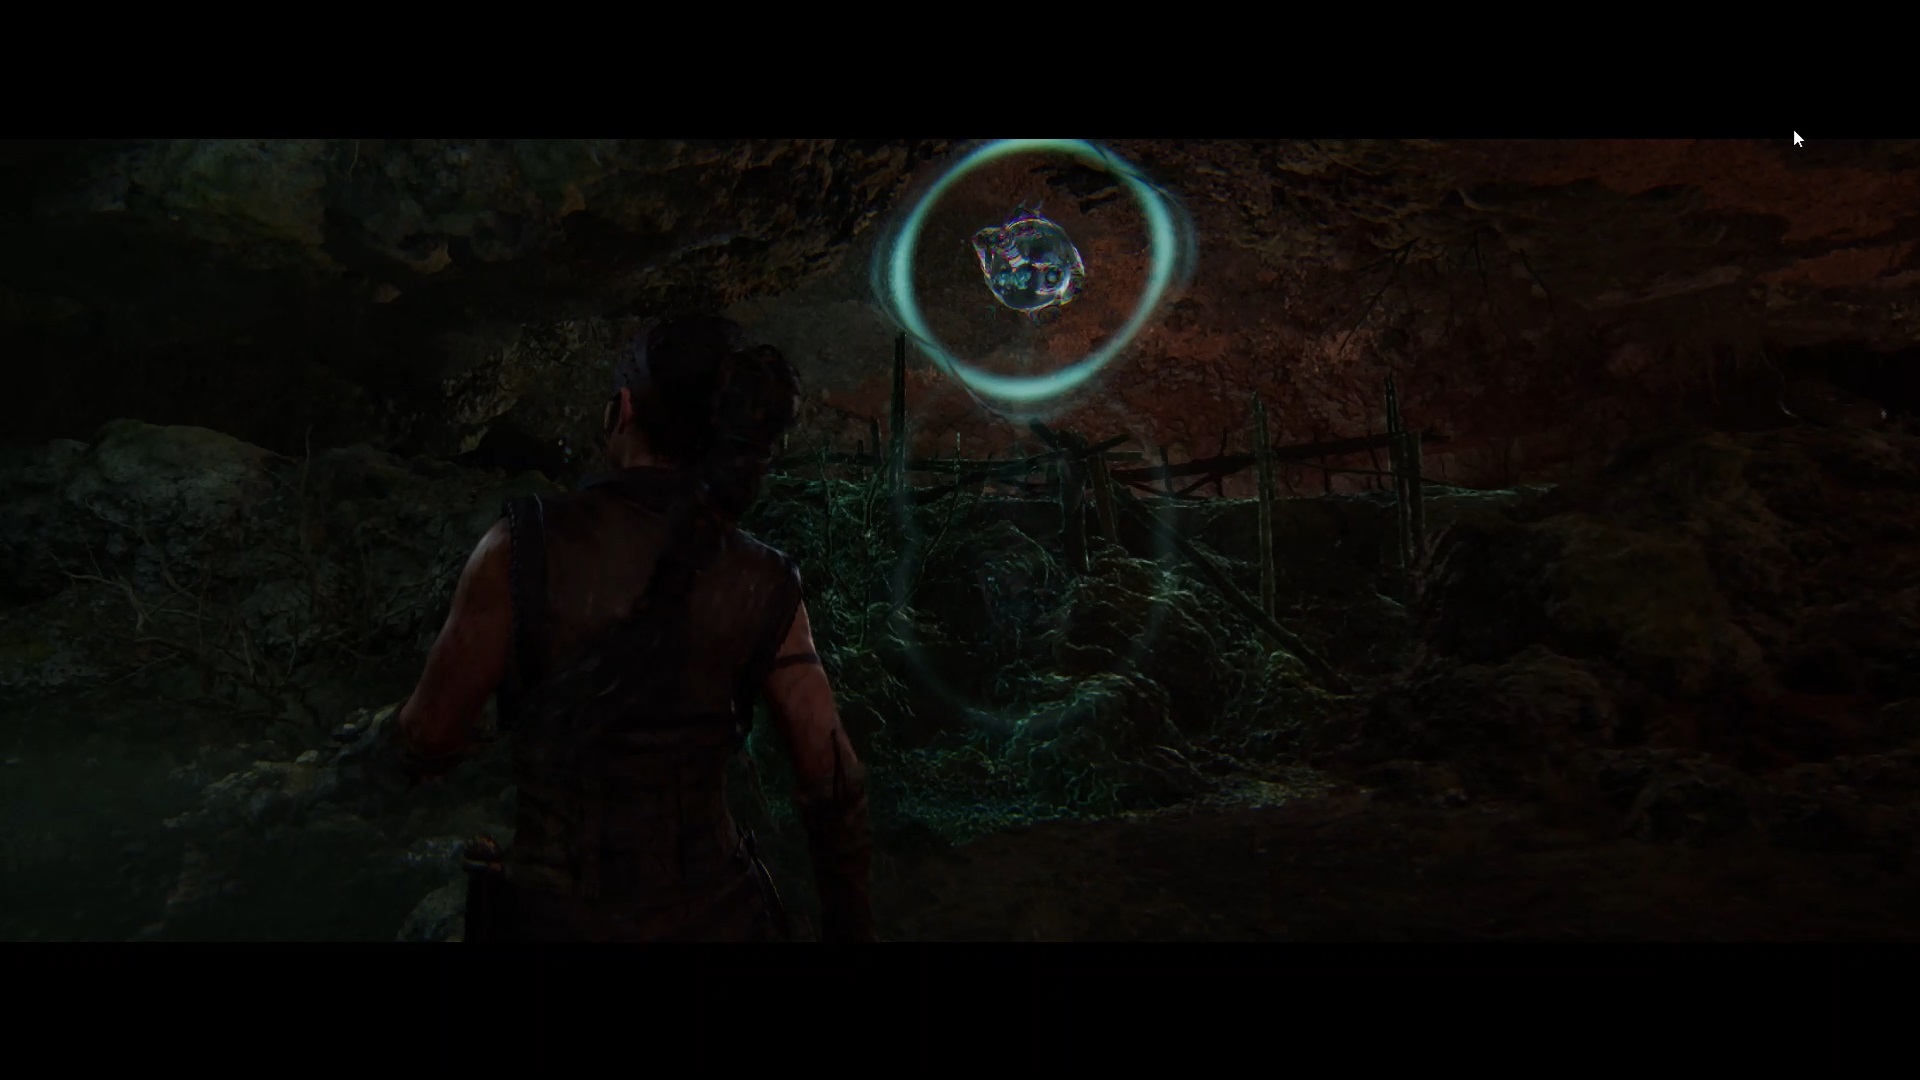
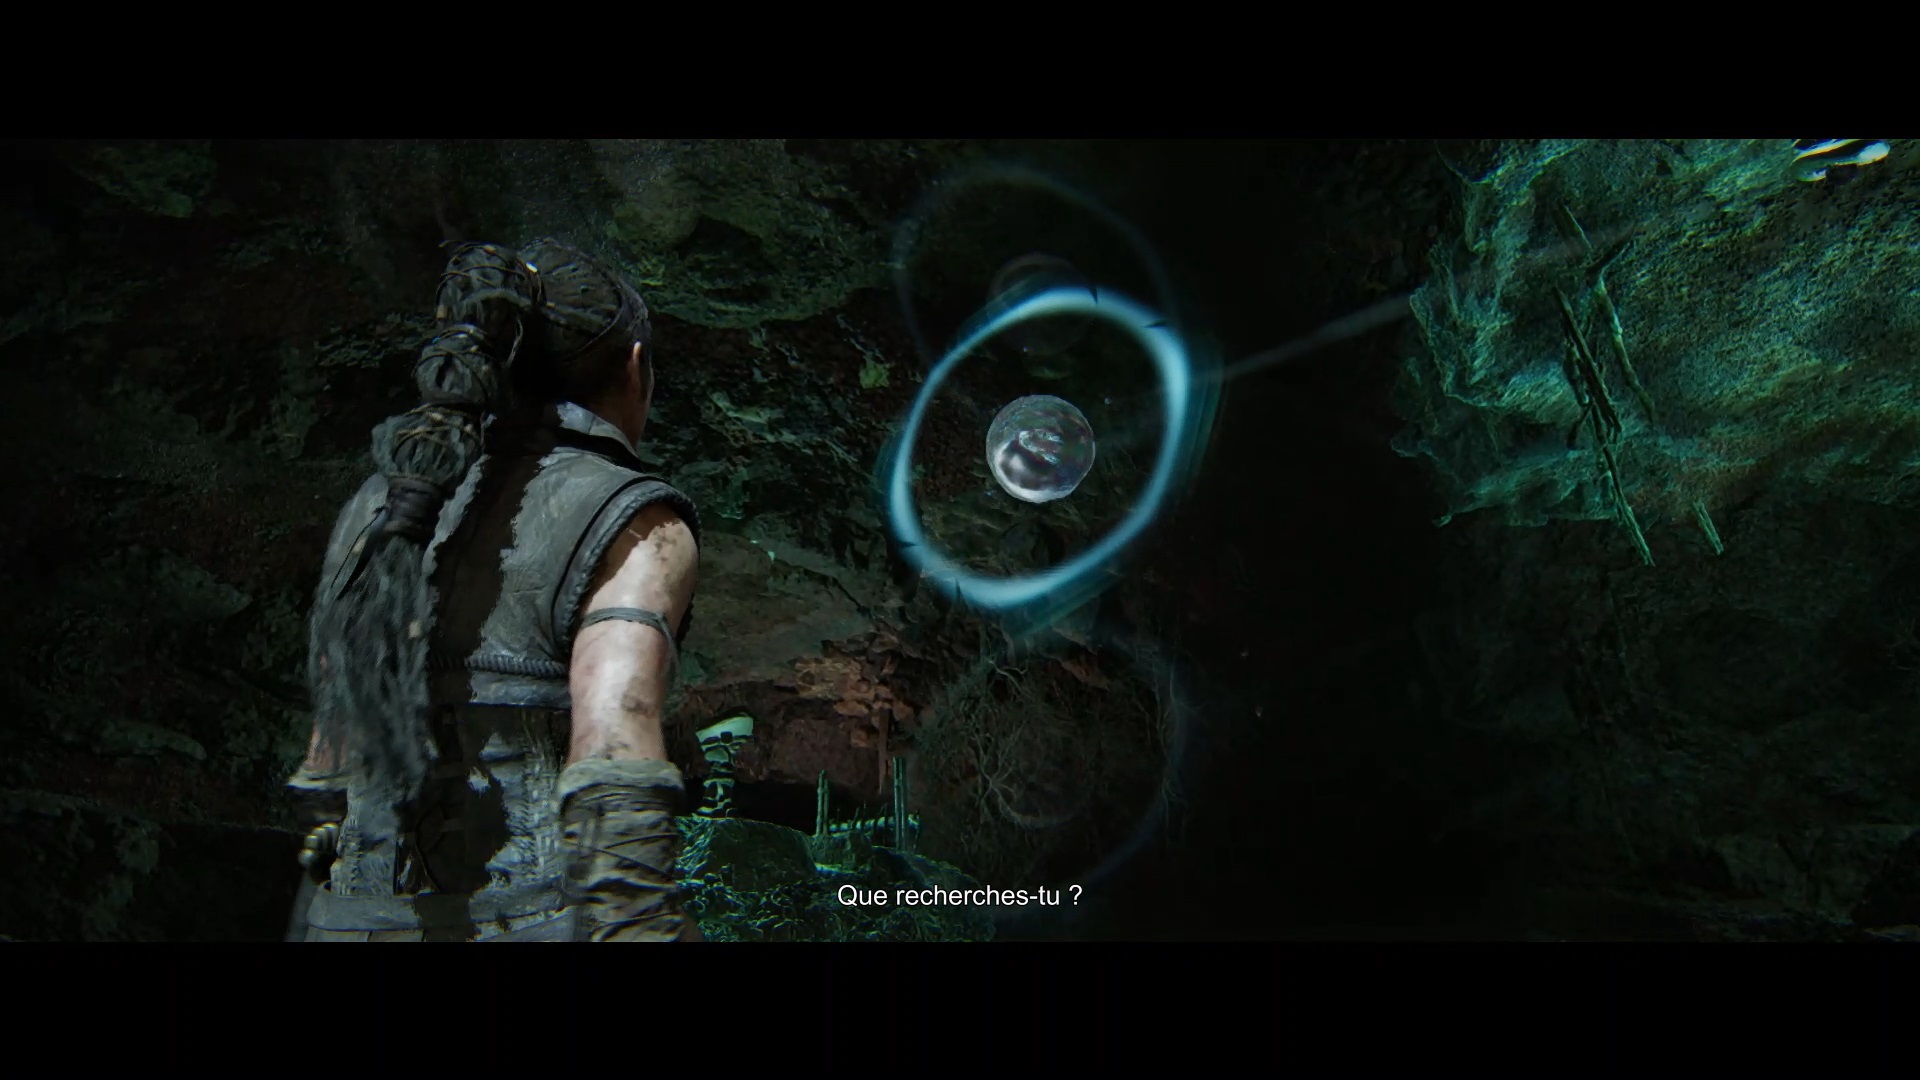
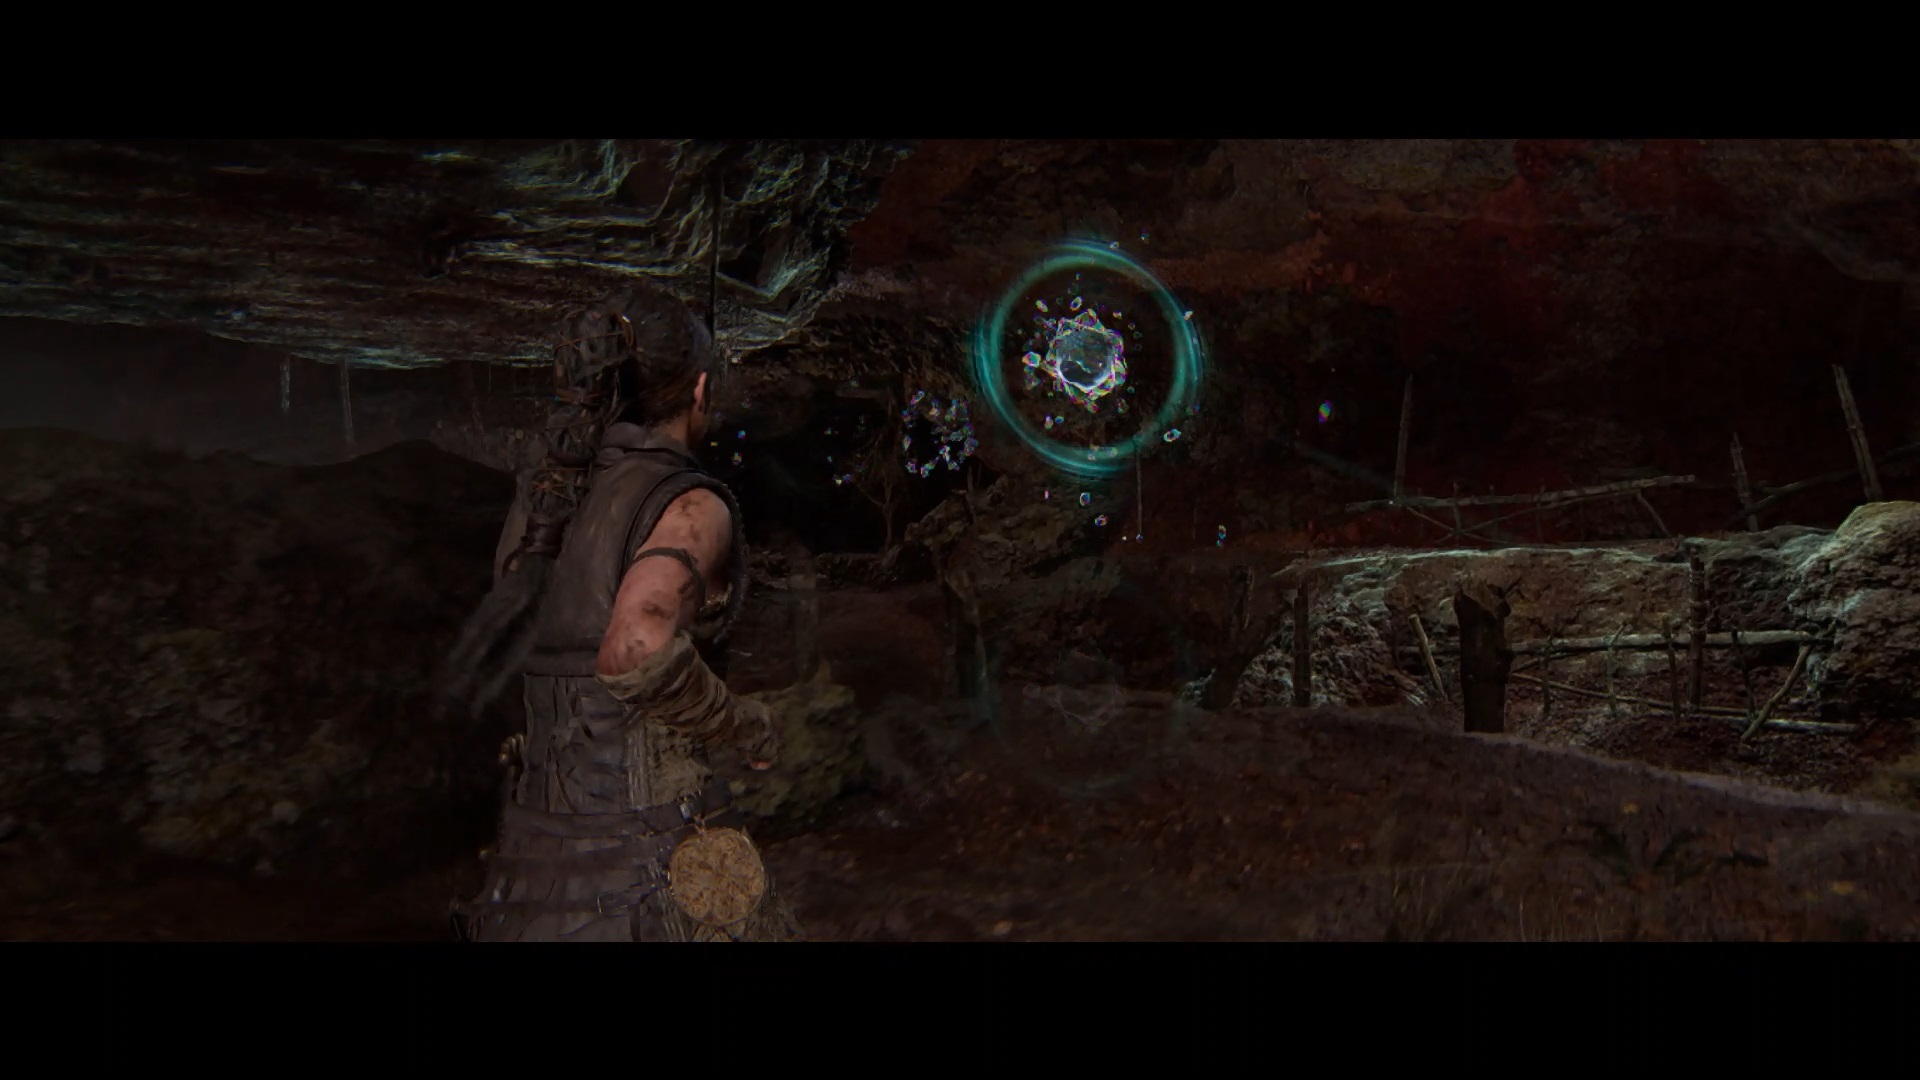
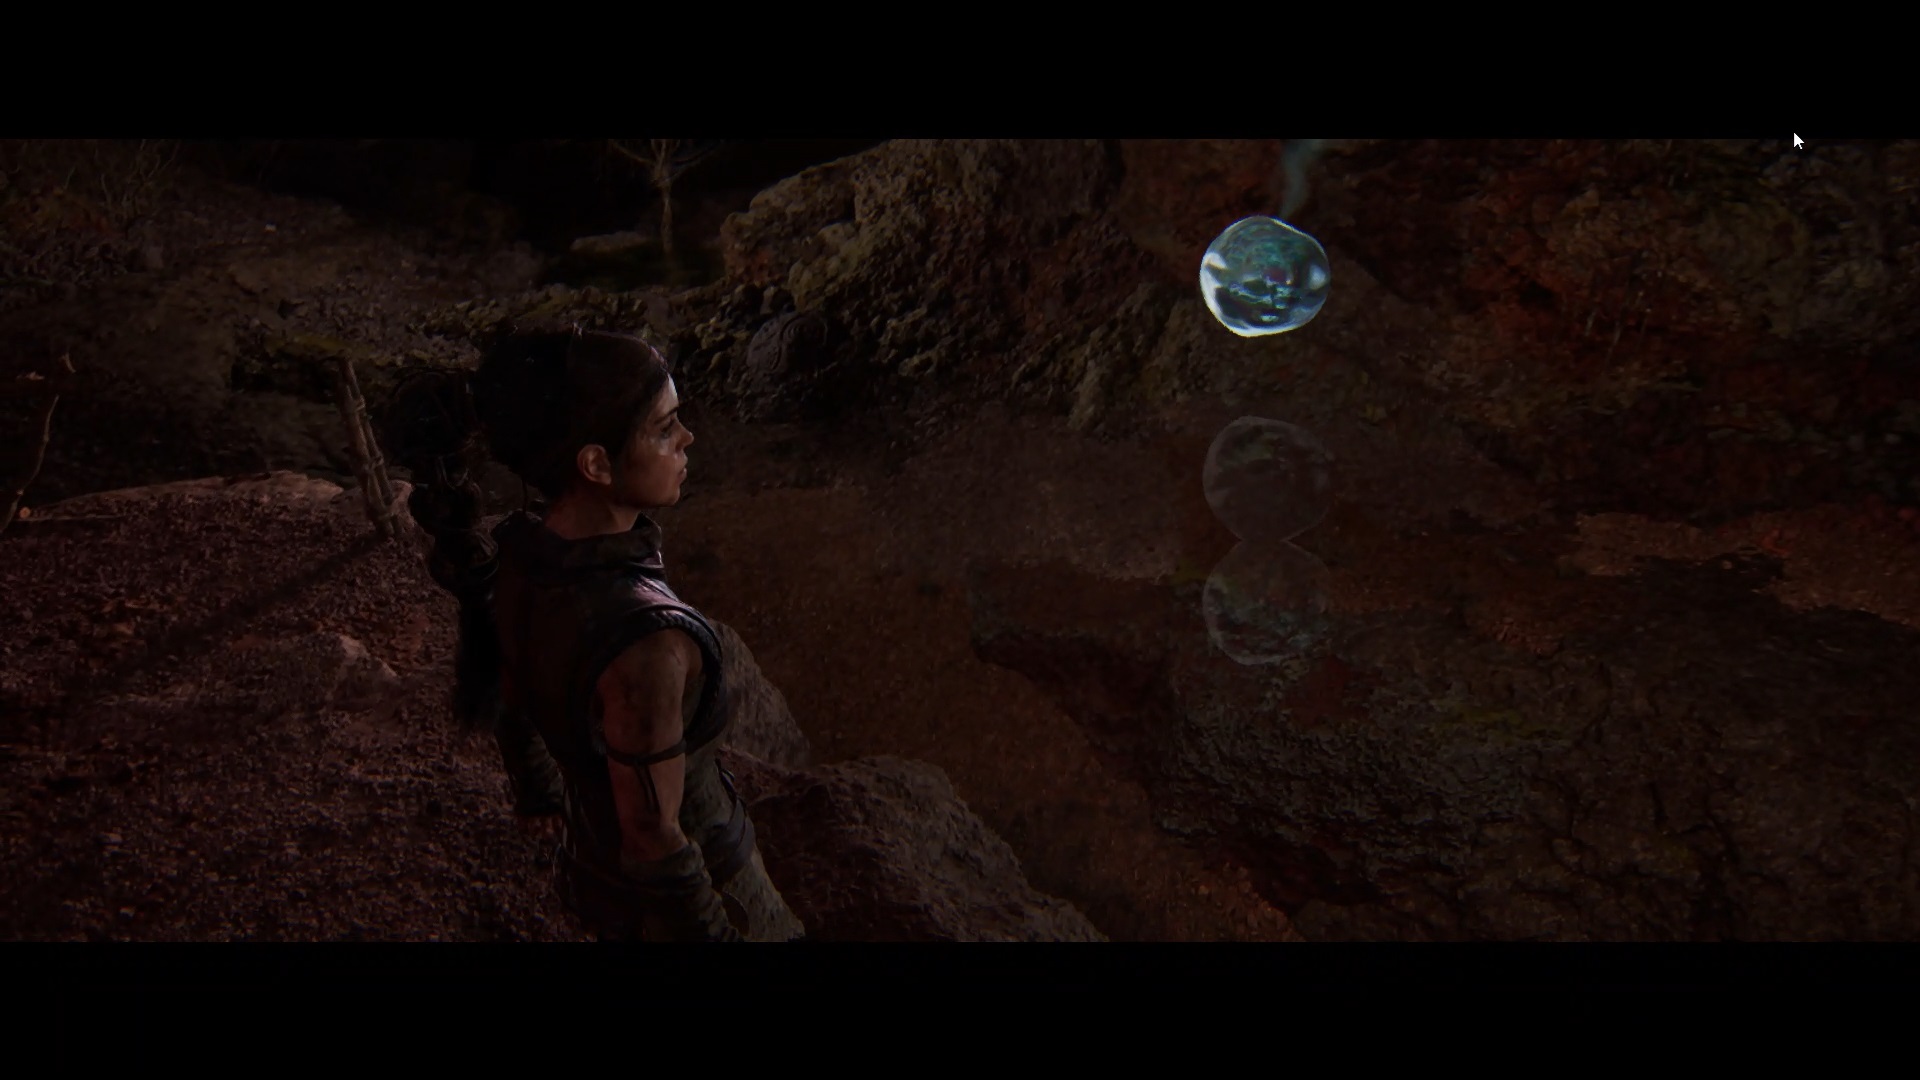
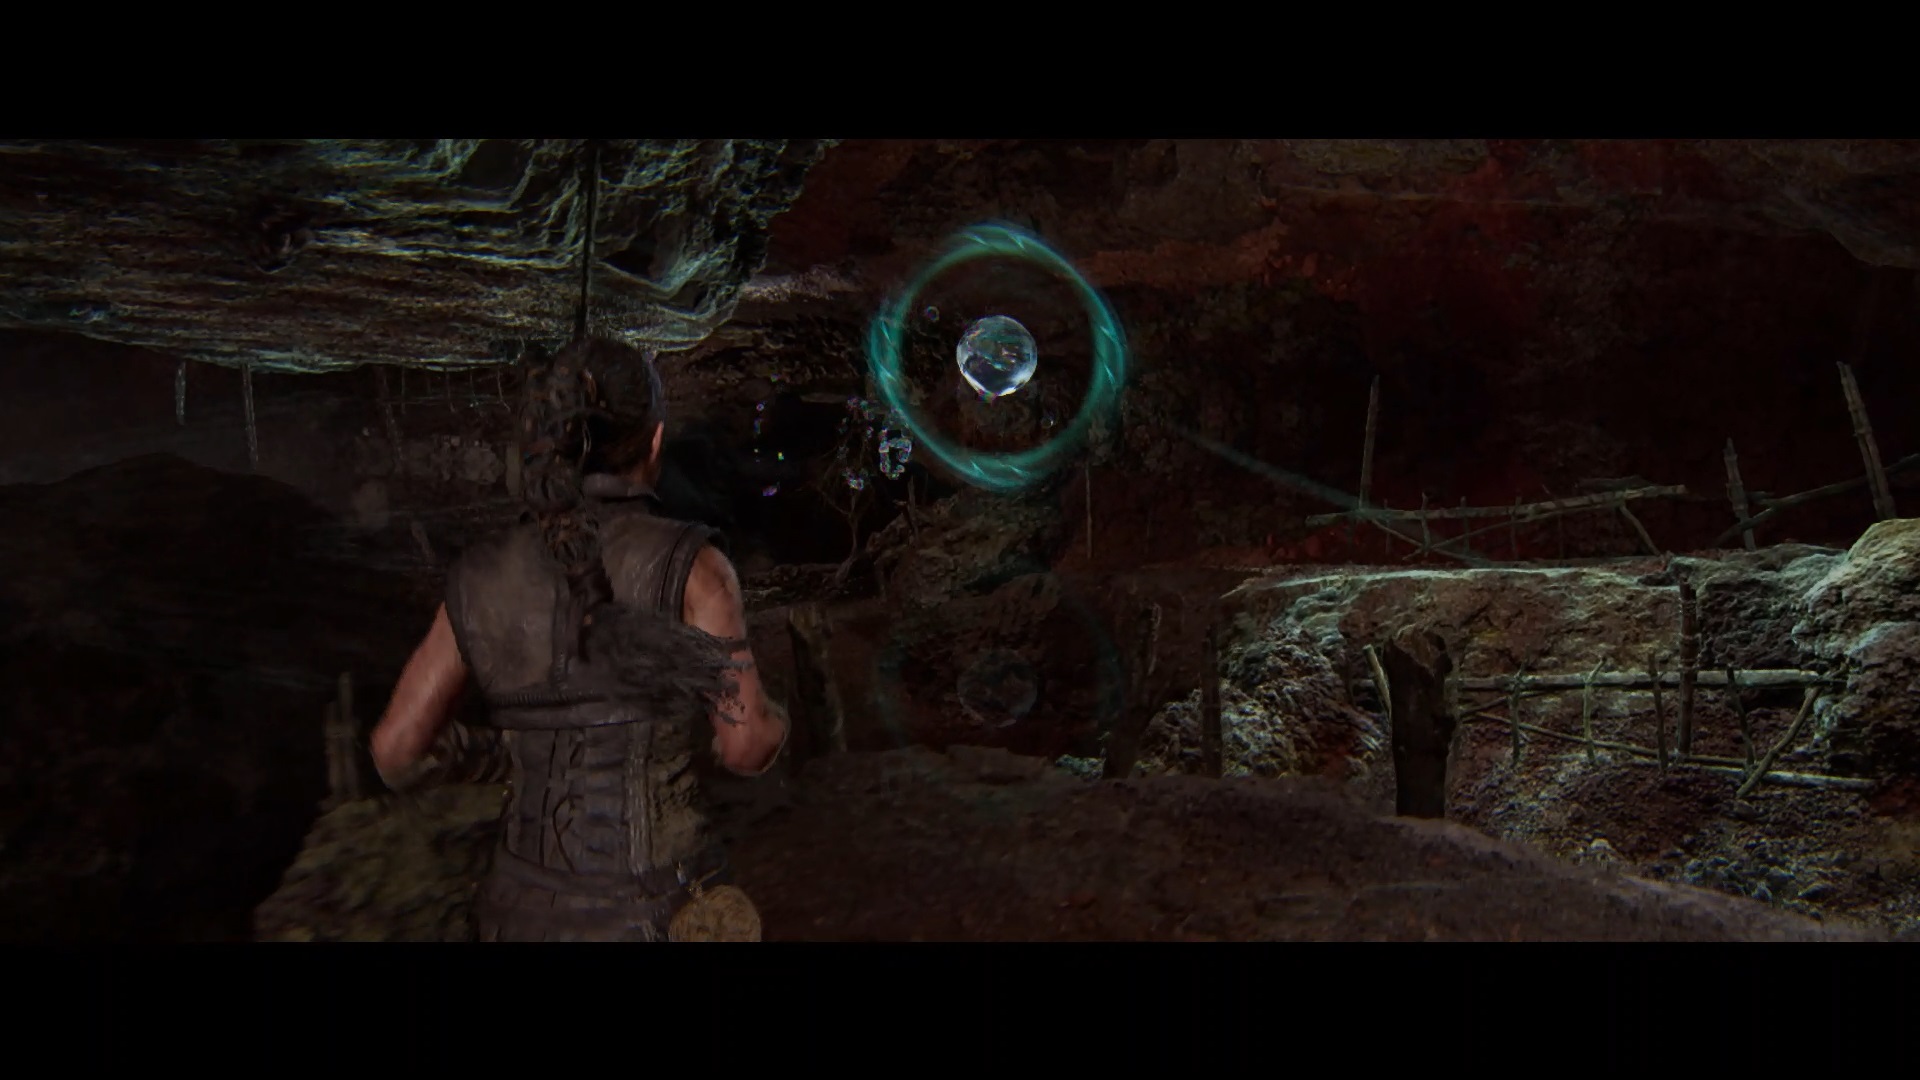
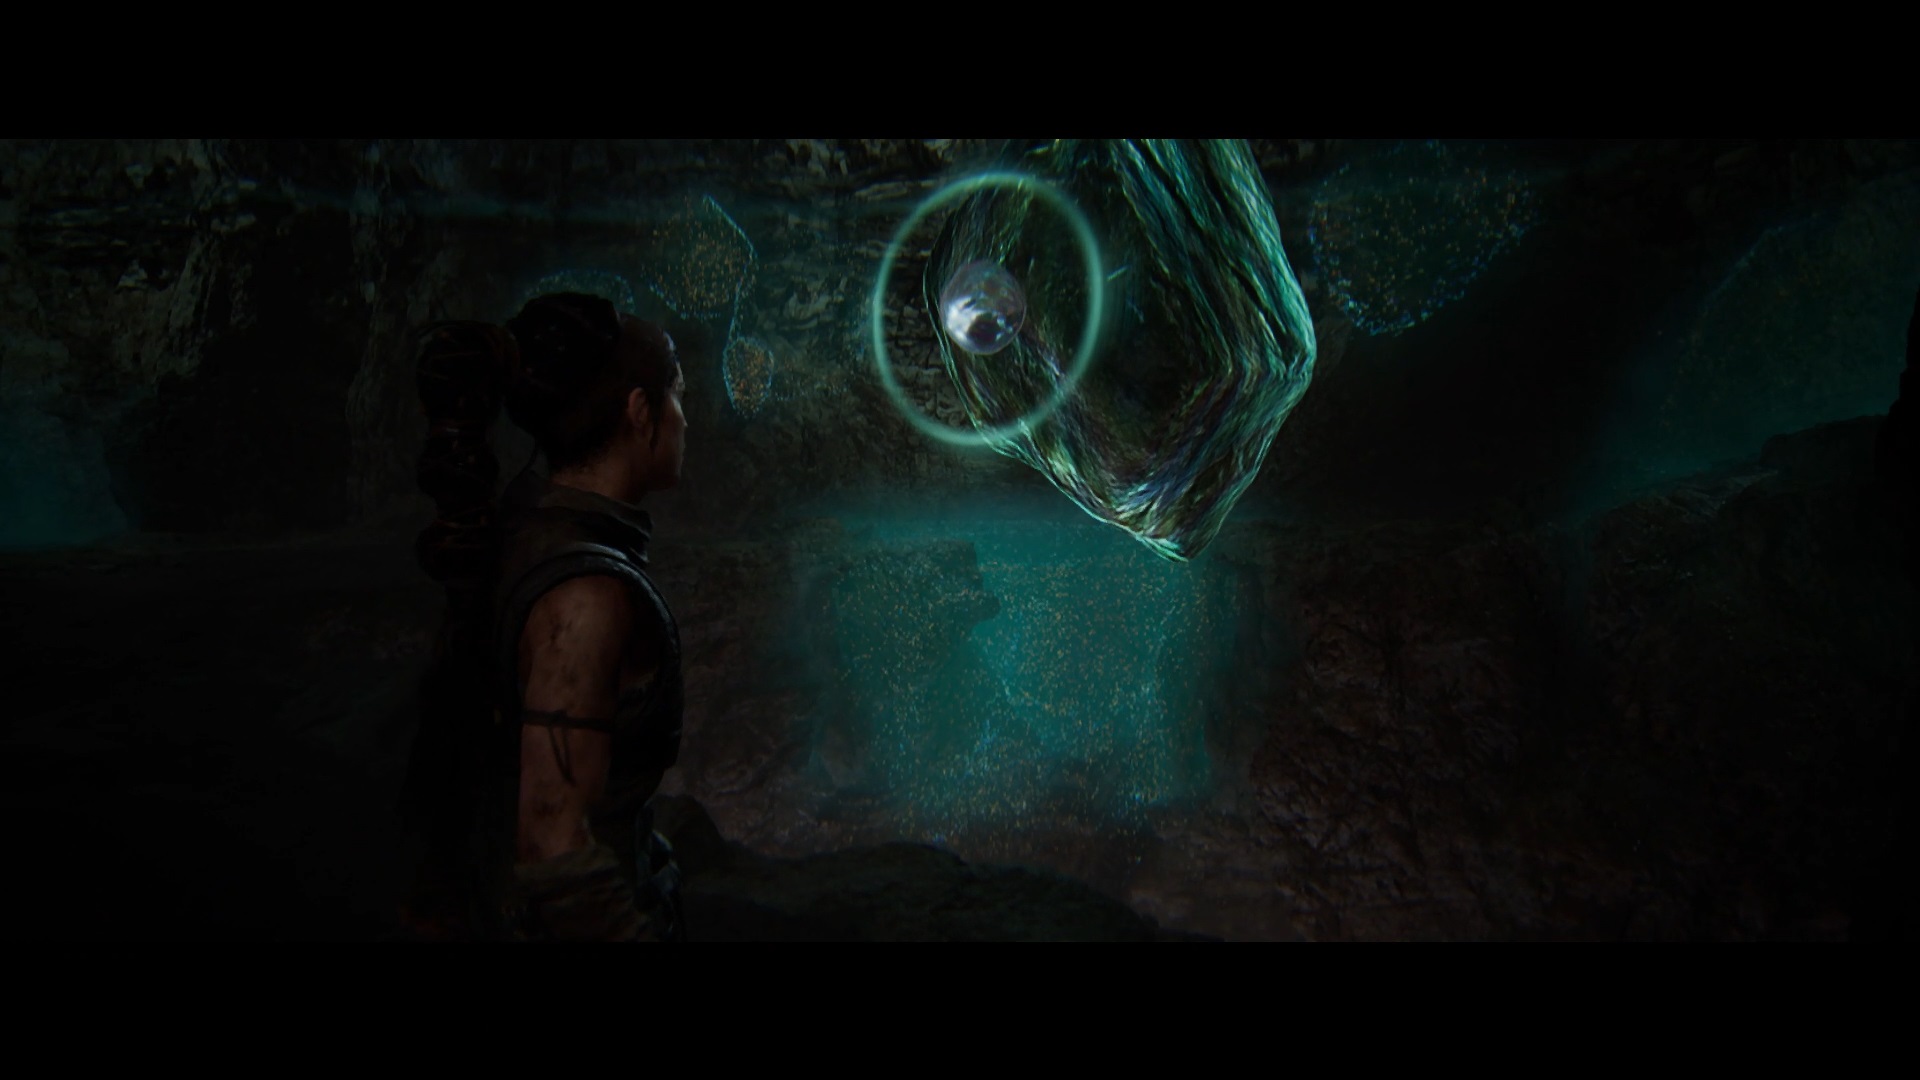
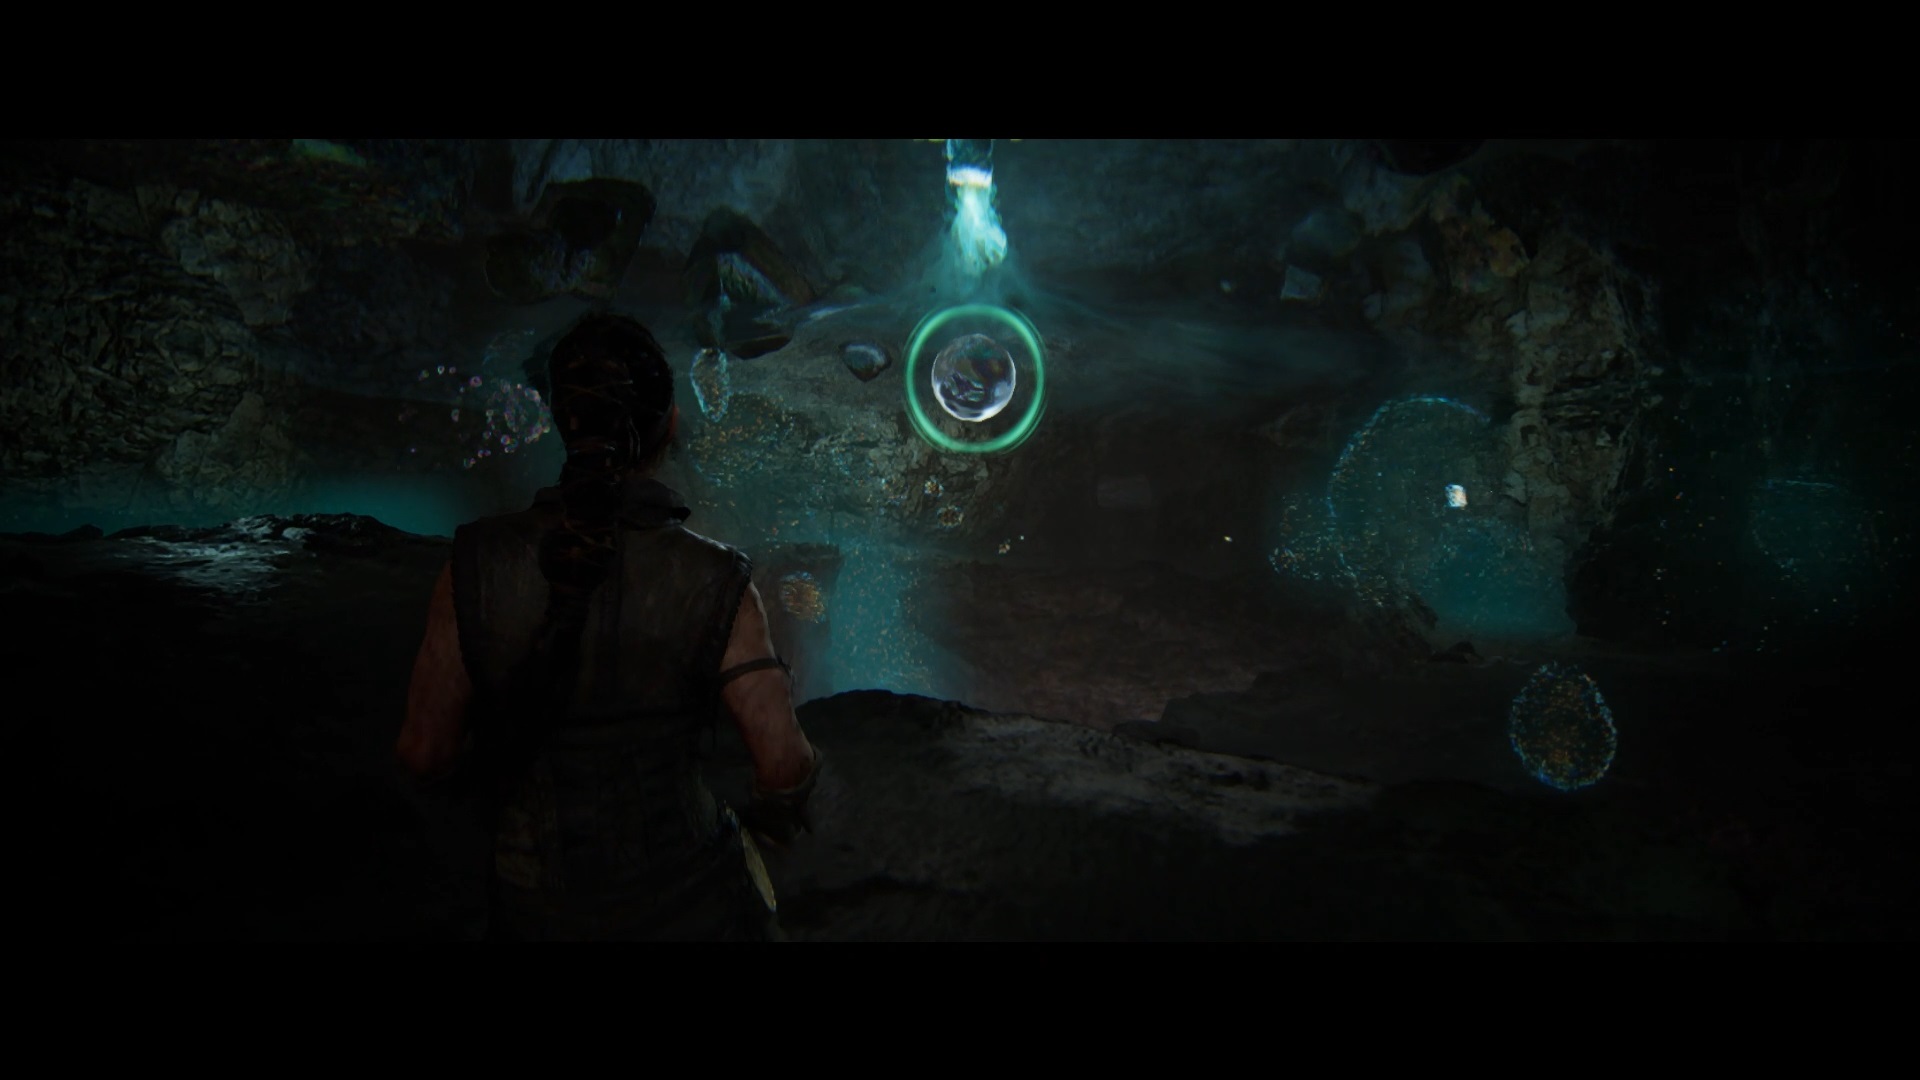
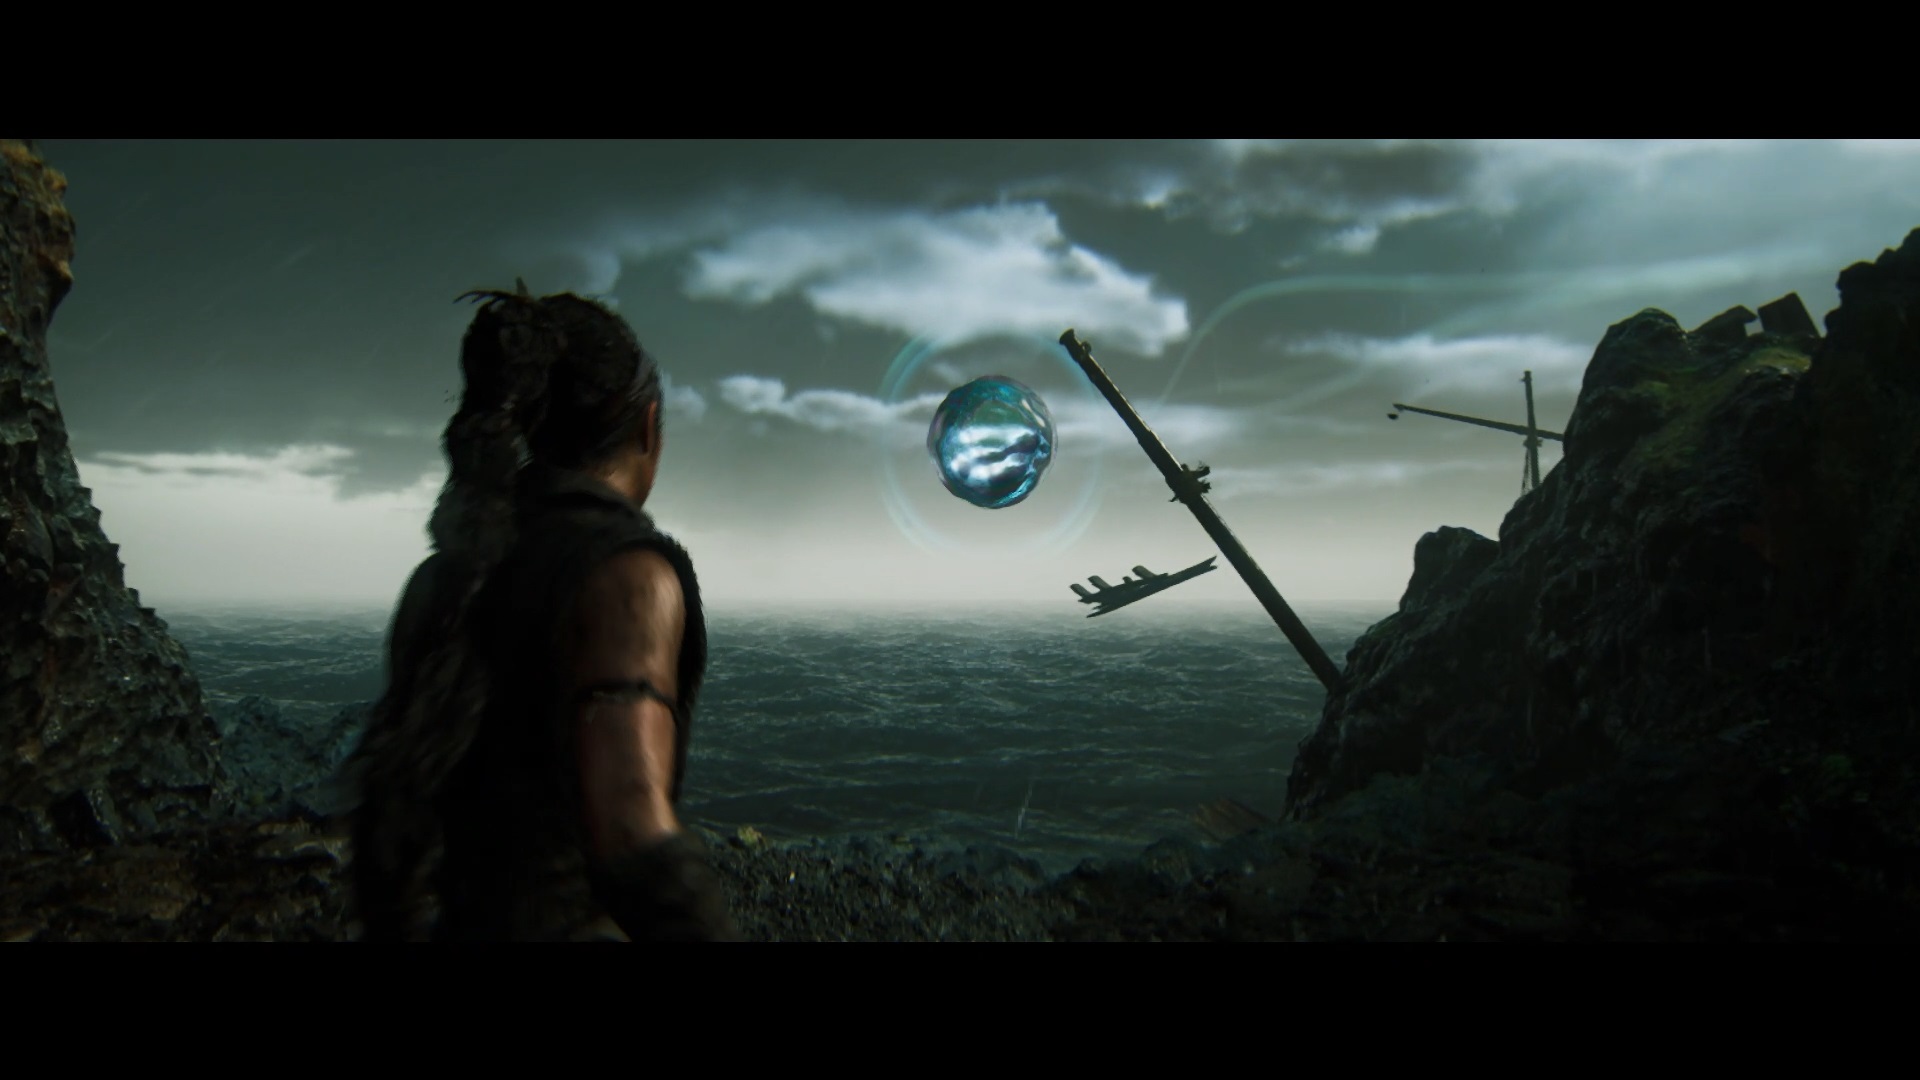
You unlock a new pillar for which you must find the orb. Follow the bubbles that have just appeared in the air. Focus on it to make a passage appear under the bubble. Go forward and climb the wall to reach the second orb. Go place the object in its receptacle to complete the challenge and unlock the path.

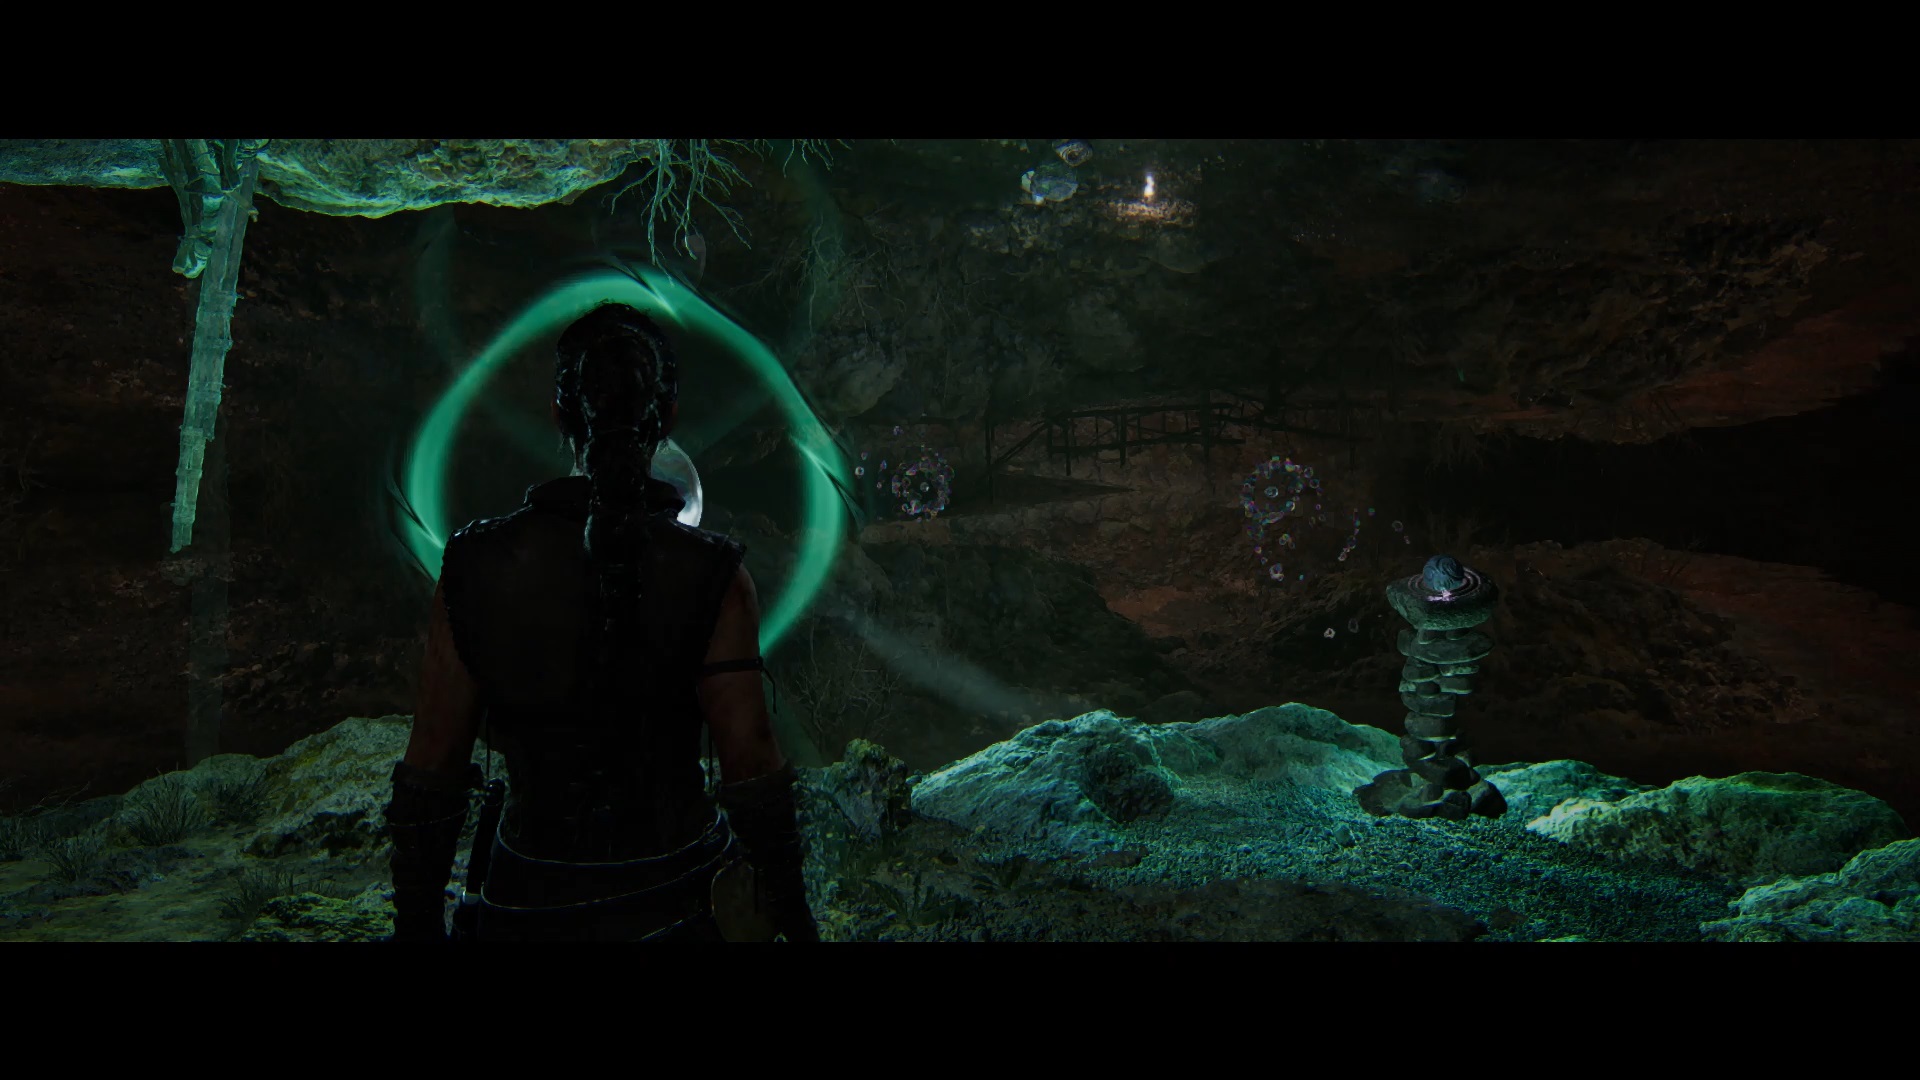
Continue your exploration, slip between the rocks on your way to reach a new challenge. The first orb to collect is on the mound near the pillar. Once placed in the pillar, follow the bubbles in front of the pillar up high. Focus on it to create a stone staircase. Go up to the level of the bubble and focus on it again to make an orb appear.


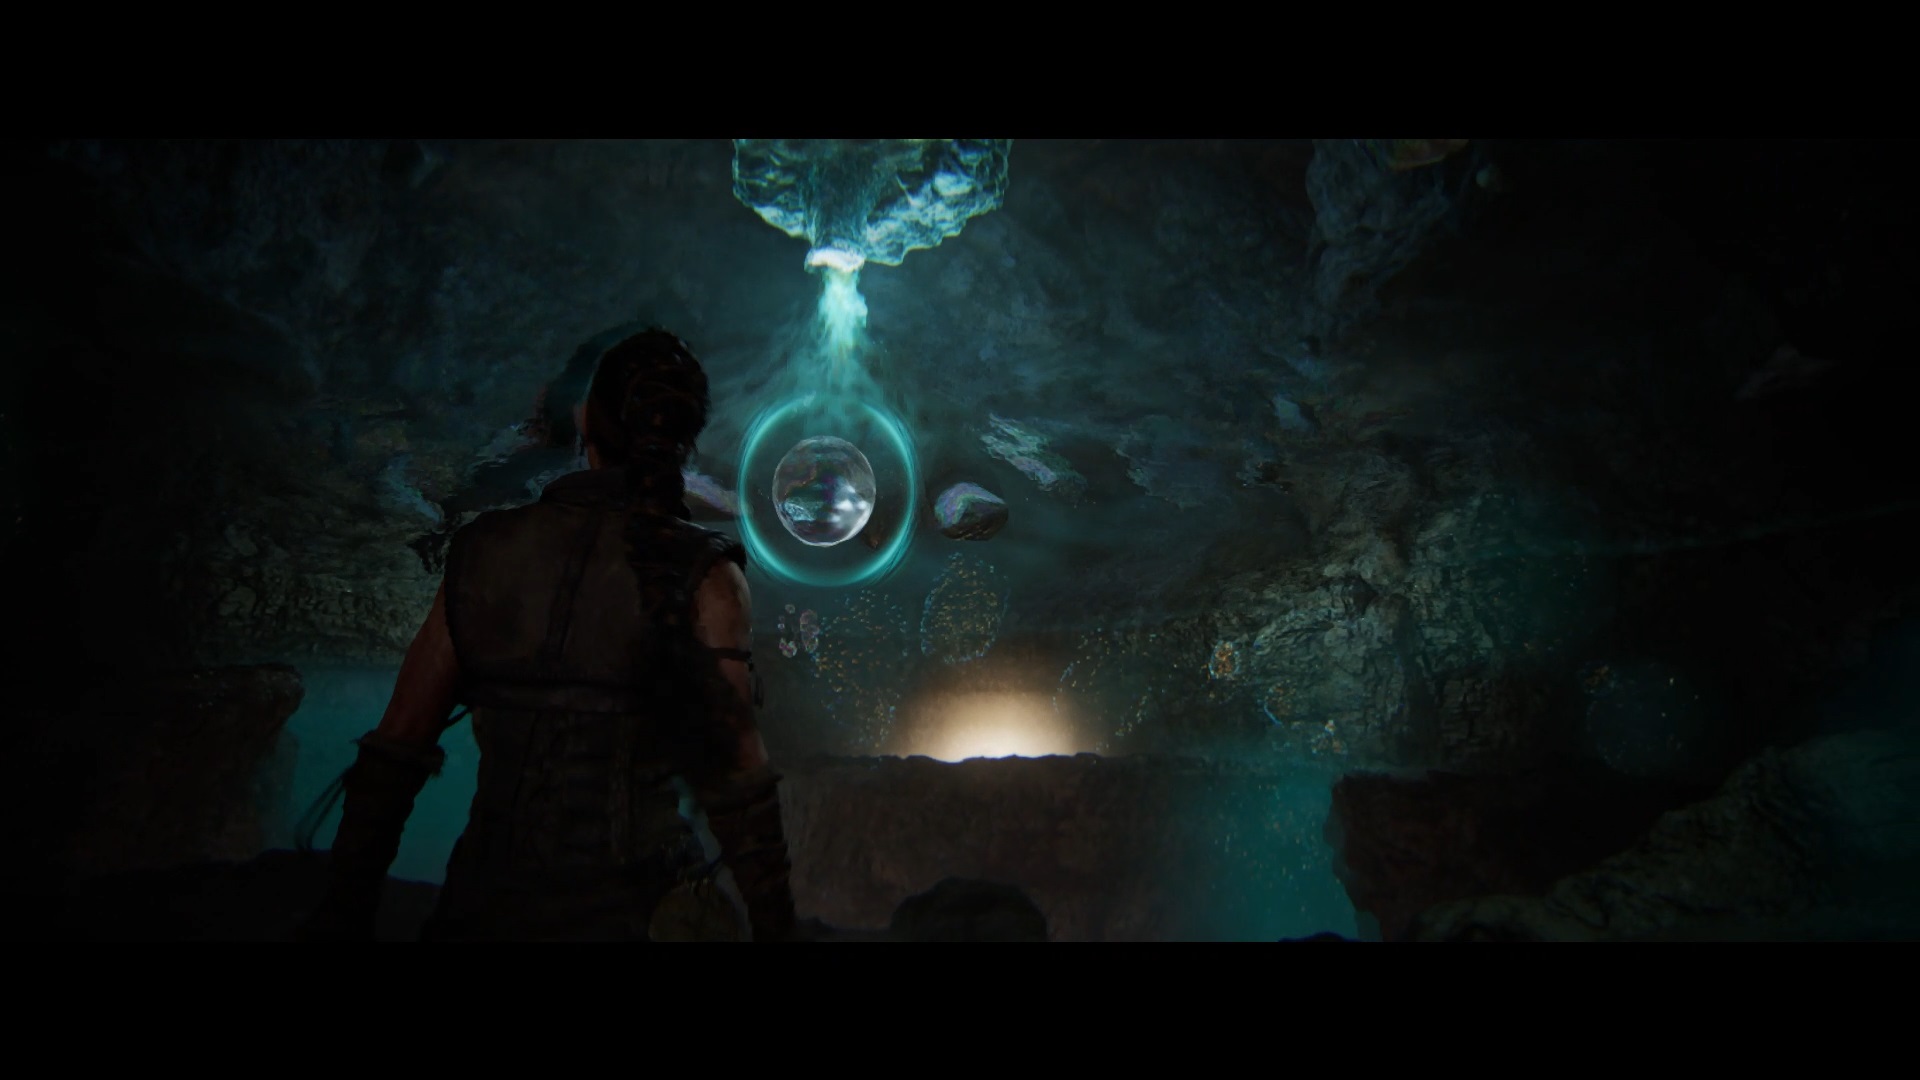
Go back down and place the orb in the pillar. Focus on the bubble to make the rock staircase appear and reach the pillar. You are missing one last orb. Head towards the bubbles on the side where the last pillar just came out. Focus on the bubbles to create a path up high.
Go to the right to climb the path you just made appear. At the end of the path, you will find a new cluster of bubbles. Focus on it to make an orb appear at the bottom of your position. Go back down to the central pillar and interact again with the bubble that created the path up for you. You can now access the orb you just spawned. Go place the orb in the pillar to complete this test.
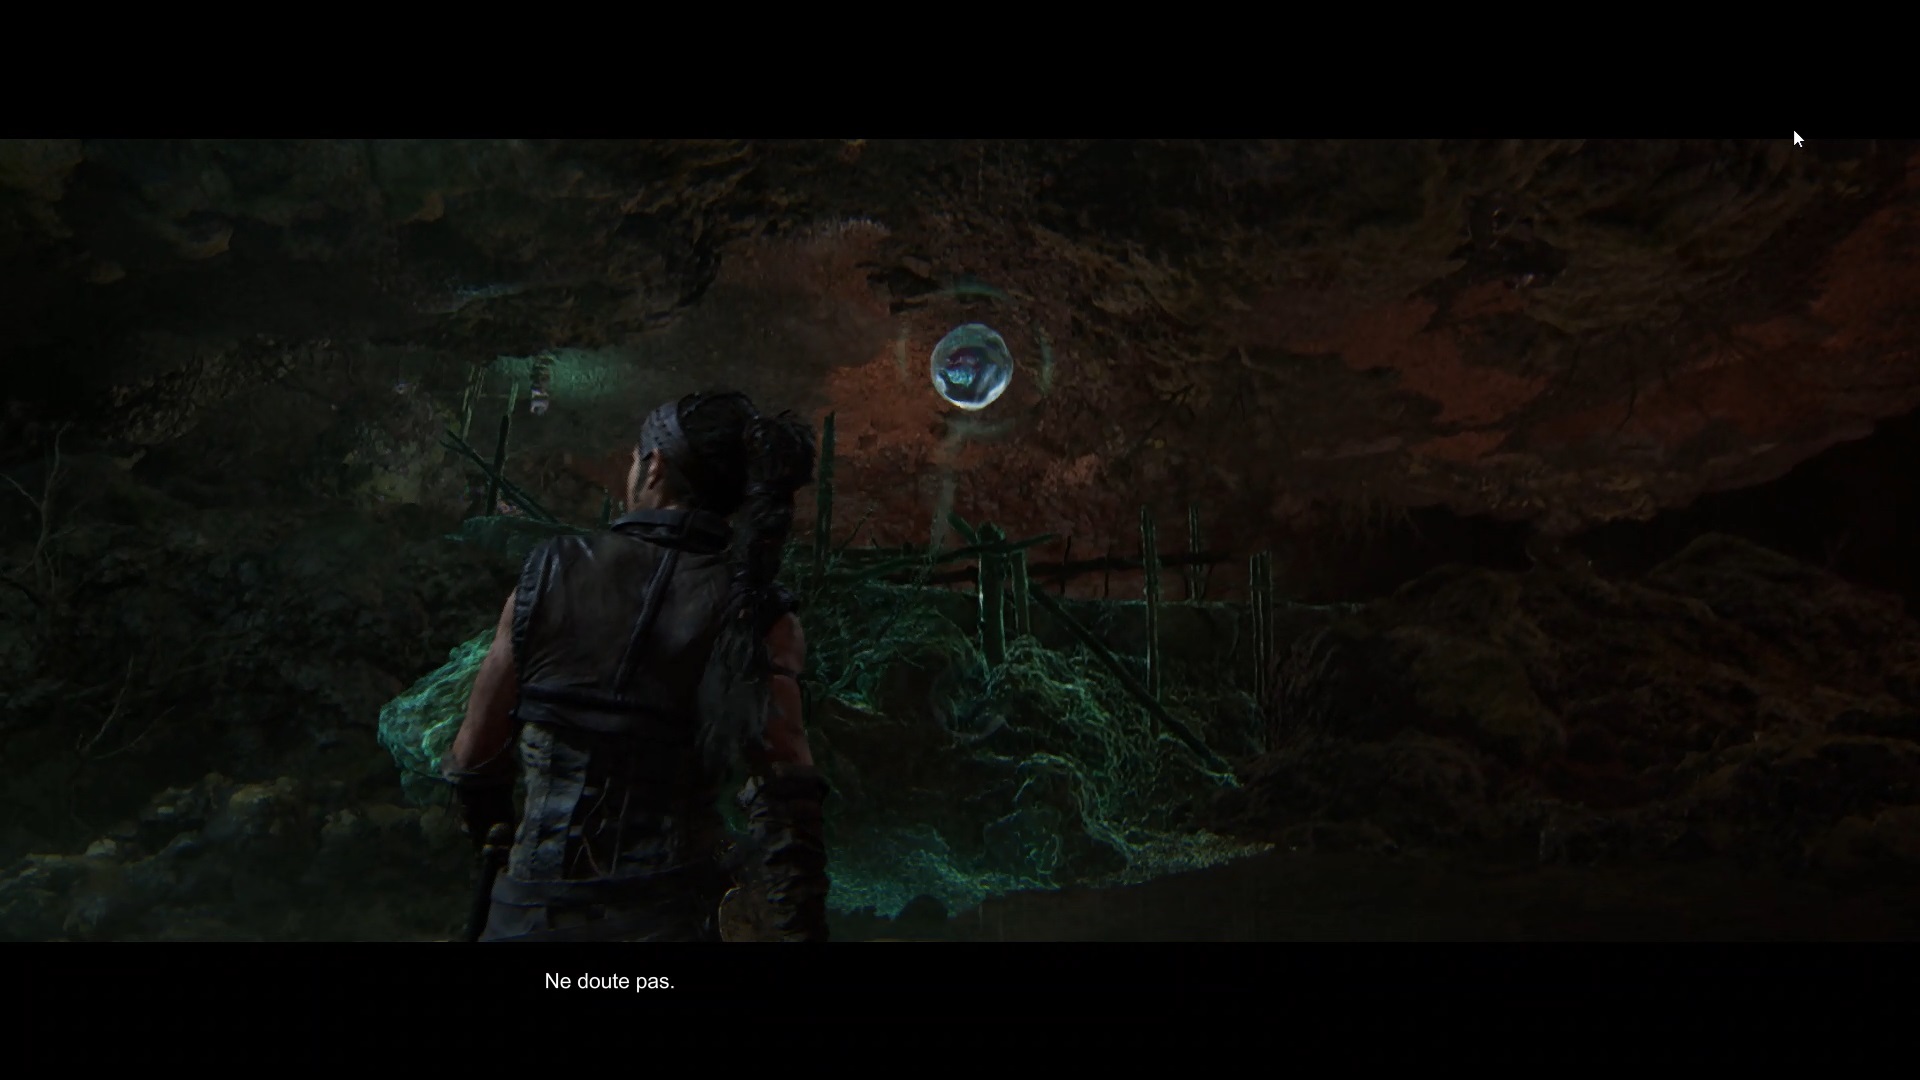
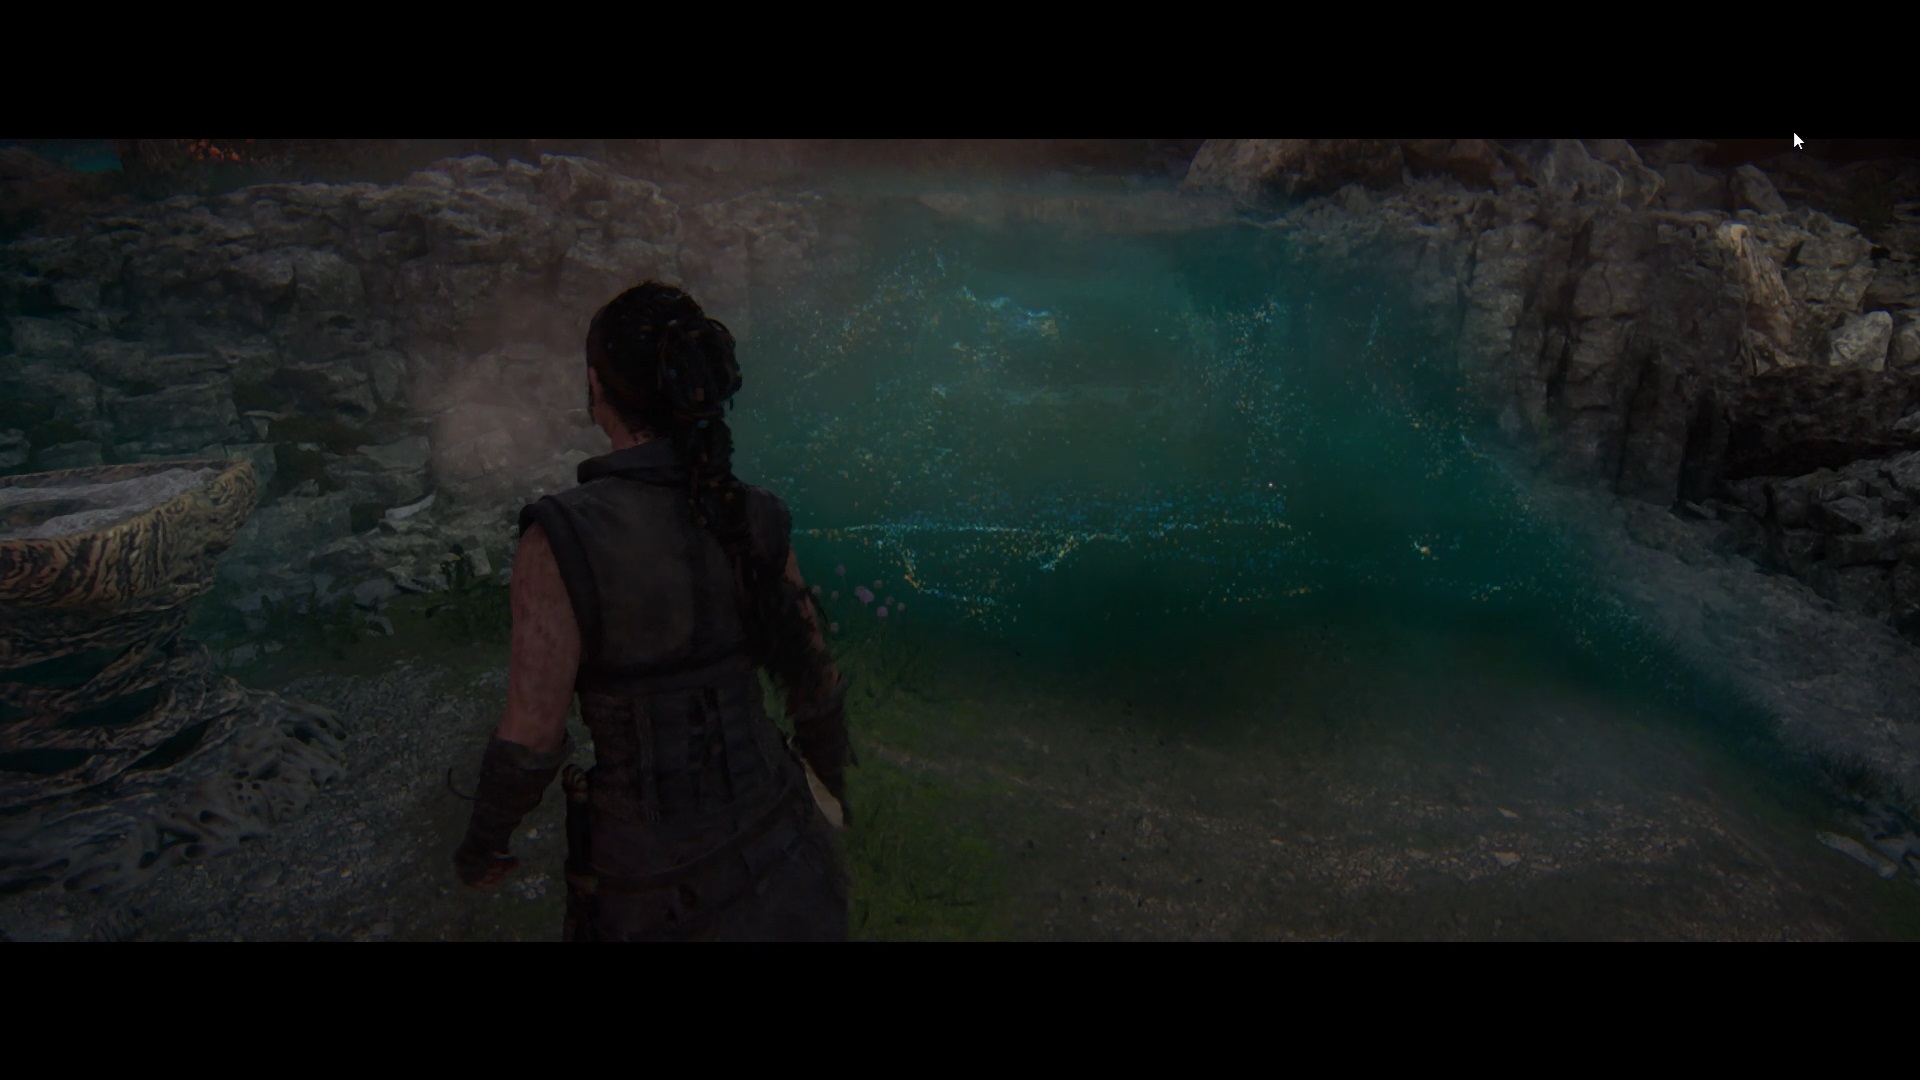
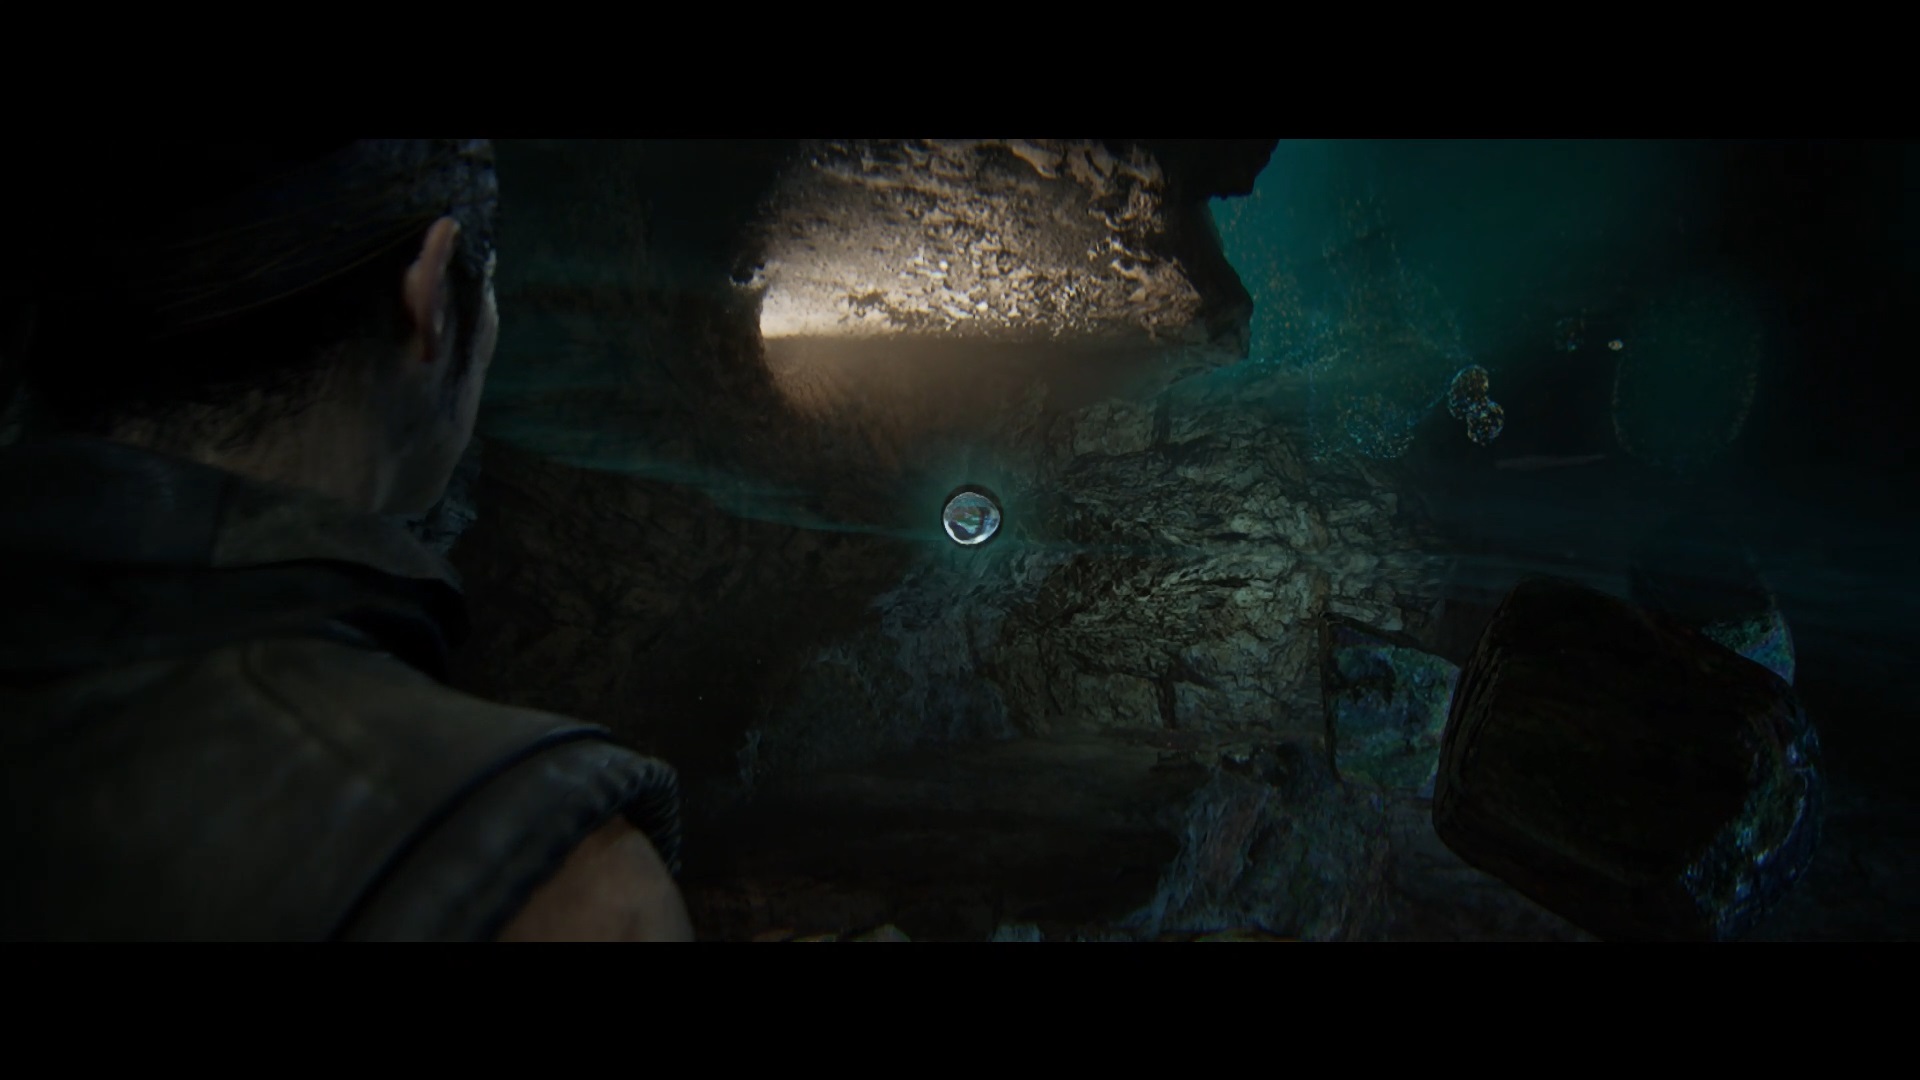
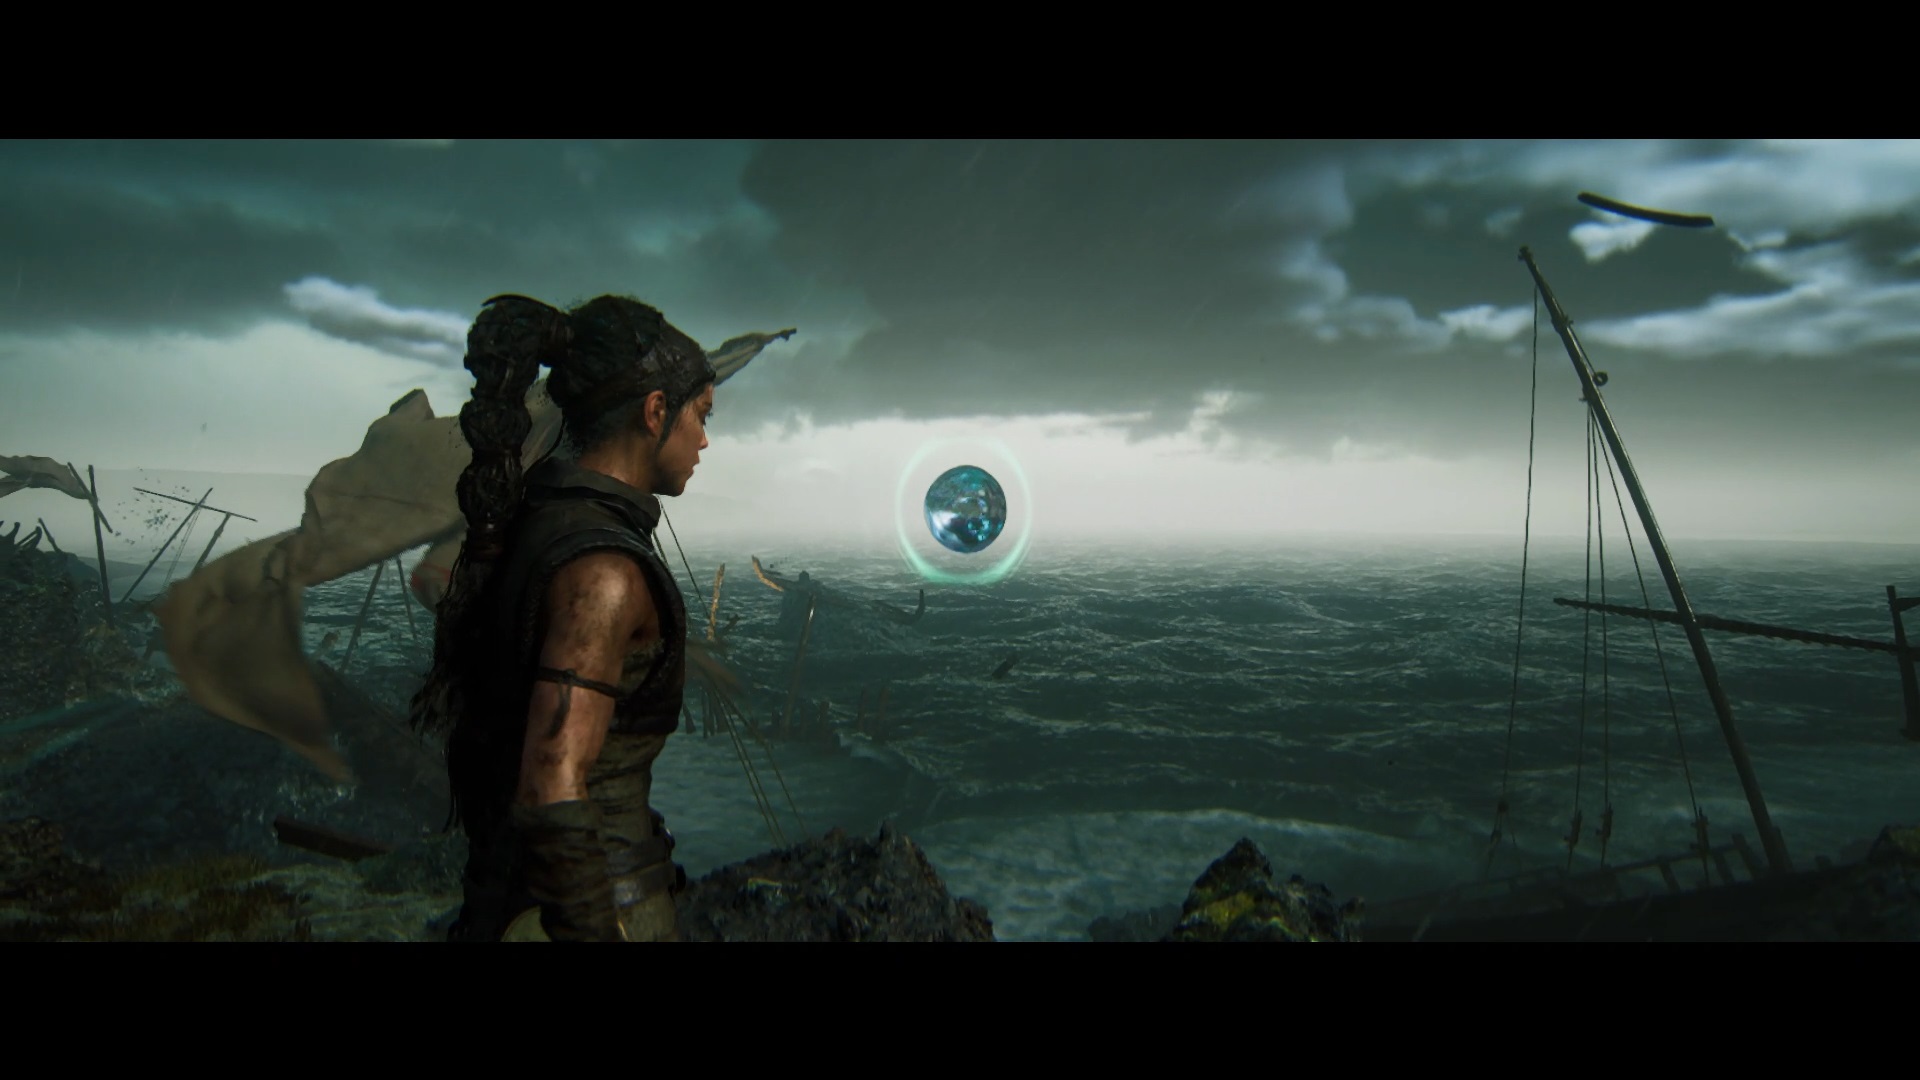
Once back in the real world, continue exploring to reach a lake with a third trial. The first orb is located at the edge of the lake high up. Return to the pillar to place the orb. Then follow the bubbles that have just appeared in front of you. Focus on the bubbles to make a path appear on the right leading you to an orb.
For the last orb, interact again with the bubble that allowed you to reach the second orb. Focus on it to make the last orb appear high up. To reach it, head to the left.
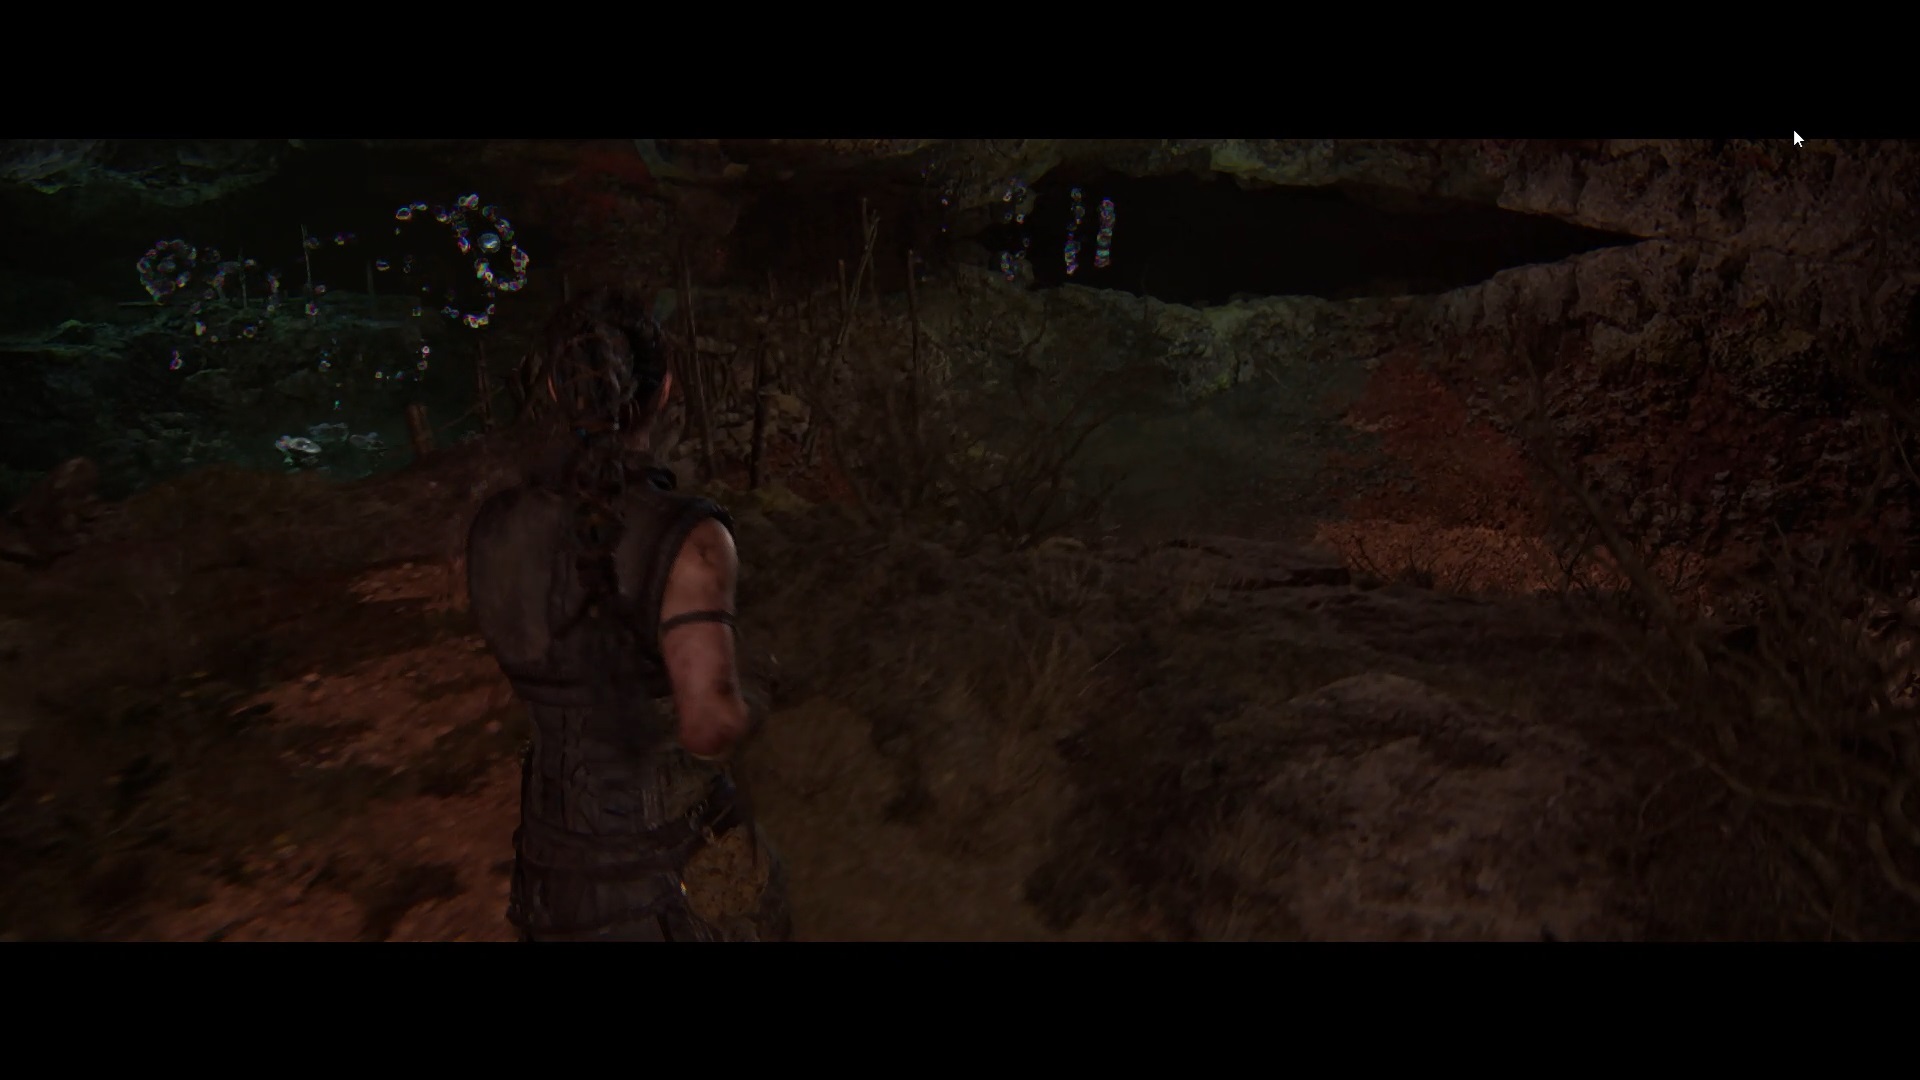
Climb onto the earthen mound and interact with the bubbles nearby. This allows you to create a path on the left. At the end of the path, focus on the bubbles to unlock a passage at the bottom of the area. After this action, you are attacked. Defeat the enemies and go back down to the bottom of the area to the passage you unlocked. To advance on this path, you must also unblock the passage by interacting with the bubbles near the mound of earth.
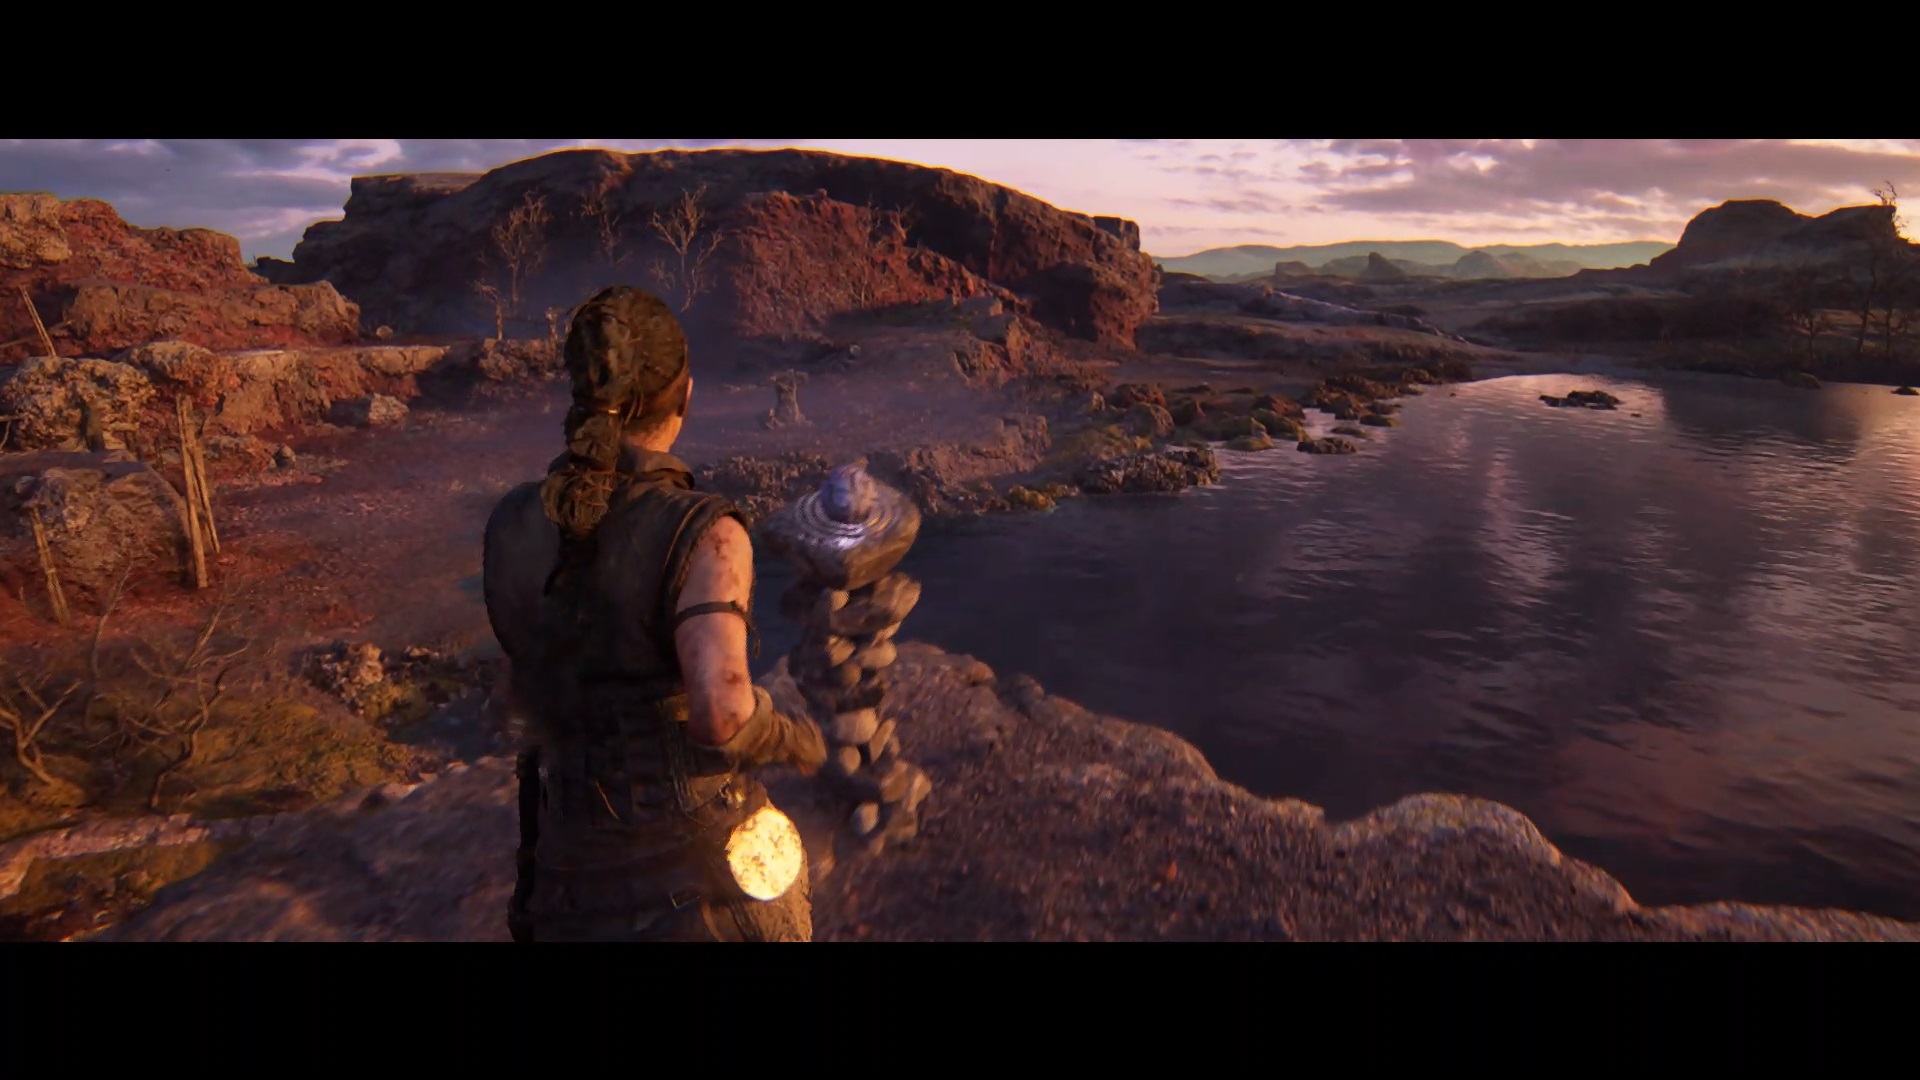
Once unlocked, move forward to reach the last orb. Place it in the pillar to end the chapter.
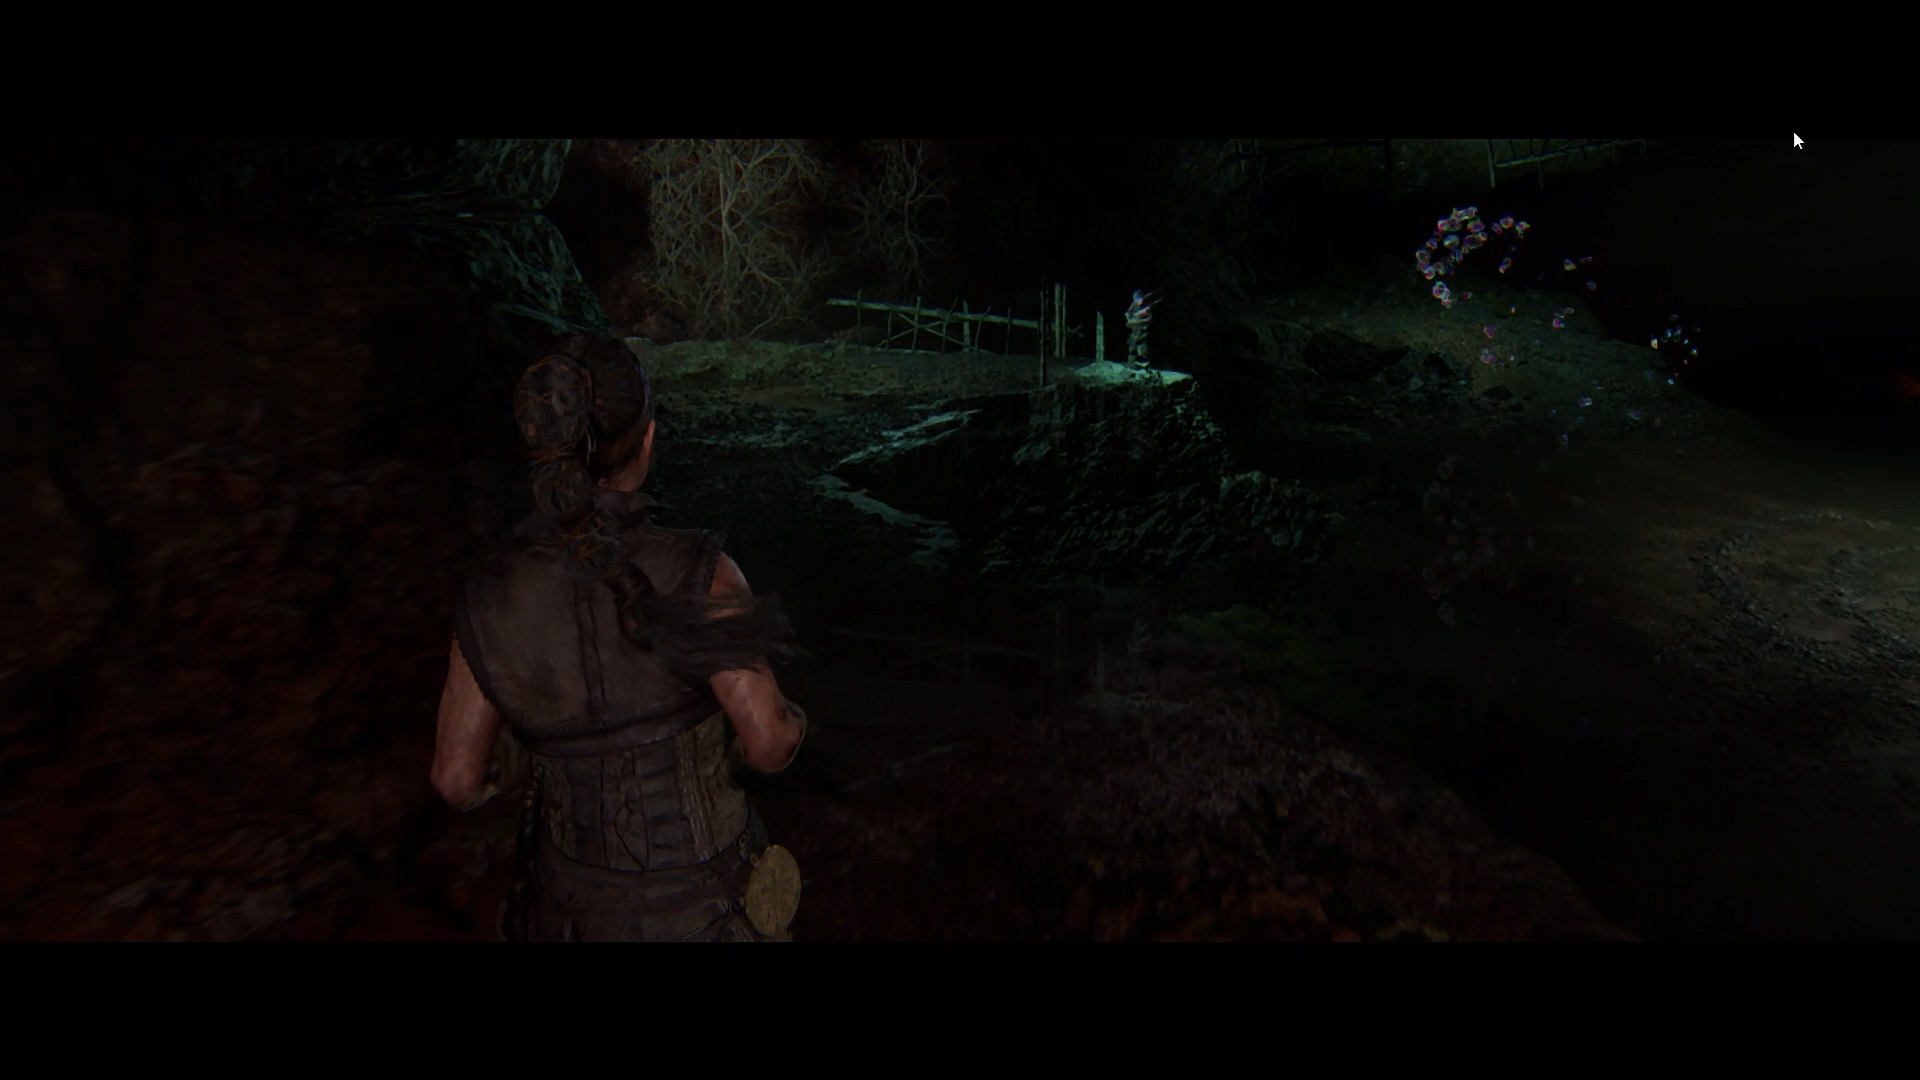
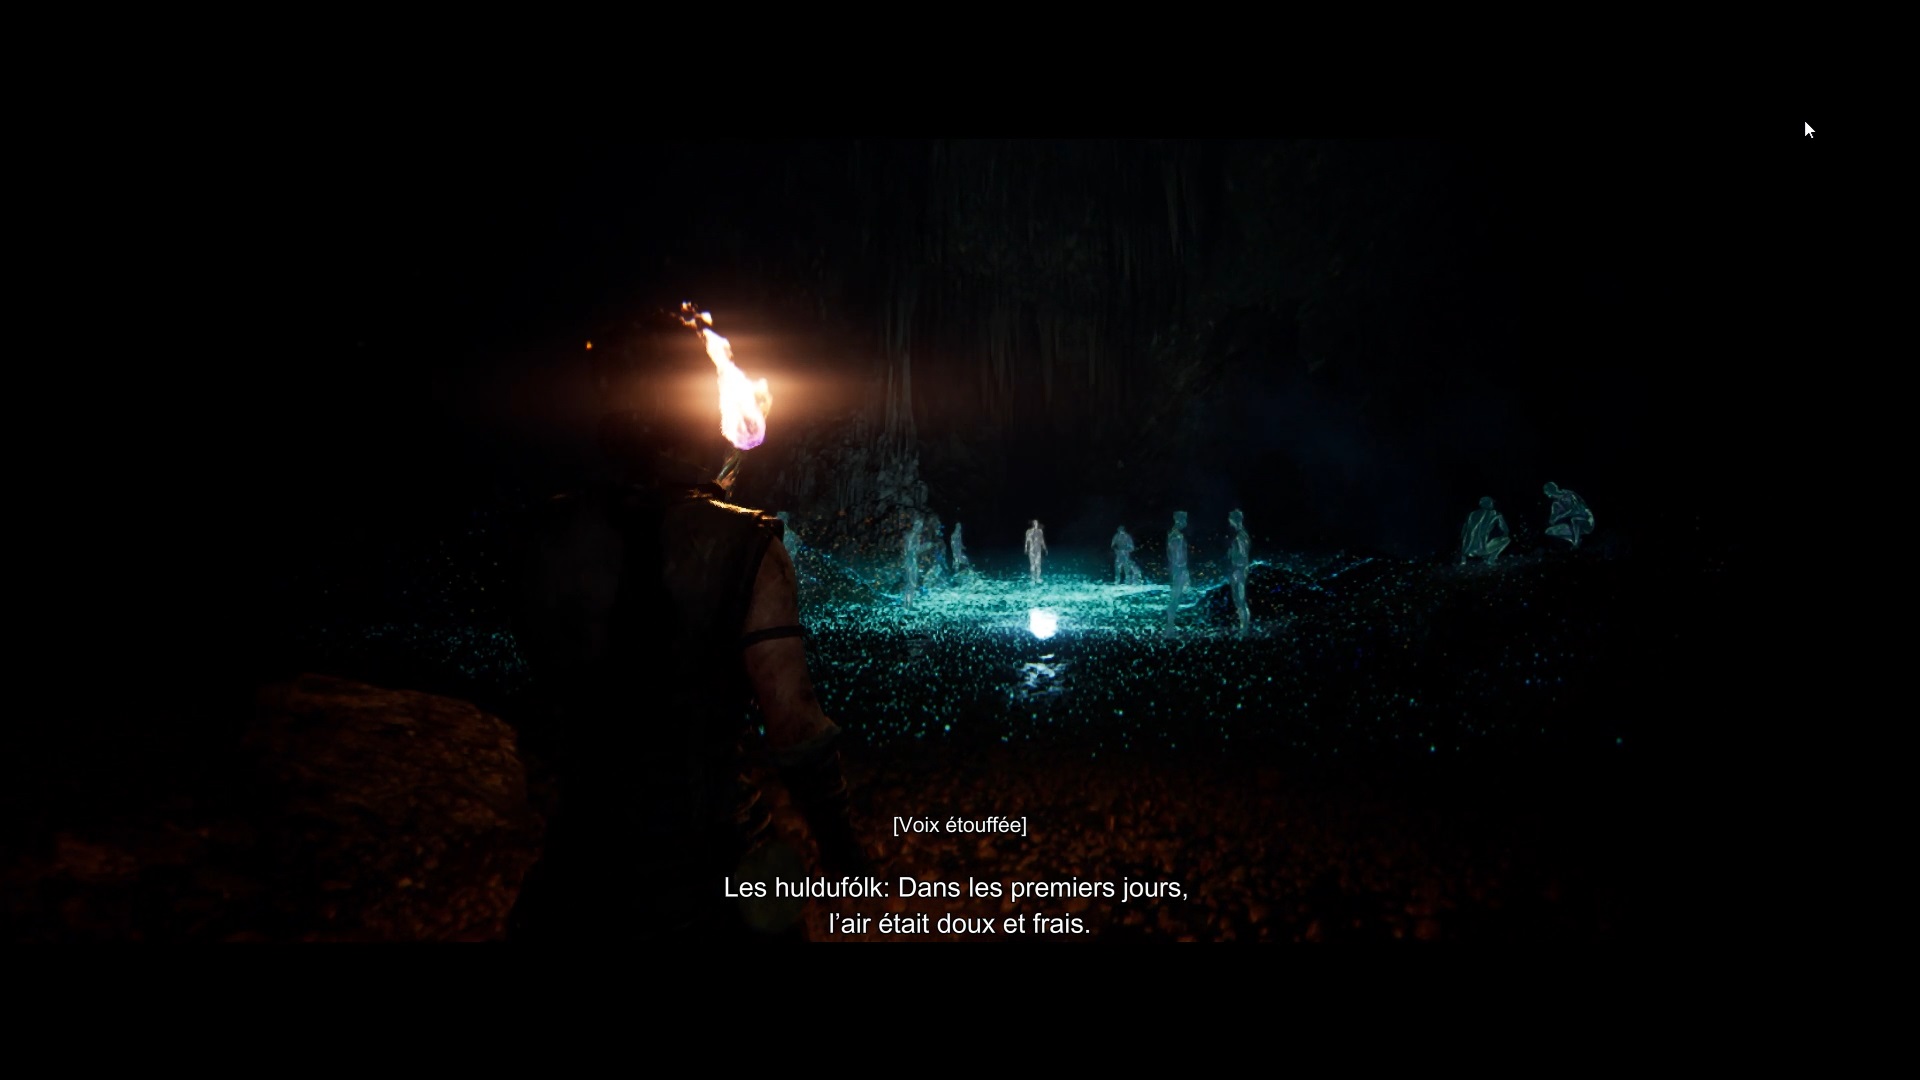
Chapter 4 : Huldufolk
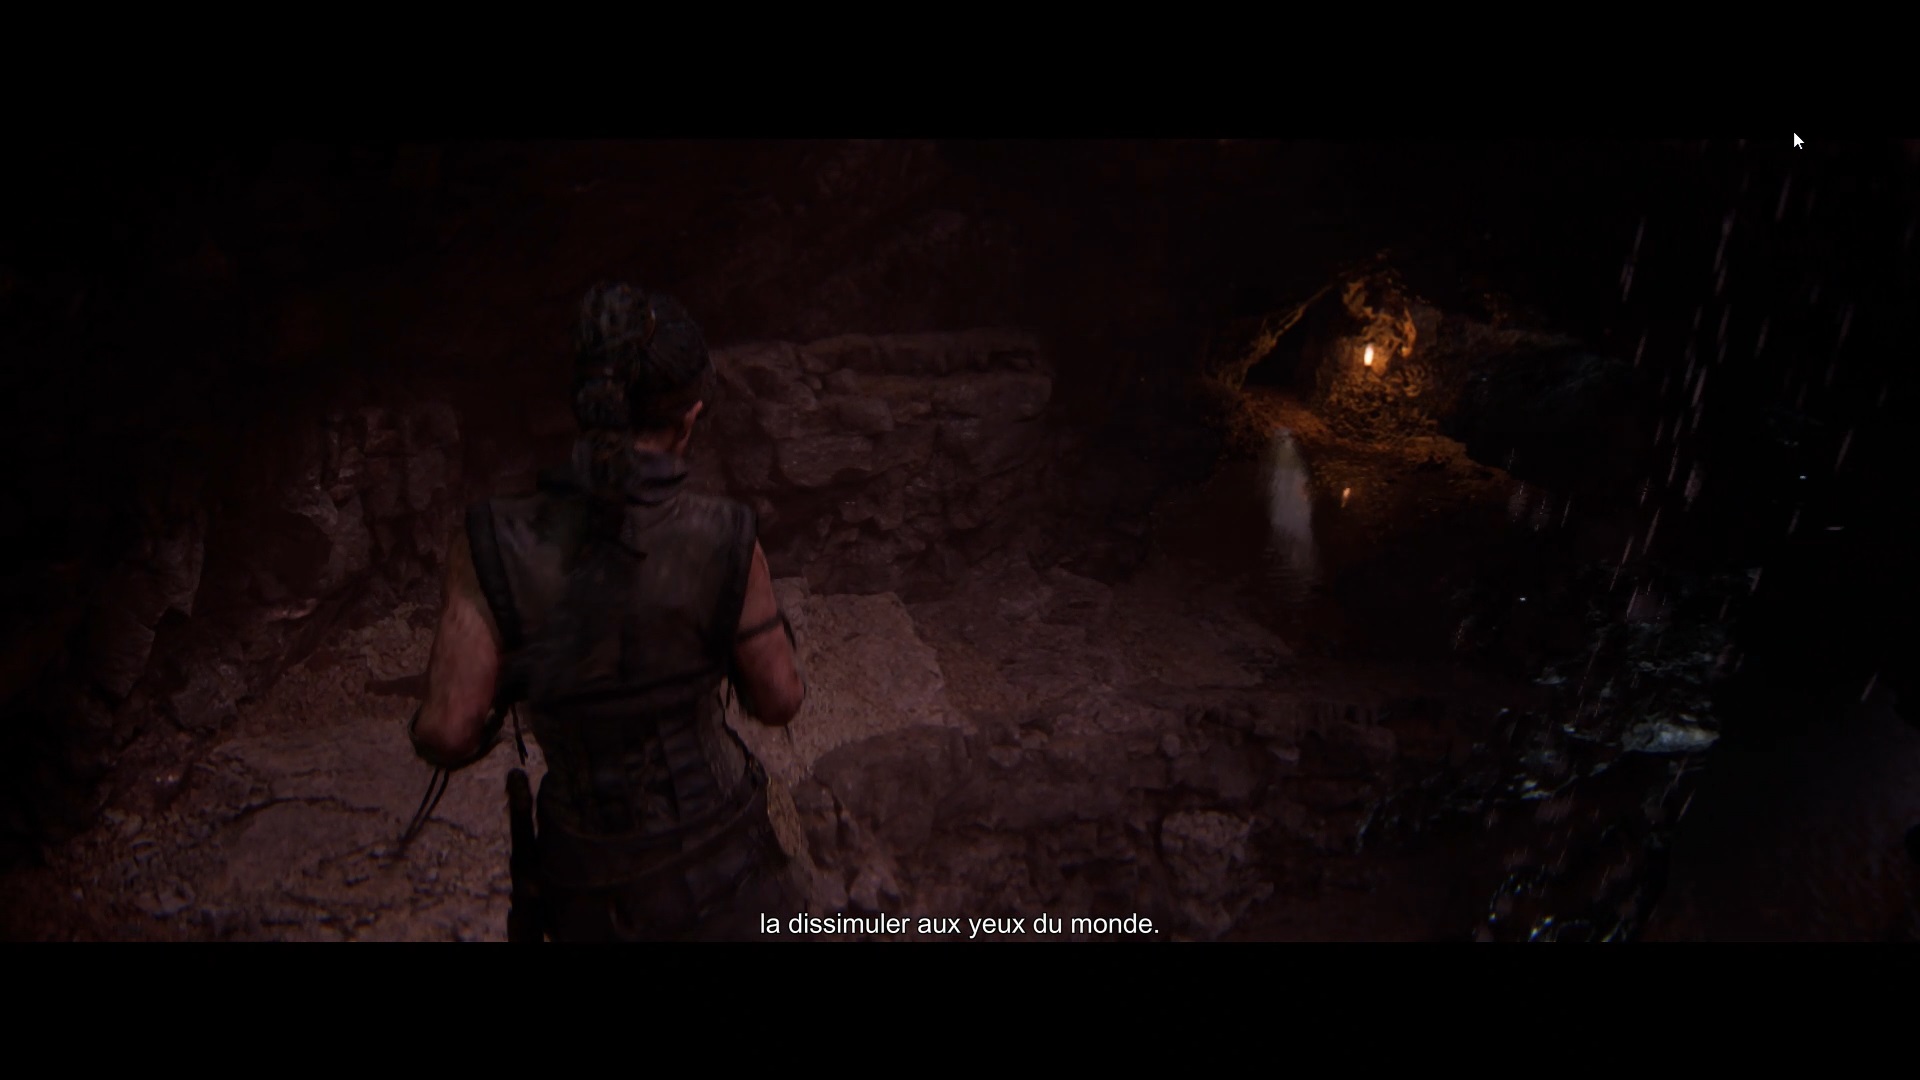
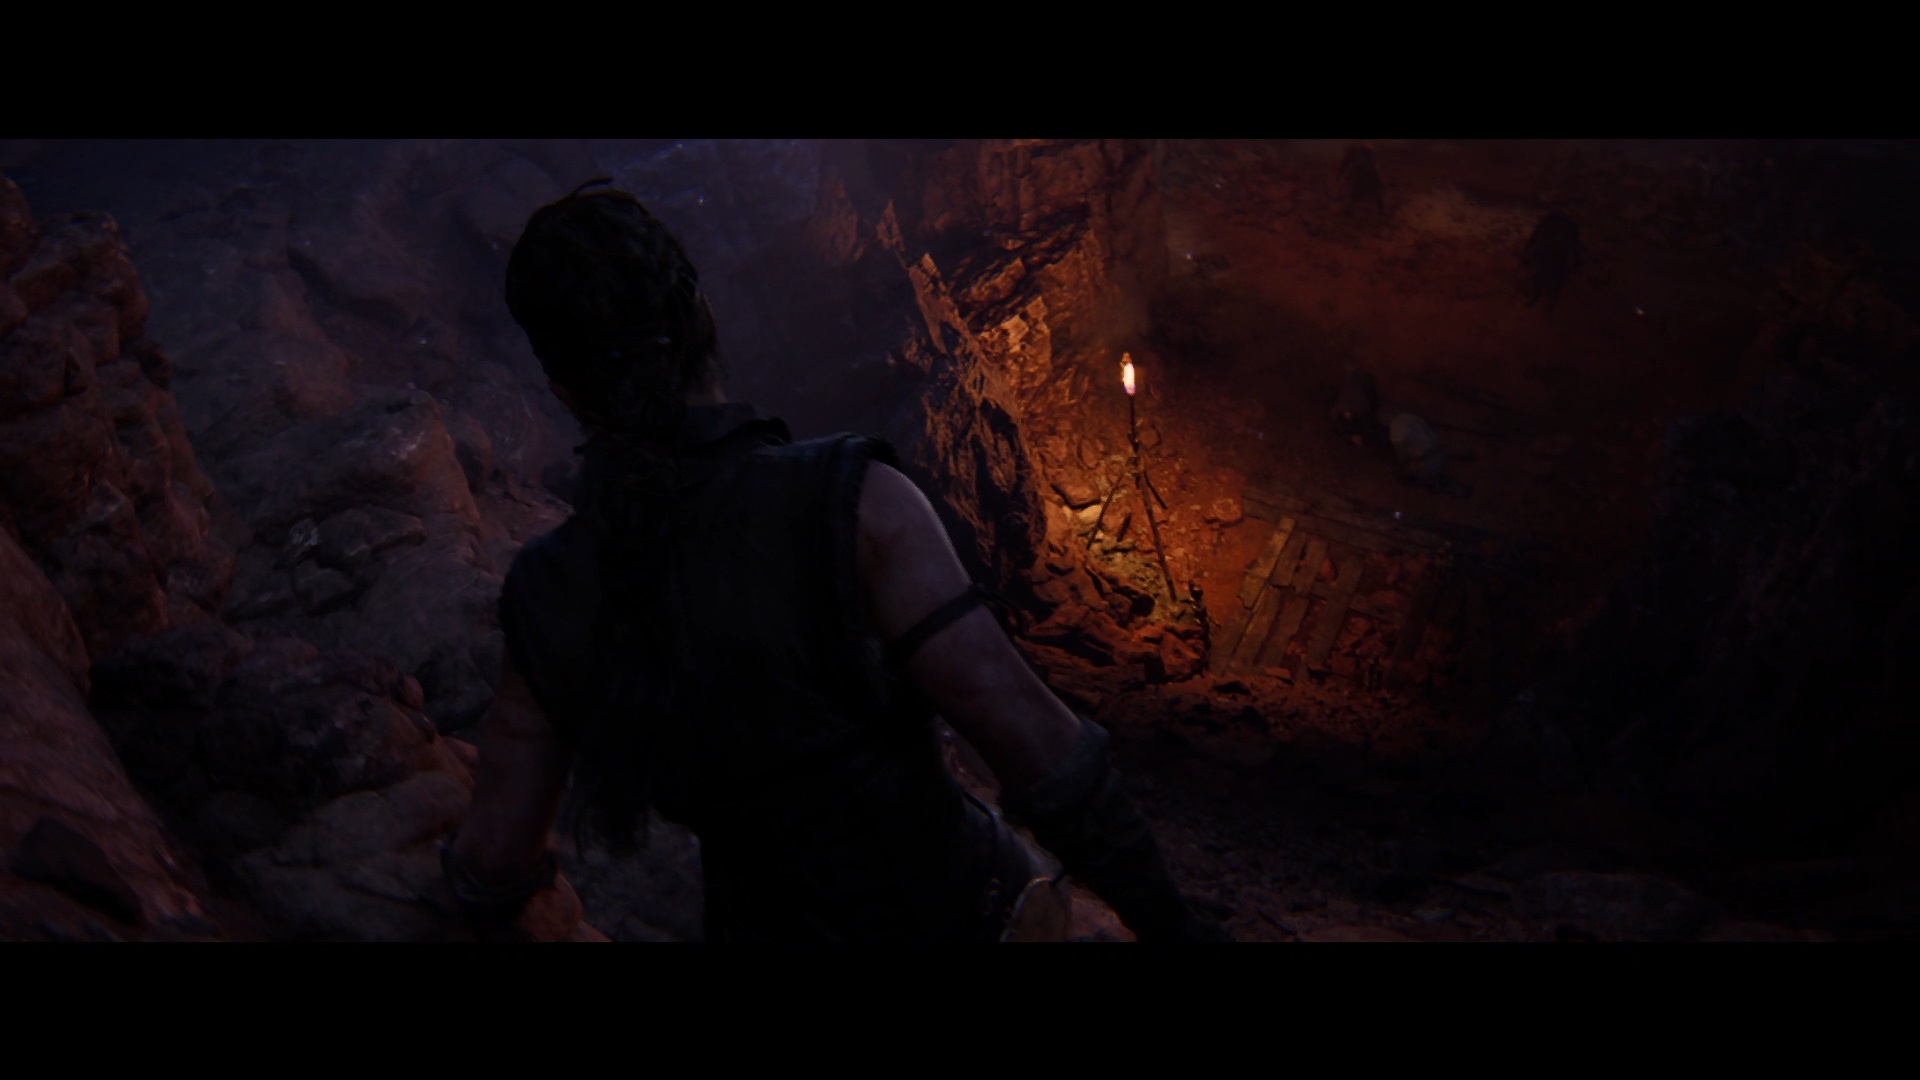
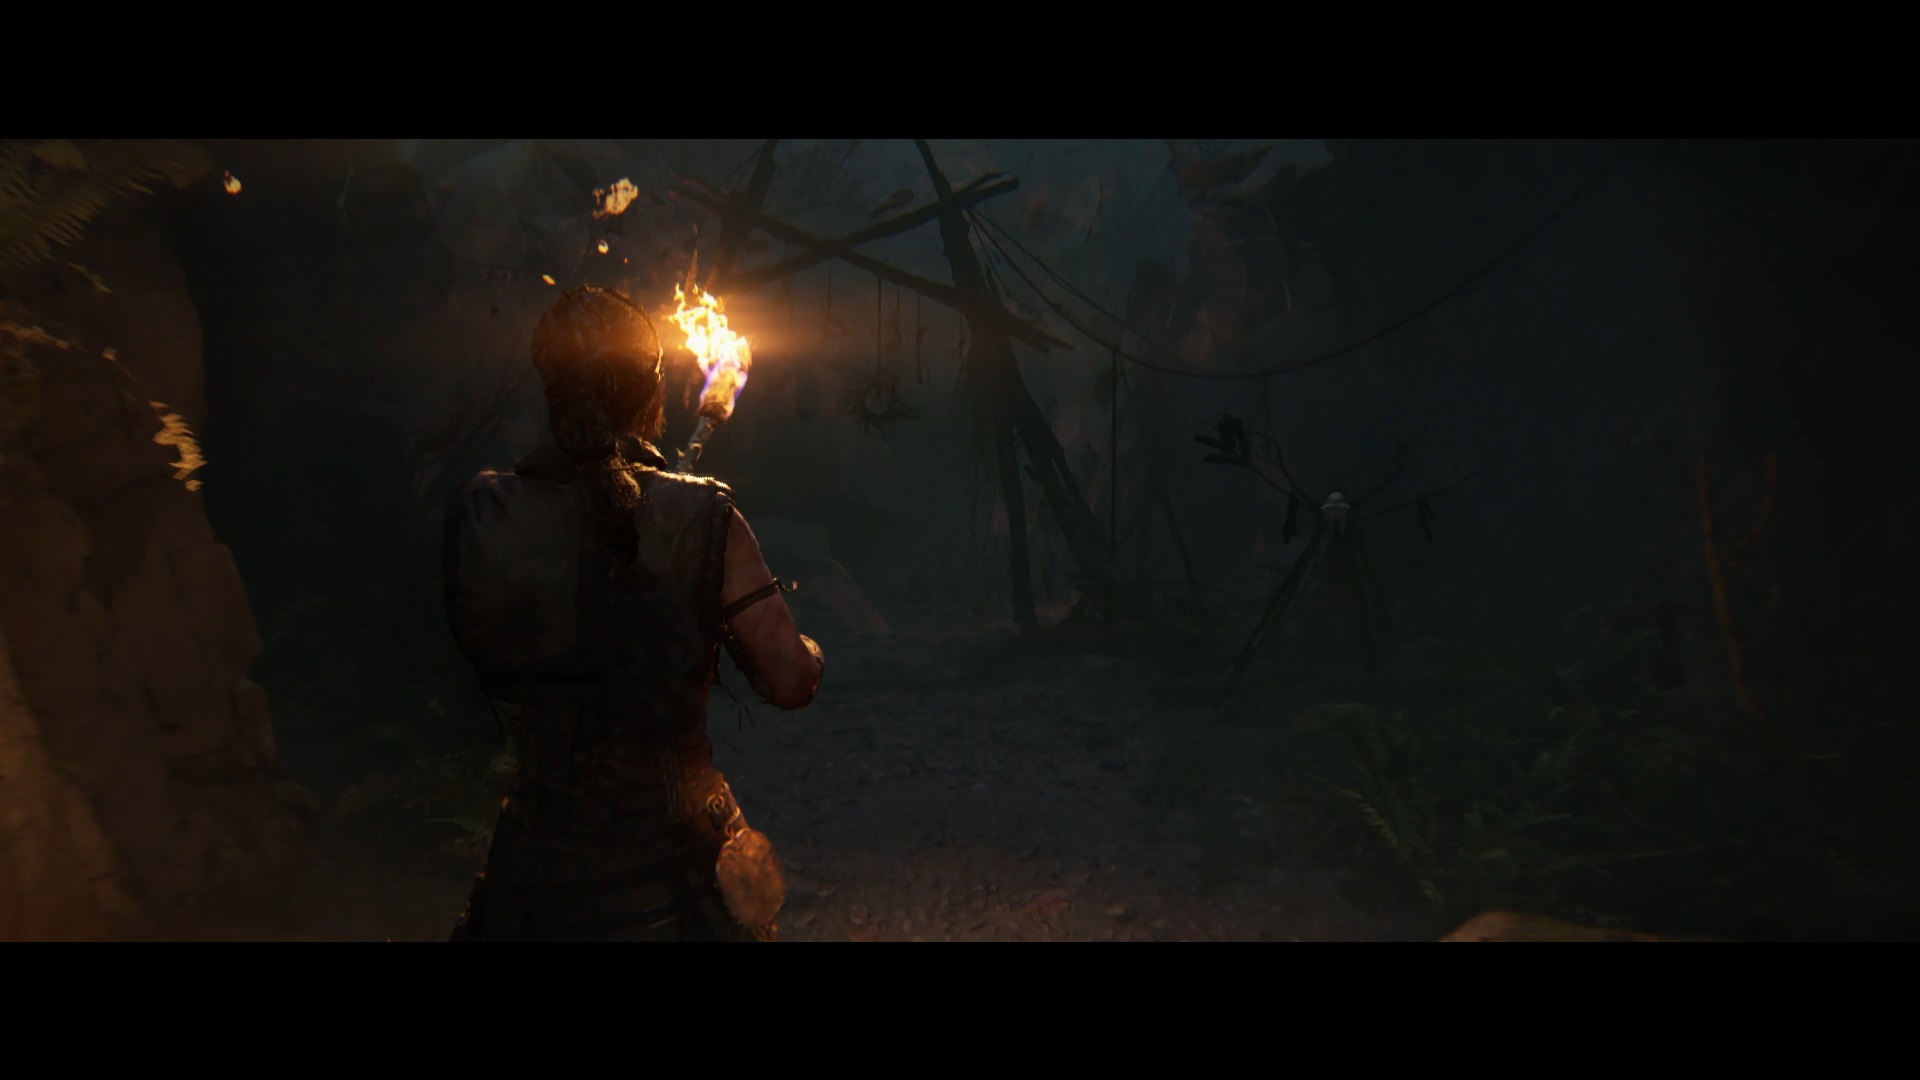
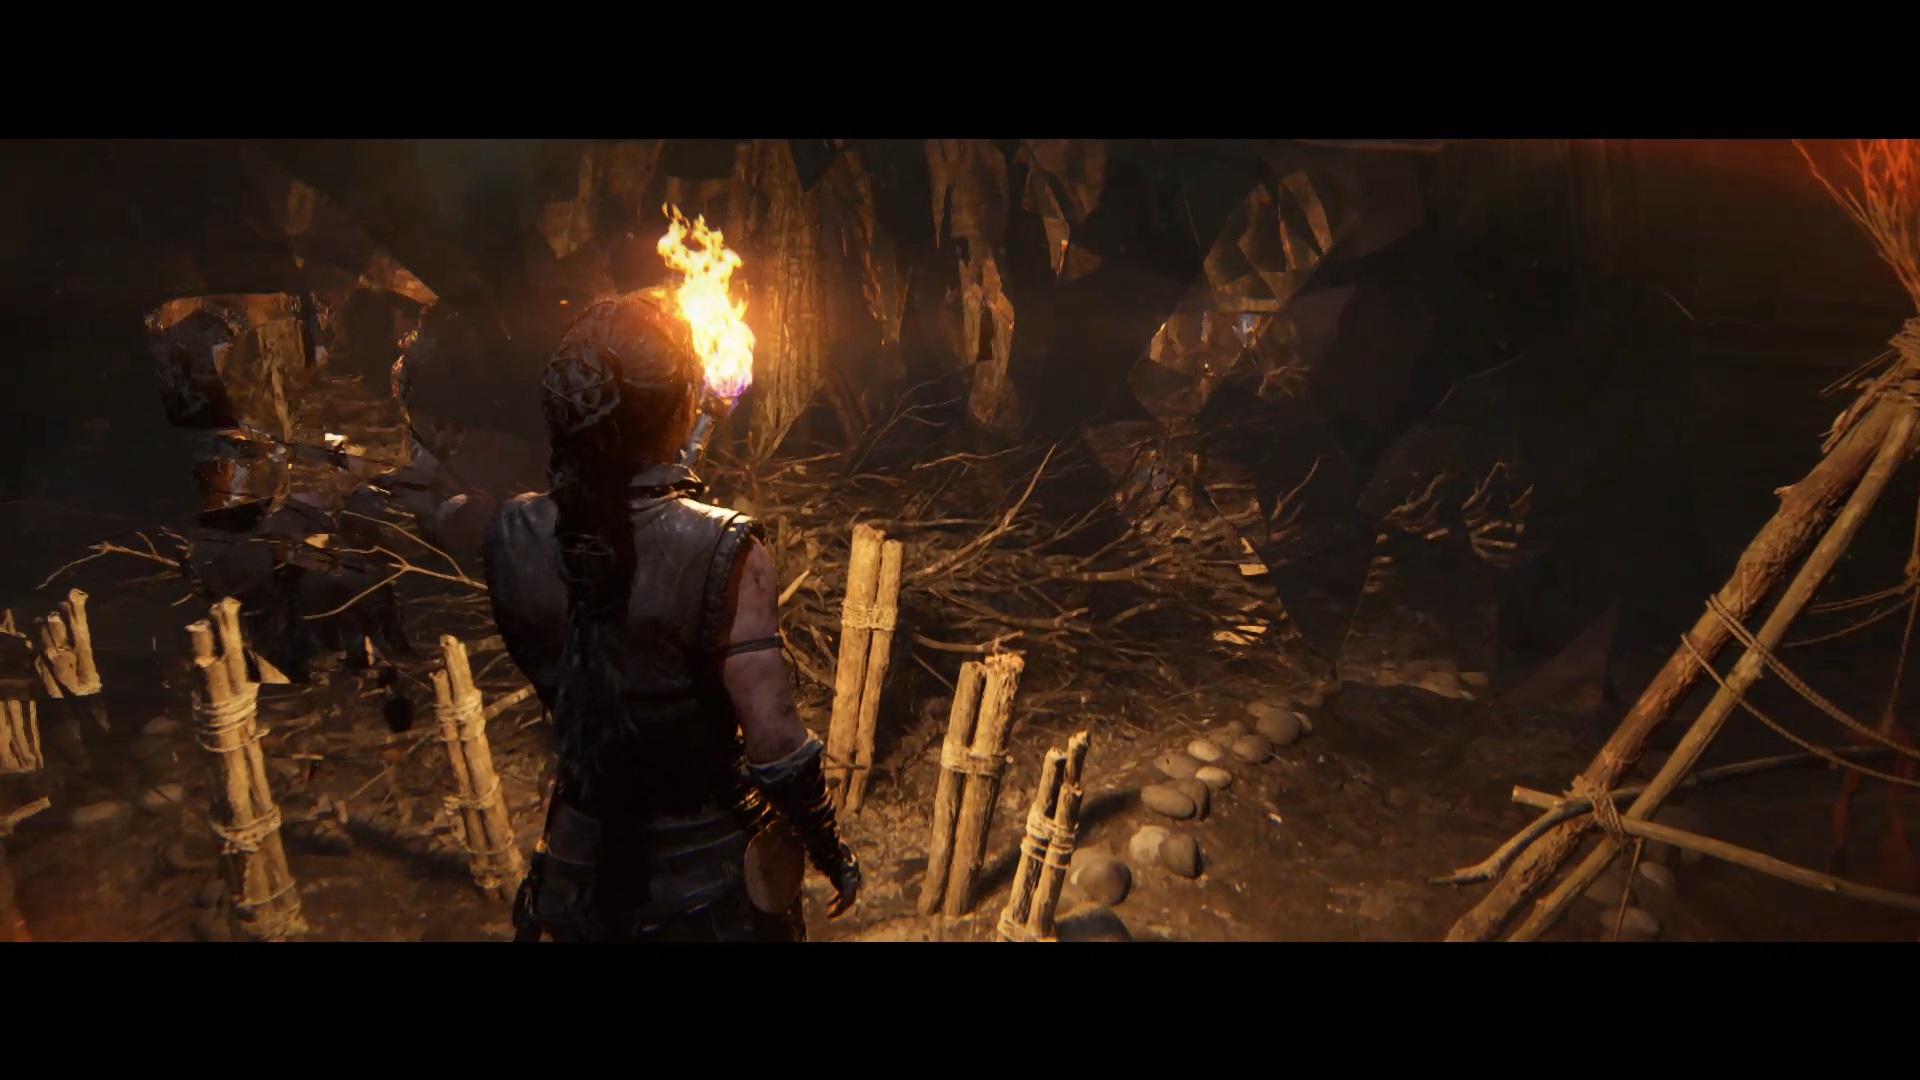
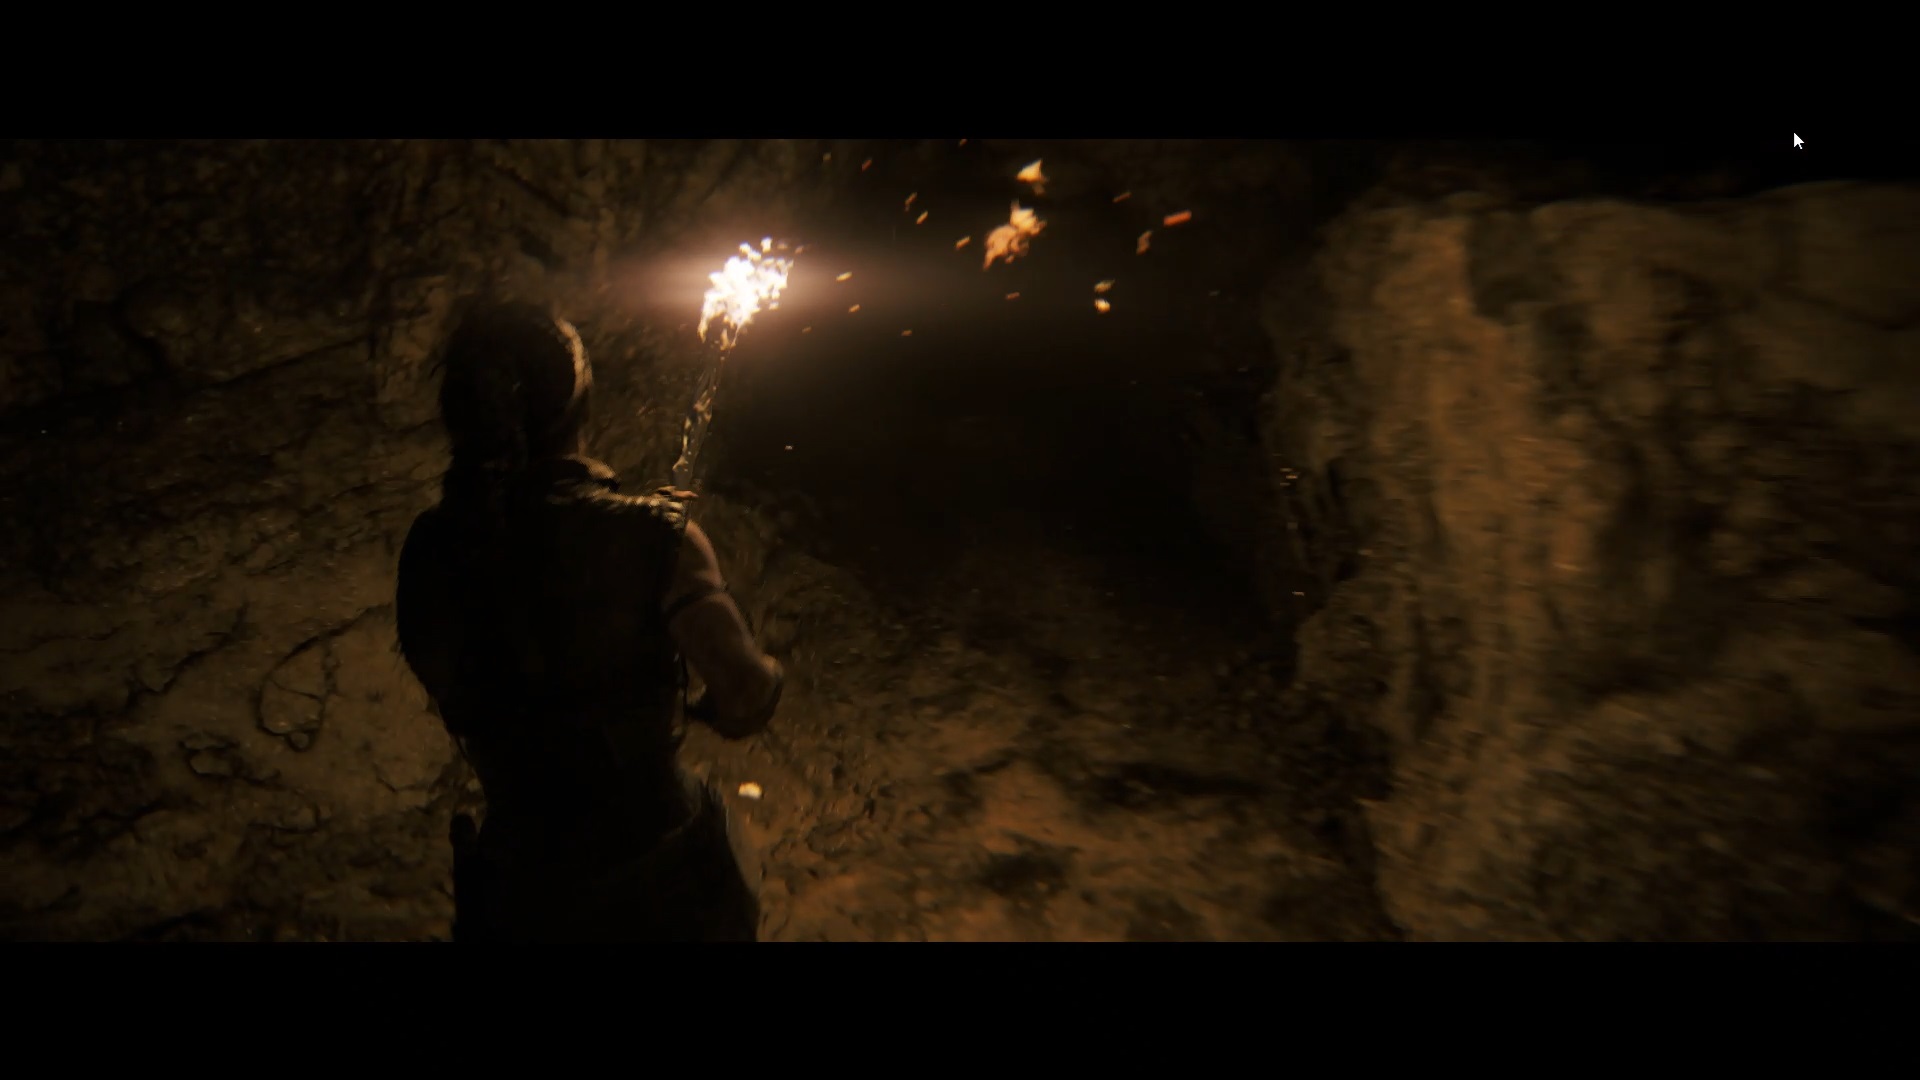
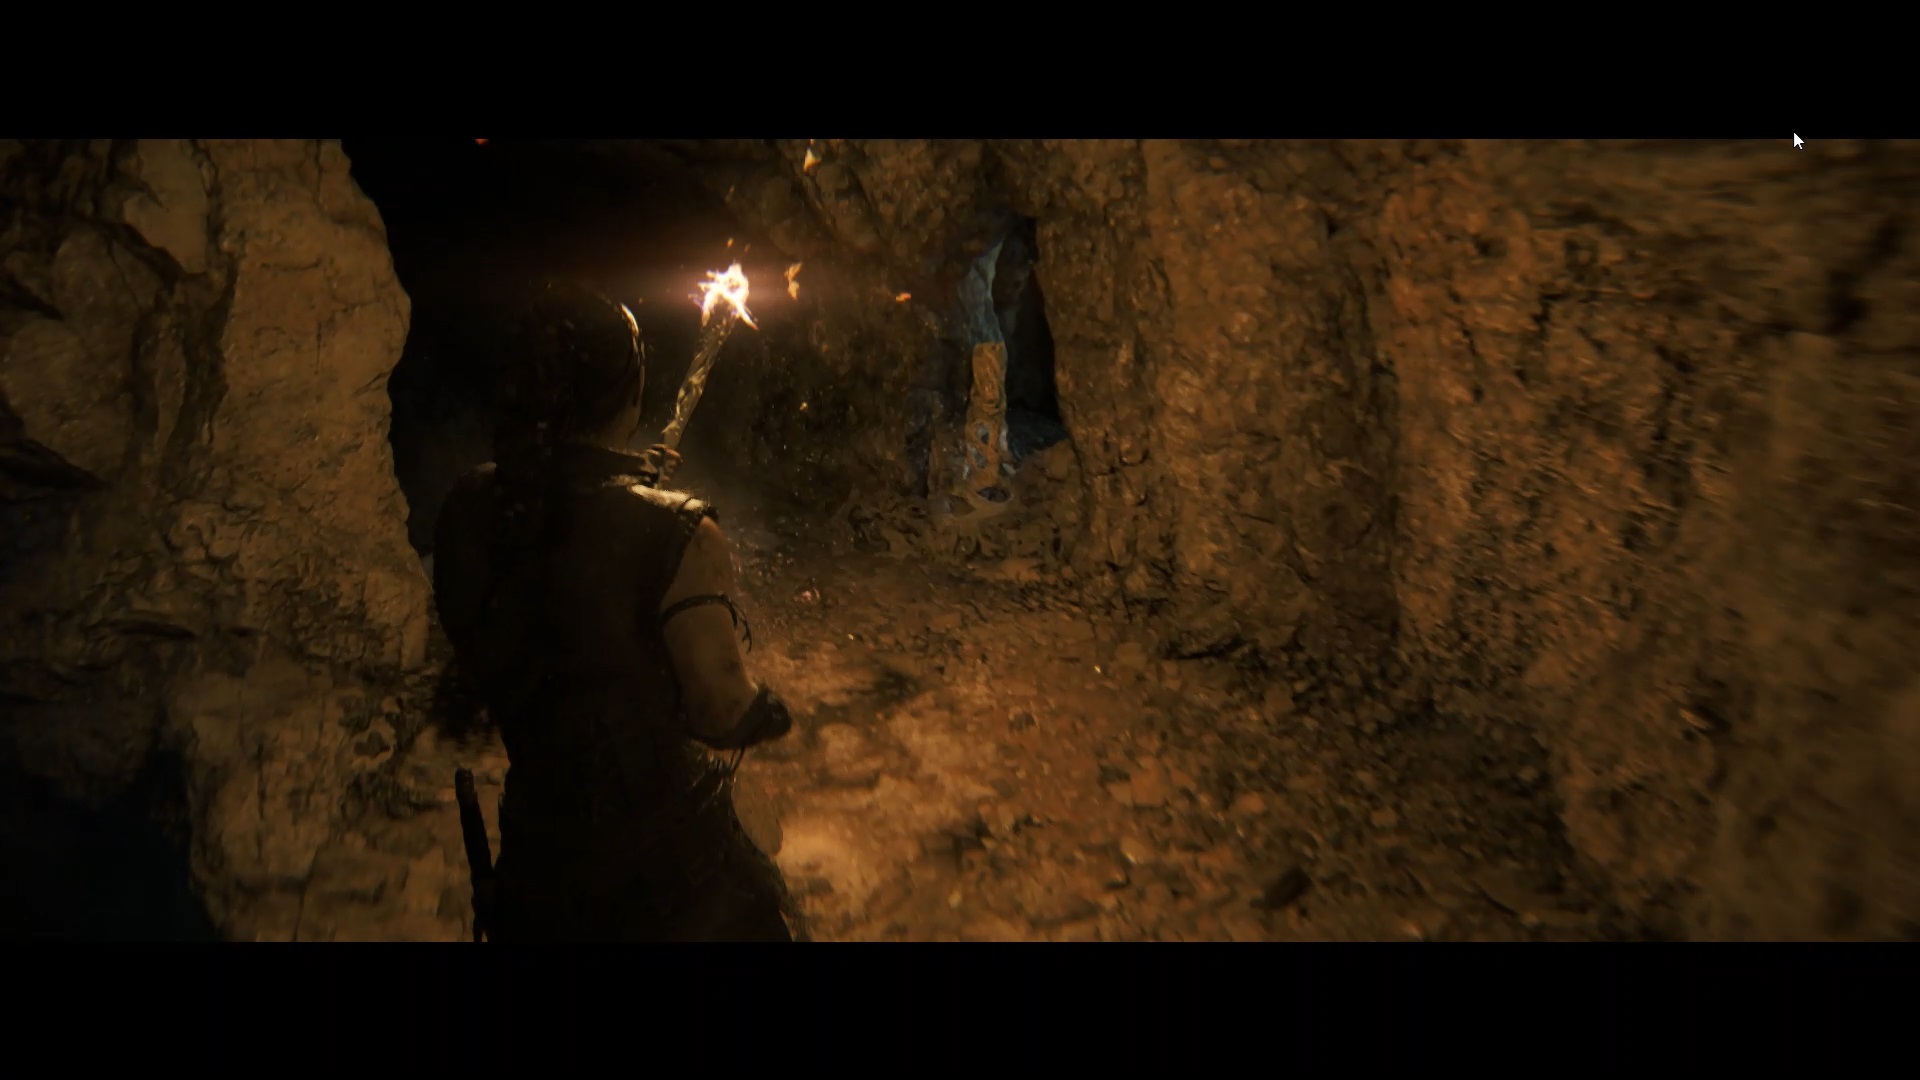
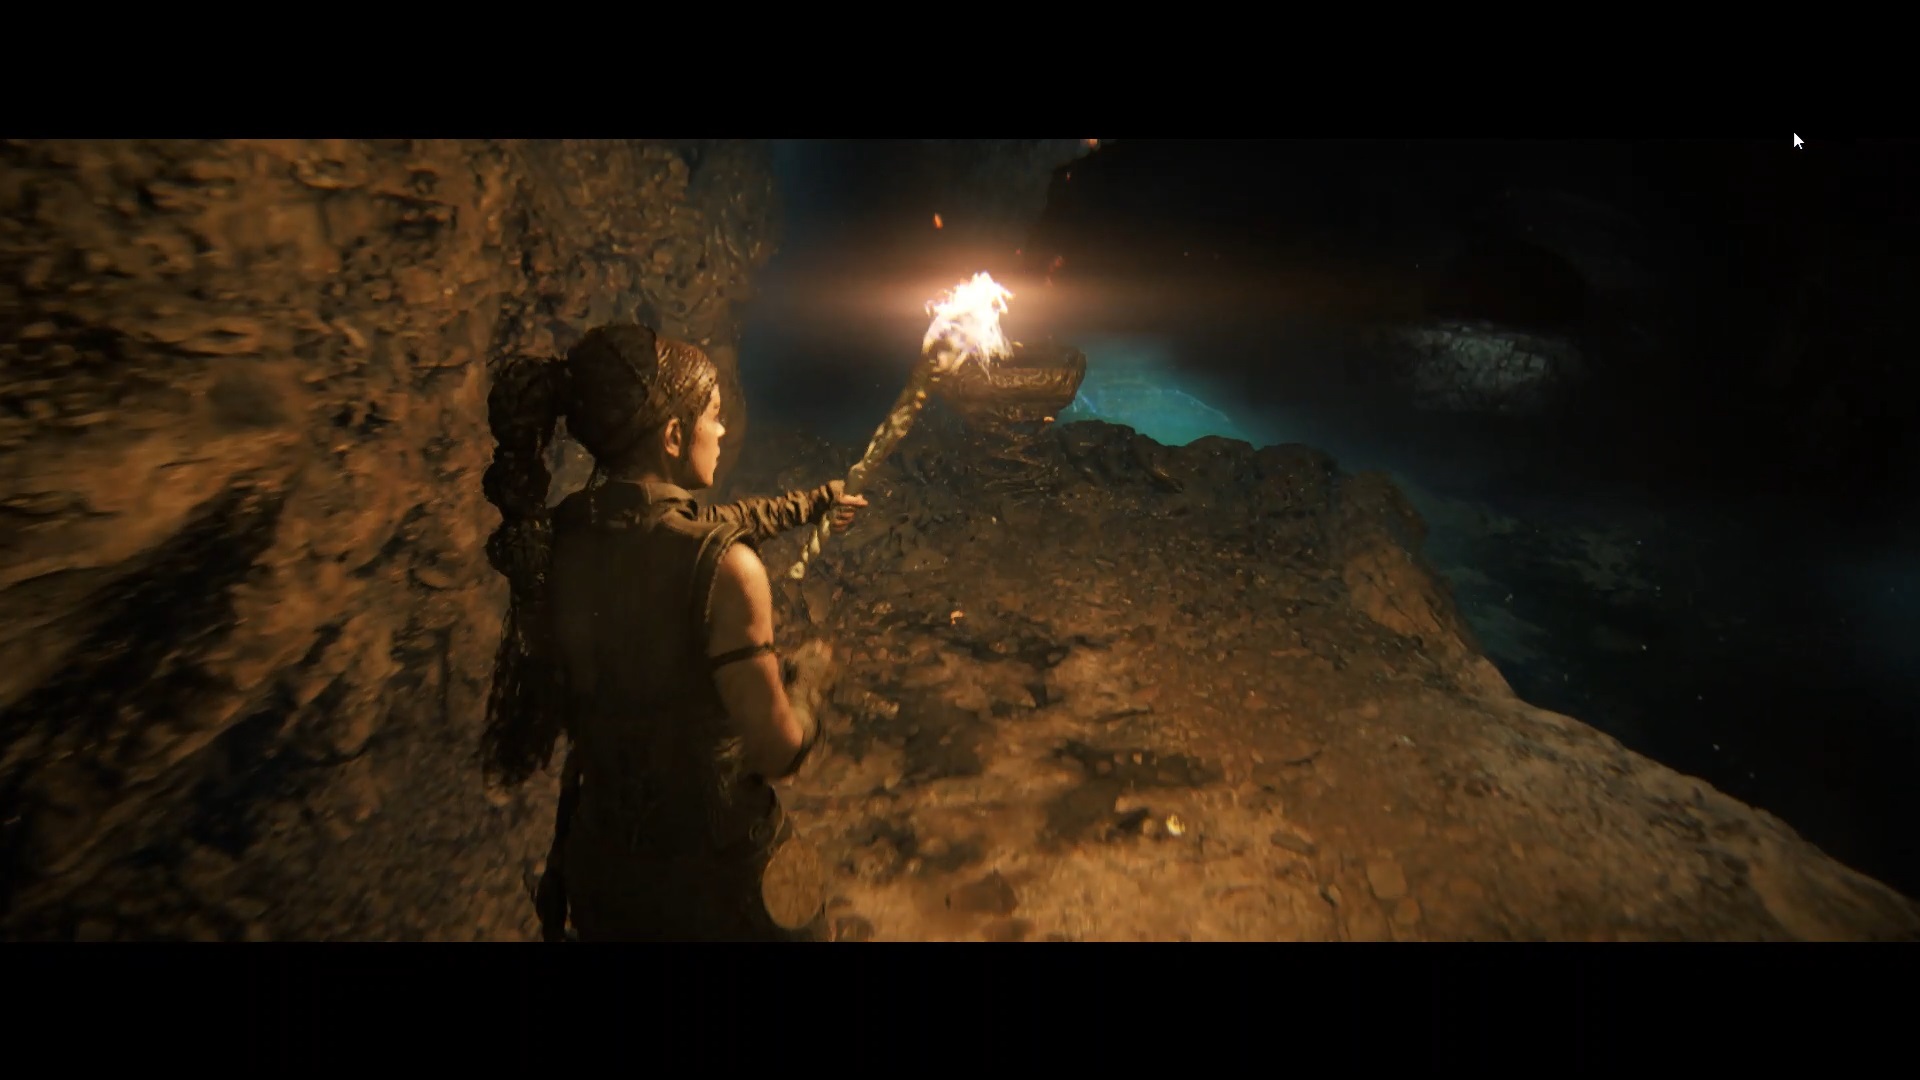
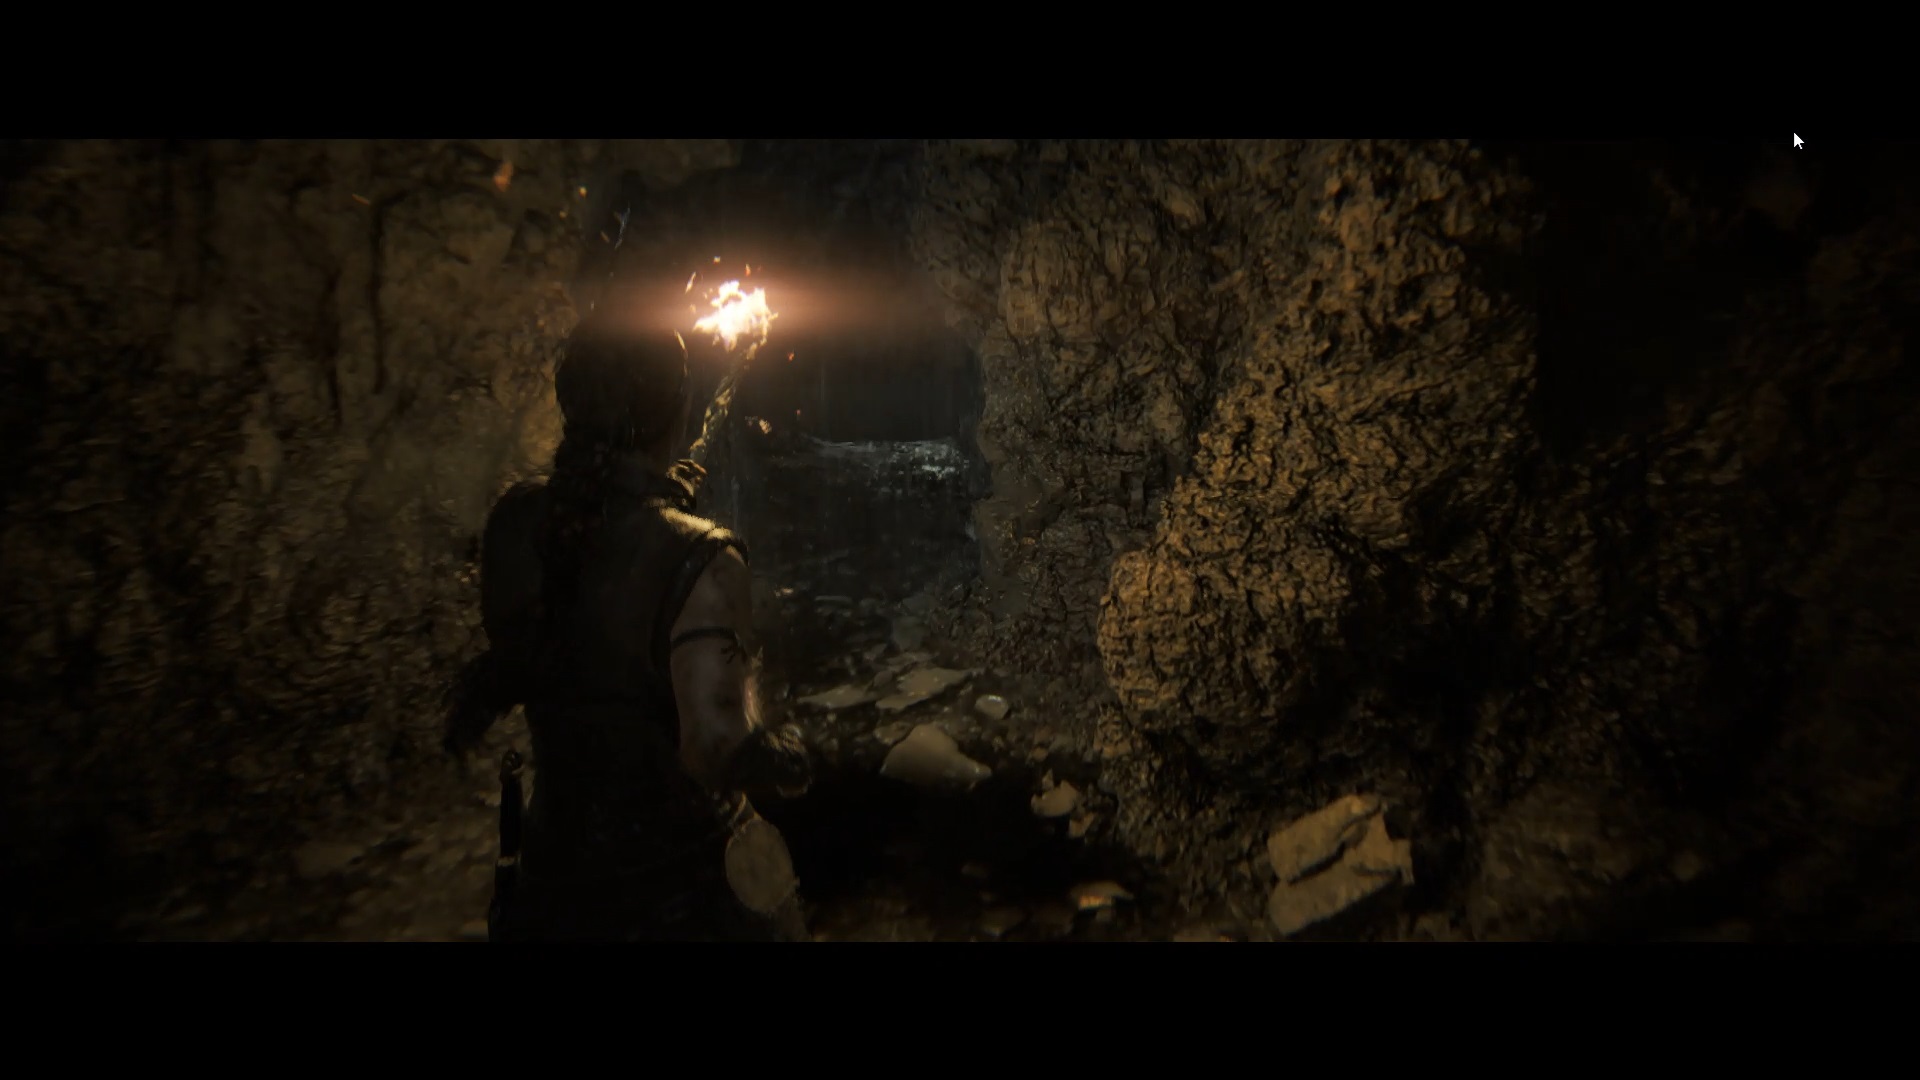
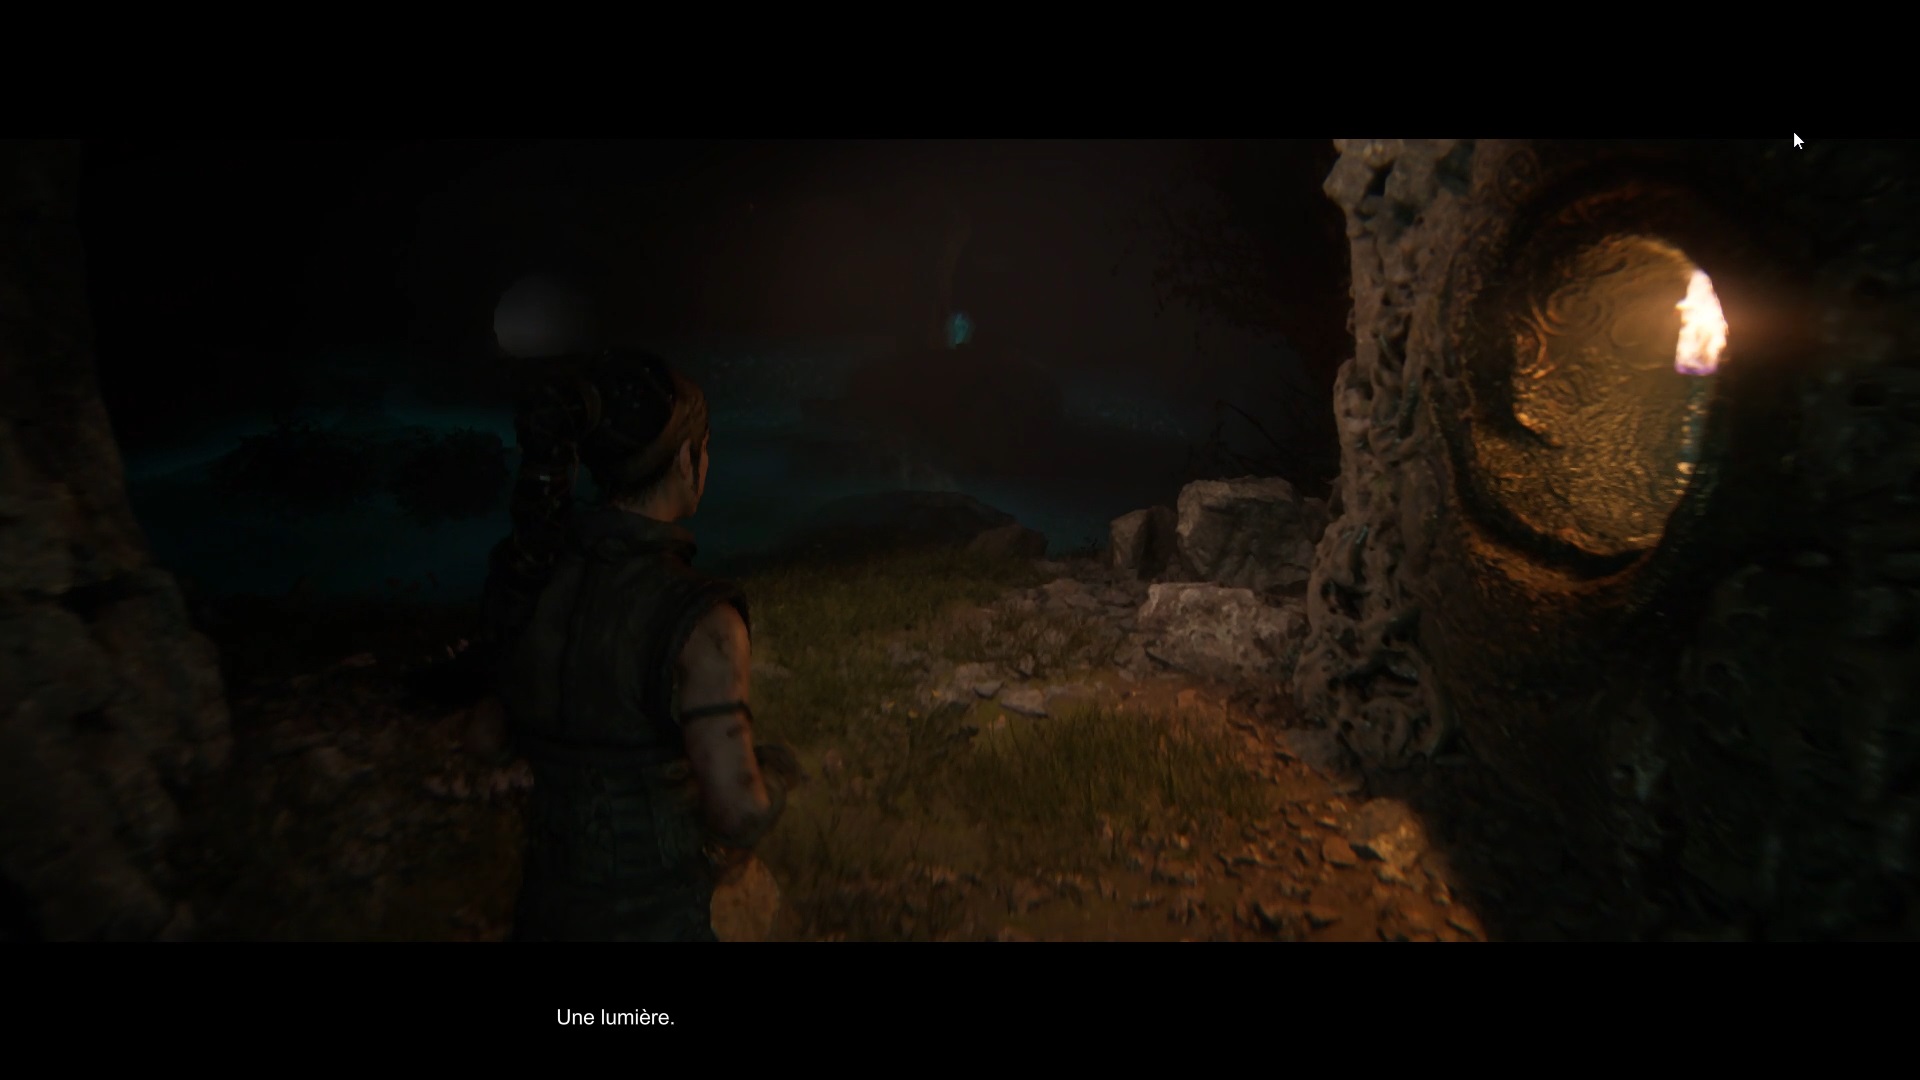
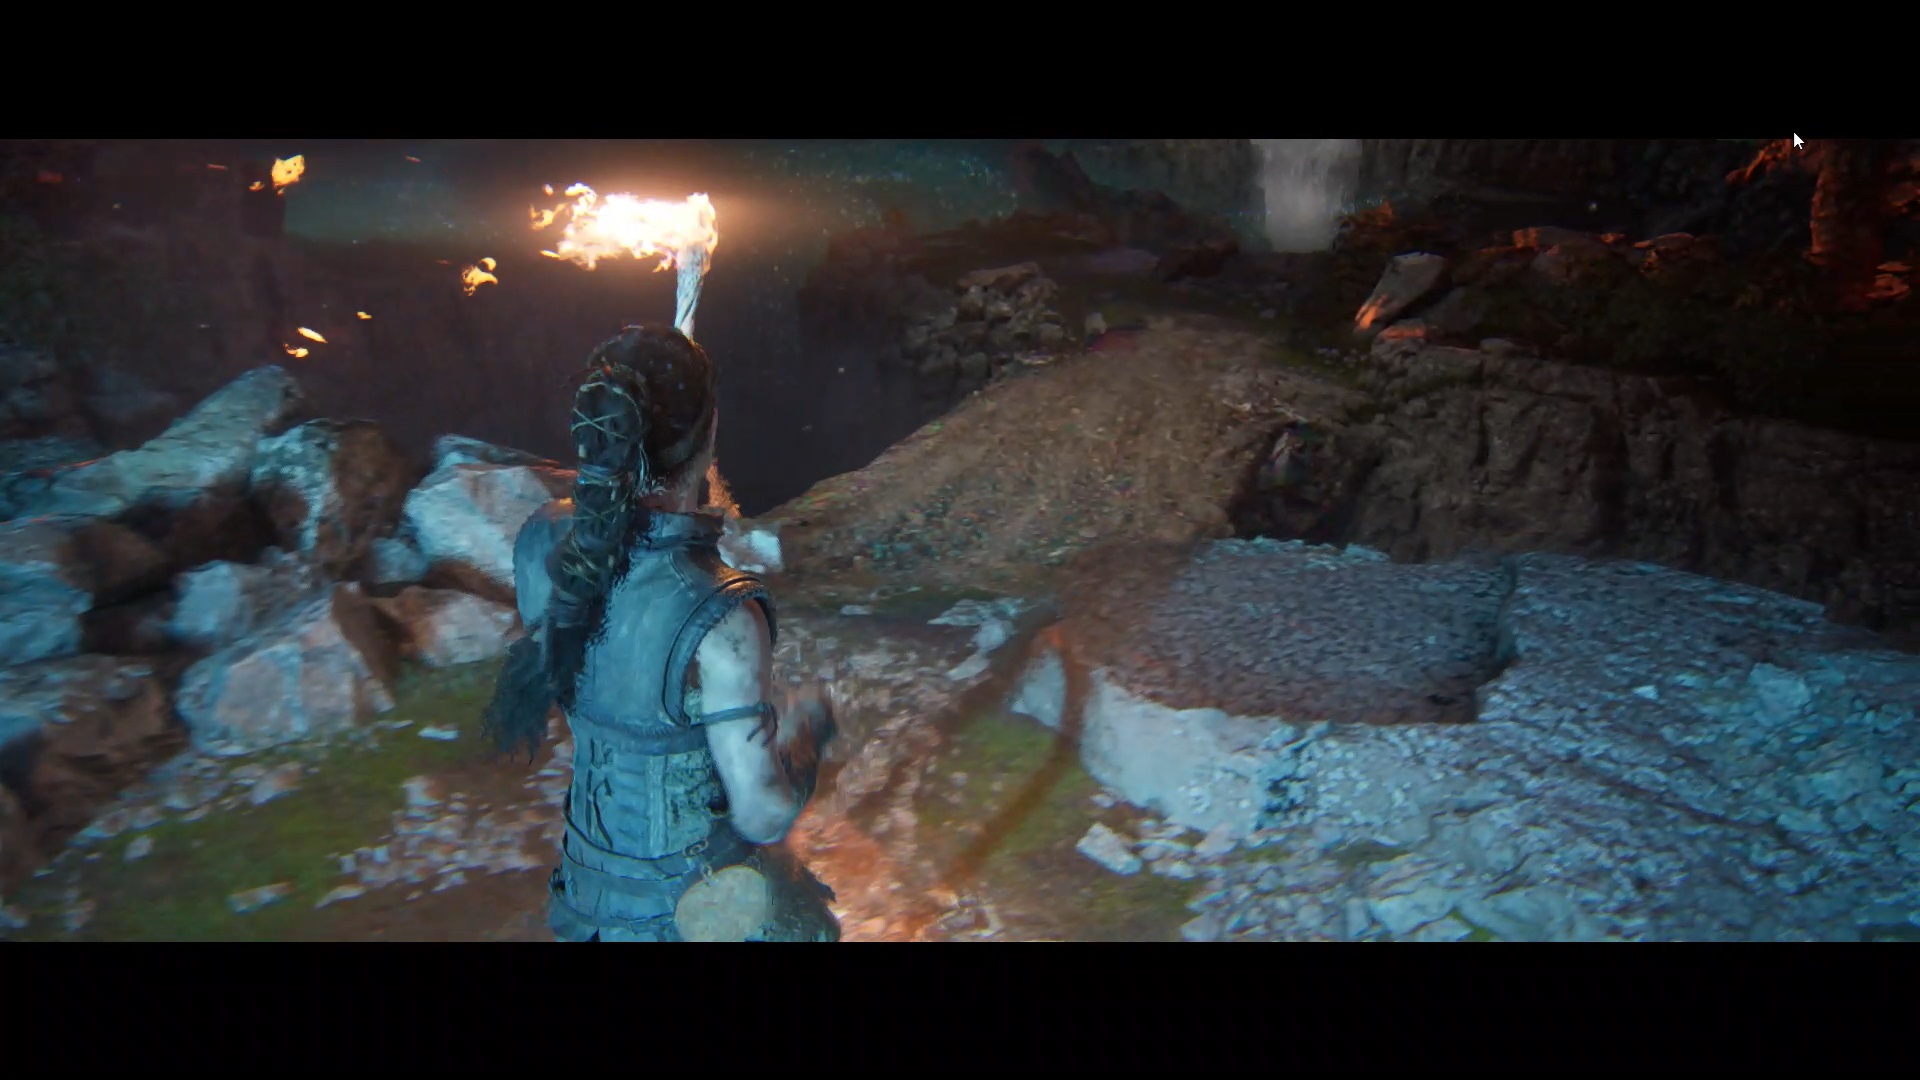
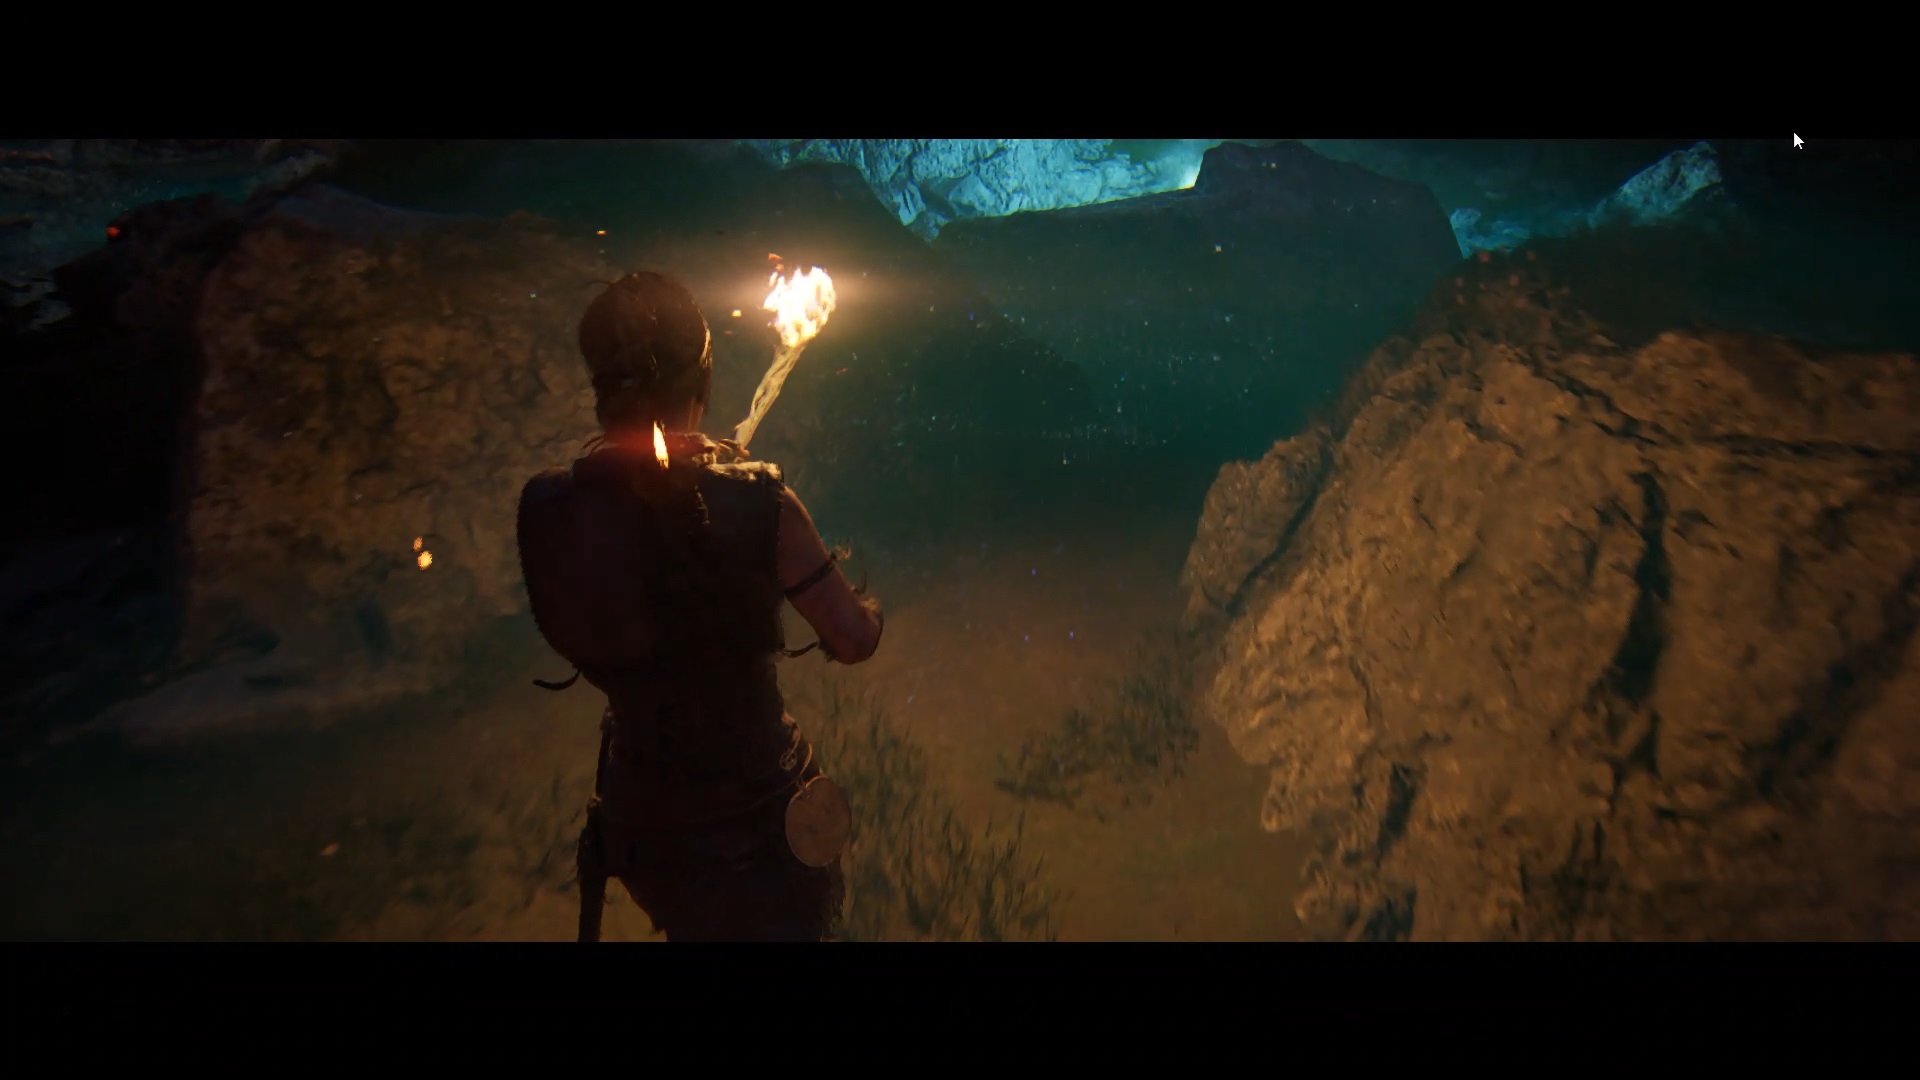
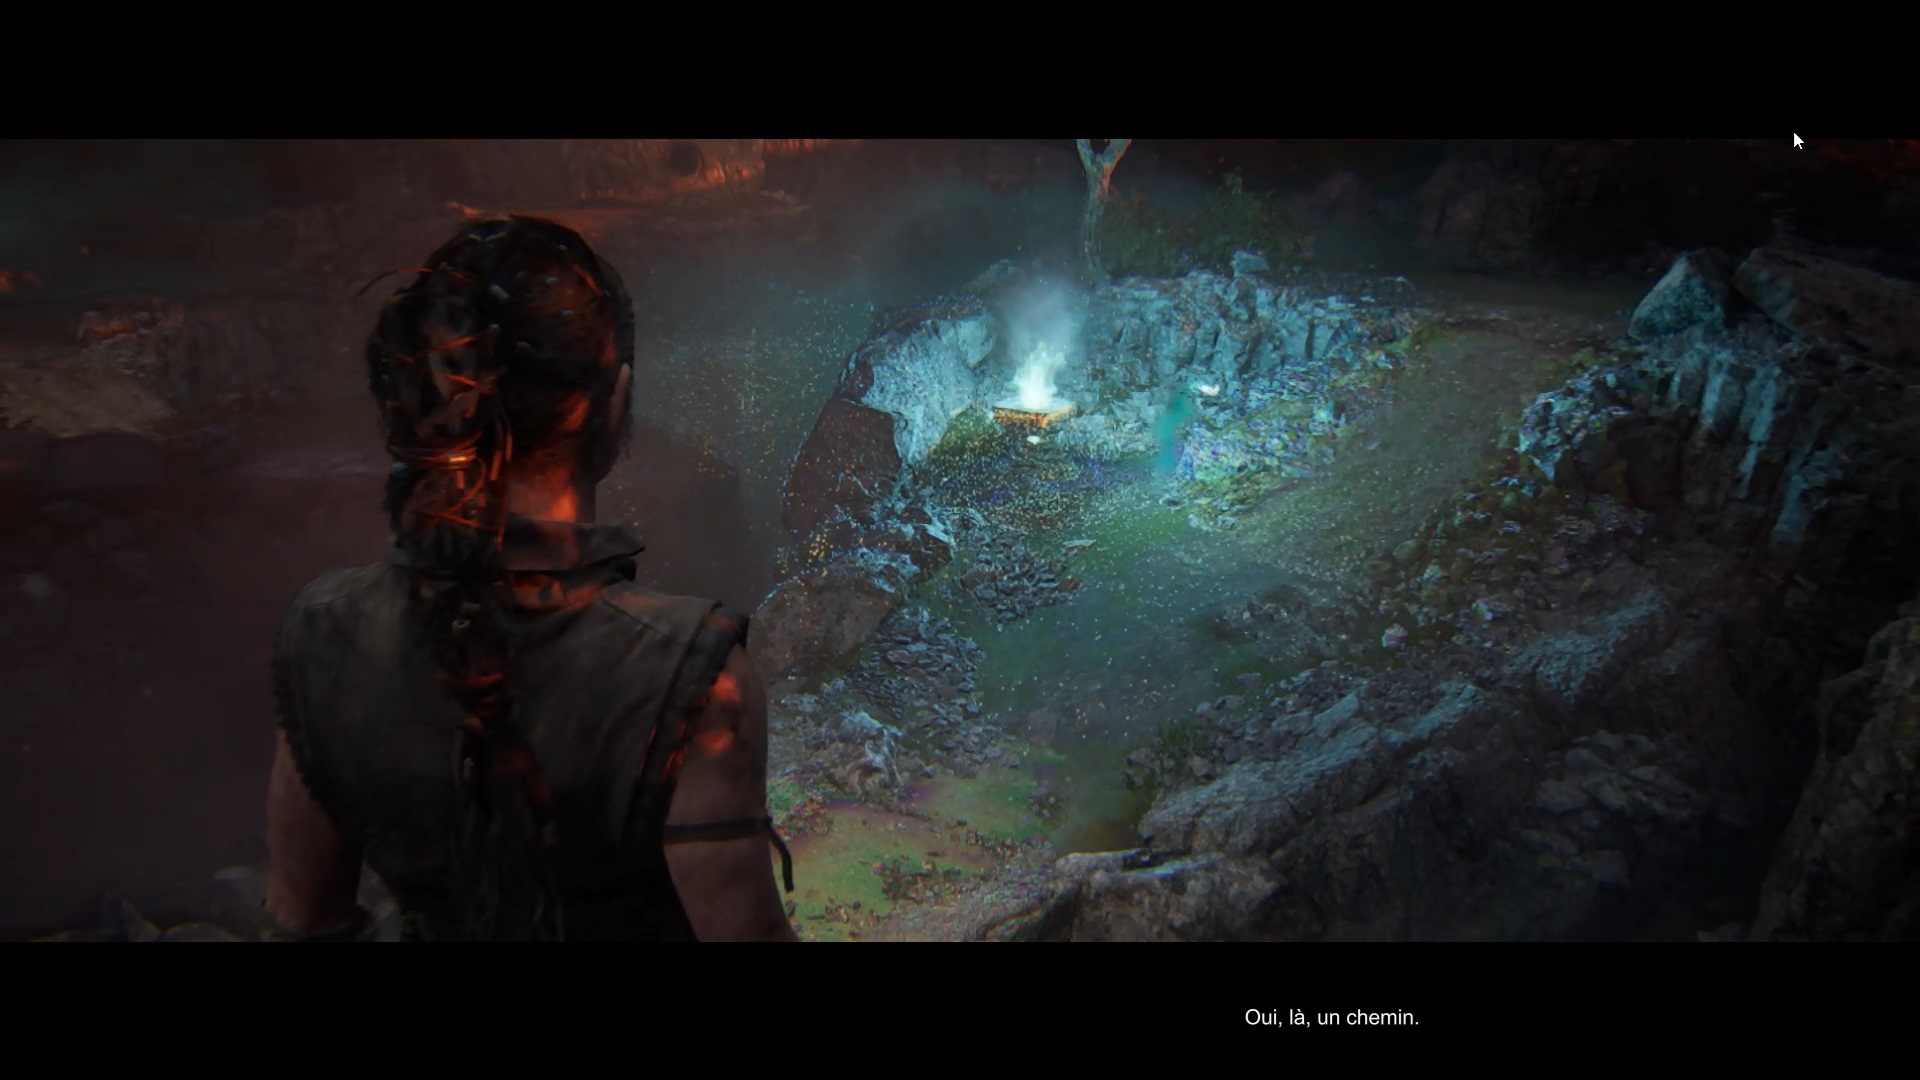
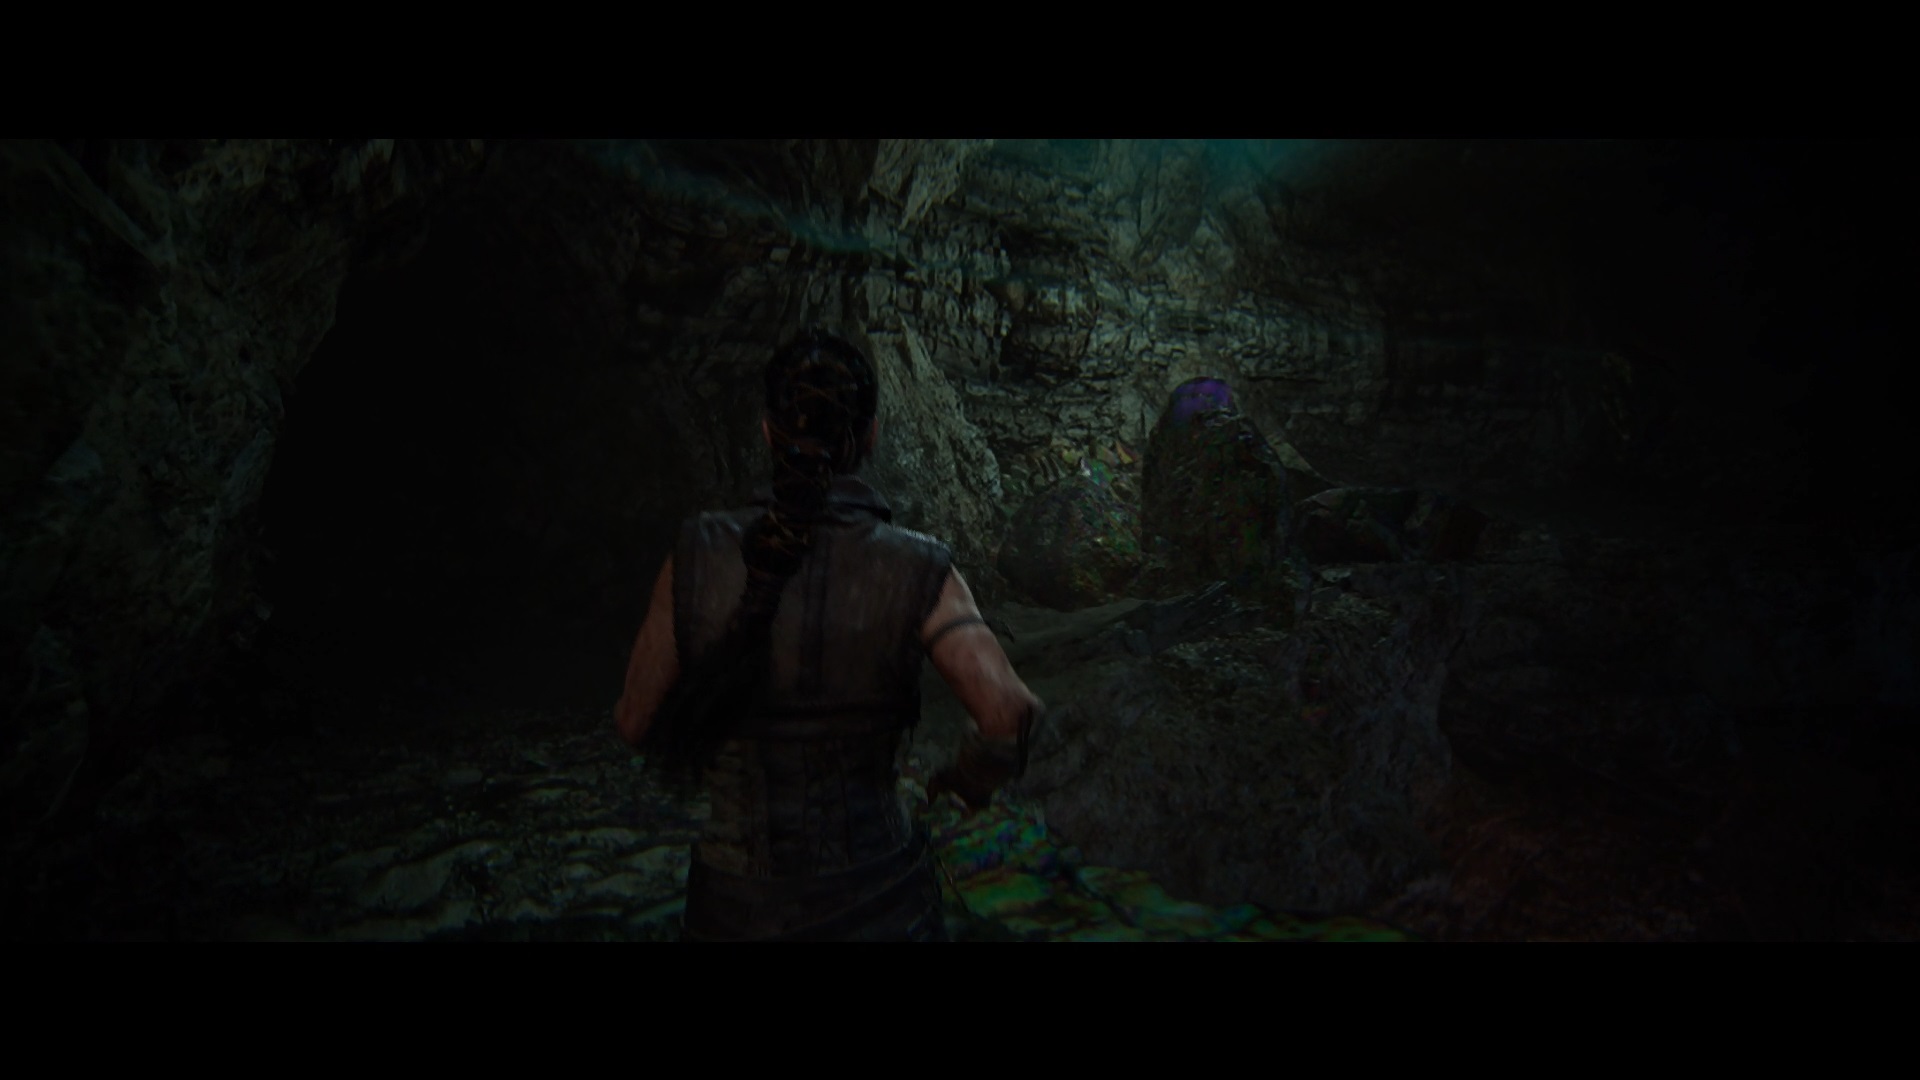
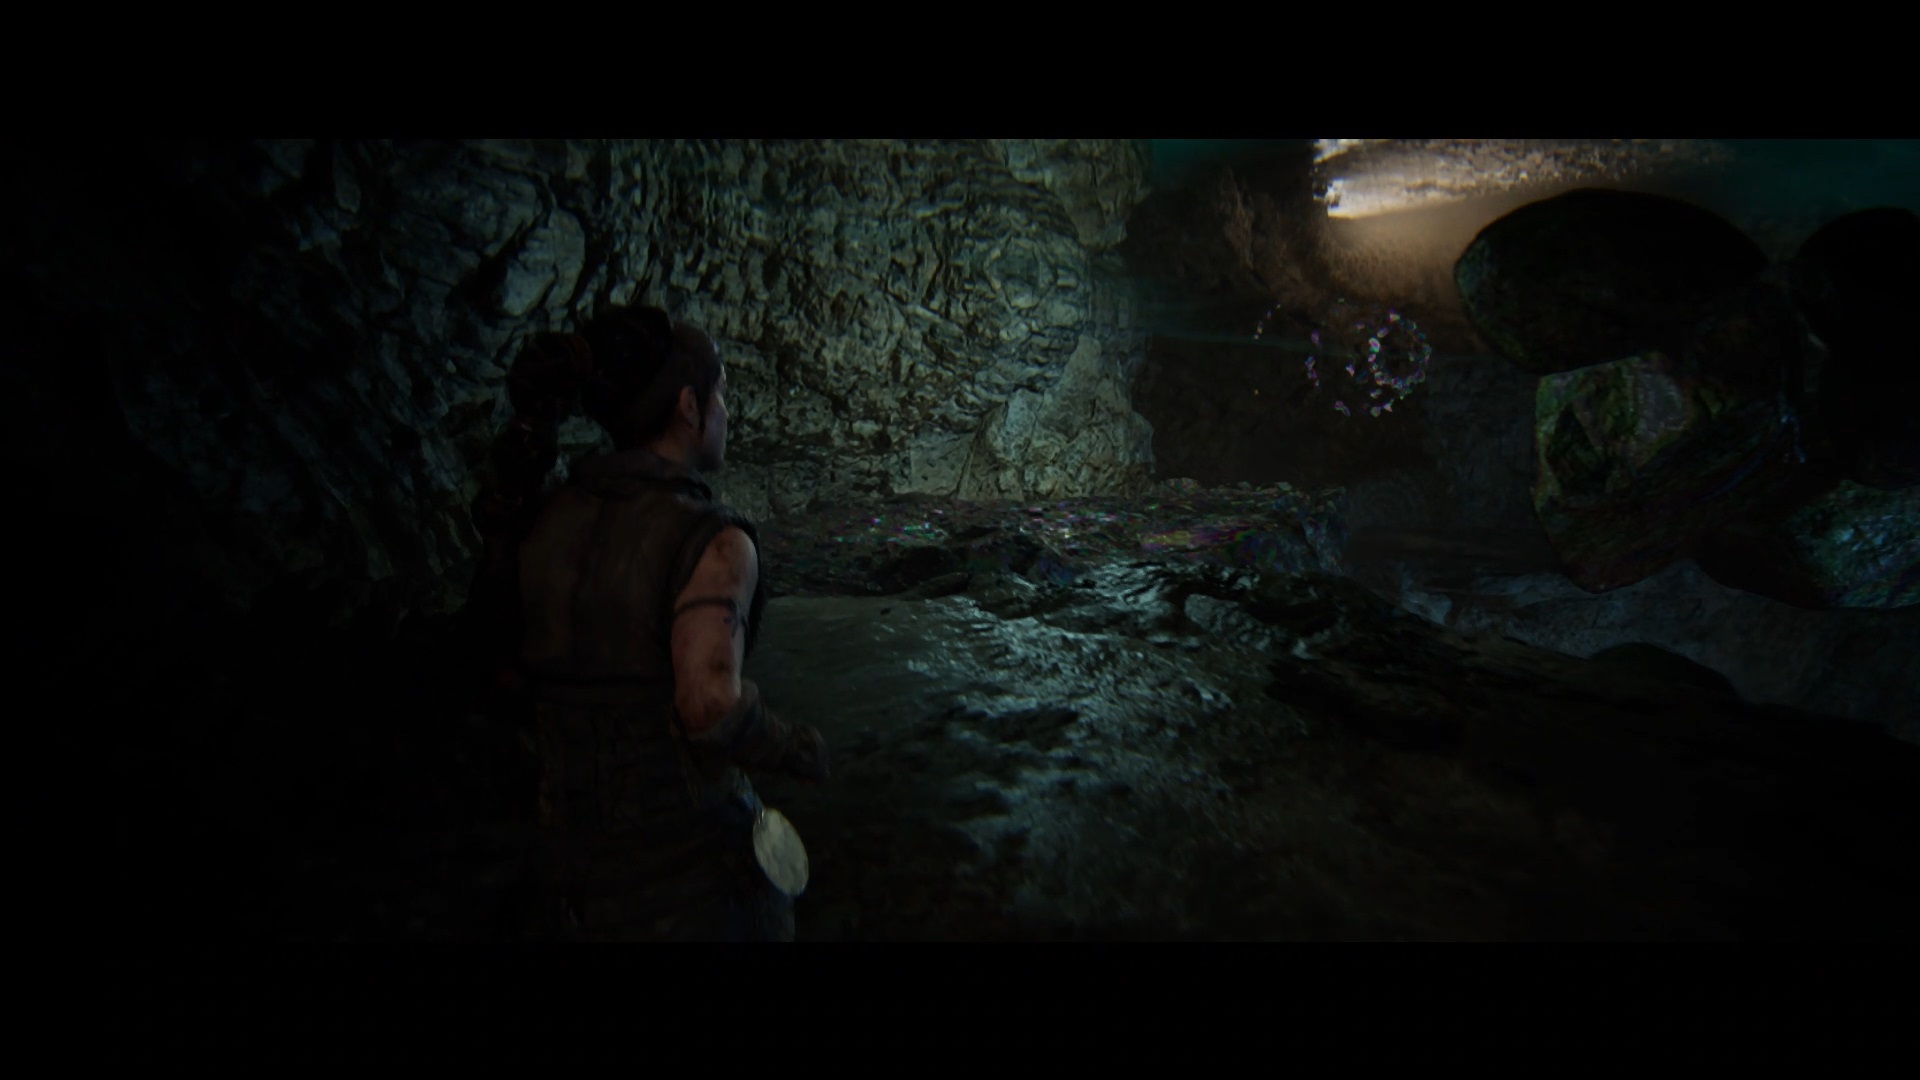
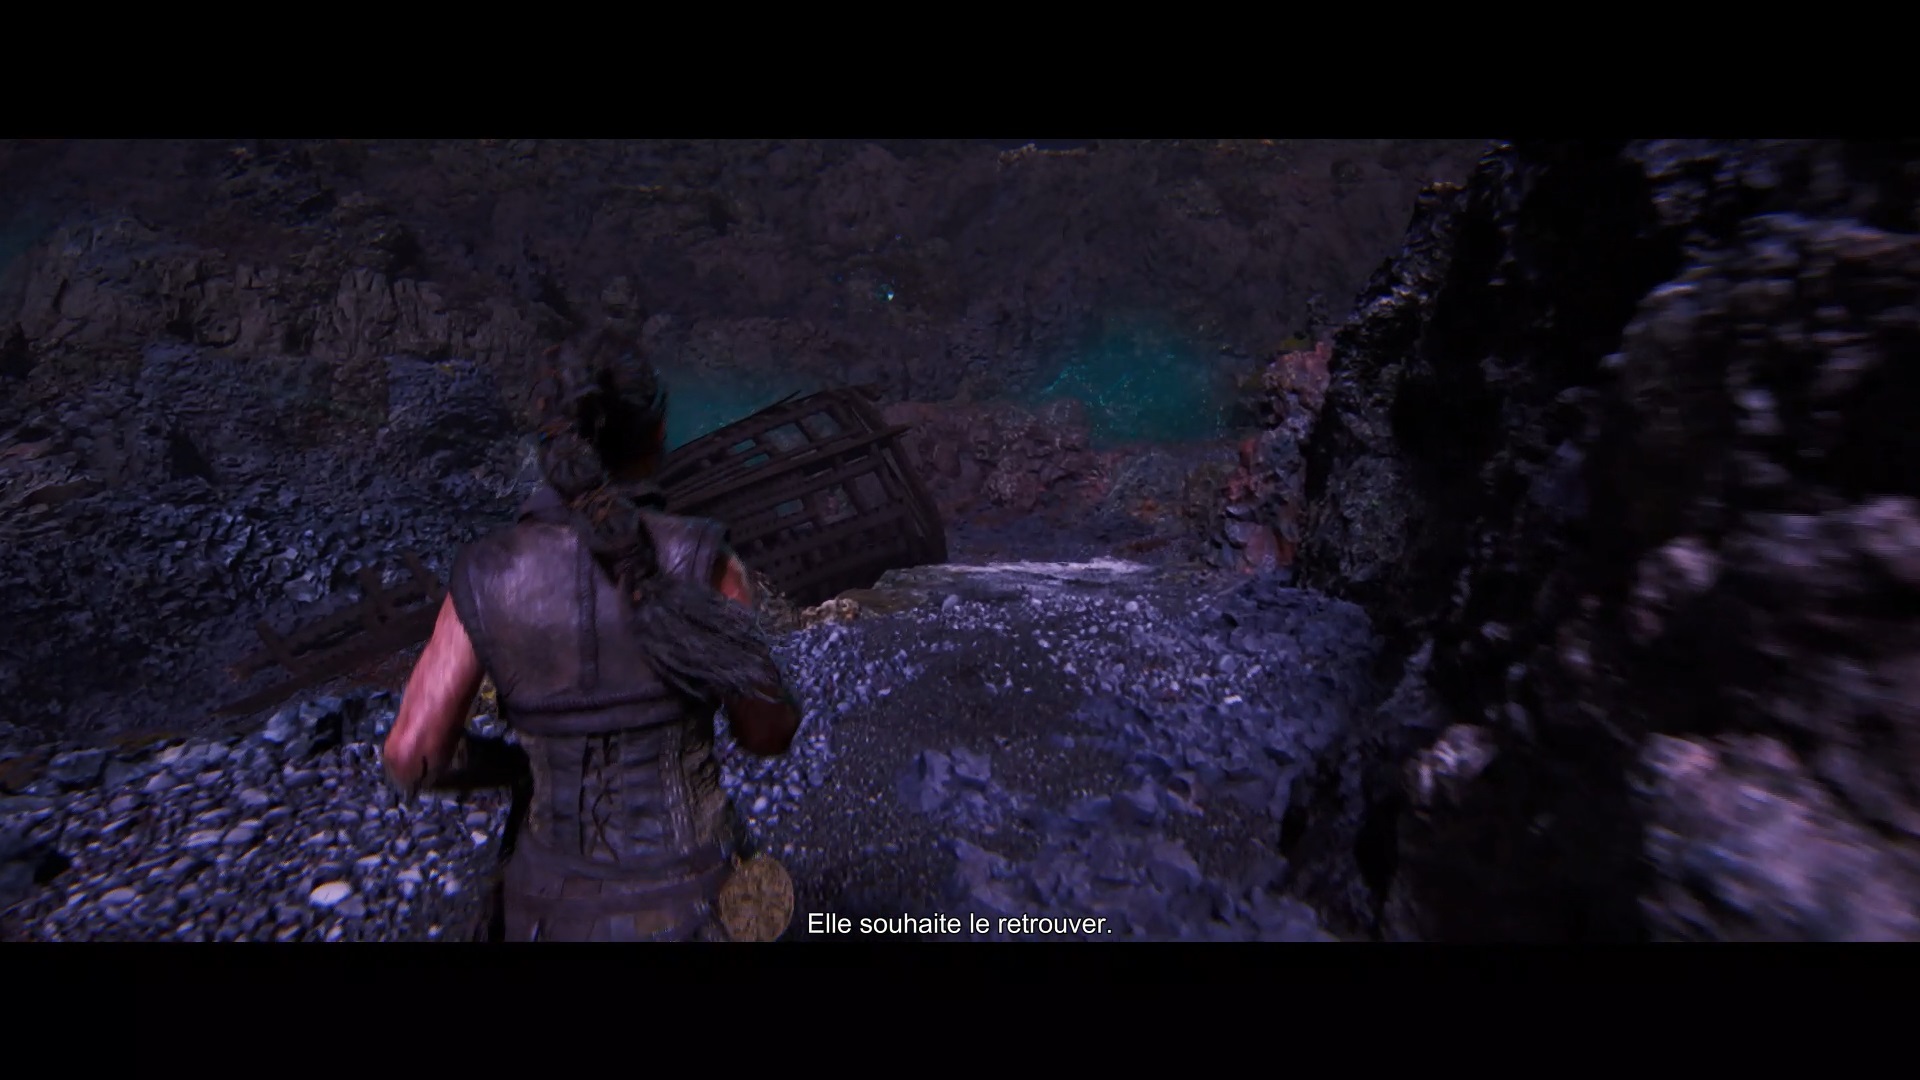
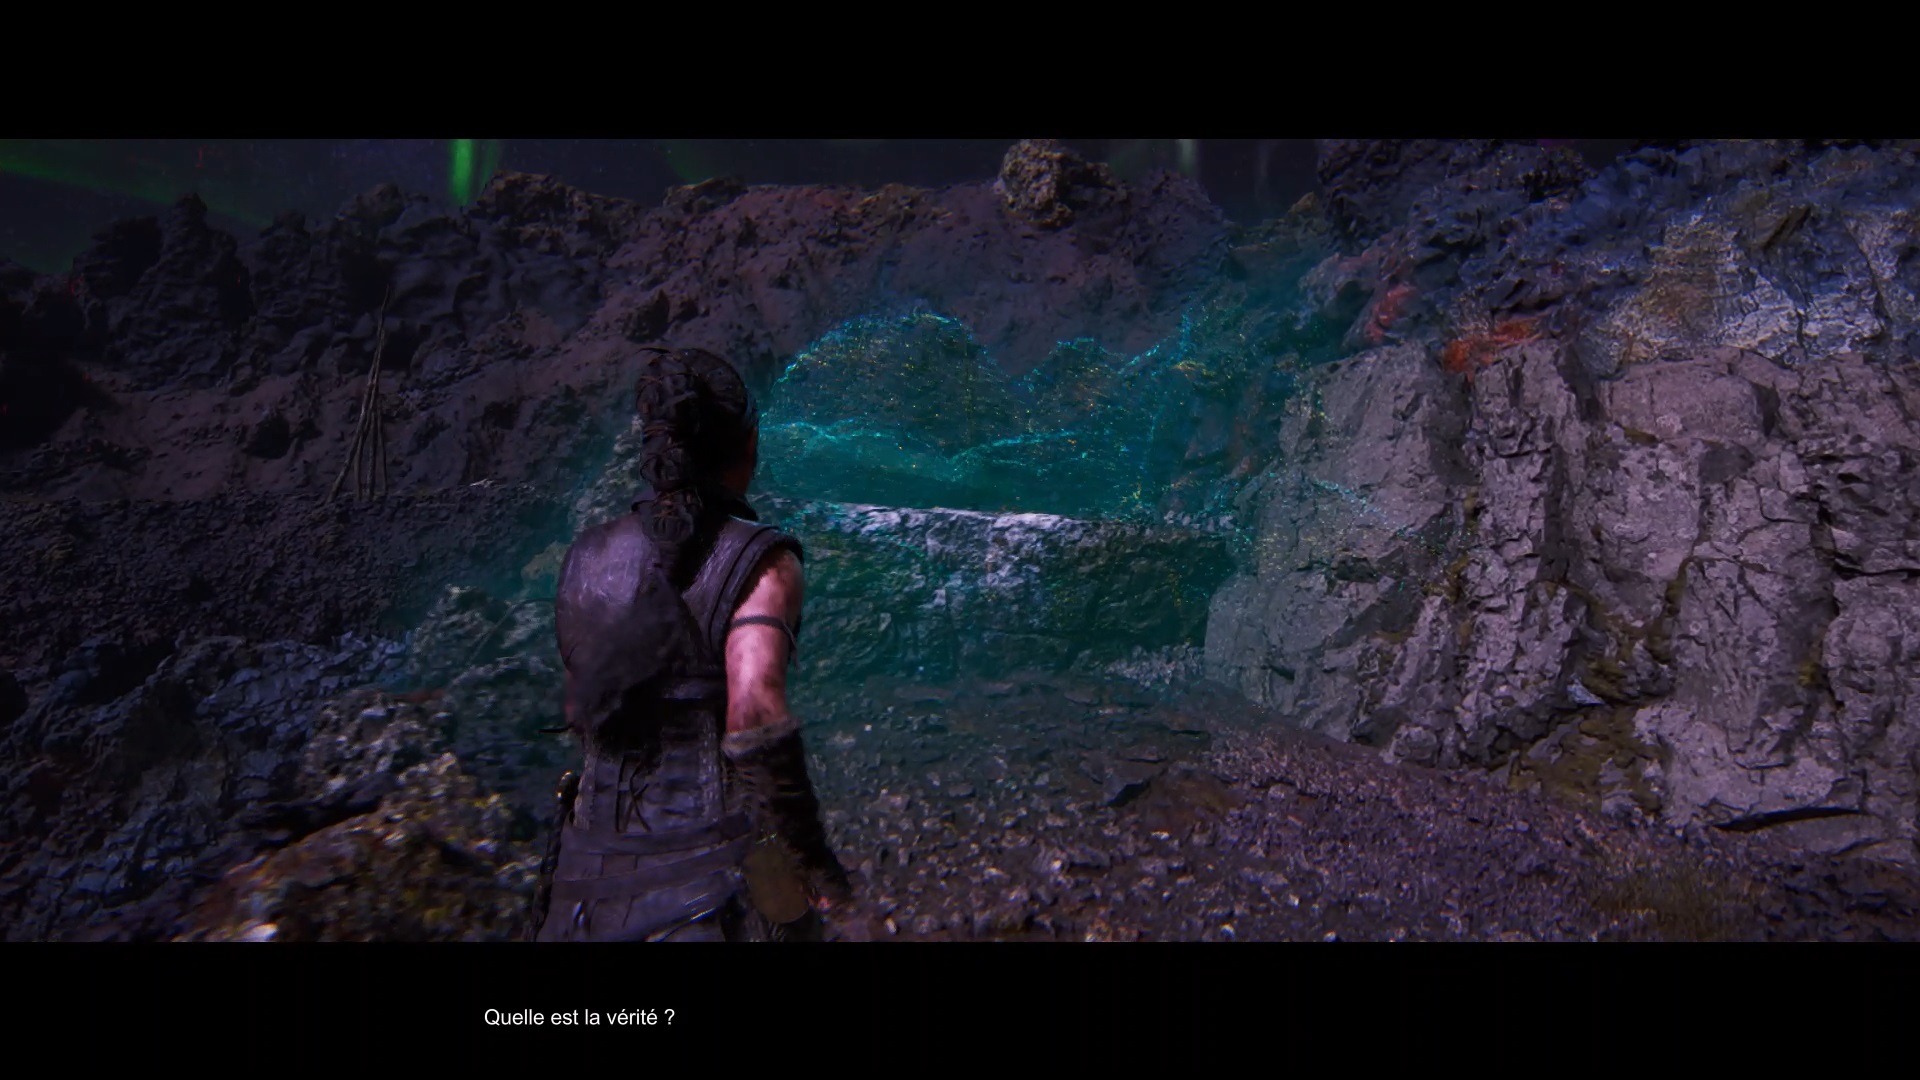
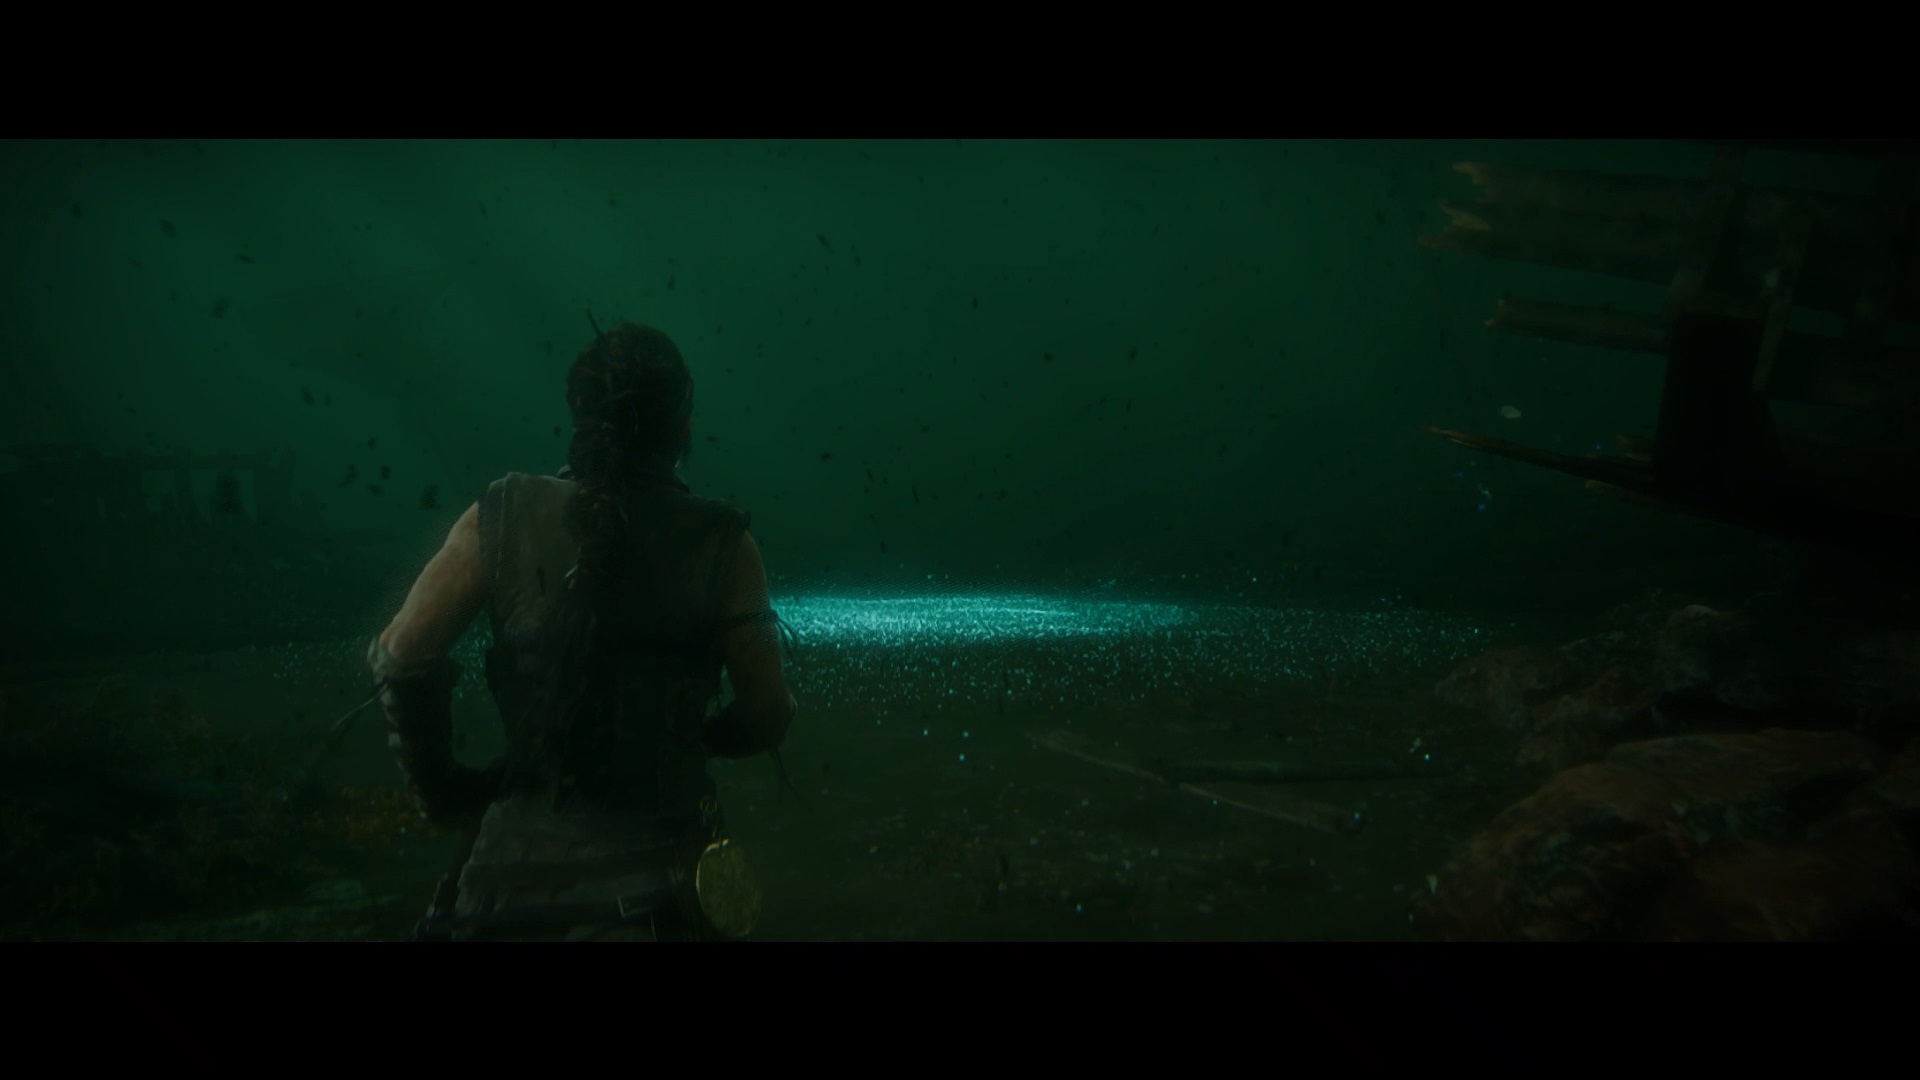
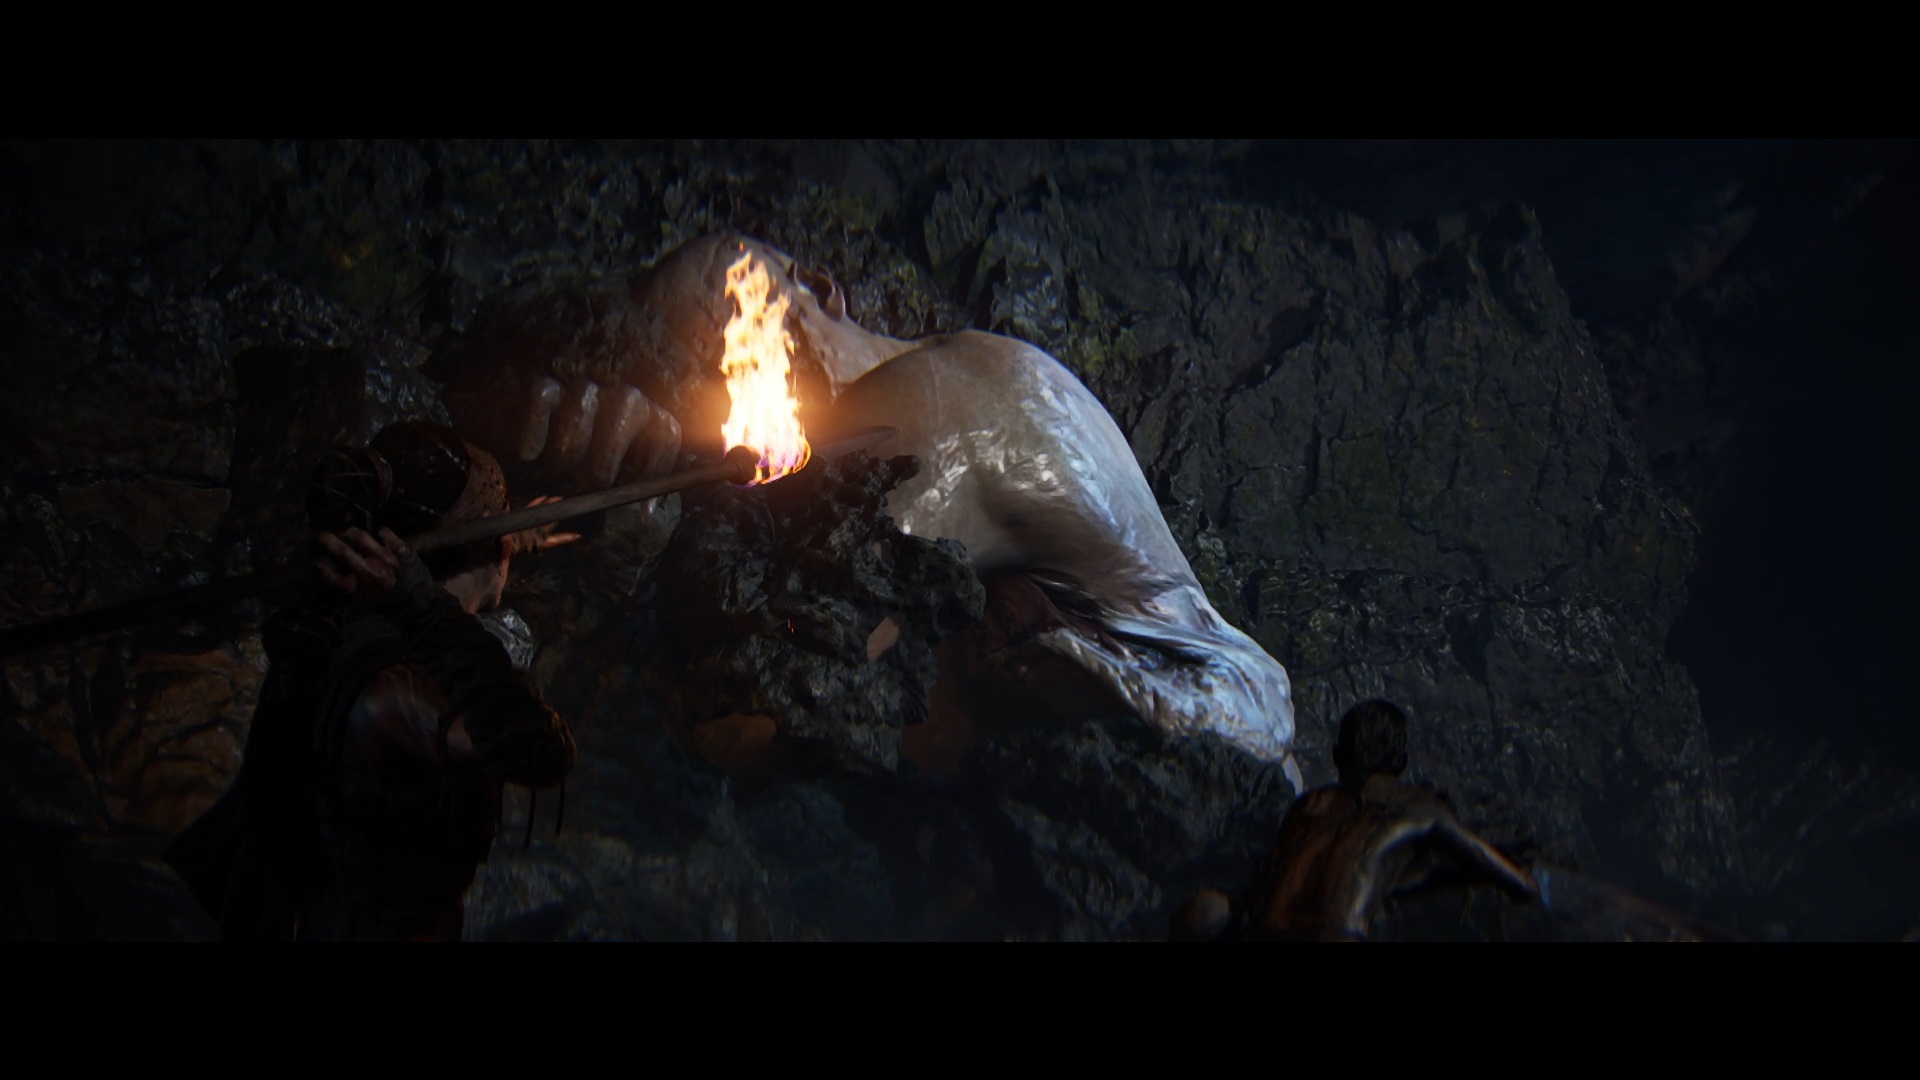
Once the lake has emptied, you can enter Hudulfok Cave. Move forward into the cave to collect a torch. Sneak through the rocks and advance into the depths to reach a brazier.
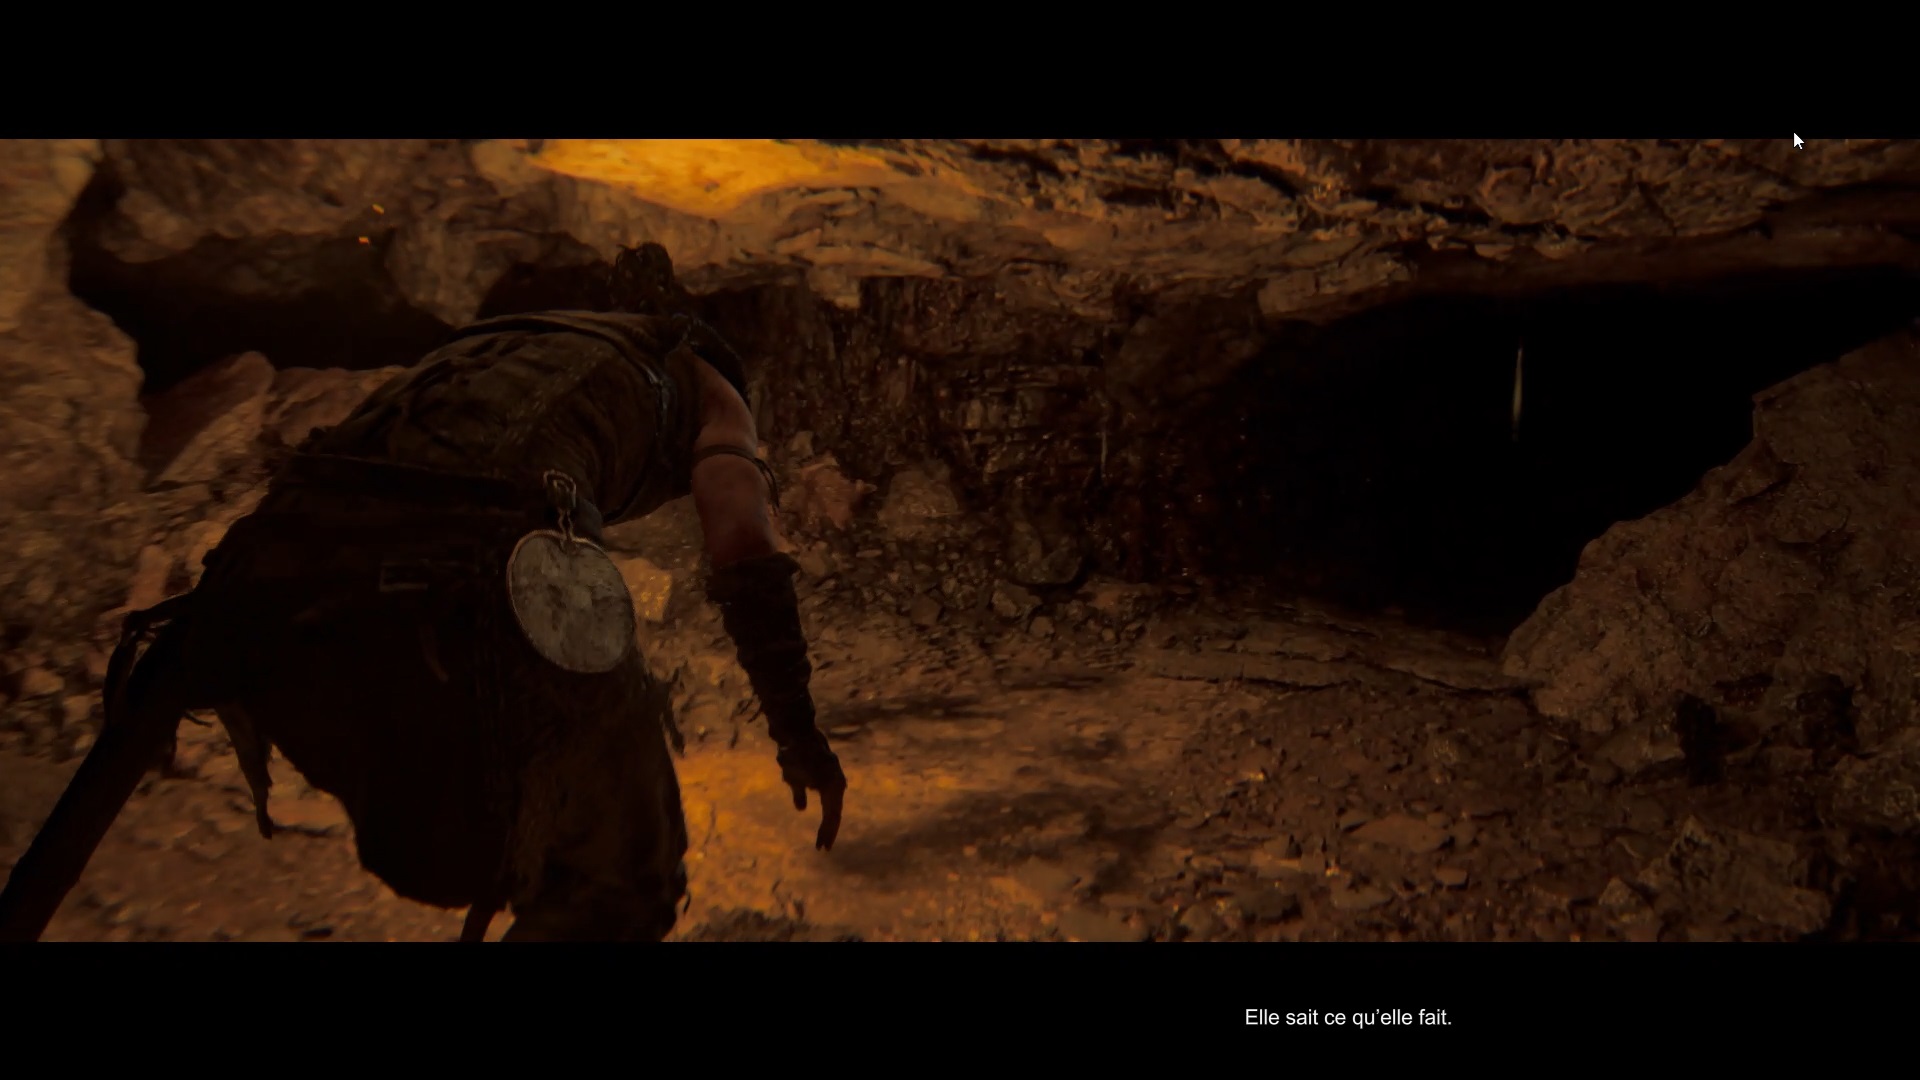
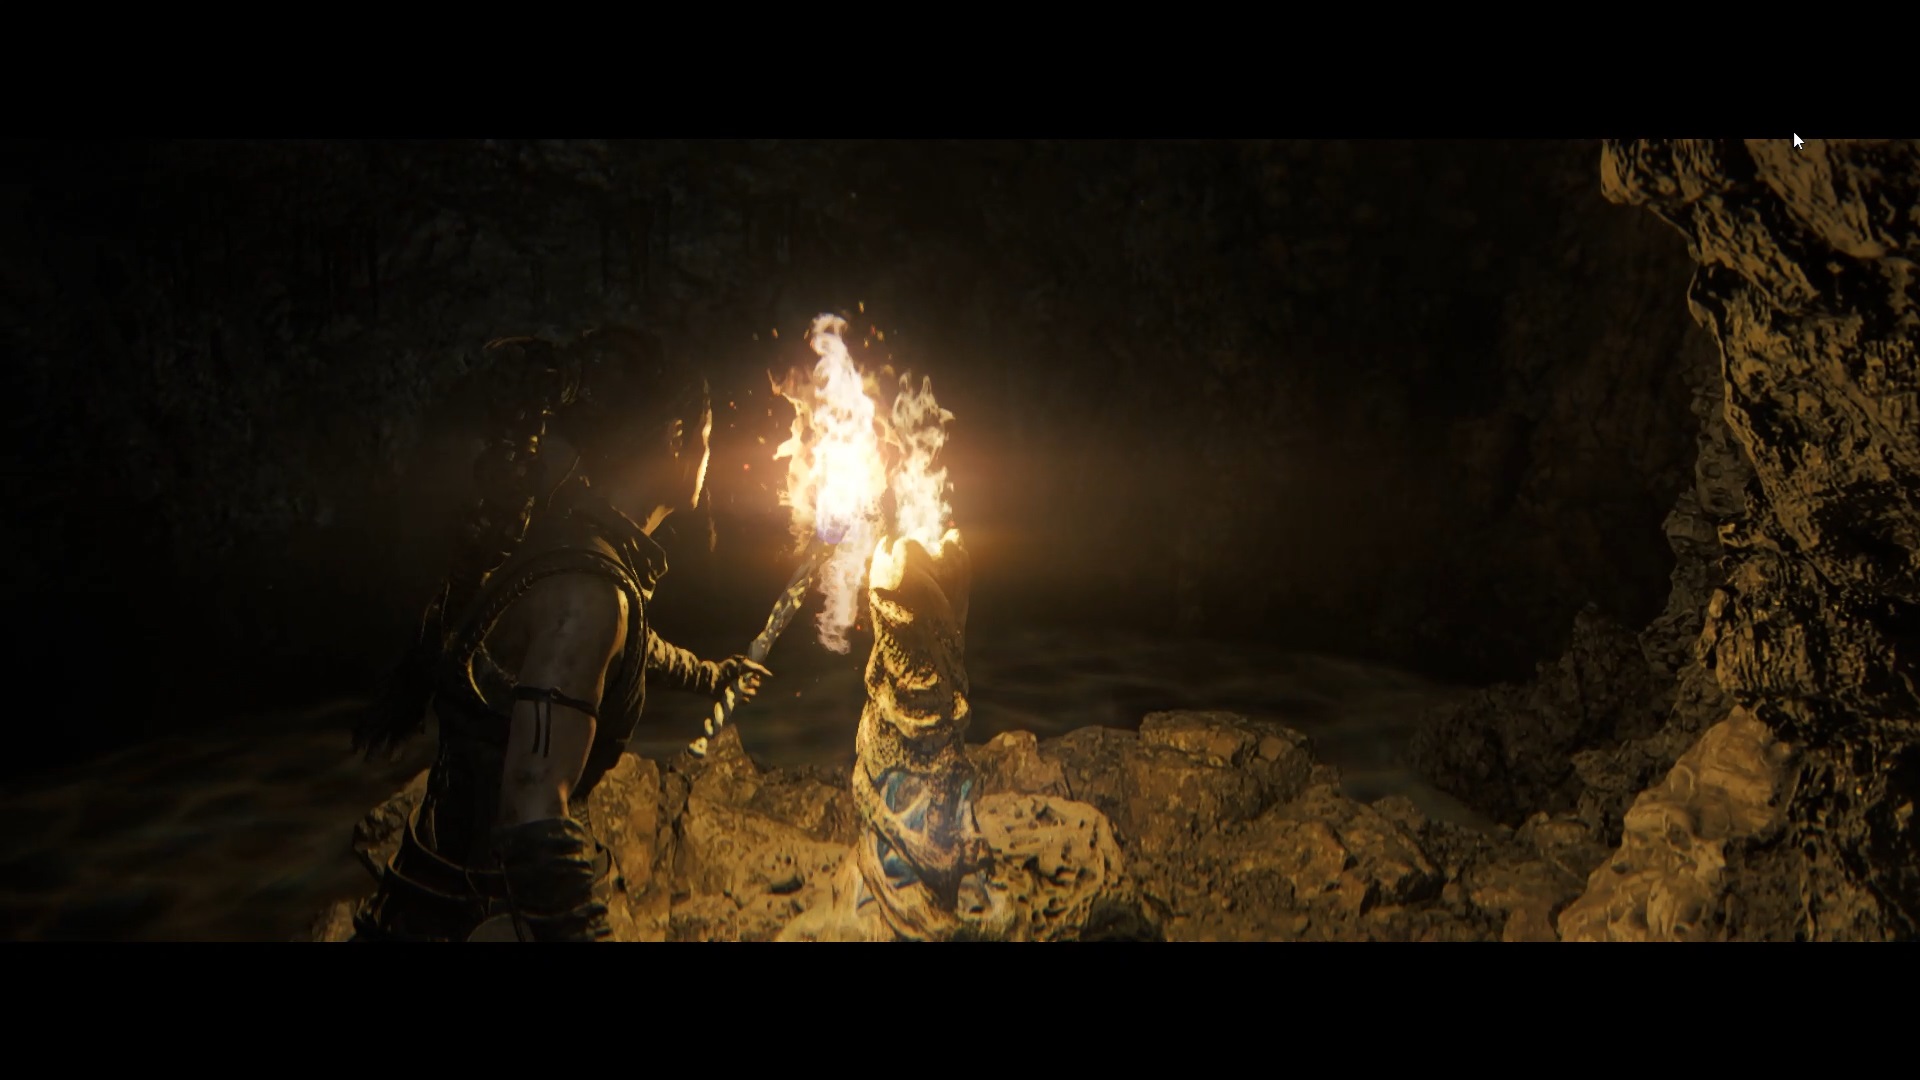
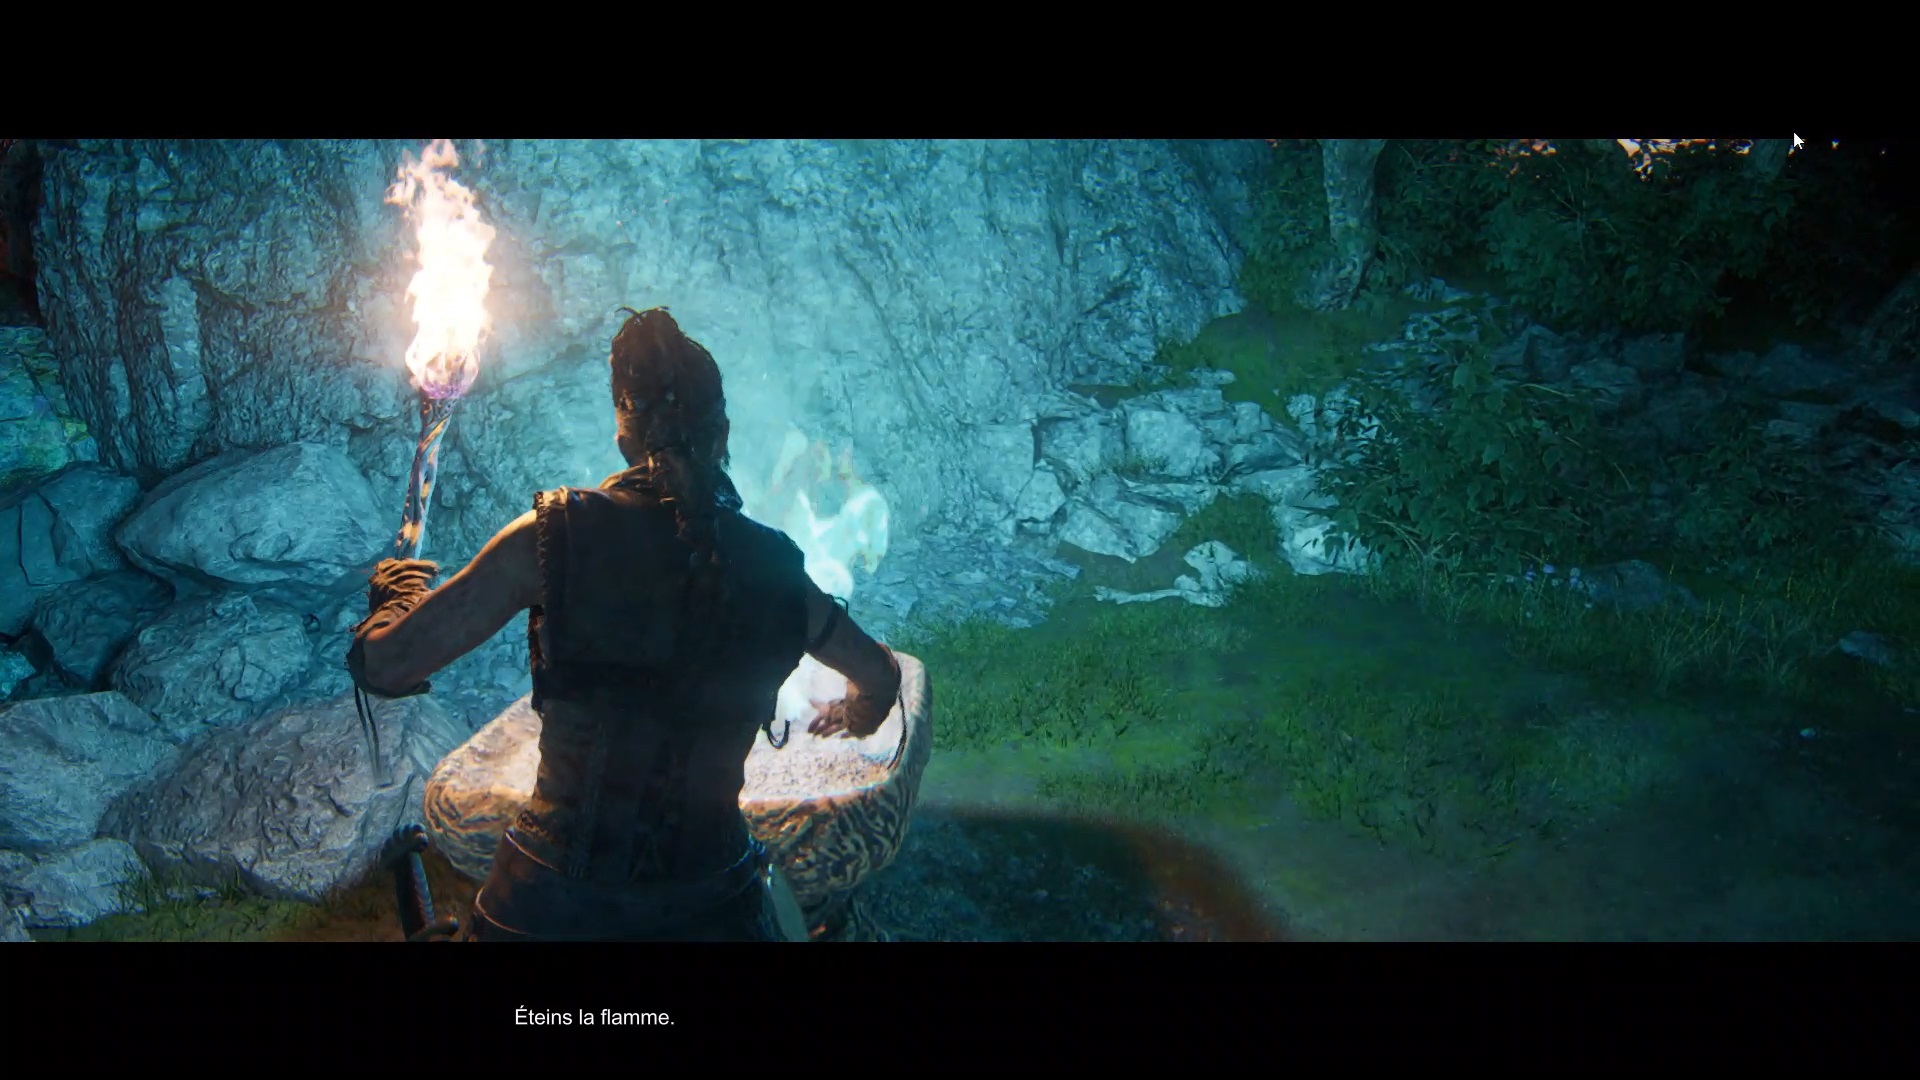
Use your torch to light the blaze. You unlock a passage in front of you. Take the path and crawl under the rocks to continue exploring. As you move forward, you reach a second blaze. To reach it, take the path under the low wall from which you came. Crawl and move forward to reach the blaze. Turn it off and unlock the door at the bottom of your position.

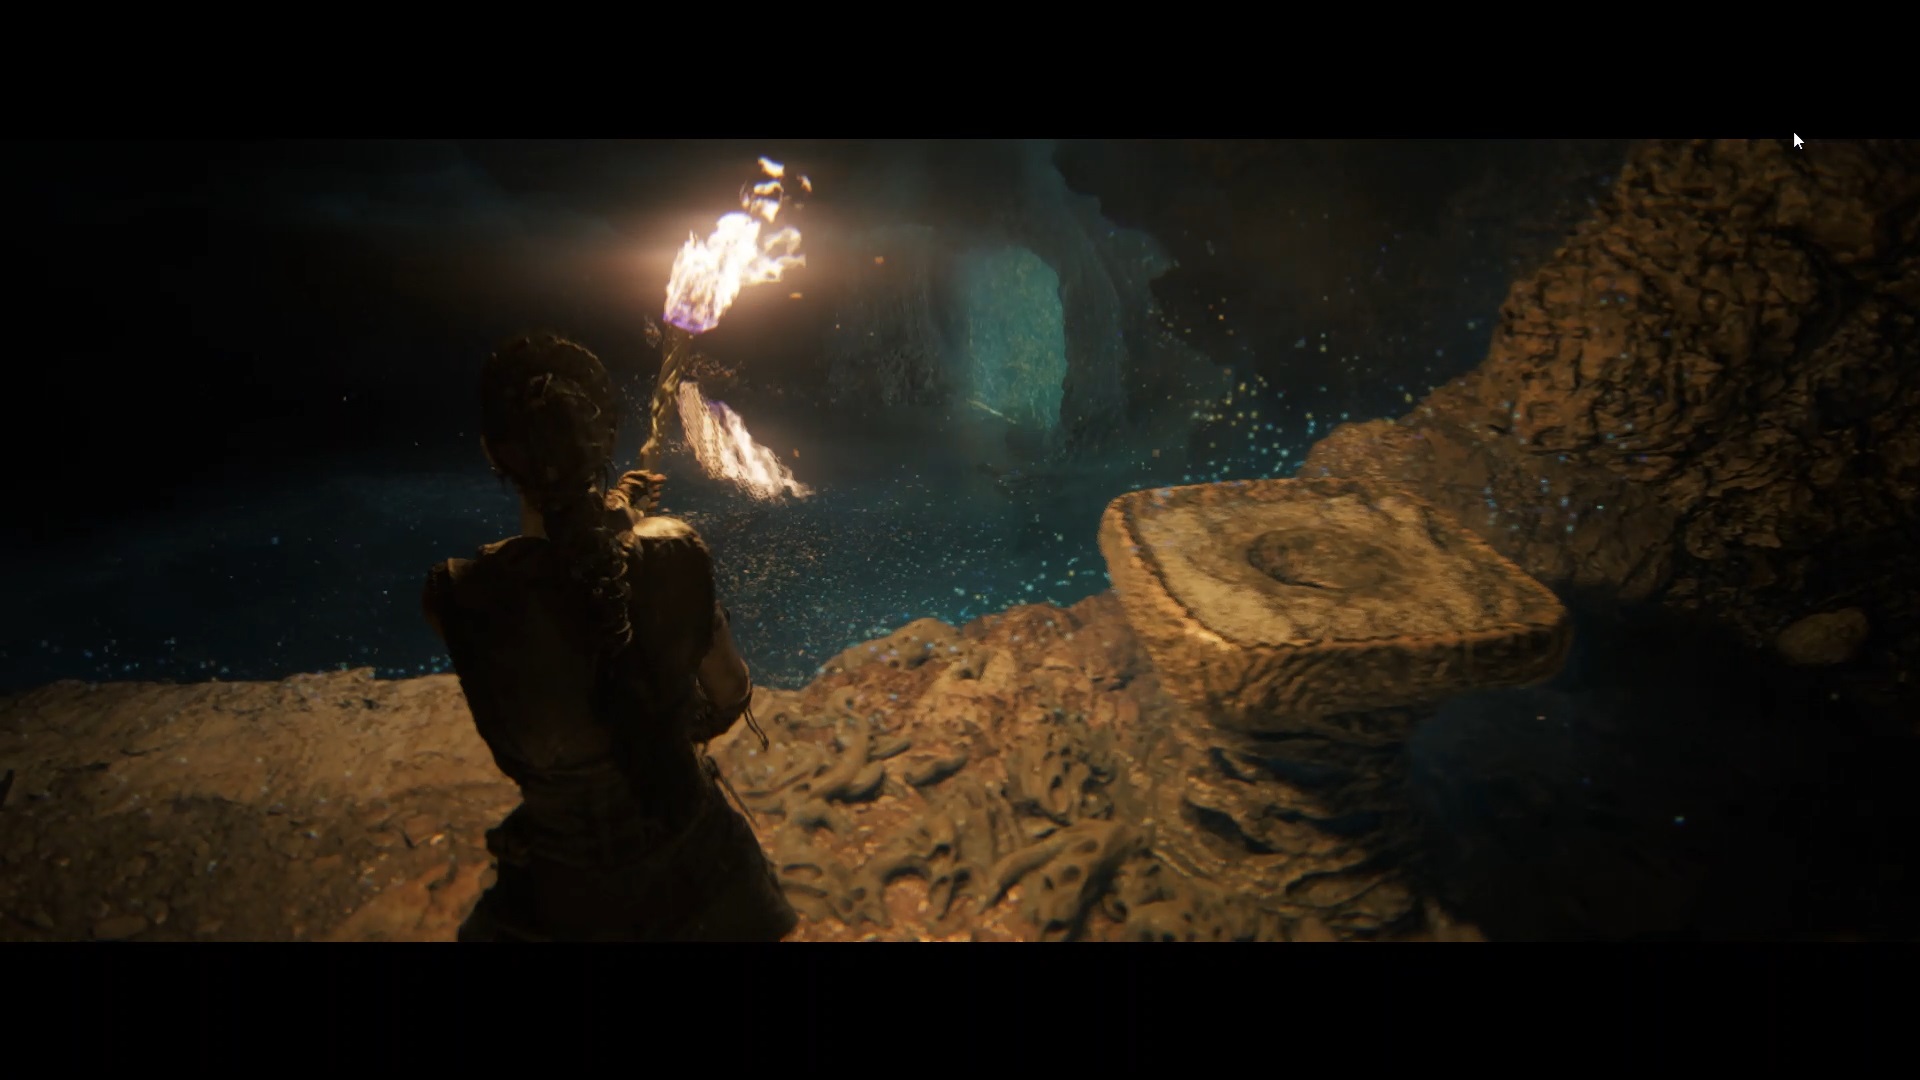
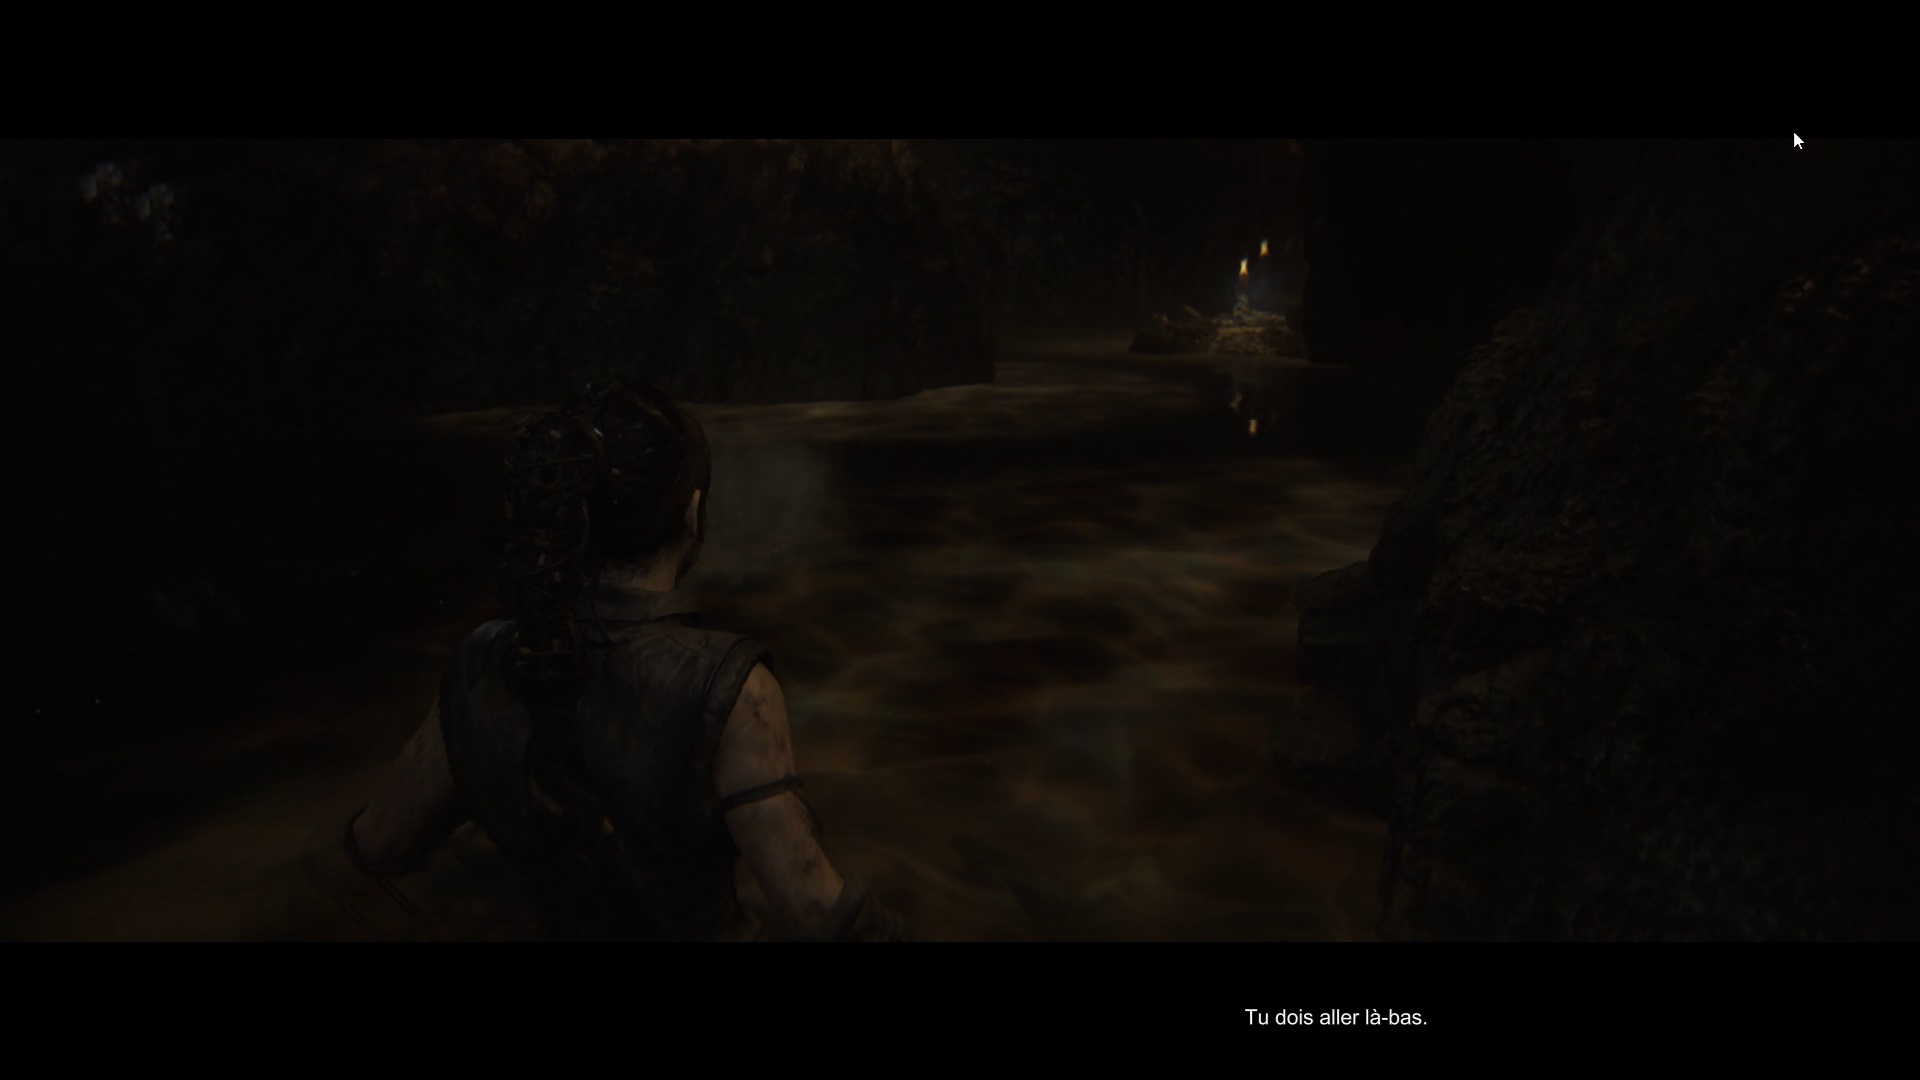
Go through the unlocked passage and go deeper into the cave to jump into the water. As you advance through the water, you reach an area with a torch and a new brazier. Take the path to the left of the stream of water to reach the brazier. Light the brazier to unlock a path above the water.
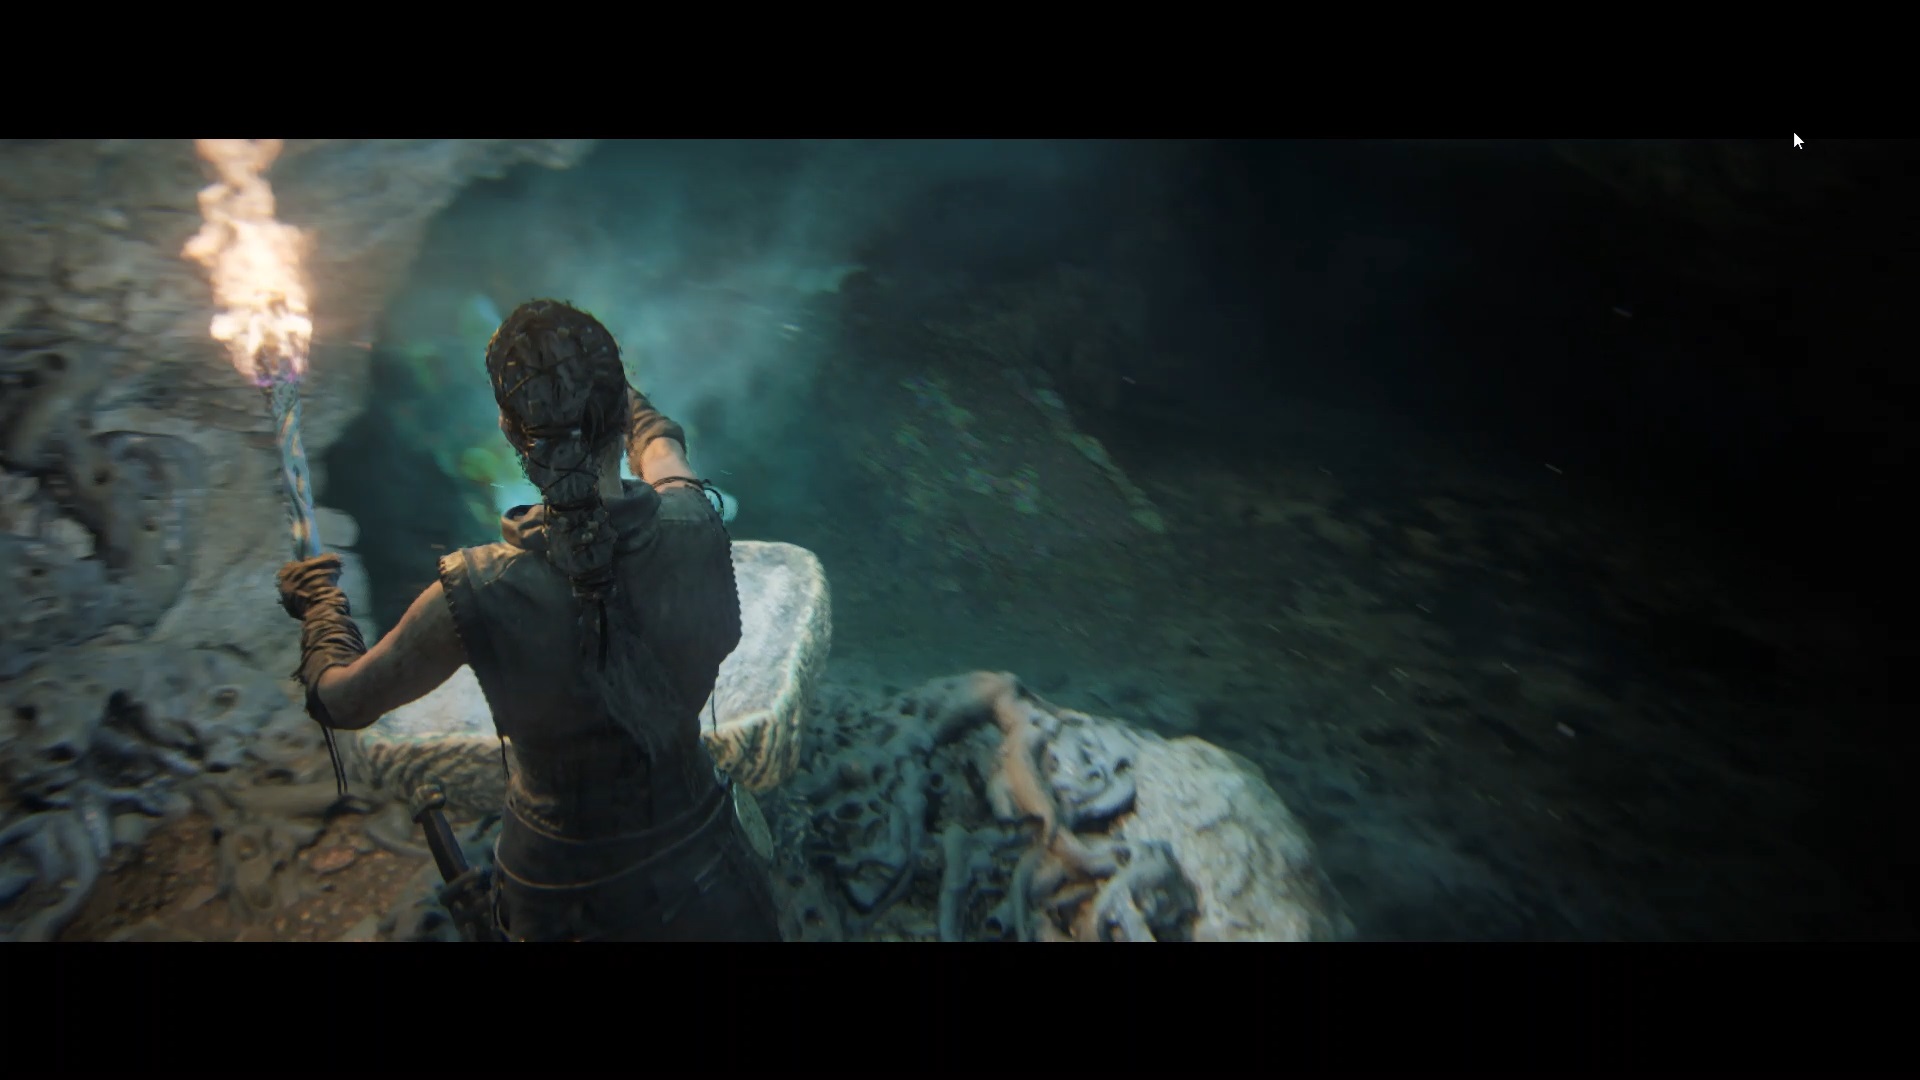
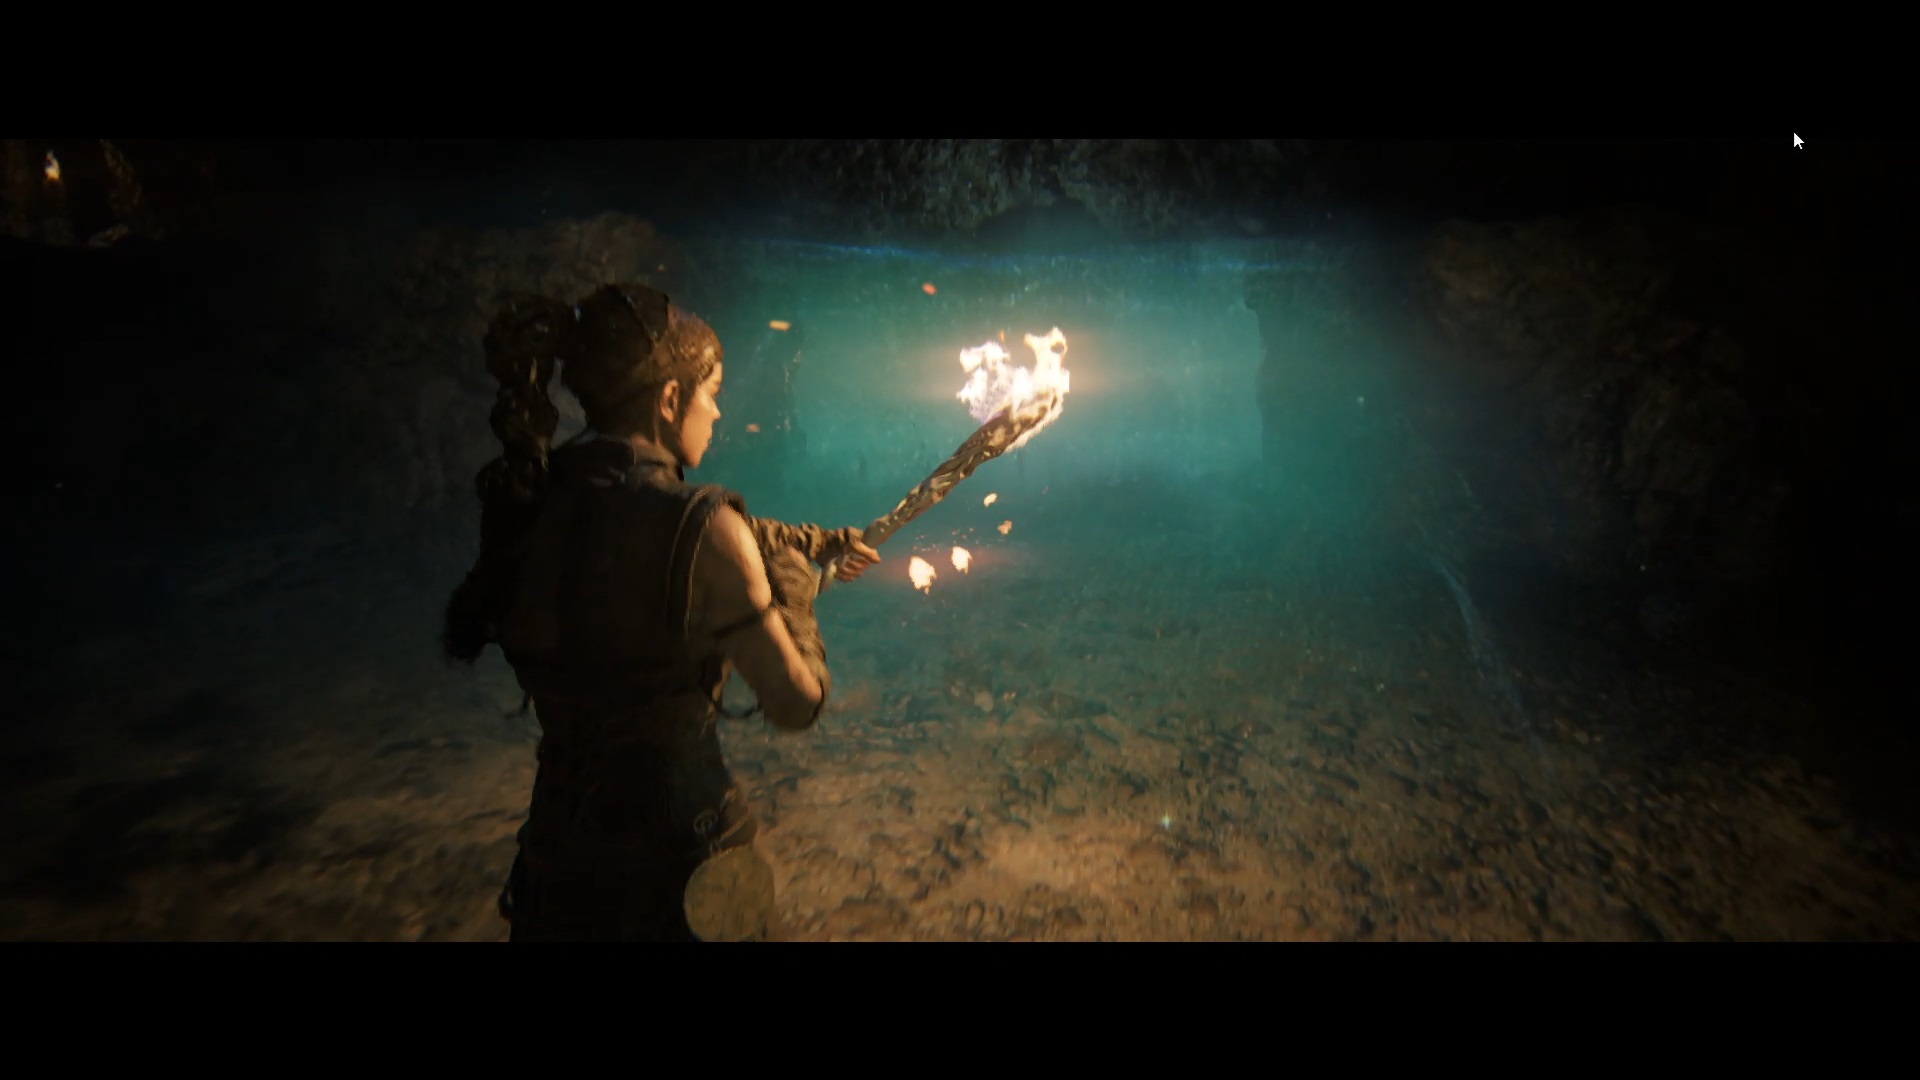
Take the path you unlocked. Move to the left to light the extinguished torch. Return to the brazier to put it out. You can now cross the stream of water.
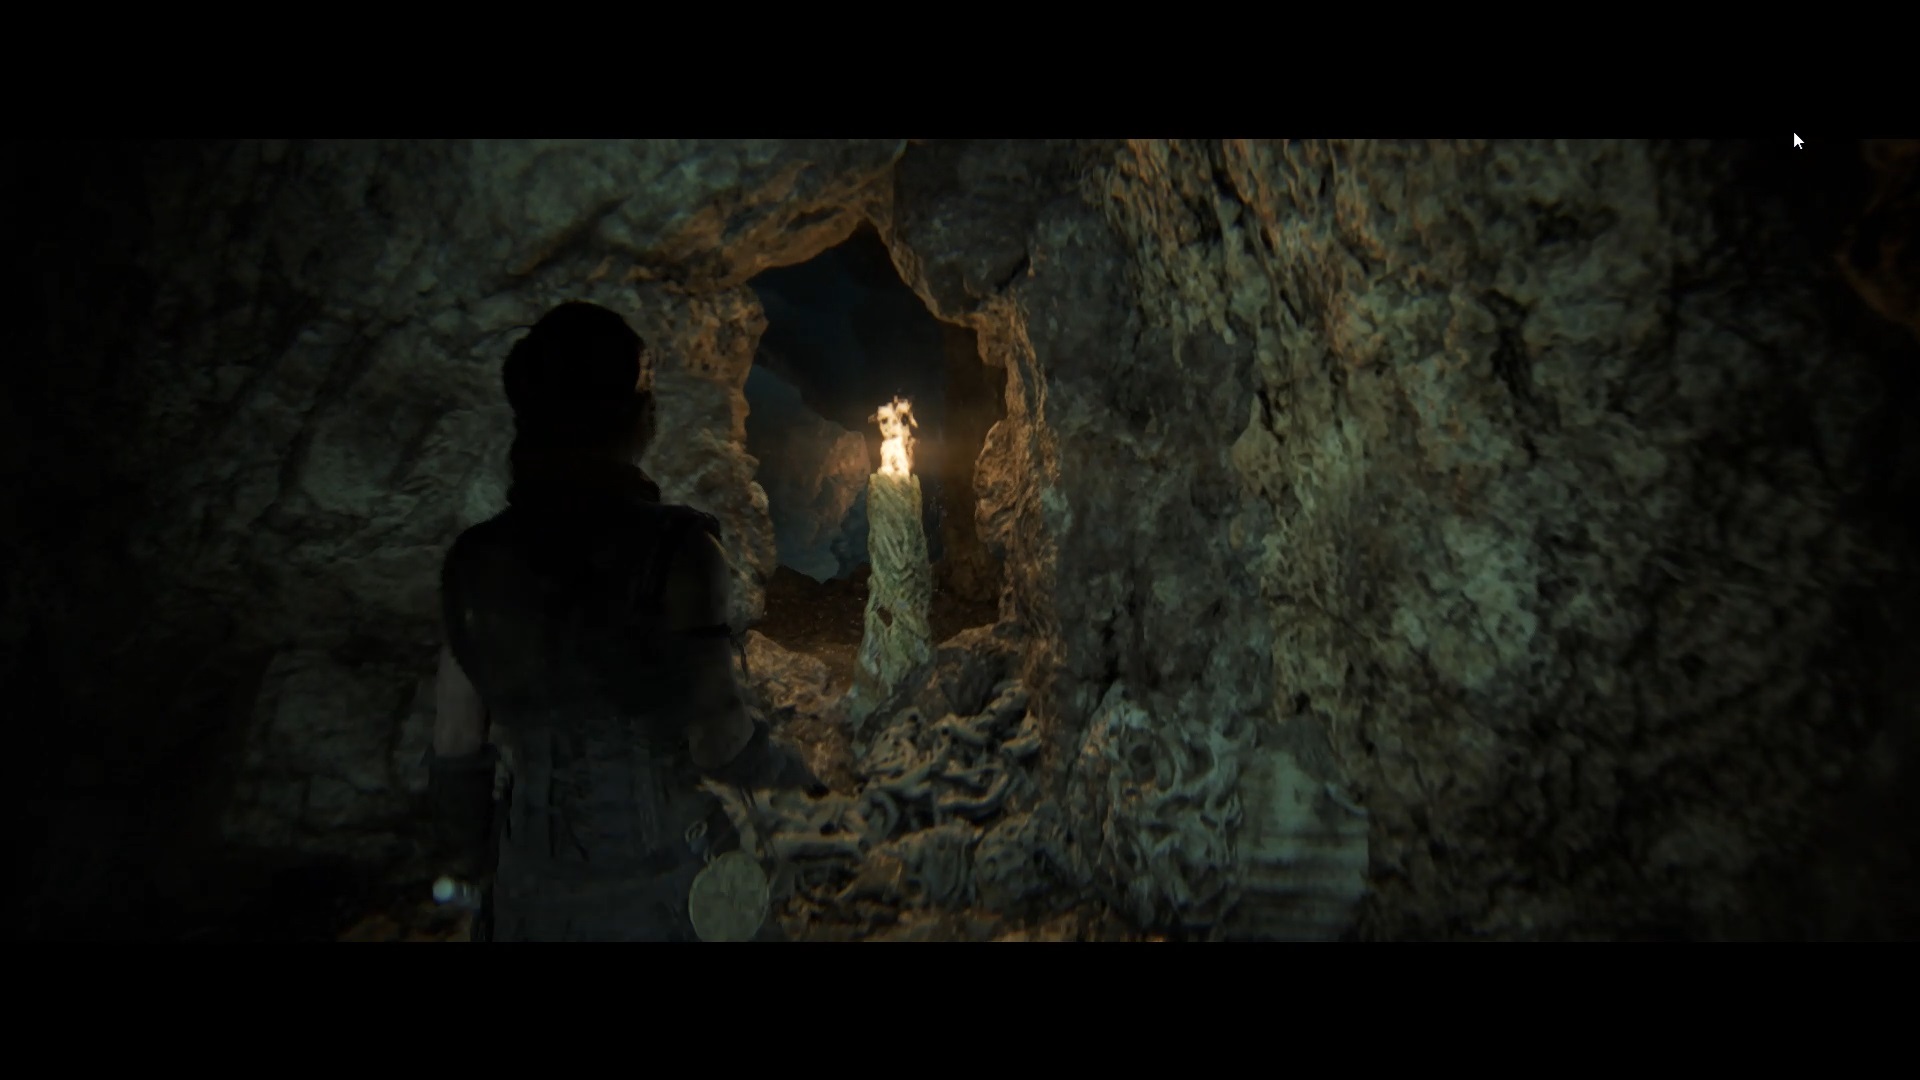
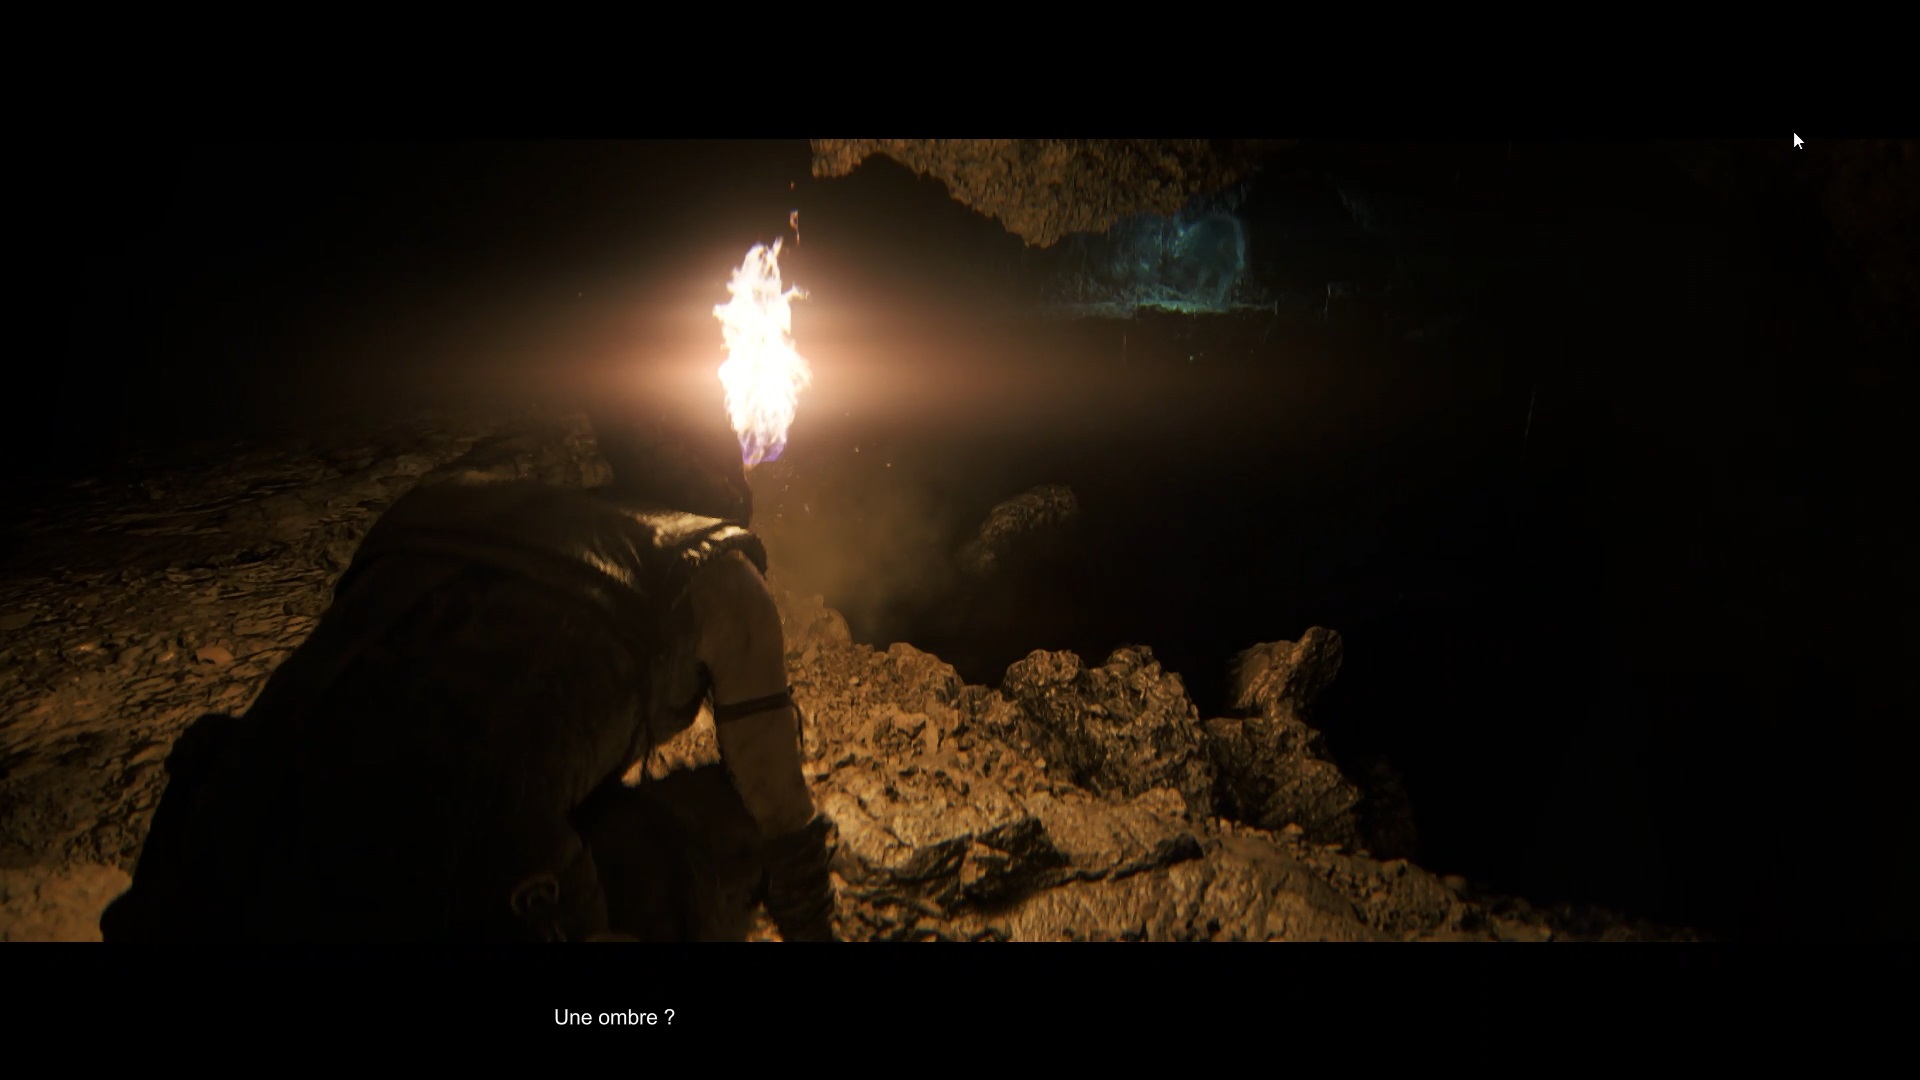
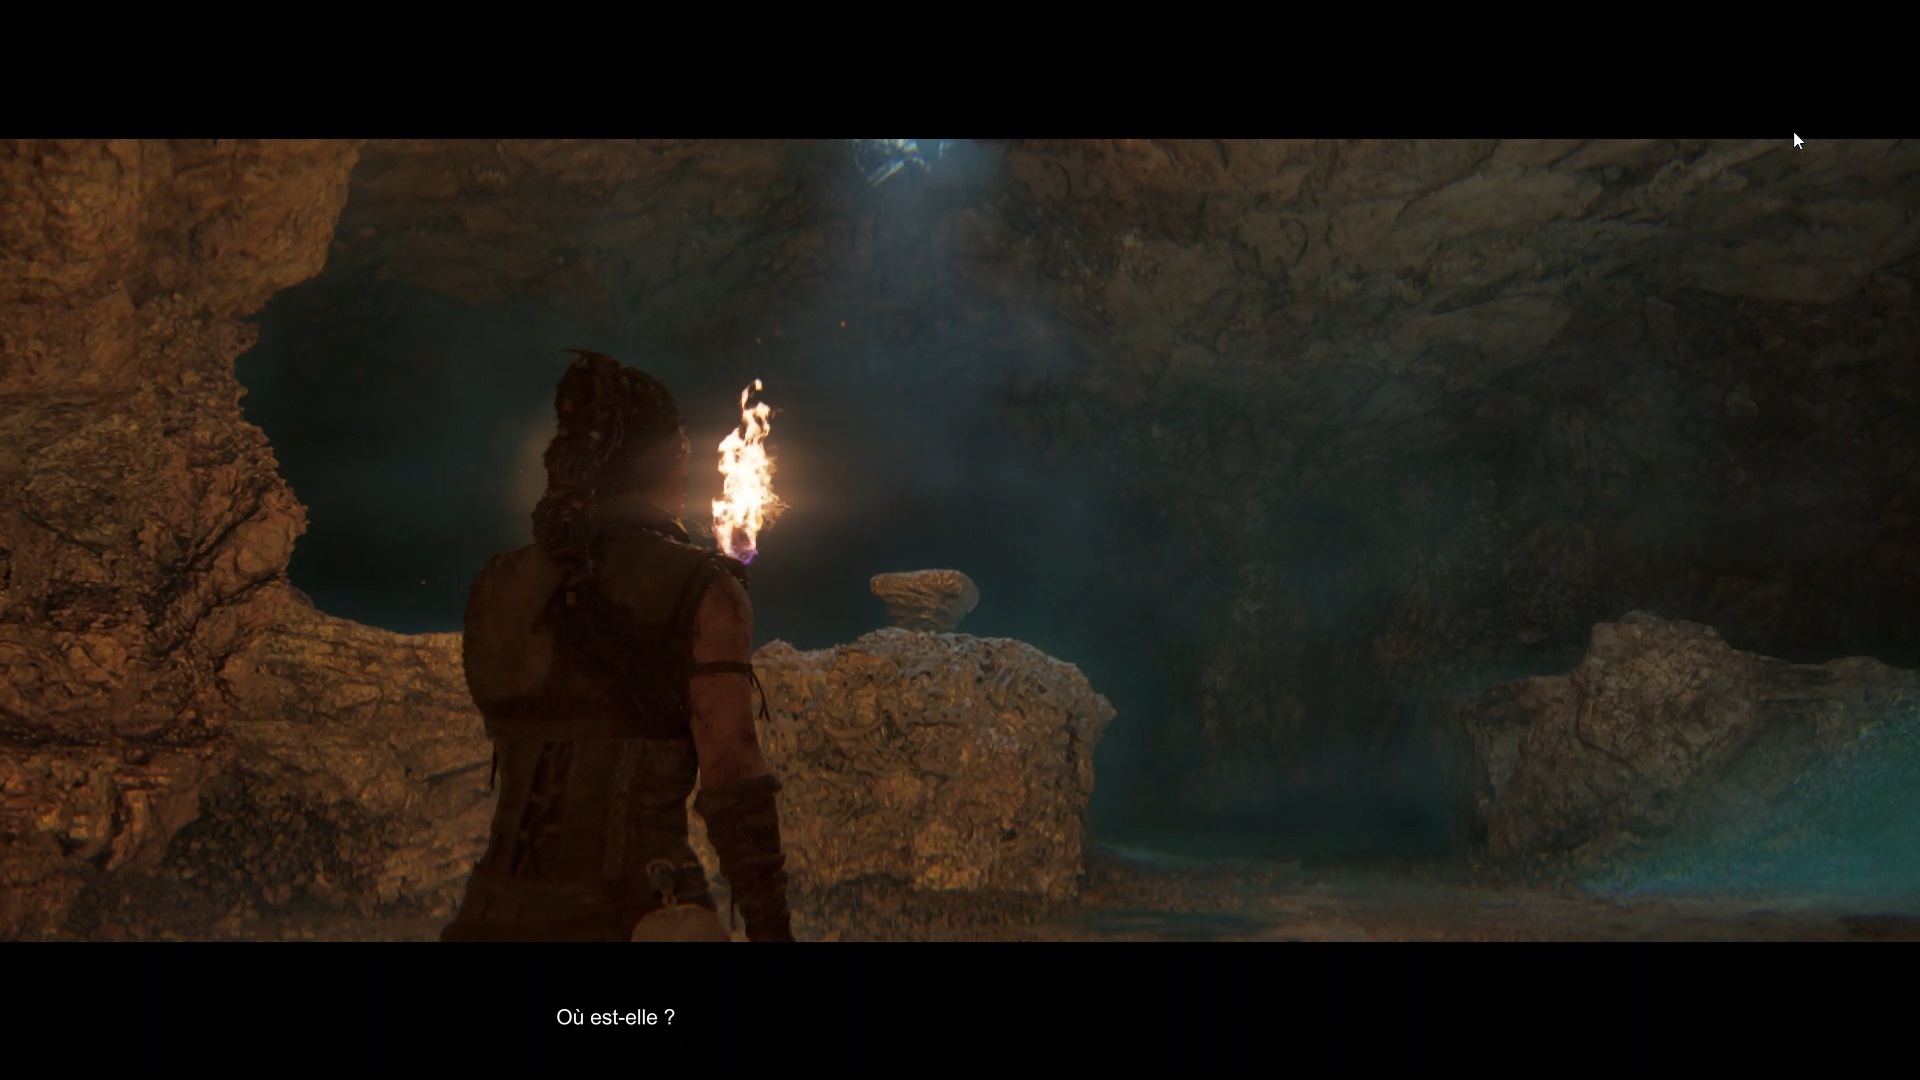
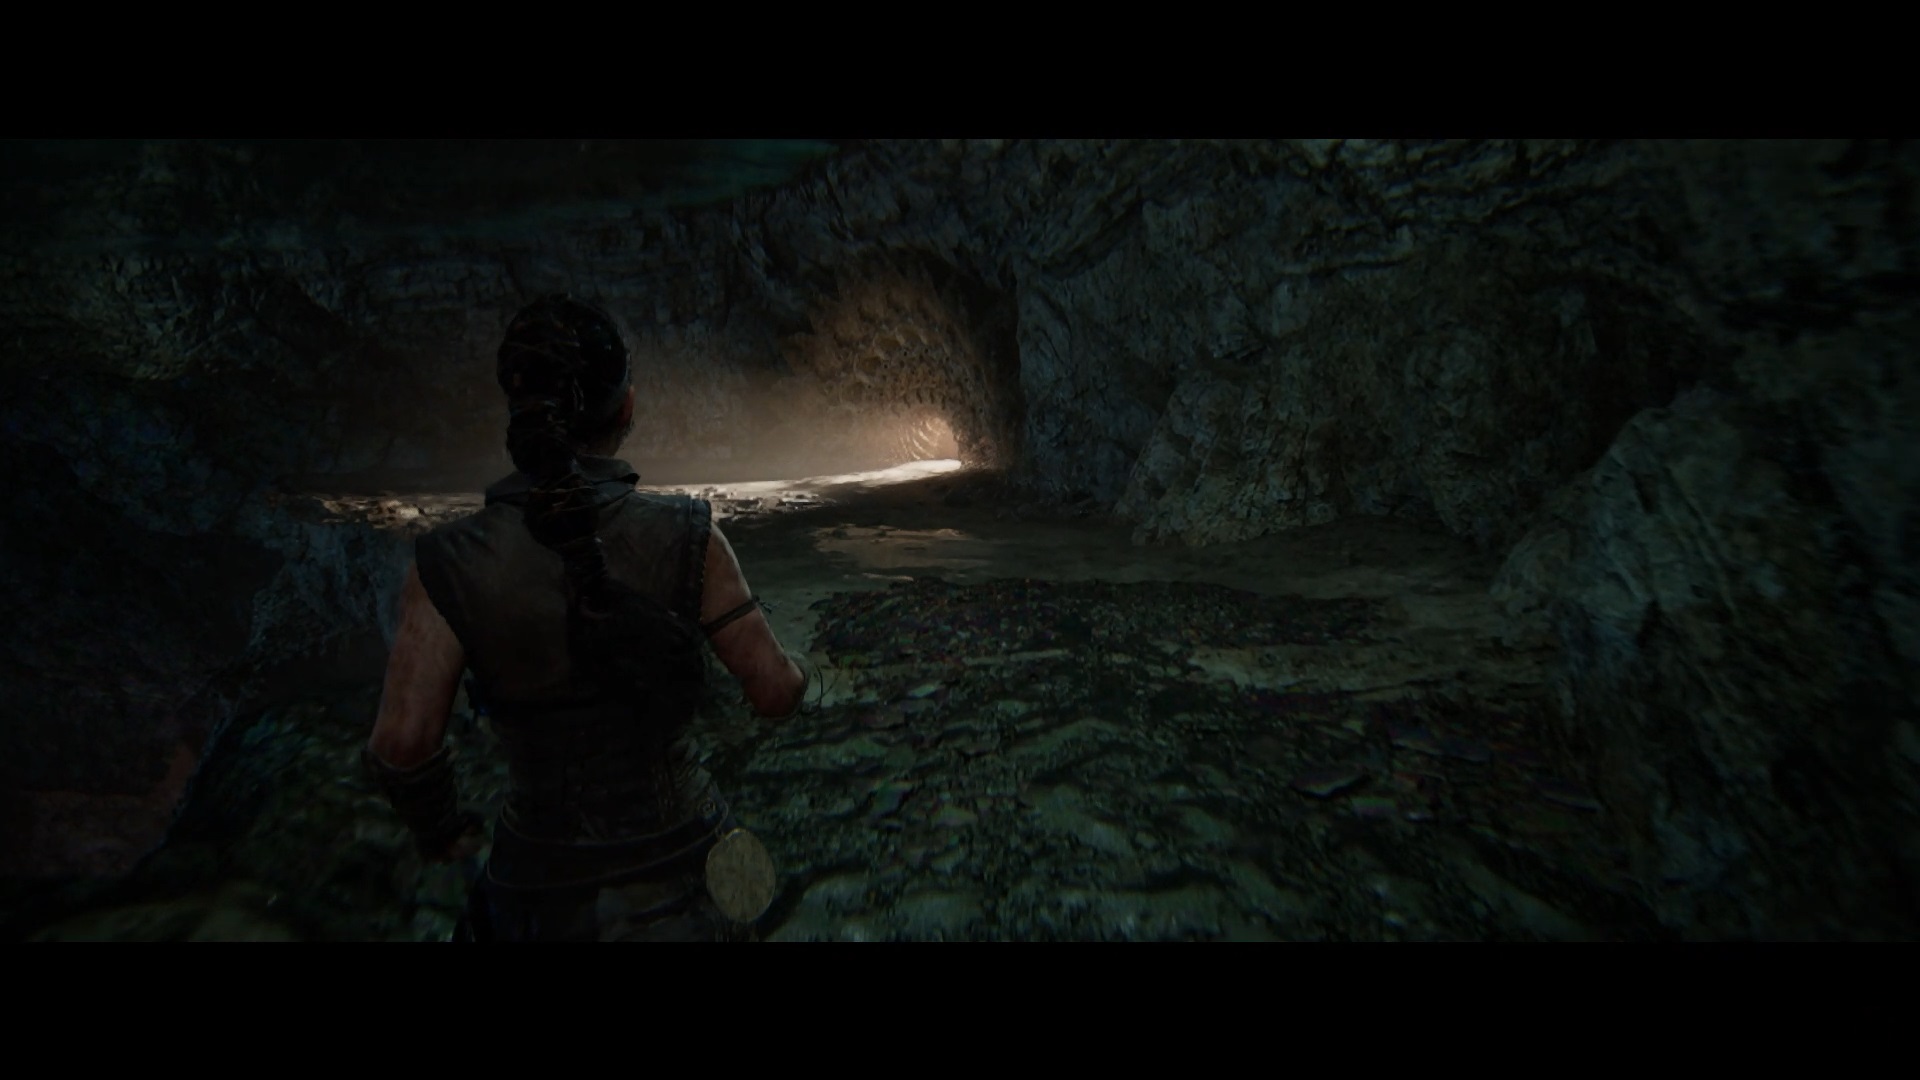
On the other side, climb the stone wall to reach an extinguished brazier. Take the path behind the brazier to collect a torch. Go and light the brazier to make a stone point appear. Cross the bridge and continue your journey within the cave to see a shadow.
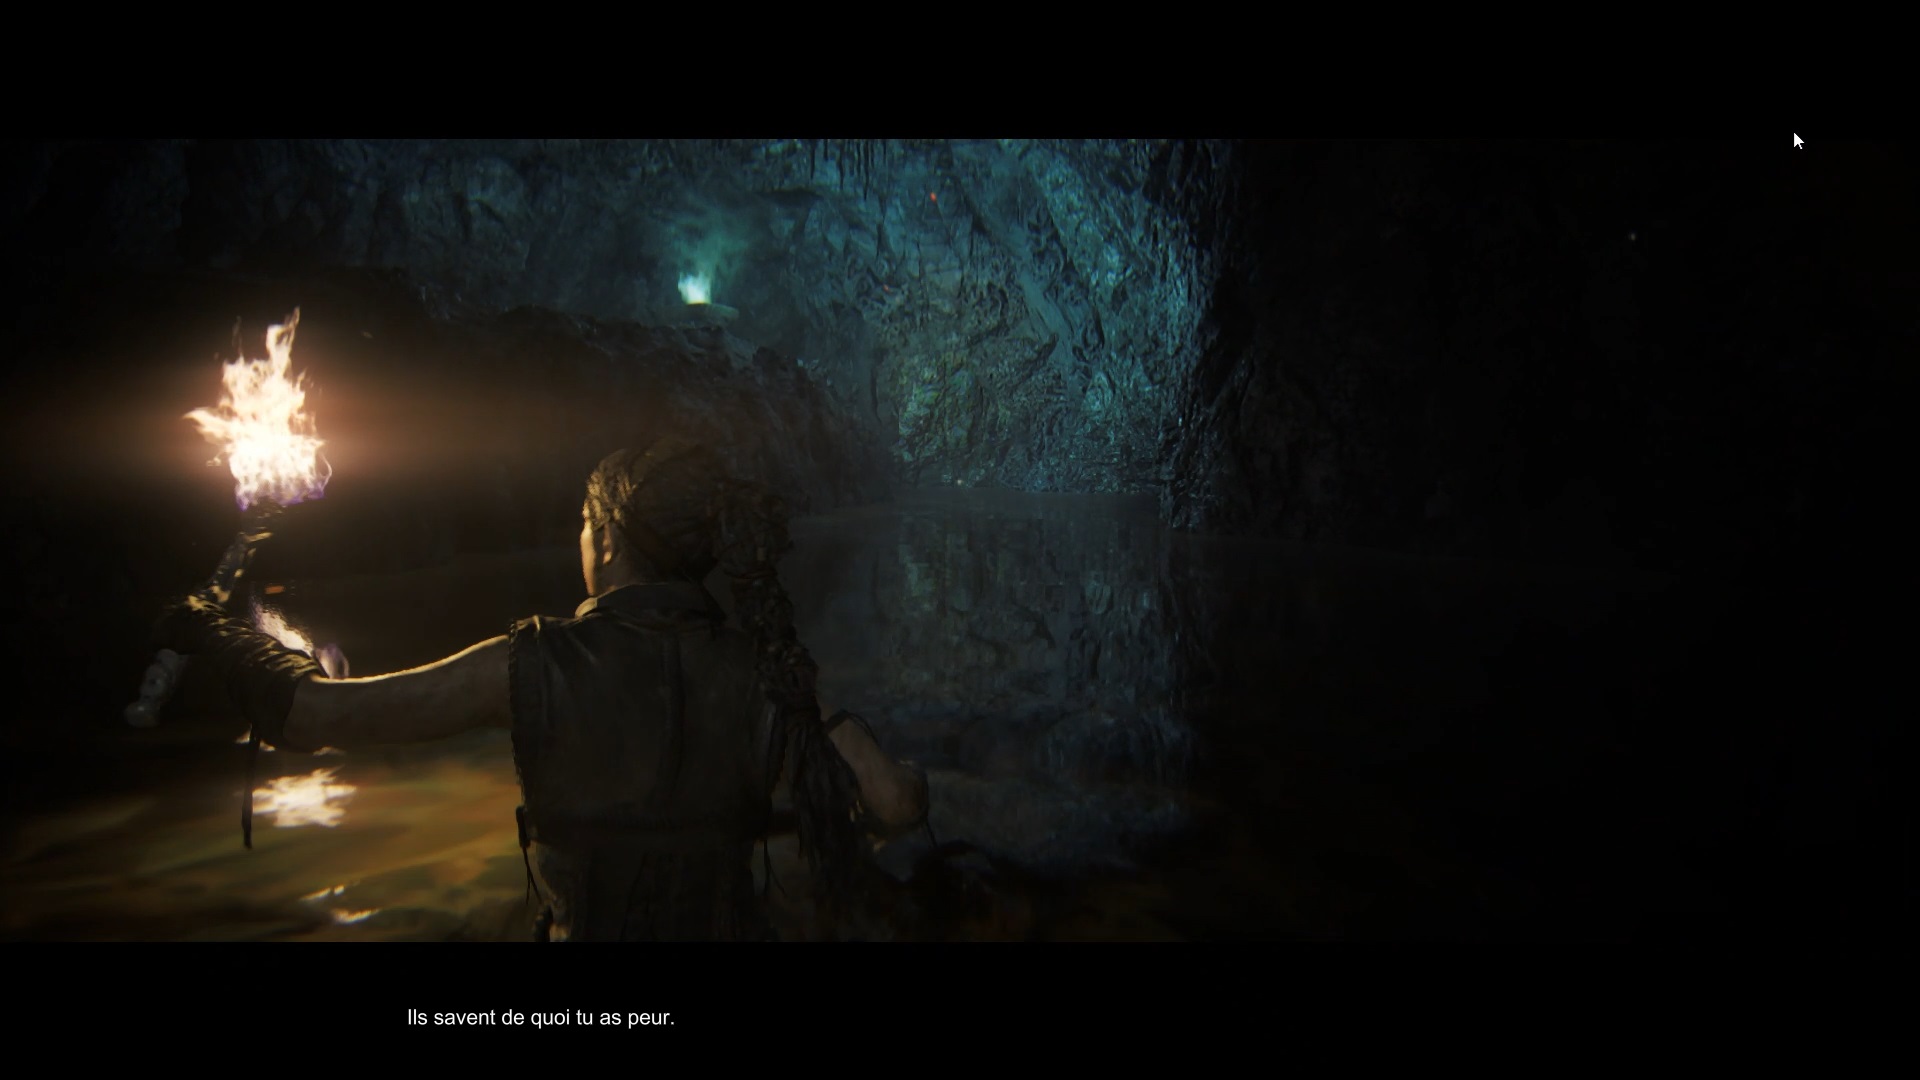
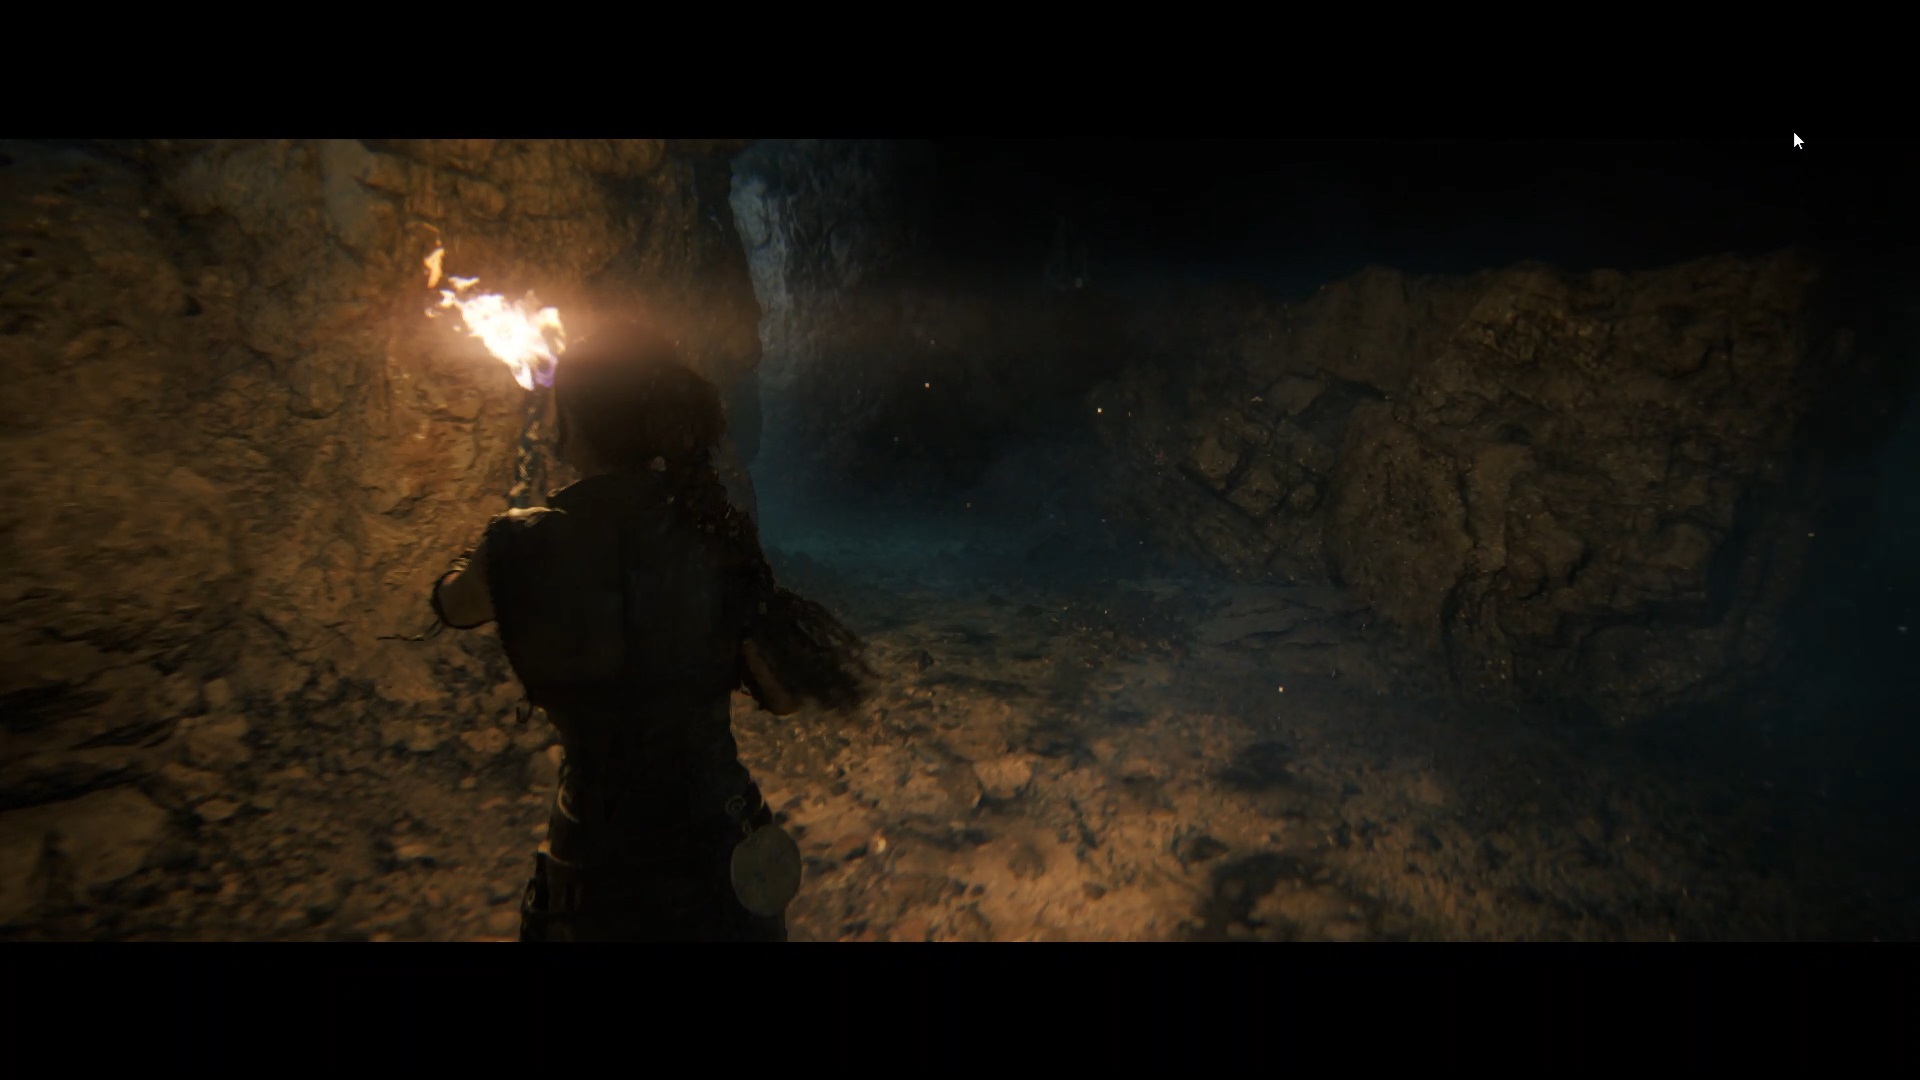
Follow the shadow to reach some water. Jump into the water and move forward to reach the opposite side. You reach the inferno in the area and clear a path by lighting it. Return to the water and take the path. Move forward to reach a trickle of water which will extinguish your torch. In front of you is water. You can’t cross without a torch. Go to the left to cross over the low wall that runs along the water.
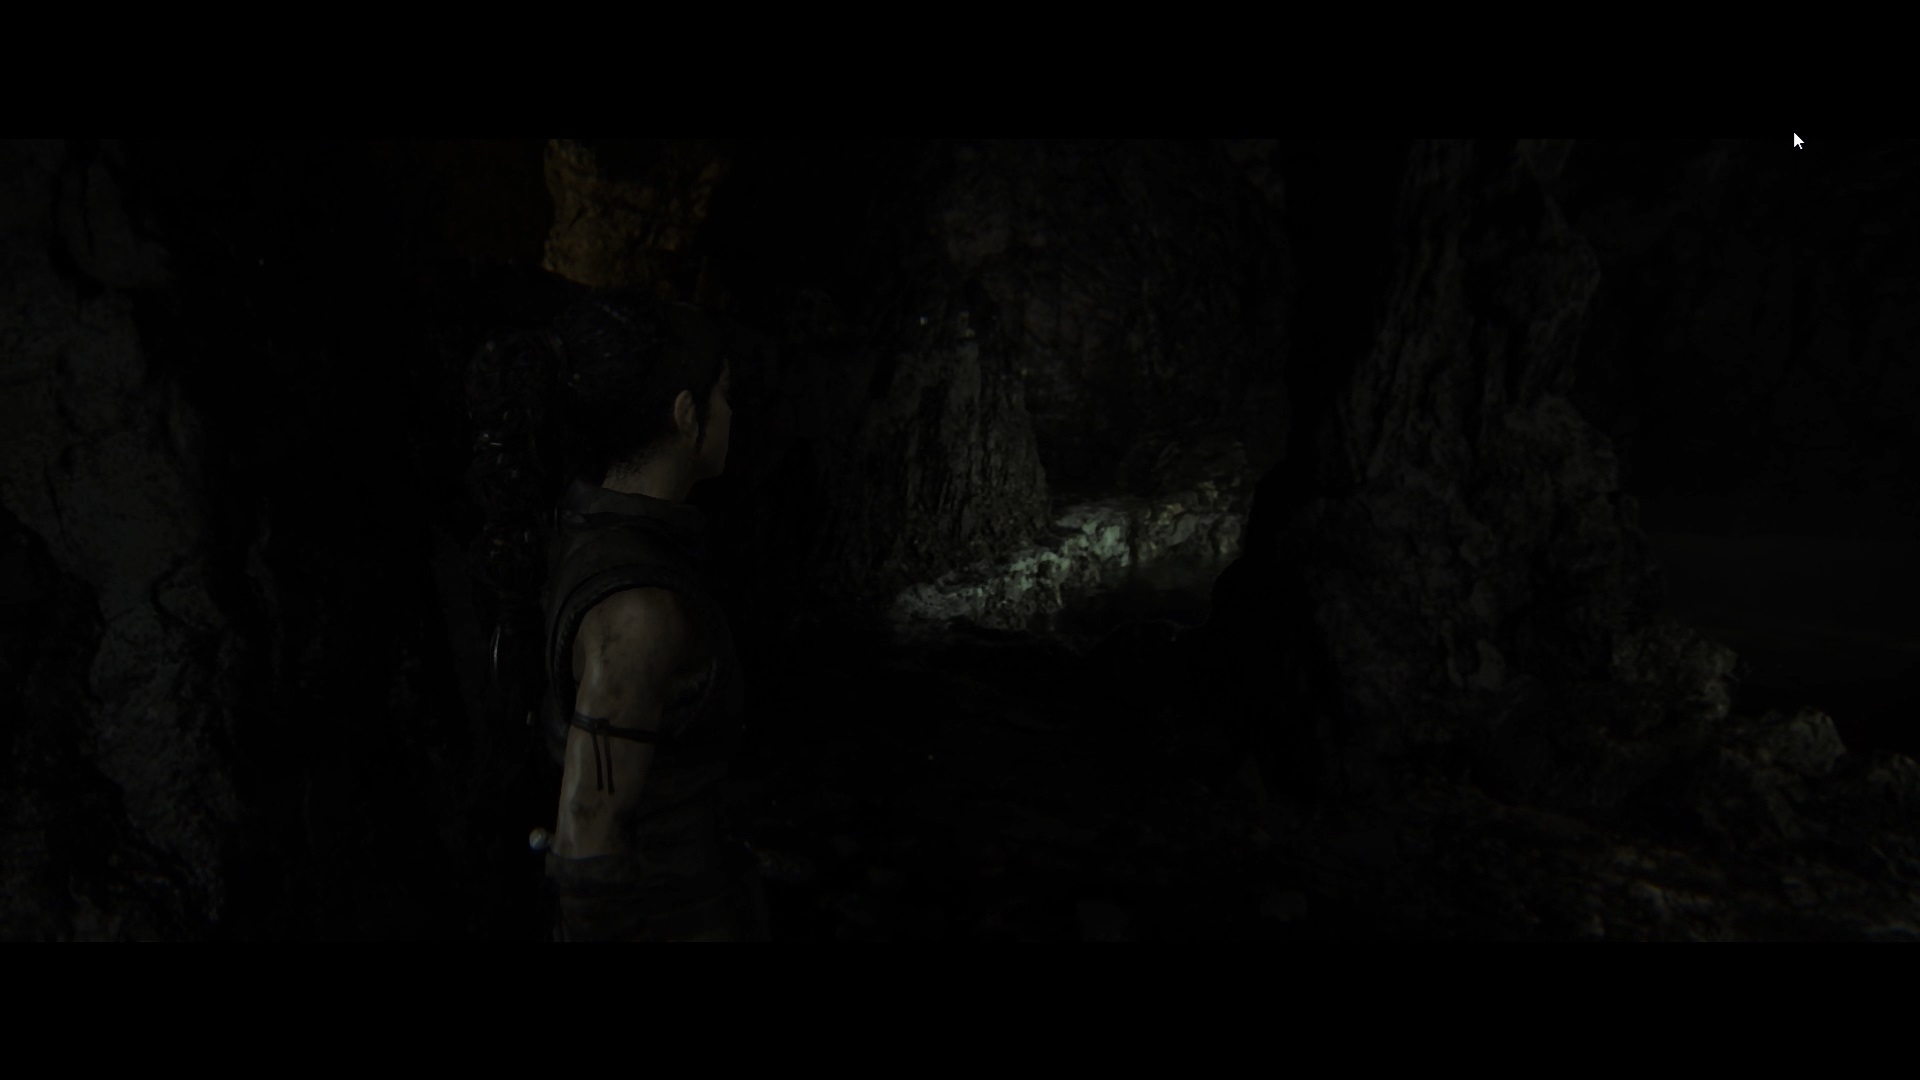
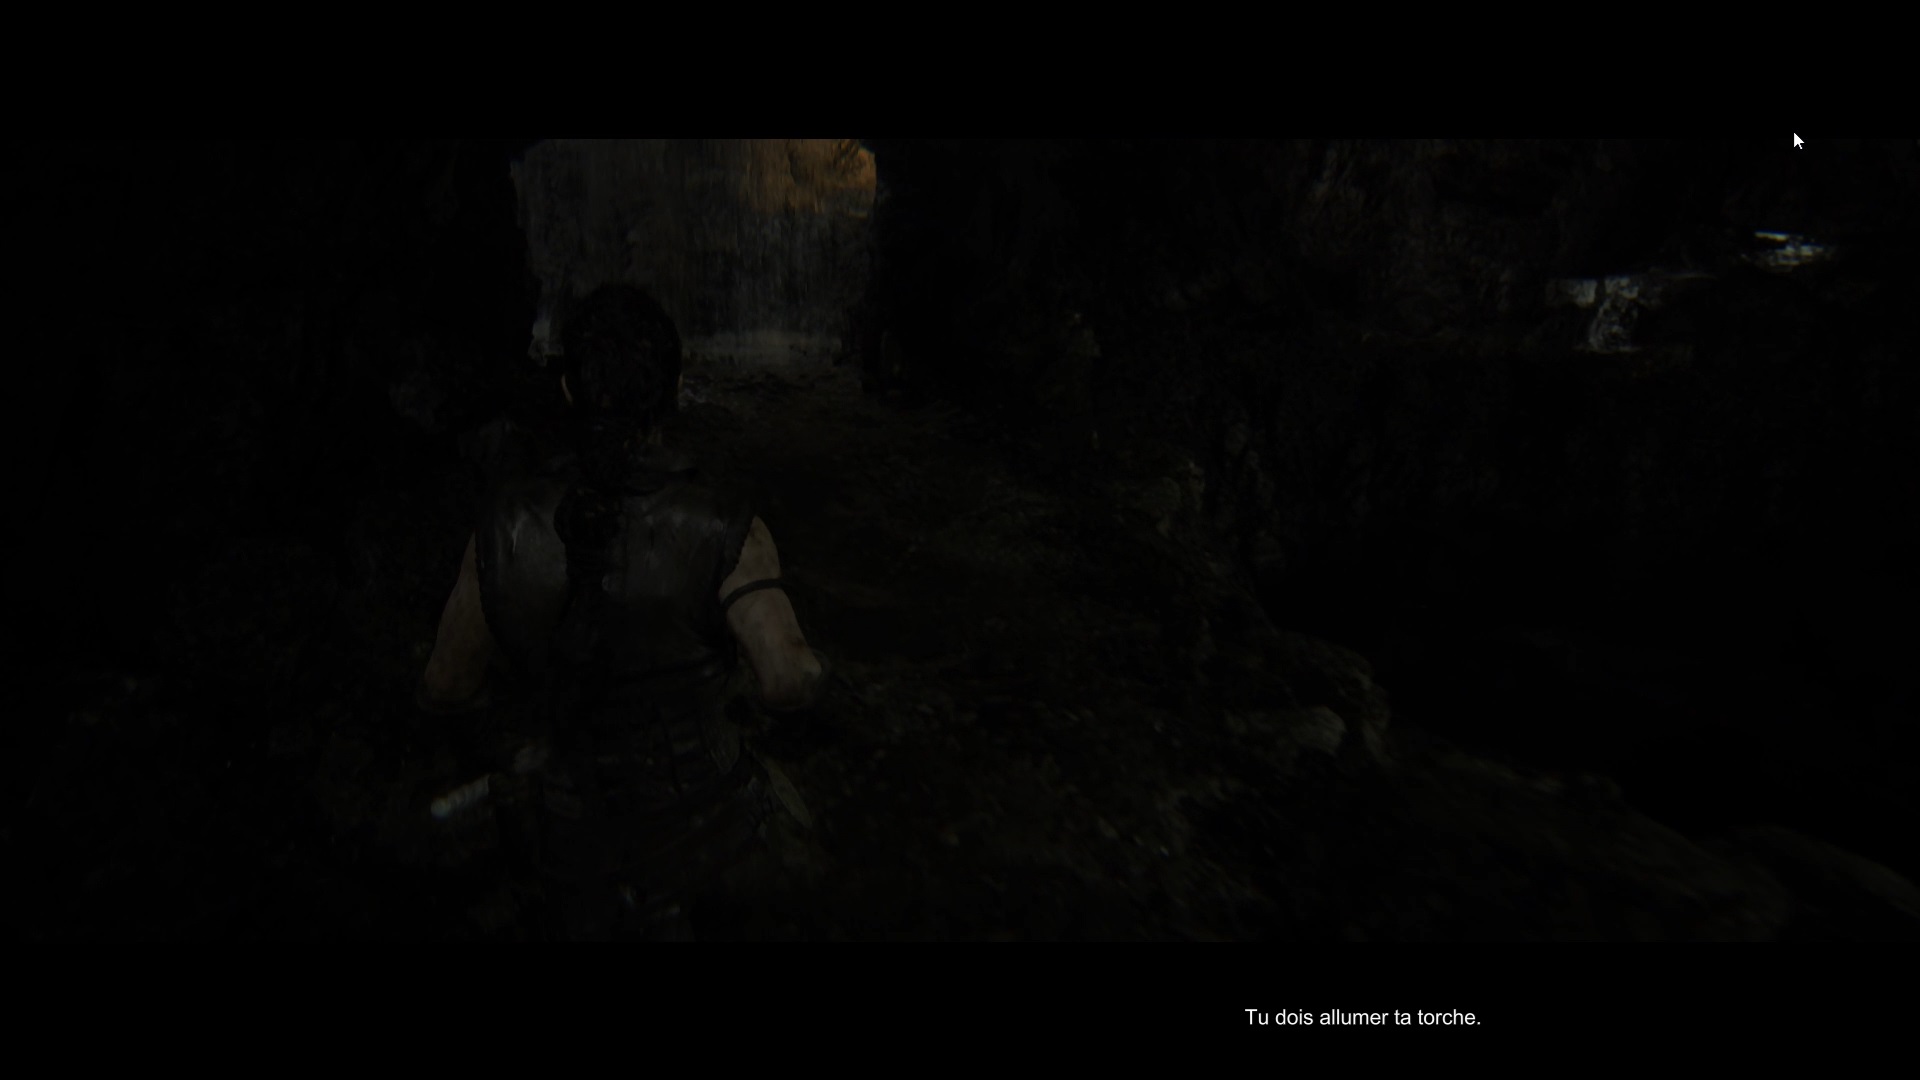
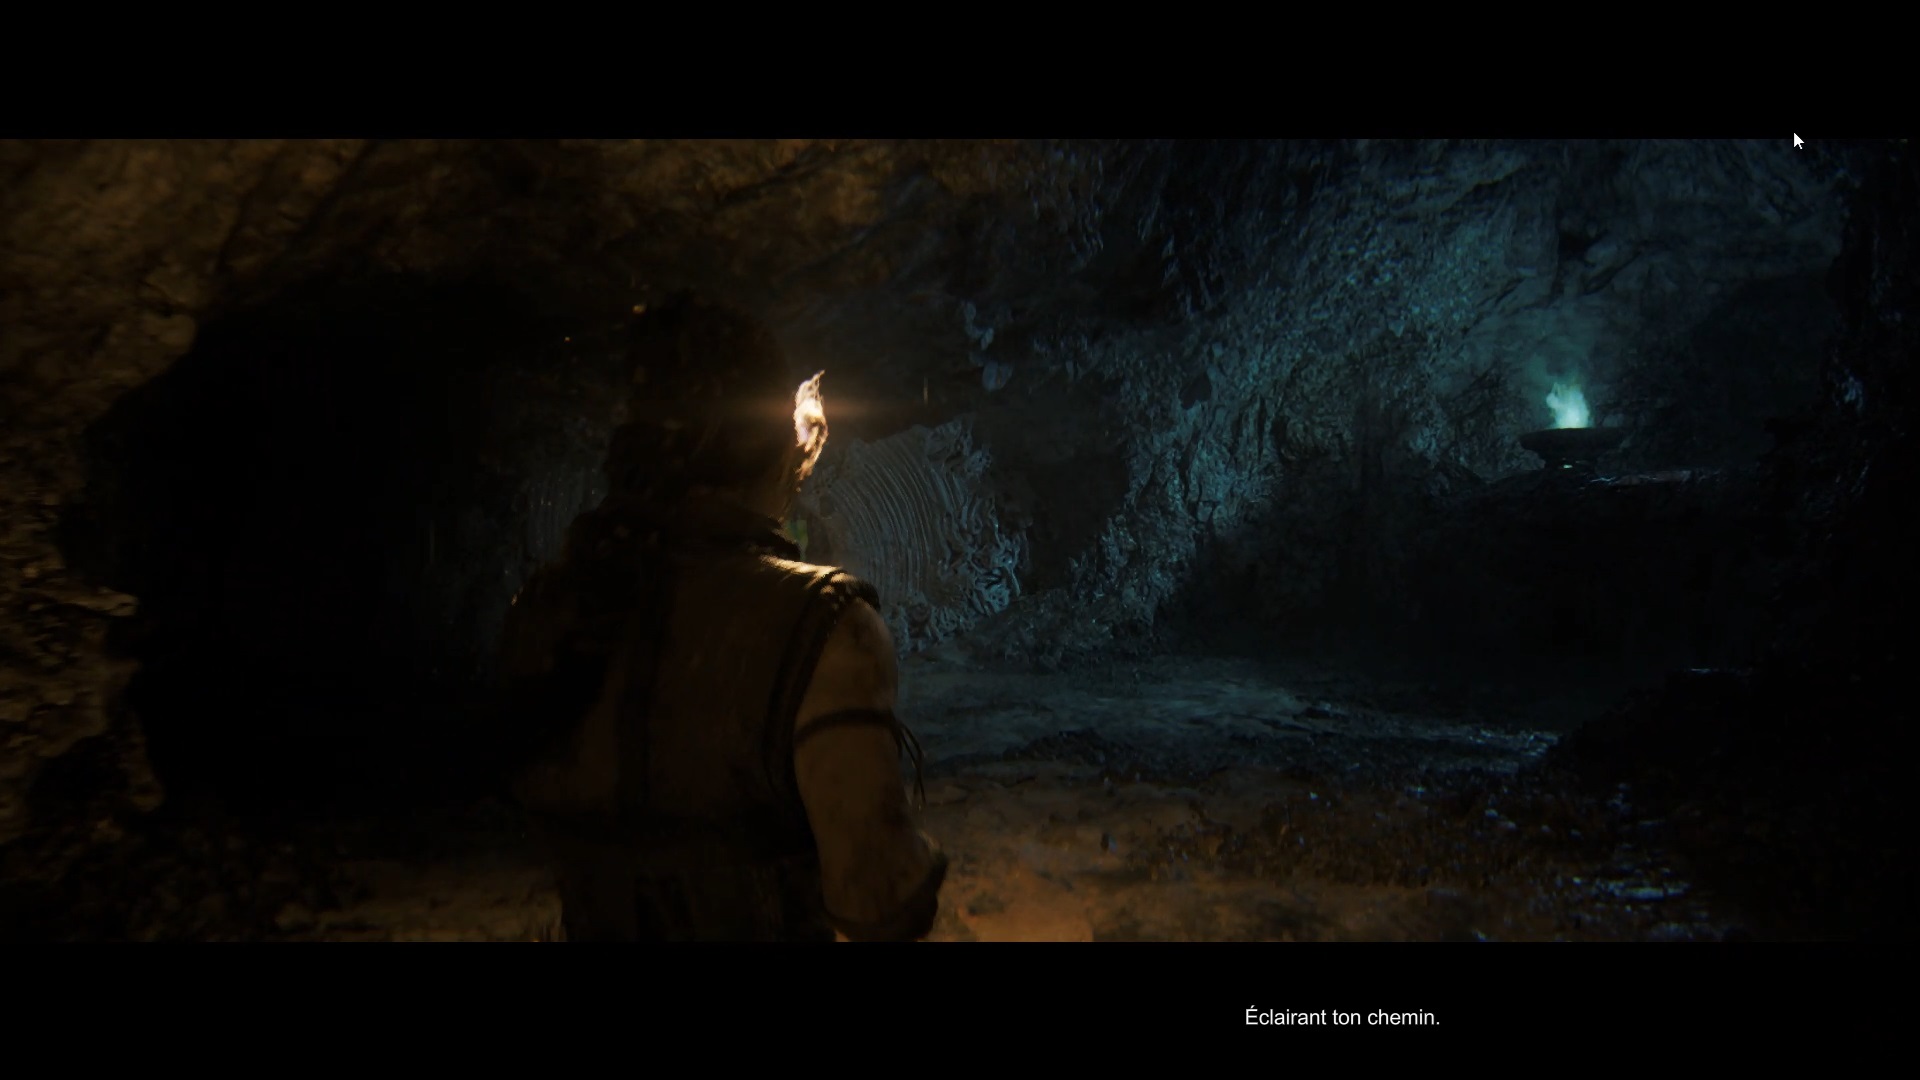
Continue moving forward to reach a new source of fire for your torch. Retrace your steps so you can cross the water. As you continue your exploration, your torch is extinguished again. In the area in front of you are some high up braziers. Take the path on the left, going under the water.
Go forward and take the path on the left to relight your torch. Retrace your steps and go up to reach an extinguished blaze. Light it and go back down to the entrance to the water level area. Go into the water and move forward while remaining in the light of the braziers. Take advantage of the last blaze on the right to light your torch and finish advancing in the area.
In the water, you are surrounded by enemies. When your torch goes out, run through the water to reach dry land and escape your dementors. Continue moving forward following the shadow. On the way, collect a torch again to light yourself and reach the outside.
Outside, you must complete a test to enter the door in front of you. Start by lighting the brazier to create an earthen bridge. After the bridge, continue straight ahead, going down the low stone wall. Continue forward and go to the right to reach a lit brazier.

Extinguish the brazier to unlock a passage which gives you access to a second brazier. Extinguish this second blaze and go back to reach the first blaze you extinguished nearby. Light it again to create a high passage. Return again to the second blaze you extinguished. Light it and go up the path you created at the back of the brazier.
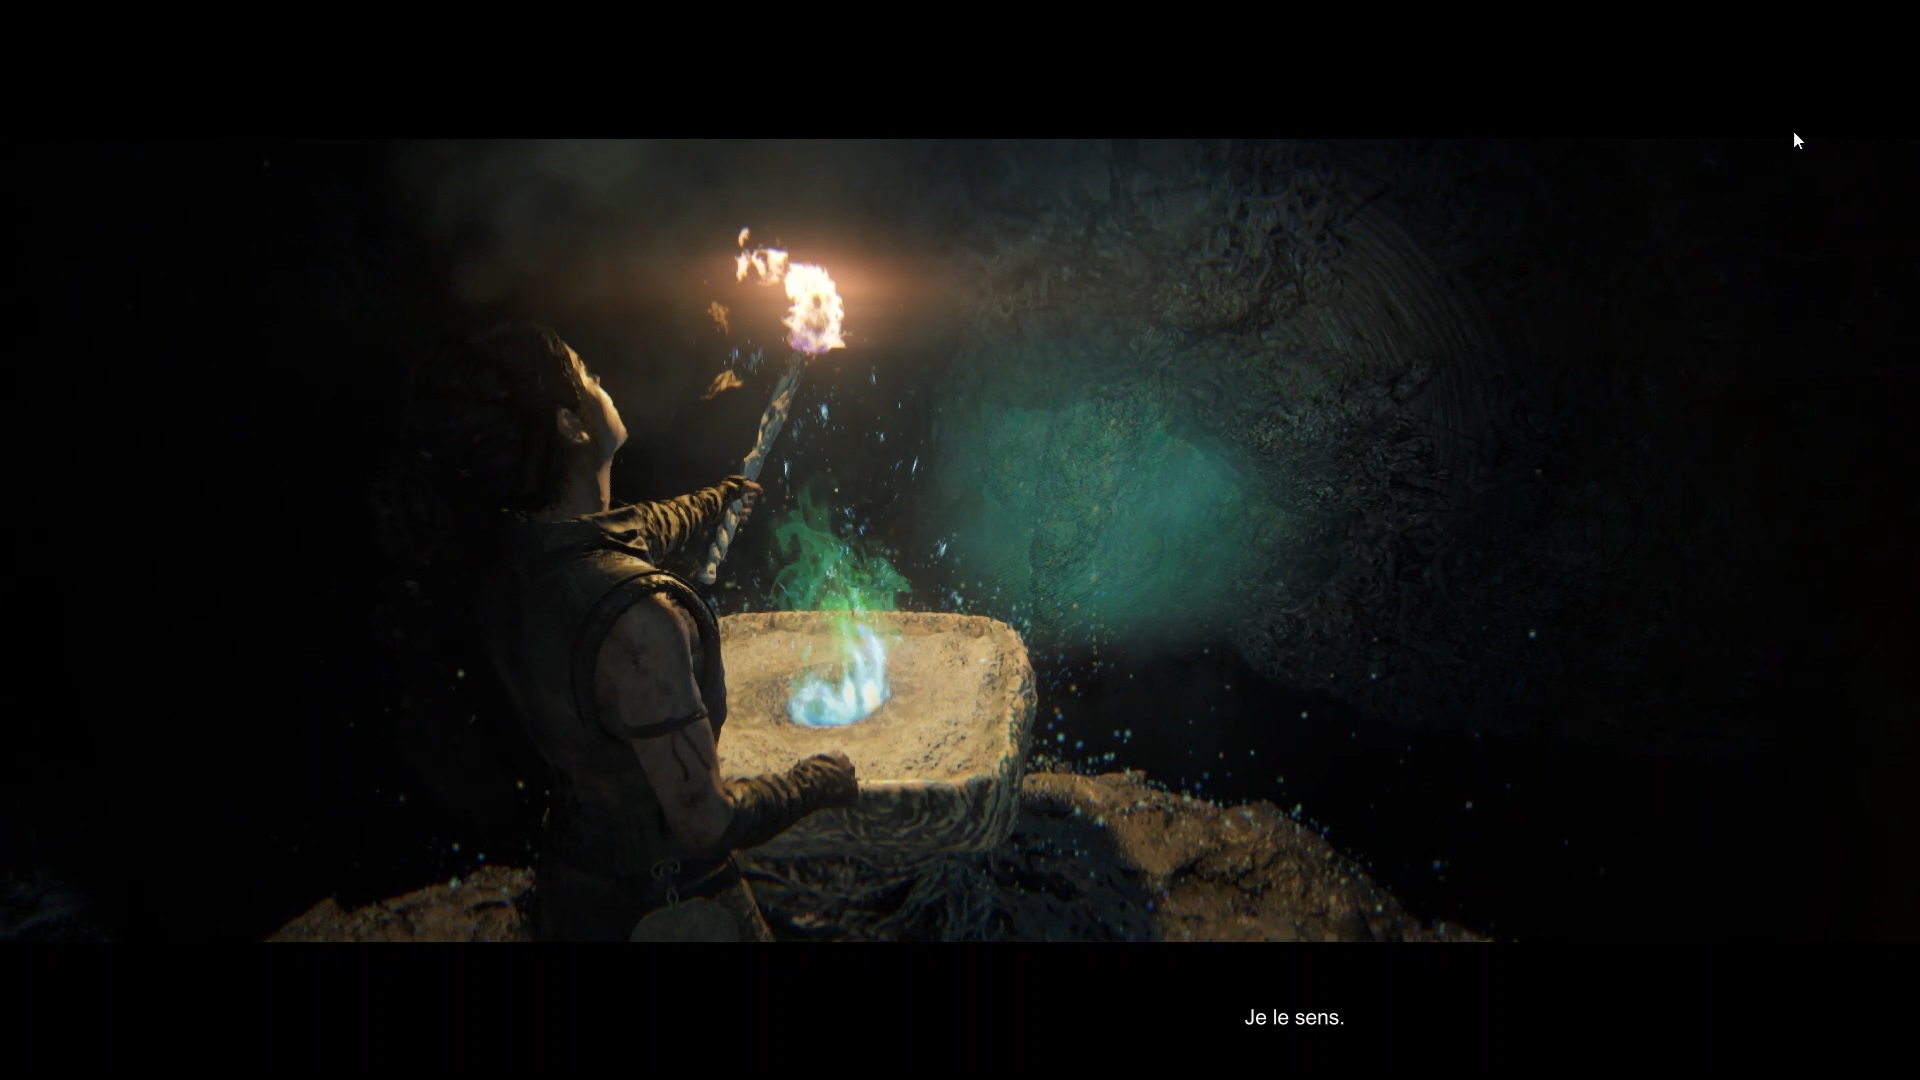
Walk to the end of the path and place your torch in the hollow. Wait for the shadow to light a brazier on its side to create a bridge in front of you. Go back down and put out the brazier at the bottom of the path to open up the view towards the bridge. On the other side of the bridge, extinguish the blaze to reveal a secret passage in the rock.
Move forward in this narrow passage to reach a hollow in the wall where you collect a torch. Then retrace your steps to relight the blaze near the bridge. Advance on the climb that has just been revealed to reach a new blaze. Light it to unlock a path leading you back to the entrance to the area at the very first blaze.

Extinguish the brazier to unlock a passage under the door in front of you. Take the path and climb up to reach a new torch location. Place the torch in it and wait for the shadow to light a blaze. You can now return to the cave by taking the path on the right.
Move forward into the cave following the light that guides you. On your way, fight enemies and move forward to reach a new torch location and start a cutscene. Continue moving into the cave. At the end of your exploration, you will find yourself in an area with flying stones. You must complete an event to continue your journey.
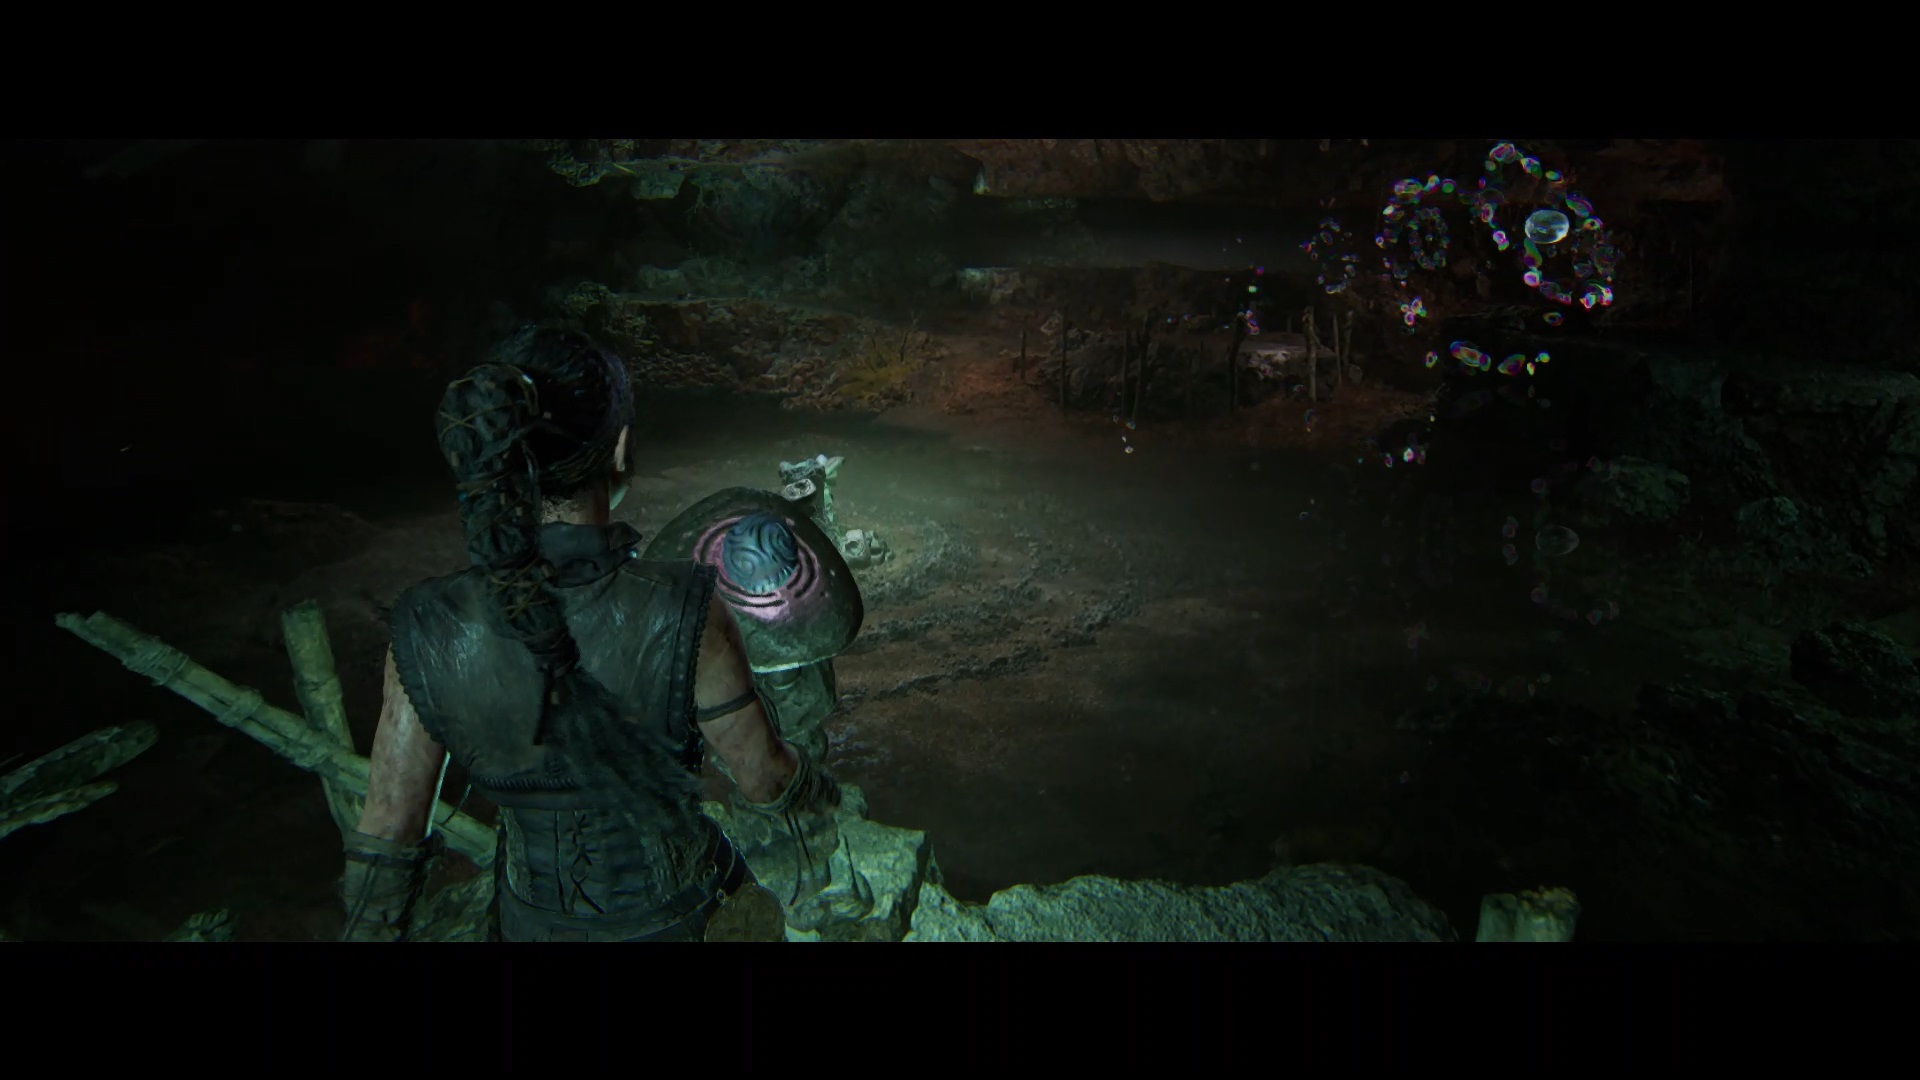
Start by heading left to pass through the shadow of a rock. Then move forward to the right towards the center of the area. Near the central pillar, turn around to discover a bubble on the floating rocks above. Focus on the bubble to make the rocks disappear. Next, focus on the bubble on the central pillar to make a path appear on the main path.
Move forward to reach a pile of stones. Focus on the bubble on the central pillar to clear the way. Move to the end of the path and focus on the last bubble to unlock the exit. Go back and use the central bubble to clear your way and continue your exploration.
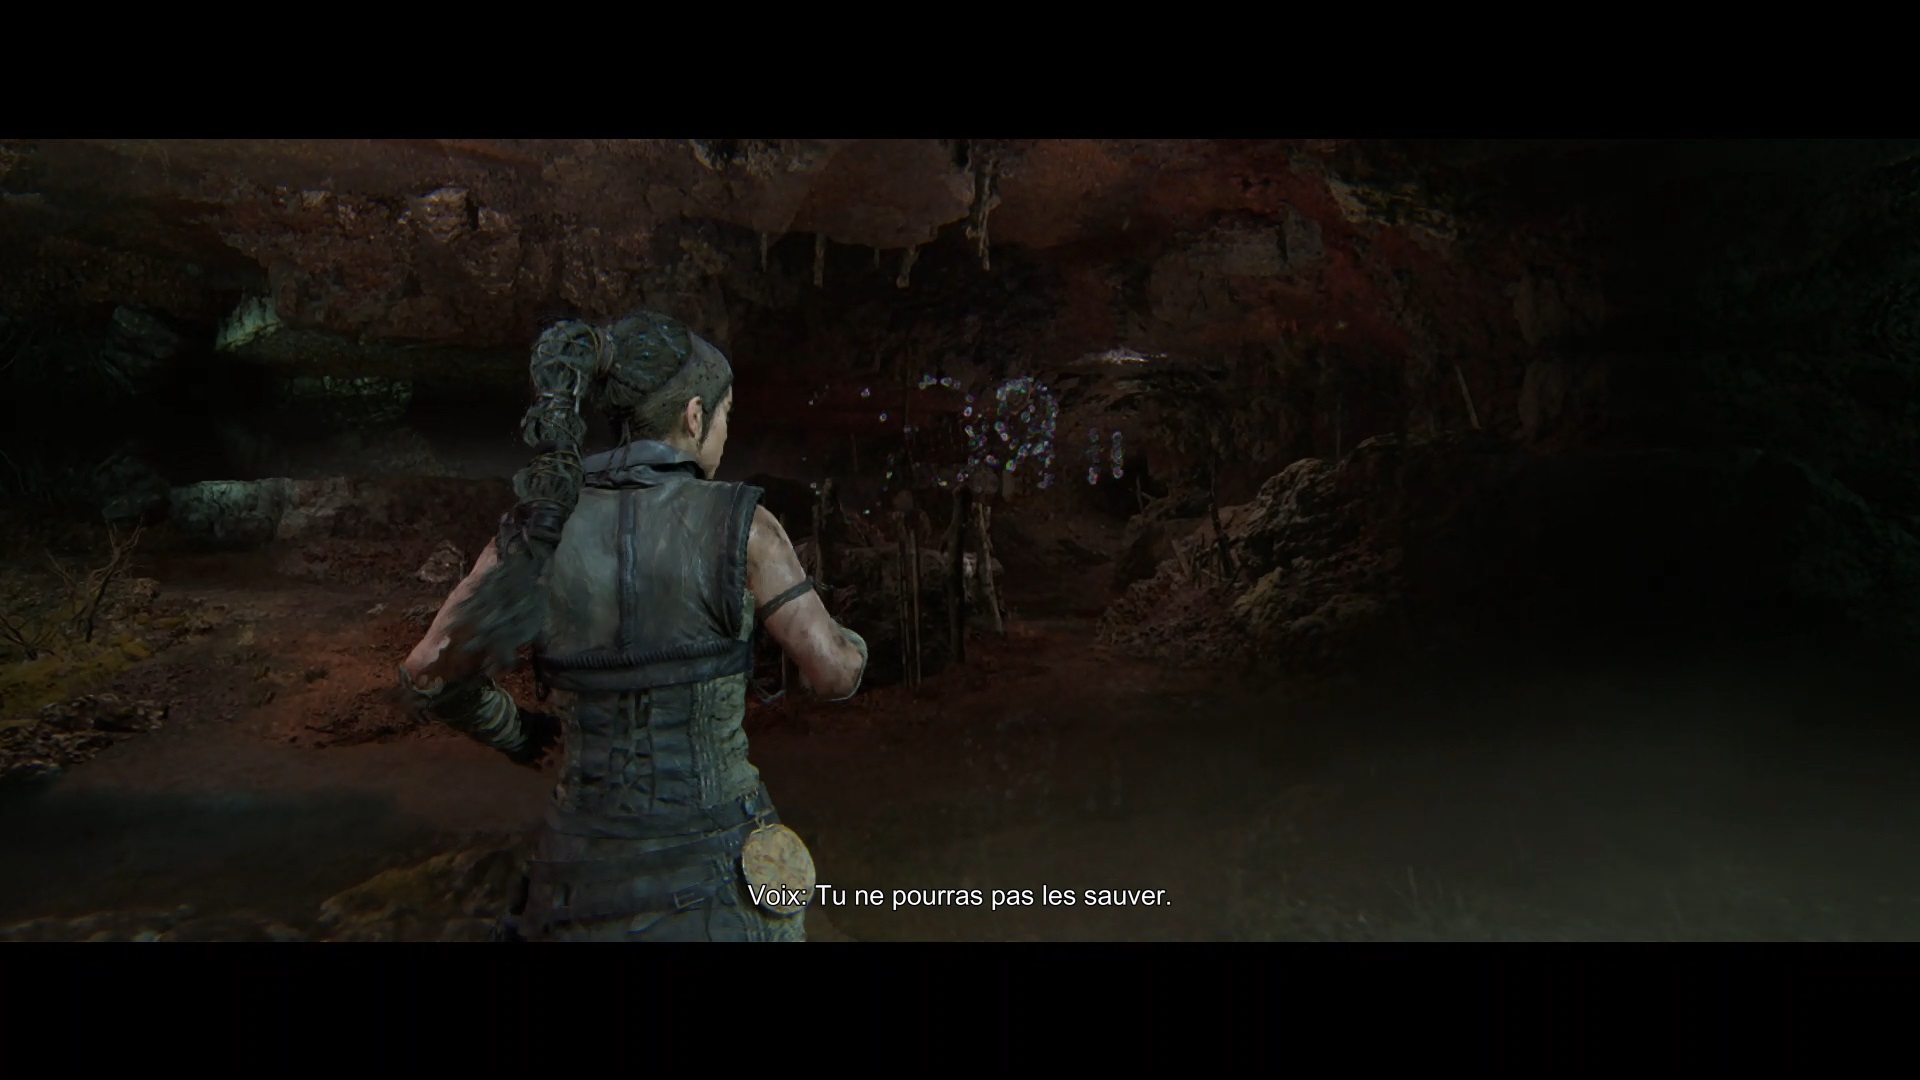
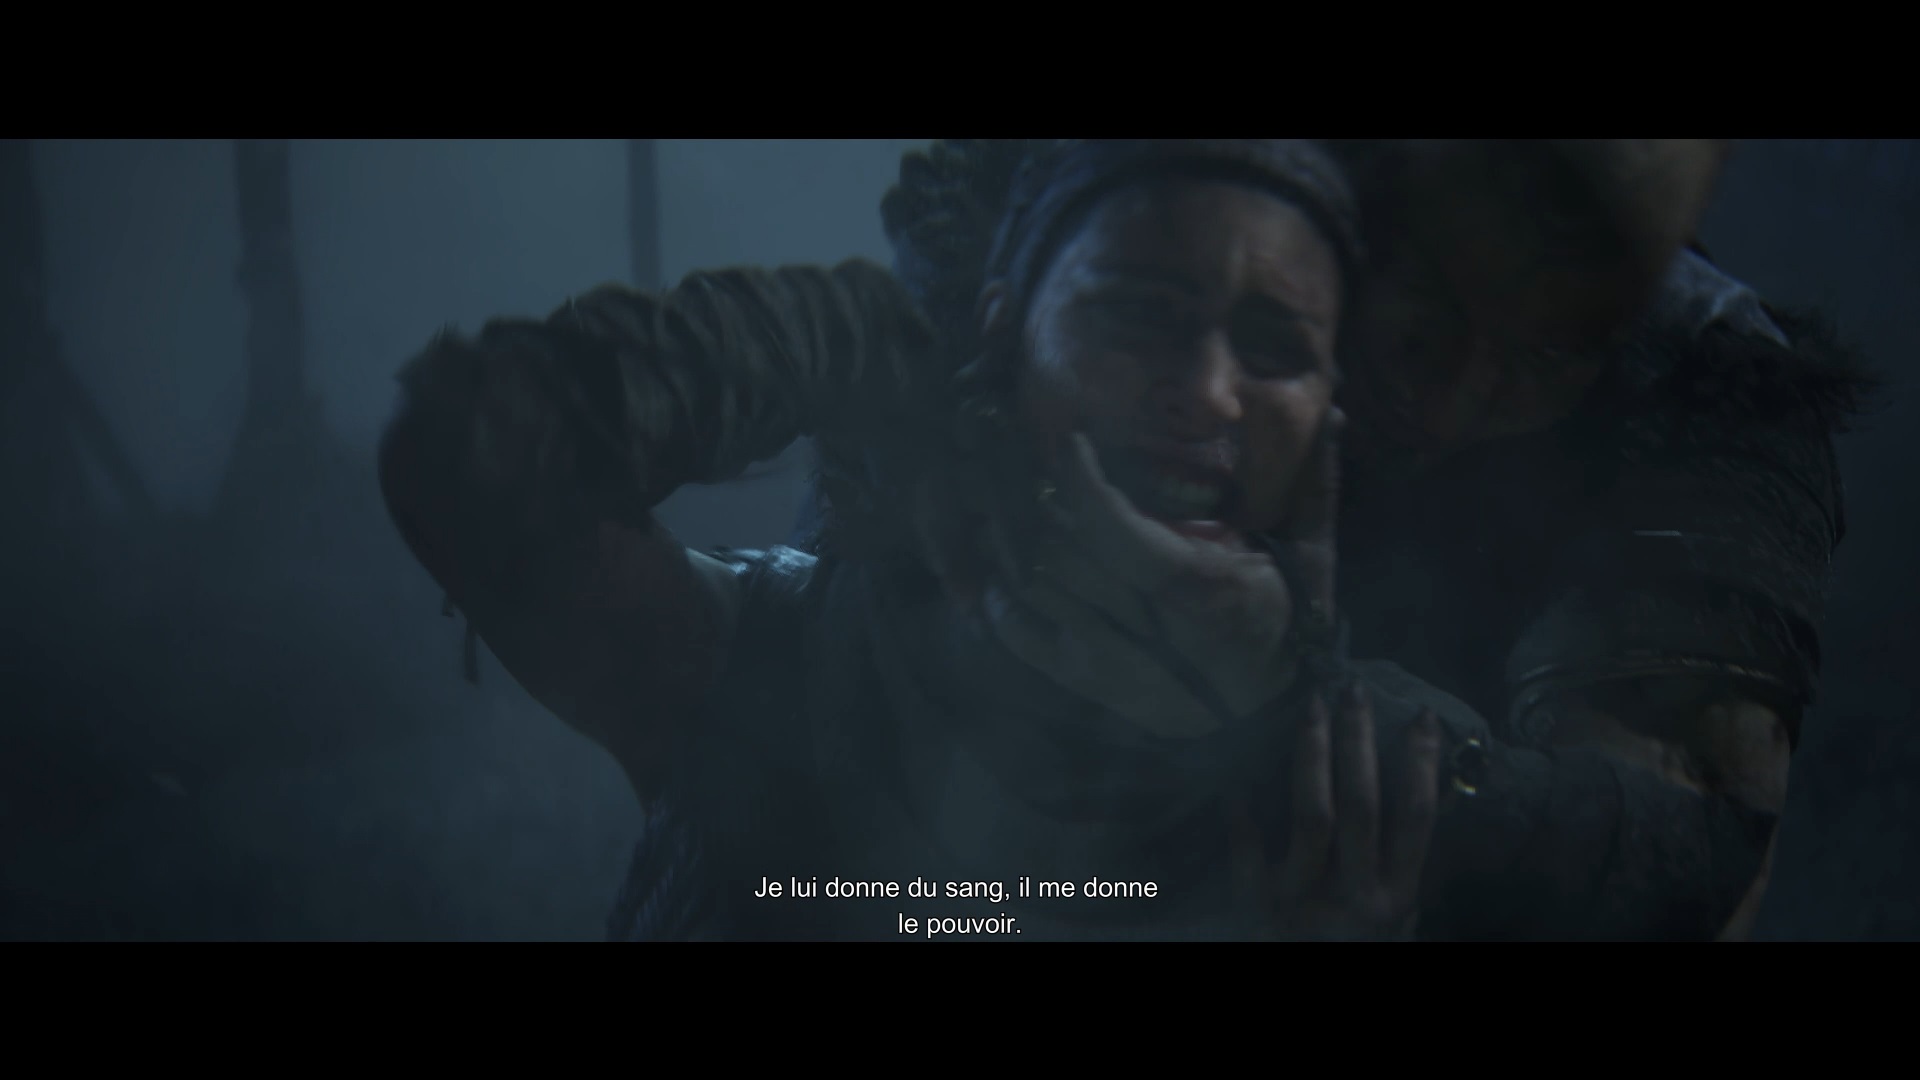
Take the path you unlocked to start a cutscene. Torch in hand, follow the shadow to learn more about Illtauga and unlock a new cutscene before joining Fragmir.
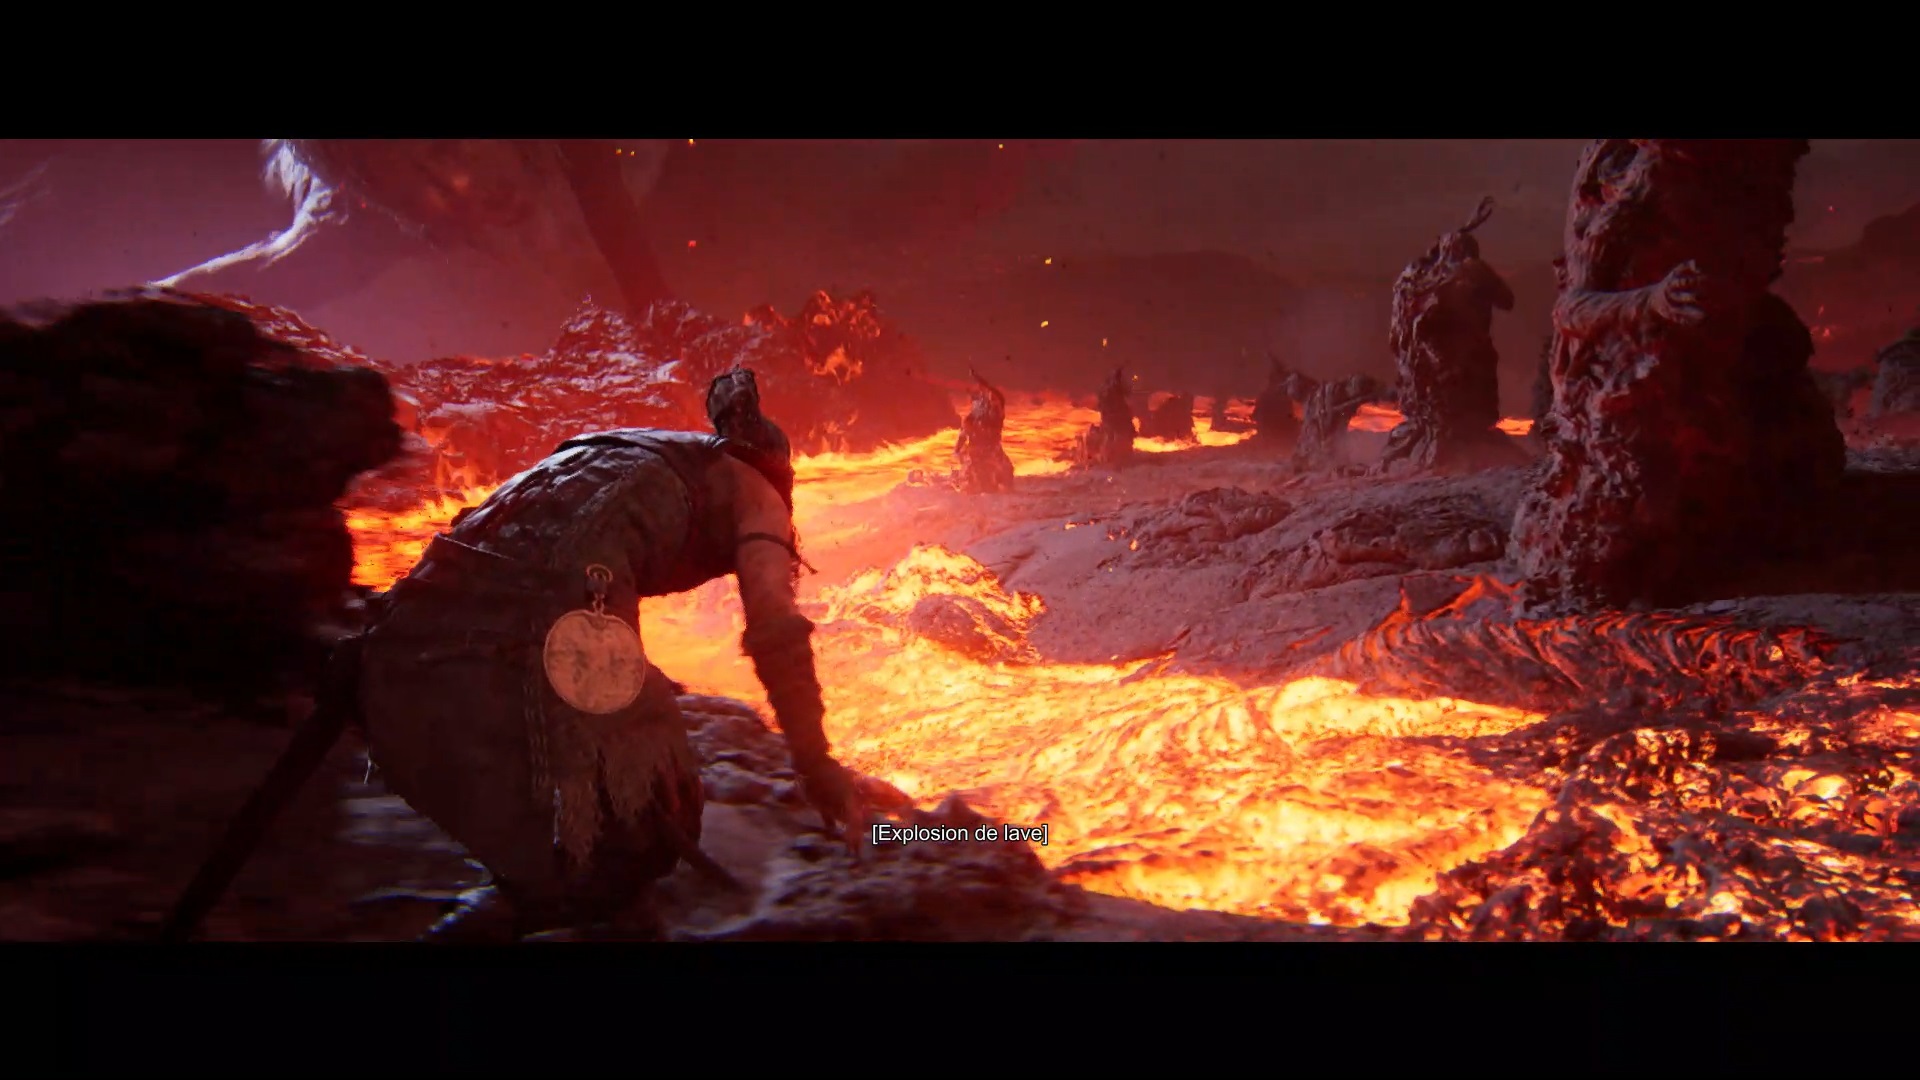
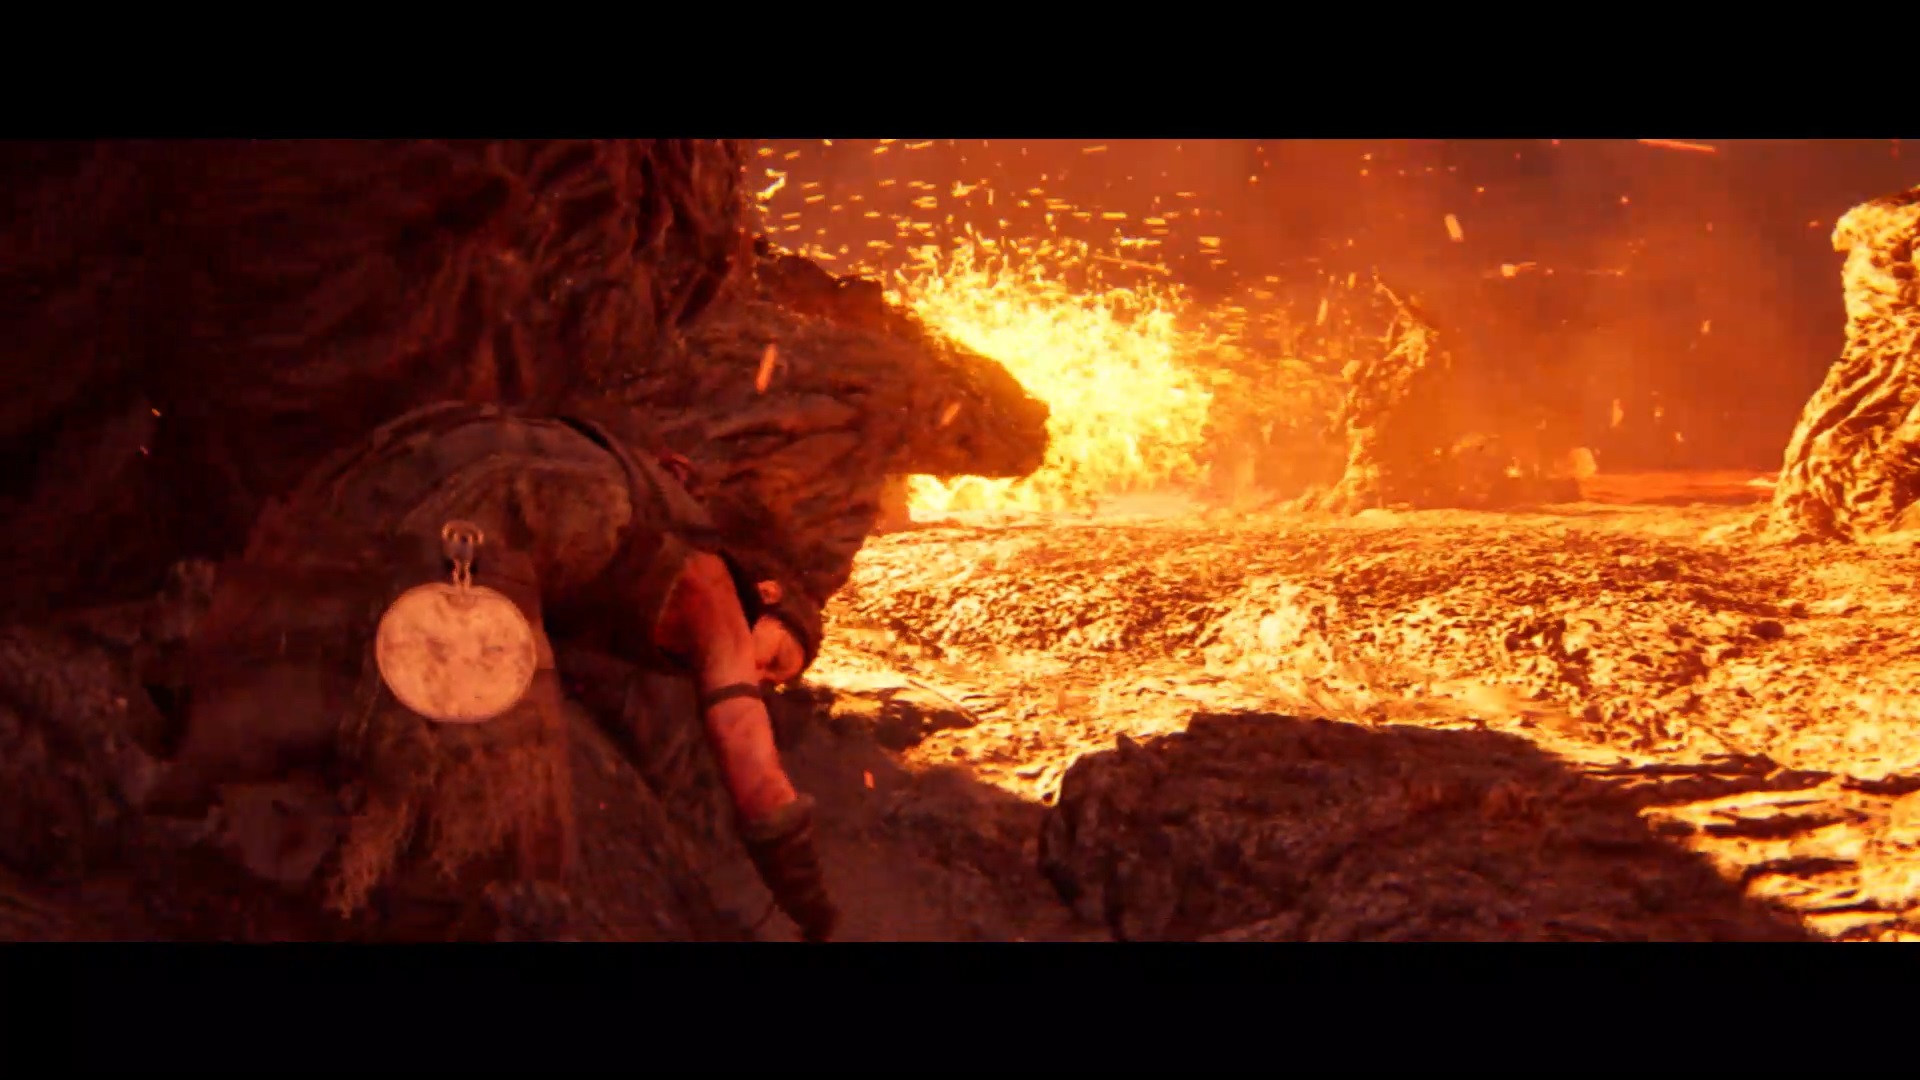
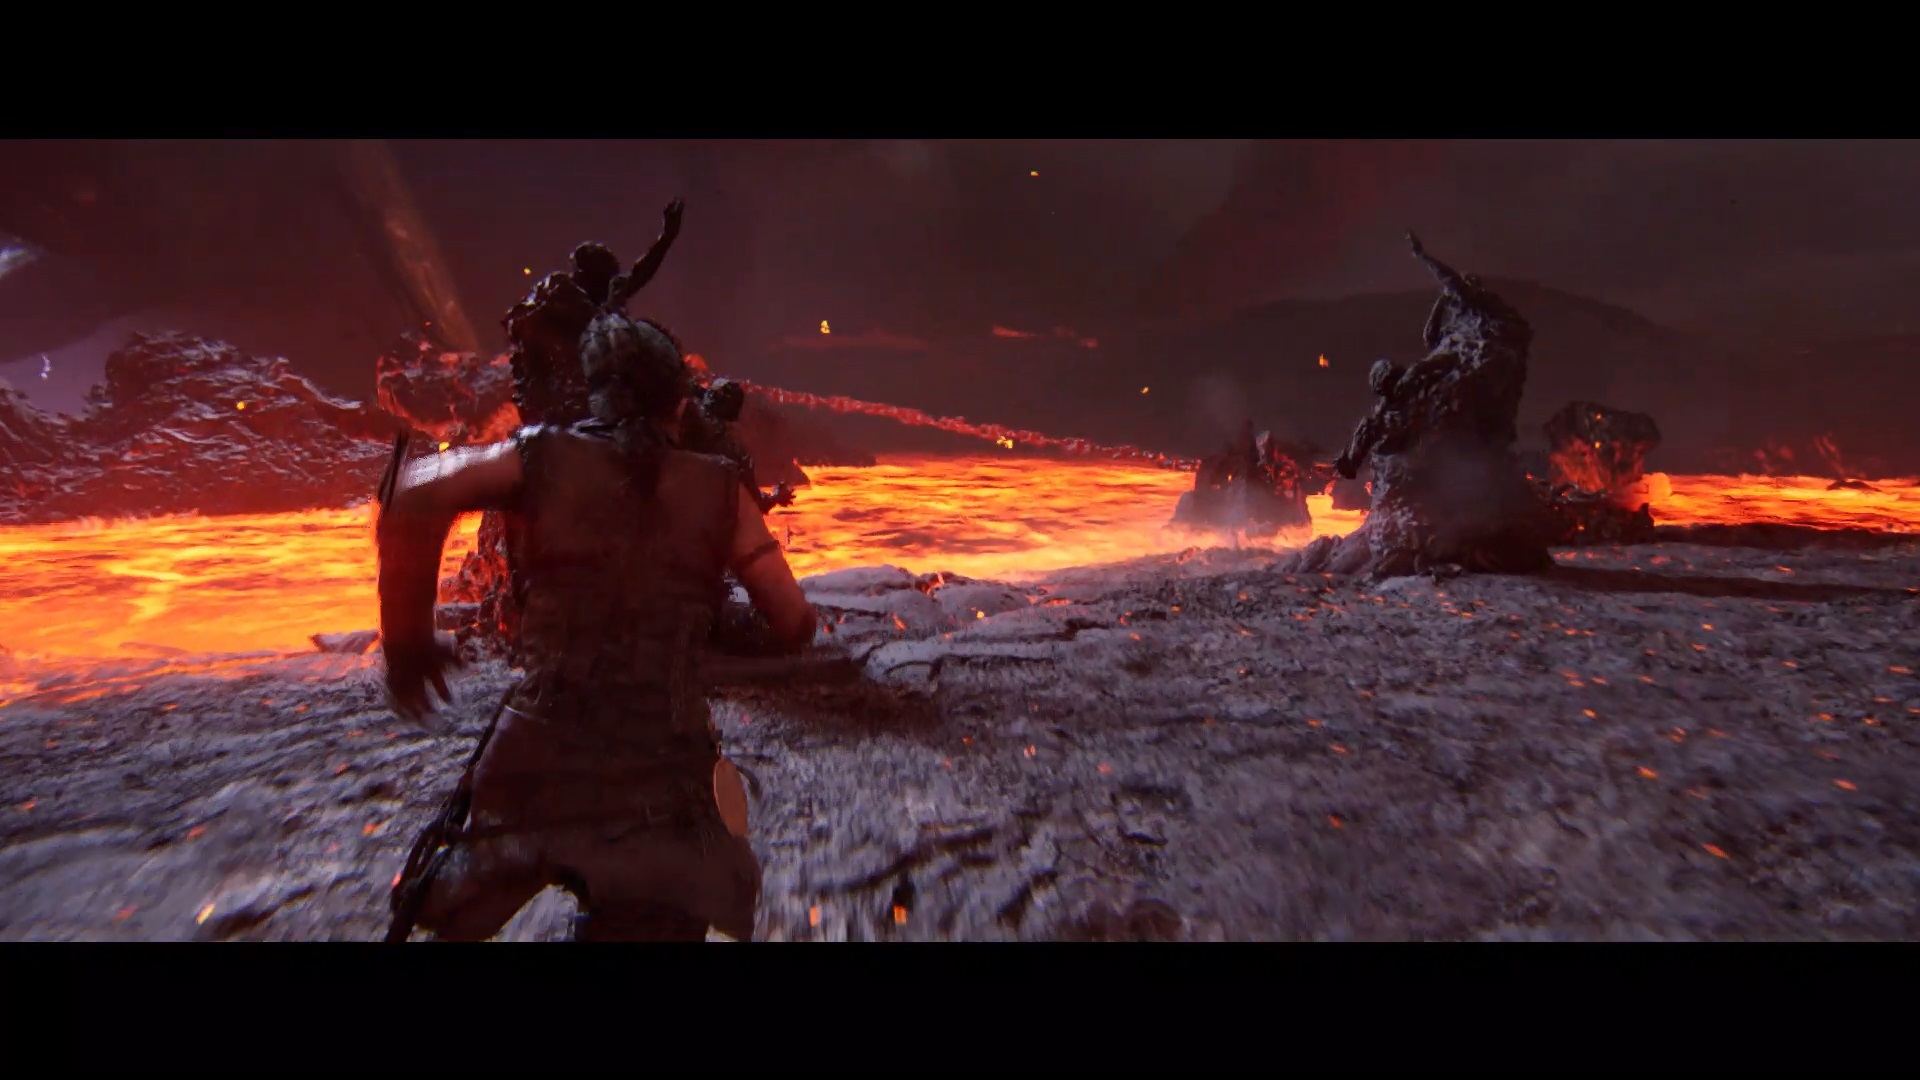
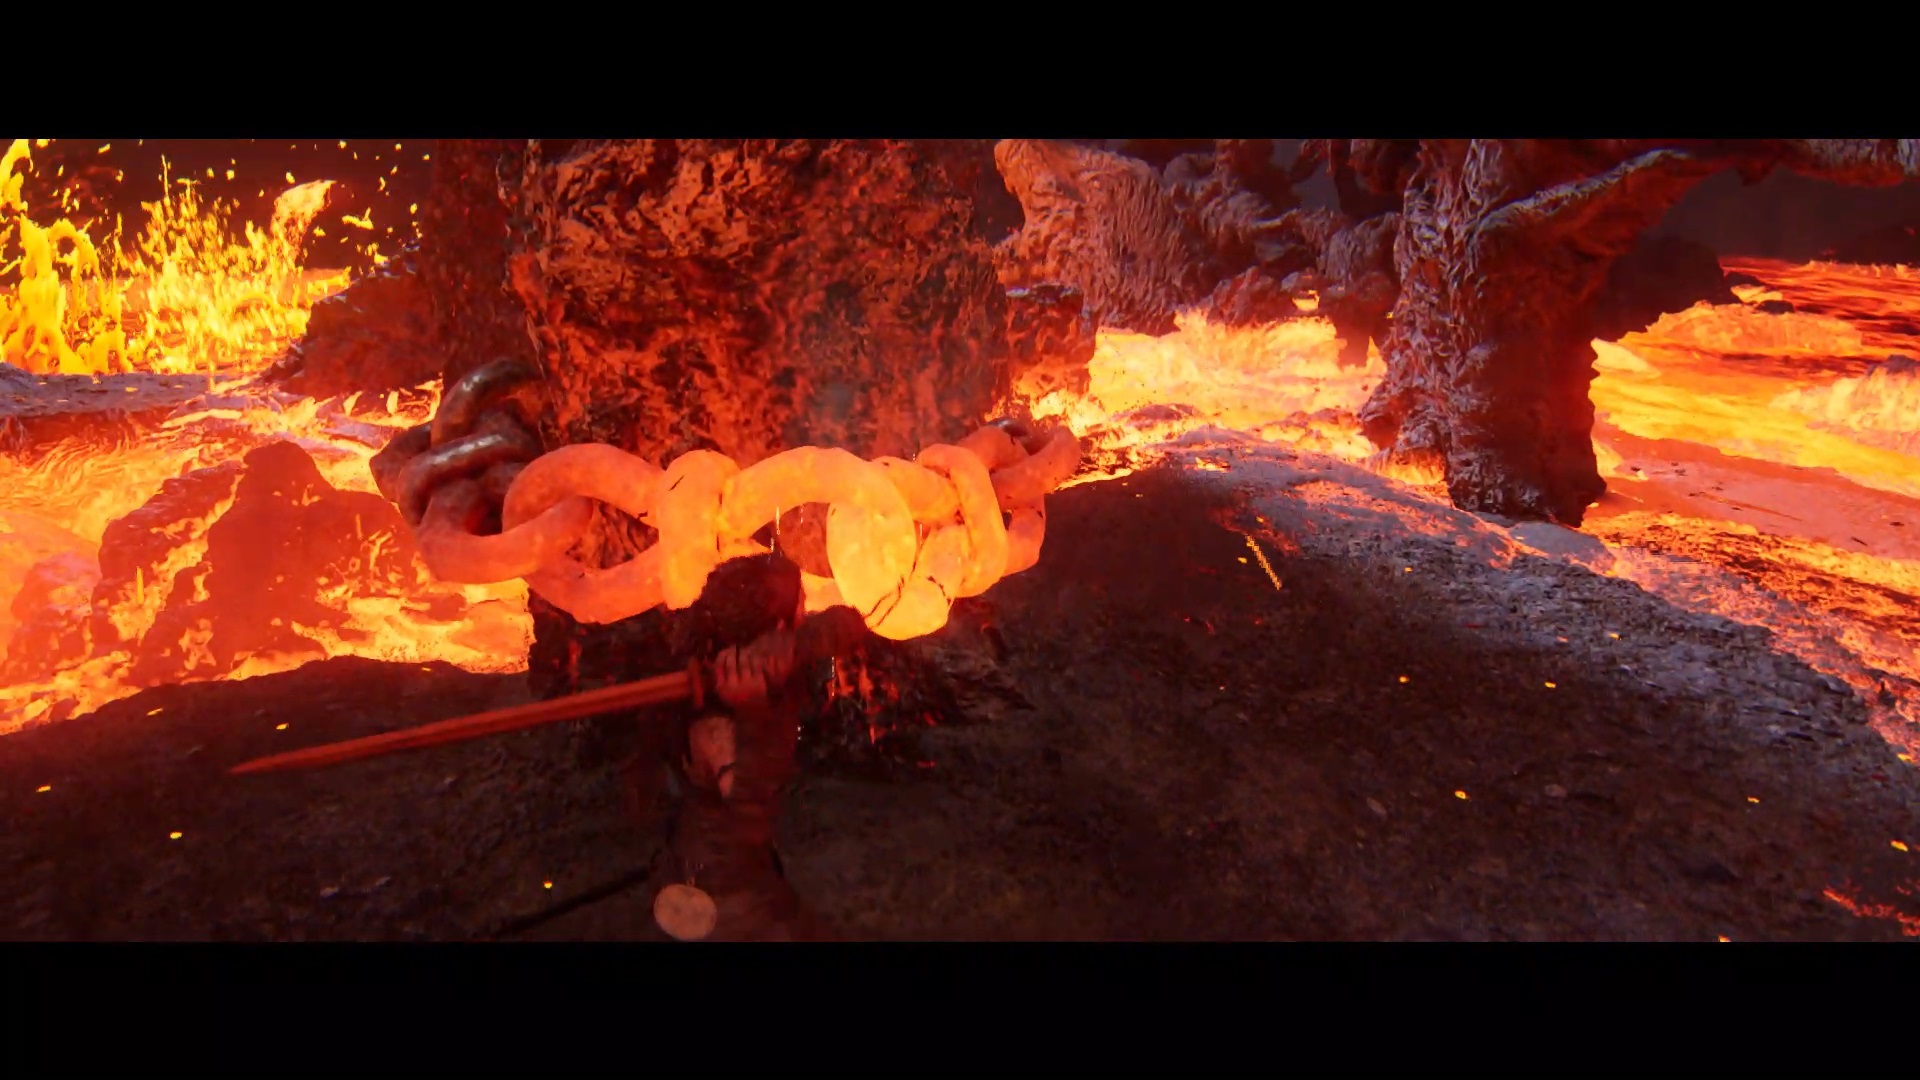
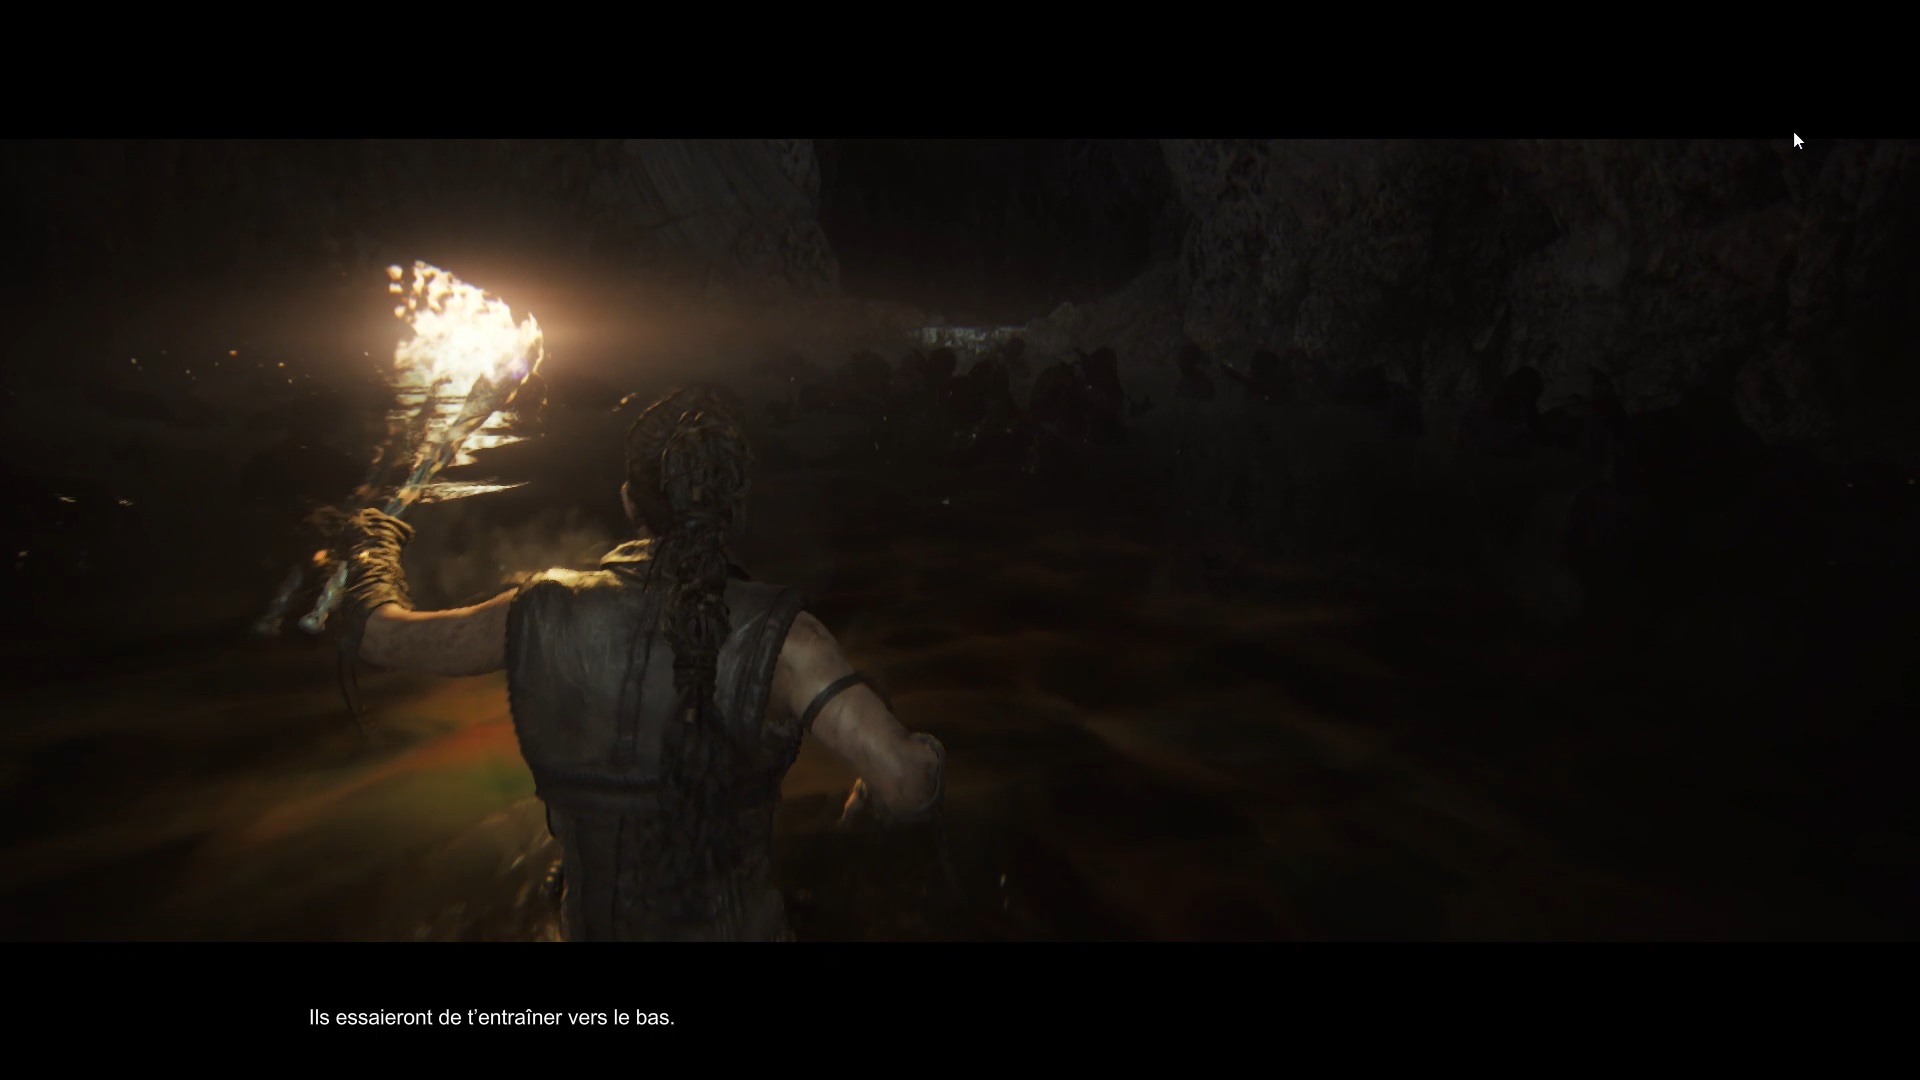
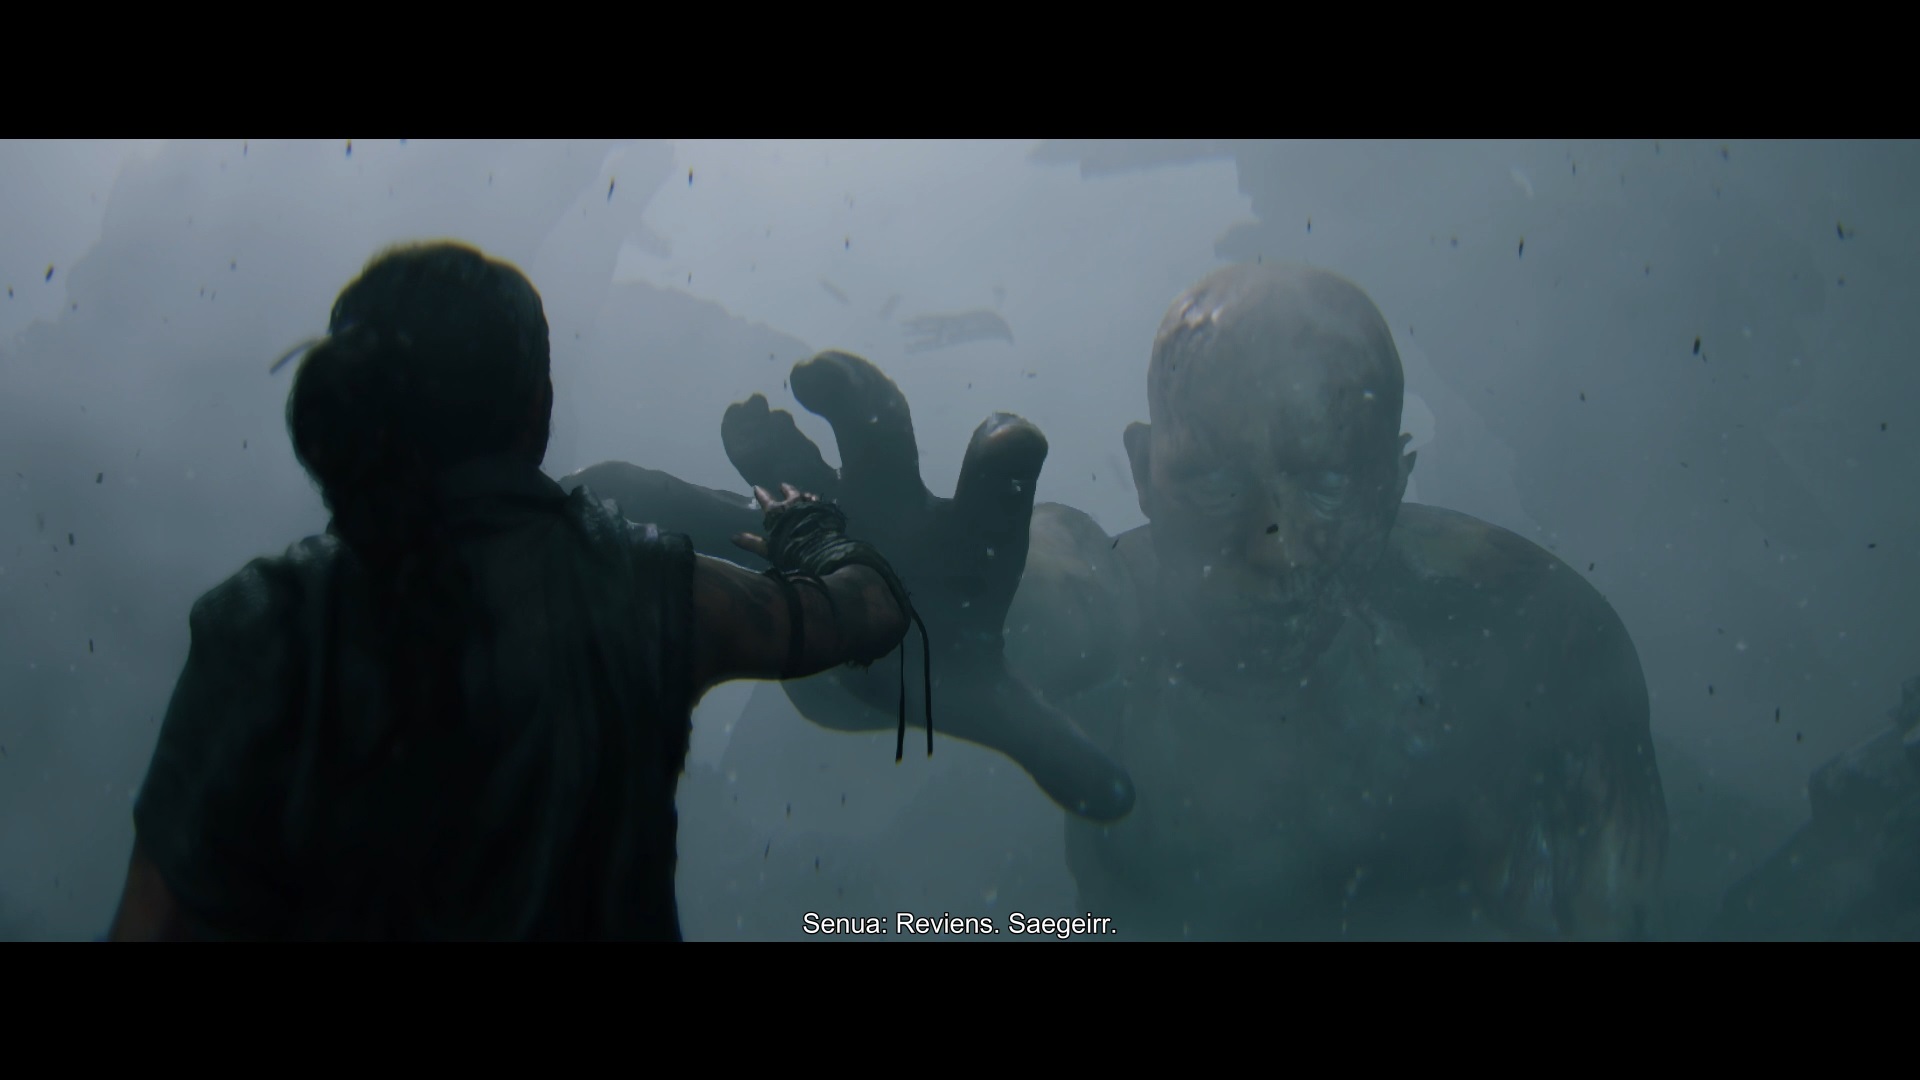
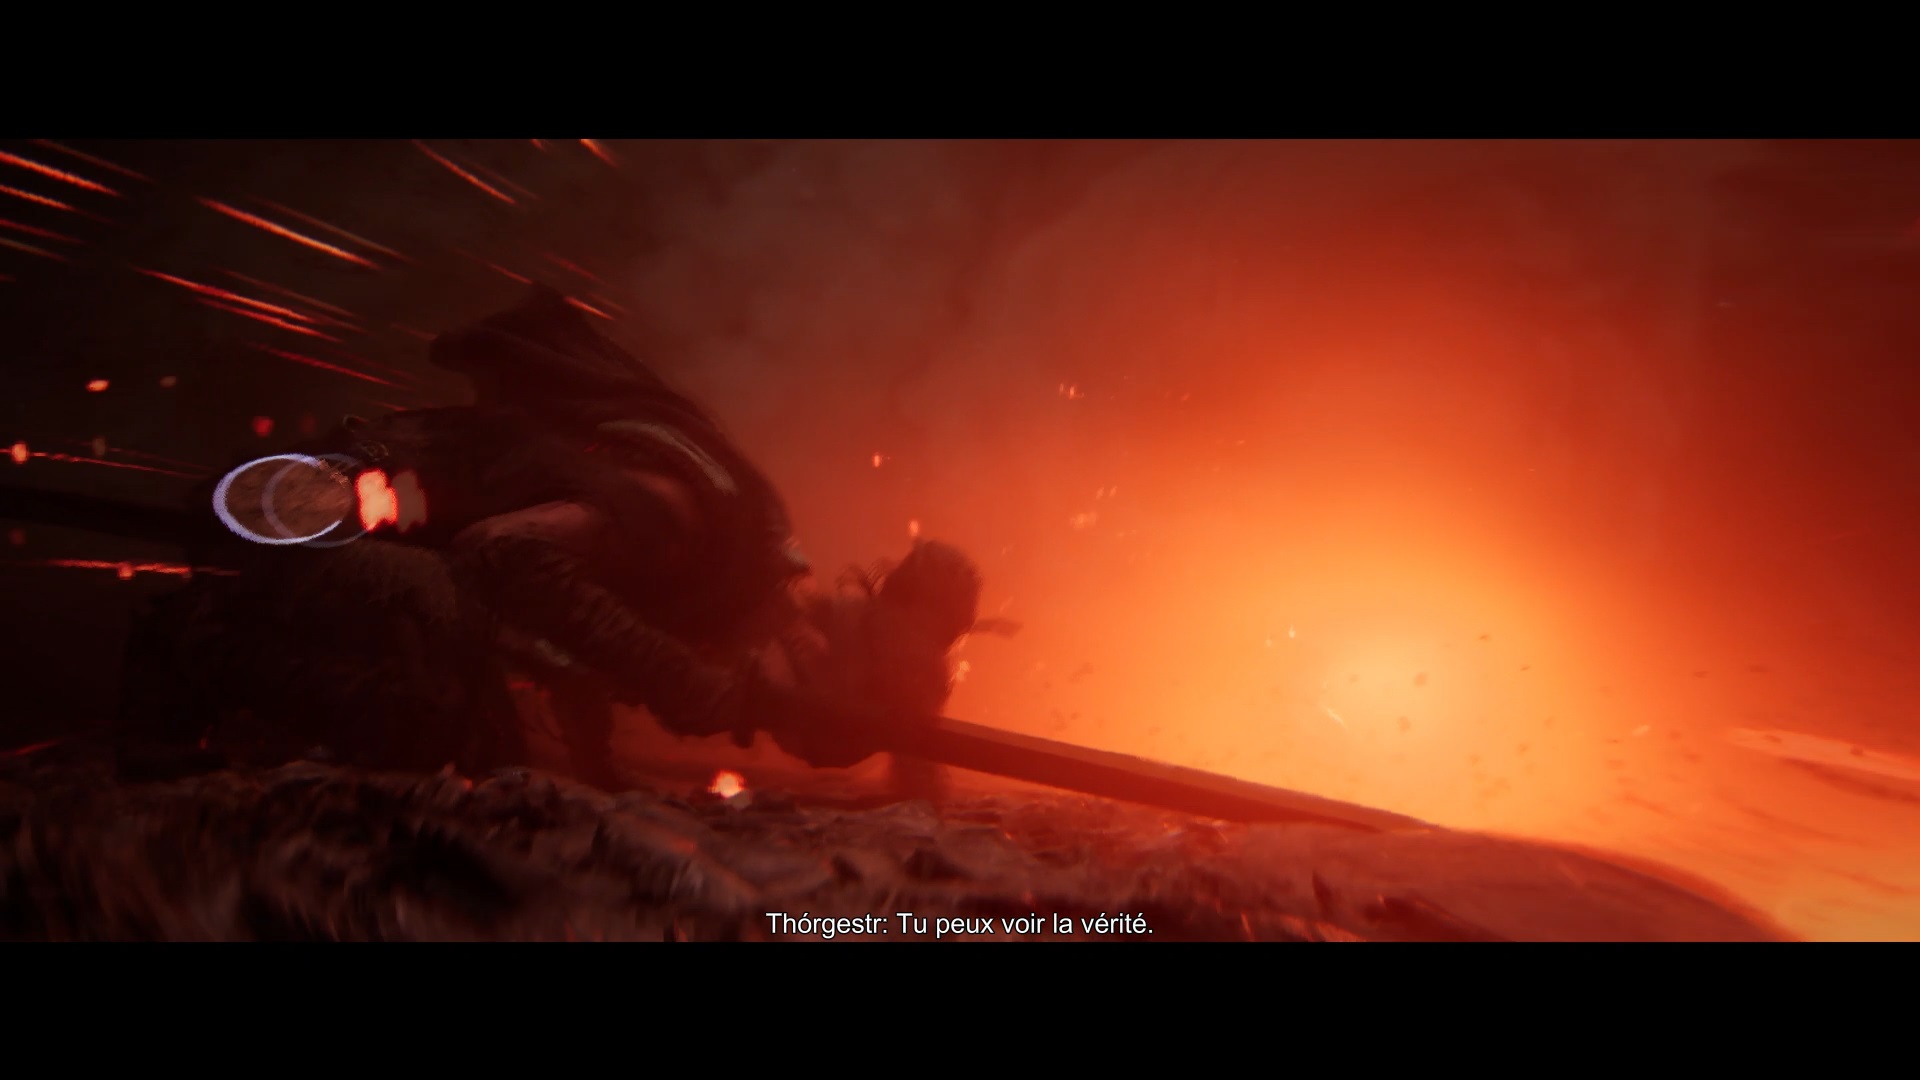
Follow Fragmir to begin the ritual against Illtauga. In the flaming zone, you must move from rock to rock to free the chains of Illtauga. Move forward after Illtauga unleashes lava. Run between each rock after each burst of lava. Hit Illtauga’s chains to free her and end the chapter.
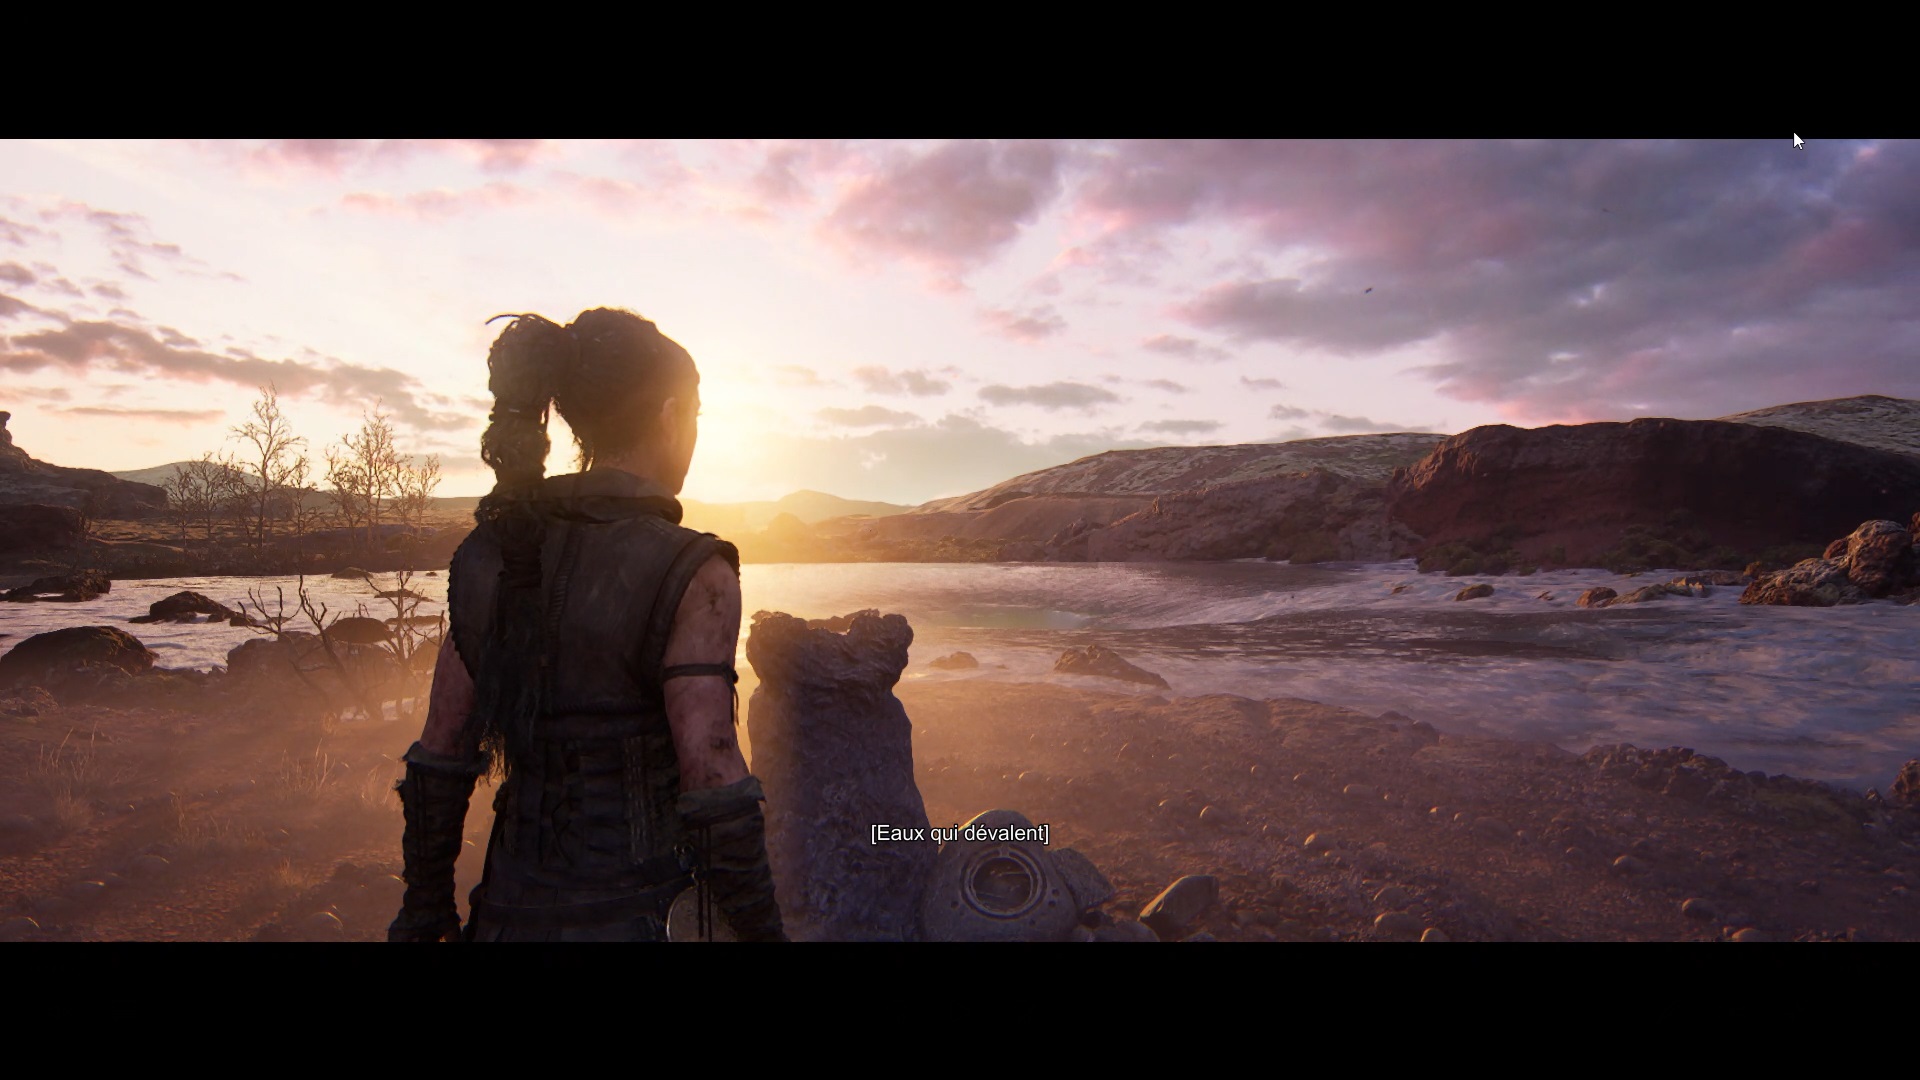
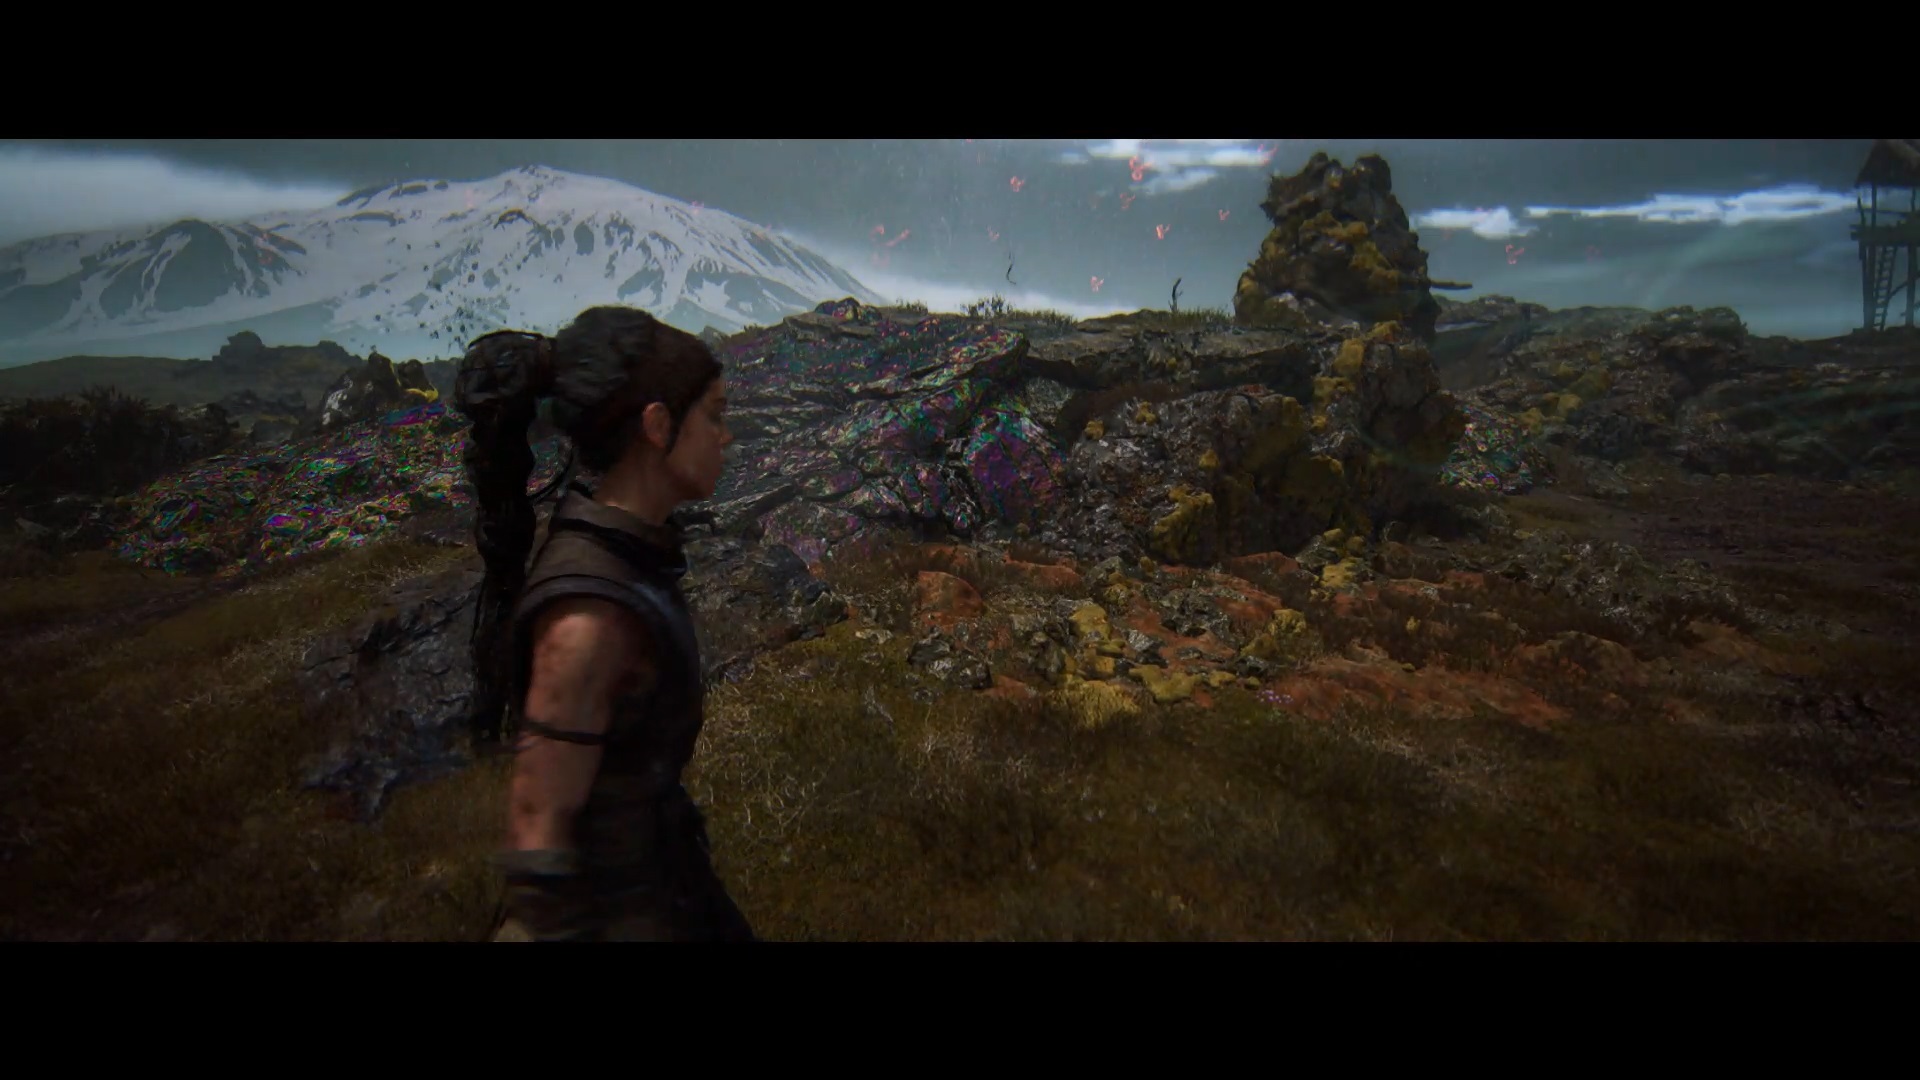
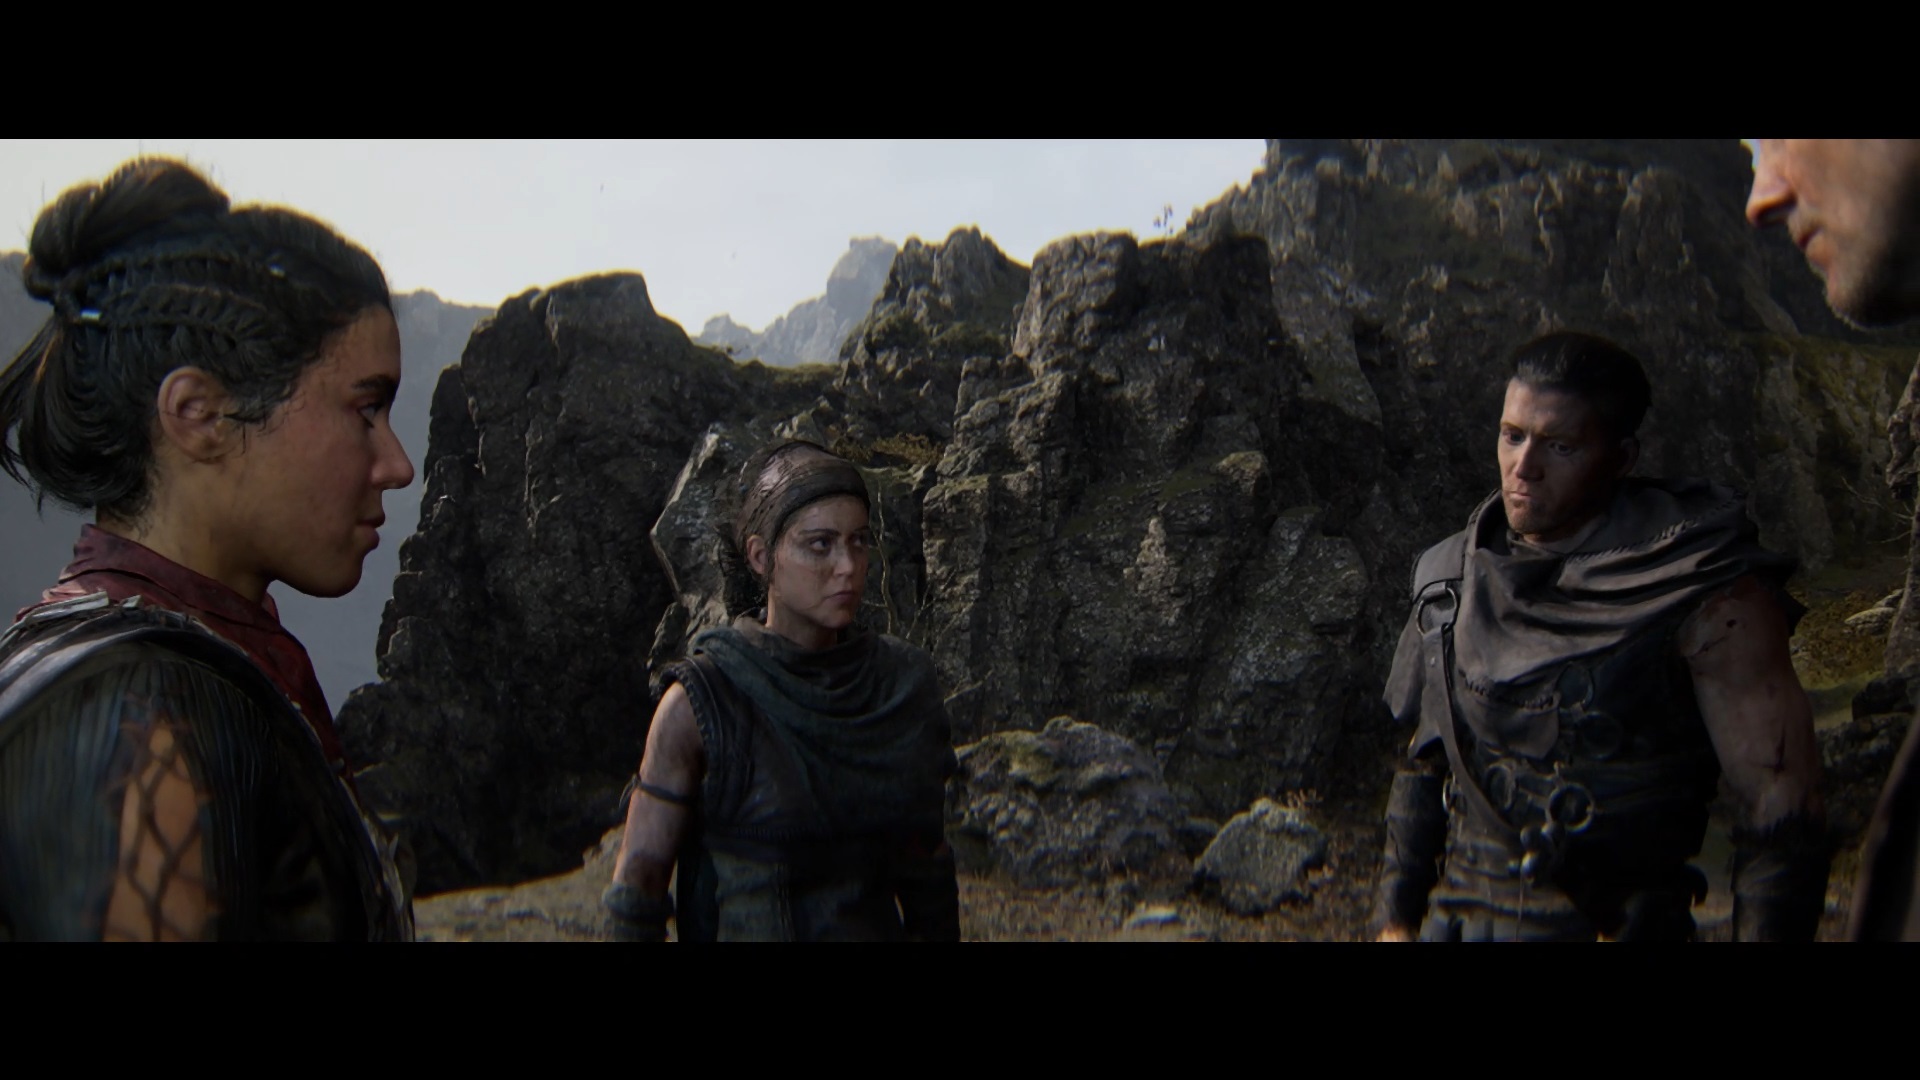
Chapter 5 : Bárðarvik
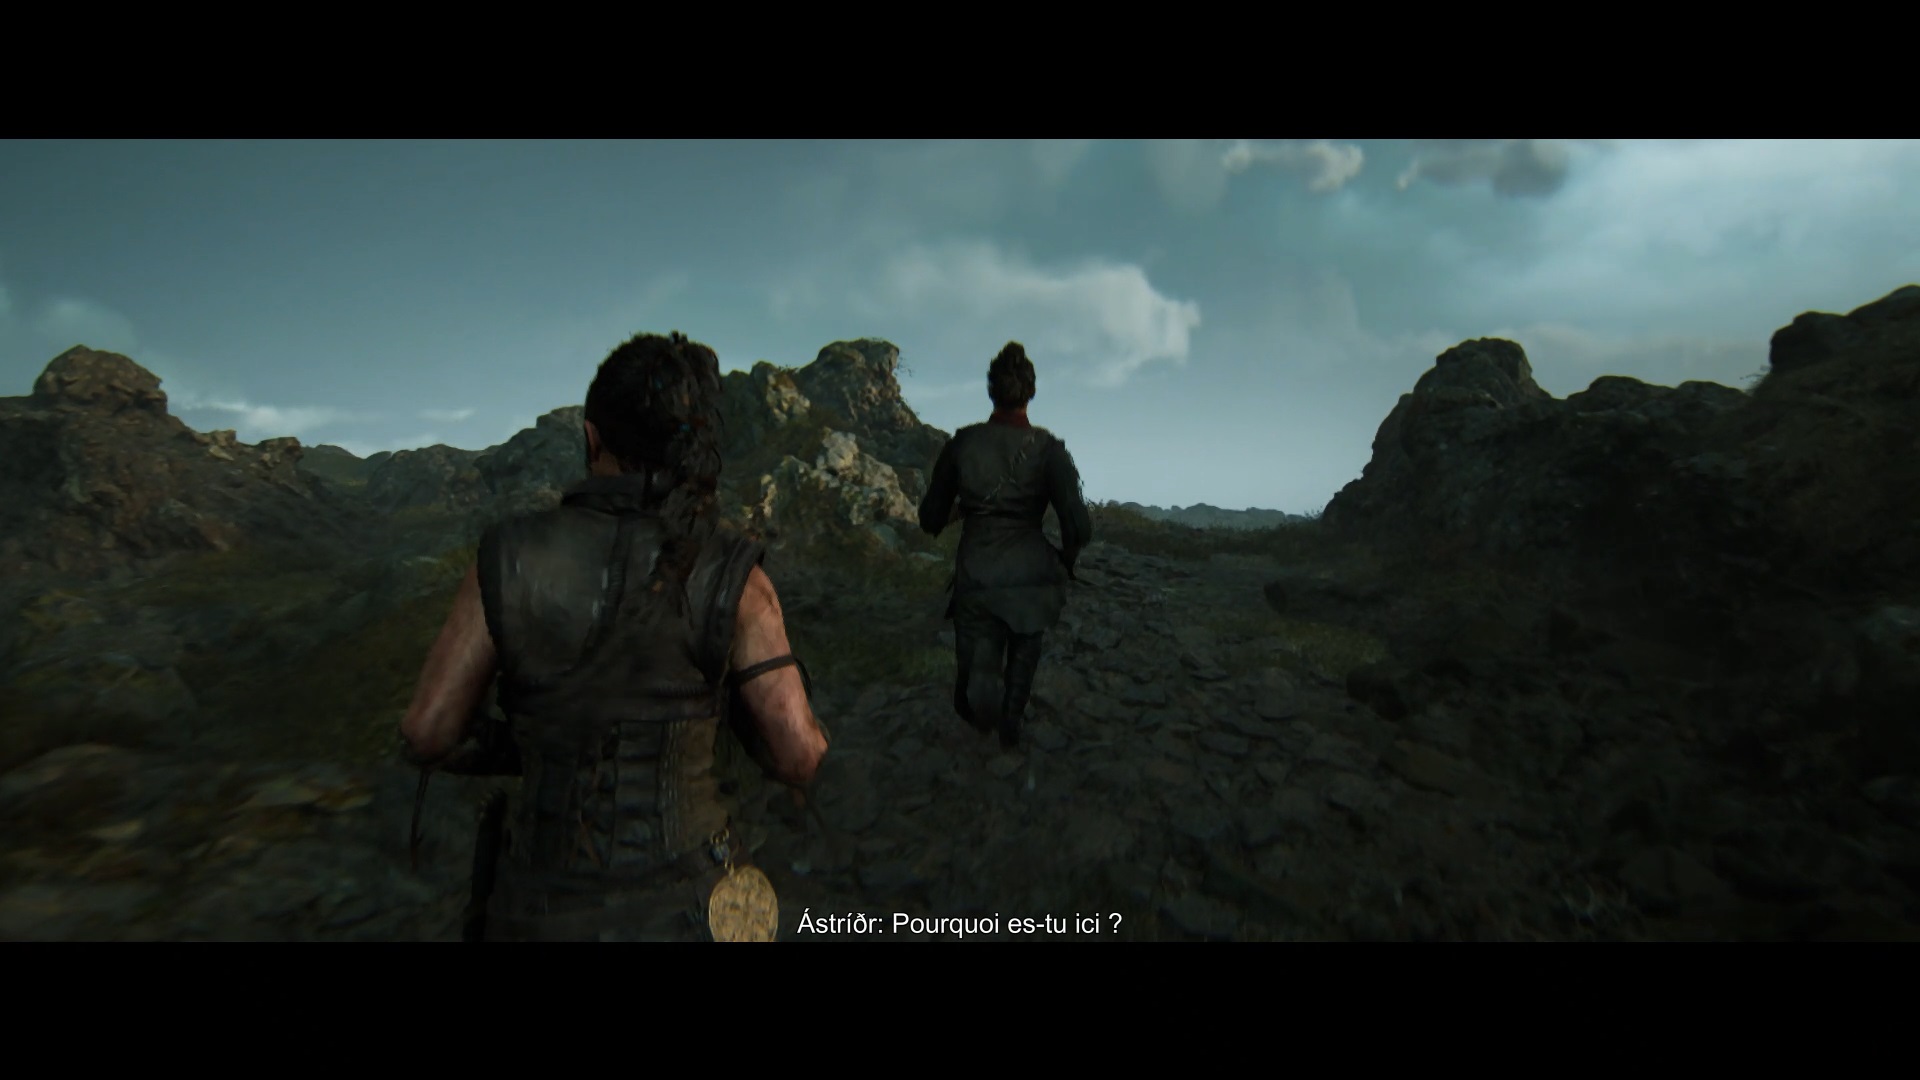
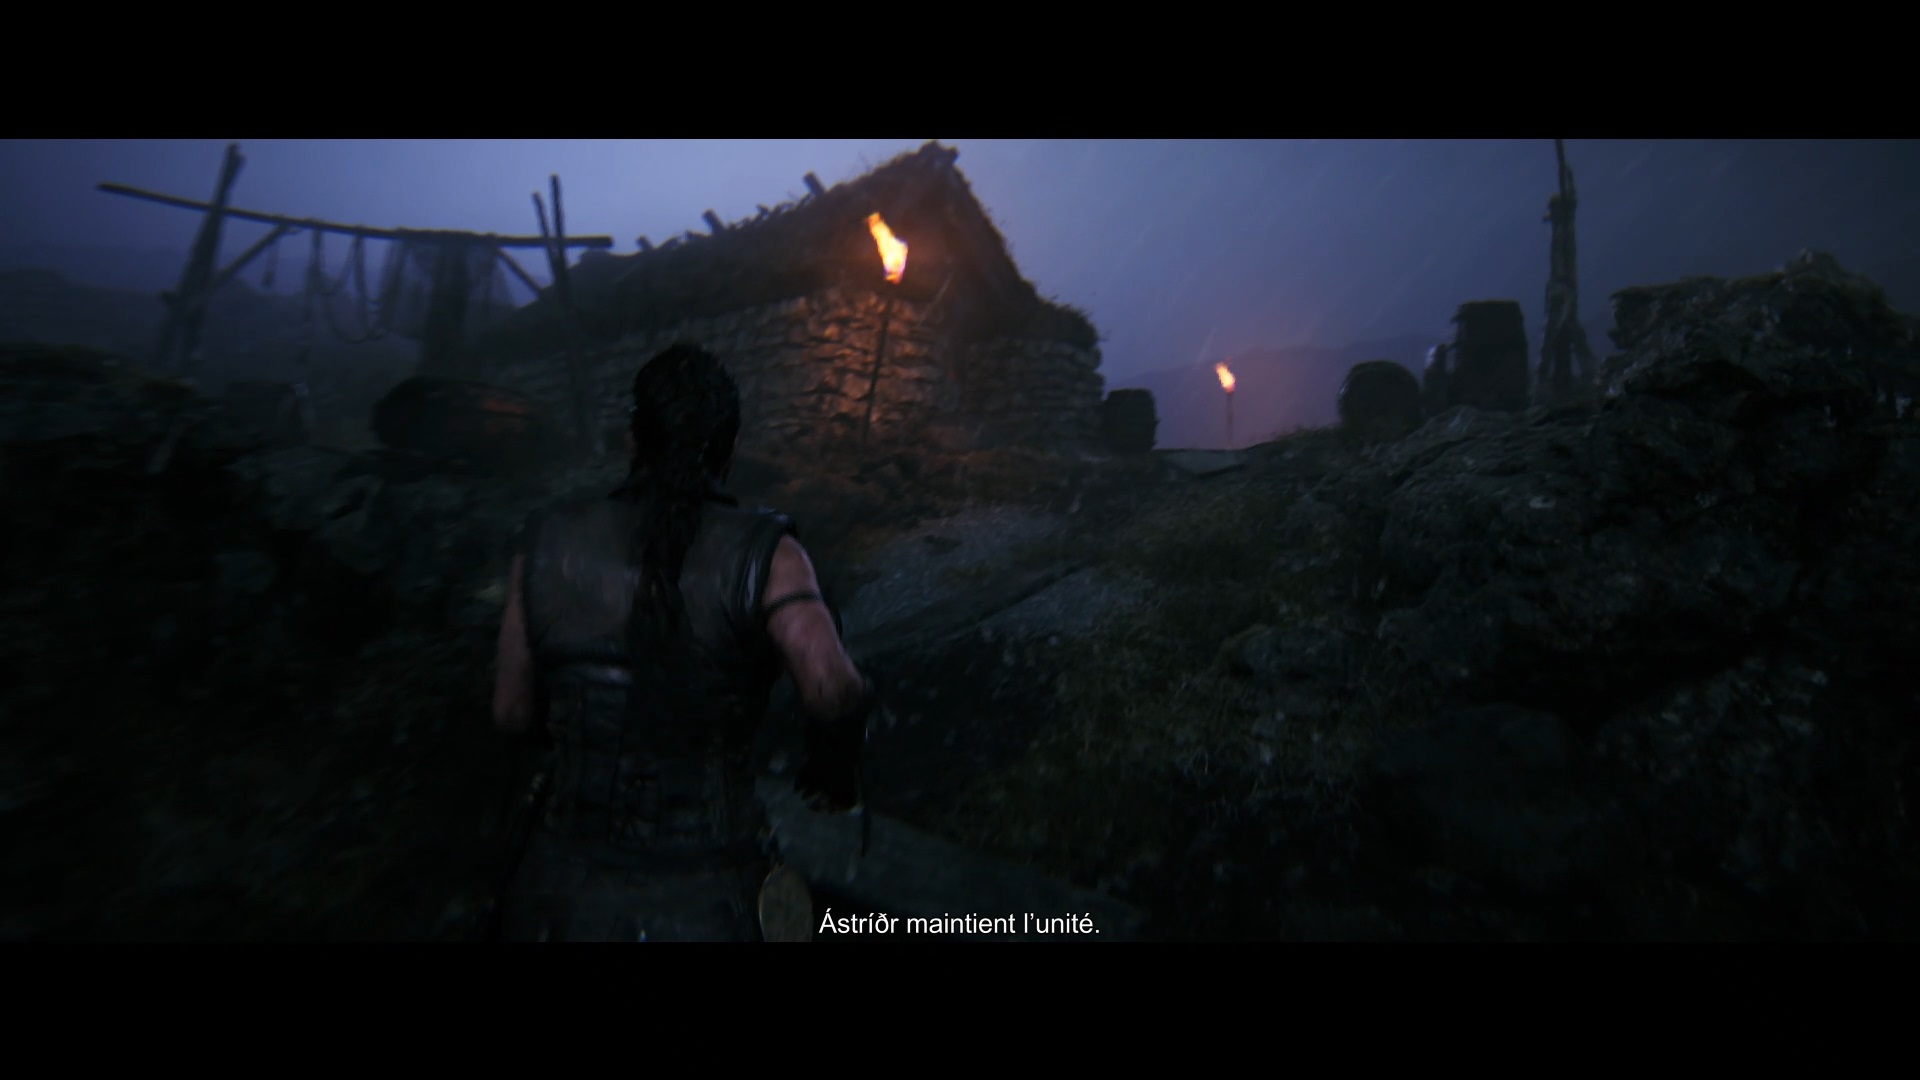
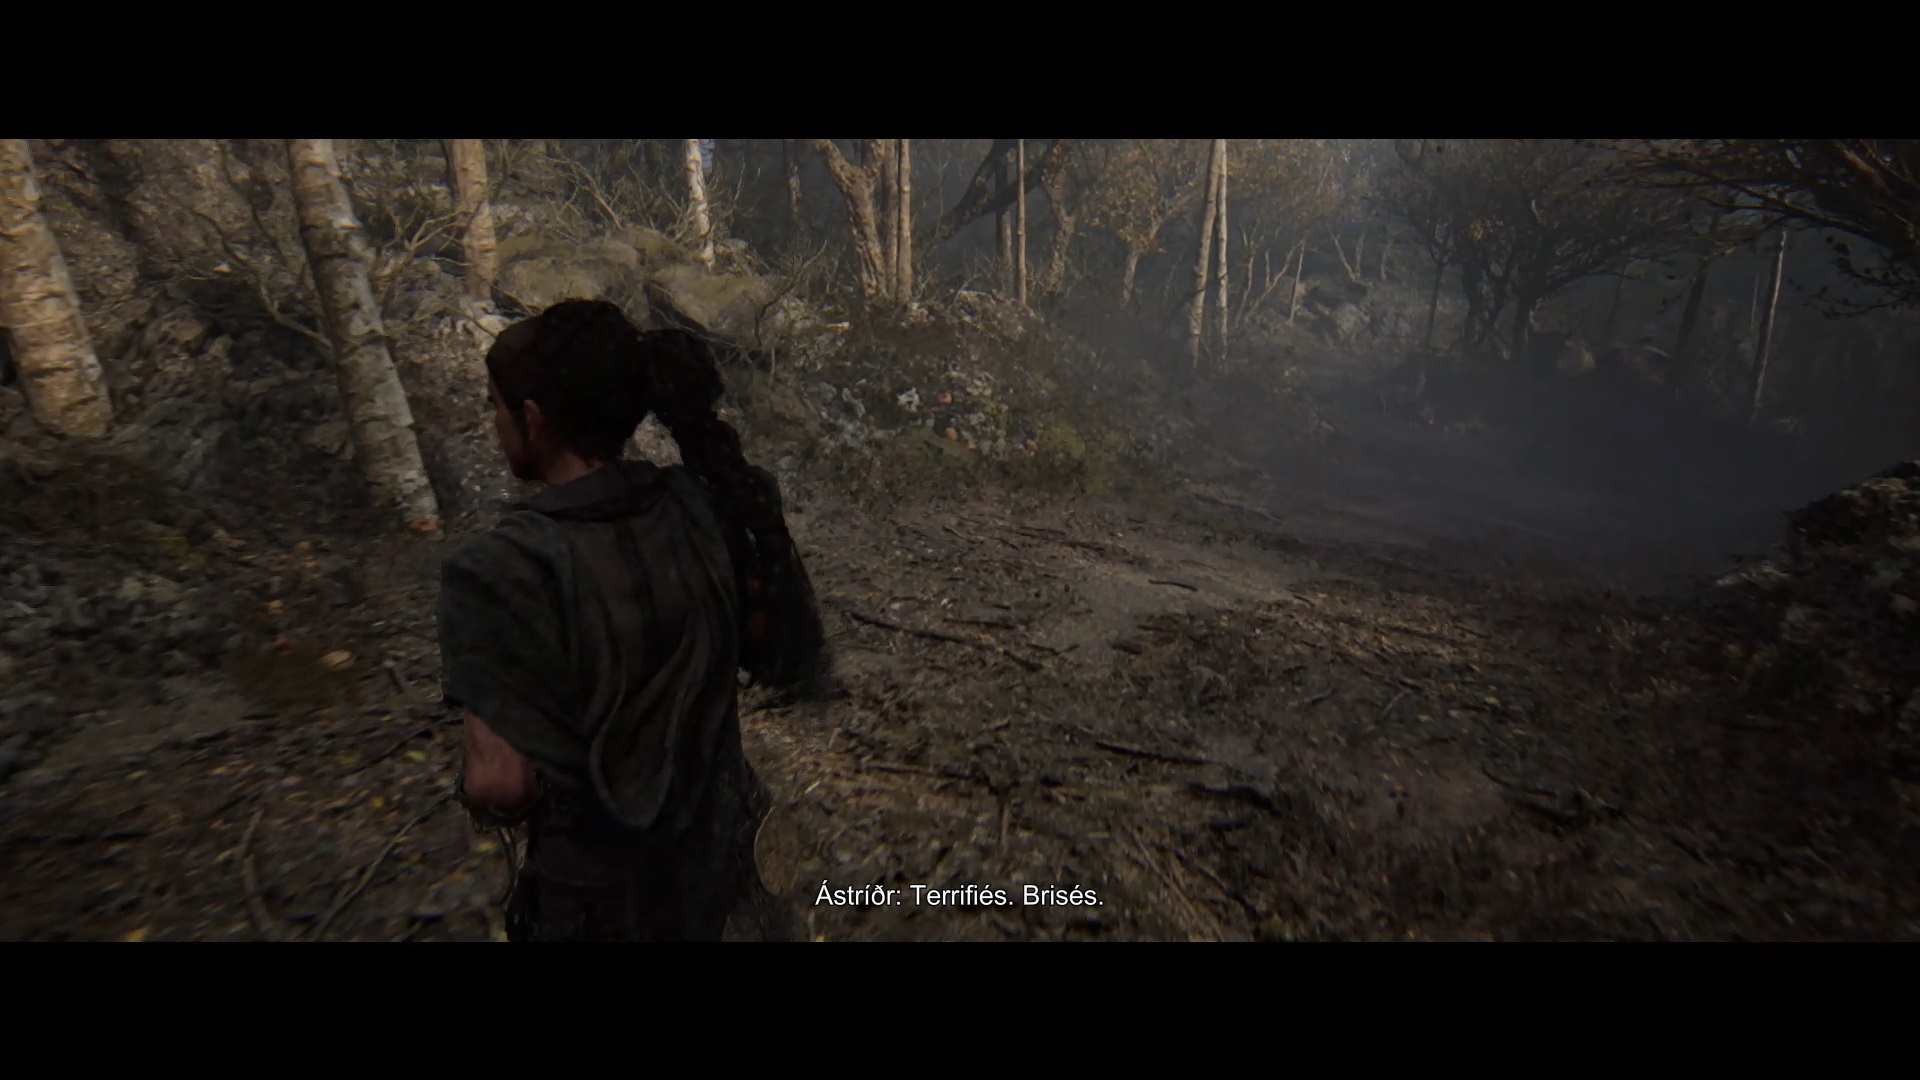
Start the chapter by following your two companions, then advance alone. You will eventually be ambushed. After the cutscene, follow Astrior before facing some Draugr. Fight them by dodging the flames and protecting yourself to fill your mirror gauge.
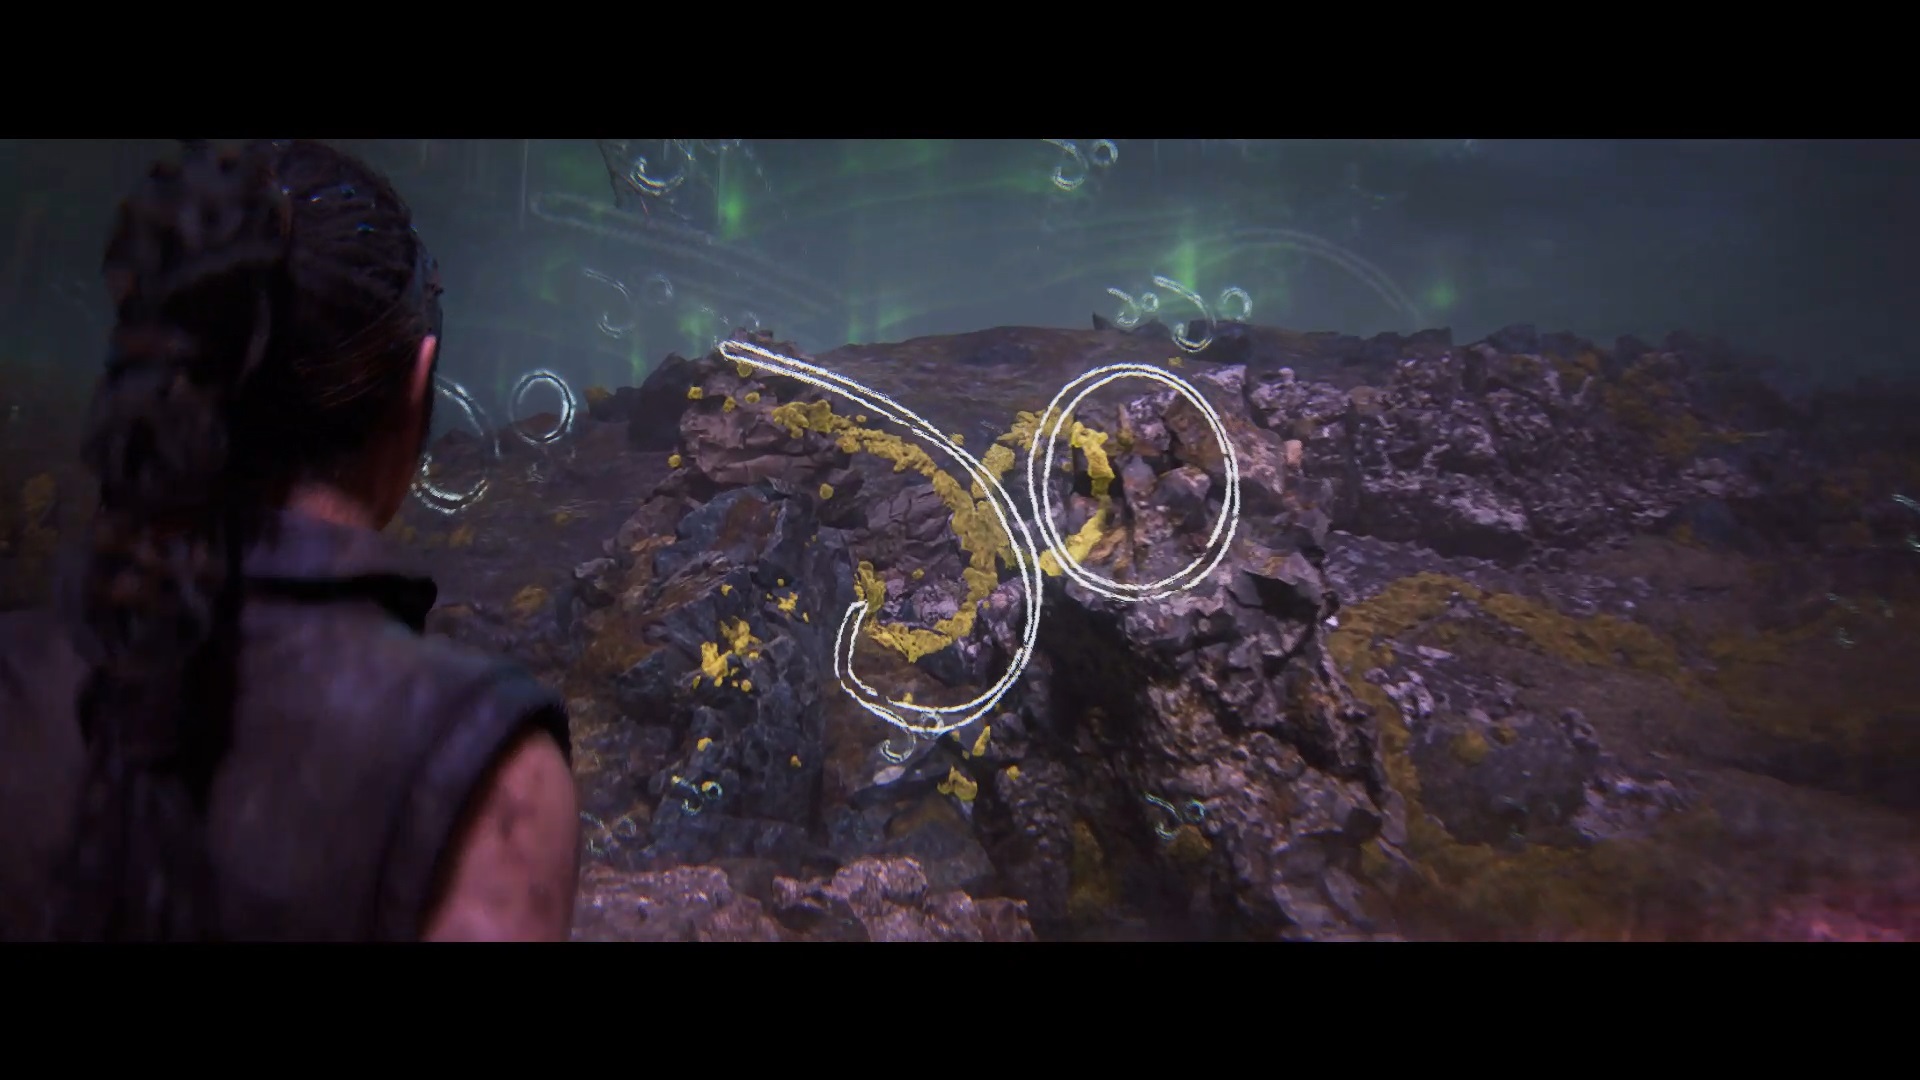
Once the enemies have been defeated, take the path to the right of the observation tower until you are blocked by a seal. To find the first seal symbol, start by focusing on the bubbles at the entrance to the area. You unlock a path at the end right that leads to an area filled with floating symbols. Focus on the rocks in front of you with yellow paint. Recreate the seal sign by correctly aligning the yellow paint.
Return to the entrance to the area and focus on the first bubble to return to reality. Take the stone mound facing the bubble. Go up and look down on the left side to see a rock with the symbol in yellow paint.
From the entrance to the area, focus on the bubble to return to the darkness. Take the path where the stone mound opposite the bubble was placed. Then take the path on the right towards the observation tower. In this area, symbols start flying. Go to the end of the area near the wooden debris and look at the rocks in front of you. Focus on the rocks with the yellow paint to reform the symbol.
You can now go through the path sealed by the seal. Continuing your path, you find Astrior. Follow it and move towards a wreck to come across a new puzzle. You must find all three symbols again to unlock the seal.
Focus on the middle bubble to pass into the darkness and unlock a passage behind the wreckage, near the path sealed by the seal. Go behind the wreckage and focus on the bubble again to make a stone staircase appear behind you. Climb this staircase to continue.
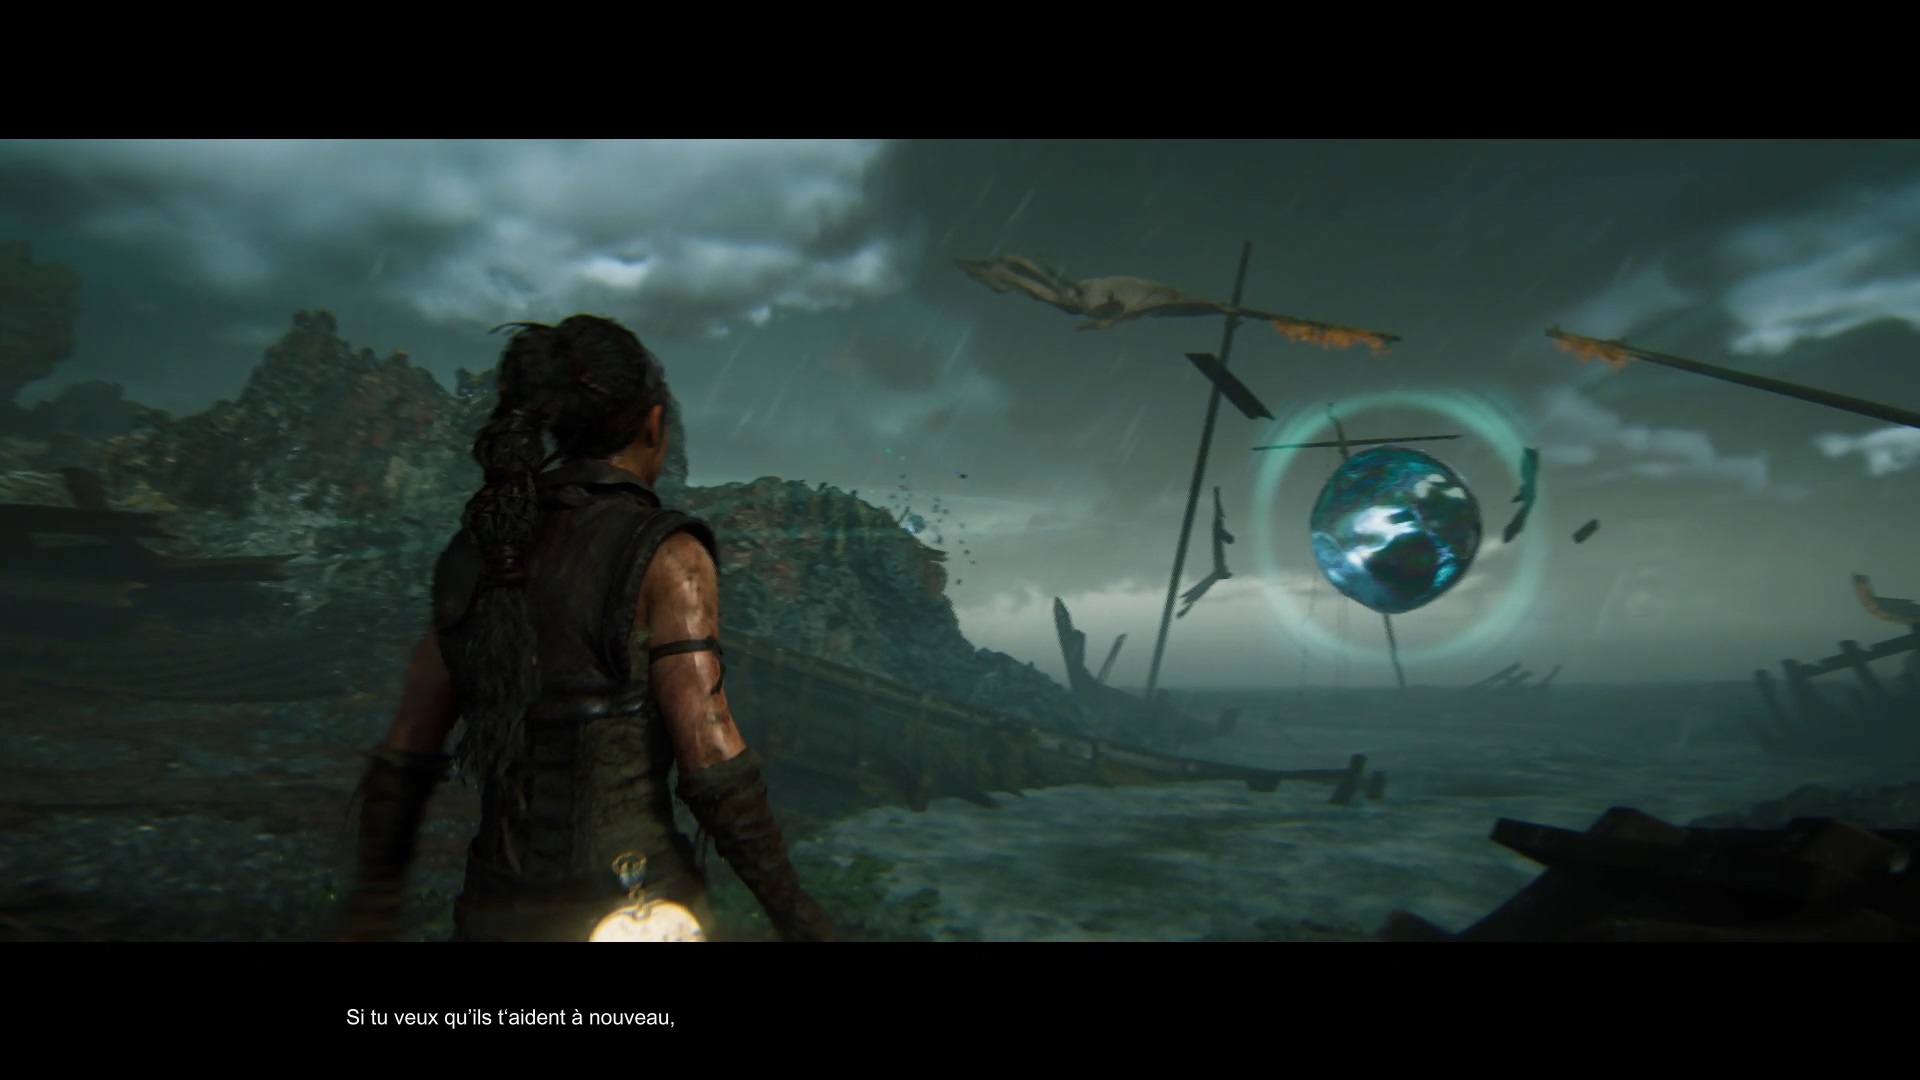
Walk to the end of the path to reach a new bubble. Focus on it, then turn around and take the path on the left. He leads you in front of the mast of the stranded ship. Focus on the poles with yellow algae on the left side to form a sigil symbol.
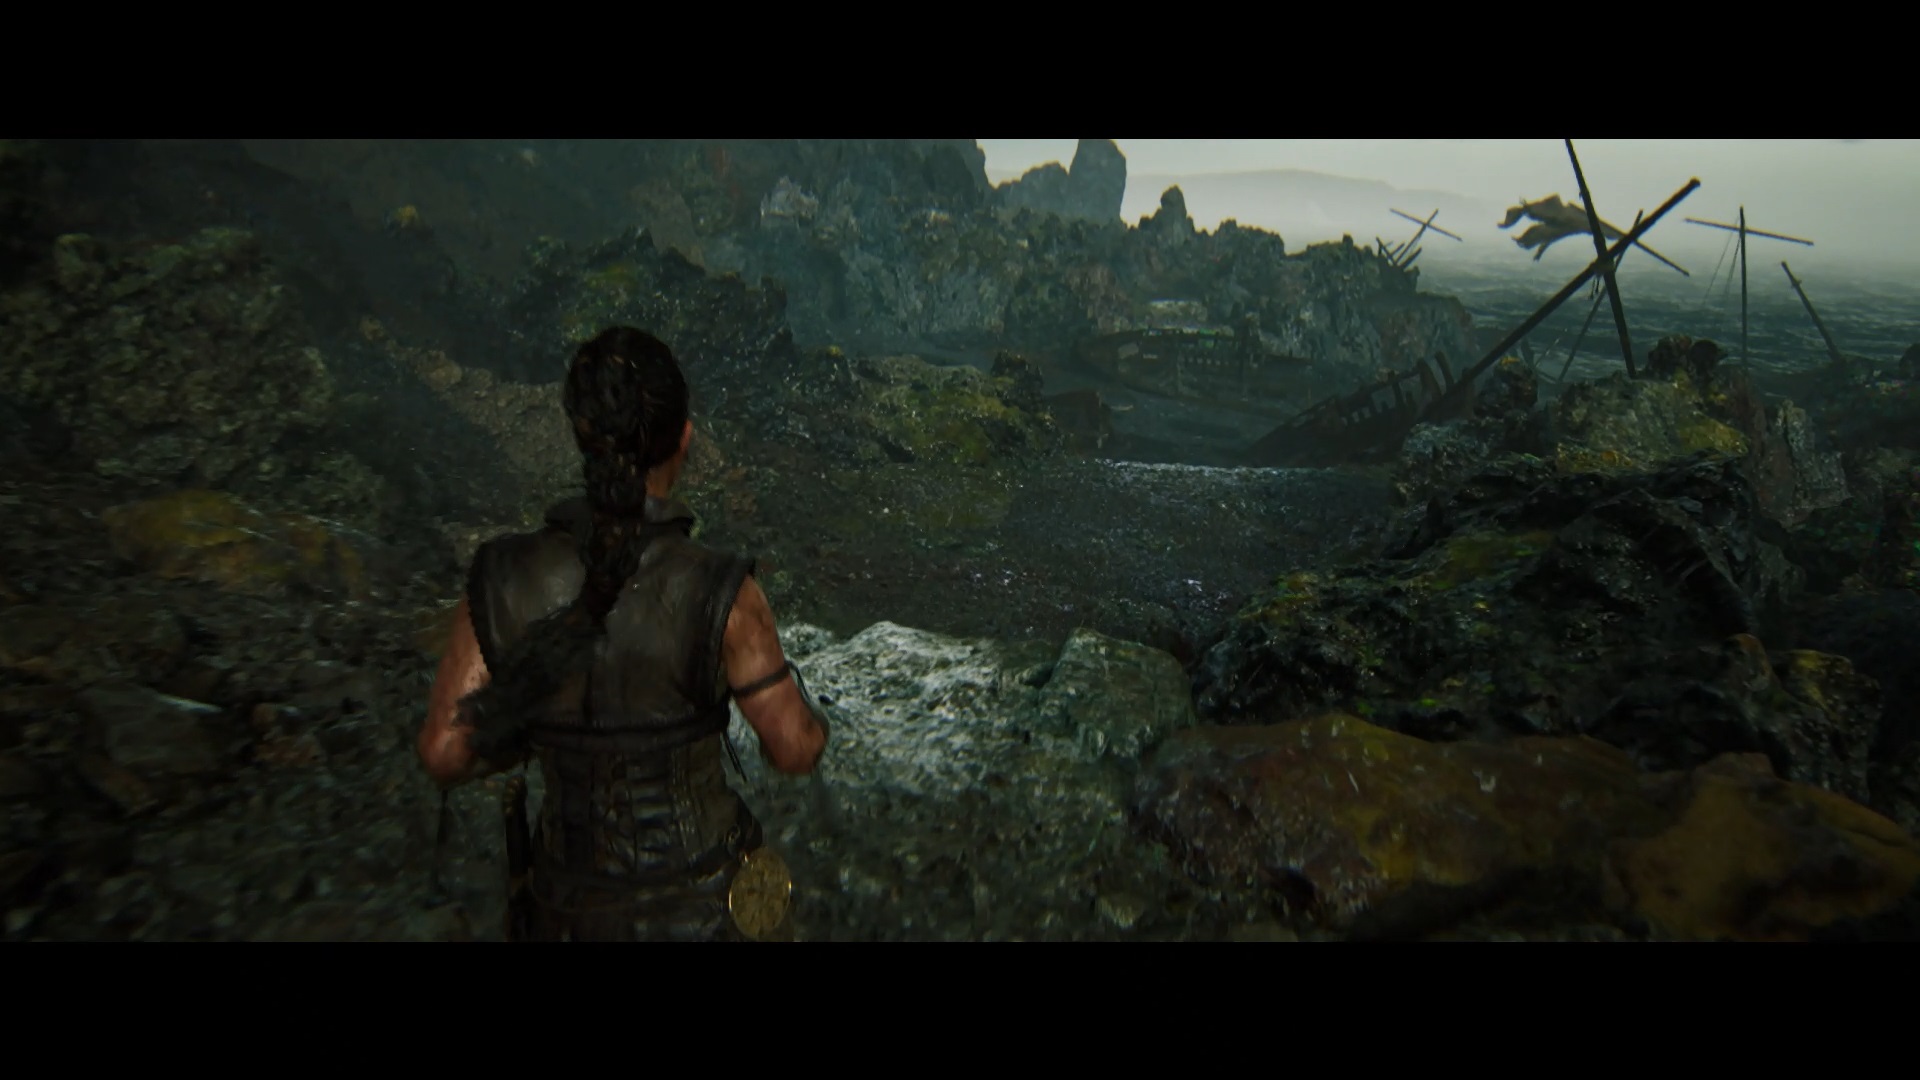
Return to the entrance to the area to interact with the central bubble and return to the darkness. To continue, take the stone wall that allowed you to descend into this area. Then, follow the path that runs along the sea until you reach a pile of rocks
Focus on the bubble near the rocks to clear the way. Go straight ahead and look at the rock at the end of the path. Behind the rock are ship masts with yellow algae that form the symbol you need.
From the location of the second symbol, continue moving to the right. Move forward until you are blocked by the void. Turn around and look at the path above to find a new bubble. Focus on it to make a path appear. So keep moving forward, to reach a new bubble. Focus on it to make a path appear on your right.
Take the path that has just been created and move forward to a ruined house. Go to the window of the house and look at the masts of the ships. Focus on the ones that are filled with yellow algae to form the symbol. You can now return to the starting area to unlock the initial path.
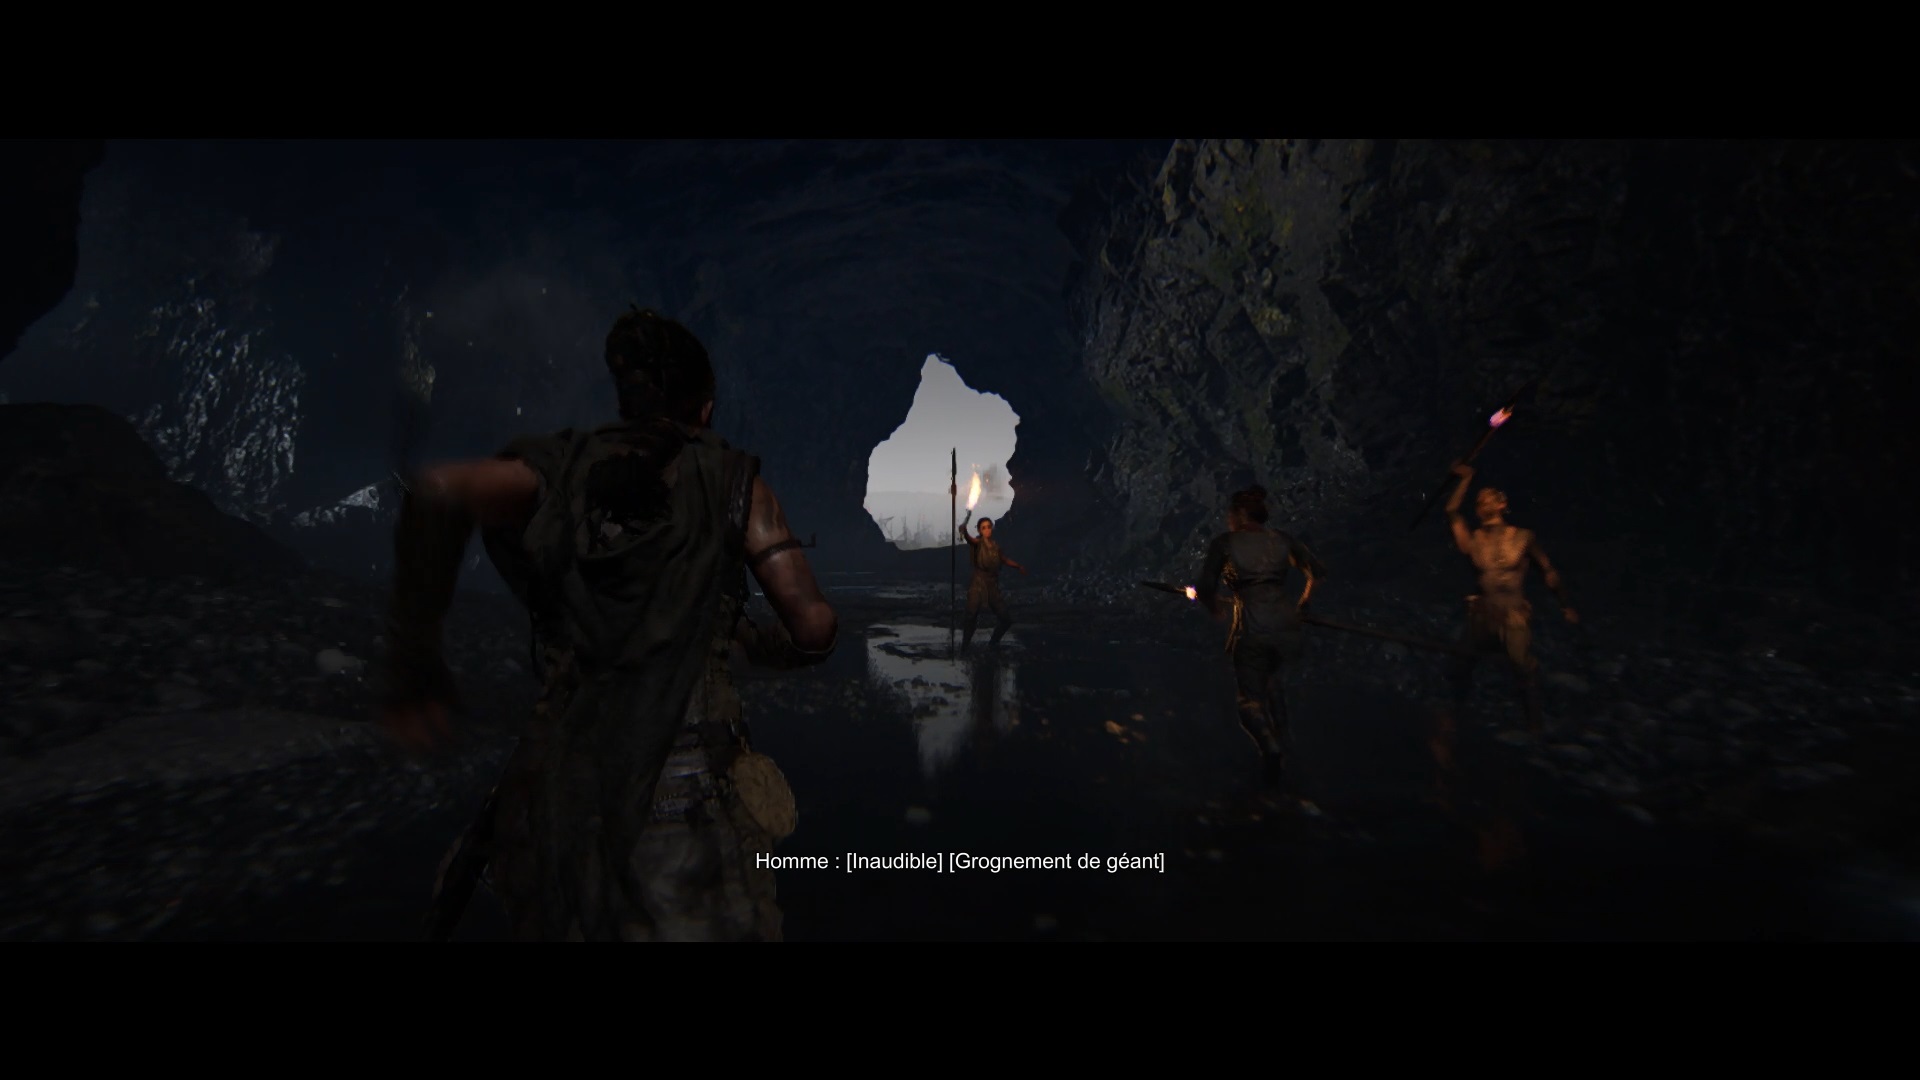
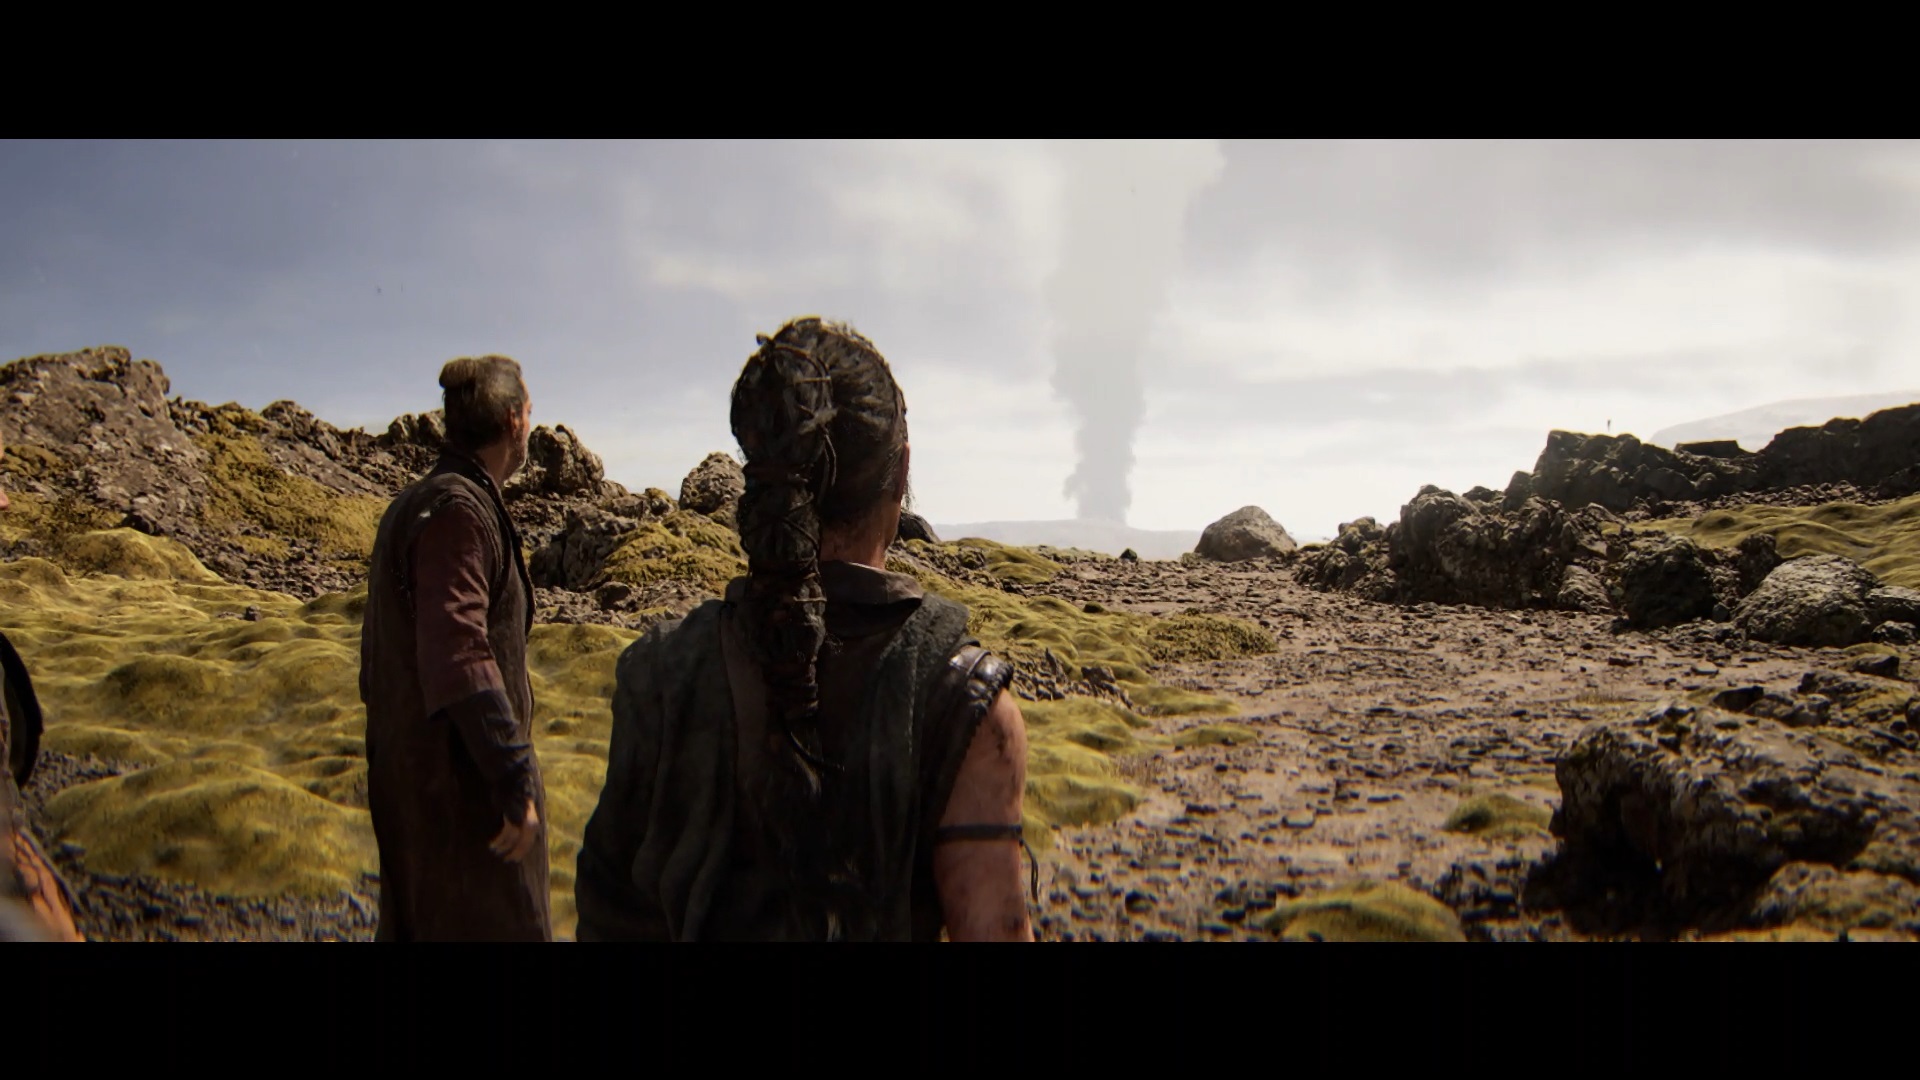
Go down into the cave to reach a watering hole with a bubble. Interact with it to trigger a cutscene. Then follow the giant’s story by following the light into the cave. Once finished, return outside where the giant is waiting for you.
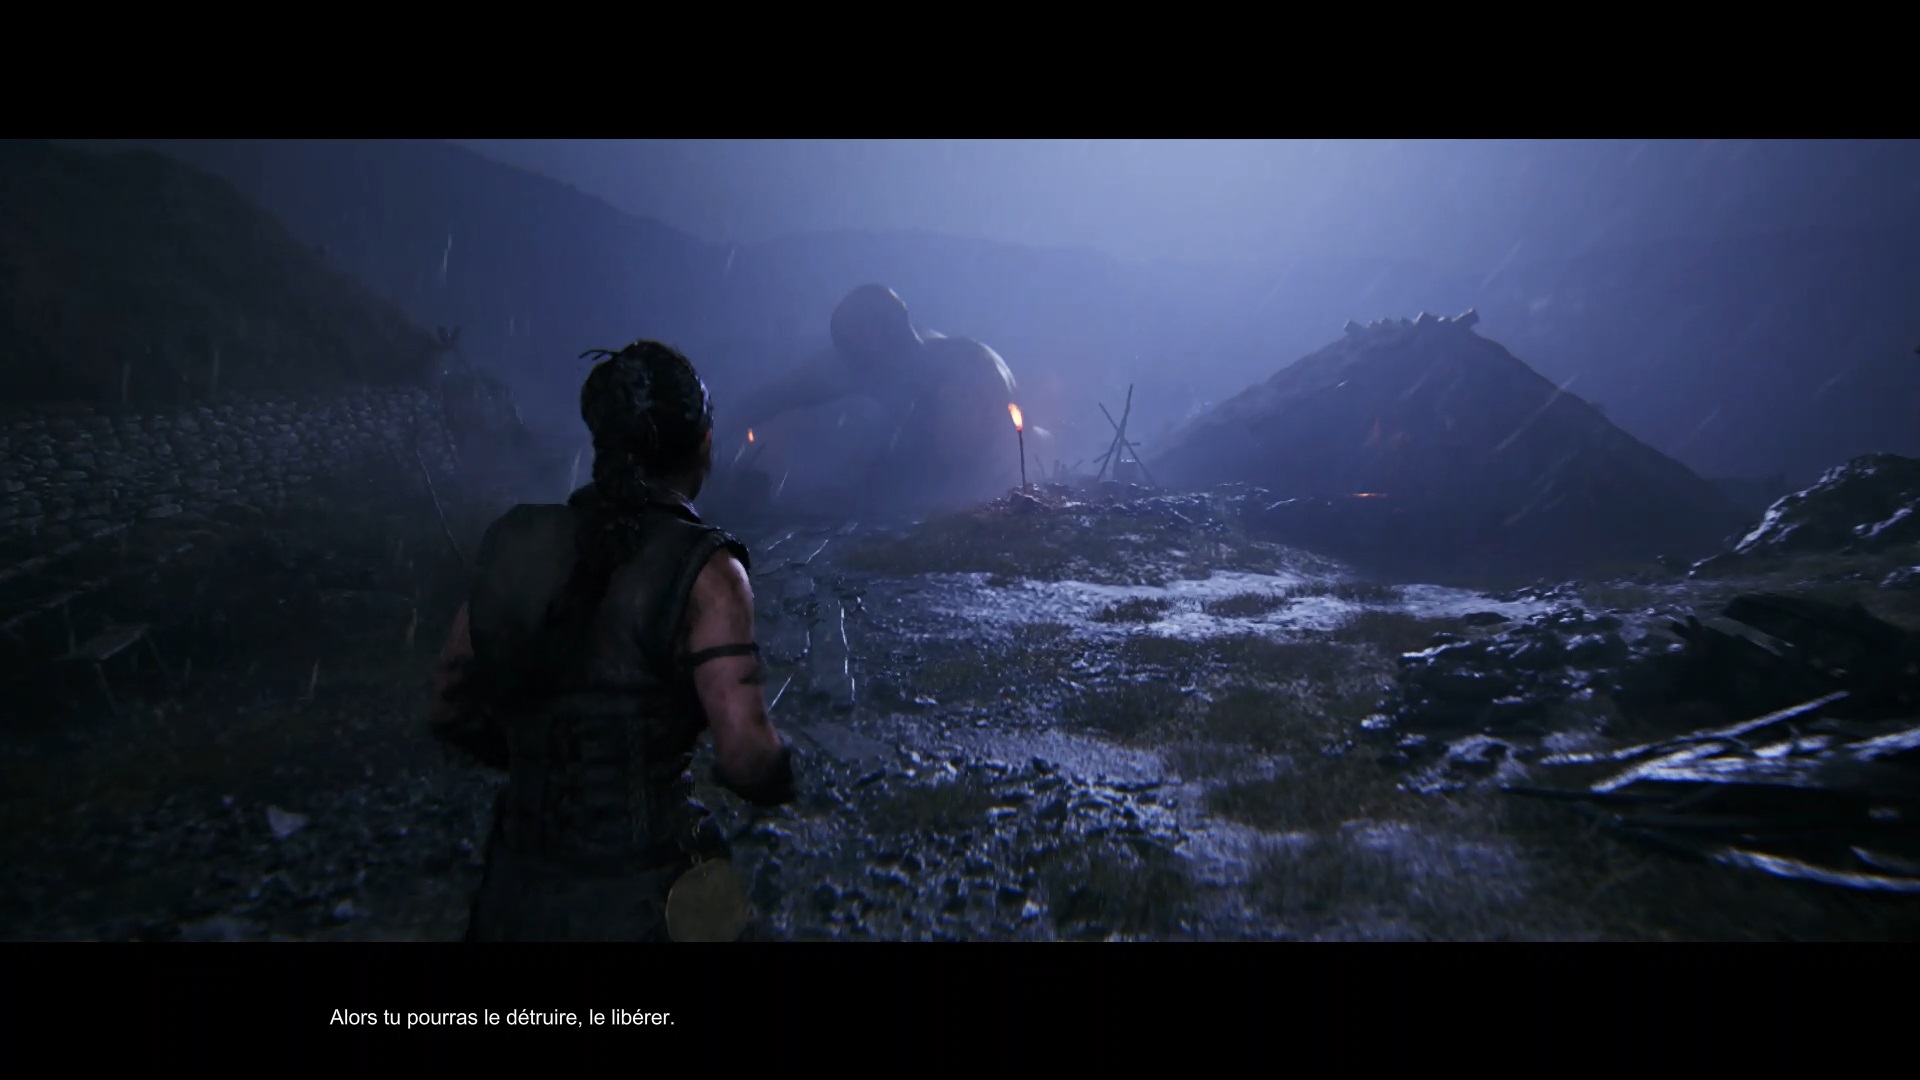
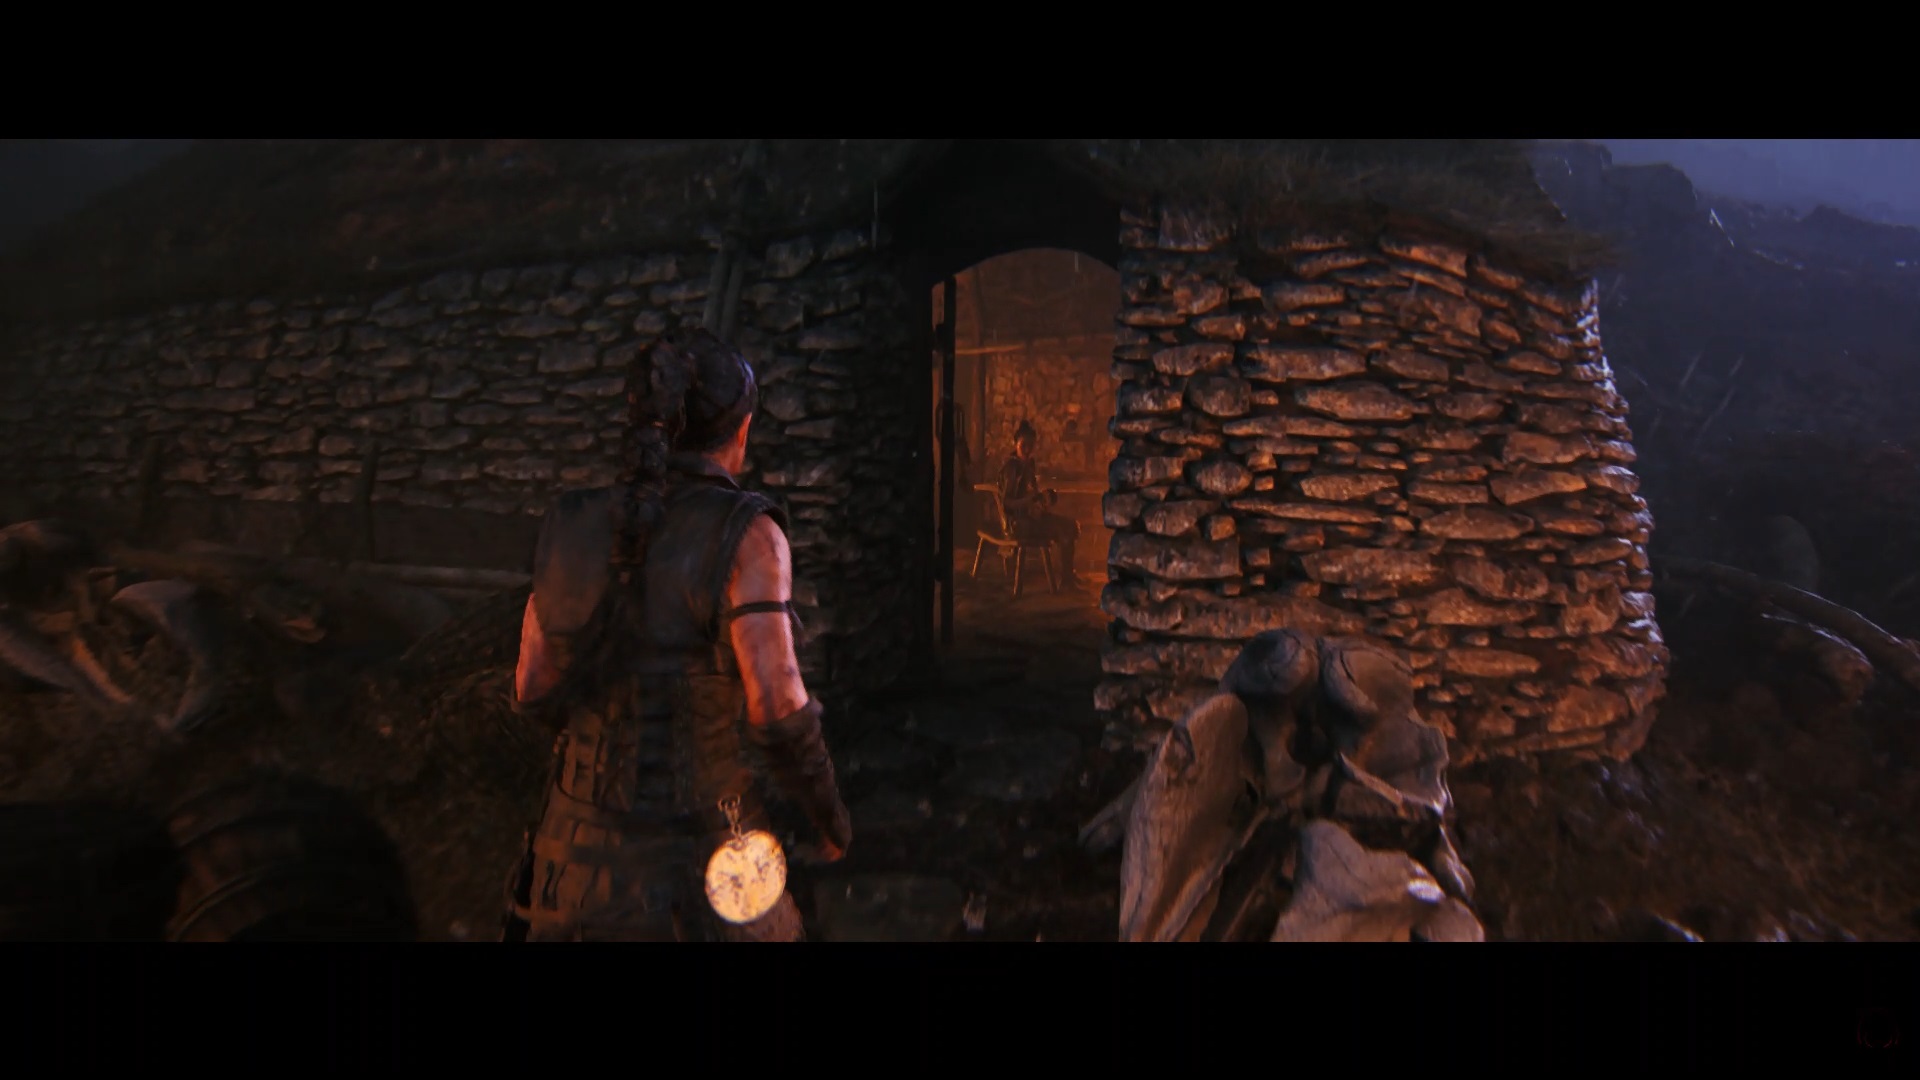
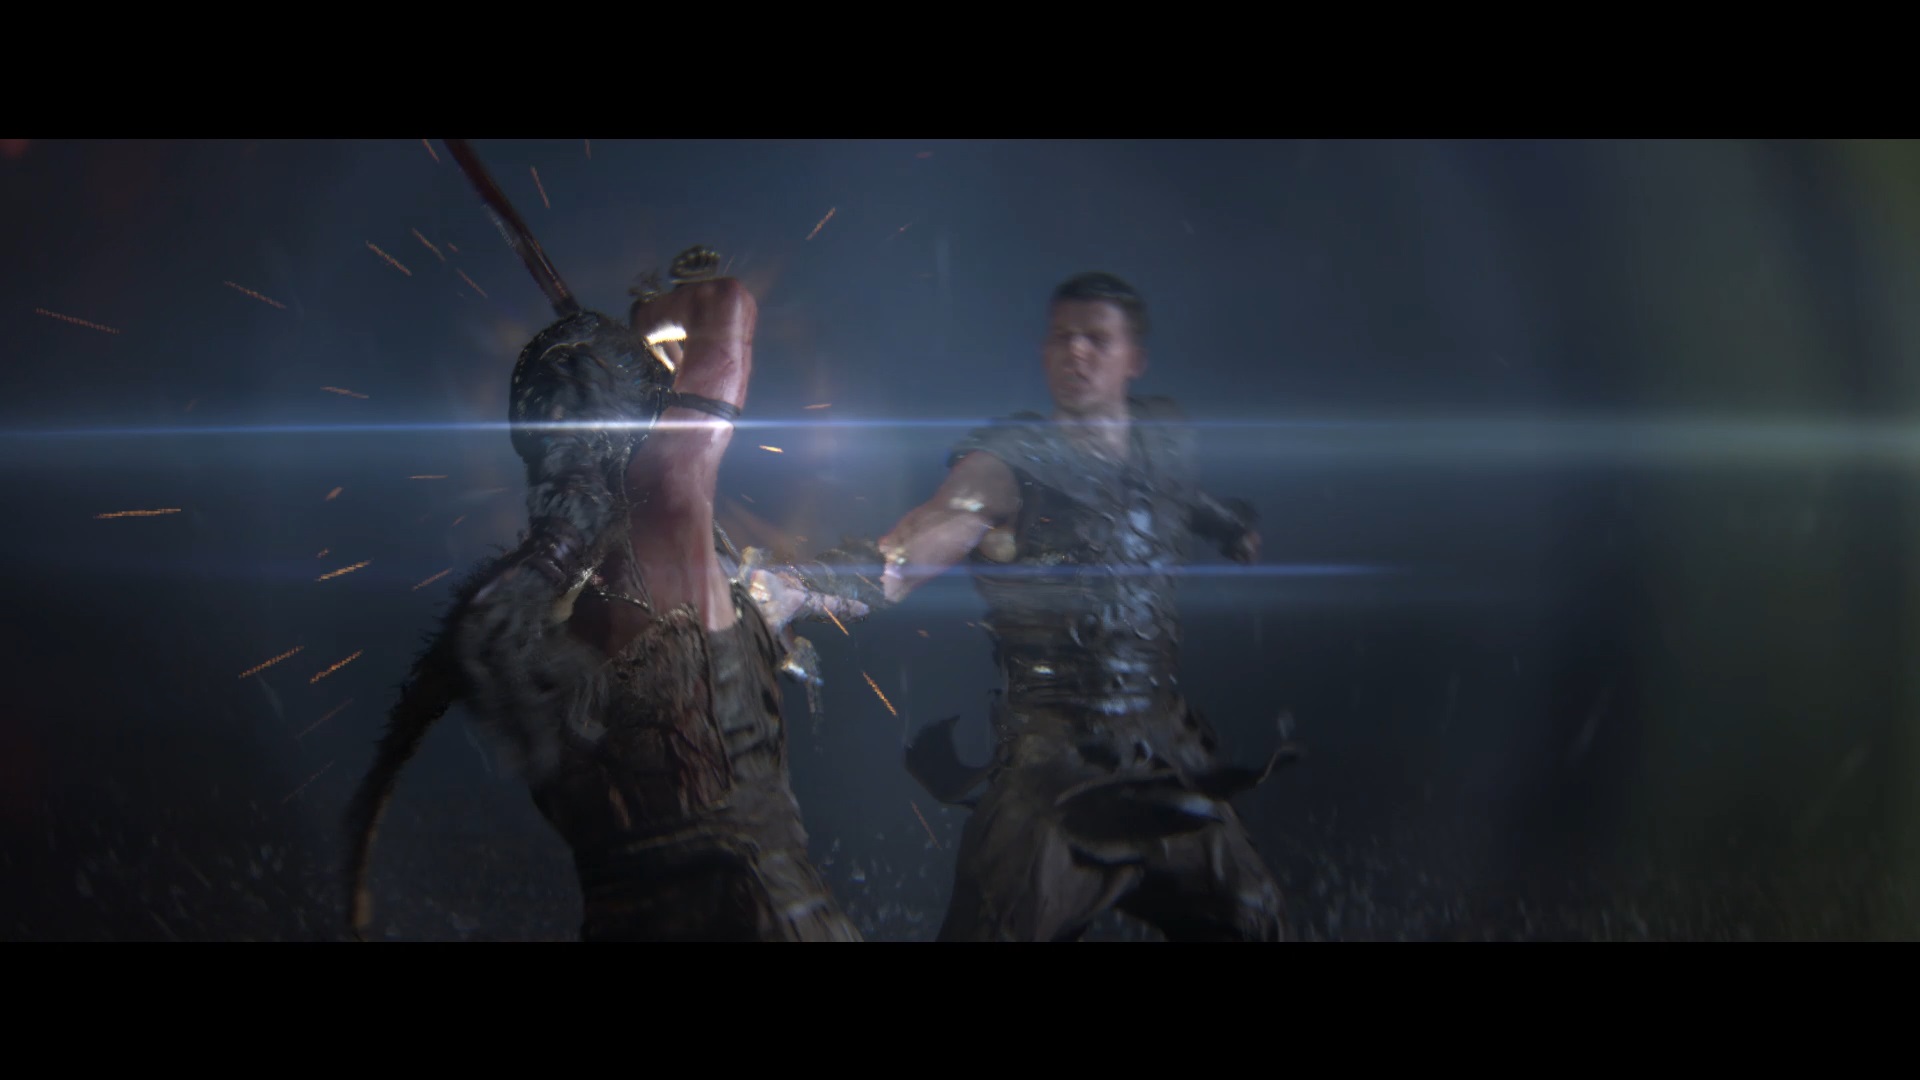
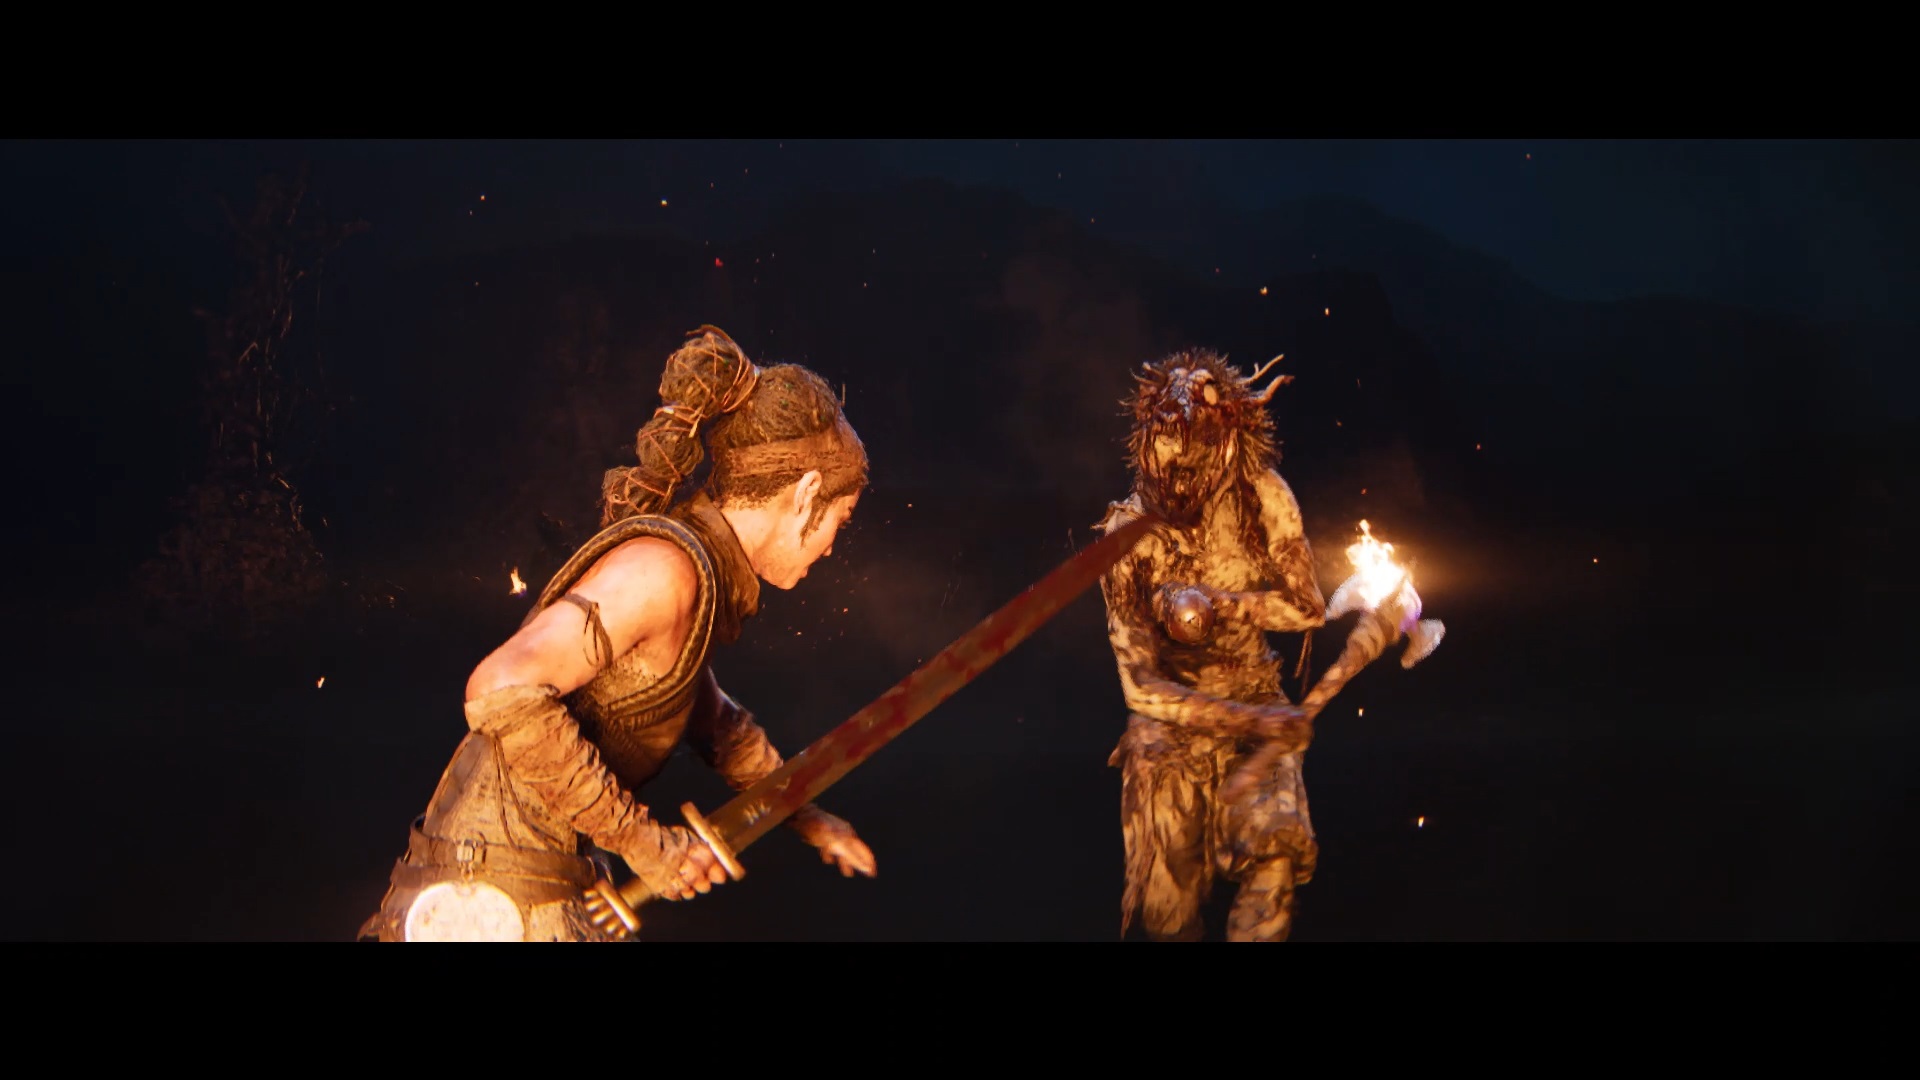
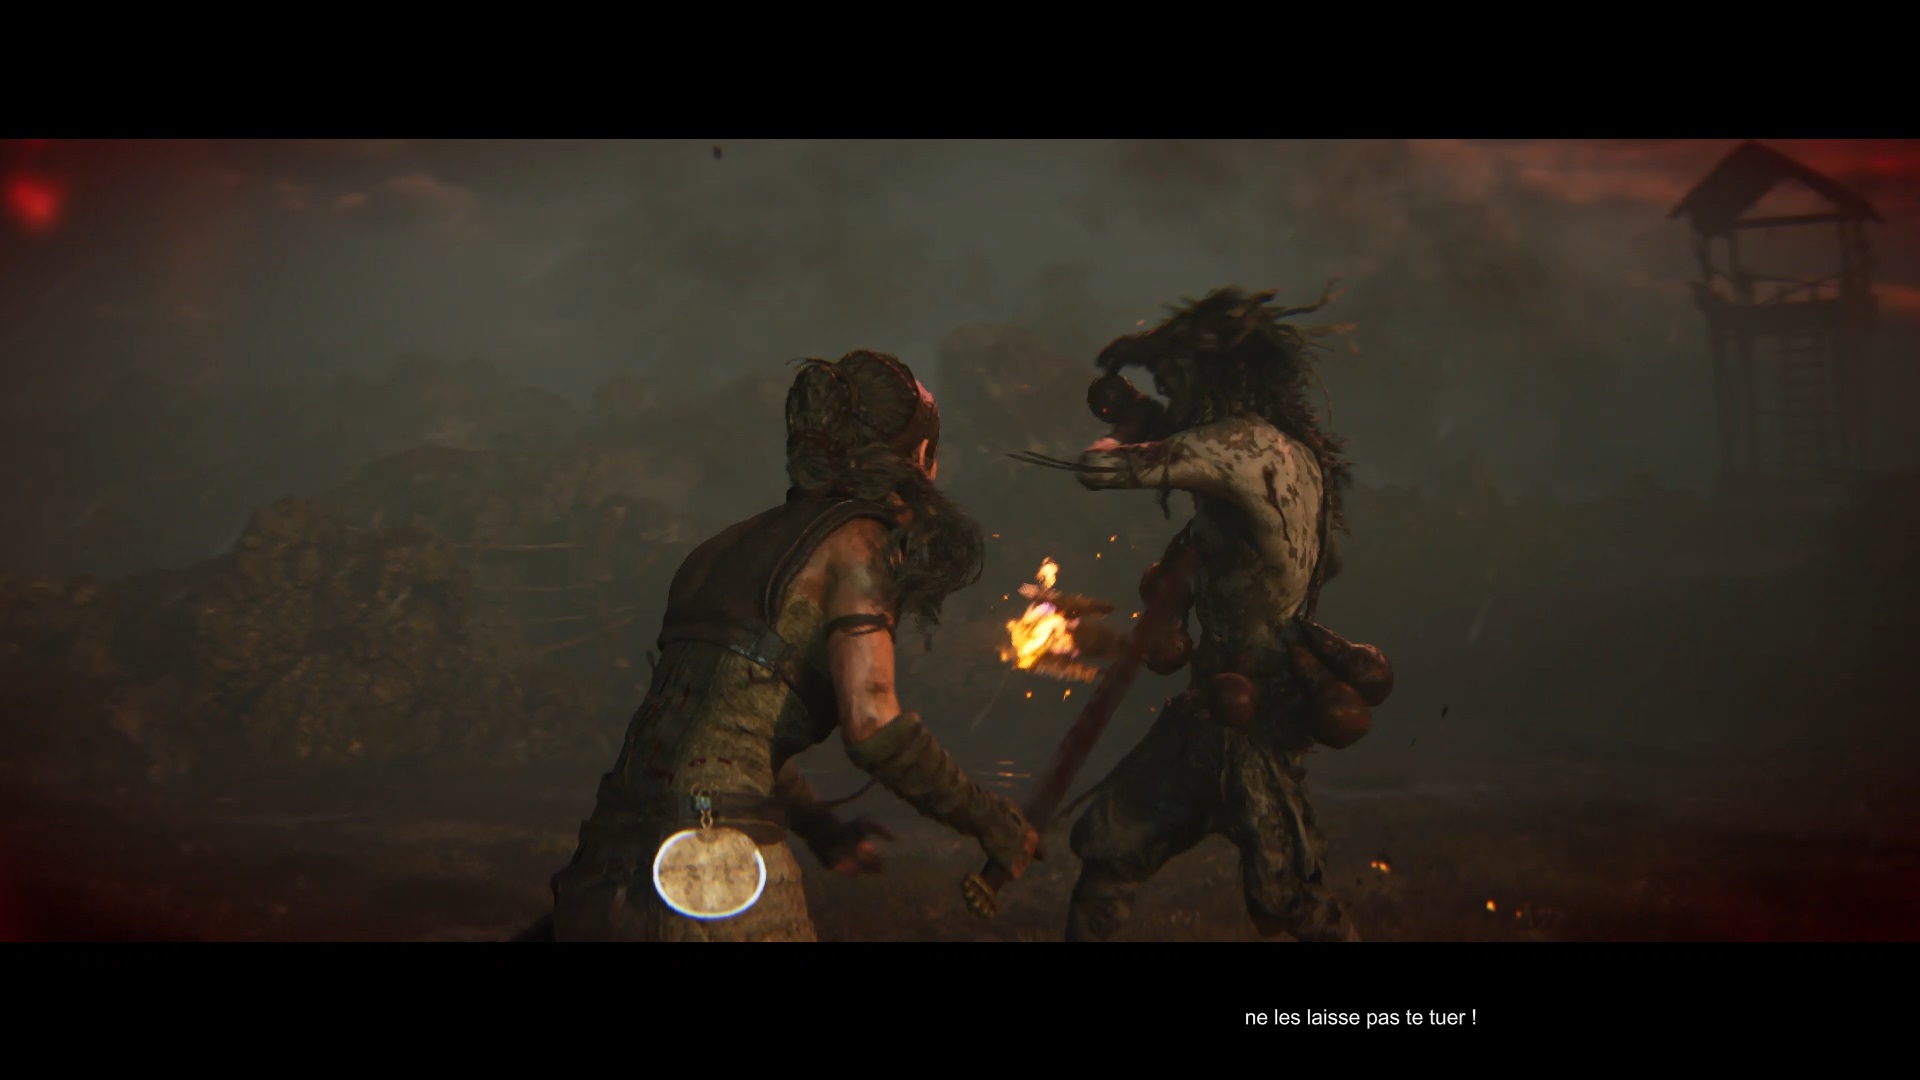
Outside, move towards the torches. On your way, you see the giant, move towards it. At the end of your path, find Astrior in a house. After the cutscene, you must fight. Chain weak and strong strikes and dodge at the right time to defeat enemies. When an enemy breathes fire at you, dodge to the side to avoid being burned. Continue the fights with the help of your companions.
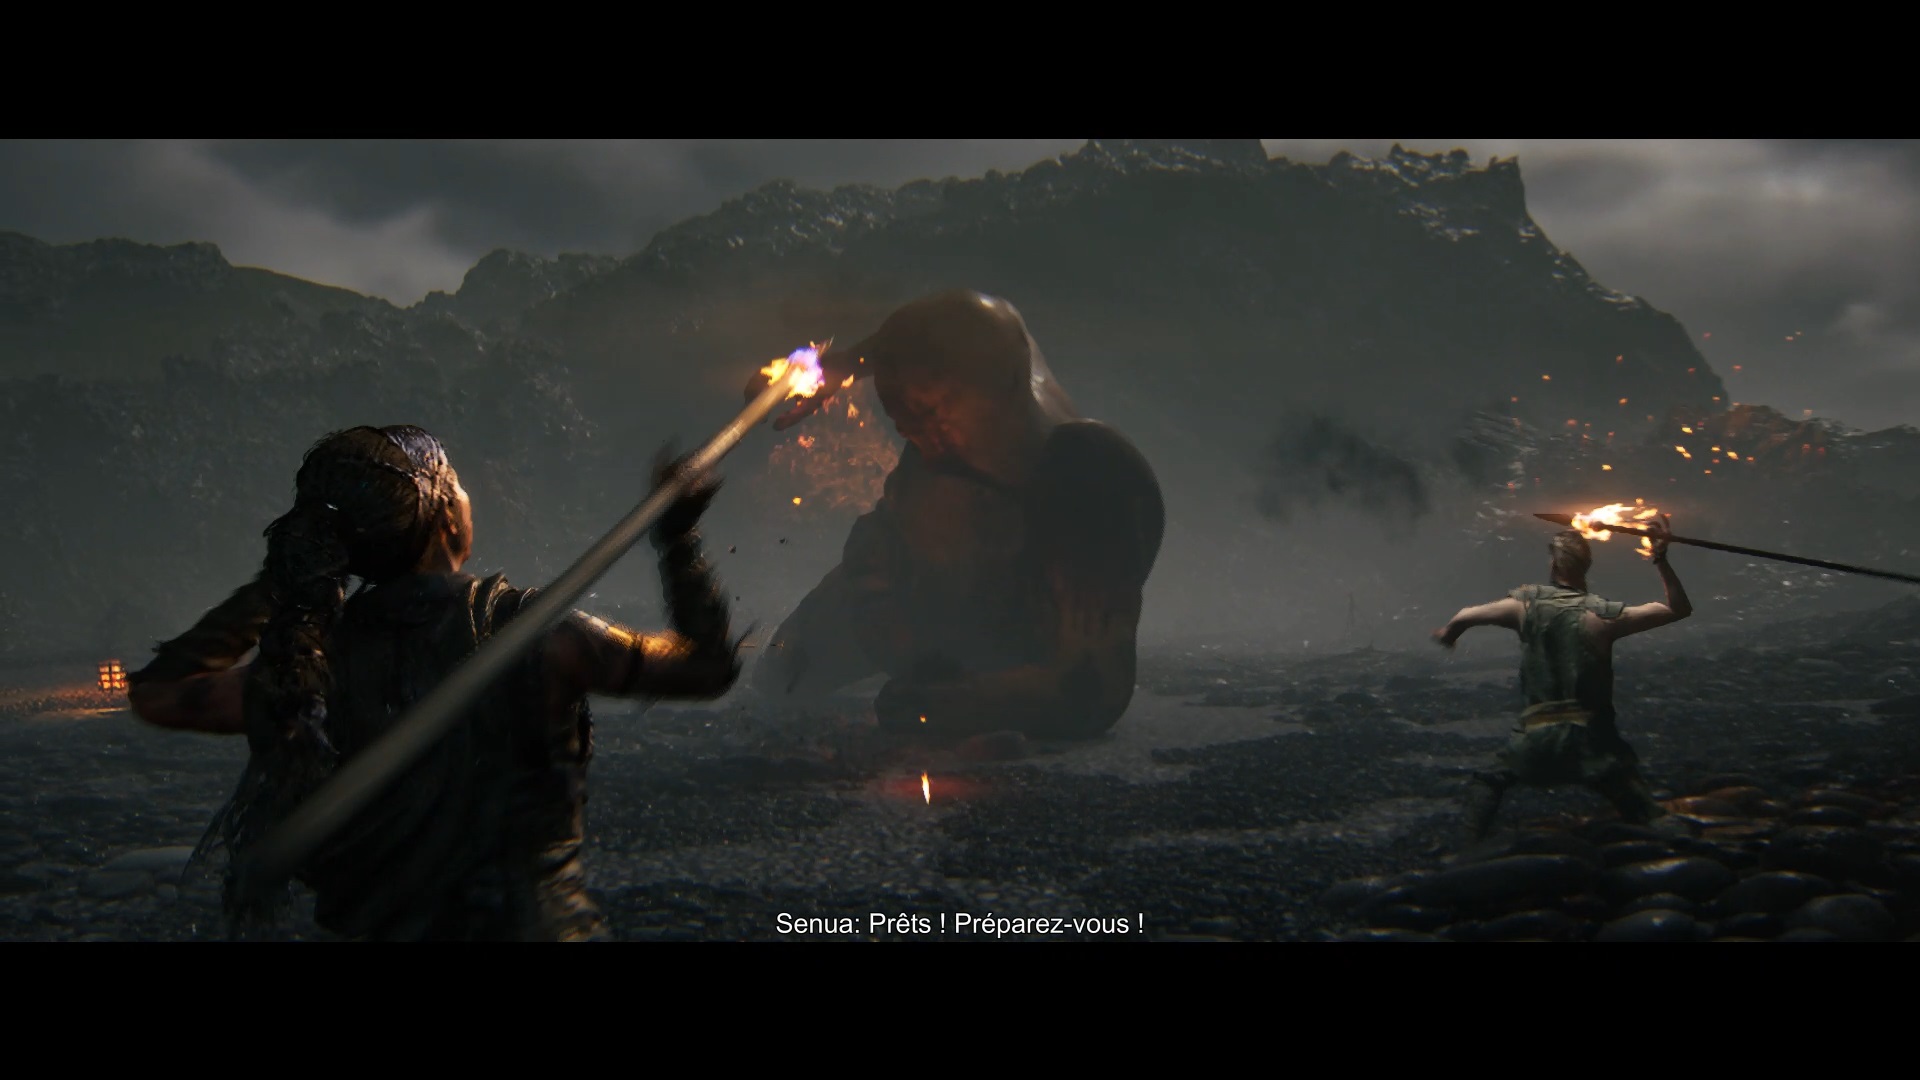
Once the fight is over, a cutscene triggers to begin the ritual. Move forward into the cave to confront the giant. Once facing him and in position, pull the spear at him. A chase then begins. Run towards your companions to lure him into the trap. When your character faces the giant, shoot spears at him to weaken him. Once on the ground, a cutscene begins and immerses you in another universe.
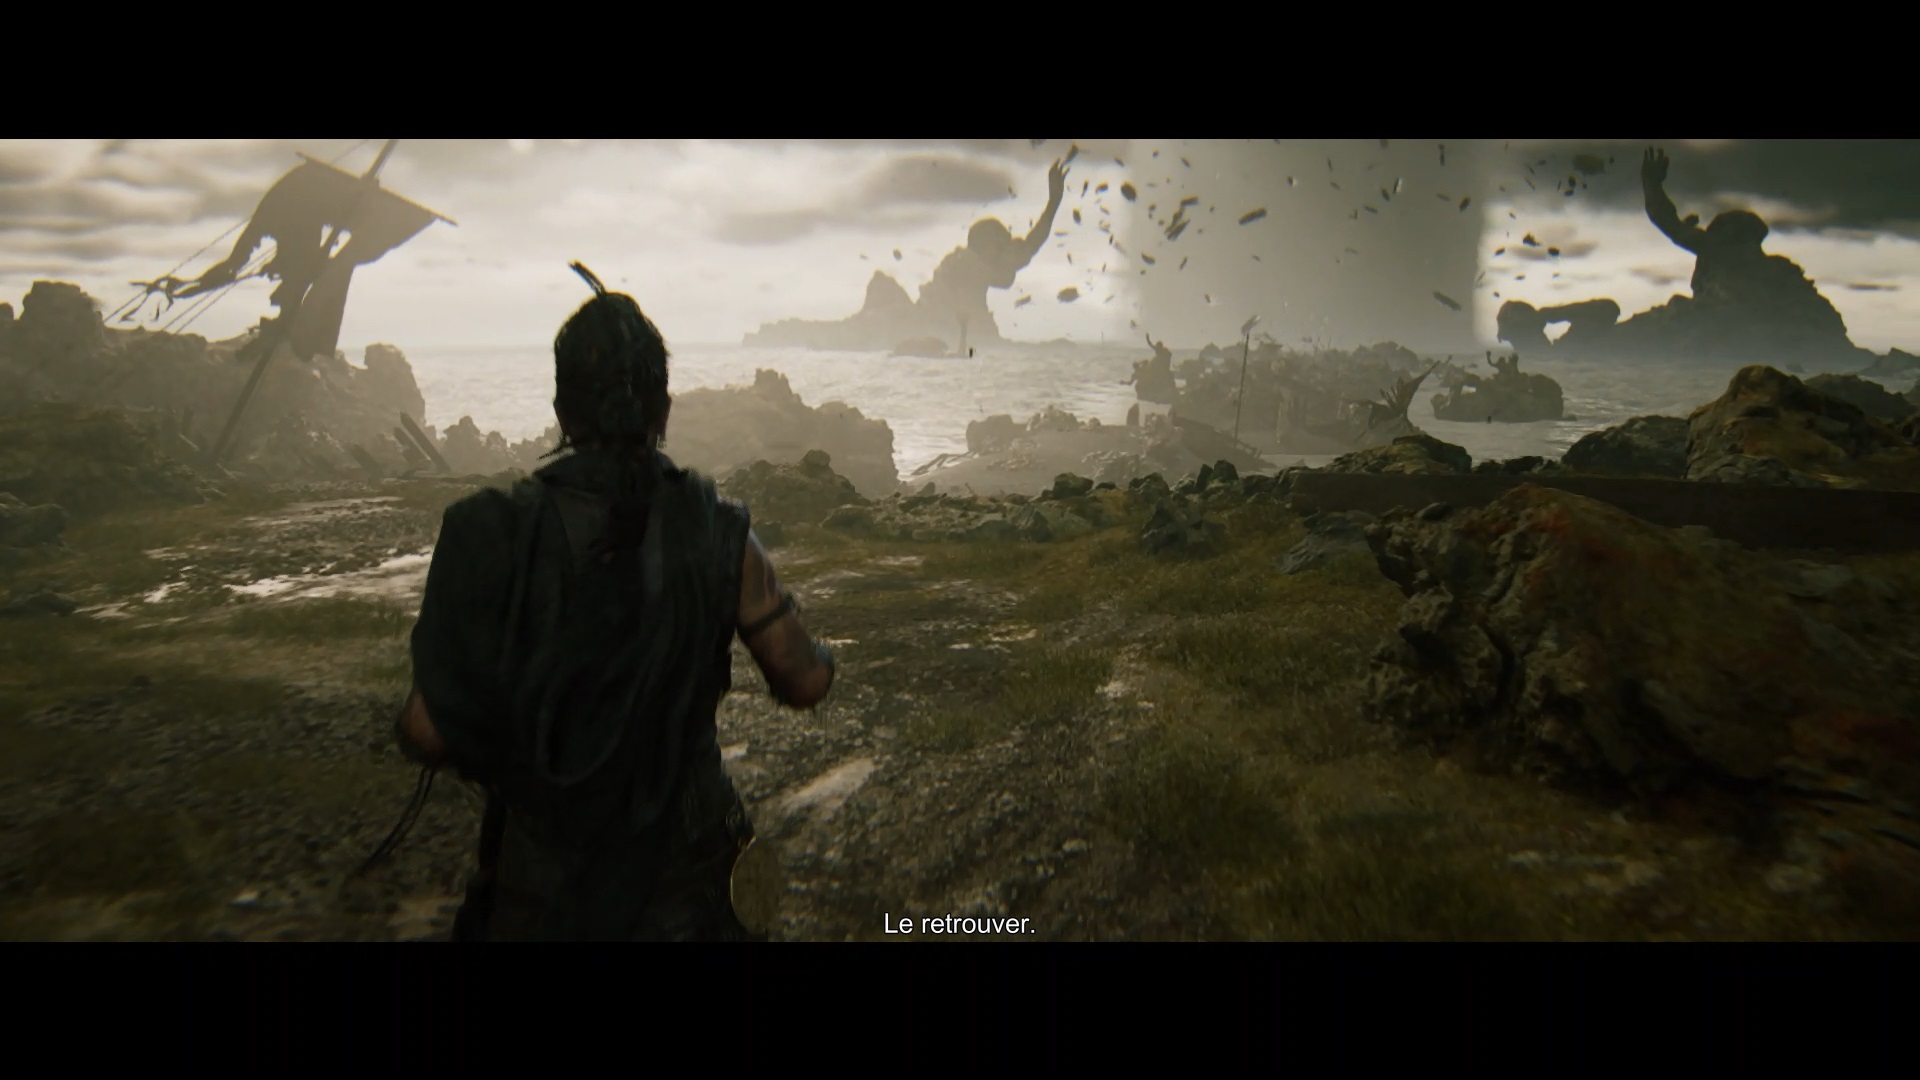
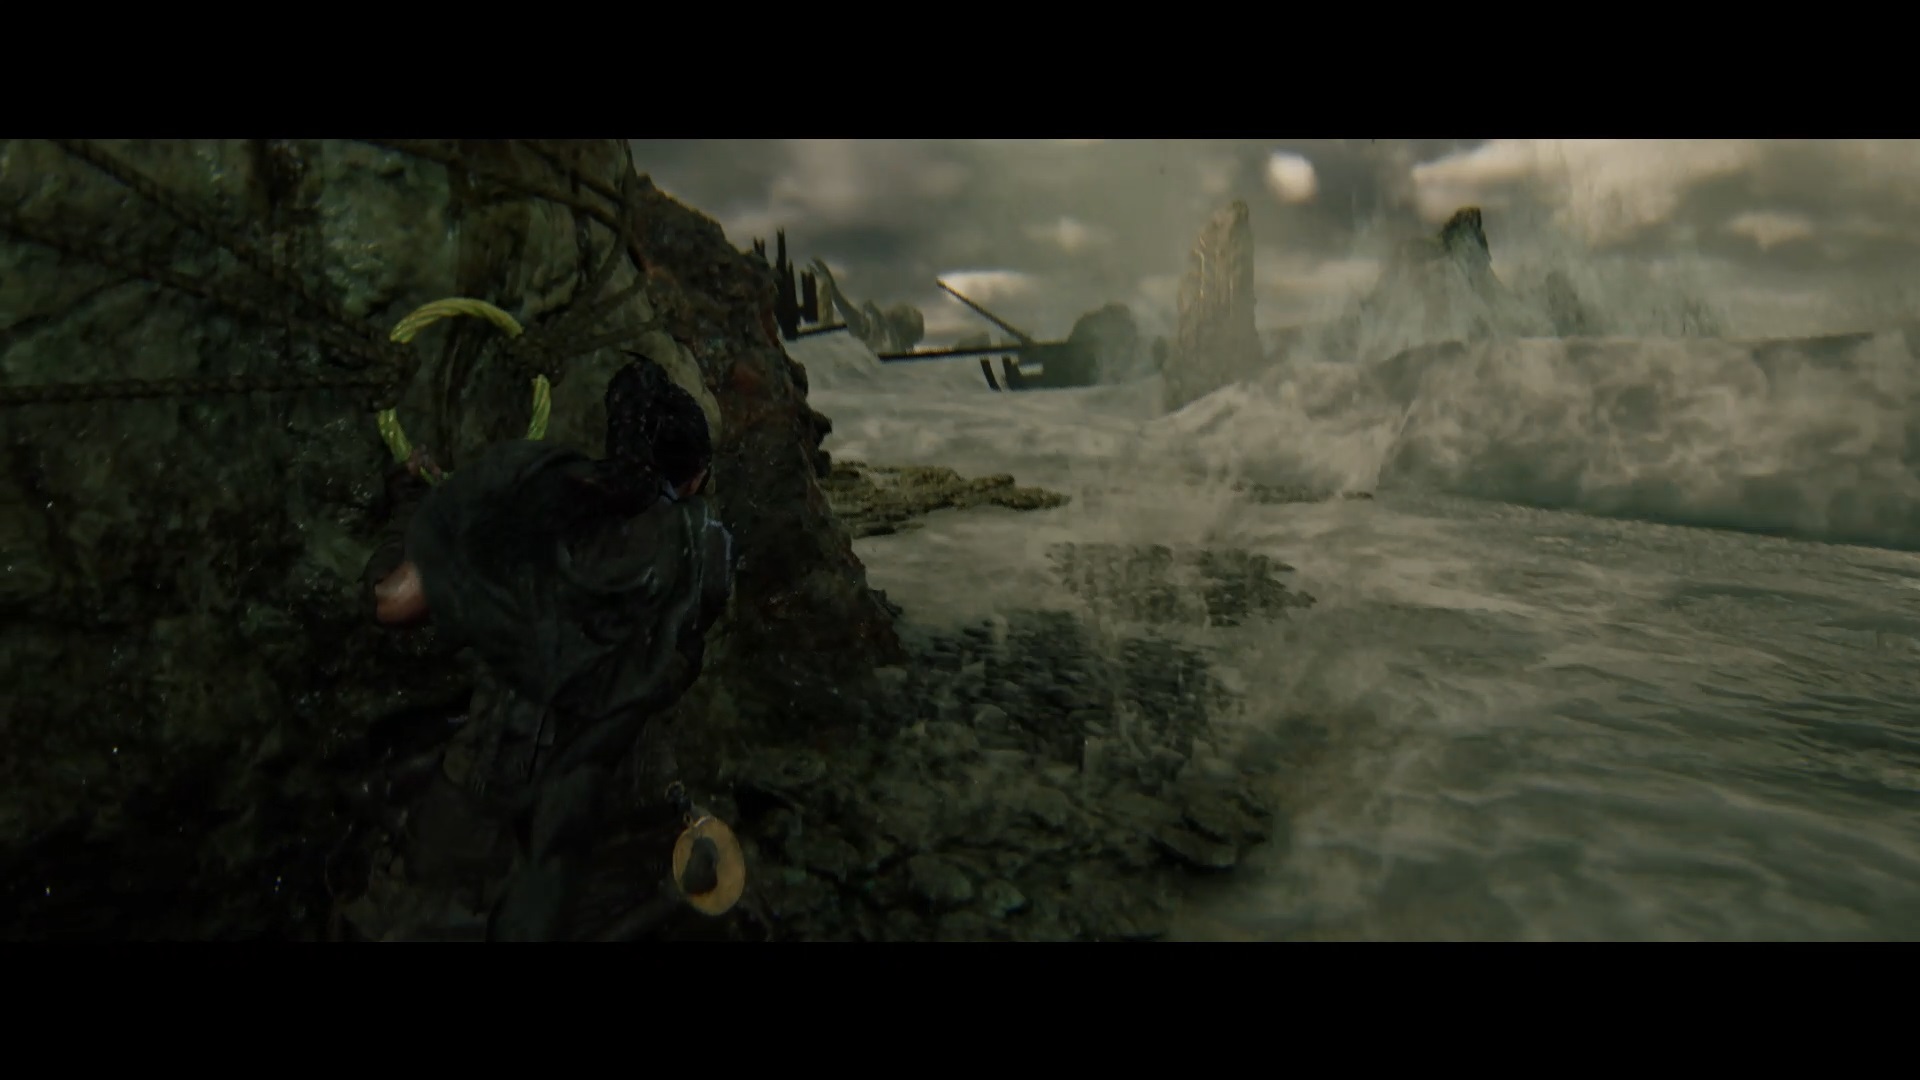
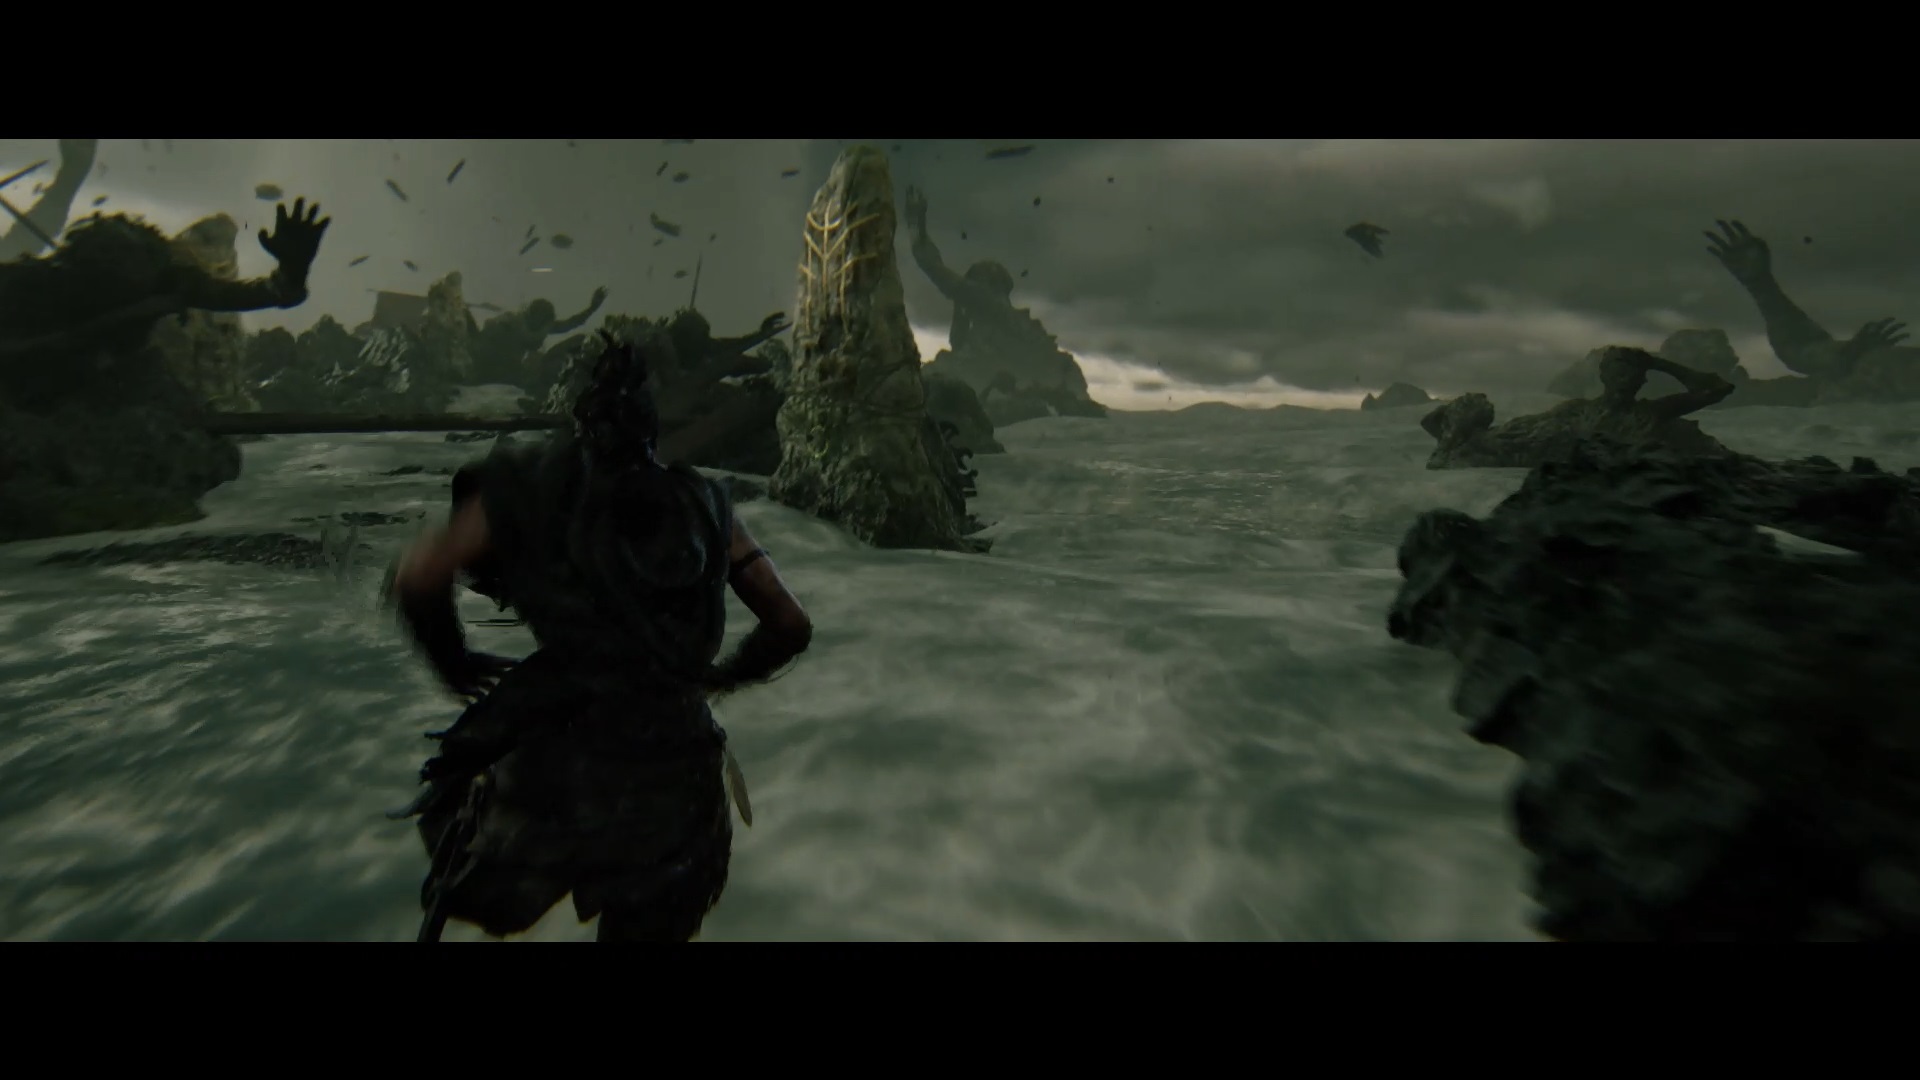
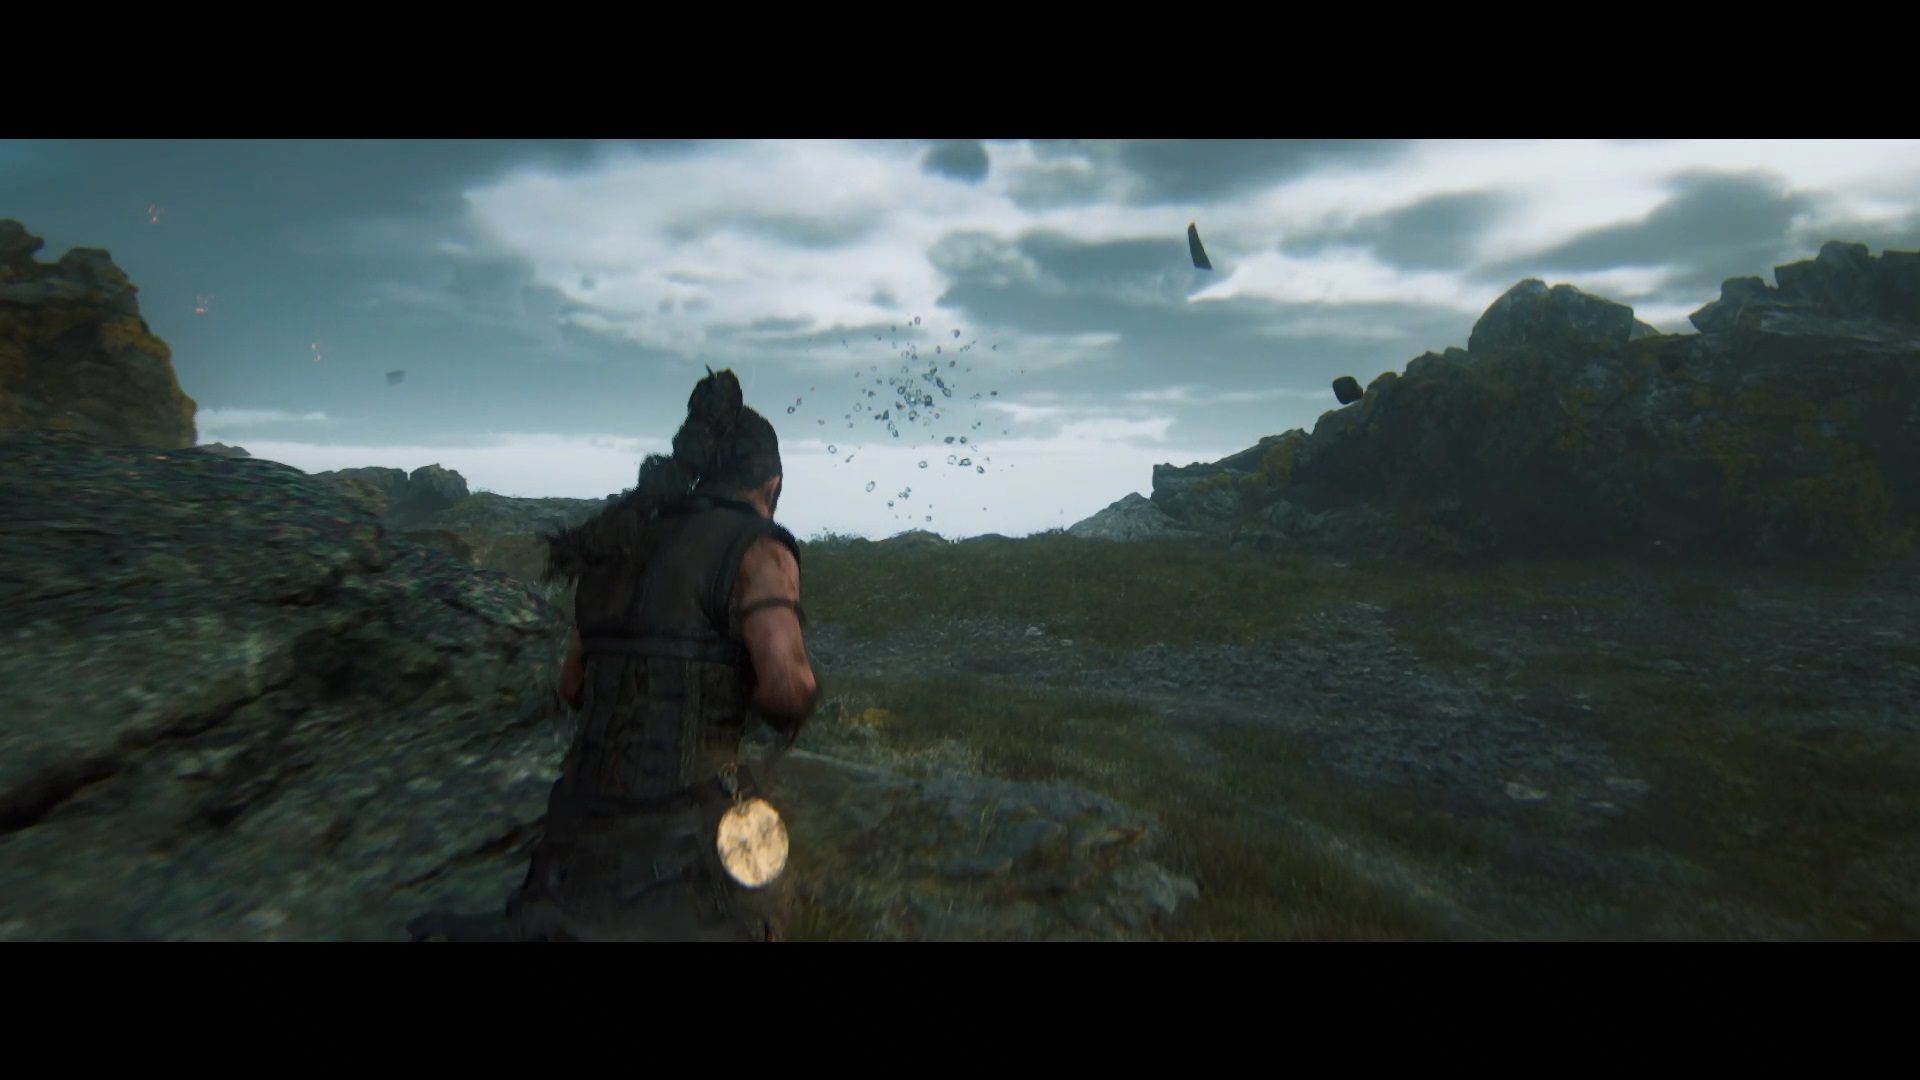
You must join the giant. Move from rock to rock when the waves have dissipated. At each rock, hold on to the ring to help you hold on against the waves. When you get to the wave-free area, run straight ahead. Avoid the rocks that fall on you by watching their shadow on the ground. At the end of your path, you face the giant and you end the chapter.
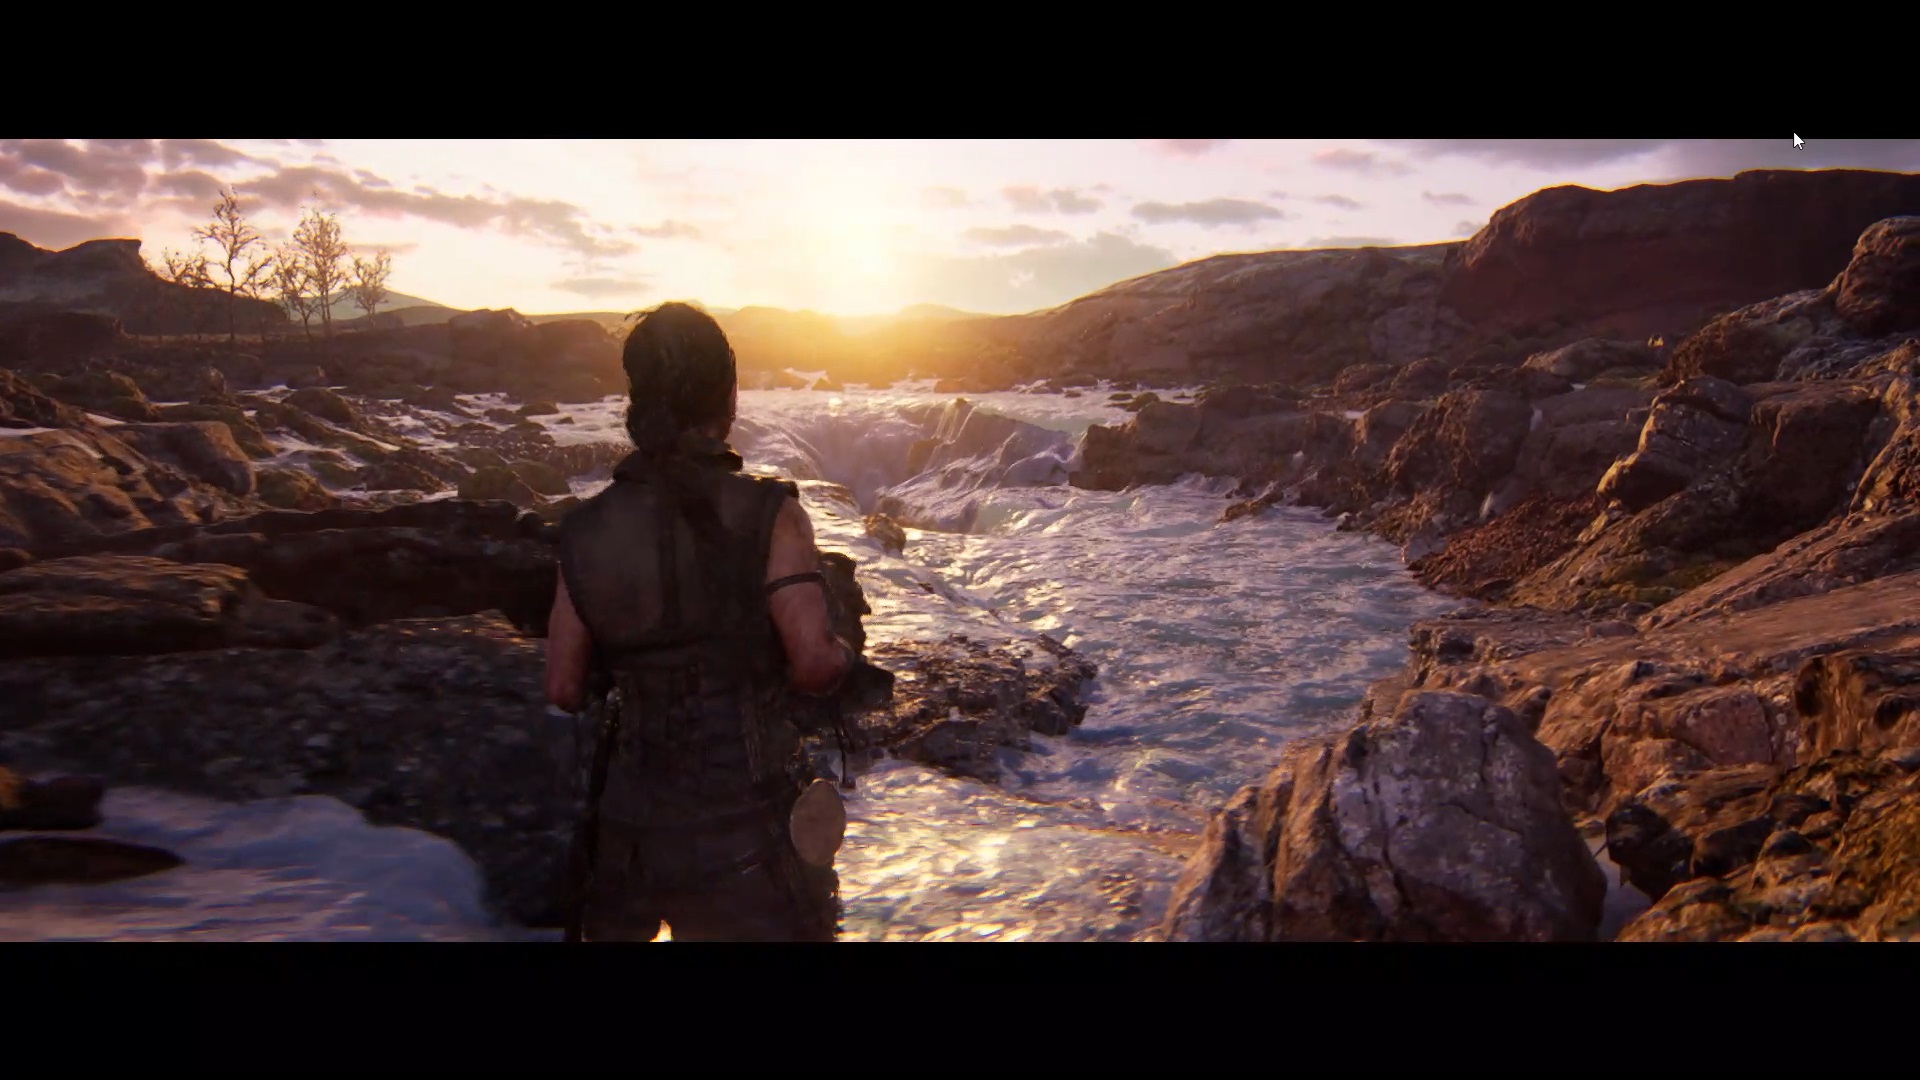
Chapter 6 : Borgarvirki
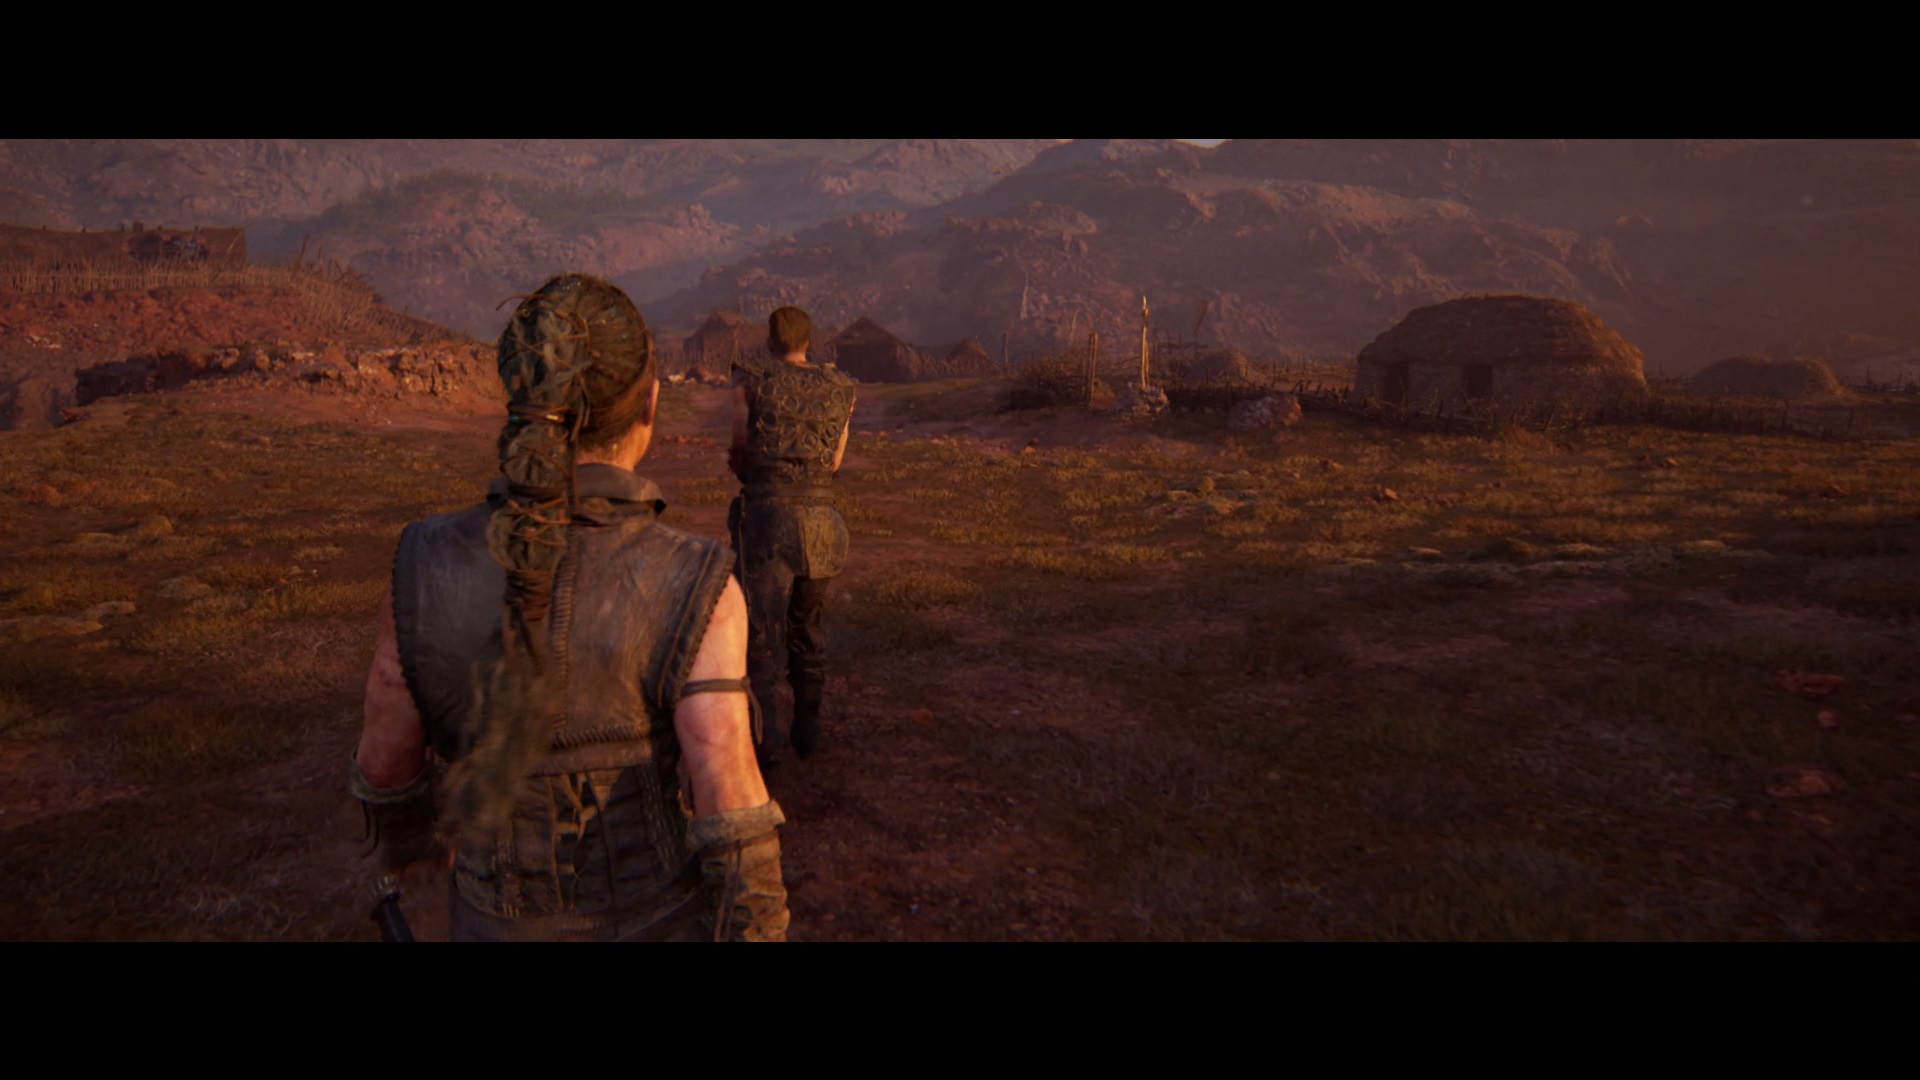
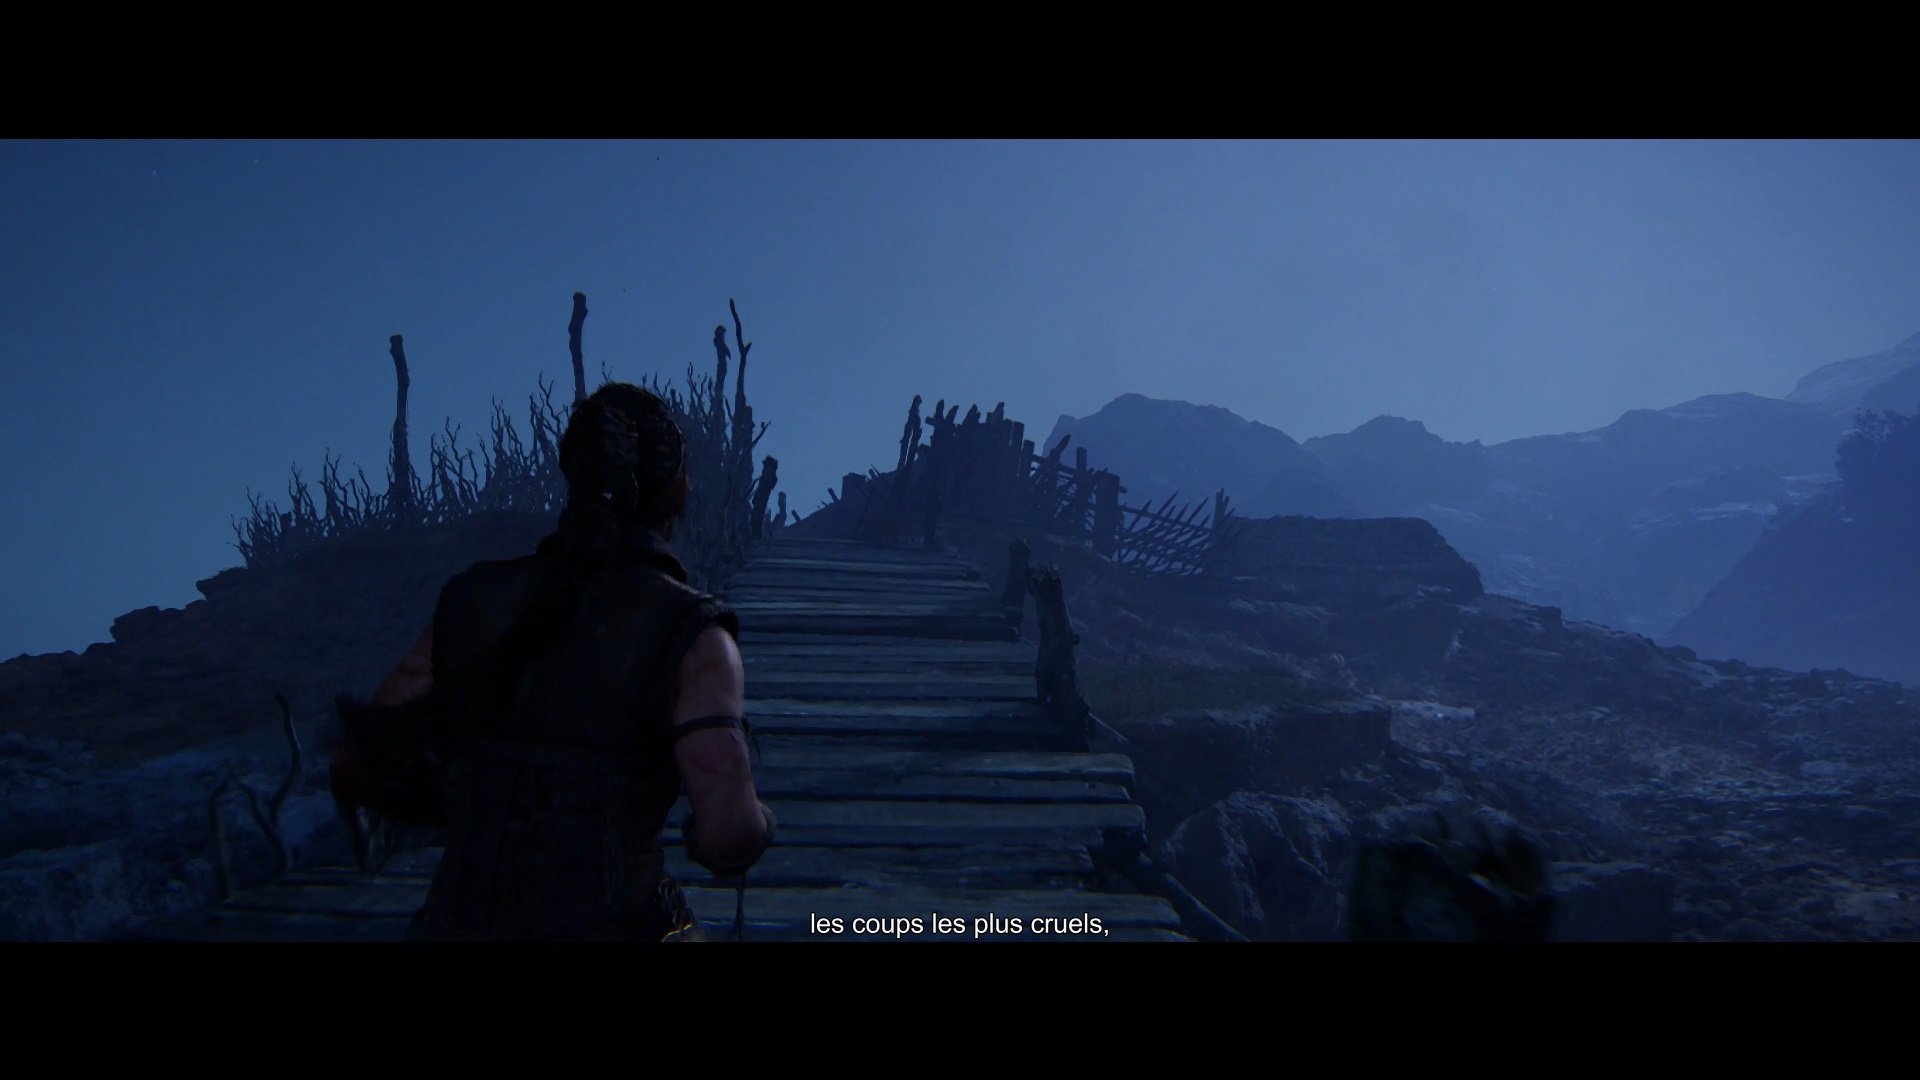
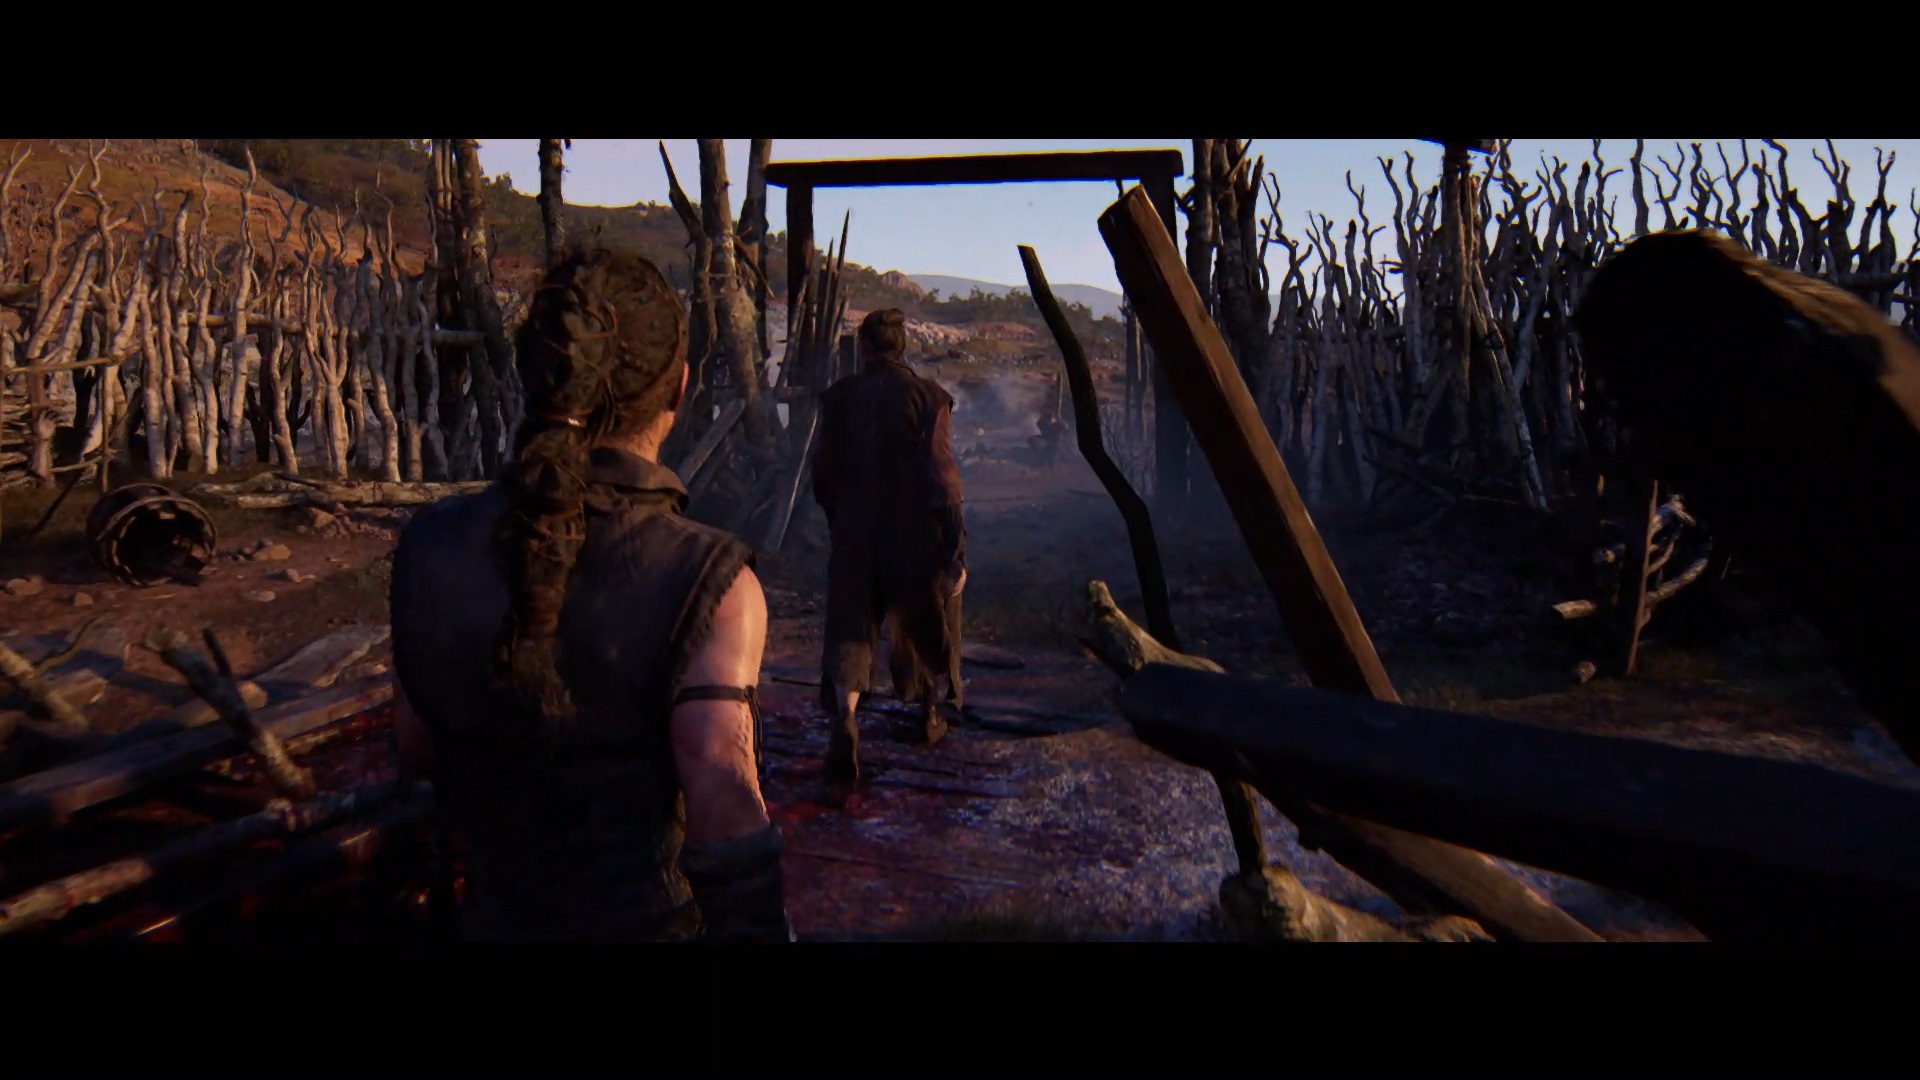
In this last chapter, you return to the path with all your companions. Follow them and continue moving through the forest, leading the line. Explore the forest until you find yourself stuck at a water point. So retrace your steps to realize that you are all alone.

Move forward into the forest to find your companions. You just have to follow the path that forms in front of you to find them one by one. When you come across a junction with a water point and two paths, take the one on the right. The left path takes you in circles. Once you are all reunited again, continue on your way to trigger a cutscene as you approach the village.
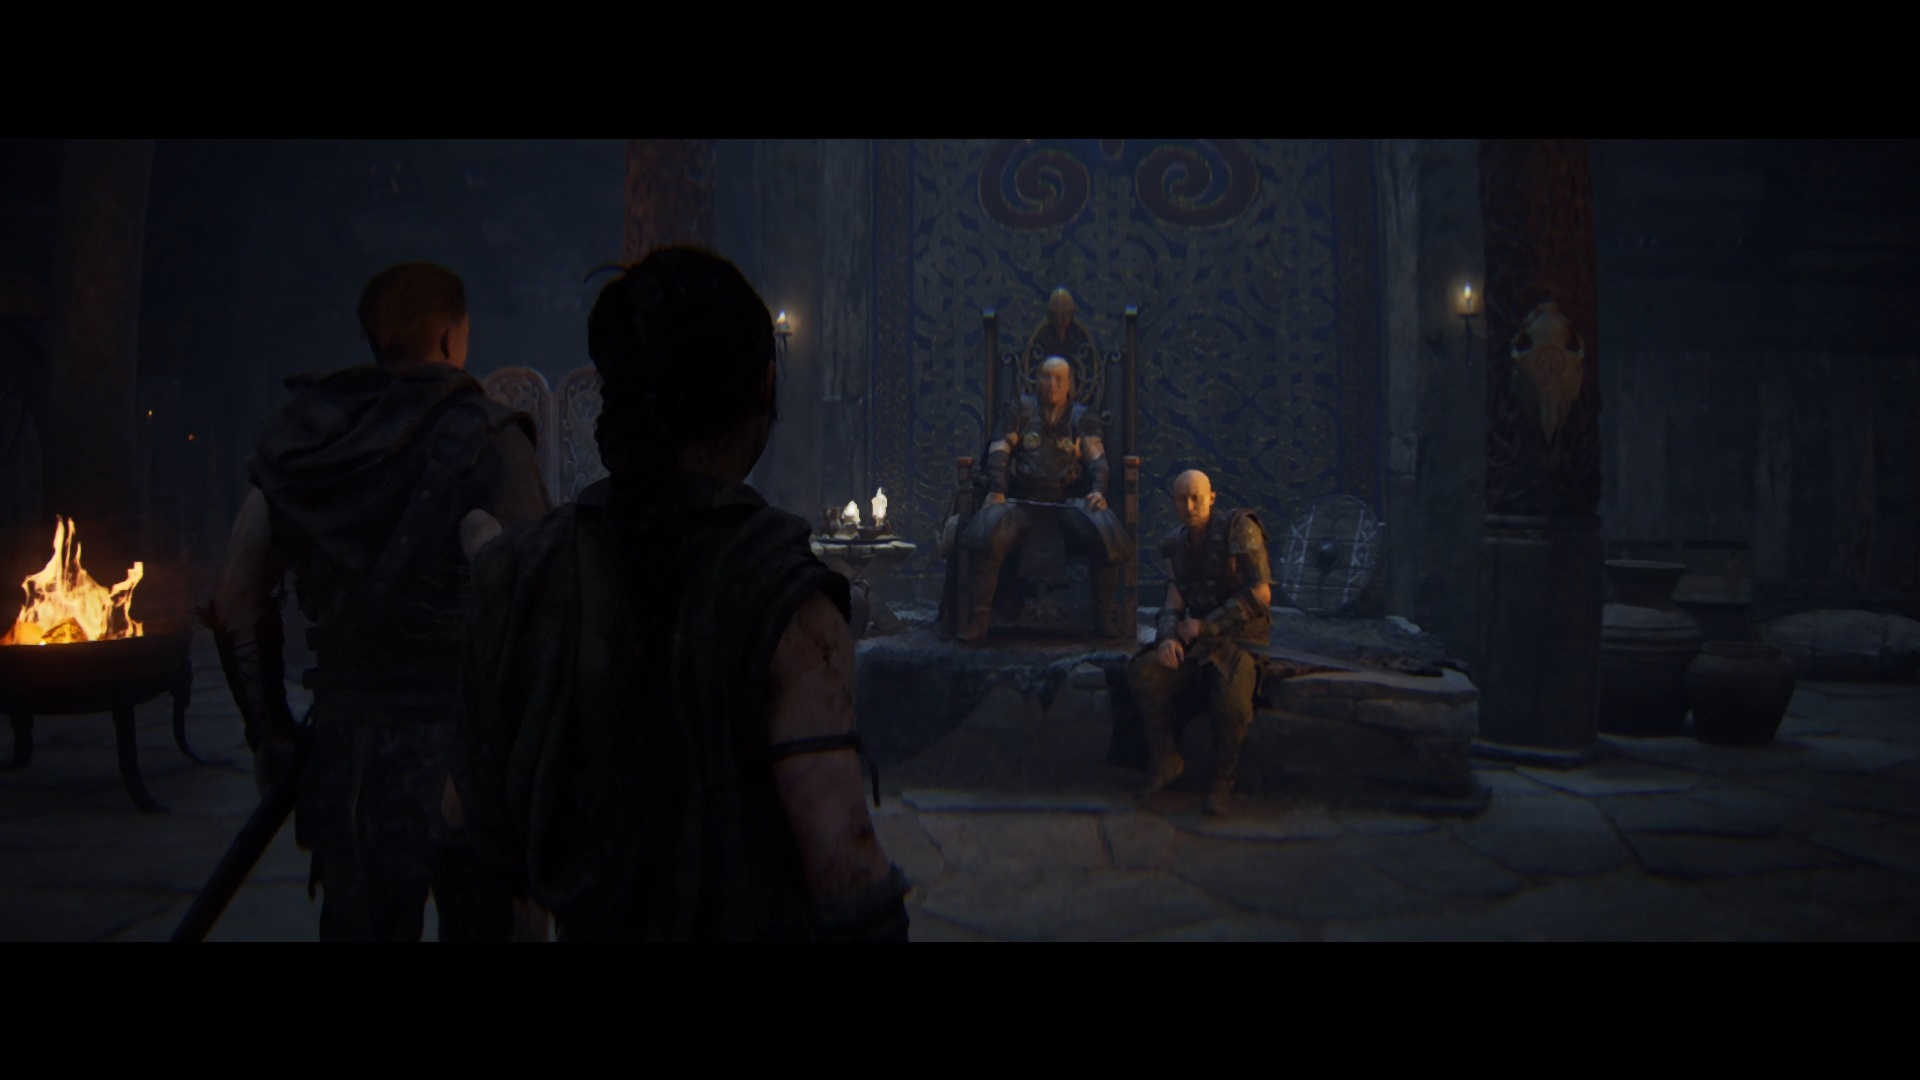
Once in the village of Thorgest, follow him to meet his father. The conversation doesn’t go as planned and you find yourself fighting to save your skin. Protect yourself at the right time to counter and attack immediately afterwards. Remember to parry blows well to accumulate gauge in your mirror and be able to use it against the most powerful enemies. After the first salvo of enemies, advance into the village to reach a combat zone again.
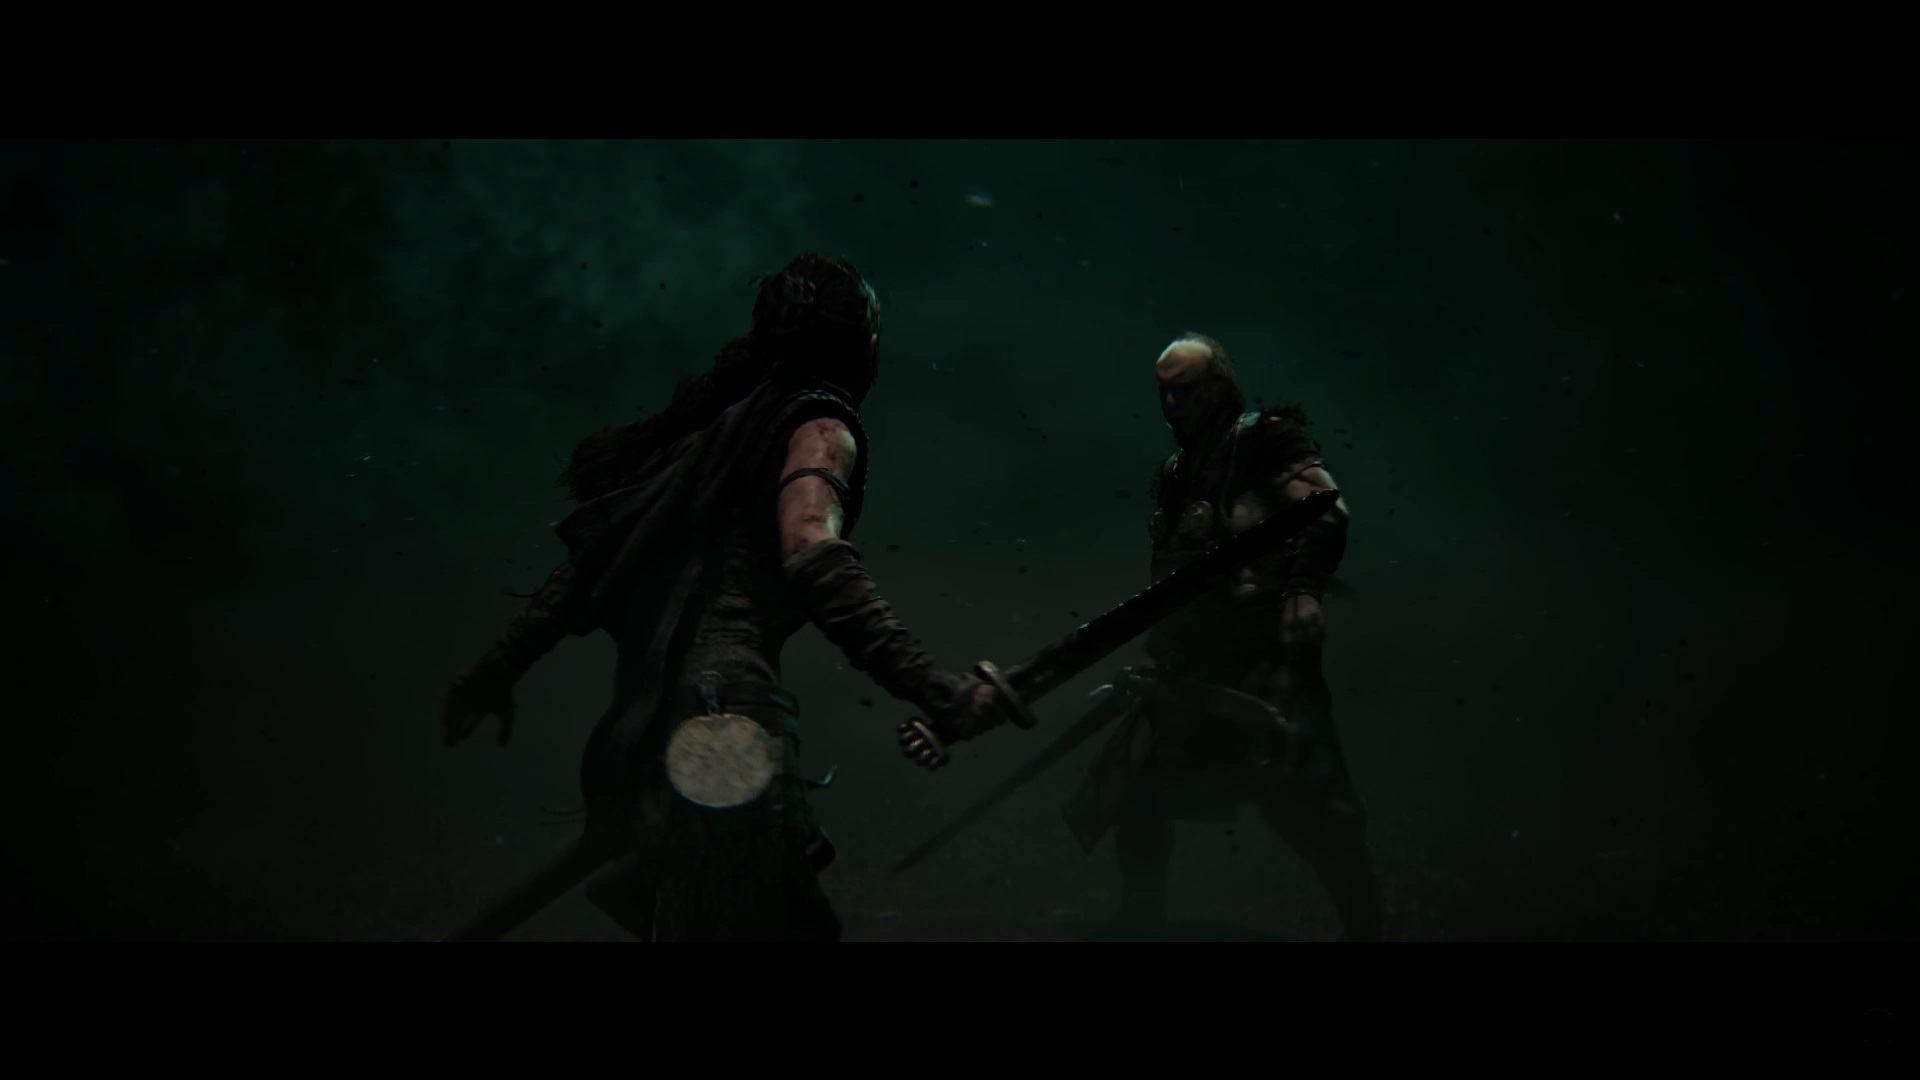
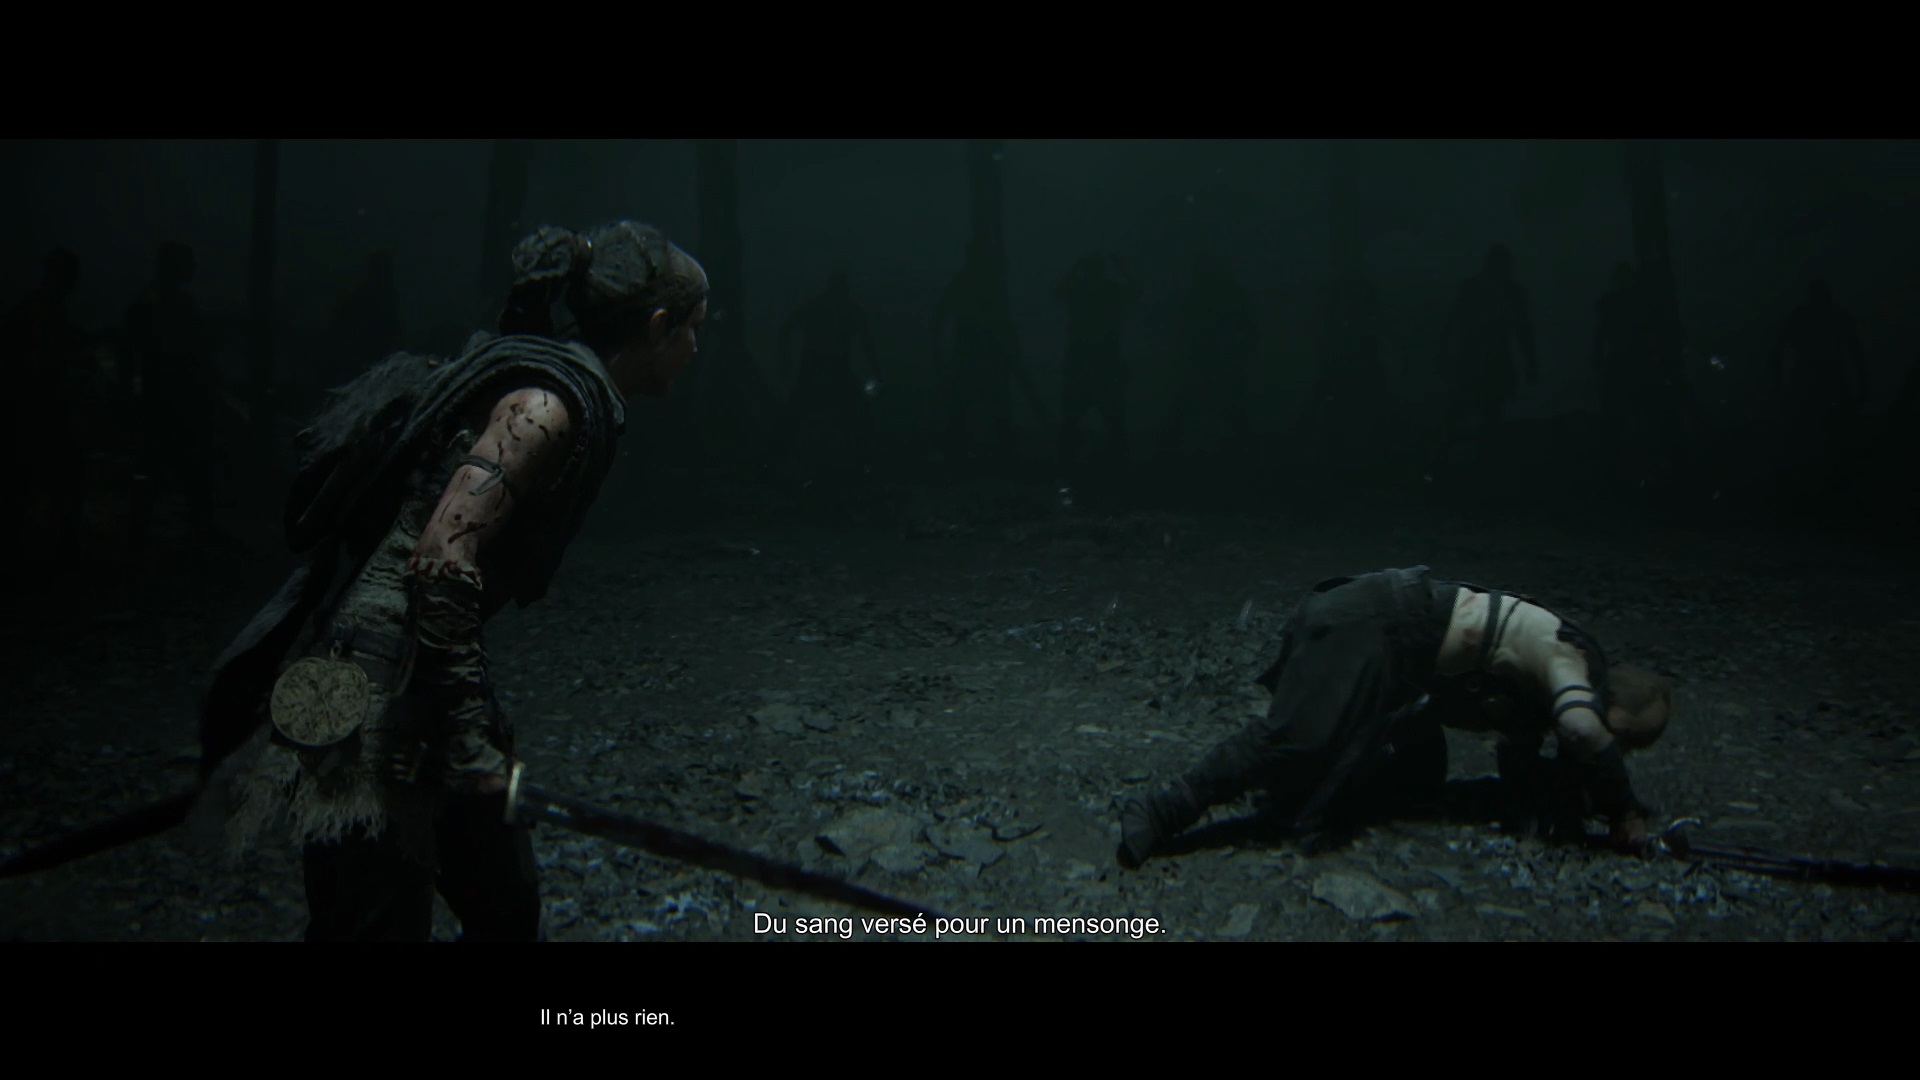
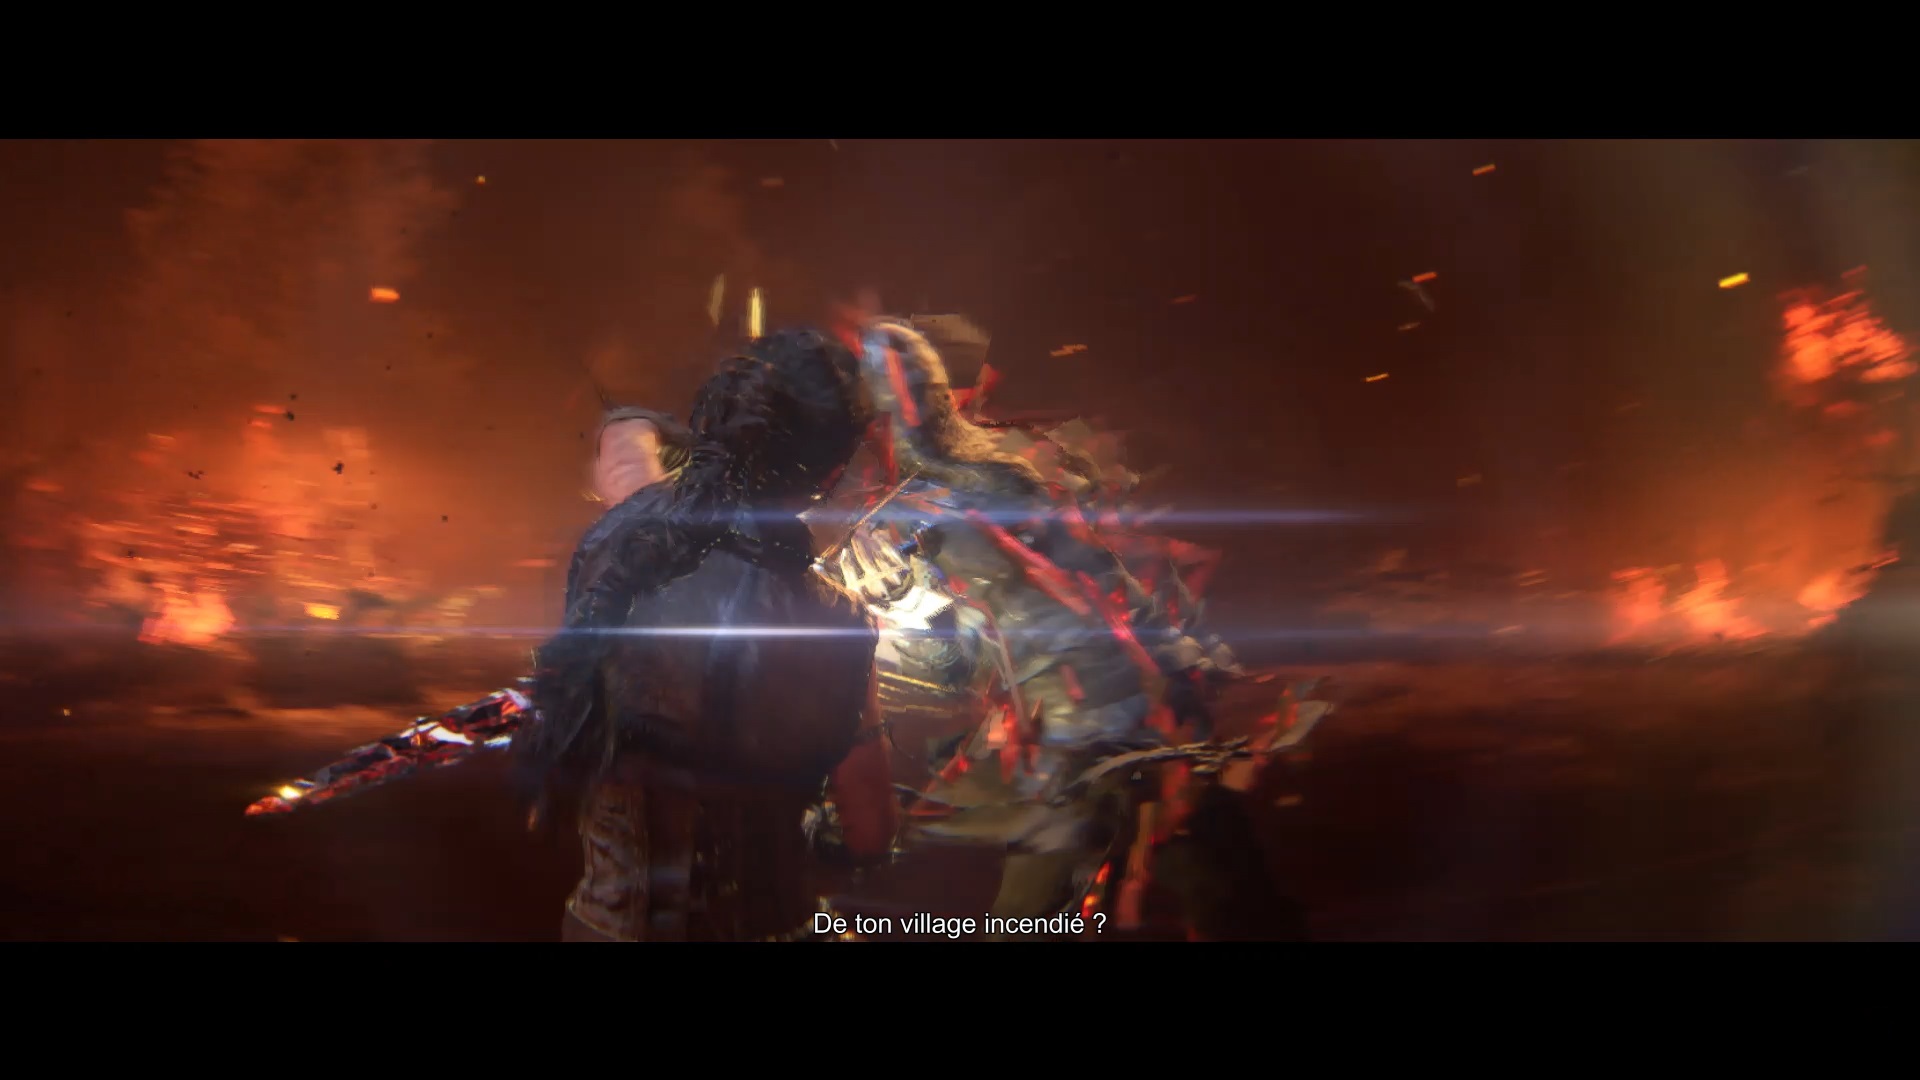
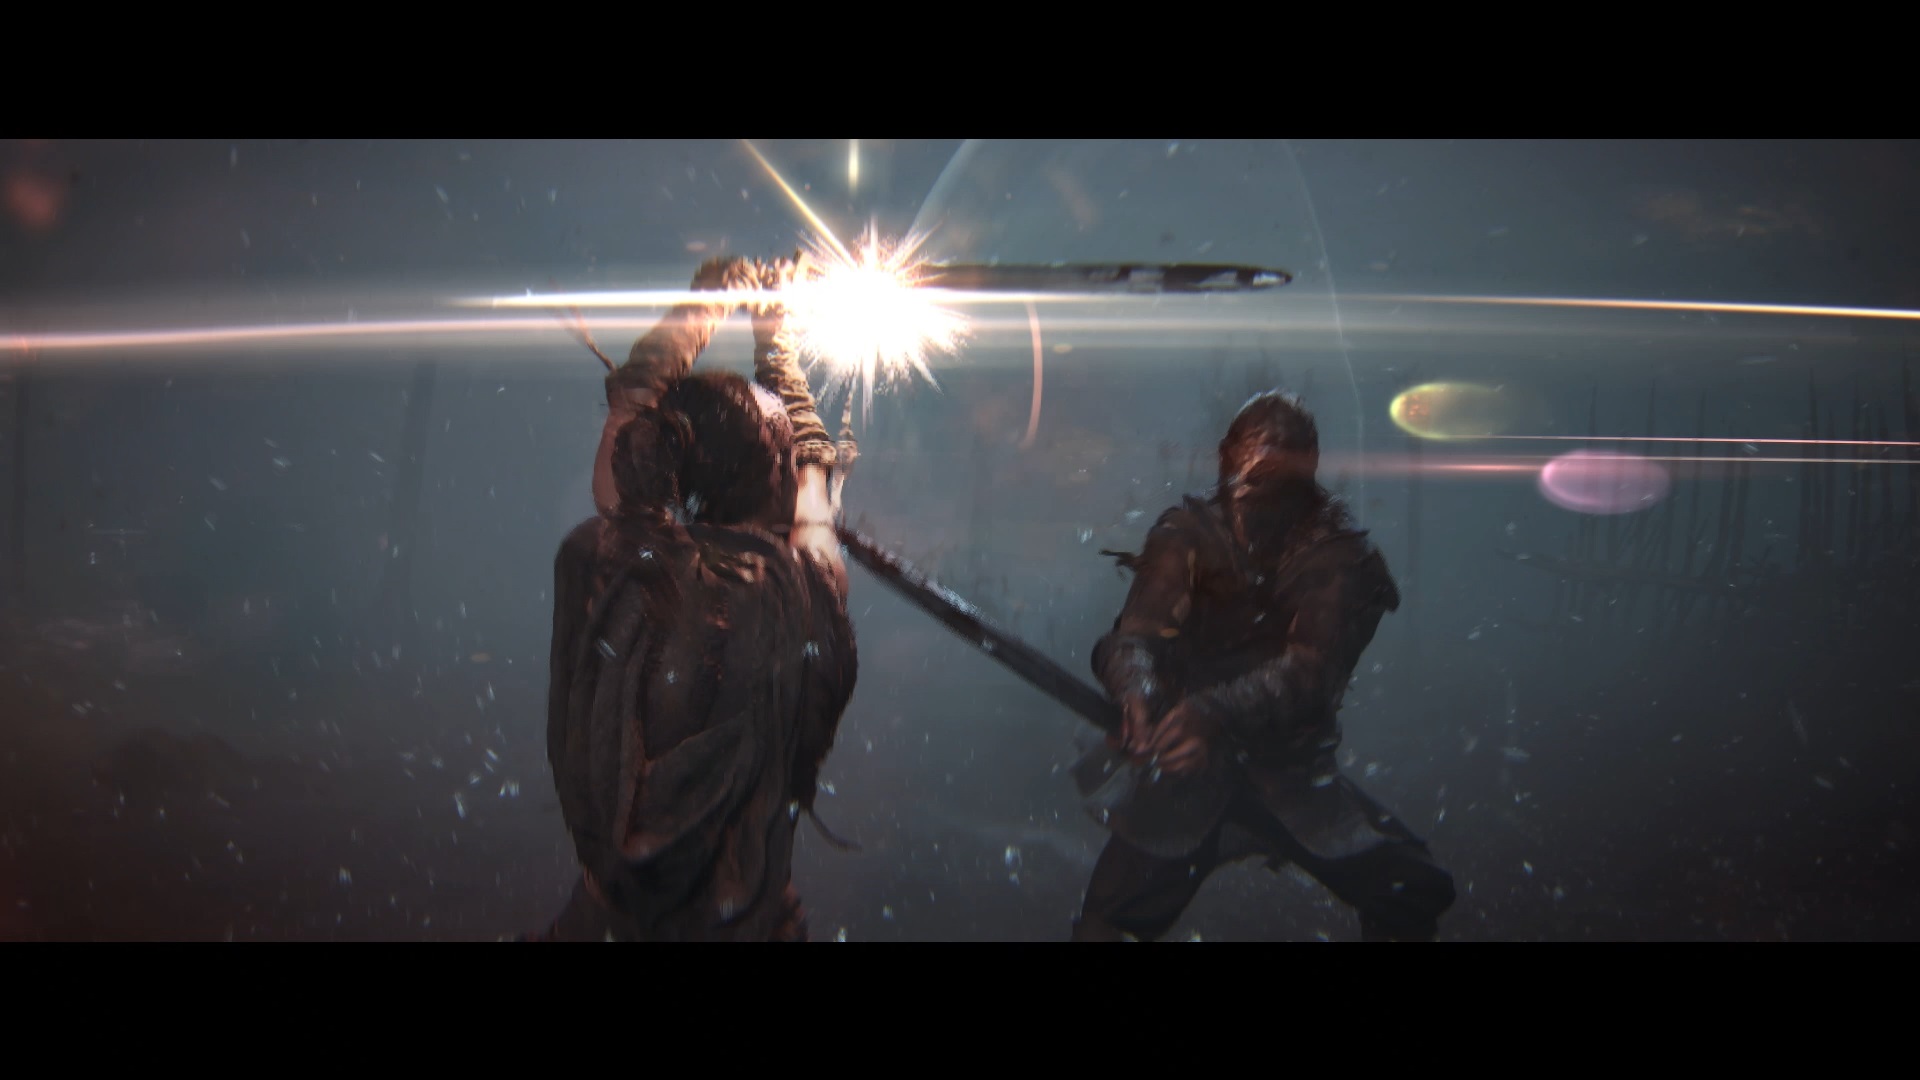
After defeating the last enemies, you are faced with your main enemy, Godi. Thorgest interrupts your exchange and you are plunged into another dimension. Follow the shadow to understand the whole story related to the last giant before fighting against Godi. In his first phase, Godi is powerful but you can land many blows on him. Counter his attacks and counterattack.
When it starts charging a red light, your mirror gauge will charge as well. As soon as it is full, attack him with the mirror. Repeat until completely weakened to complete the game.

Fan de jeux Nintendo, Xbox, PlayStation, PC et de l’univers gaming
Je vous partage ma passion à travers mes articles sur les nouveautés jeux vidéo
Journaliste gameactuality.com