
[Guide] Scars Above : Complete Walkthrough [EN]
Complete Scars Above Walkthrough available on PC, Xbox, PS5. Scars Above is an action-adventure, third-person shooter game. Check out our guide to the path and all the puzzles and puzzles in the game.
Summary
Introduction
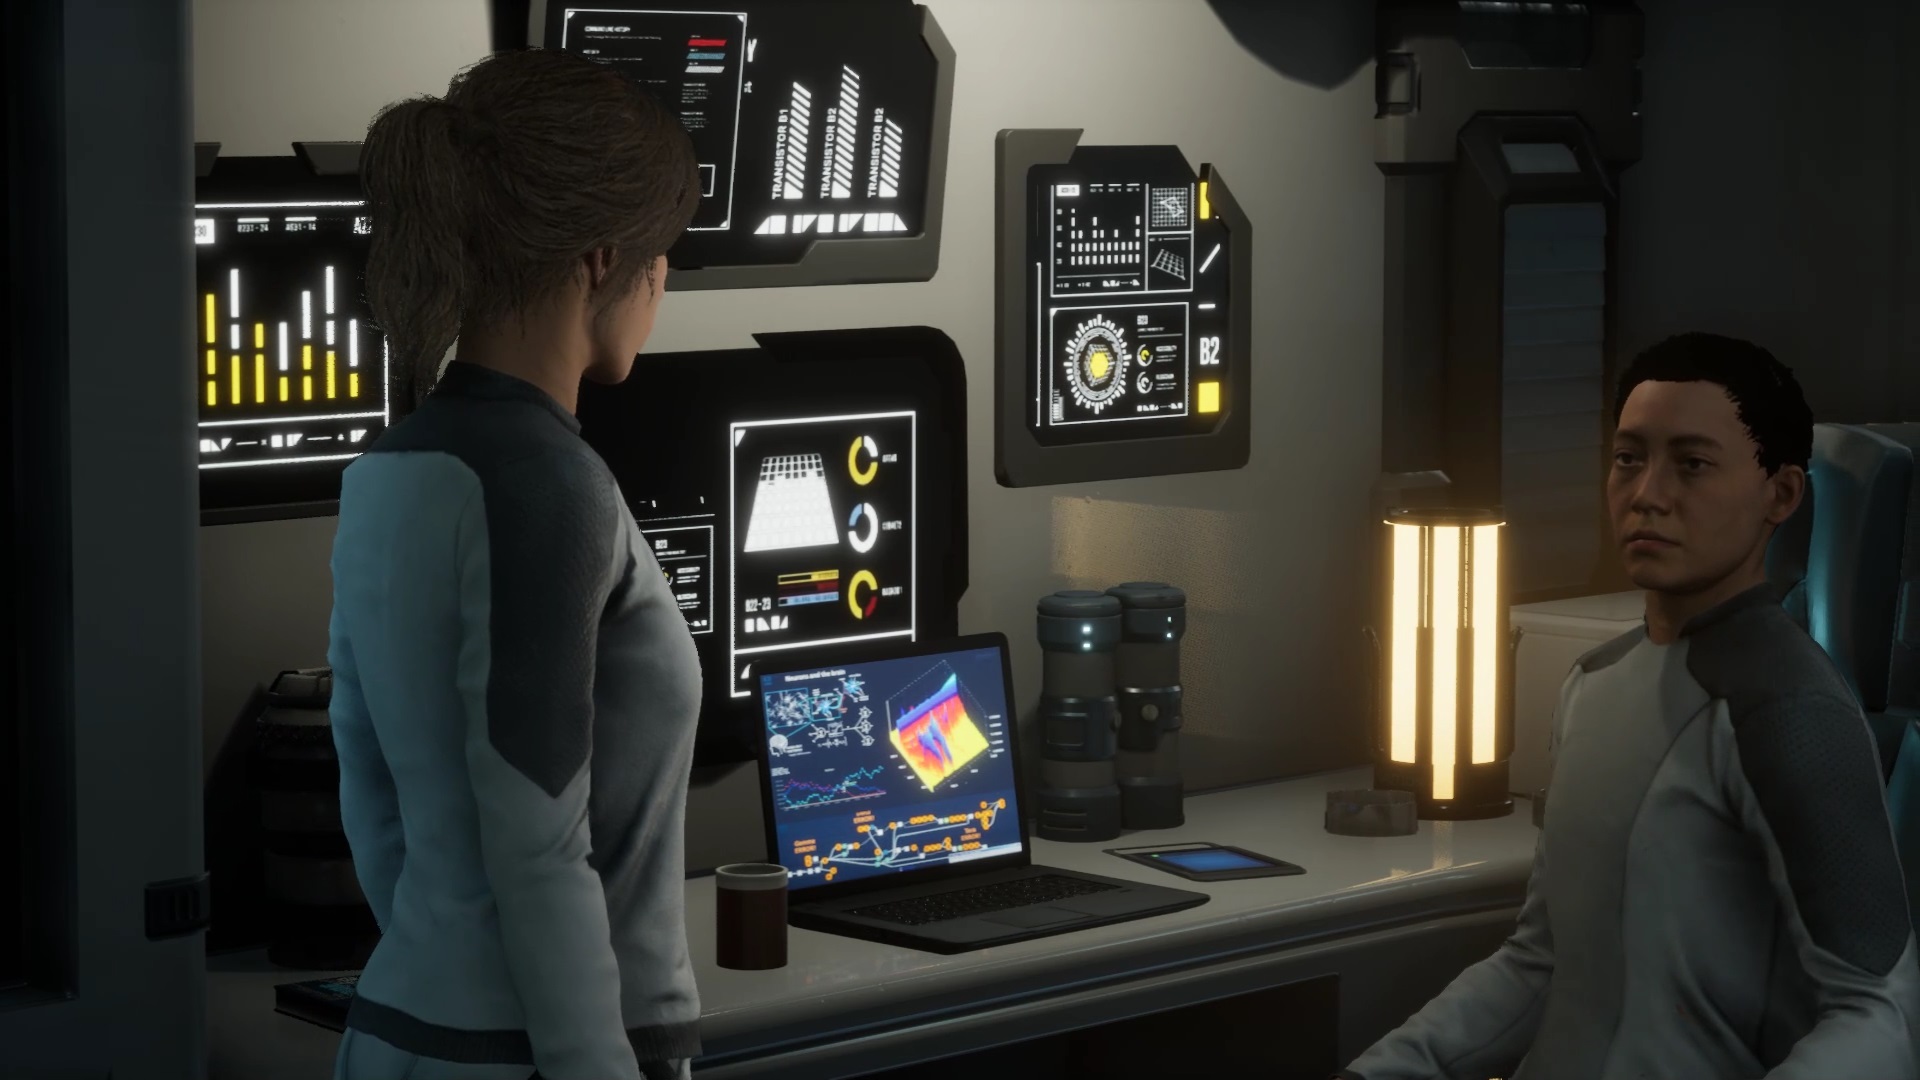
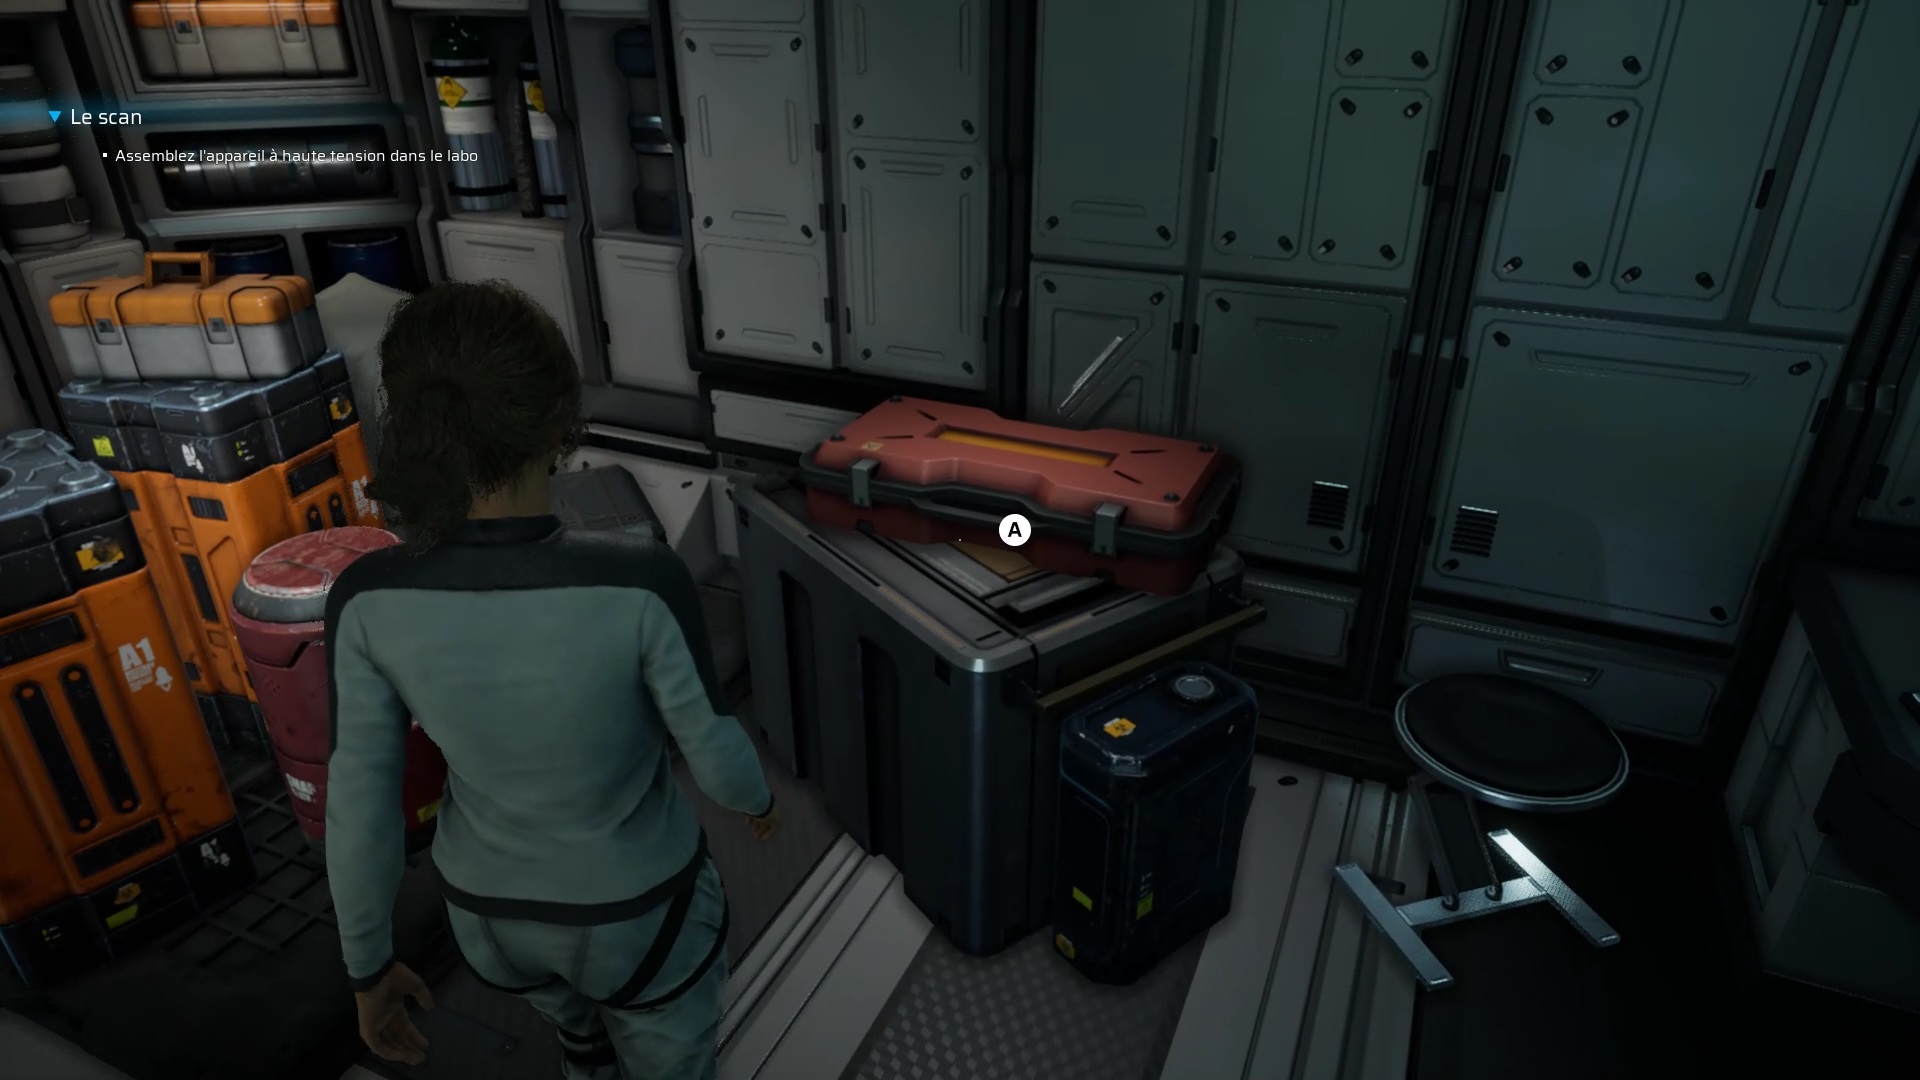
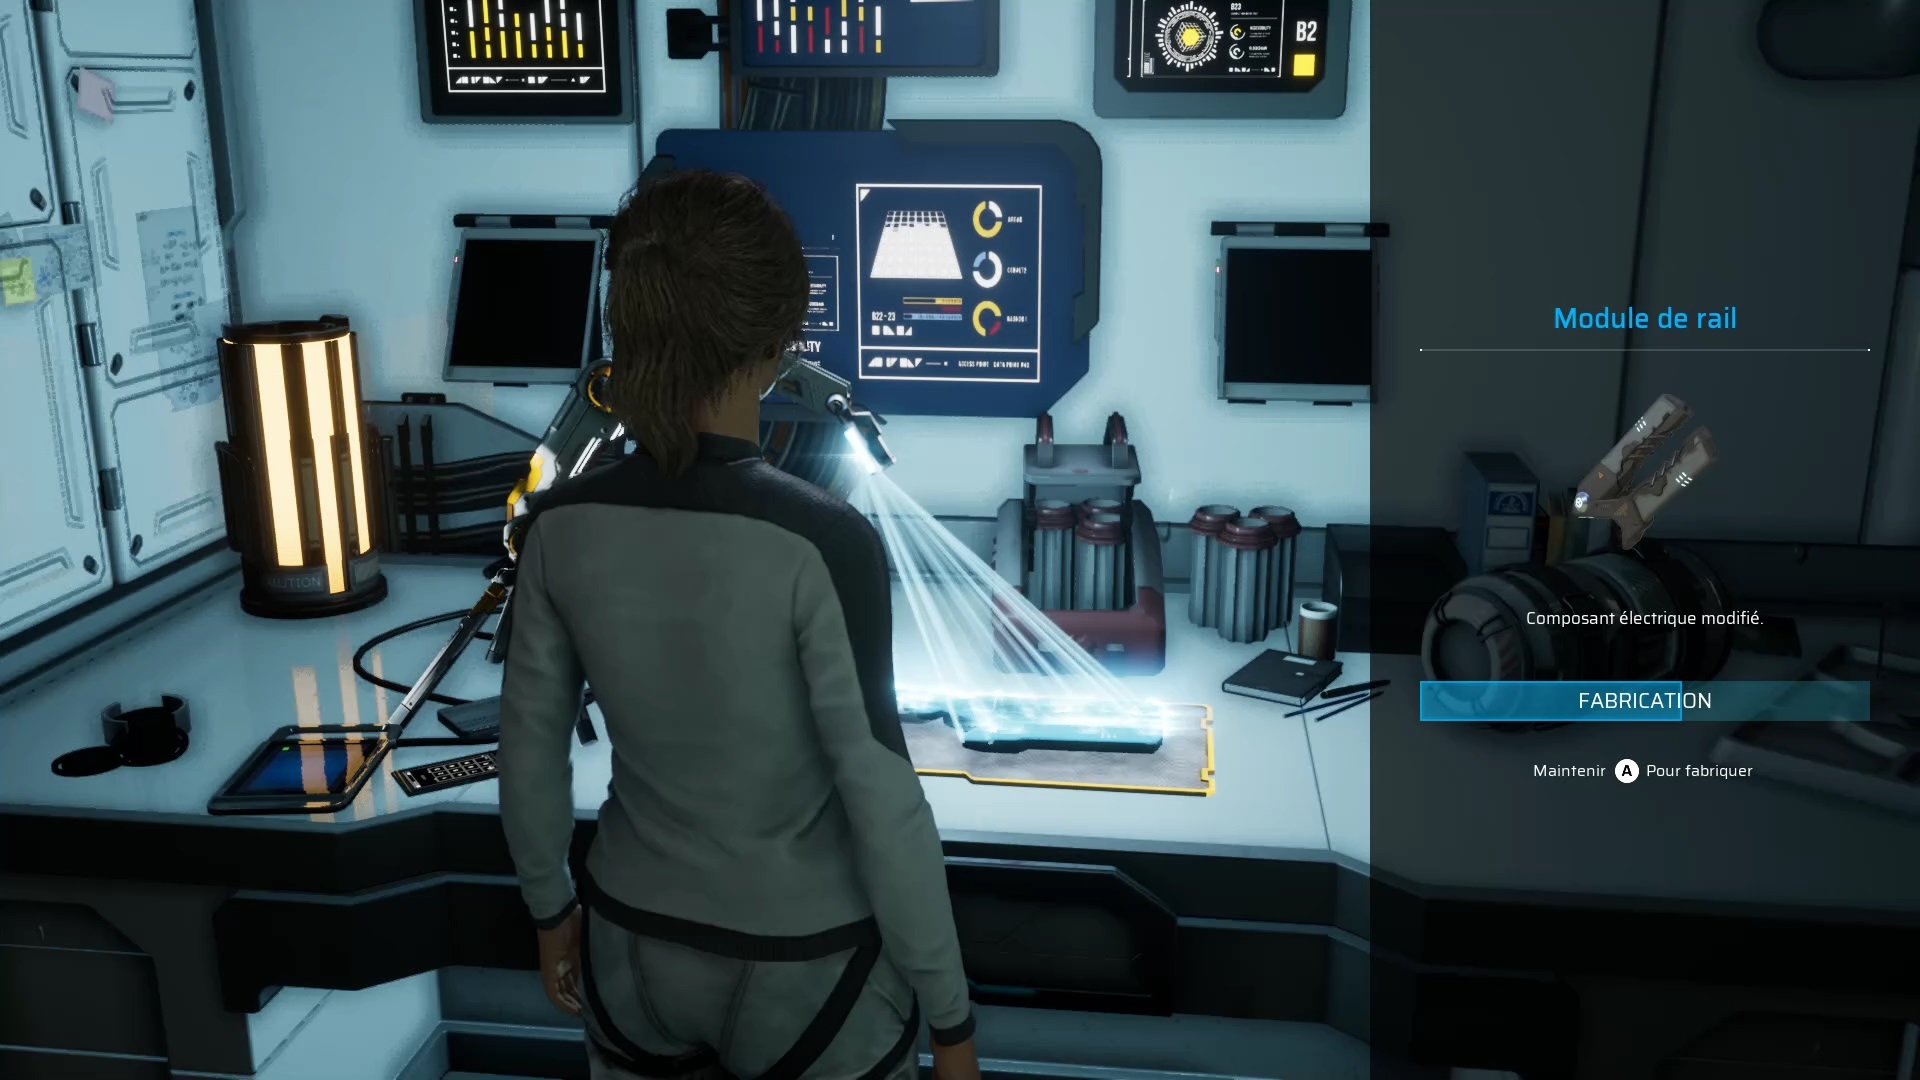
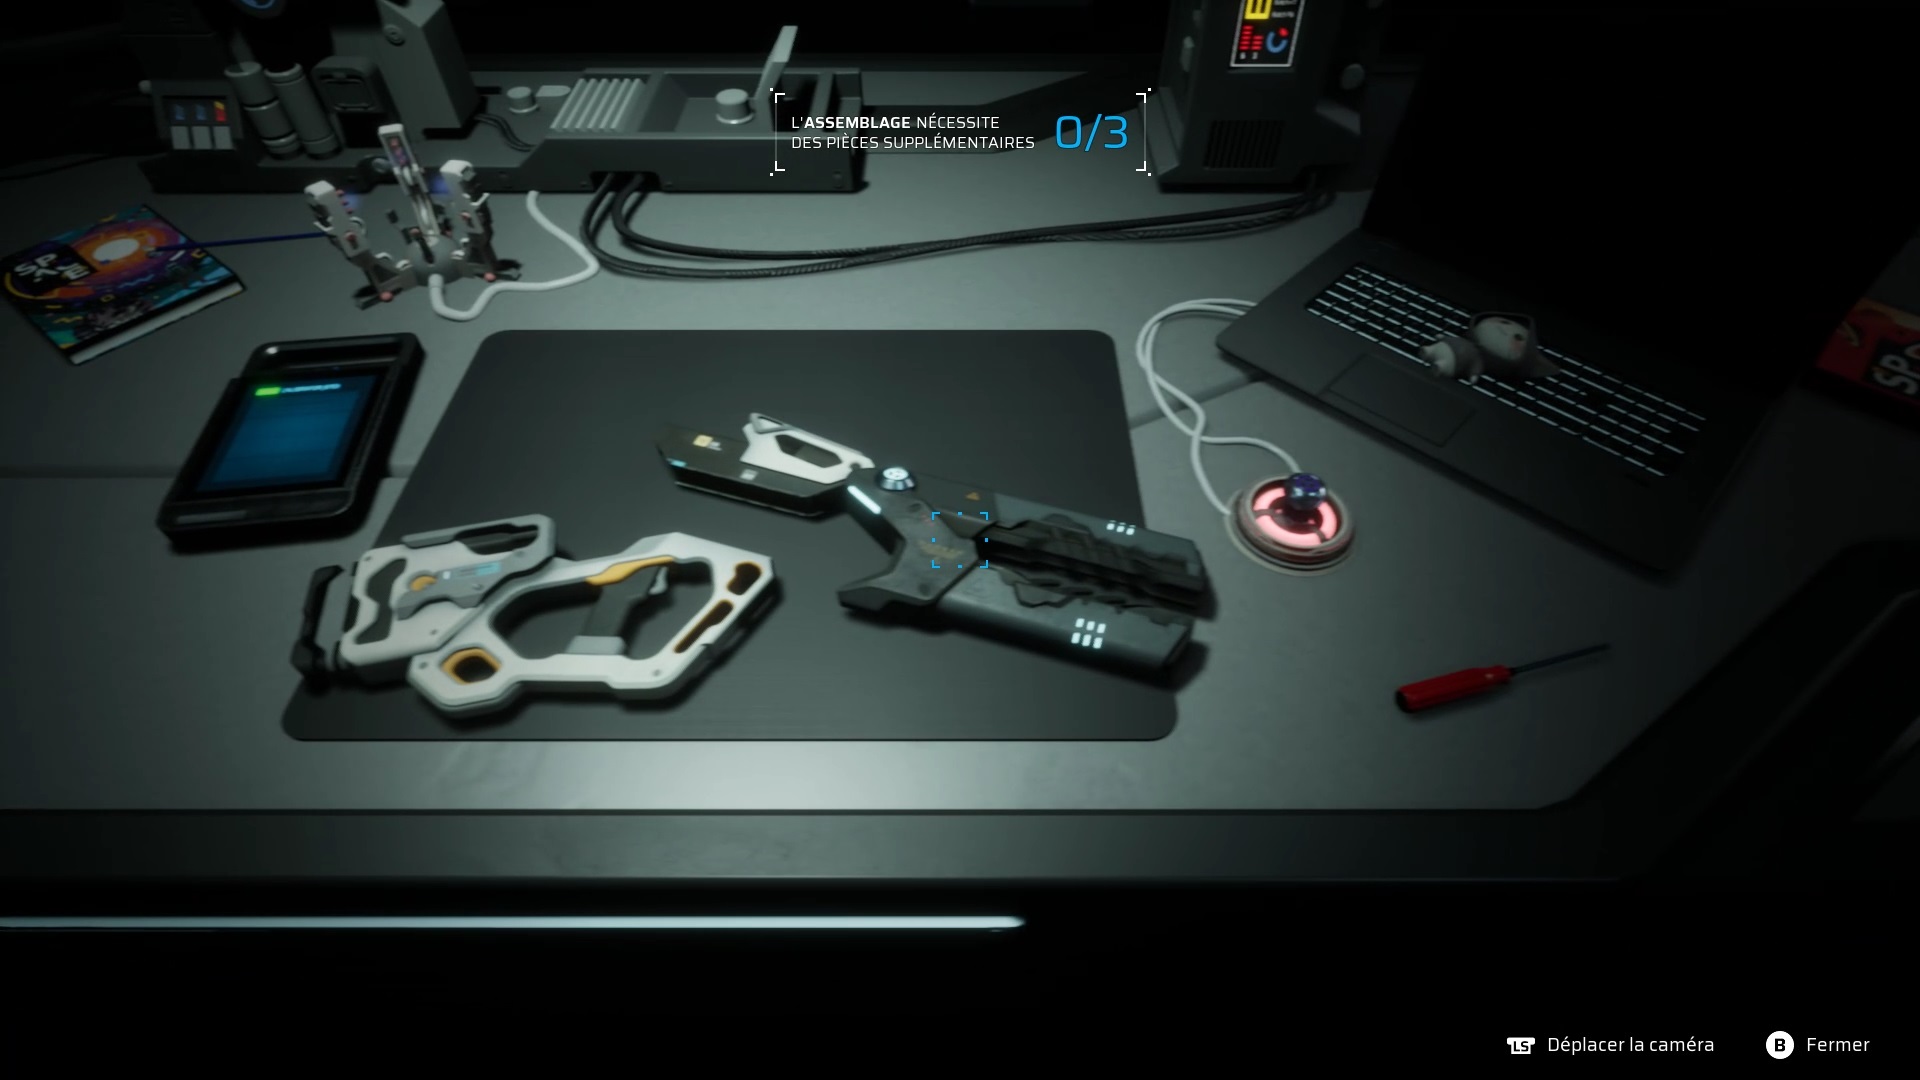
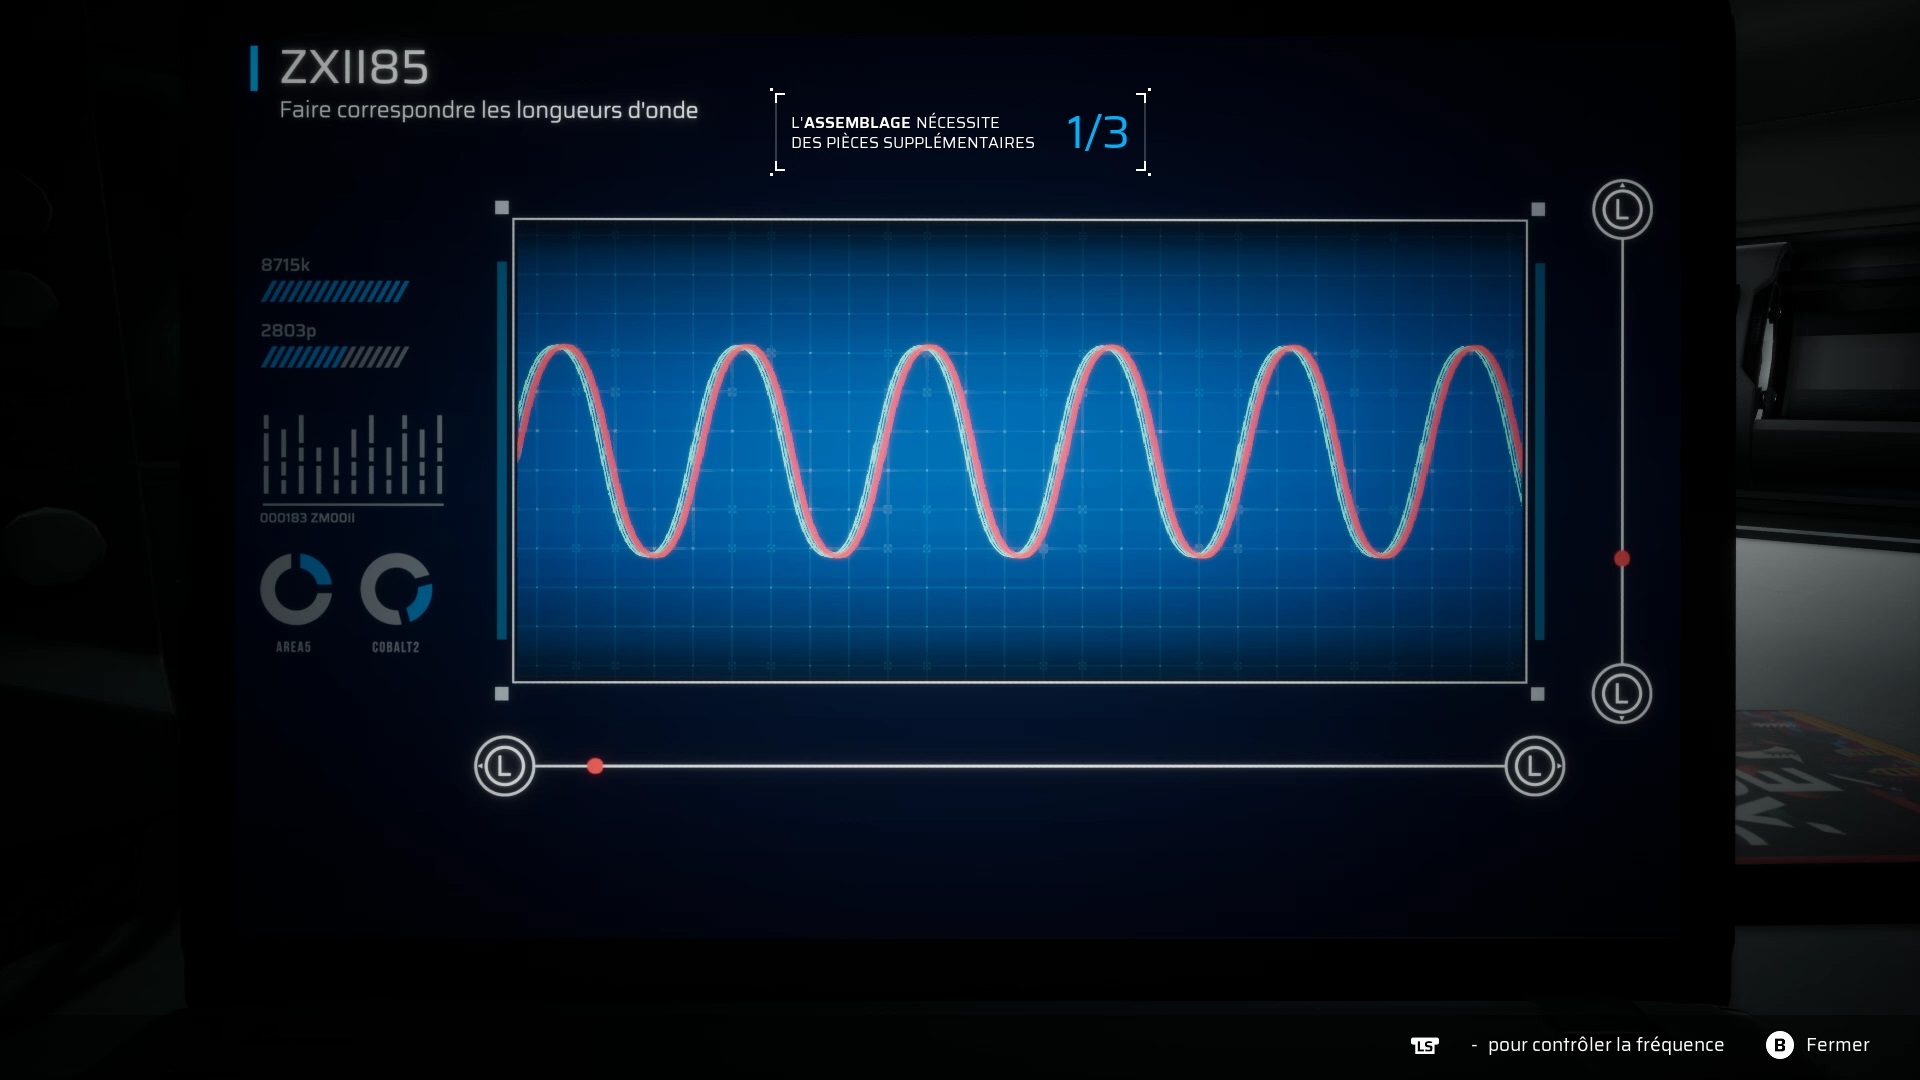
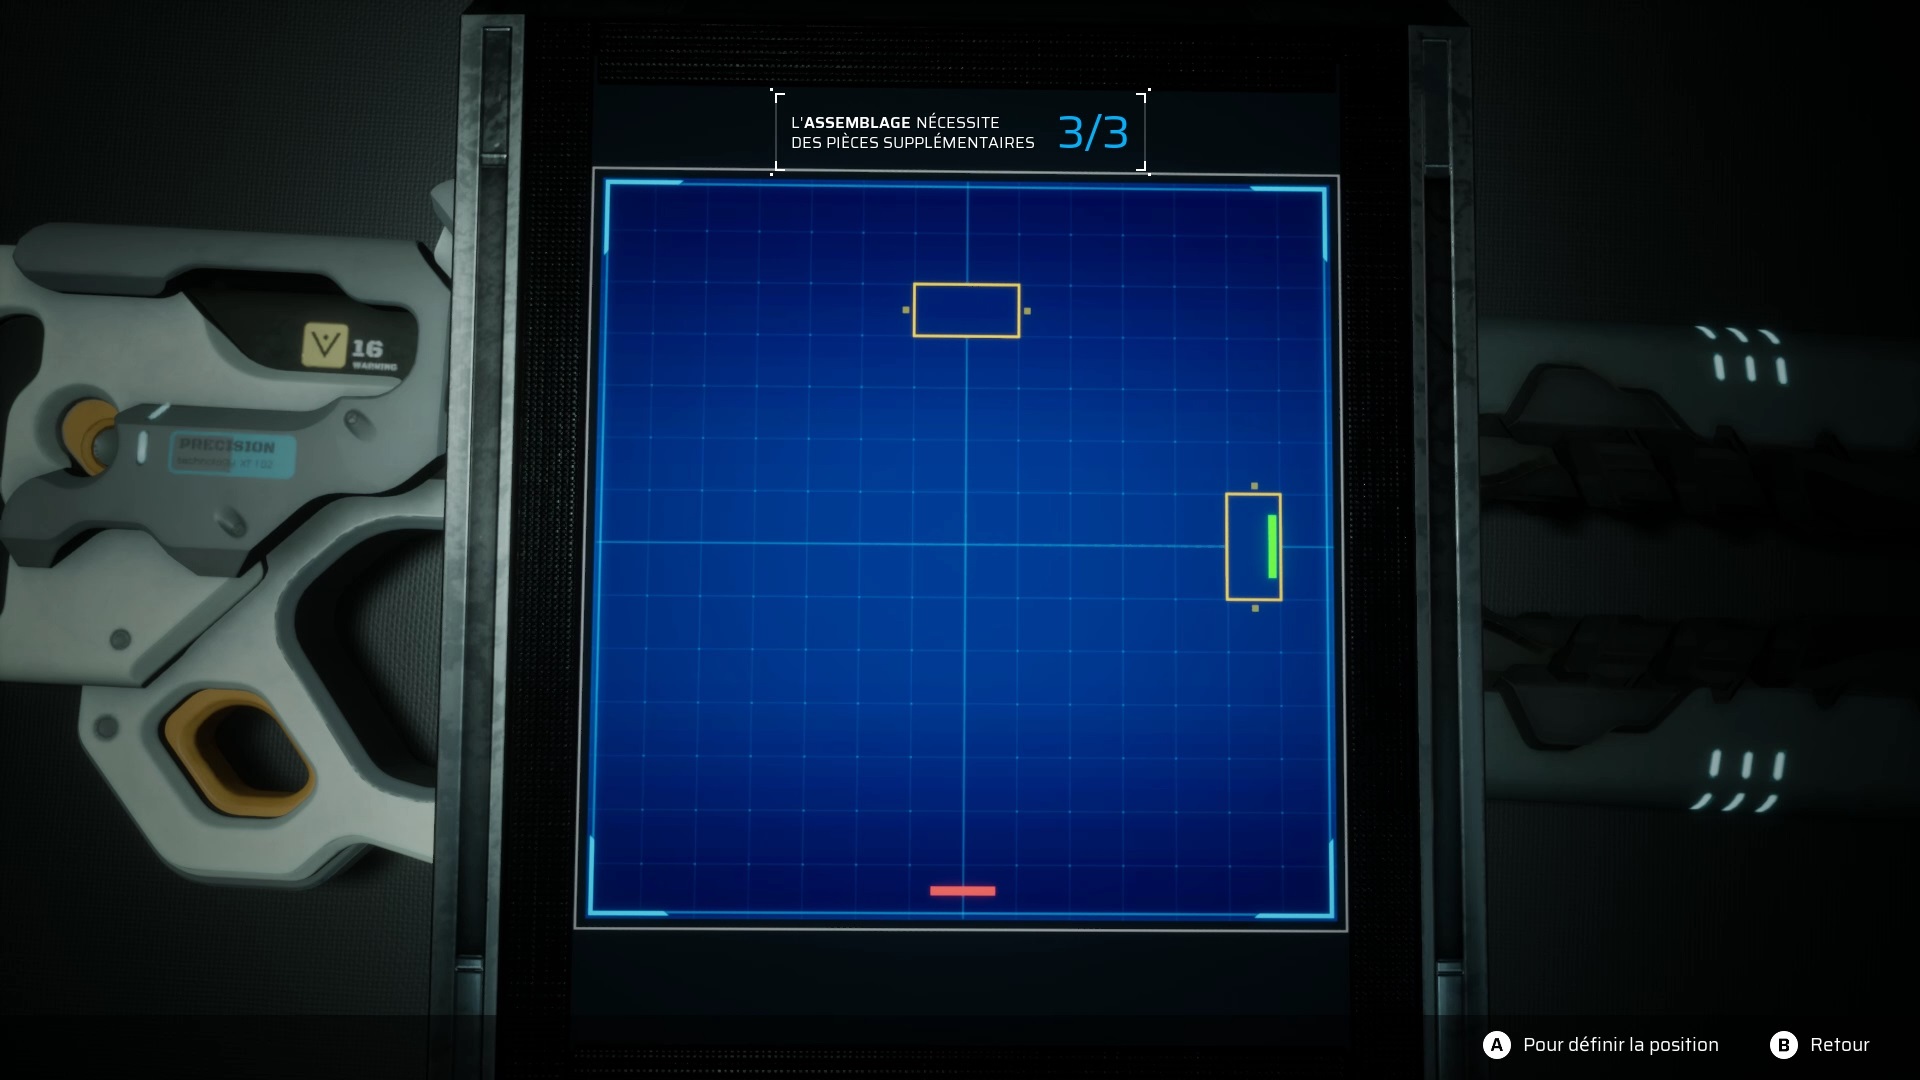
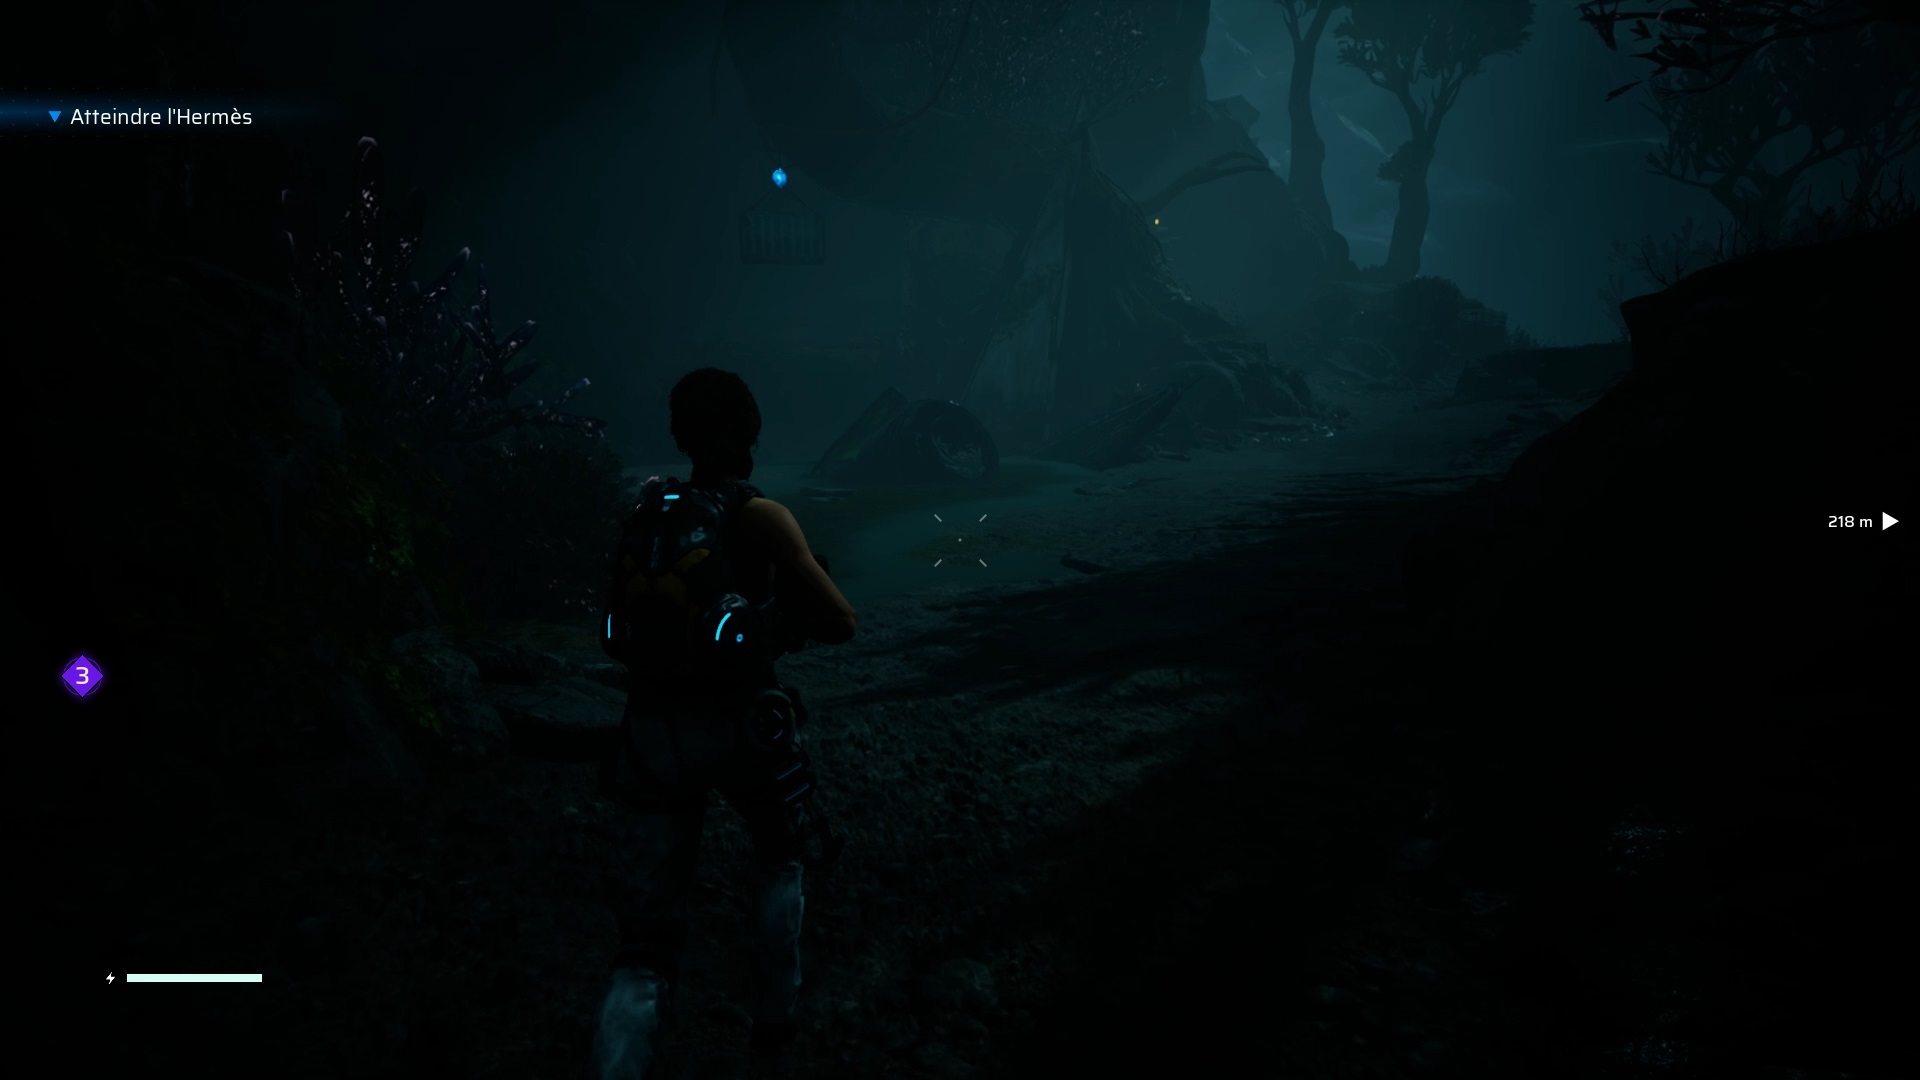
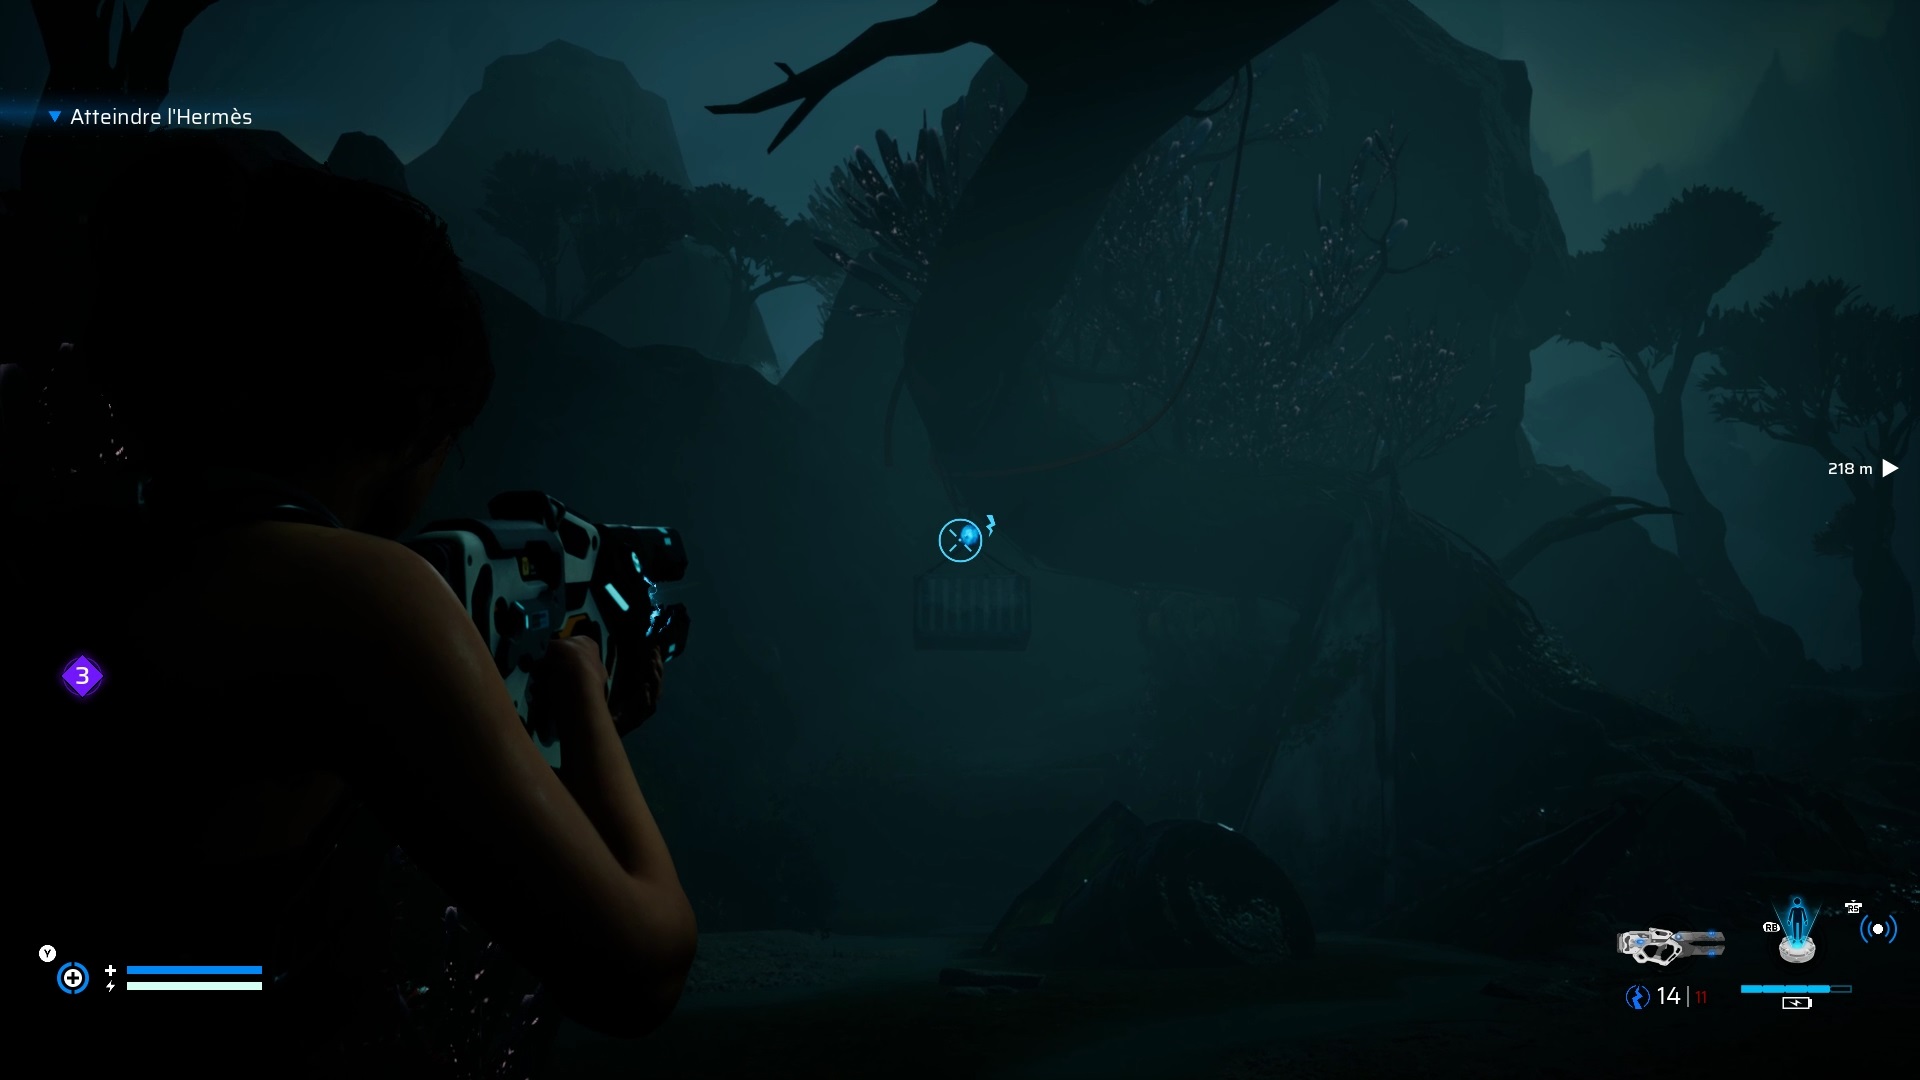
On board the Hermes, start talking to Mike in his office by following the objective marker. Then continue into the room opposite to assemble the high voltage device. Take the first part of the device in the trunk and make the second in the workshop. Return to Mike’s office to assemble the two pieces on the table. Interact with the Tesla coil in the upper left to recharge it. Finish with the computer and the tablet to calibrate the frequencies.
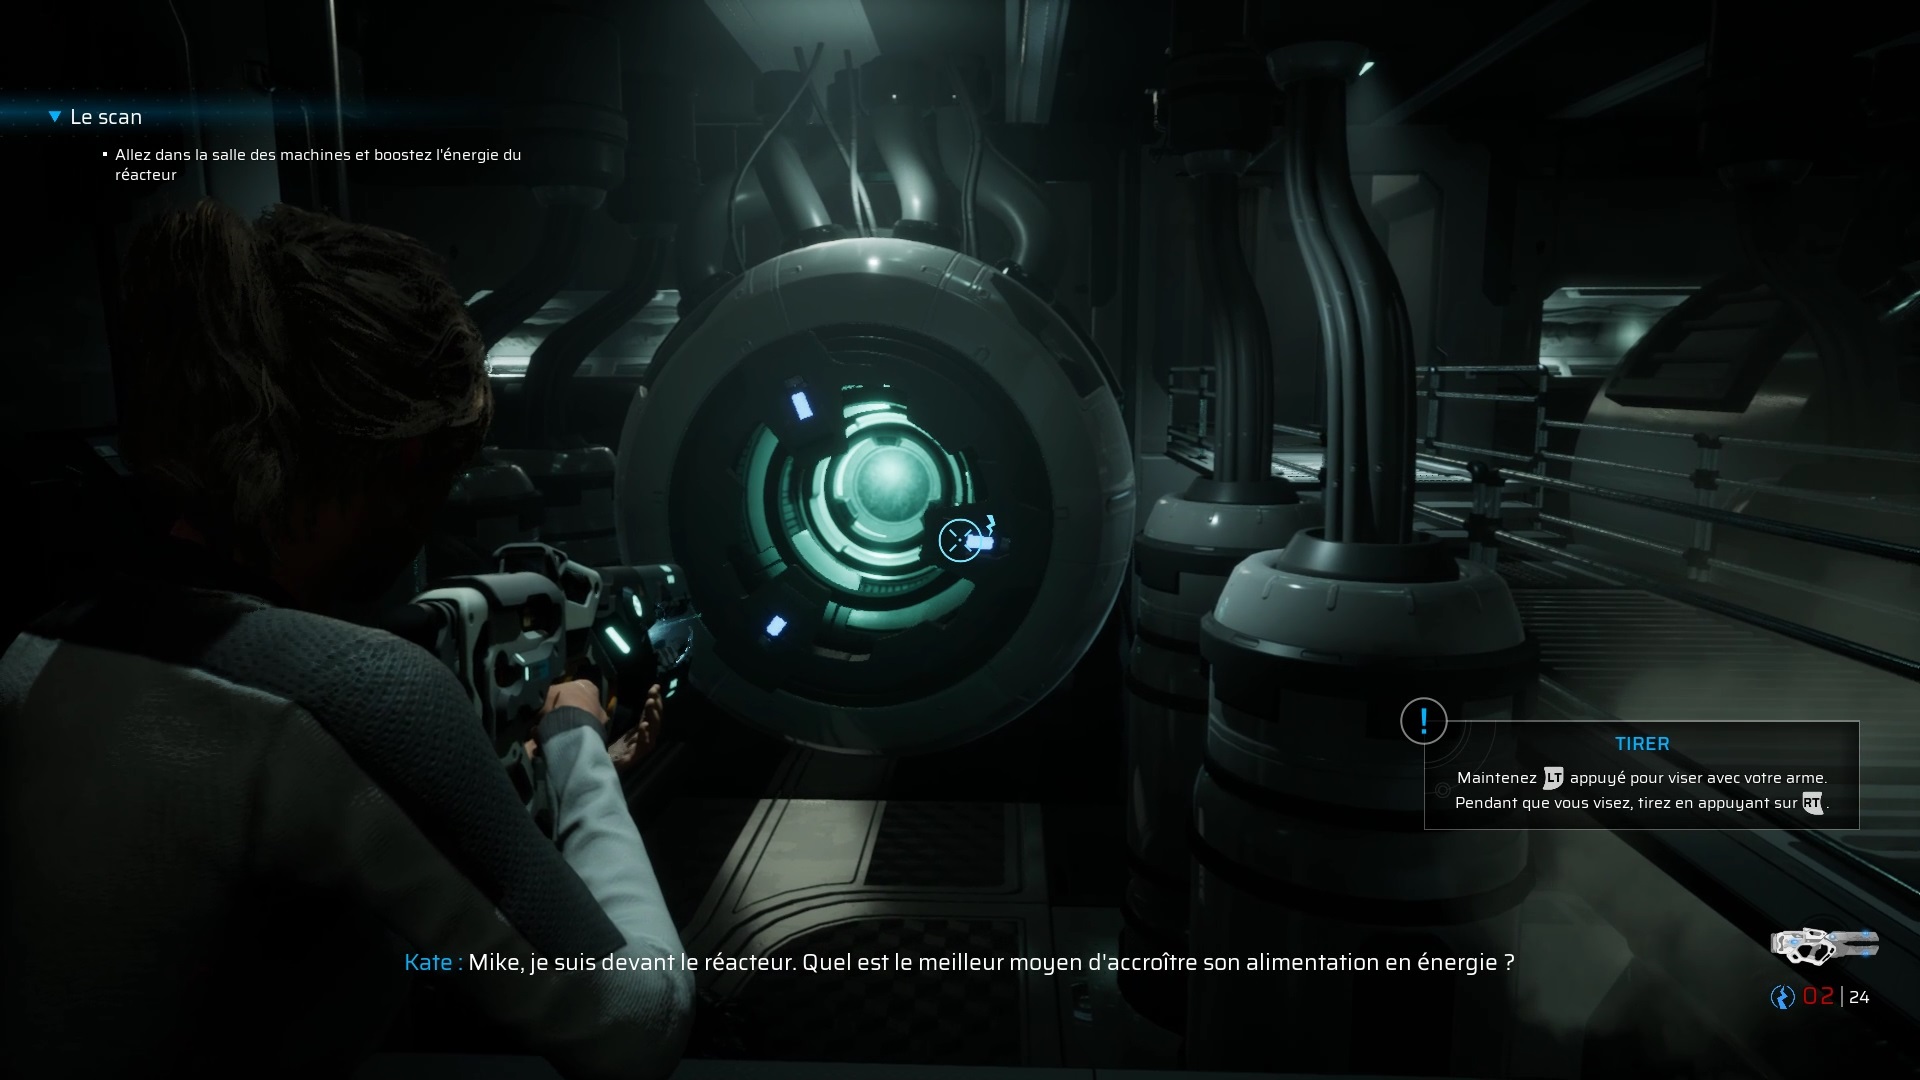
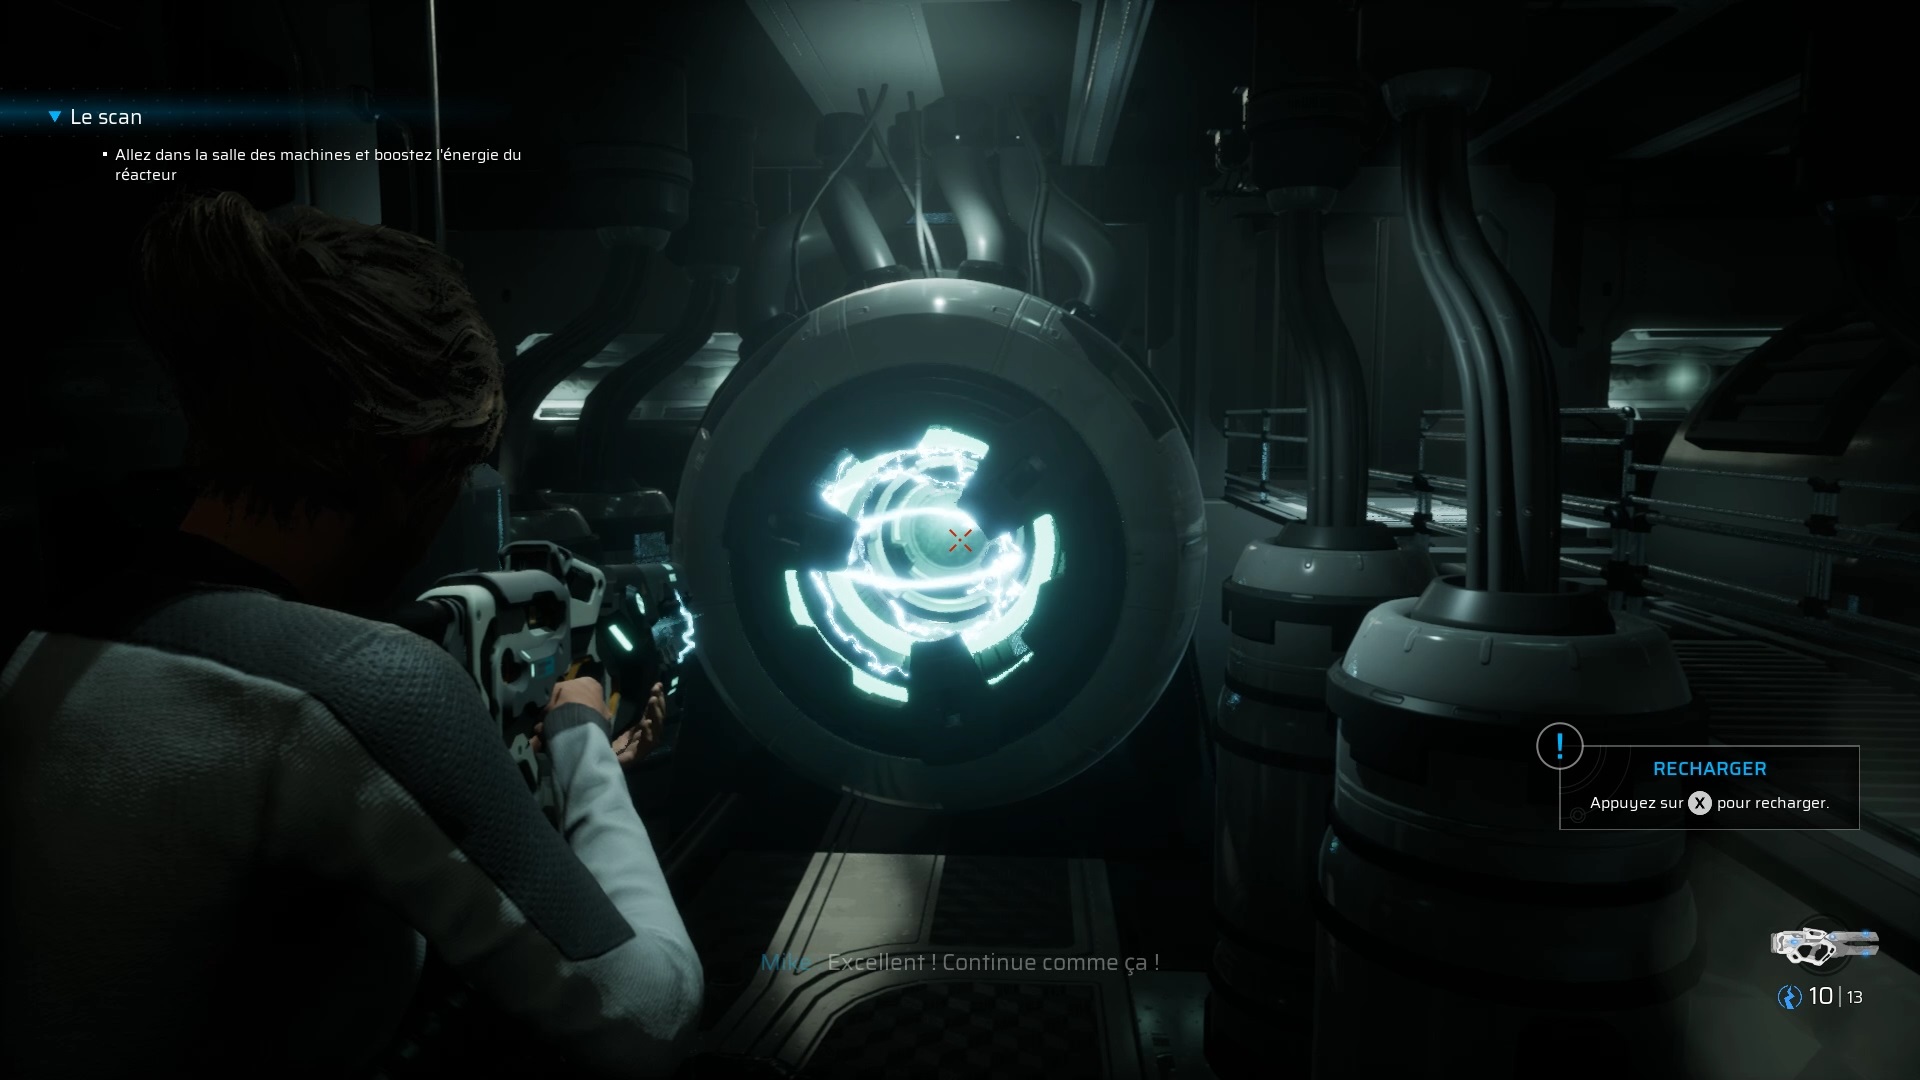
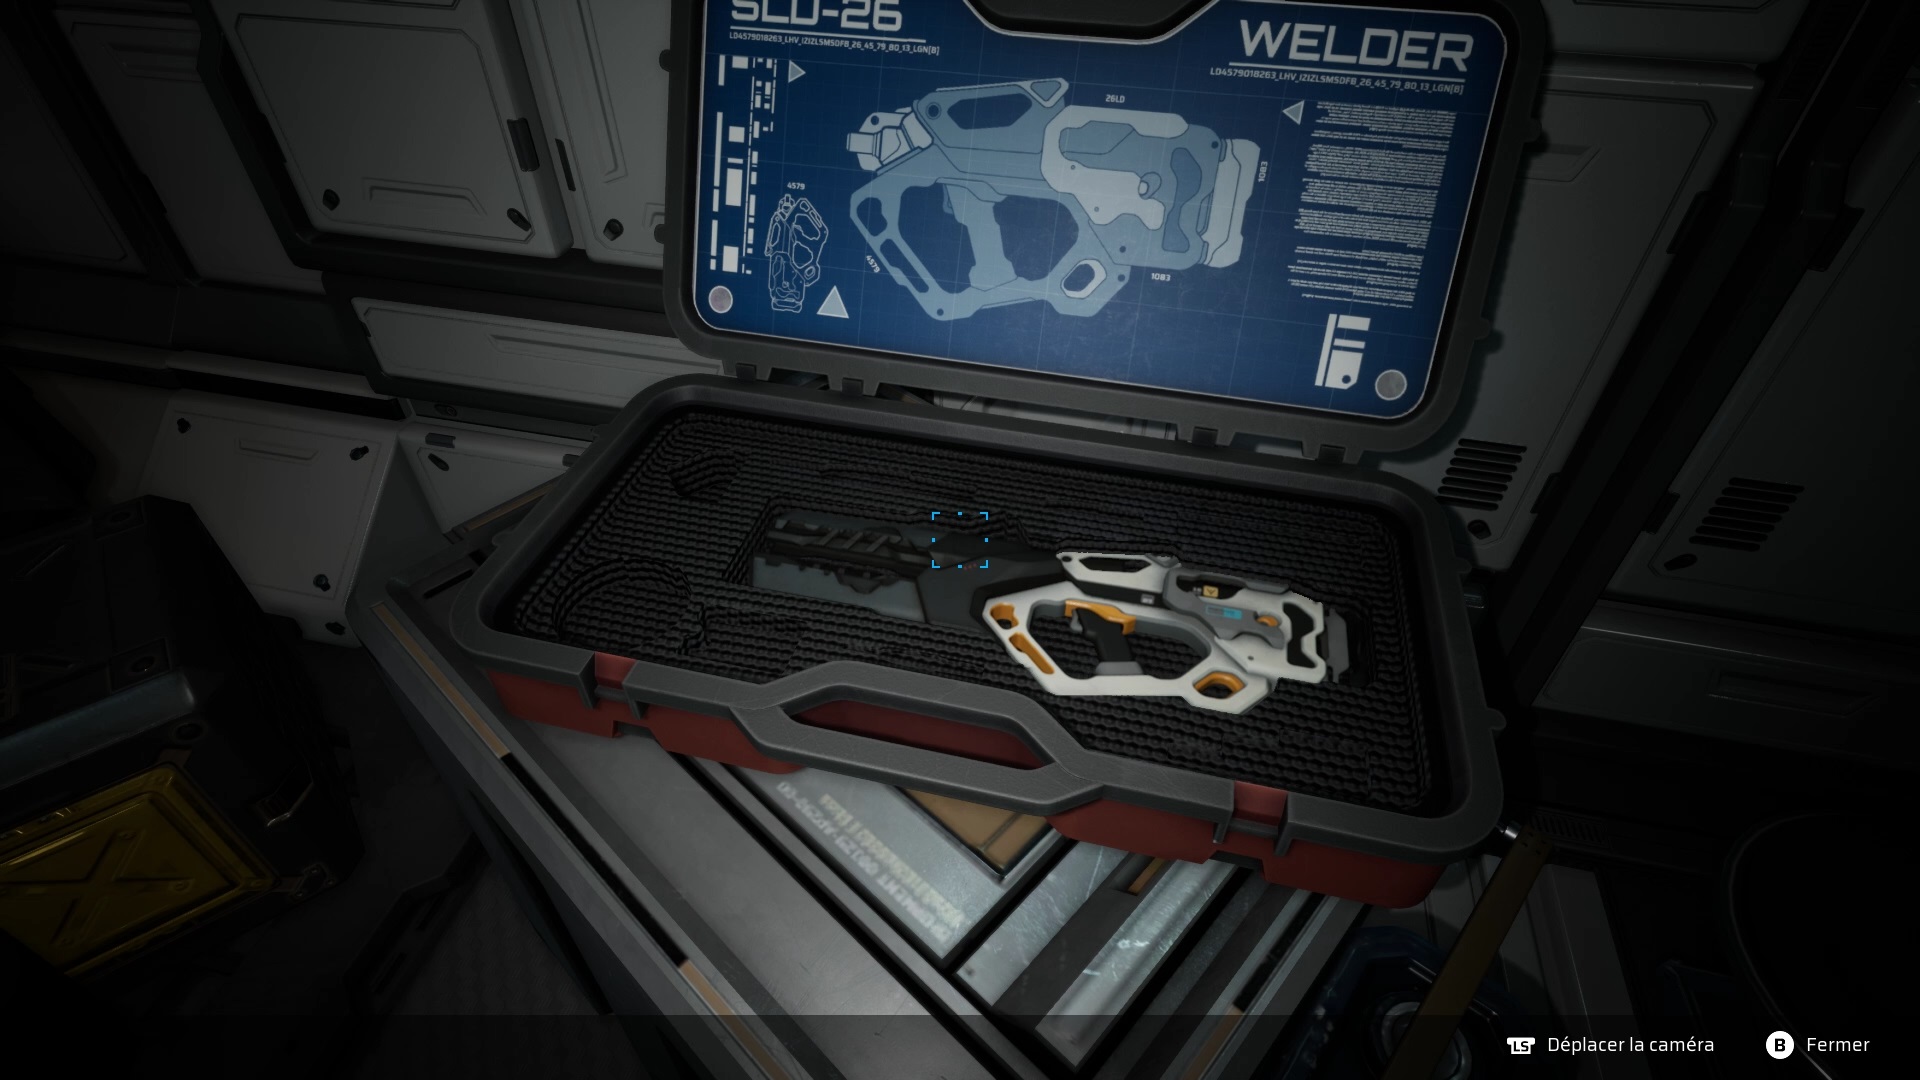
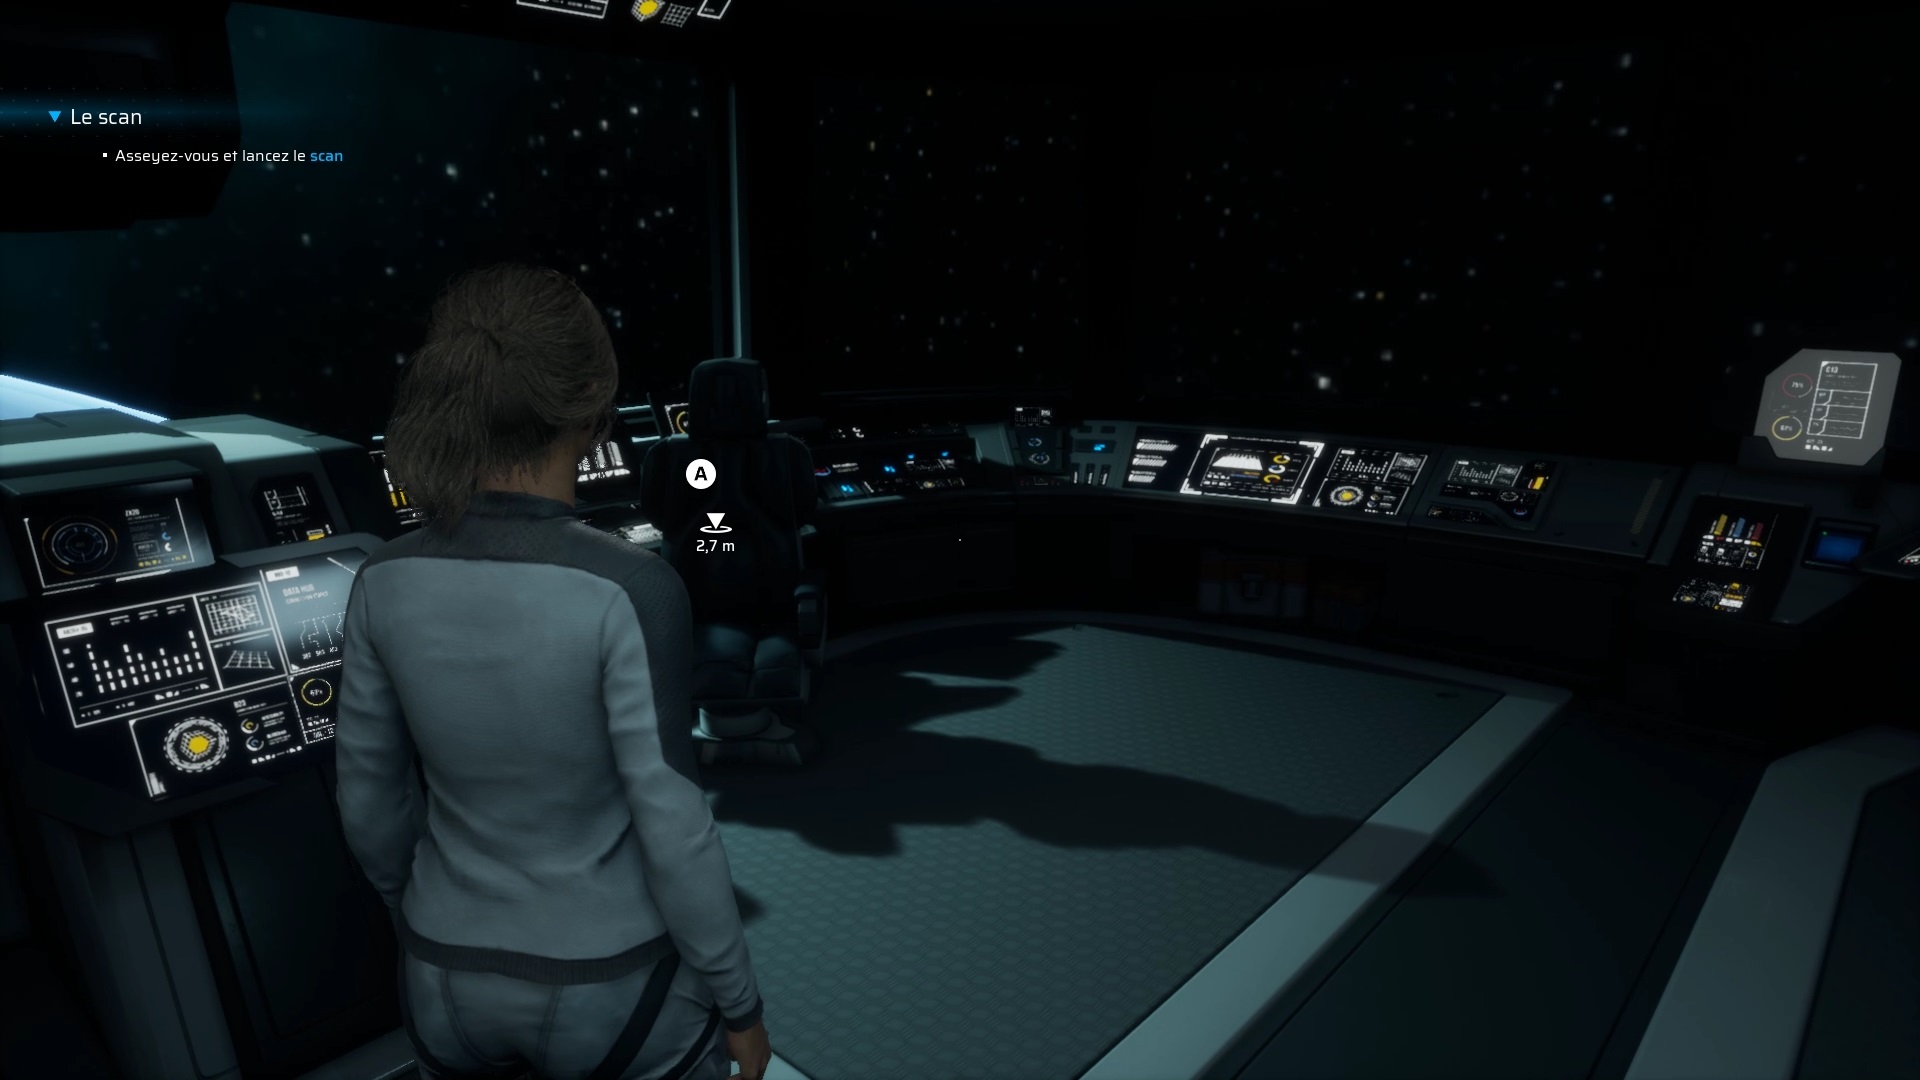
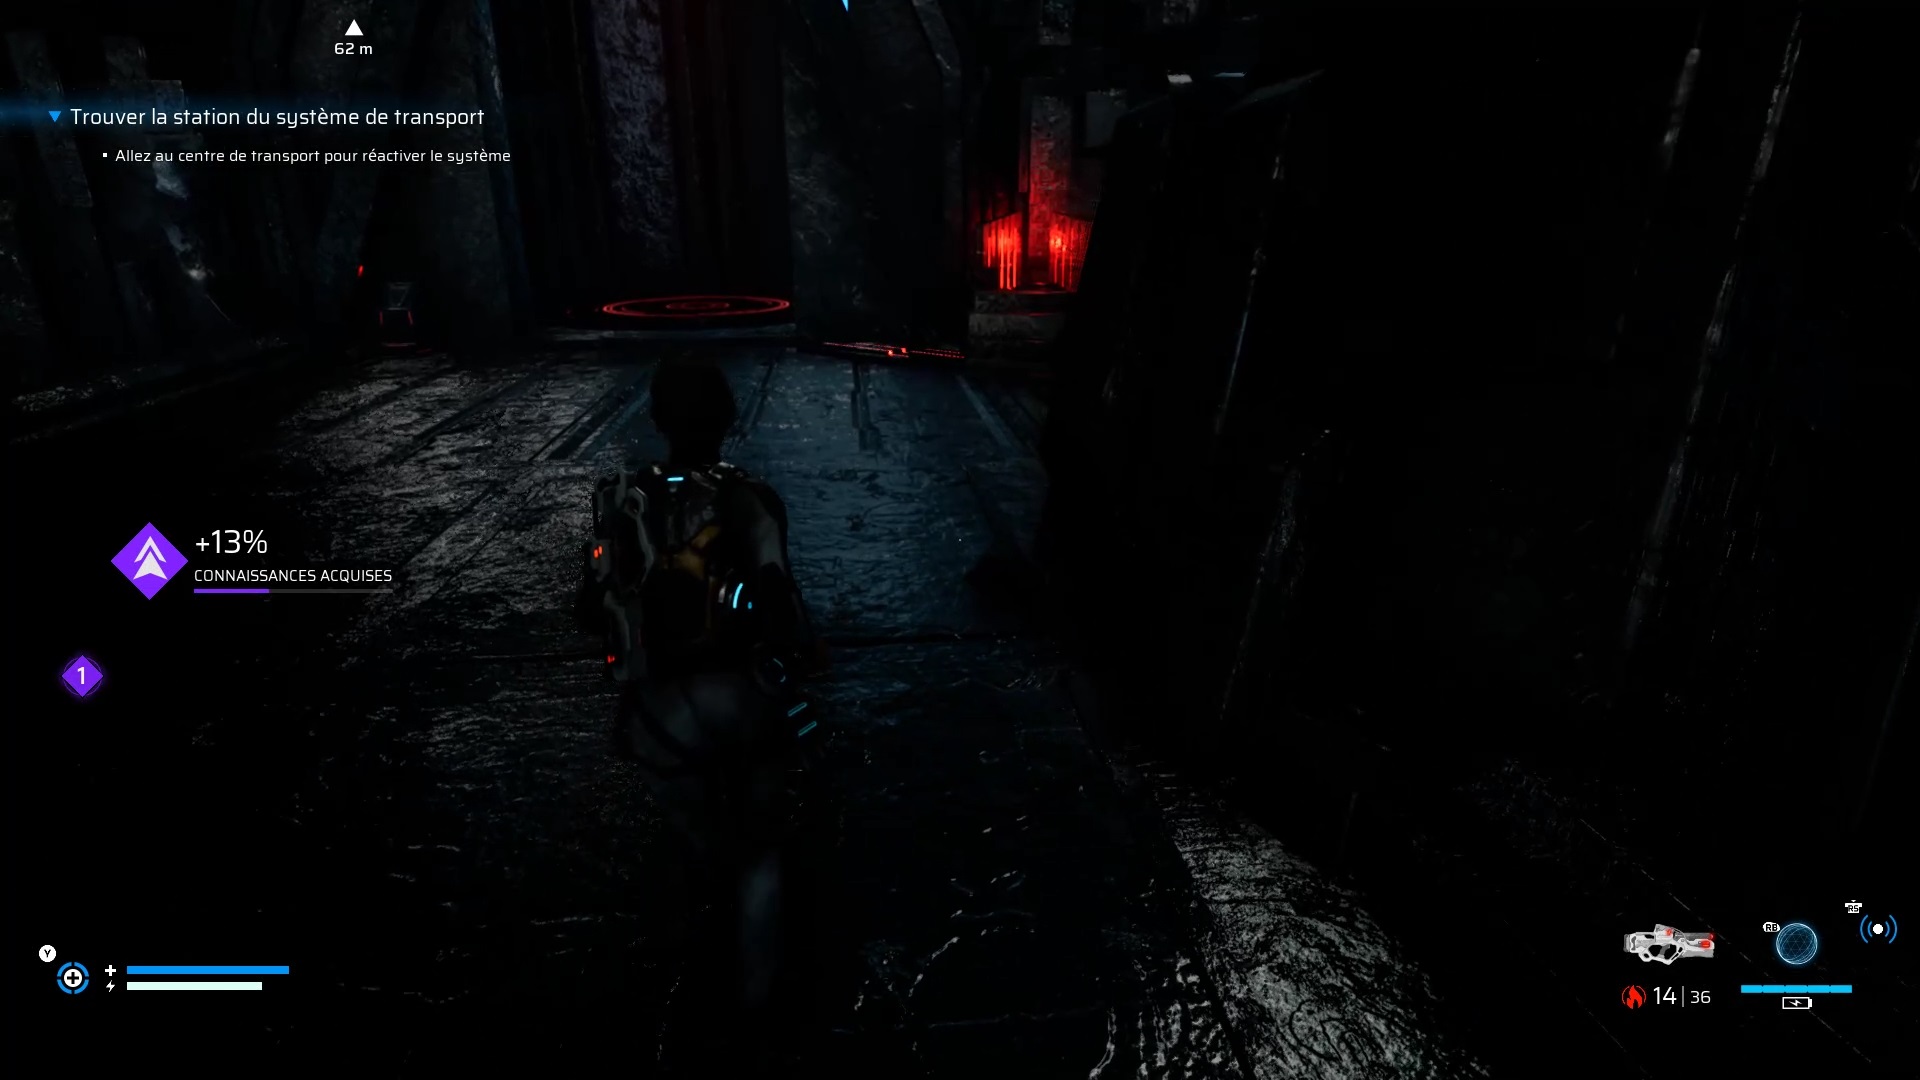
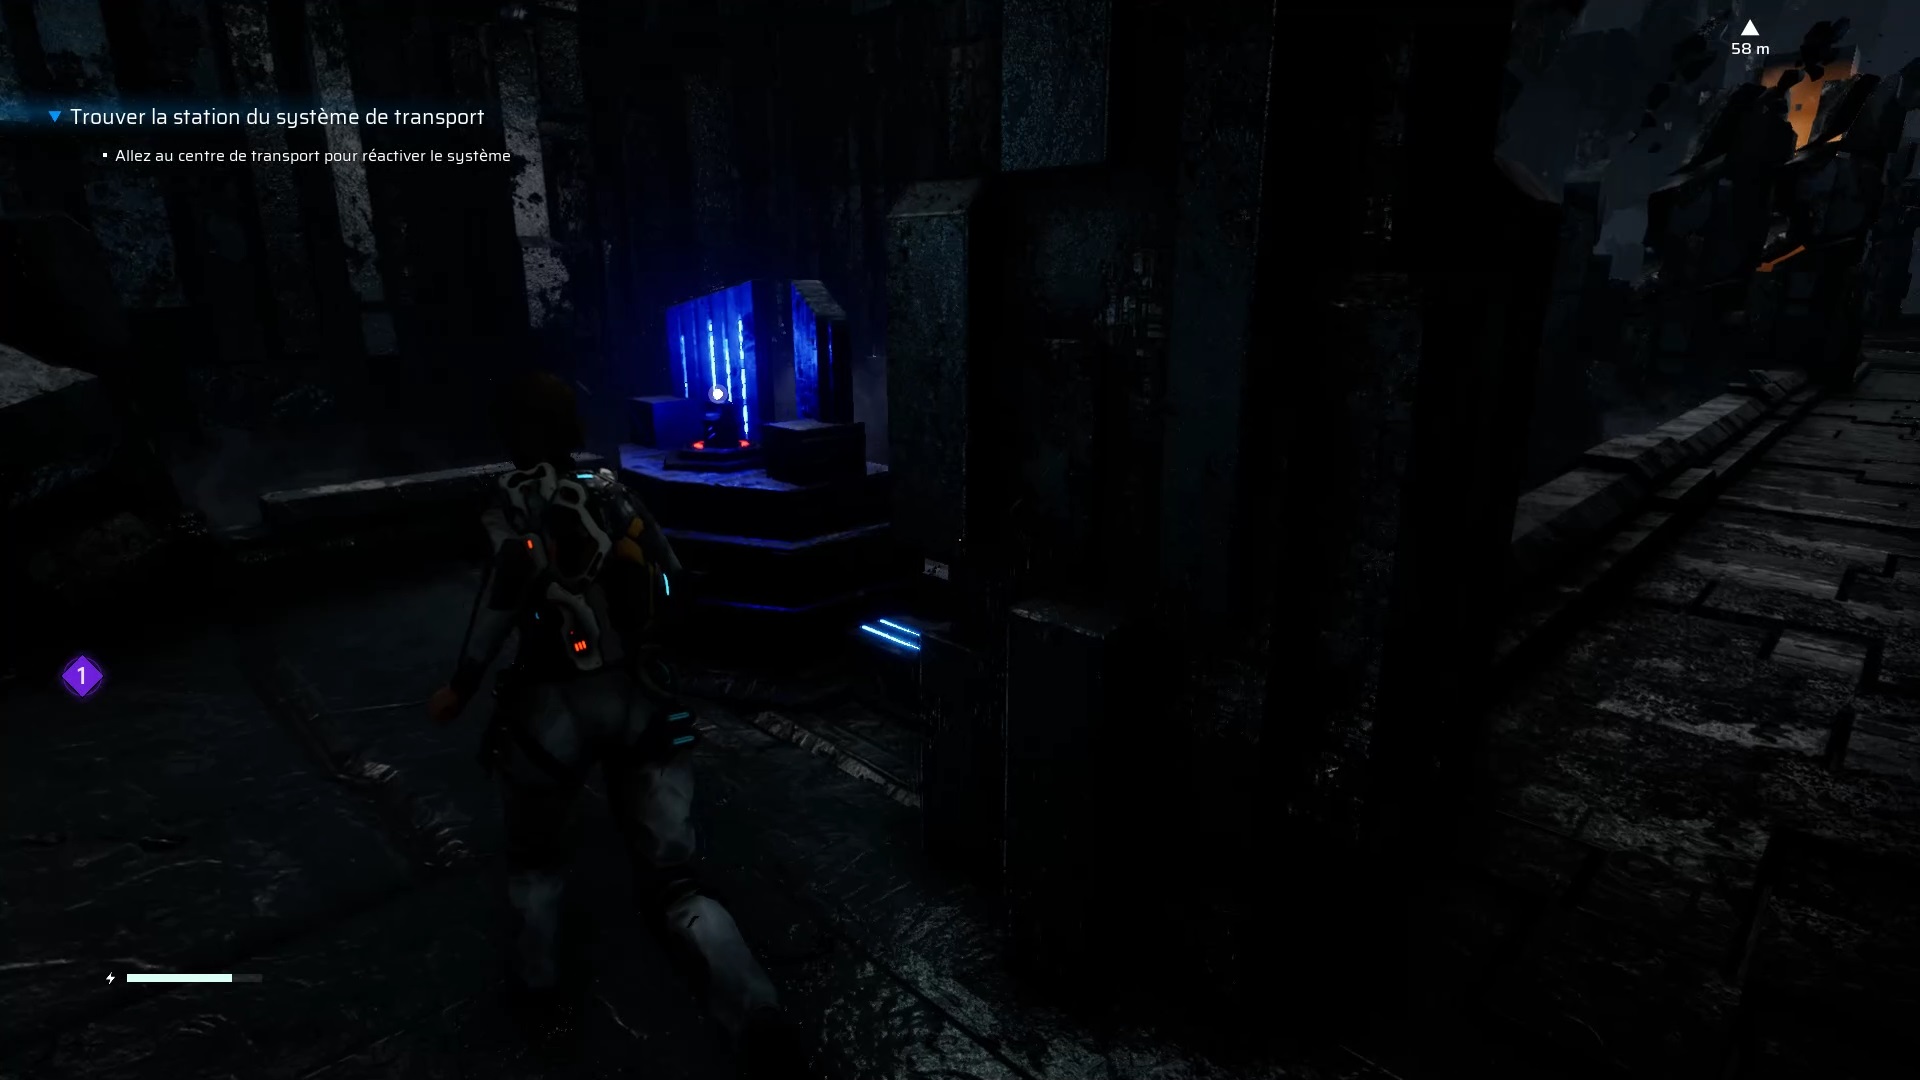
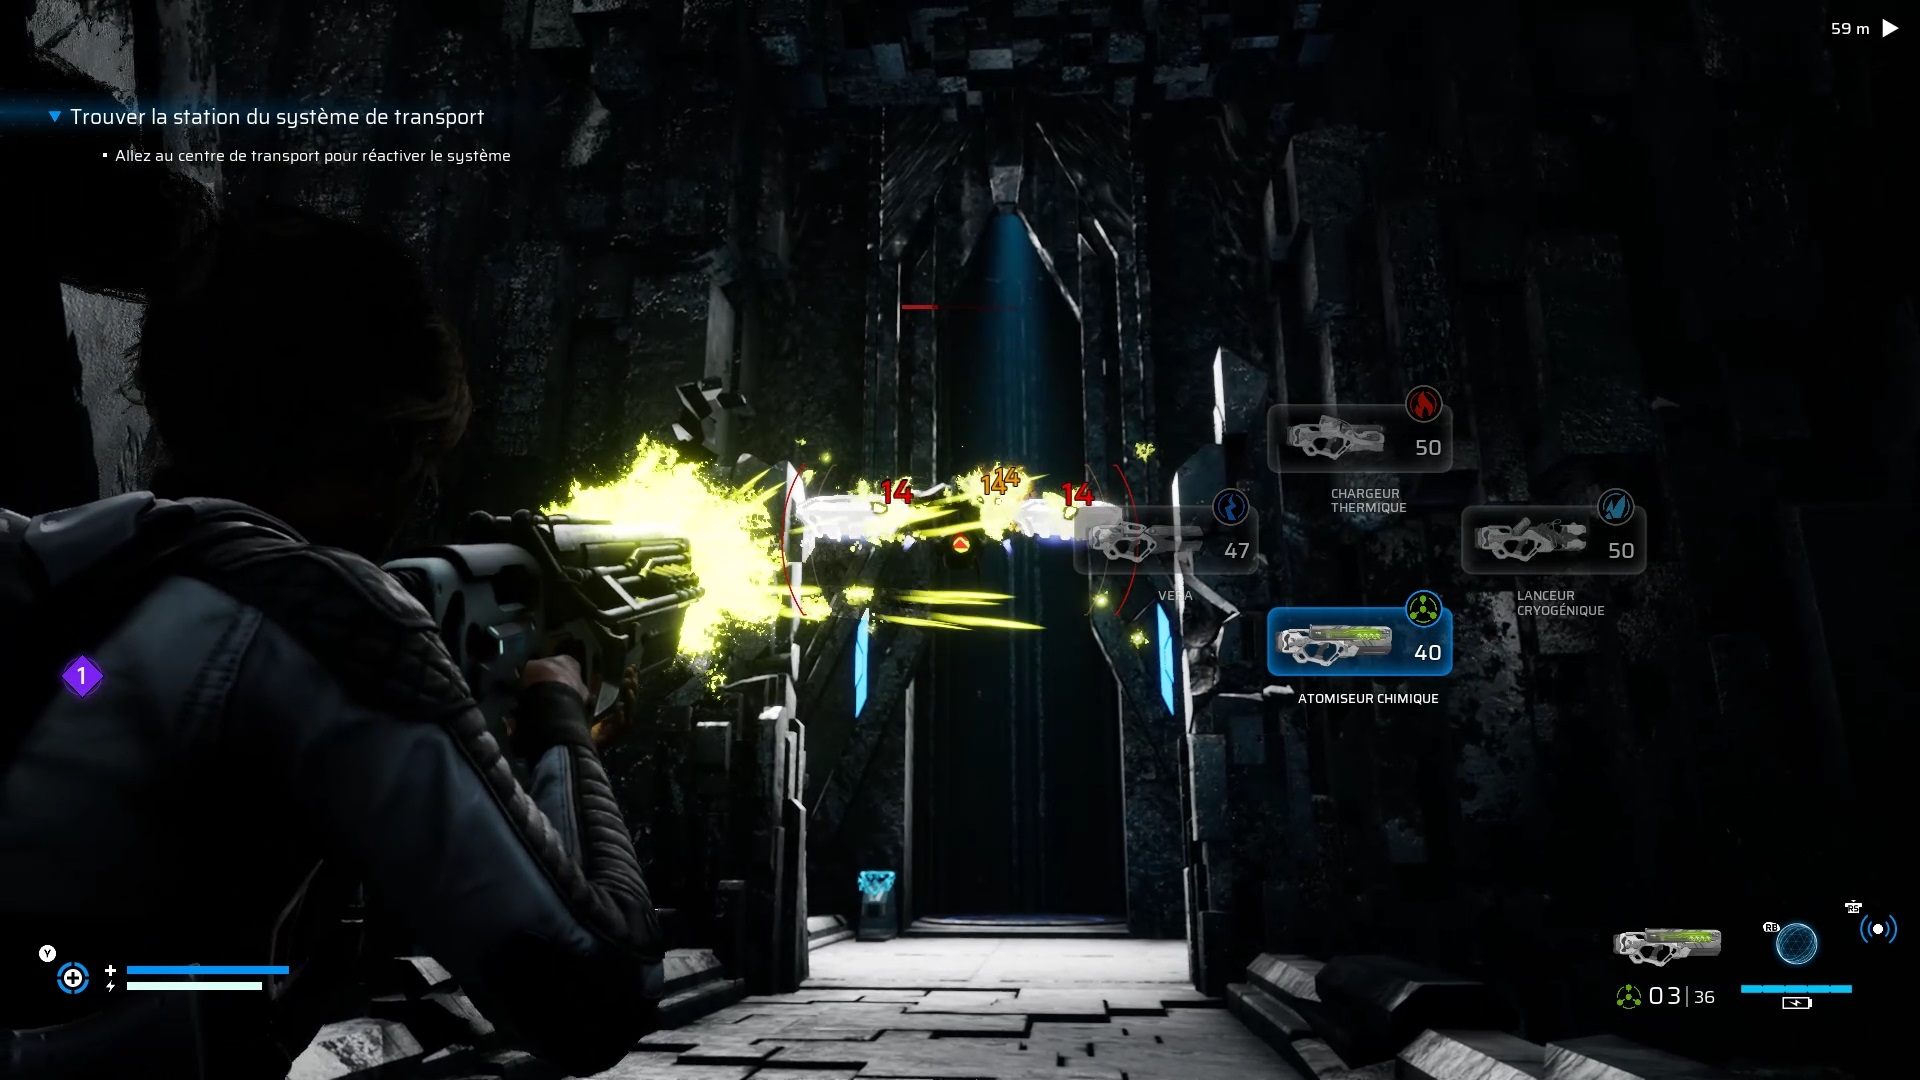
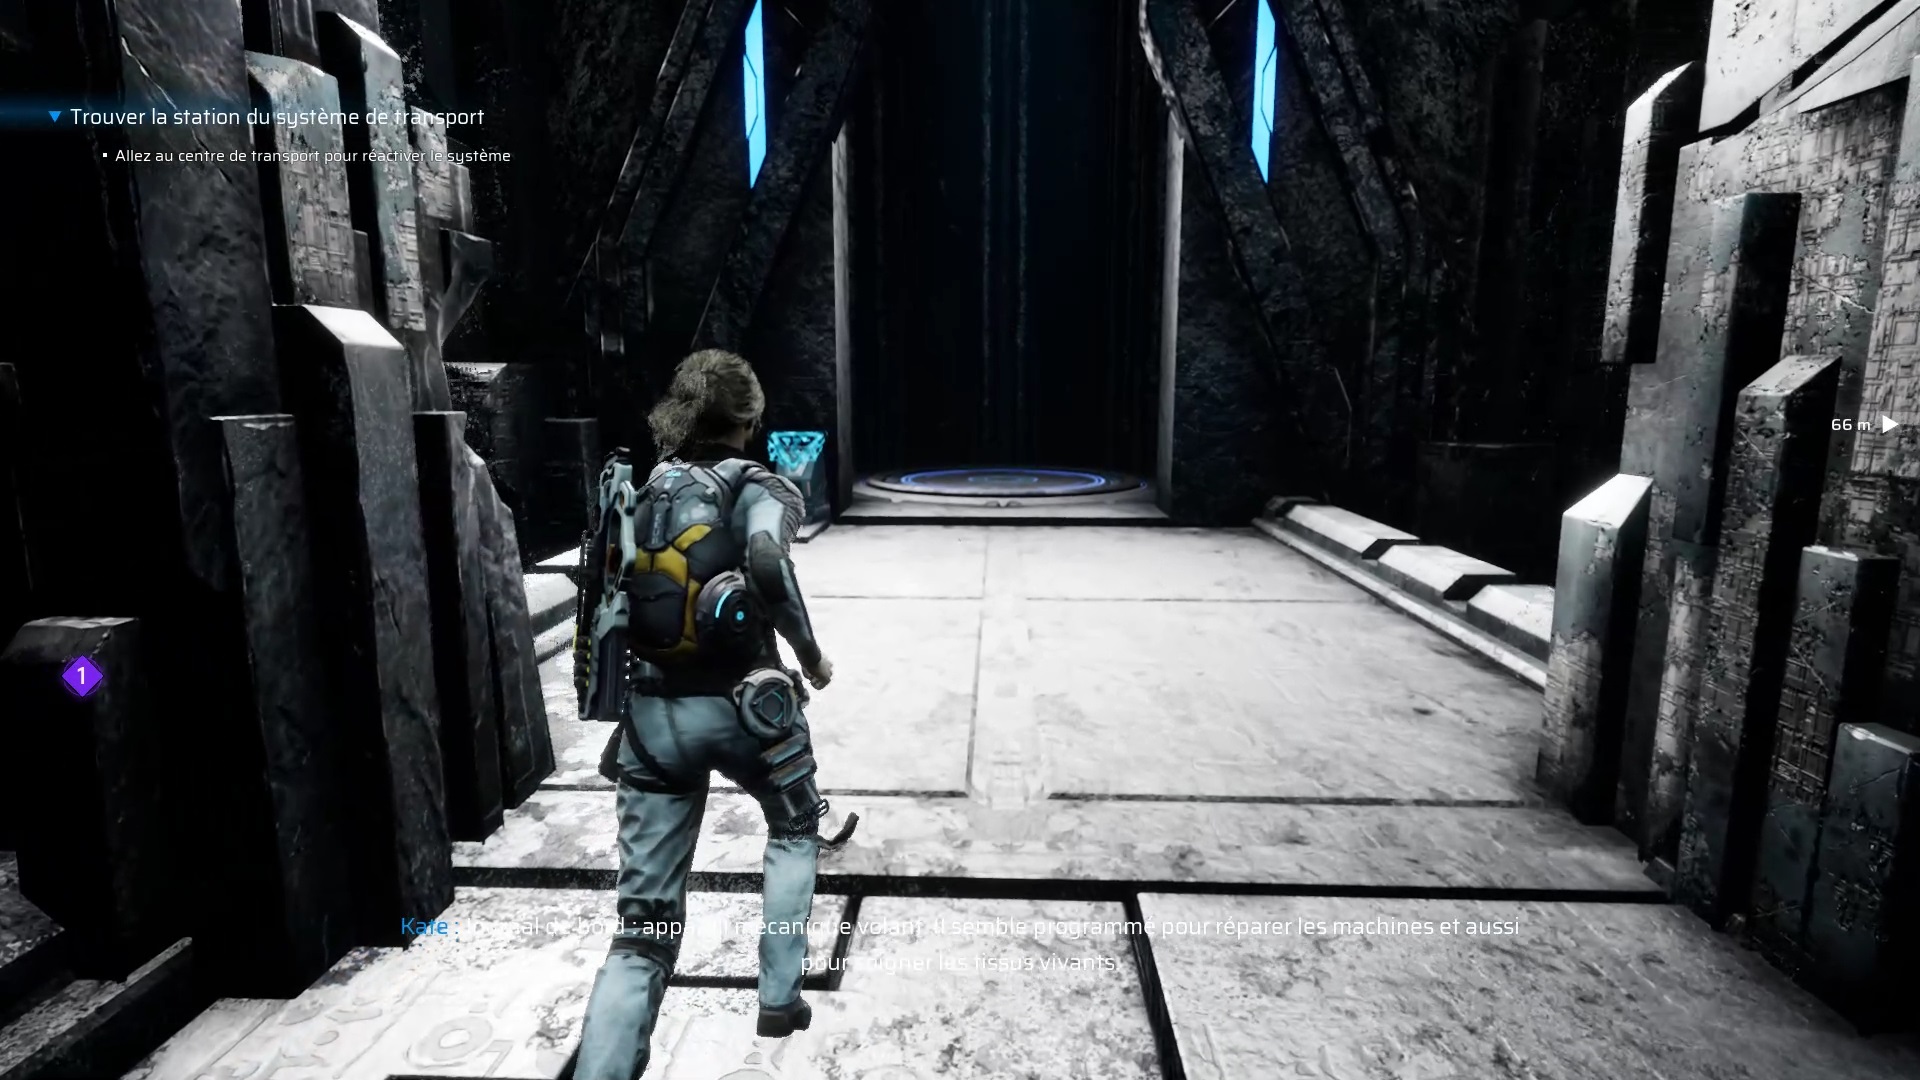
You have the Vera device in hand. Follow the objective to go down with the elevator in the lower part of the ship. Use the device to shoot the generator nodes and complete the task by shooting the generator core. Go back upstairs to put Vera in the trunk and join the crew. You can talk to team members and sit at your station to trigger a cutscene.

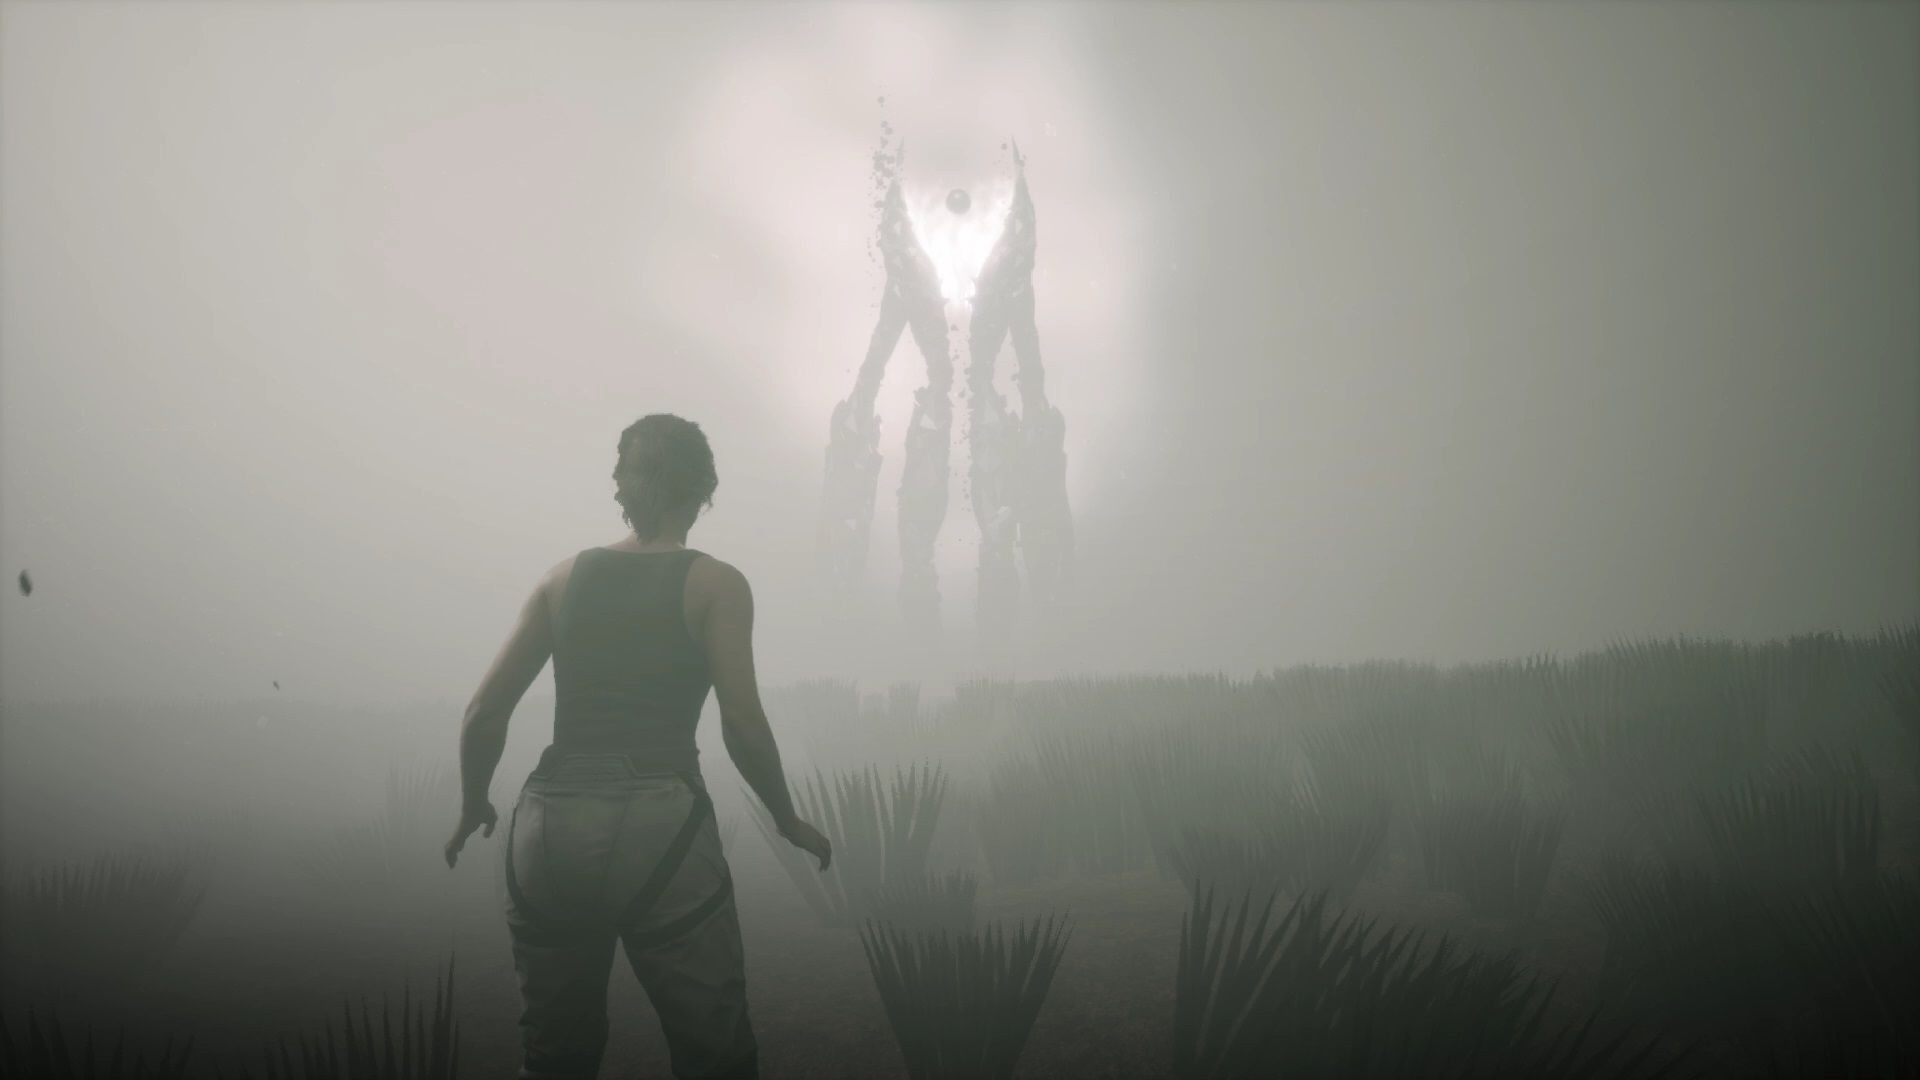
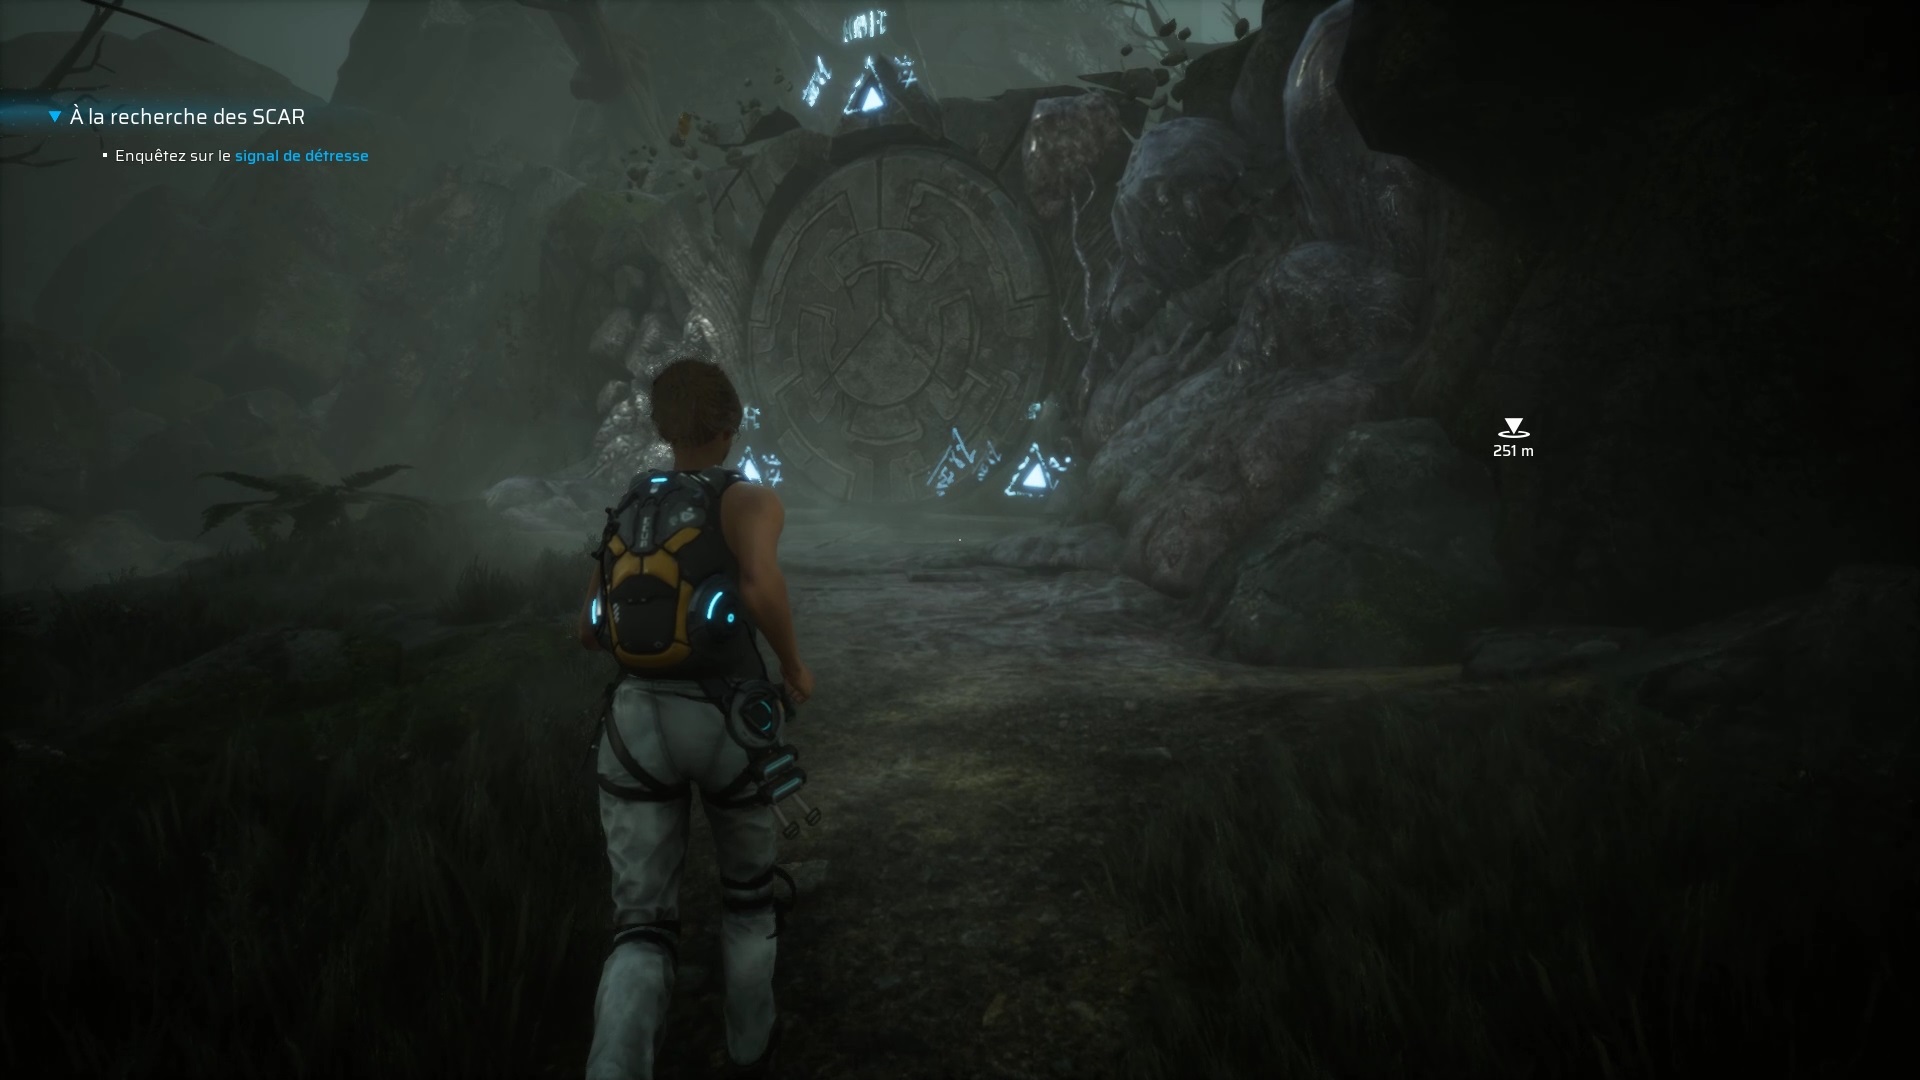
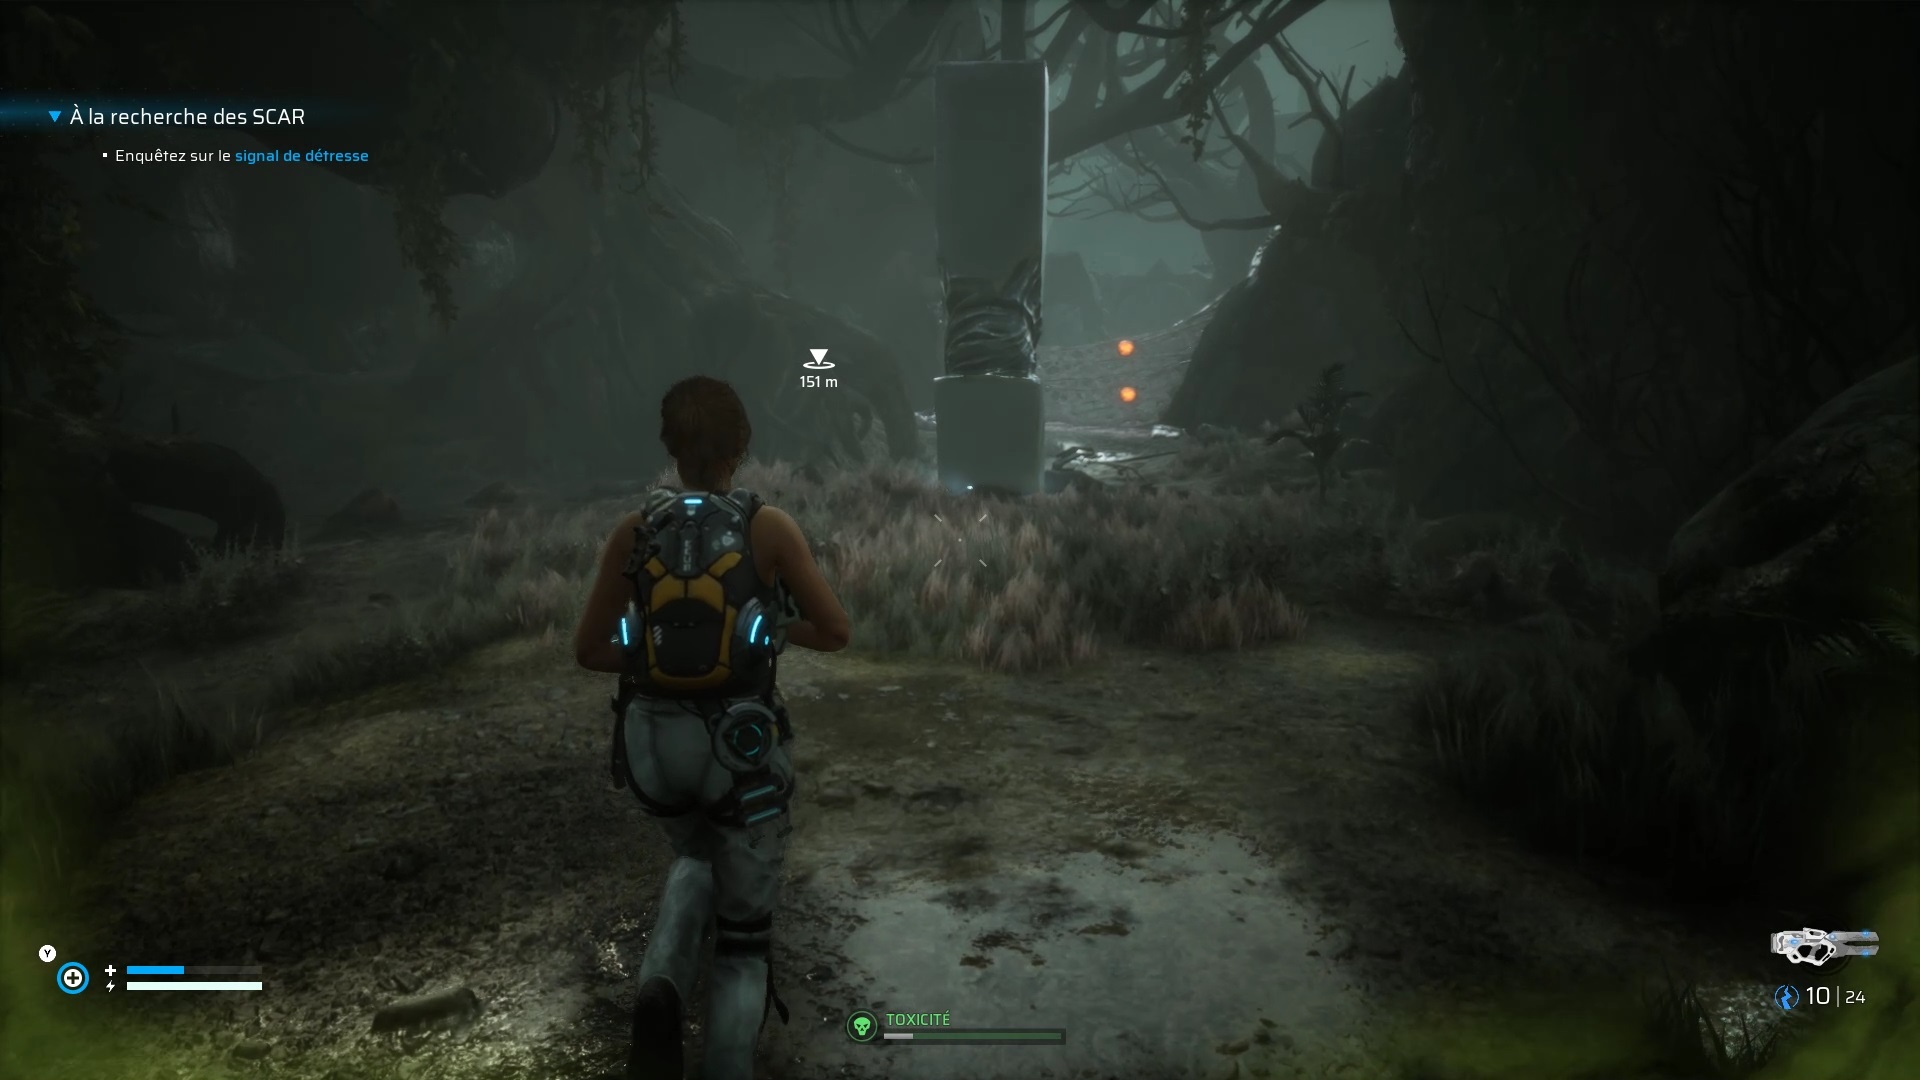
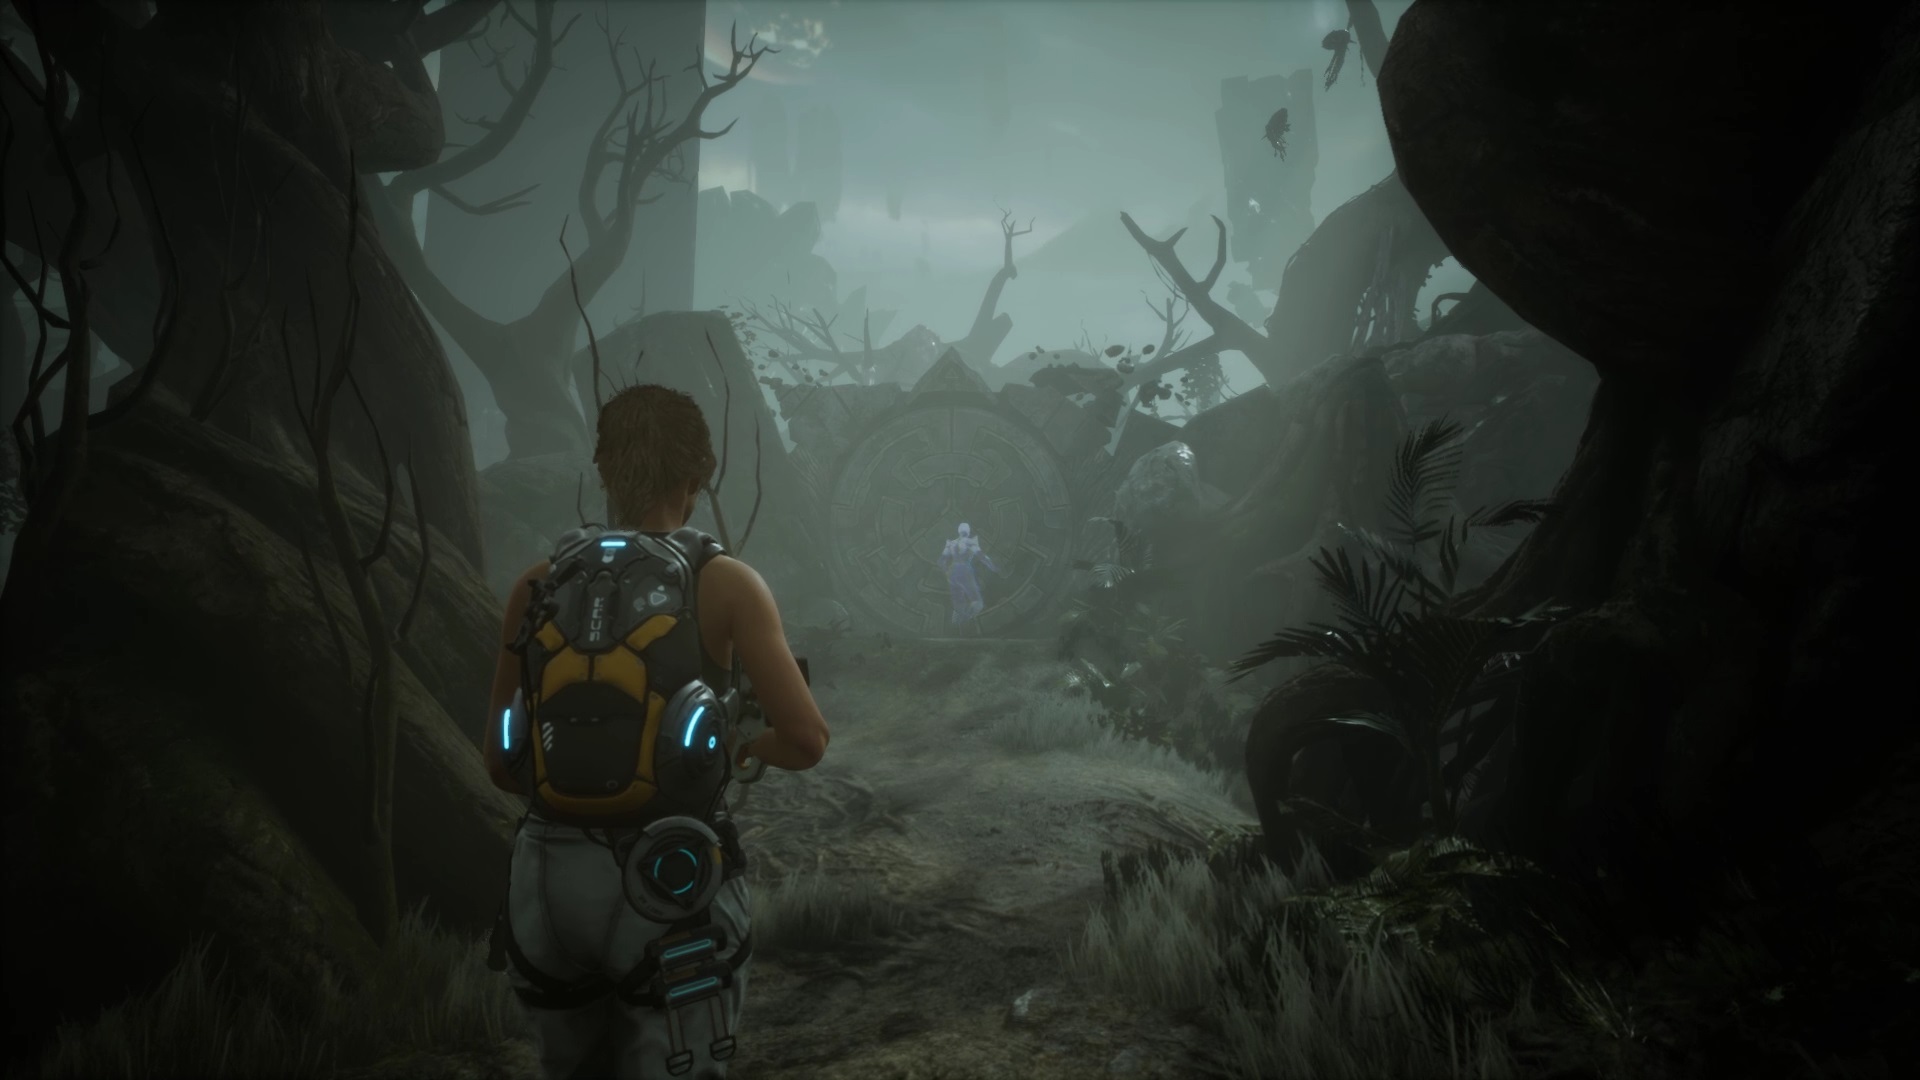
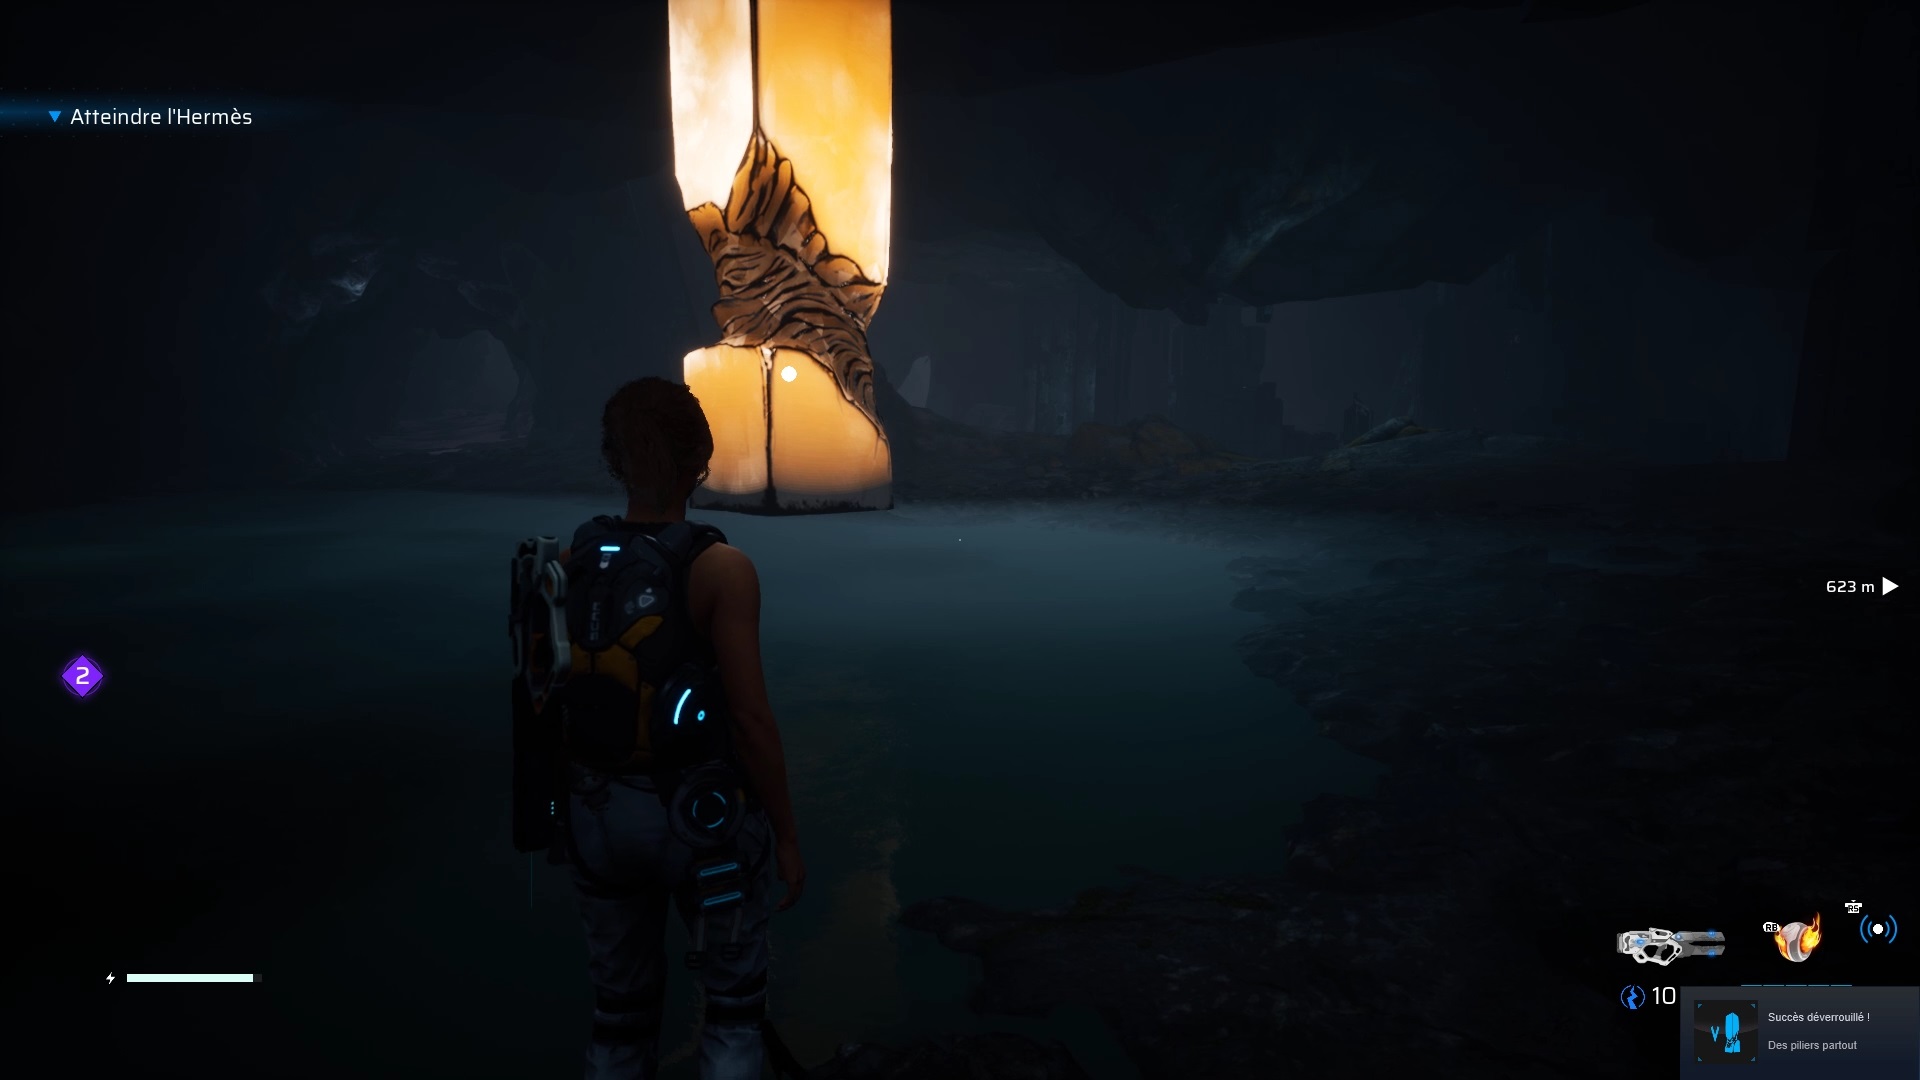
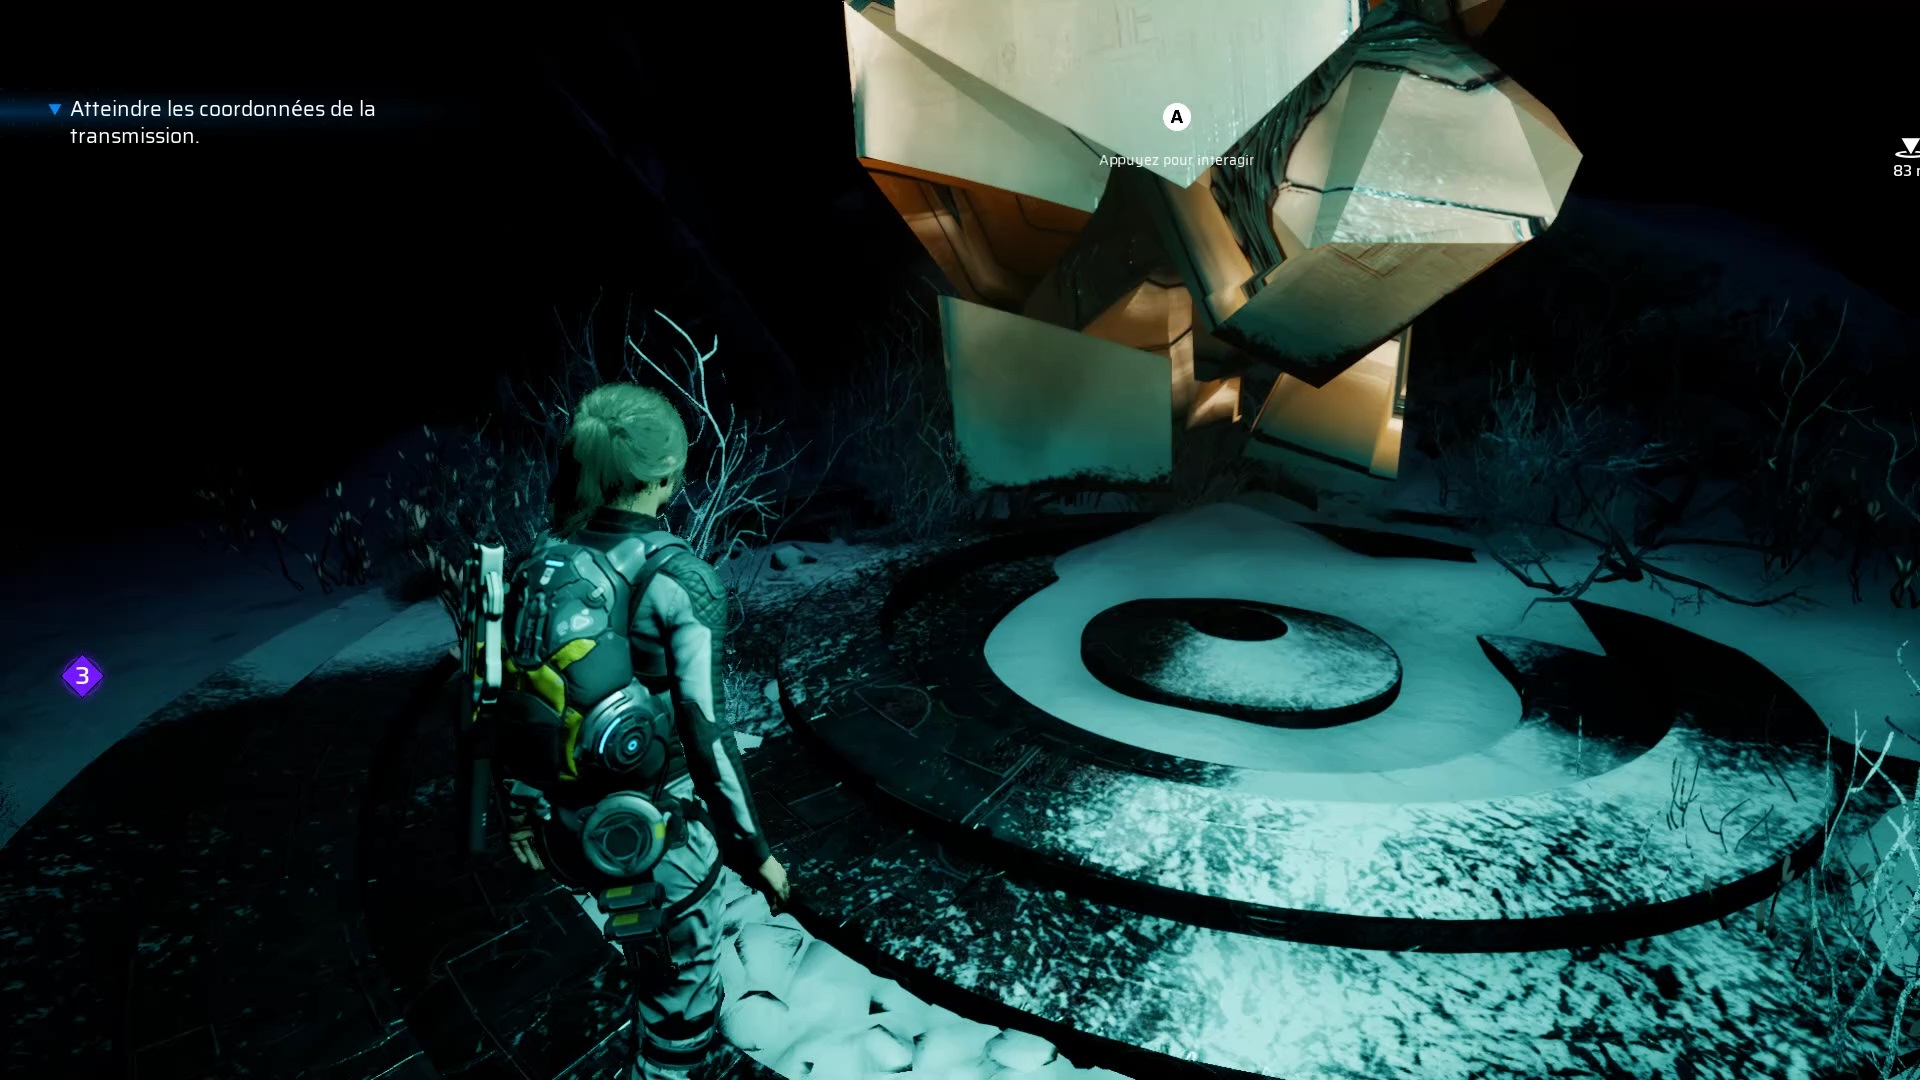
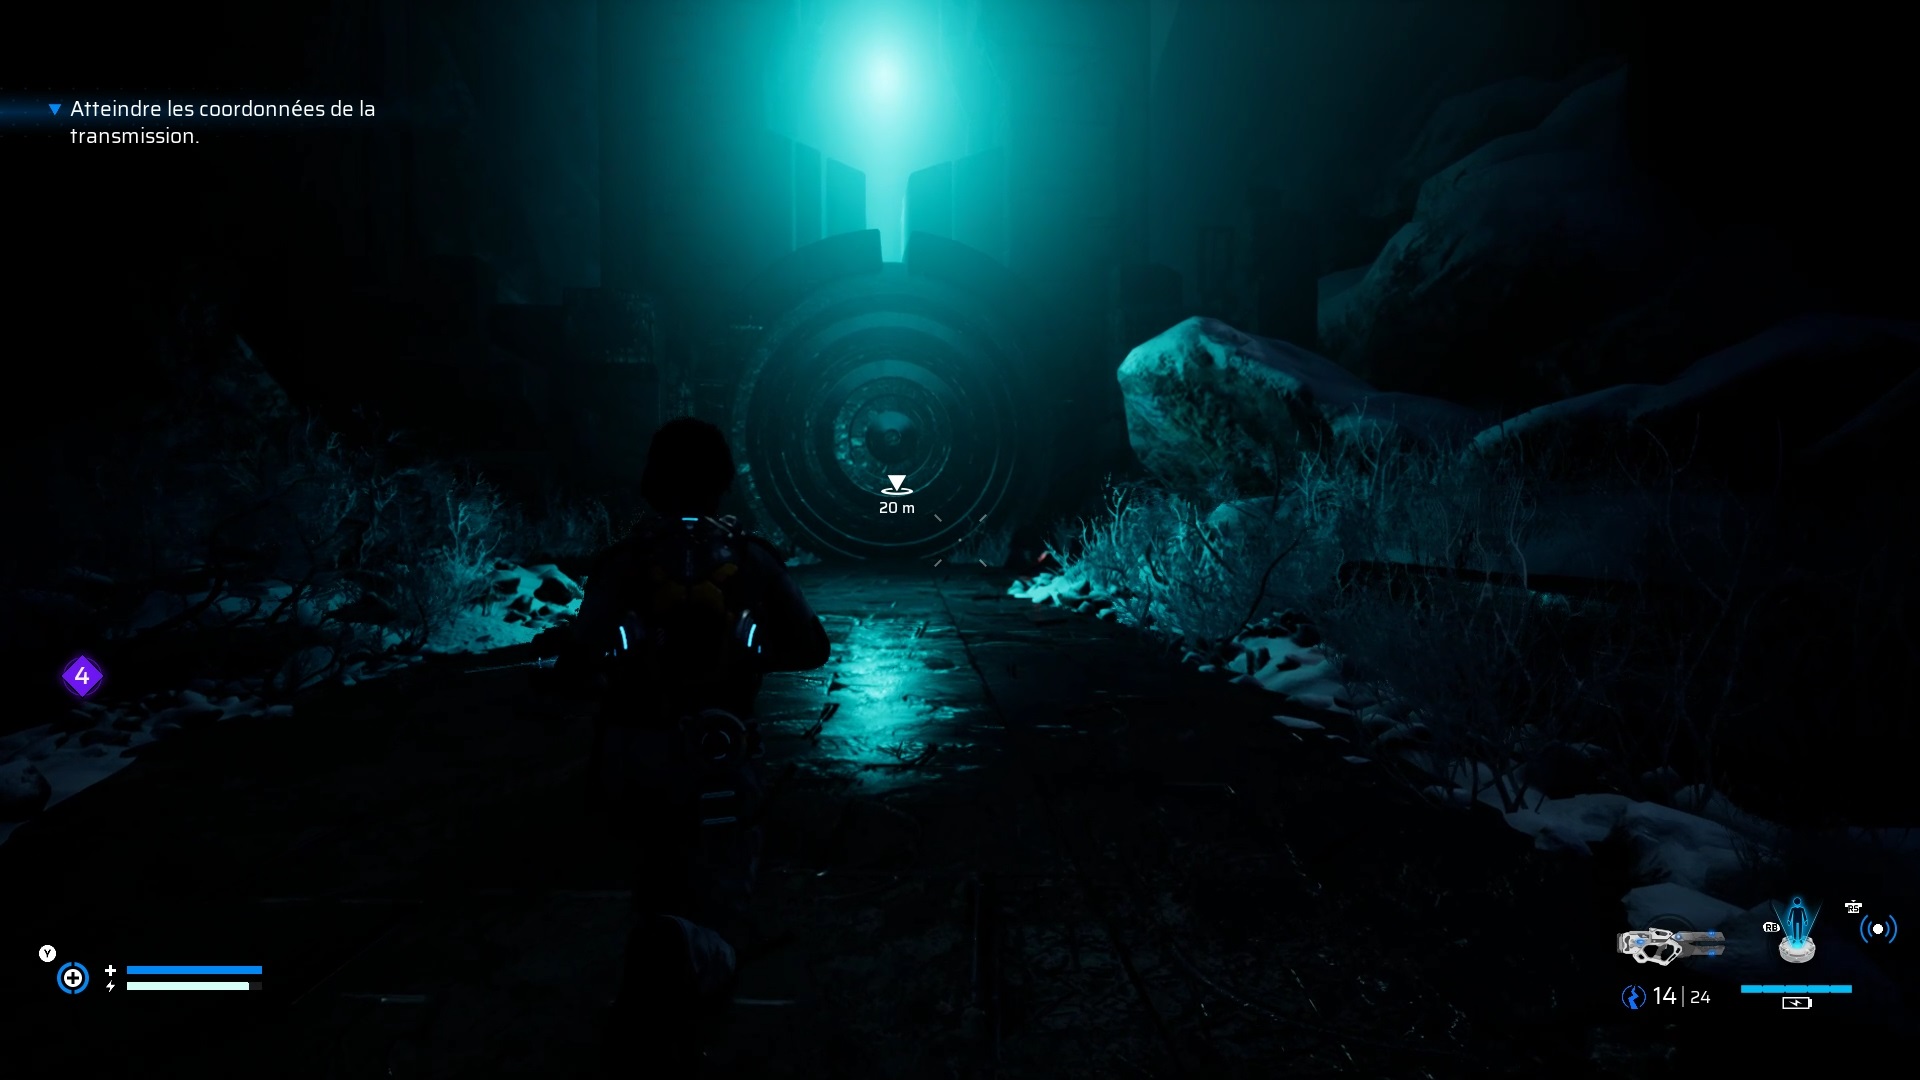
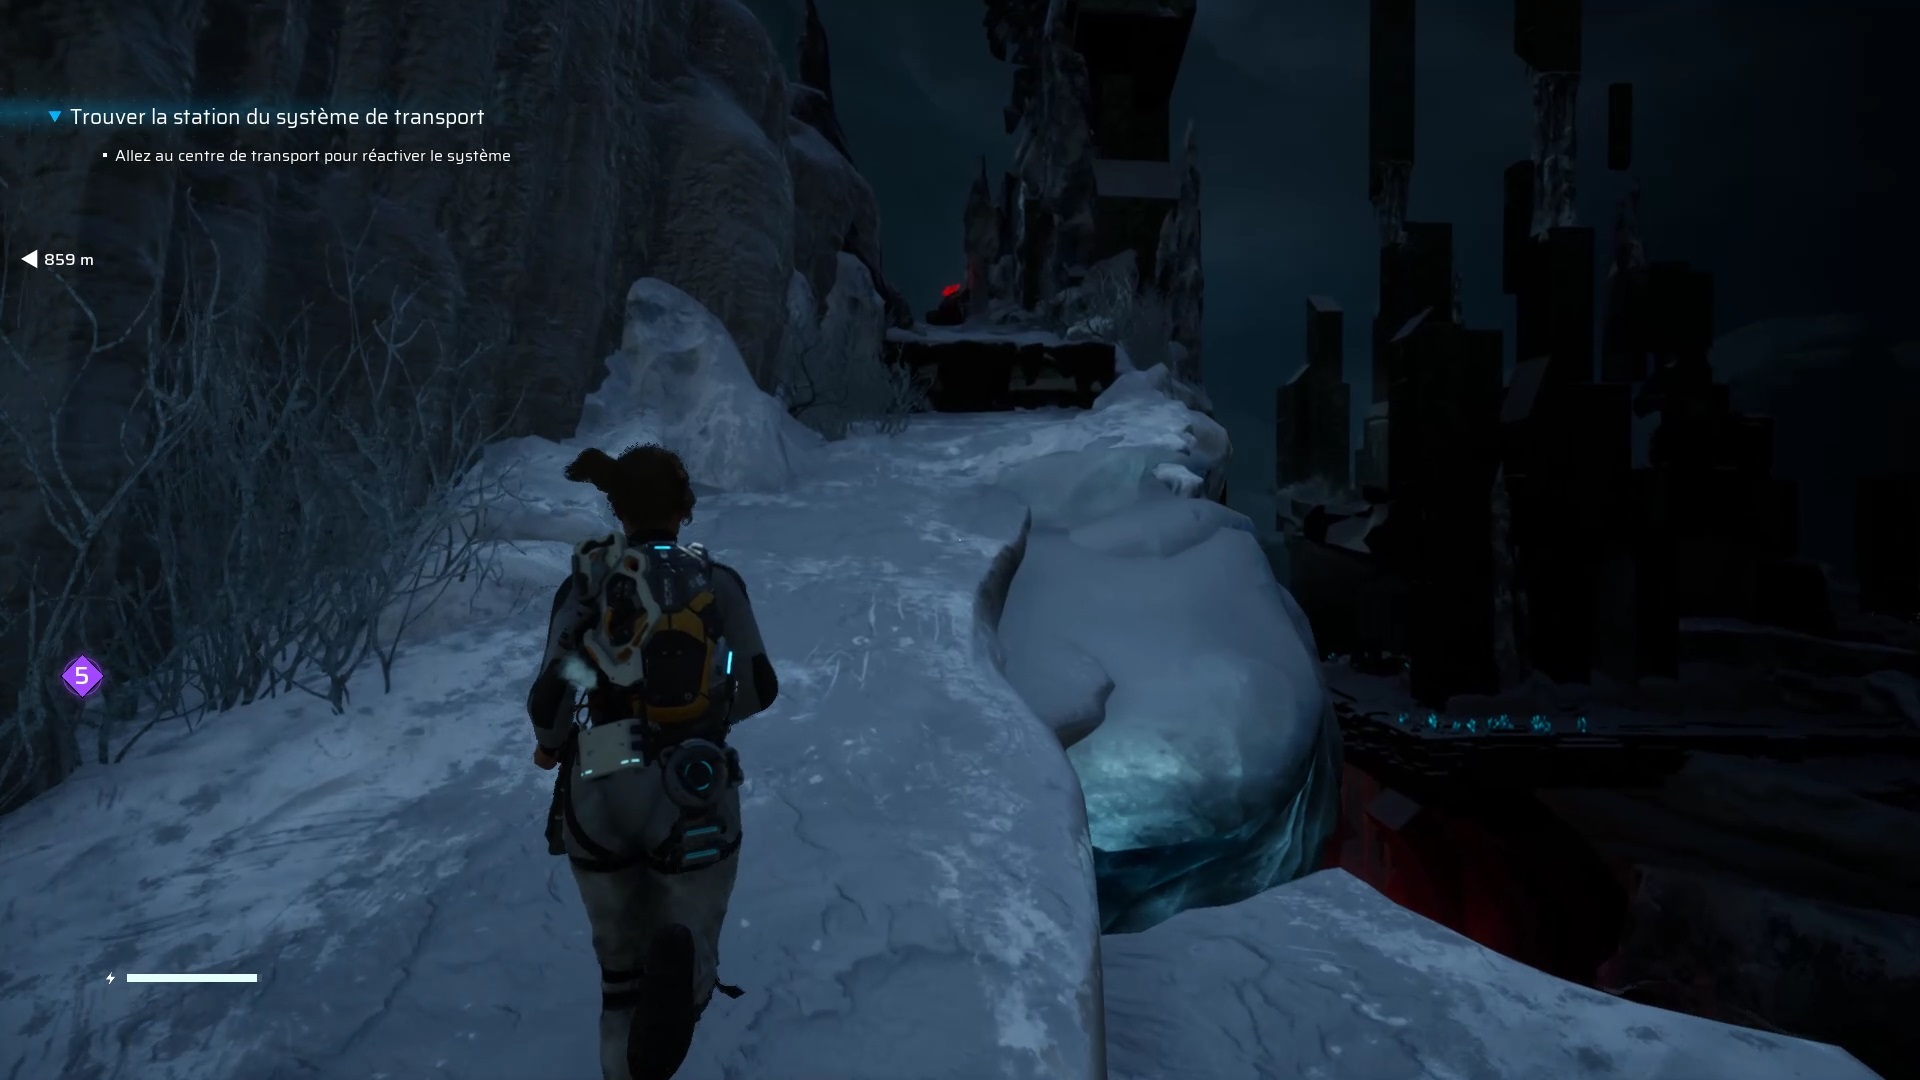
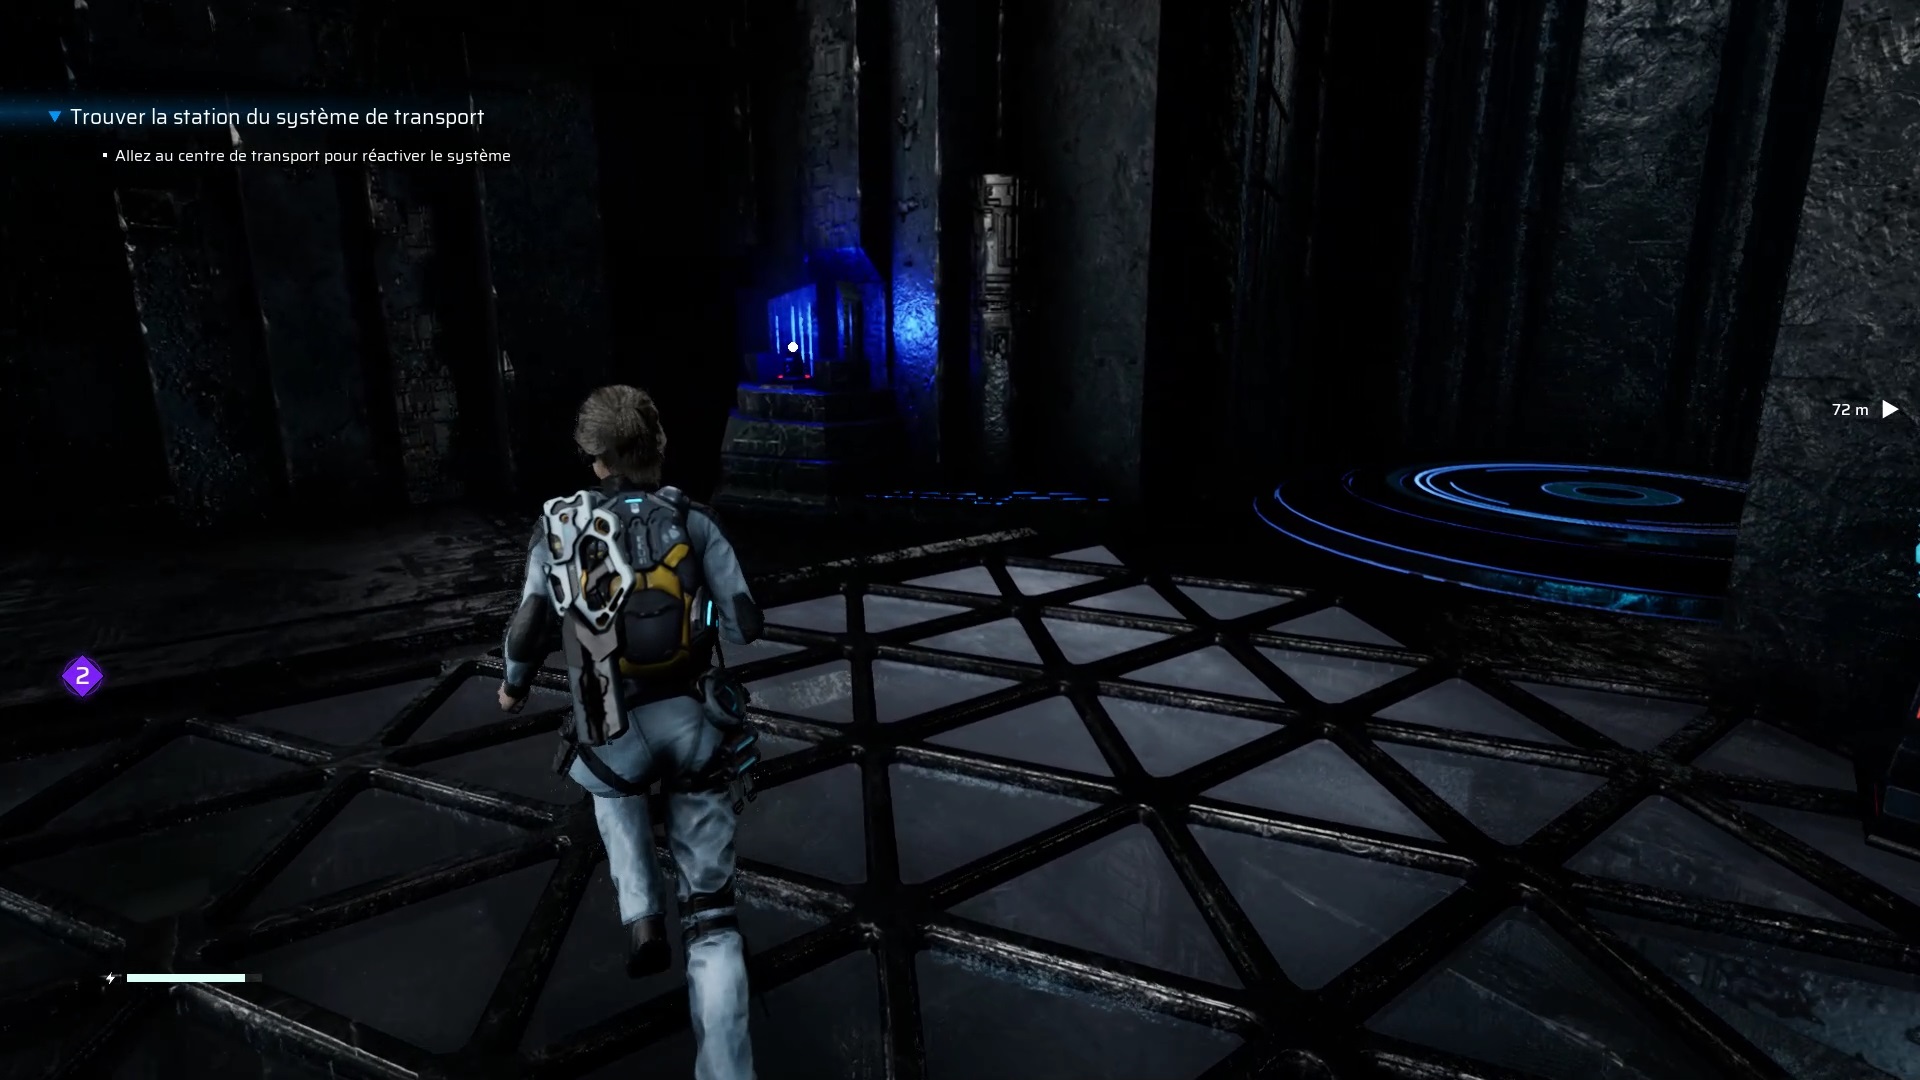
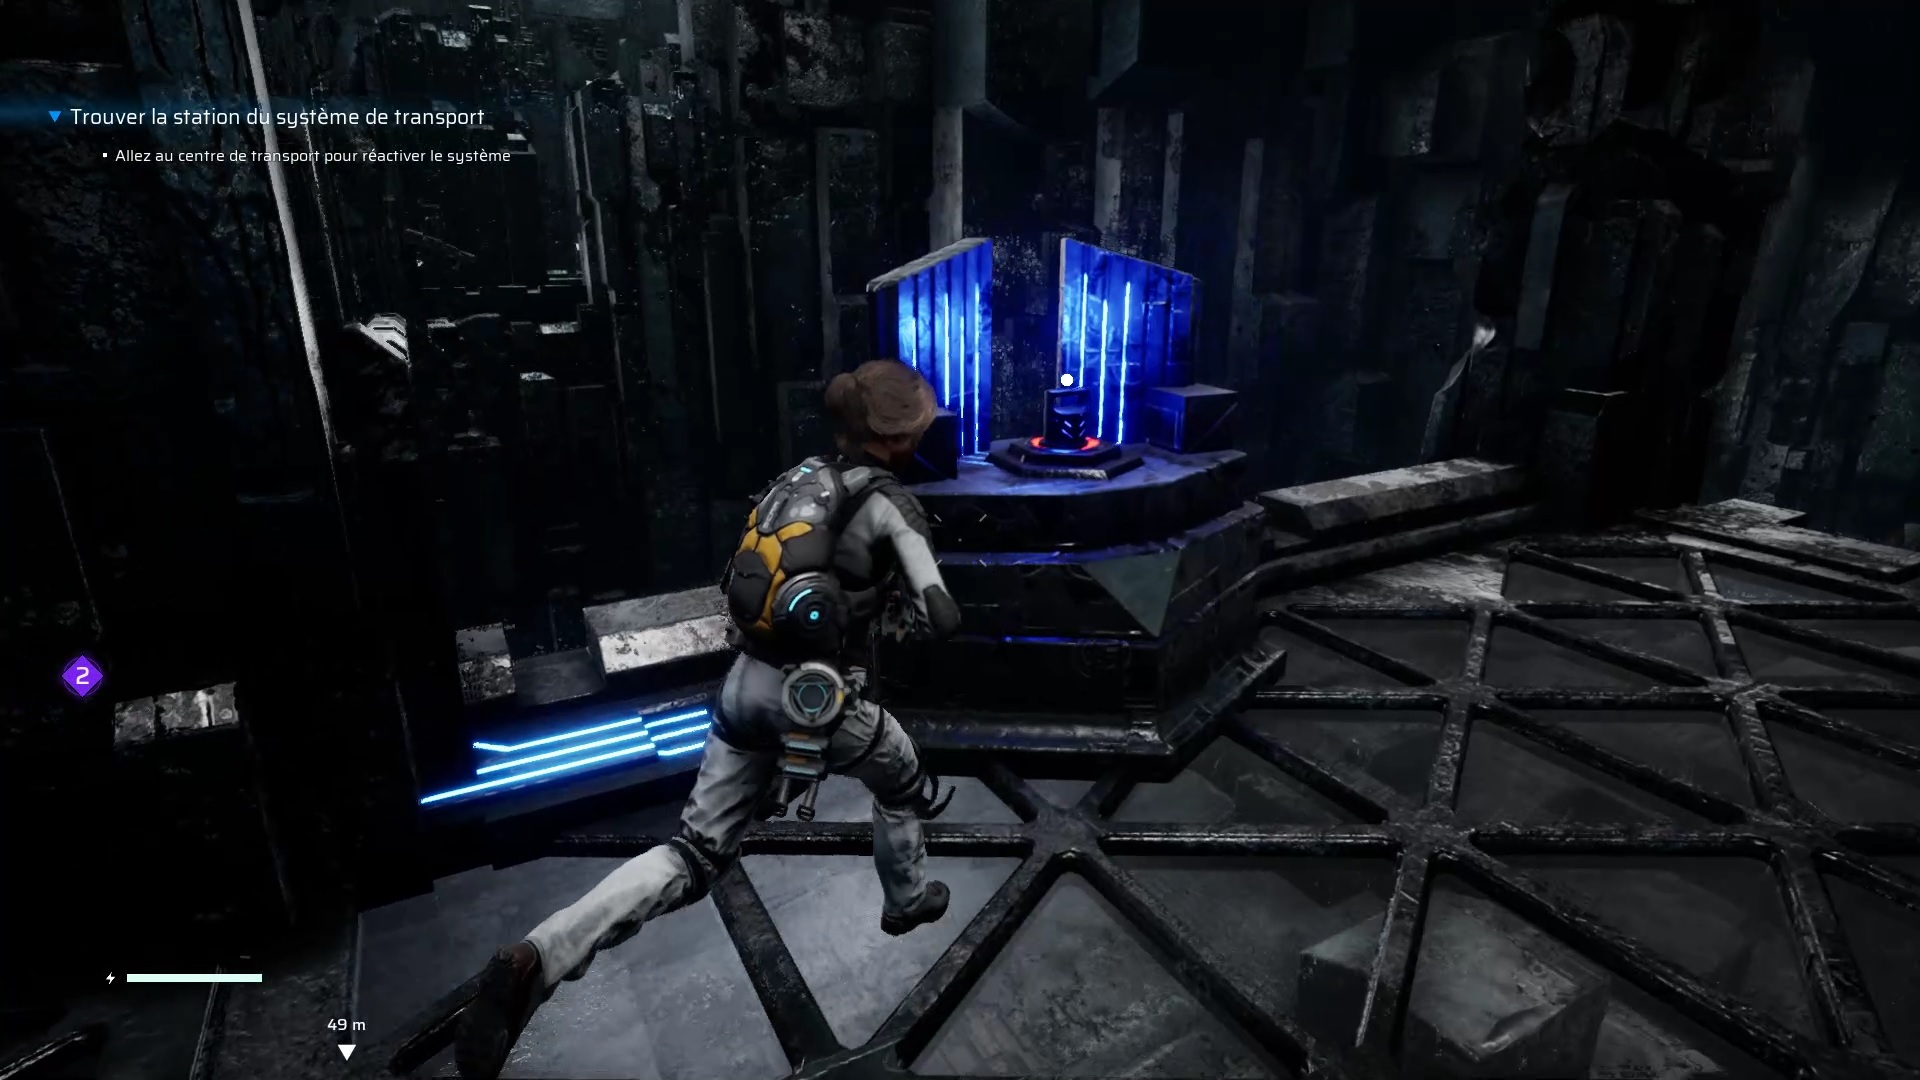
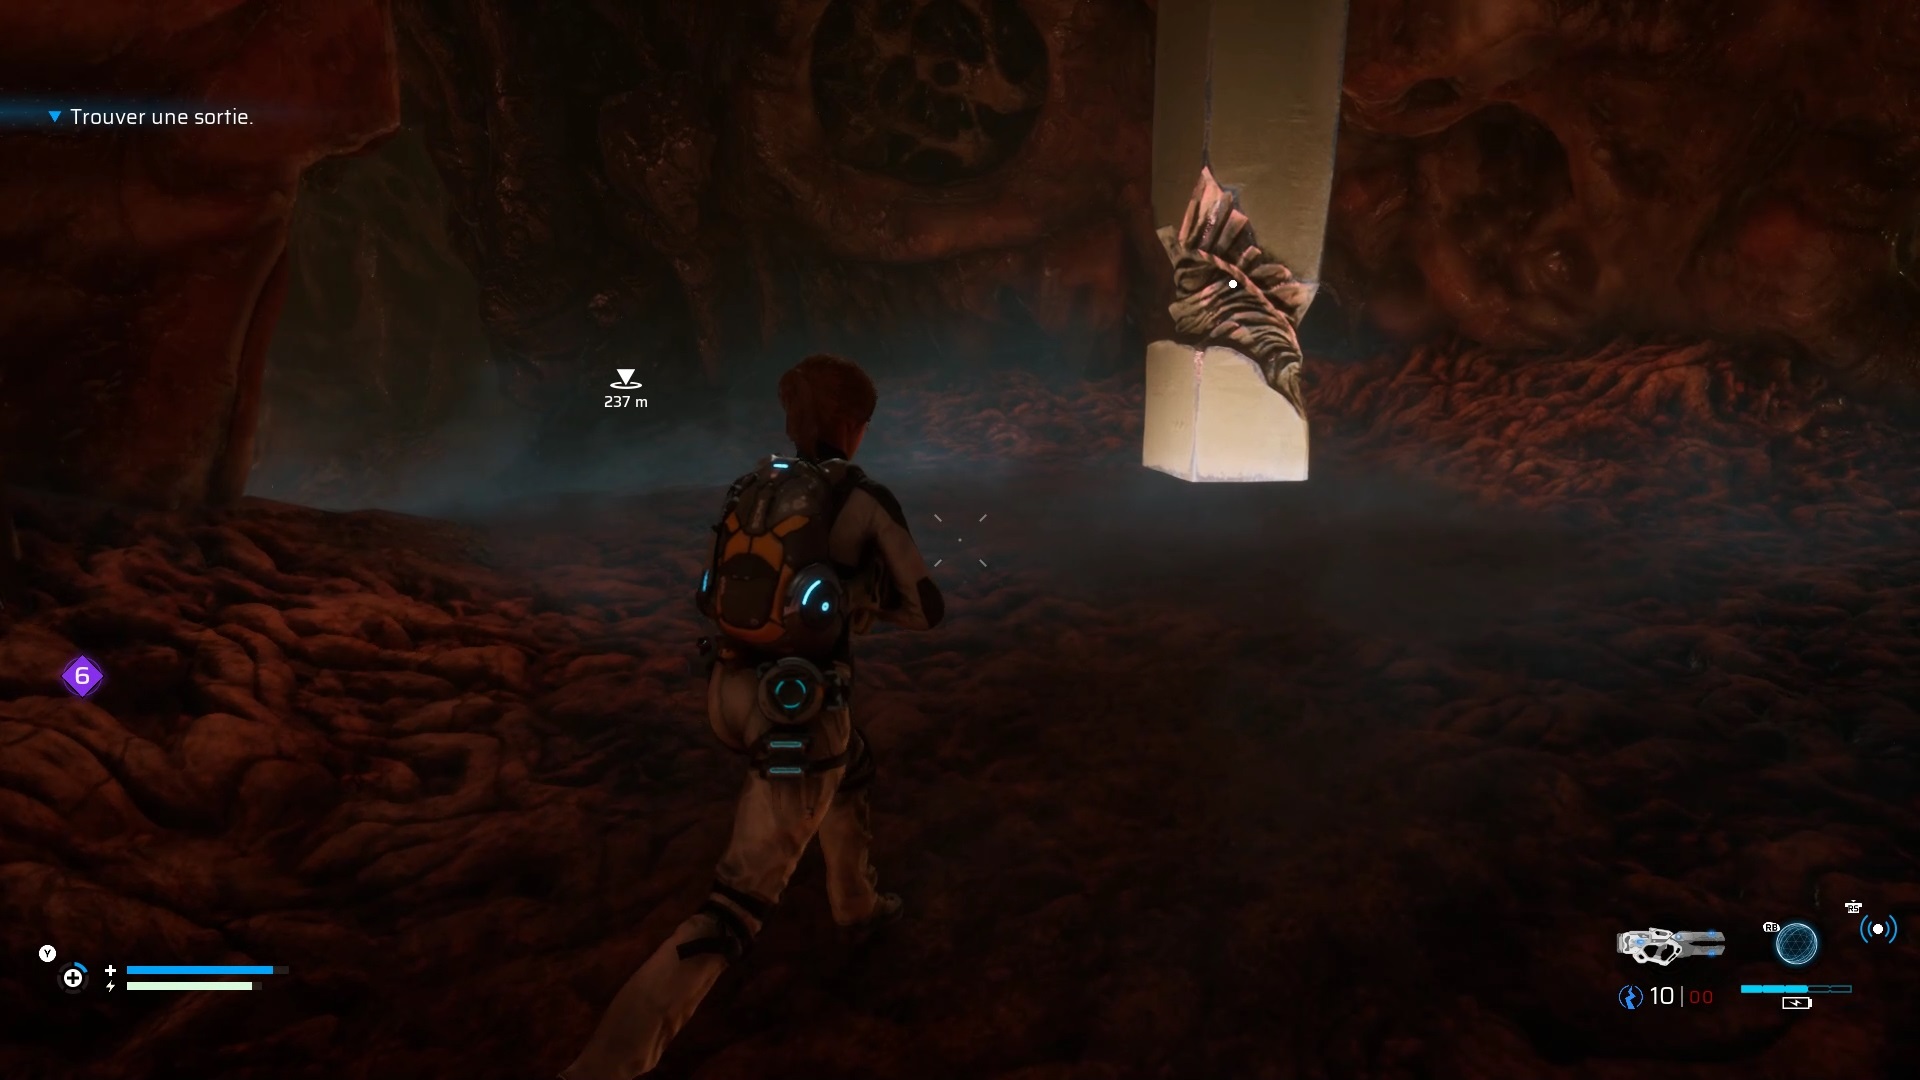
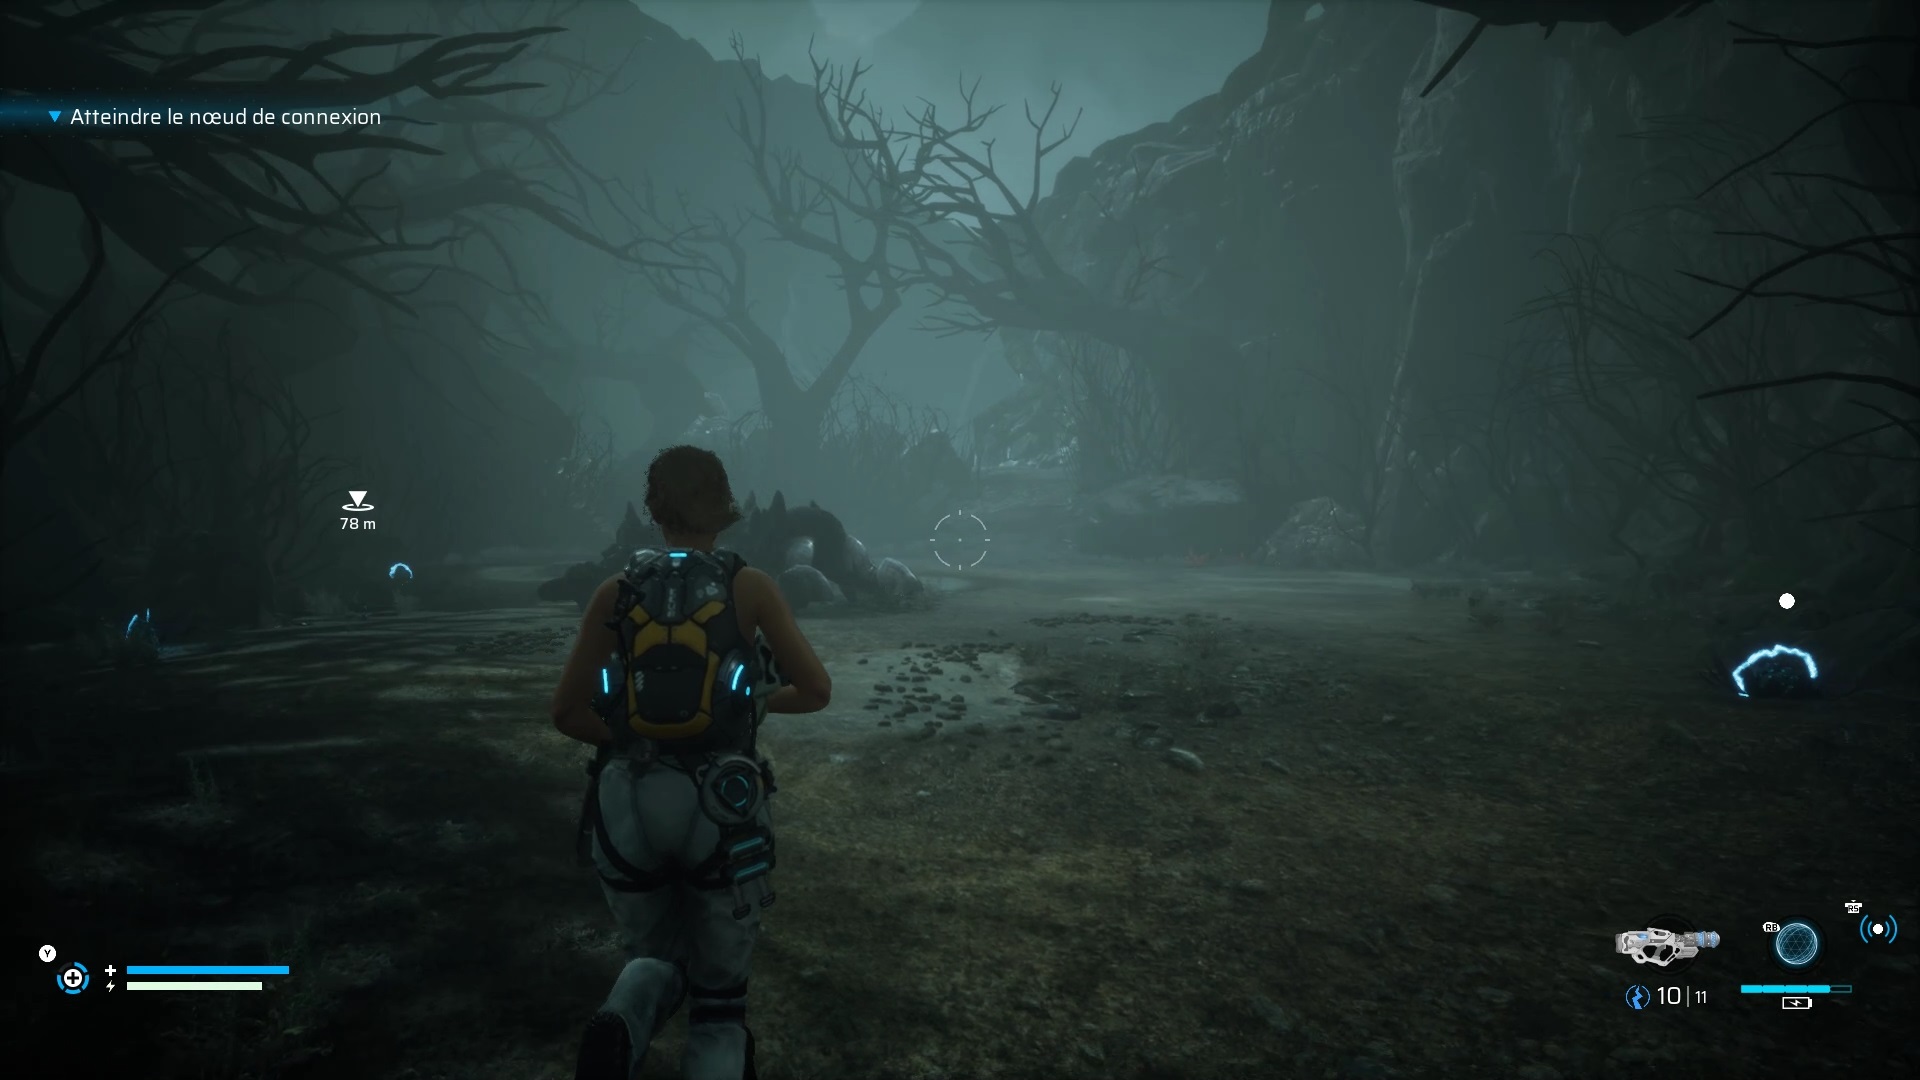
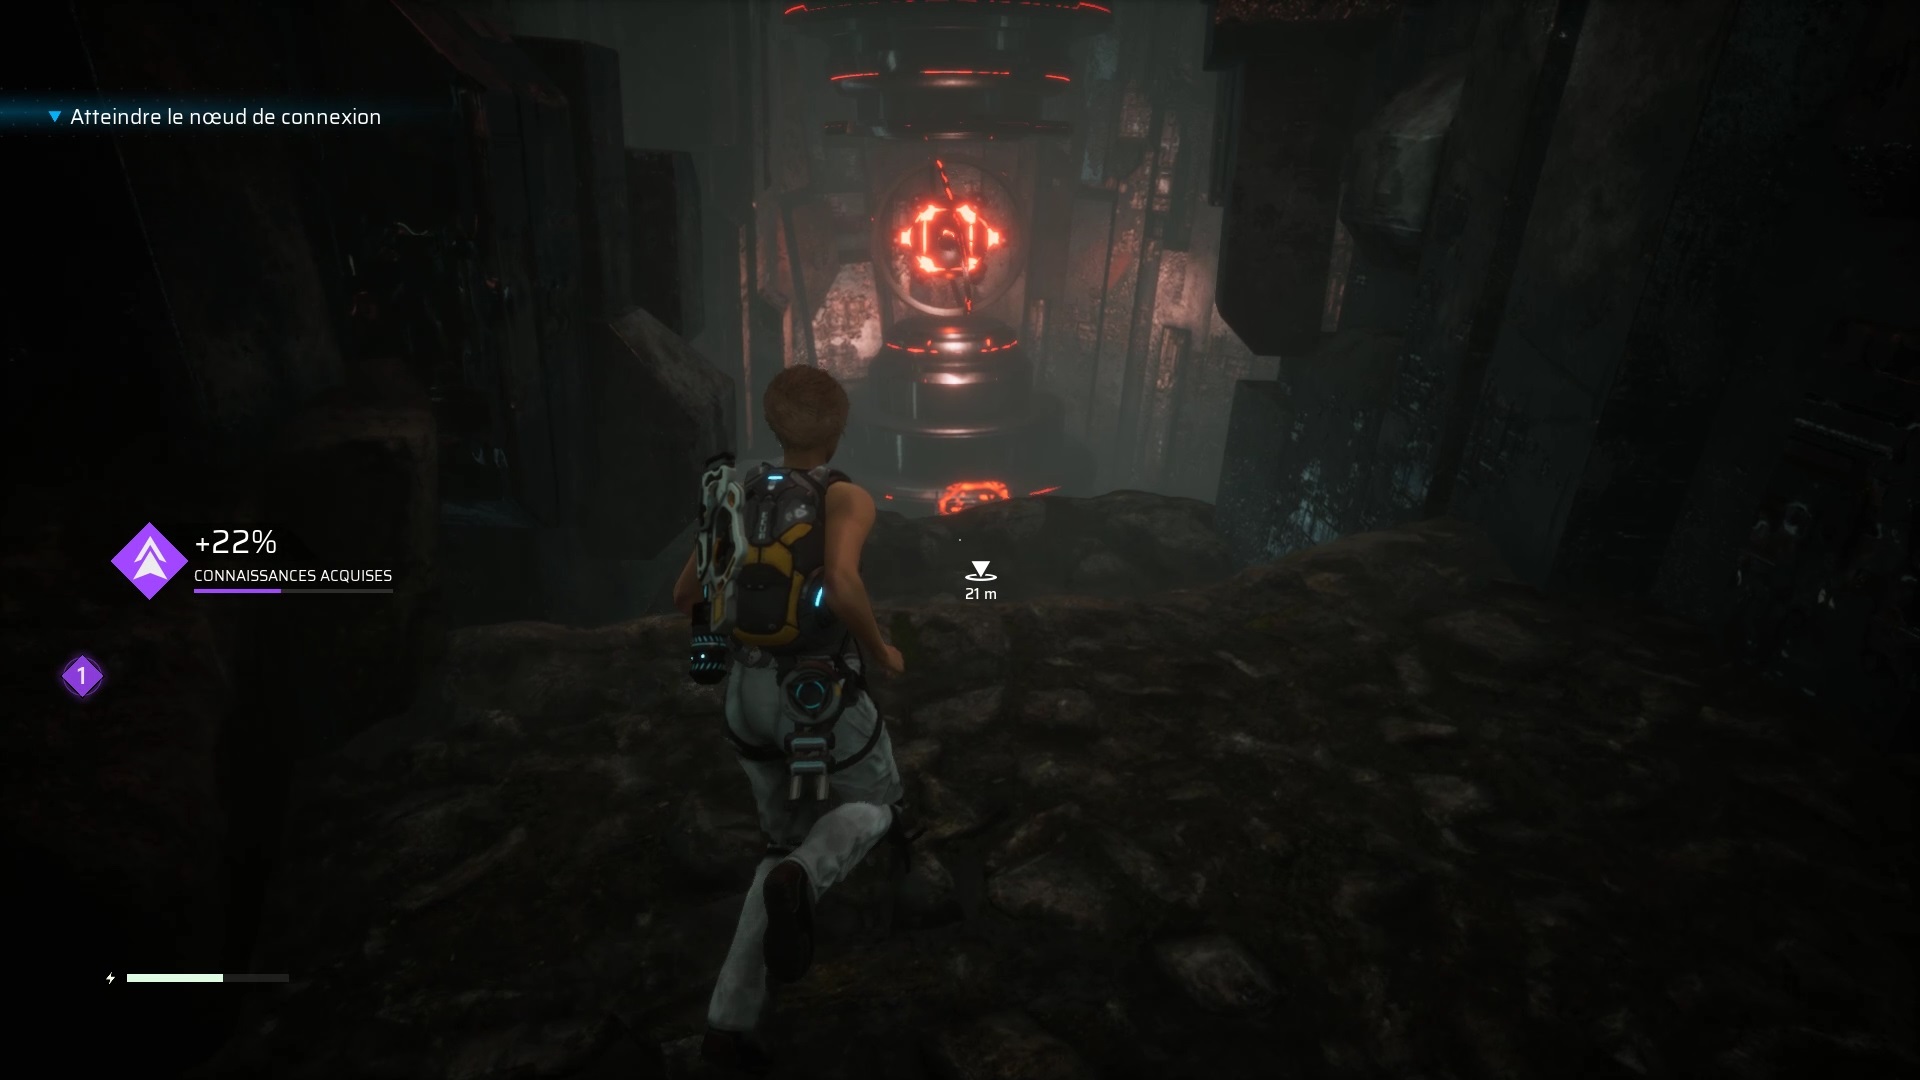
When you wake up, follow the apparition and familiarize yourself with the new commands. Once at the top take the path east to find a pillar on a plain. Interact with it to spawn a storm and move to Chapter 1.
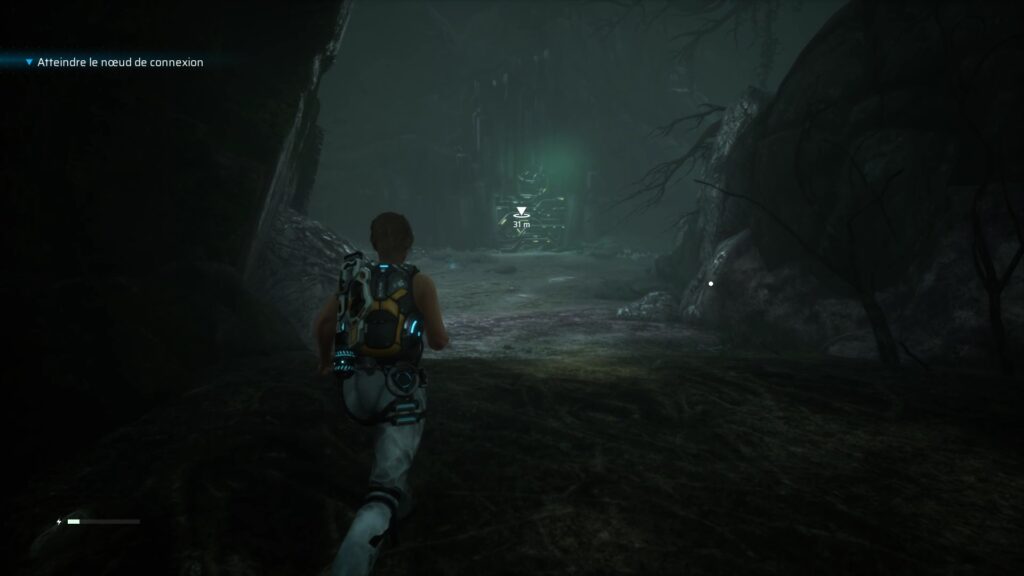
Chapter 1
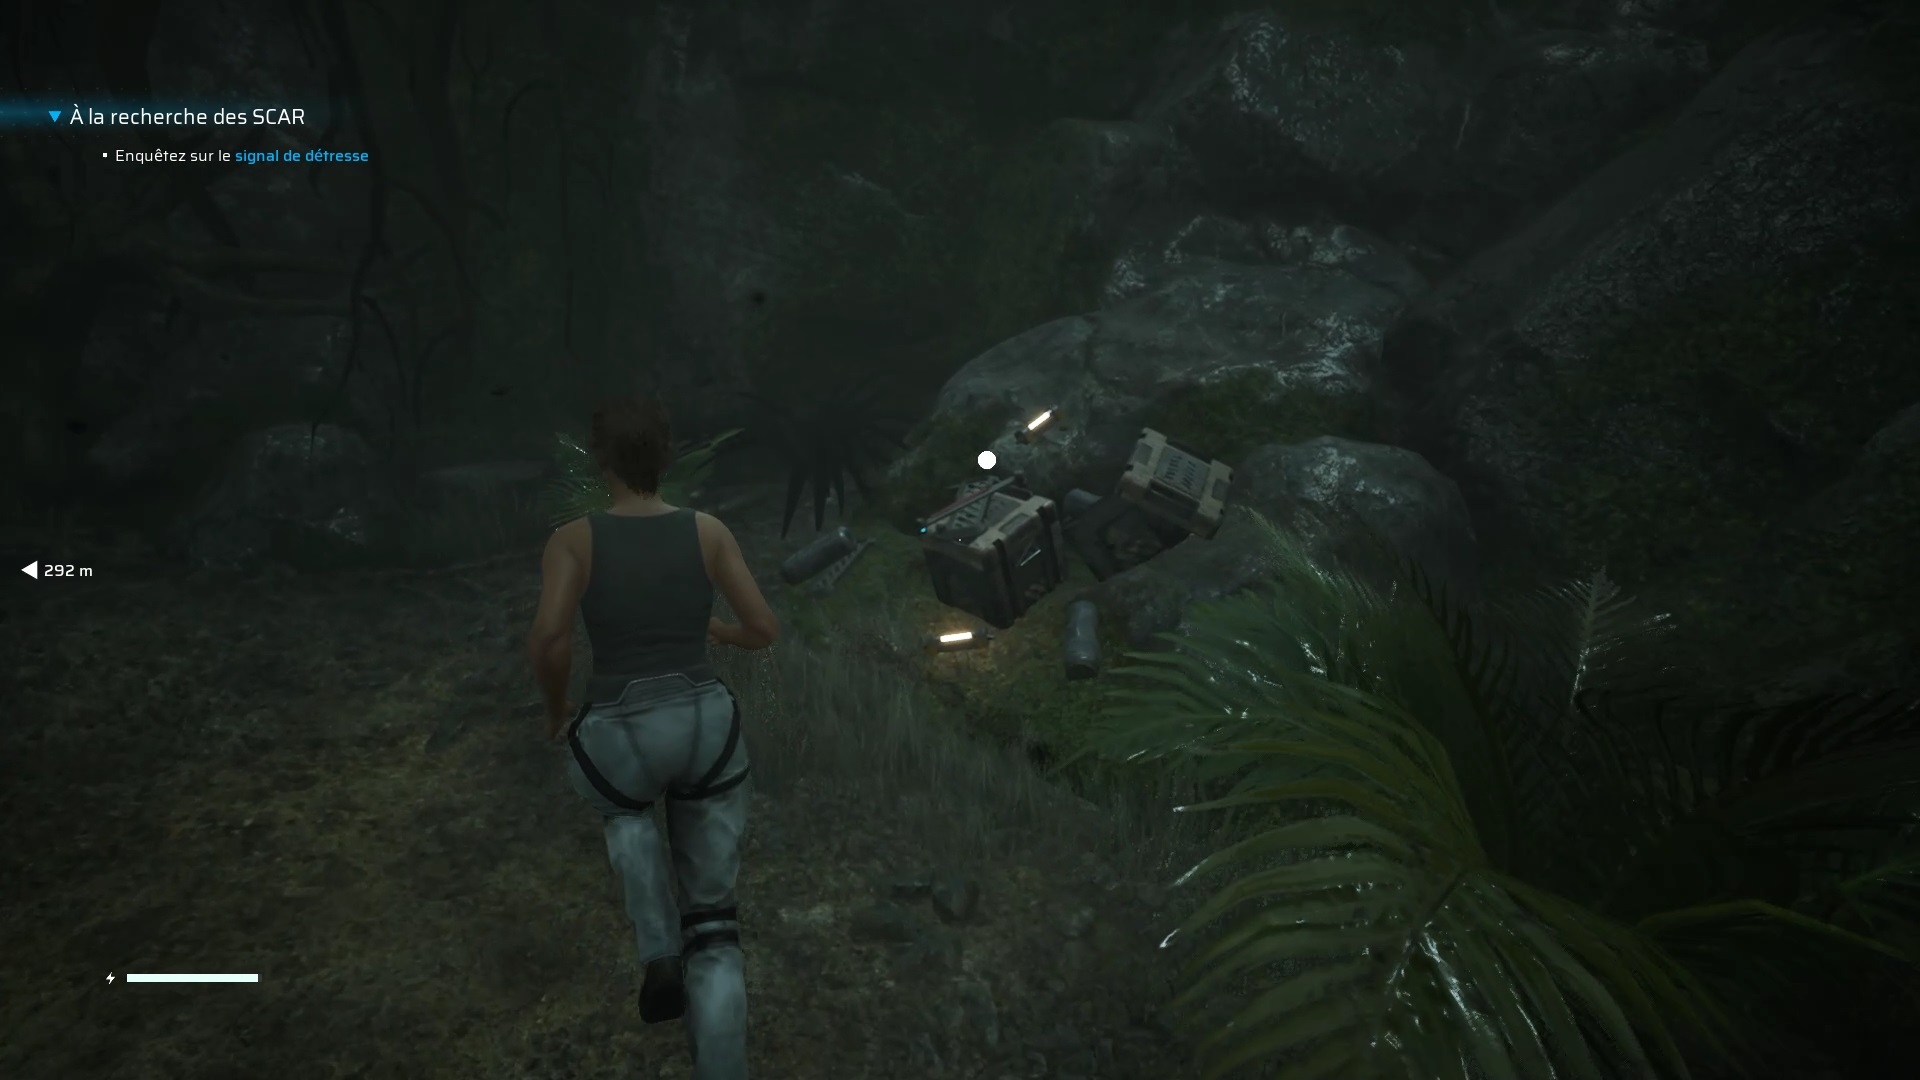
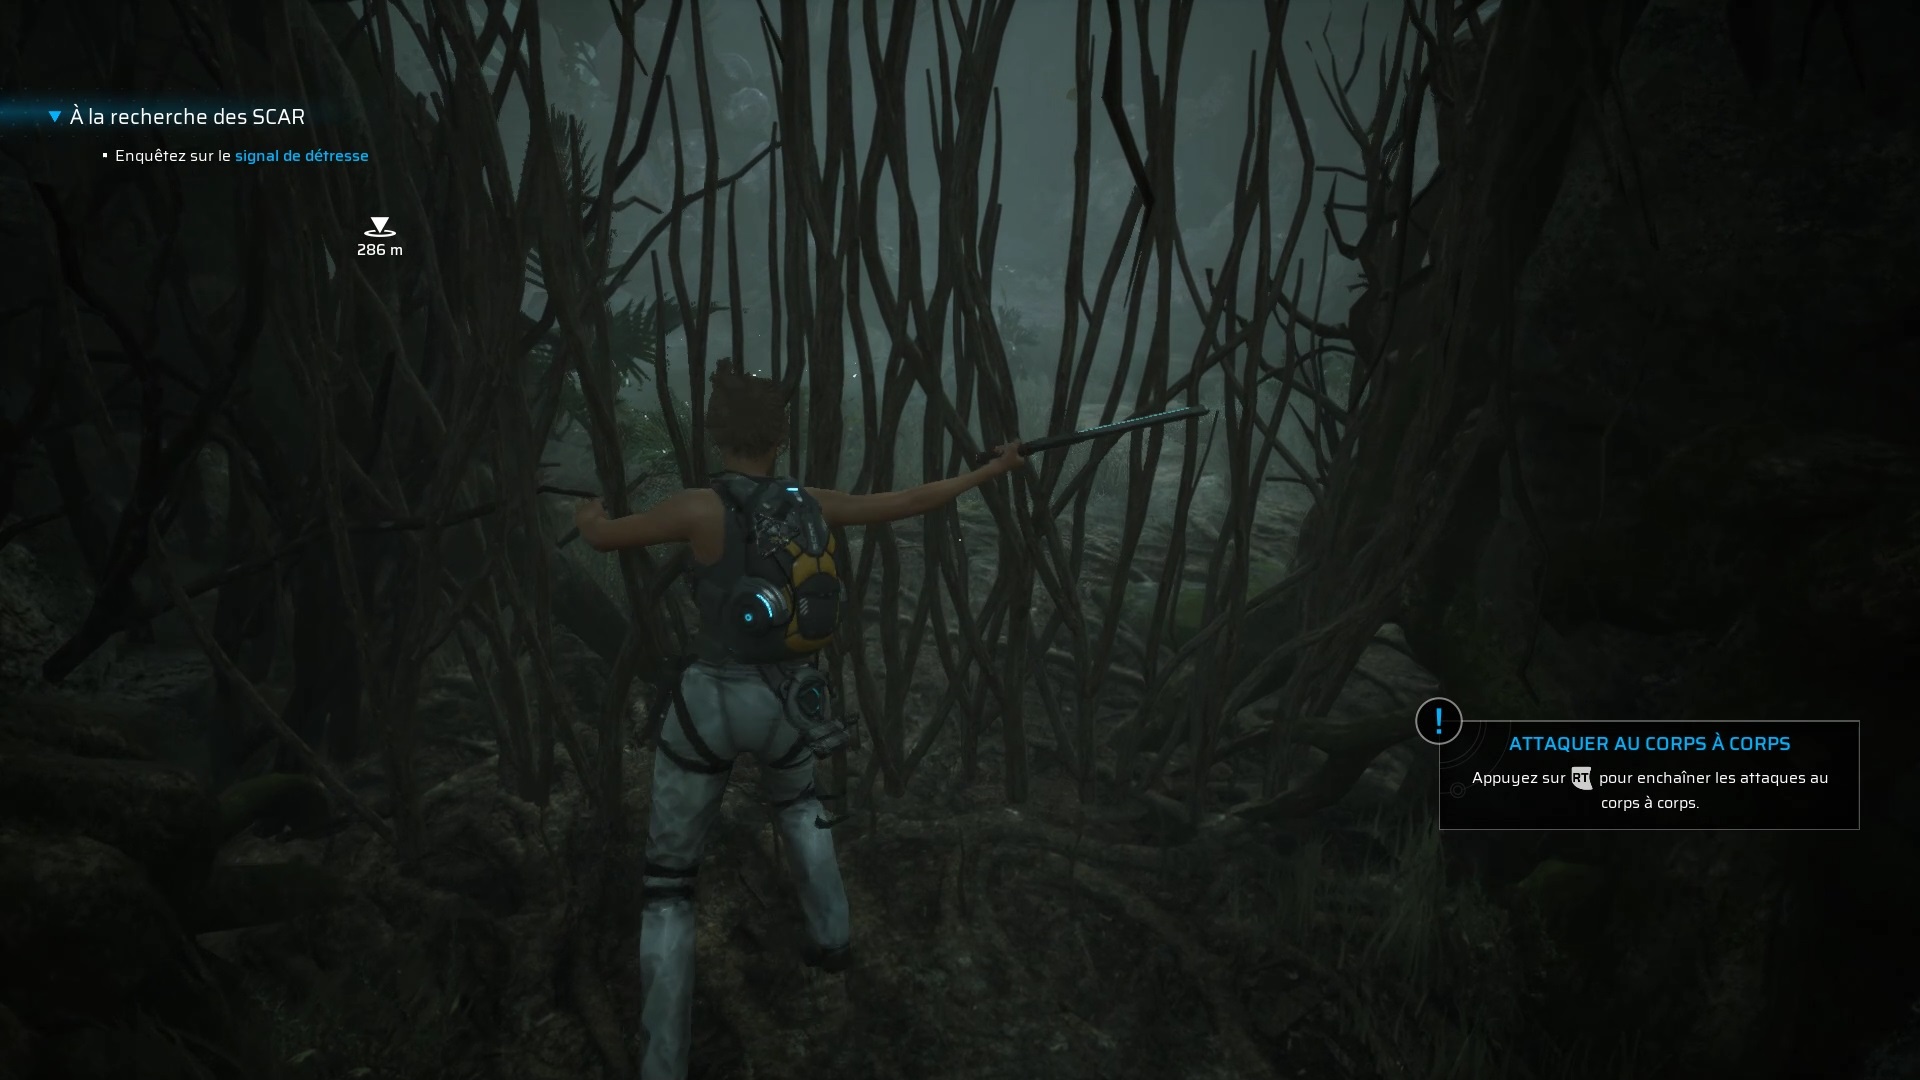
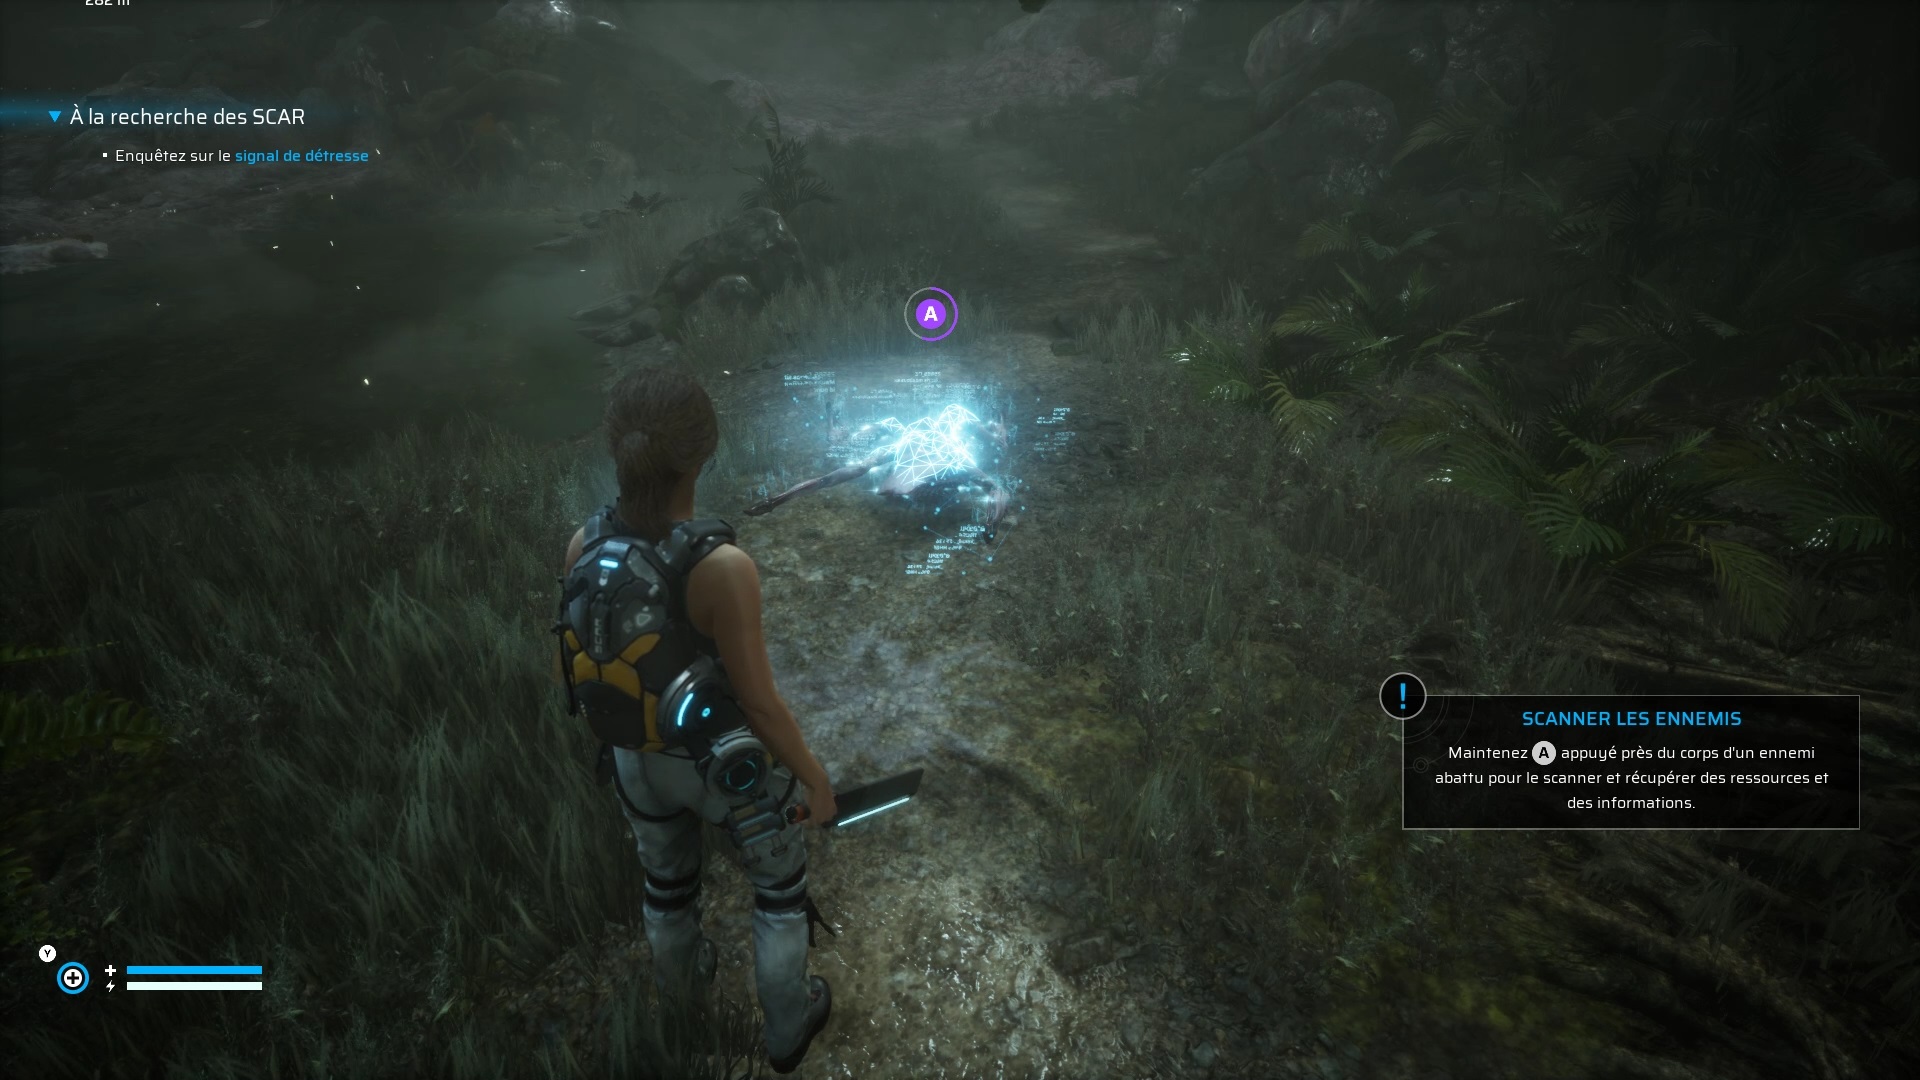
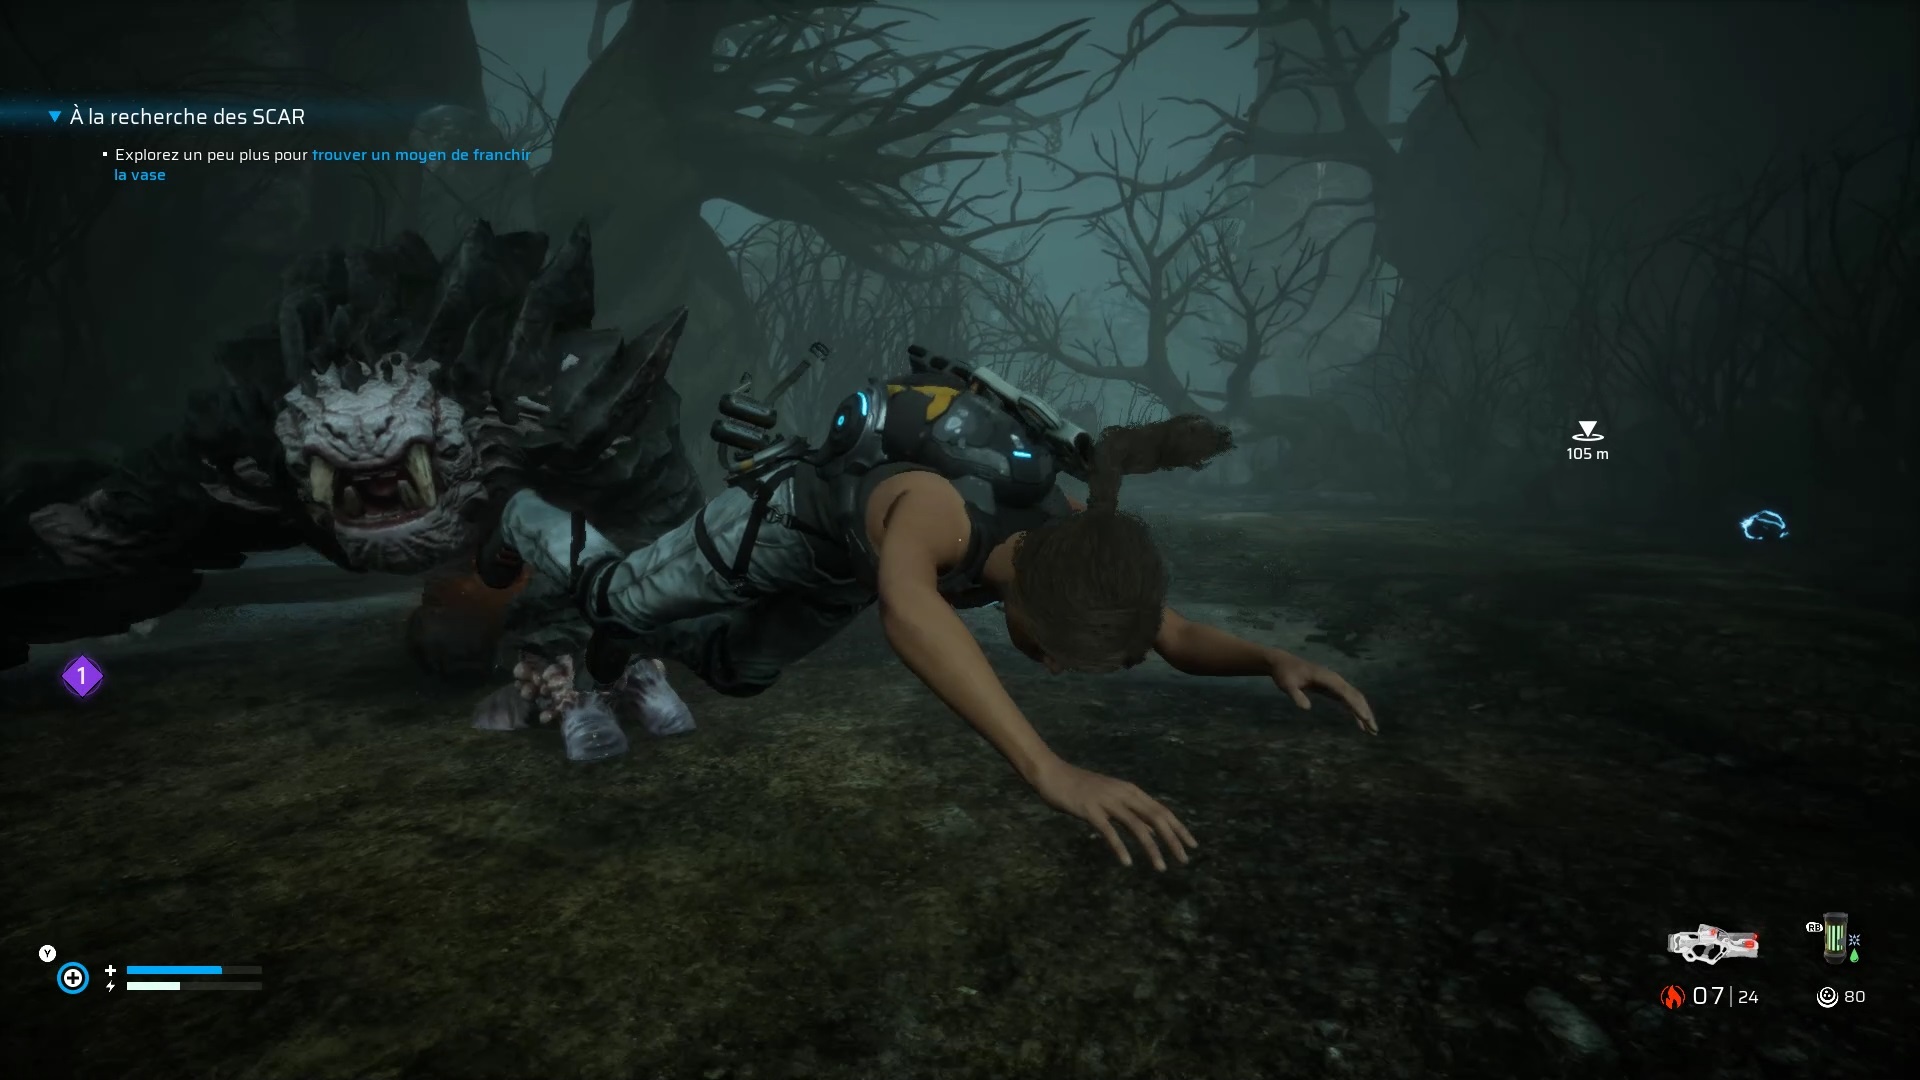
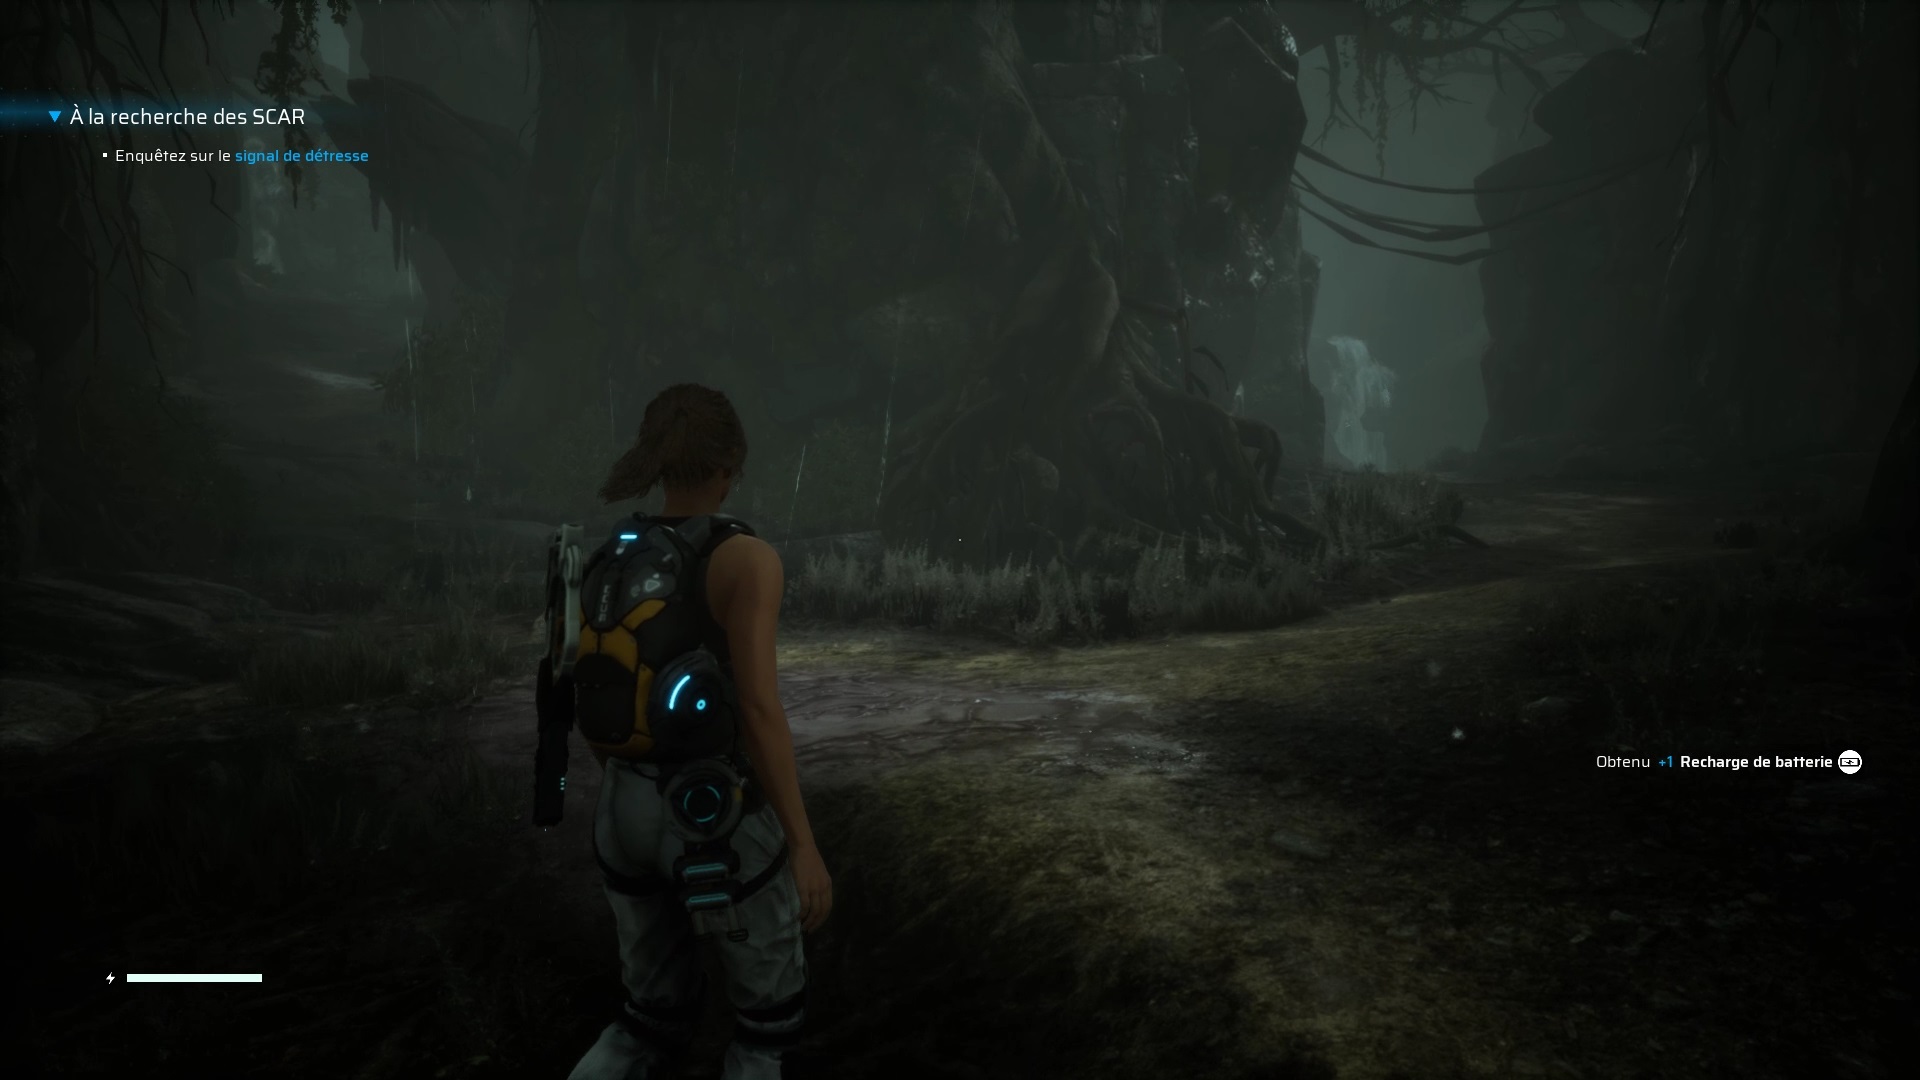
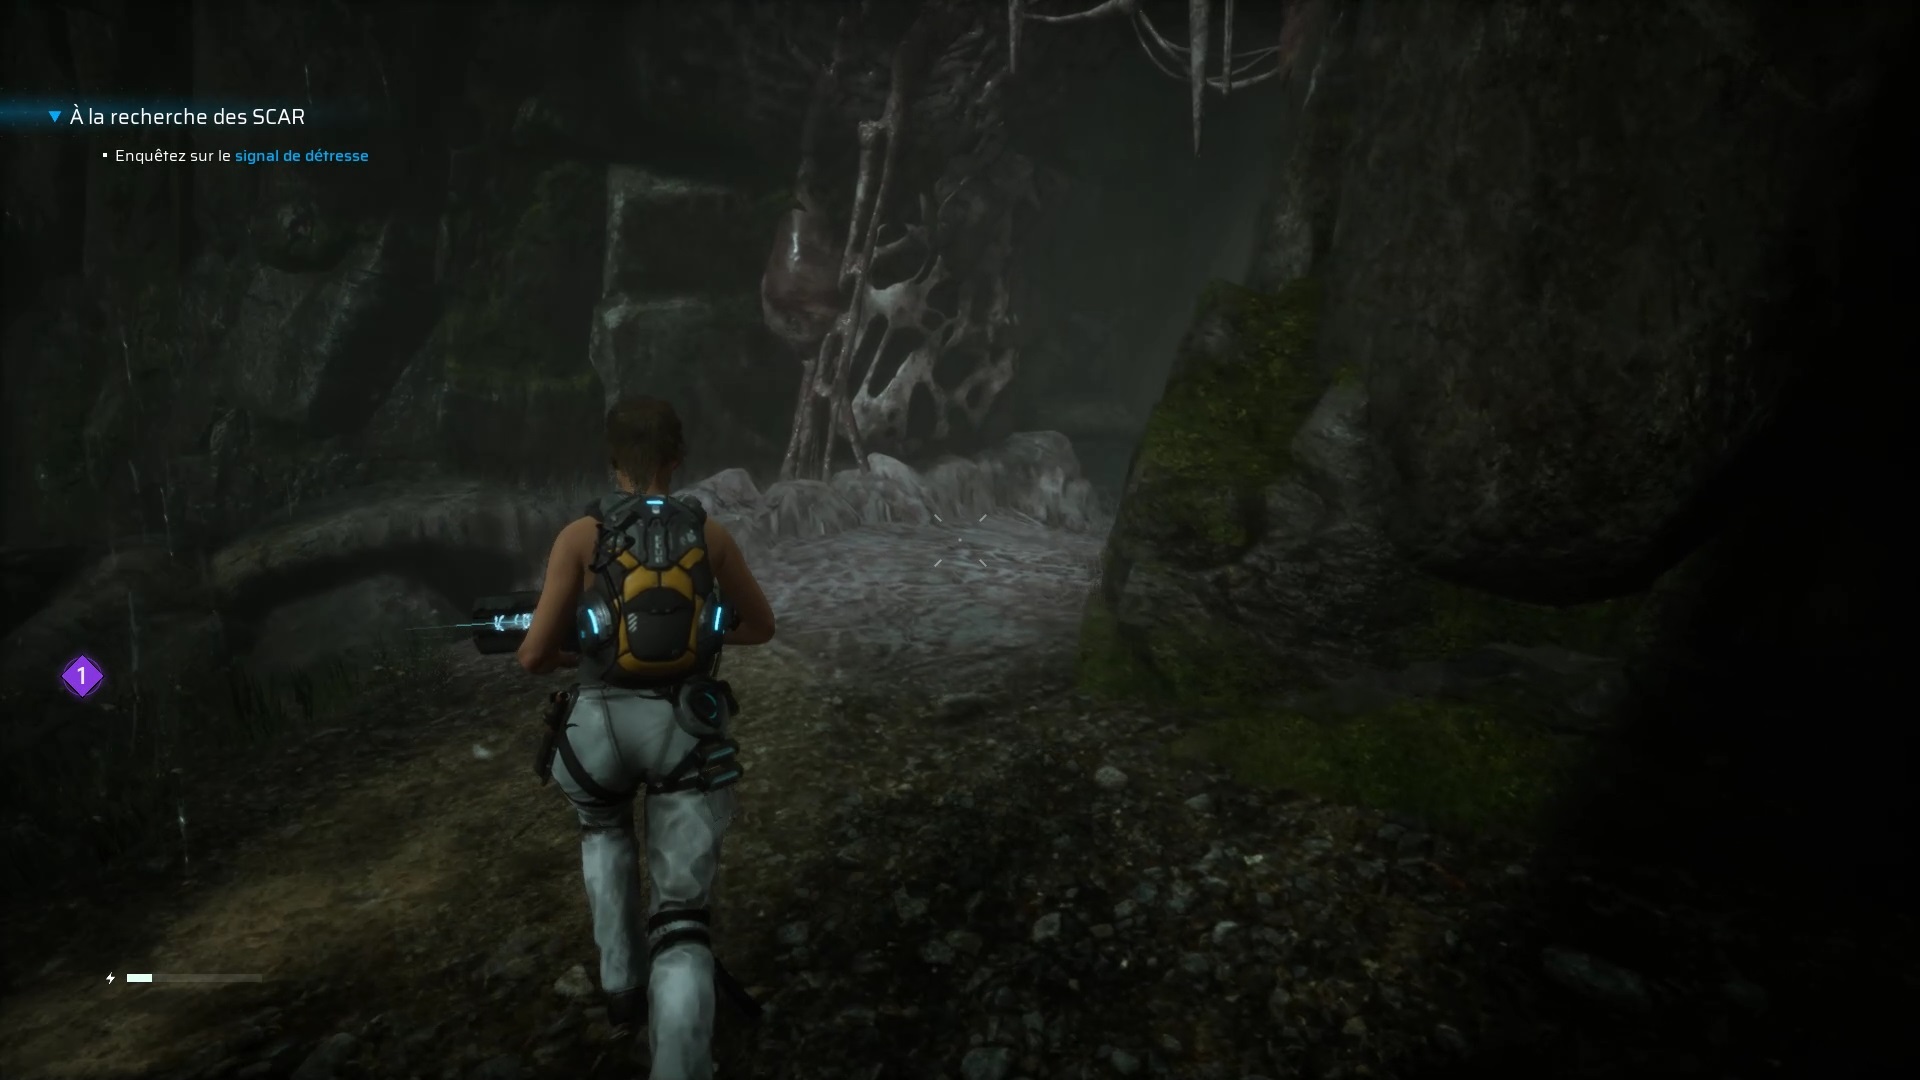
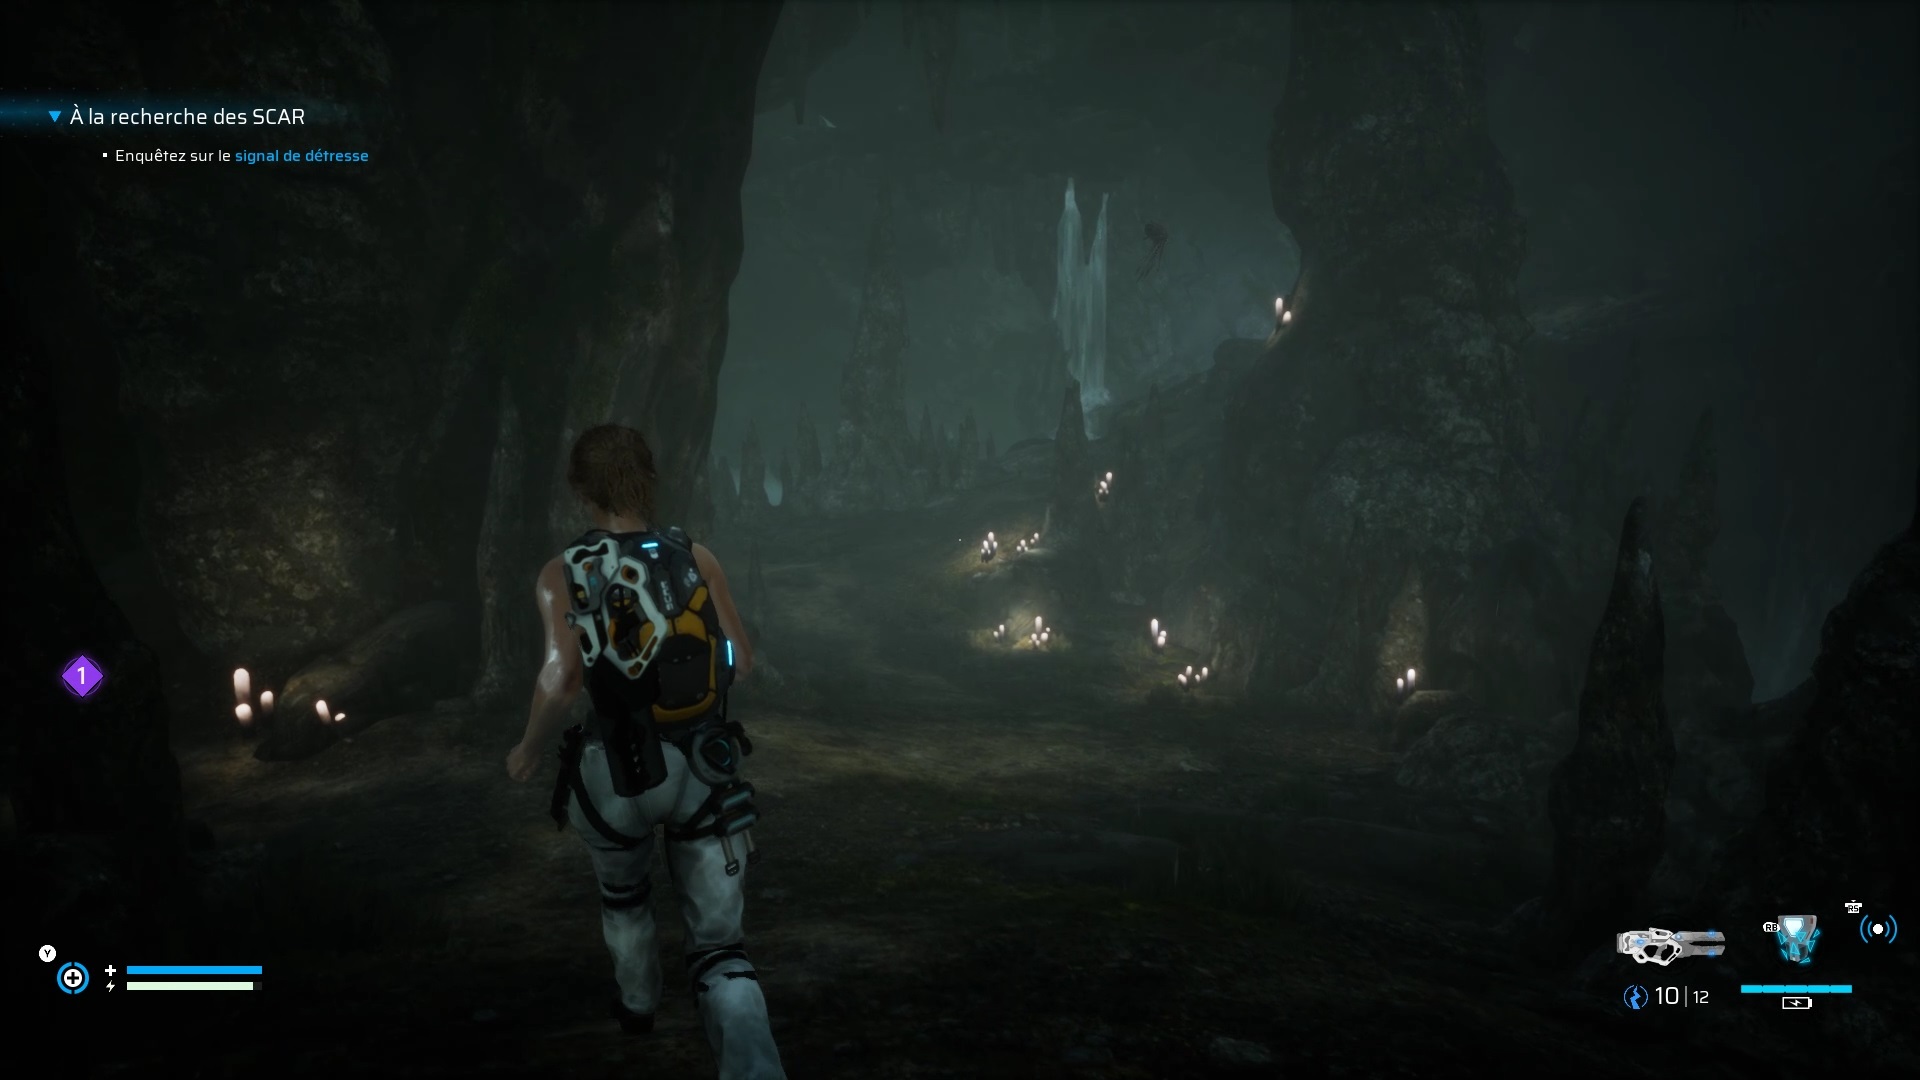
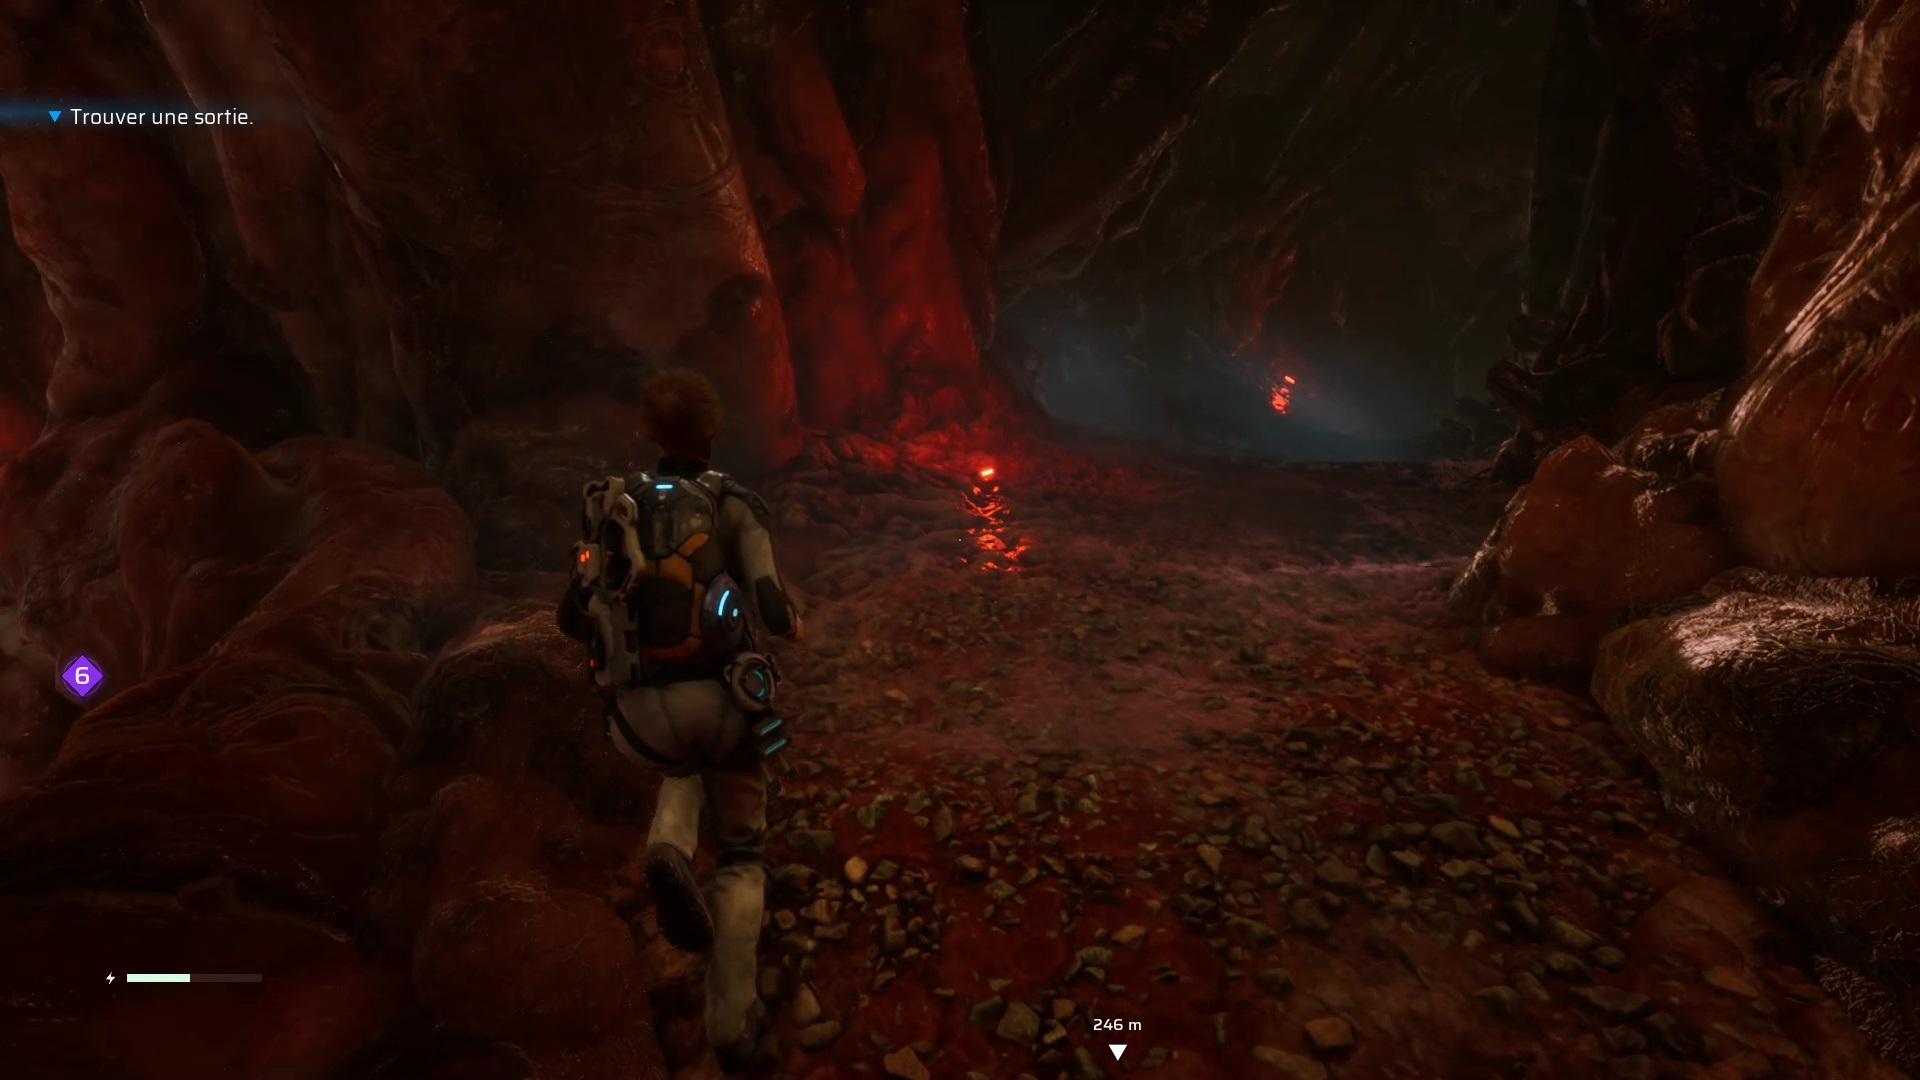
When you arrive, search the crates opposite to find a backpack and a chopper. Use the cutter on the nearby vines to pass. An enemy awaits you on the other side. Use the carver to knock him down. Scan the enemy to identify it.
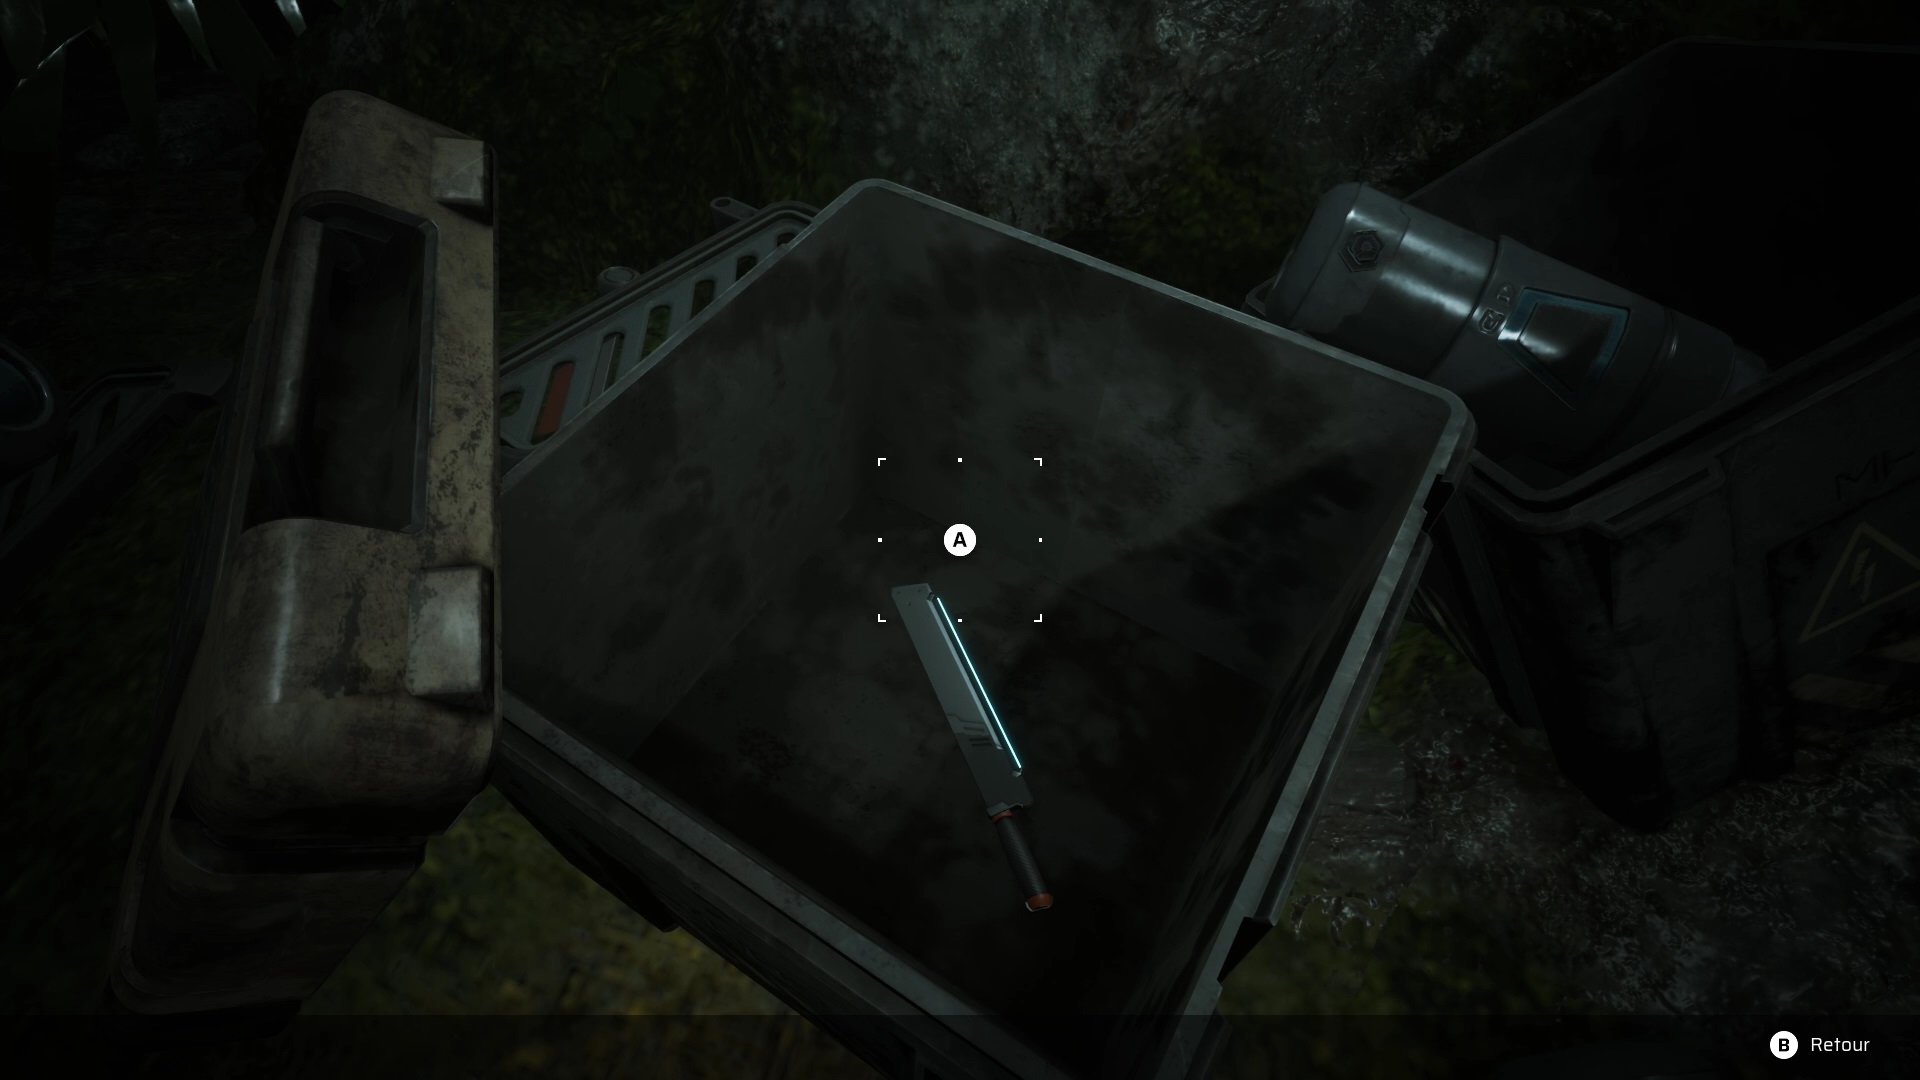
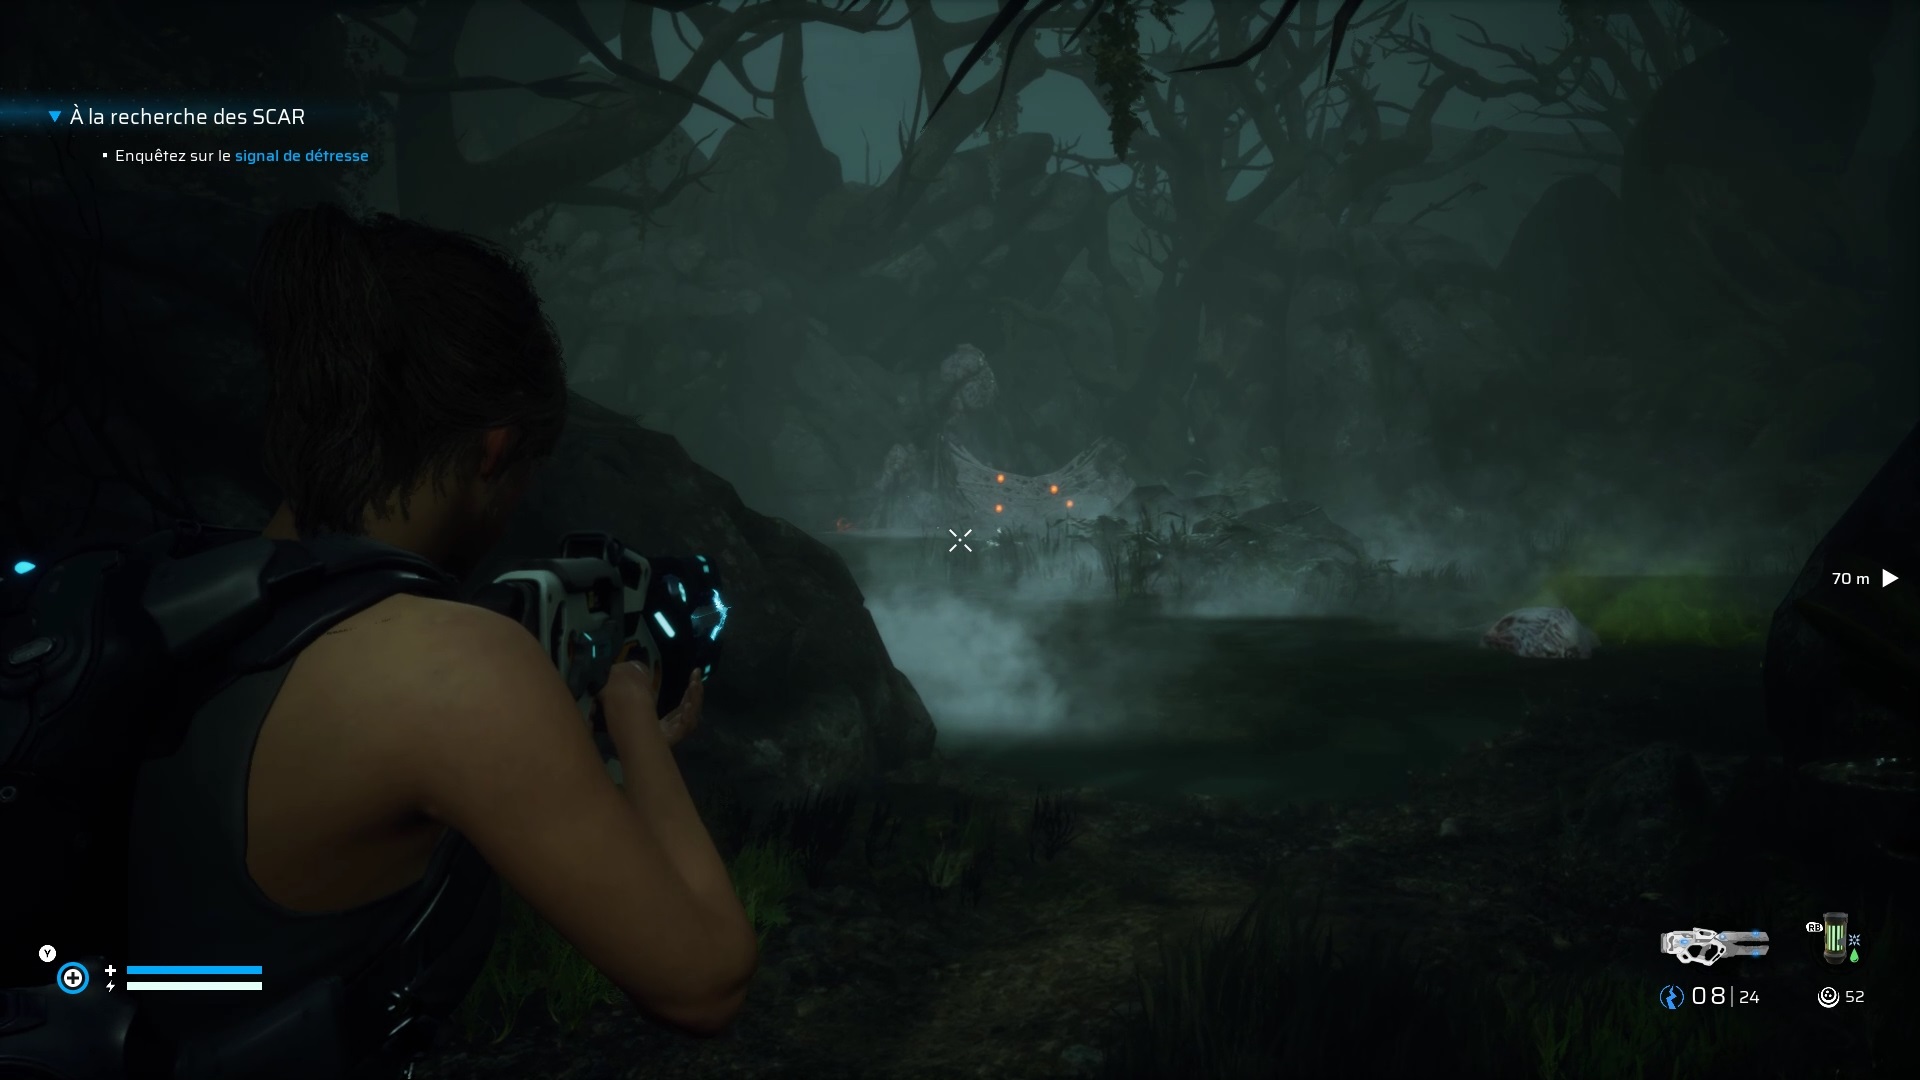
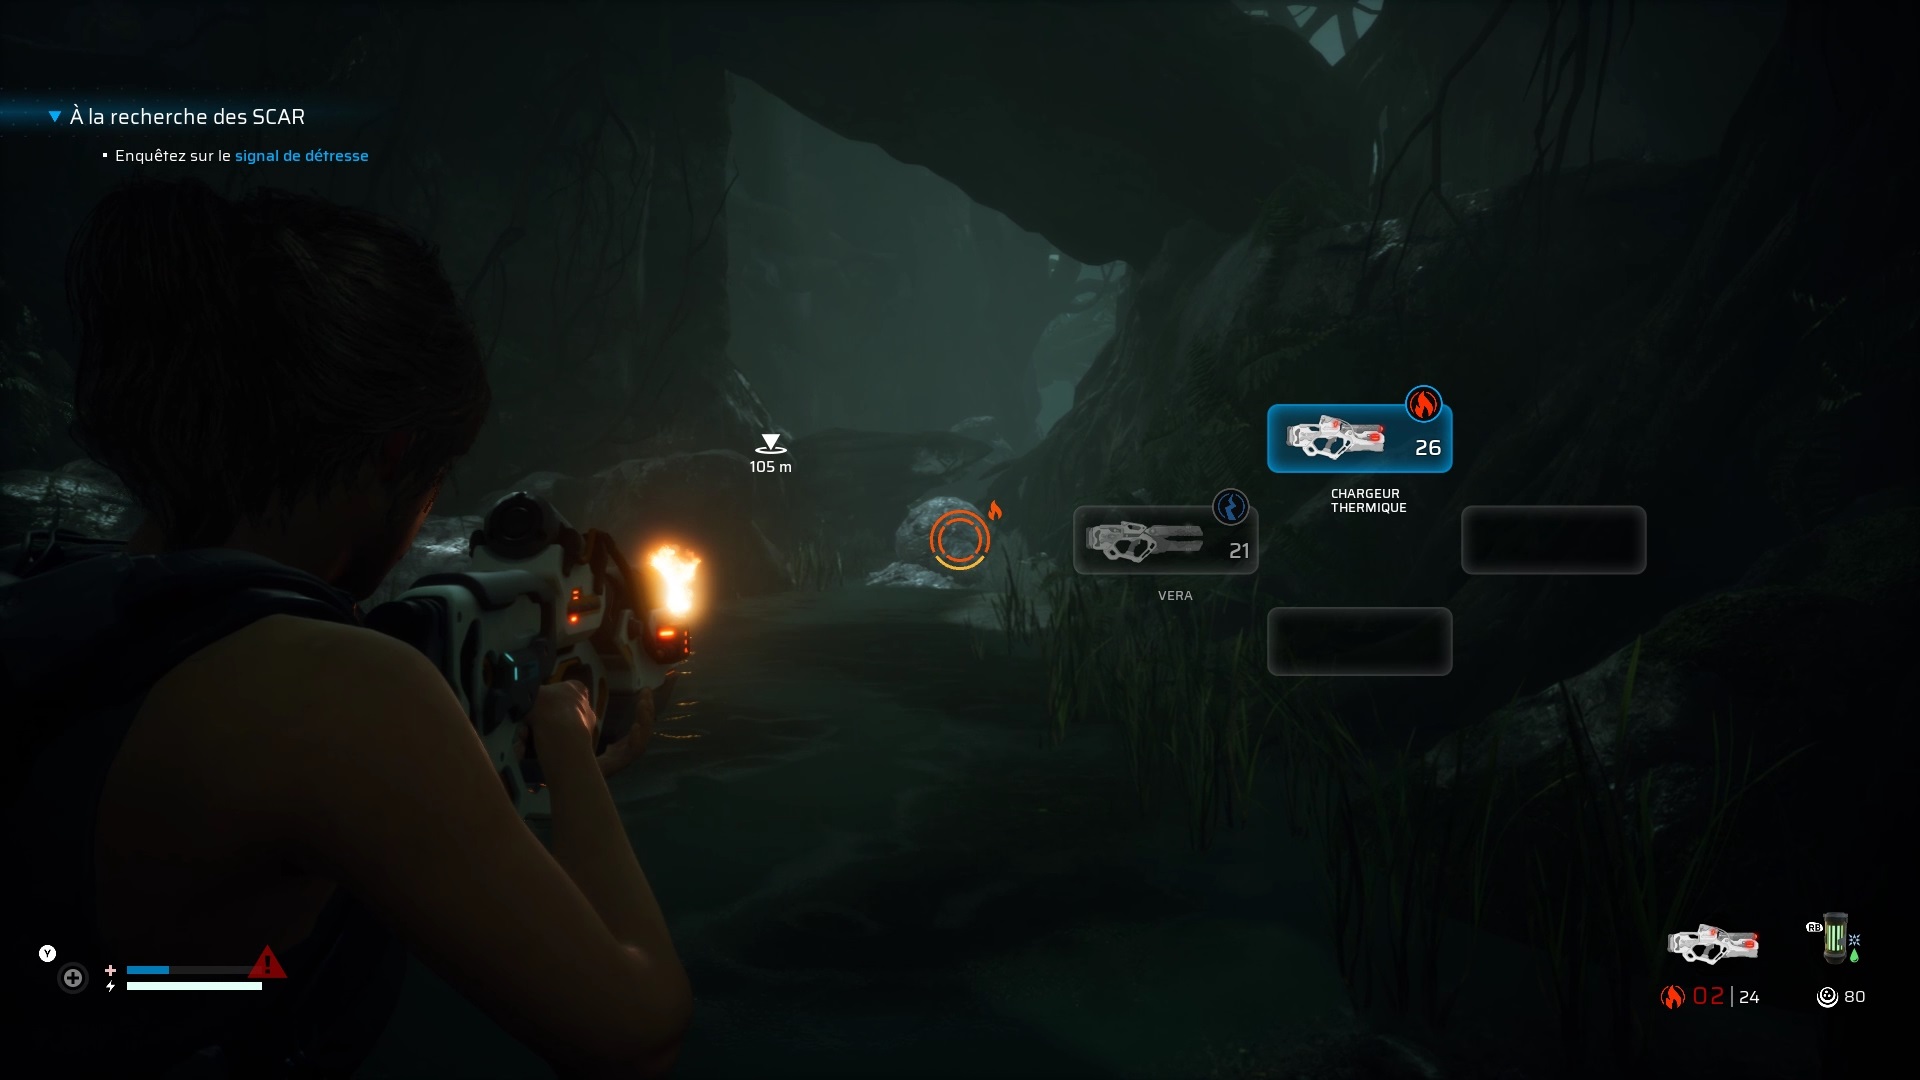
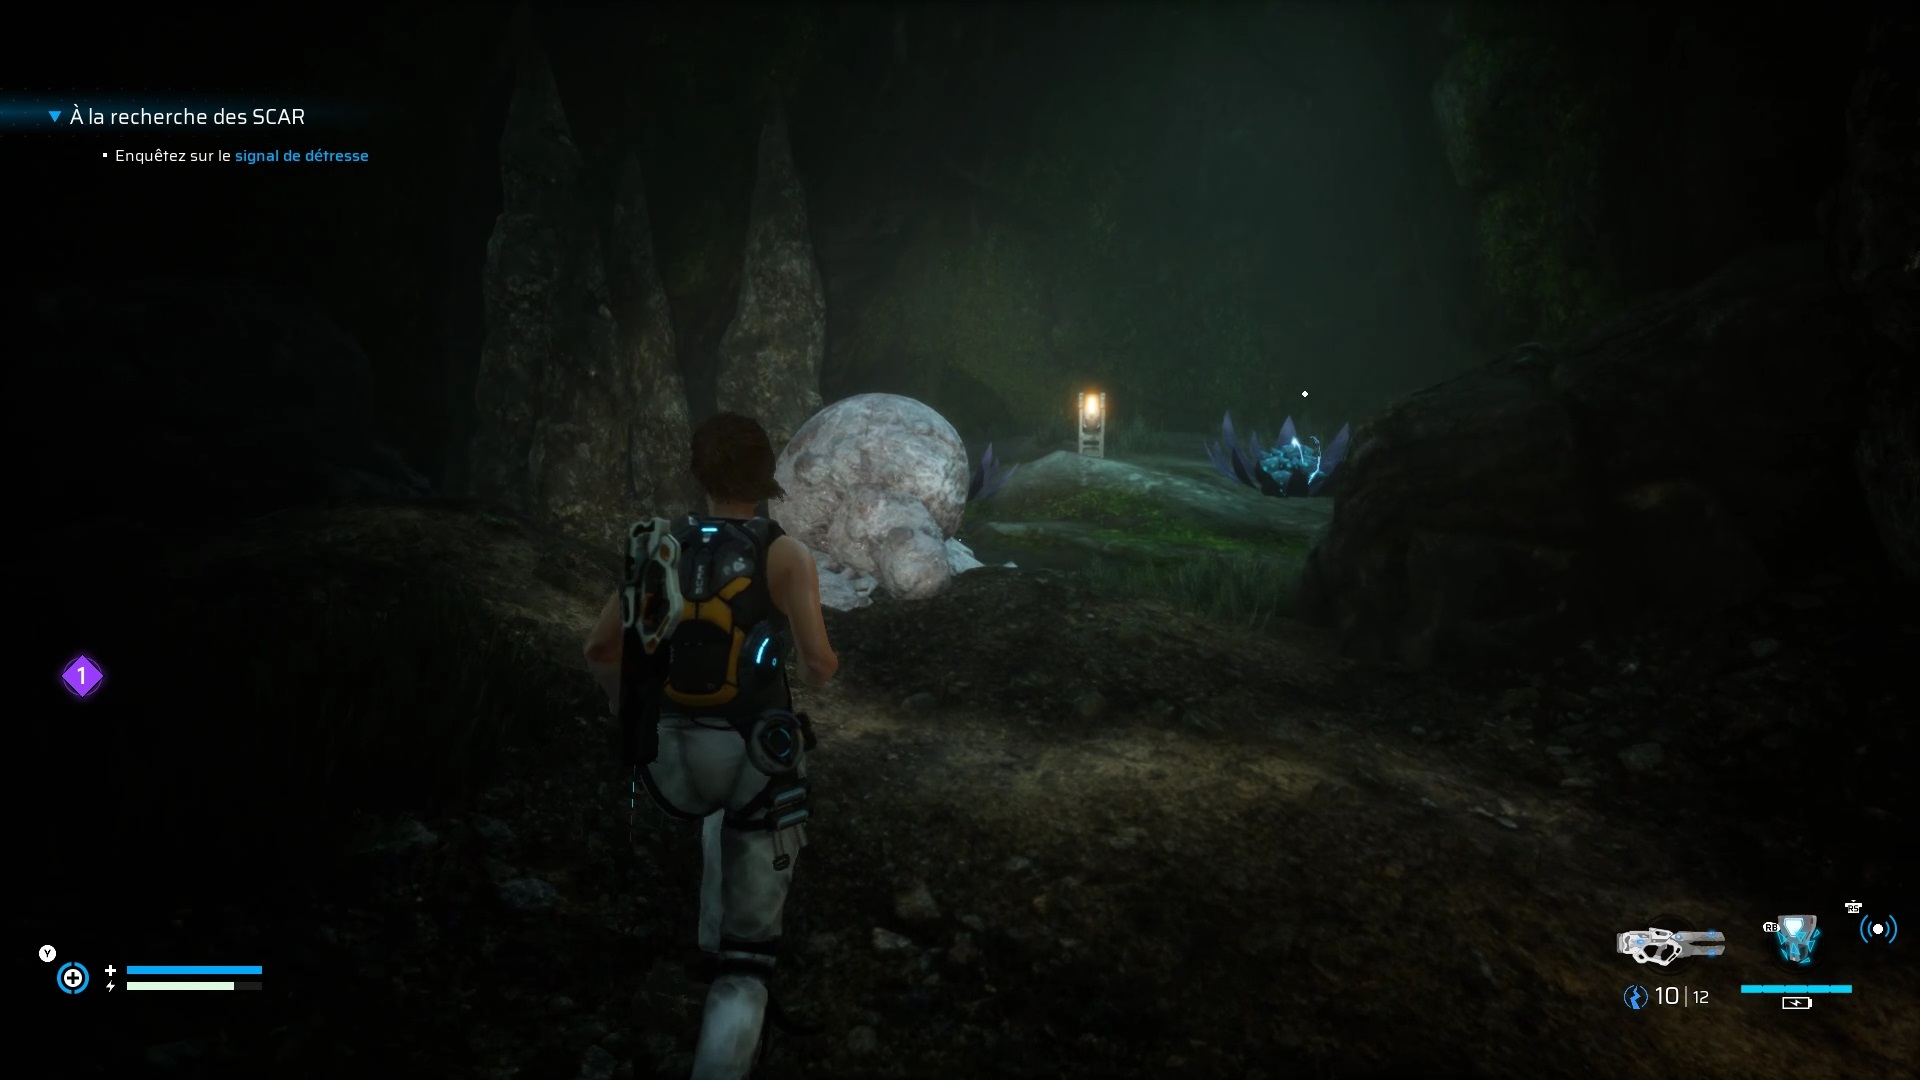
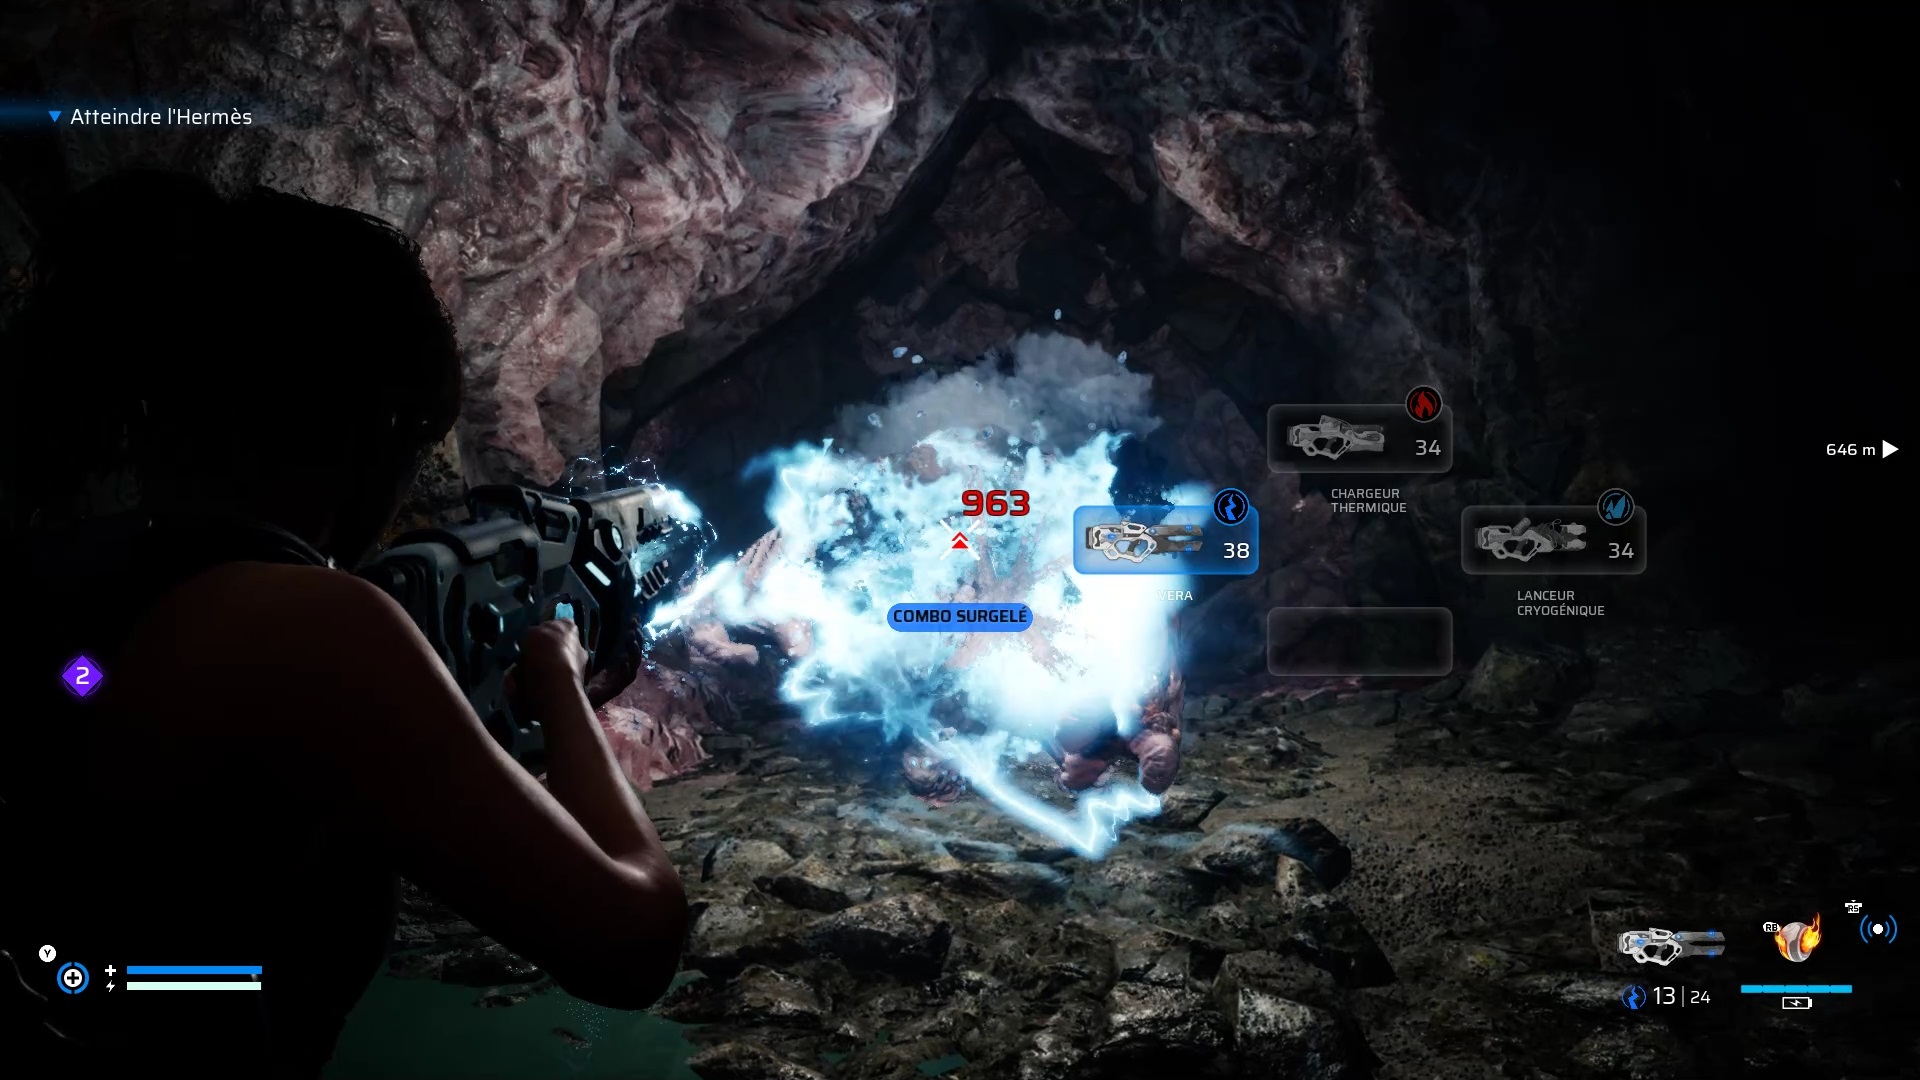
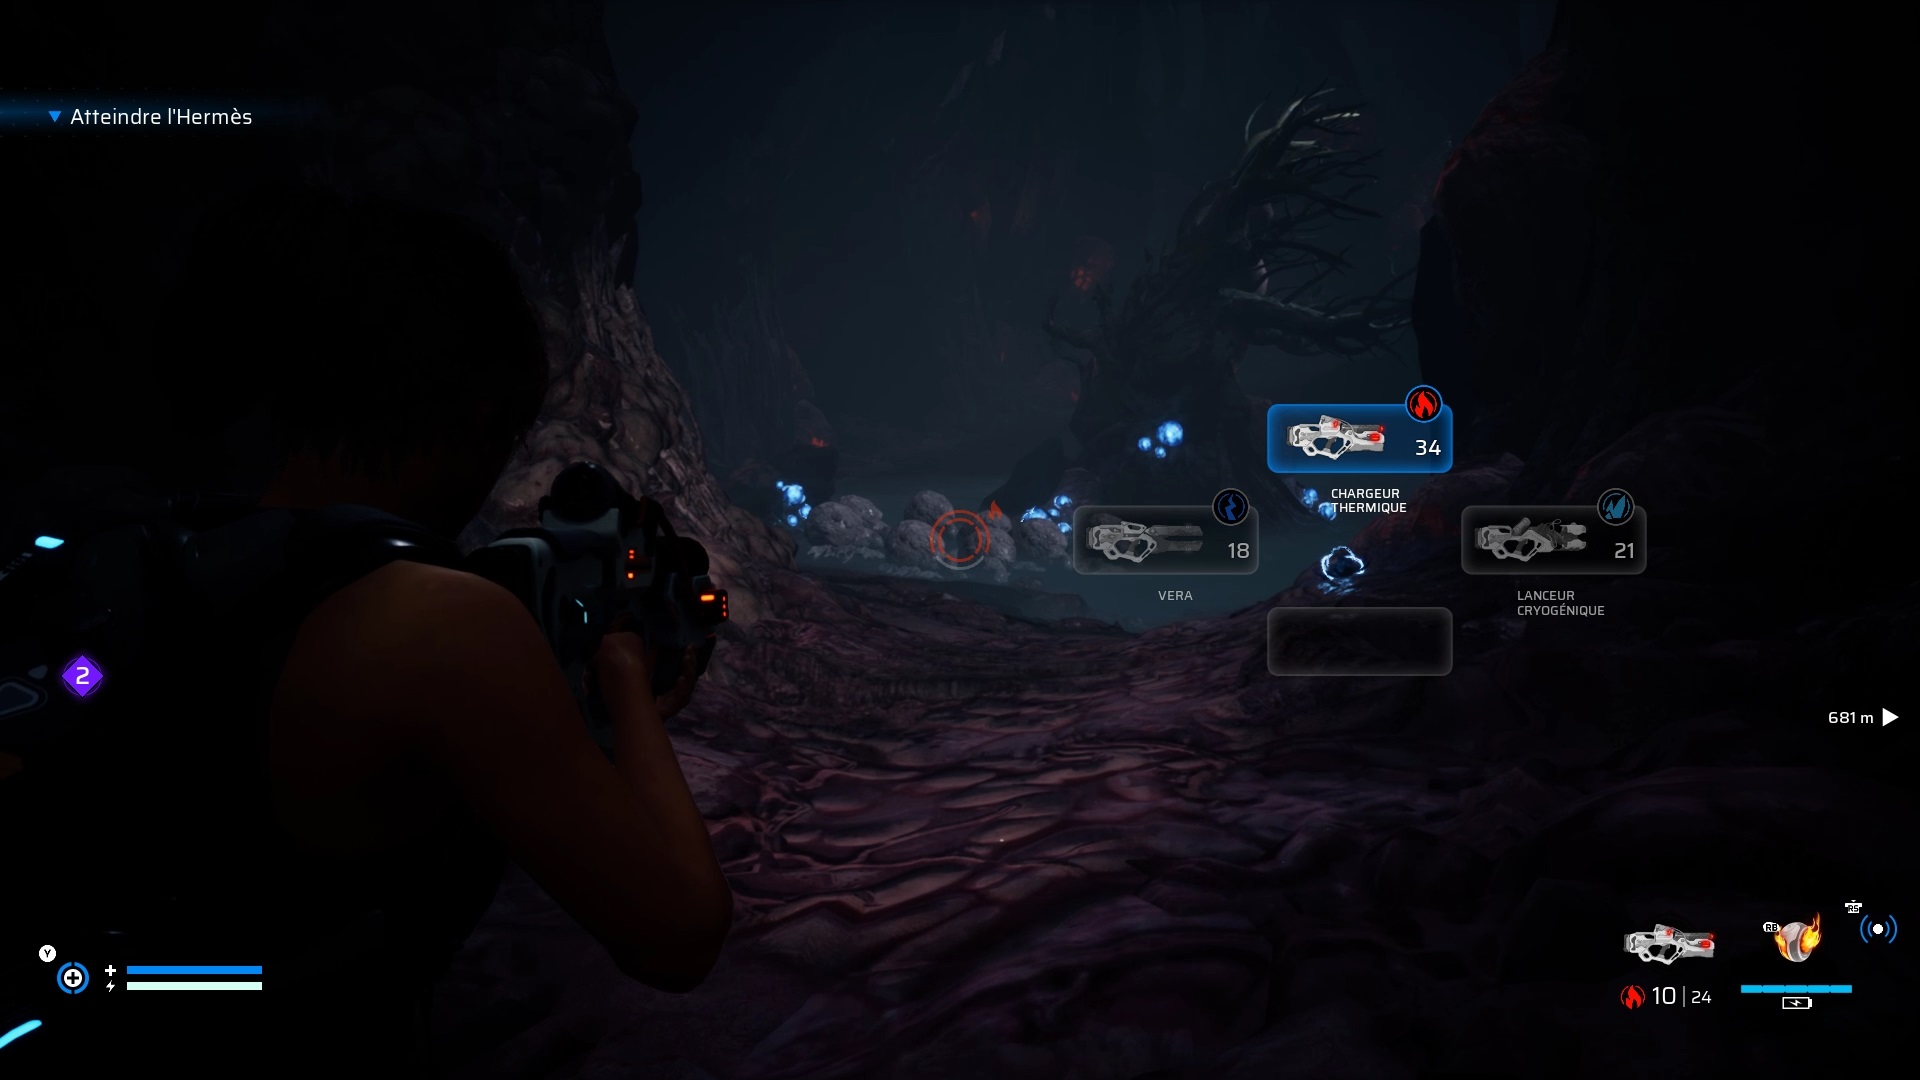
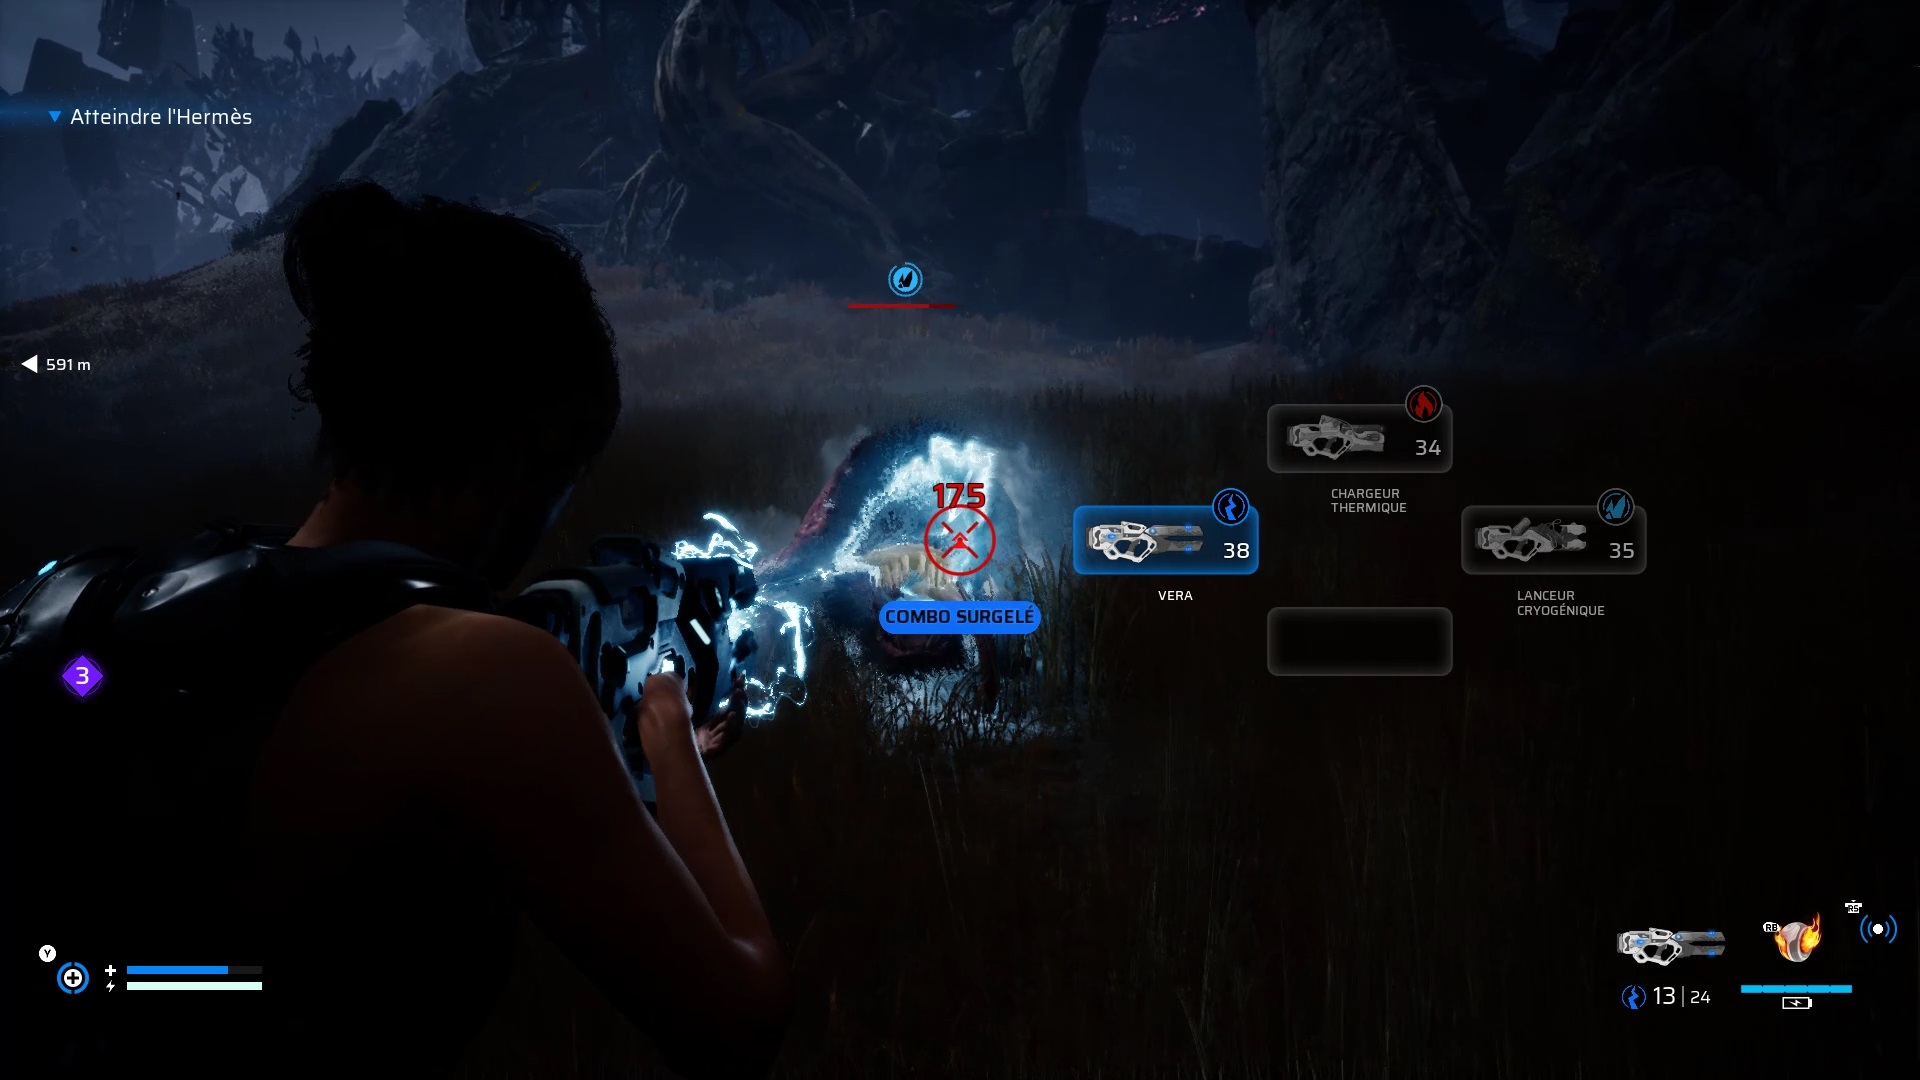
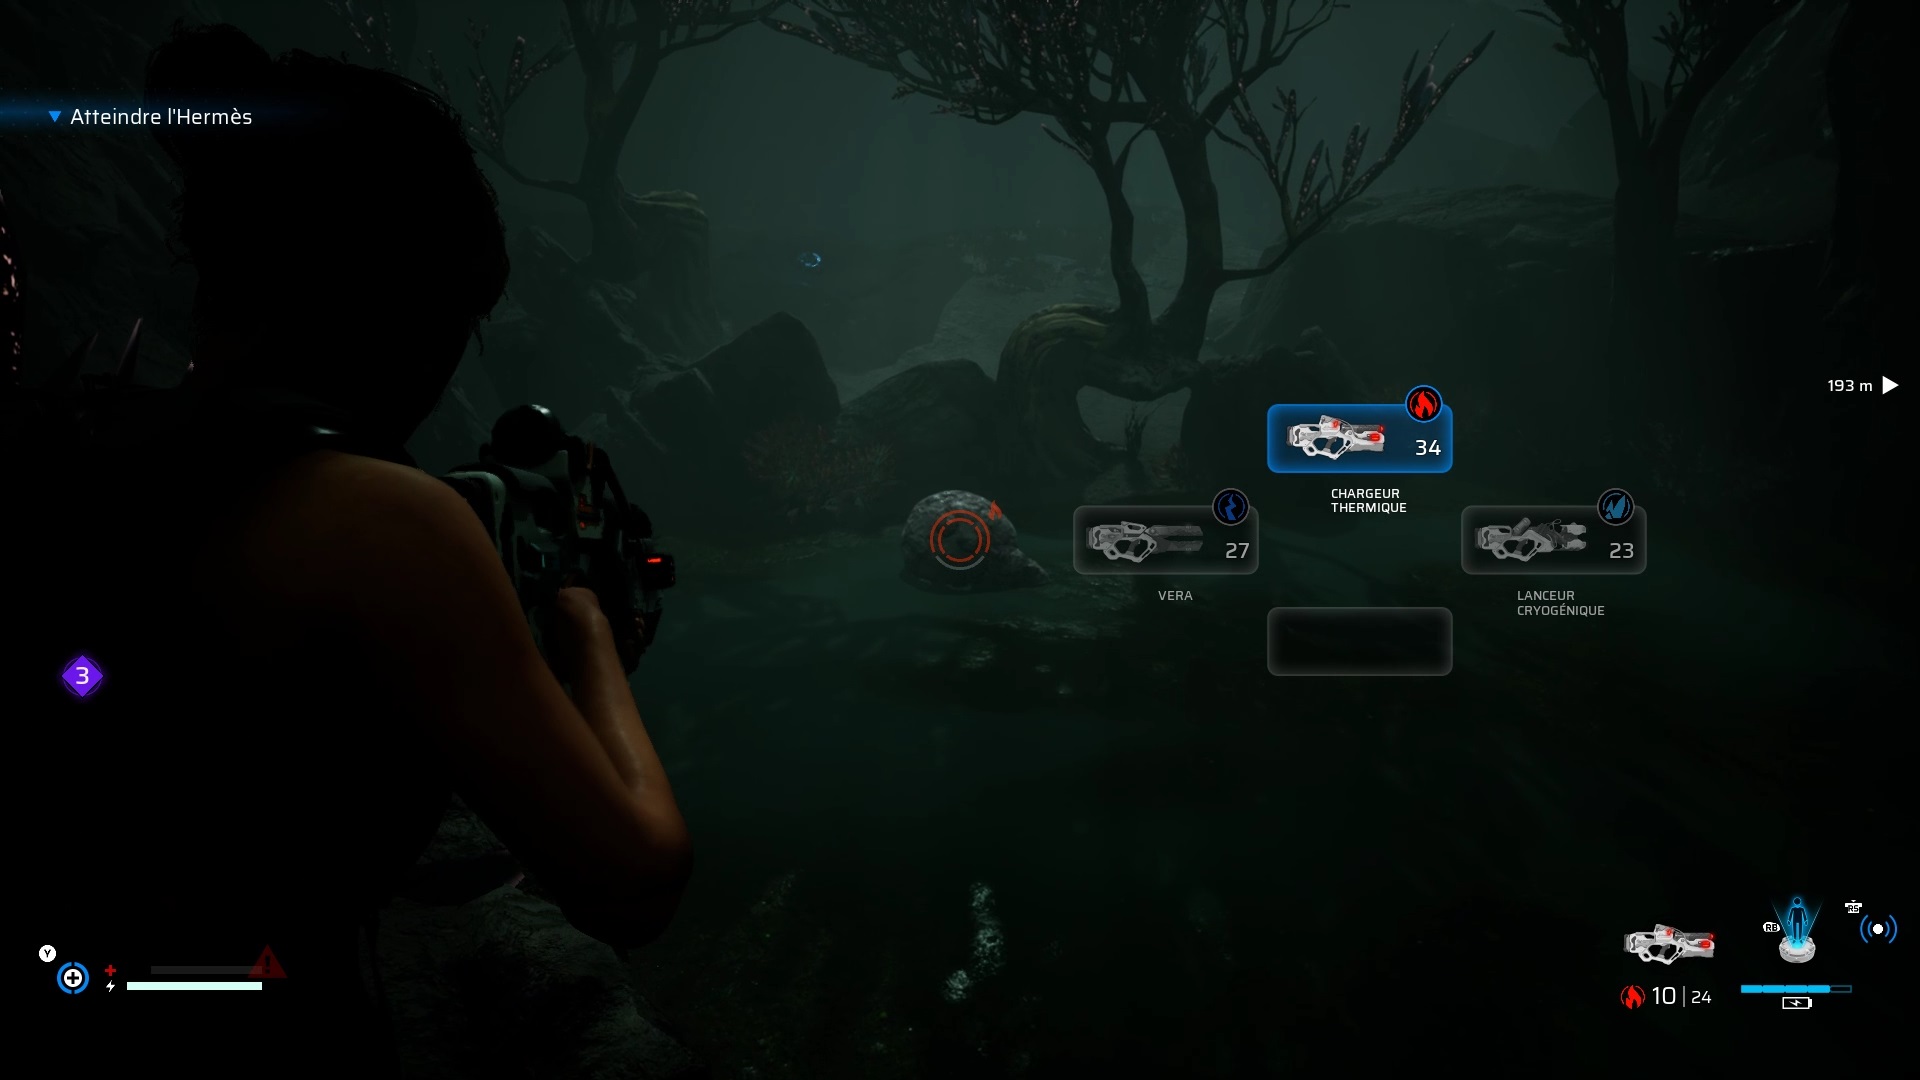
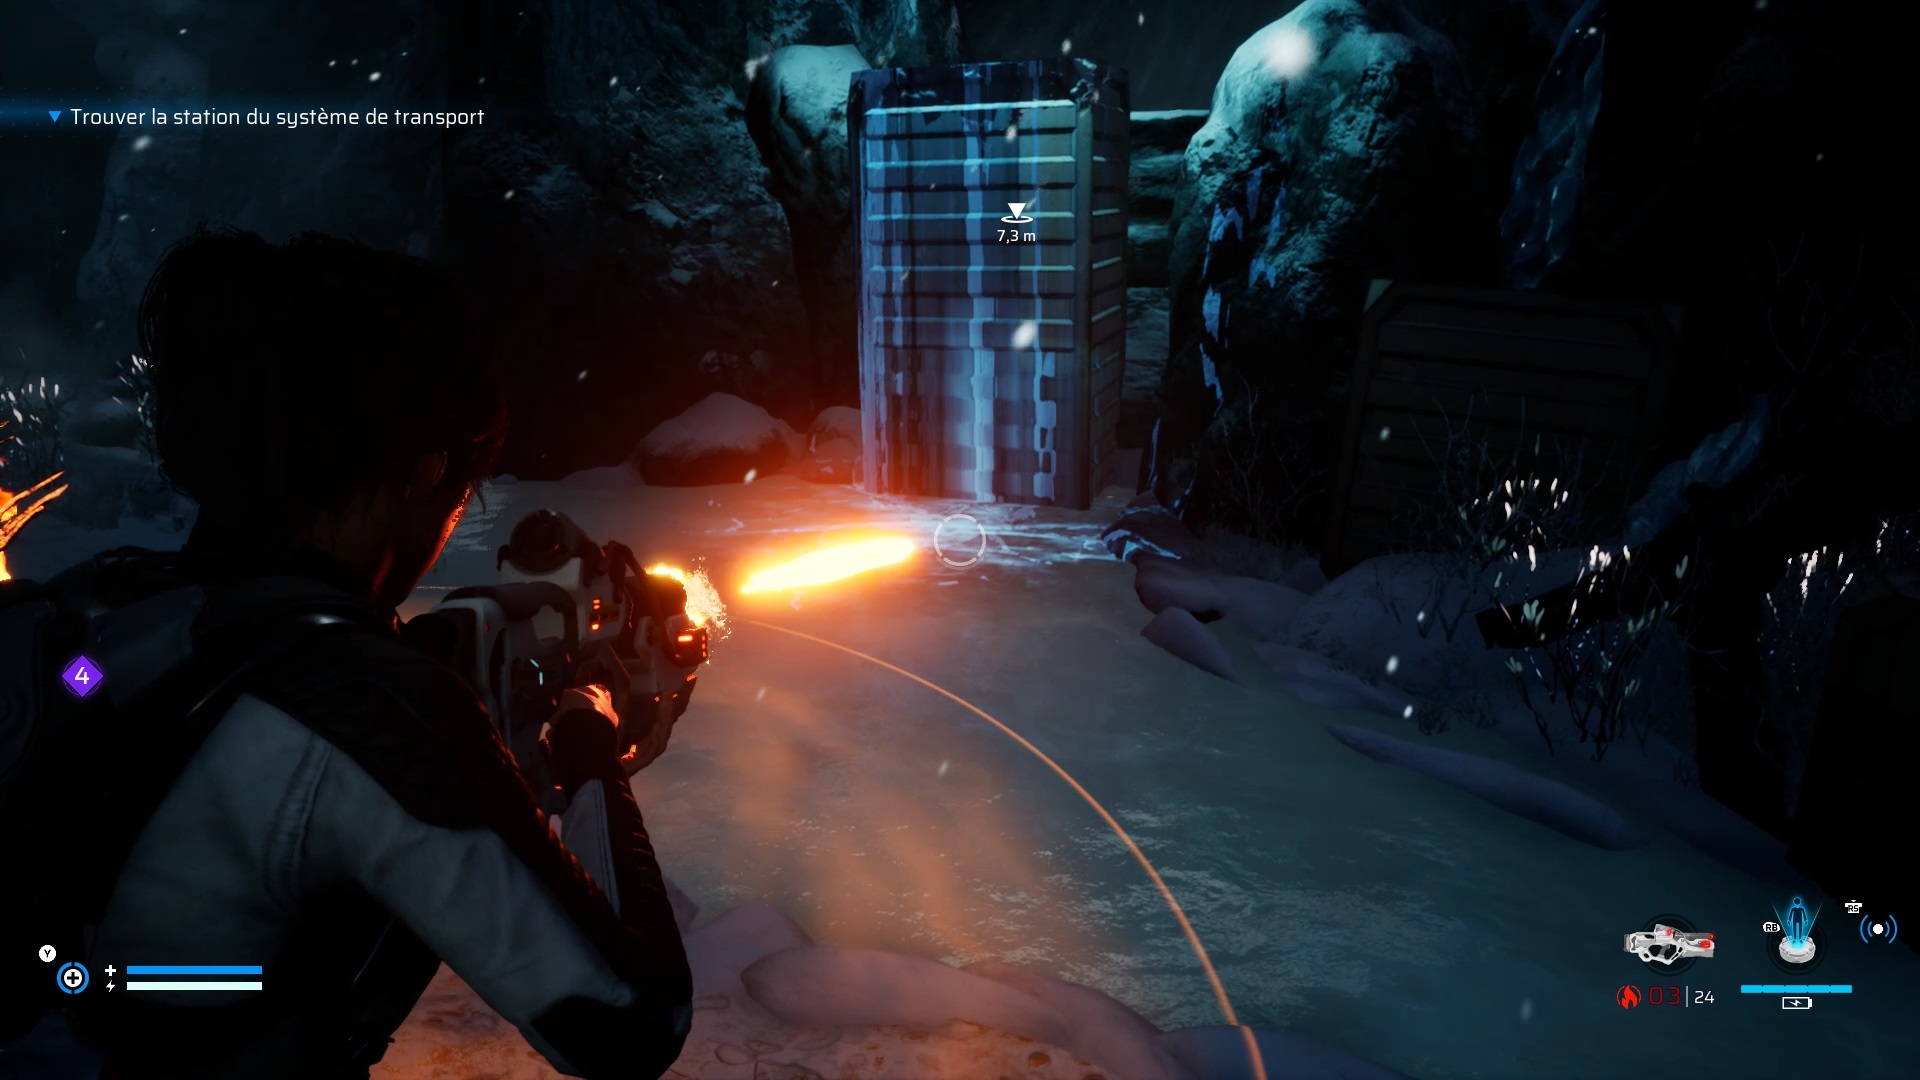
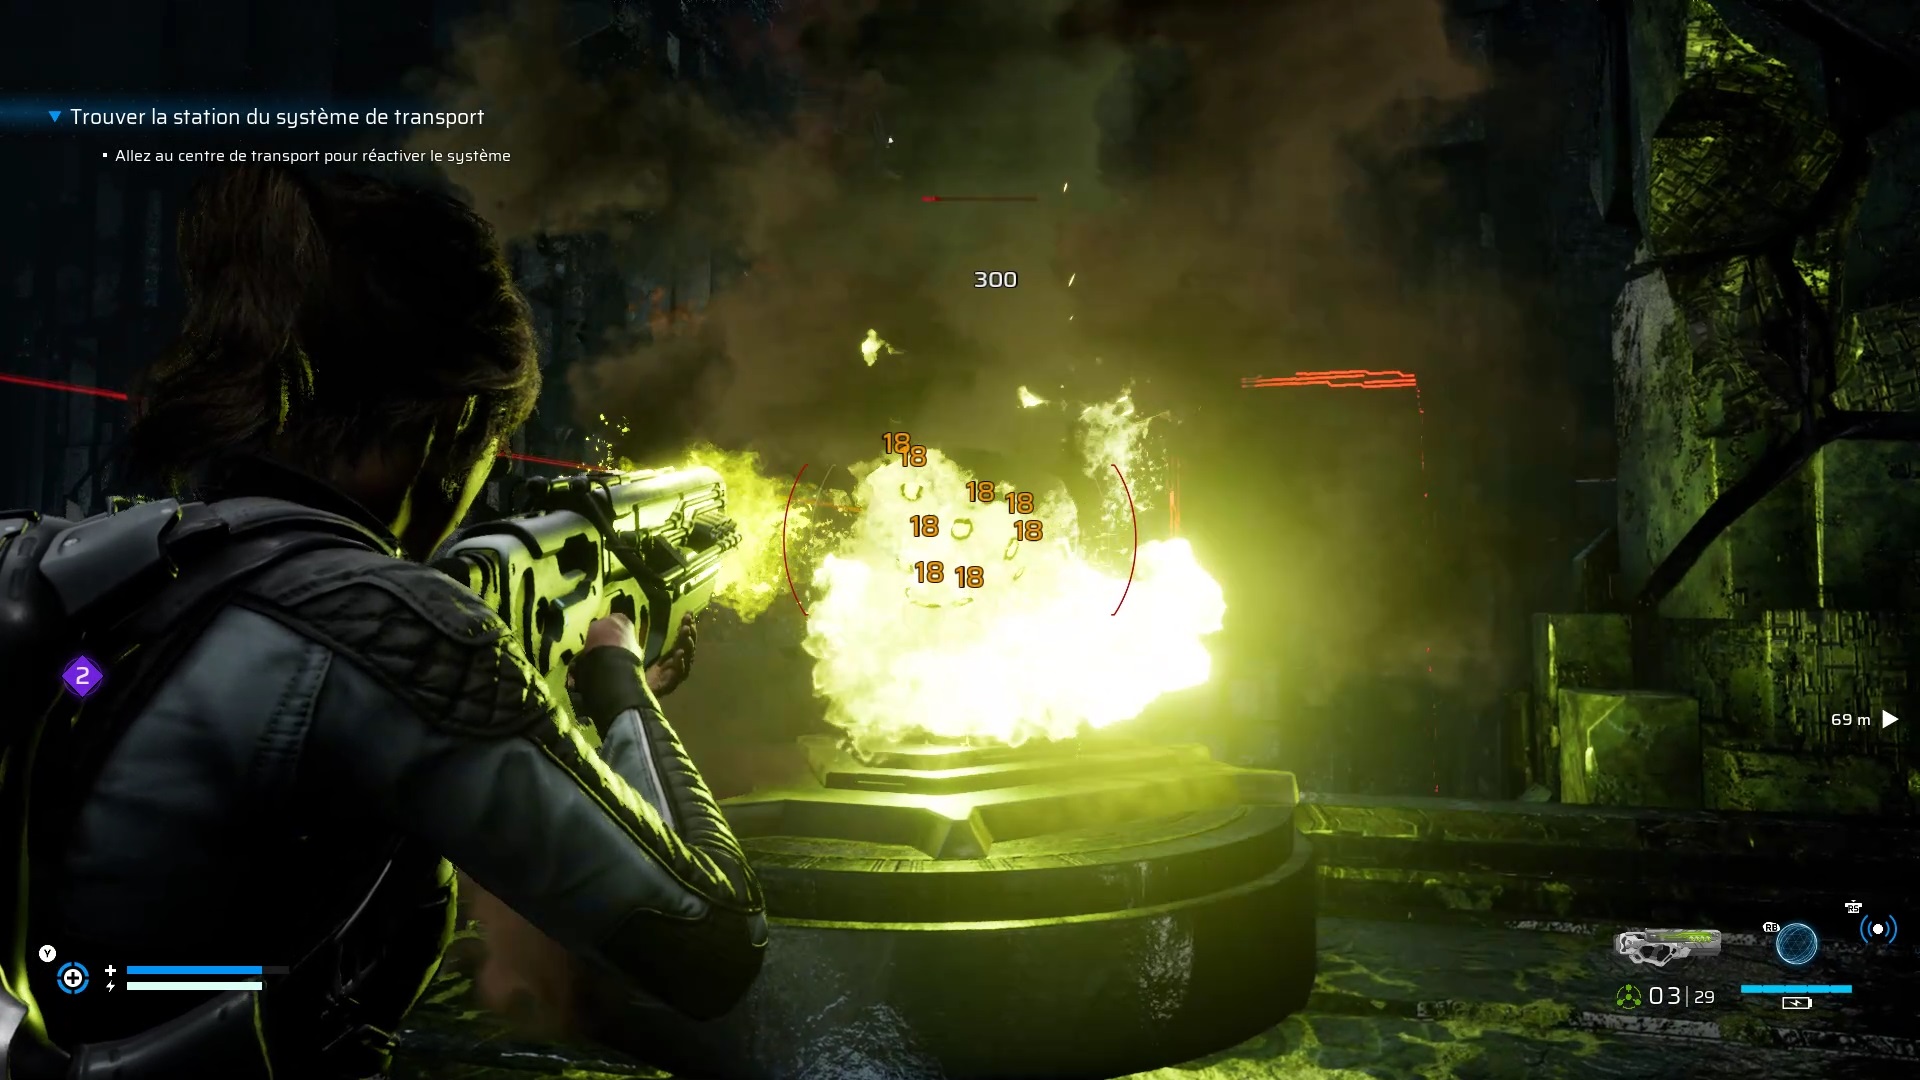
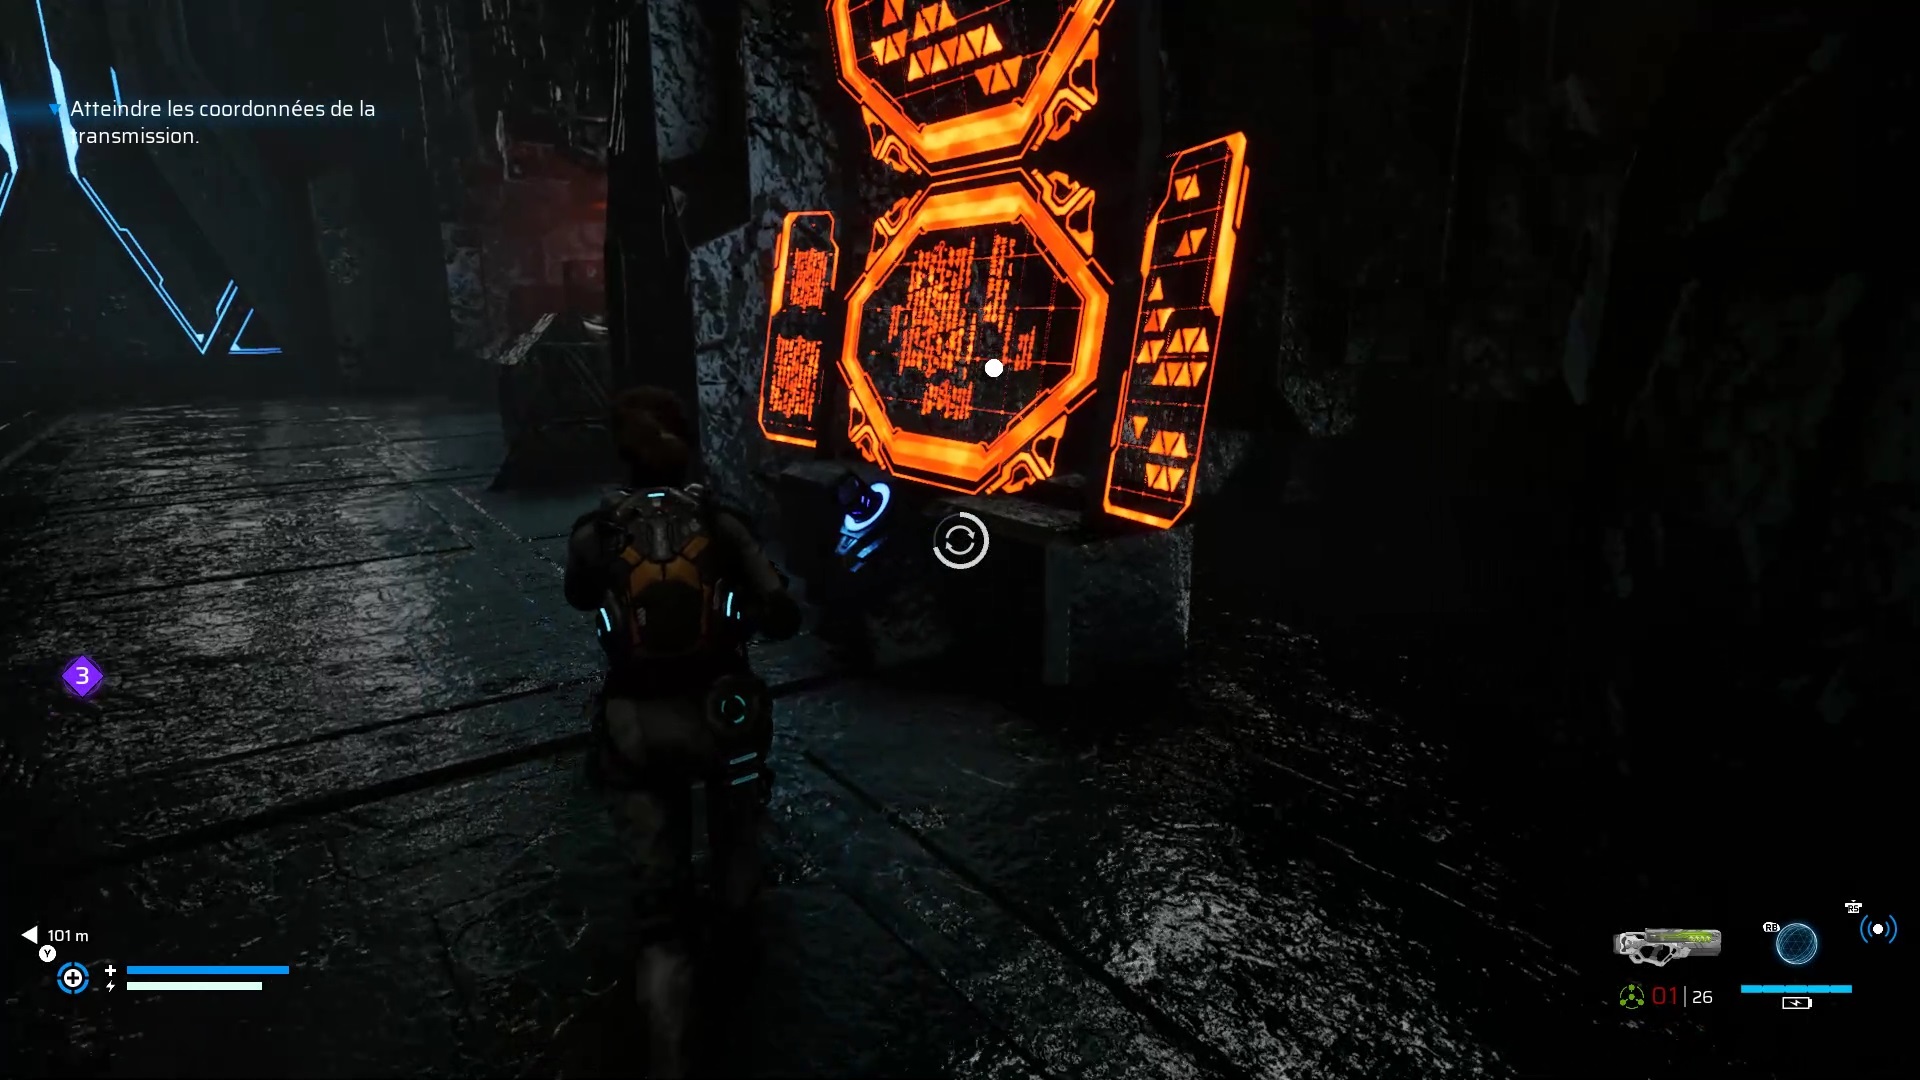
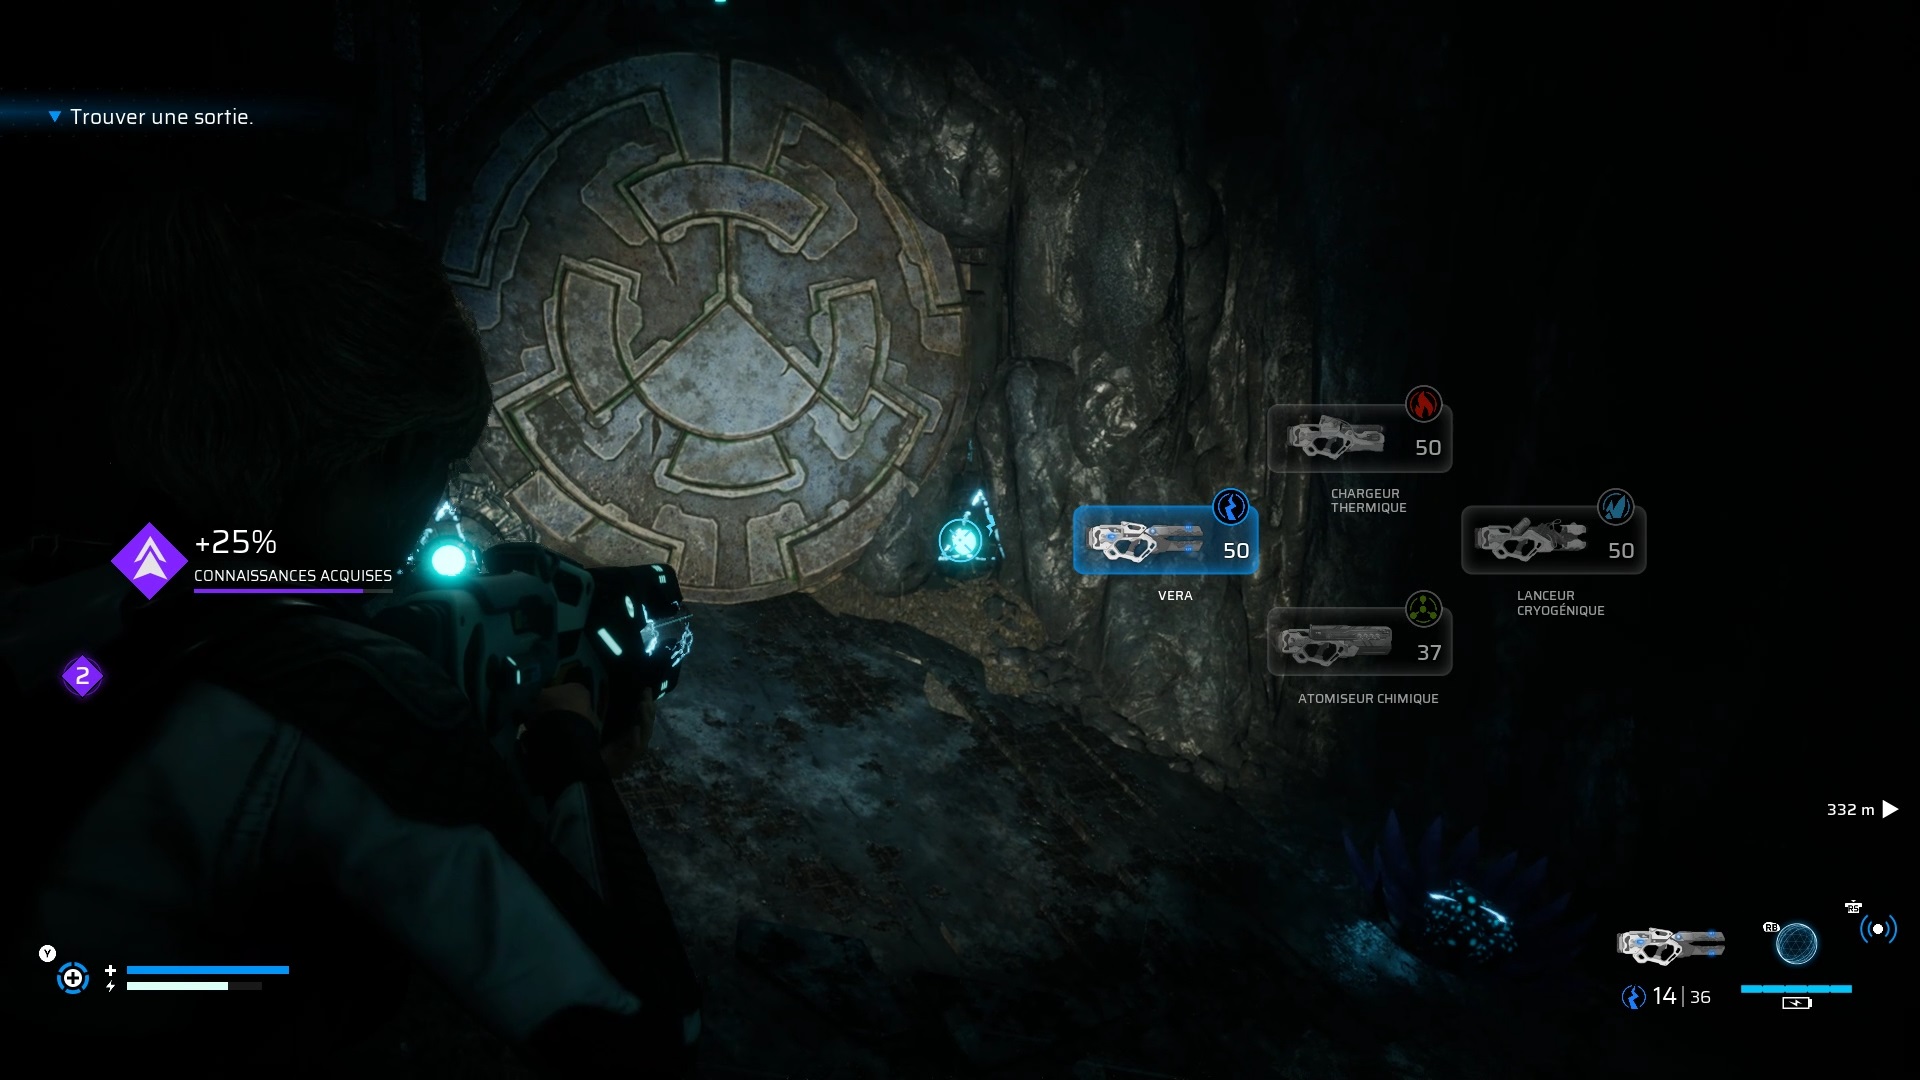
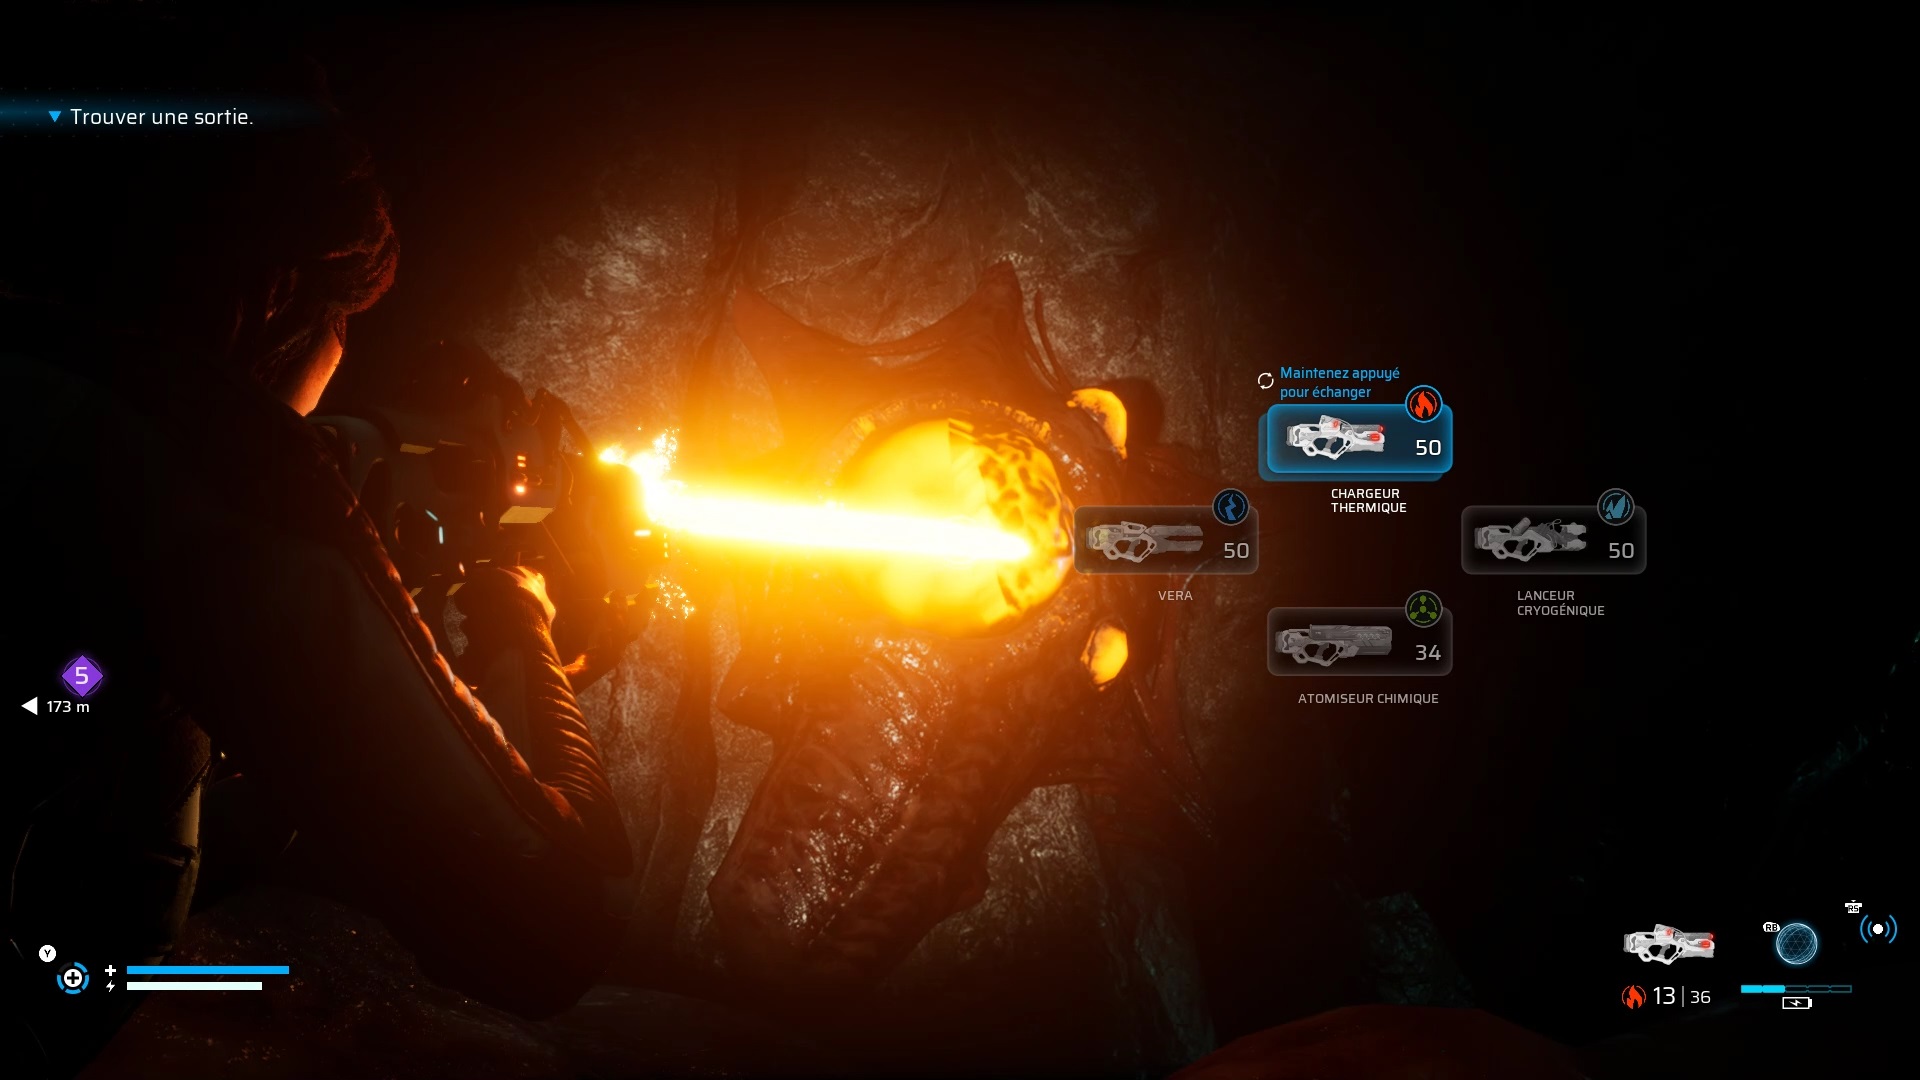
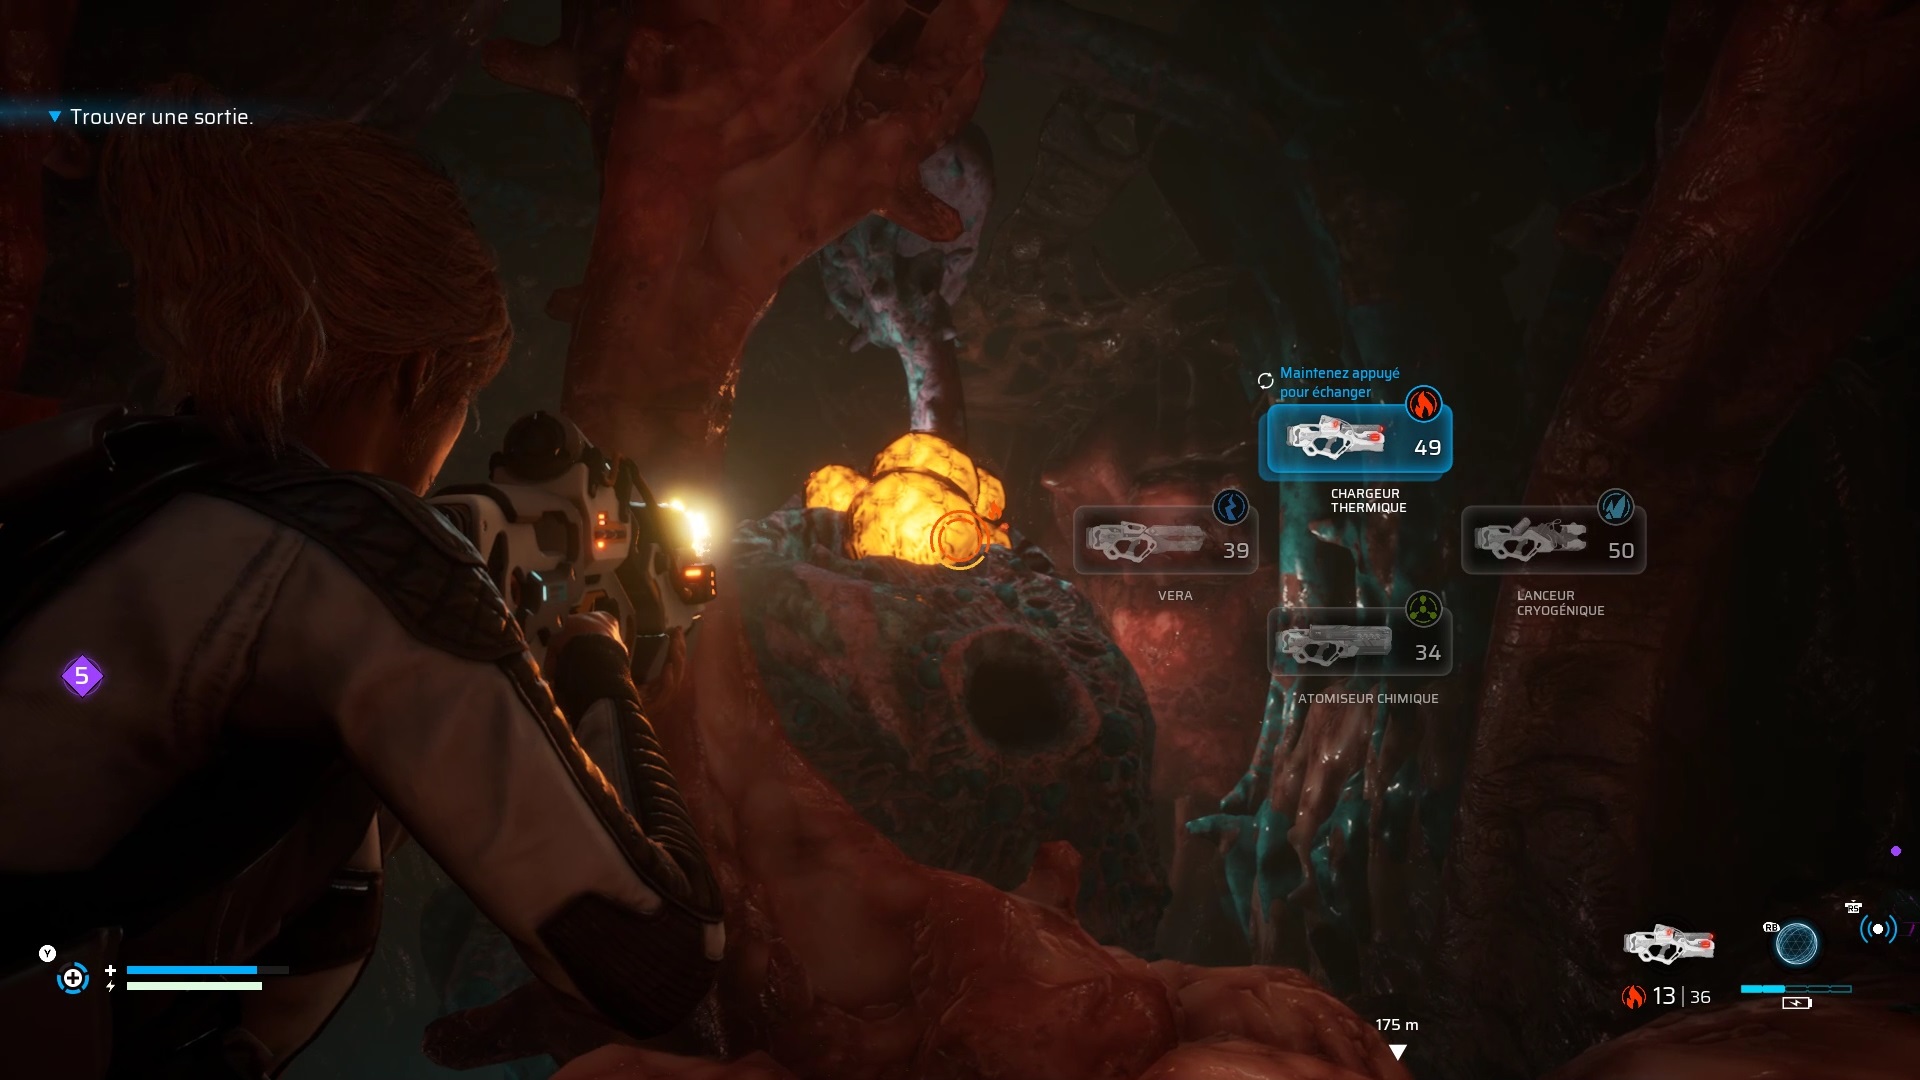
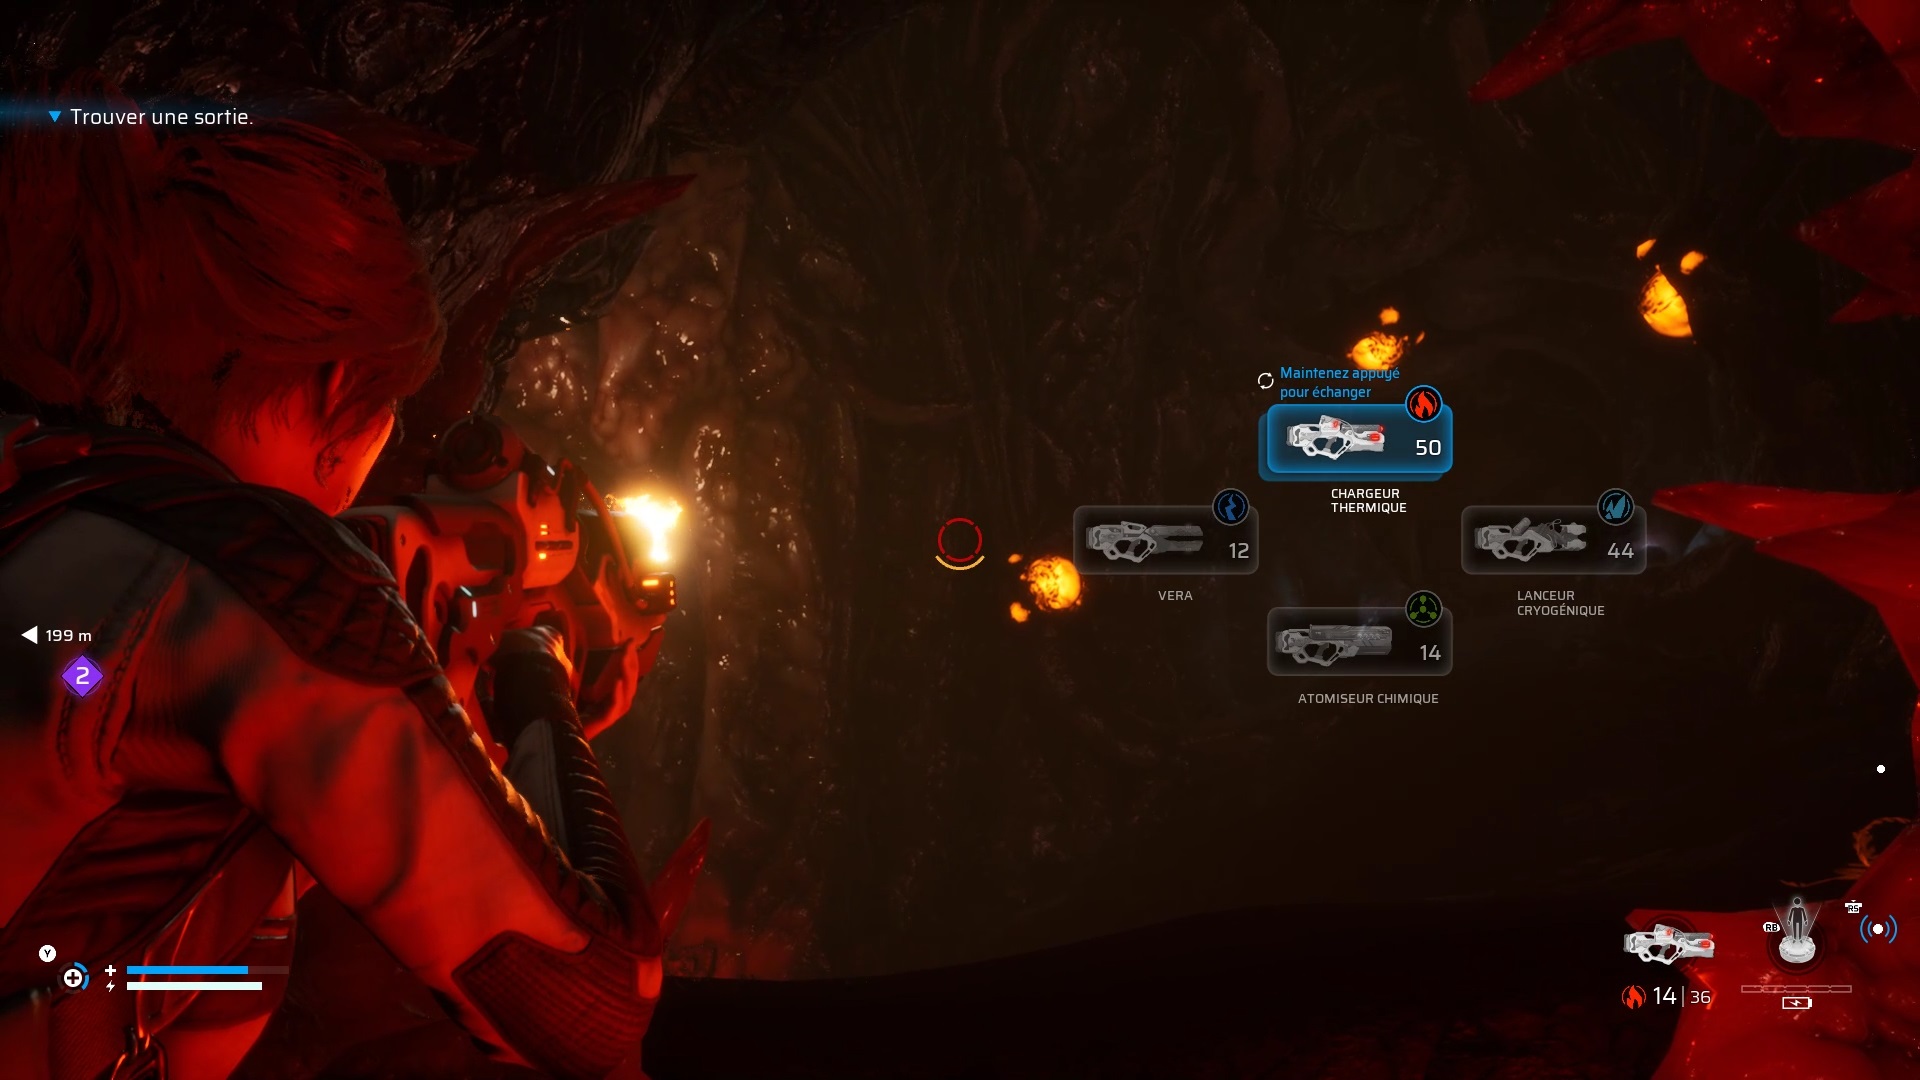
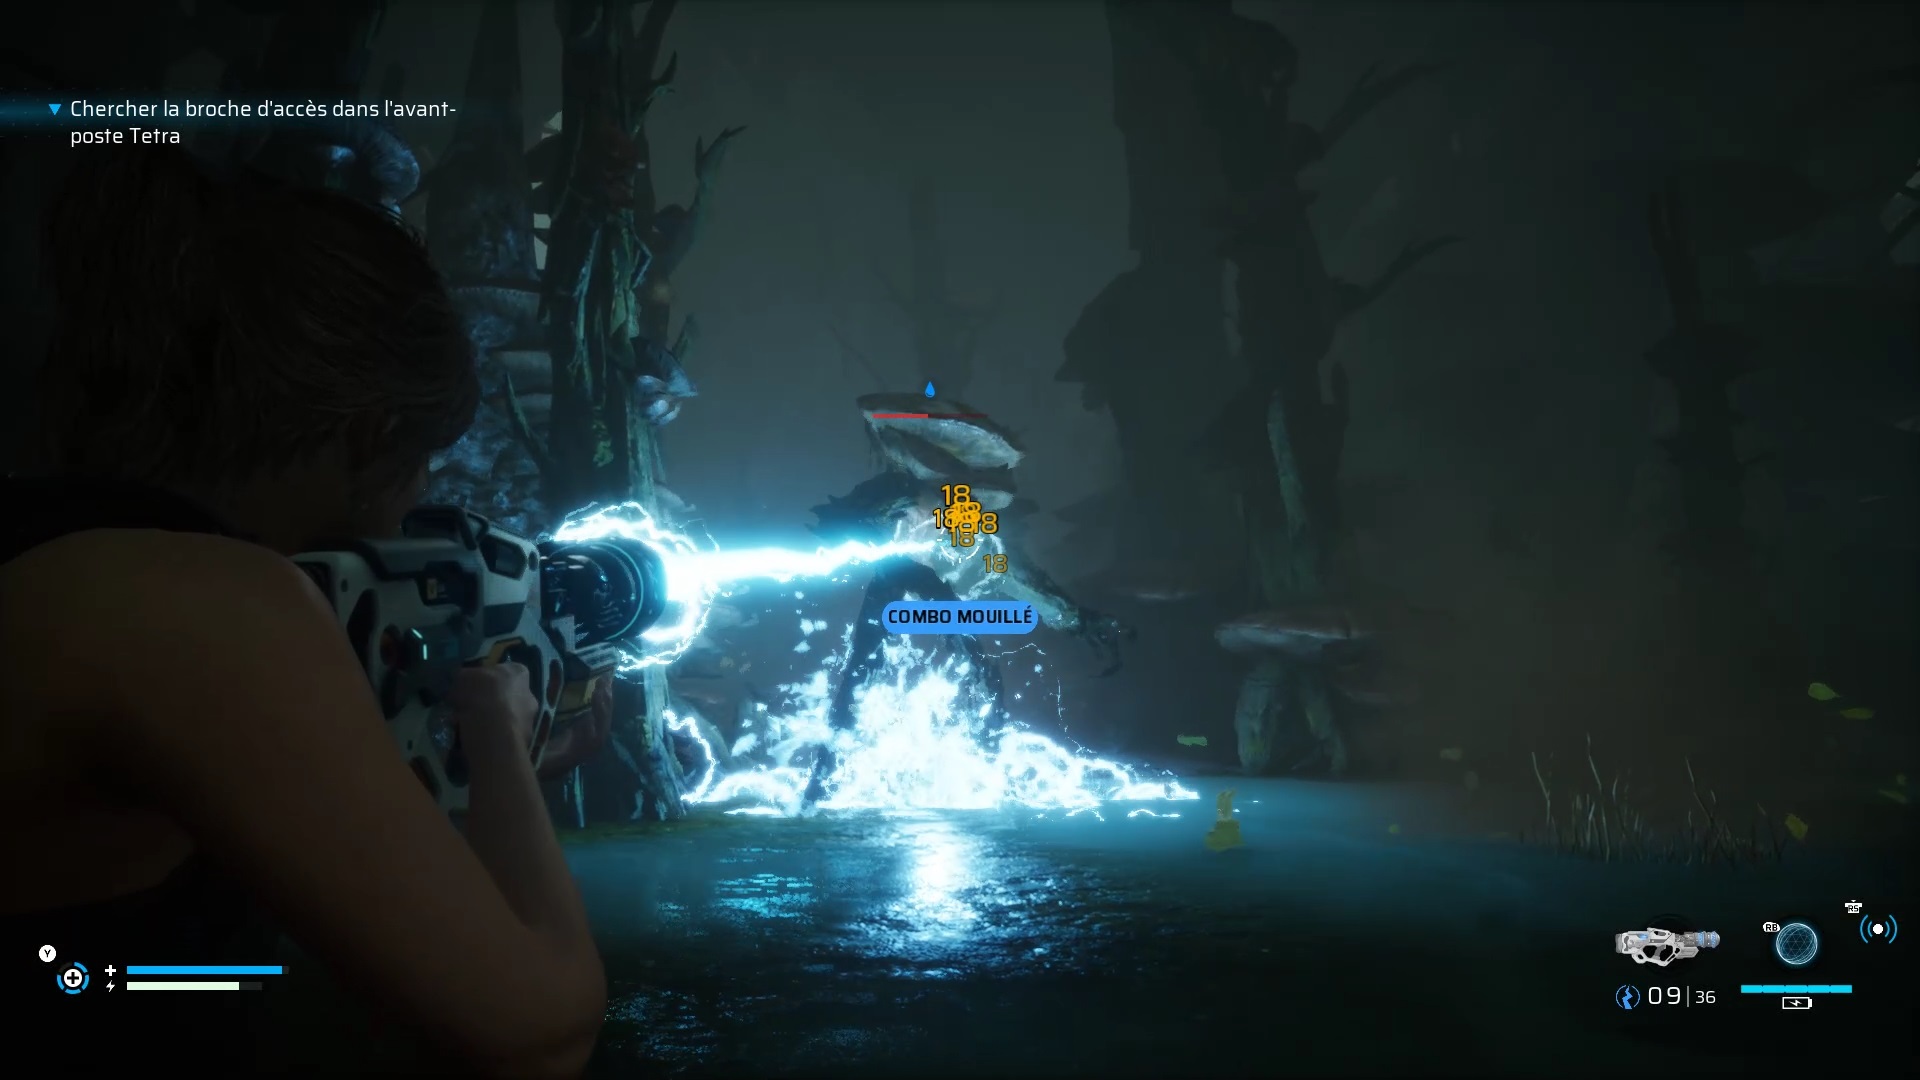
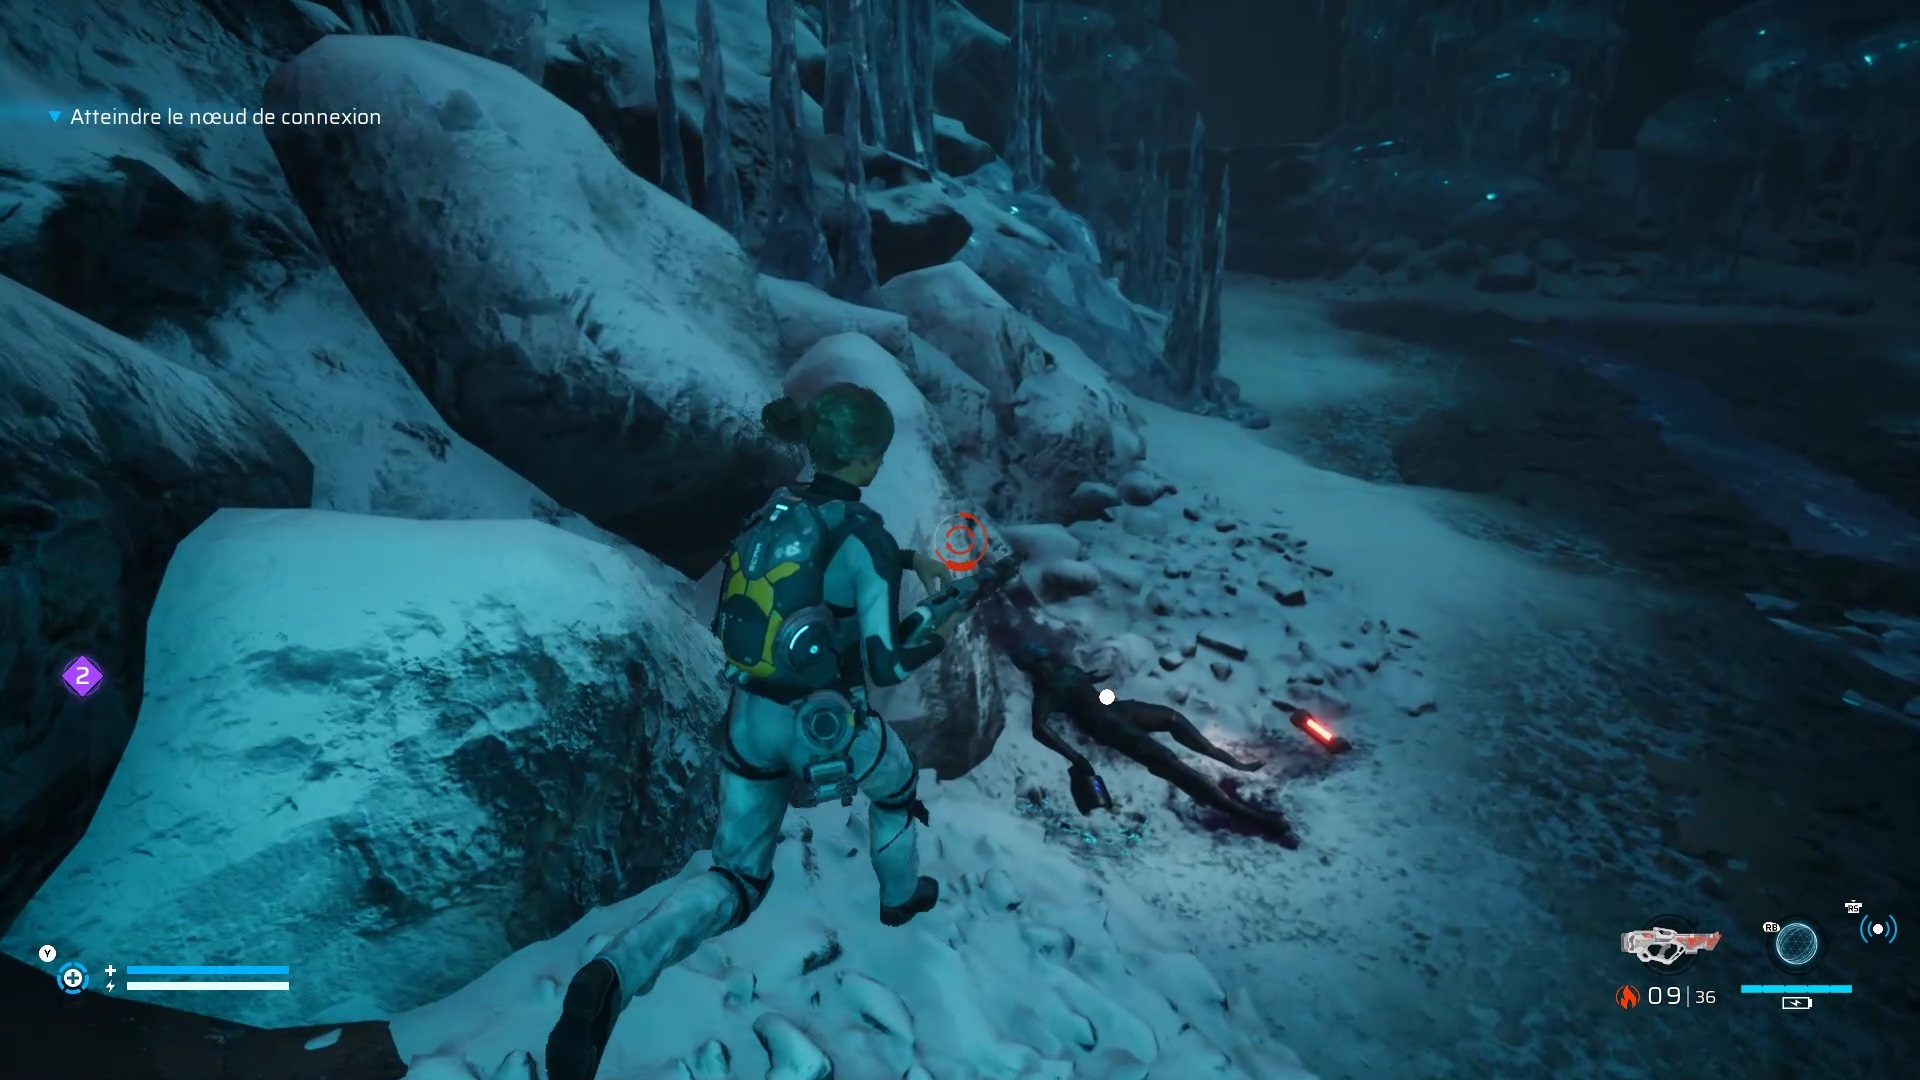
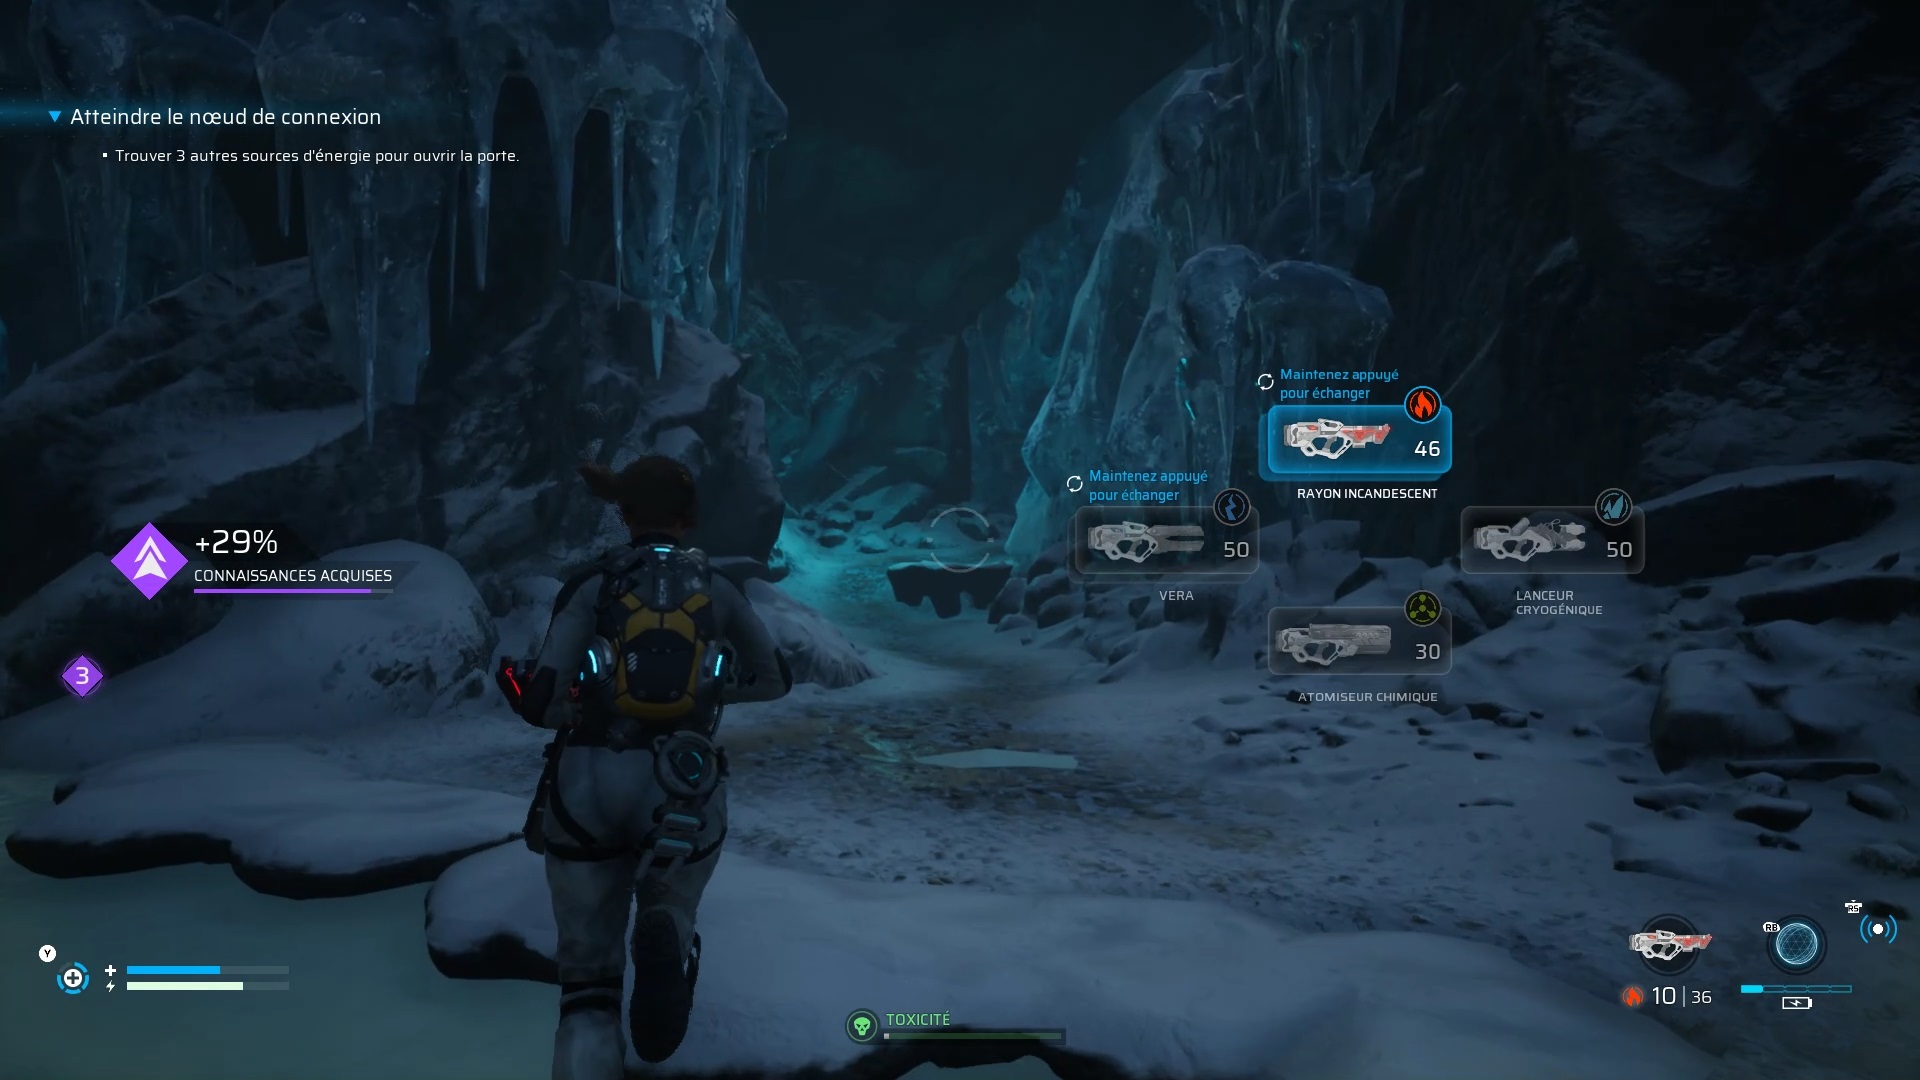
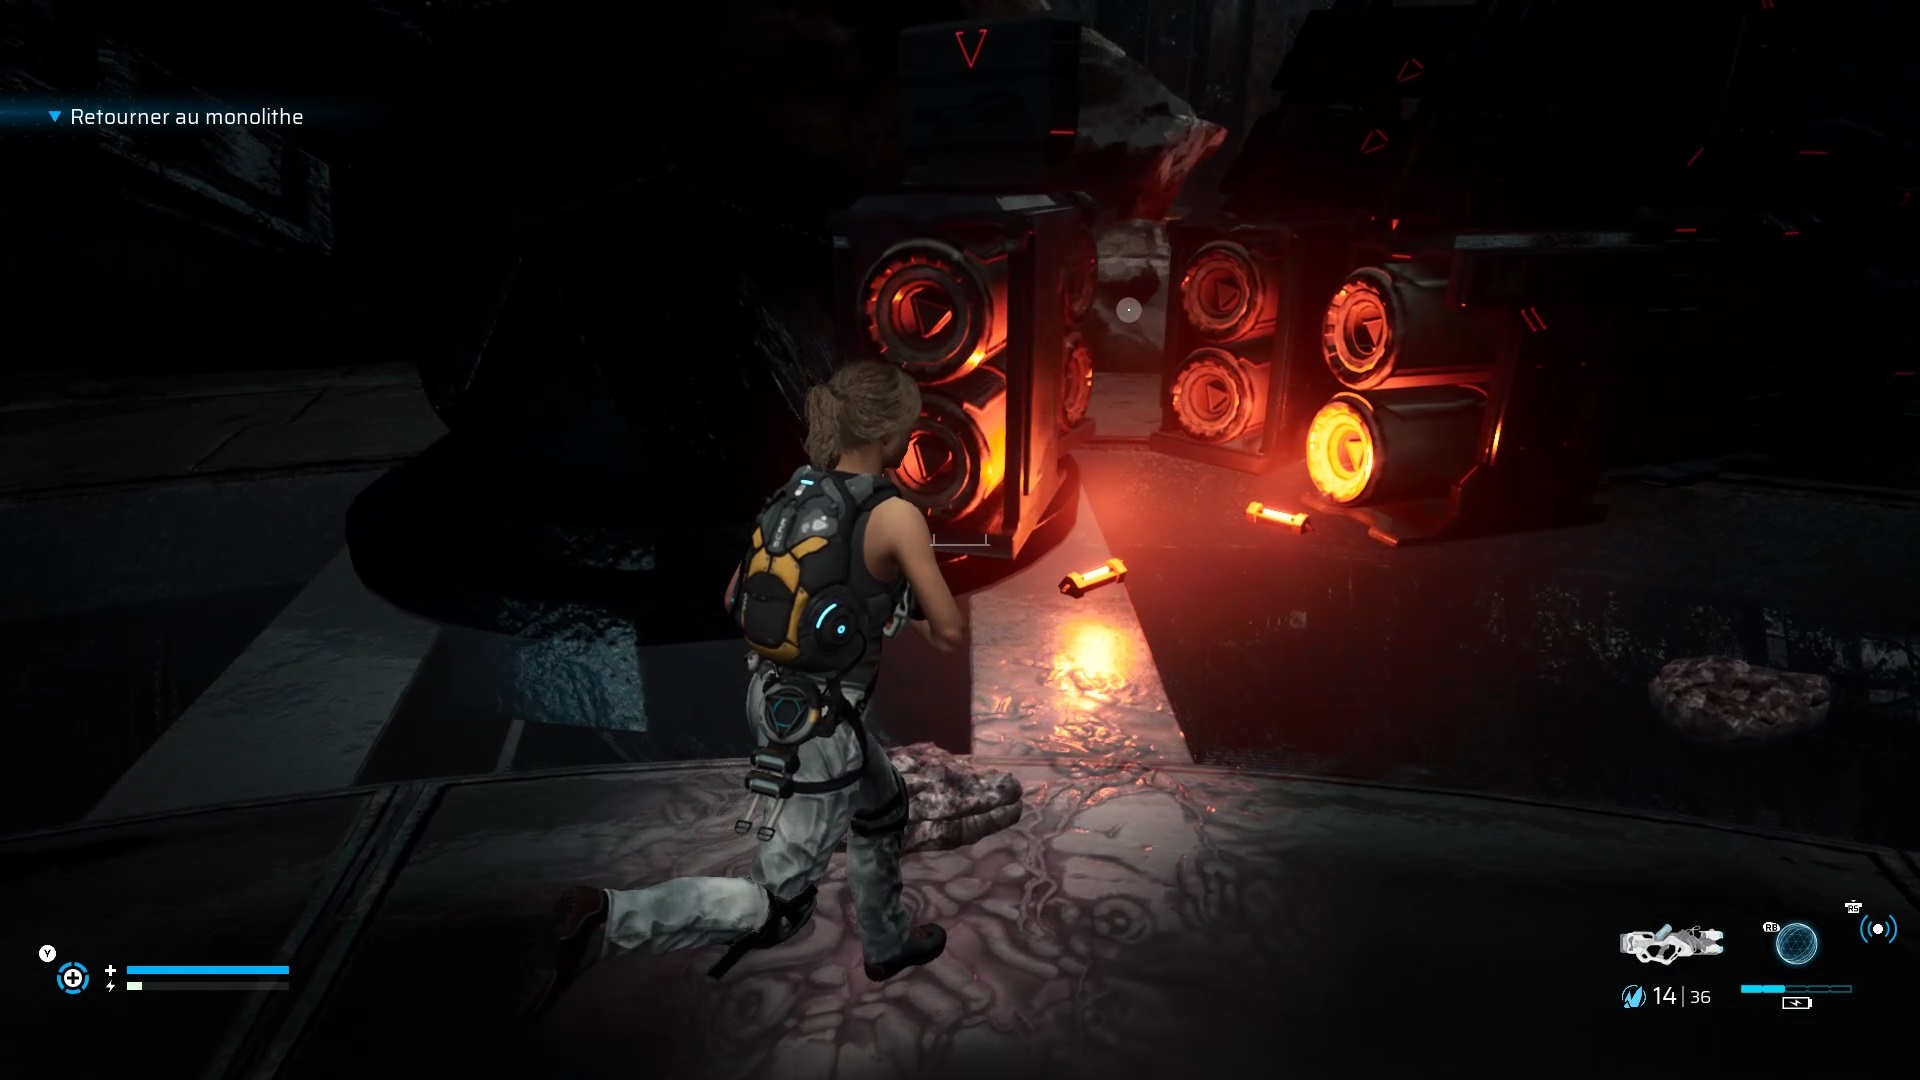
Eliminate the enemies to reach a closed door. Go west of the door to find a passage to destroy with your carver by following a stream. At the bottom you will find a trunk with the Vera device. Equip yourself with the device and go to the closed door. Use the device as a weapon to defend yourself and open the door by pulling its three locks.
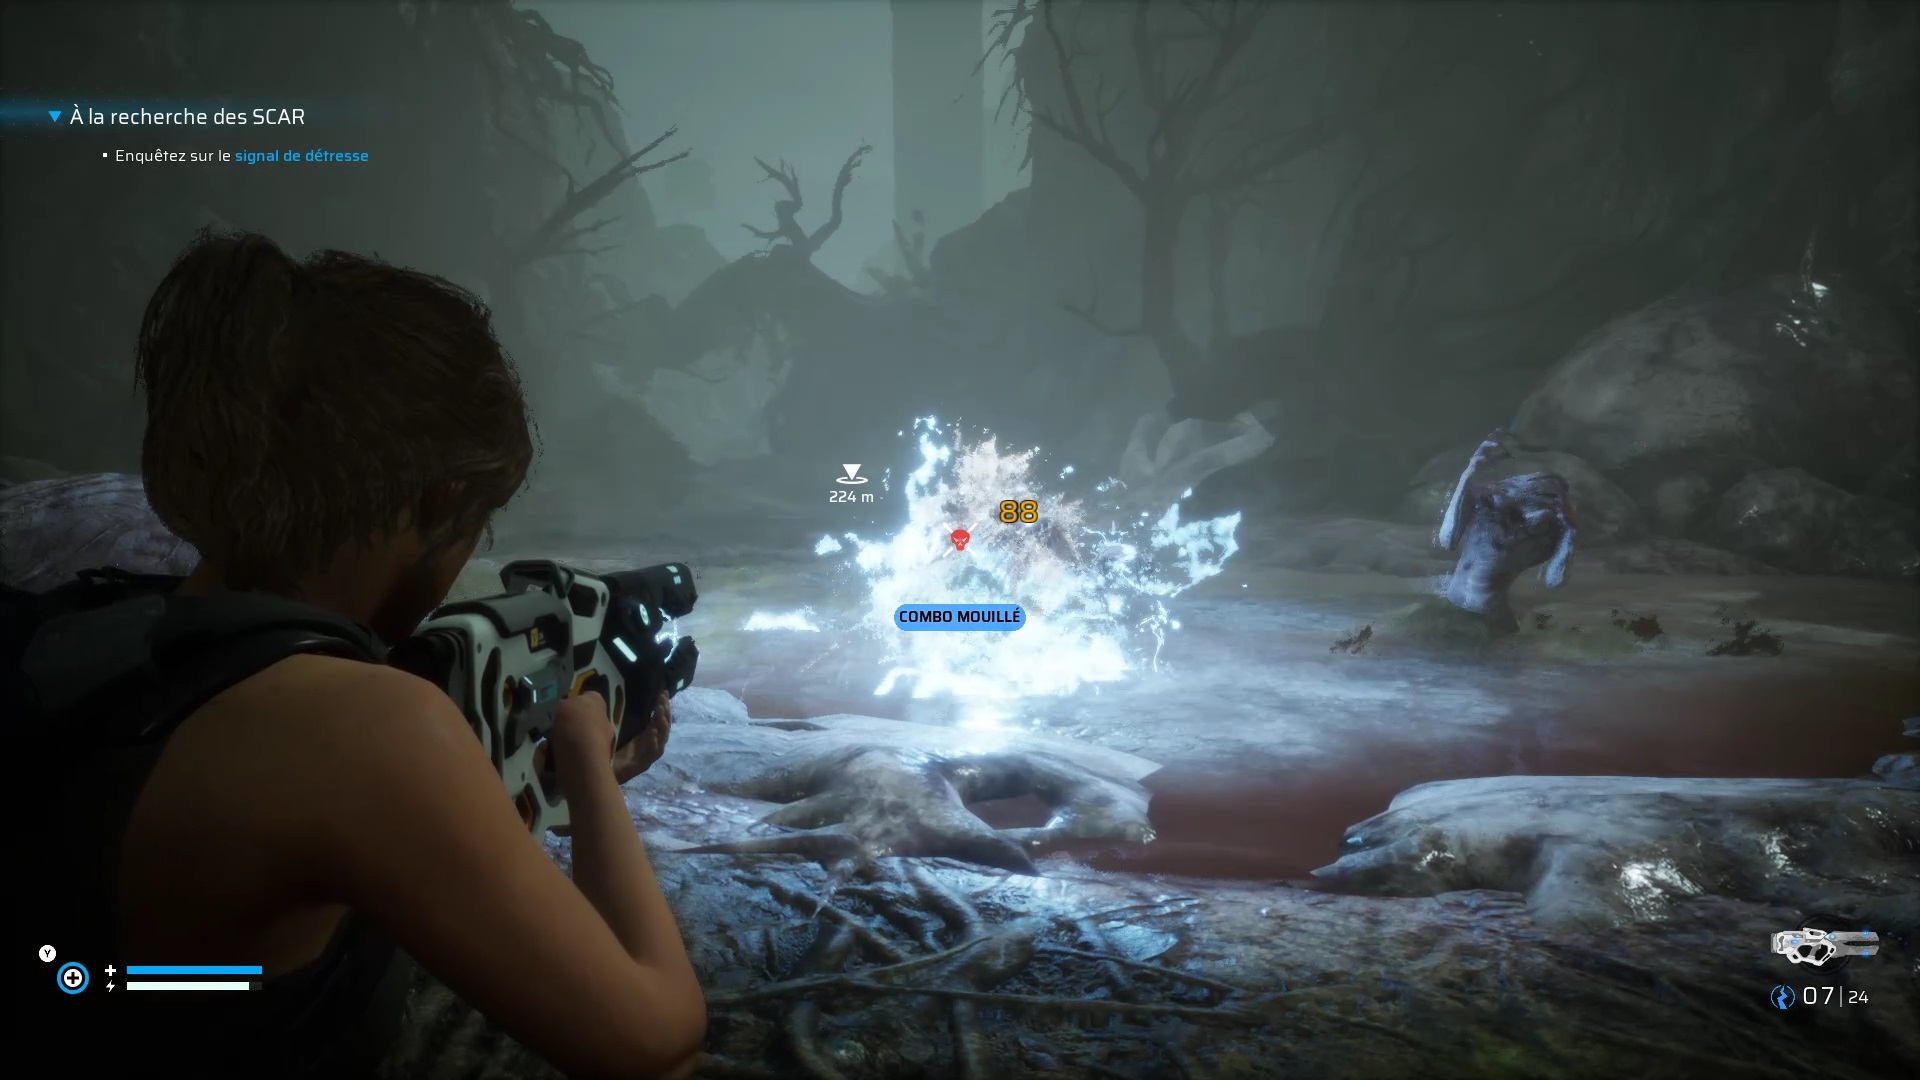
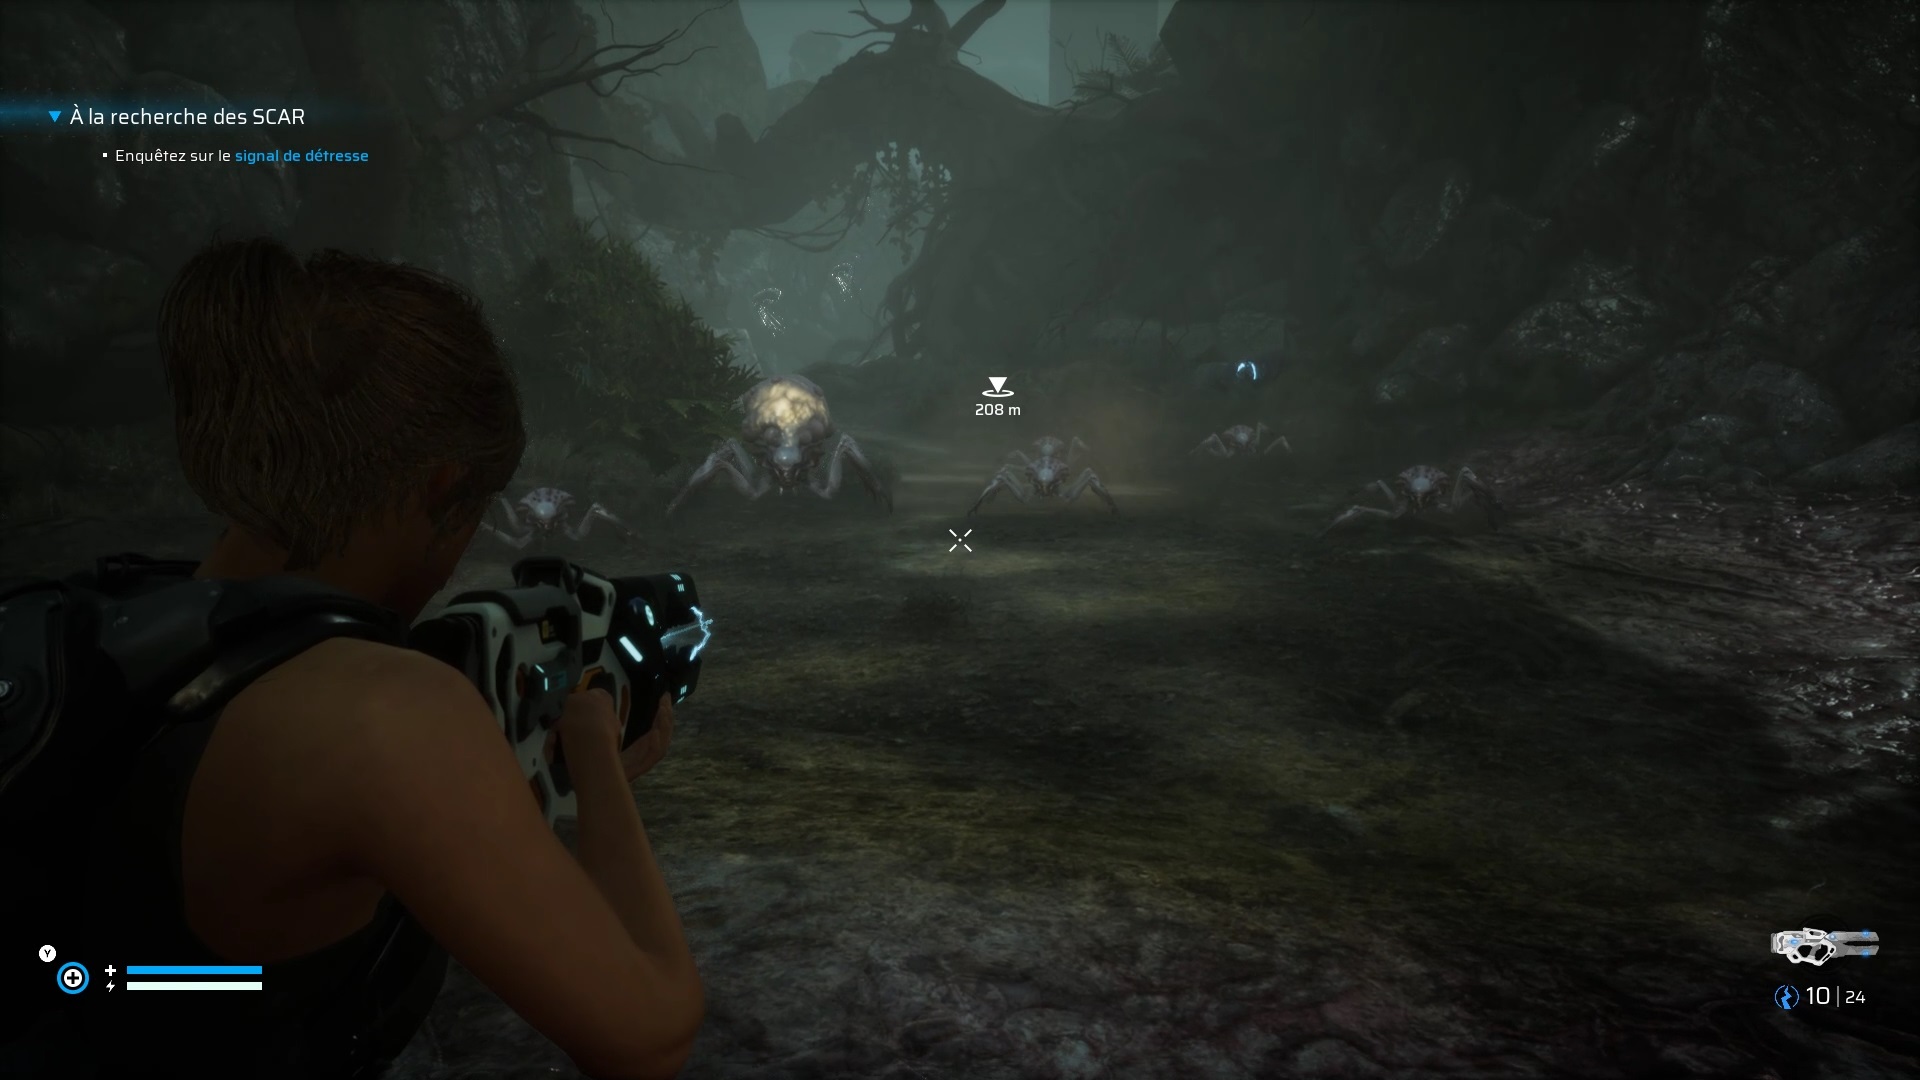

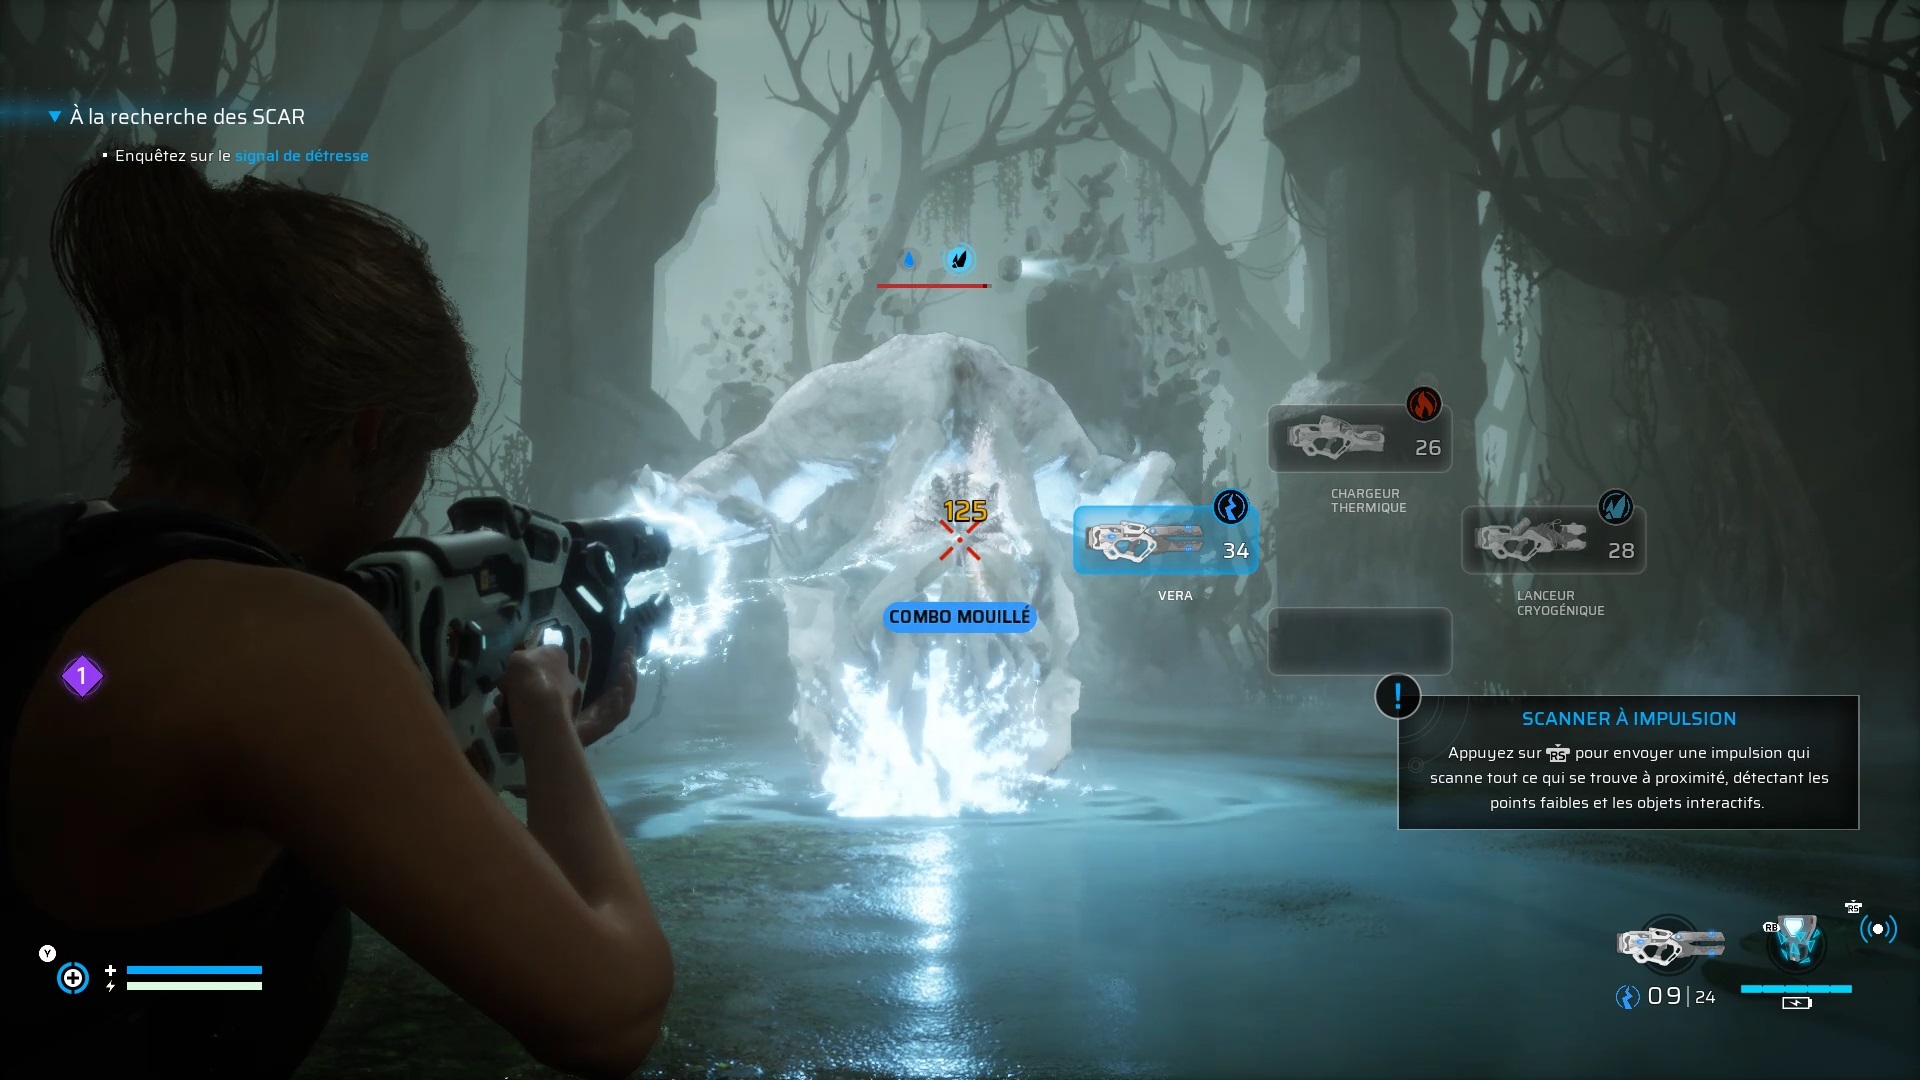
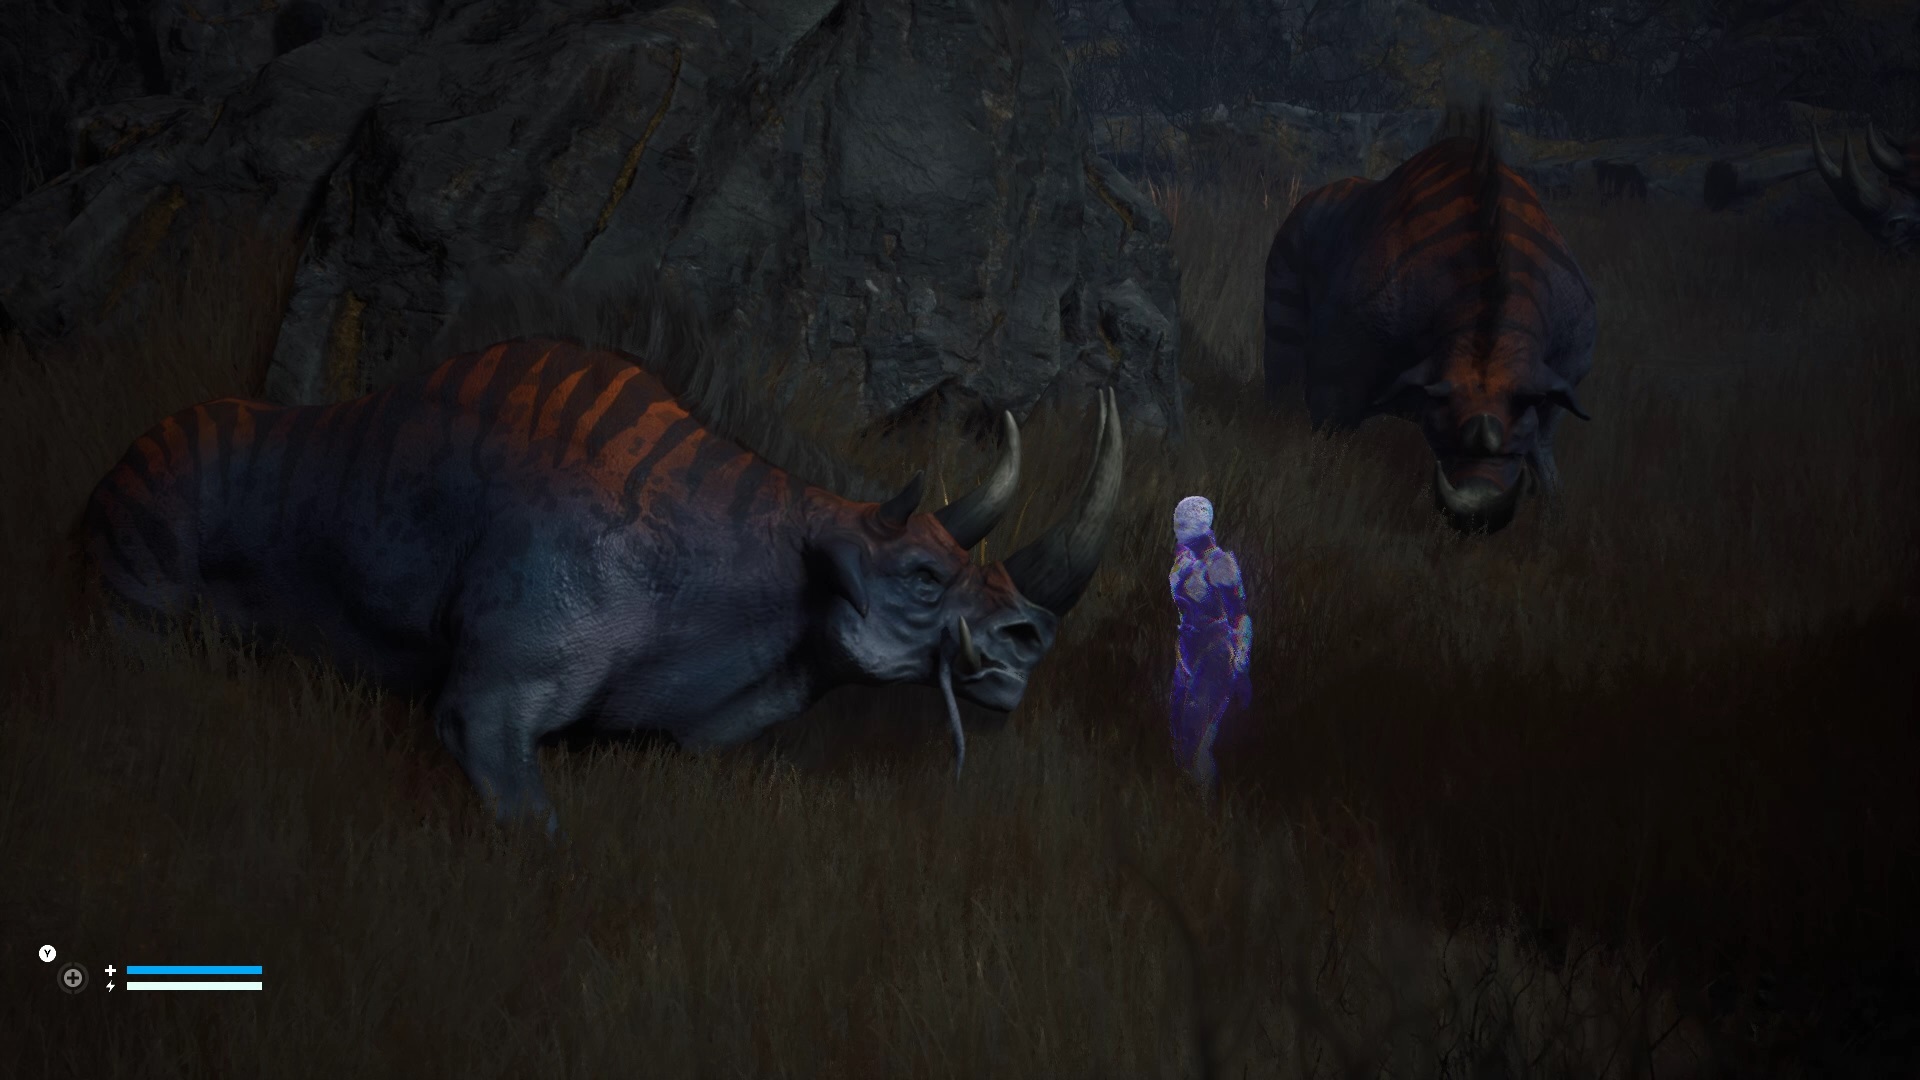
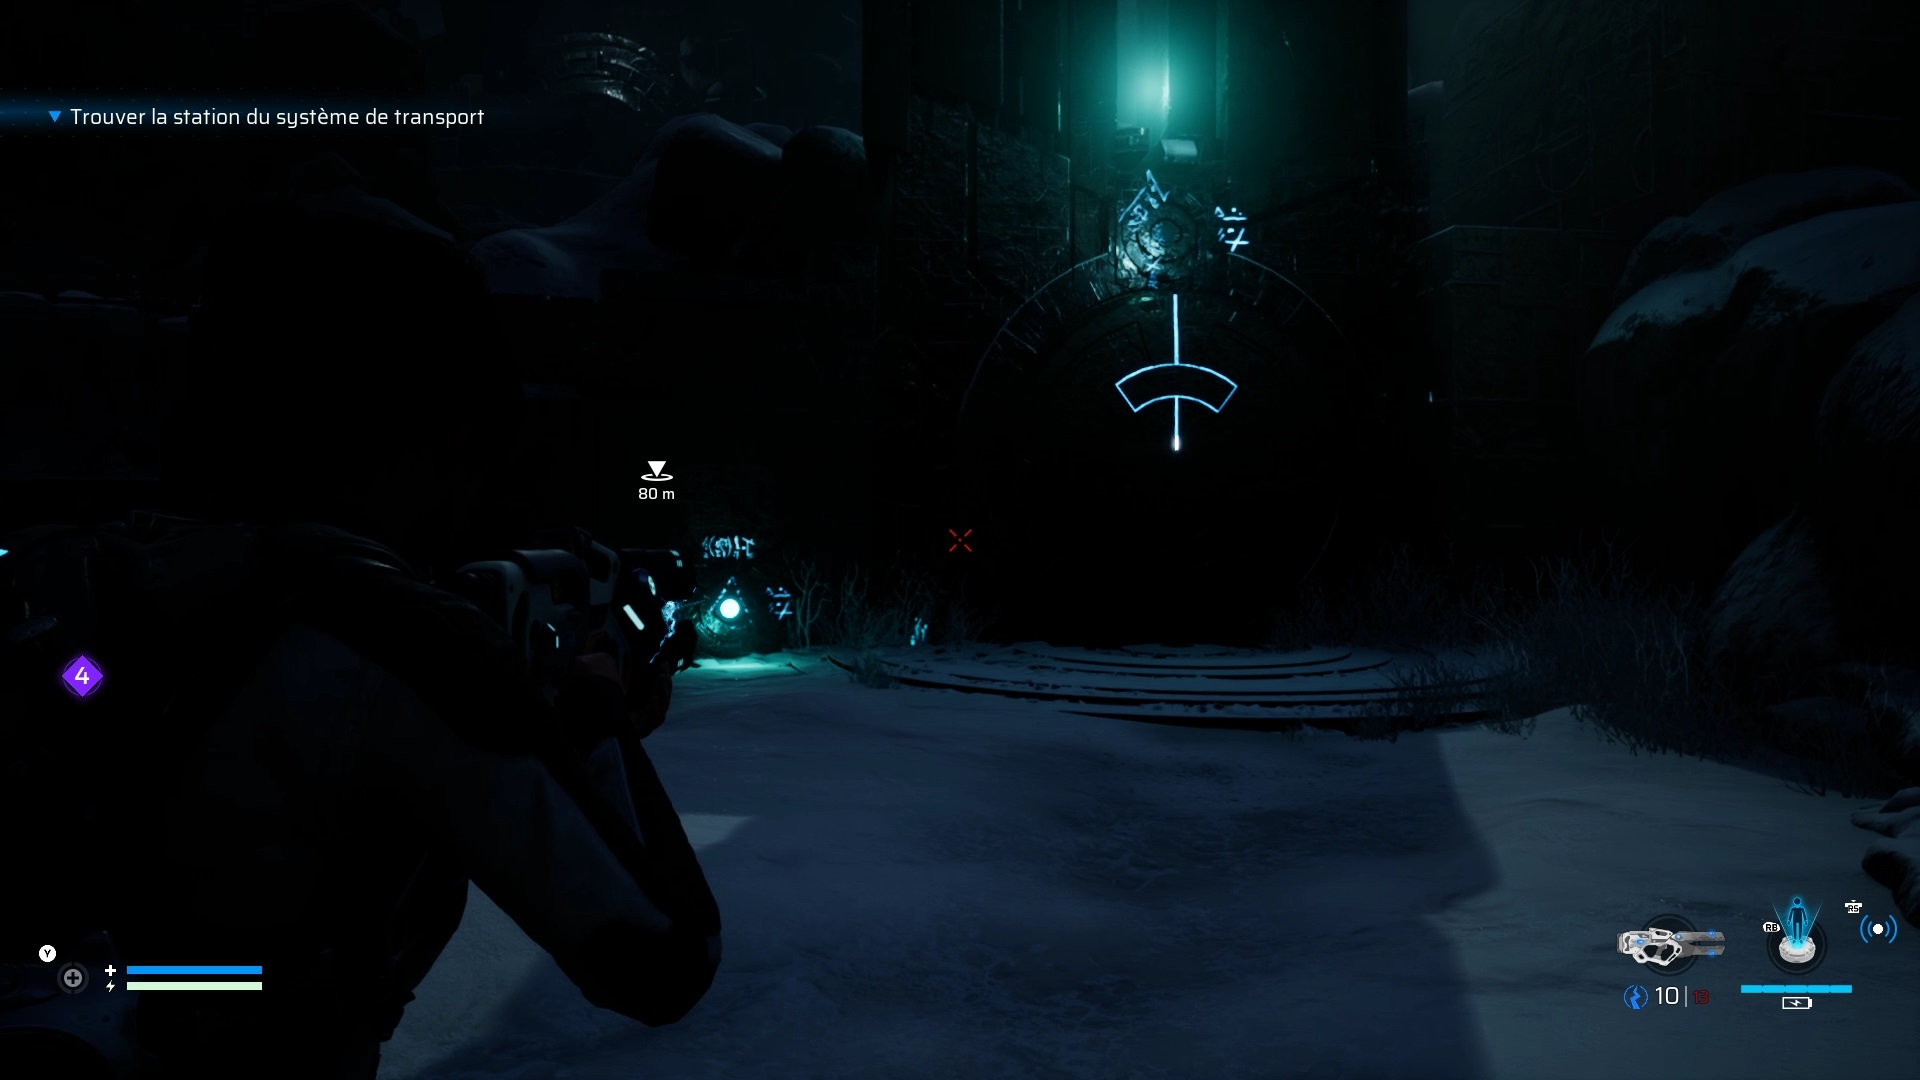
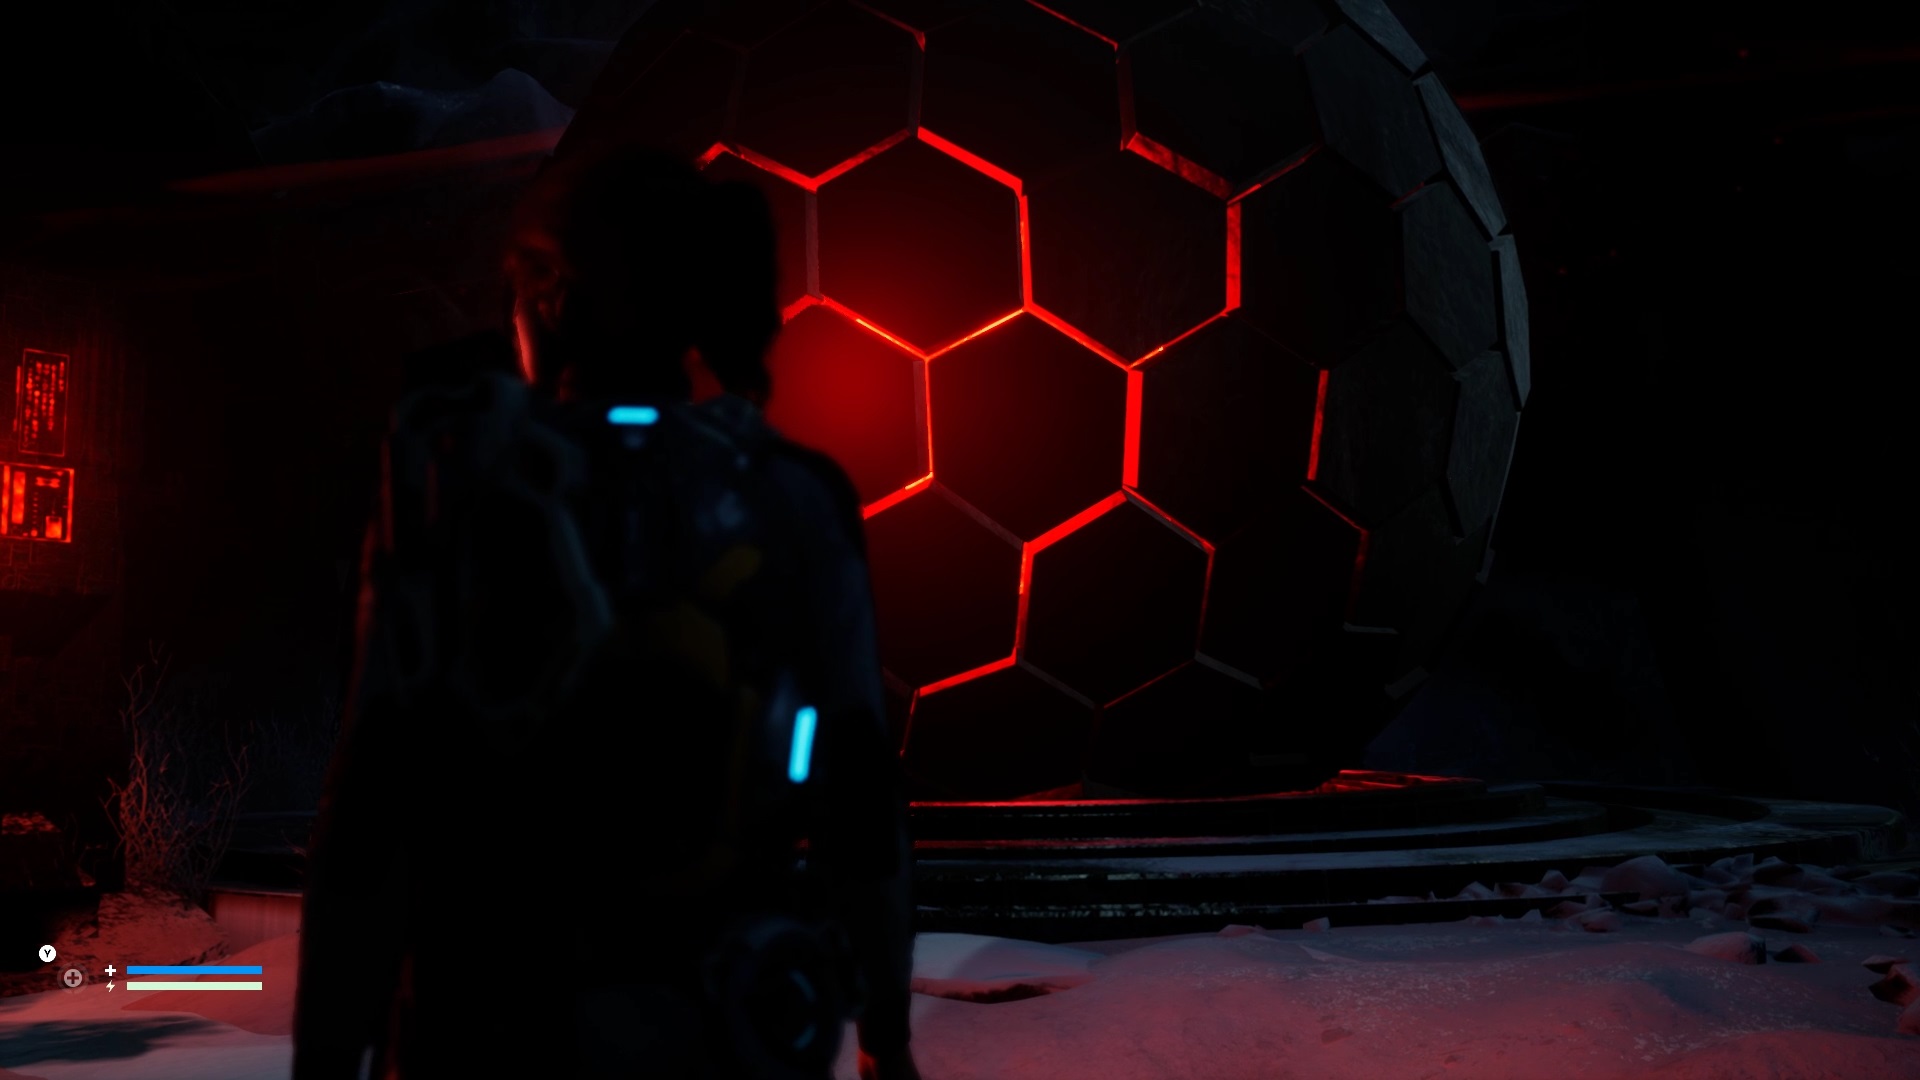
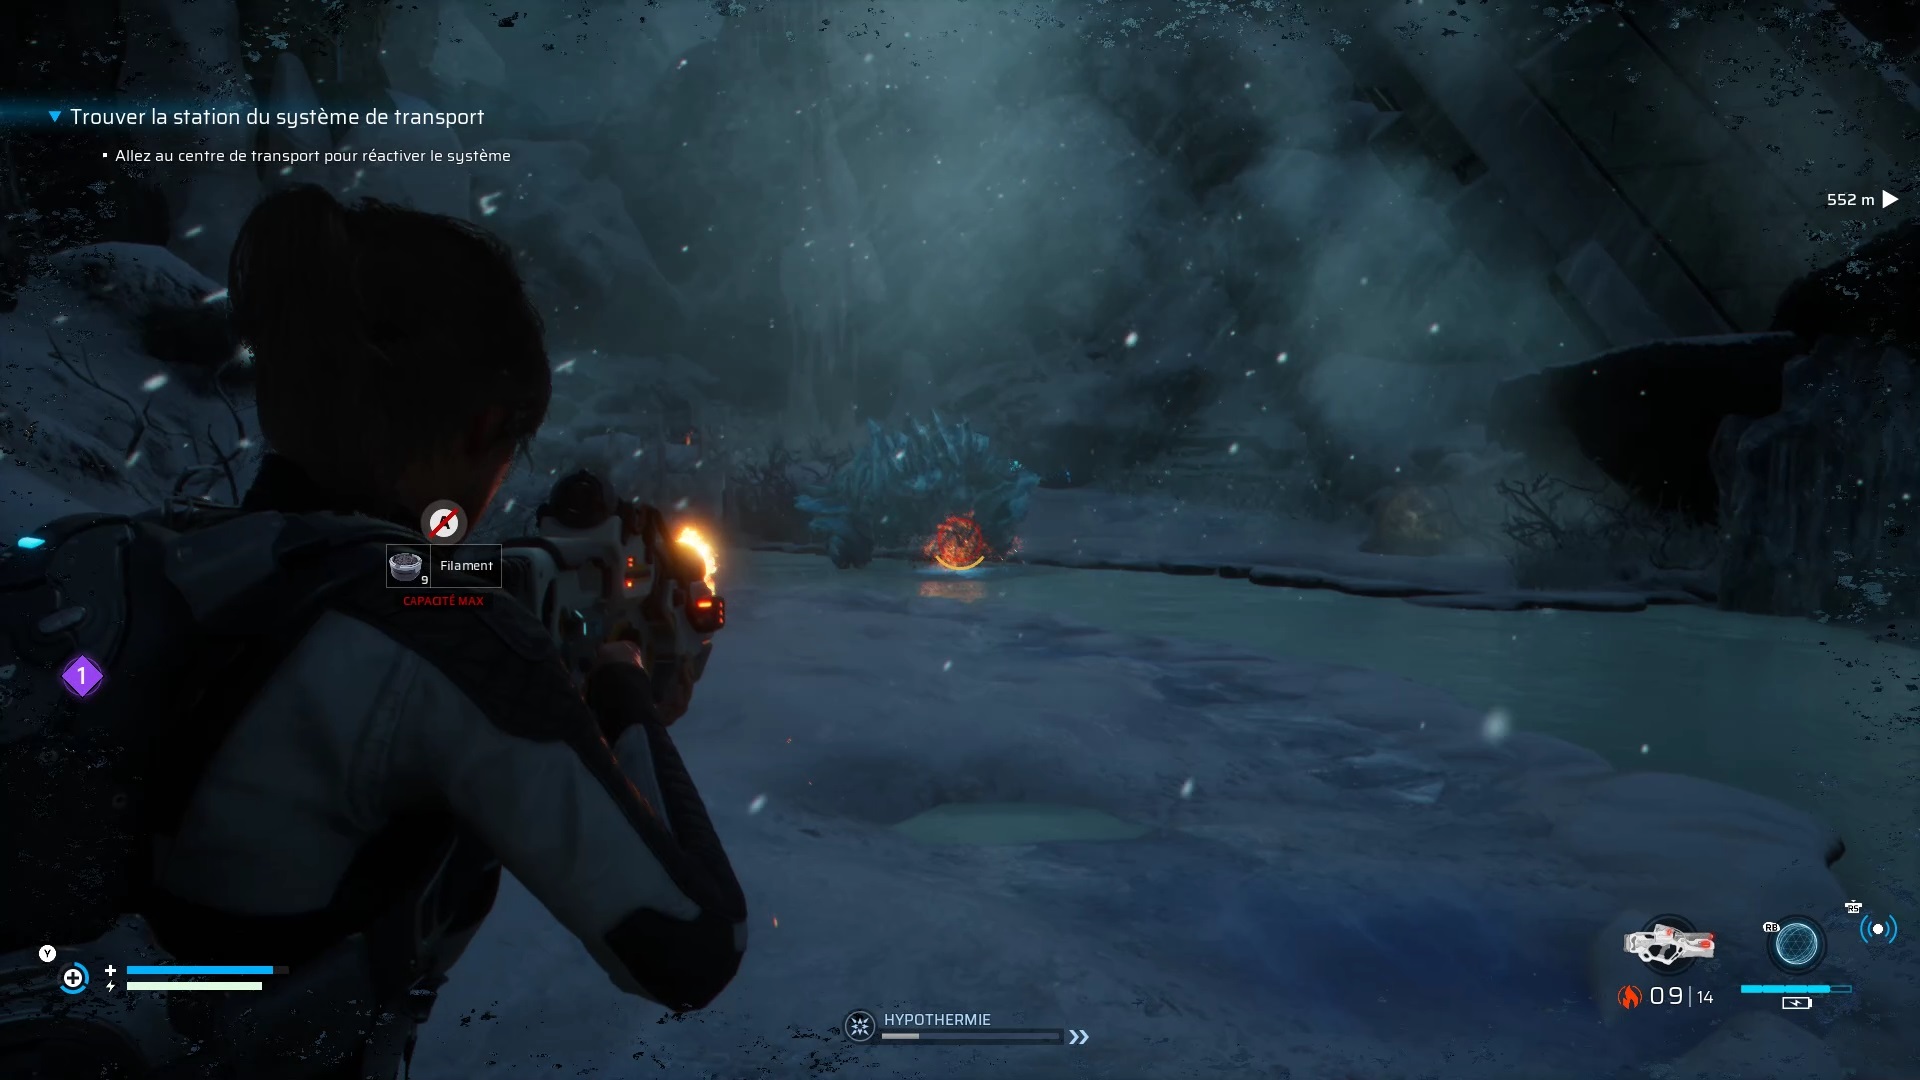
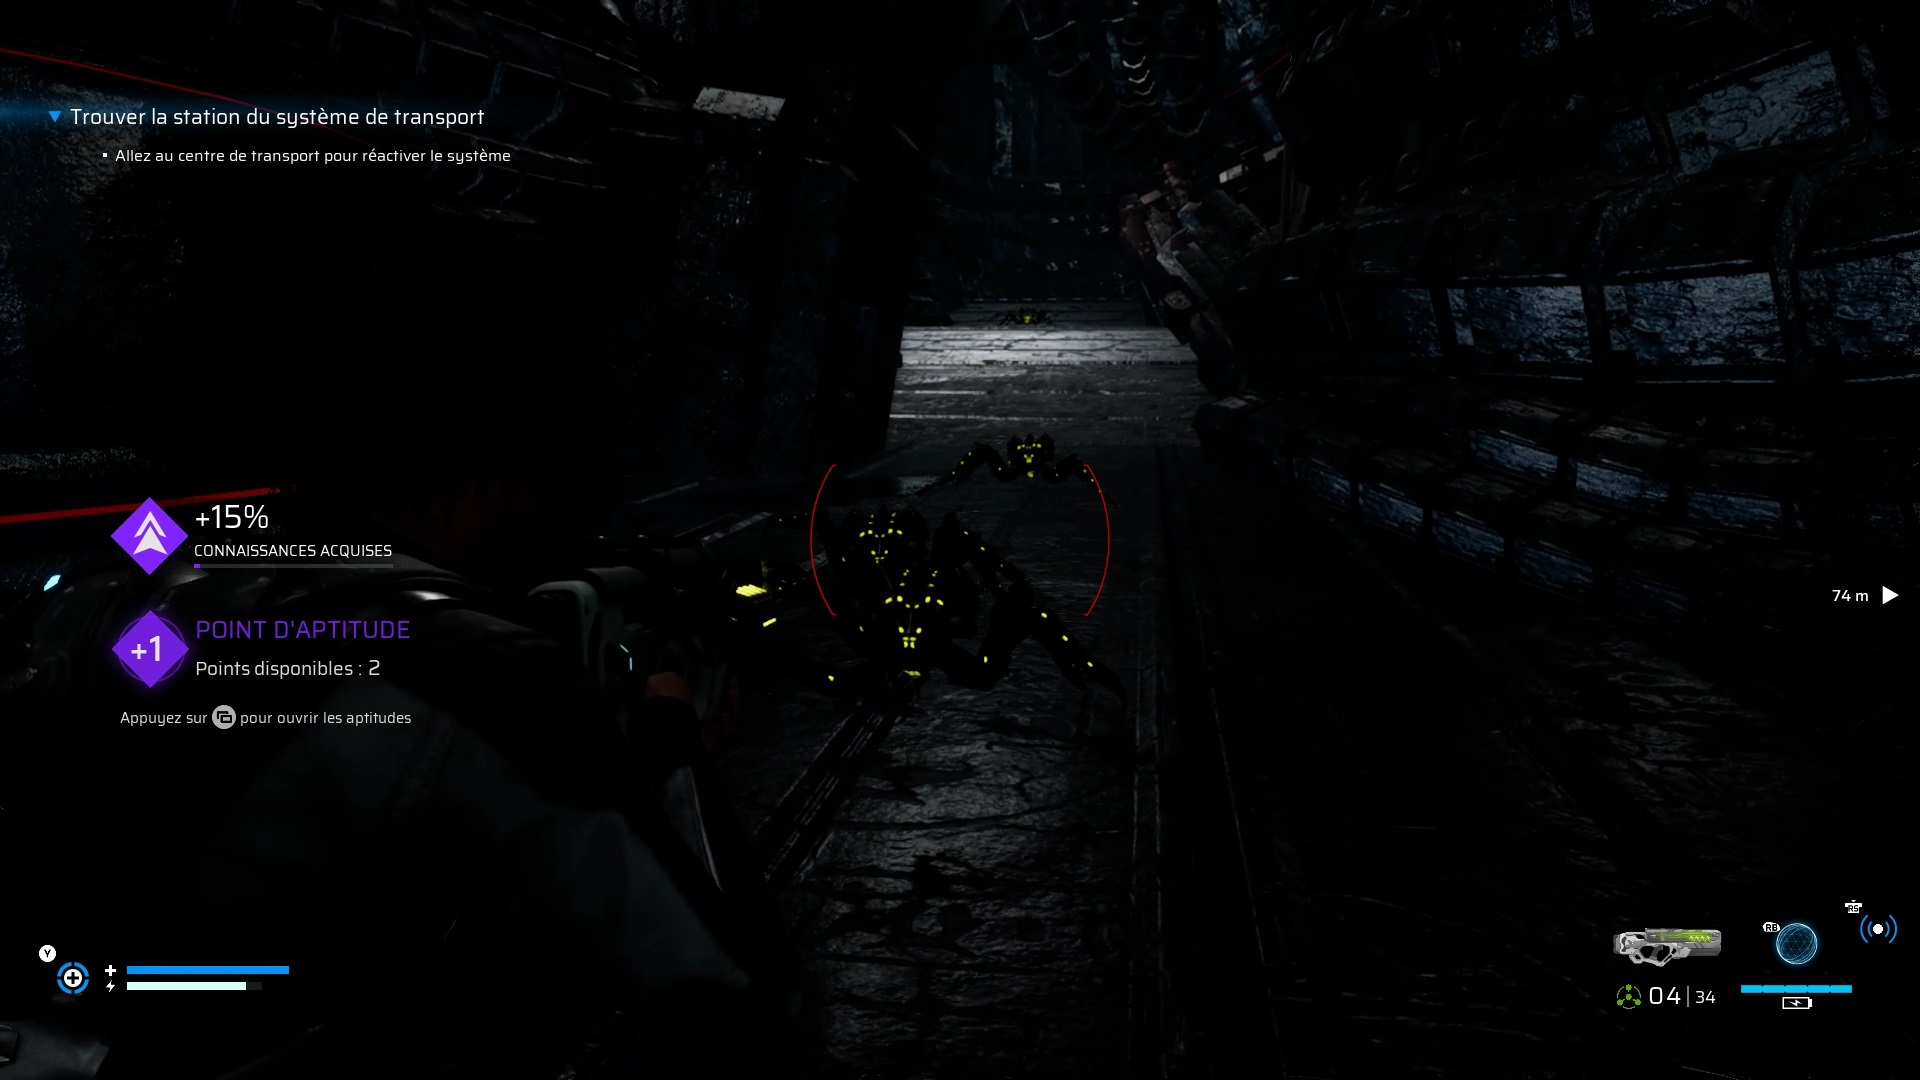
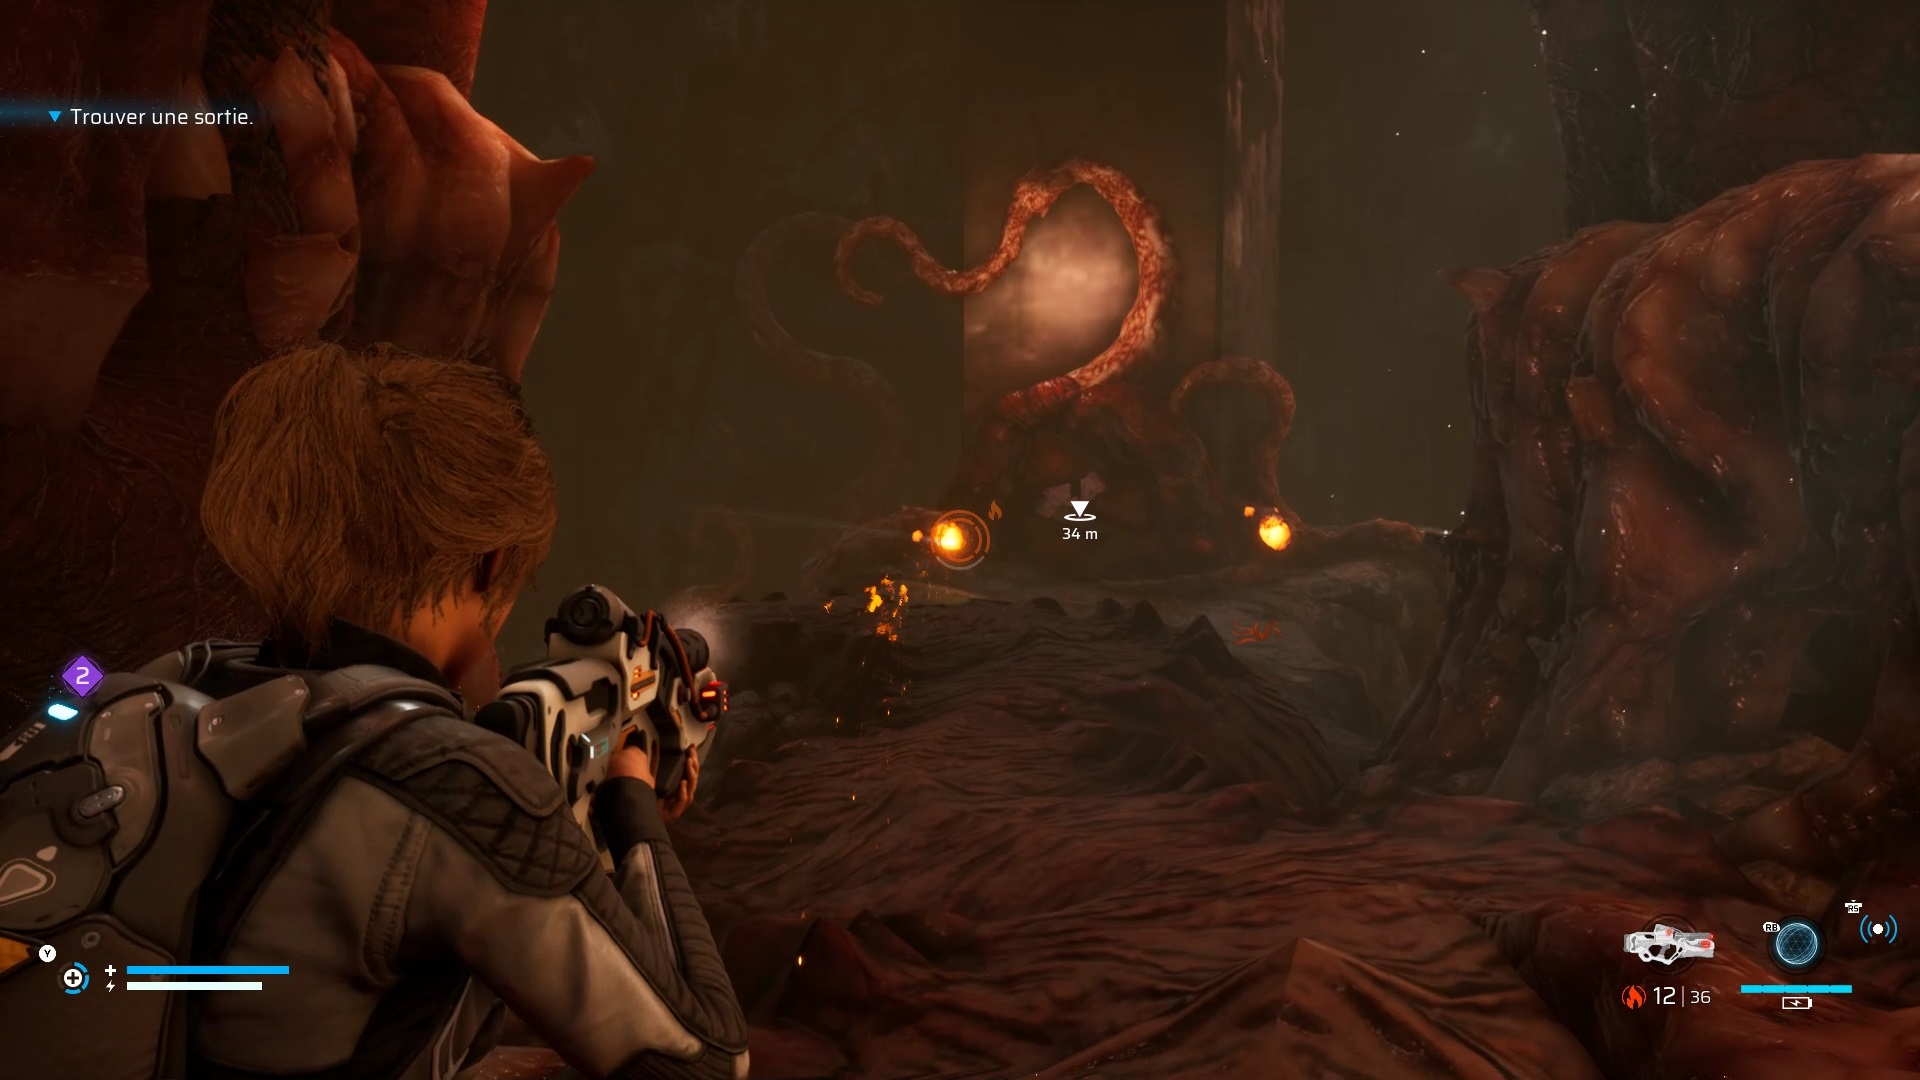
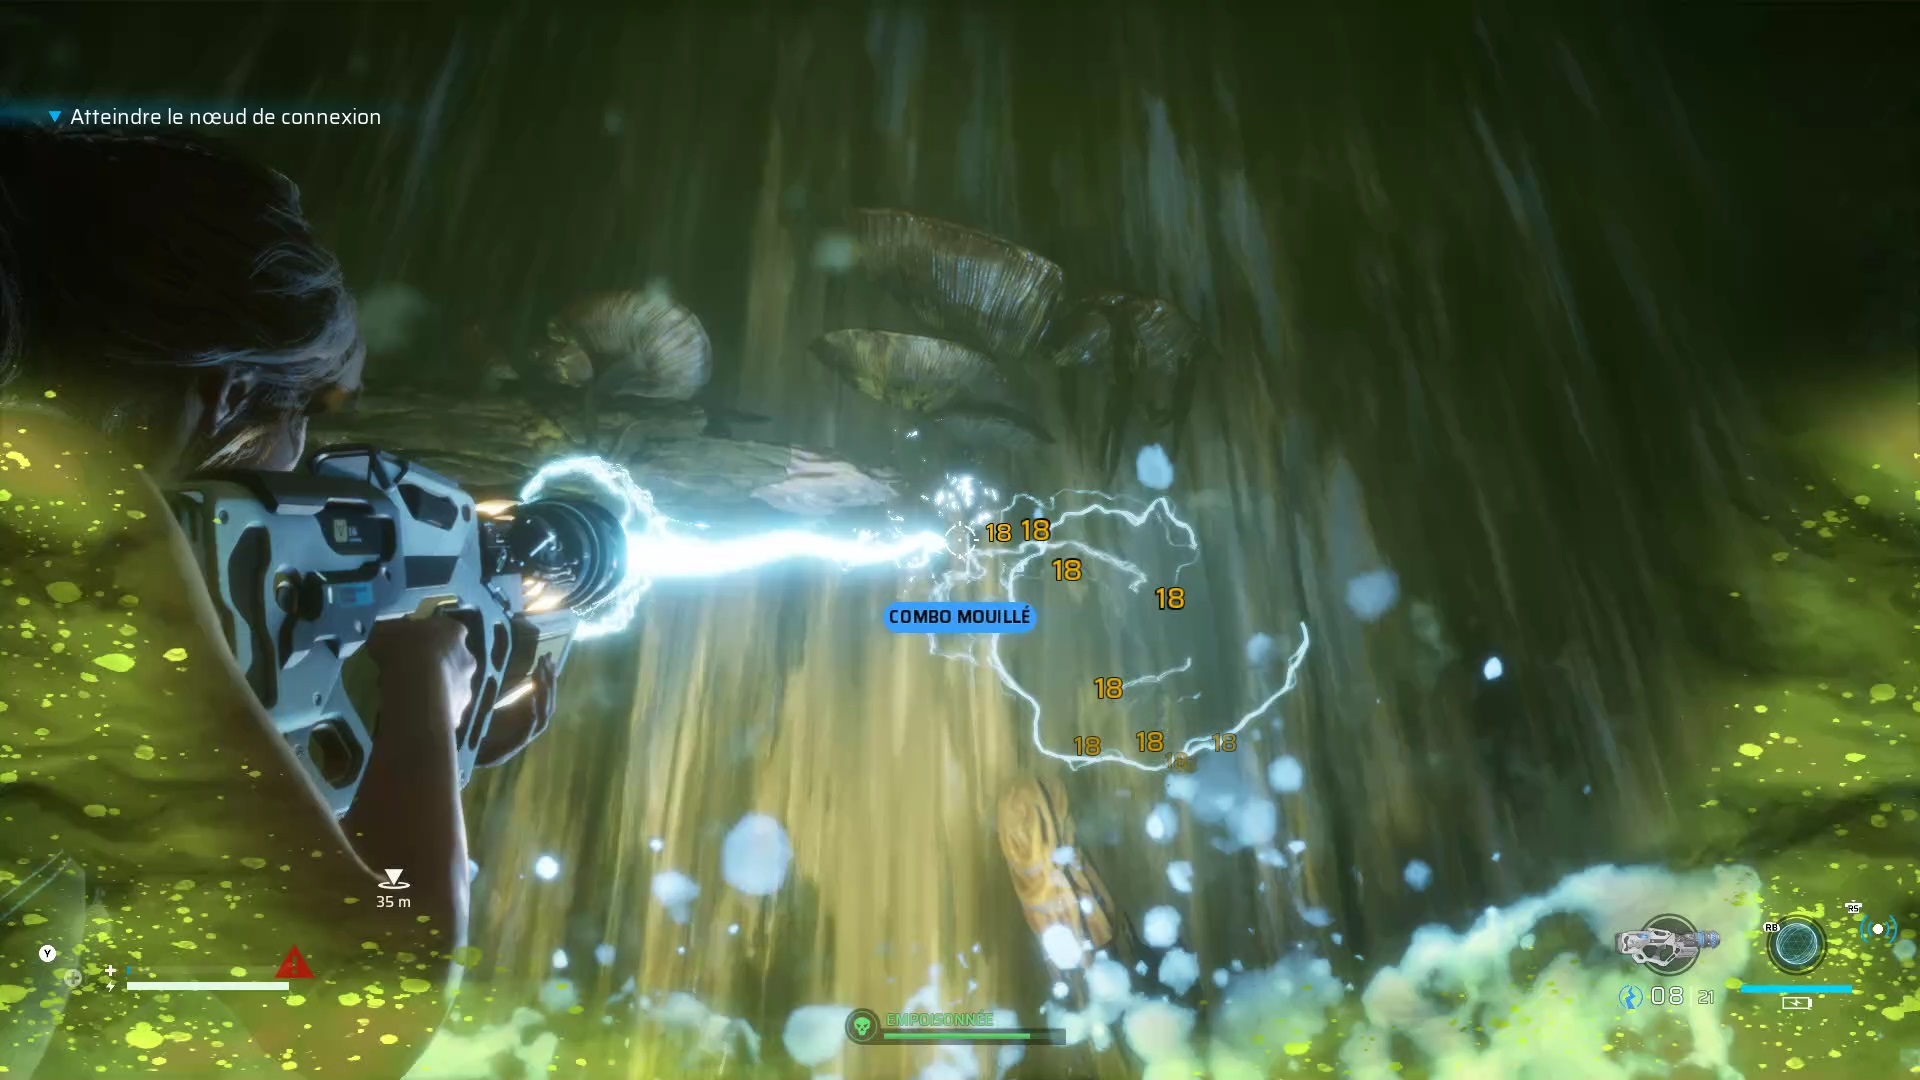
On the other side, eliminate the new enemies in the water. A combo should occur to cause more damage between electricity and water. Other spiders are waiting for you after the pool. Kill the queen to eliminate them in one hit. Follow the objective to find a second pillar. In front of him is a barrier for the moment impassable. Follow the Hermes cables to the right of the barrier to find a passage.
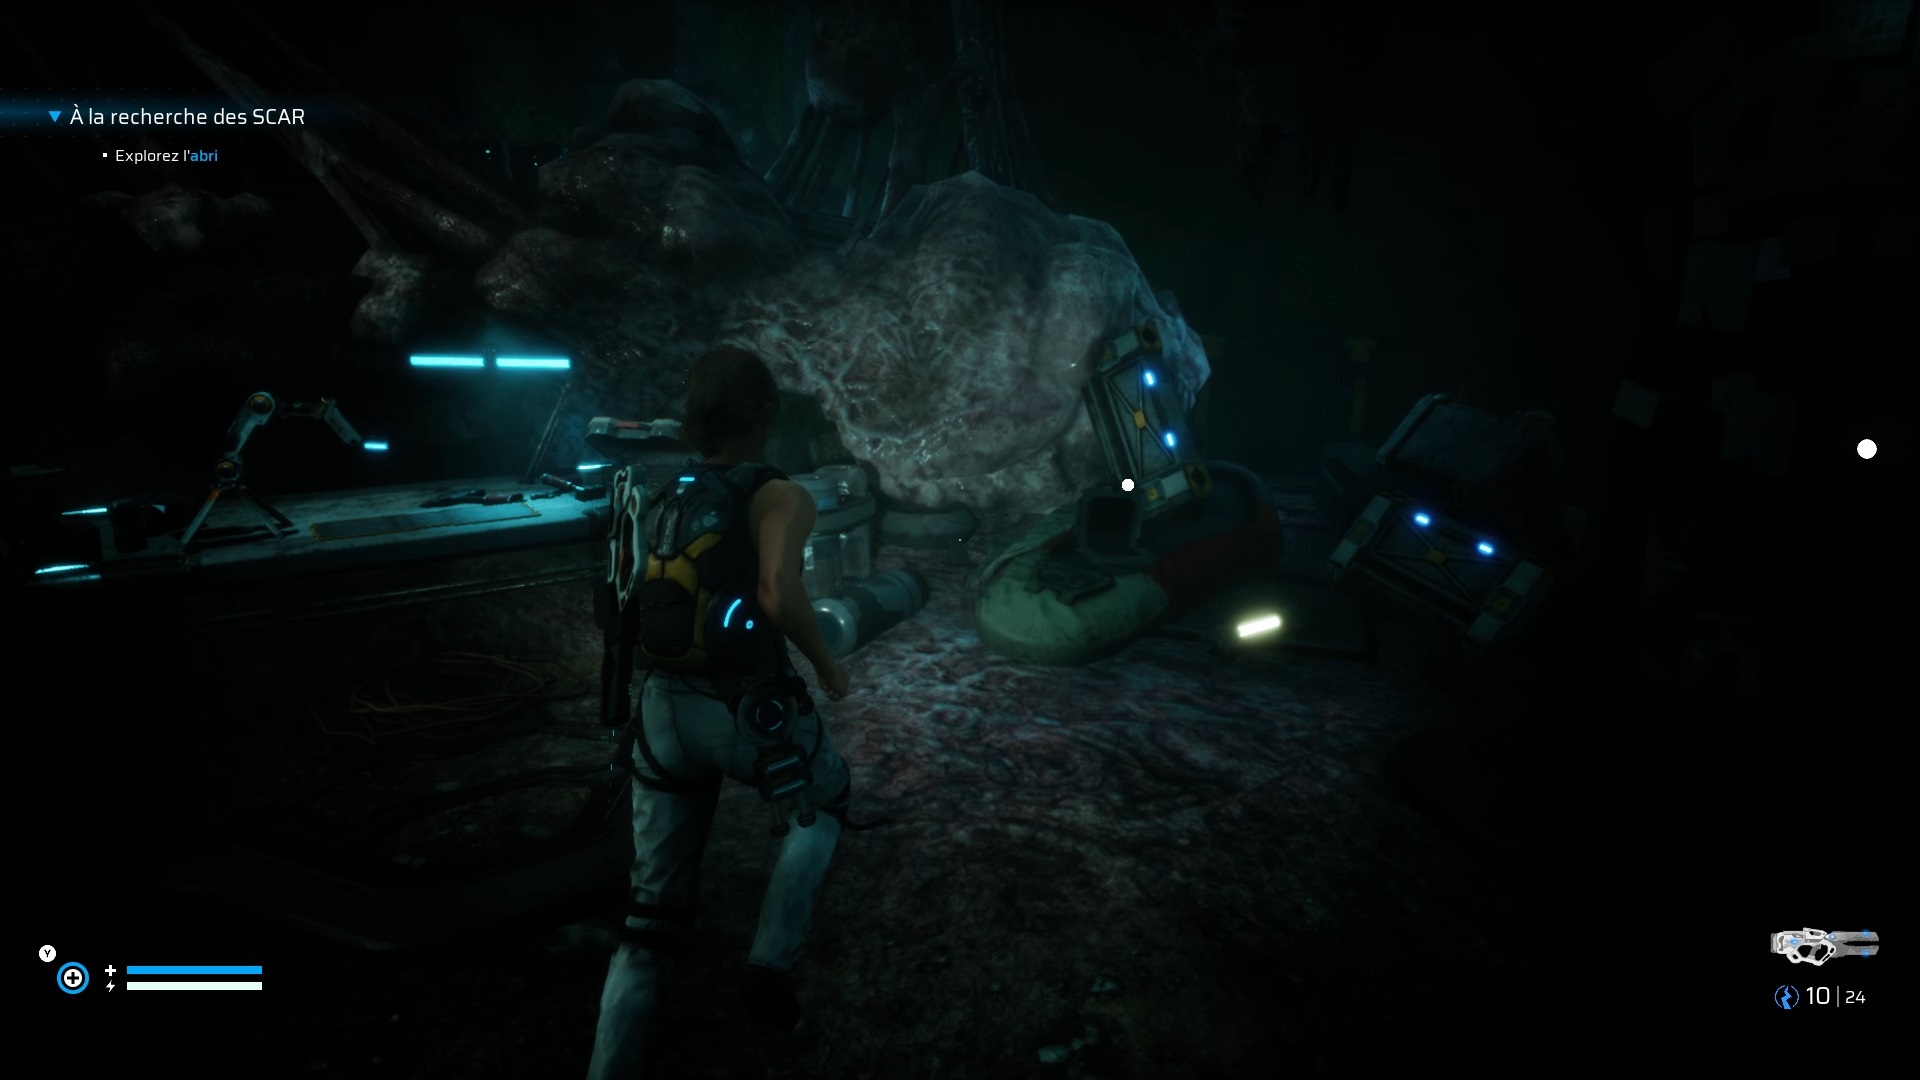
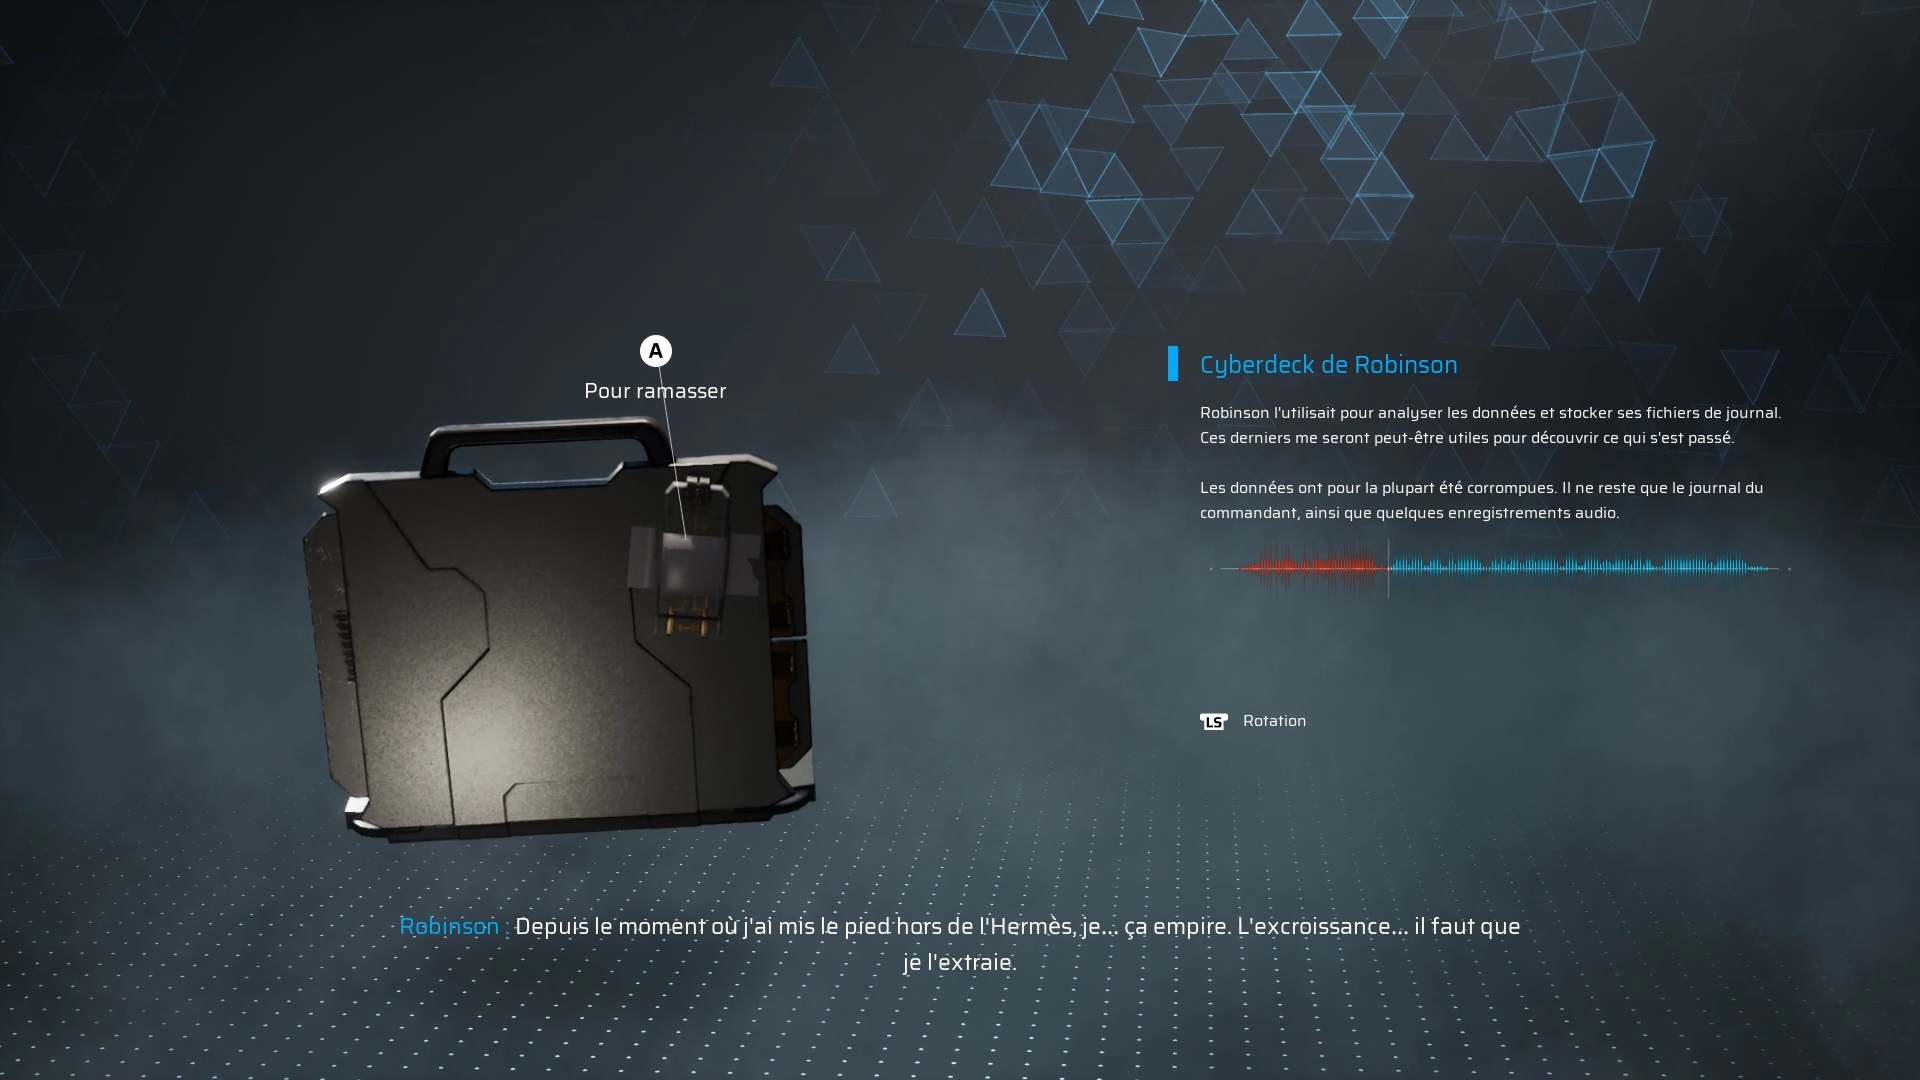
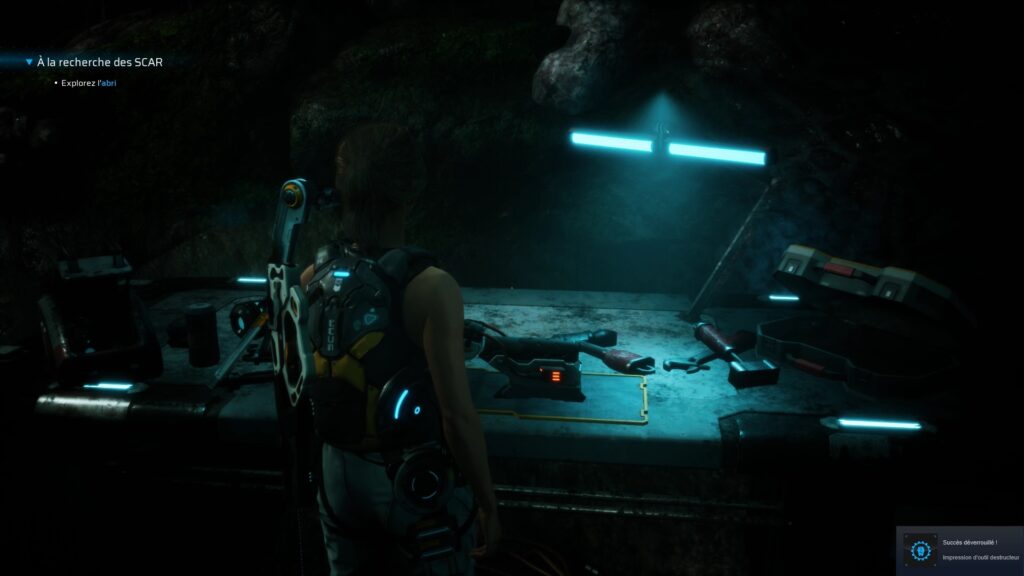
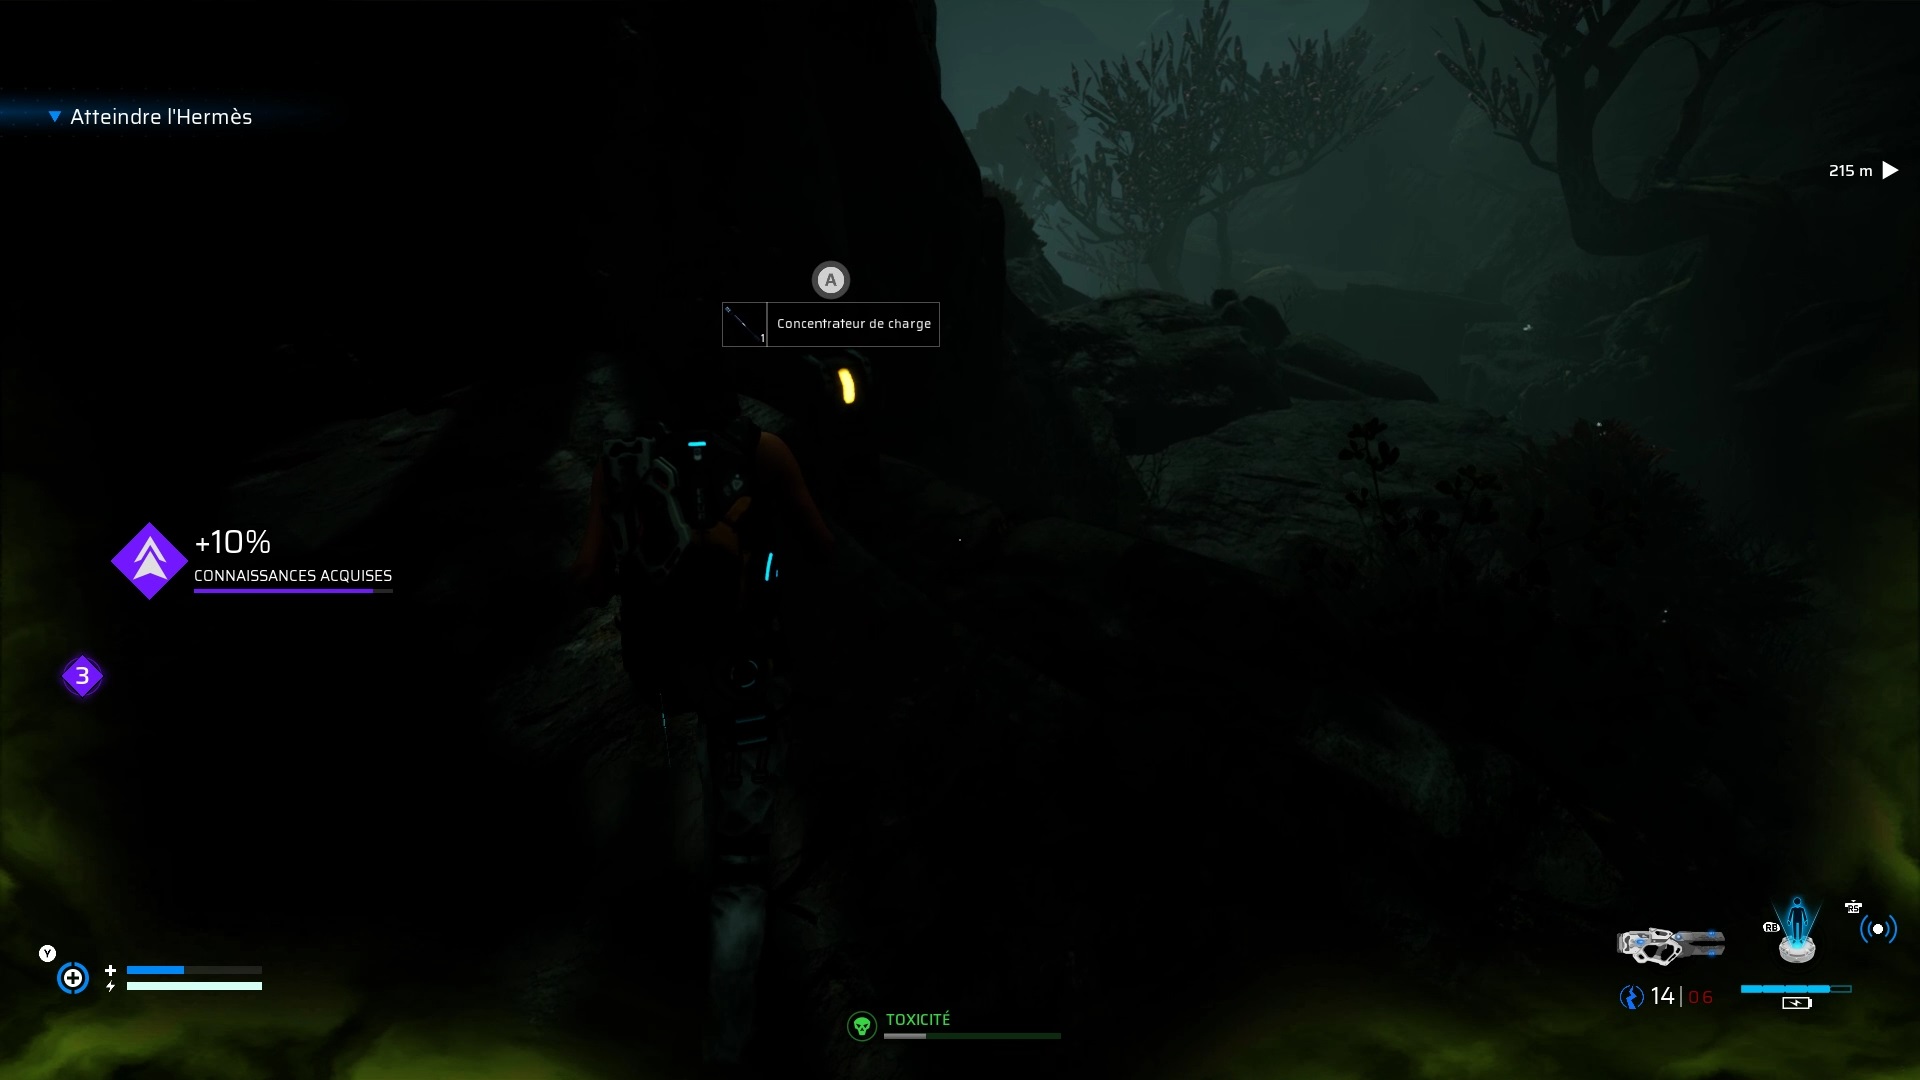
Go deep to find shelter. Power the workshop with the lever on the left. Then examine the computer to the right of the workshop to find a note from Robinson. Turn the computer around to find a thermal module. Use the module on the workshop to create a new weapon.

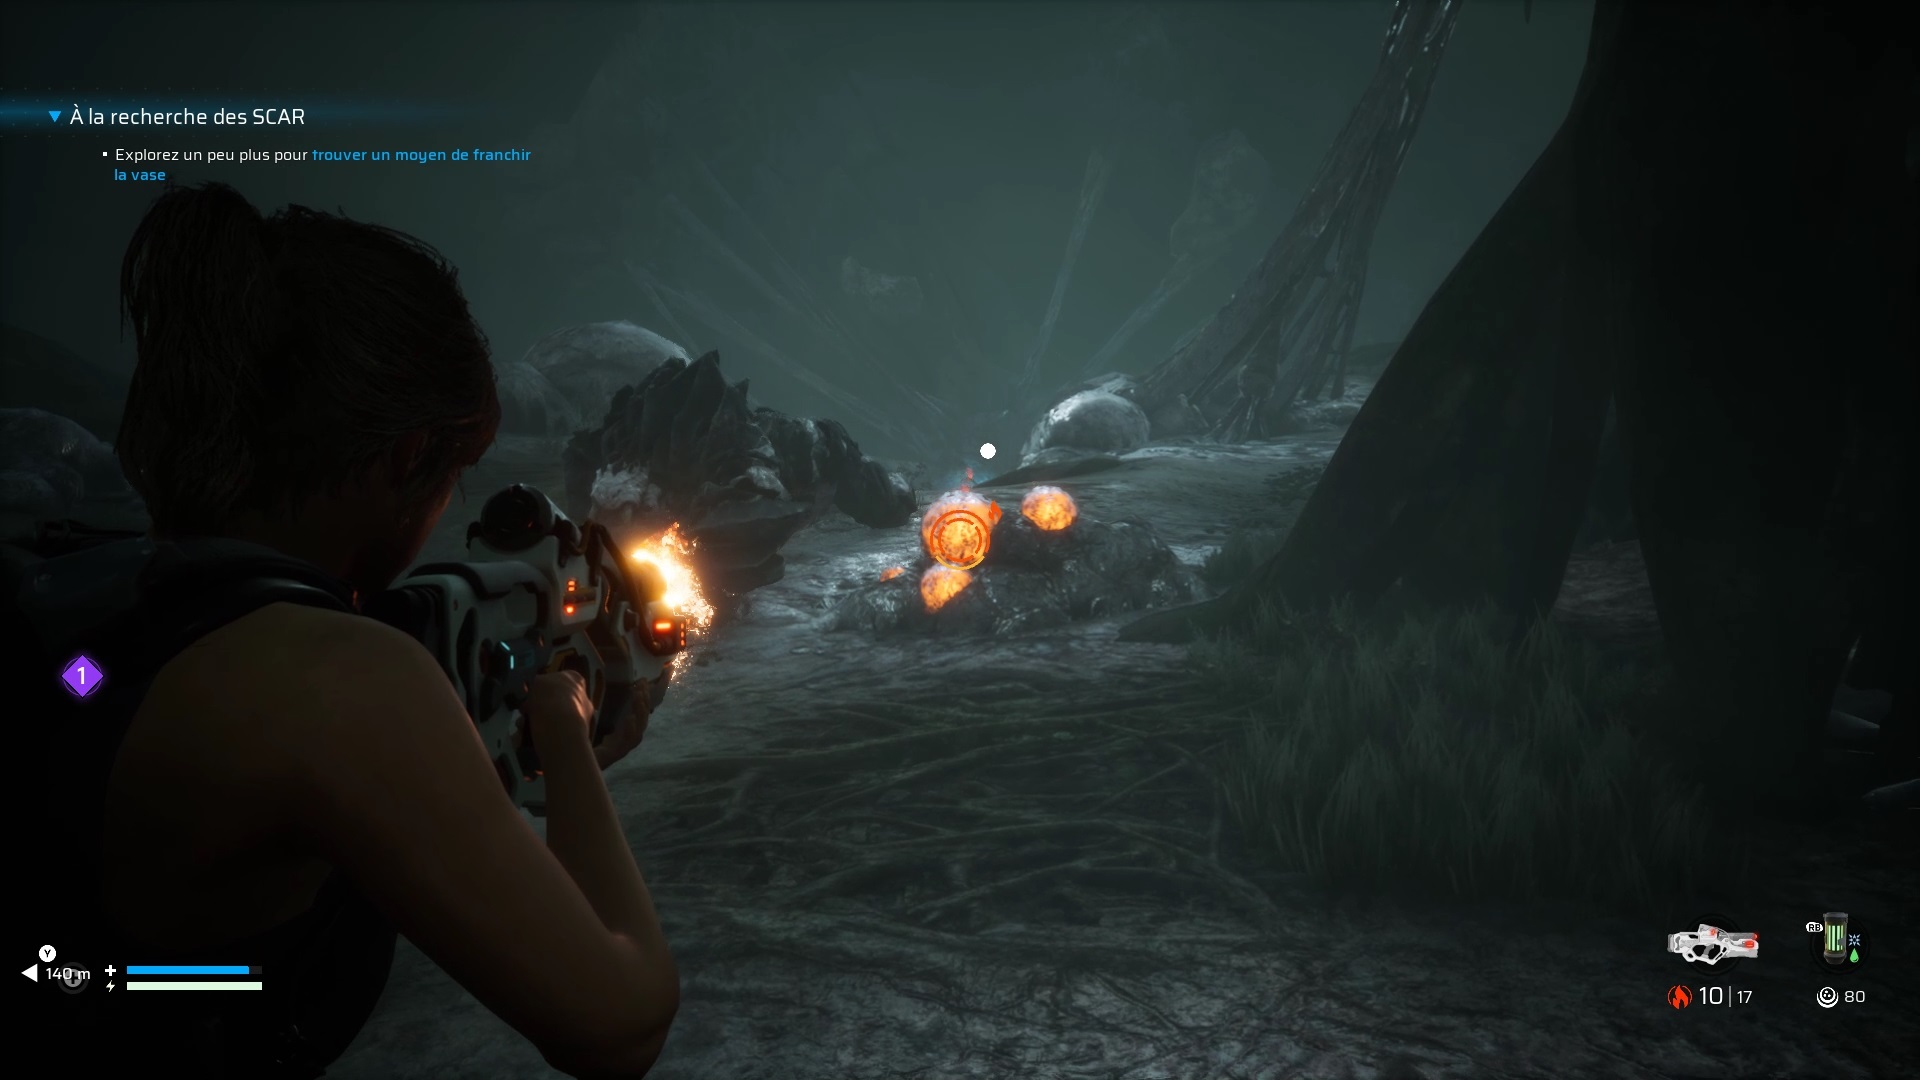
Get out of the cave by shooting the eggs to avoid fighting. Join the barrier to shoot its growths. Once the barrier is destroyed, go to the other side to see the apparition again. Then go down the path to the left of the closed door.
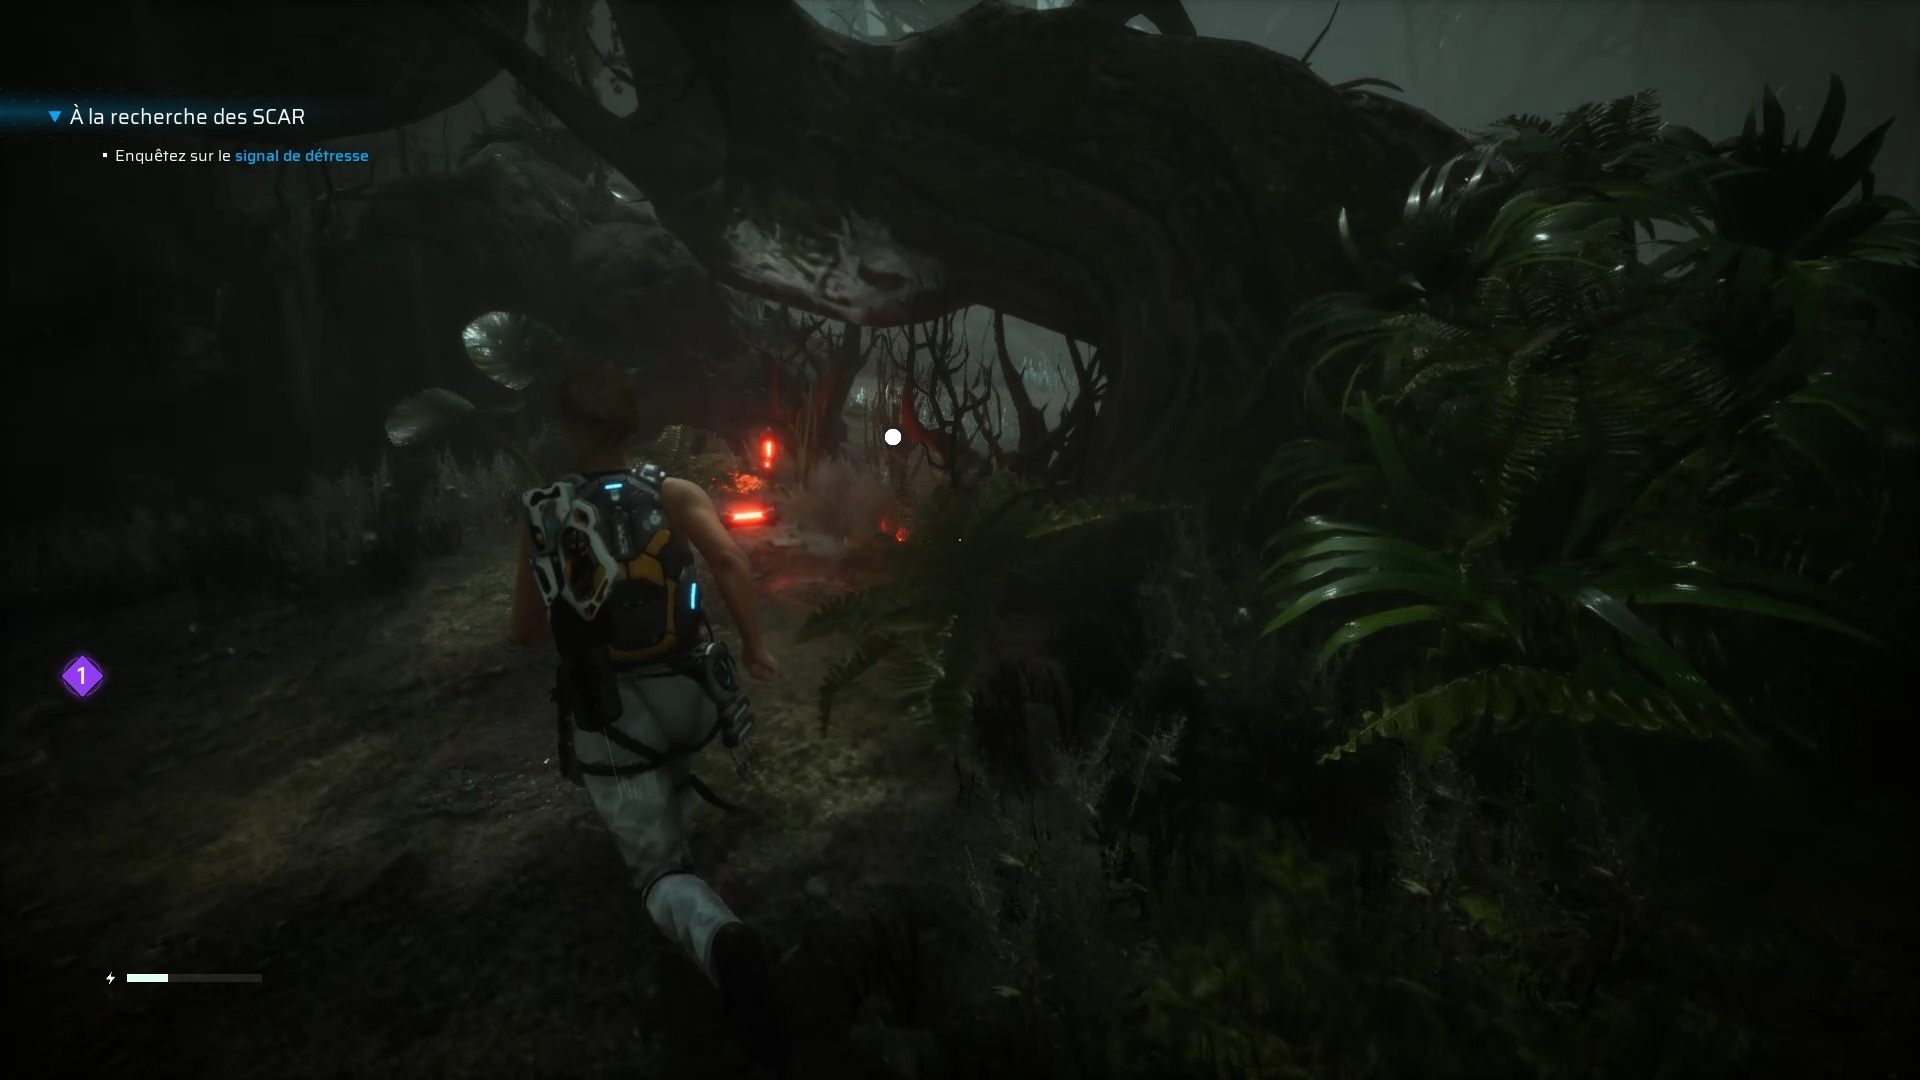
Move forward to find enemies and a new barrier. Eliminate the threats and use the incendiary weapon to destroy the barrier. On the other side, climb the slope to find a path. Go ahead and burn the eggs on your way to avoid the fight. Then go through the grass to sneak.
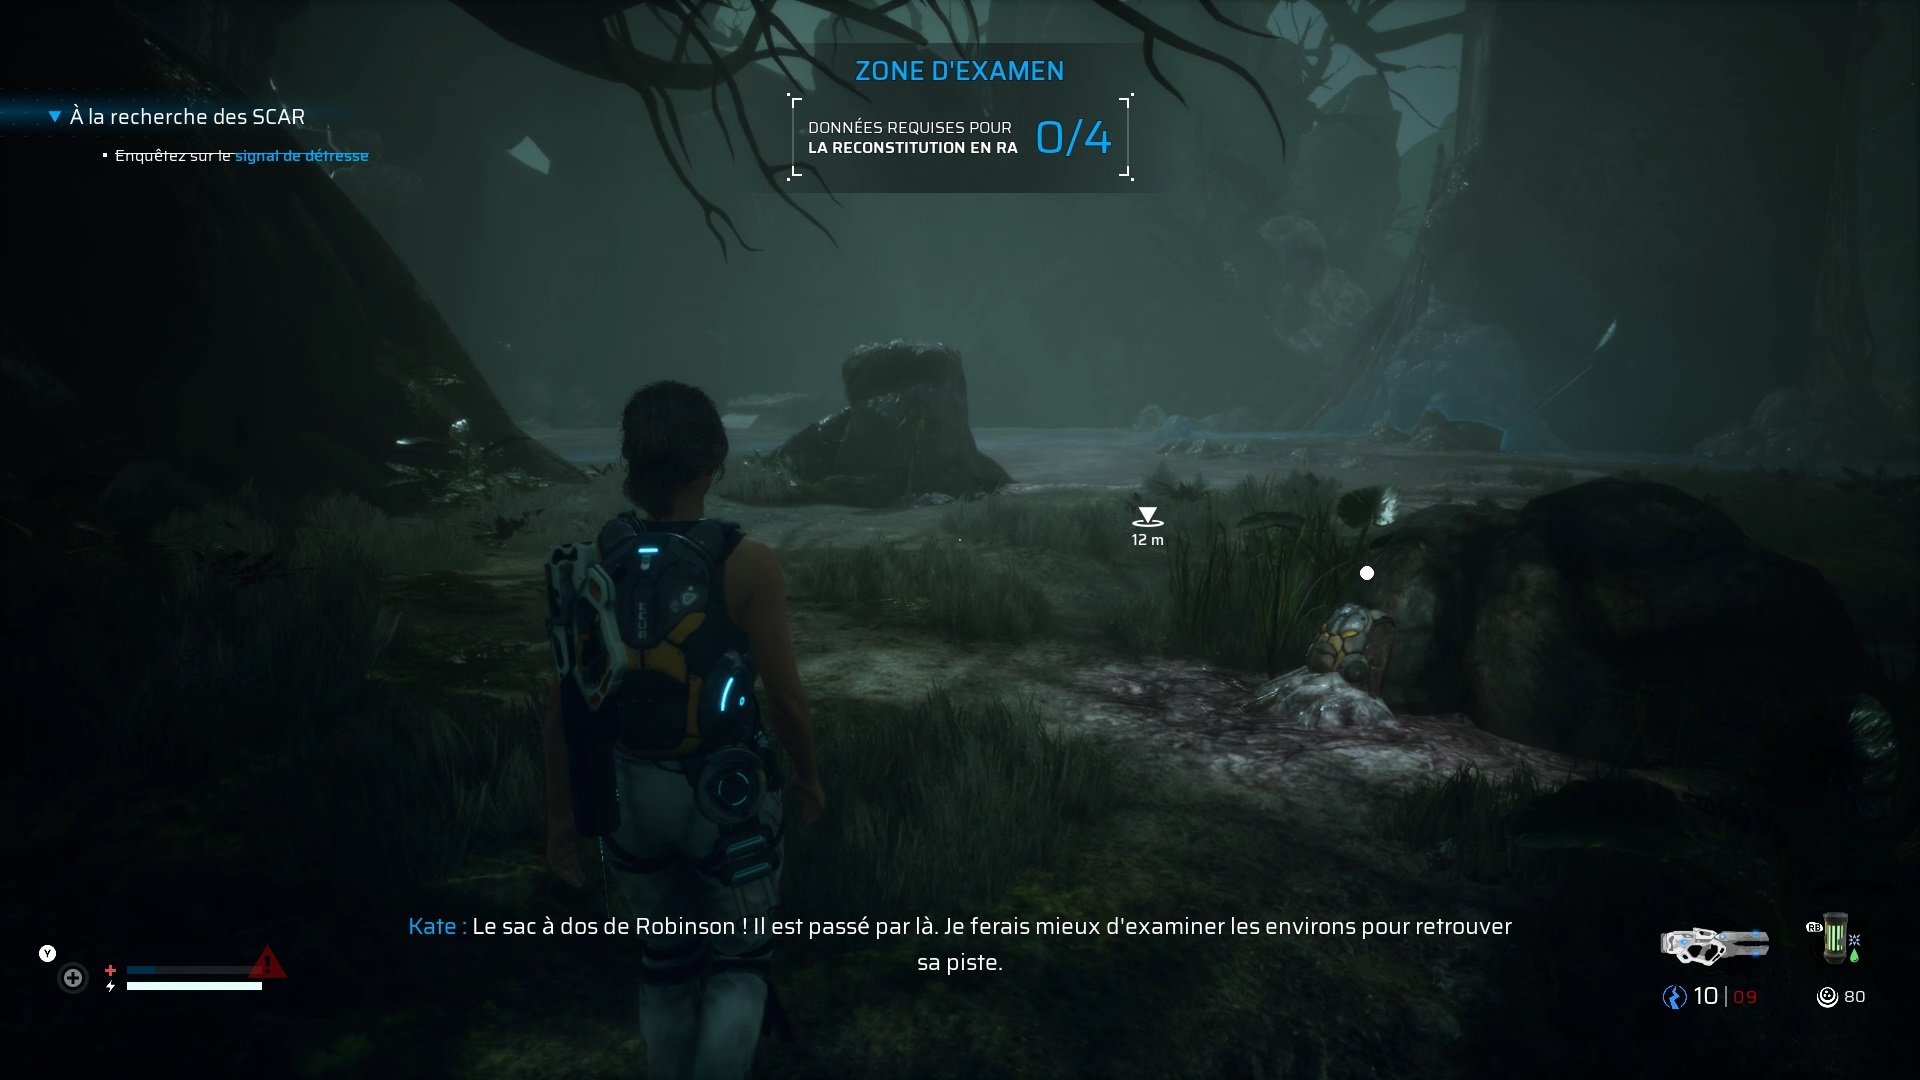
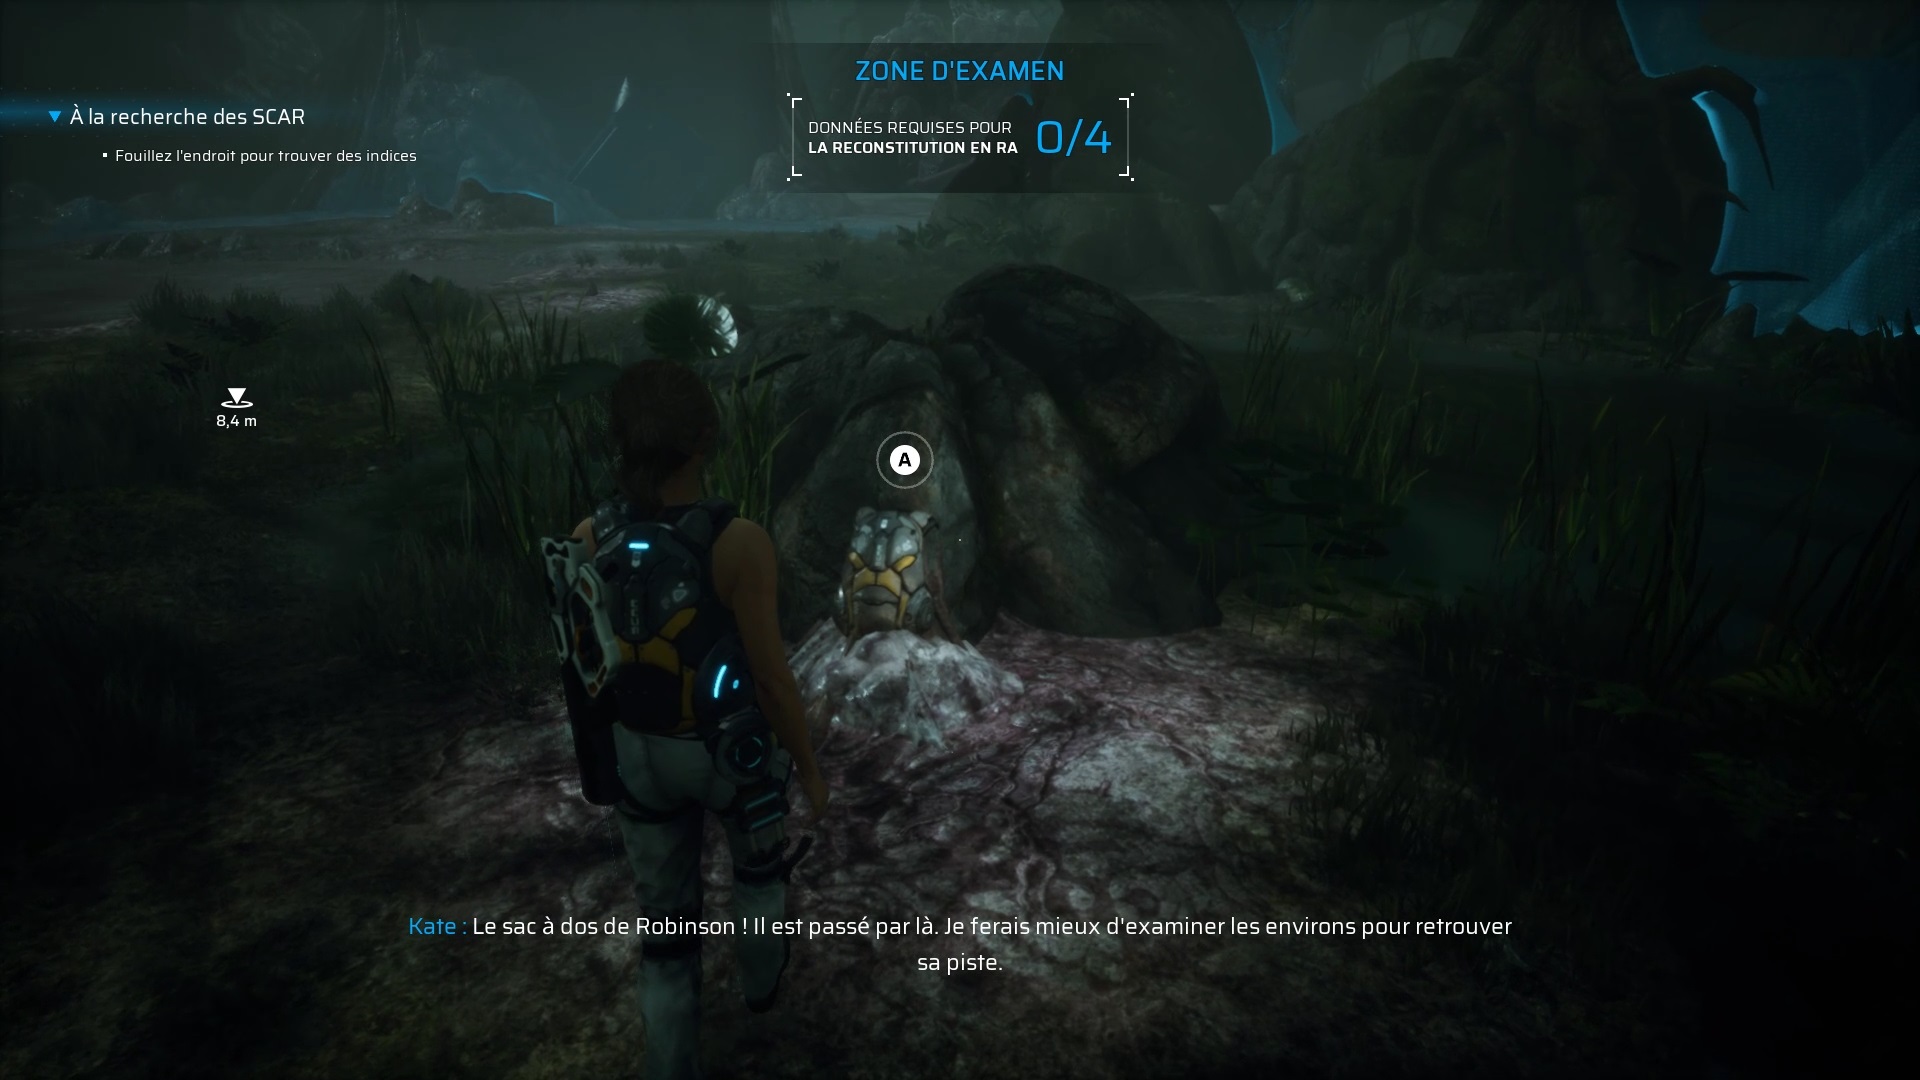
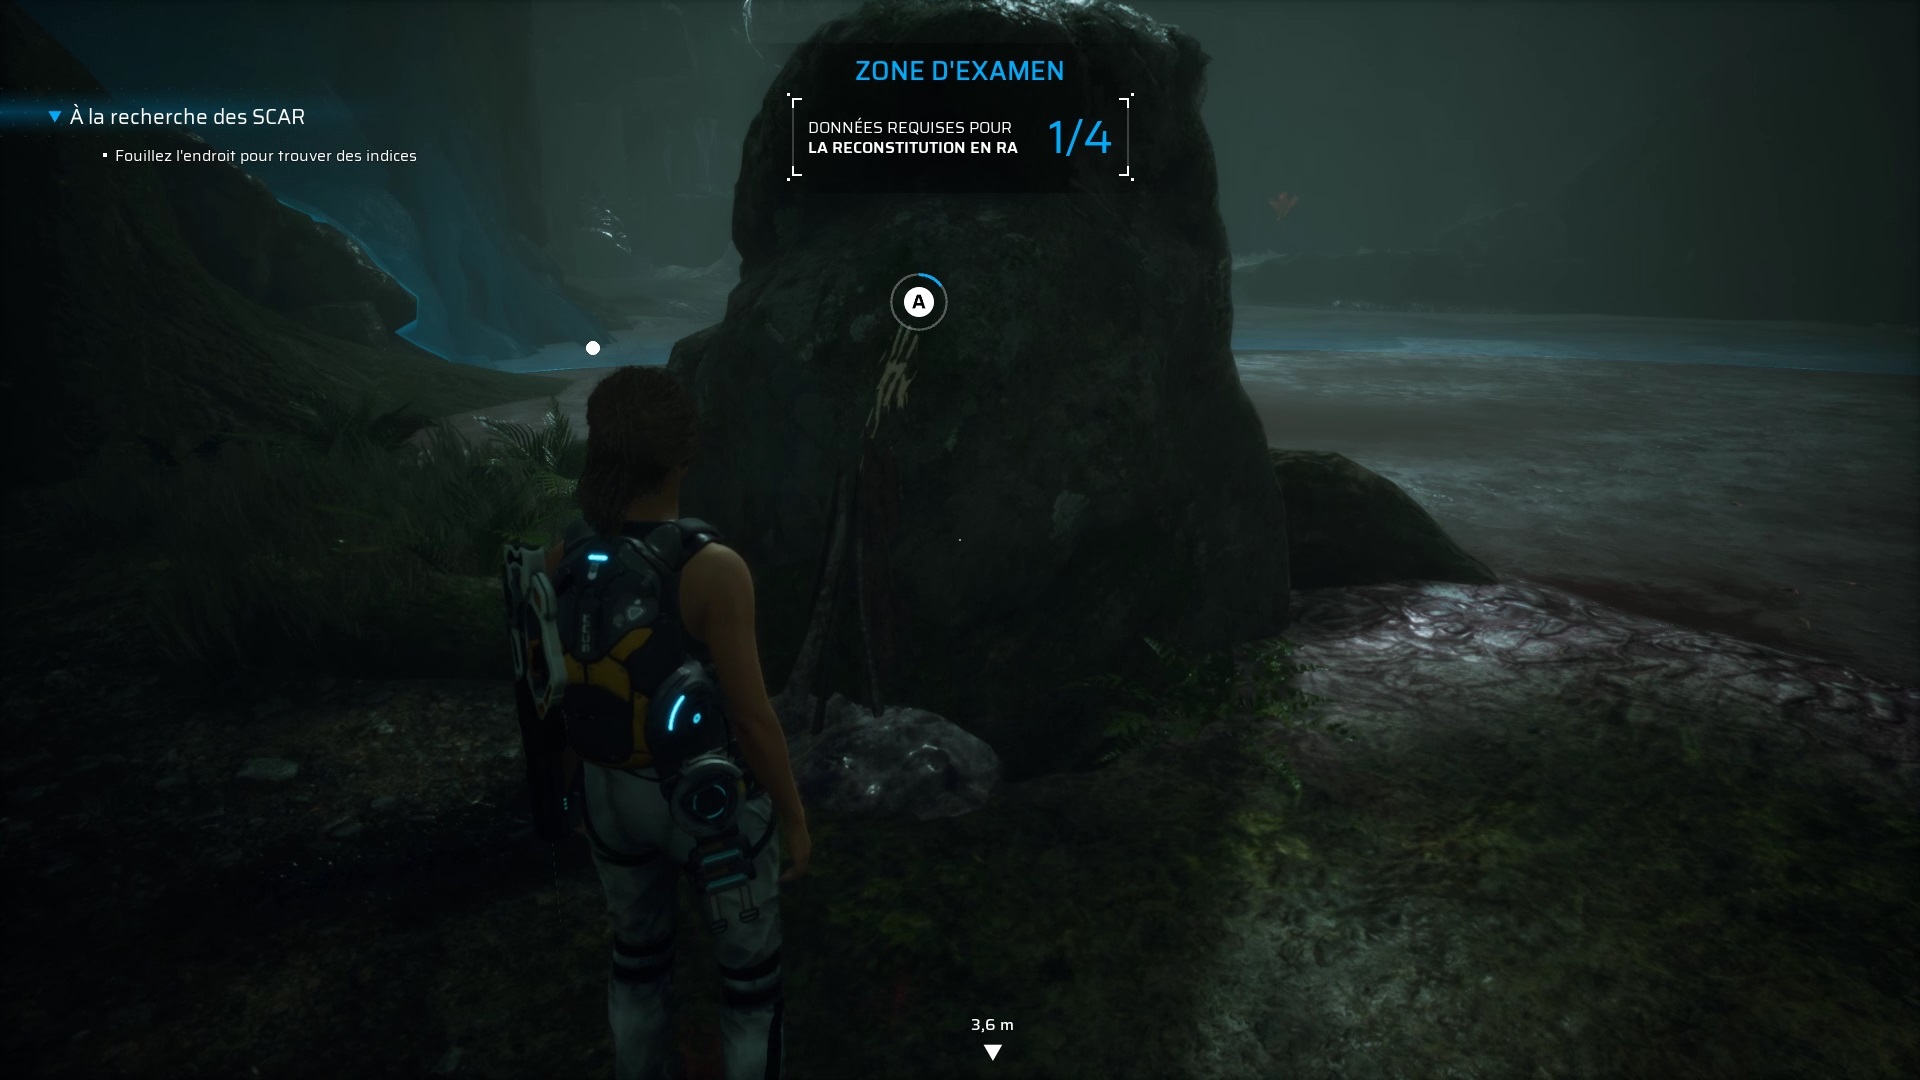
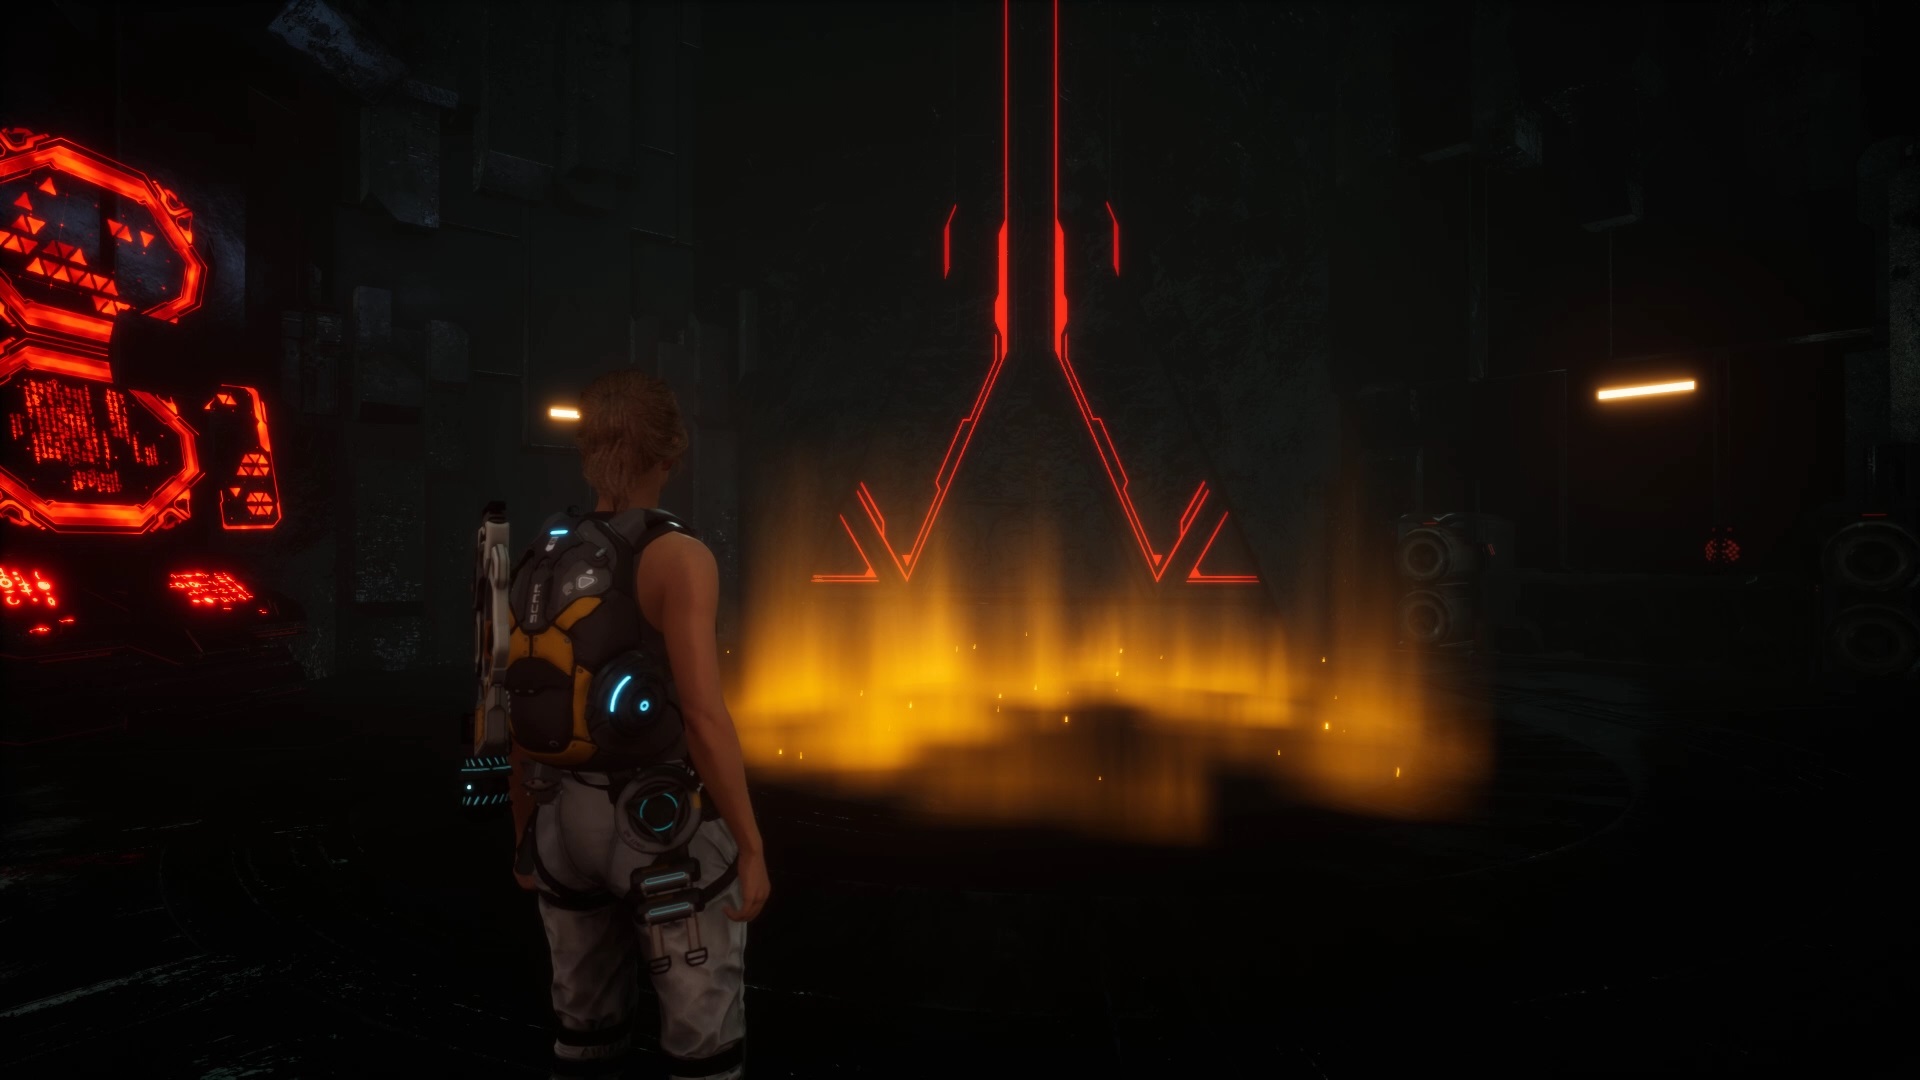
Proceed to find an investigation area in front of the monolith. Interact with the backpack, the mark on the rock, the bile and the shoe to finish the investigation.
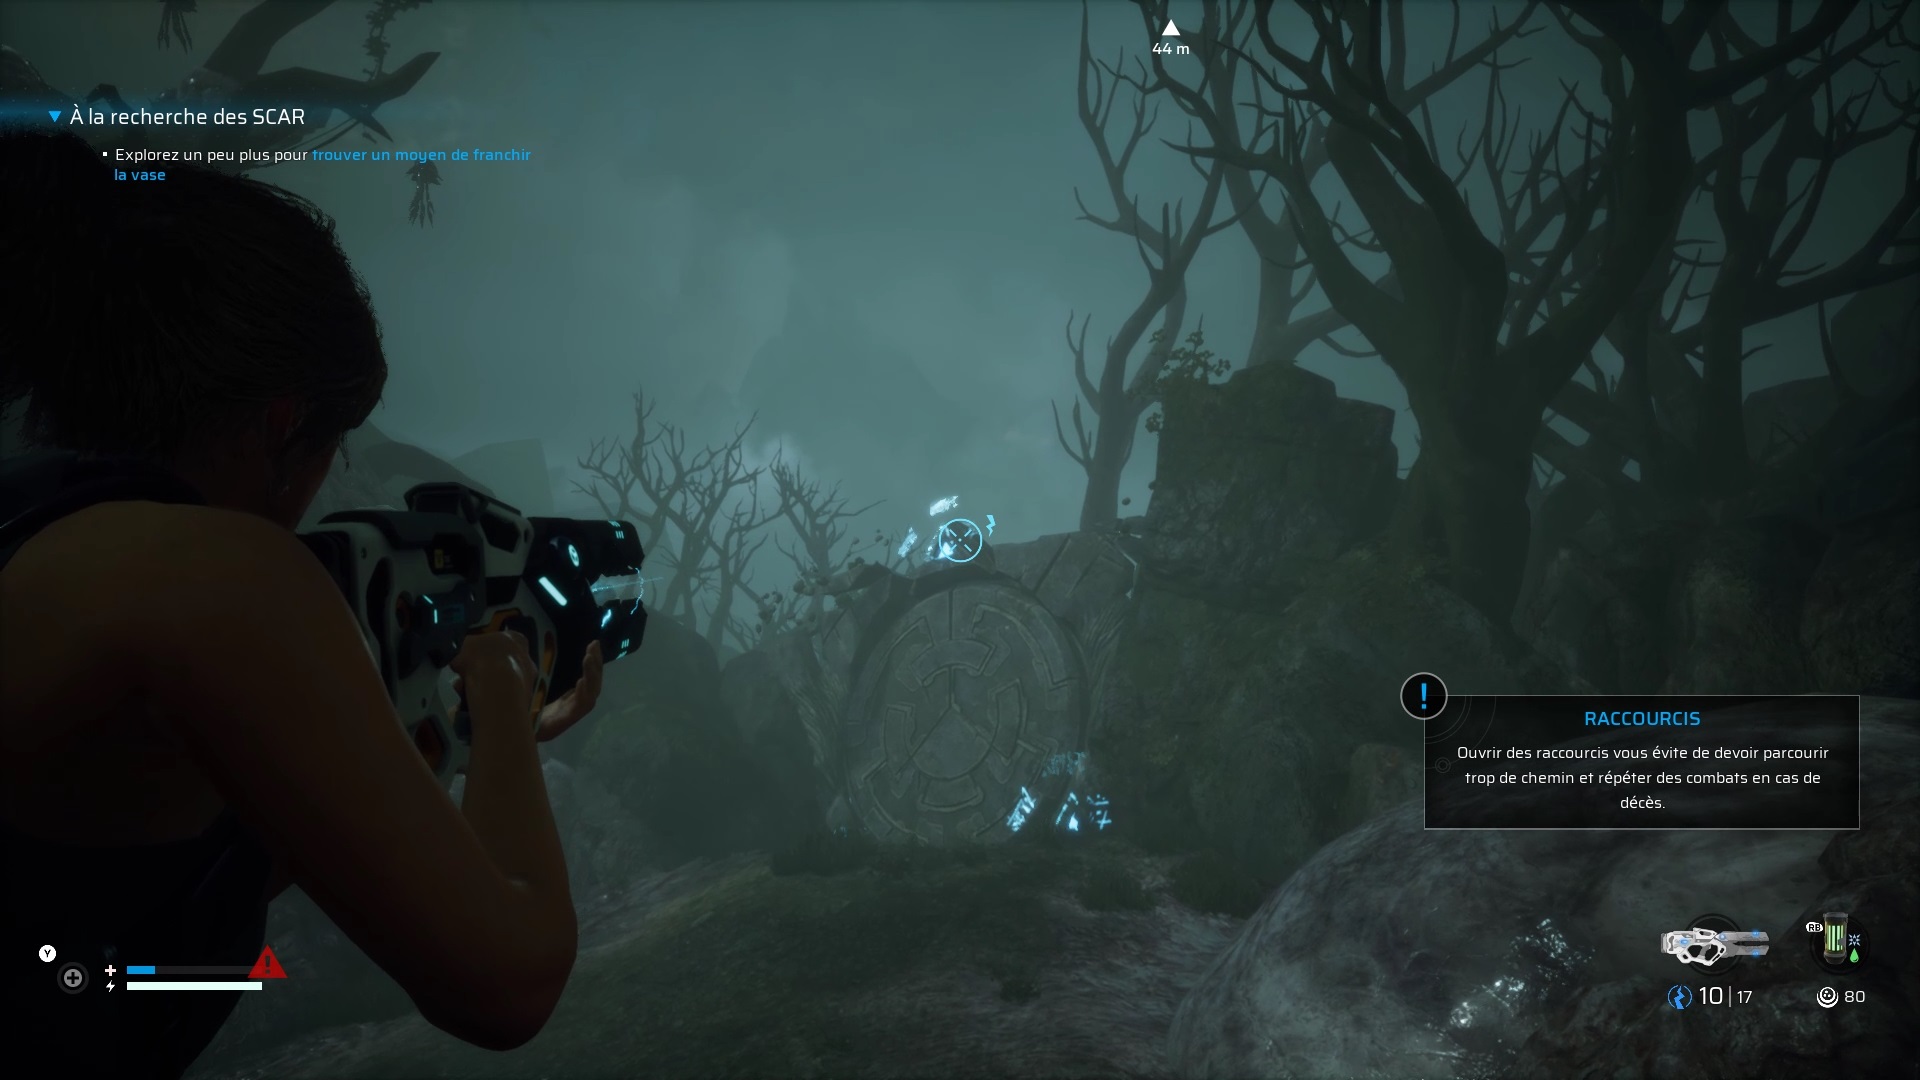
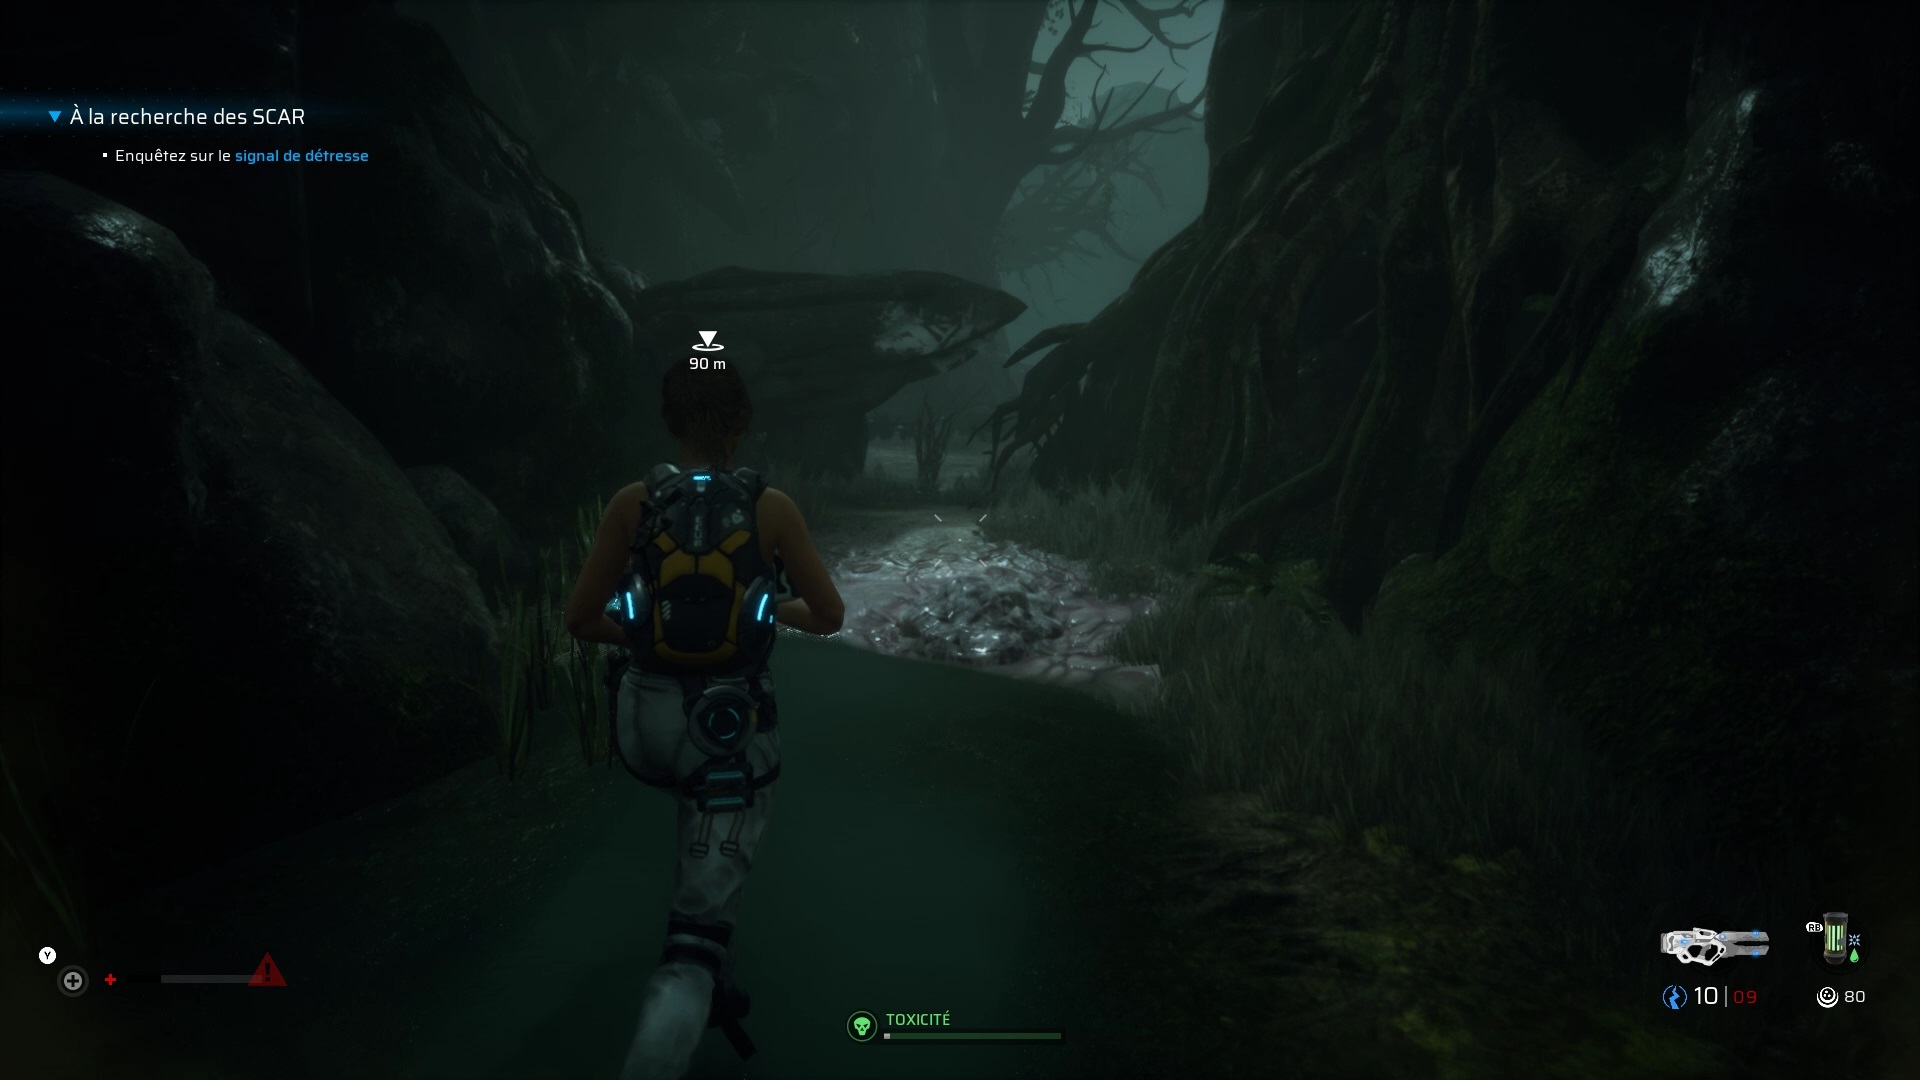
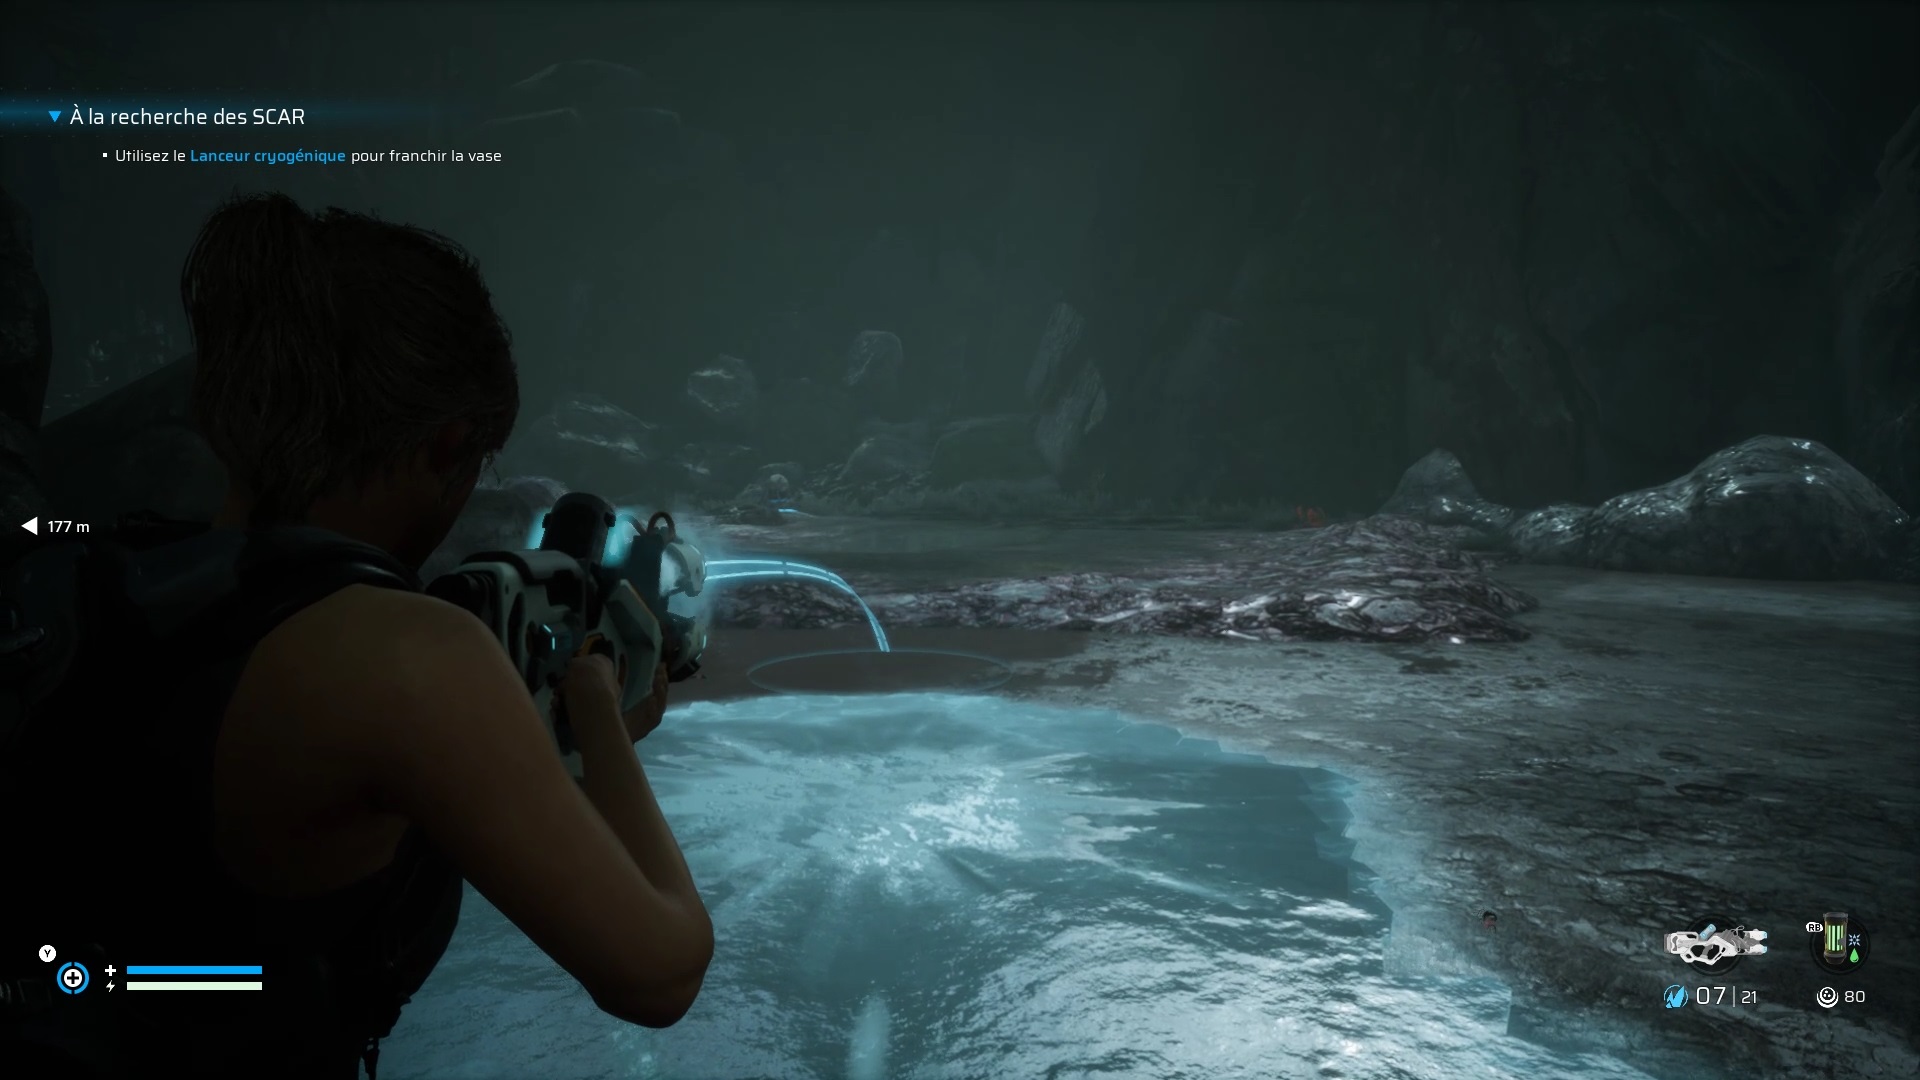
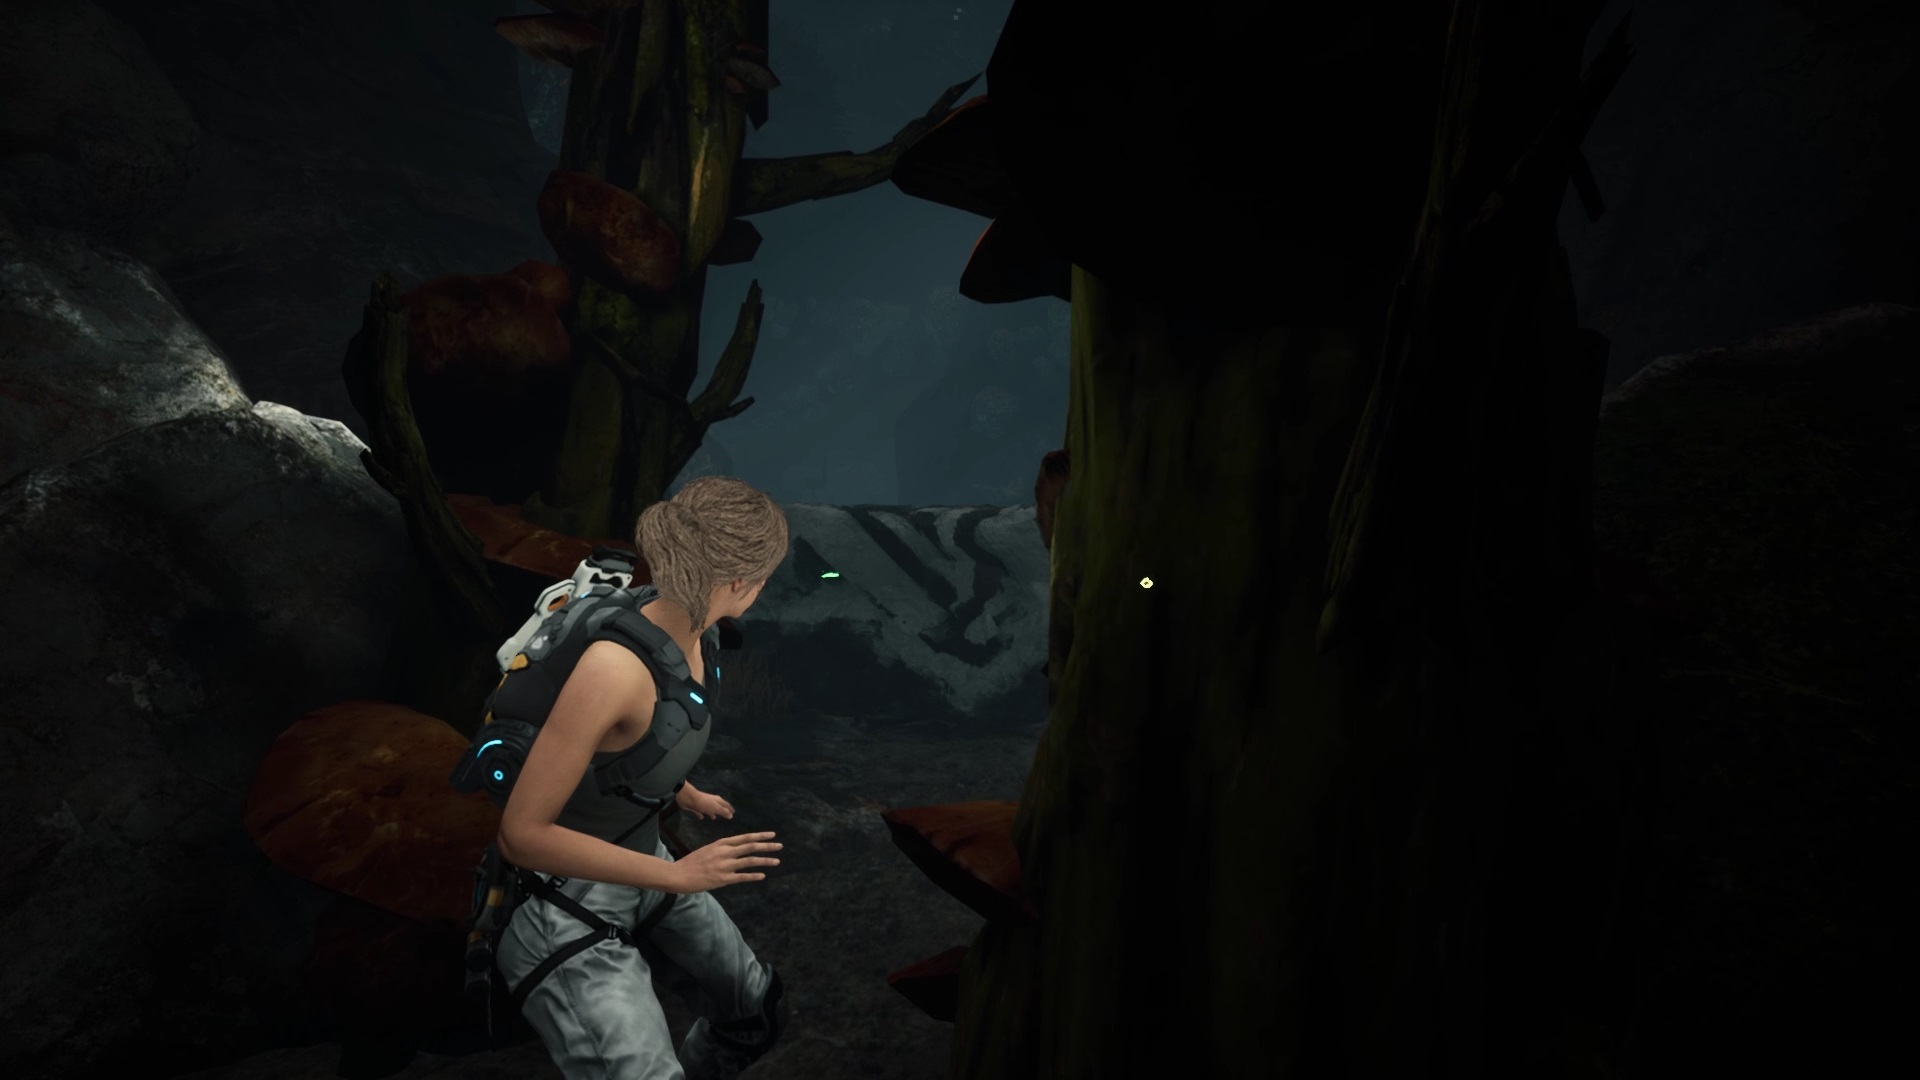
Then go to the right of the monolith to find a passage. Unlock the closed door to create a shortcut. Continue to sink into the swamp to find a passage through the grass.
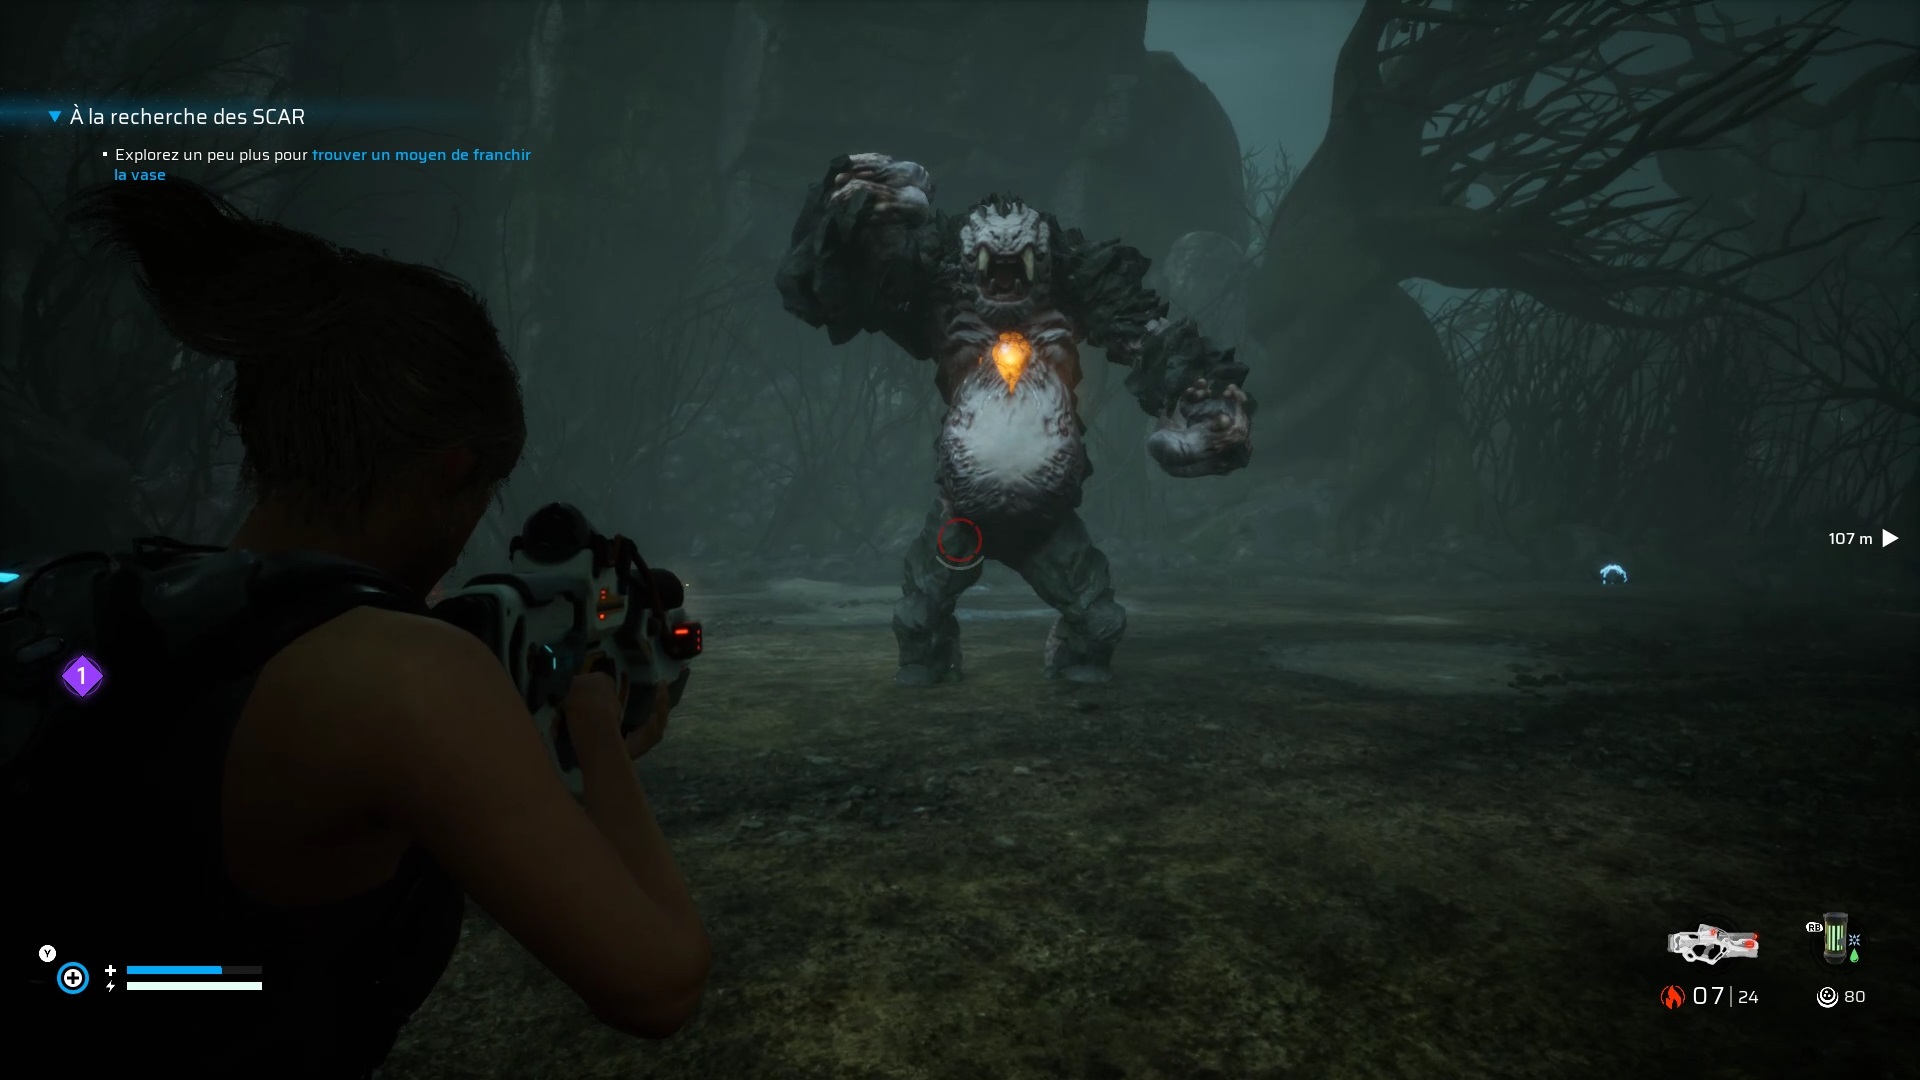
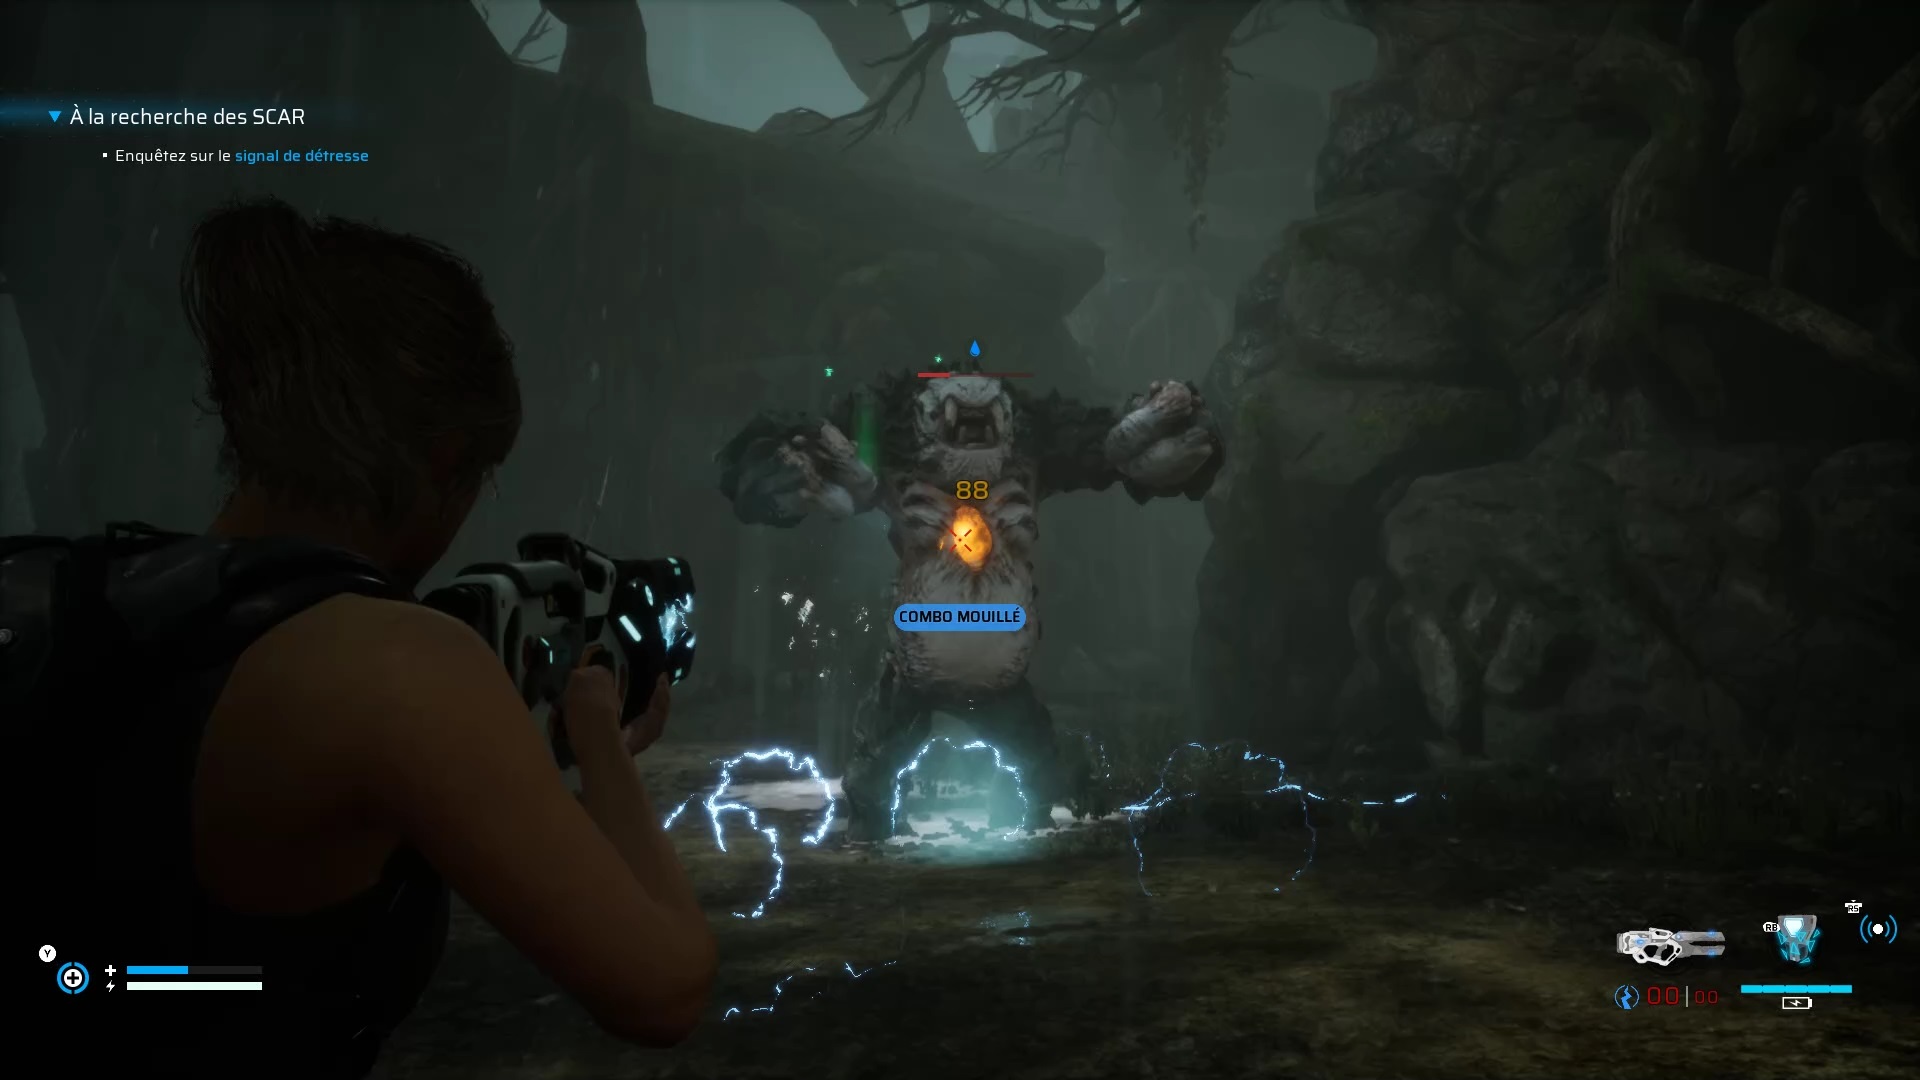
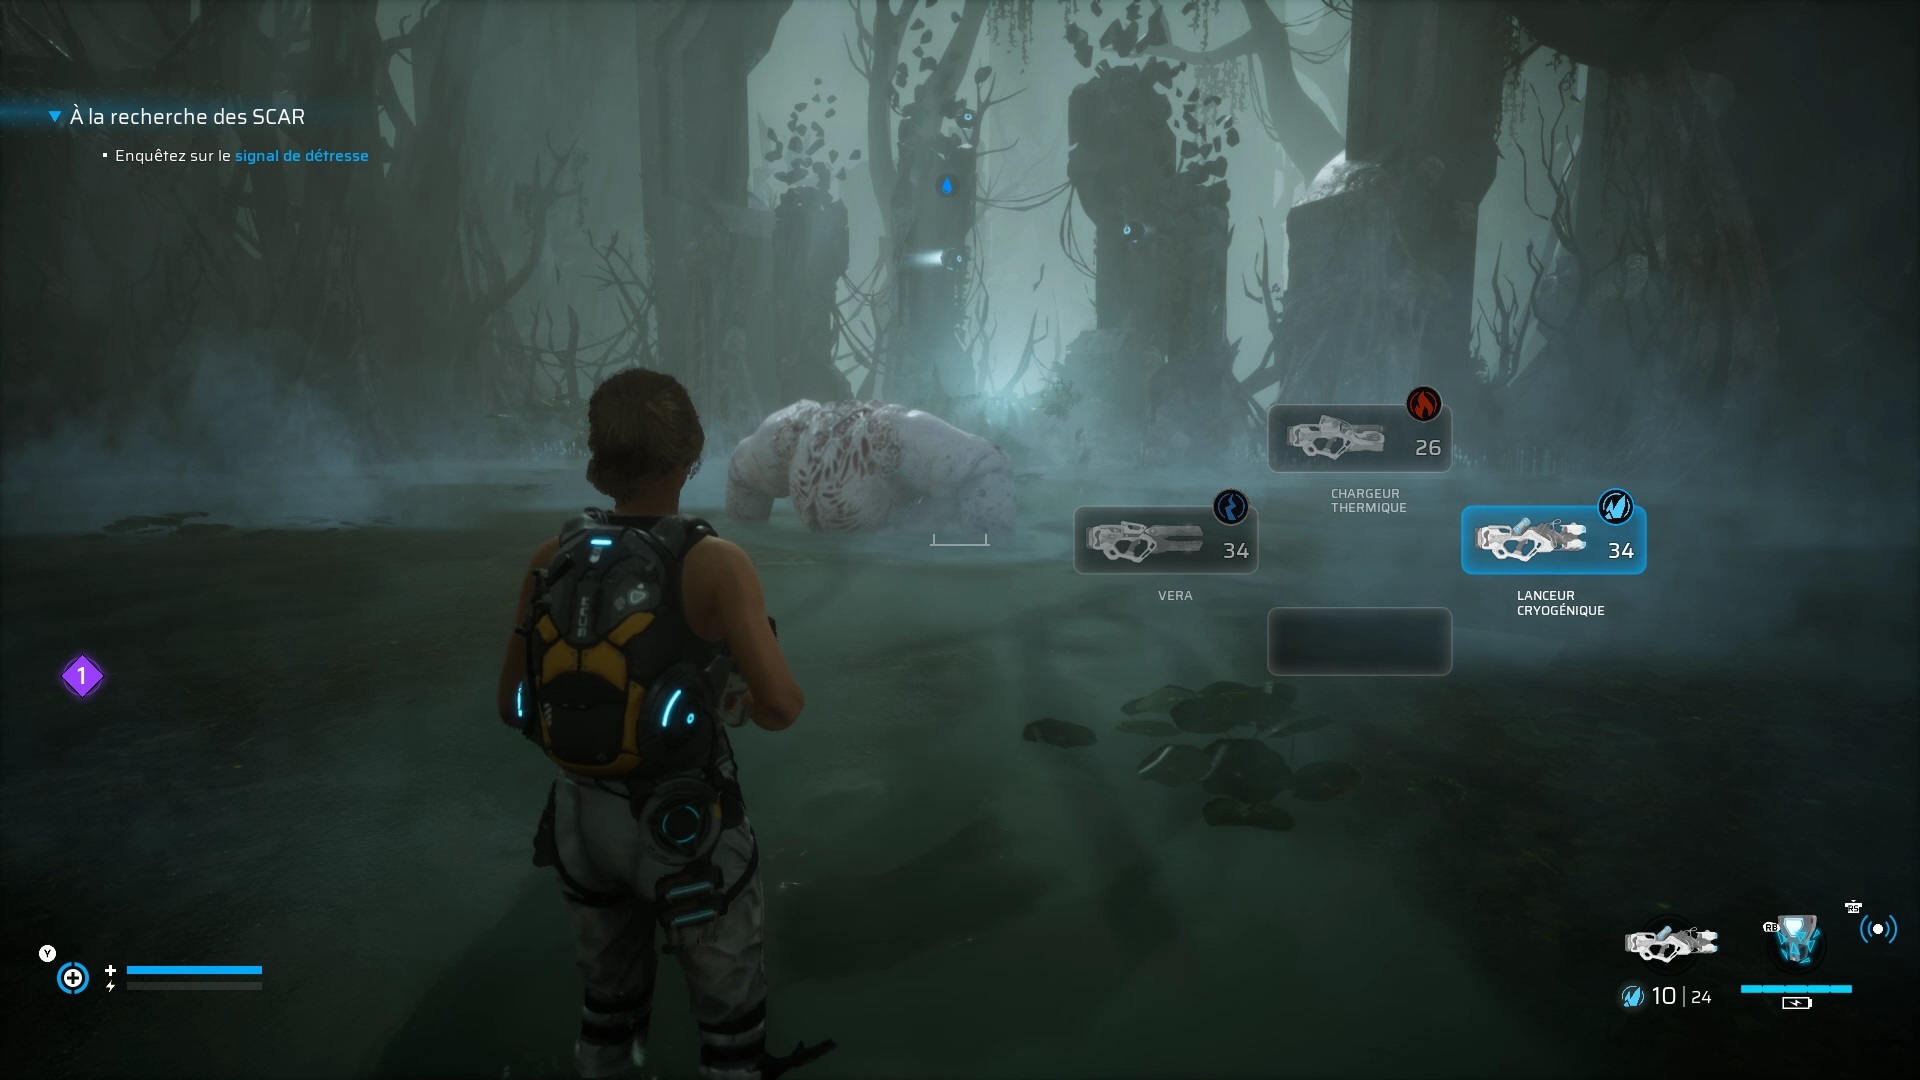
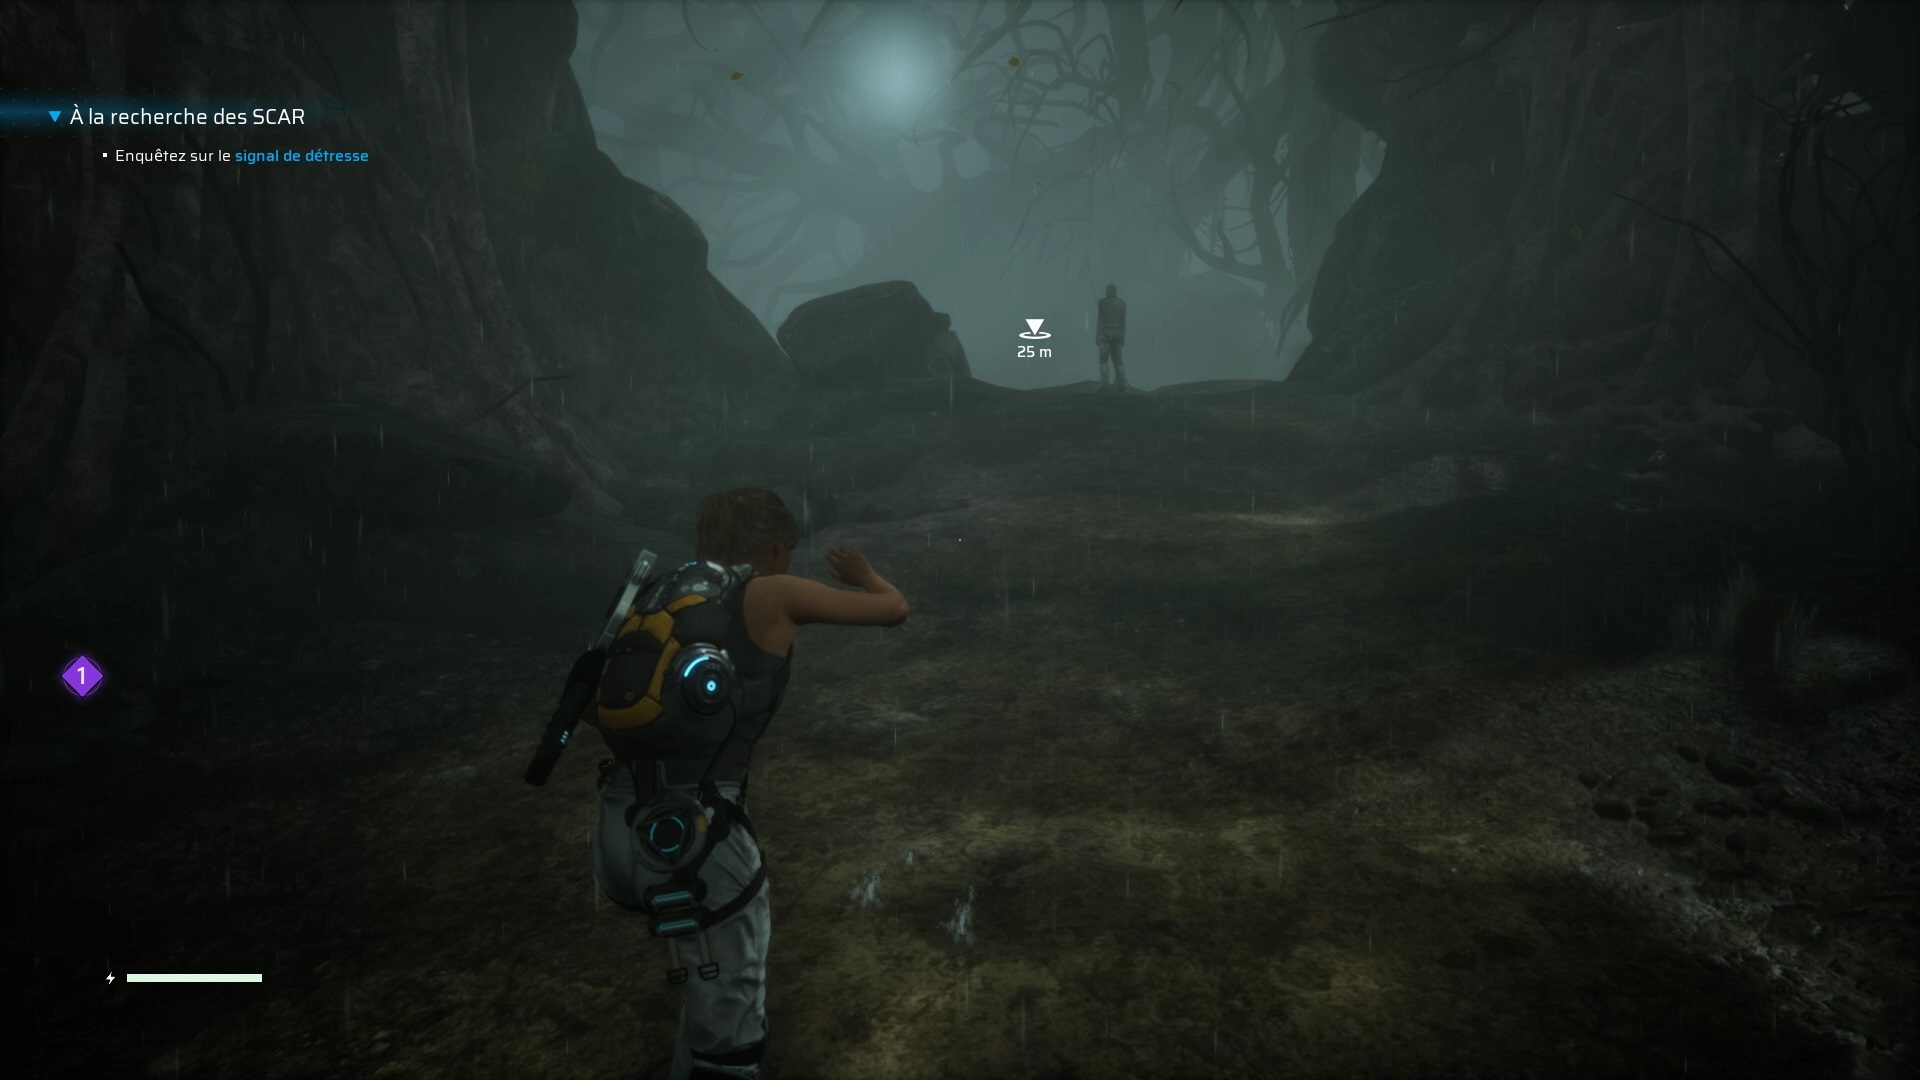
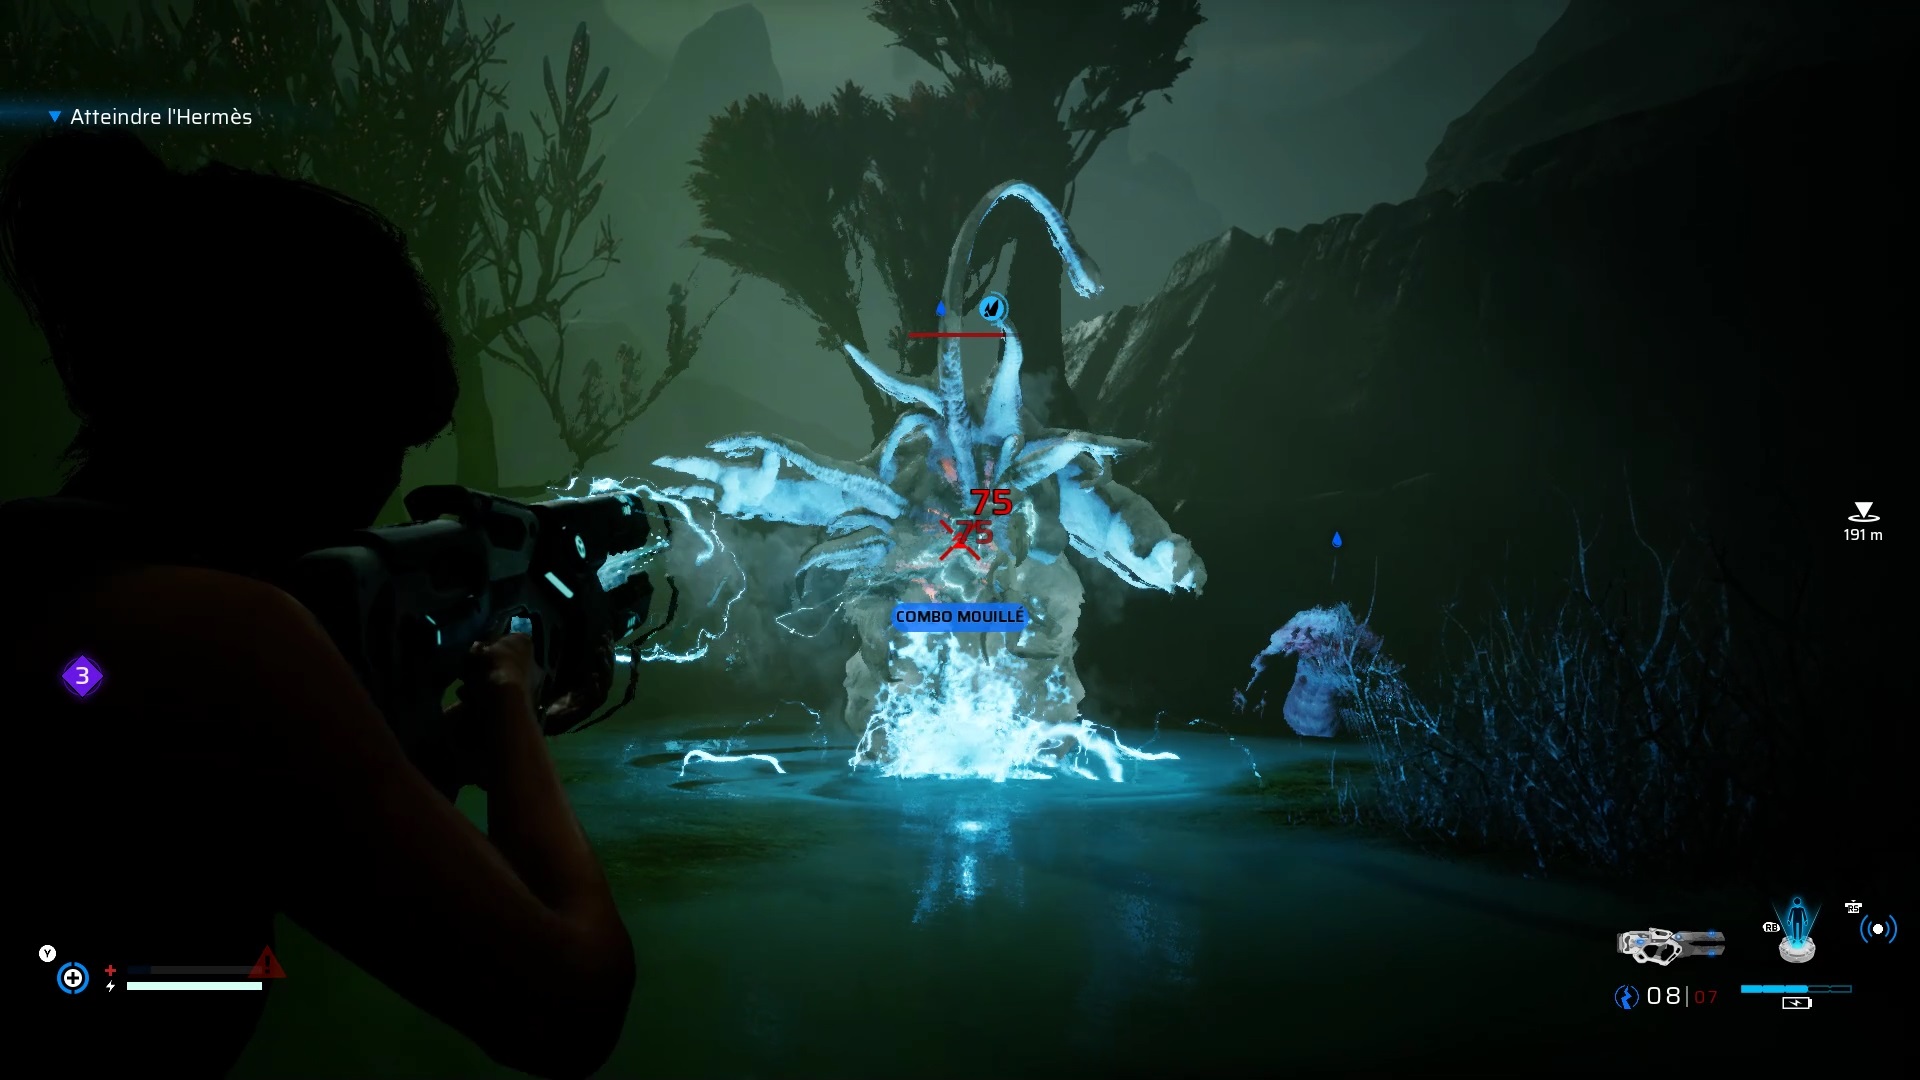
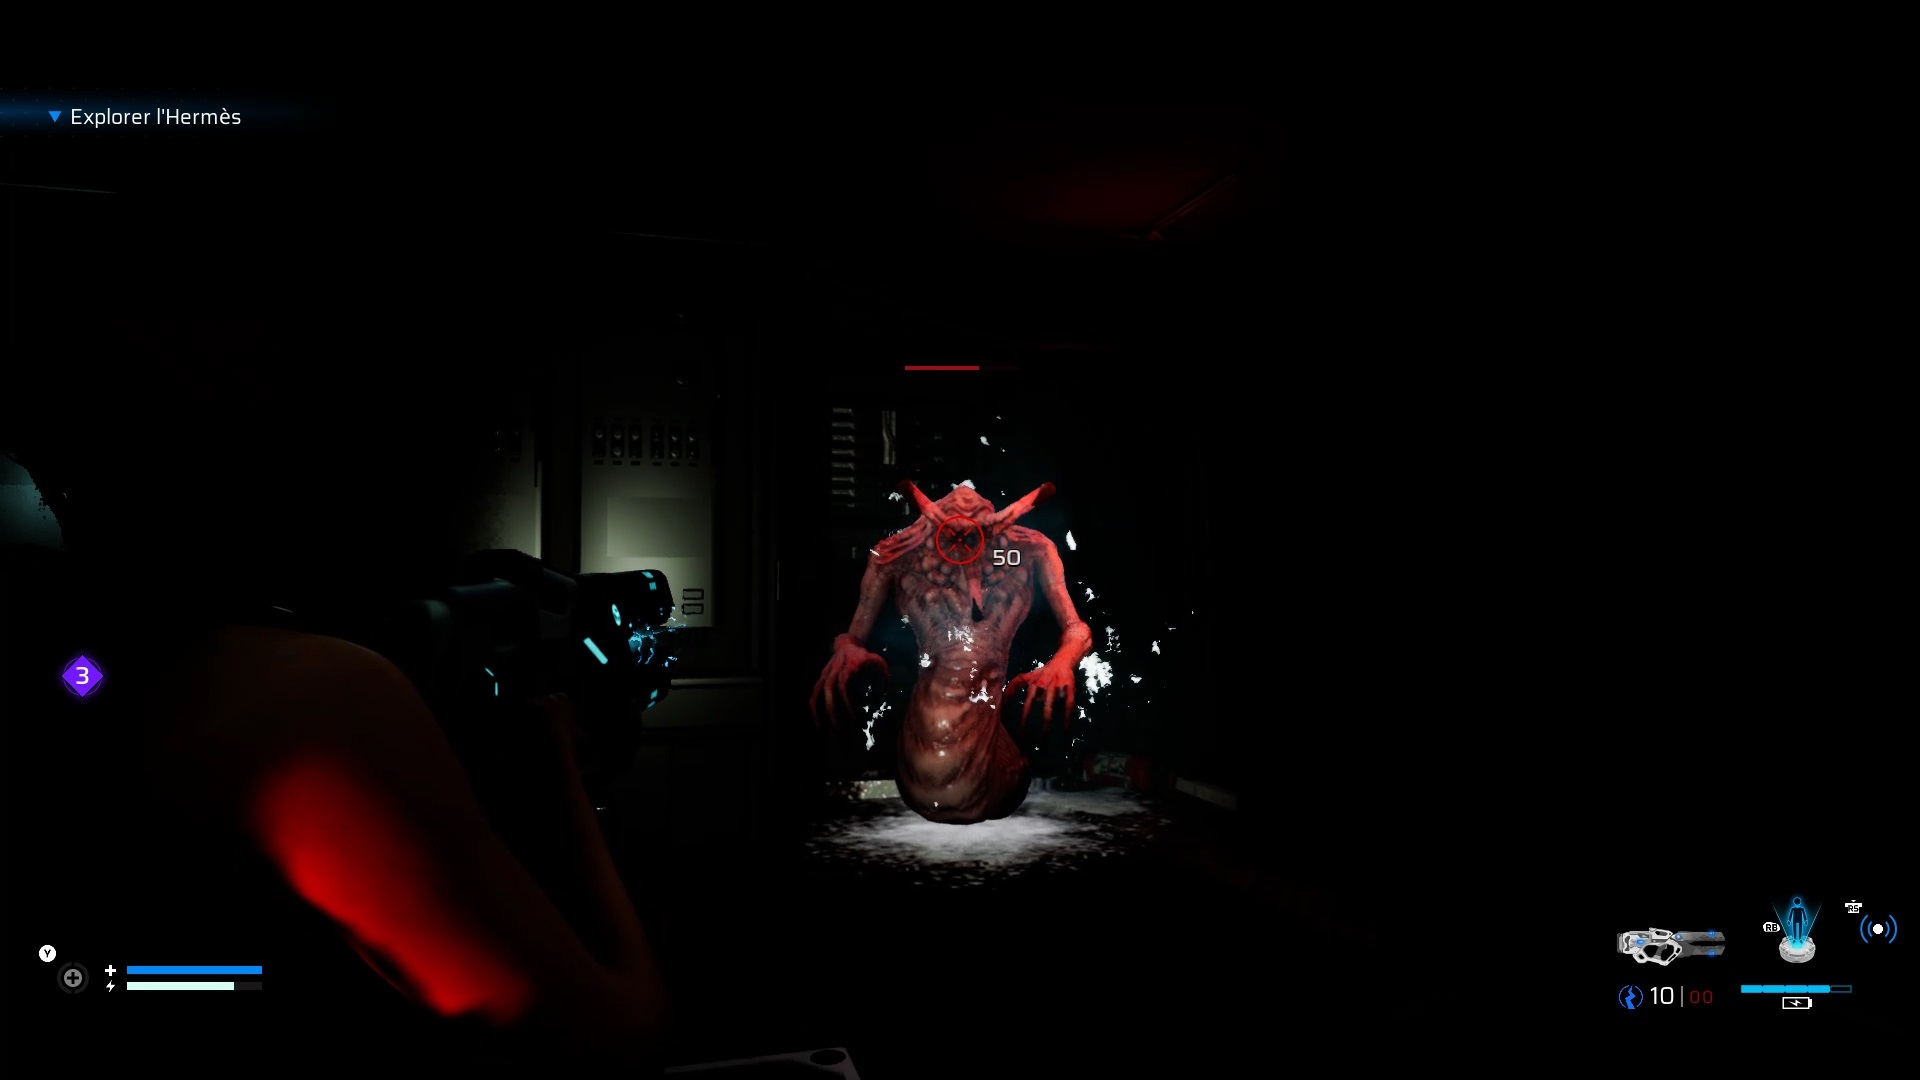
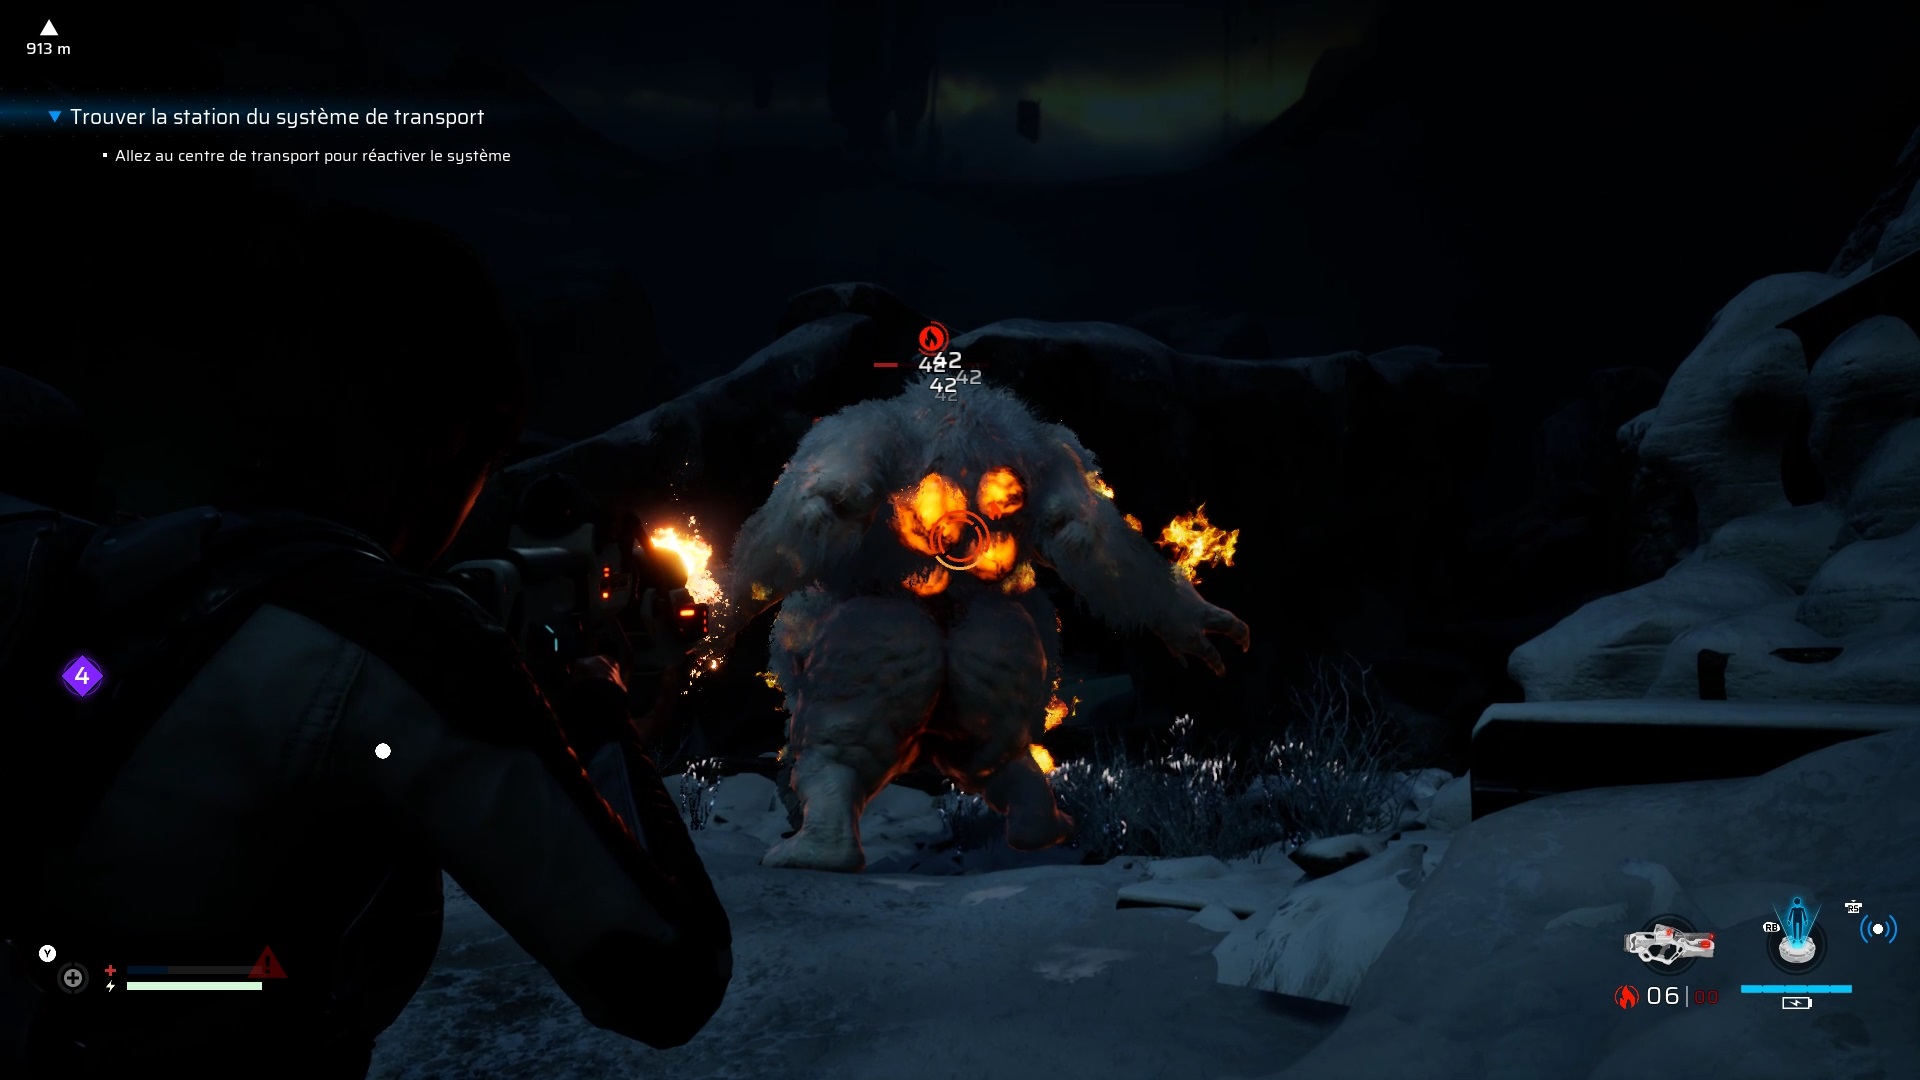
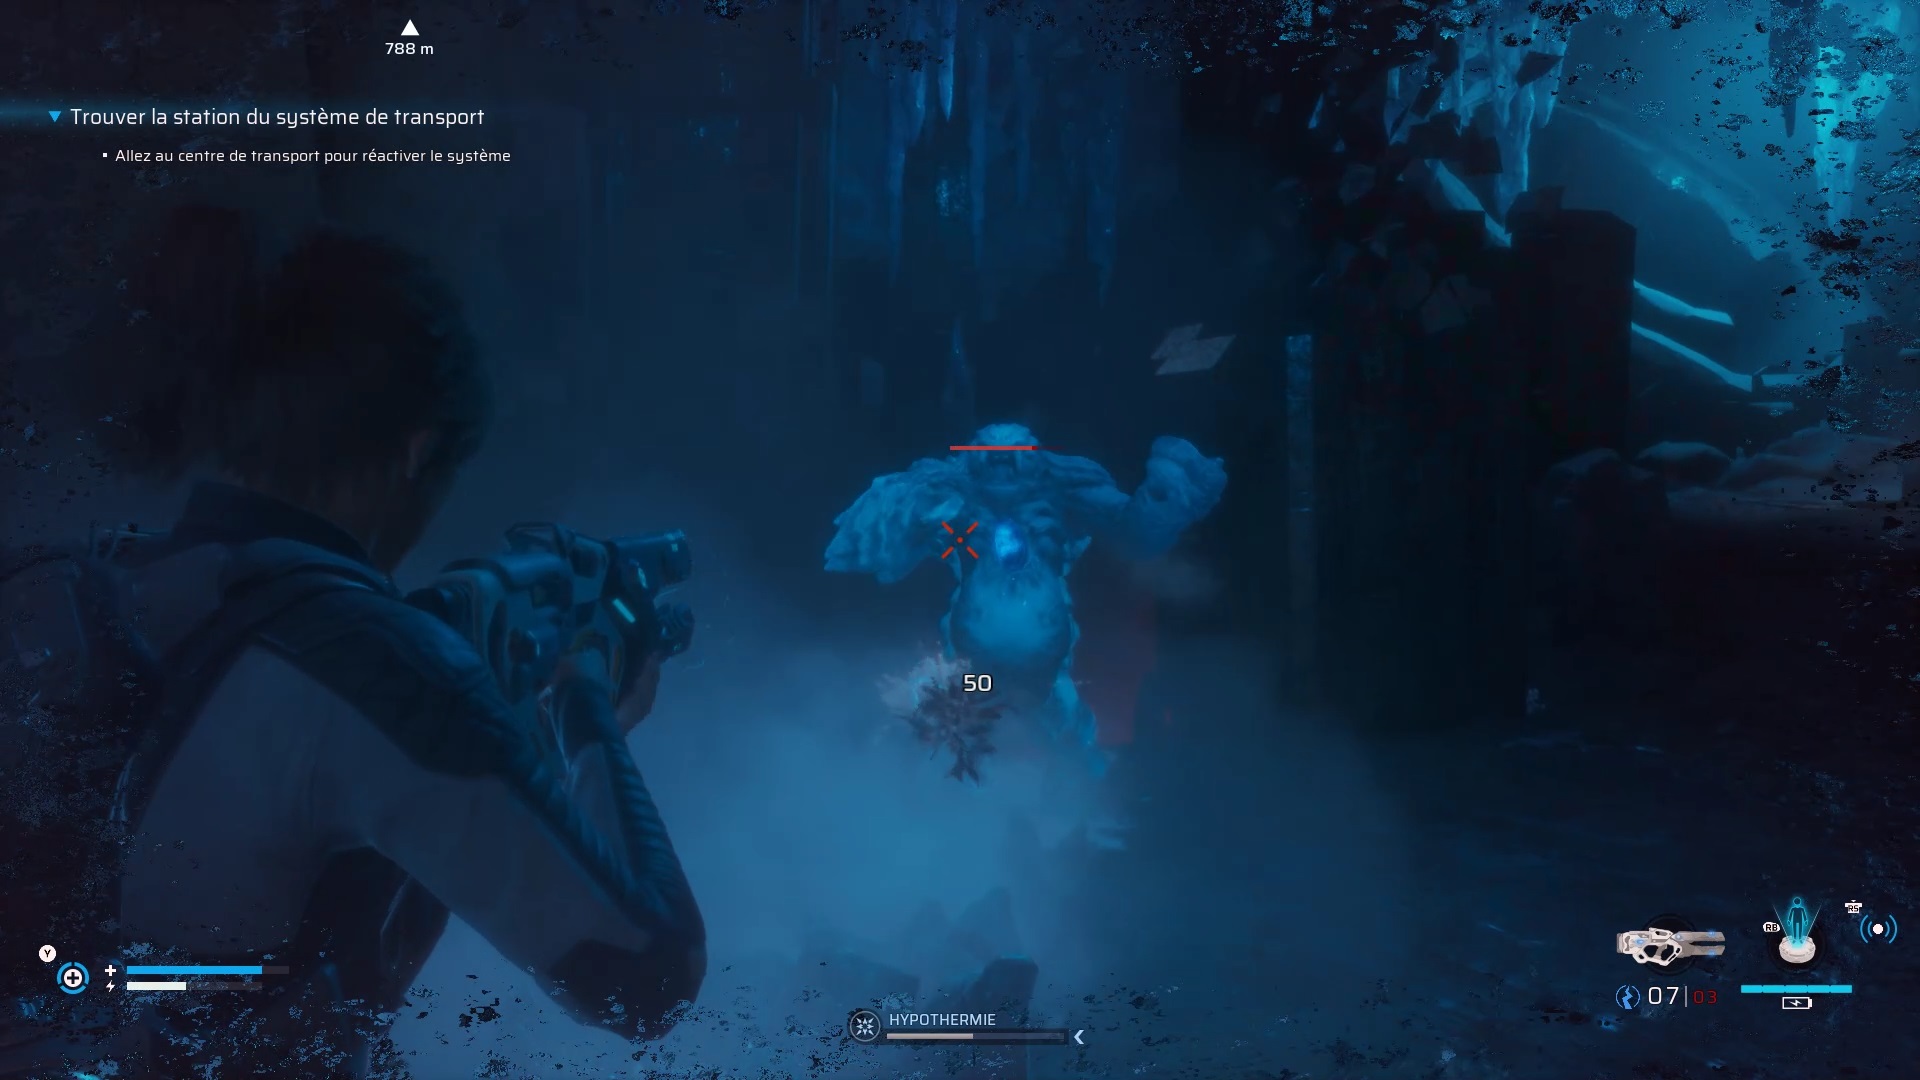
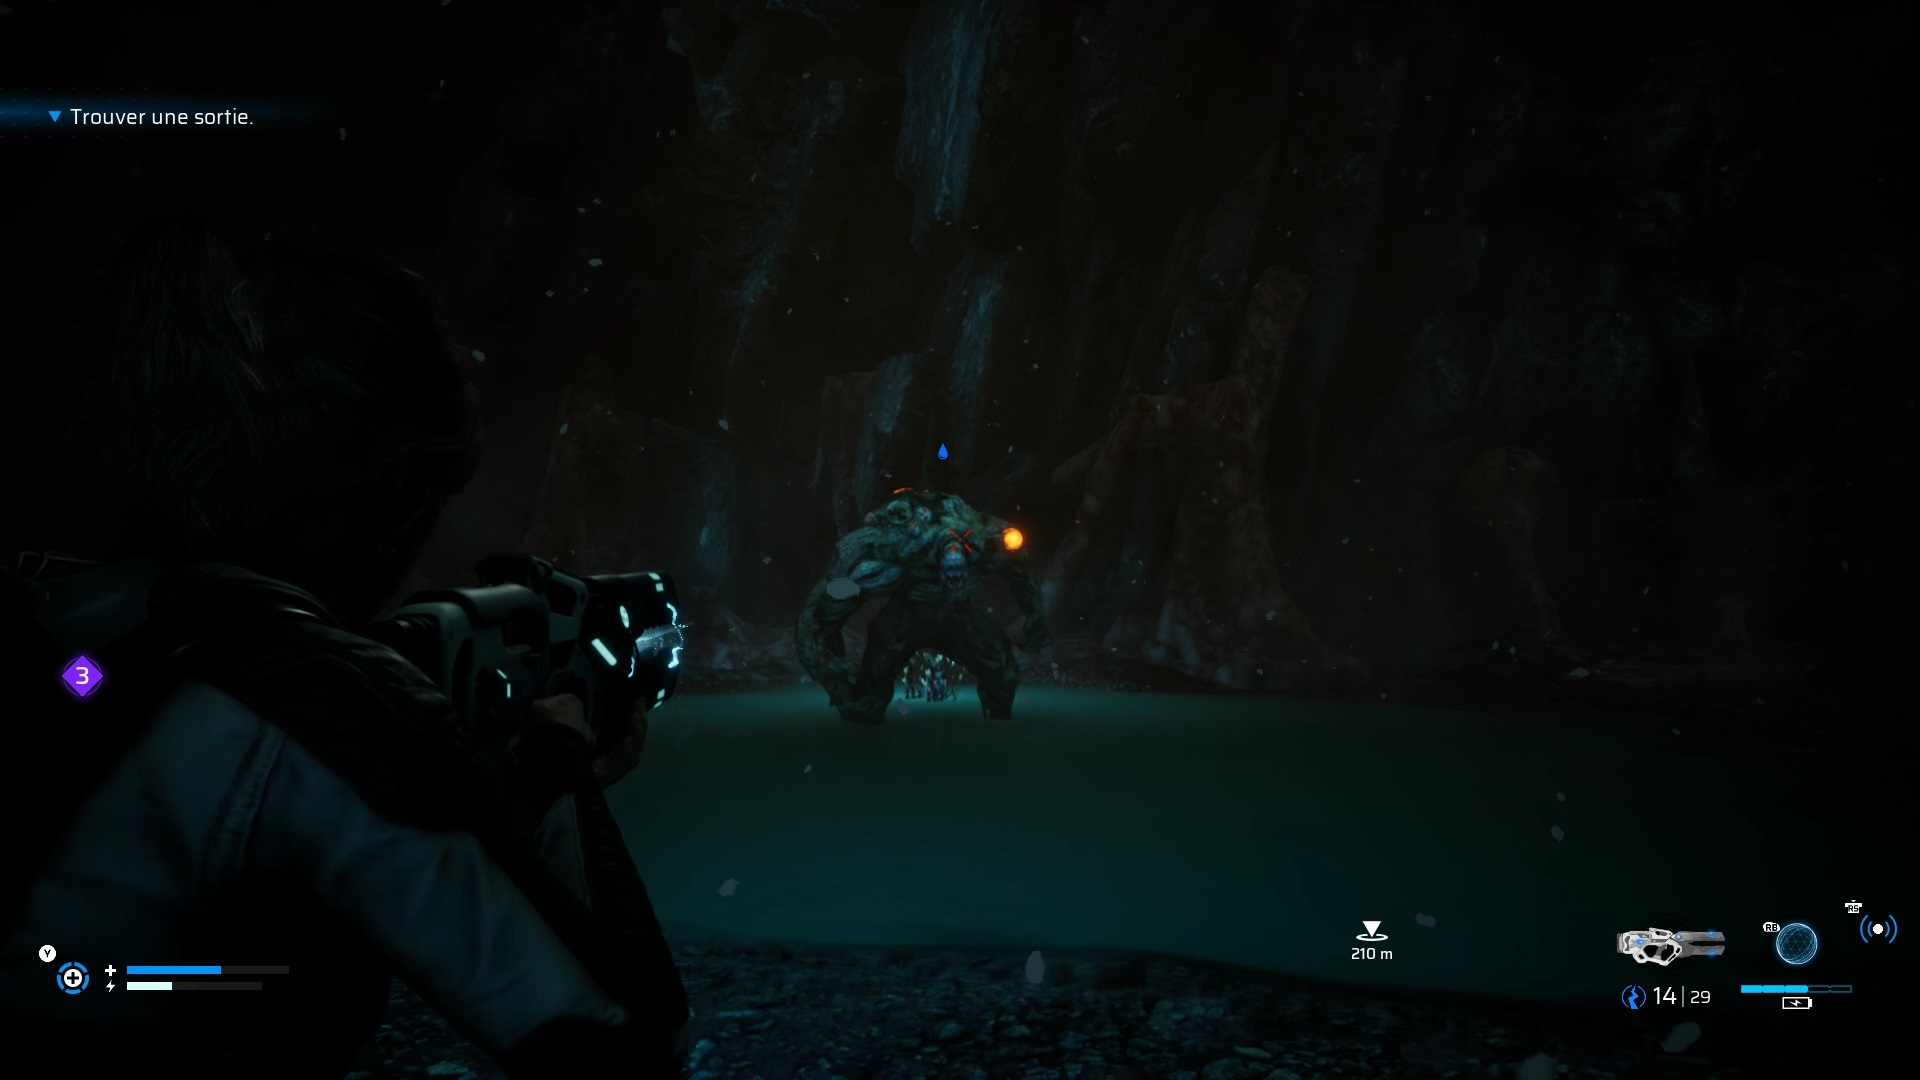
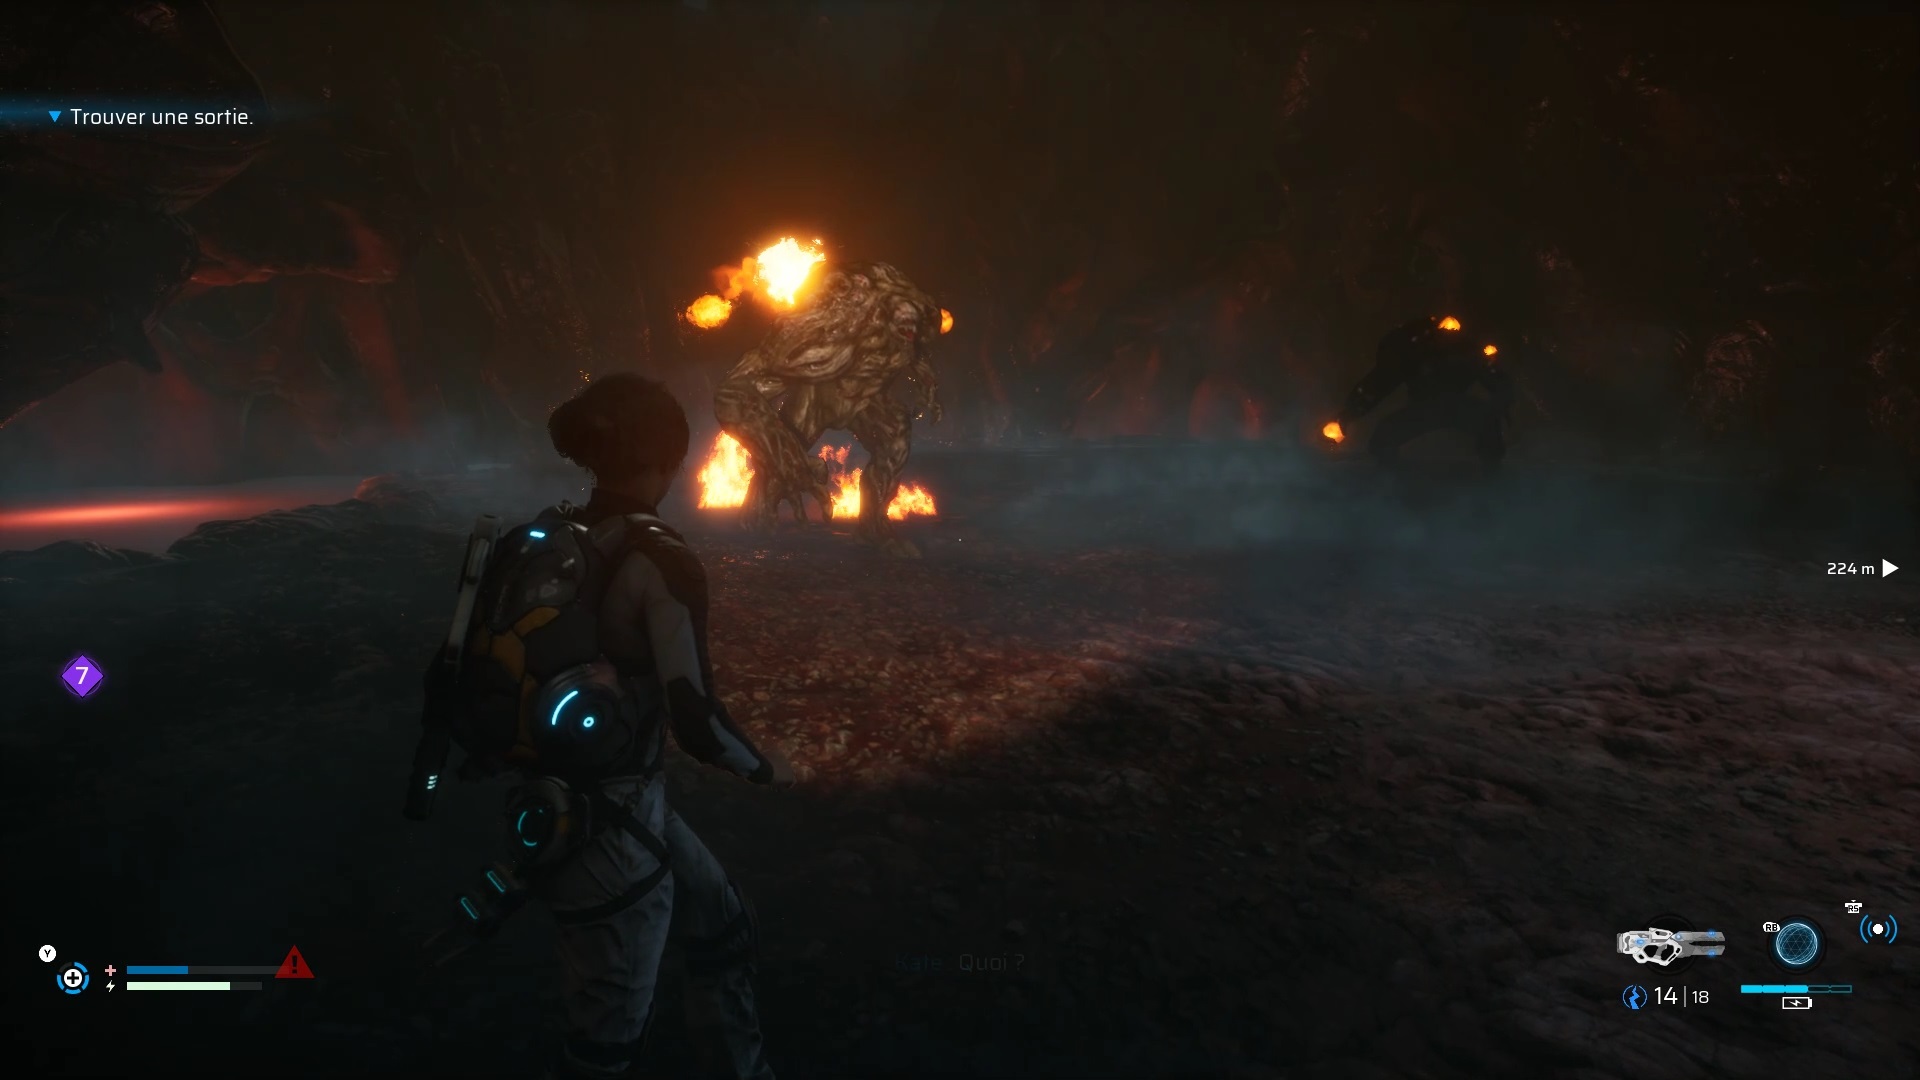
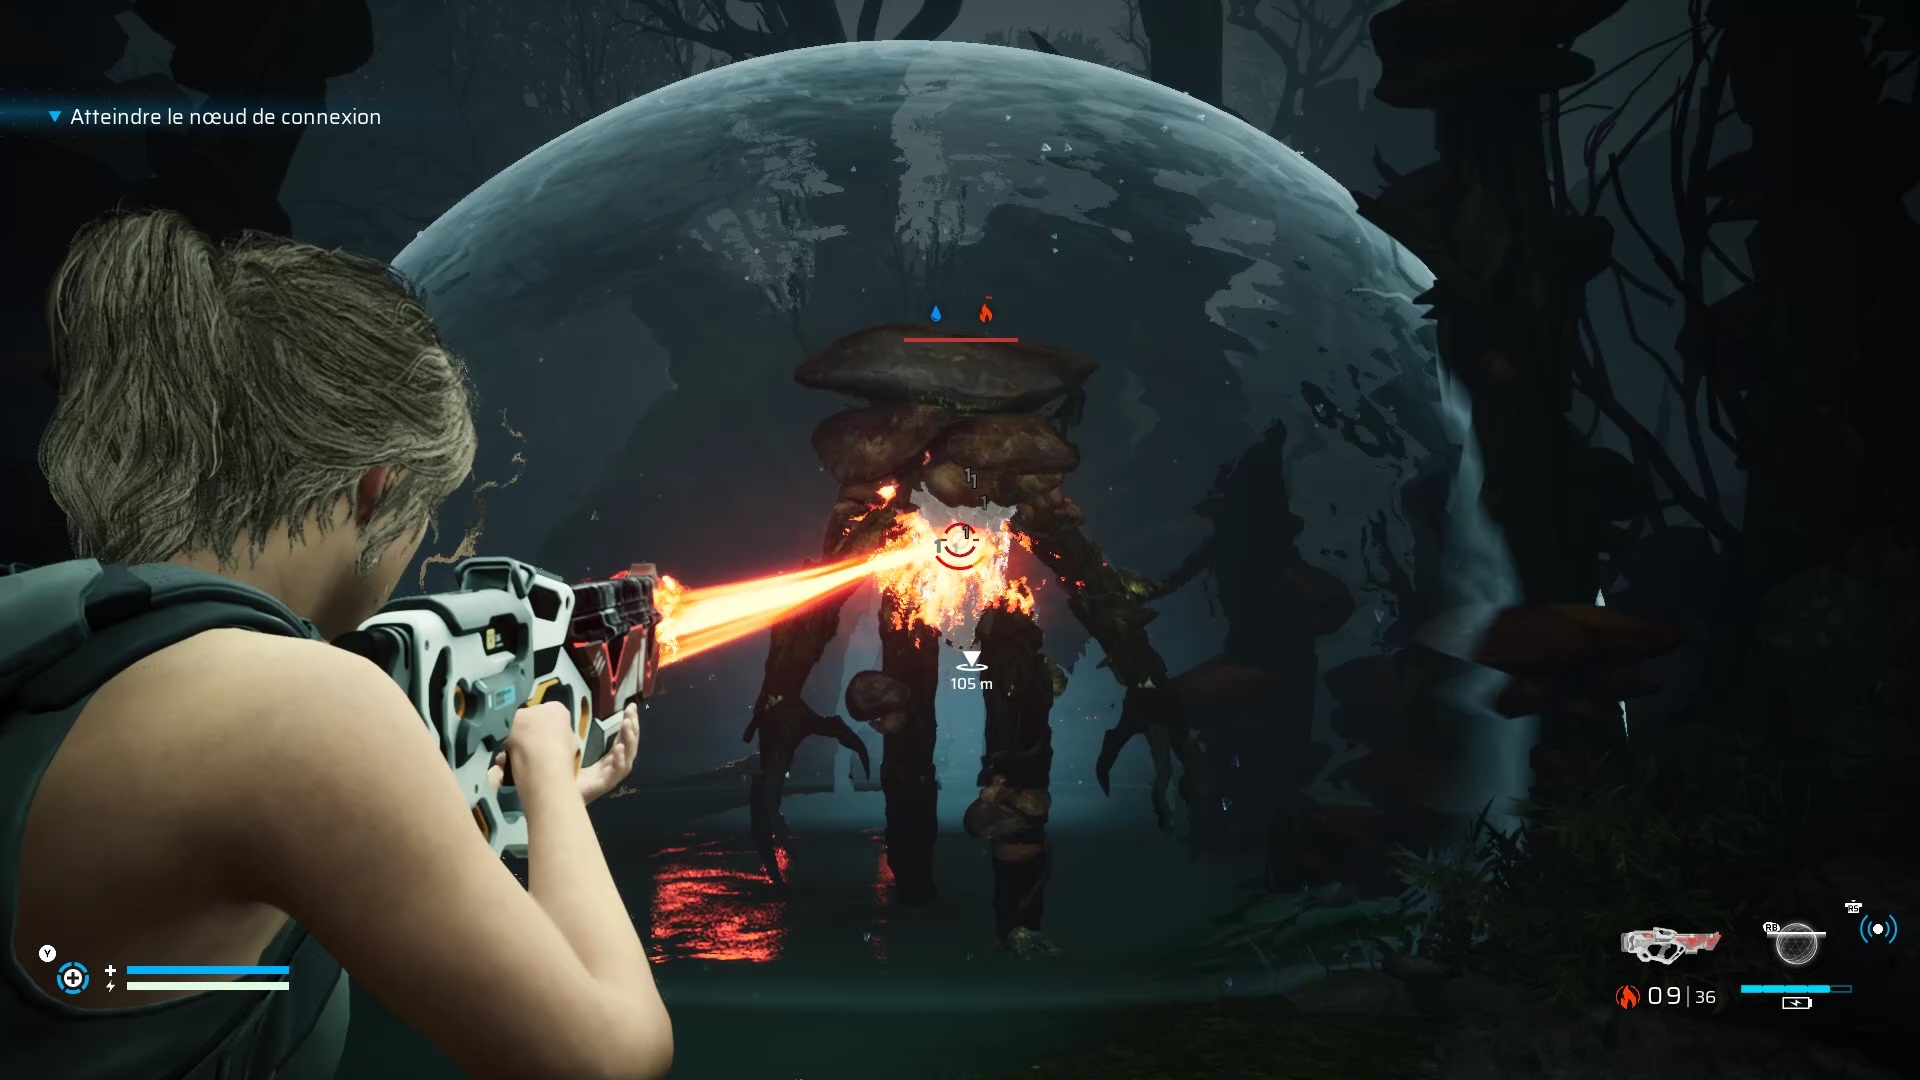
A larger enemy than the others shows up. Aim for its exposed limbs like the head to cause heavy damage. When the opportunity arises, shoot at the heart of his weak point to weaken him. Dodge each attack with a roll to avoid taking hits. If you need it, several ammo can be found around the arena.
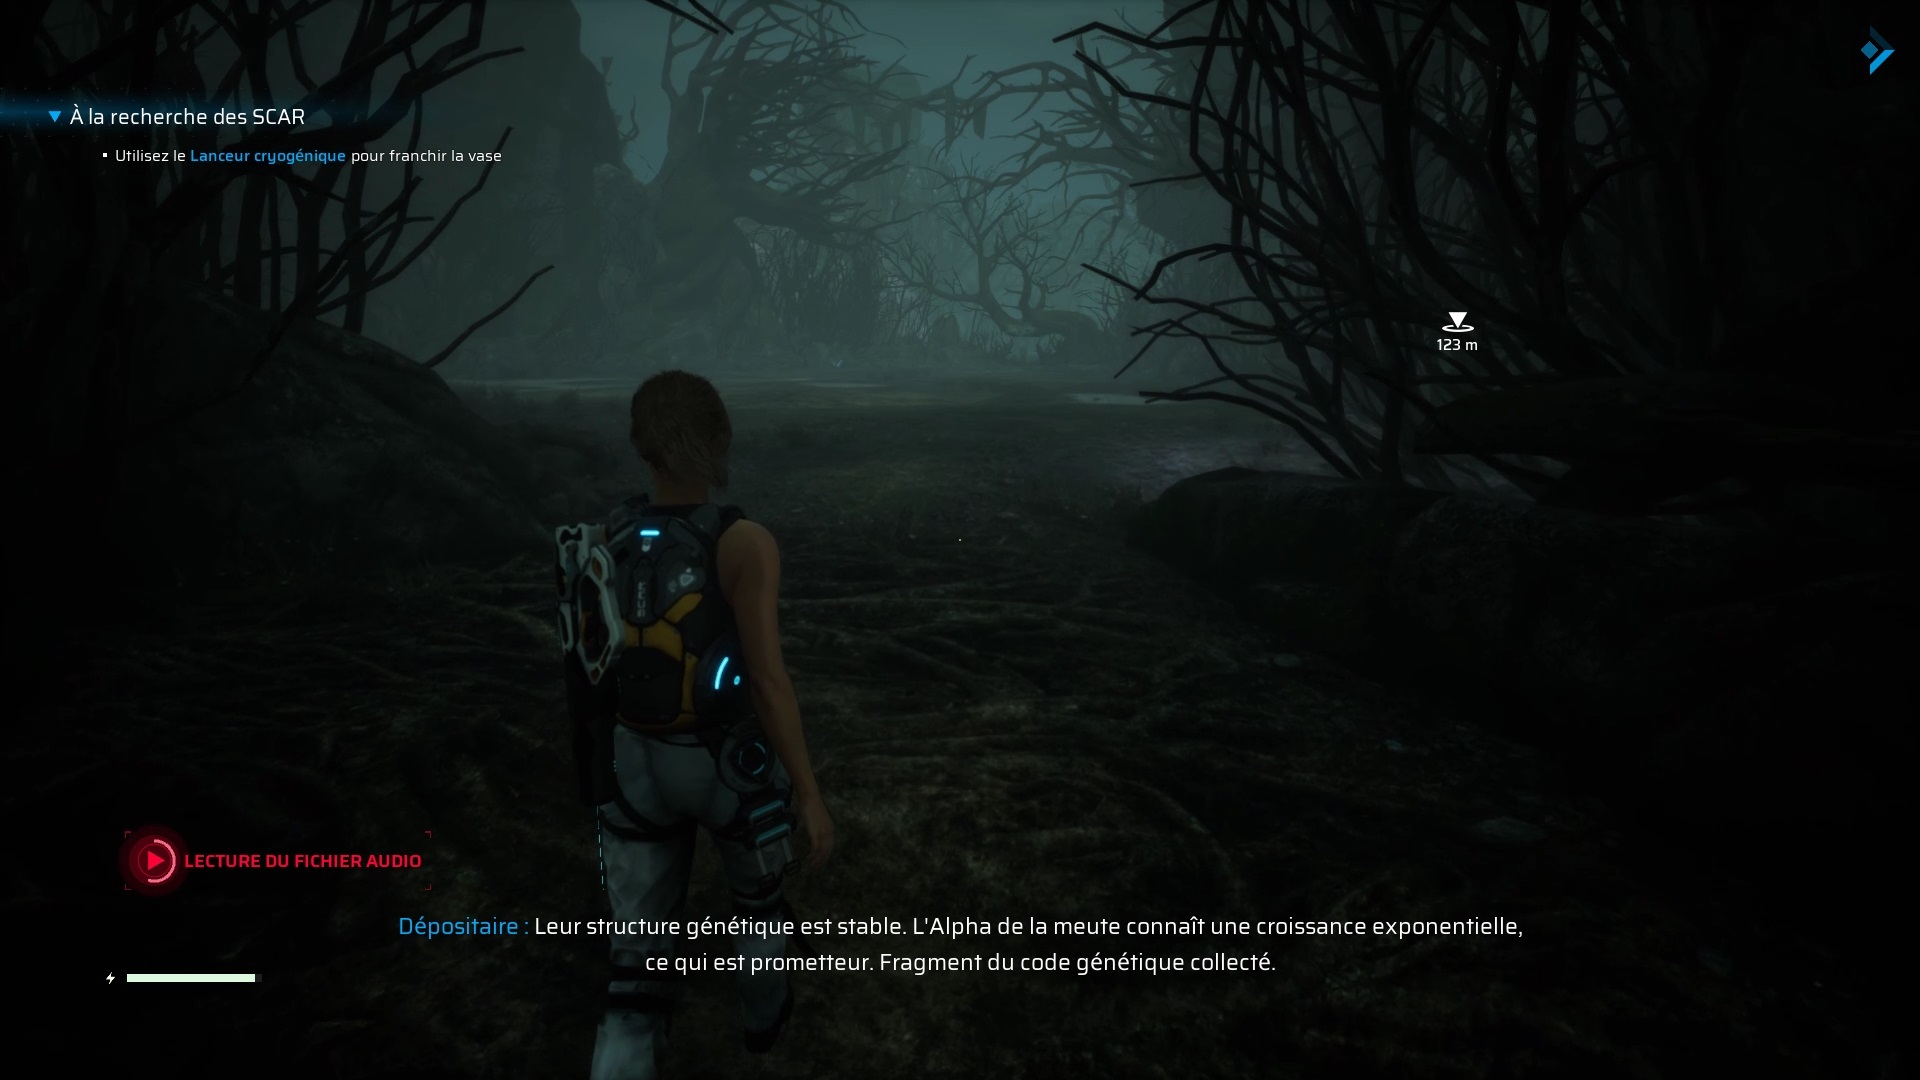
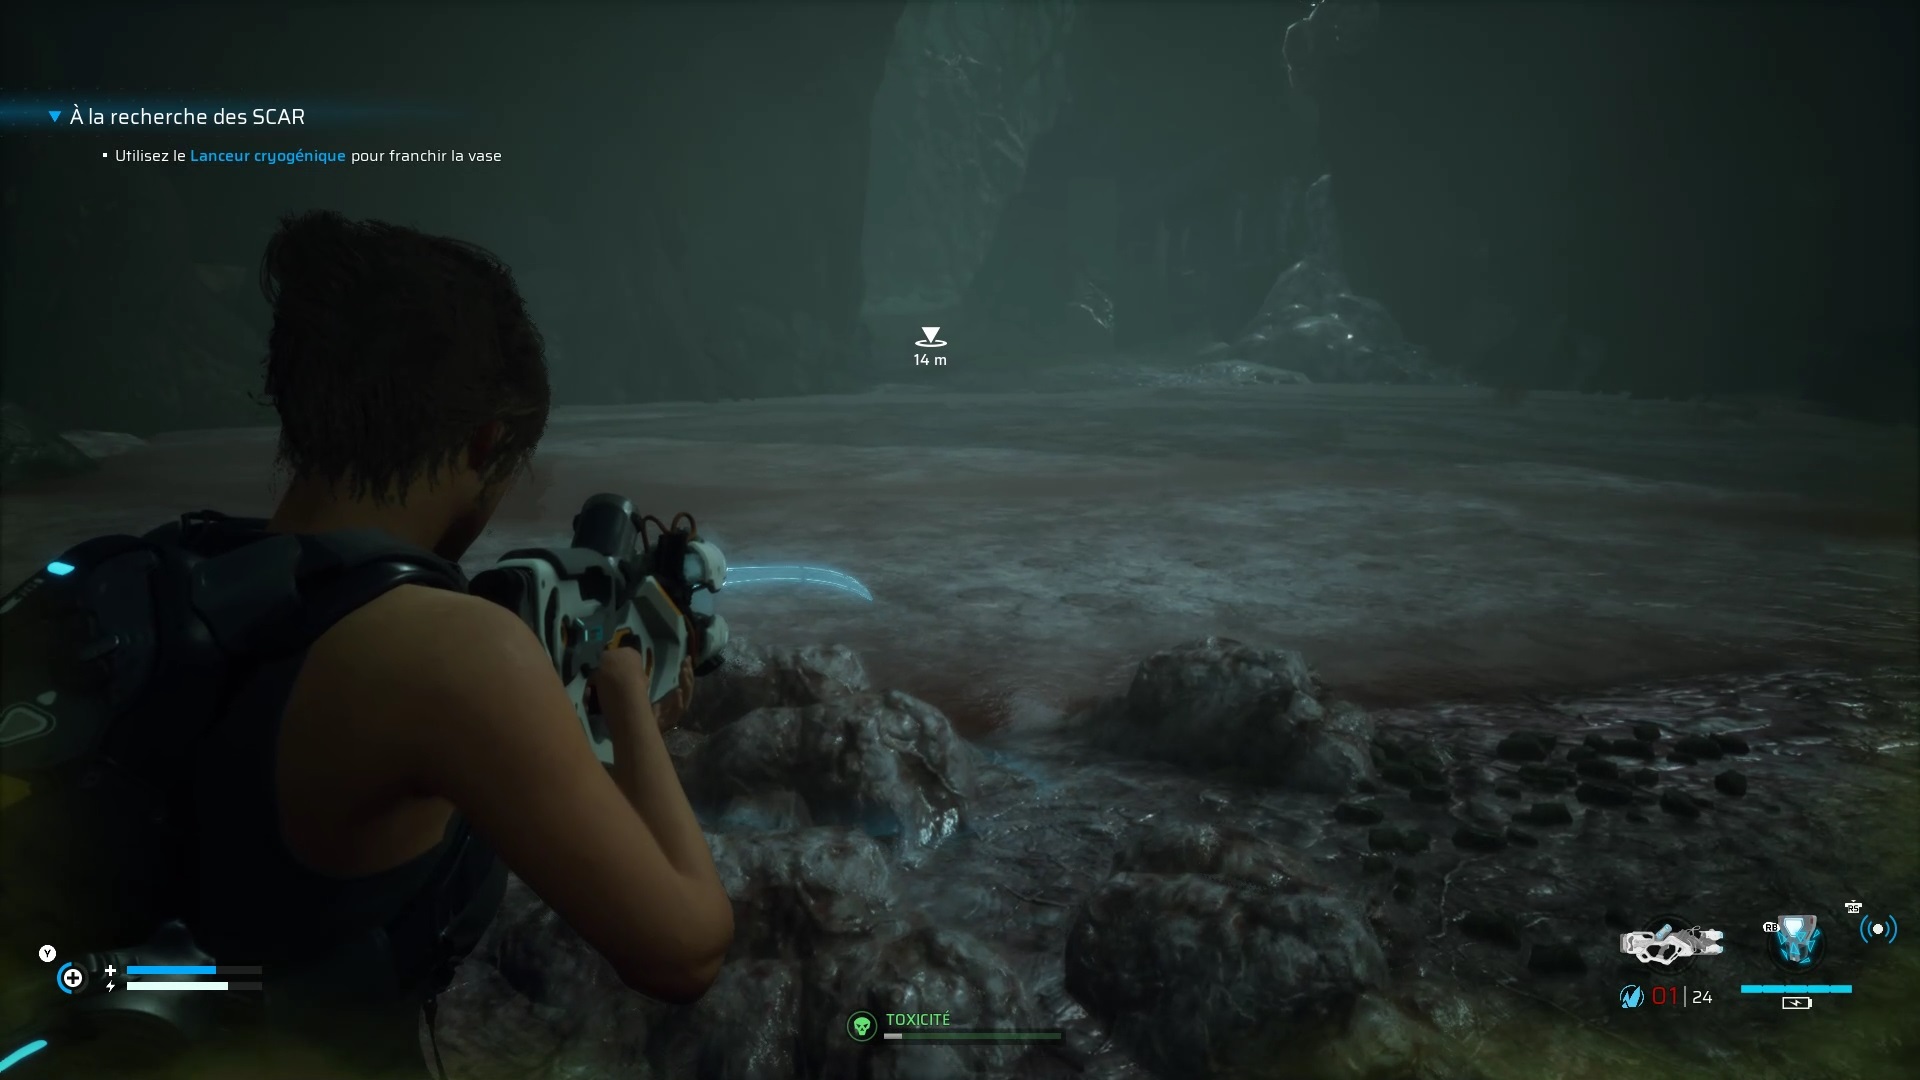
After the fight climb the slope, eliminate the arachnid threats and lure the Exo-Alluvial to the thermal orbs. Shoot it to kill it in one shot. Continue on the path to reach frozen mud. Follow the frost trail to find a specimen to study.
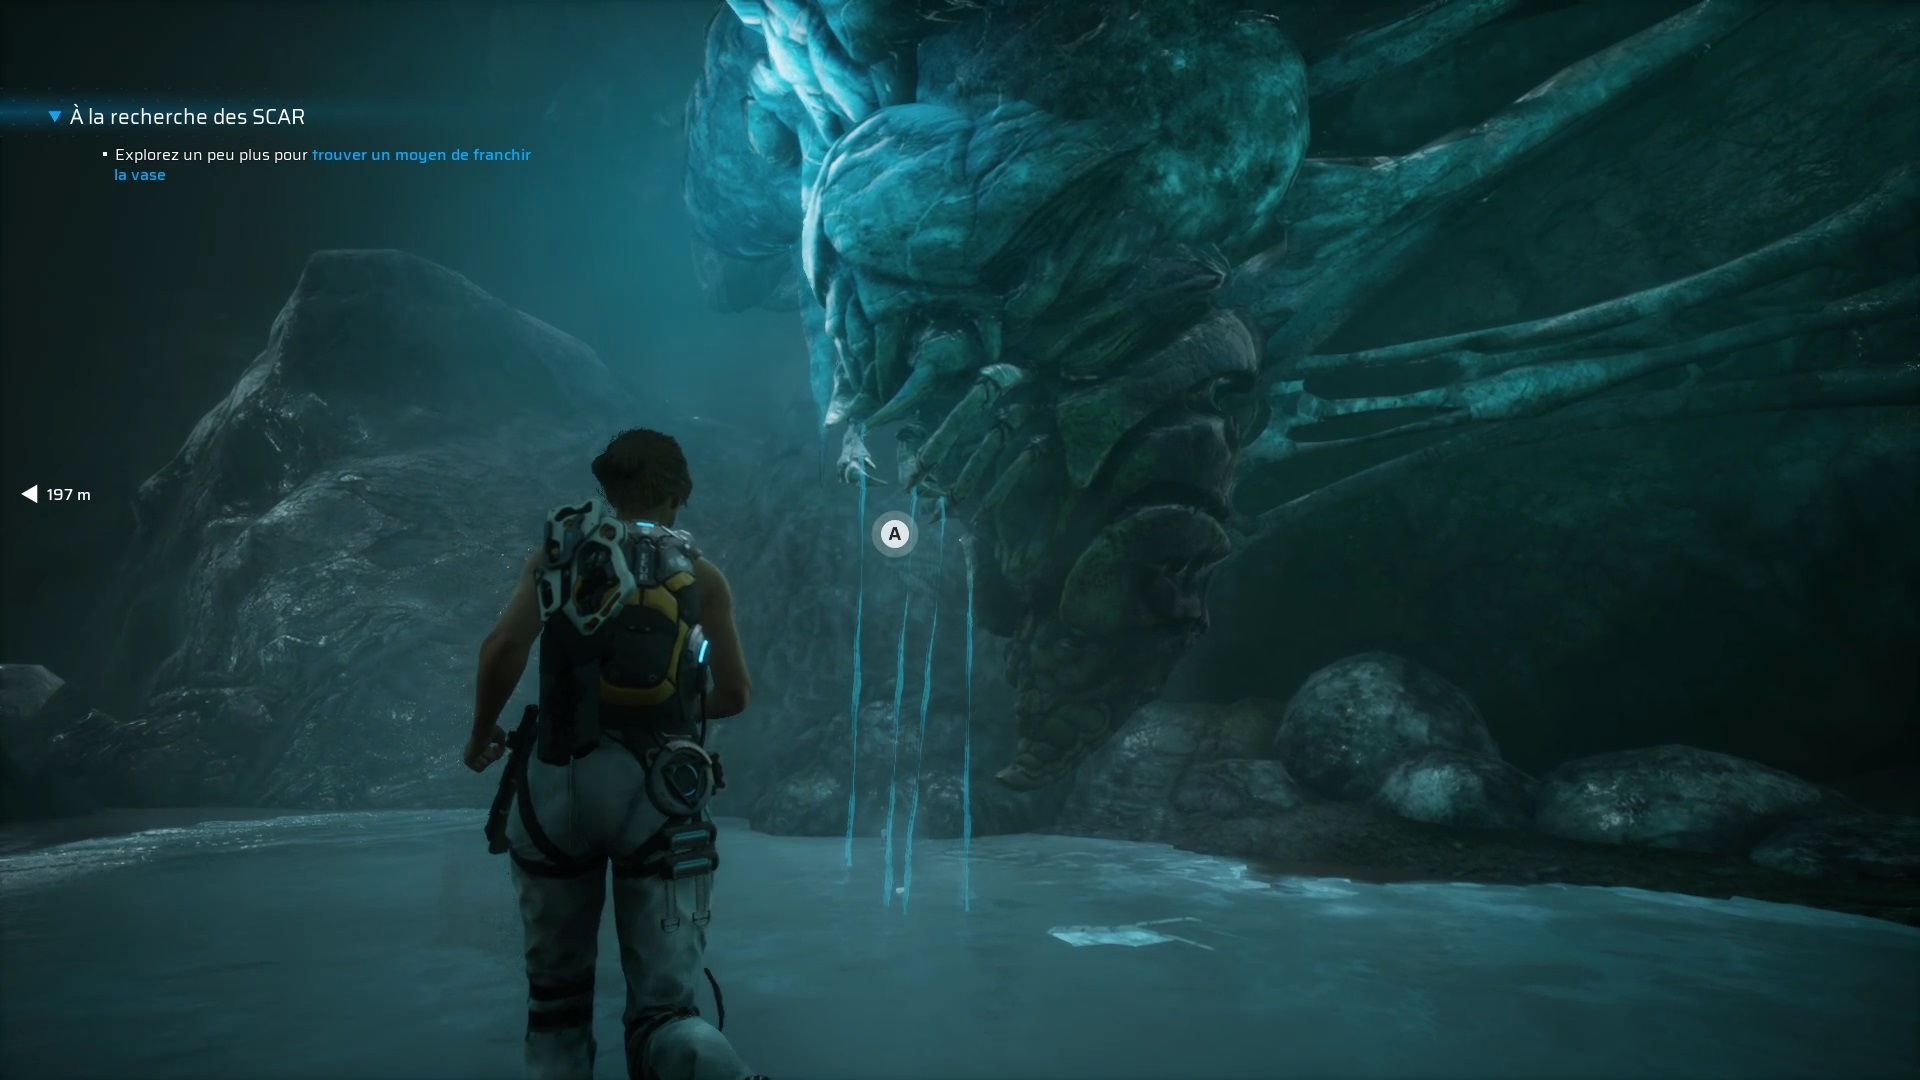
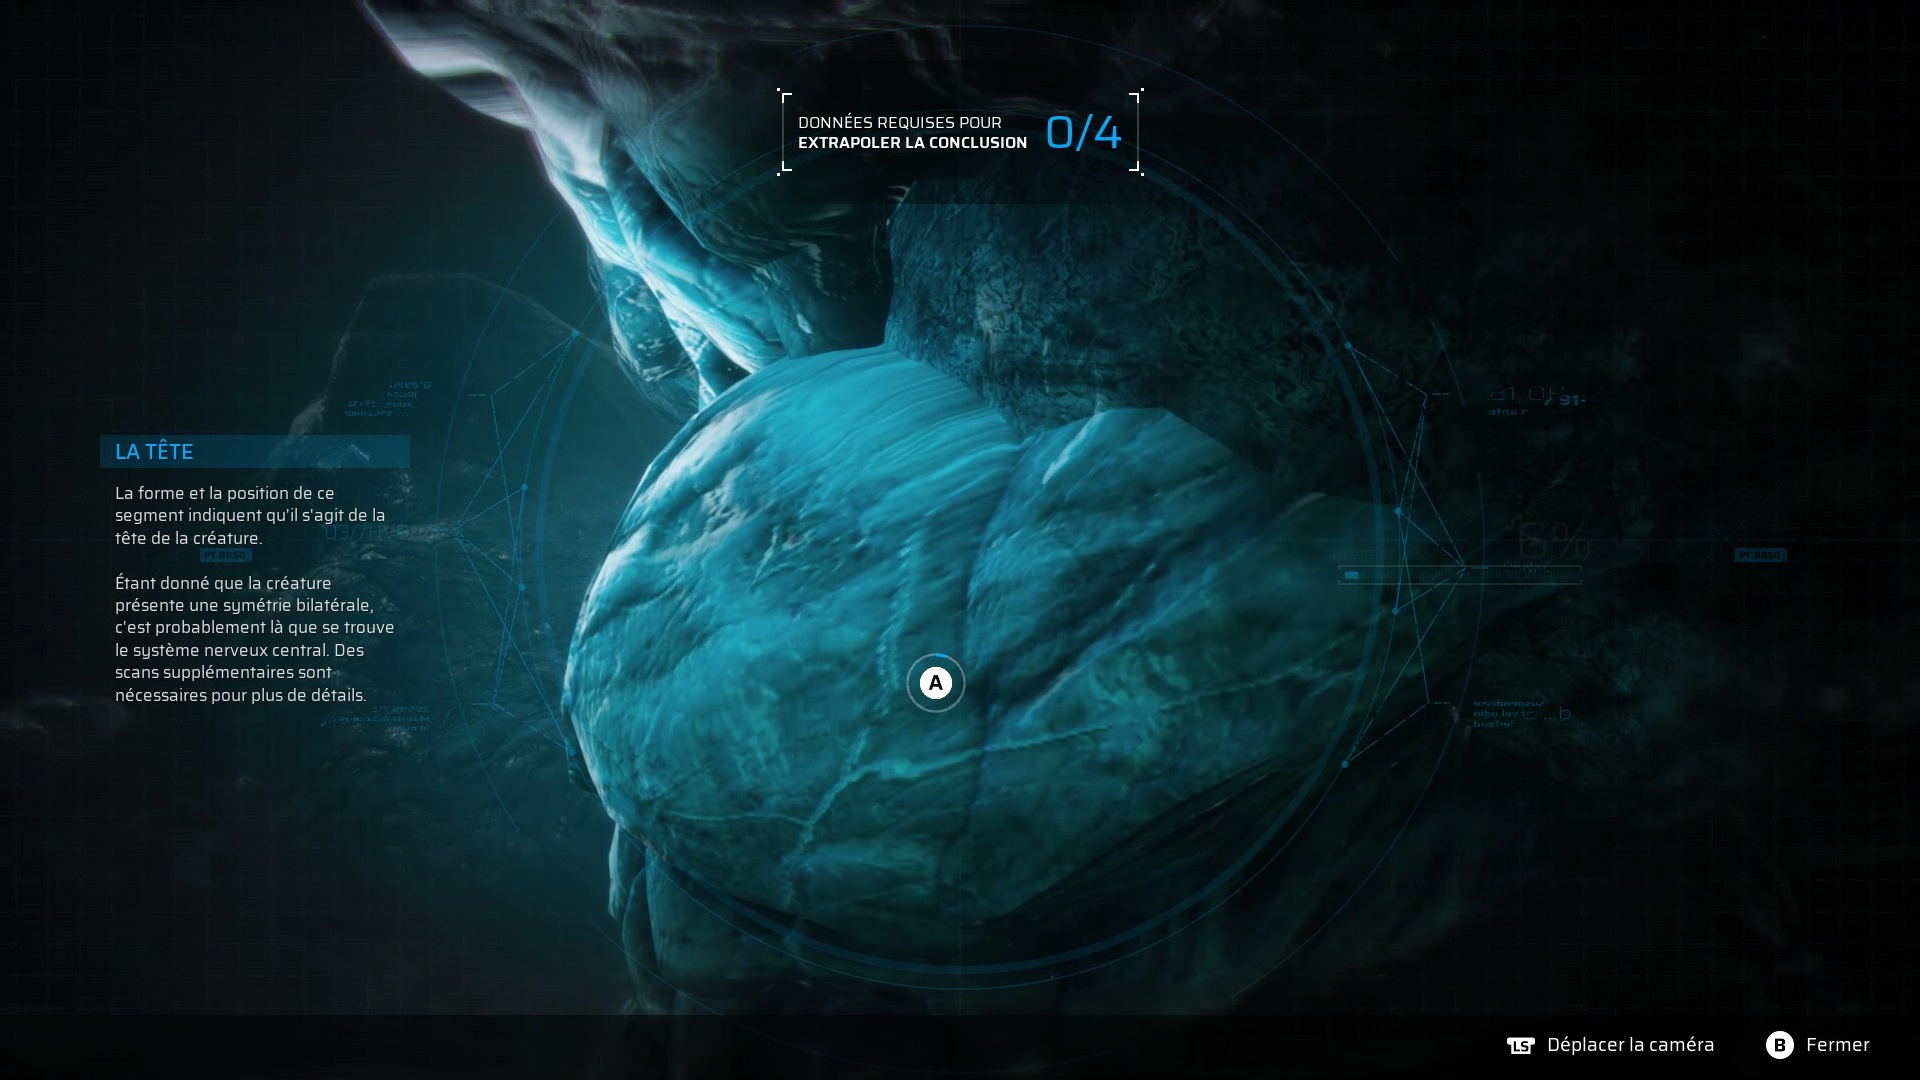
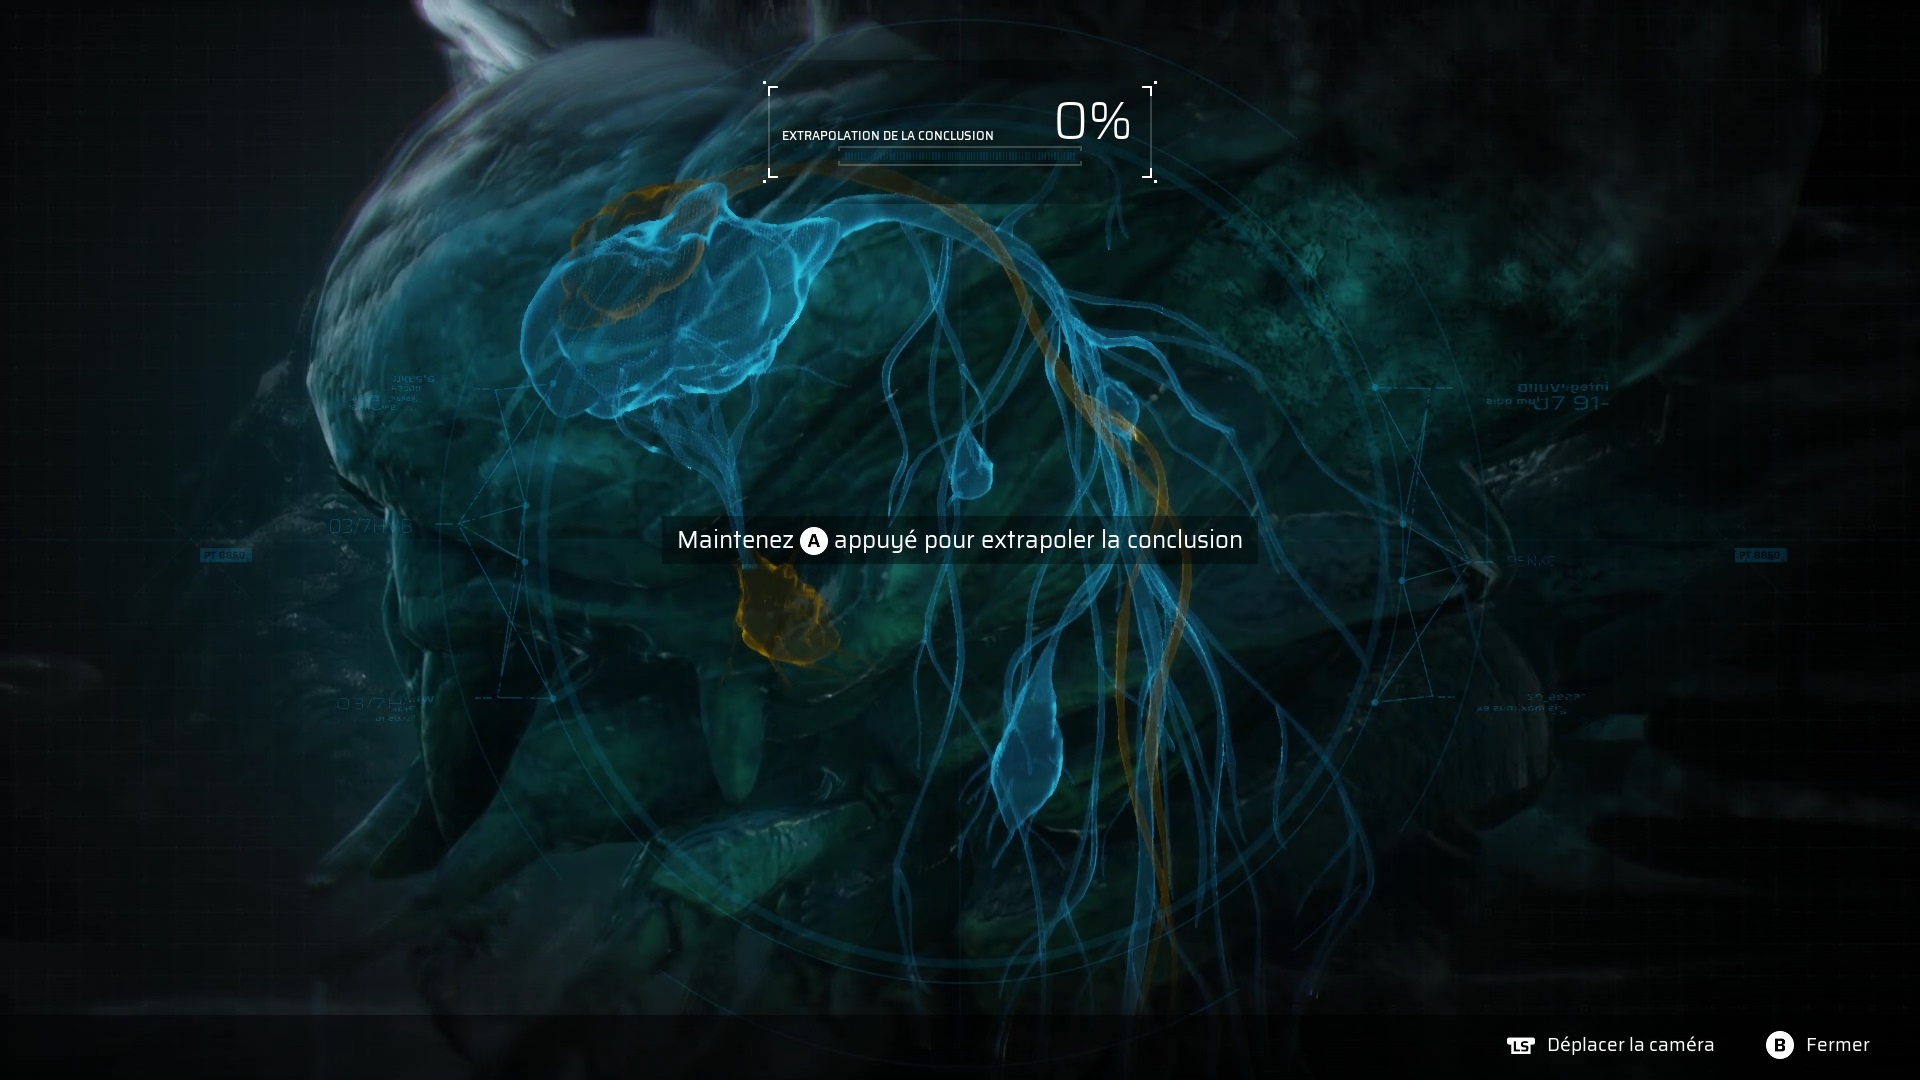
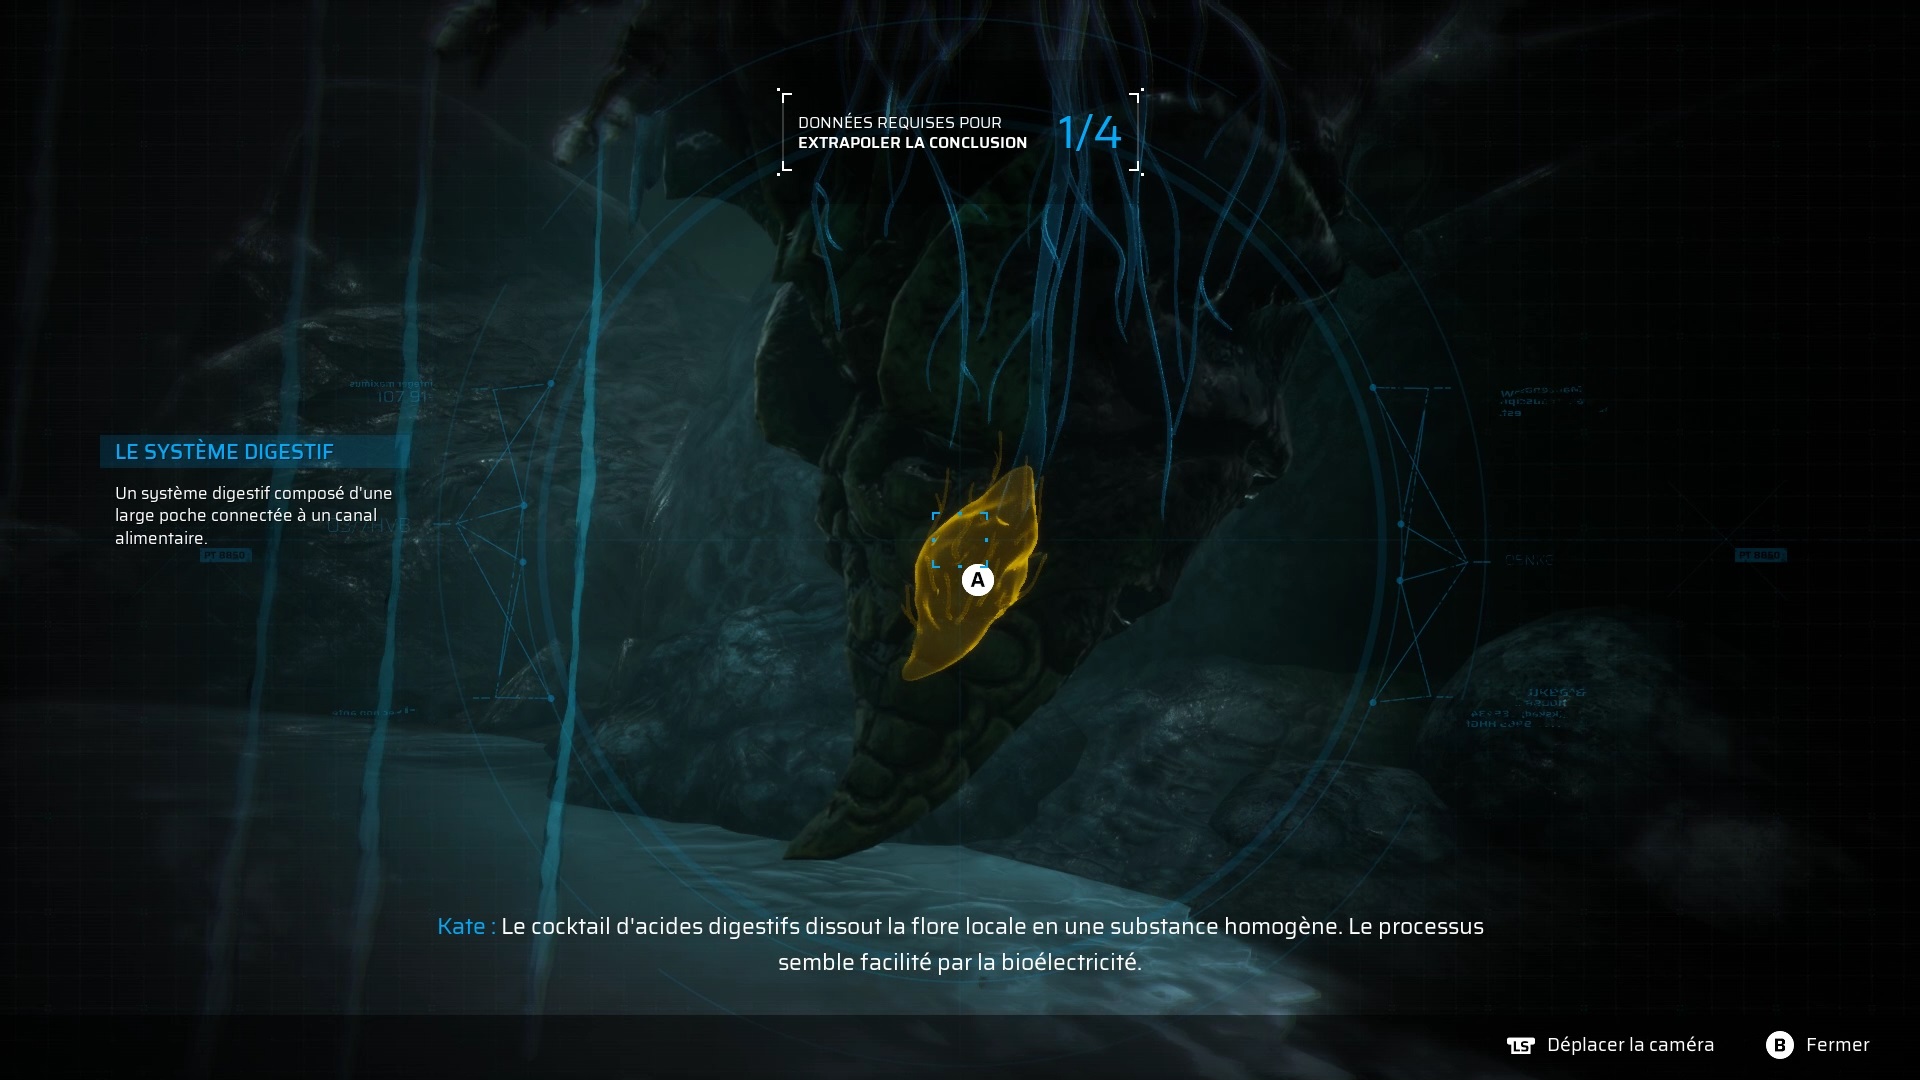
Interact with the insect to launch an investigation. First interact with the brain to activate x-ray vision. Interact with the stinger, gland, brain and neural canal to complete the investigation. You get a weapon capable of freezing slime.
Use your new weapon to create a bridge to the shore. Join the arena where you fought the first Exo-Alluvial using his technique to trigger a boss fight.
Fight against the Alpha
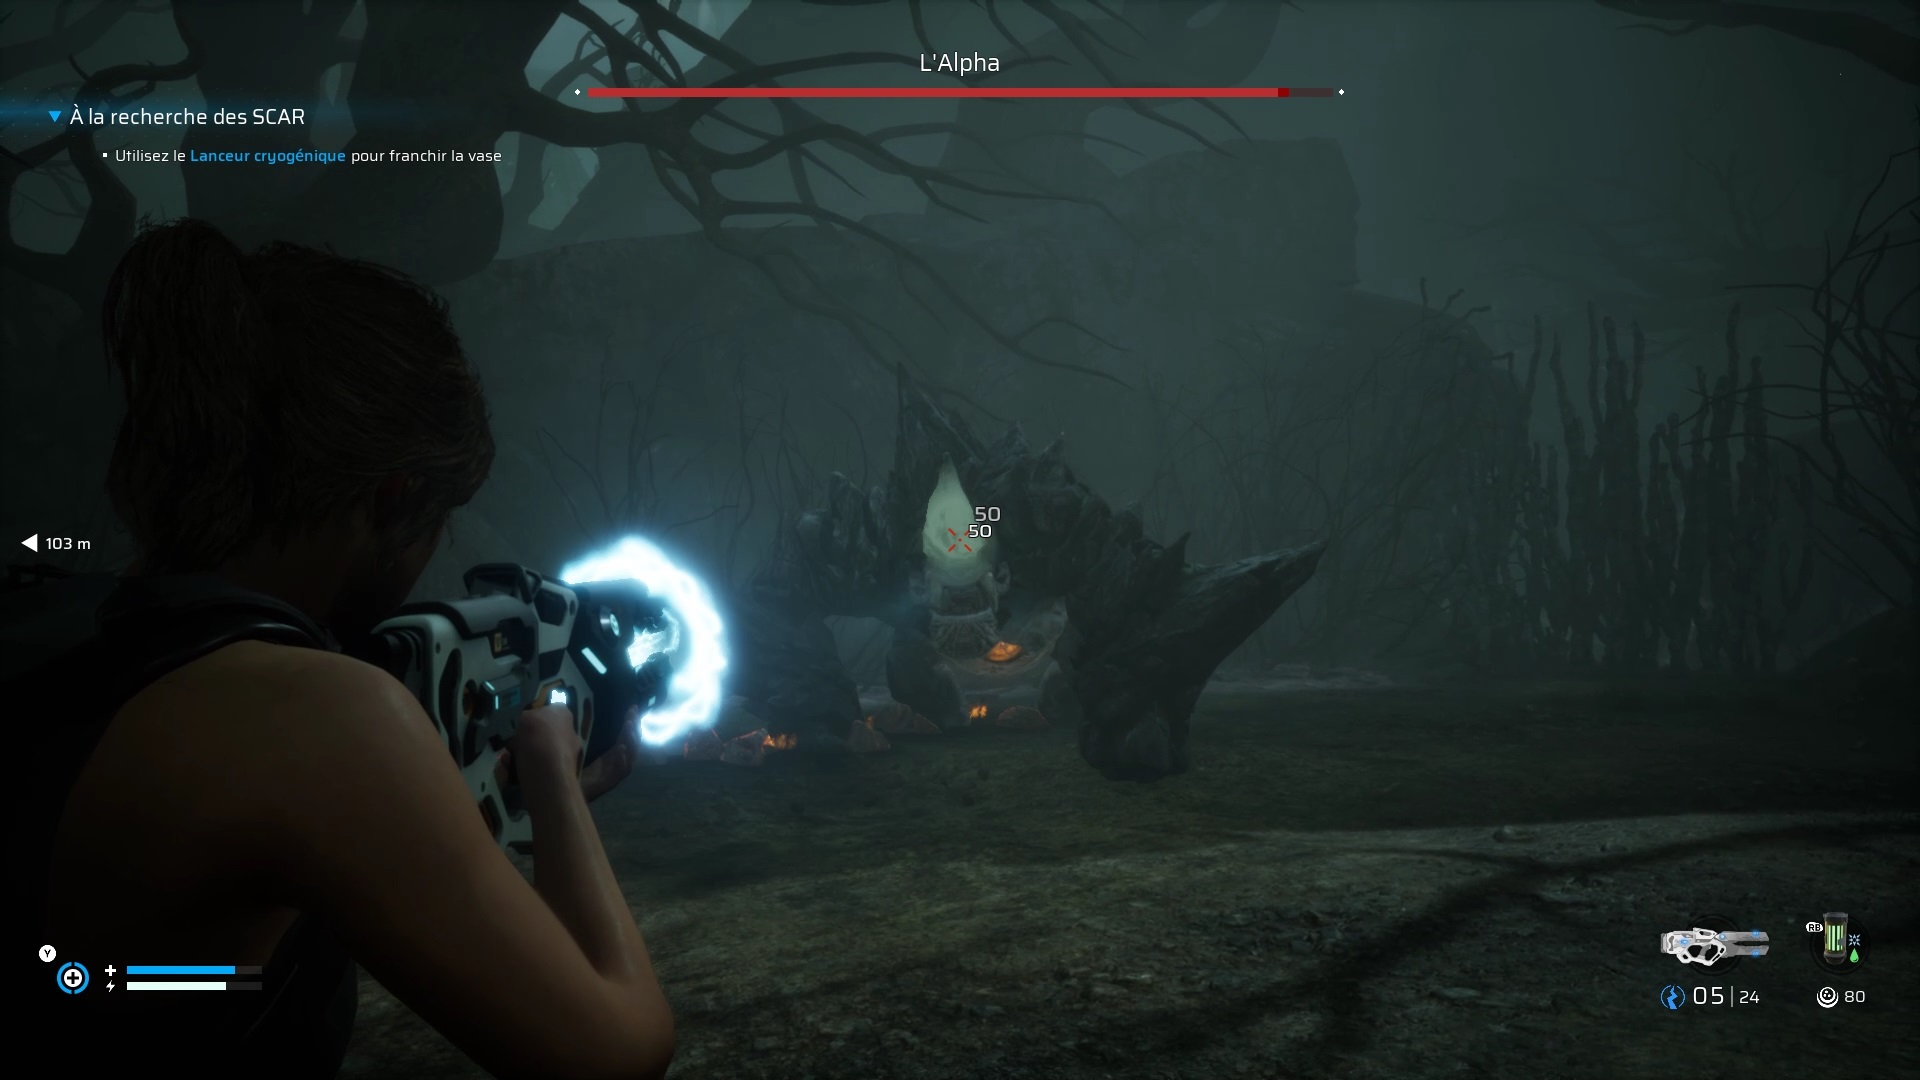
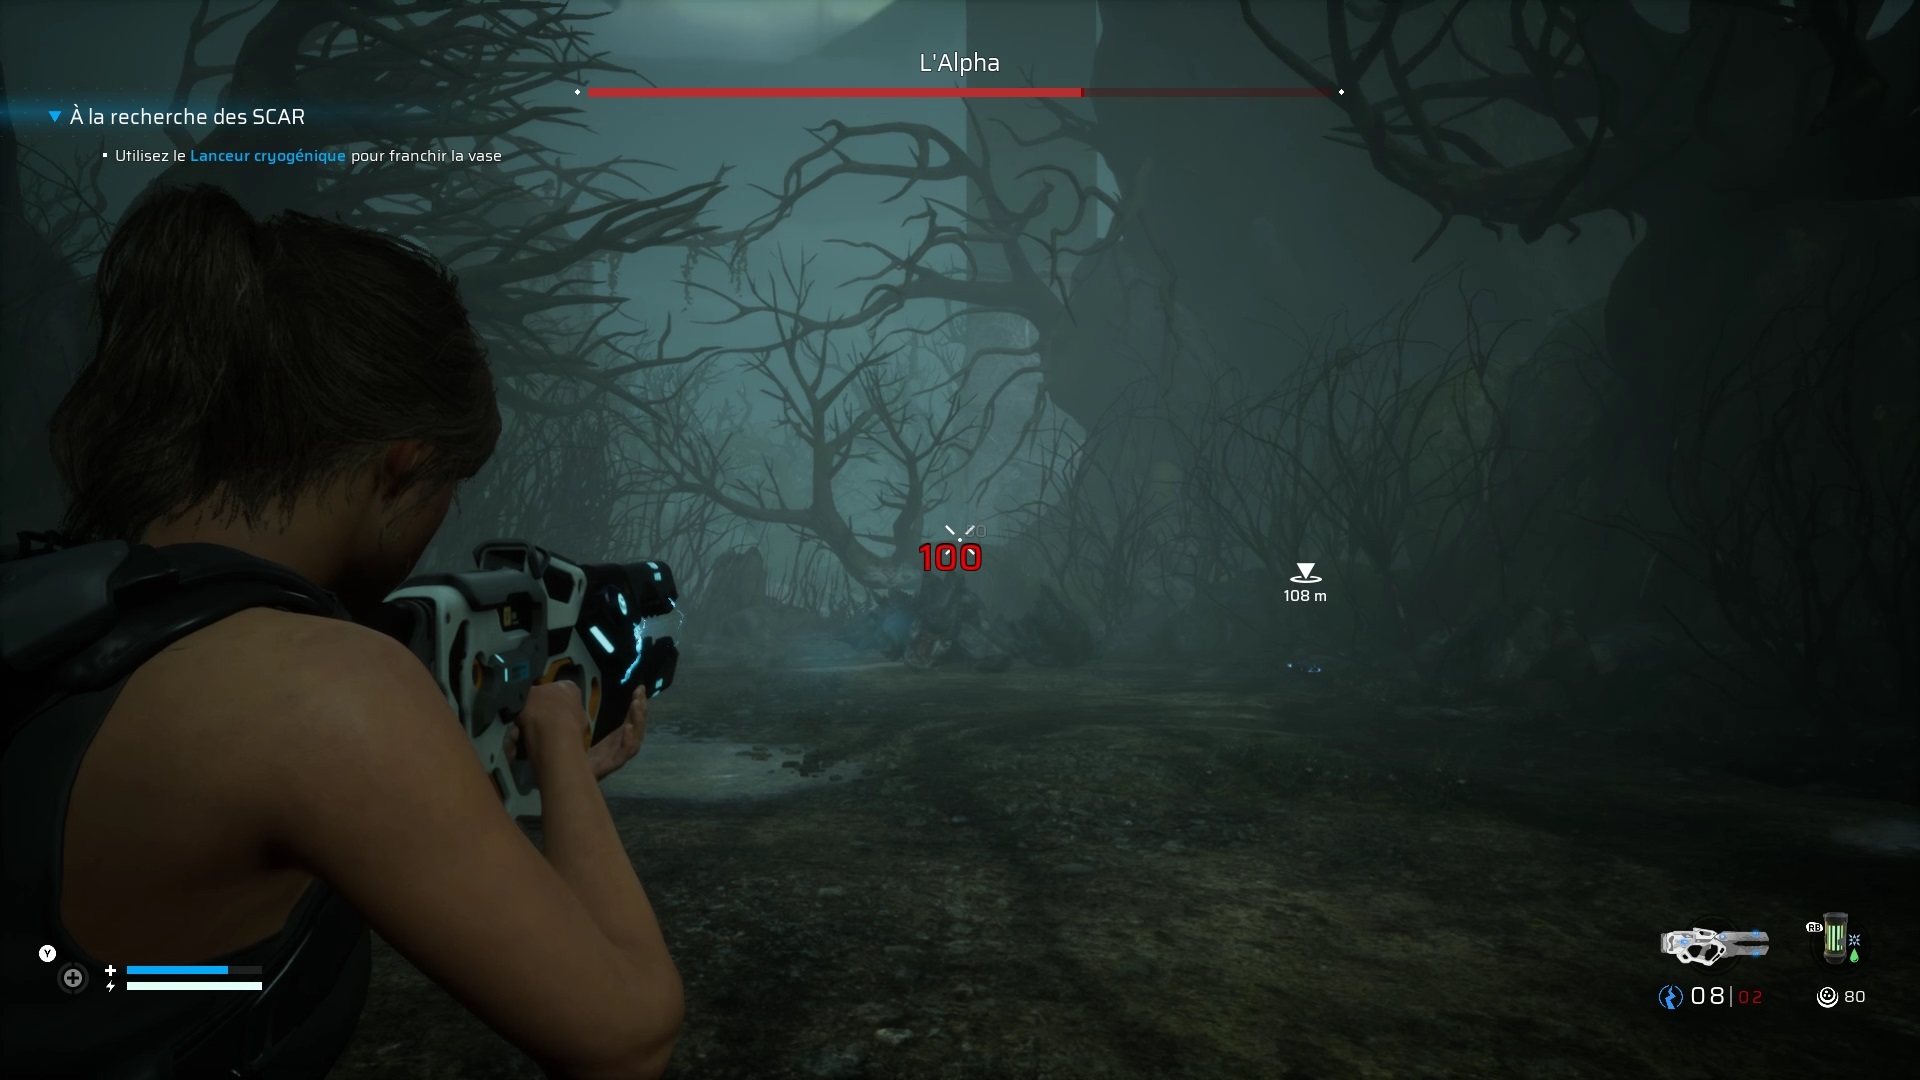
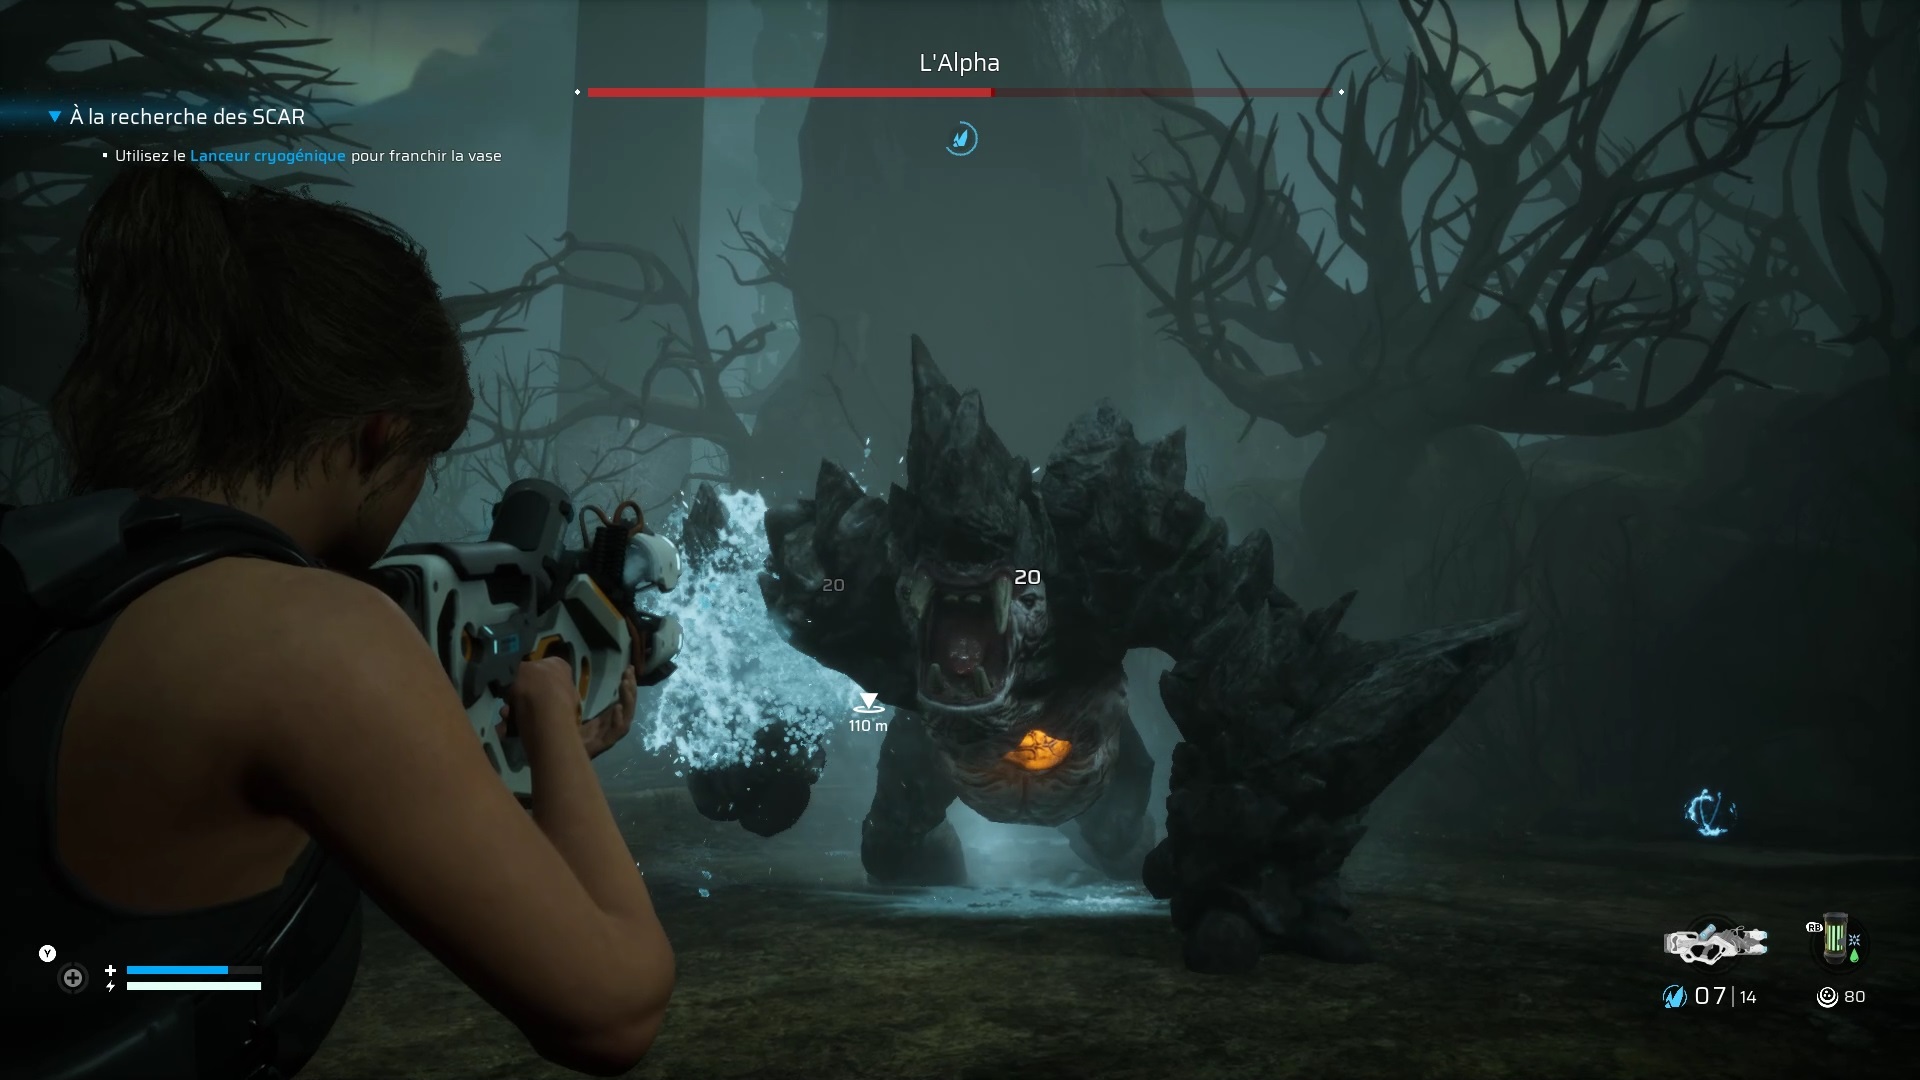
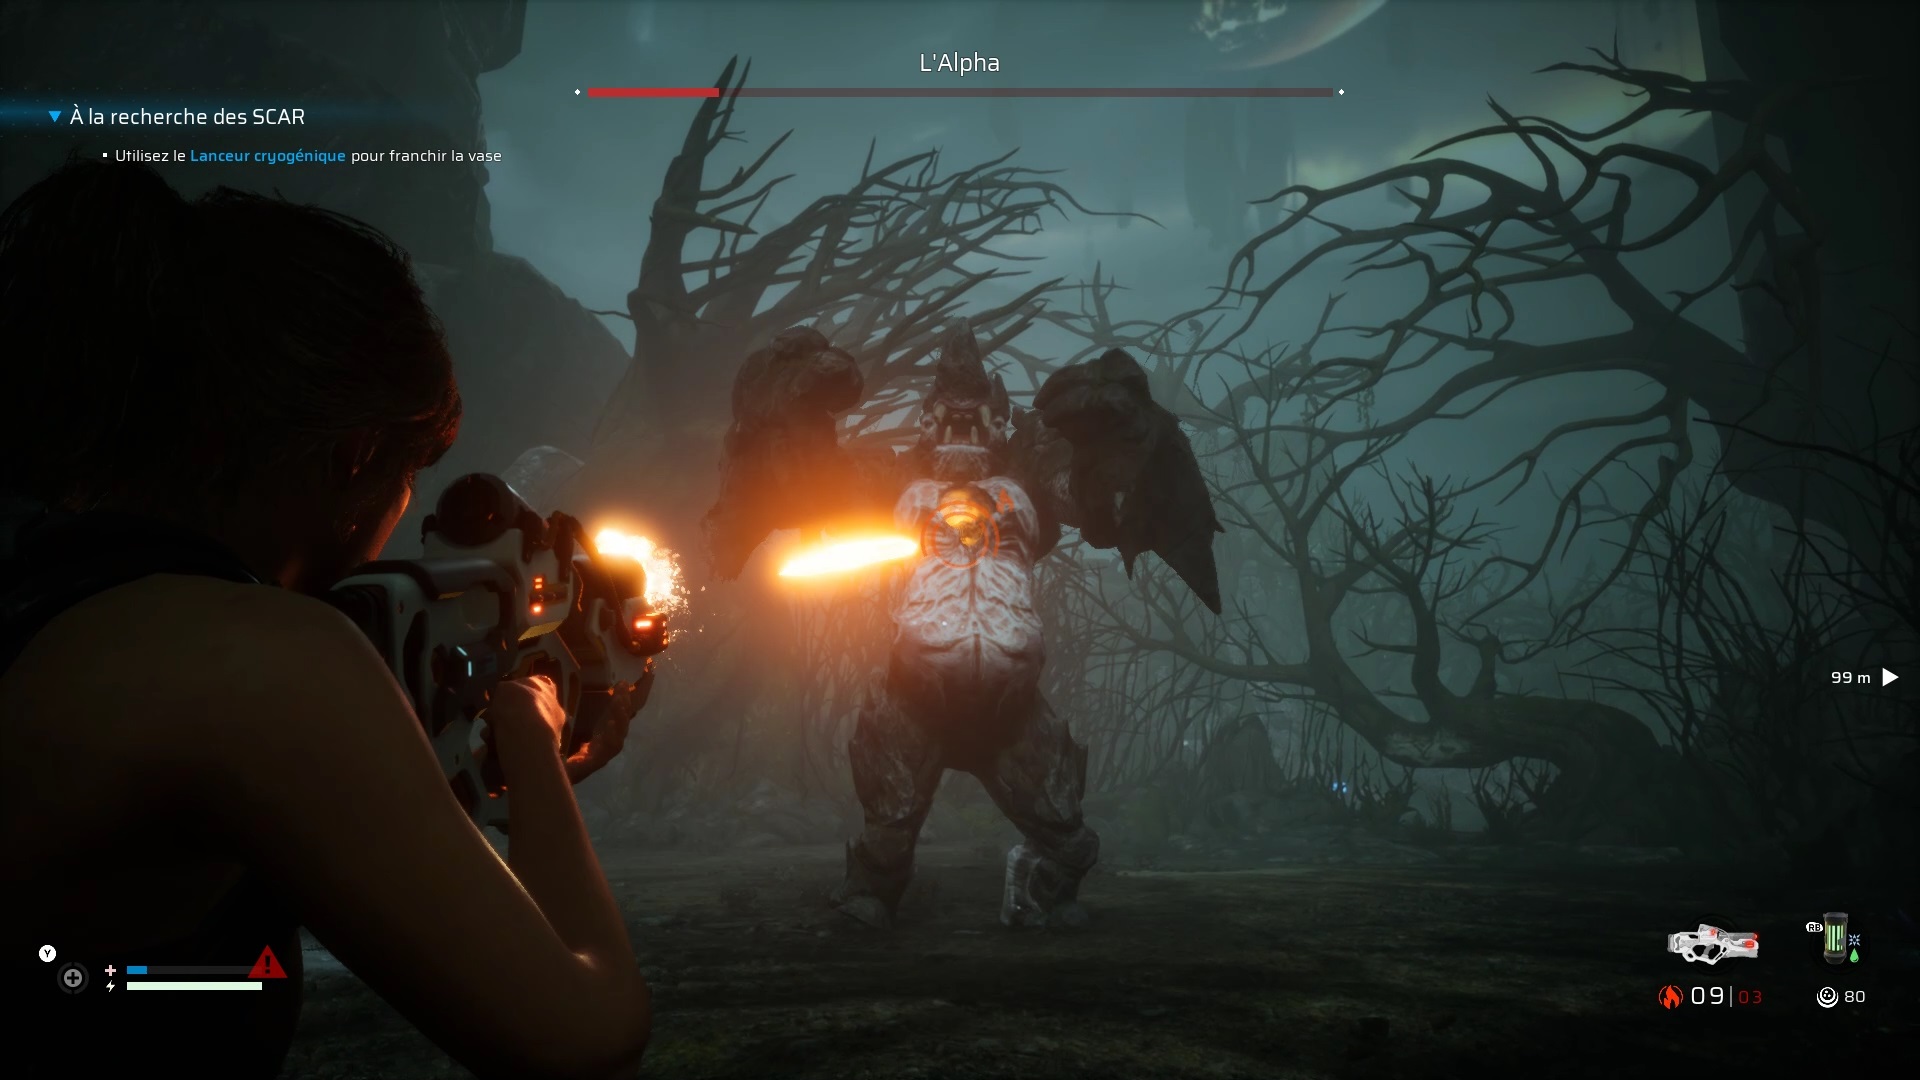
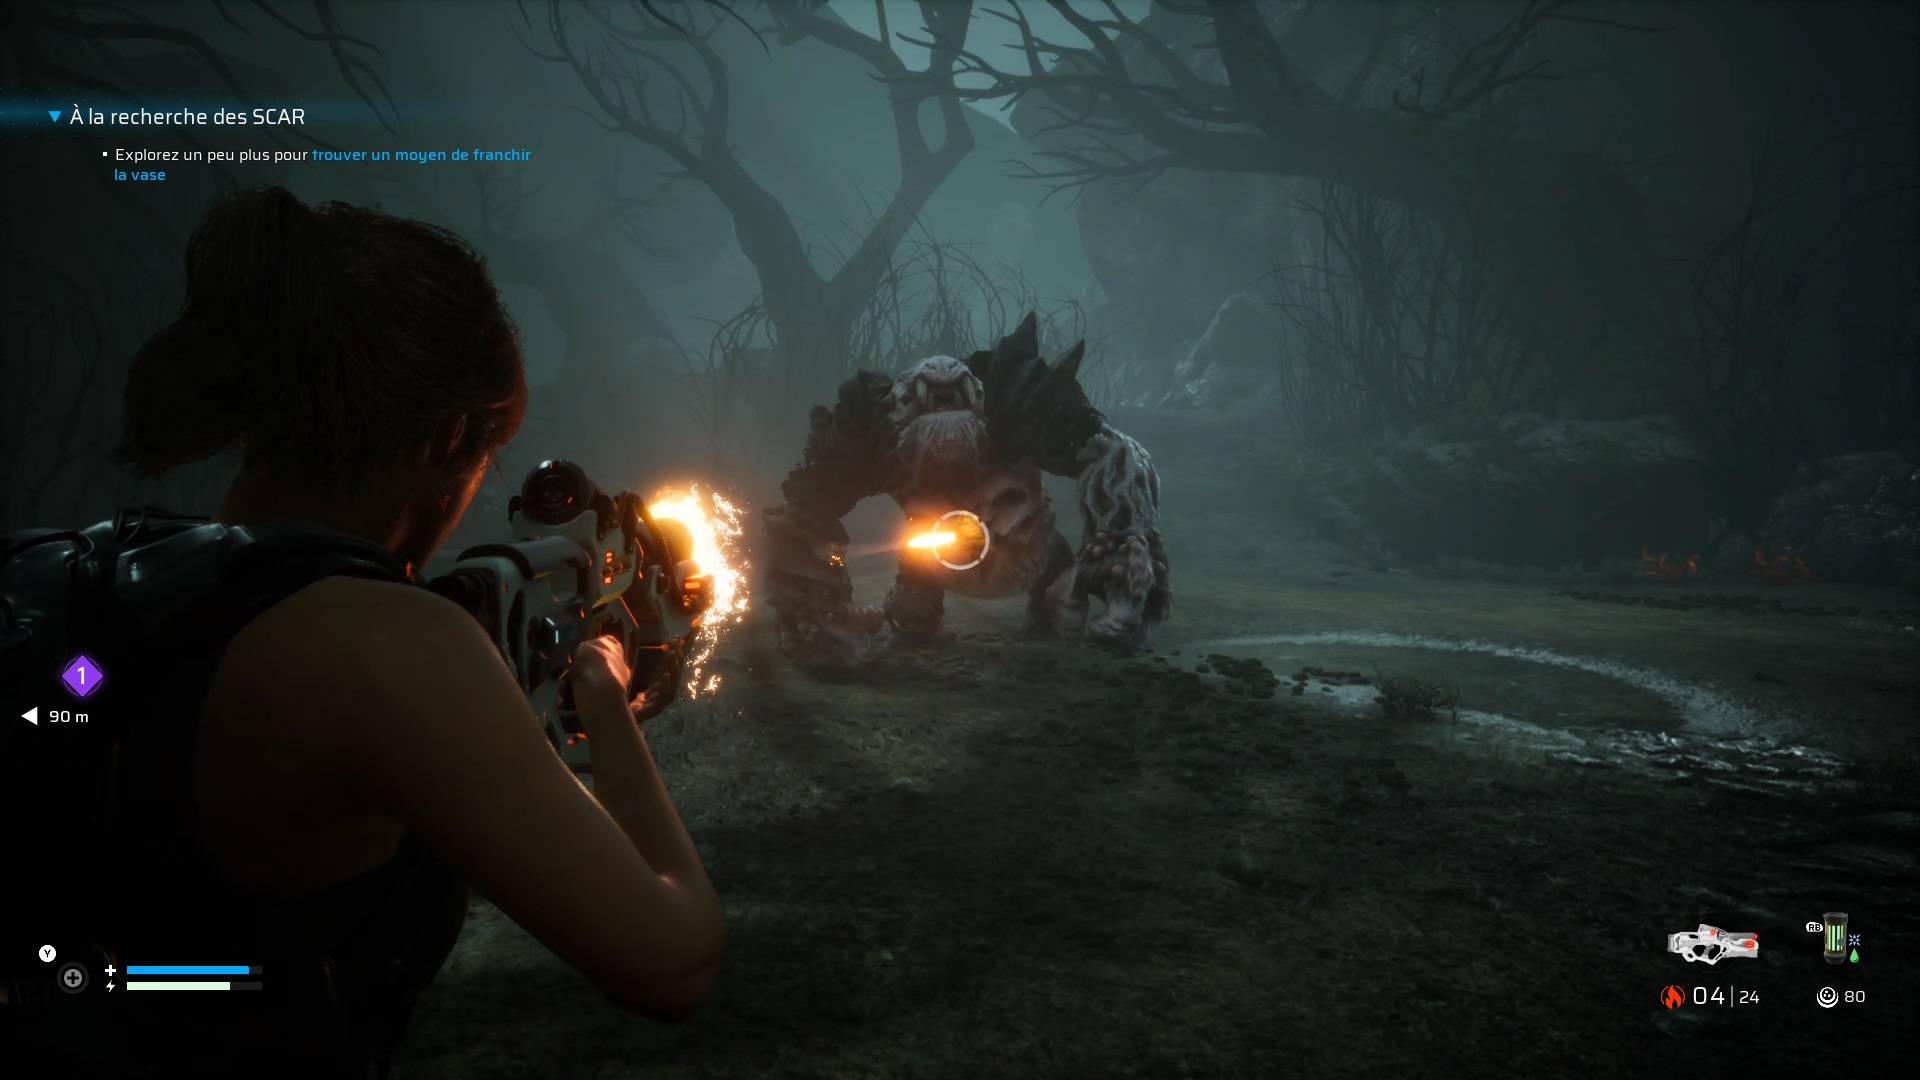
Alpha is a tougher Exo-Alluvial, but it performs the same patterns. Use your Vera weapon to shoot him in the head and remove his protection. Before he charges prepare your weapon to stop him with a shot to the head to knock him down. Use the Cryo Launcher to freeze him and slow his movements. It will be easier for you to reach his weak point in his chest and defeat him.
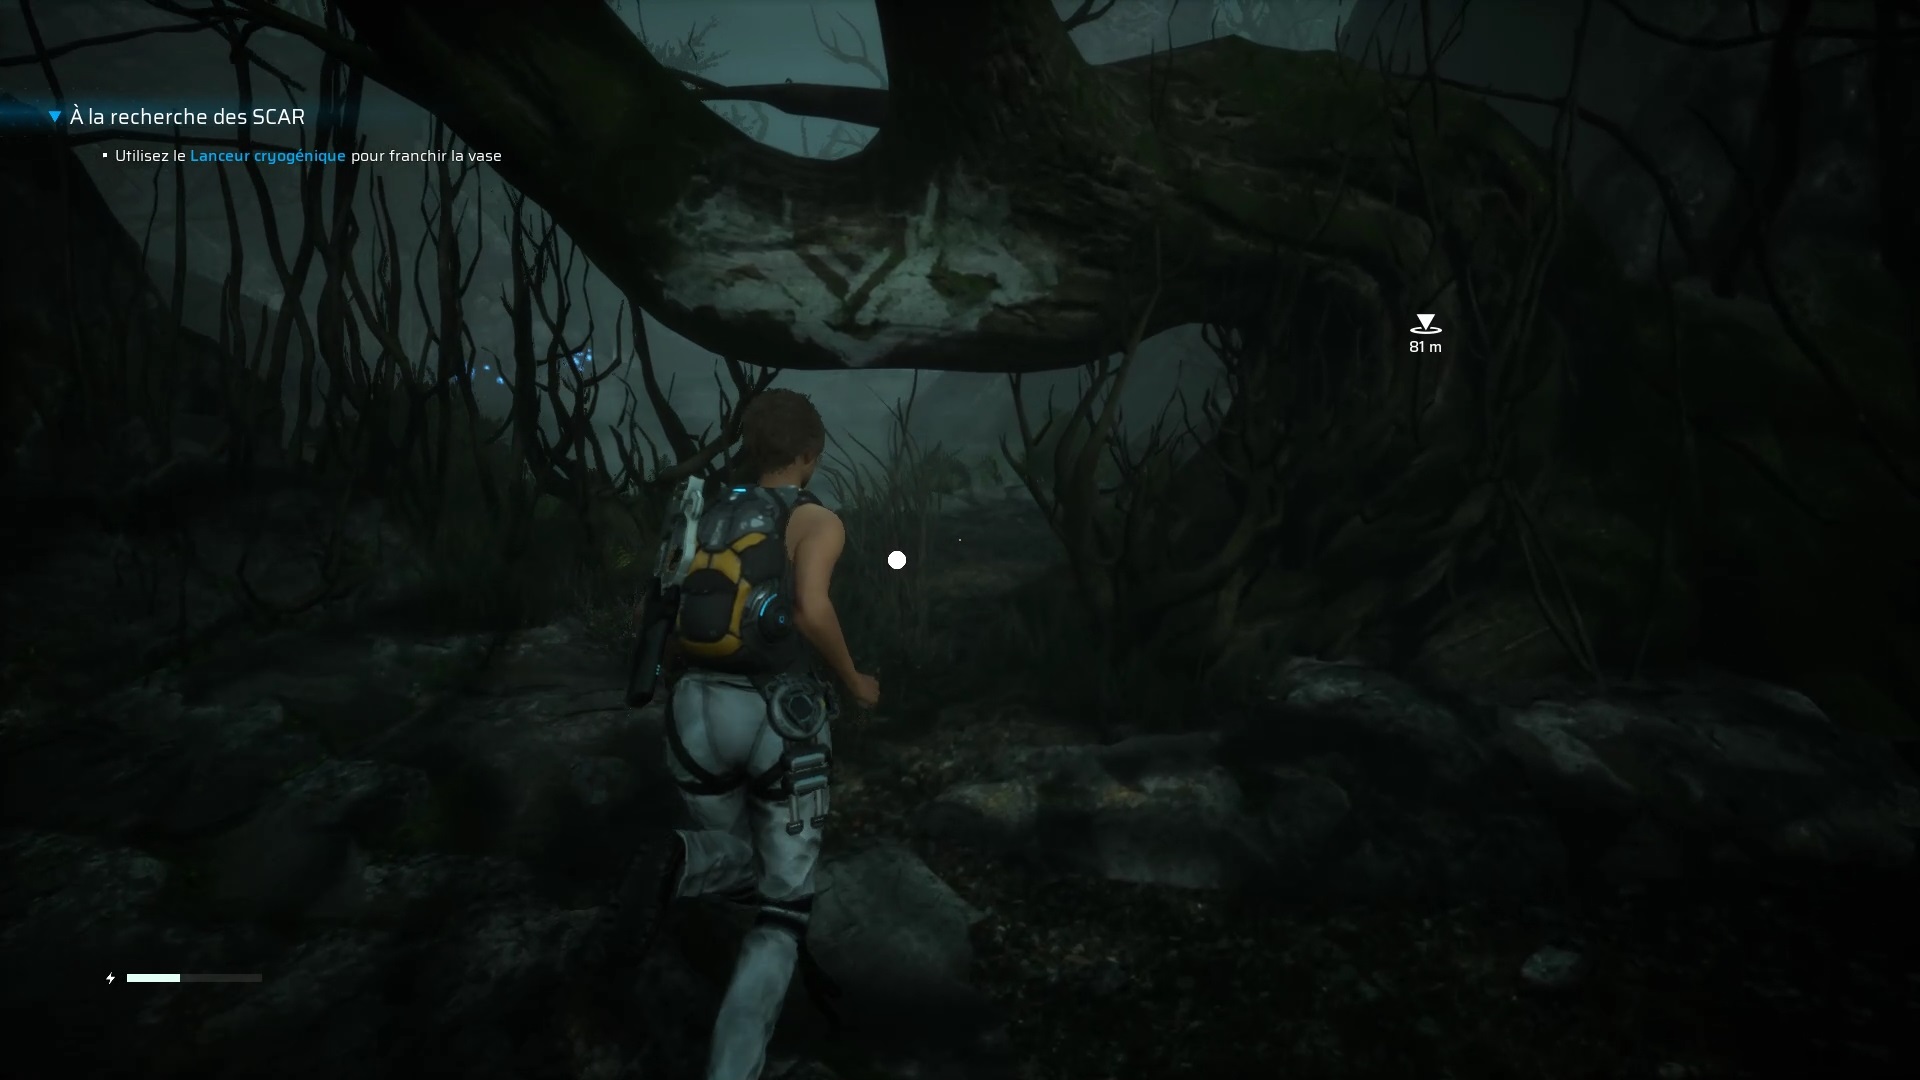
Go past the arena grass to return to the slime near the monolith. Use the launcher to create a bridge to the other shore. At the fork, turn right to meet two Exo-Alluvial. Use Vera to quickly take them out with a water and electricity combo. You will find an inactive altar to the left of the useless waterfall at the moment

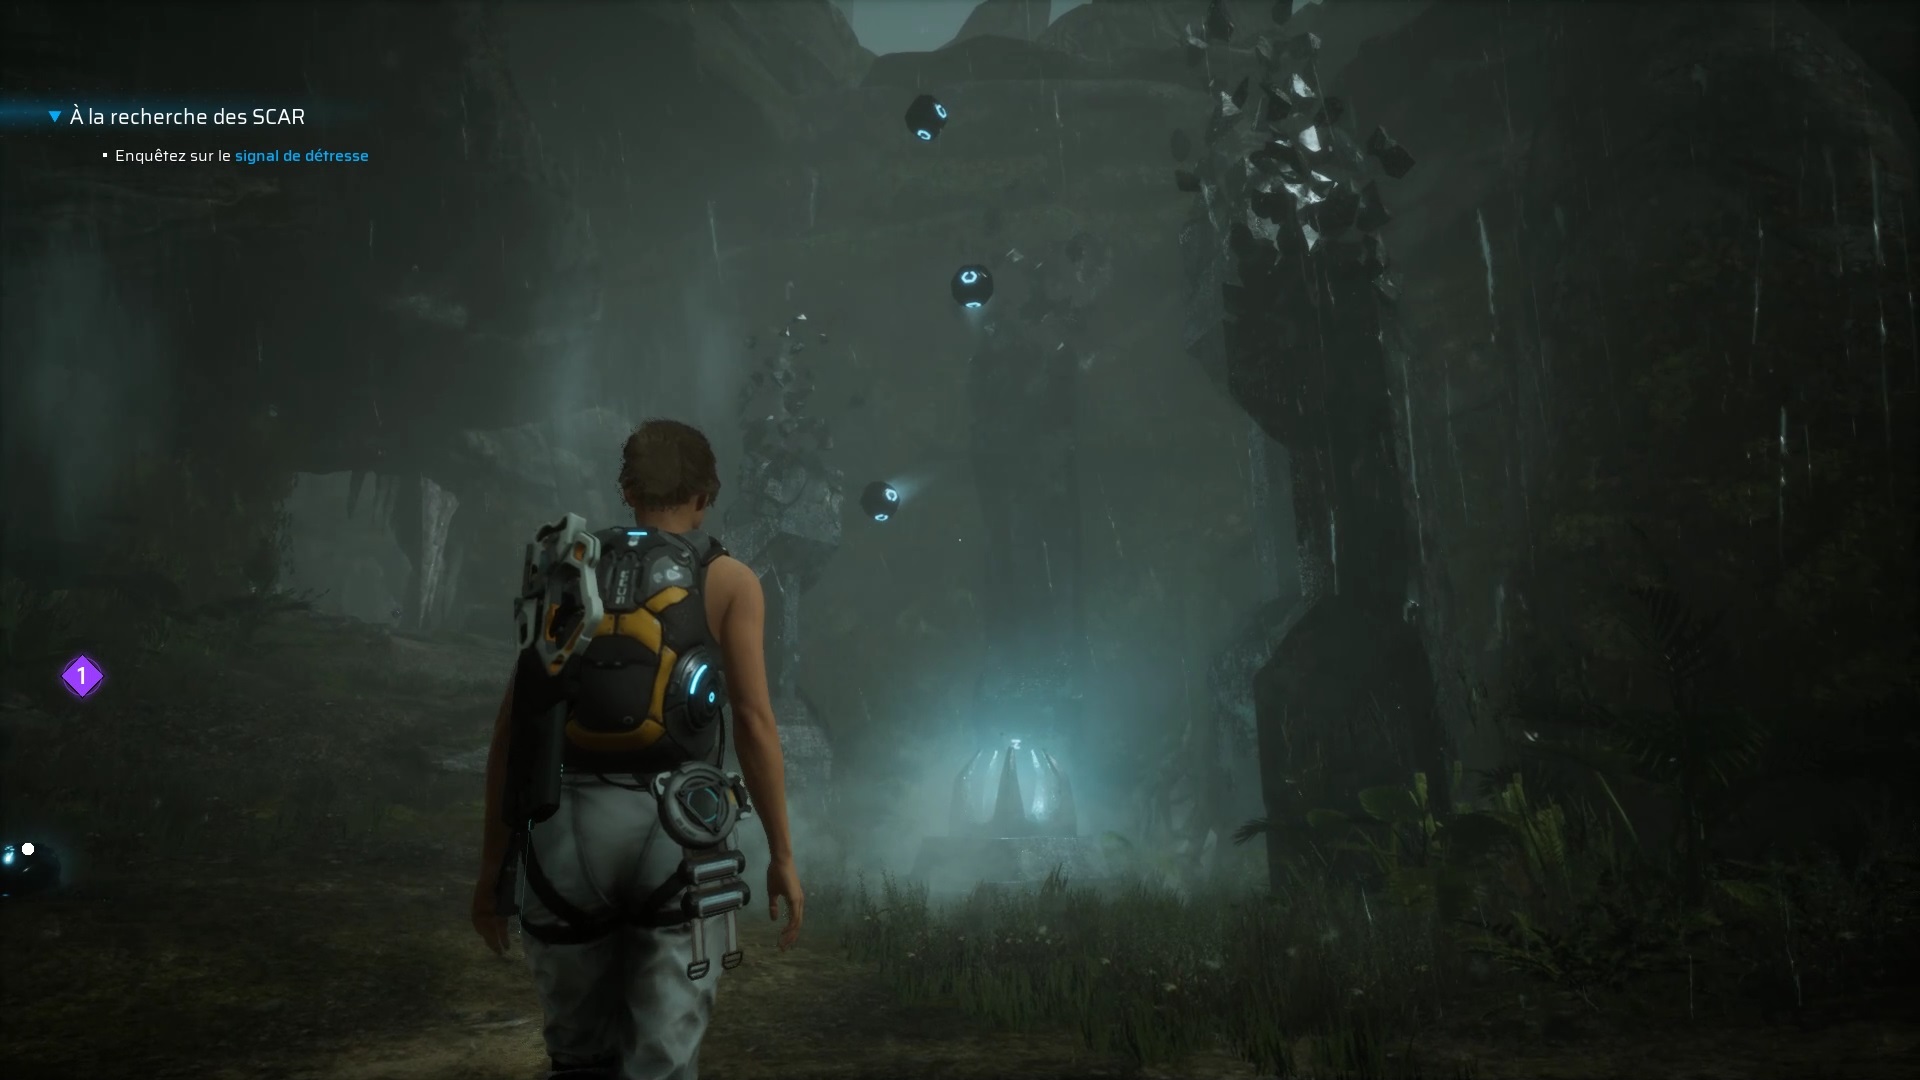
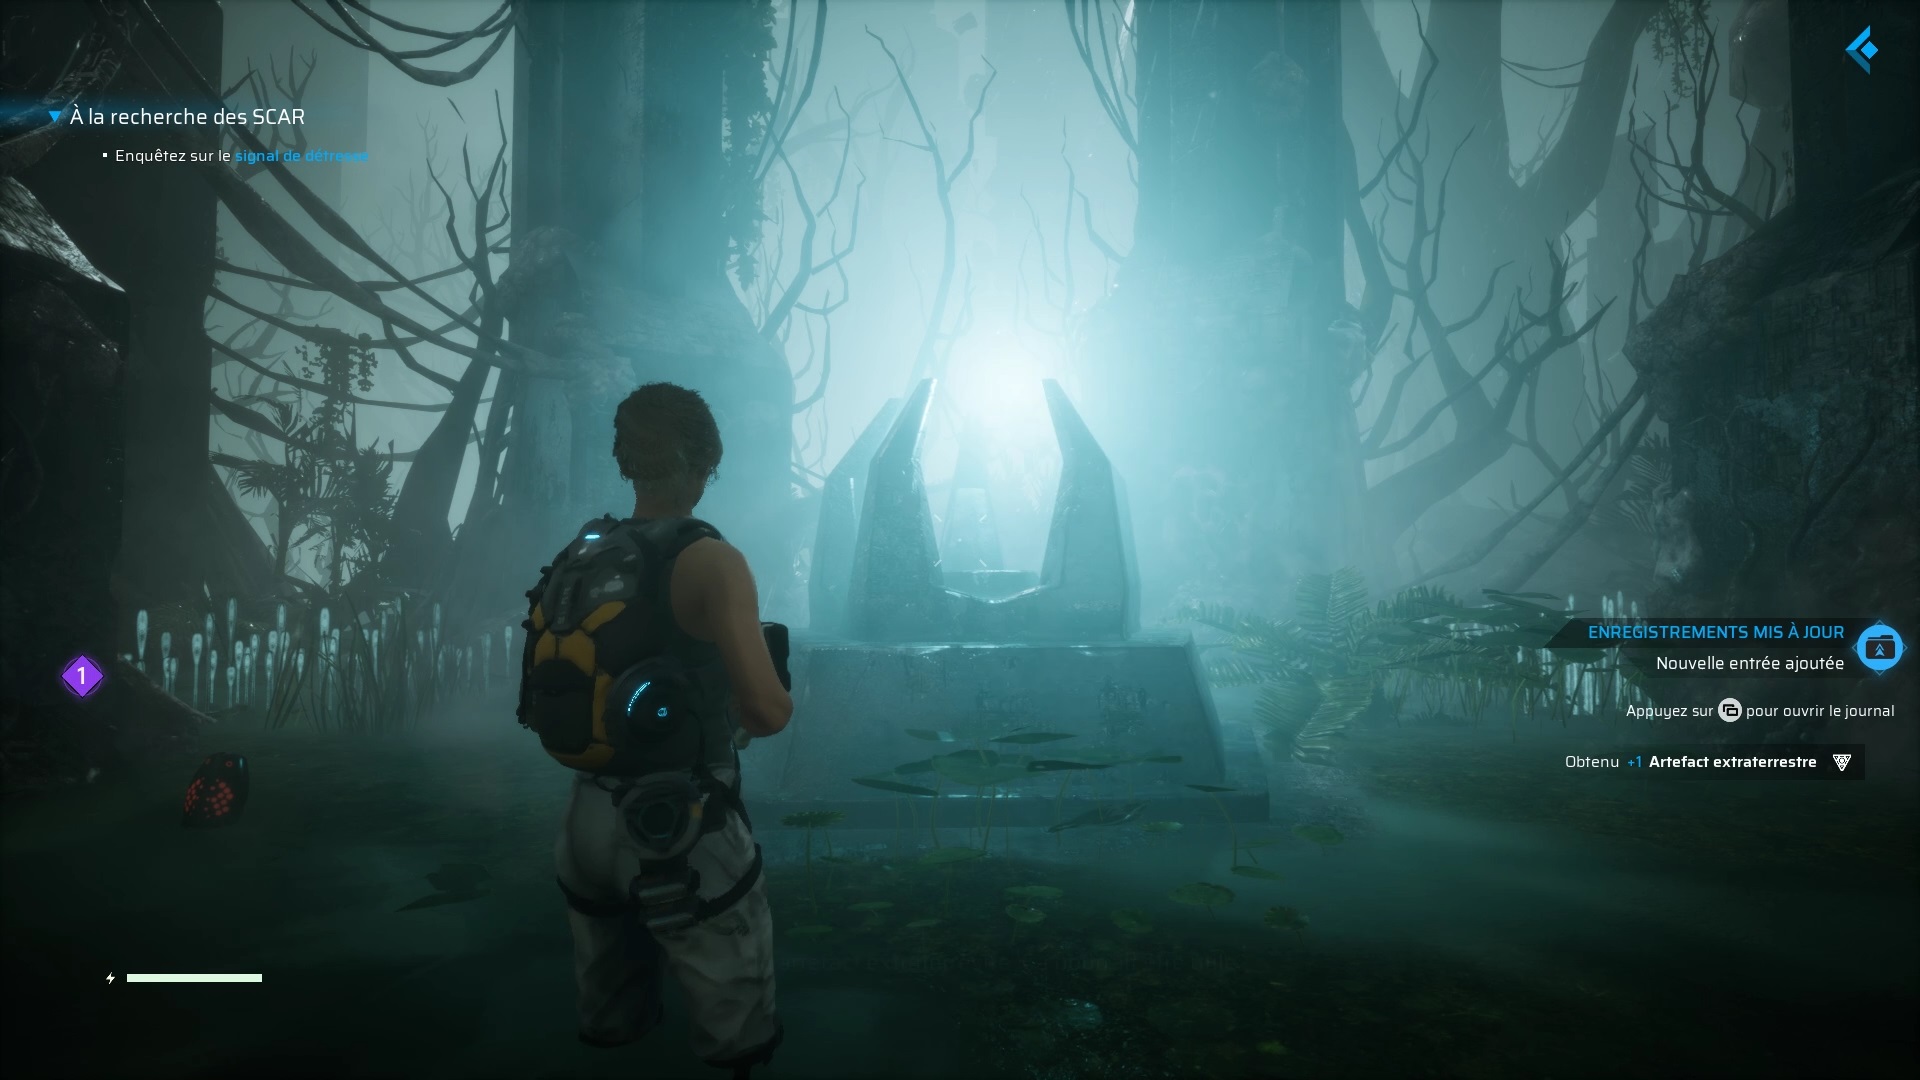
Then go through a passage to the east of the waterfall and turn directly right to find an organic passage. Eliminate threats and sink in to find a new path. Take a right to encounter an Exo-Alluvial and spiders. Go down after the fight to find an altar with drones. Collect the alien artifact.
Go up the slope to find a passage through the grass. Go down into the basin to find a second altar guarded by a Colossus. Use the Cryo Launcher to freeze him and shoot his mouth to cause heavy damage. After the fight recover the artifact.
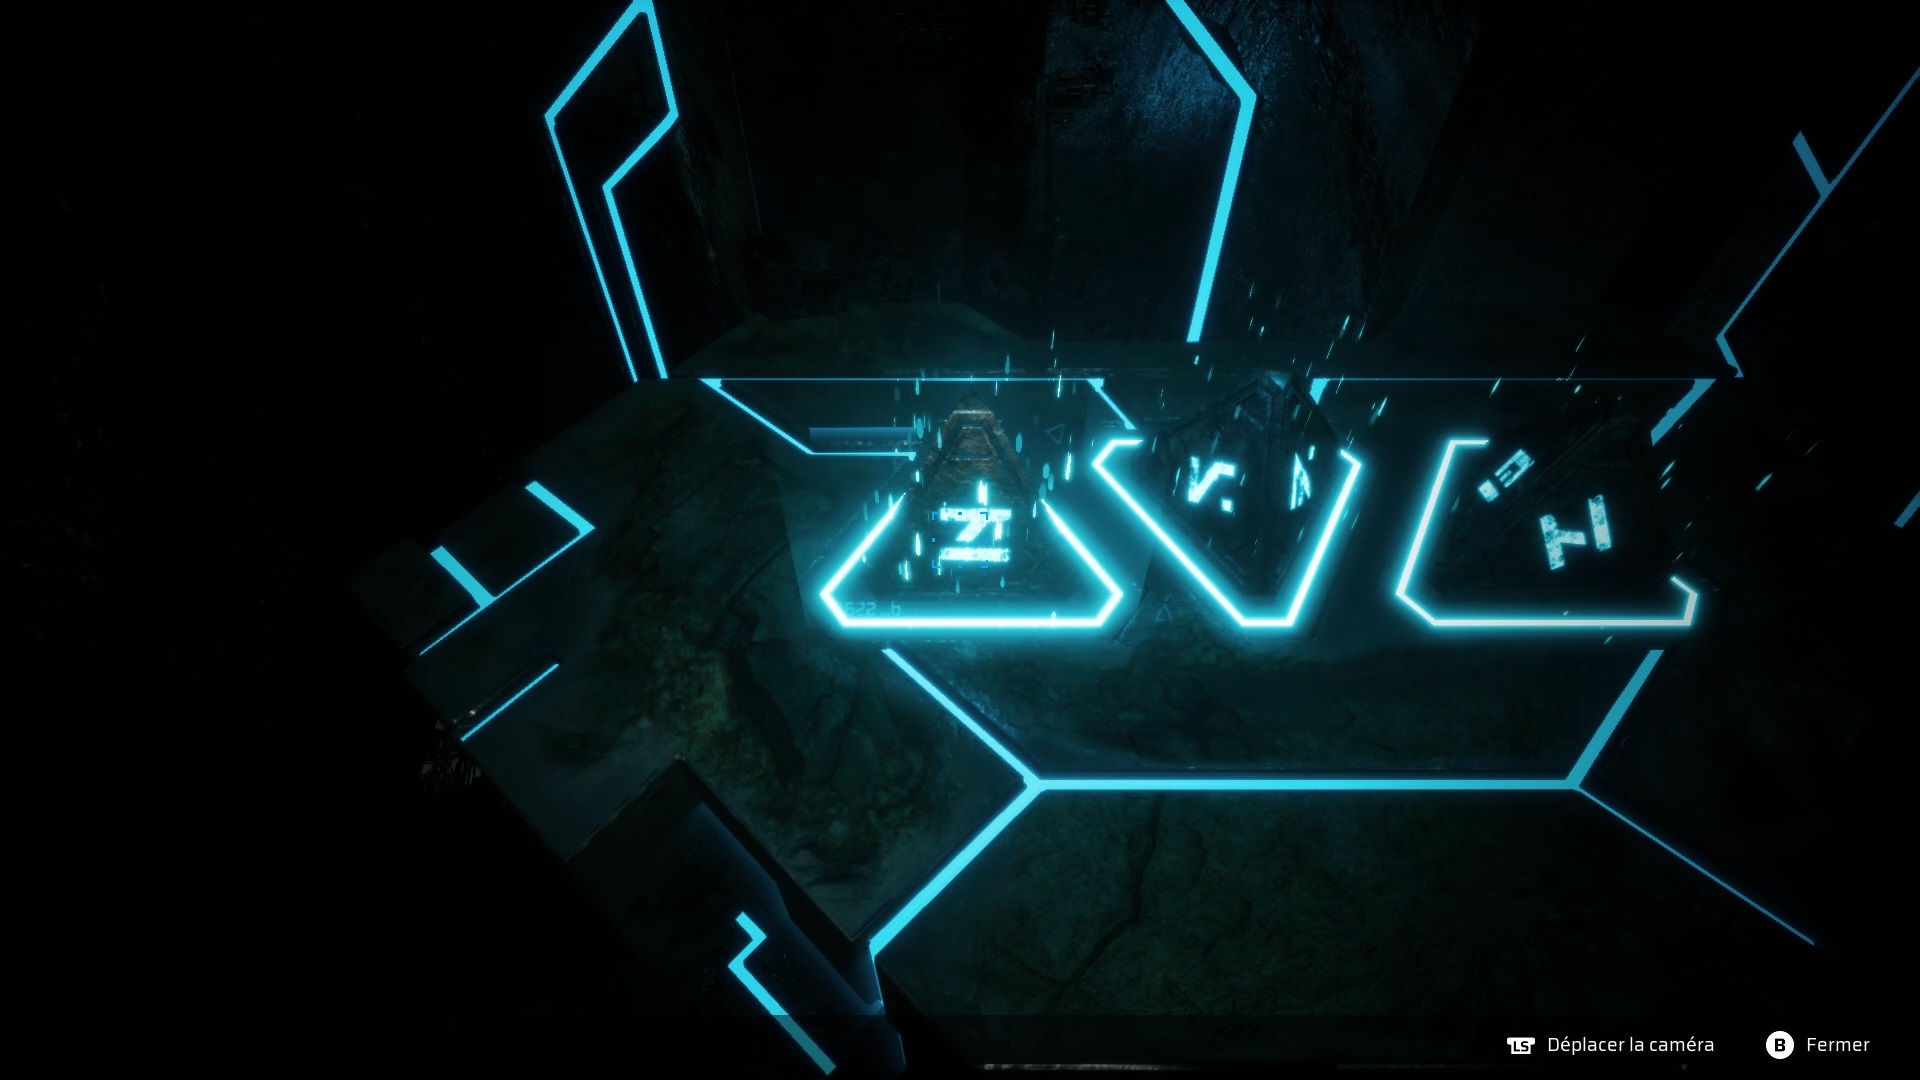
Retrace your steps to reach the altar near the previous waterfall. Use both artifacts to trigger a puzzle. You will need to position the correct symbol on the correct pedestal. To solve the puzzle you must activate the x-ray vision on the altar to reveal the three correct symbols. Then place the face of the corresponding symbol on the correct pedestal to succeed.
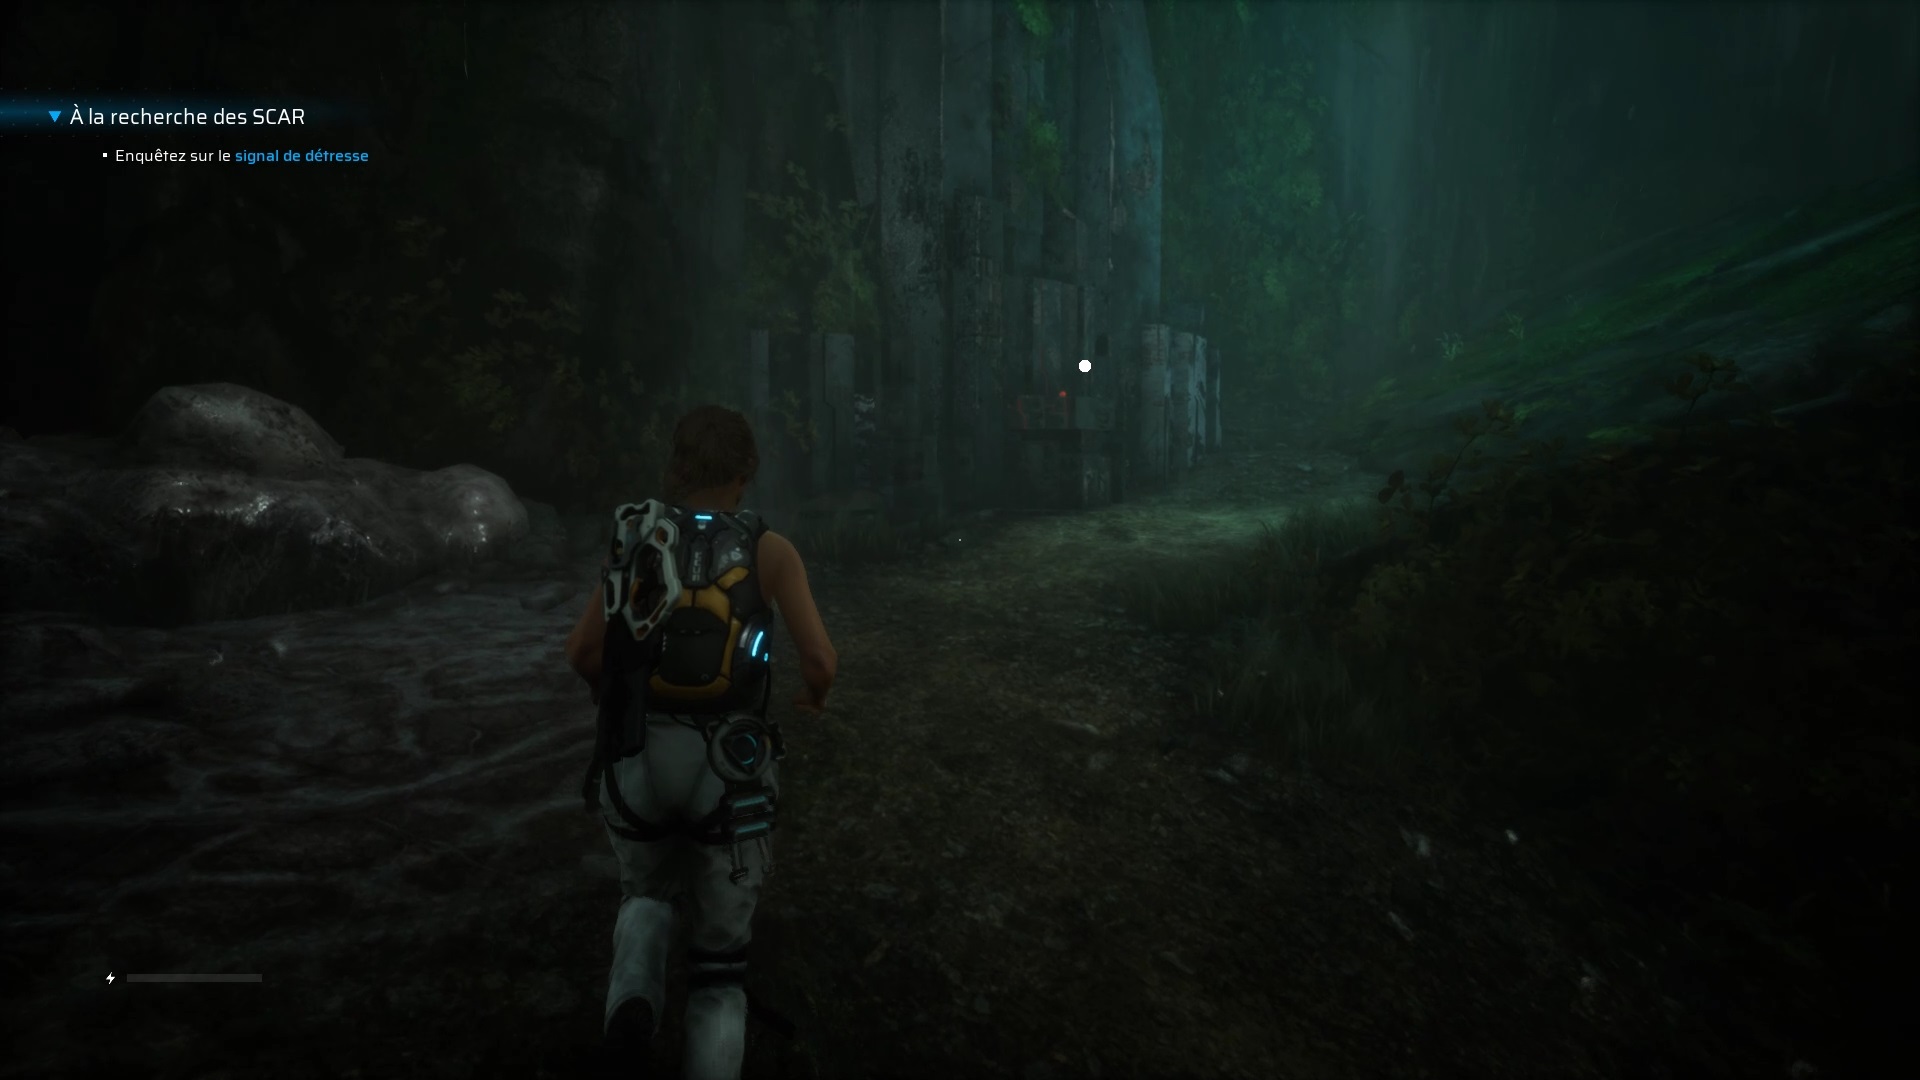
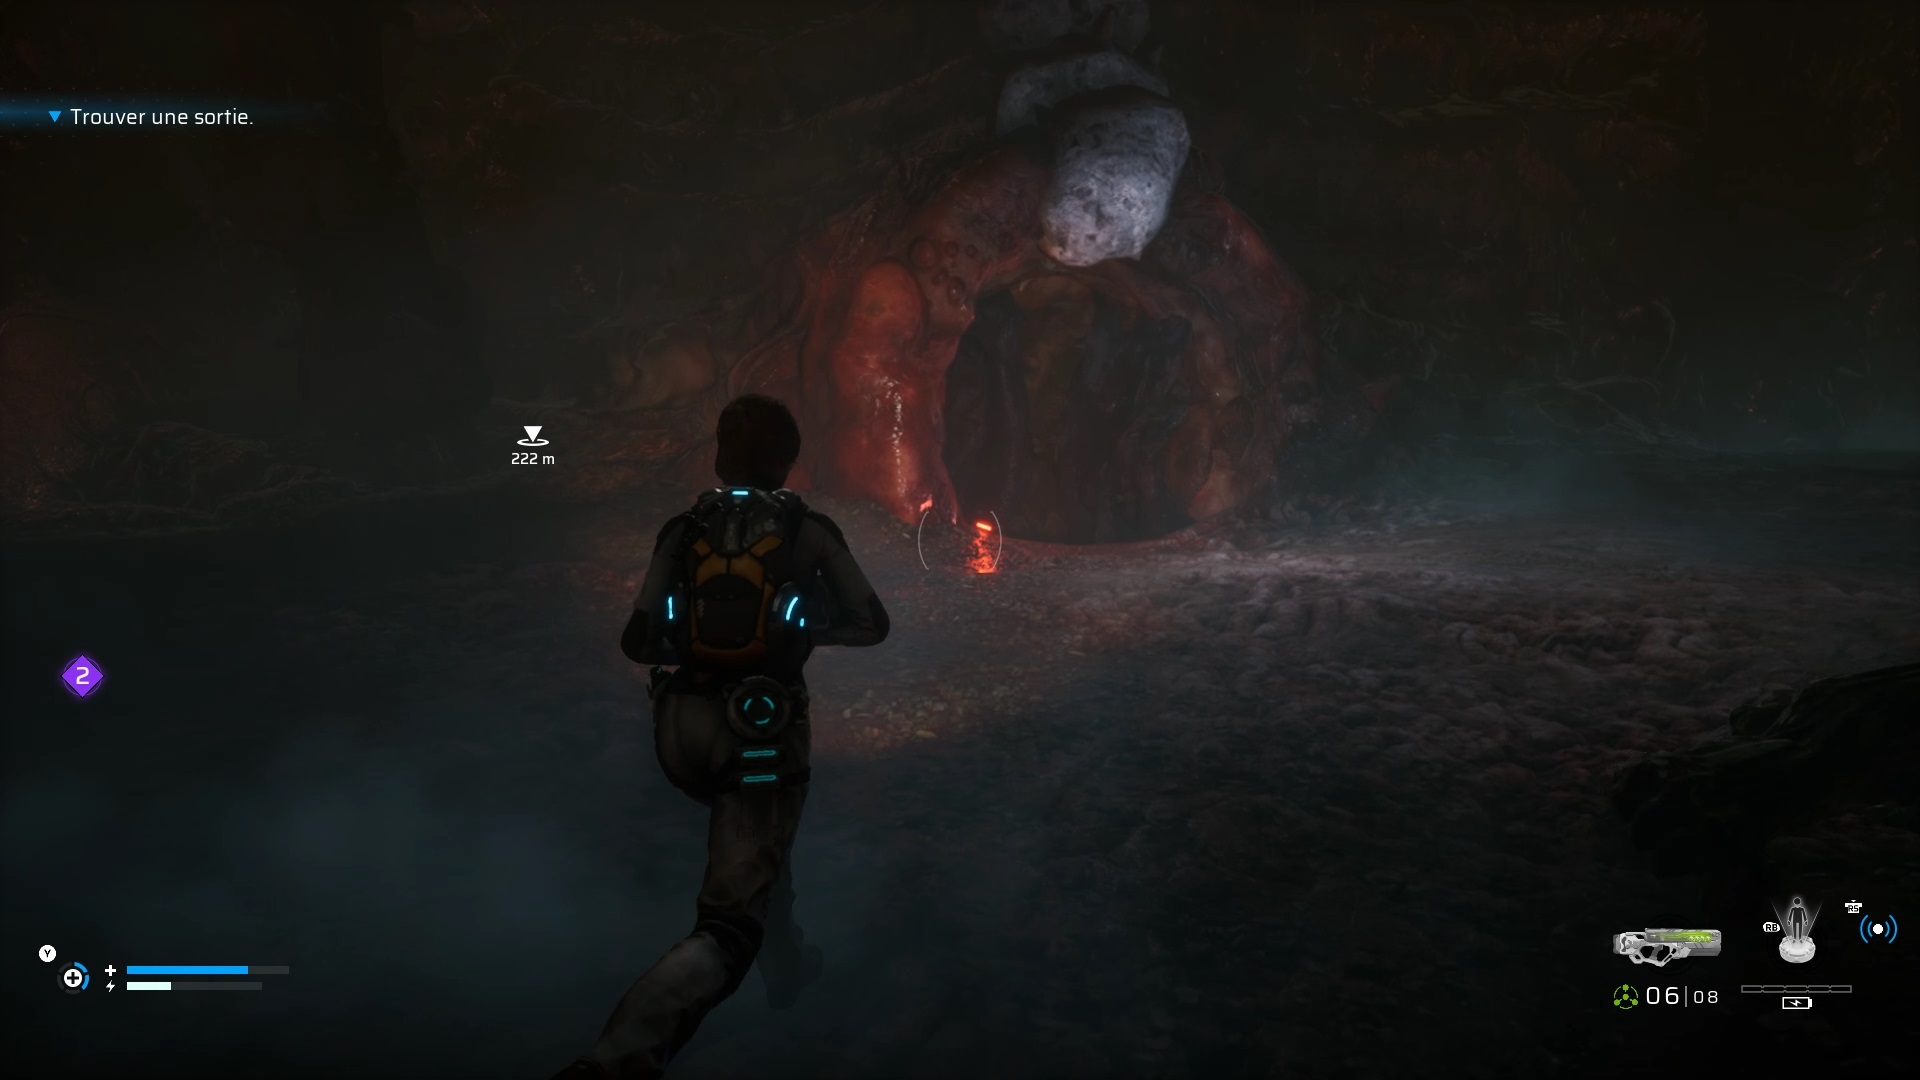
Then go up to reach a cave. Go to an entrance to the west to find a cryogenic improvement in a crate. Eliminate the threats and continue your ascent to join Robinson.
Fight against the Alluvial King
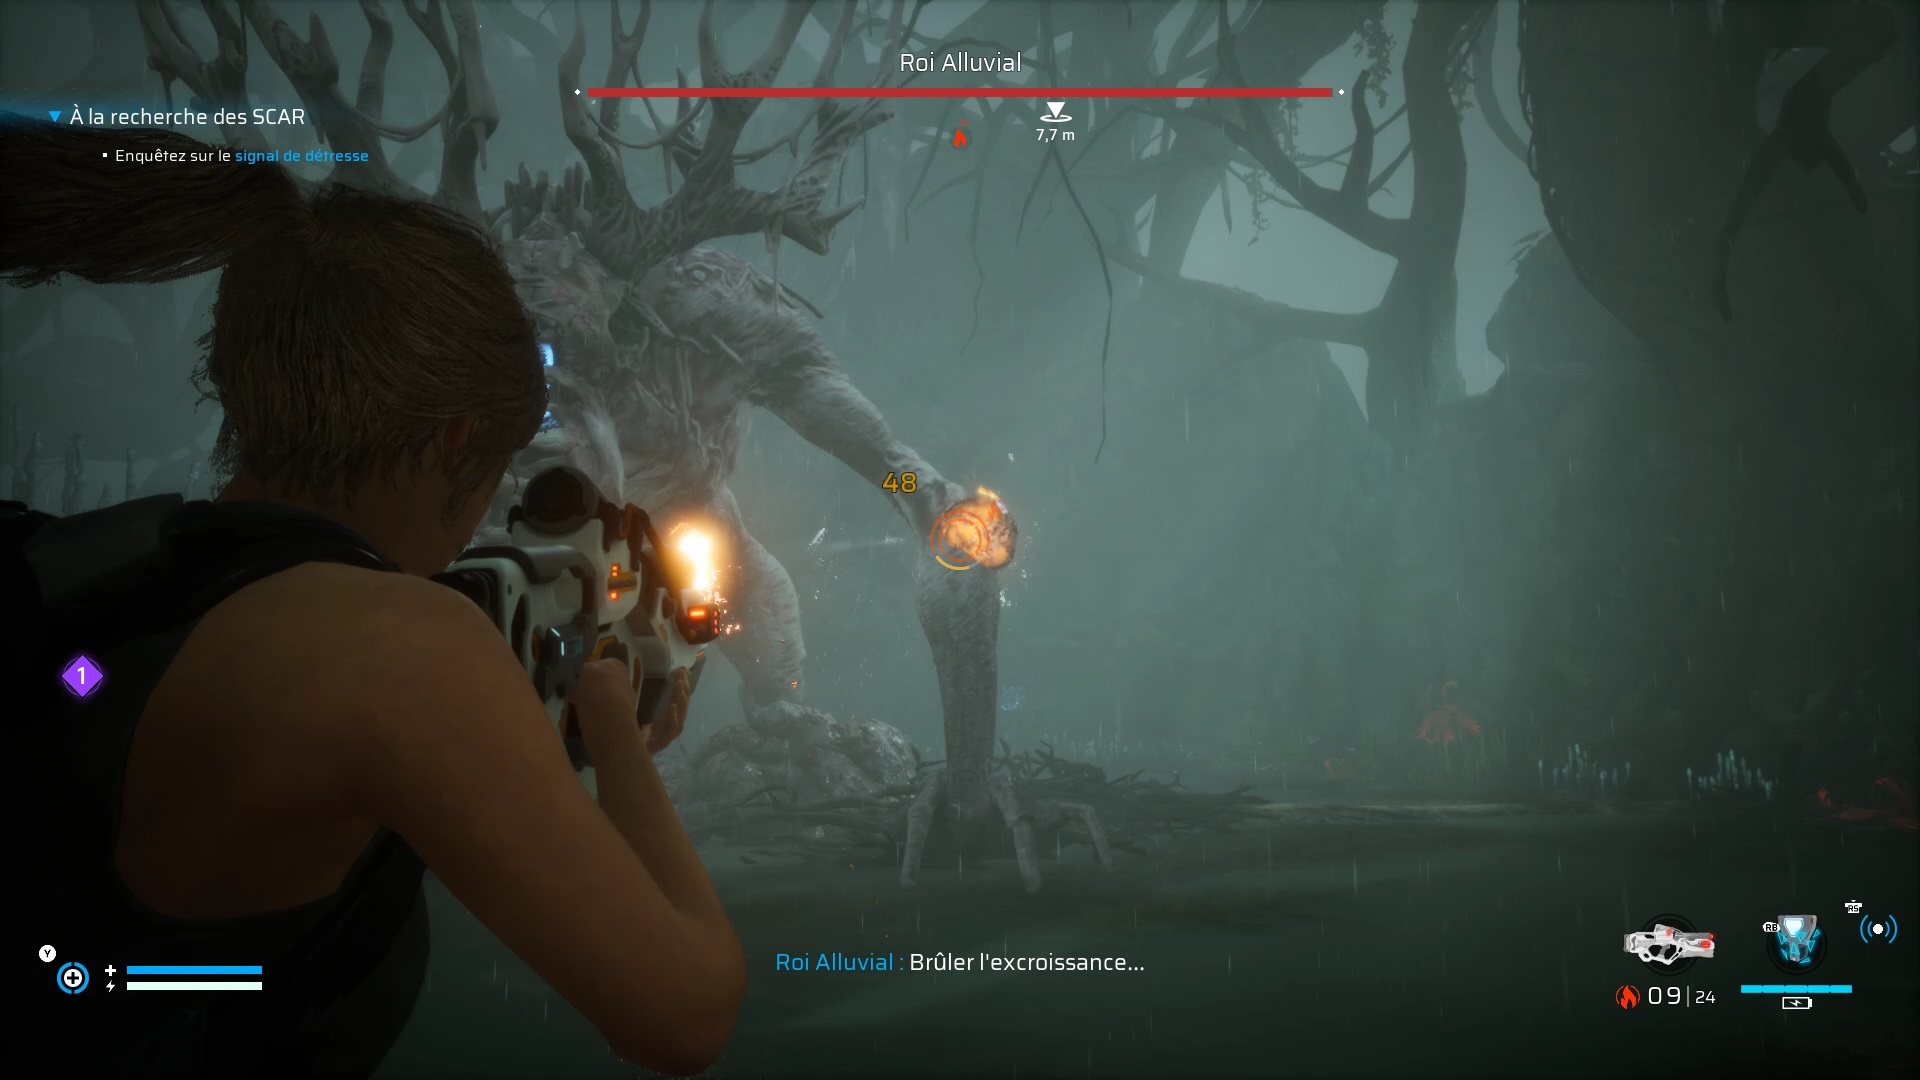
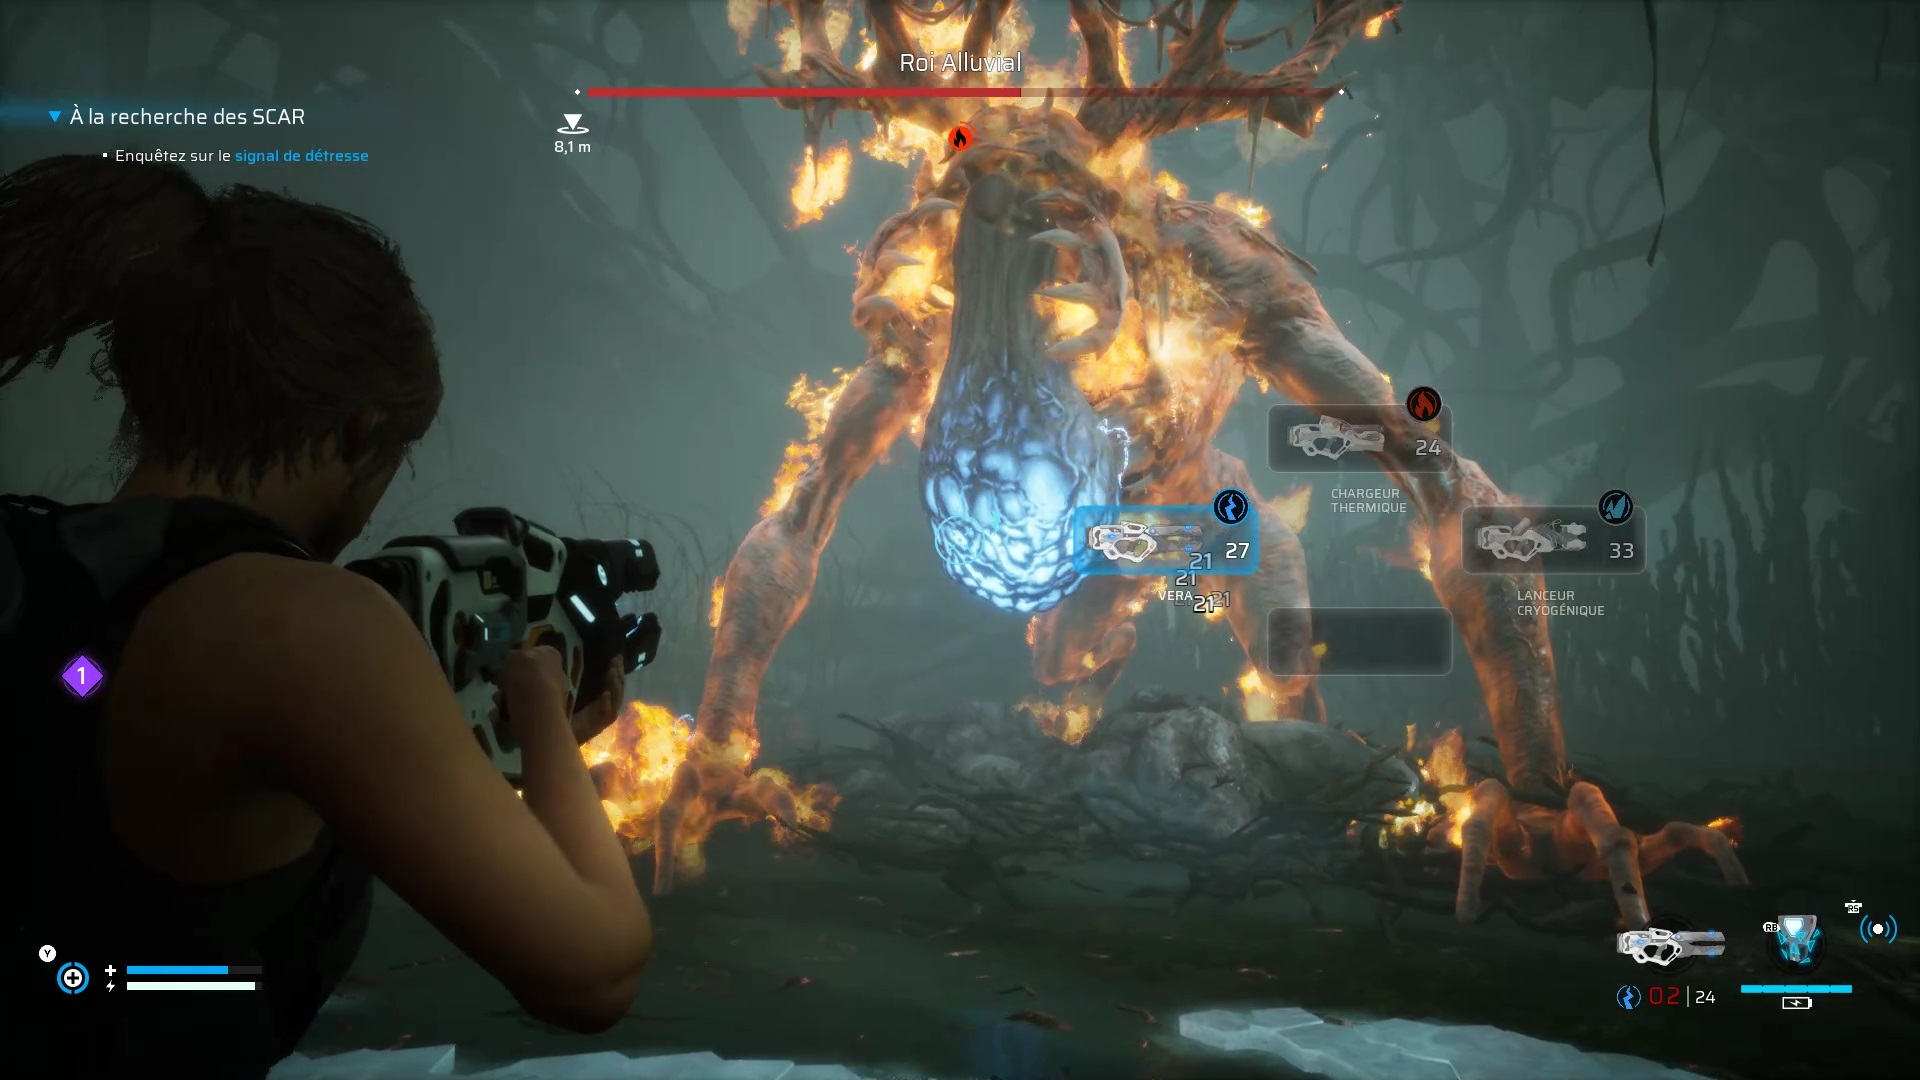
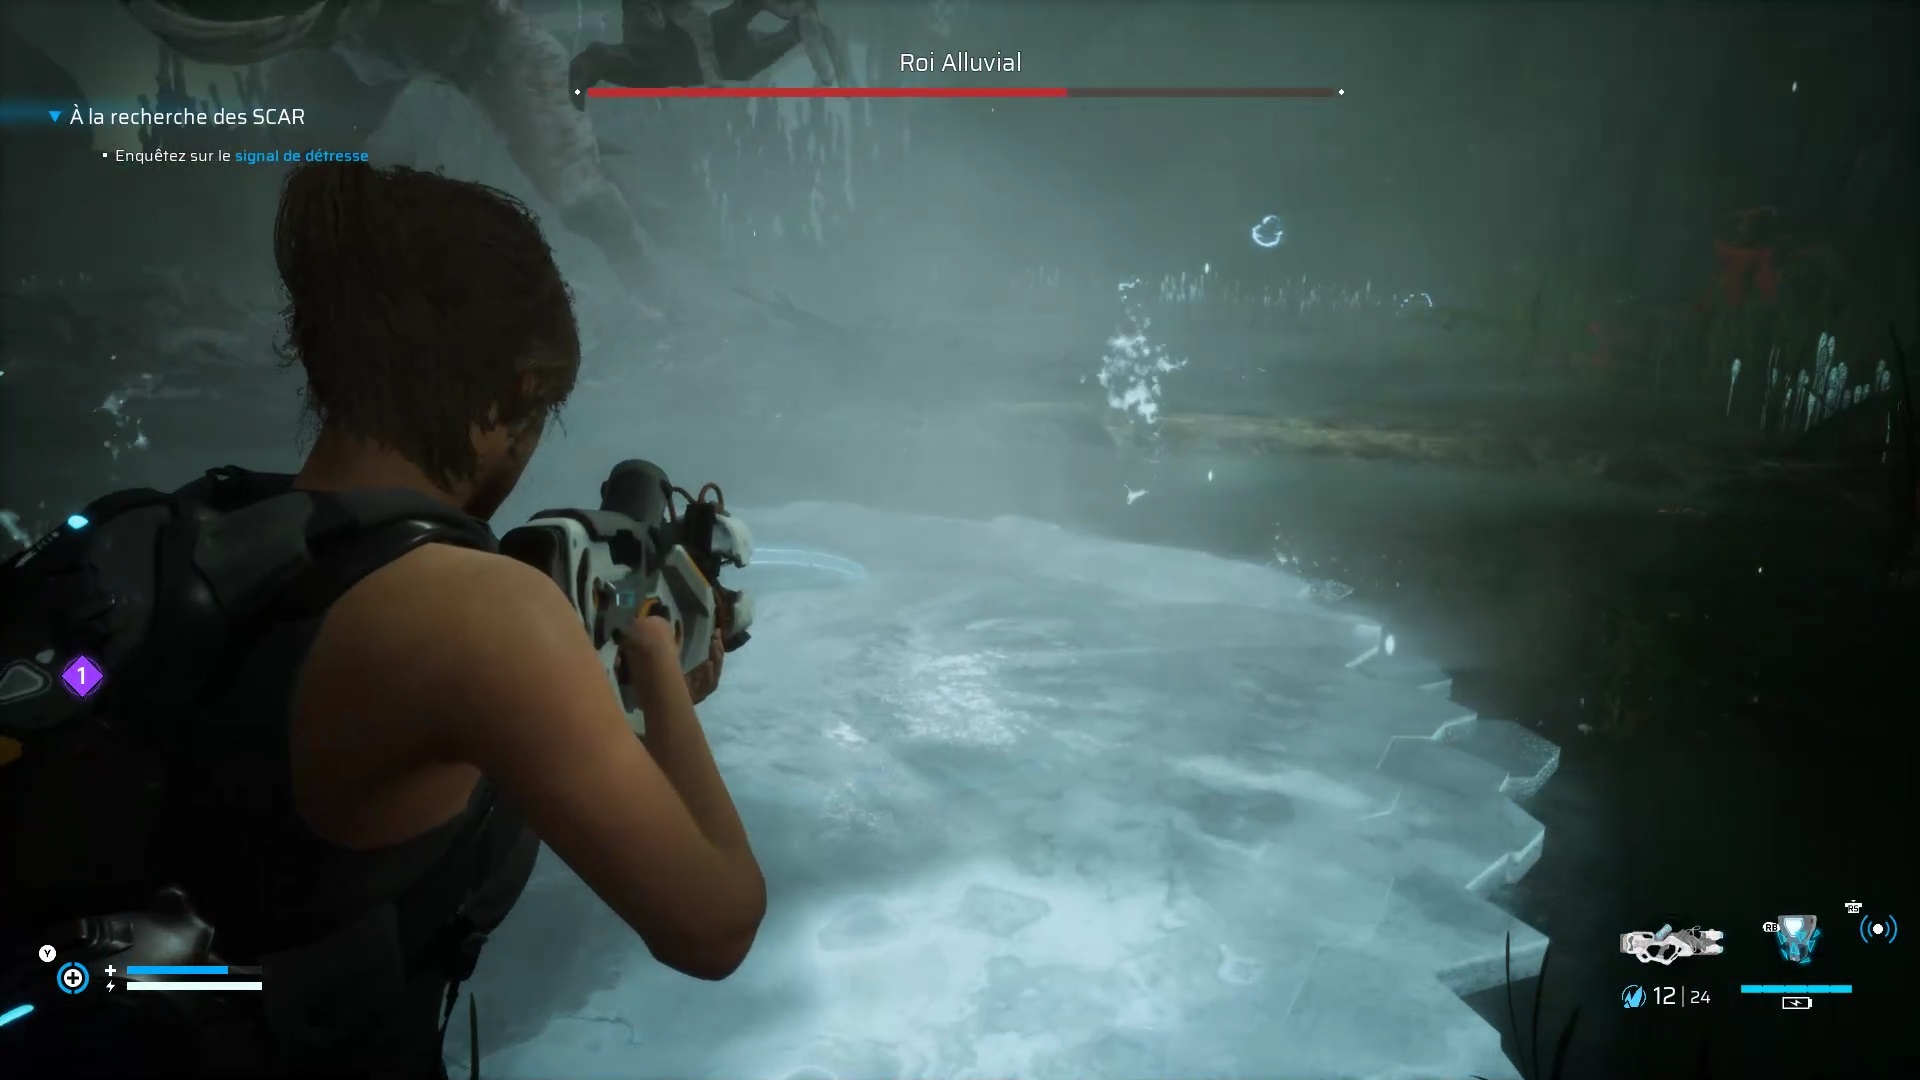
Robinson turned into a monster. Use your incendiary weapon against its growths to pop a weak spot out of its mouth. Shoot with Vera at the blue weak spot to cause heavy damage. When the King spits his bile into the water, use the cryogenic launcher to protect yourself. Dodge his attacks with a roll. Persevere with his techniques until the end of the fight to defeat him.
Chapter 2
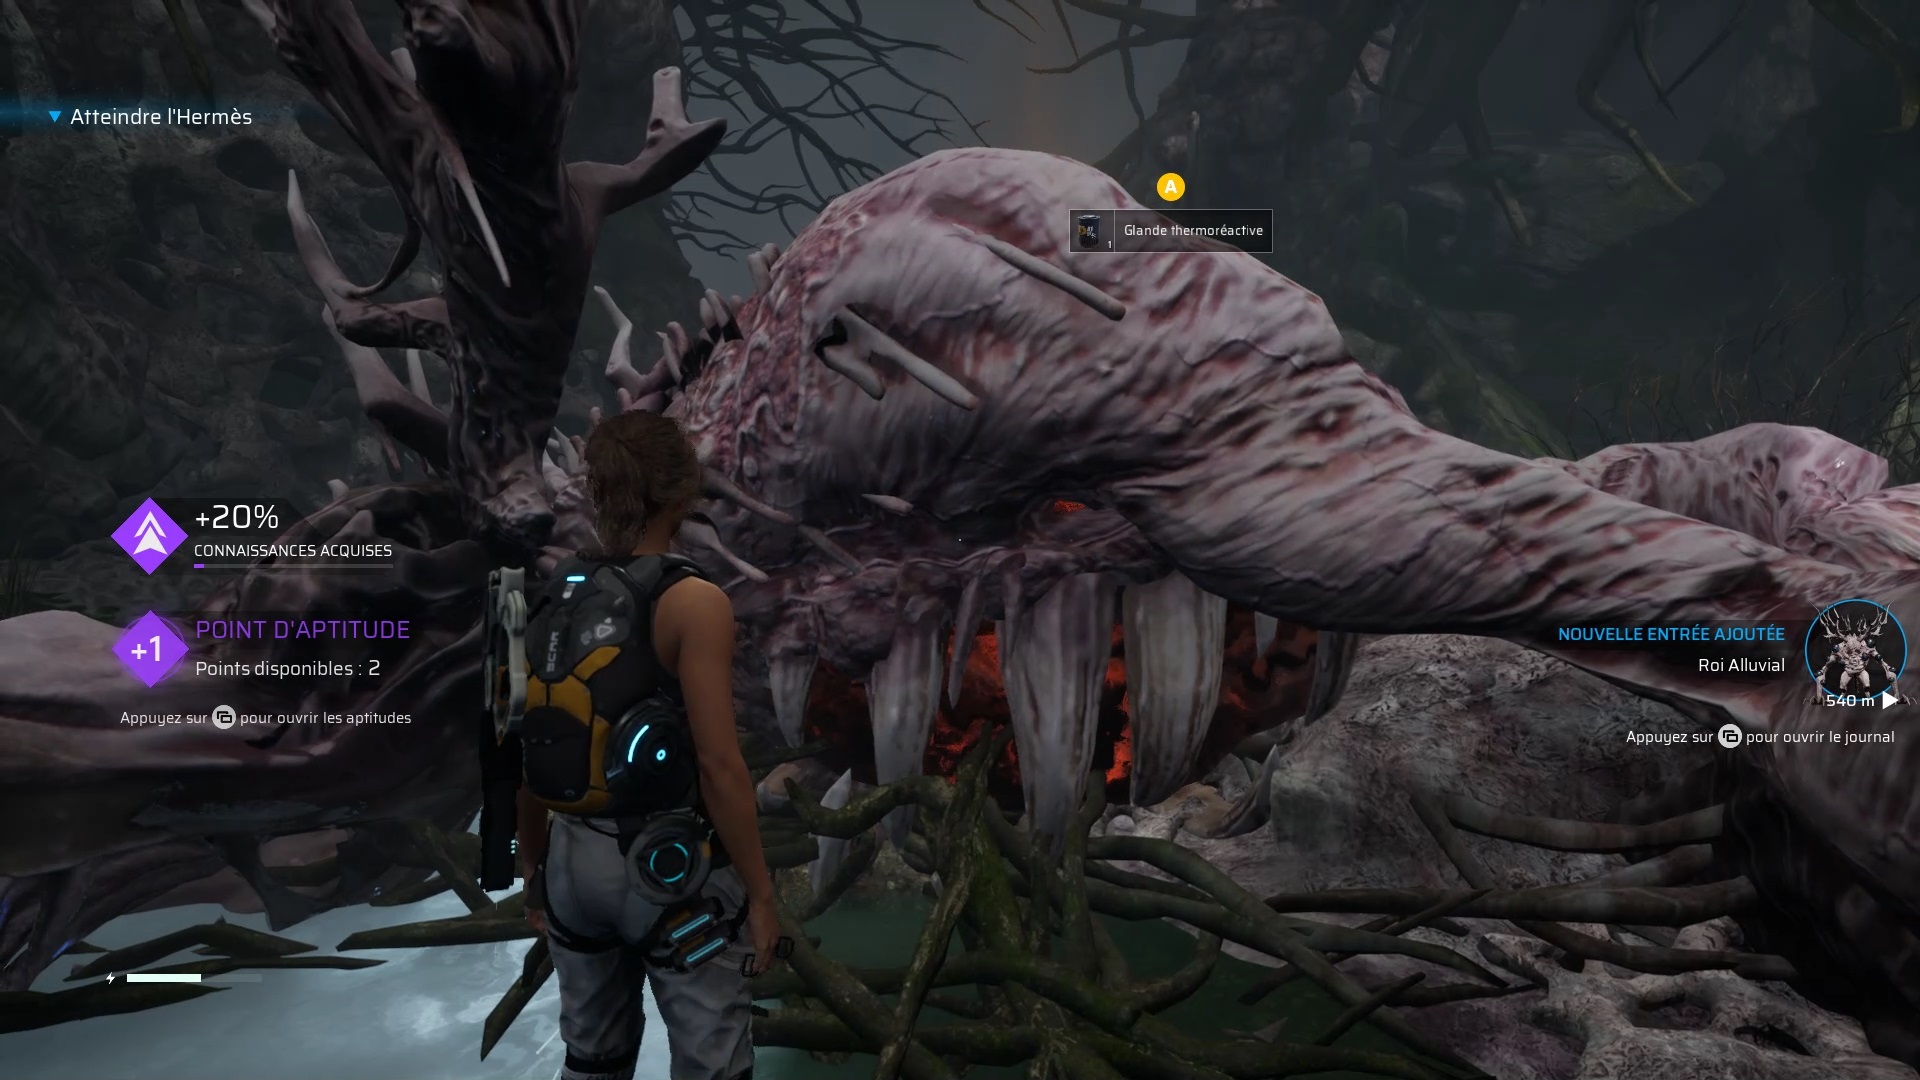
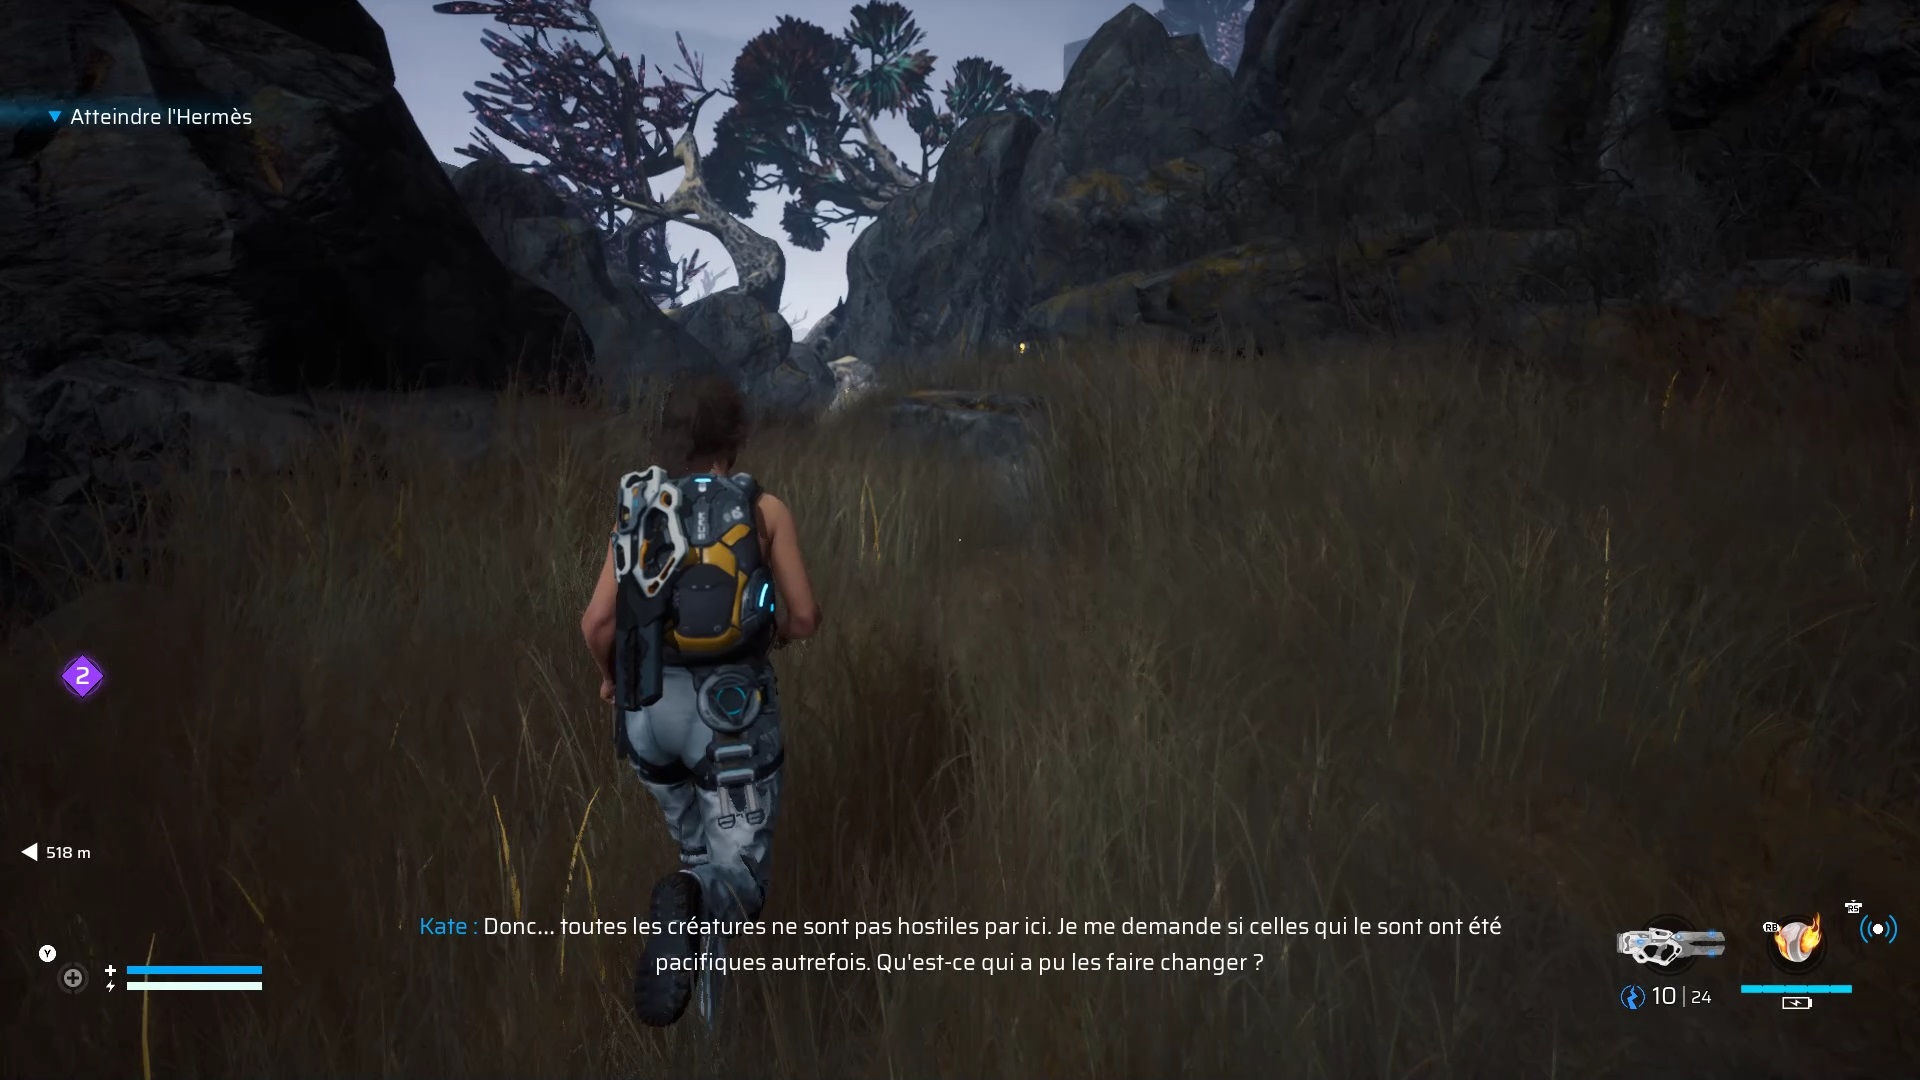
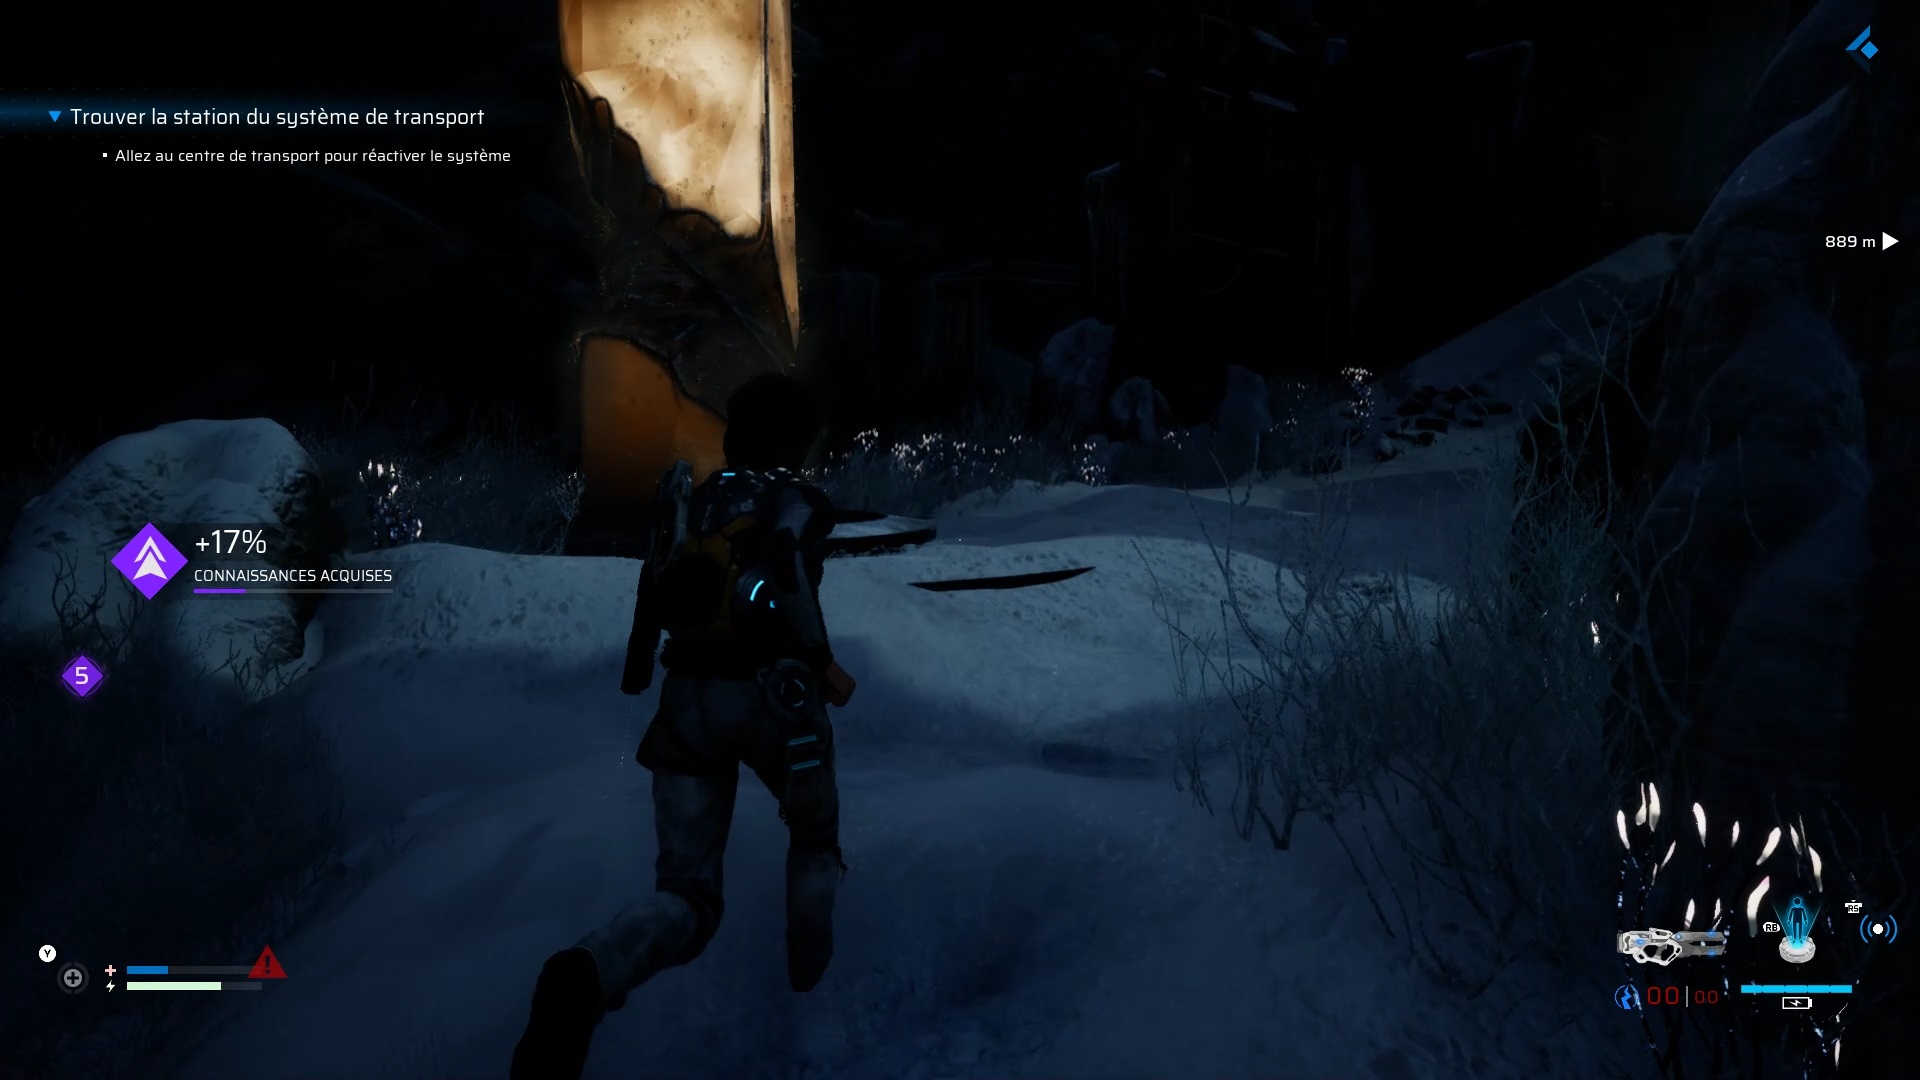
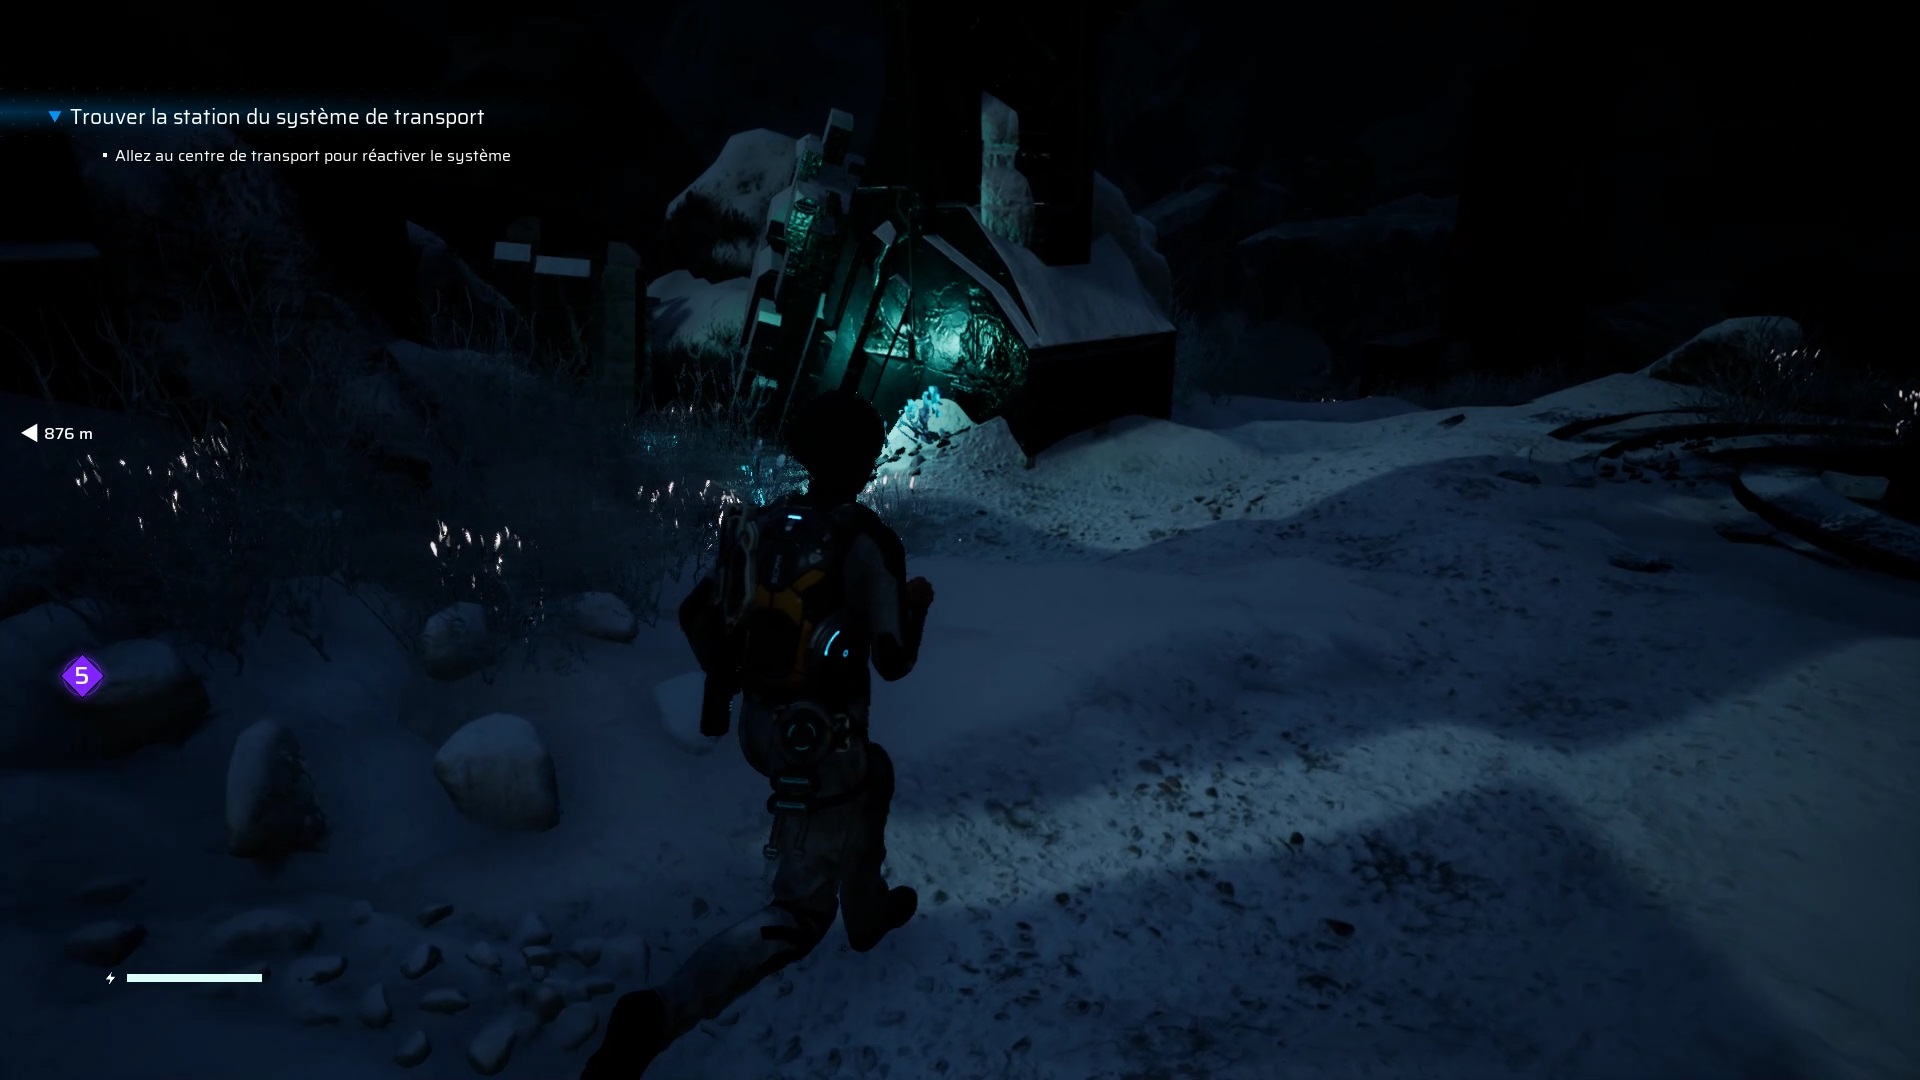
After the Robinson fight, scan the beast to get the Flammable Liquid. Then go through the nearby passage to exit the arena. Go down the slope to reach the apparition. Go west of the beasts to find a crate containing electrical storage. Continue behind the beasts to find a climb. A cutscene starts near the crates.
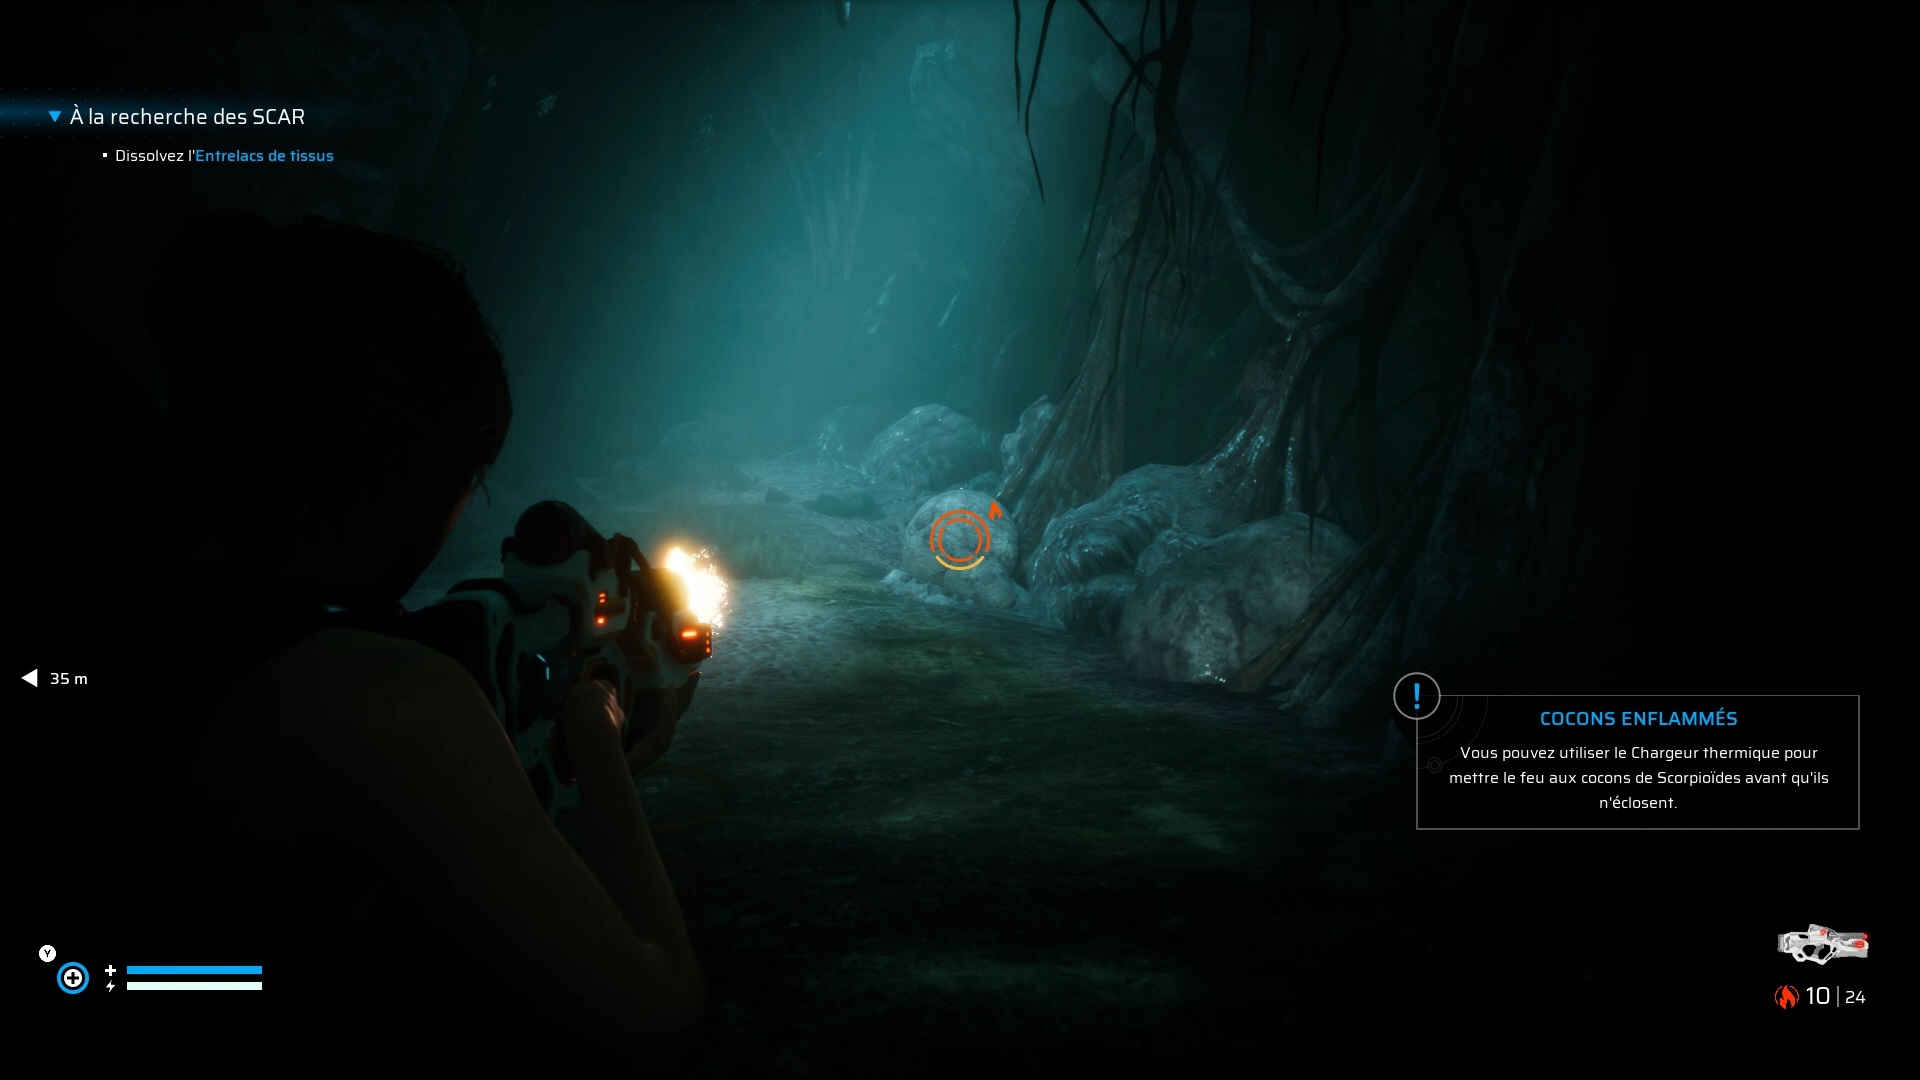
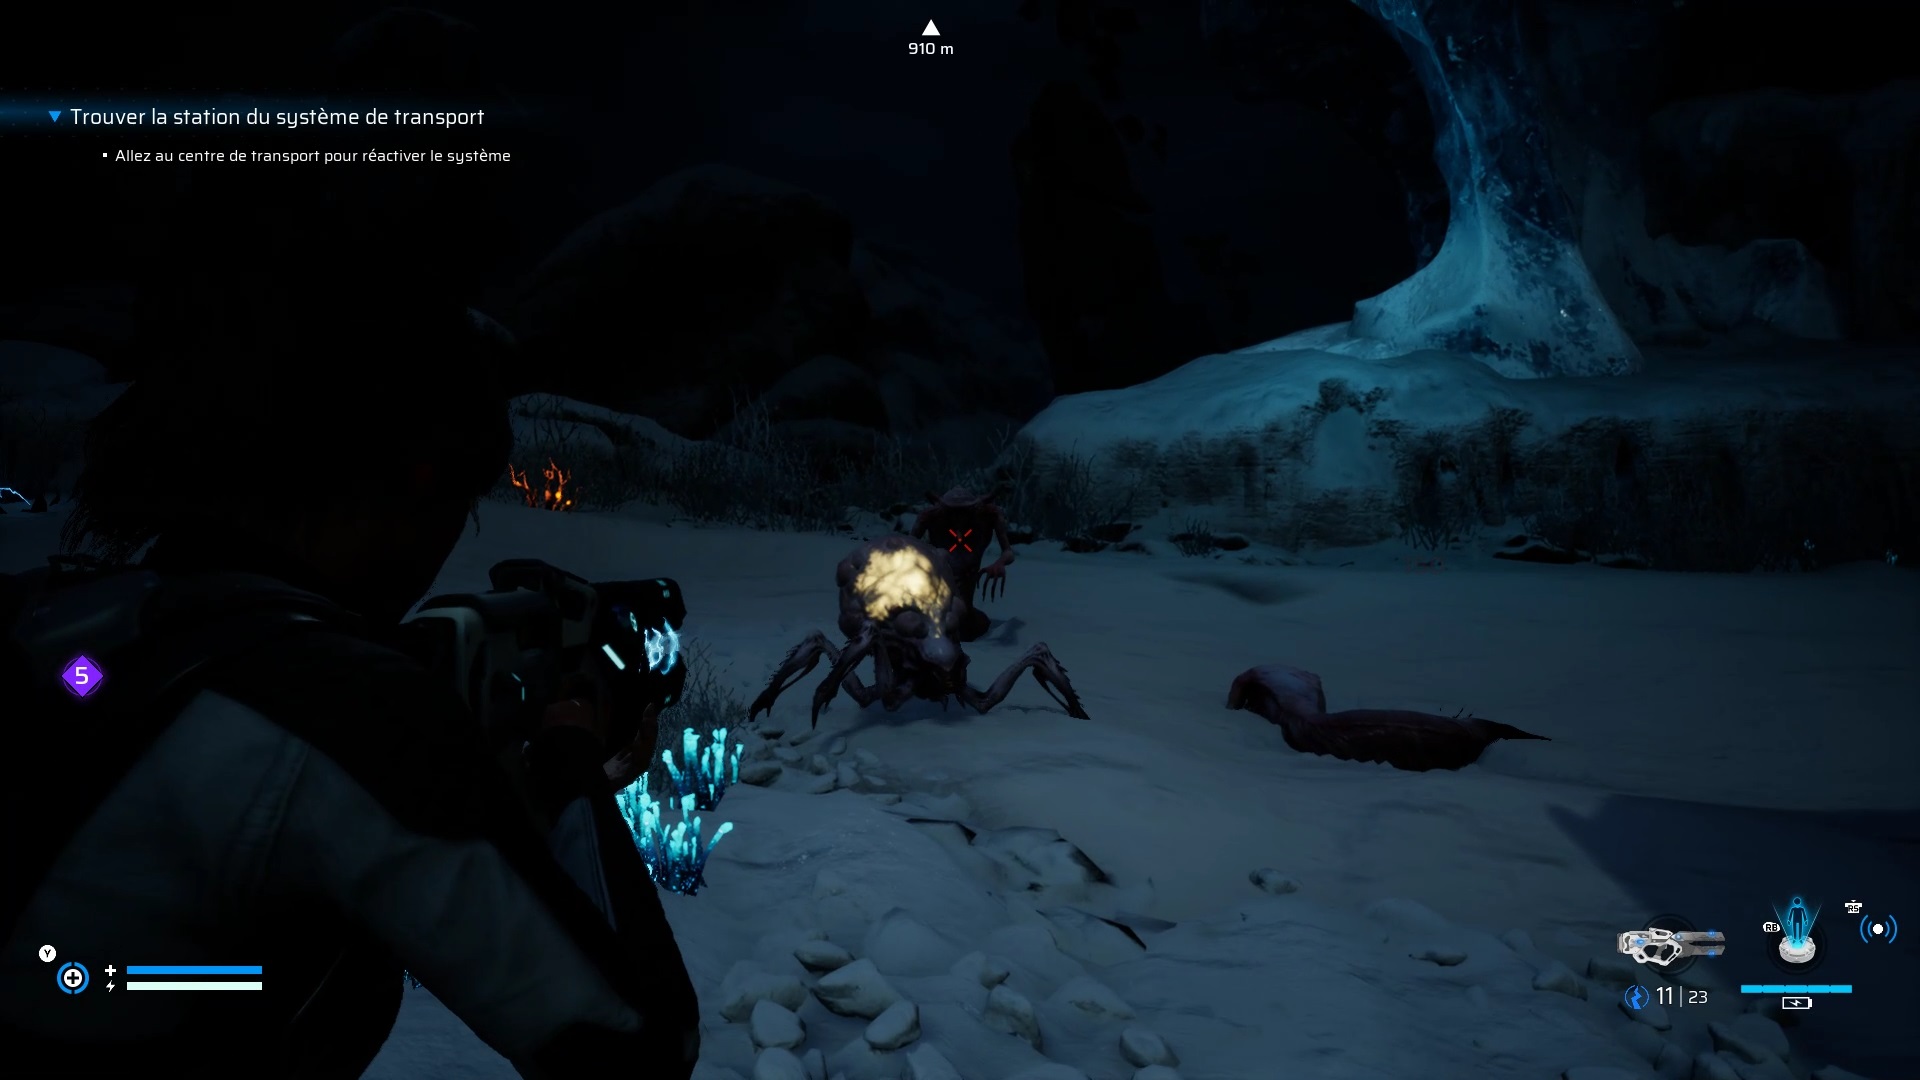
Near the monolith, go down to sink into a cave. You will find a pillar inside. Continue to encounter a Meaty Alluvial. Freeze the beast and shoot the Vera through the chest to take it down. Other enemies are waiting for you at the bottom. Once cleared, move forward to find a nest. Quickly use your incendiary rifle to burn the eggs before they hatch.

Proceed towards the objective marker to find an entrance to reach the other side of the cave. Interact with the alien mechanism to create a shortcut. Continue by rushing into the breach nearby to reach the outside.
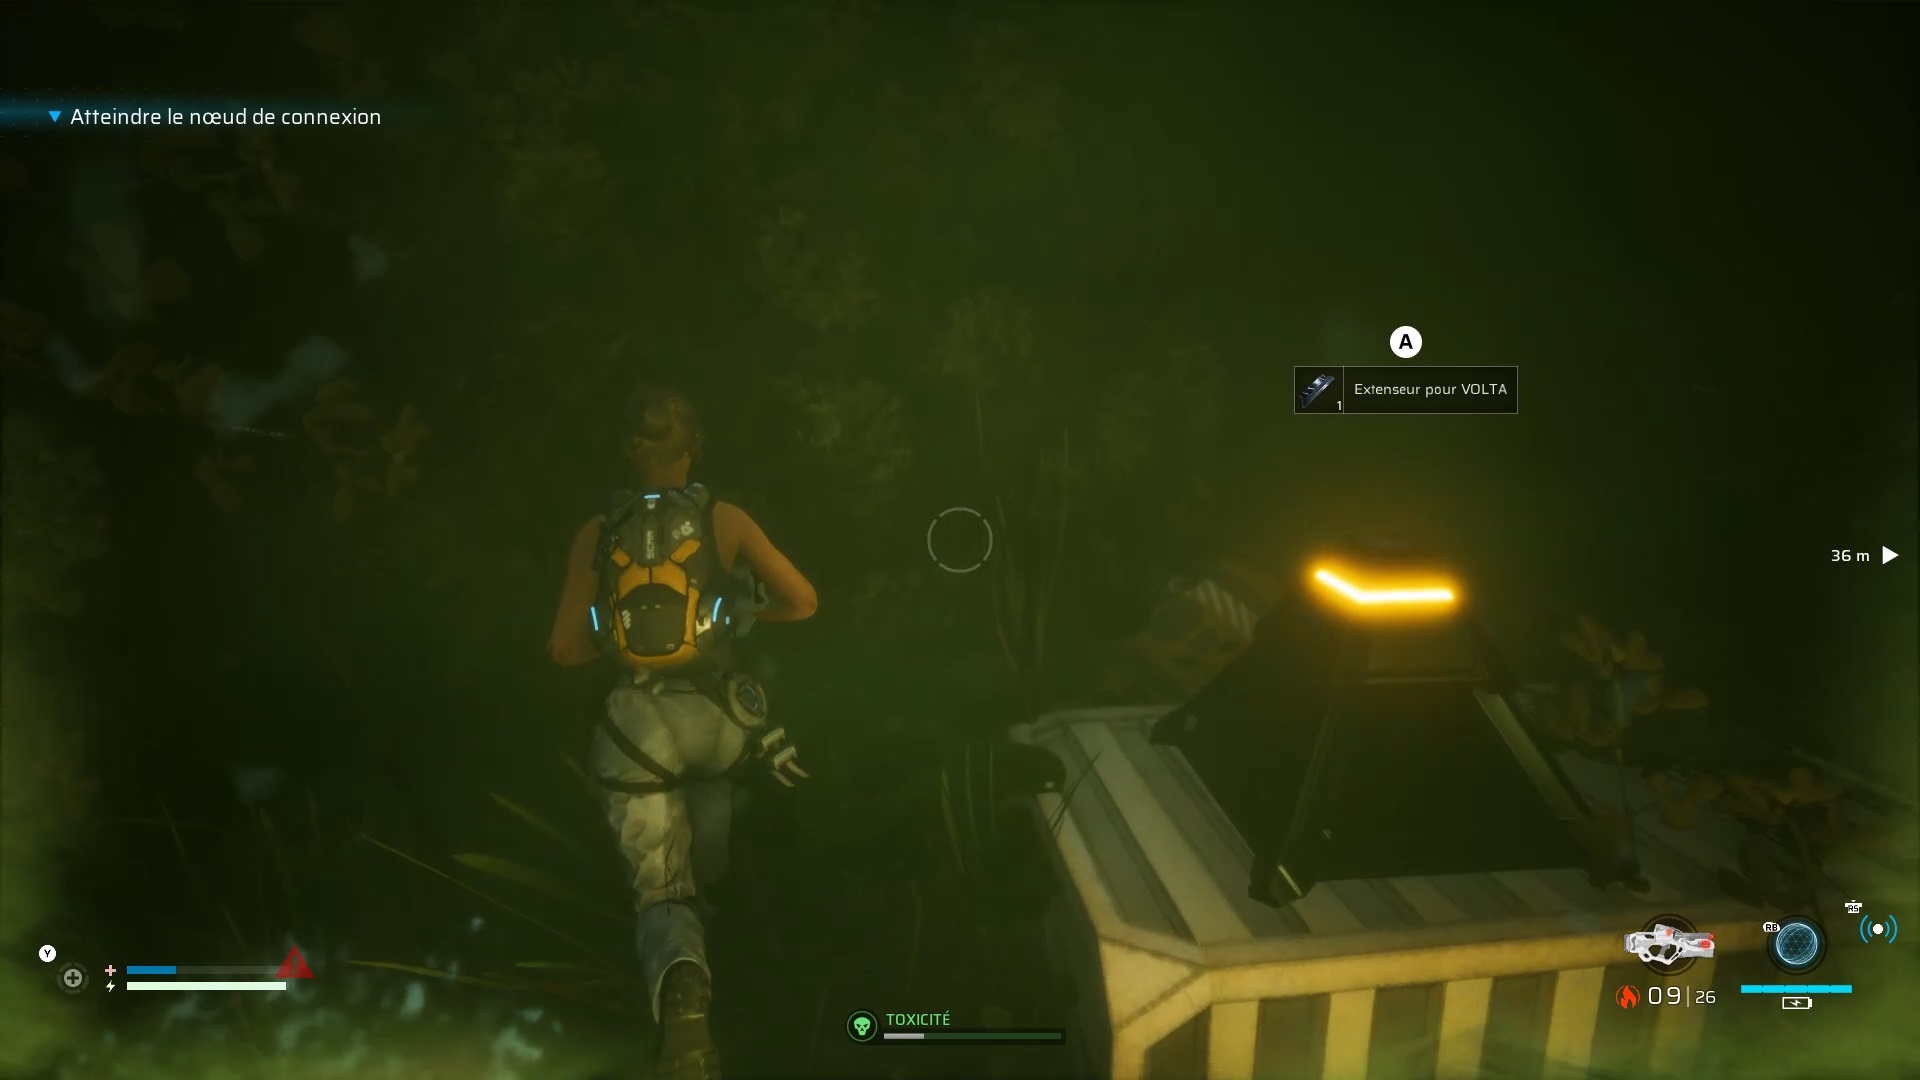
Three rippers await you on the plain. Use the cryogenic launcher to freeze their movement and finish them off with Vera. Then join the ruins to trigger a cutscene with the appearance. You get the holo-decoy. Proceed towards the objective to reach a crash site. Eliminate nearby enemies. Once cleared, use Vera on the cable of the hanging container to bring her down. Climb on the container to go up and find an Upgrade for the Vera in a crate.

Then join the objective to reach a basin. Before going down, destroy the eggs with your incendiary weapon. Then drop down to defeat the remaining enemies. Then go through the grass to exit.
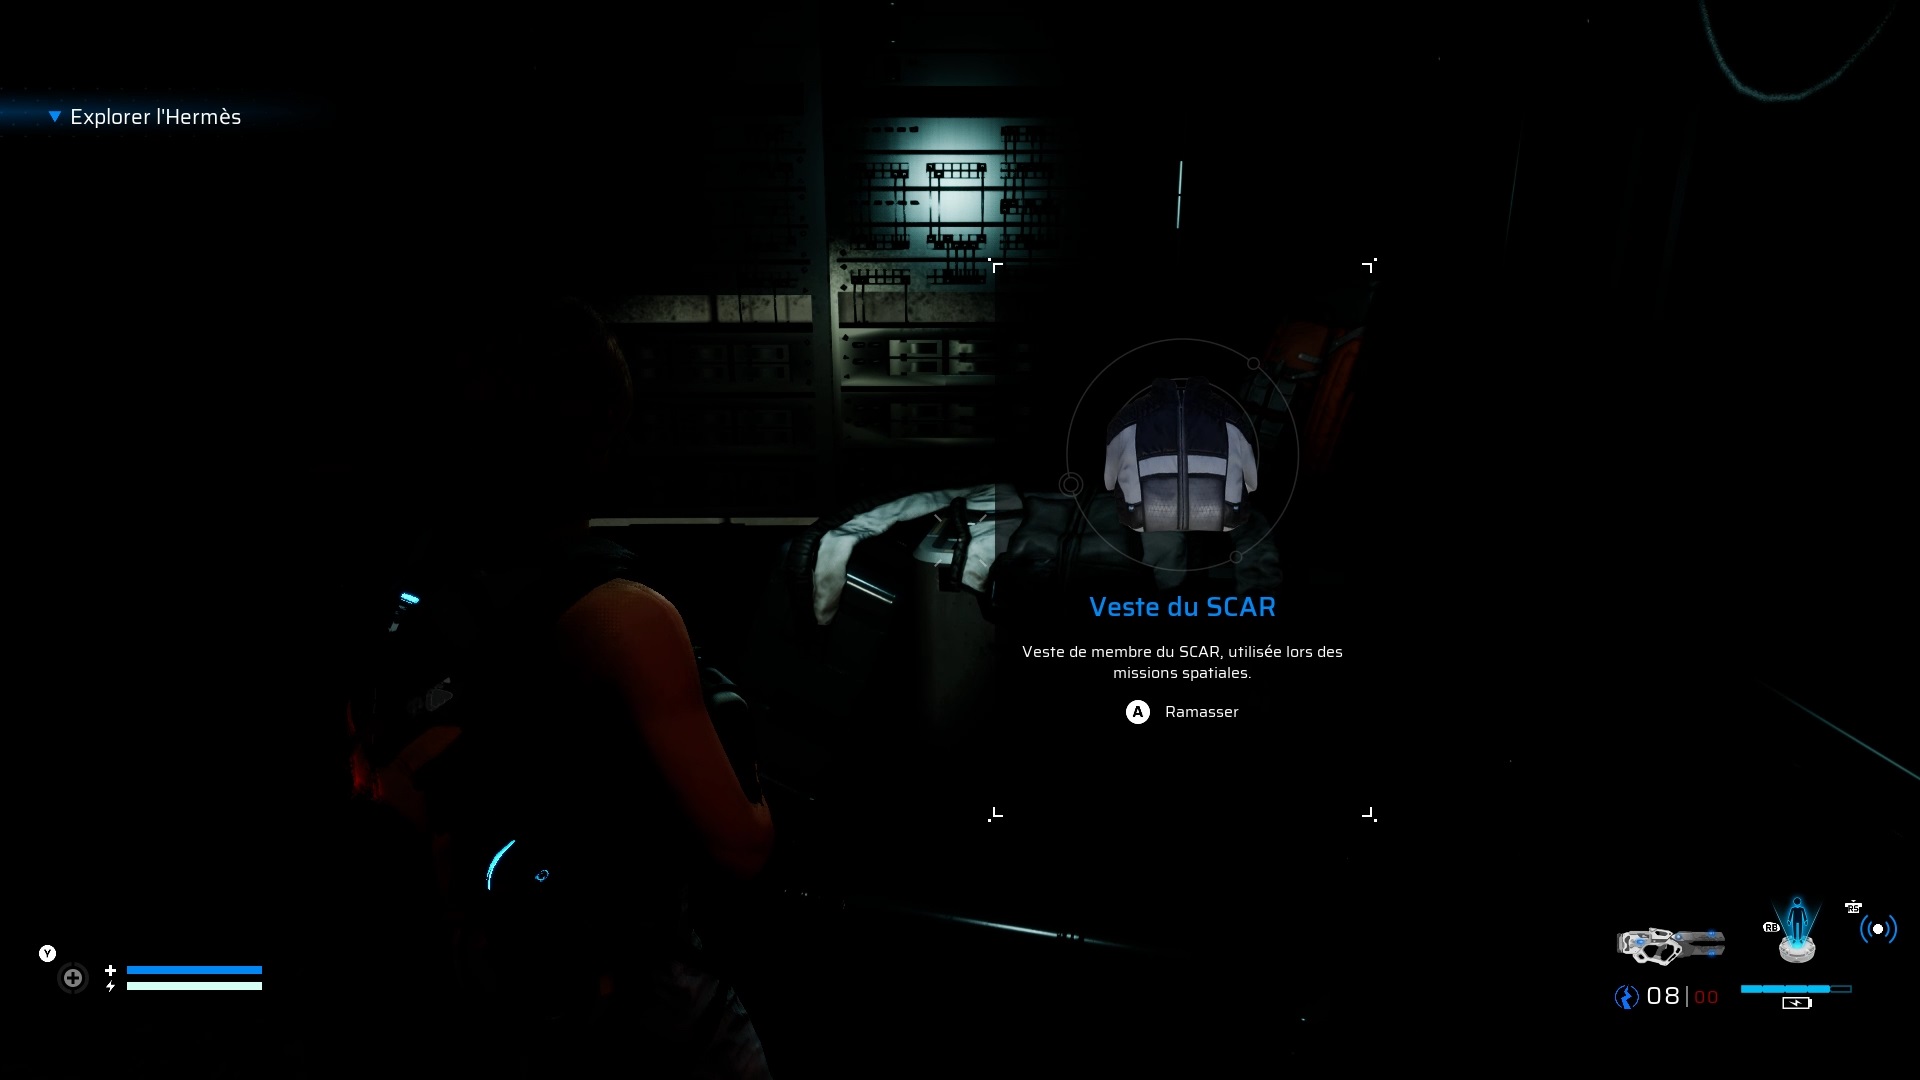
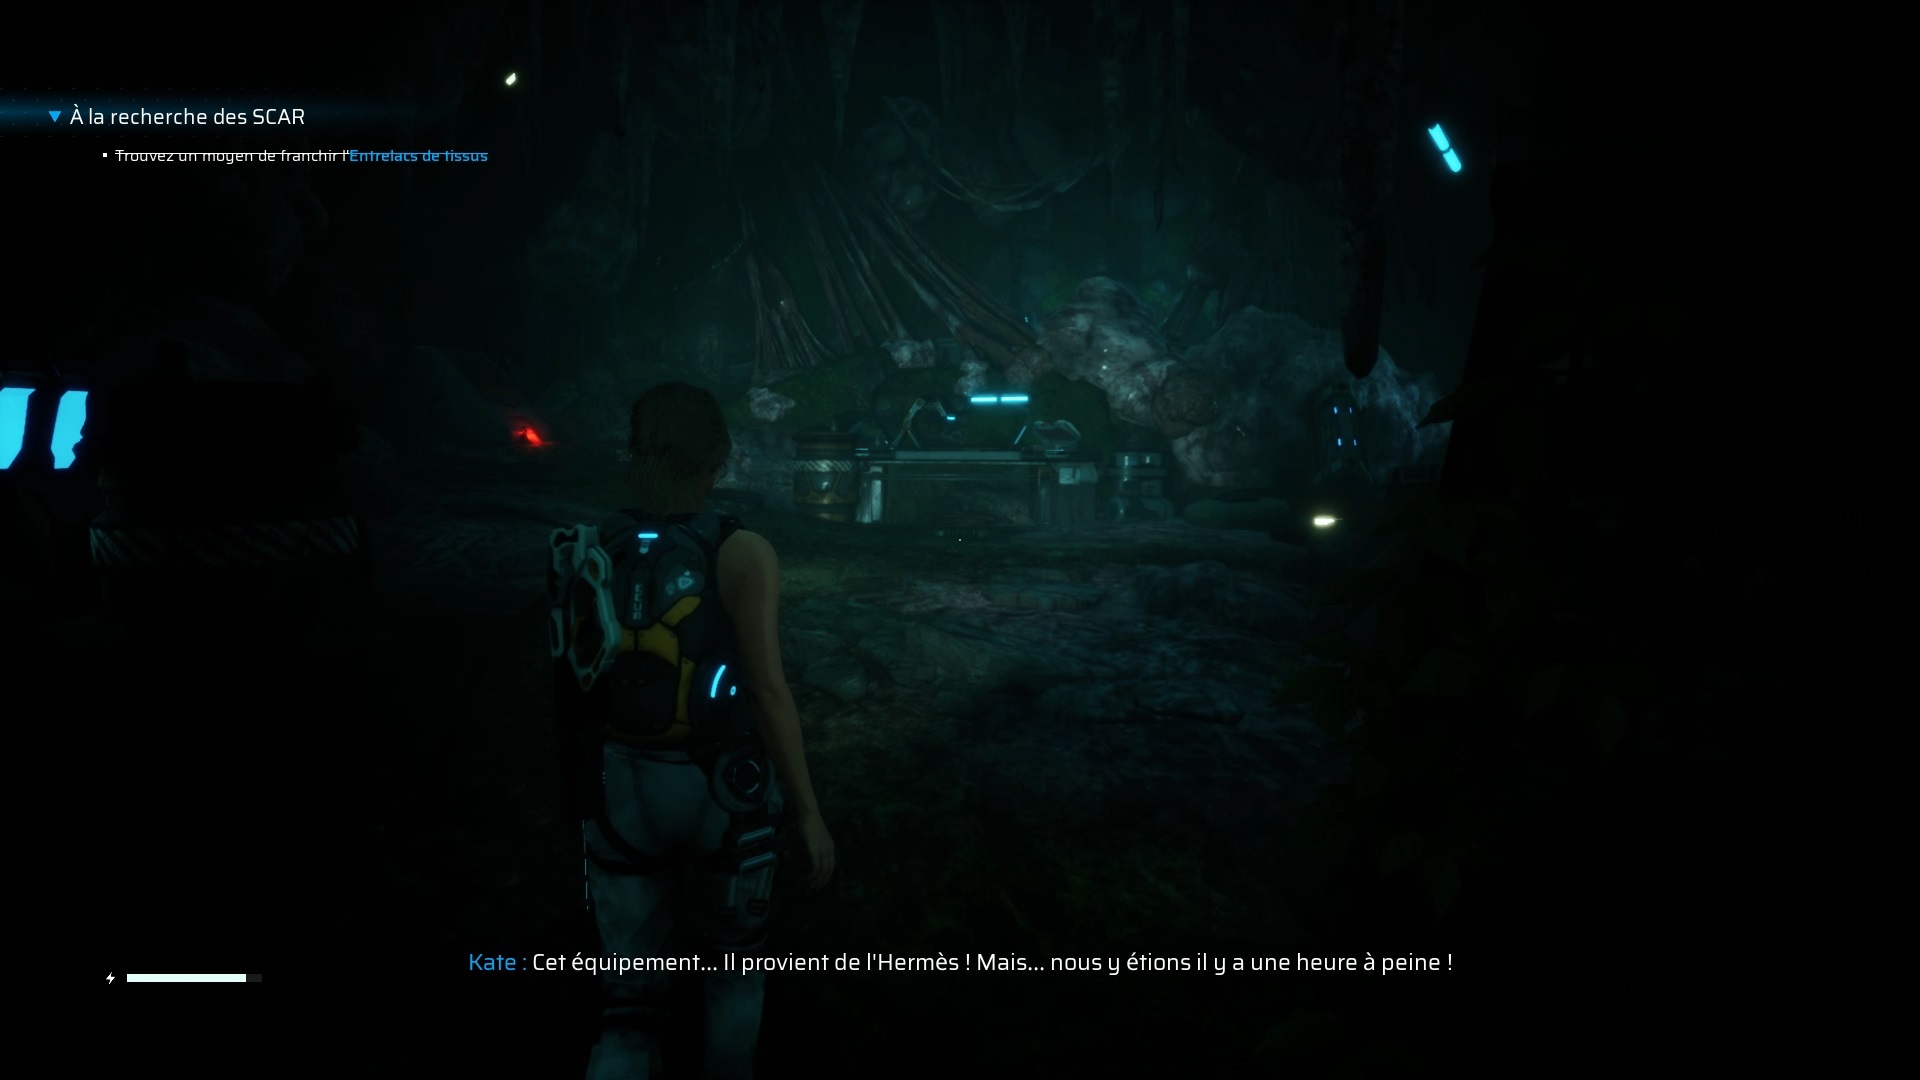
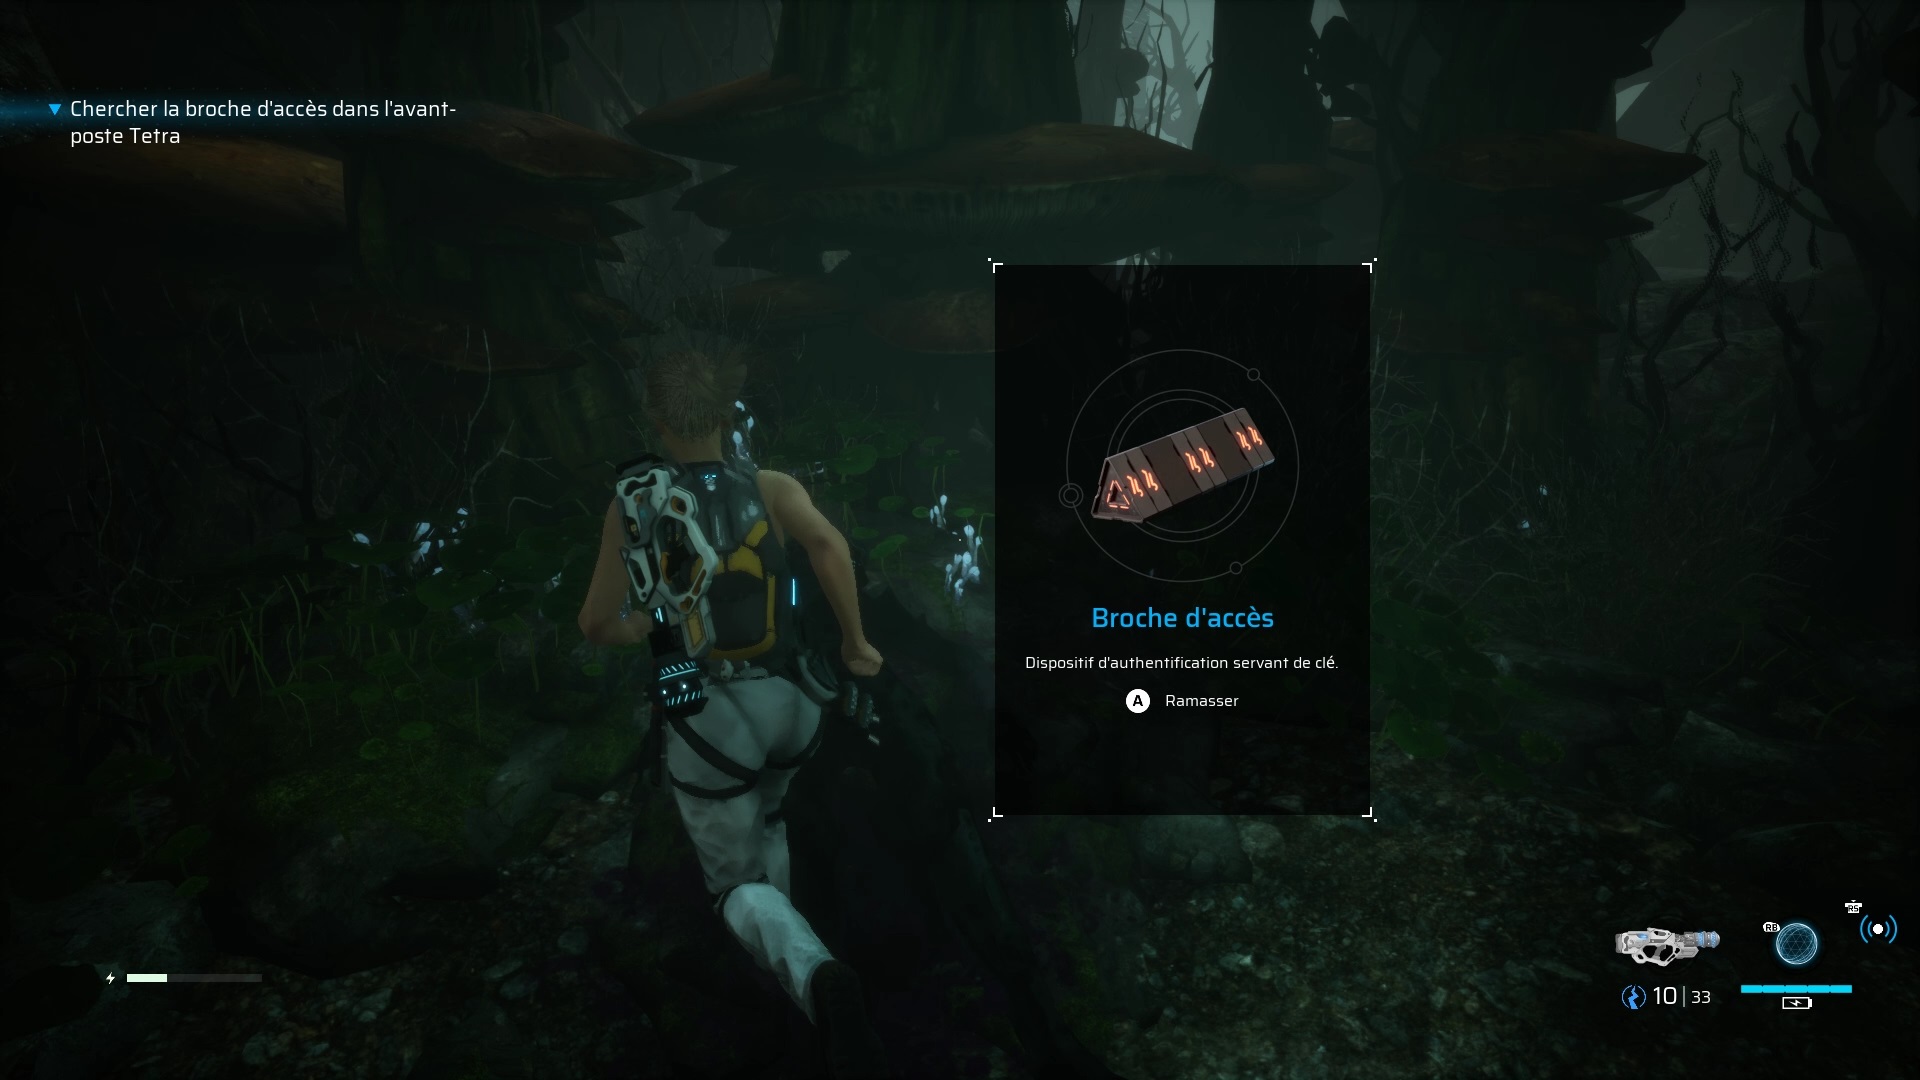
Join the objective to reach the Hermes. Inside, visit the last room at the end of the corridor on the left to find a passage. Be careful, an enemy is waiting for you inside, use a dodge to escape and eliminate him. Search the room to find Scar’s jacket and an access card.
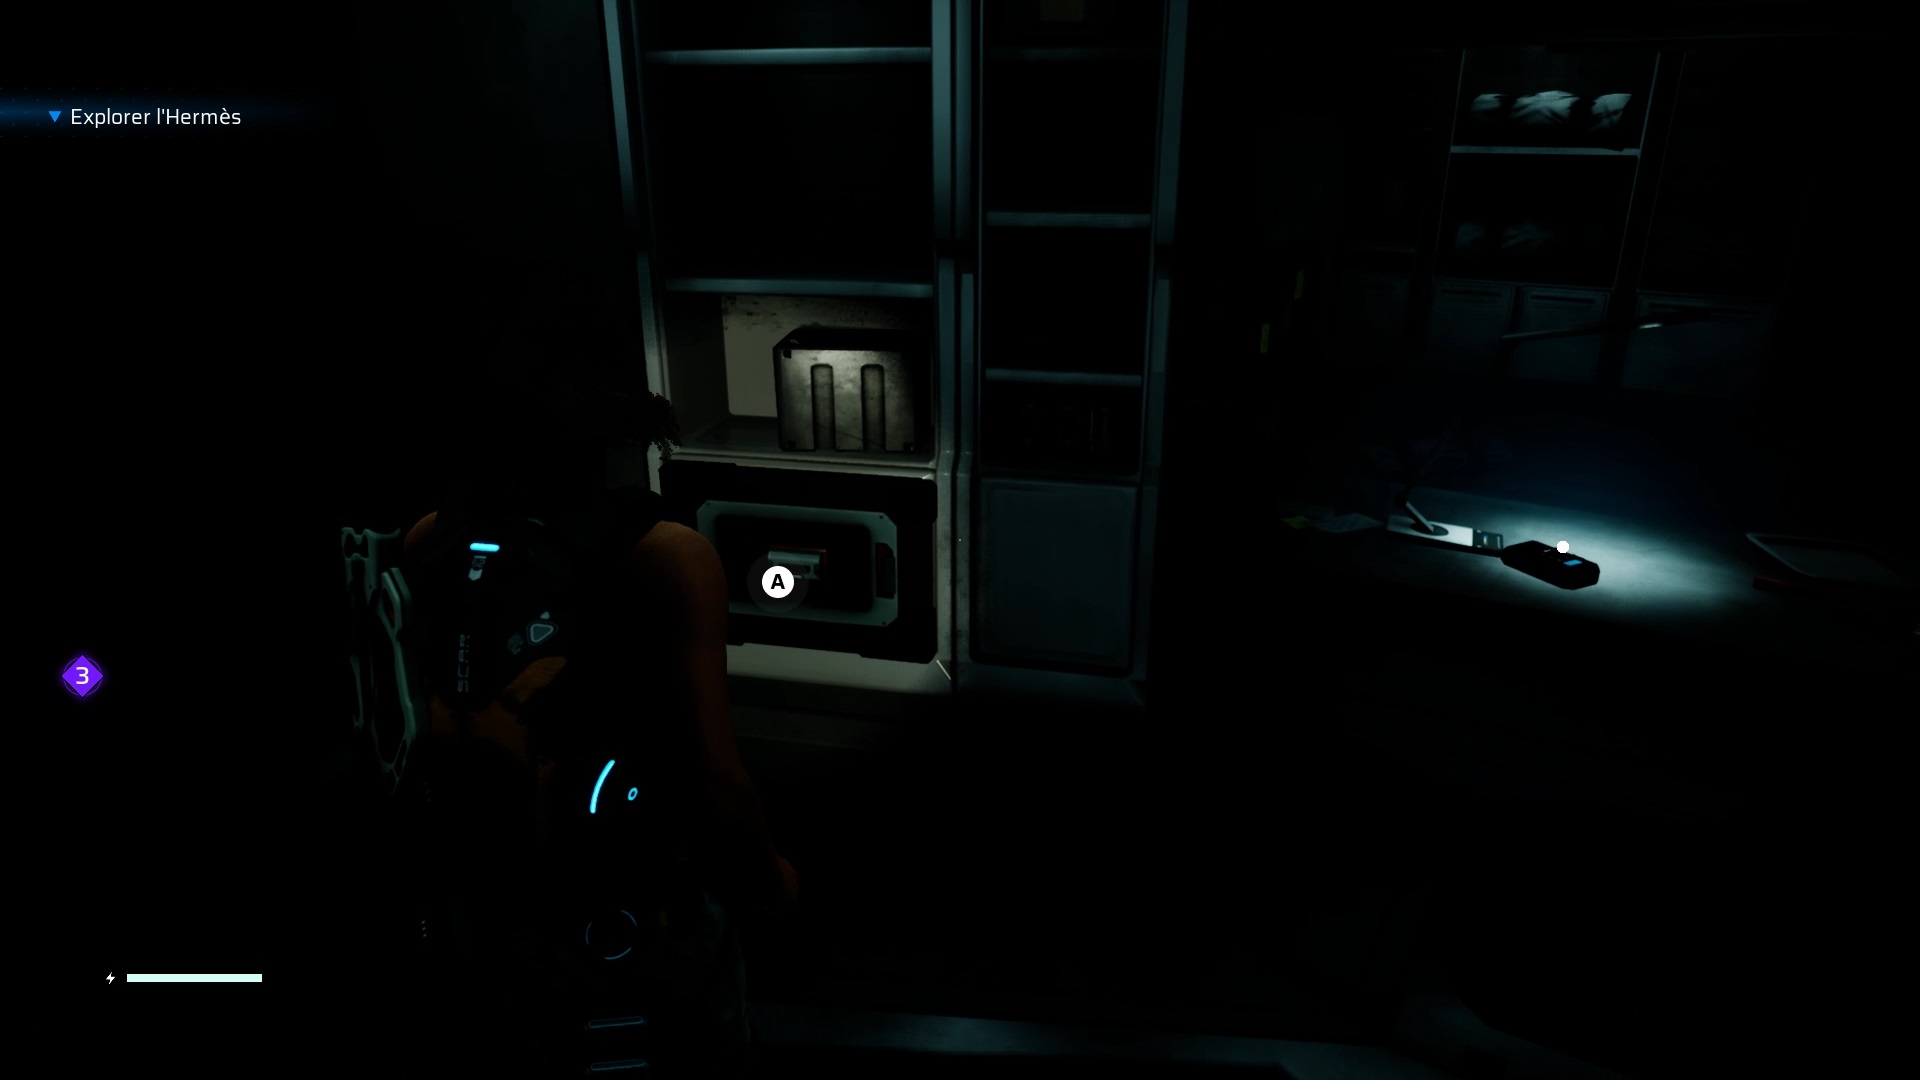

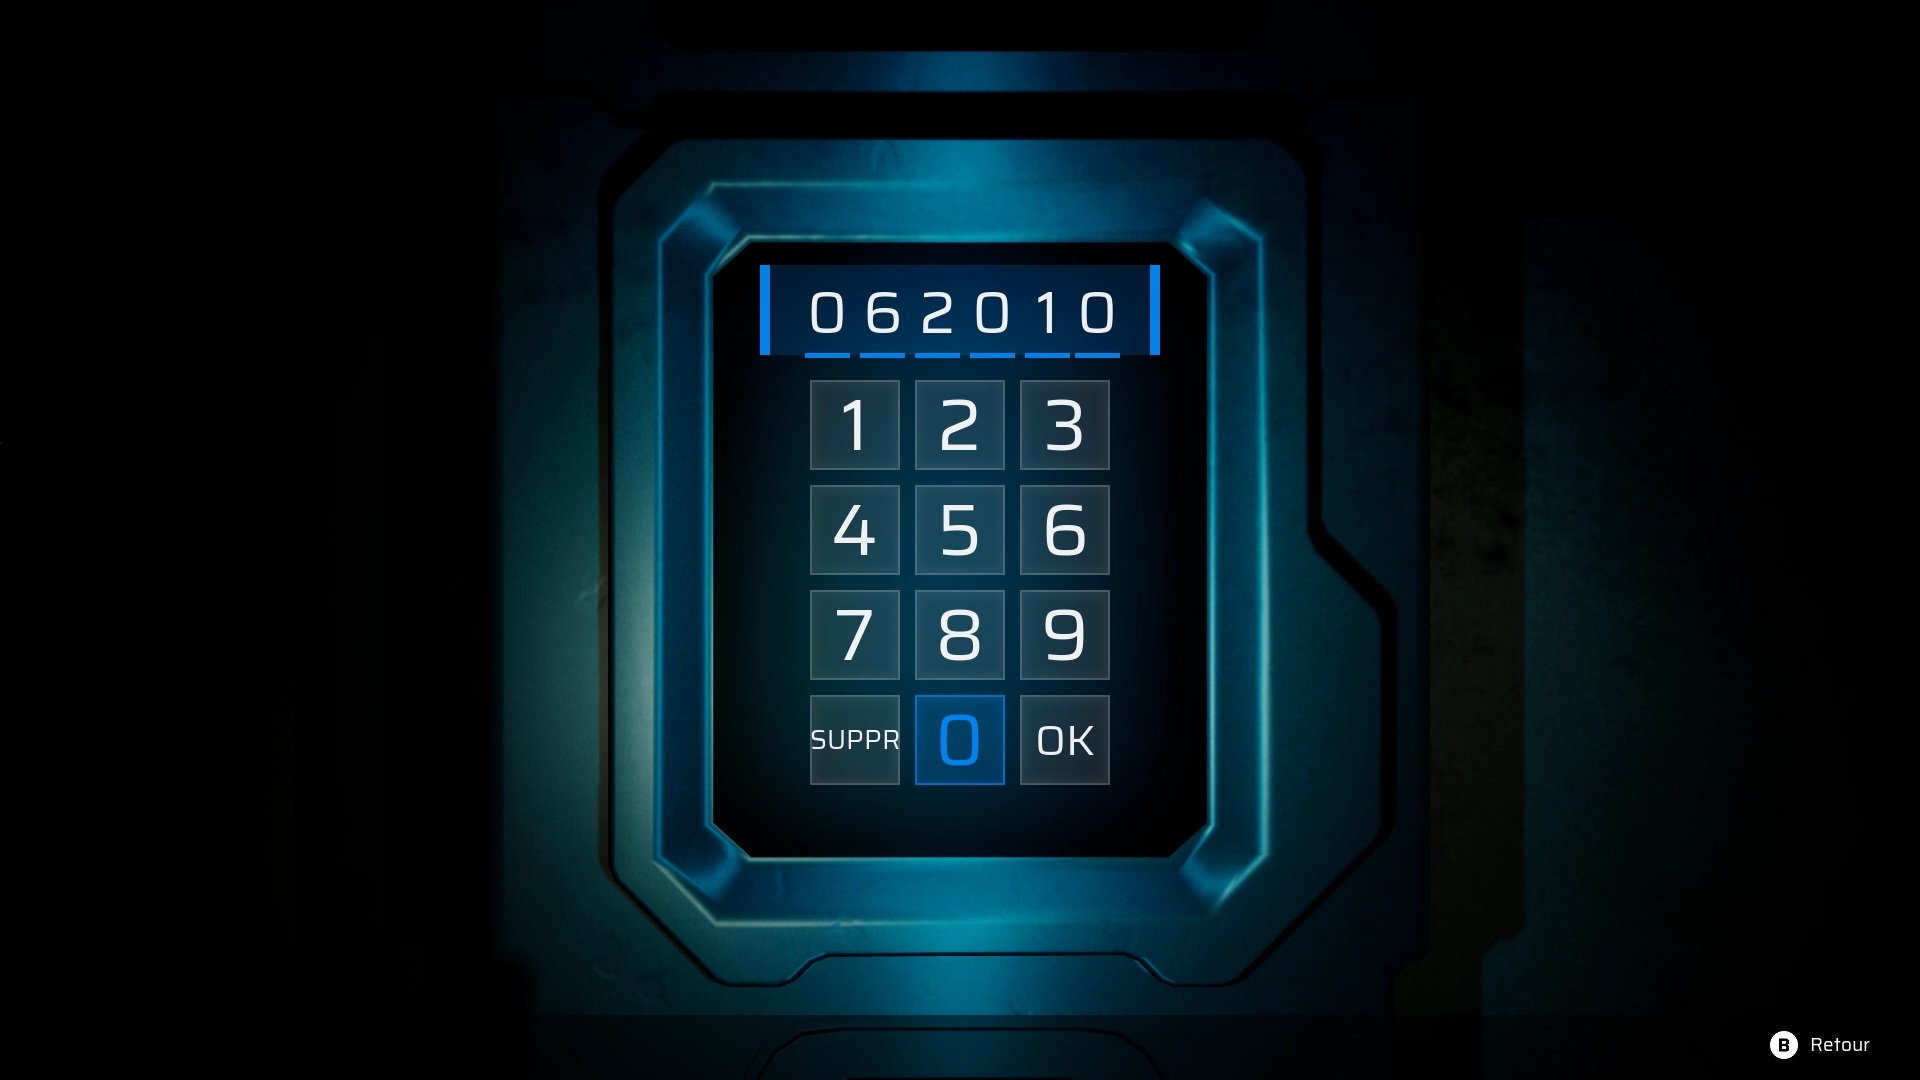
Go to Mike’s office to use the access card on a safe and get an upgrade for the chopper. Go to the storage room where you crafted the Vera to find a drawer. Use the card with the drawer to find a photo with the date 06.20.10 behind it. In the corridor, use the code with the keyboard to open it.
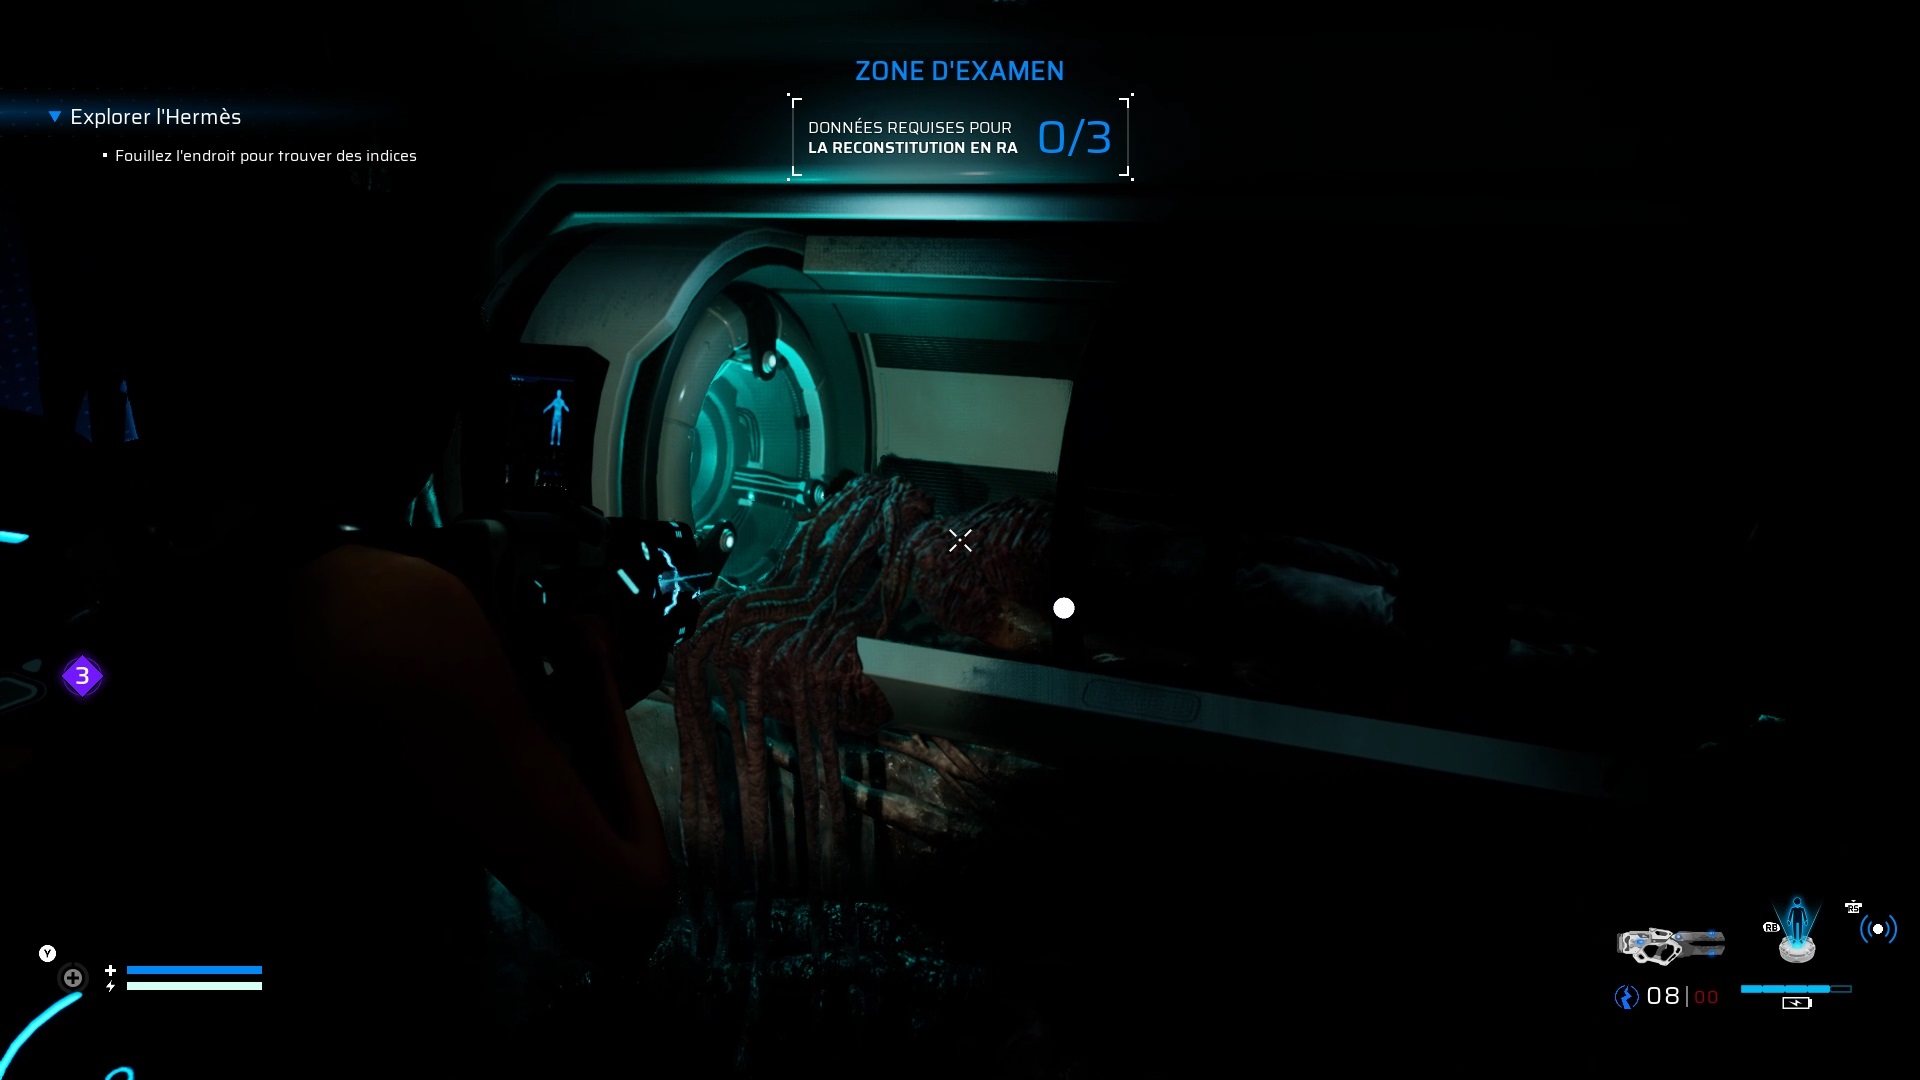
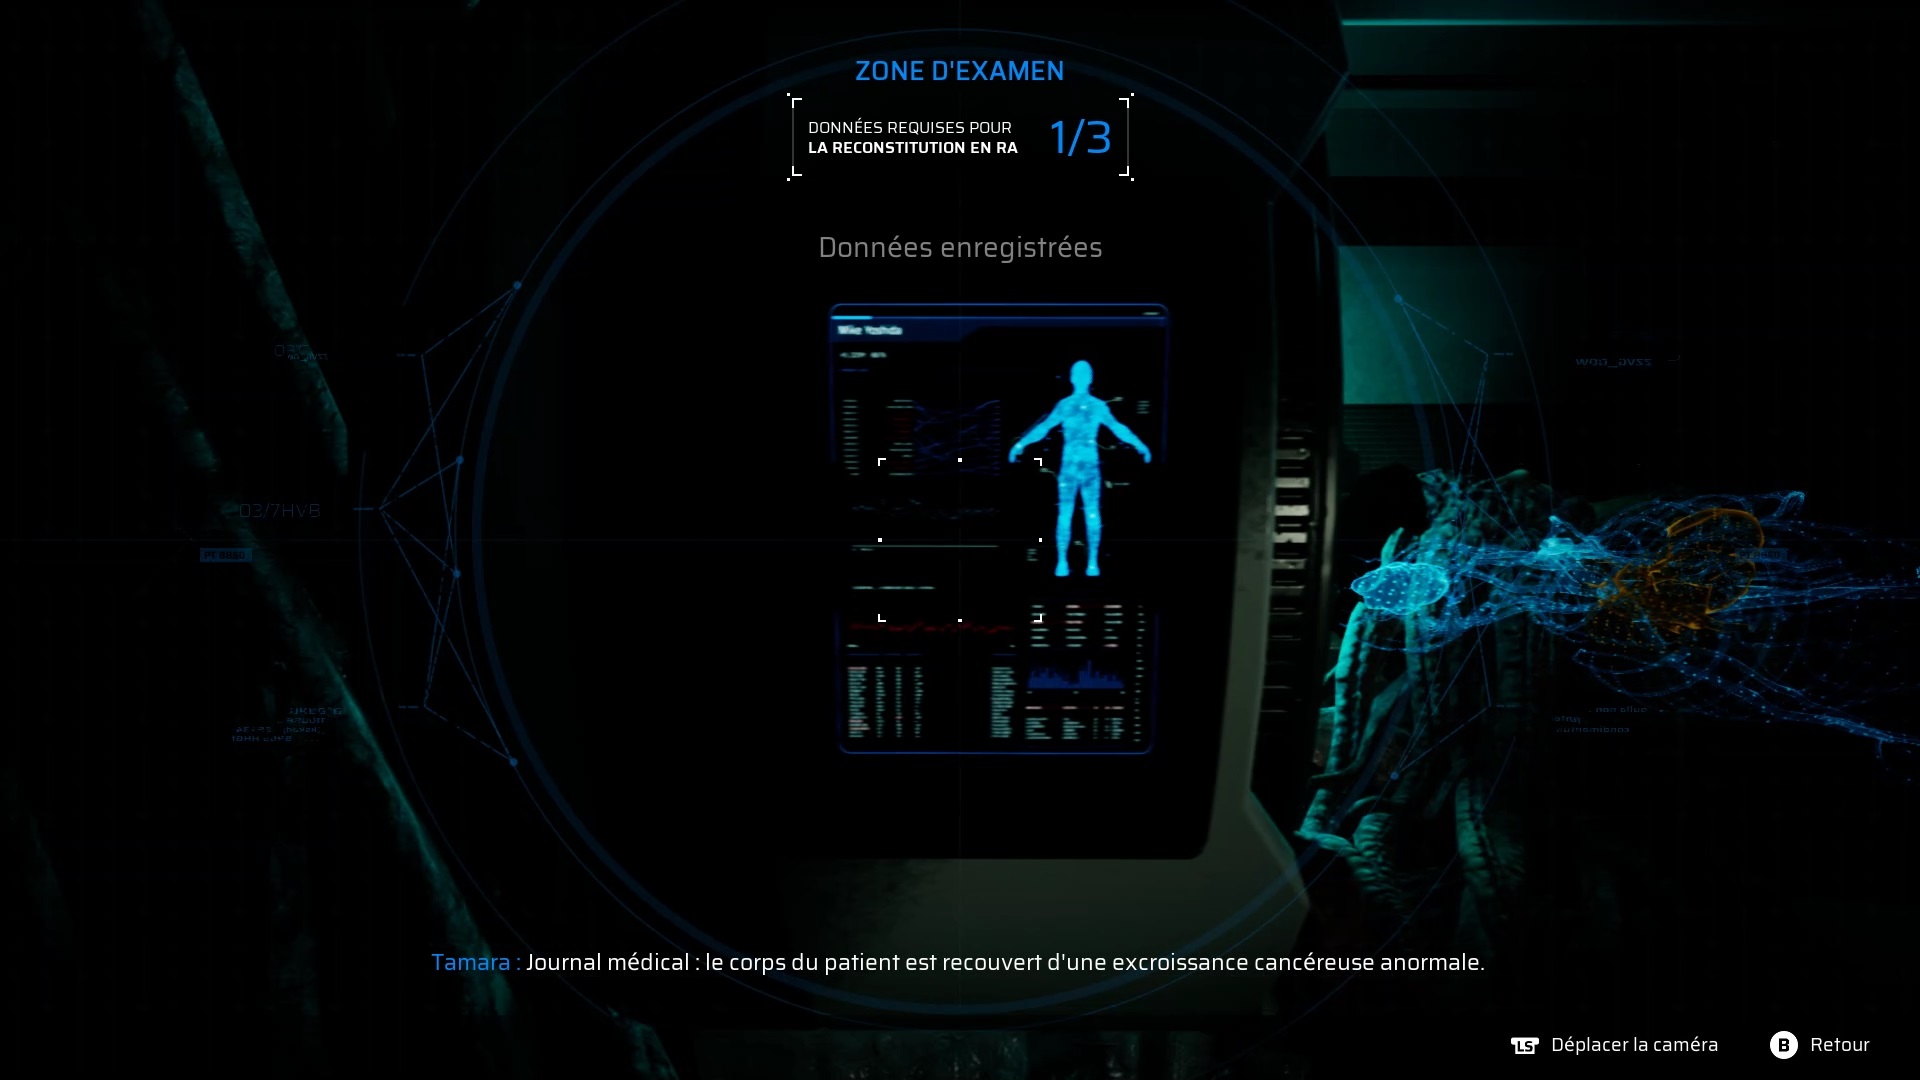
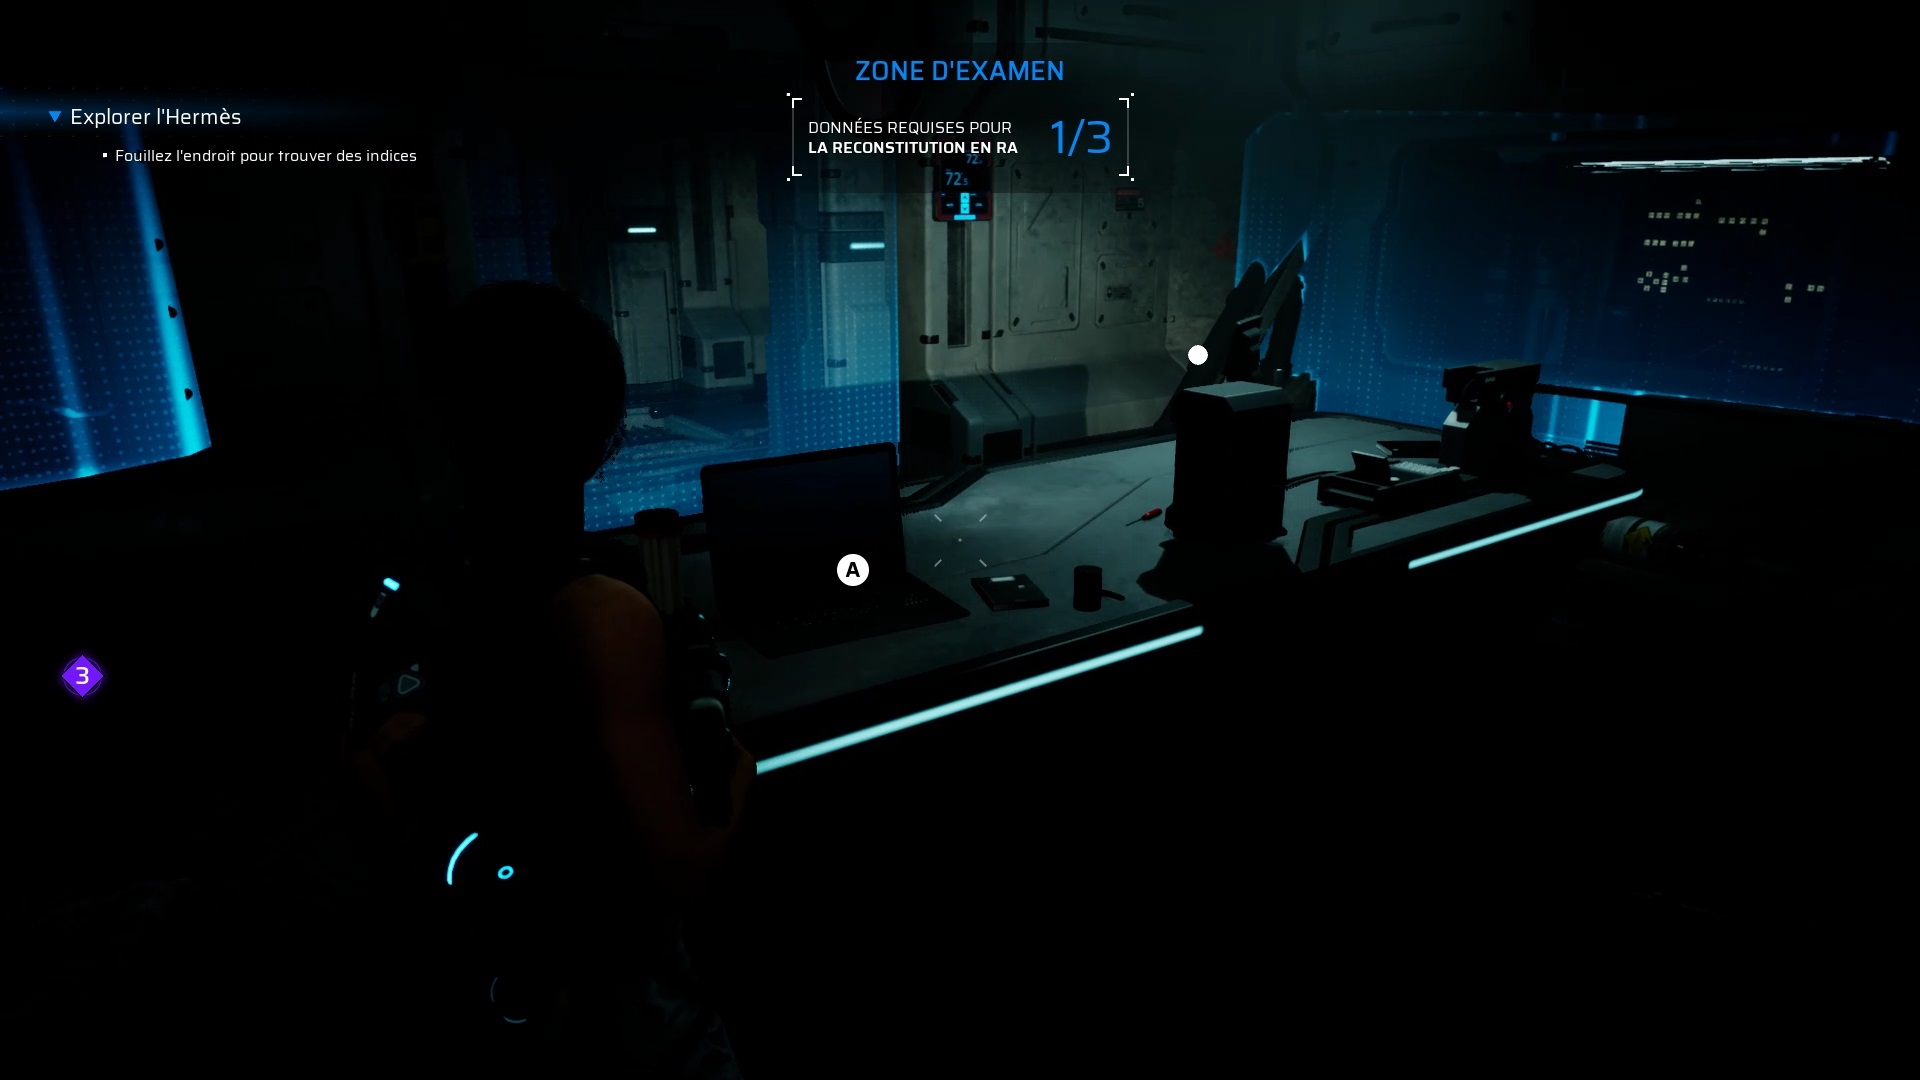
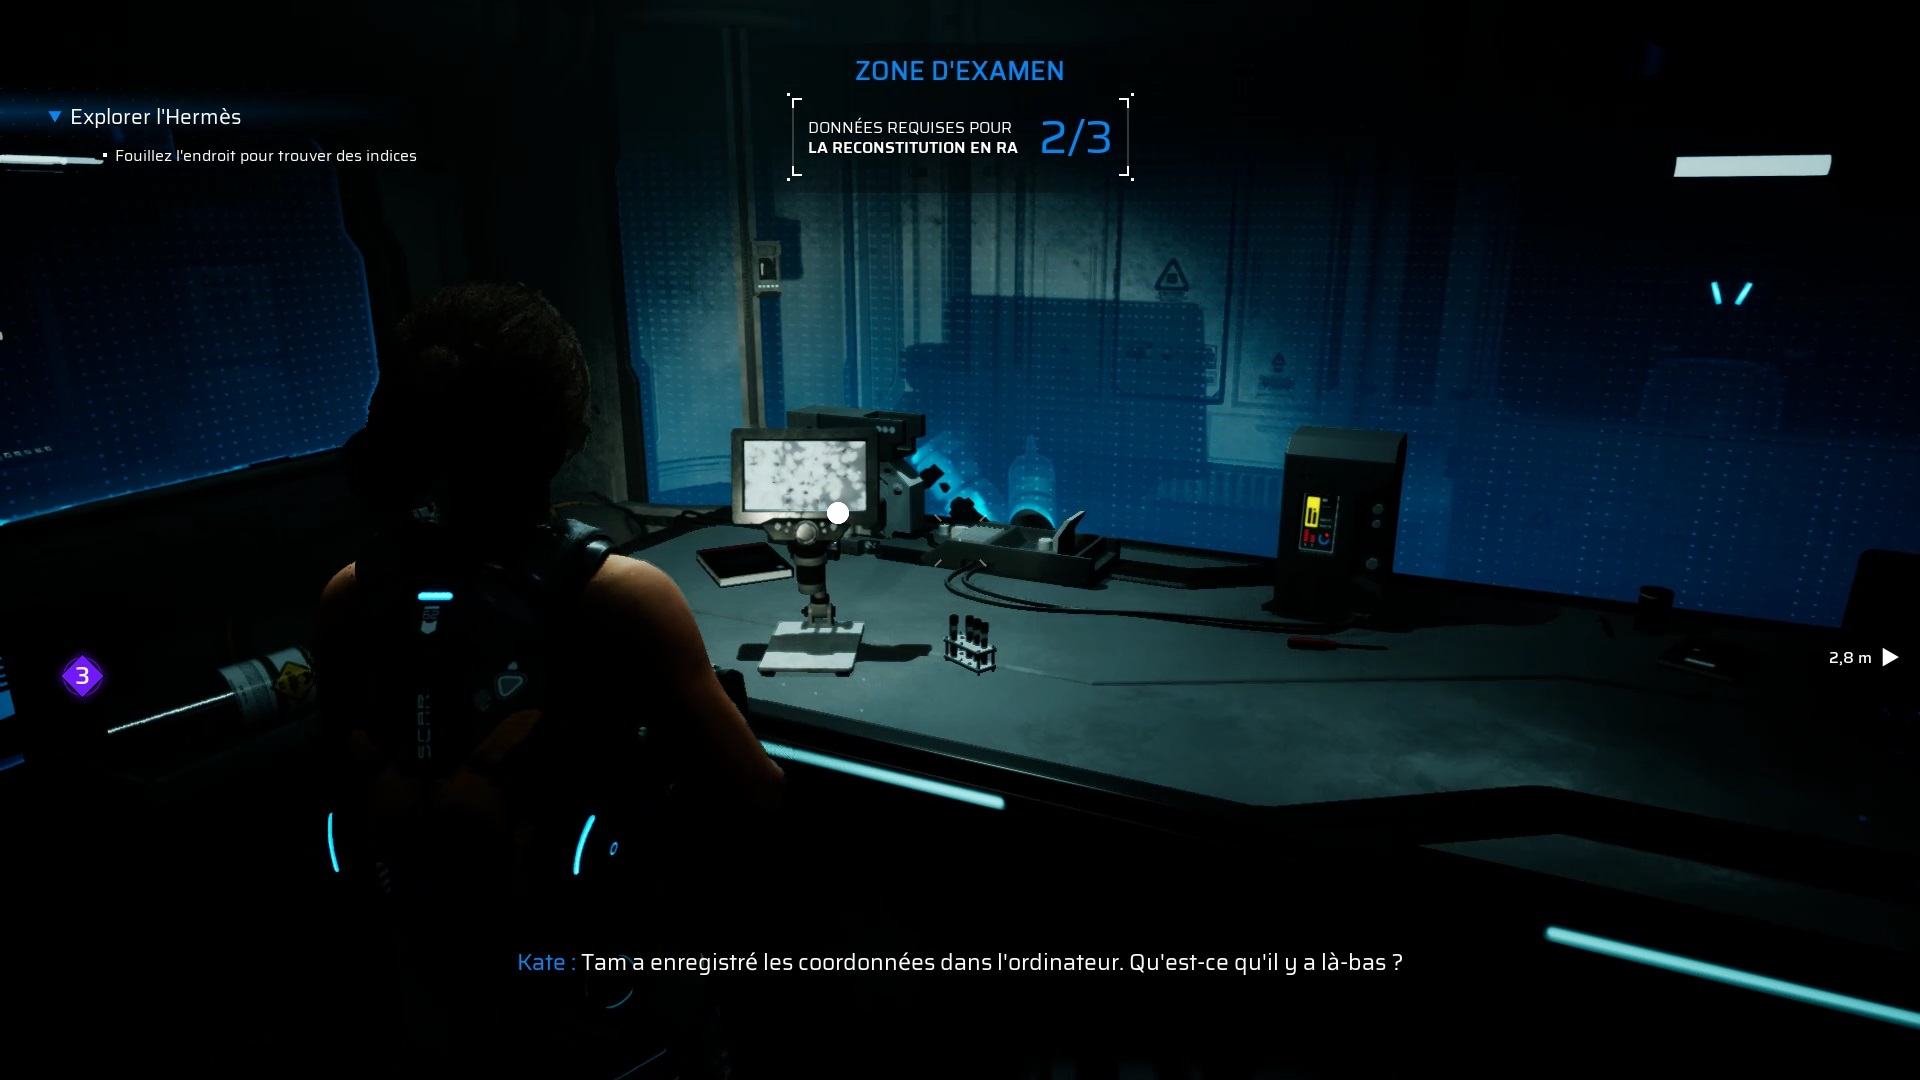
An investigation zone is launched. Interact with Mike’s body to find something wrong with his organs. Use the nearby electronic panel to find the scan result. Then examine the computer and the microscope to complete the investigation. Get out of the ship to finish the chapter.
Chapter 3

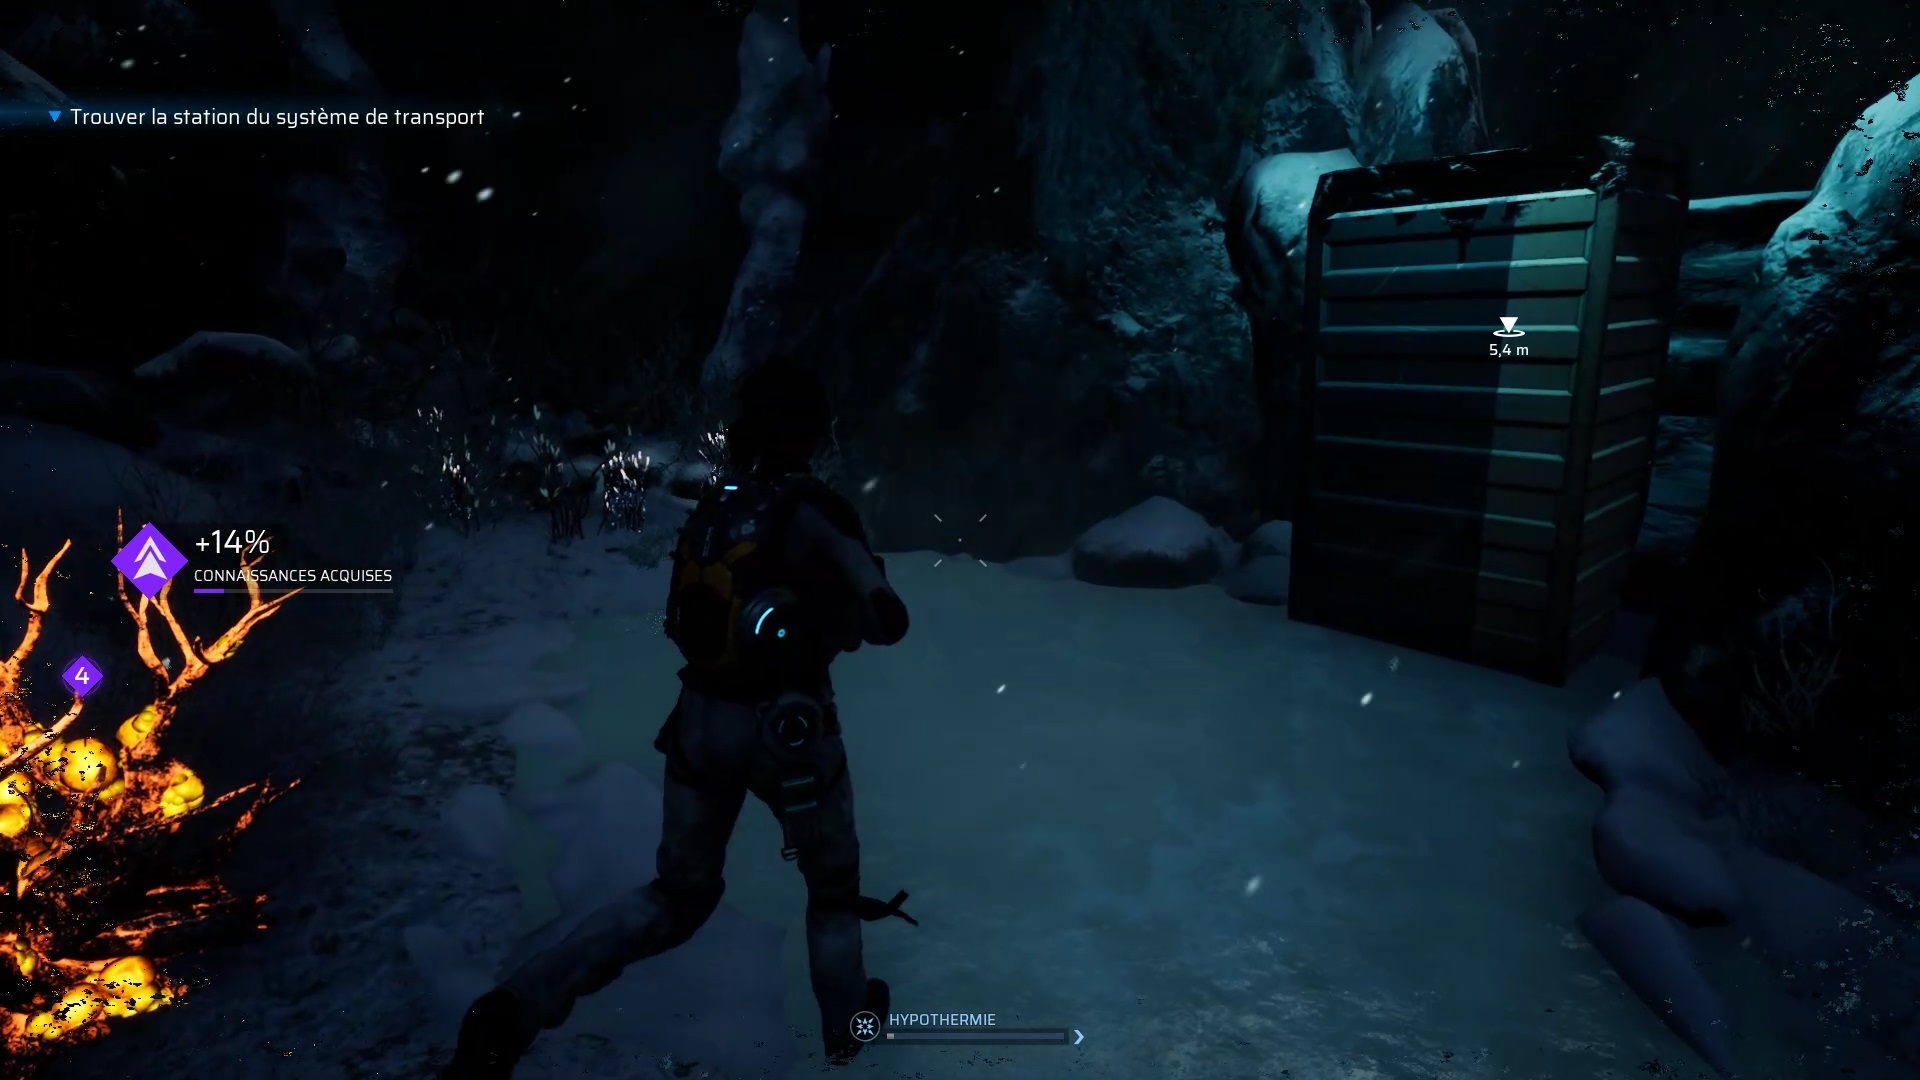
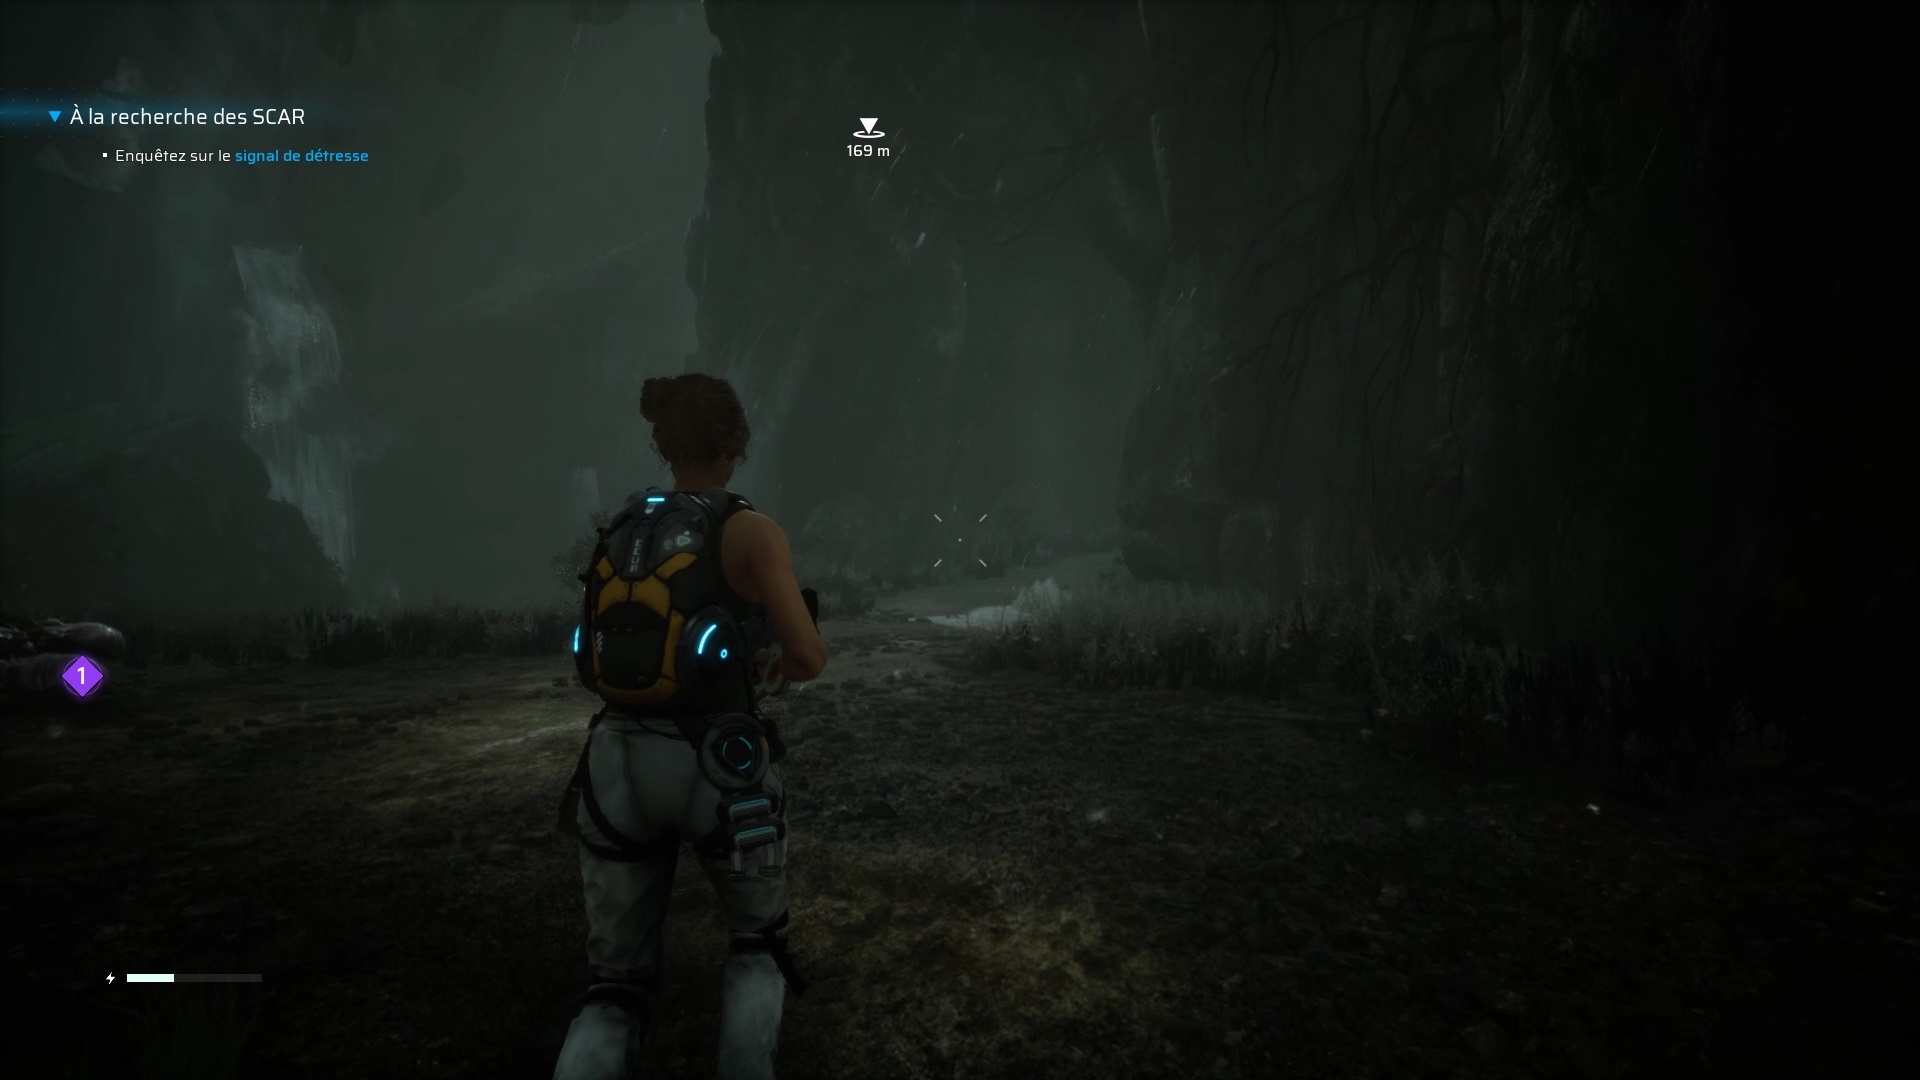
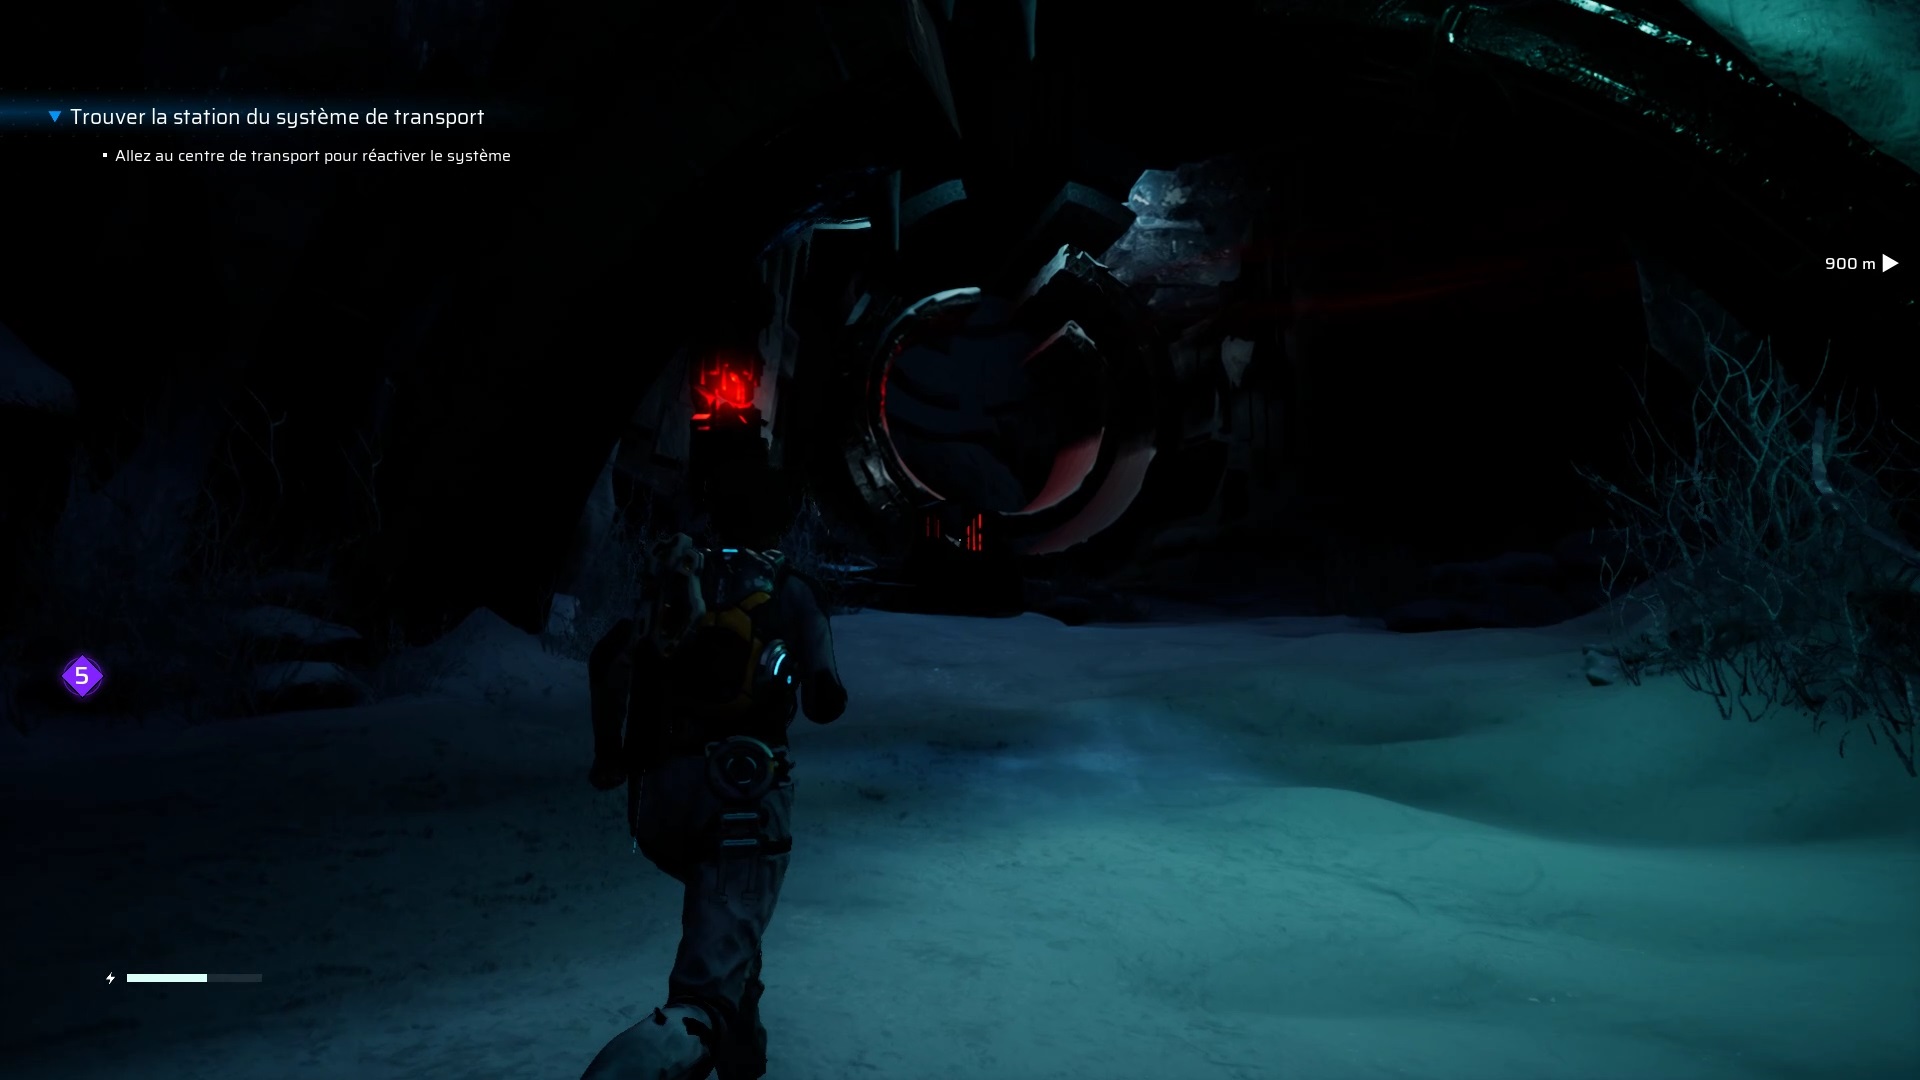
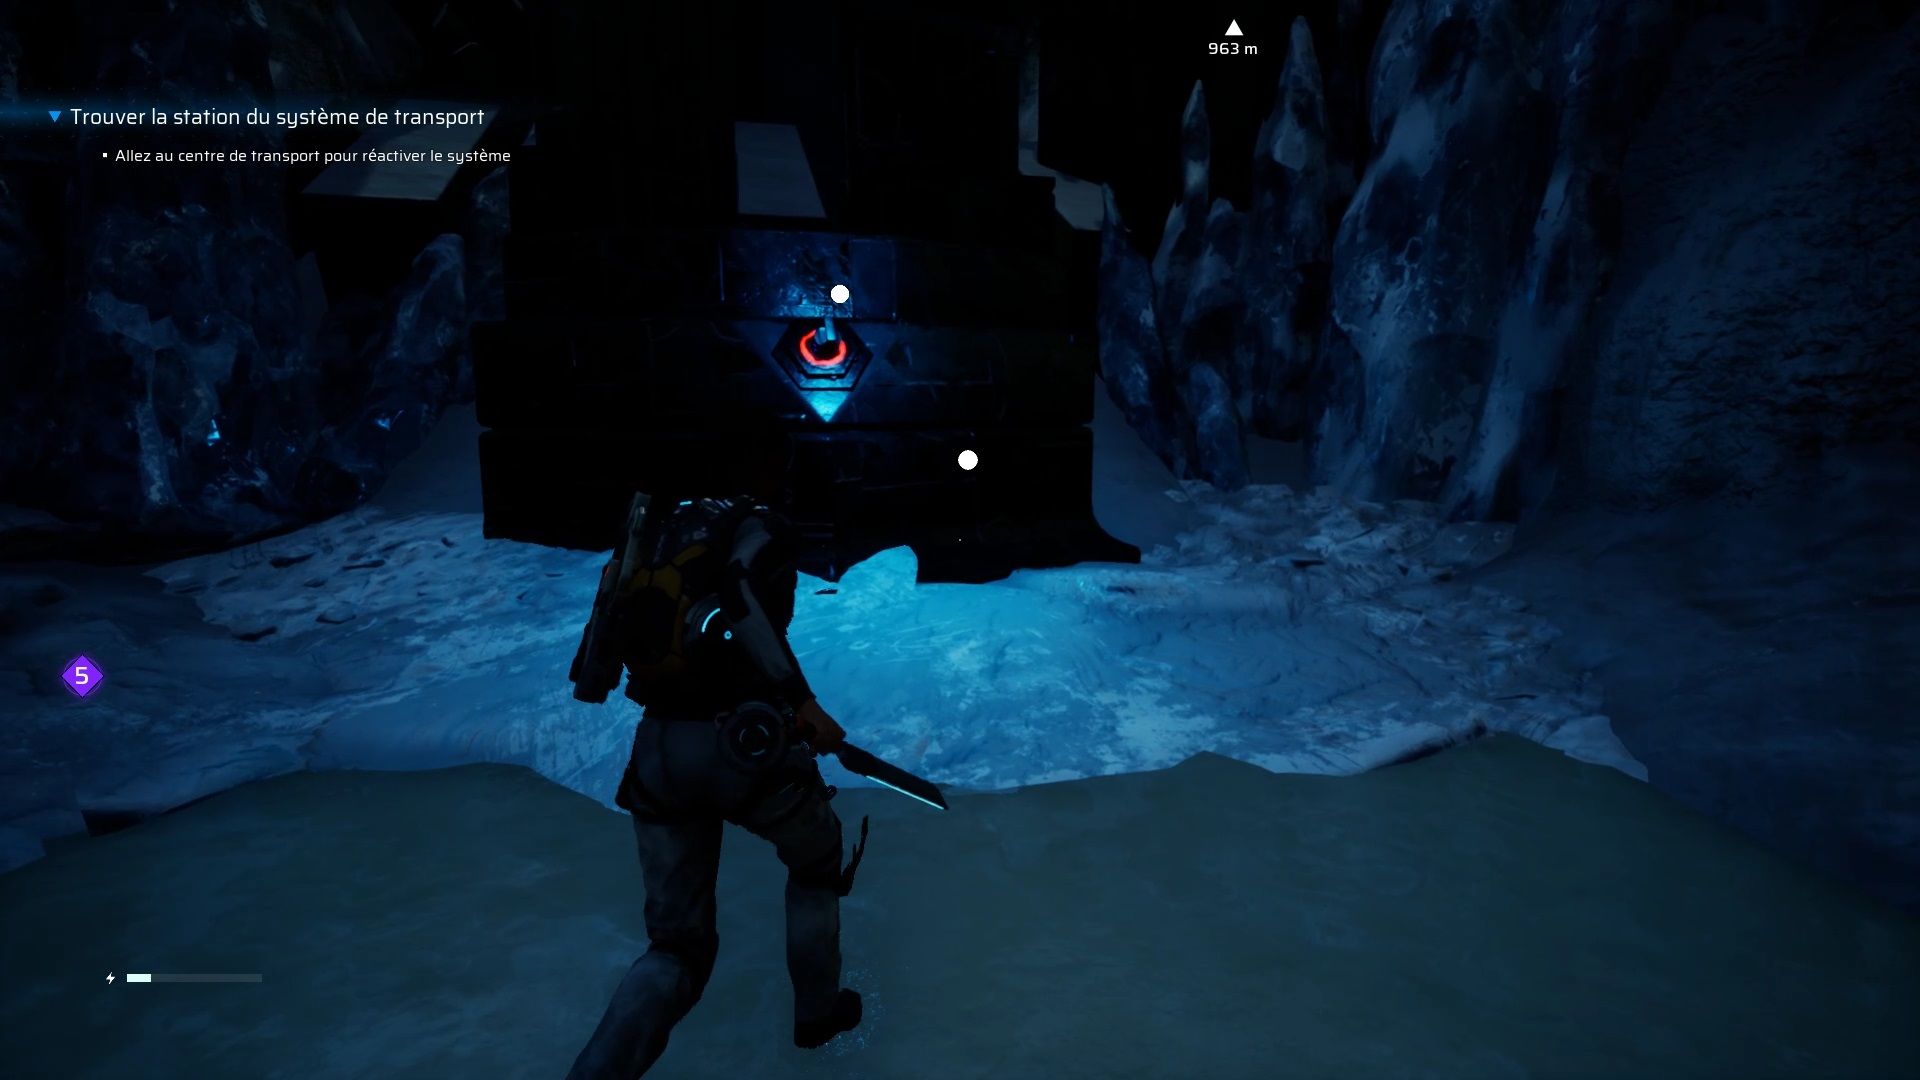
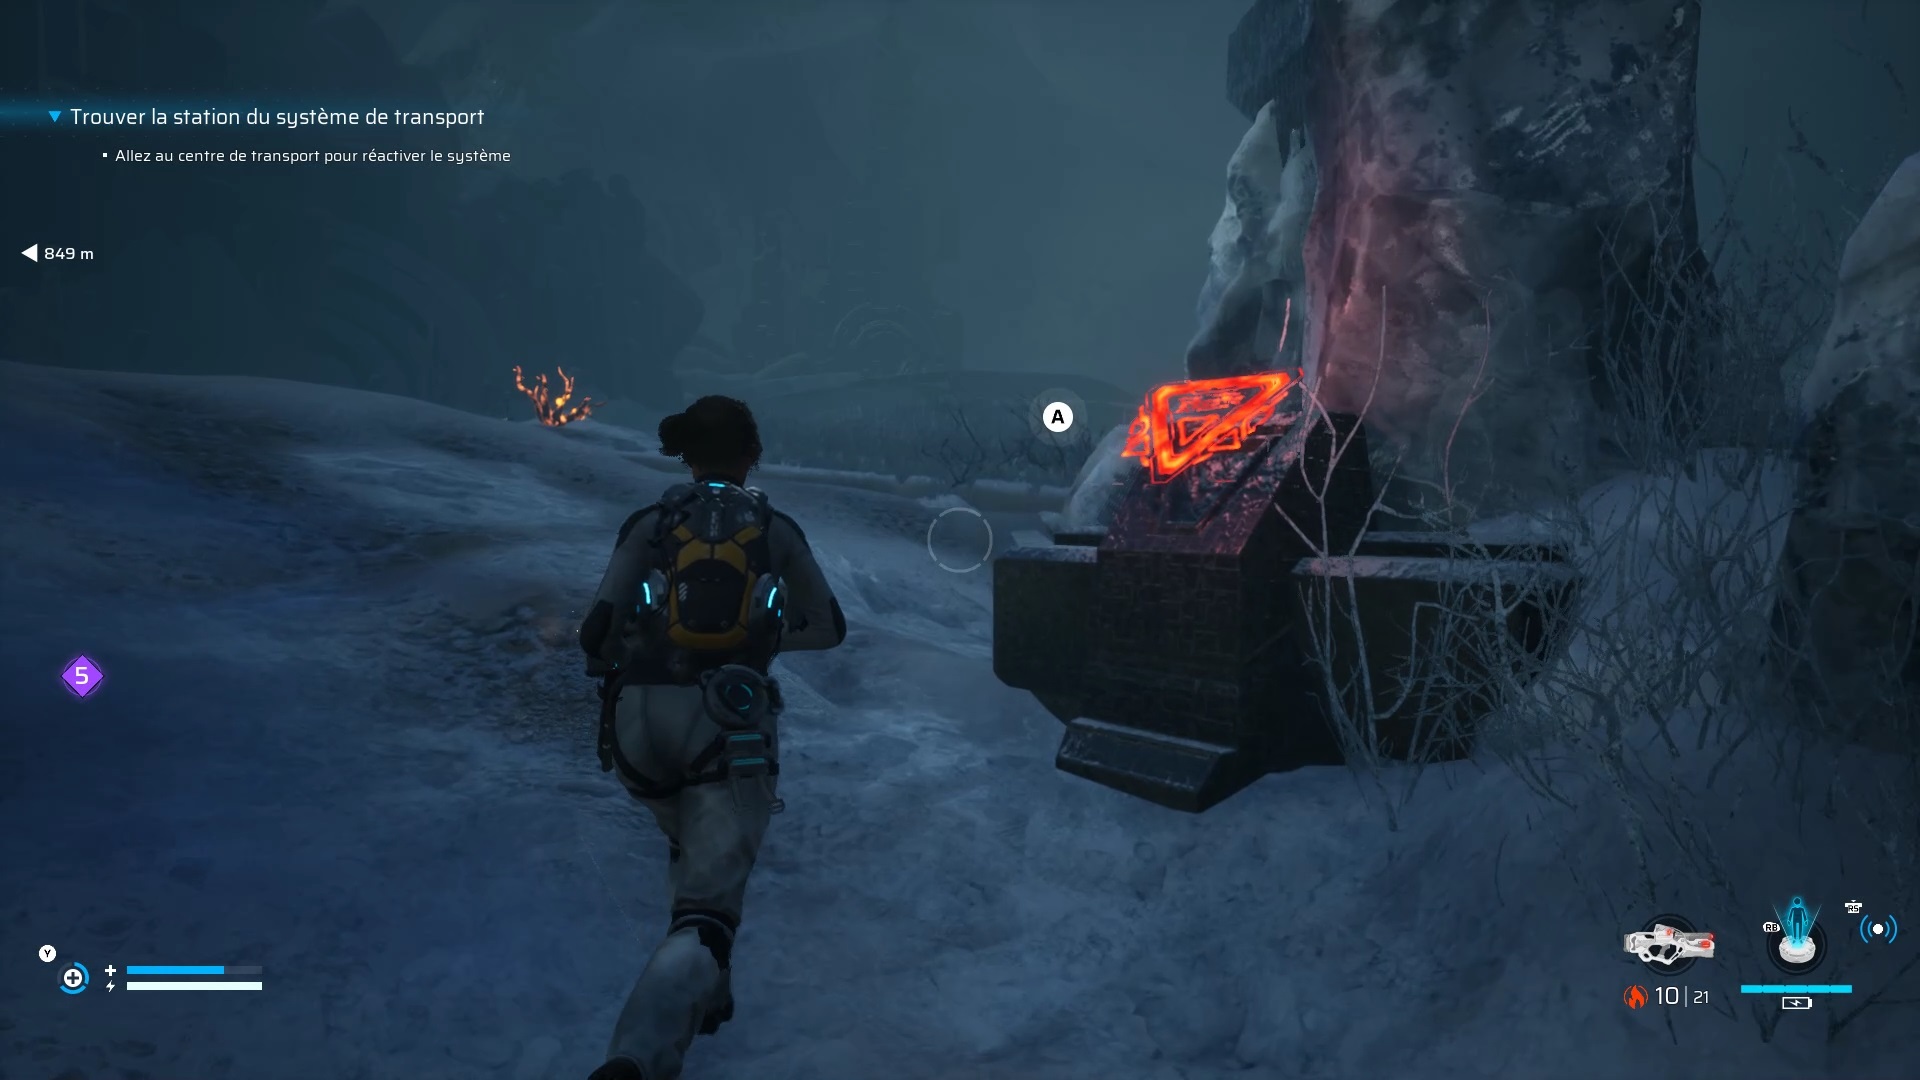
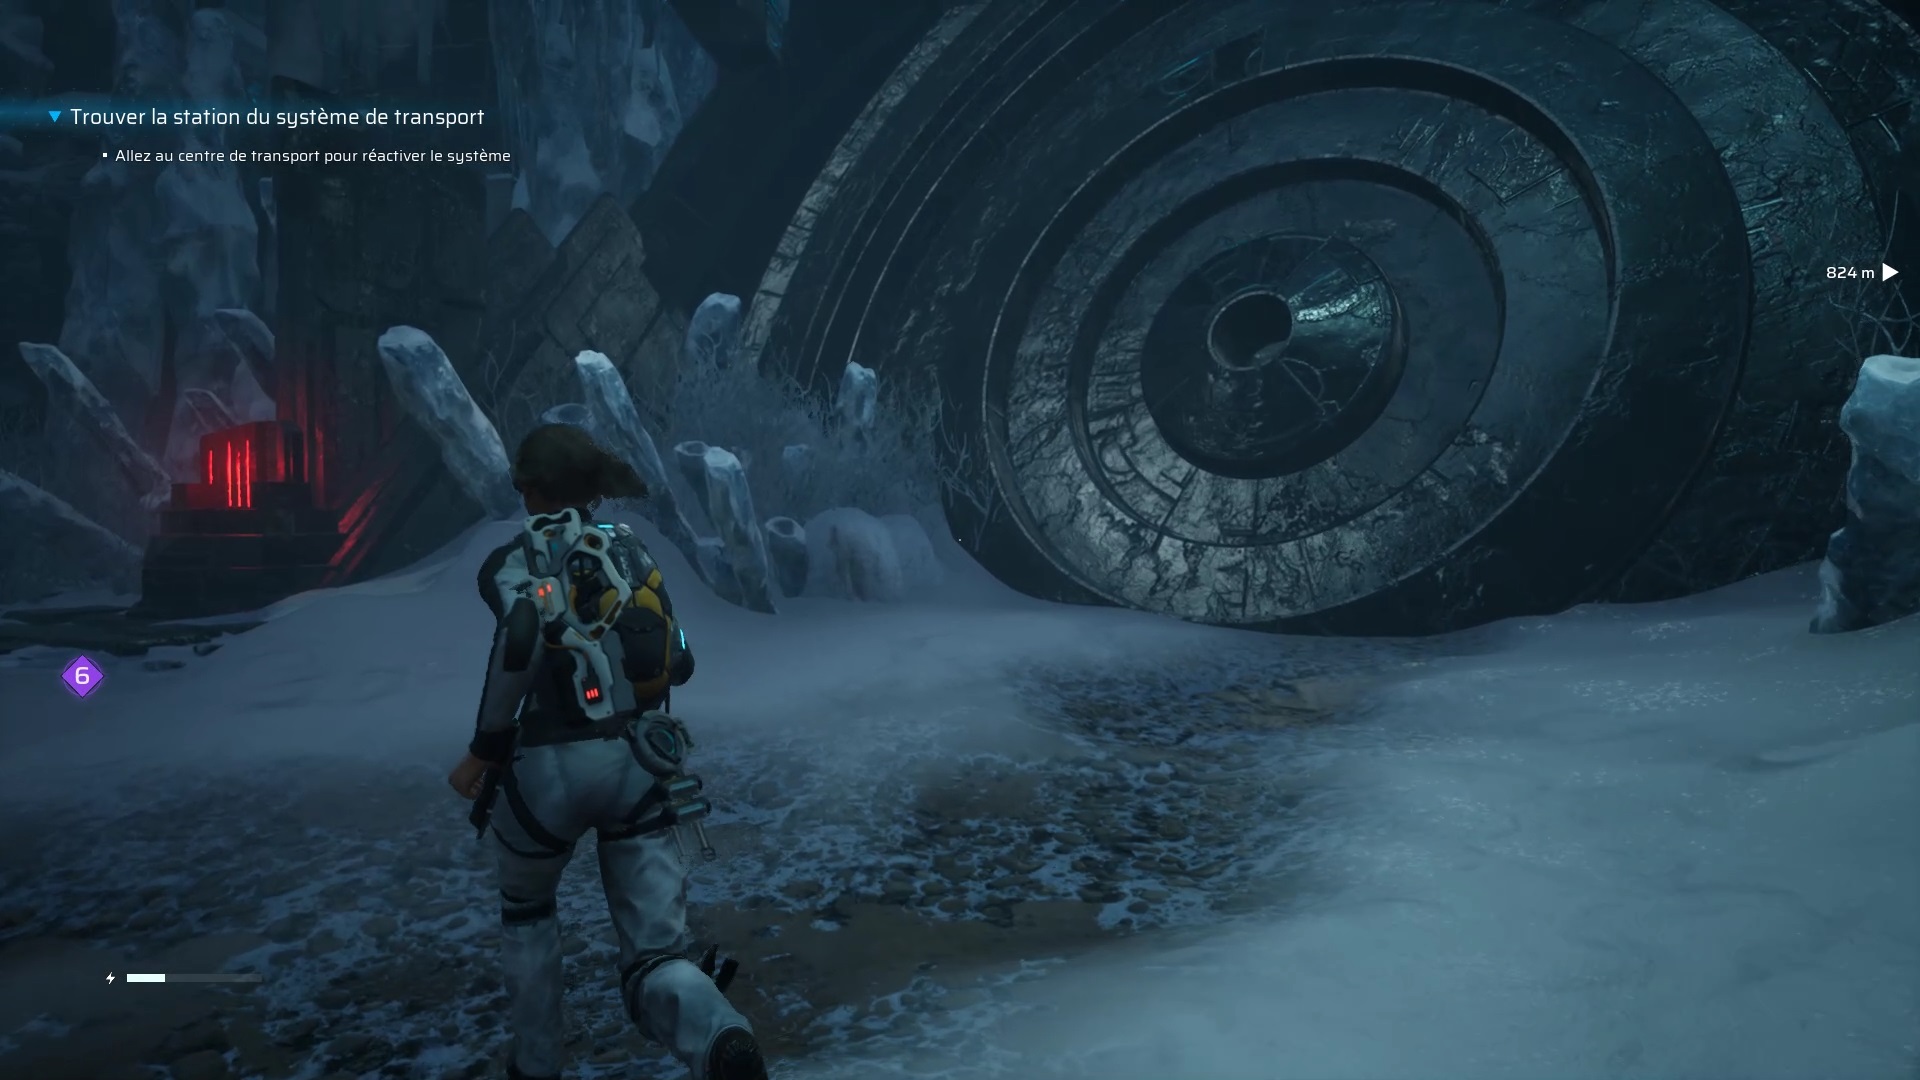
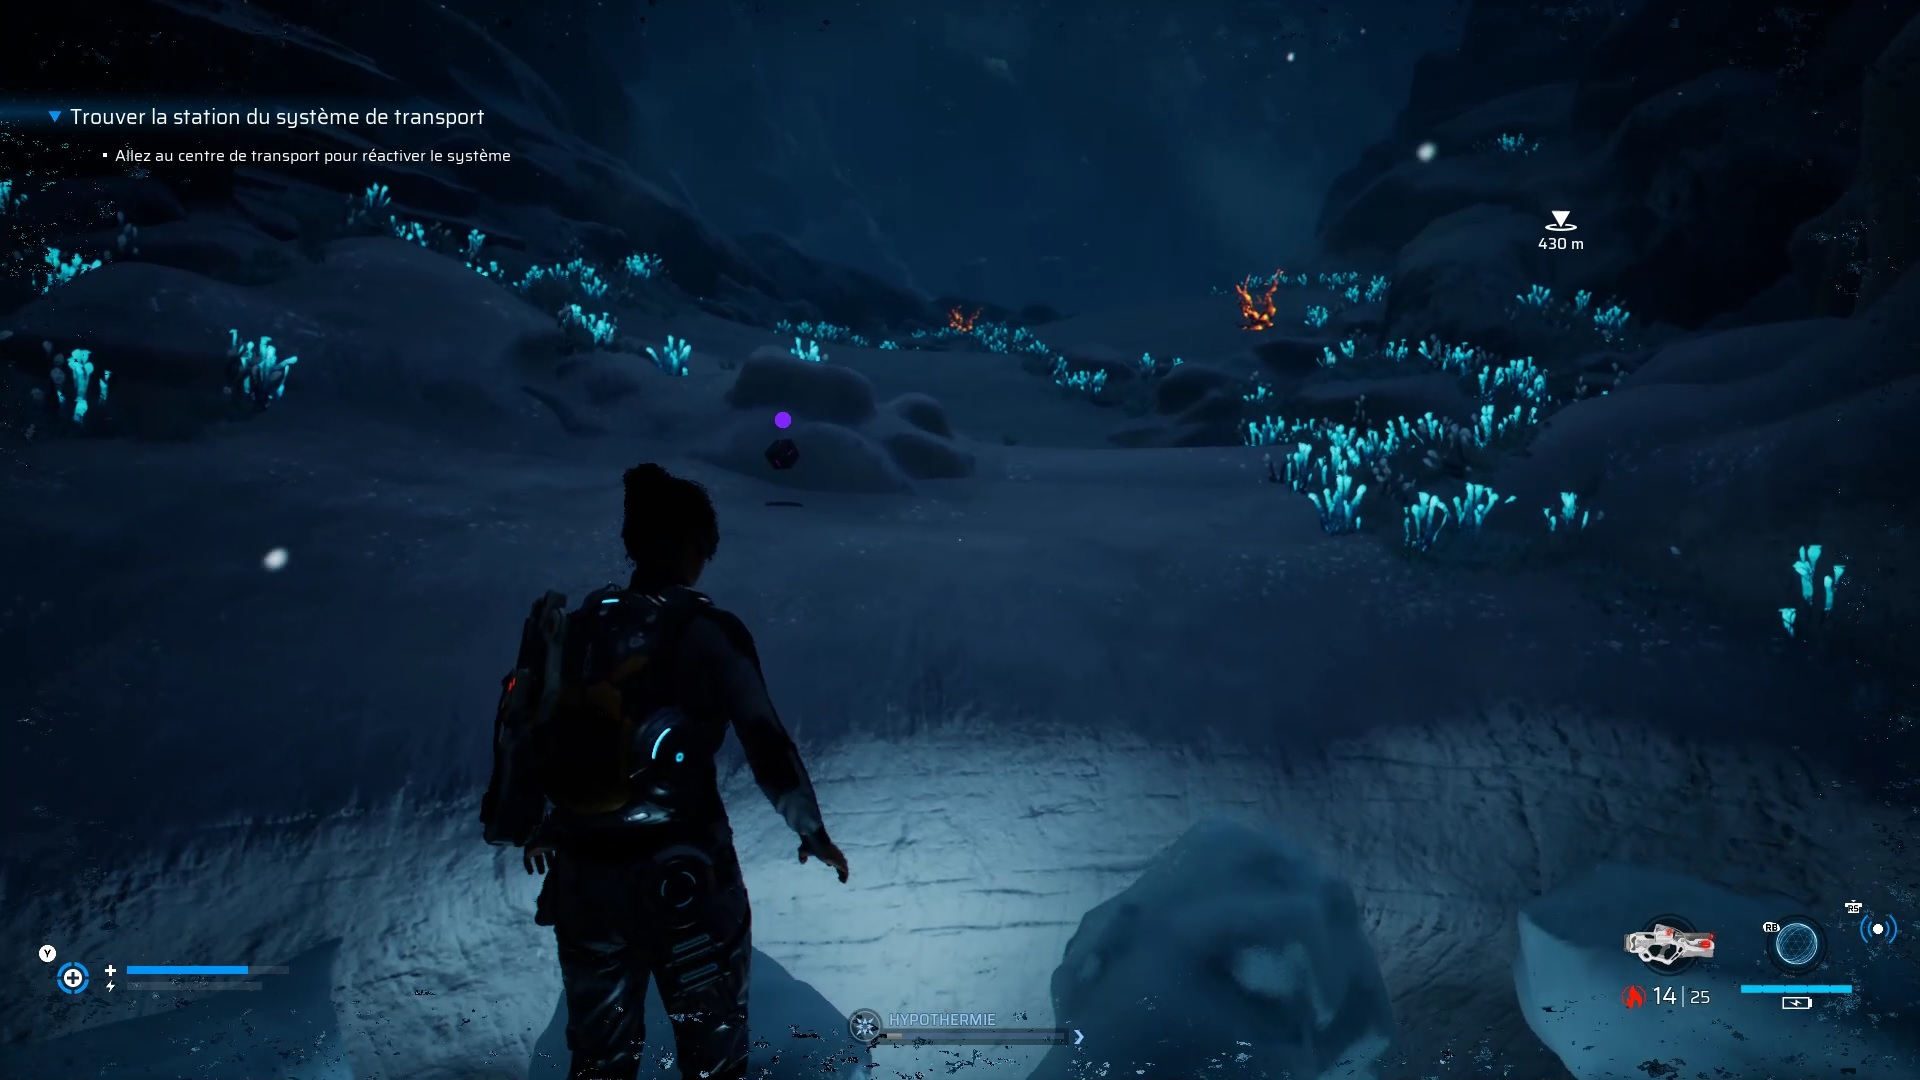
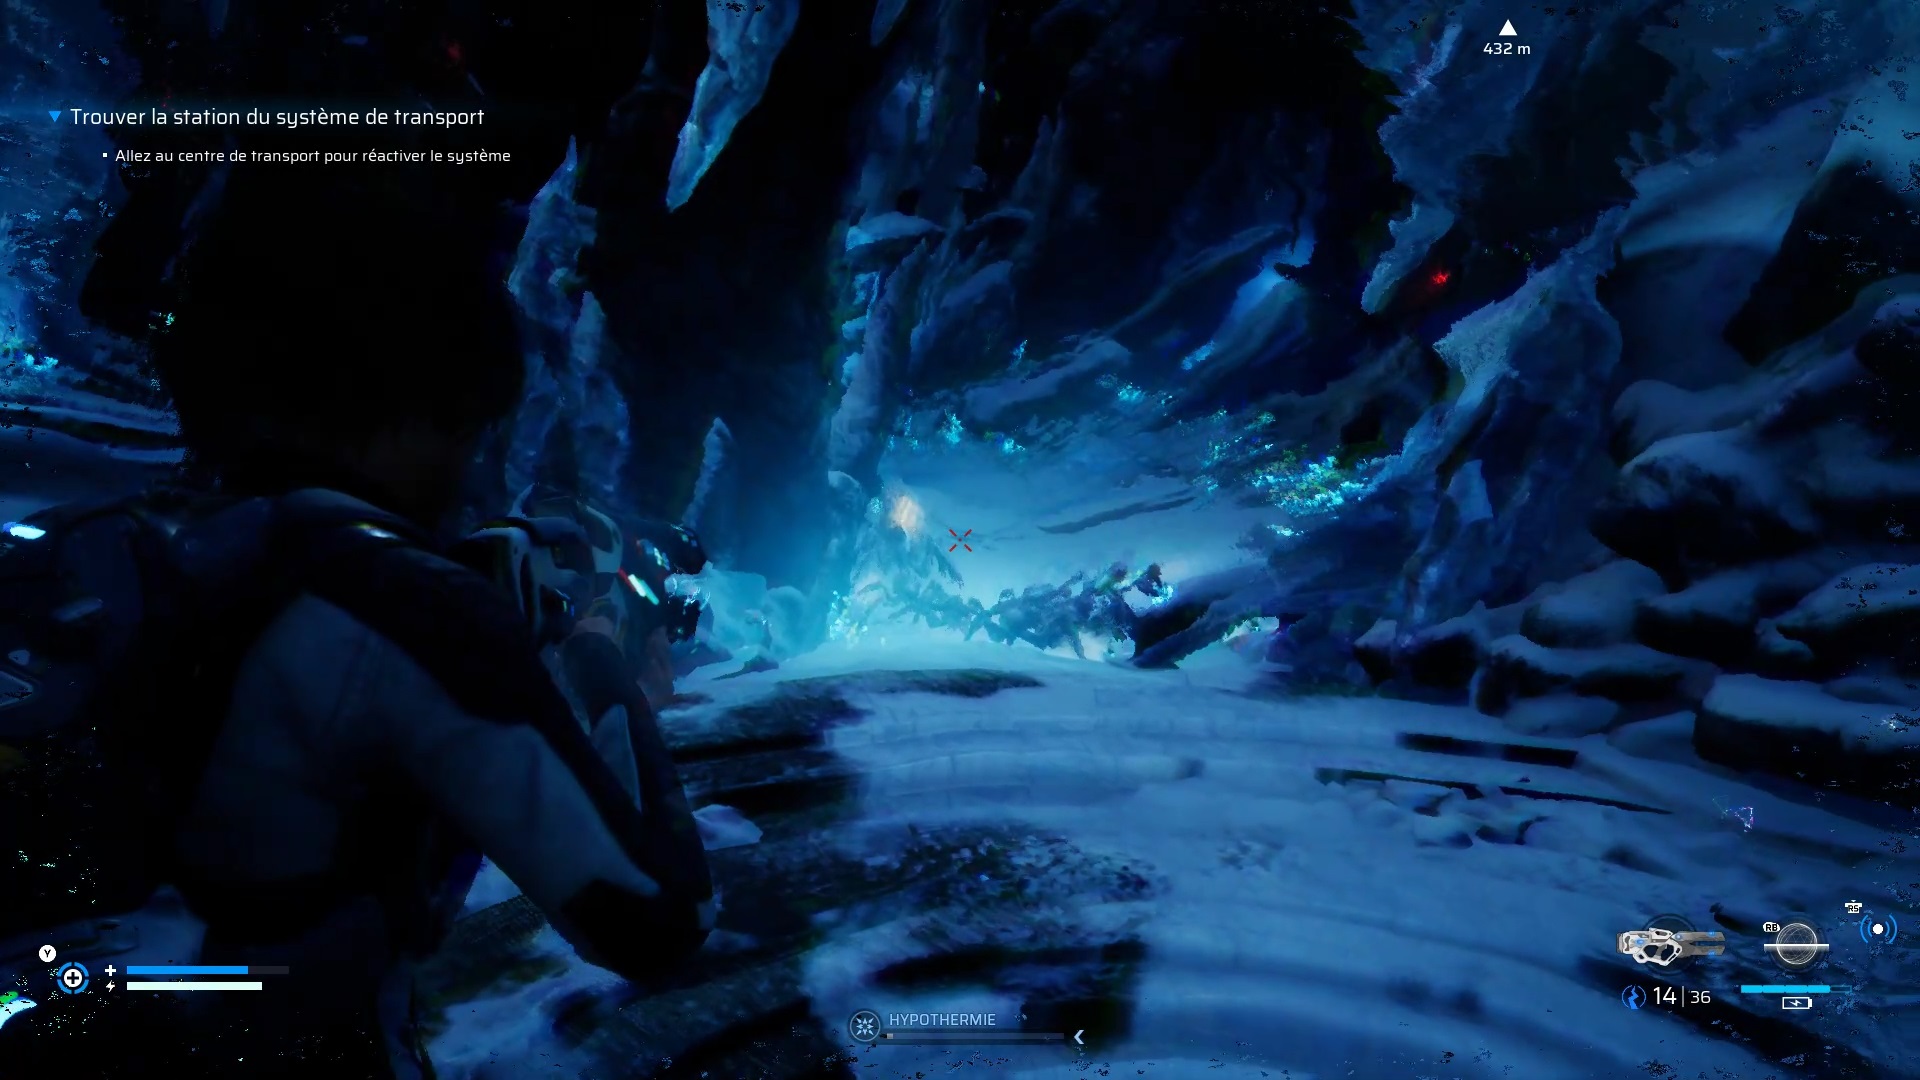
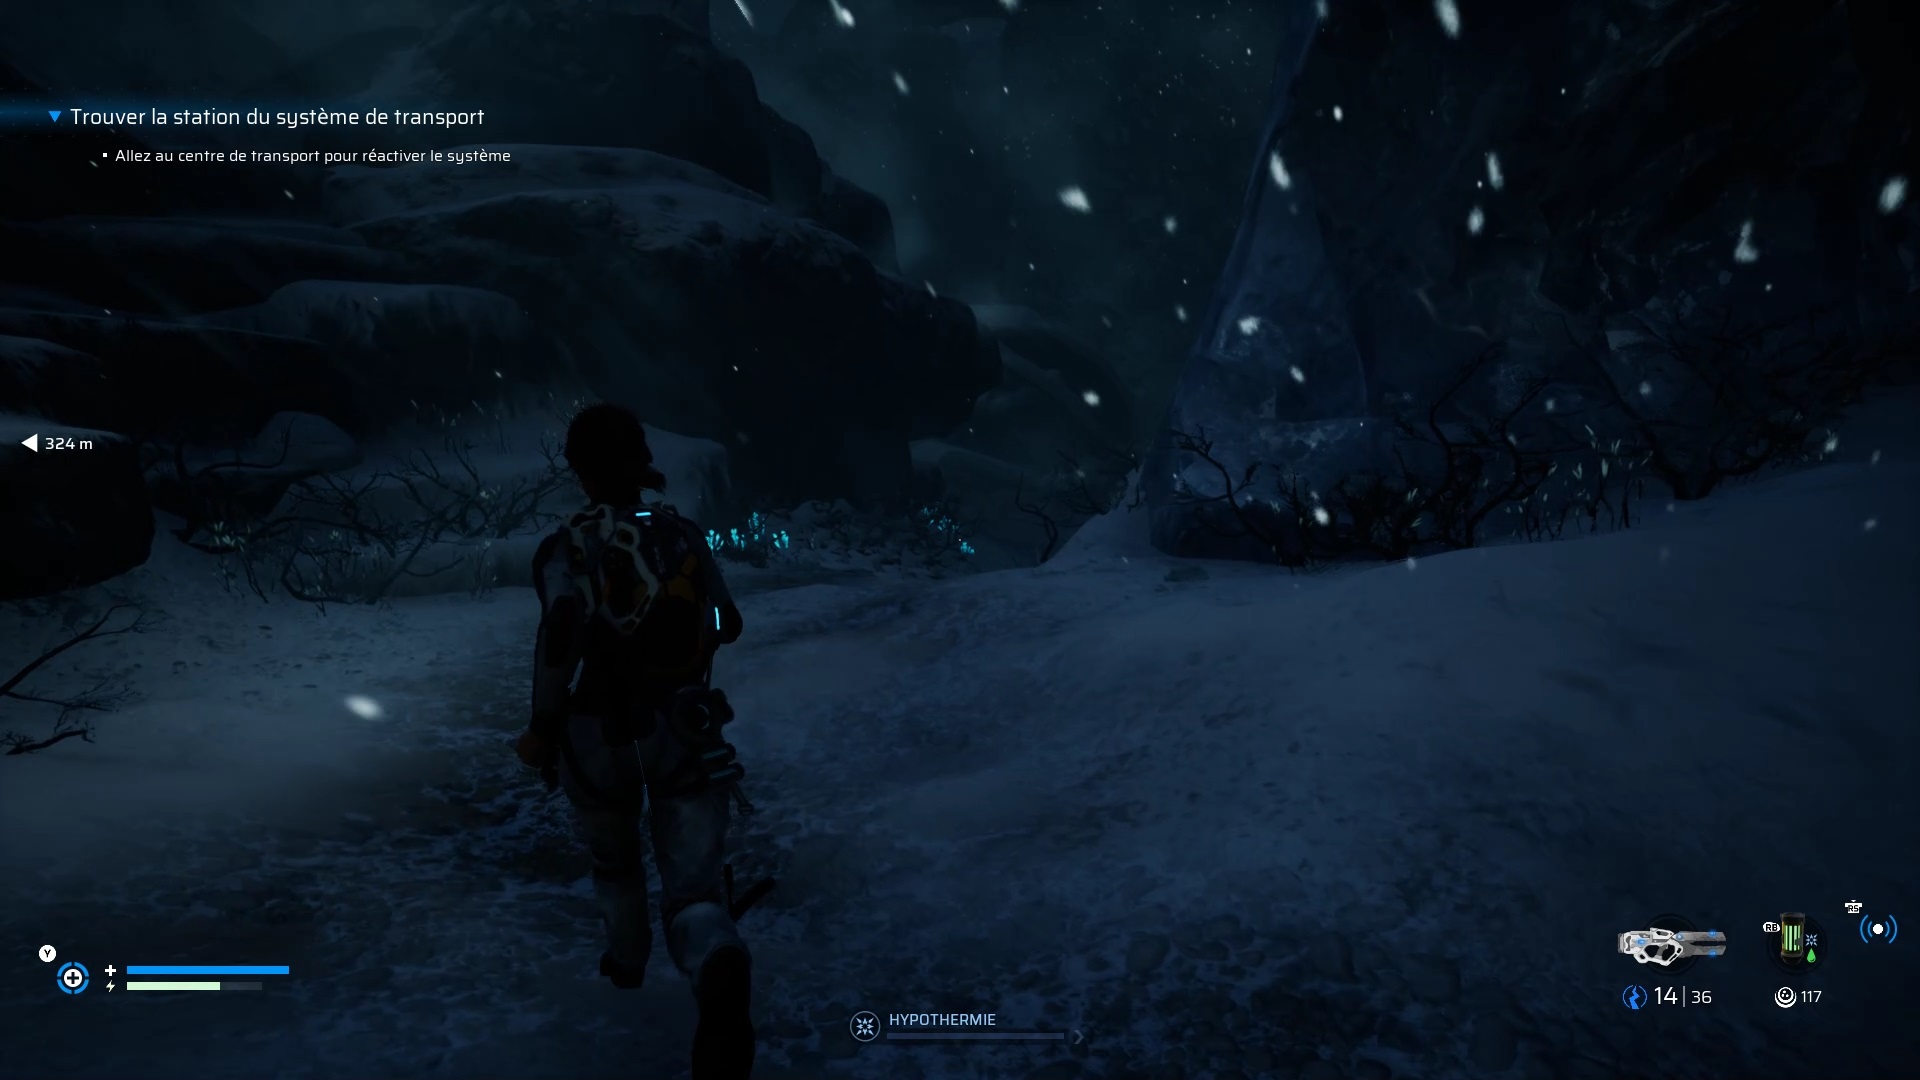
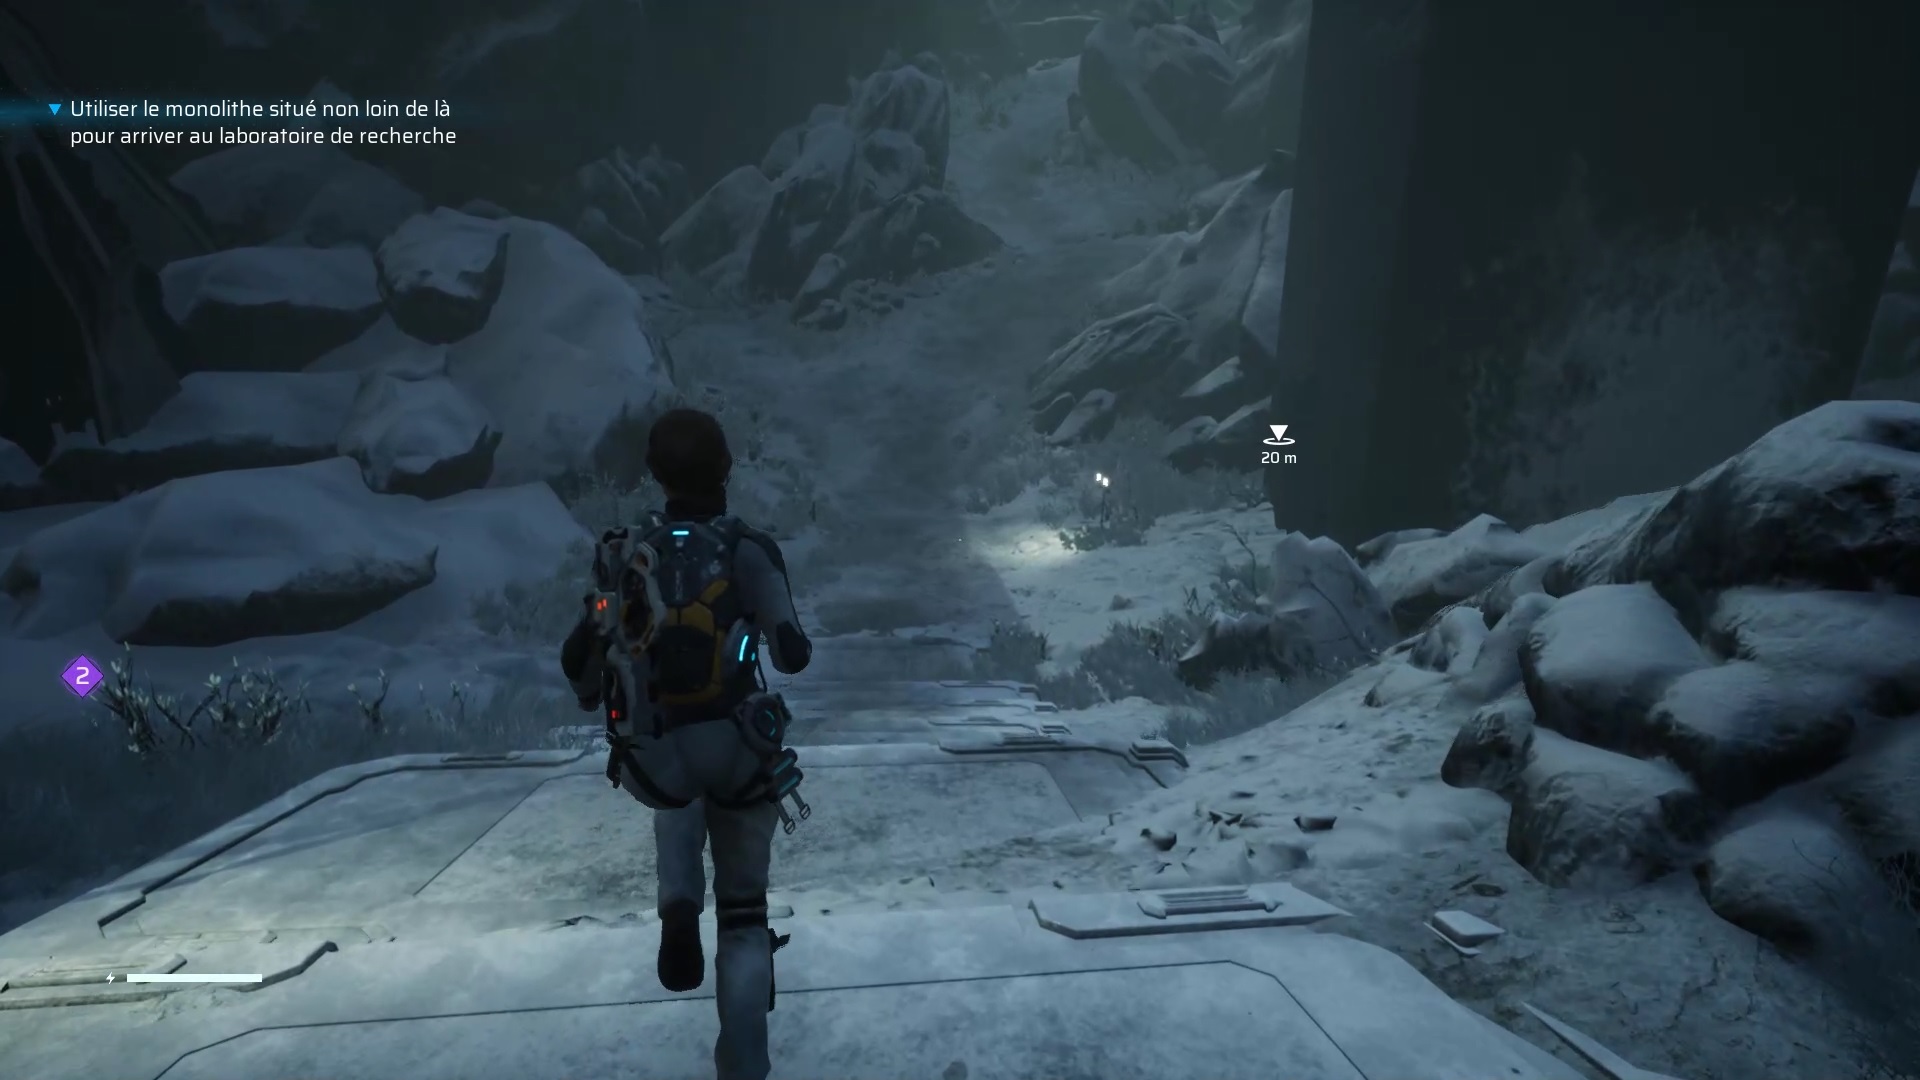
Join the objective marker to find a pillar. Continue towards the objective to find a closed door and trigger a cutscene. Return to the pillar to find a path downhill. Use the bushes to restore your hypothermia gauge. Climb the slope and eliminate the enemies to find at the top a crate on a layer of ice.
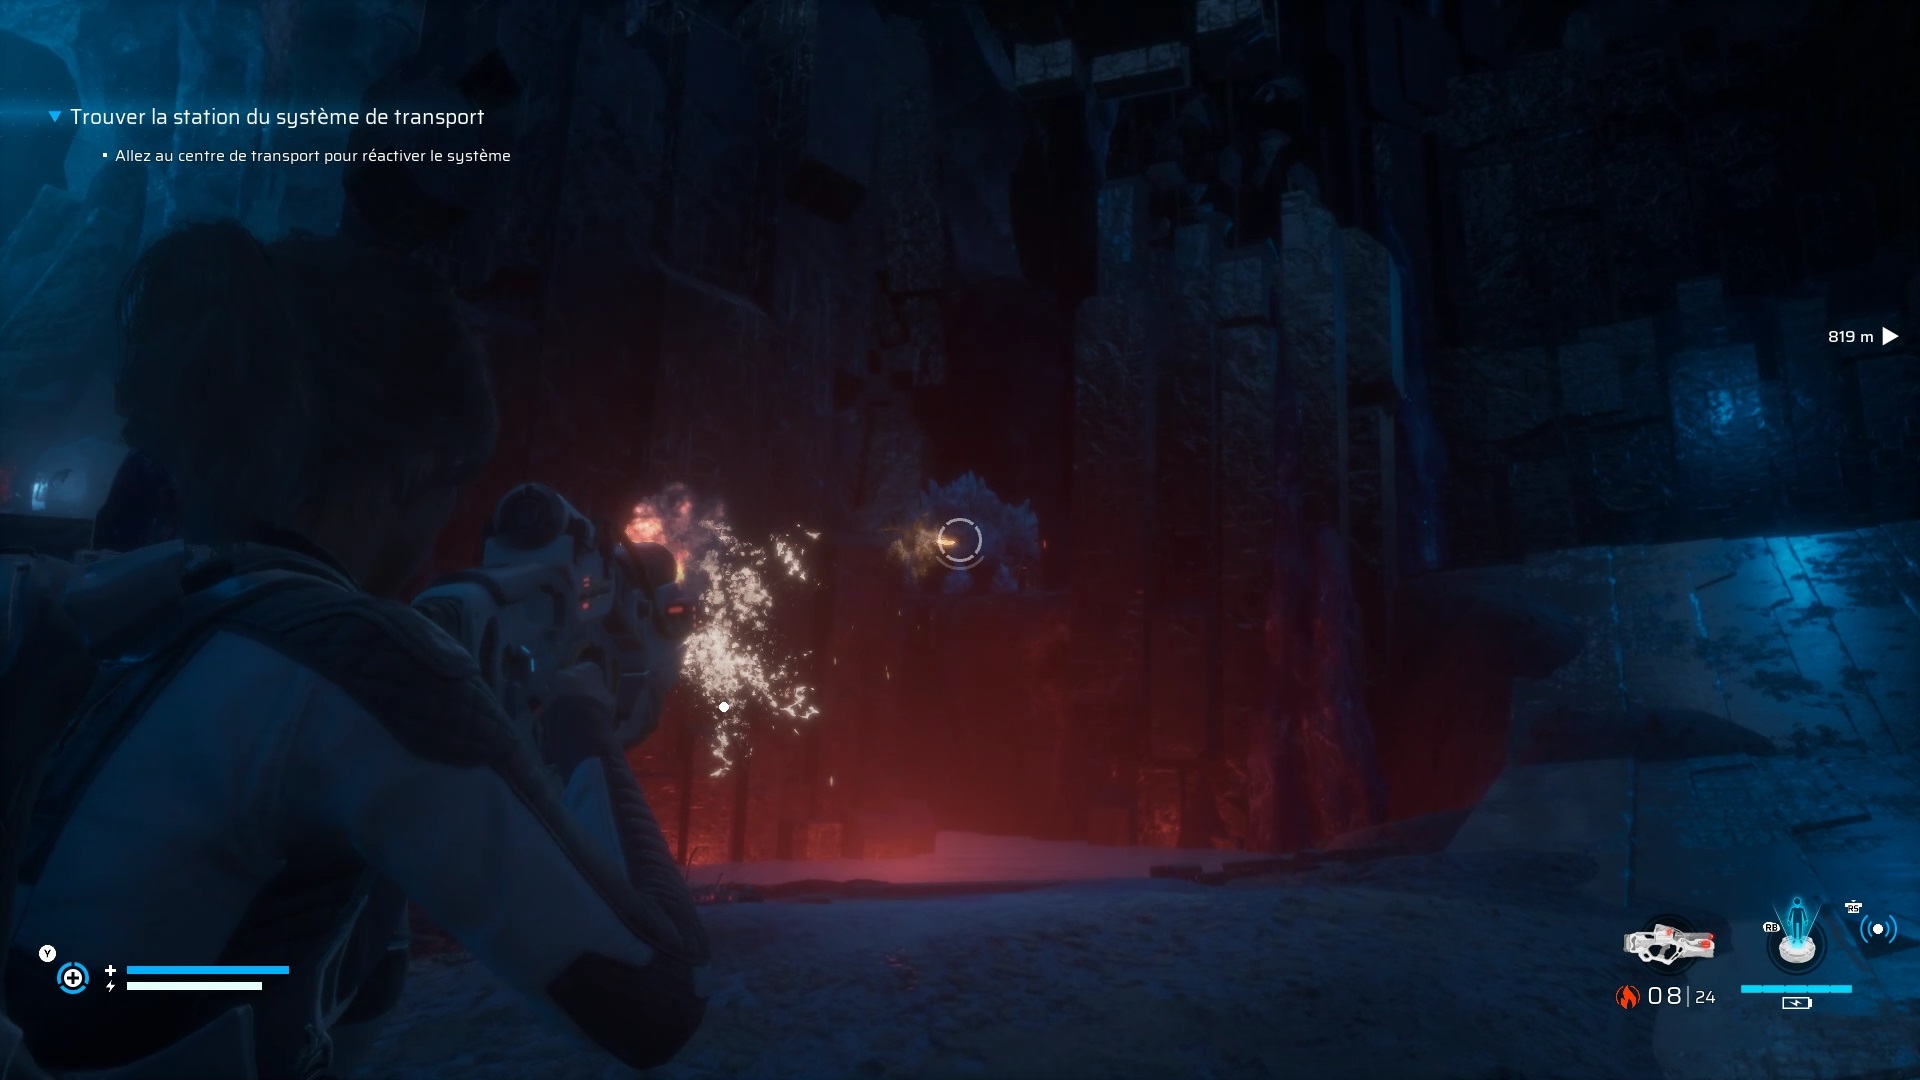
Shoot the incendiary weapon on the ice to make the crate fall. Once the ice is restored, climb on the crate to go to the other side. Several threats await you. Use the ice to knock them down and defeat them in one hit. Move towards the objective while continuing to warm up. Eliminate the enemies and sneak through the rocks at the bottom.
Unlock the closed door in front of you by pulling the two locks. The third lock is hidden, on the right, of the door behind the rocks. Go through the door to trigger a new cutscene. Then go back to find a slope. Climb the slope to meet a colossus.
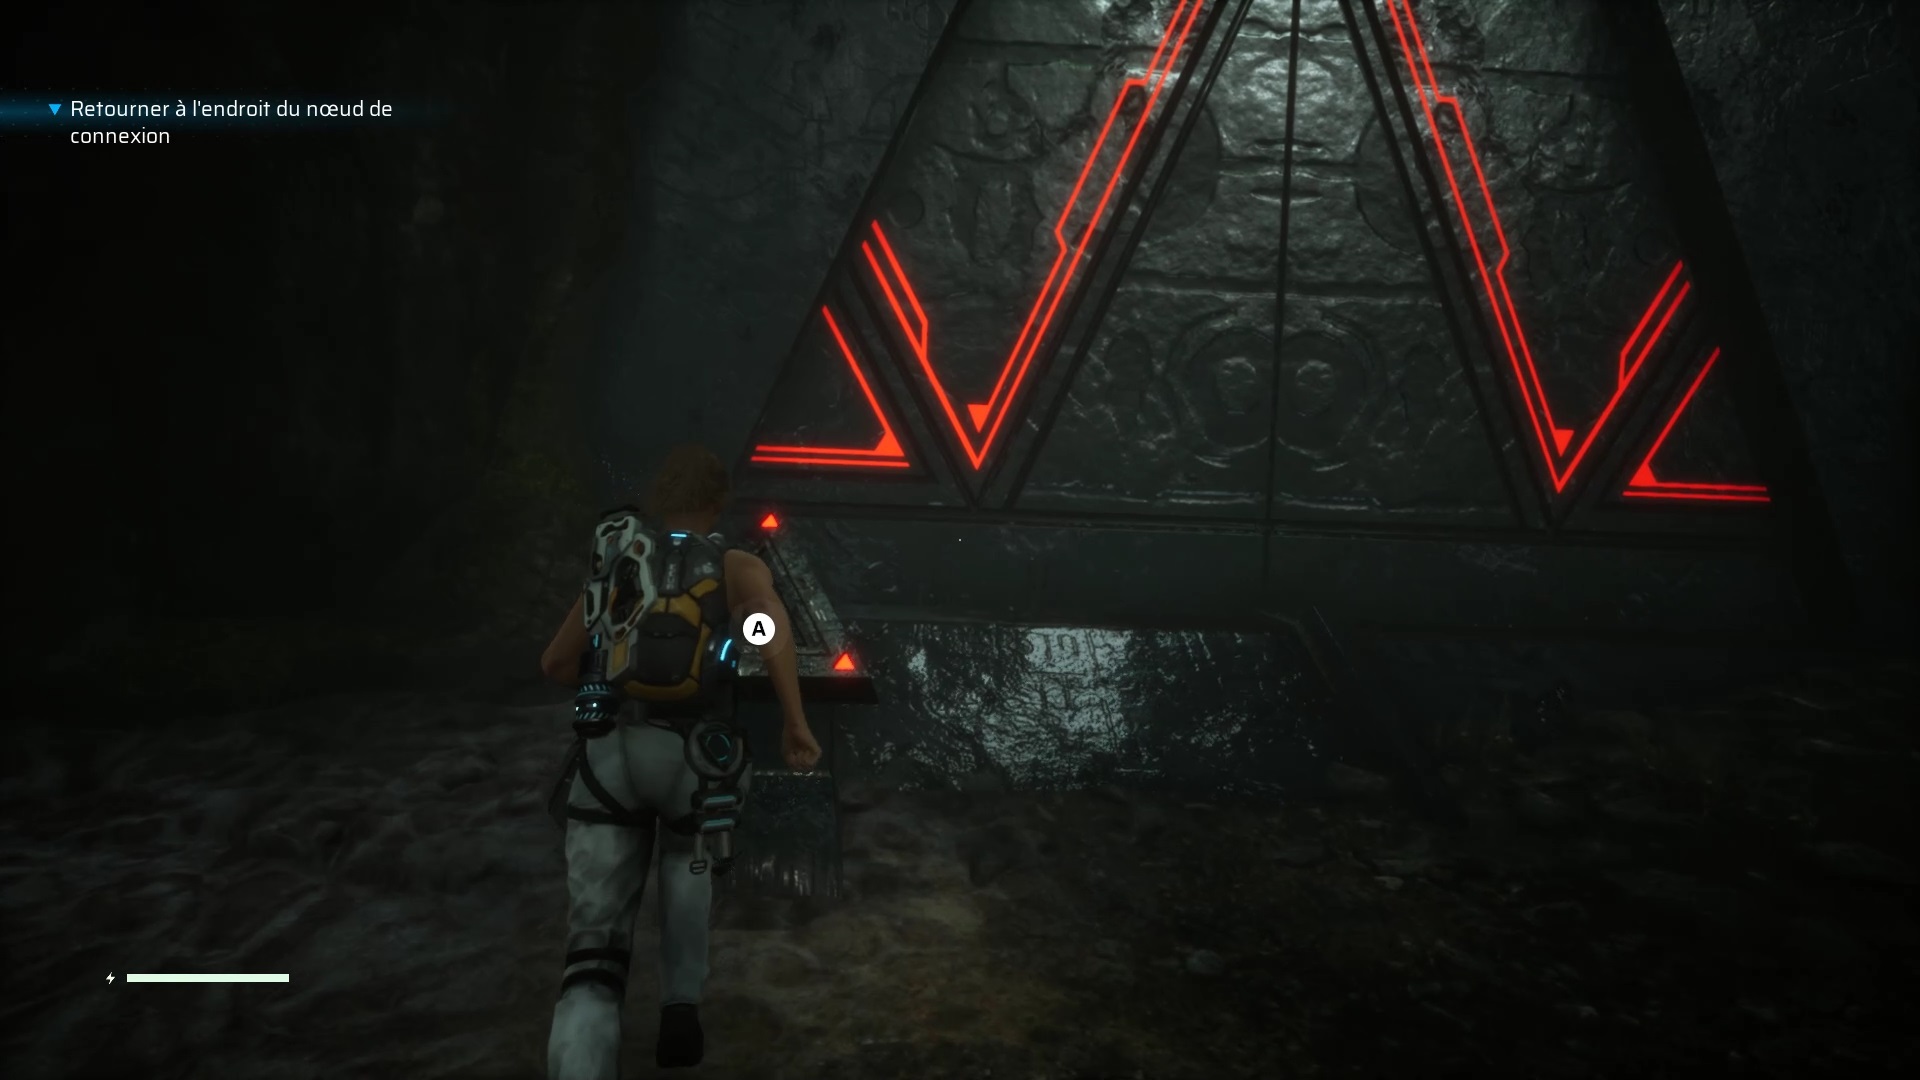
Freeze the beast and burn its growths on its back. Then continue your ascent to find a new pillar. Continue to climb so that the slope collapses. Backtrack to find a path near the pillar. Follow the path to trigger a fight. After eliminating the threats, go down to join an enigma with a mysterious circle.
You will find a slope in front of this famous circle, go down. Continue east to find an ice barrier. Use the carver to pass. You will find behind an altar with an artifact. Collect the artifact and return to the circle.
Activate the circle by placing the artifact on the nearby altar. Move the large platform into the water and stop the circle. Freeze the big platform and reactivate the circle so that the big platform expands with the other platform. Align the platform to create a high bridge.


Activate the circle by placing the artifact on the nearby altar. Move the large platform into the water and stop the circle. Freeze the big platform and reactivate the circle so that the big platform expands with the other platform. Align the platform to create an overhead bridge by removing the artifact.
Go up through the bridge and interact with the control panel to create a shortcut. Keep going up to find two closed doors. Use the artifact with the left door.
Once inside, you are faced with the Alluvial Glacial. Use the thermal loader to break his defenses and attack him in the heart with Vera’s blow.
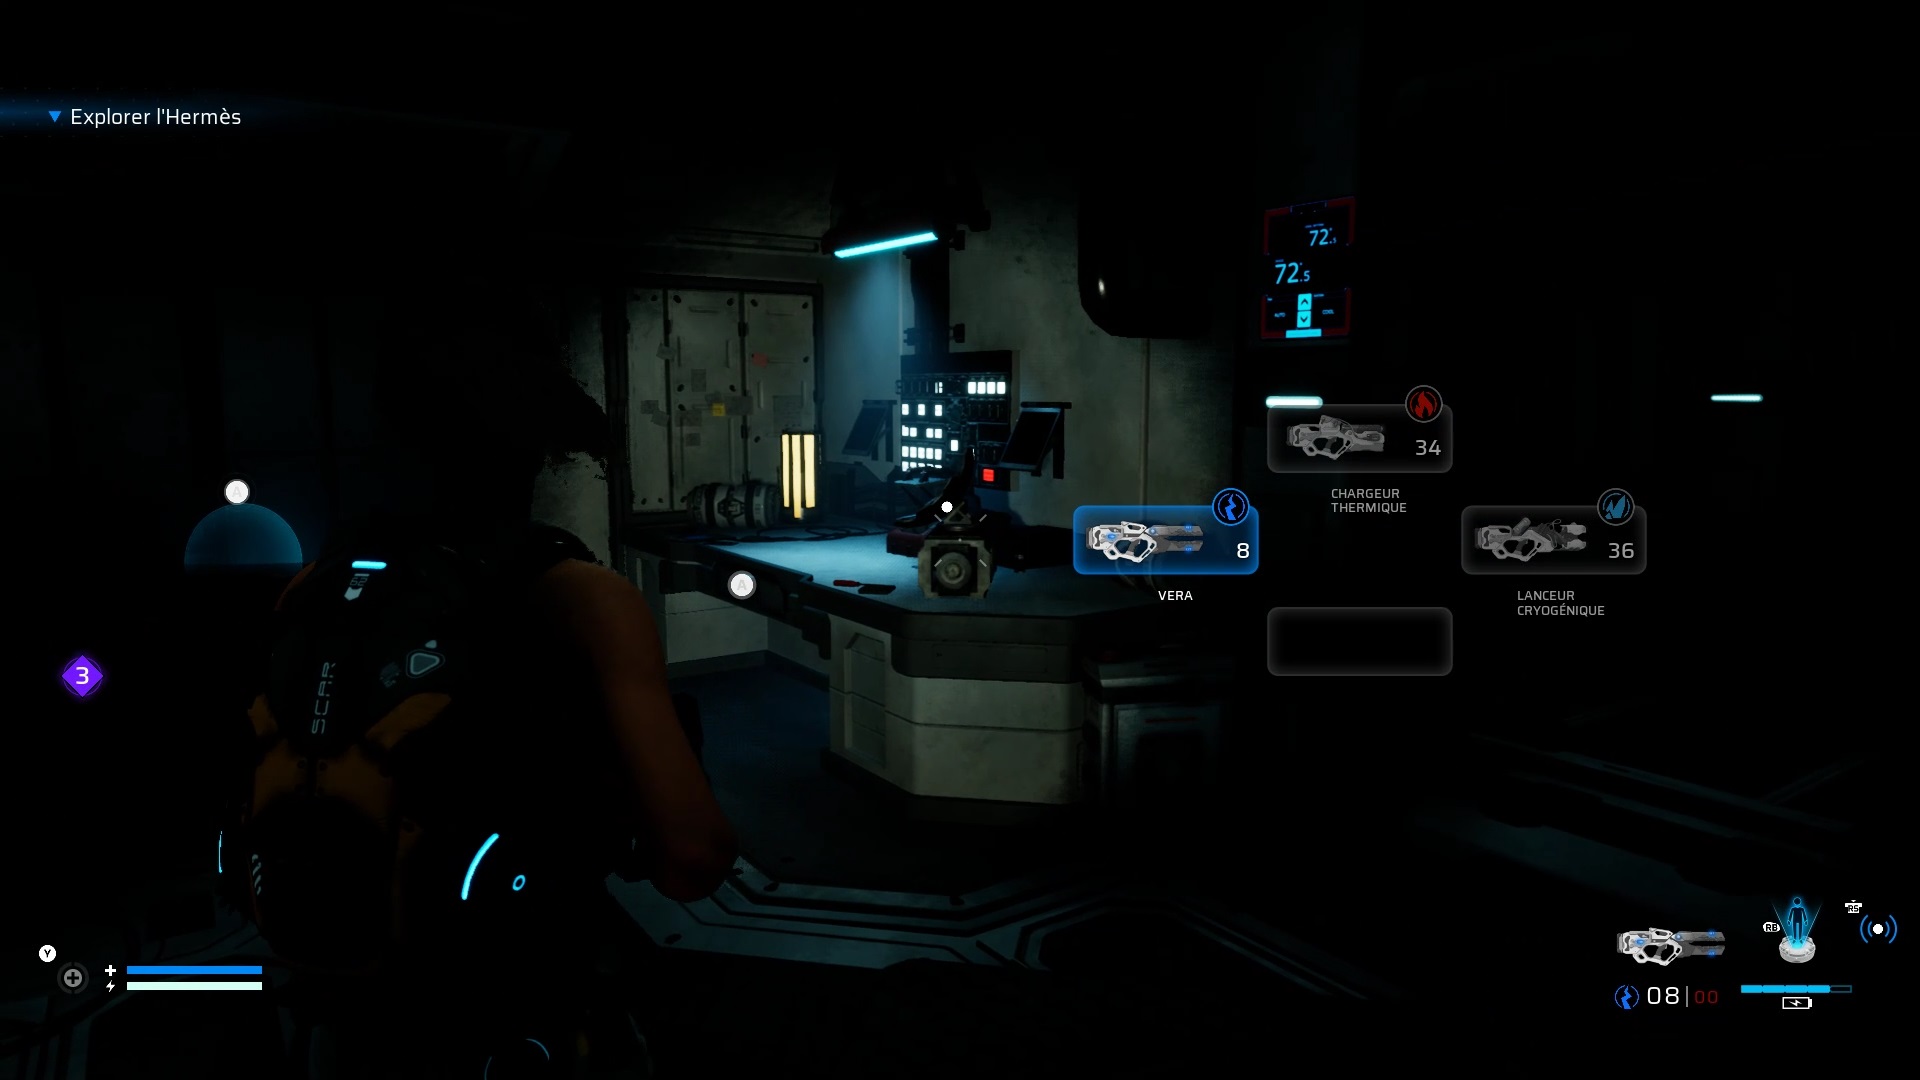
Then examine the machine to the left of the room to get one of the most powerful weapons in the game: the gravity trap.

Continue uphill to the right to encounter a fleshy Alluvial. Move forward to find a laser barrier. Use the gravity trap to block the lasers and move on. Collect the artifact behind and return to the two doors outside.


Eliminate the enemies outside. You can use the Gravitational Trap to aid your movements. Remove the artifact from the door and place both artifacts on the larger door. Climb while eliminating threats to reach a cave. Outside the cave, use the ice to knock down your enemies and eliminate them in one hit. Then pass the grass at the bottom to reach a pillar.
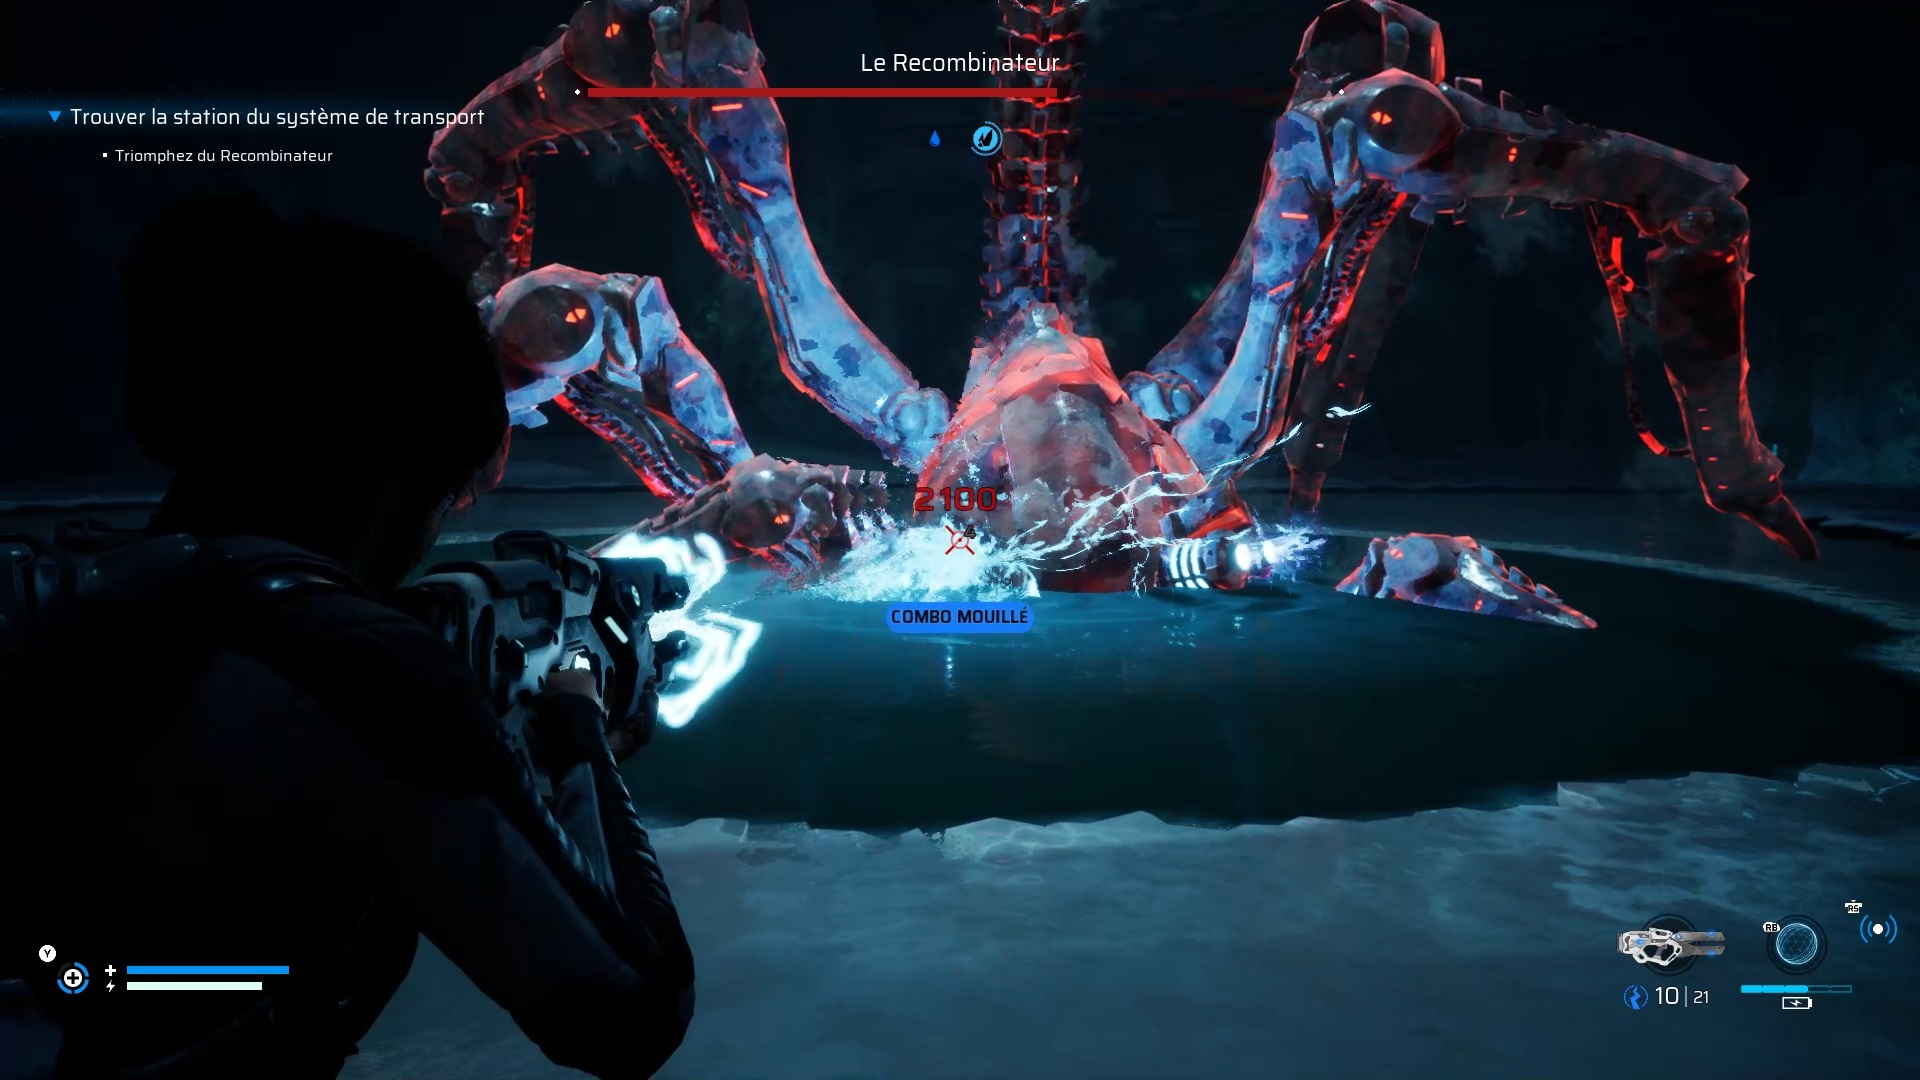
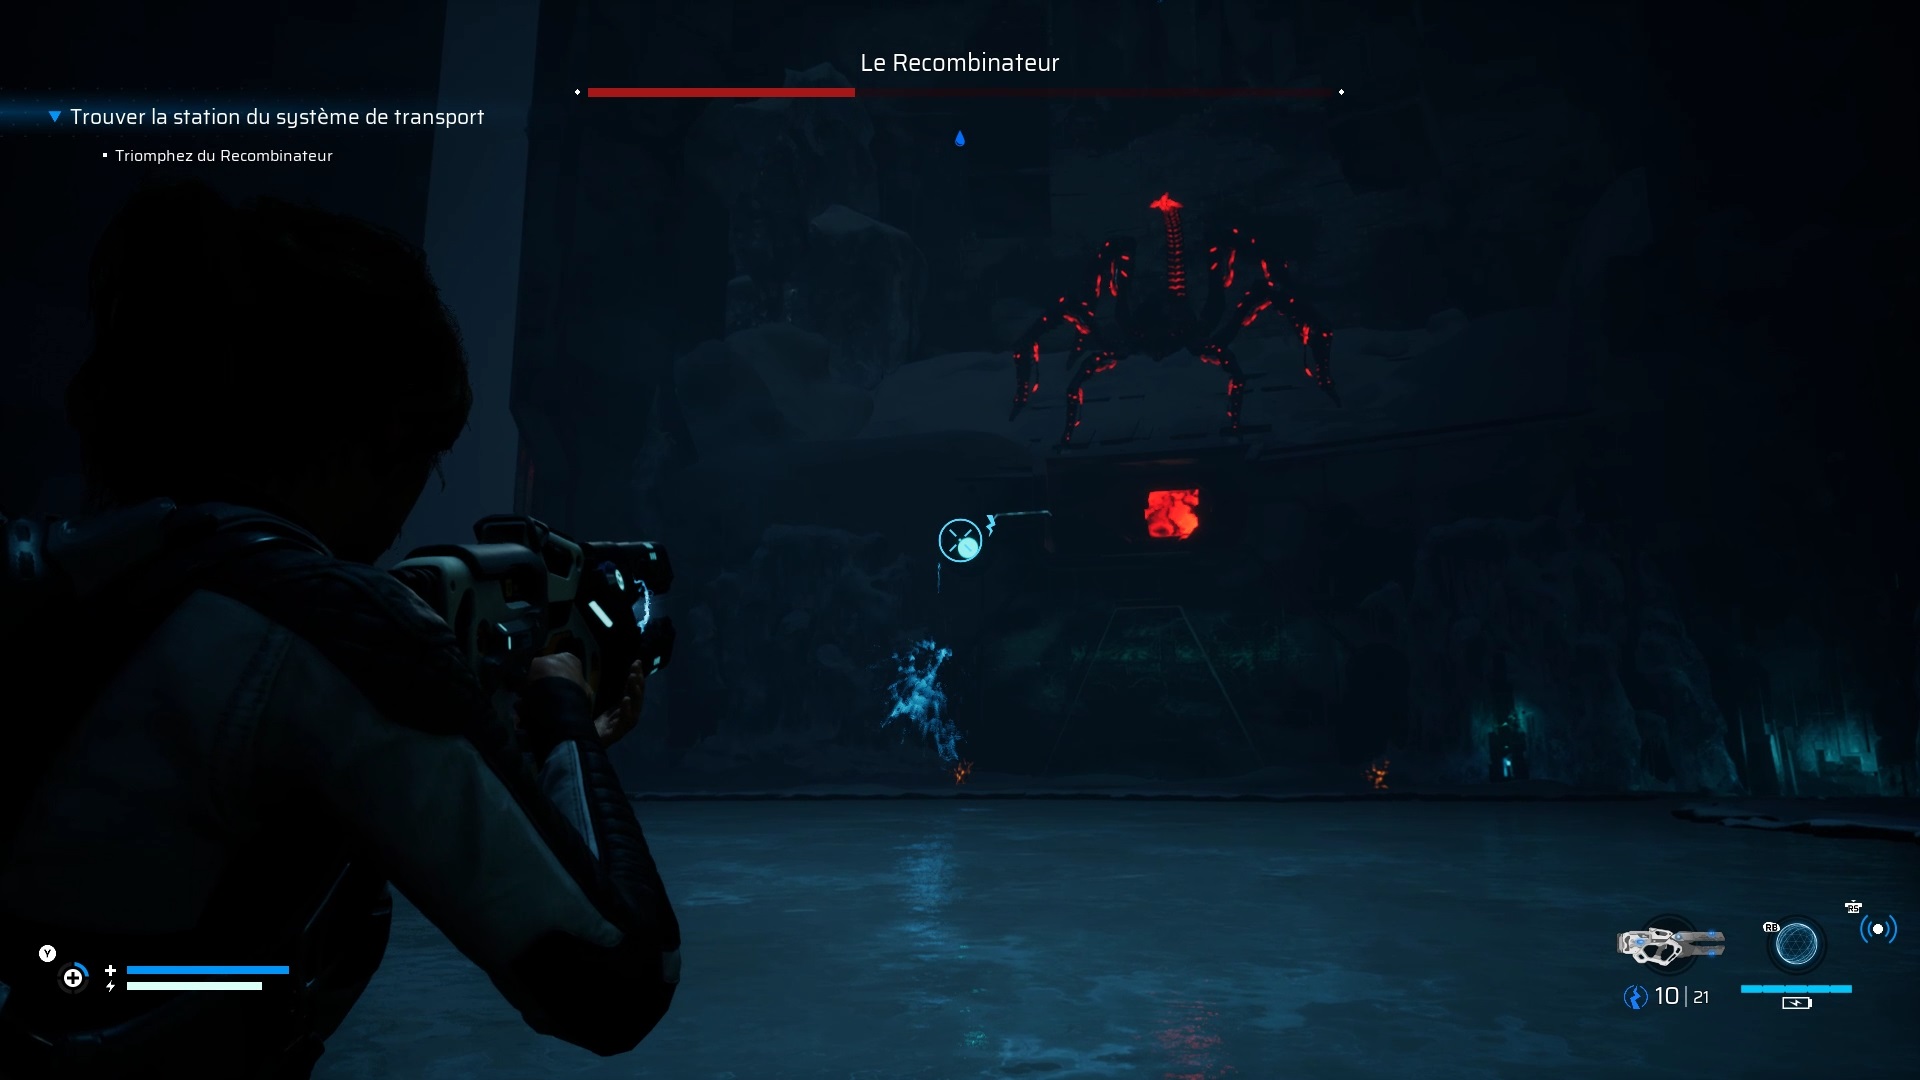
The Recombiner – Part 1

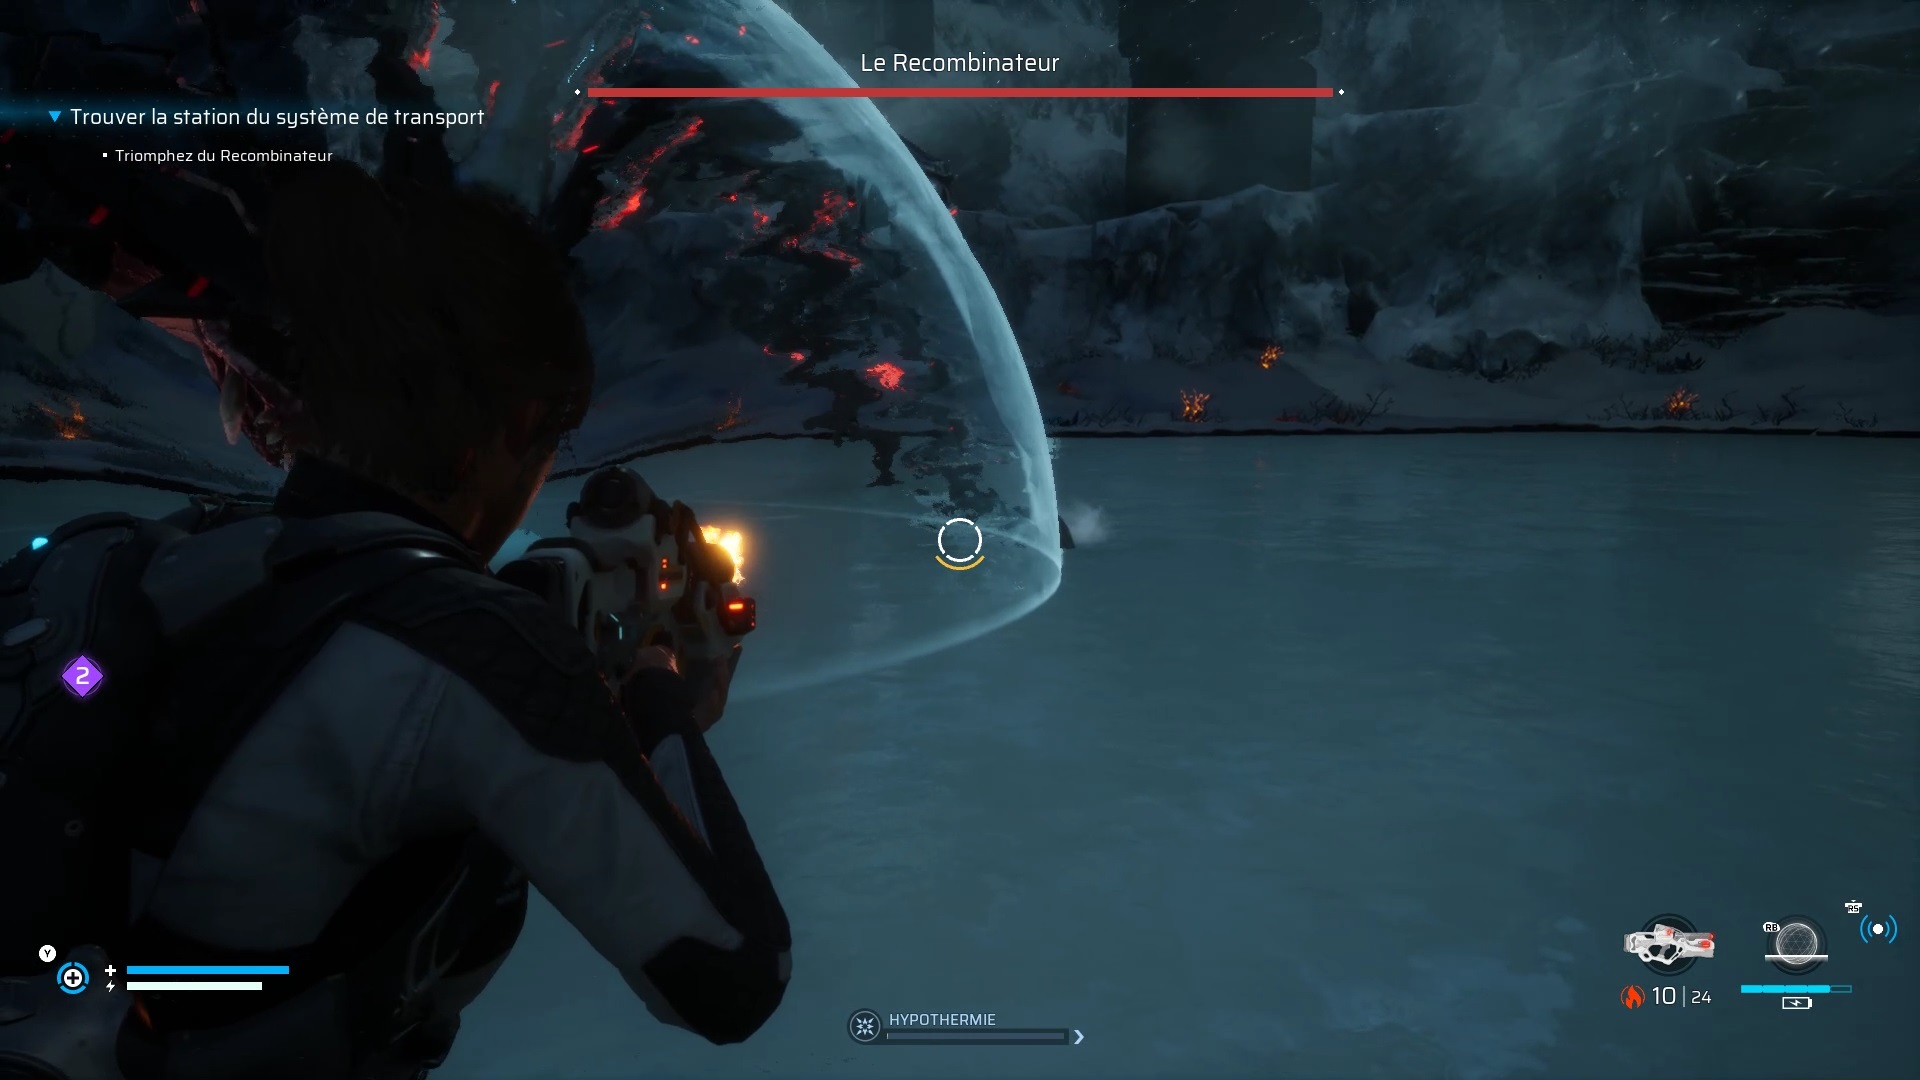
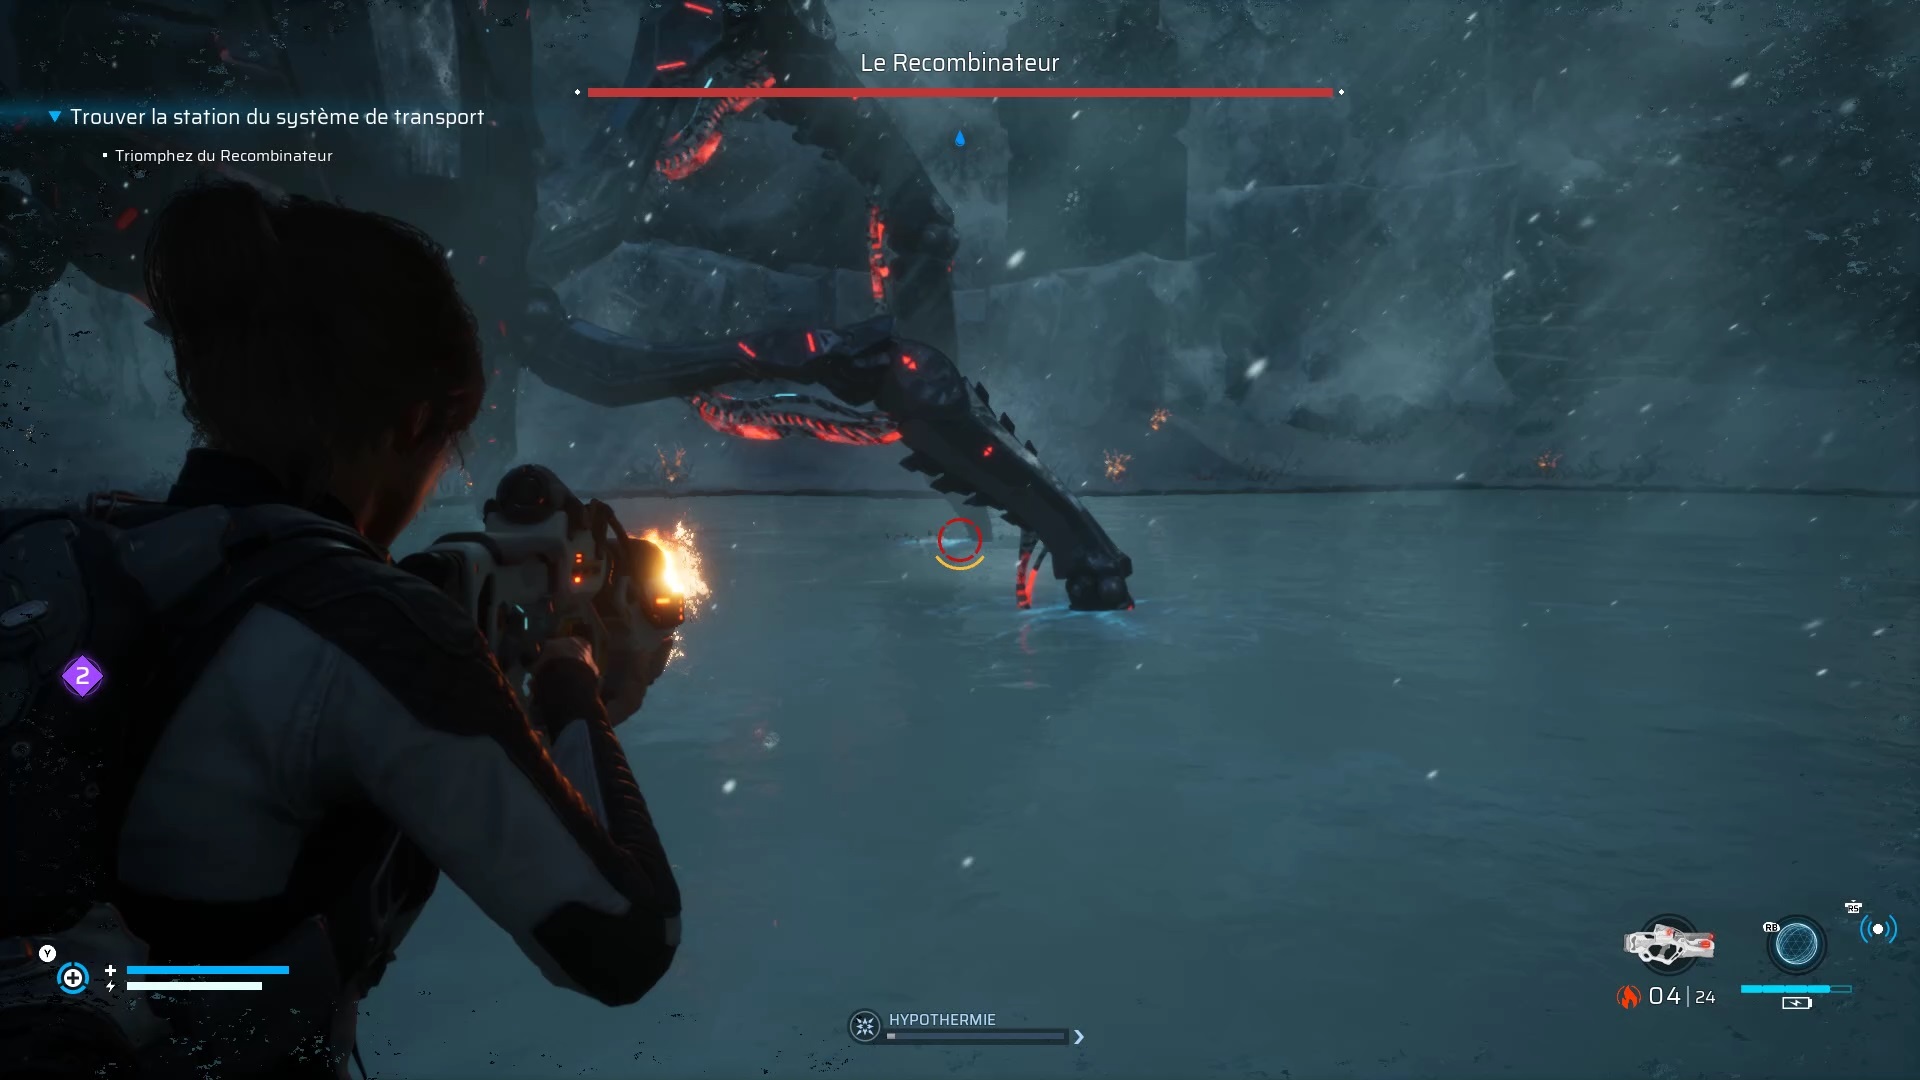
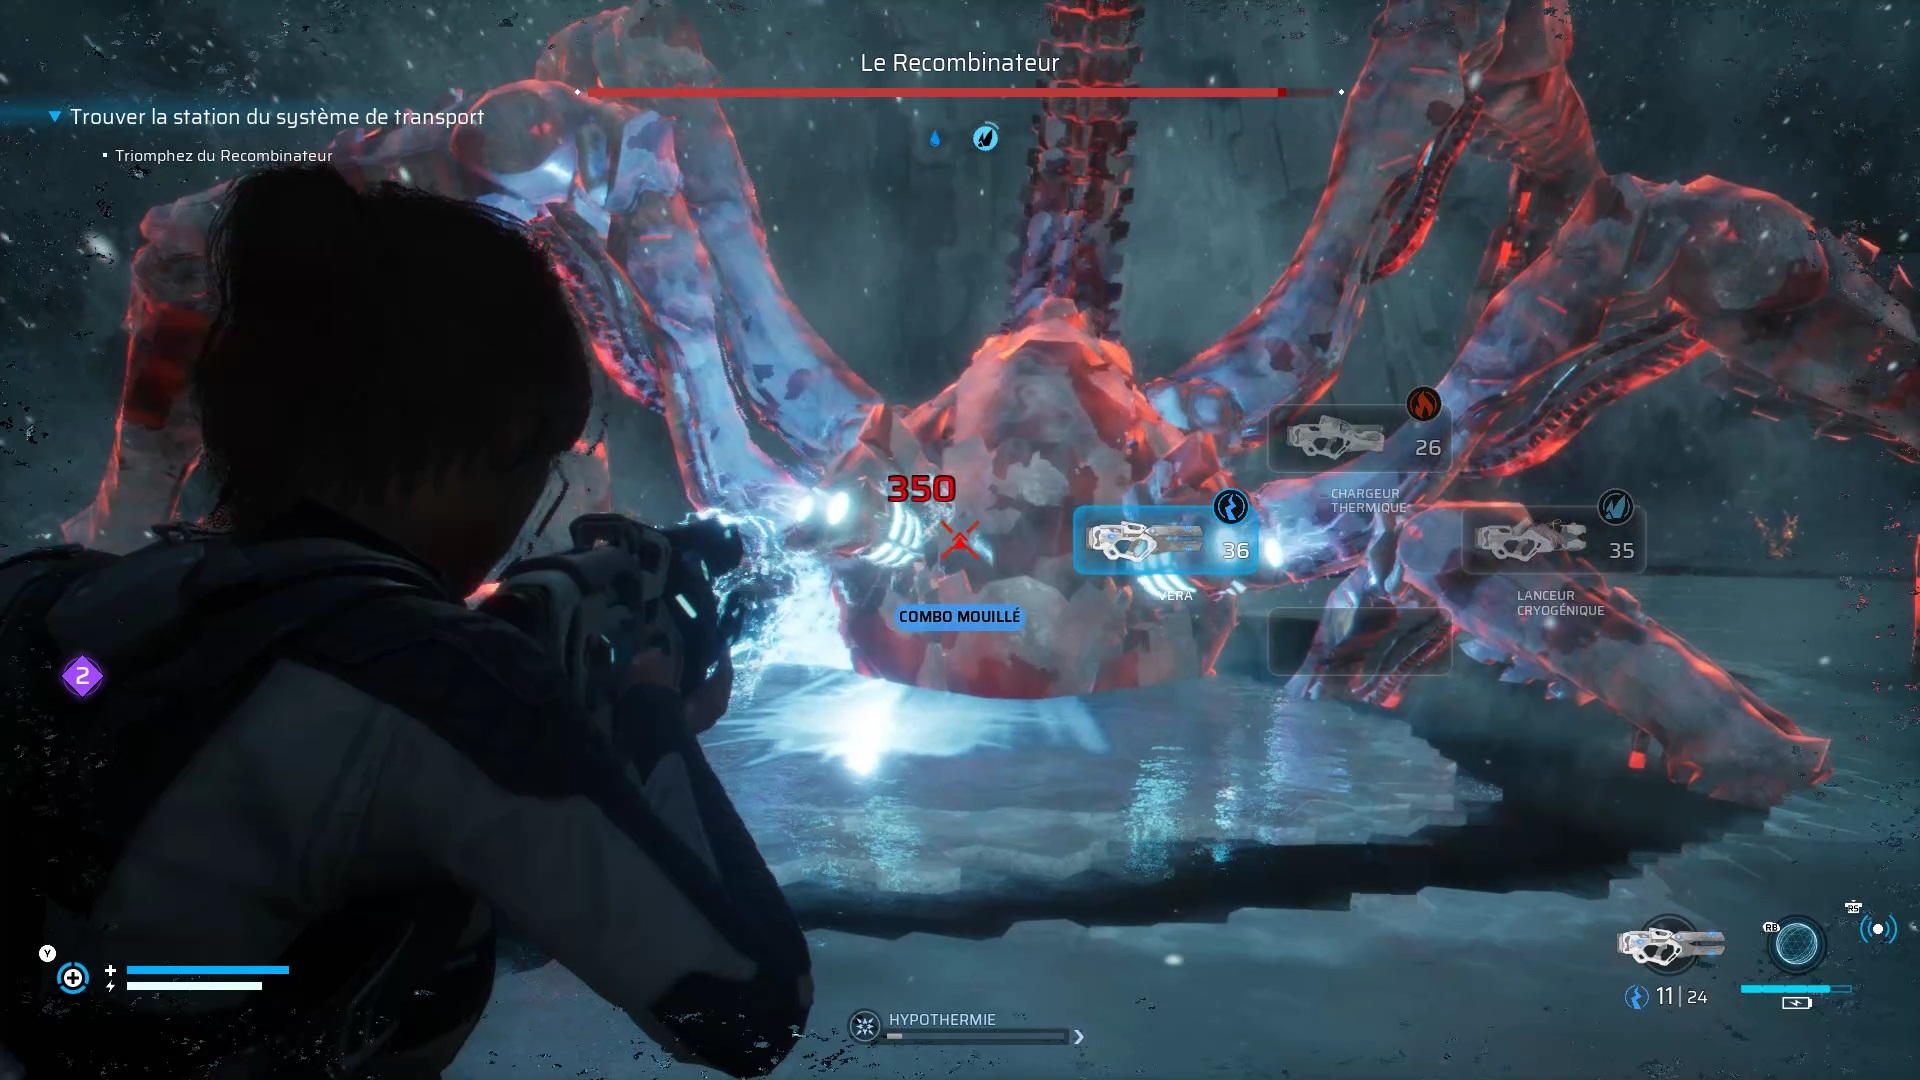
The Recombinator confronts you in a duel. To defeat the robot, wait until it has its feet on the ice. Once on the ice, throw him a gravitational trap to slow his movements. Quickly draw your thermal loader to melt the ice under its legs. Knock down three of its legs to freeze it. Shoot his weak spot in the head to finish it off. Don’t forget to warm up with nearby bushes if needed.
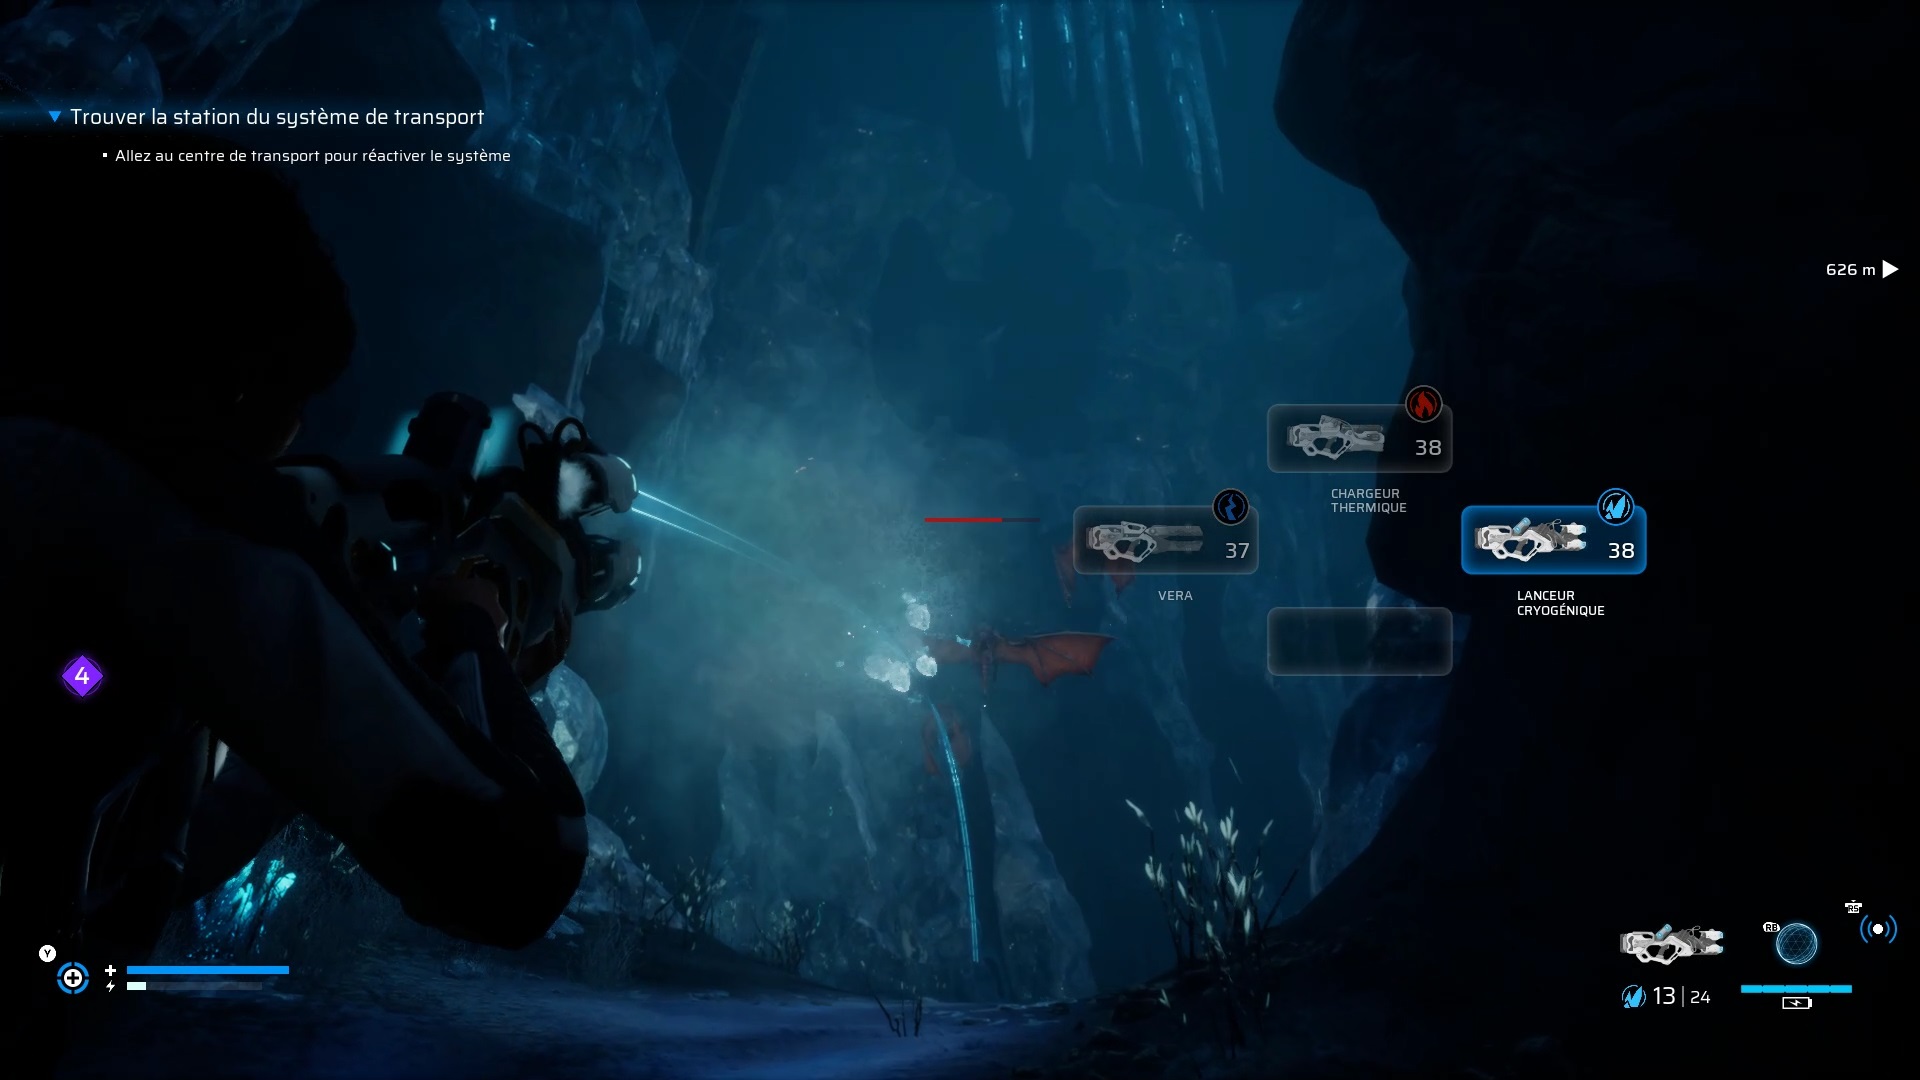
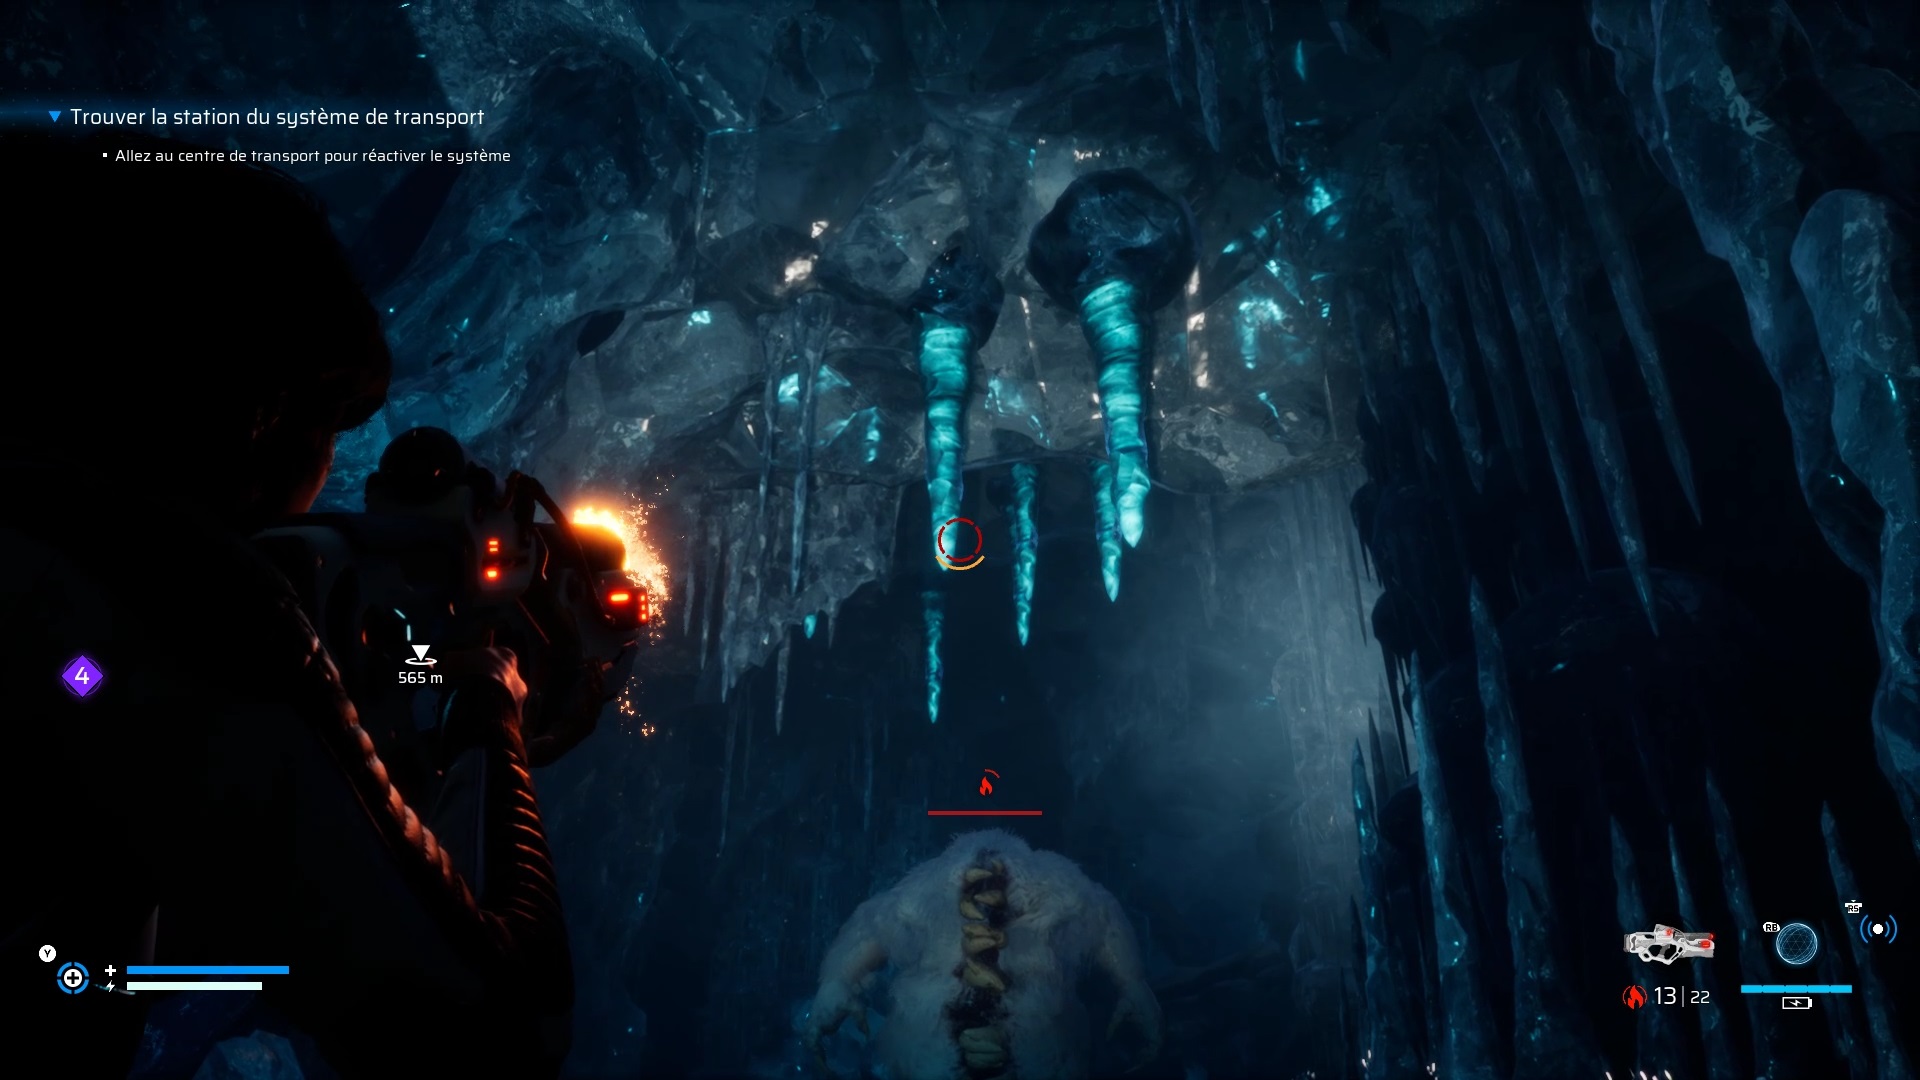
The robot flees into the cave, chase it. In the cave, use the cryo launcher to eliminate the flying enemies. Continue the ascent using the stalactites against the colossus and defeat it in two shots. Pass between the rocks to reach the outside. Go for the climb without worrying about the enemies around.
You fall into a precipice with some enemies. Throw a gravity trap to defeat them one by one. Follow the objective by eliminating the enemies to reach the appearance. Continue your ascent to reach a laser wall and a pillar.

Access is closed. Turn around to find a slope down to the left. This path takes you through a storm. Be sure to warm up well so you don’t freeze. Eliminate the Alluvial Glacial to find a cave. Exit the cave below the rocks and join the arena to confront the Recombinator once again.
The Recombiner – Part 2
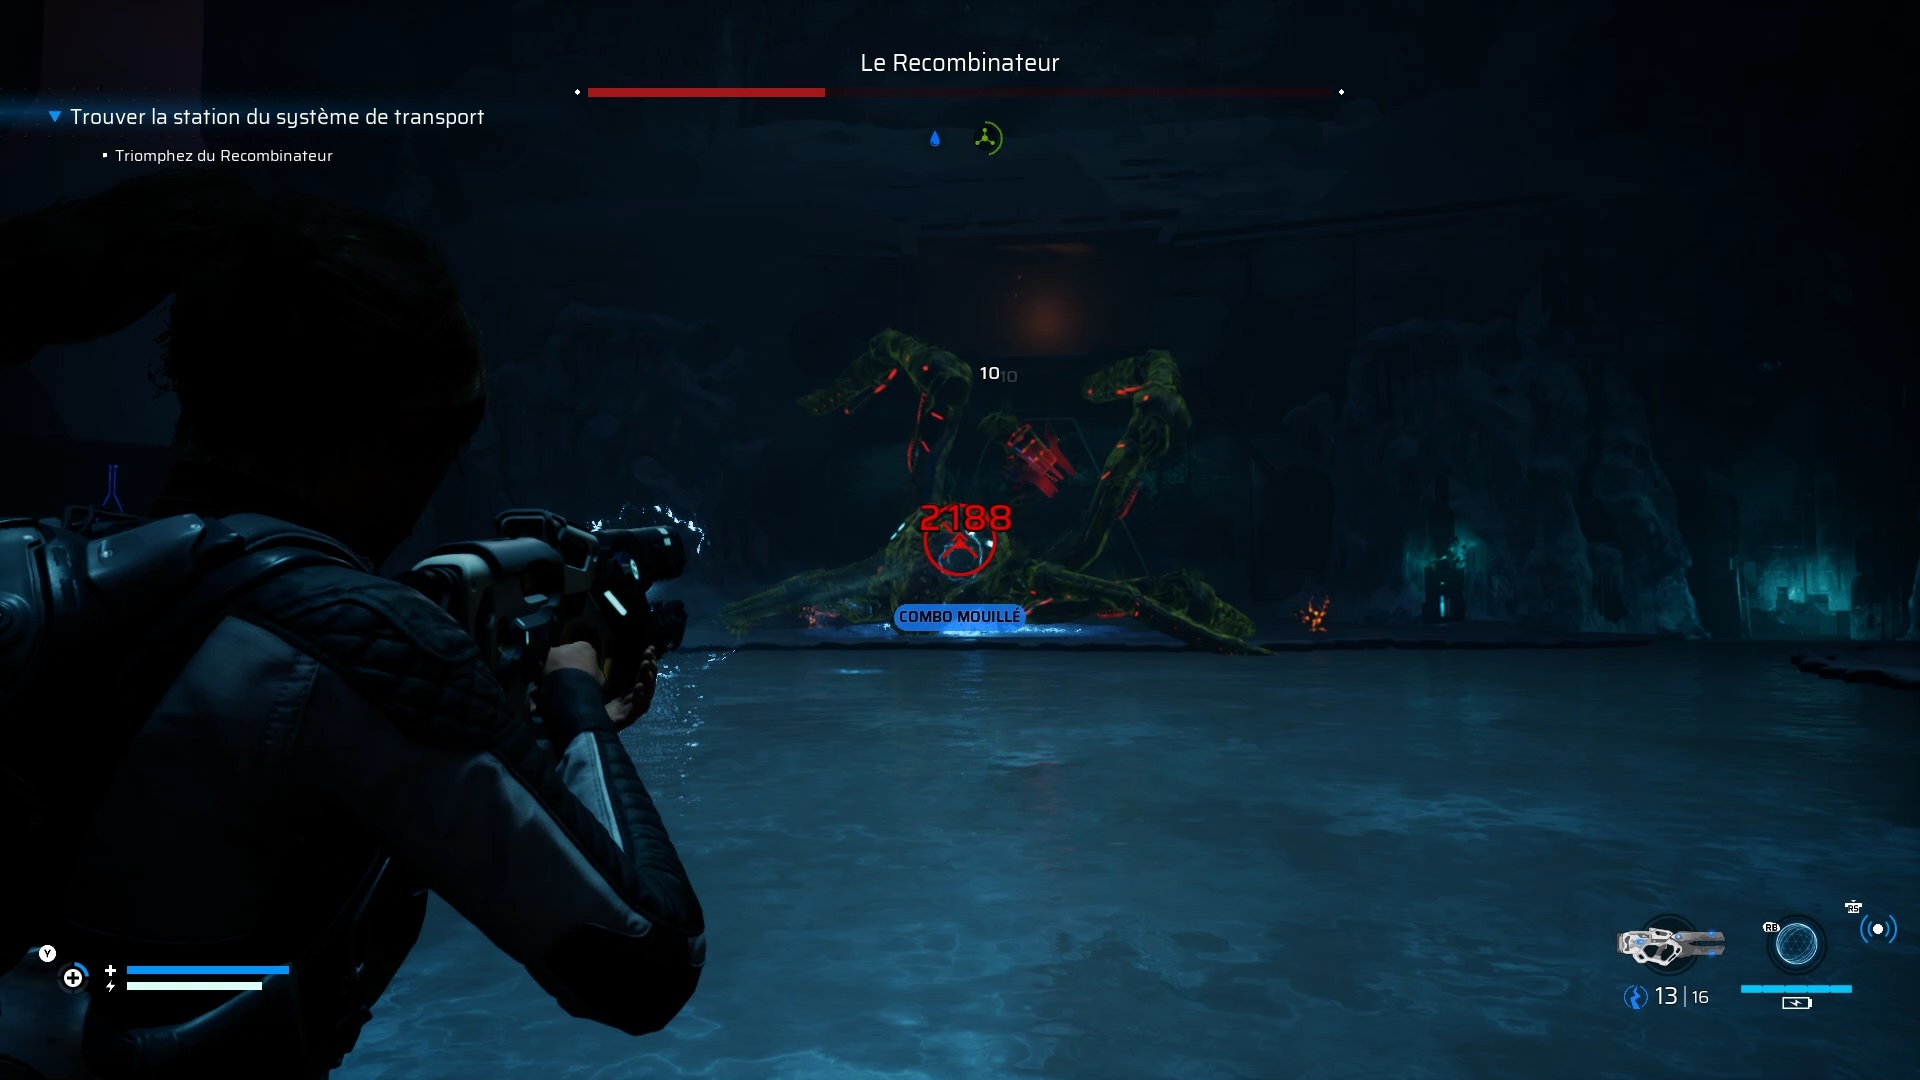
Use the same technique as the previous fight to access the second phase. In the second phase, the Rebominator rises above the arena. Shoot the locks on the reserve below the Recombiner to detonate it. Once on the ground, shoot him. Repeat this technique to defeat him definitively.
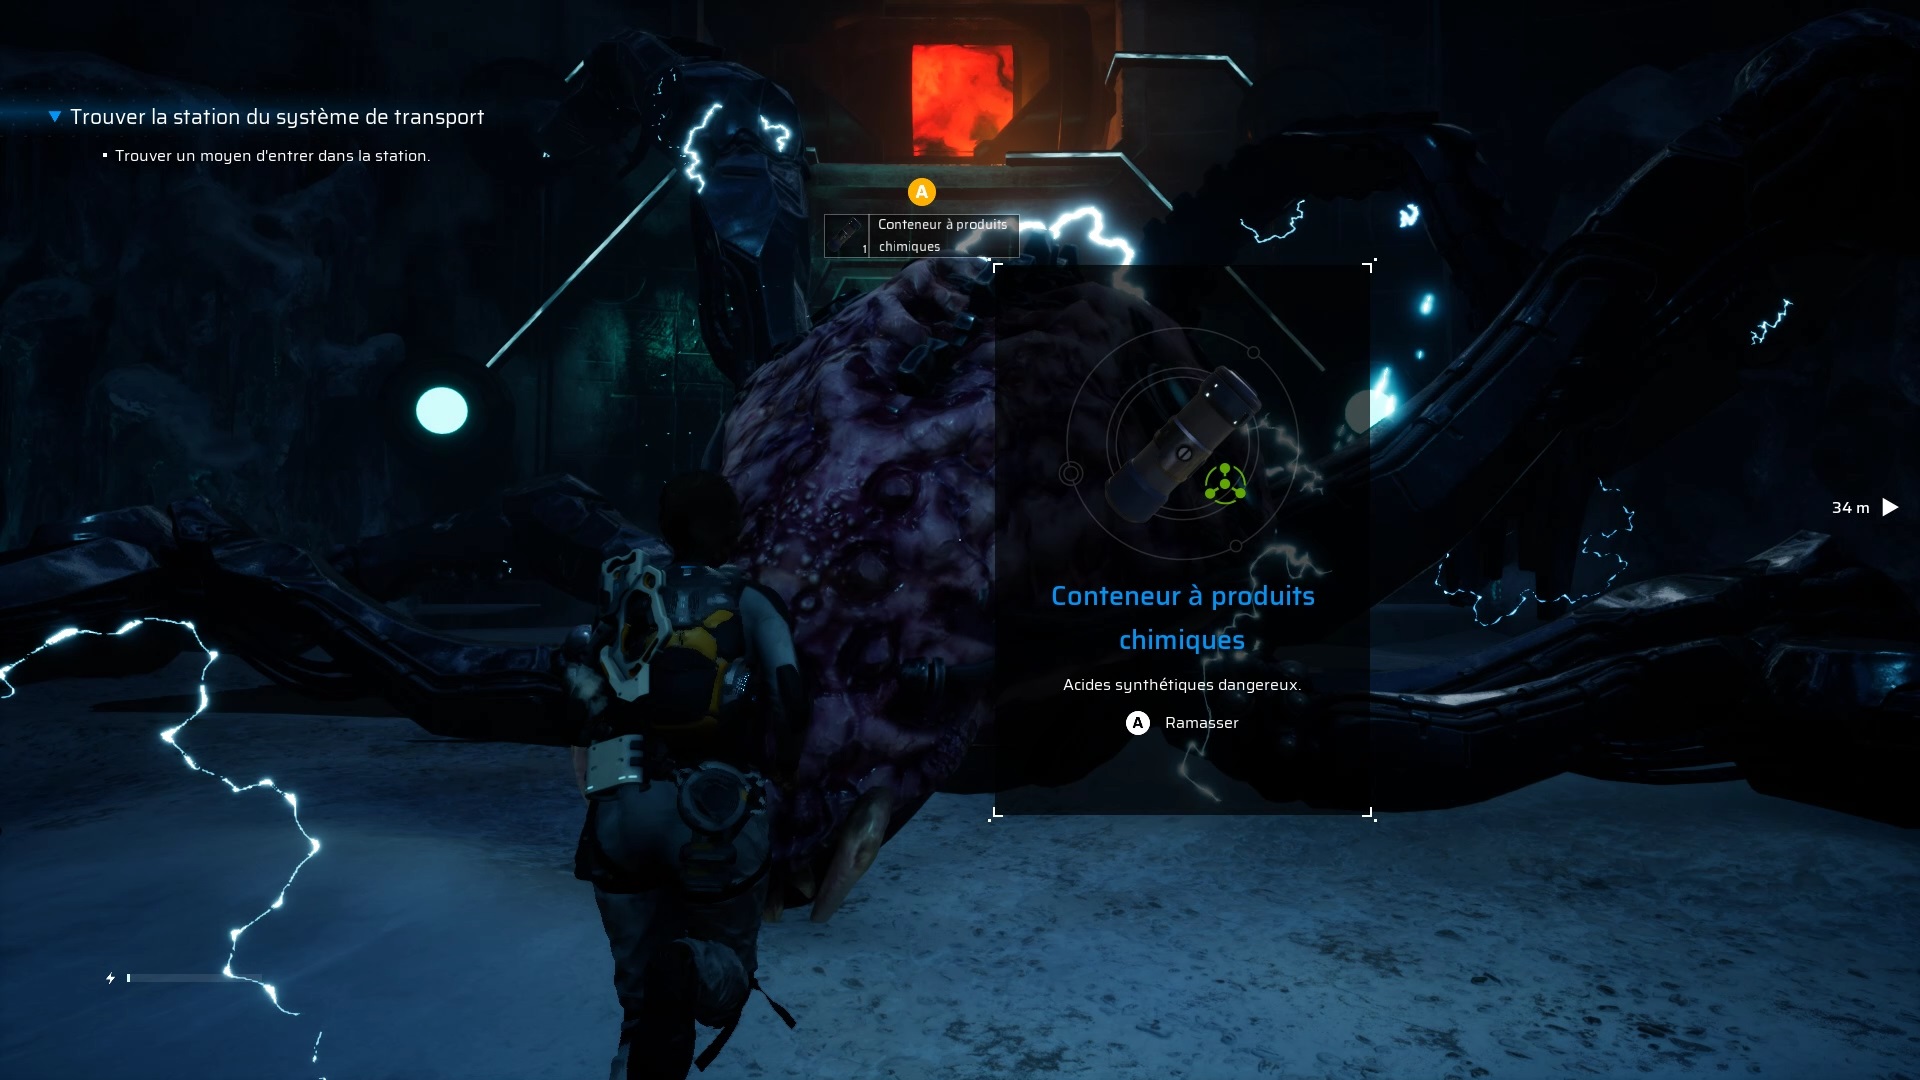
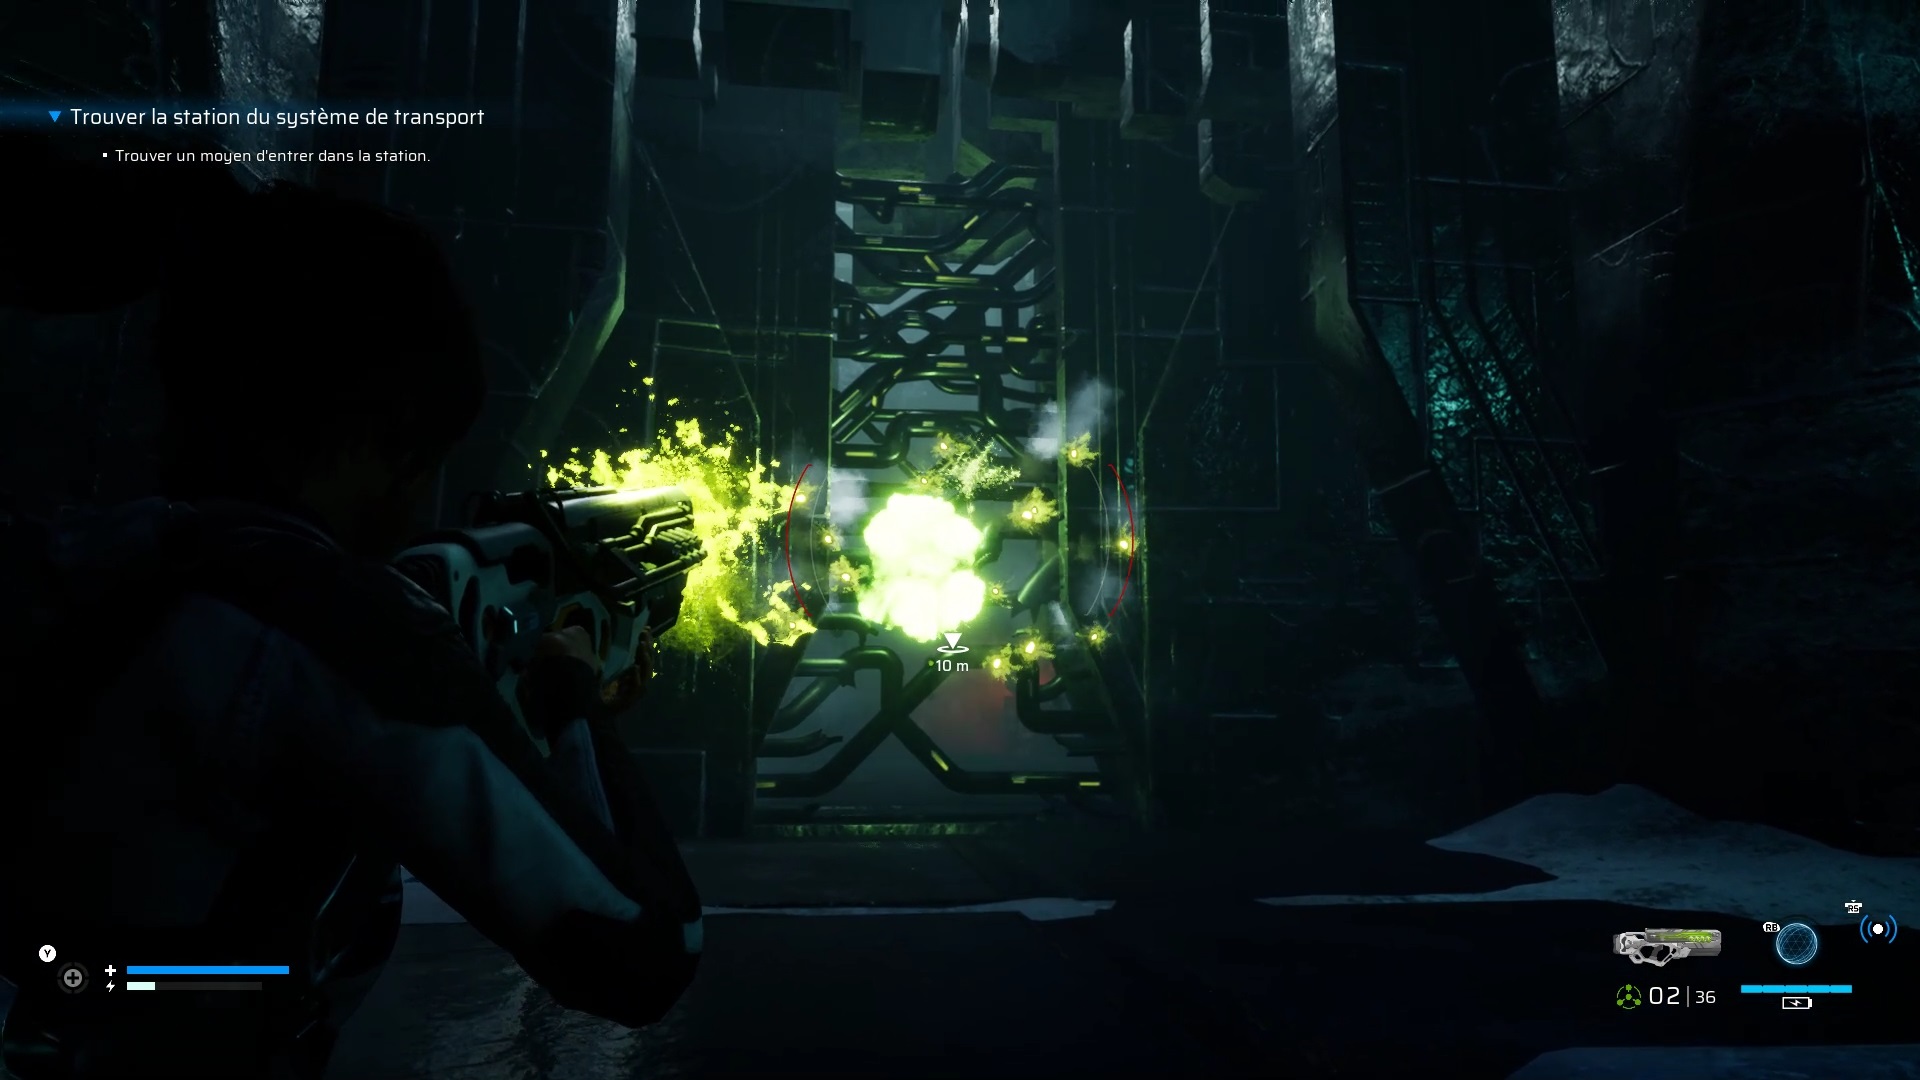
Examine the Recombiner to get a new weapon: the Chemical Atomizer. Use your new weapon to break the arena barrier and get out.
Chapter 4

Arrive in the base, sink inside to mount an elevator. Upstairs, use the Vera weapon to divert energy to the red door to unlock it. Go through the door to reach an altar. Remove the artifact from the altar and place it in the one in the nearby elevator. Use the elevator to go down and find a new pillar on the other side of the bridge.
Go to the end of the platform to find a new altar. Remove the artifact to power the elevator opposite. Climb the elevator and cross the bridge to meet a new type of enemy: The drone. Use the Chemical Atomizer to defeat him quickly. Then go to the second elevator.
Upstairs, go down the hall to find some Arachnid Drones. Use the Atomizer again to defeat them. Continue to reach a turret. Destroy it like the others with the Atomizer. Once free, cross the bridge to remove the artifact. Place it near the elevator and then shoot high to power the elevator.

Take the elevator down and go to the end of the platform to find another artifact near an elevator. Once the artifact in hand, place it on the altar near the bridge to cross to the other side. Collect a second artifact opposite. Retrace your steps and remove the artifact from the bridge. Aim to shoot the mechanism high up and power up another lift. Go down the elevator with the two artifacts.
Place the two artifacts to power the elevator in the hallway. Take the elevator and activate the system controls. Then board to reach the main installation.

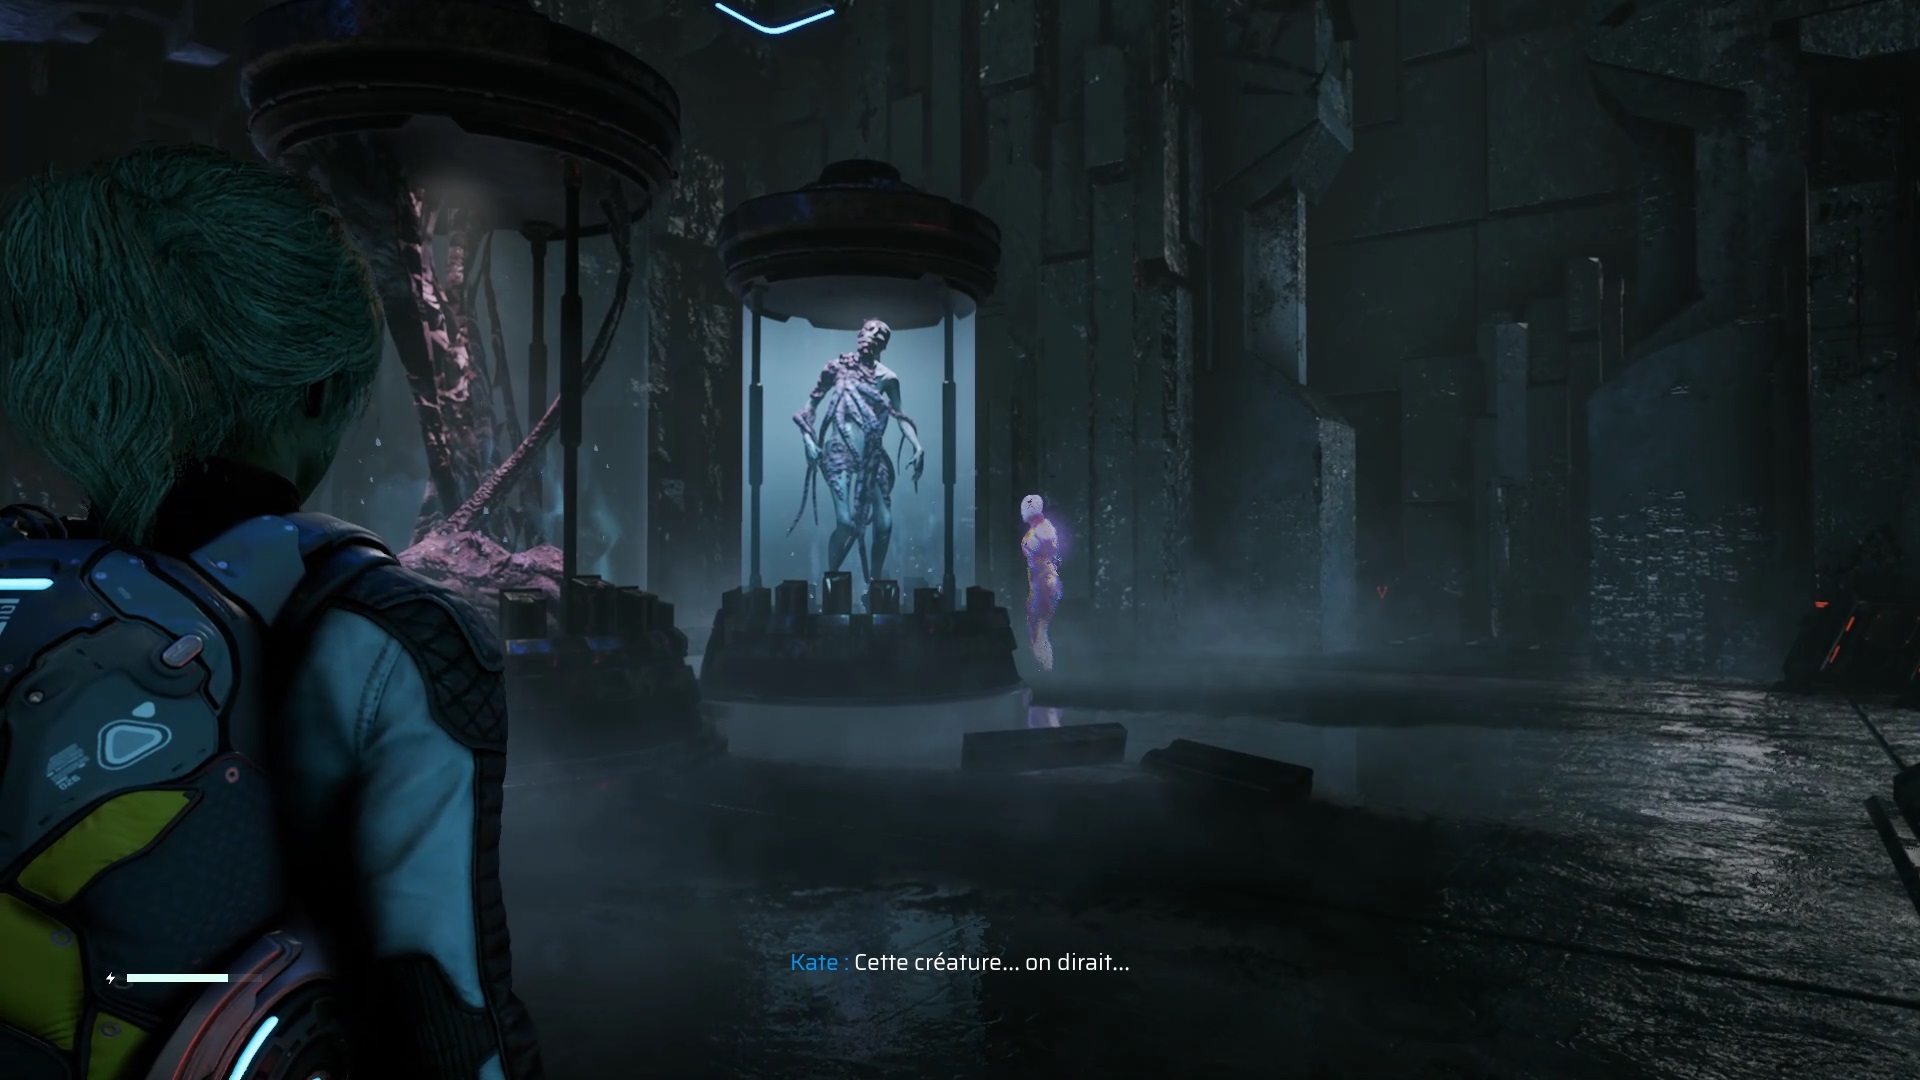
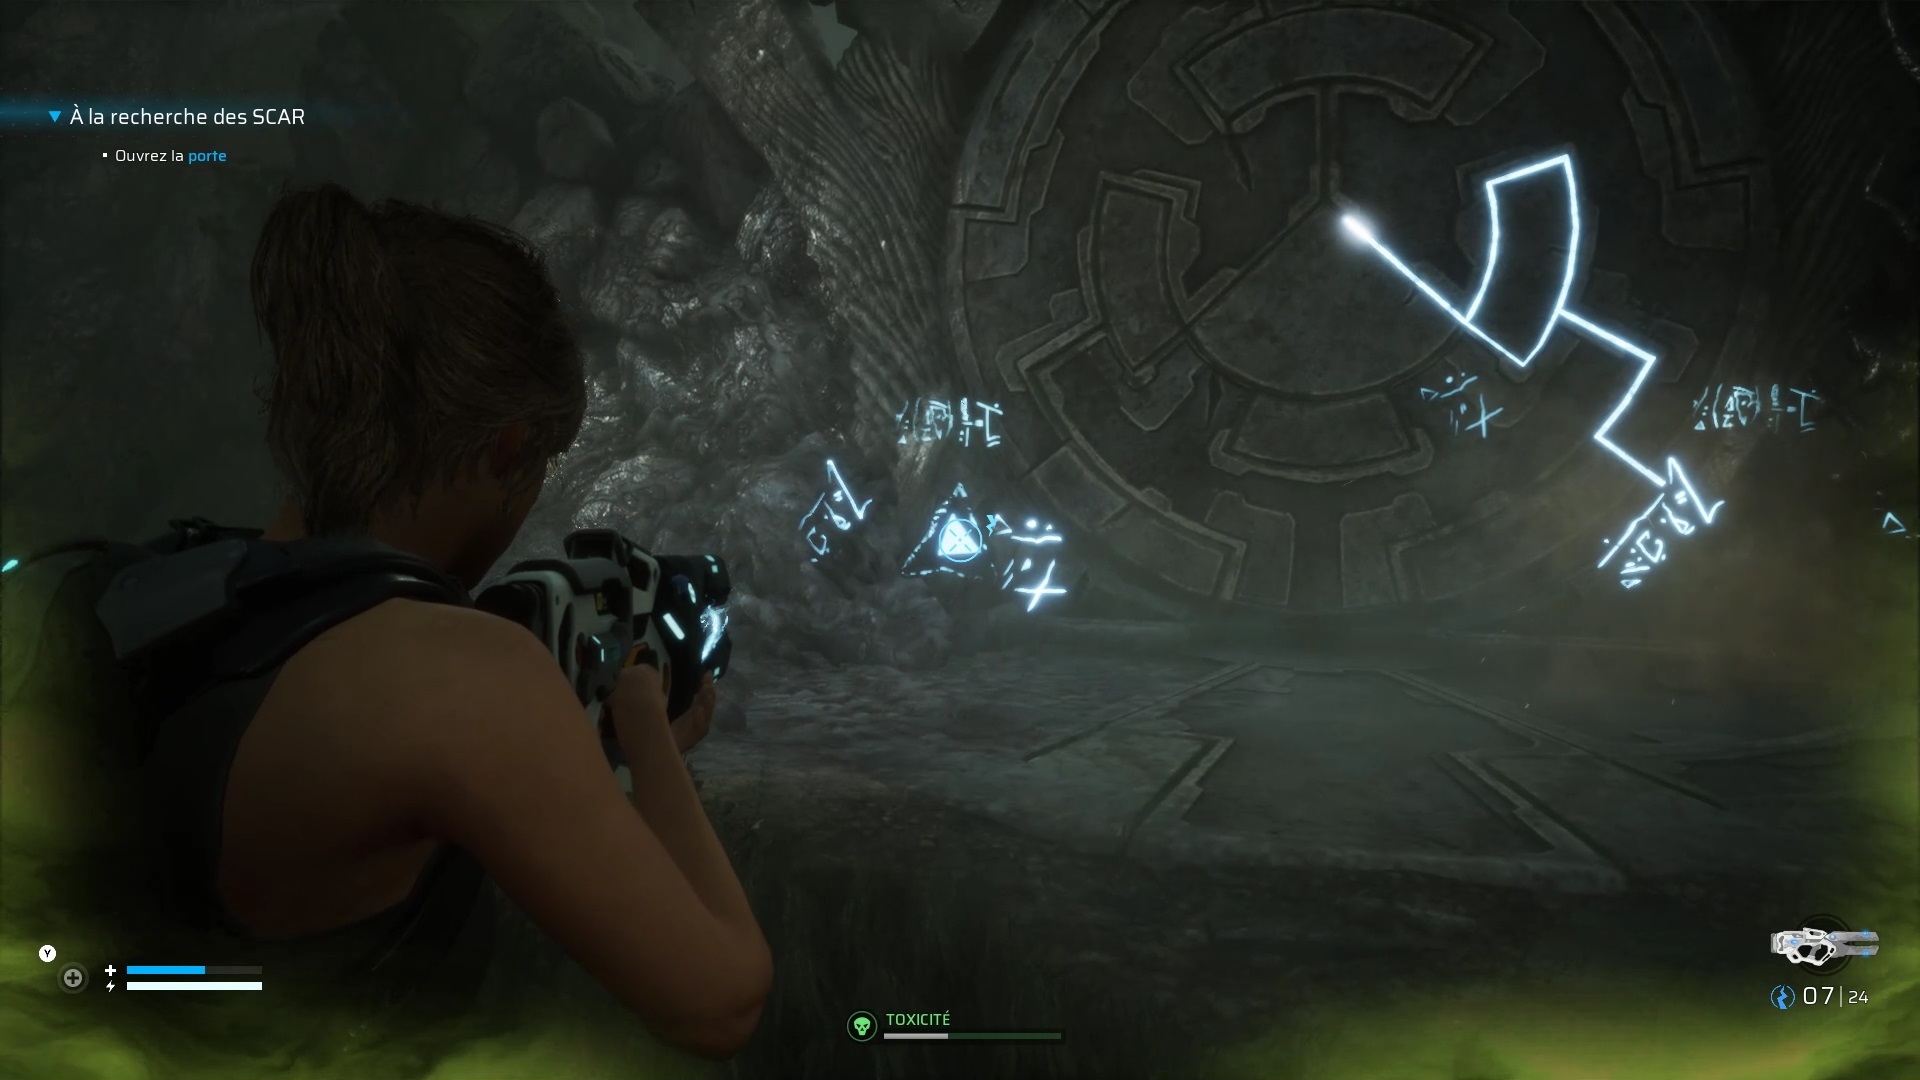
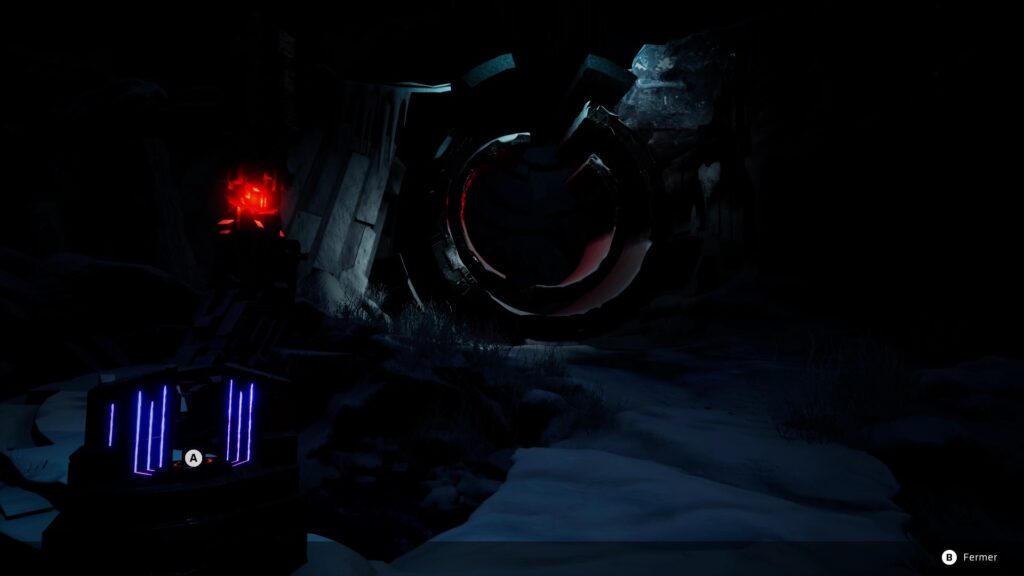
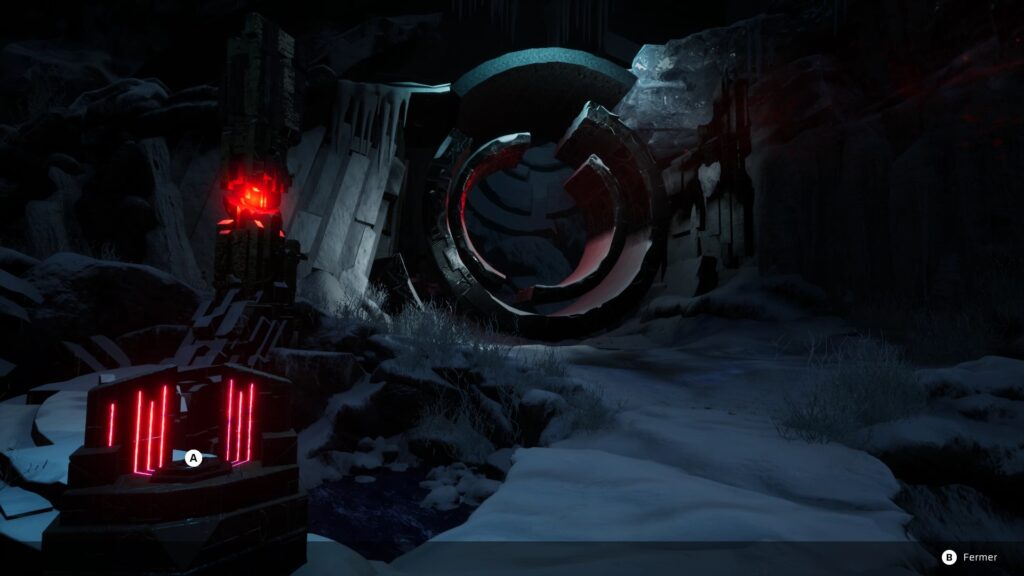
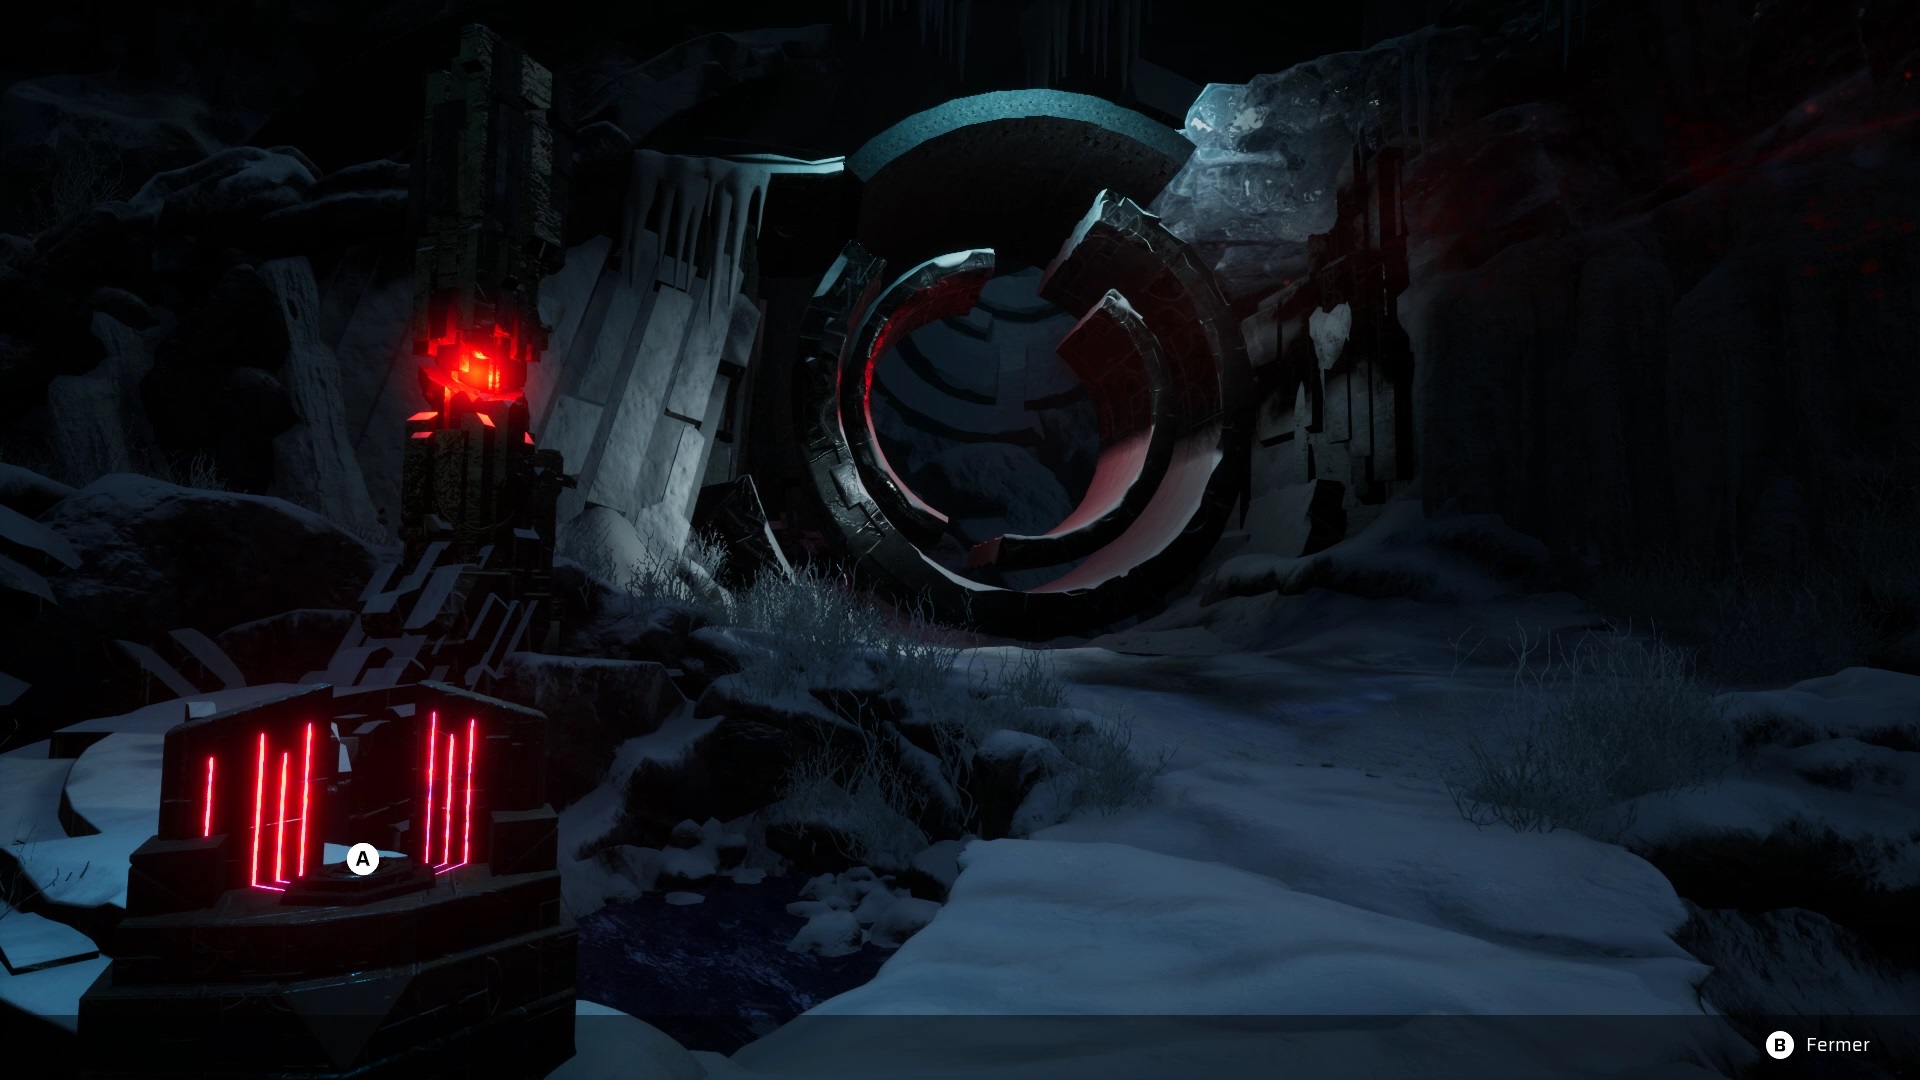
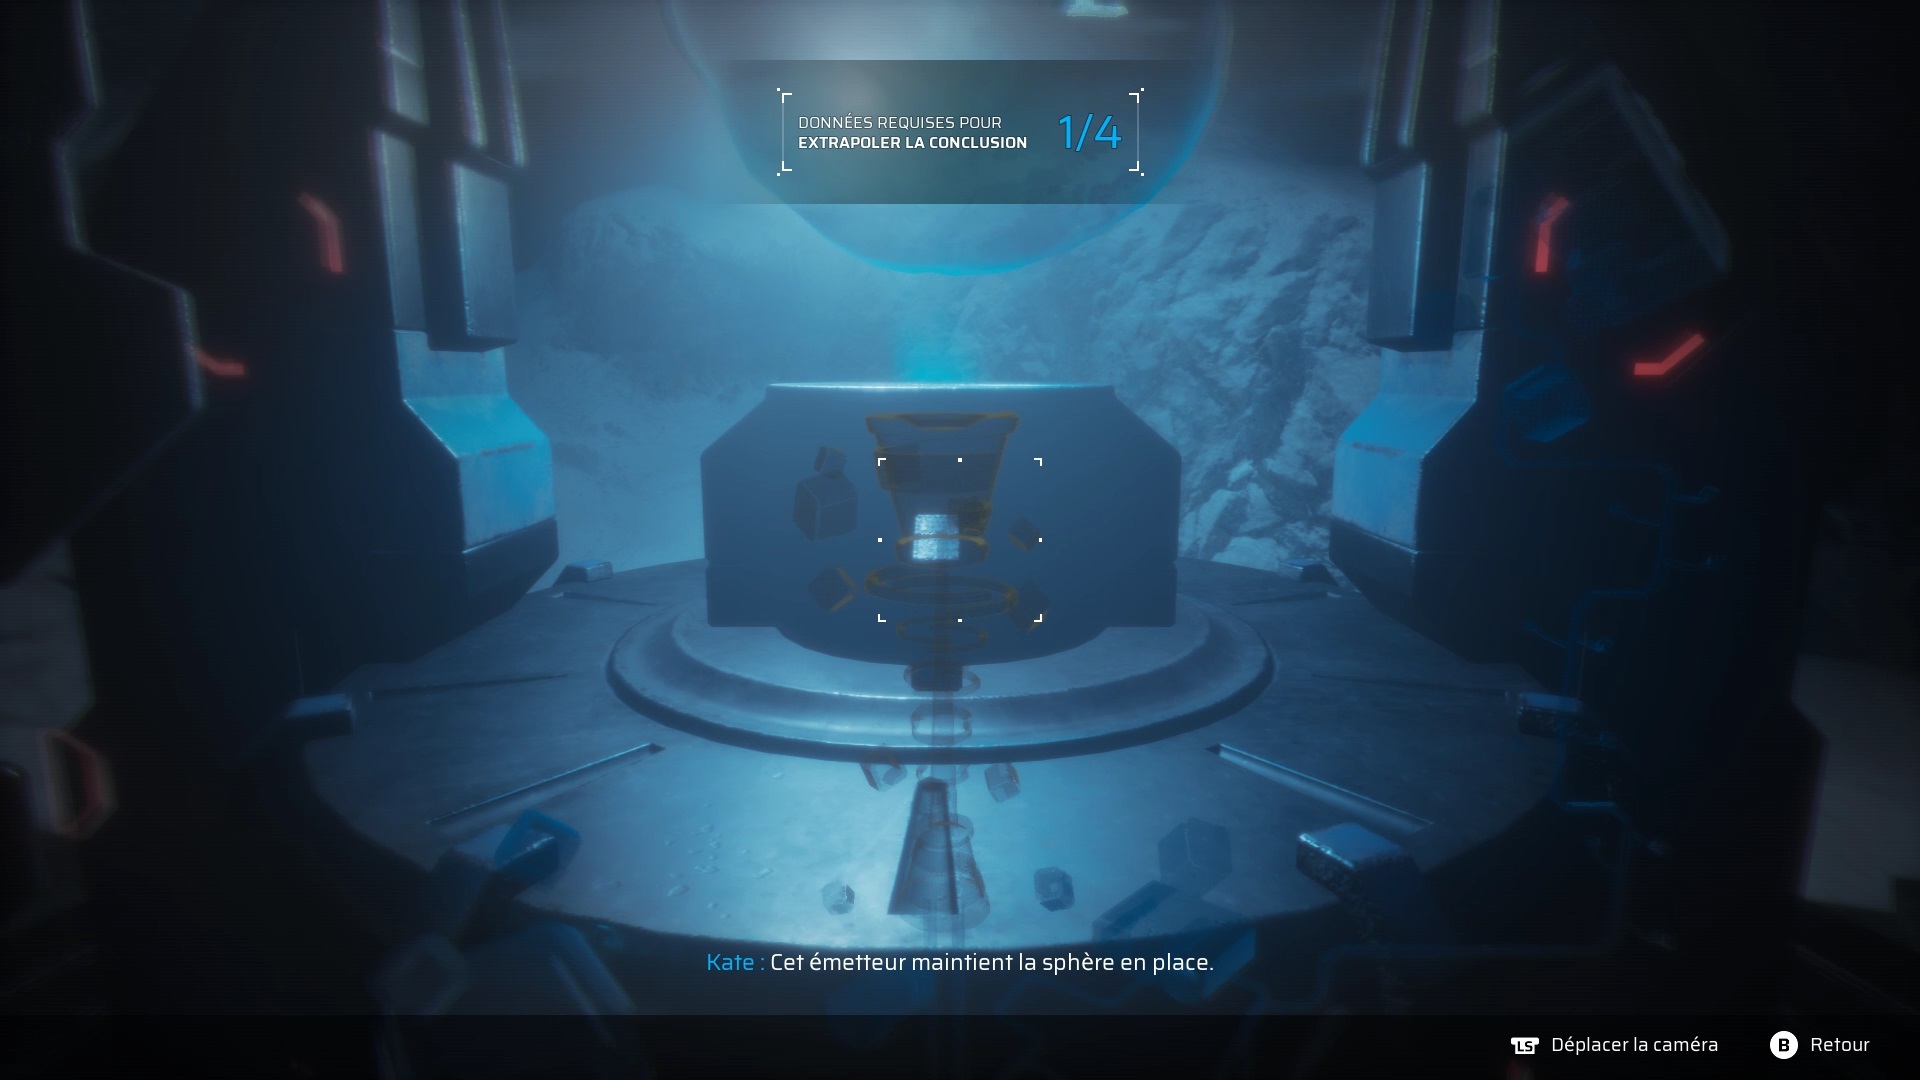
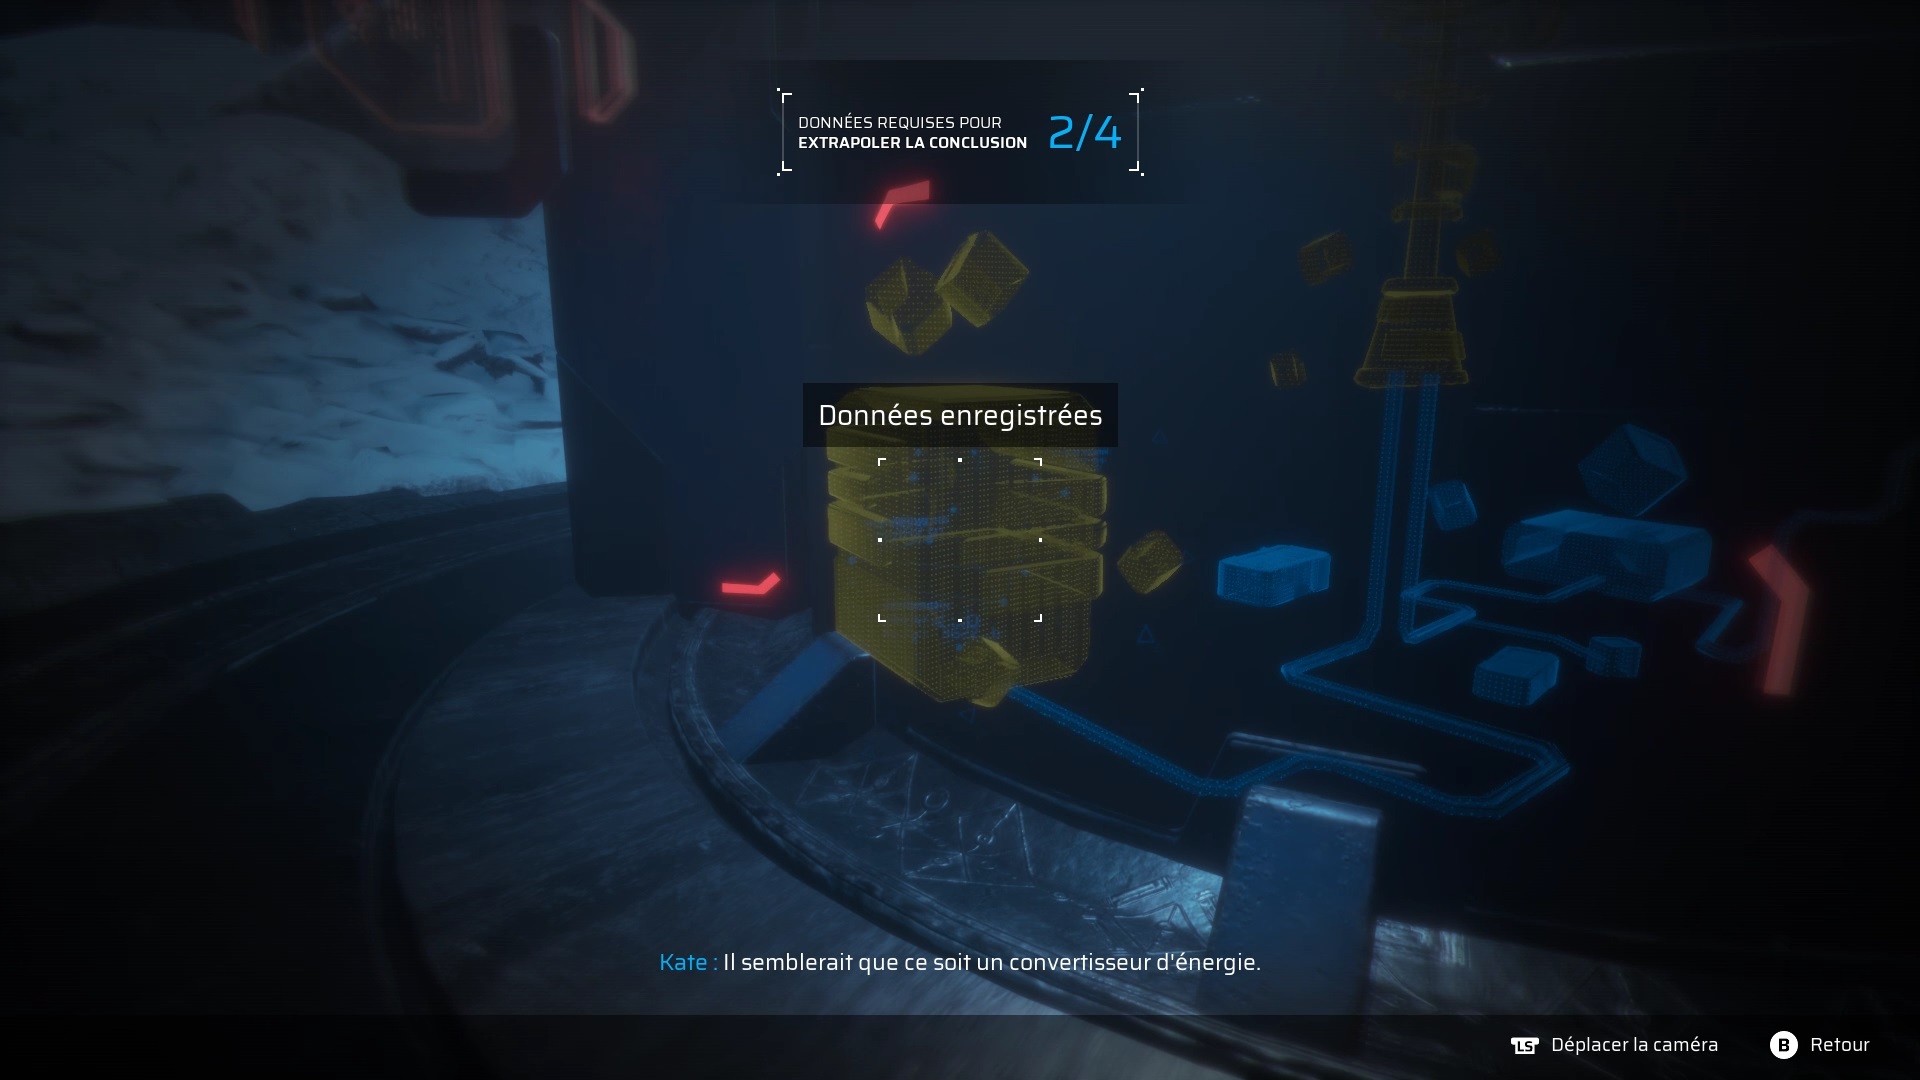
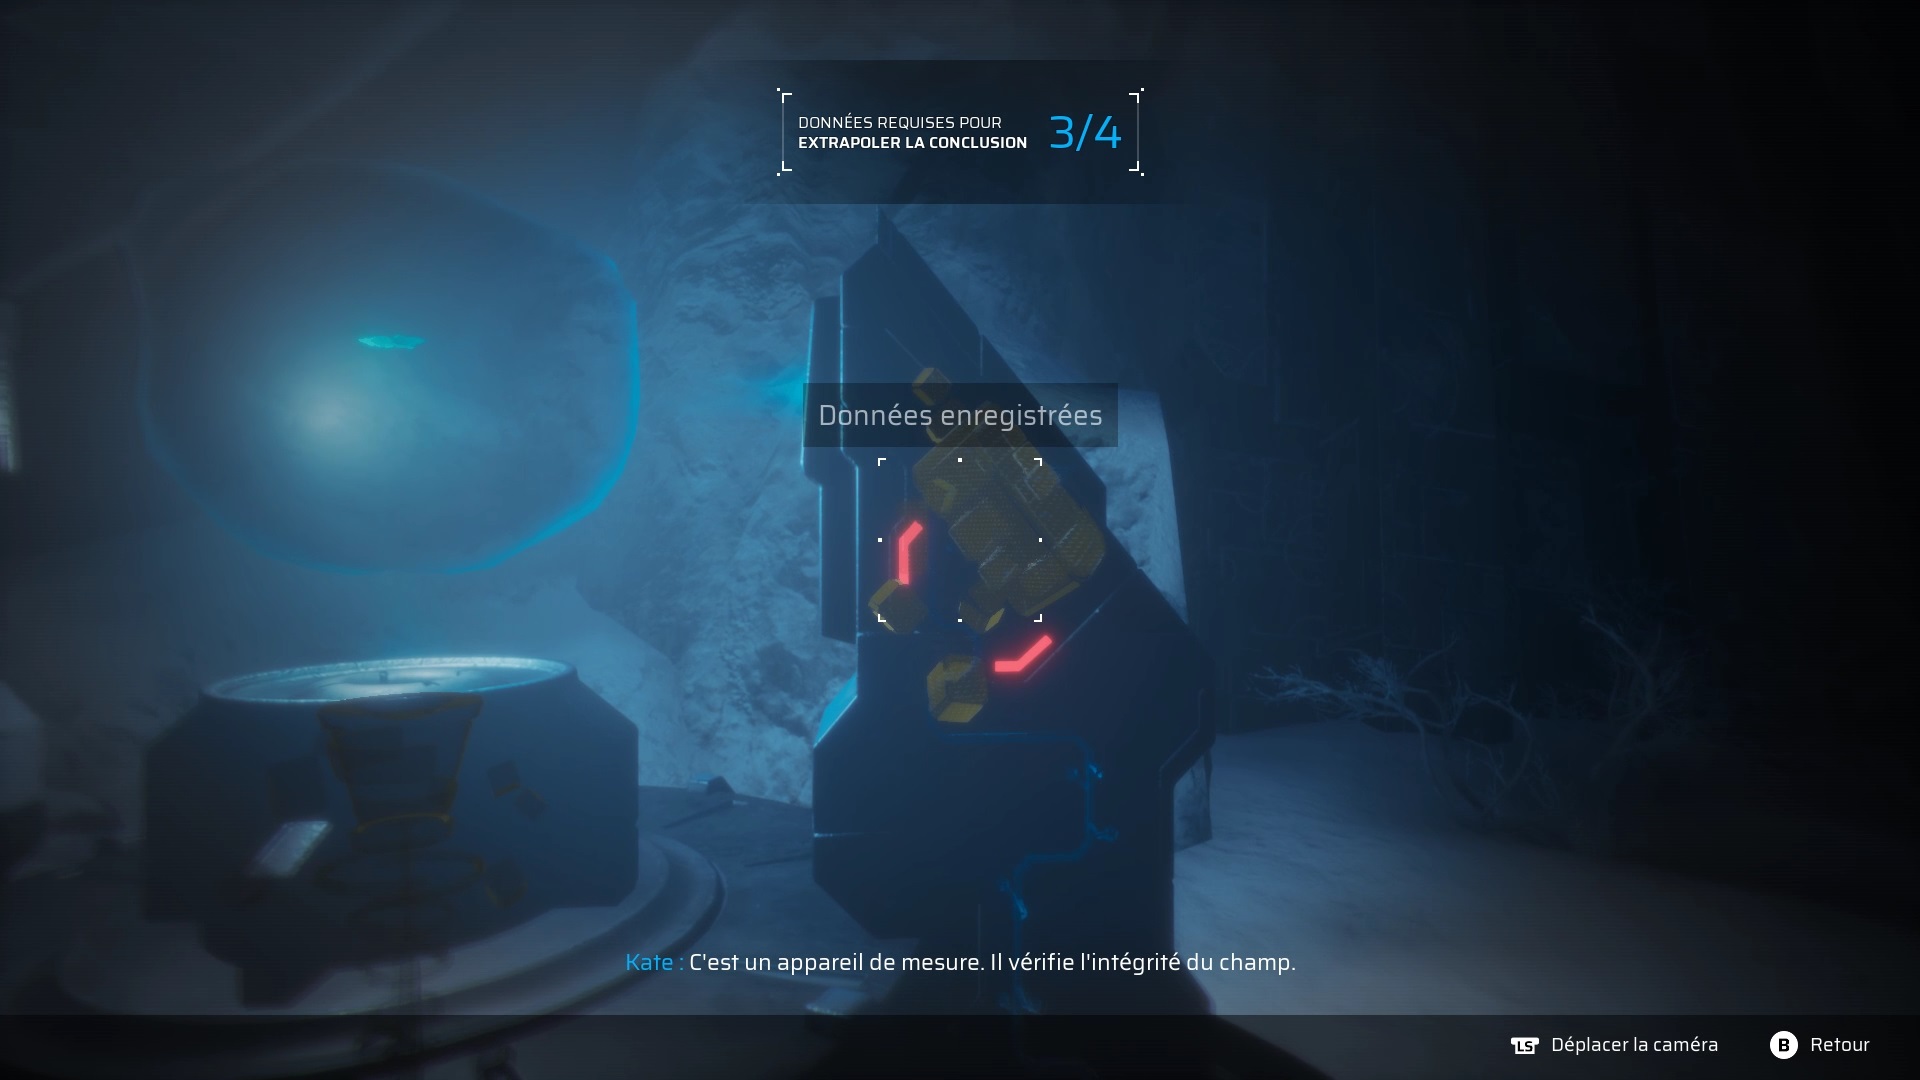
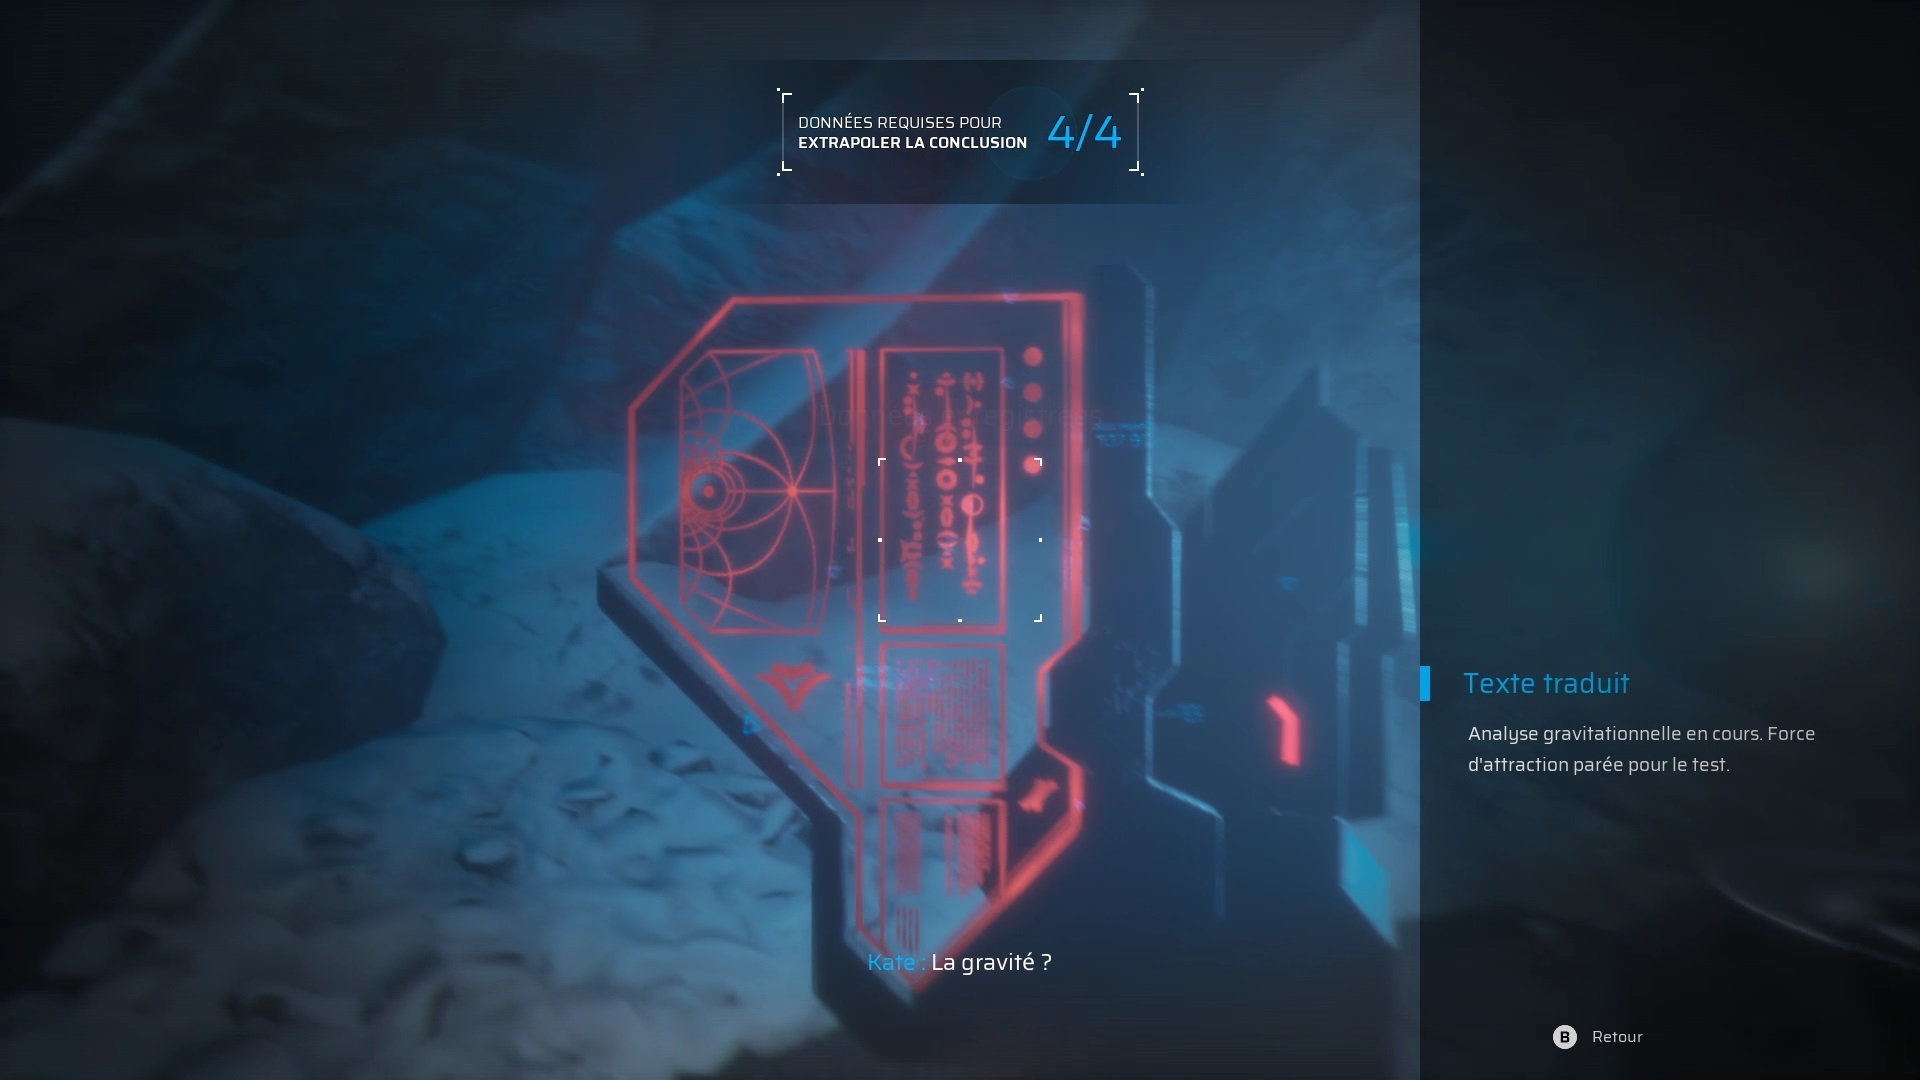
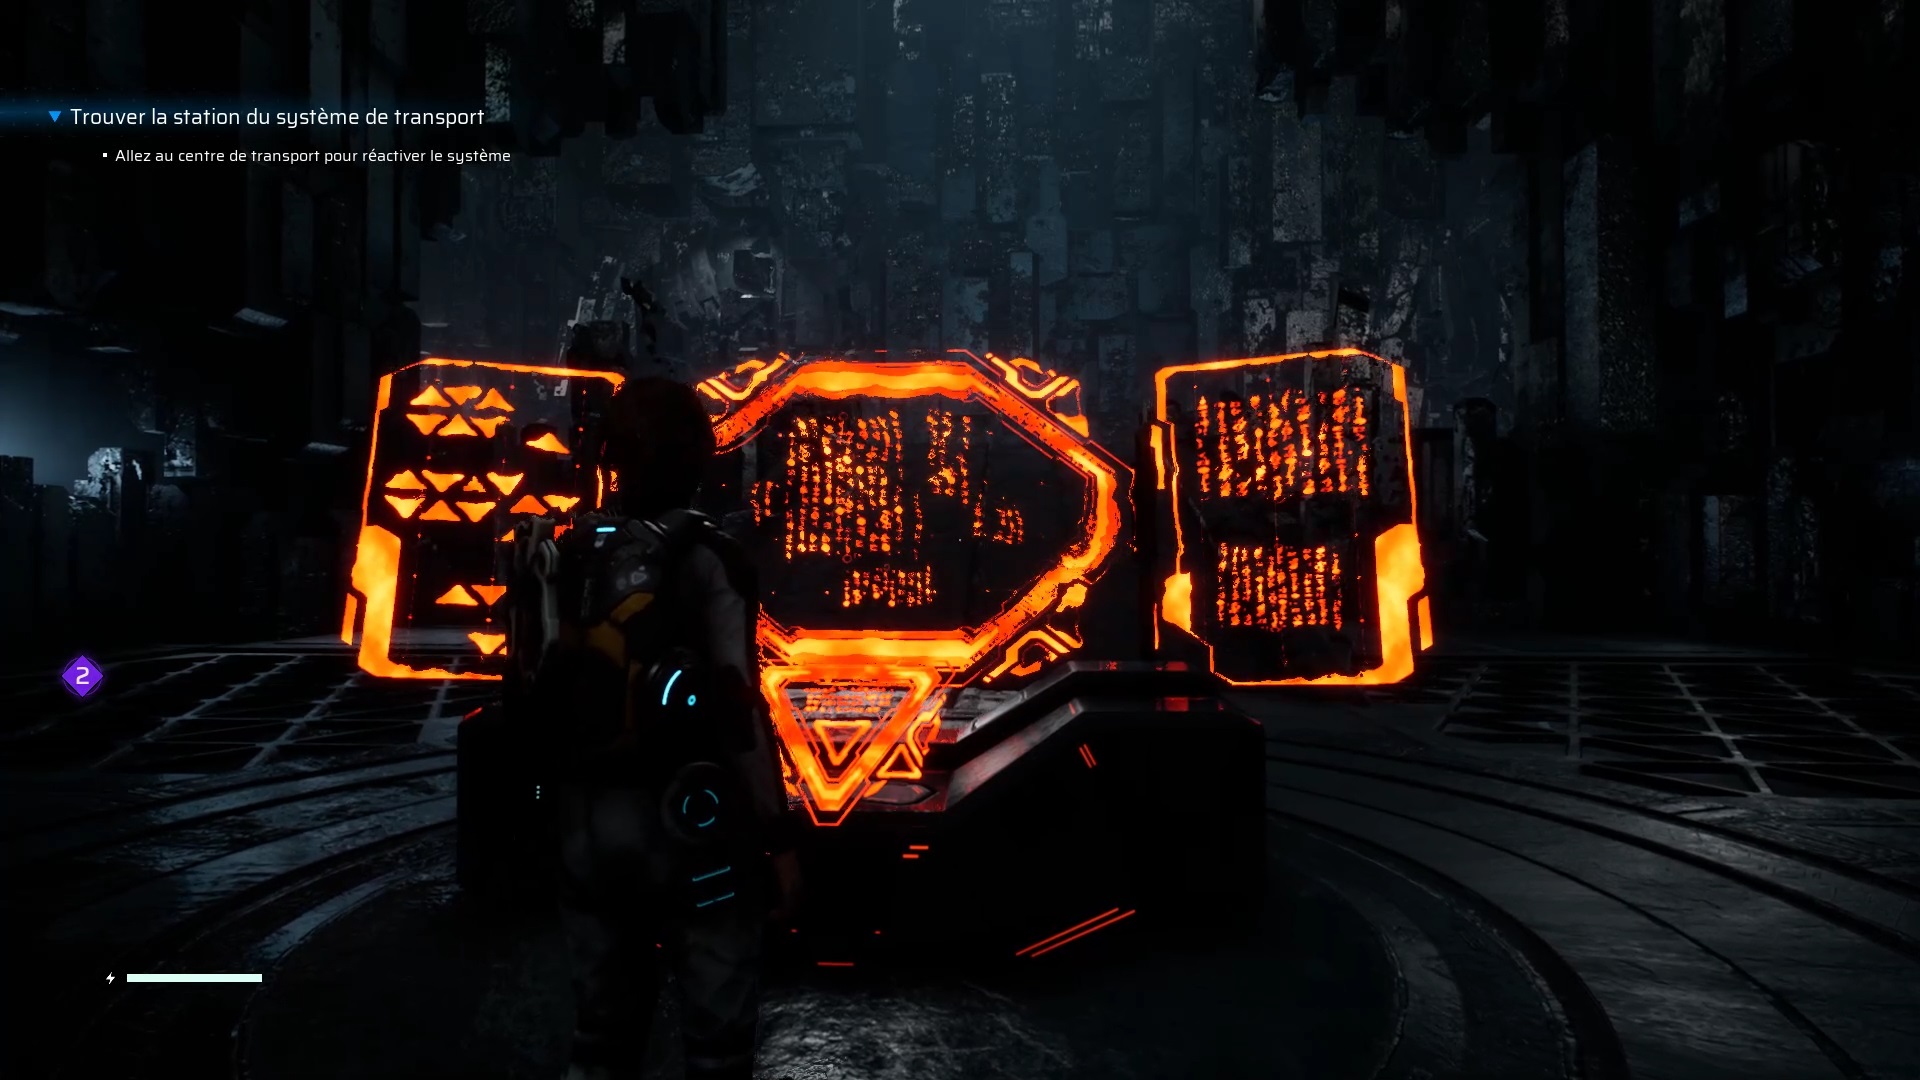
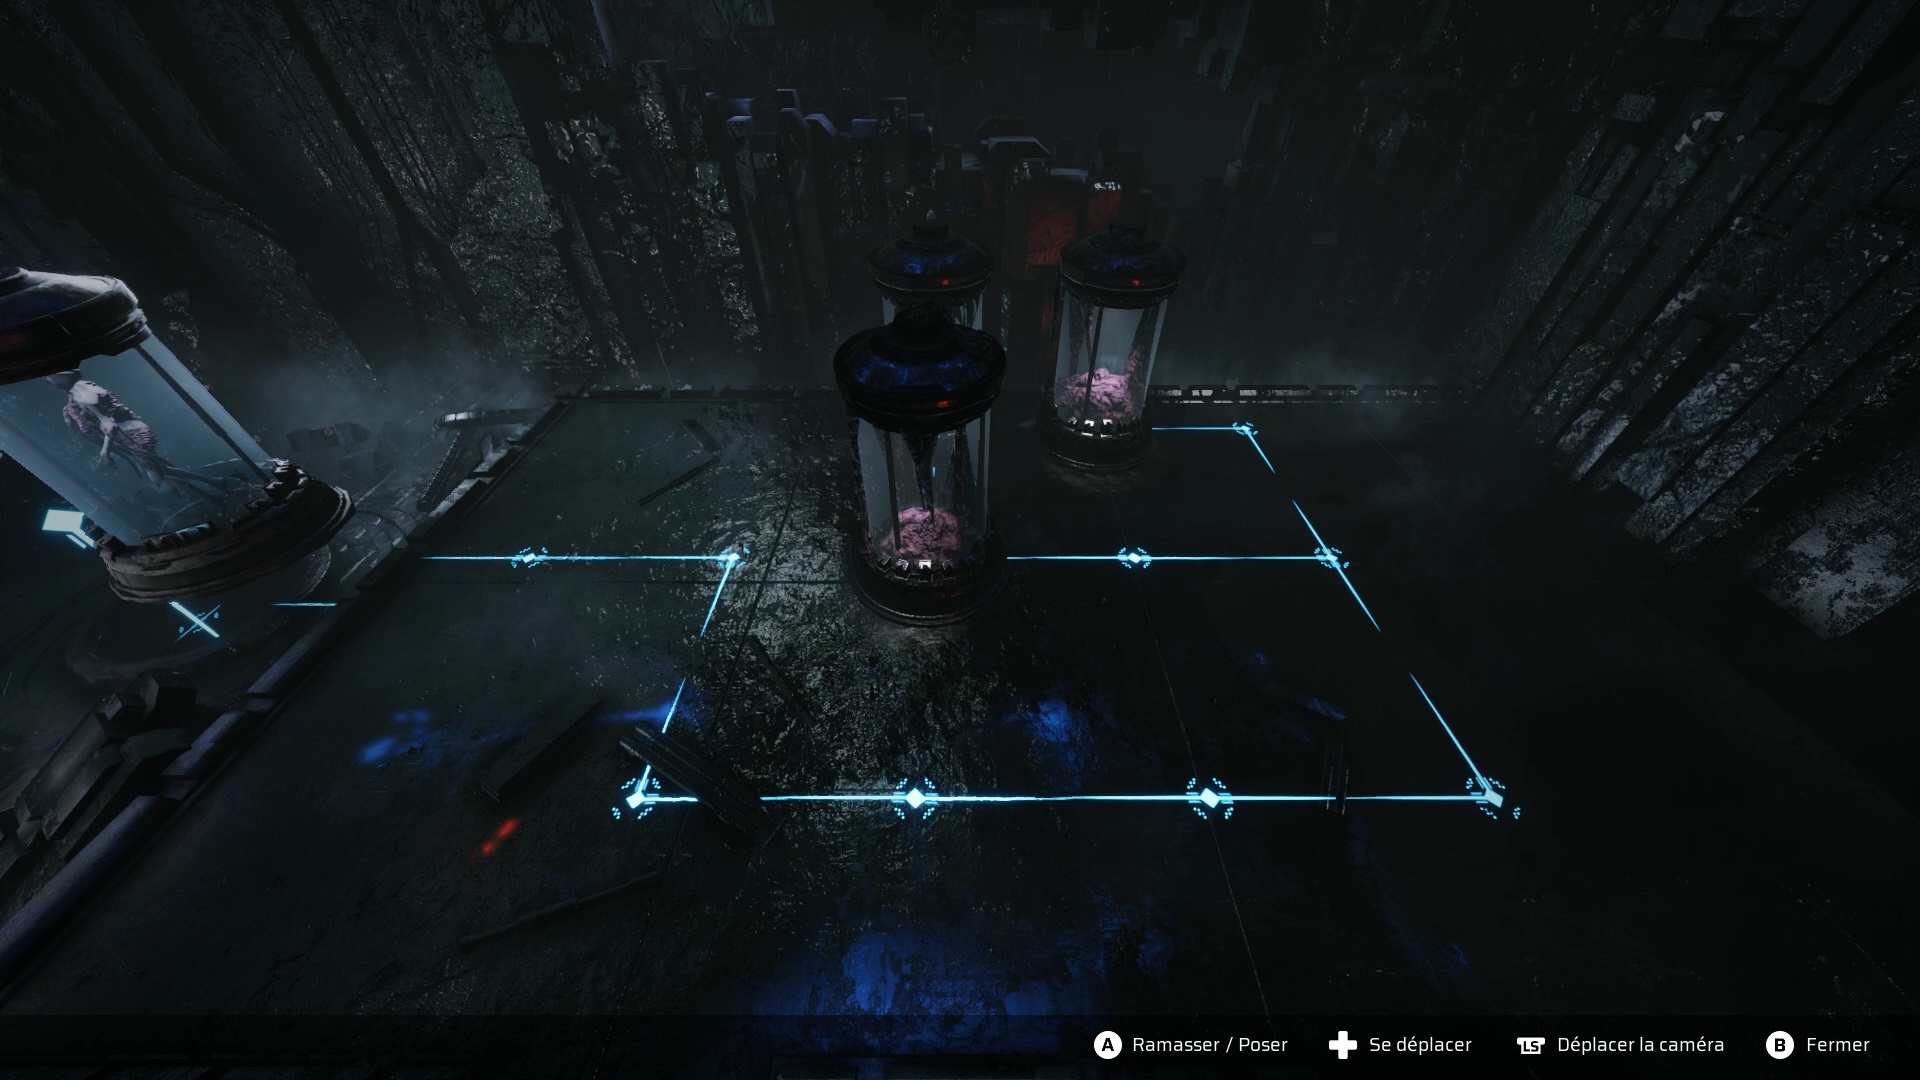
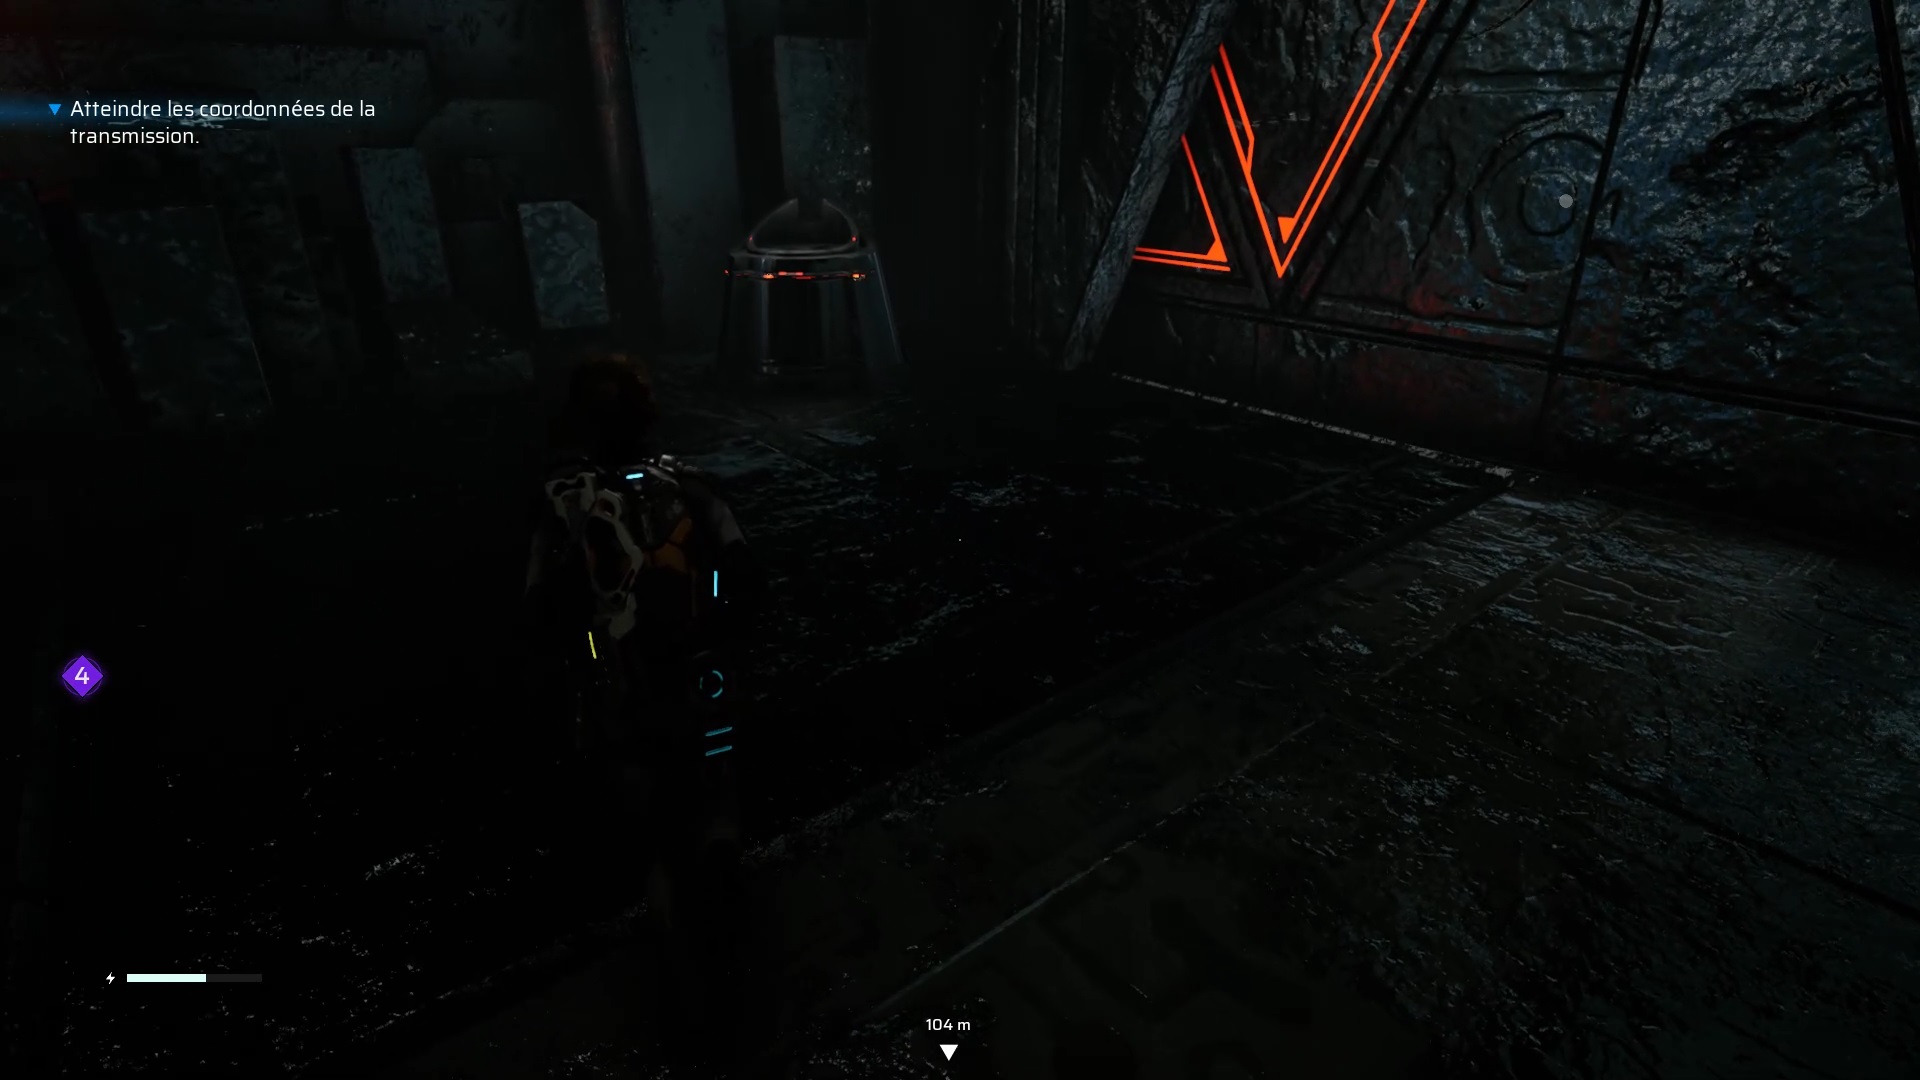
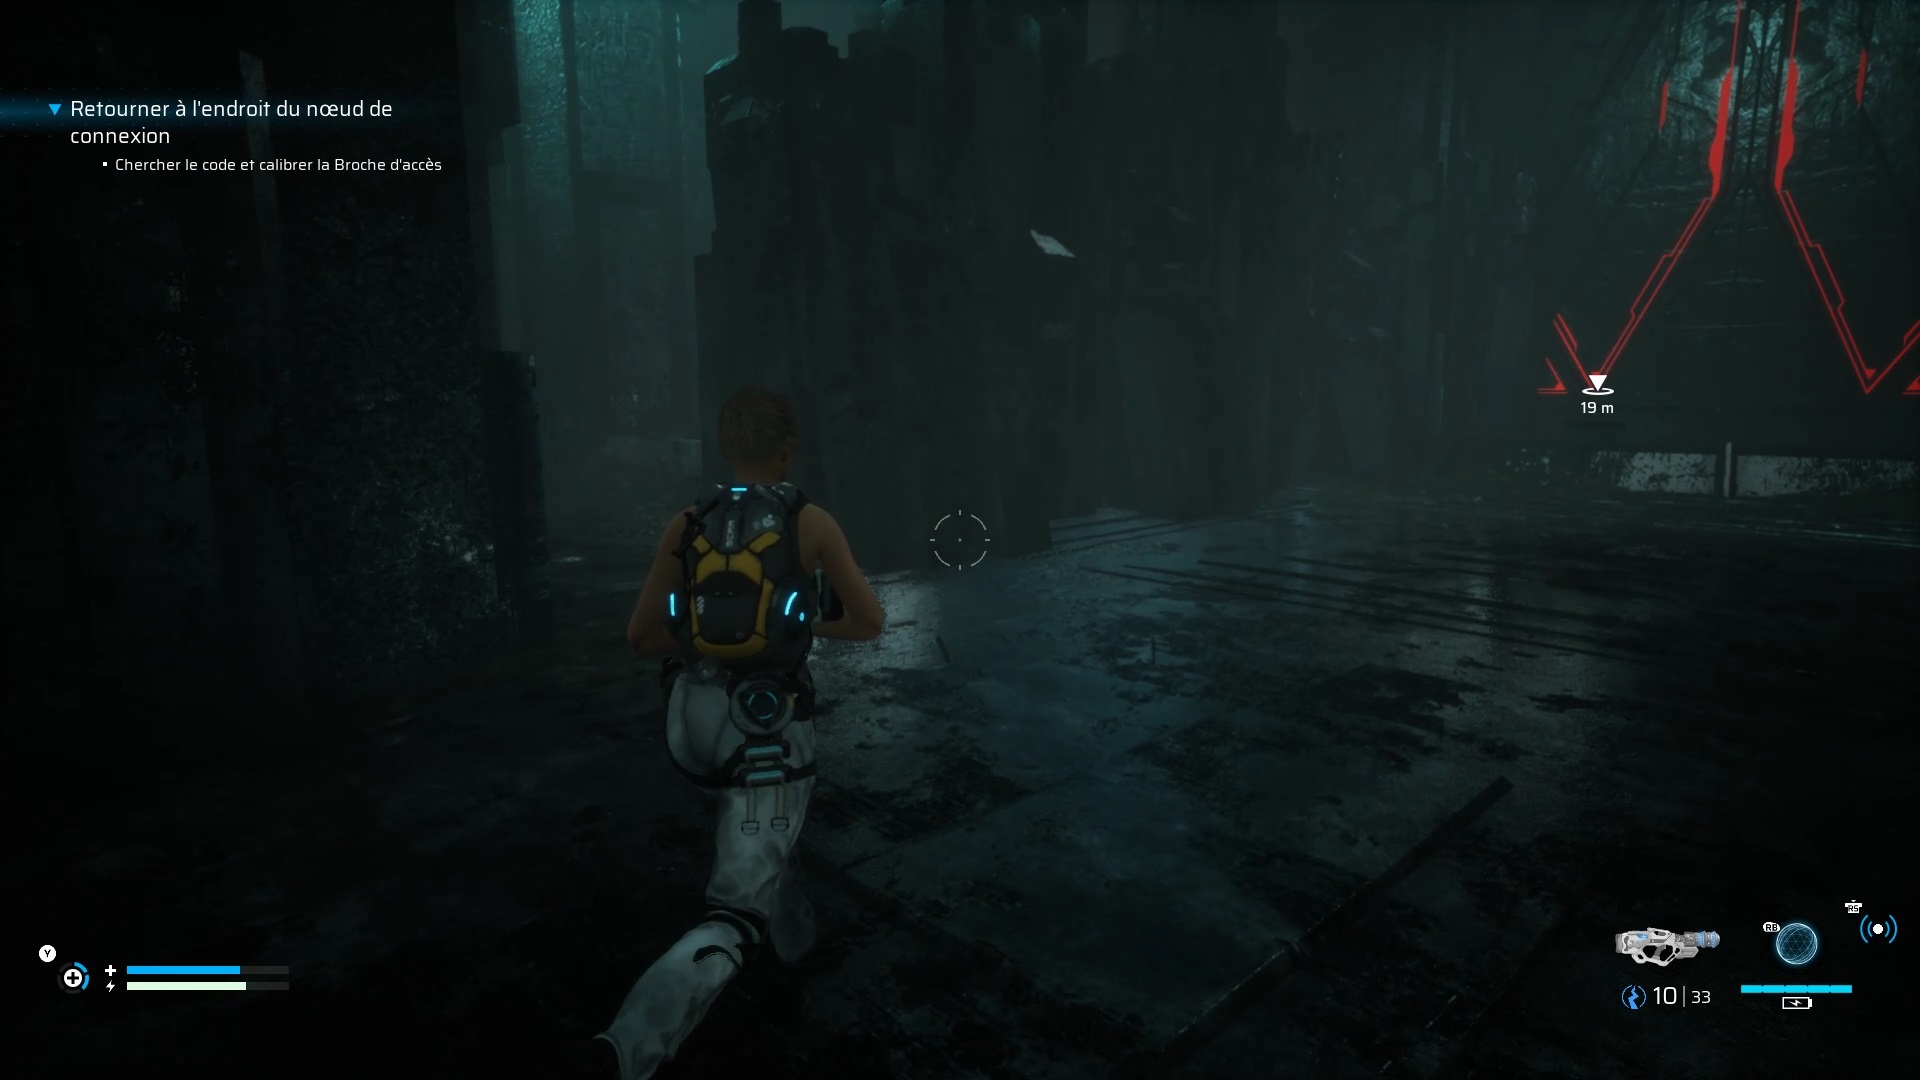
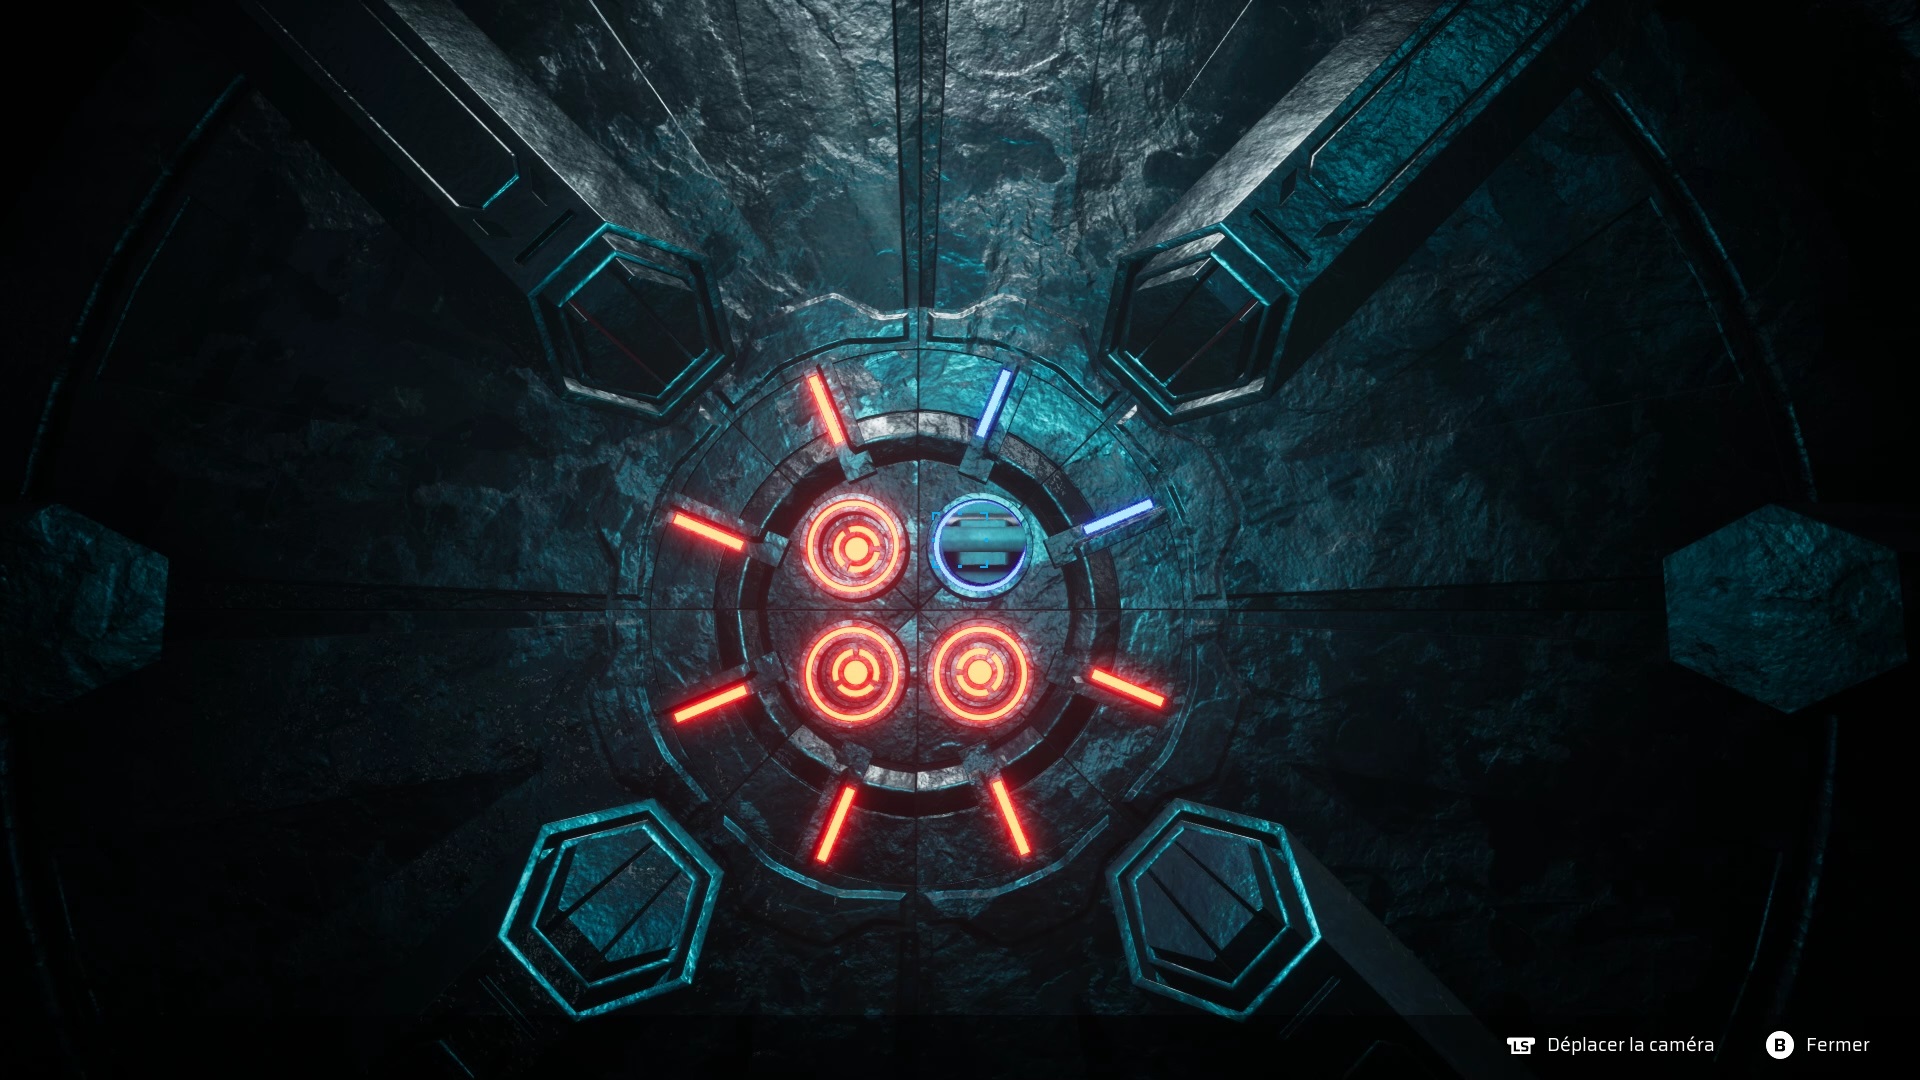
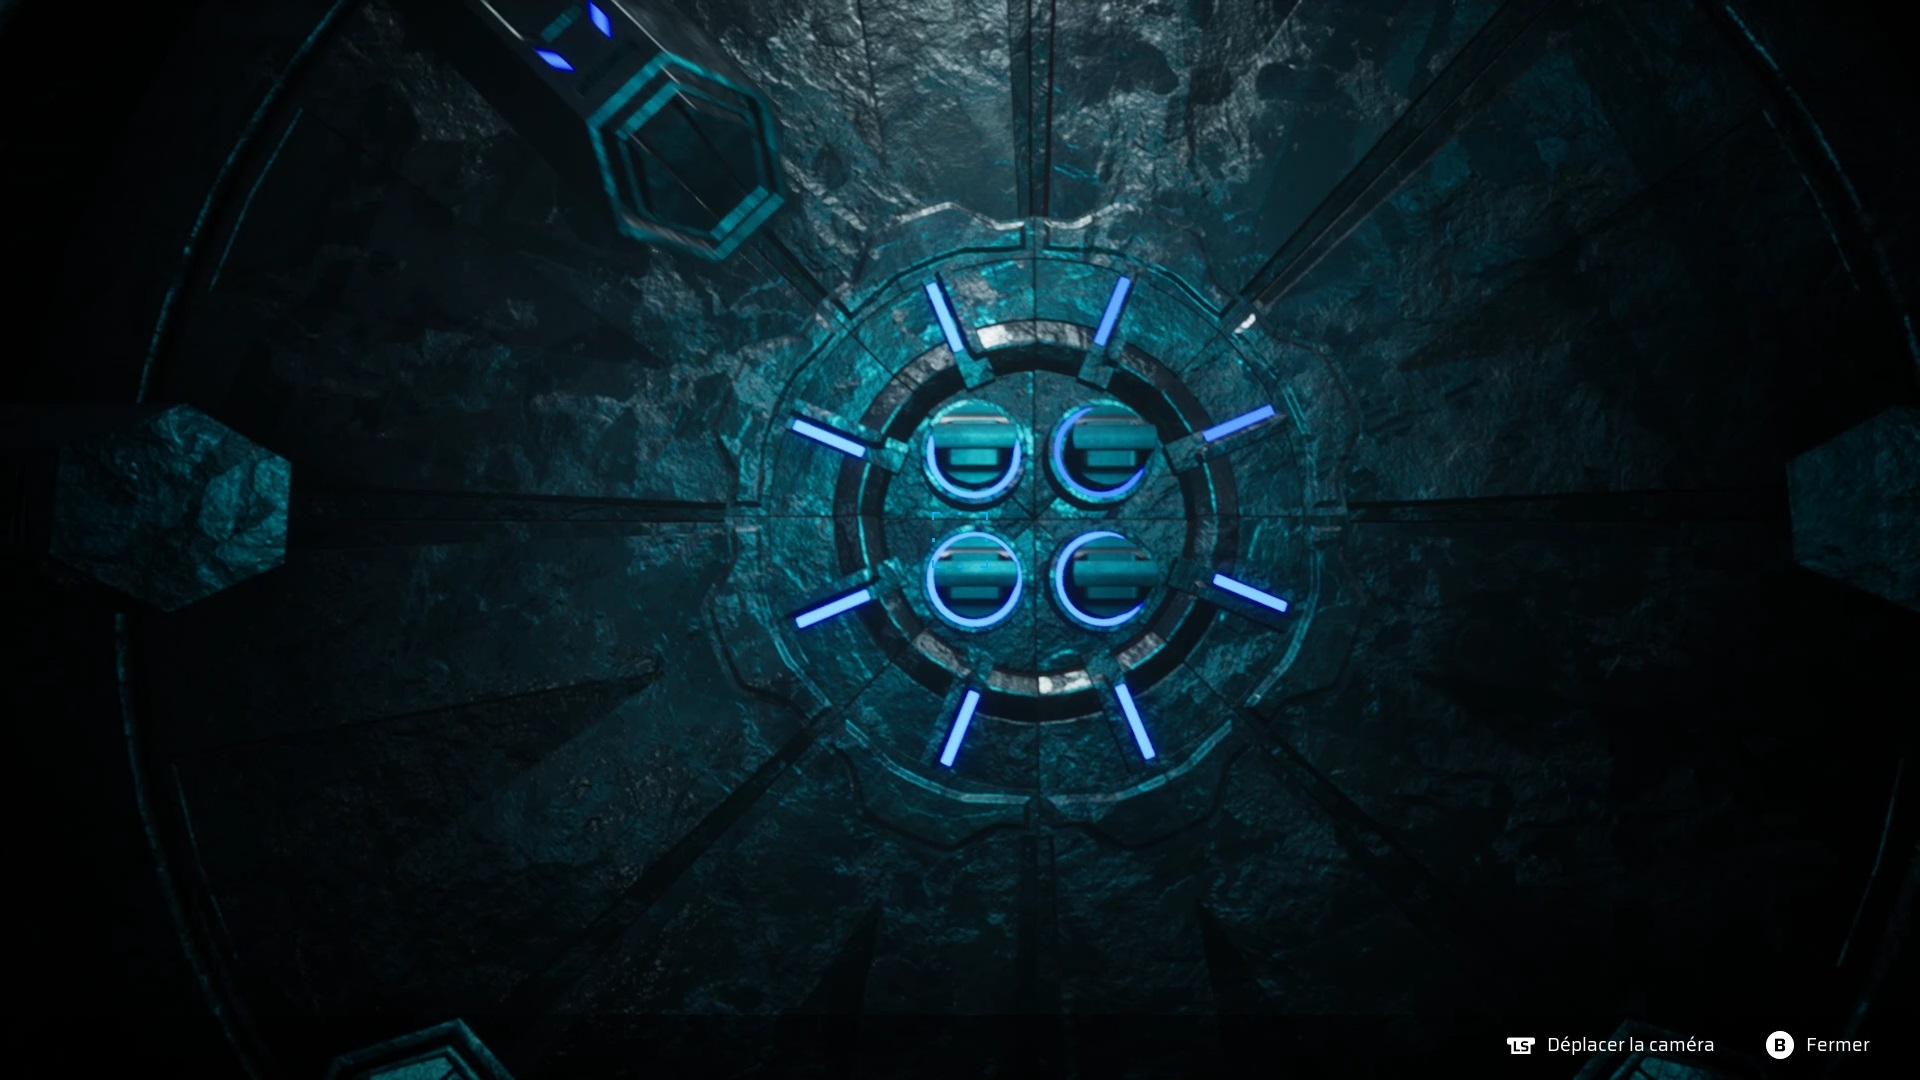
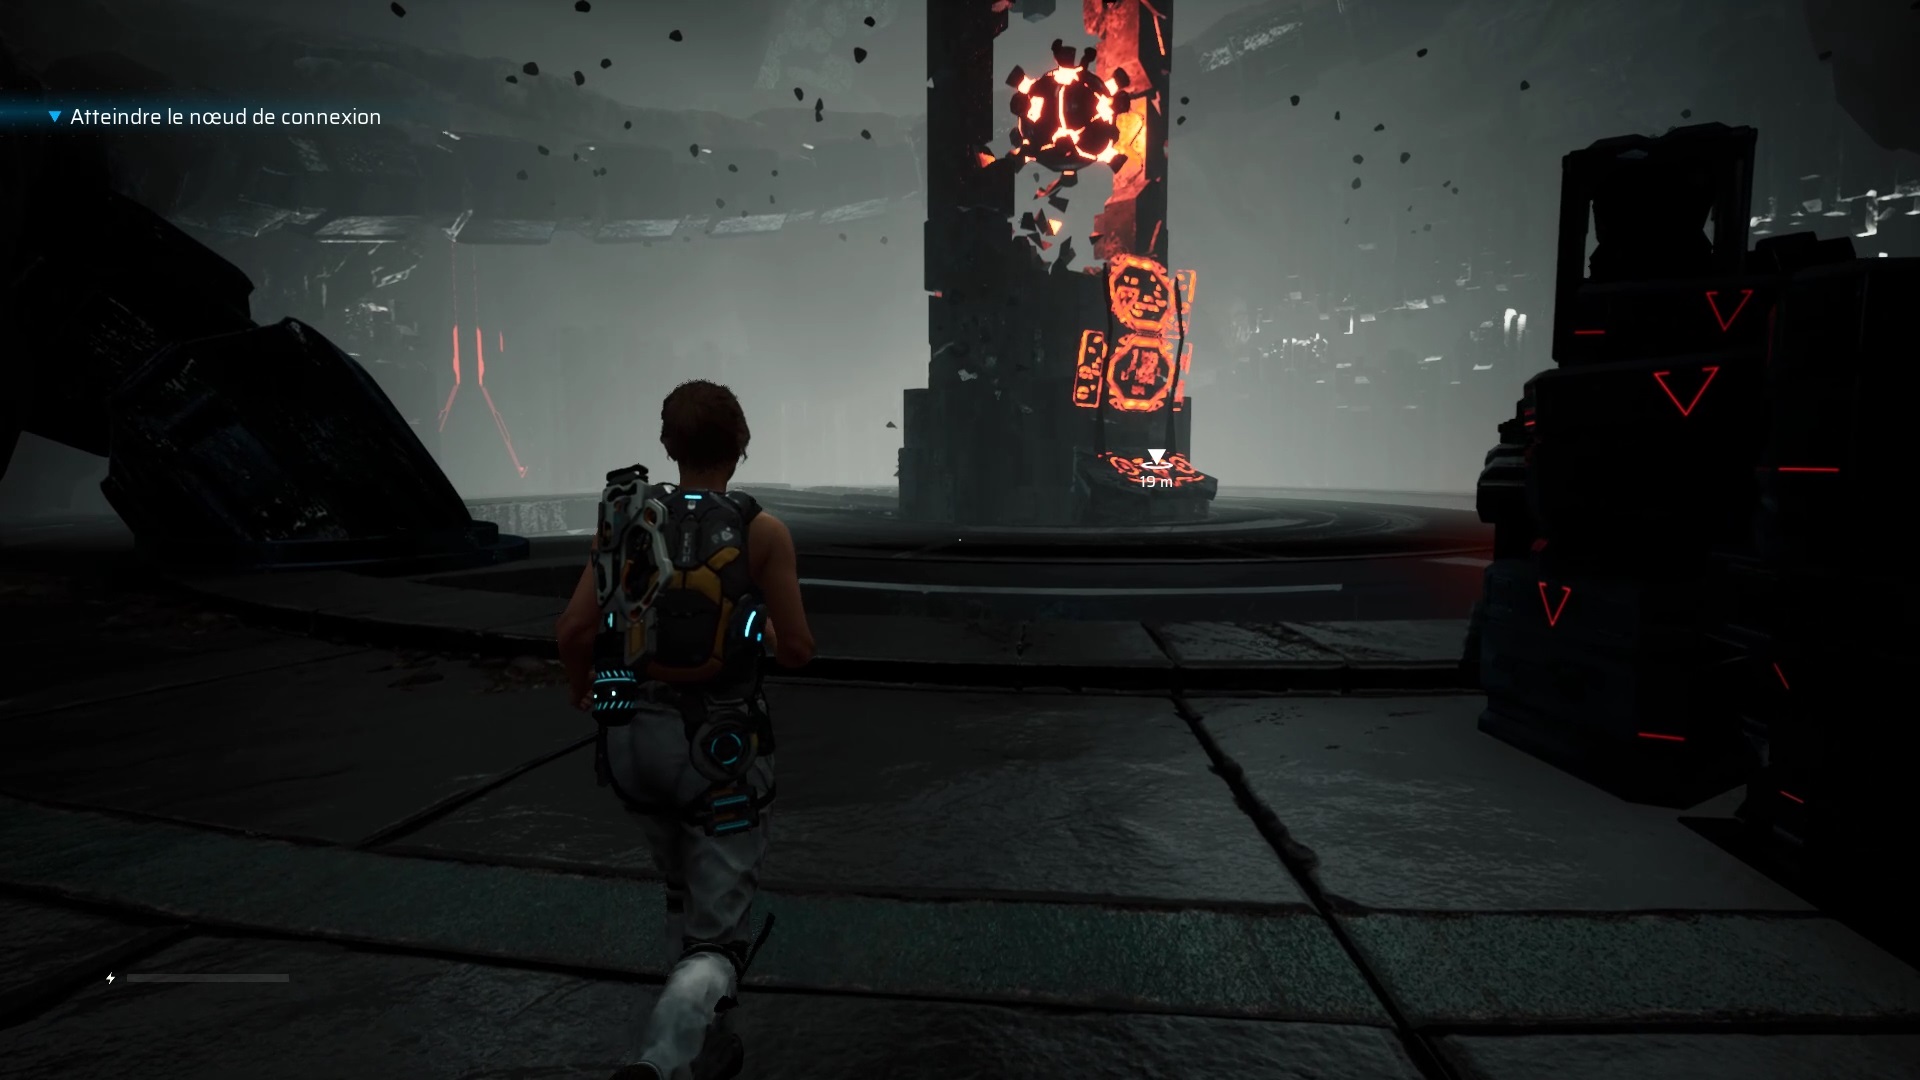
Pass the door and follow the apparition to discover the installation. Dive into the facility to destroy drones. Take the elevator down to find an artifact on a computer. Go to the room down the hall on the right to find the apparition. After the cutscene, you’ll find an idle console overlooking the room.

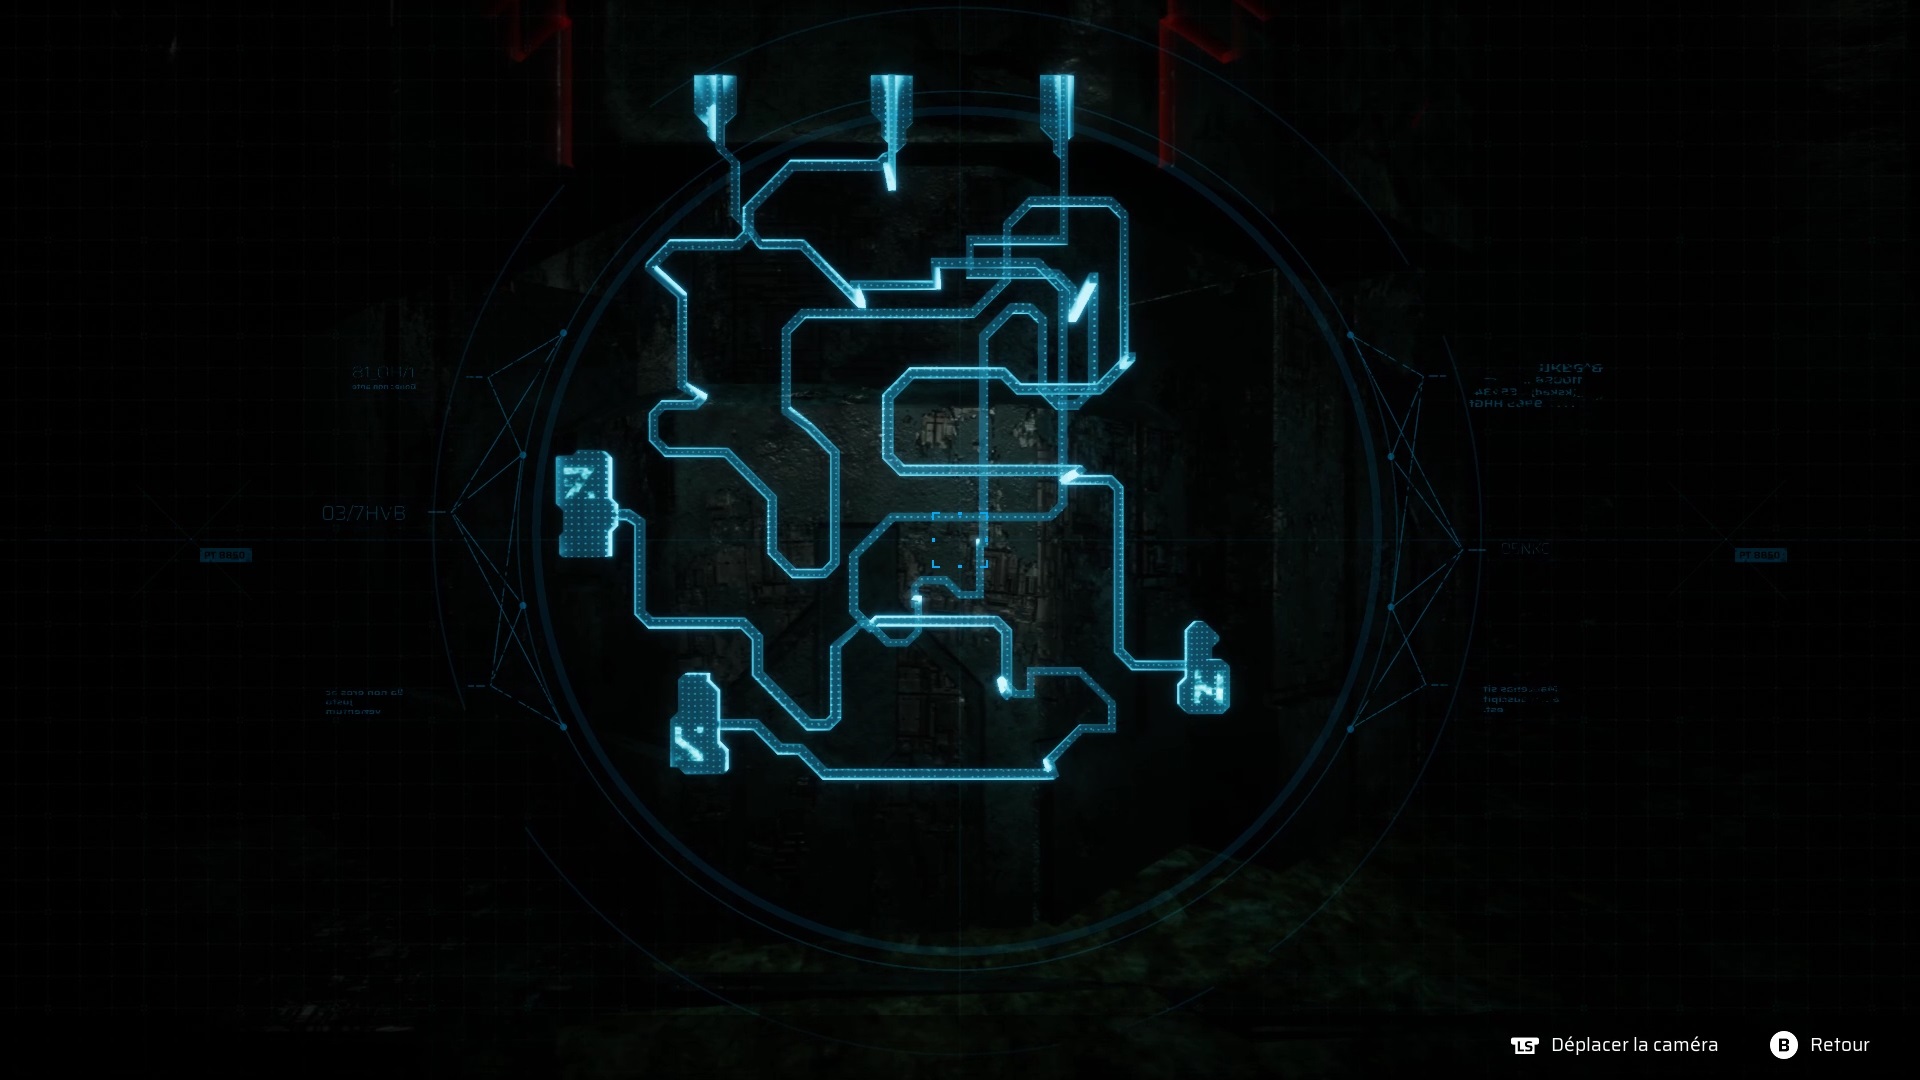
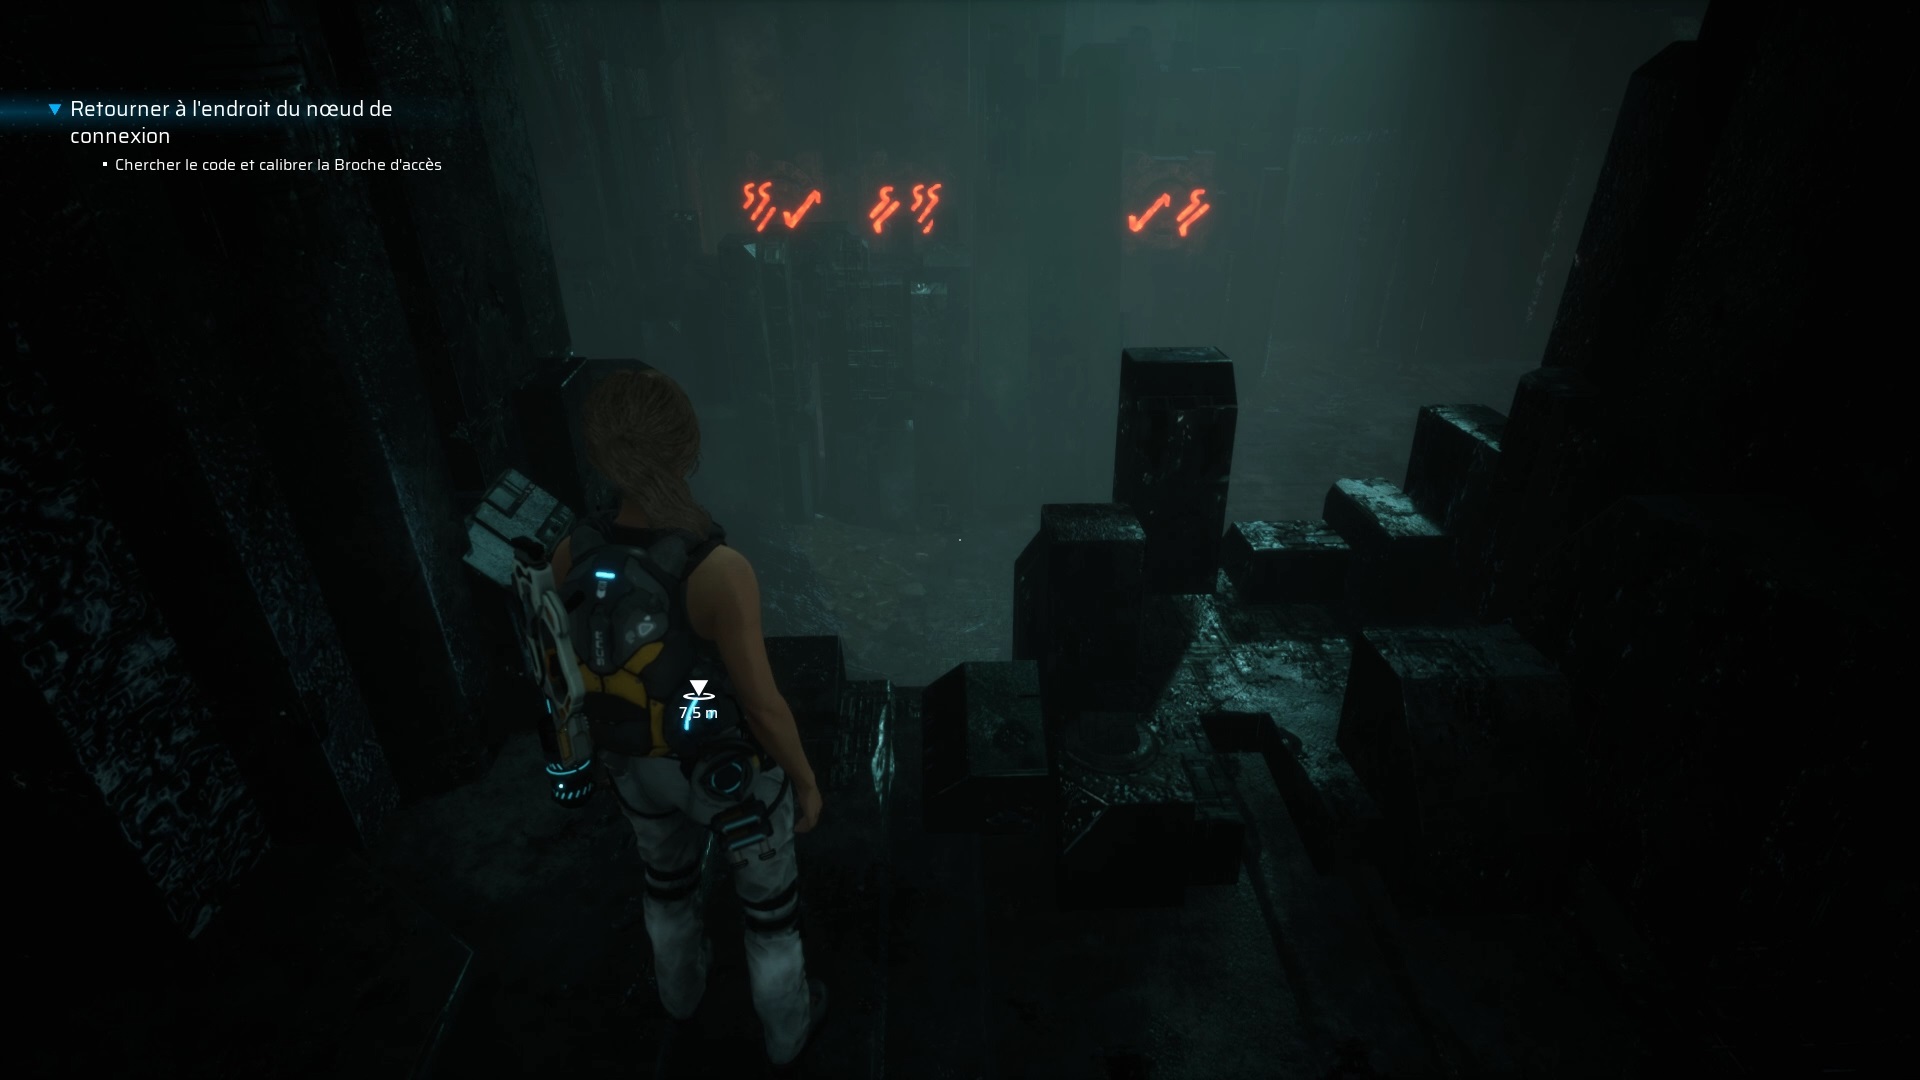
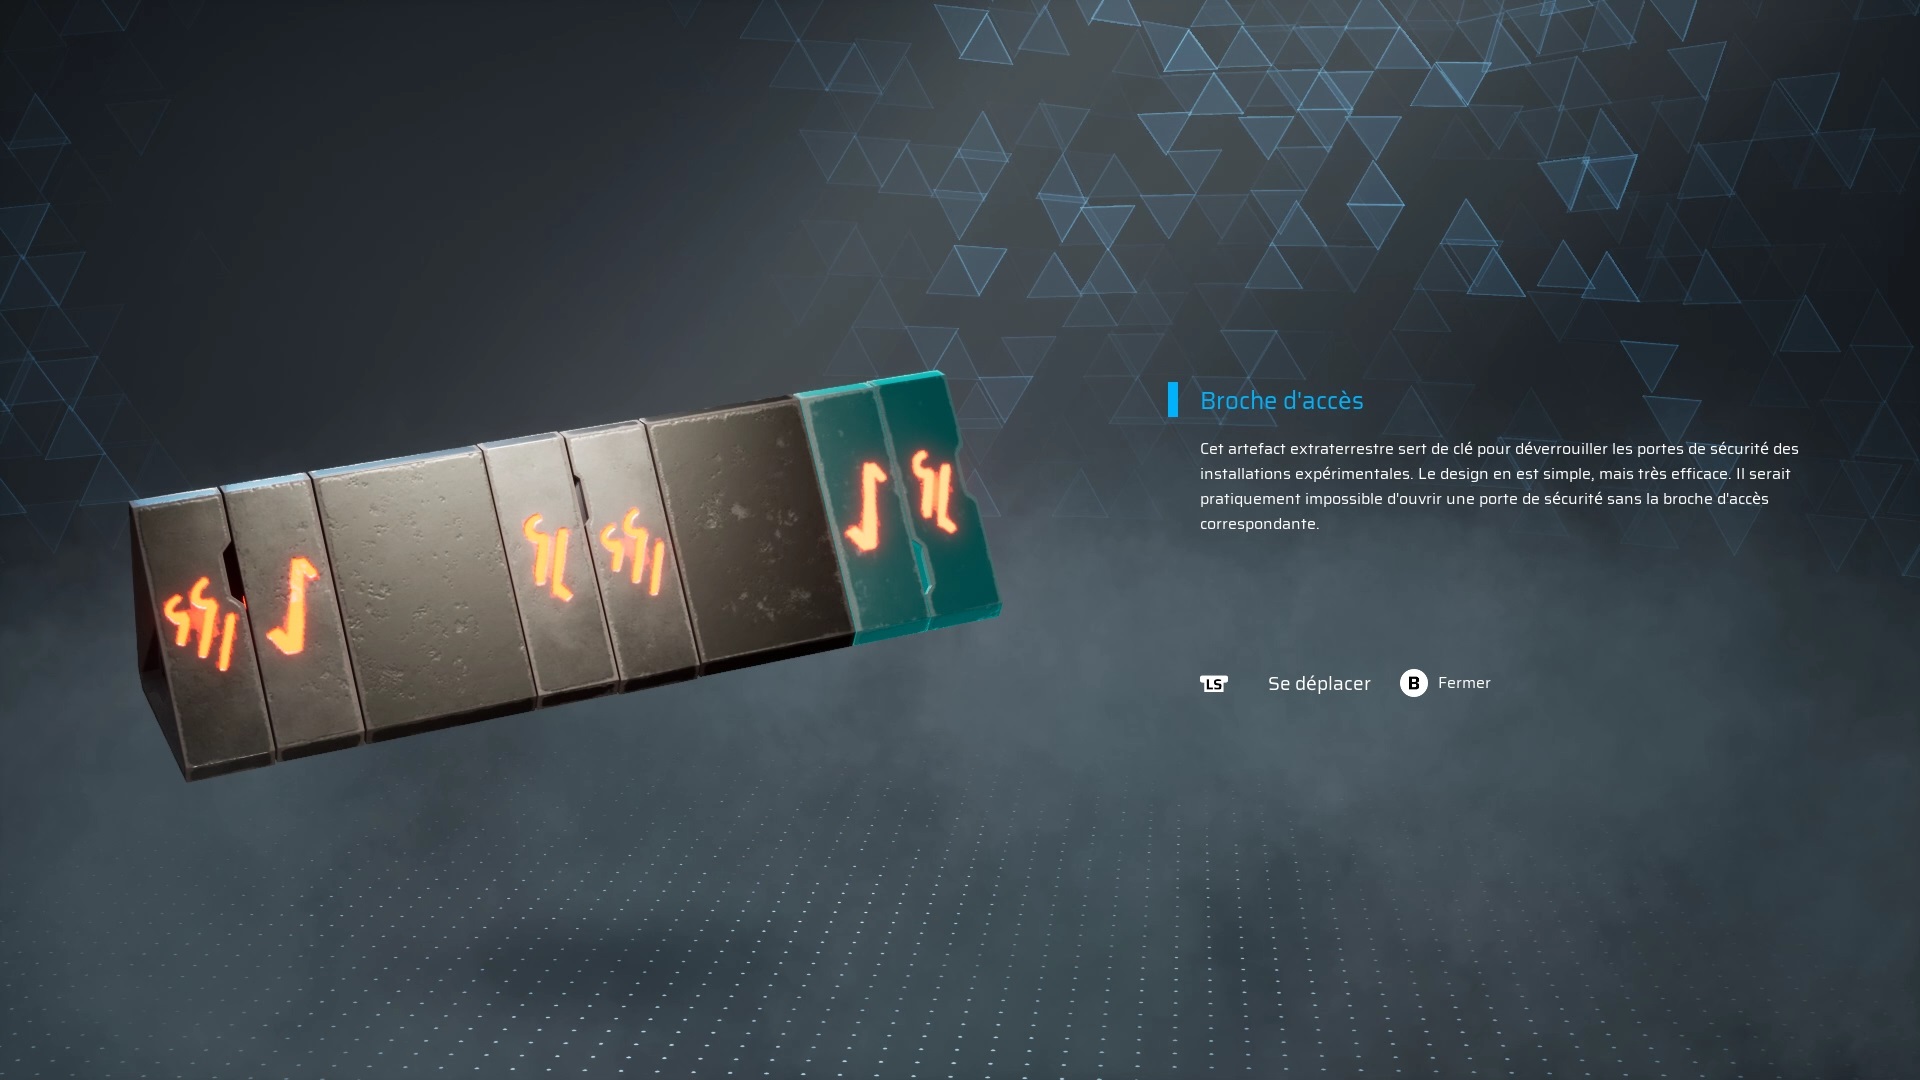
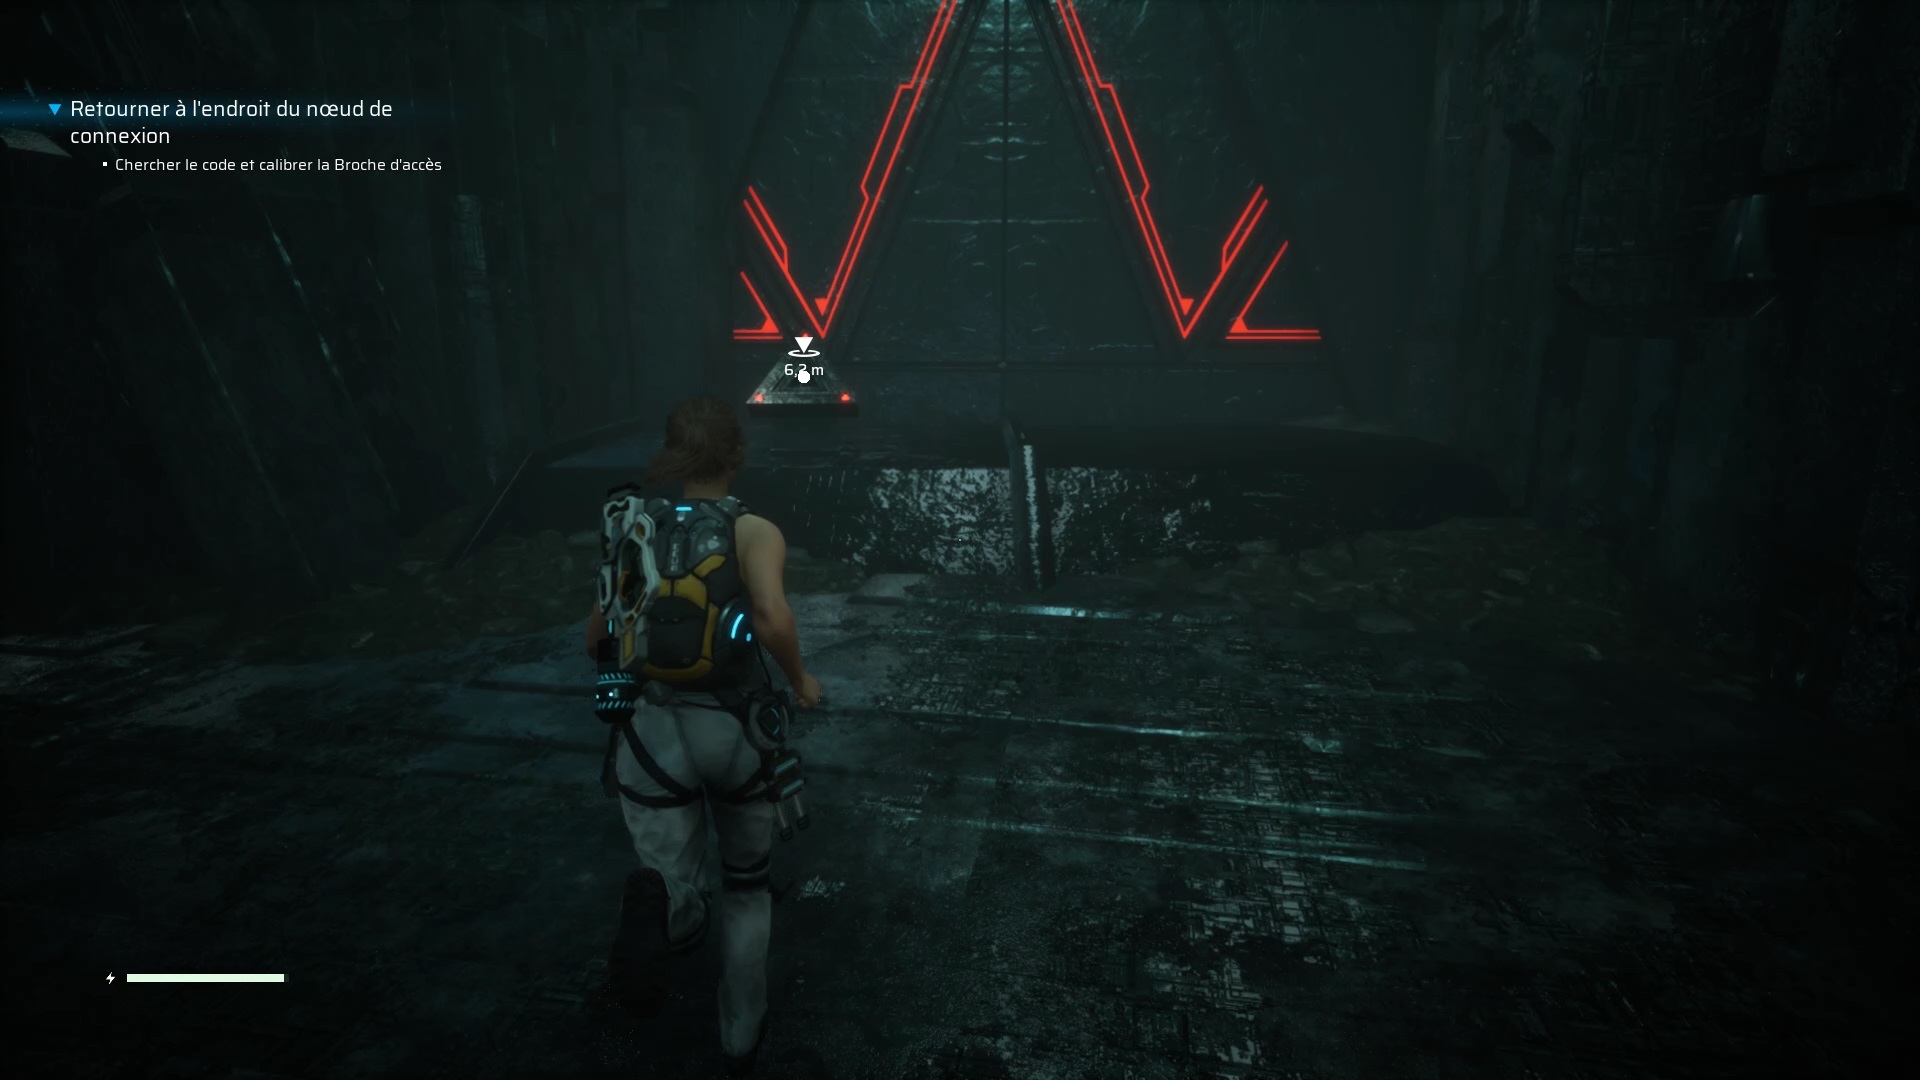
Use the artifact to power it up with the altar below. Return to the console to start a puzzle.
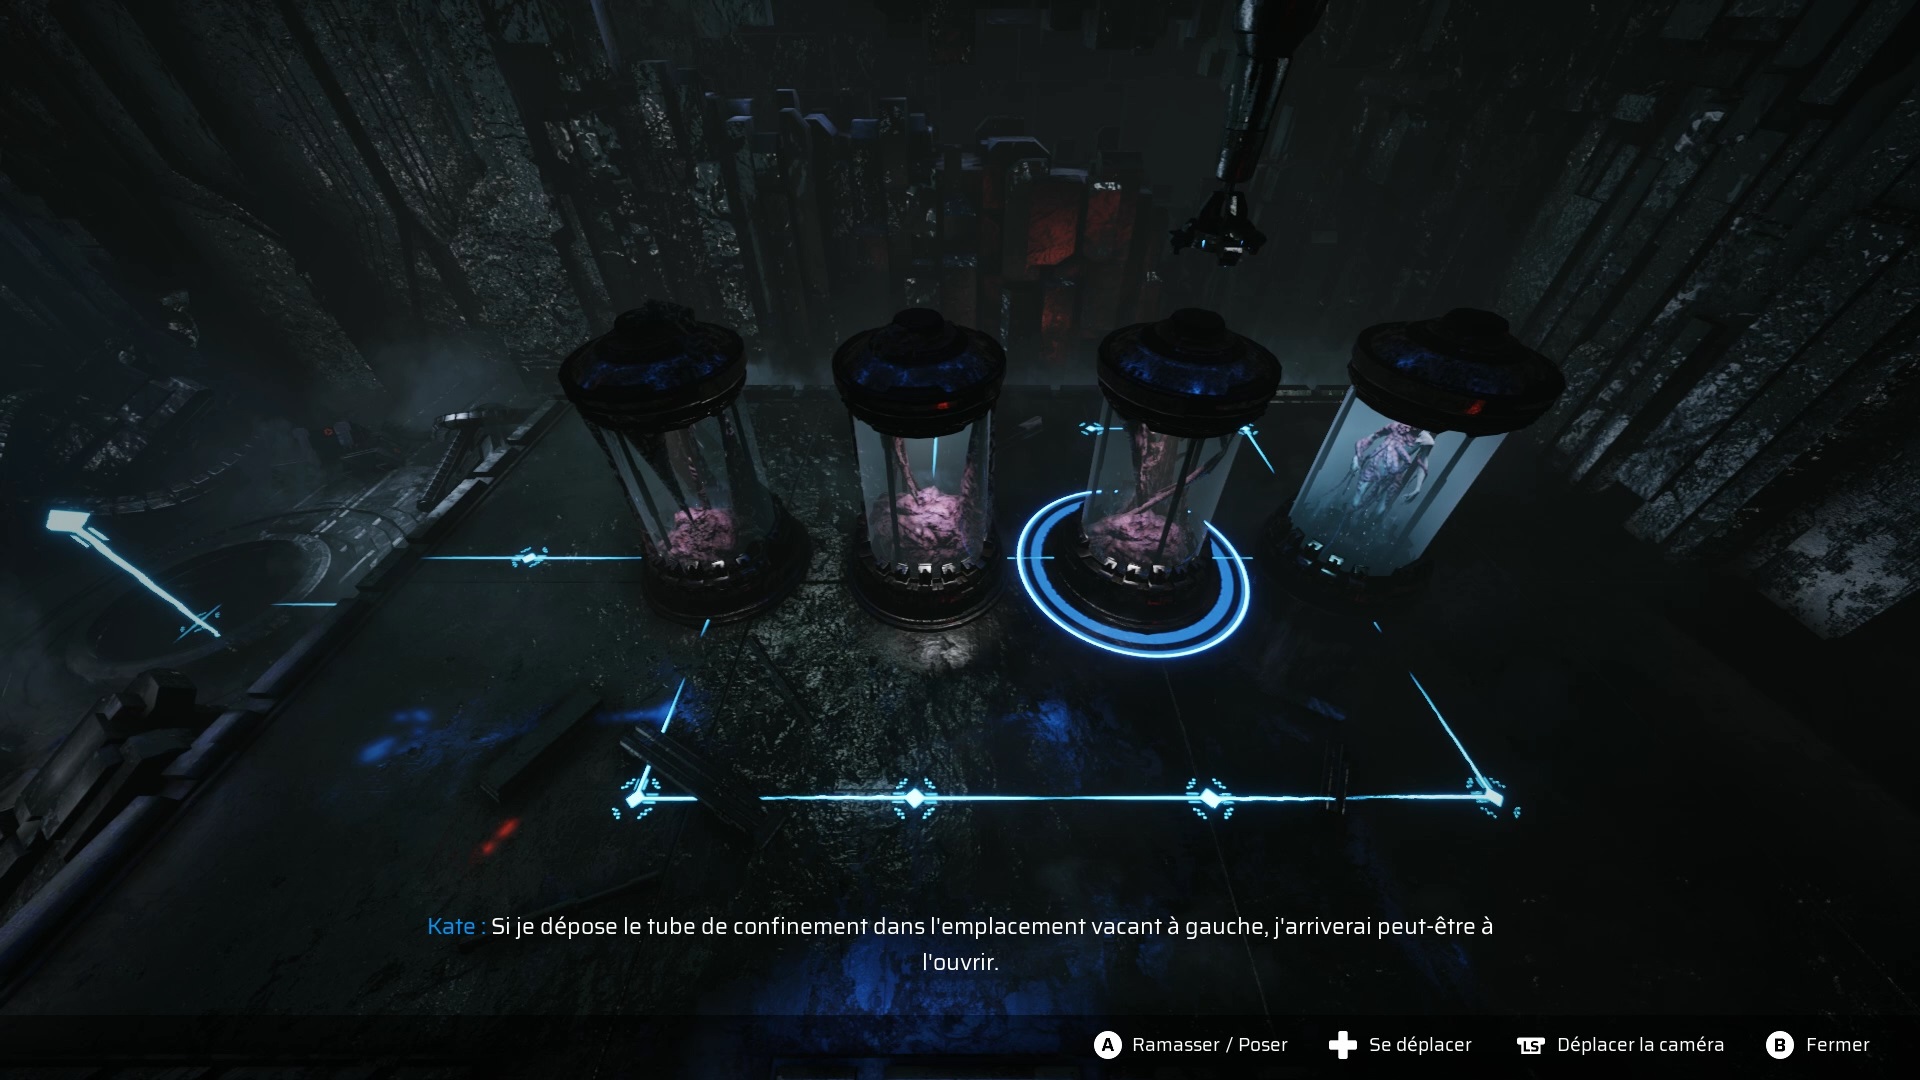
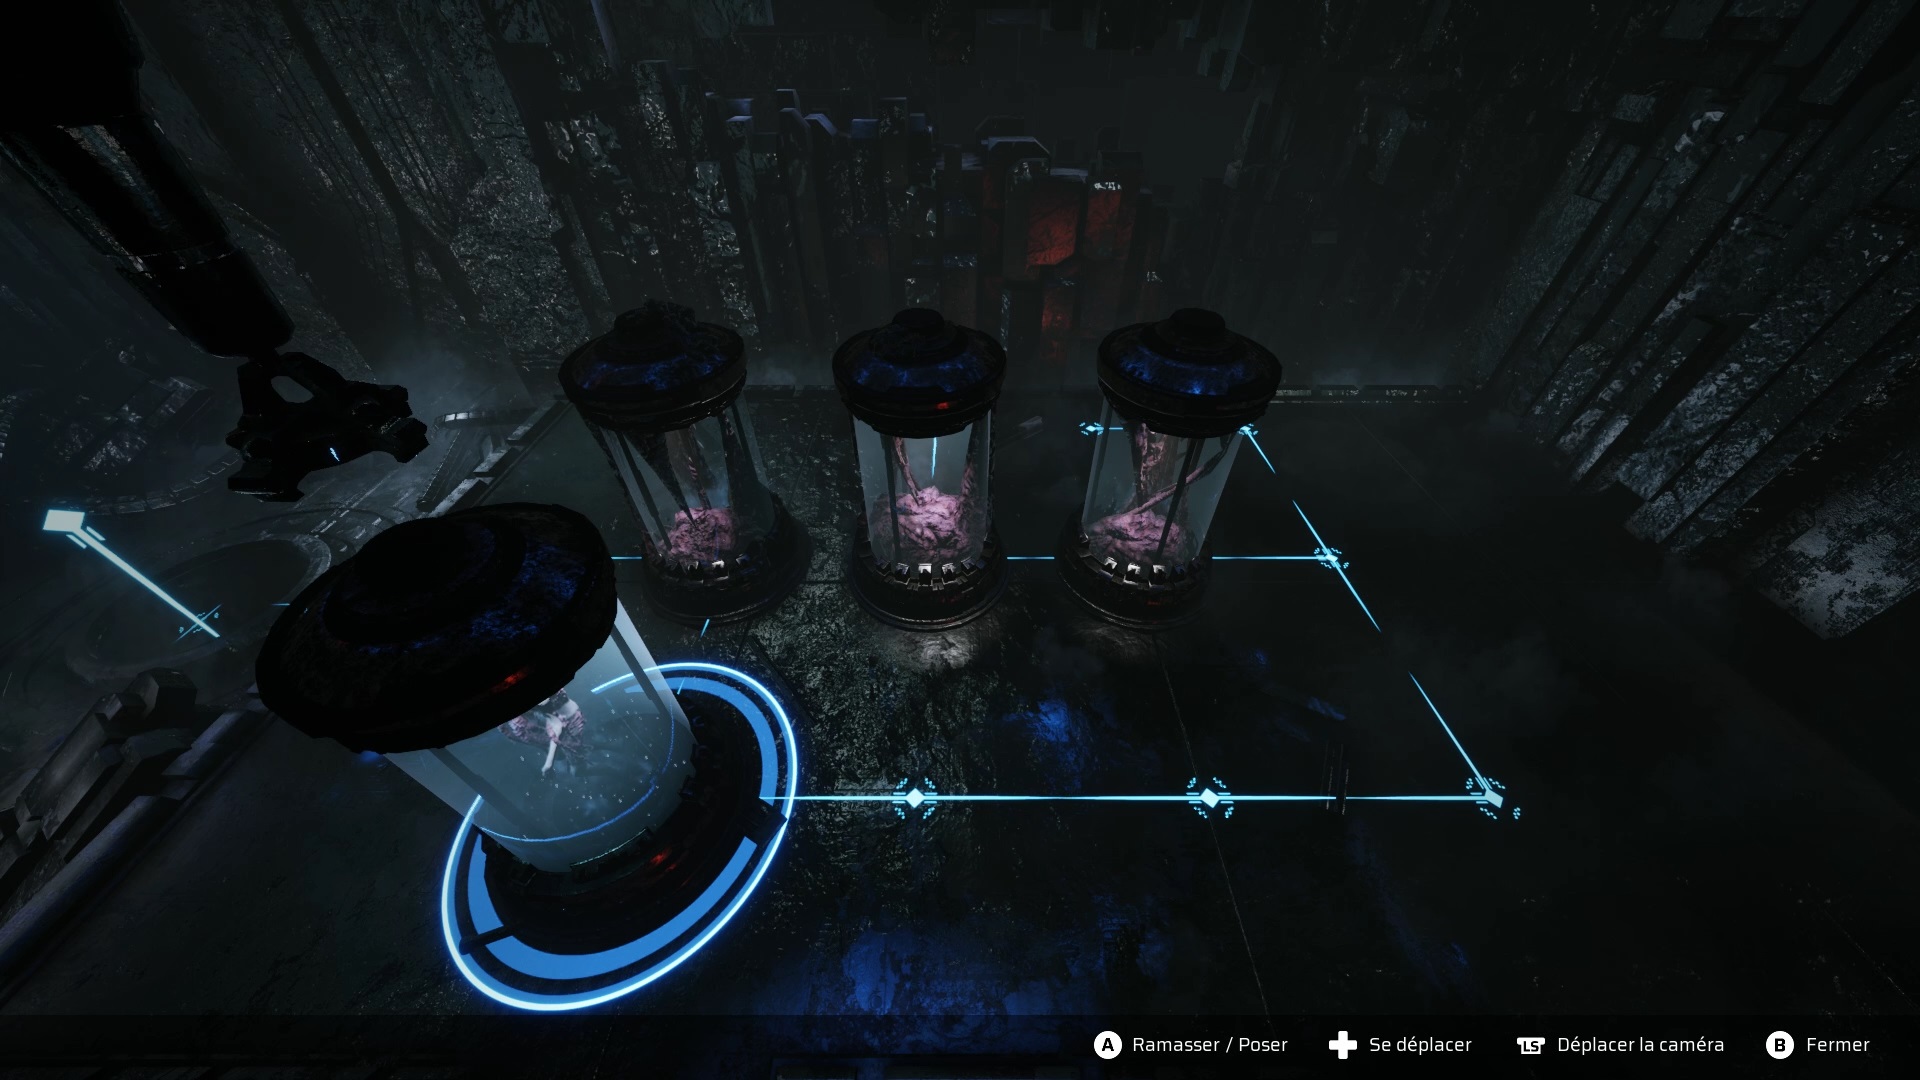
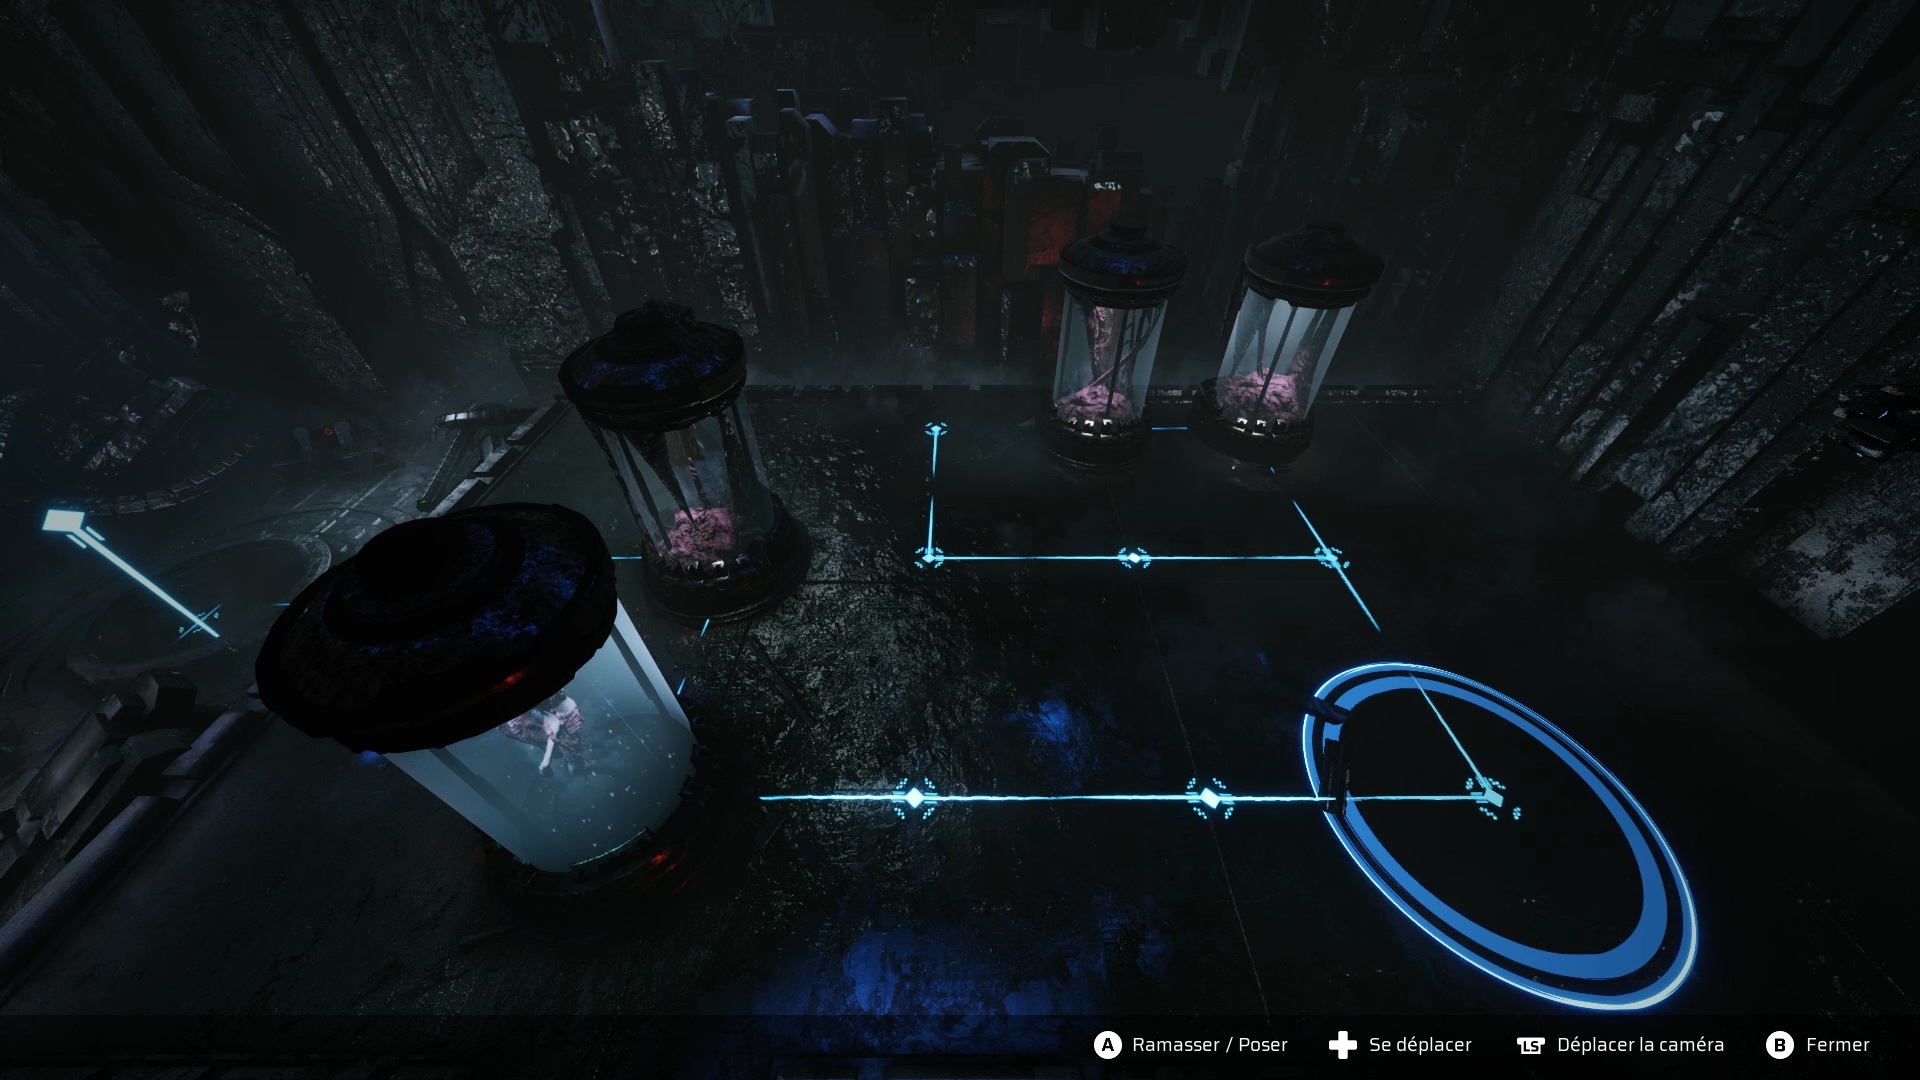
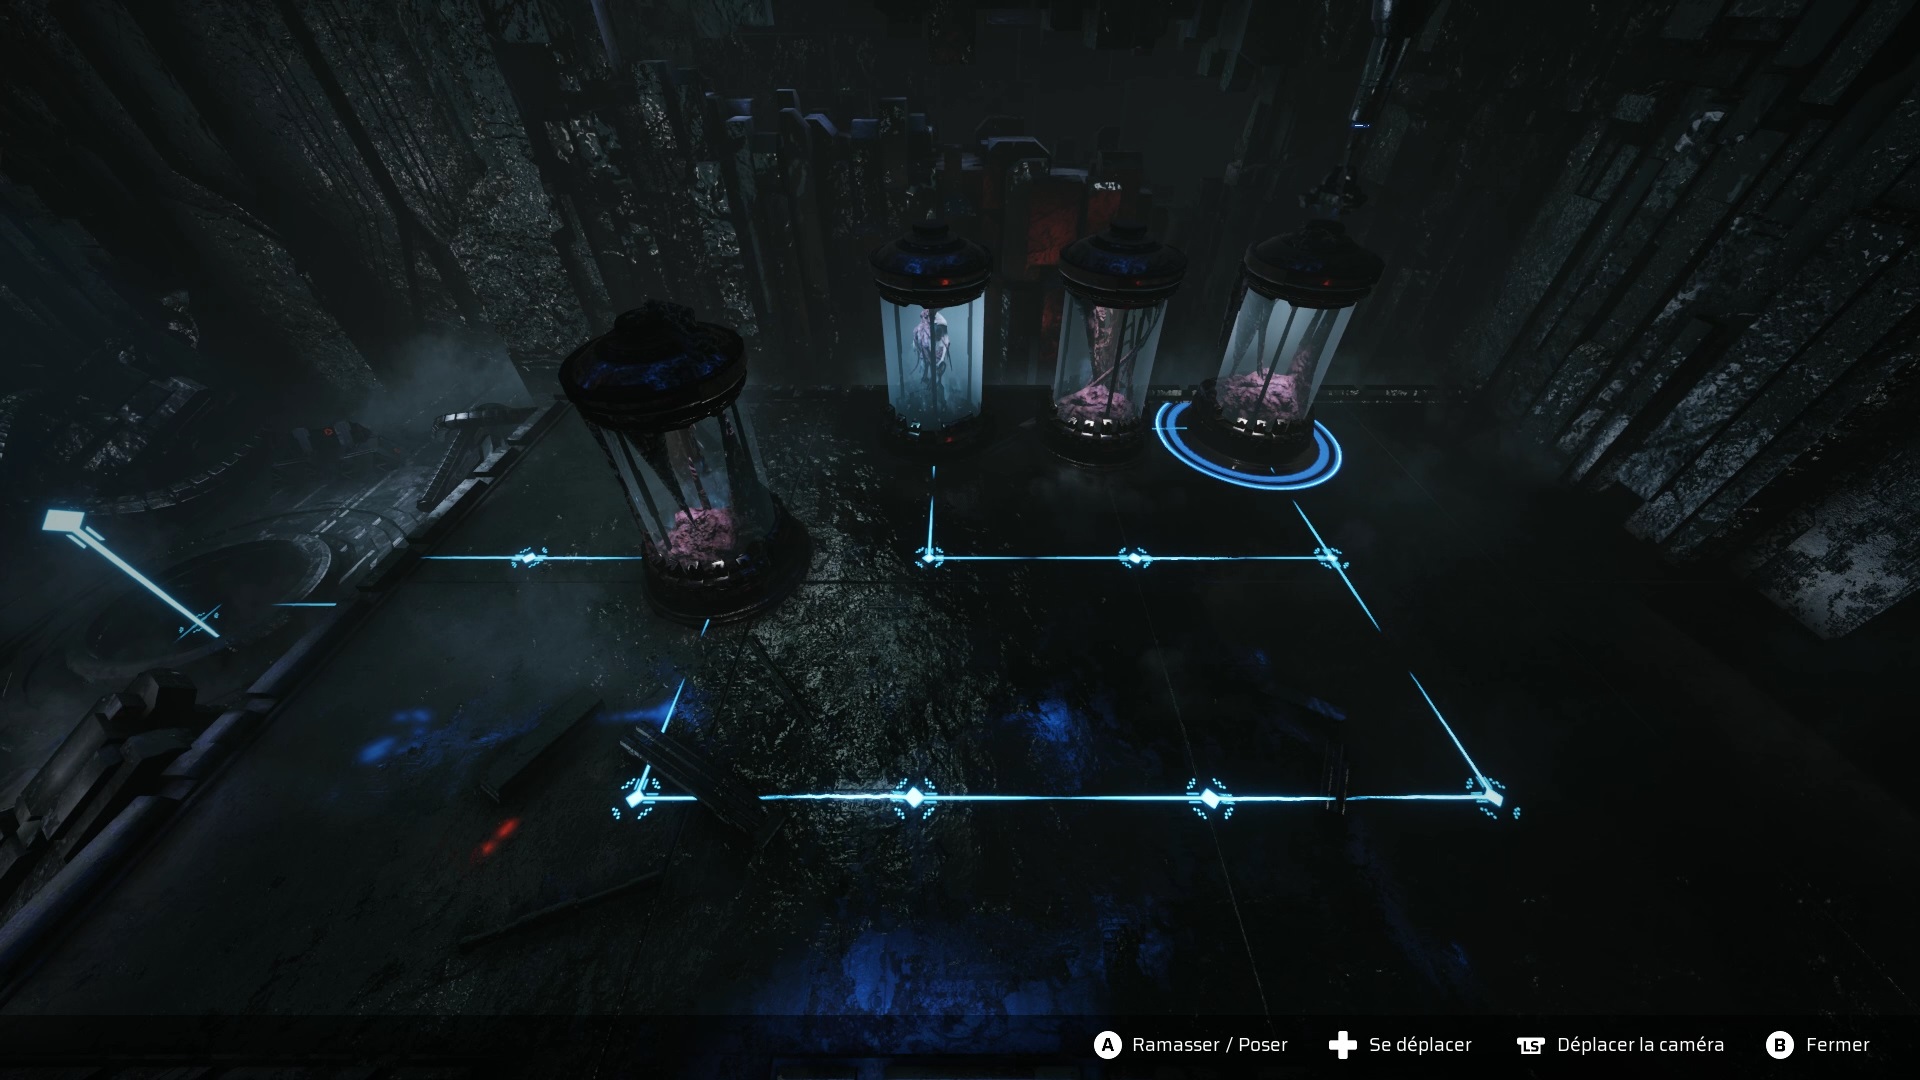
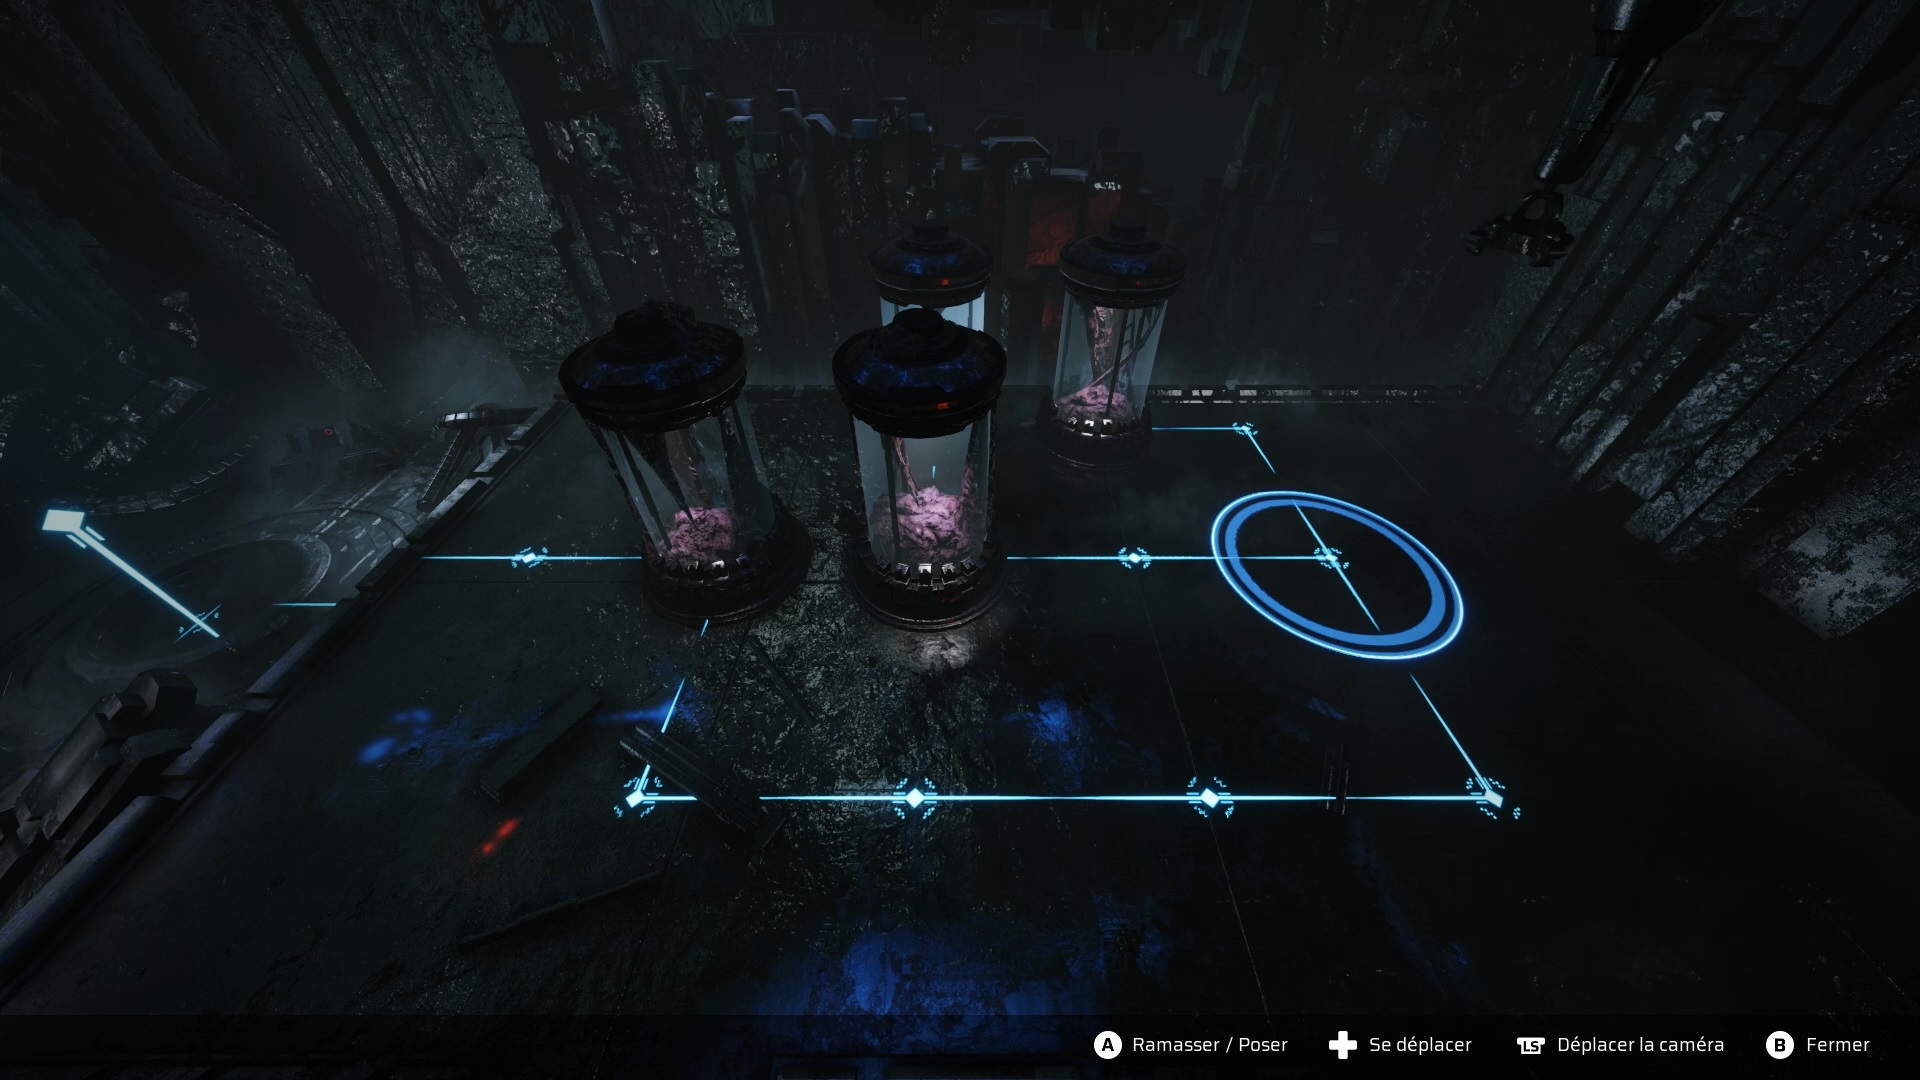
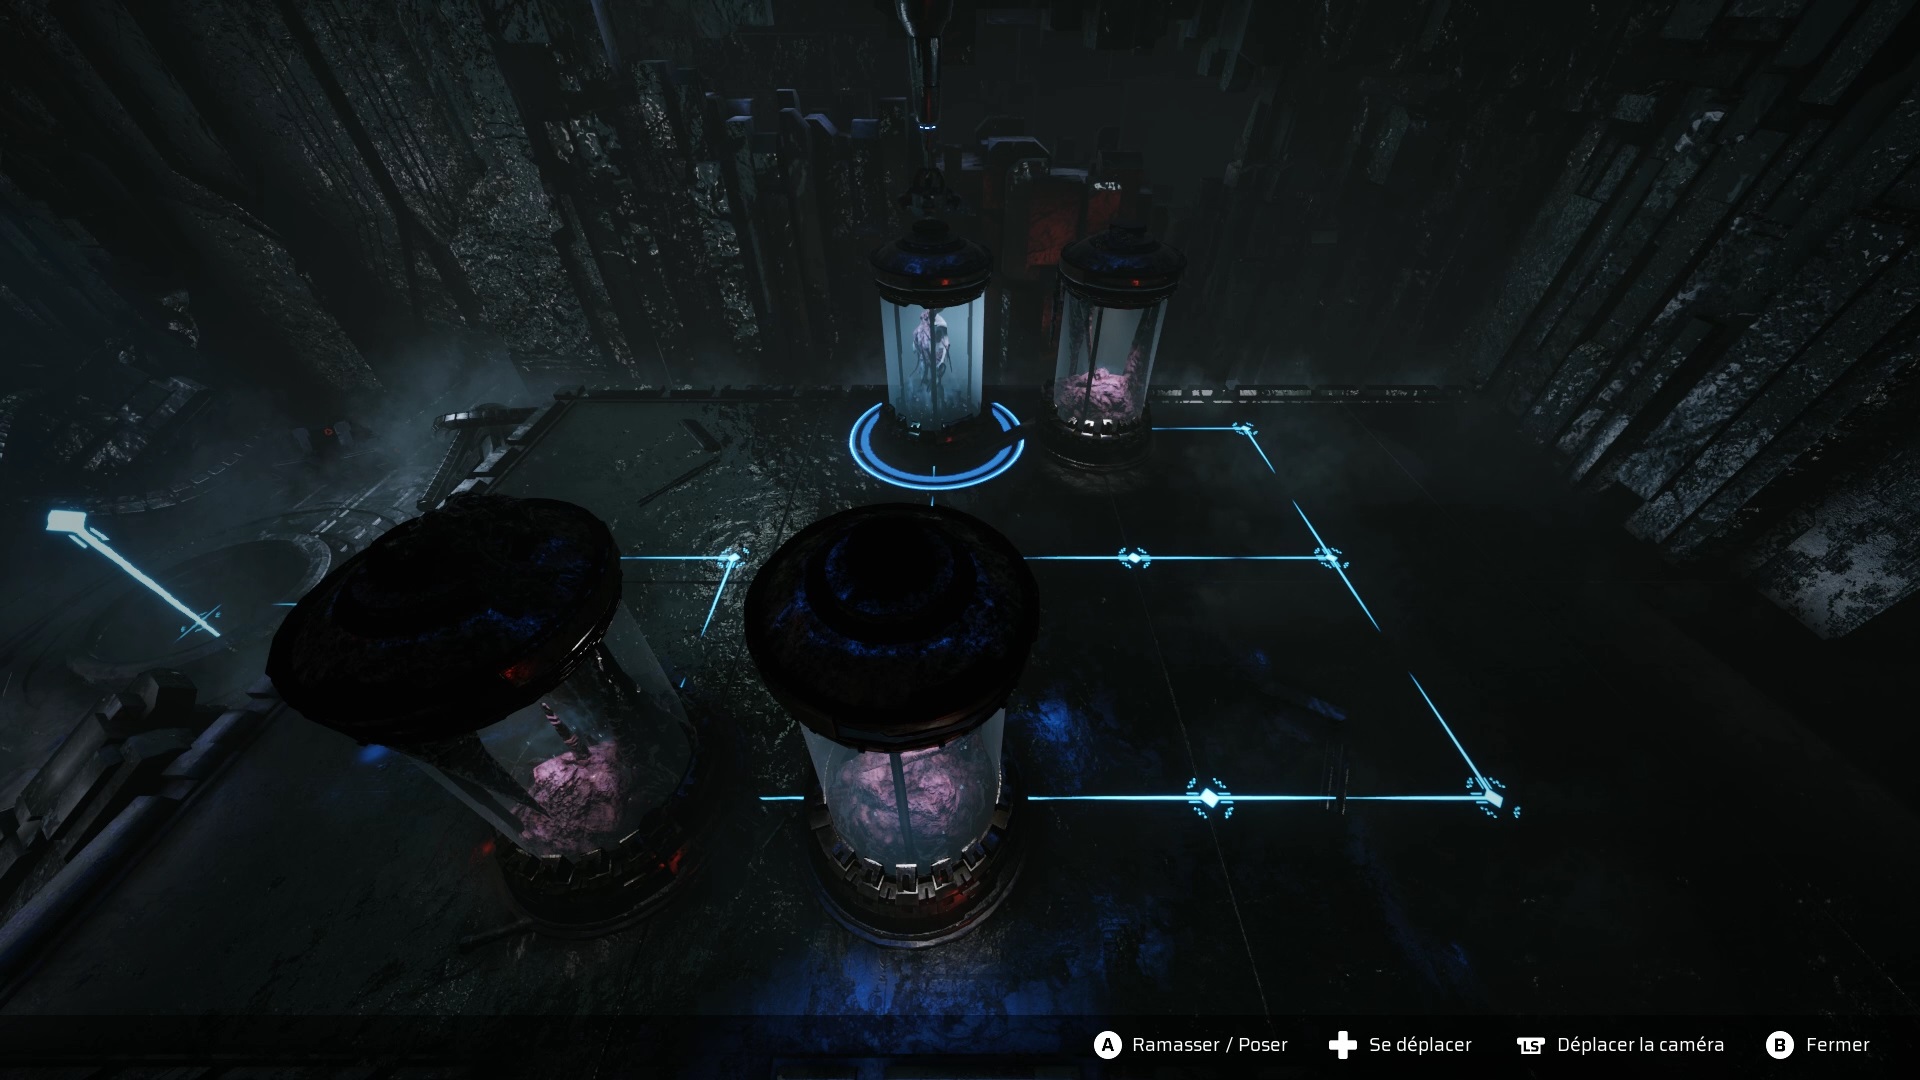
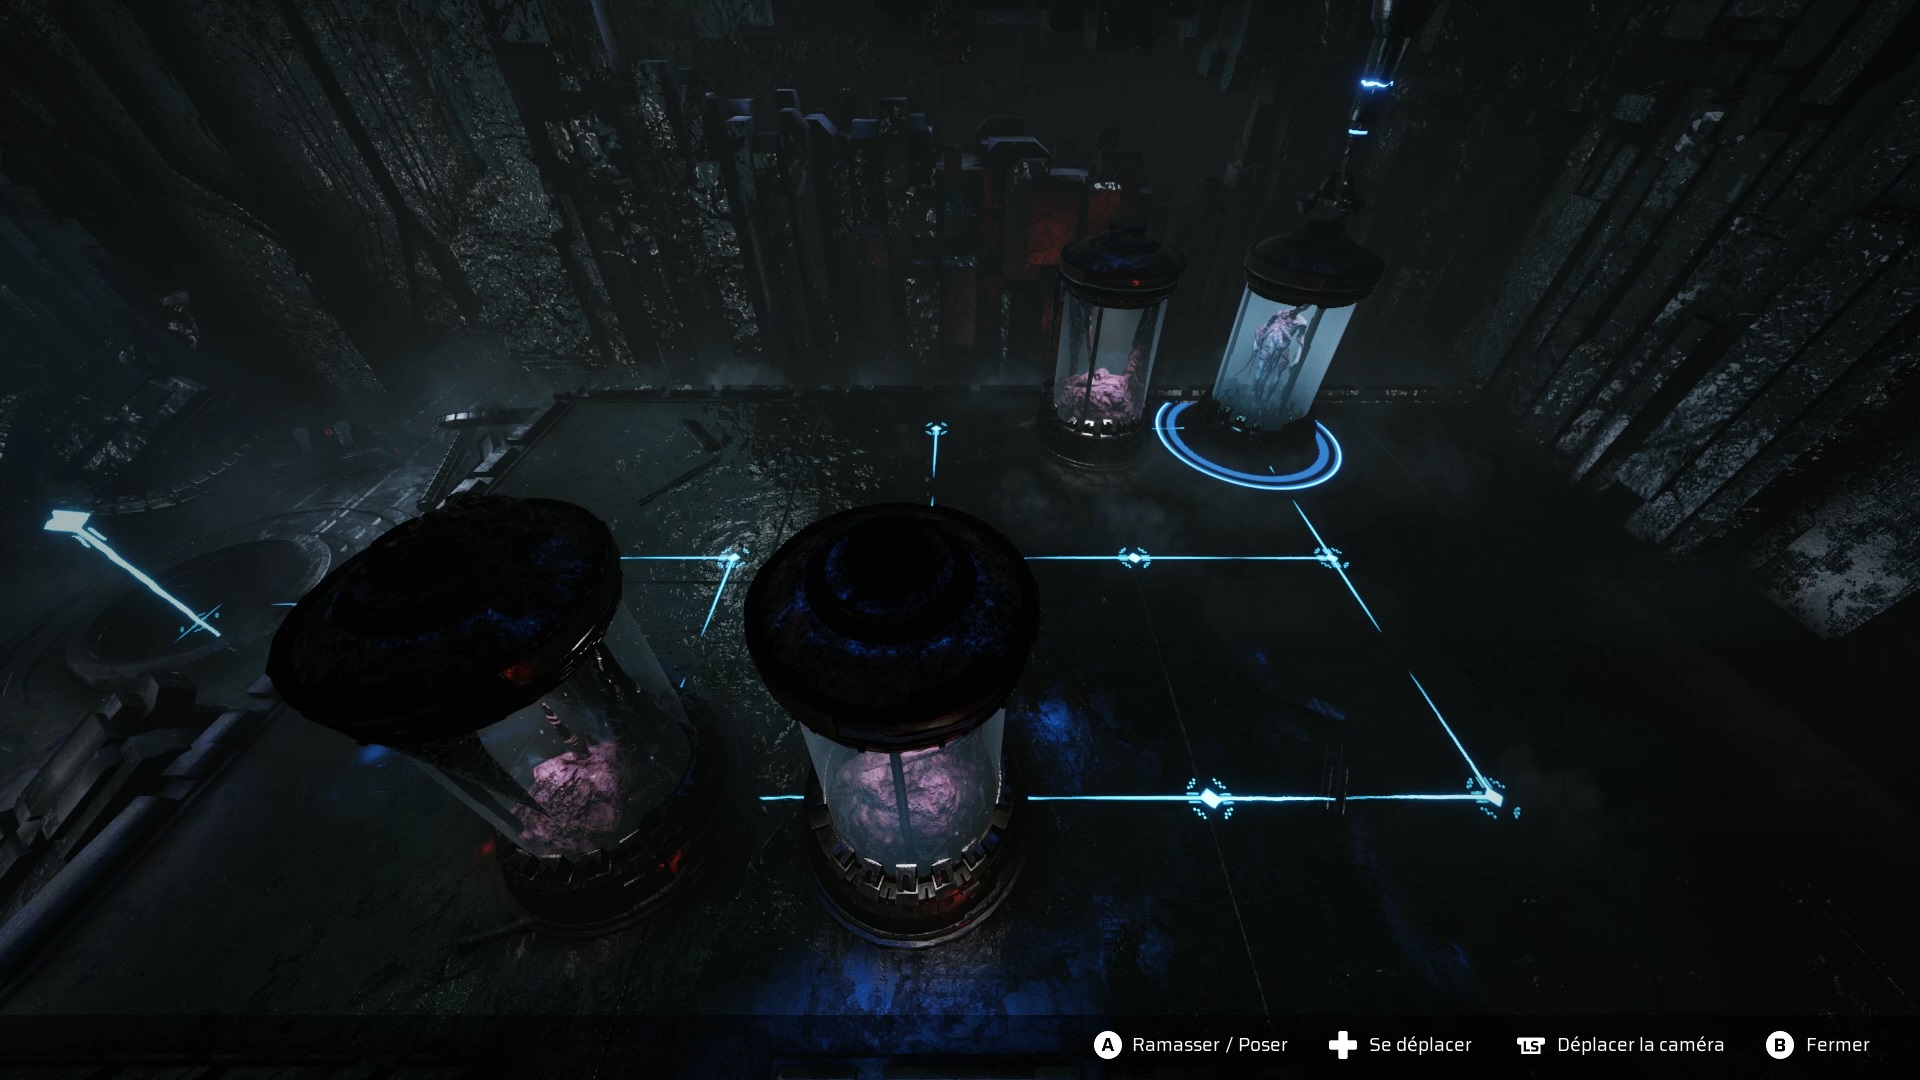
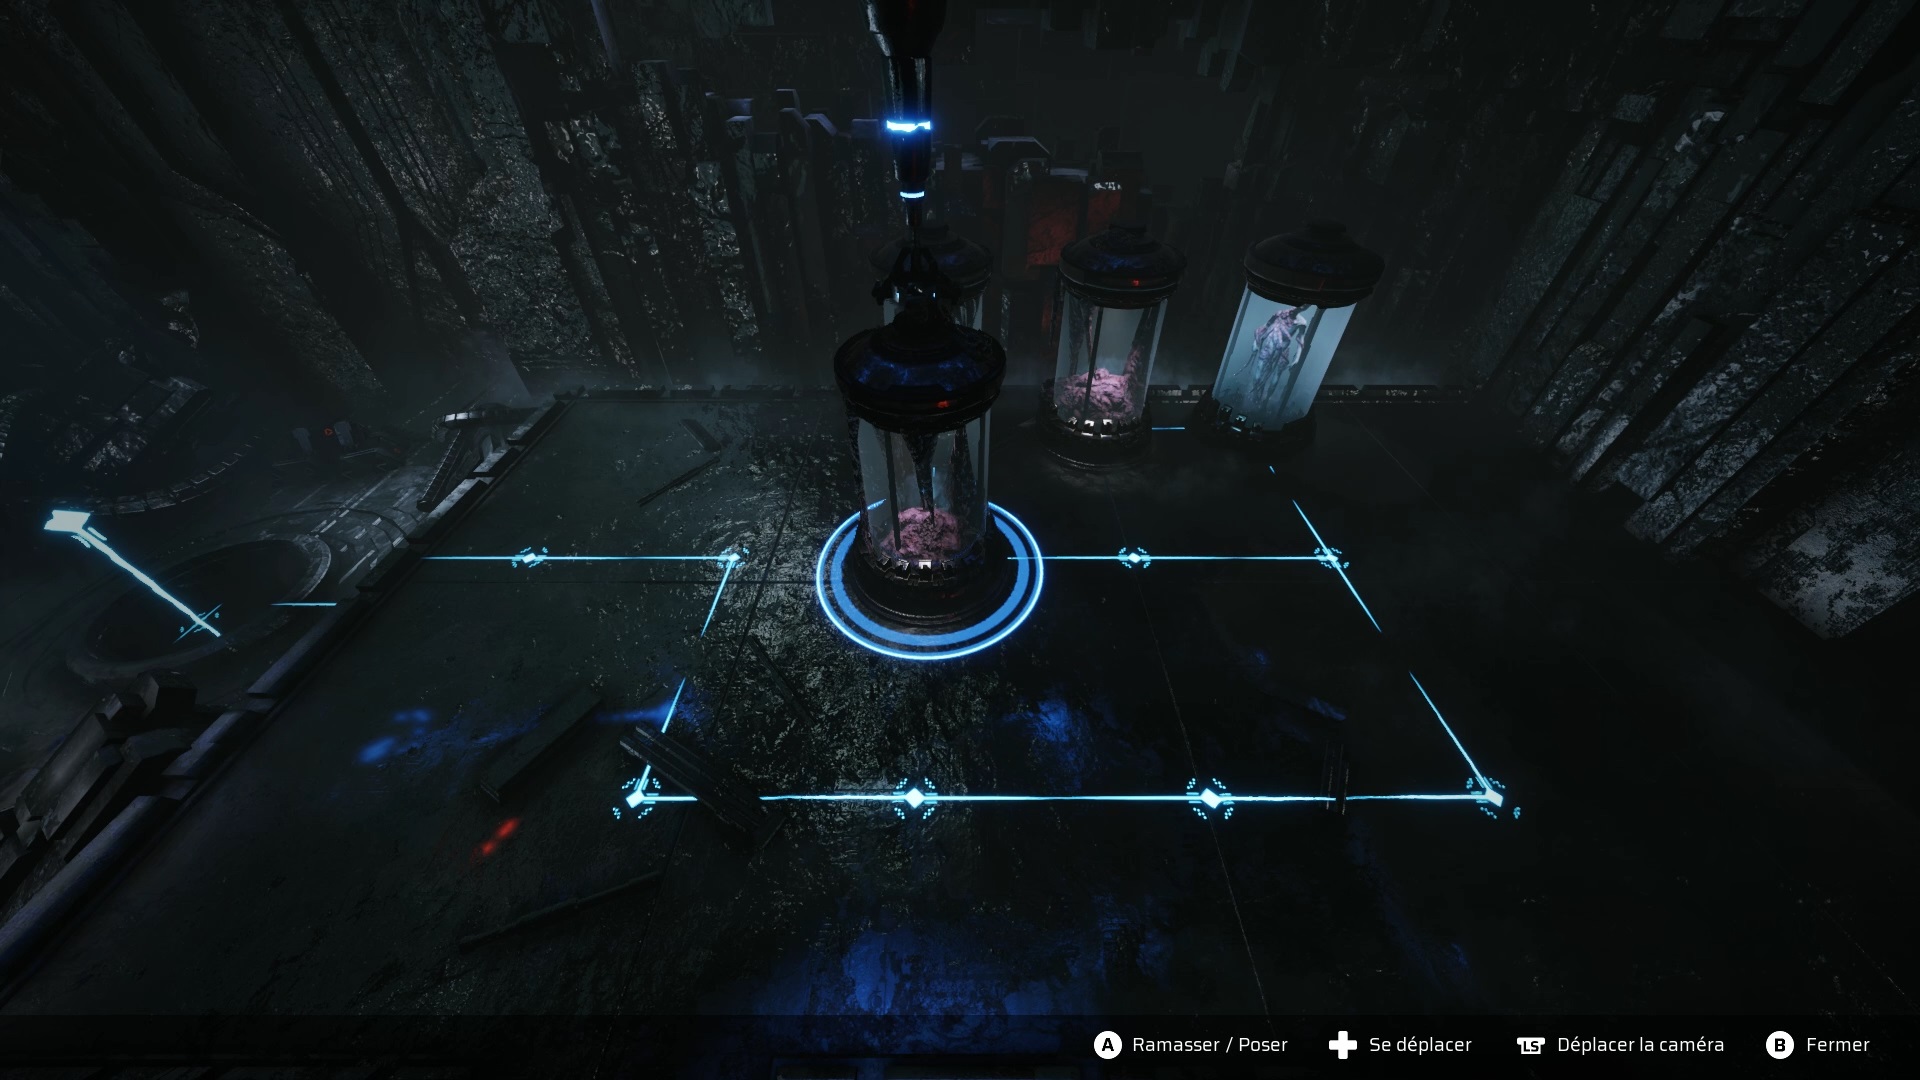
To solve the puzzle follow our images above.
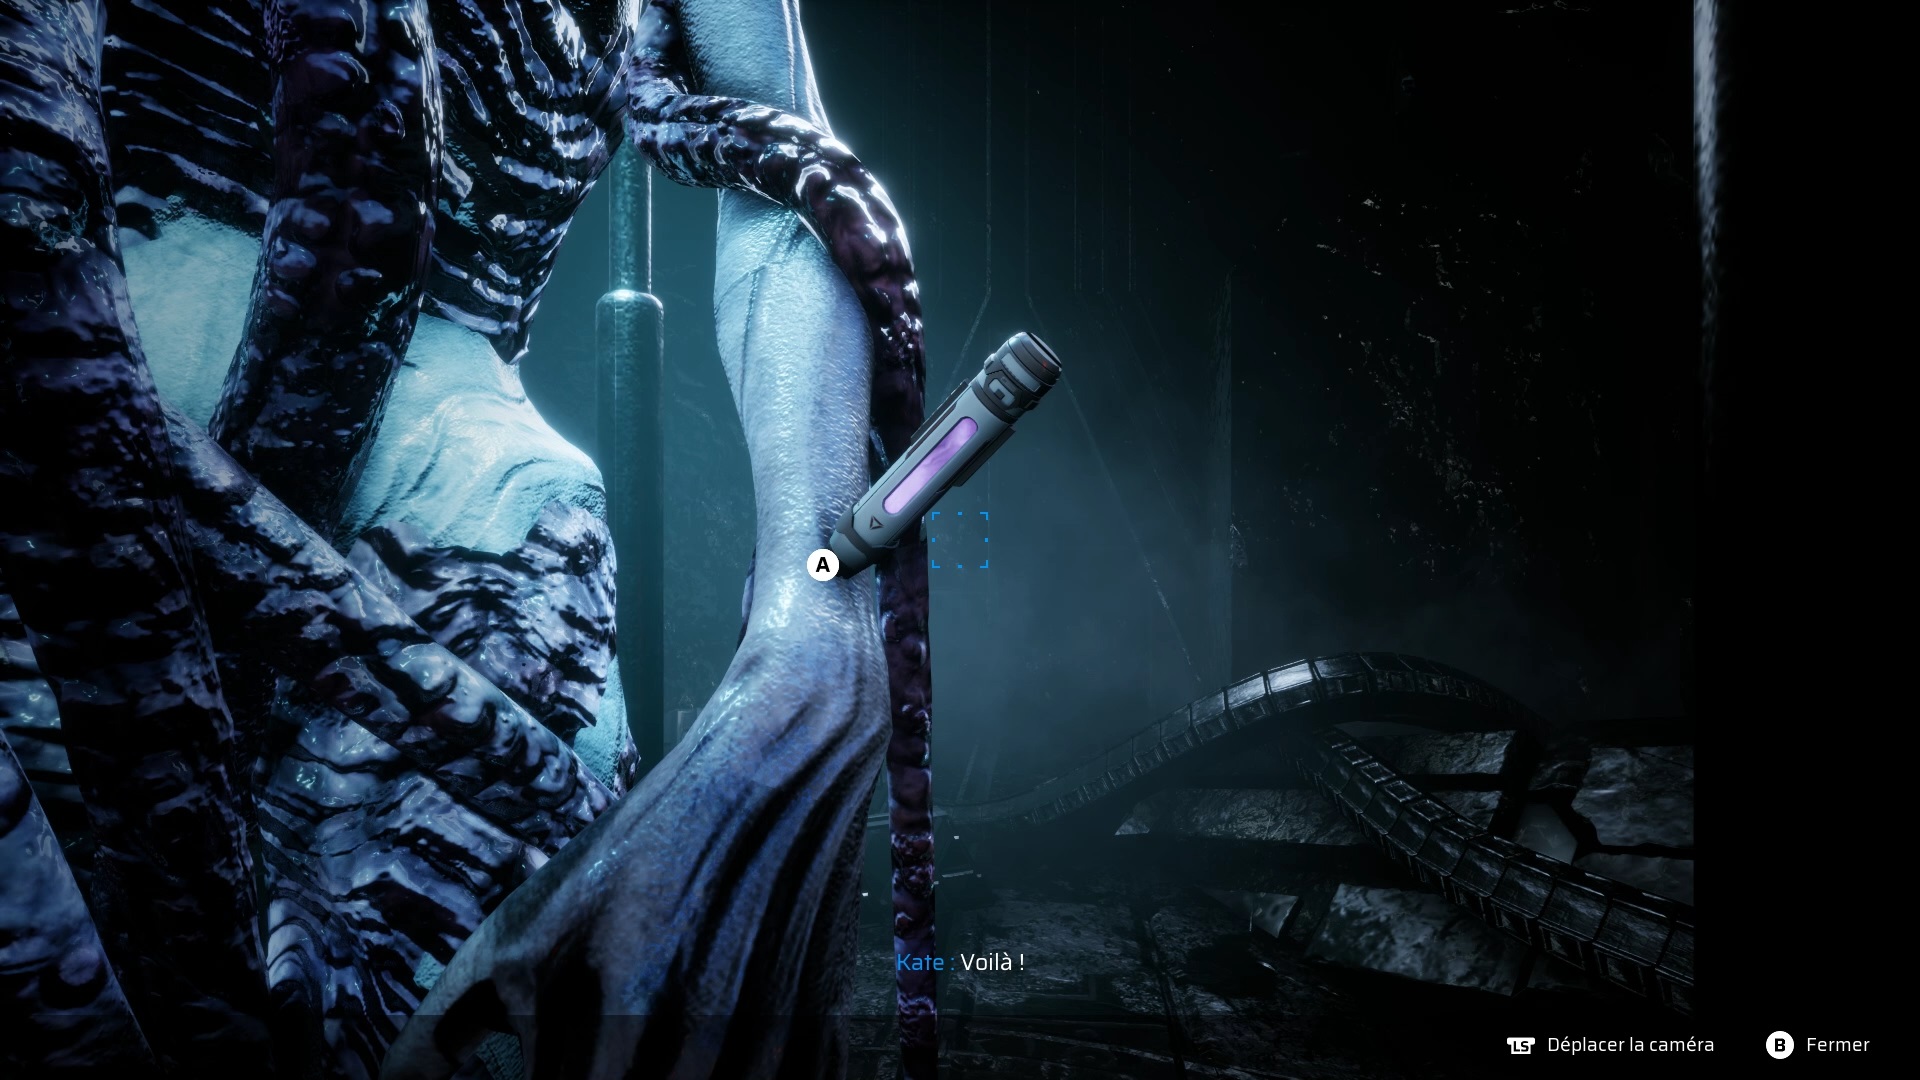
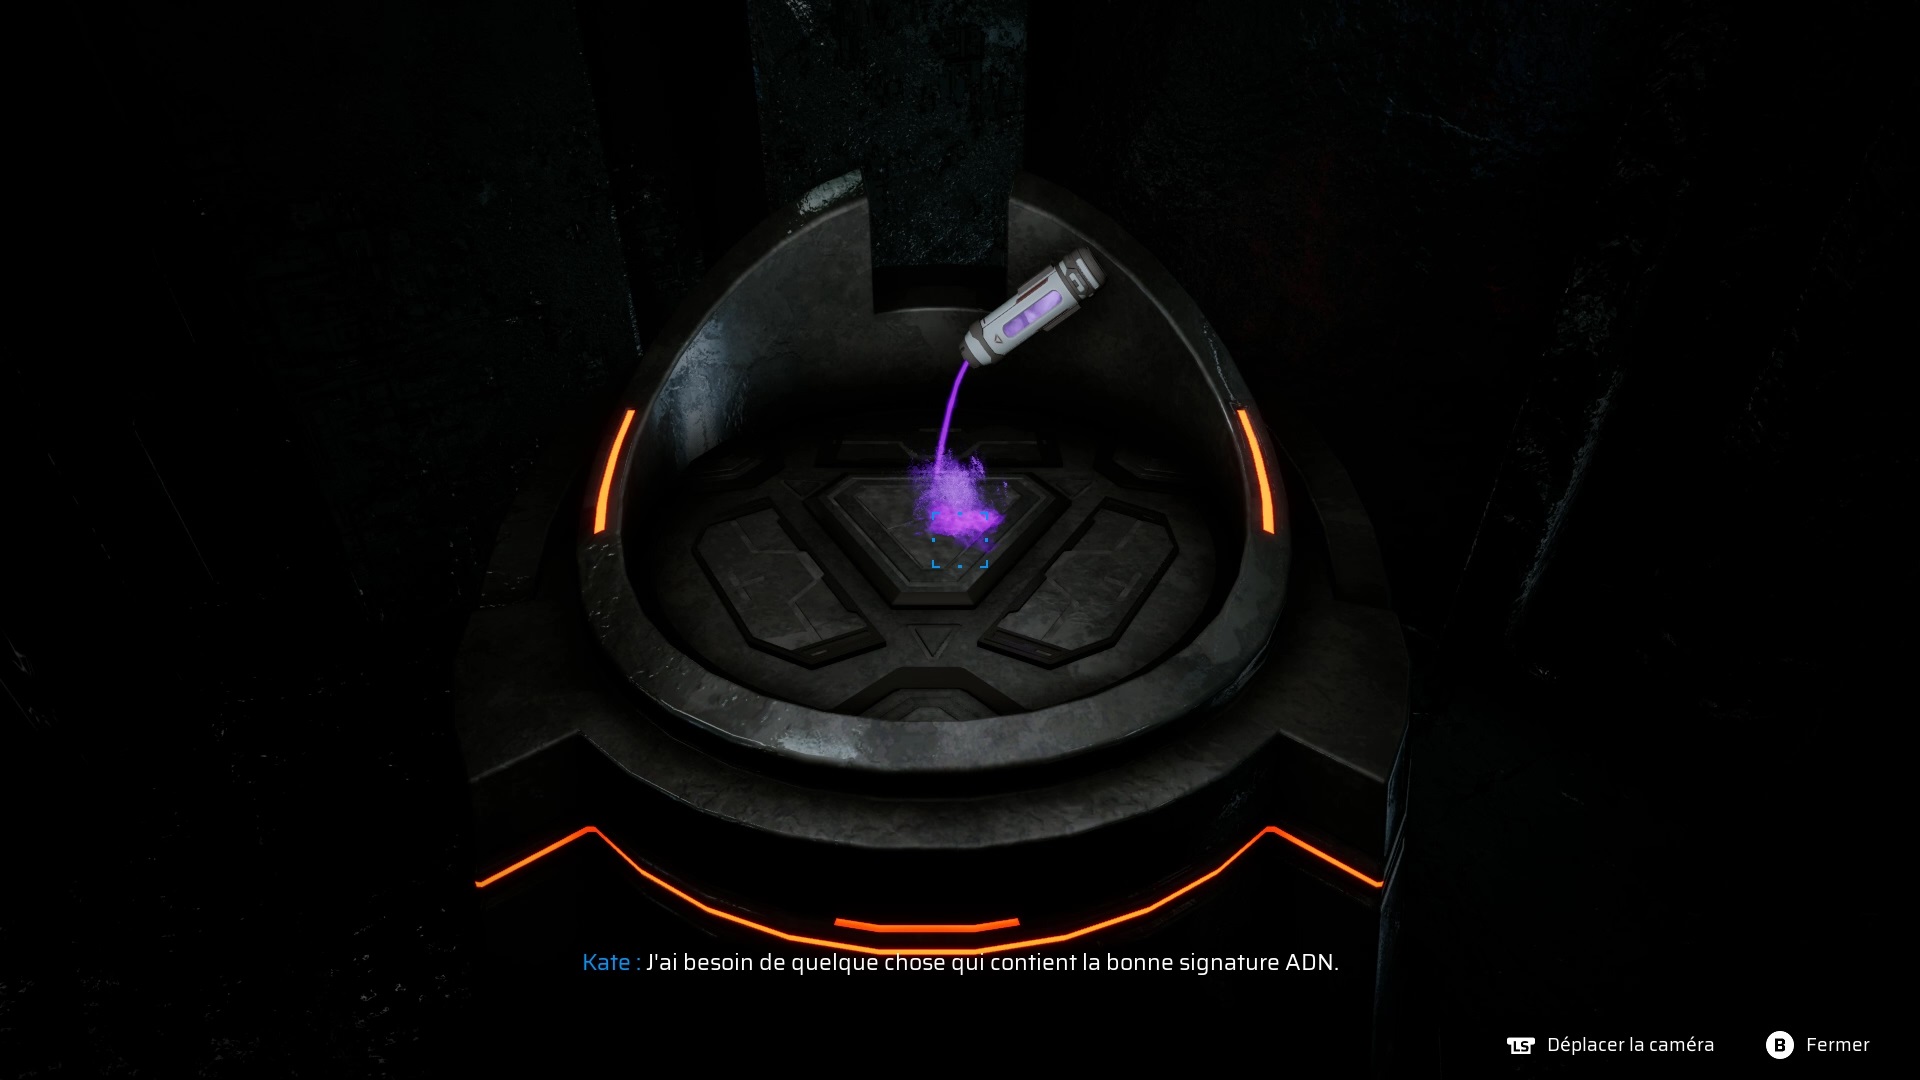
Take the sample from the specimen and use it on the altar in the hallway to unlock the door. Use the elevator behind the door to go down.
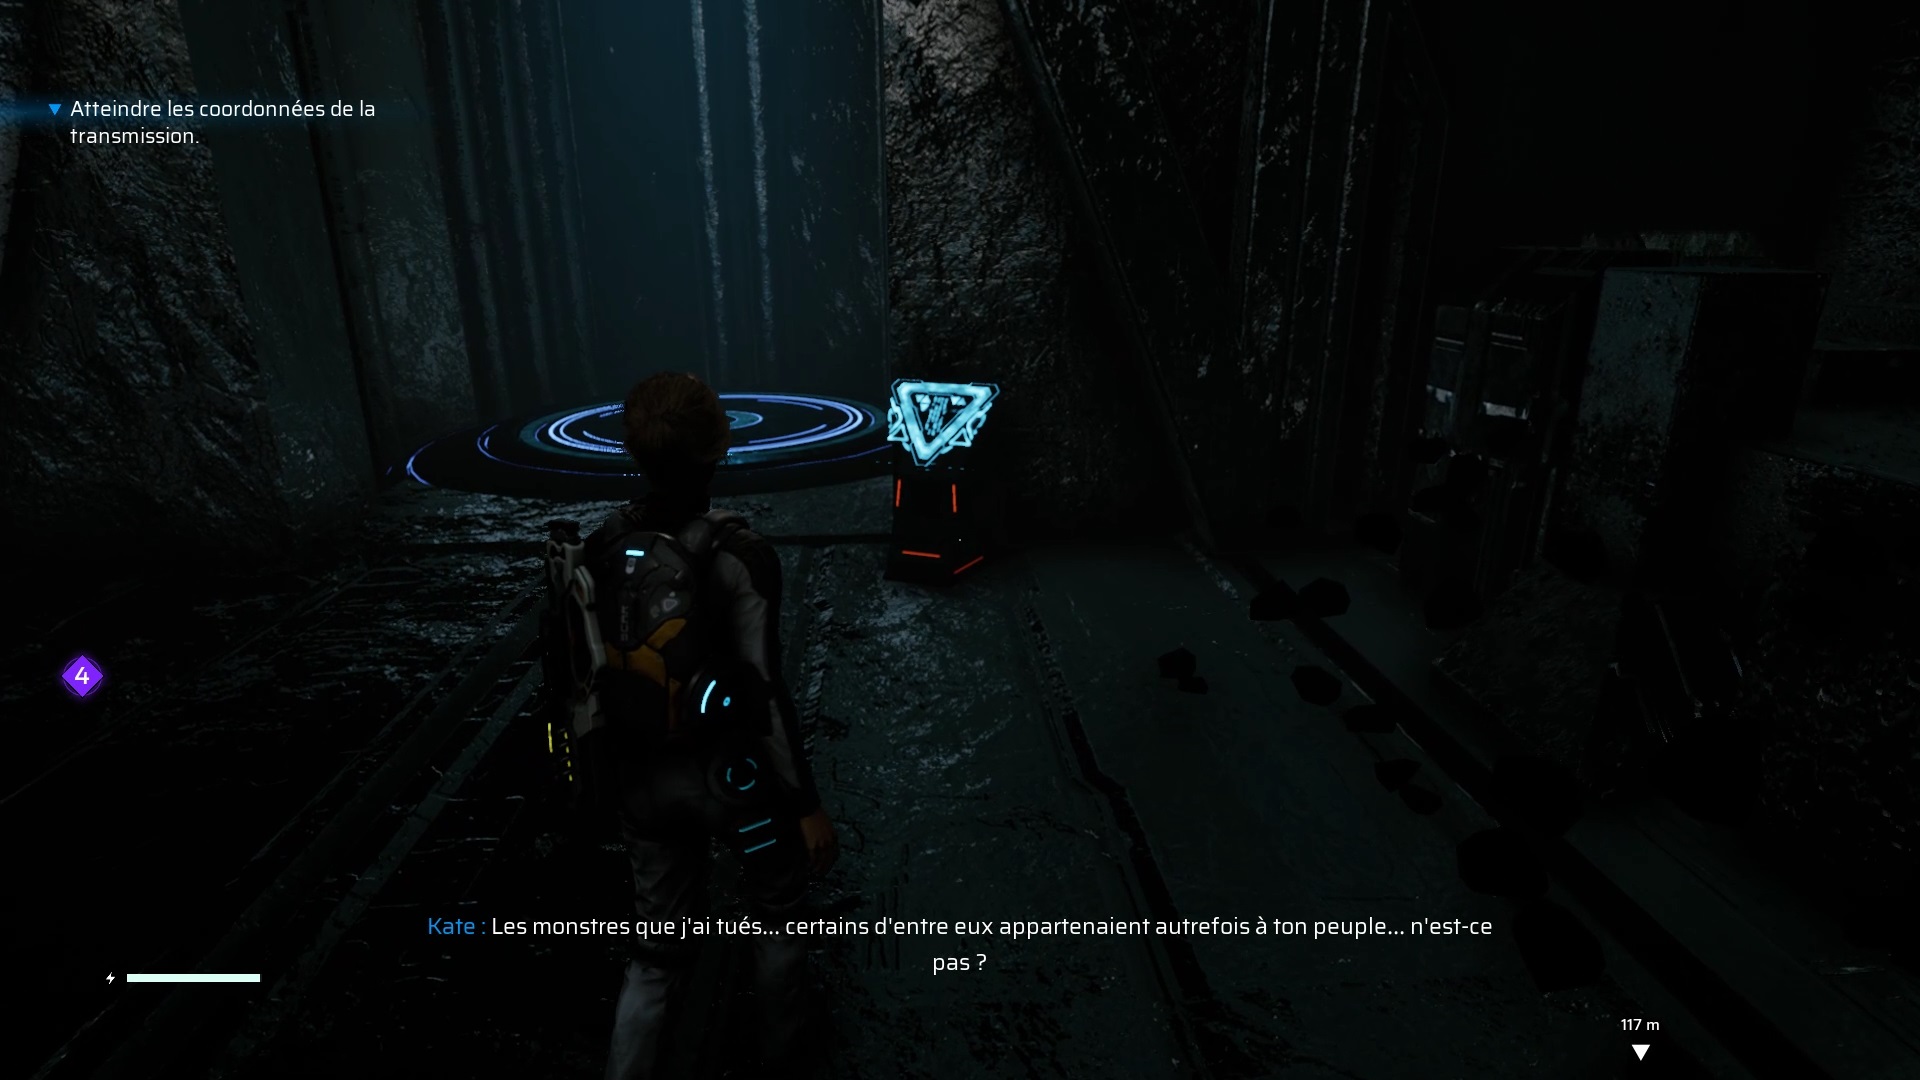
Join the apparition to listen to its story. Then follow the objective to trigger a cutscene and the end of the chapter.
Chapter 5
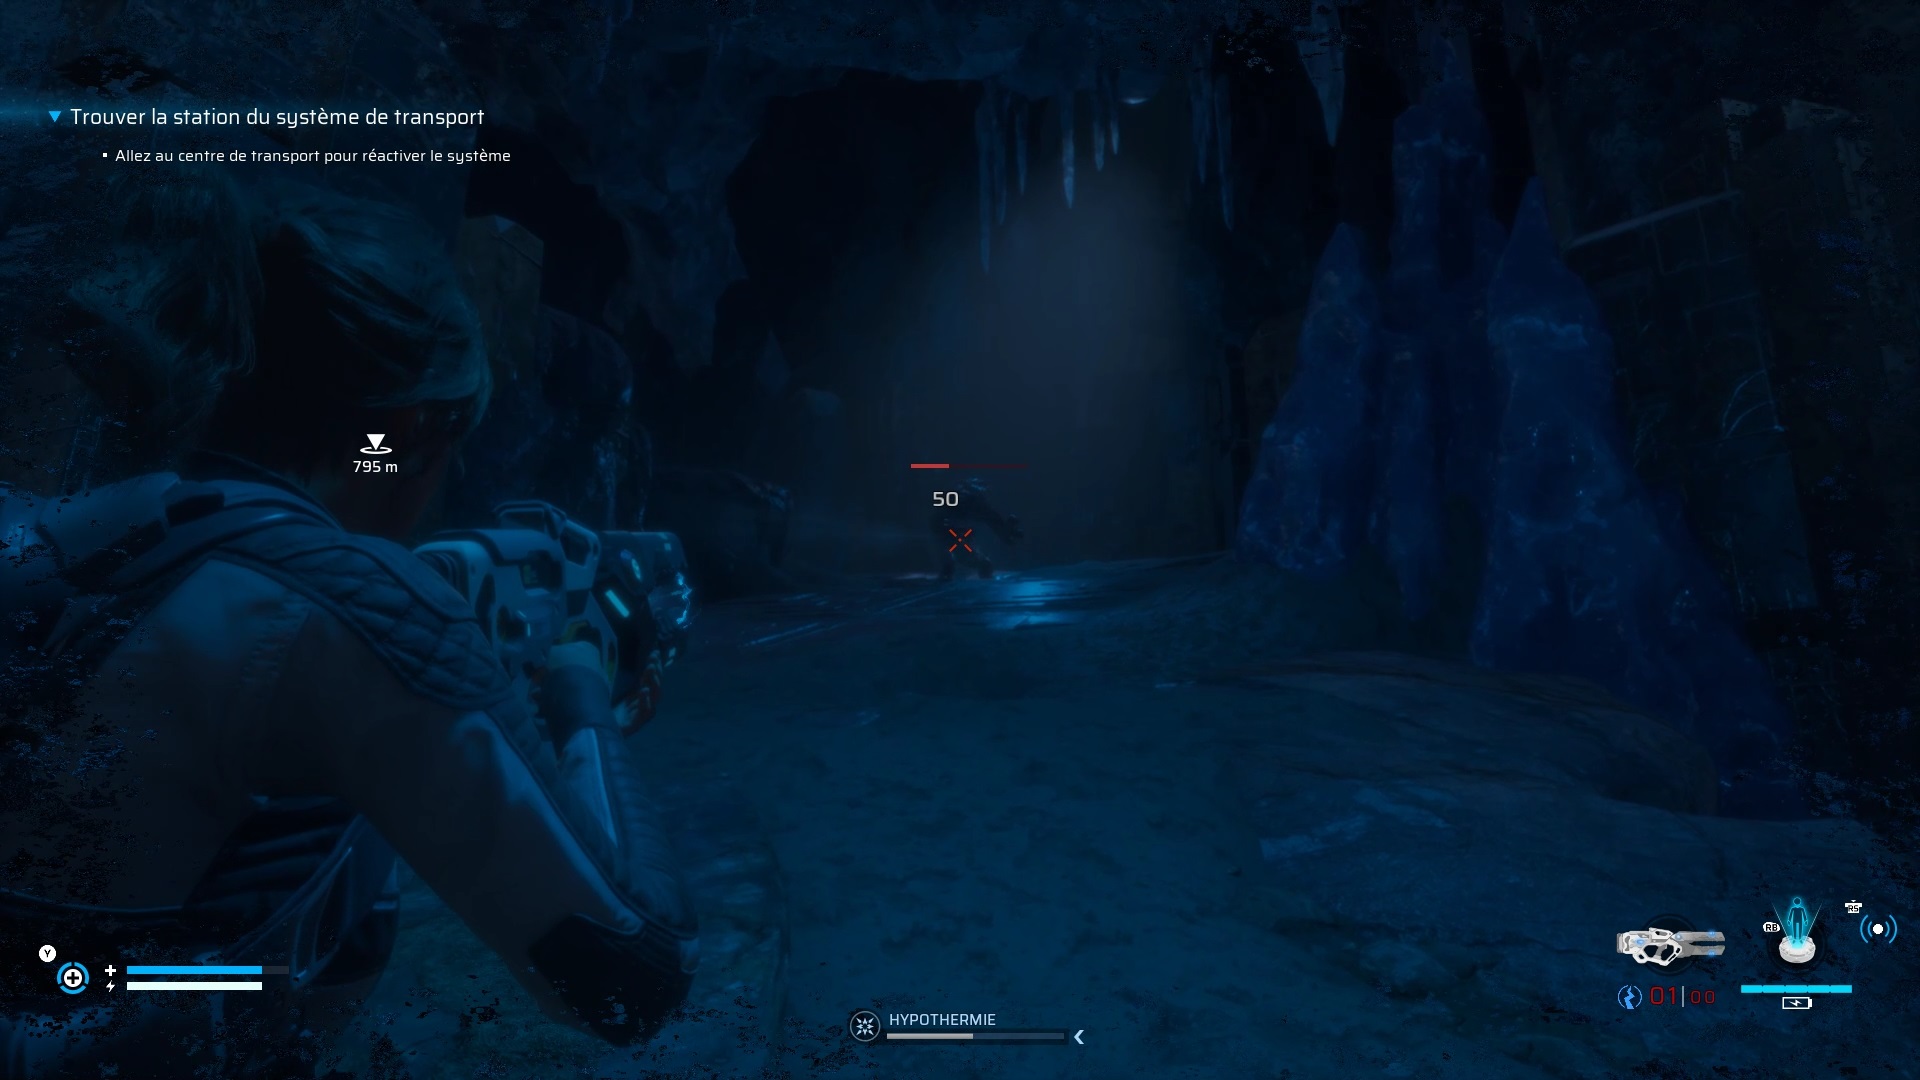
Advance through the tunnels by eliminating threats to reach a breach. Go deep into the tunnel to come face to face with a tracker. Use the gravitational trap to slow down his movements and eliminate him with the Atomizer. Continue passing below the rocks. Keep following the objective to sneak into a new breach.

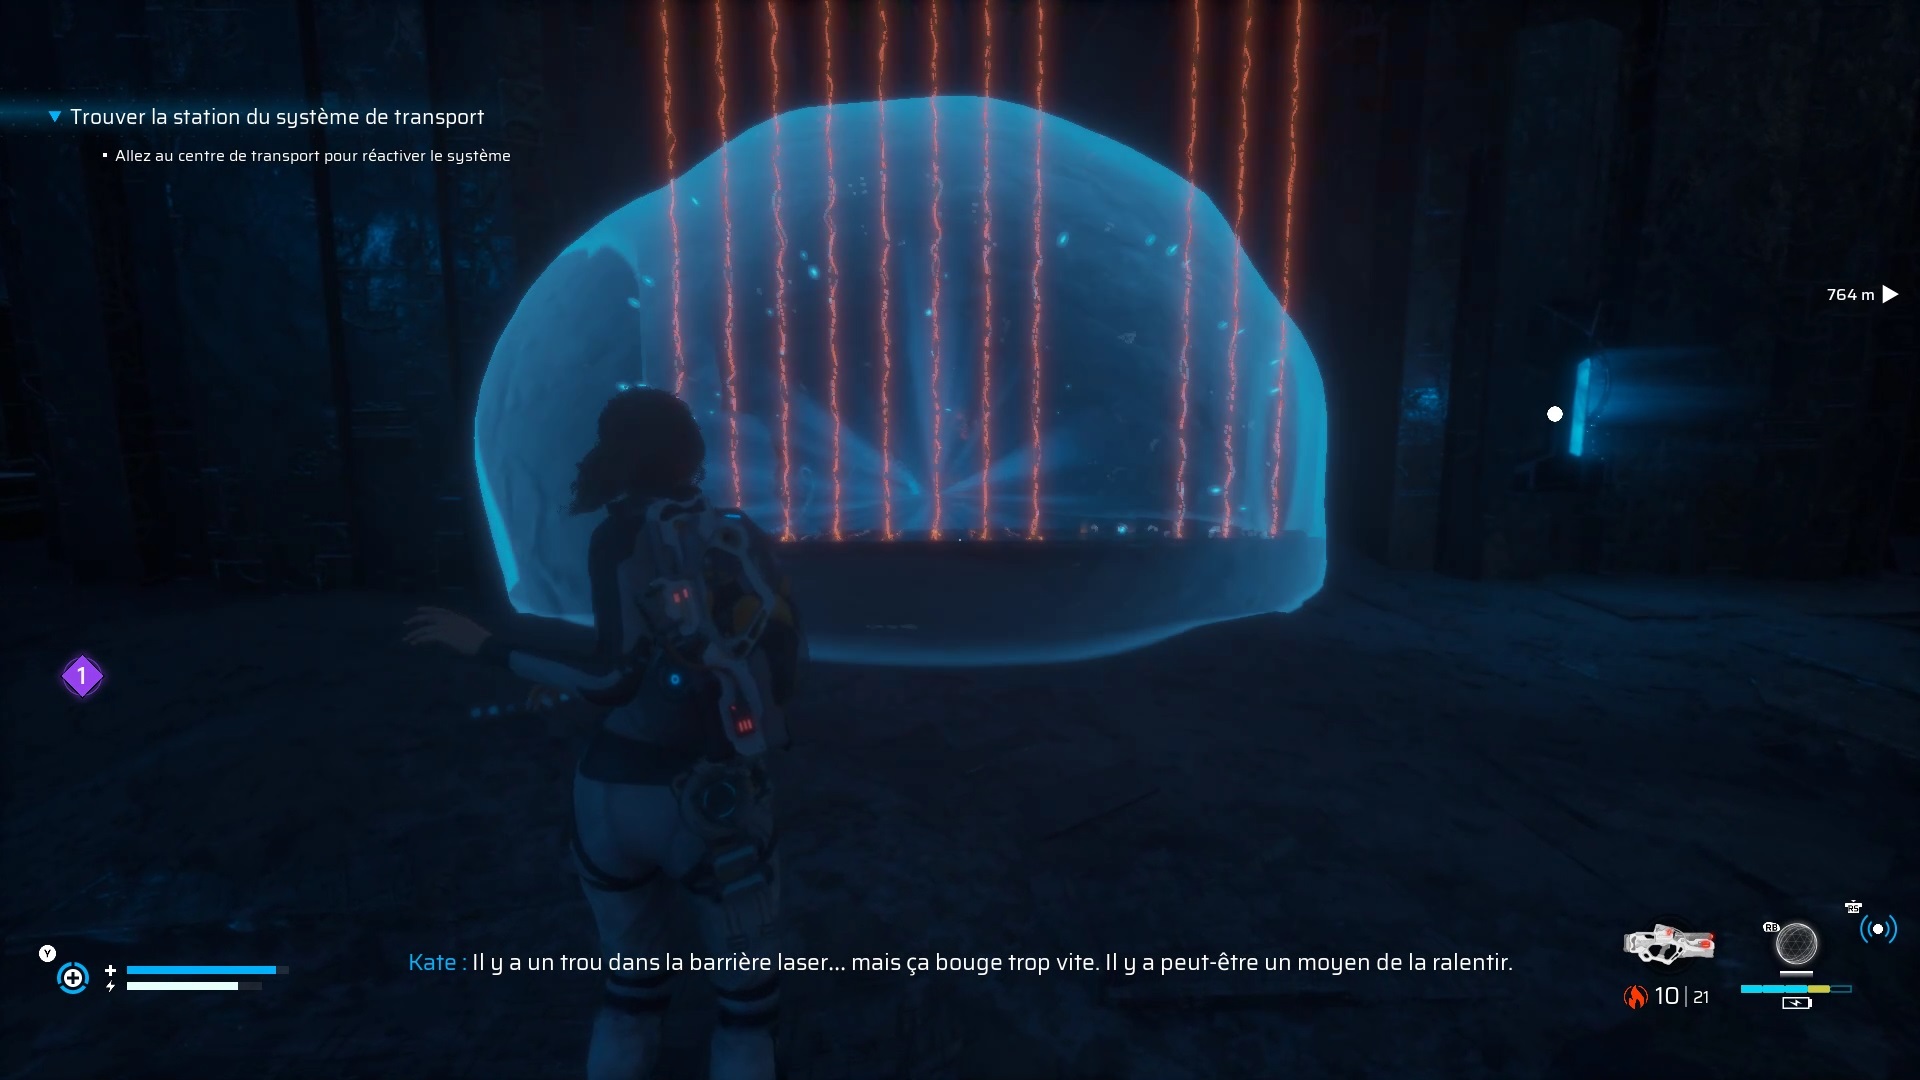
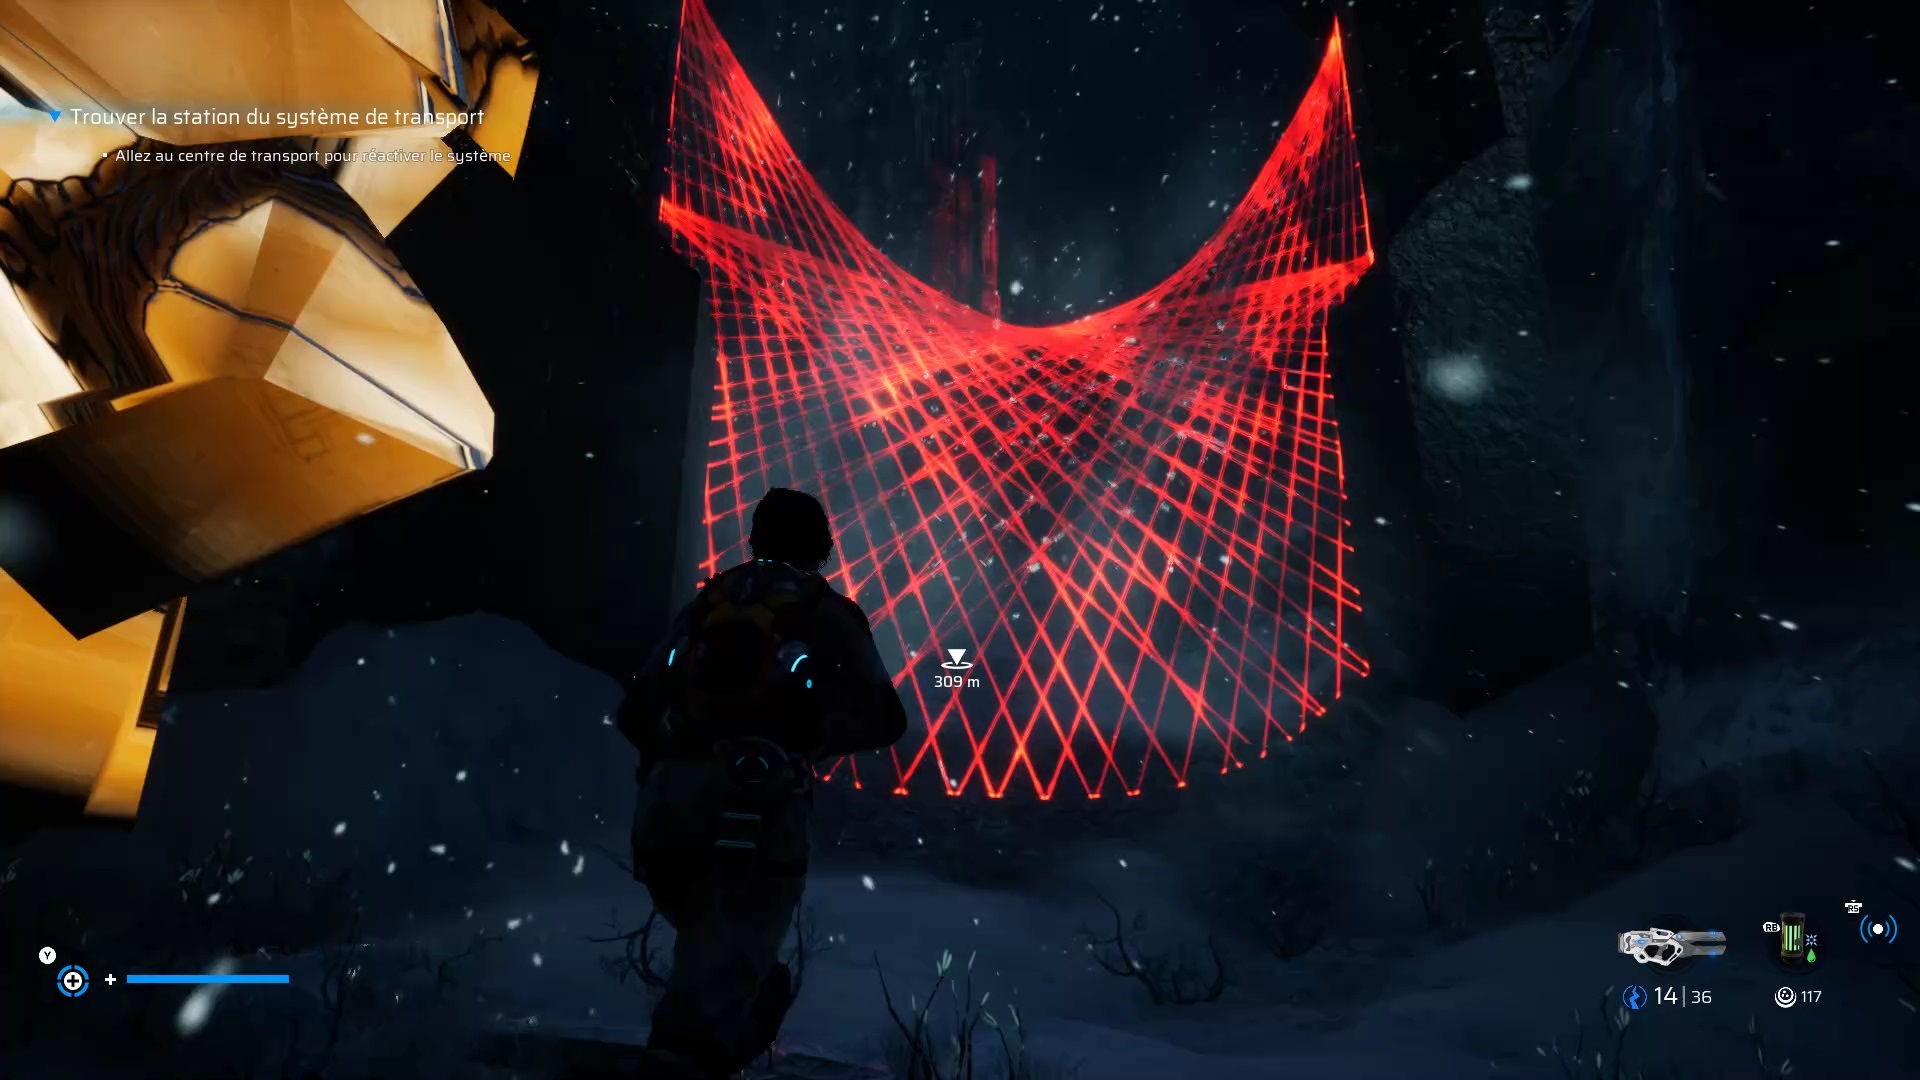
Two Exo-Alluvial await you behind. Shoot the icicles to take out the bullies in one shot. Continue inside to trigger hallucinations. Then follow the red lights to reach a closed door. Shoot the locks to create a shortcut to a pillar. Then go down the slope to reach a pool.
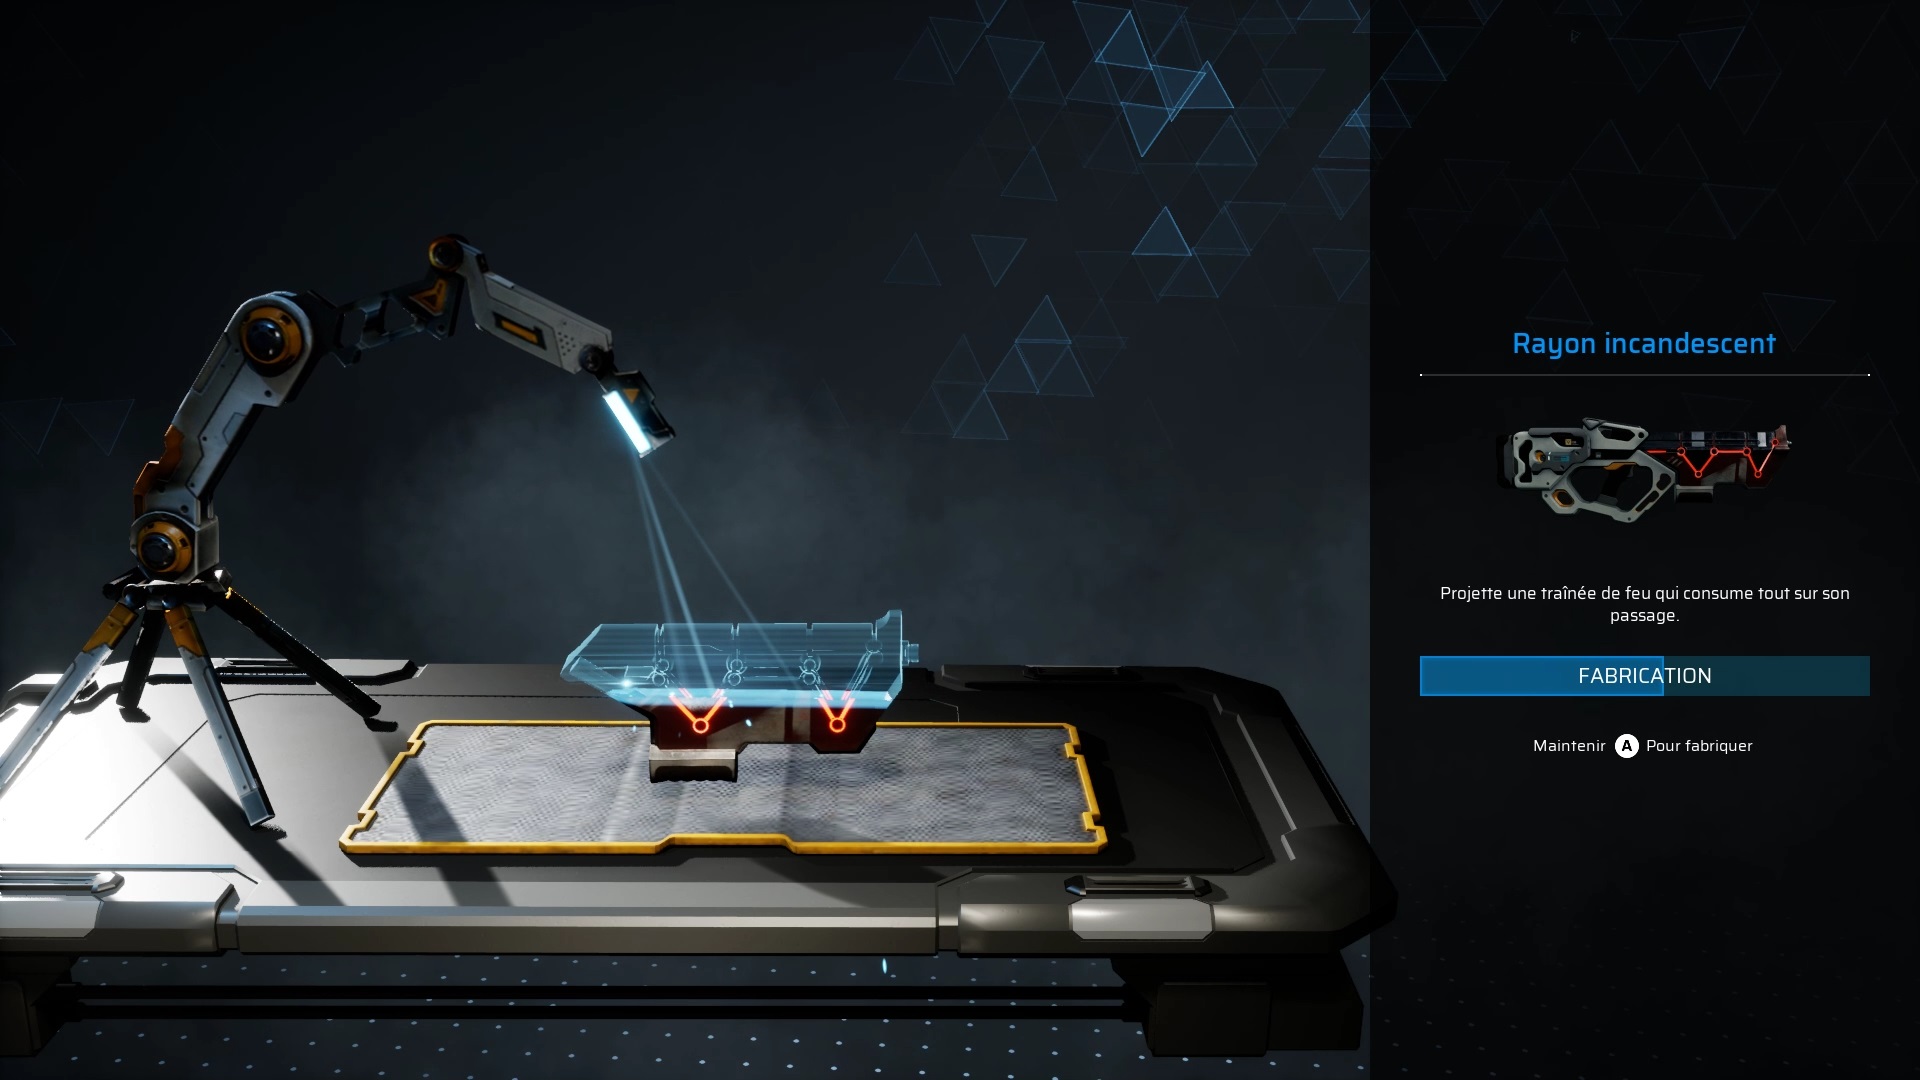
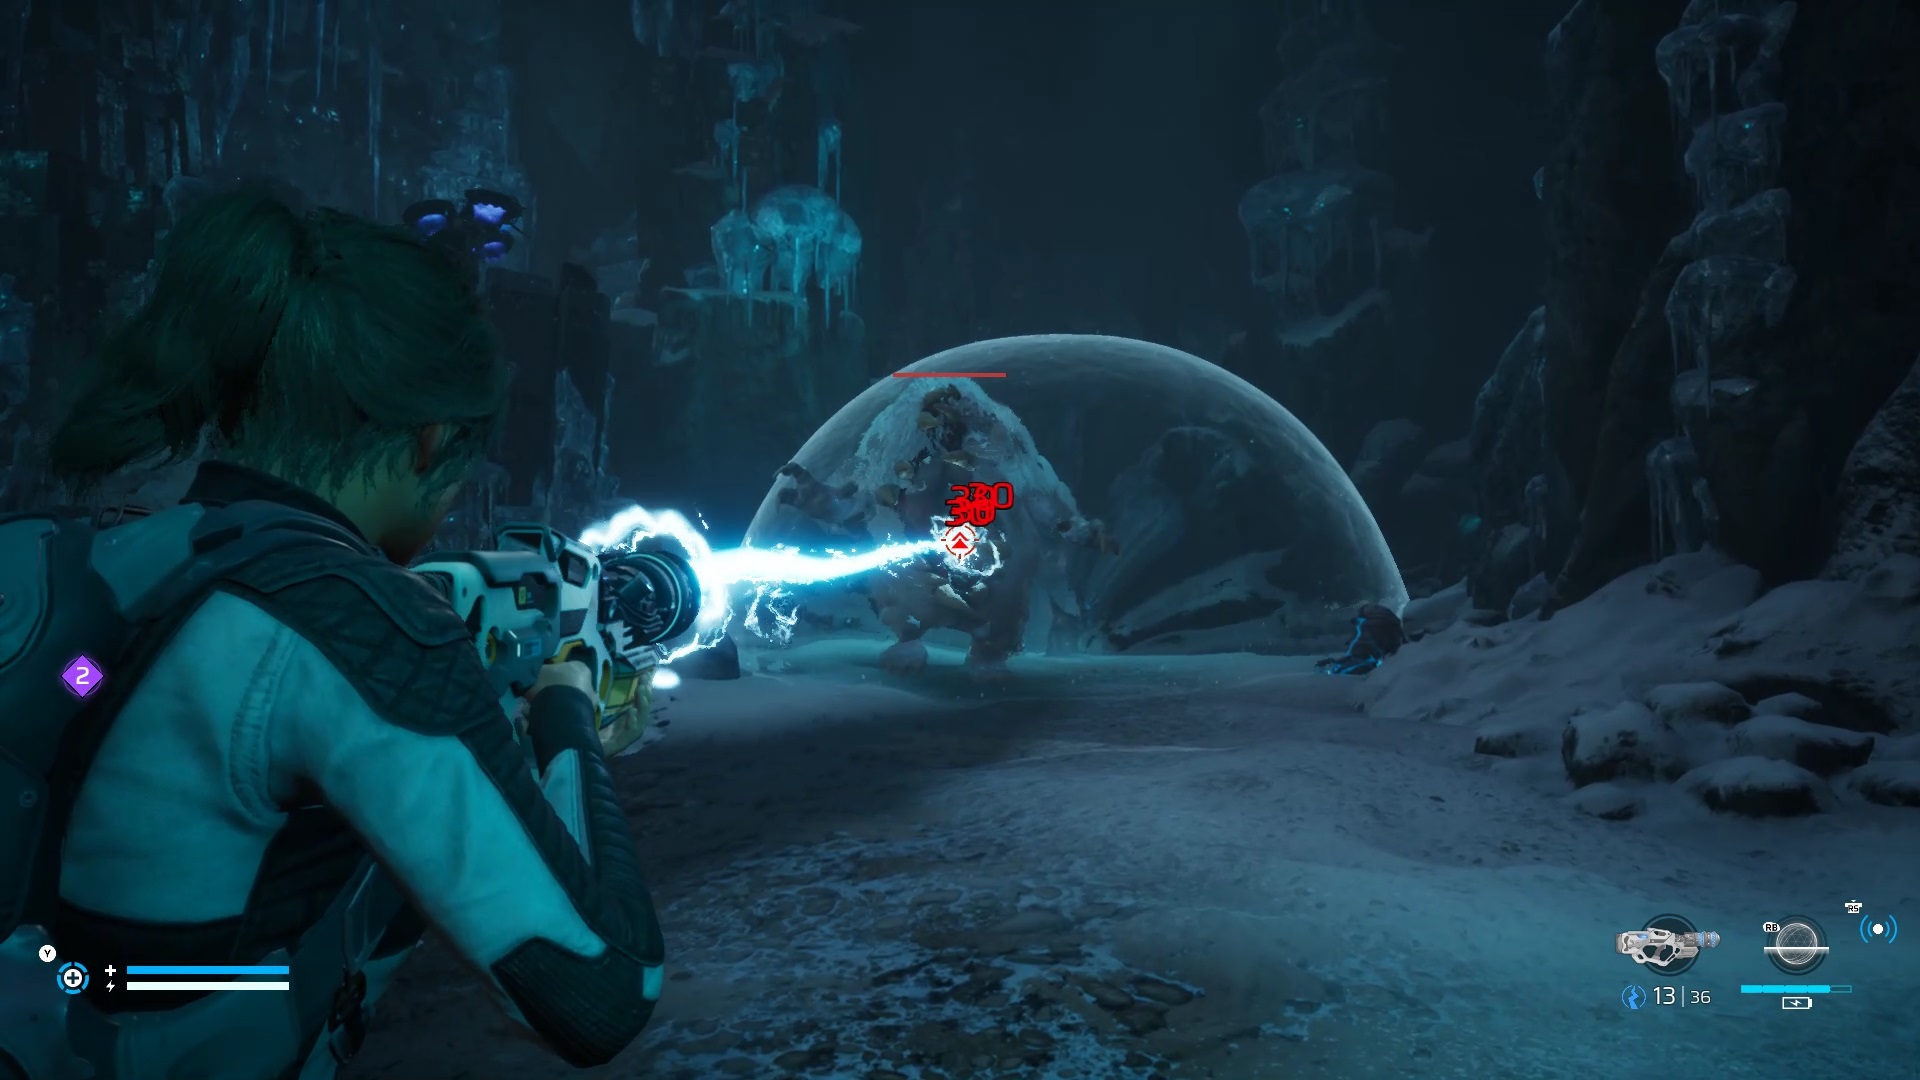
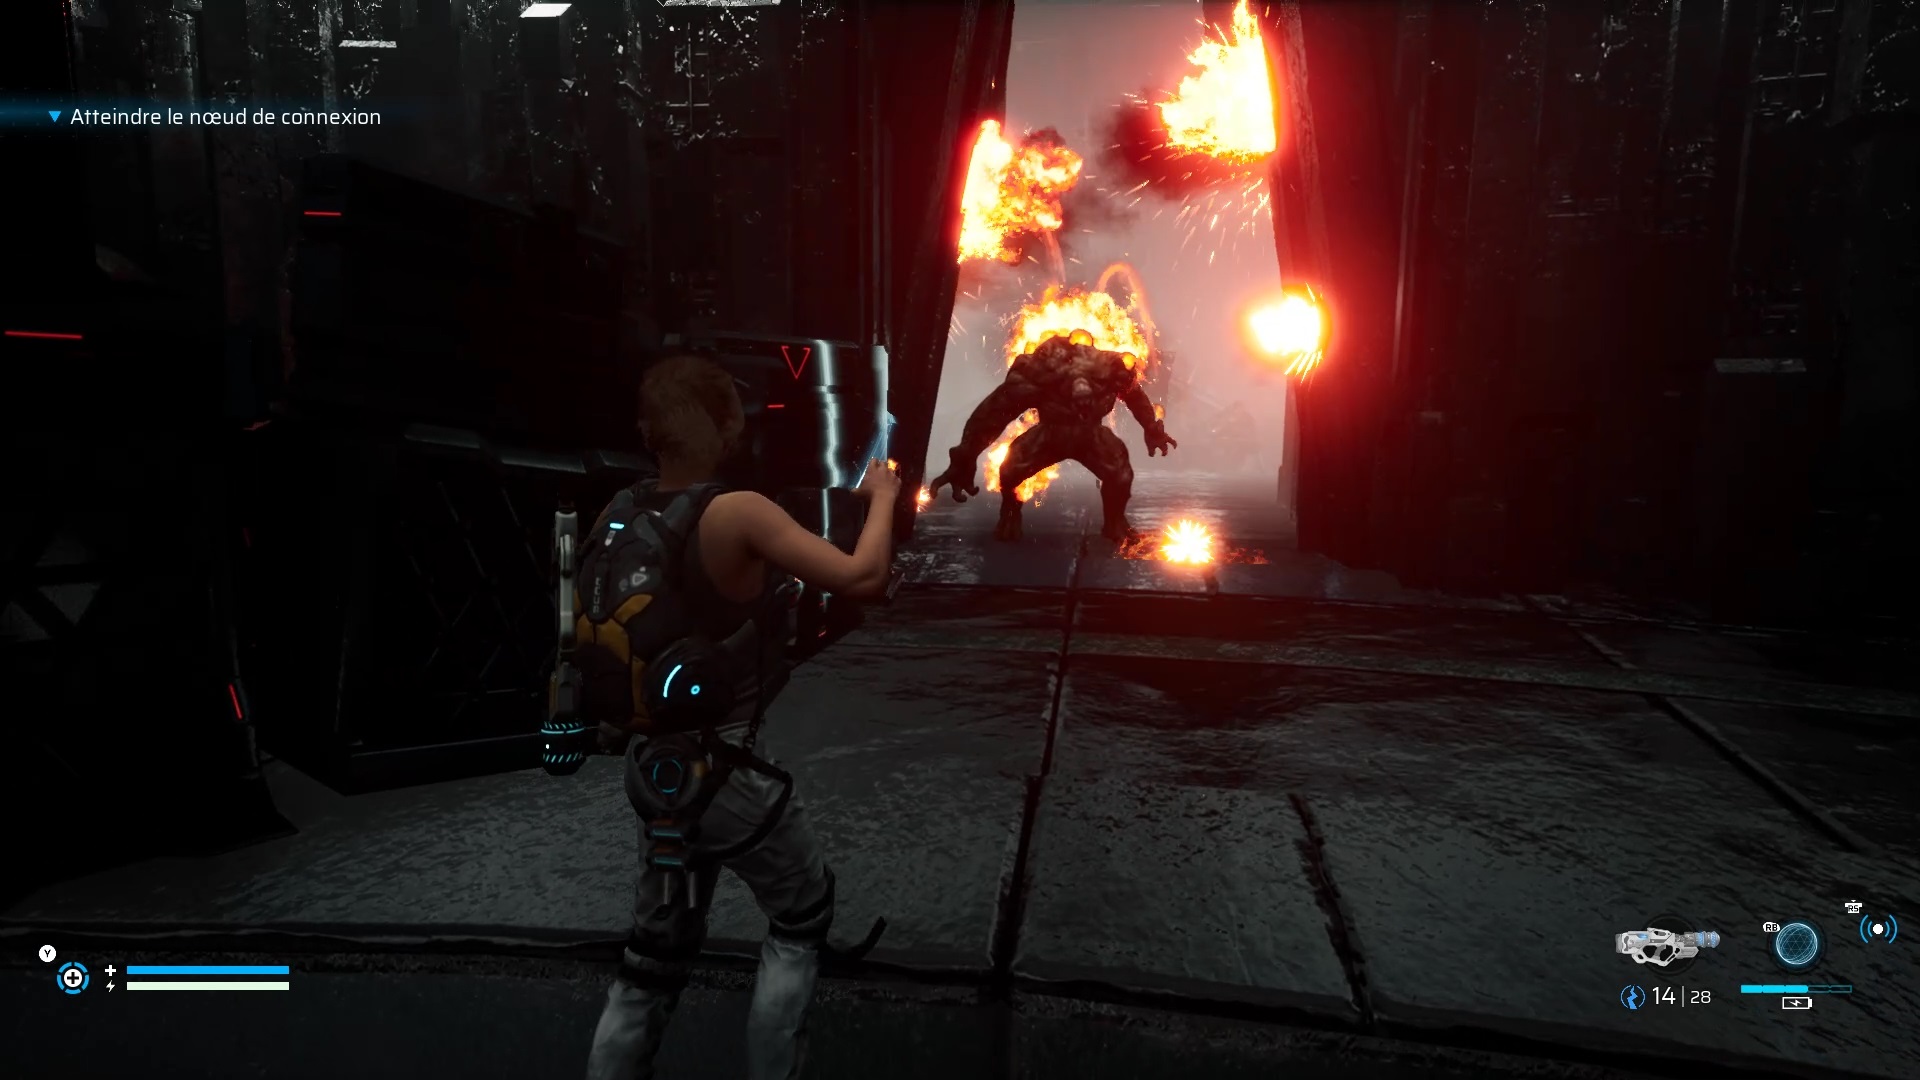
Eliminate the stalkers and the colossus with the previous techniques to free the area. Then go through the doors. You encounter a new type of enemy on the other side: Exo-Mutant. Use the gravity trap to slow him down and shoot his growths with the thermal loader. Examine the monster to get a new weapon: the Incandescent Ray.
Follow the objective to find a passage under the rocks. In the new cave room, a mini-boss awaits you below. Use the Grav Trap to slow him down and hit him with the Heat Loader. Examine the beast to get an upgrade for the Atomizer.

You will now need to destroy growths in the cave to open a door. At the bottom, sneak behind two tentacles to find a first growth to destroy. A second growth is on the wall of the slope near the door. The last is near the organic door to unlock.

Go through the organic door to enter an organism. Go deeper to discover a hostile core. Go behind to knock him down with a thermal shot. Continue your descent into the body through the cavity. Follow the red lights and eliminate the enemies in your path.
The deeper you go, the more hallucinations occur. Move forward to reach a pillar. Drop the core and follow the goal and the red lights to find your way through the bowels. At the end of the tunnel, you will come to a second pillar which is actually a decoy. Get rid of the mutants with the gravity trap and your thermal loader. In case of lack of ammunition, the Atomizer can easily overcome mutants if necessary.
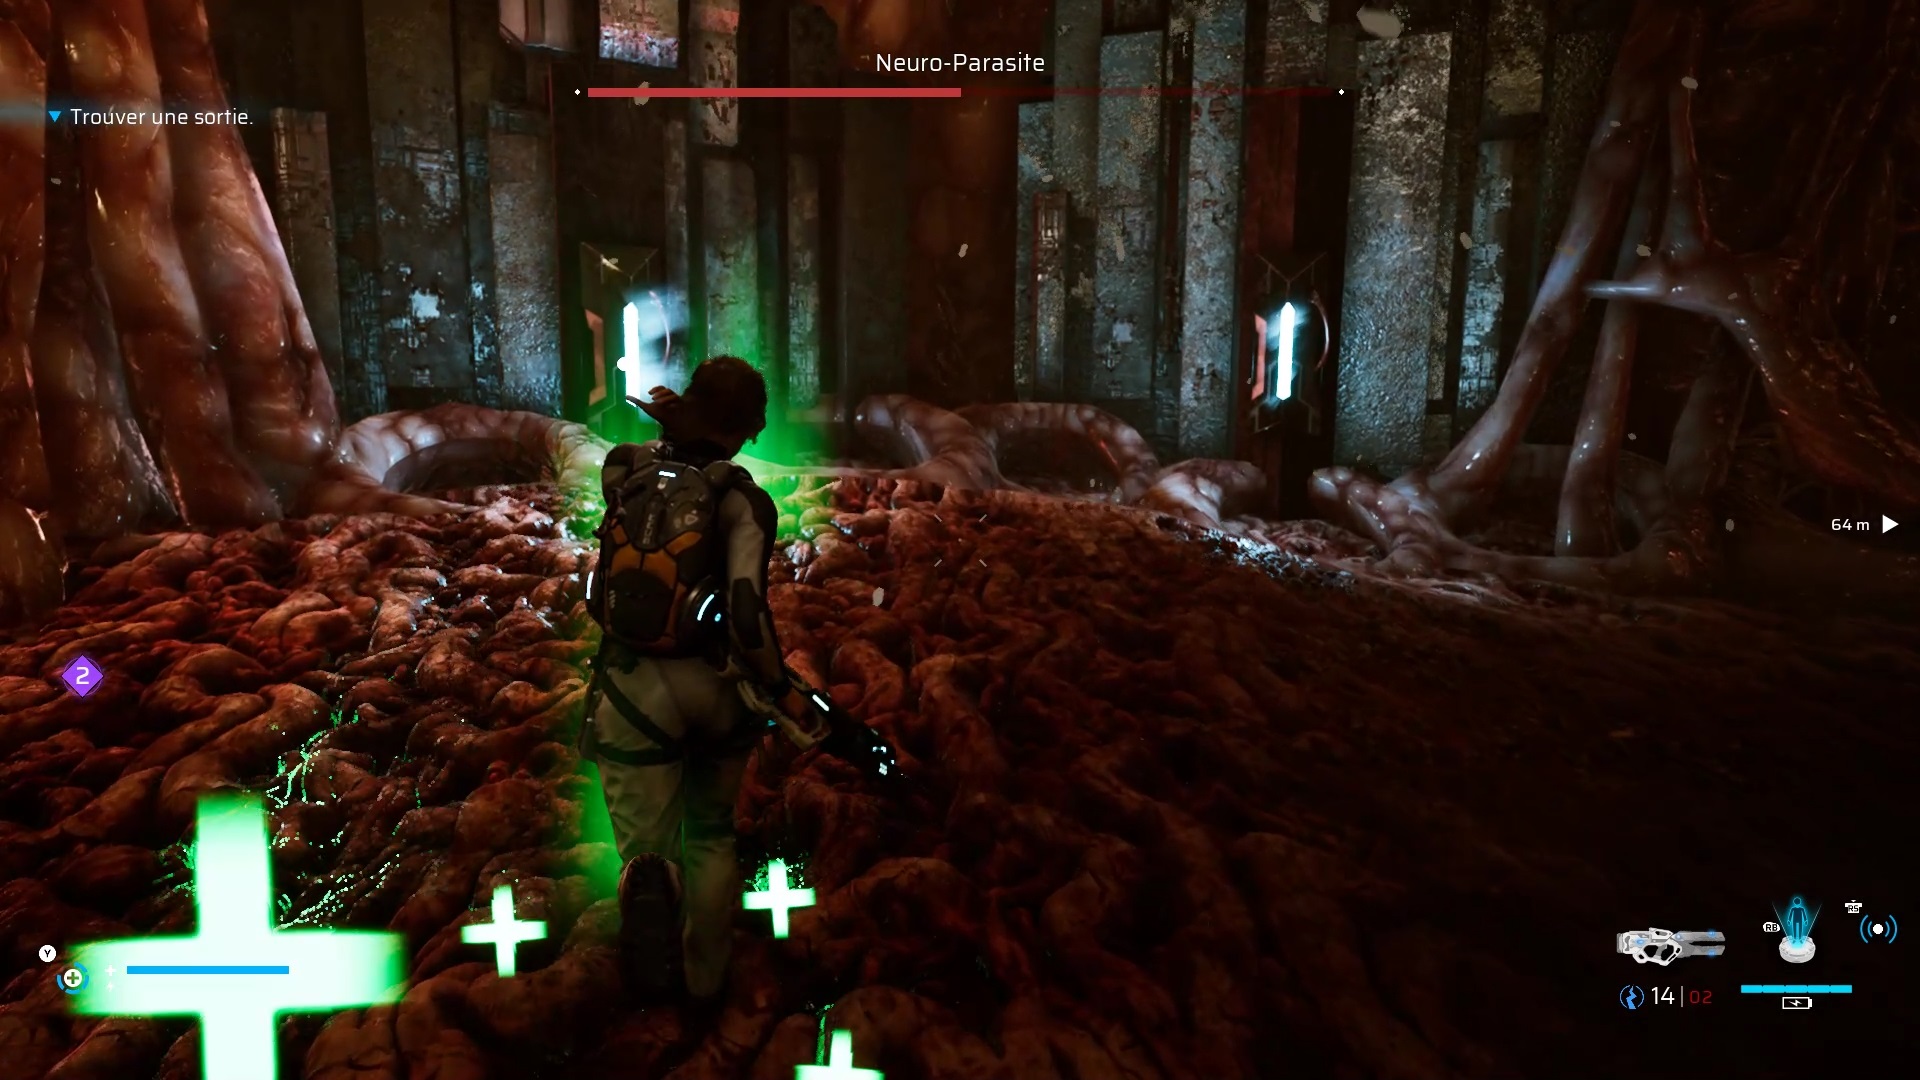
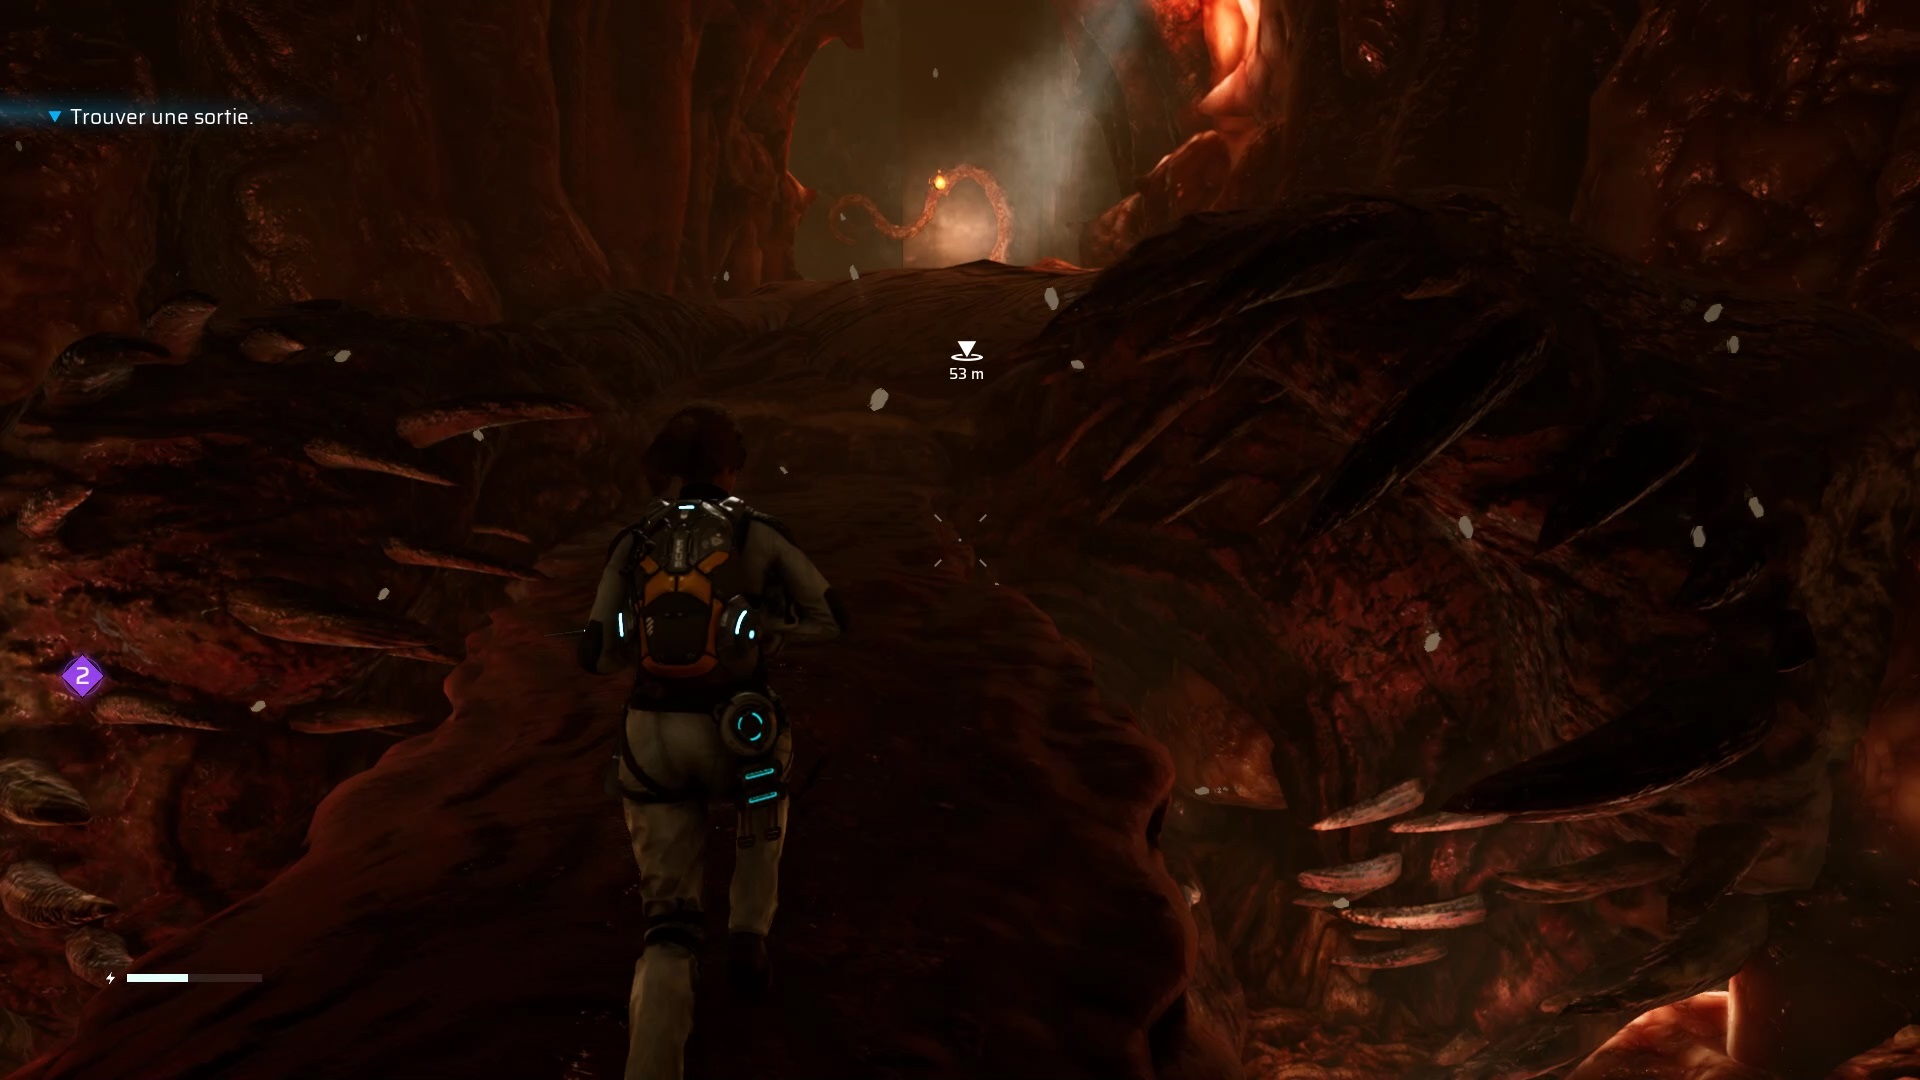
After the fight, go through a new tunnel to trigger a new hallucination. Back from the illusion, shoot all the growths to open the door and create a shortcut. Continue towards the objective to reach the boss.
The Neuro Parasite
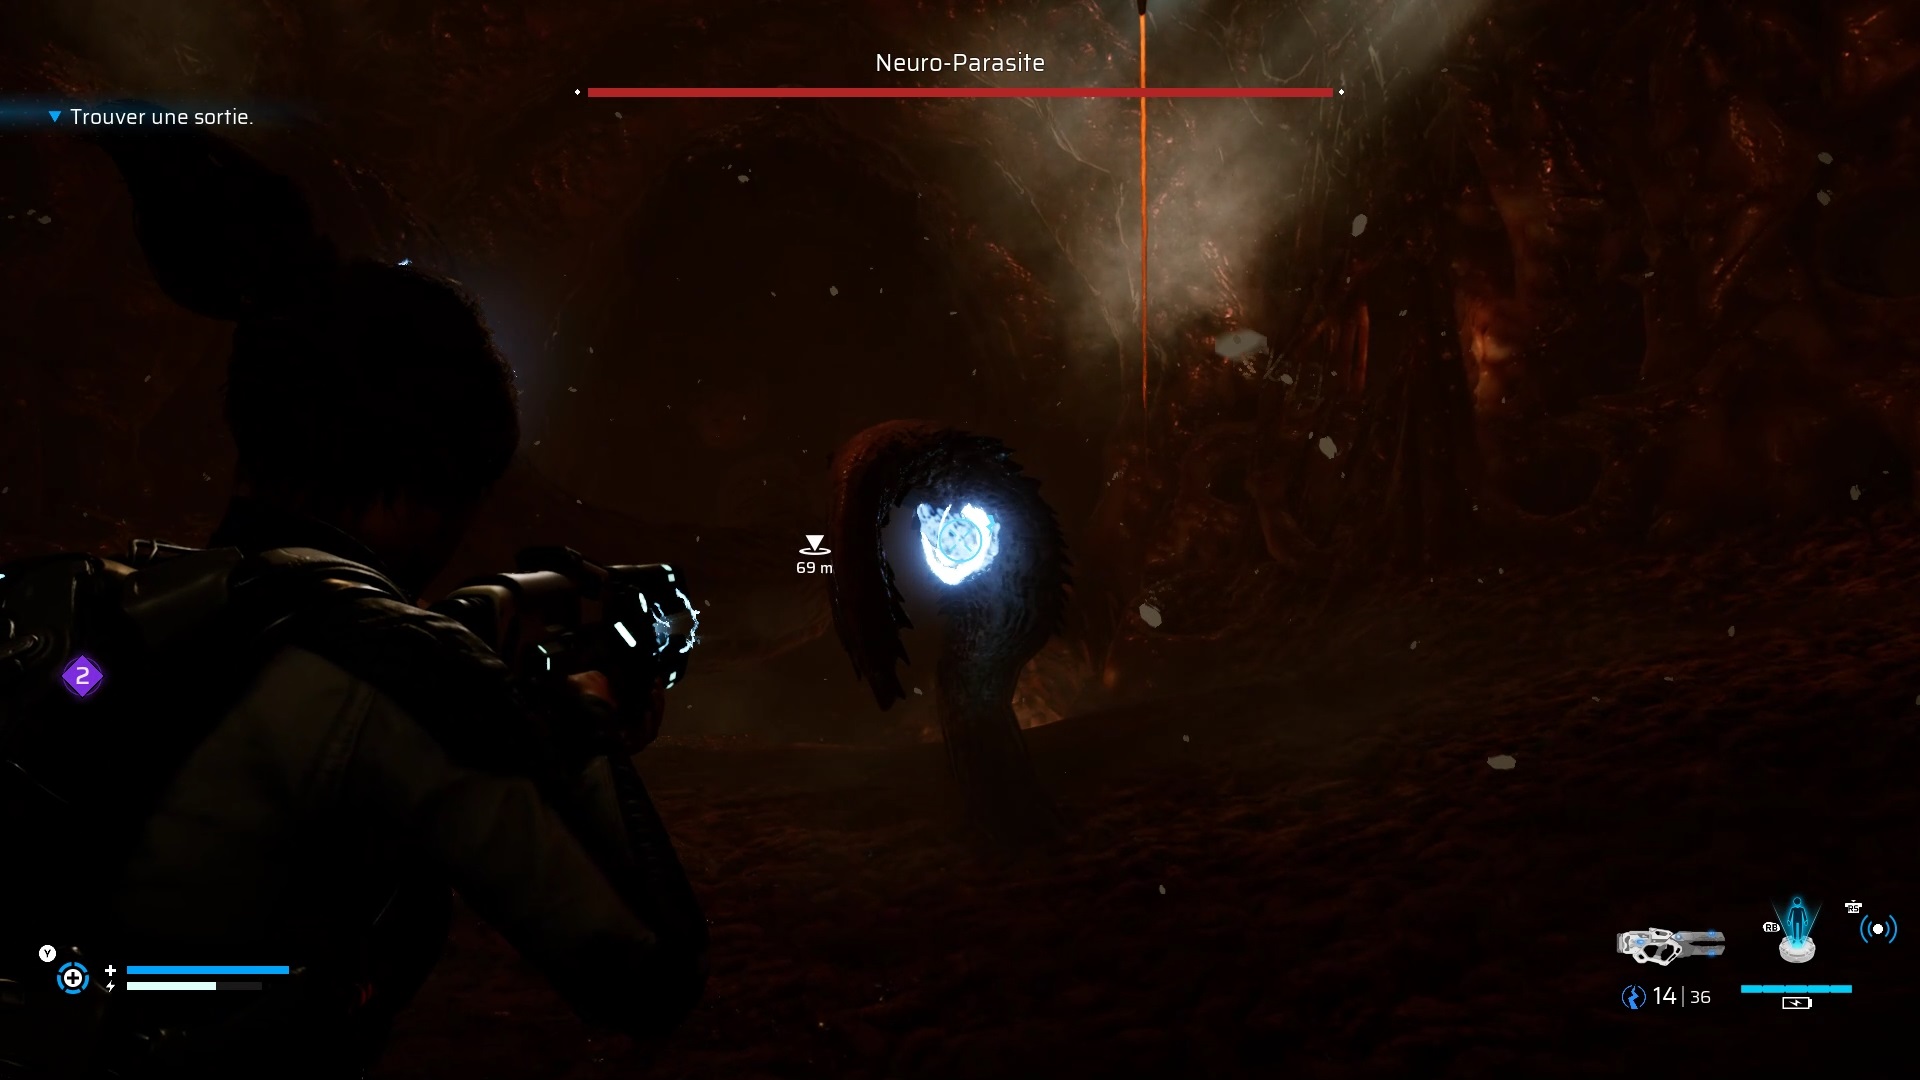
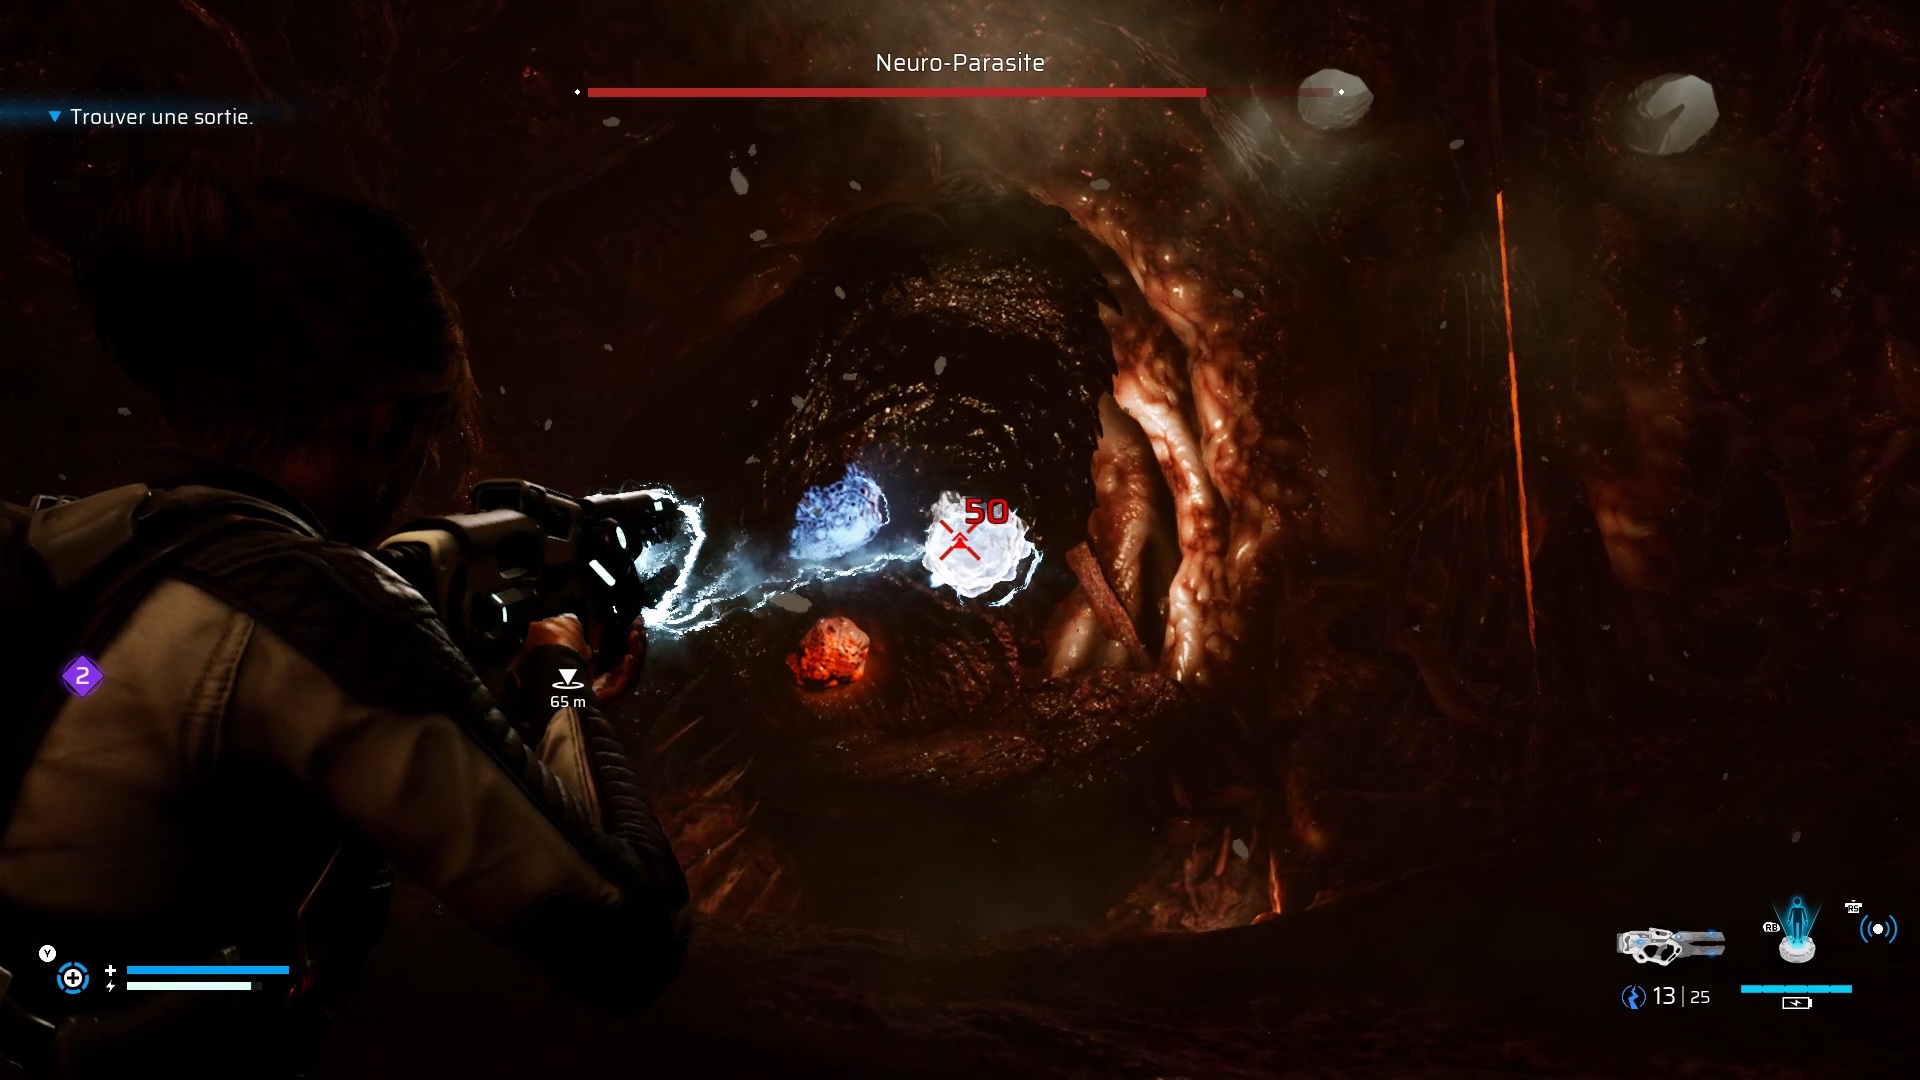
To fight the Neuro Parasite, you will have to use the different weapons in your arsenal. When a blue weak point arises use the Vera rifle. When green, use the Atomizer. Finally, if it is red, use the thermal charger. First shoot its tentacles and then into its phase-shifted mouth. Use the light blocks on the outskirts to supply yourself with ammunition if necessary. Use the roll to dodge the parasite’s blows and continue to attack it in the same way to defeat it.
After the fight examine the boss to get a new gadget. Climb on its tongue to go to the other side and shoot the growths to get out with the monolith.
Chapter 6
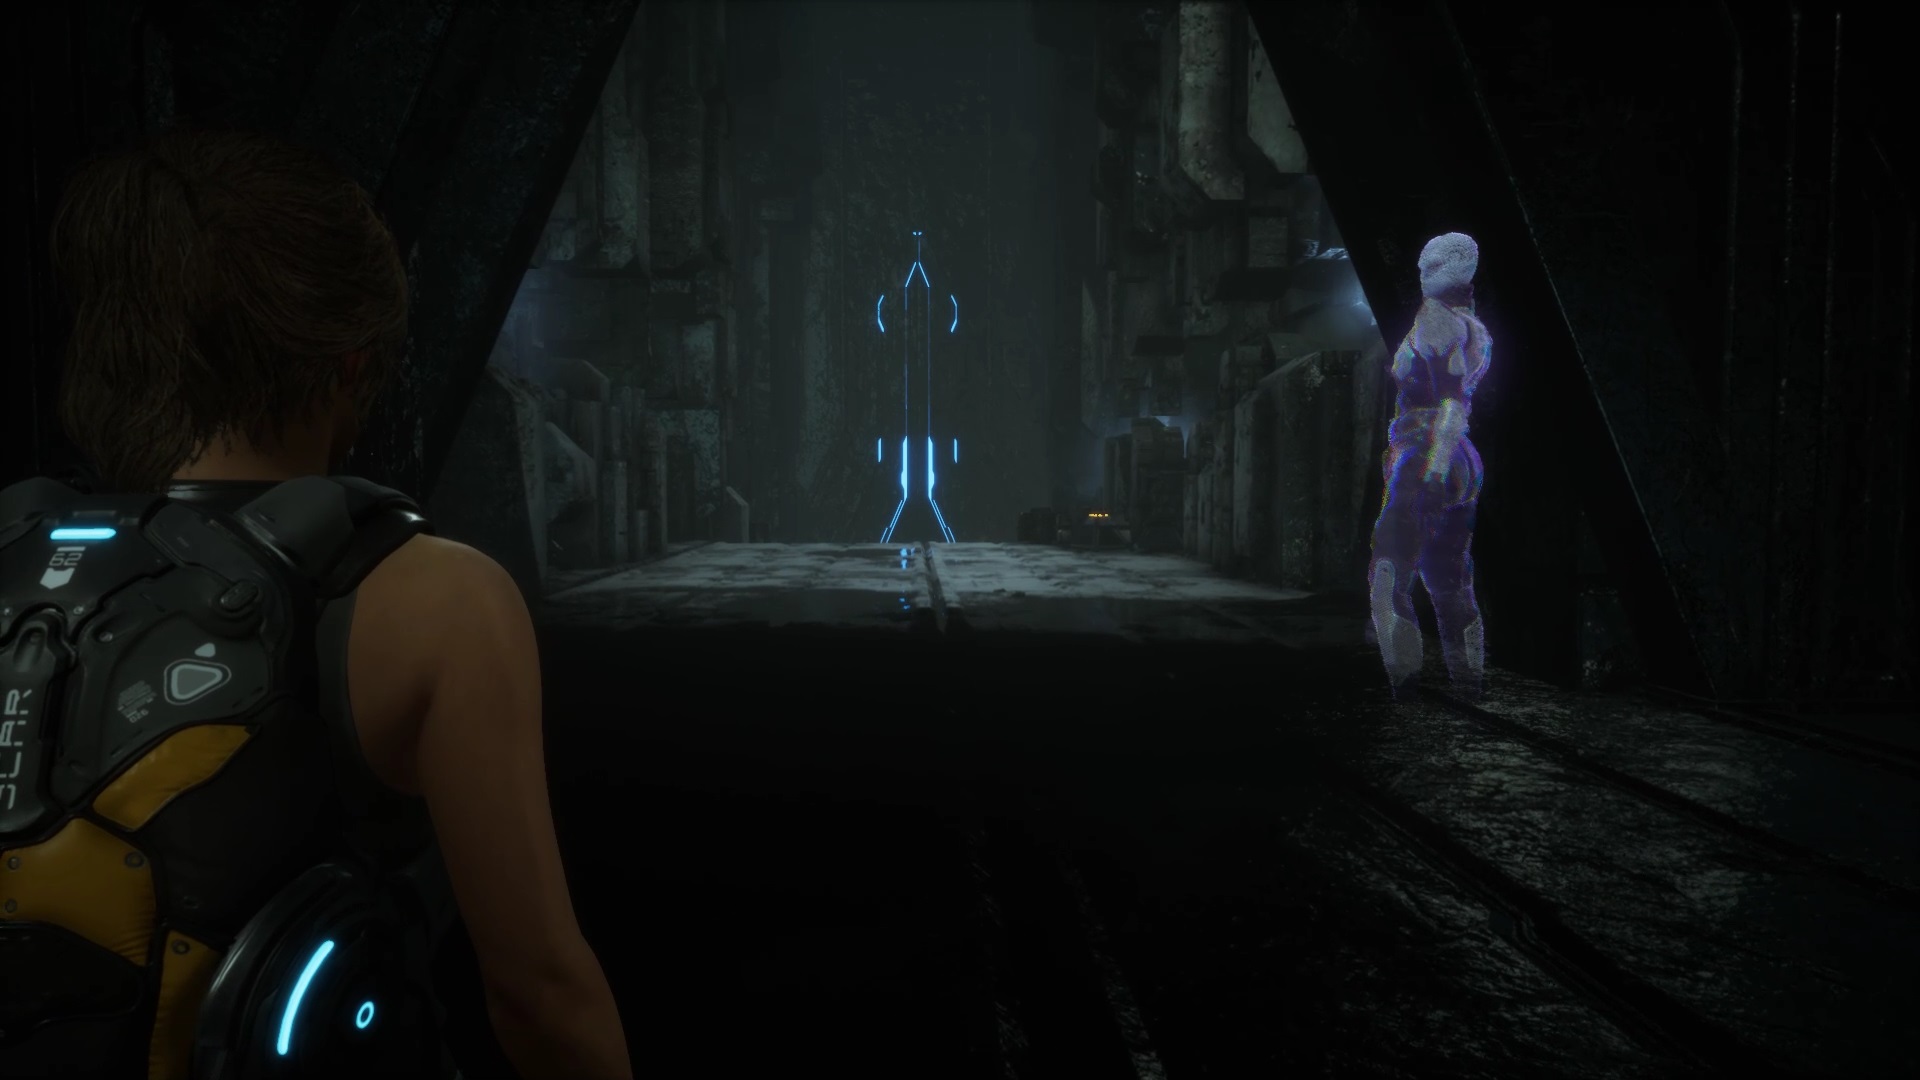
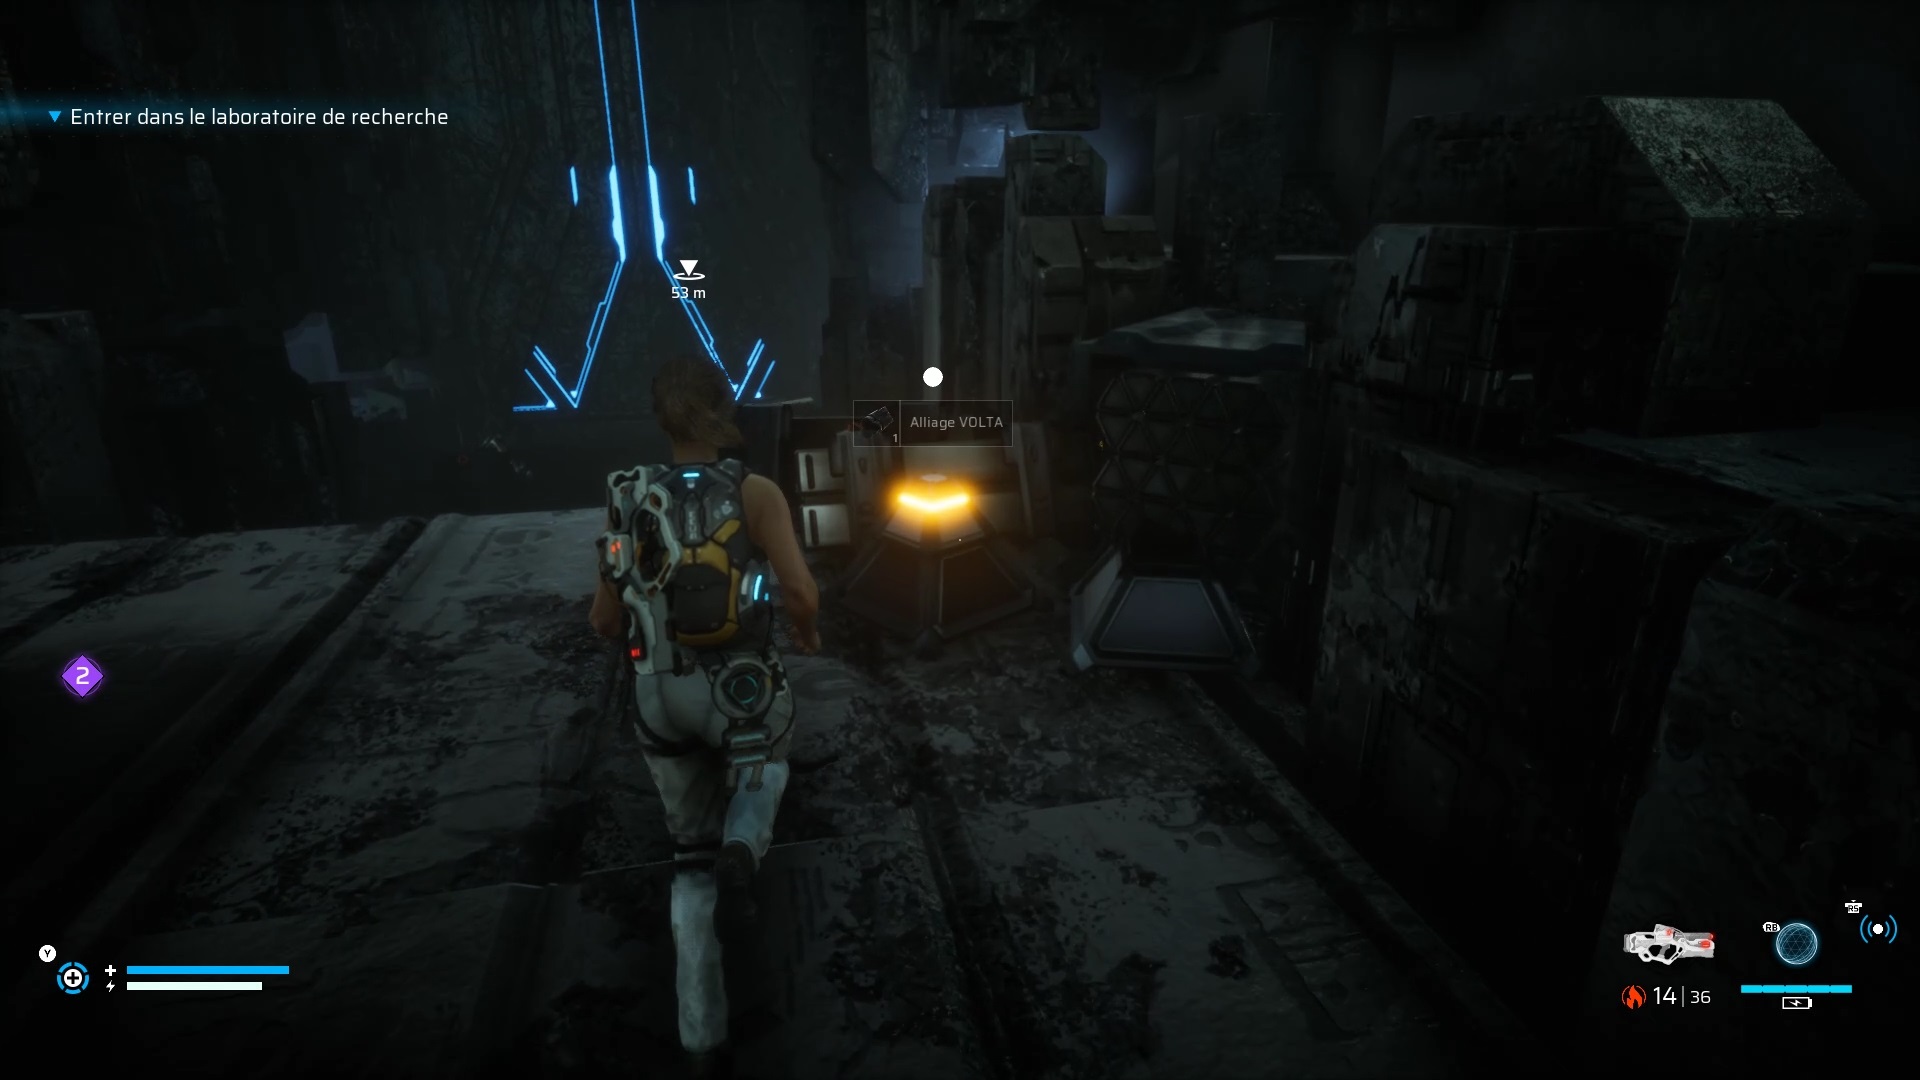
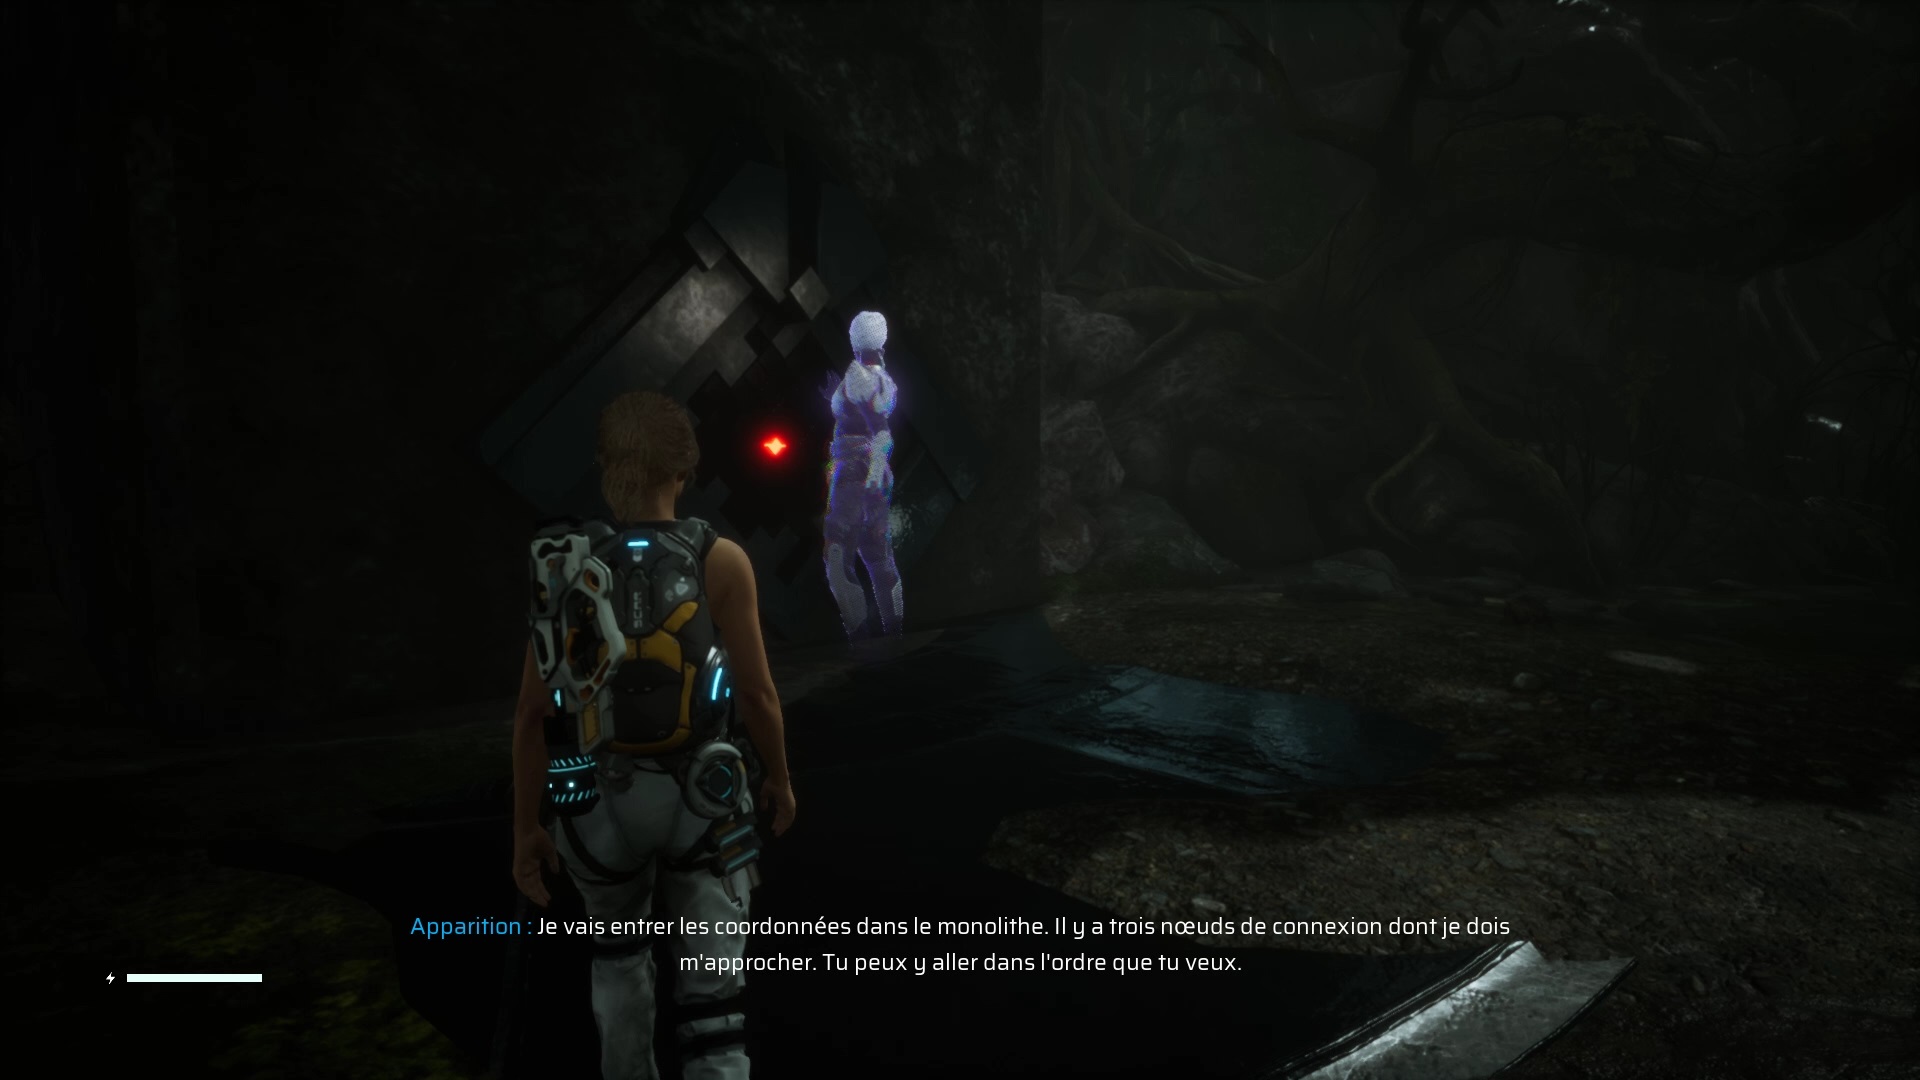
After the cutscene join the objective to find the monolith. Start up to the Laboratory. Search the crate near the entrance to find the new Volta weapon. Then move forward to play a cutscene. Join the monolith again to reach one of the nodes.
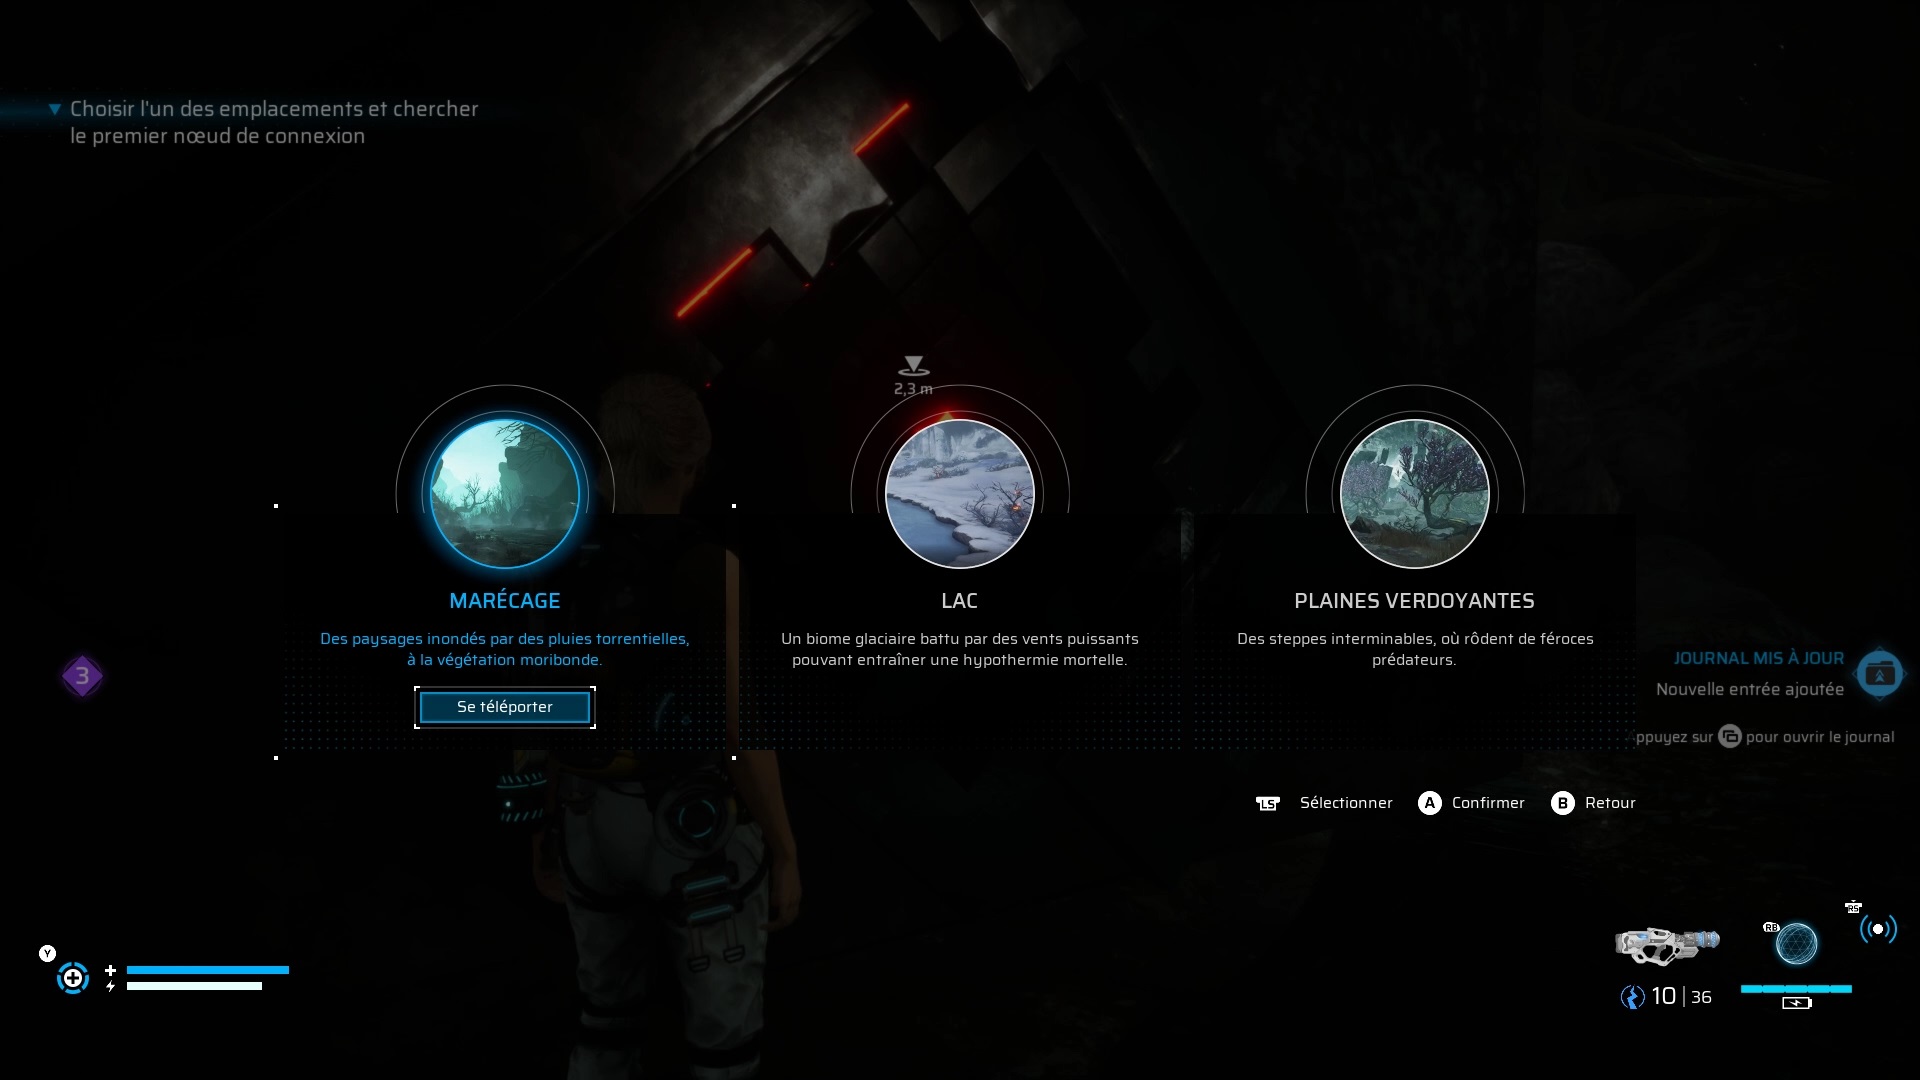
Let’s start with the Swamp node. In the swamps, use the cryogenic launcher to create a bridge and reach the node. By interacting with the panel you realize that you are missing a key to pass. Go to the arena where you fought the Alluvial boss to reach a barrier to break with the Atomizer.
On the other side, move towards the objective to find several alien bodies. Search the body for a new enemy to appear: the Mycelial Humanoid. Use the gravity trap to slow him down and use Volta to electrocute him with the pelvis. Return to the body to retrieve an access pin. Eliminate the enemies around and go up a passage to the left of the closed door. At the top you will find an alien code to replicate on the pin by examining it in your inventory.
Use the pin on the door lock to unlock it. Then go back to the previous closed door to unlock it with the same code. Inside, kill the Mycelial Humanoid. Search behind the waterfall to find an upgrade for the Volta.
Continue outward to go around and reach the first knot. Then return to the monolith to reach the lake.

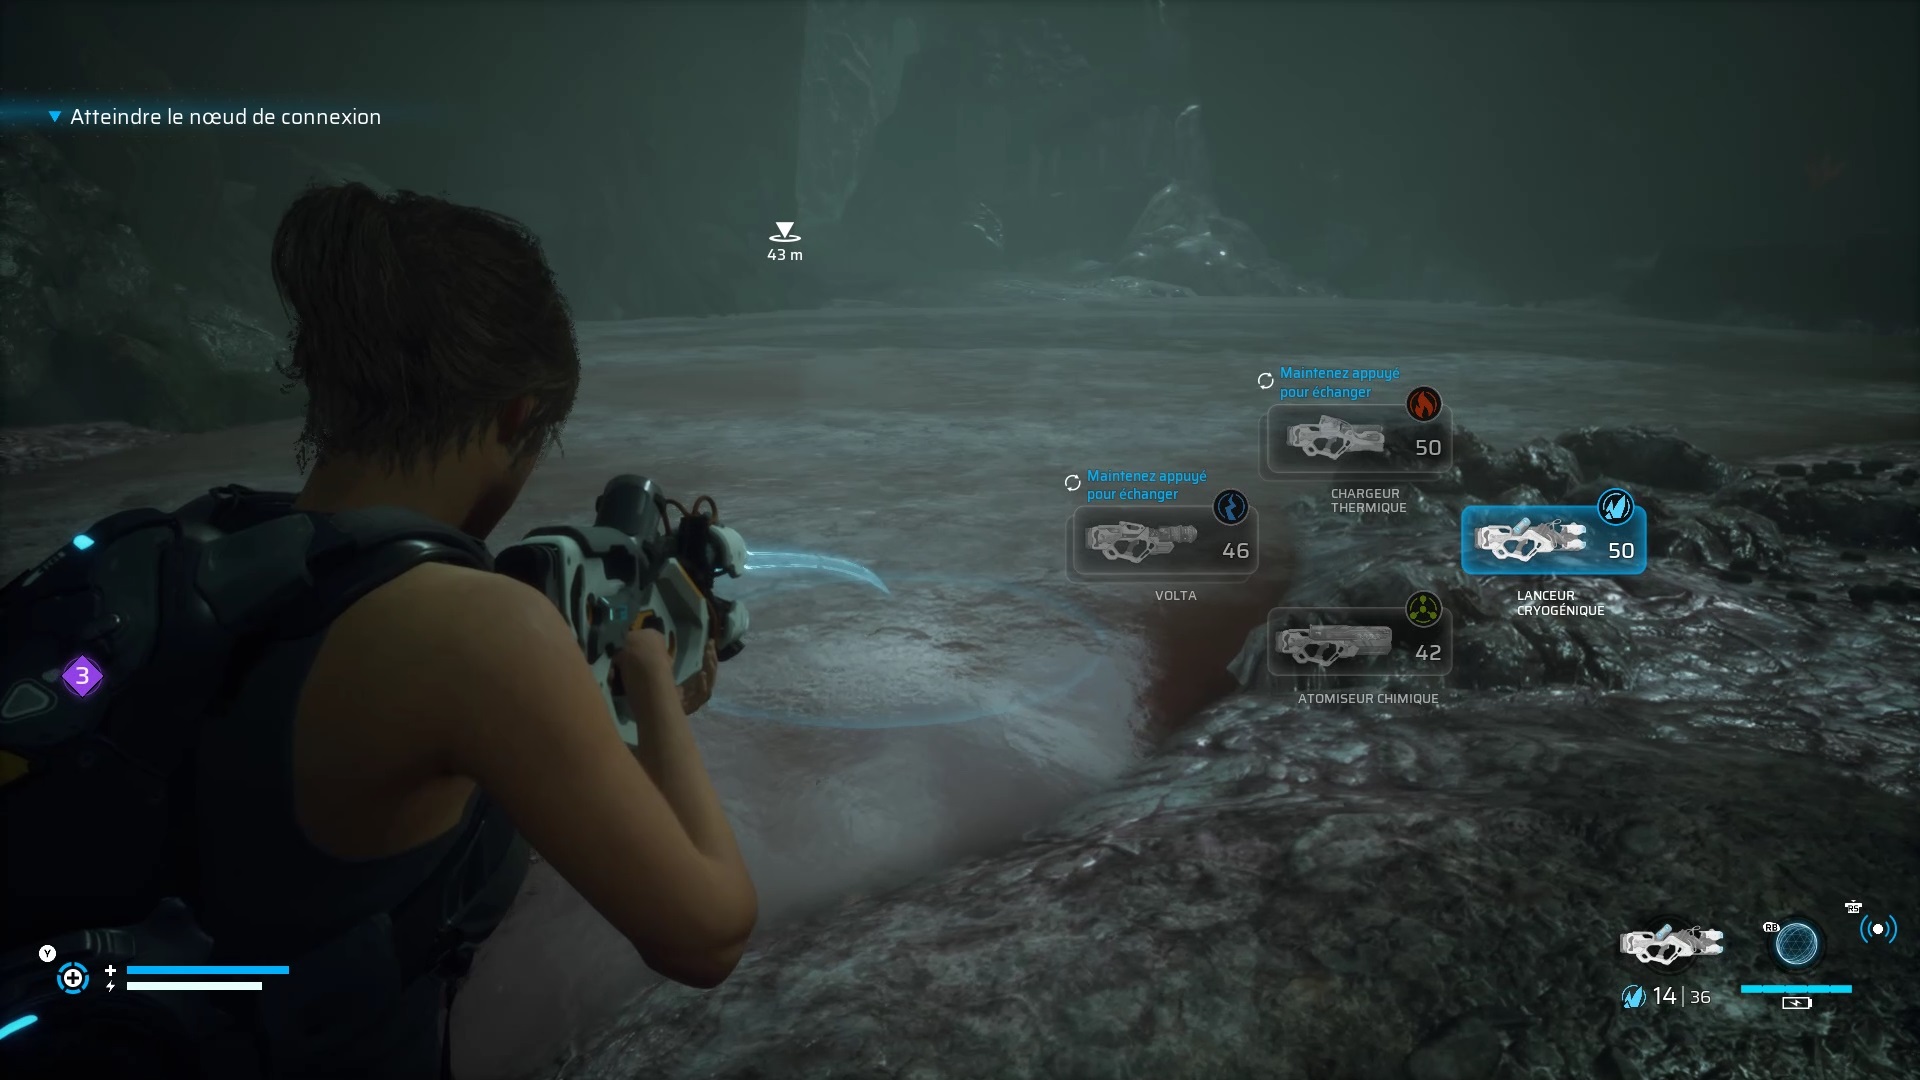
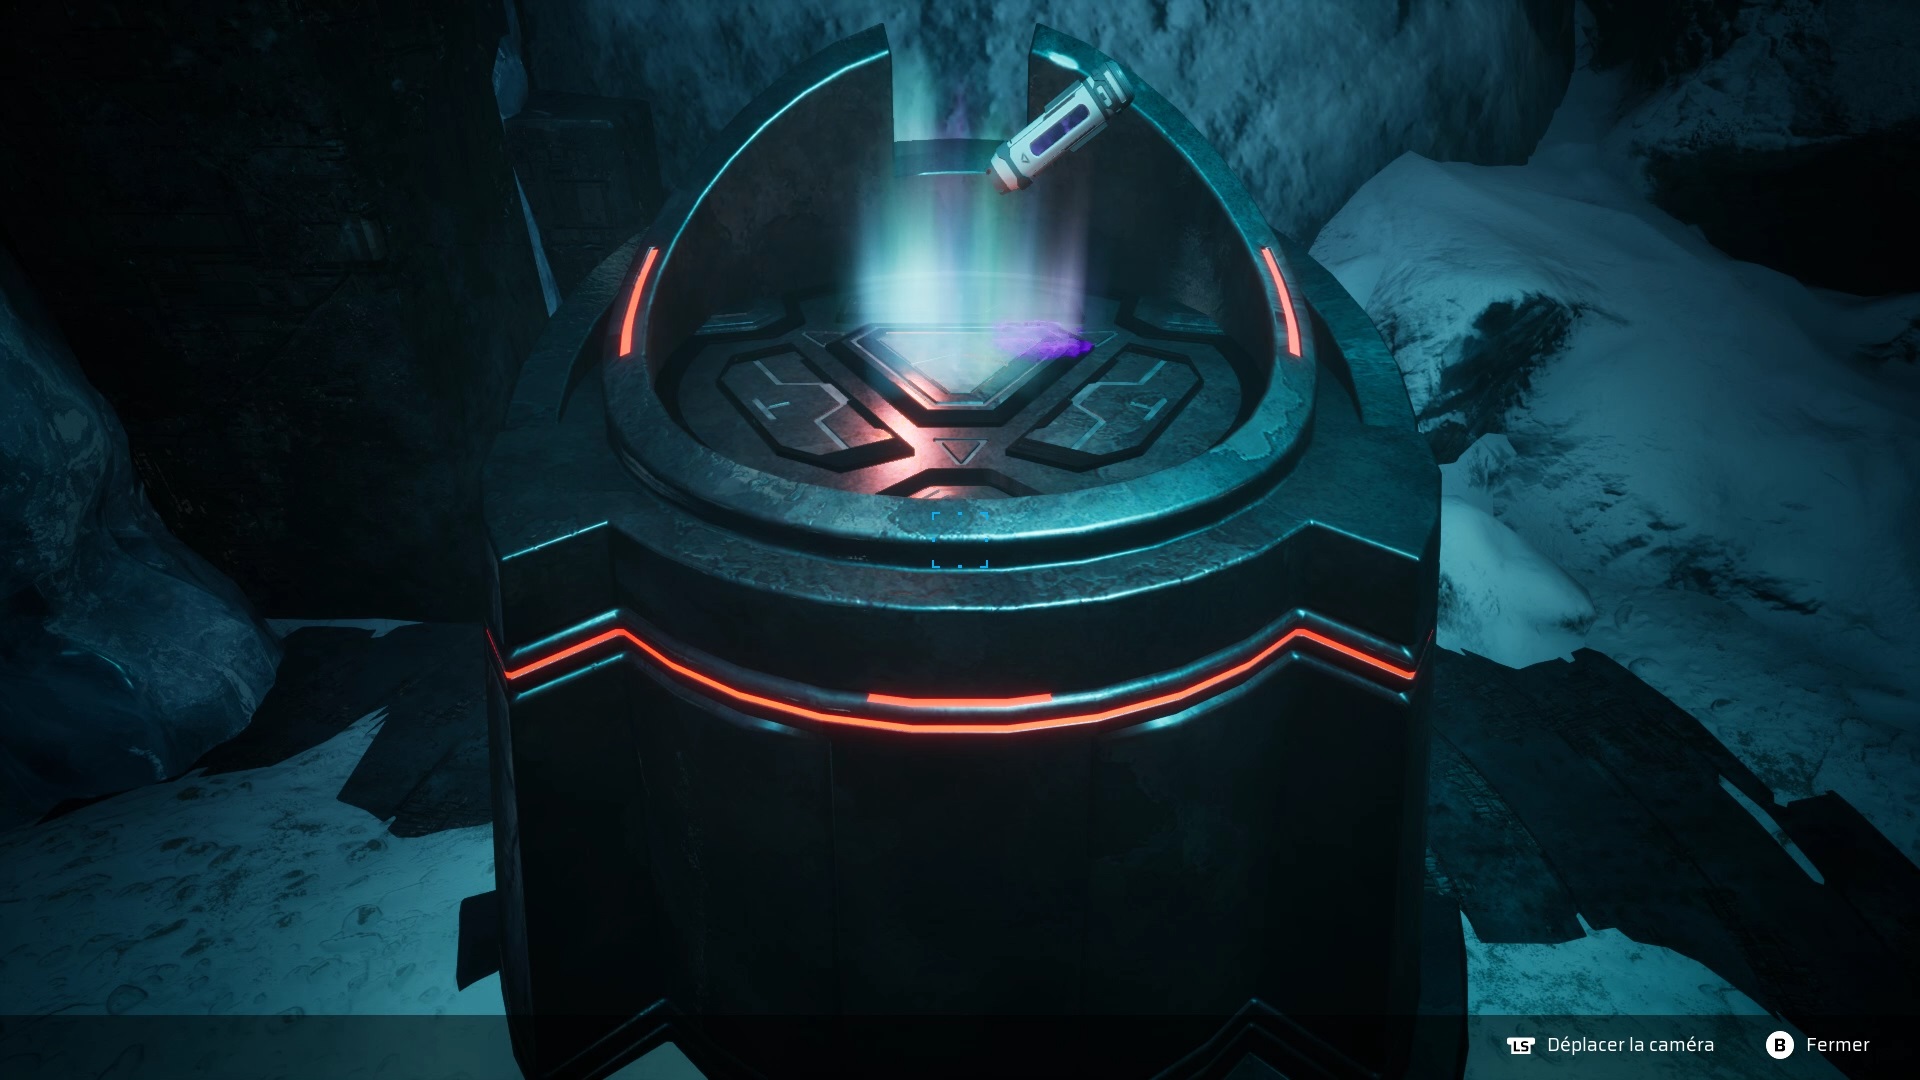
Follow the objective to reach a cave. You can fight or run away from enemies. Break the ice barrier with the chopper. Inside, you find a large closed door. To the right of the door is a body, search the body for a power source. Place the source on the door to trigger the arrival of enemies.
Fight the threats and go under the rocks. Join the closed door and use the sample to pass.
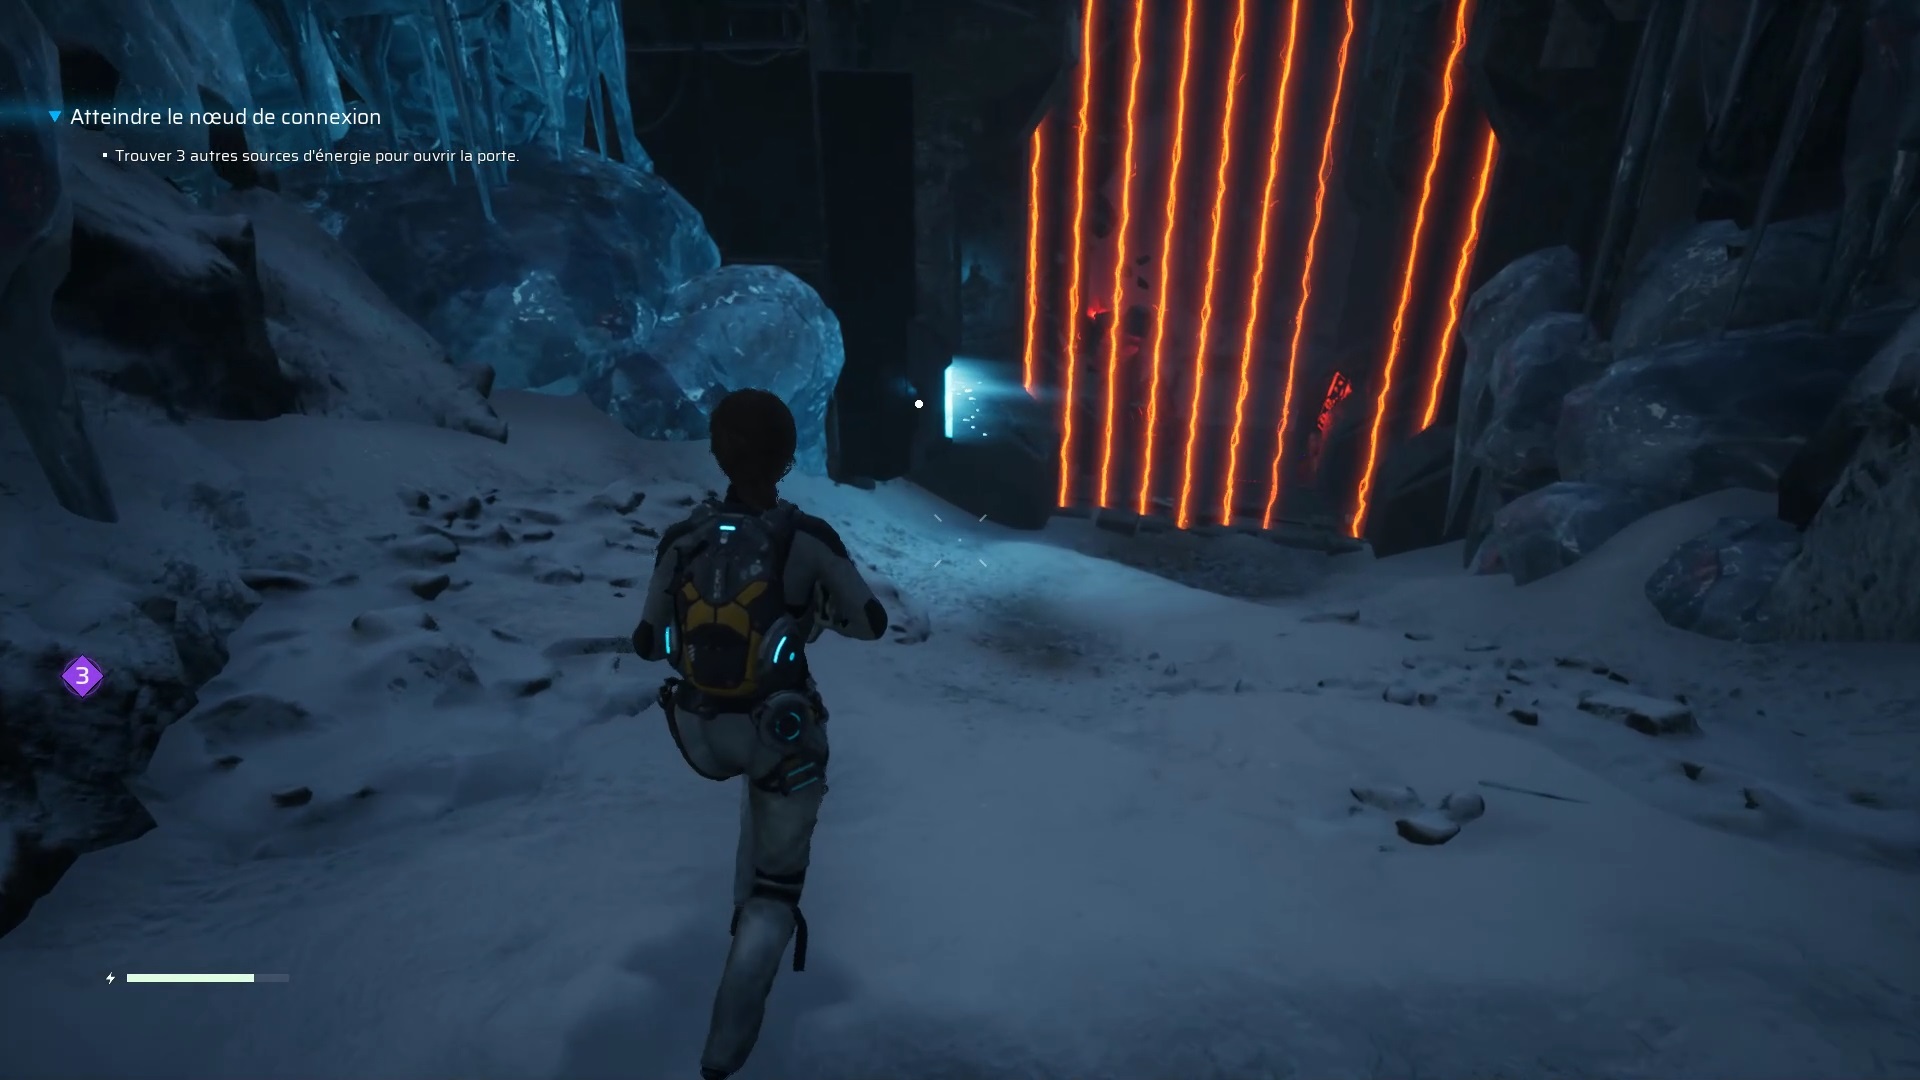
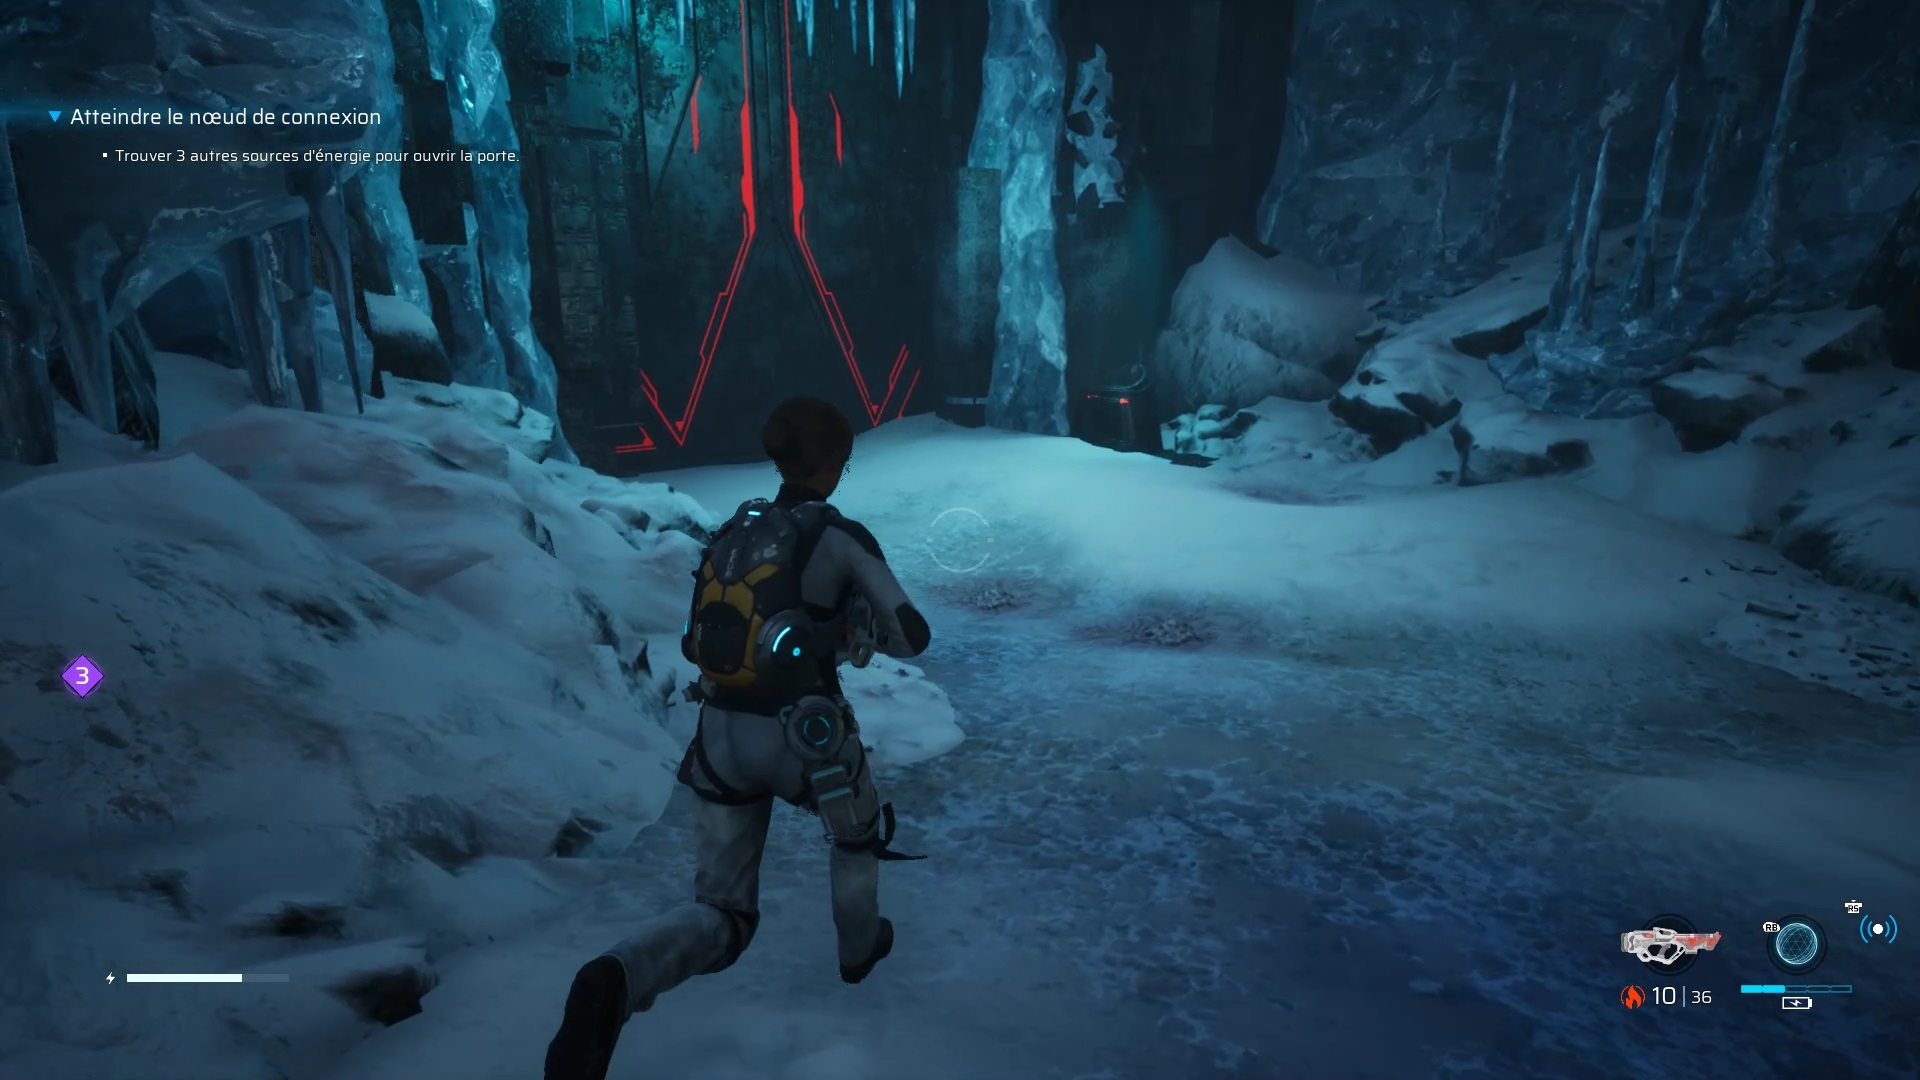
Go deeper to find a laser barrier. Use the gravity trap to pass. Collect a second energy source on a panel. Then descend to find a slope below. Climb the slope to find a third source of energy.
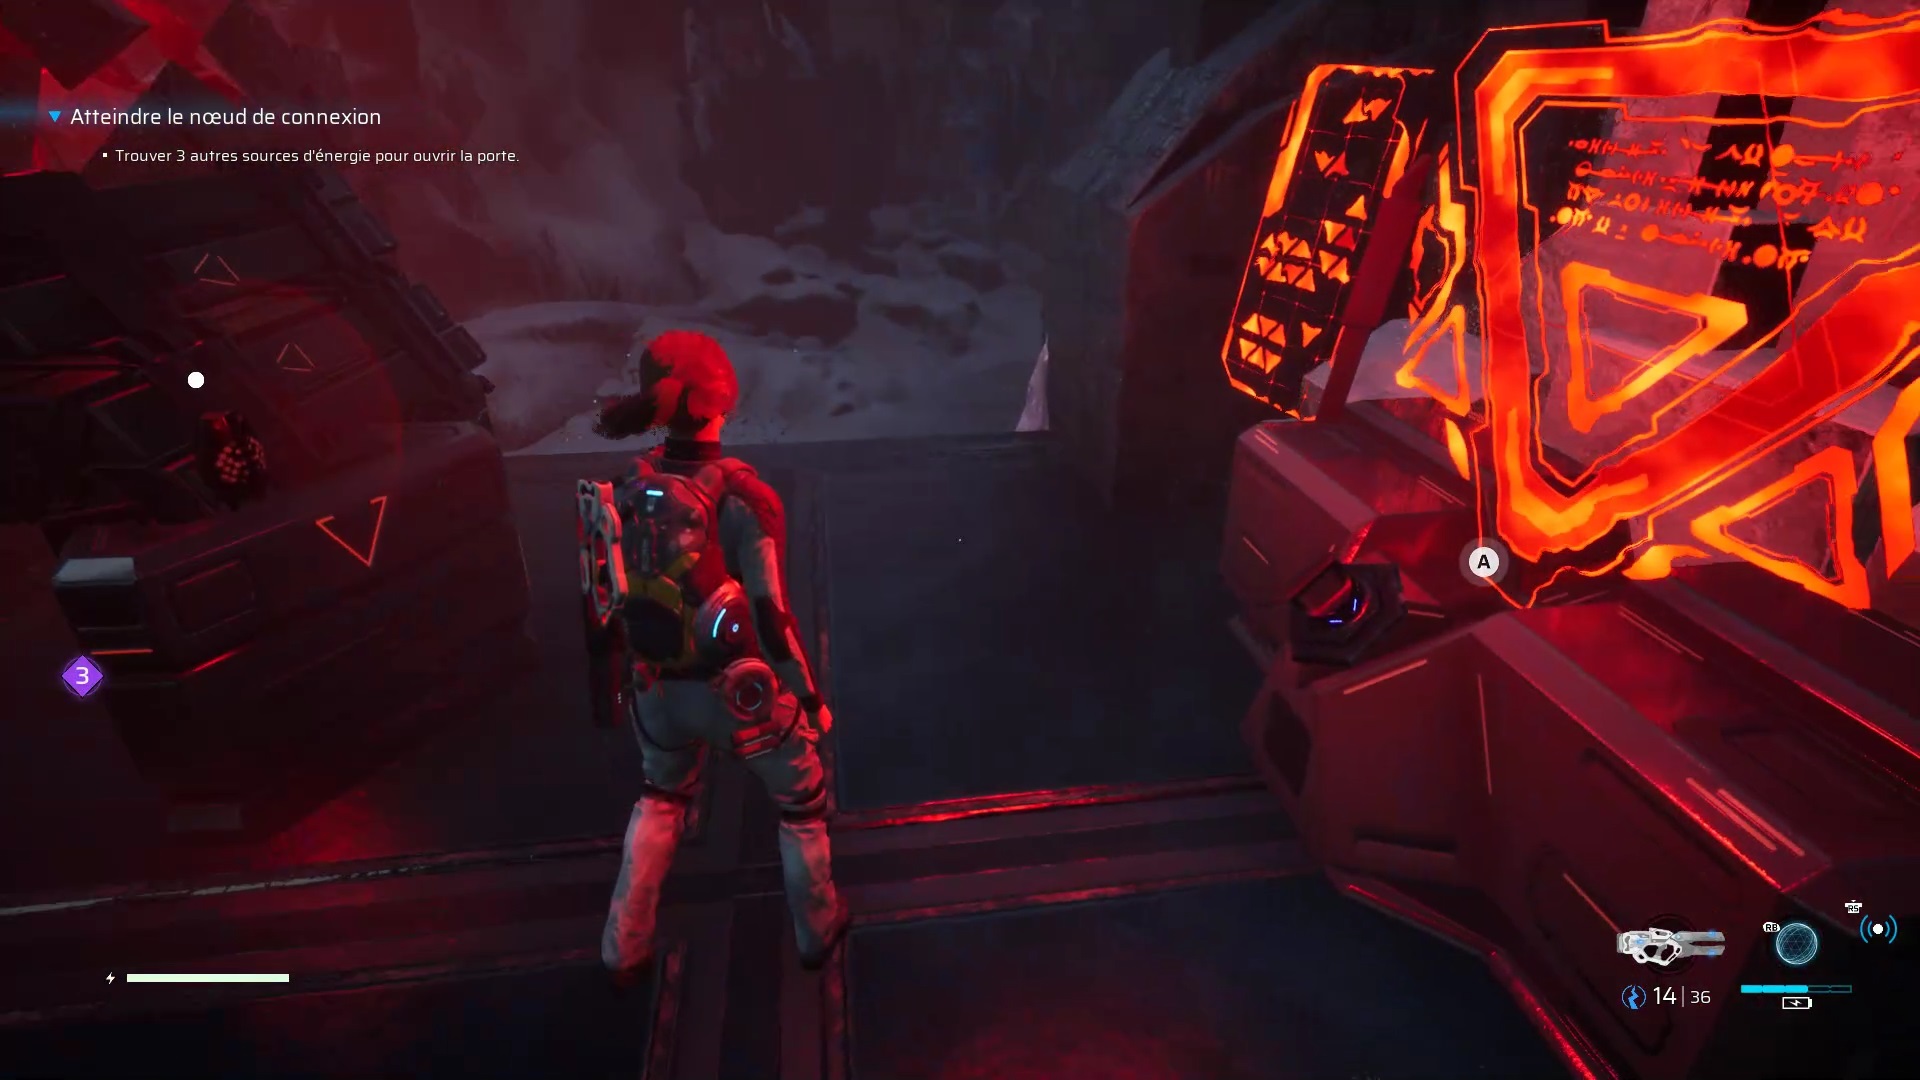
Then join the elevator to go upstairs to find the last source of energy. Then join the closed door to start a fight. Then insert all the energy sources to unlock the door and discover the node.
Return to the monolith to reach the verdant plains. Go to the objective to find a barrier to break with the Atomizer. Eliminate the threats and continue to follow the objective to find a passage between two trunks.

Going deeper, you will find the last knot. By activating it, the appearance asks you for time to decode it. Eliminate all threats to finish decoding. Use the Gravitational Trap and the Volta to quickly finish off enemies. Exit through the passage illuminated by red lights and then join the monolith to discover the truth behind the apparition.
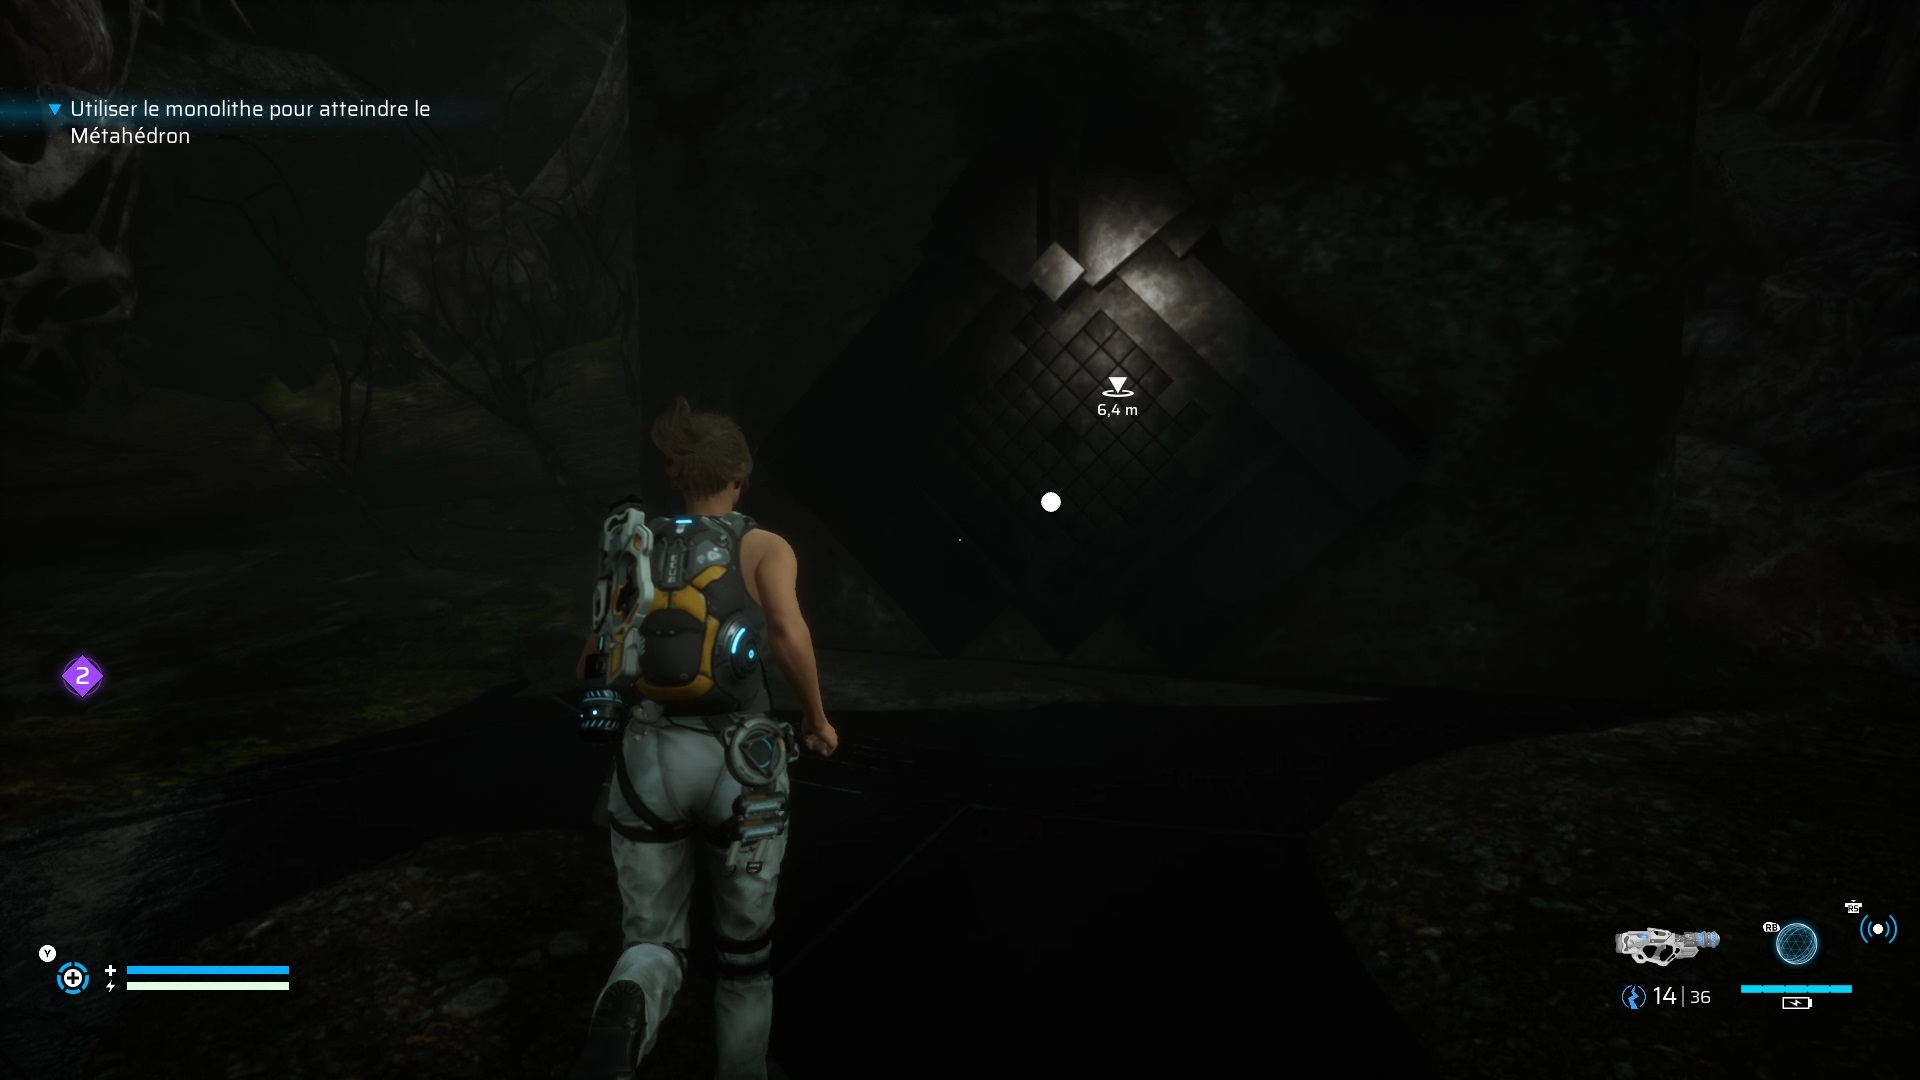

After the dialogue, you can use the monolith to reach the final fight.
Fight against the Omega
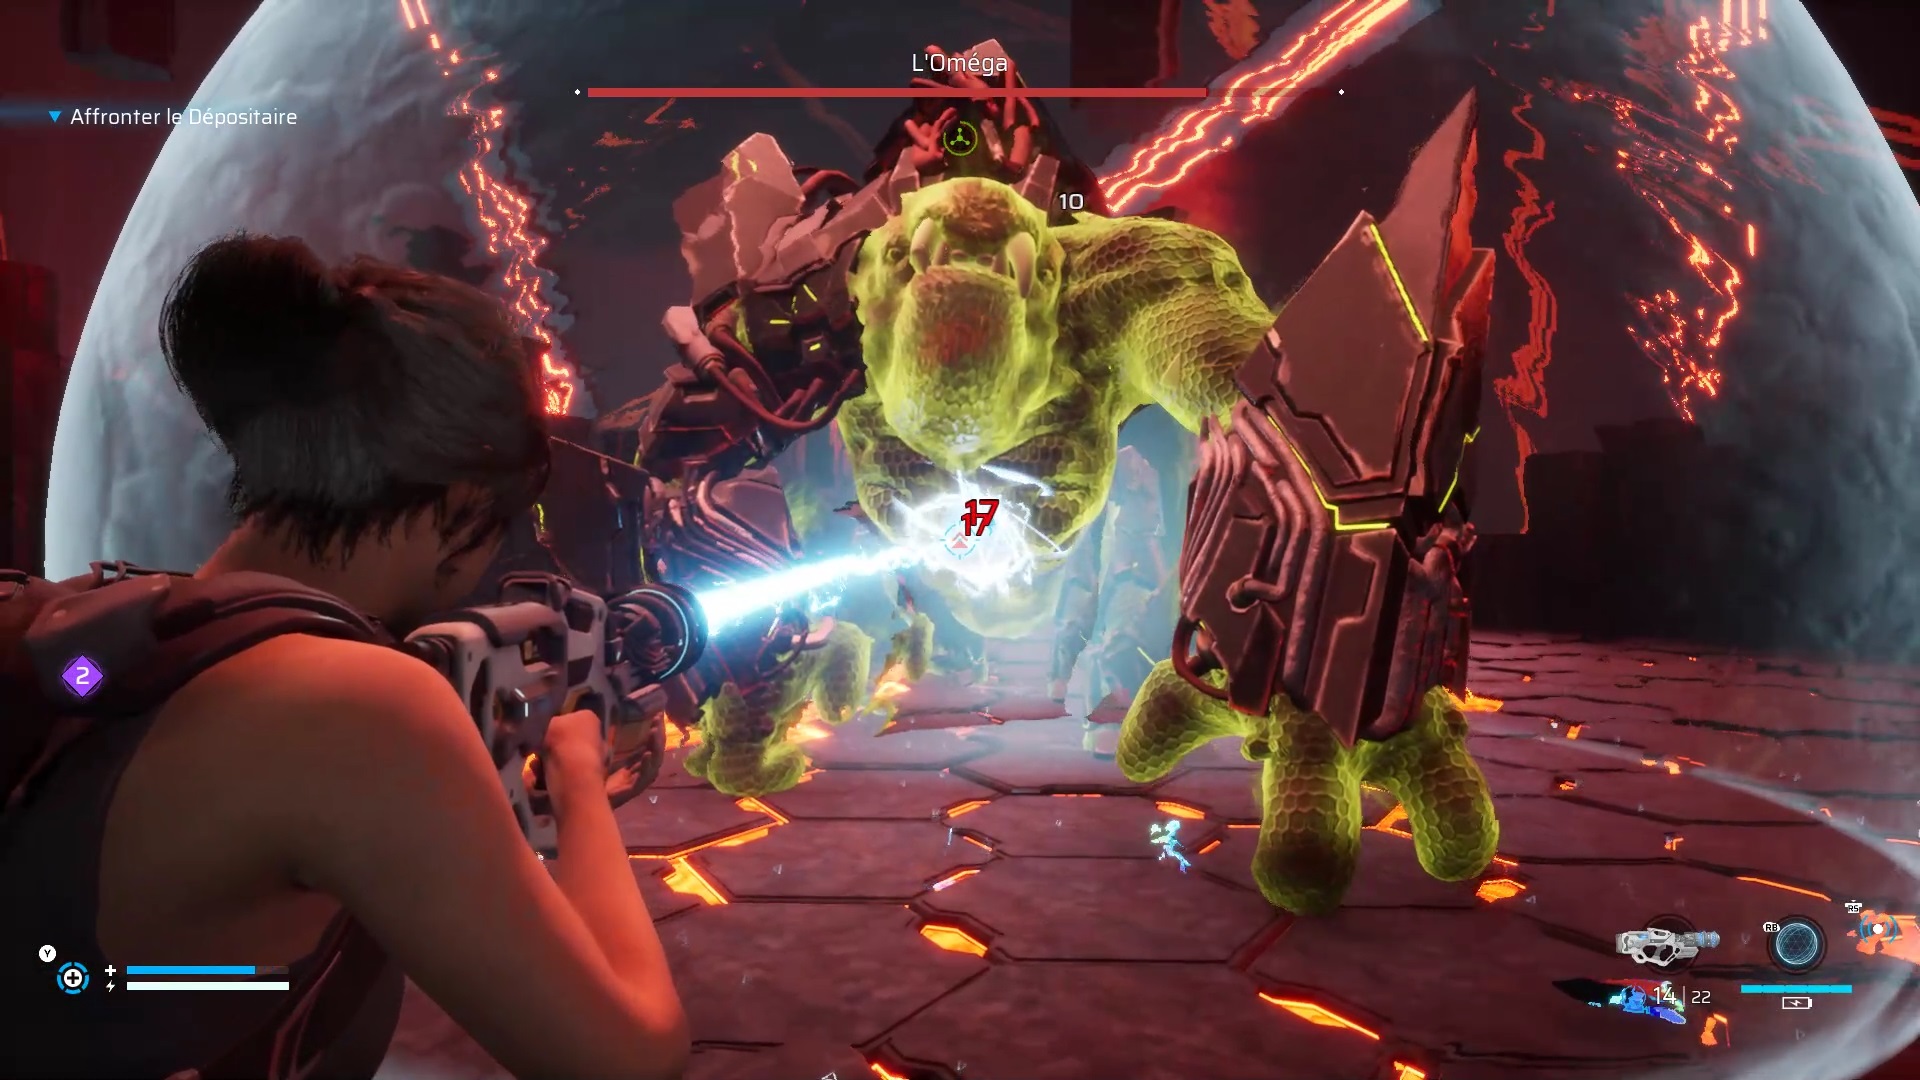

The Omega is the final boss in Scars Above. He is the equivalent of an armored Alpha. Arm yourself with the gravitational trap to limit its movements. Fire with Volta to do continuous damage and destroy his armor. The Atomizer can also do the trick. As soon as you can, shoot his weak point in the chest to weaken him. Continue to phase two where drones come to heal the beast. Destroy the drones with Volta to continue and finish the fight. If needed, ammunition can be found on the outskirts of the arena.

Fan de jeux Nintendo, Xbox, PlayStation, PC et de l’univers gaming
Je vous partage ma passion à travers mes articles sur les nouveautés jeux vidéo
Journaliste gameactuality.com