[Guide] Madison : Full game walkthrough [EN]
Our guide lists all the Madison game walkthroughs, complete path, riddle, end, success… Follow our guide in pictures to complete the adventure. Madison is a first-person psychological horror game on PC and consoles. Connect the world of humans to the beyond, thanks to your camera. With his help and through exploration, solve puzzles and try to survive. Please note that some codes may vary depending on your game.
Madison chapters: Summary
- The Arrival
- The Well
- The Attic
- The Mausoleum
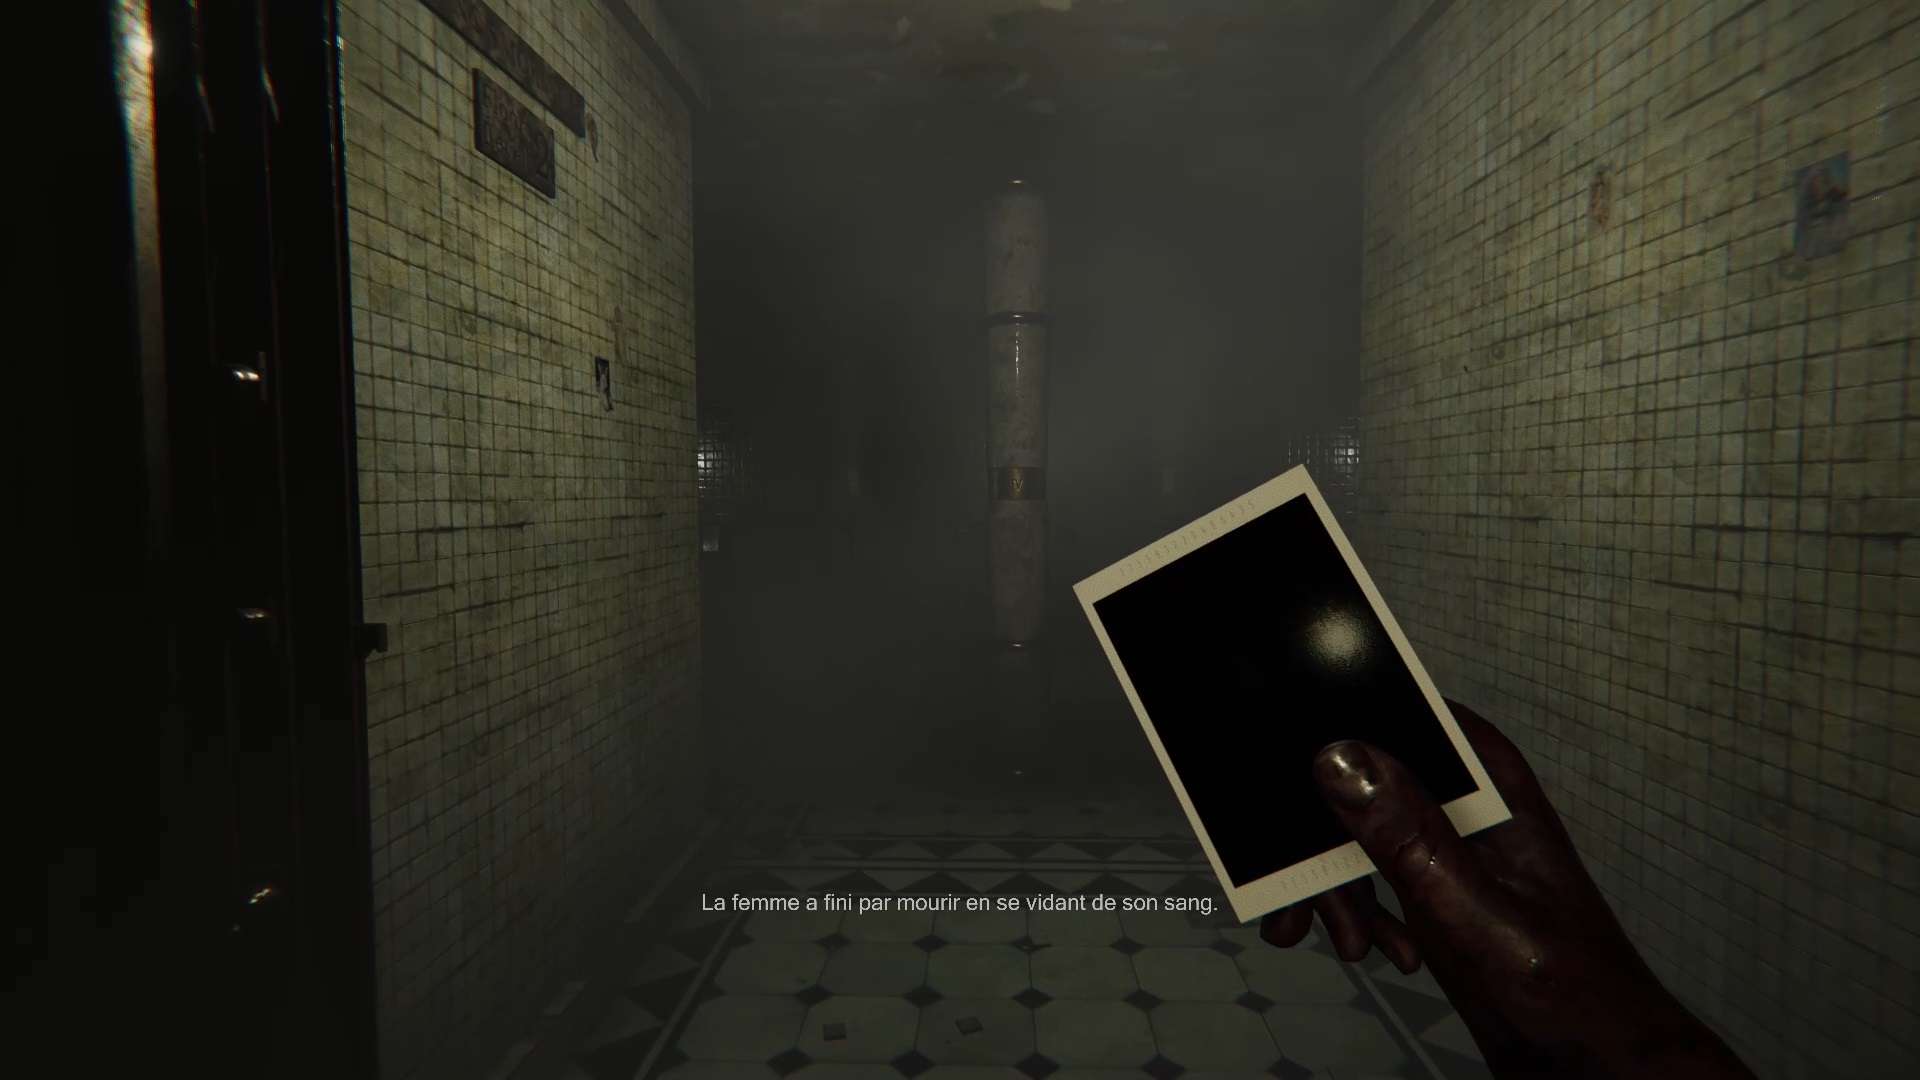
- The four virgins
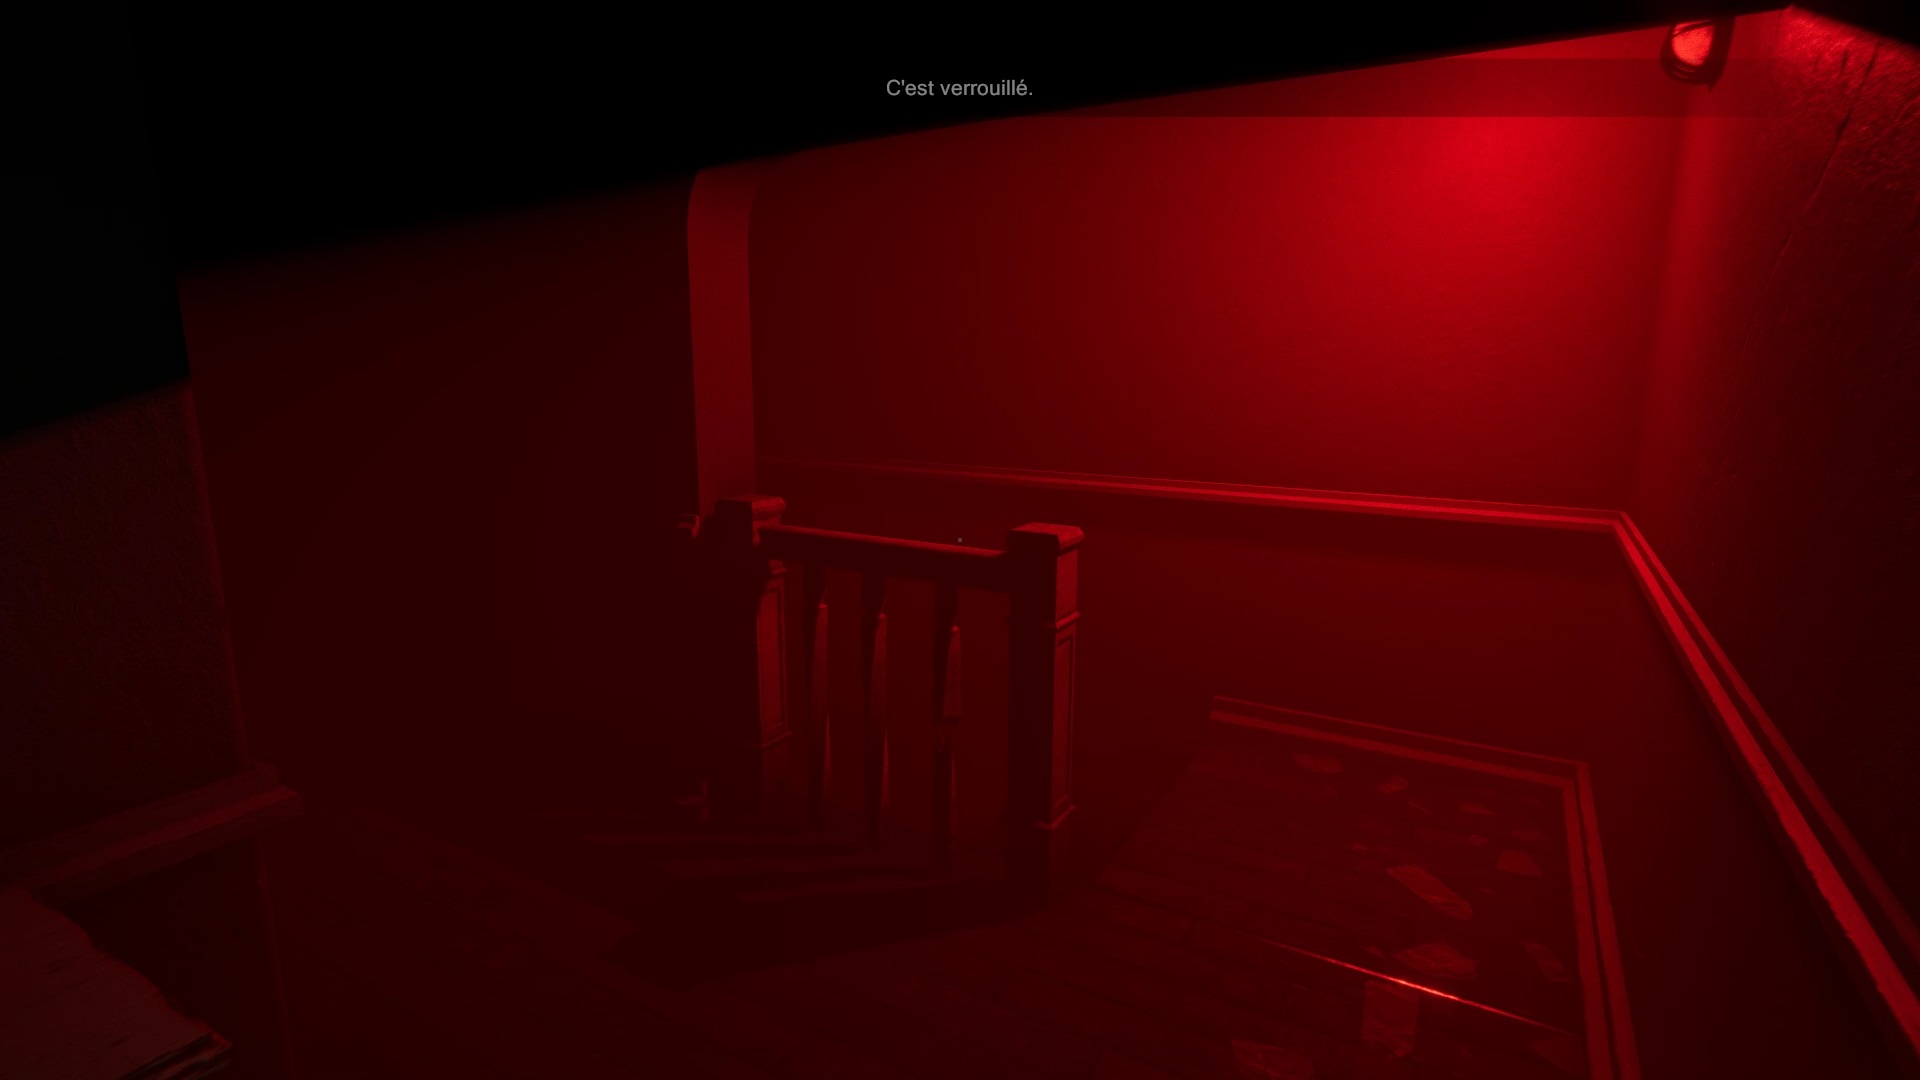
- Red light
- The clock
- Chest
- Blue Knees
- The Hanged Son
Guide to complete the arrival
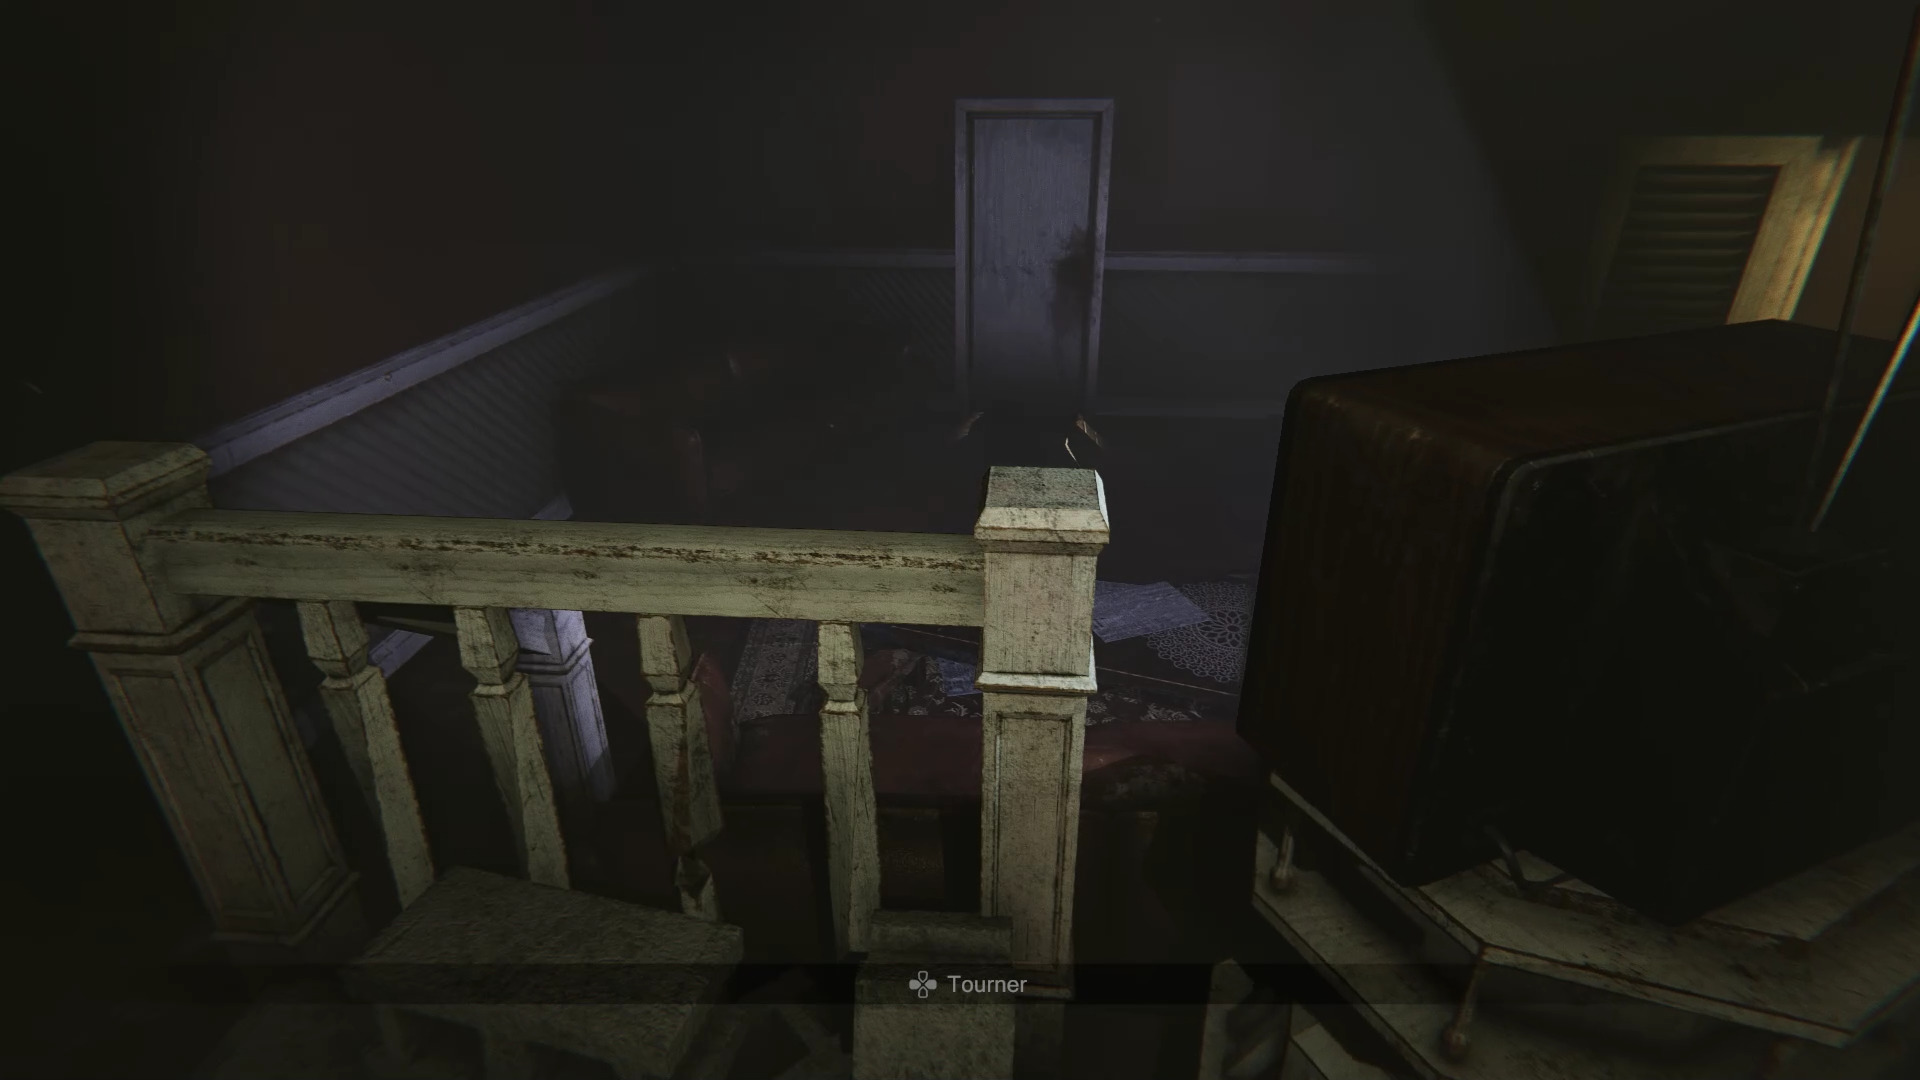
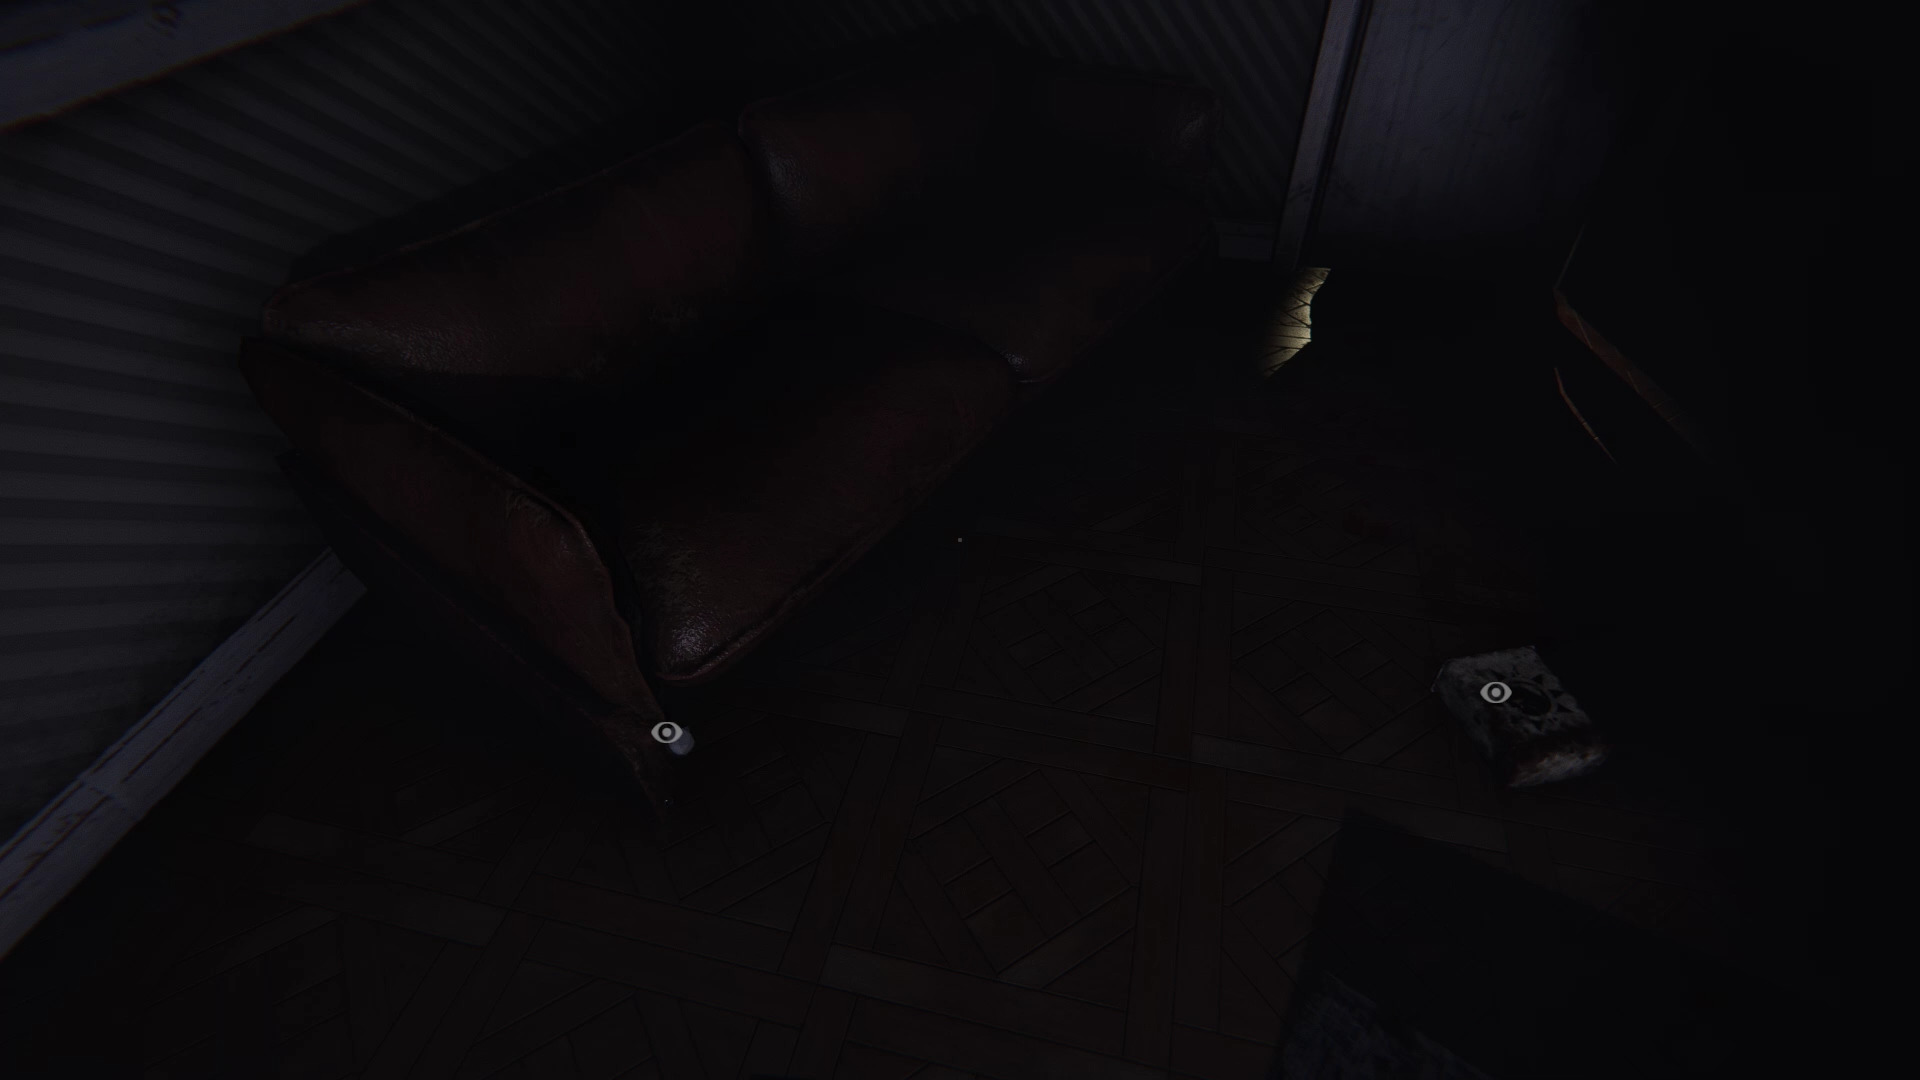
Waking up is a little restless. You wake up in a topsy-turvy room without understanding what just happened and above all, you are stuck. Climb on the platform to move the pillar with the TV on. Take advantage of the TV lighting to illuminate the left side of the room. Go back down to find and retrieve a handle and a bloody box on the ground near the sofa.
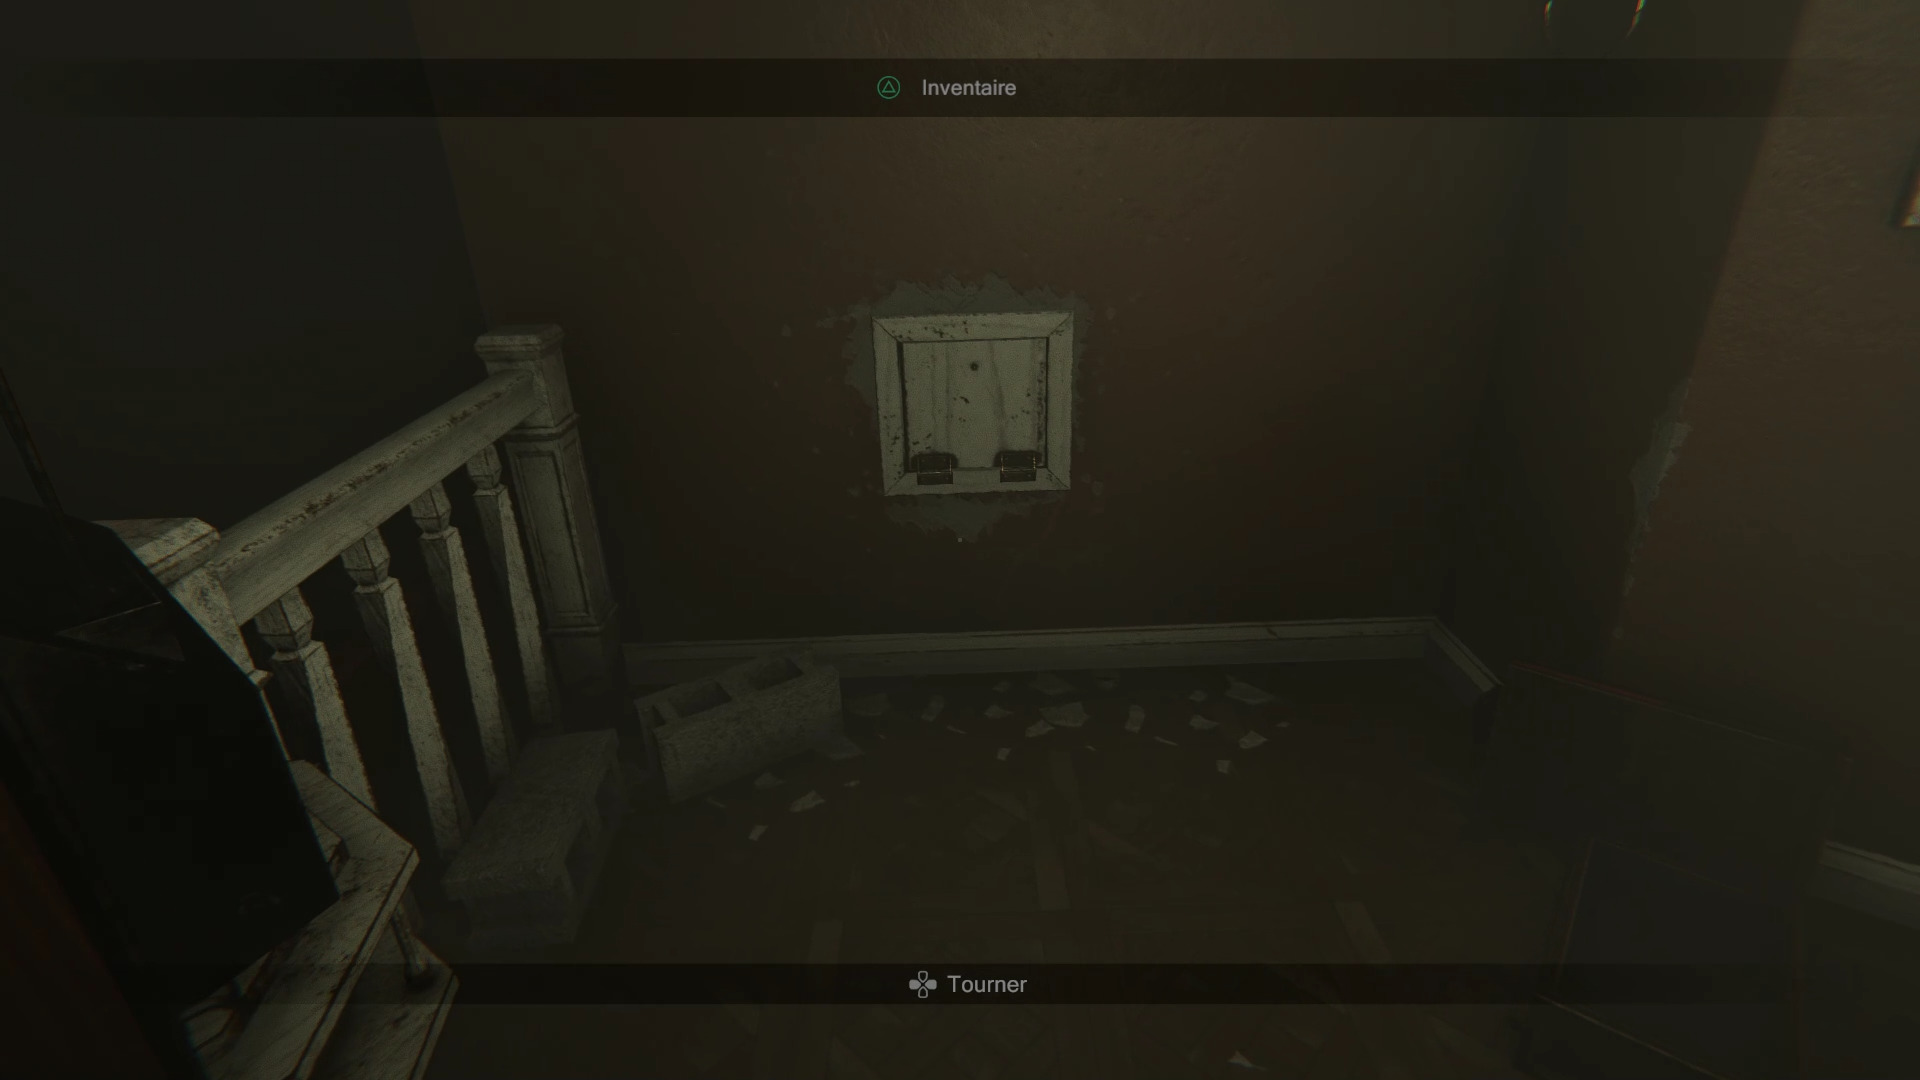
With the items, head up the stairs to find a junk trap against the wall. Use the handle to open it and take a hammer inside. Go down the platform and use the hammer with the barricaded door on the right. Go through the breach to land in a hallway.
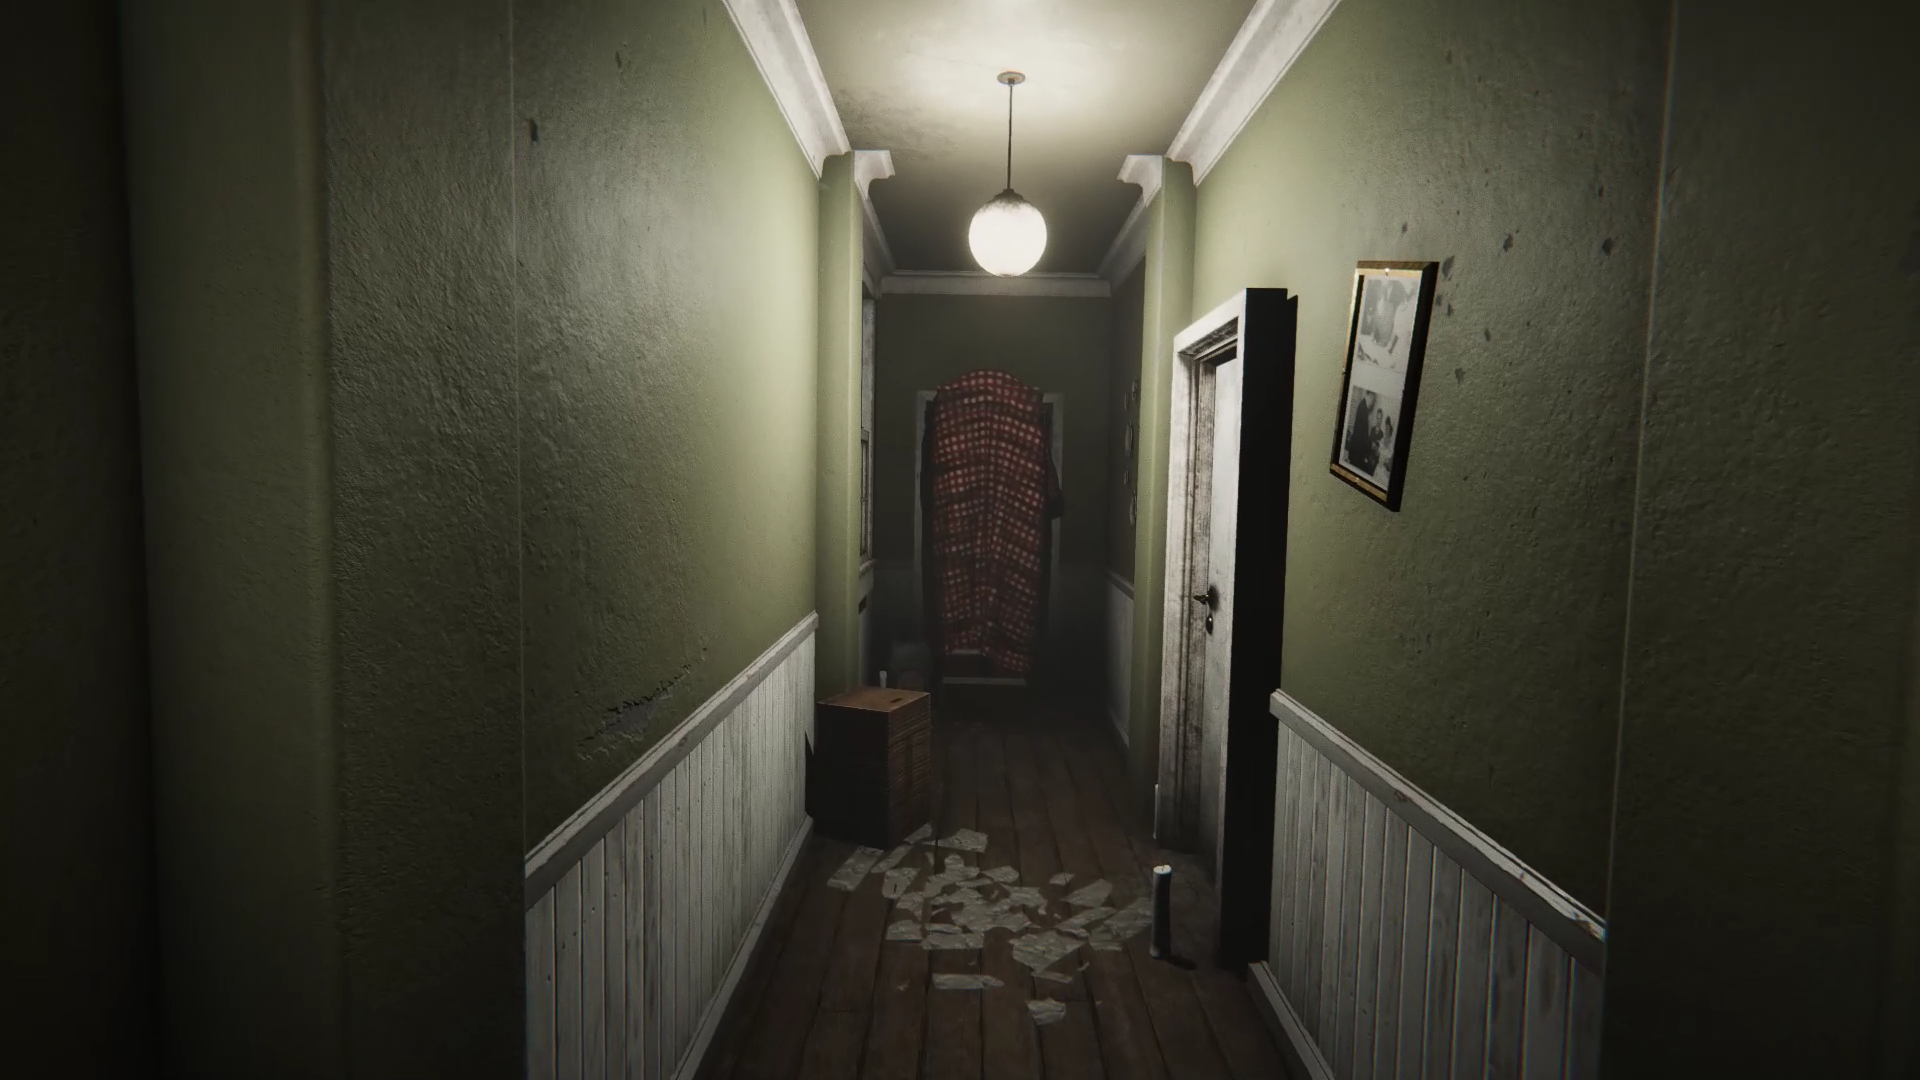

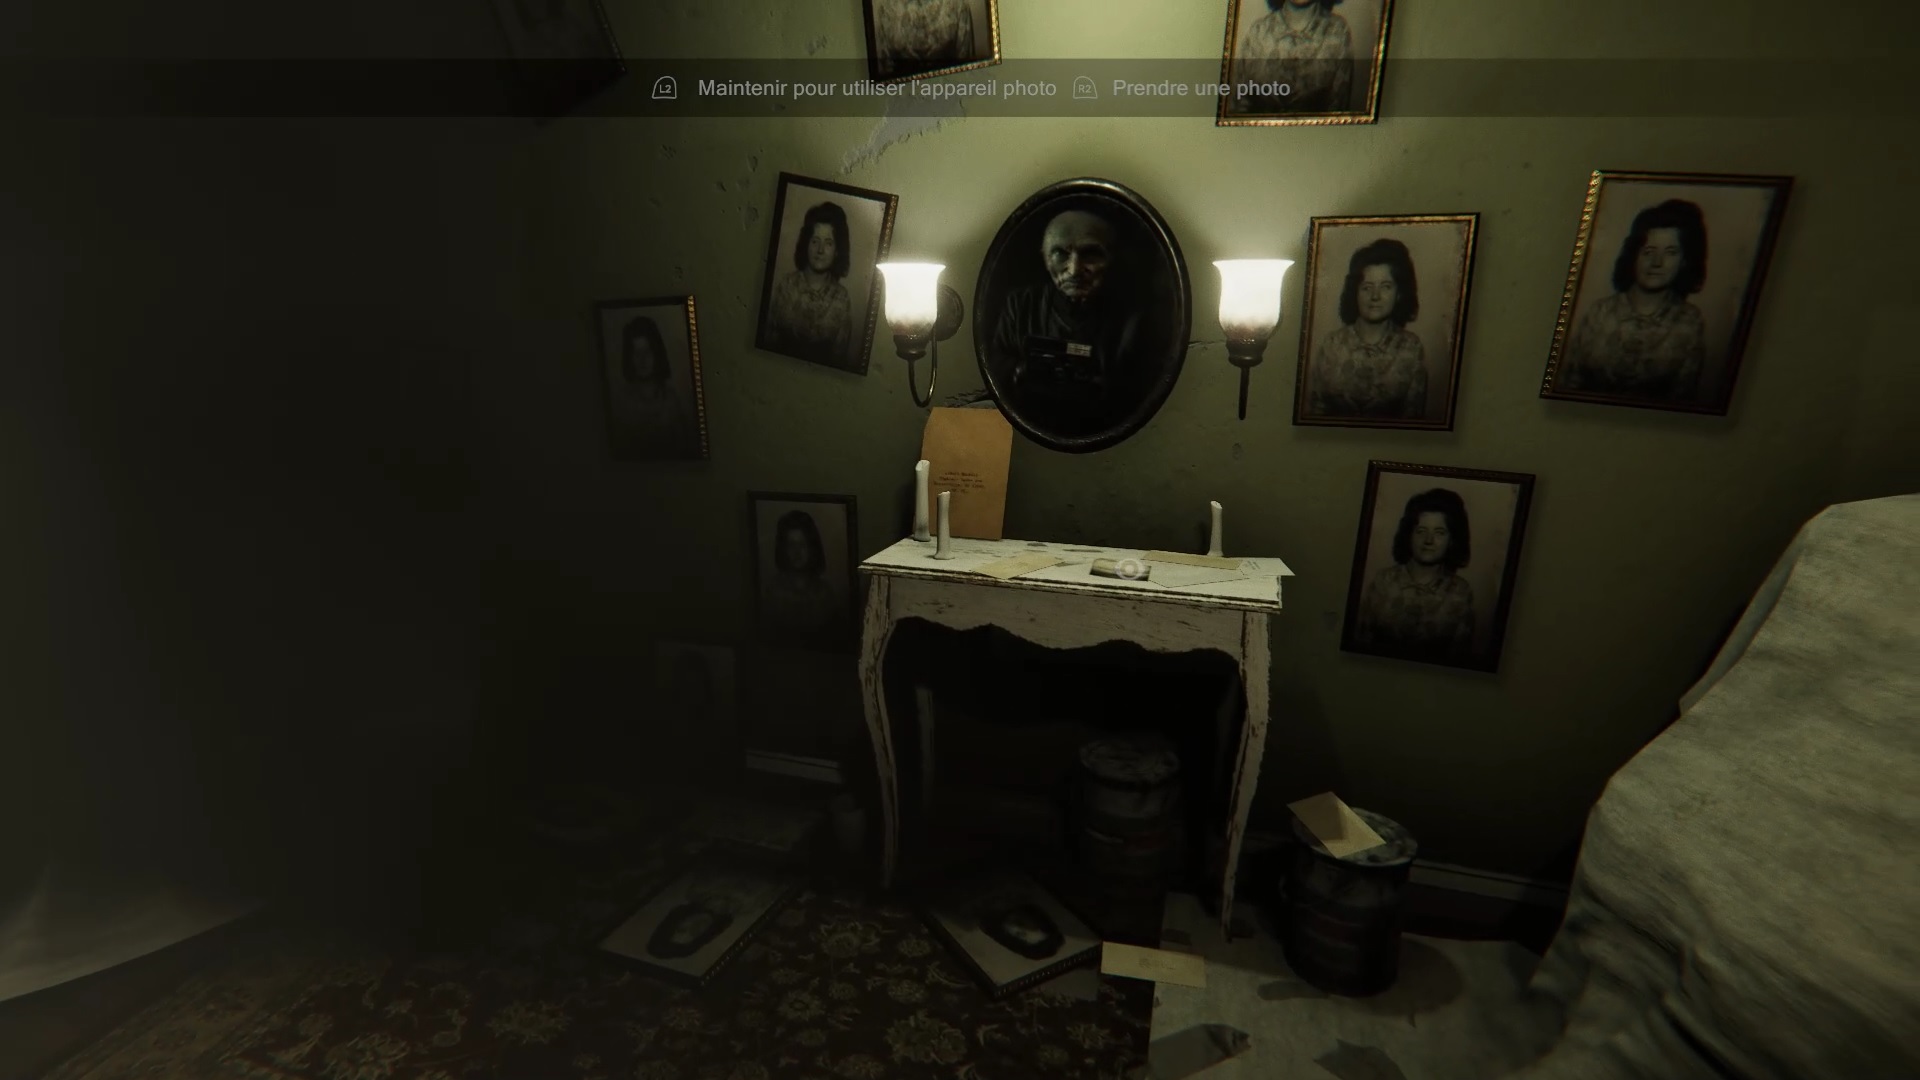
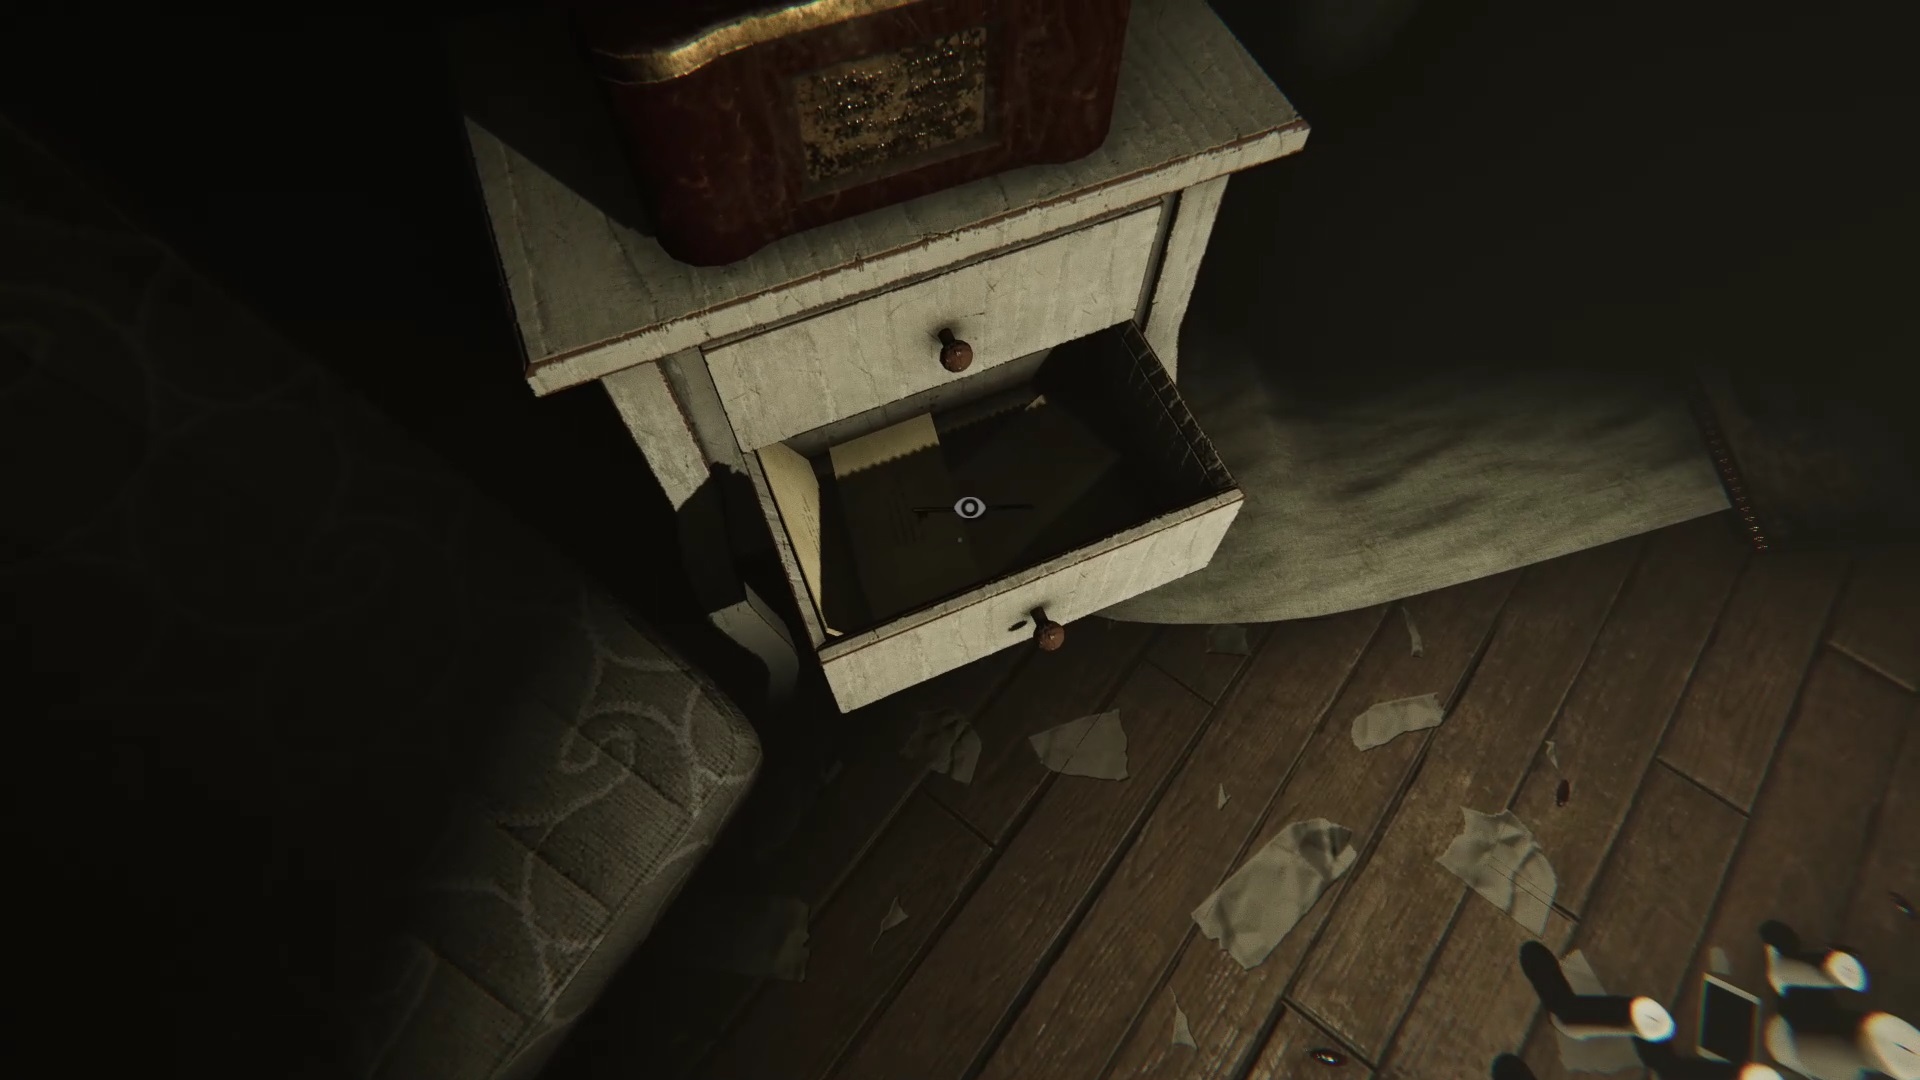
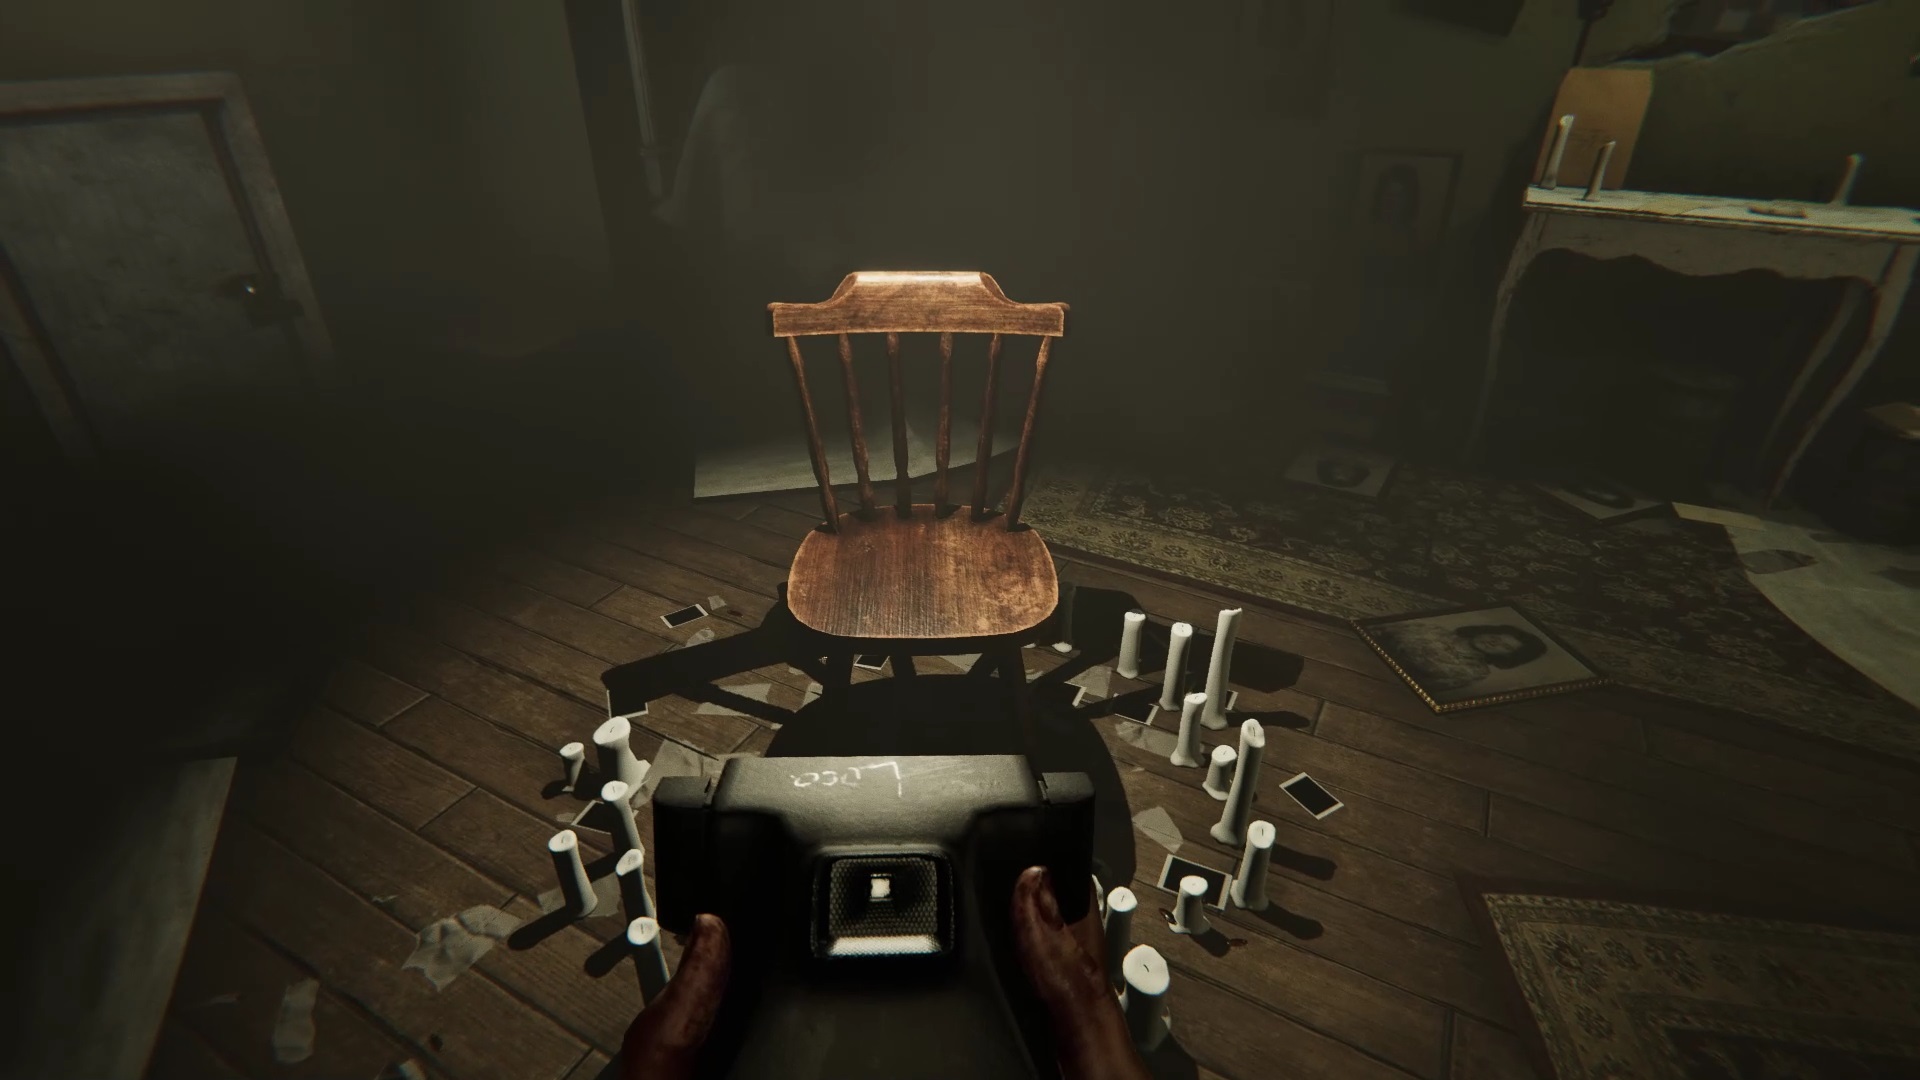
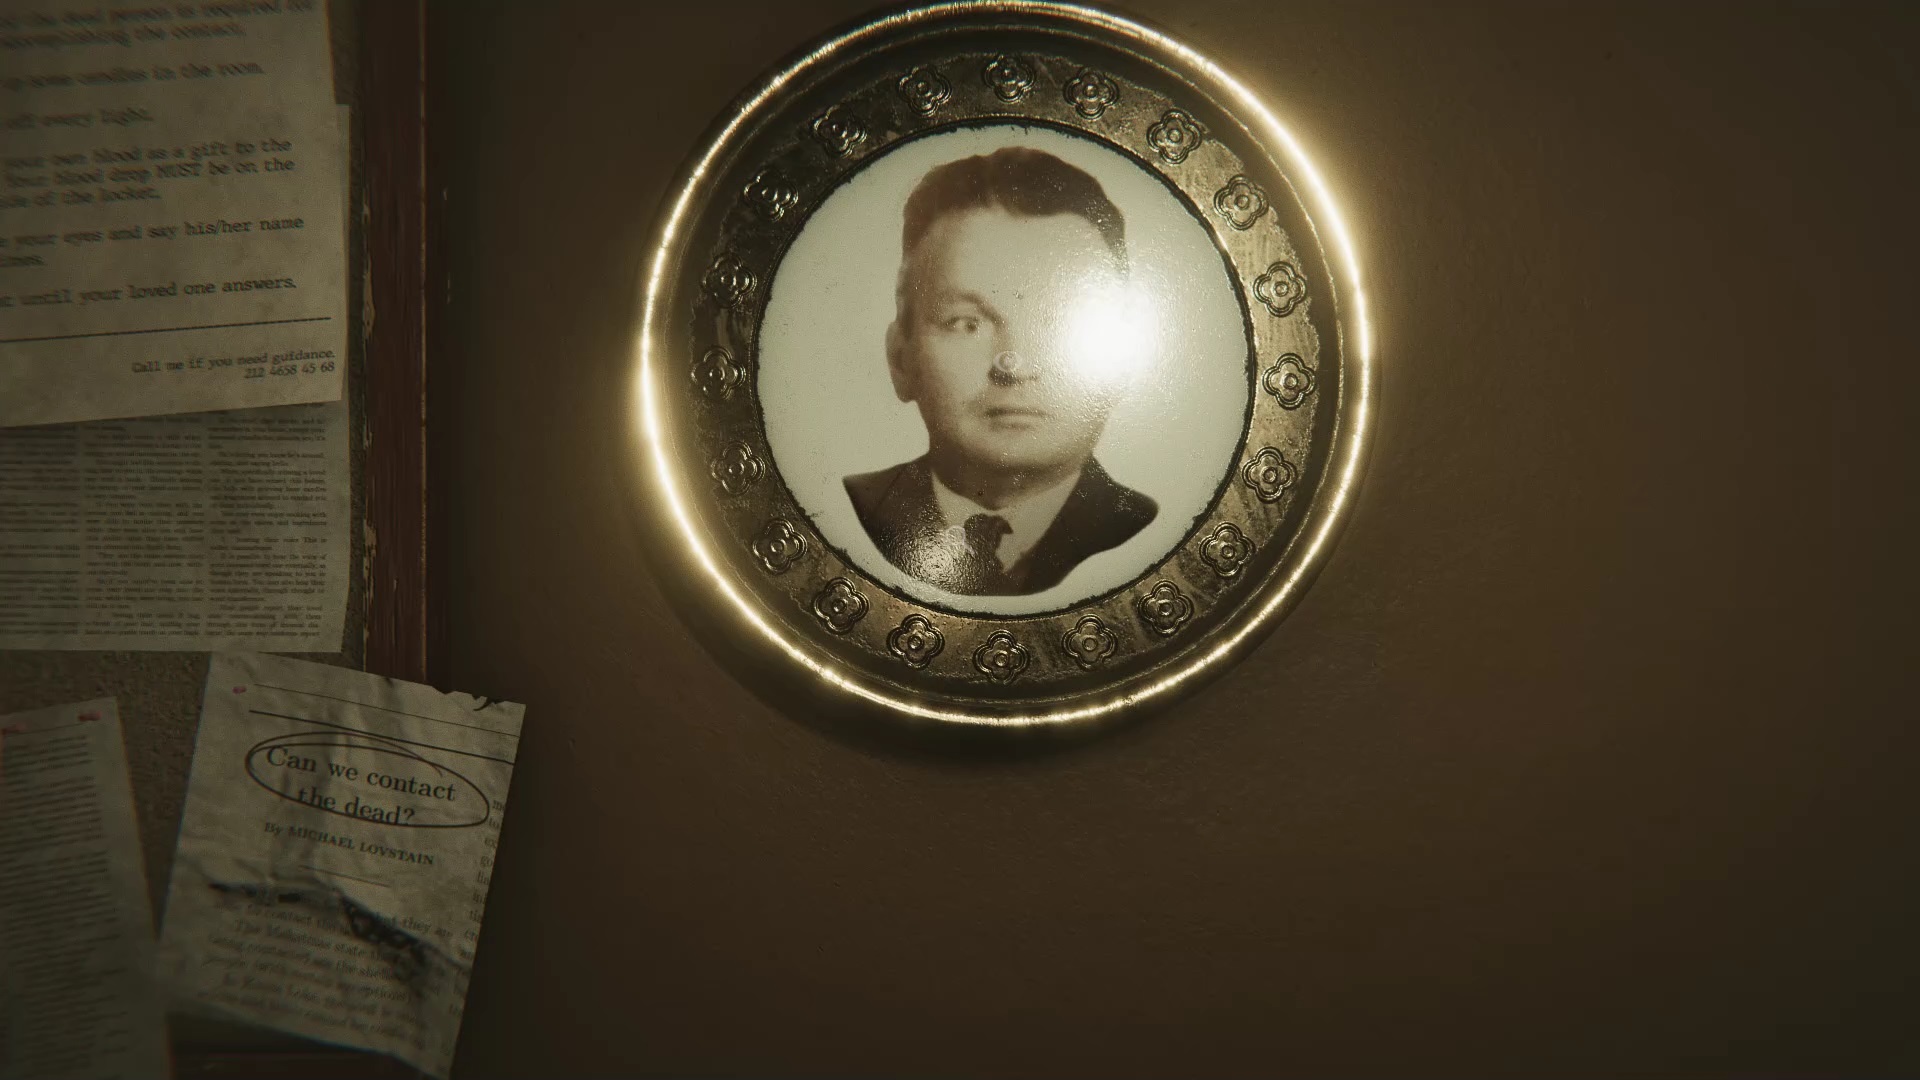
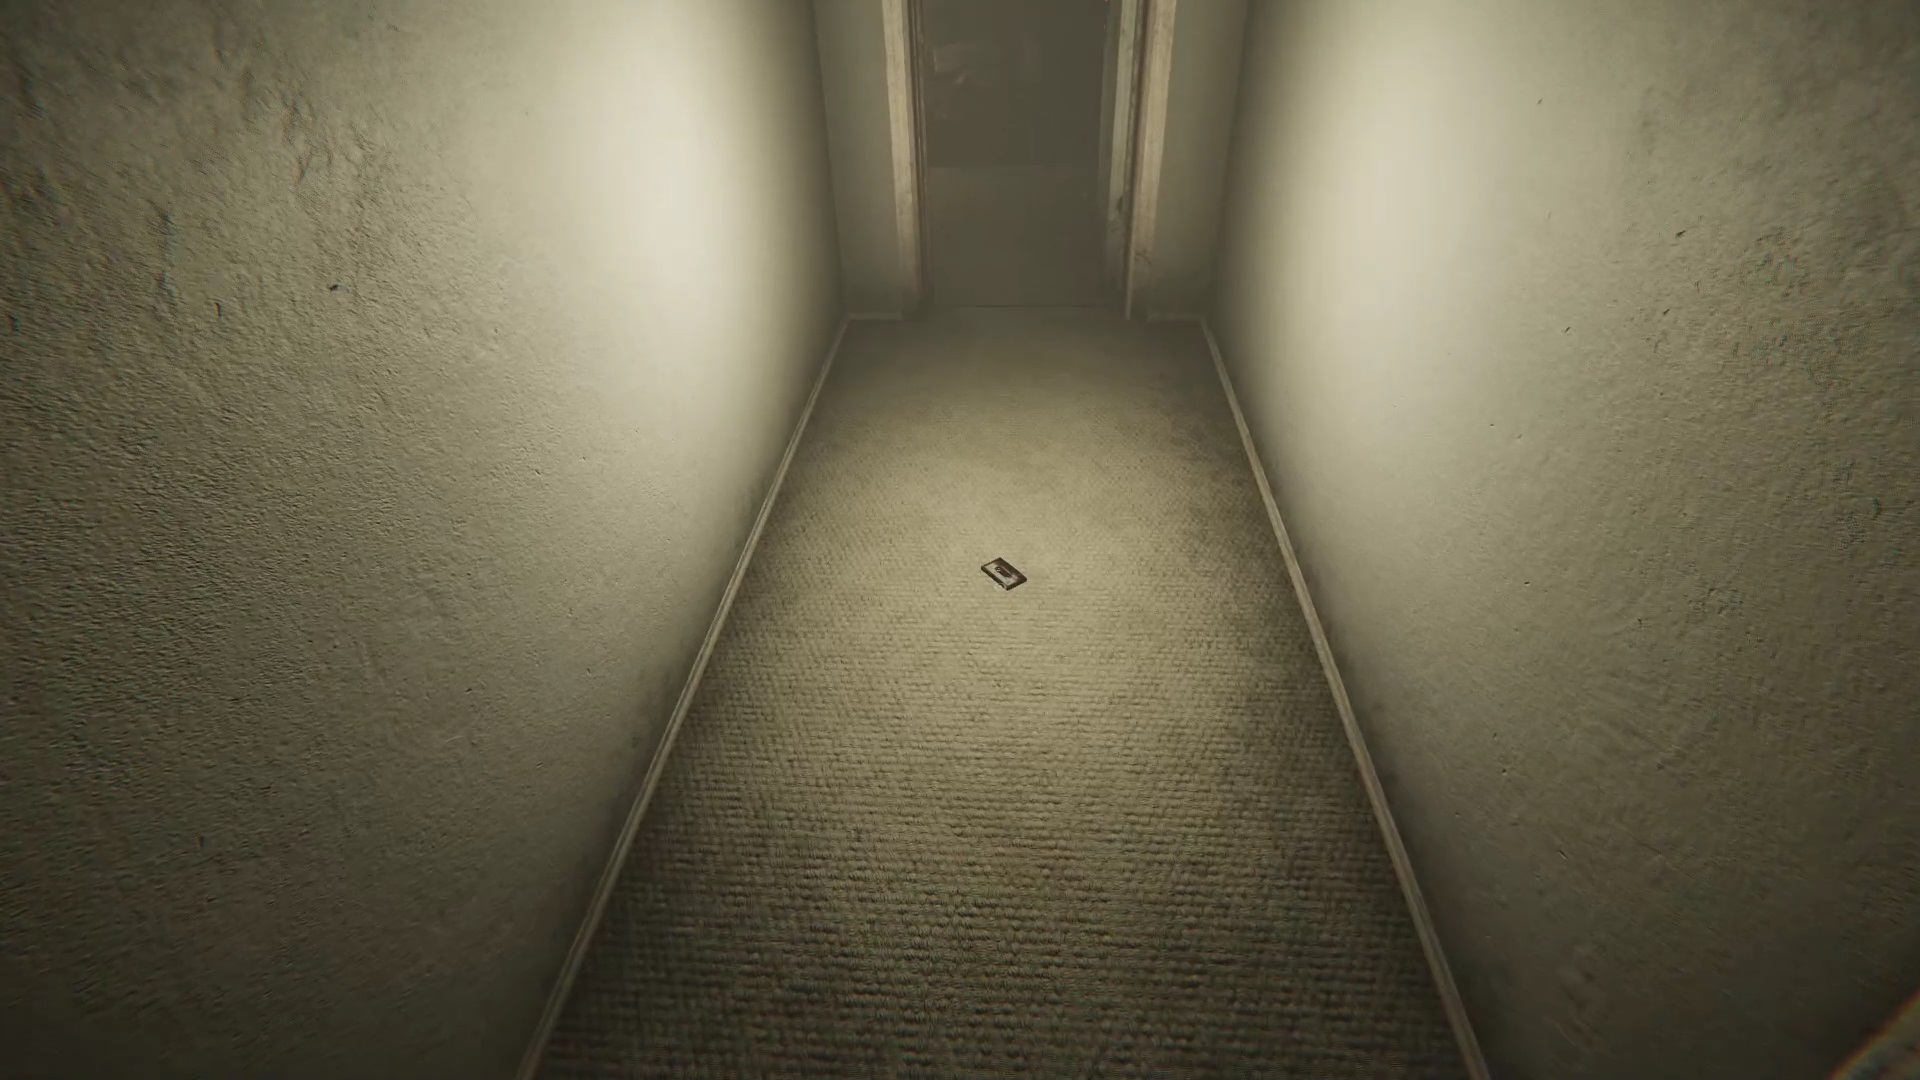
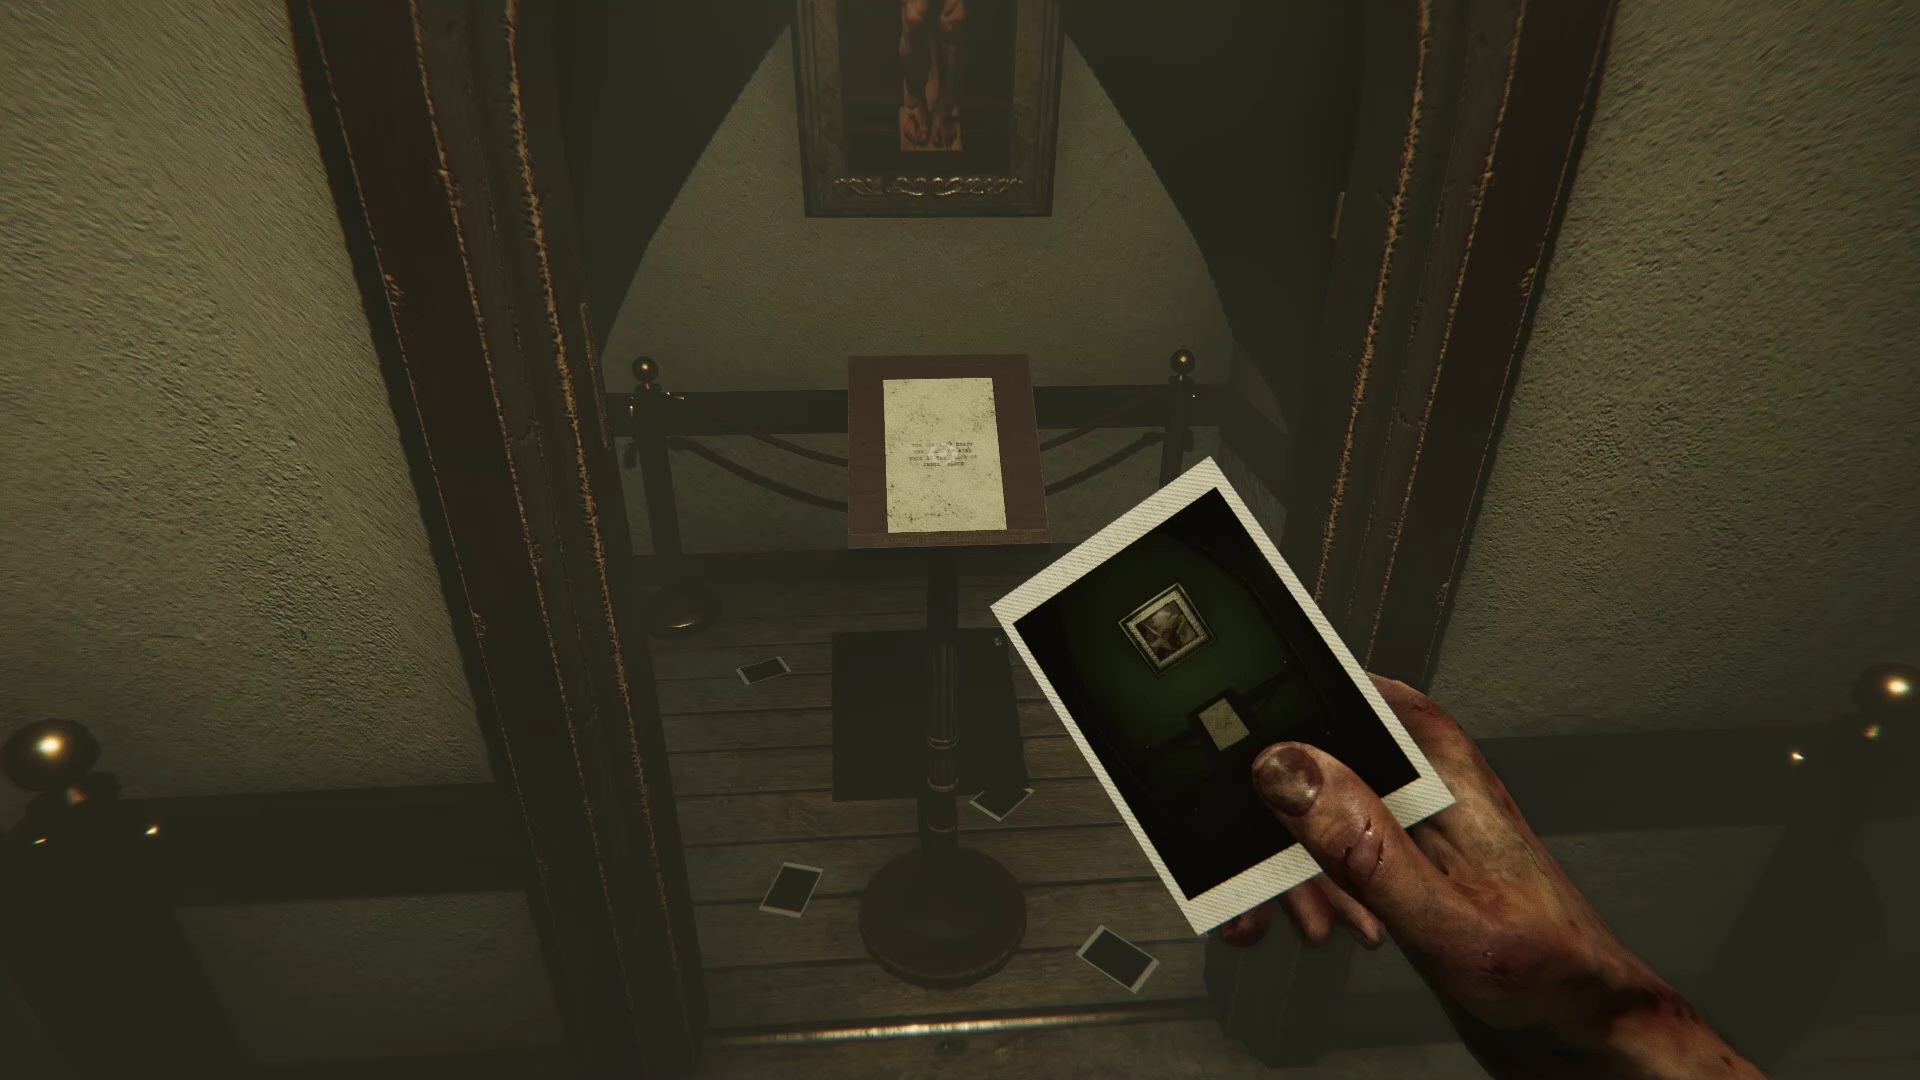
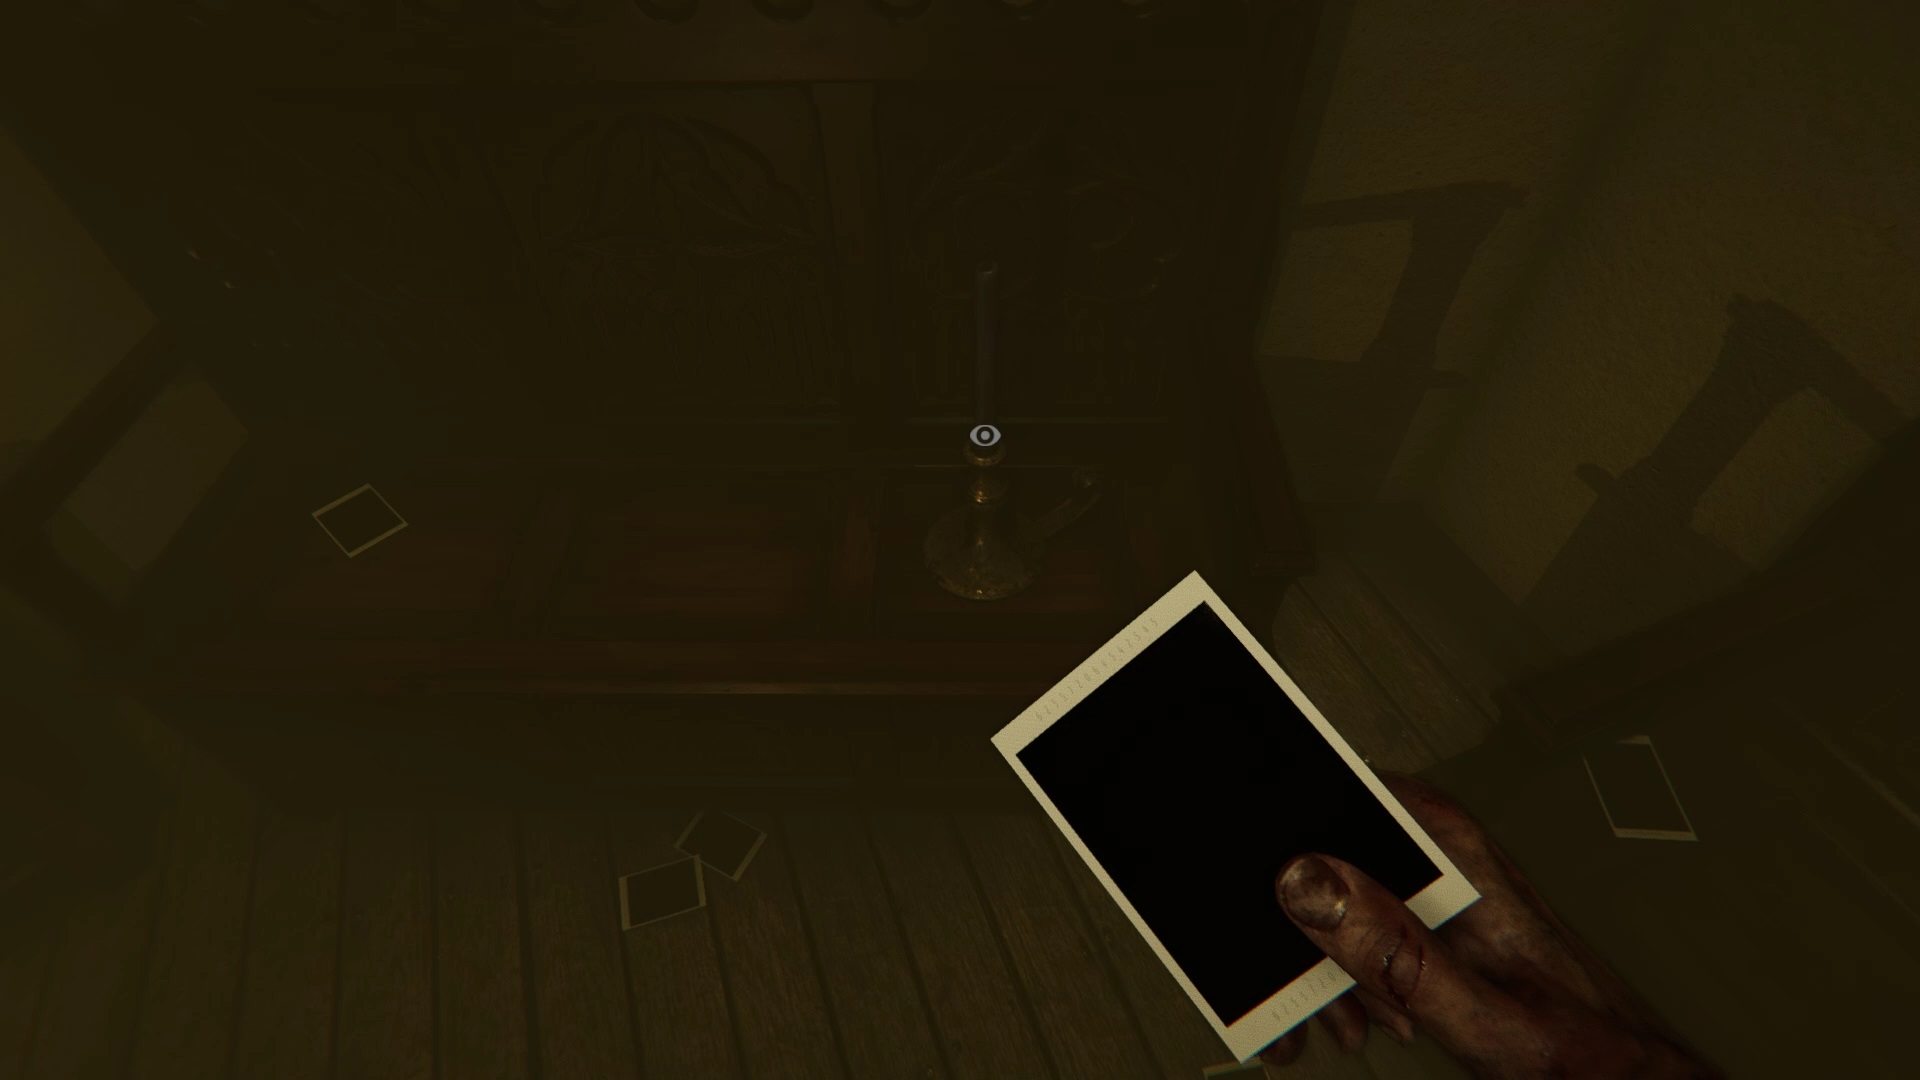
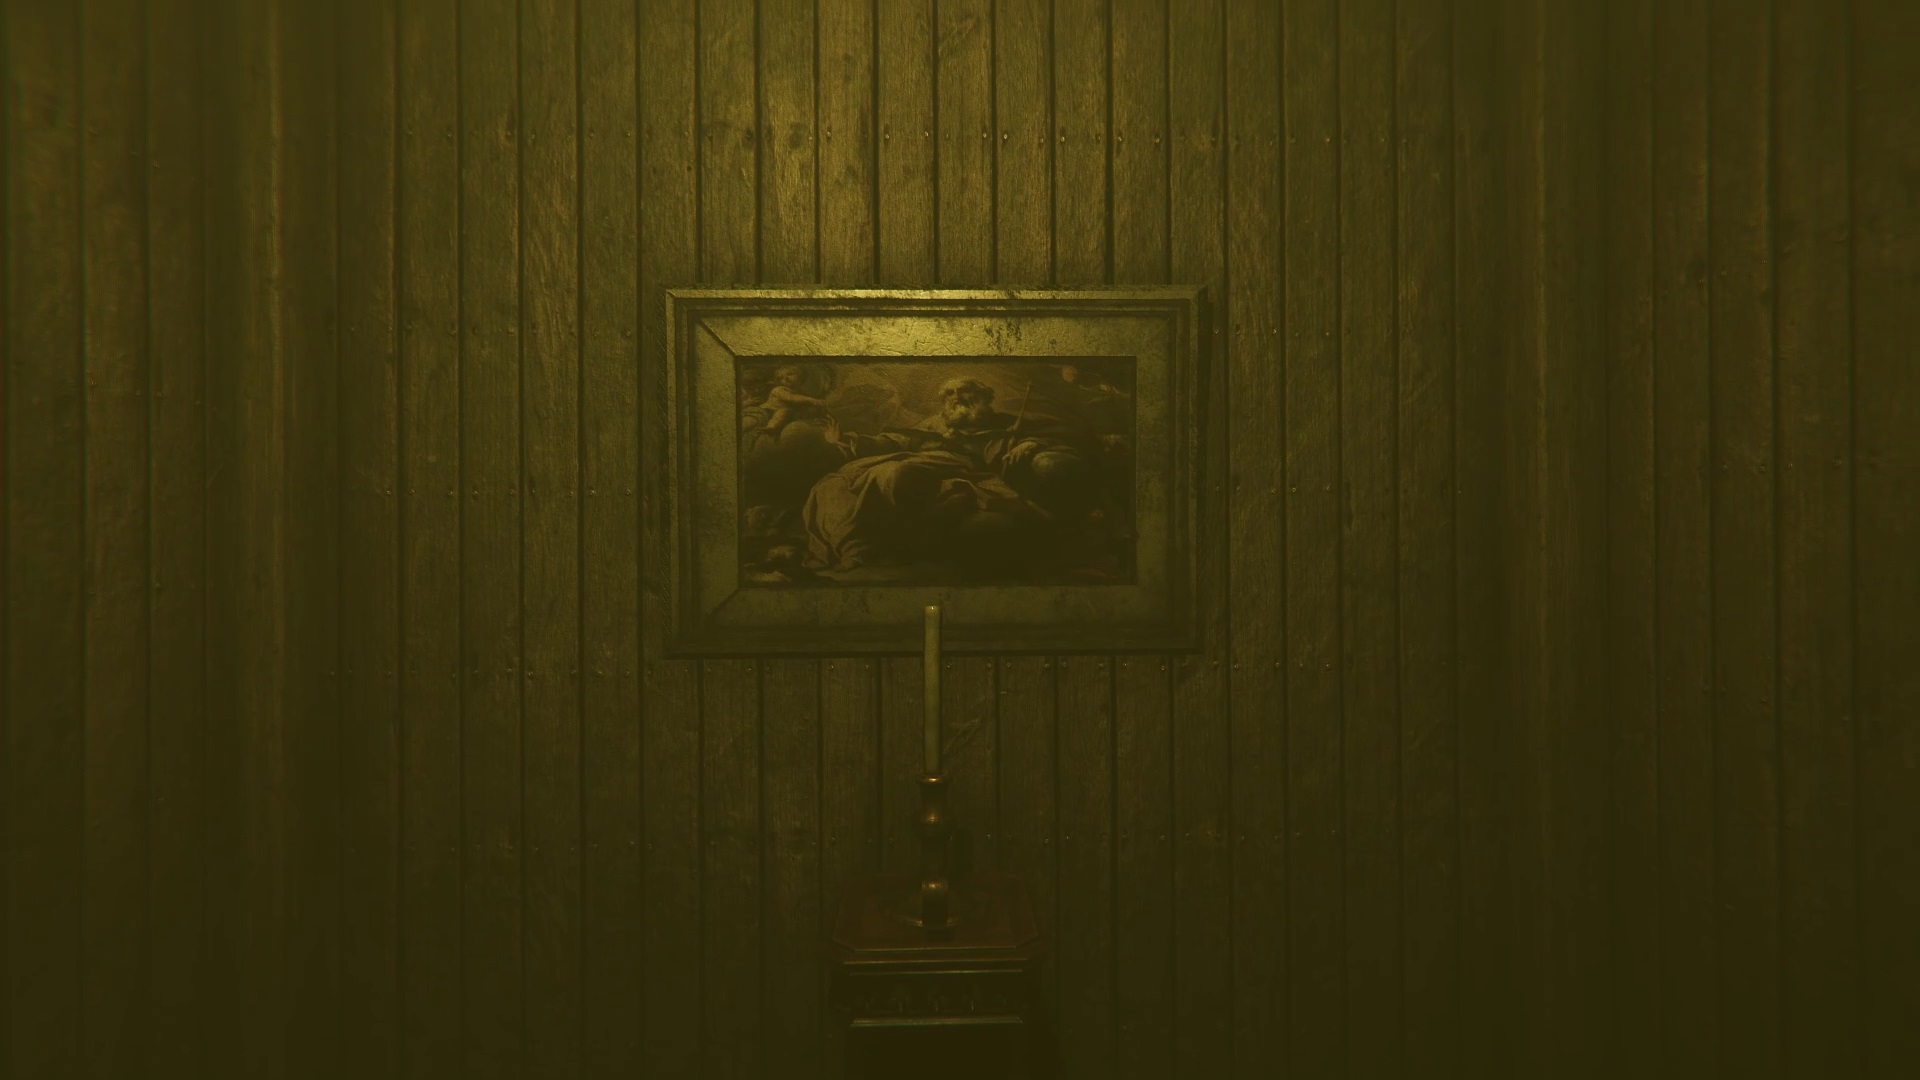
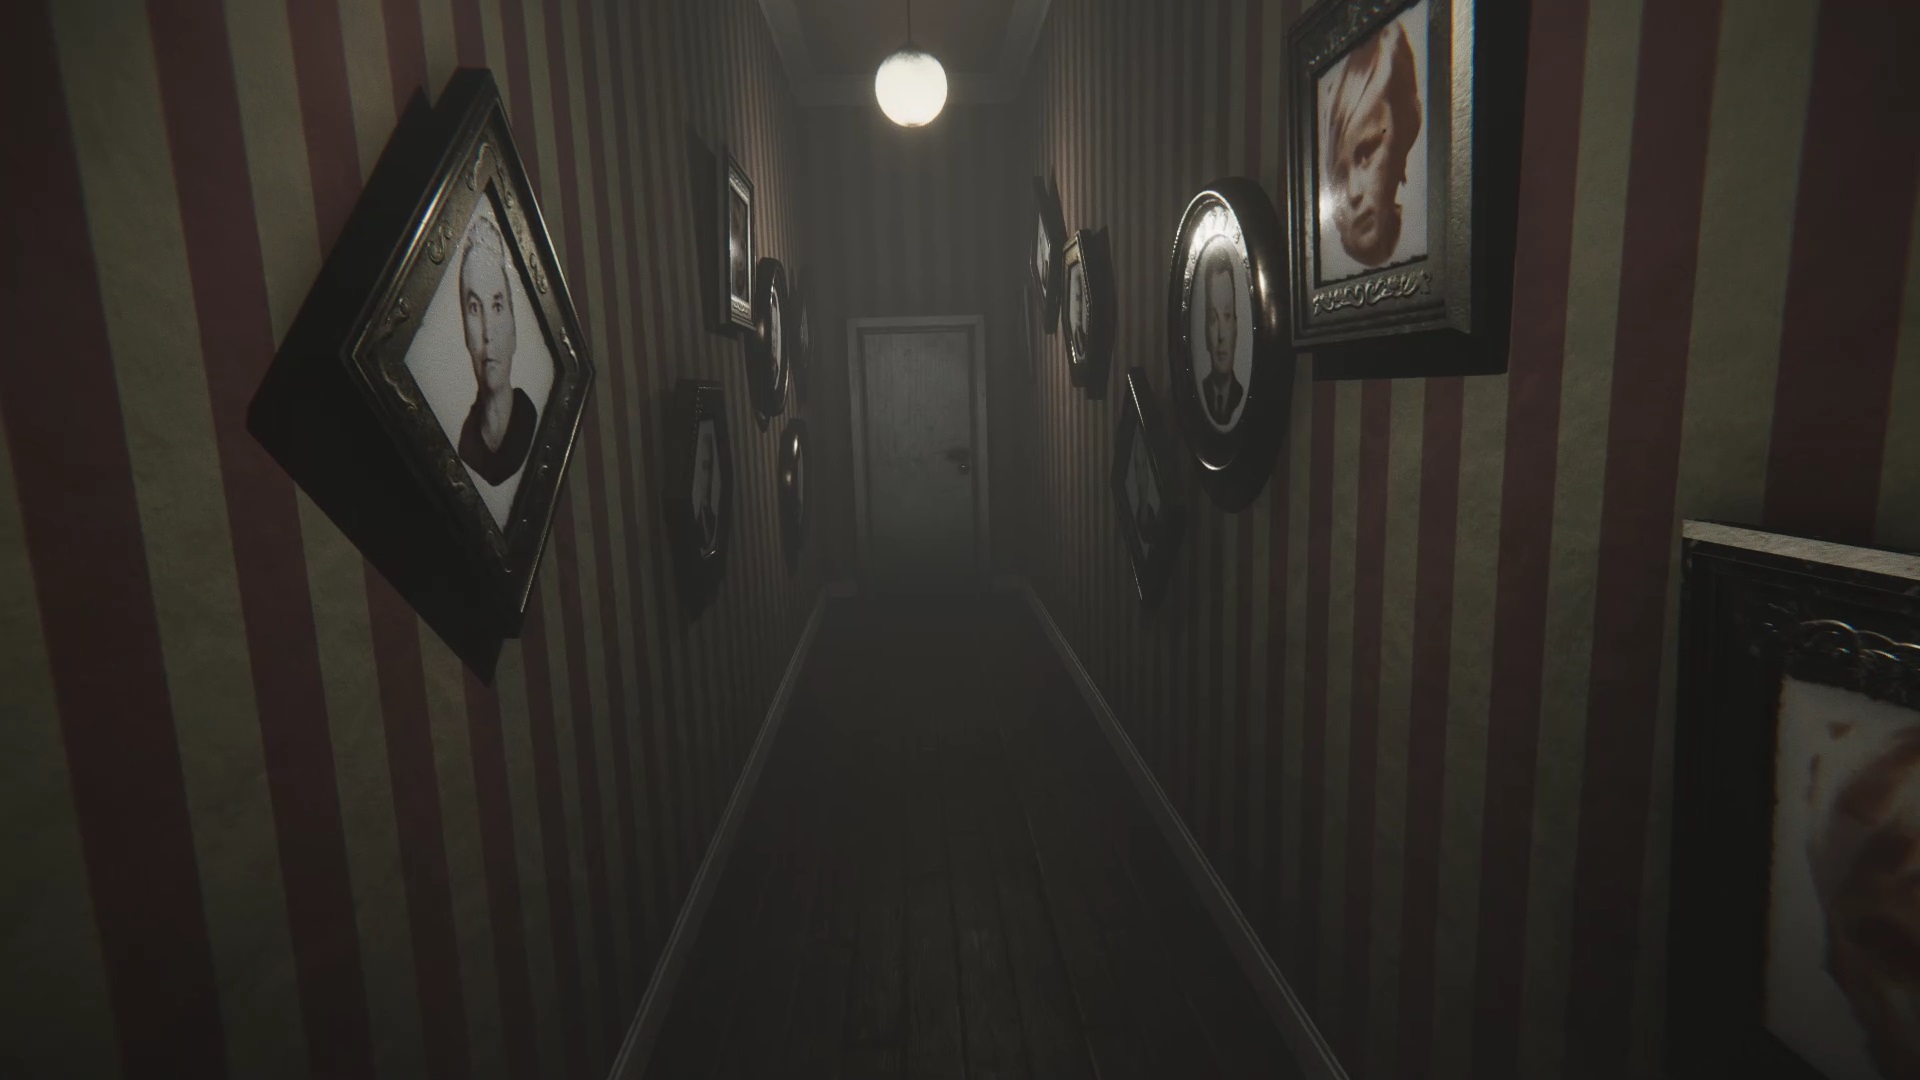
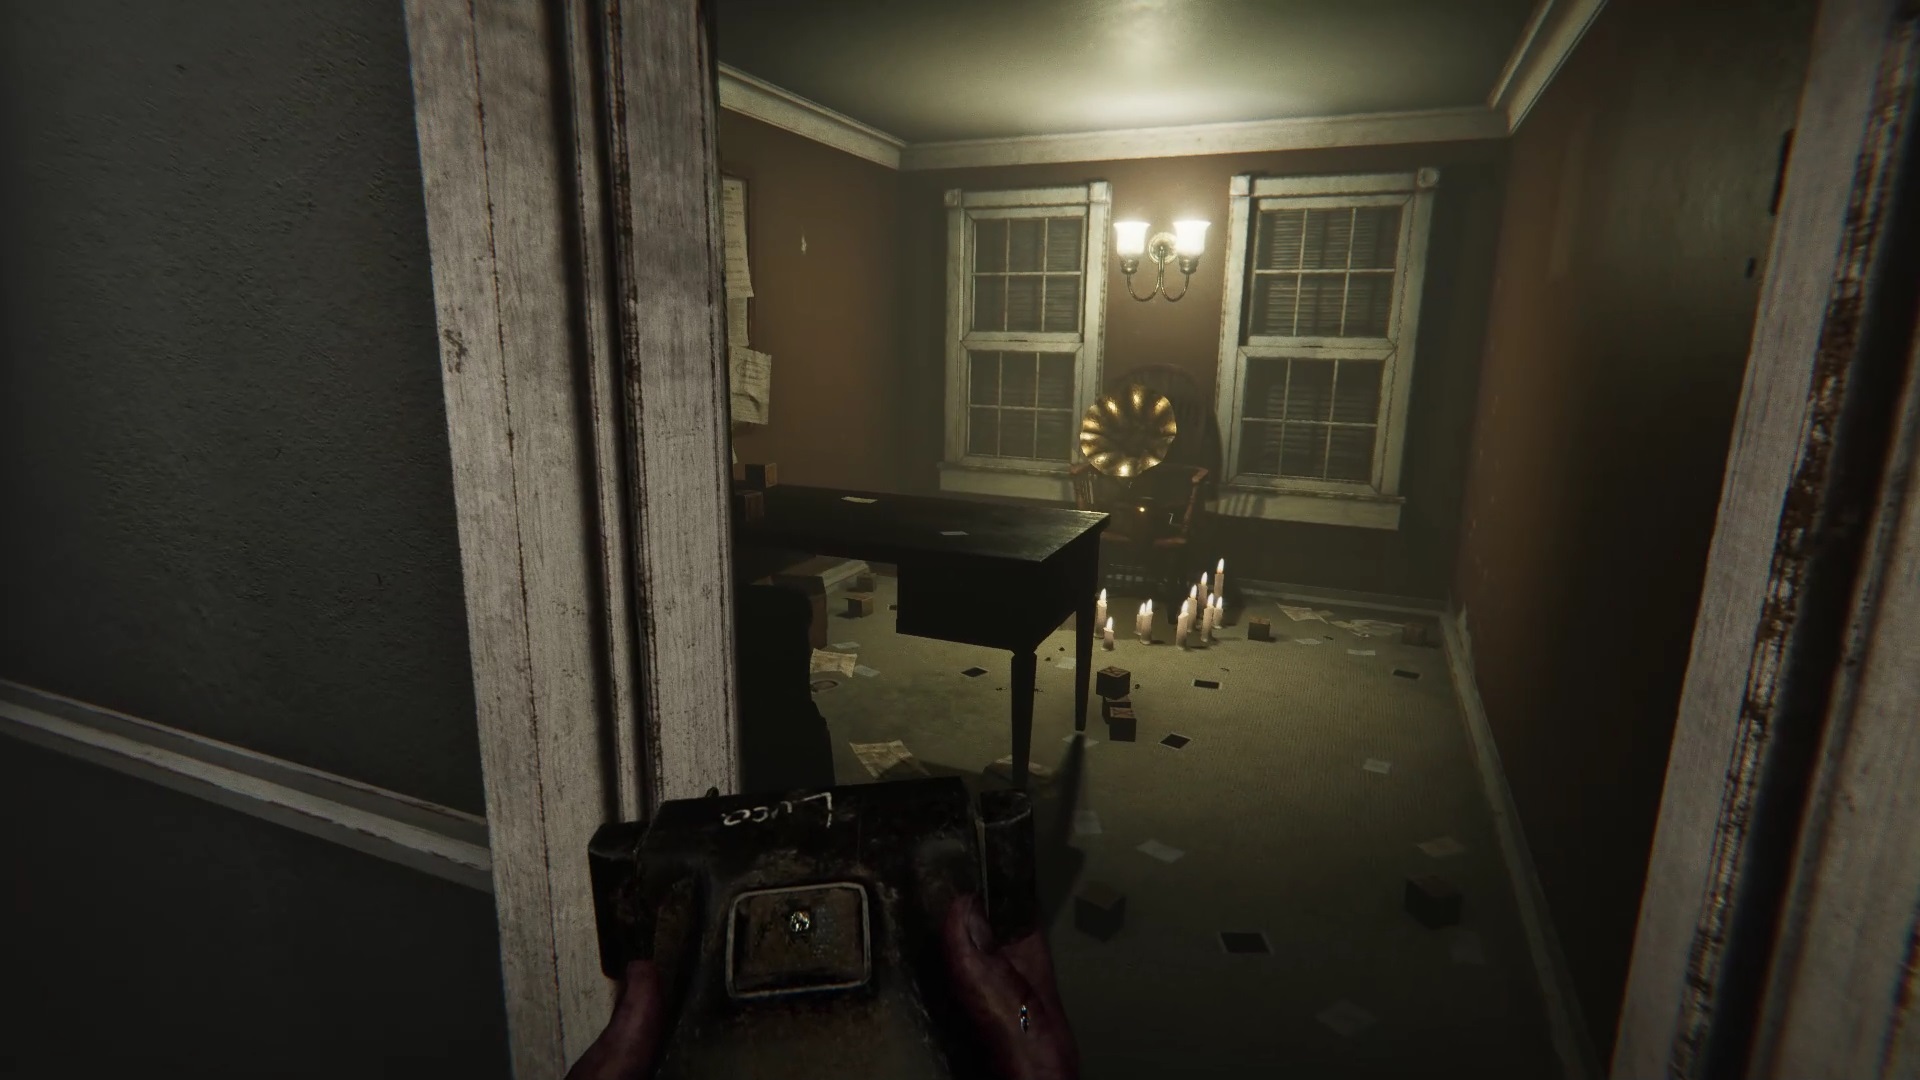
In the corridor, explore the places to reveal a large sheet at the bottom of the room. Pull the sheet to unlock a door in the hallway. A present comes to you on a chair, take it and interact with it to open it. You now have a camera in your inventory. In the room, take a closer look at the portrait of an old man. Take the portrait to discover a breach in the wall. Search the bedside table near the chair to find a desk key in the drawer. To exit the room, equip your camera and photograph the chair to open the door. Keep in mind that the presence of polaroid on the ground means you can use your camera to interact.
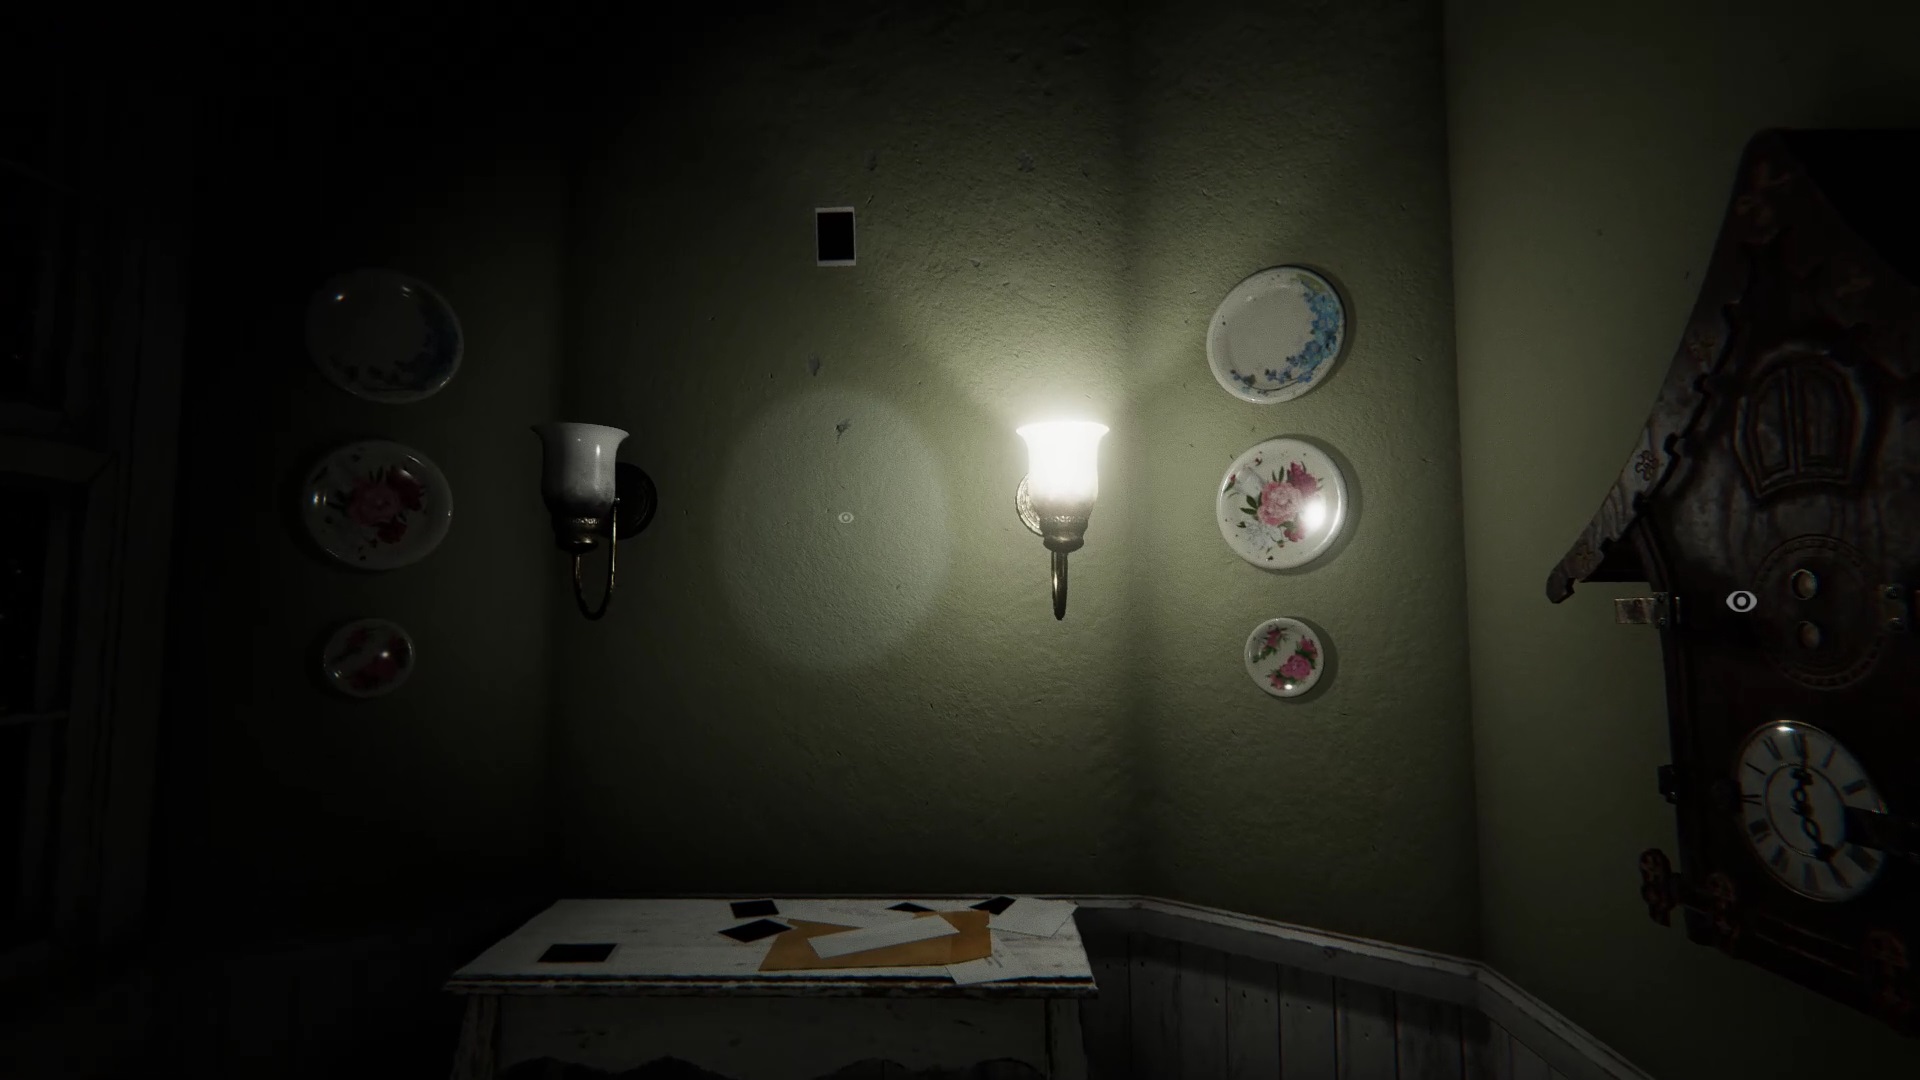

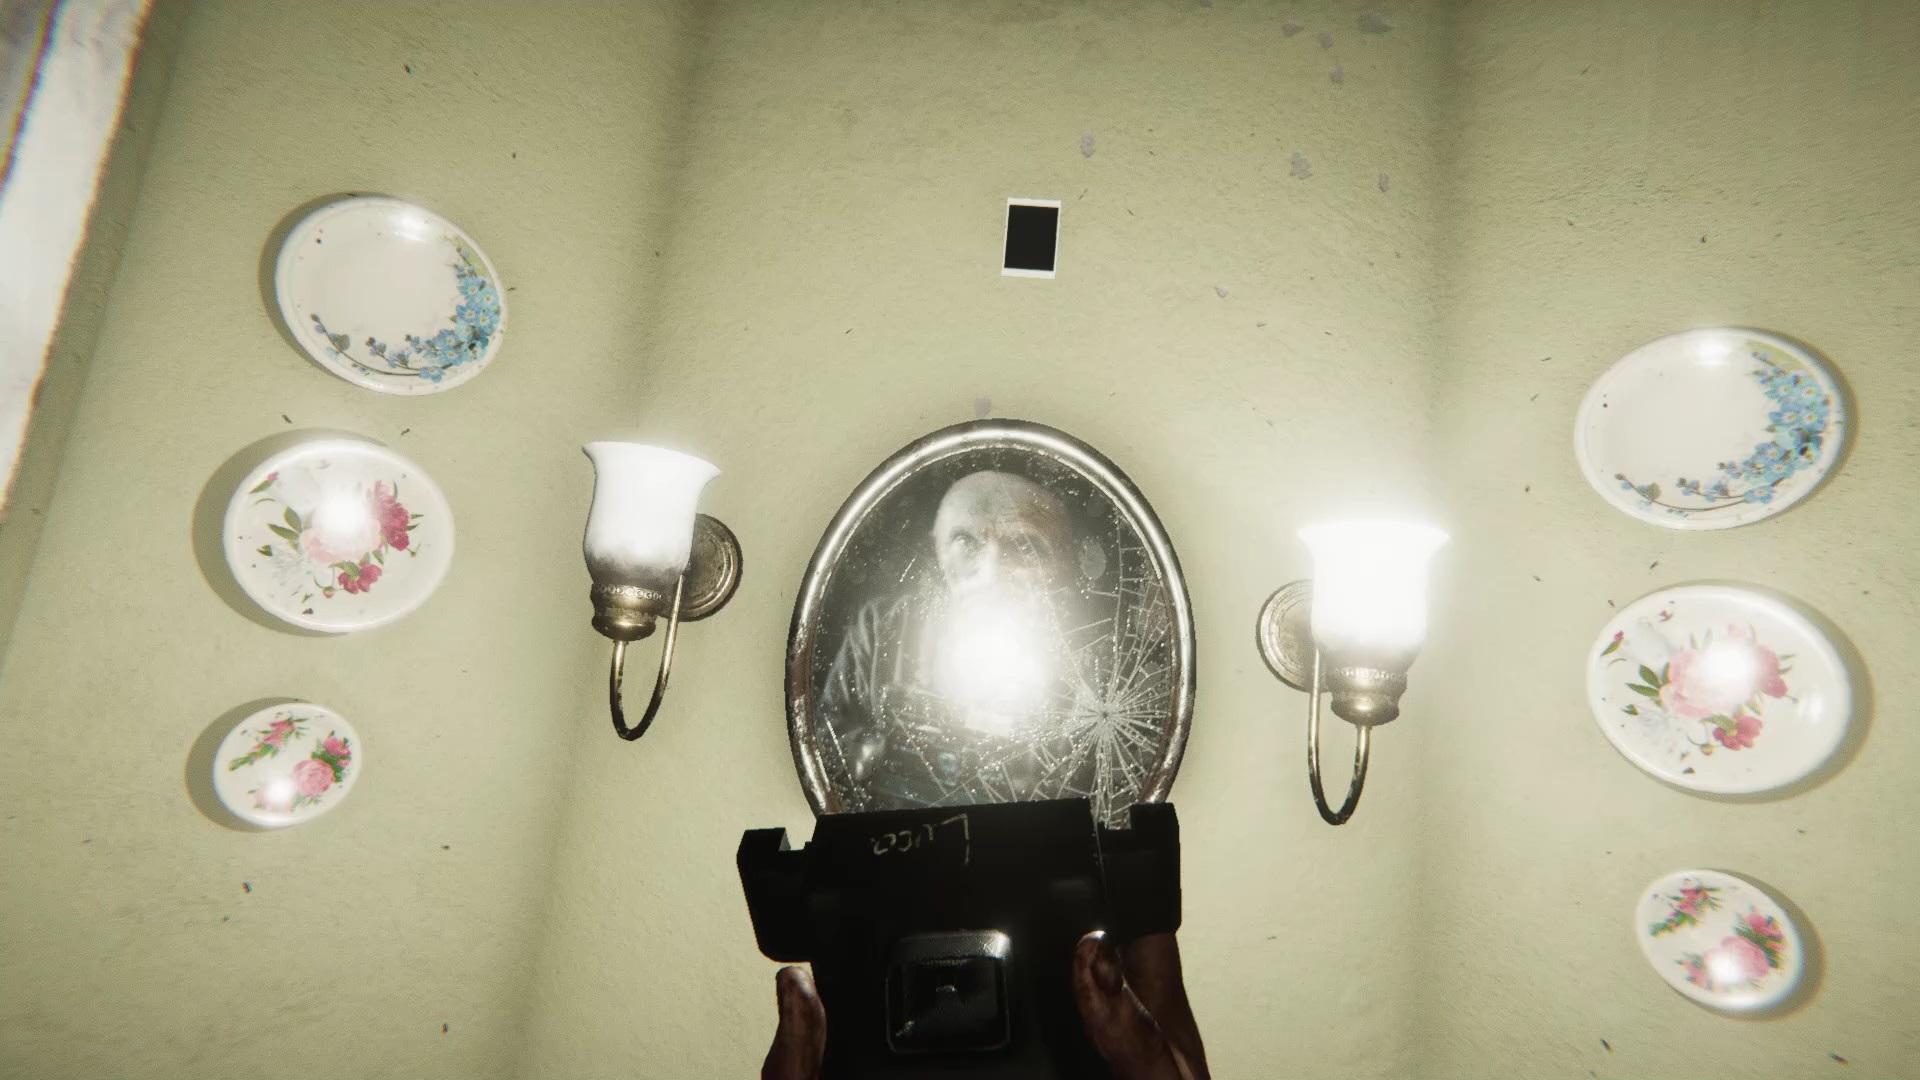
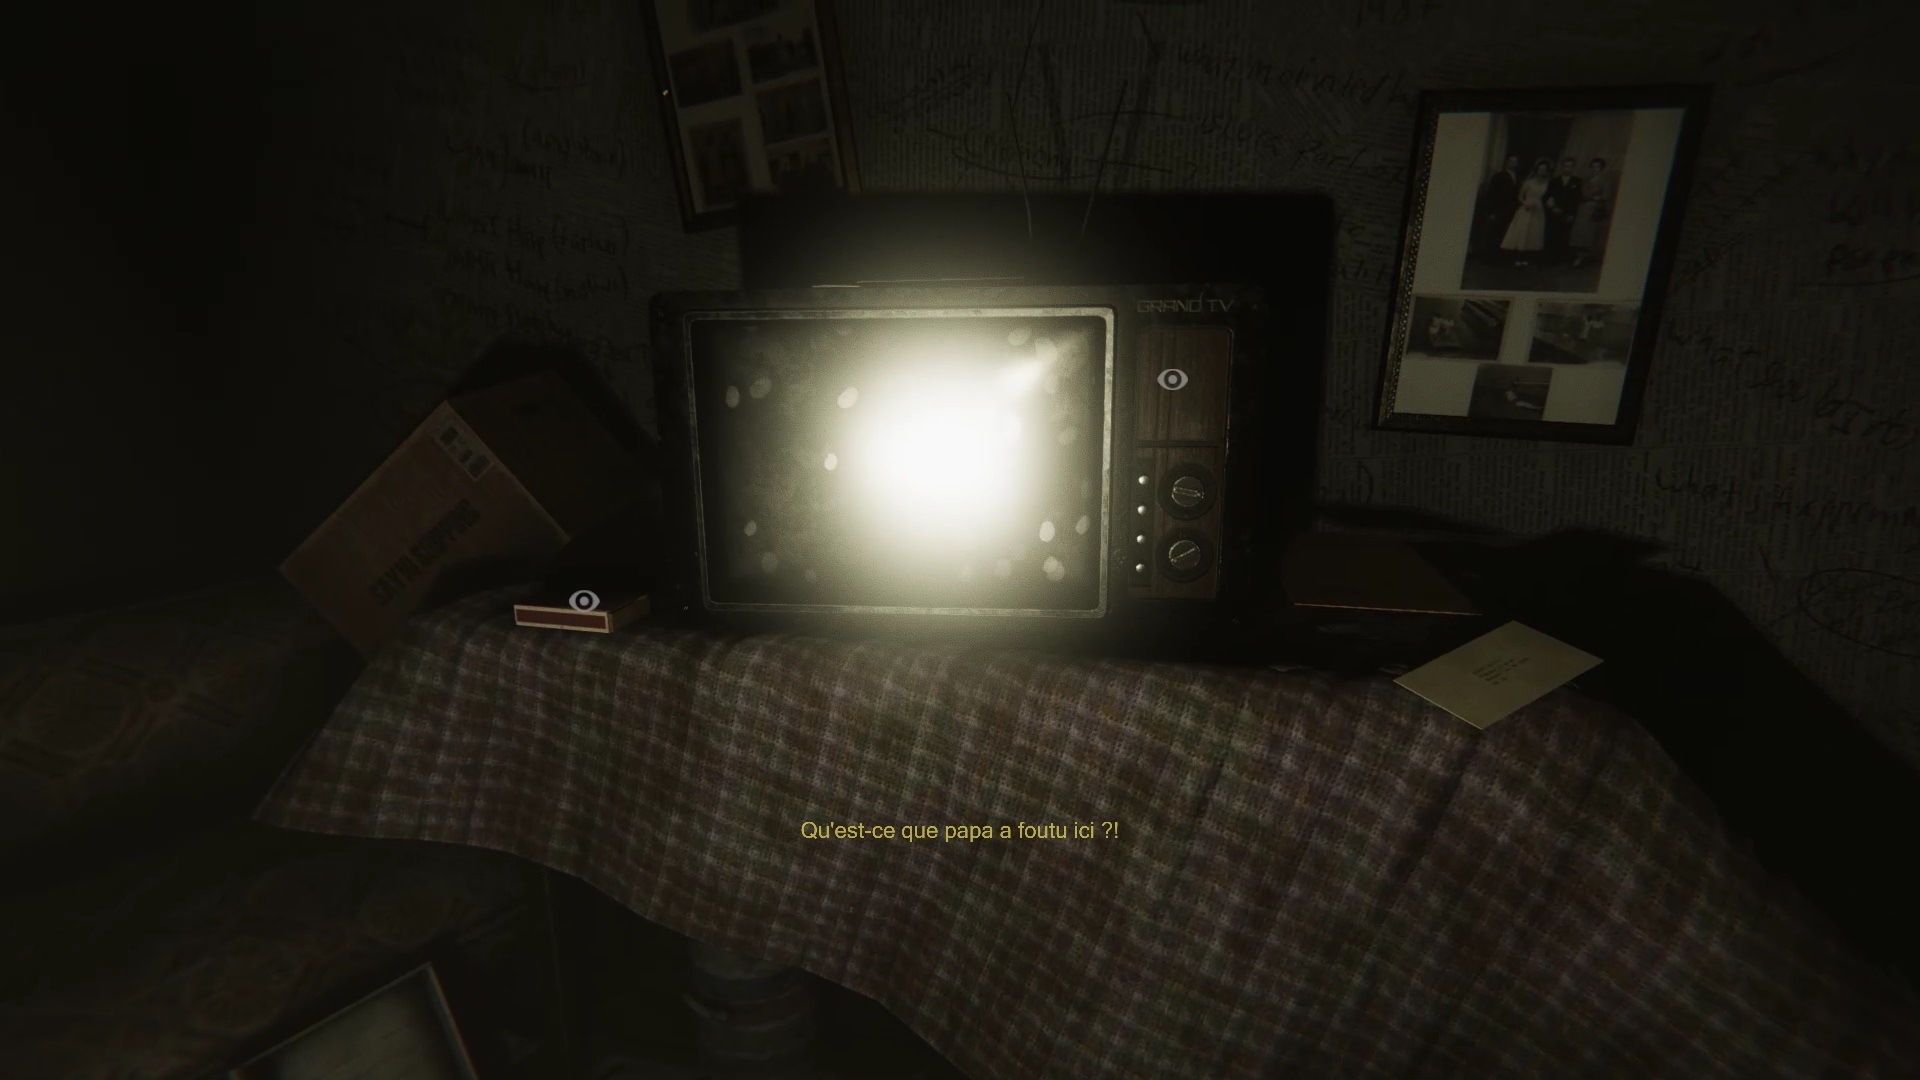
Back in the hallway, the sheet reappears. Remove the sheet to find a nail on the clock face. Take the nail. Go to the opposite side of the corridor to hang the portrait of the old man against the wall with the nail. Once in place, use your camera on the portrait to unlock a door in front. Proceed into the new room. Here you are in the father’s investigation office. To the left of the TV is a matchbox containing a key.
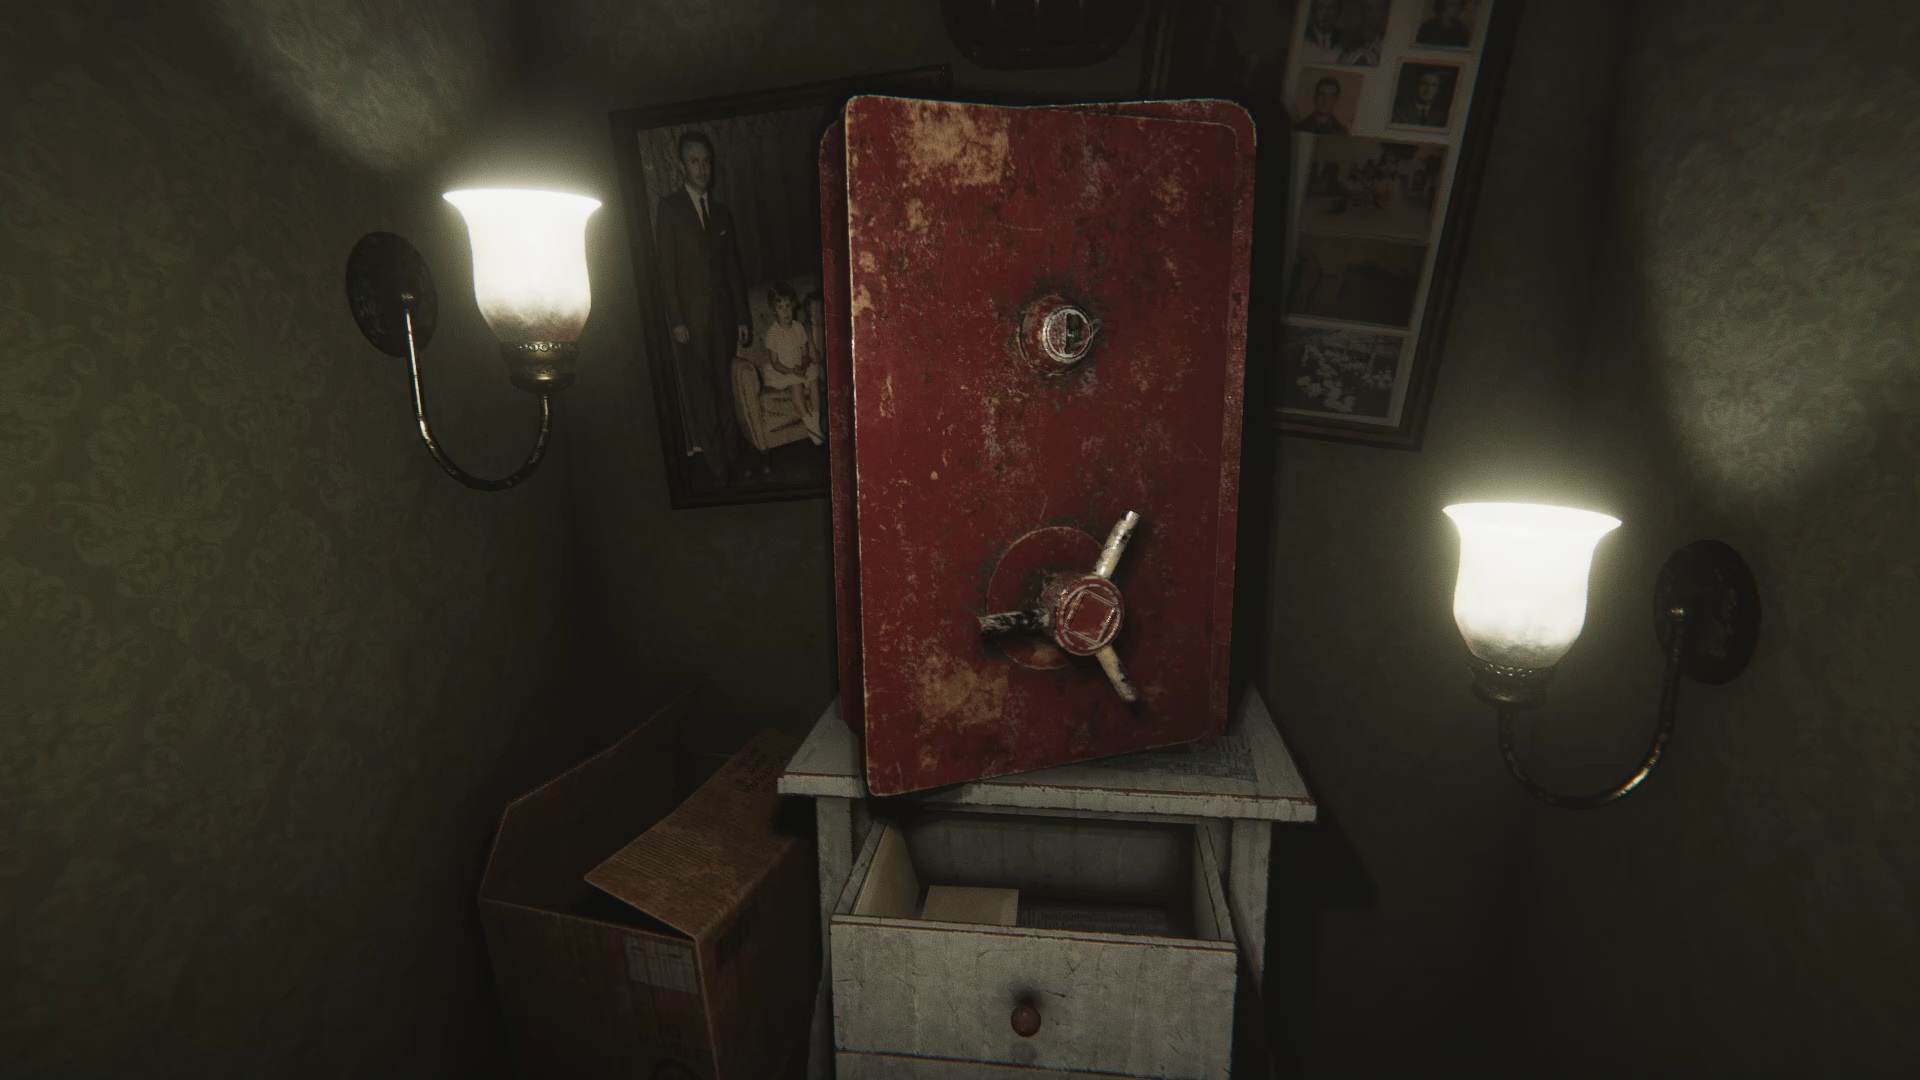
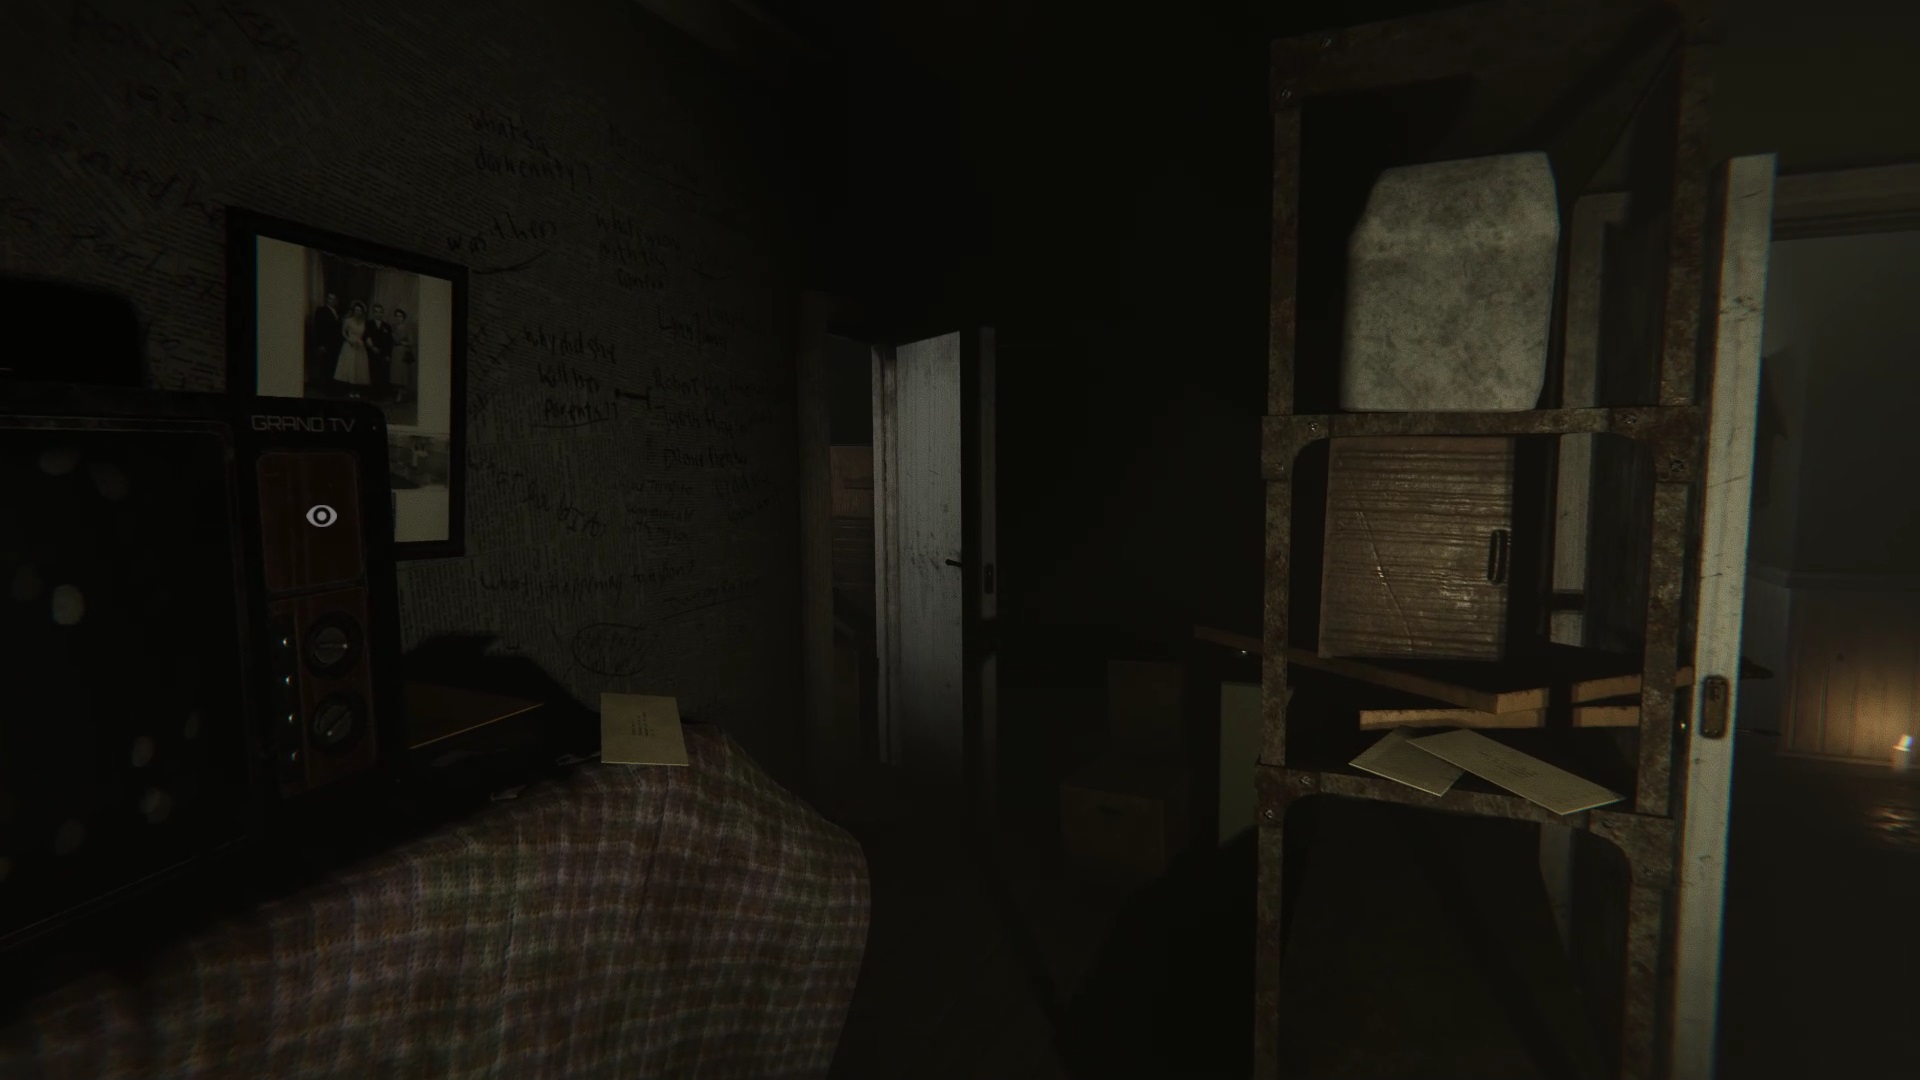
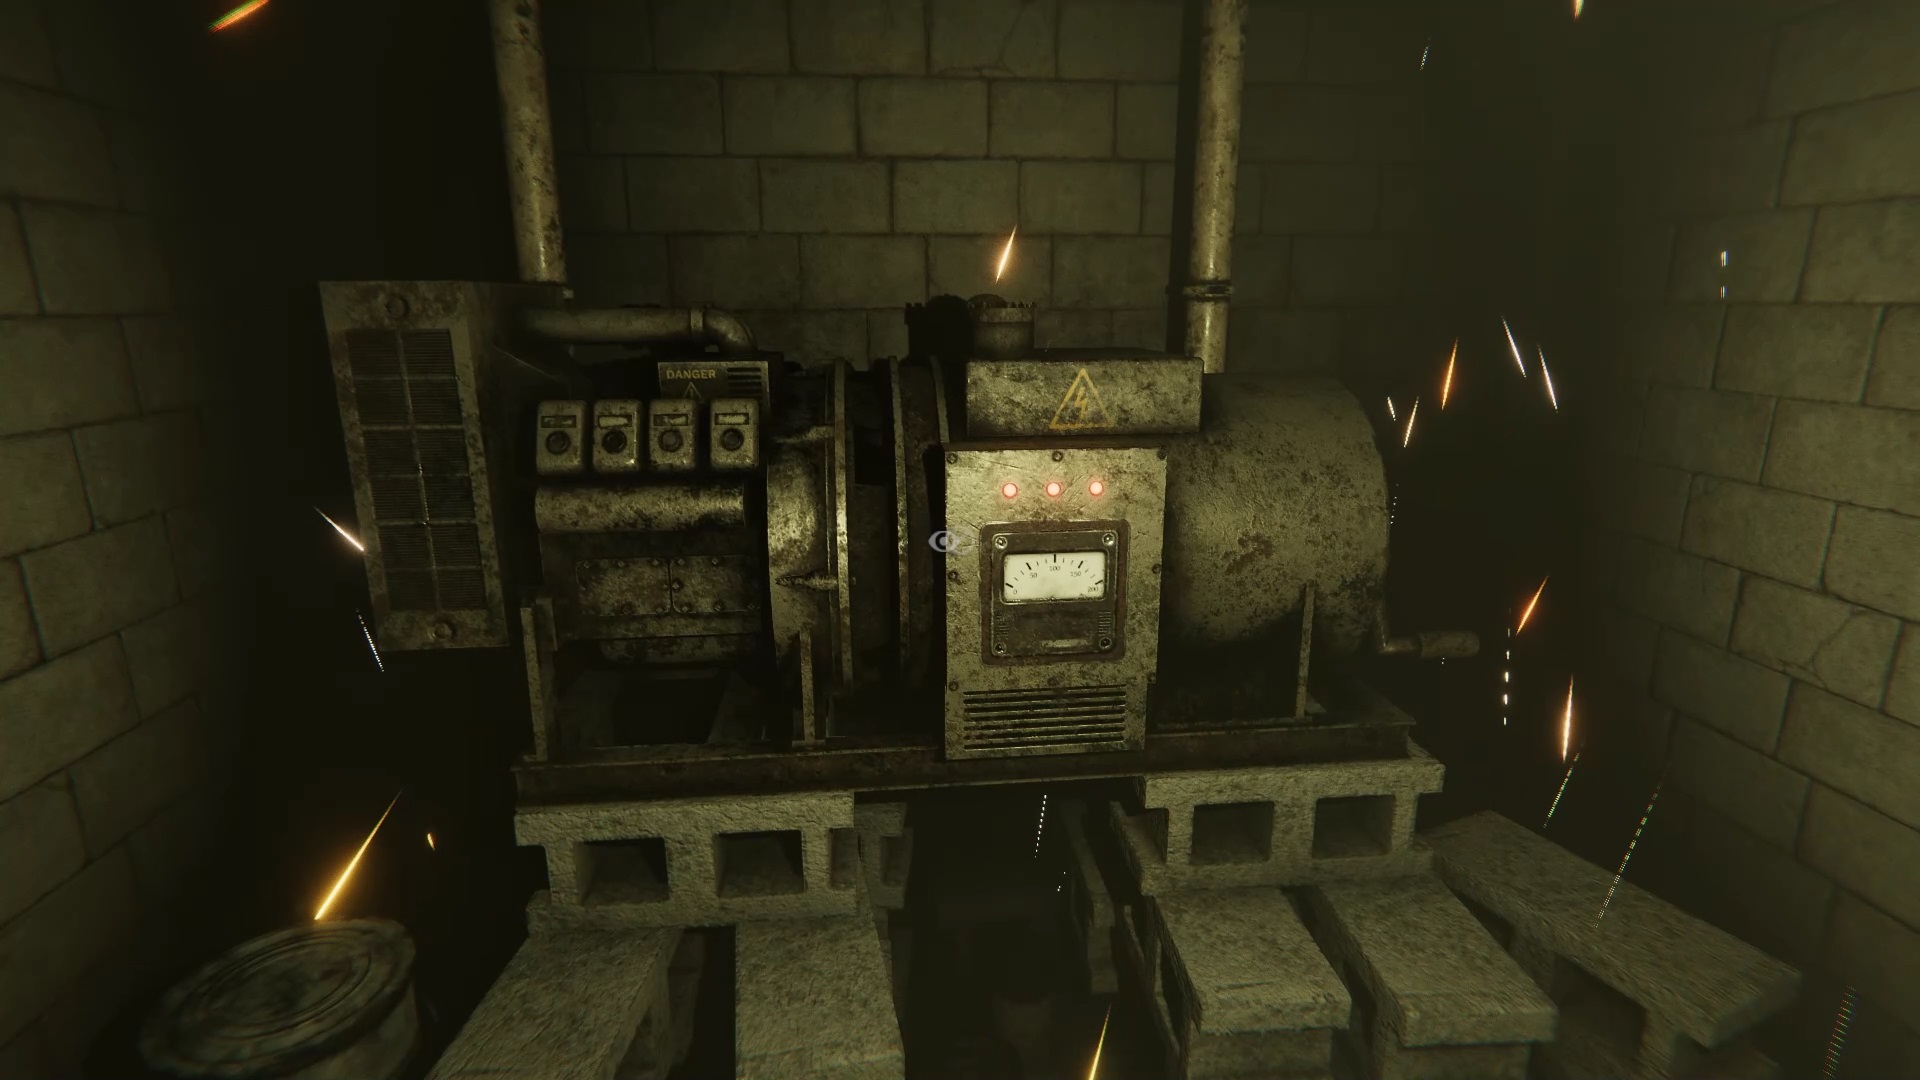
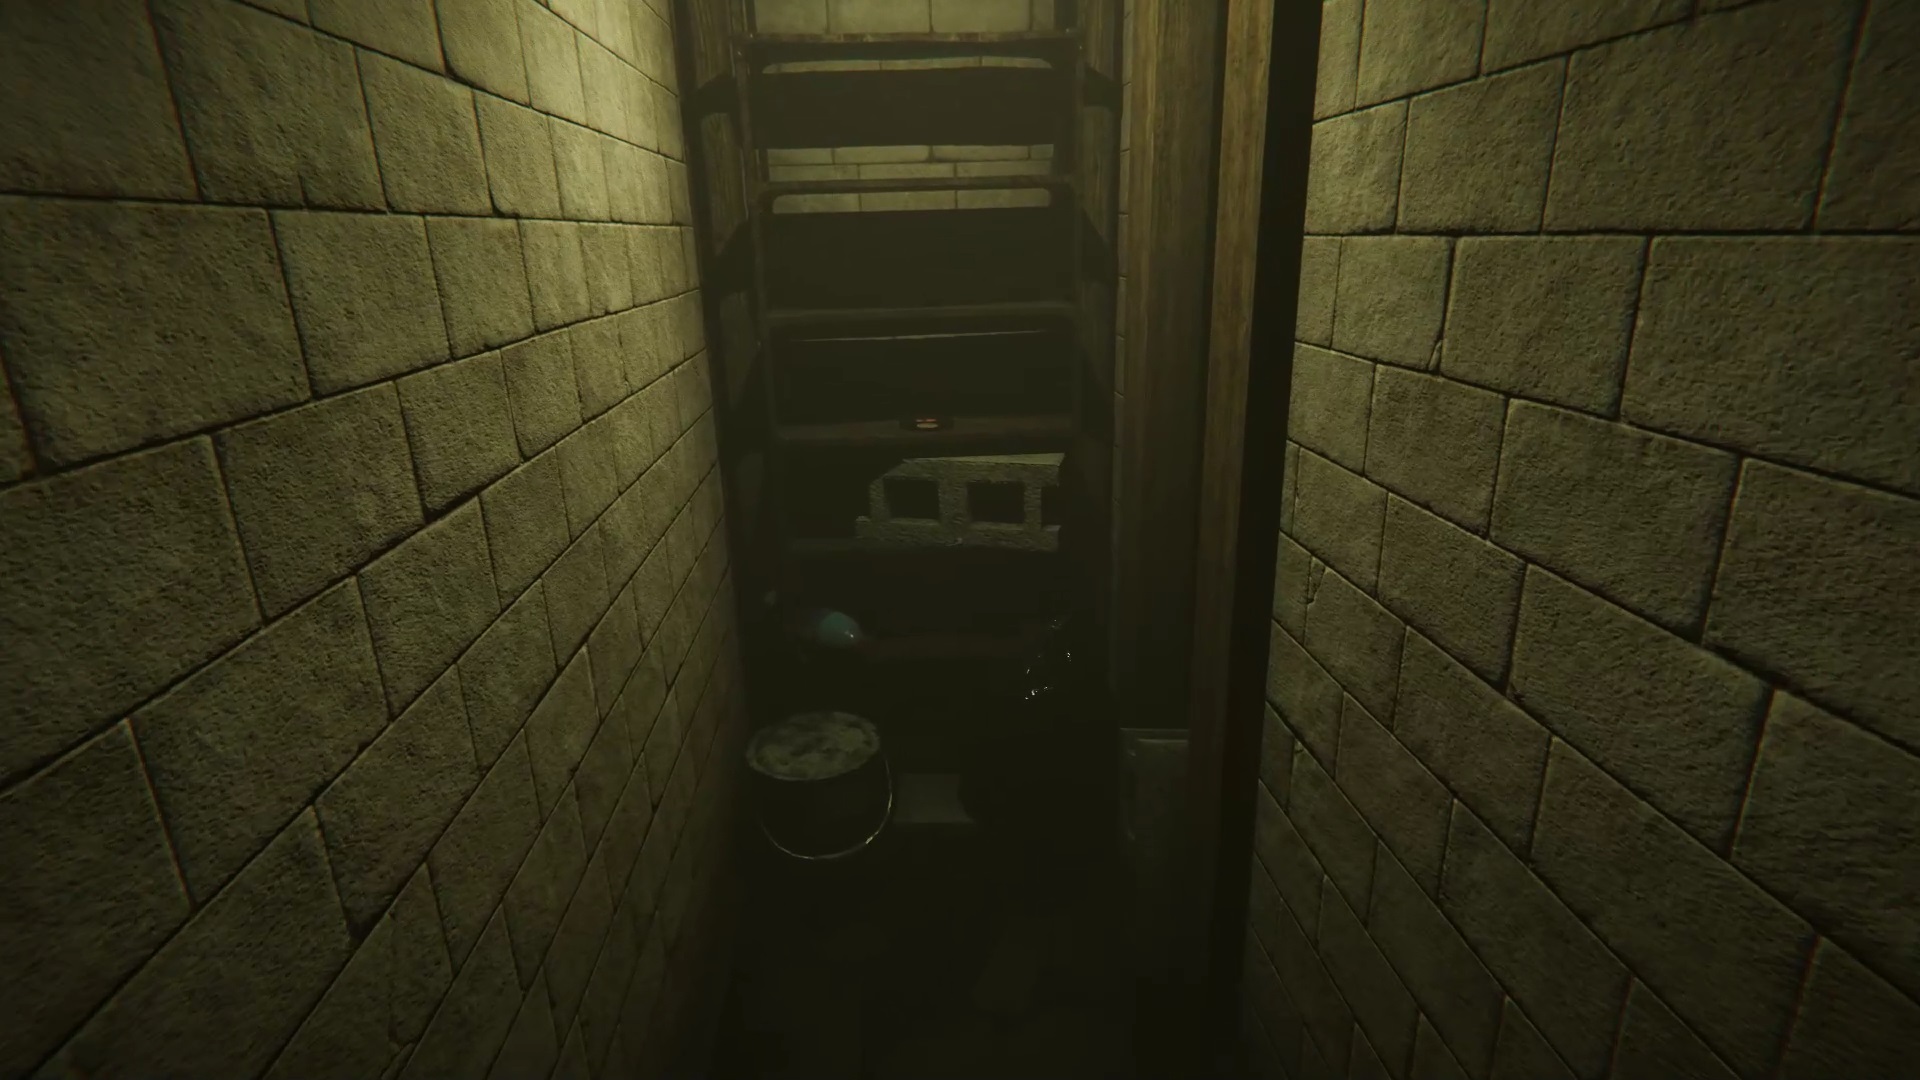
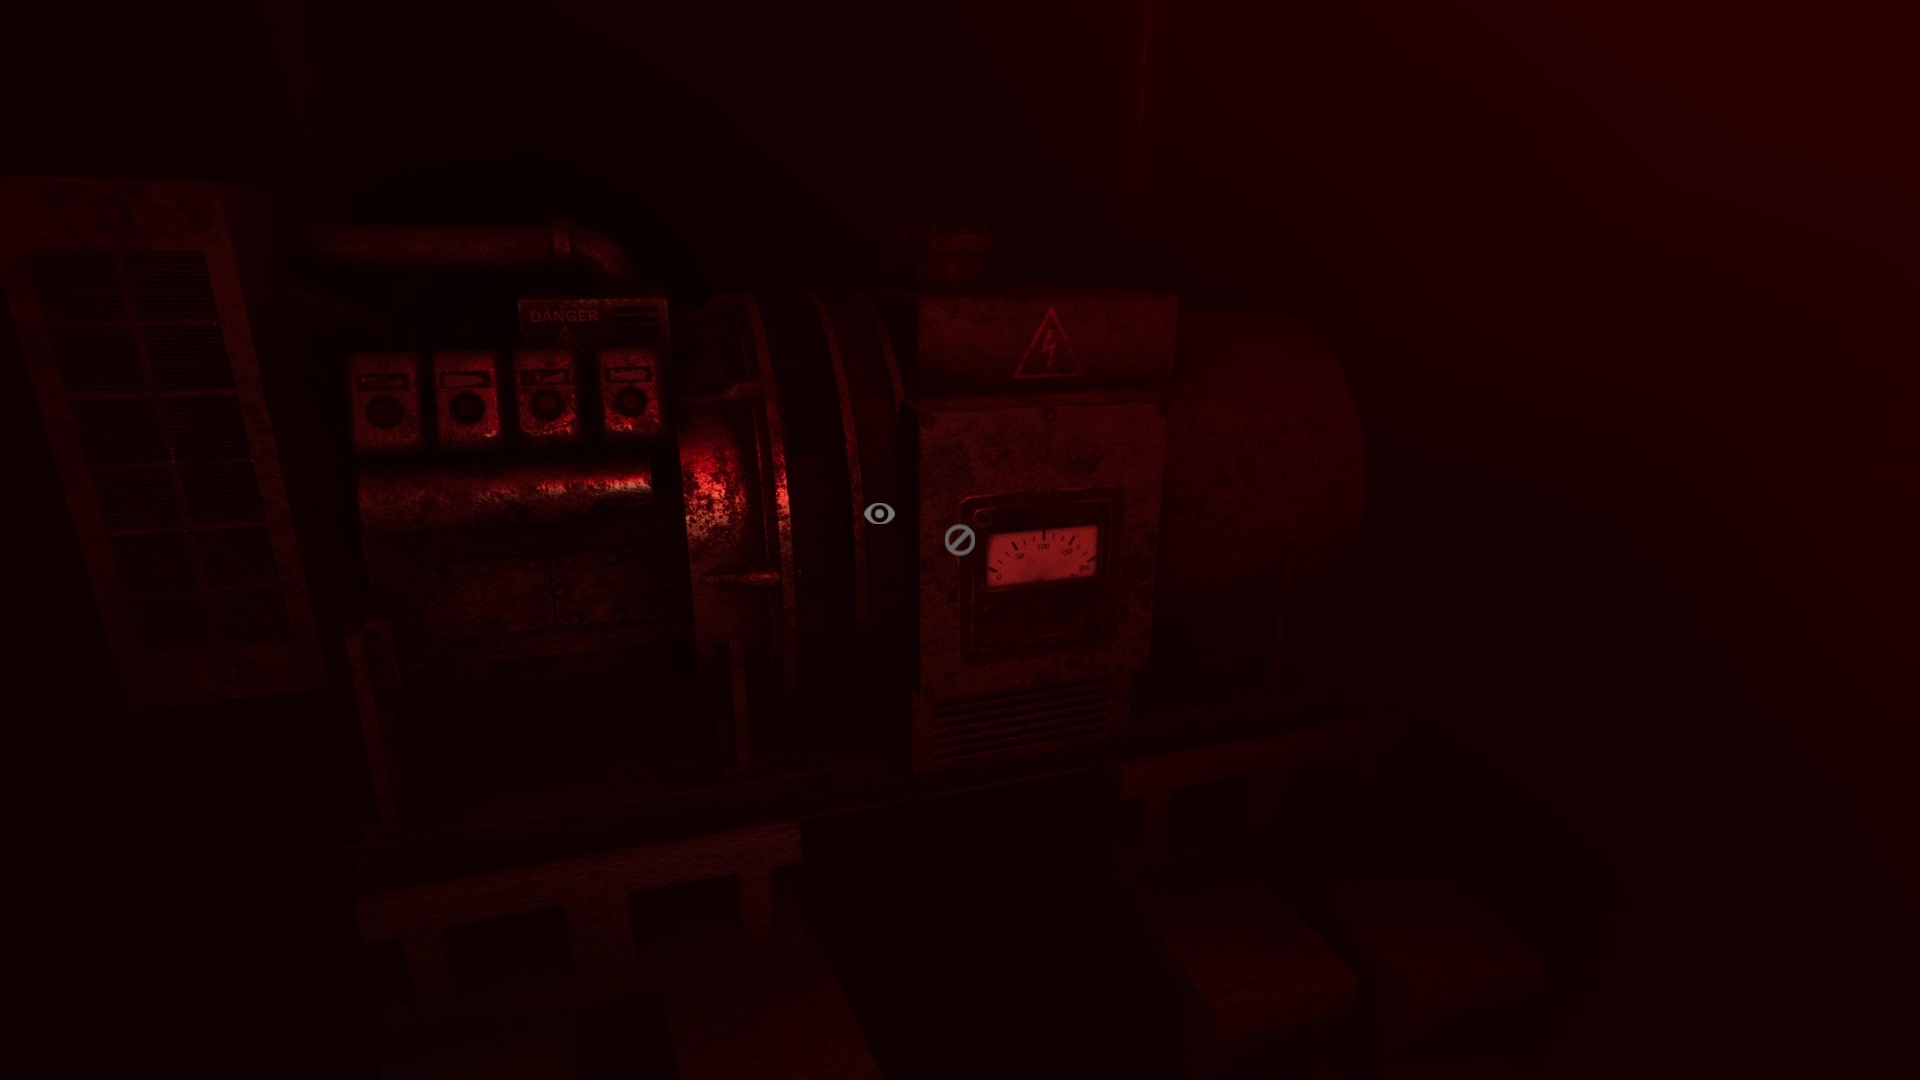
In the room, open the white door to discover a storage room with a safe. Search the chest to find your notebook. Also take the tape that is inside. Exit the storage room so a door opens to the right of the TV. Enter the room to find yourself in a kitchen. The electricity goes out, you have to reach the basement to turn the lights back on. Explore the hallways near the kitchen to find an entrance to the basement below a railing. Interact with the fuses to solve a puzzle. Place the fuses as follows: the first three at the bottom and the remaining three at the top and operate the generator opposite to restart the electricity.


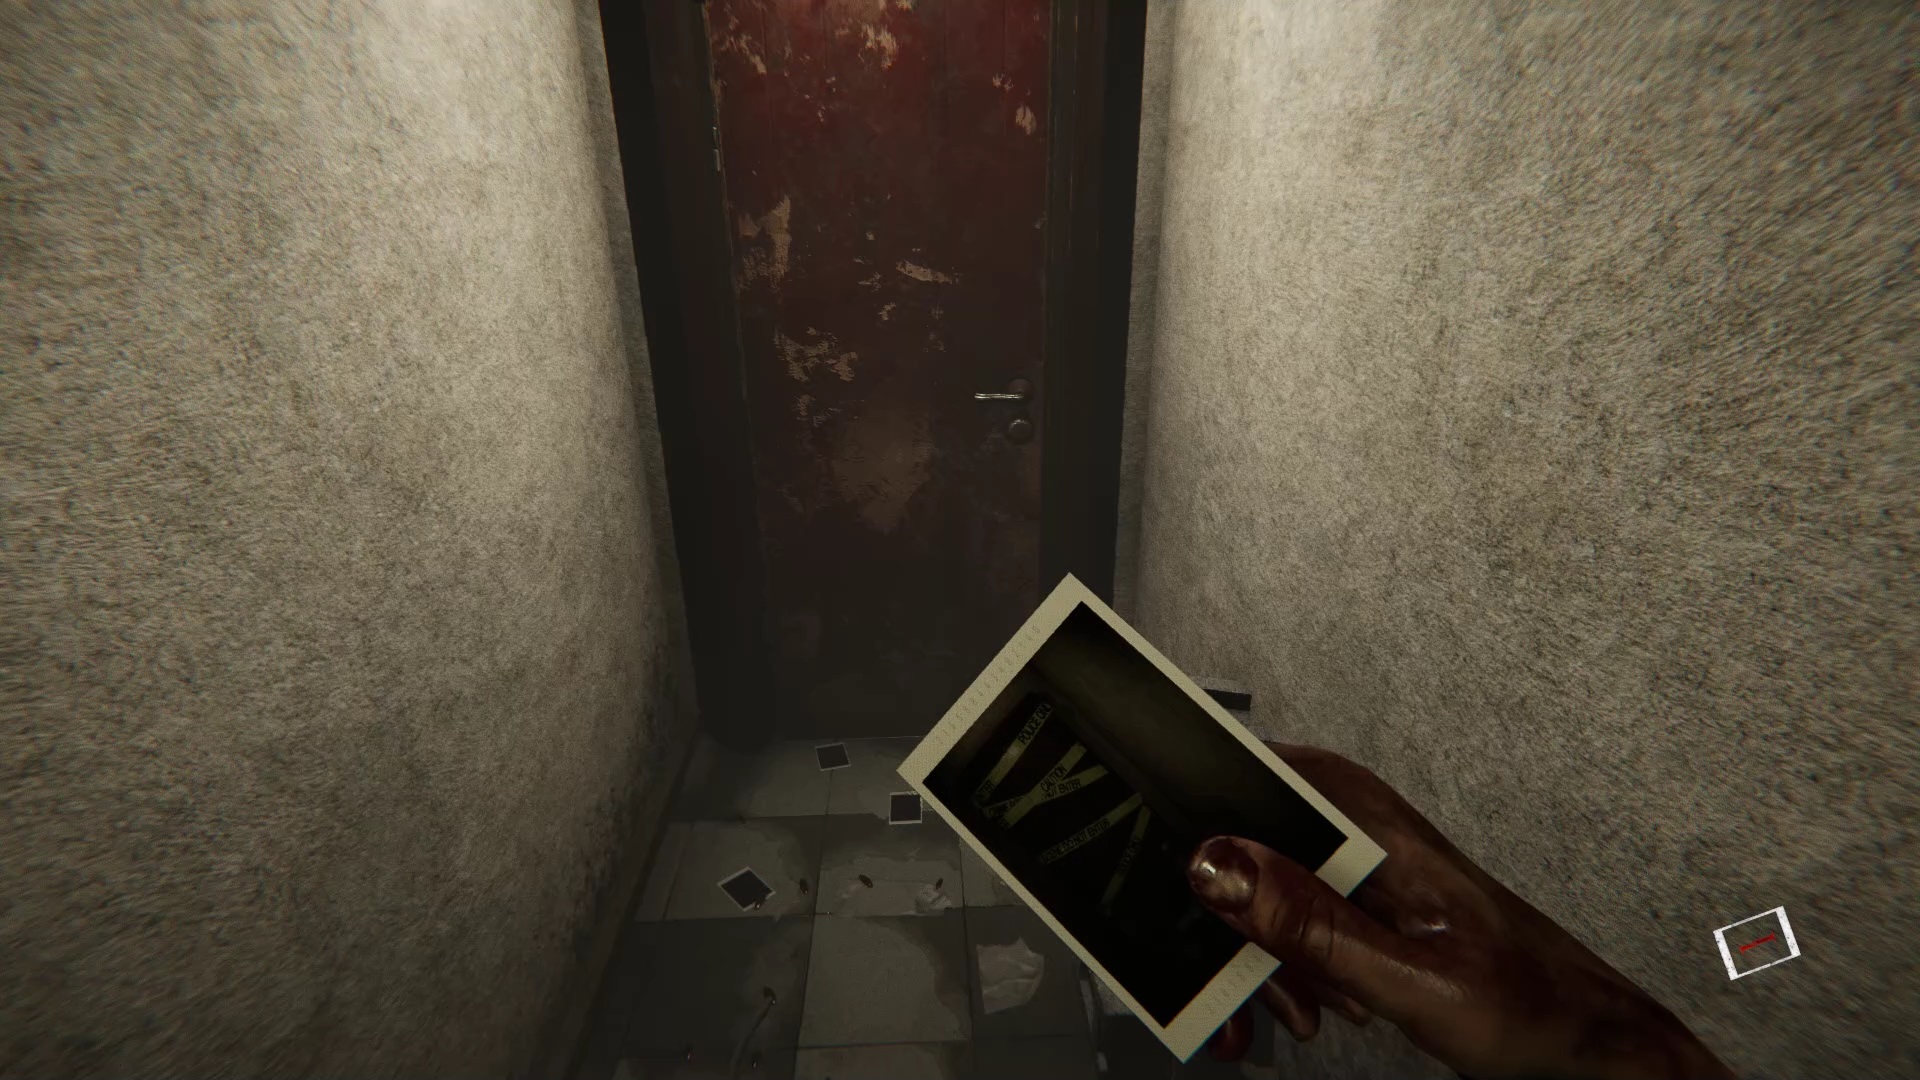
Return to the kitchen to rummage through the drawers to the left of the oven. You will find a triangular key inside. In the corner of the dining room, you can use the cassette in the chest with the tape recorder to listen to its contents. A new objective has appeared in the notebook. Go to the basement, behind the door near the fuses is a gap leading you to the famous red door. Before entering the breach, collect a medallion on a shelf . To open the red door, photograph it.
Guide to complete the Well in Madison
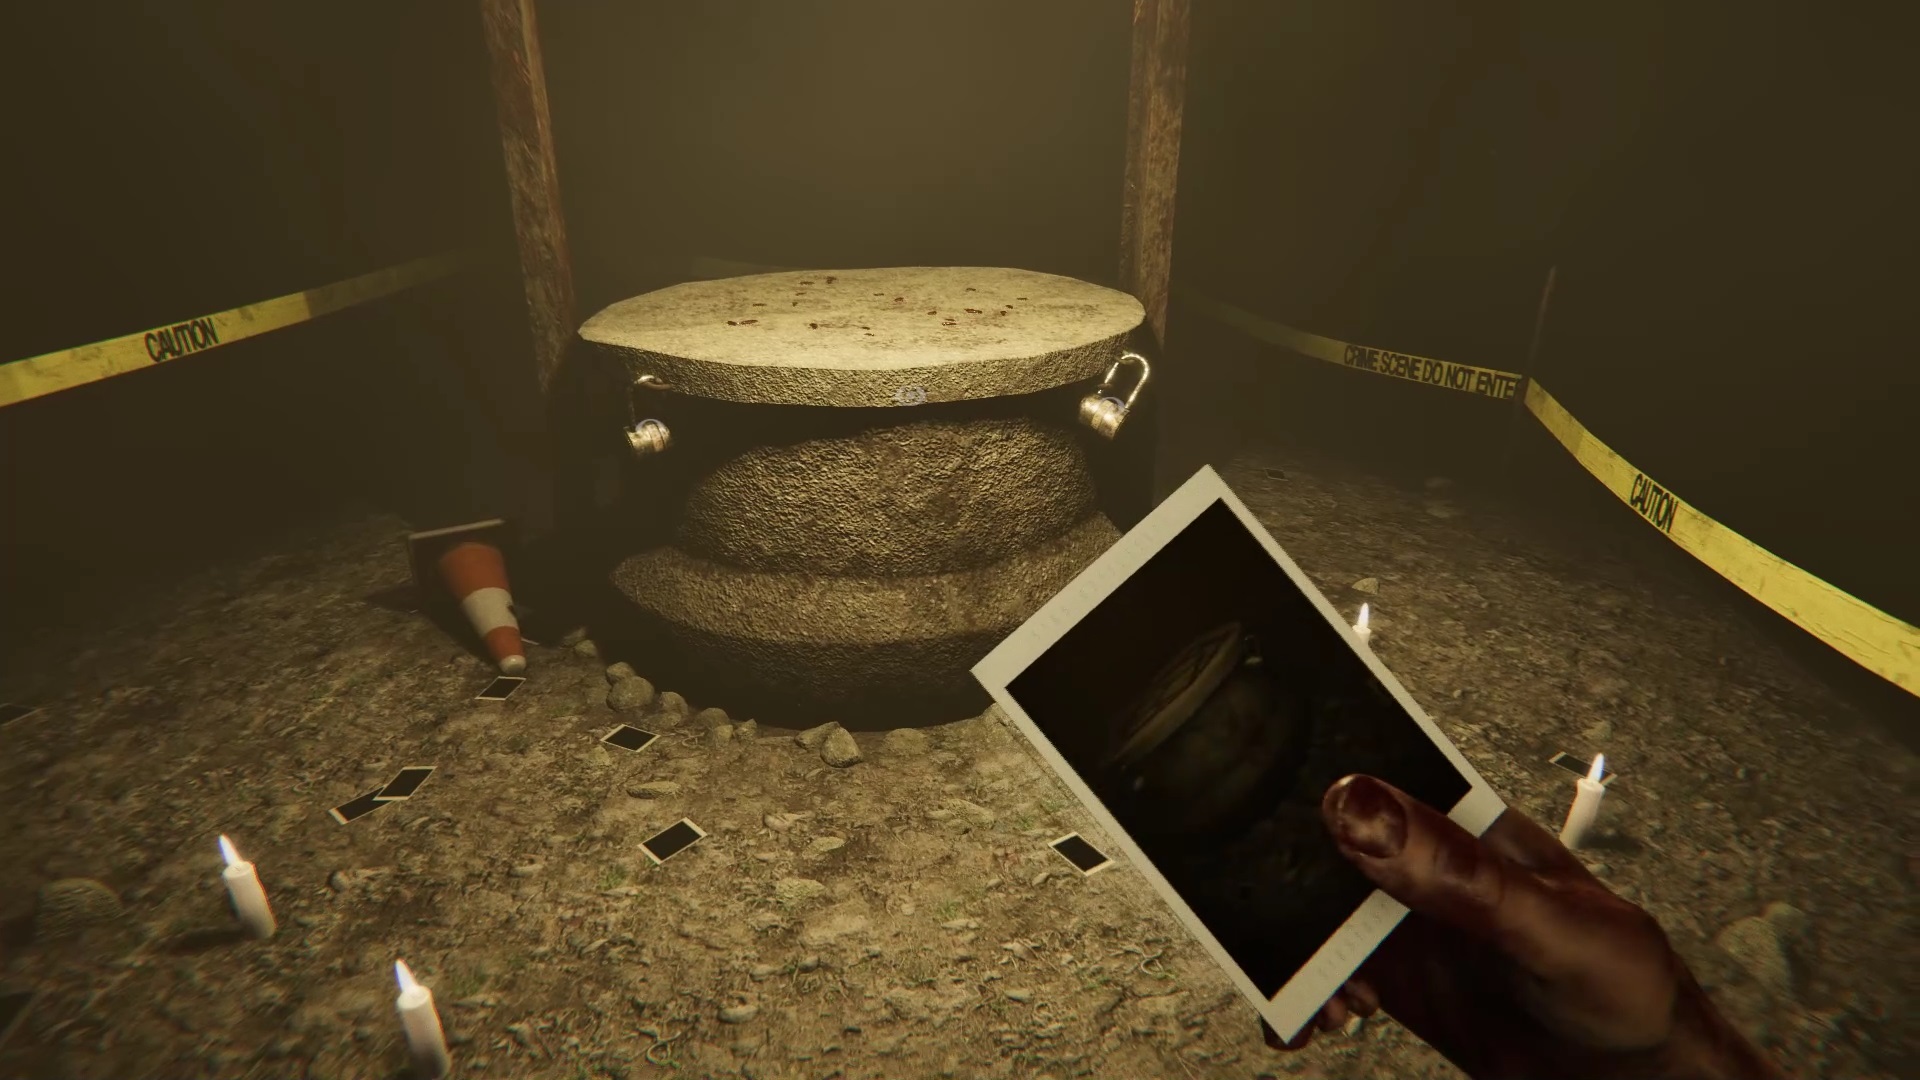
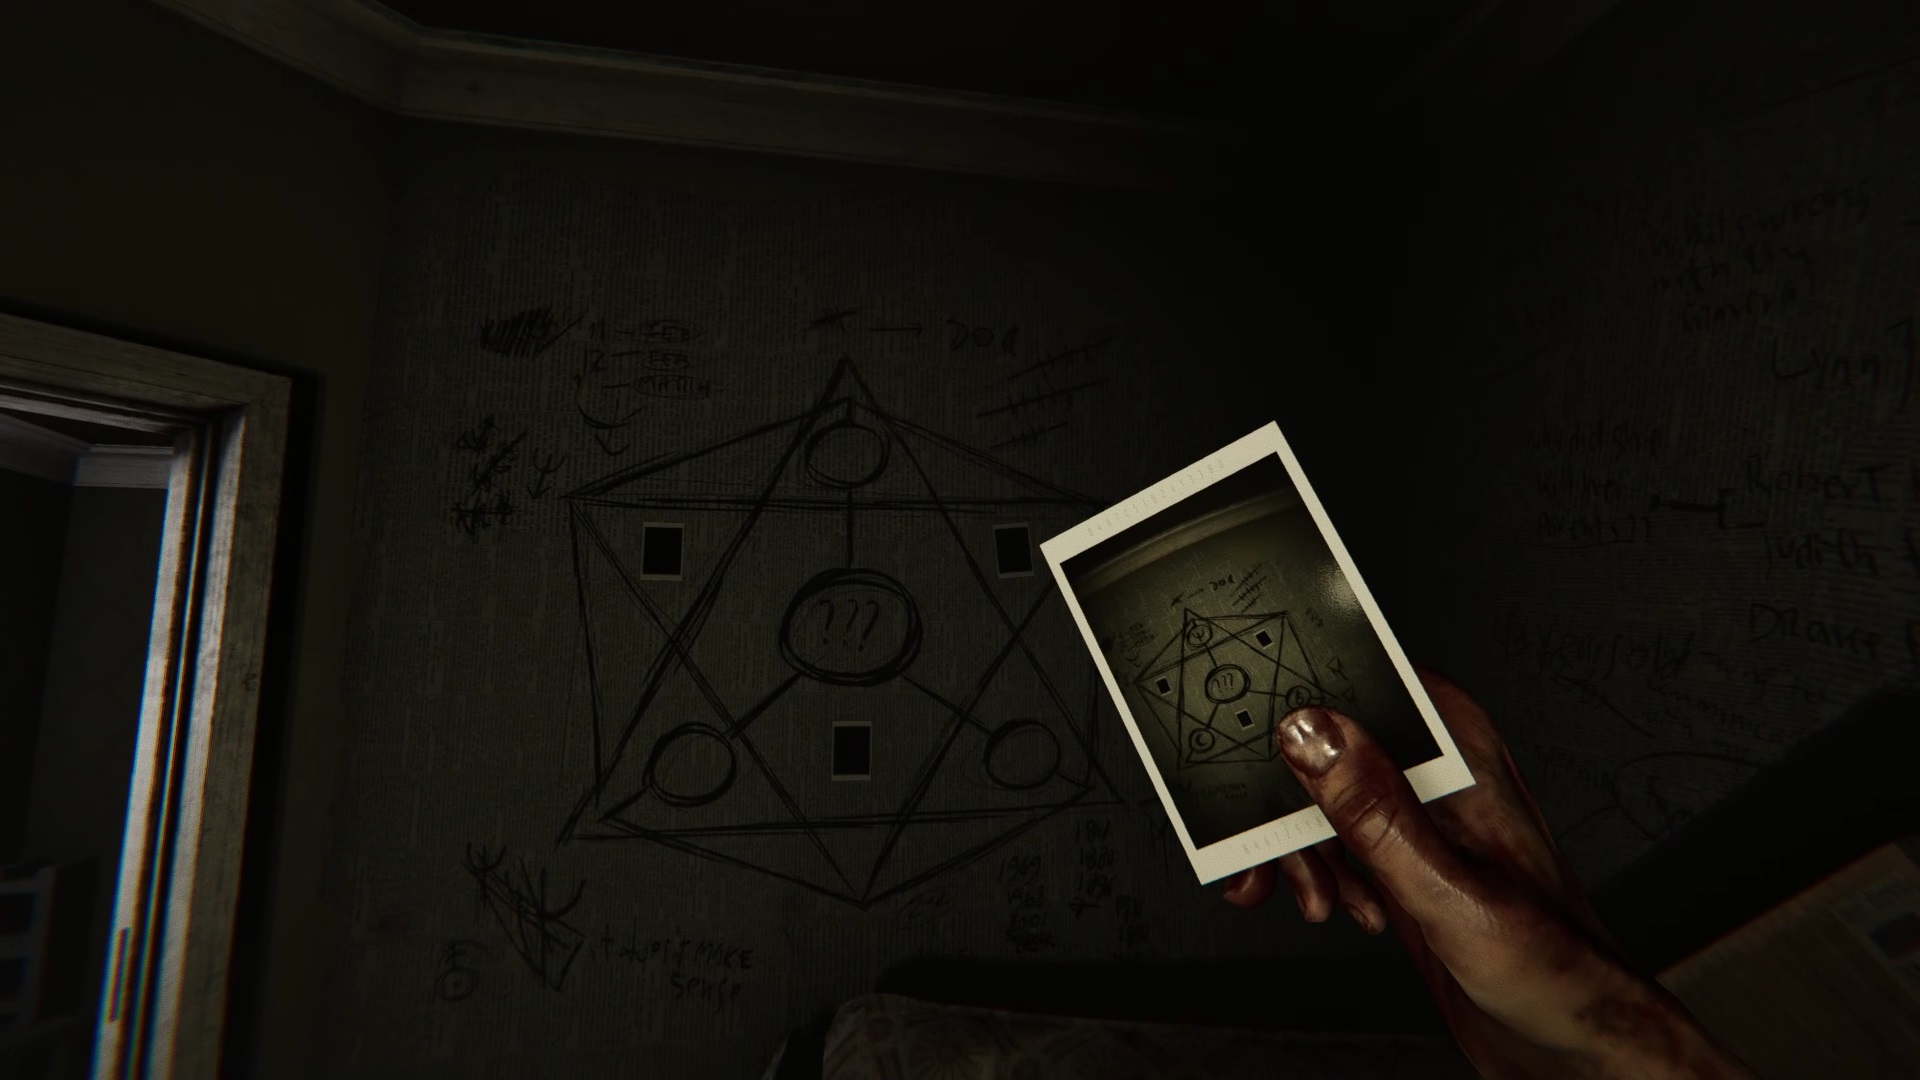
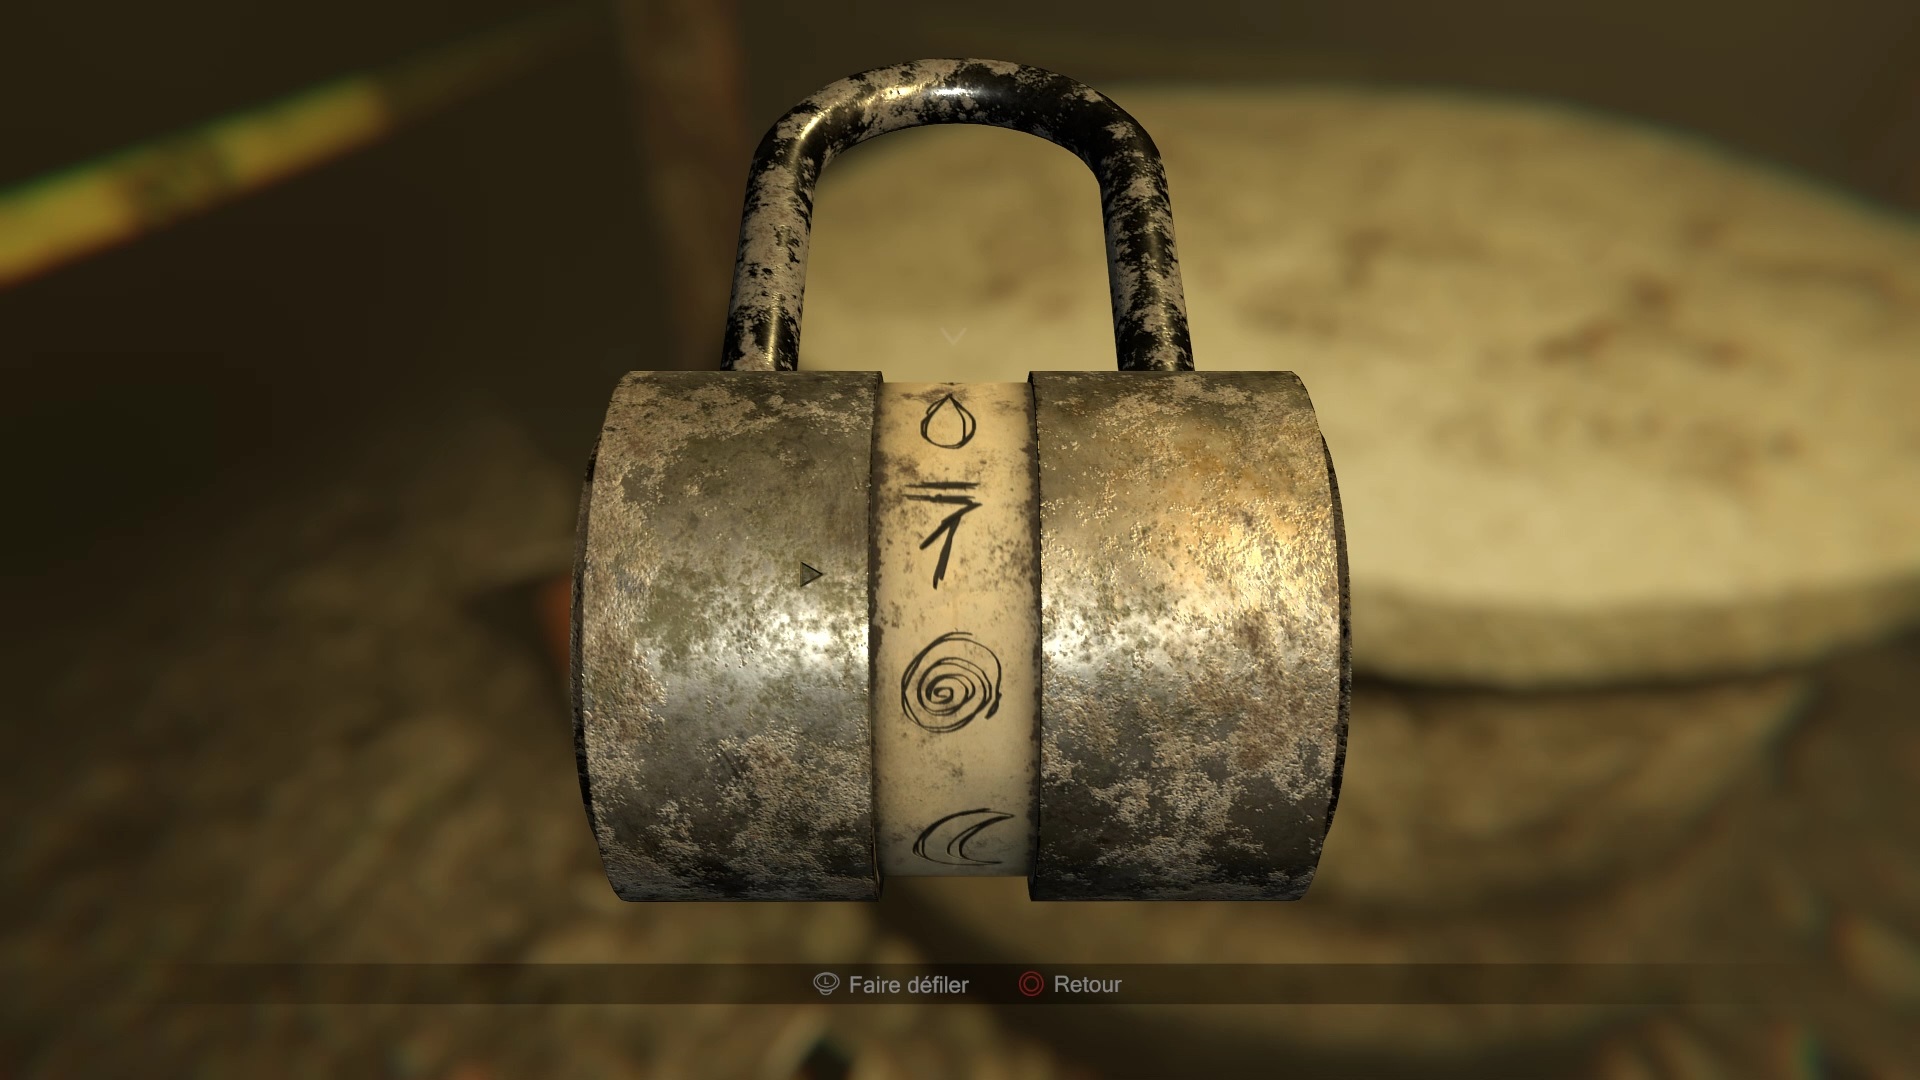
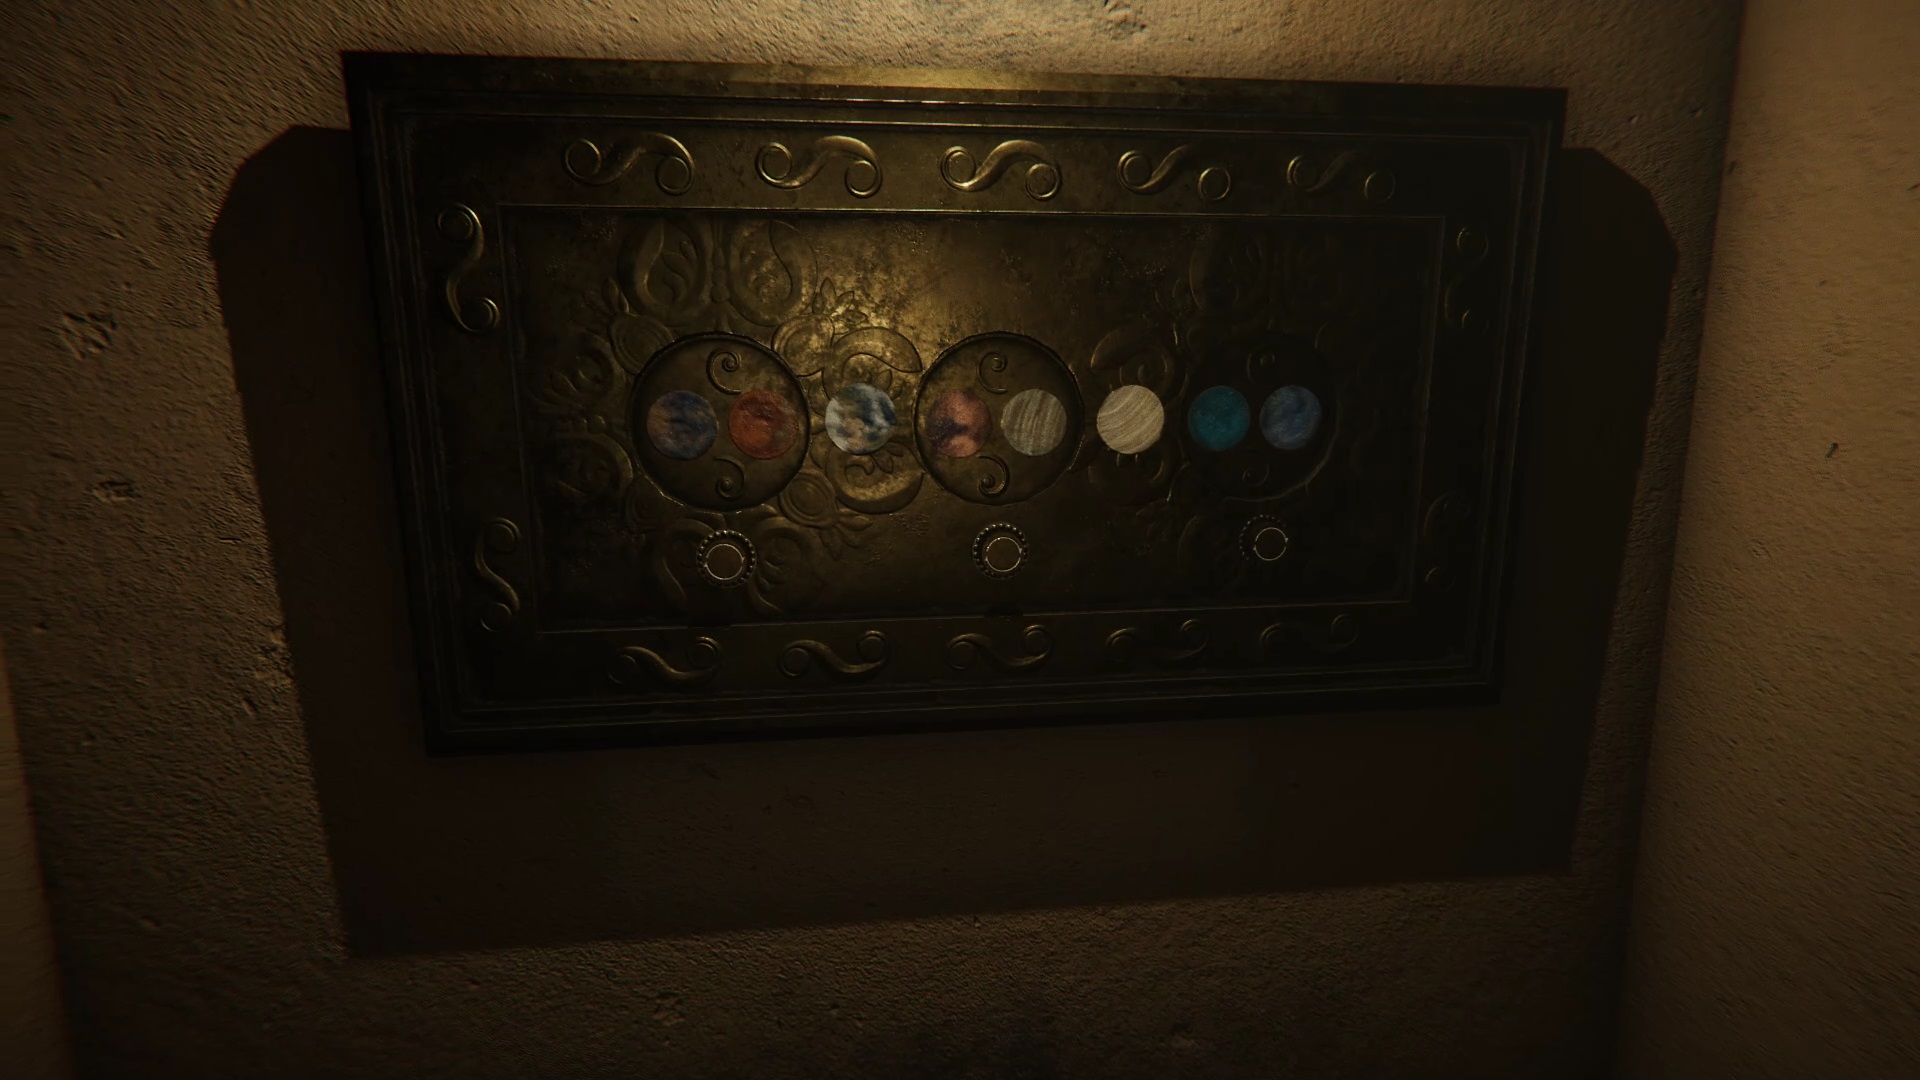
Behind the red door is a well. By photographing the well, your character remembers seeing this symbol somewhere. This is the father’s investigation office. Retrace your steps to find the same symbol on the wall of the investigation office. By photographing the symbol, you will see three symbols appear. Use these symbols with the padlocks around the well to unlock access. You can use the nearby shovel with the well to unlock an achievement or trophies.
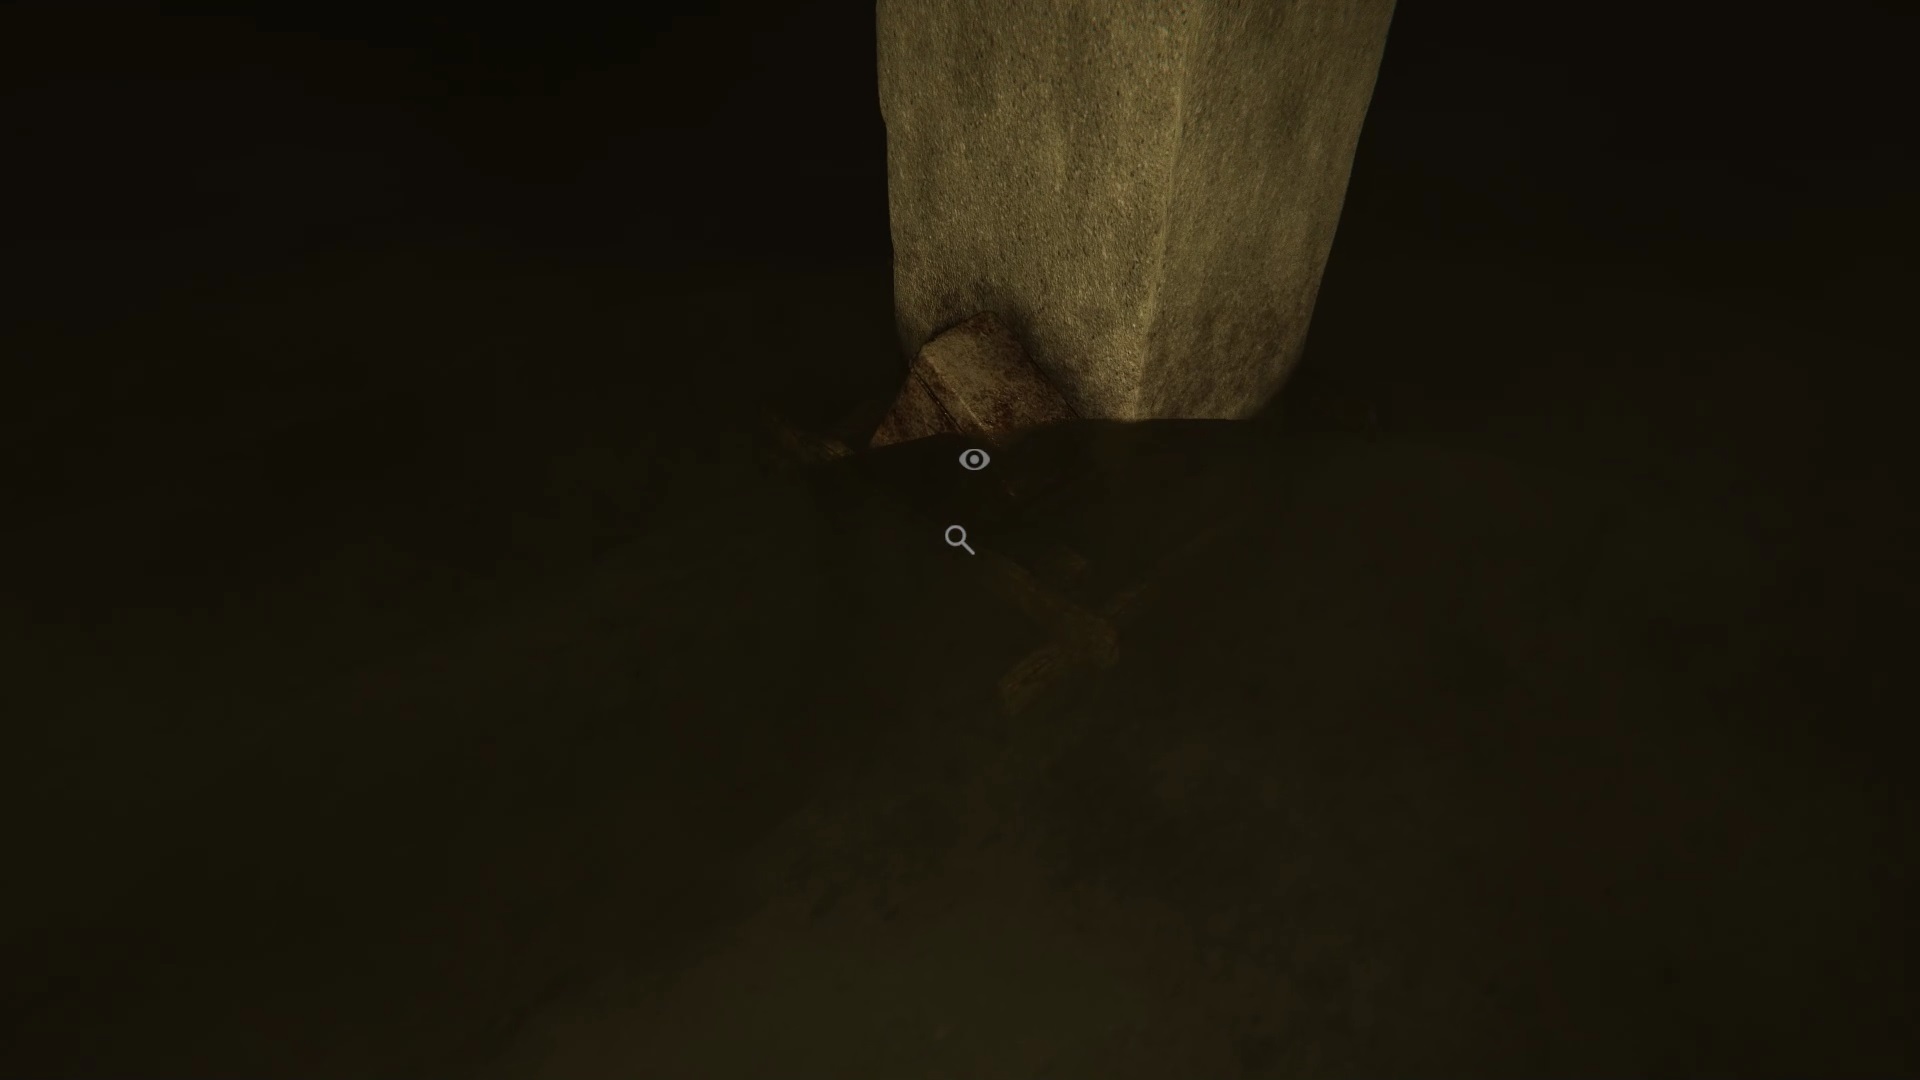
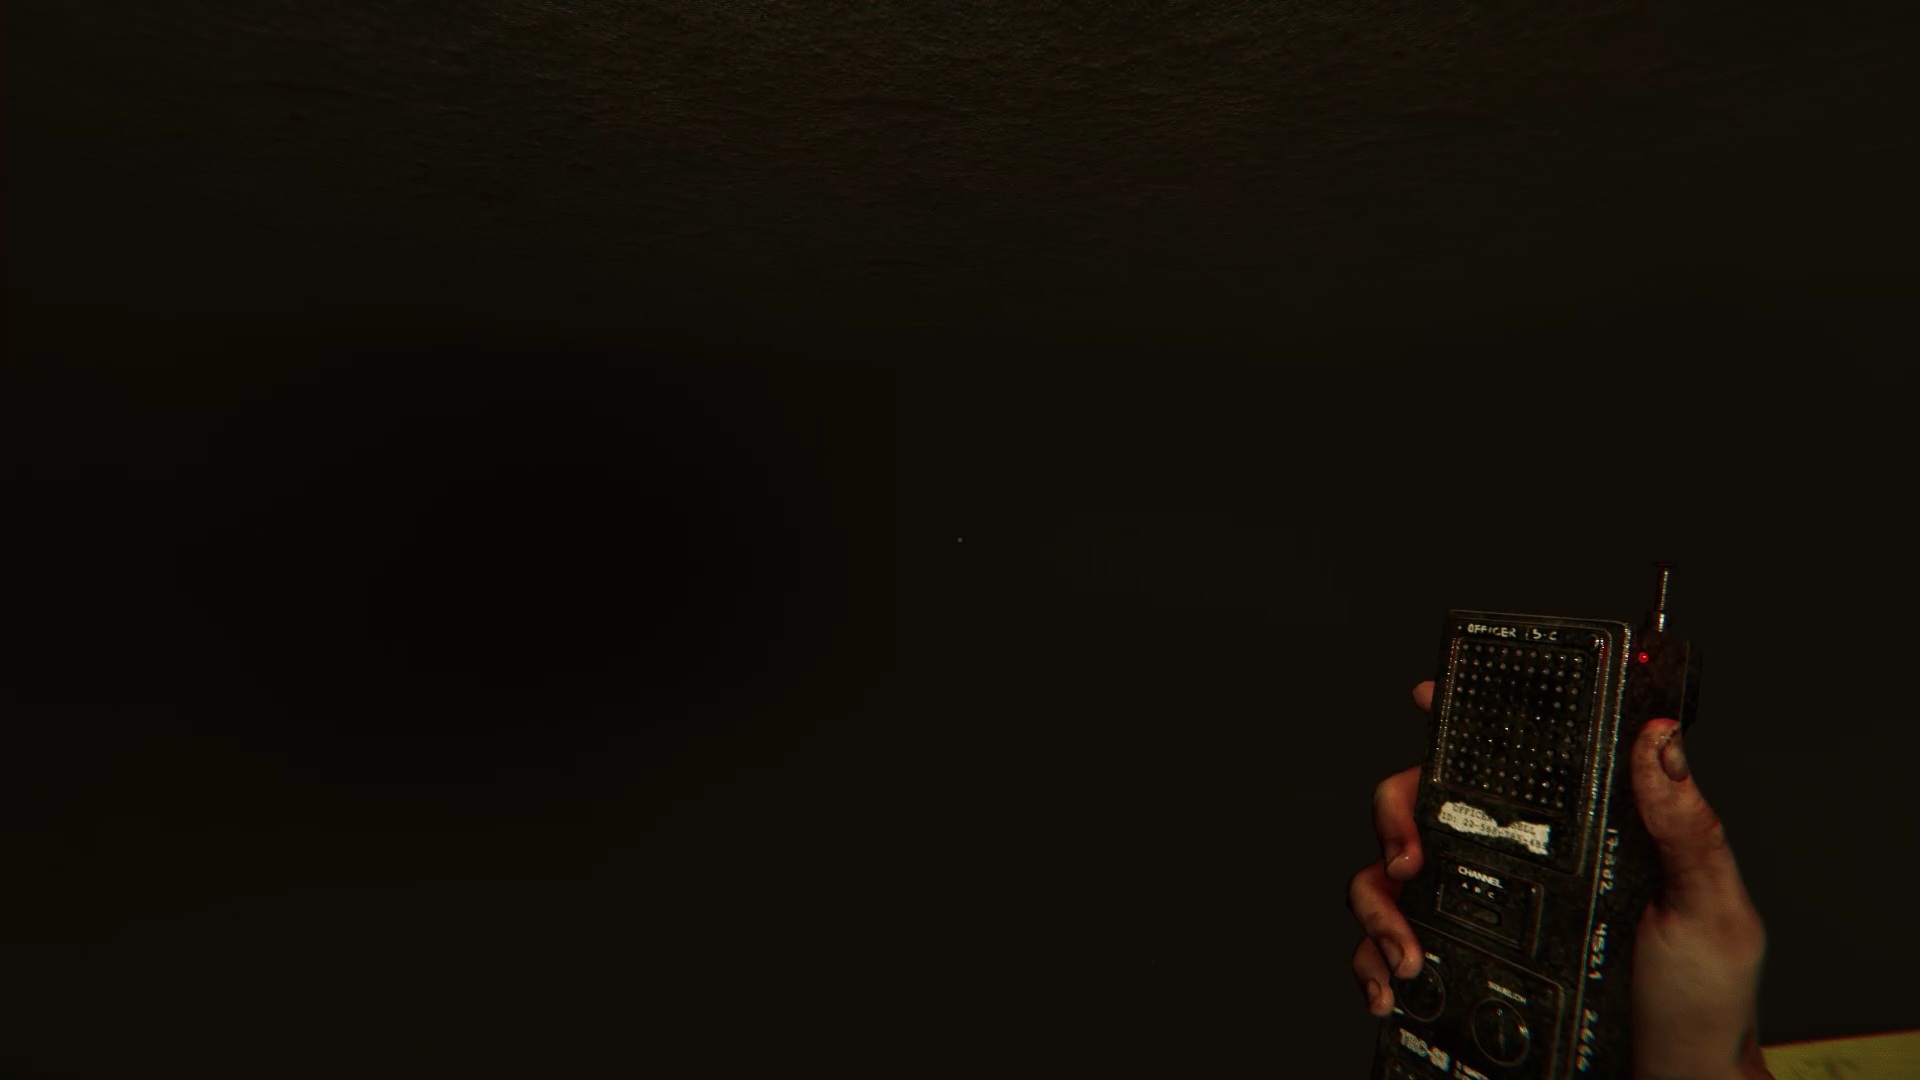
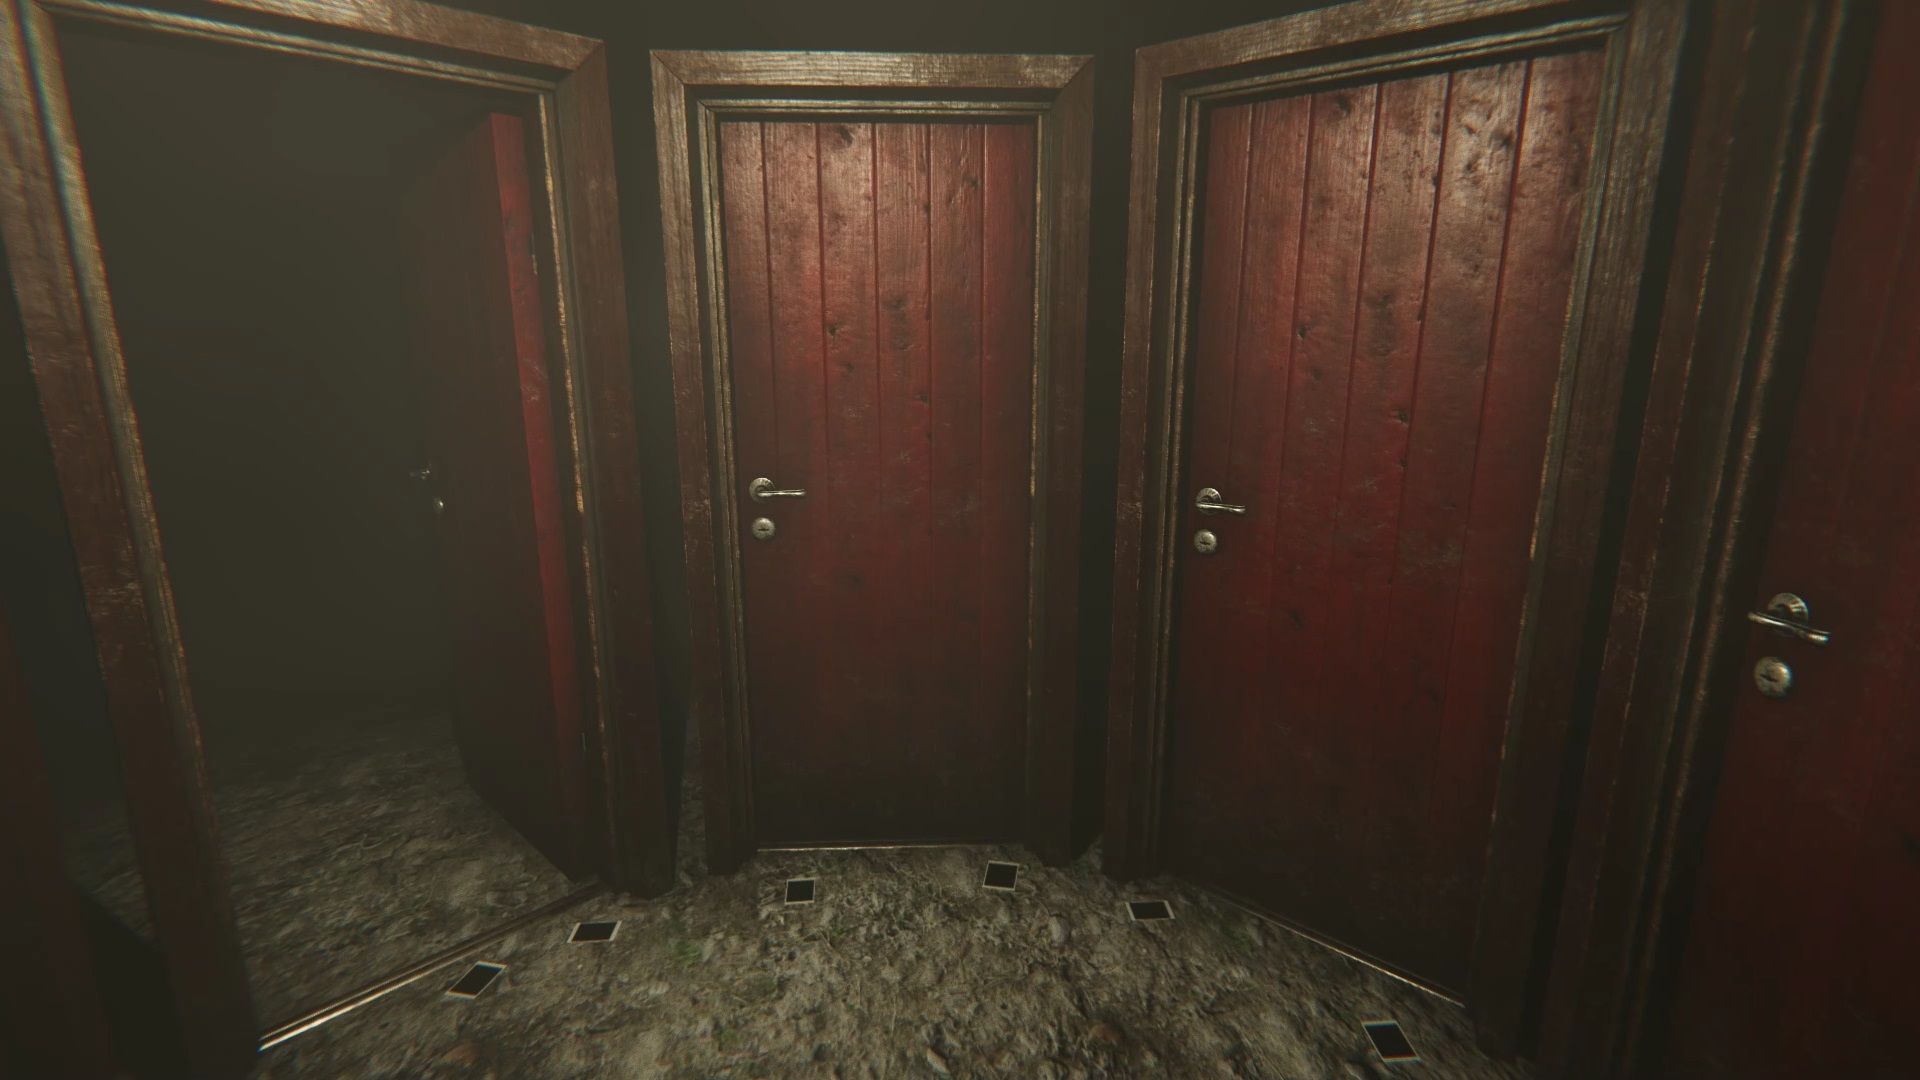
Go down the ladder of the well and go to the center of the underground room to find a new iron box at the bottom of one of the pillars. Retrieve a radio in the box and replace yourself in the center of the pillars. The room changes. Use the radio to find the right frequency around you and steer according to its intensity. Once found, the radio should flash rapidly. Use your camera to reveal a presence in the dark. An audio message is triggered. Start revealing the presence again with your camera after the audio message. After this little scare, you will be surrounded by doors. Open them all and use your camera to make an exit to the house appear.
Walkthrough for solving the Attic Puzzle in Madison
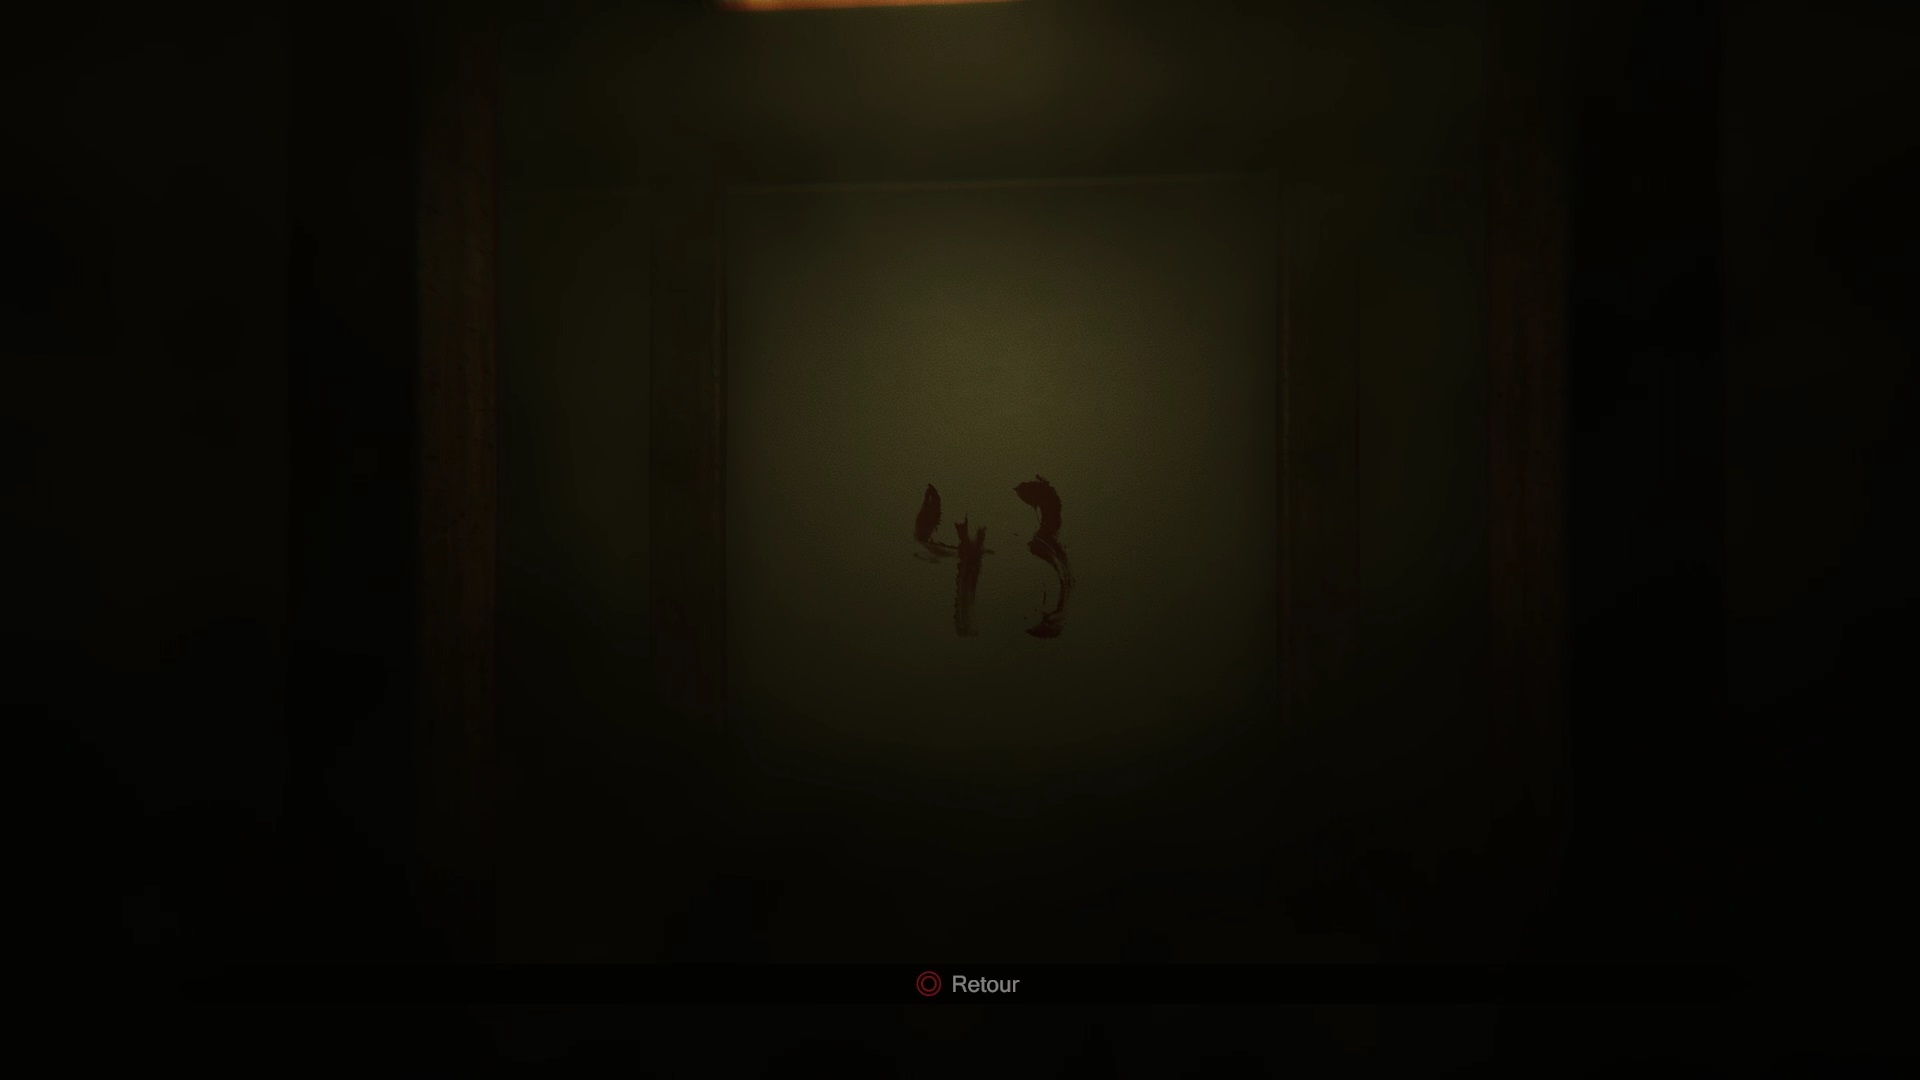
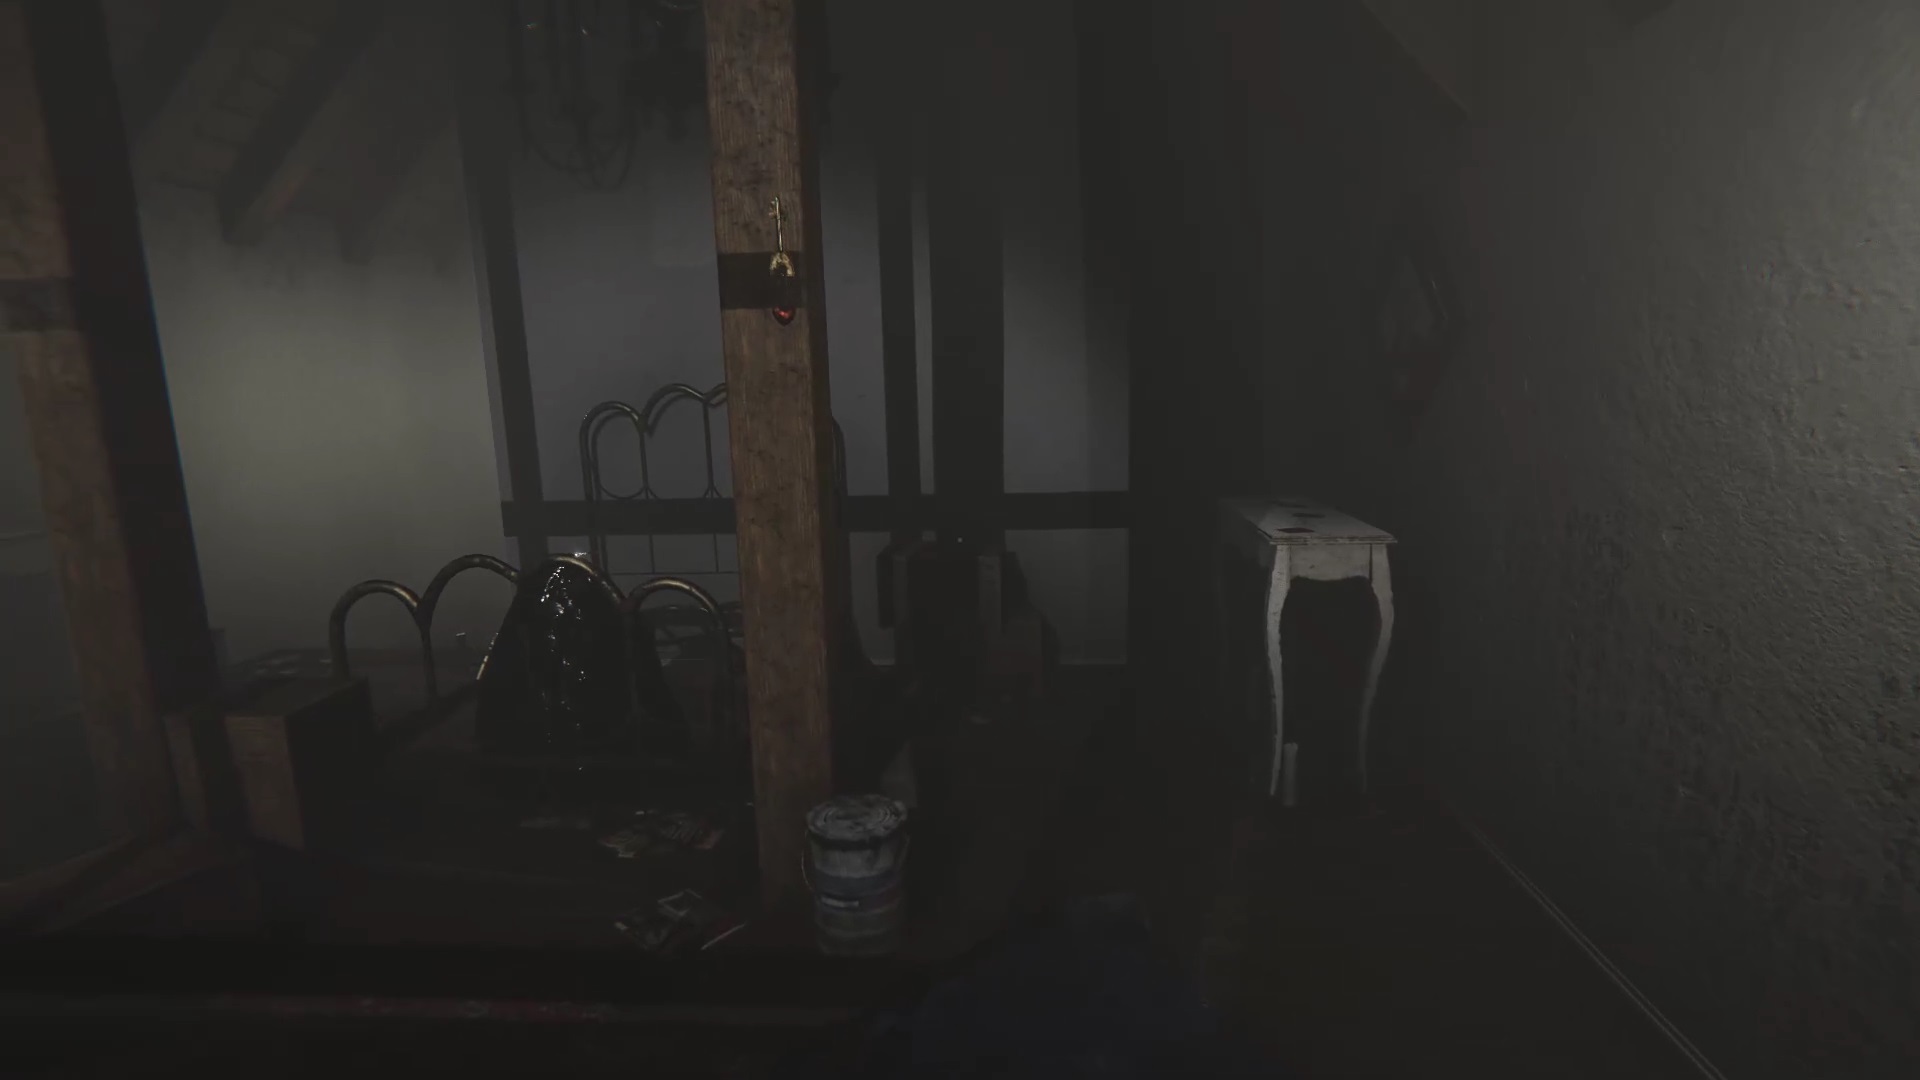
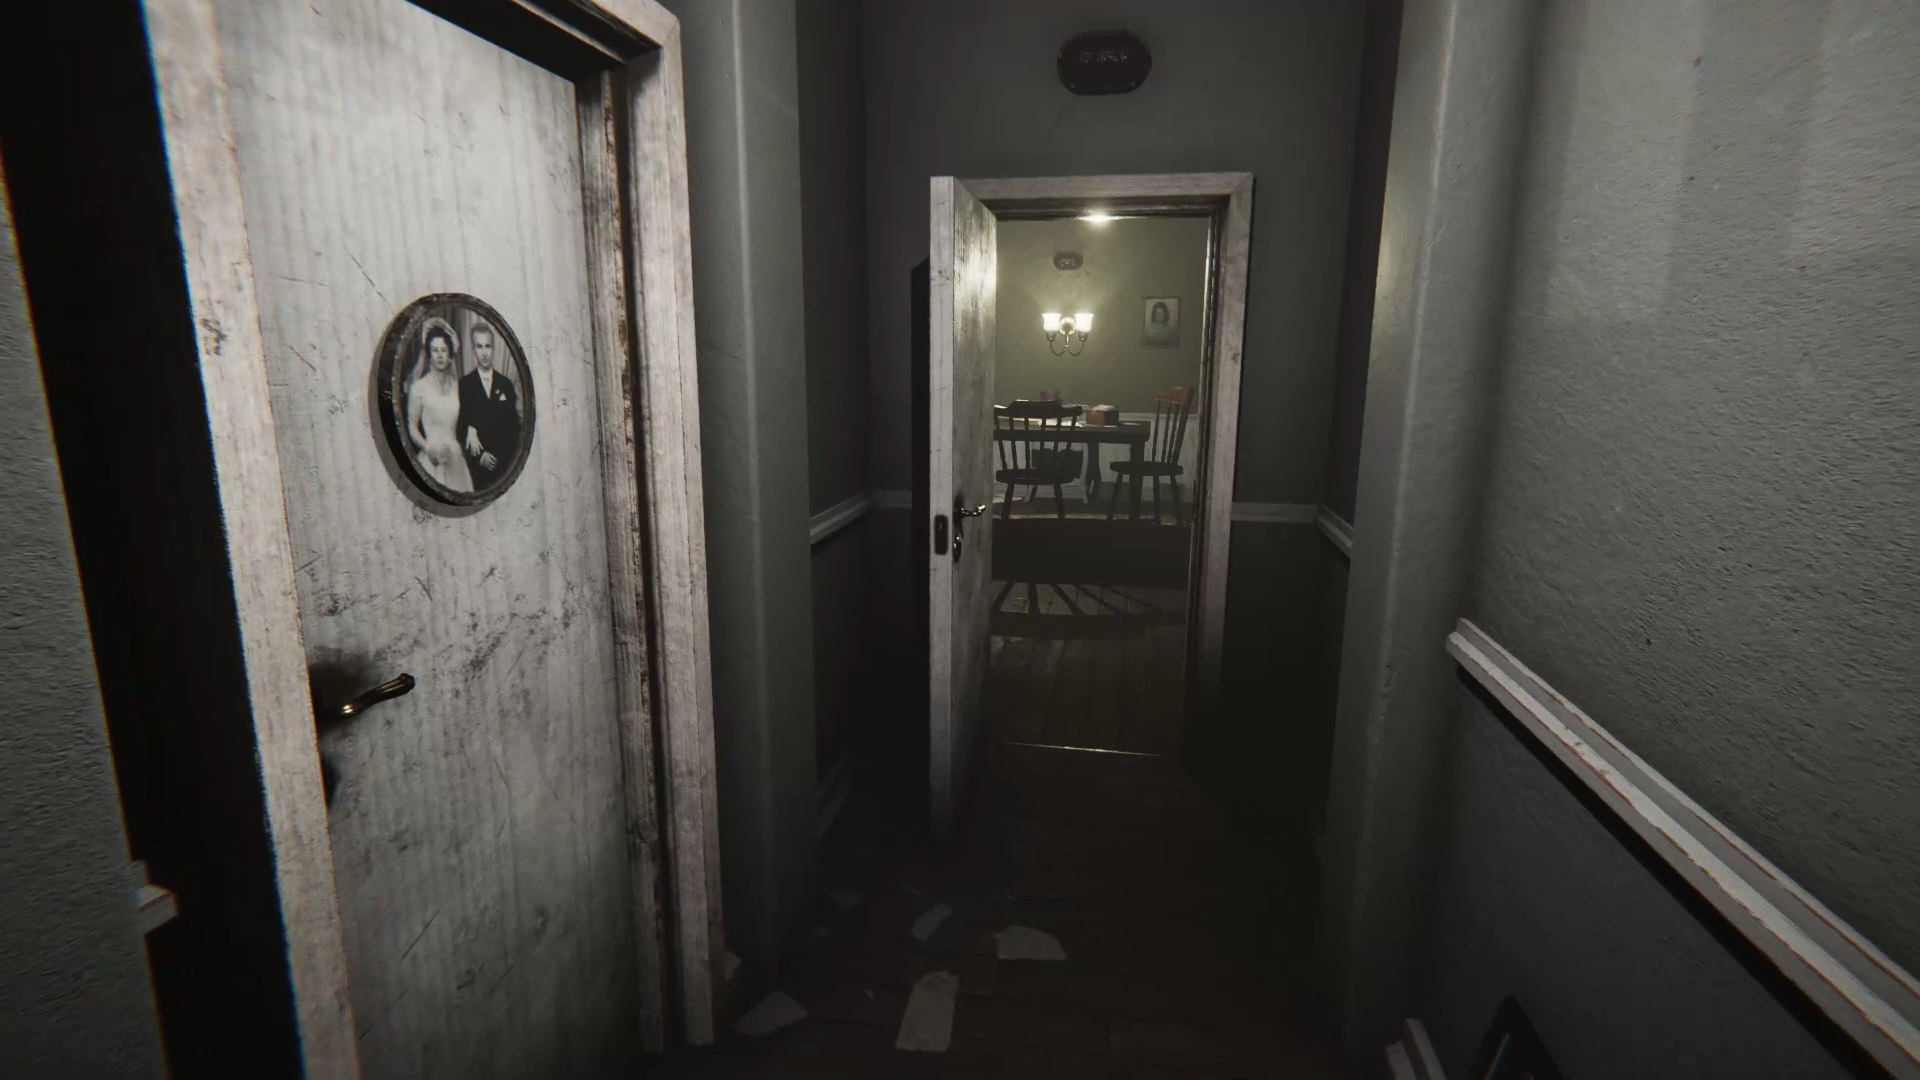
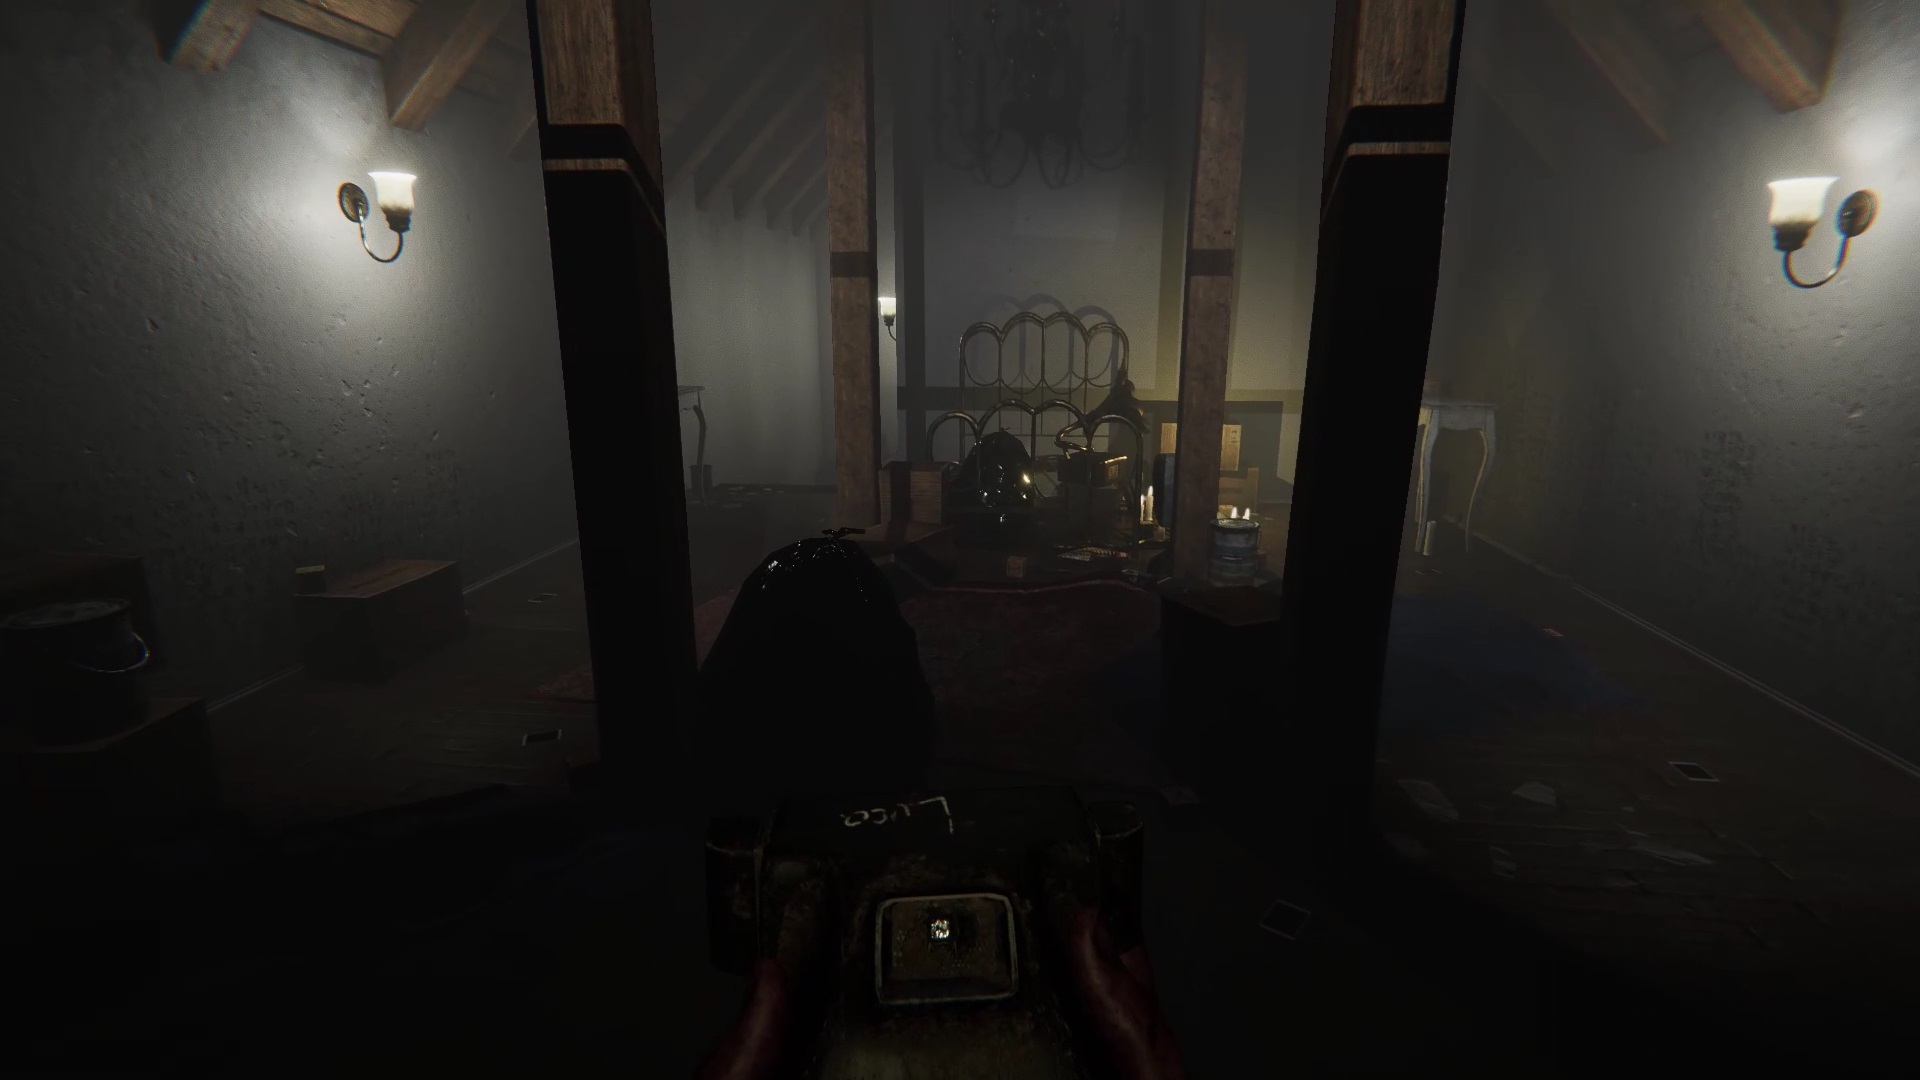
Back home, you get a new objective in your notebook. The little voice in your head asks you to explore the attic. You will find the access in a hallway to the right of the basement. Pull the ladder to be able to climb. You can notice behind a brick wall the number « 43 » written on the wall. We will come back to this later. Look at the wooden posts to find a heart key among them. Go back downstairs so that a TV turns on in the living room near a statue. You understand that the number 43 is associated with a woman killed by a policeman. Keep this information in mind. Return to the dining room through the hallway to find a door with the photo of a couple. Use the heart key to go inside.
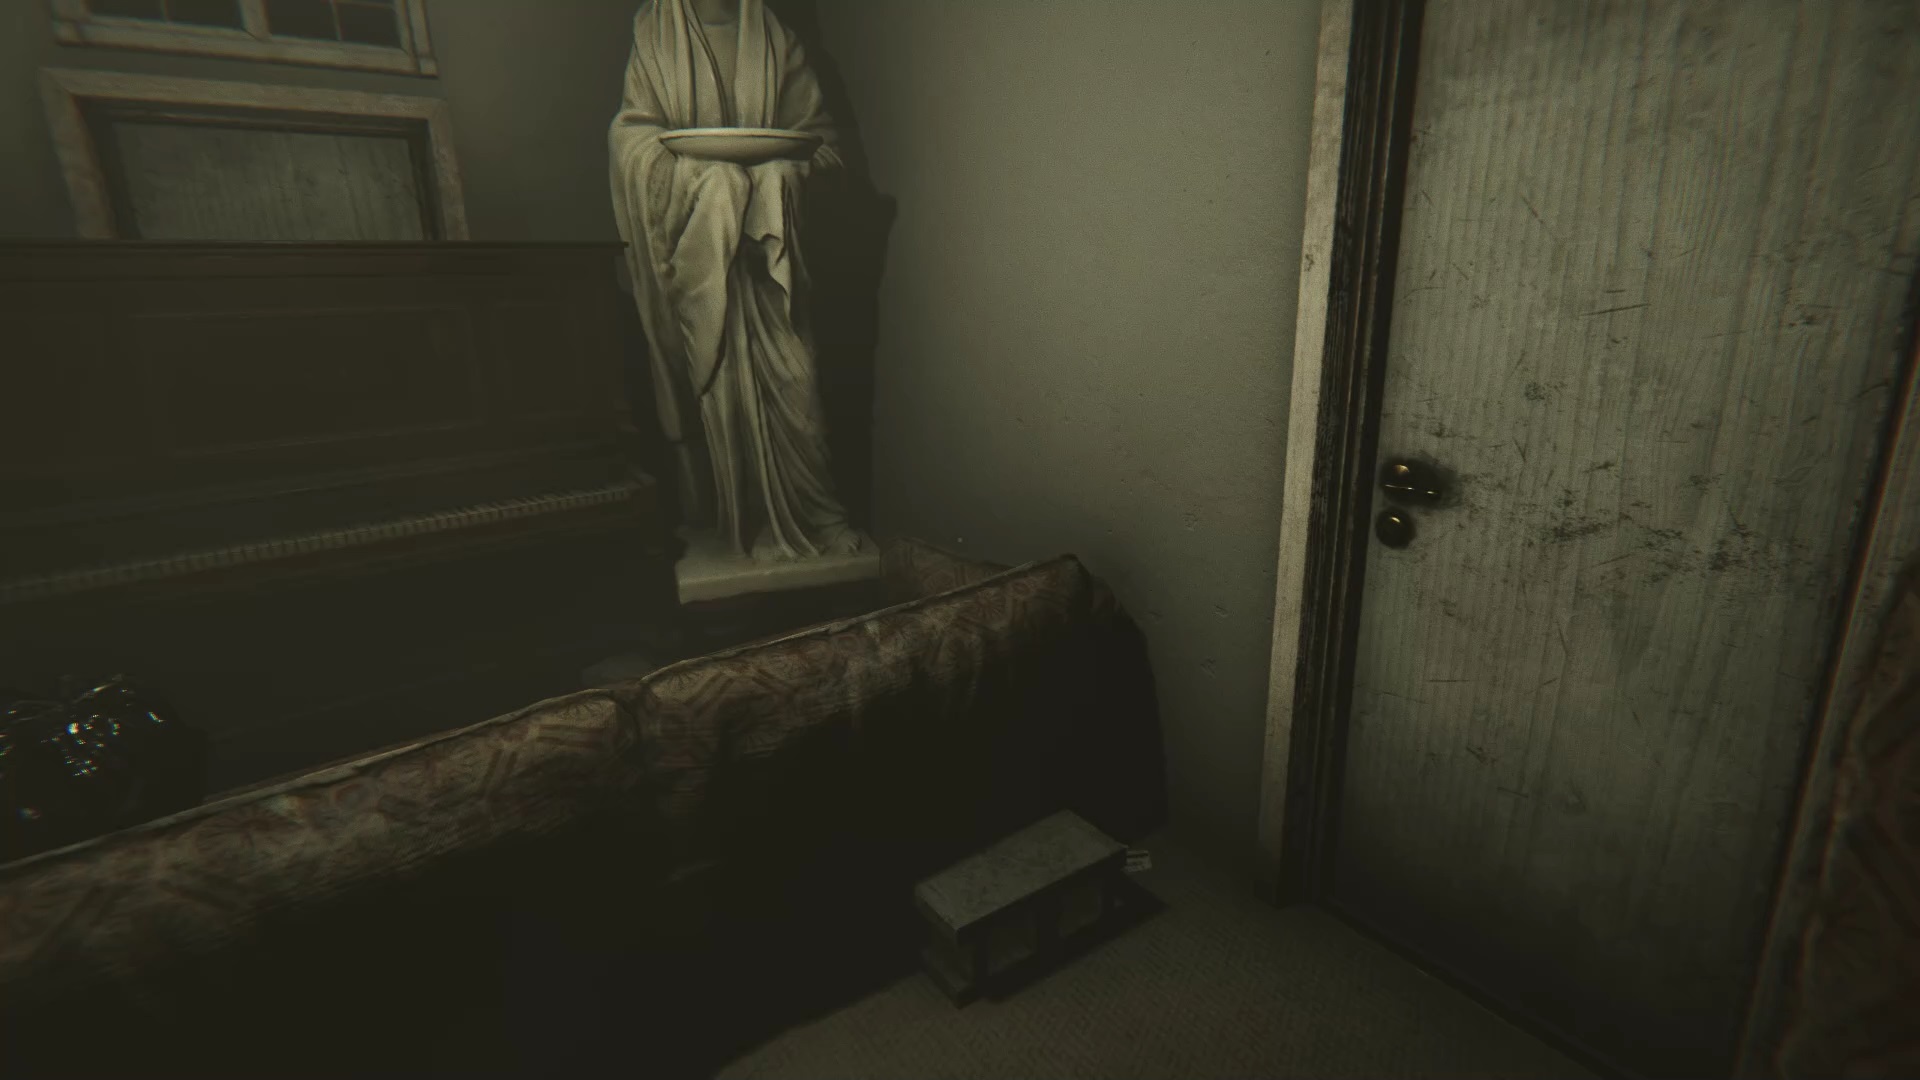
In the bedroom, open the cabinet to the left of the bed to find some slides. In the other cupboard opposite is the grandmother’s diary. A document to better understand the context of this piece. At the back of the bedroom in the bathroom, there is a strange painting. Collect a new medallion in the center of it. Exit the bedroom and return to the previous living room to see that the statue has moved. A door has opened near the TV, enter through the door to discover a new corridor. Follow the statue to discover a new room.
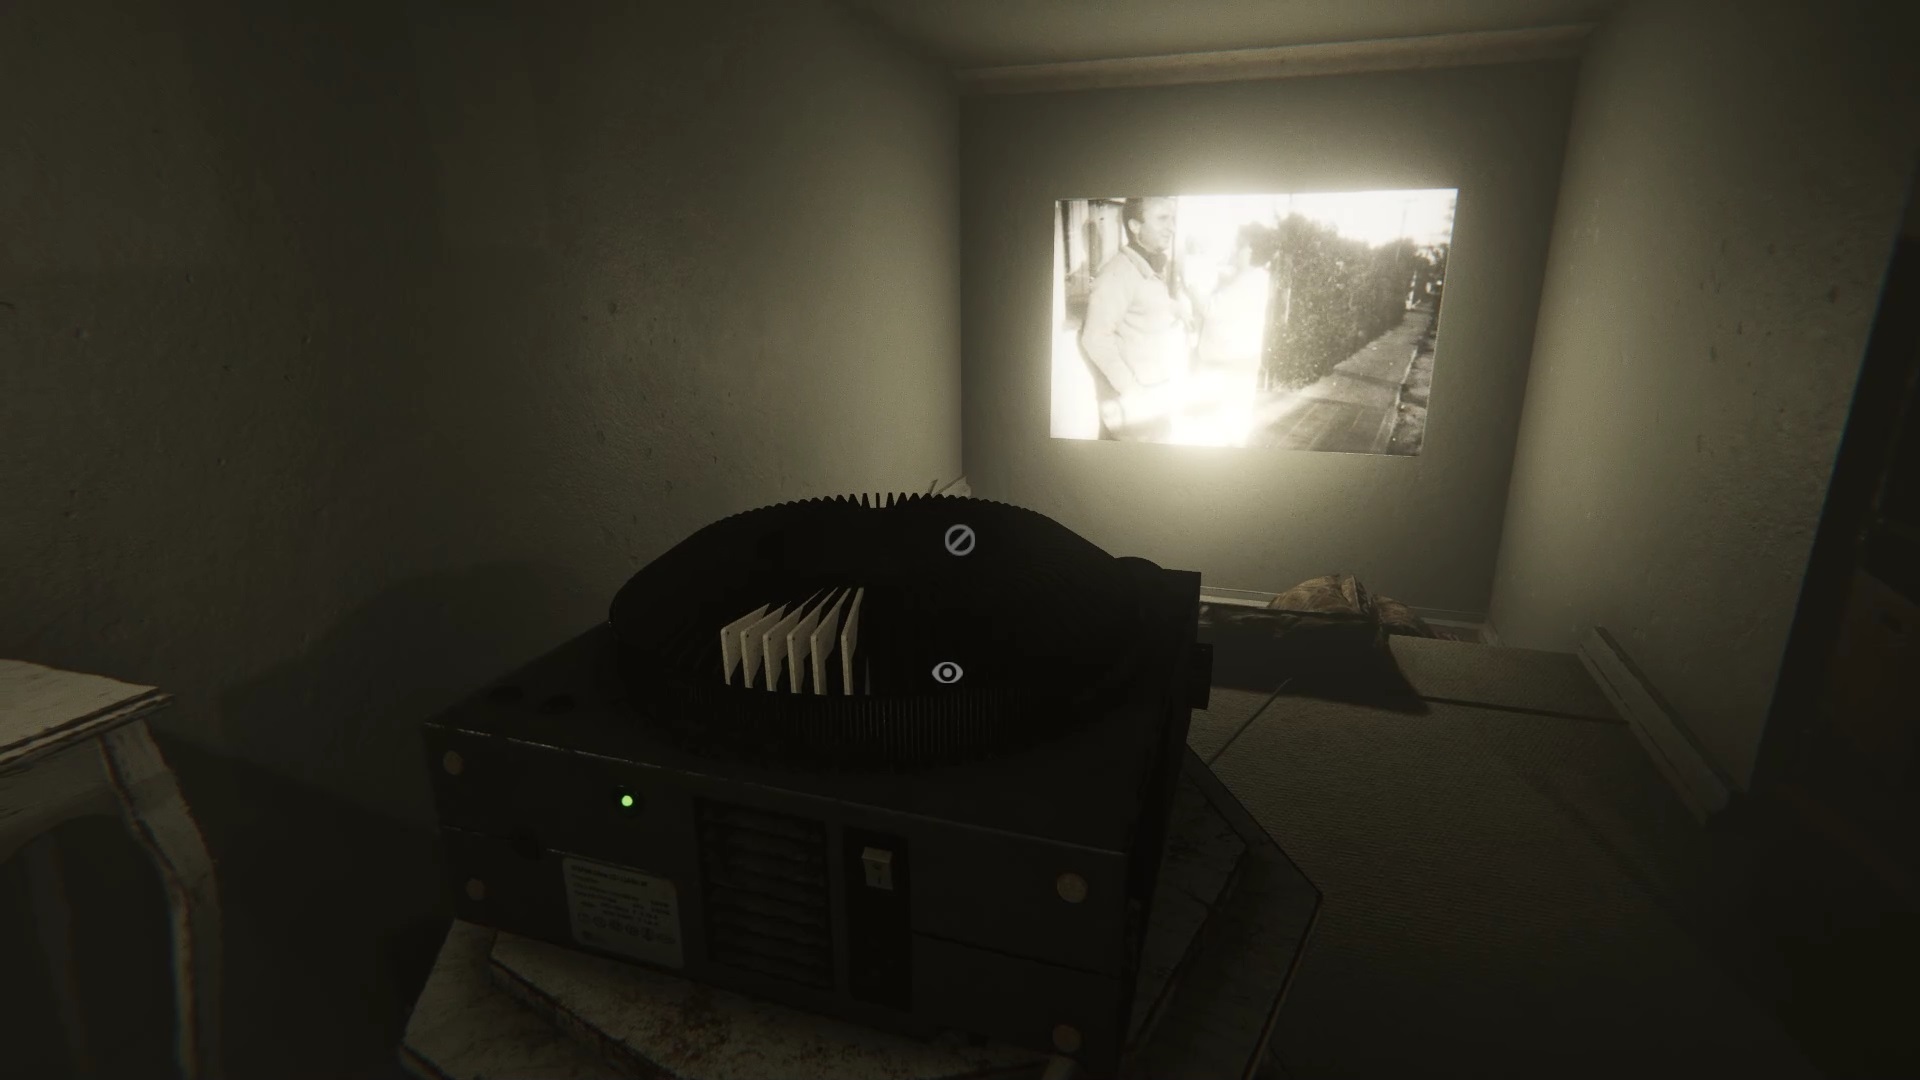
Go through the door to the right of the statue to enter a screening room. A projector sits in the center of the room. Use slides in the projector to view all six slides. The machine begins to move on its own and reveals a strange object against the wall. Use your camera when the object appears on the screen to freeze it. Recover the object which is in fact a medallion. Look at the picture you took, you can notice that it reveals the image of the solar system.
Take advantage of the spot to enter Grandpa’s office in the red-light hallway at the right of the projector. Inside, recover the portrait of a man against the wall. Direction the couple’s bedroom and more precisely the bathroom. Along the way, pick up the tape on the floor in the hallway. You can listen to the tape with the tape recorder in the dining room. In the couple’s bedroom, use the three medallions on the painting as they are arranged in the photo to open a barricaded passage near the cabinet where the slides were. Use the hammer to clear the way and retrieve a painting.
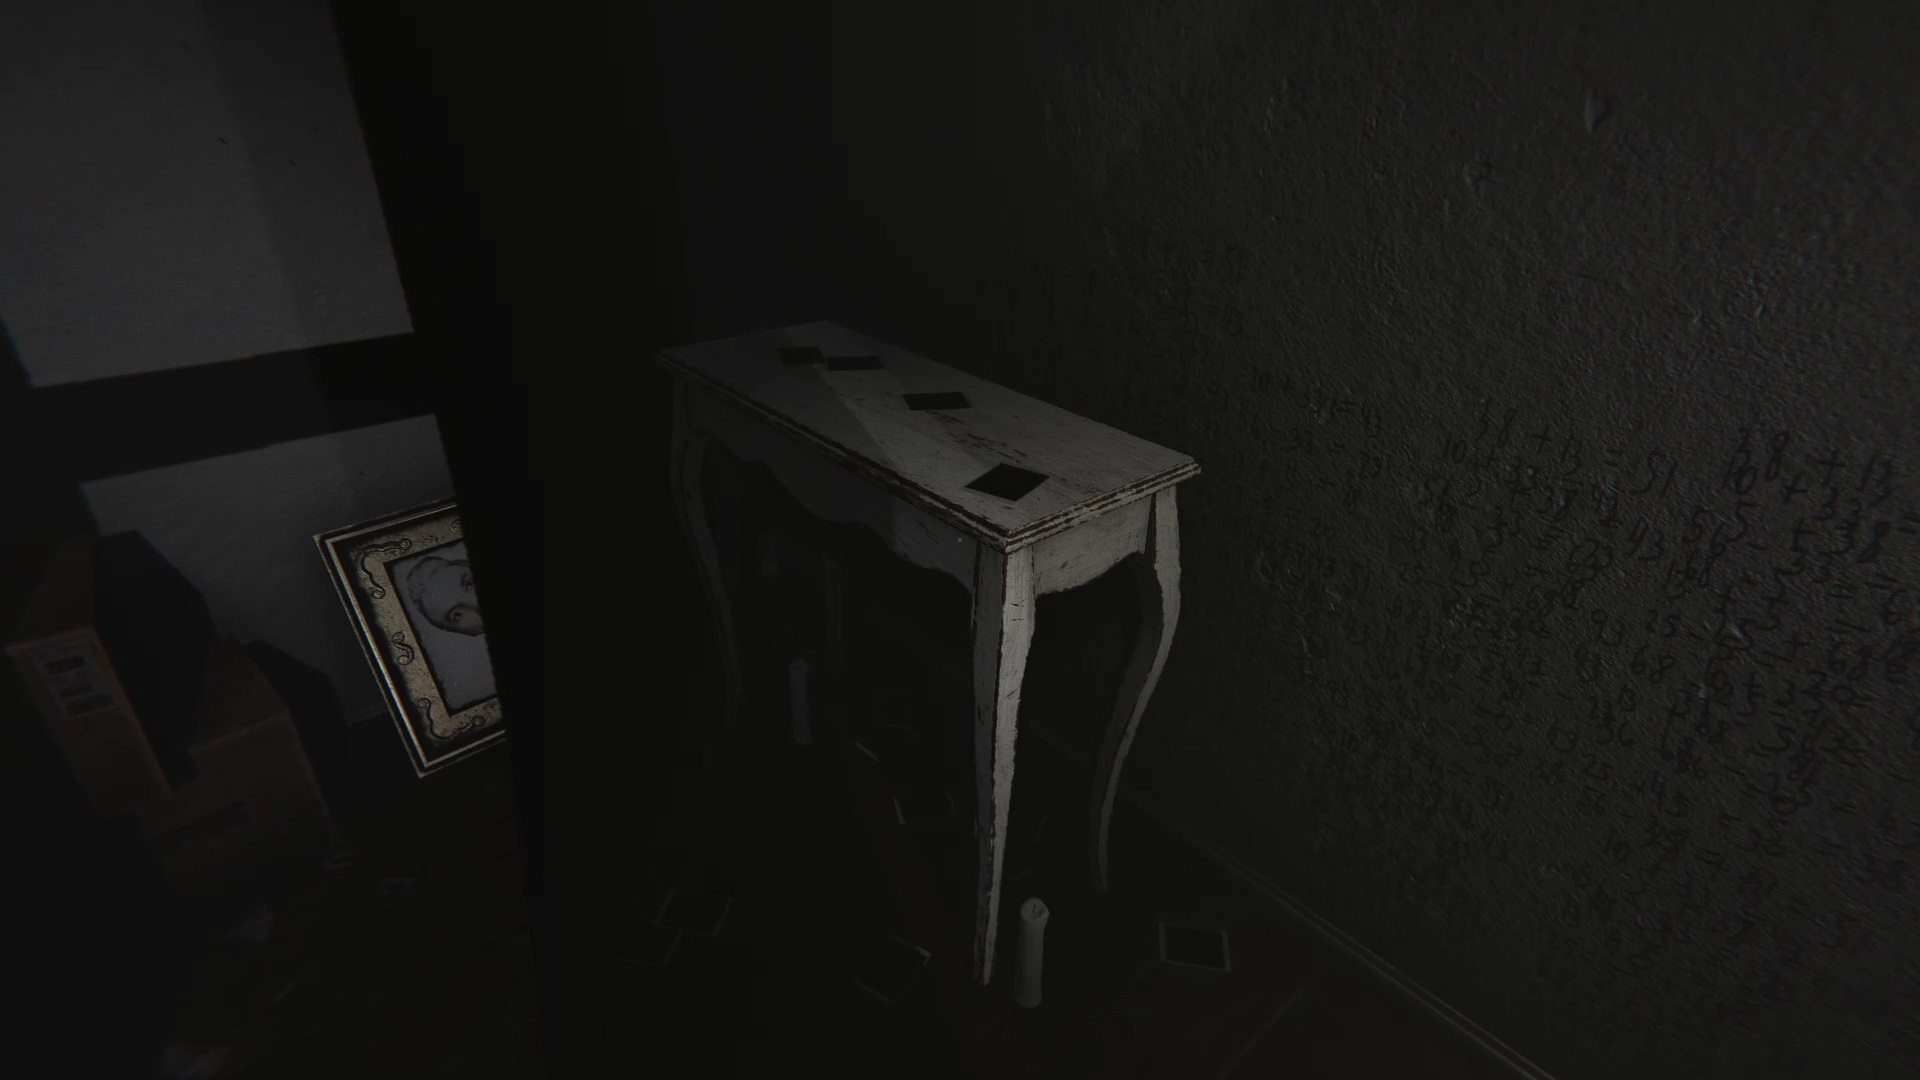
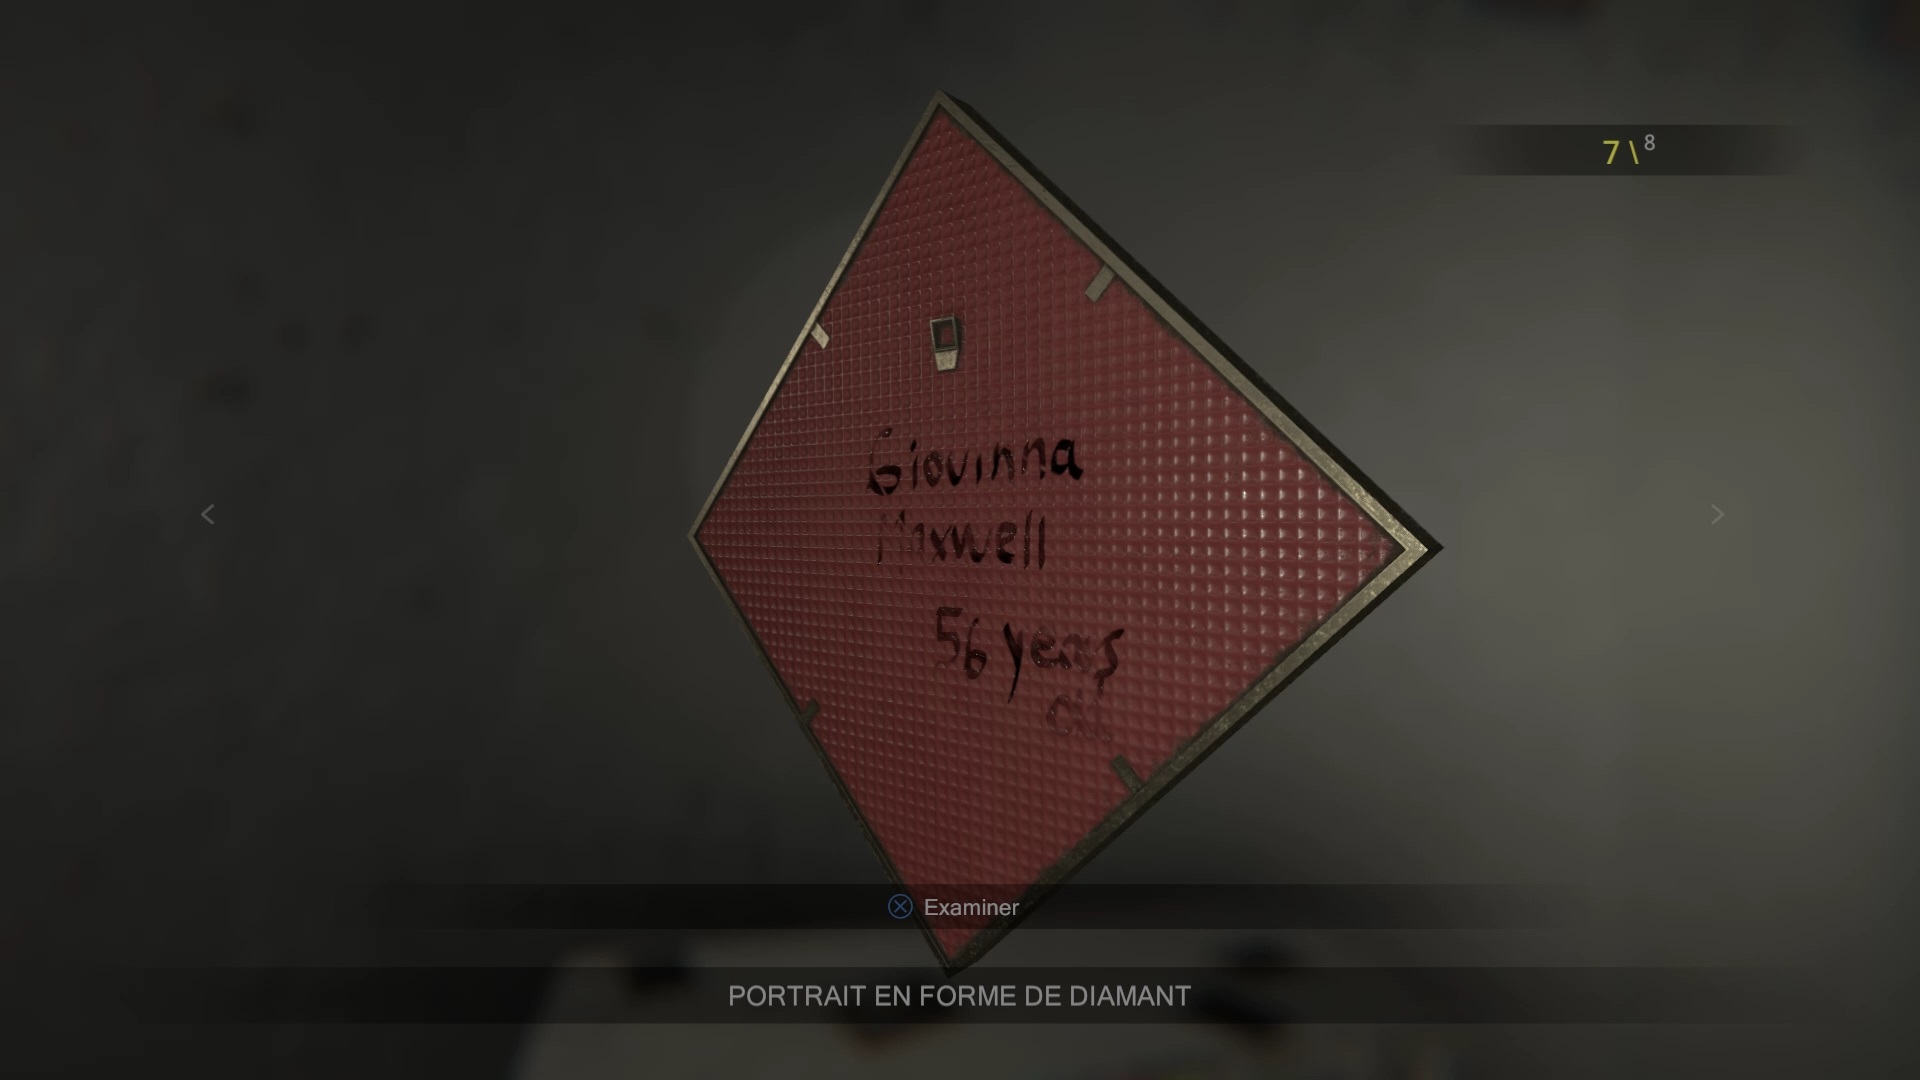
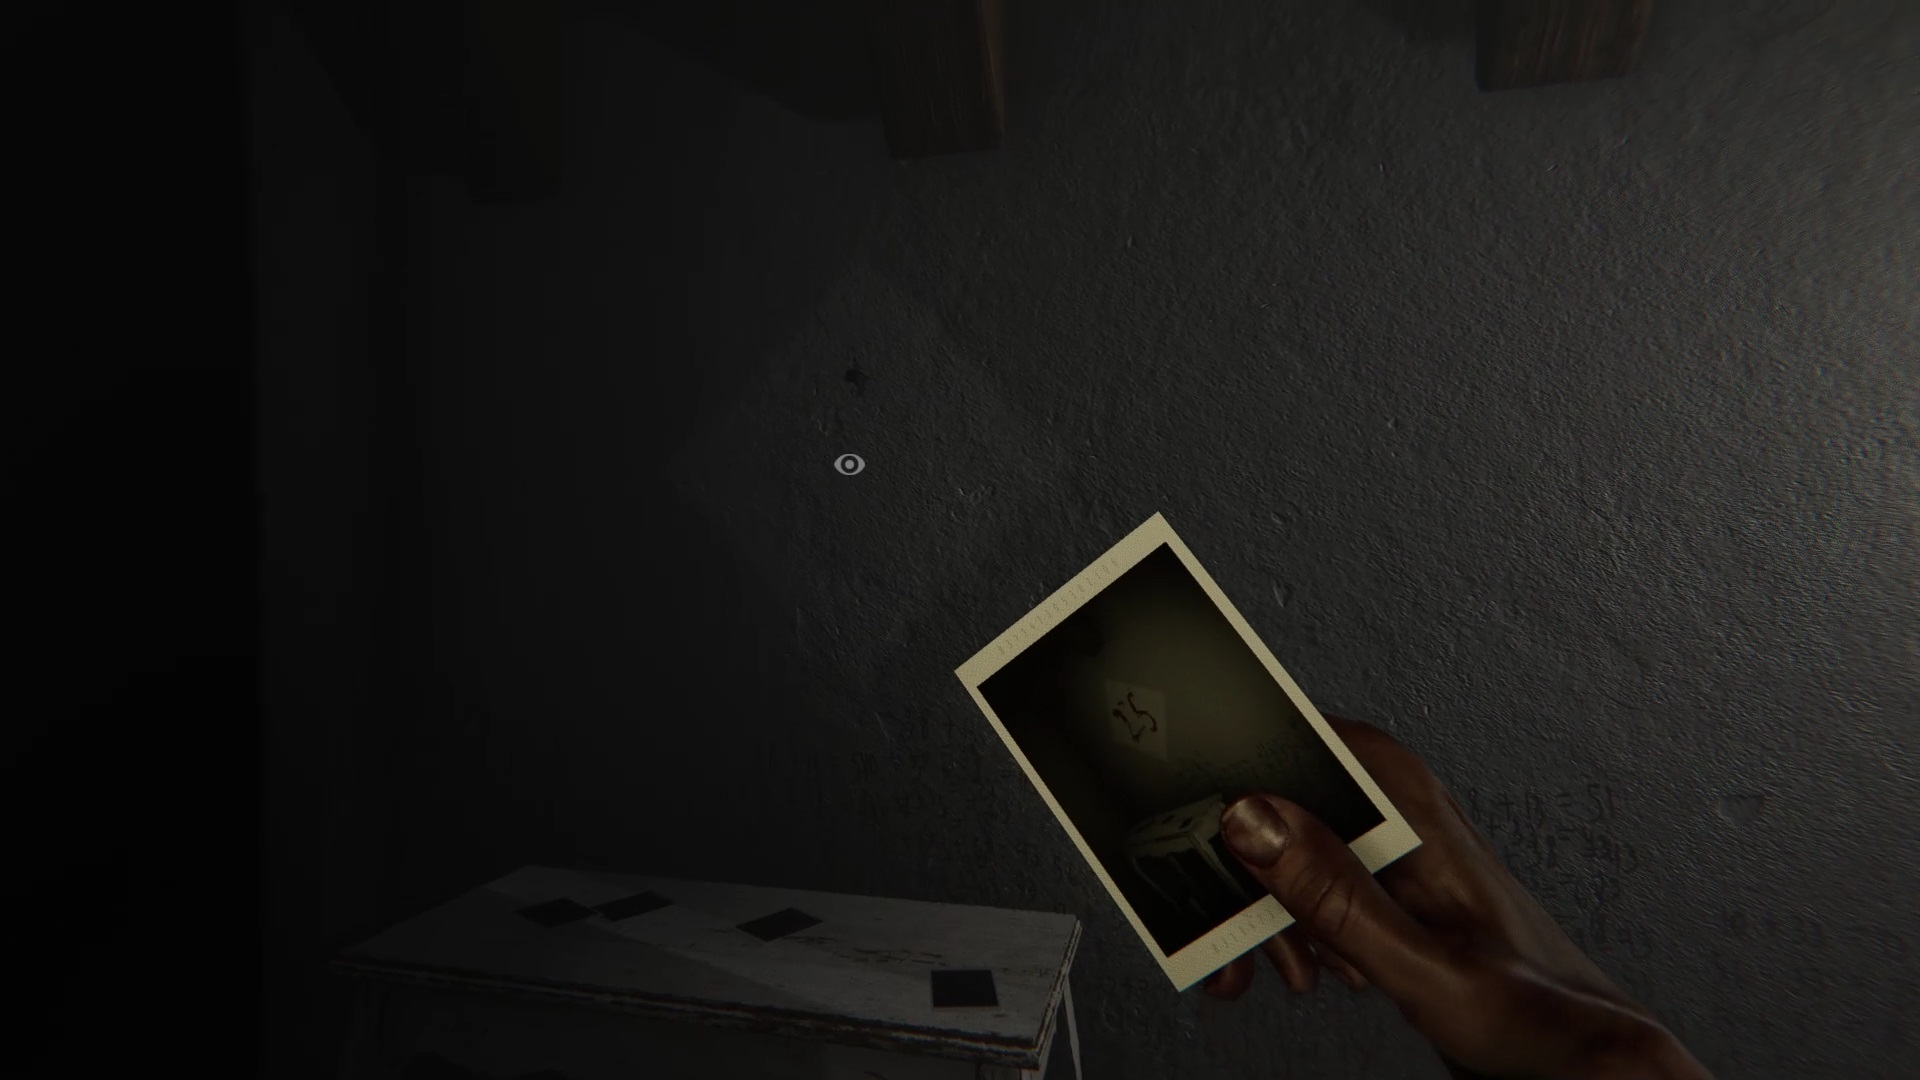
Go to the attic with all the recovered paintings. Remove the painting of the child on the wall and take the painting of the old lady on the ground near a table. If you examine each portrait, each of them has an age written on the back. Use your camera on the empty slots of the frames to reveal numbers. Remember the mentions « added » and « subtracted » as well as the age of the woman killed « 43 ». You have to add or subtract the numbers against the walls with the number « 43 » to get the correct age of the portraits.
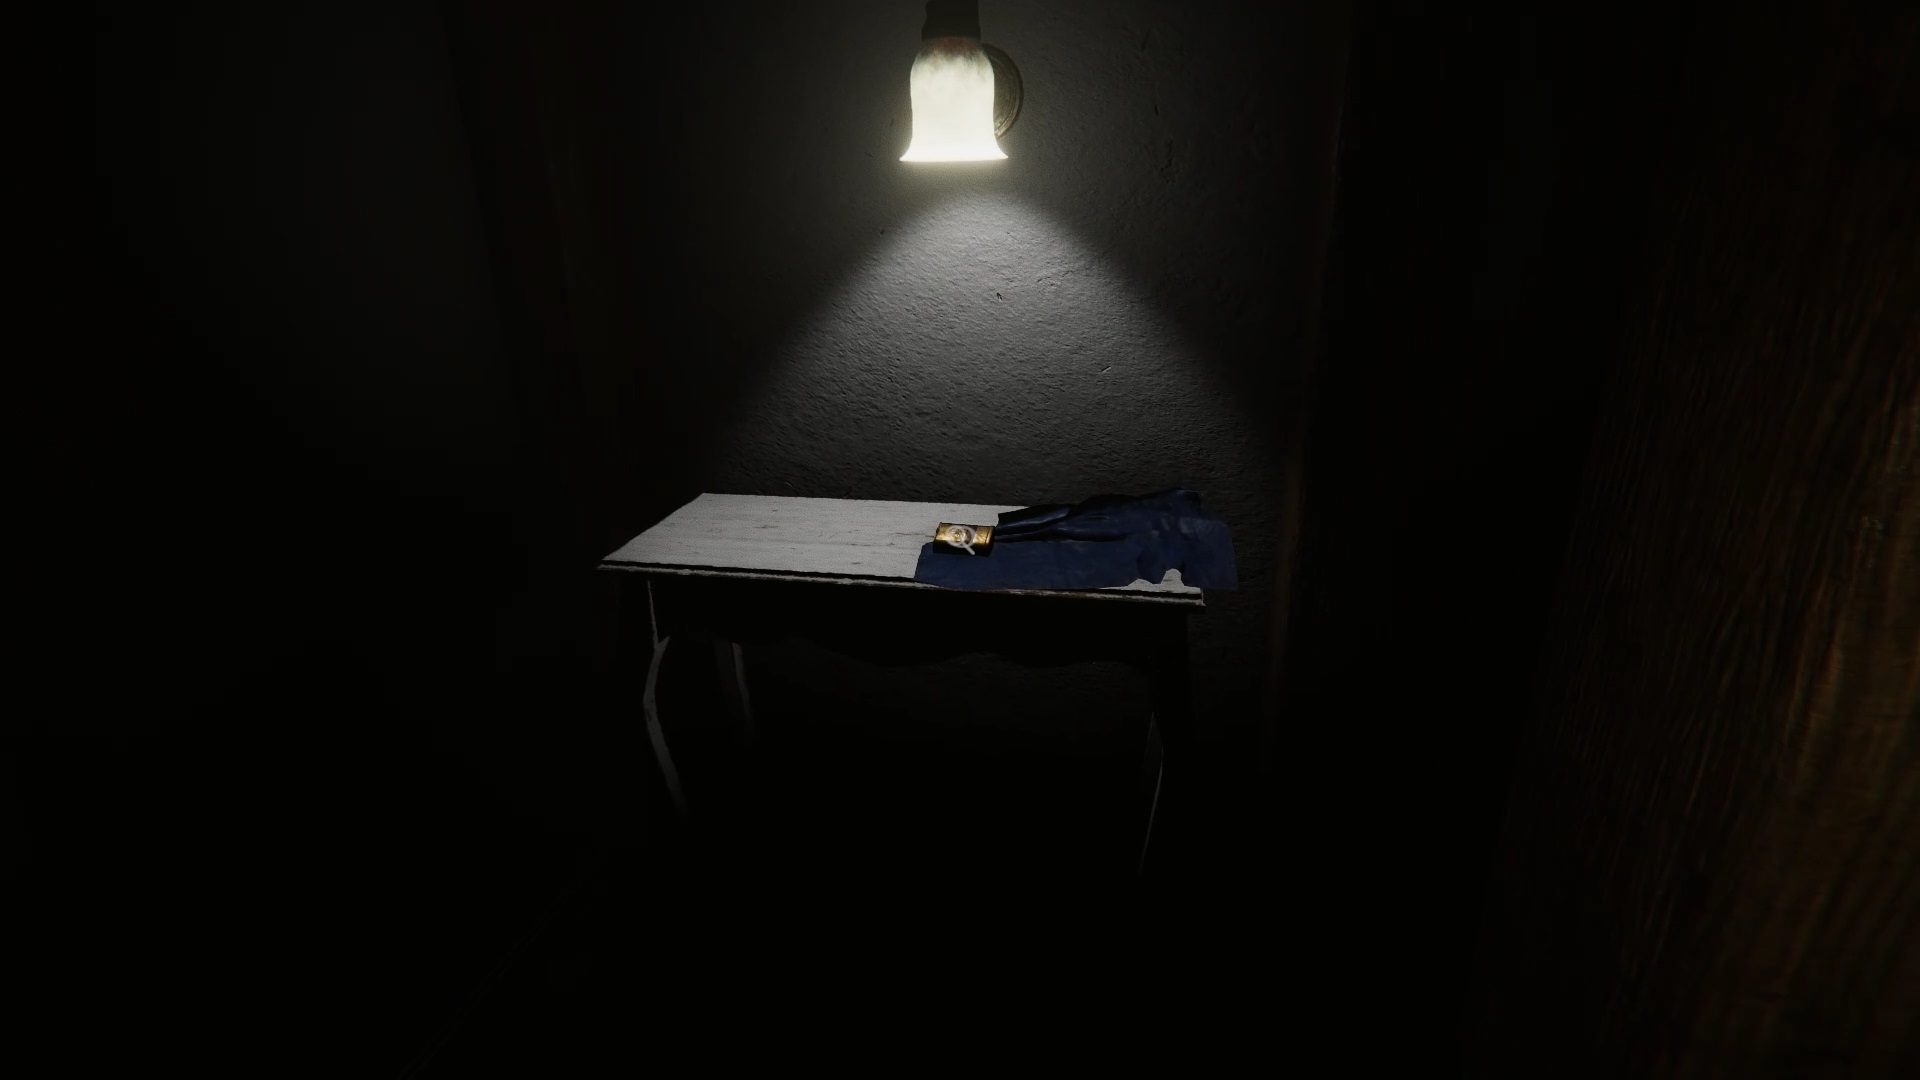
On slot 38 goes the portrait of the child Albert Maxwell (age 5). Beneath slot 13 goes the portrait of Giovinna Maxwell (age 56). On slot 25 goes the portrait of Filomena Maxwell (68) and finally Pascual Maxwell (33) goes on the remaining slot. Look inside the breach where the number « 43 » was to open a passage to a door. Before you rush into the door retrieve the lighter to his left on a table.
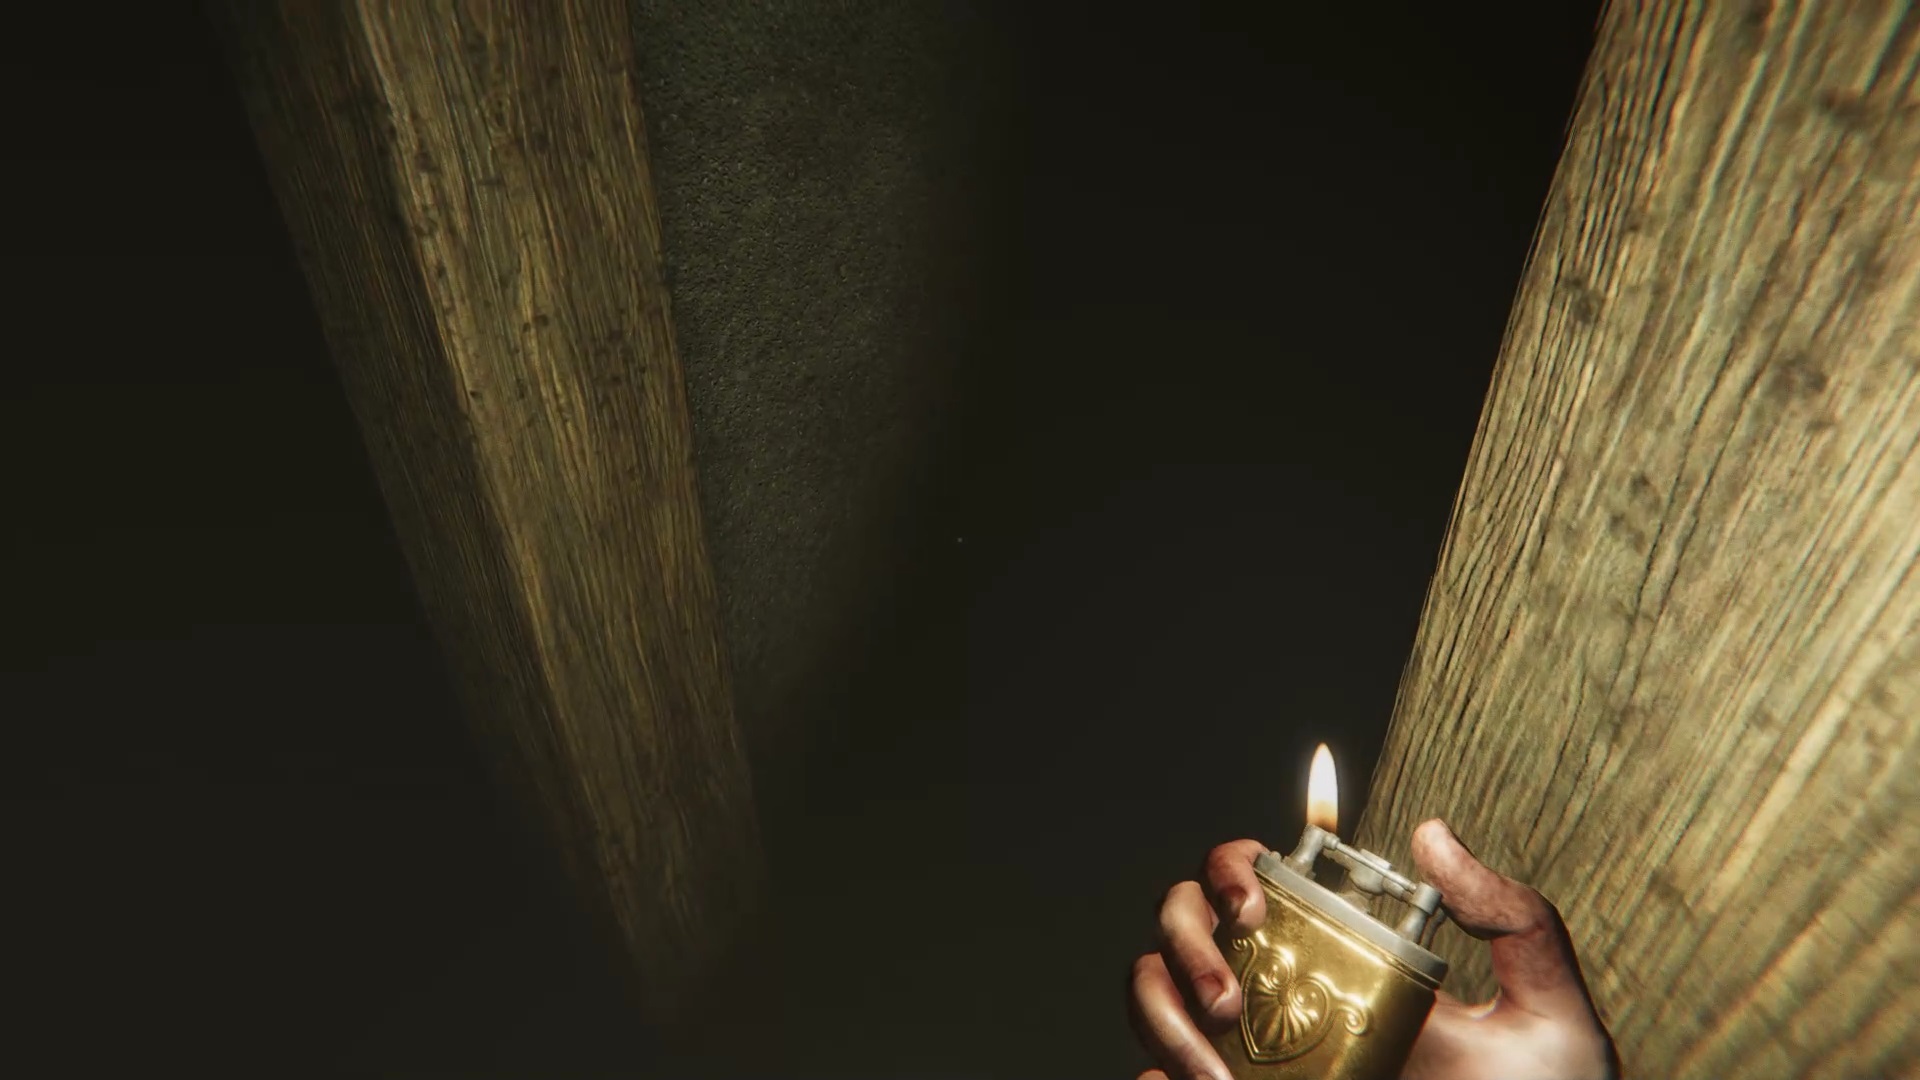
Use the lighter to see in the dark. Go straight ahead to reach the first fork. Take the left lane. At the second fork, take the lane opposite. At the third junction, turn right. At the fourth, turn left. A presence appears. Follow the presence to reach the exit. Watch out for screamers. At the exit, follow the cemetery path to find a ladder to a cathedral.
Walkthrough for St. Jupiter’s Cathedral in Madison
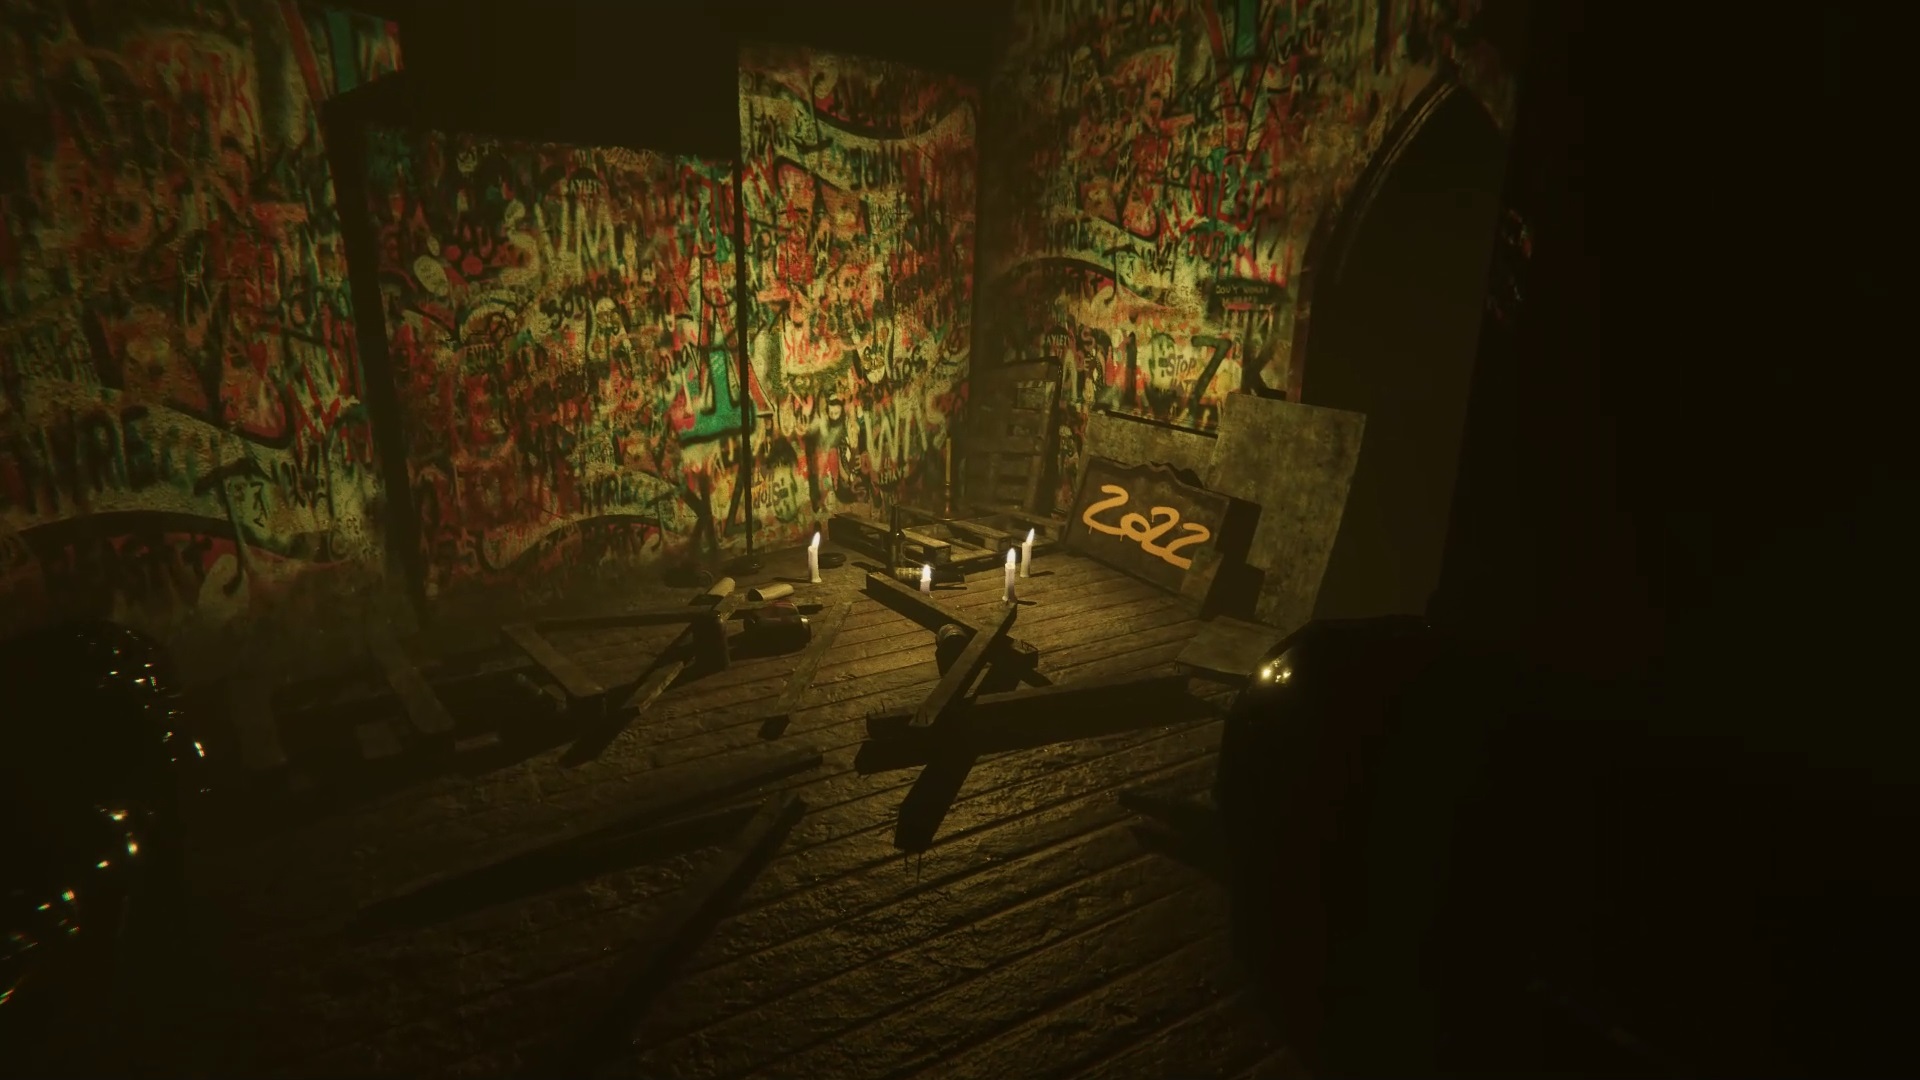
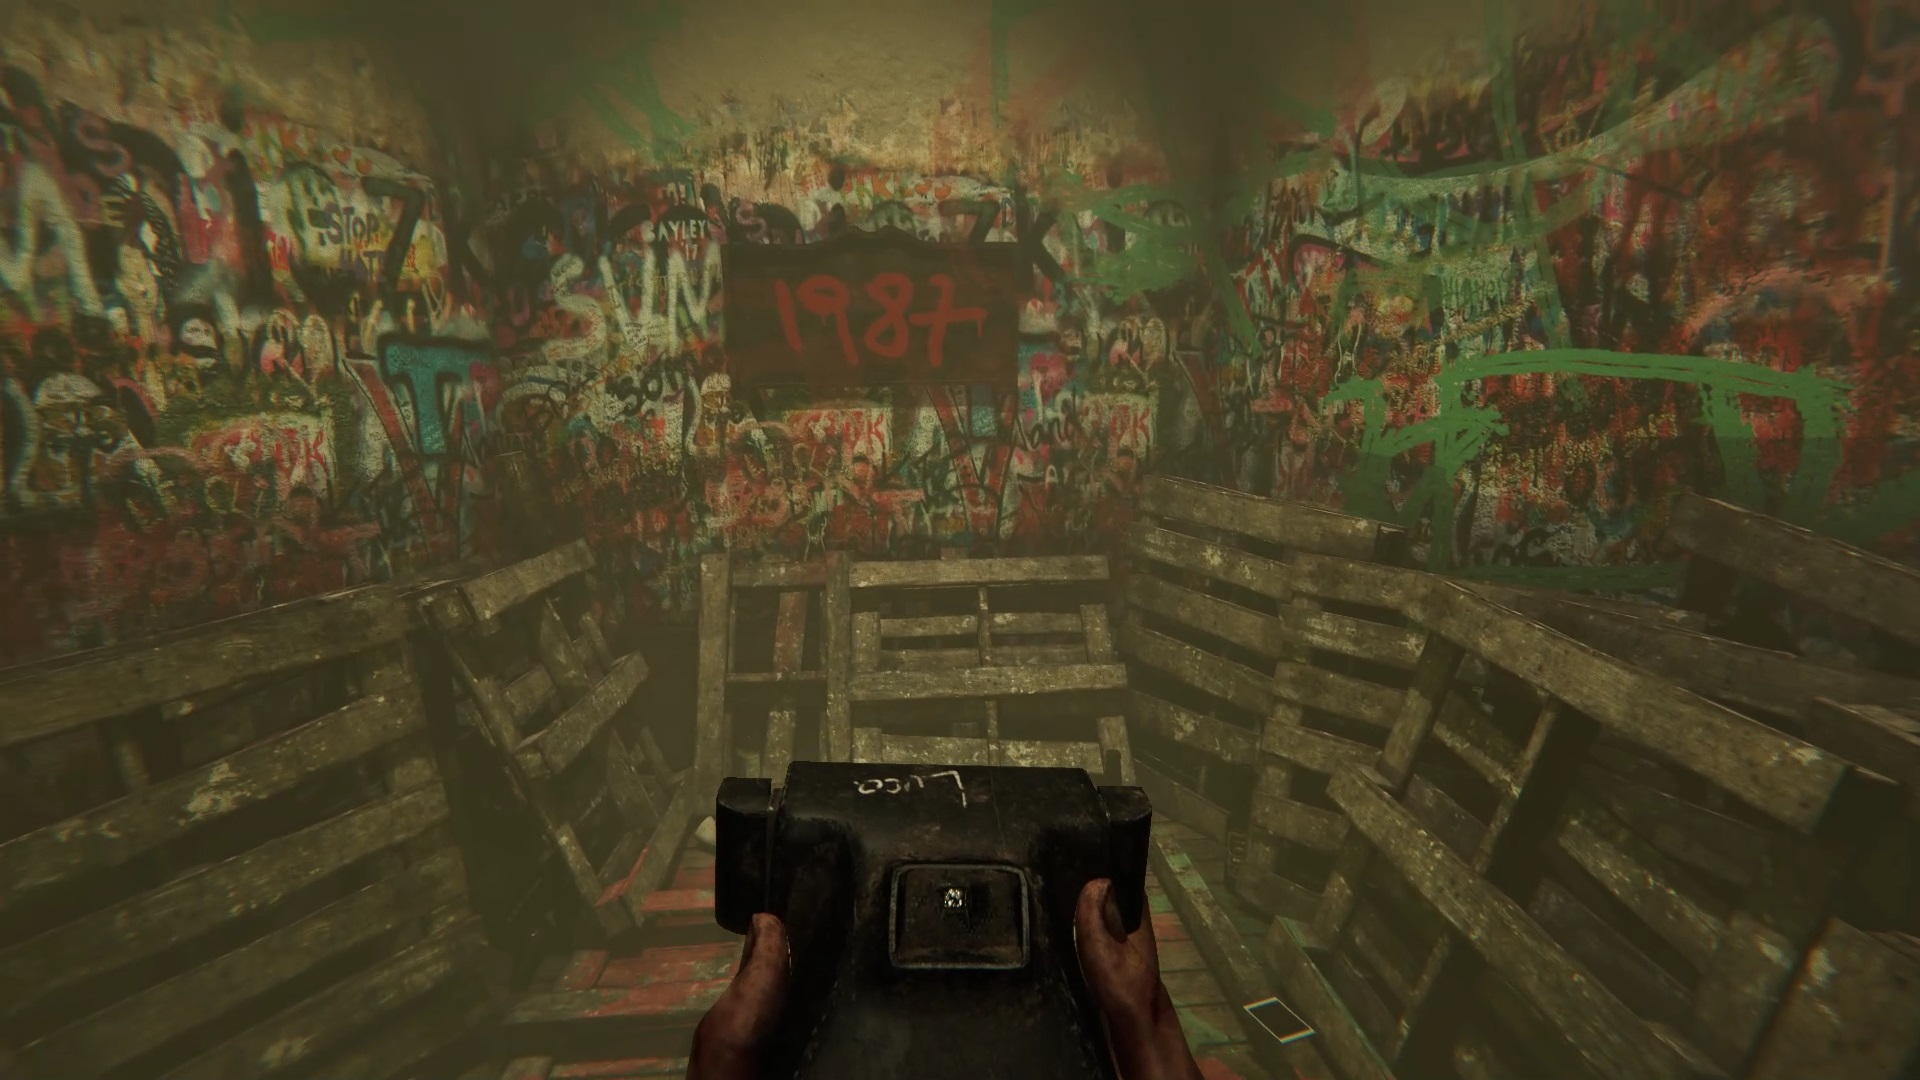
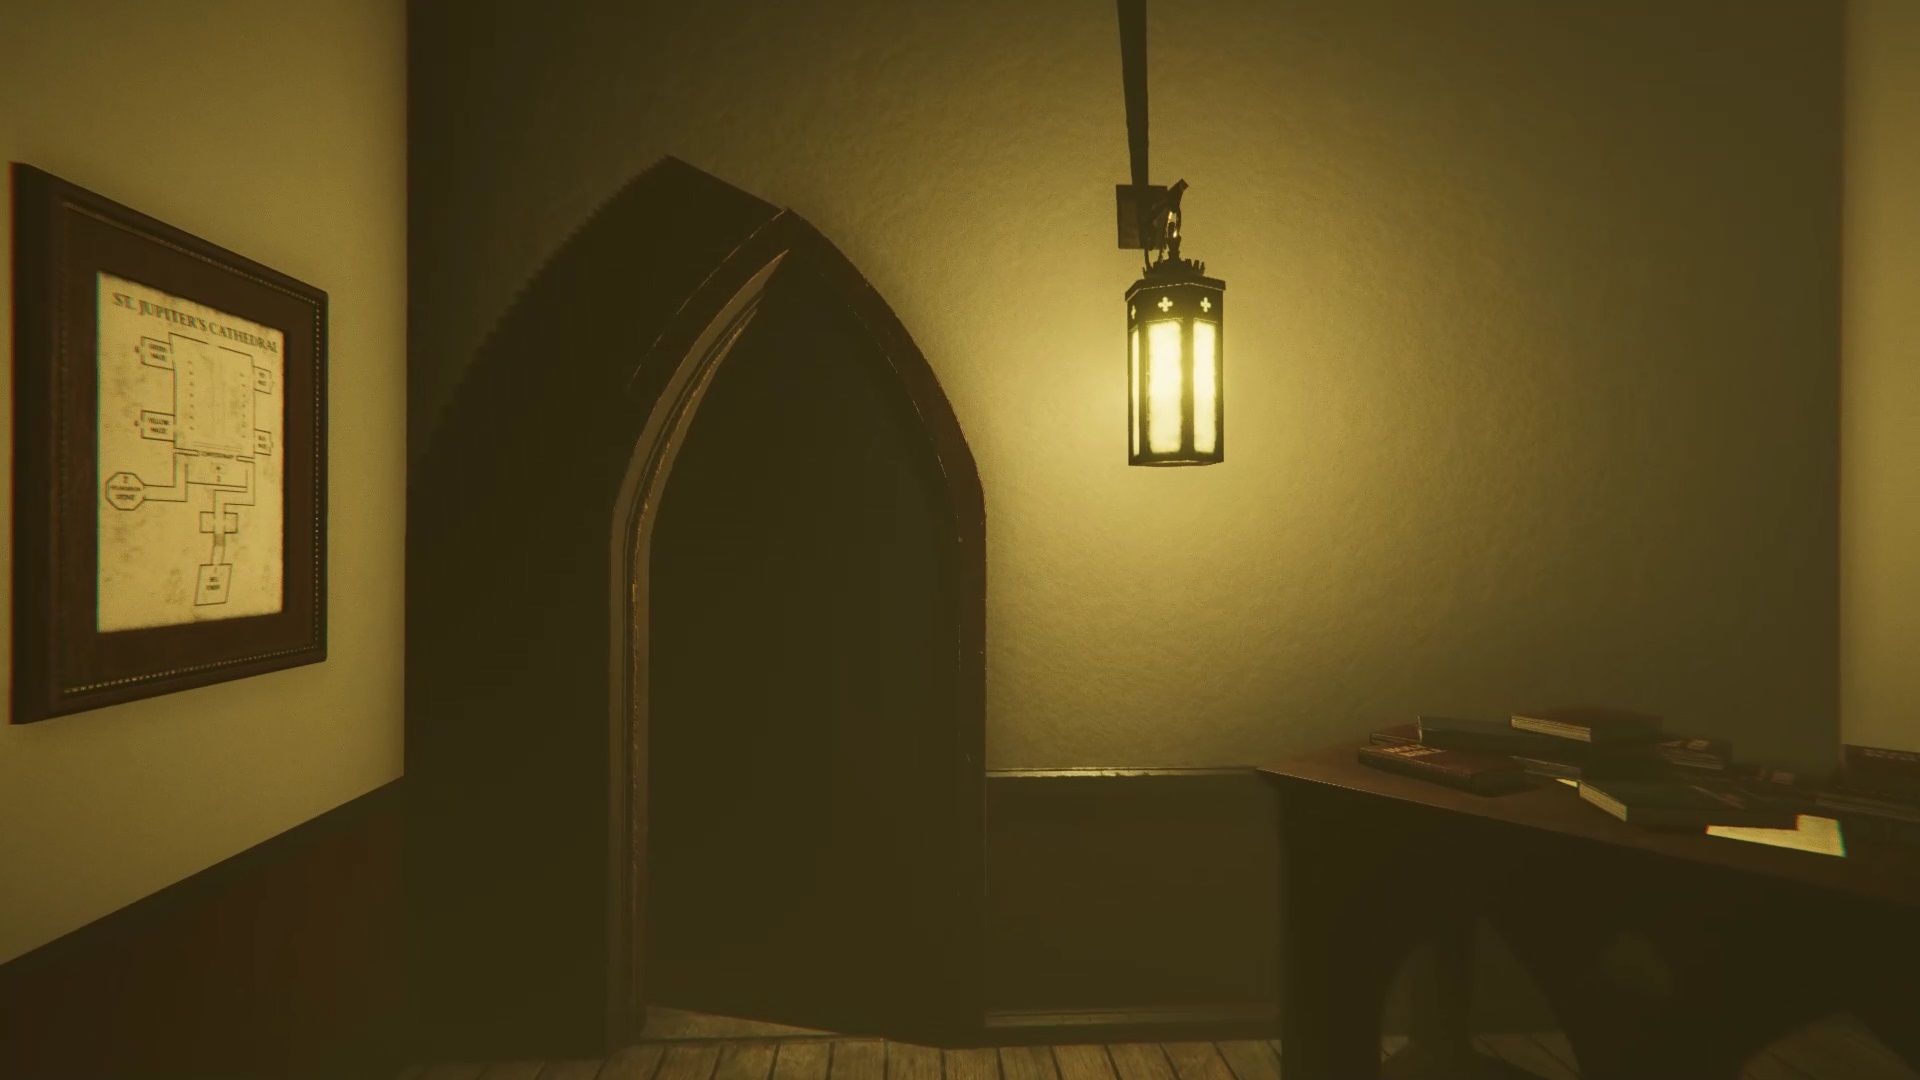
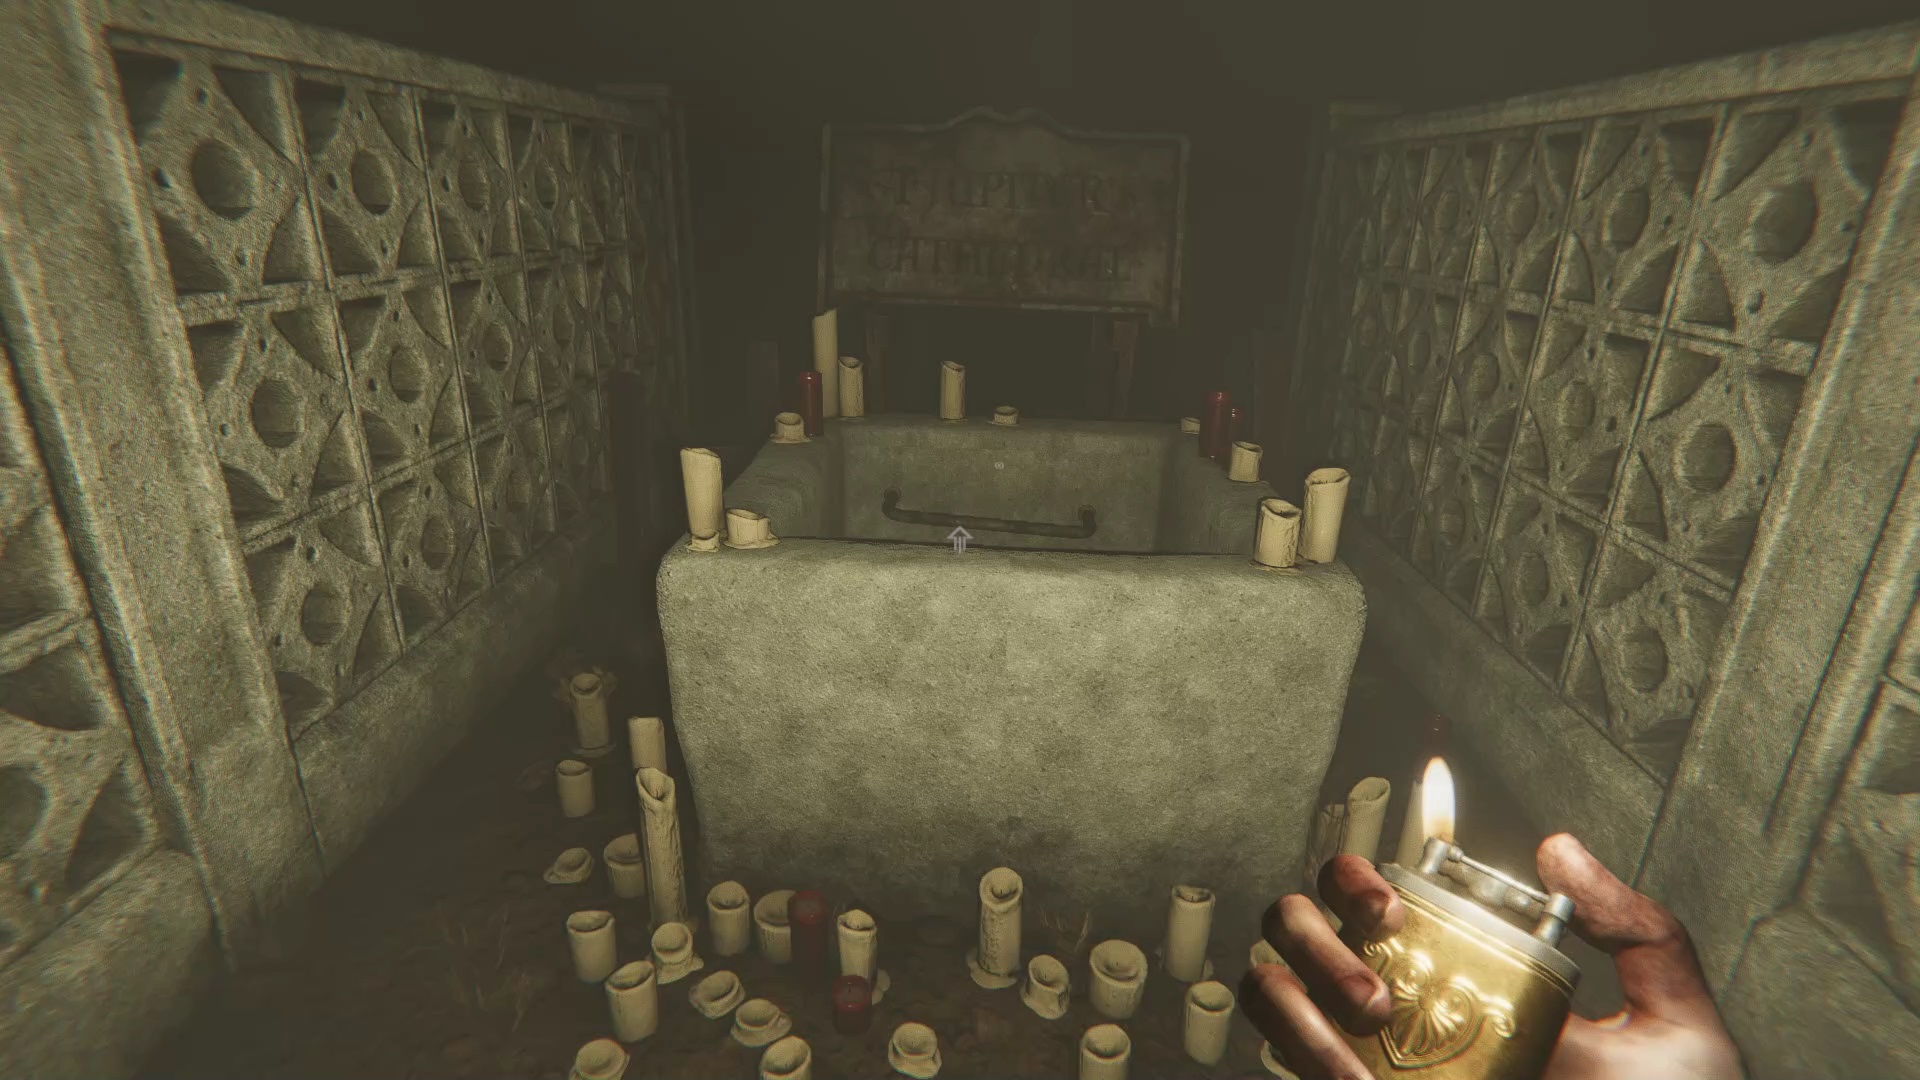
You land in a mausoleum. Proceed to the passage to find a sign that says « 2022 ». Just to his left is a yellow colored candle, collect it. Go inside the foundation stone to find an inscription « 1987 ». Use your camera on the inscription to be teleported to 1987. Welcome to the 1987 Mausoleum. A map is on the altar wall.
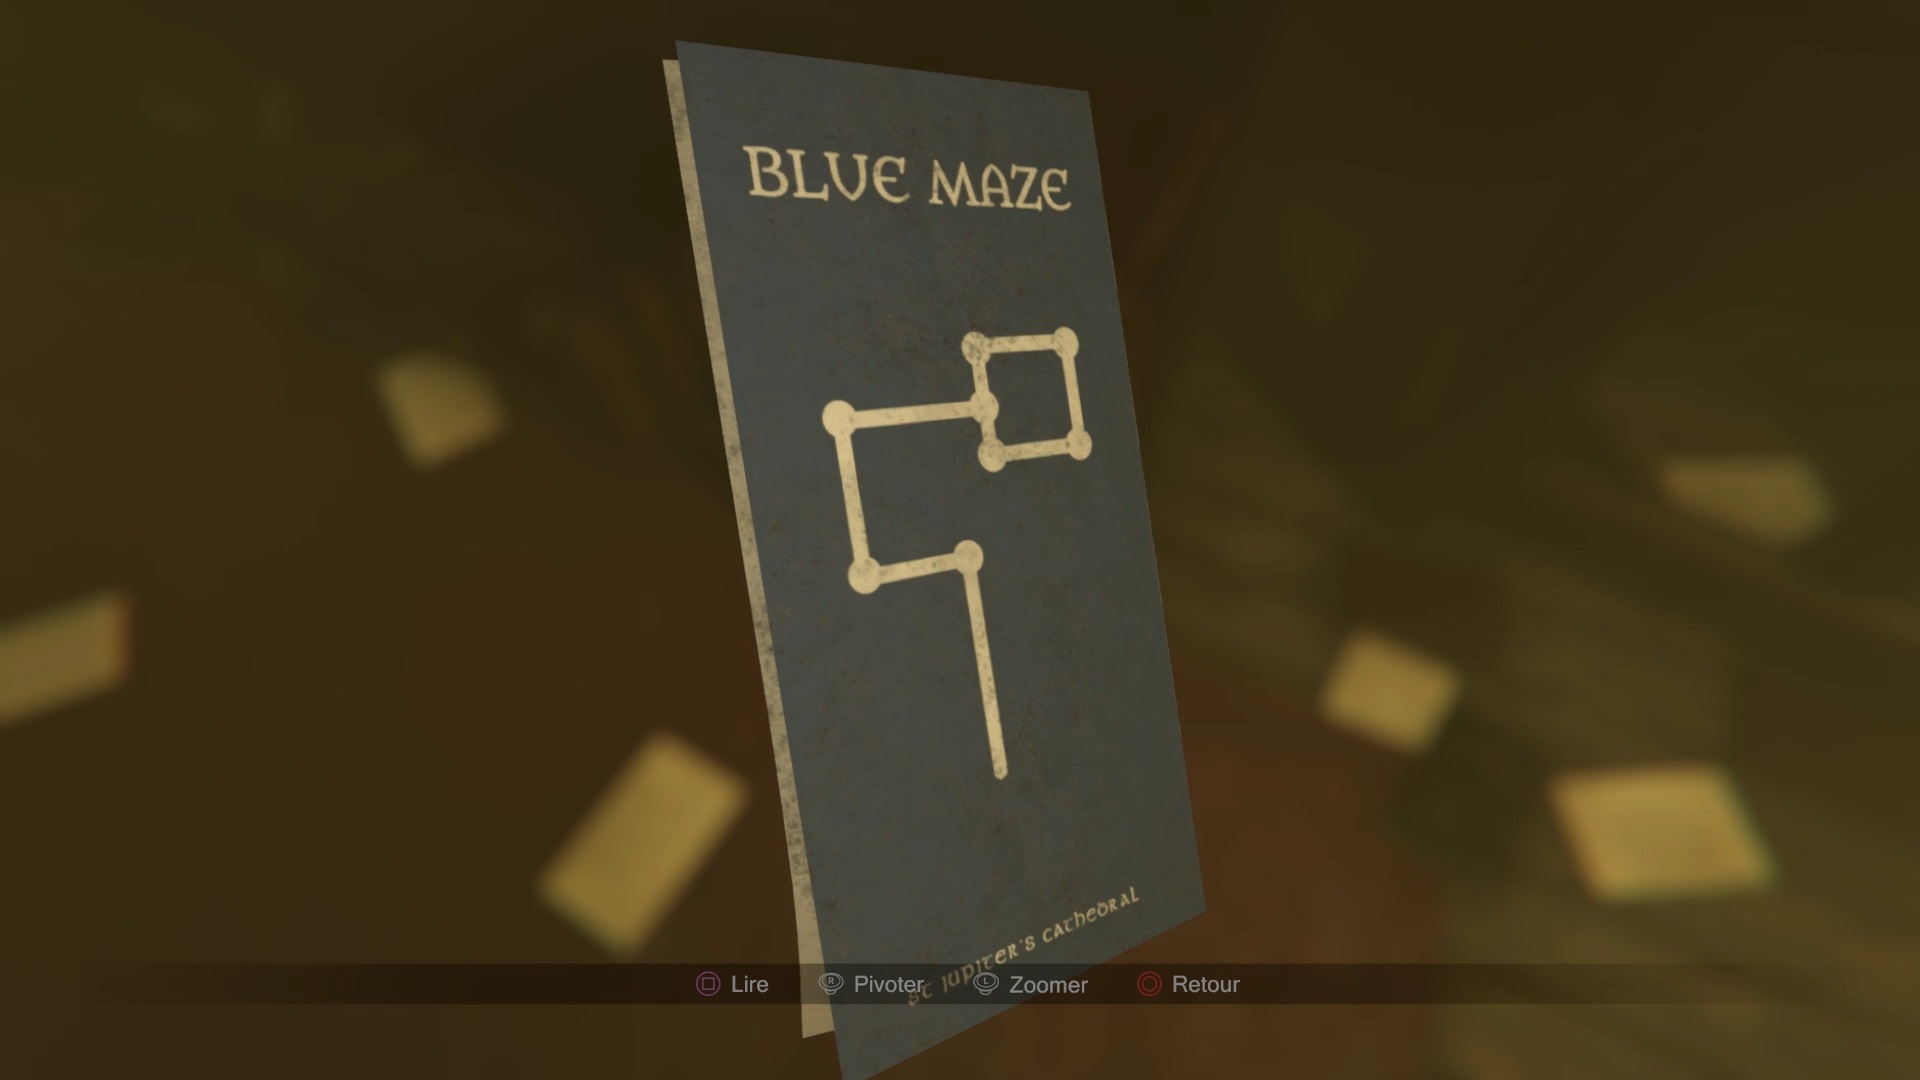
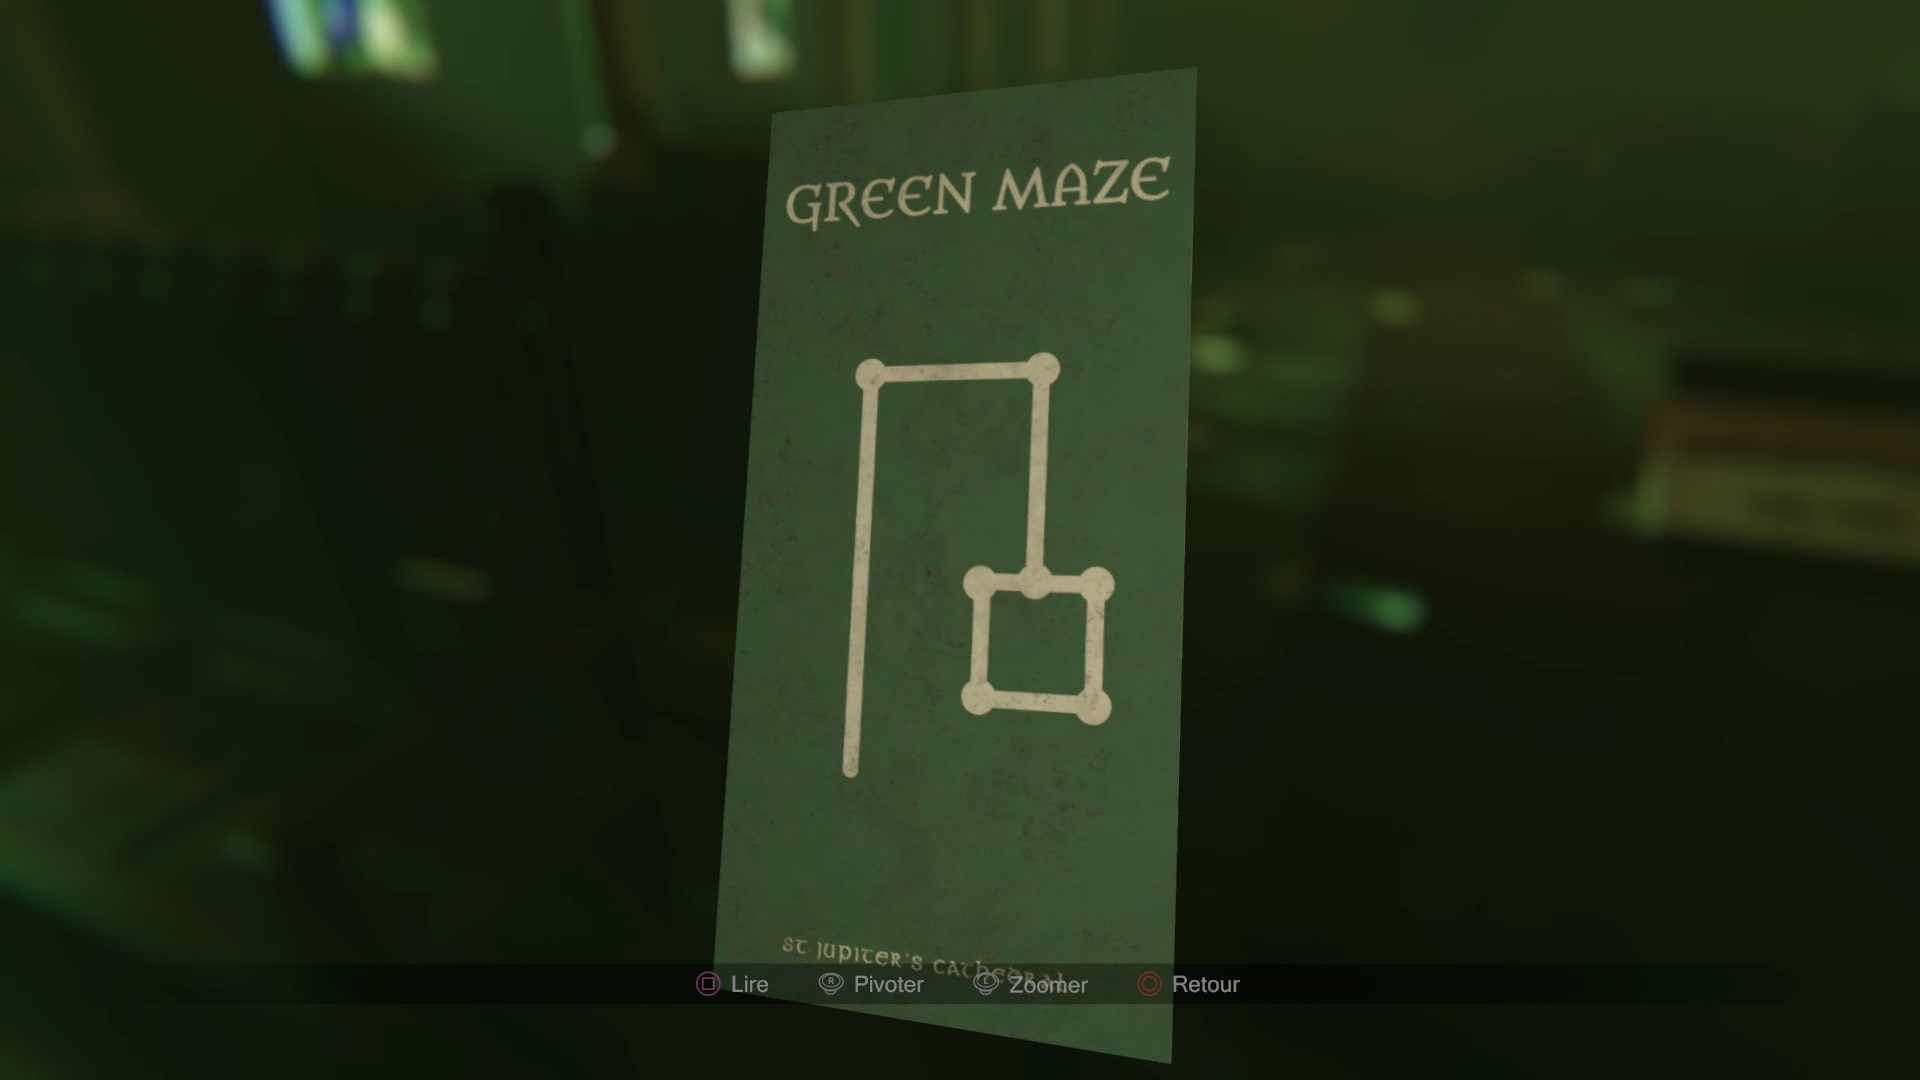
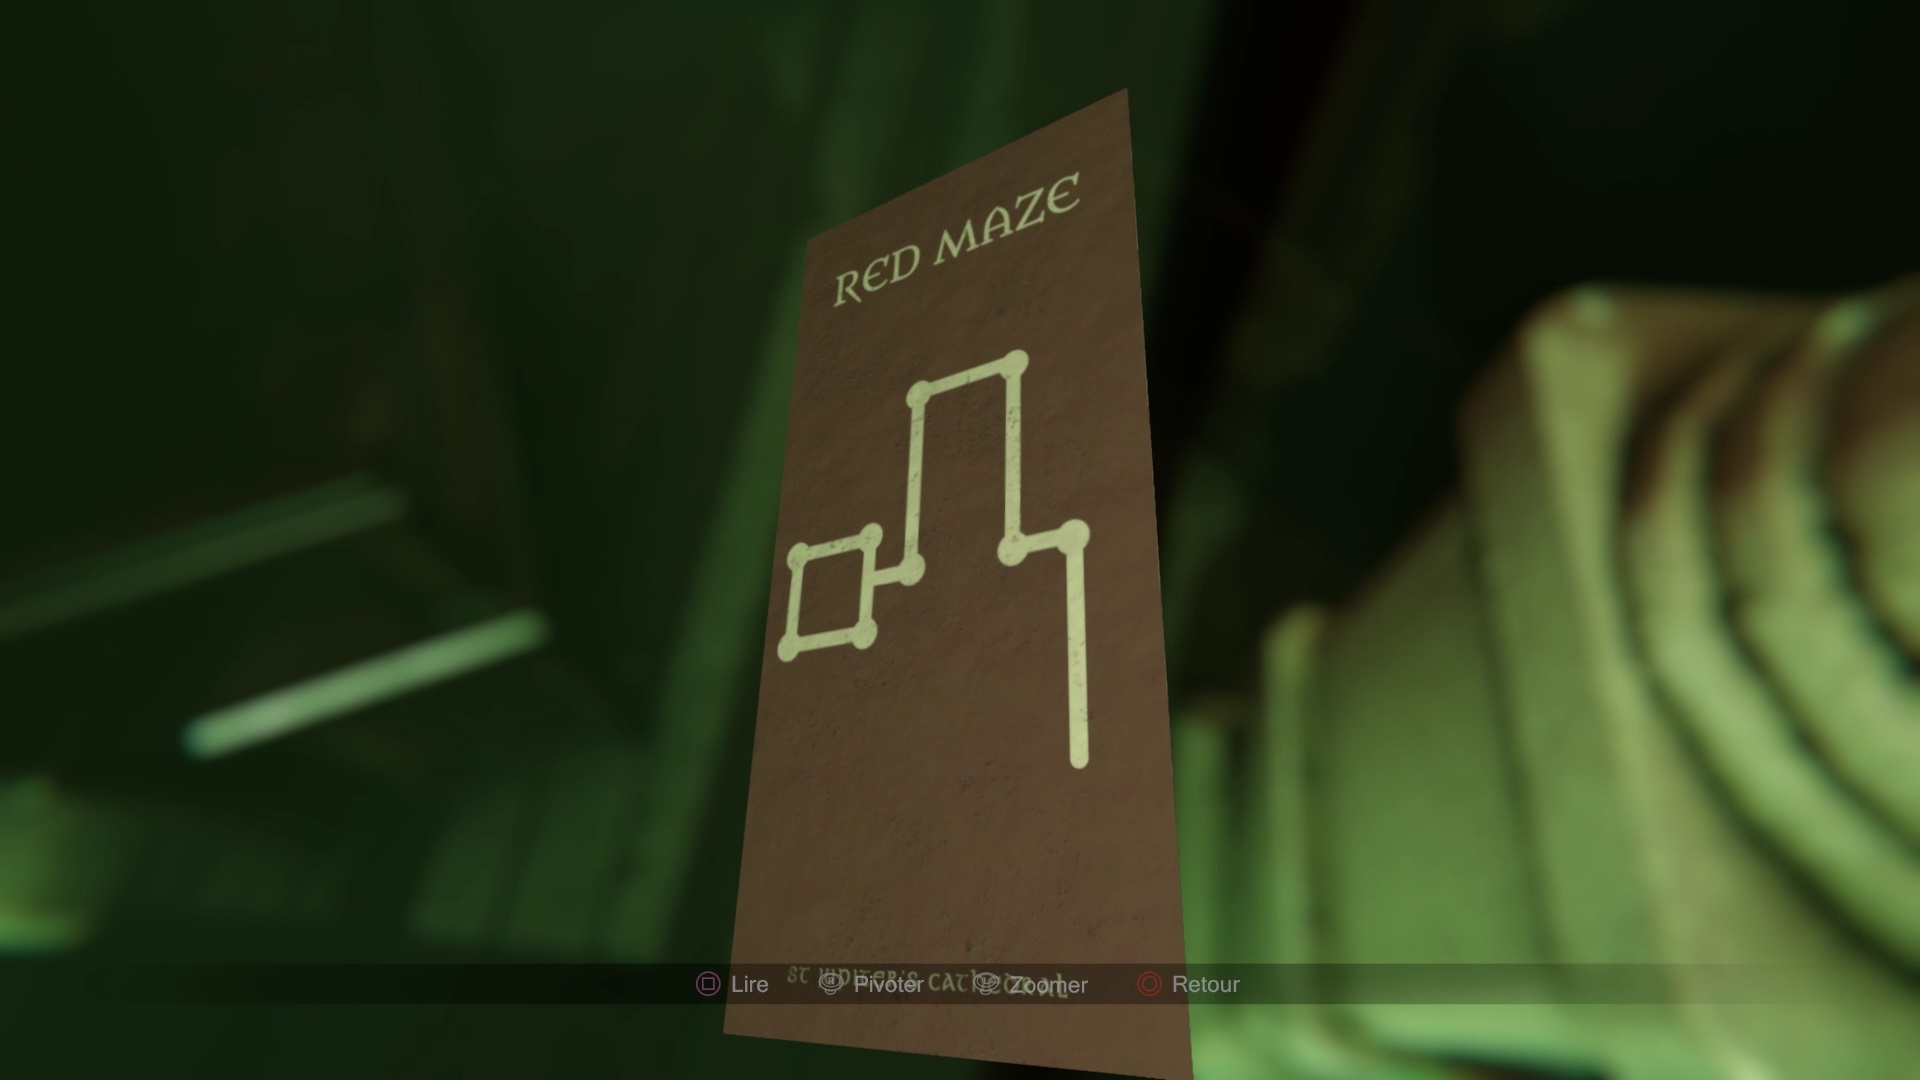
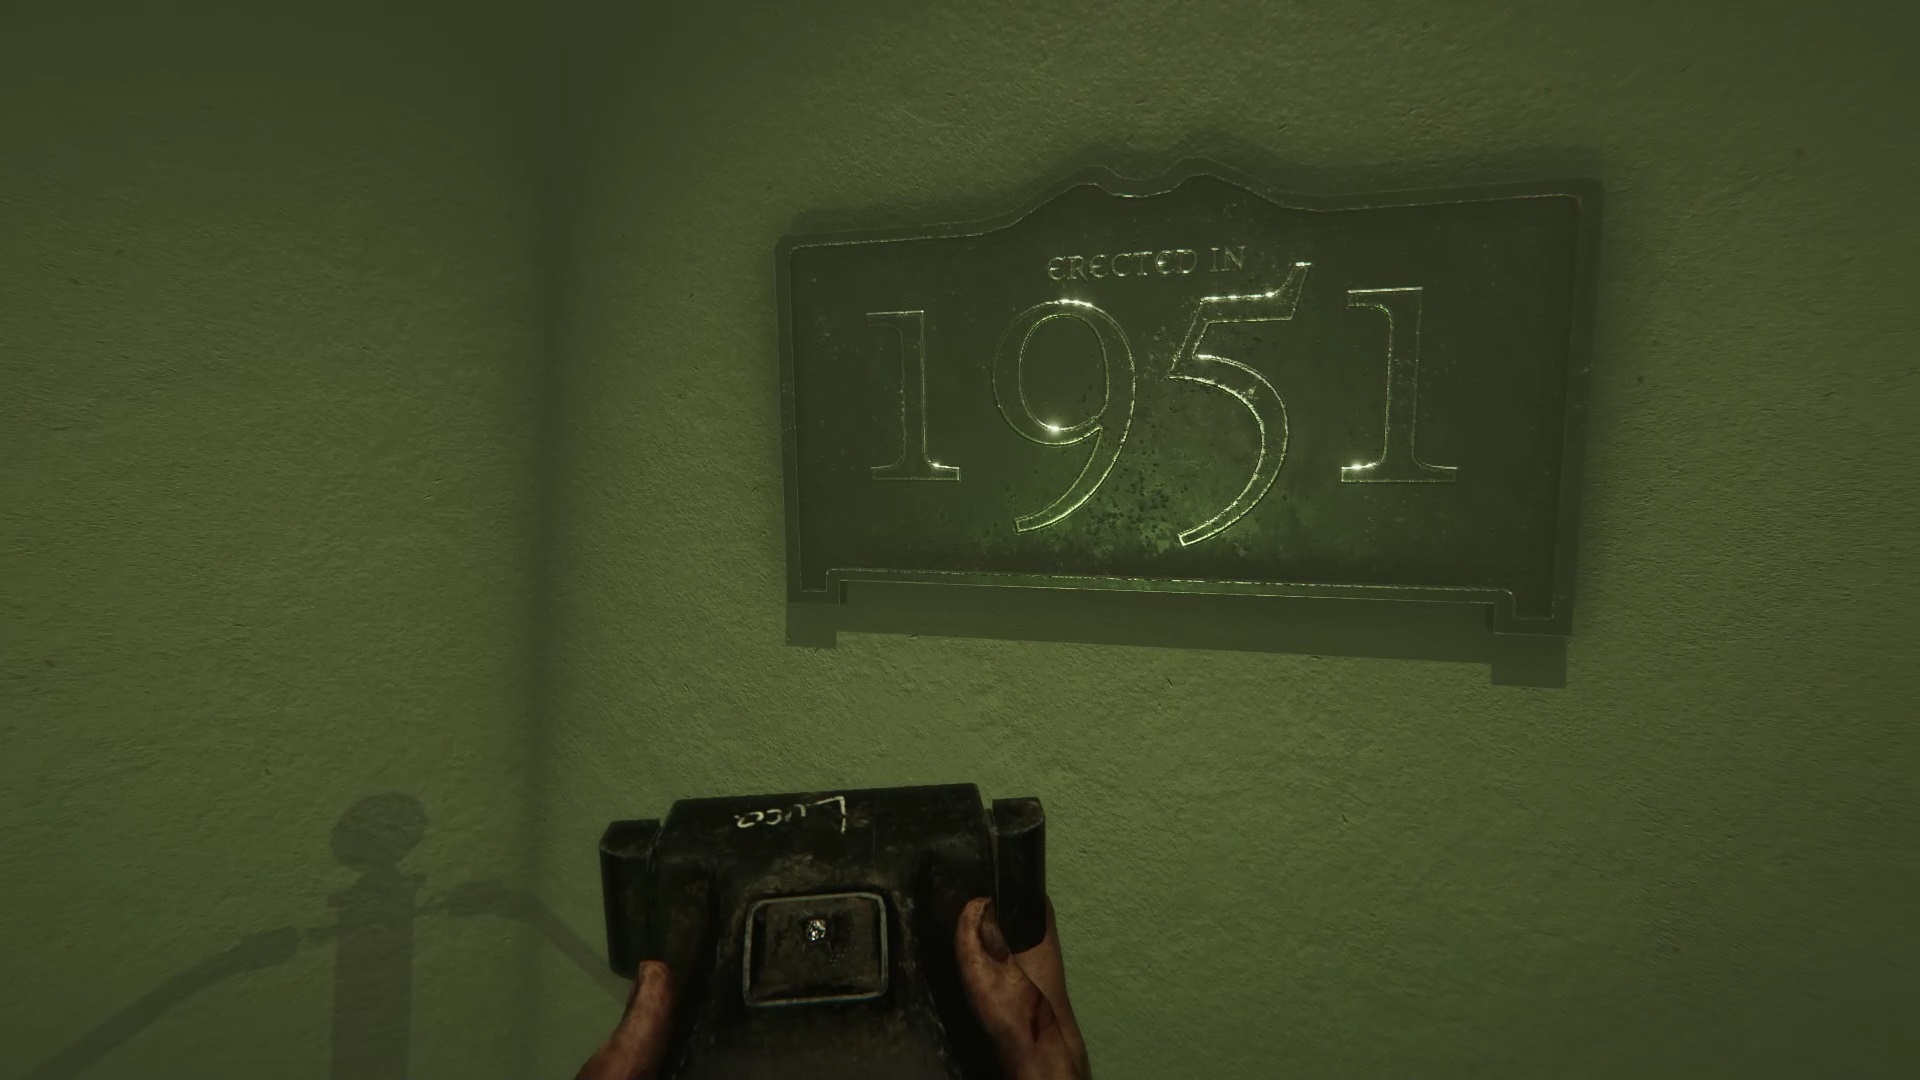
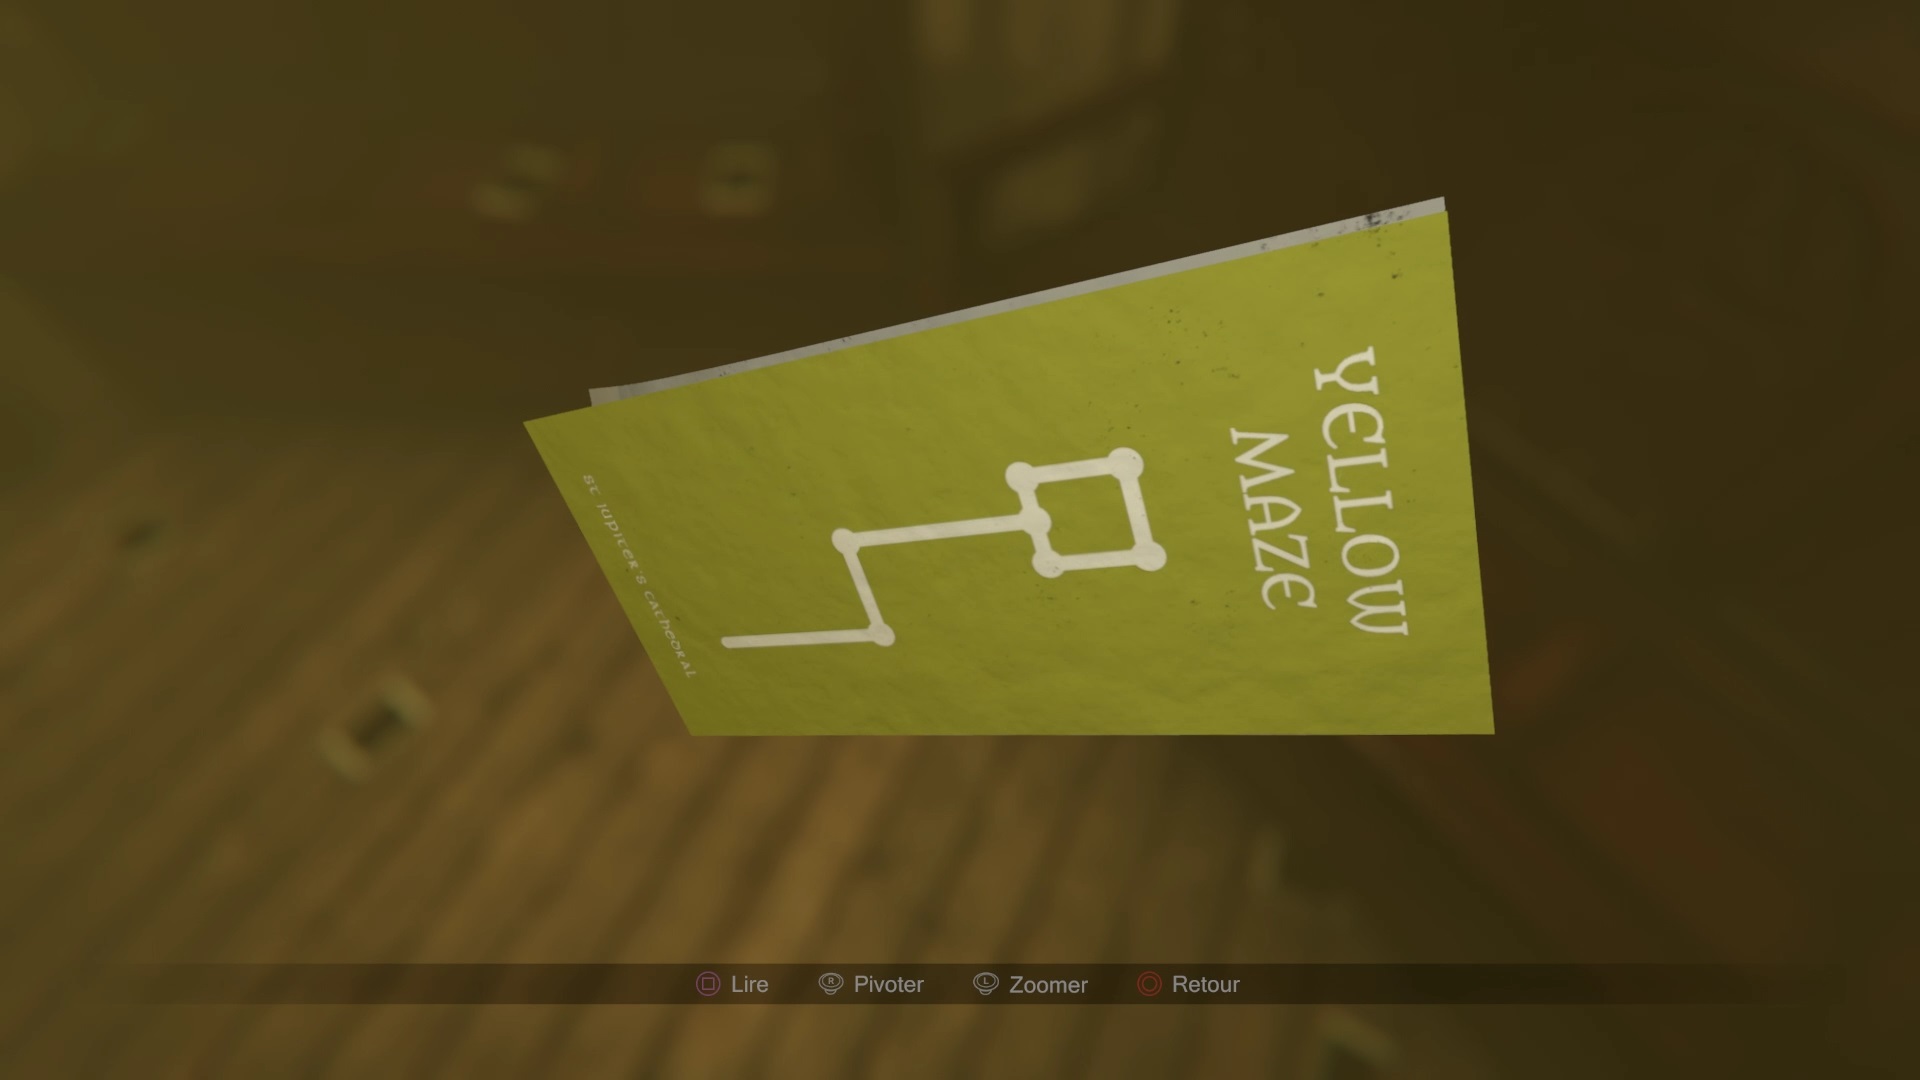
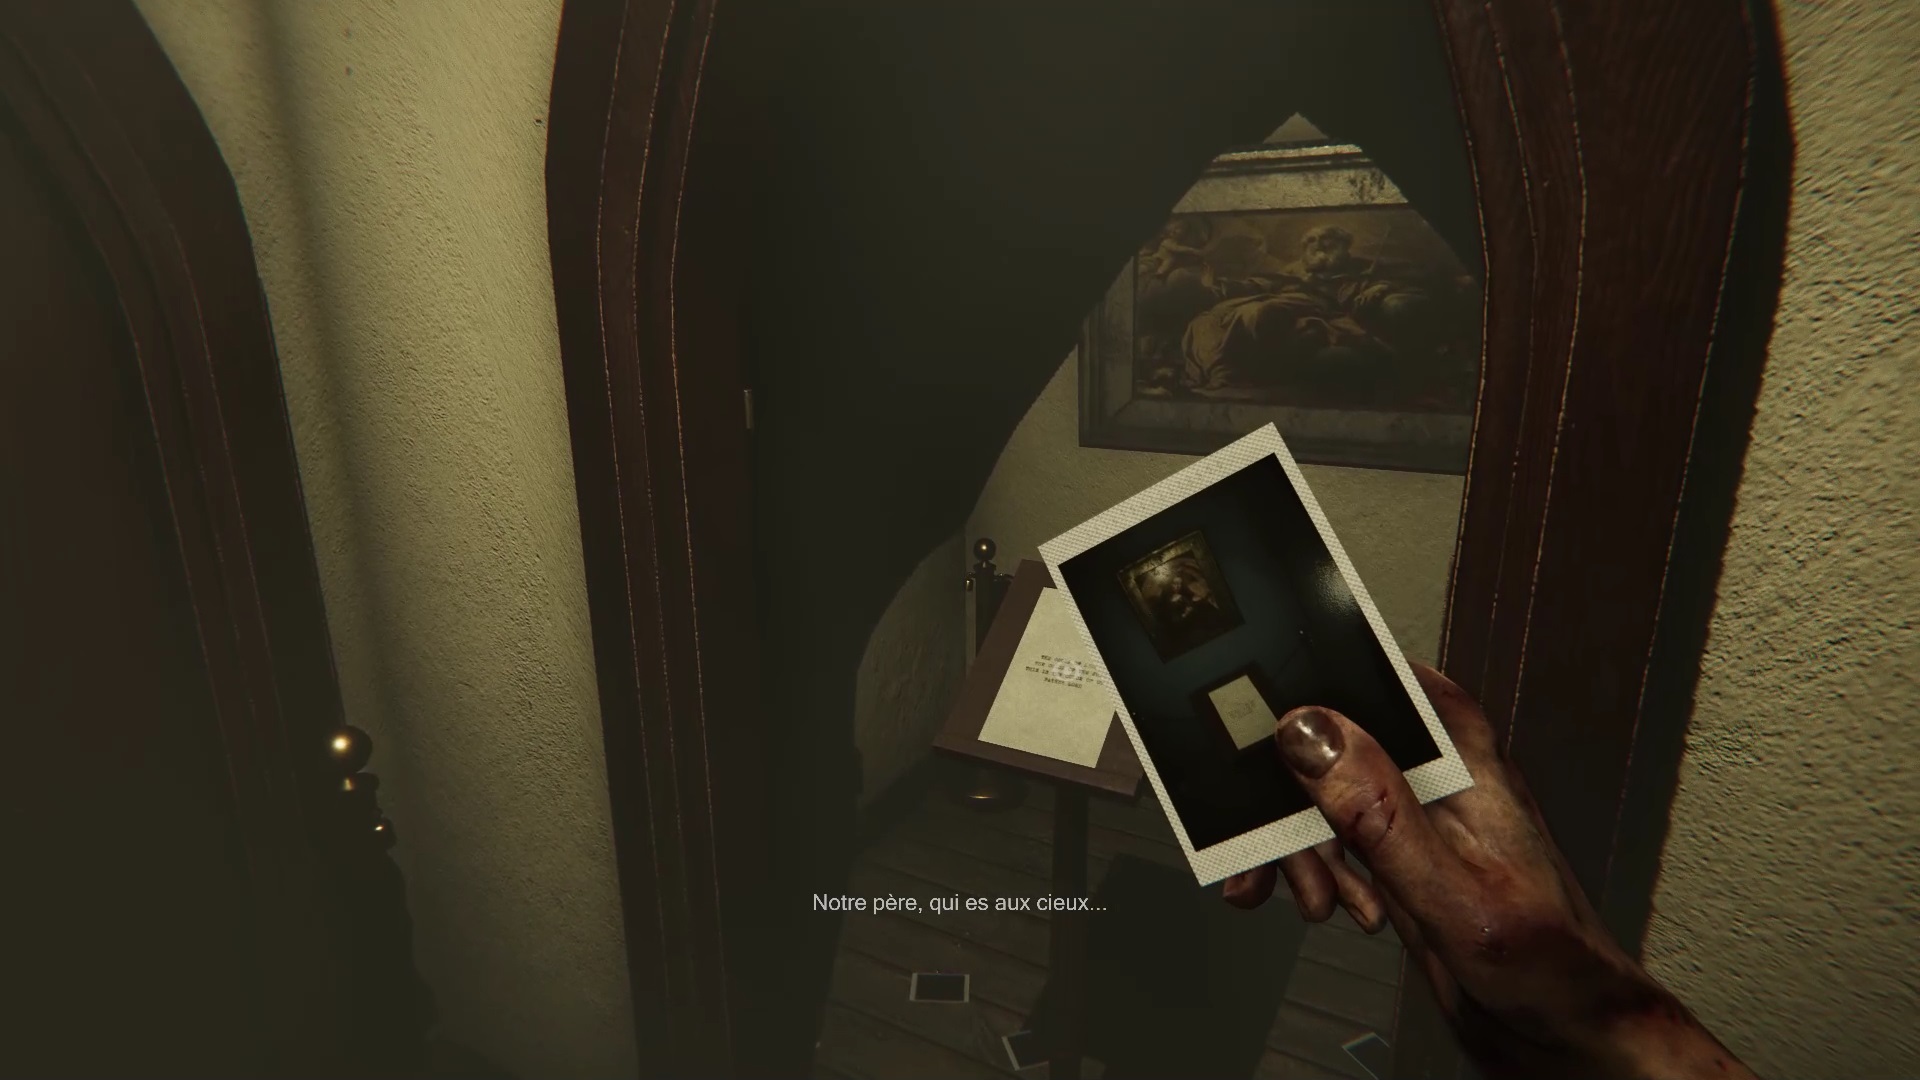
Head straight ahead towards the bell tower. In the corridor, photograph the two desks to retrieve two clues from the paintings. The color green is associated with the painting of angels and the color red is associated with the painting of crucifixion. Keep this information in mind for later. Climb the bell tower to find a red candle after the stairs. A map of the yellow maze can be found next to the bell tower. Retrace your steps to the altar to find the blue labyrinth map. In one of the benches in front of the altar, is the map of the green labyrinth. Opposite the green map is a red maze map. With all of its information, return to the room of foundation stones and photograph the « 1951 » plaque.
In 1951, take the blue candle from a bench below the plate. The yellow maze map is on the opposite bench. Go to the altar to find a woman in the confessional. Go back to the bell tower room to find two new clues on the associated colors of the woman’s paintings and the old man’s painting. Yellow for the old man and blue for the woman.
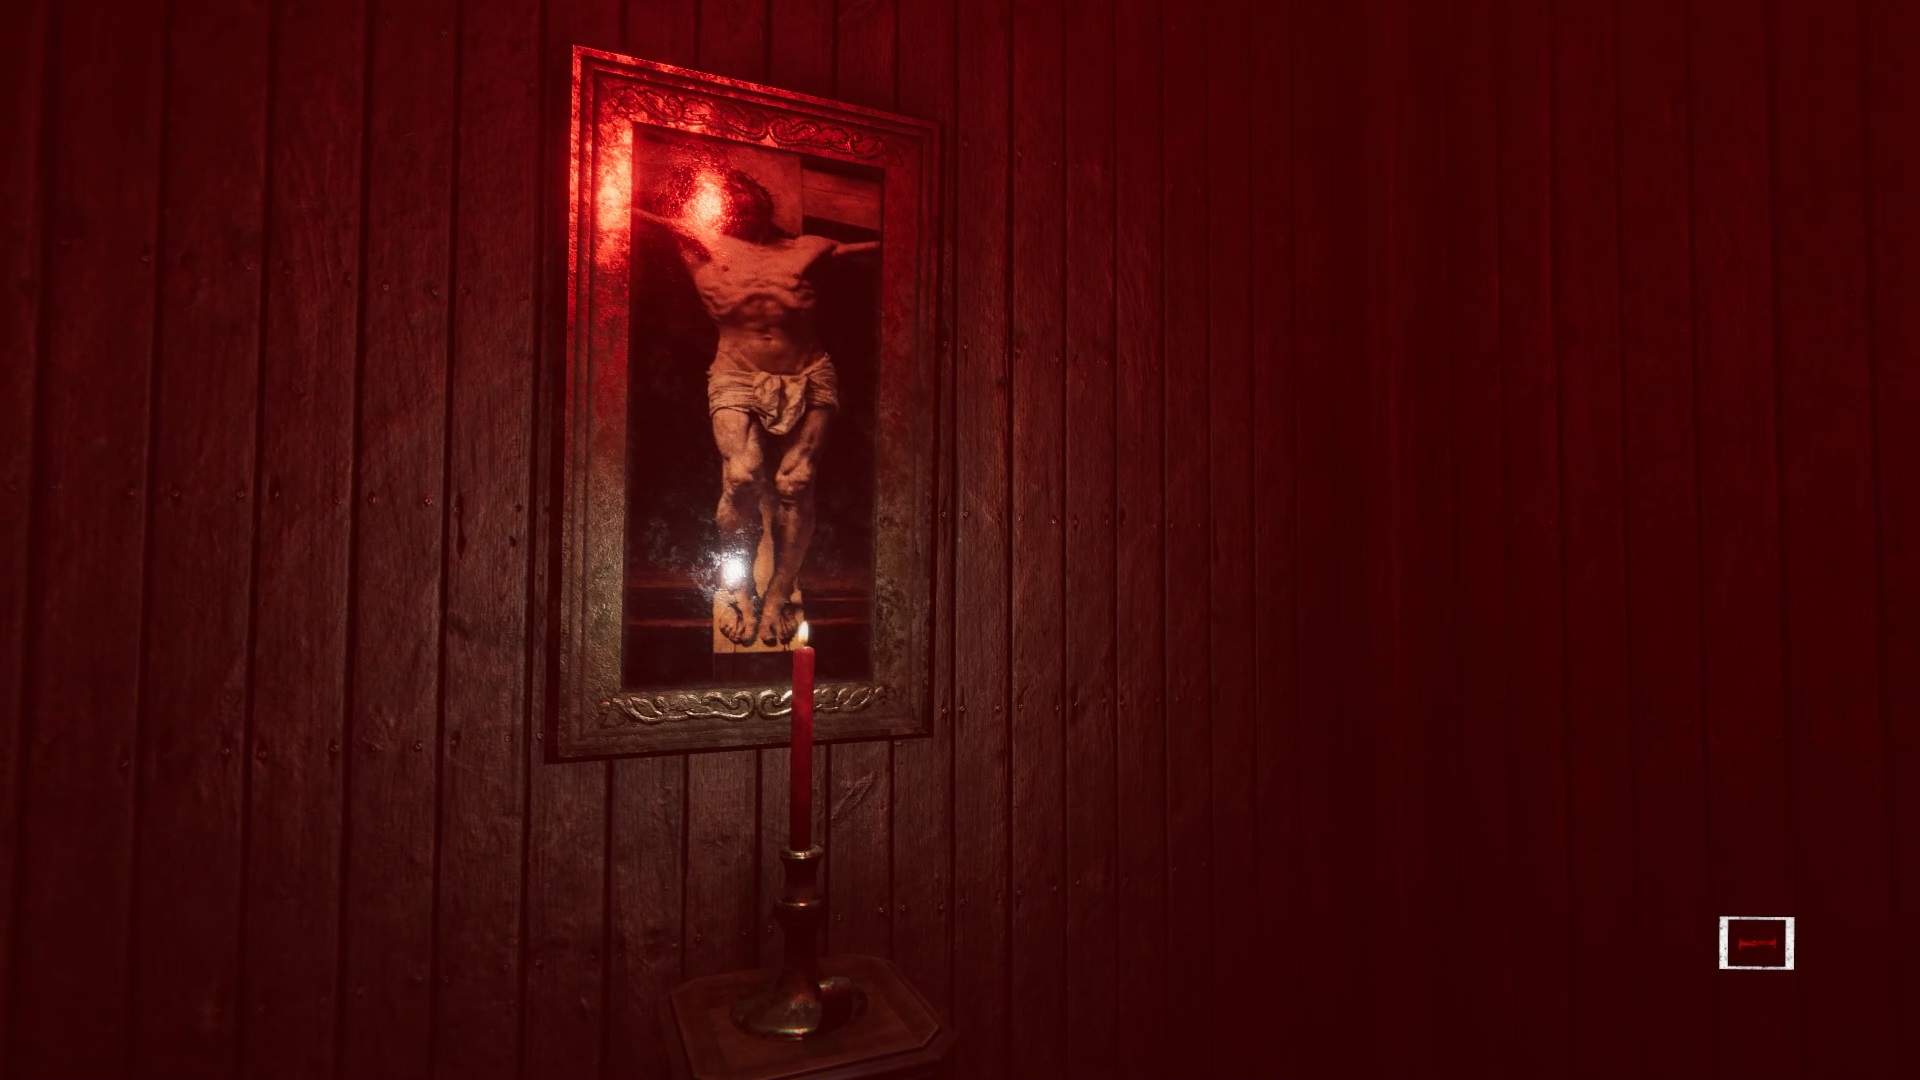
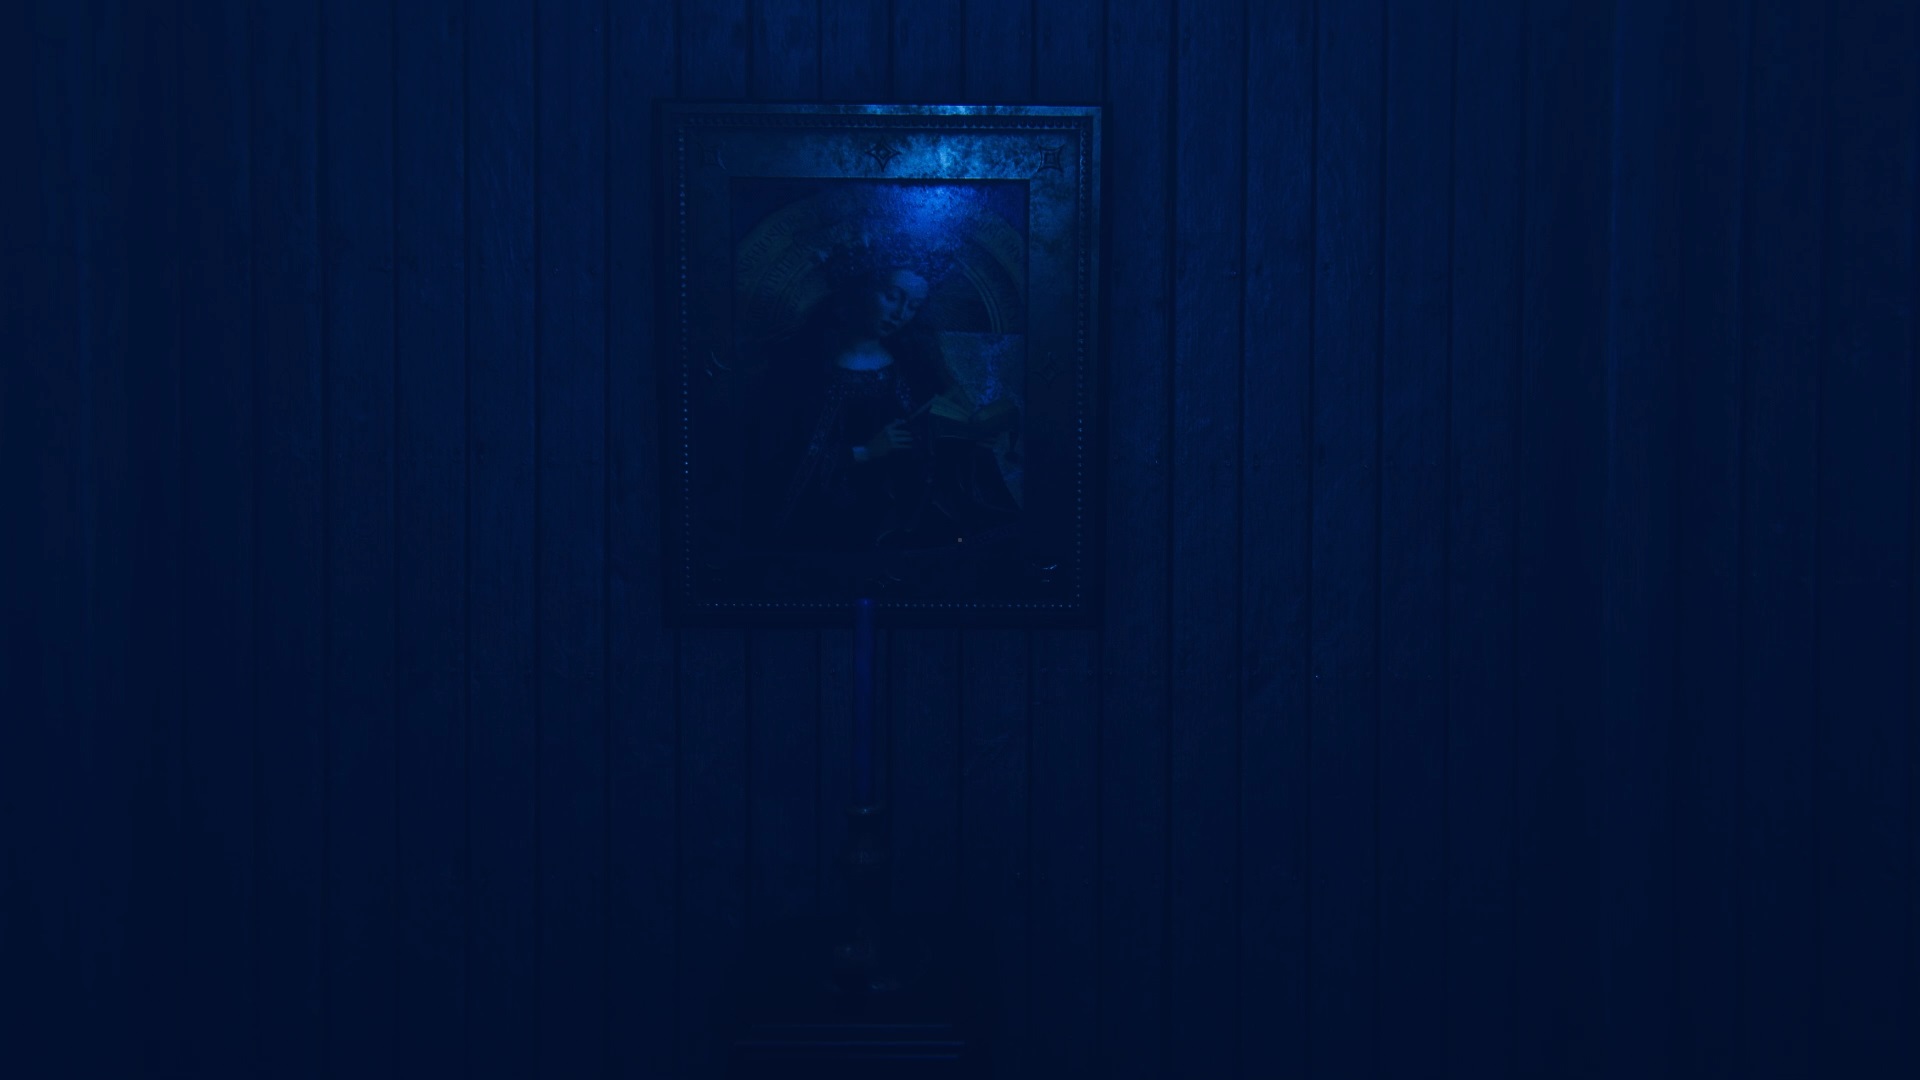
Go to the red maze and use the red map to find the crucifixion board. Place the red candle on the table on the board. Go to the blue maze, move inside using the map and place the blue candle under the woman’s painting. Join the yellow maze, always using the plan to place the yellow candle under the old man’s painting. Head to the church choir to see the floating green candle. Collect it and teleport to return in 1987.

Go to the green labyrinth using the map and place the candle under the painting of angels. After all the candles are set, go to the bell tower room to find a key under the bell. Teleport to 1951 and use the key on the confessional door. You will find Hans Goring’s plaque inside as well as a letter I. Direction 1987 to go to Madison’s funeral. In the center of the church choir are a coffin and a stele with Madison’s name. Use the letter « i » to fill in the missing letter. Aim the camera at the coffin and flash it to make it fall. Collect the skull from the remains of the body and go through the white door opposite which has just appeared.
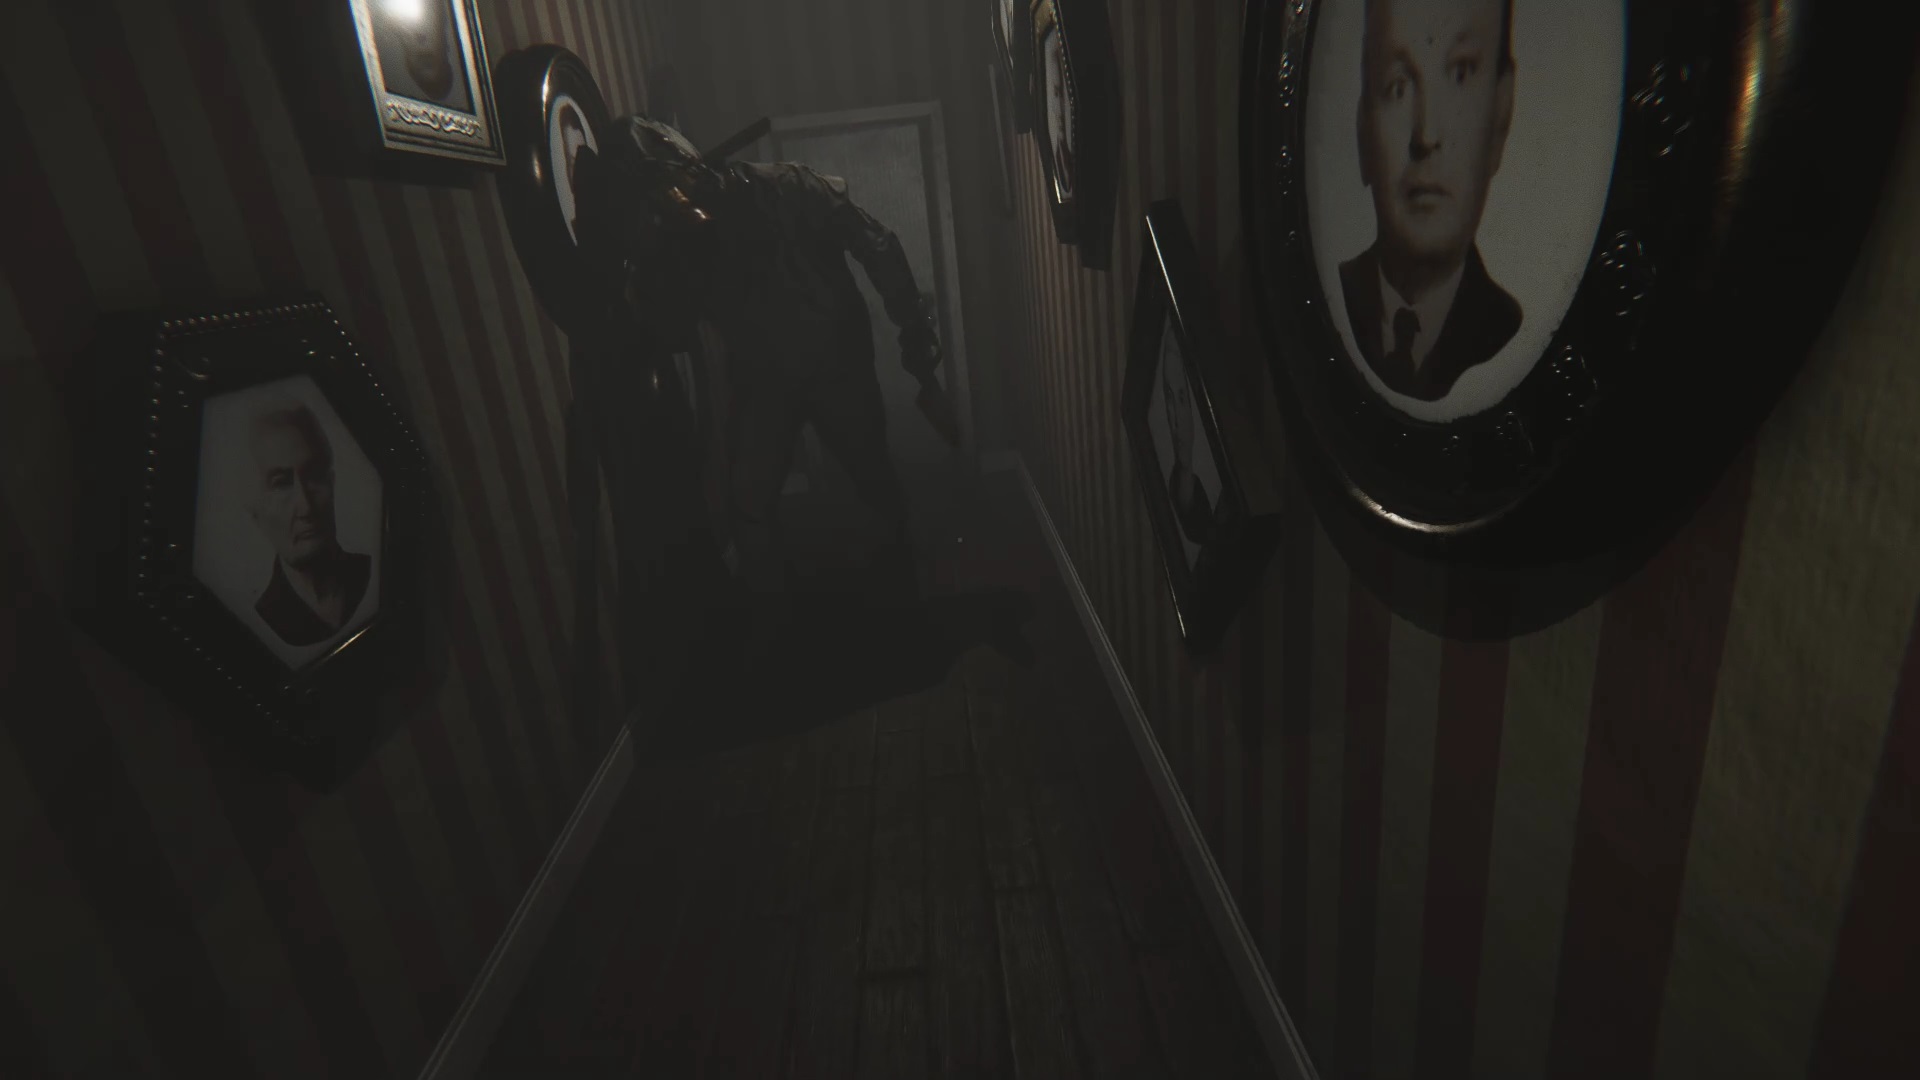
In the hallway, go from one door to the opposite door so that a door disappears. Go to the other side so that Hans Goring appears. Run to the other side to find an exit to the house.
Walkthrough of the basement and ritual room section of Madison
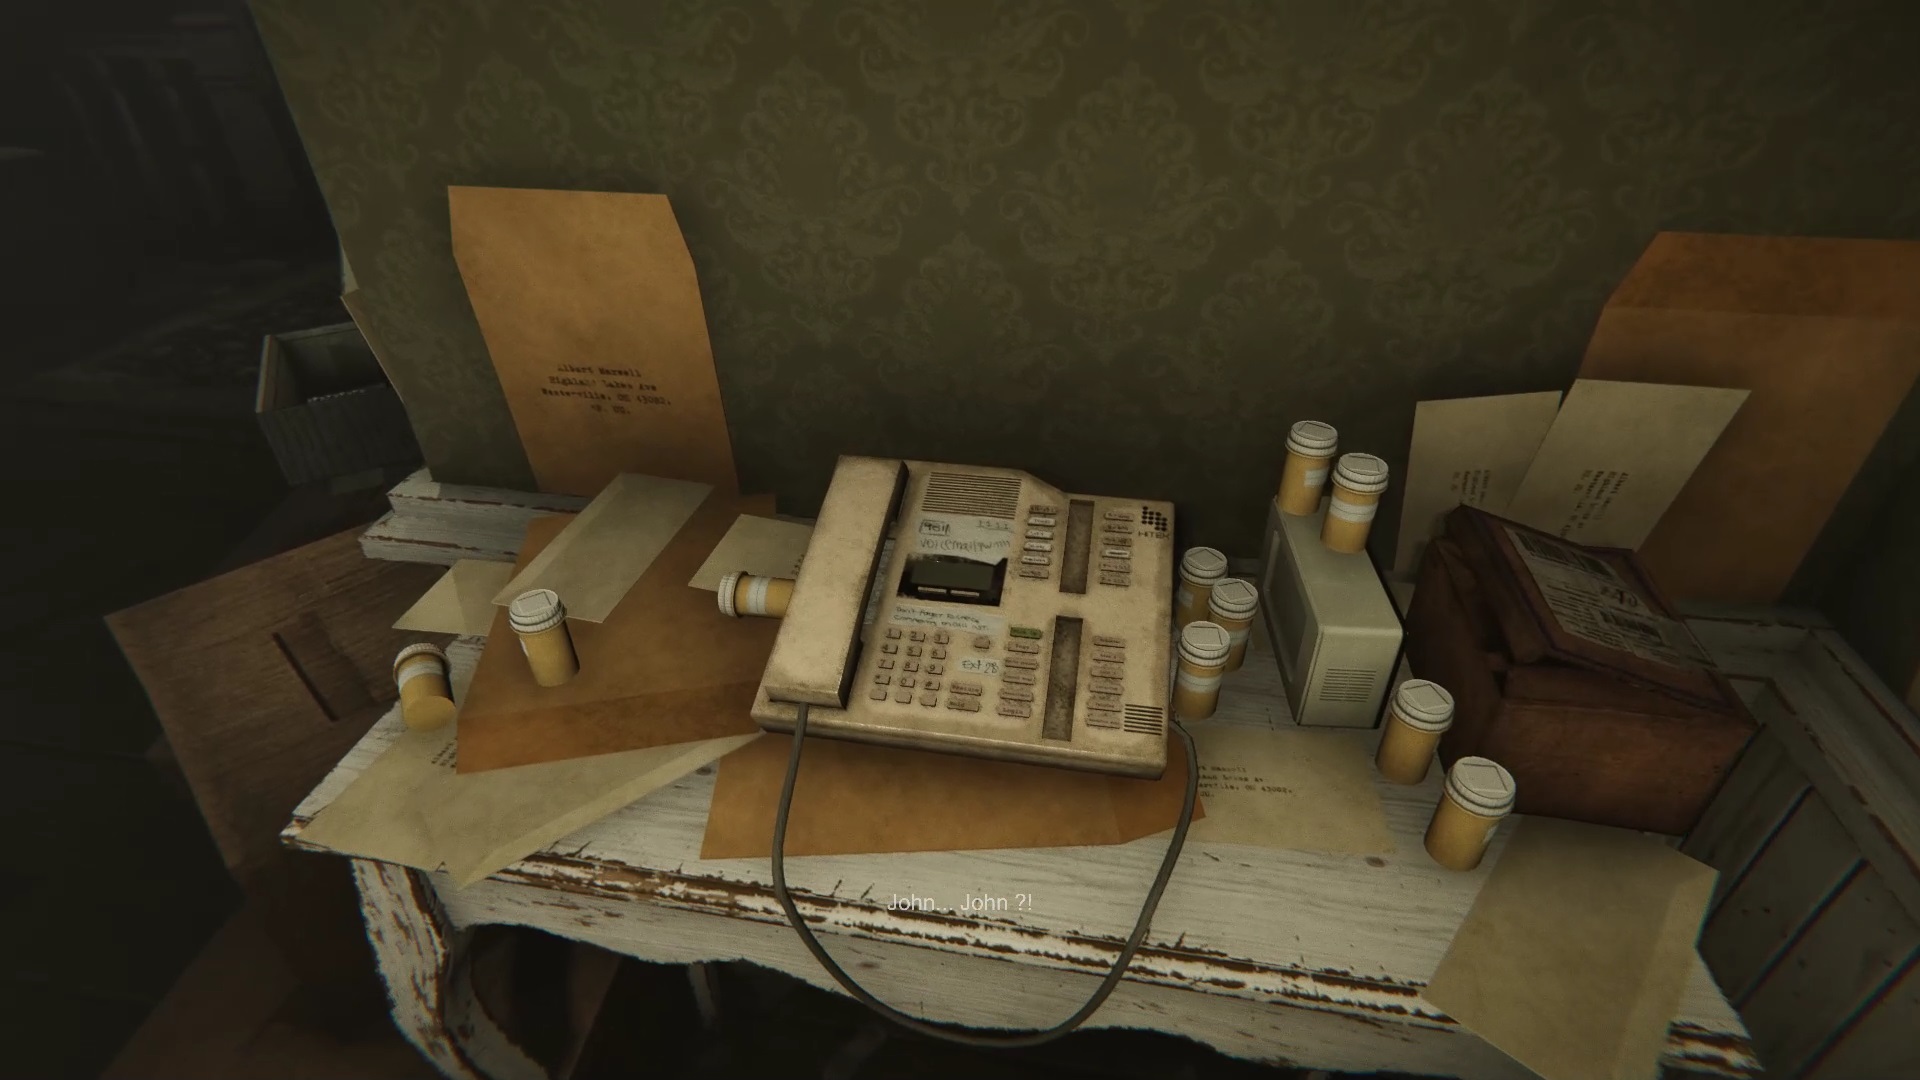
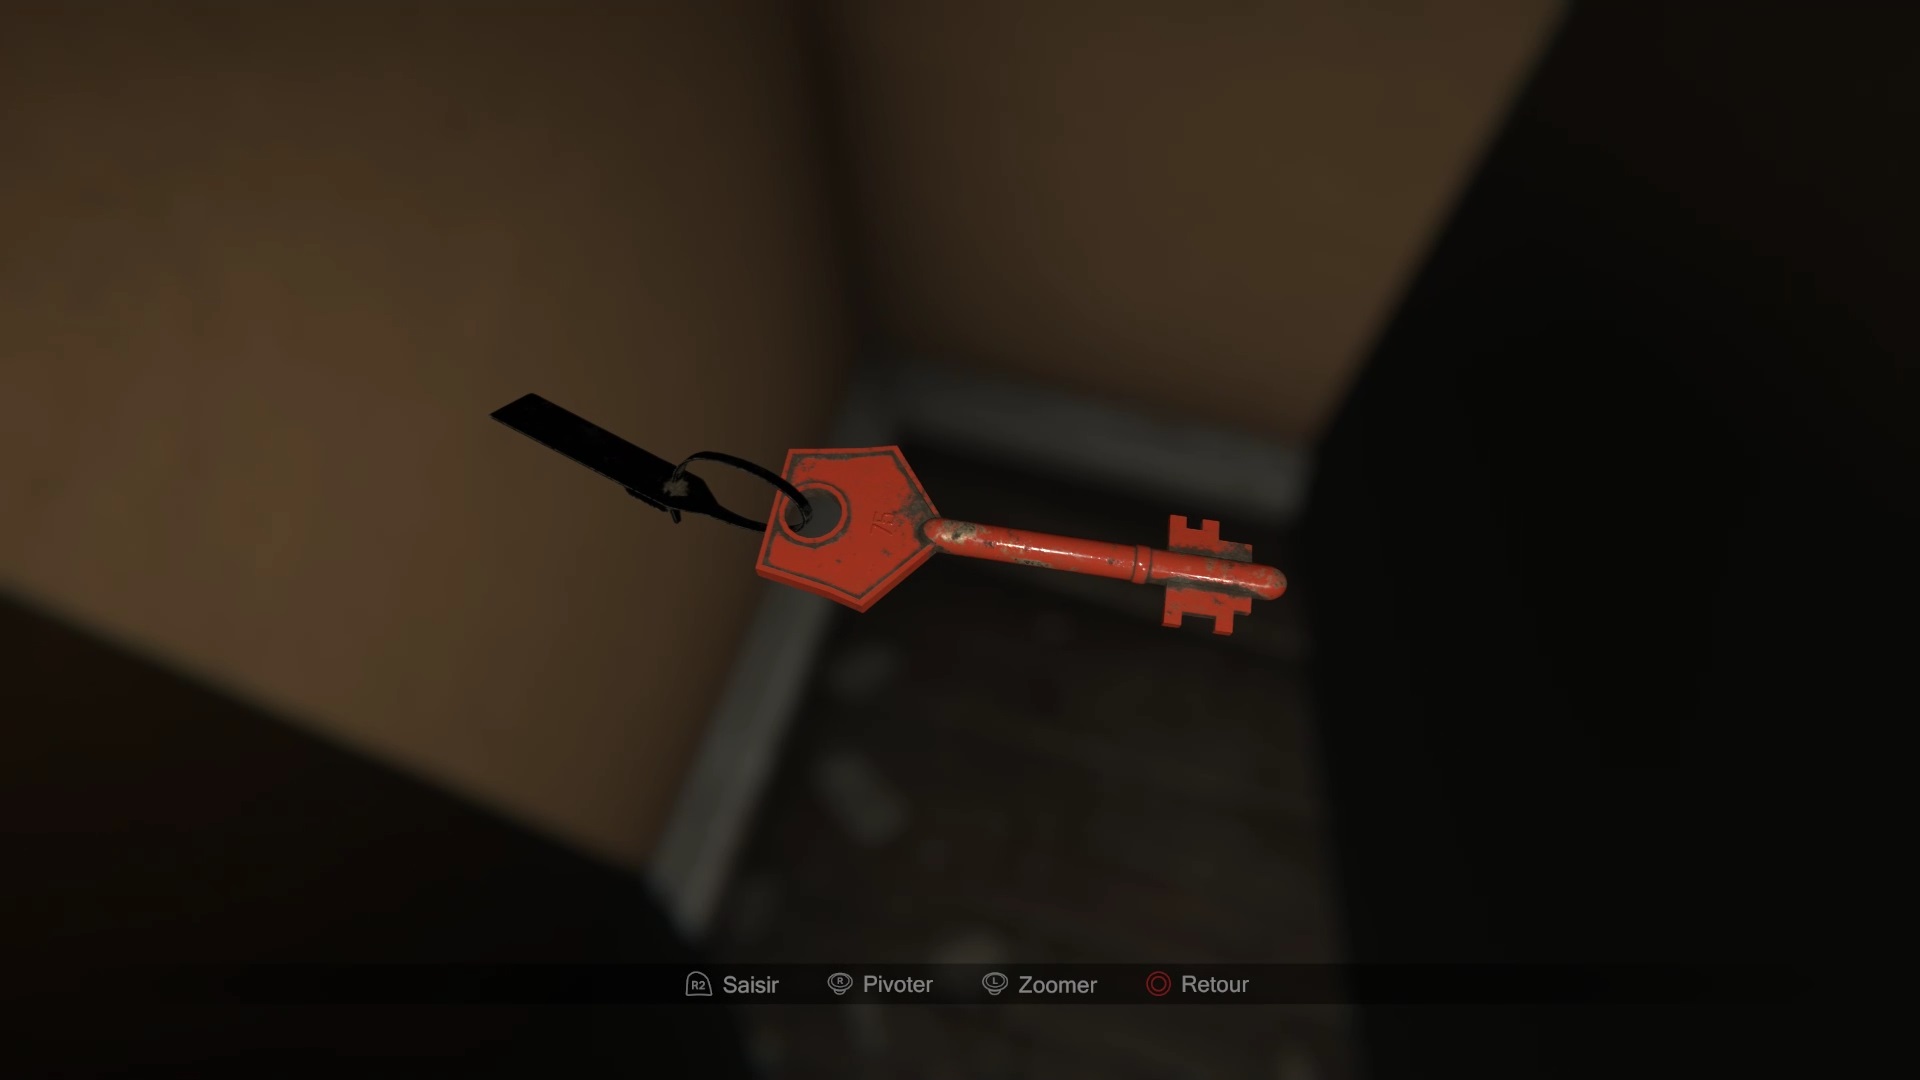
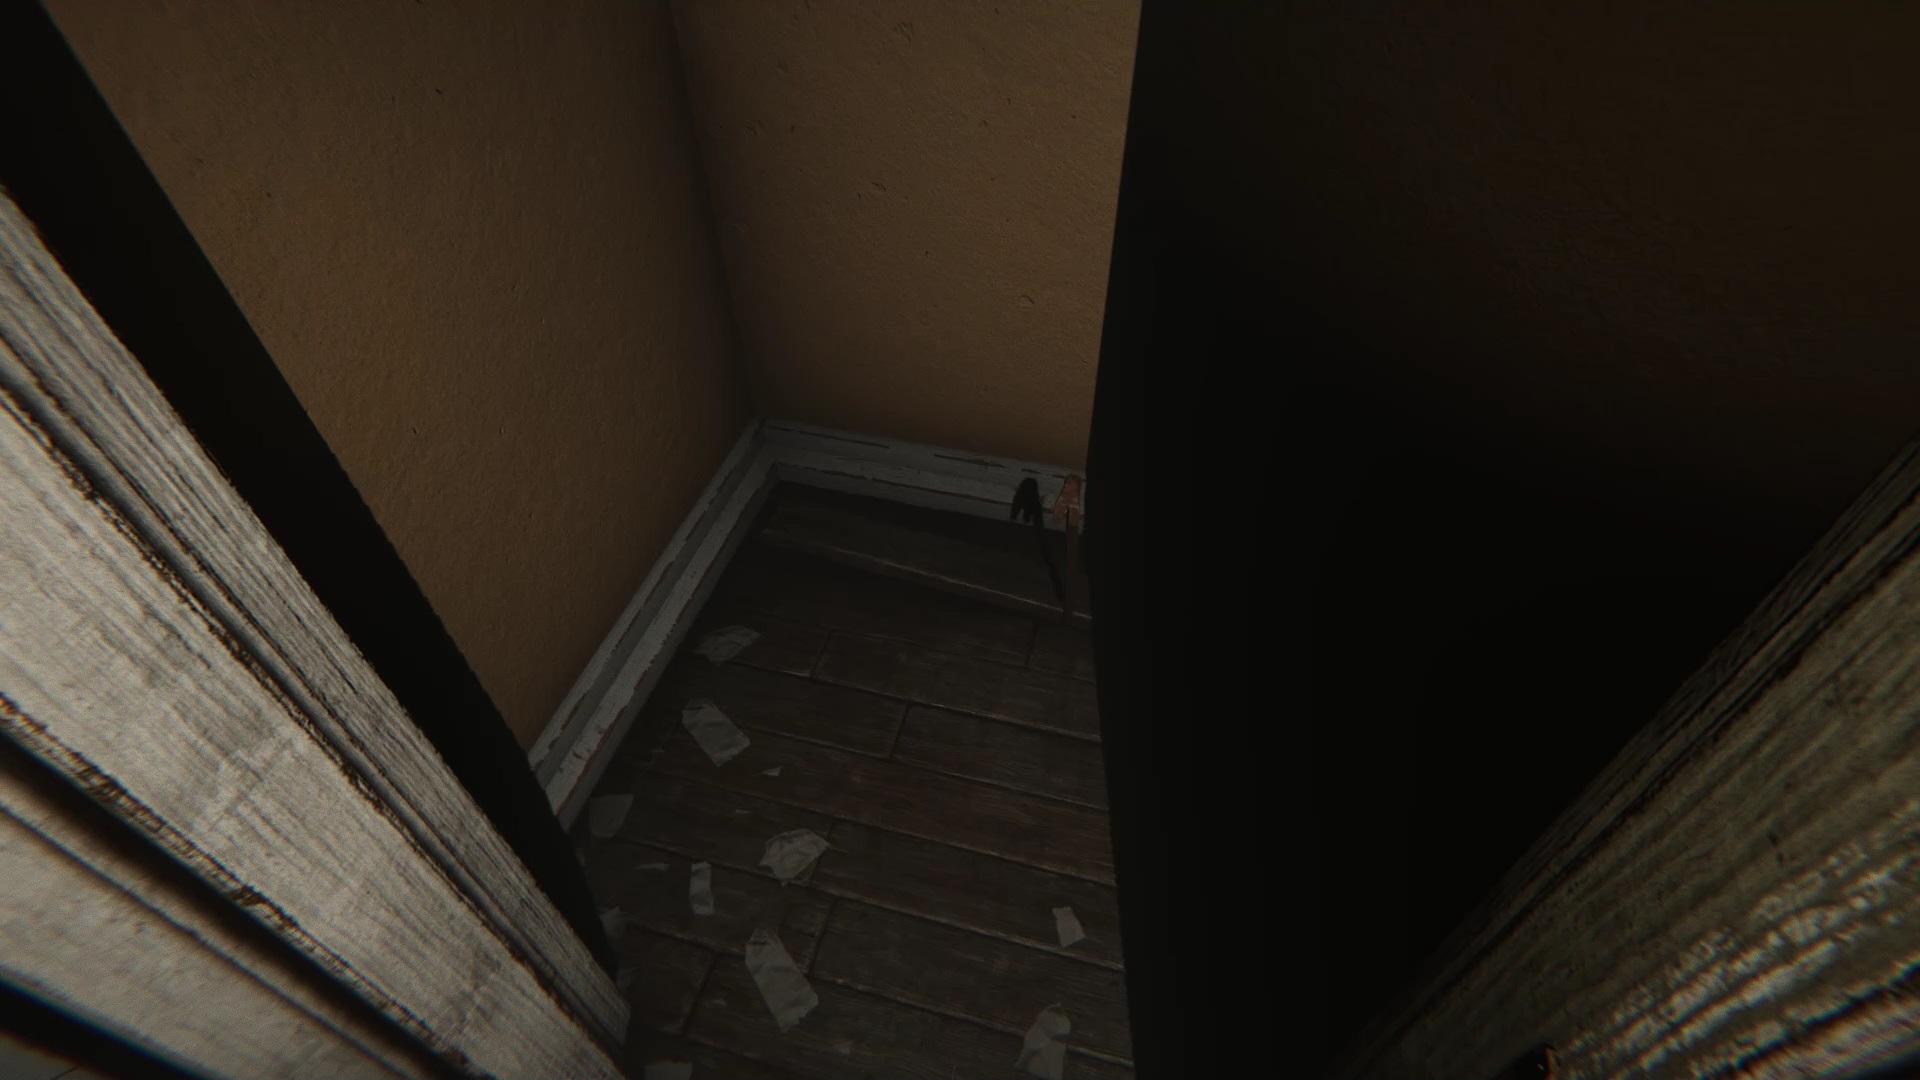
Back in the house, go down the attic ladder. The phone rings in the dining room. Go to the dining room to pick up the phone. After the audio message, a door opens into a hallway. This is the door to the couple’s bedroom. Look down the hallway from the bedroom’s bathroom to find an open plank. Collect a key below. The key opens the red door in the basement. Return to the basement through the breach and unlock the red door with the key. Inside, the door closes behind you and sends you into another reality. A lamp descends in the center of the room. Interact with the lamp to change the position of the shelves. Double tap on it to make a crowbar appear on a shelf. Collect the object and use the lamp to make the statue appear.
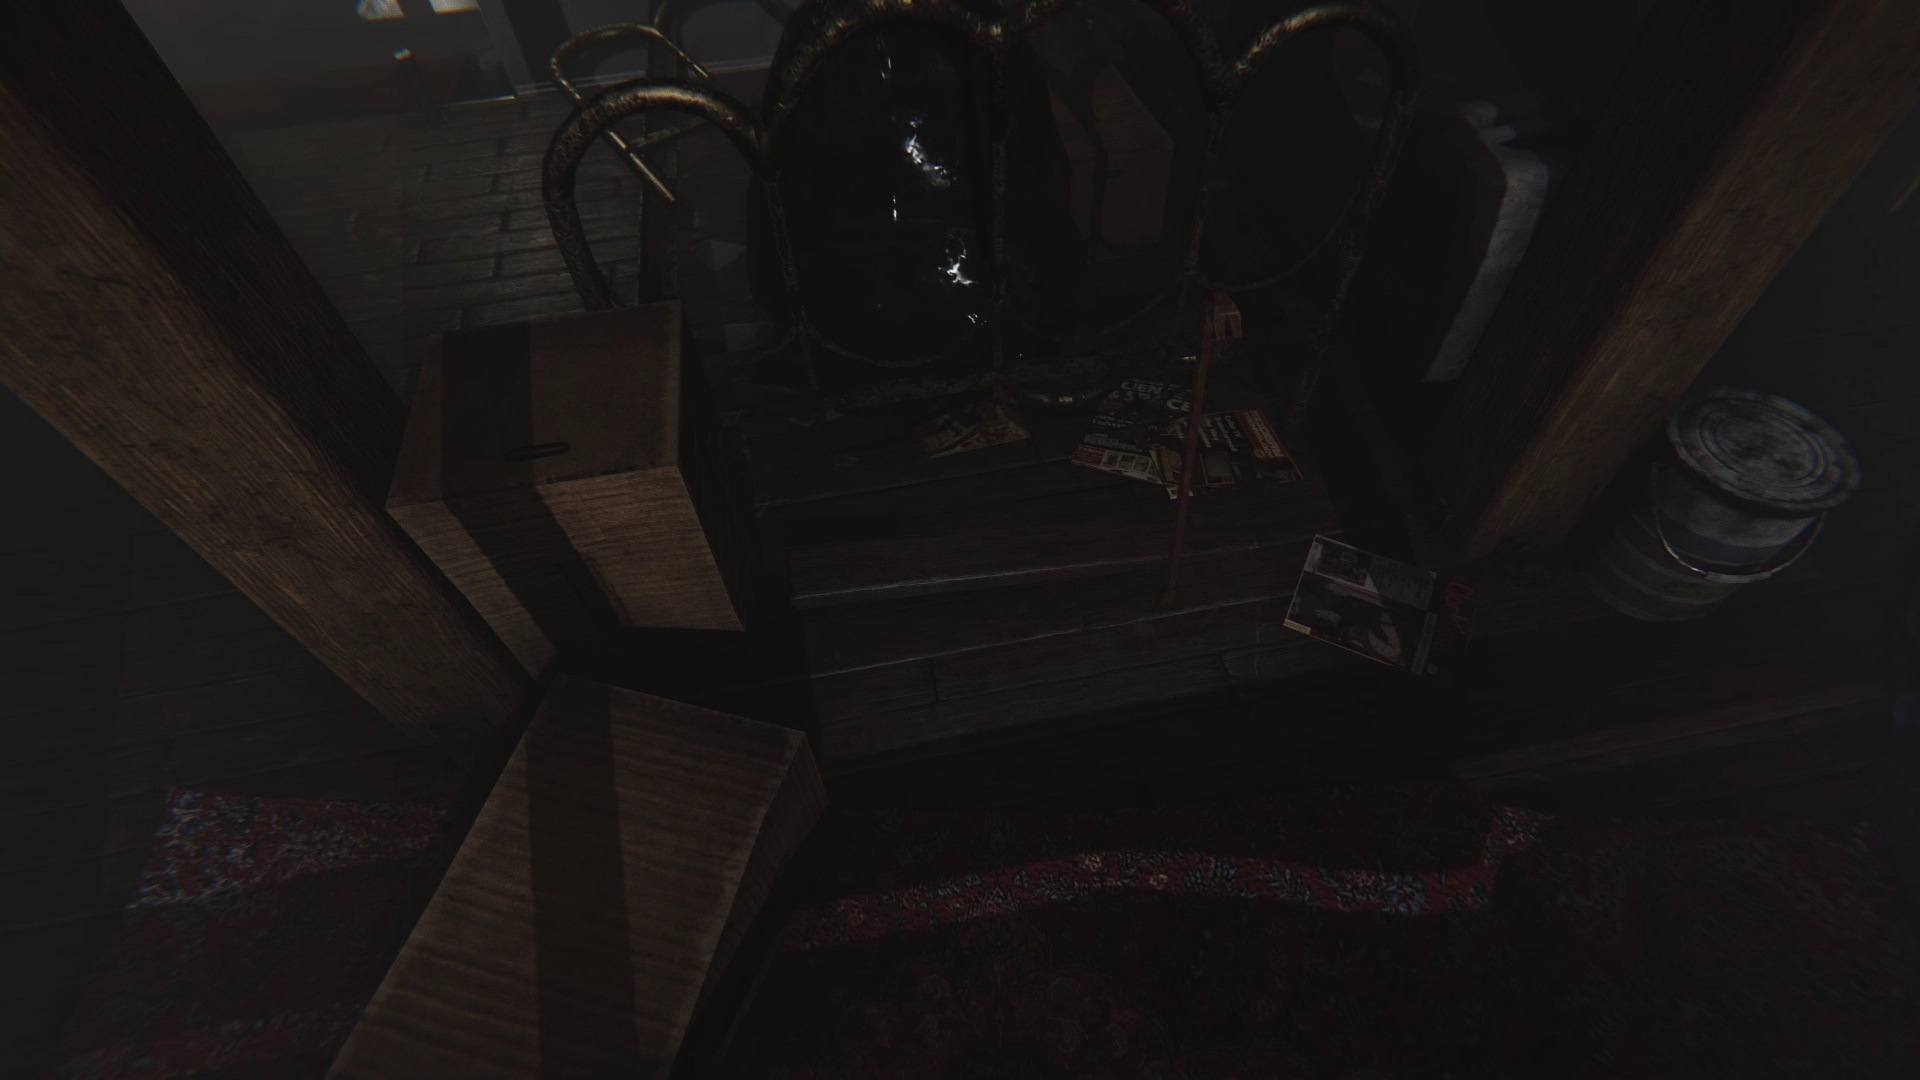
Use your camera on each statue to spawn the exit. Go back into the house and use the crowbar with the board ajar in the couple’s bedroom. You find a ring in its case. Take advantage of the crowbar to go to the attic. Behind a trash can, there is a half-open board, use the crowbar to open it and retrieve a tape to listen to with the tape recorder in the dining room.
How To Solve The Crying Virgin Mary Puzzle
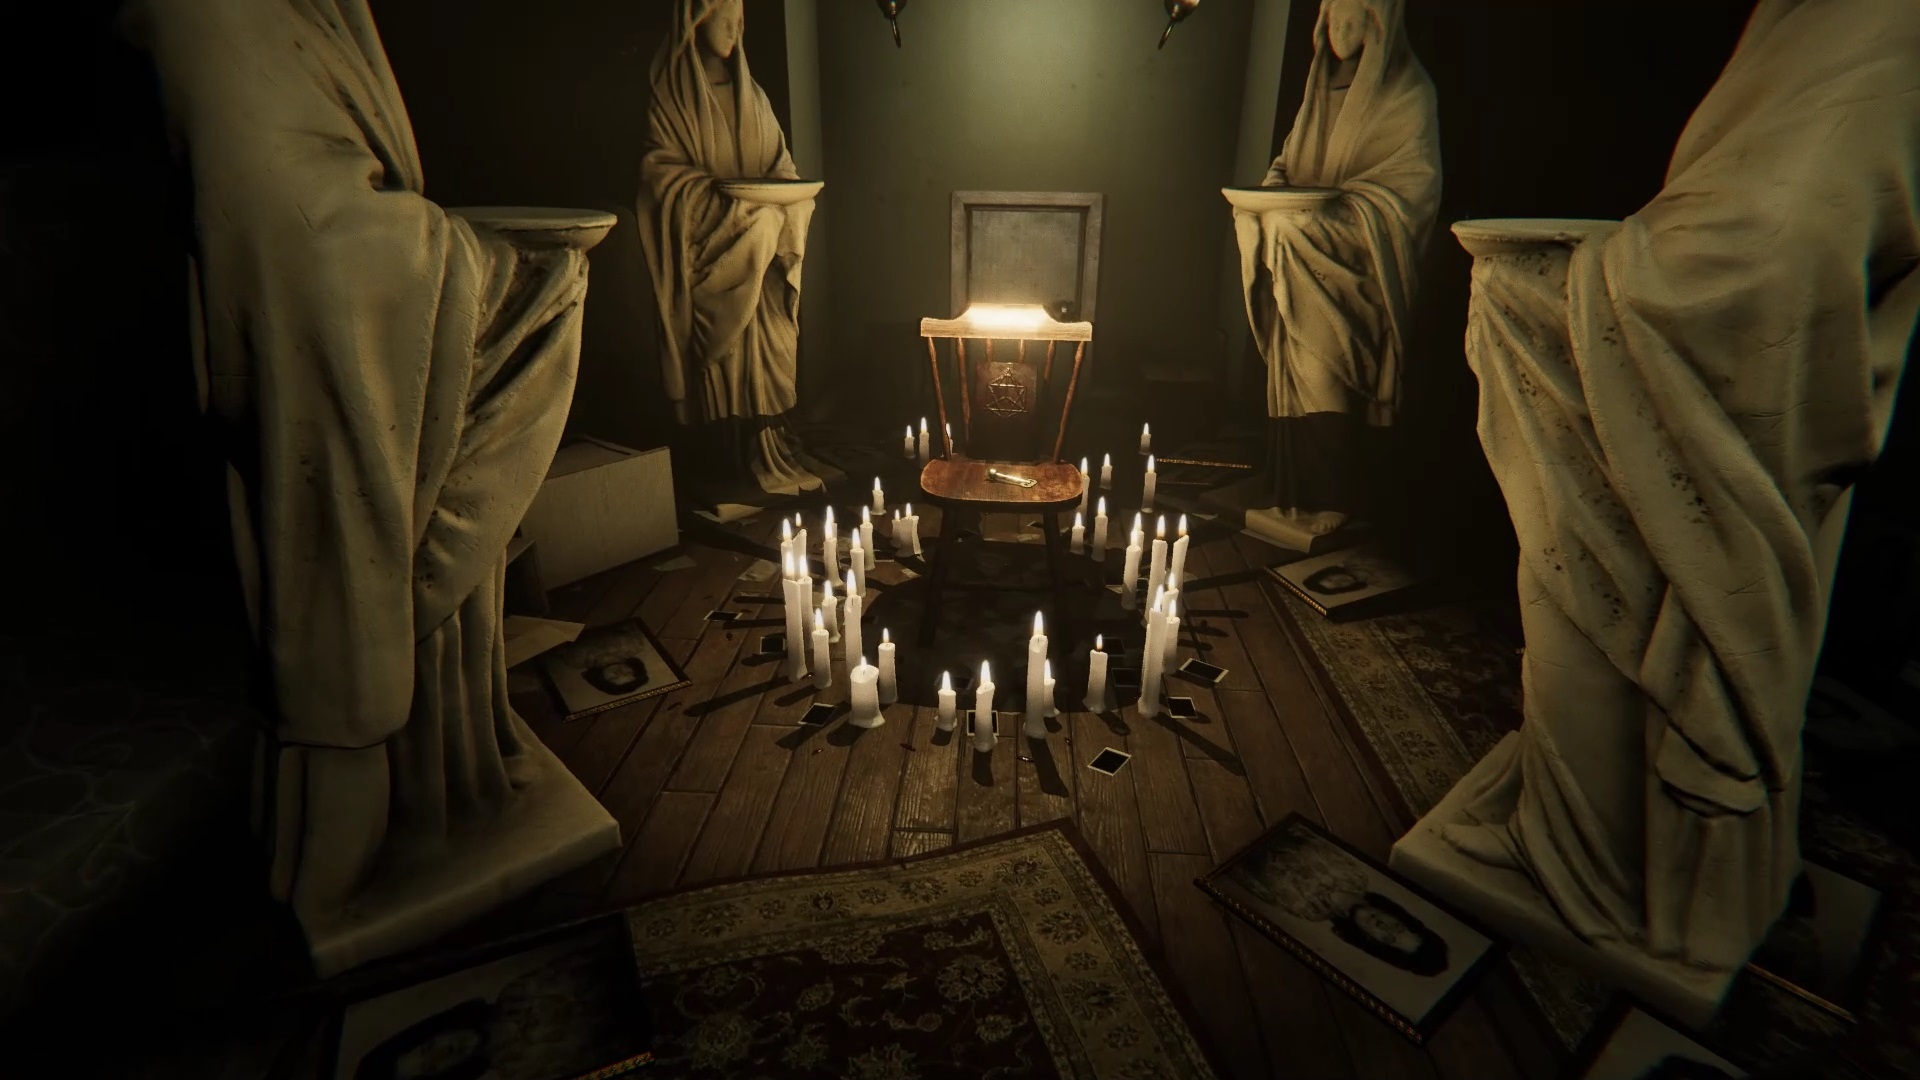
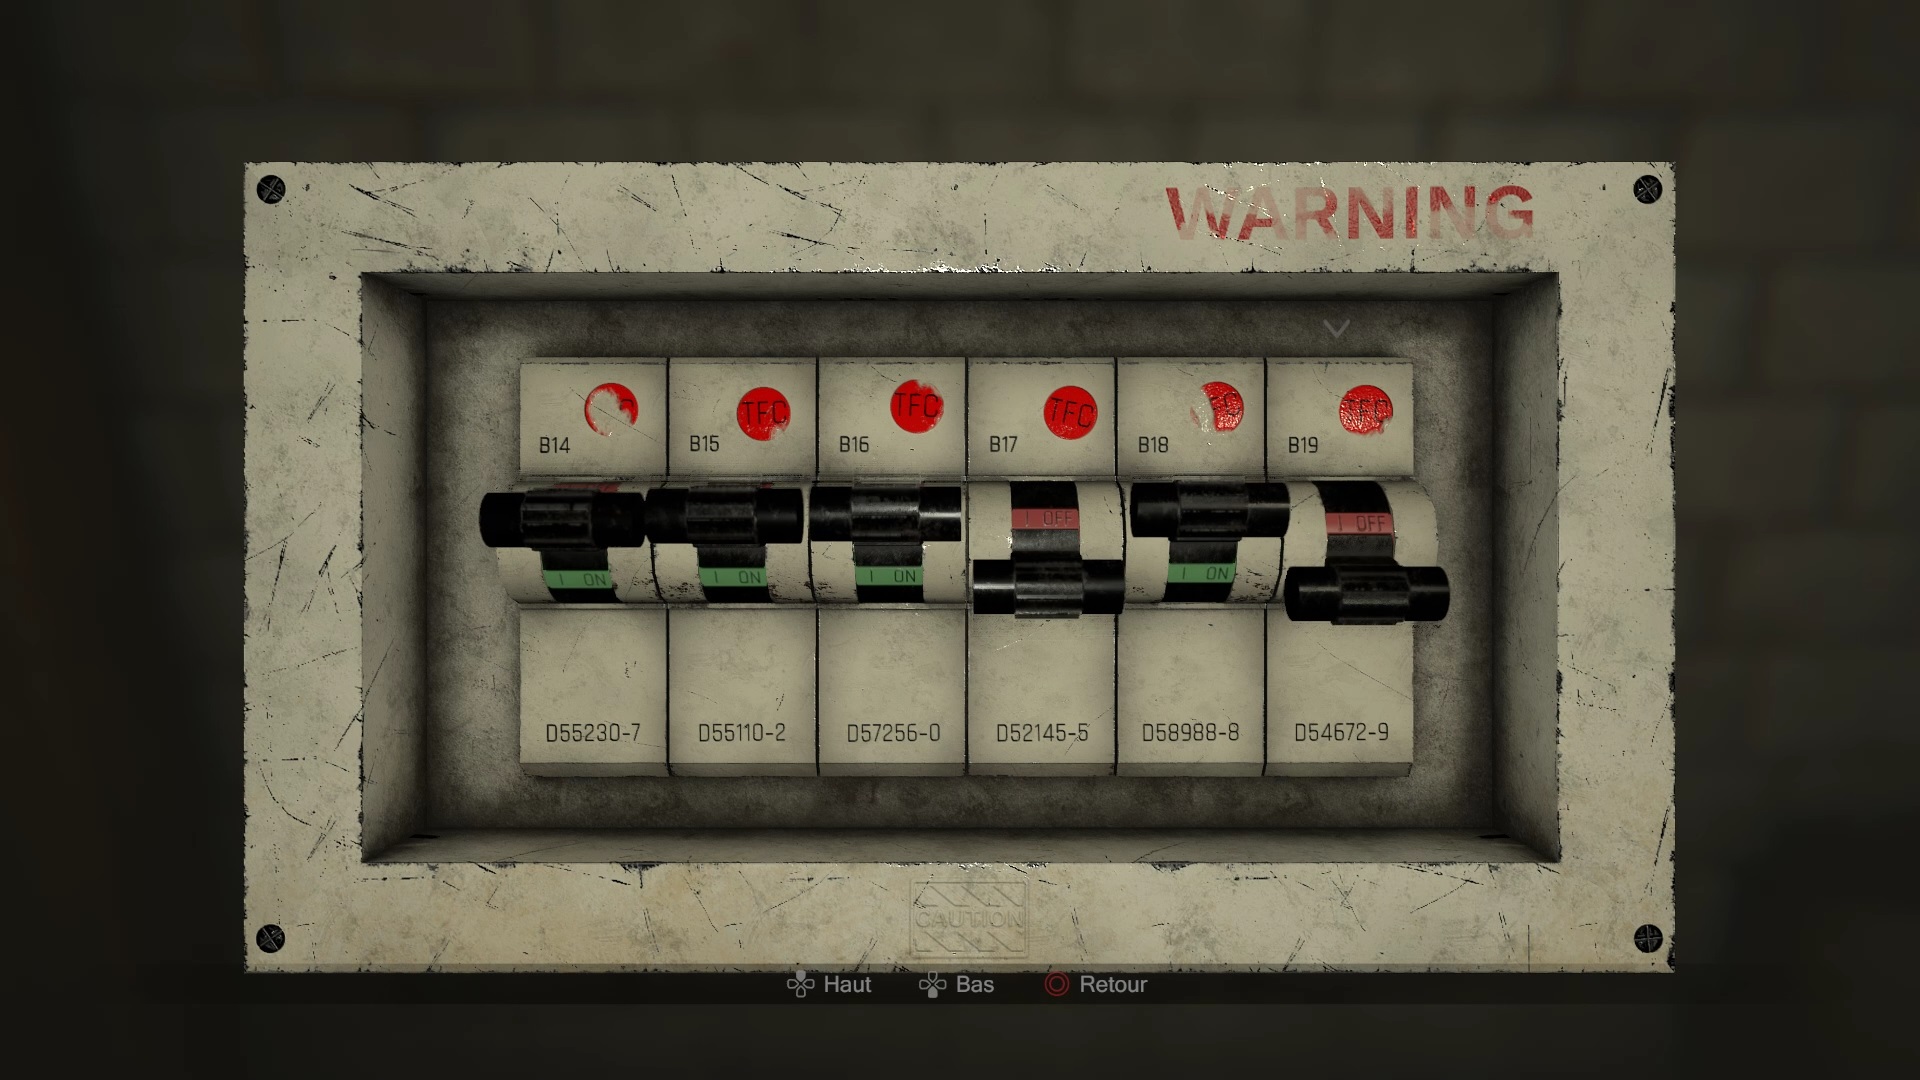
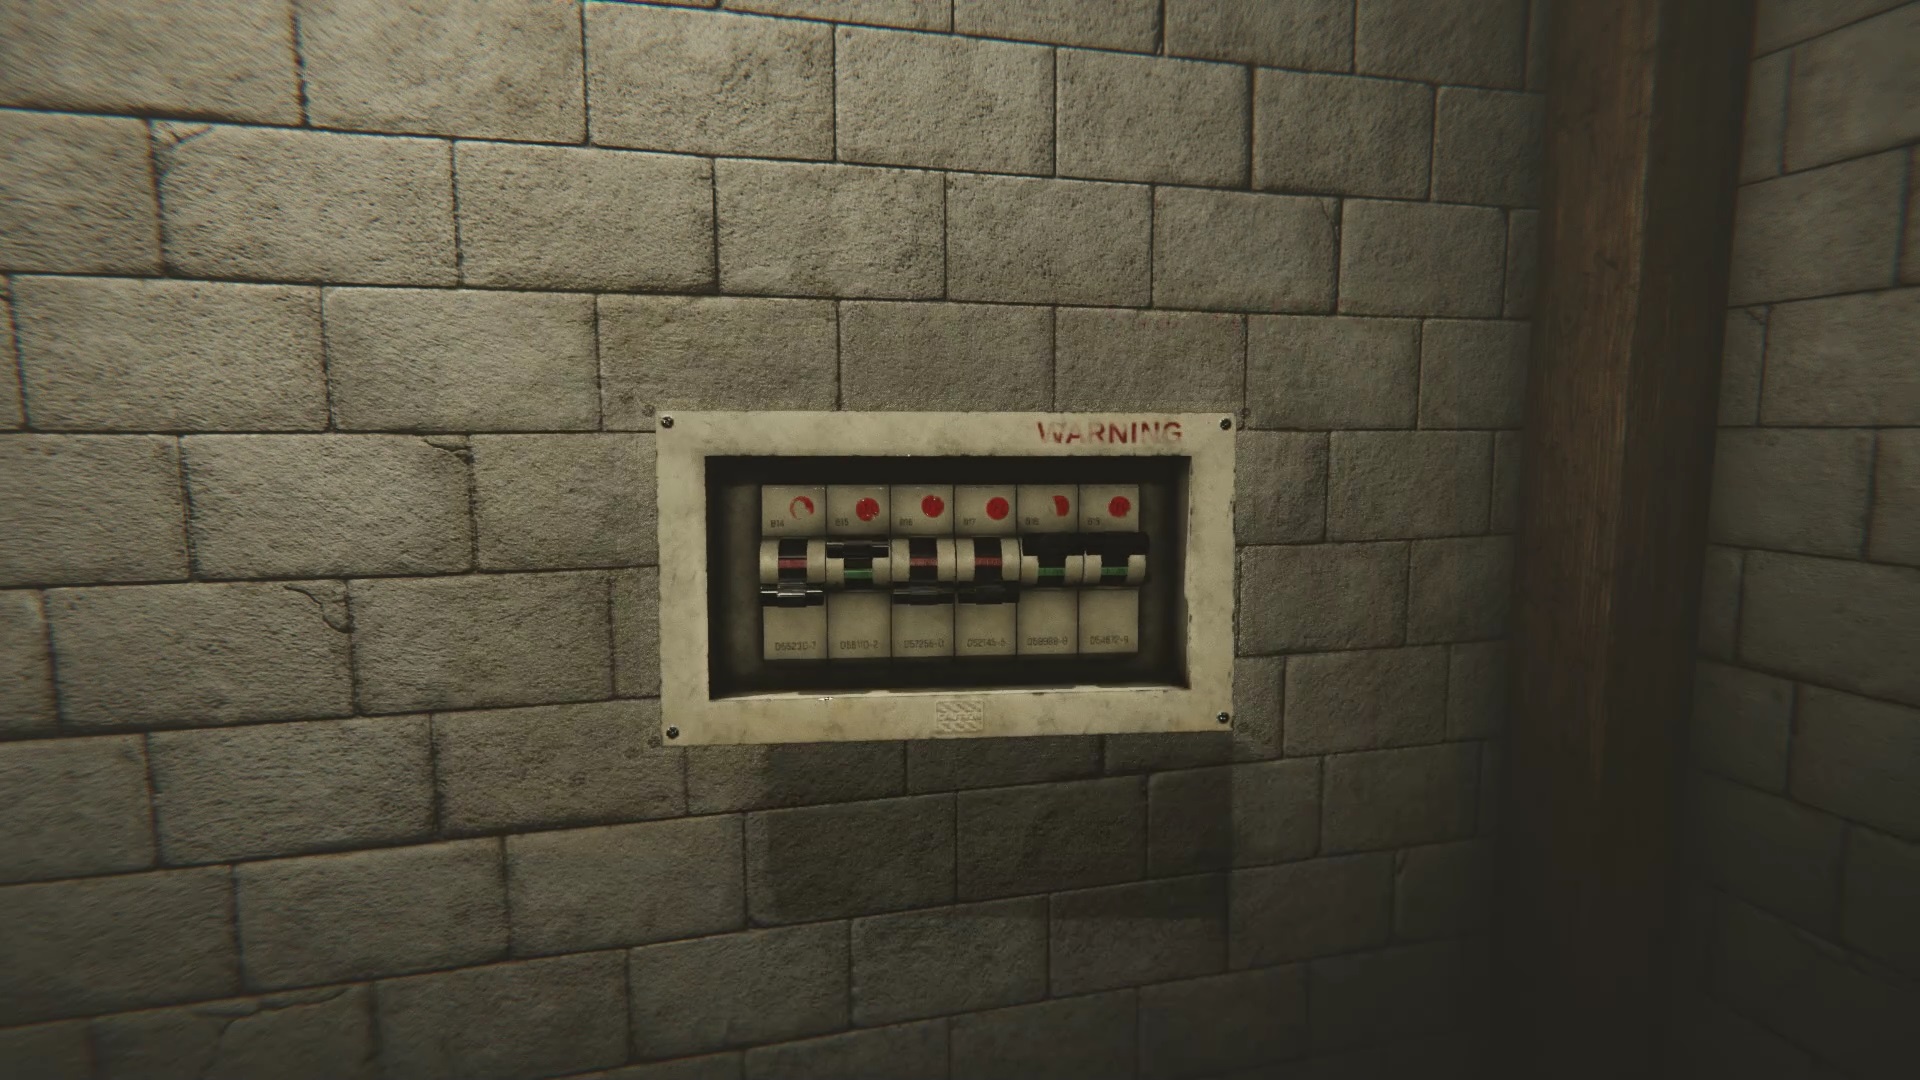
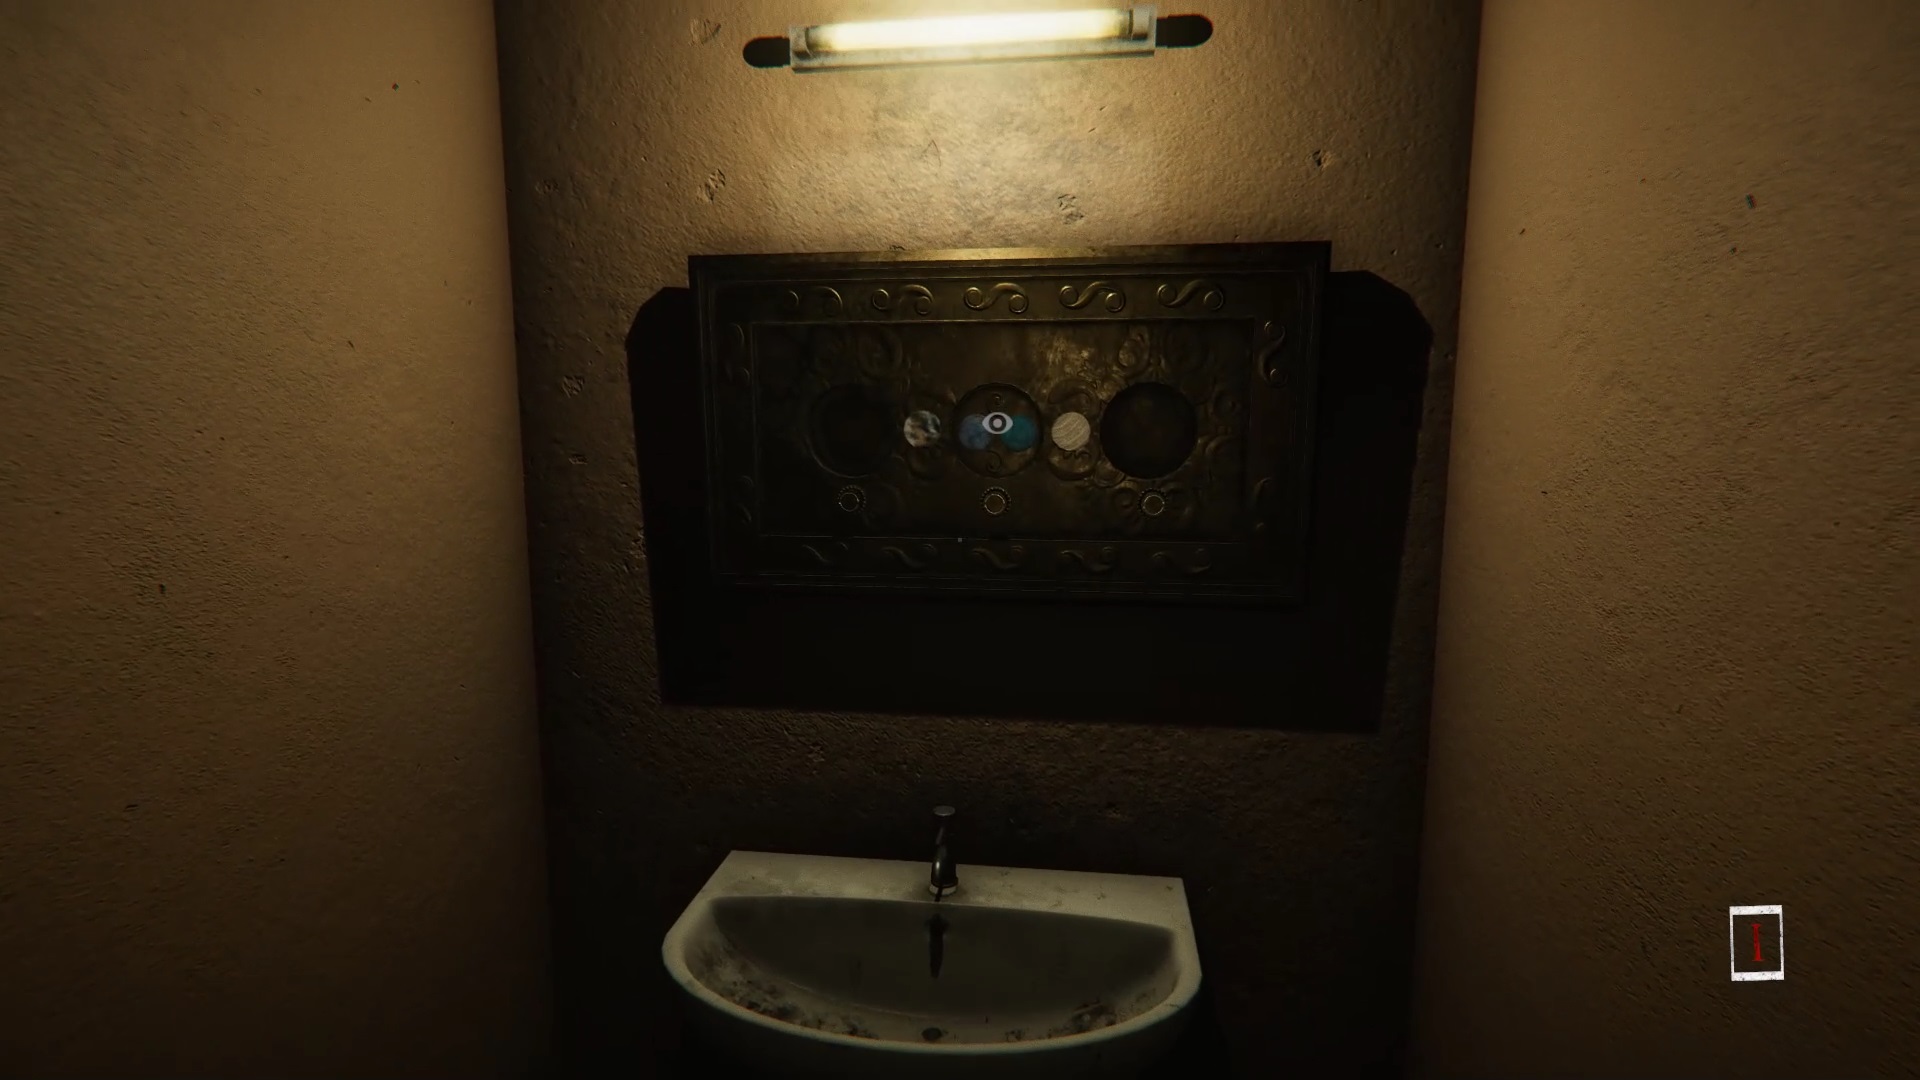
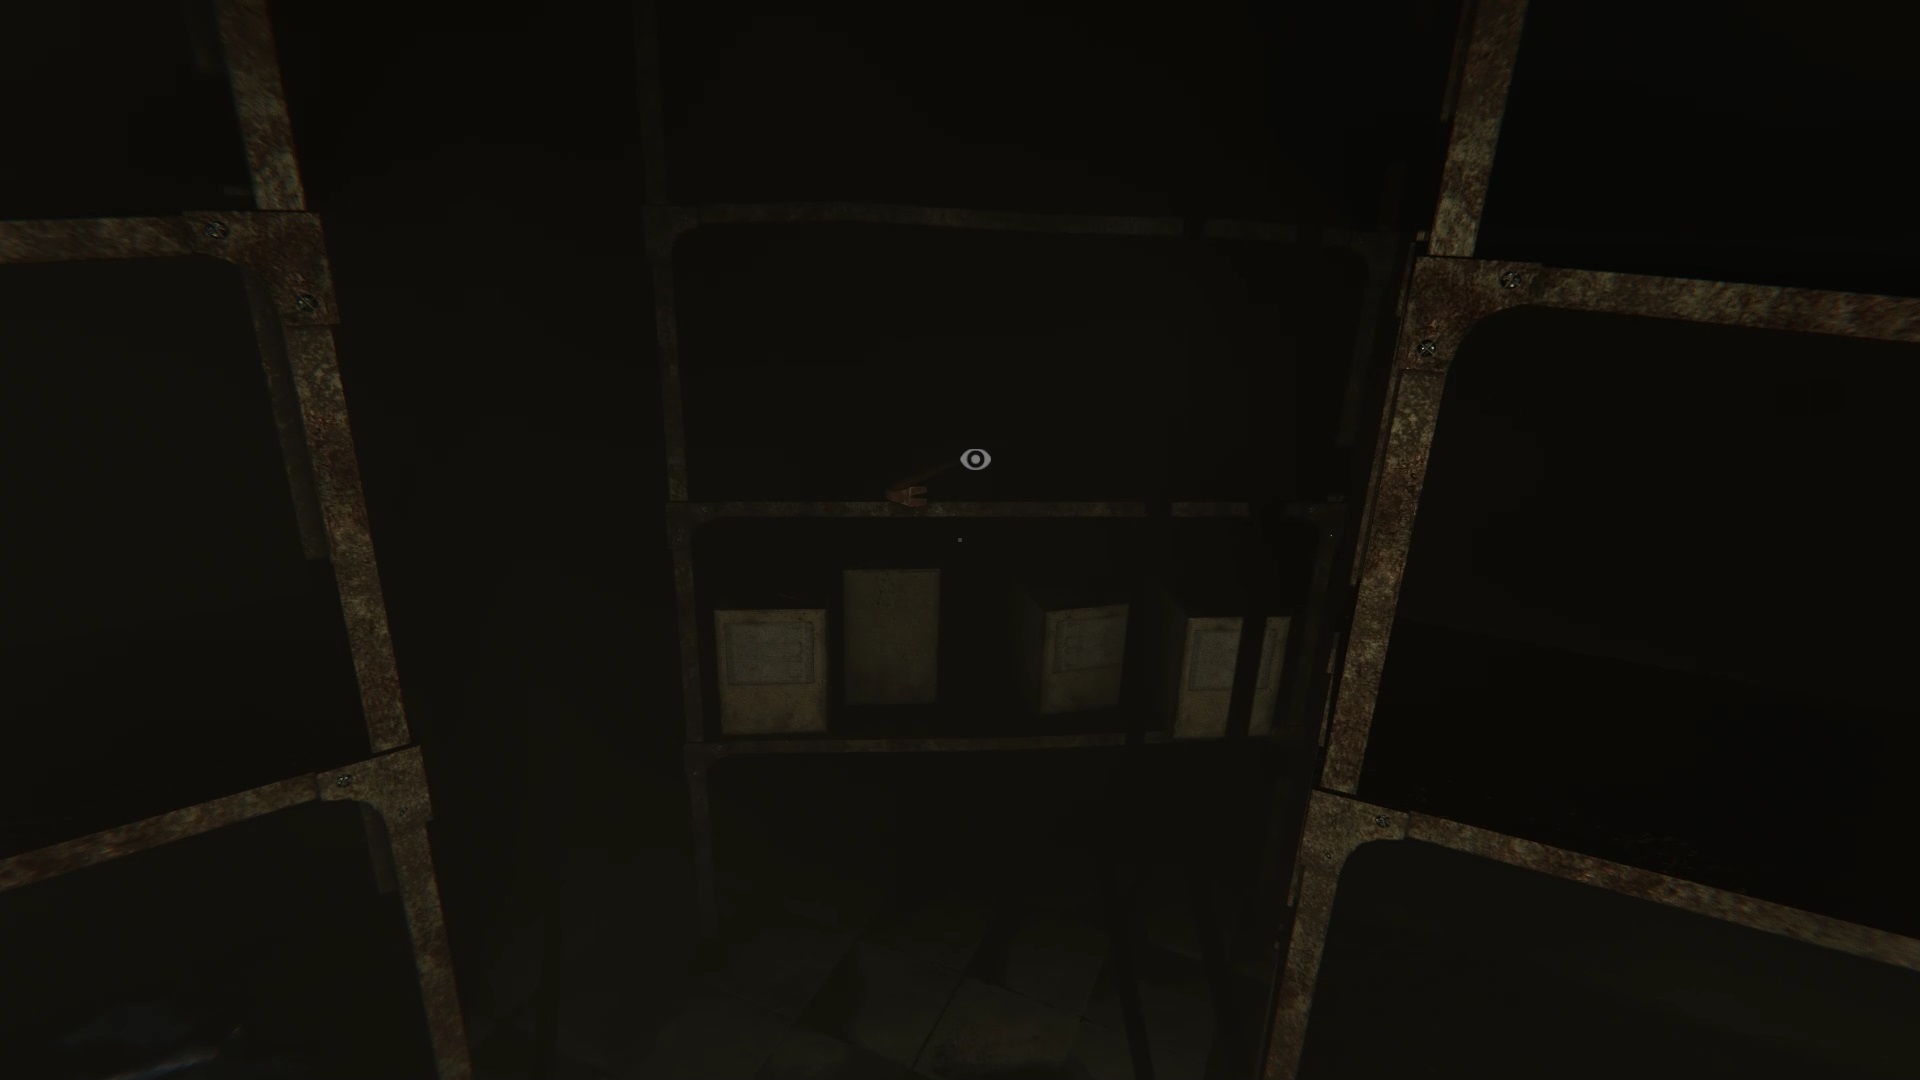
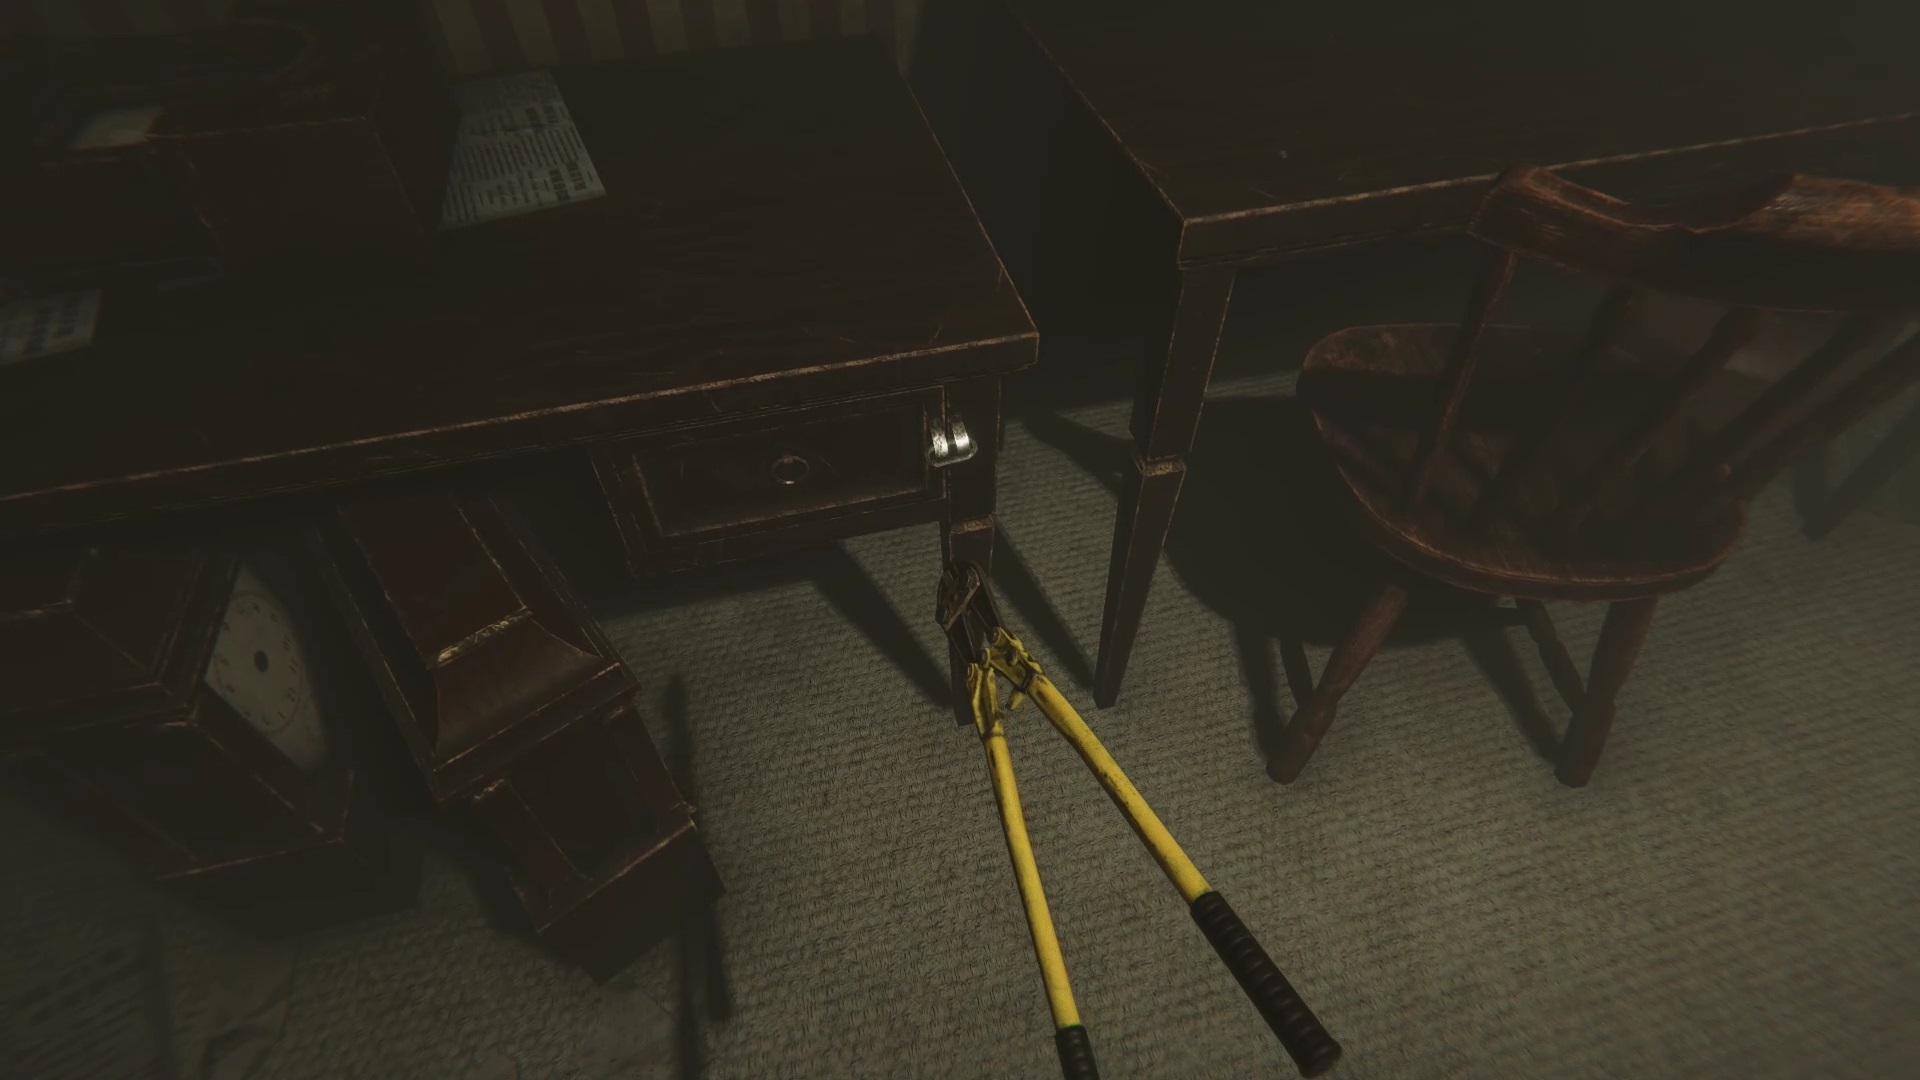
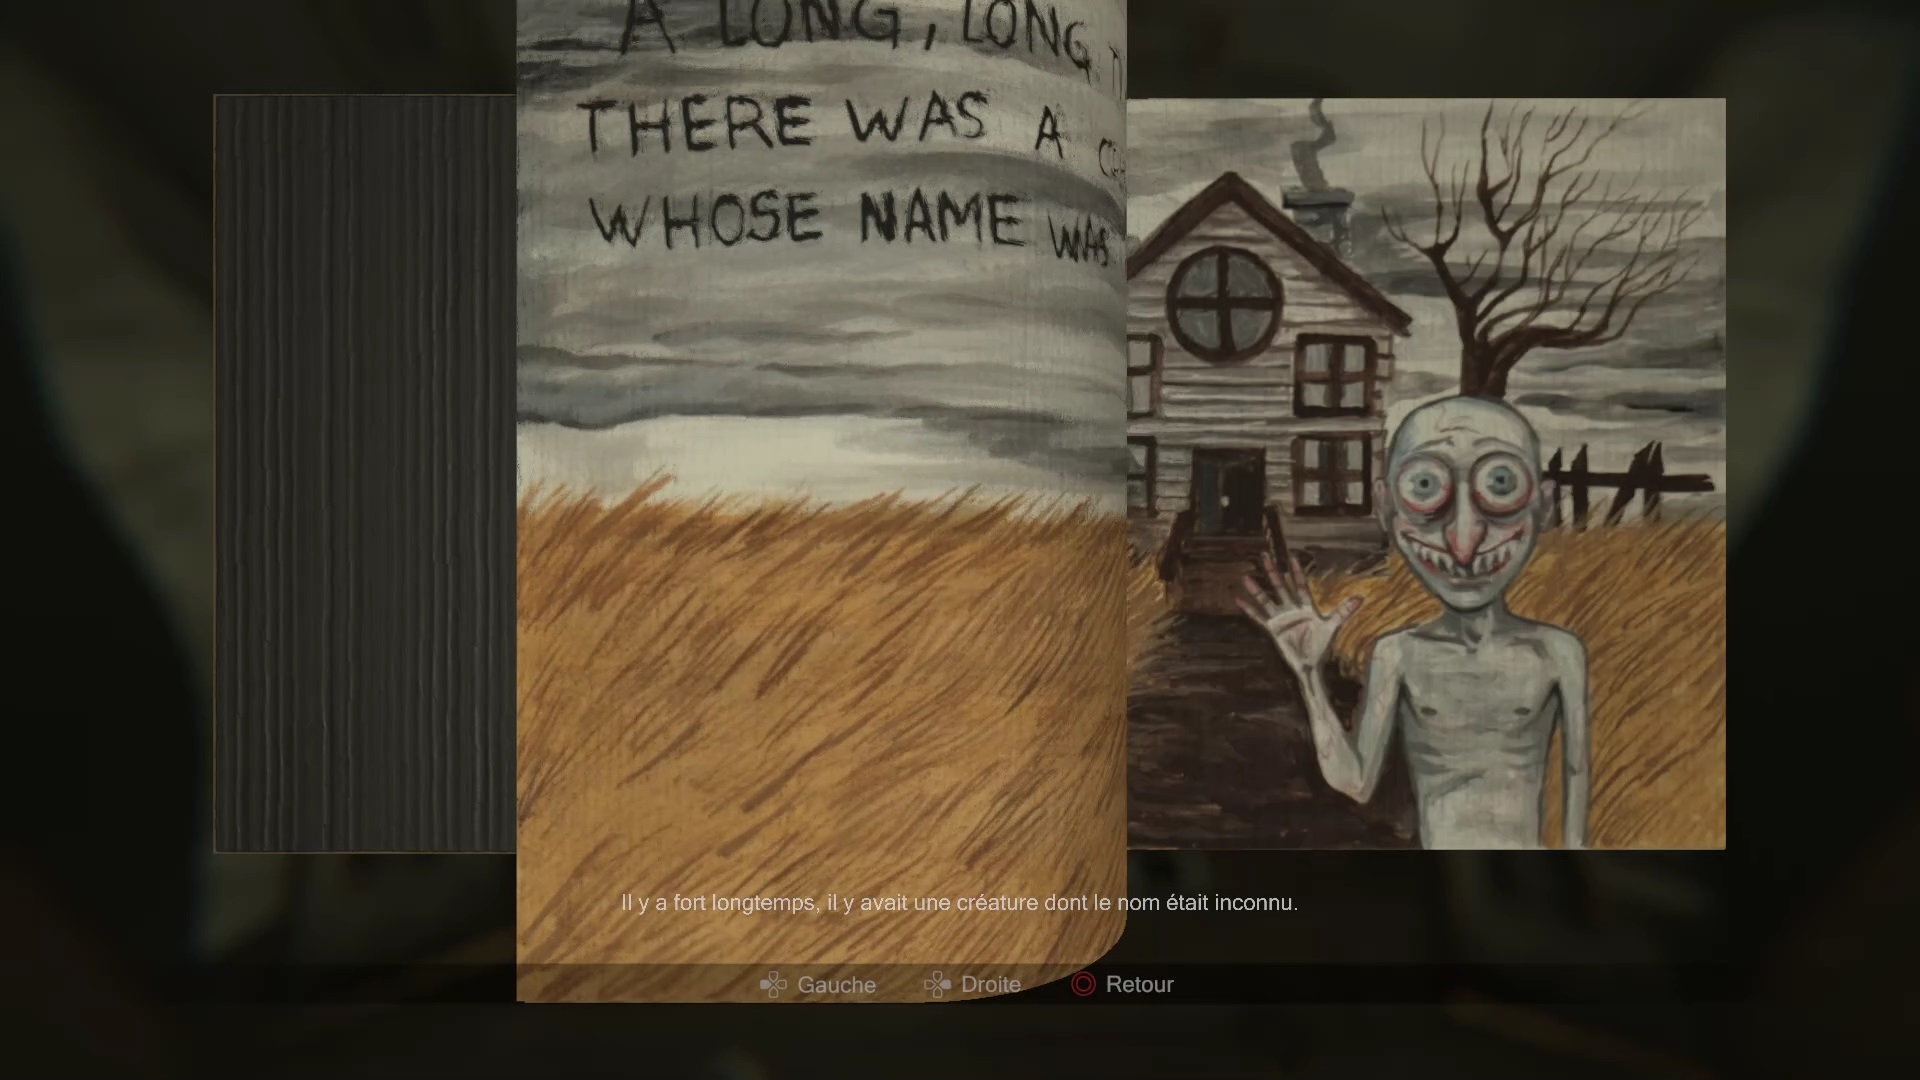
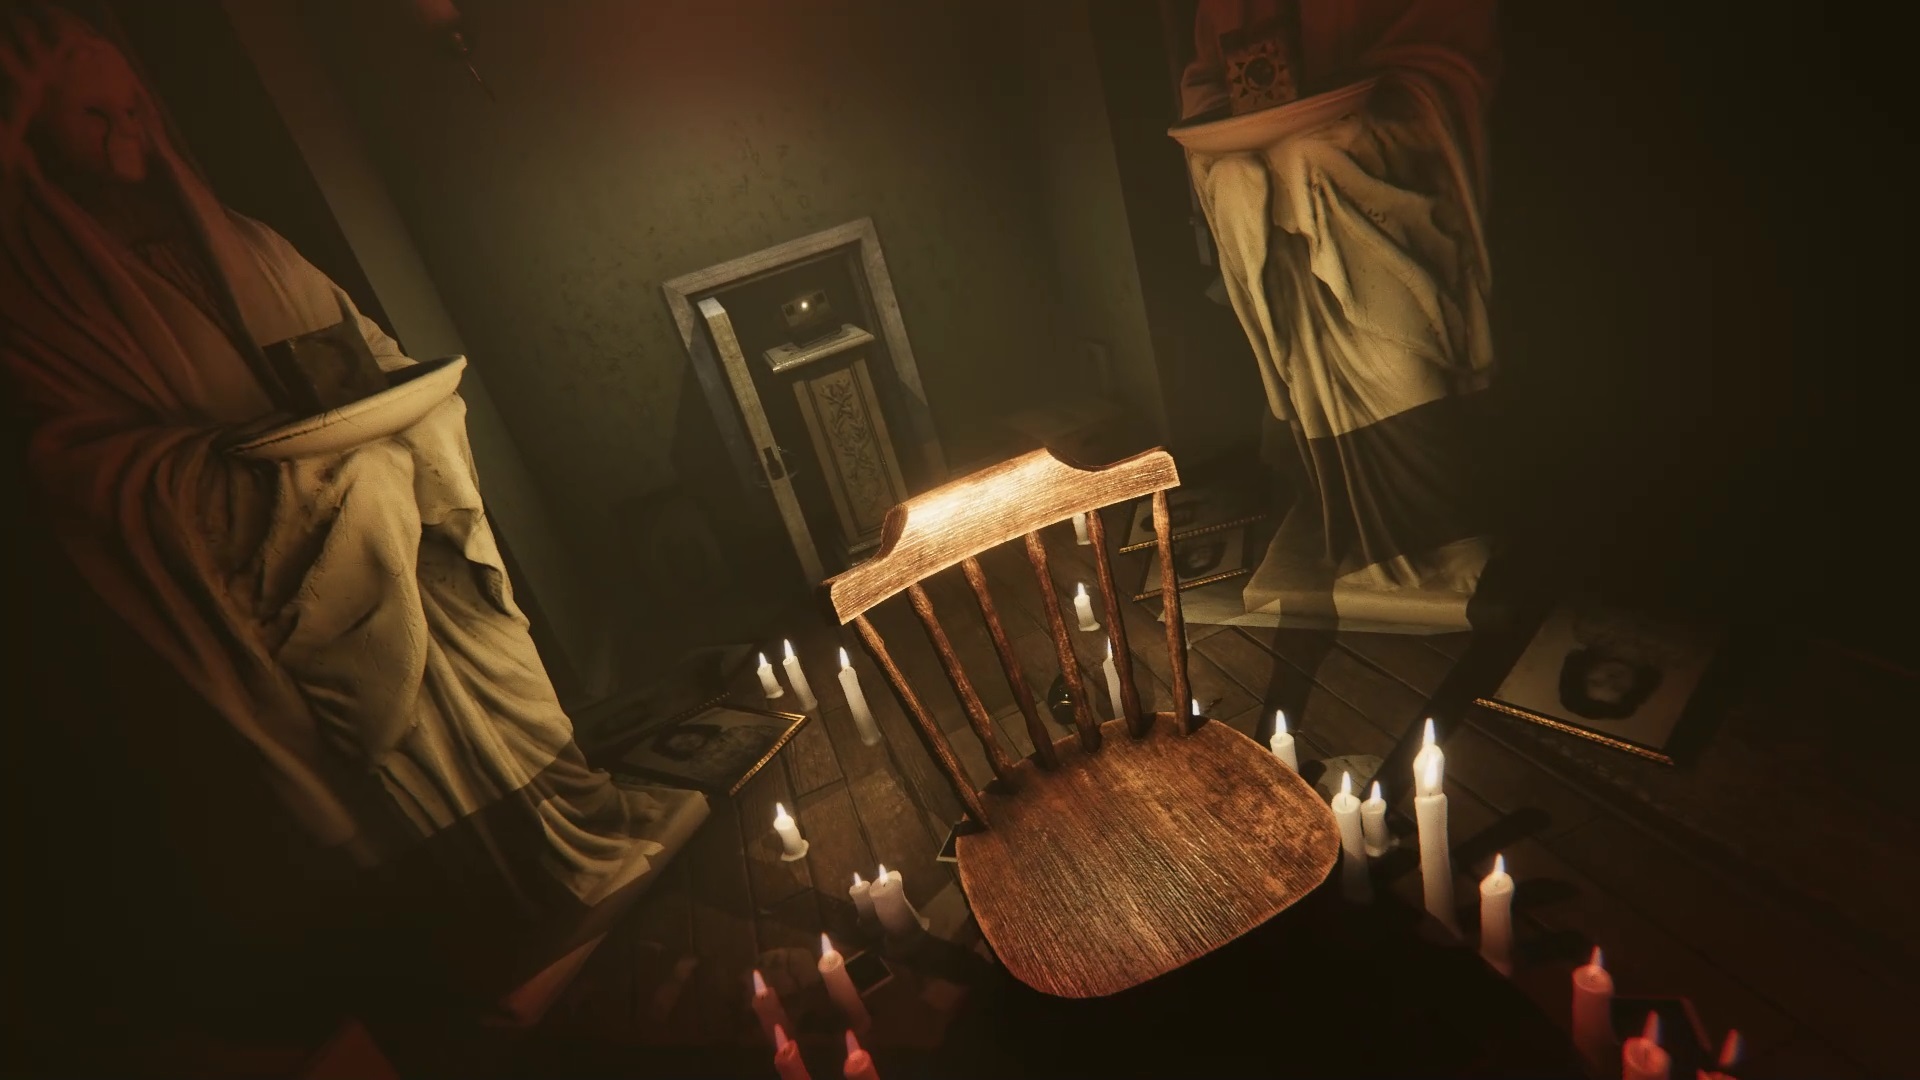
Return to the room at the start of the game where you found the camera. A triangular key and a book are placed on the chair, retrieve them. You understand when reading the book, that the four statues of virgins, around the chair are waiting for four elements. Exit the room to go into the hallway. Go to the end of the corridor to find a door locked with latches. Use the two triangular keys to open the door. Go down the stairs to find two fuse boxes. Align the fuses in the correct direction to power the table saw (see image). Use the ornate iron box with the moon symbol to open it on the table saw.
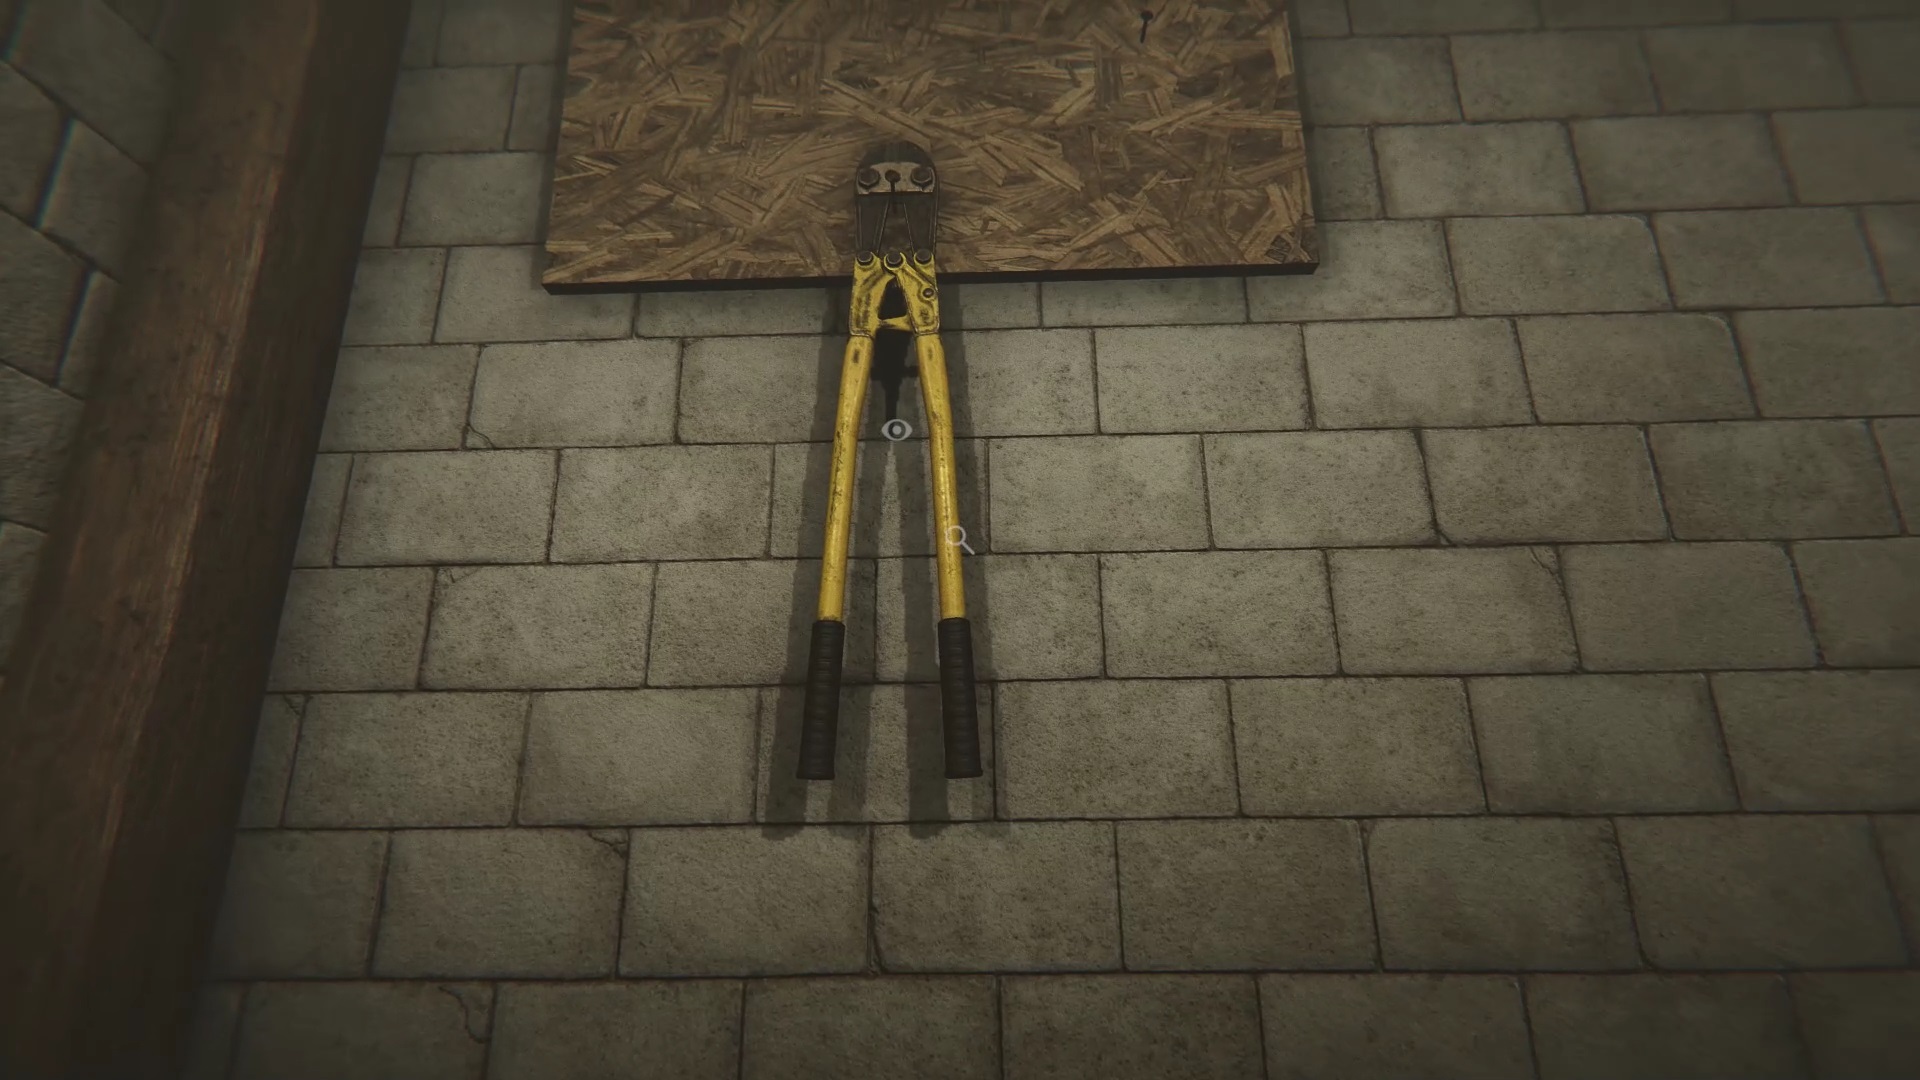
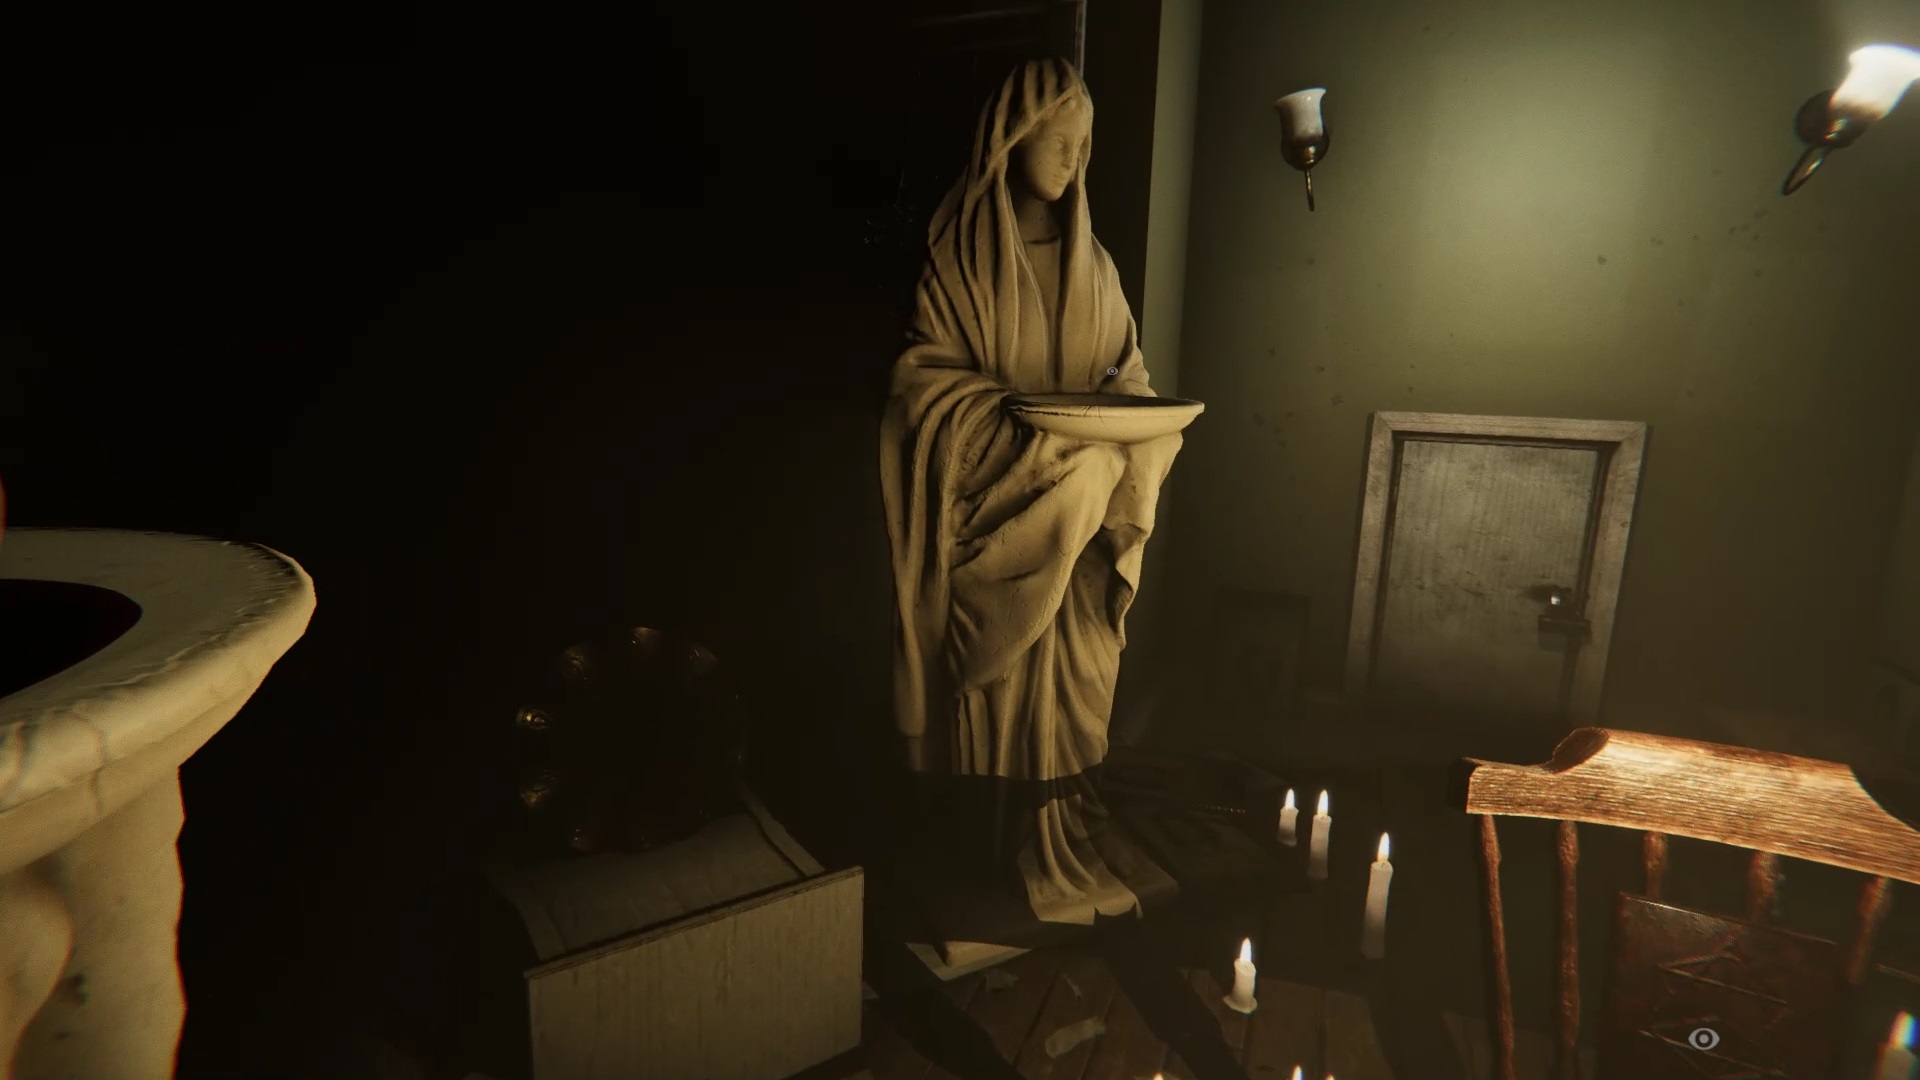
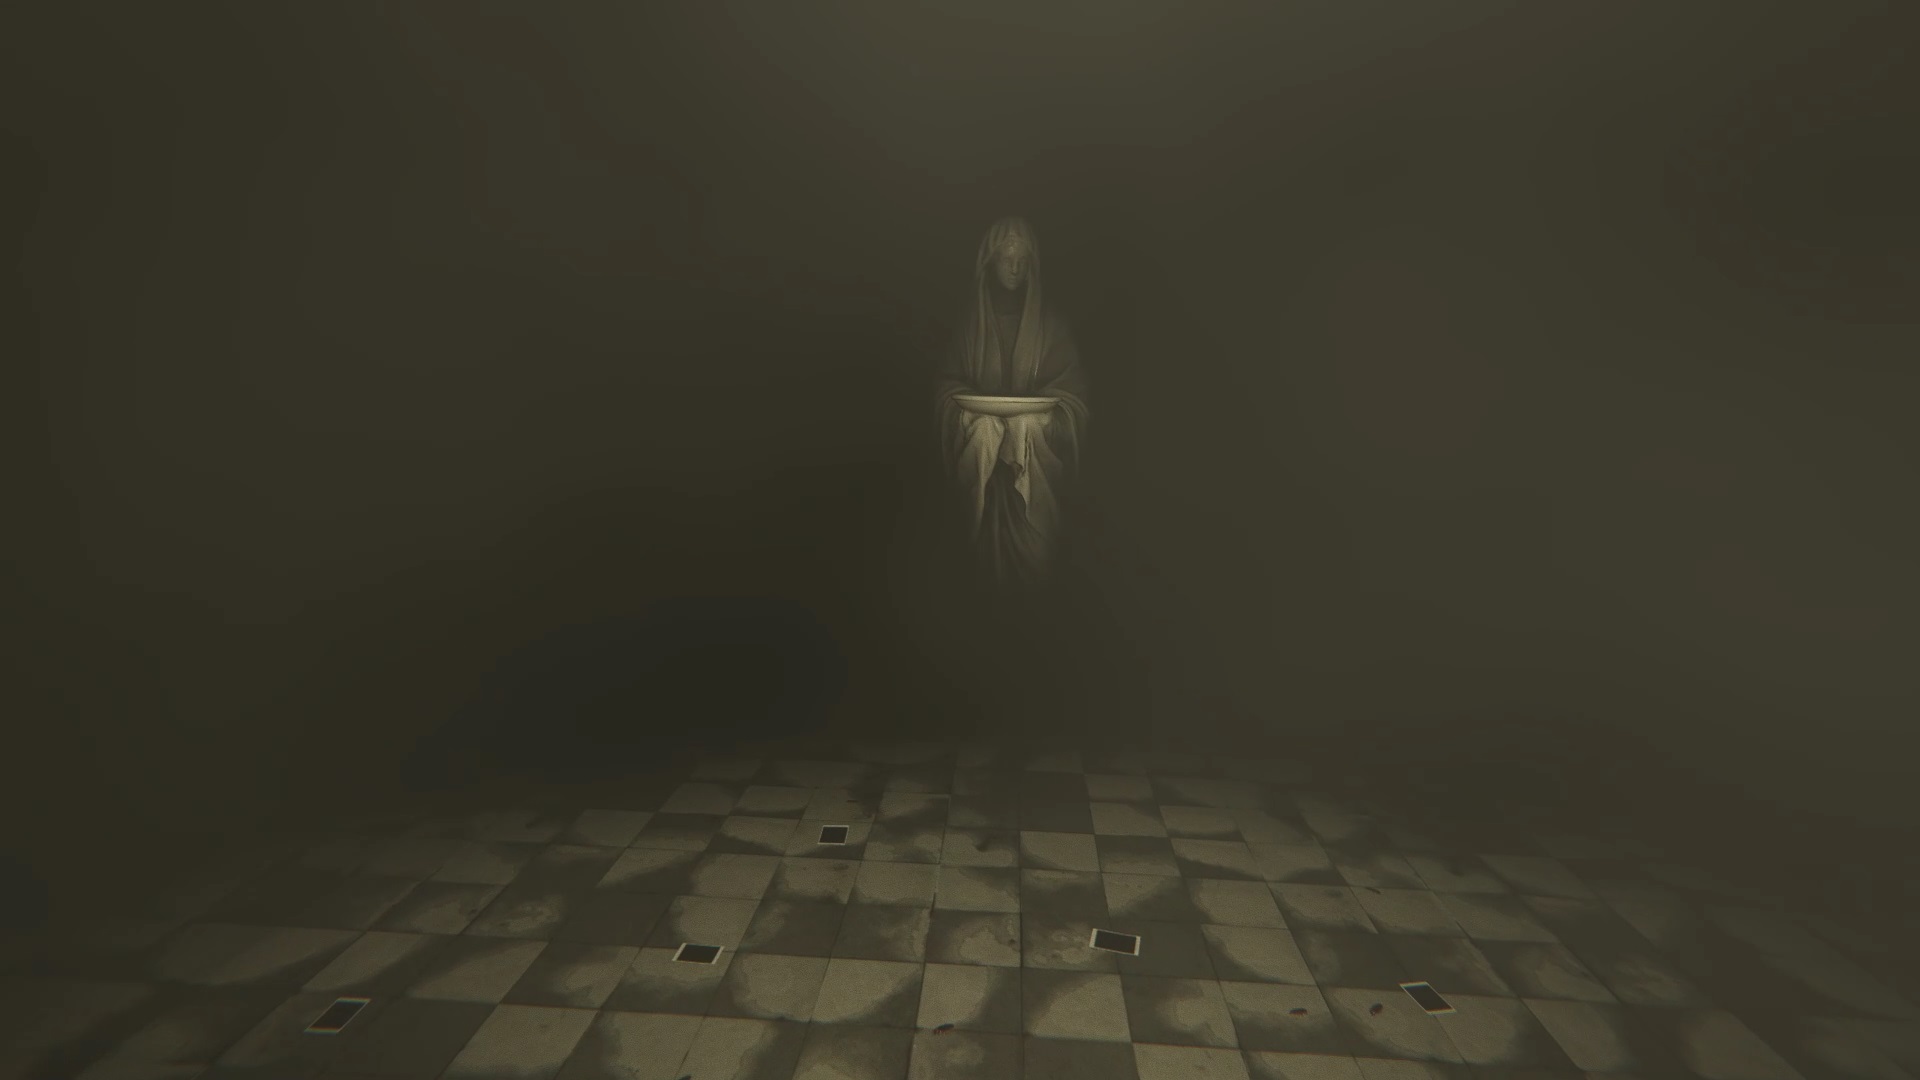
Before leaving search the wall to retrieve a clamp. Return to the Hall of Maidens to place the Ornate Box with the Moon Symbol, the Ornate Box with the Sun Symbol, the Skull, and the Ring in the hands of the virgins. The door closes behind you and the hatch behind the chair begins to move. Interact with the hatch to understand that you need a code. The exit unlocks behind you with a new tape on the edge of the window. Play the tape with the tape recorder in the dining room.
Walkthrough of the Elevator puzzle section of Madison
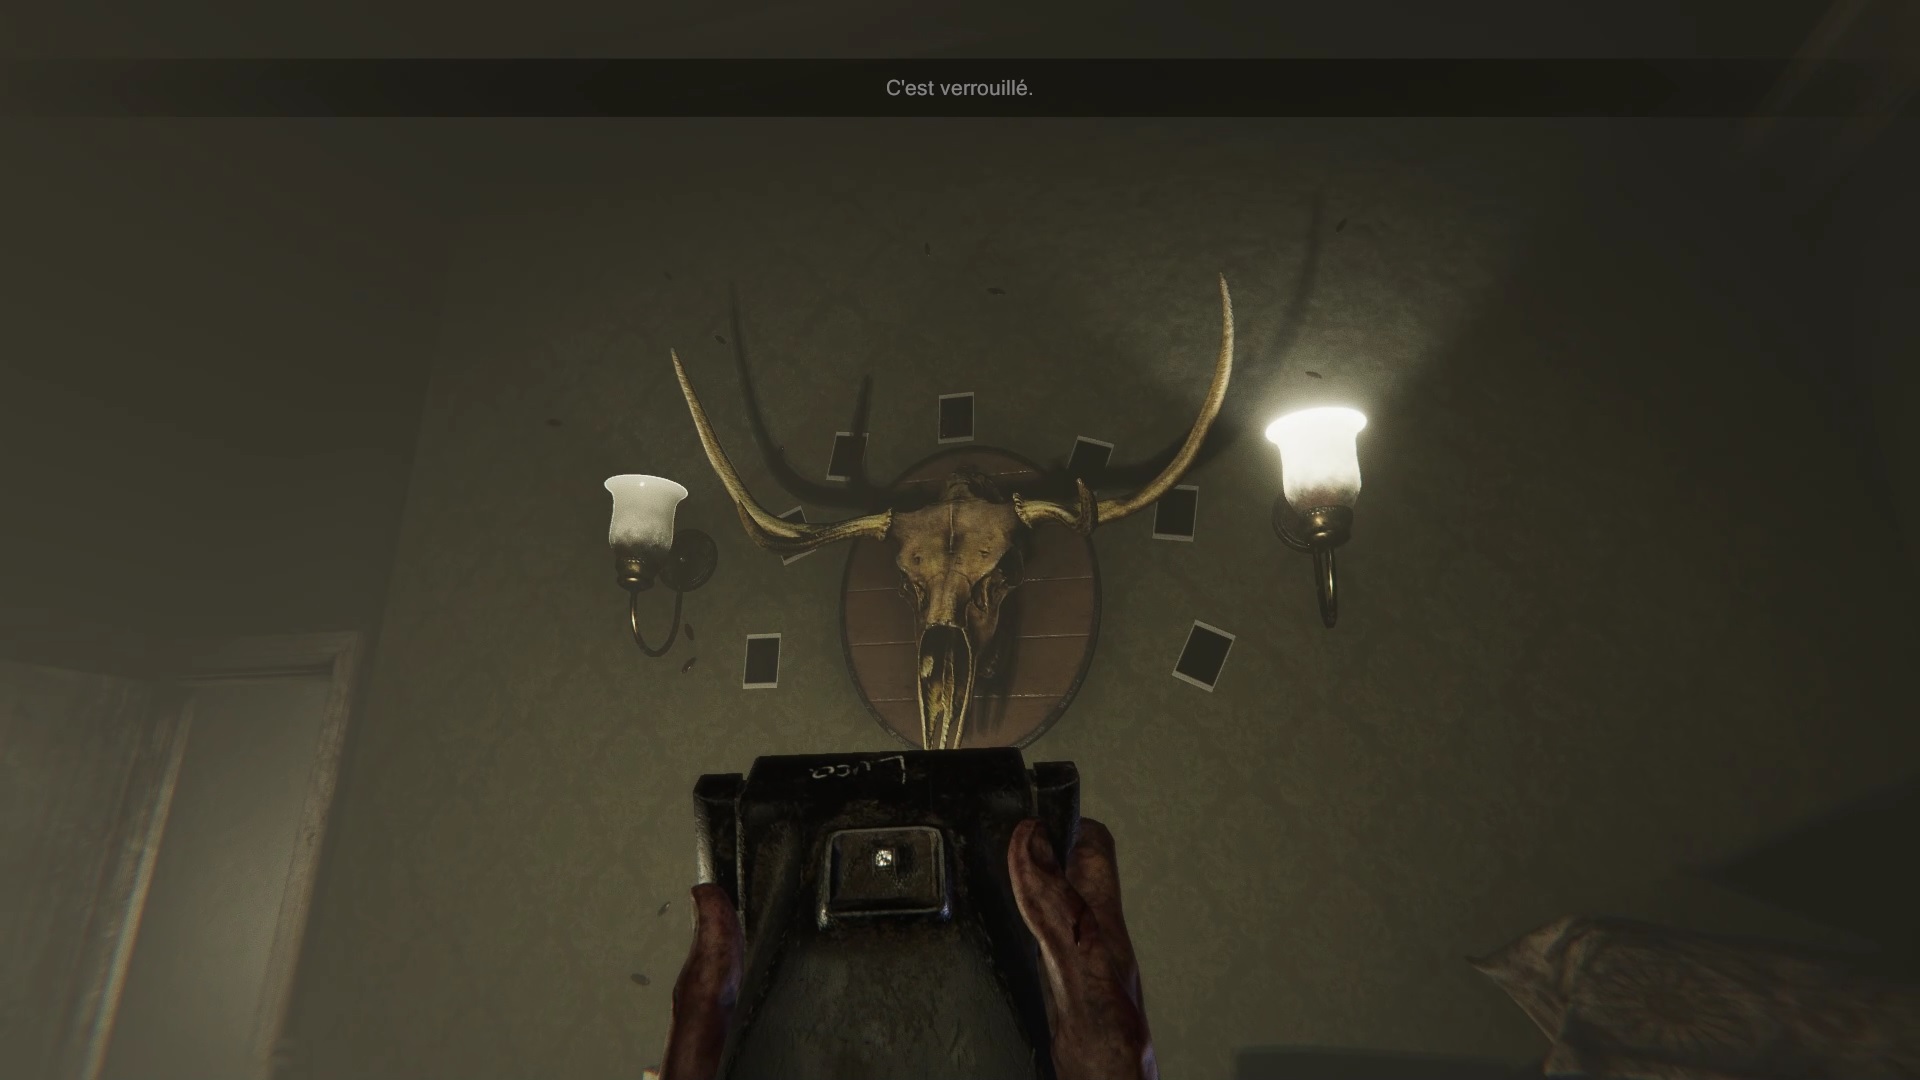
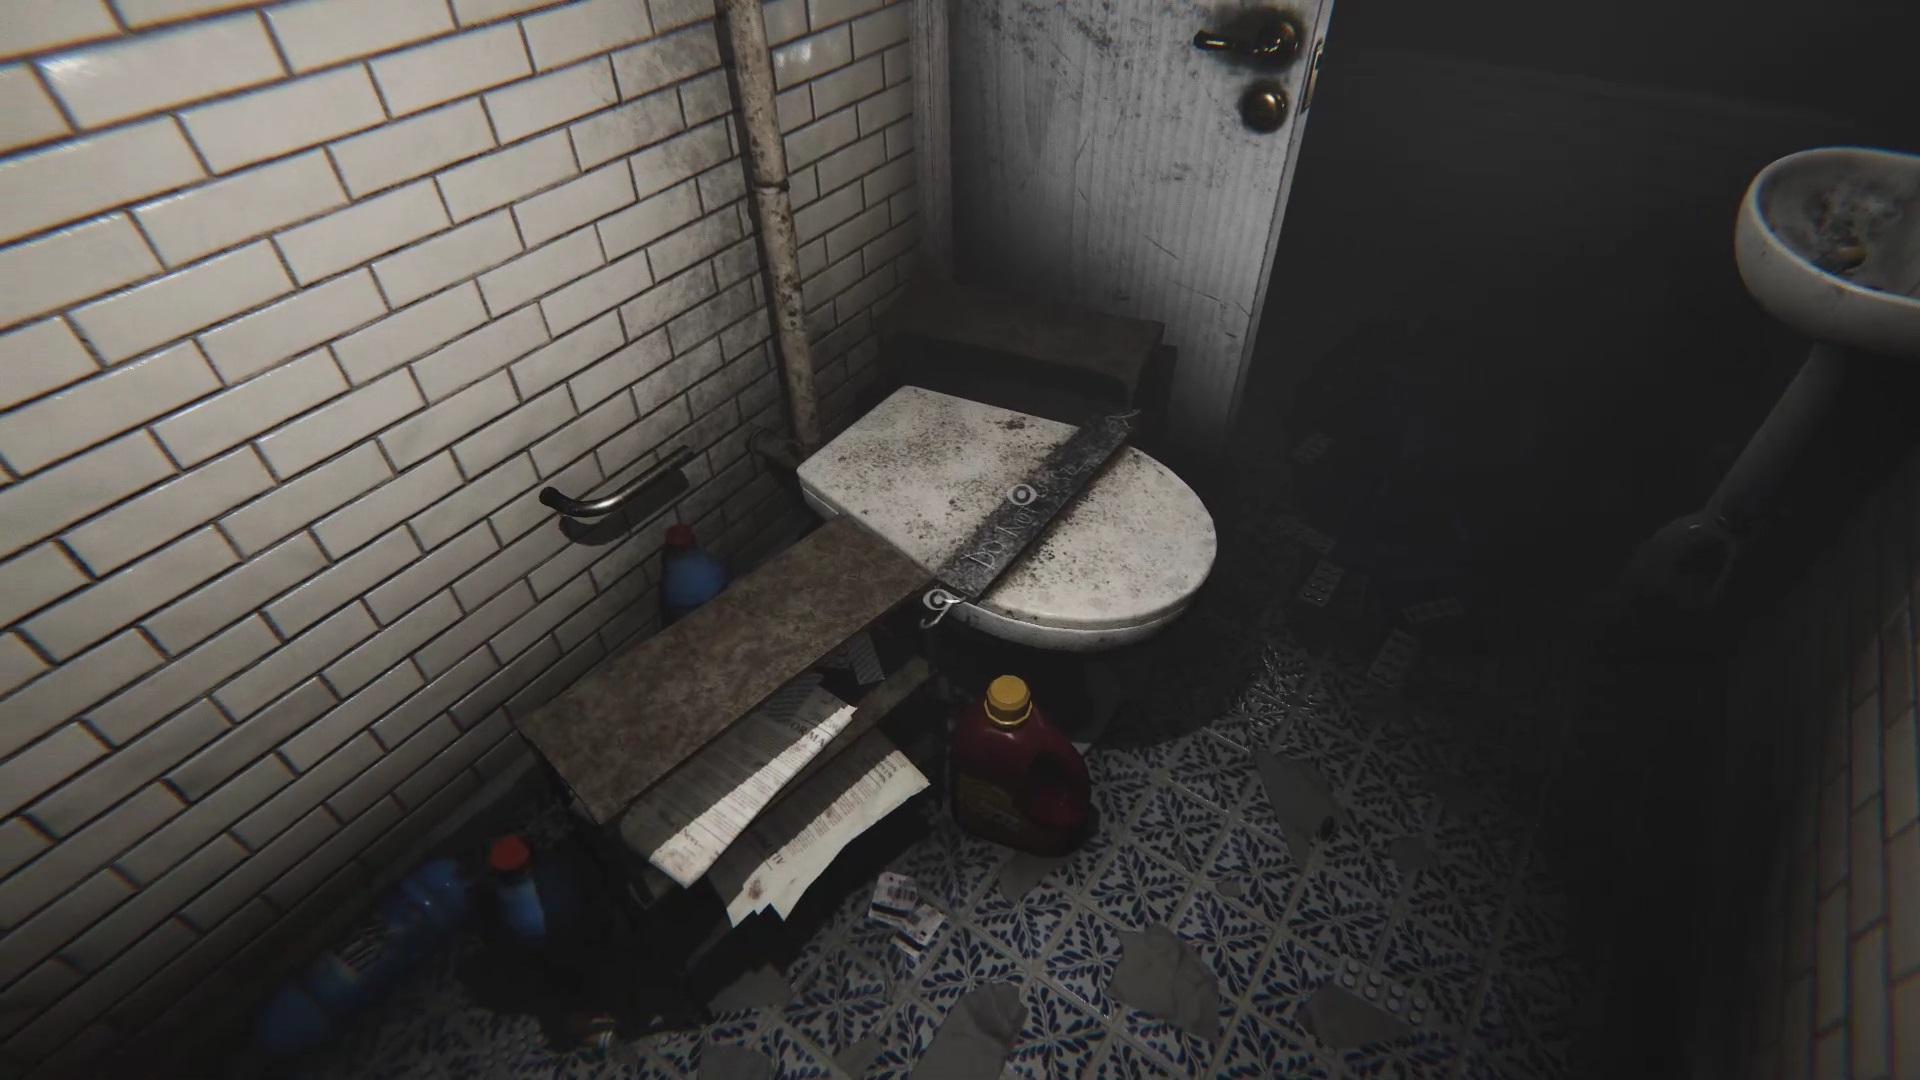
After the audio message, you get a new objective. You need to find horns. Go to the living room near the dining room to find an animal skull hanging on the wall. Photograph the decoration to get part of the Virgin Room code. A new objective takes shape in your notebook in the form of a red lamp. Go to the basement to turn off the generator to plunge the house into darkness. By the way, use the clamp with the toilet to find a concrete block.
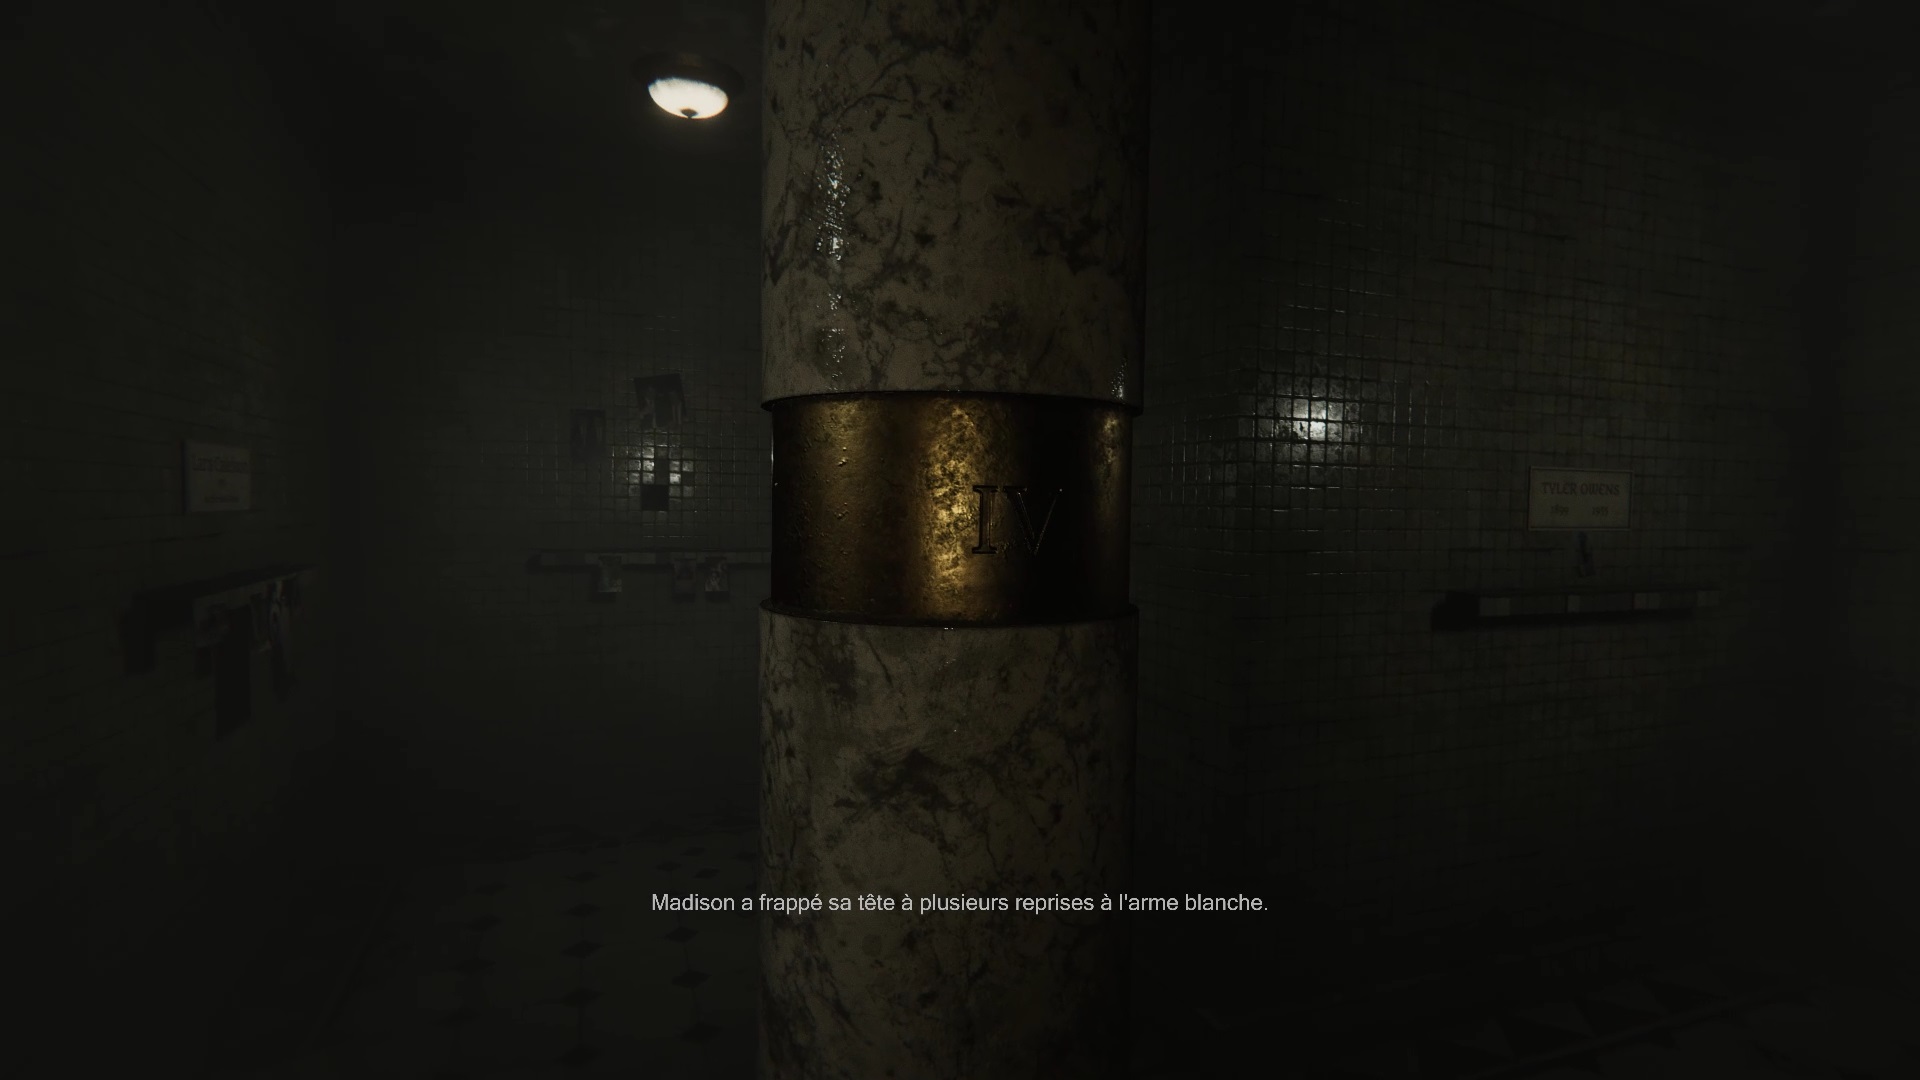
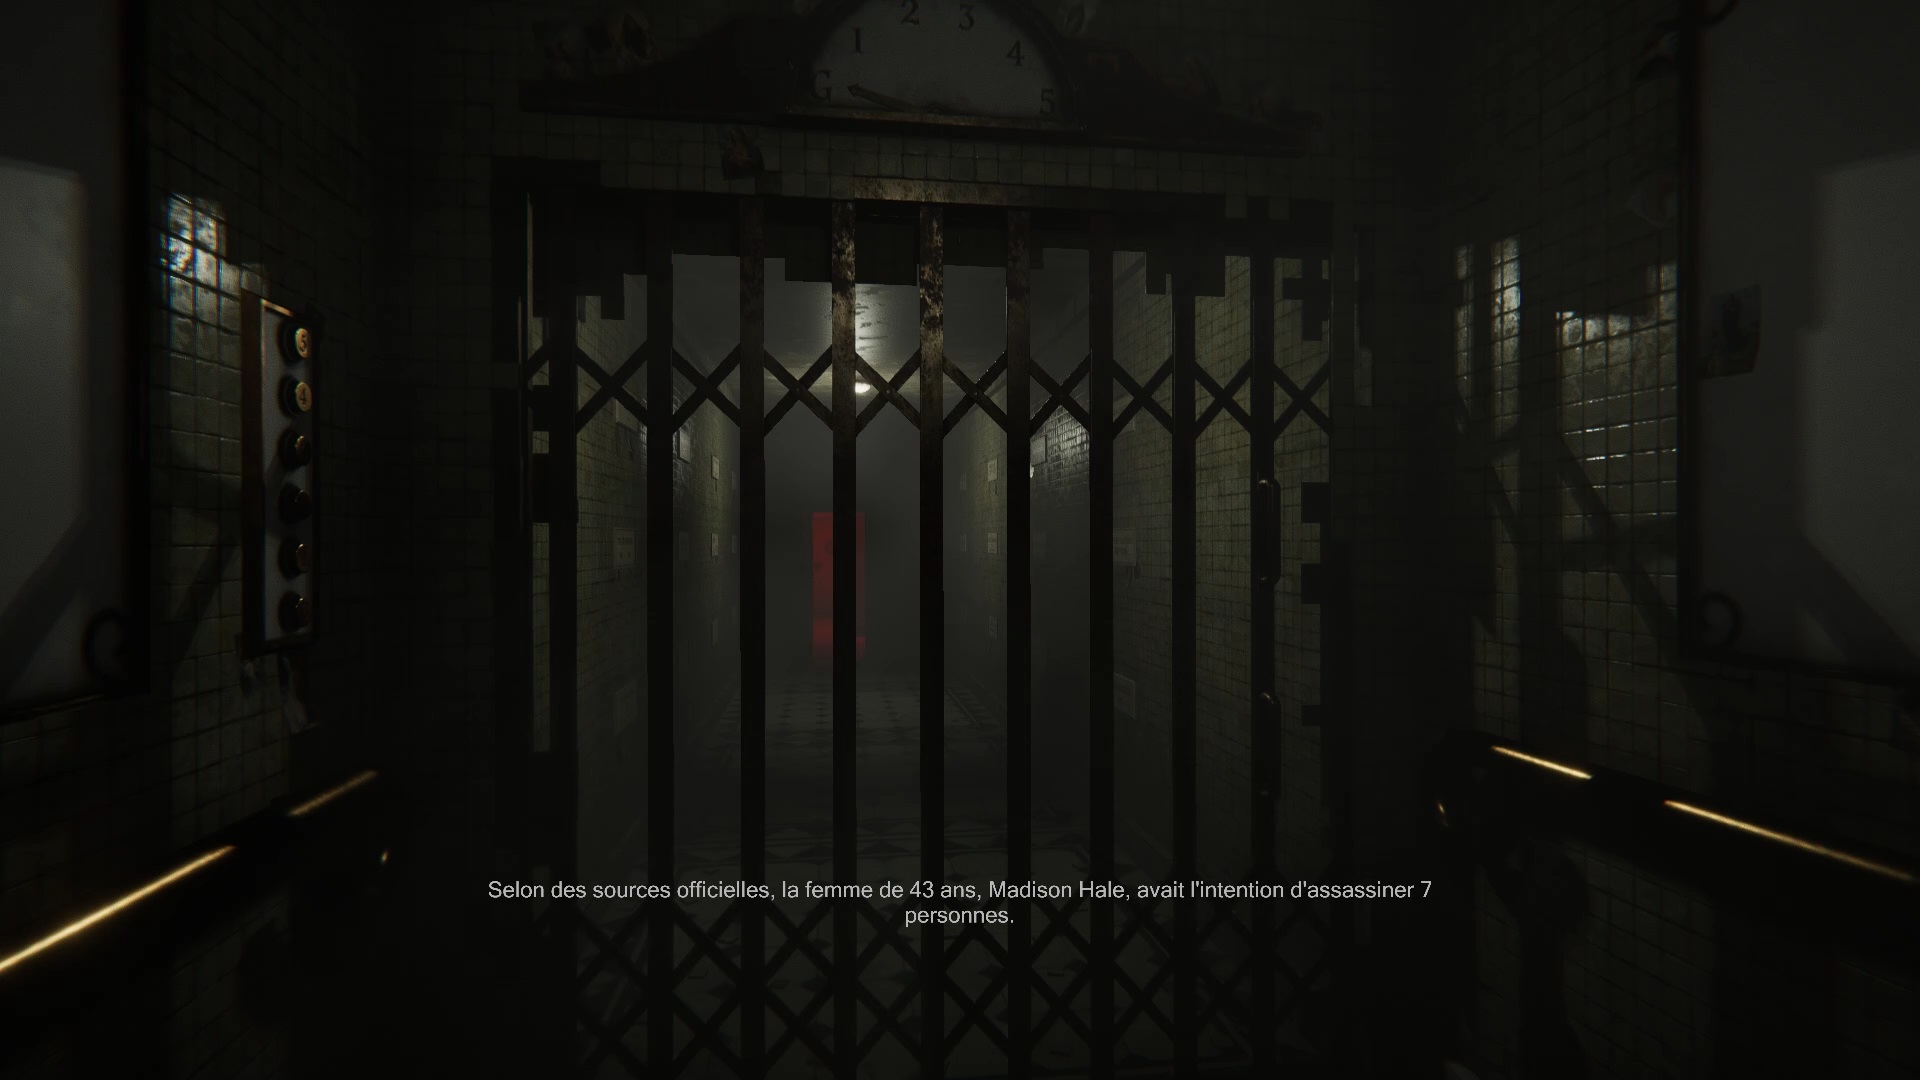
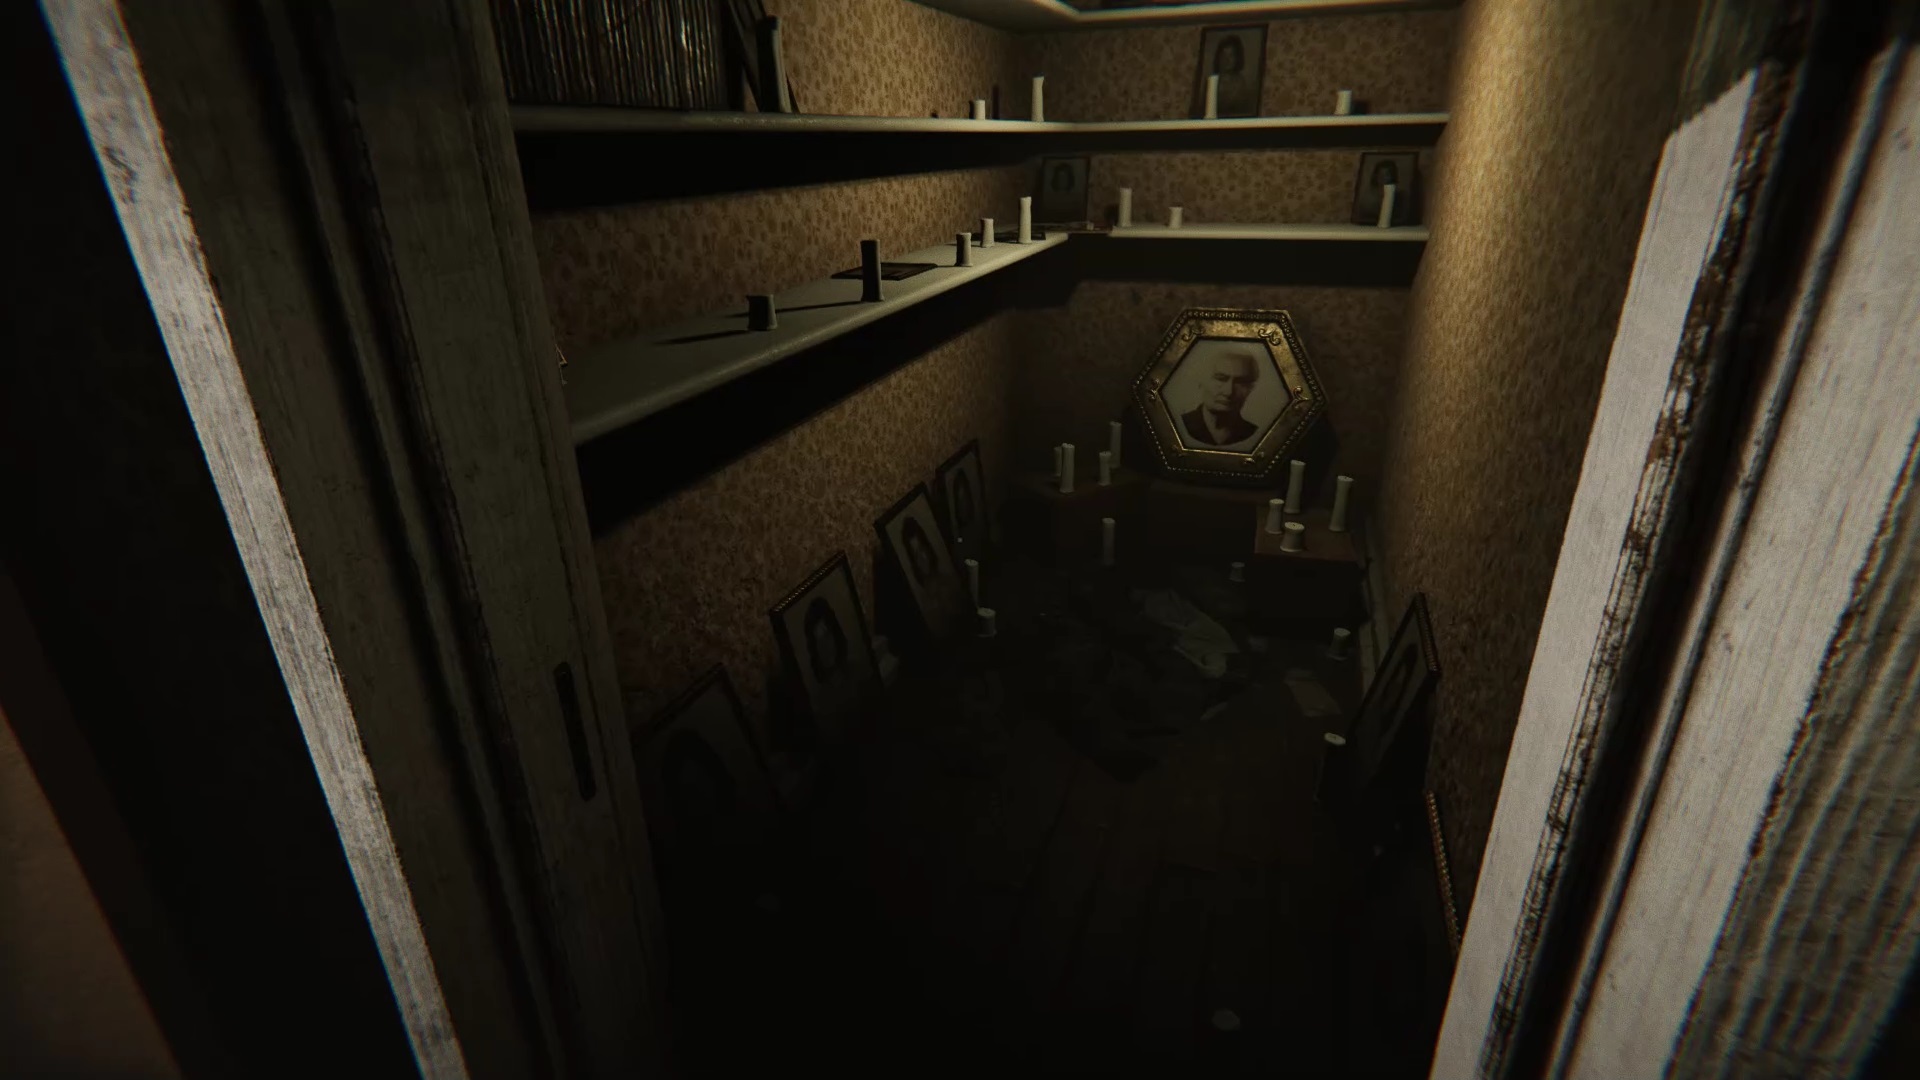
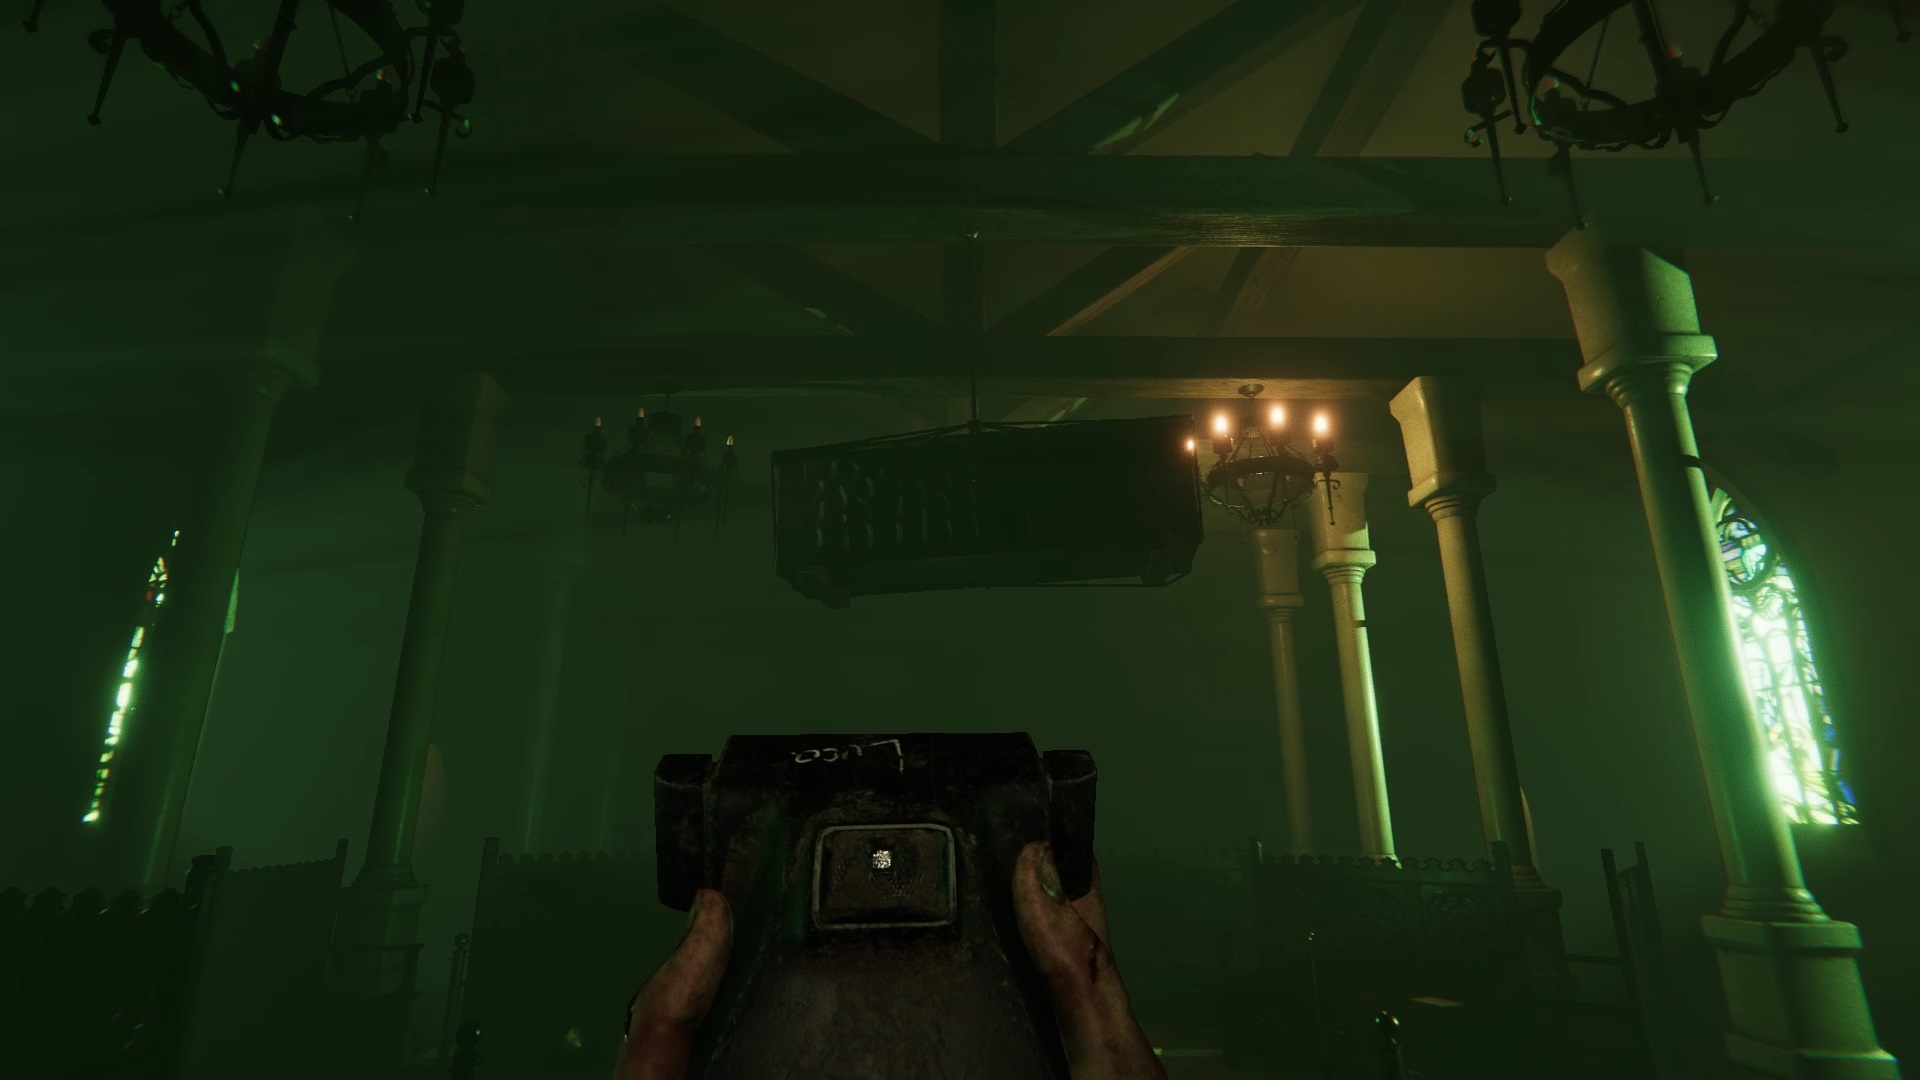
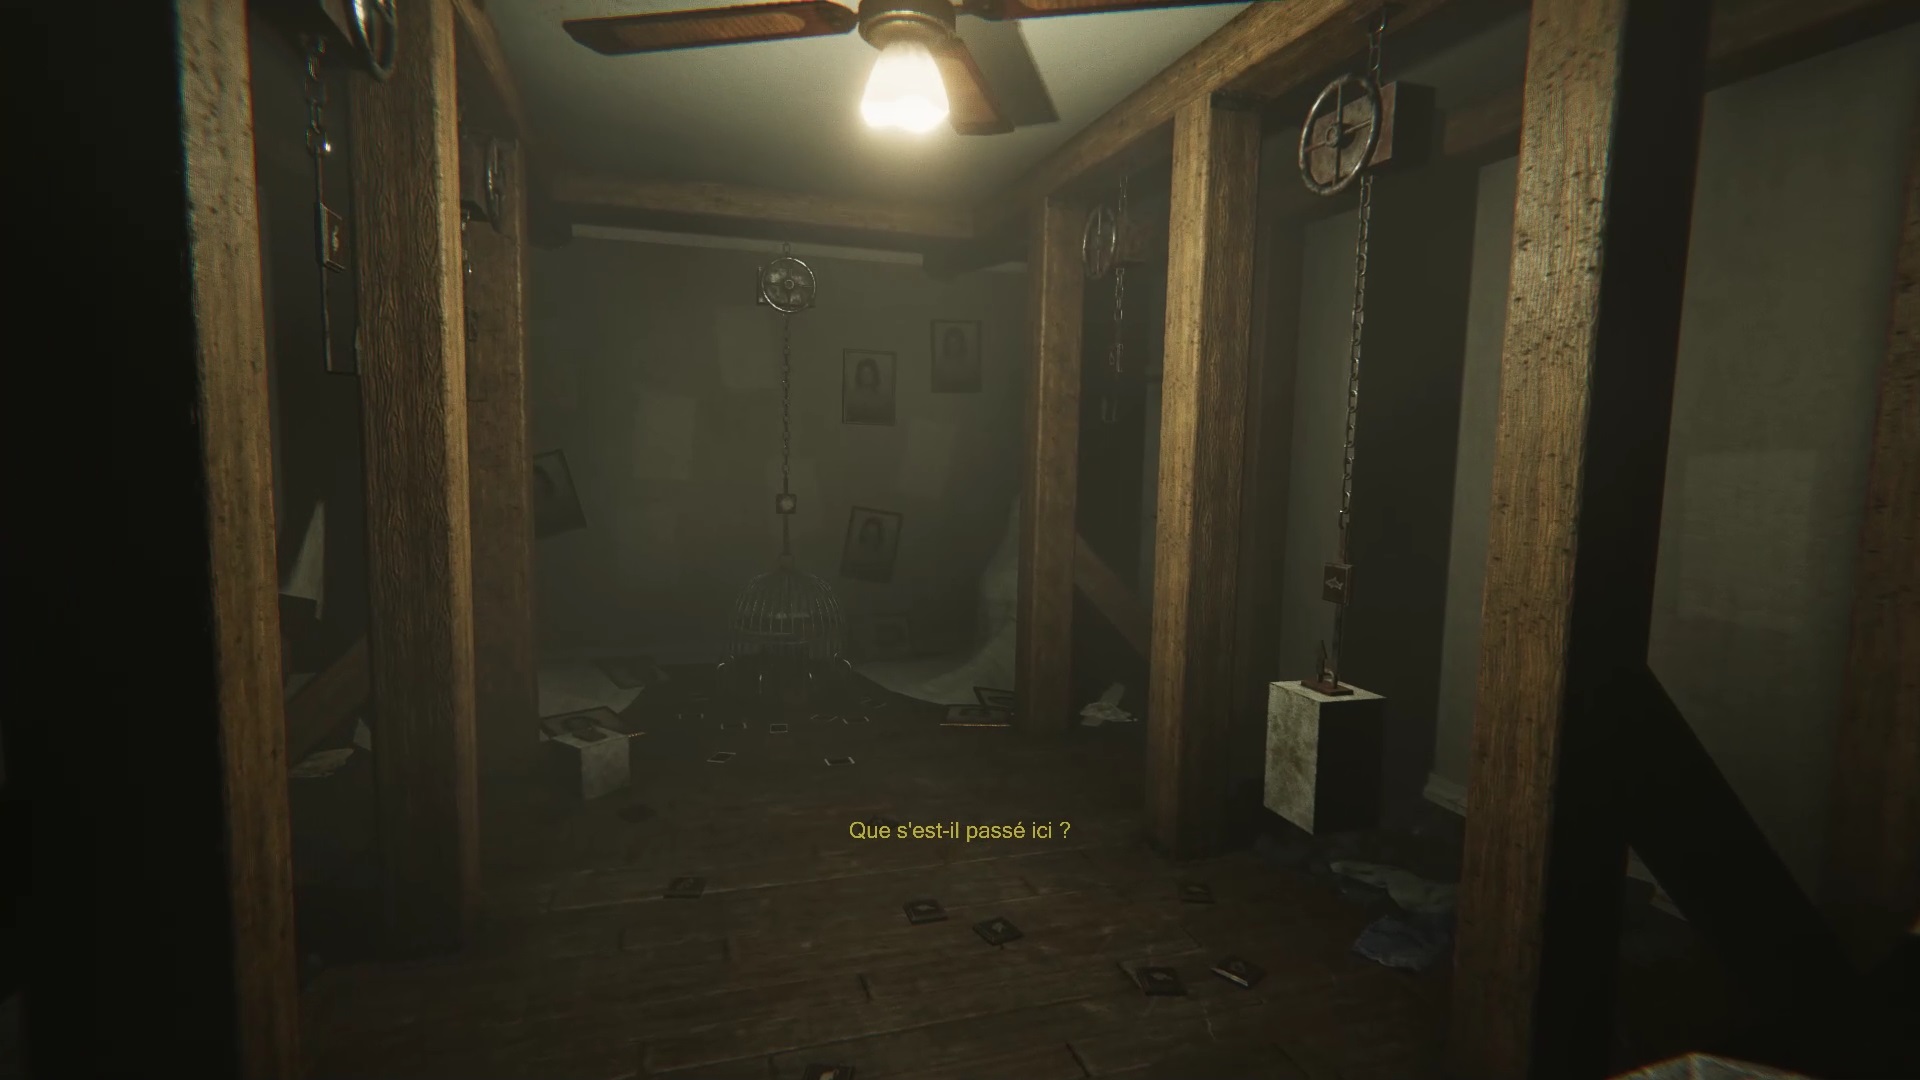
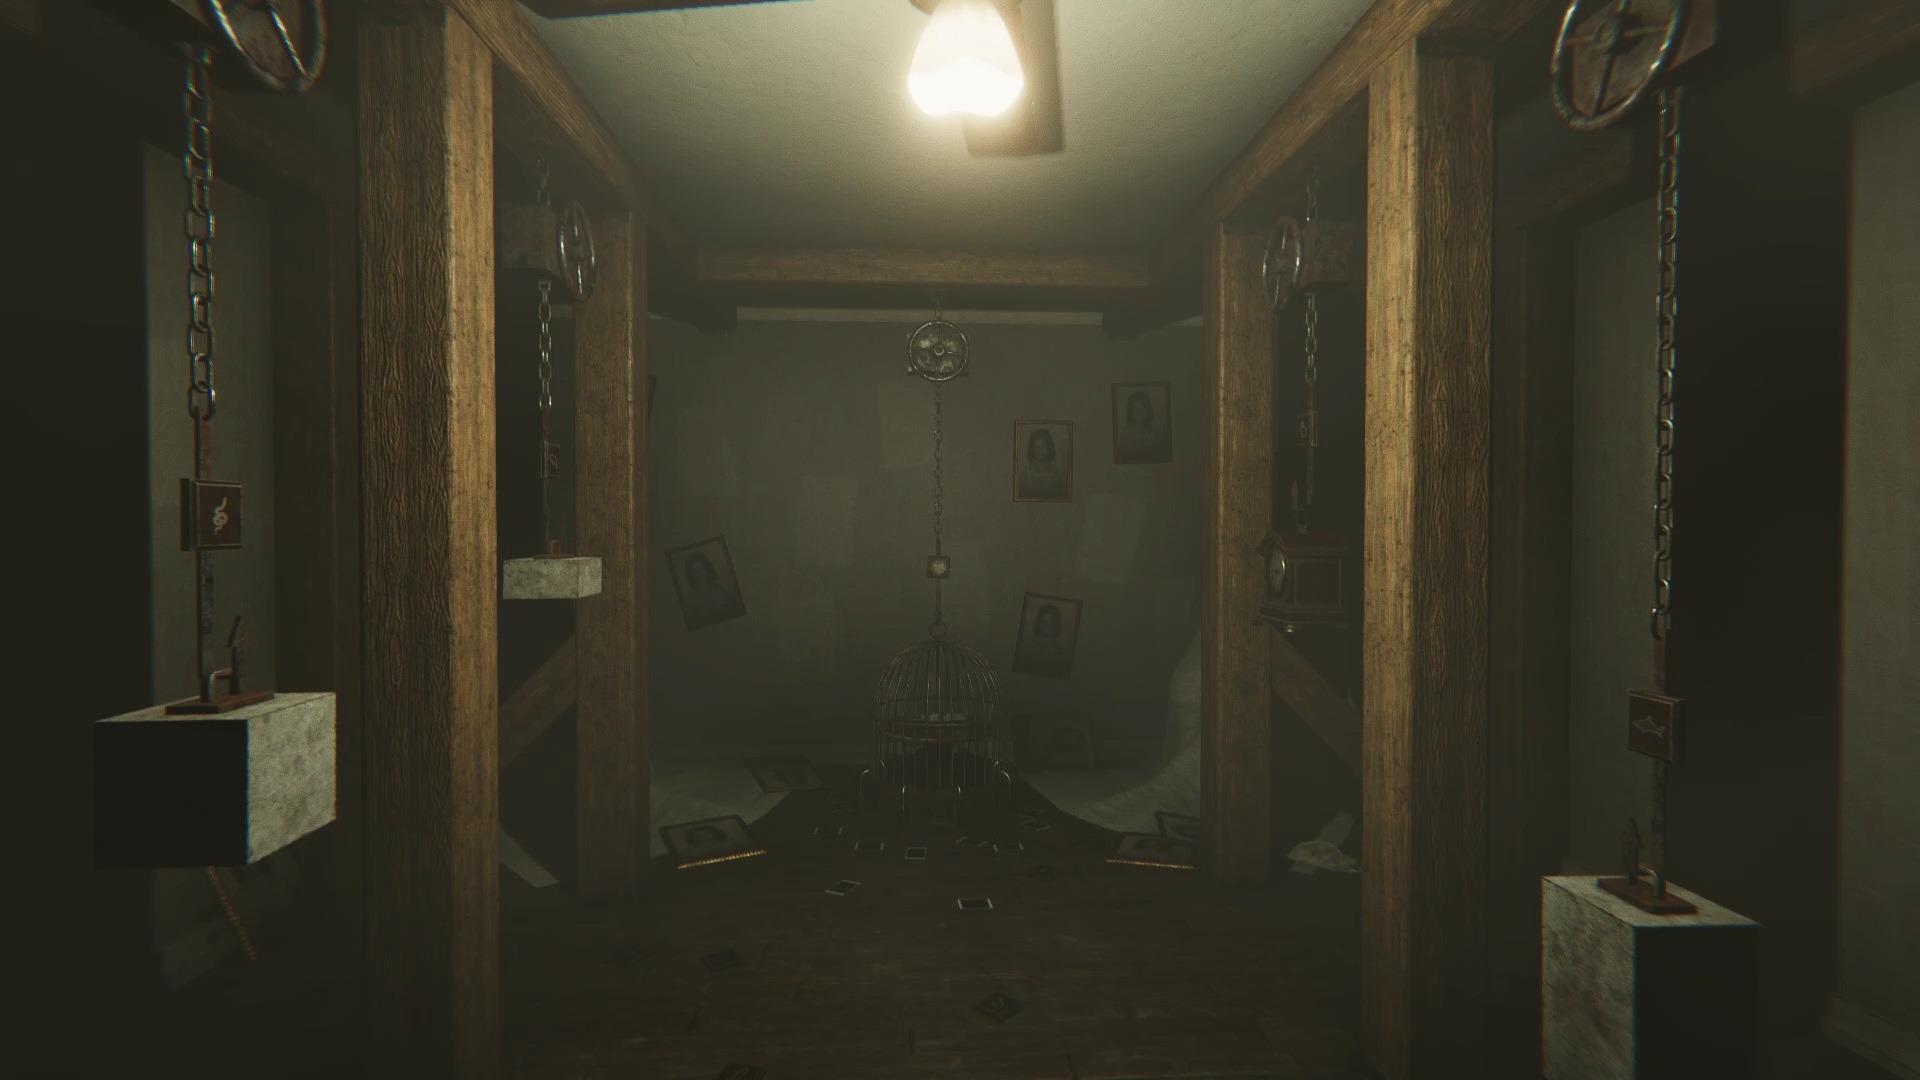
Once the house is dark, the doorbell rings. Get your hammer in your inventory and go to the front door through the screening room. You can use your camera to see in the dark, but we don’t recommend it if you have a heart condition. You will find the elevator. Each floor is dedicated to a victim of Madison Hale. On each floor align the number of the victim to his coffin. Use your camera to move the numbered pillar ring in the center of the room.
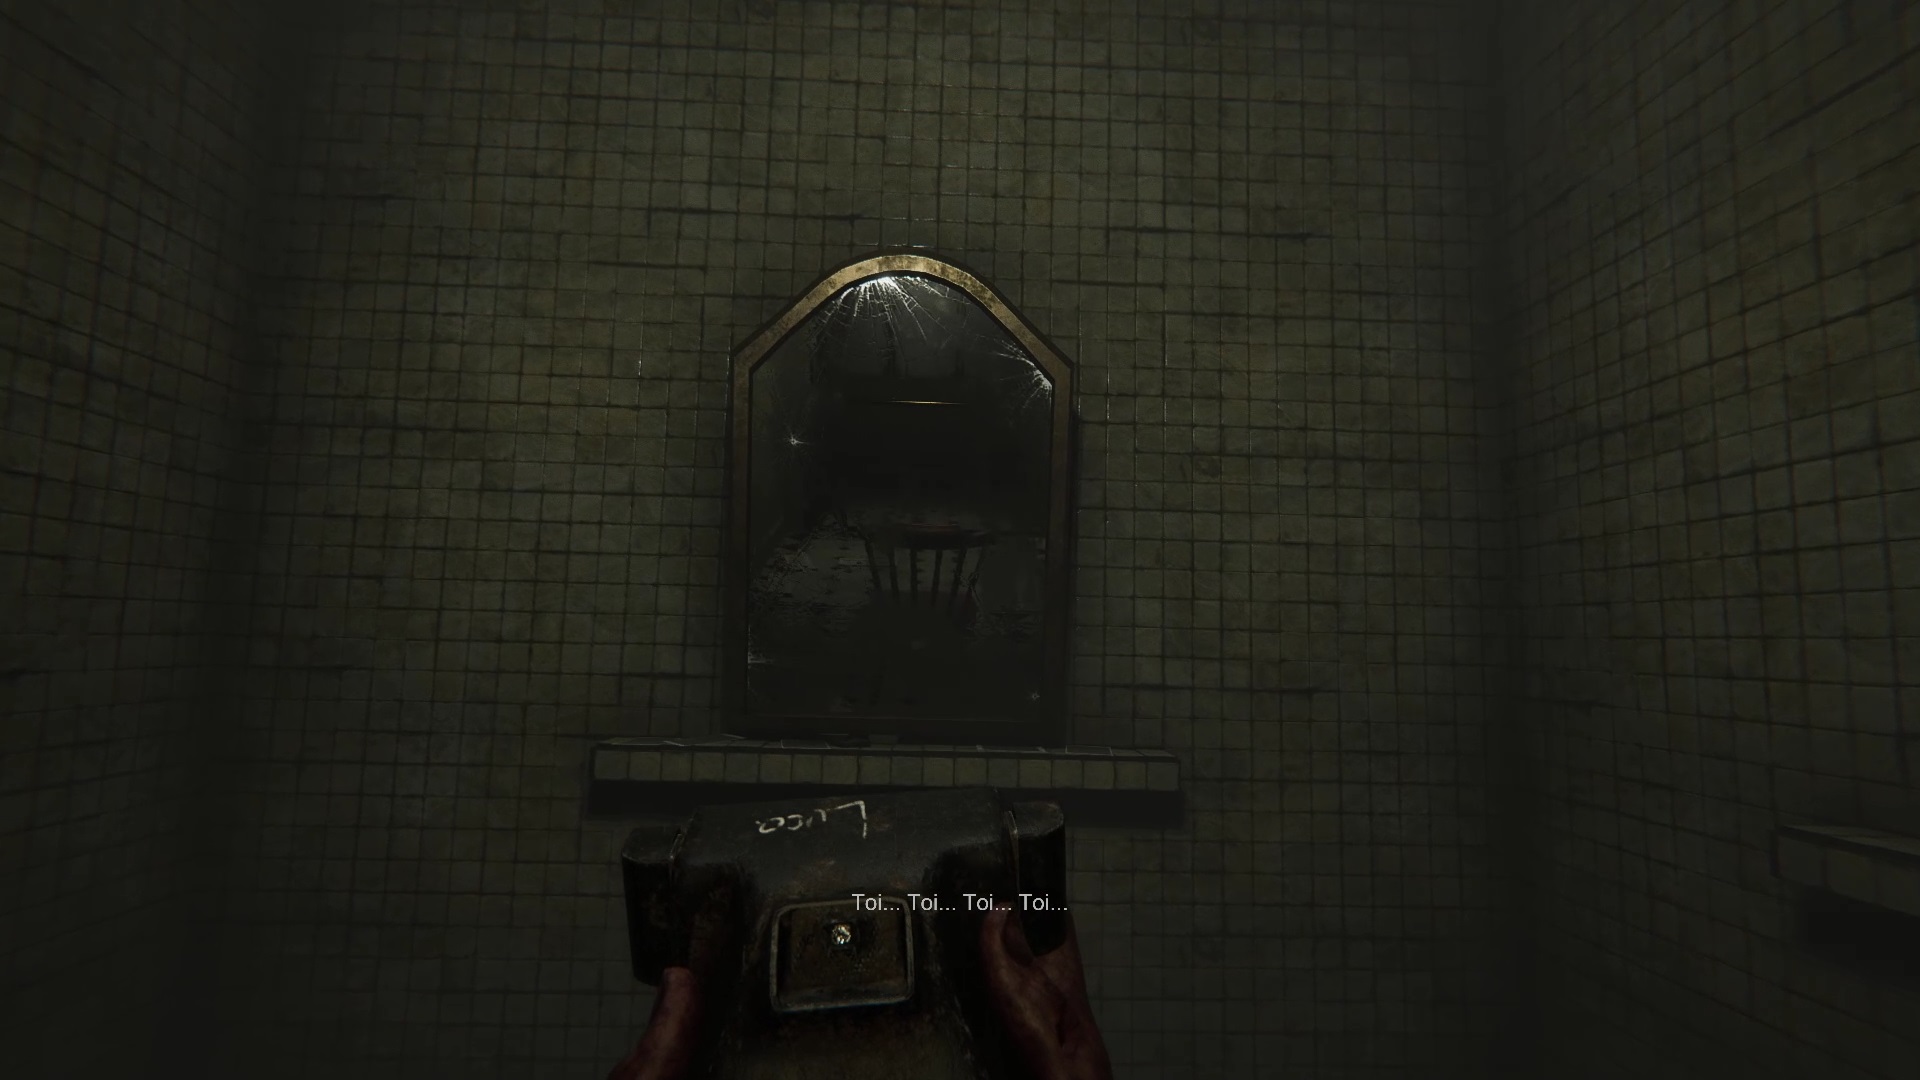
On the first floor, line up the pillar with the number I on the left coffin, it’s the only wall with a breach. On the second floor, line up pillar number II with Judith Hale’s coffin in the center. On the third floor, line up Pillar III with Drake Fletcher’s casket to the left. You will need your hammer to open the breach. If you don’t have the hammer go home and take it from the storage room. On the fourth floor, line up the number IV with the coffin in the center. Climb to the fifth floor to find his latest victim. Use the camera with the mirror to reveal a clock key. Collect the key and return to the house.
Walkthroug of the Clock Room in Madison
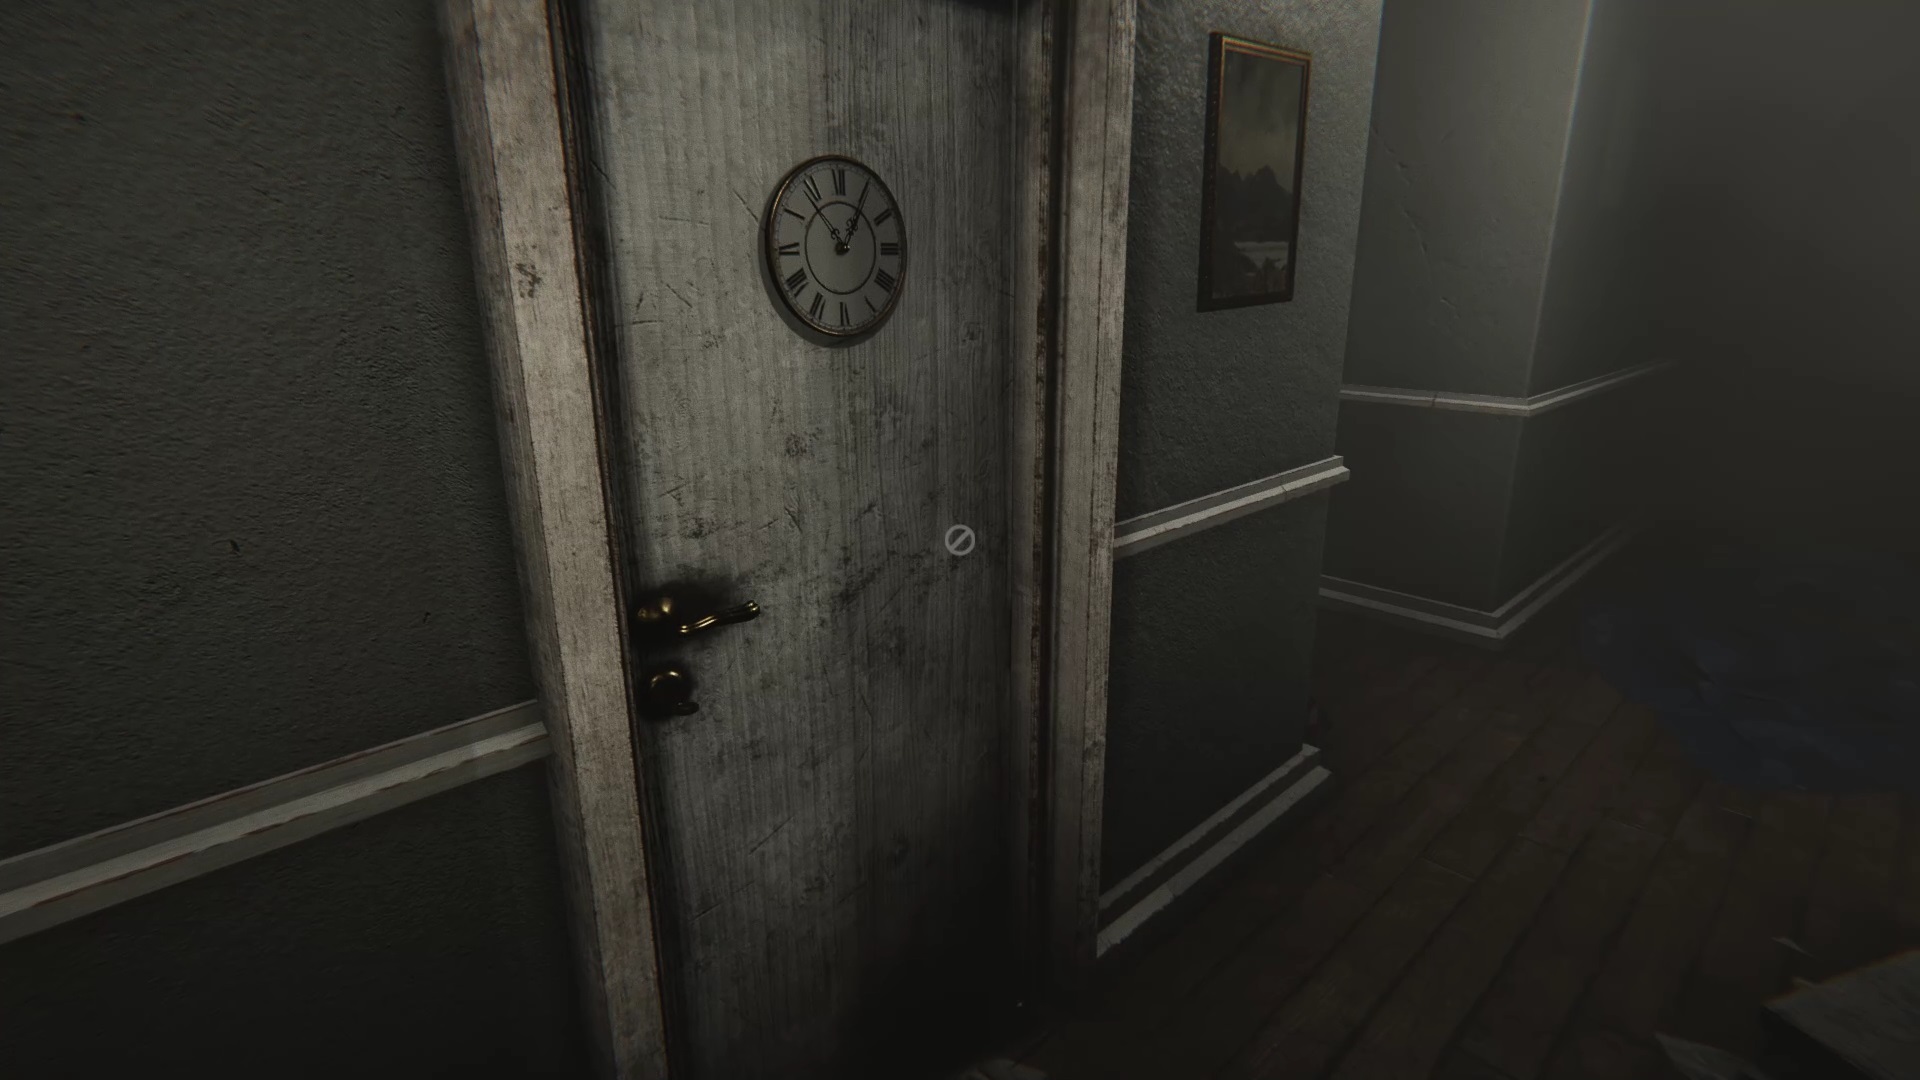
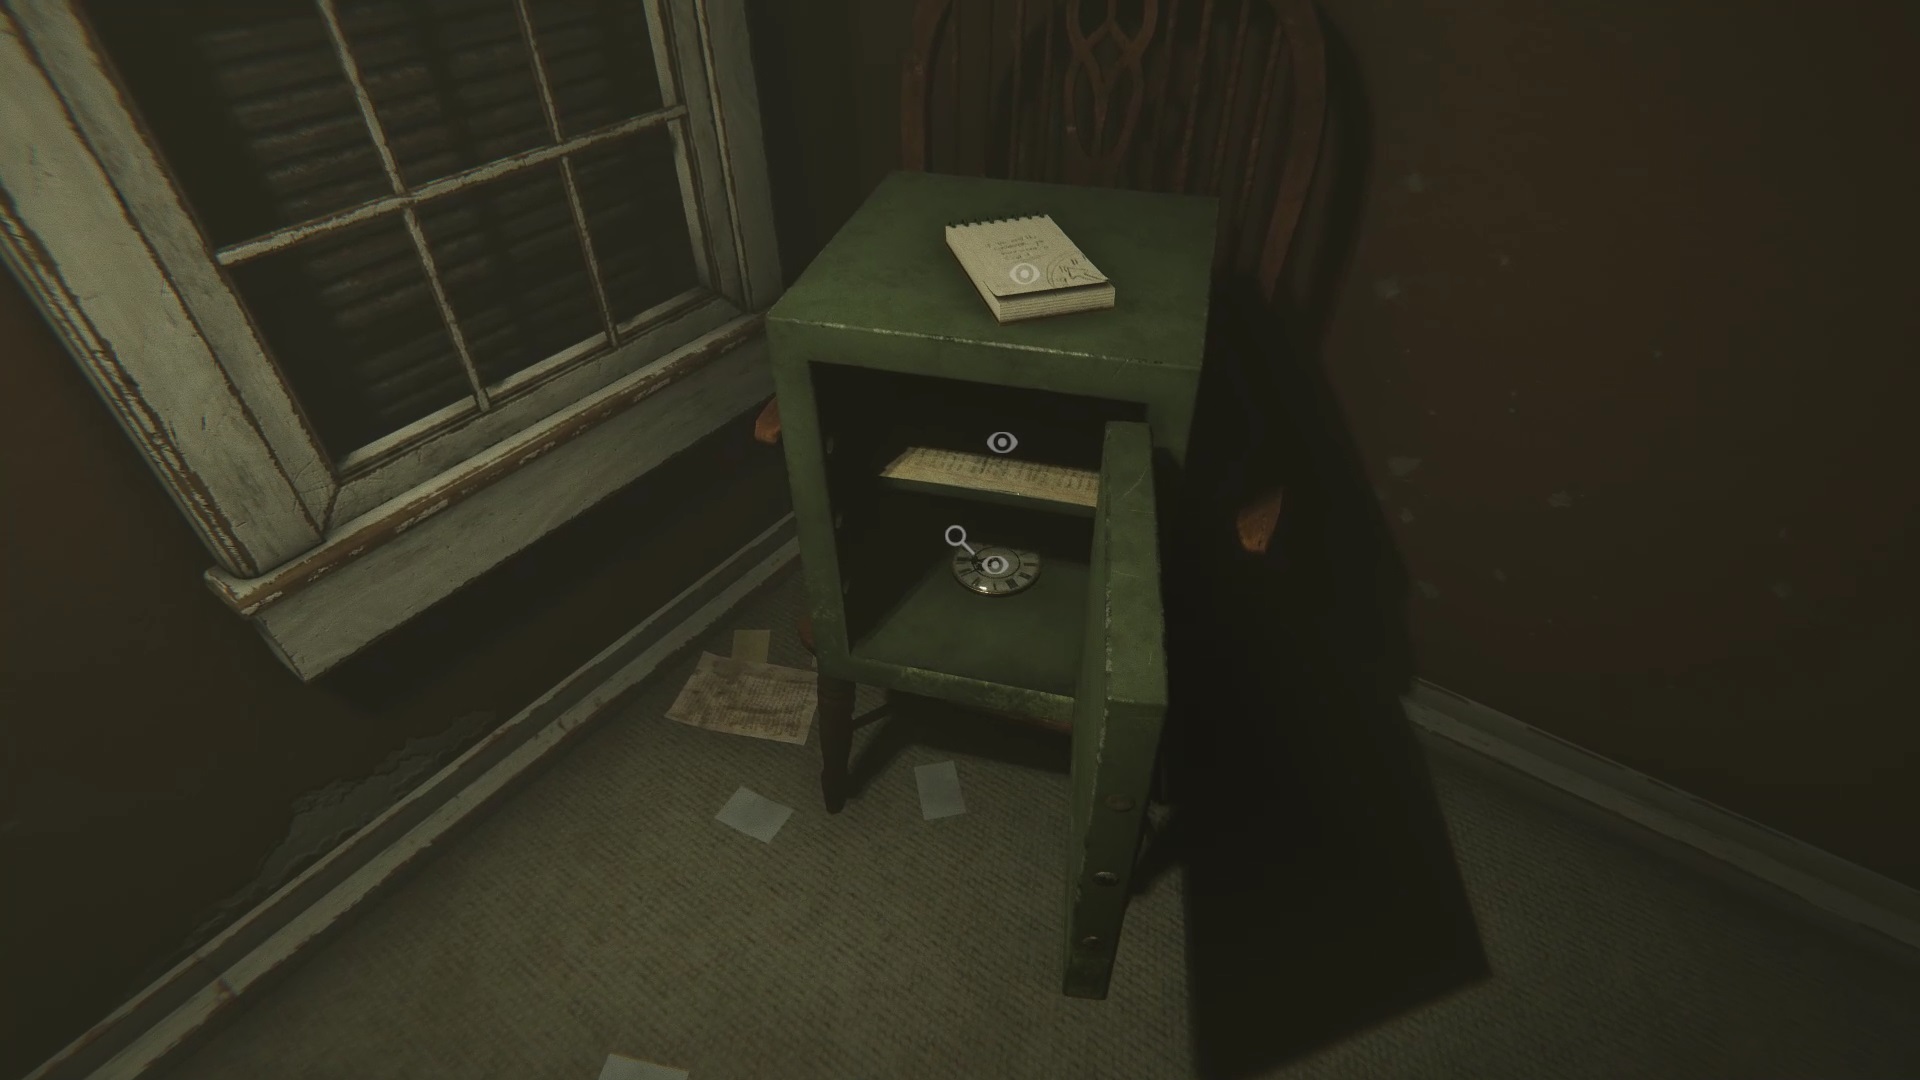
Return to the house and go turn on the generator. In the corridor, above, is the door of the clock. Used the key previously find to open it. Go down the stairs and use your clamp to open a drawer. This contains a combination fragment. To find the rest of the code, go to the bathroom above where you got the concrete block in the toilet and get a notepad on a shelf. Now head into Grandpa’s office to the right of the screening room. If you put the two notepad together, you get the code 9 left, 11 right and 8 left. Use the combination on the green safe.

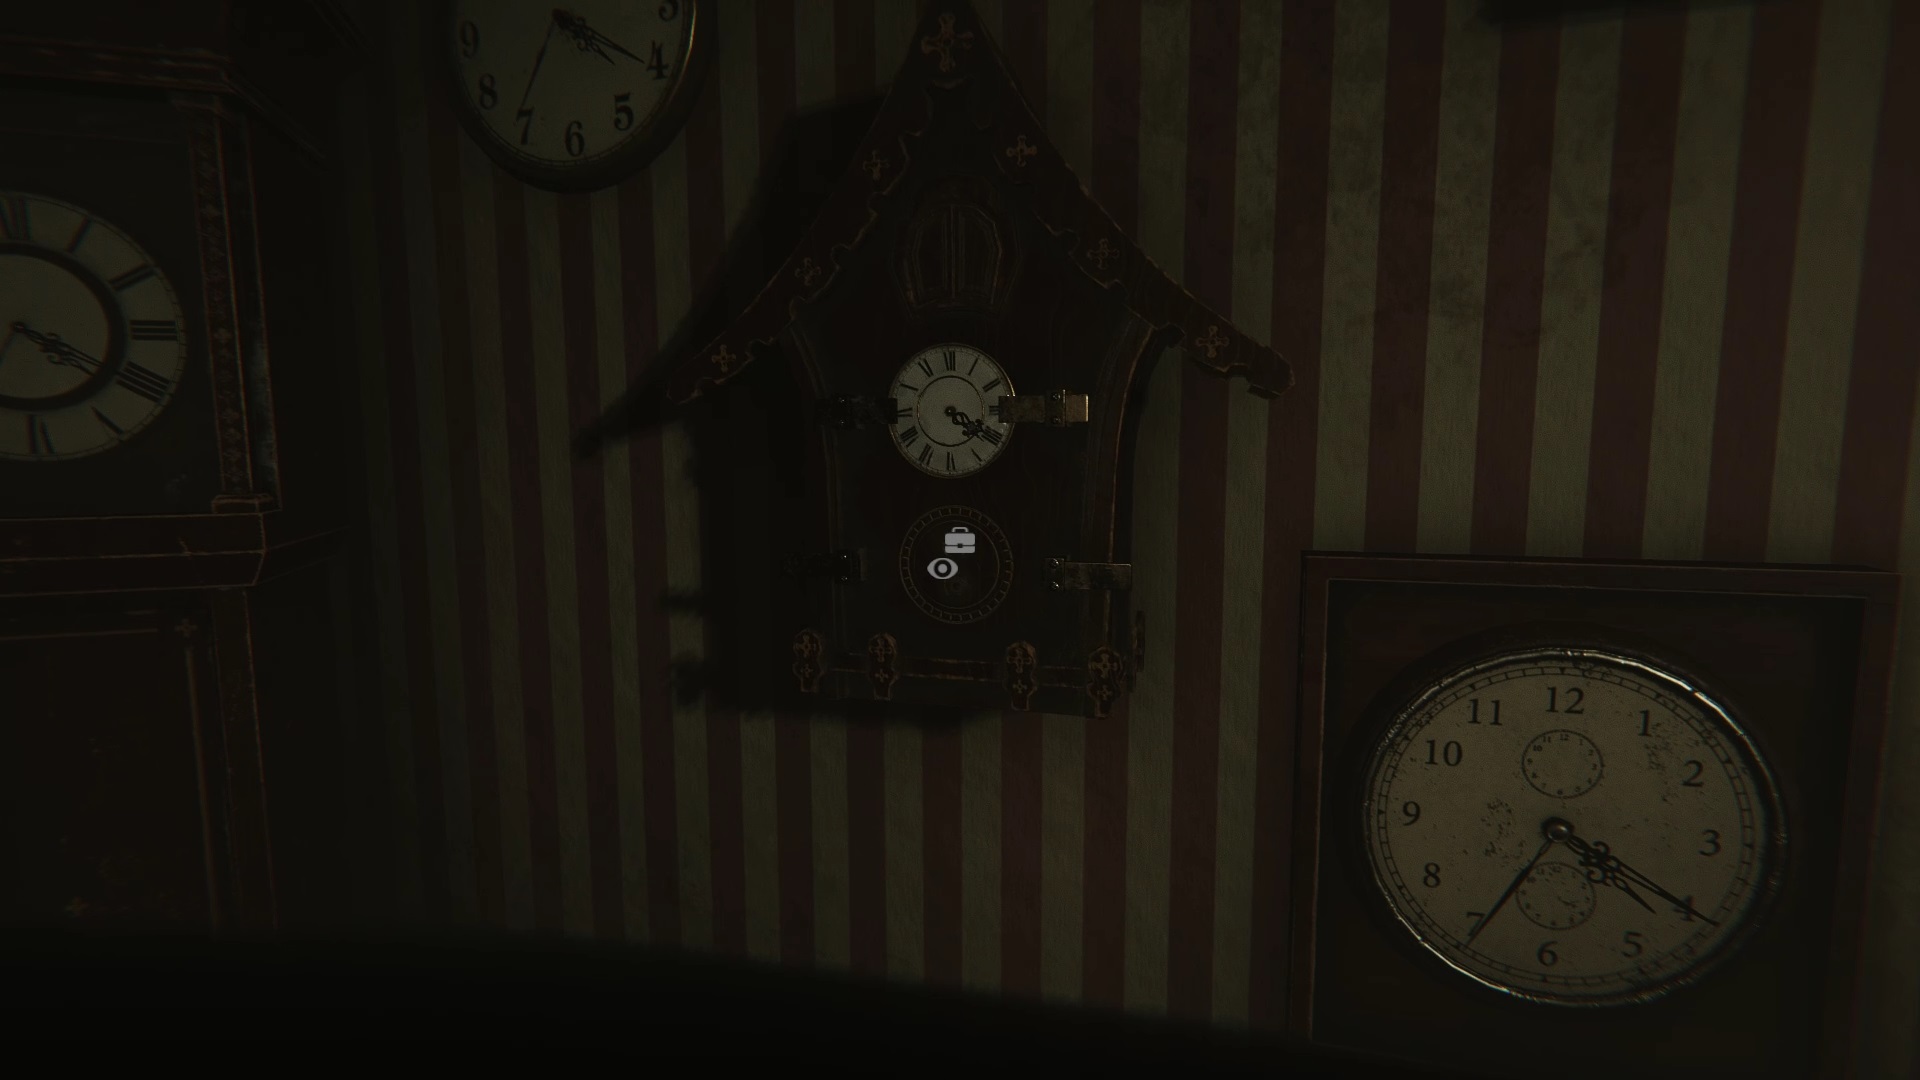
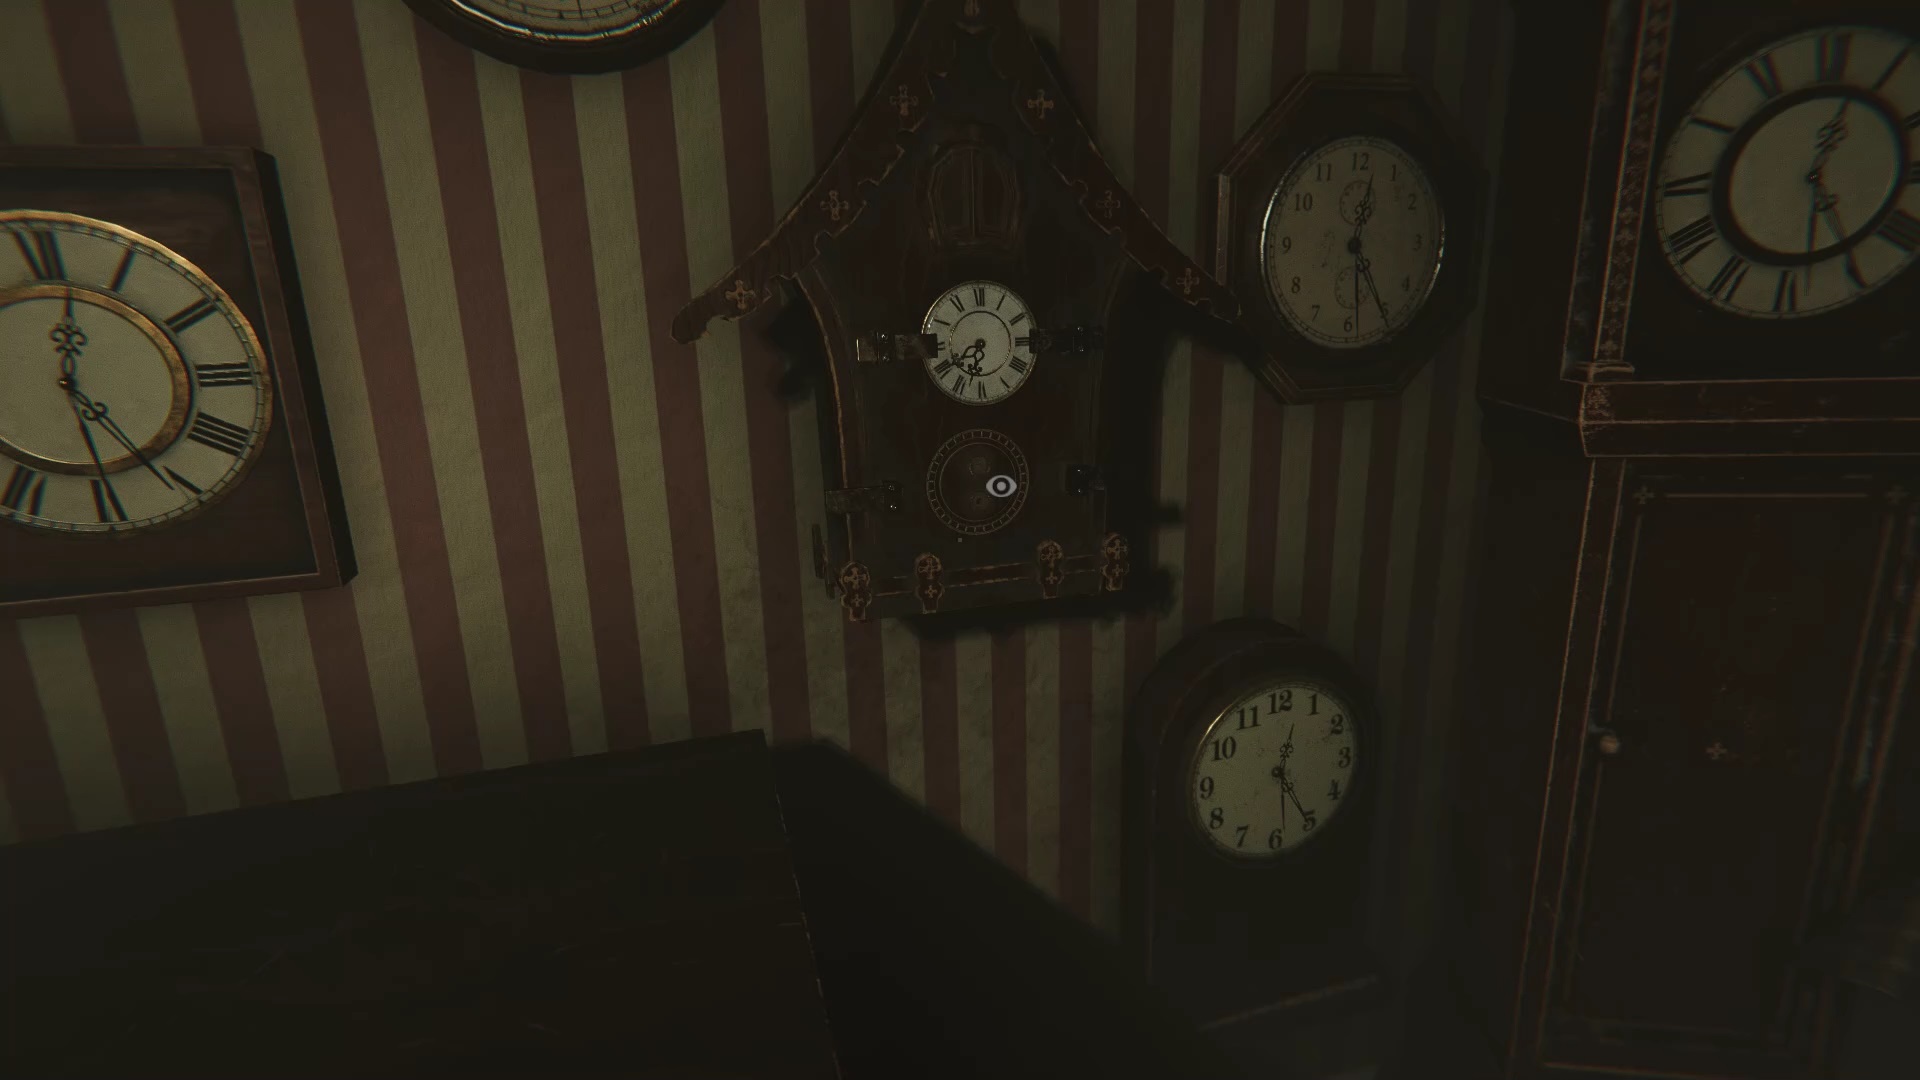
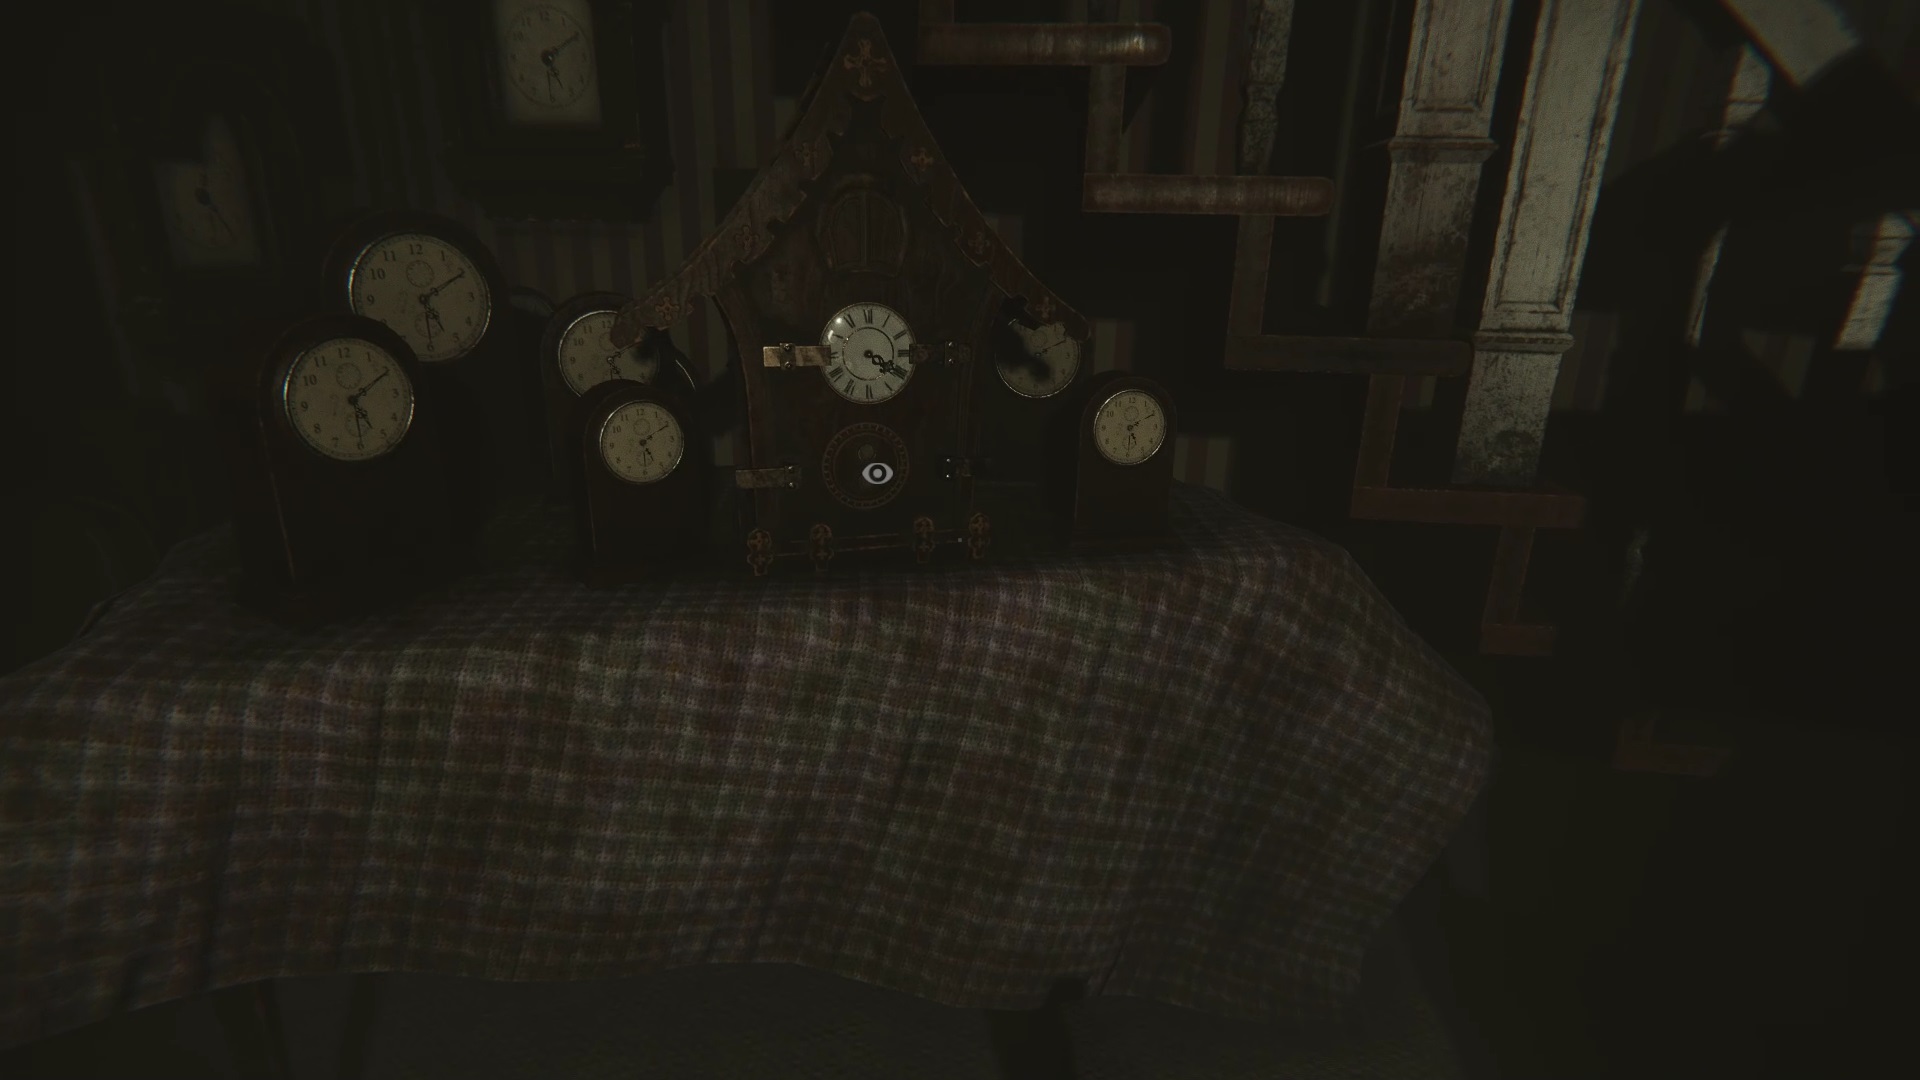
Inside you will find a dial and a note. Thanks to the dial, you can solve the riddle of the hall of clocks. Four inactive clocks are placed in the room with different time zones. In the order of the images above: 1:30, 4:20, 12:25 and 5:10. You need to find and match the correct dials scattered around the house with the idle clocks in the clock room.
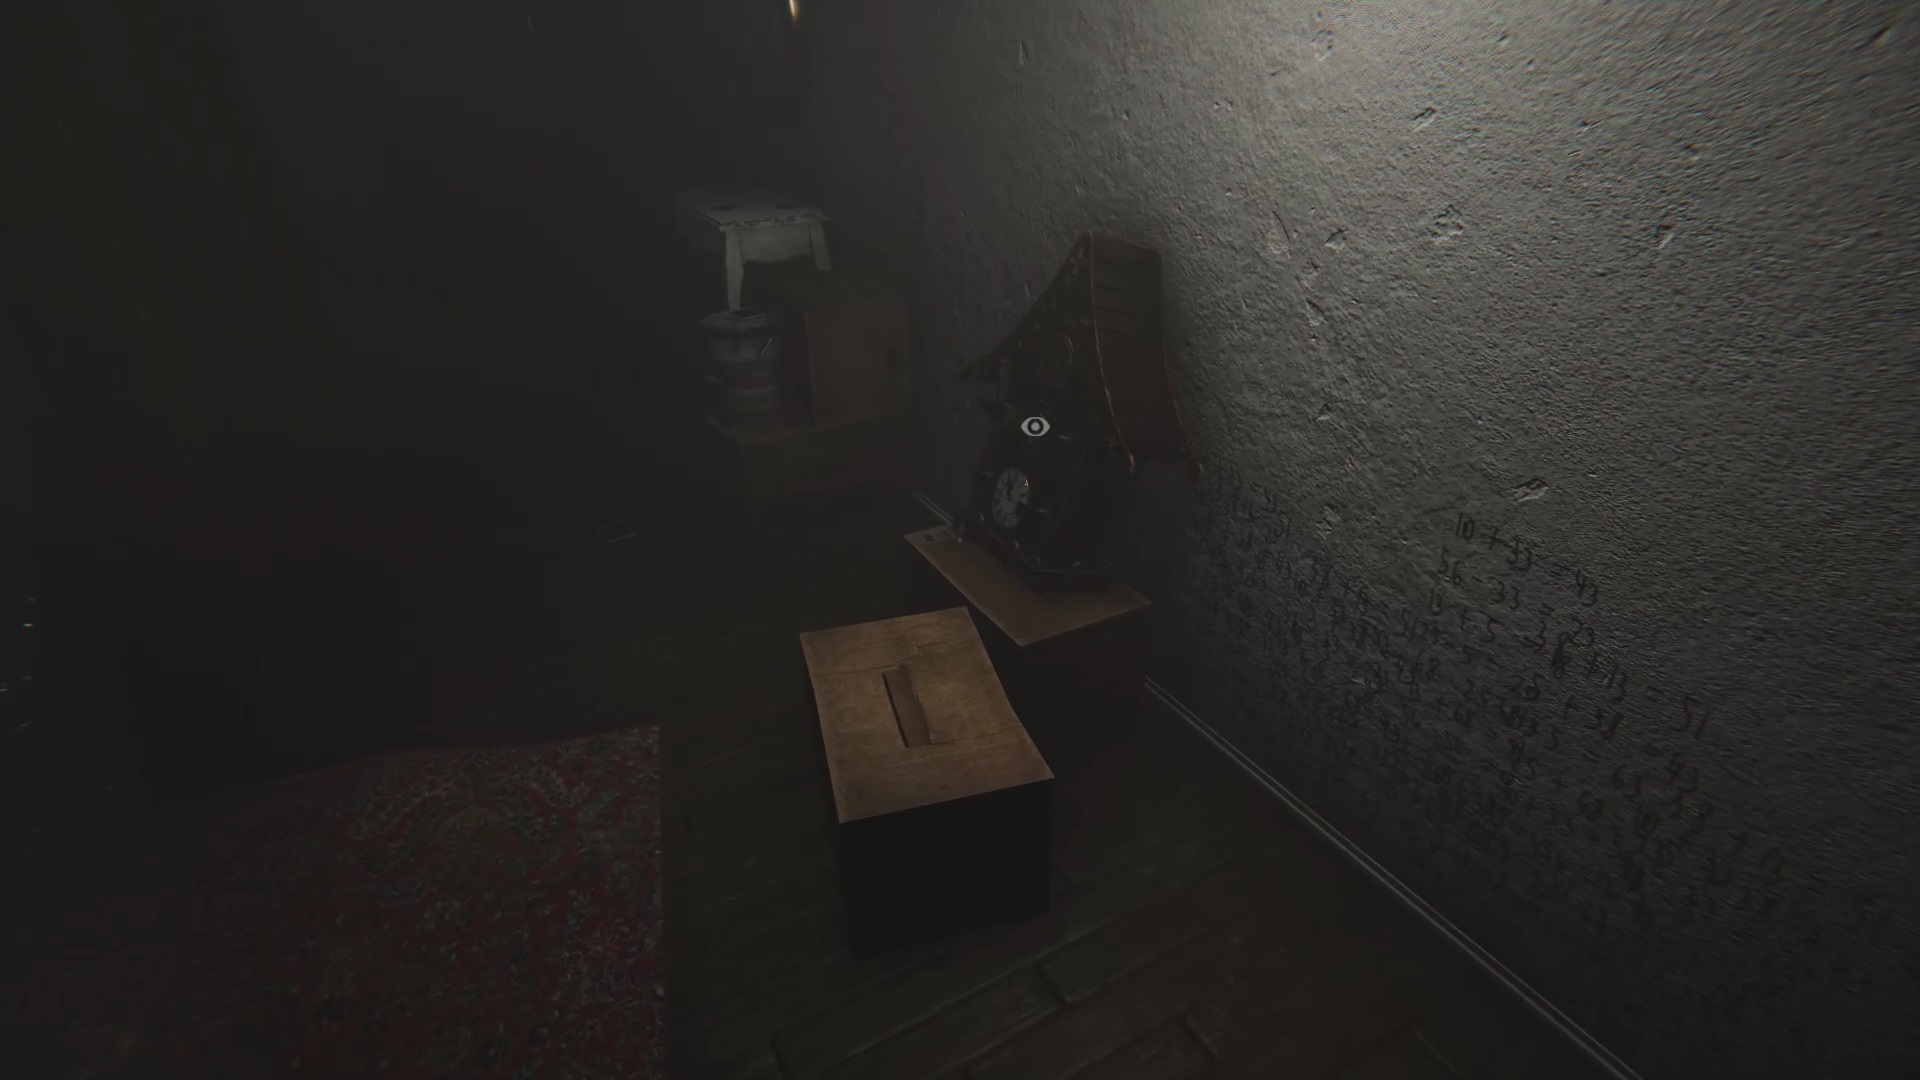
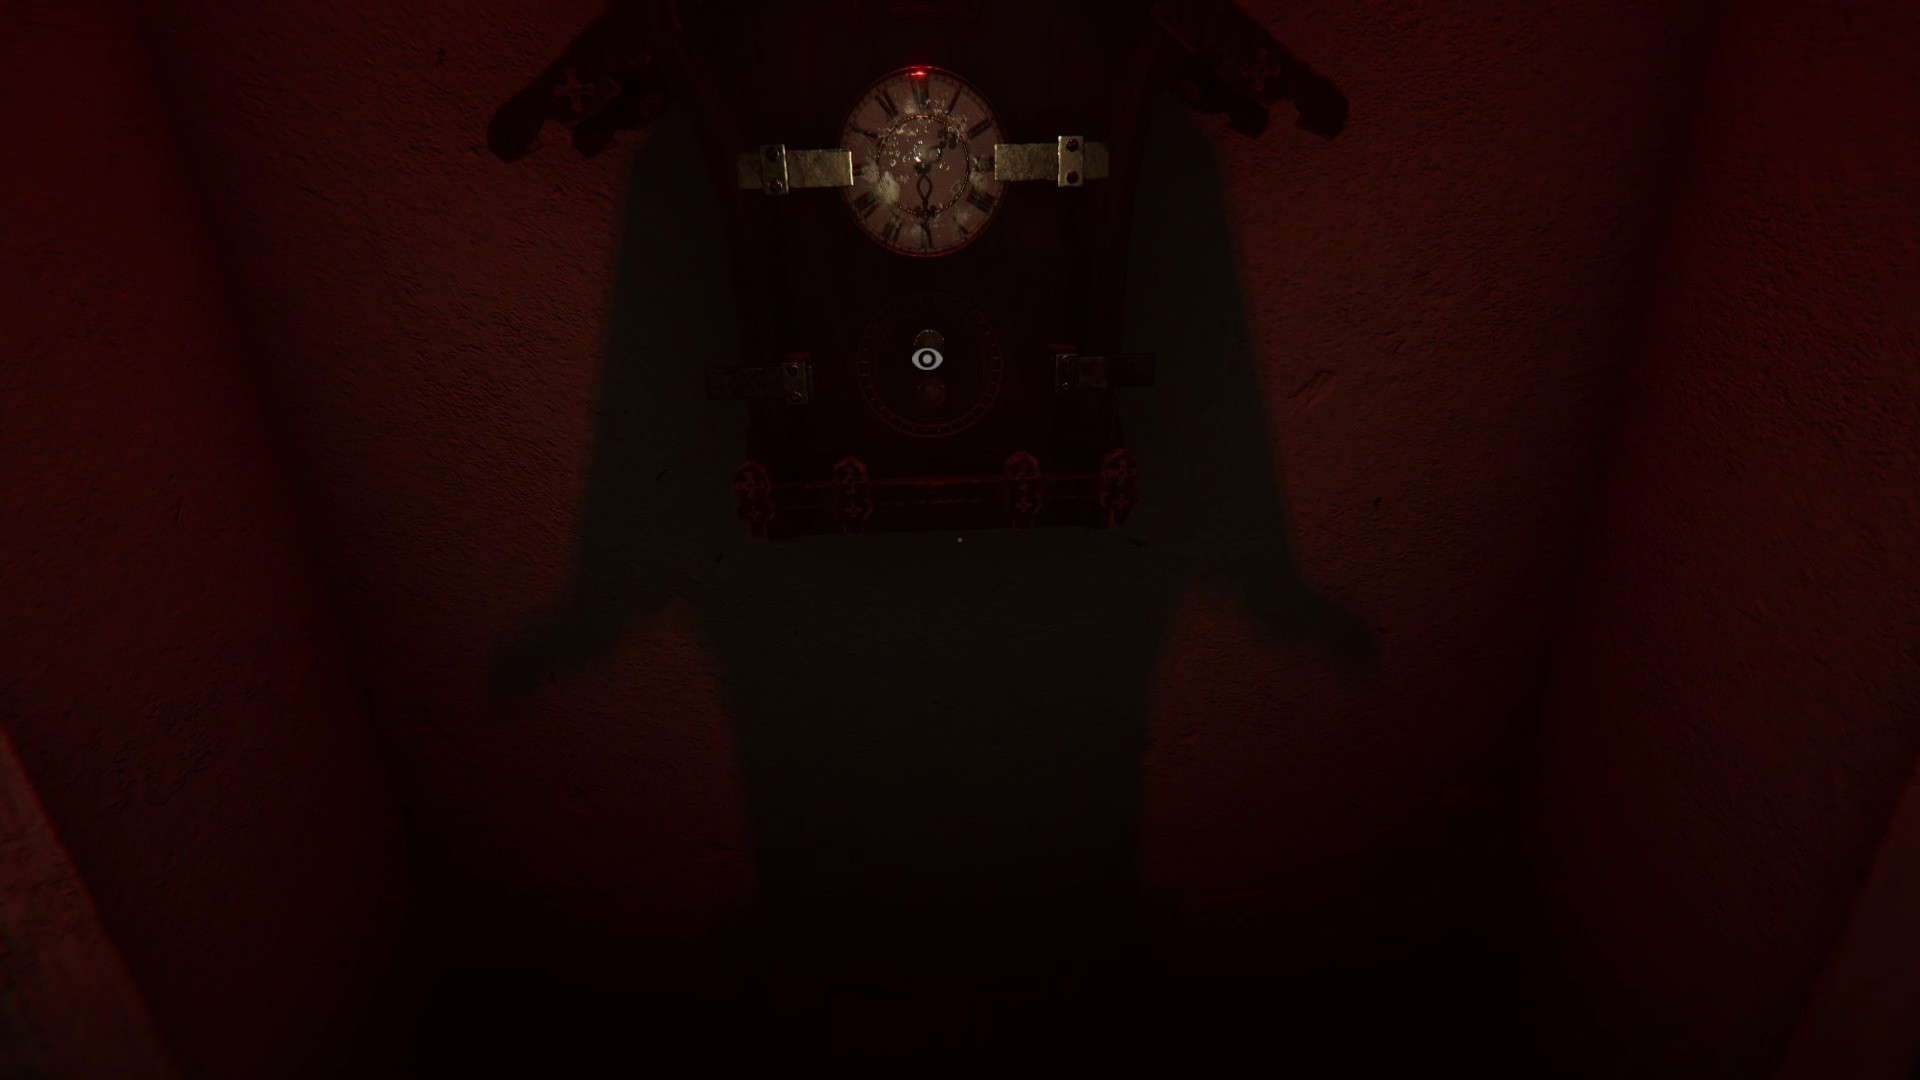
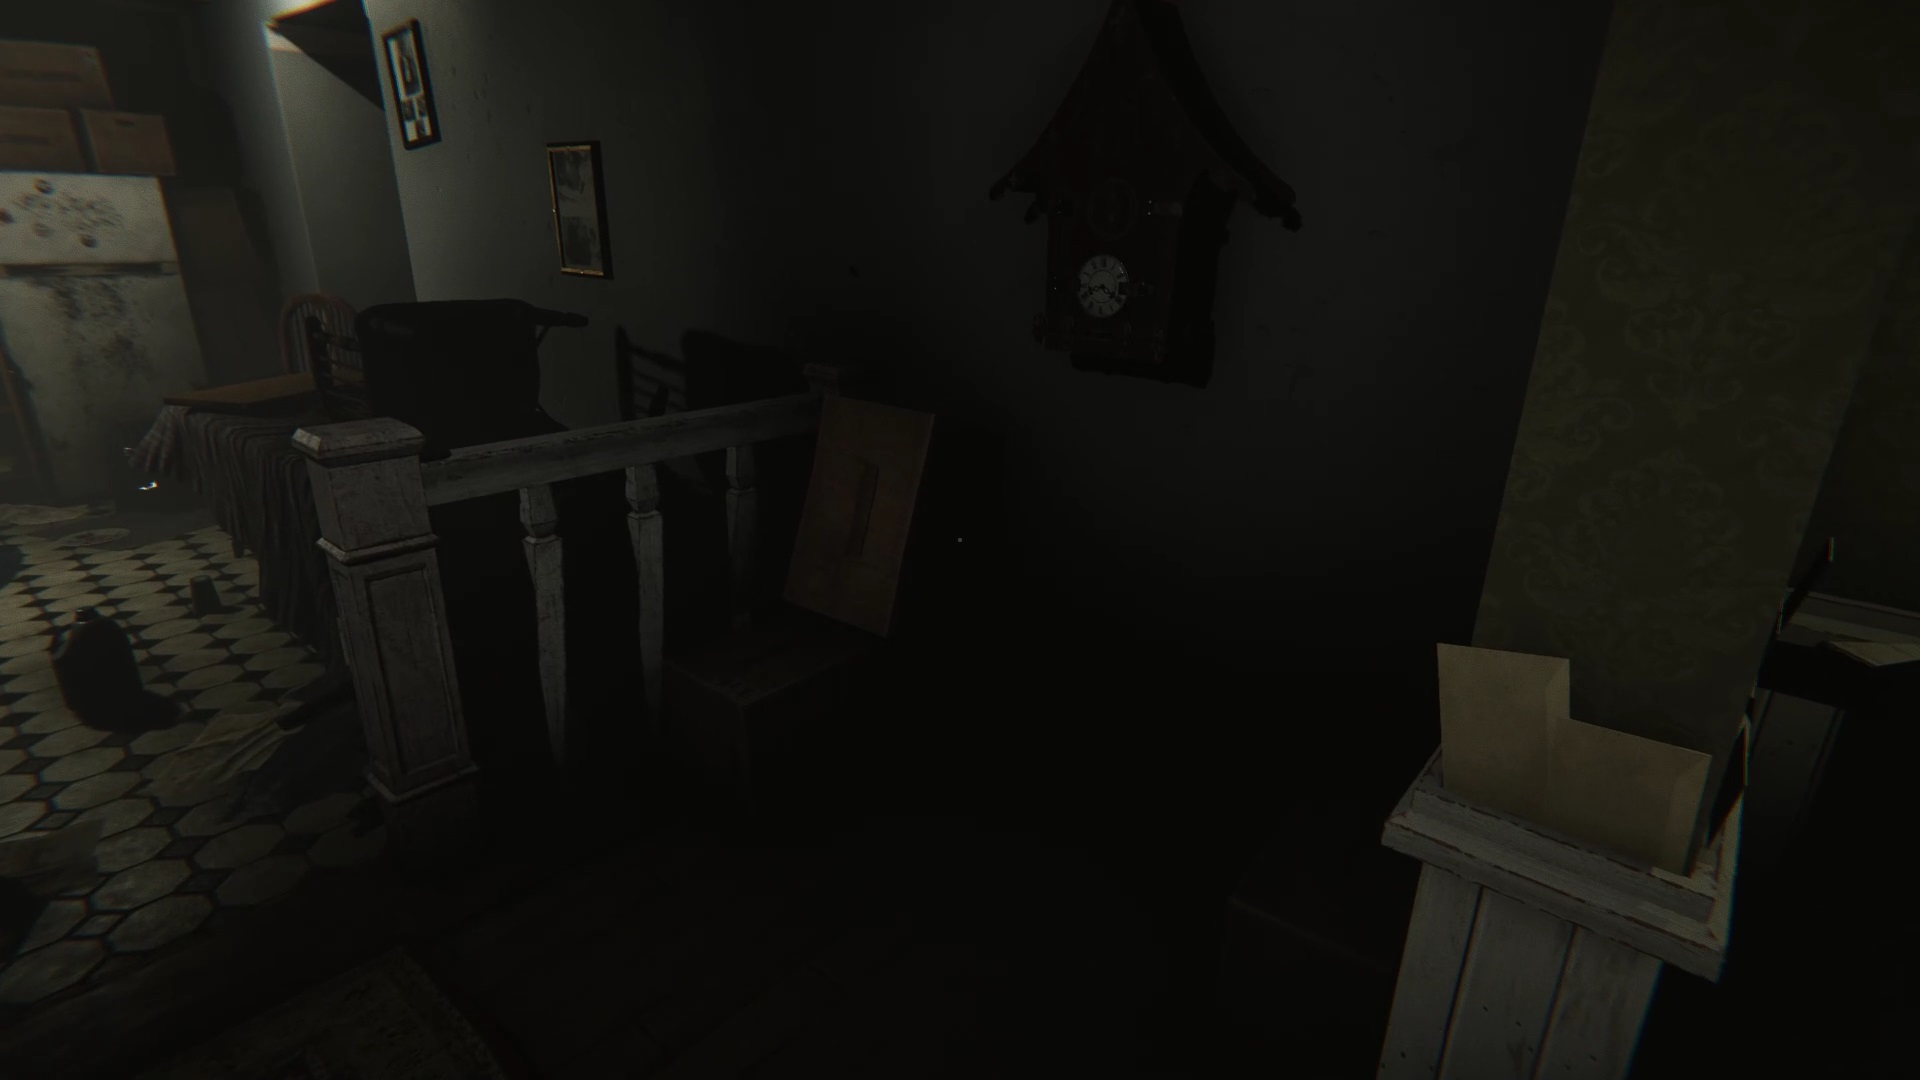
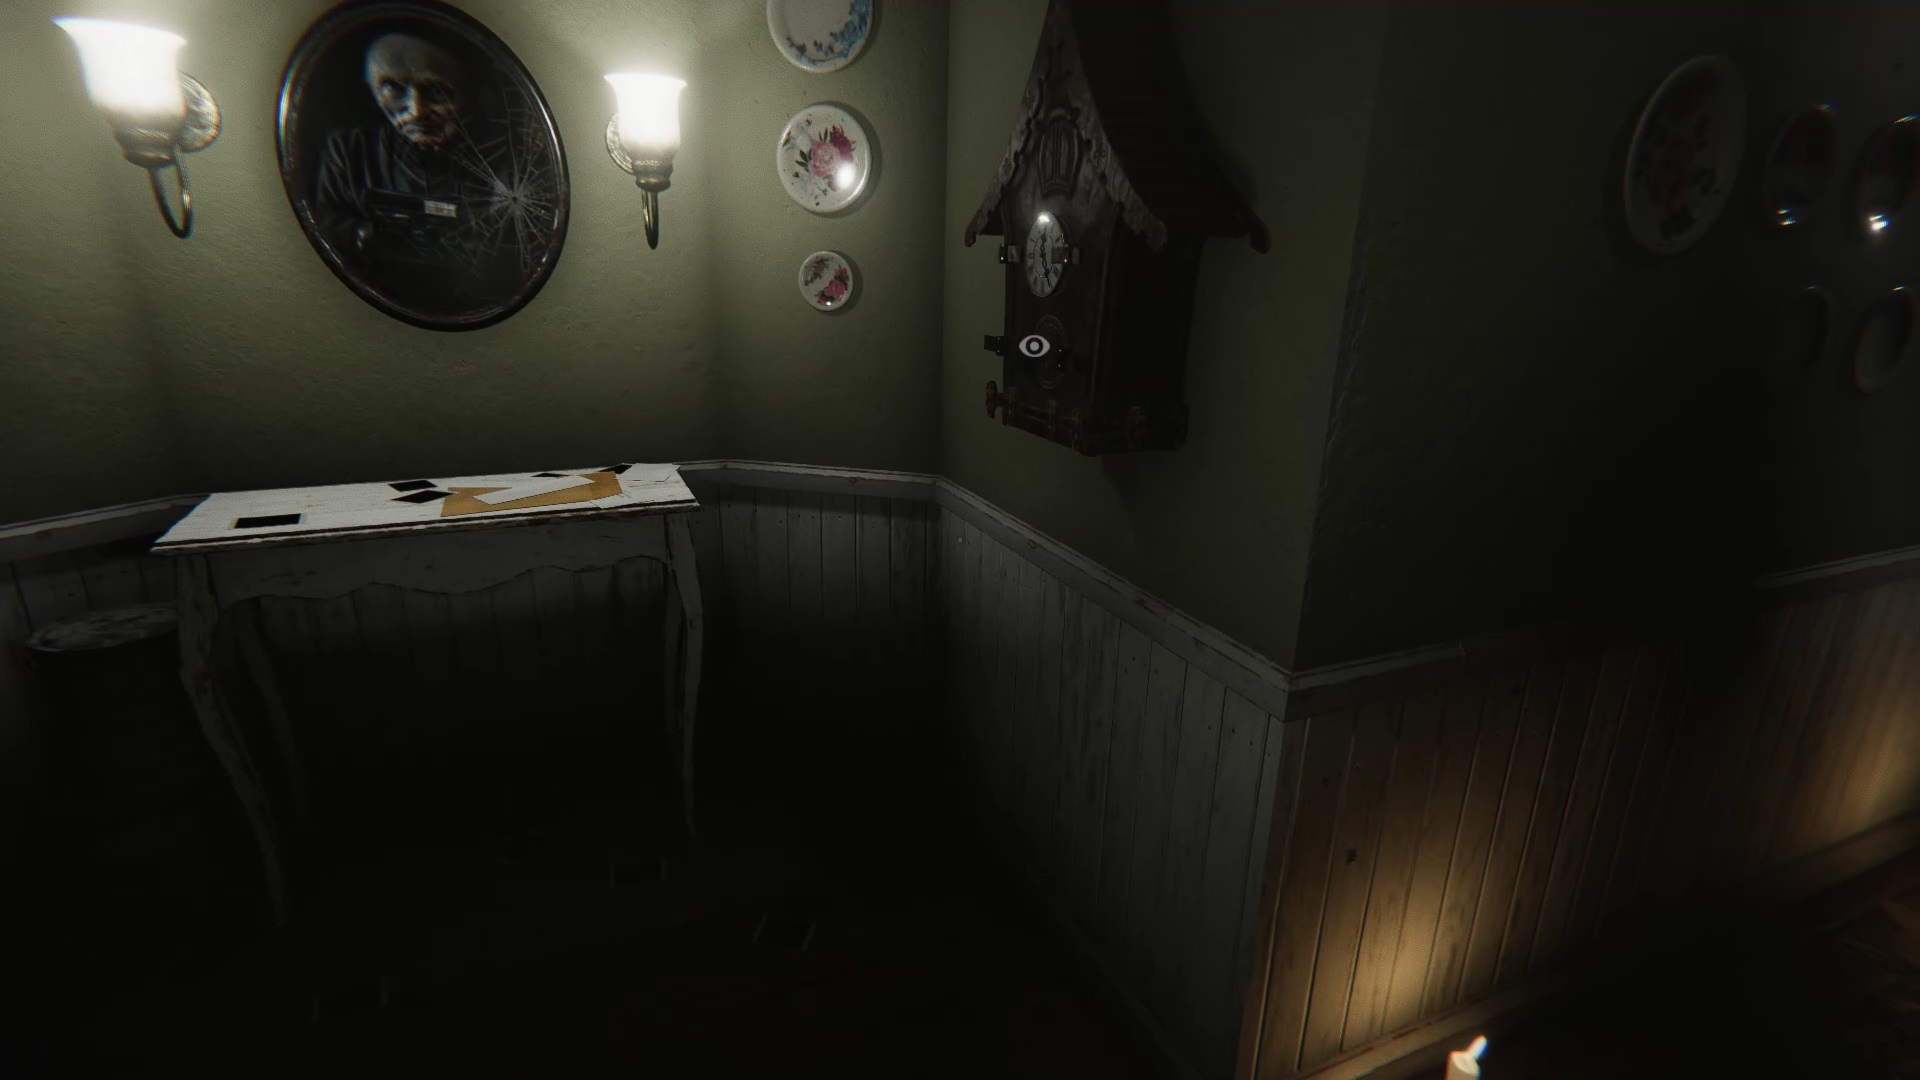
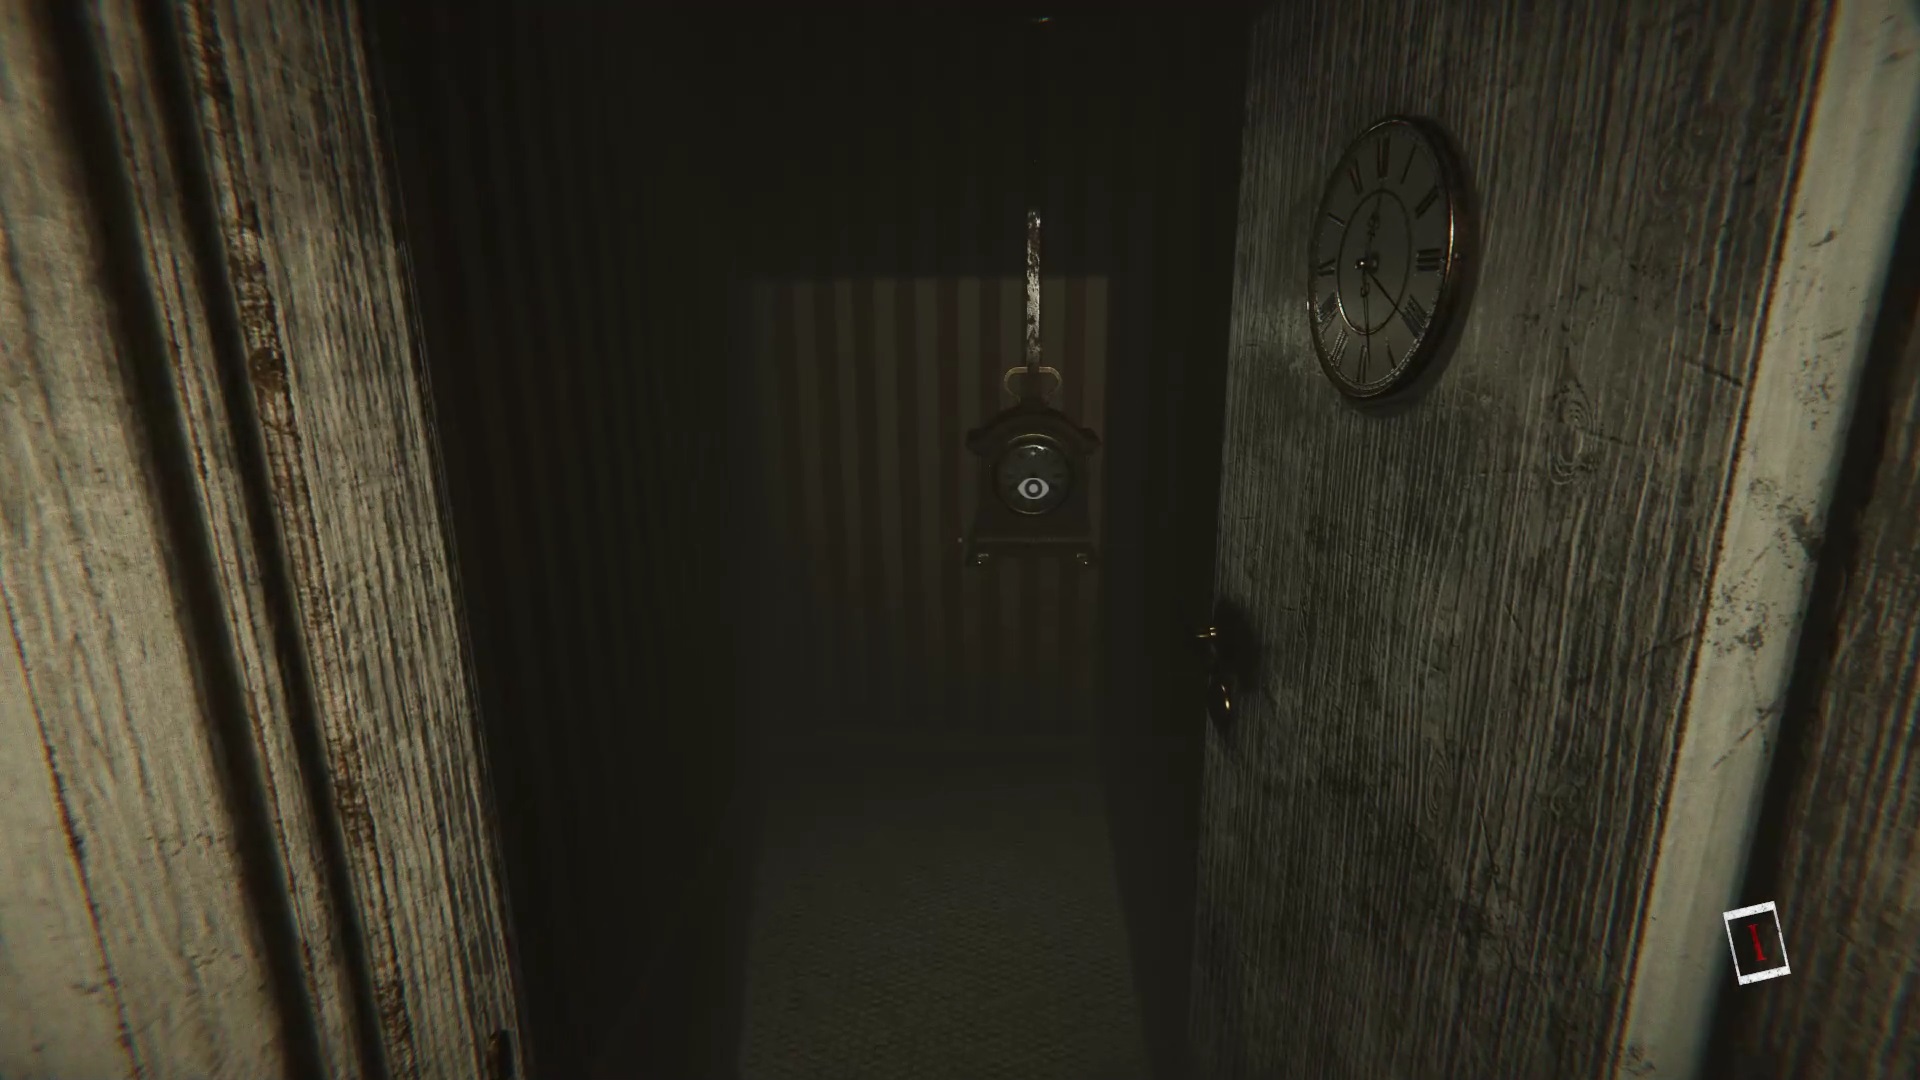
Here are the different locations of the clocks to examine: the attic, the hallway to the right of the projection room, the dining room, the hallway near the portrait of the old man. Once the correct dials are matched with the correct clocks in the clock room, the door opens.
Walkthroug to open the red chest in Madison
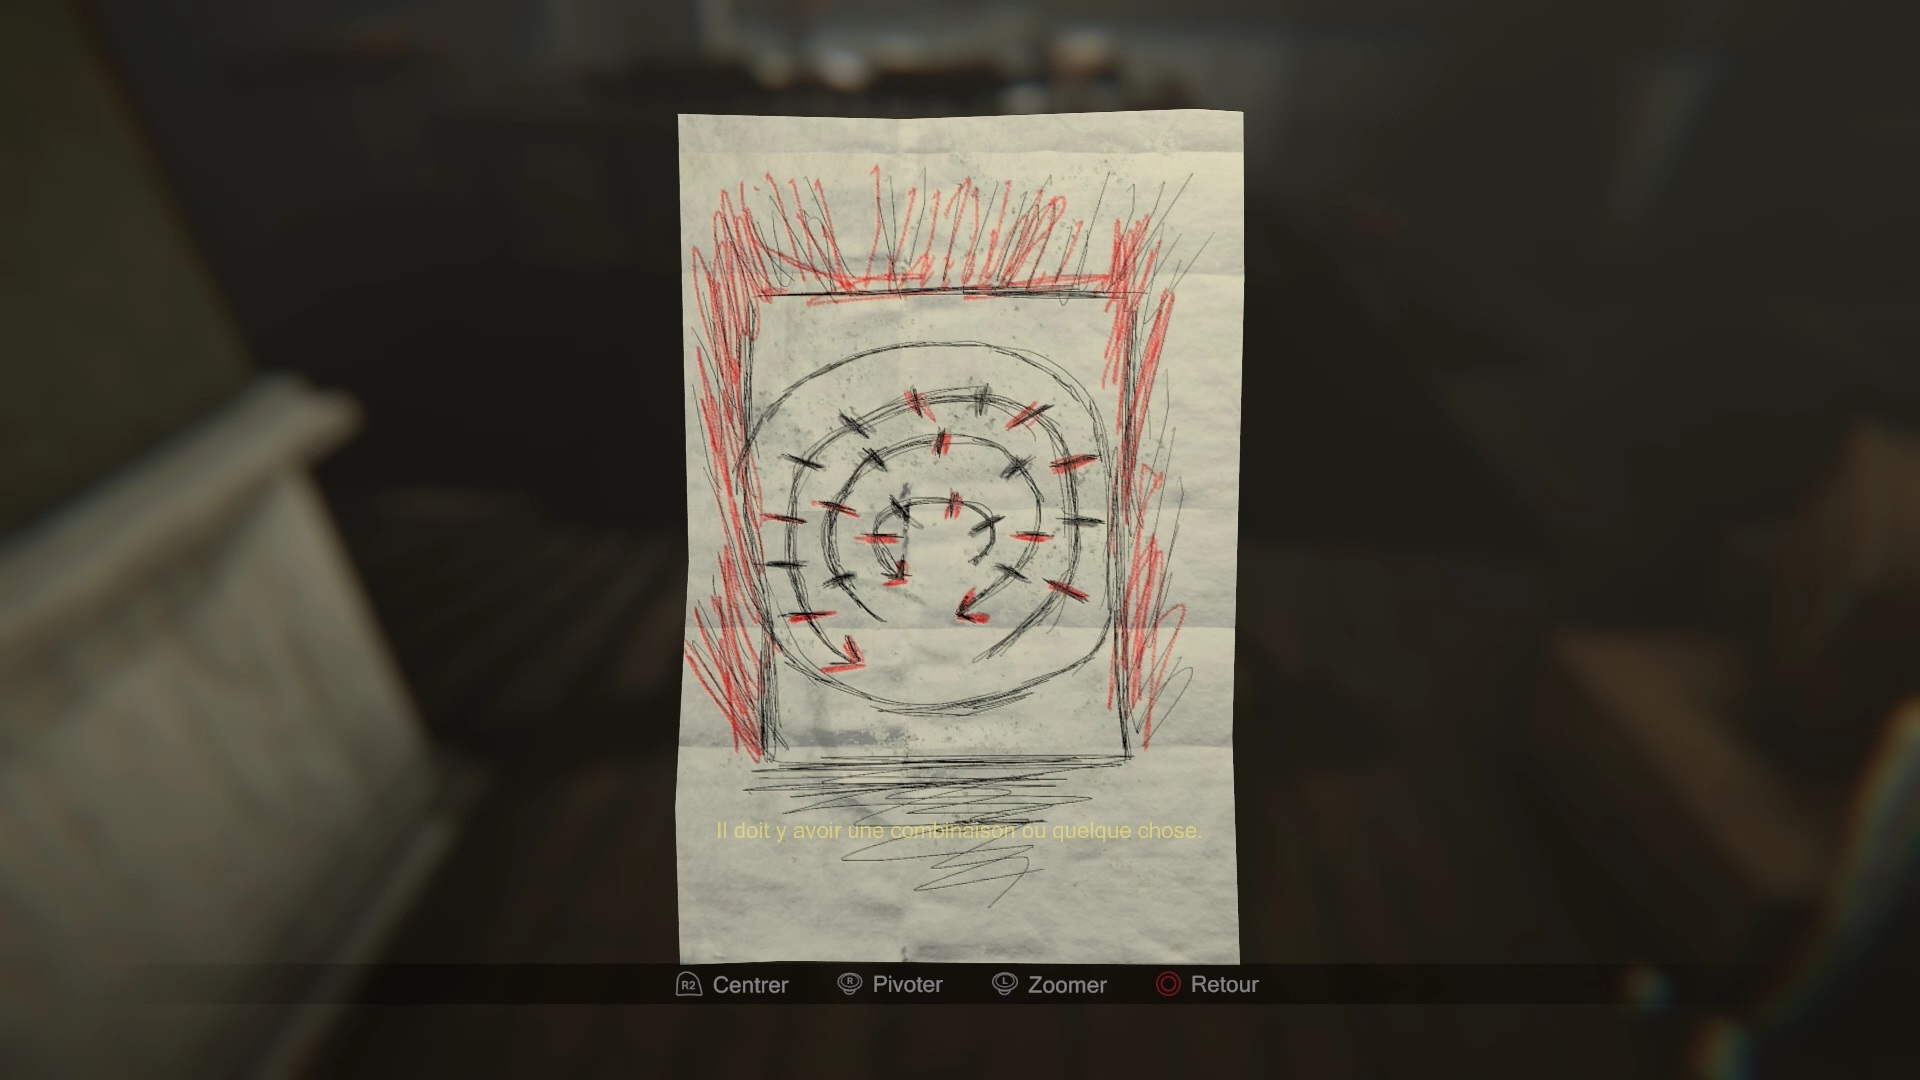
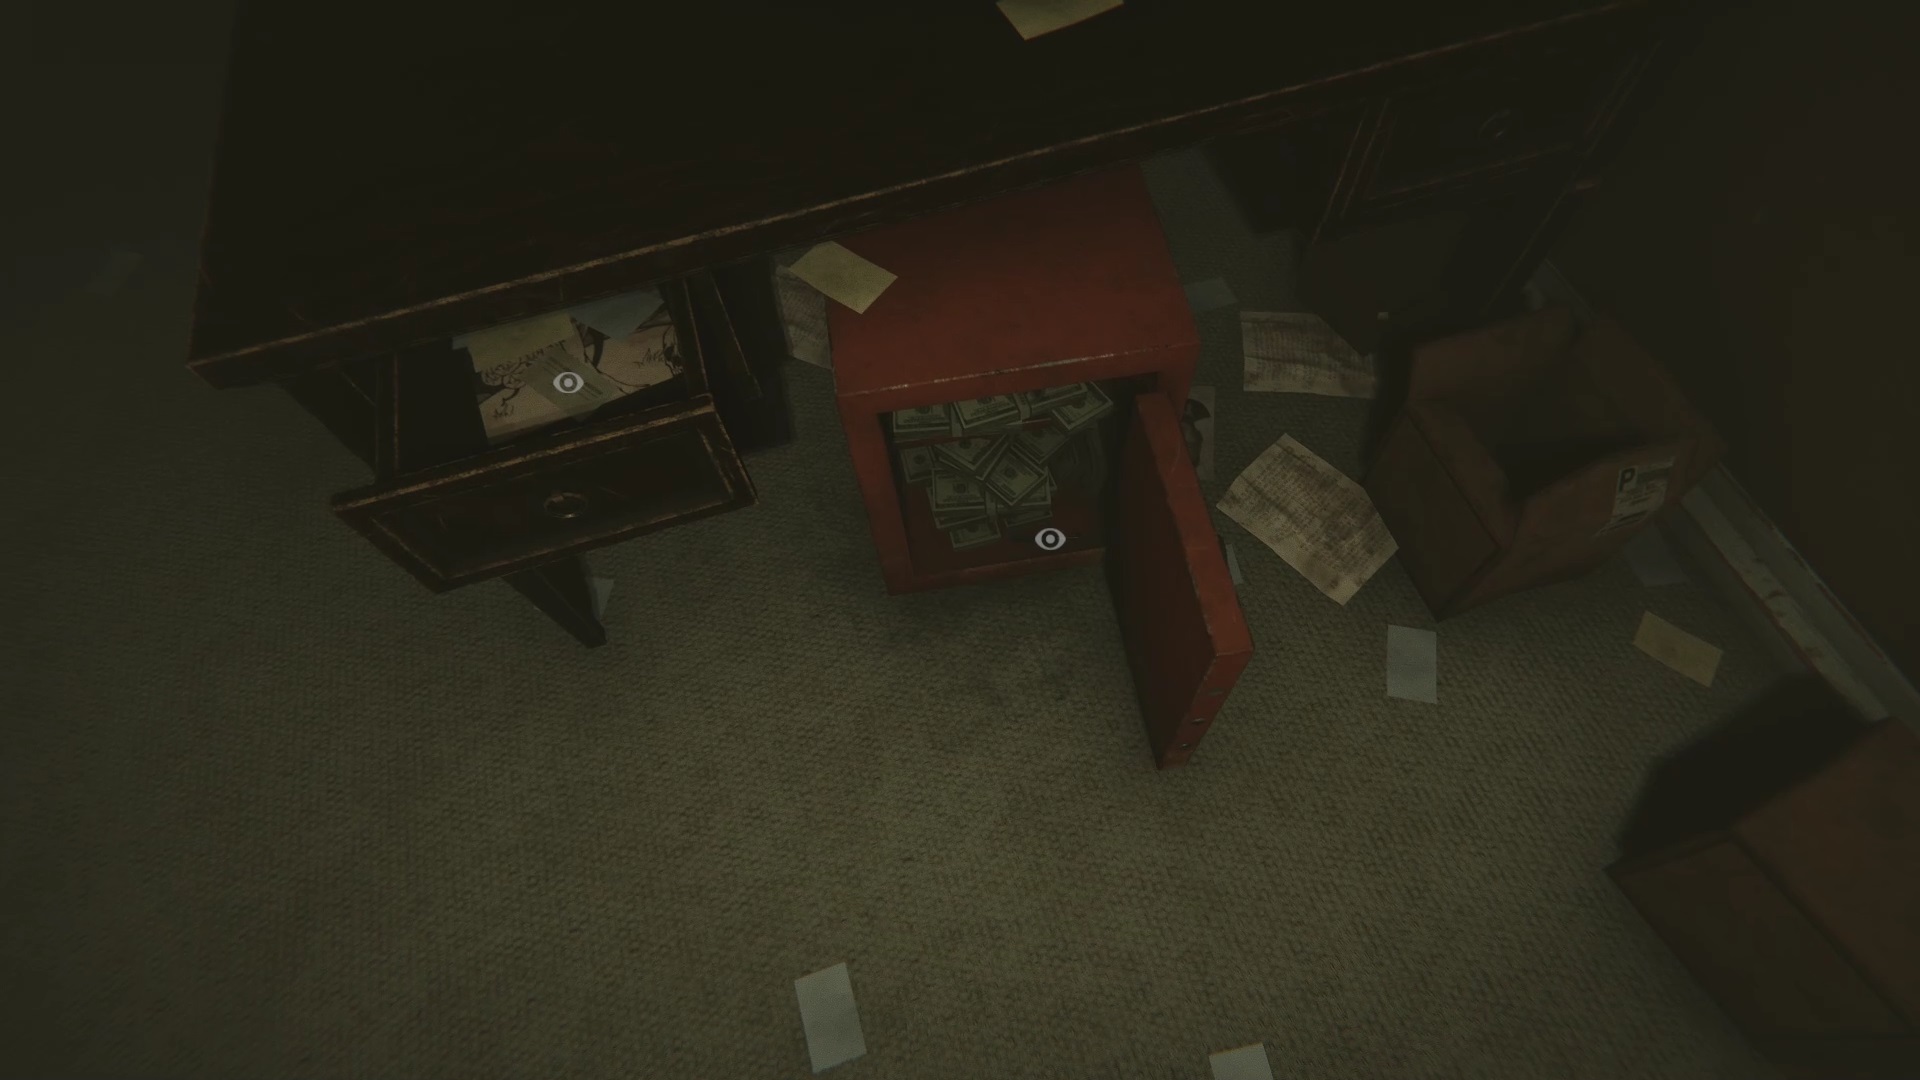
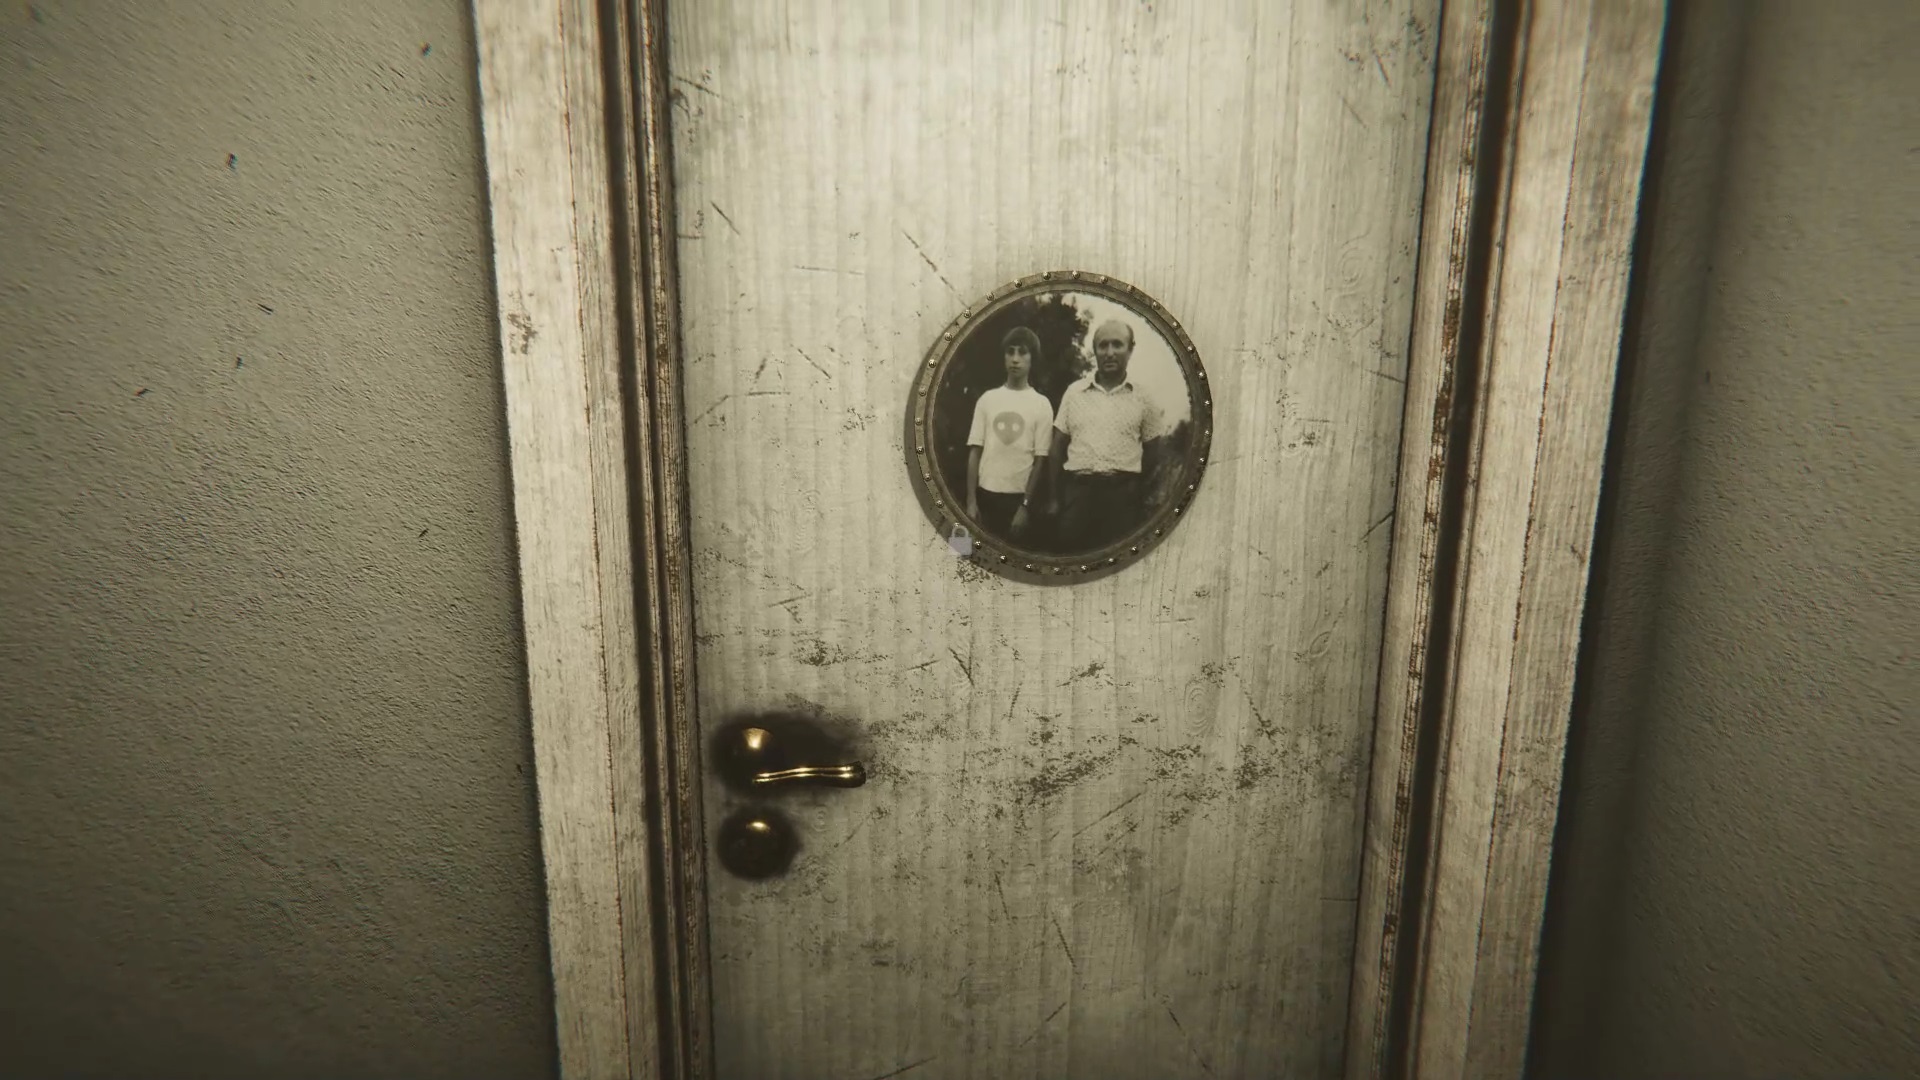
Collect the clock in the new room. Exit the clock room to get a new objective. Look carefully at the new objective and count the number of red elements to get a combination: 7 on the left, 4 on the right and 3 on the left. Head to Grandpa’s office to use the combination on the red safe. You get a key for the father’s room in the hallway behind. You can identify it thanks to the photo frame of a father and his son.
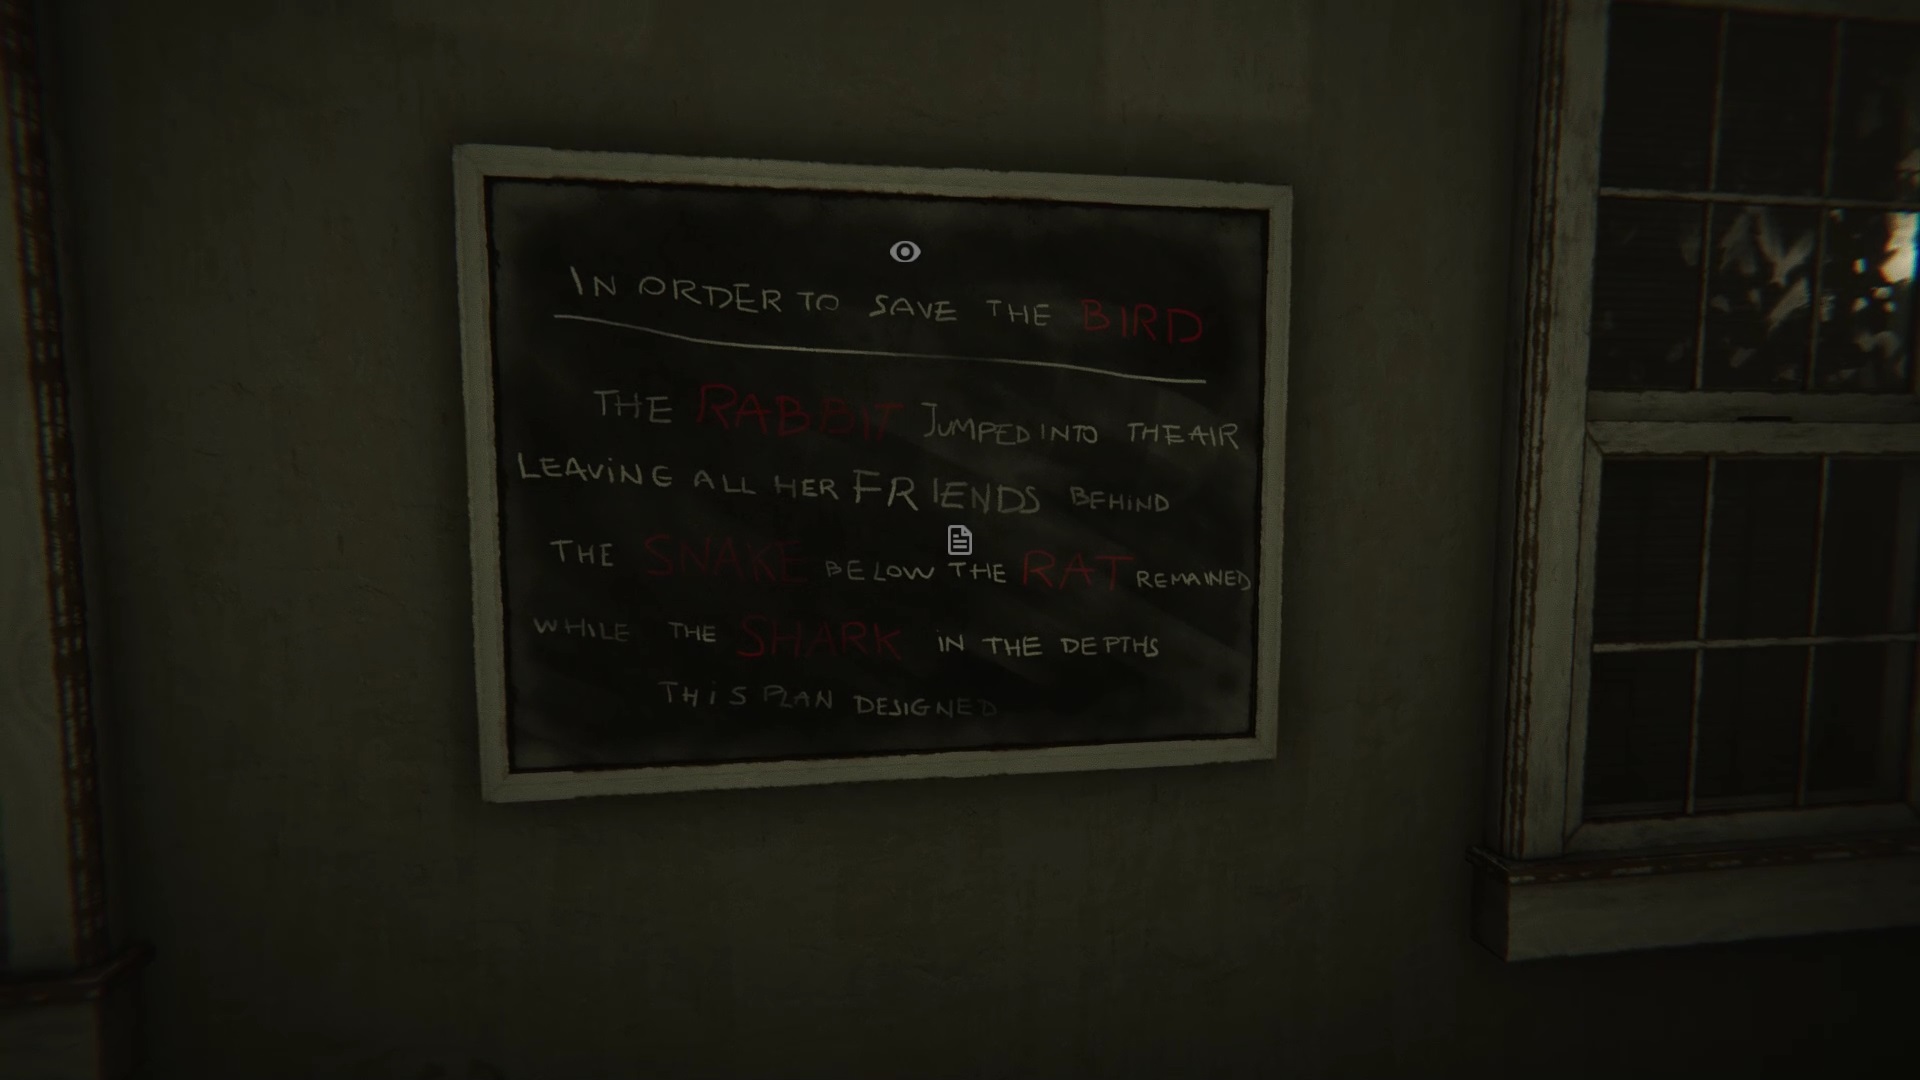
Inside the chamber, a strange mechanism encloses a book. Read the painting hanging on the wall for a clue to the riddle. If we follow the chart the weight from lightest to heaviest is: rabbit, rat, snake and shark. Collect the two concrete blocks in the room. You must arrange the blocks and the clock find previously on each hook associated with an animal. So that they coincide with the order of the weight in the table. The clock goes to the top right, the small block to the top left, the cube-shaped block to the bottom left, and the Xbox Series X-shaped block to the bottom right (see image above). The cage opens and you can take a photo with your camera. Pick up the book and read it.
Walkthrough of the Blue Knees section of Madison
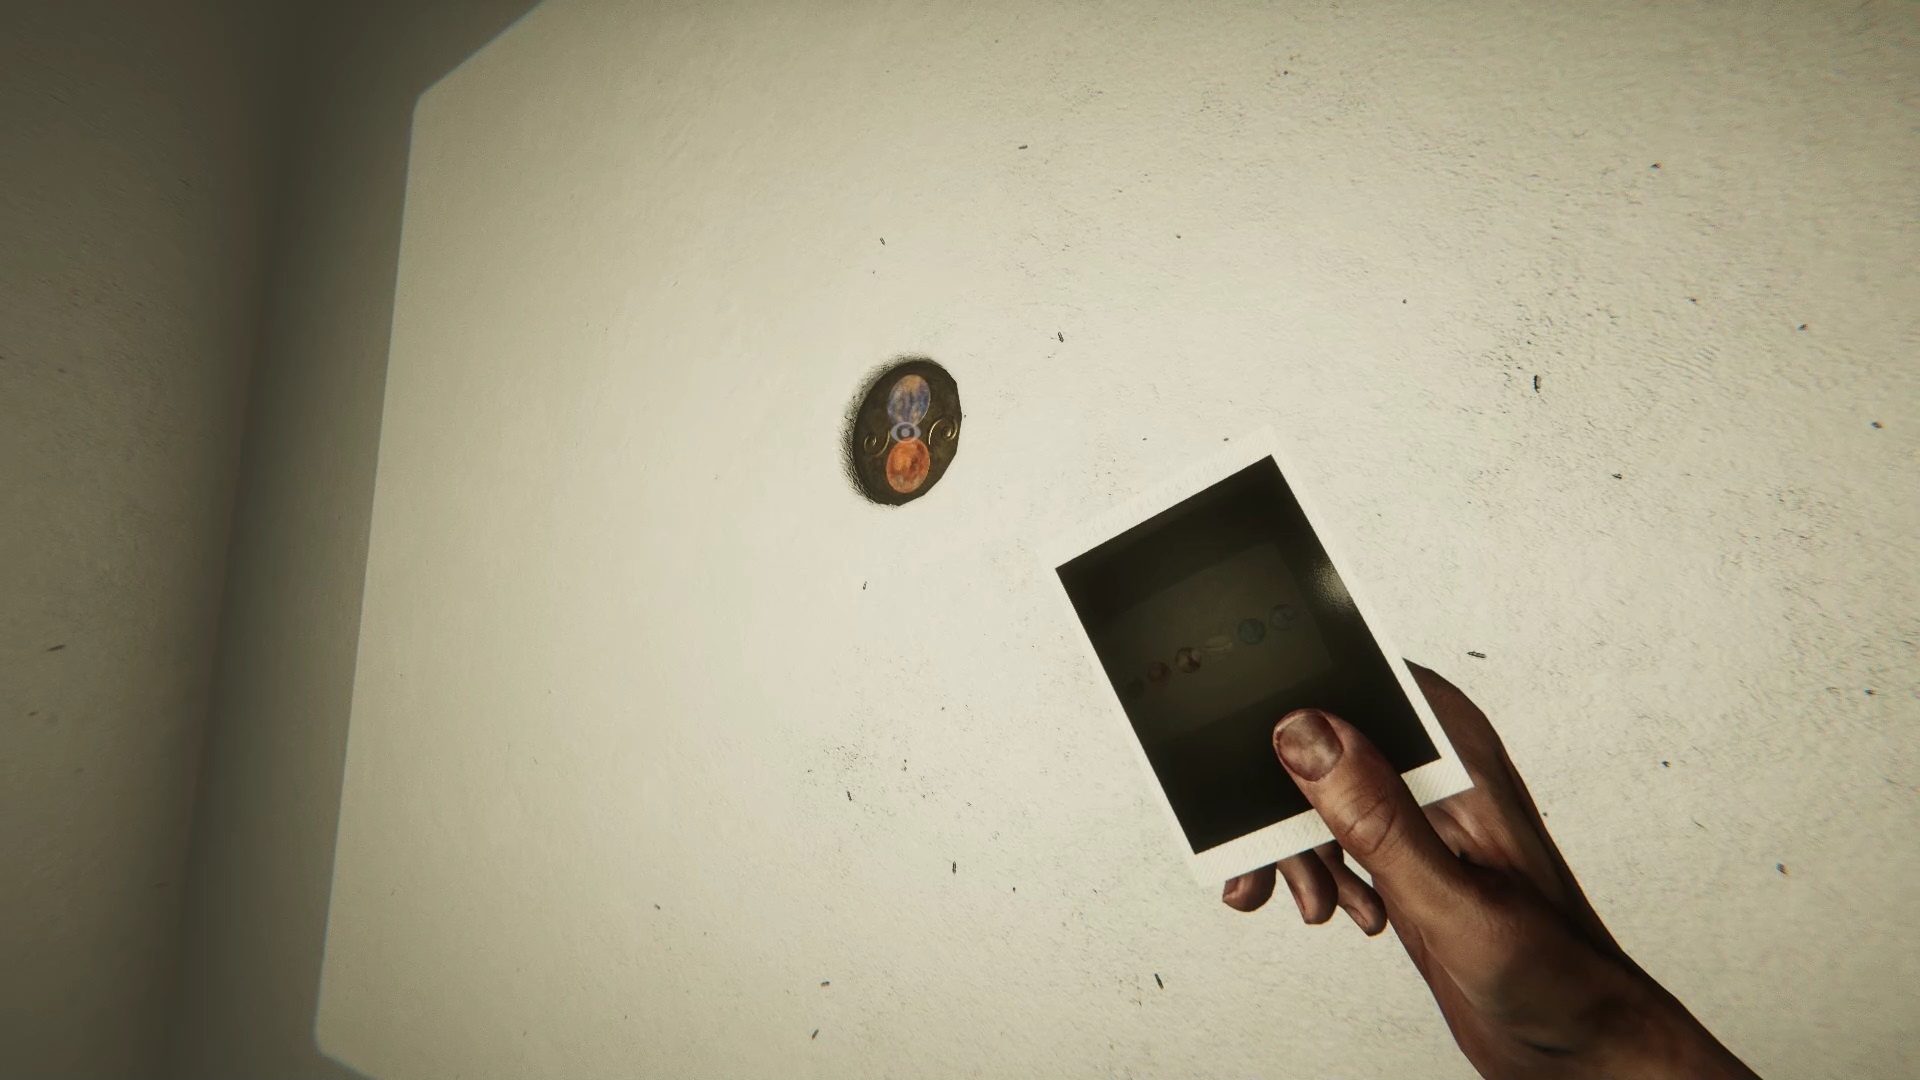
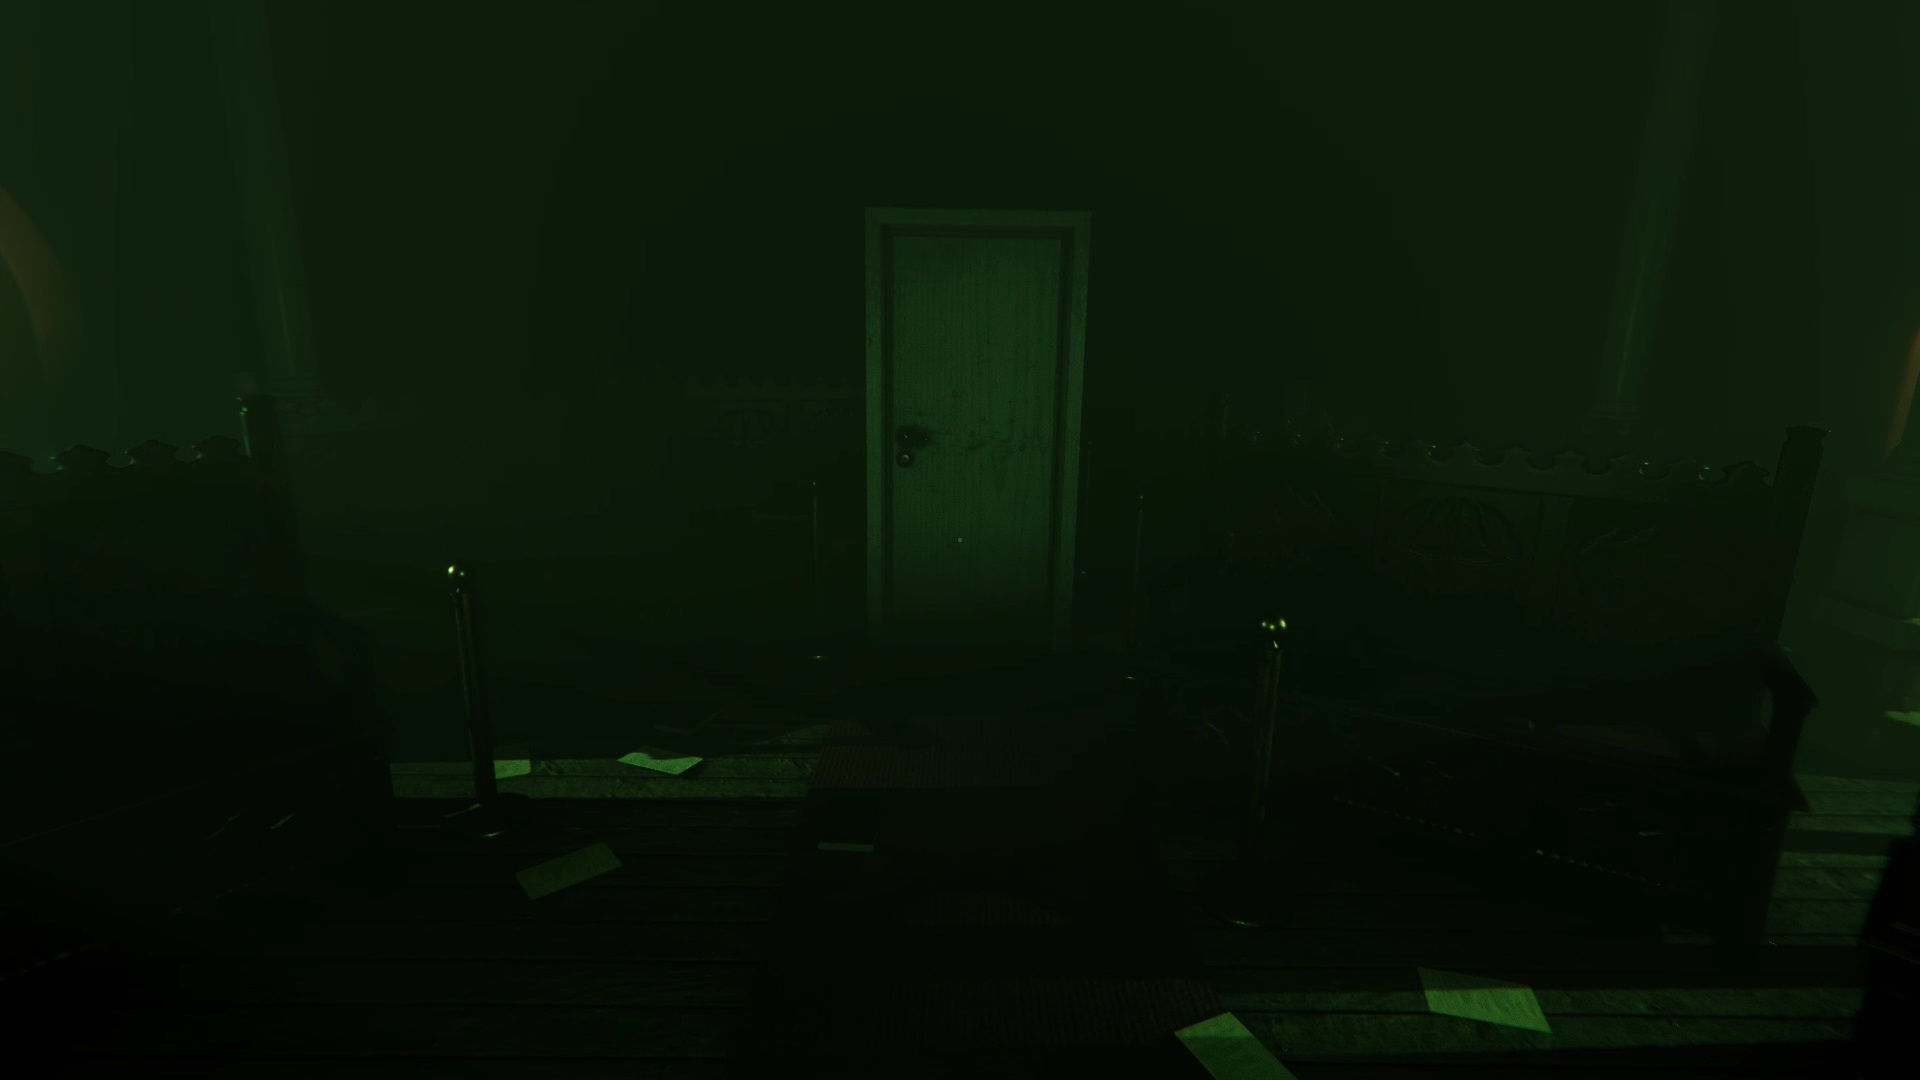
You are locked in the book. You are the target of Blue Knees. Photograph the hole to get a polaroid indicating that the hole is filled with eyes. If you read the story carefully you understand that you have to find the pair of eyes of Blue Knees and throw it in the hole. The bedroom door opens. Attention Blue Knees is after you. If attacked, music will sound, use the camera by flashing Blue Knees to scare him away.

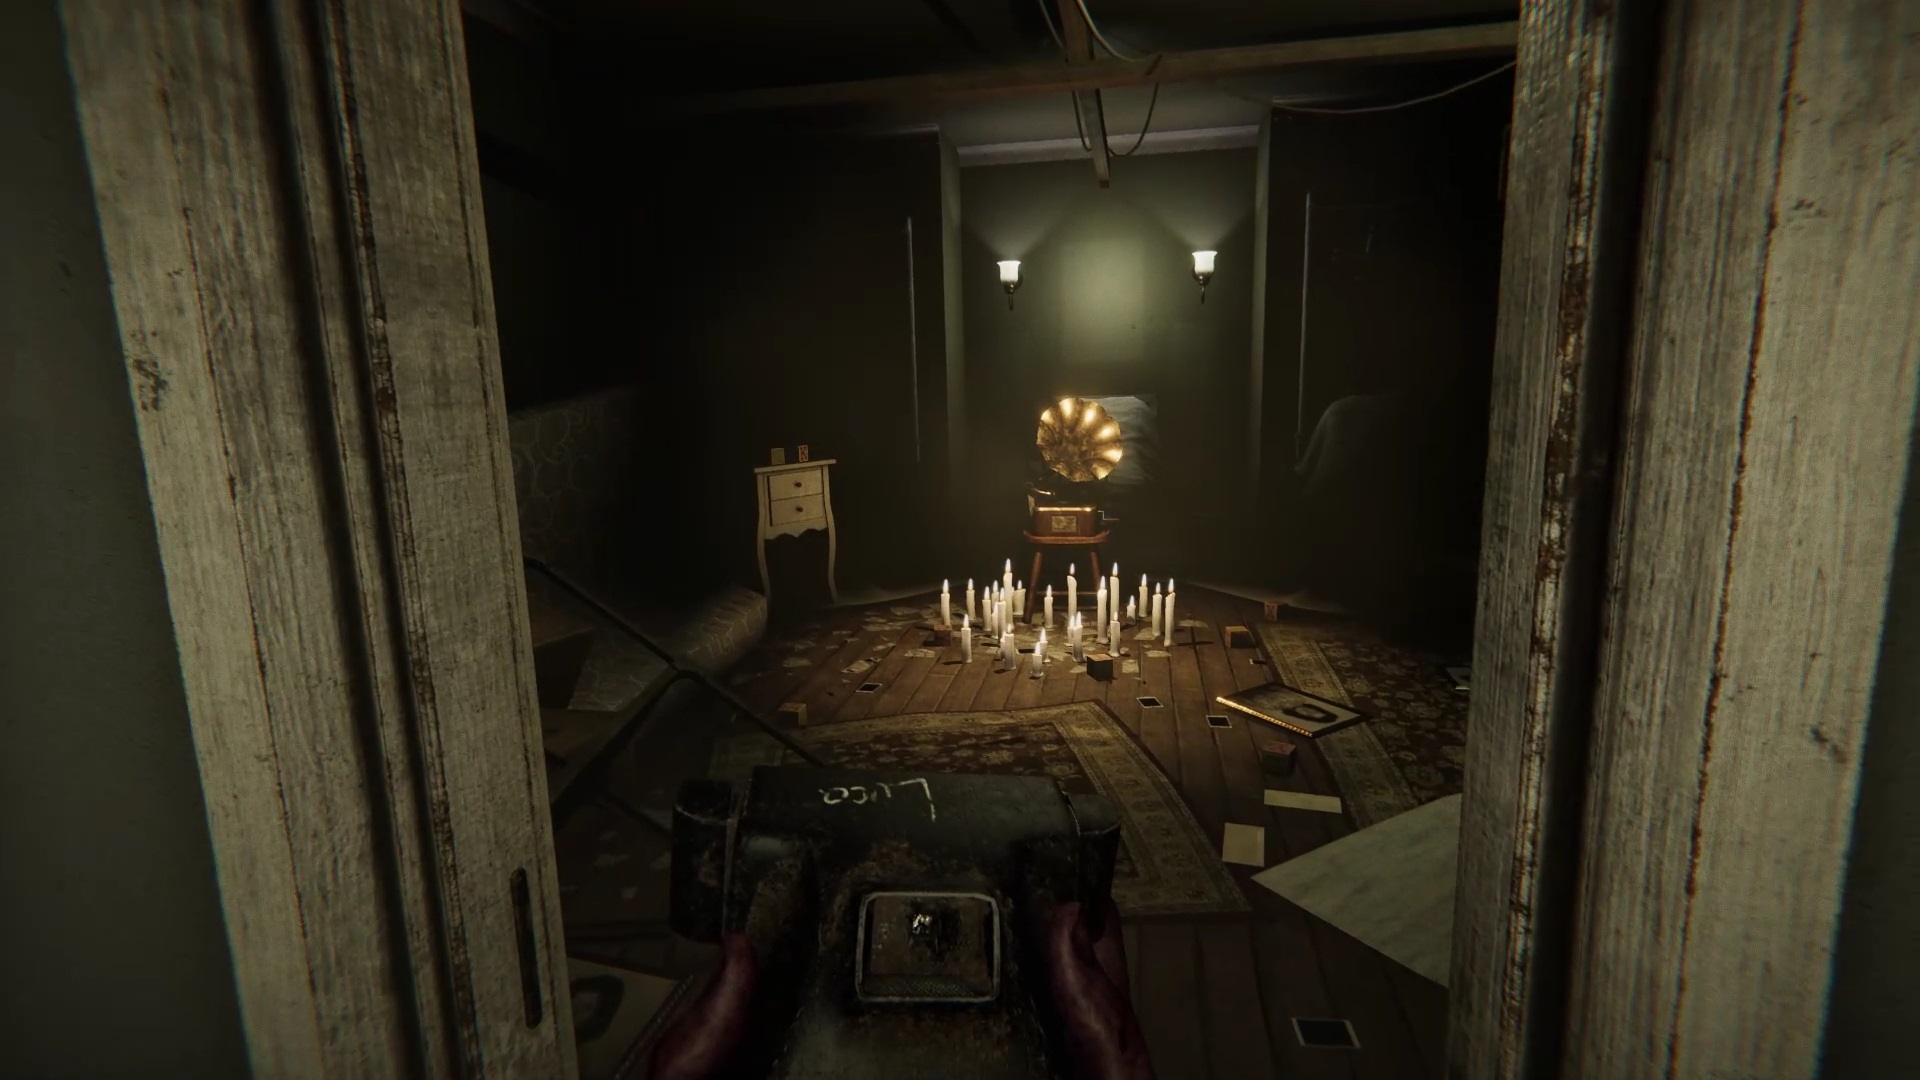
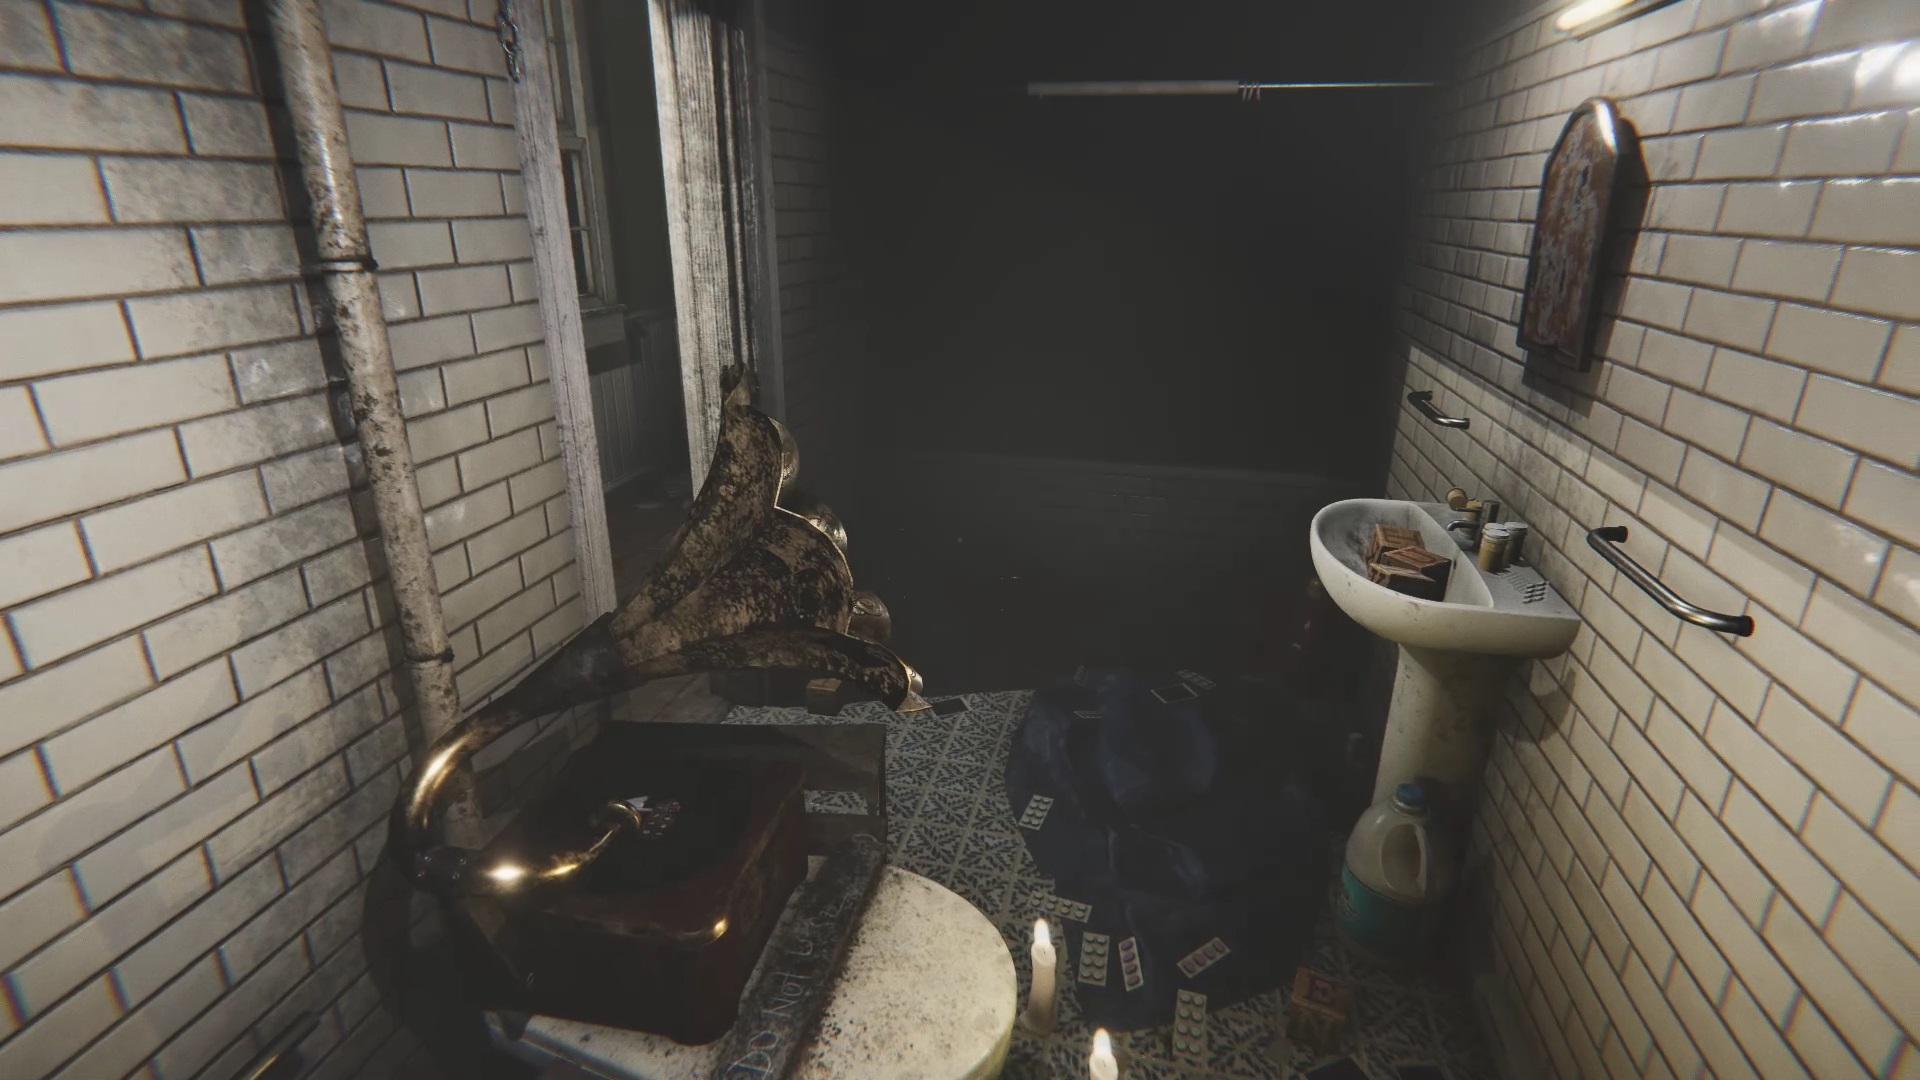
The rooms in the house have changed and are scattered along a hallway. You must find the gramophones and play the entire music to collect the pair of eyes in the following rooms: the bathroom, the grandfather’s office, the attic and the room of the virgins. Once in possession of the eyes returned to the chamber to throw them away and photograph the hole. You come out of the nightmare.
Walkthrough of the Hanged Son portion of Madison
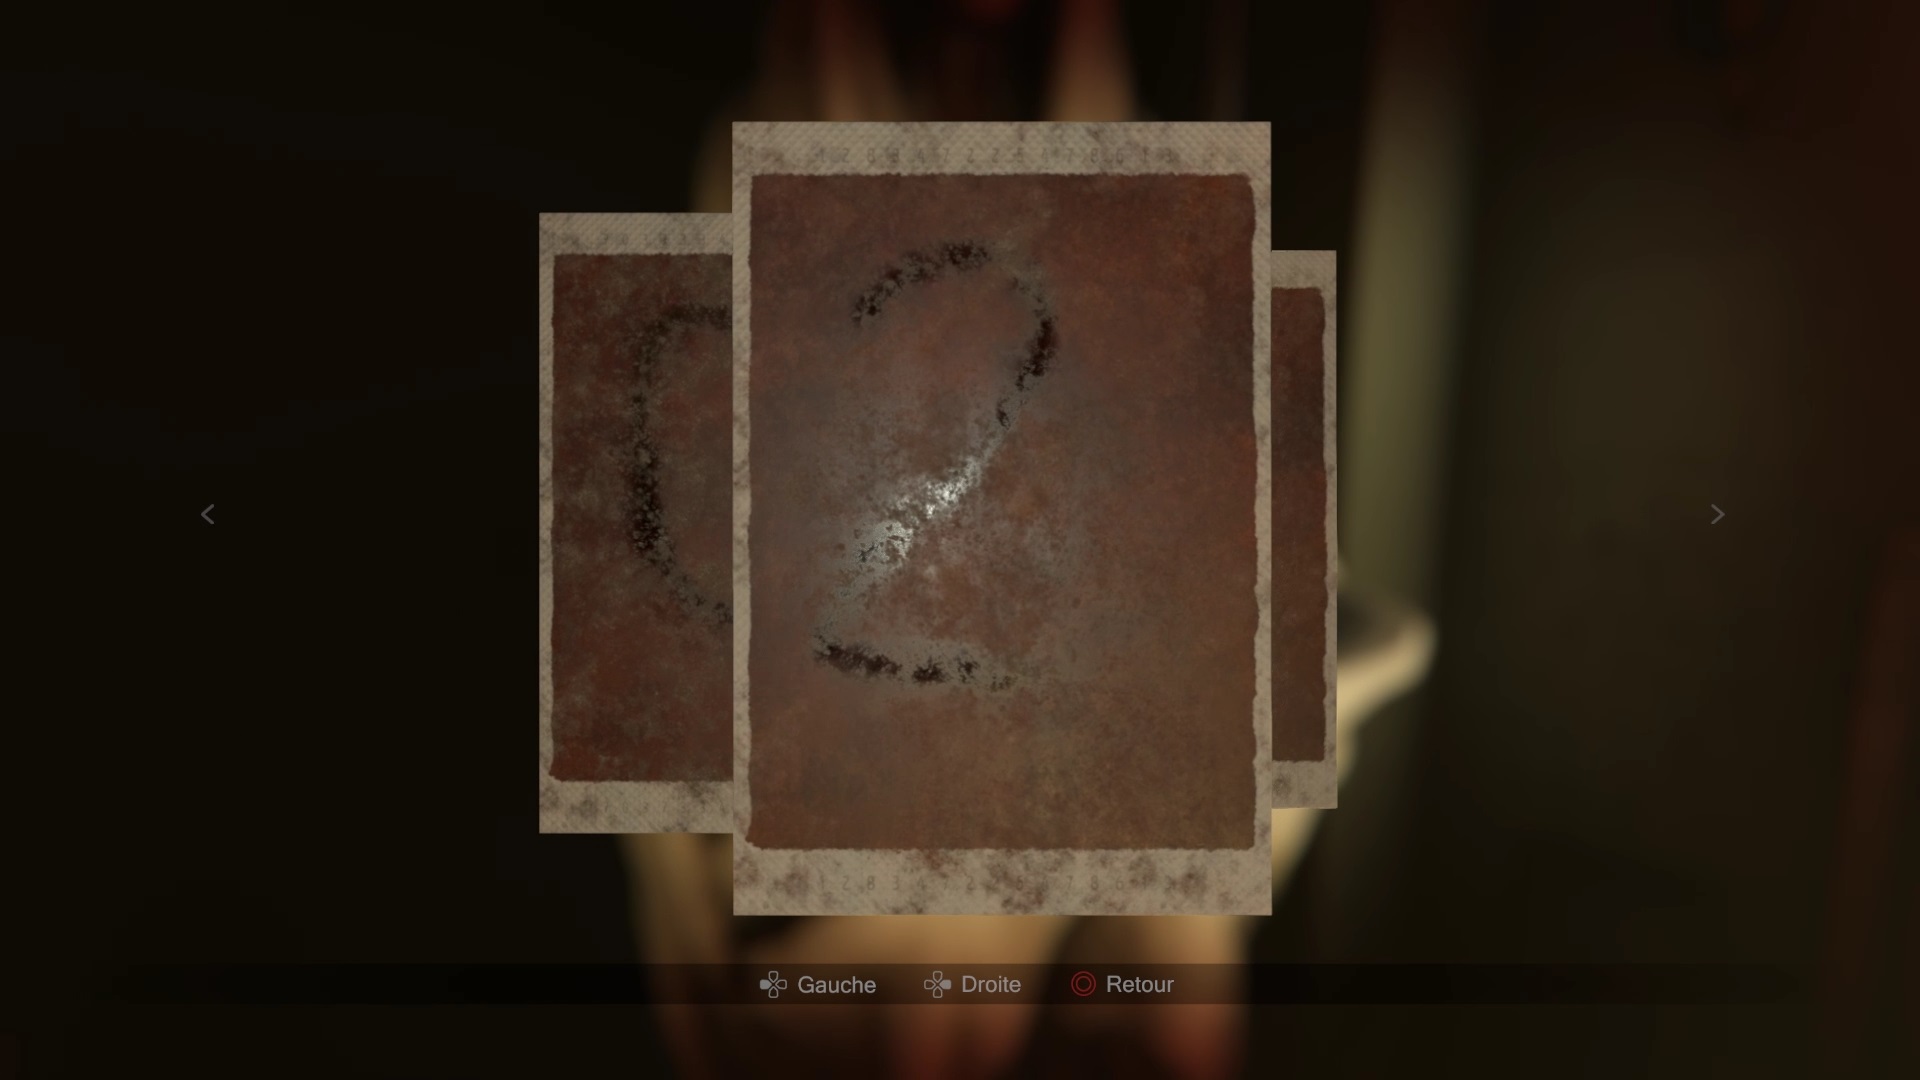
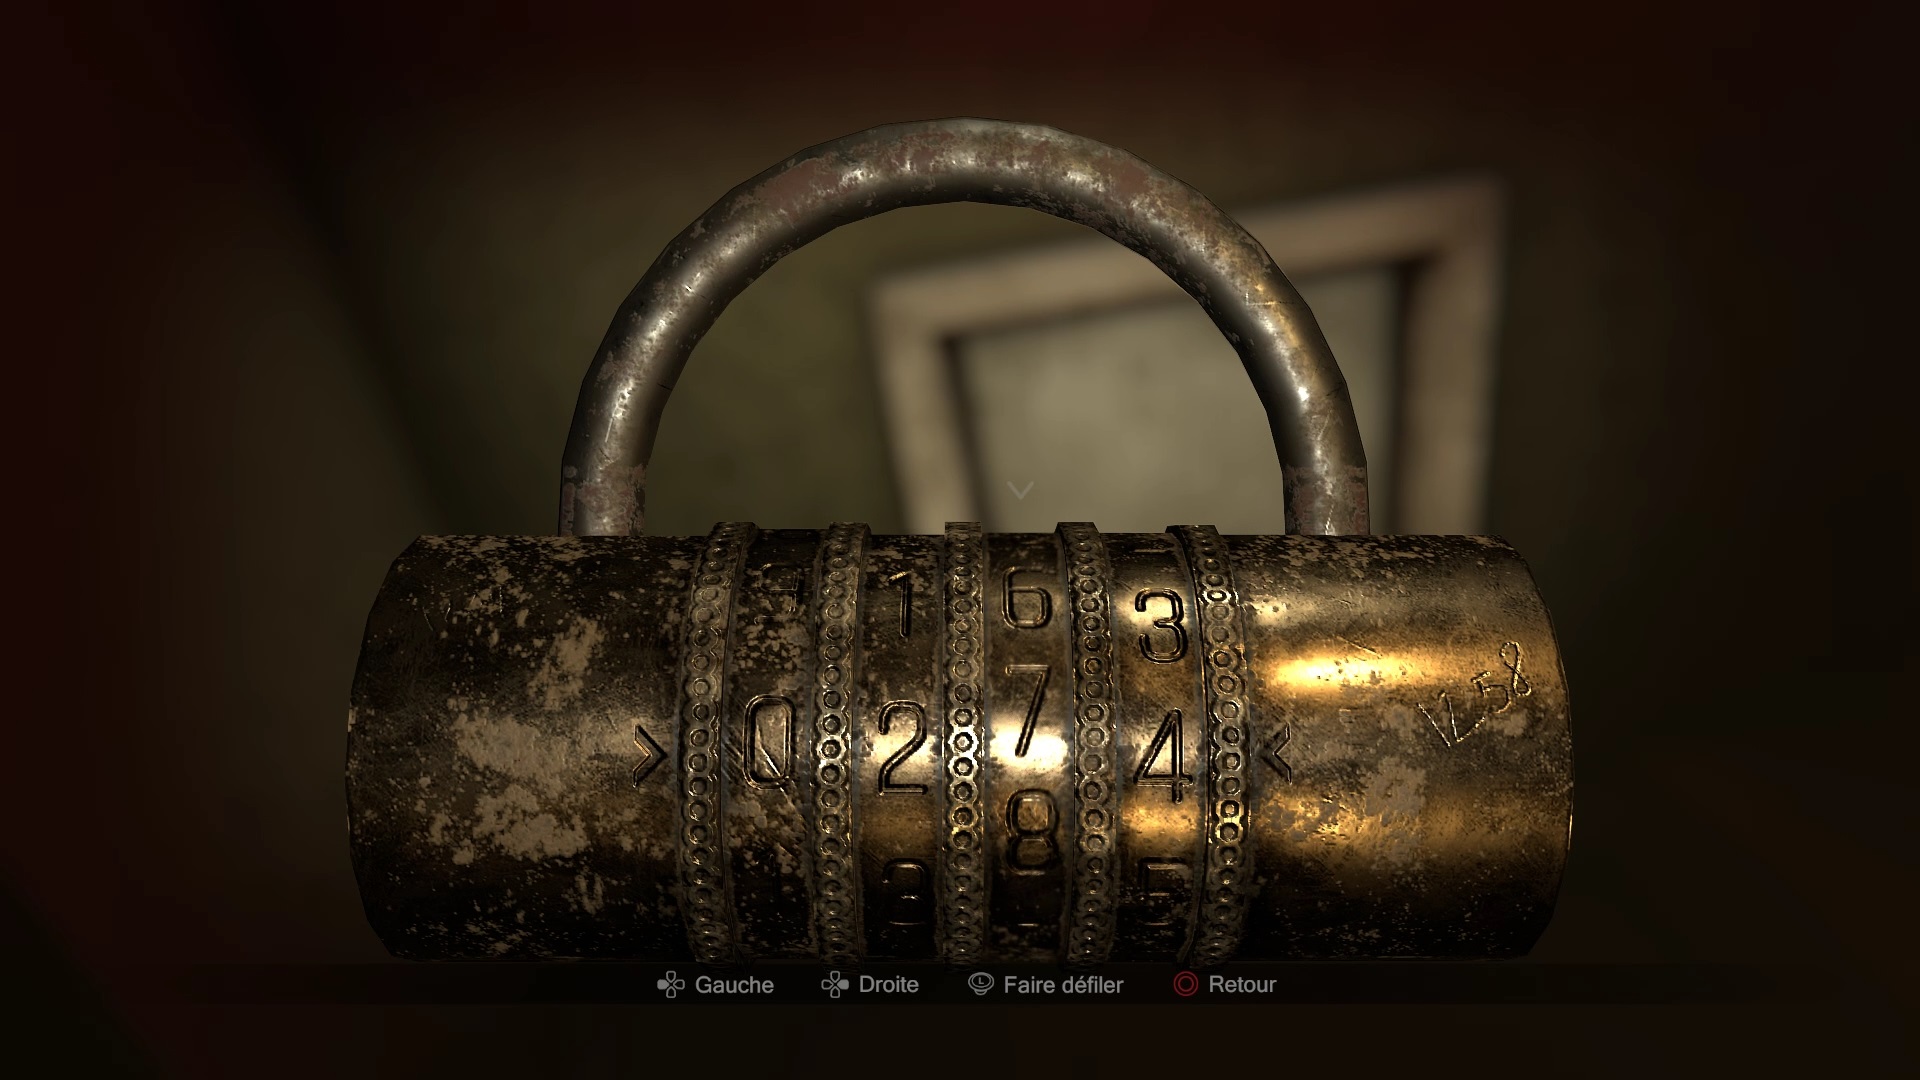
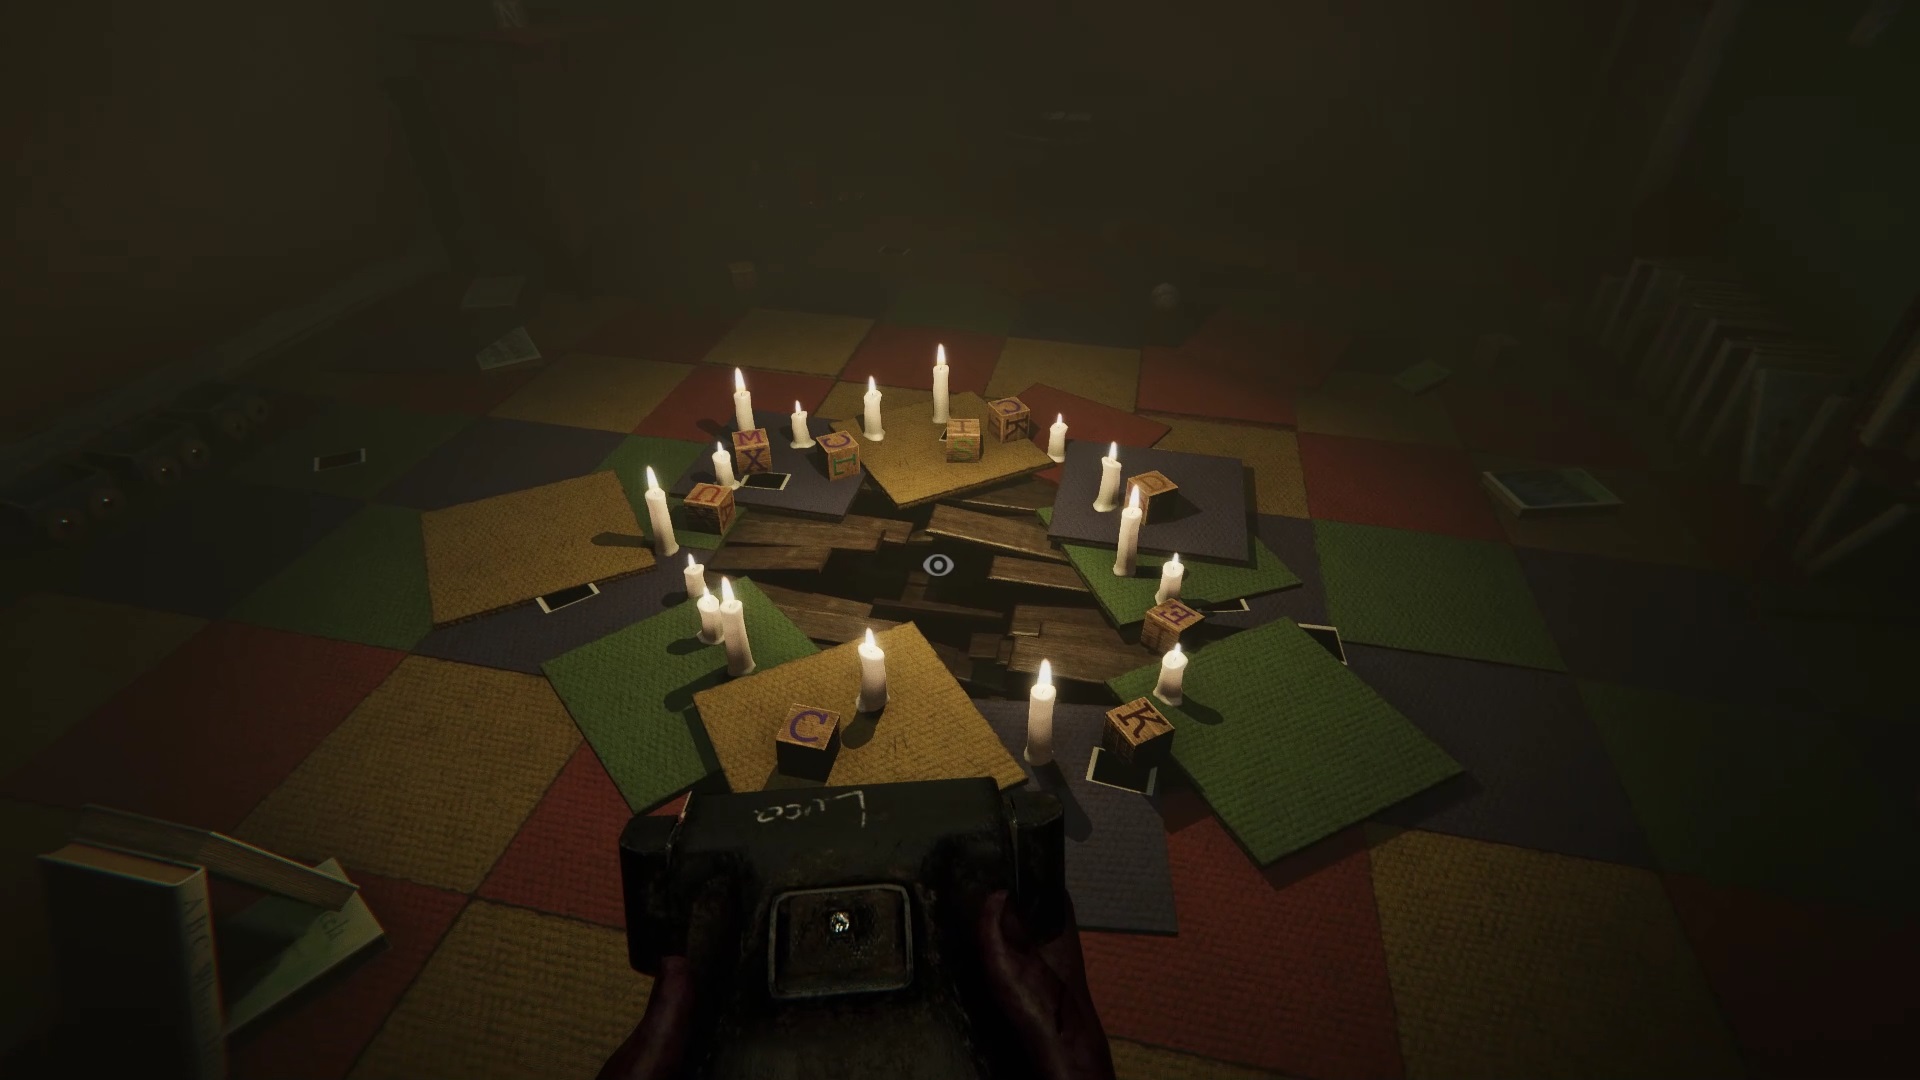
Luca is injured, return to the hall of virgins to complete the ritual. Once in the room, the door closes. Look at the pictures in your inventory to find the lock code for the hatch. You can delete all the unnecessary photos to leave only the combination: 0284. You will find the granny’s ashes behind the hatch. A more than obvious last objective shows you the last step. Place the camera on the stele where the ashes were and climb onto the chair…

Journaliste gameactuality.com