
[Guide] Hello Neighbor 2 : Complete Walkthrough [EN]
Hello Neighbor 2 complete walkthrough. Follow our guide to complete the adventure. Our solution lists step by step and in image the path to complete the adventure: riddle, path. Codes or locations may vary from game to game. Hello Neighbor 2 is a stealth horror game where you unearth the secrets of your sinister neighbor. But beware: the neighbor is controlled by an AI that evolves according to the actions of the players! Can you outwit the neighbor and find out what he’s hiding?
Summary :
- The barn
- Mr. Peterson’s House
- The bakery
- Museum – First part
- The hunter’s house
- Museum – Second Part
- The musician’s house
- Museum – Third Part
- The attic
- Final Boss
The Barn

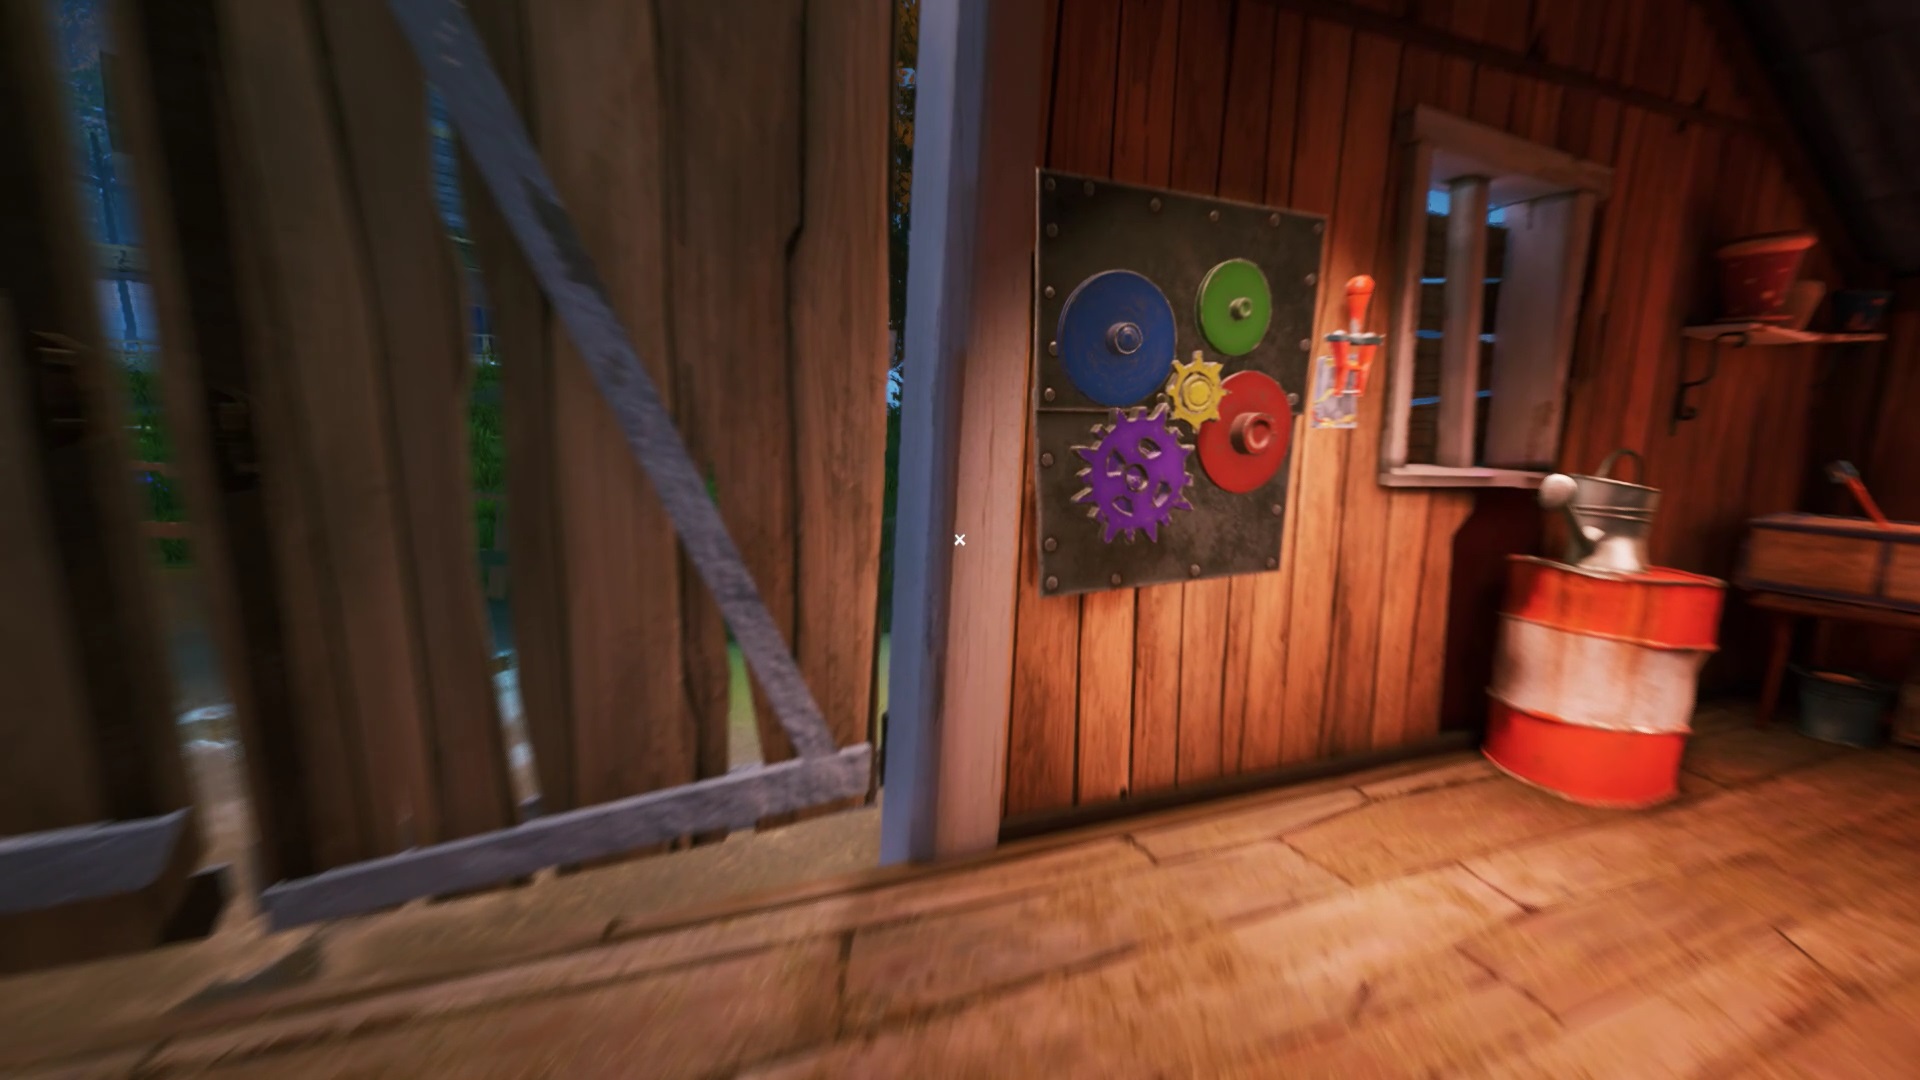
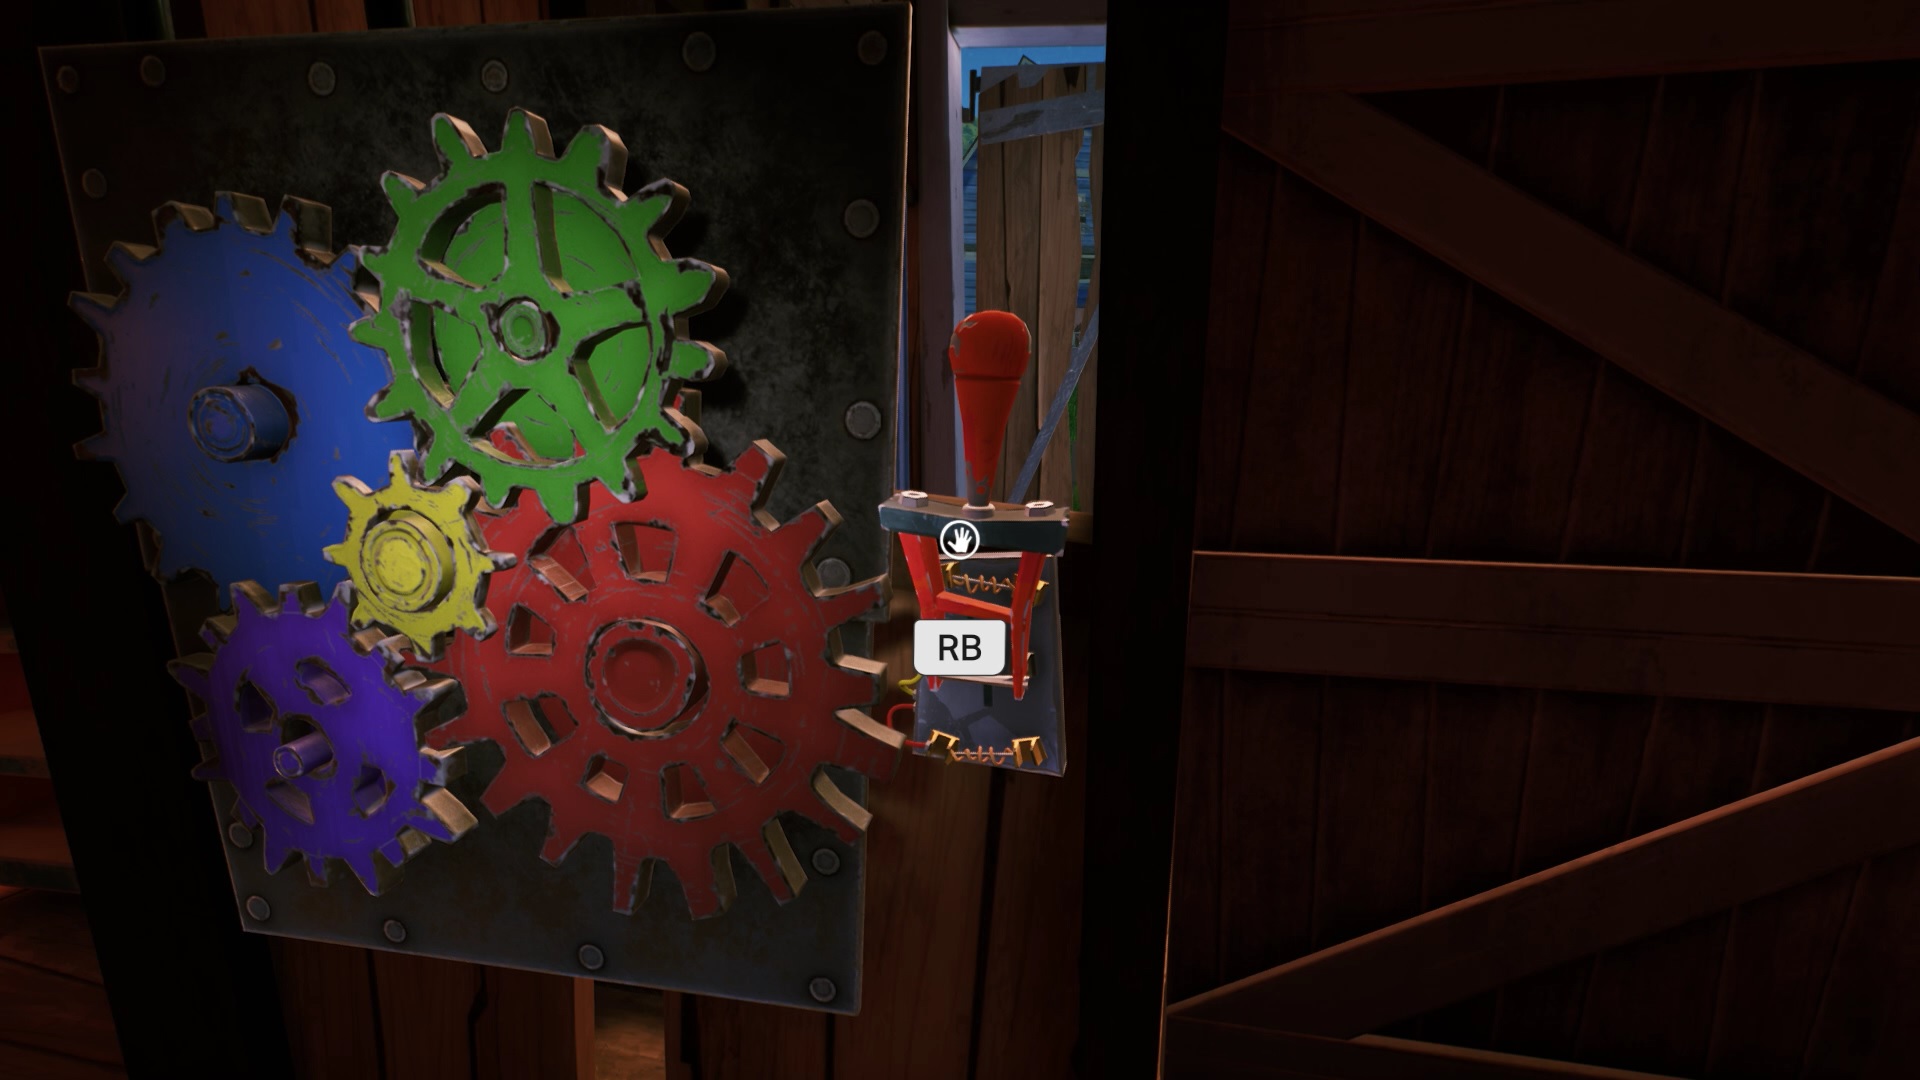
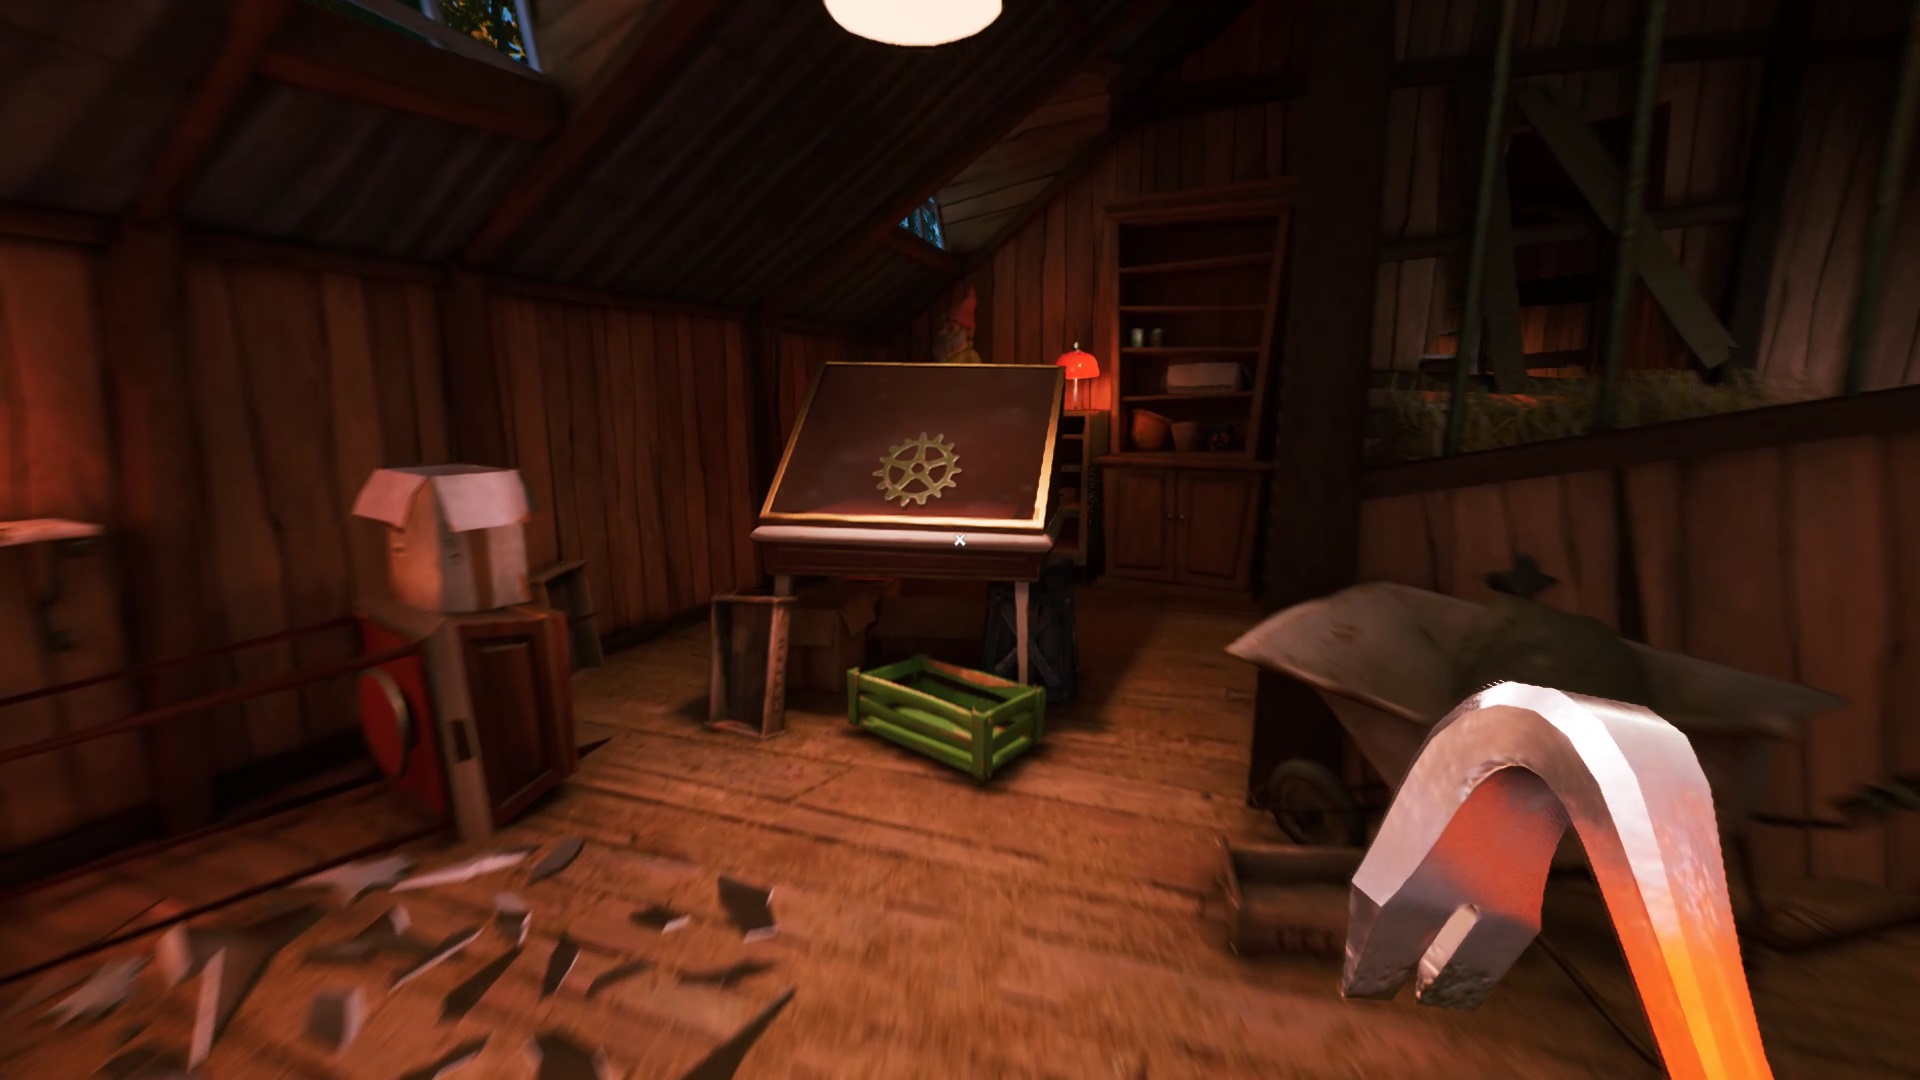
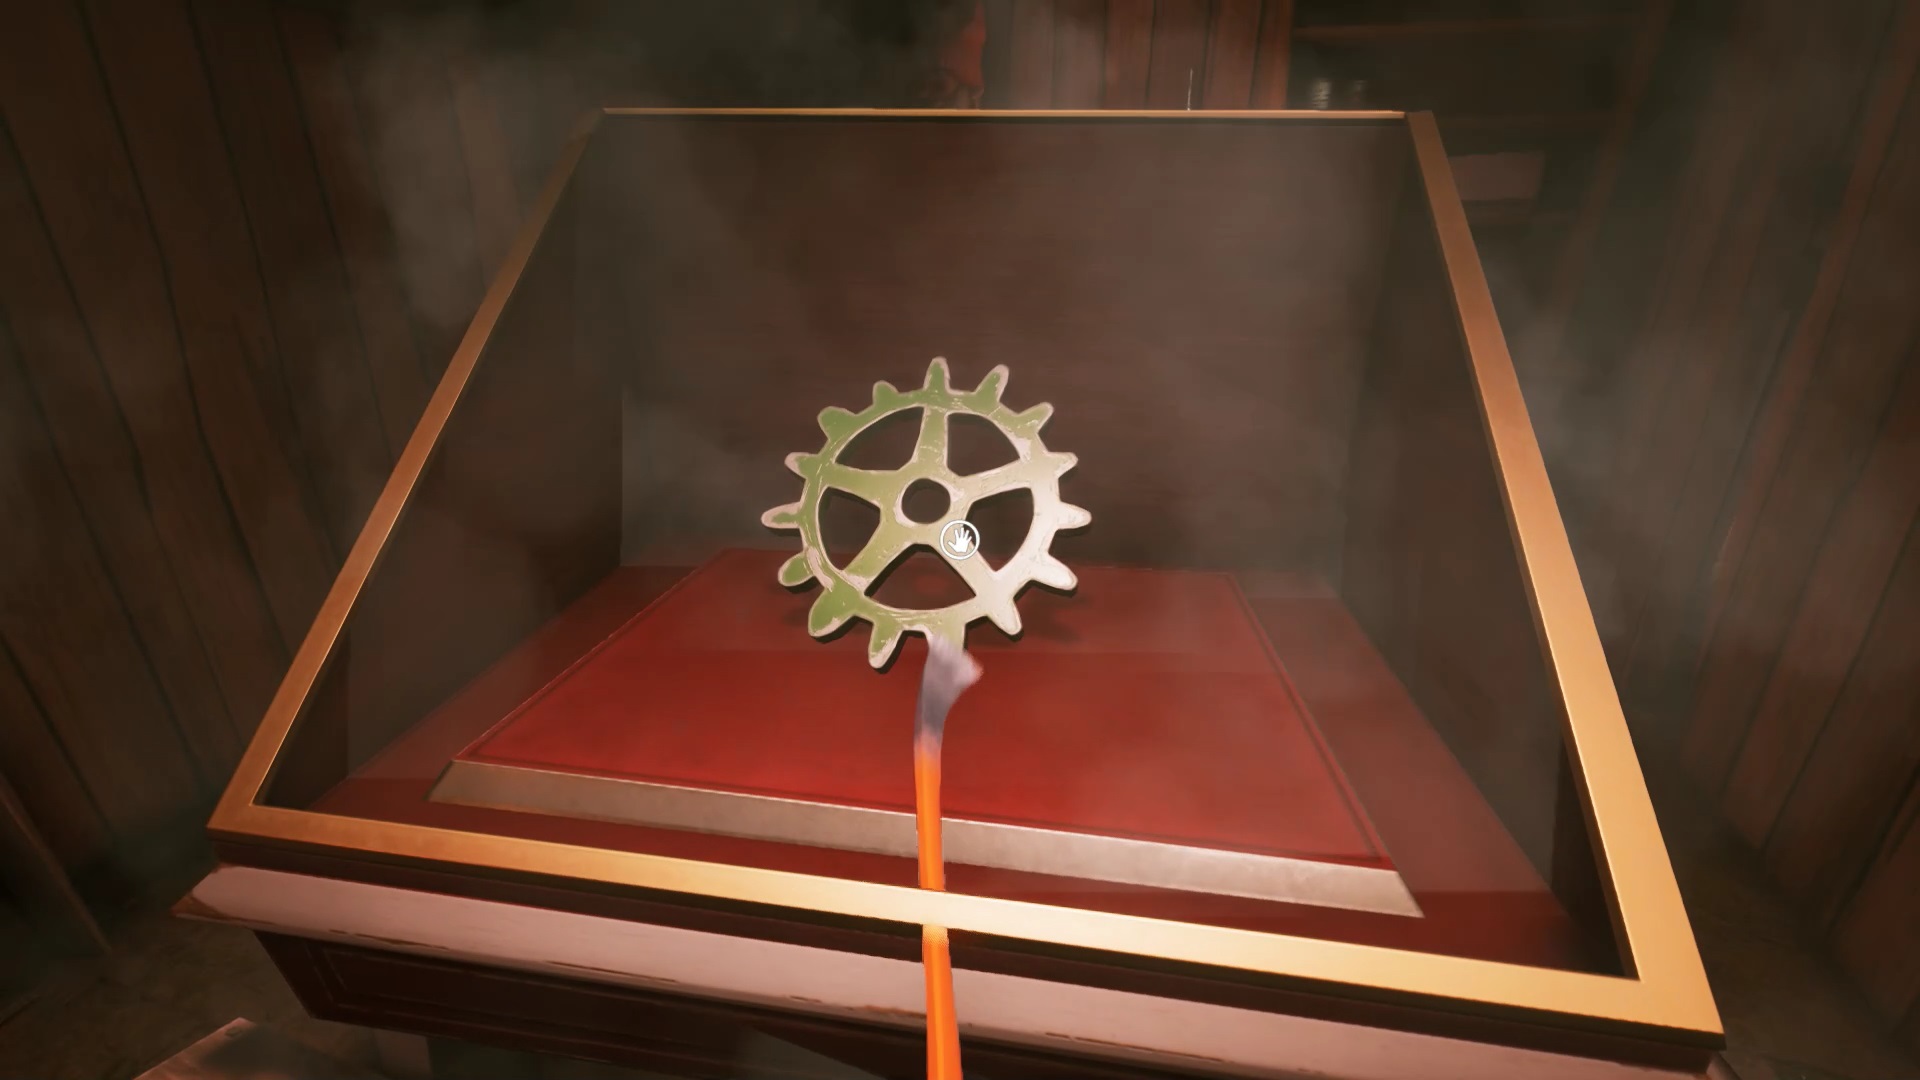
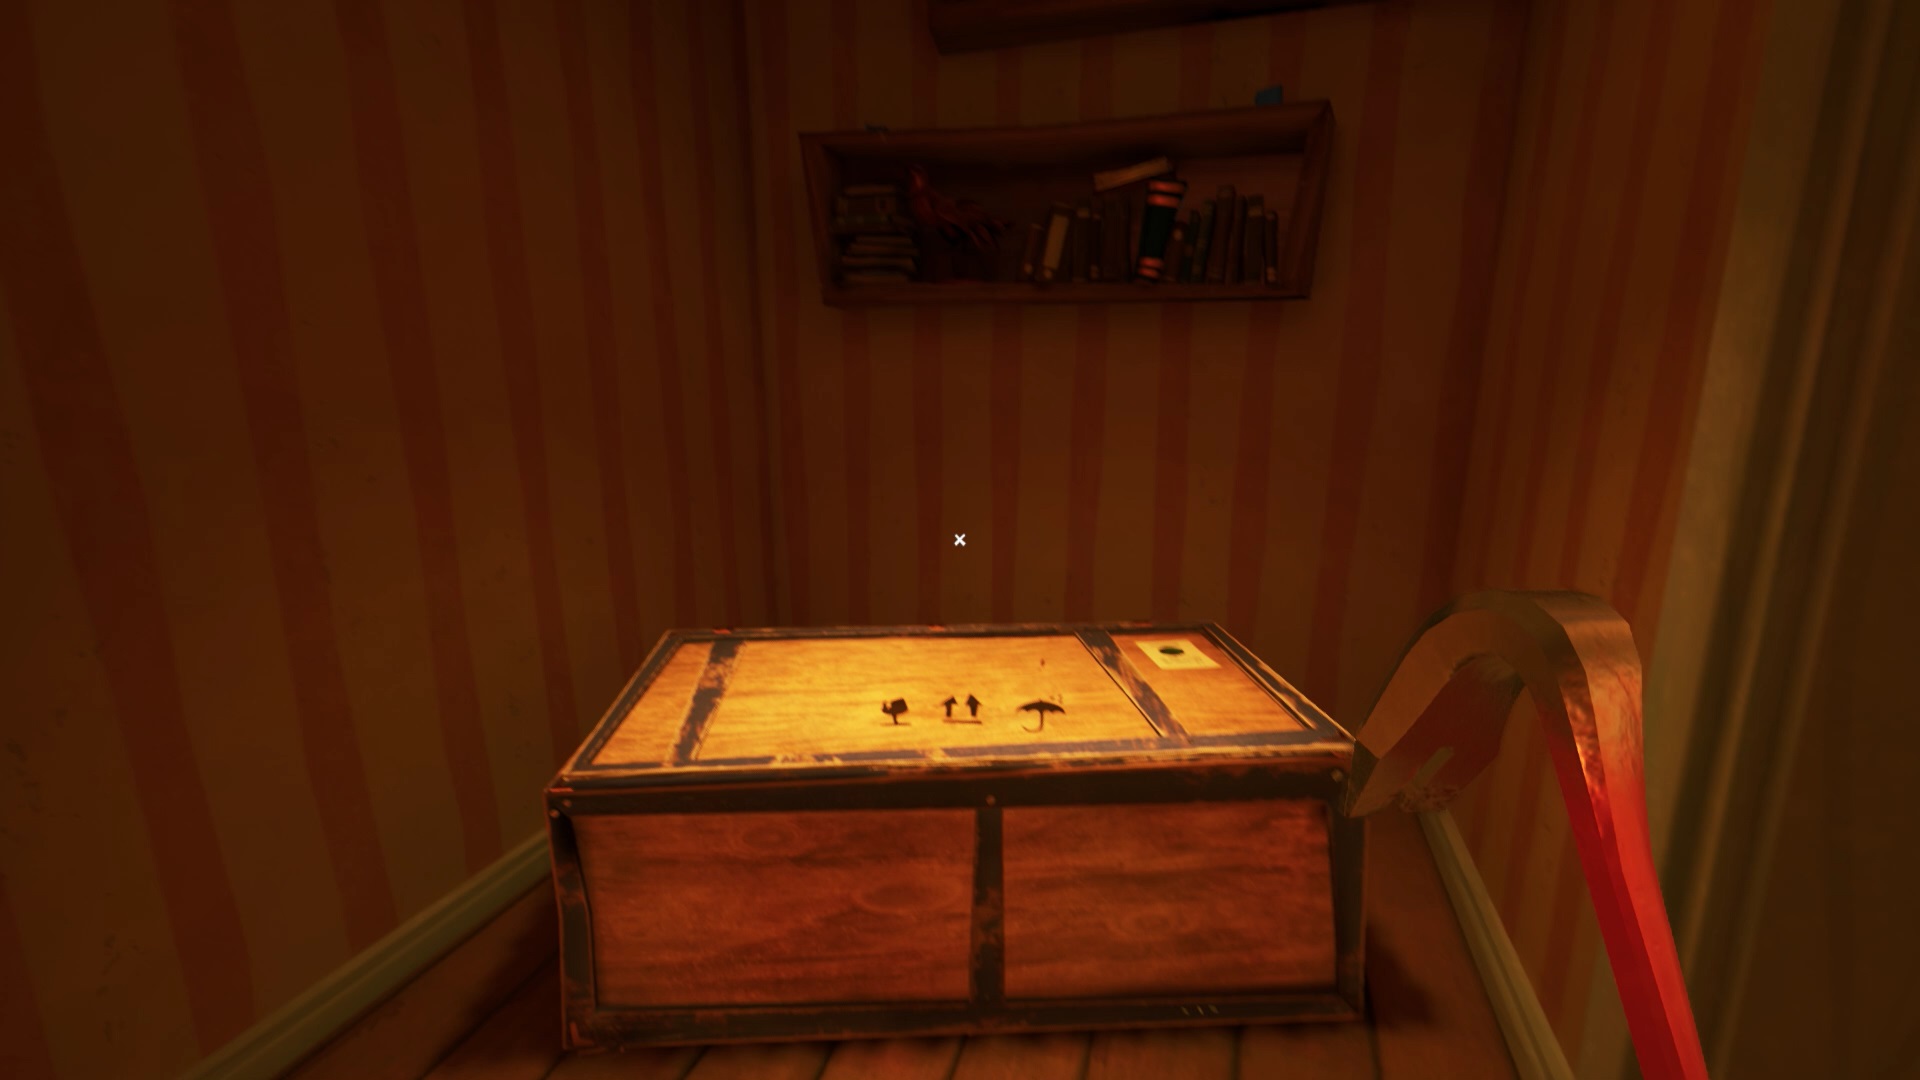
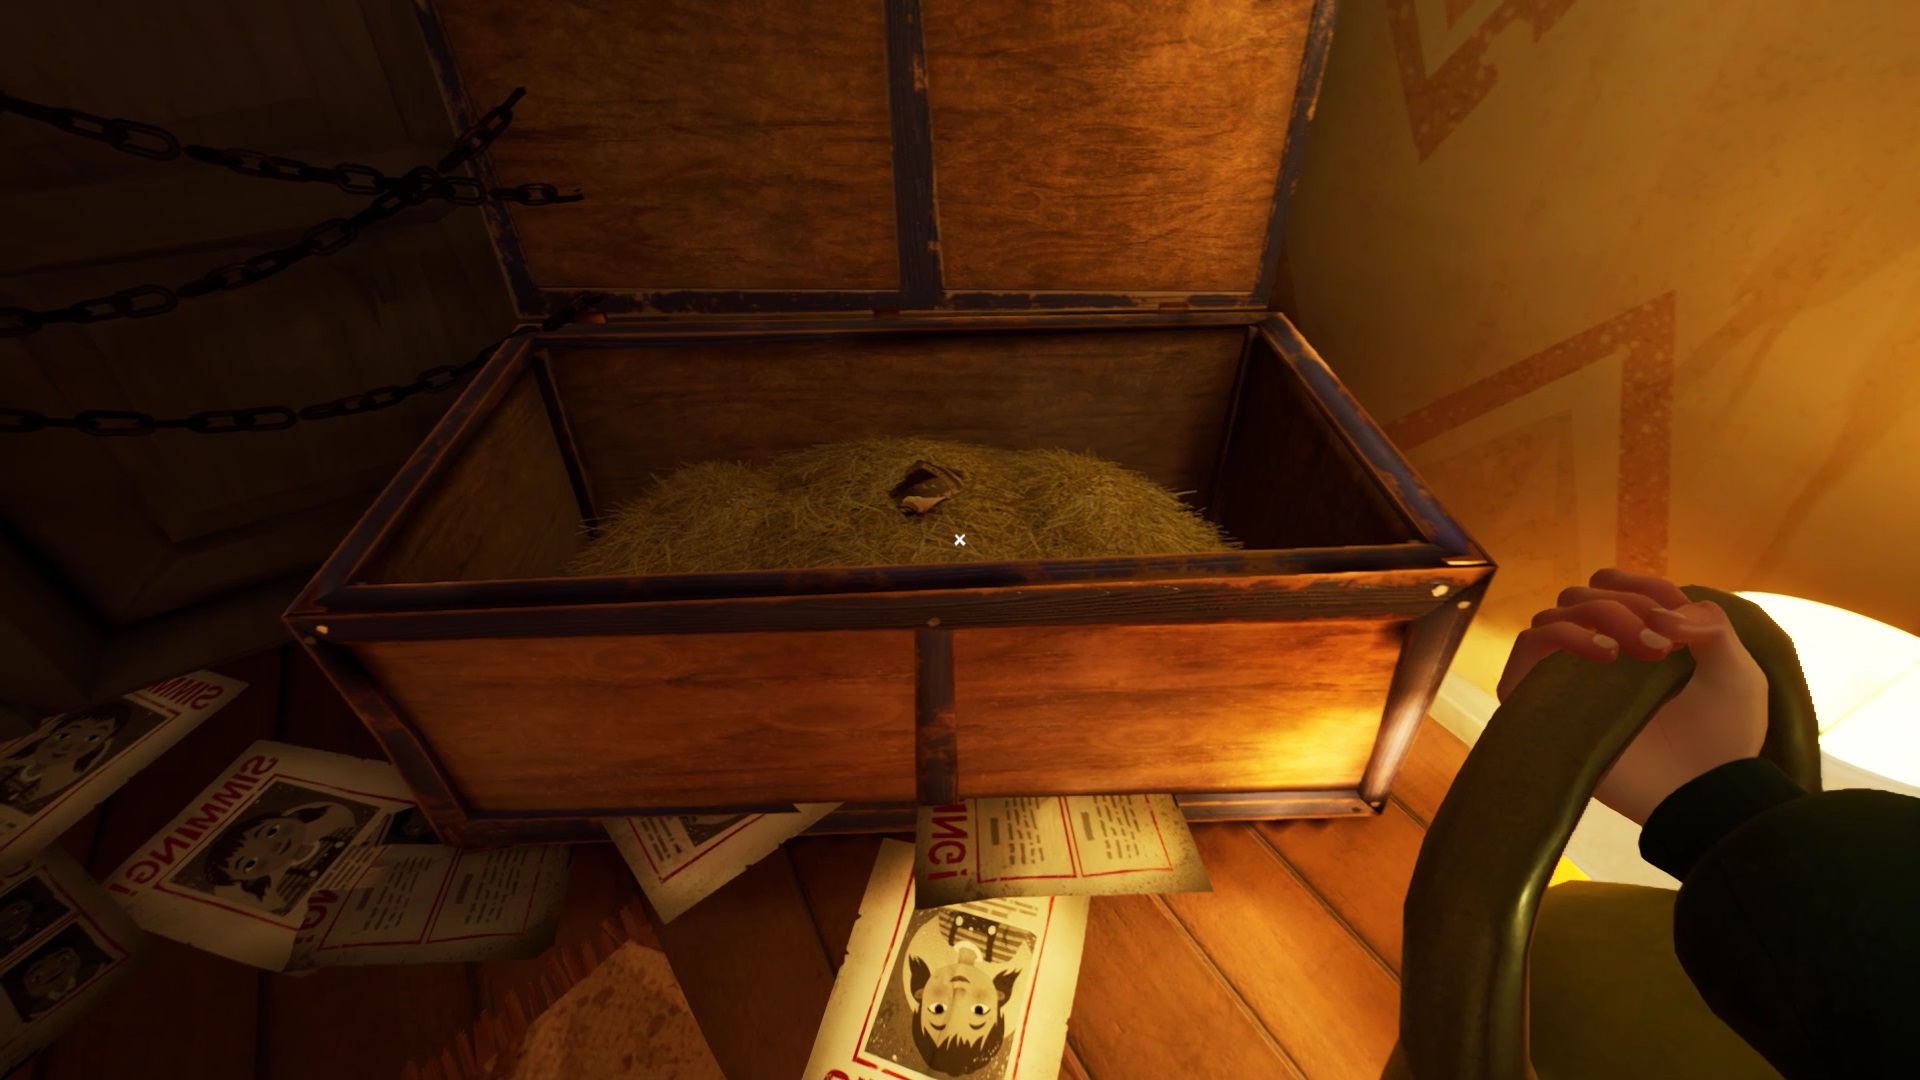
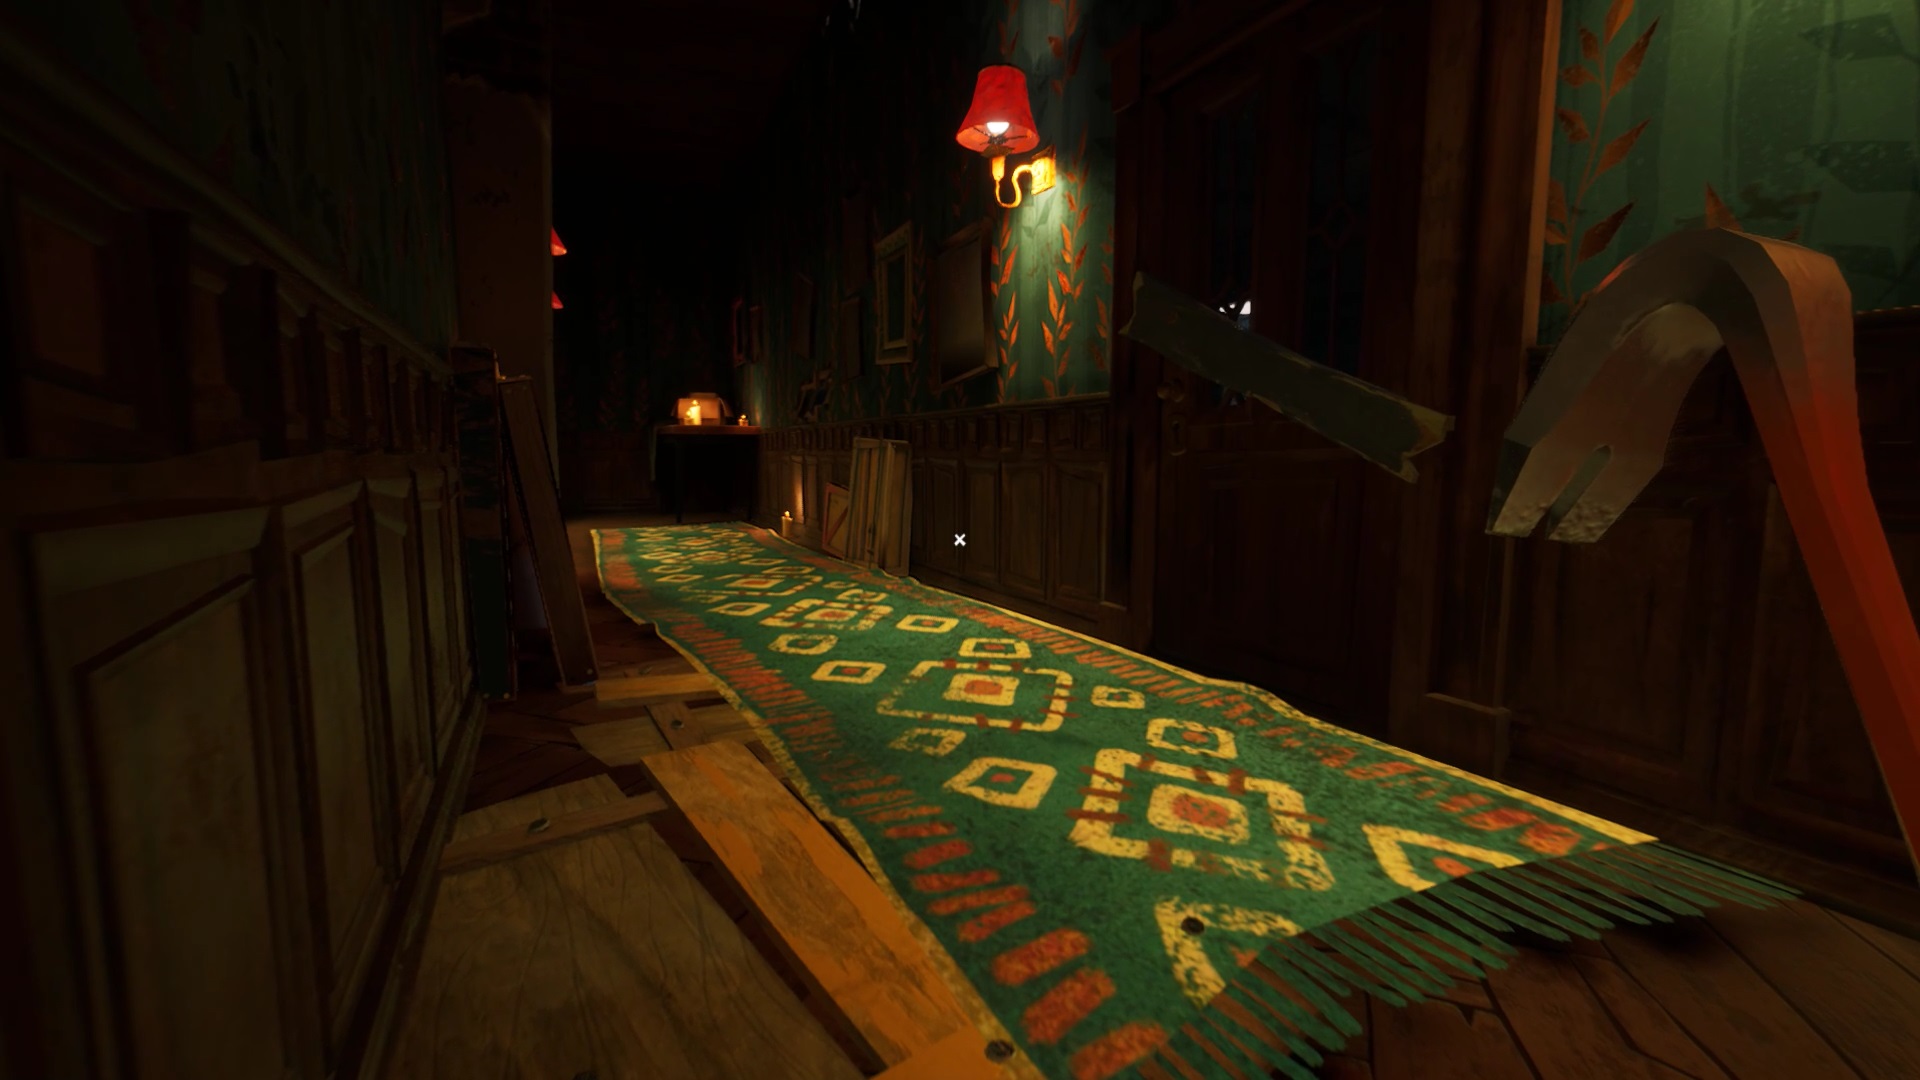
Good journalist that you are, you follow the trail of a child kidnapper. You find yourself in a barn. In the barn, there is a panel with gears. It is located near the car. Use the red lever at the panel to move forward. The exit from the barn is blocked. To escape, you need to find the three gears missing from the exit door panel.
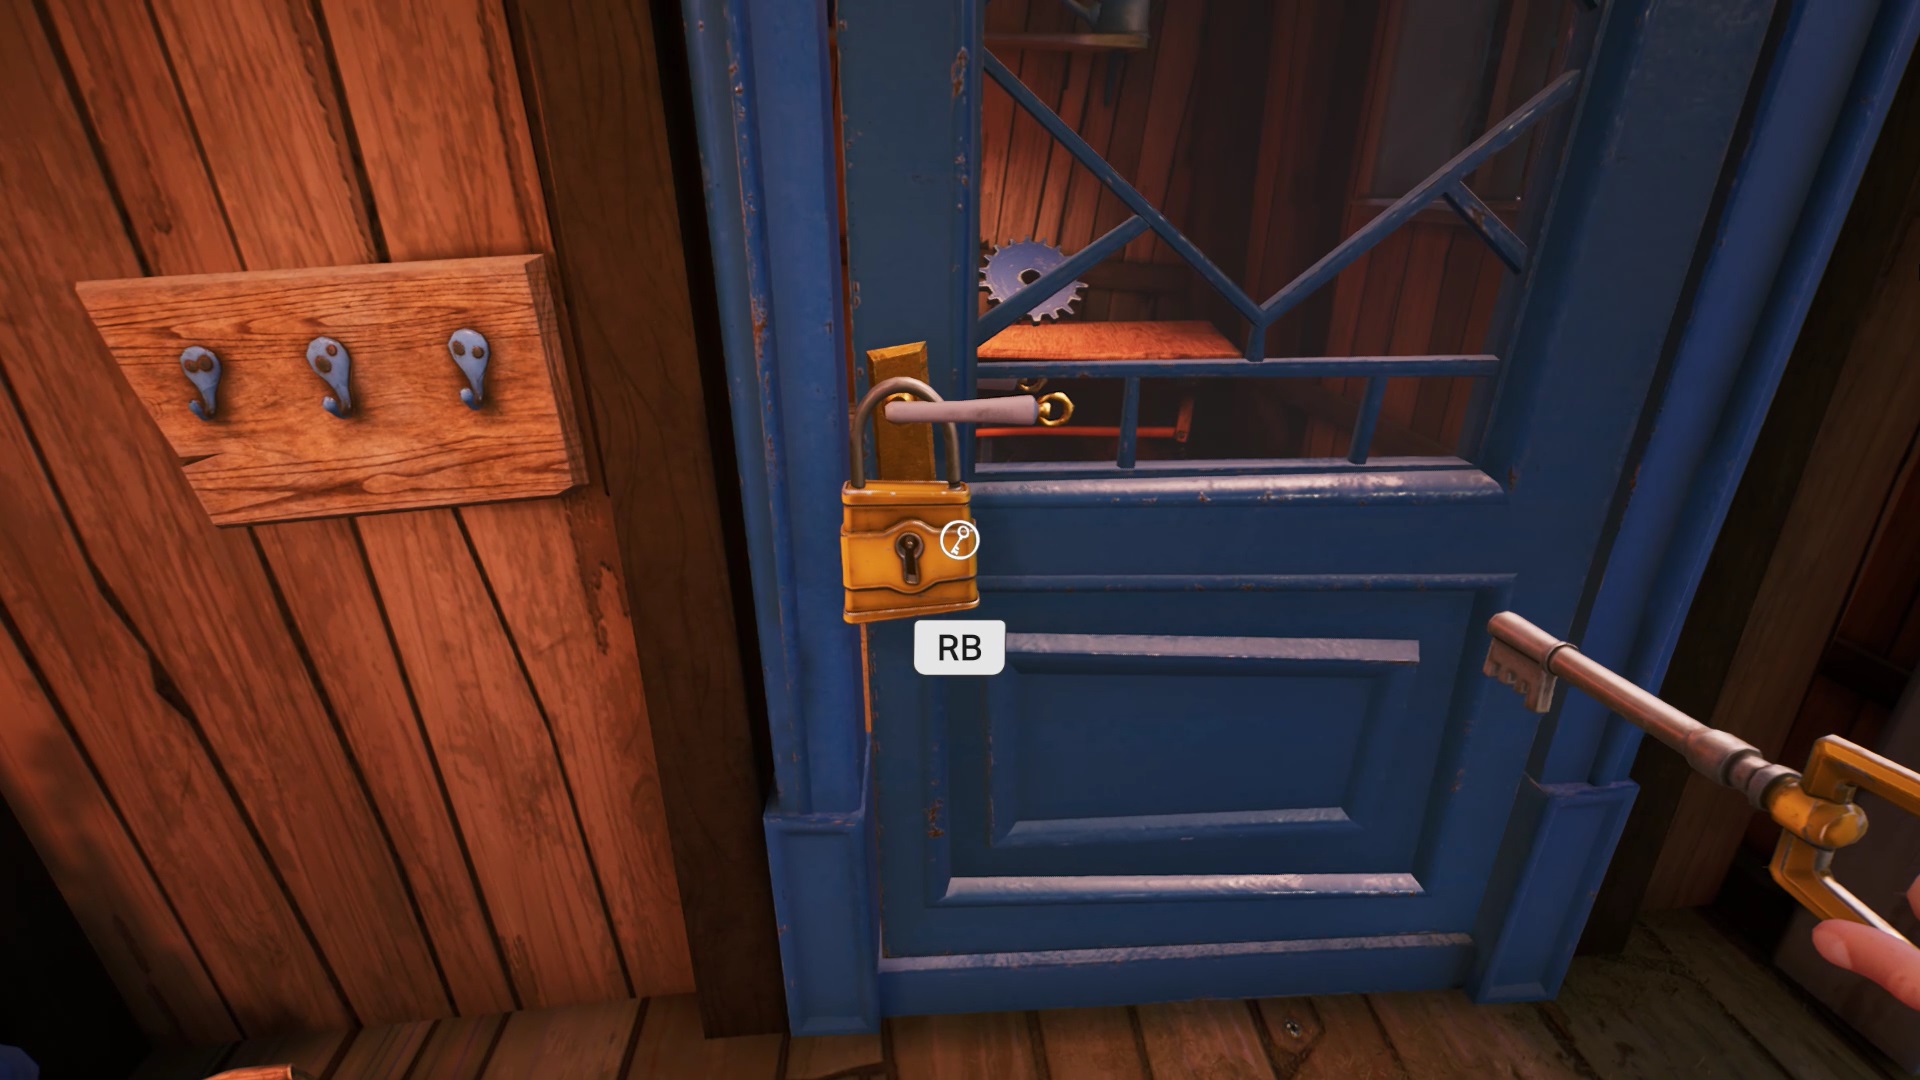

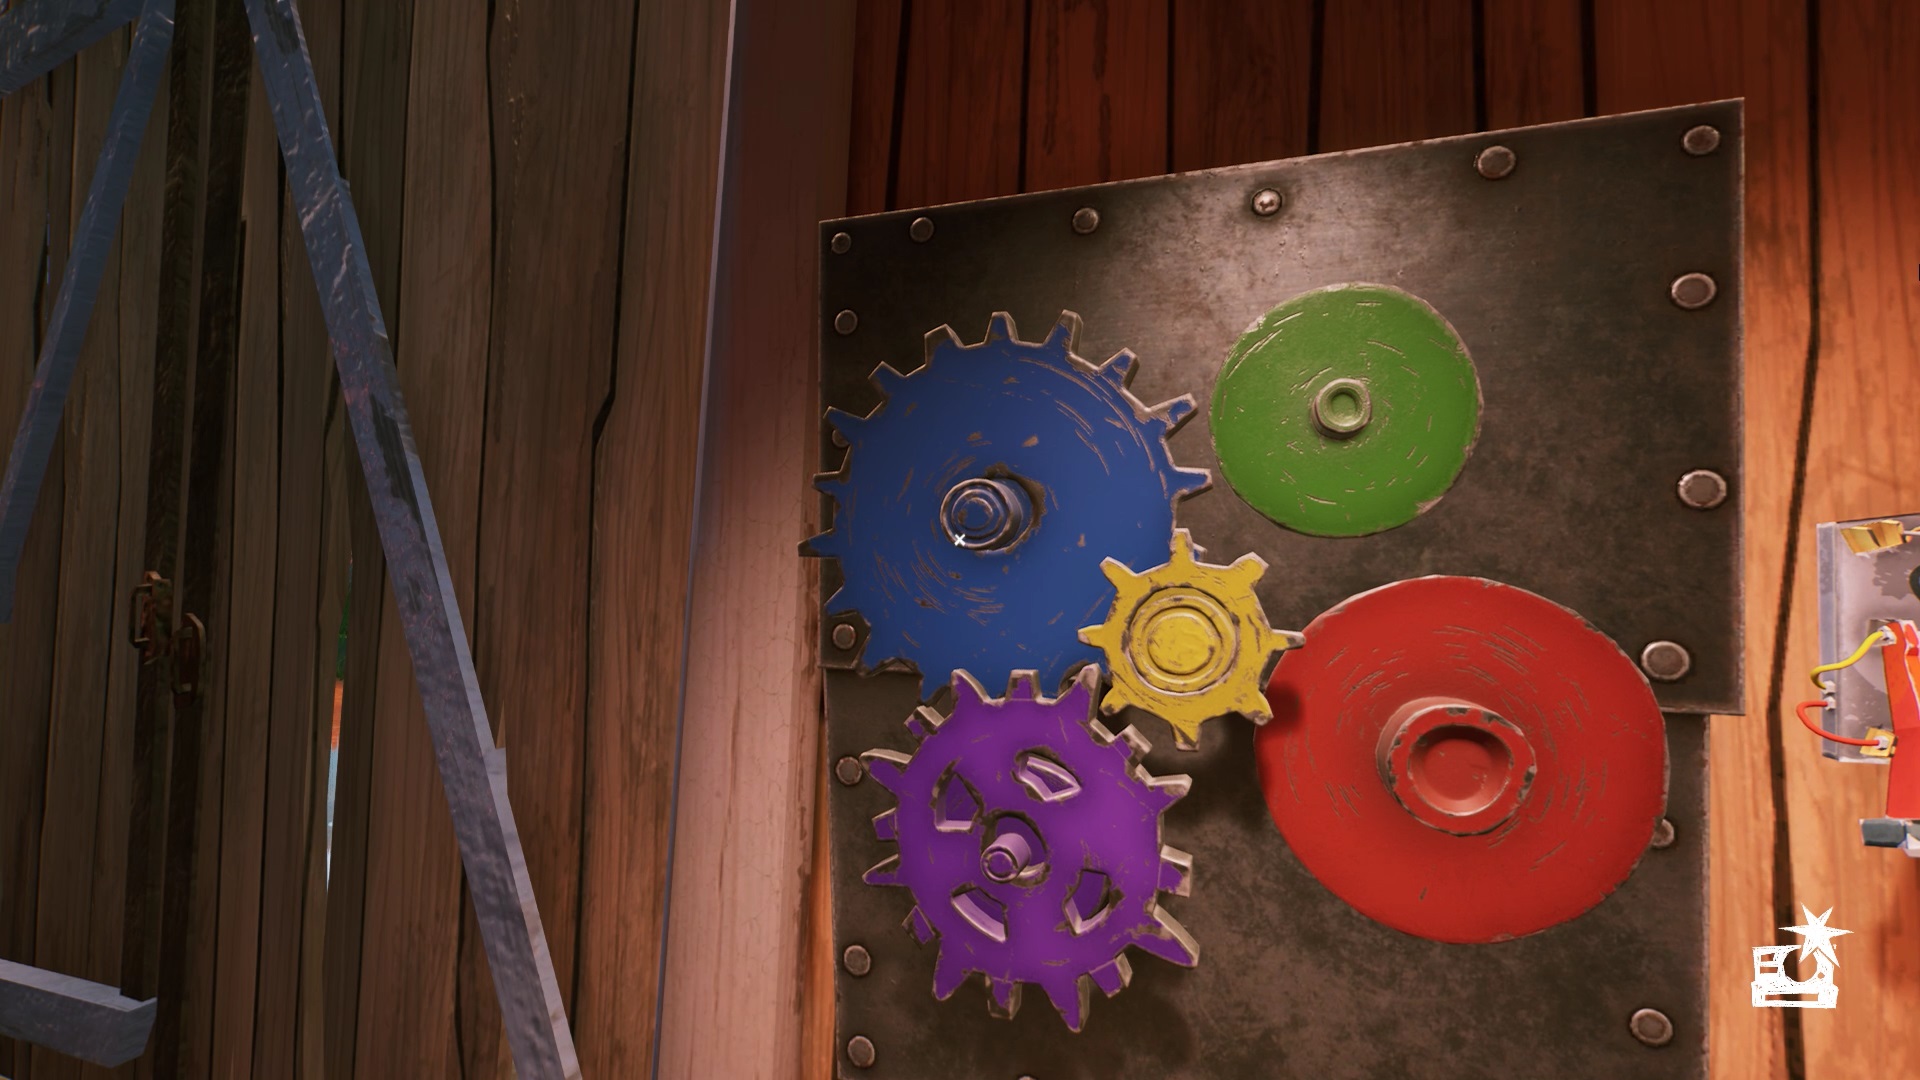
To the left of the exit is a blue door. It is locked with a padlock. Take the key to the left of the door to unlock the padlock. Enter the room and retrieve a blue gear, placed on a desk. Position the gear on the gear panel in its location.
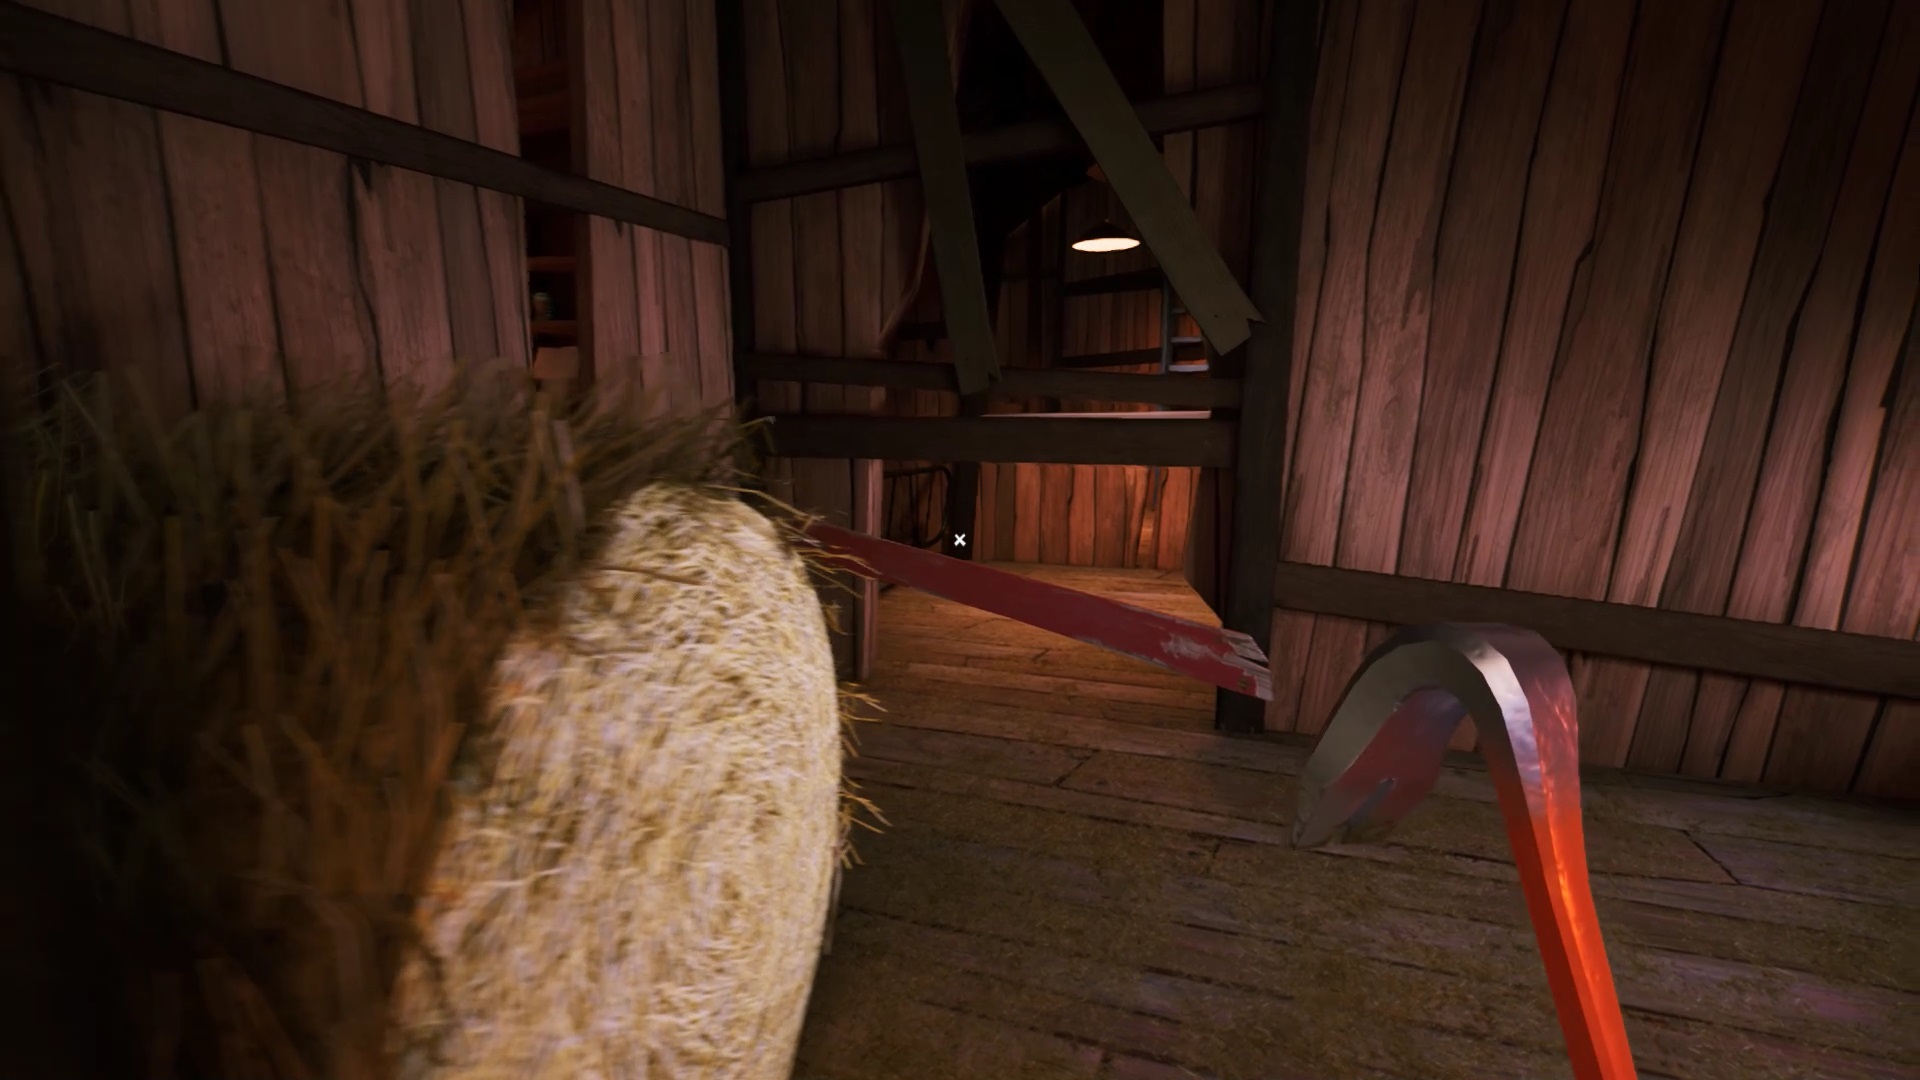

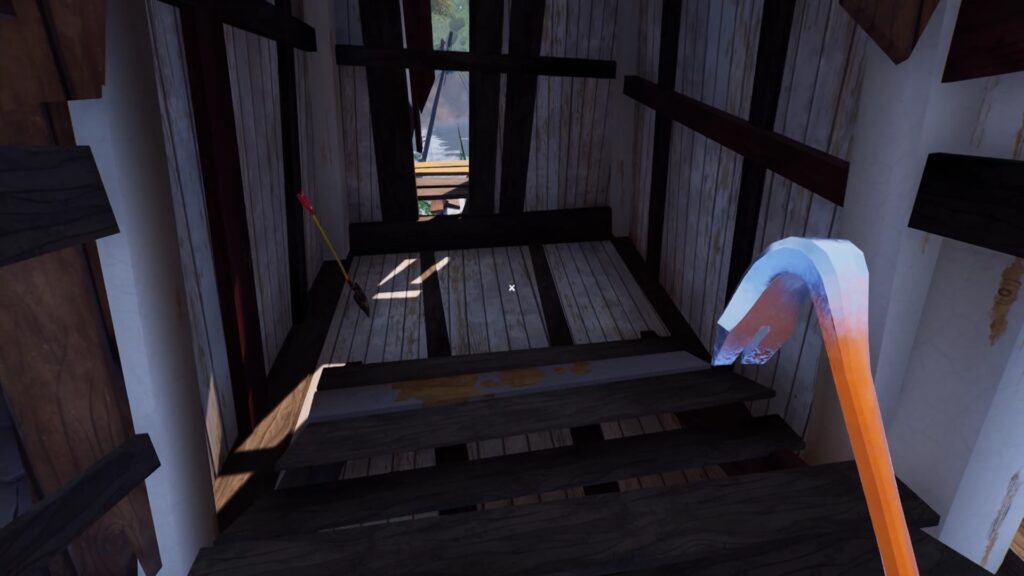
To the right of the exit, grab a crowbar stuck in a wooden crate. Go back to the car. Look at the wall to find a passage blocked by a red wooden plank. Use the crowbar to remove the wooden board. Get down and move forward. Climb the ladder to reach the red gear. Come on, position the red gear on the panel.
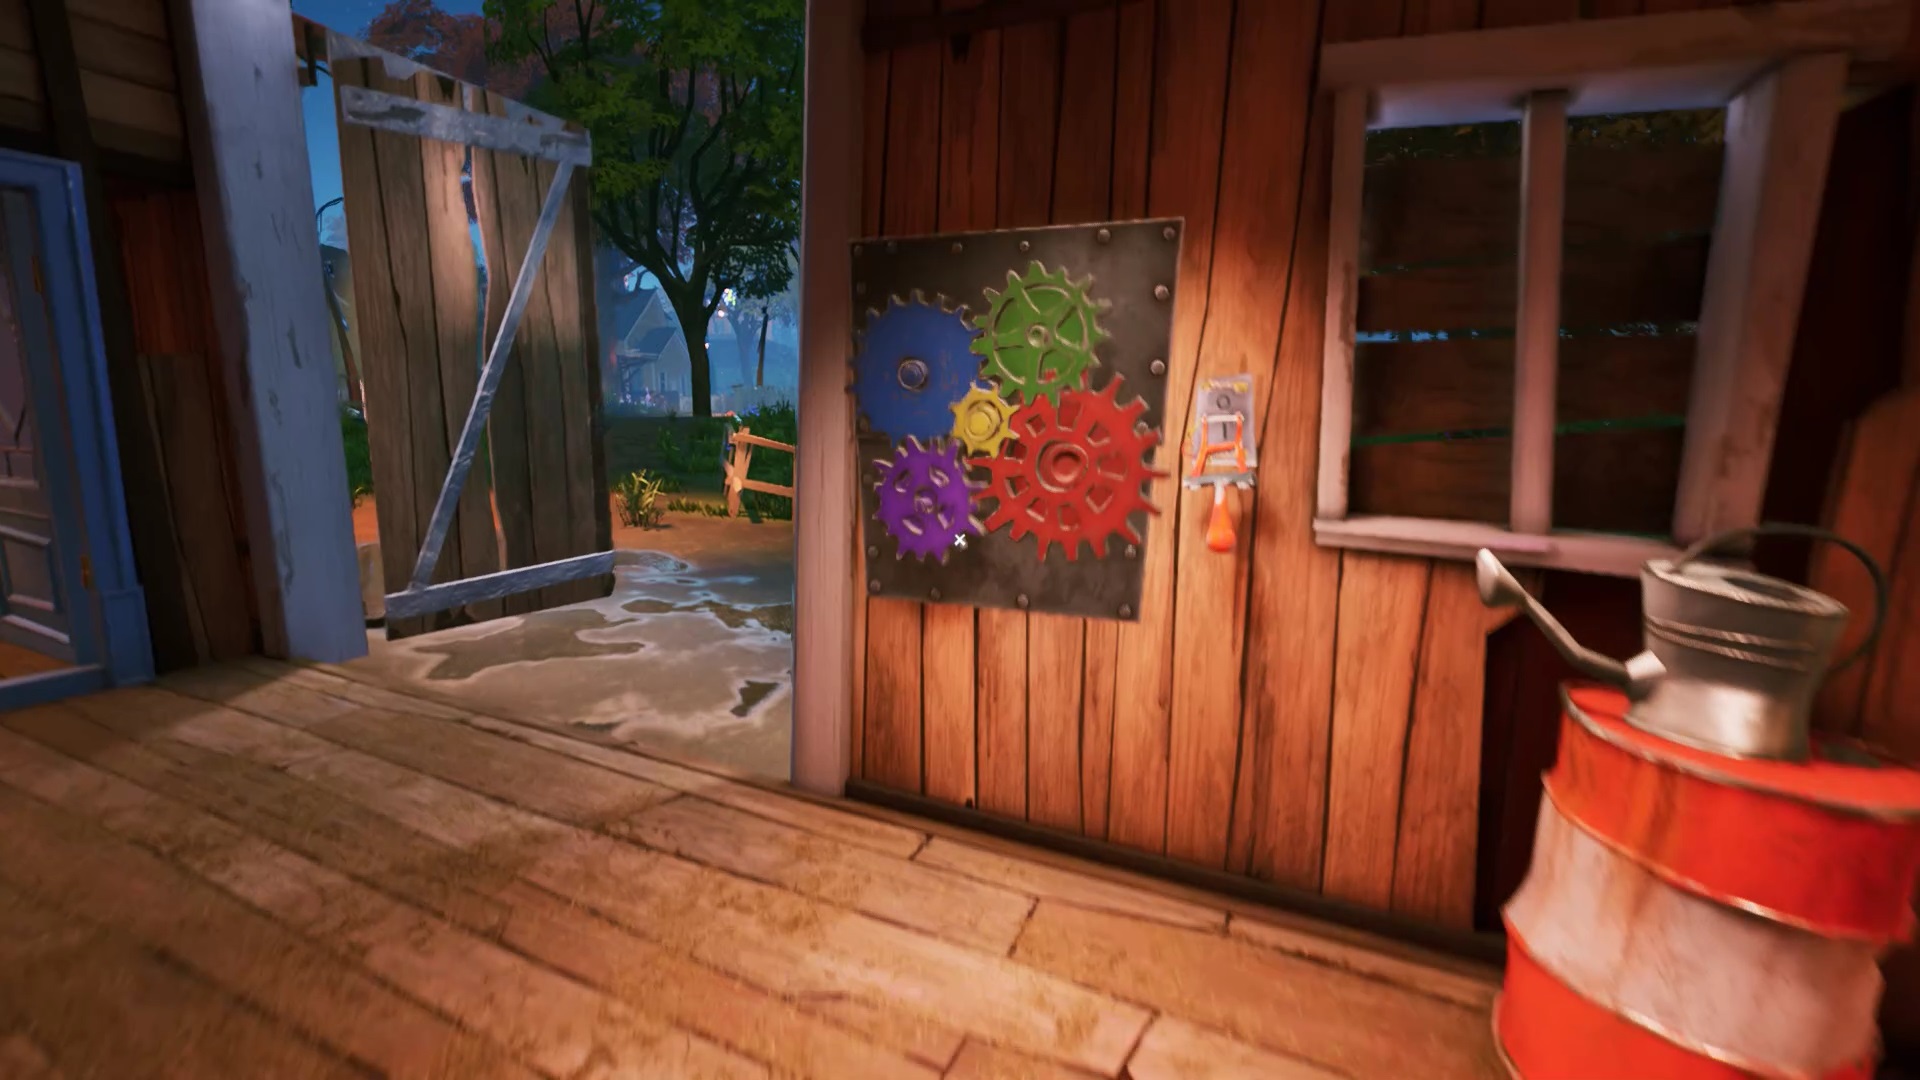

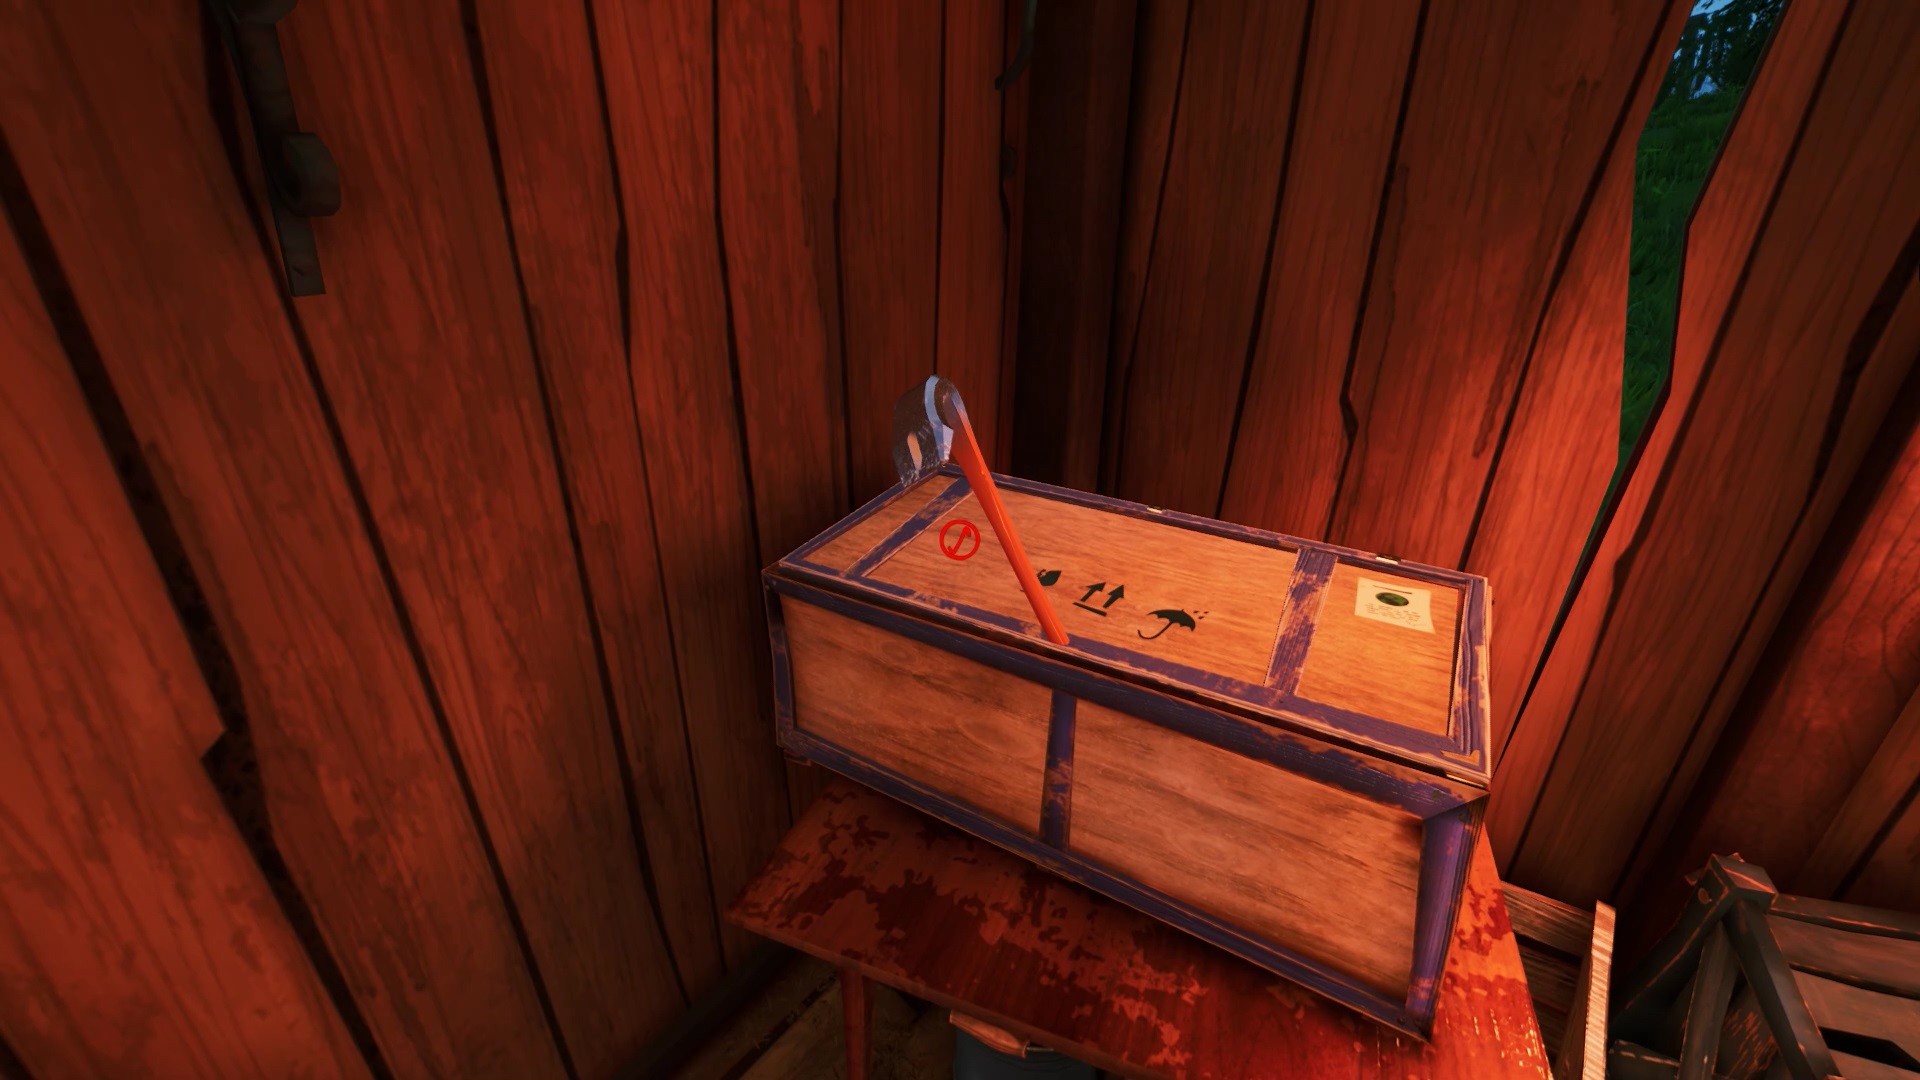
The last gear is in a display case facing the exit door. Break the window with your crowbar. Collect the gear and place it on the panel. Use the red lever to open the barn door.
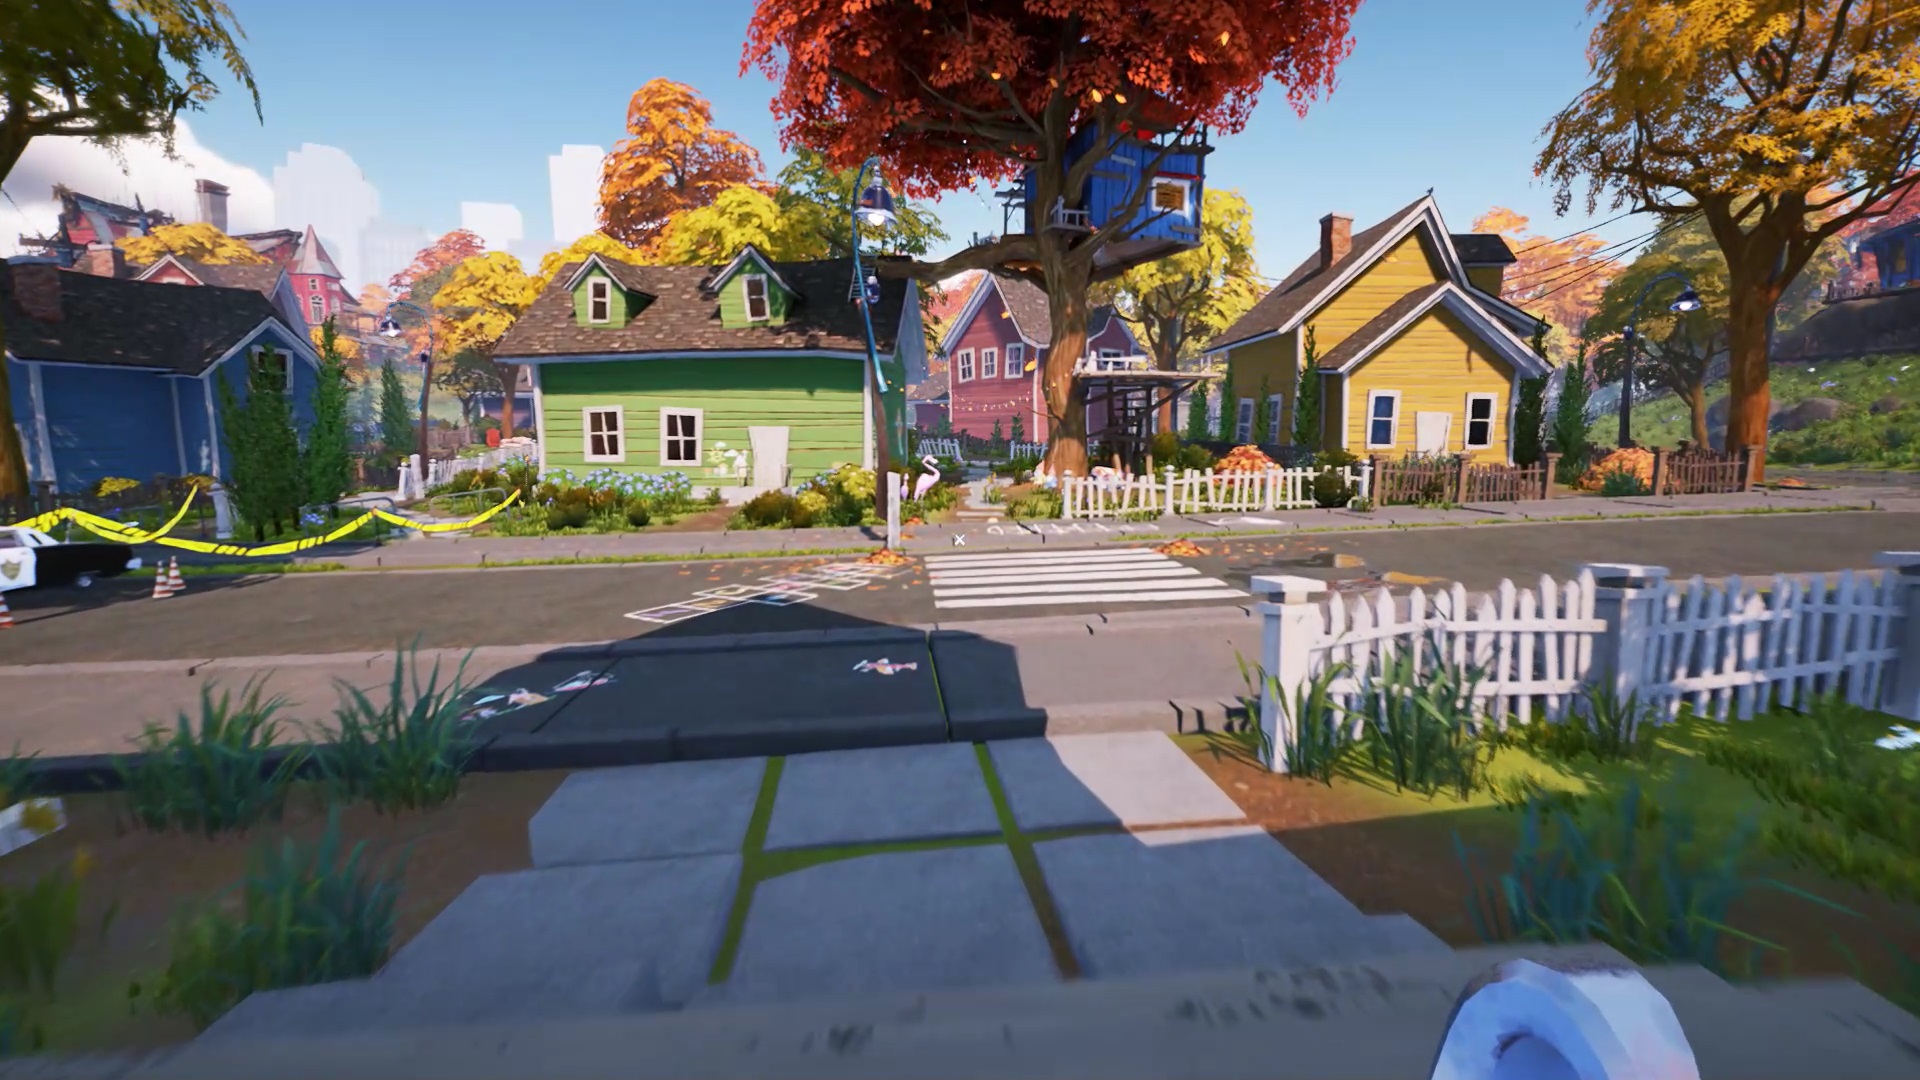
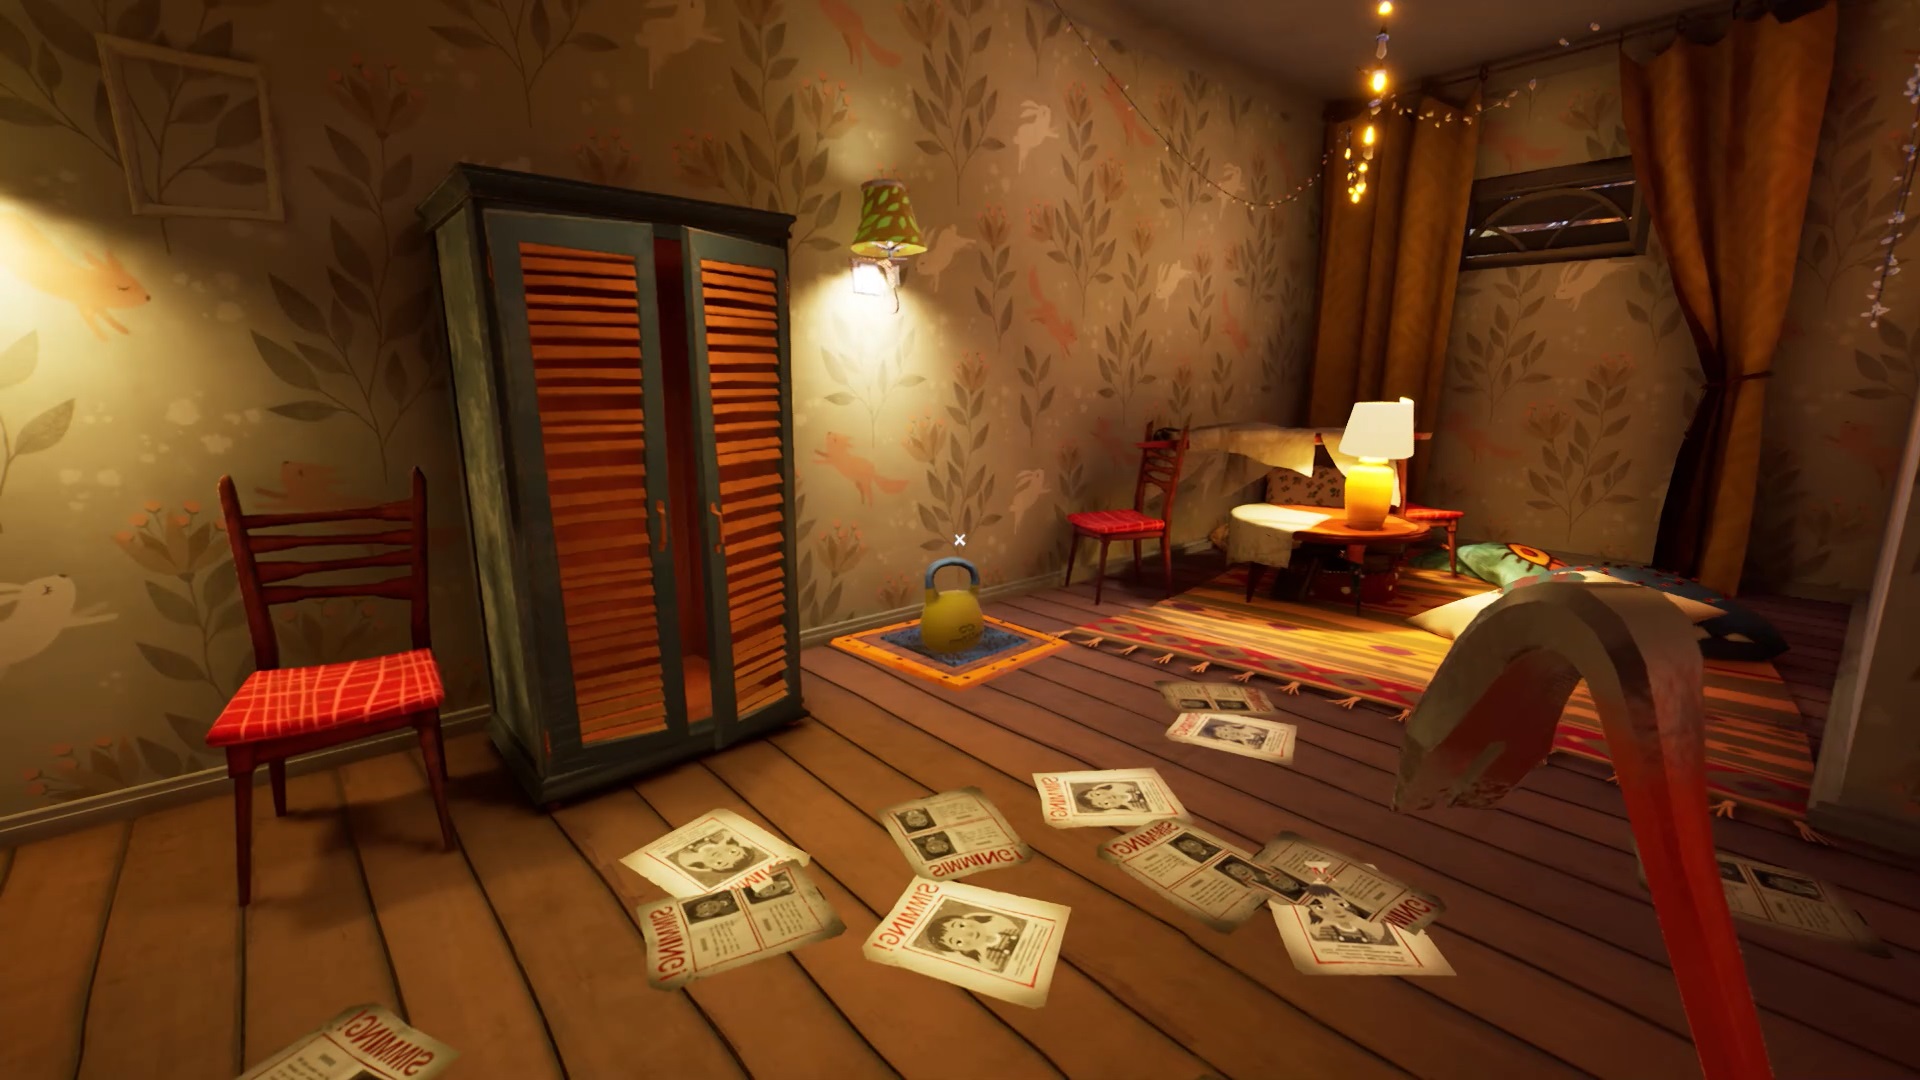
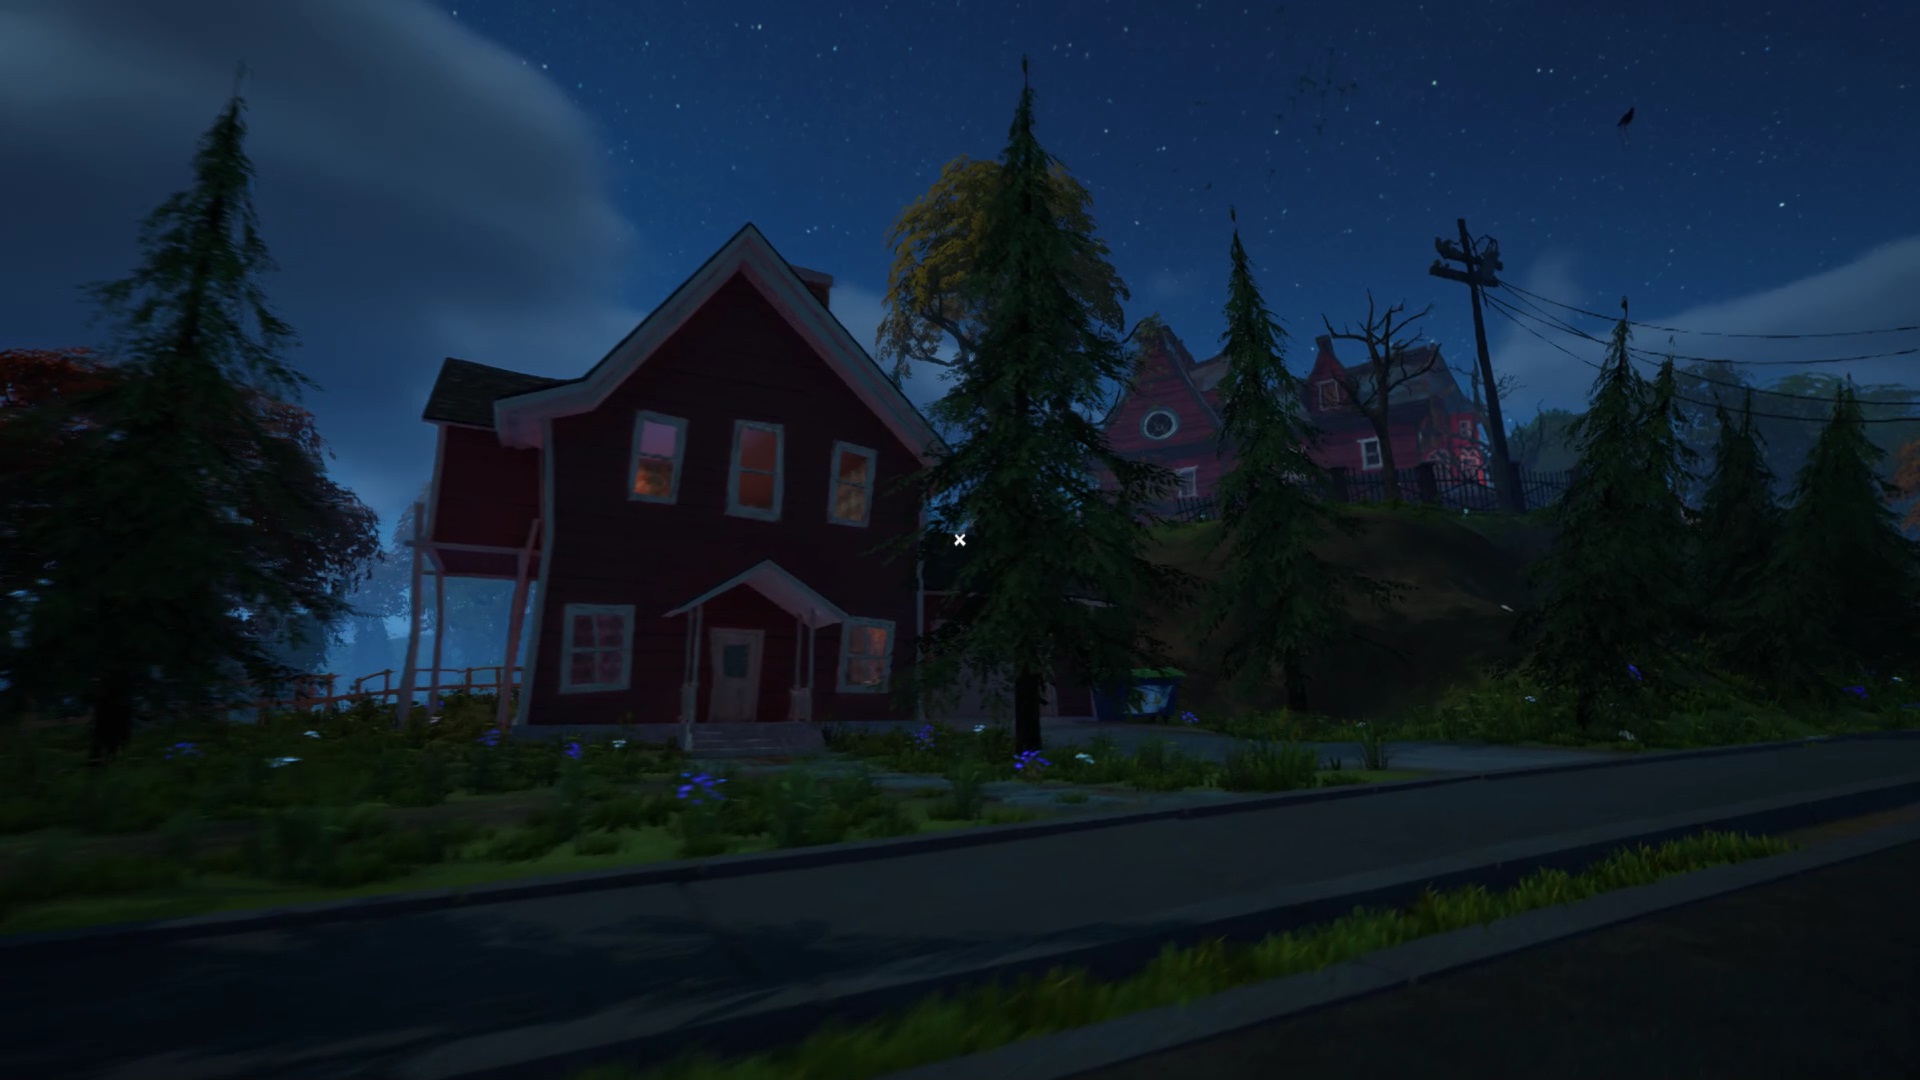
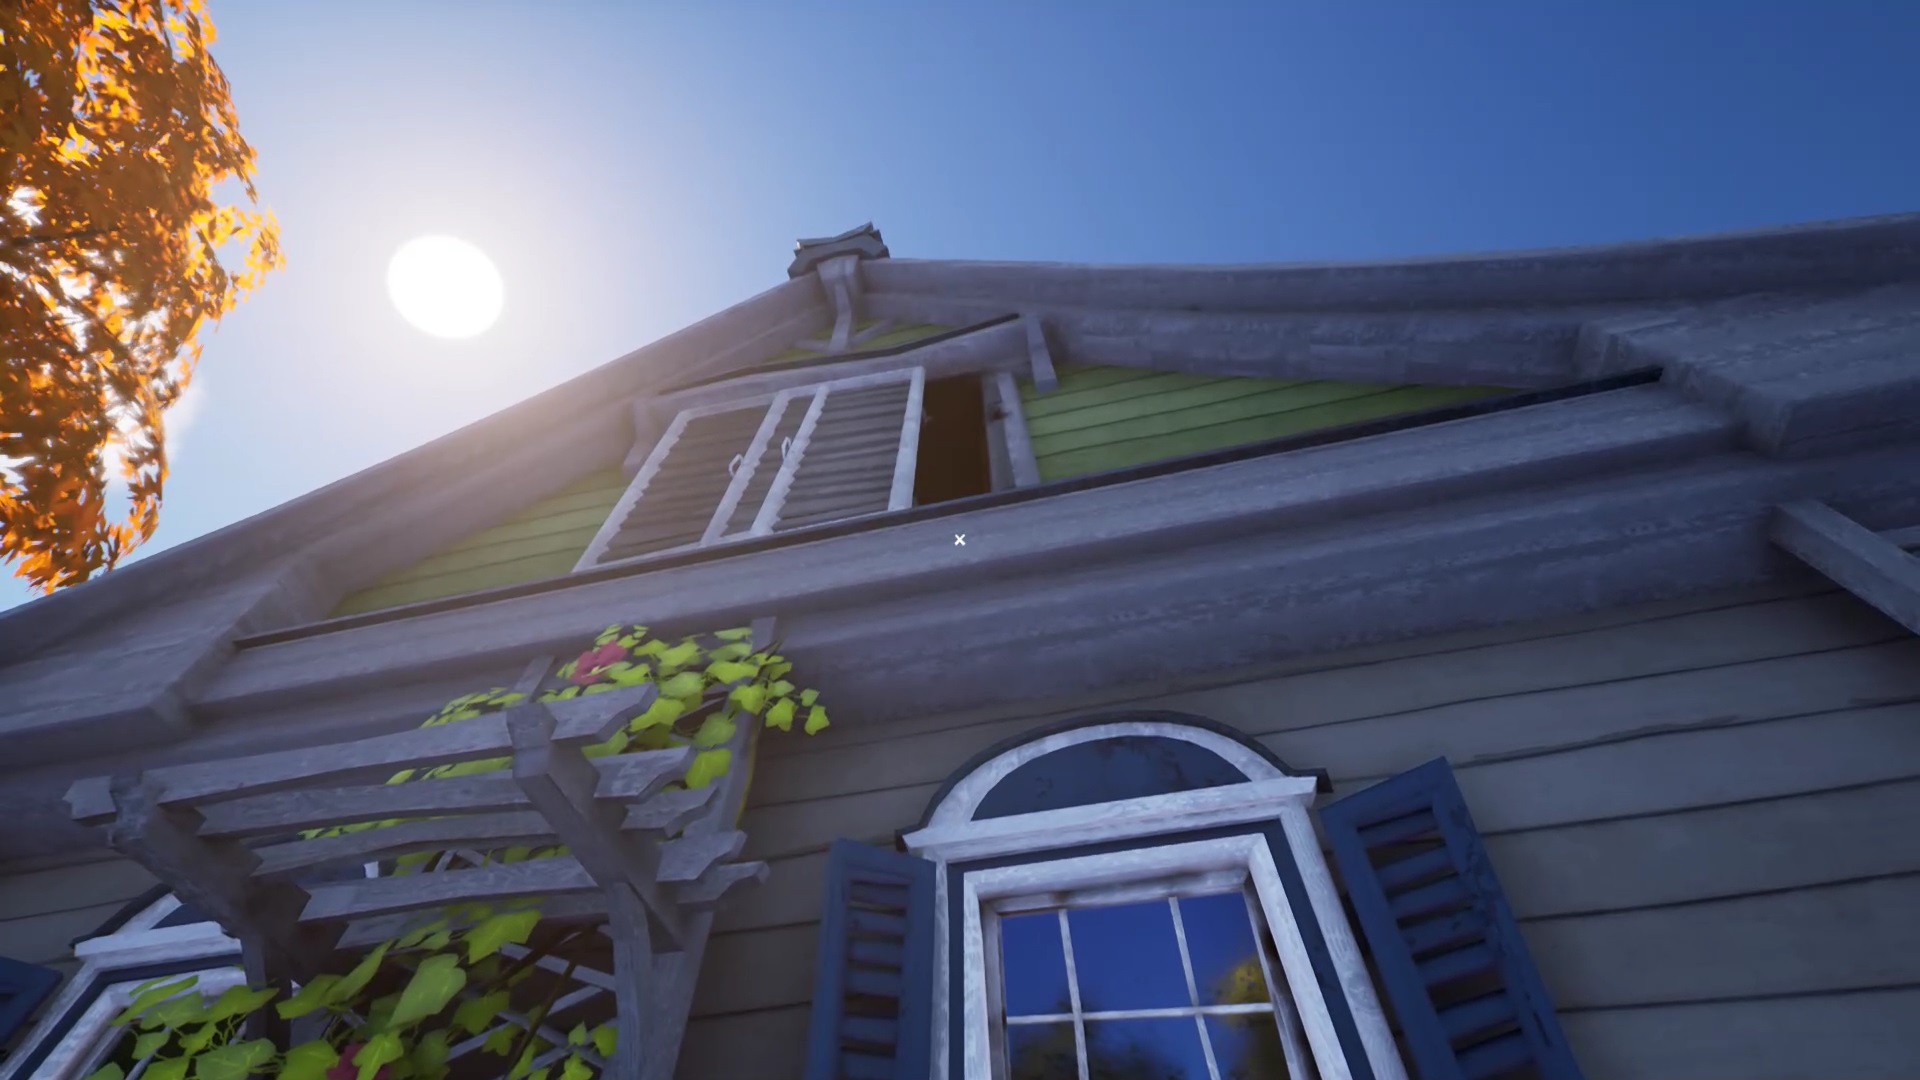
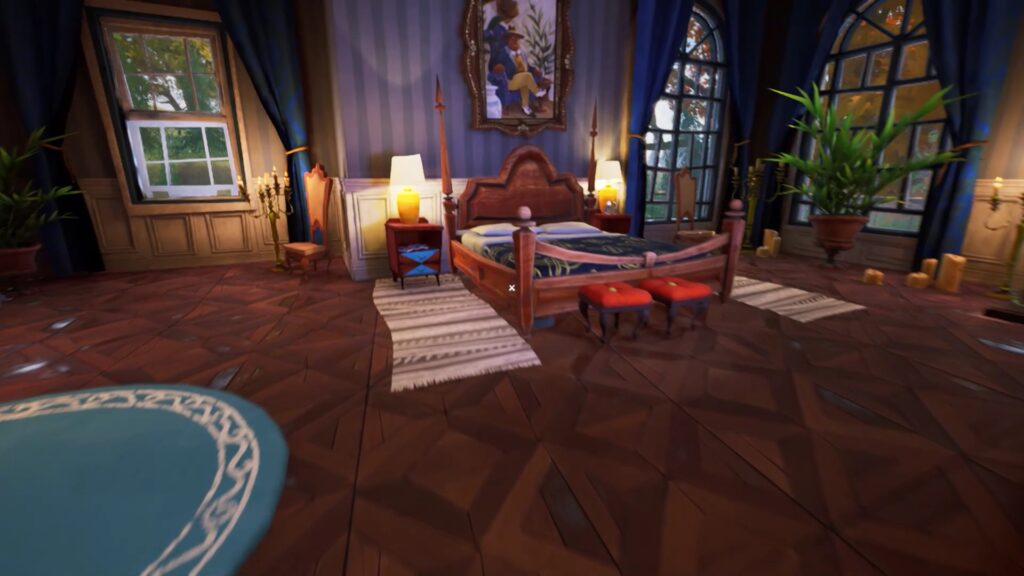
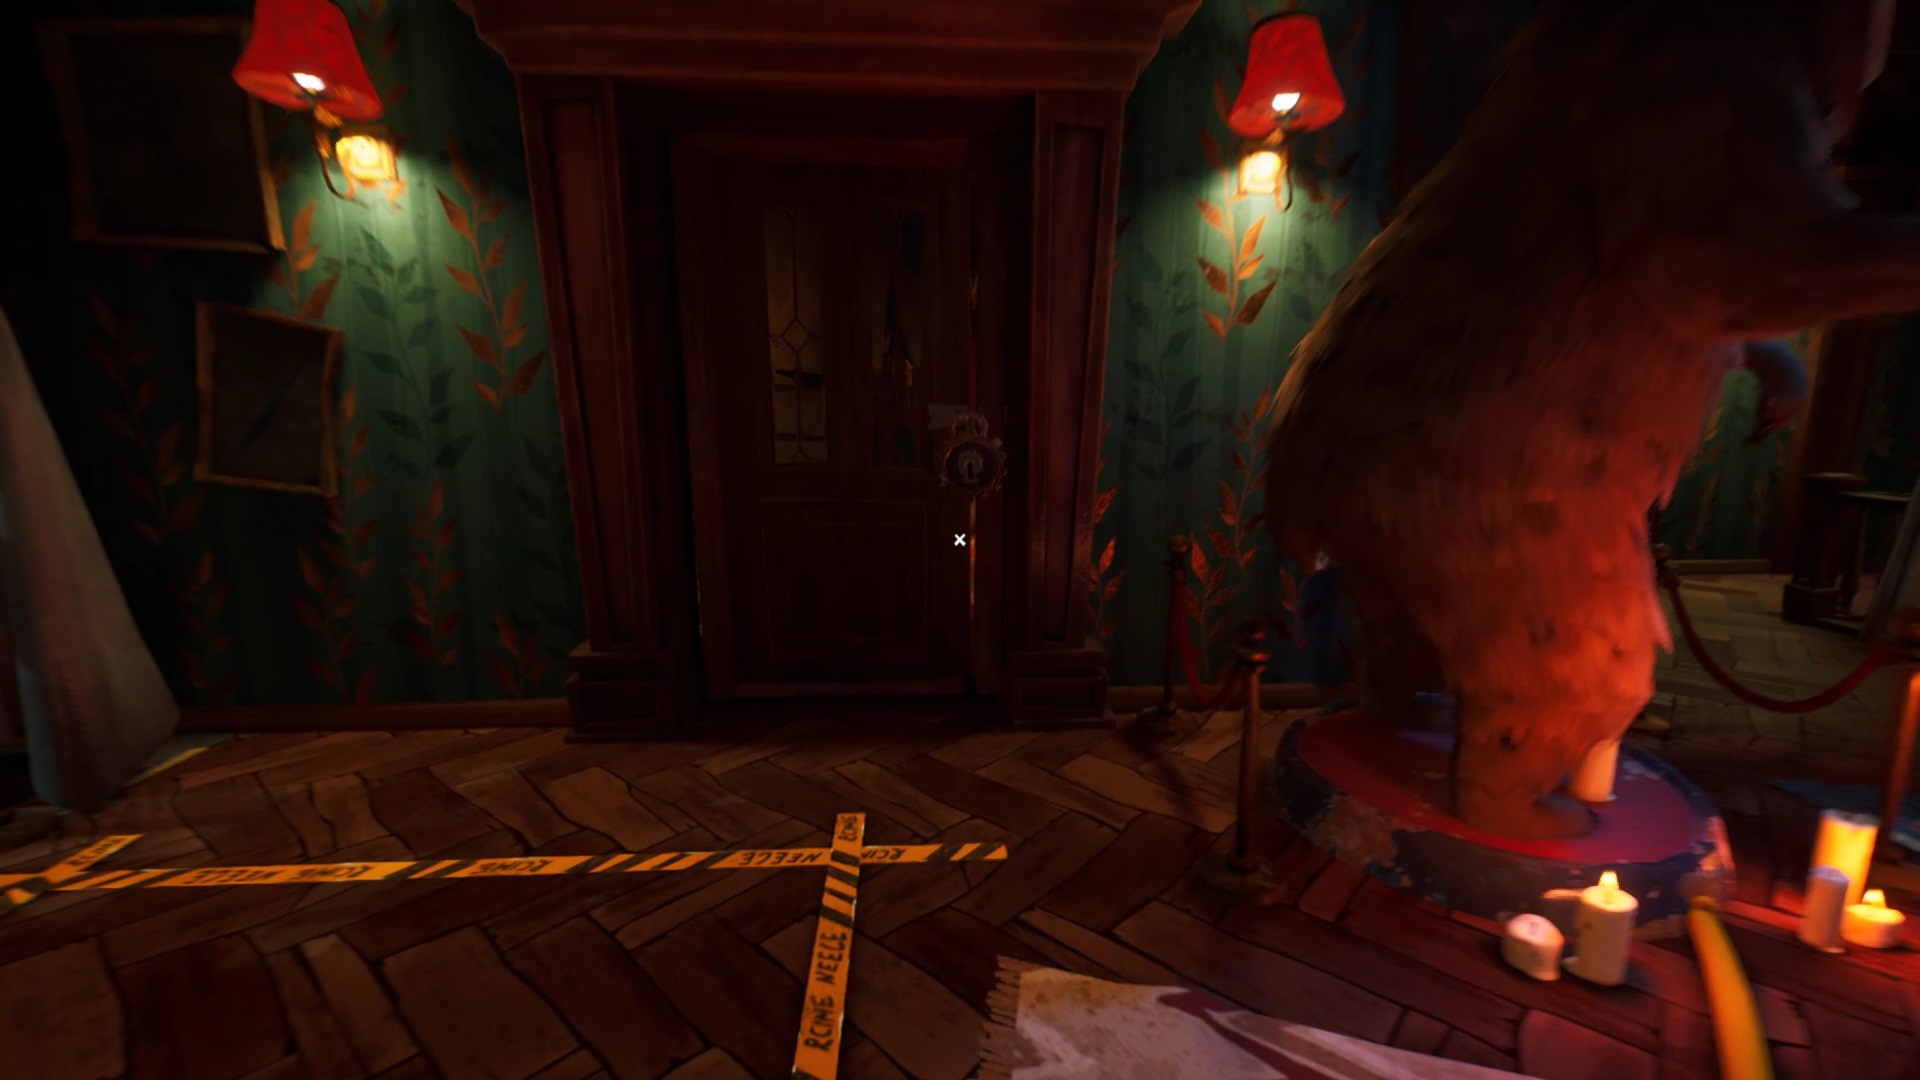
Mr. Peterson’s House
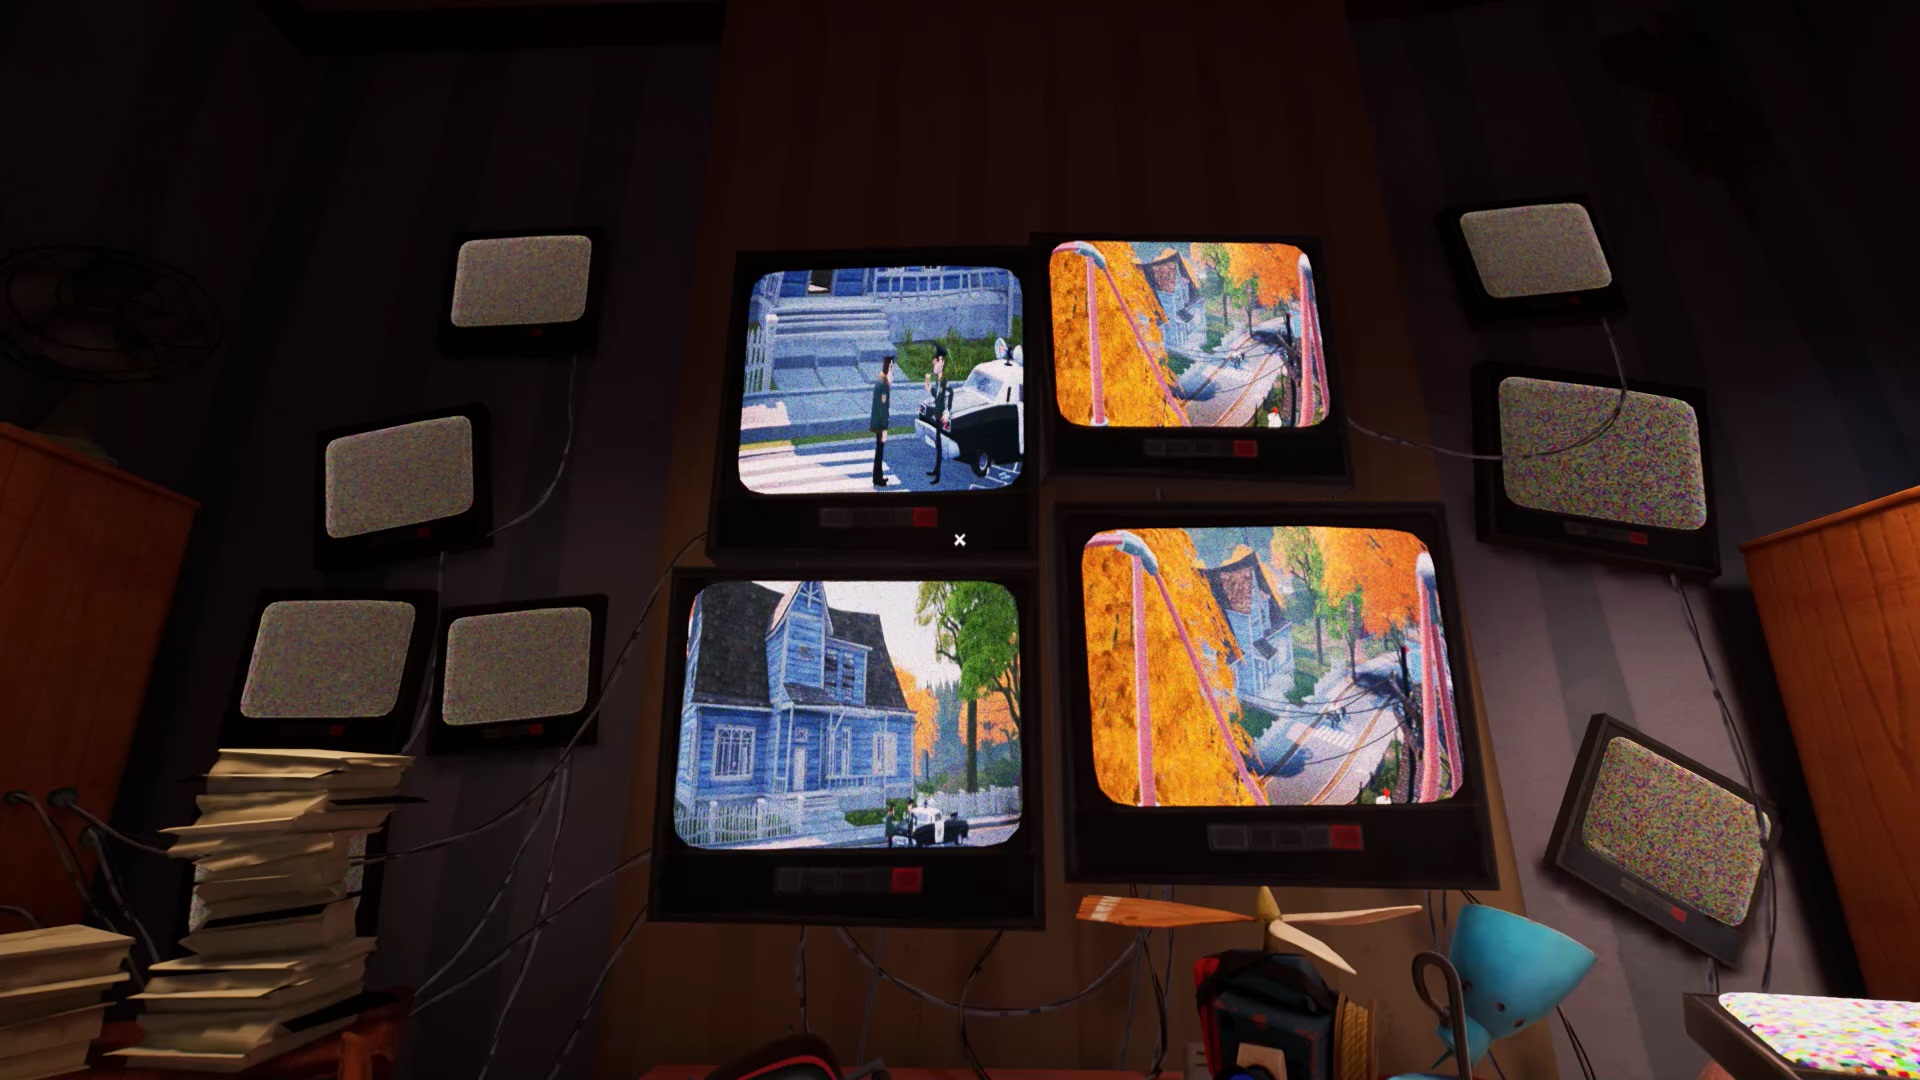
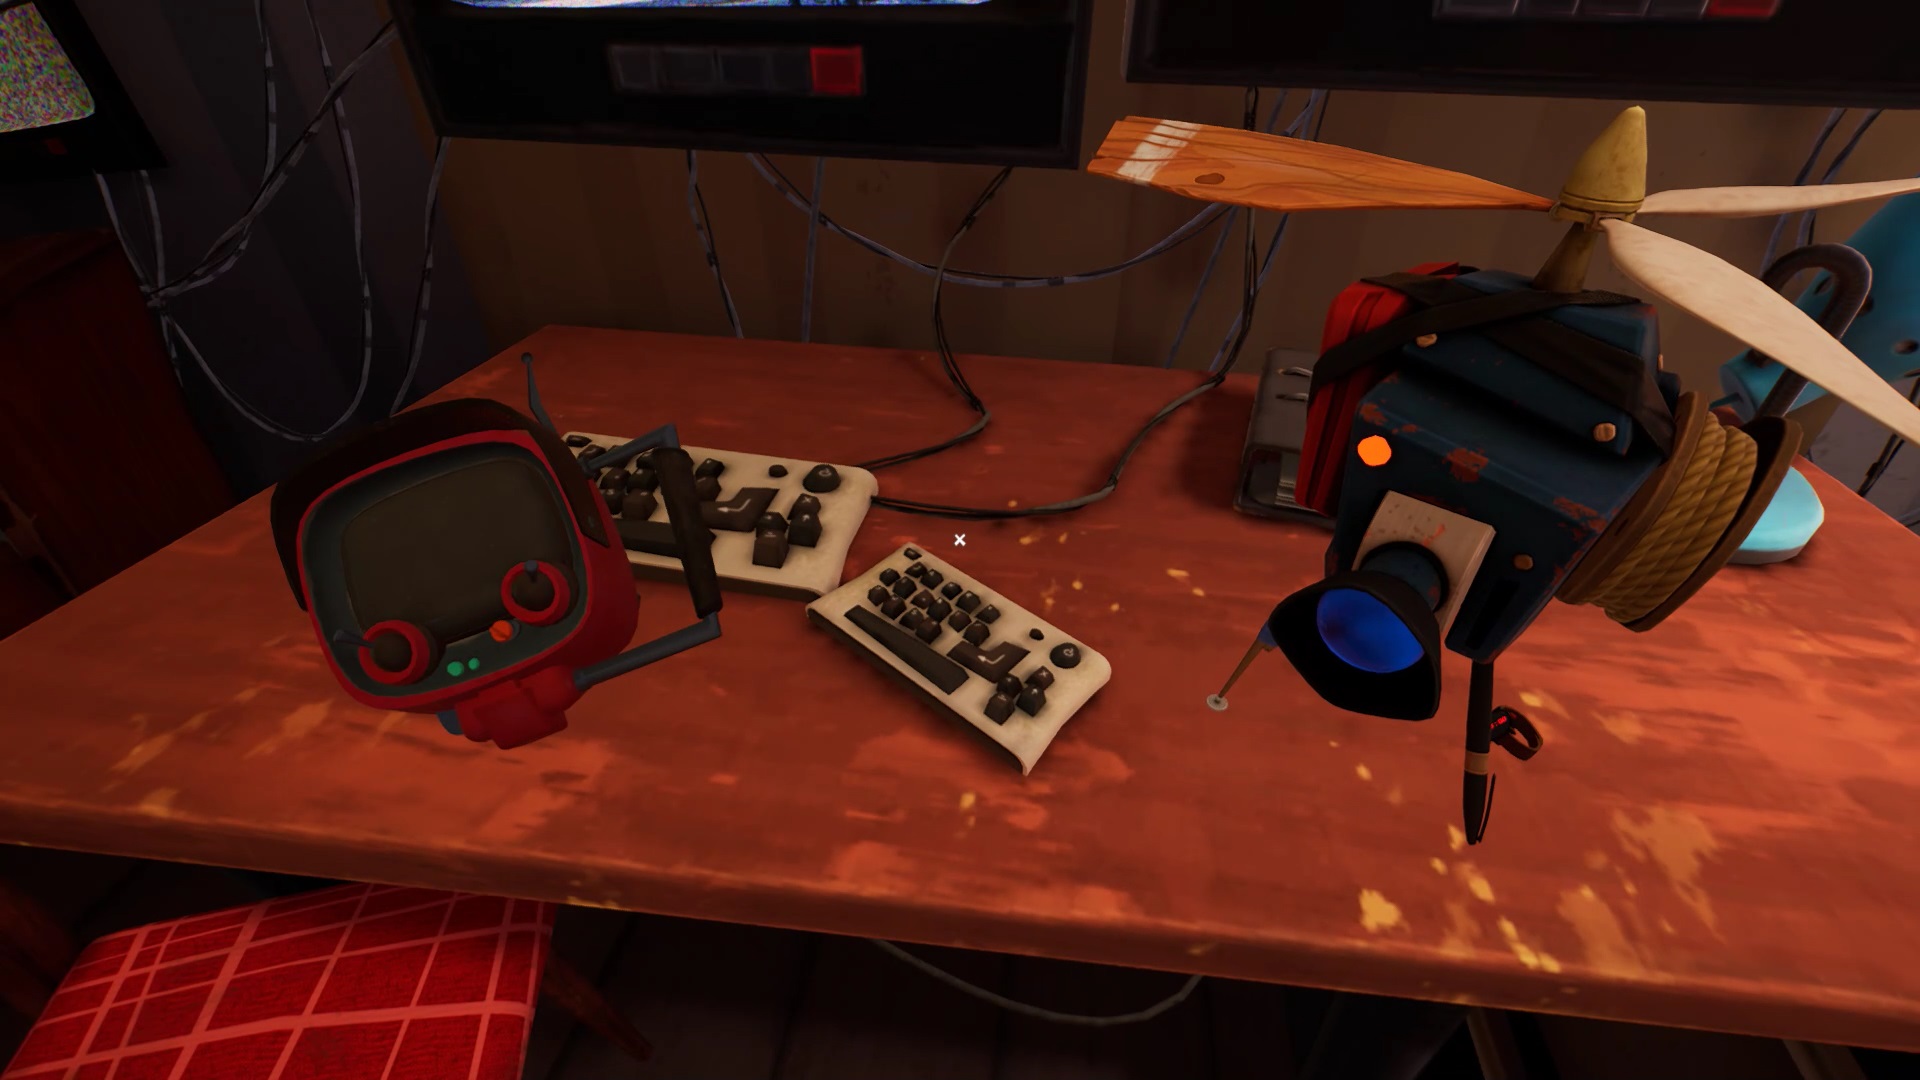
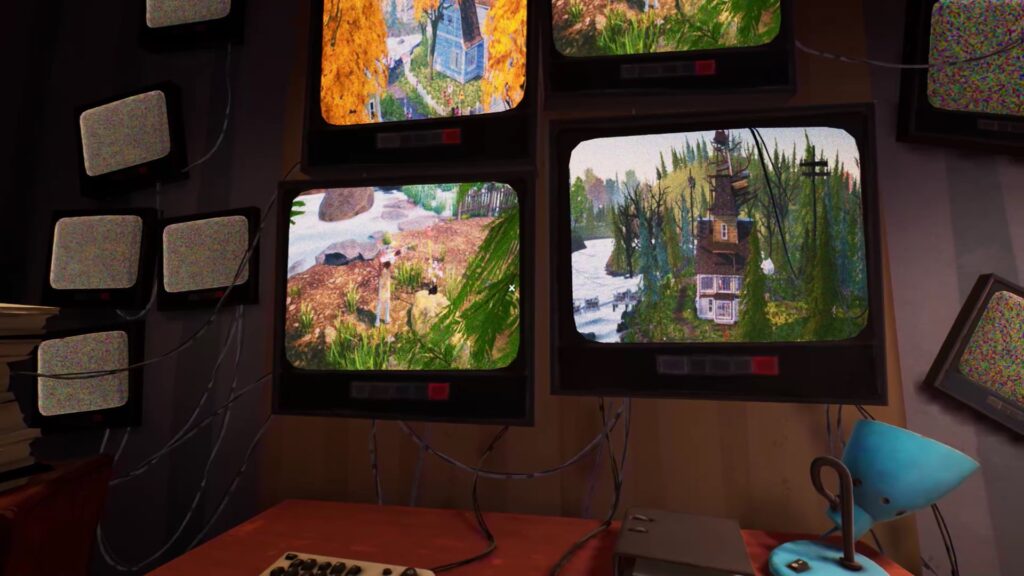
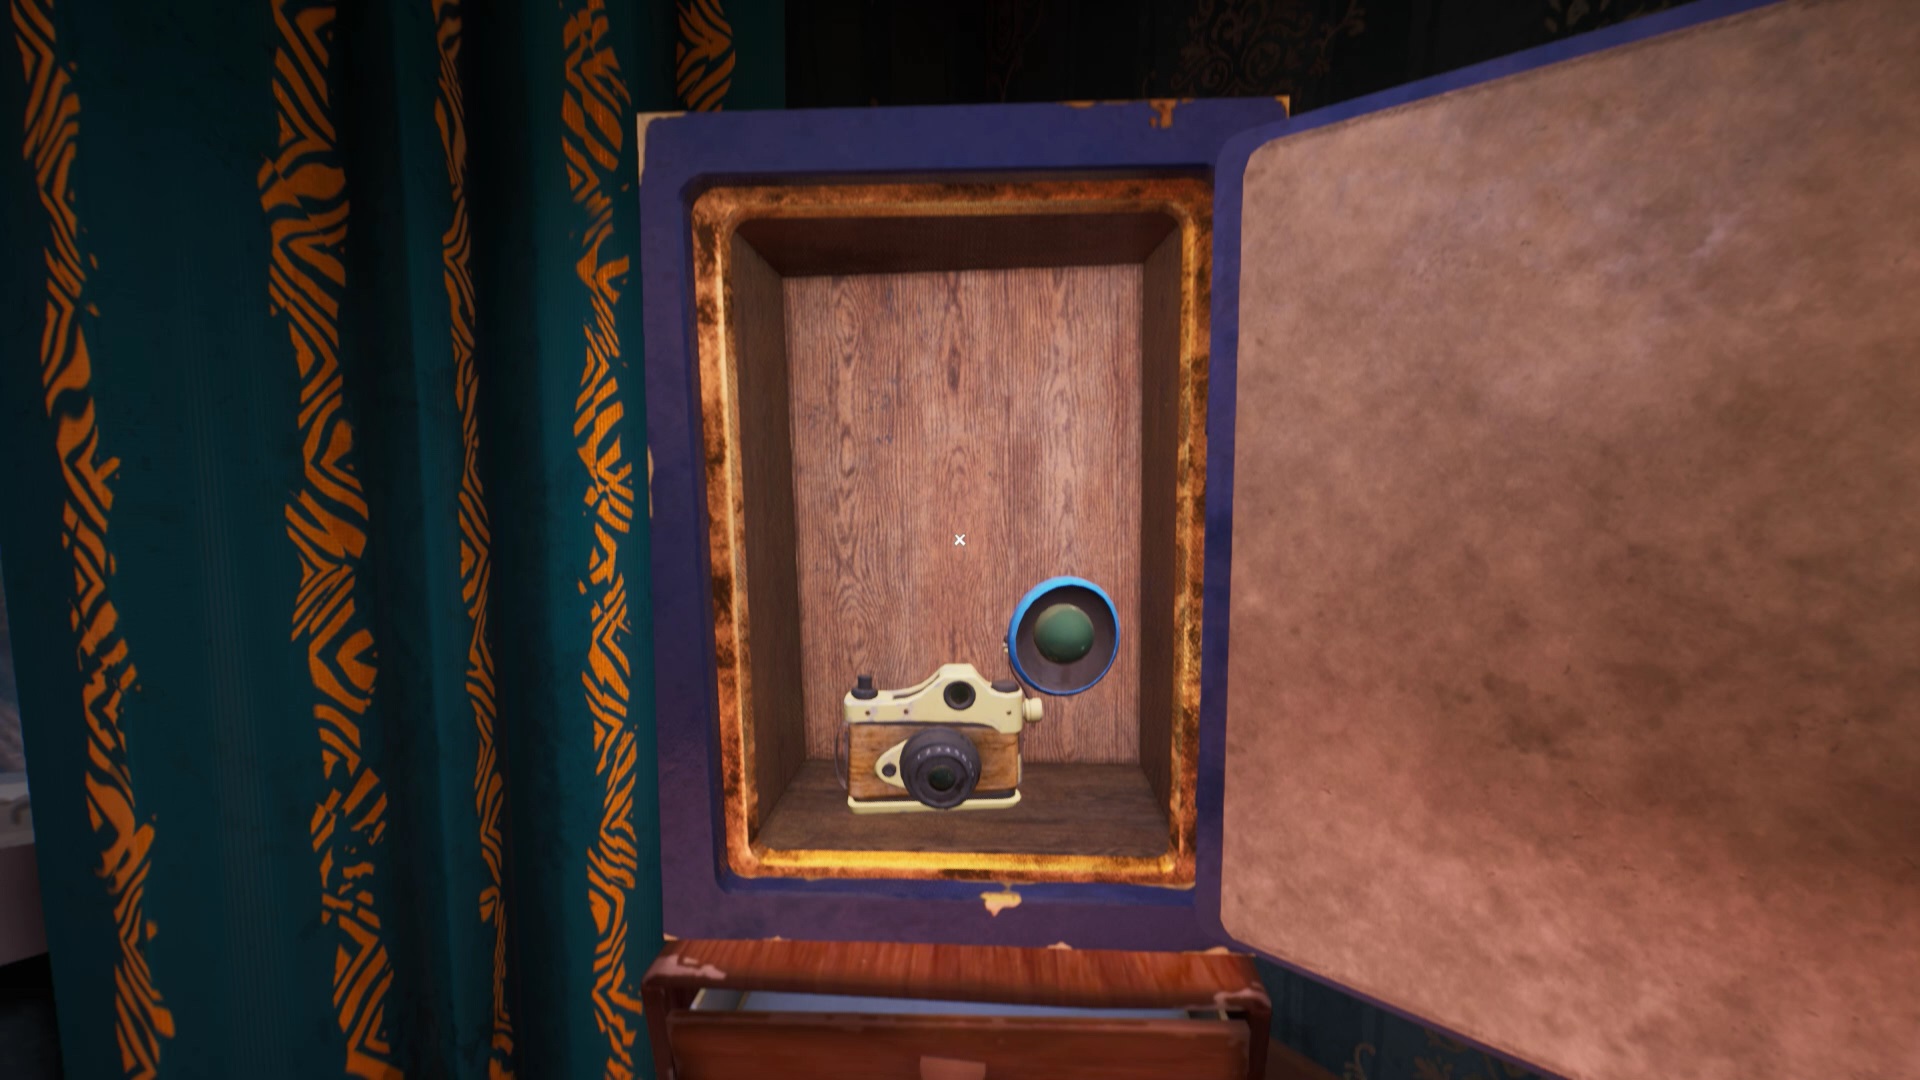
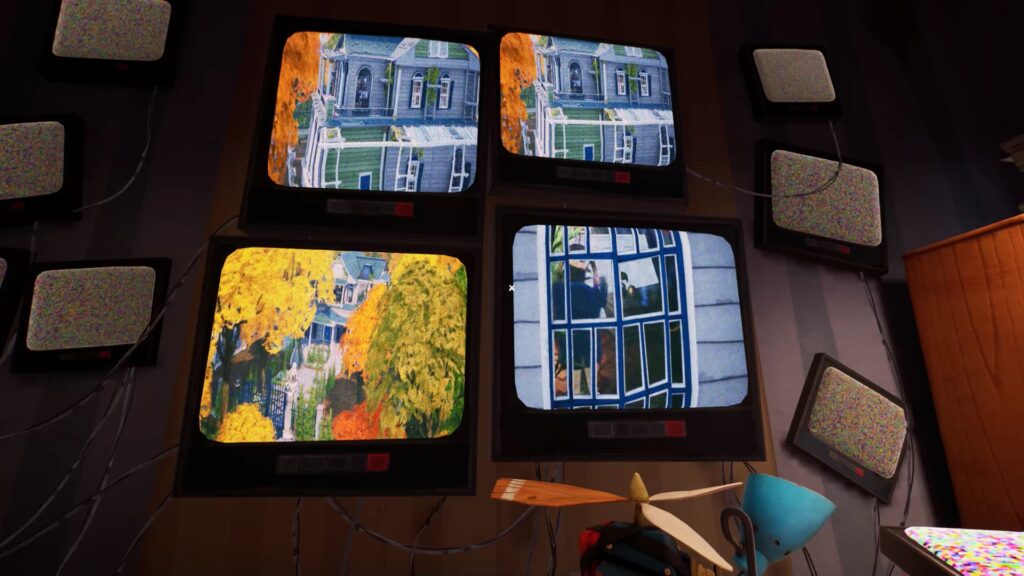
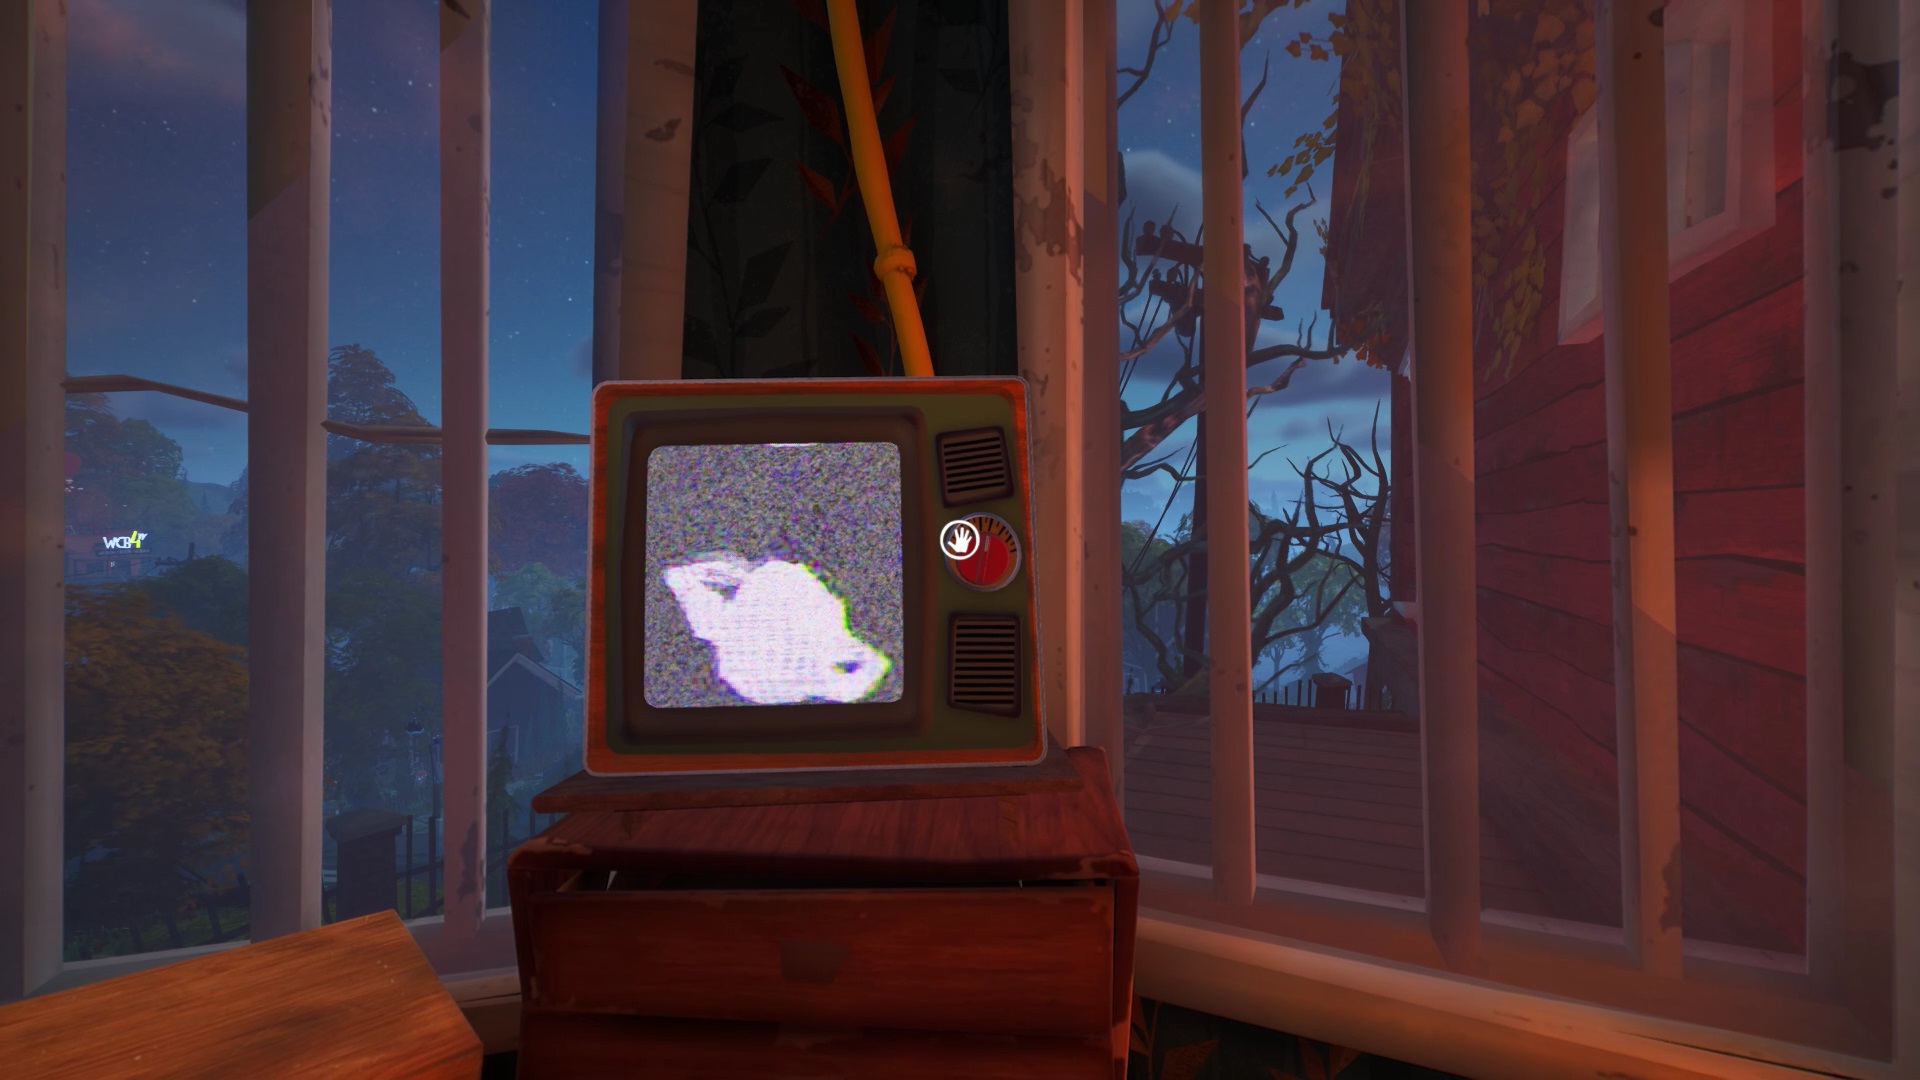
After being attacked by the kidnapper, you wake up in a radio station. Look at the screens on the wall to understand where you need to go. You must reach Mr. Peterson’s blue house where a policeman is lurking. Pick up the equipment on the desk. It is a camera and its mechanism. It allows you to film a specific location to monitor your enemies. Exit the radio tower and move towards the blue house. It is near an intersection filled with prohibition signs.
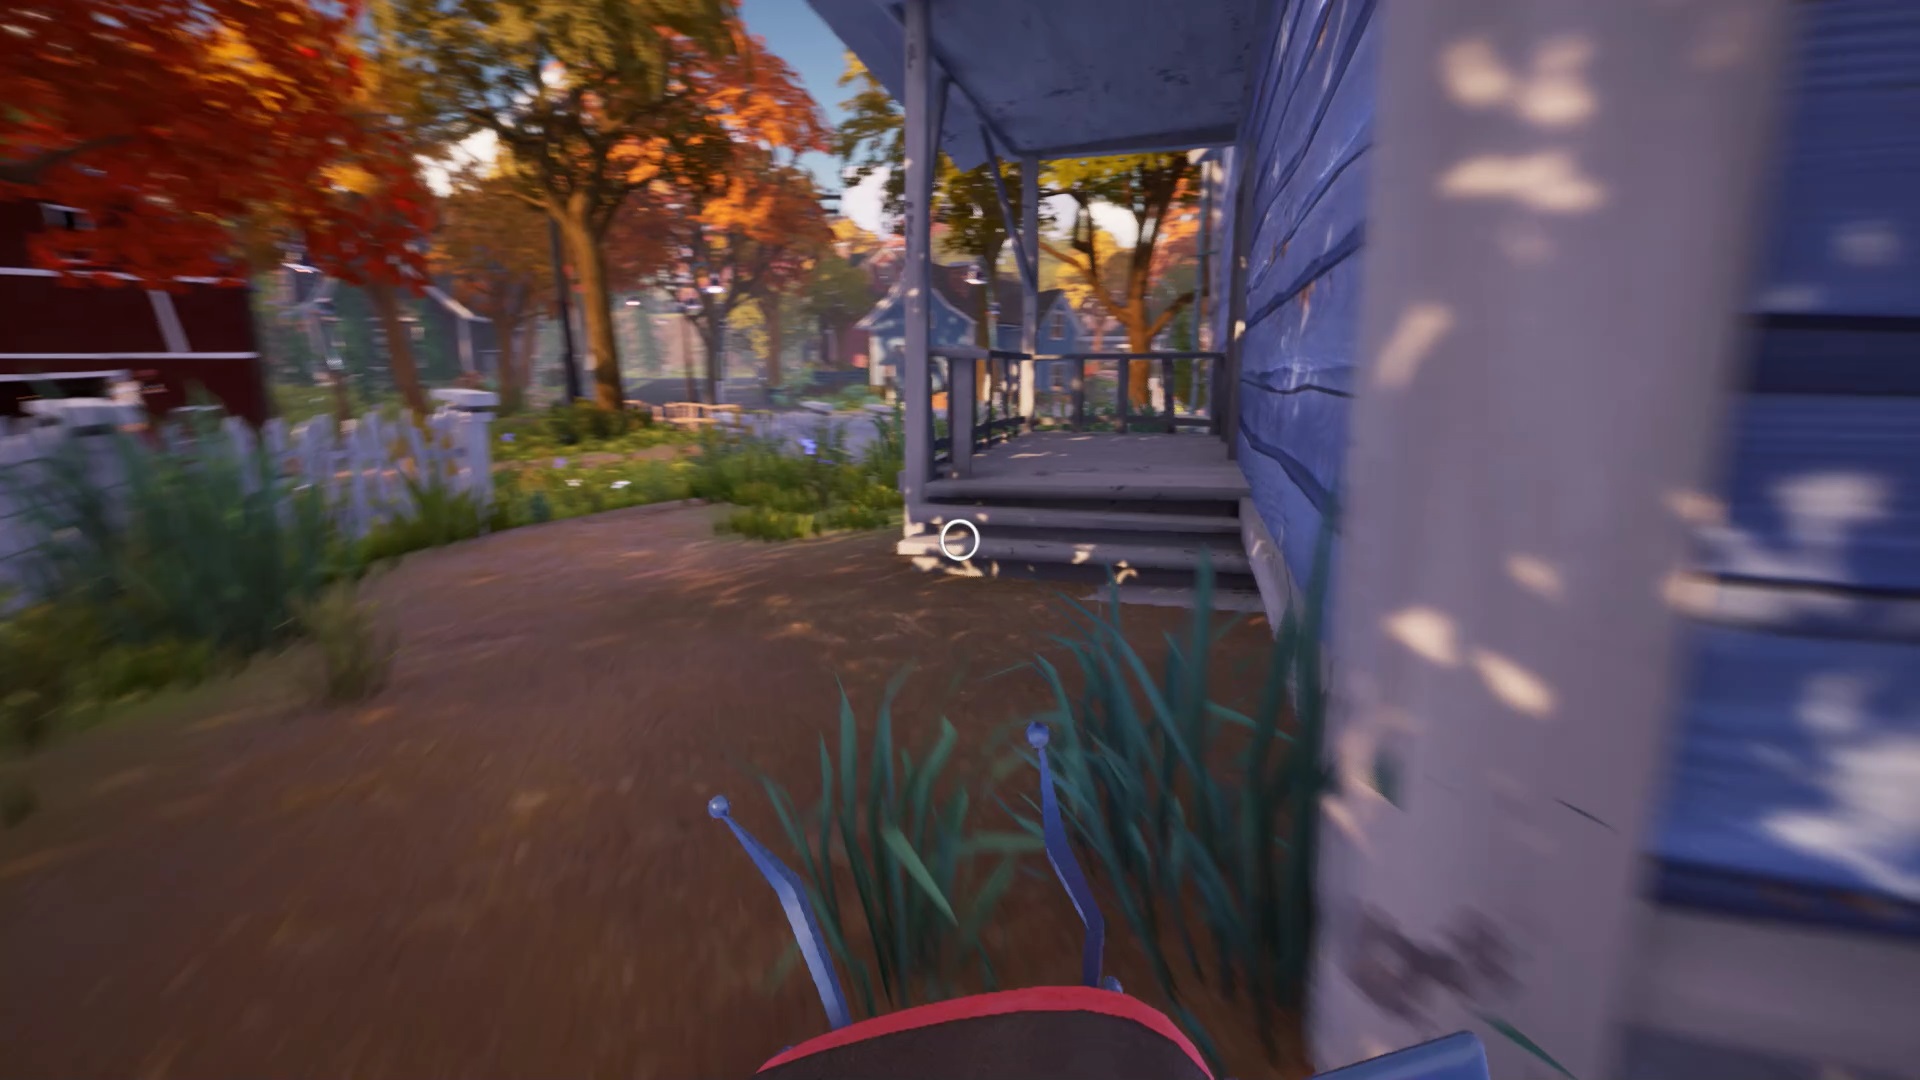
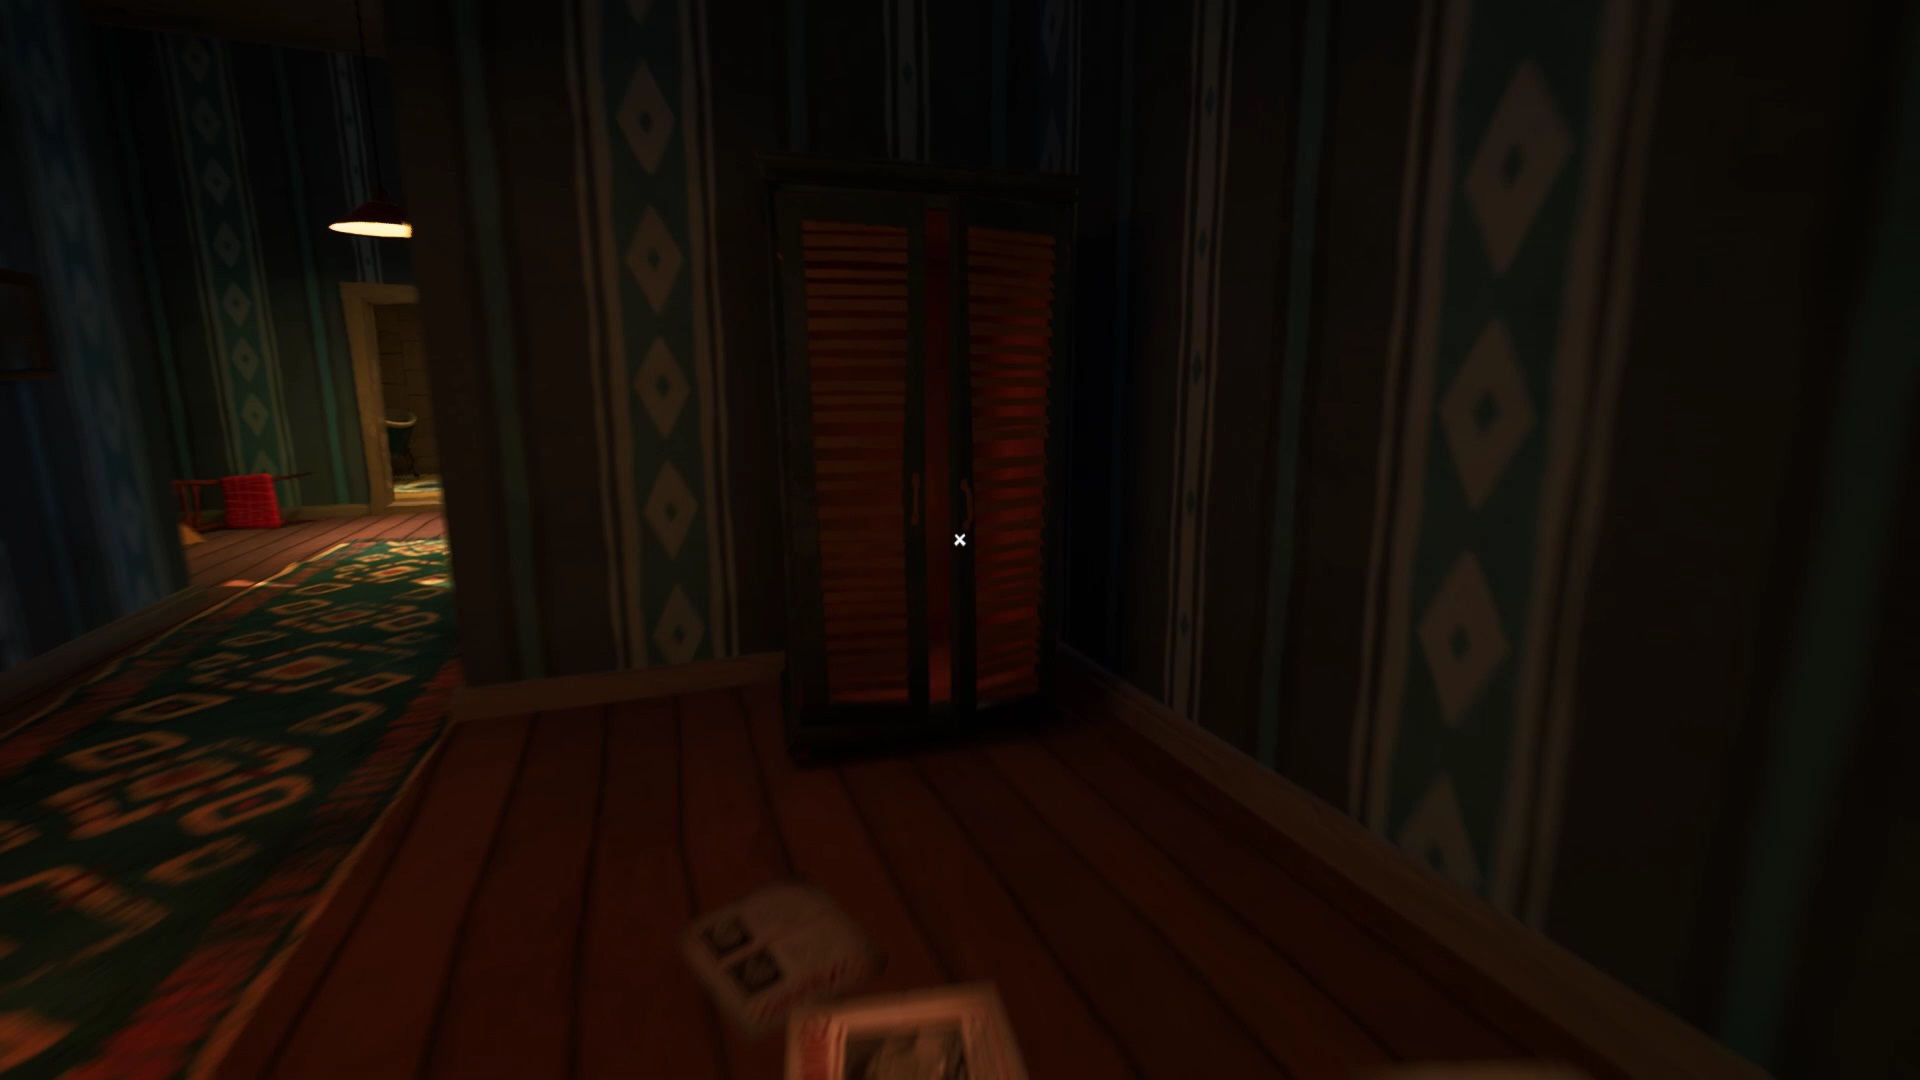
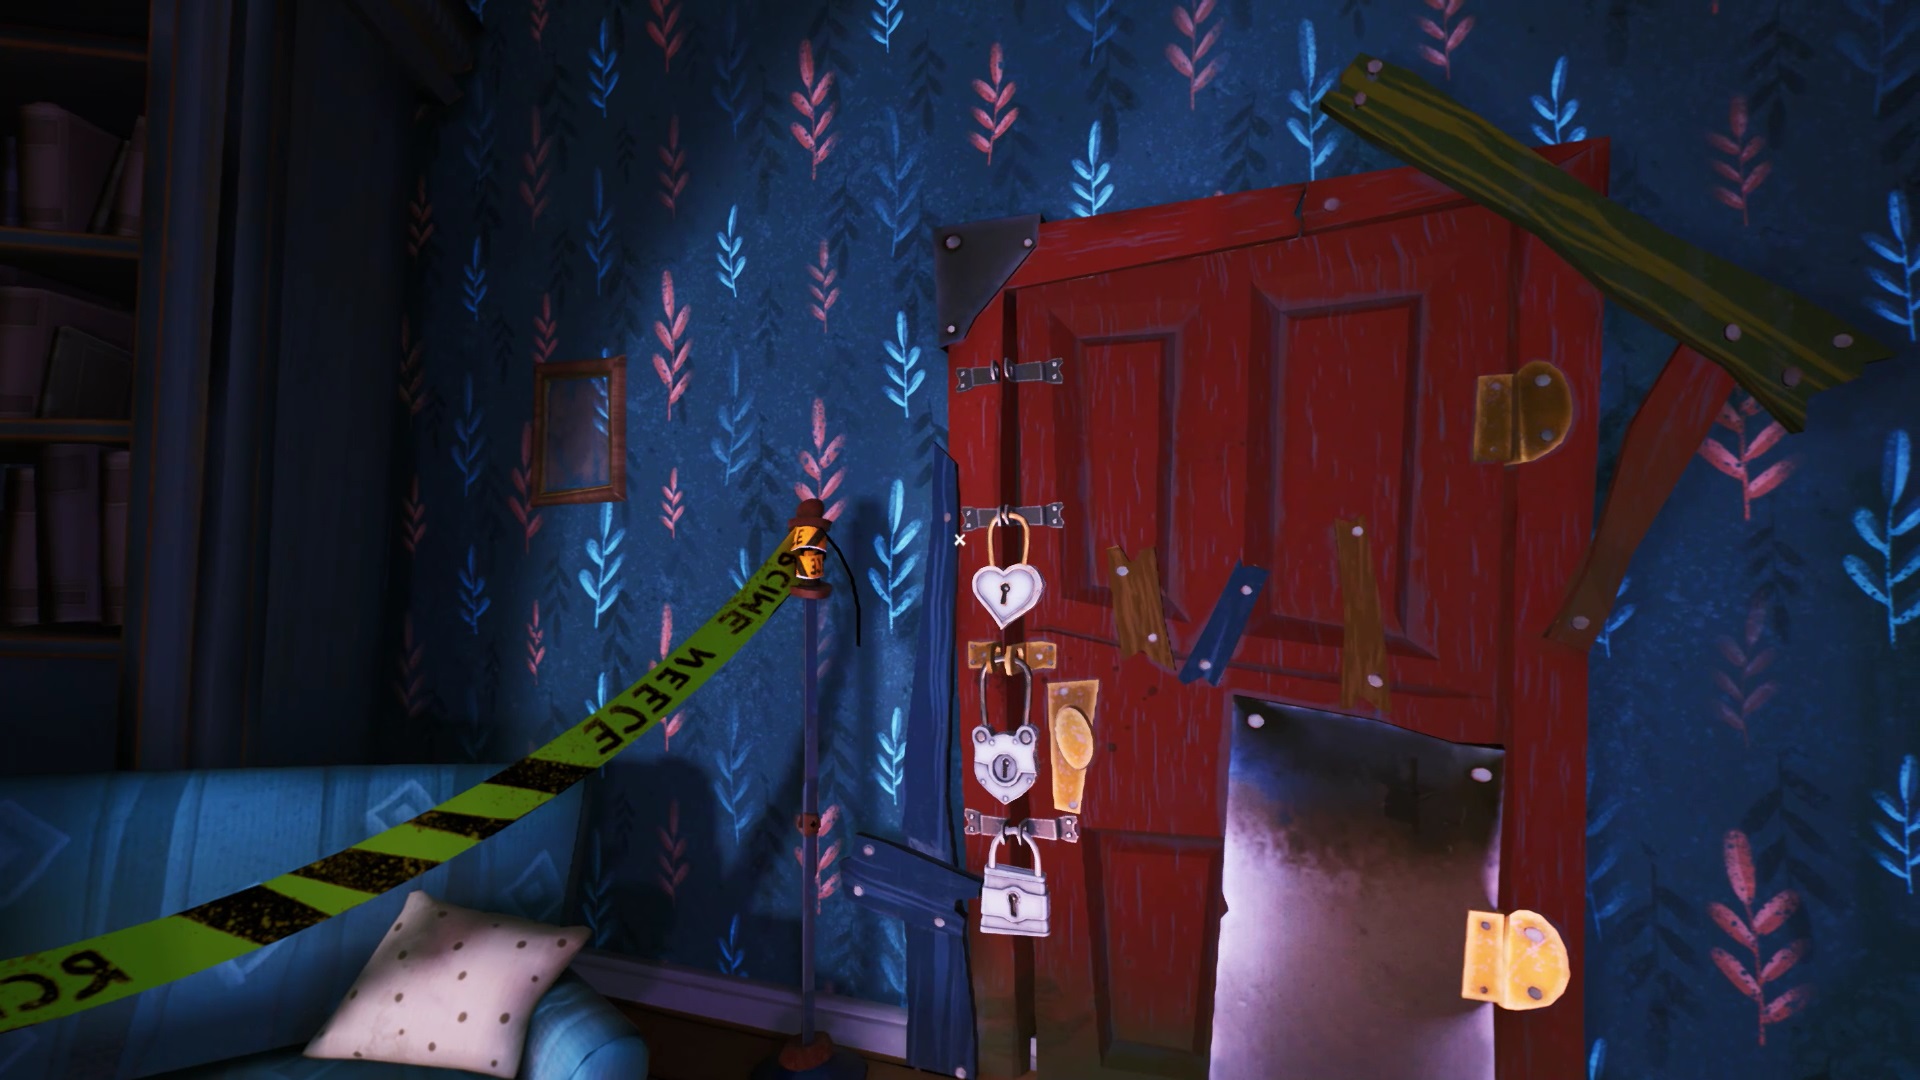
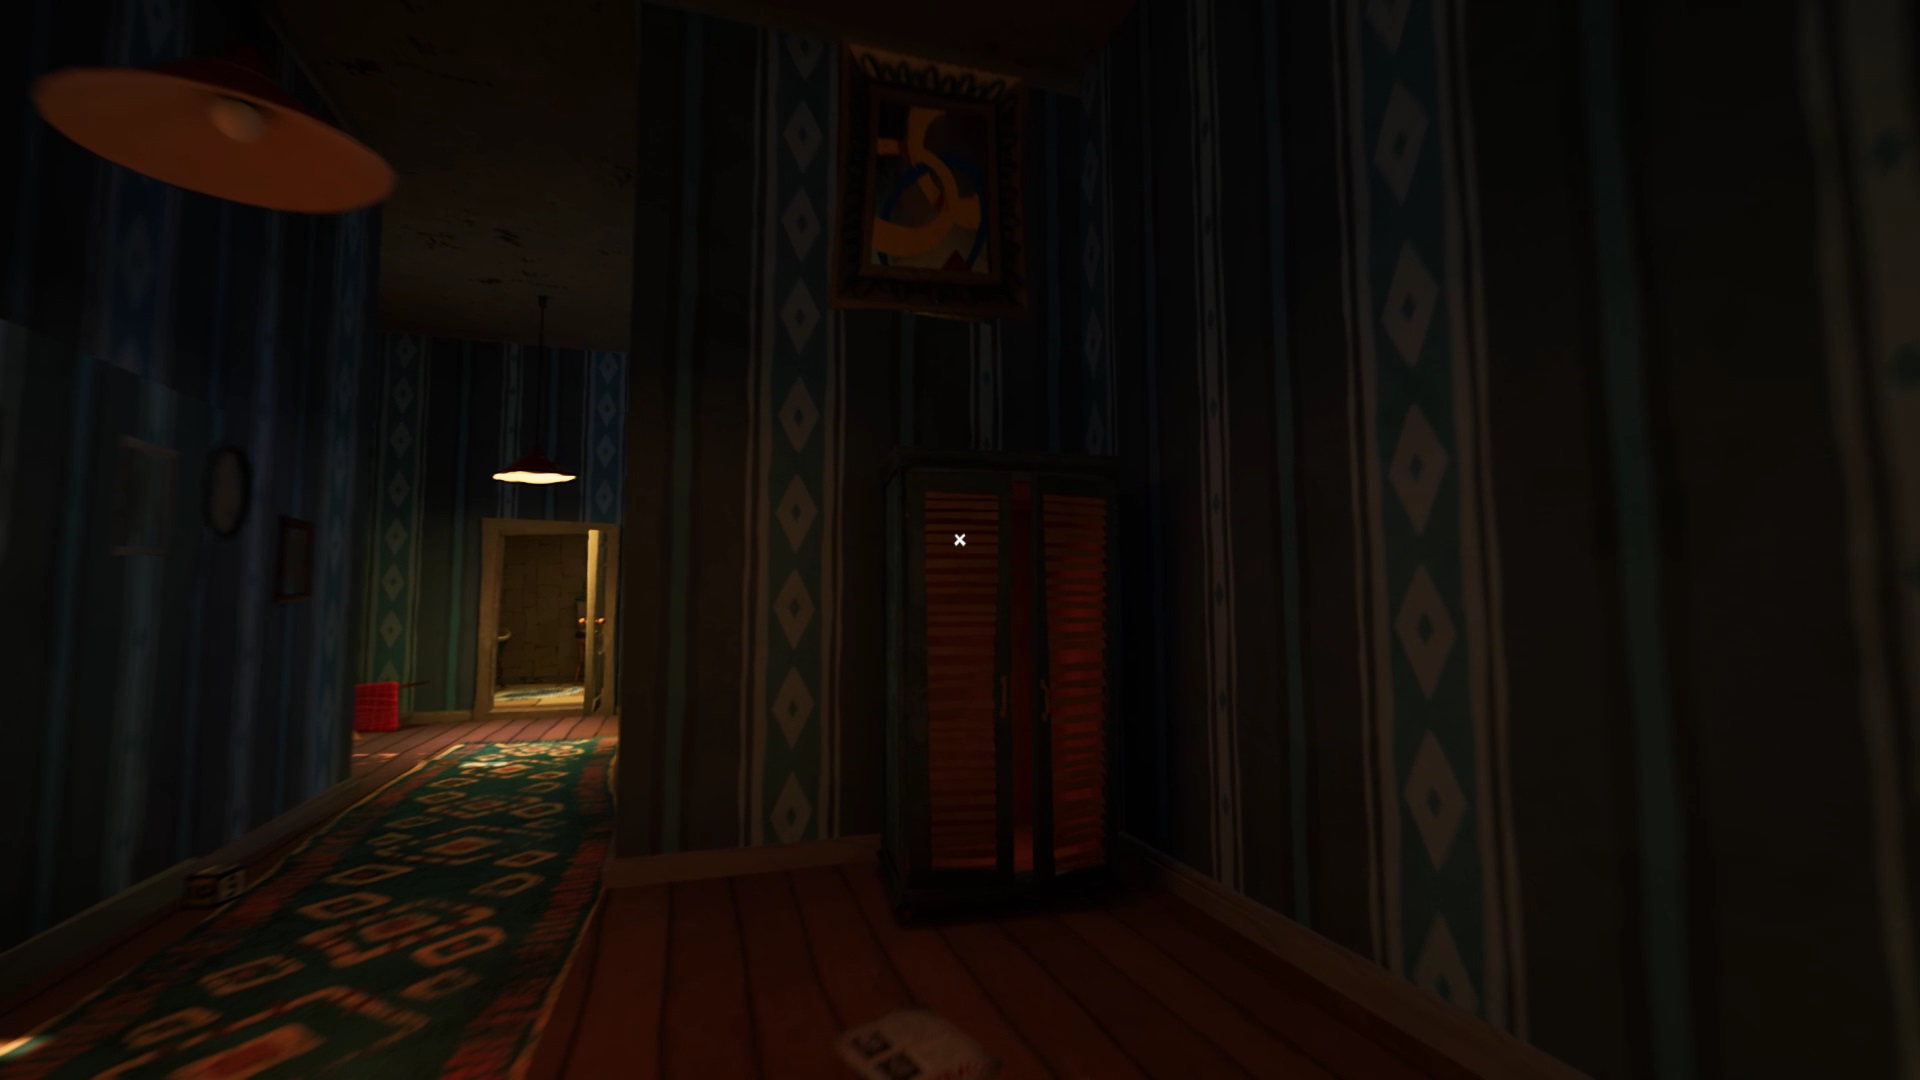
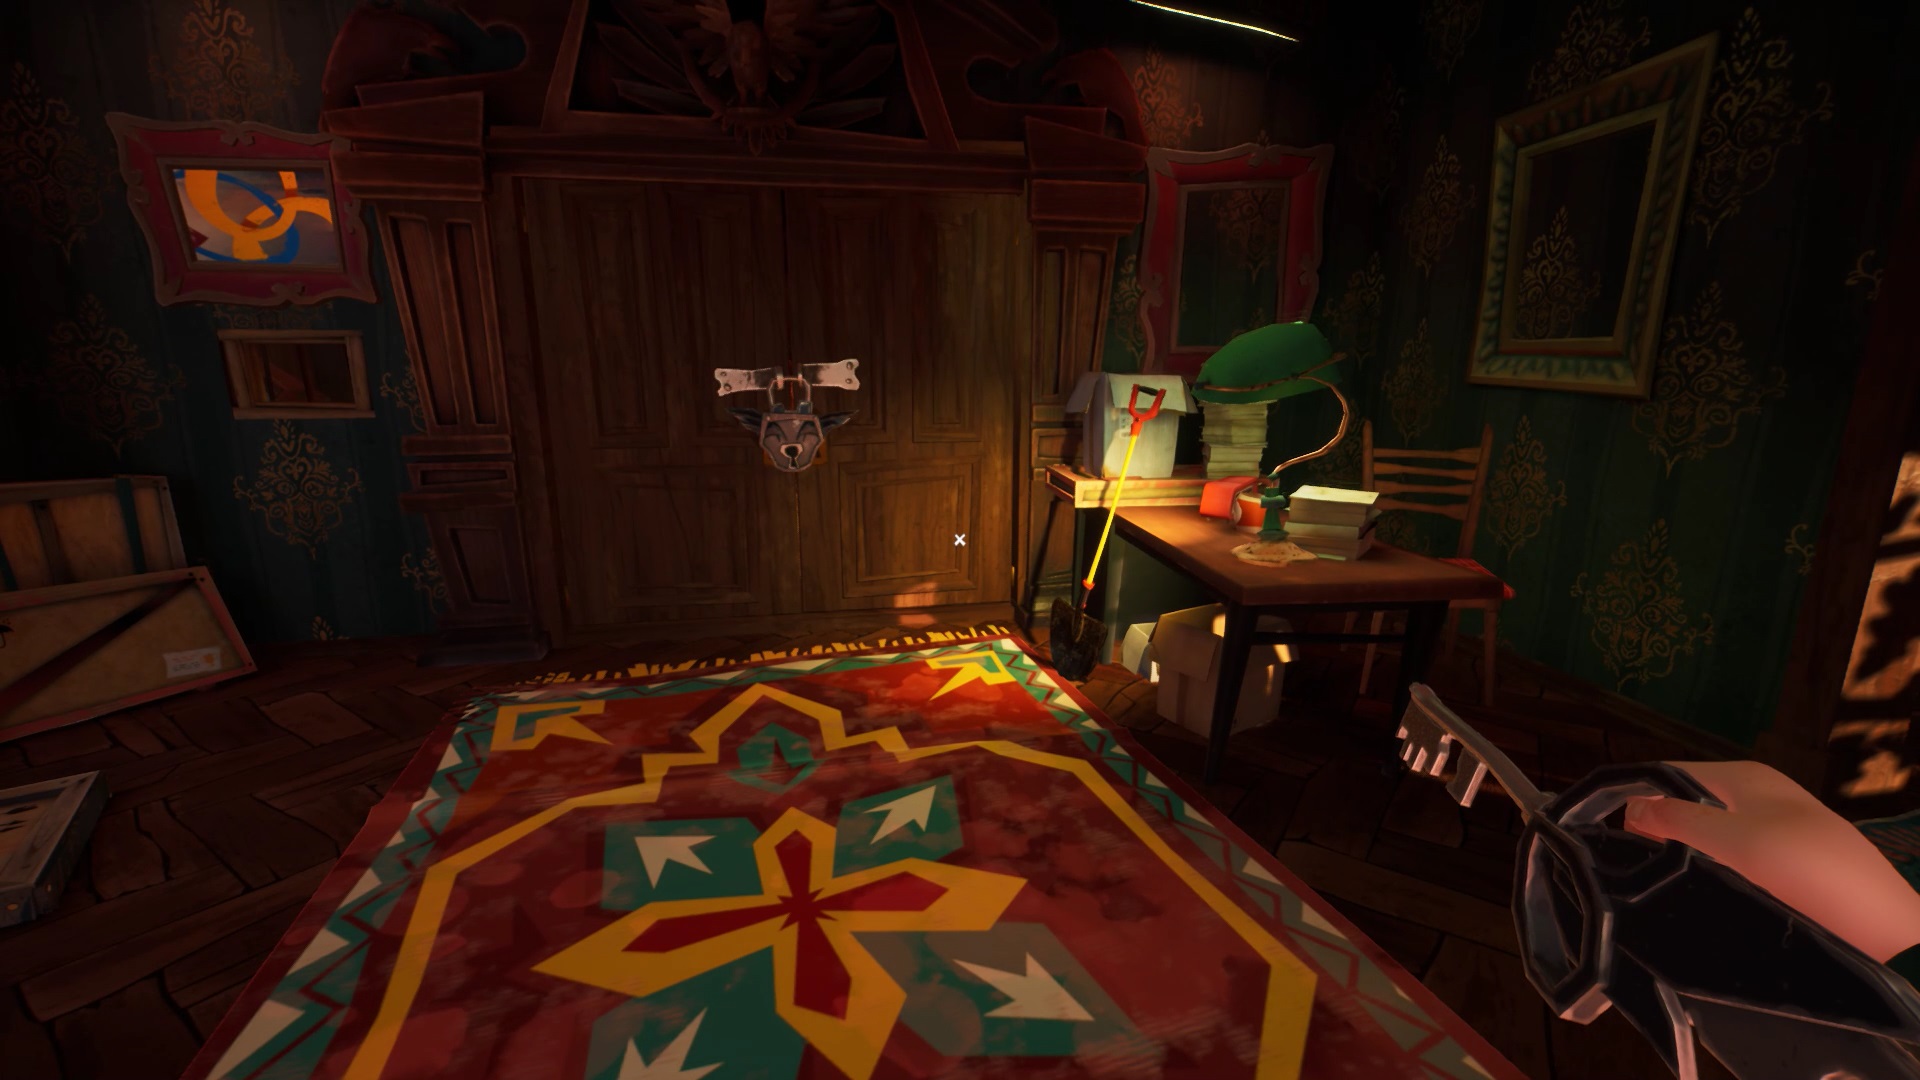
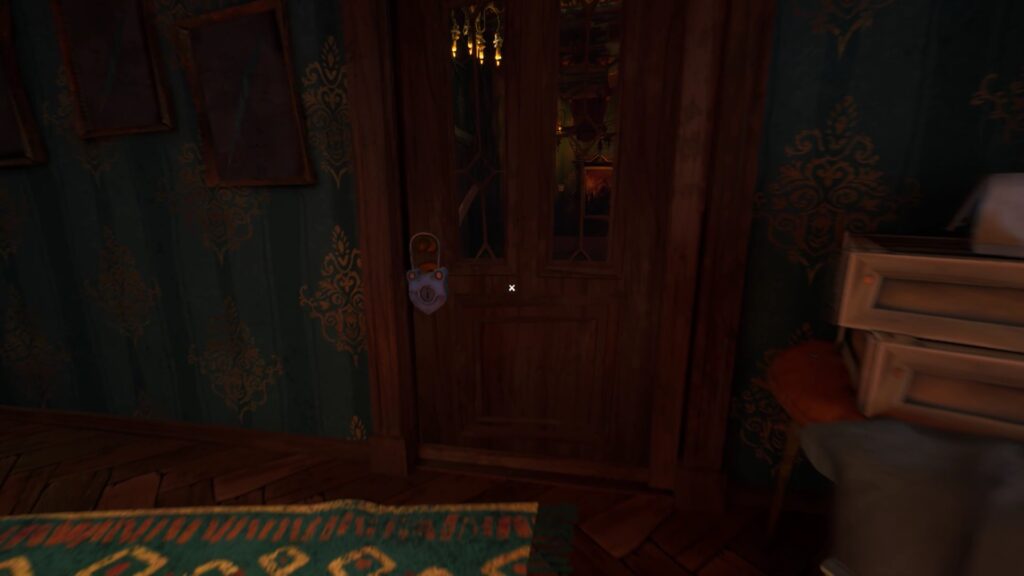
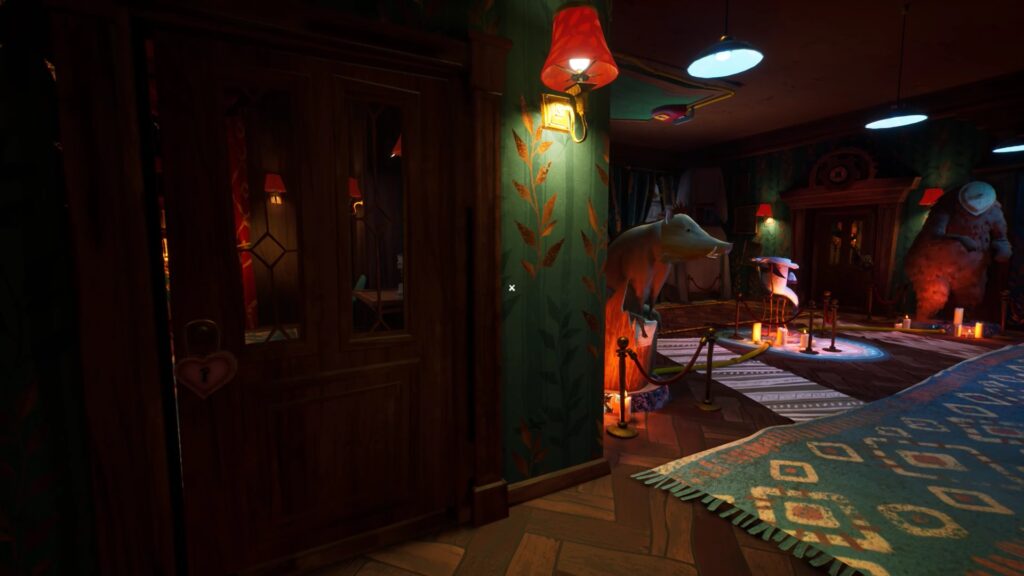
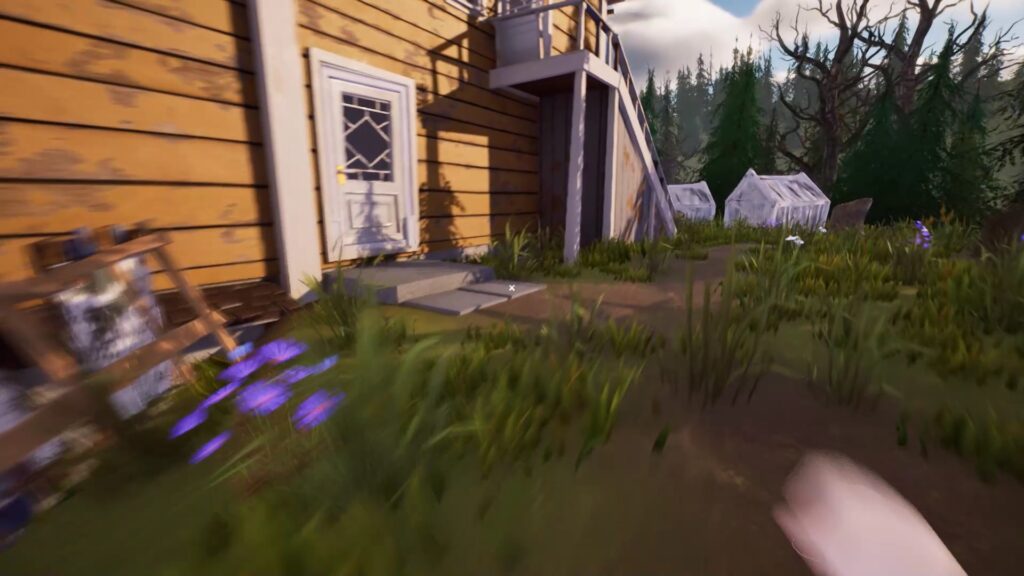
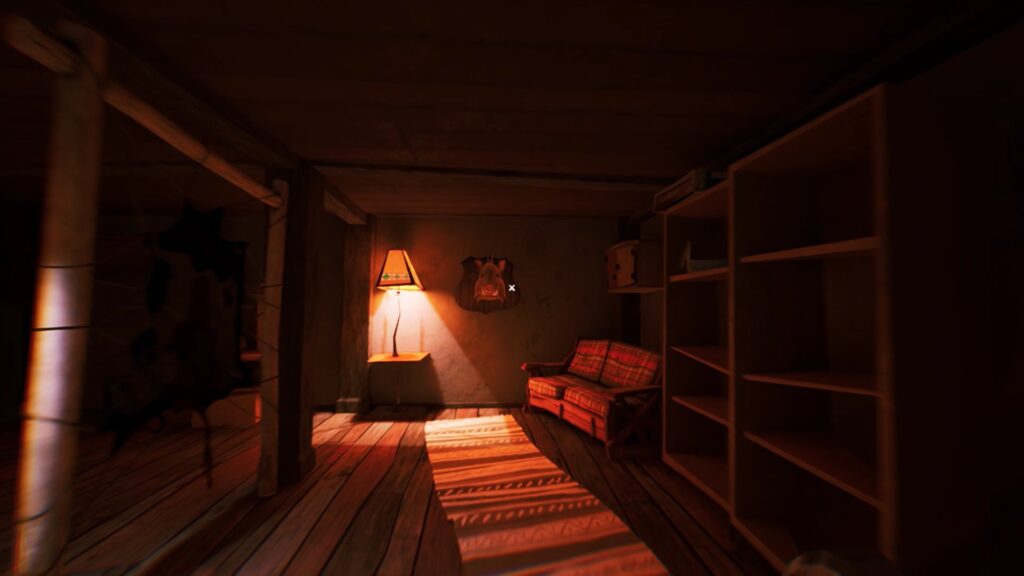
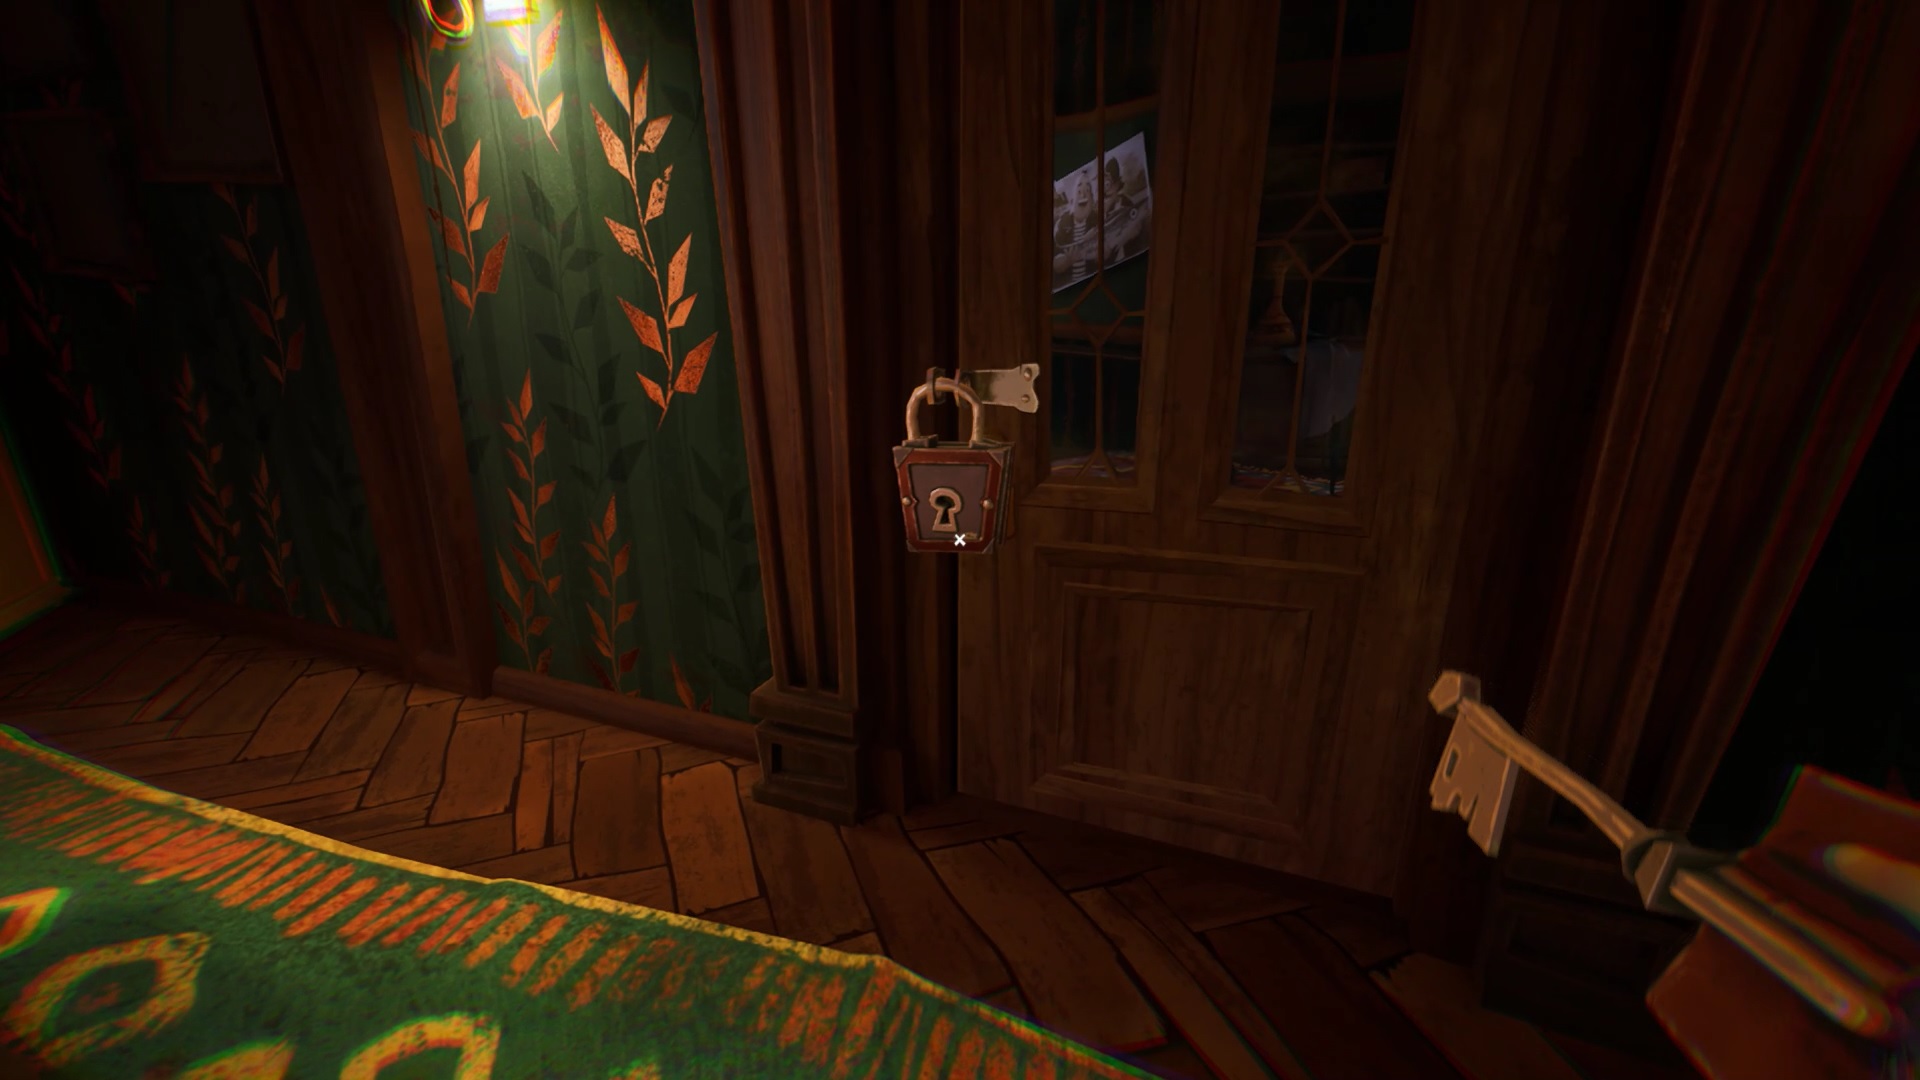
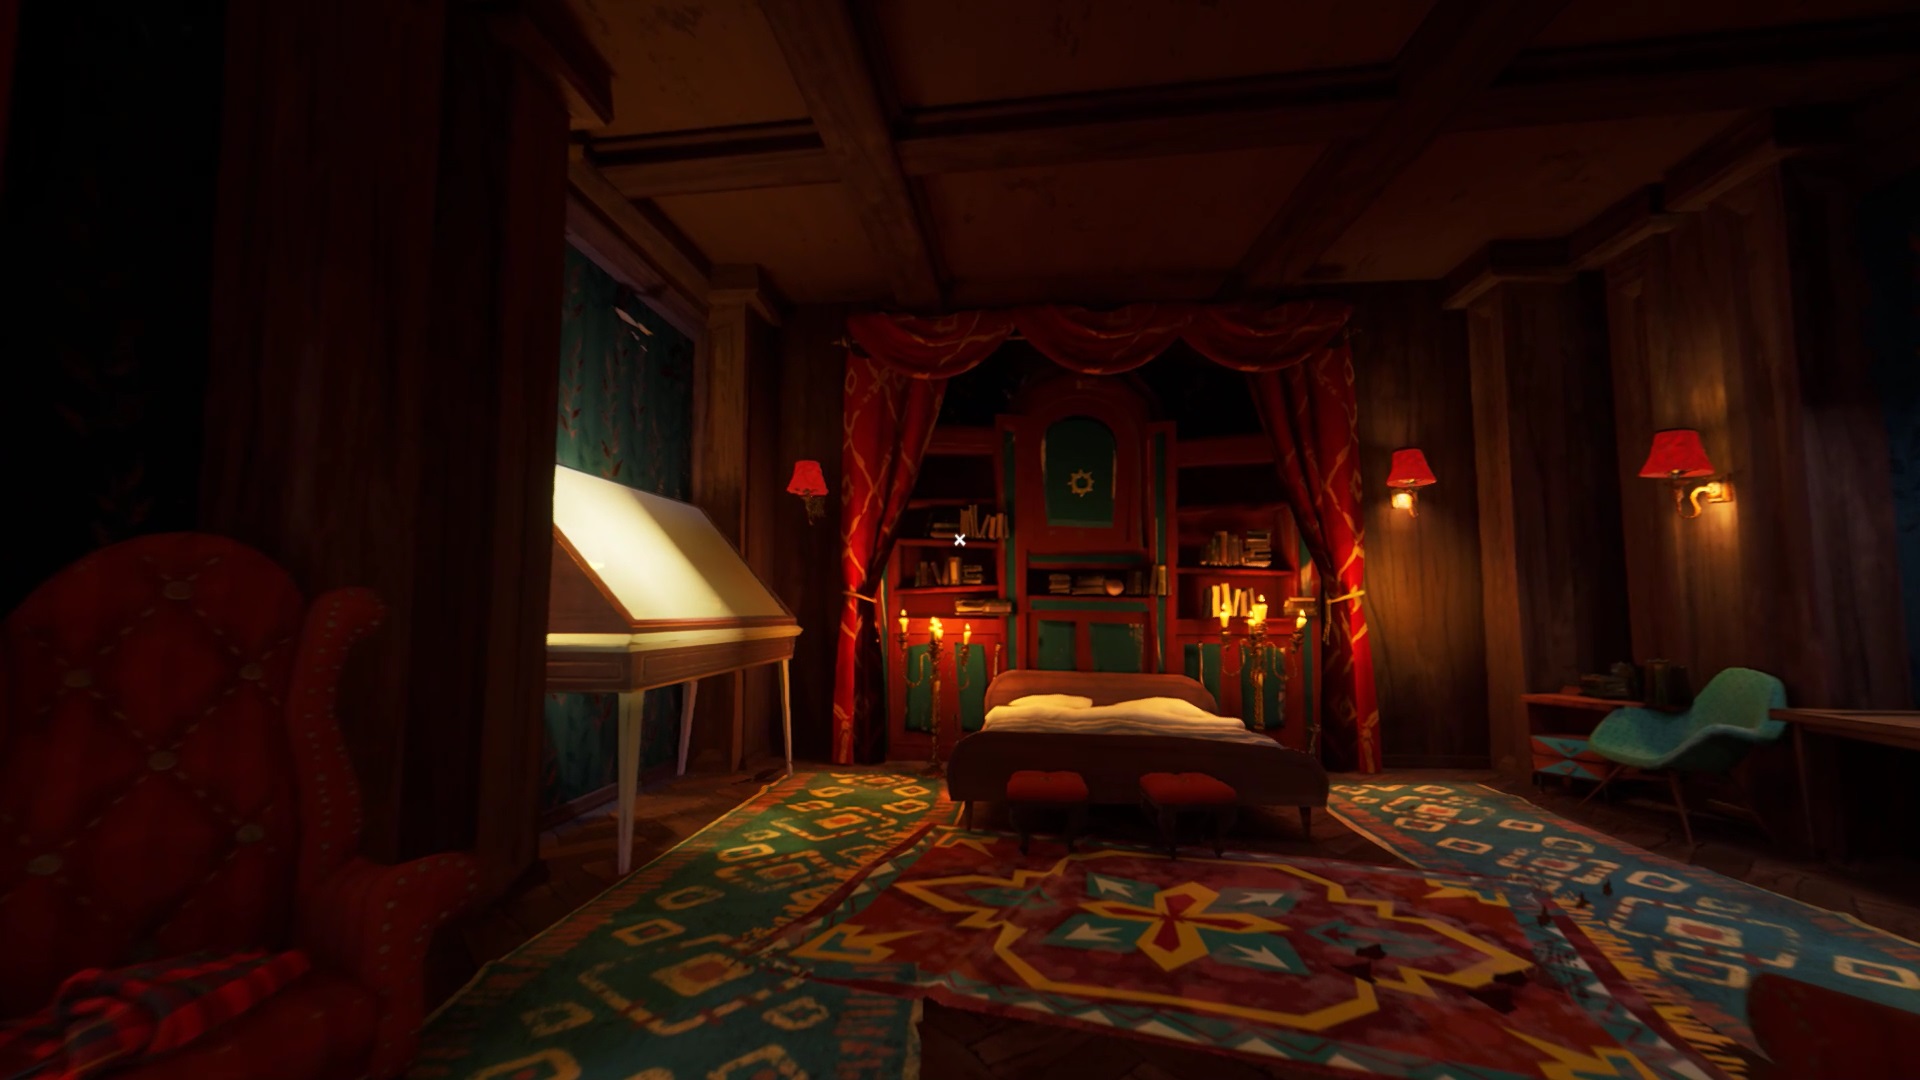
To enter Mr. Peterson’s house, be careful not to be seen by the policeman. Go around the house on the right. Enter through the kitchen door at the level of a small porch. In the house, be attentive to the policeman. Hide in cabinets to avoid it. In the living room of the house, a door is locked with four padlocks. You must solve four puzzles to recover the four padlock keys.
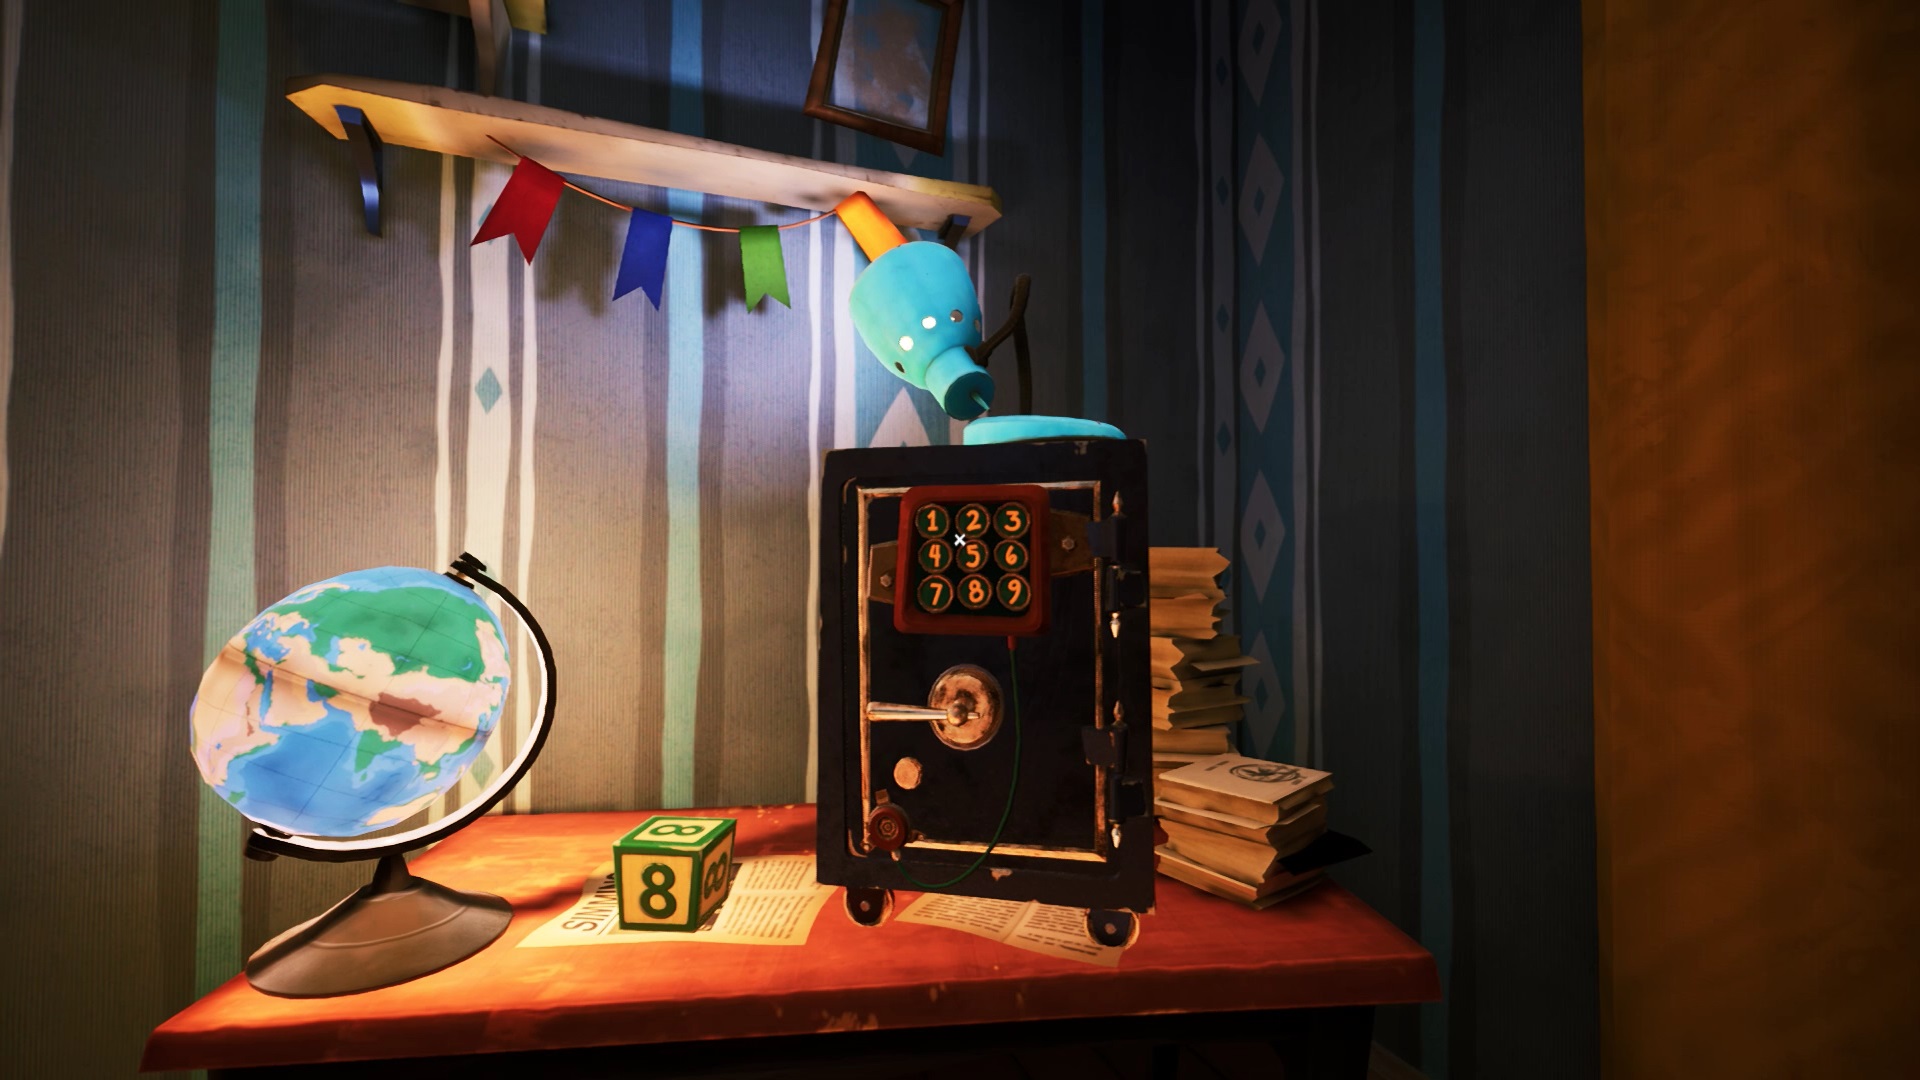
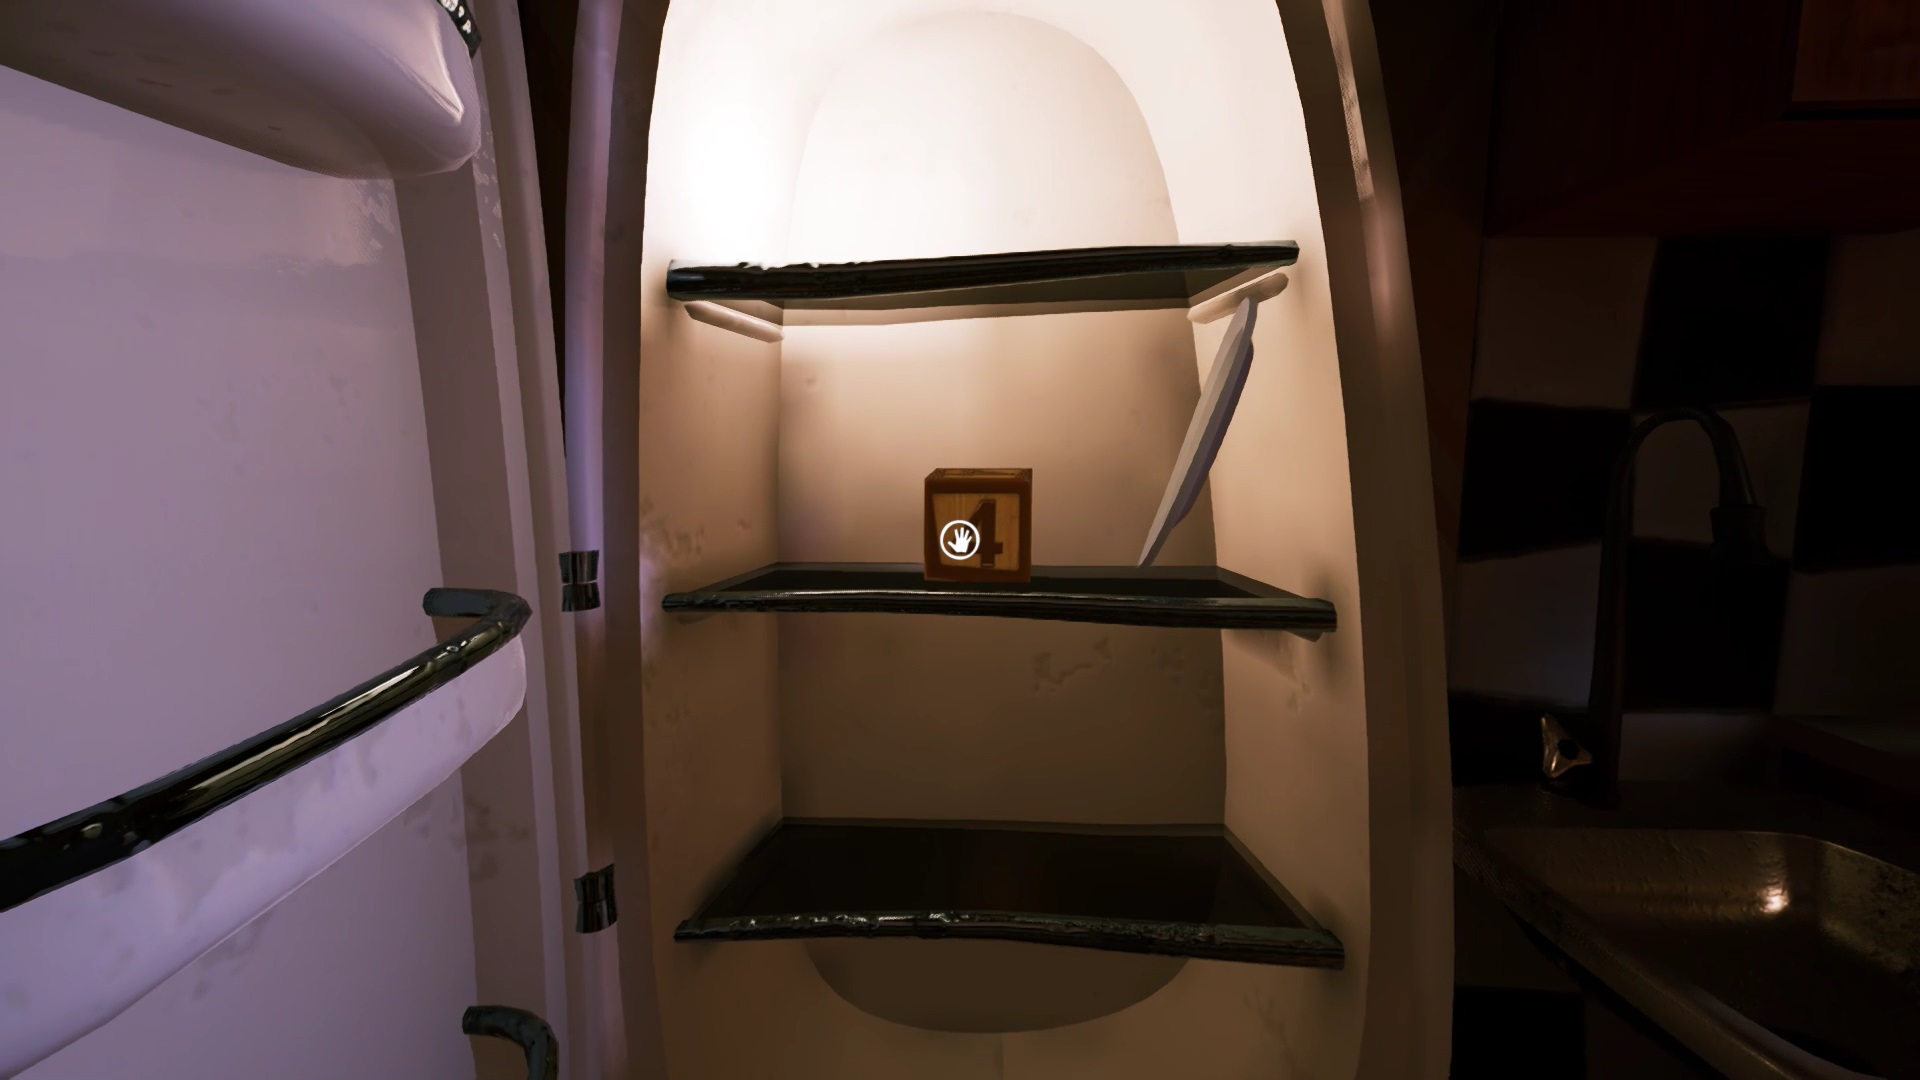
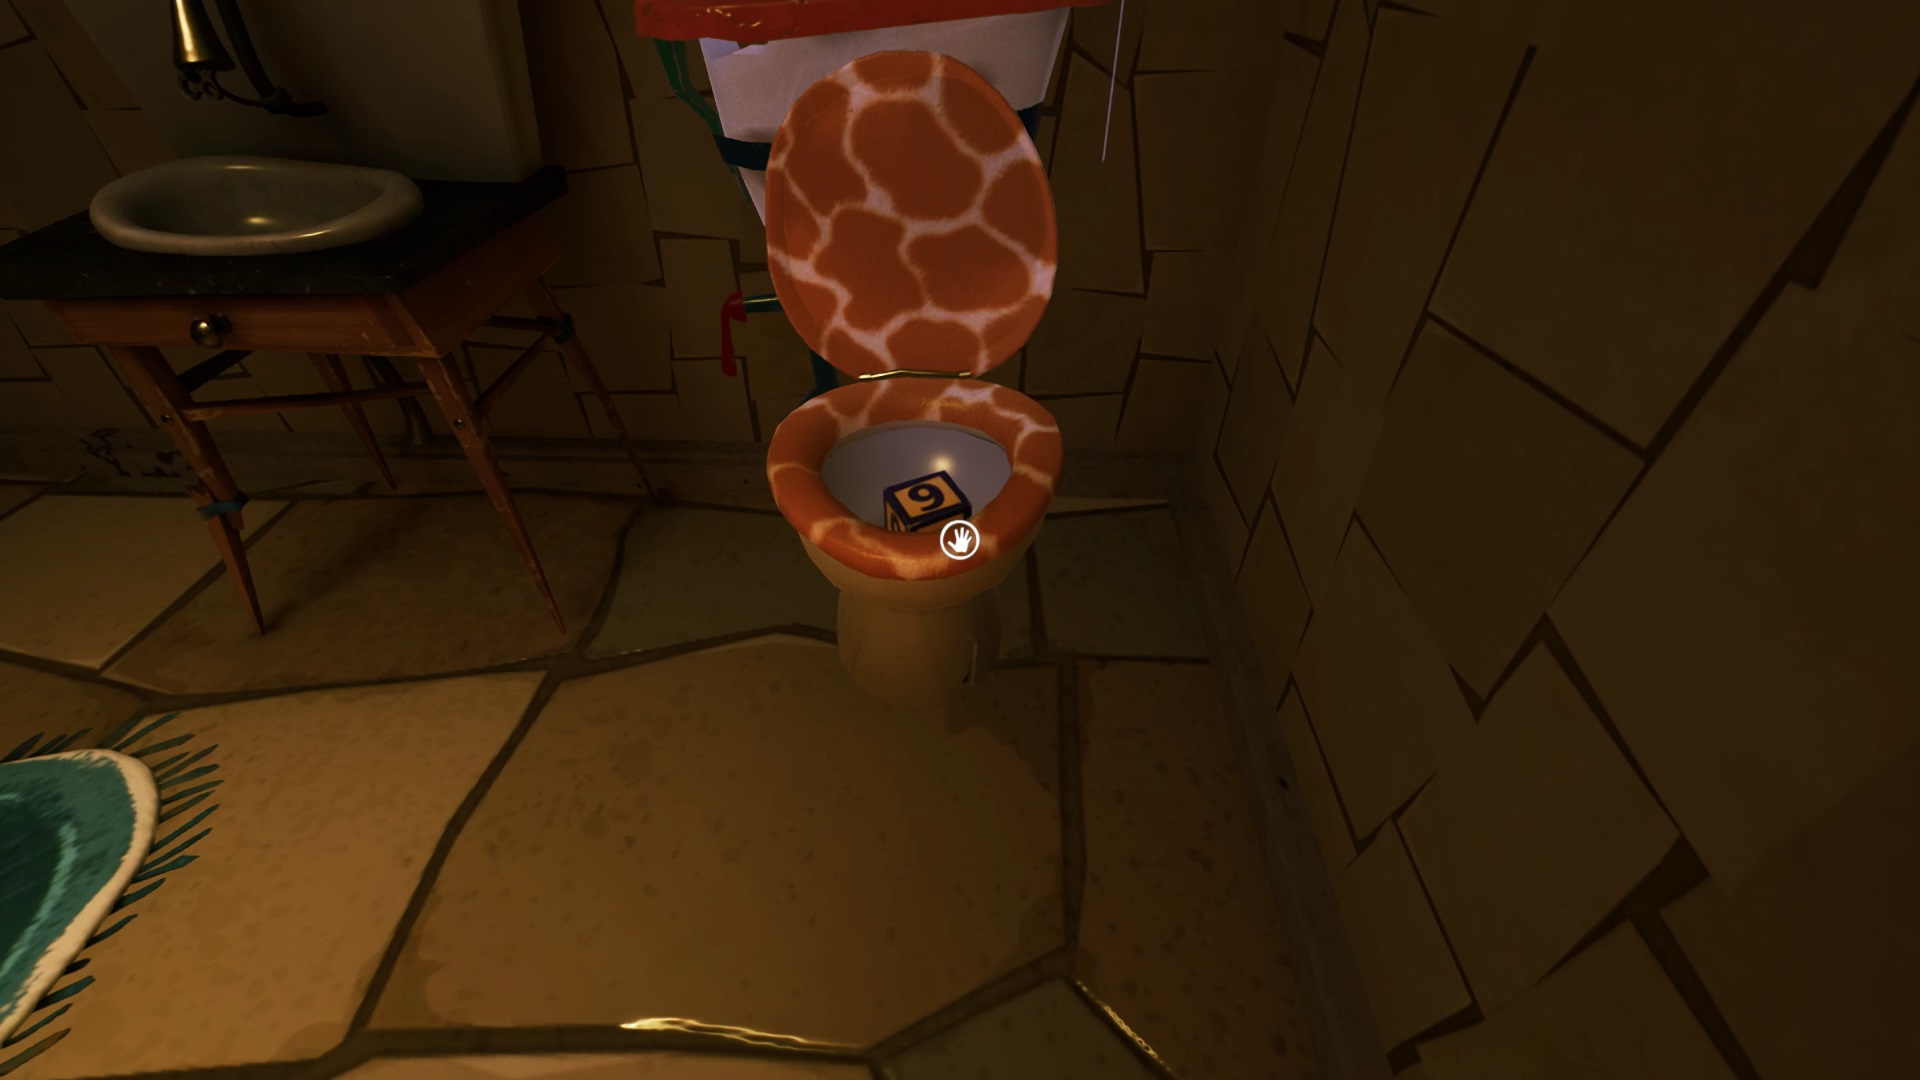
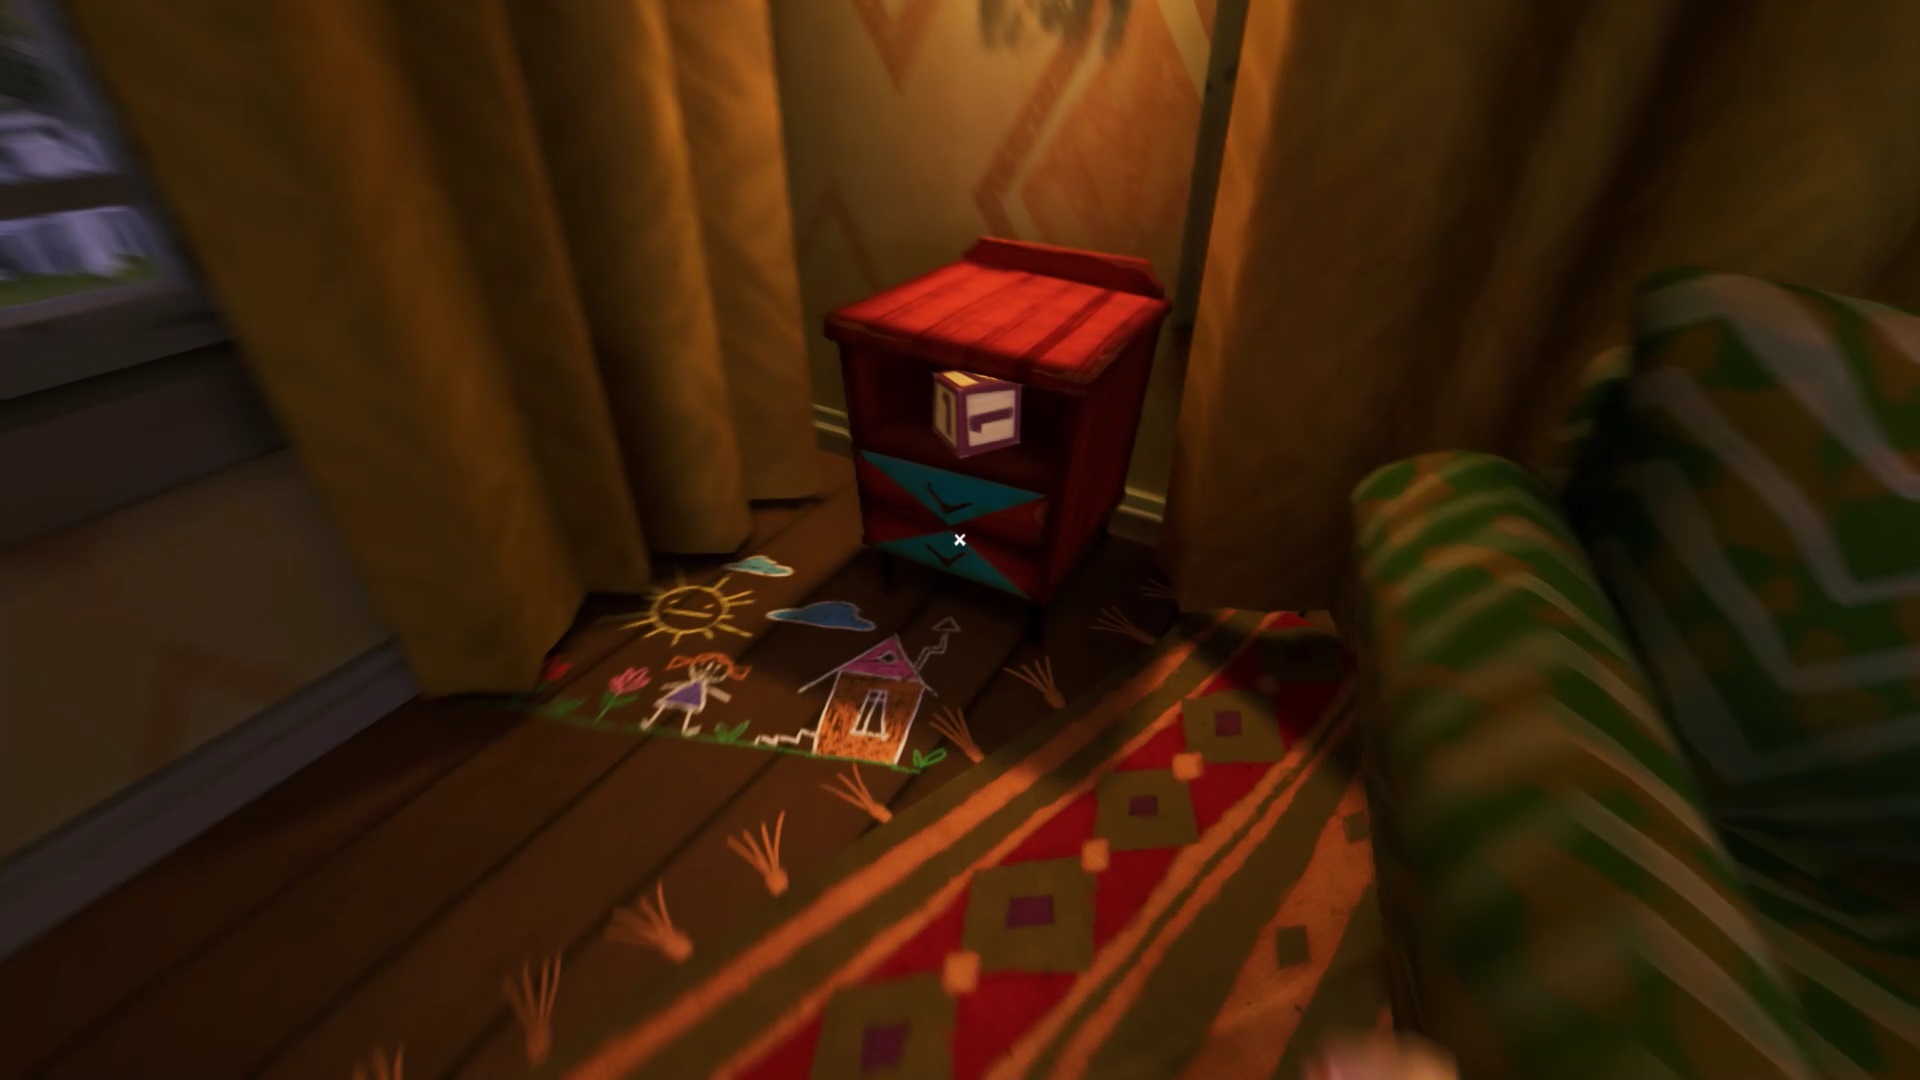
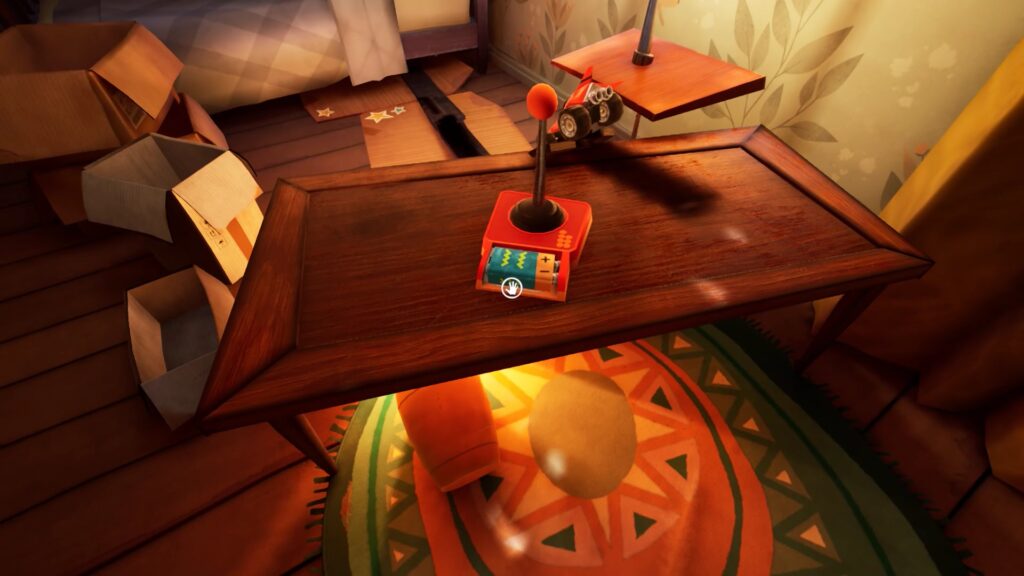
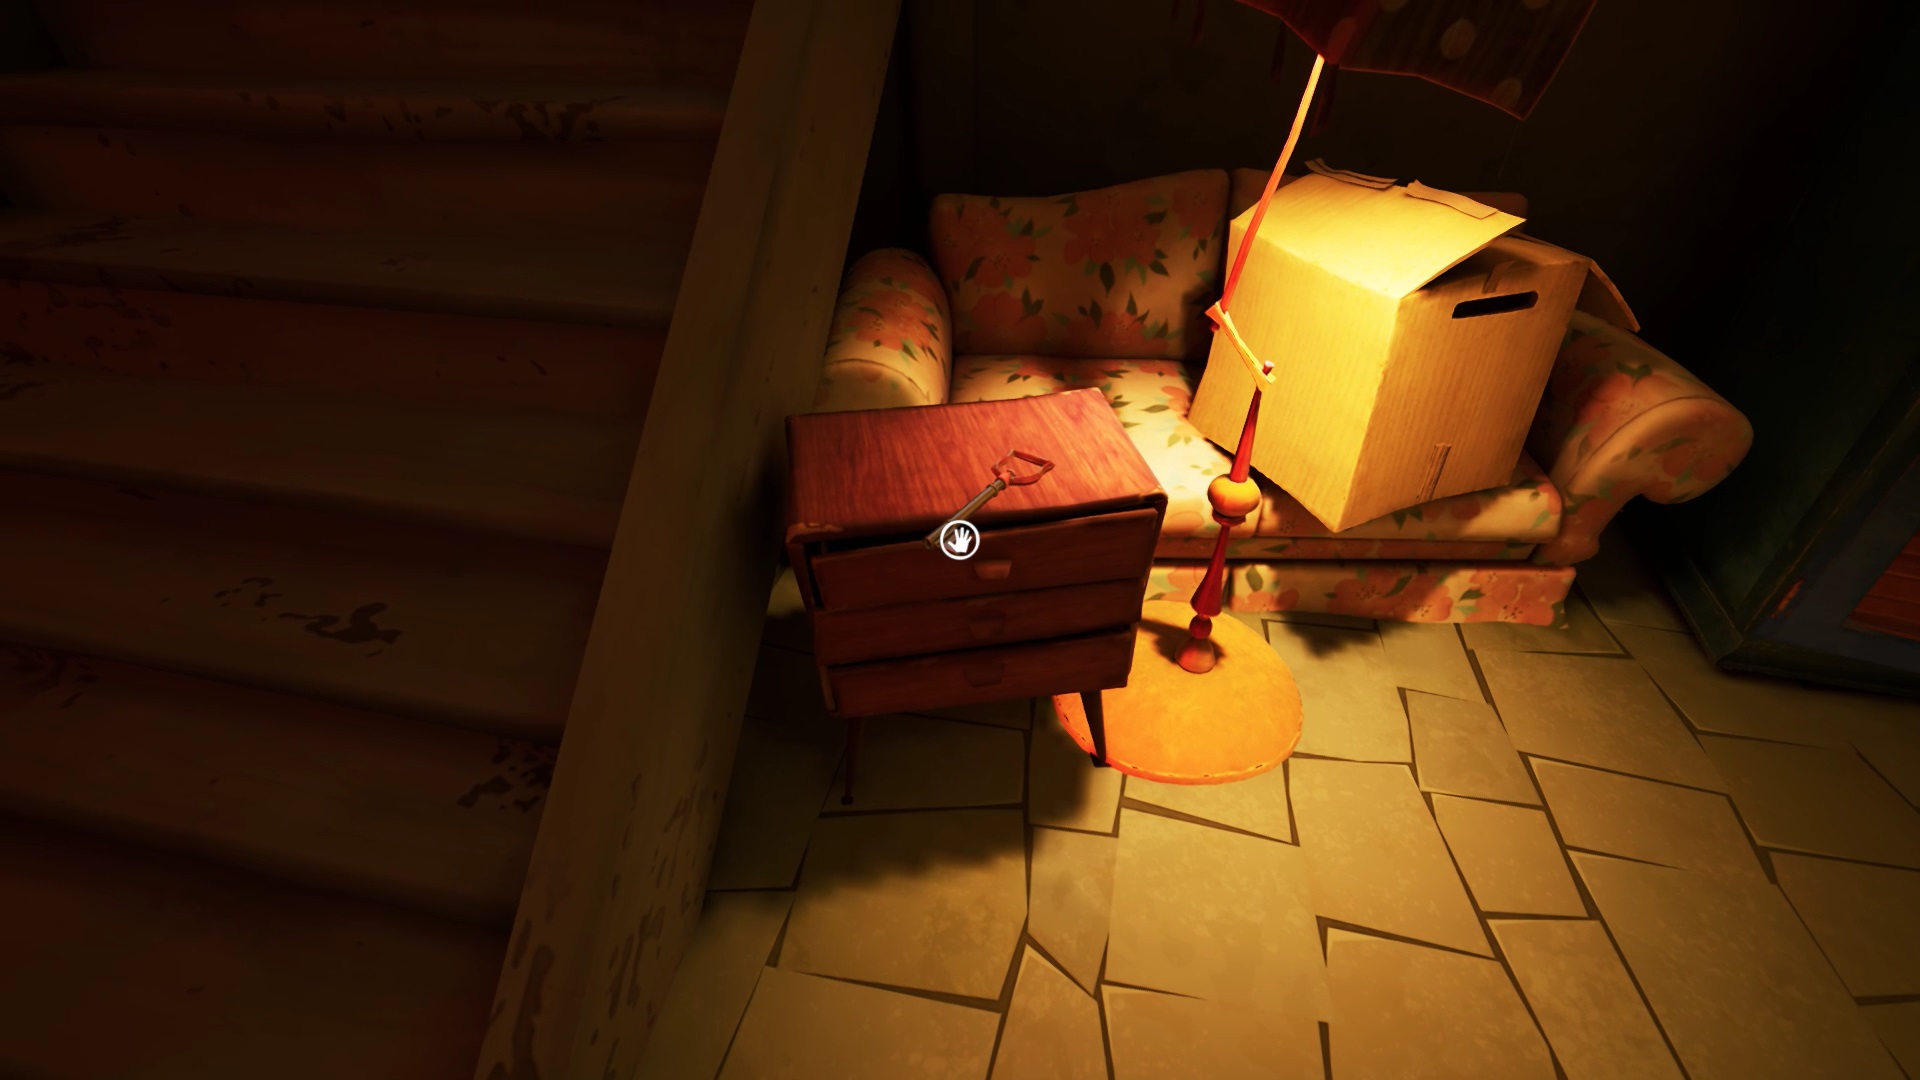
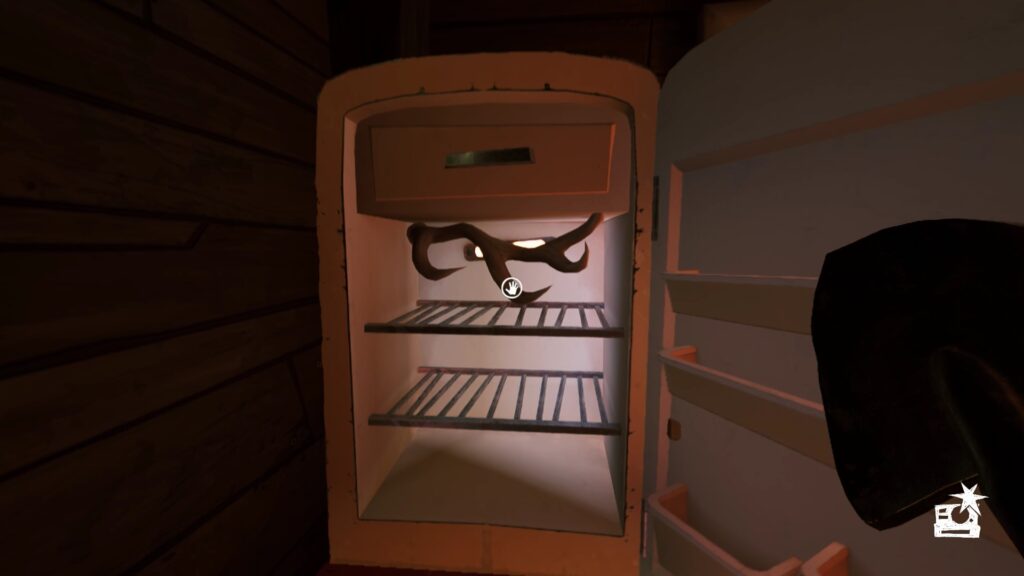
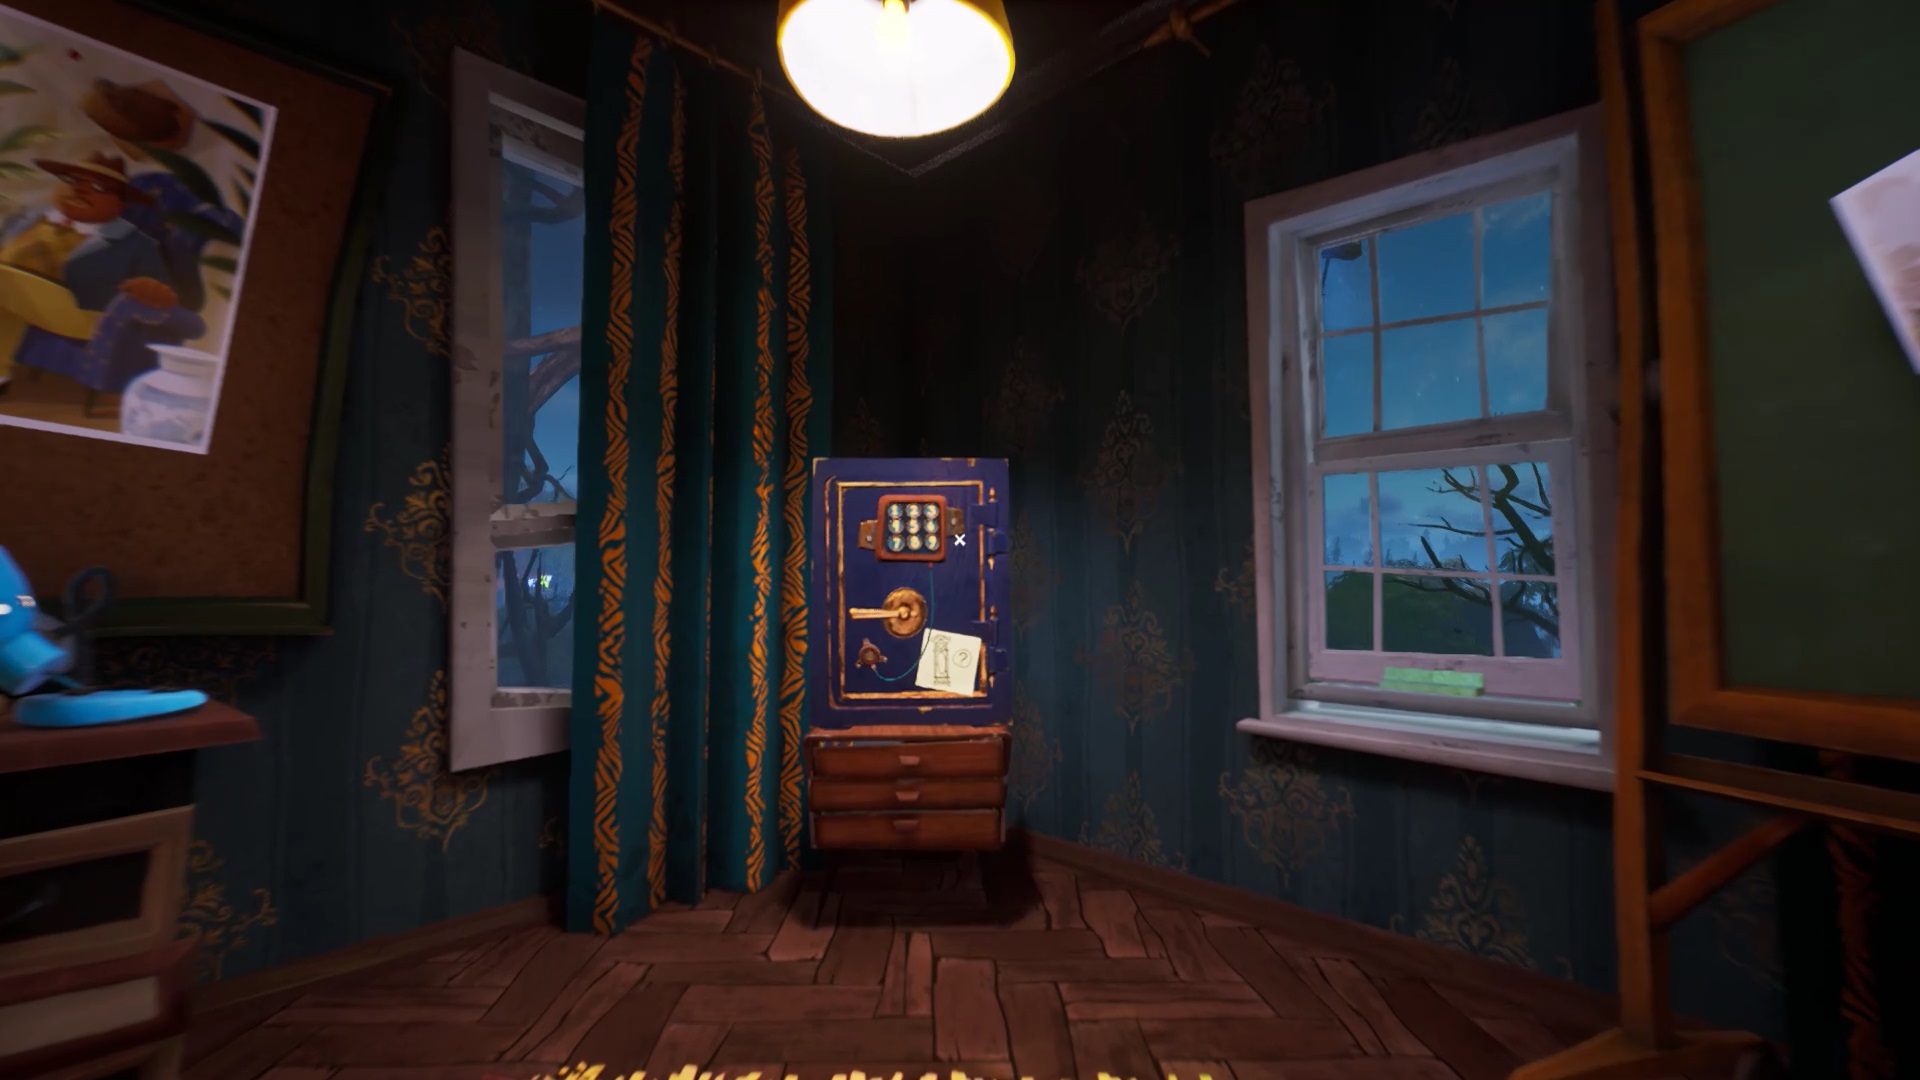
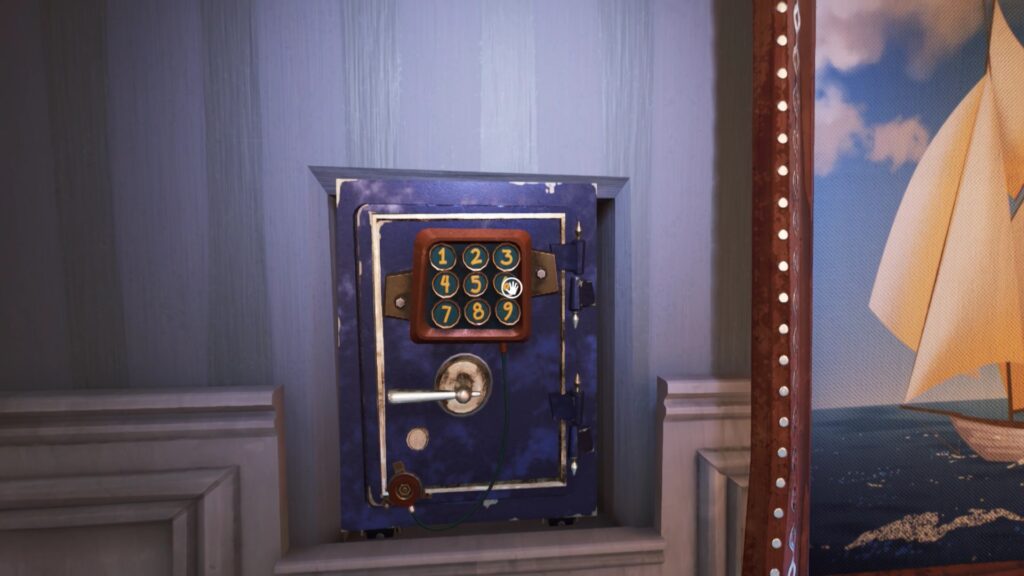
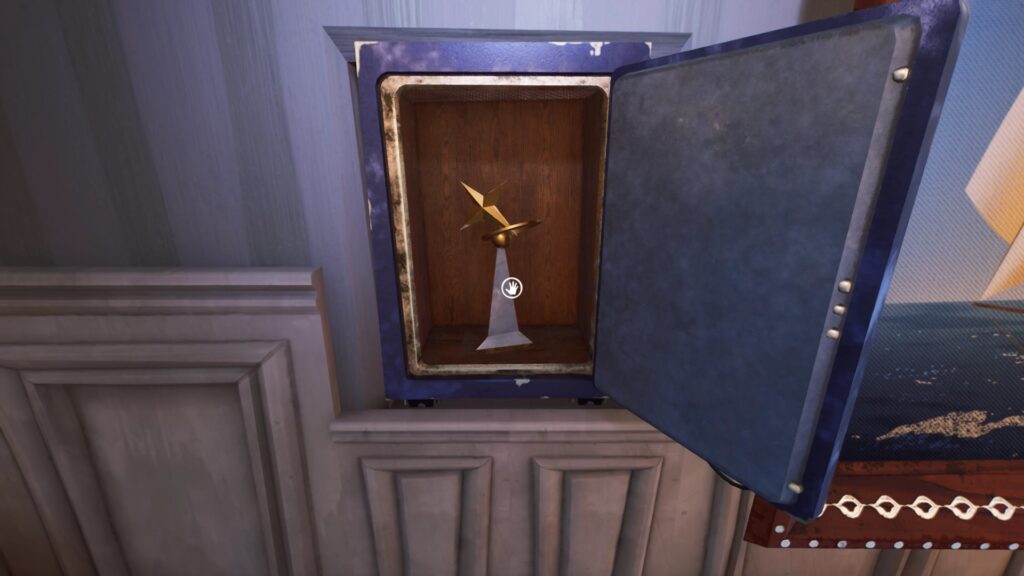
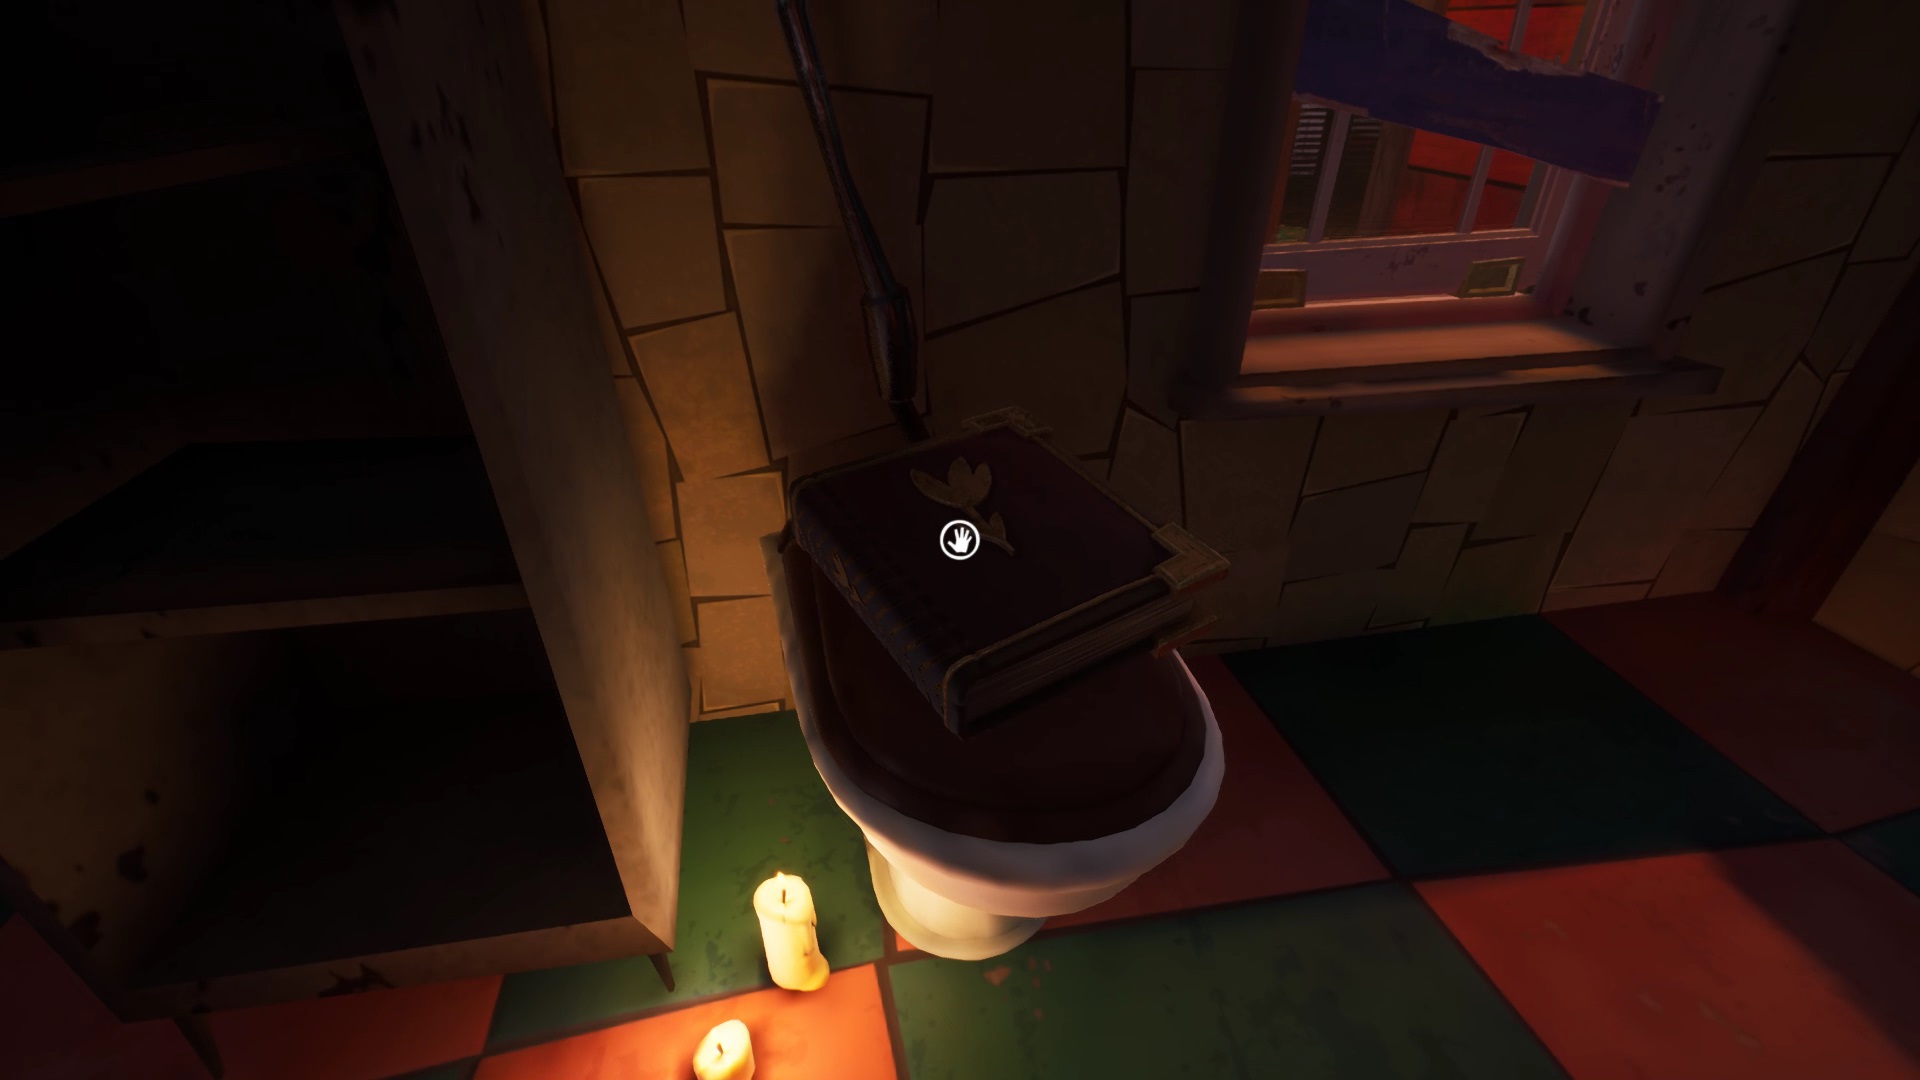
A first enigma is in the office to the left of the stairs. A safe sits on the desk. To decode the code, you need to get your hands on four toy cubes. A first cube with the number 8 is on the desk near the safe. The cube with the number 4 is positioned in the kitchen fridge. The cube with the number 9 is placed in the bathroom toilet. The last cube with the number 1 is located in the bedside table near the sofa in the office.
Go back to the safe, look up to see a colorful garland. The color order of the garland represents the cubes. Follow the colors and numbers of the cubes to open the chest. In order, you must dial the code 1 (red cube), 9 (blue cube), 8 (green cube), 4 (orange cube). Collect the key in the safe and unlock the first padlock in the living room. You can discard cubes from your inventory.
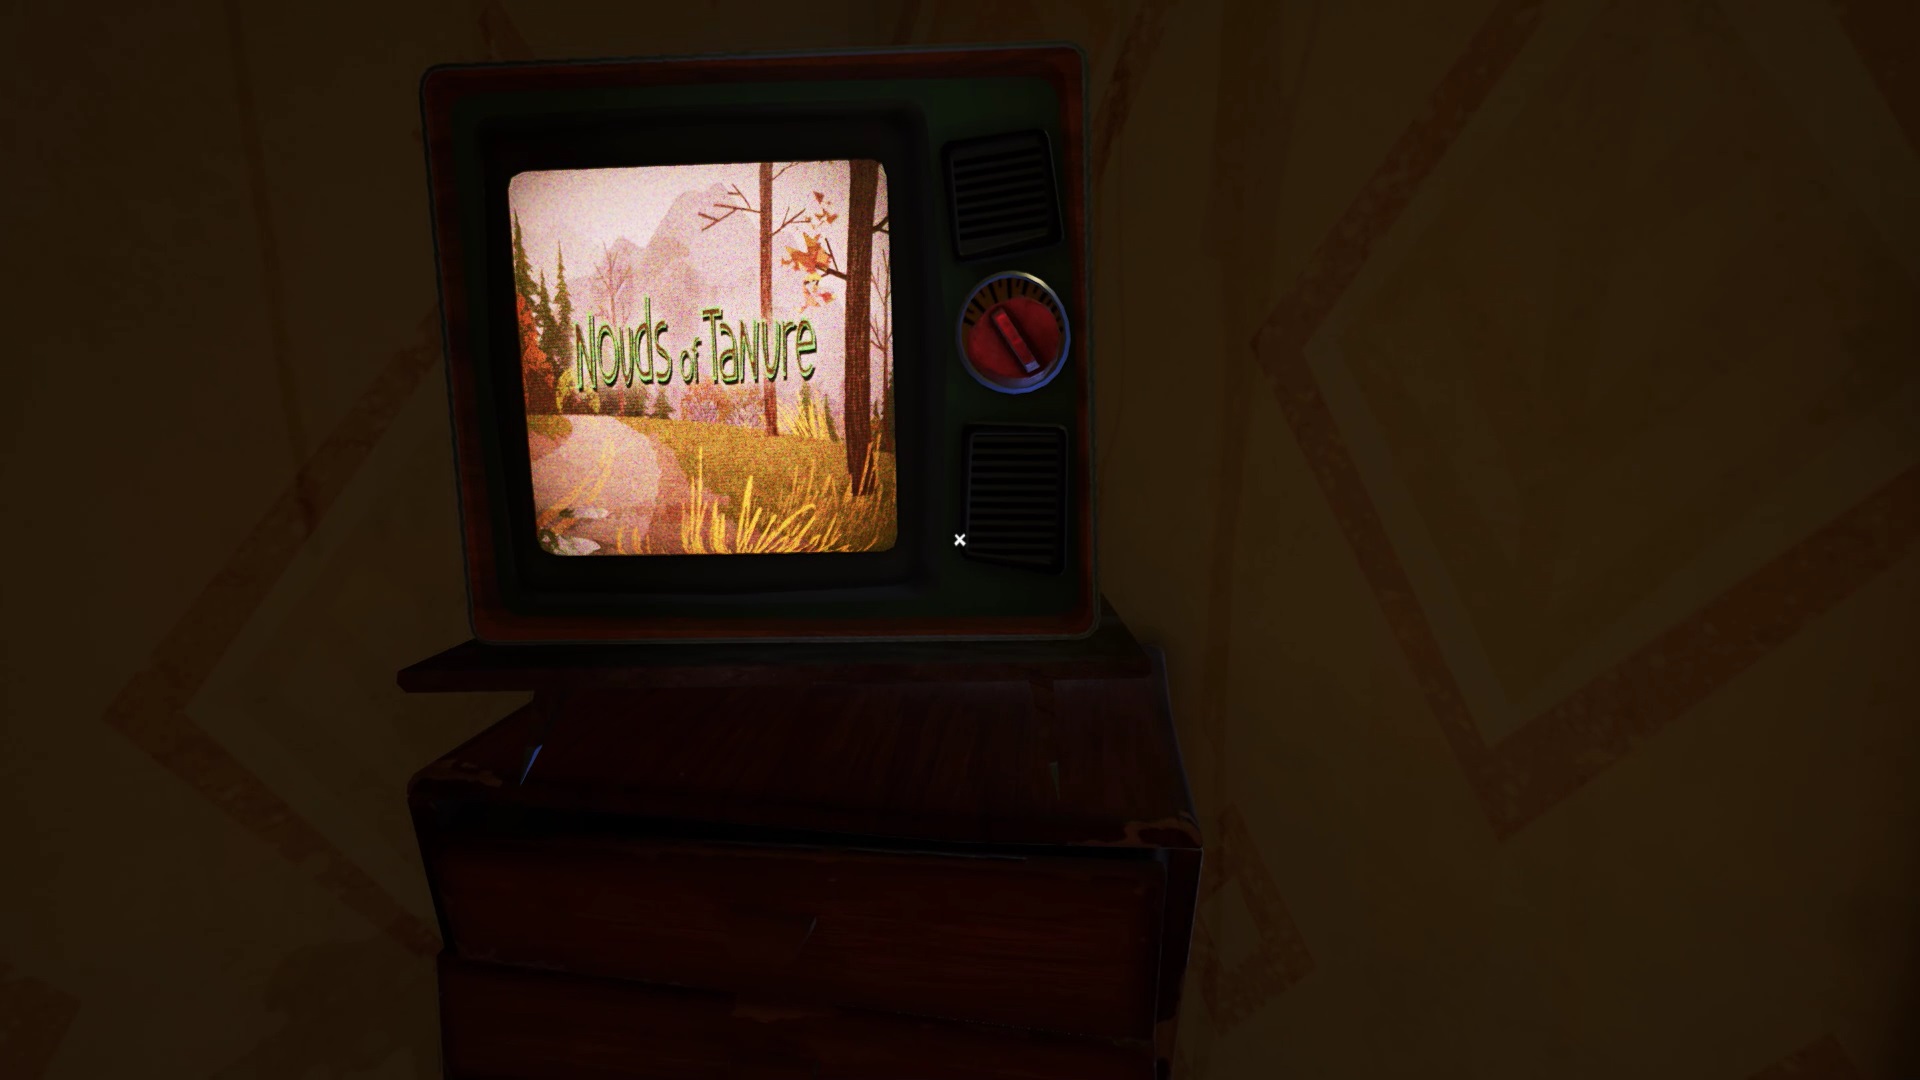
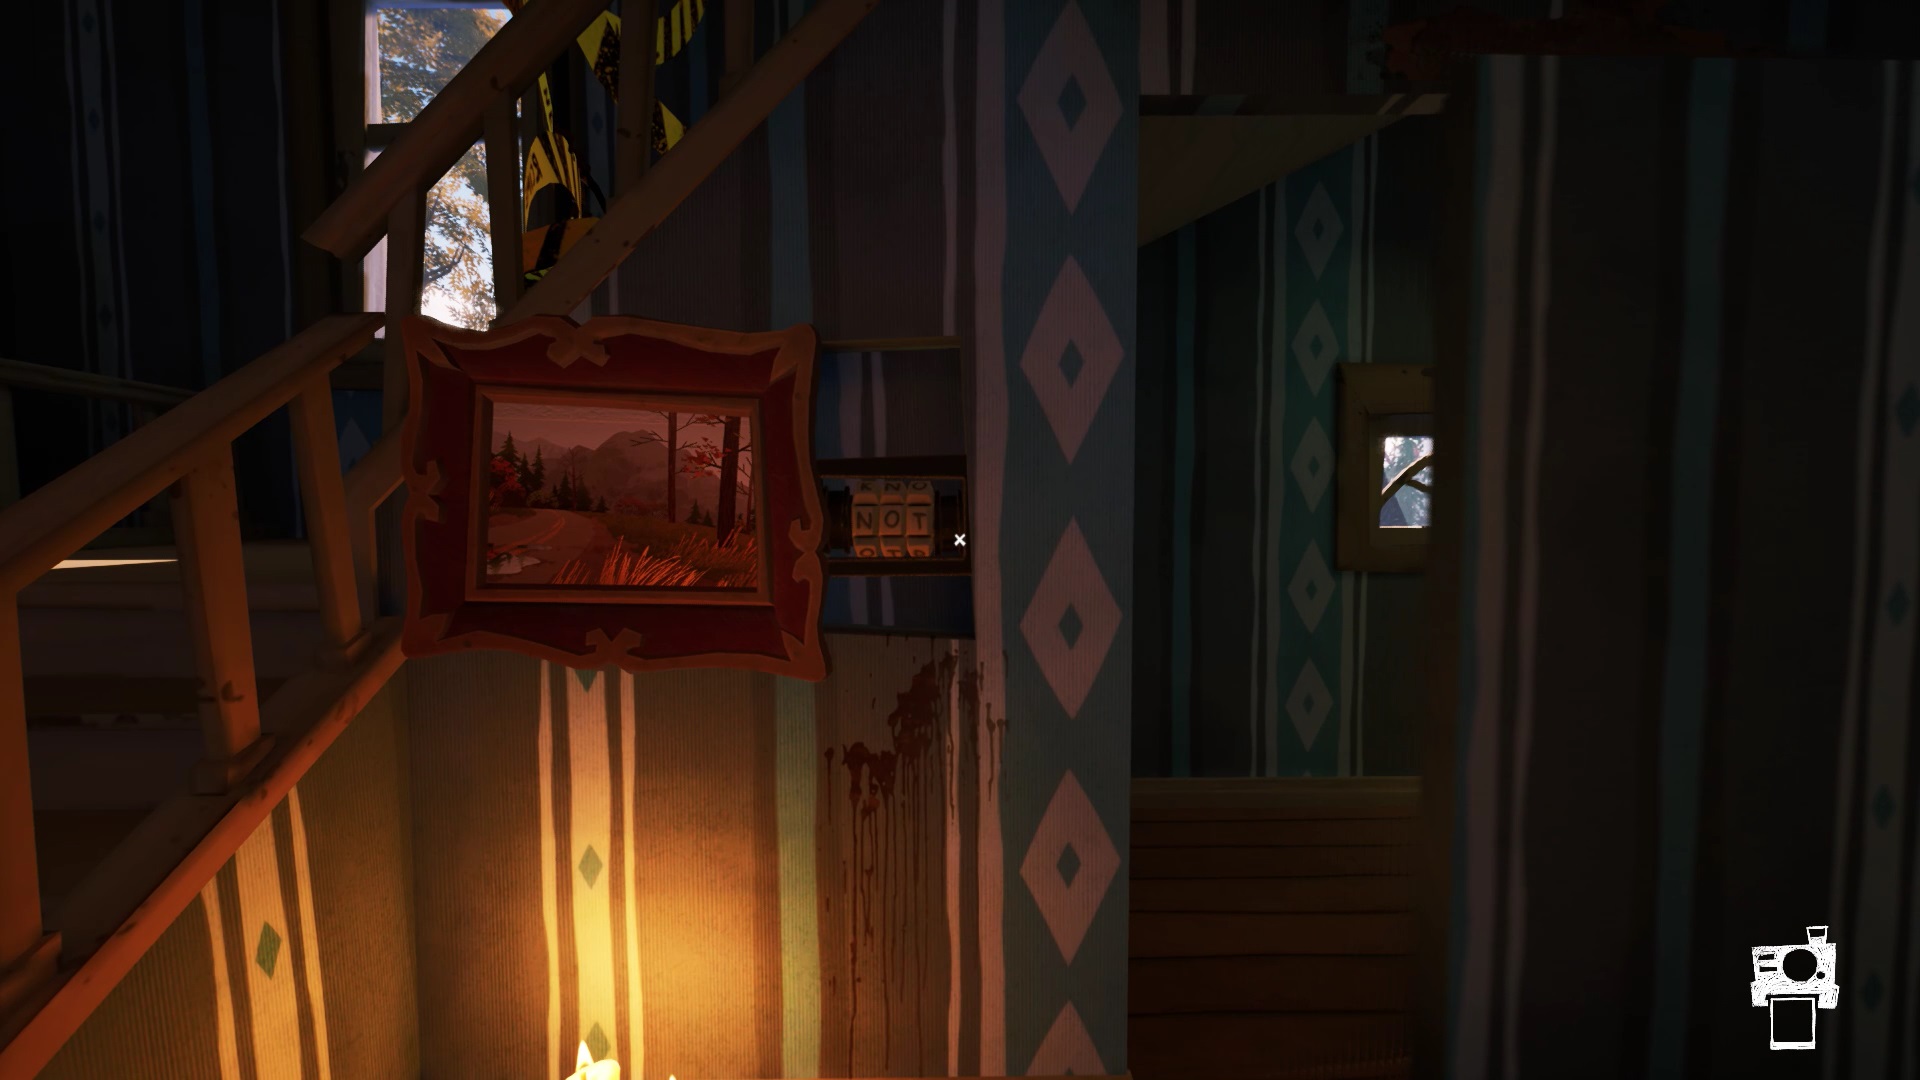
A dollhouse is placed in the kitchen. To solve this riddle, you need to find three dolls. Head down the stairs. Interact with the painting on the wall to discover a puzzle. To find the puzzle code, go to the office. Facing the sofa is a TV. Turn on the TV to discover the program « Nouds of tanure ». The show’s initials are the code for the puzzle. Enter the code “NOT” to discover a secret passage. Collect a little boy doll and a crowbar in this passage. Place the doll on the pillar in the center of the dollhouse.
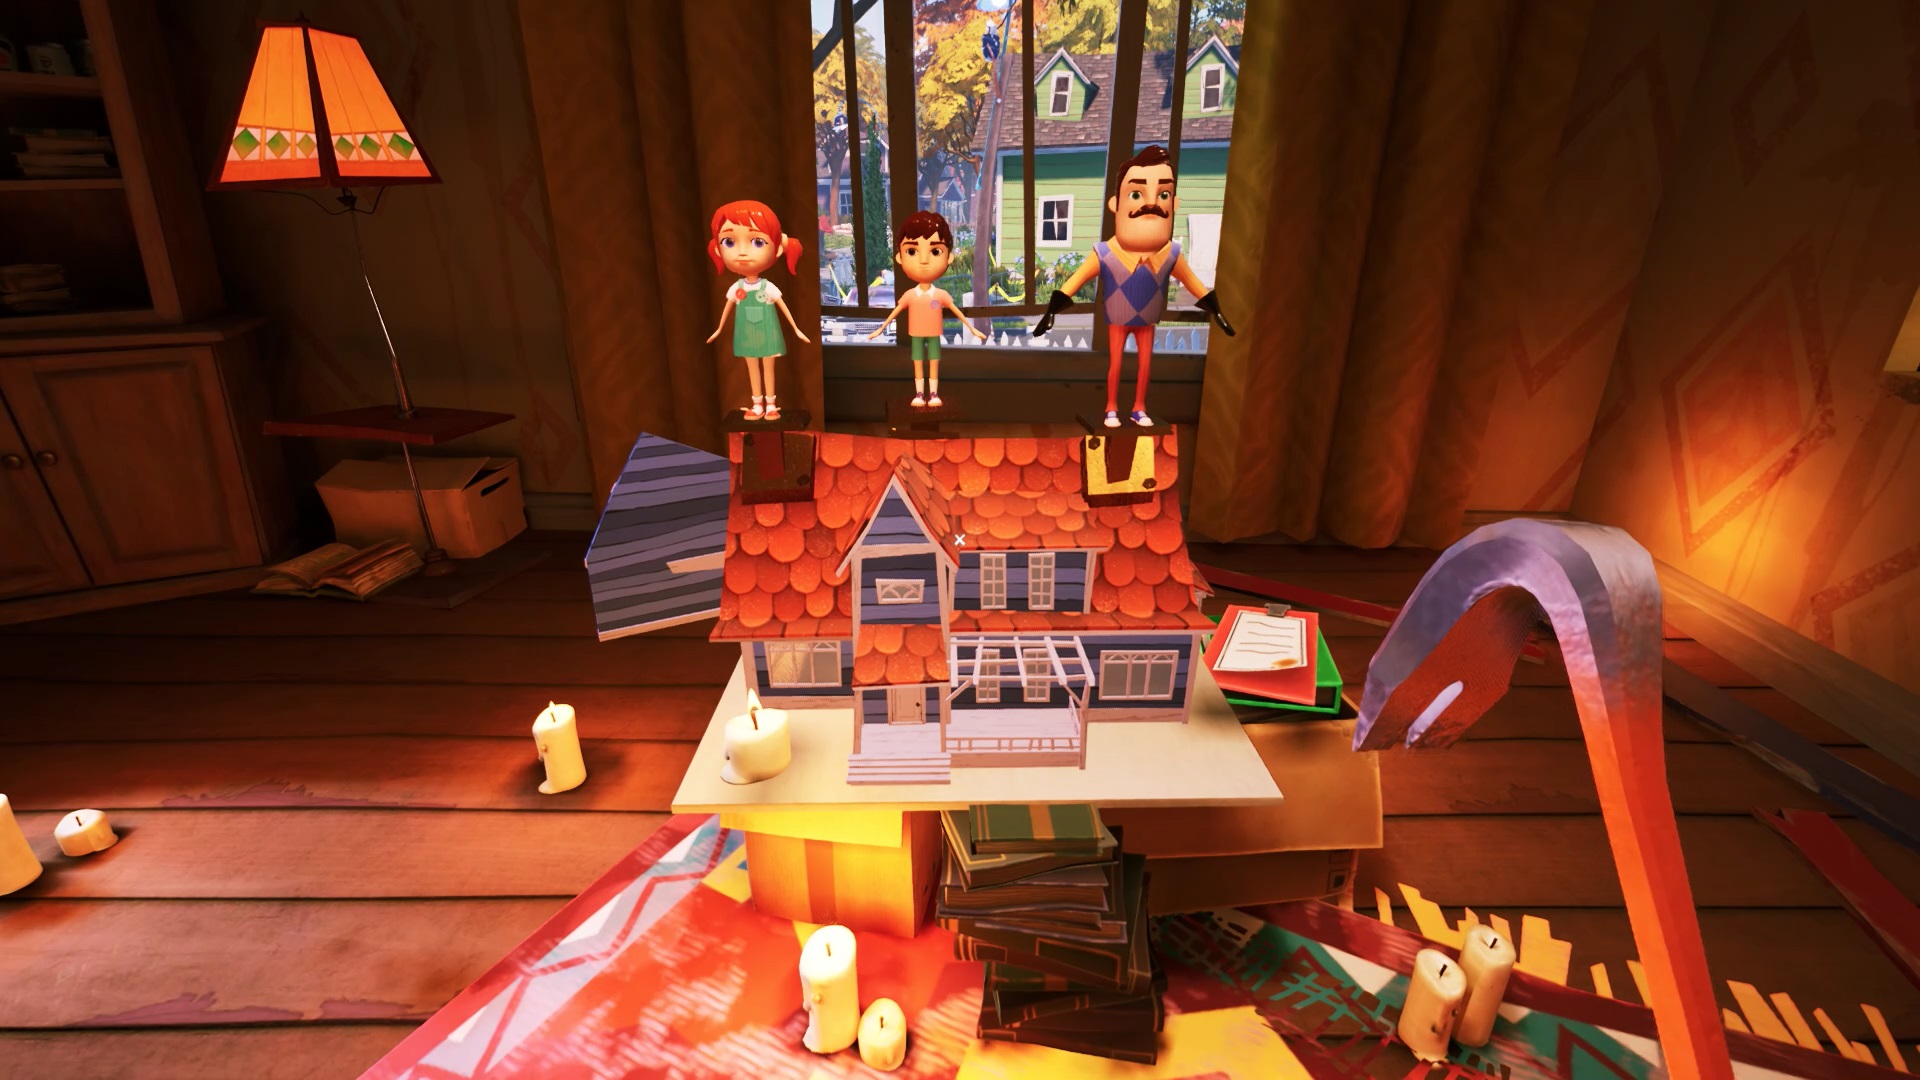
On the left wall, near the dollhouse, is a breach. It is blocked by a wooden board. Use the crowbar to remove the board and pick up a little girl’s doll. Put the doll on the left pillar of the house. The last doll is at the top of the cabinet at the bottom of the stairs. Climb on the cupboard and interact with the painting to open a passage. Pick up Mr. Peterson’s doll. Place it on the right pillar of the dollhouse. Collect the key to open the second padlock on the living room door.
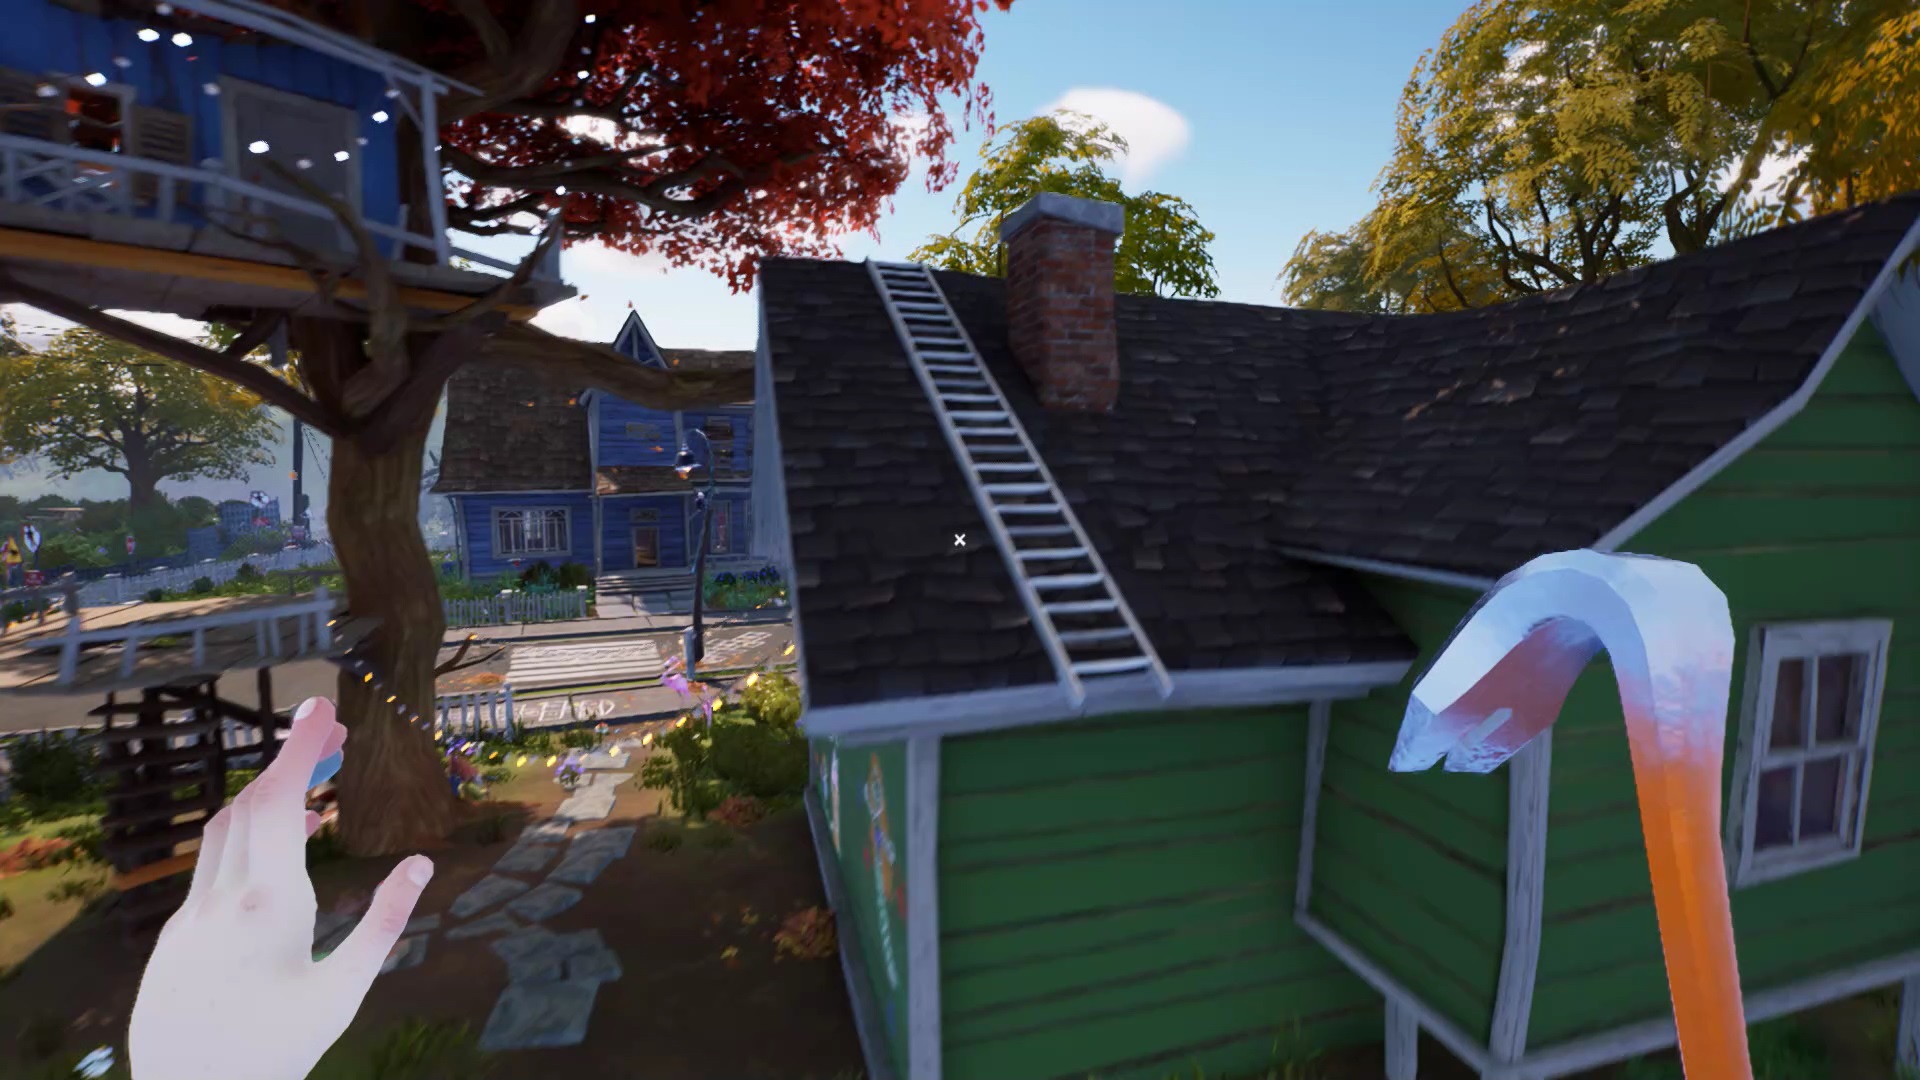
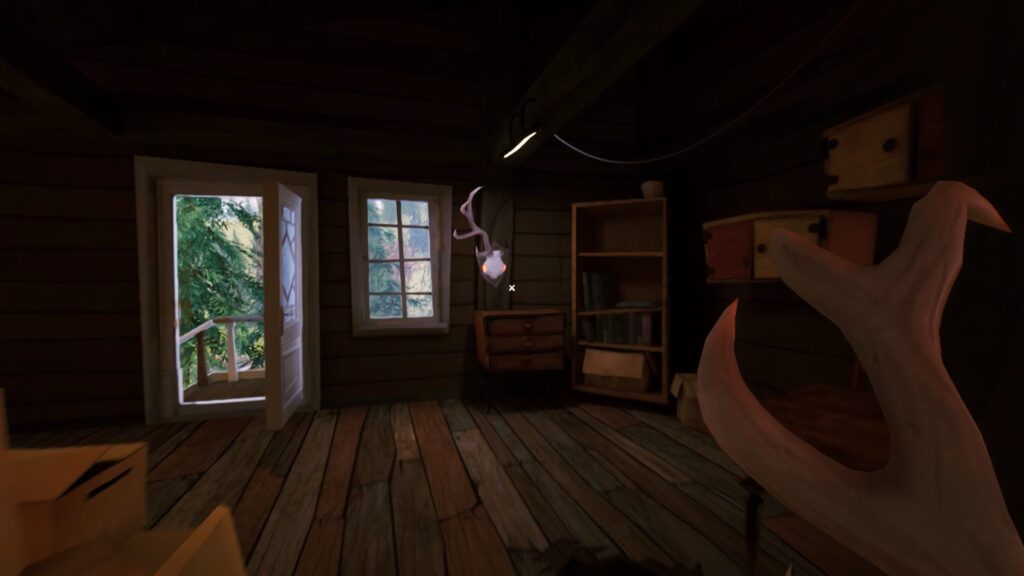
Return to the passage where you found Mr. Peterson’s doll. A drawing on the wall shows you a location in a tree. This tree is in front of Mr. Peterson’s house. A wooden hut is built in this tree. To climb into the hut, head to the back of the green house. A trampoline allows you to climb on the roof of the green house and reach the treehouse.
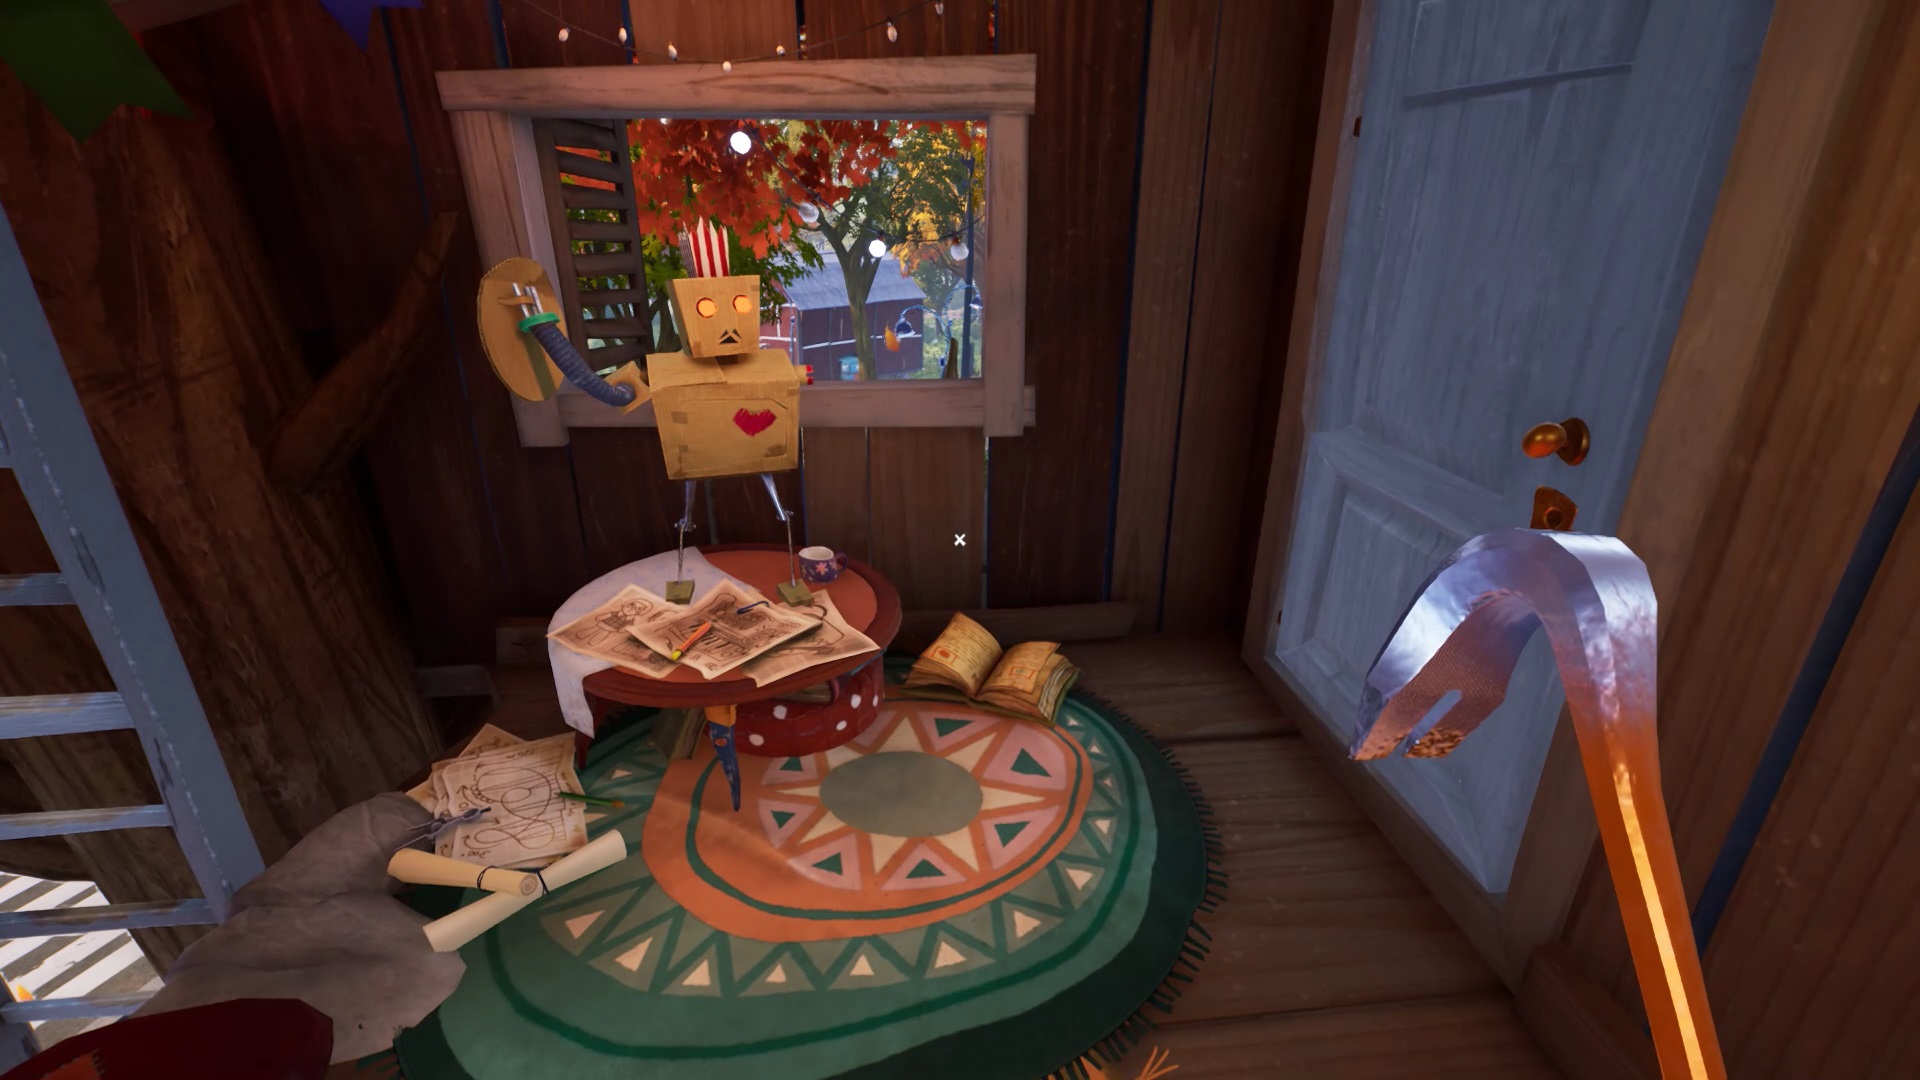
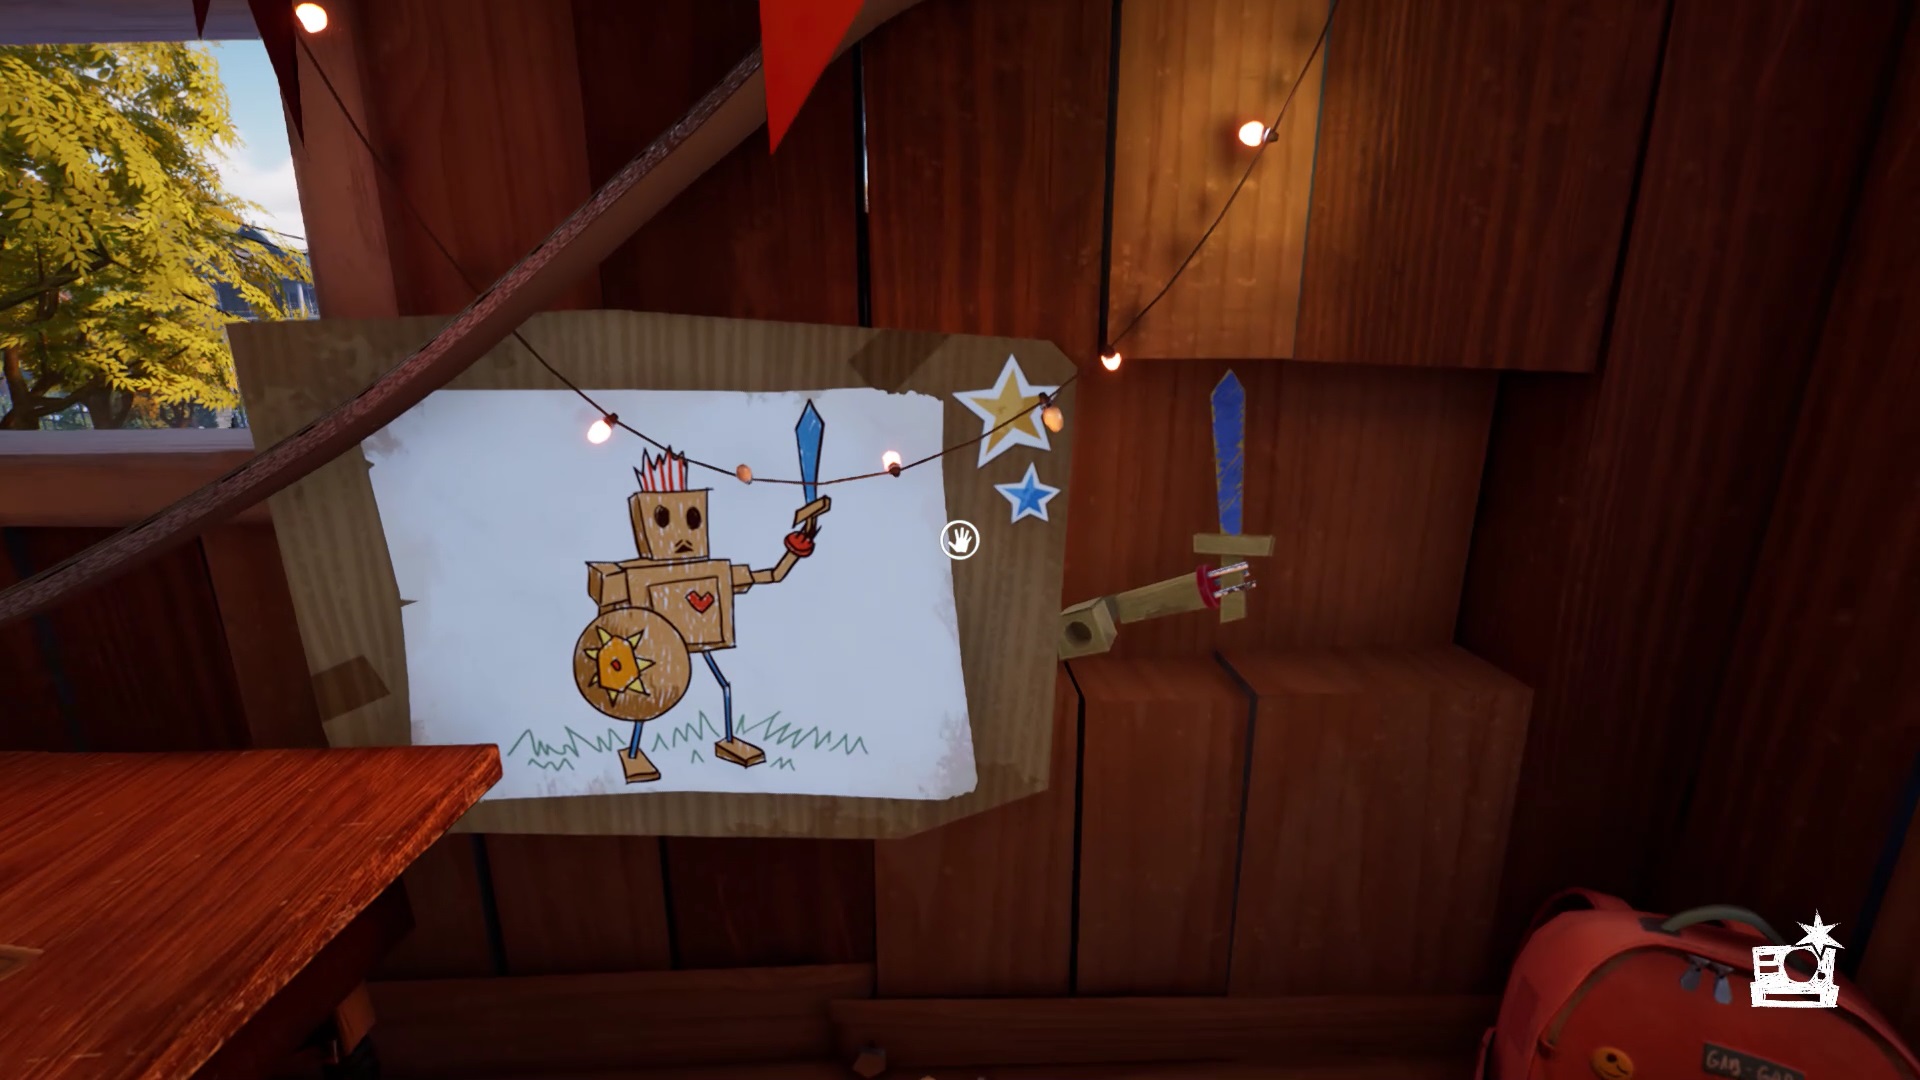
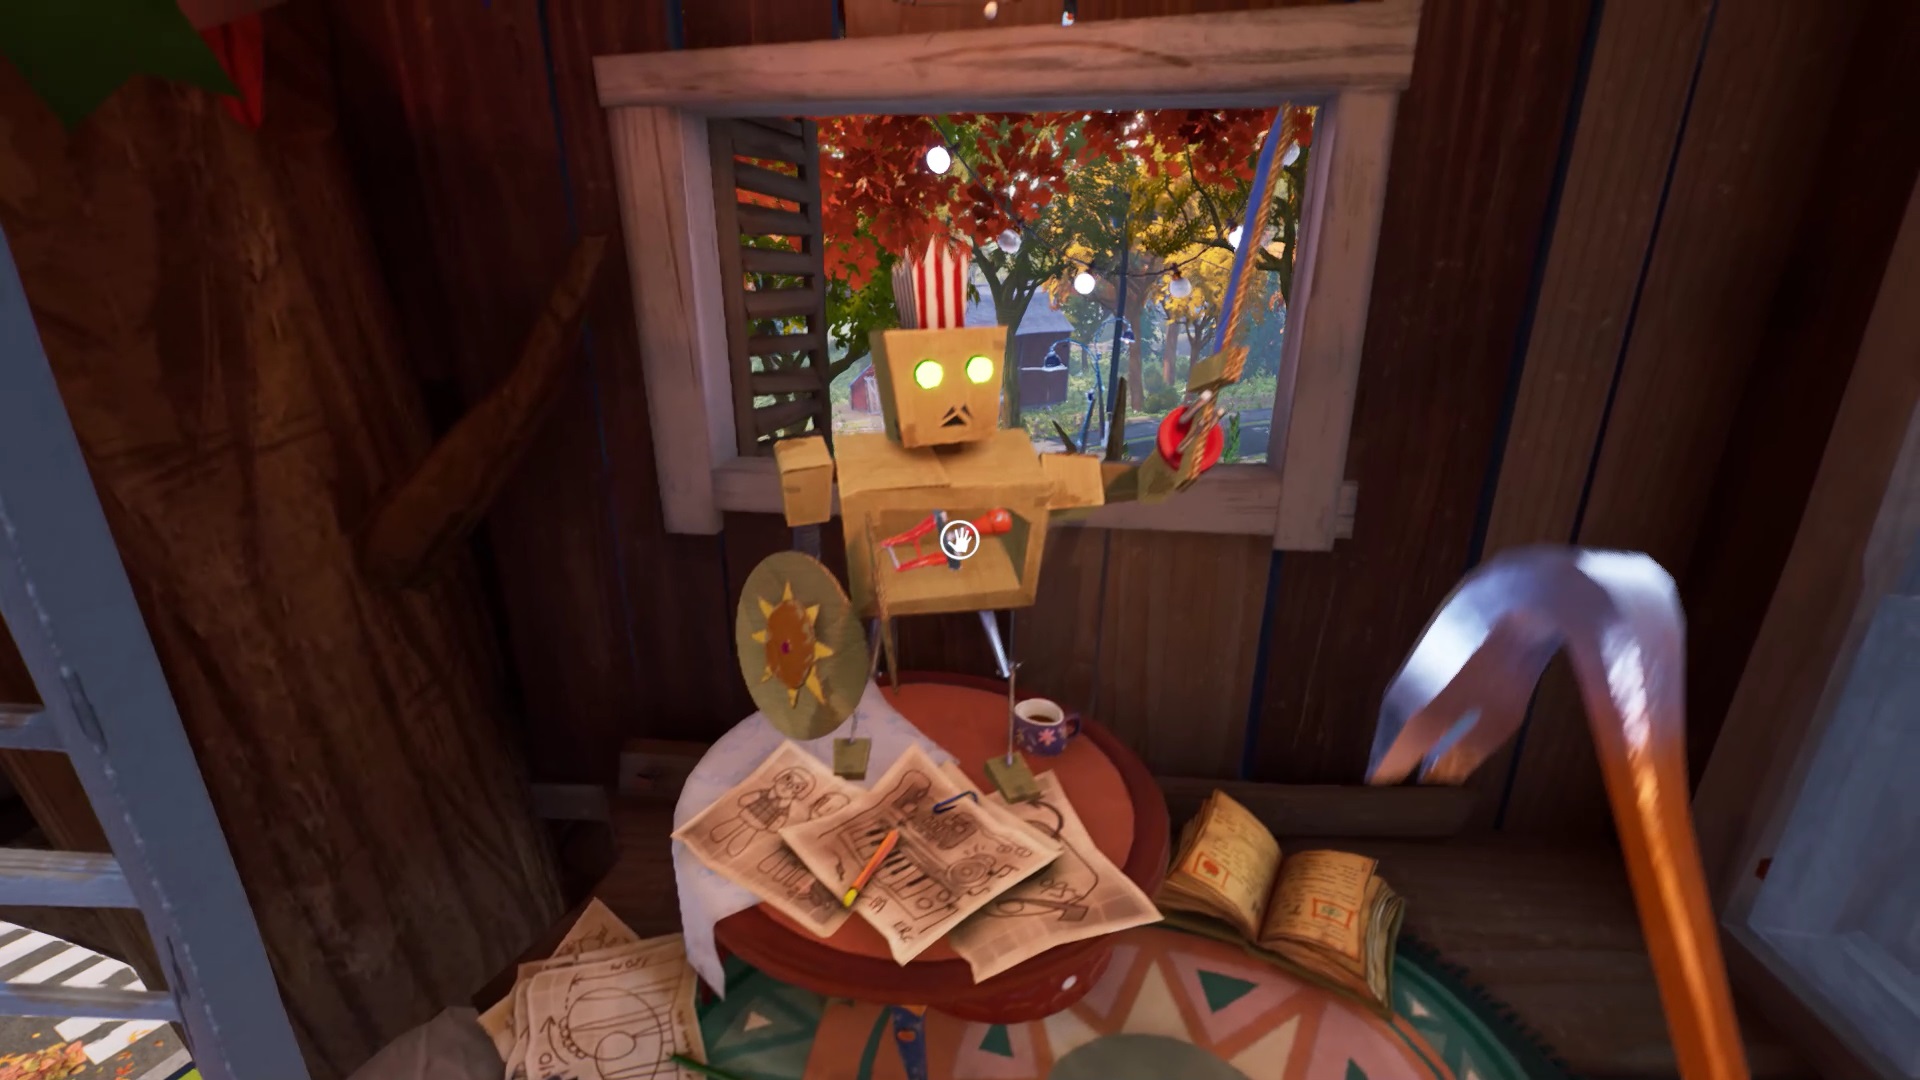
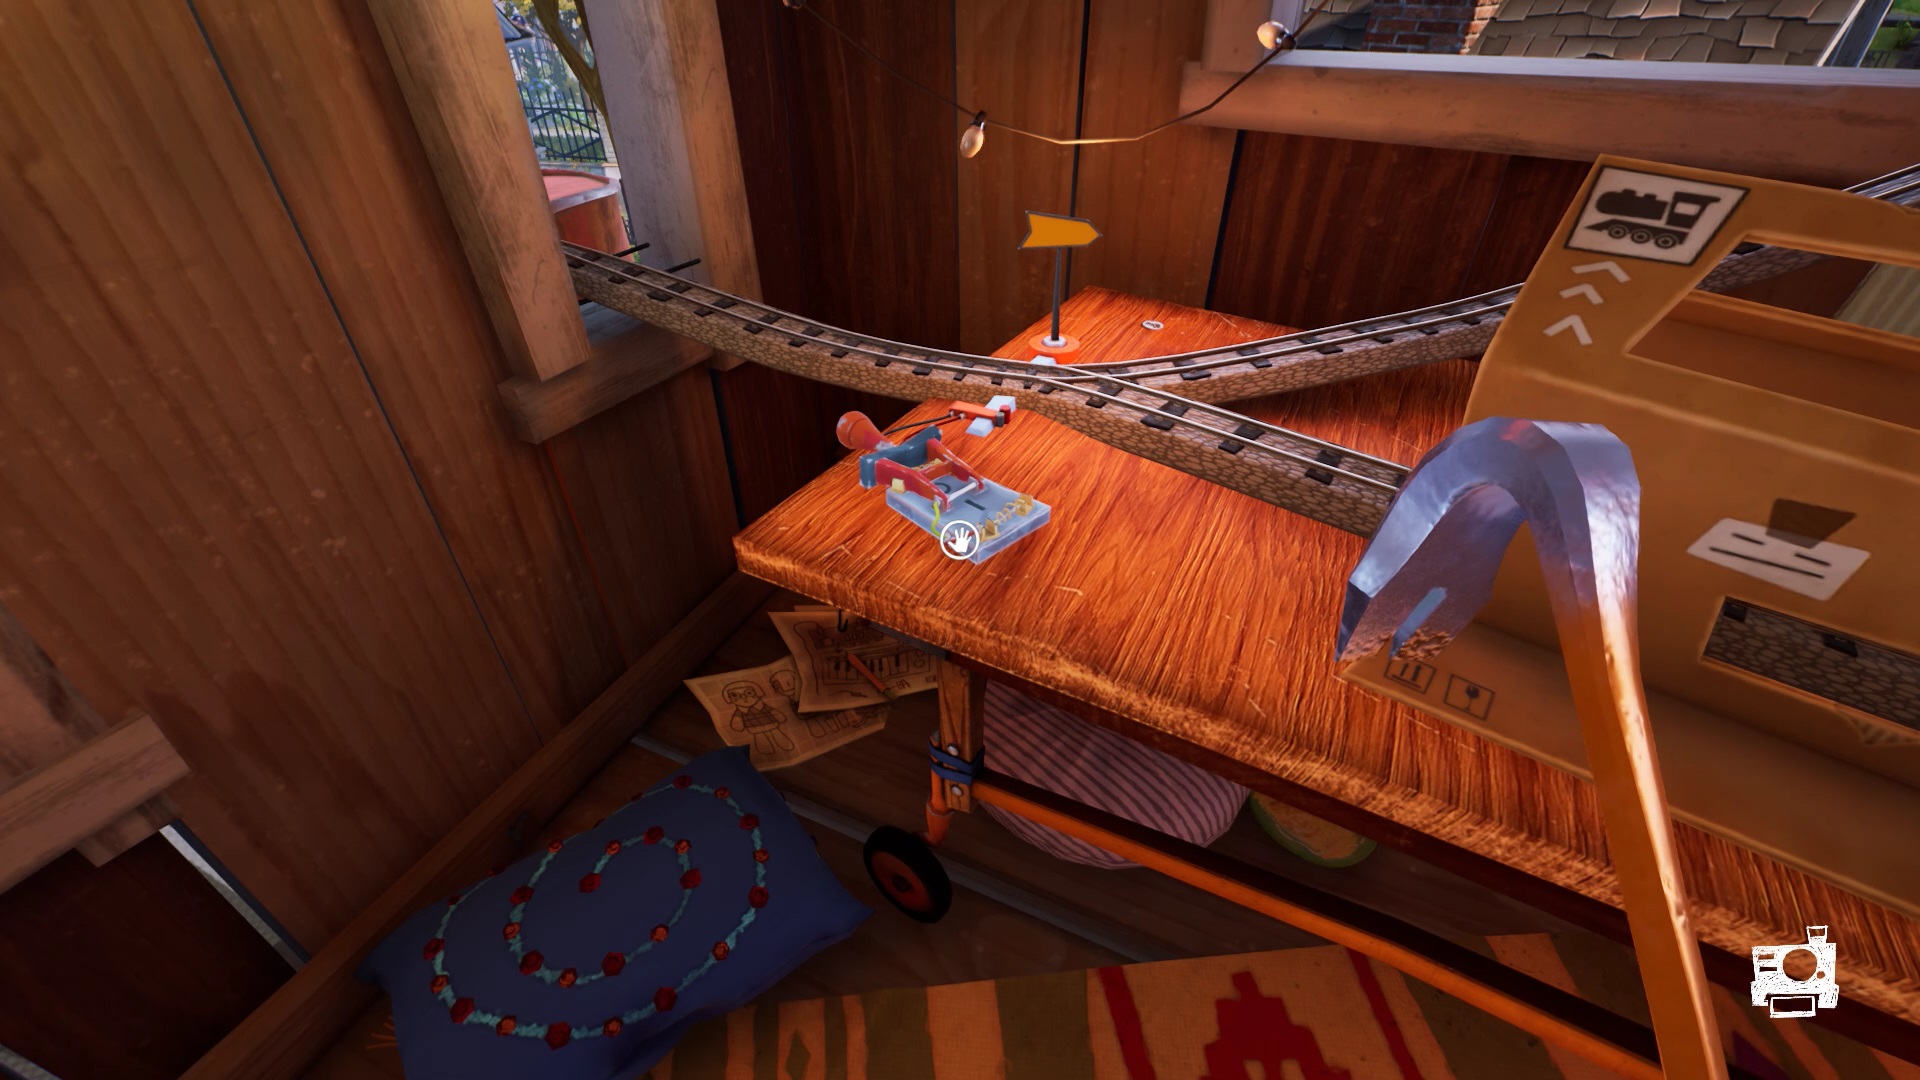
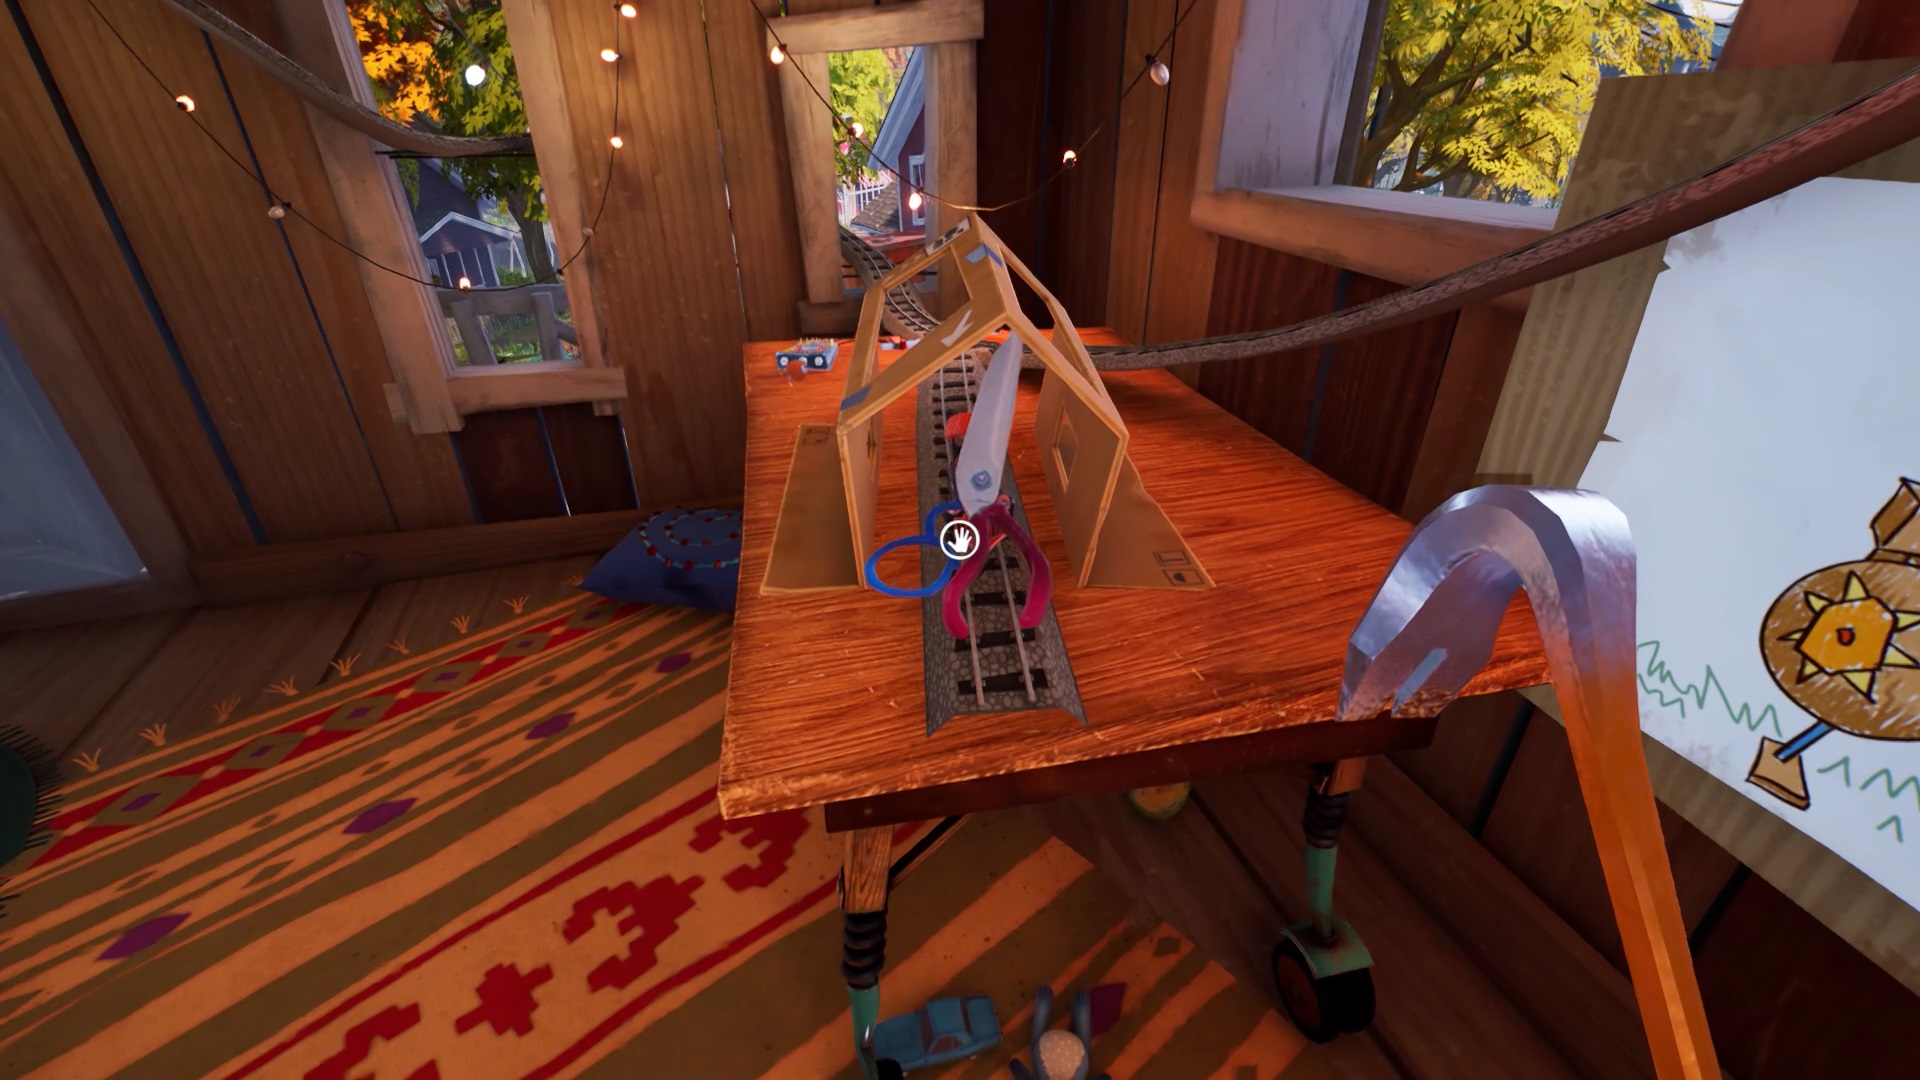
In the hut, a drawing on the wall shows you a man with a shield and a sword. Near the door, you find the man. He is missing his sword. Interact with the drawing to find the sword. Position the sword on the man. Adjust the sword and shield to the position shown by the drawing. Retrieve a lever his body from the man. Place the lever on the model train mechanism. Activate it to retrieve a chisel.
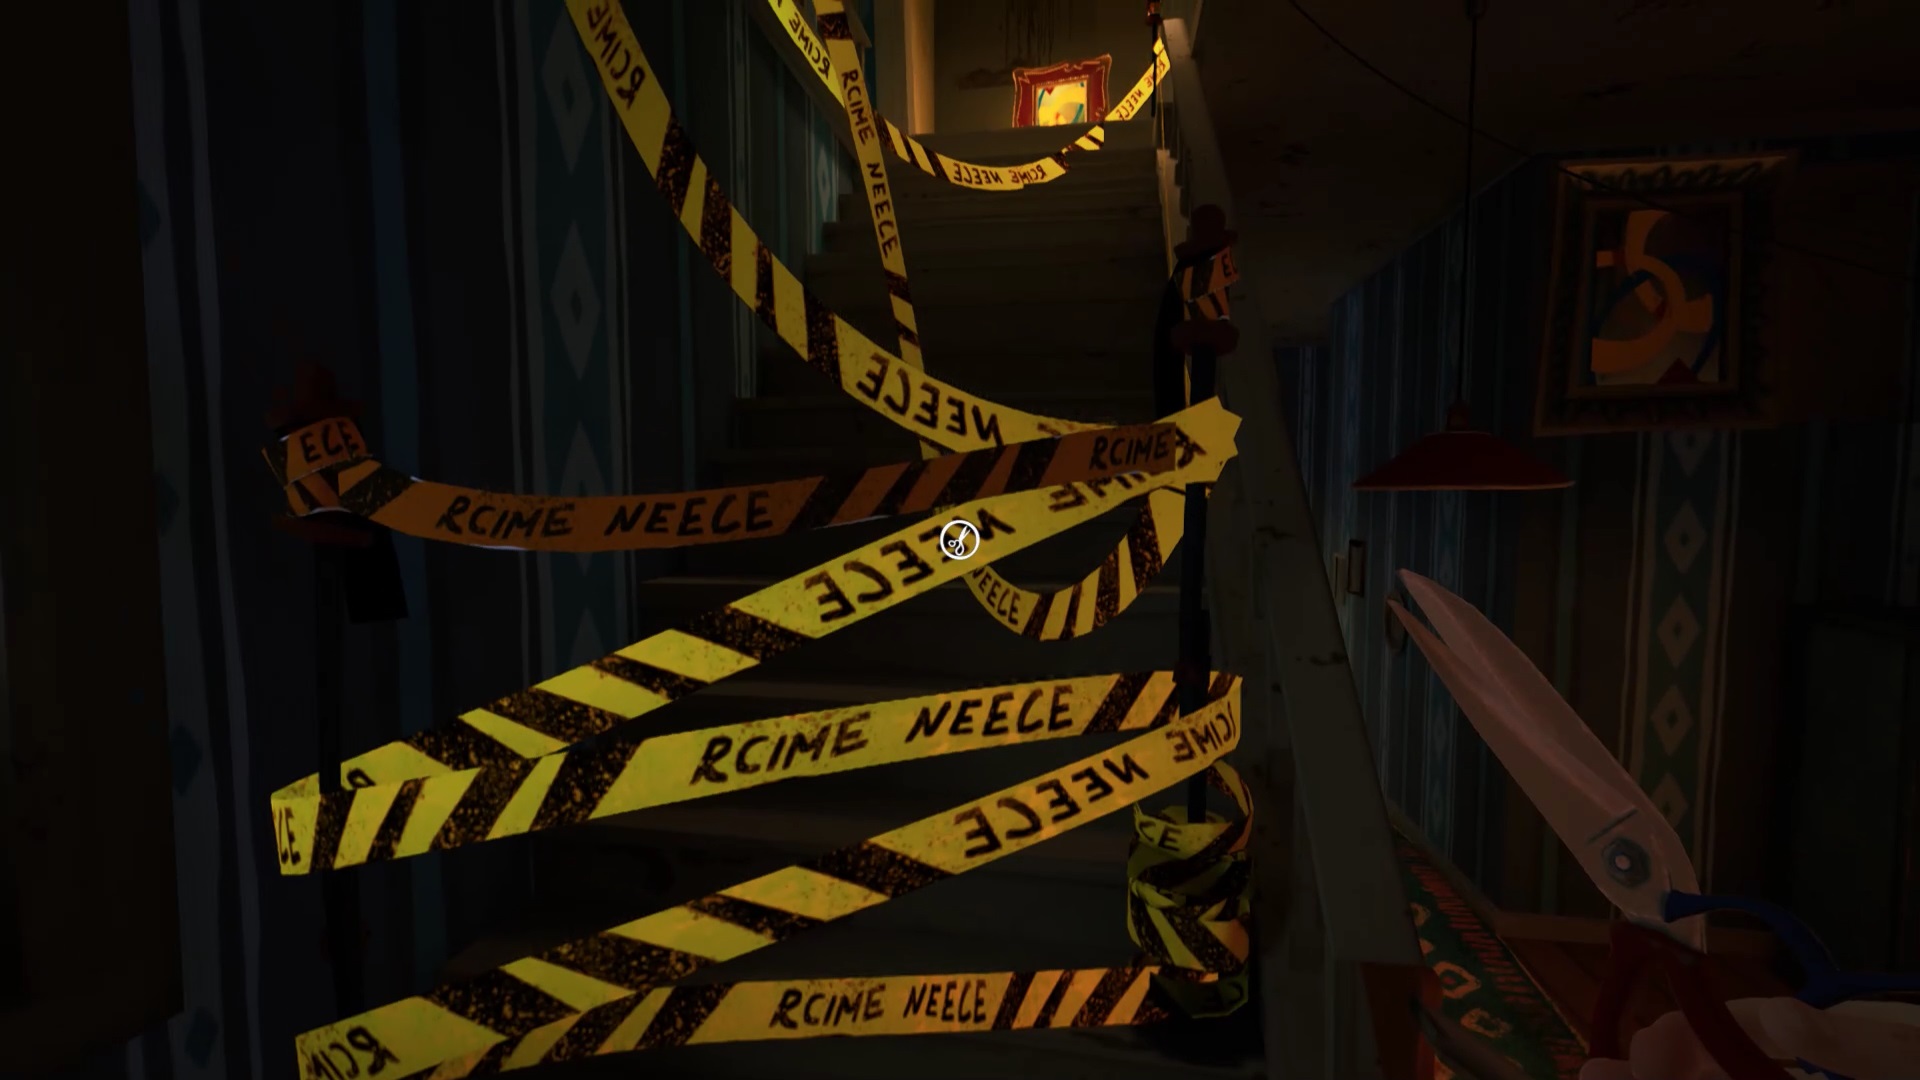

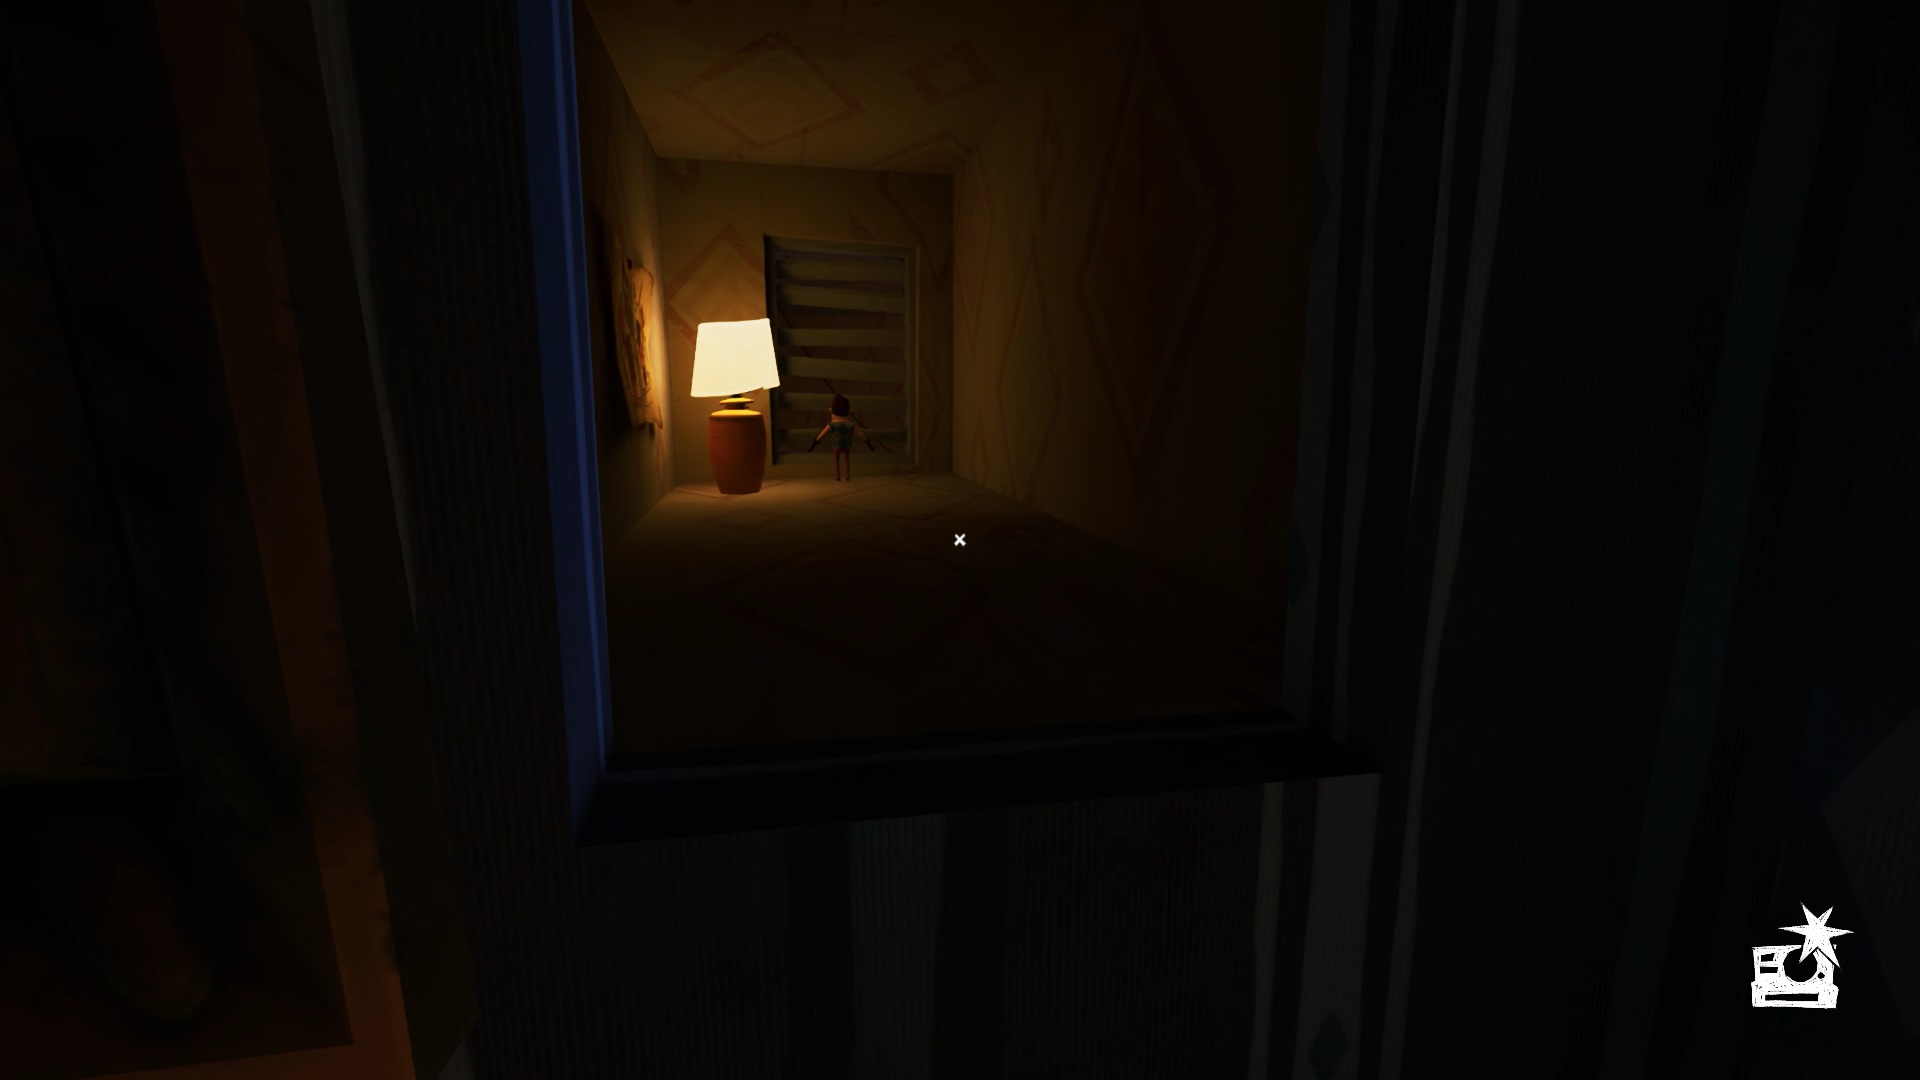
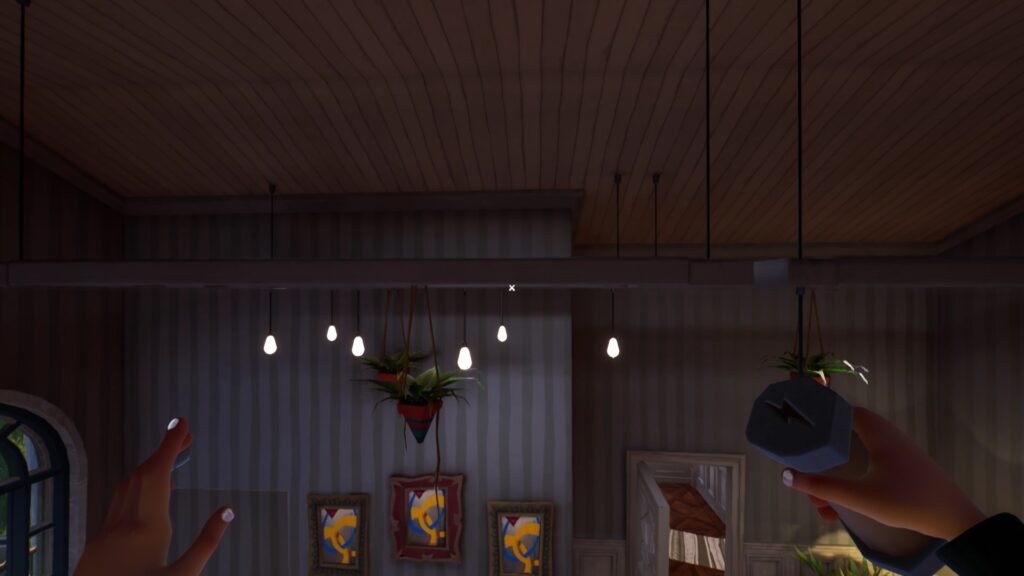
Return to Mr. Peterson’s house. Cut the police tapes blocking the stairs. Go upstairs. In the painting facing the stairs, you can pick up a new mechanism to film the surroundings. It can help you know where your enemies are but is not mandatory.
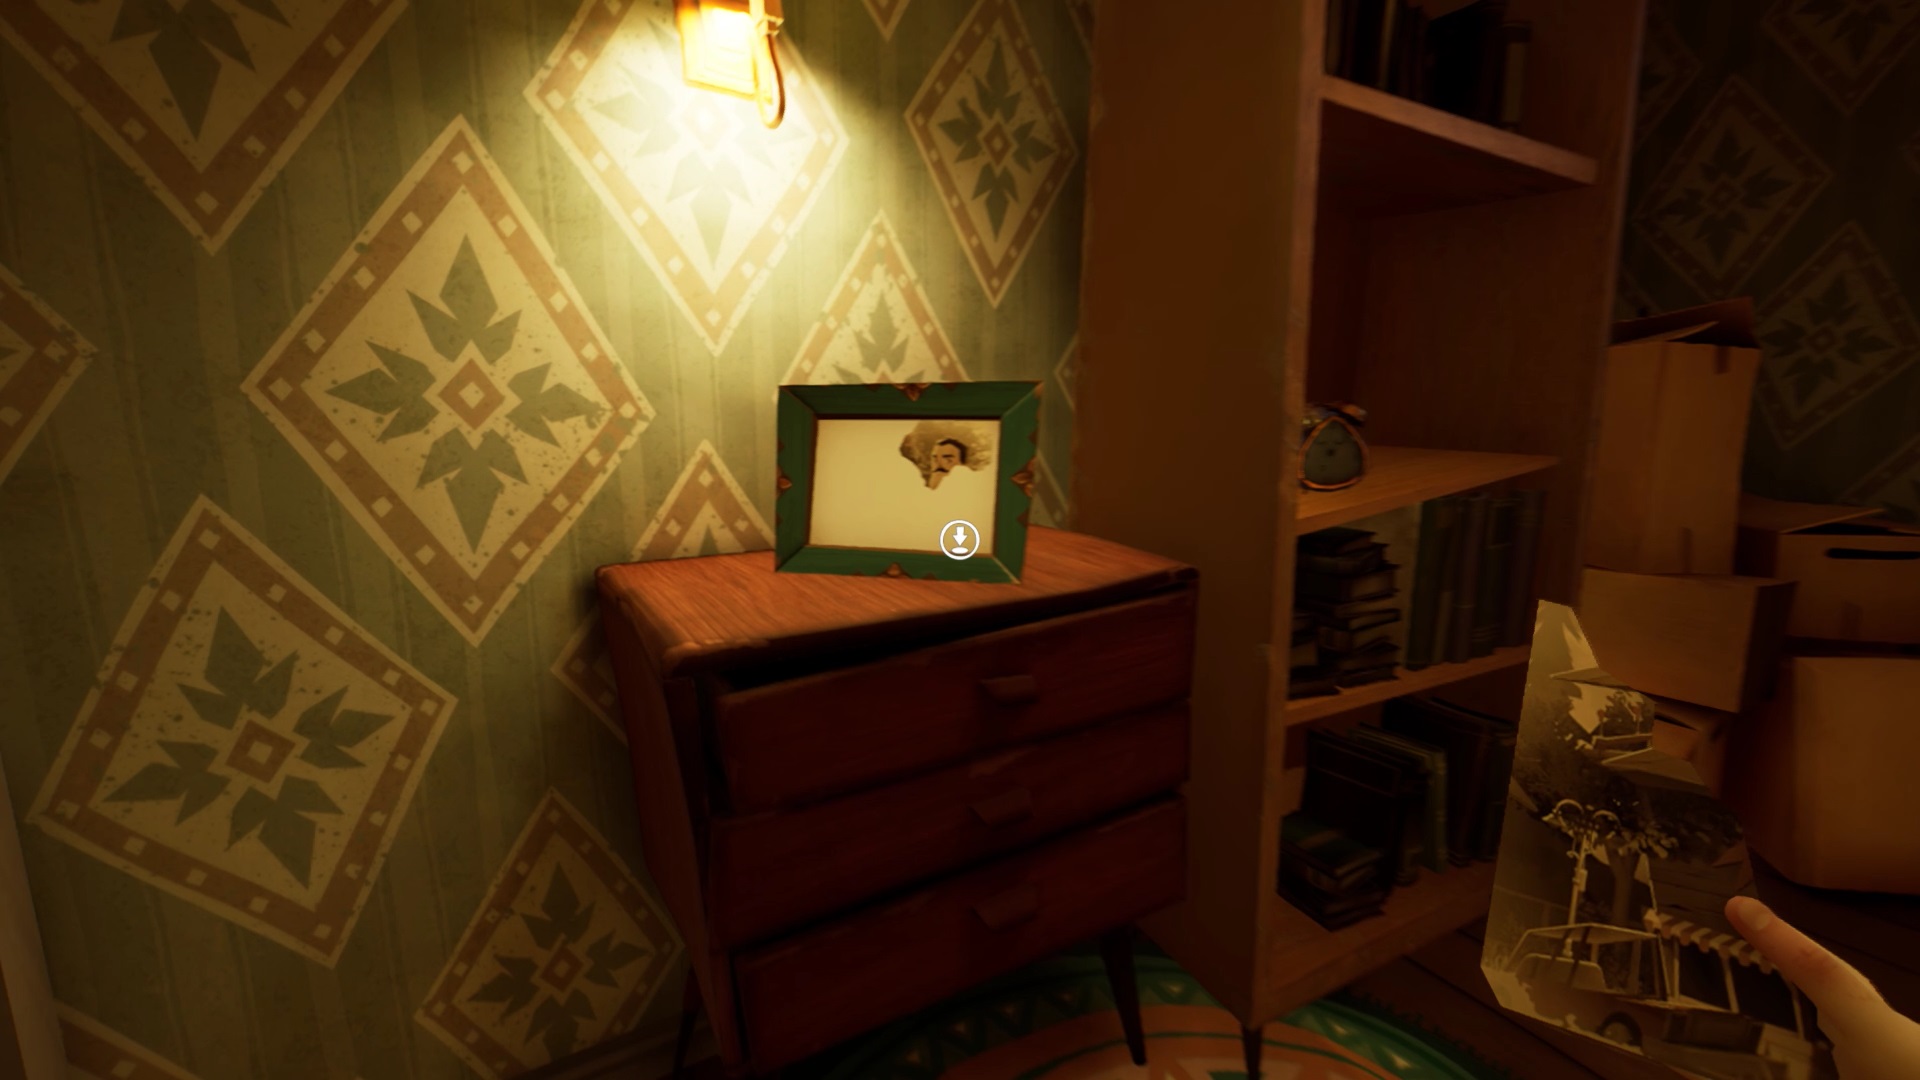
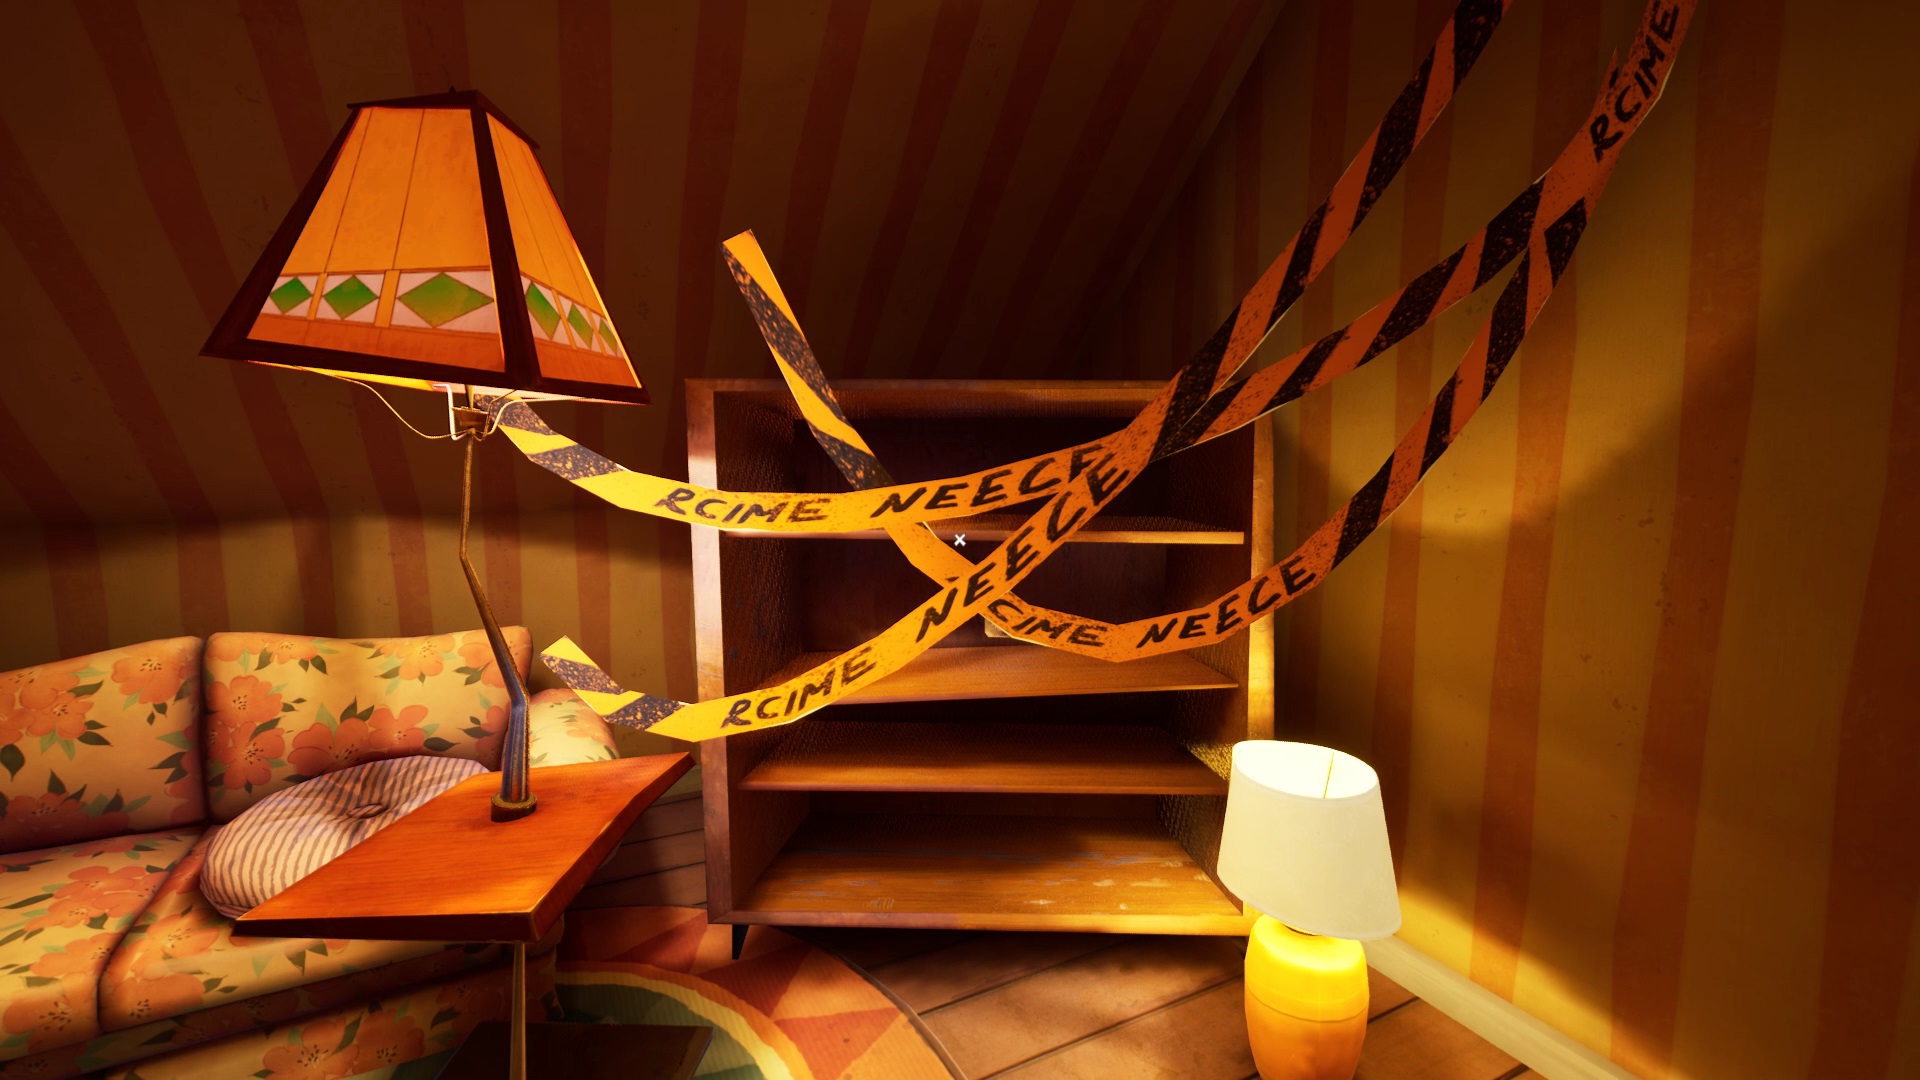
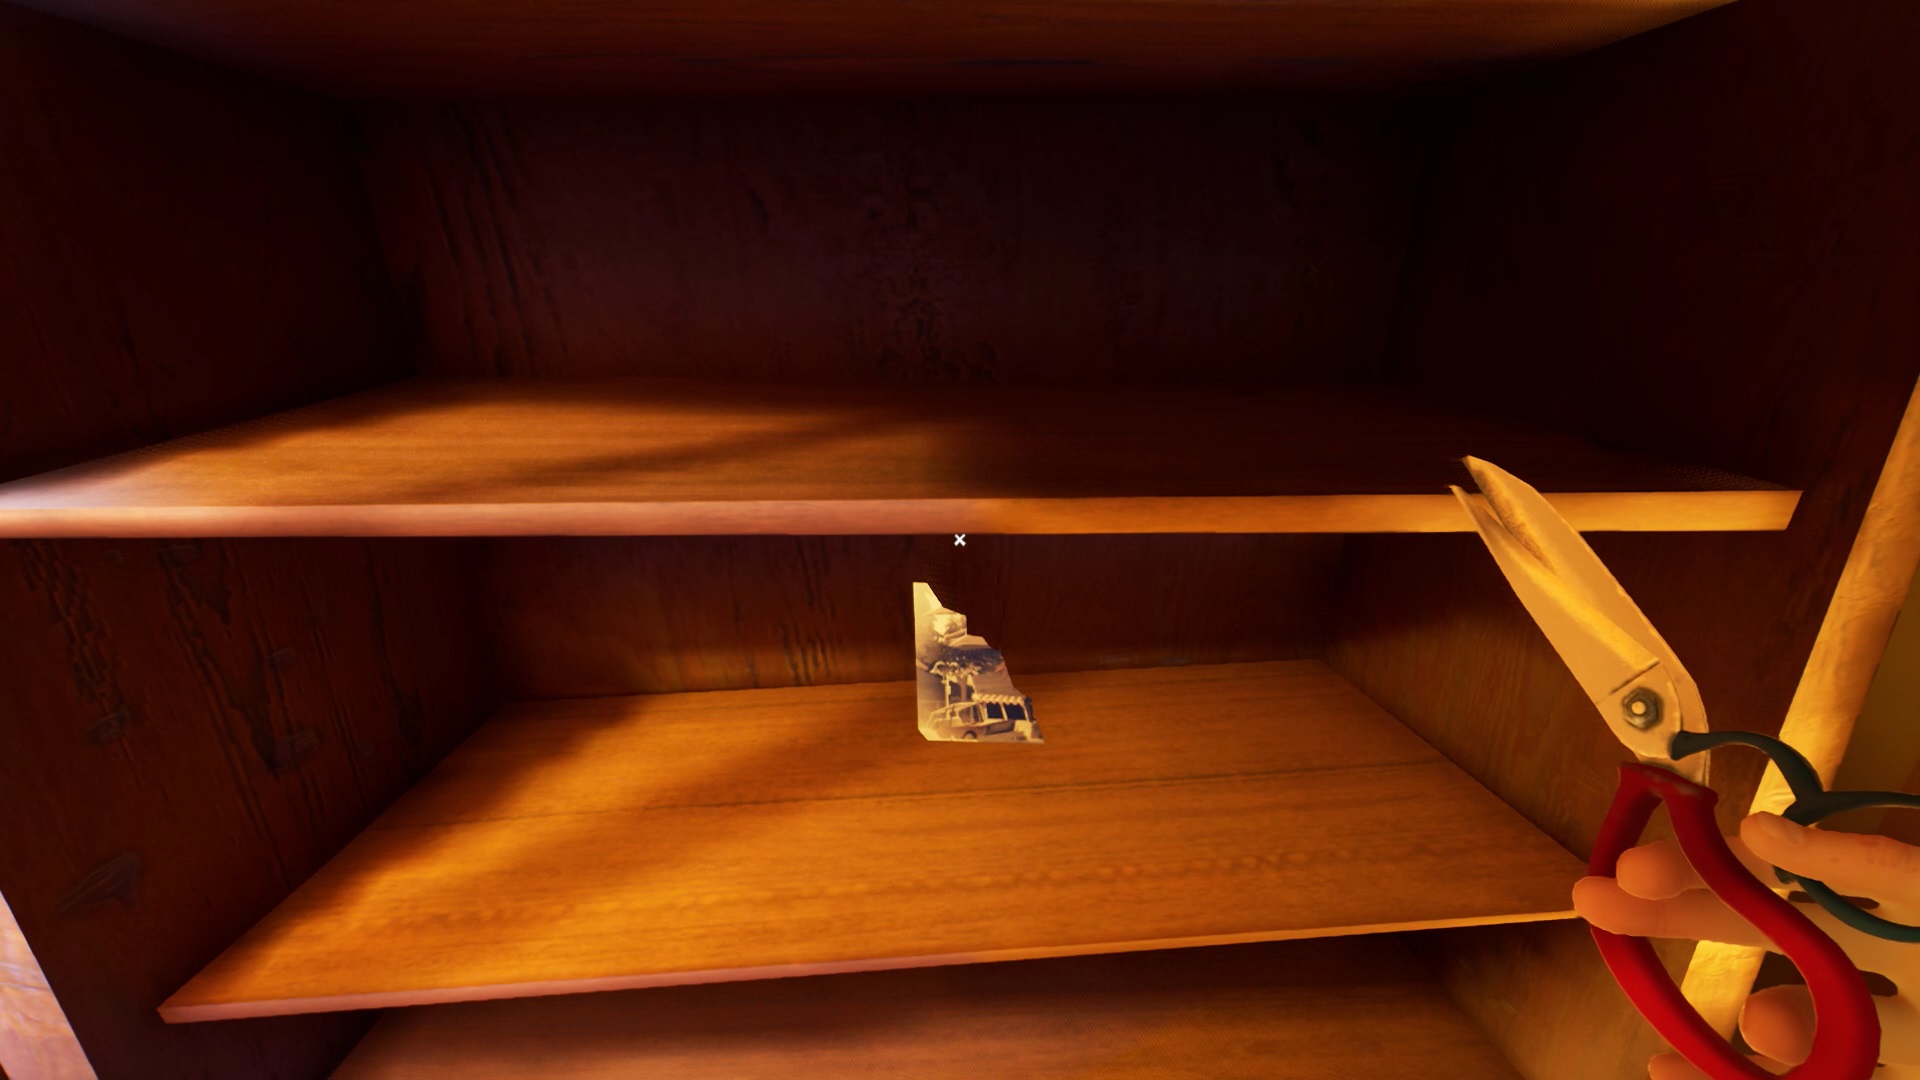
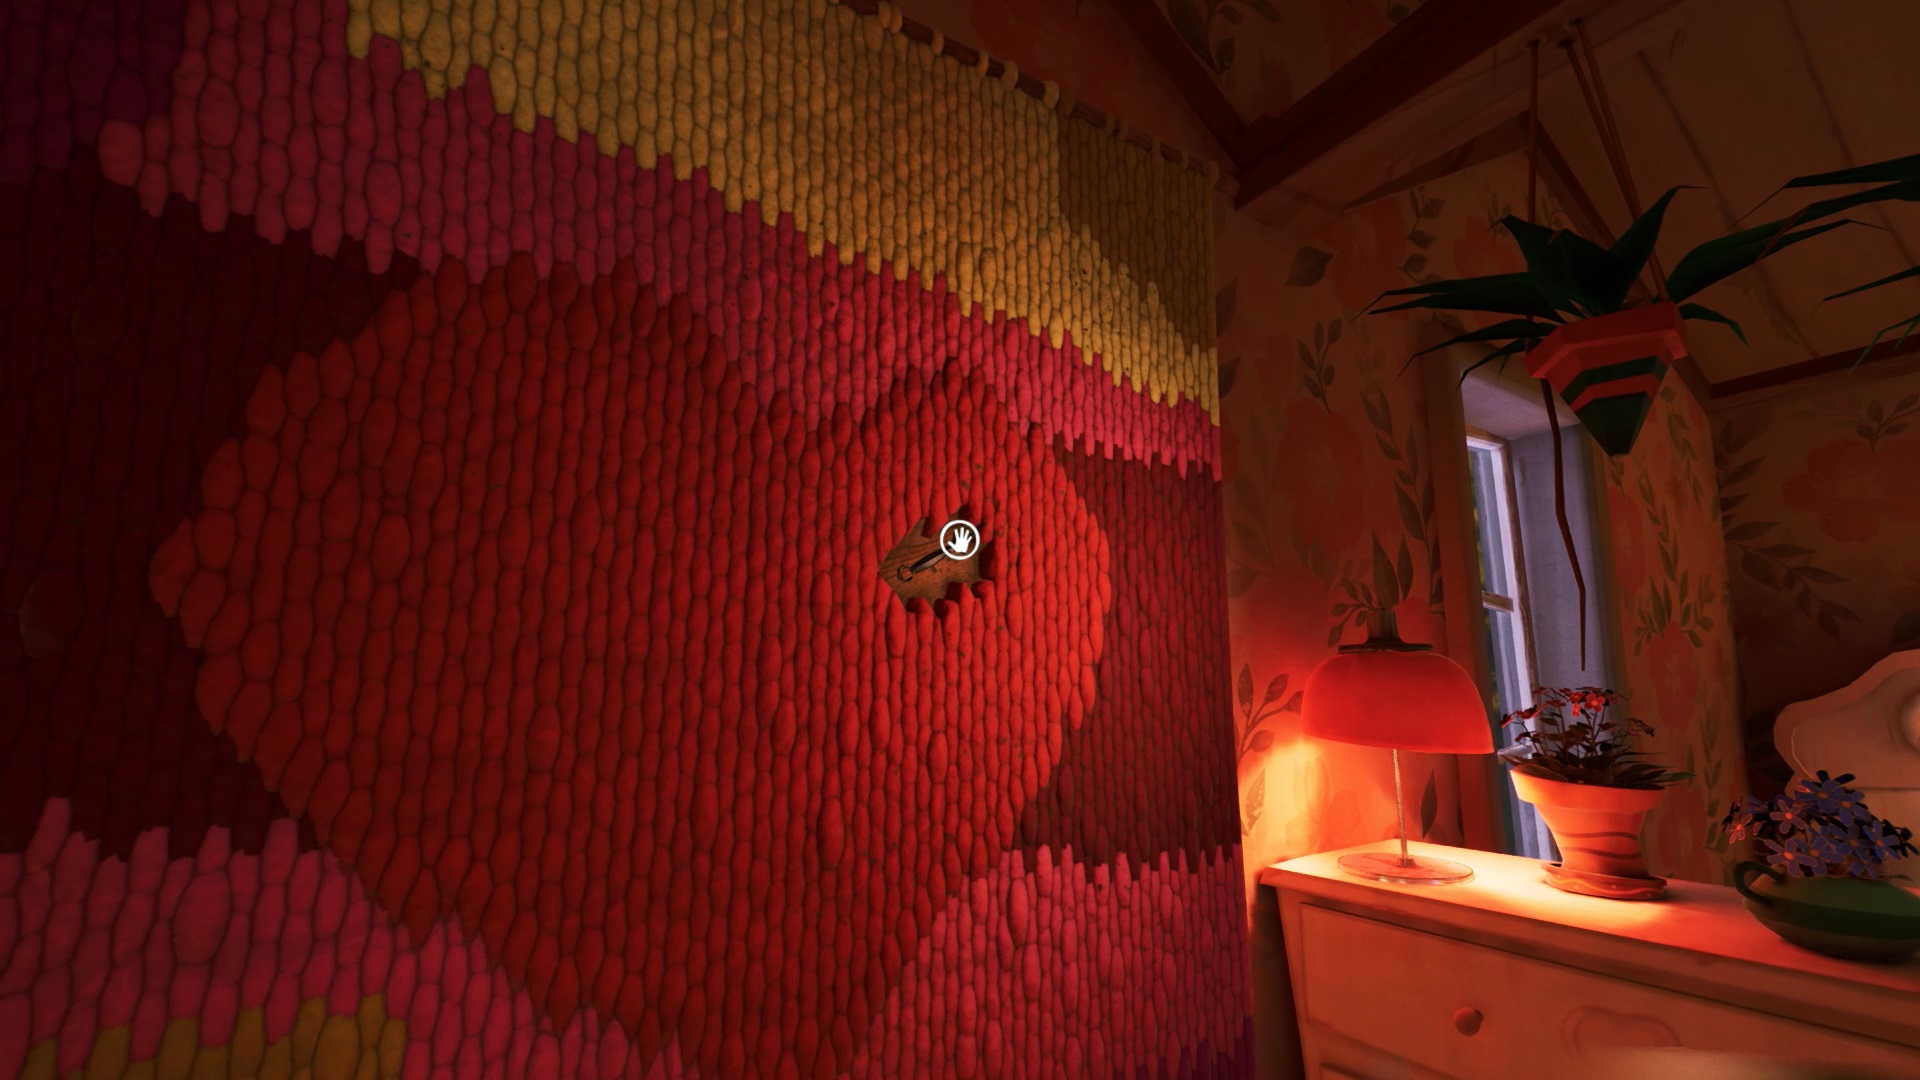
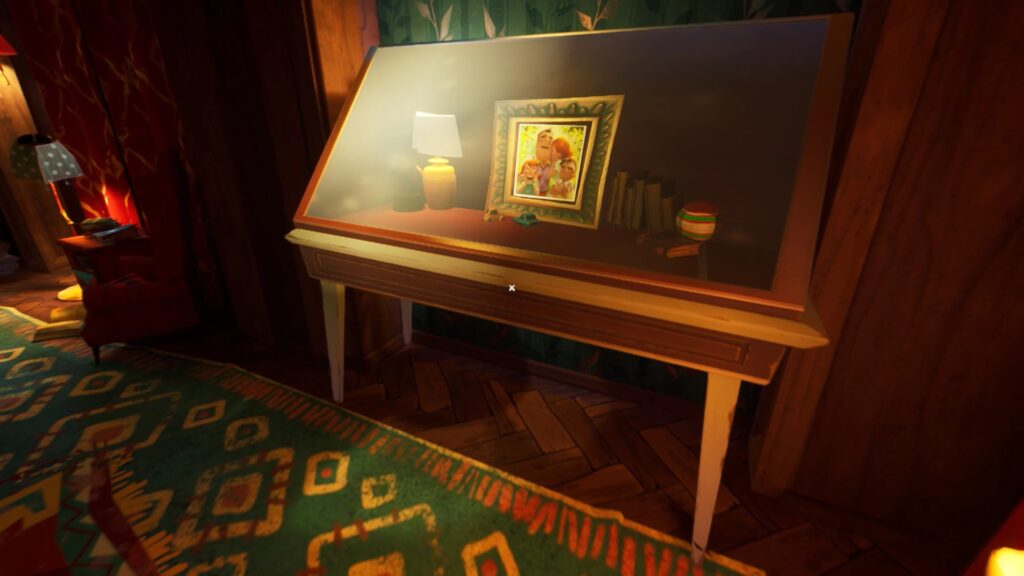
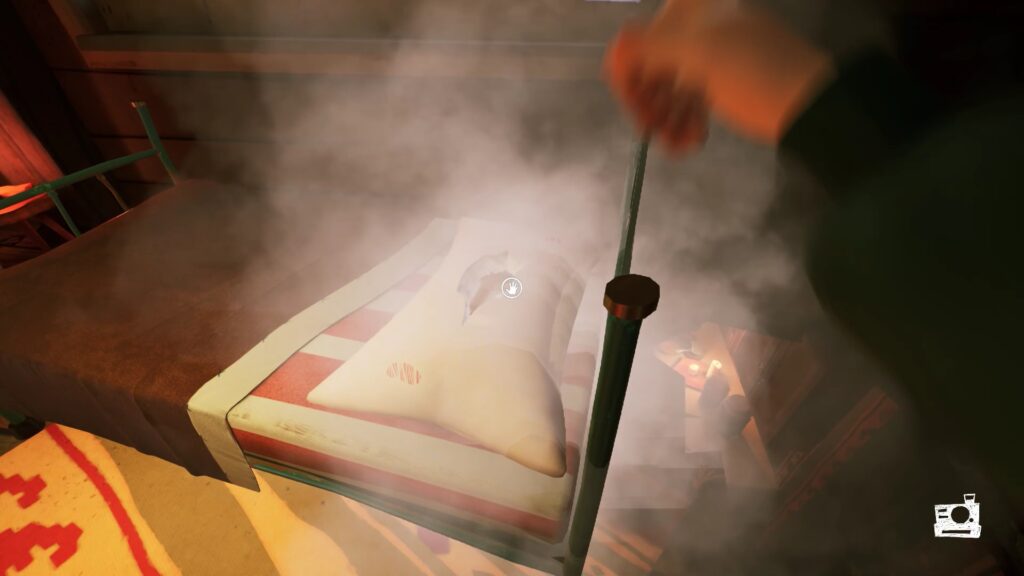
Head into the room to the left of the stairs. Go into the bedroom. You find a painting with the photo of Mr. Peterson. Three pieces of photos are missing. A first piece of photo is in the room to the left of the bedroom. Police tape blocks the way to a shelf. Cut the ribbons with your scissors. Recover the piece of photo in the shelf. Complete the photo with your piece.
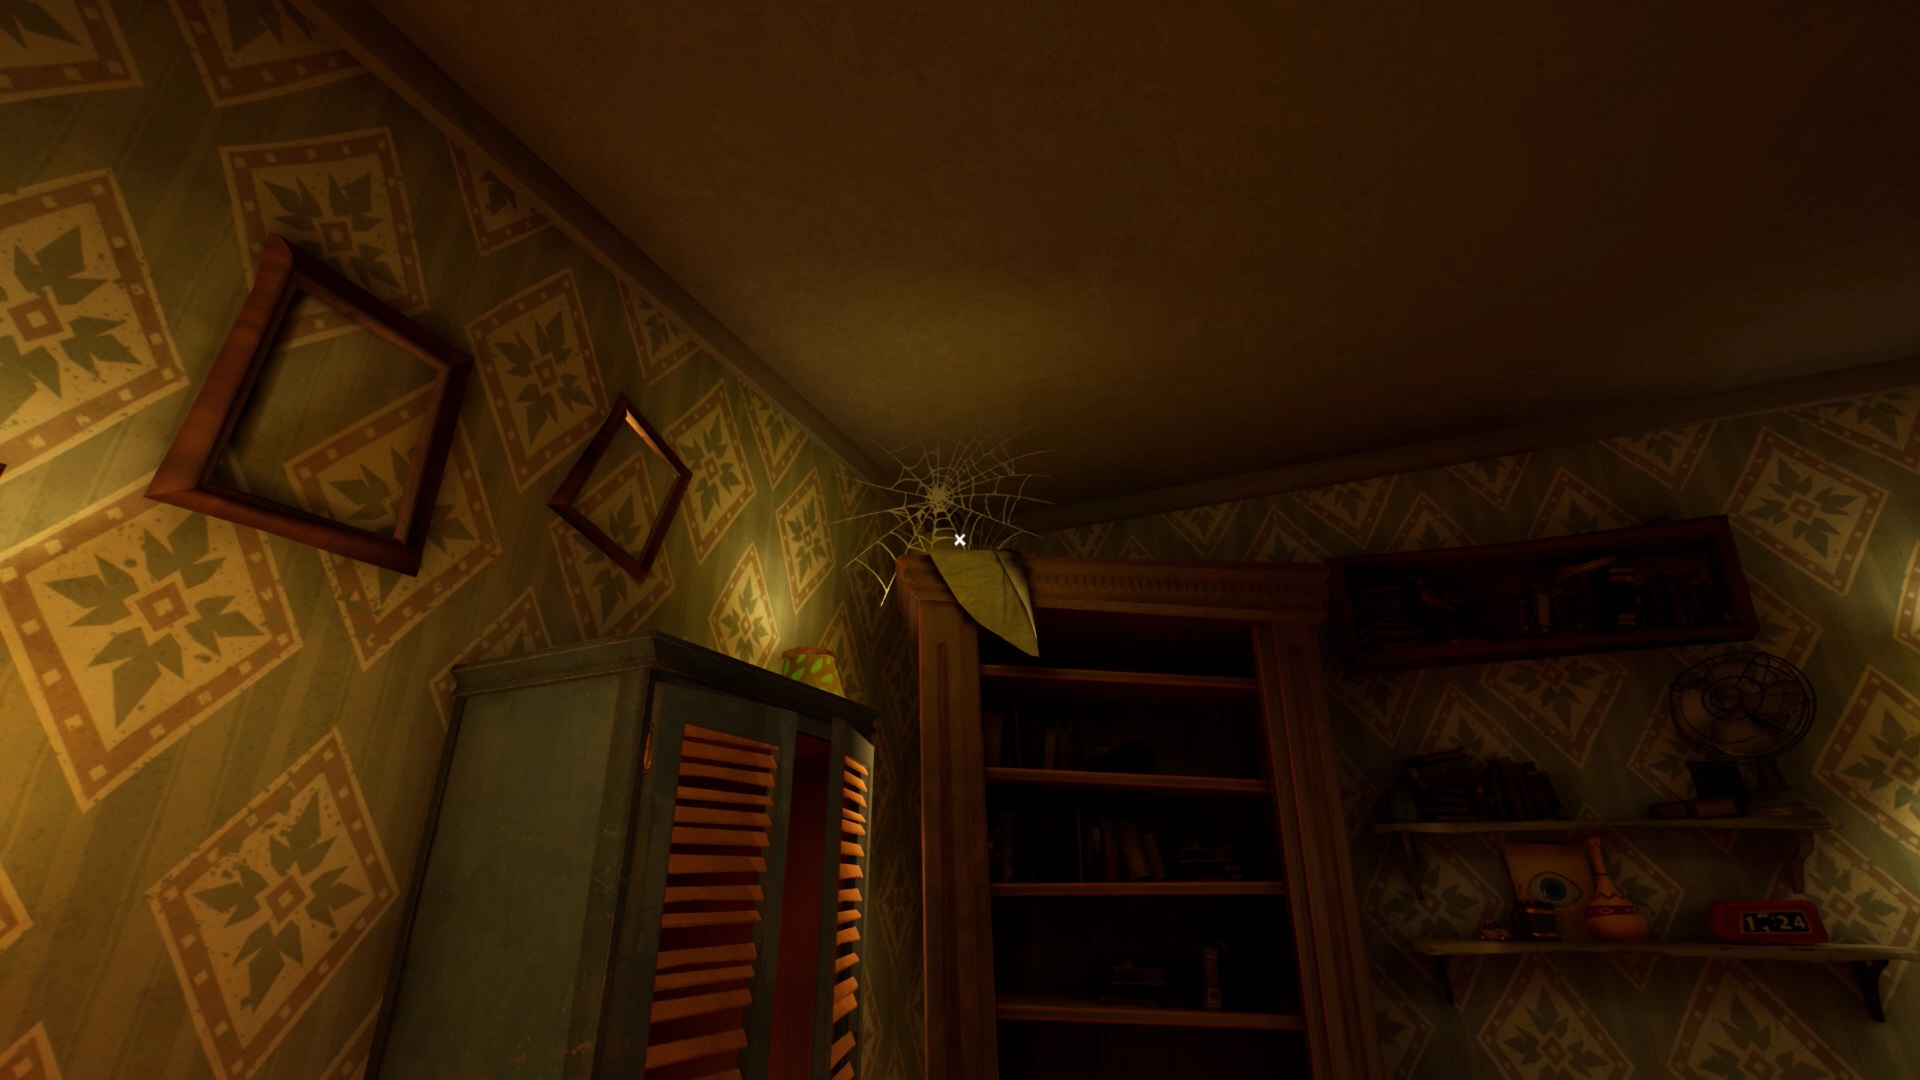
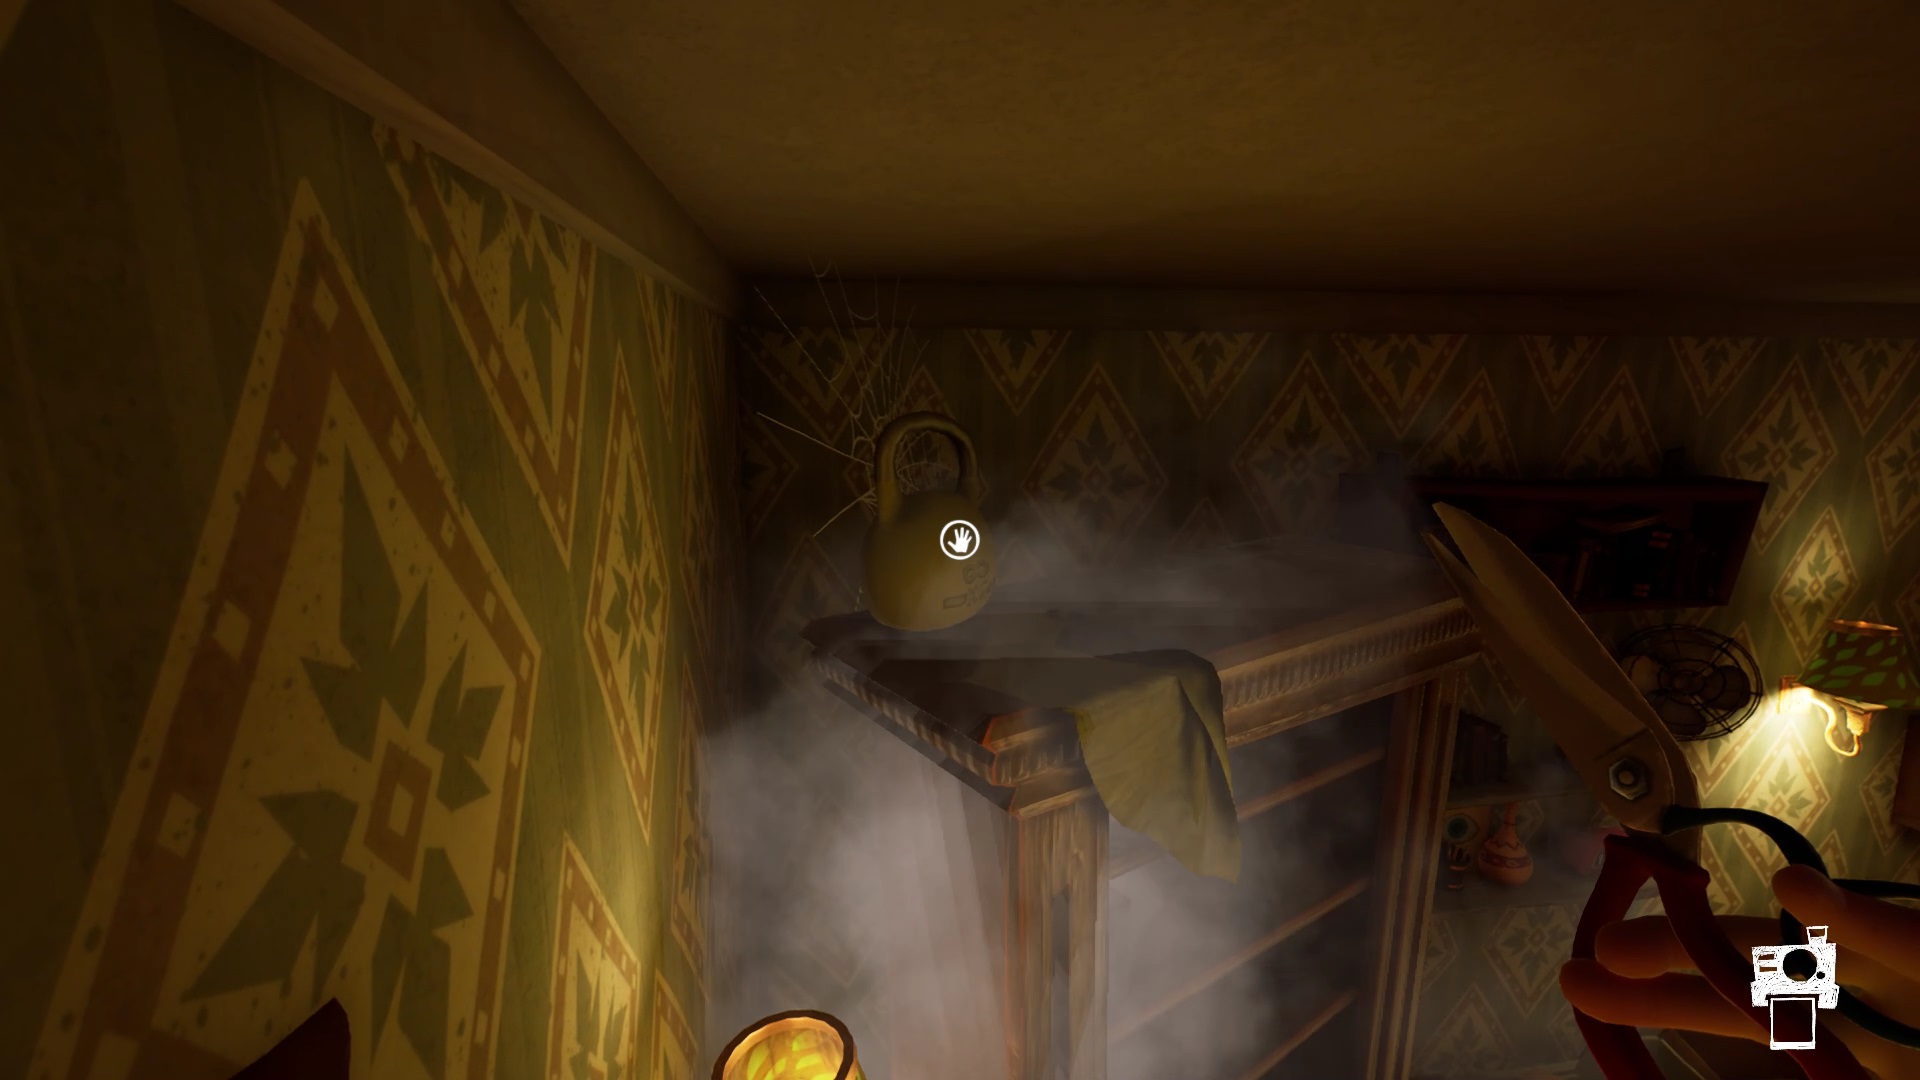
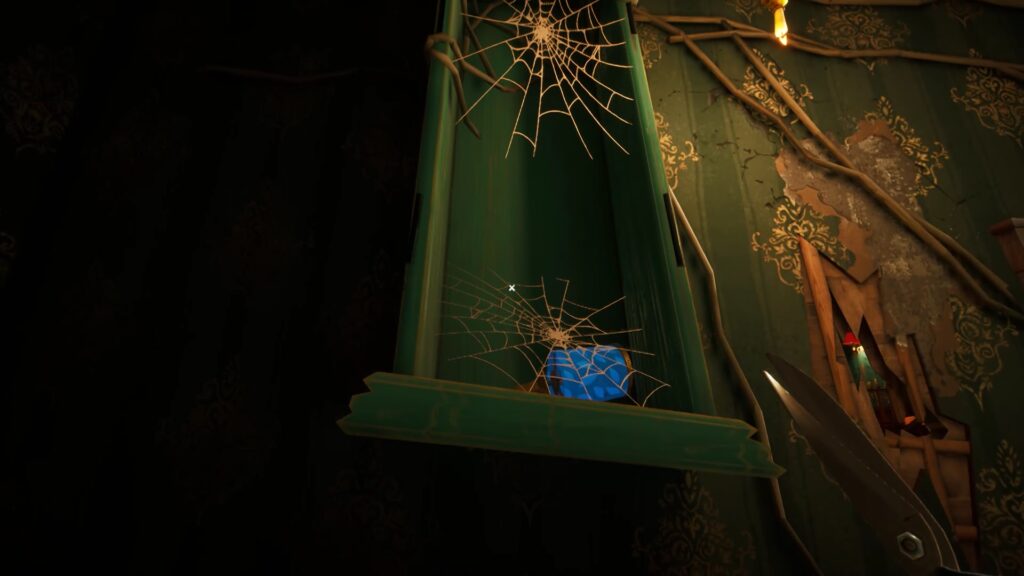
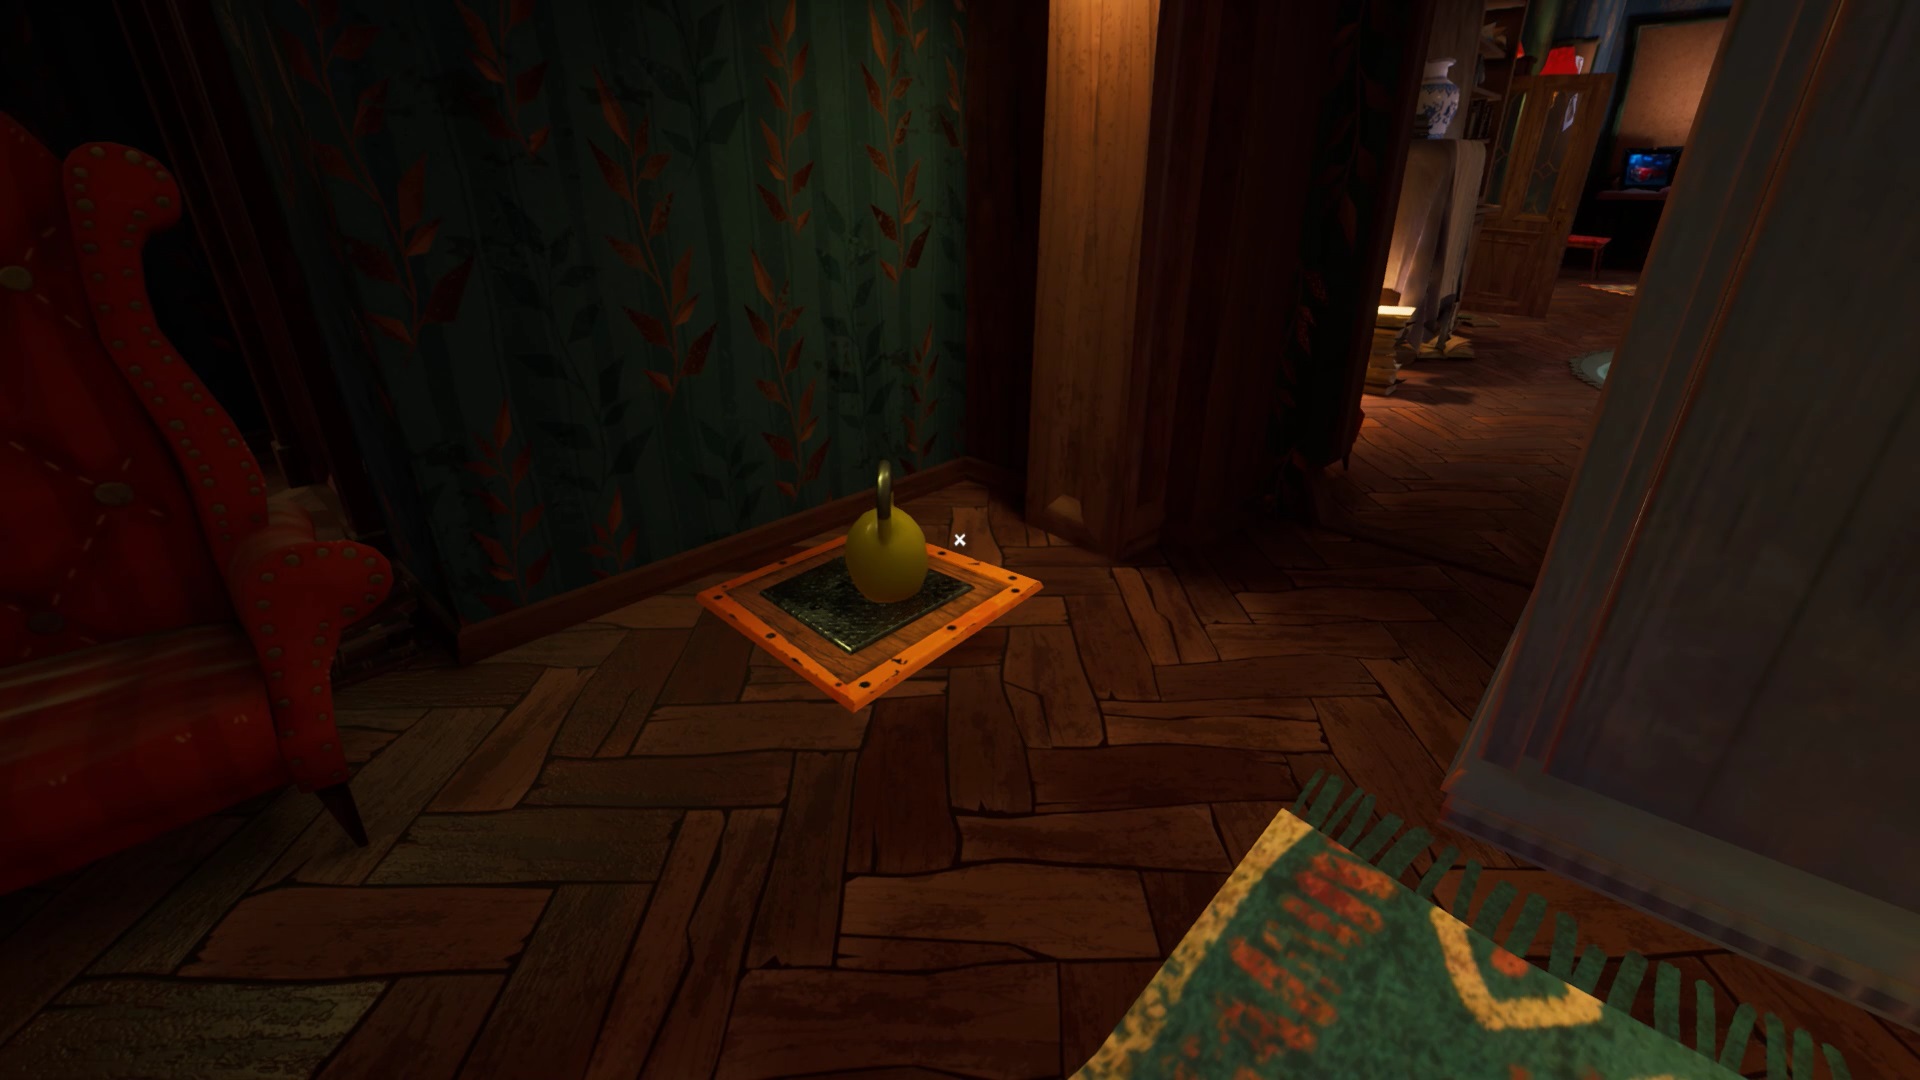
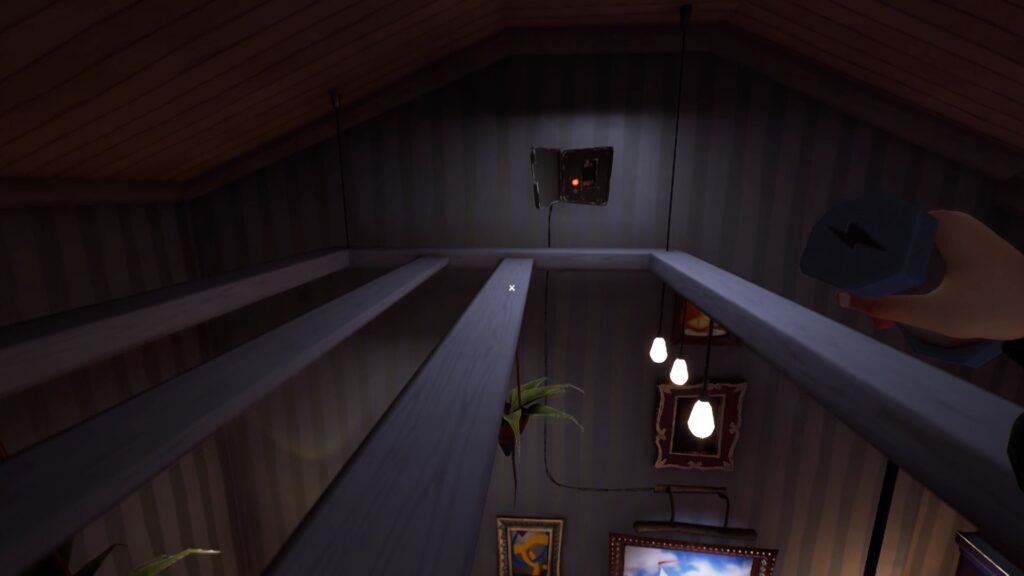
In the bedroom, look at the top of the shelf. A spider’s web blocks access to a dumbbell. Climb up the cabinet to reach the shelf. Use the chisel on the cobweb to retrieve a dumbbell. Return to the room to the left of the bedroom. In the green crate under the desk, there is a lever.
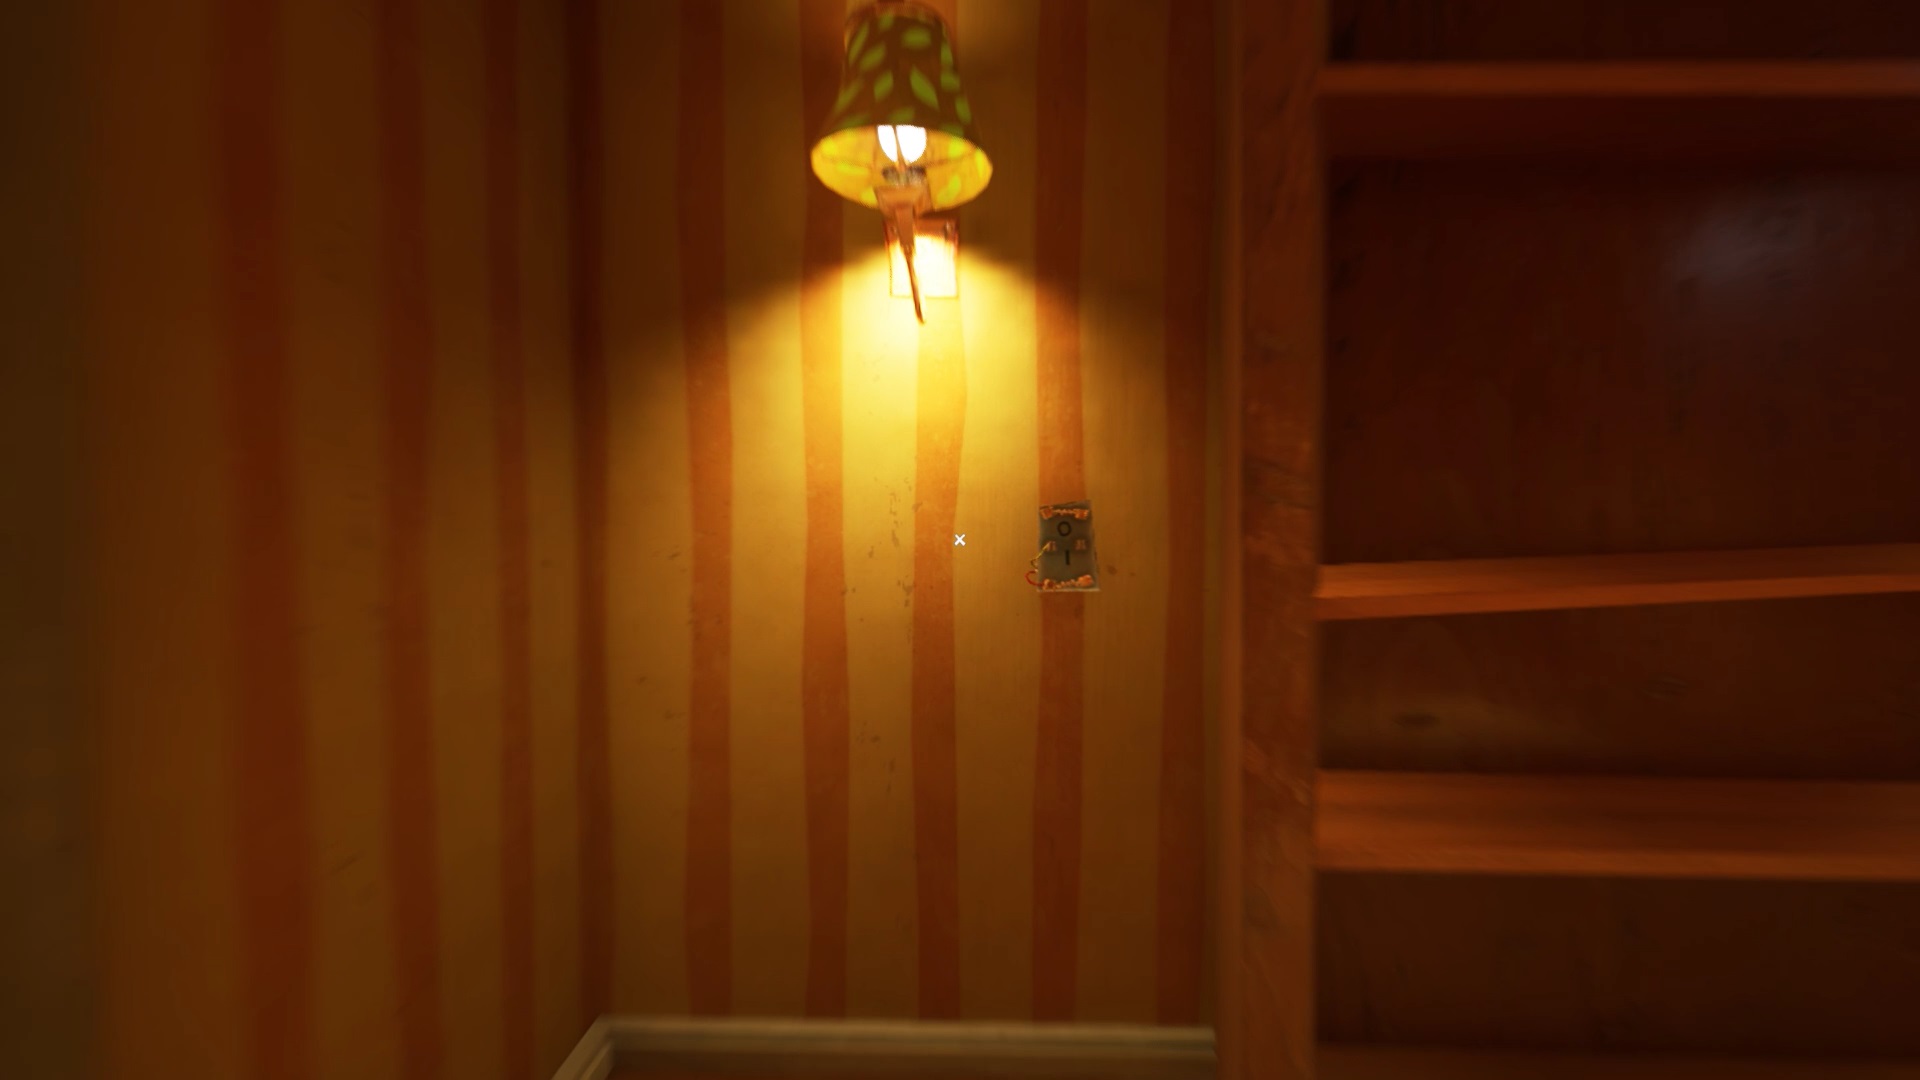
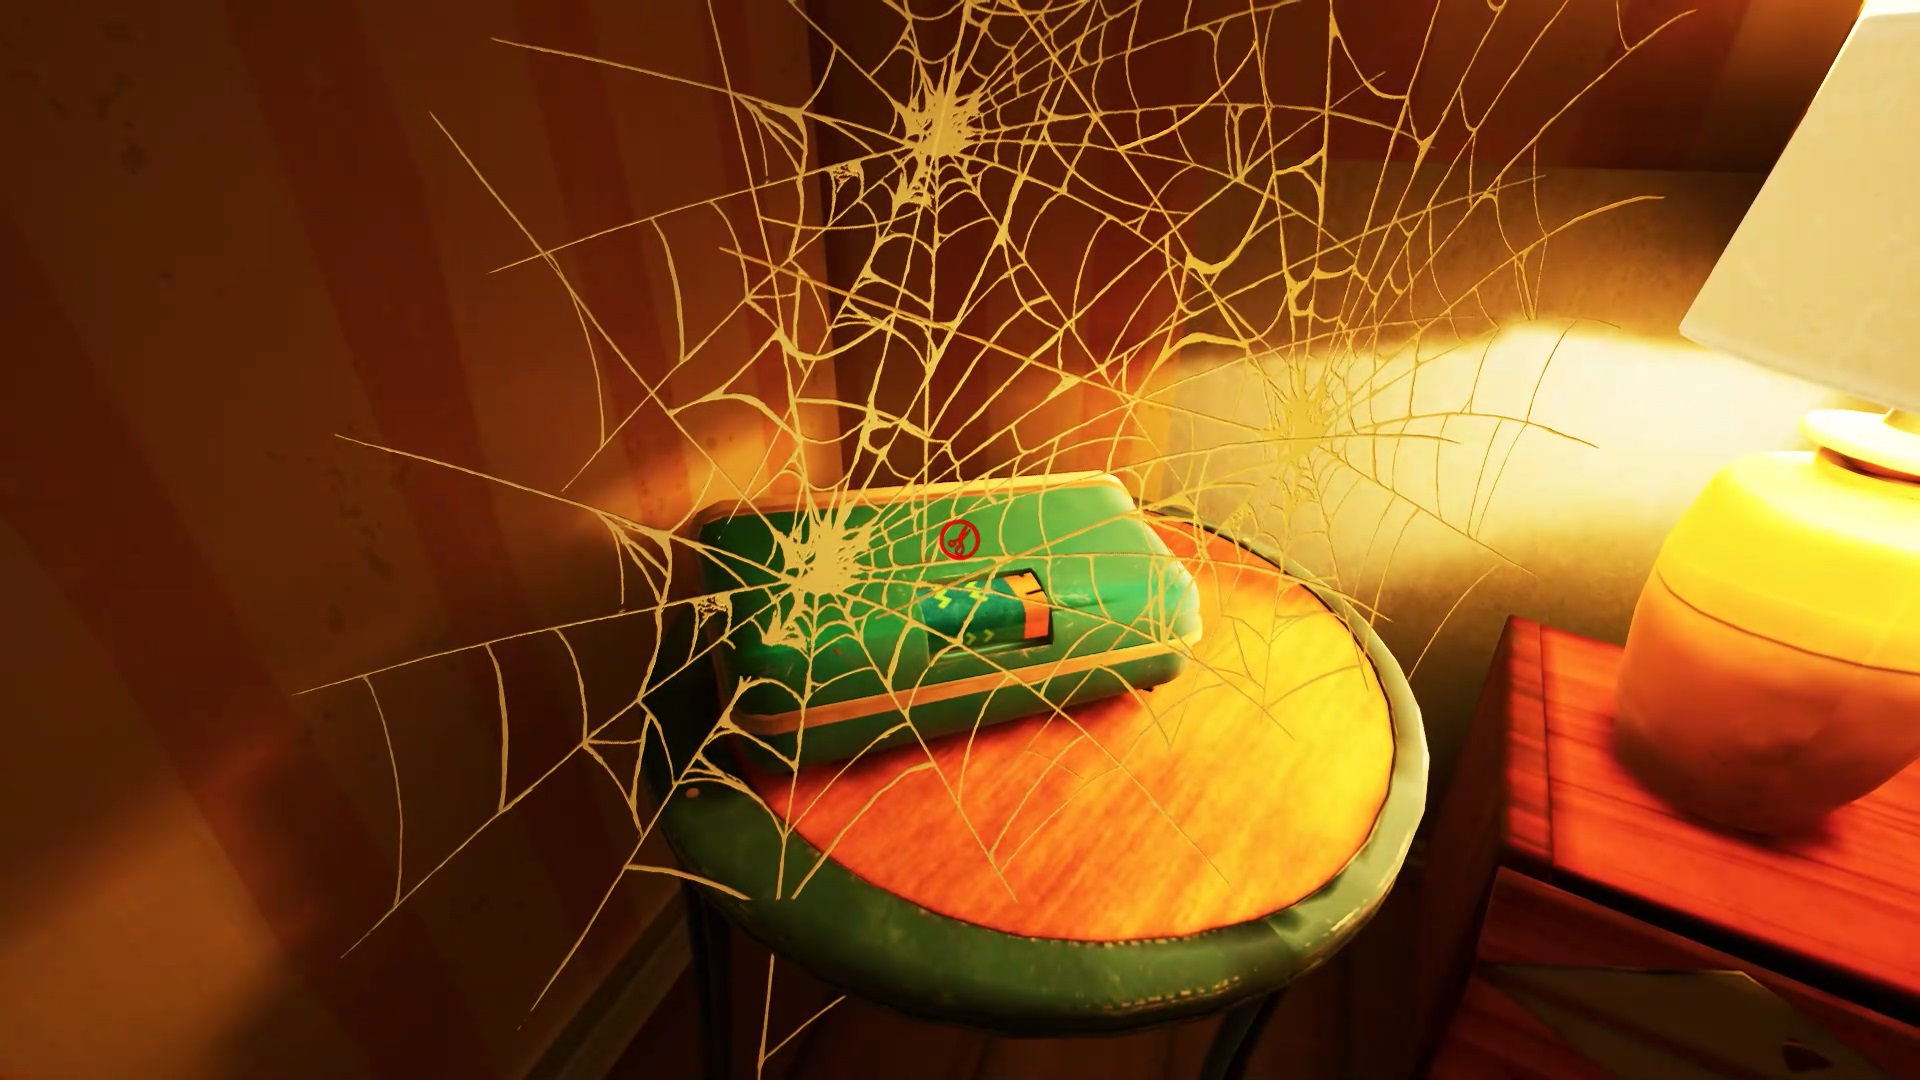
Pick up the lever and place it on the mechanism on the left wall. Enter the secret room. Use your crowbar on the wooden crate. You find a camera that can help you spot your enemies. On the other side of the room, there is a green electronic device. Use your scissors to remove the cobwebs from the device and collect a battery.
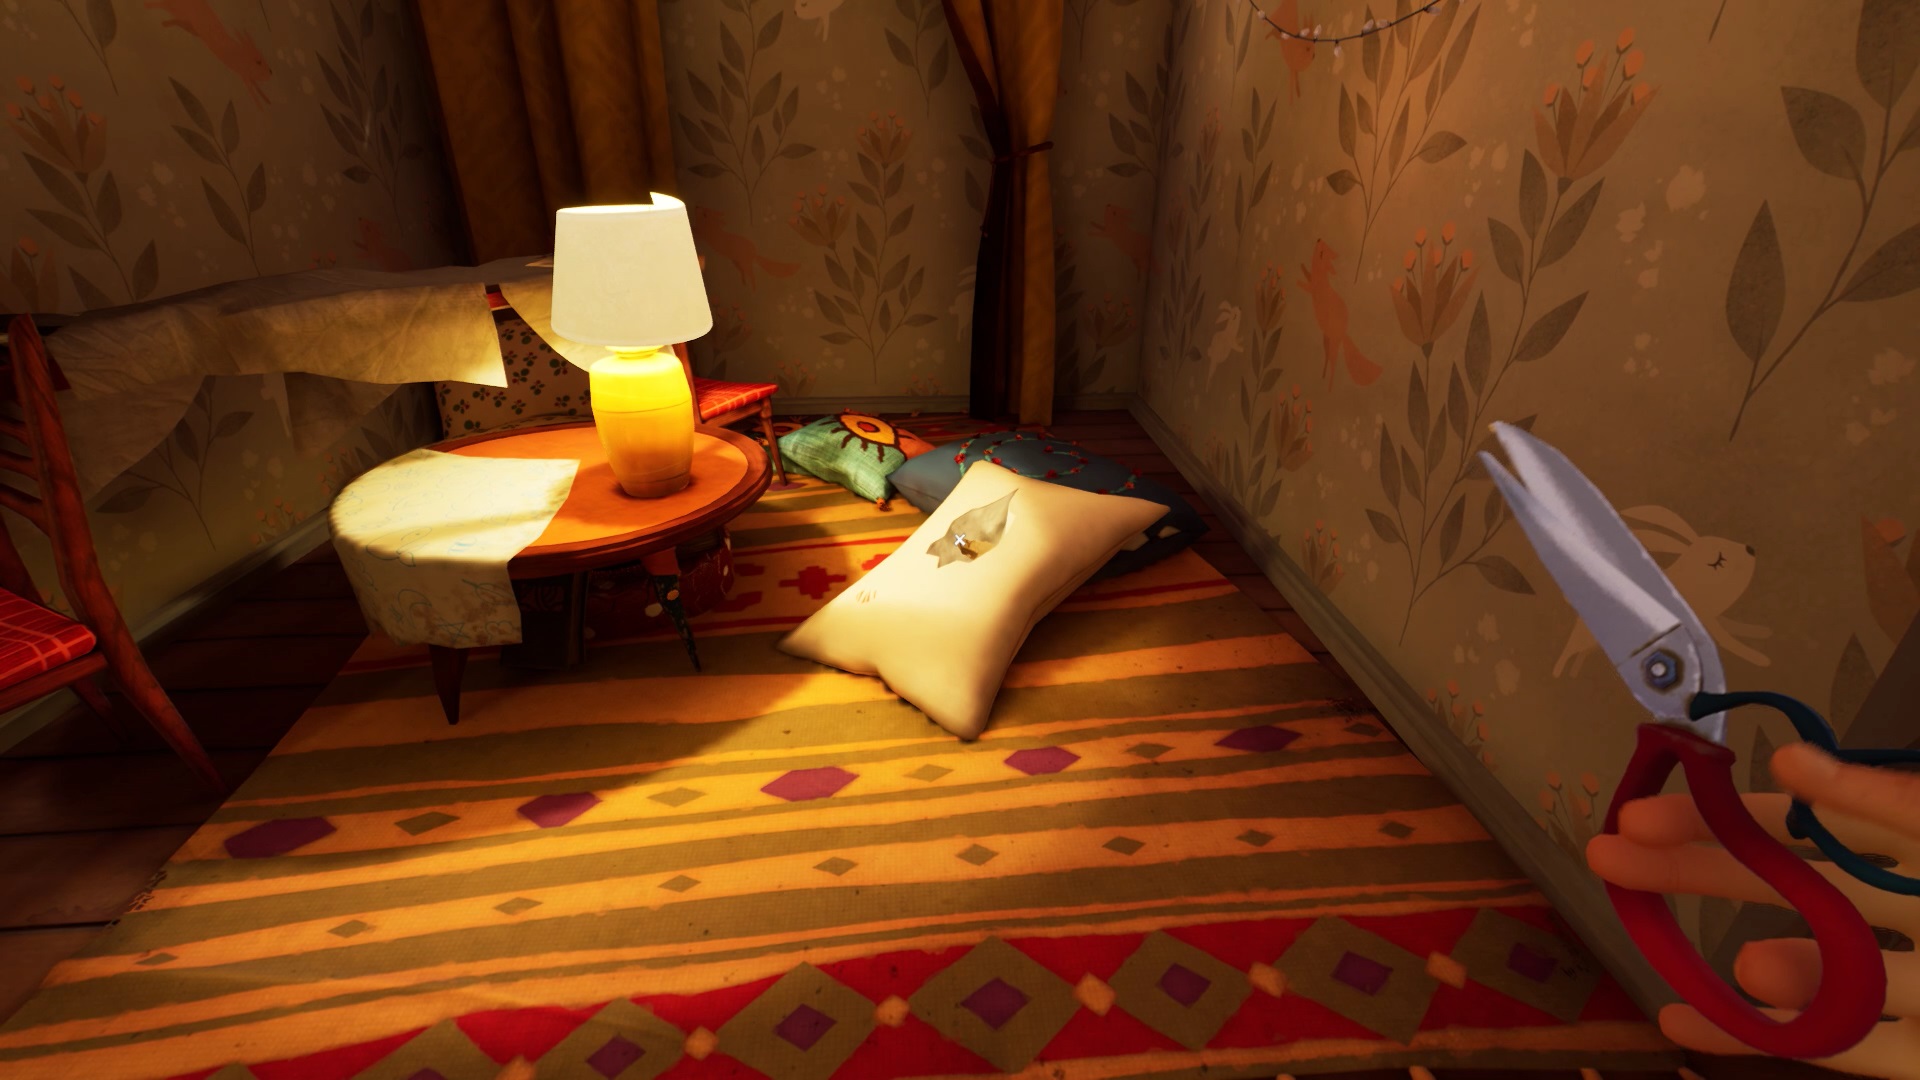
Return to the upstairs hallway and use your crowbar on the wooden crate at the end of the hallway. You get a second piece of photo. Enter the second bedroom. At the far left of the child’s room, you find several pillows. Use your chisel on the white pillow. You find a piece of photo.
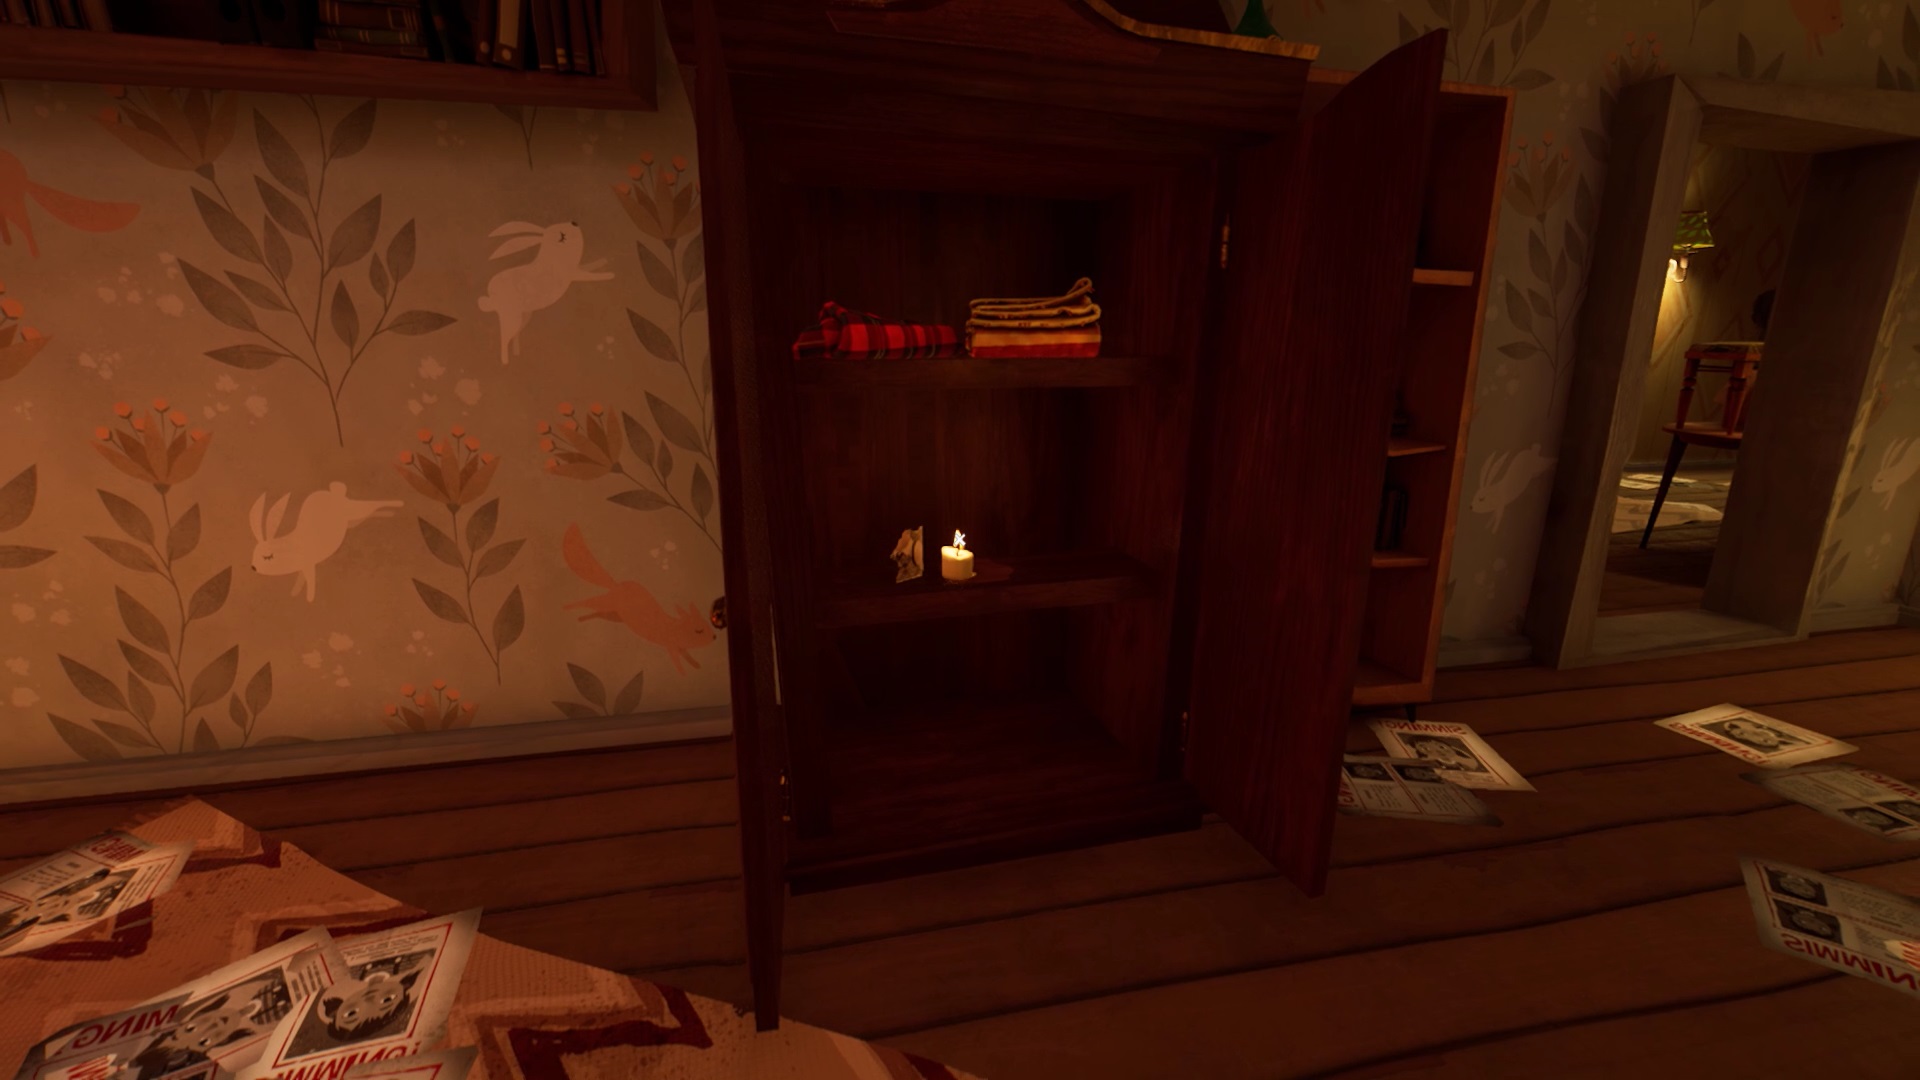
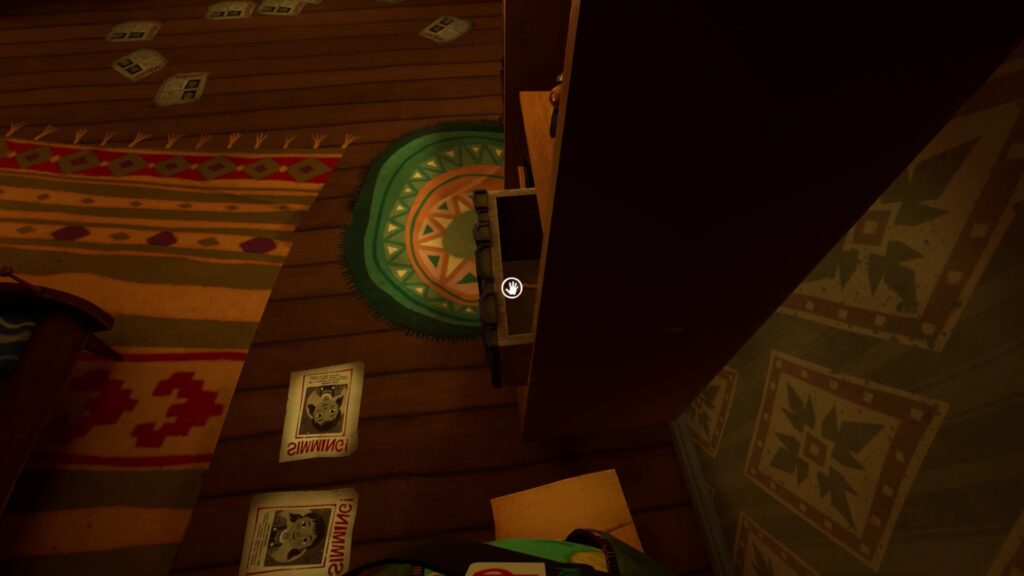
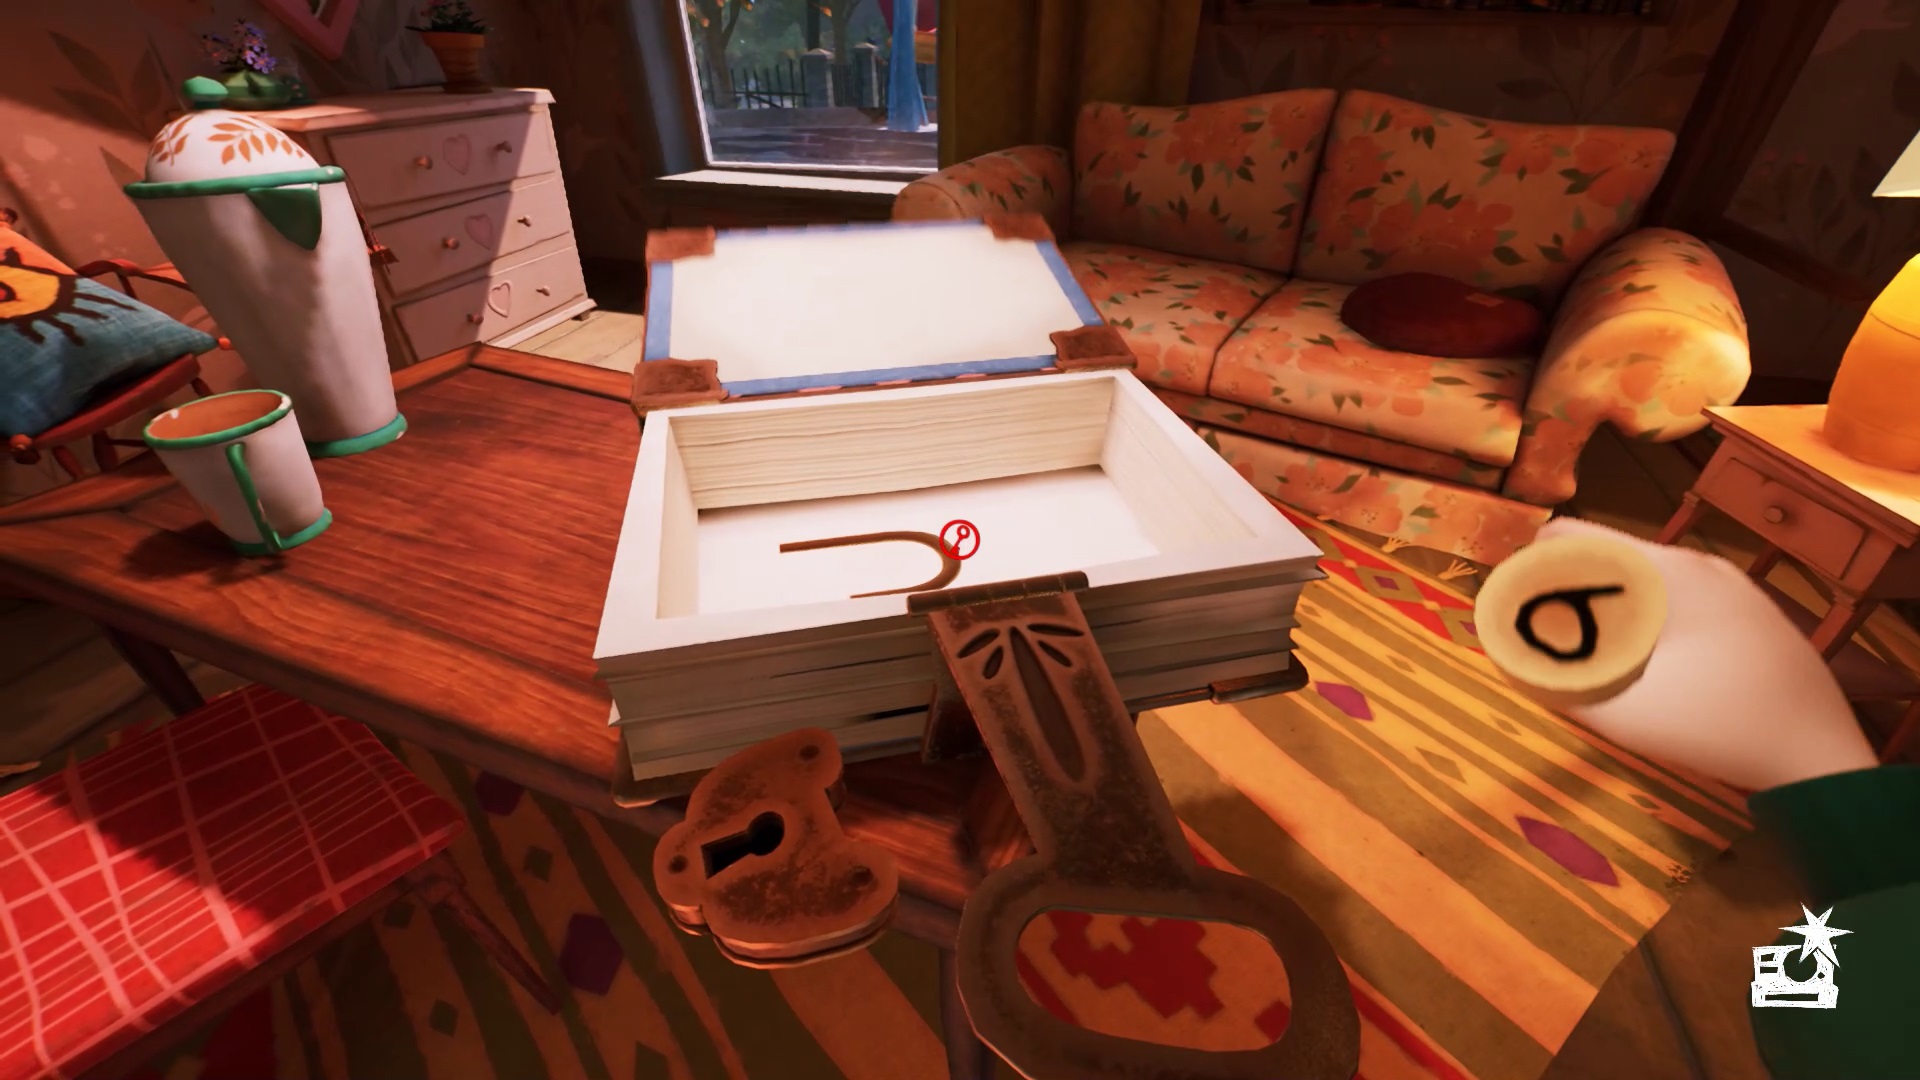
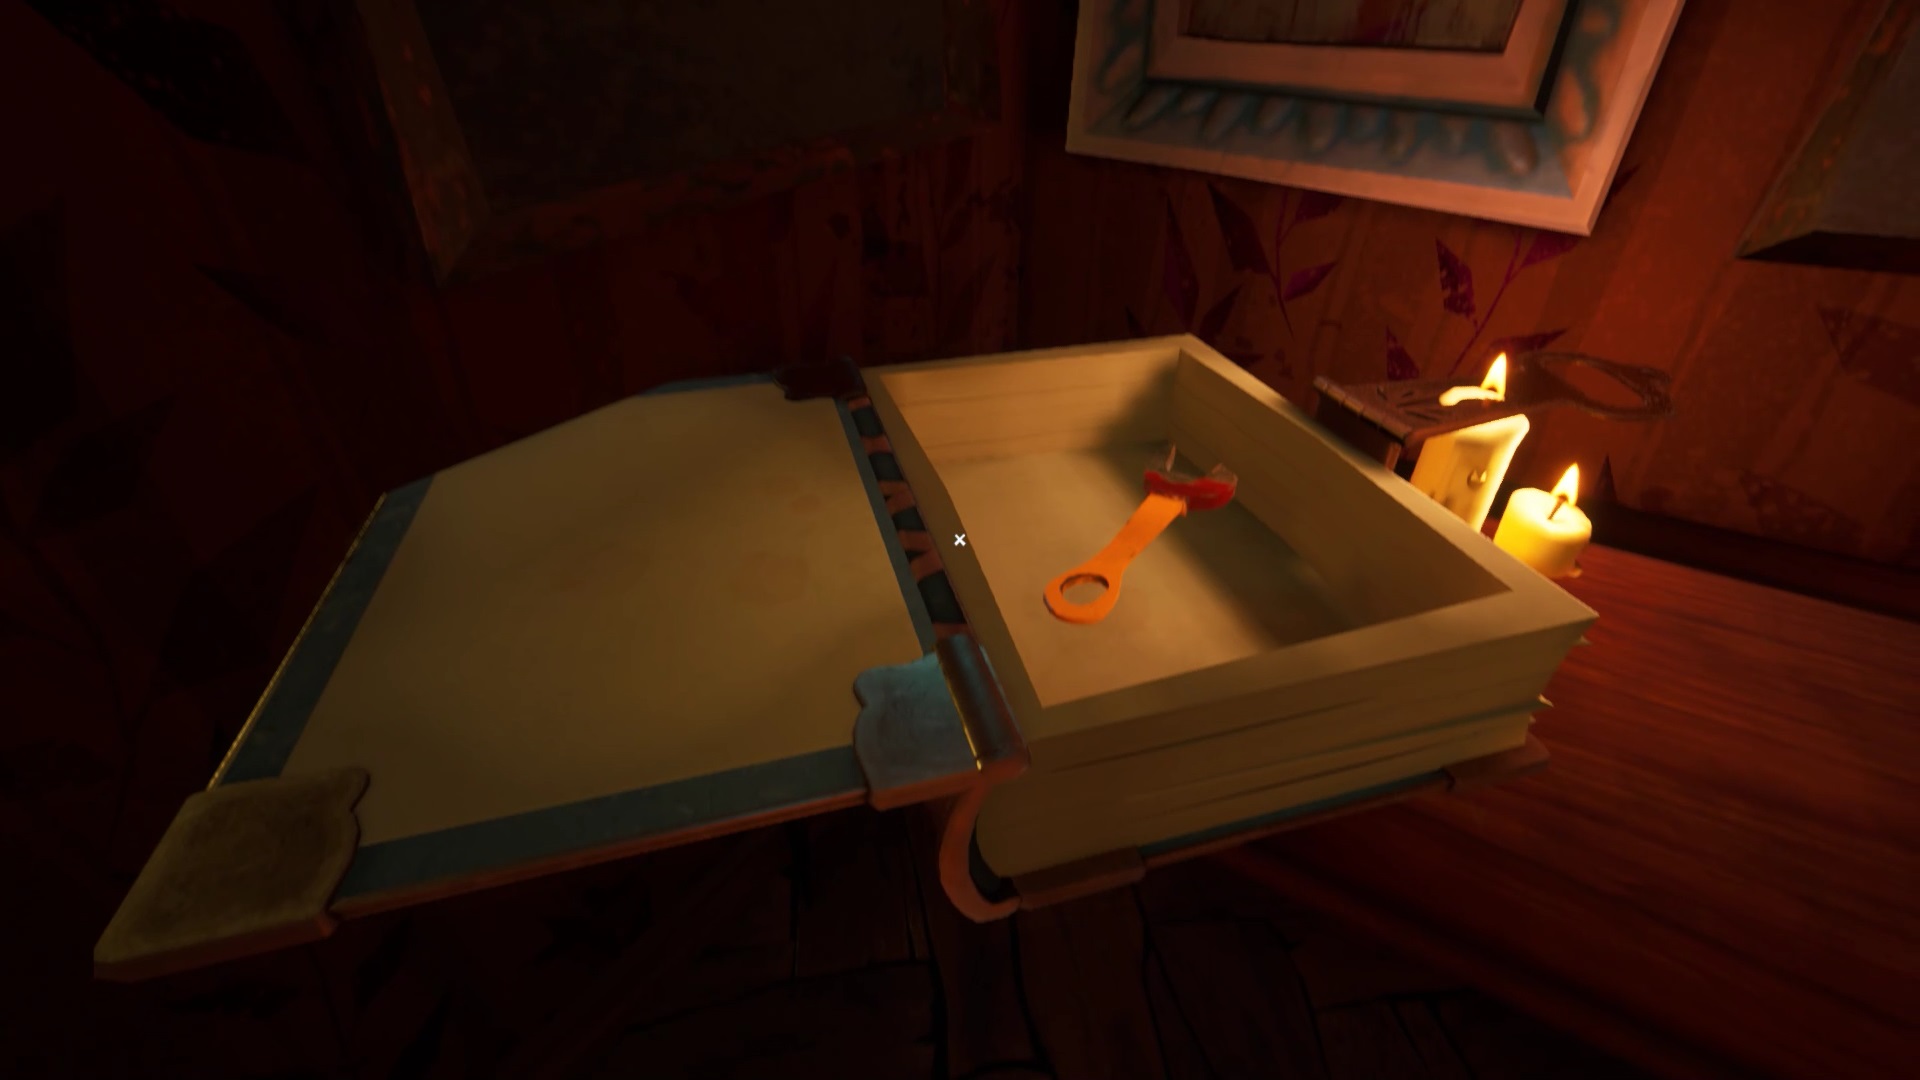
Place the dumbbell on the slab on the floor, near the pillows. The wardrobe near the bed is now open. Recover the last piece of photo in the cupboard. Restore the photo with the recovered pieces. In the library to the right of the photo, a pile of fake books has moved. Recover a key behind this pile of books.
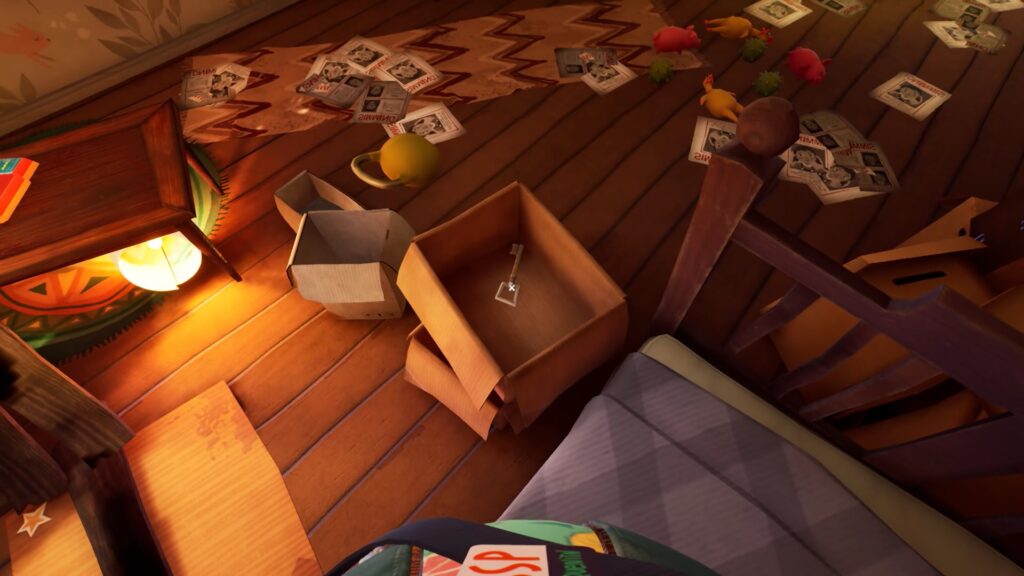
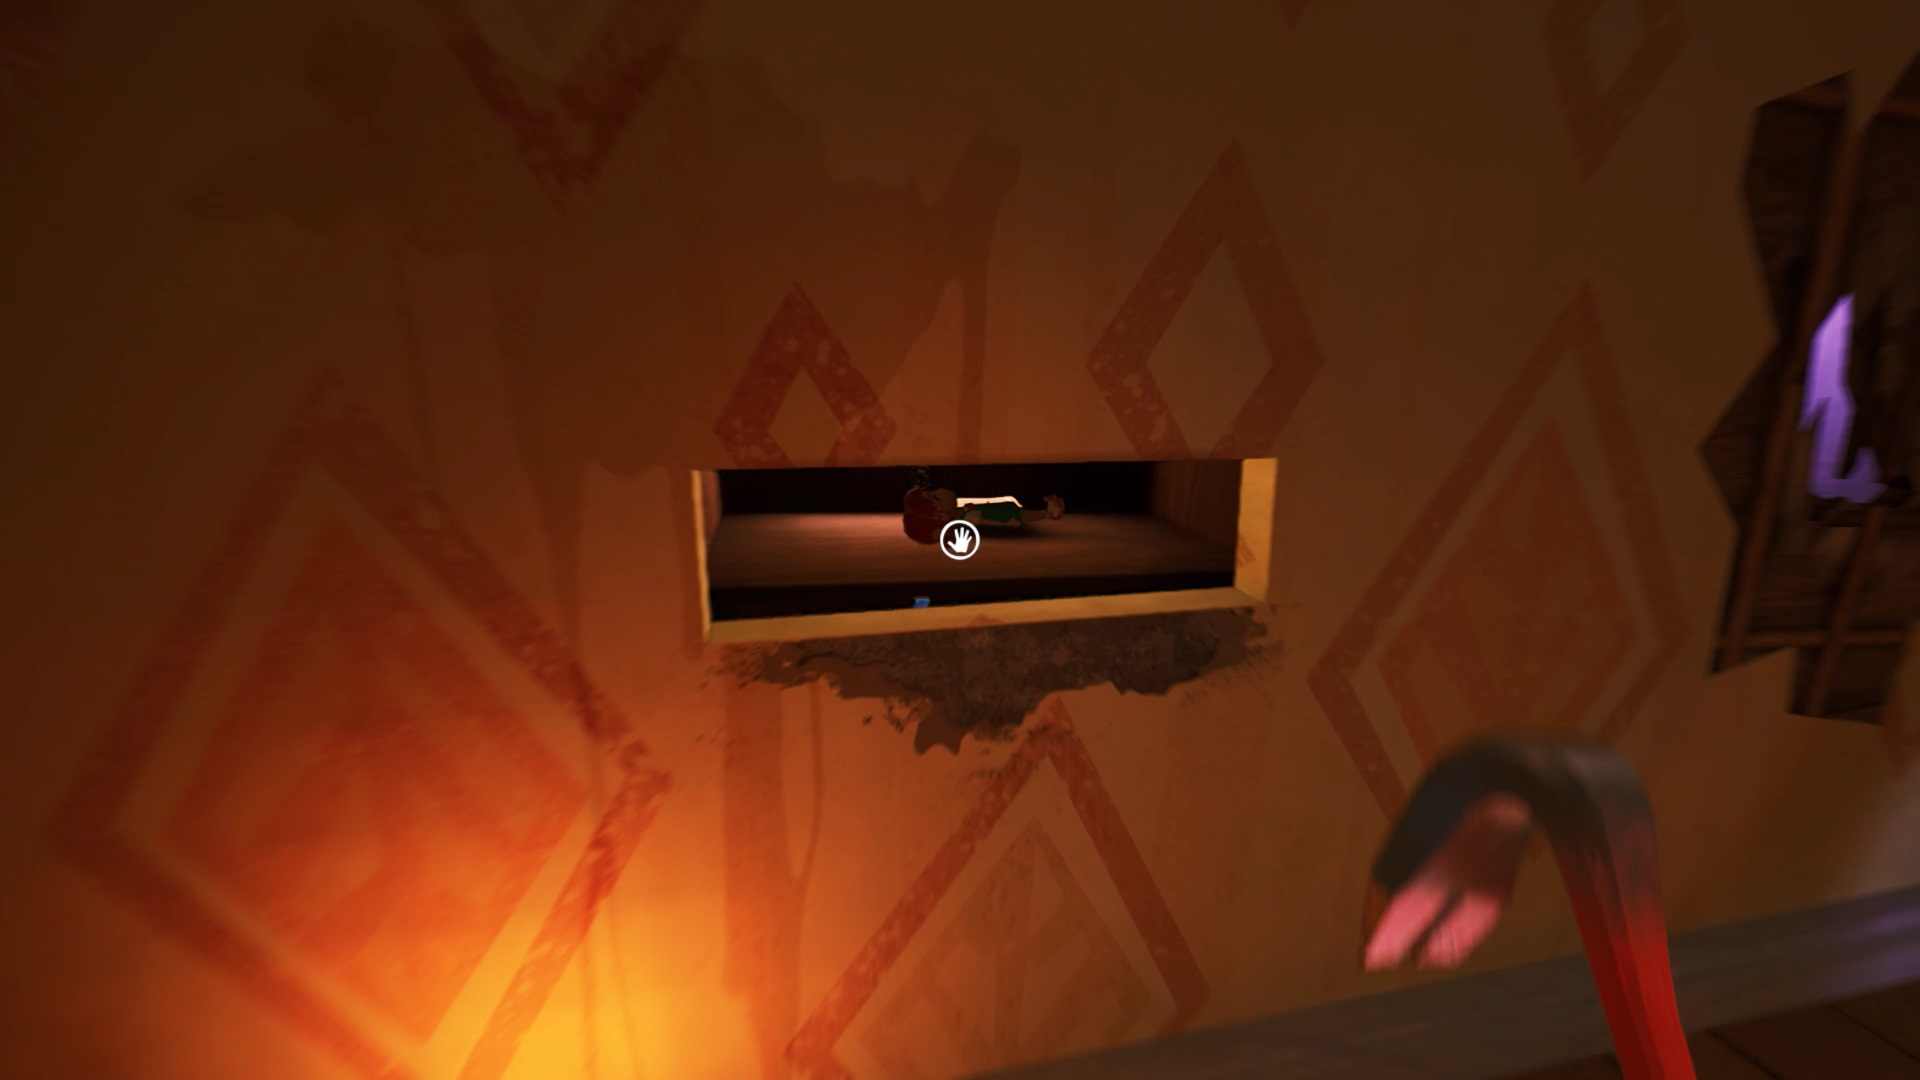
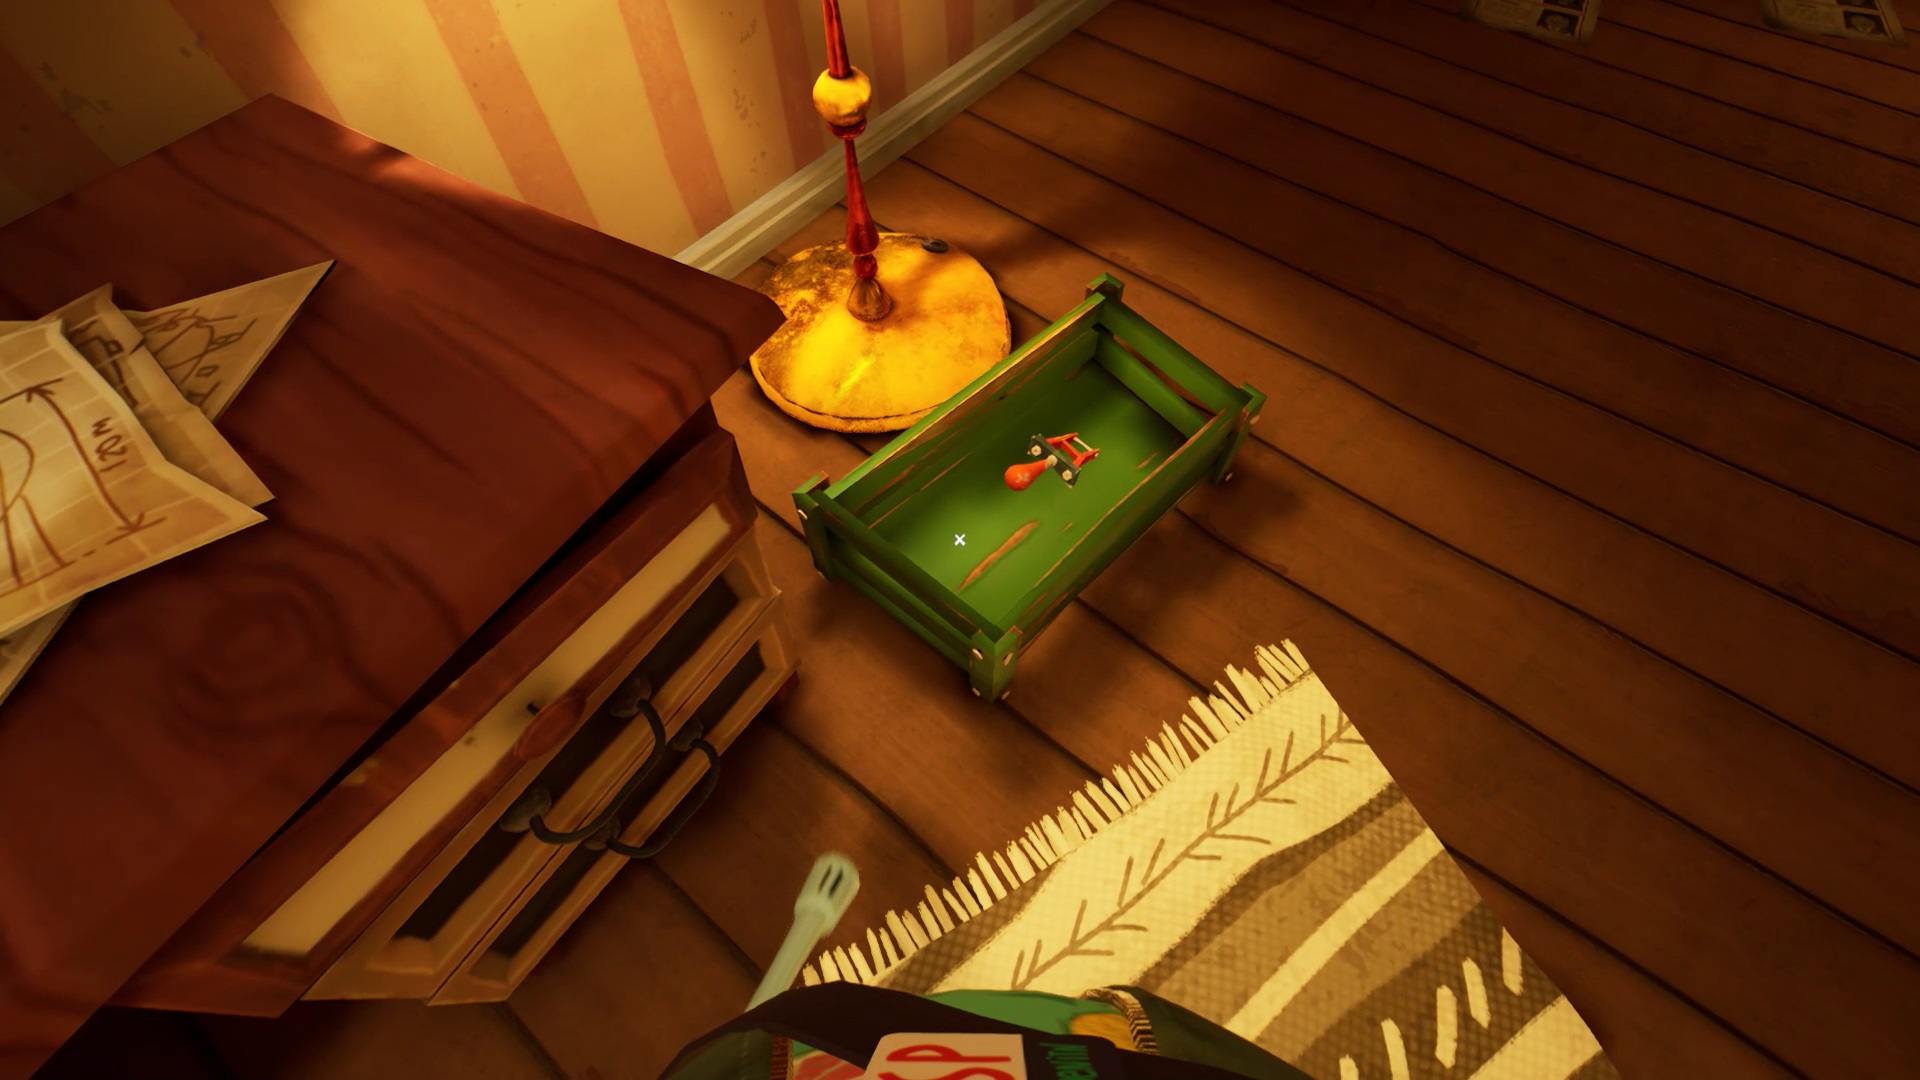
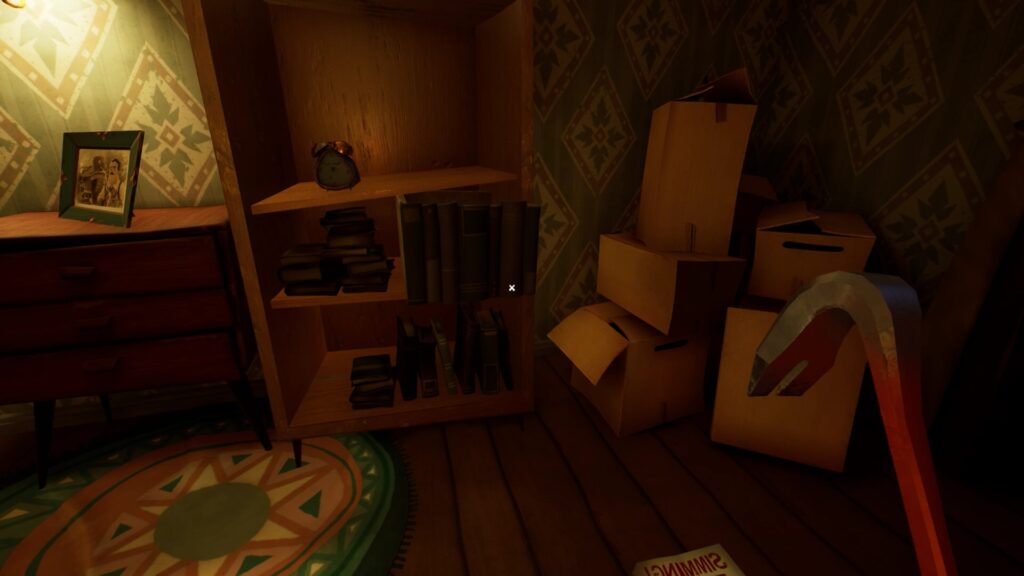
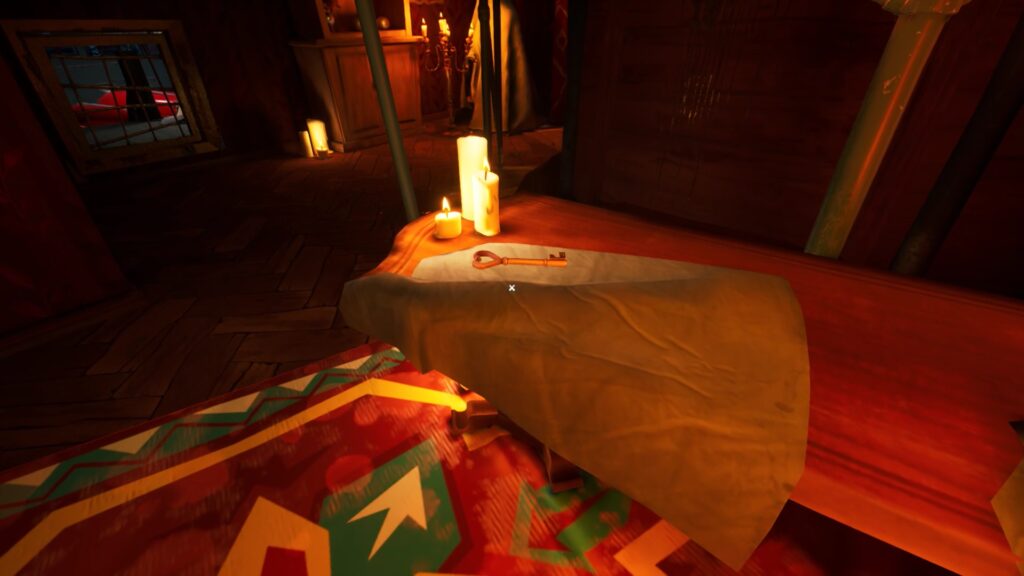
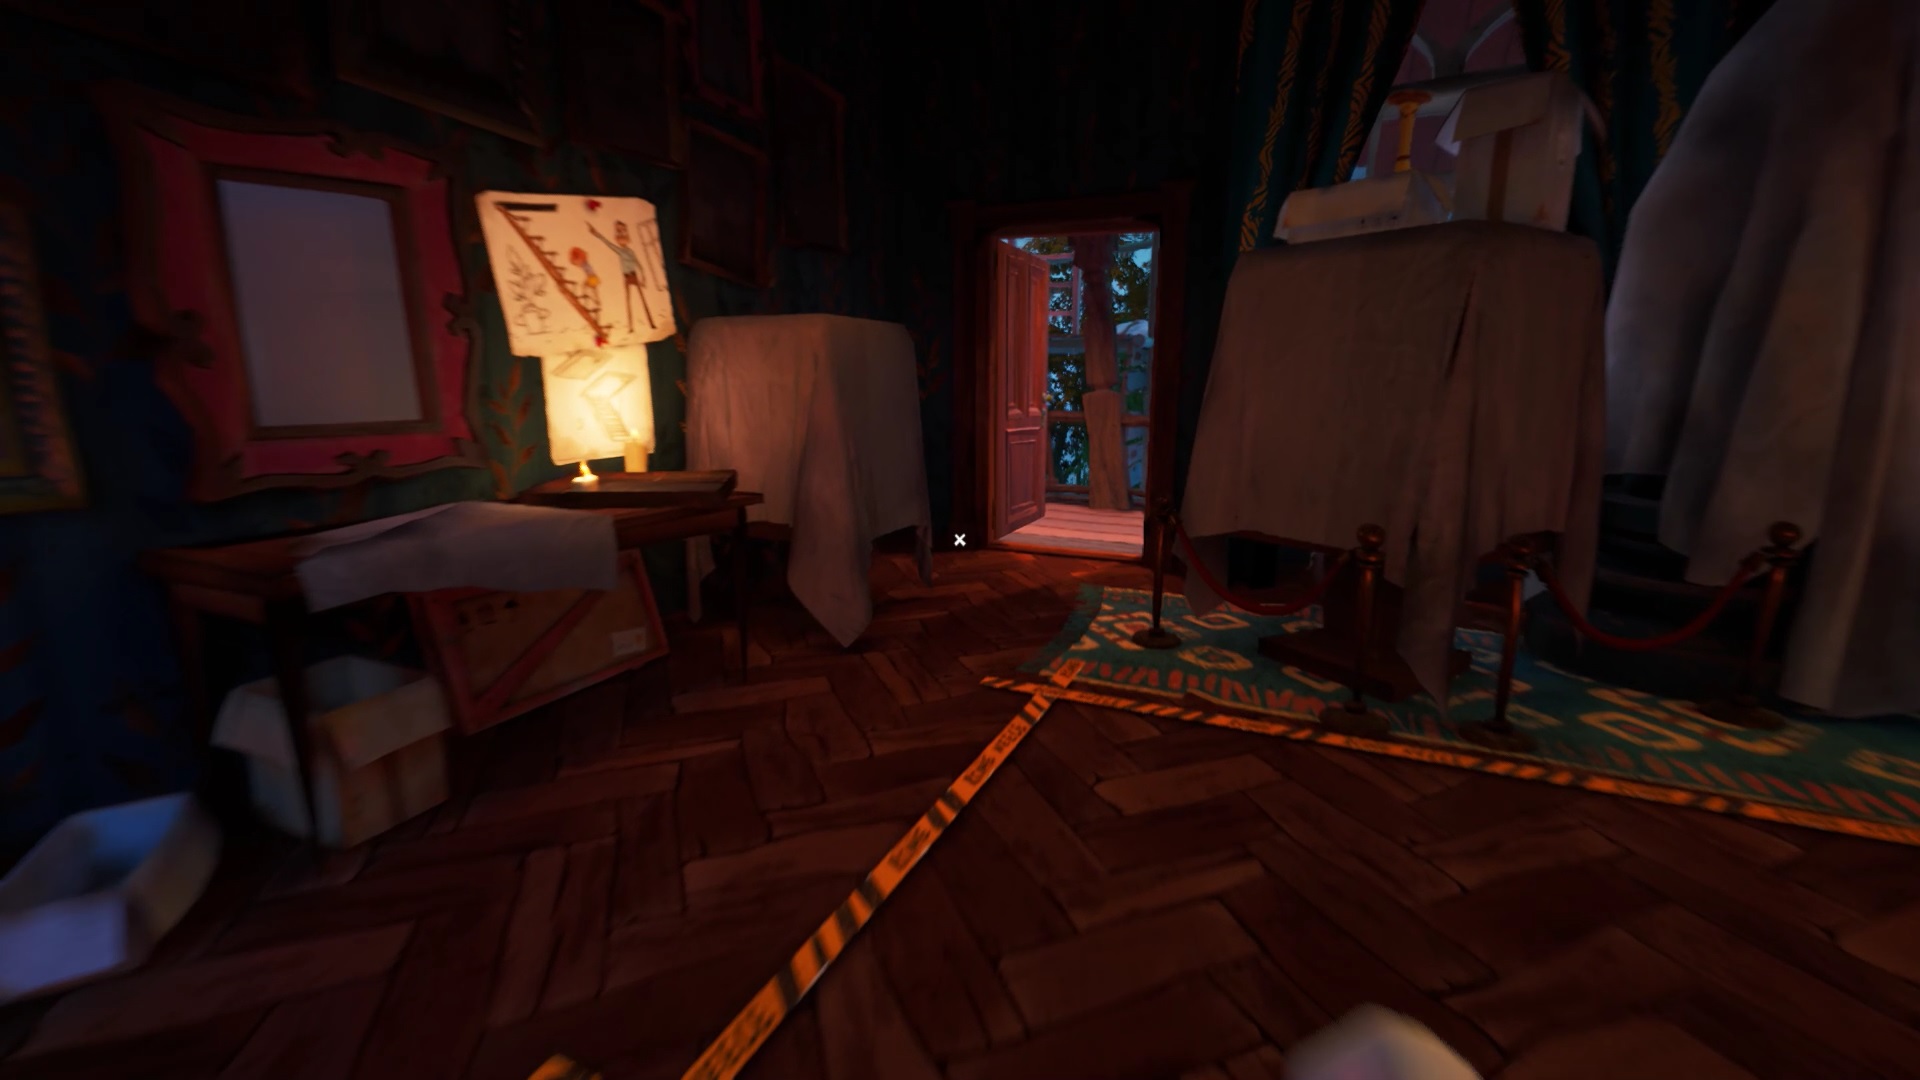
Return to the Child’s Room. Place the battery in the mechanism of the electric car. Operate the mechanism to move the car forward. Press again to bring the car back. Get on the bed and look at the boxes to find the last key. Unlock all the padlocks in the living room to reach the basement. Read the document on the bedside table to trigger a cutscene.
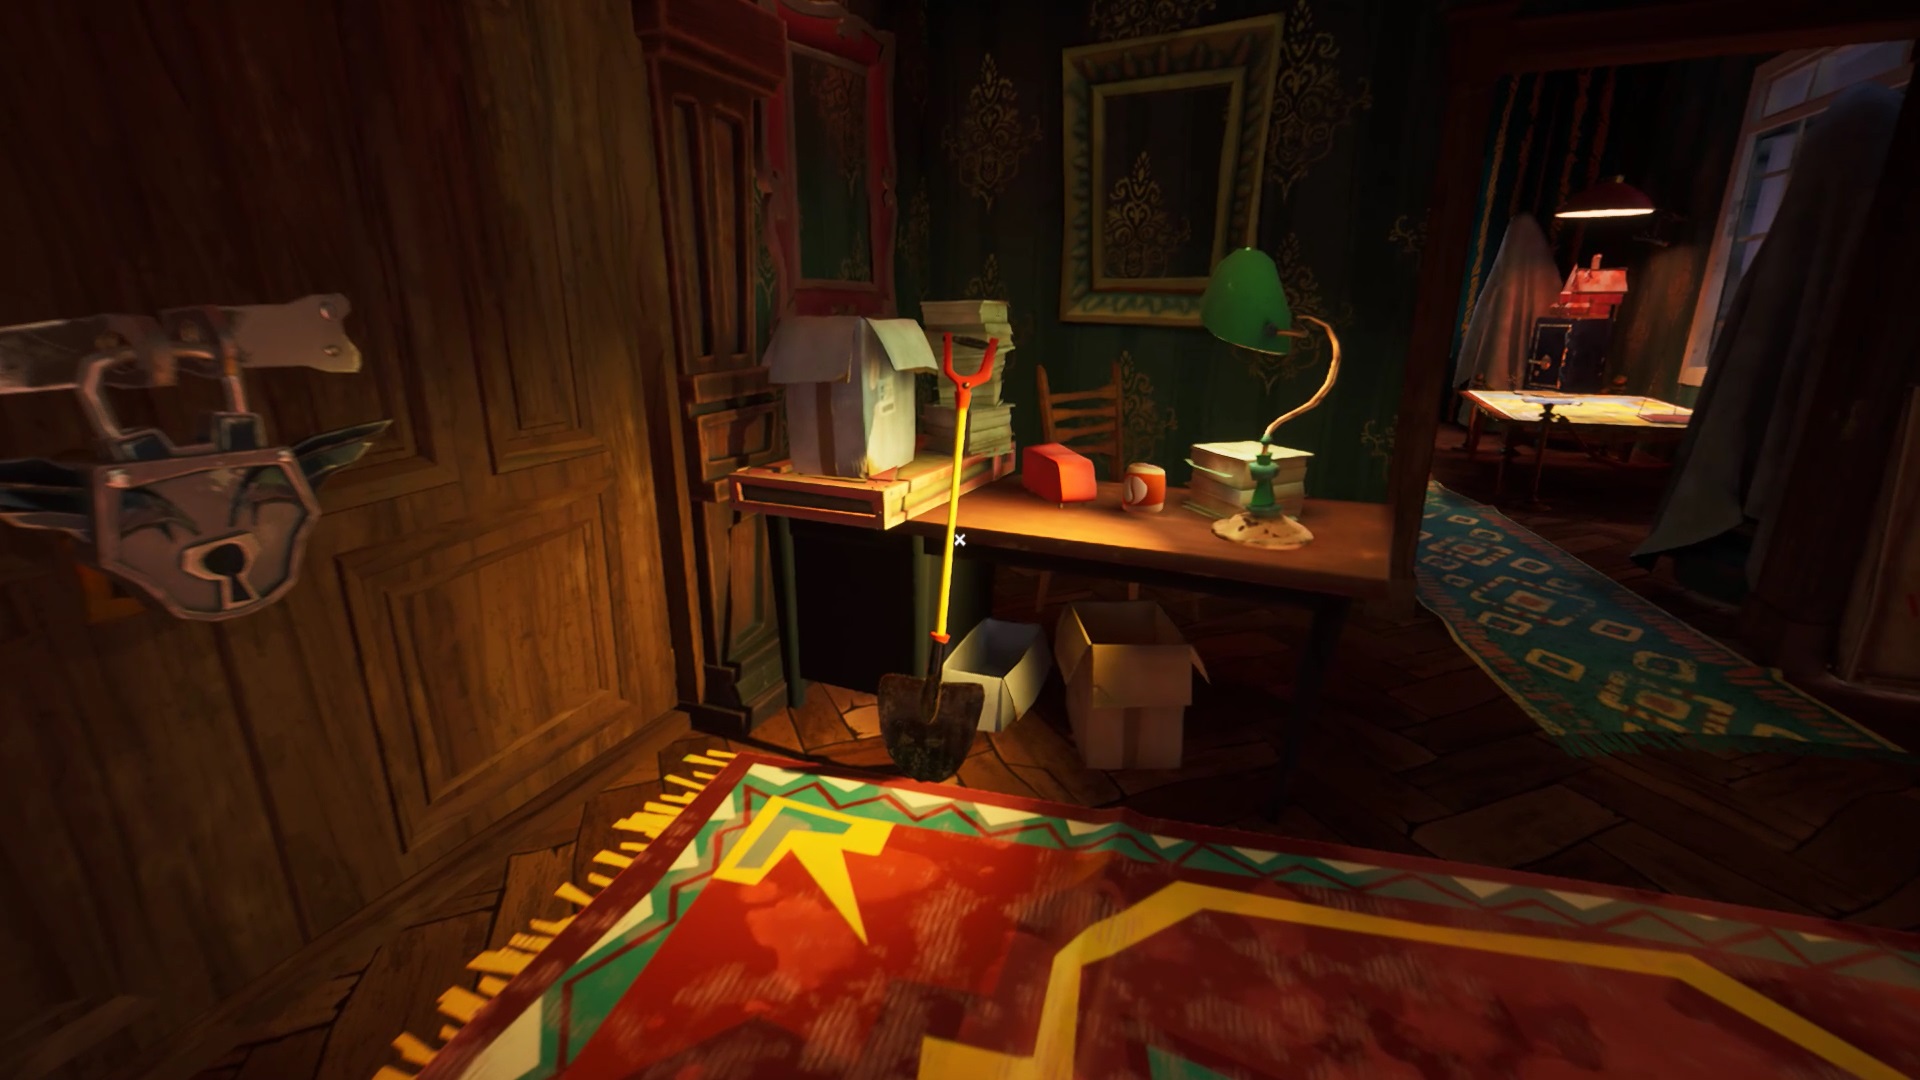
On the document, you discover a new place, the « Soleum ». It is the city museum. Pick up the key placed at the location of the document to exit the basement. The museum is located in the heights of the city. Look in the sky, crows are prowling above the museum. Enter the museum, and retrieve the shovel in the entrance. A cutscene begins.
The Bakery
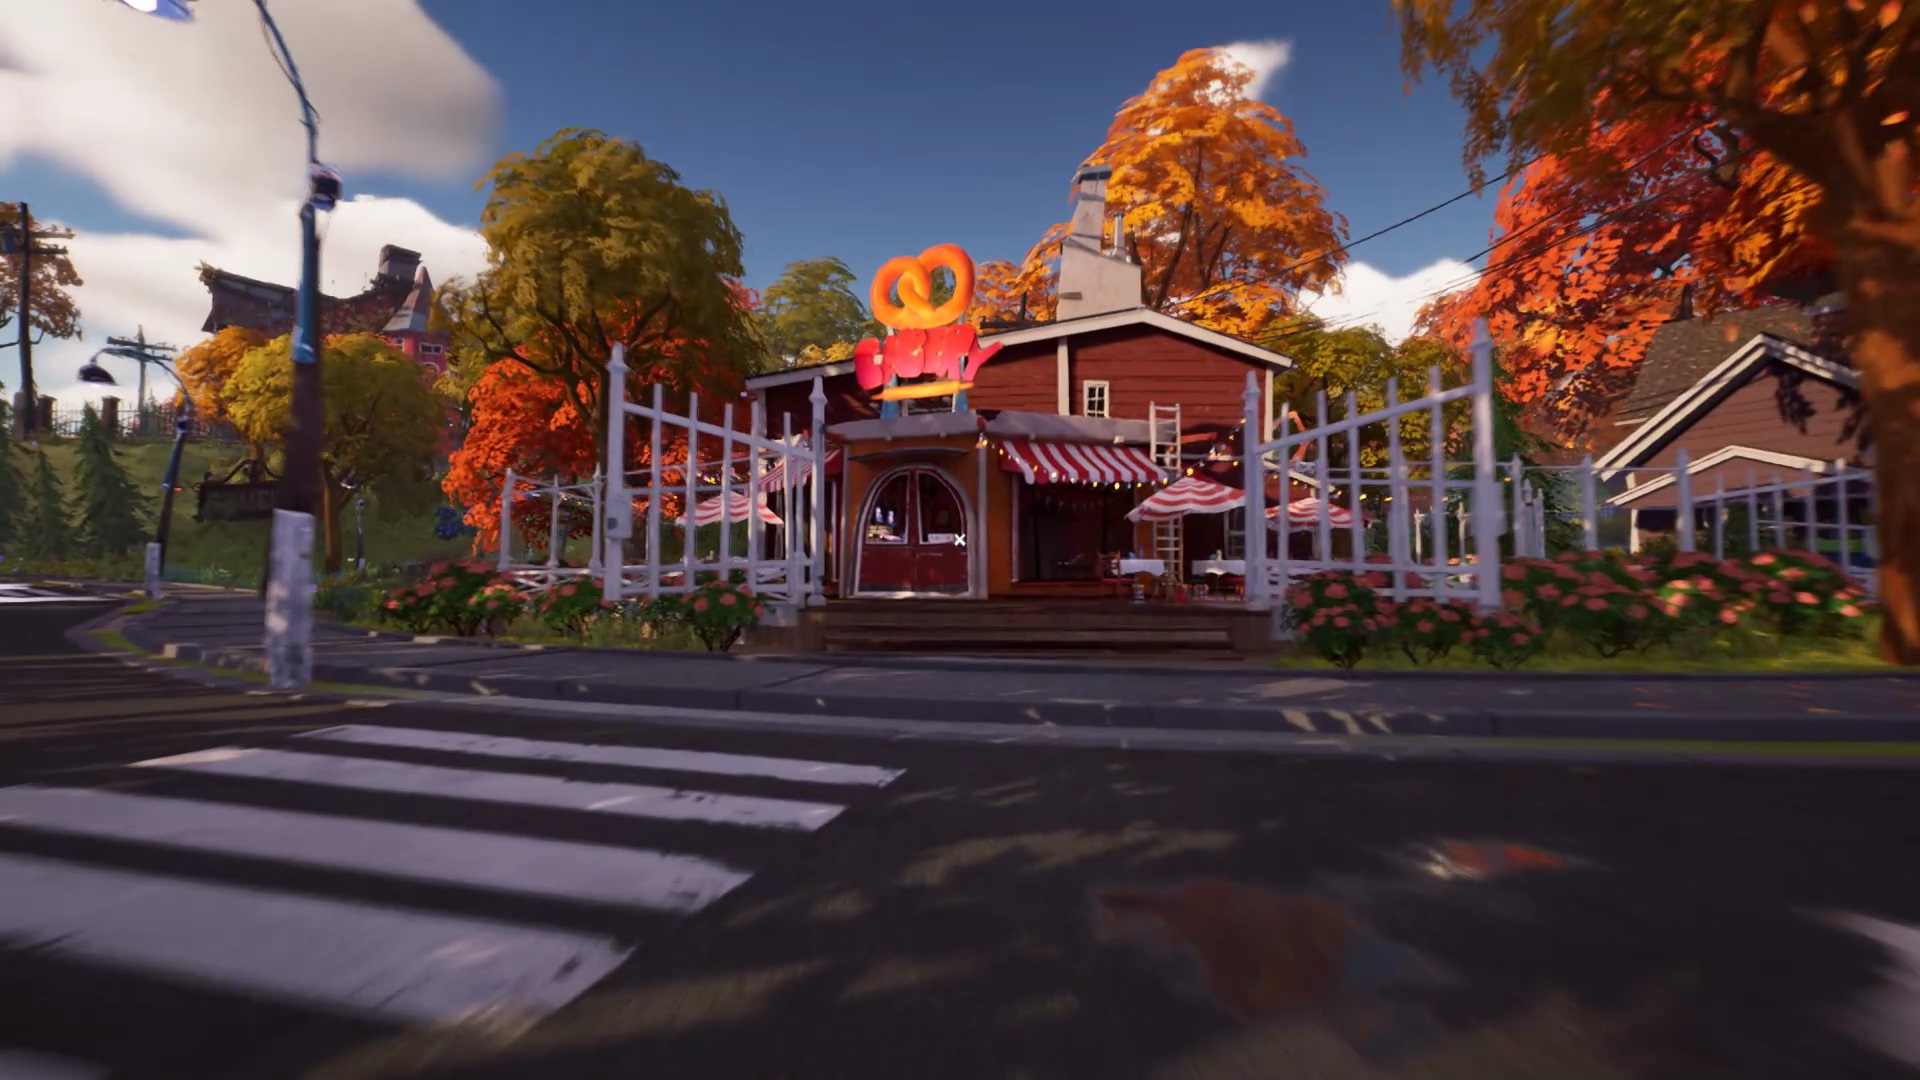
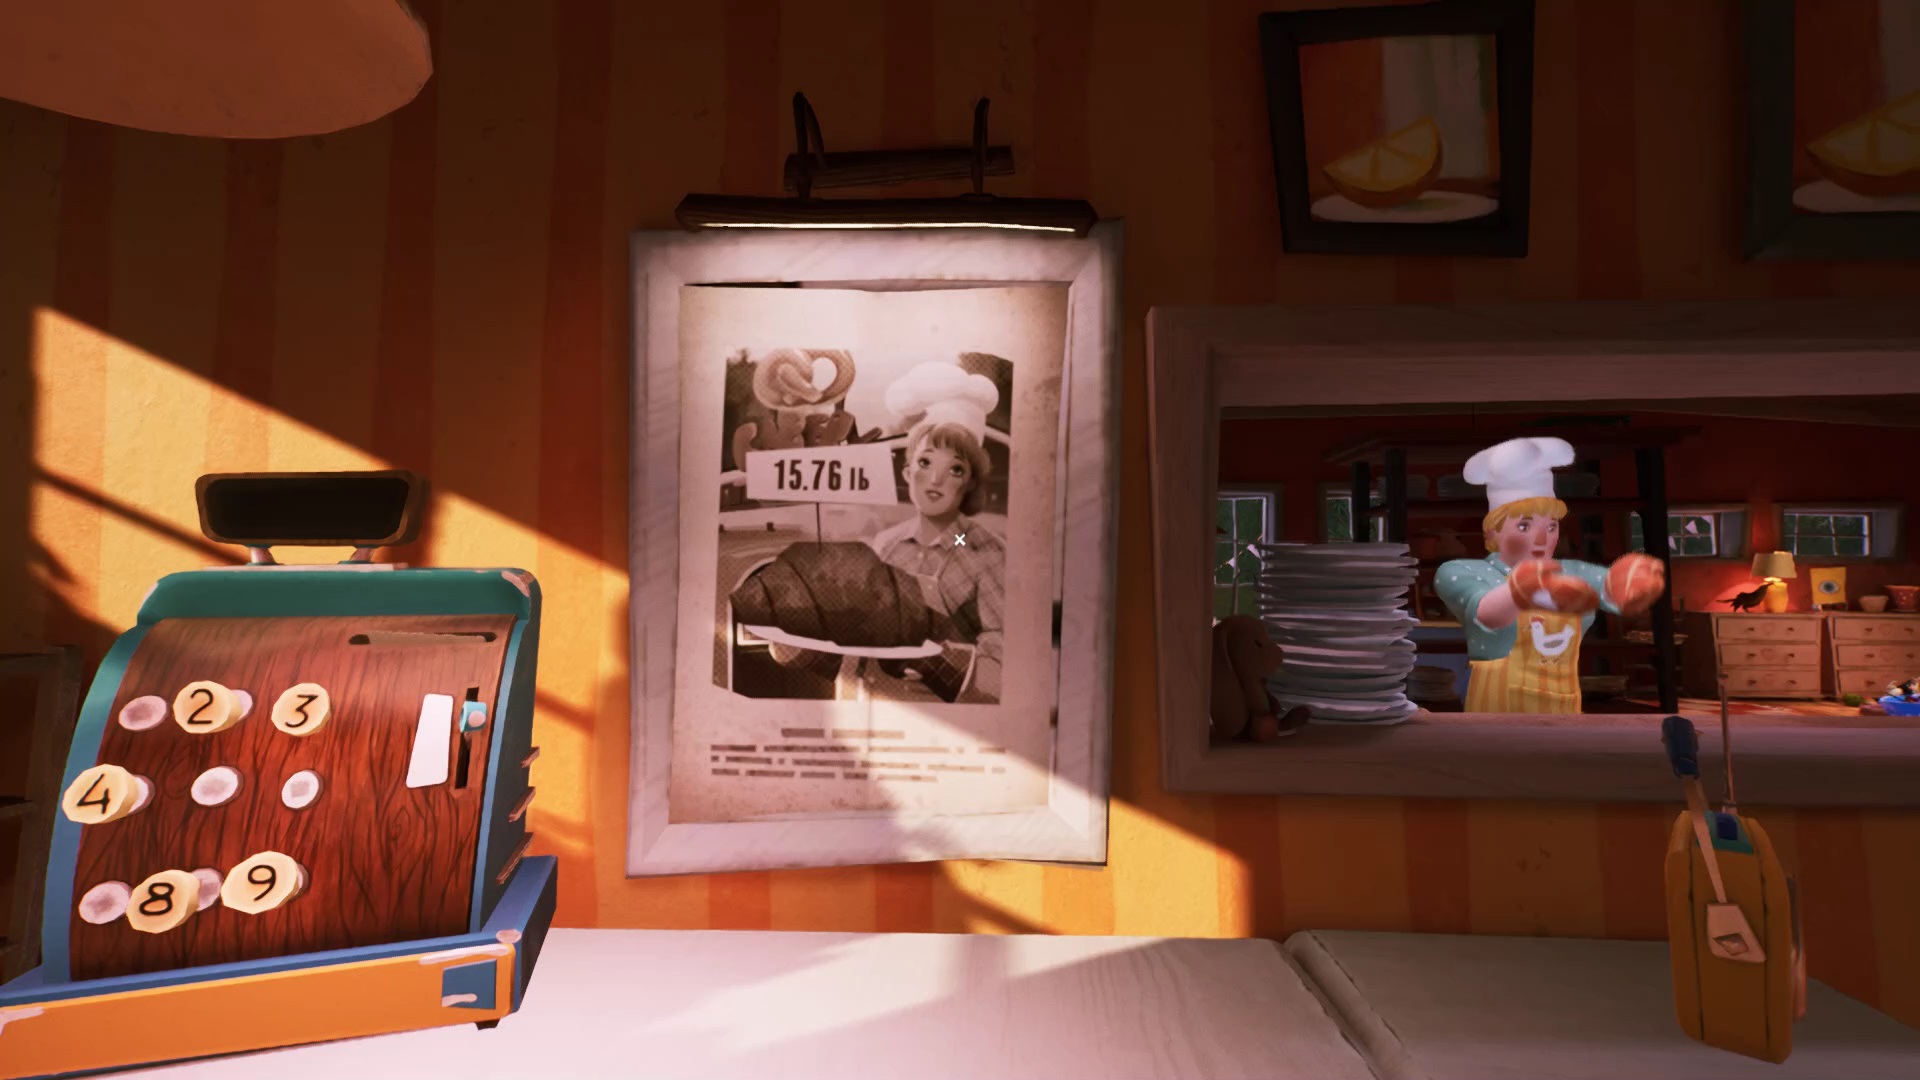
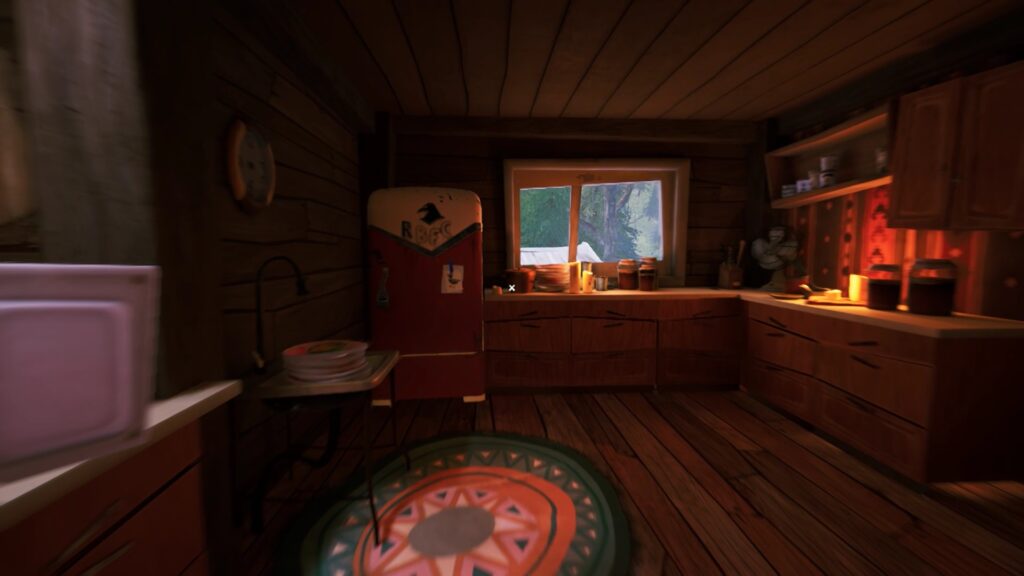
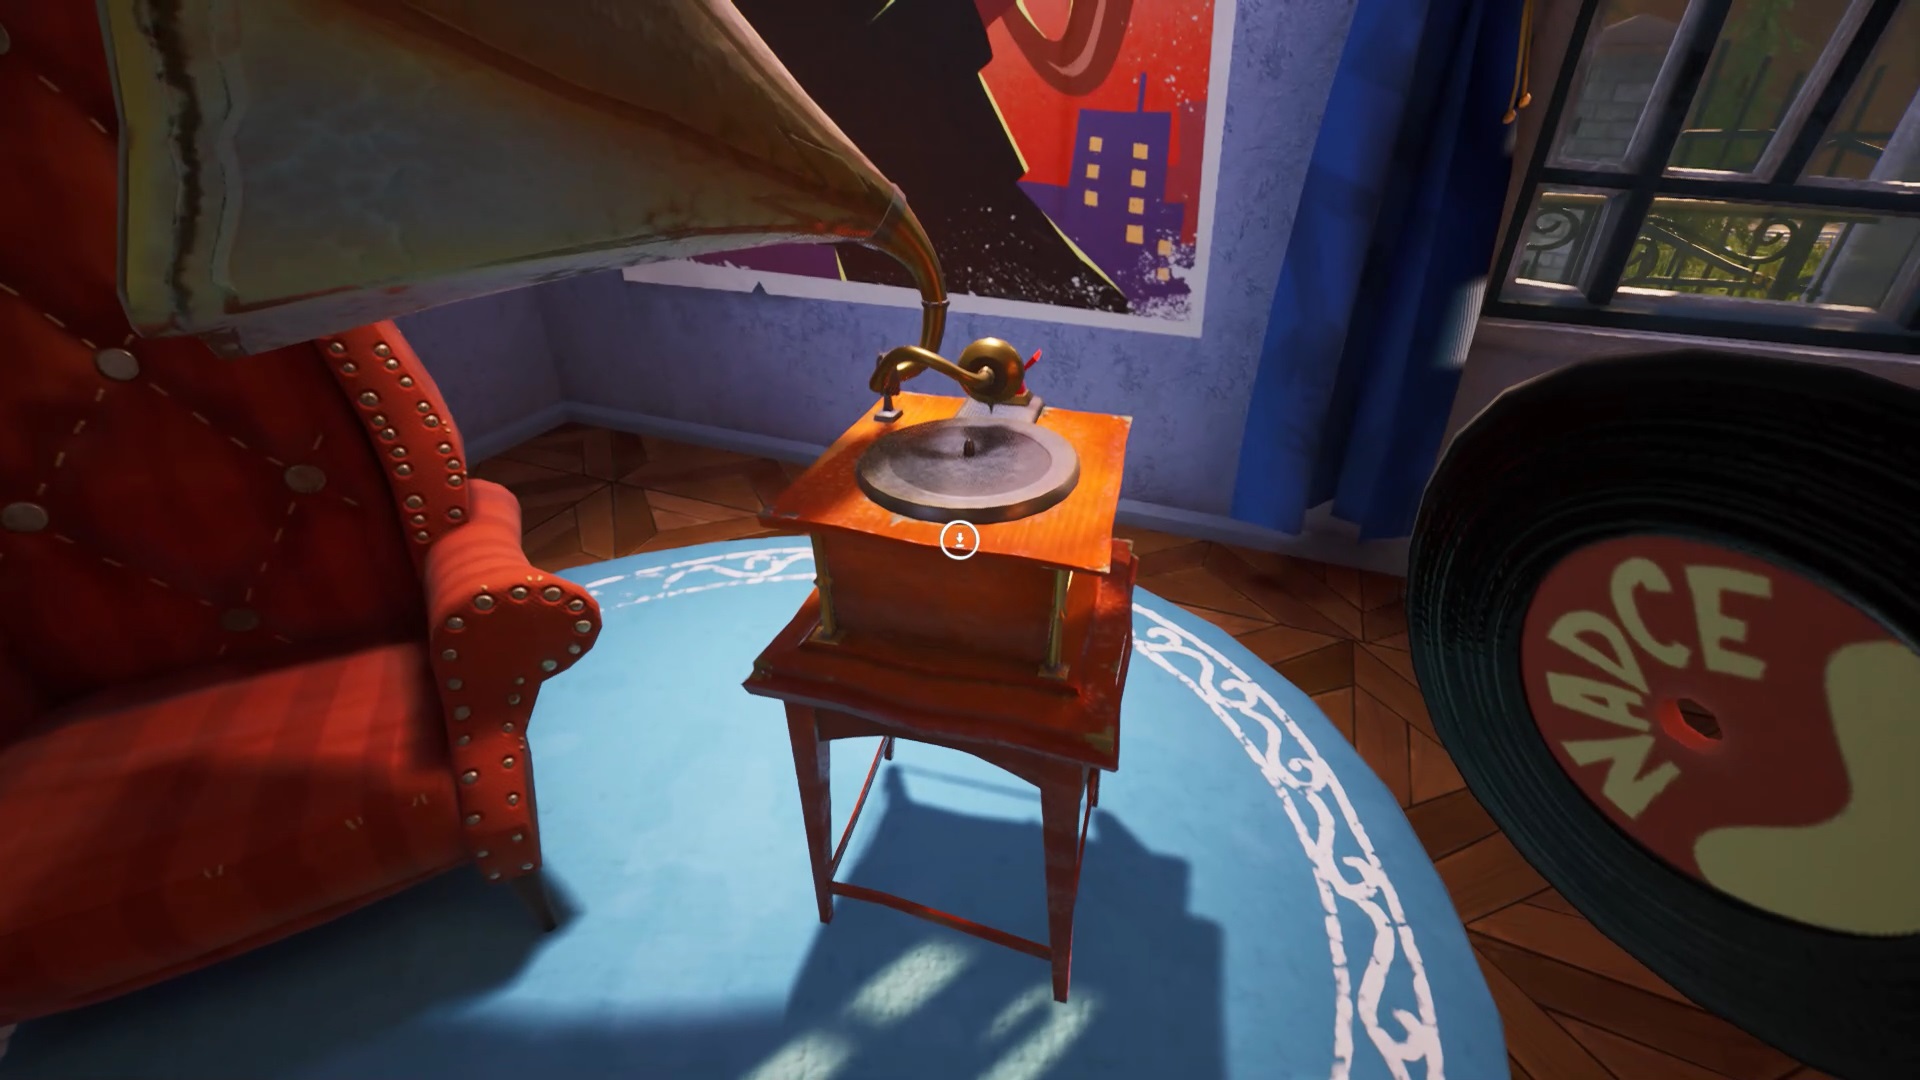
Back in the radio tower, look at the screens. You have to go to the bakery. You recognize the pastry with the giant pretzel on the front. In the patisserie, there is a cash register. It is placed to the left of the entrance. You notice that four buttons are missing to activate it.
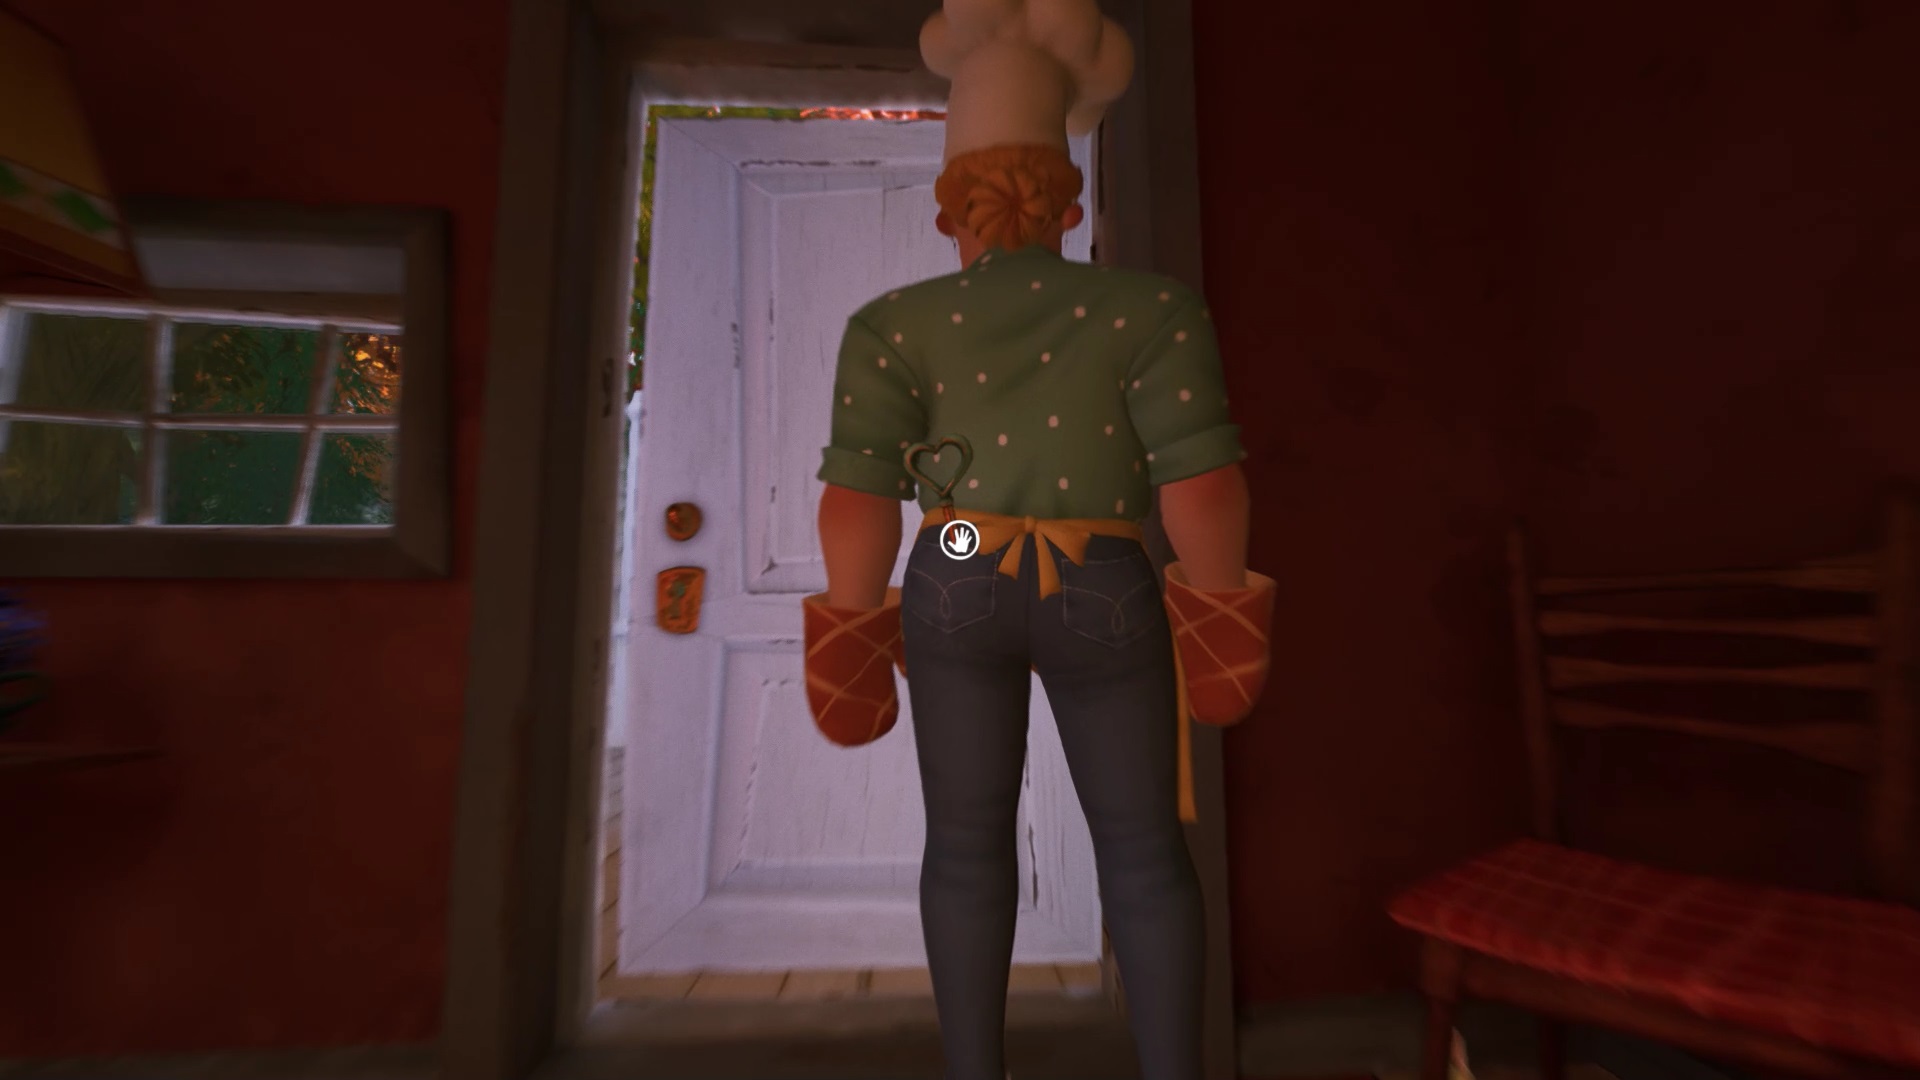

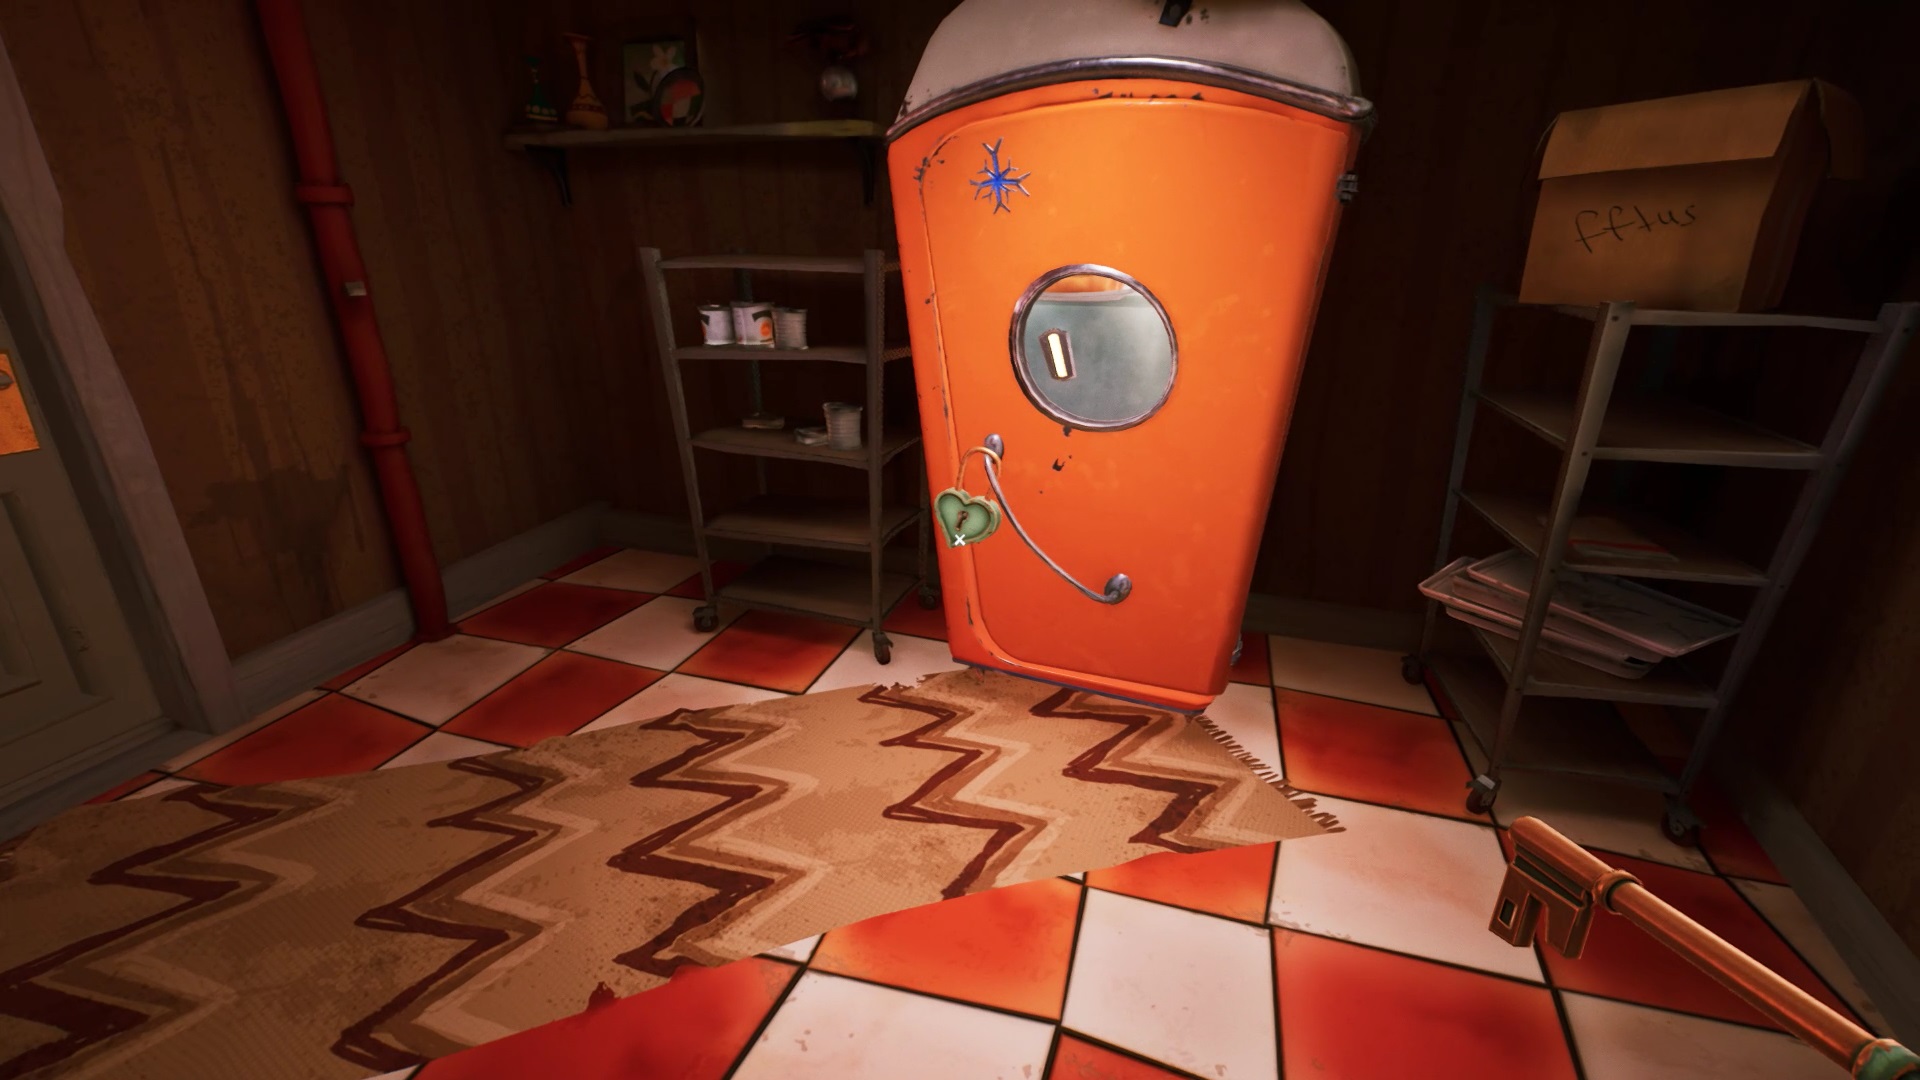

Exit the store and enter through the window on the right. You find a padlocked refrigerator. The padlock key is in the back of the pastry chef. Observe these movements and sneak up behind her to retrieve the key. The easiest way is to wait for her to go upstairs to follow her. Open the fridge with the key and get a cat kibble. In the back room, a cat guards one of the buttons. Put the kibble in his bowl to divert his attention and get the first button.
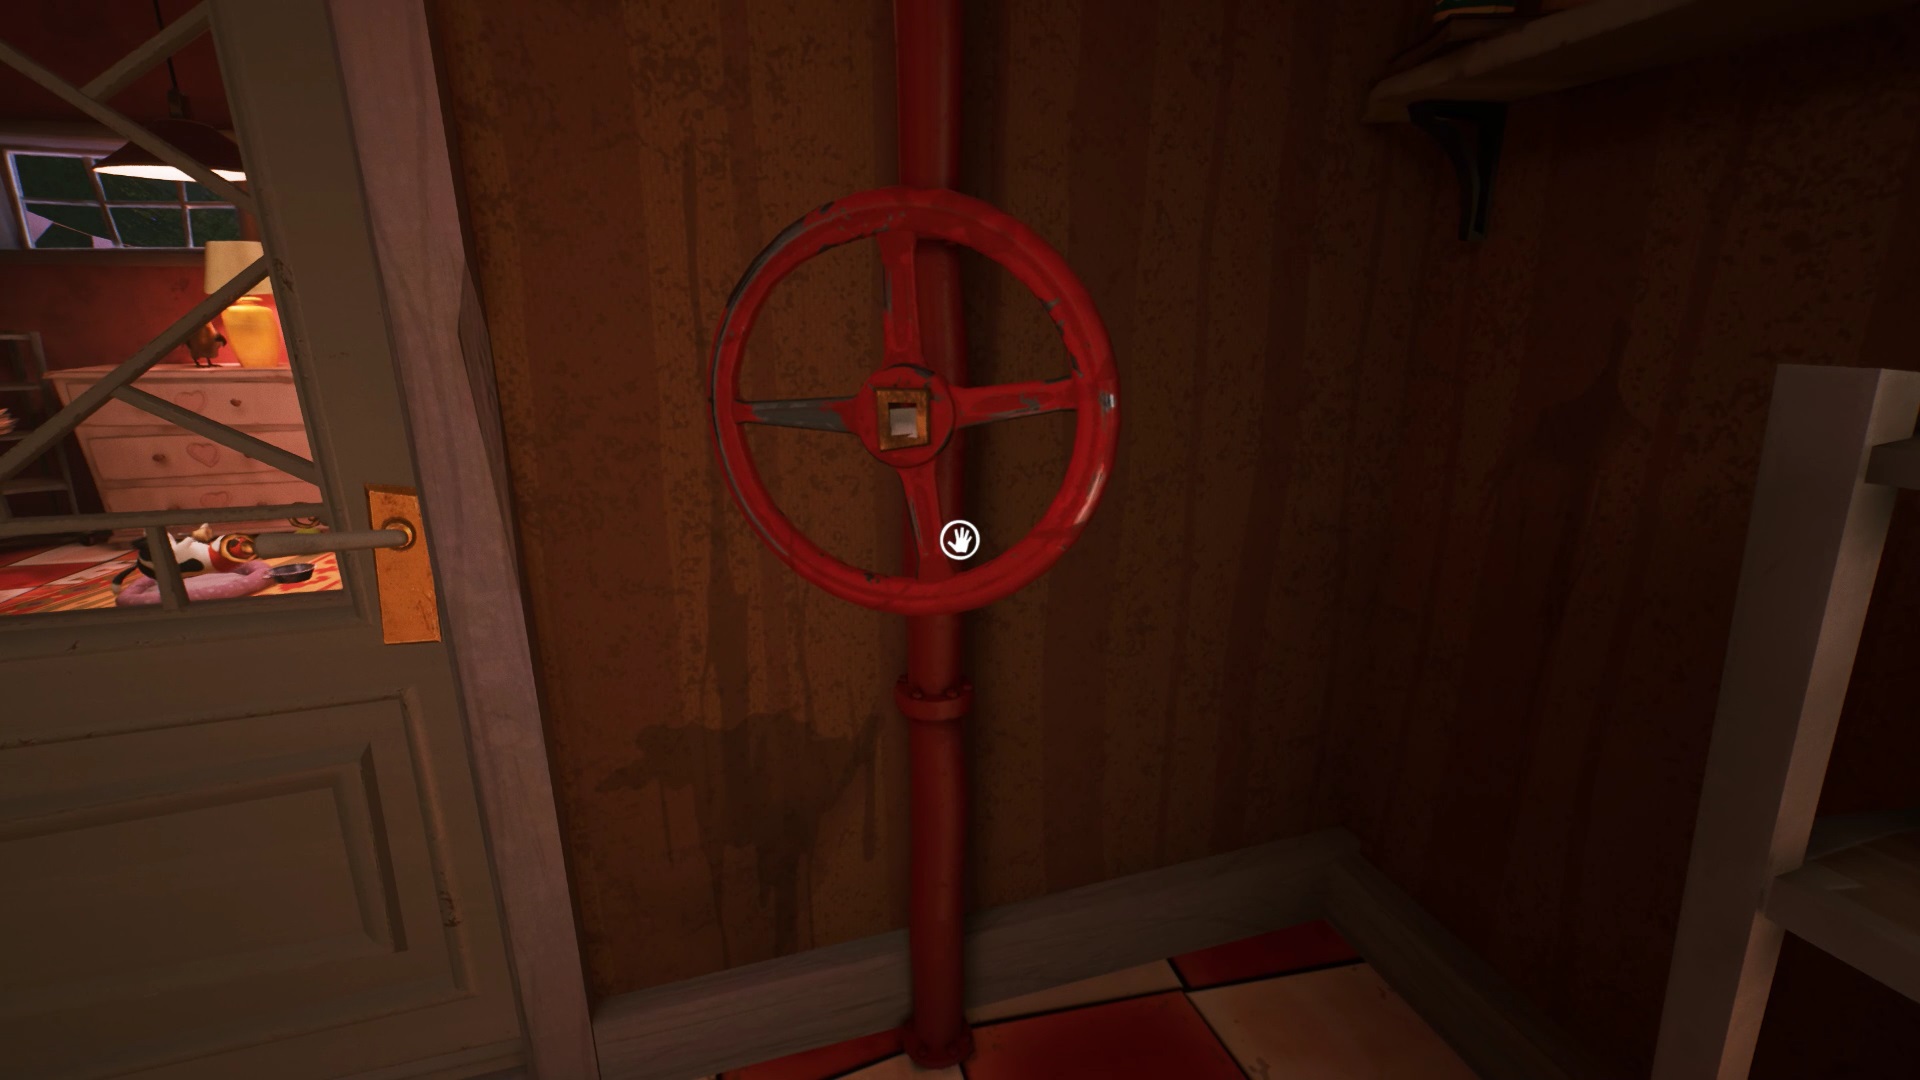
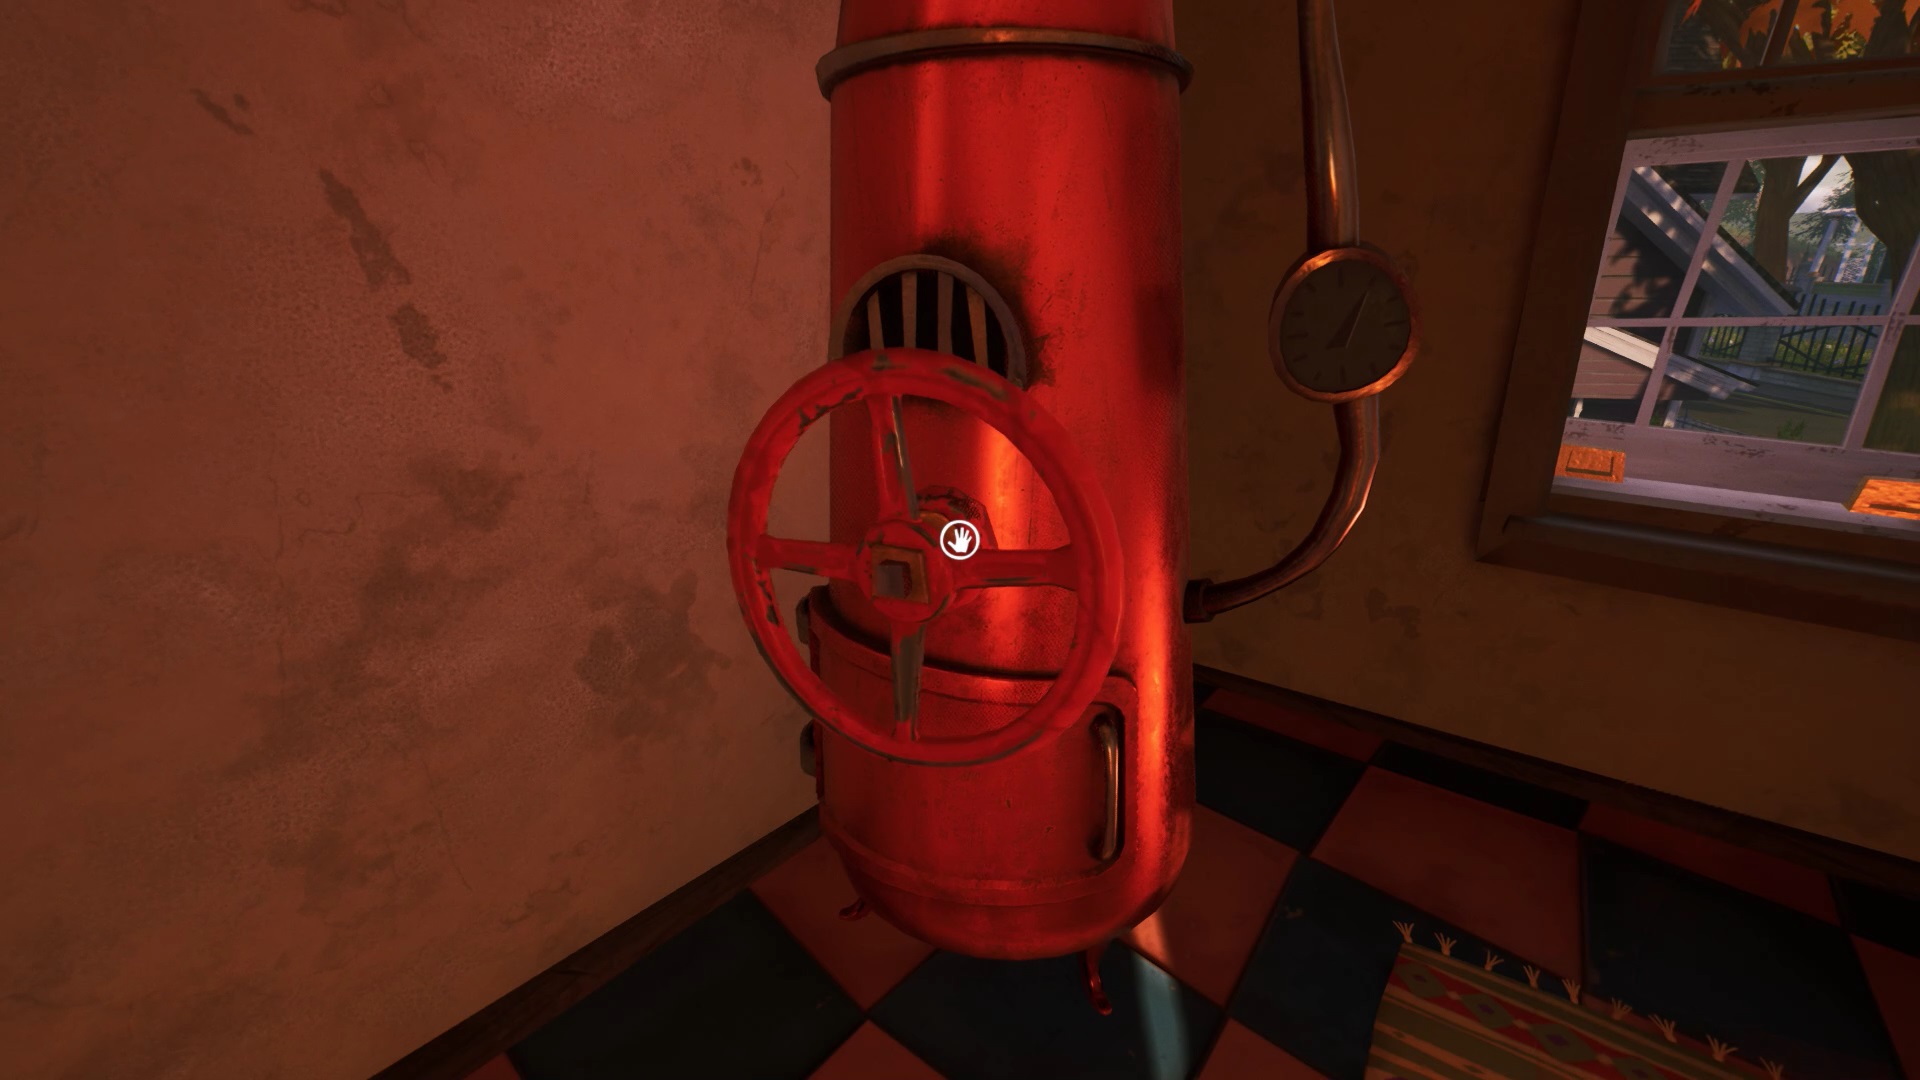
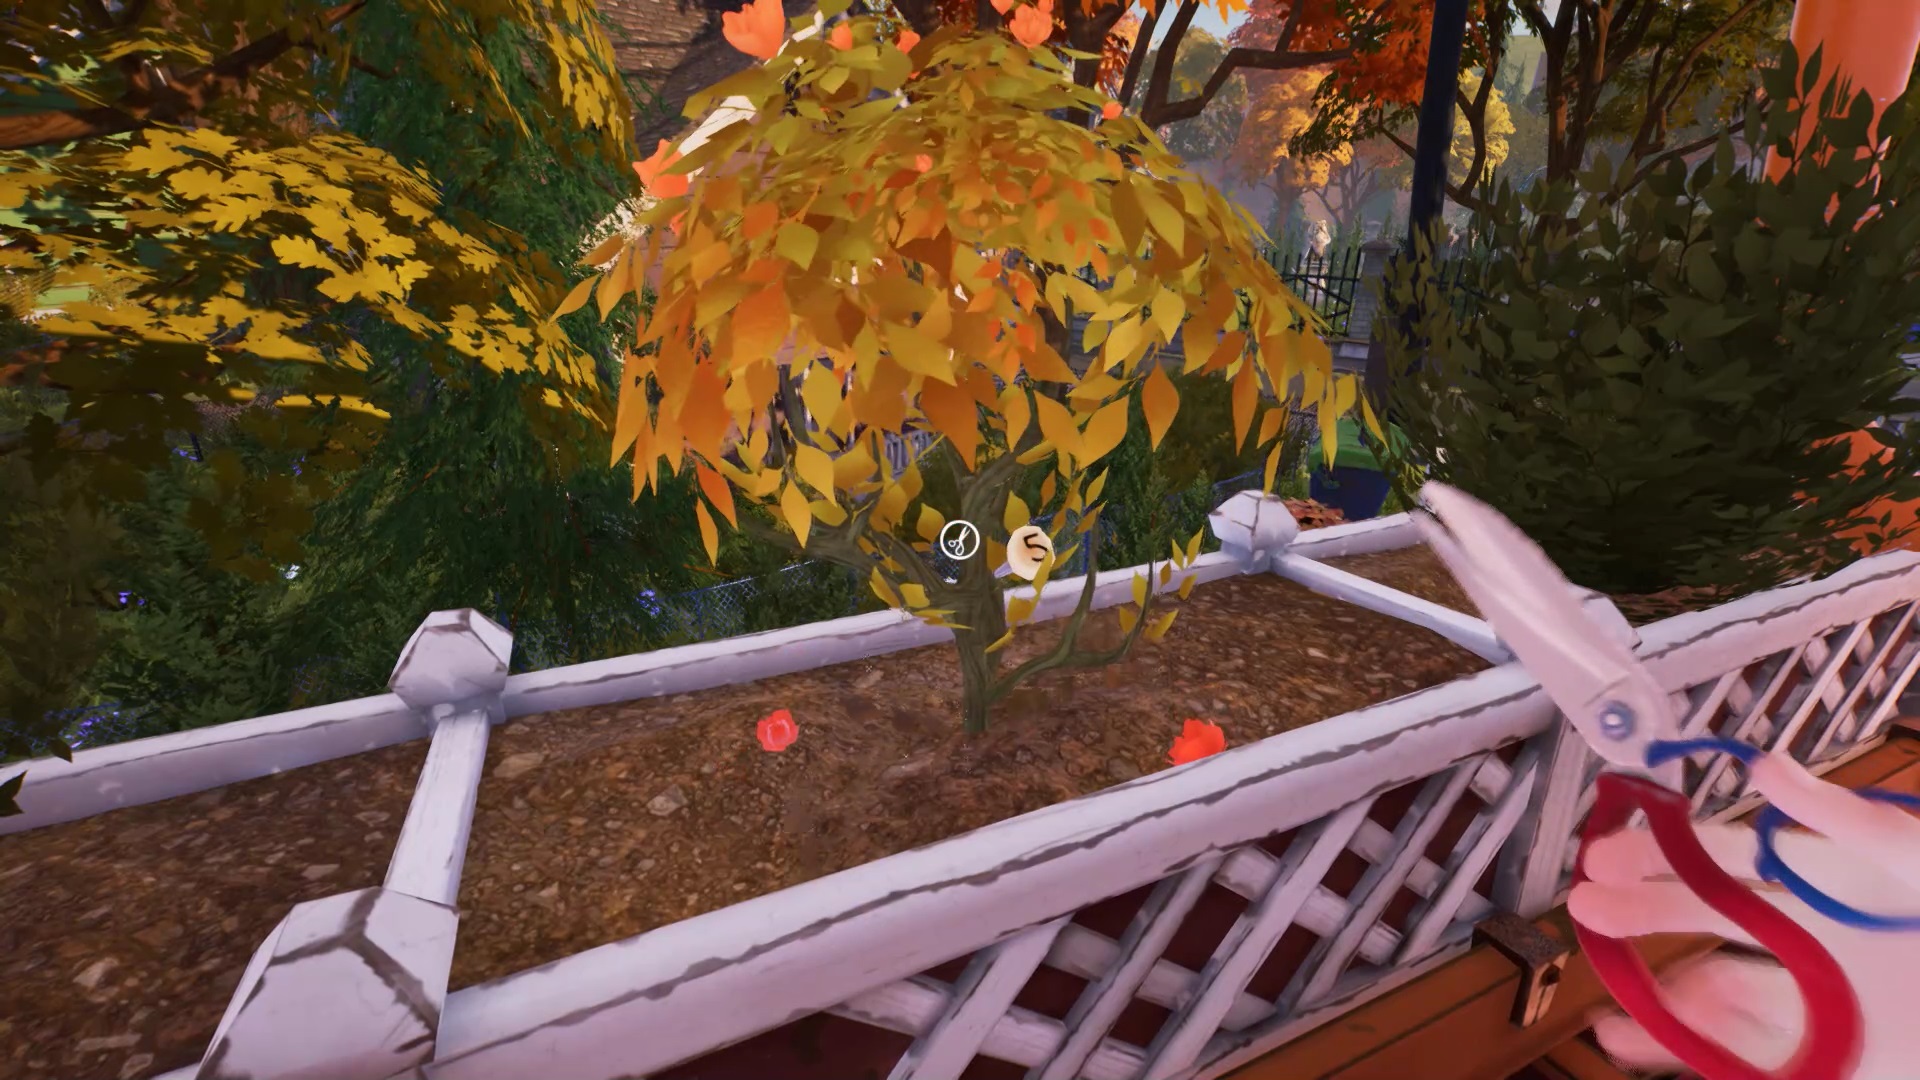
In the fridge room, get a valve and go upstairs. Hide in the cupboards as soon as you hear the pastry chef coming. Enter the bathroom to the right of the bedroom. Place the valve on the boiler. Activate the valve to shut off the water supplying the plants on the balcony. In the balcony, use the chisel to cut the plant facing the entrance. Cut all the branches to get a second button.
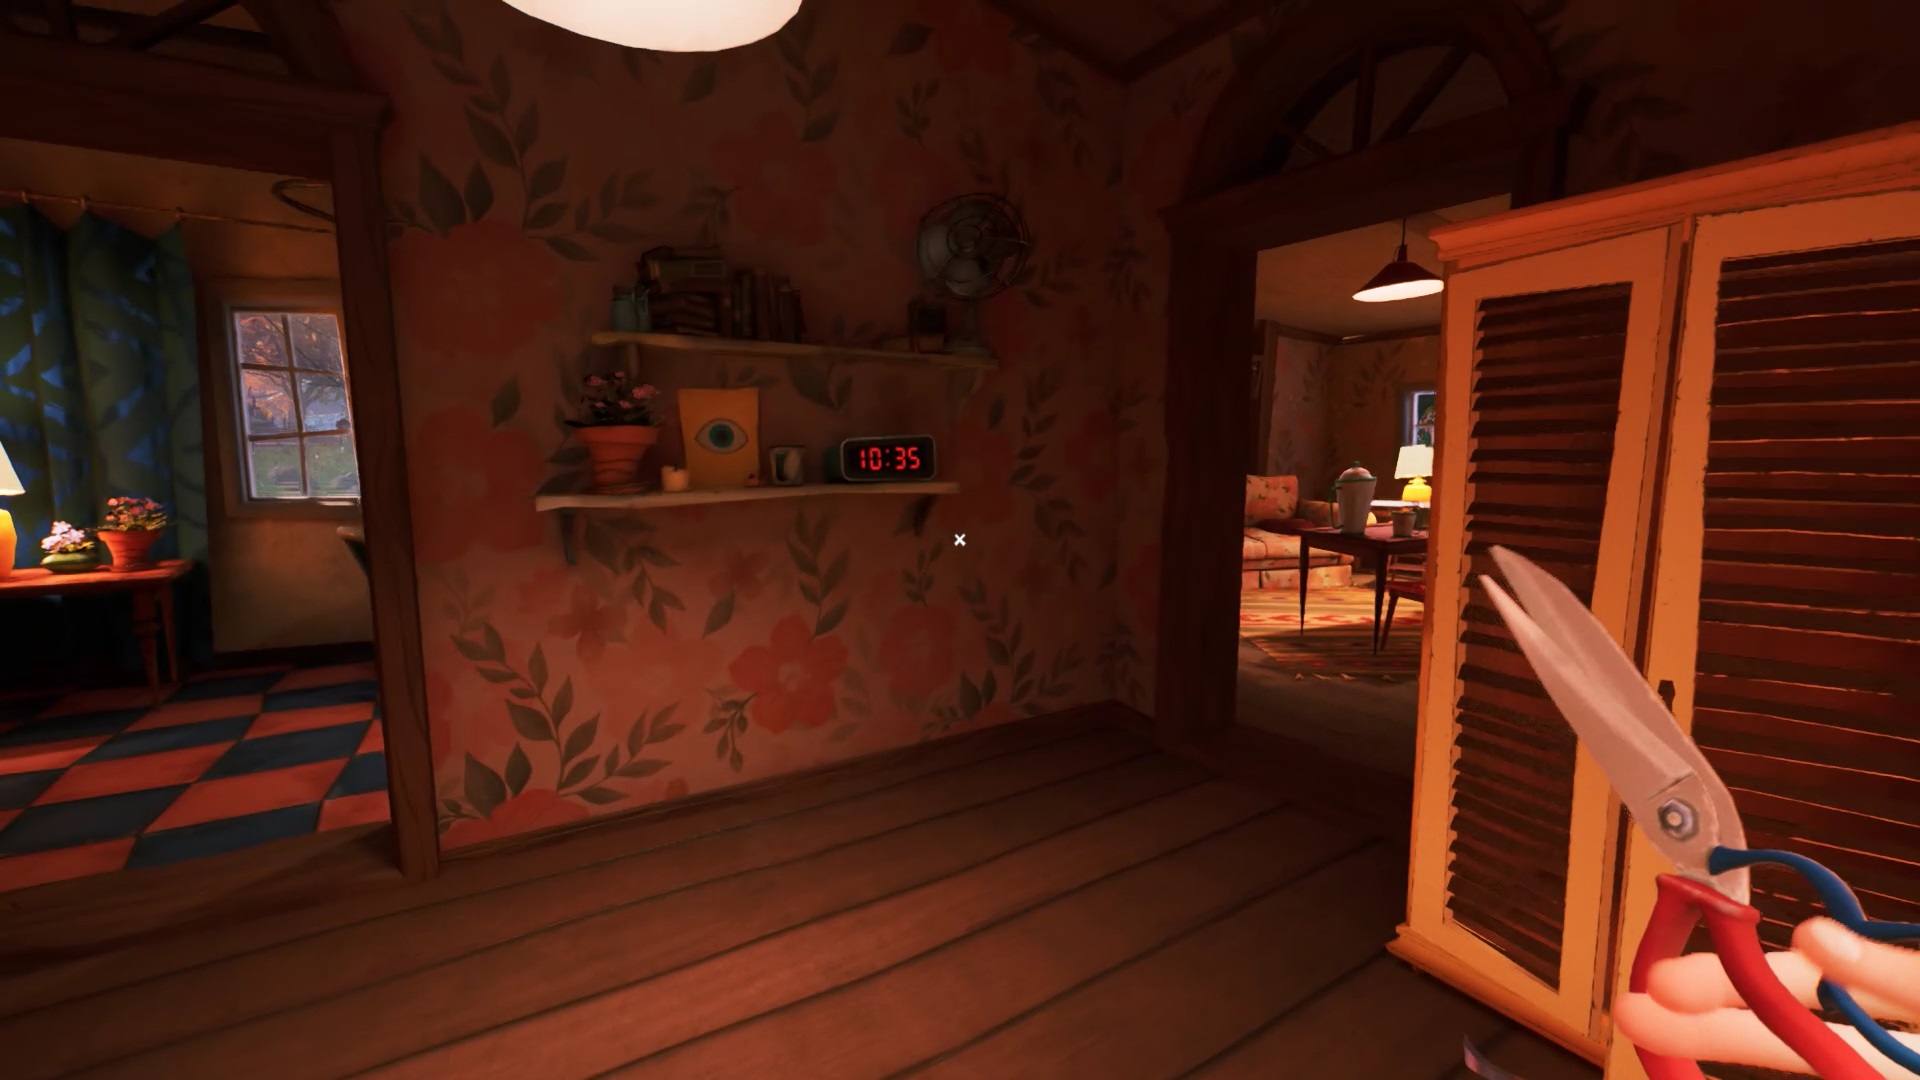
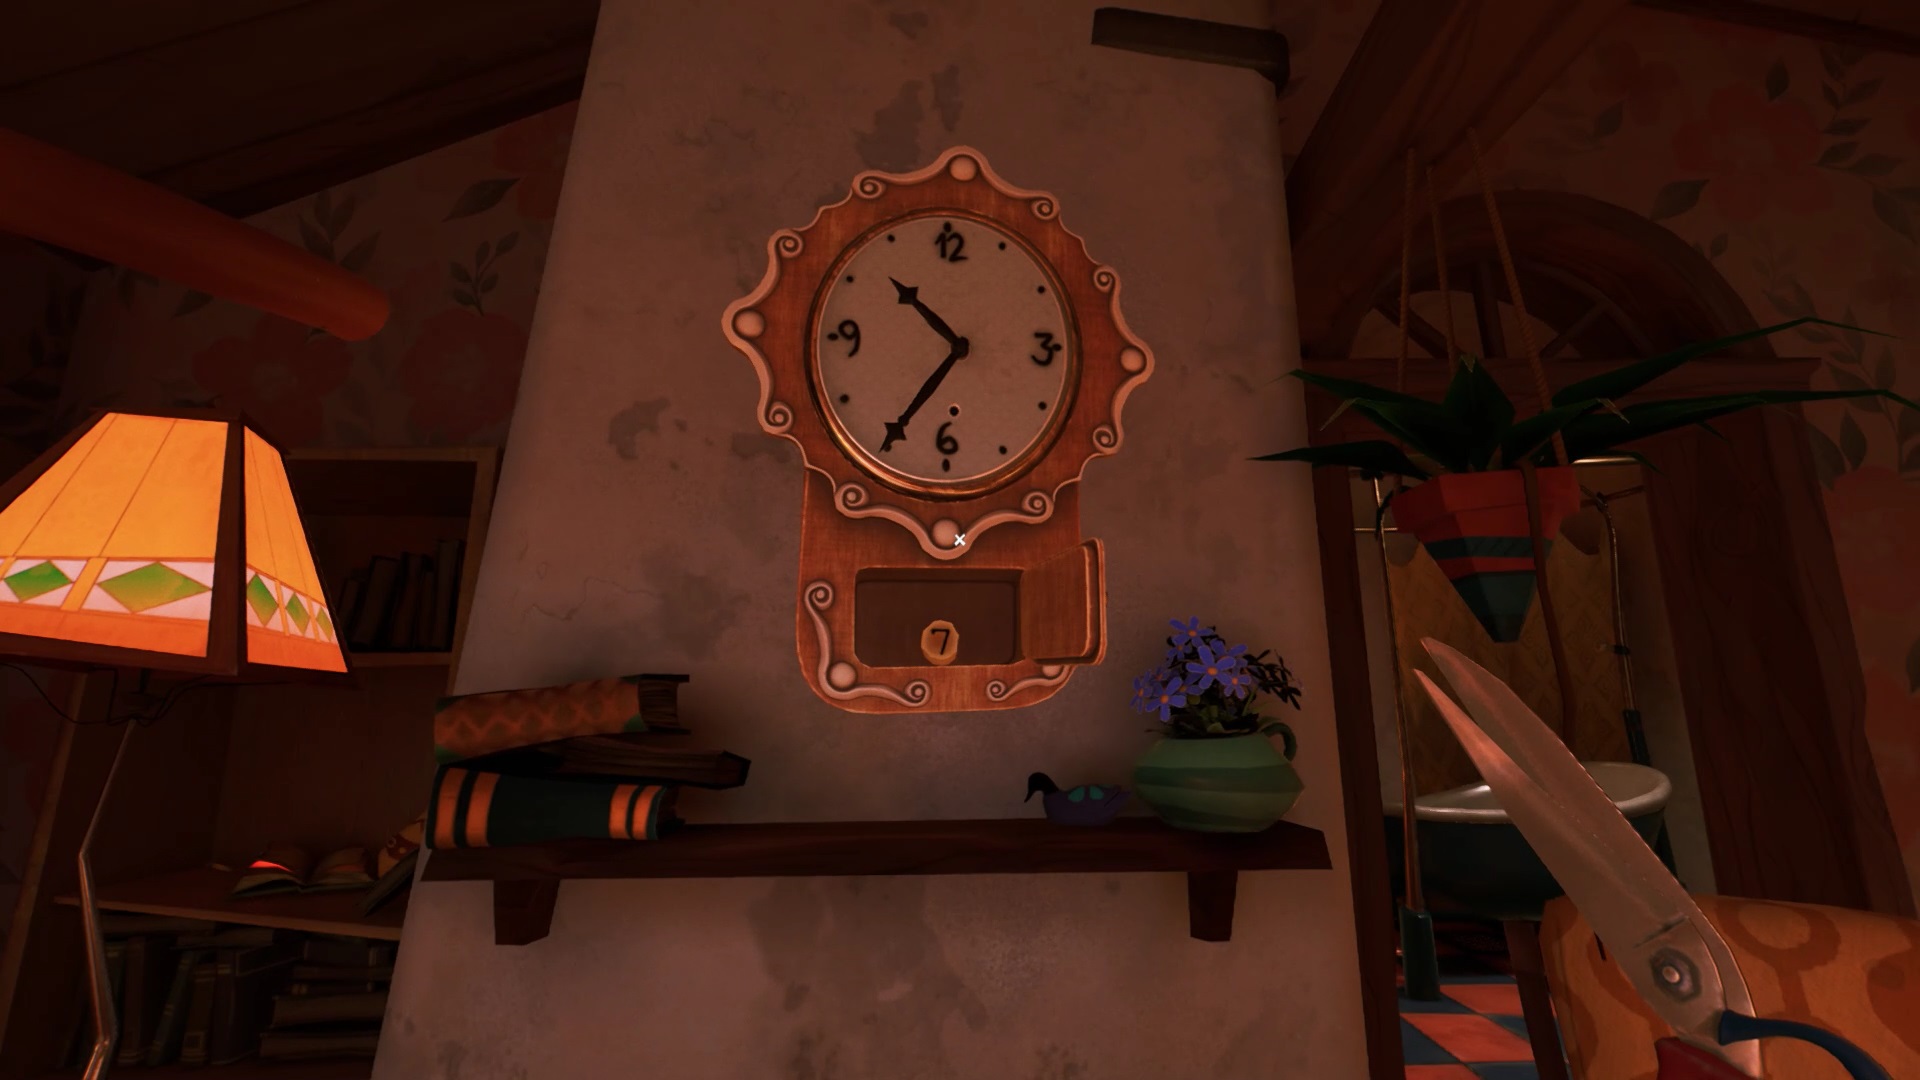
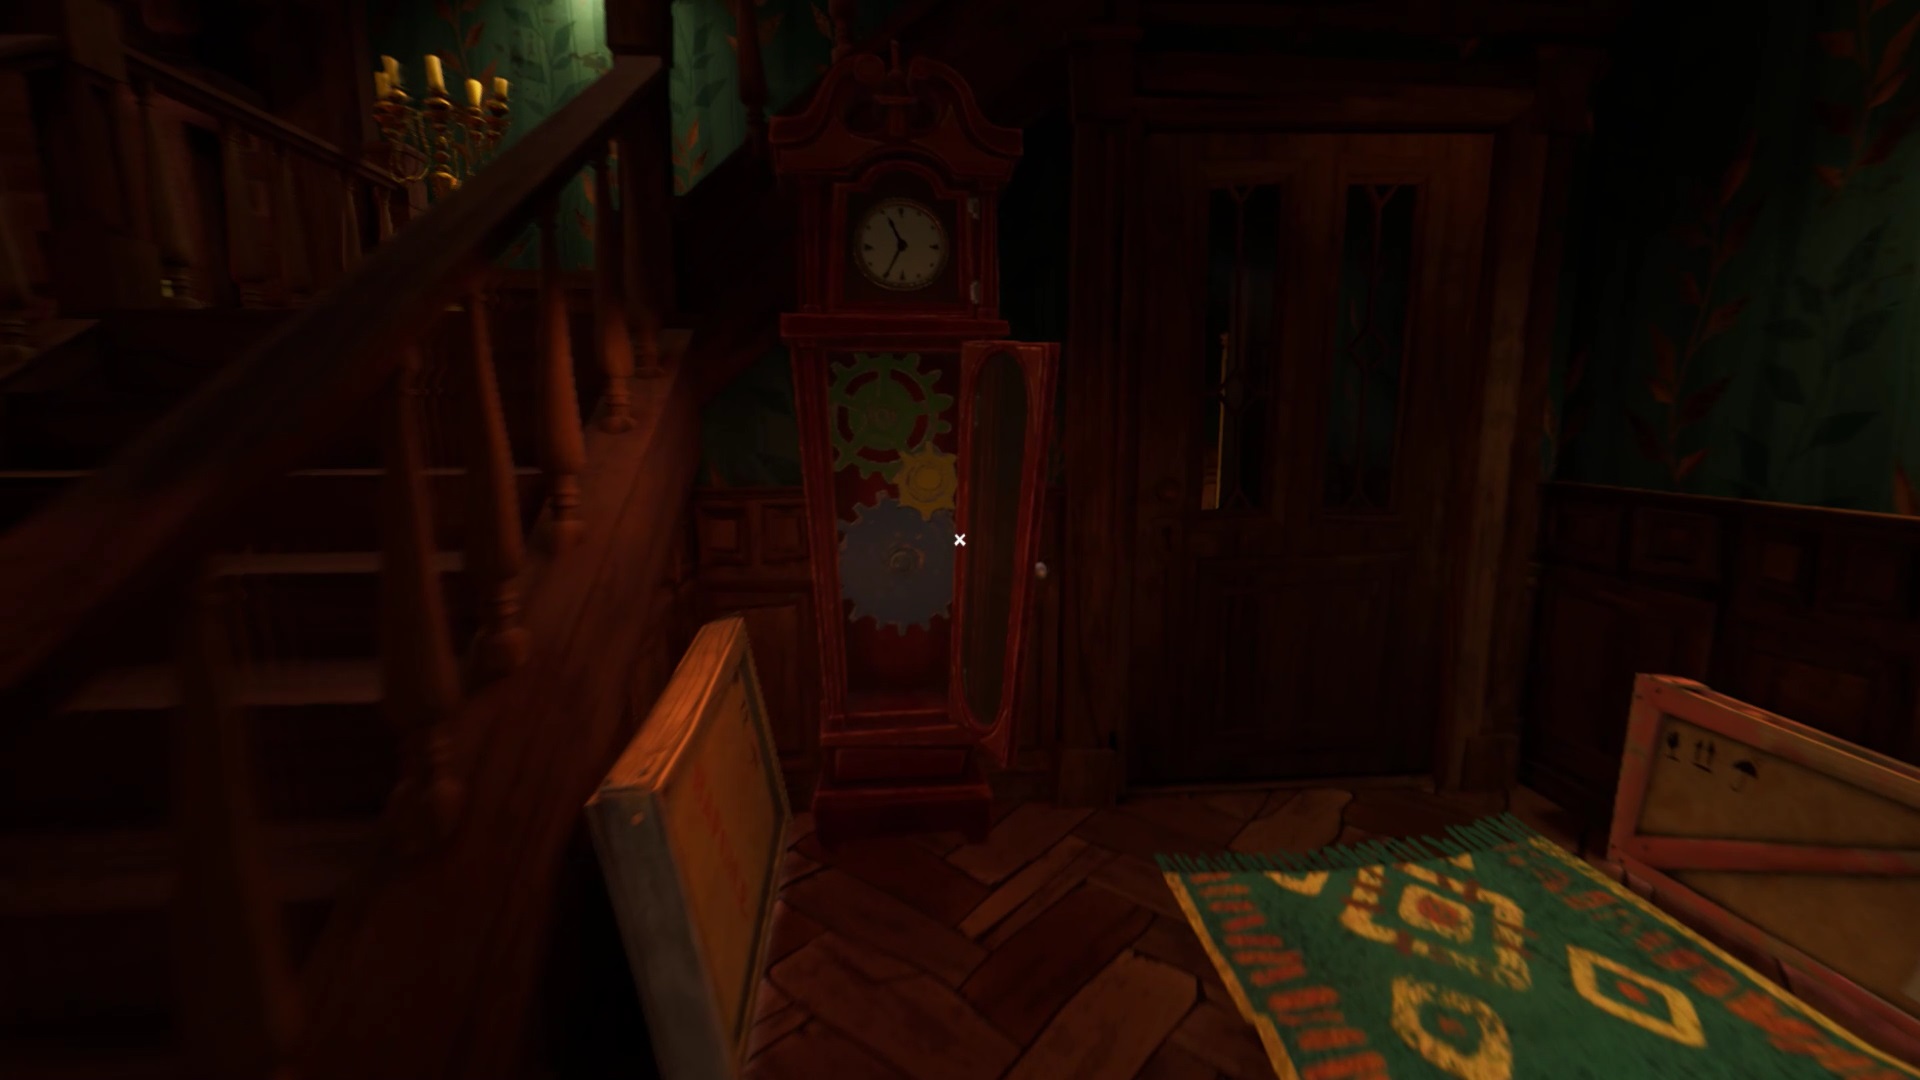
In the bedroom, use your chisel at heart level on the wall. You get a clock hand. Place the needle in the clock facing the bedroom bed. Position the hands on the hour 10:35 to obtain another button of the box. The time 10:35 is displayed on the electric clock in the room.
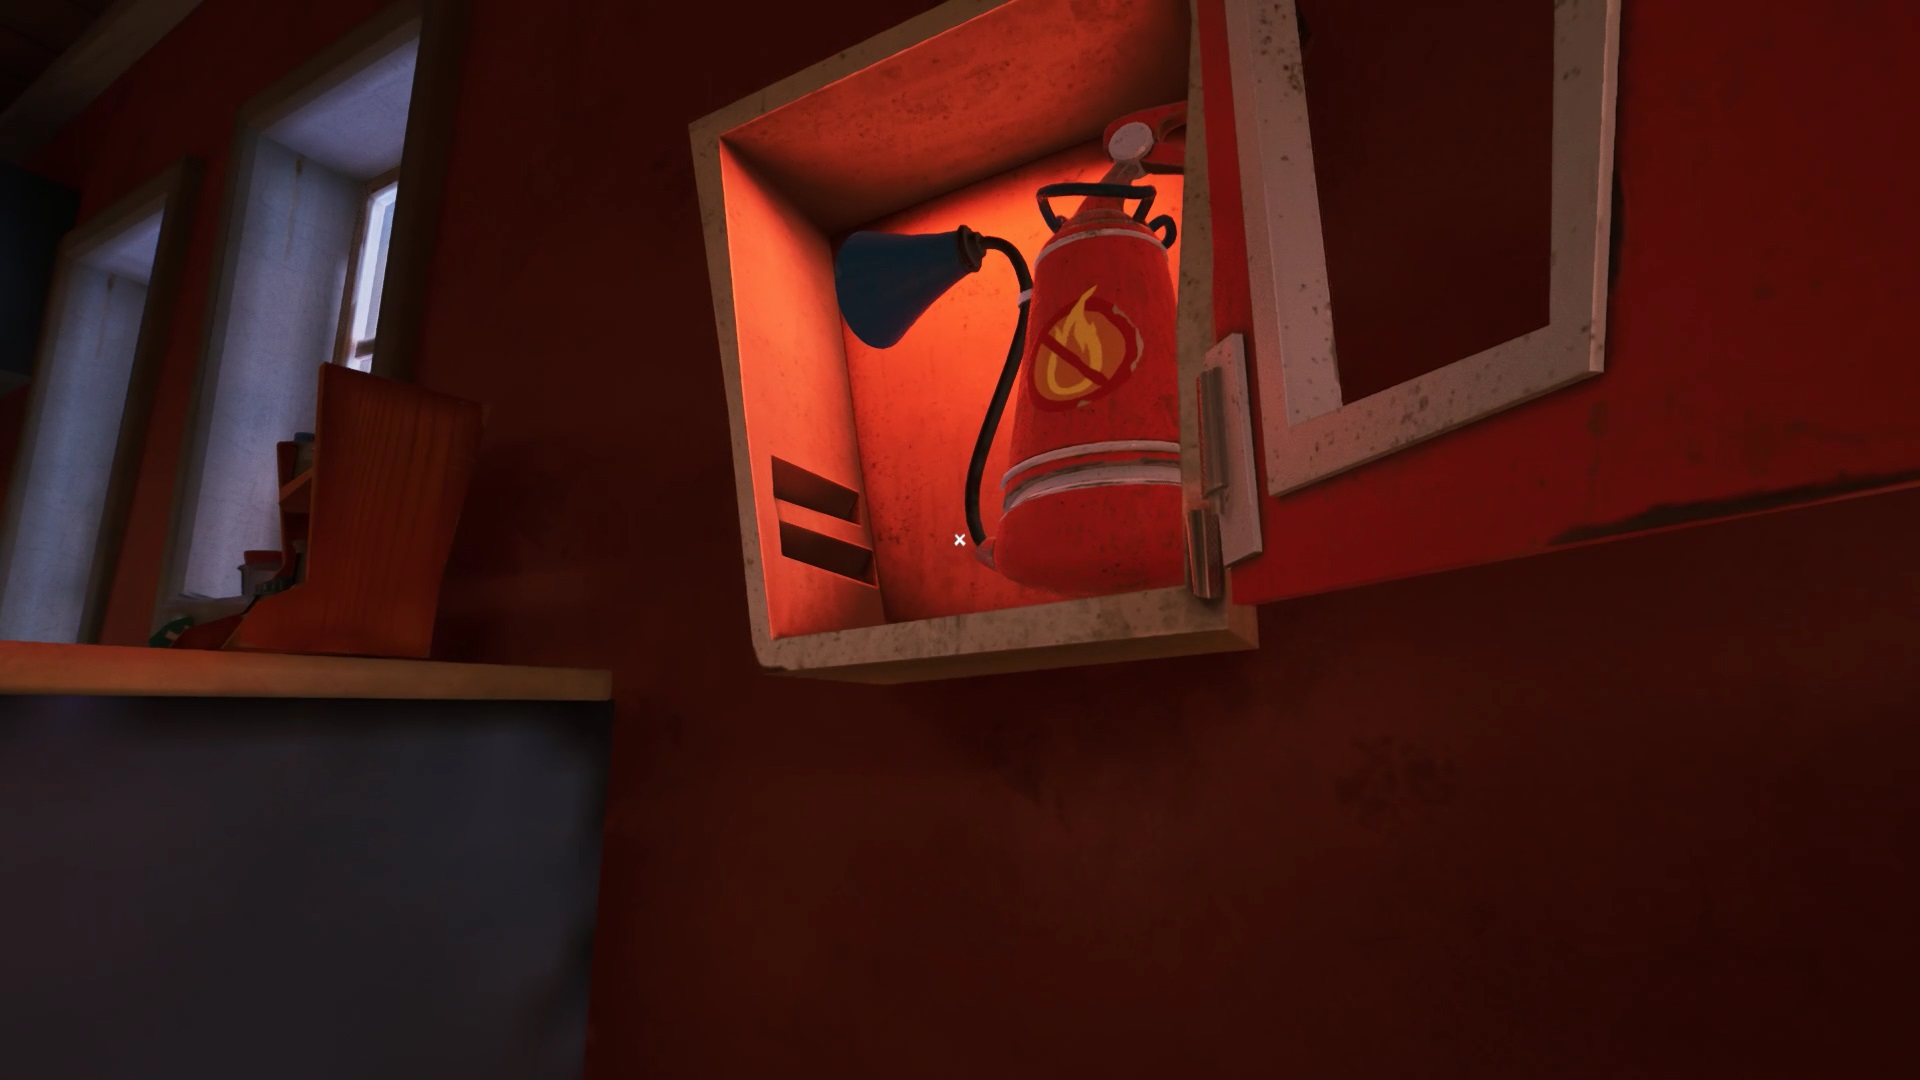
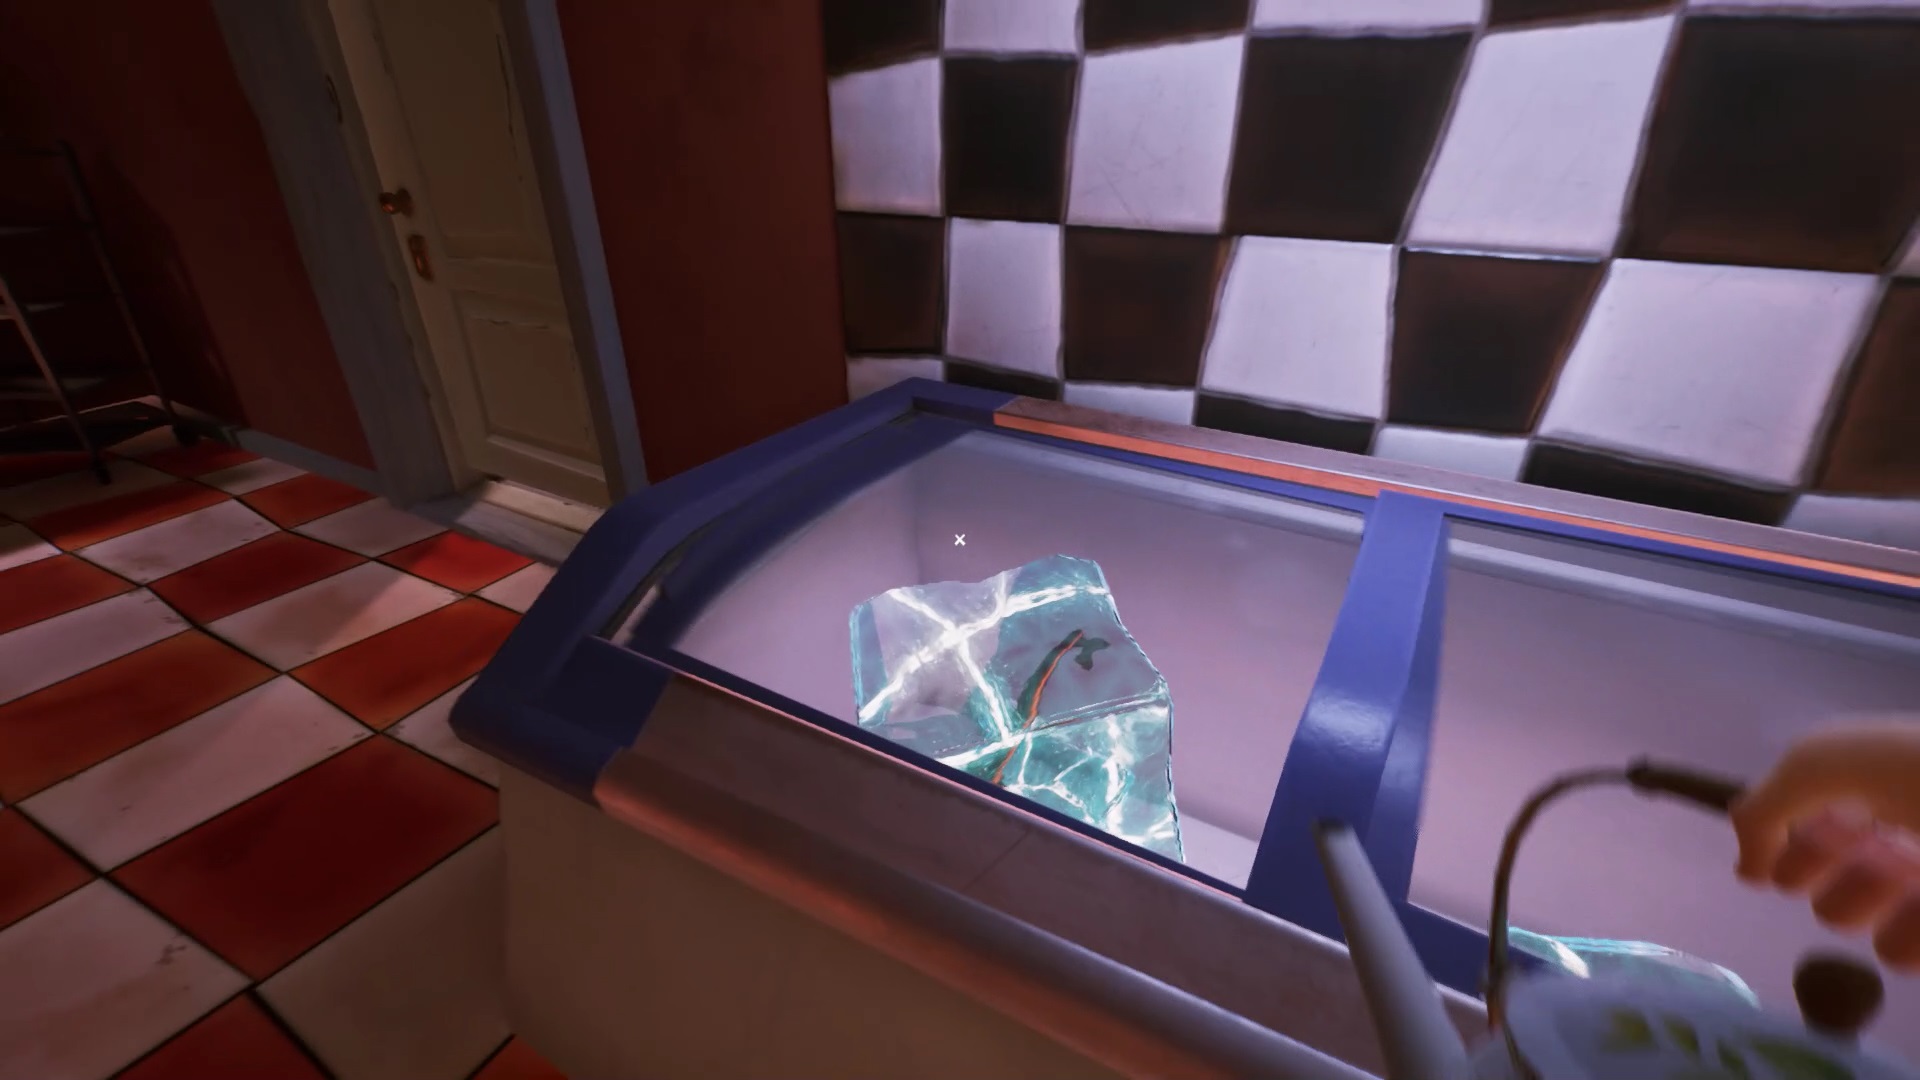
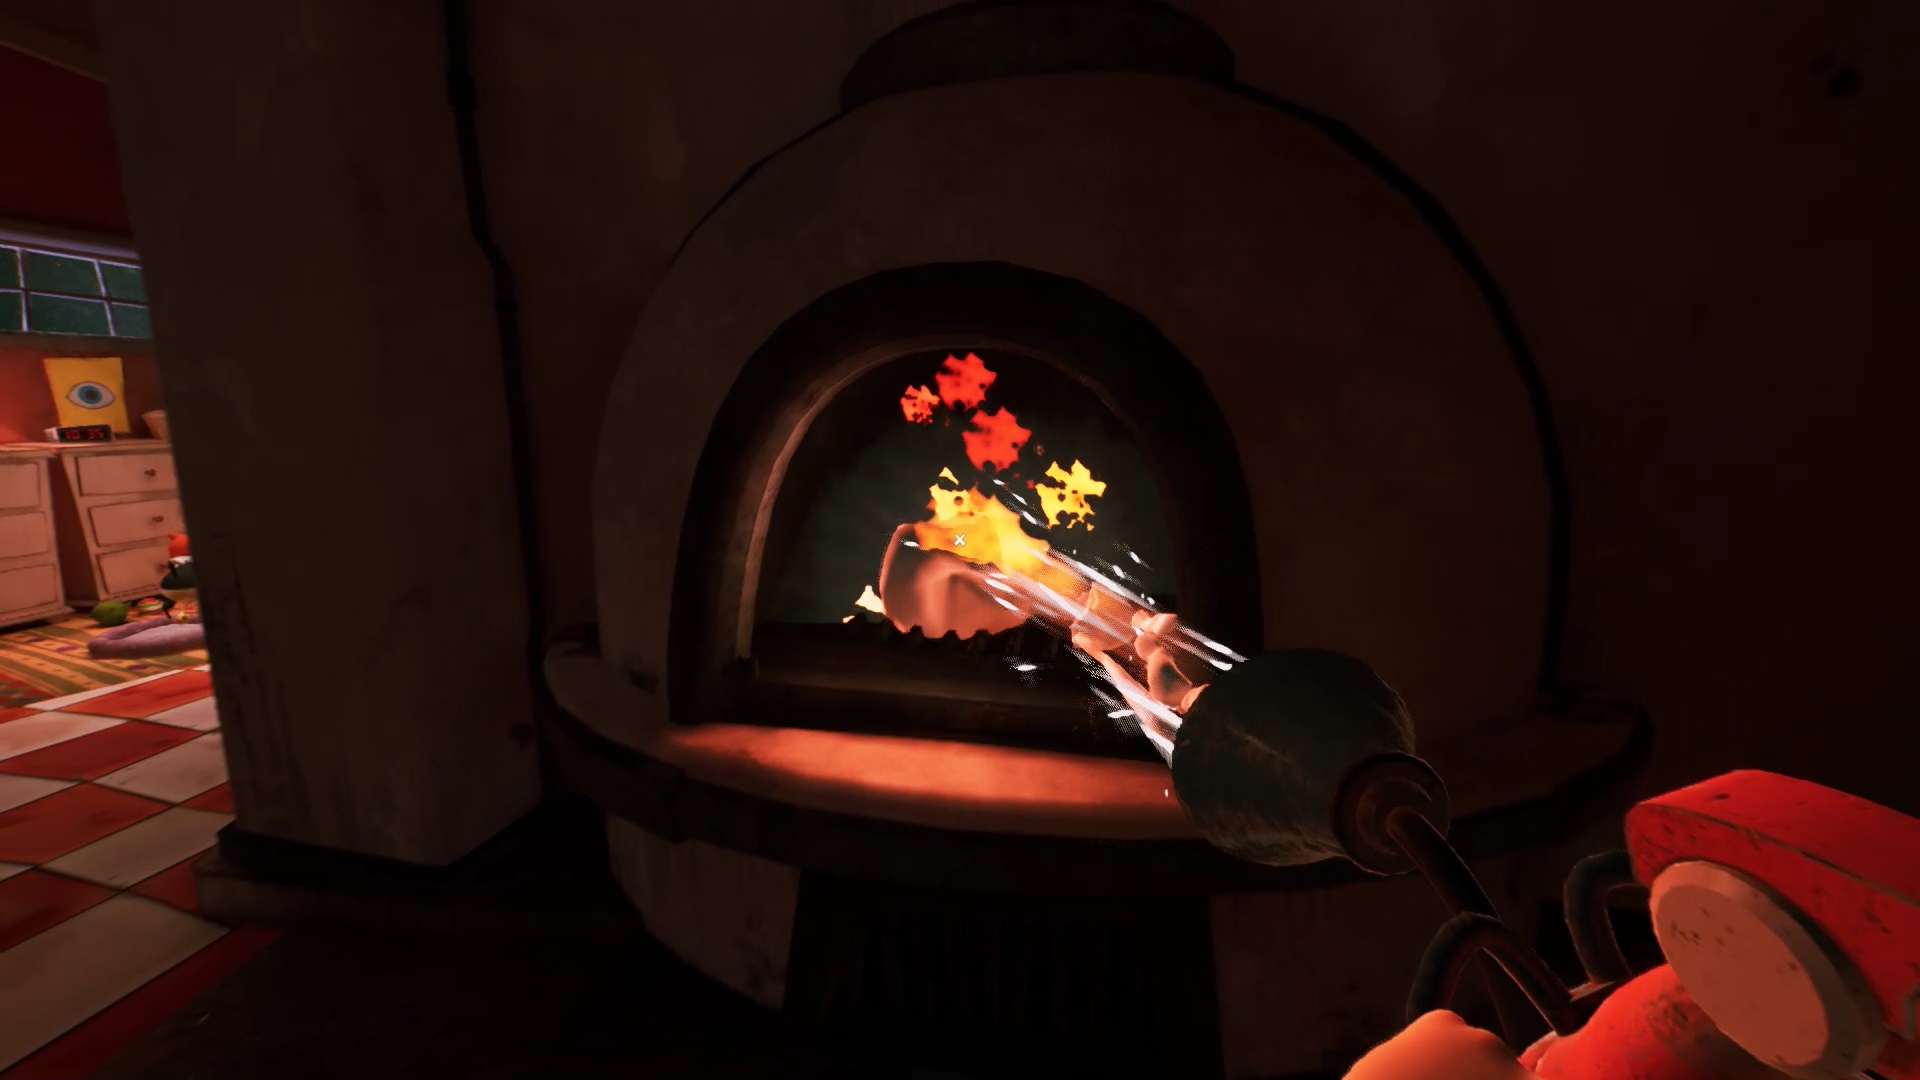
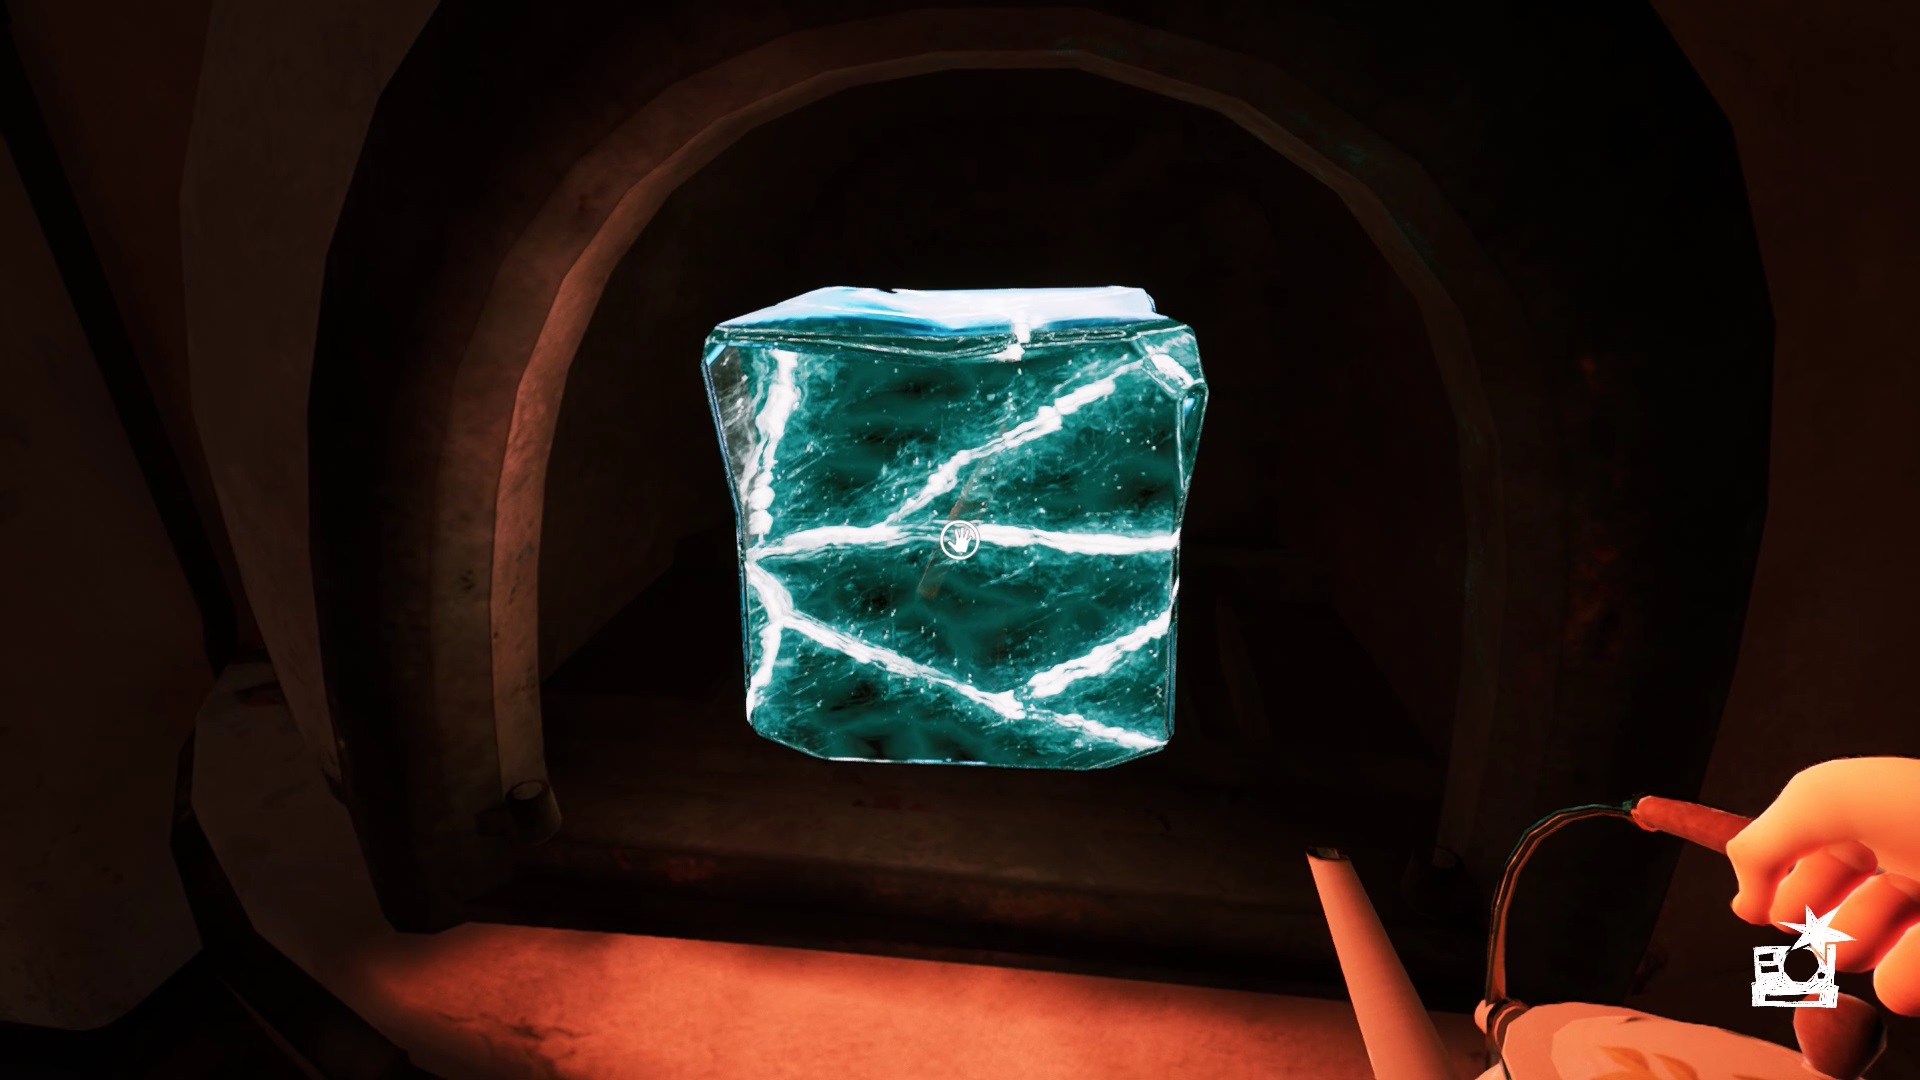

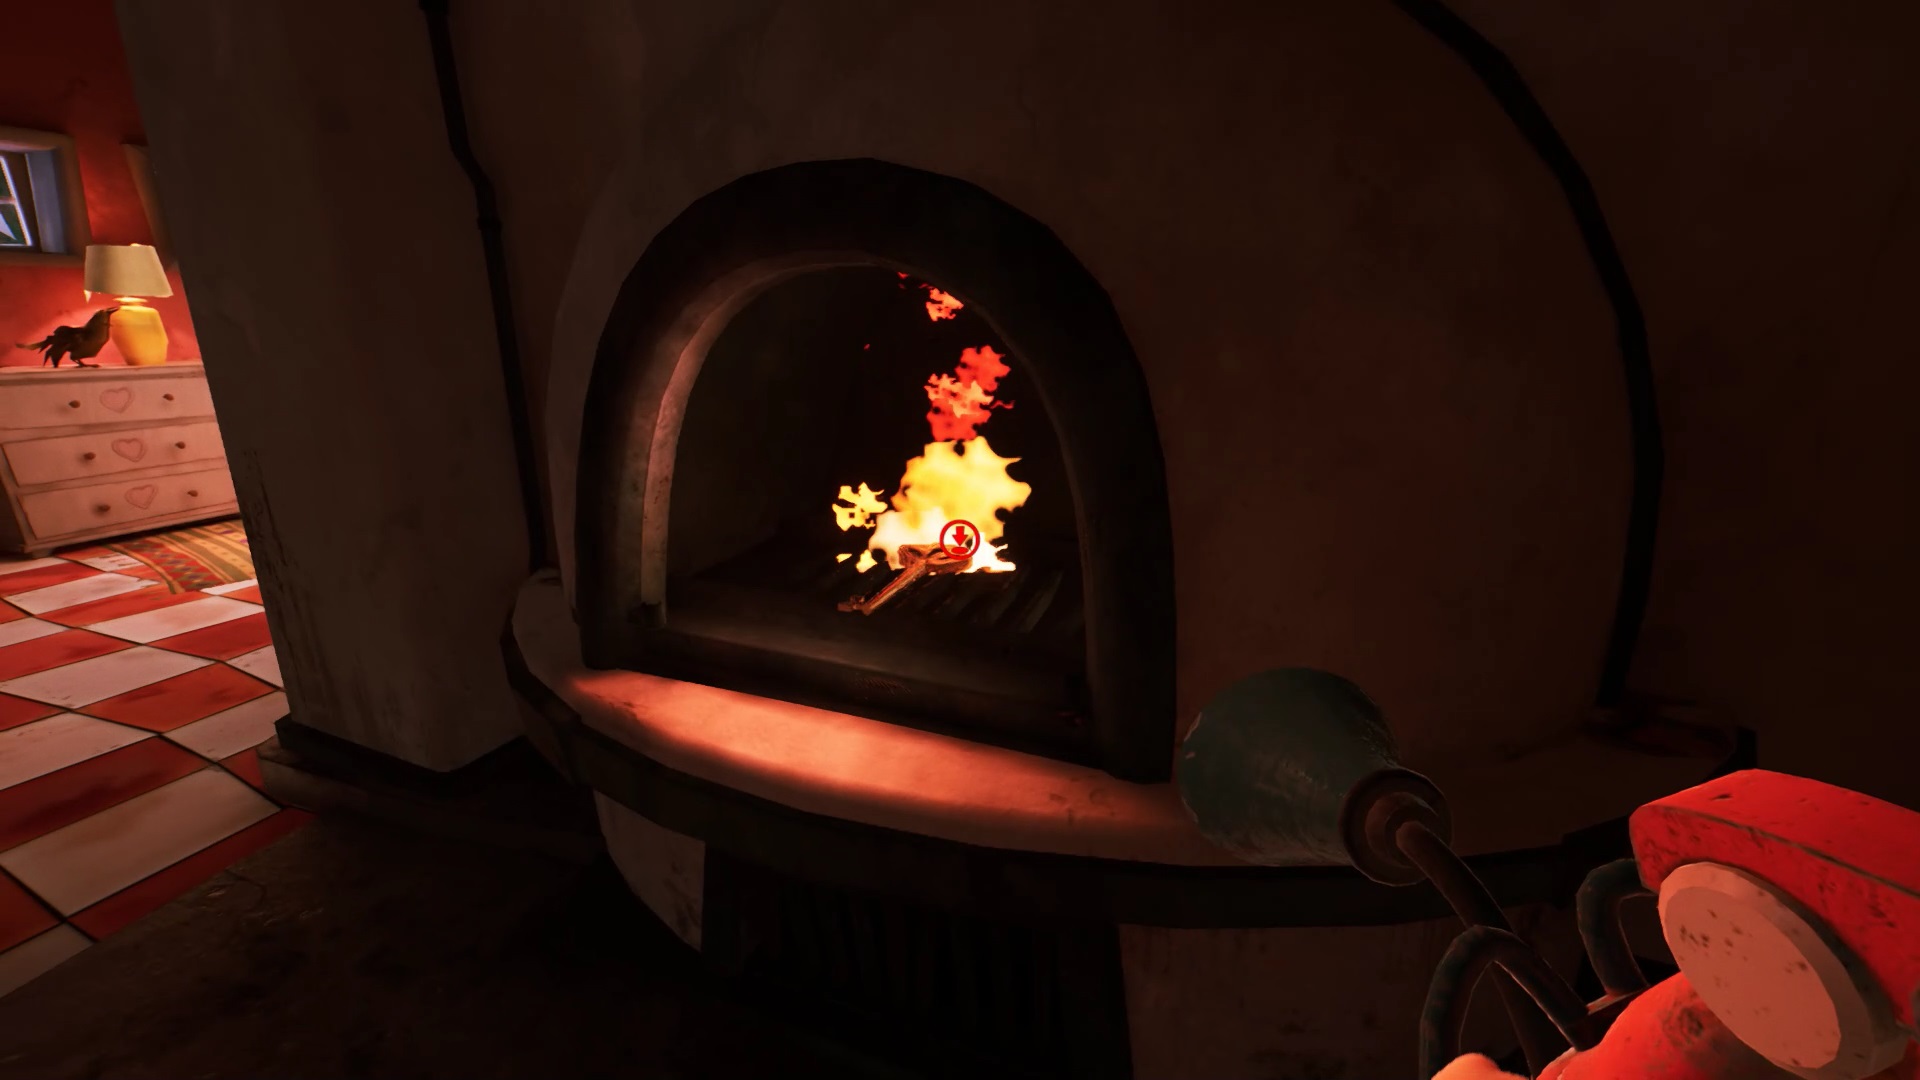
In the kitchen, get the fire extinguisher hanging on the wall. In the freezer, pick up the ice cube containing a key. Put out the oven flames with the fire extinguisher. Place the ice cube in the oven. Wait for the oven to turn on to melt the ice. Douse the flames again to collect a key.
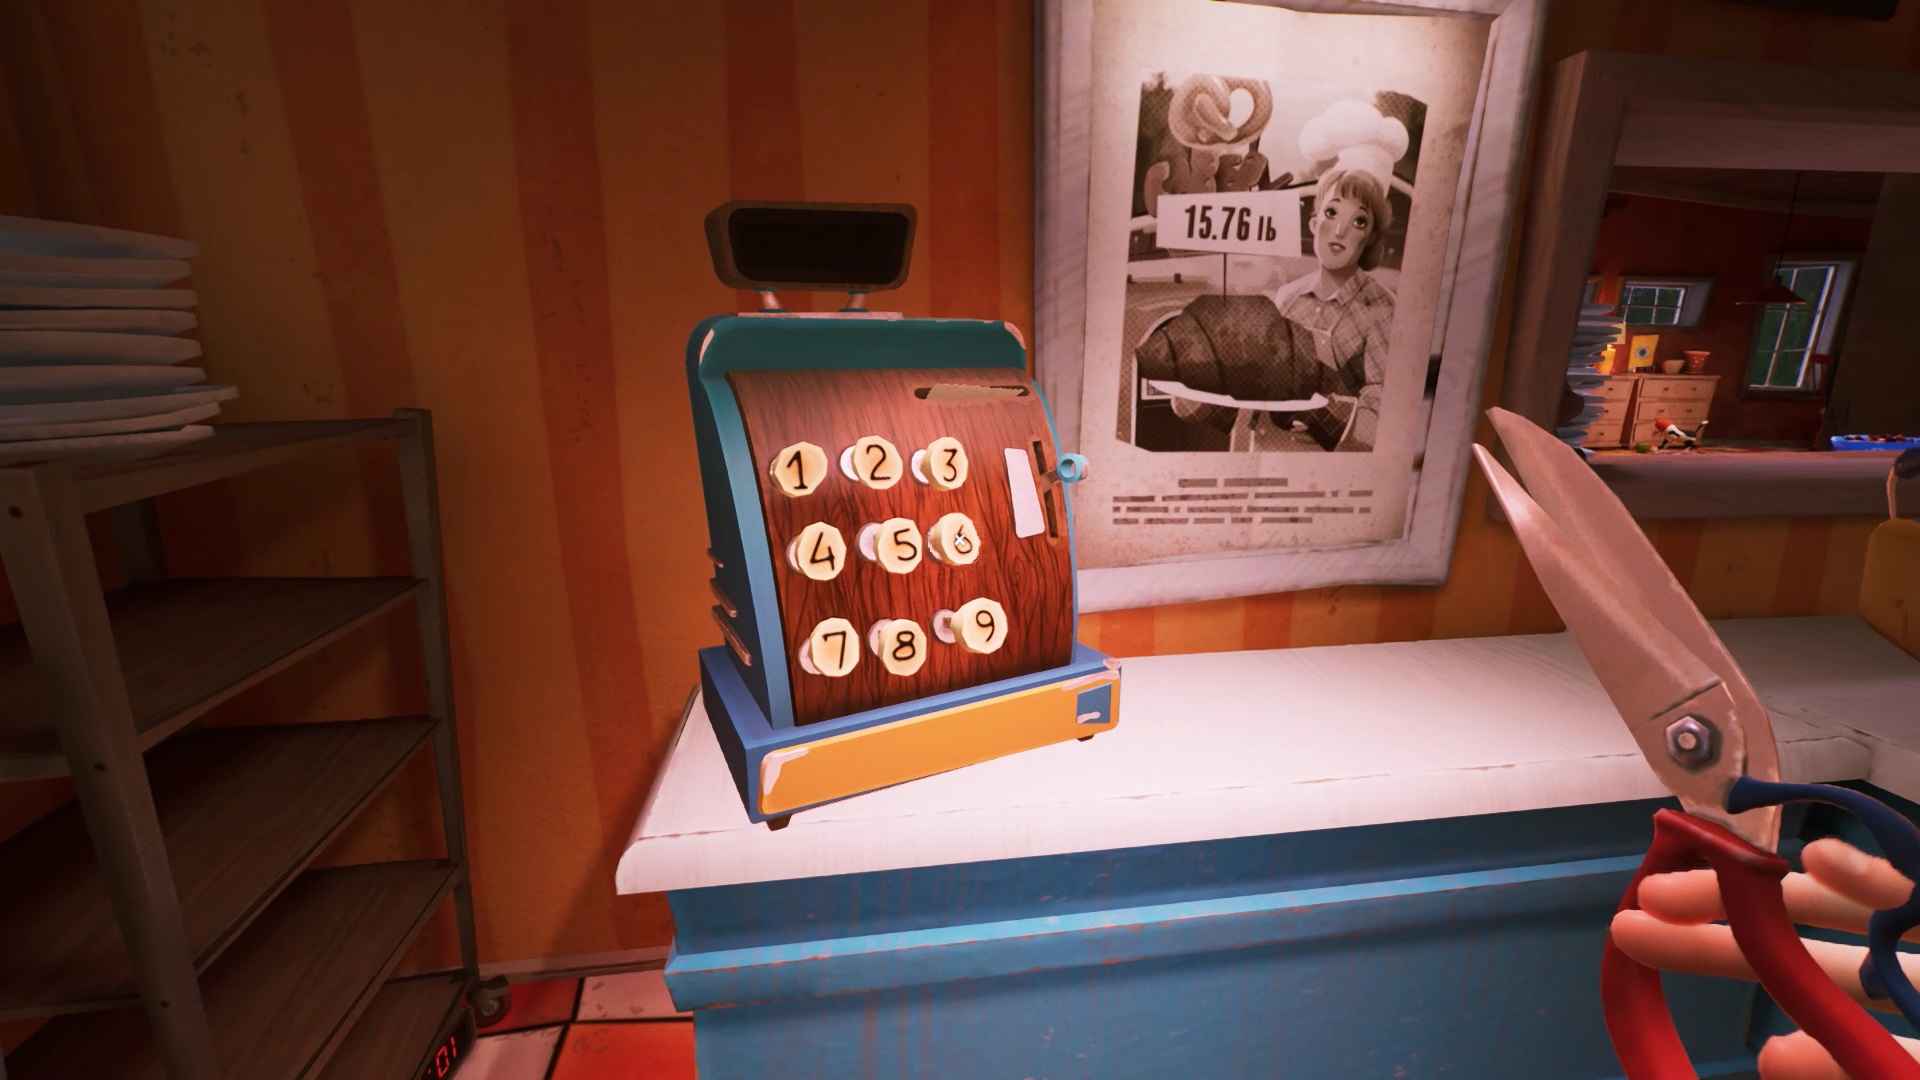
Upstairs, use the key on the lock in the living room book. Collect the last button in the fake book. Place all the buttons on the cash register. Type 1576 on the crate to get a key. 1576 is the number shown on the board near the checkout. You have obtained the key to the museum. Return to the museum.
Museum – Fisrt part
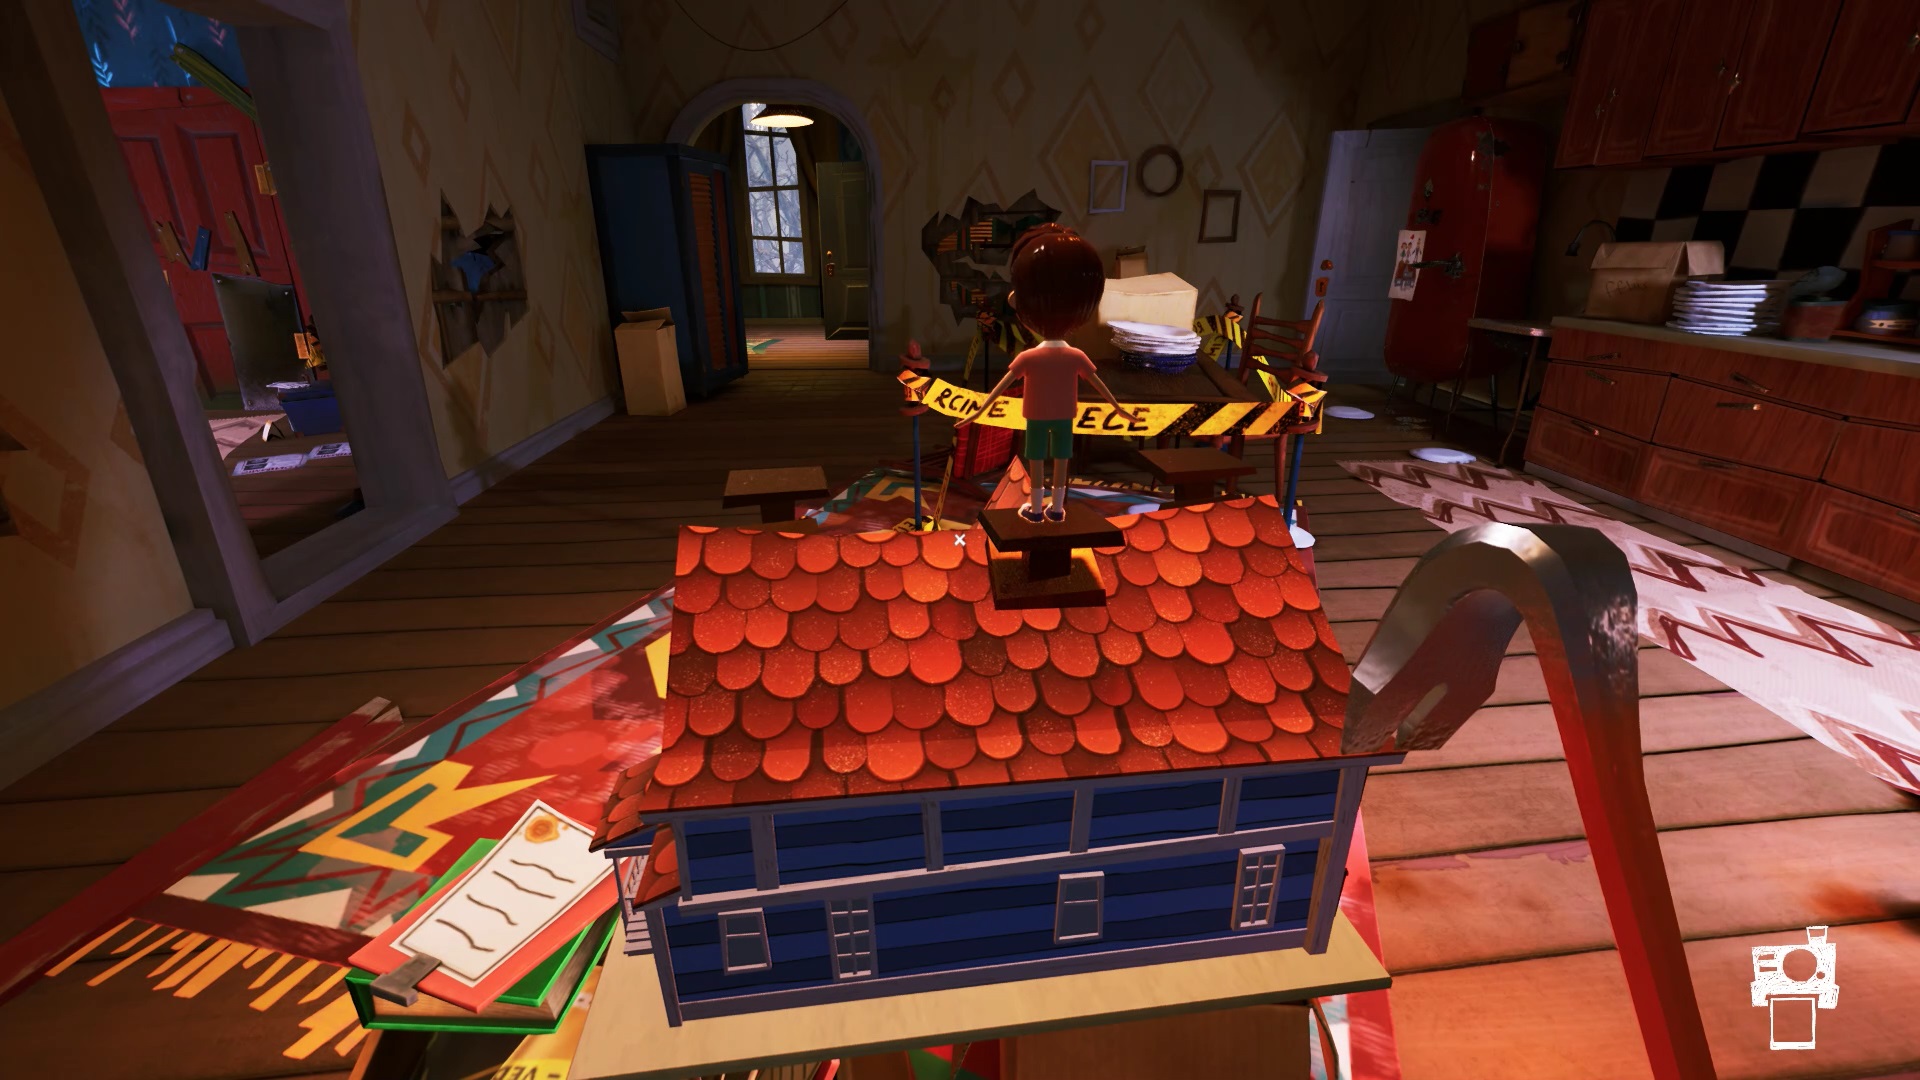
Enter the museum with the key. Pay attention, Mr. Peterson is in the game. In the museum, watch where you step. Pieces of glass on the floor, wooden planks on the stairs make noise to reveal your presence. Hide under furniture or in cabinets. Head into the room to the right of the entrance hall. You find a blueprint with three house slots.
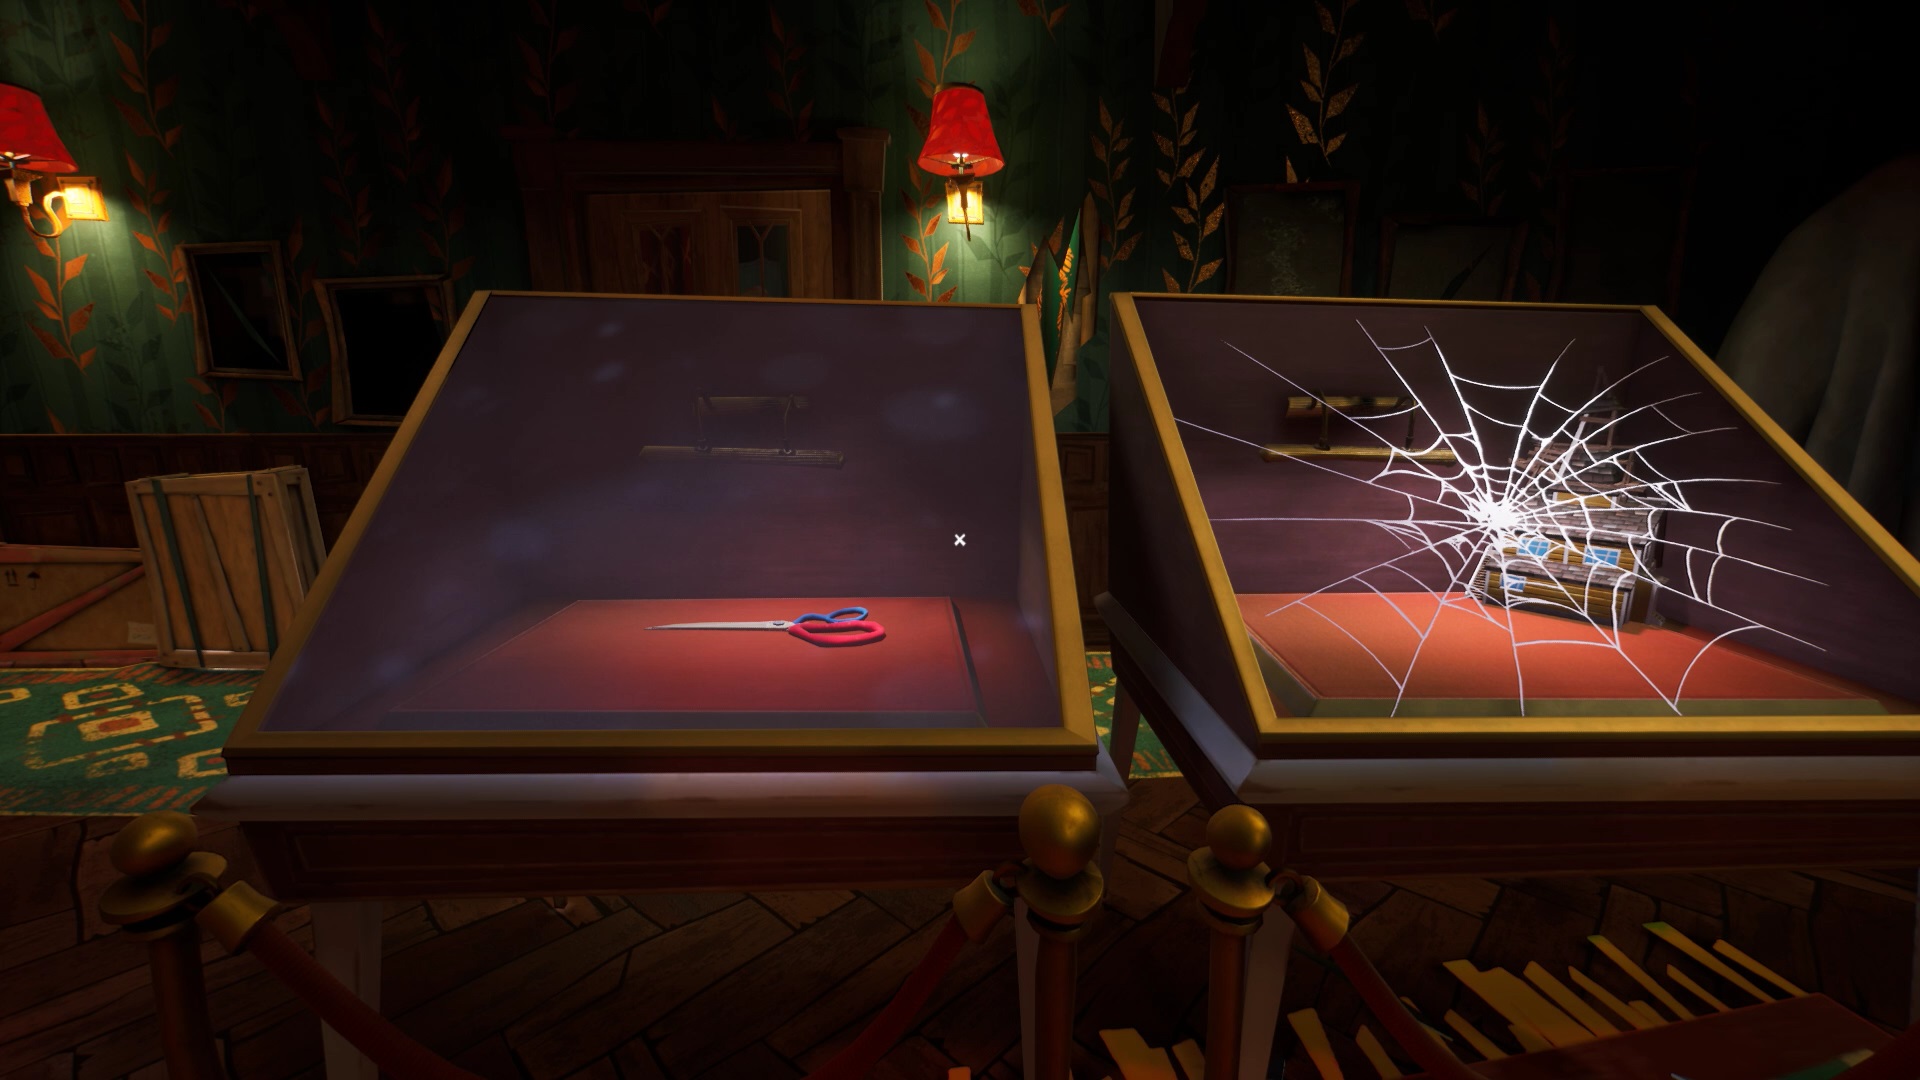
Your mission is to find three toy houses and position them on this plan. A first house is on the safe on the left of the plan. In the central hall, there are showcases. On the two showcases on the right, you find a pair of scissors and a toy house. Take the scissors and cut the cobweb to recover the house.
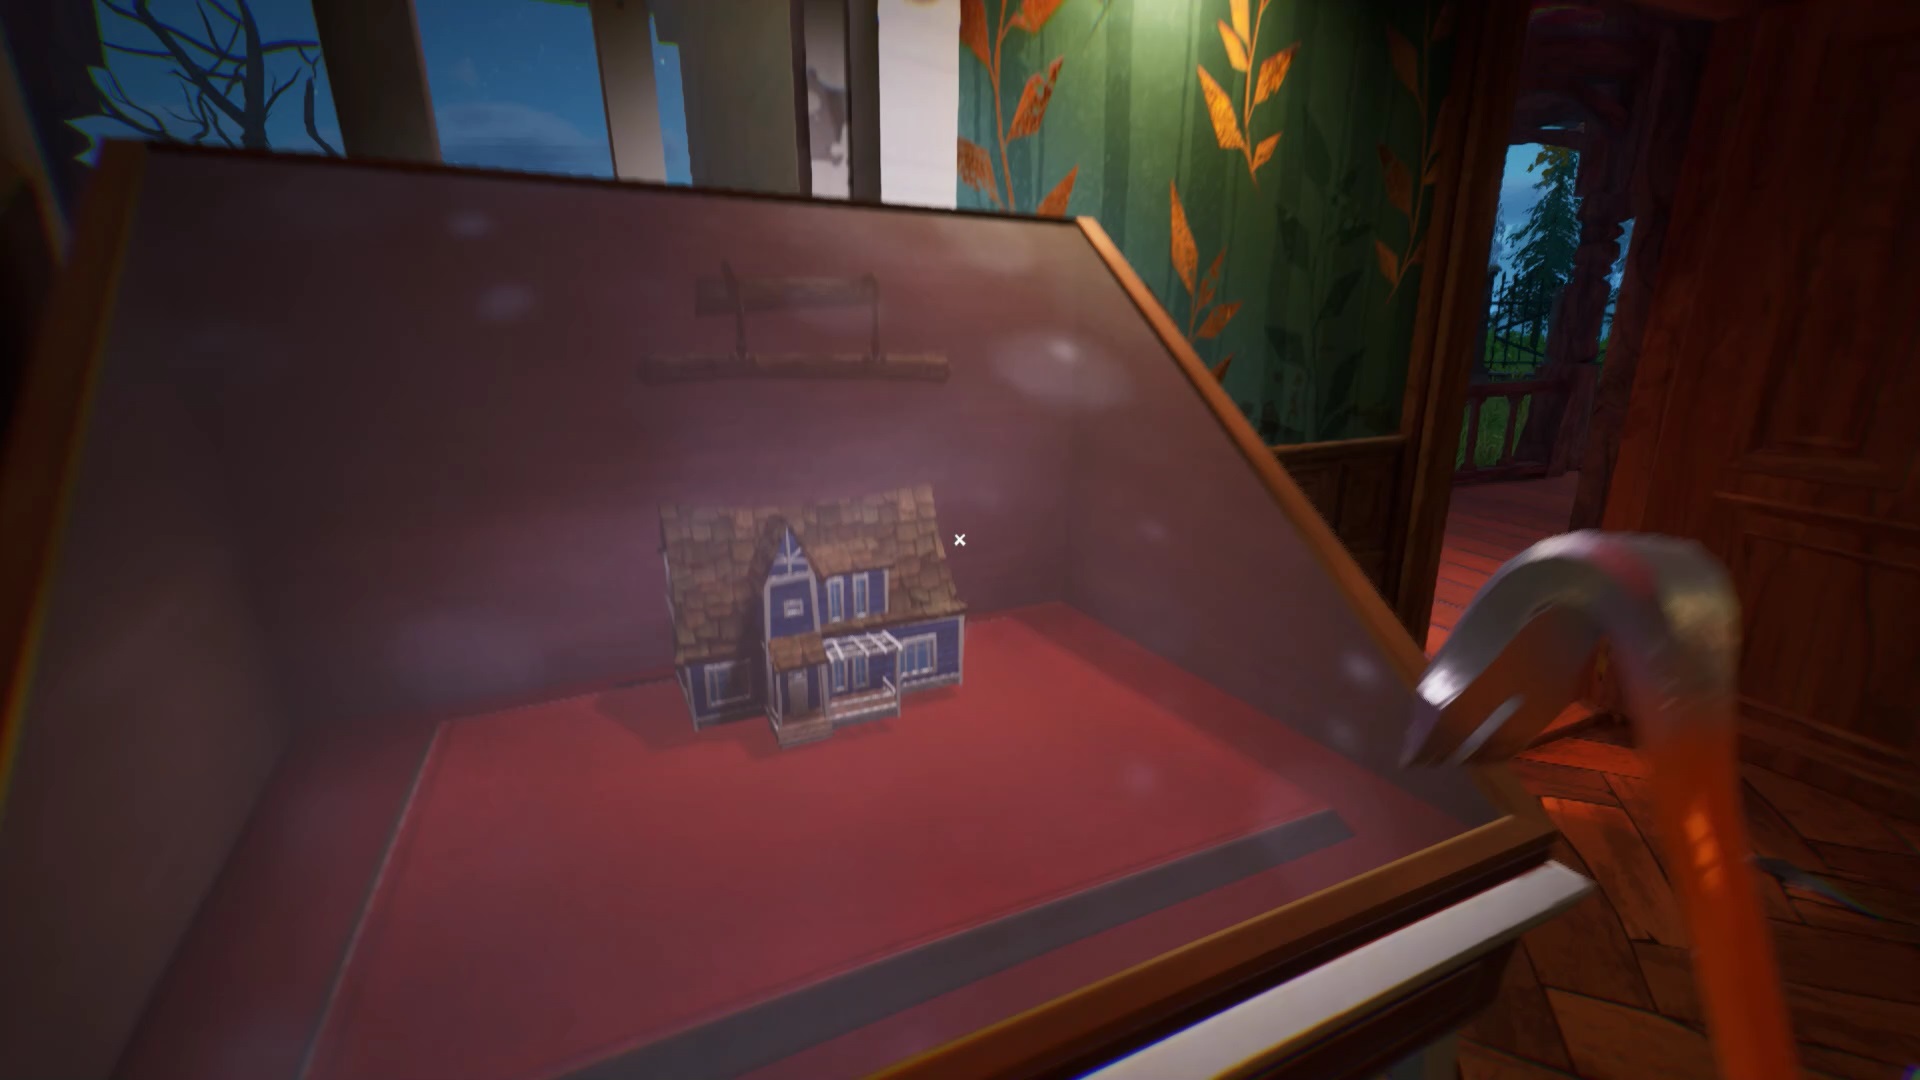
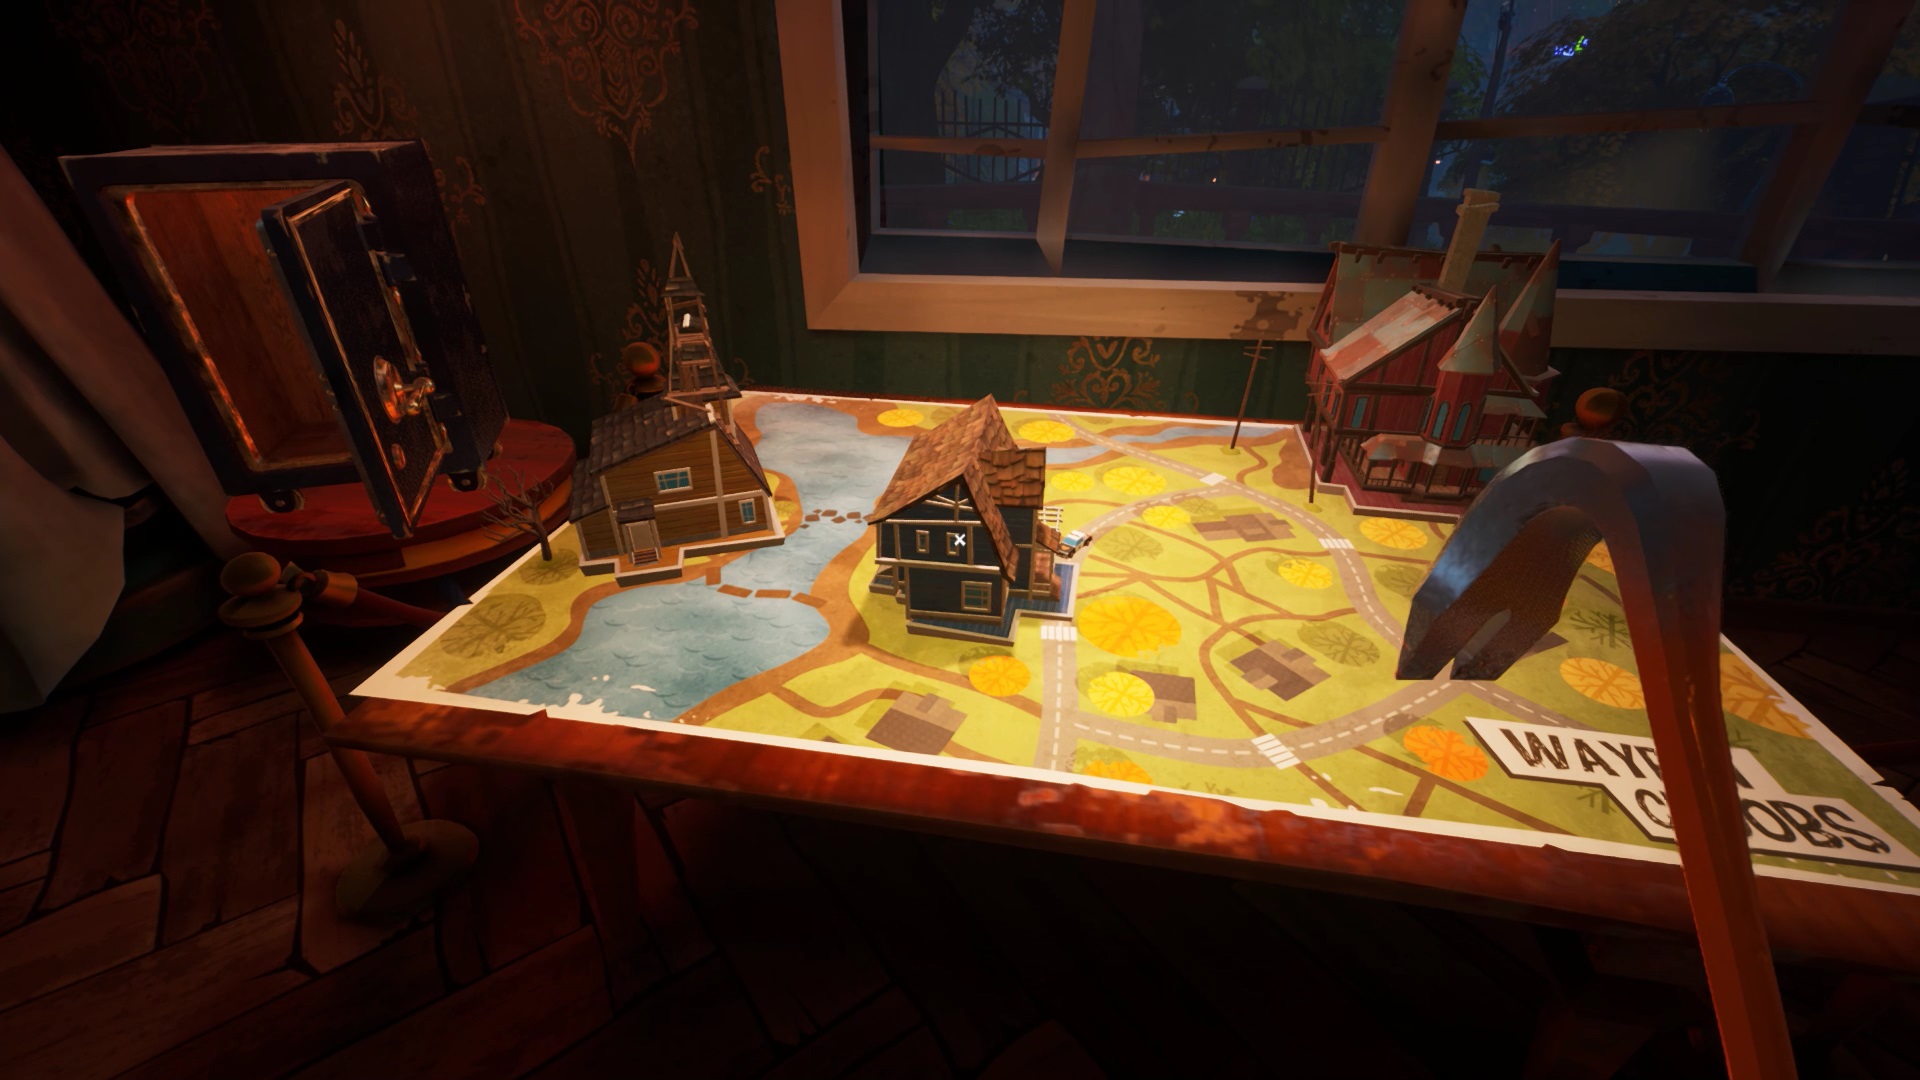
The last house is in a window on the left. Use a crowbar to break the window and recover the house. A crowbar is placed next to the display case. You can use the tool on the wooden planks of the doors to unblock access to the house. Position the toy houses on the map. Retrieve the key from the safe that has just opened.
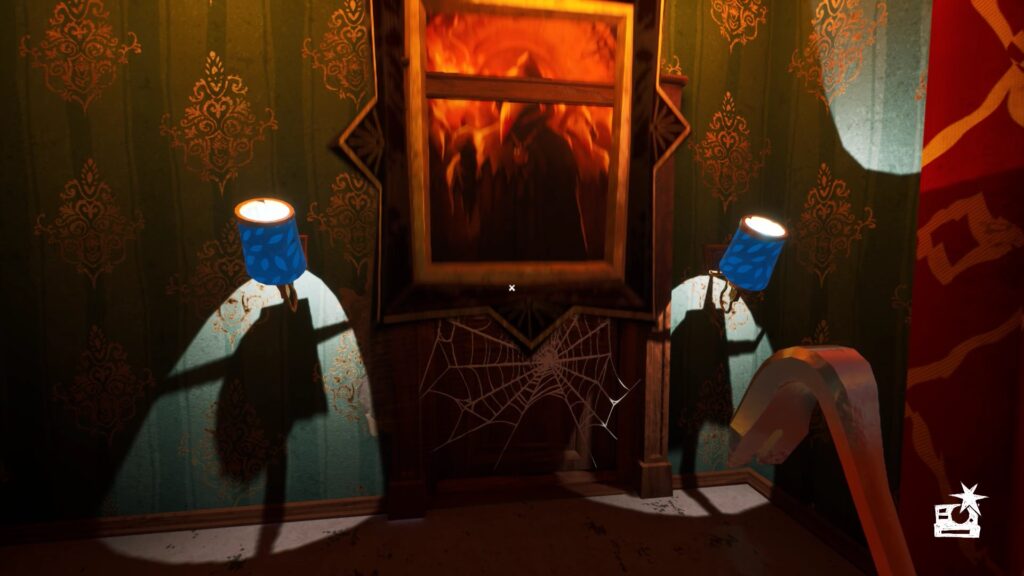
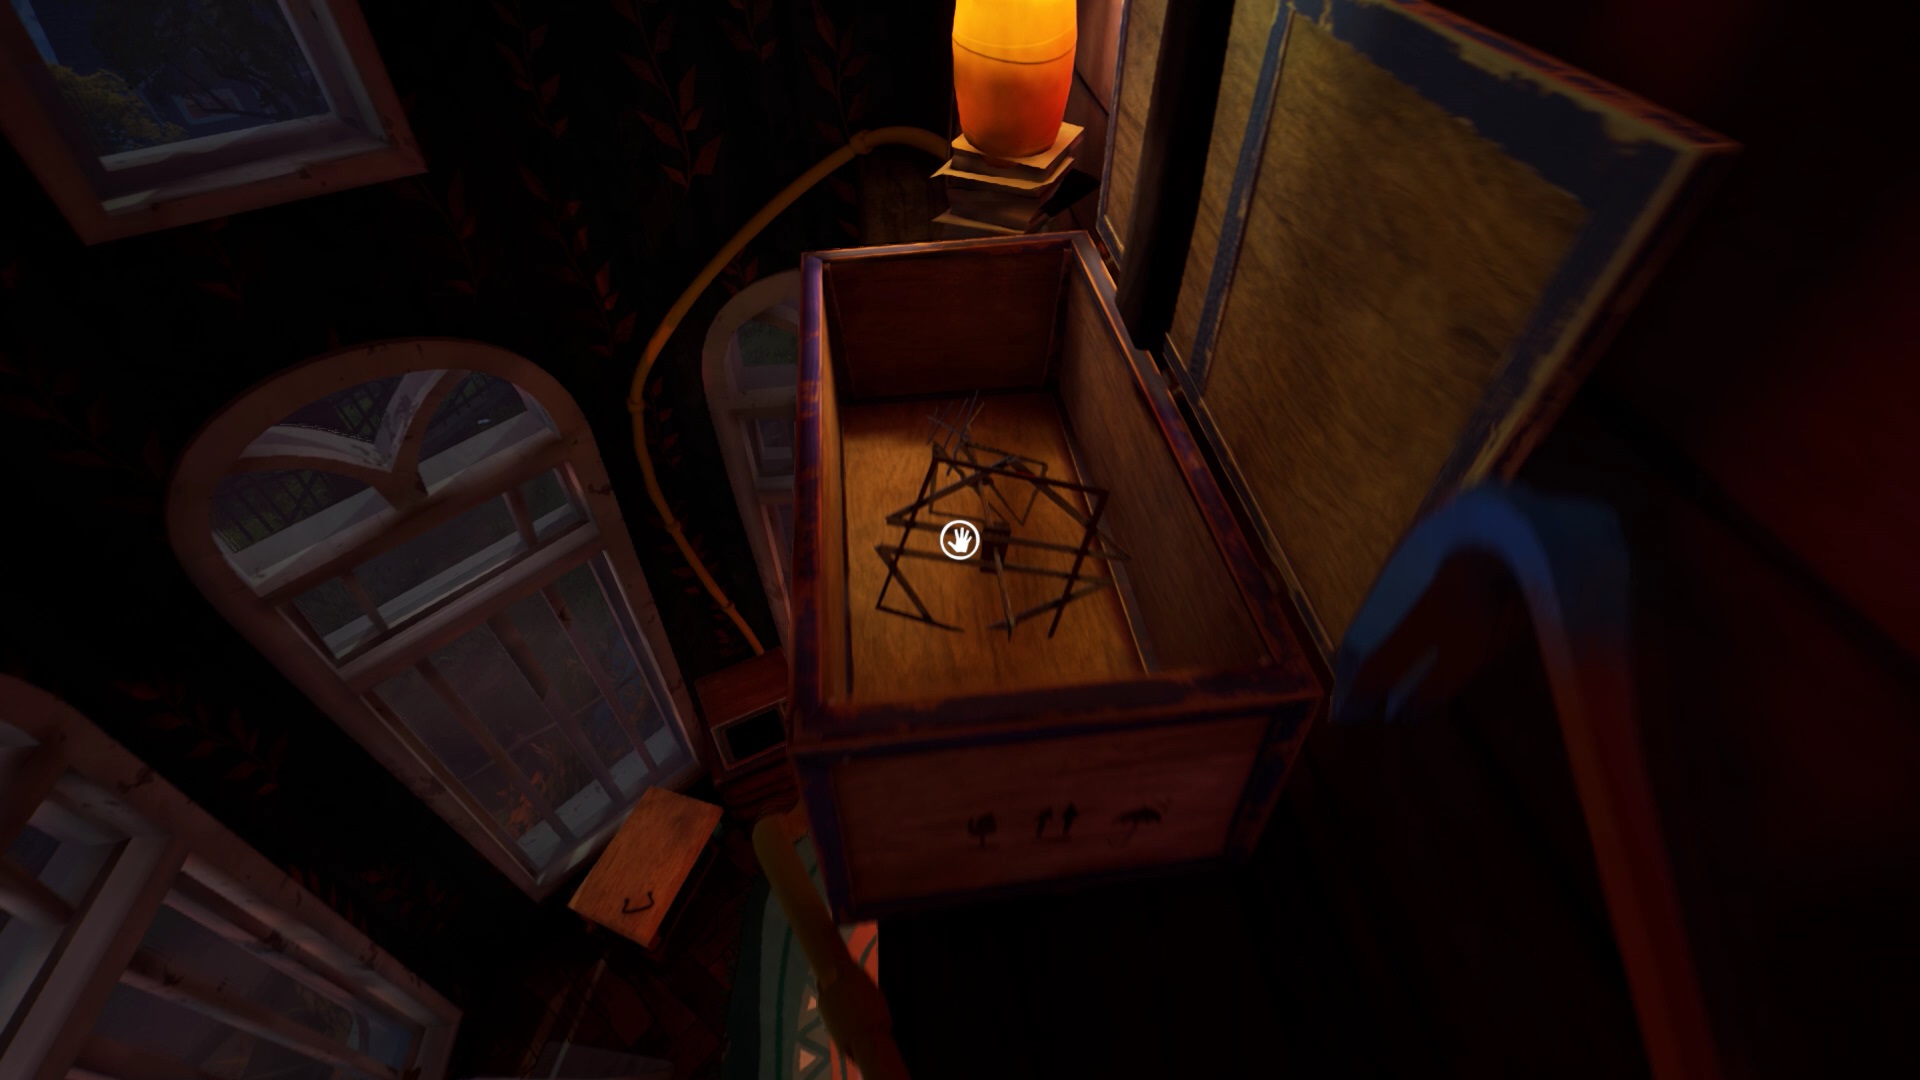
The key opens the door facing the safe. Enter the new room. Use your chisel on the cobweb on the left of the wall. Collect the blue lamp behind the cobweb. At the end of the room is a painting. Place the blue lamp on the left side of the painting. Interact with the lamps to lower them and open a passage. Use your chisel on the spider web to move forward. Collect a heart-shaped key from the desk in this new room.

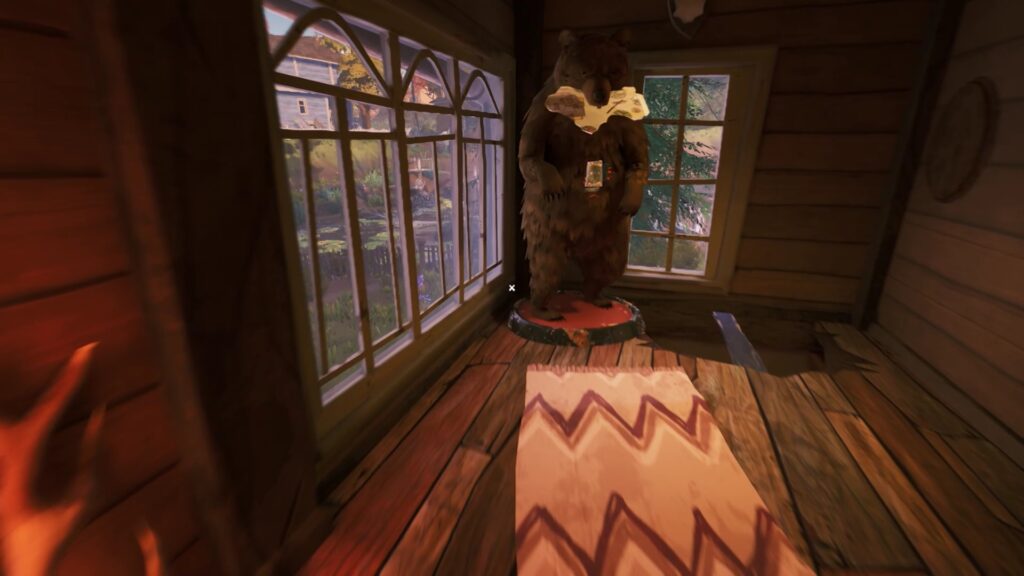
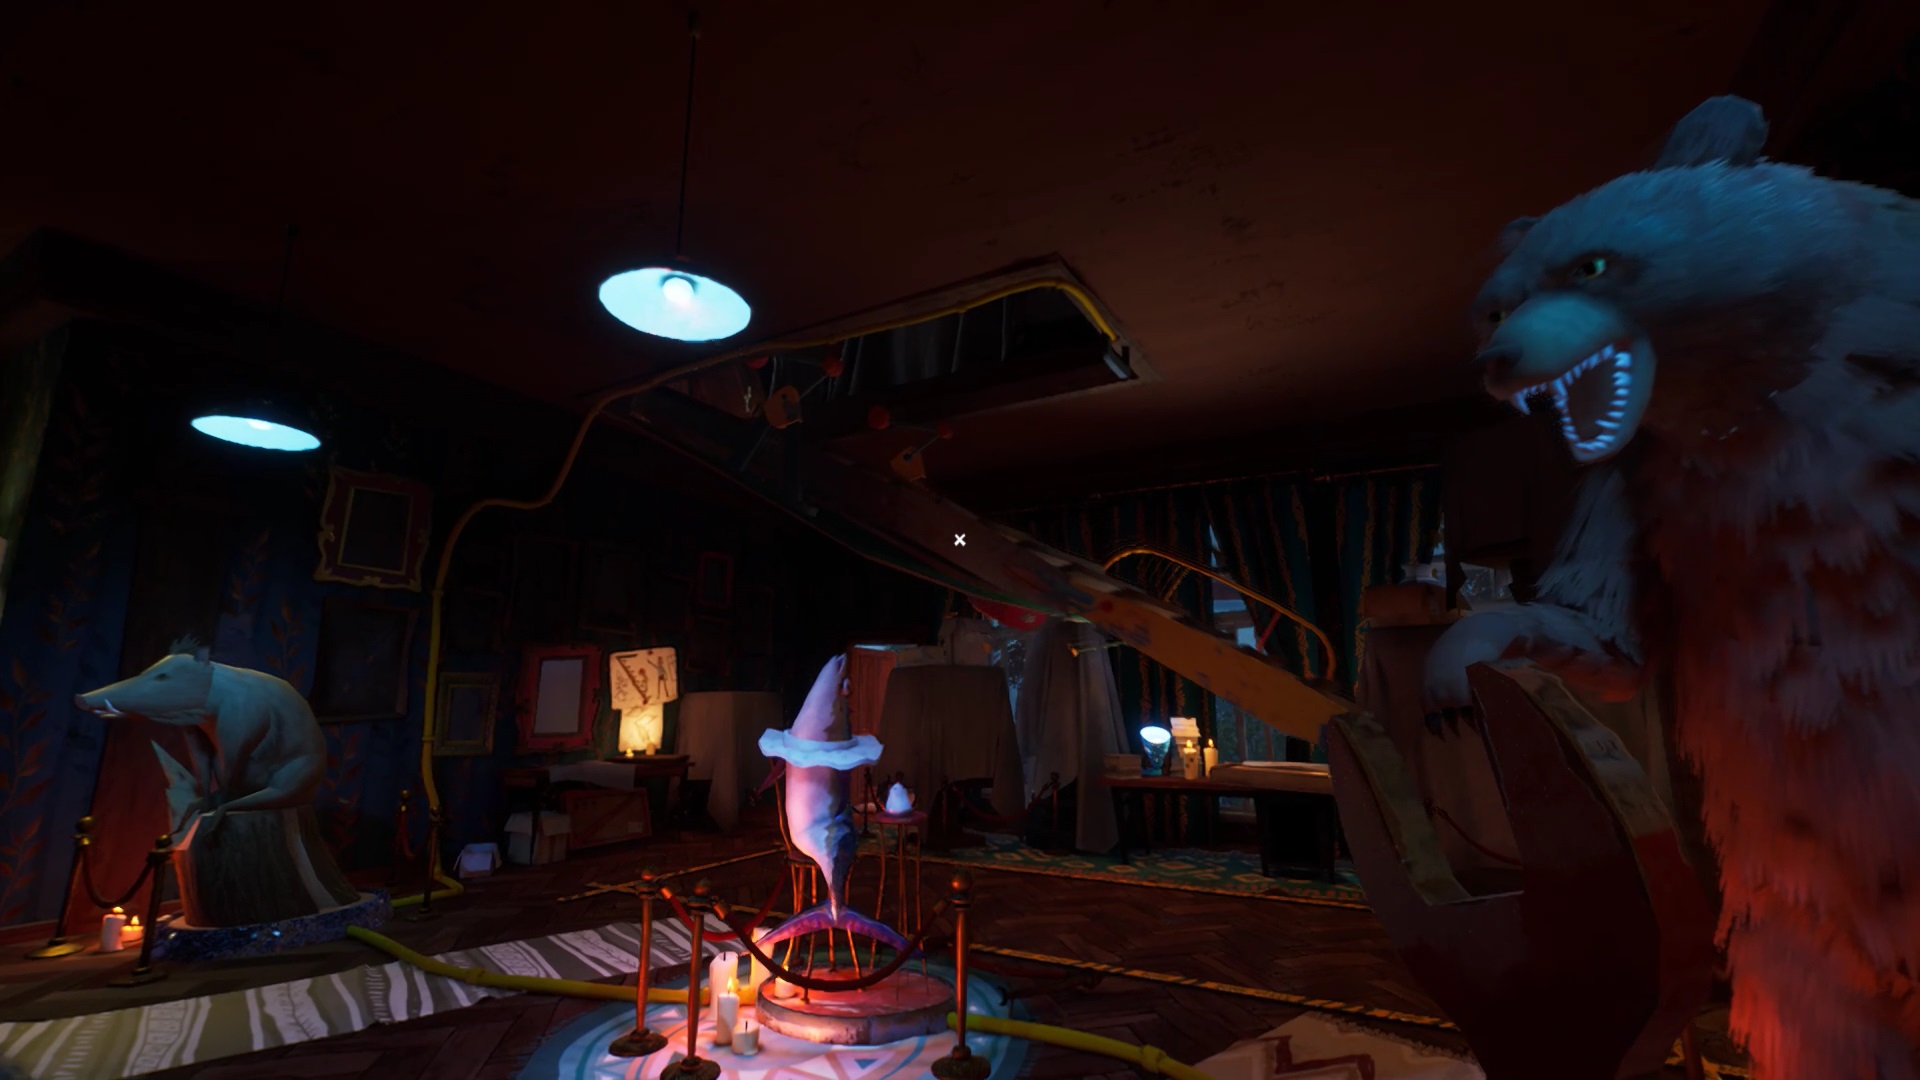
Return to the large hall with the display cases. Climb the stairs to reach the door with the heart-shaped padlock. The door is to the left of the stuffed animals. In the bedroom, interact with a portrait of a family in a display case to trigger a cutscene.
Hunter’s House
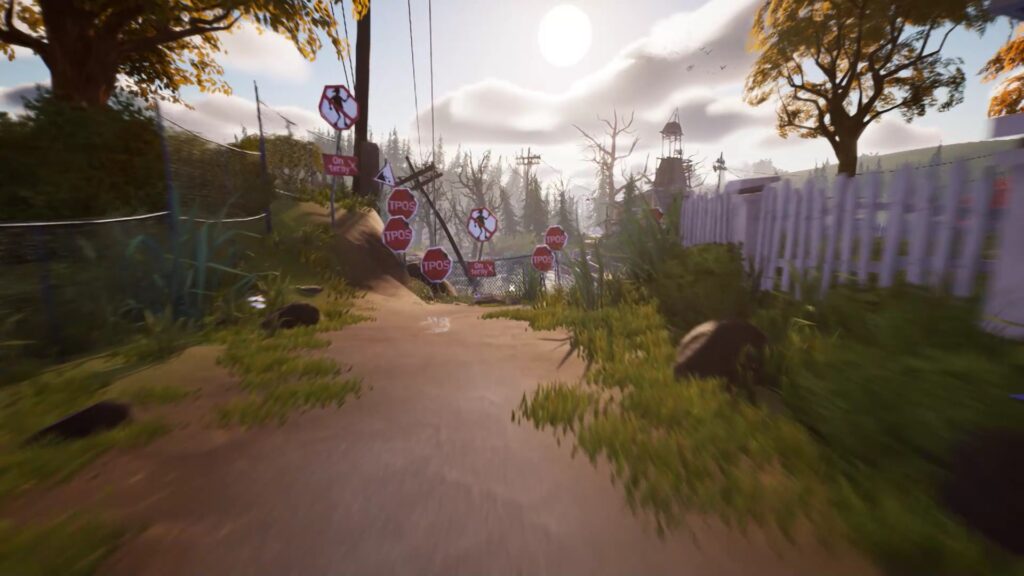
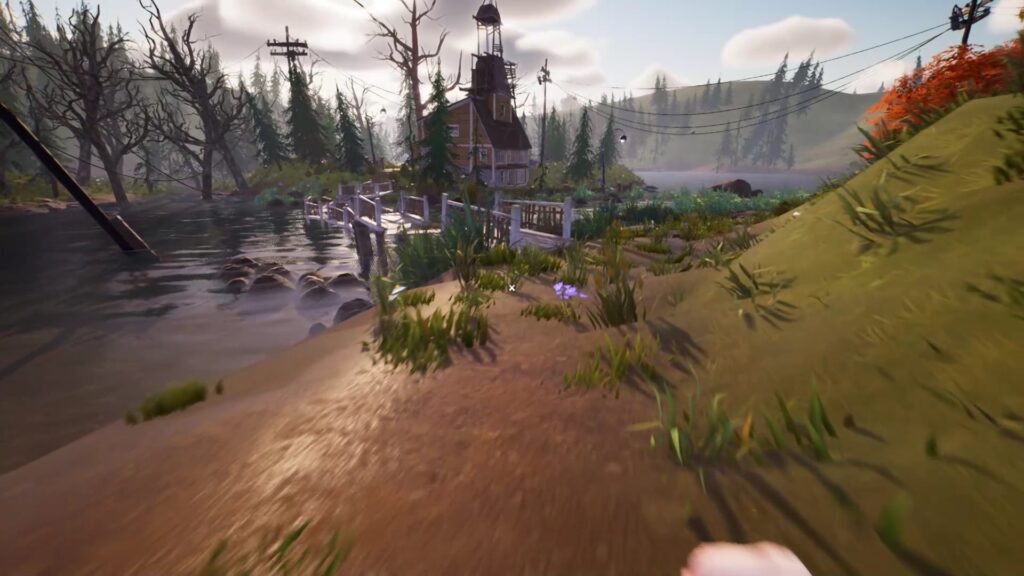
Back in the radio tower, look at the screens. You must go to the hunter’s house. It is located behind Mr. Peterson’s house. Follow the prohibition signs near Mr. Peterson’s house. Cross the lake to reach the hunter’s house.
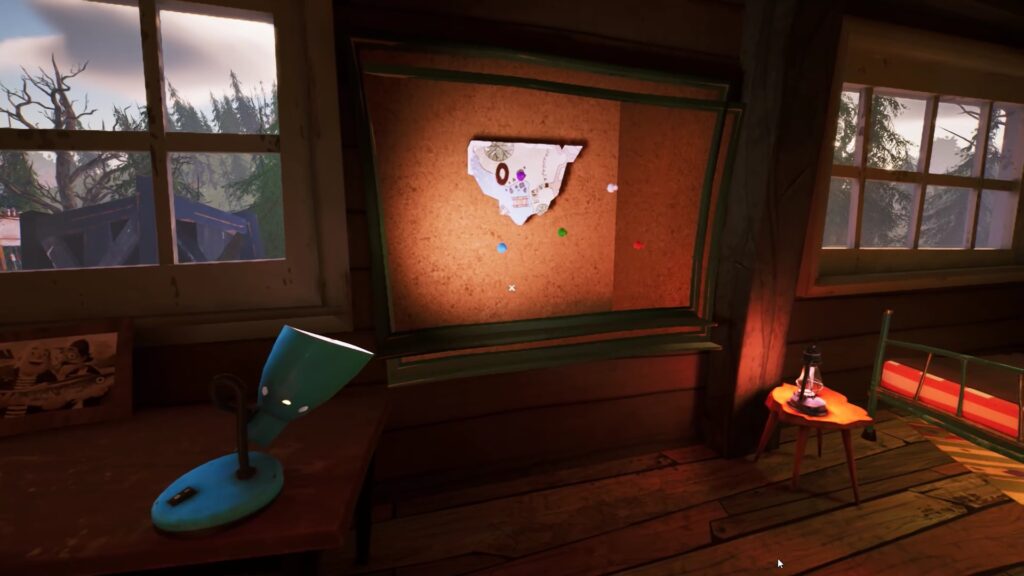
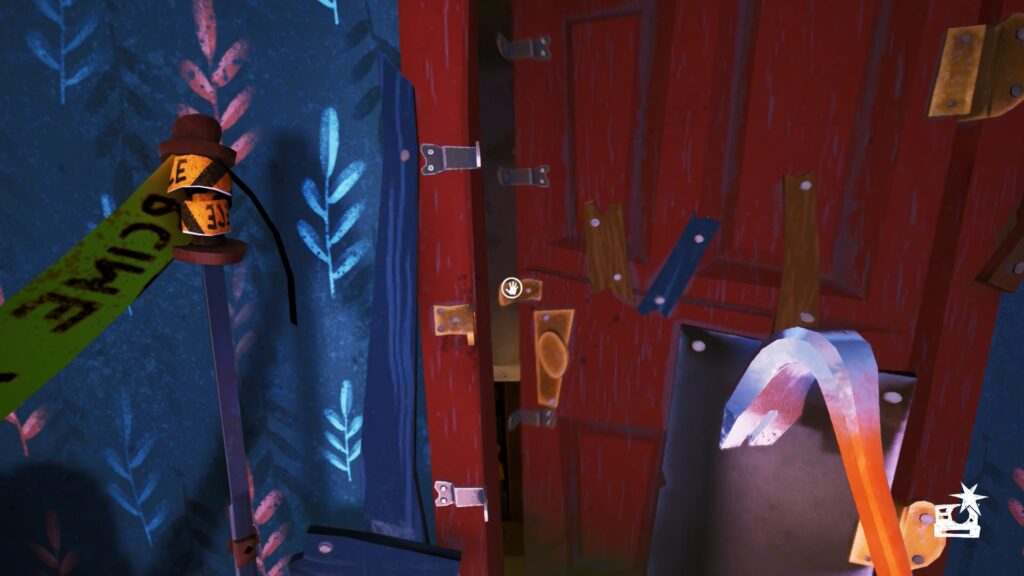
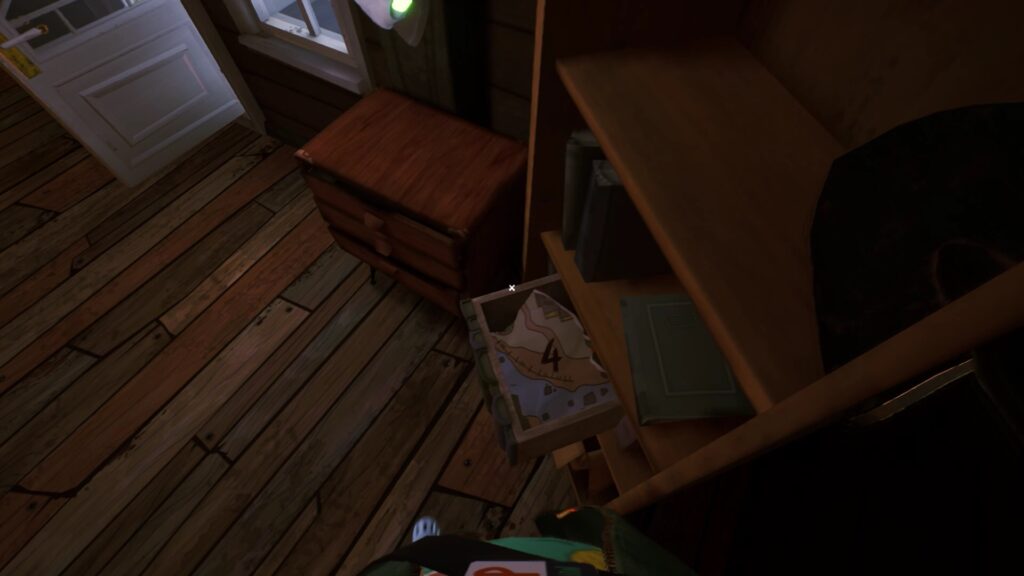
Be careful, the hunter will shoot you if he sees you. The main door has a doorbell. Avoid entering here. On the contrary, use the door noise to attract the hunter. Go around the house to find a more discreet entrance. Upstairs, inspect a plan on a cork wall. Four pieces are missing to complete the plan.
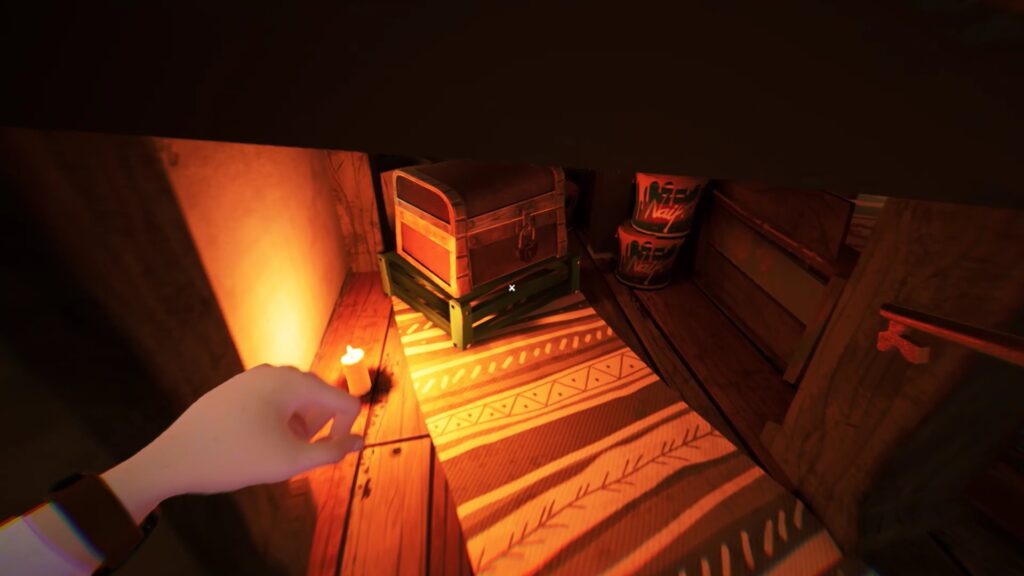
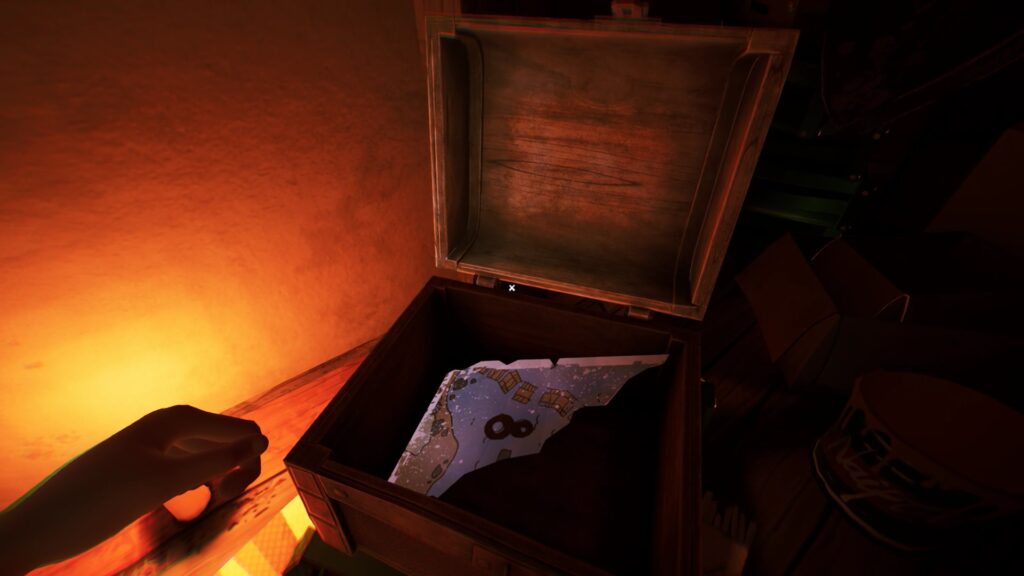
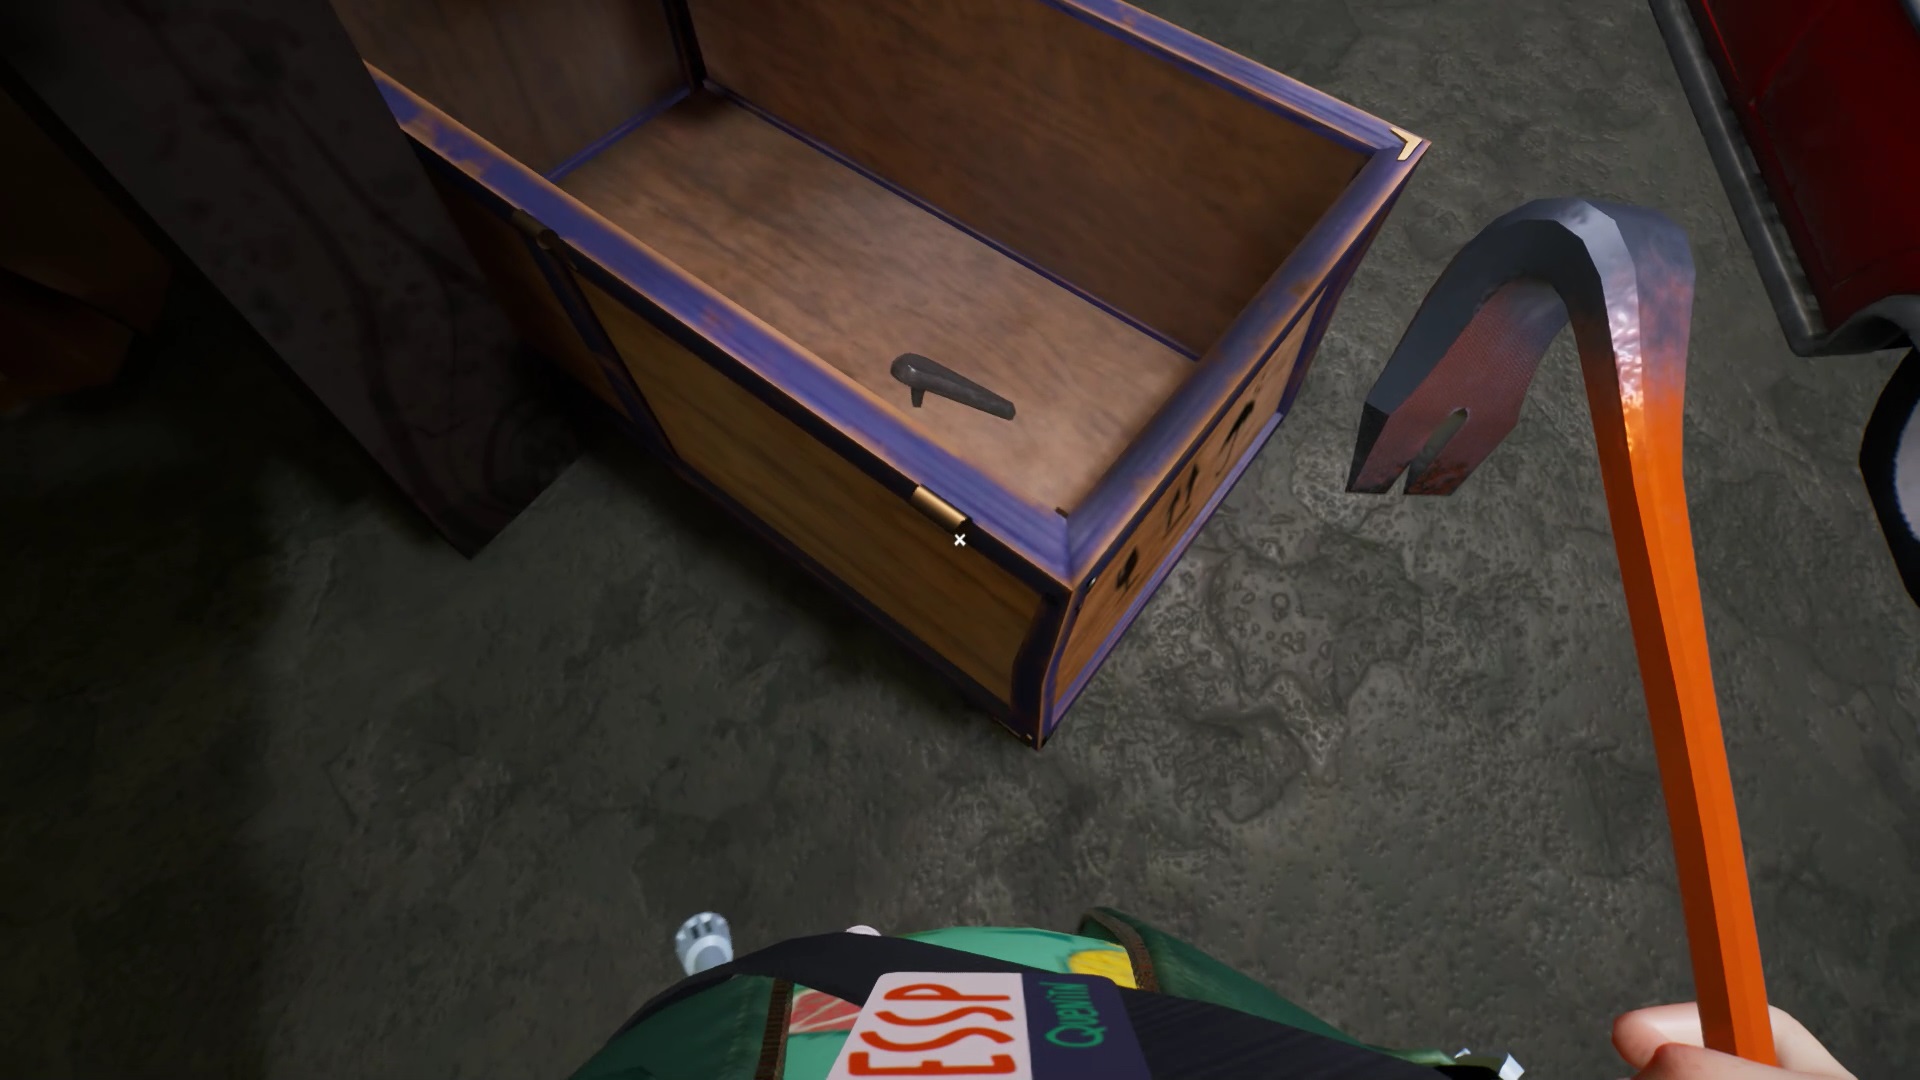
To the right of the plan is a bed. Use your chisel on the bed pillow to find a key. Go down into the basement. A chest under the stairs is blocked by a wooden plank. Use the crowbar to open the passage. Open the chest with the key to find a piece of map. You get the piece with the number 8. Position it on the plan at the level of the blue paper clip.
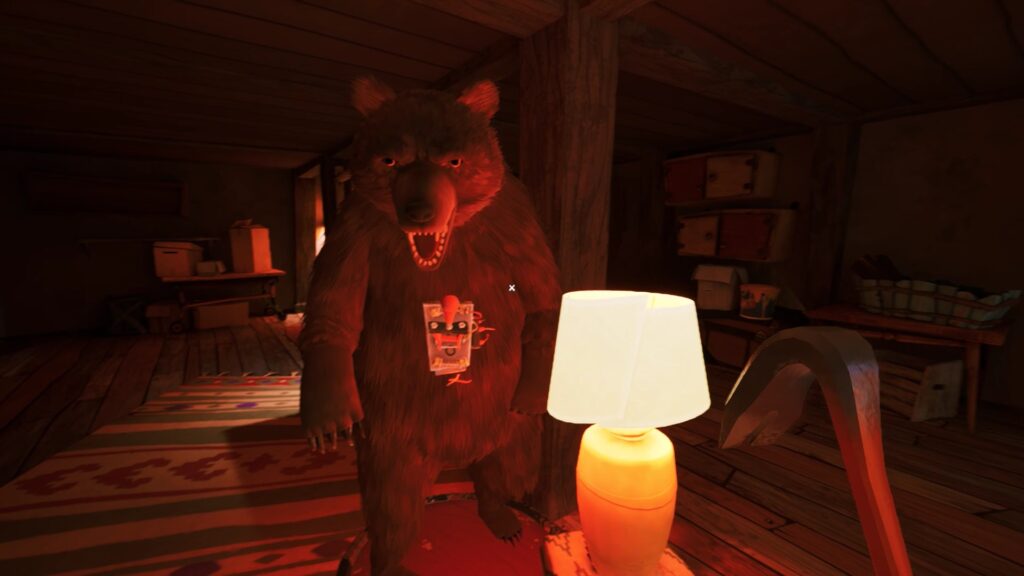
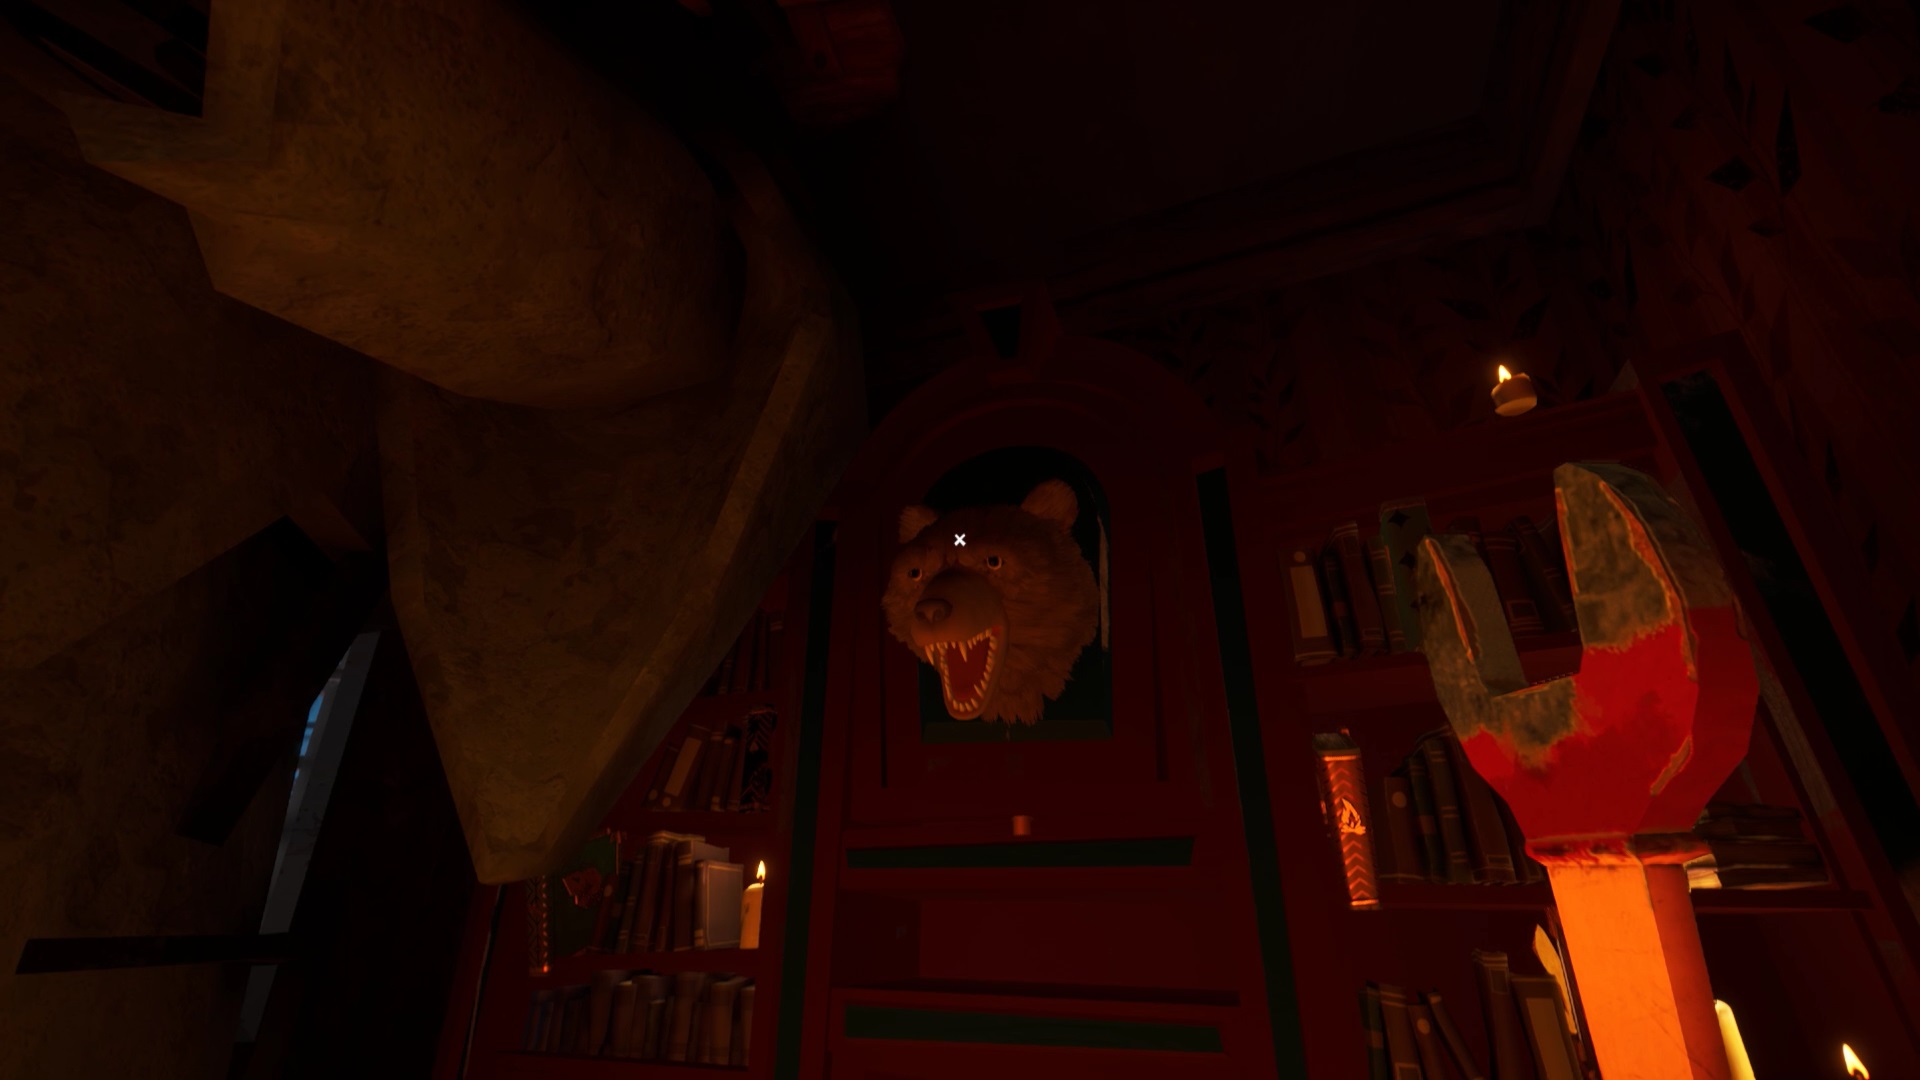
On the ground floor of the house is a clock. Go to the room to the right of the clock. A stuffed bear holds a piece of map in its mouth. You need a mechanism to unlock the bear’s mouth. Go down to the basement to find a second bear. Retrieve the mechanism from his body. Place the mechanism on the bear’s body from the ground floor. You get the blueprint piece with number 1. Position it at the white paper clip.
Another piece of map is in the kitchen microwave. To open the microwave, you need to activate four boar heads. The first is above the microwave. Another is located in the basement at the level of the wall parallel to the staircase.
On the first floor, you find a boar’s head at the very top of the wall facing the stairs. Climb on the furniture on the left of the room to reach the heights. Go from beam to beam to reach the boar’s head. Opposite the bear on the ground floor is a wall filled with animal horns. Use the furniture to climb to the top of this horn-filled wall. The boar’s head is high up. Go get the piece of card in the microwave. Place the piece of card with the number 6 at the level of the orange paperclip.
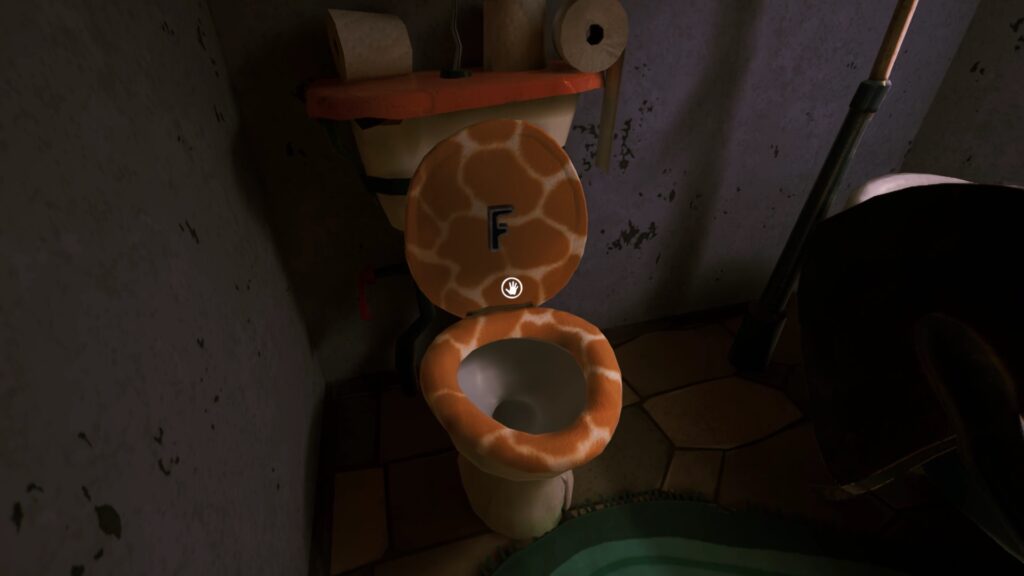

To find the last piece of map, you must collect the missing letters from the fridge. You find the letter « F » in the downstairs restroom. In the bear room on the ground floor, climb on the furniture to reach empty tables. Paintings are placed near animal horns. The letter « B » is on one of the paintings.
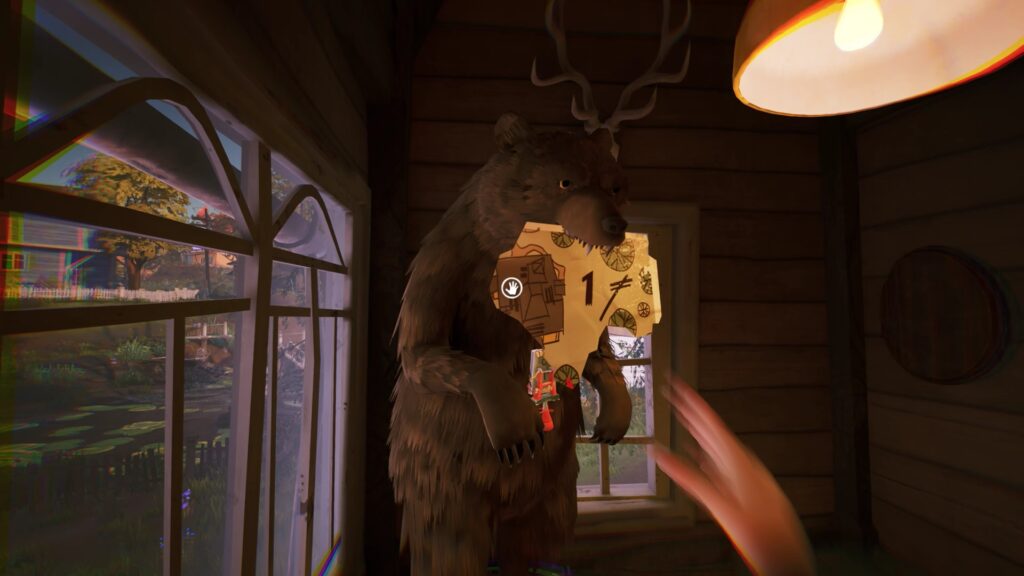
The last letter is on the roof of the house. In the garden at the back of the house, use the furniture and wooden crates to reach the roof. Climb up the roof to find the letter « C » on a can of paint. Position the letters found on the fridge to get horns. On the first floor, on the wall, there is an animal skull where the horns on the right are missing. Place the horns here. You get the last piece of map with the number 4. Place it in the middle of the map on the green paperclip.
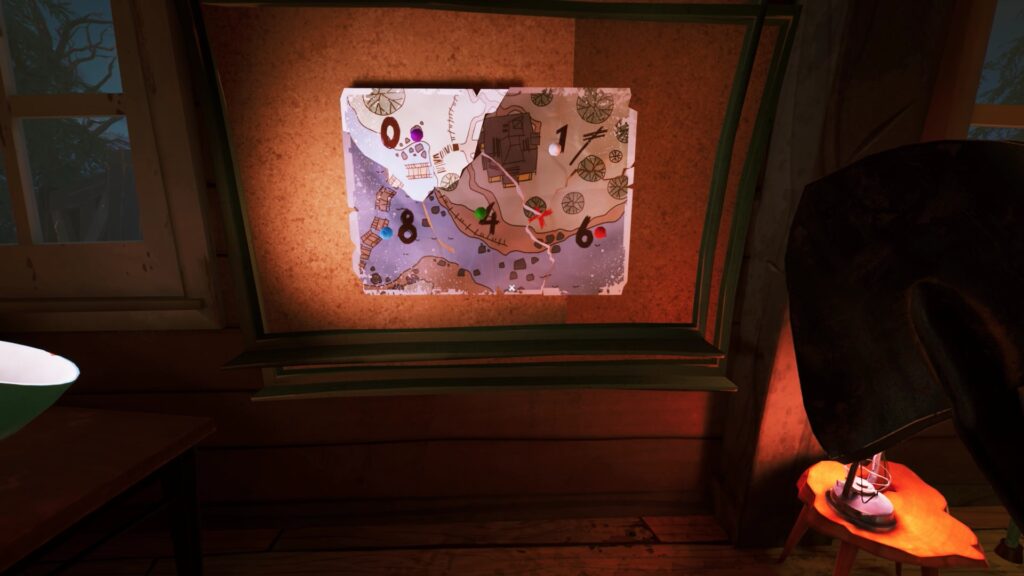
Complete the blueprint to get number 8 on blue color, 0 on purple, 1 on white, 4 on green and 6 on orange. On the roof of the house, you find a shovel. It is placed in the space below the cans of paint where you found the letter « C » of the fridge.
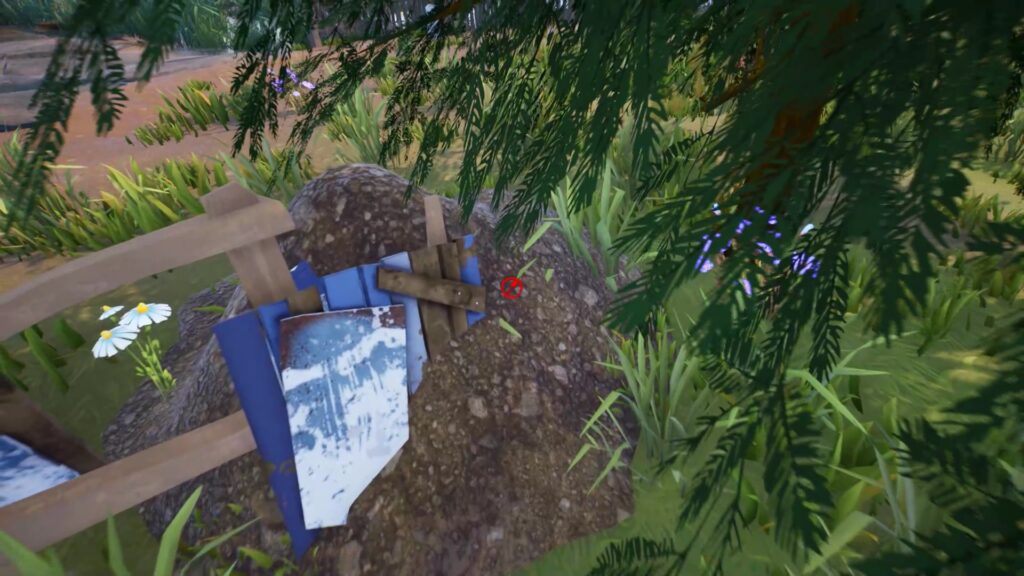

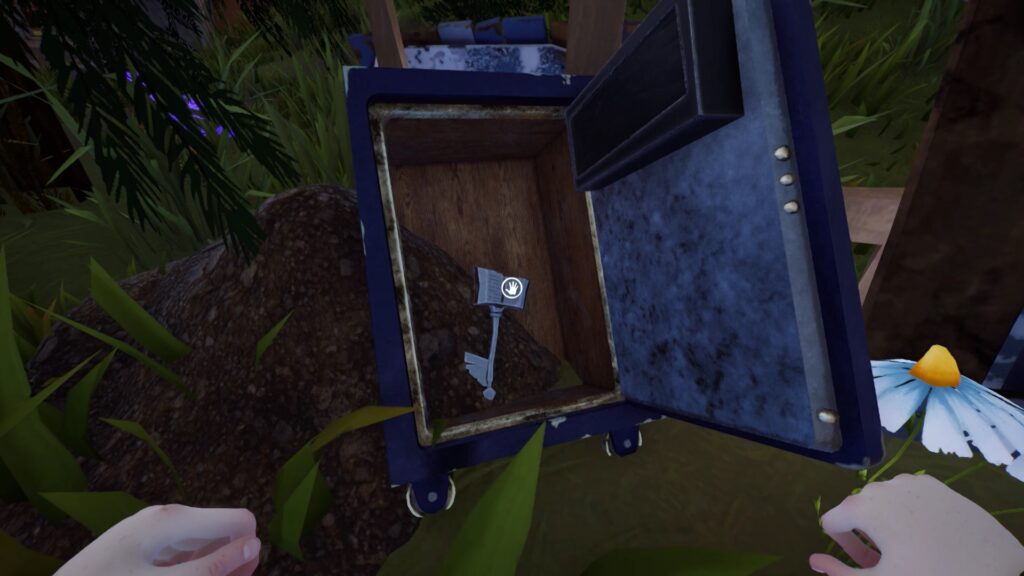
In the garden, dig the clod of earth facing the lake. She is near a bench. You dig up a safe. Enter the following code: 80164 to get a new museum key. Follow the colors of the blueprint clips and numbers to get the code.
Museum – Second Part
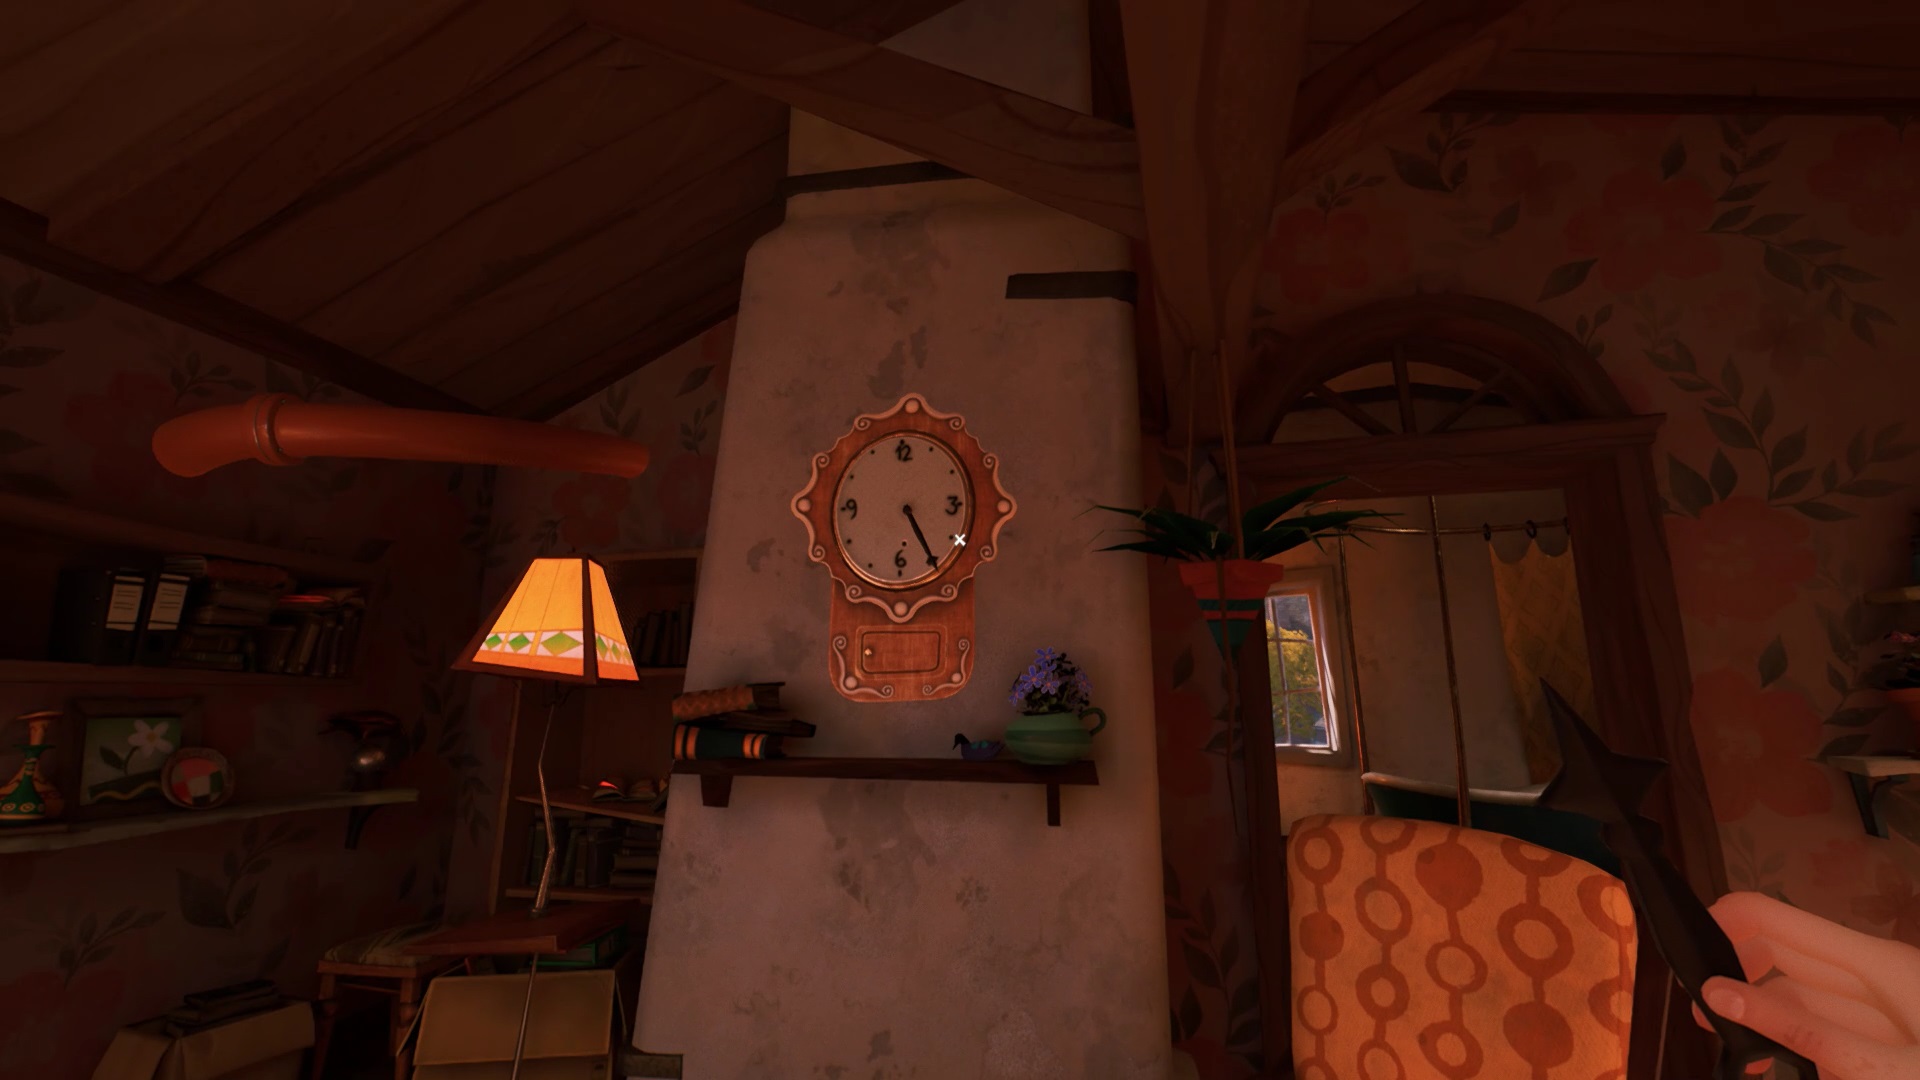
In the main hall, to the right of the stairs is a clock. Interact with the clock to discover the location of three gears. You must find them to operate the clock. The key you got from the hunter opens the door to the left of the bedroom on the first floor.
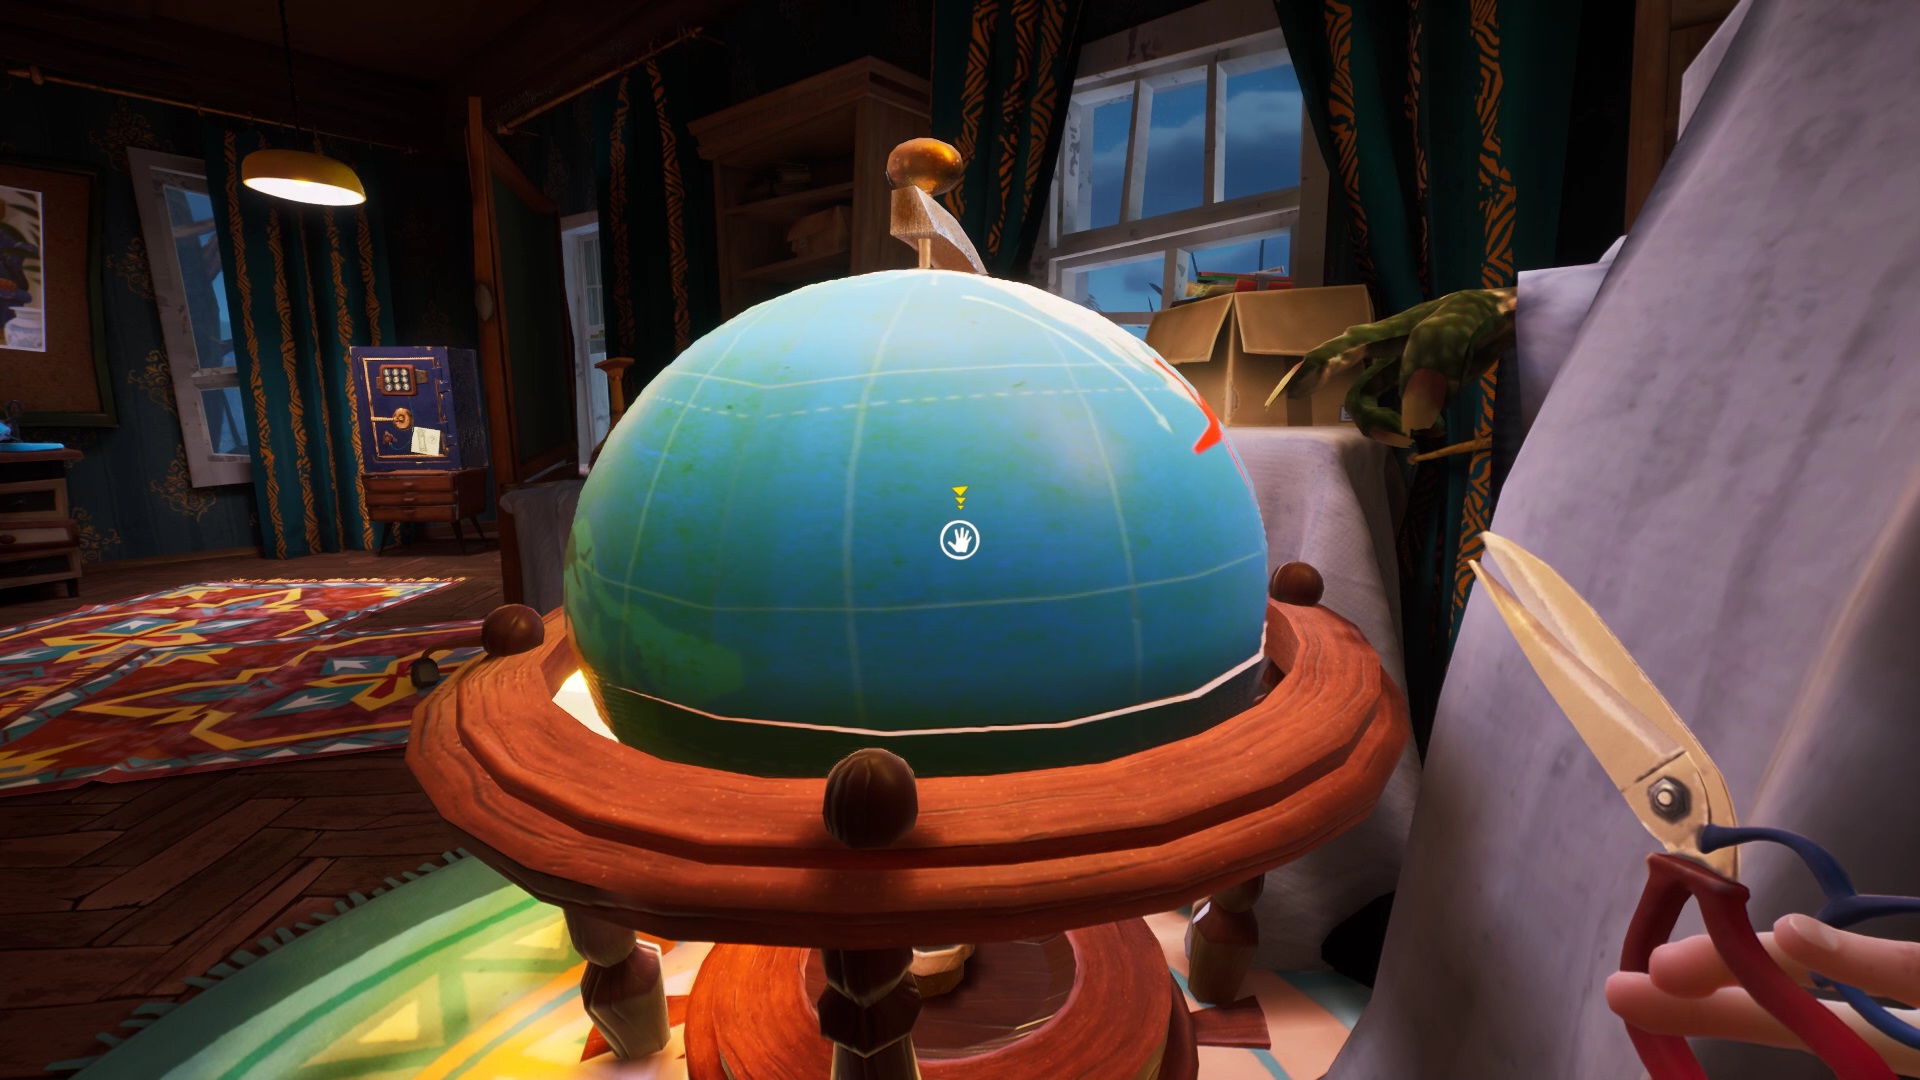
Open the door to discover the office. In the room, there is a globetrotter. A red cross is drawn on the globe. Spin the globe. Stop it when the cross is located under the dummy’s finger to the right of the globe. Collect the gear under the globe. Position the gear in the clock.

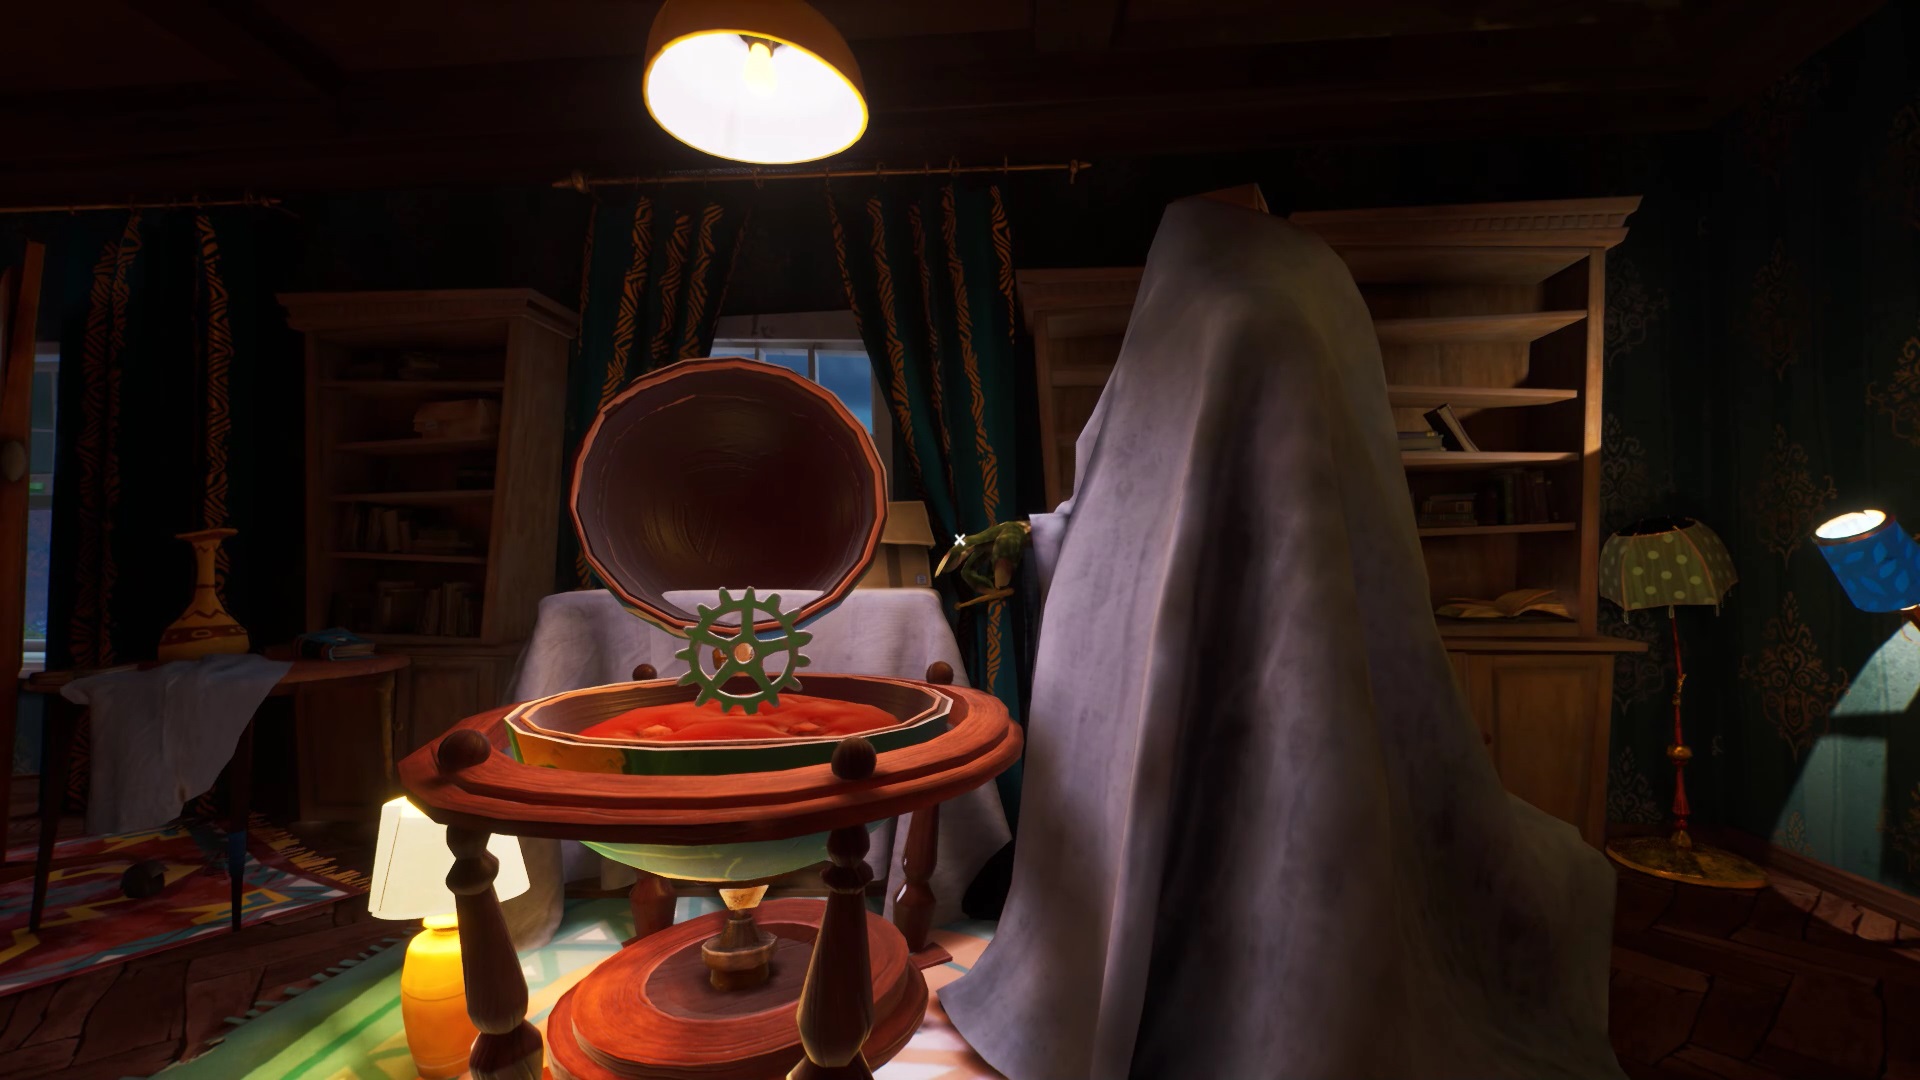
To the right of the room, you find the bottom of a cupboard. Interact with the blue lamp to the left of the cabinet. You open a passage leading to the bedroom. In the bedroom, to the right of the wardrobe, you find a slab. Return to Mr. Peterson’s house and retrieve a dumbbell. Return to the museum room and position the dumbbell on the slab. Look at the headboard to find another gear. Position the gear in the clock.
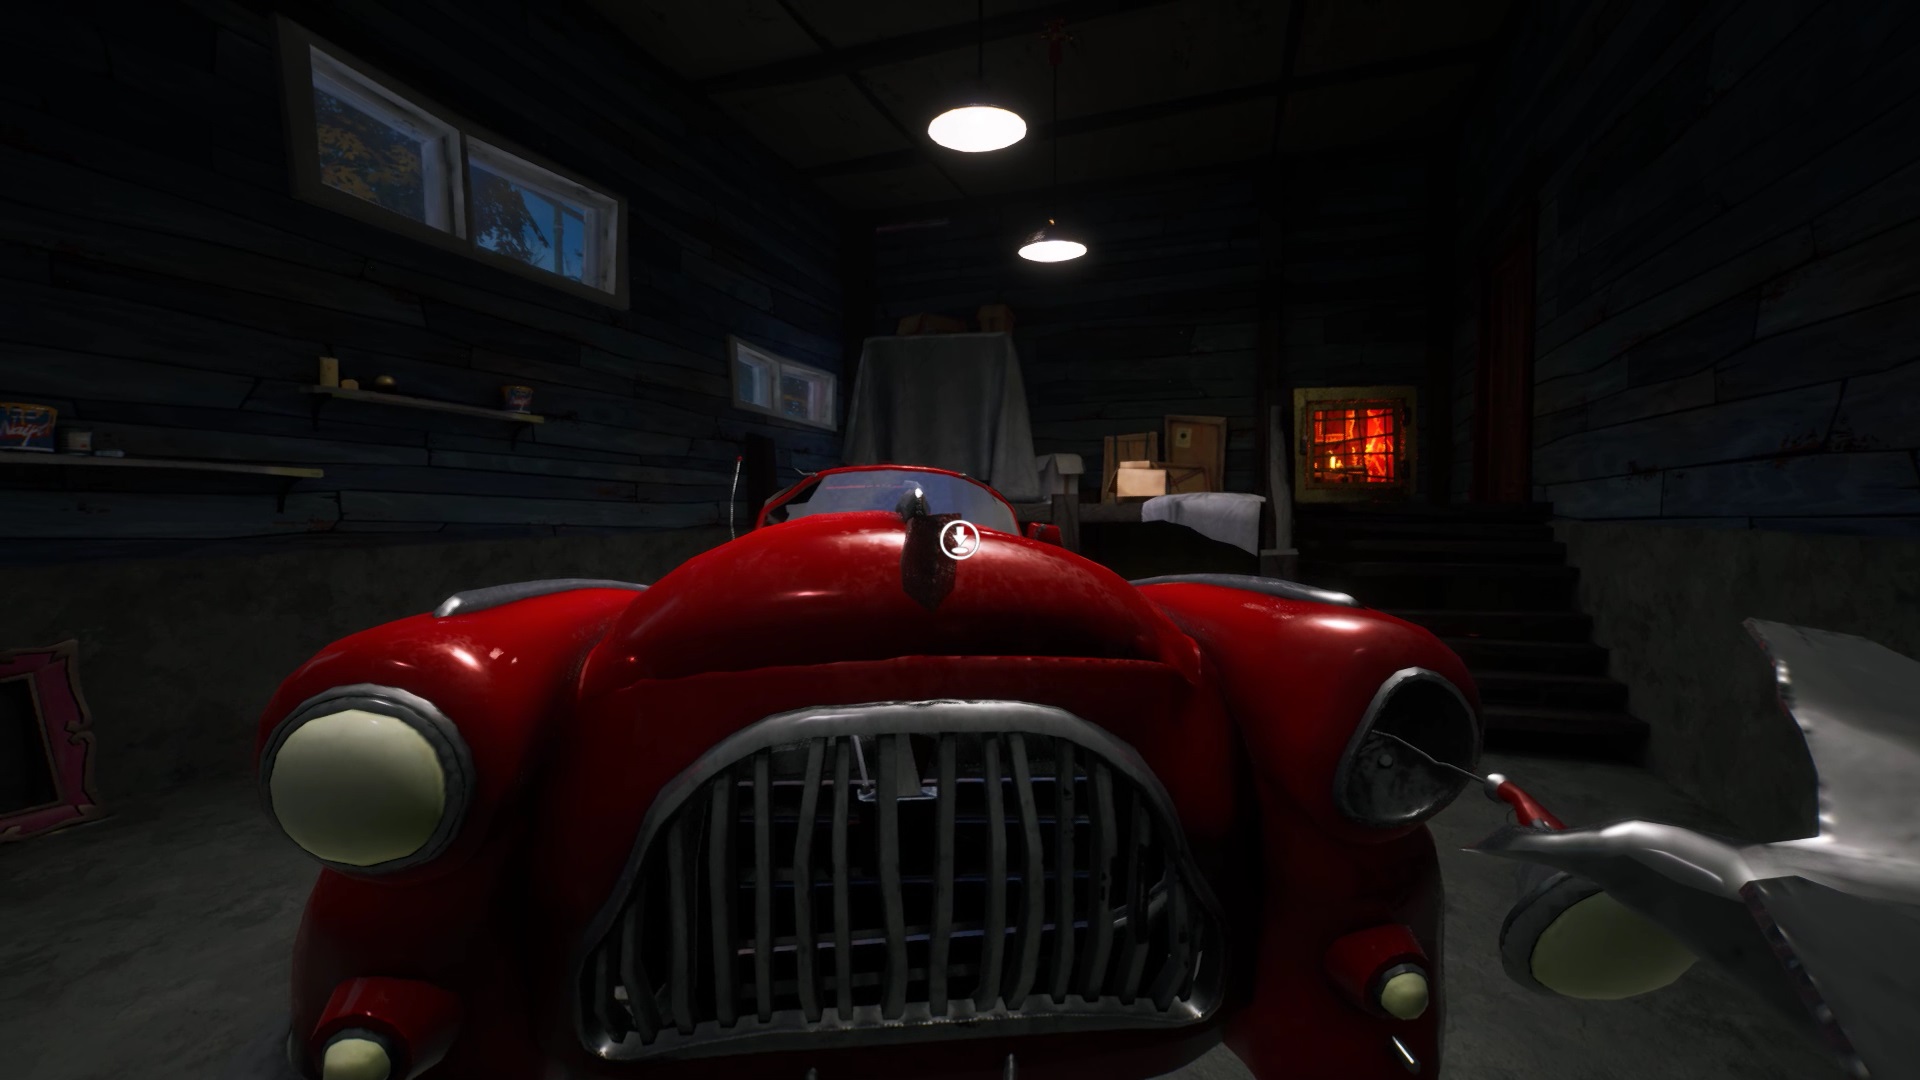

Return to the office. Collect a car ornament from the desk. On the ground floor, take the door to the right of the clock. In the hallway behind the hall, use your crowbar to open the garage door. Position the ornament on the hood of the car. Collect the gear from the open hood of the car.
Position all the gears in the clock and remember the indicated time. Return to the office. A safe with a clock image is placed near the desk. Enter the time shown on the clock: 1135 to open the safe. Collect the camera to start a cutscene.
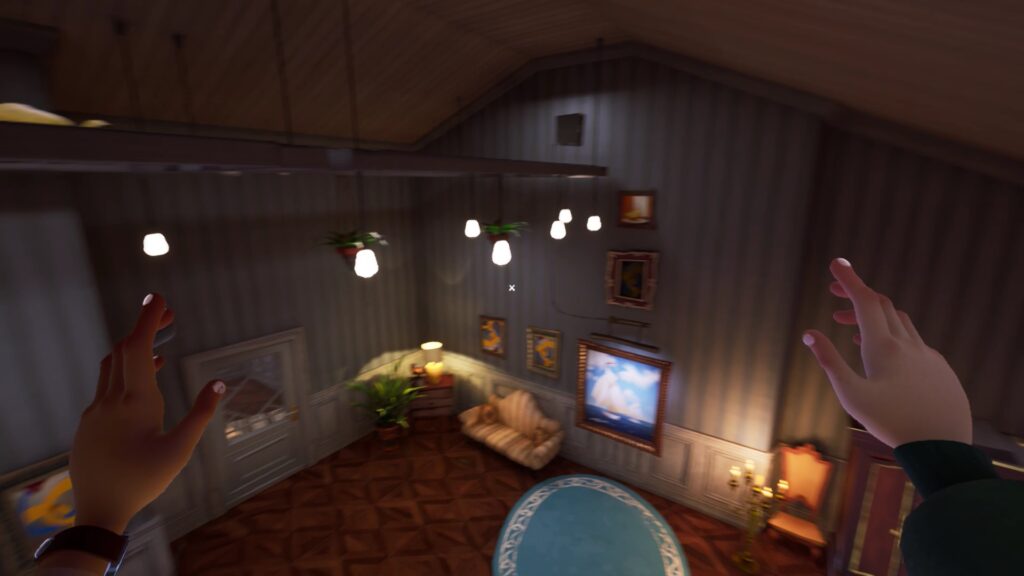
The musician’s house

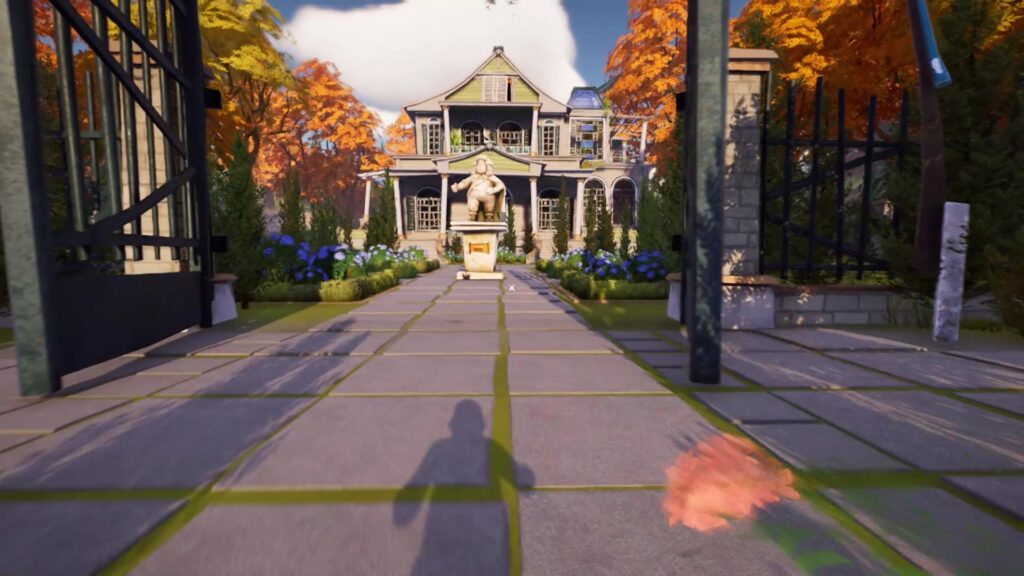
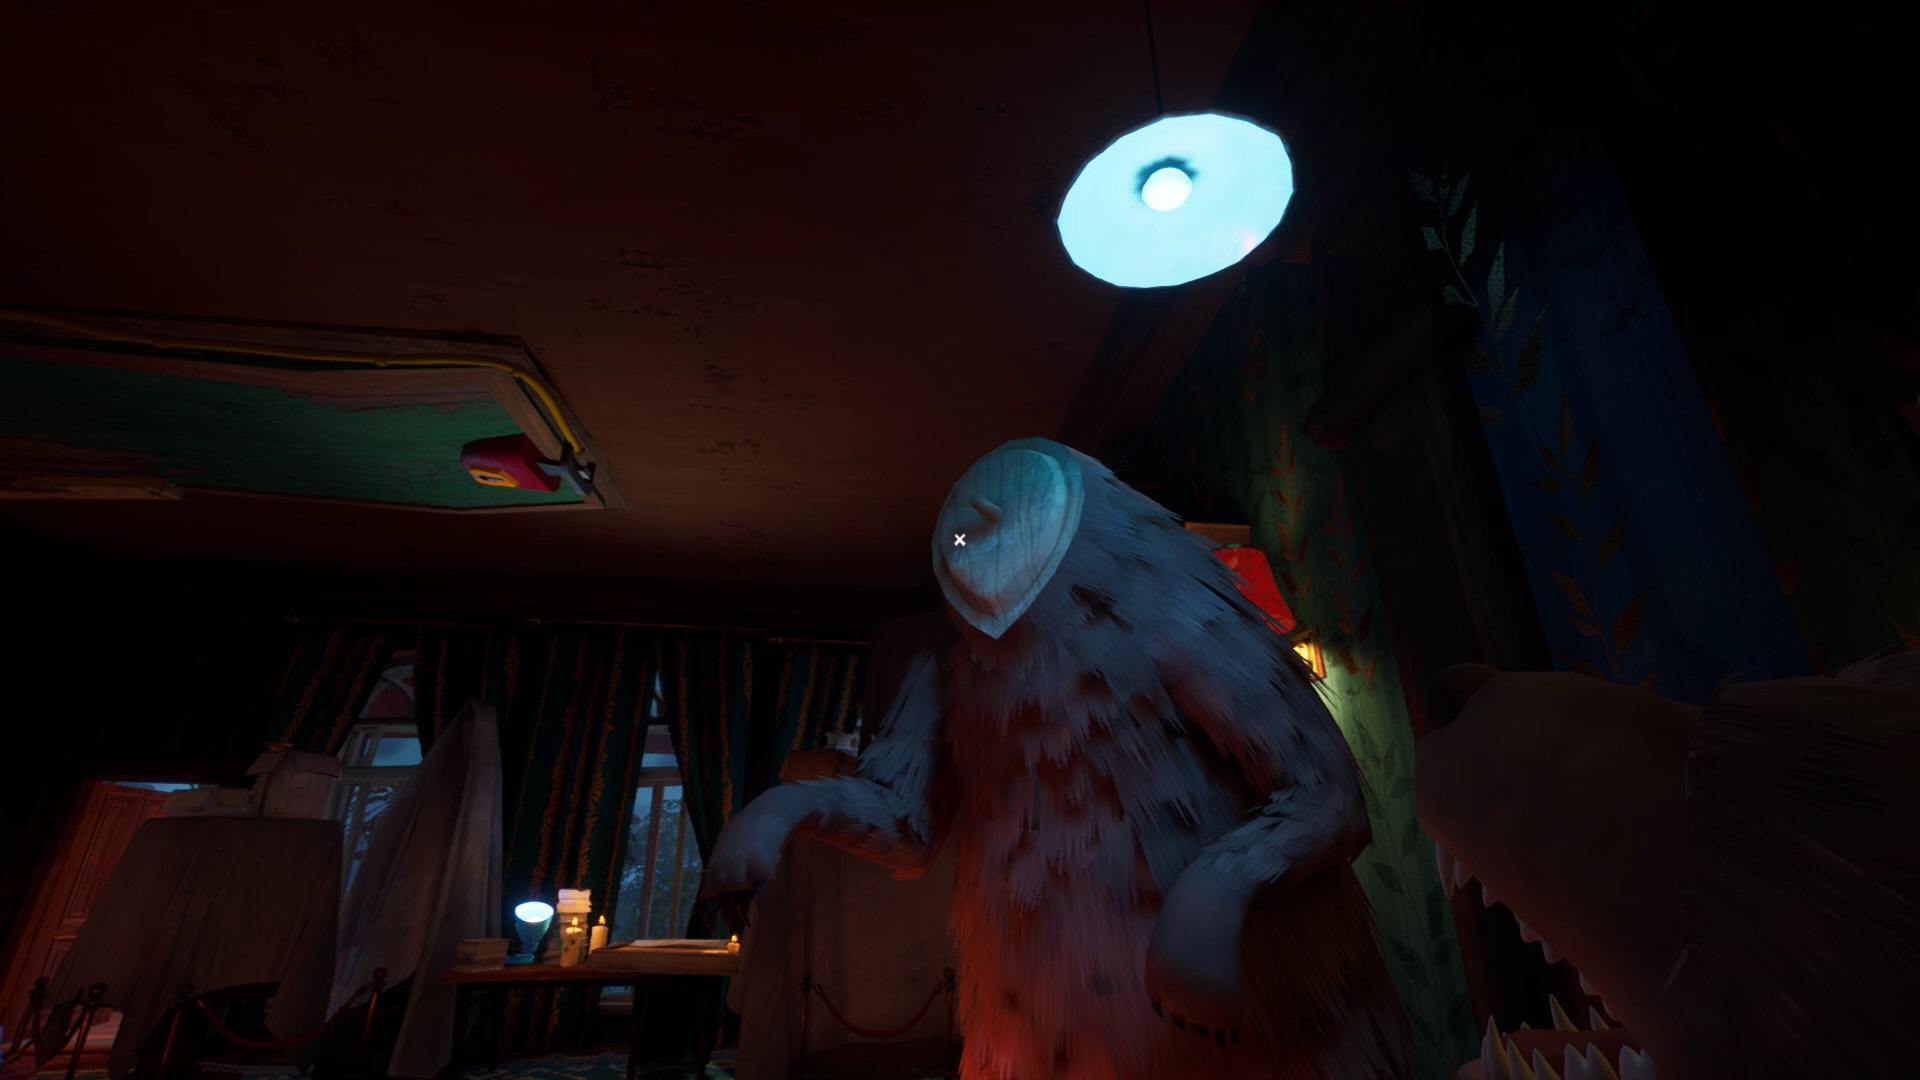
Back at the radio tower, watch the screens for your destination. You need to go to a green house with a big gate. She’s east of the radio tower. At the entrance of the house, there is a statue. In this house, hide in the cupboards to escape the musician. If you hear a piano, your host is busy, you have the field open.
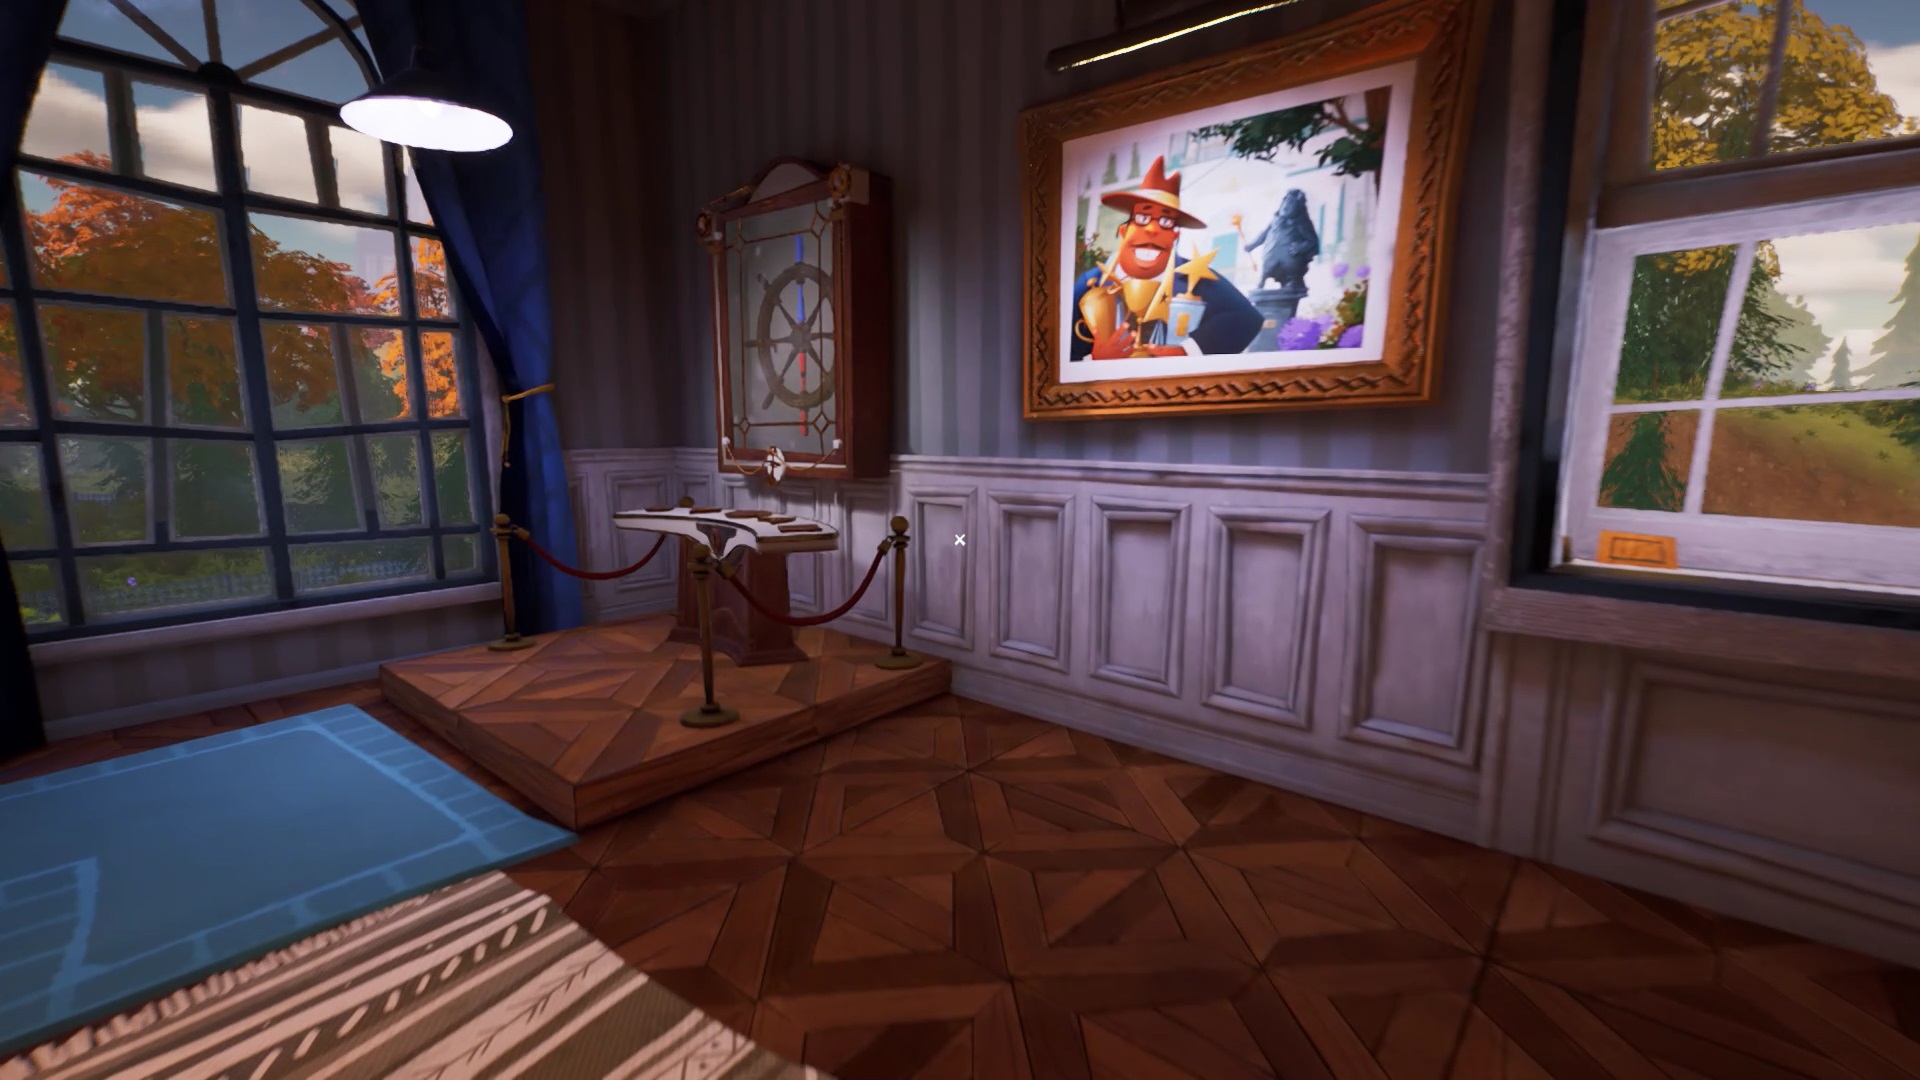
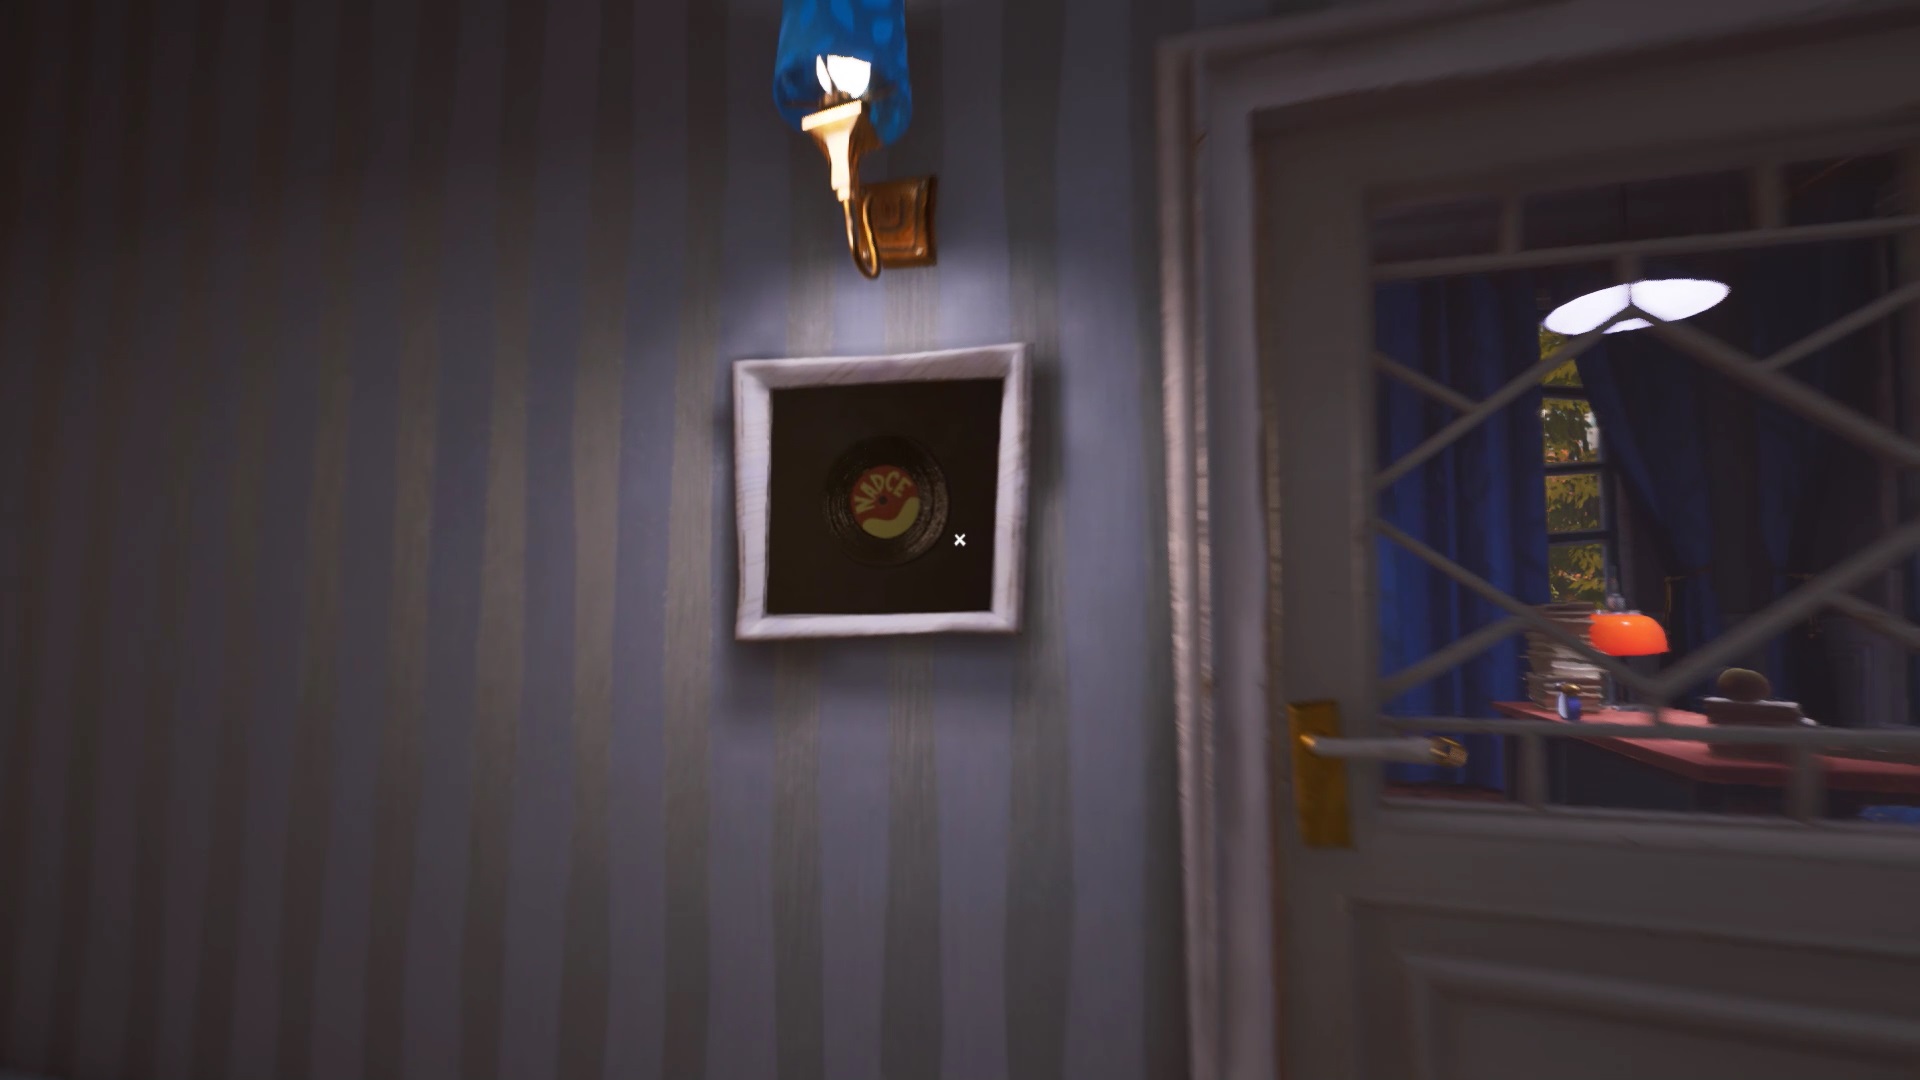
Go up the stairs and head to the right to enter a room. You find an empty trophy rack. You must find the 5 trophies and position them in the order of the table on the right. Exit the room. On the wall facing the stairs is a vinyl in a painting. Use your crowbar to break the board. Collect the vinyl and go downstairs.
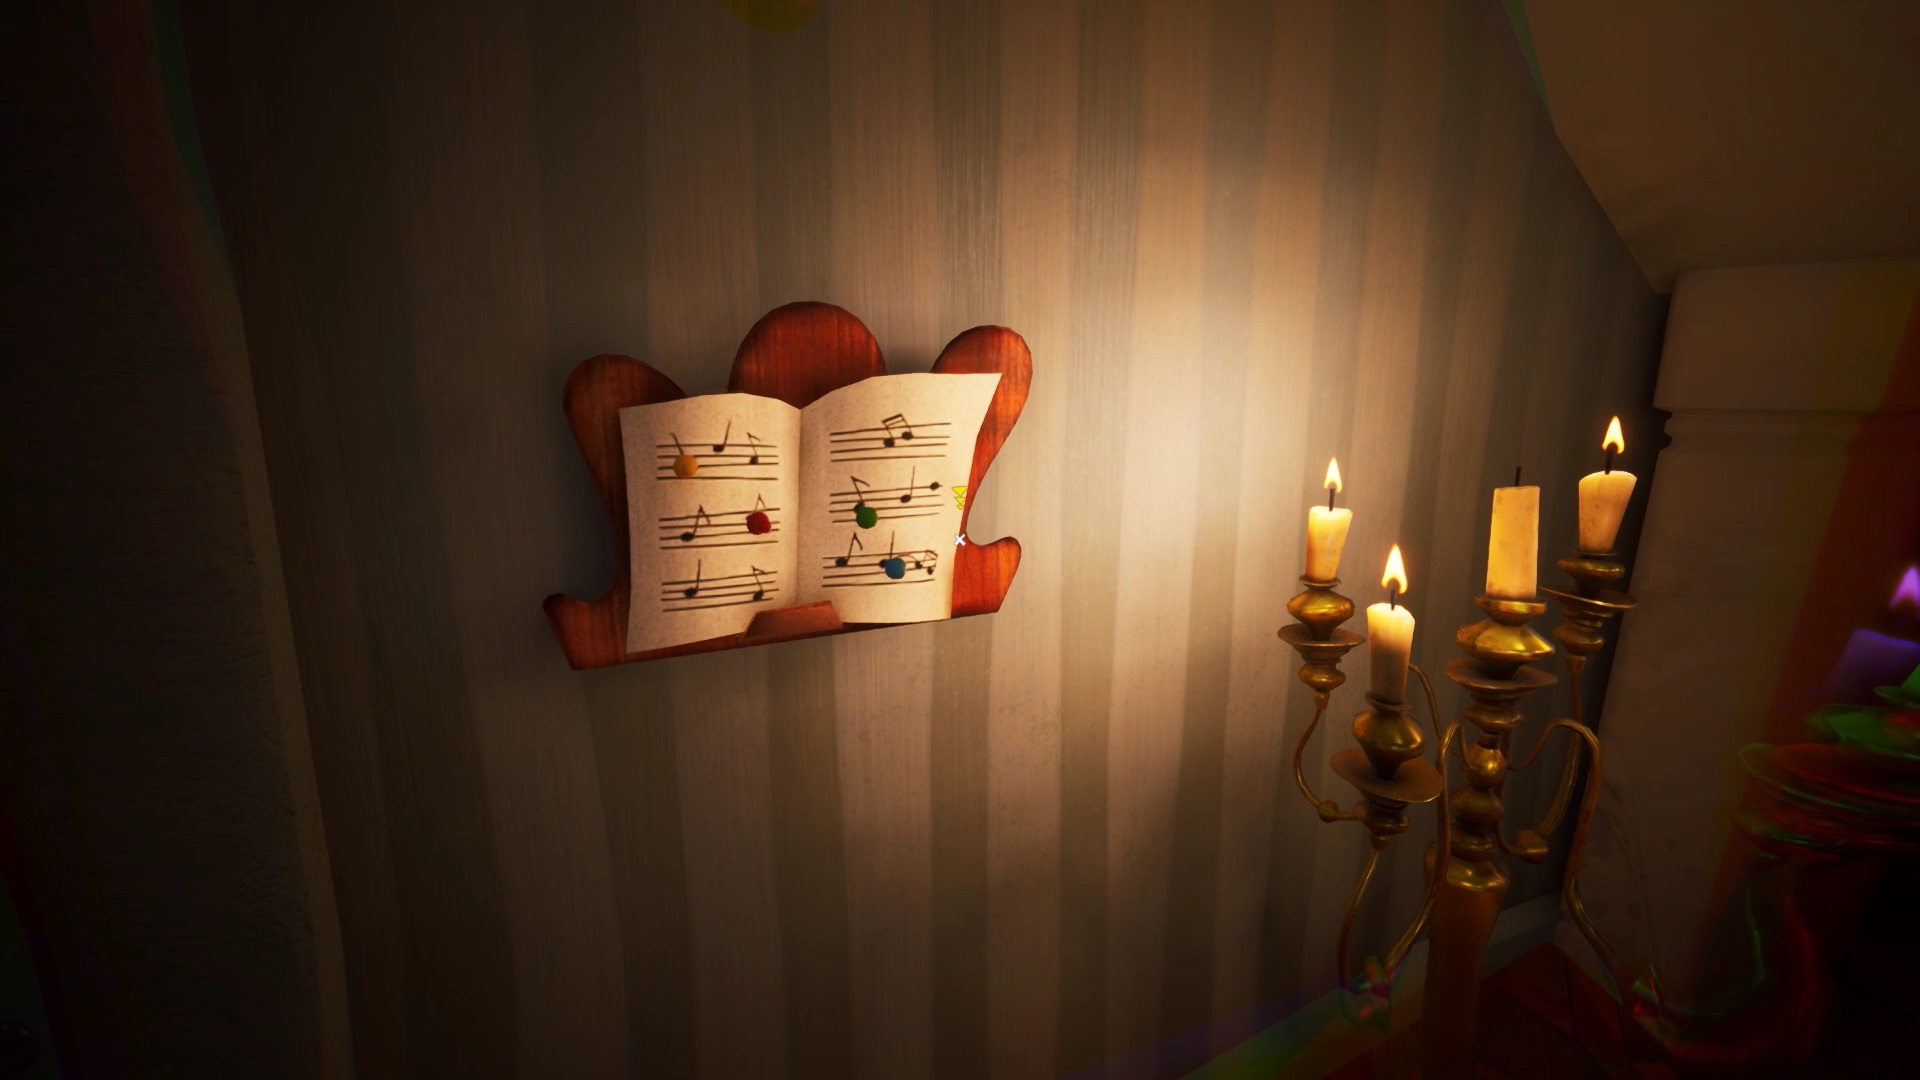
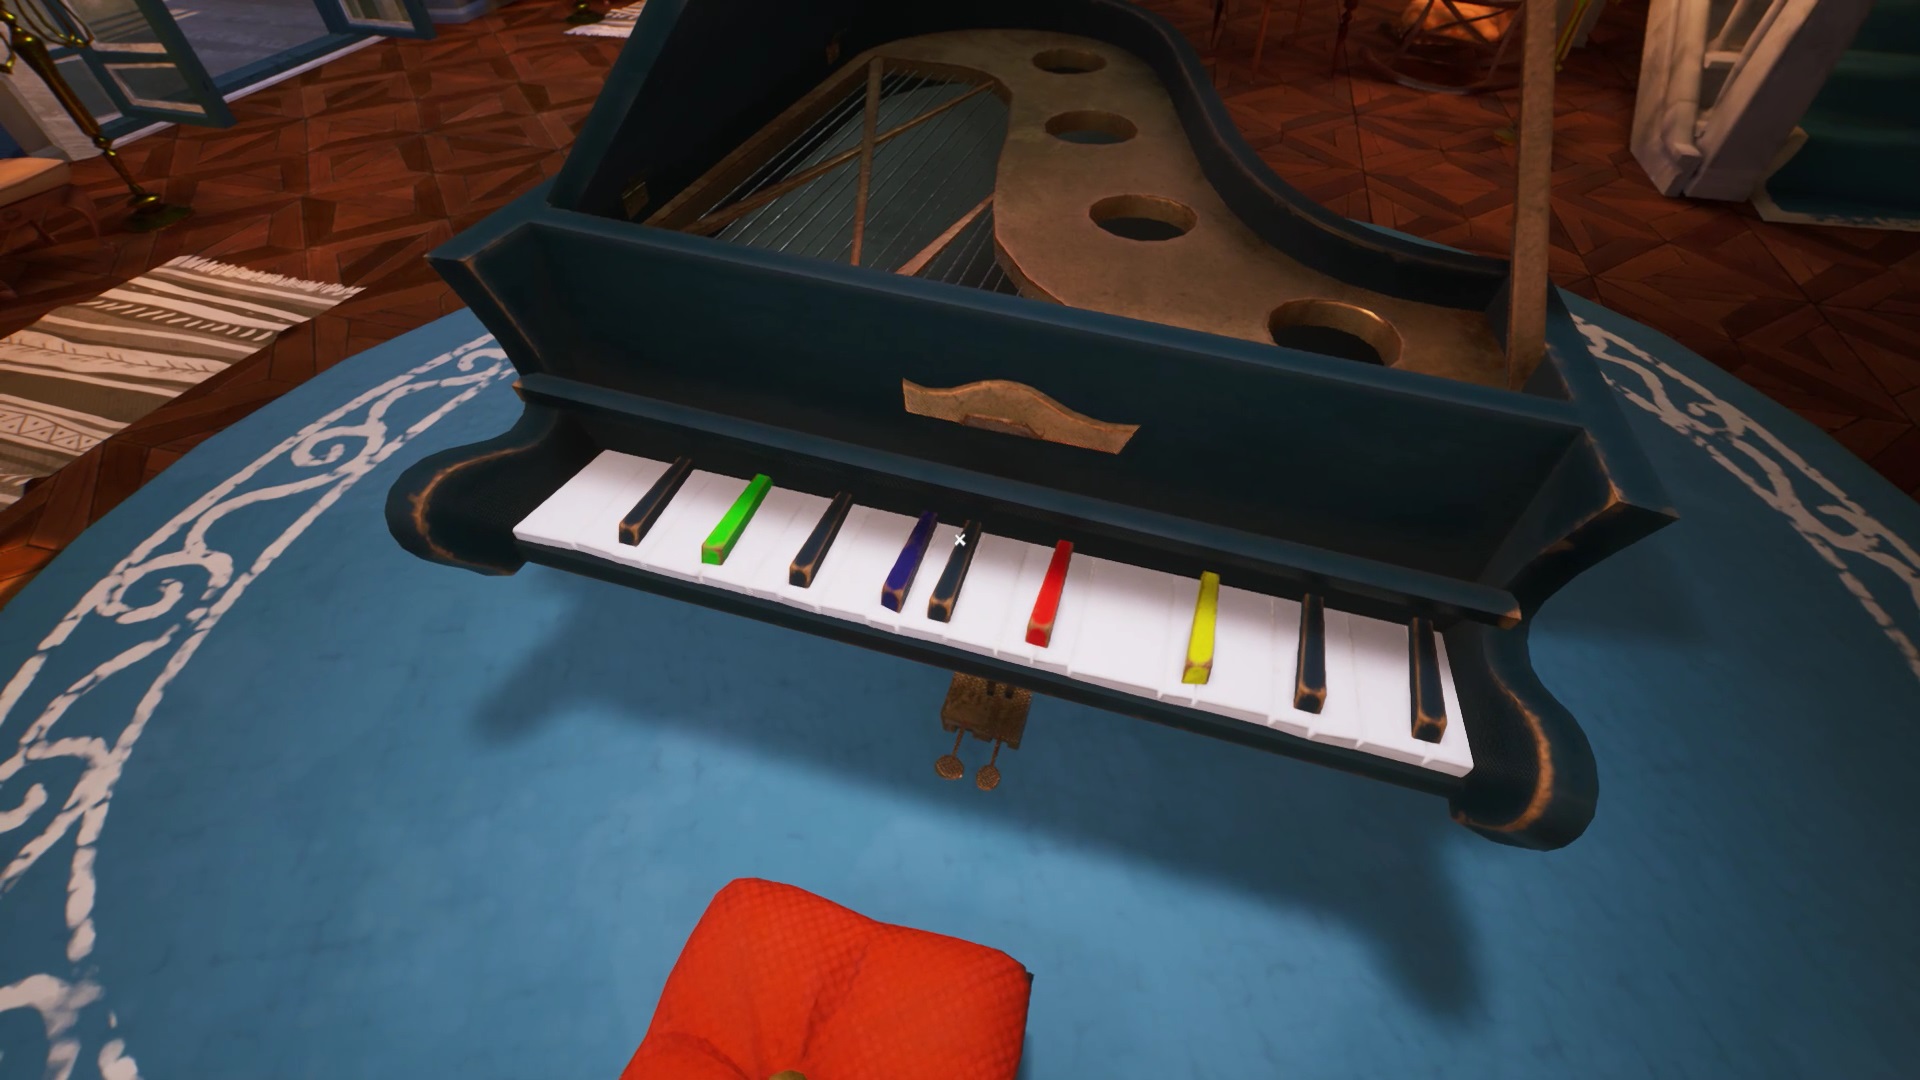
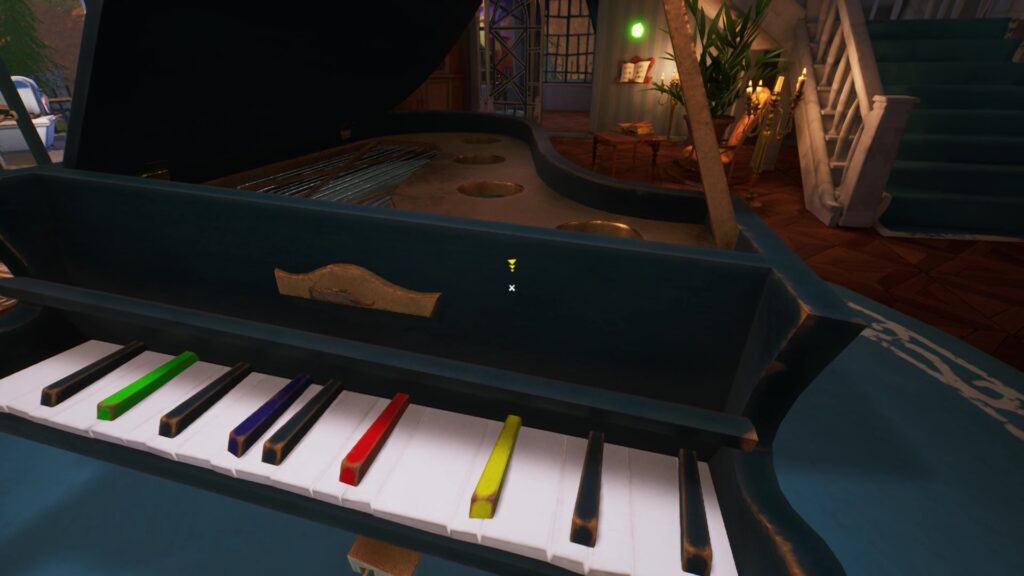
Facing the piano, a room is closed. On the right of the room is a partition. Remember the order of the colors in the score. Go to the piano level and press the keys in the order of the score. Yellow, red, green and blue. You have unlocked the door facing the piano.
Enter the Music Room. Place the vinyl in the sonograph. Activate the sonograph with the red switch. A passage opened in the ceiling. Climb the false ceiling to find a trophy. Return to the Trophy Room. Place the trophy on slot 4.
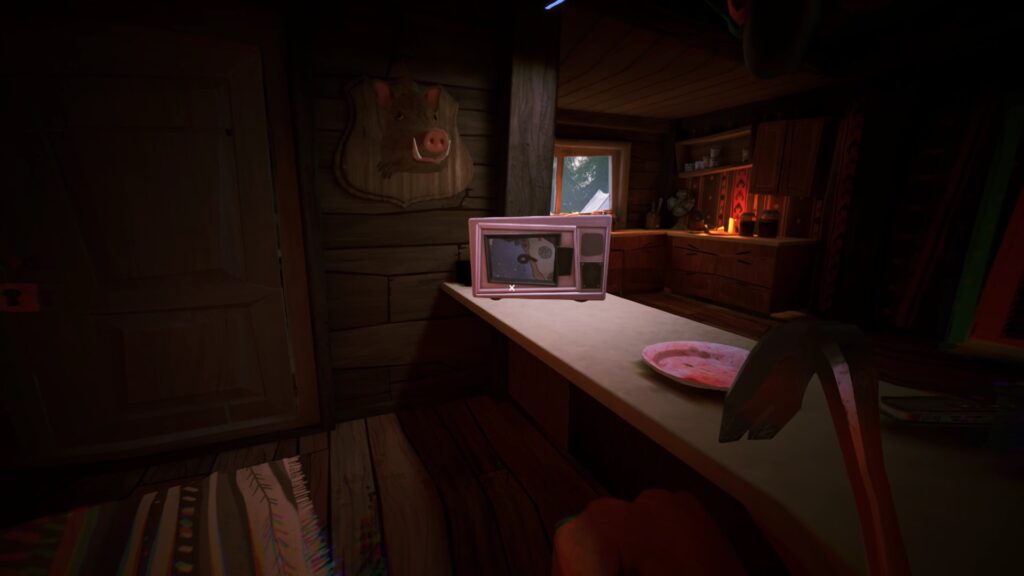
On the ground floor, to the right of the stairs is the bathroom. In the bathtub, get a boat. Go to the dining room. Facing the table is a painting with boats. Position the boat in the mechanism under the transom. You discover a code on a photo of a dog.
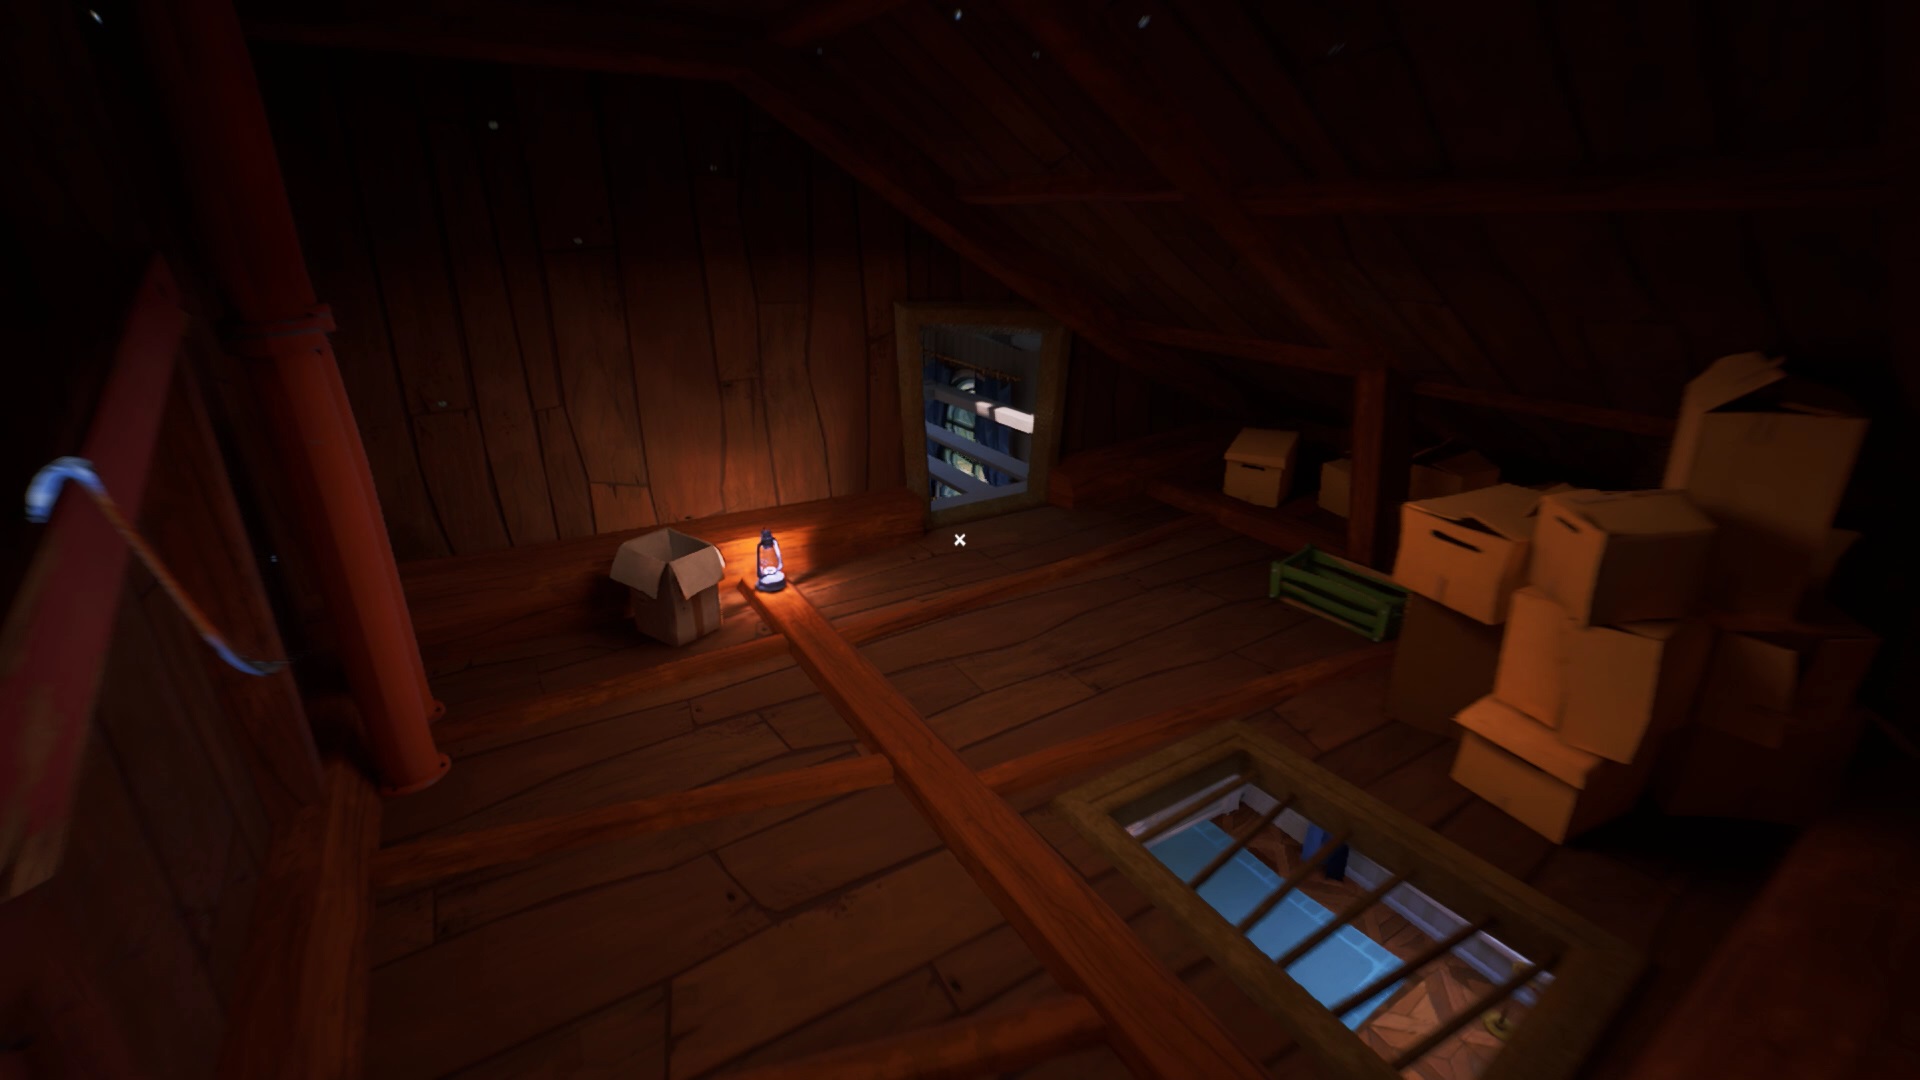
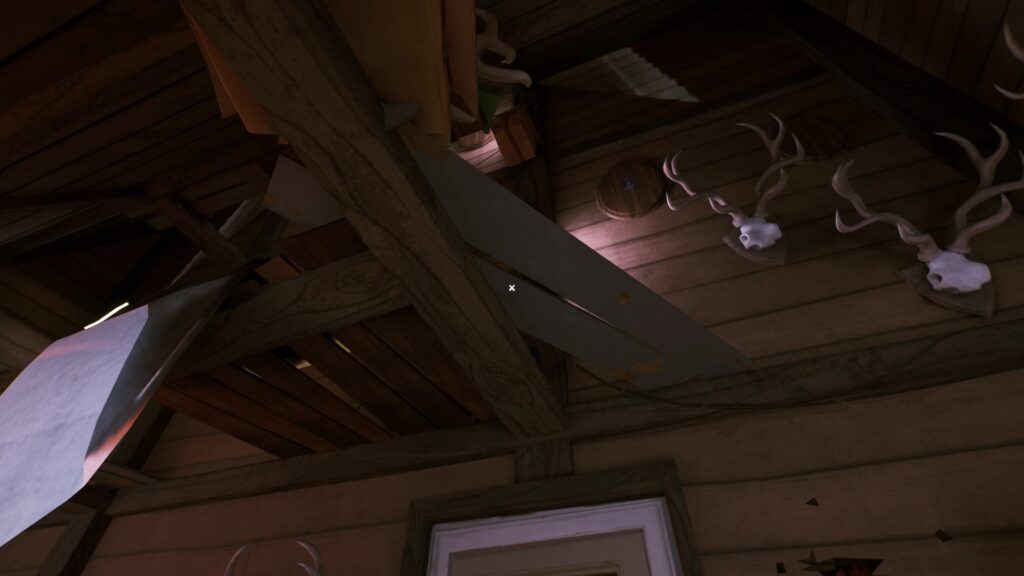
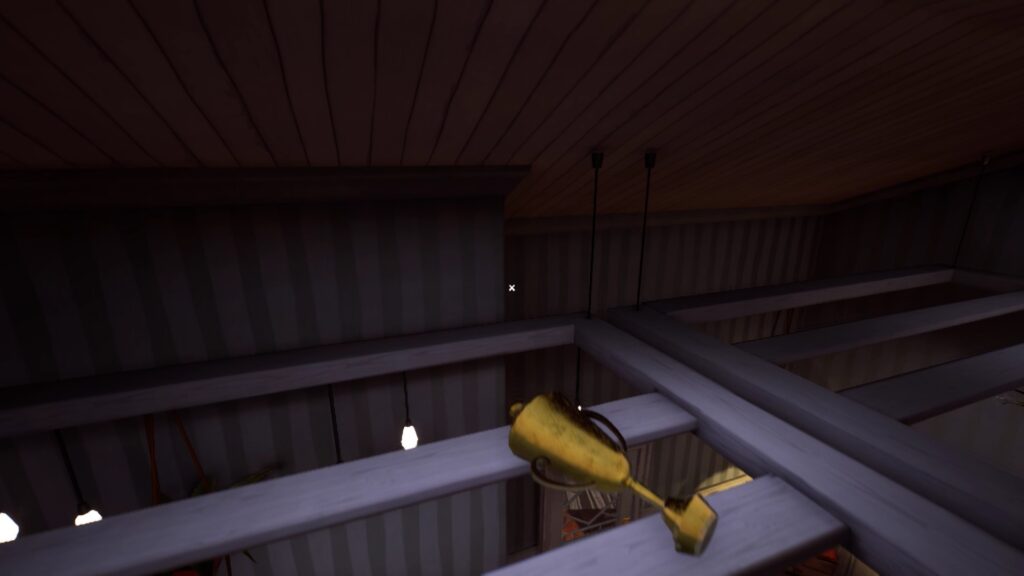
In the bedroom on the first floor, you find the same painting of boats. The board is connected to an overhead mechanism. To activate it, you need to find a fuse. Go to the trophy room. Go out the window of the room to reach the roof. Outside, look up to discover a half-open window. Go up to reach the window. Open the window and reach the attic. Pick up the crowbar in the attic.
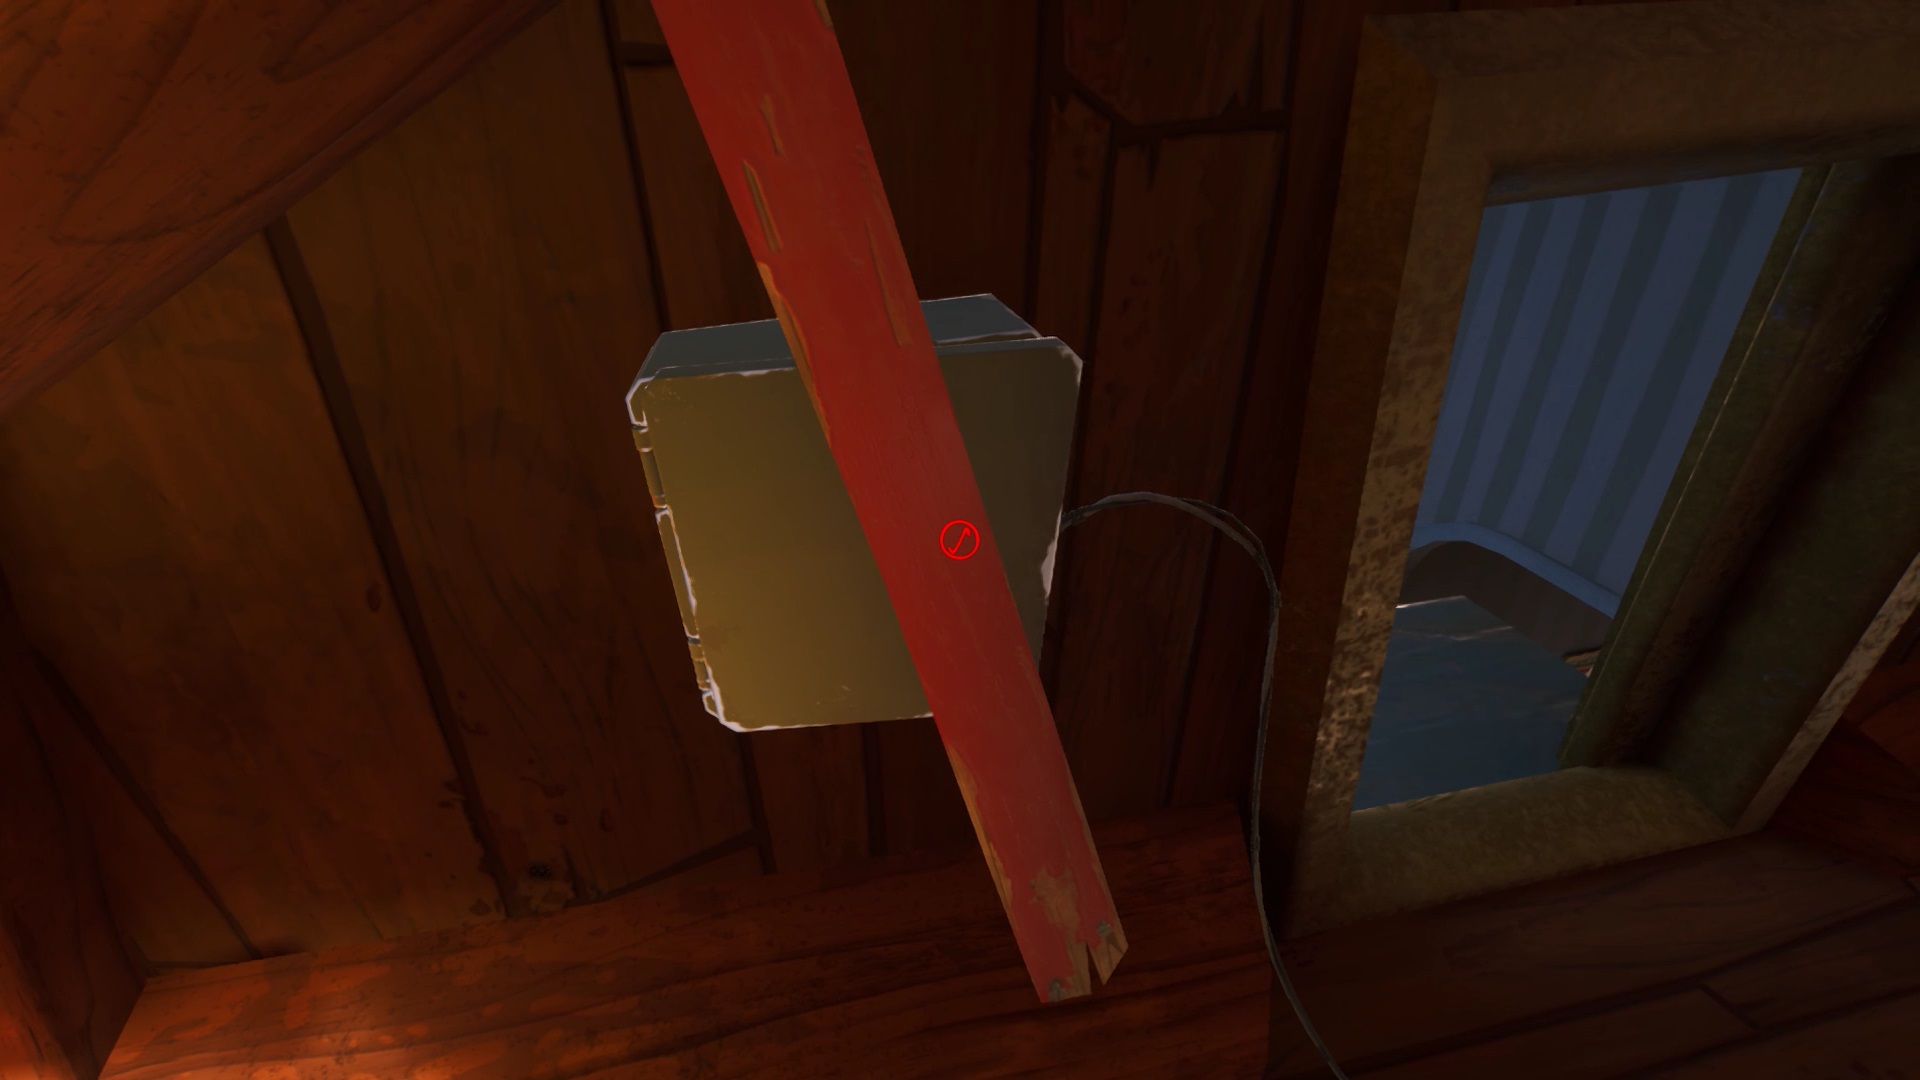

Move into the attic to reach those above the desk. A wooden plank blocks access to an electrical box. Use the crowbar to remove the board. Open the case and get a fuse.
Return to the bedroom. Jump on the bed to reach the false ceiling of light. Proceed on the false ceiling to reach the electrical box. Position the fuse in the box. A safe appeared near the painting. Enter the code from the dog’s photo to open the safe. You get another trophy. Place it in slot 2 in the trophy room.
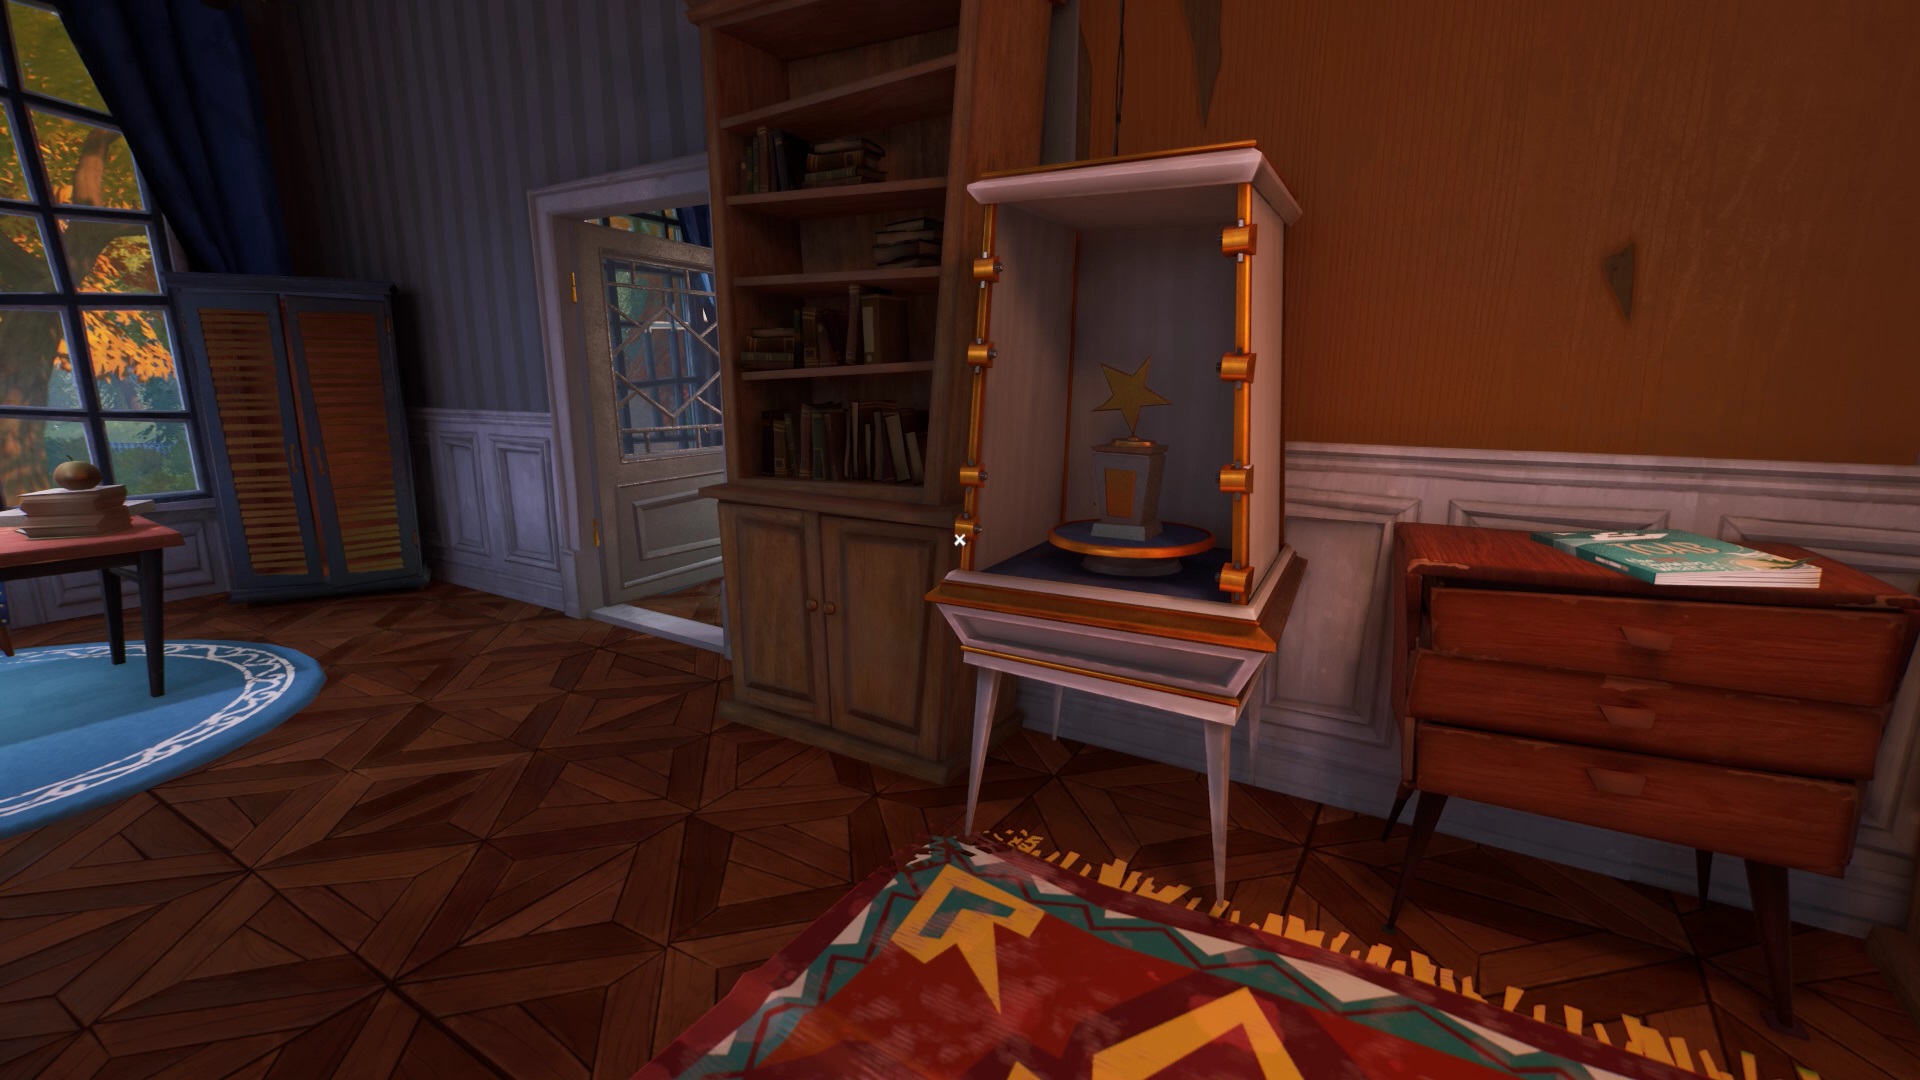
Go to the office. By removing the fuse, you have unlocked the office trophy protection. Pick up the trophy and put it on slot 5 of the trophy room.
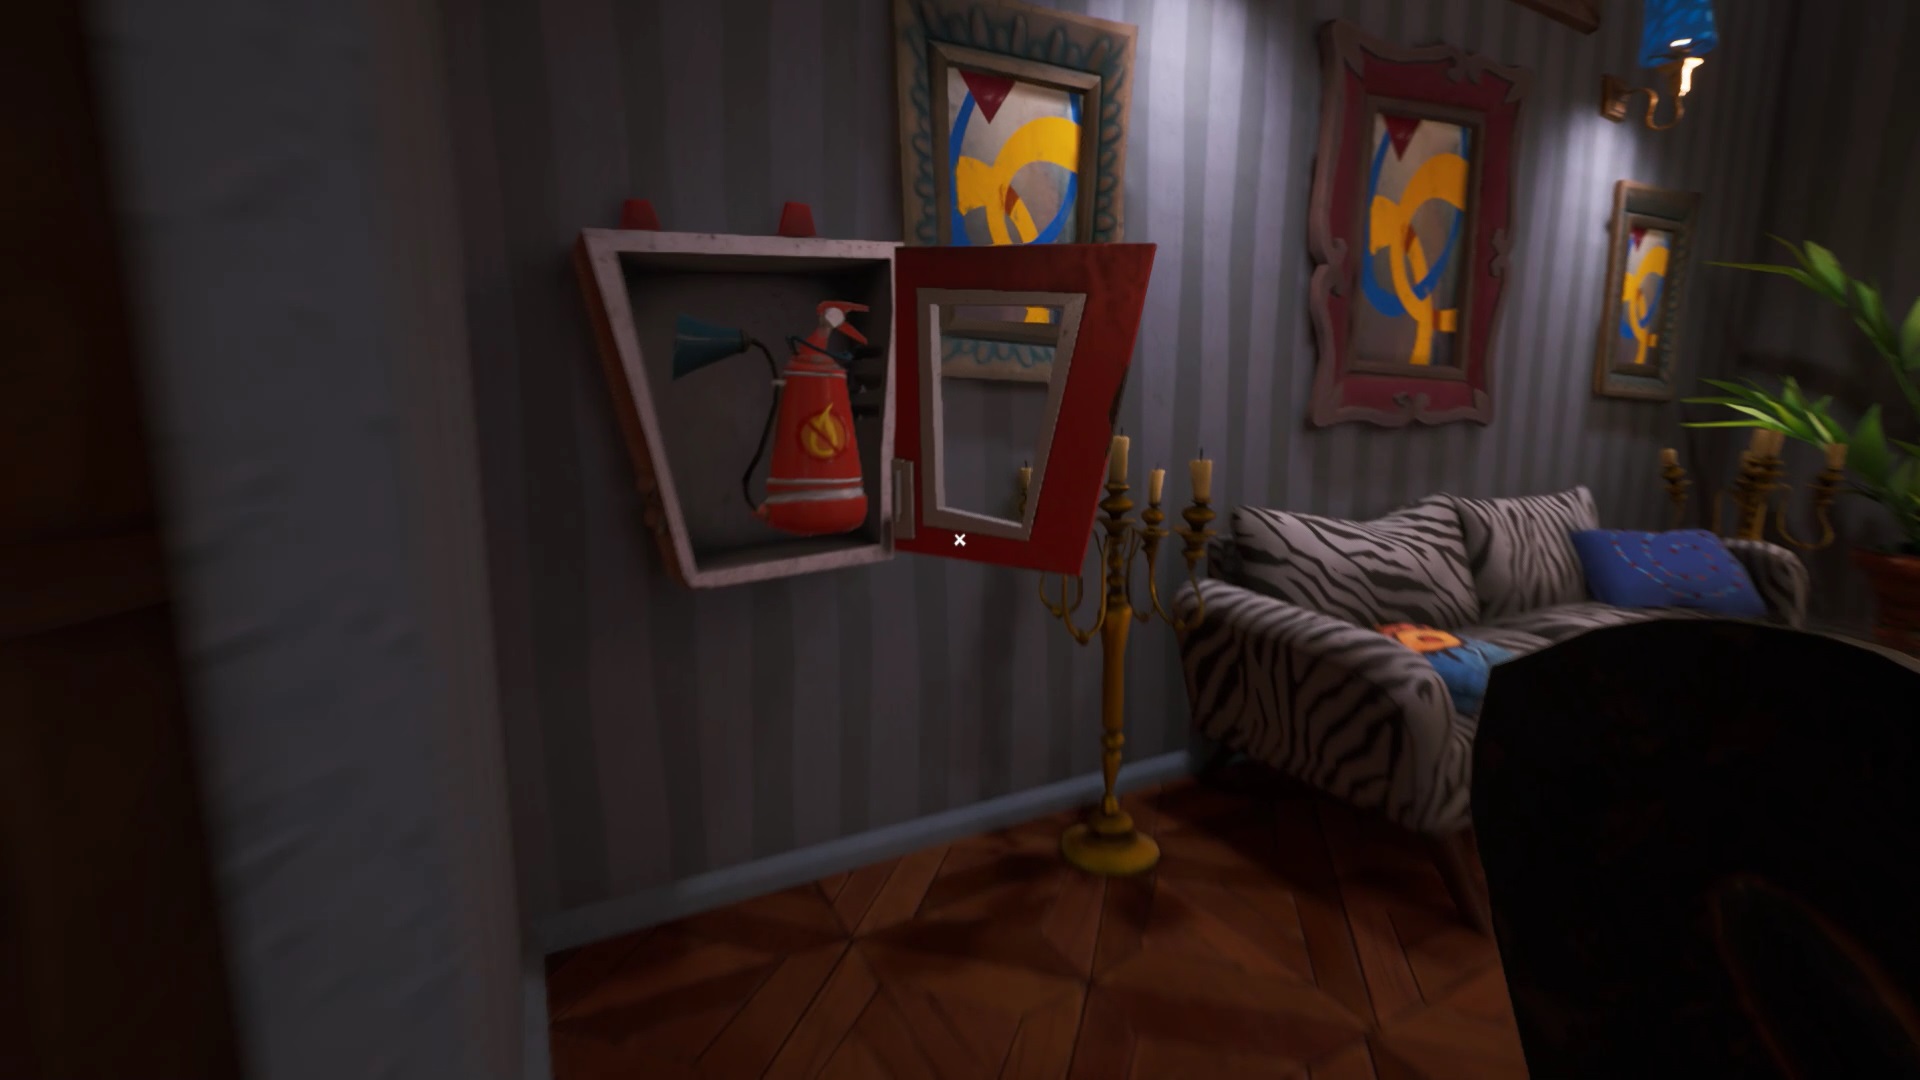
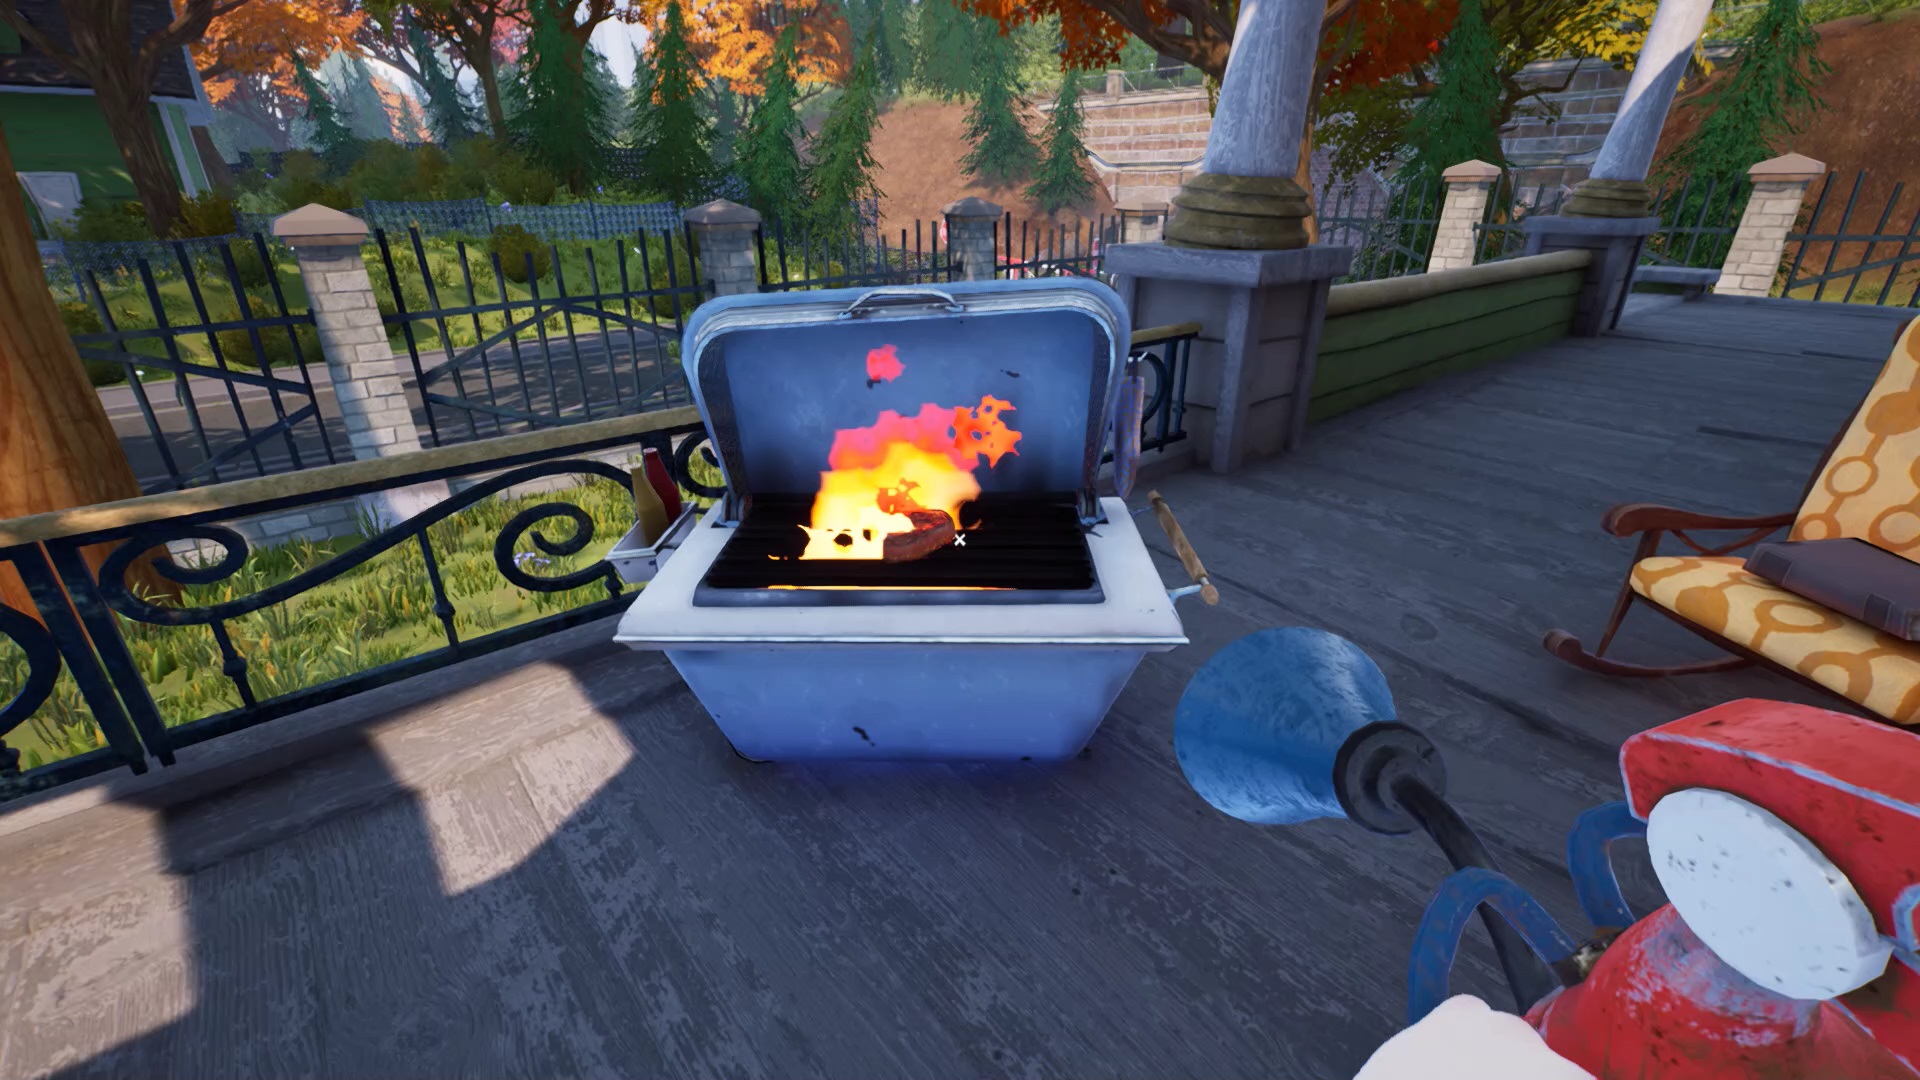
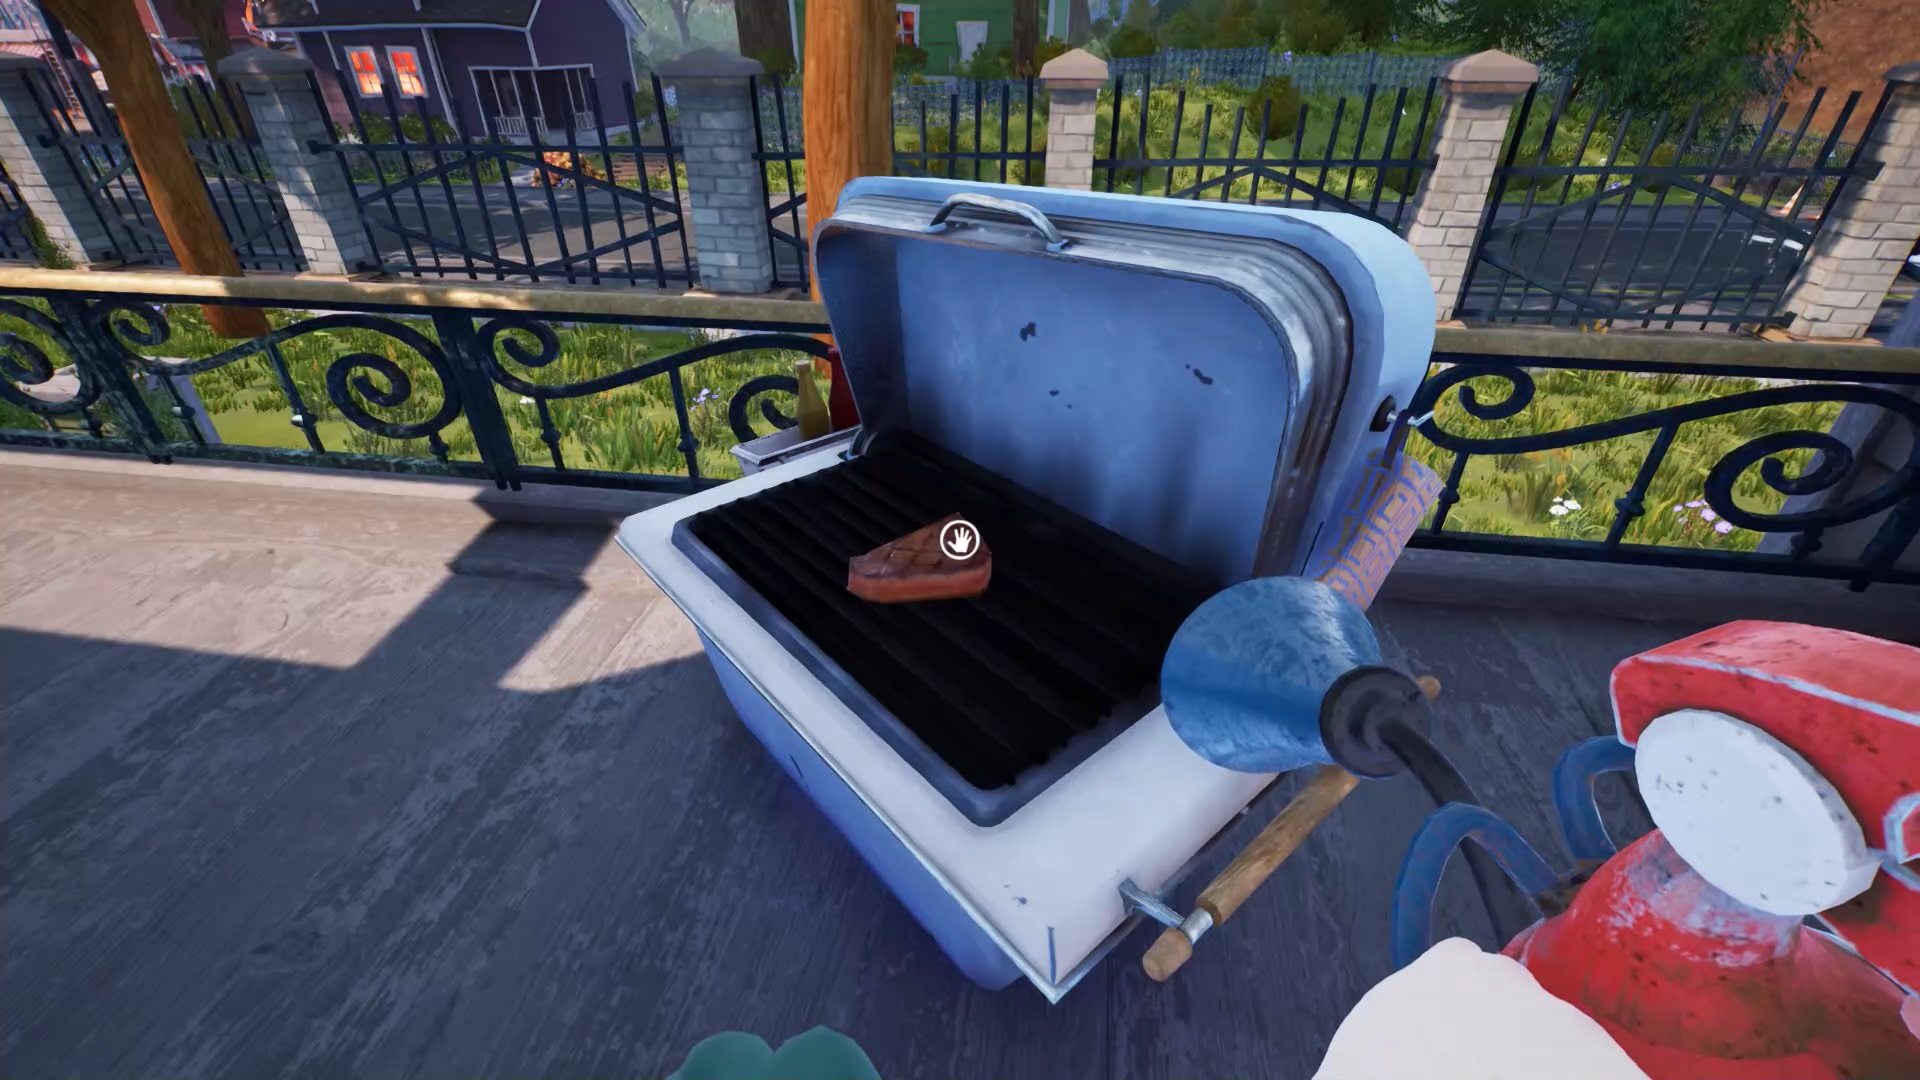

Get a fire extinguisher from the downstairs kitchen. Head into the terrace to the left of the piano. Put out the barbecue with your fire extinguisher and collect the meat. In the garden, a dog guards a clod of earth with a ghost. Put the meat in the dog’s bowl to divert his attention.
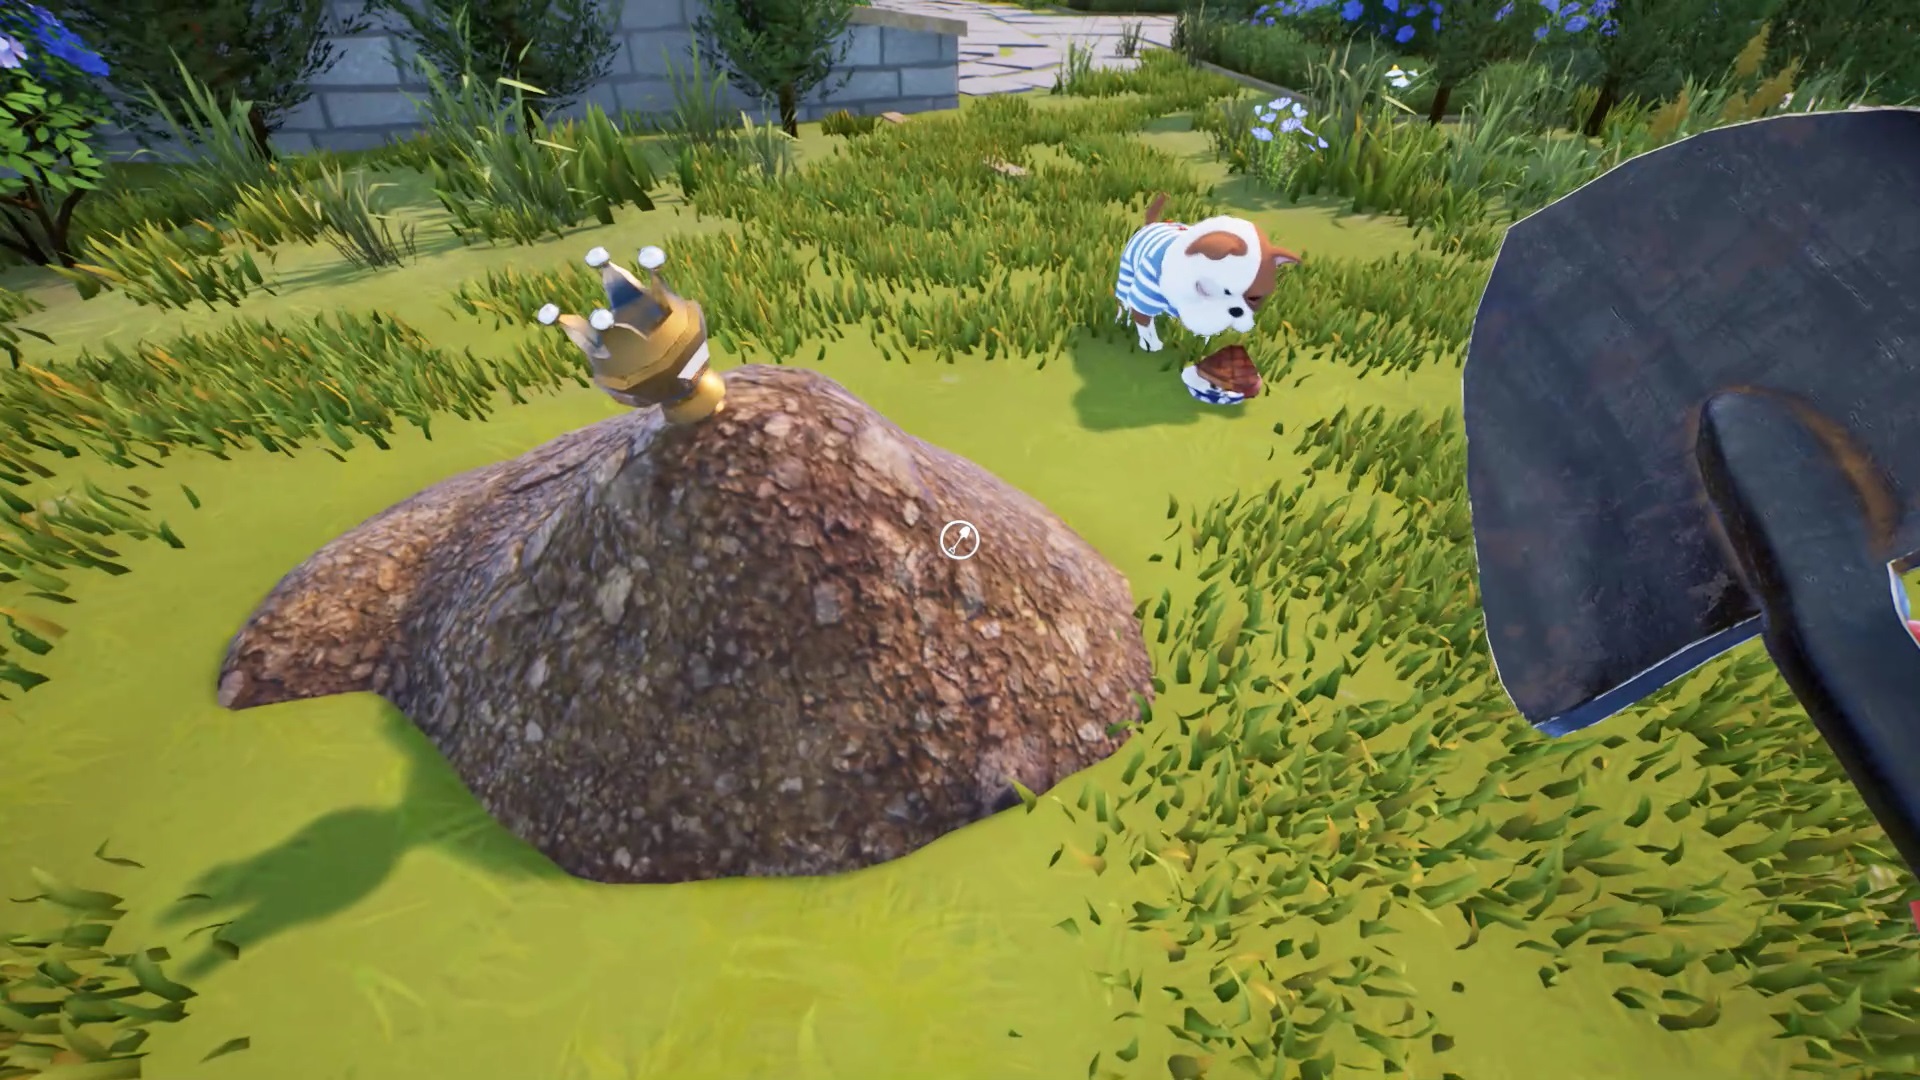
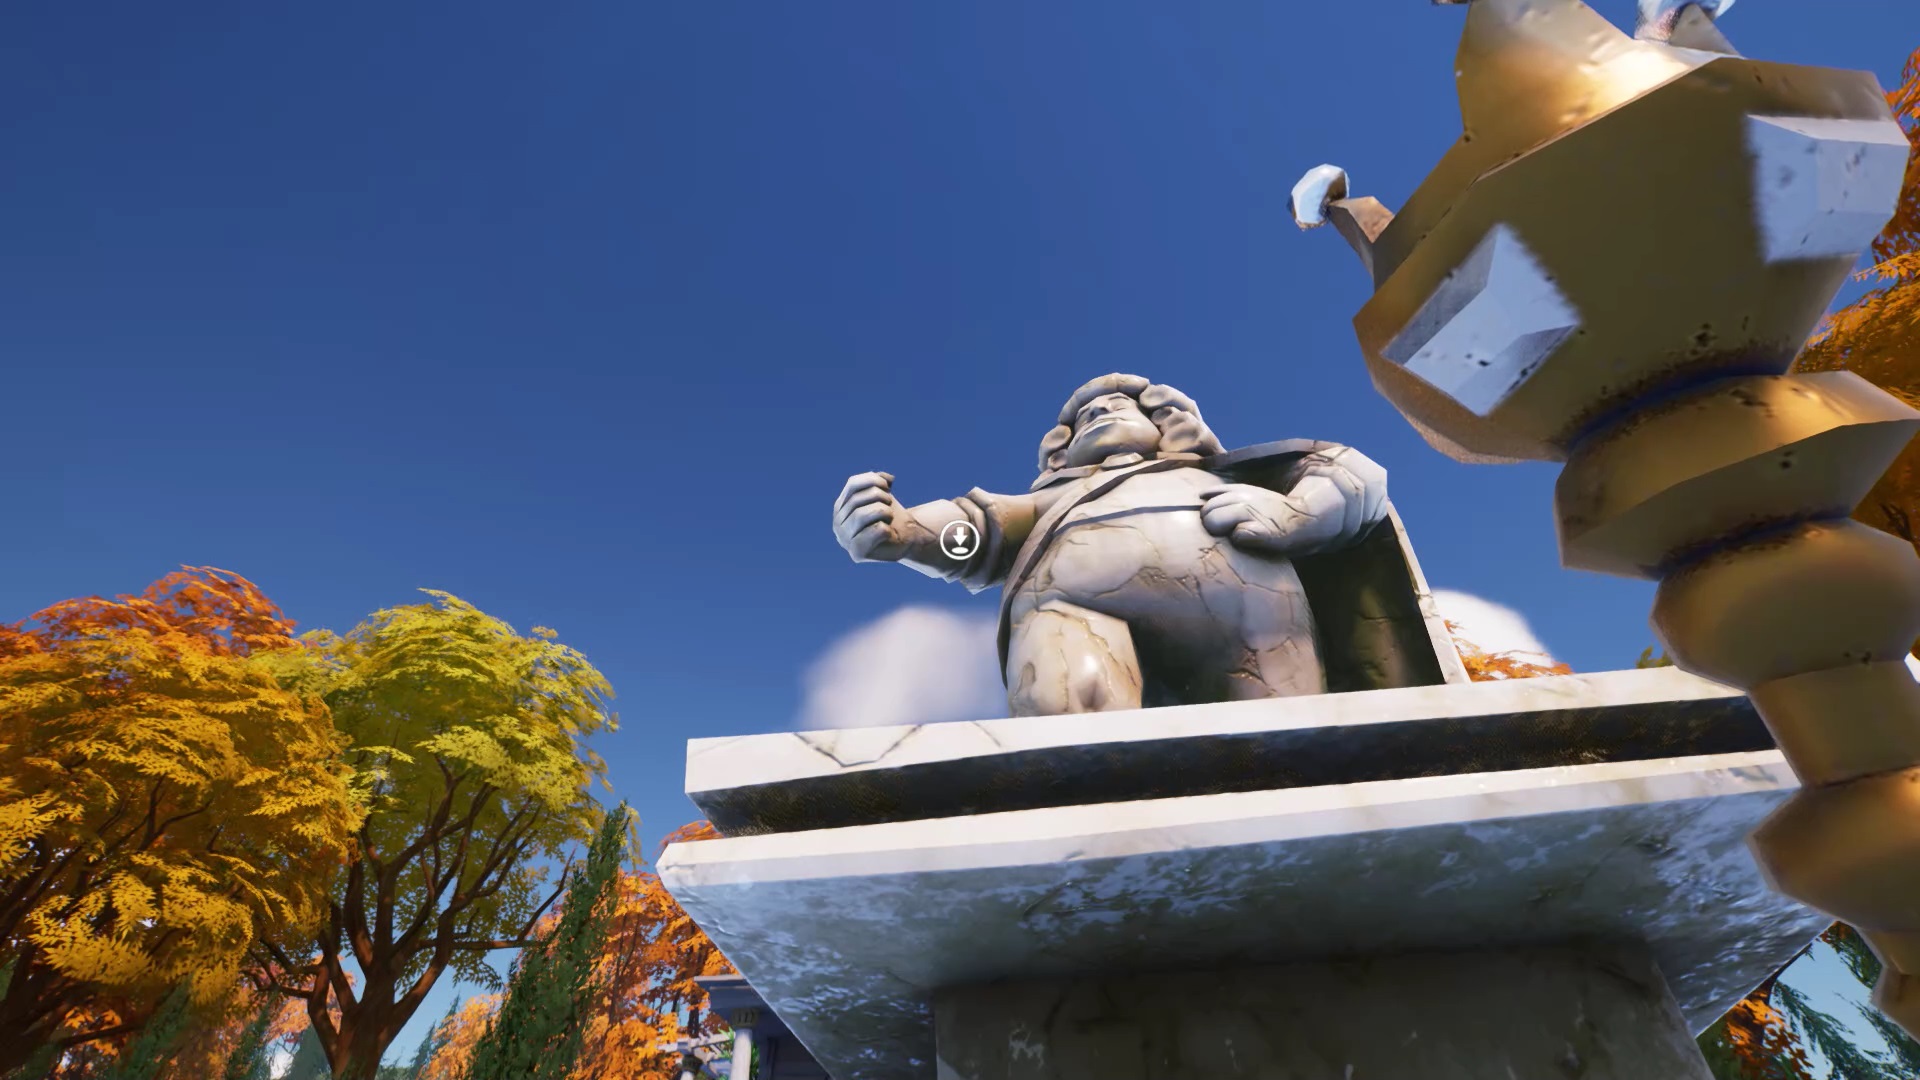
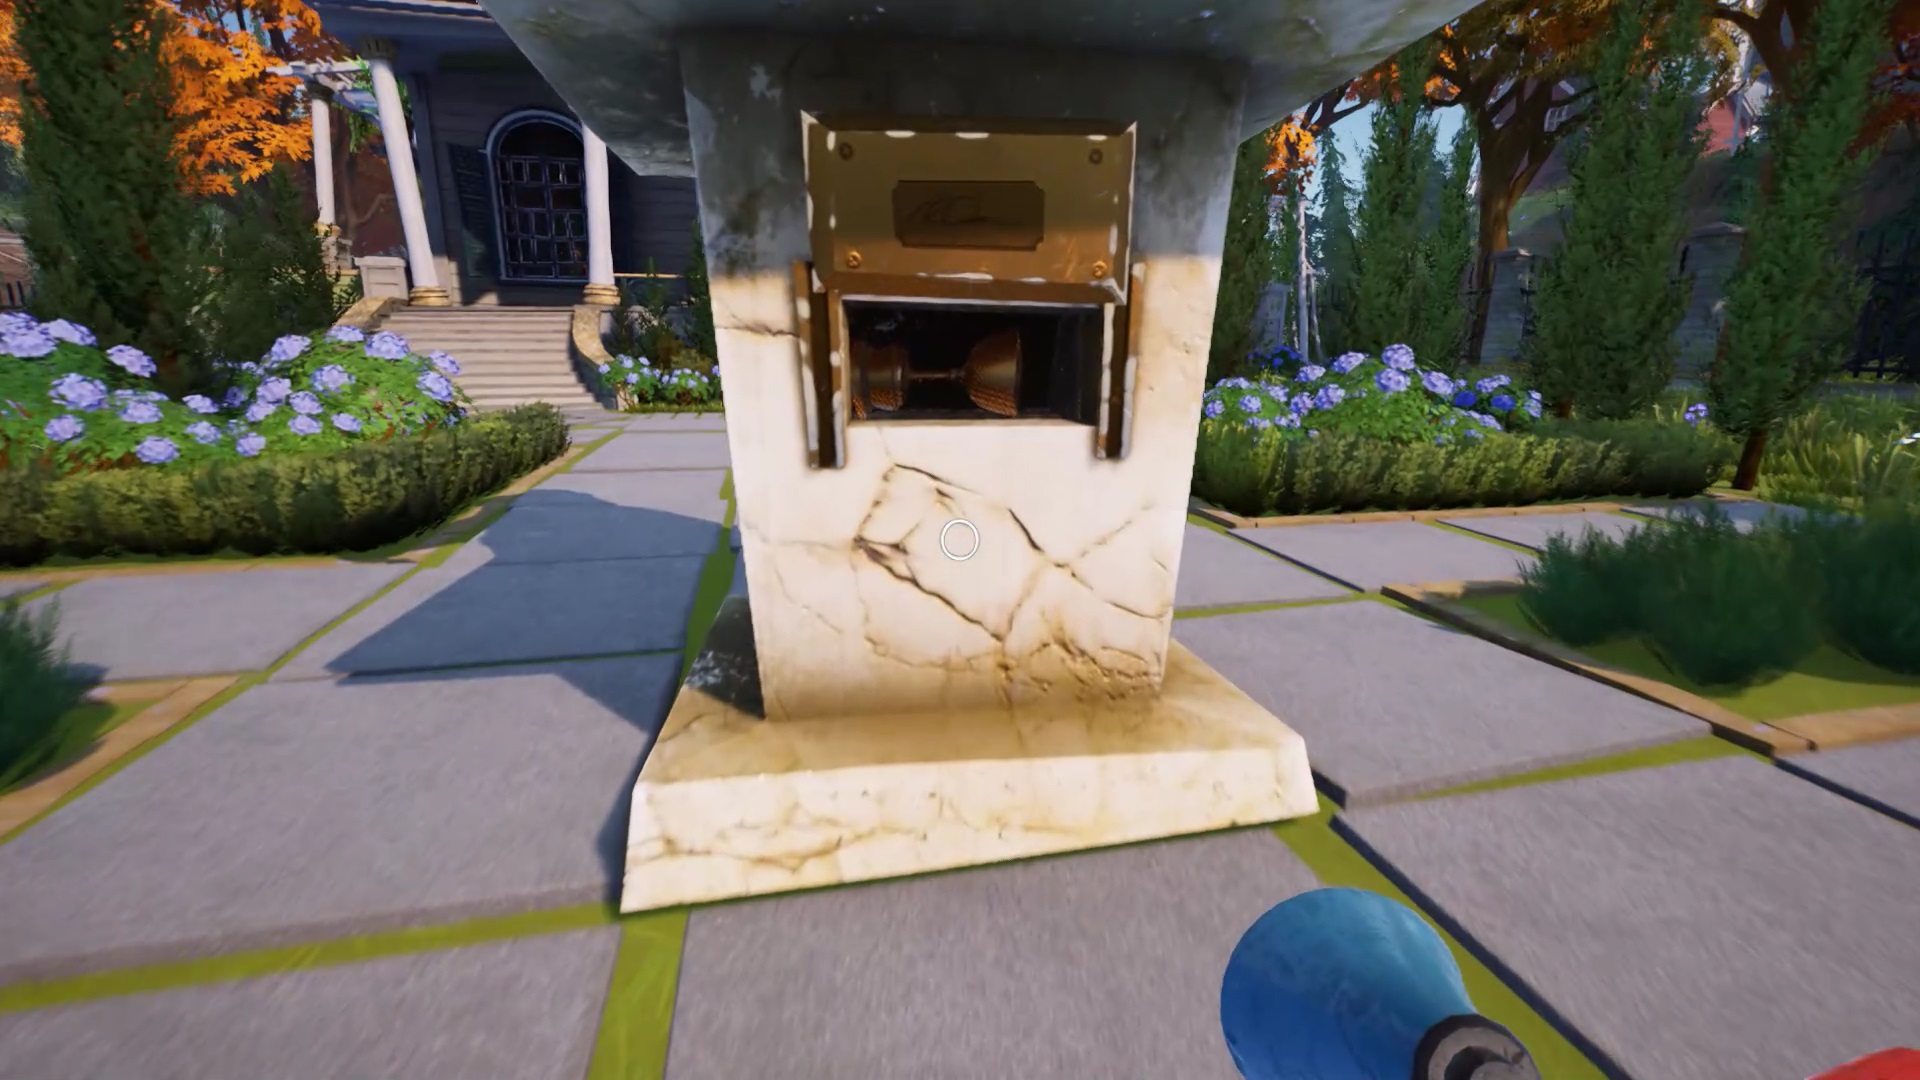
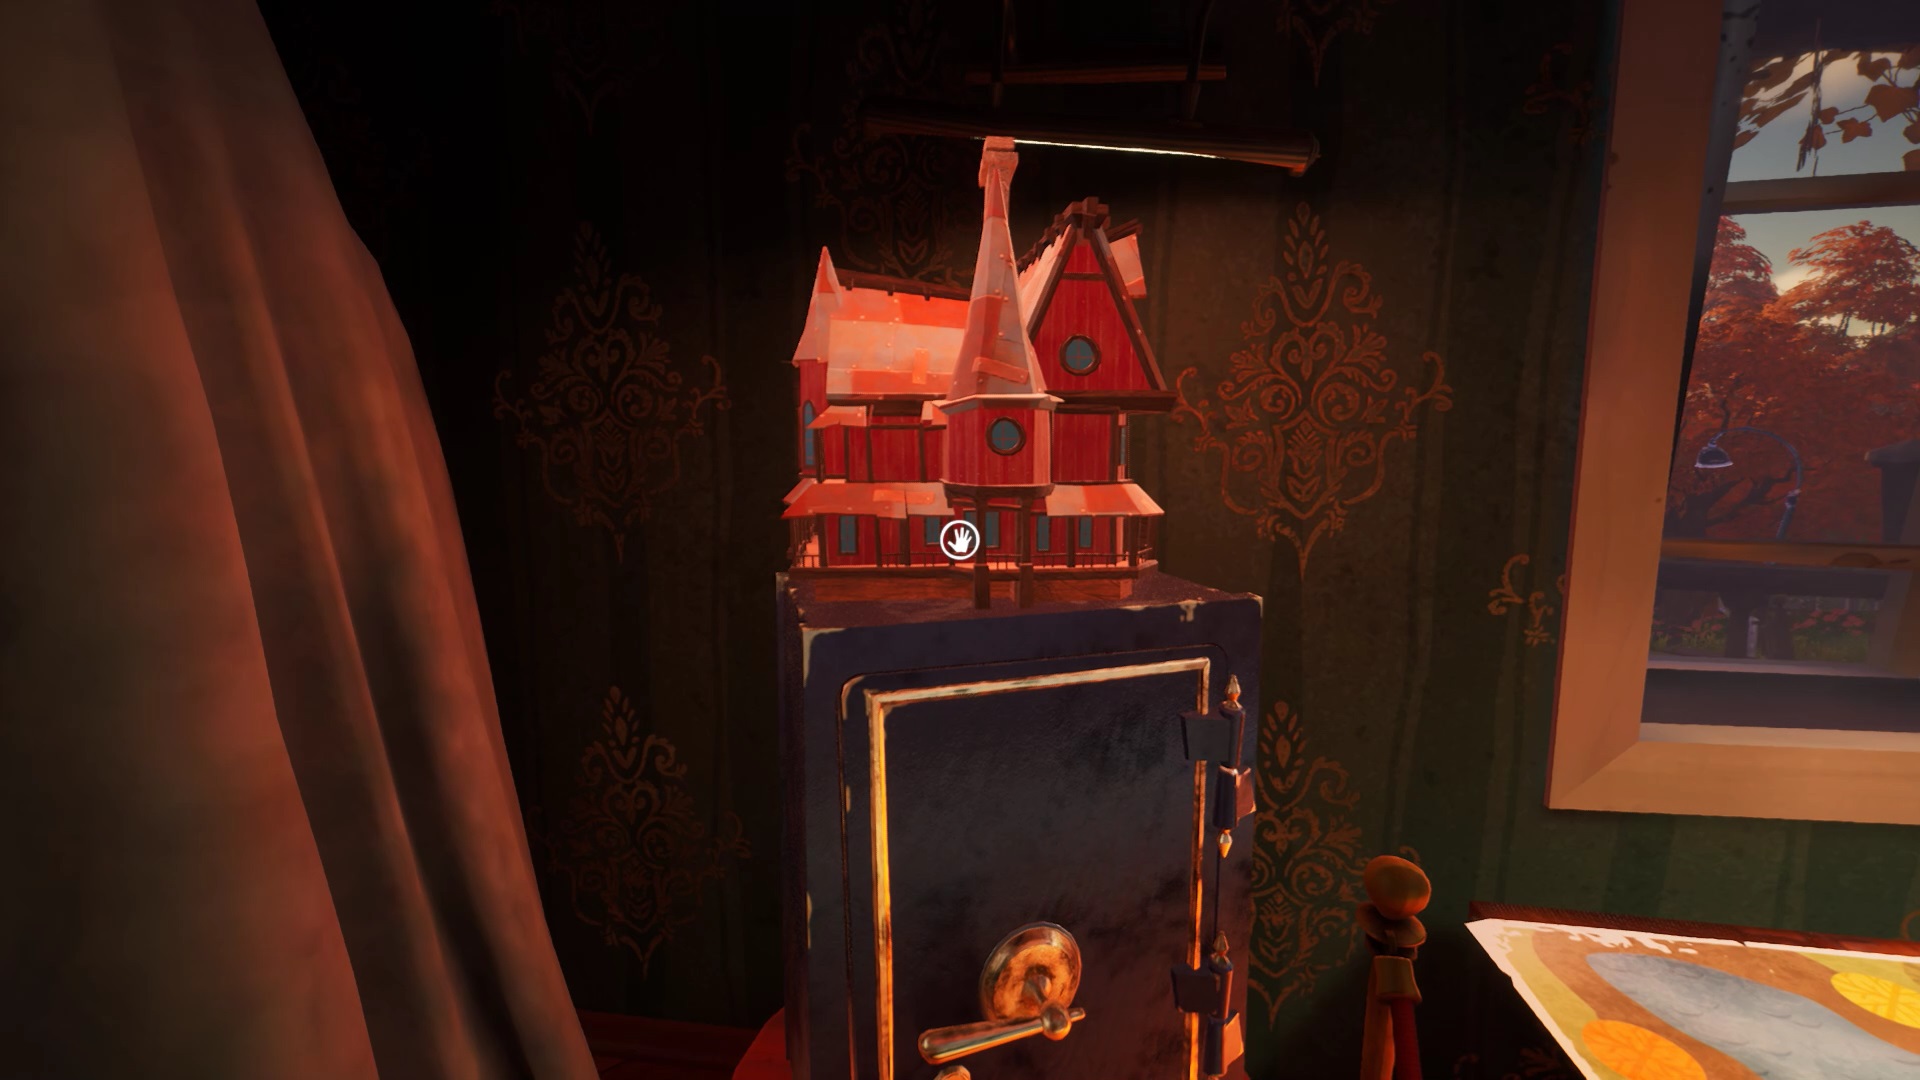
Near the statue at the entrance is a shovel. Use the shovel on the clod of earth to retrieve the spectrum. Place the specter in the hand of the statue at the entrance to the garden. Collect a trophy from the bottom of the statue. Position the trophy in the trophy room at slot 3.
In the bedroom on the first floor, jump on the bed to reach the false white ceiling. Climb on it to find a trophy. Place it in the trophy room on slot 1.
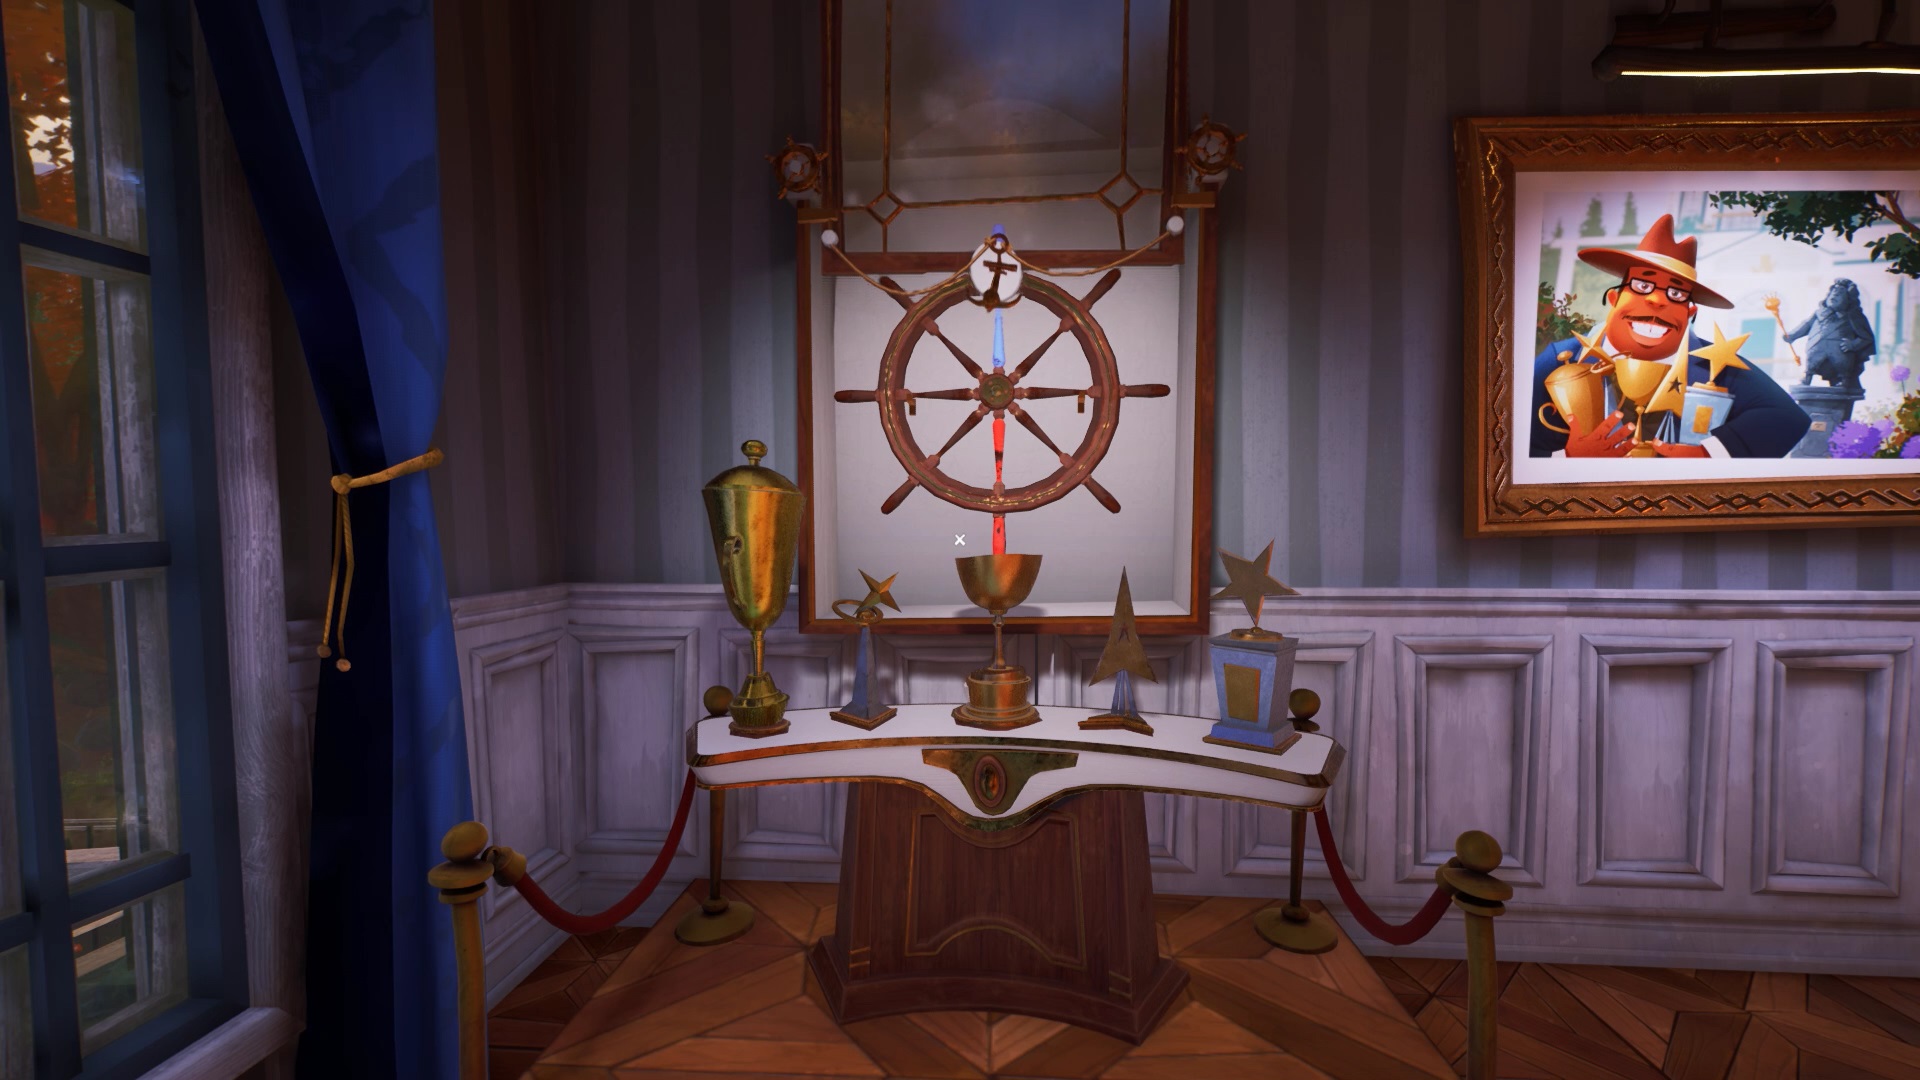

Once, all the trophies placed on their support, recover the navigation bar. Place the navigation bar in its location in the room. Interact with it to unlock a secret room. On the desk of the secret room, there is a key to the museum. Return to the museum.
Museum – Third Part
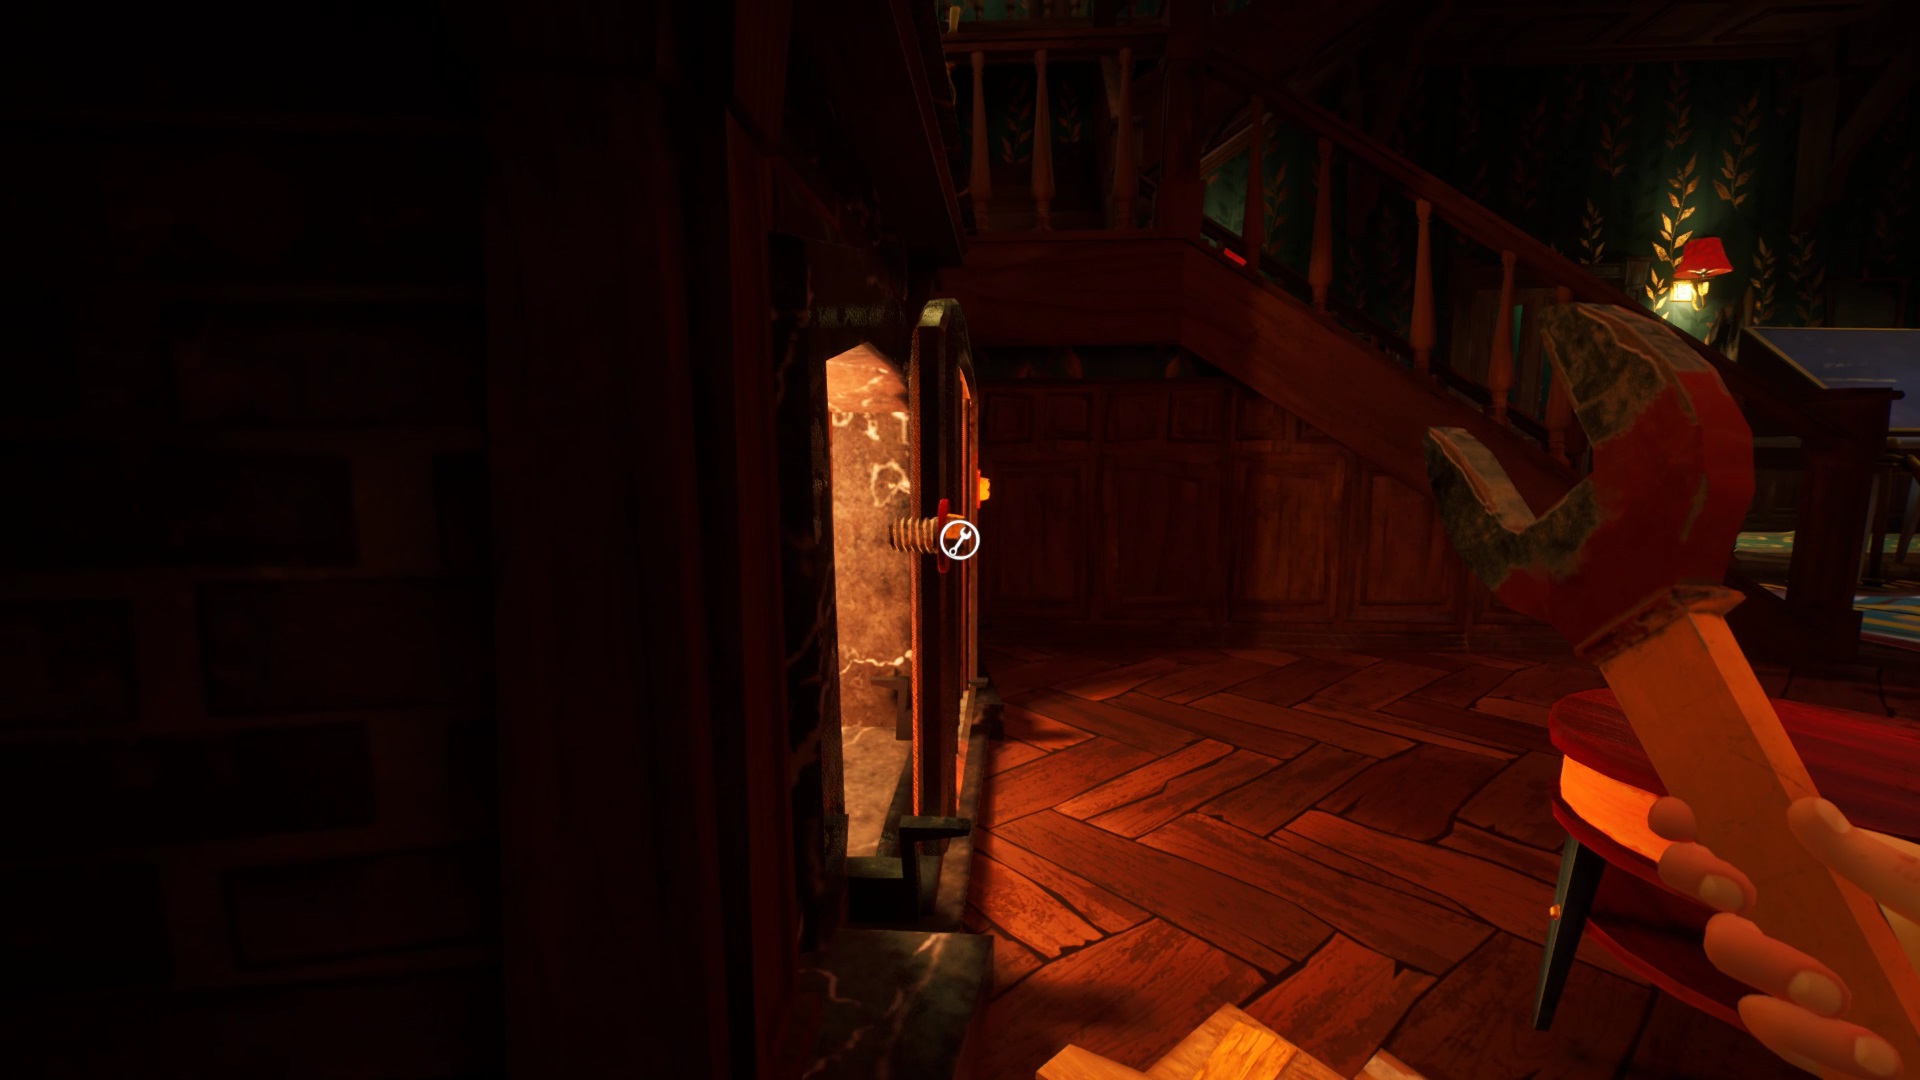
In the museum, go upstairs. The key you got lets you open the door behind the stuffed animals. In the new room, a fake book sits on a desk. Open it to get a wrench.
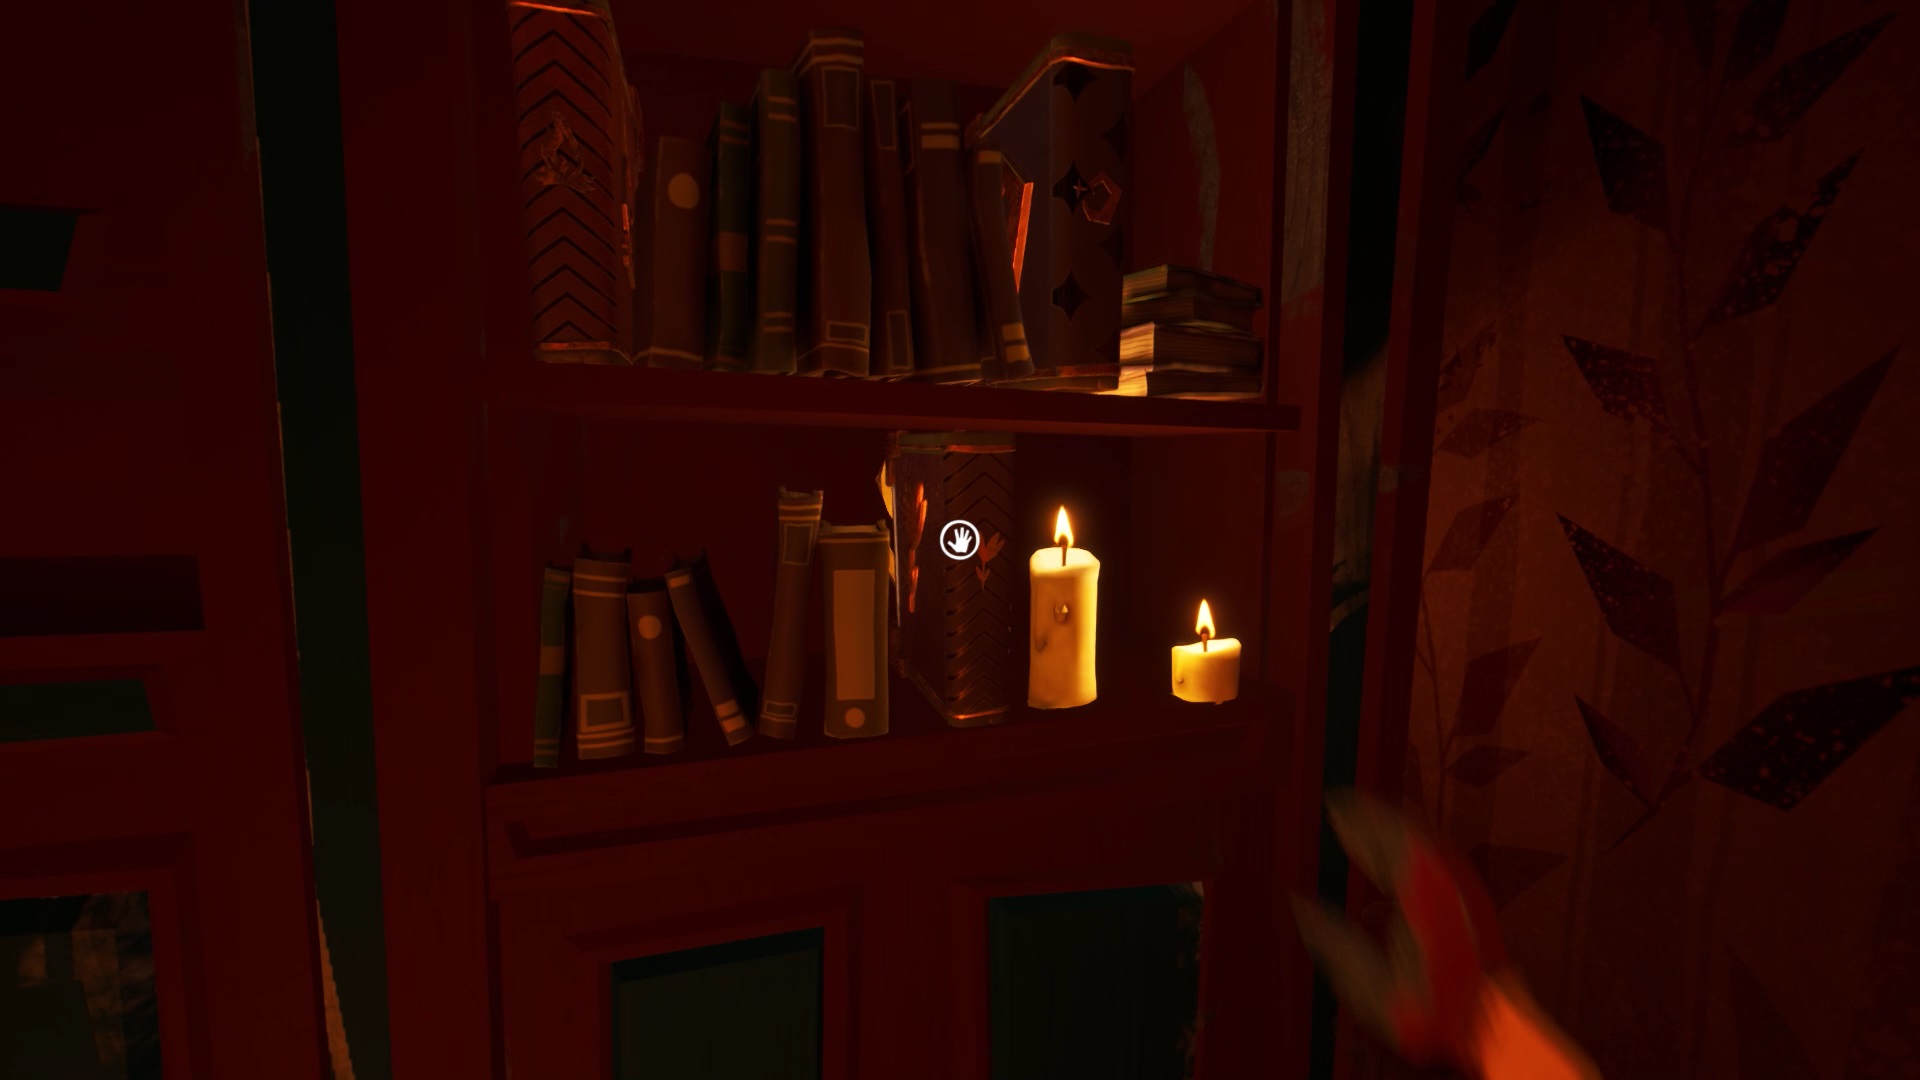
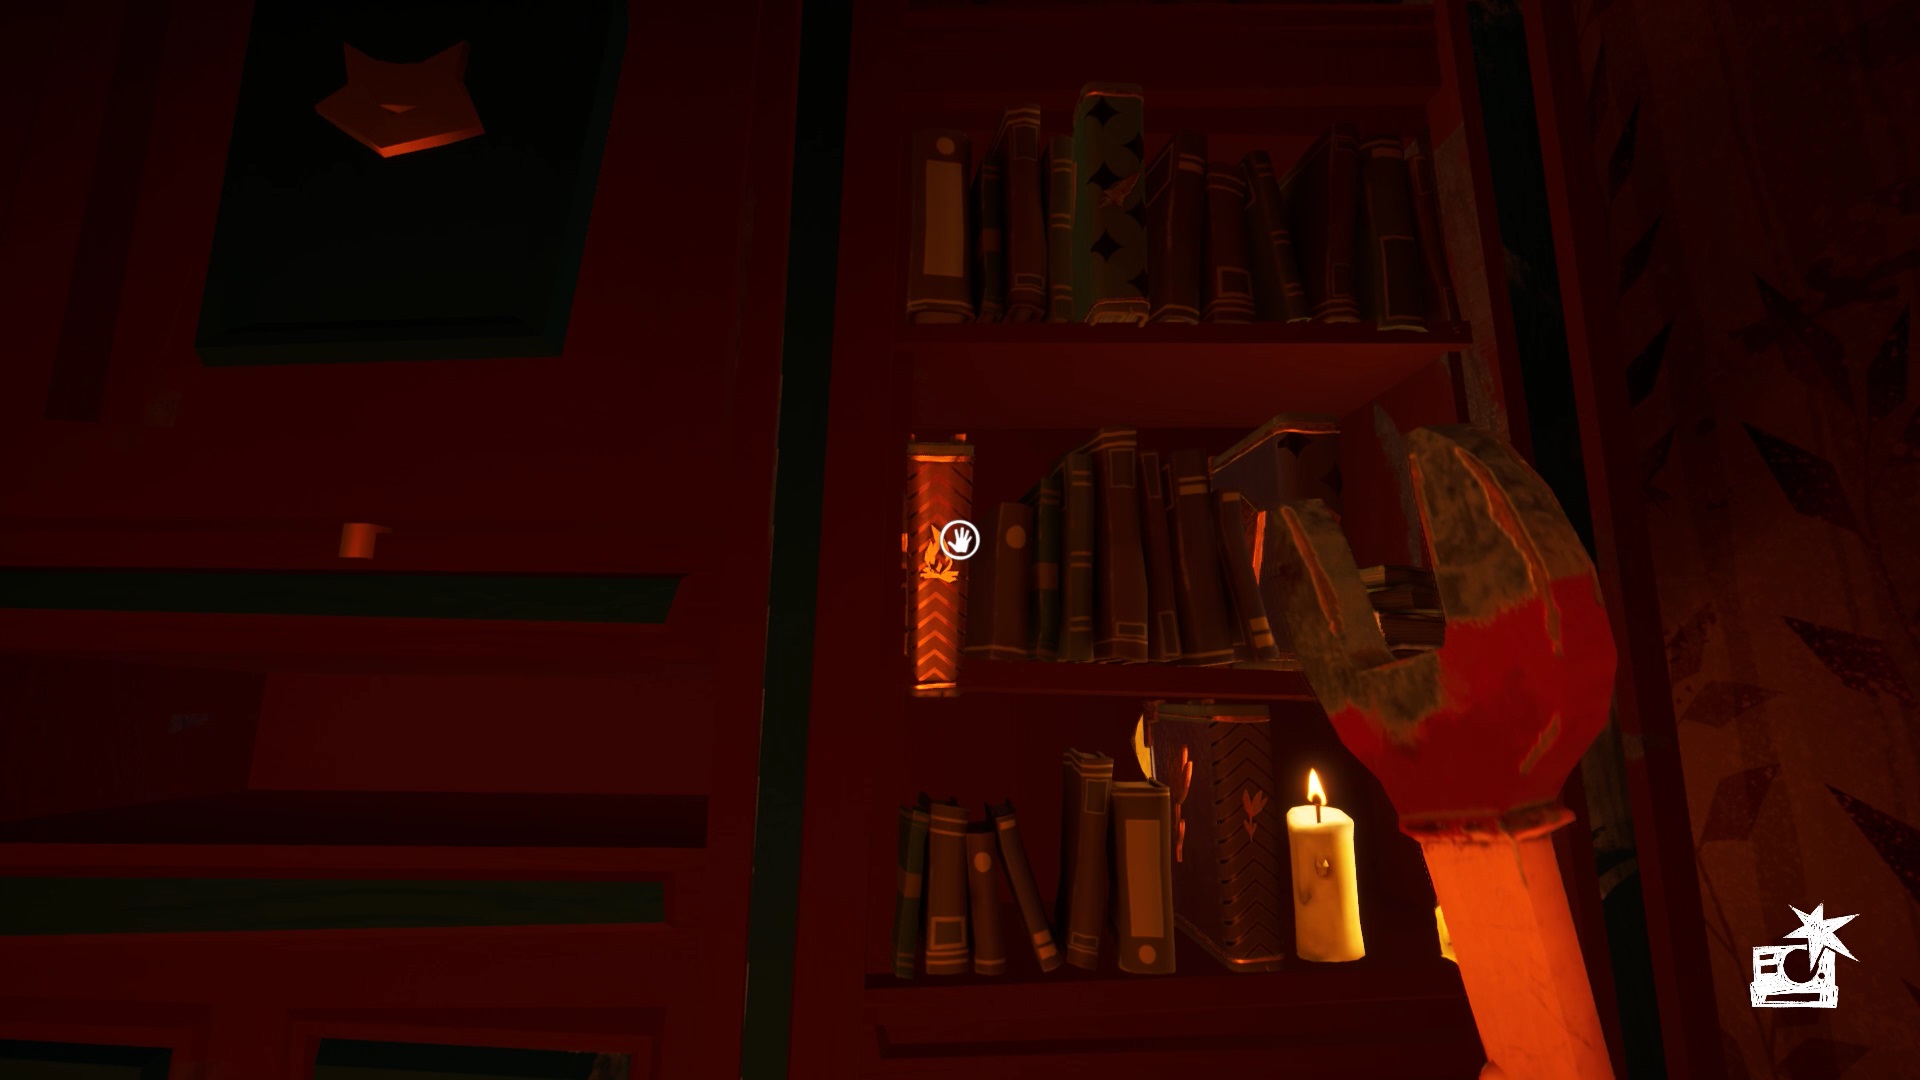
With the wrench, open the door in the hallway on the bear side. Collect a book with a flower on the toilet. Return to the room where you found the wrench. Place the book in the library at the location of the flower. You have the possibility to interact with the other books. First you need to find the right combination.
At the end of the first floor, opposite the stuffed animals, you find a television. It works, but the reception is poor. Near the television, furniture allows you to reach a space in height. Climb on the furniture to reach a wooden crate. Just follow the yellow TV wire to find your way around. Open the wooden crate to retrieve an antenna.

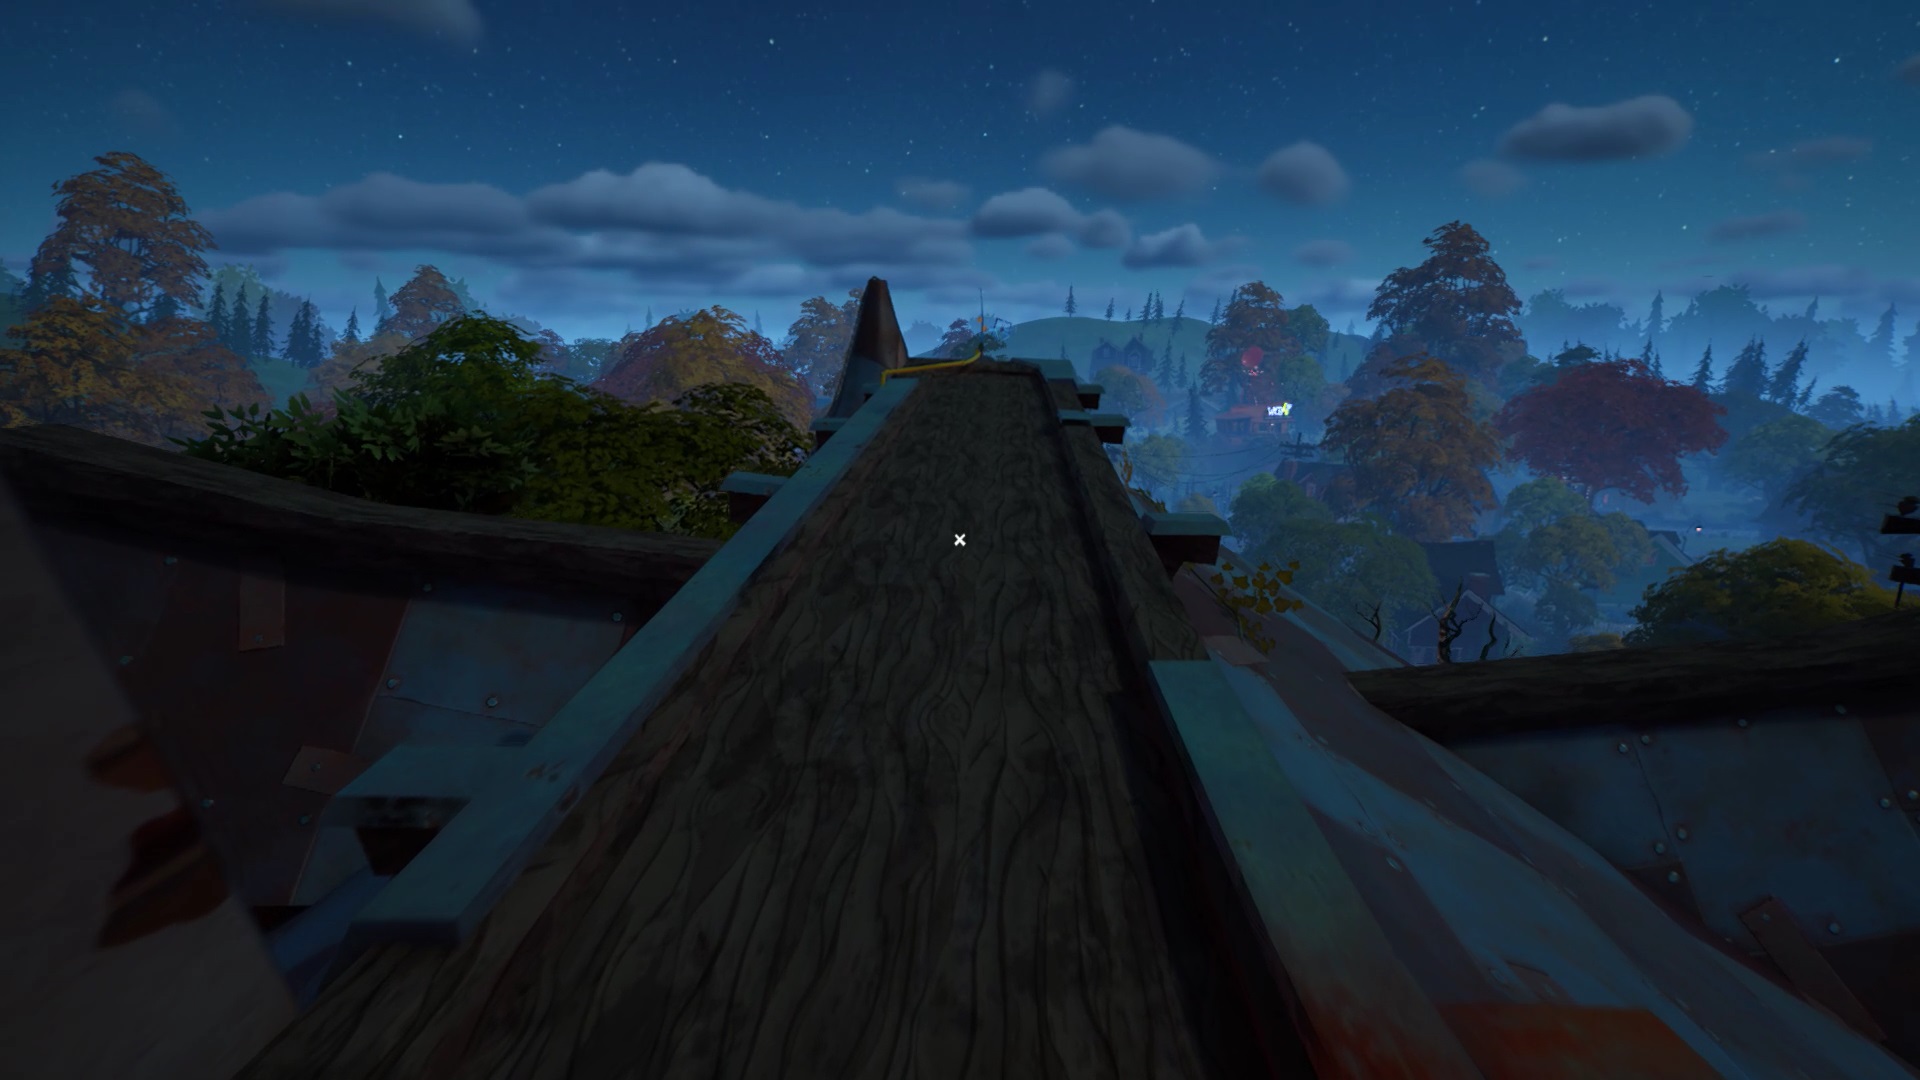
To repair the television, you must go and place the antenna on the roof of the museum. To reach the roof, go to the level of the stuffed animals. Behind them, you find a door leading to some scaffolding. Climb the scaffolding and ladders to reach the roof. At the end of the roof, you find the yellow wire of the television. The wire is connected to an antenna system.
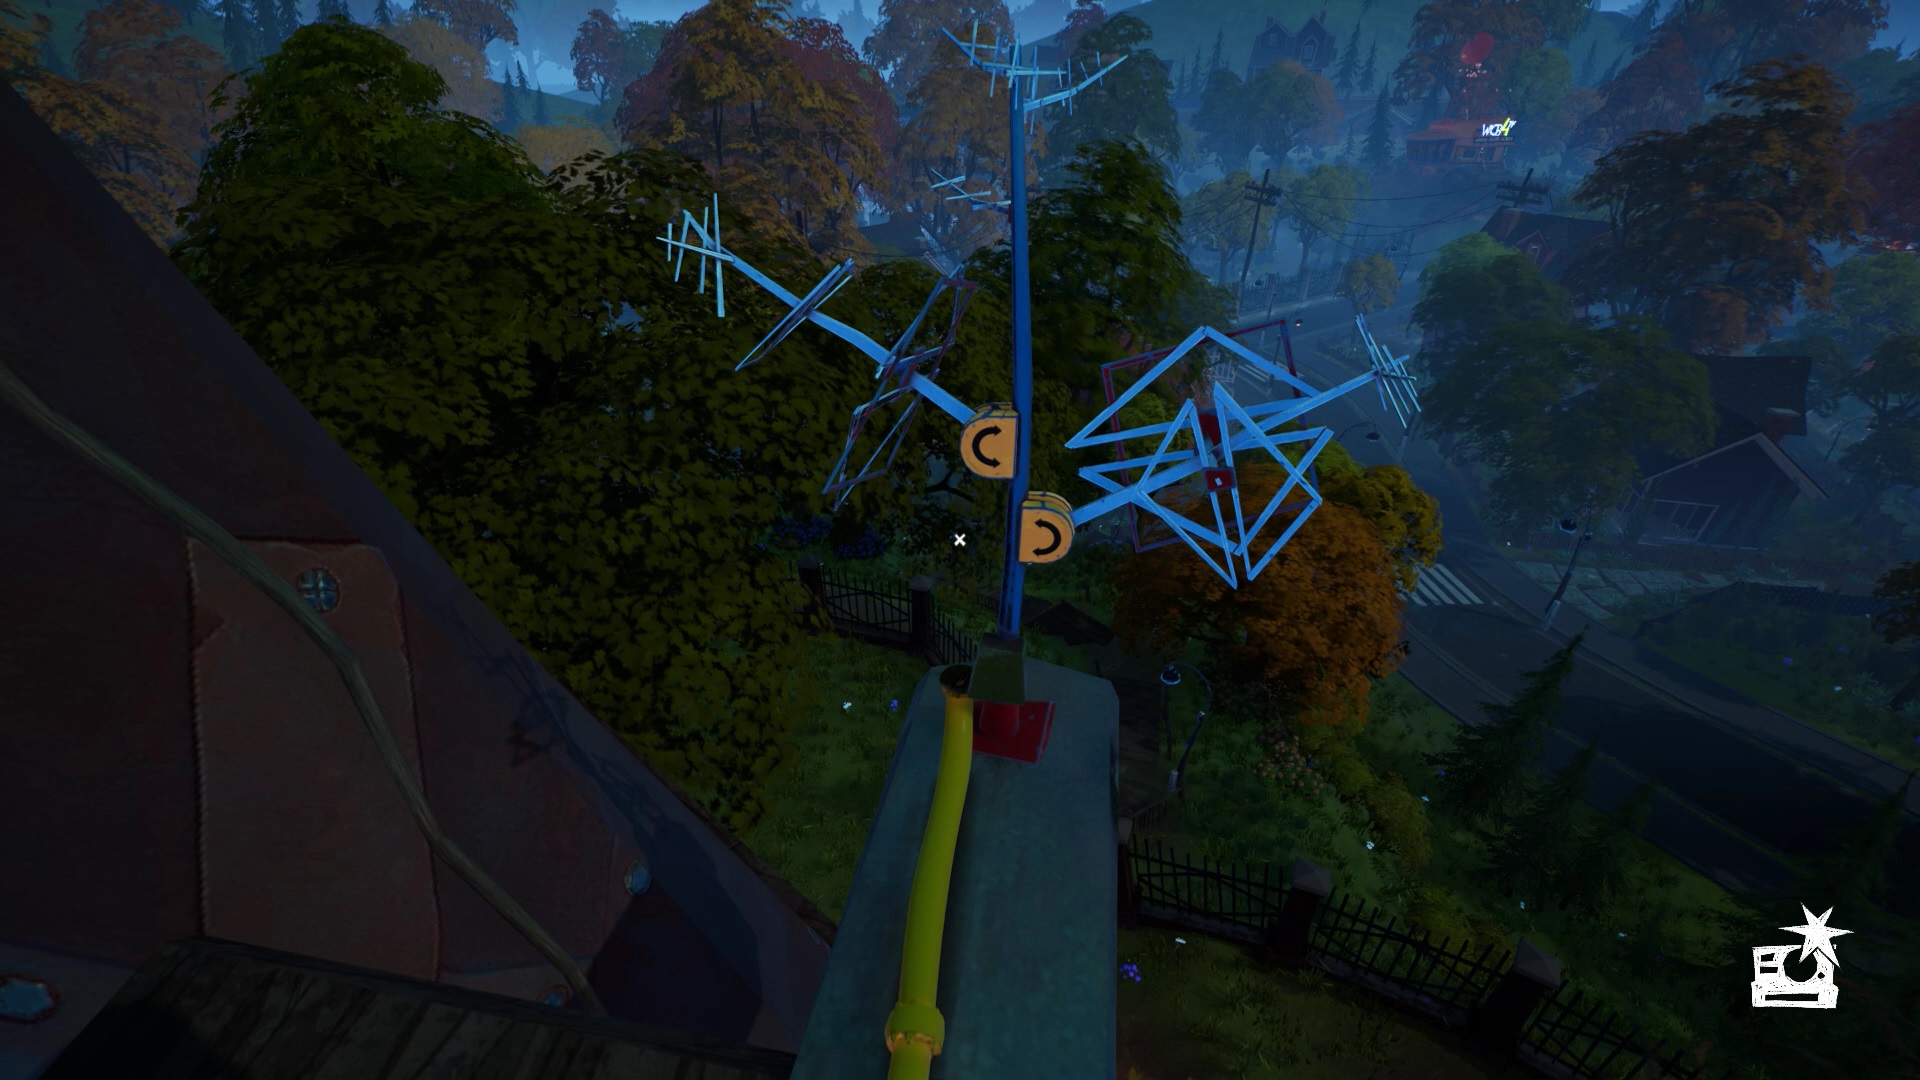
Position the antenna that you have recovered on the mechanism. Adjust the two antennas upwards to repair the television. Go back to watching TV. As you change channels, you discover three different symbols: Fire, Flower, and Planet.
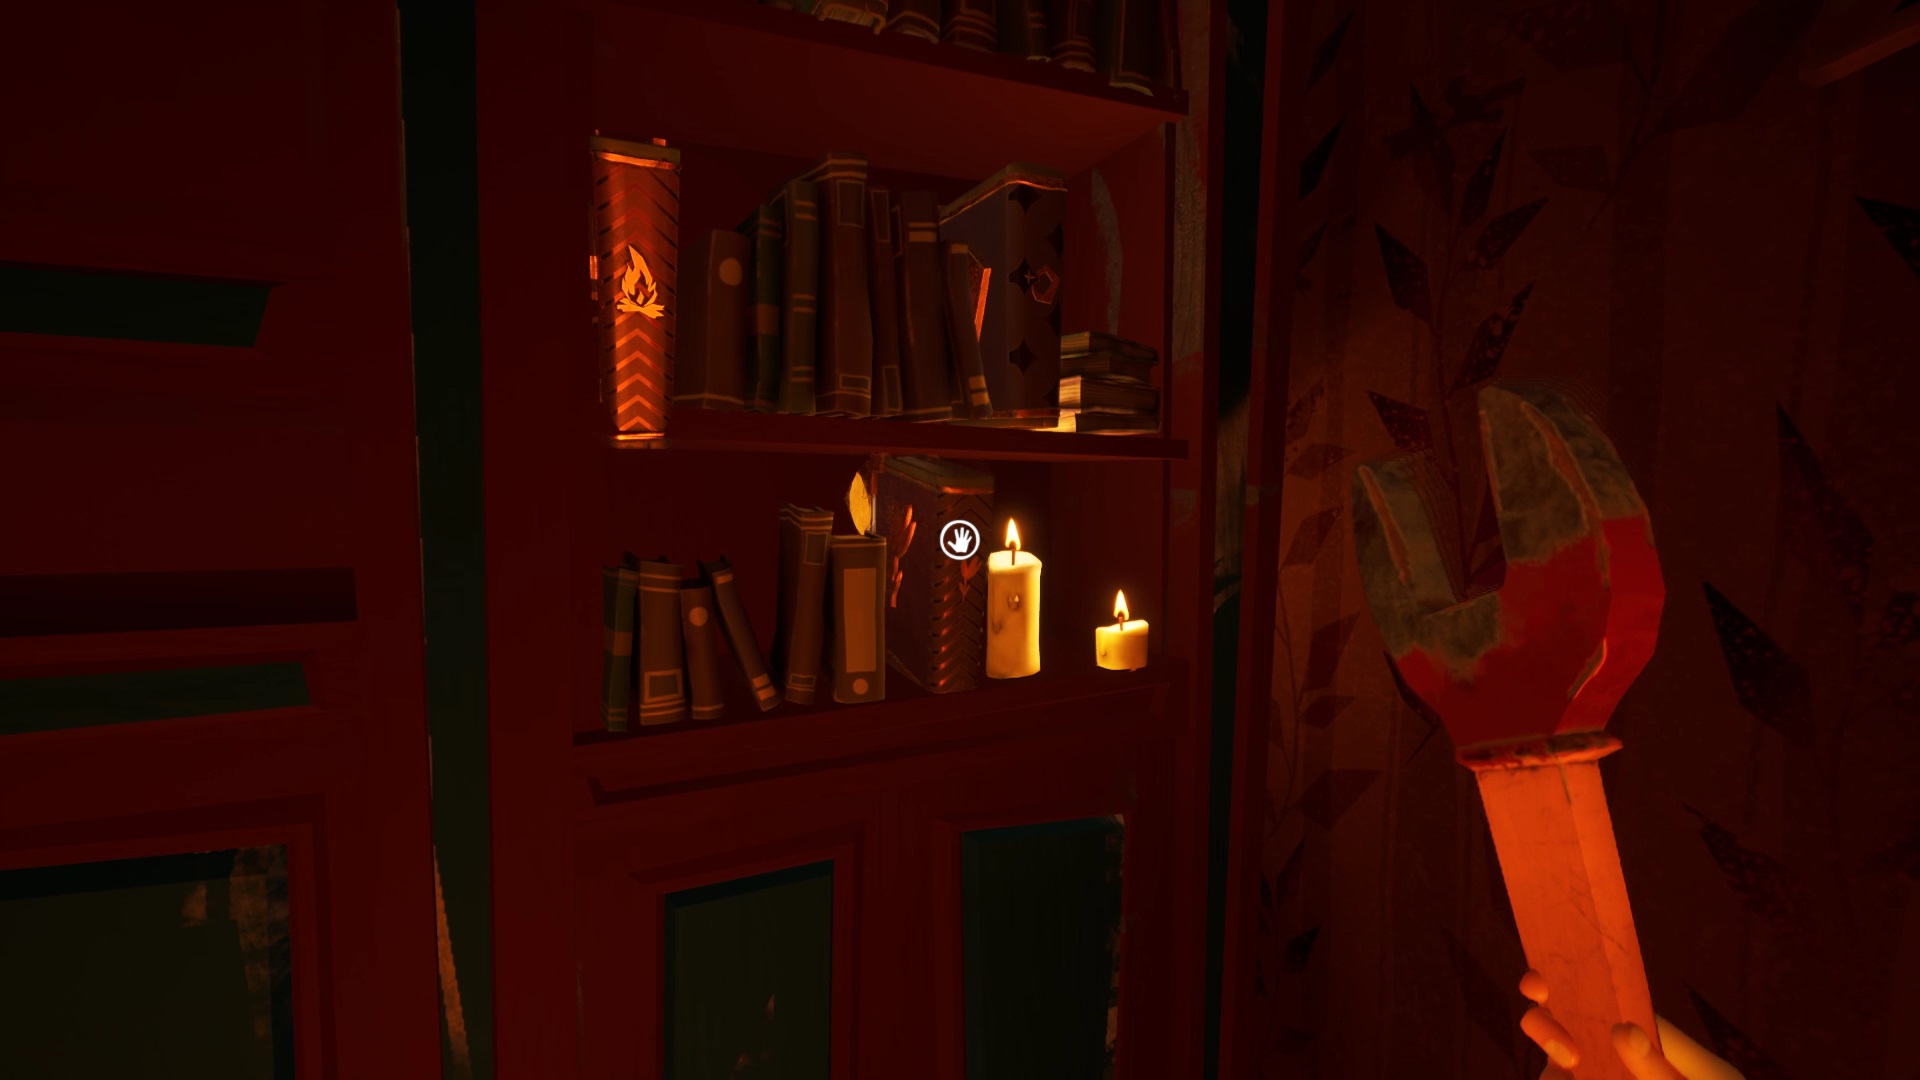
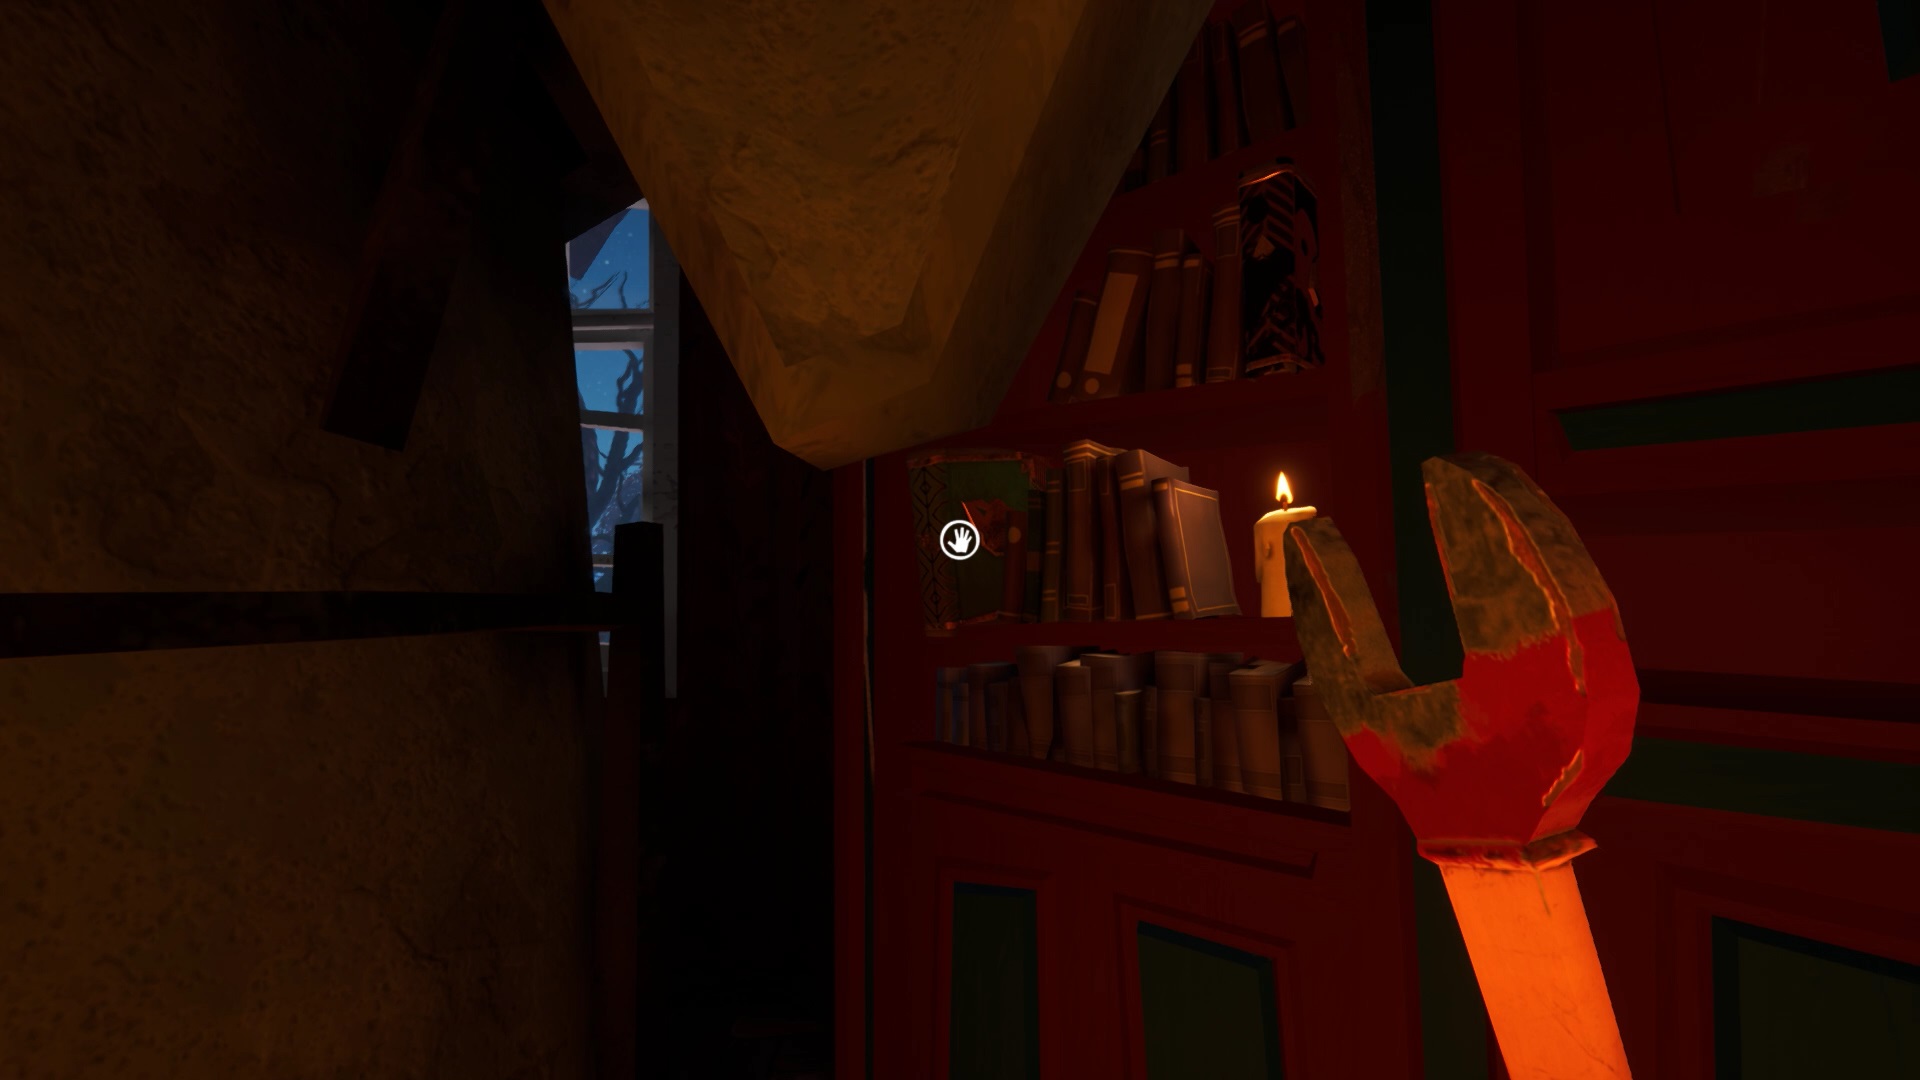
Return to the room to the right of the stuffed animals. In the library, shoot the books with the symbols you’ve seen on TV. The order of the television channels corresponds to the order in which you must draw the books: fire, flower and planet. You get a bear head. Come on, place the bear head on the stuffed bear.
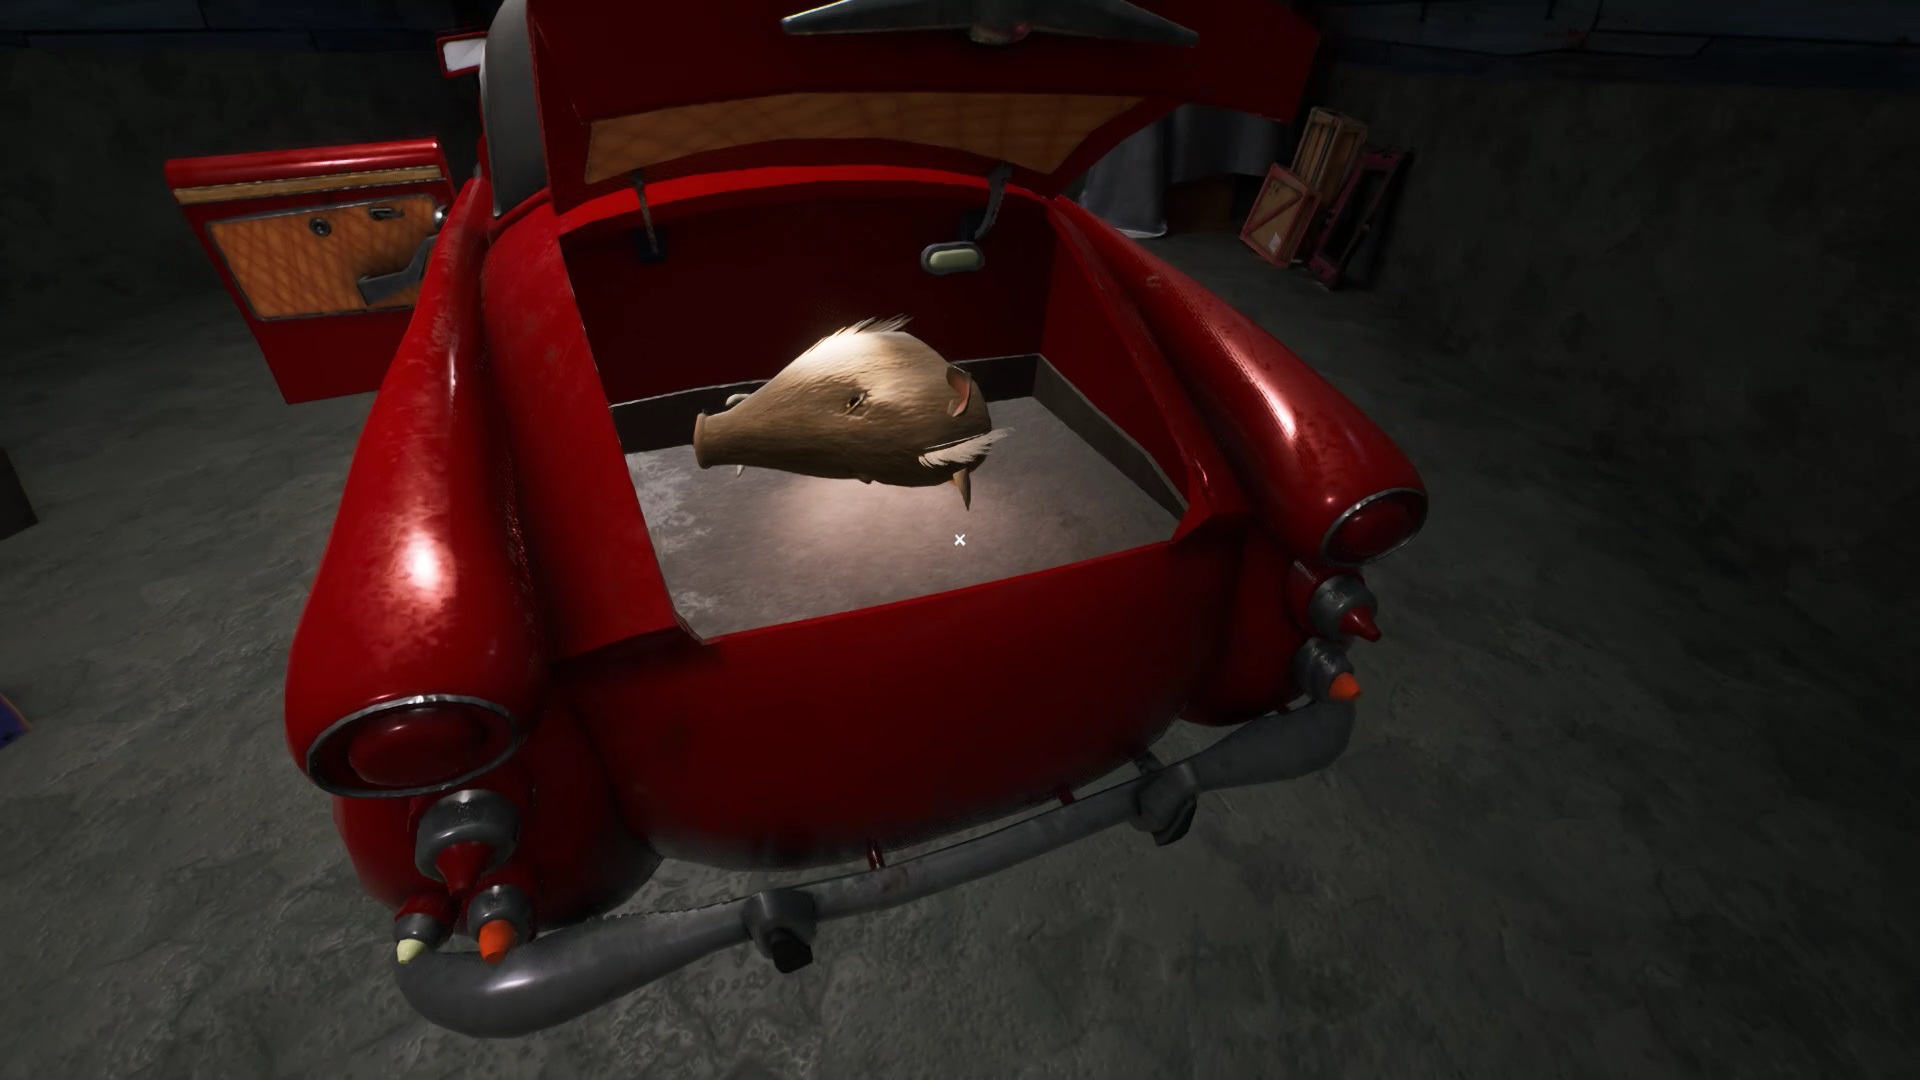
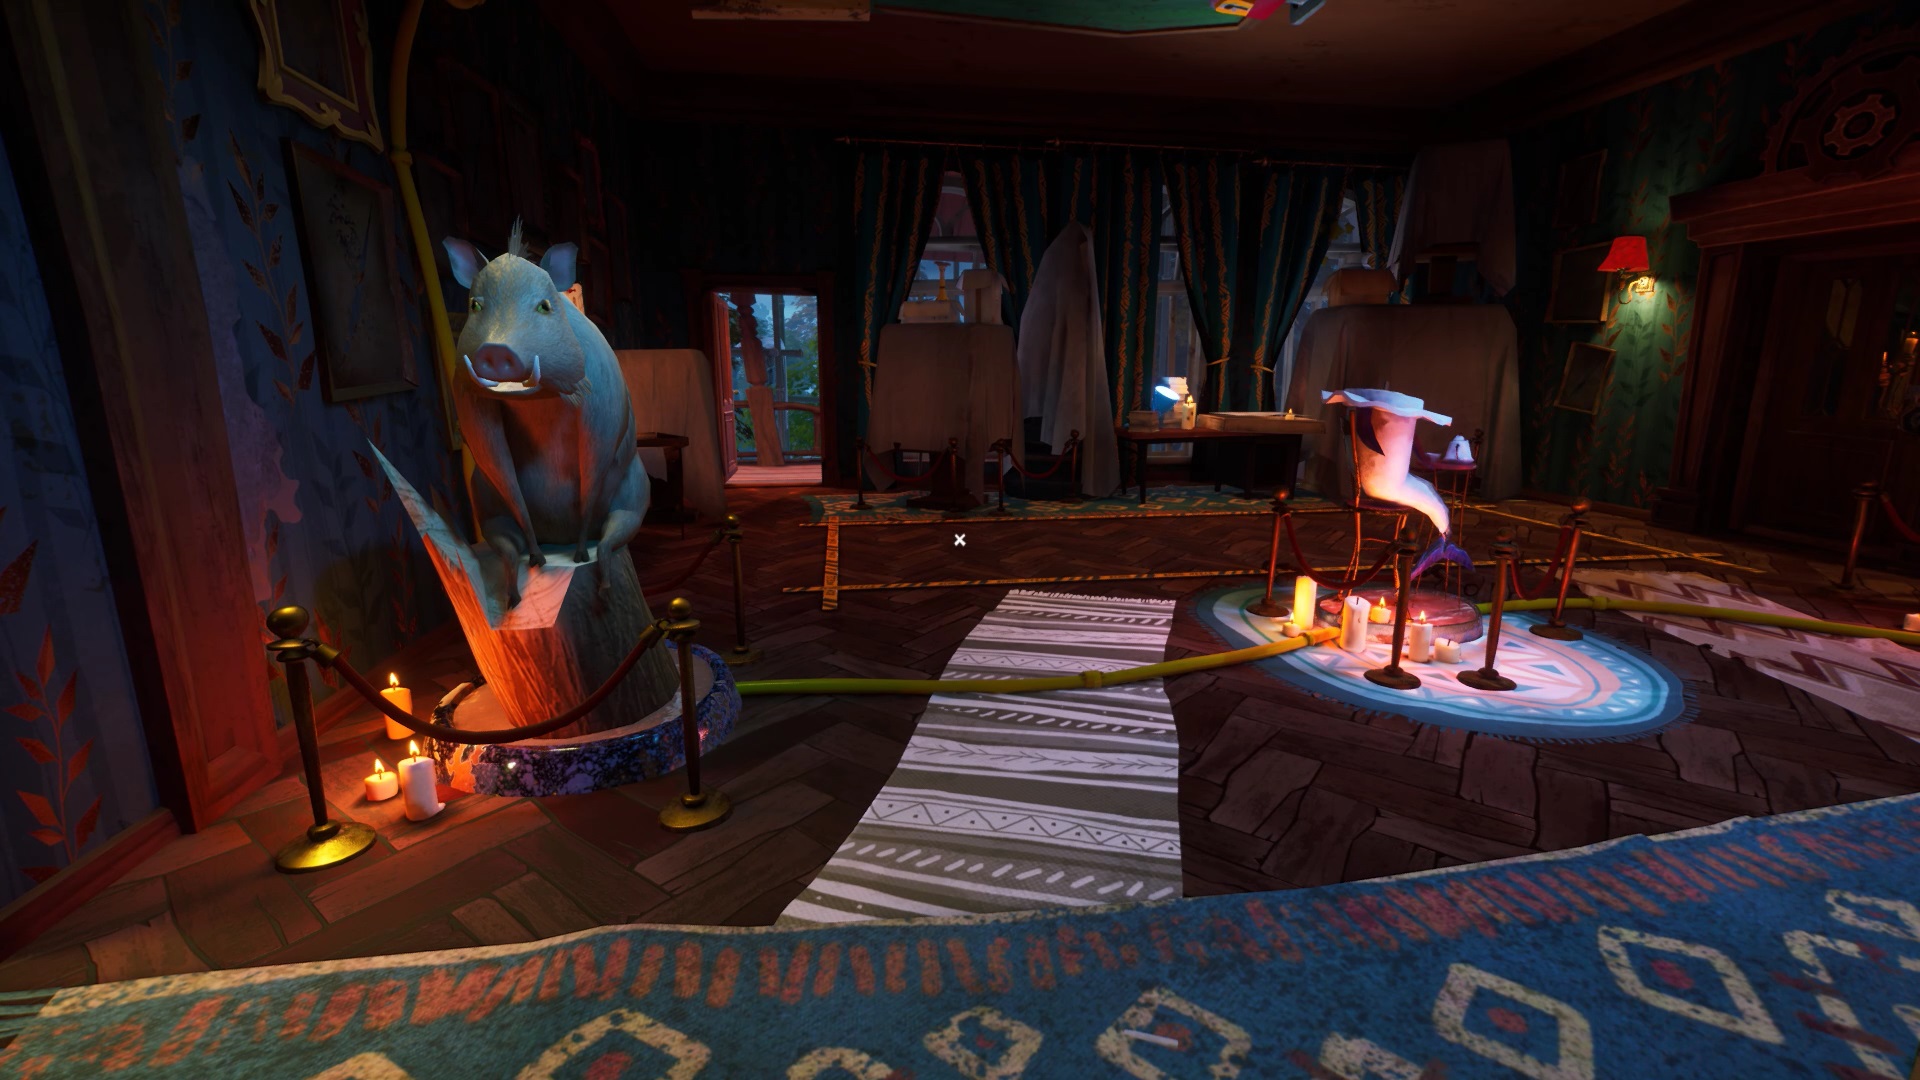
Go to the garage. You find the car door handle in an open wooden crate. Position the handle on the door to open it. Activate the handbrake to open the trunk. You get the head of a warthog. Come on, position the warthog head on the stuffed animal.
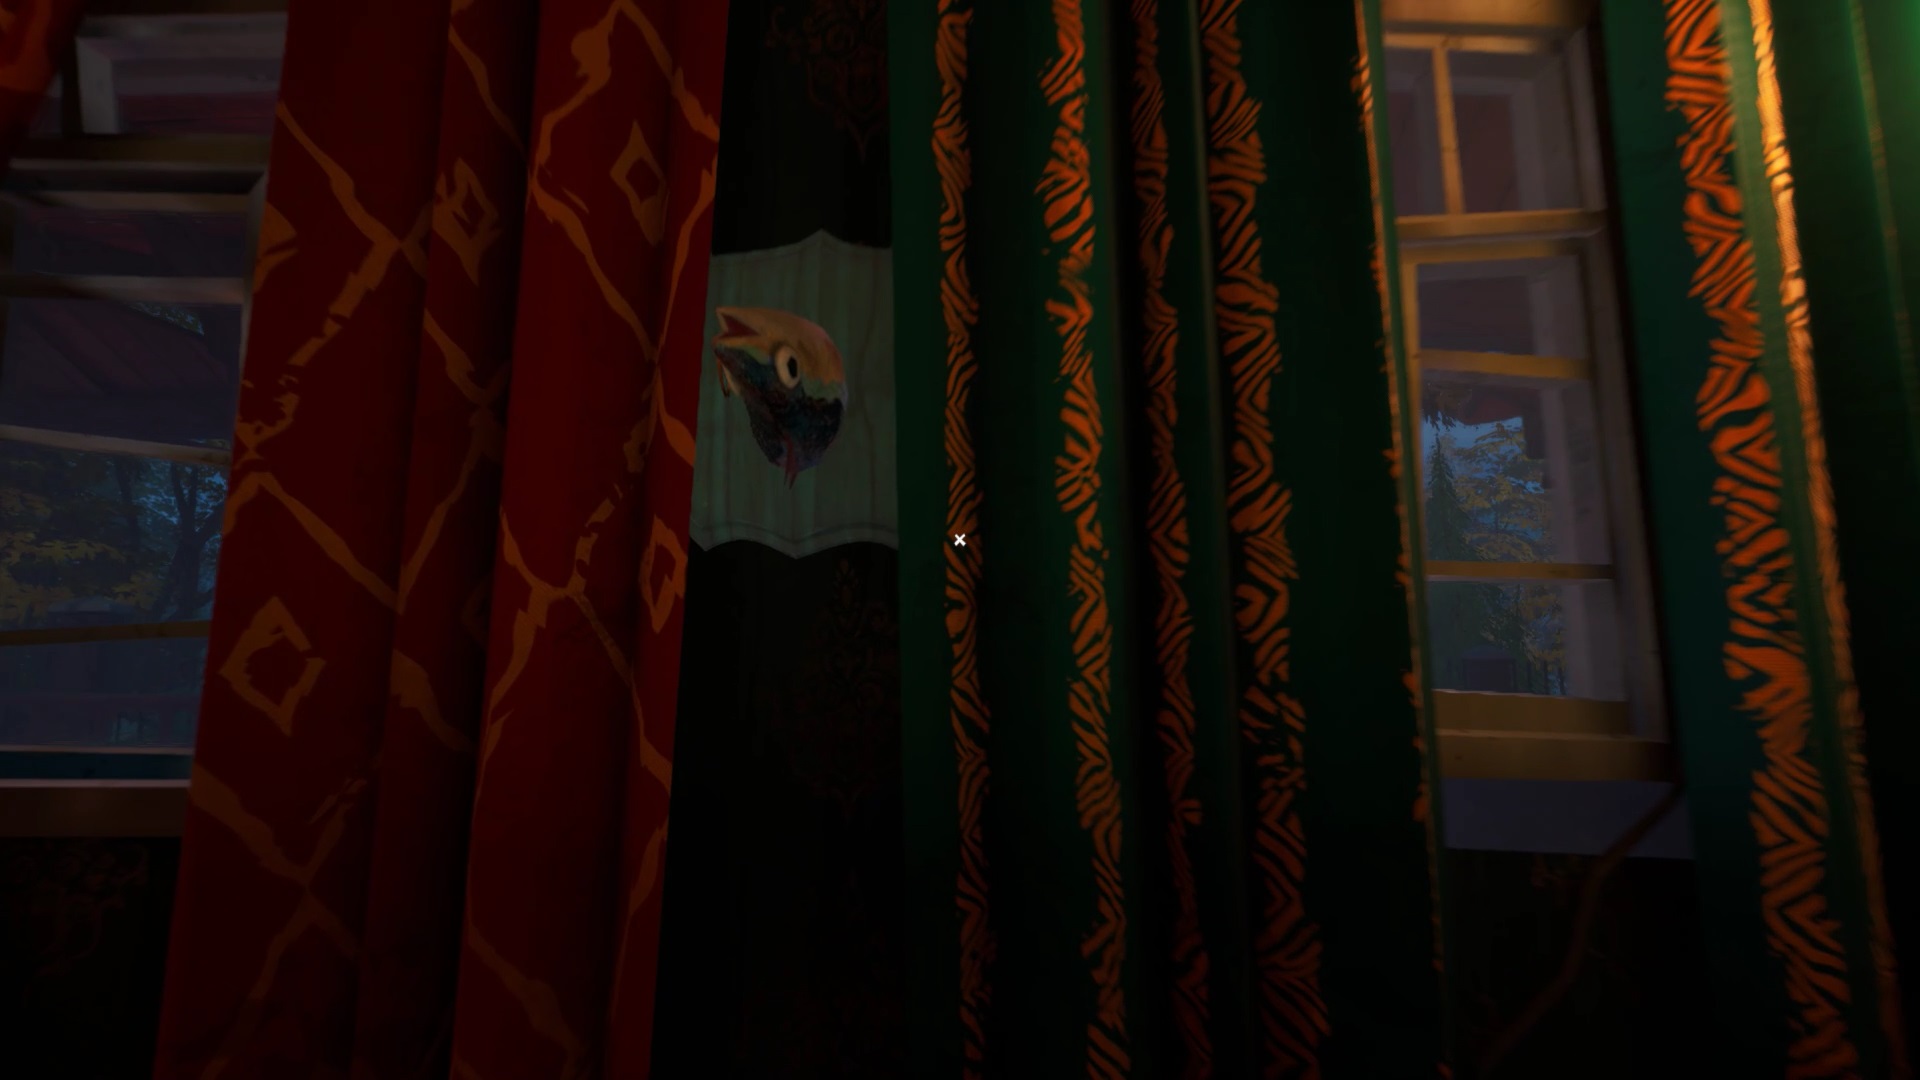
At ground level, enter the room where everything is reversed. This is the open room thanks to the safe. A stuffed fish head hangs on a painting. Pick up the fish head and place it on the first floor on top of the stuffed fish.
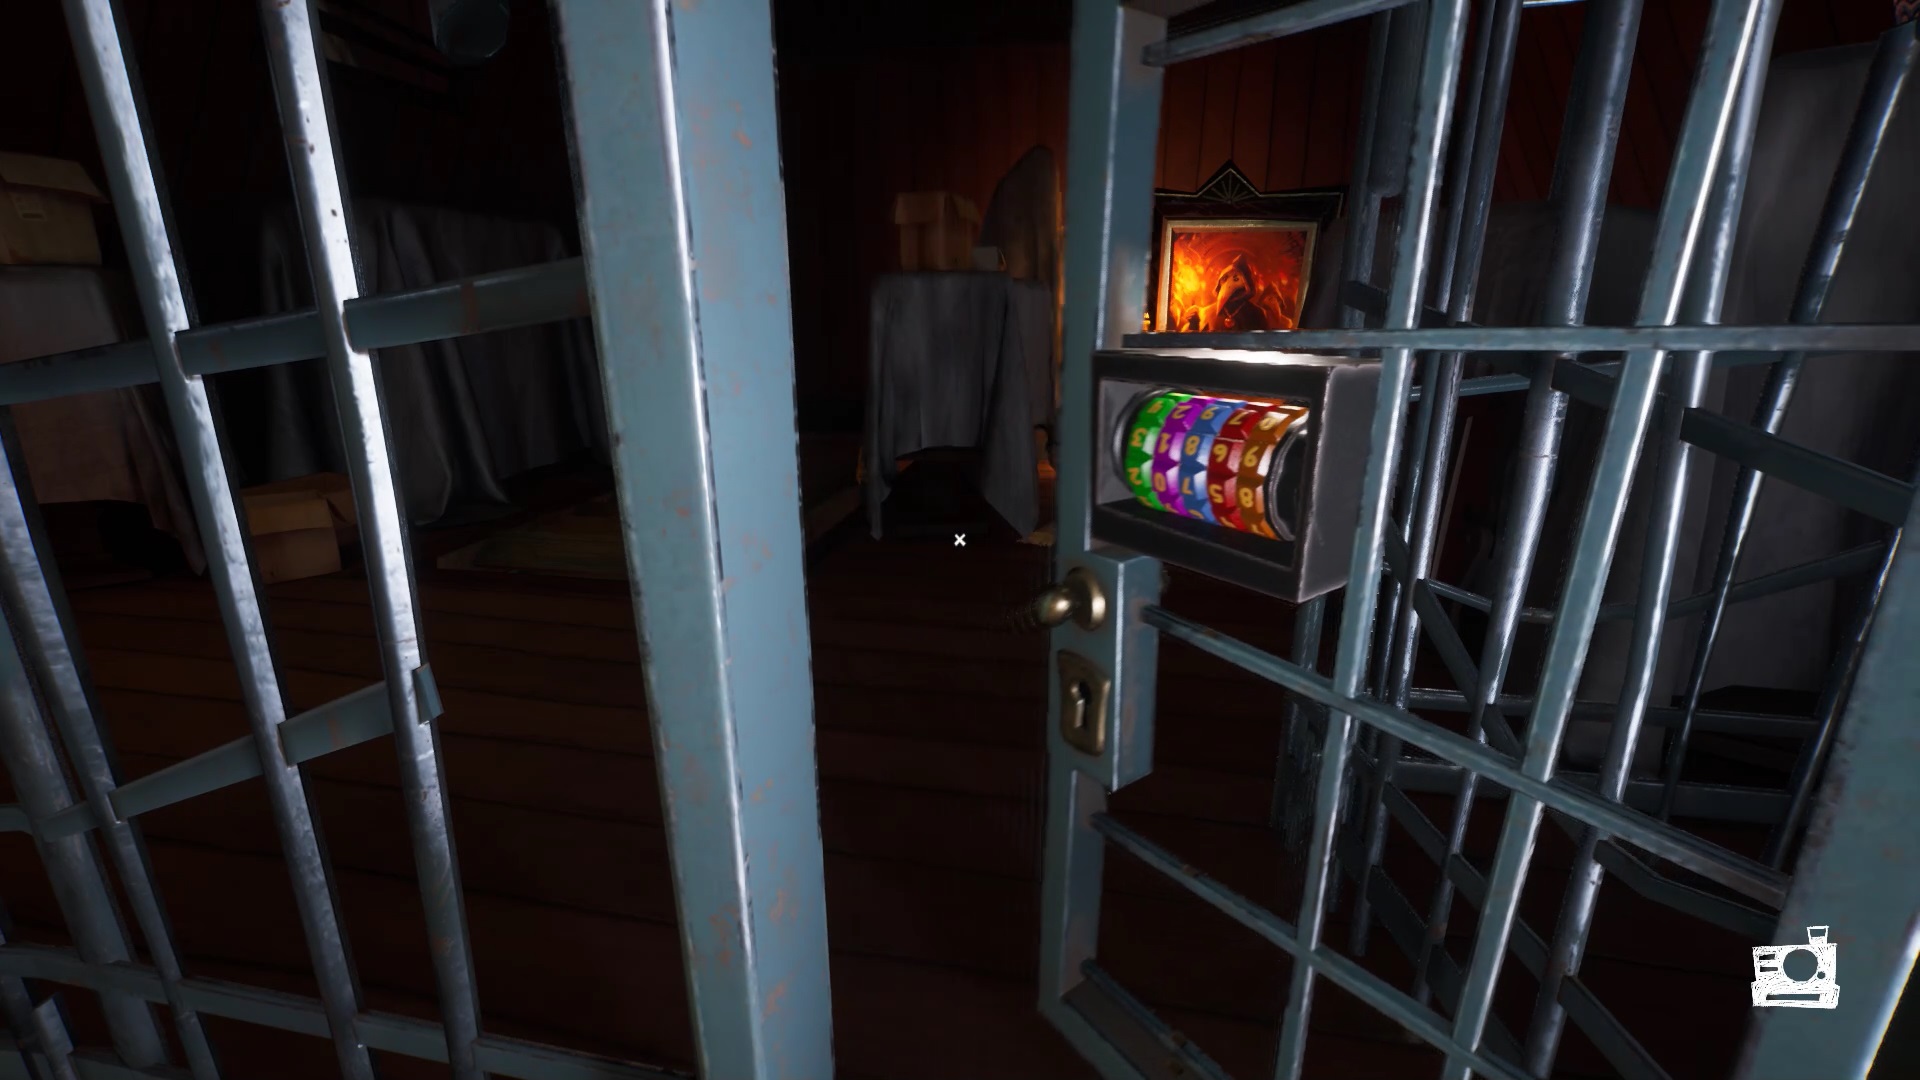
Once you have placed all the animal heads, you have access to the attic. Go up to discover a locked cage. The key is on the right side of the attic. Open the cage with the key to trigger a cutscene.
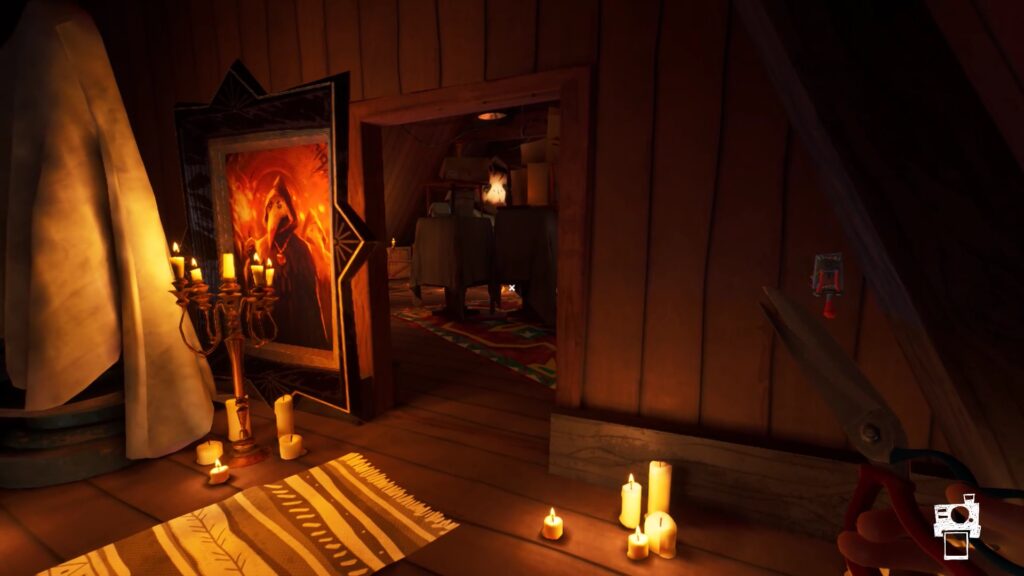
The Attic
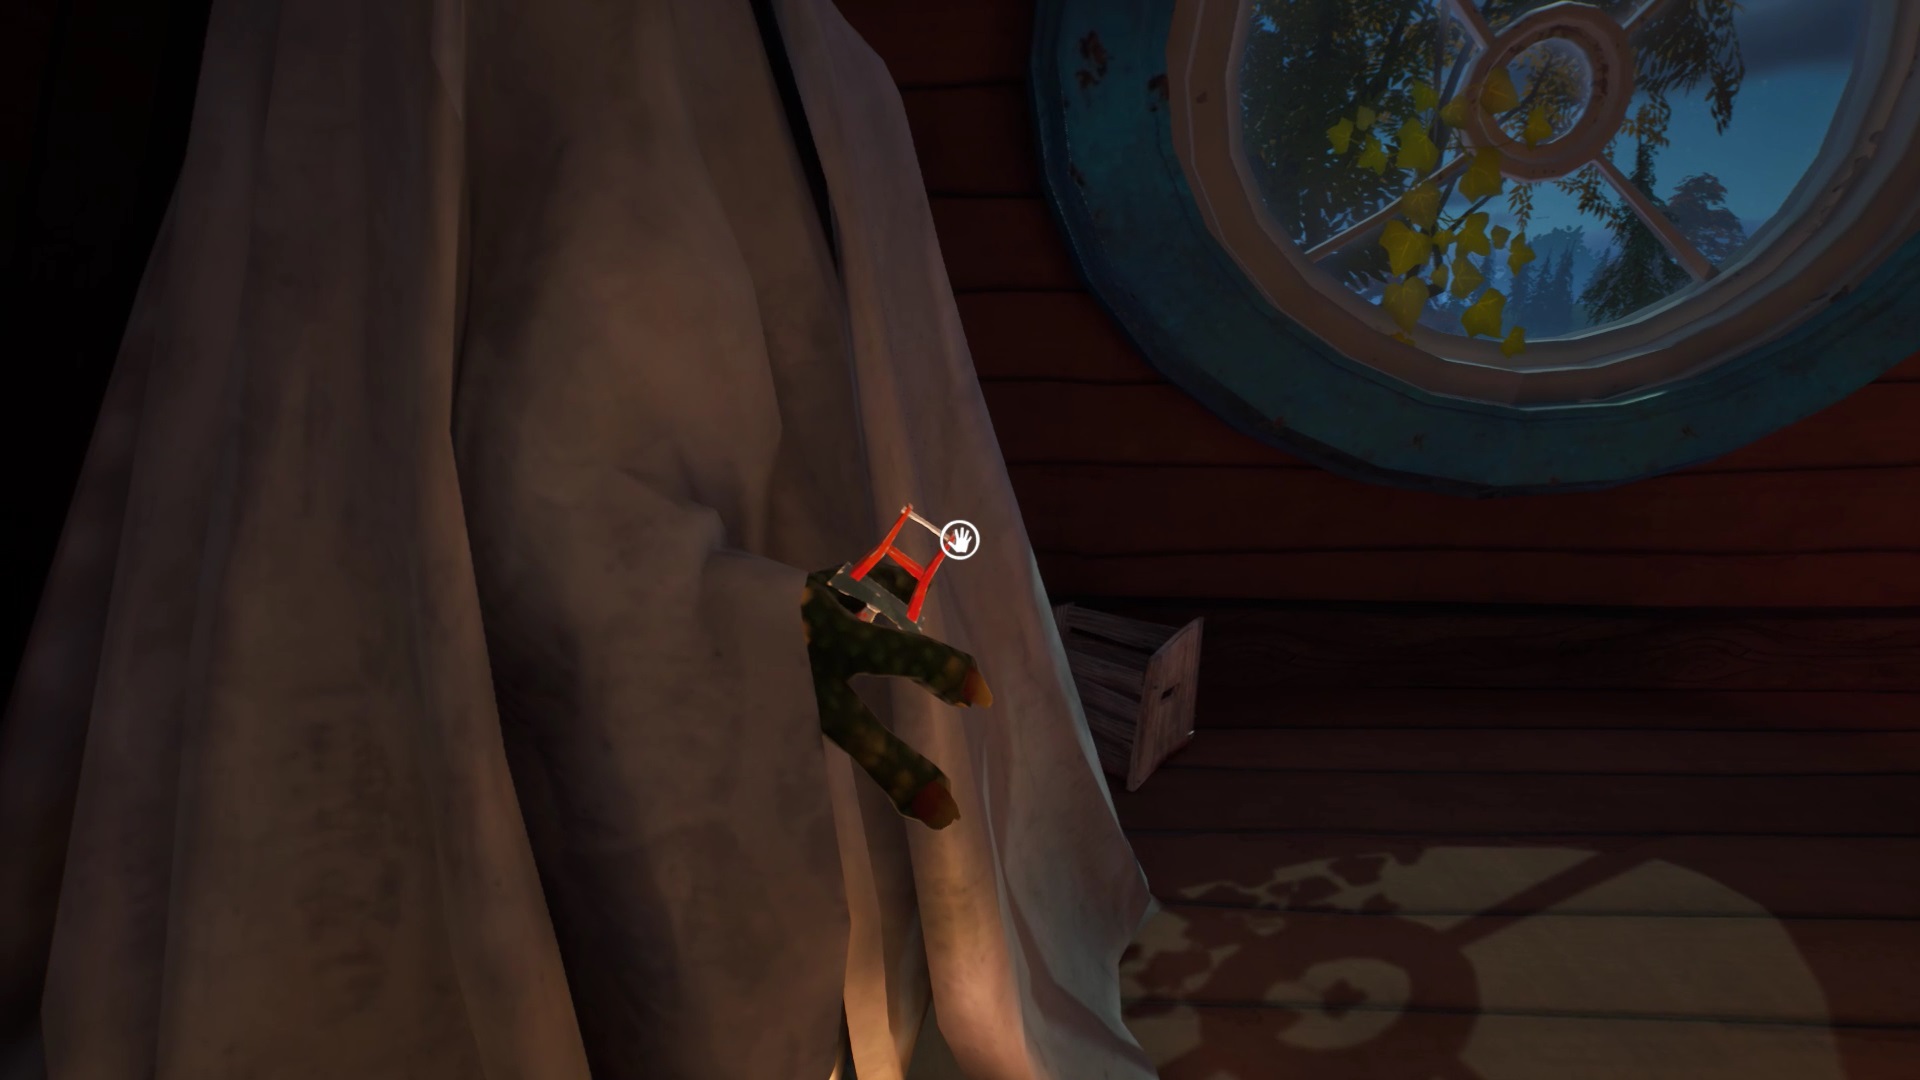
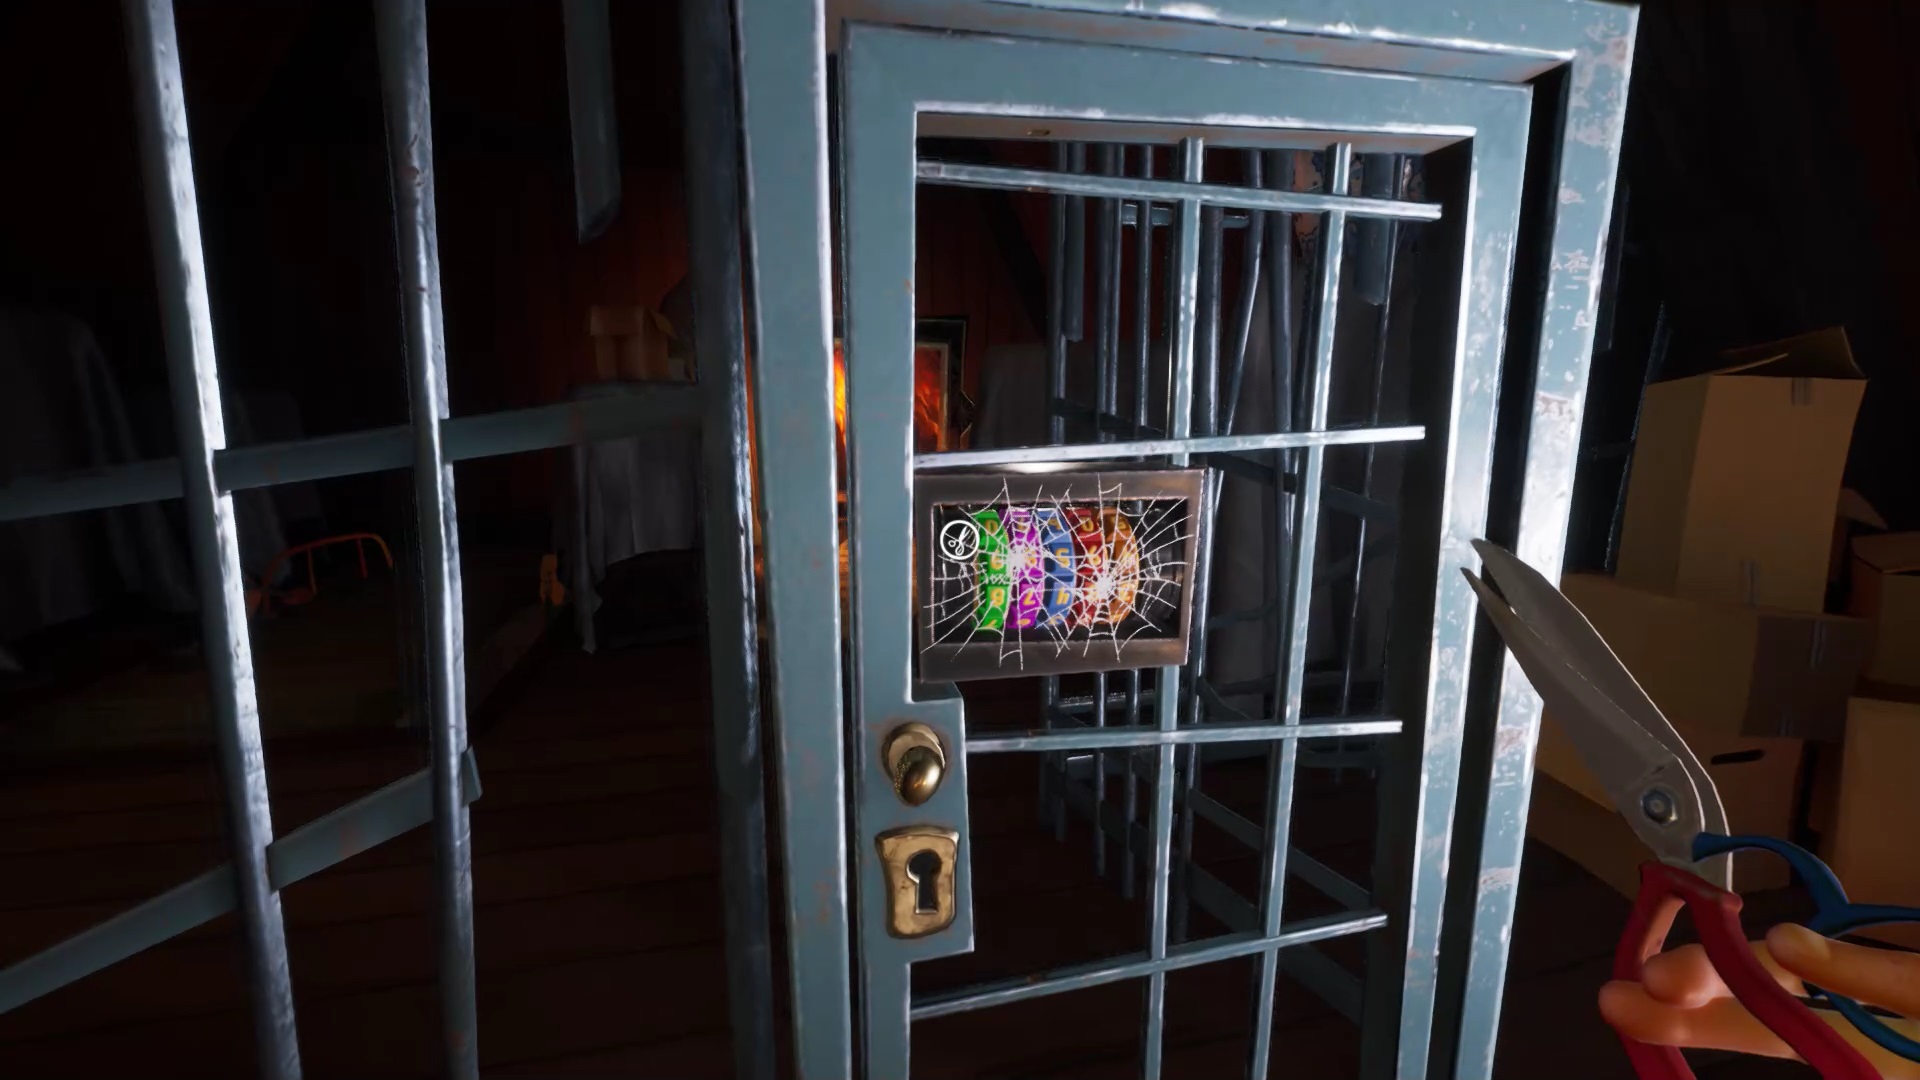
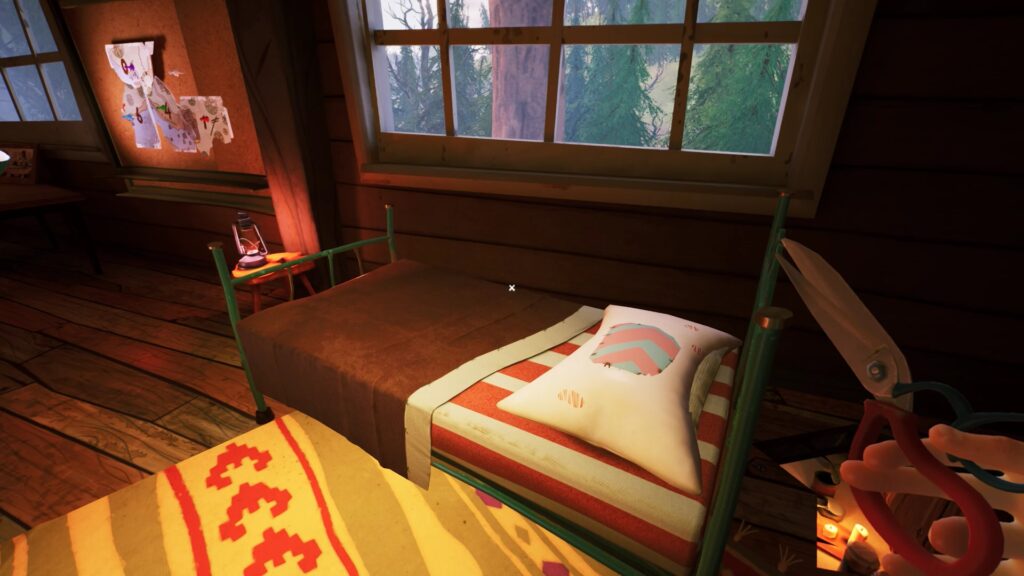
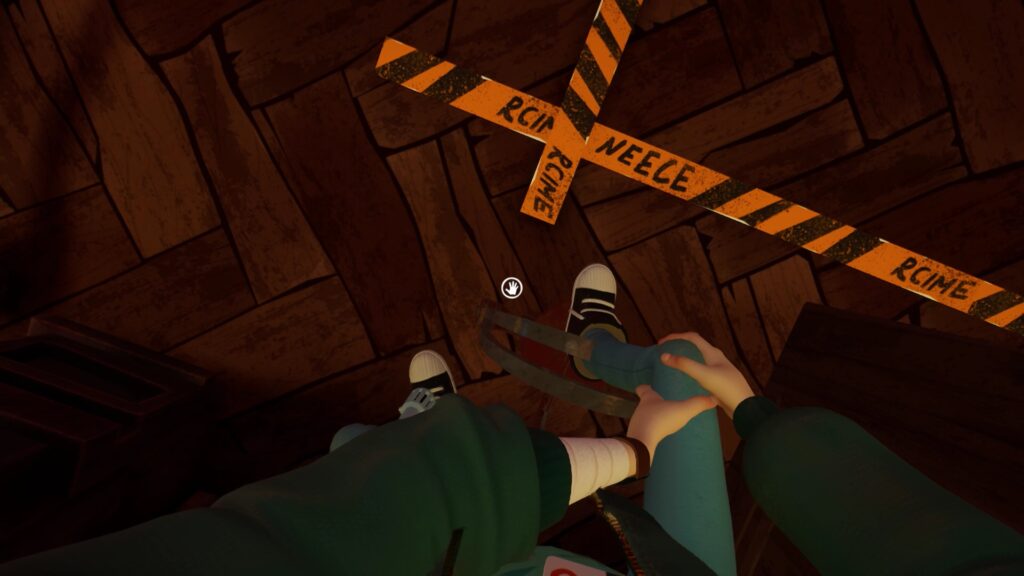
You are now locked in the cage. To get out, you need to find the lock combination on the door. Search the area. Retrieve a lever from a dummy’s hand. It will be useful for the rest of the adventure. Get a scissor from the nightstand near the bed. Use the chisel to remove the cobwebs on the door lock.
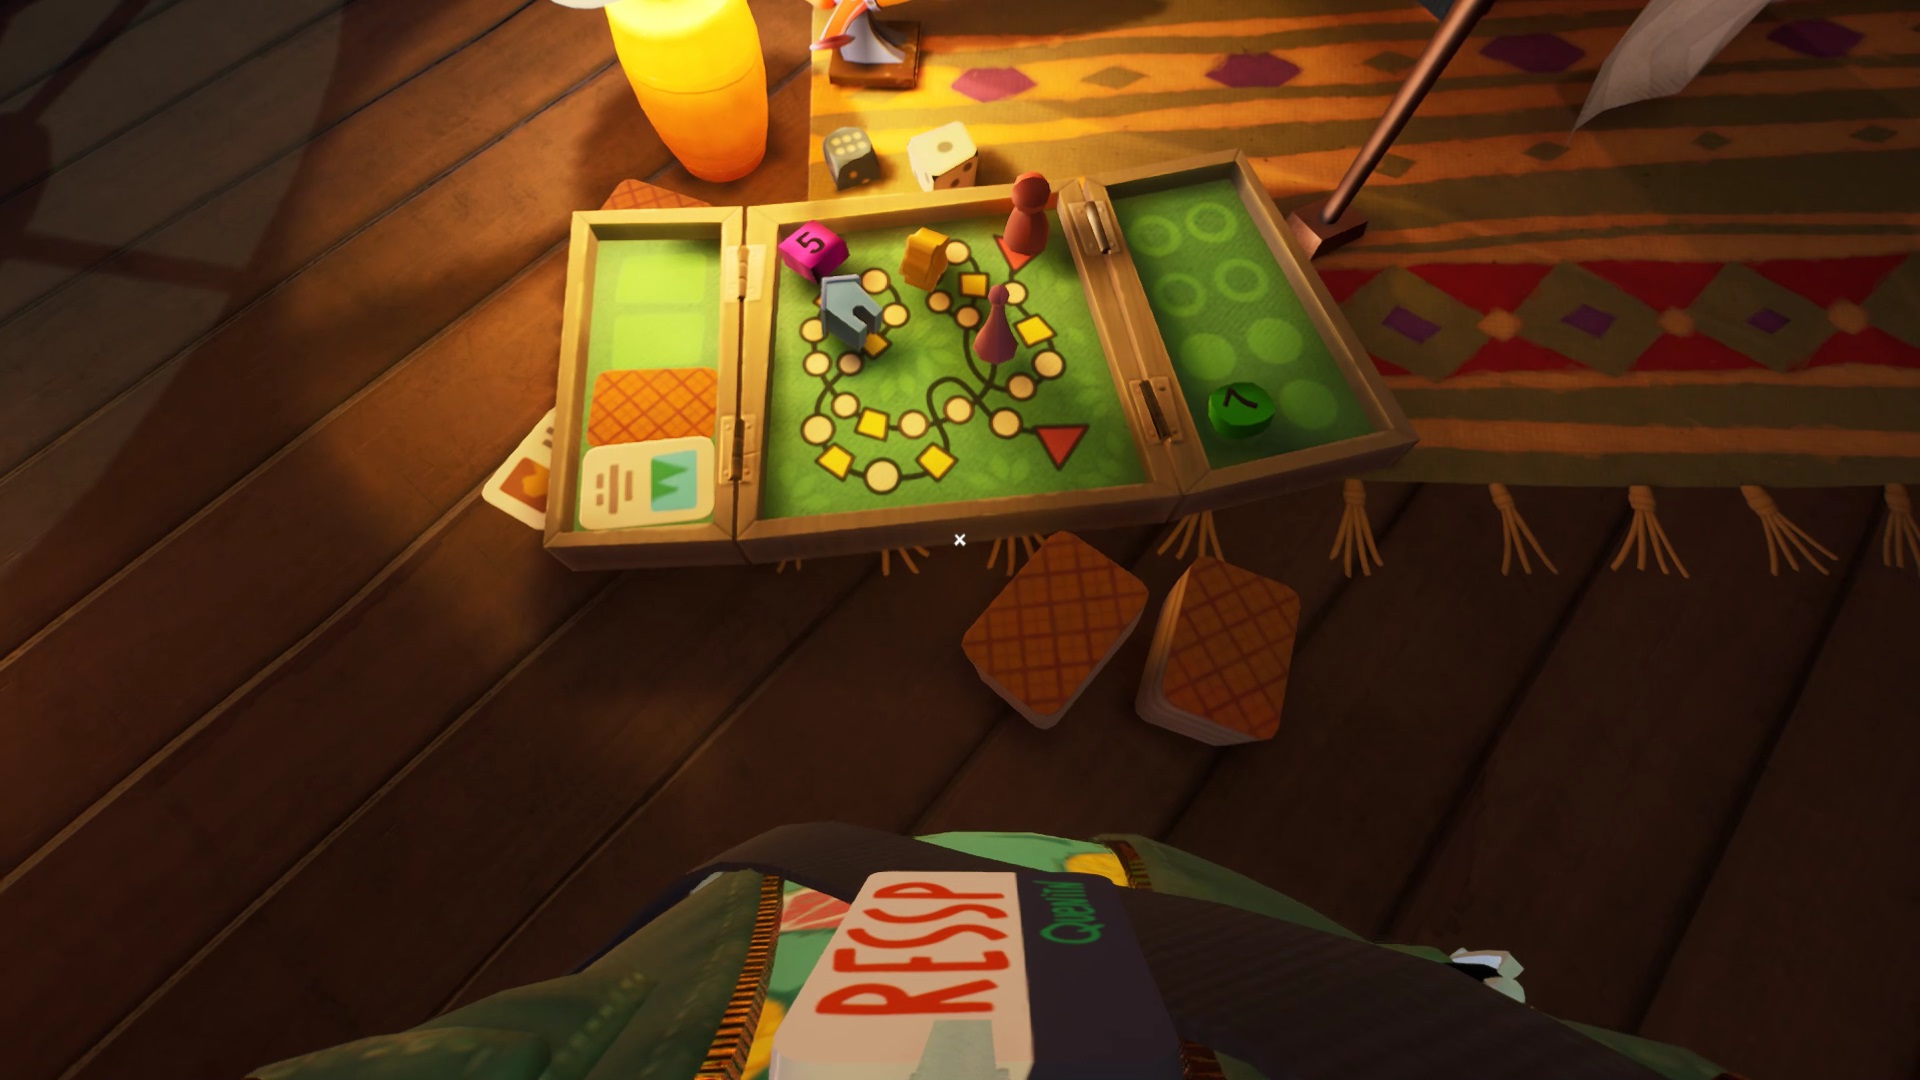
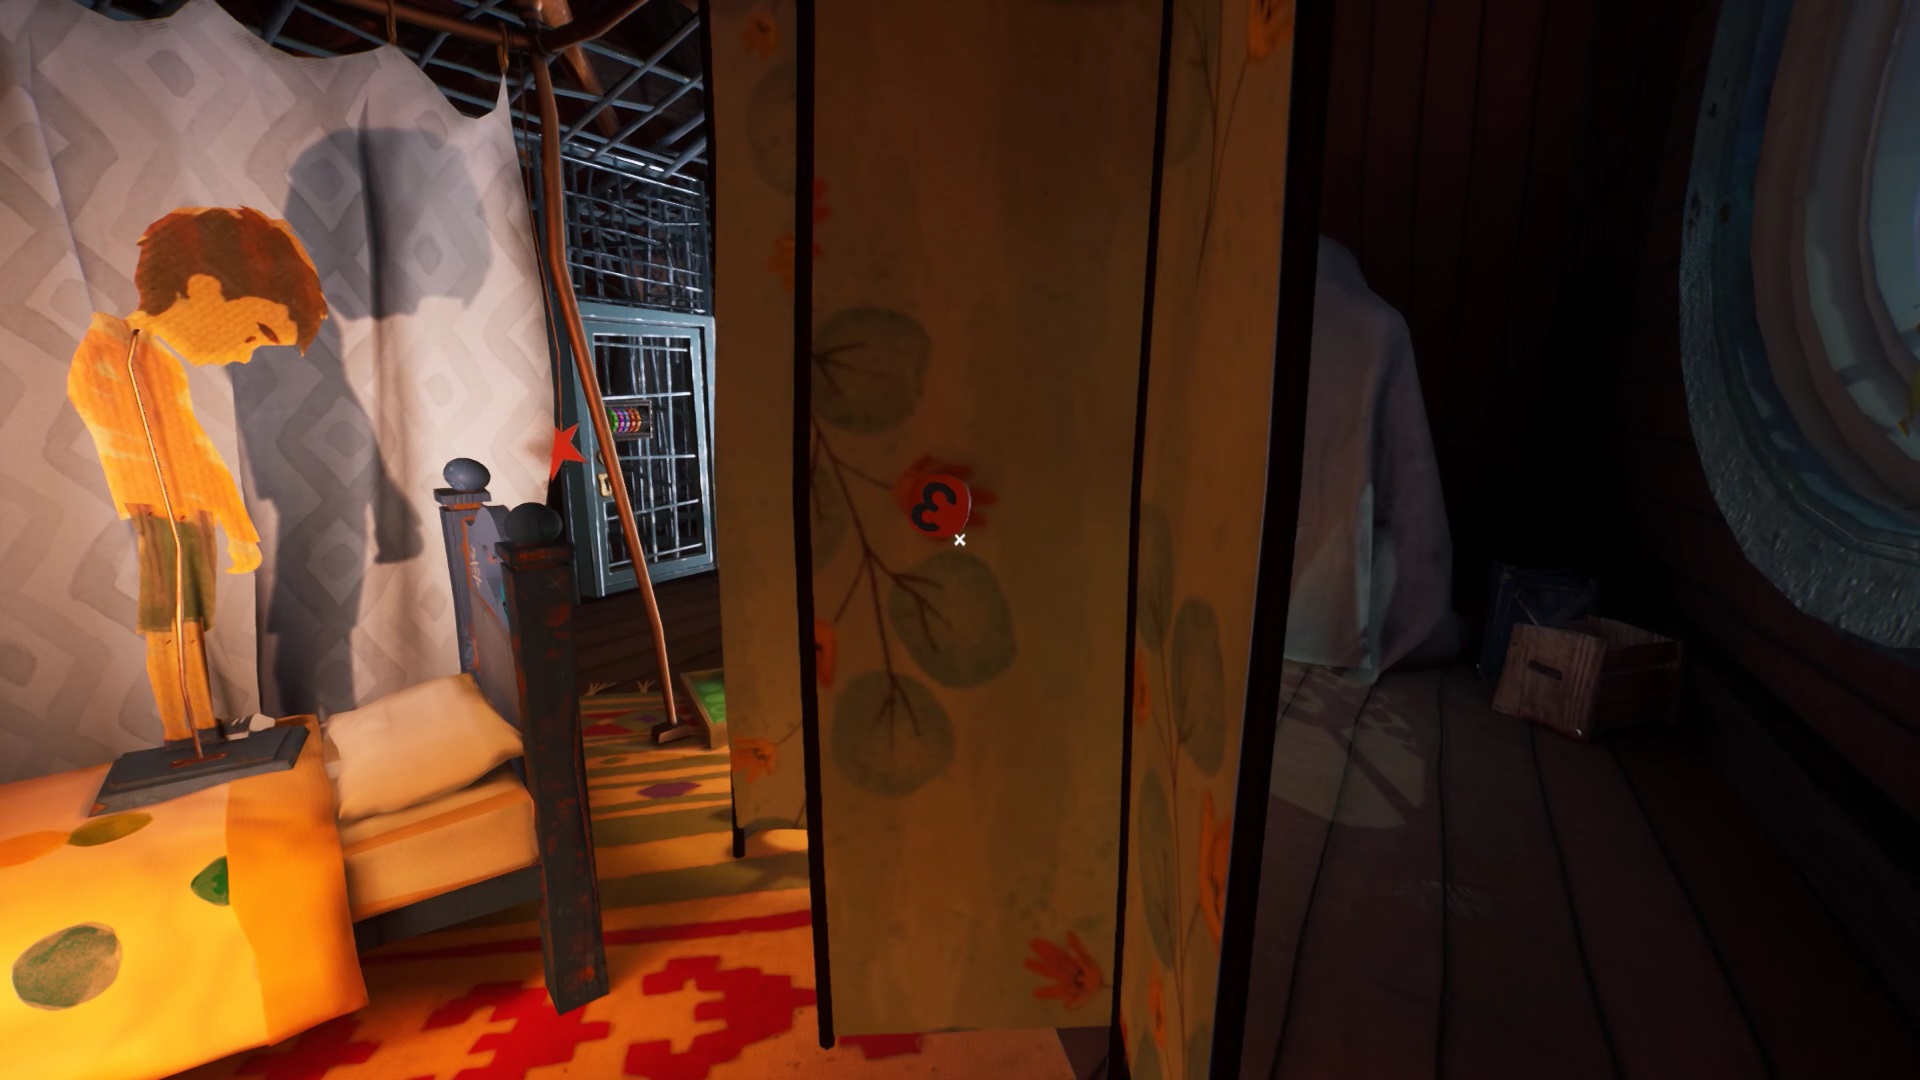
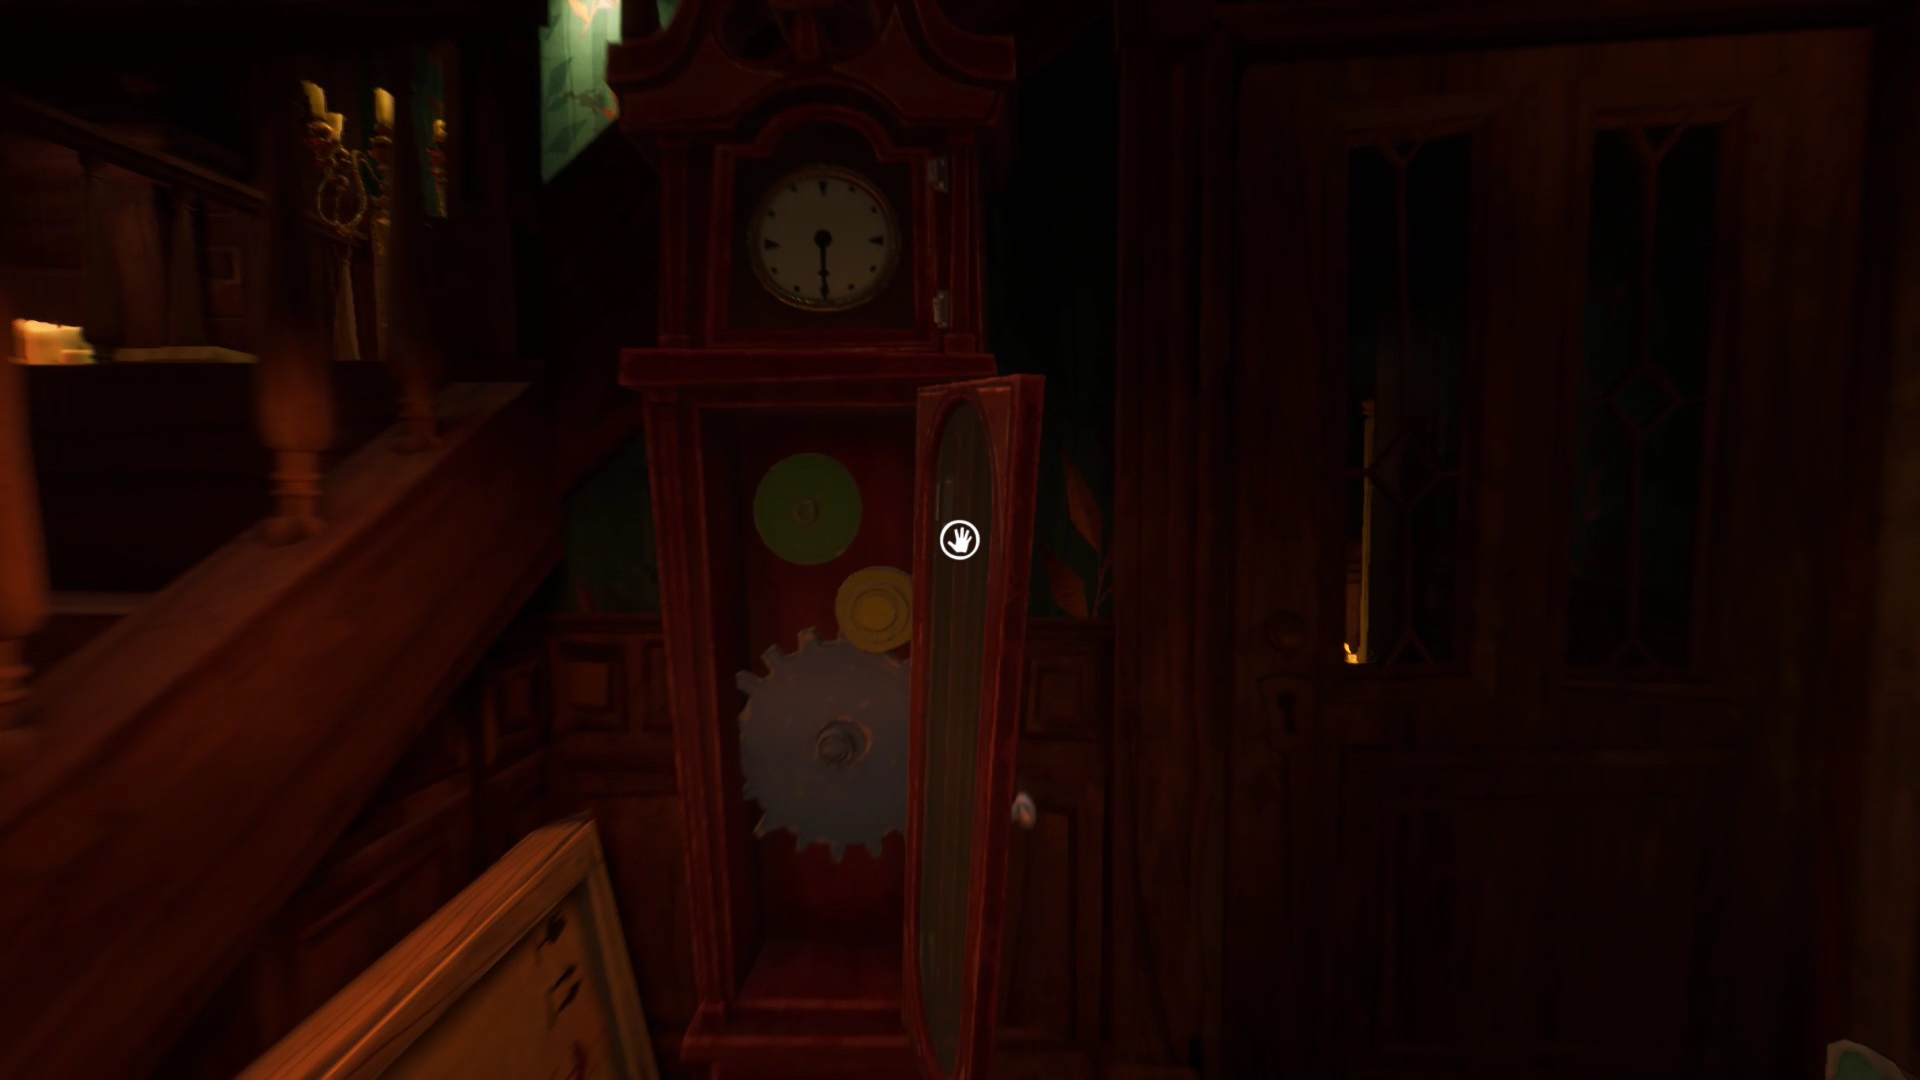
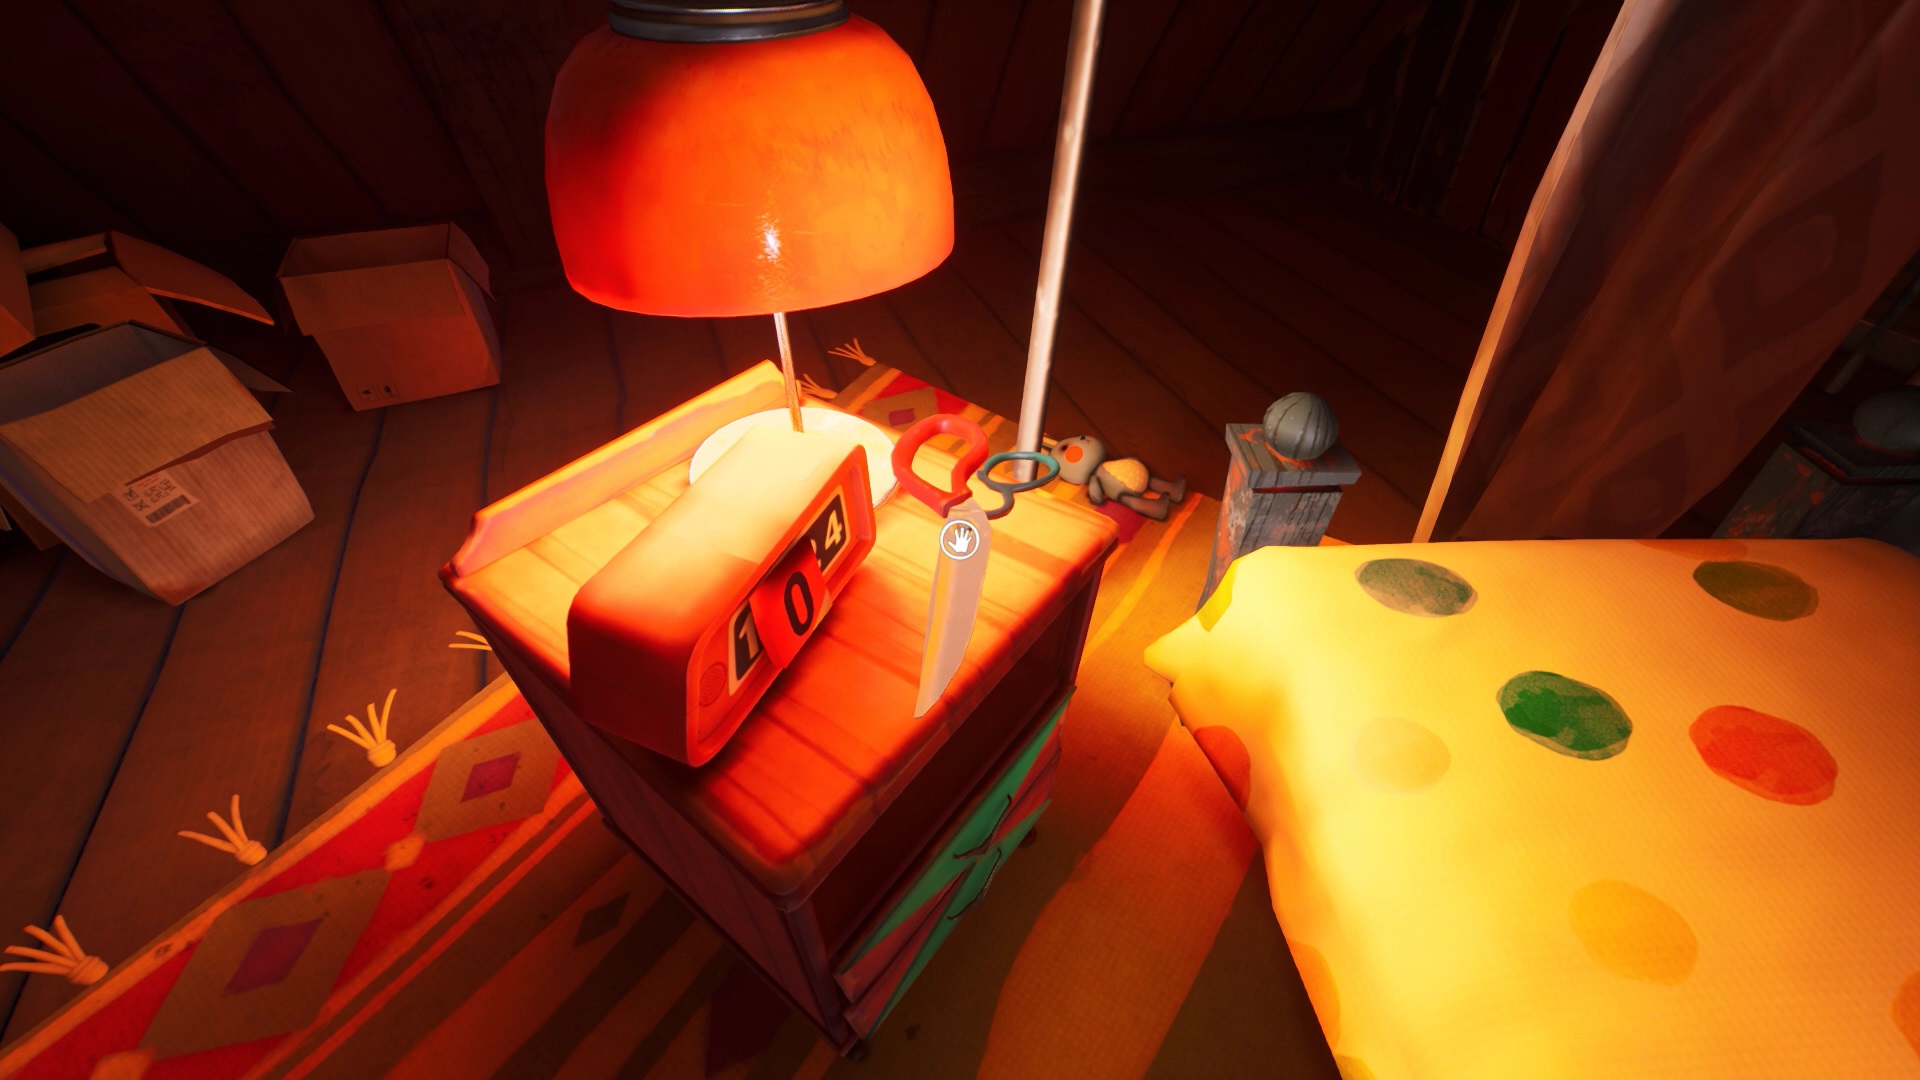
You need to find the code combination. Search around to find each number and its color. On the ground, you find a board game. You discover two numbers: 5 pink and 7 green. On the screen near the bed, you find the yellow number 3.
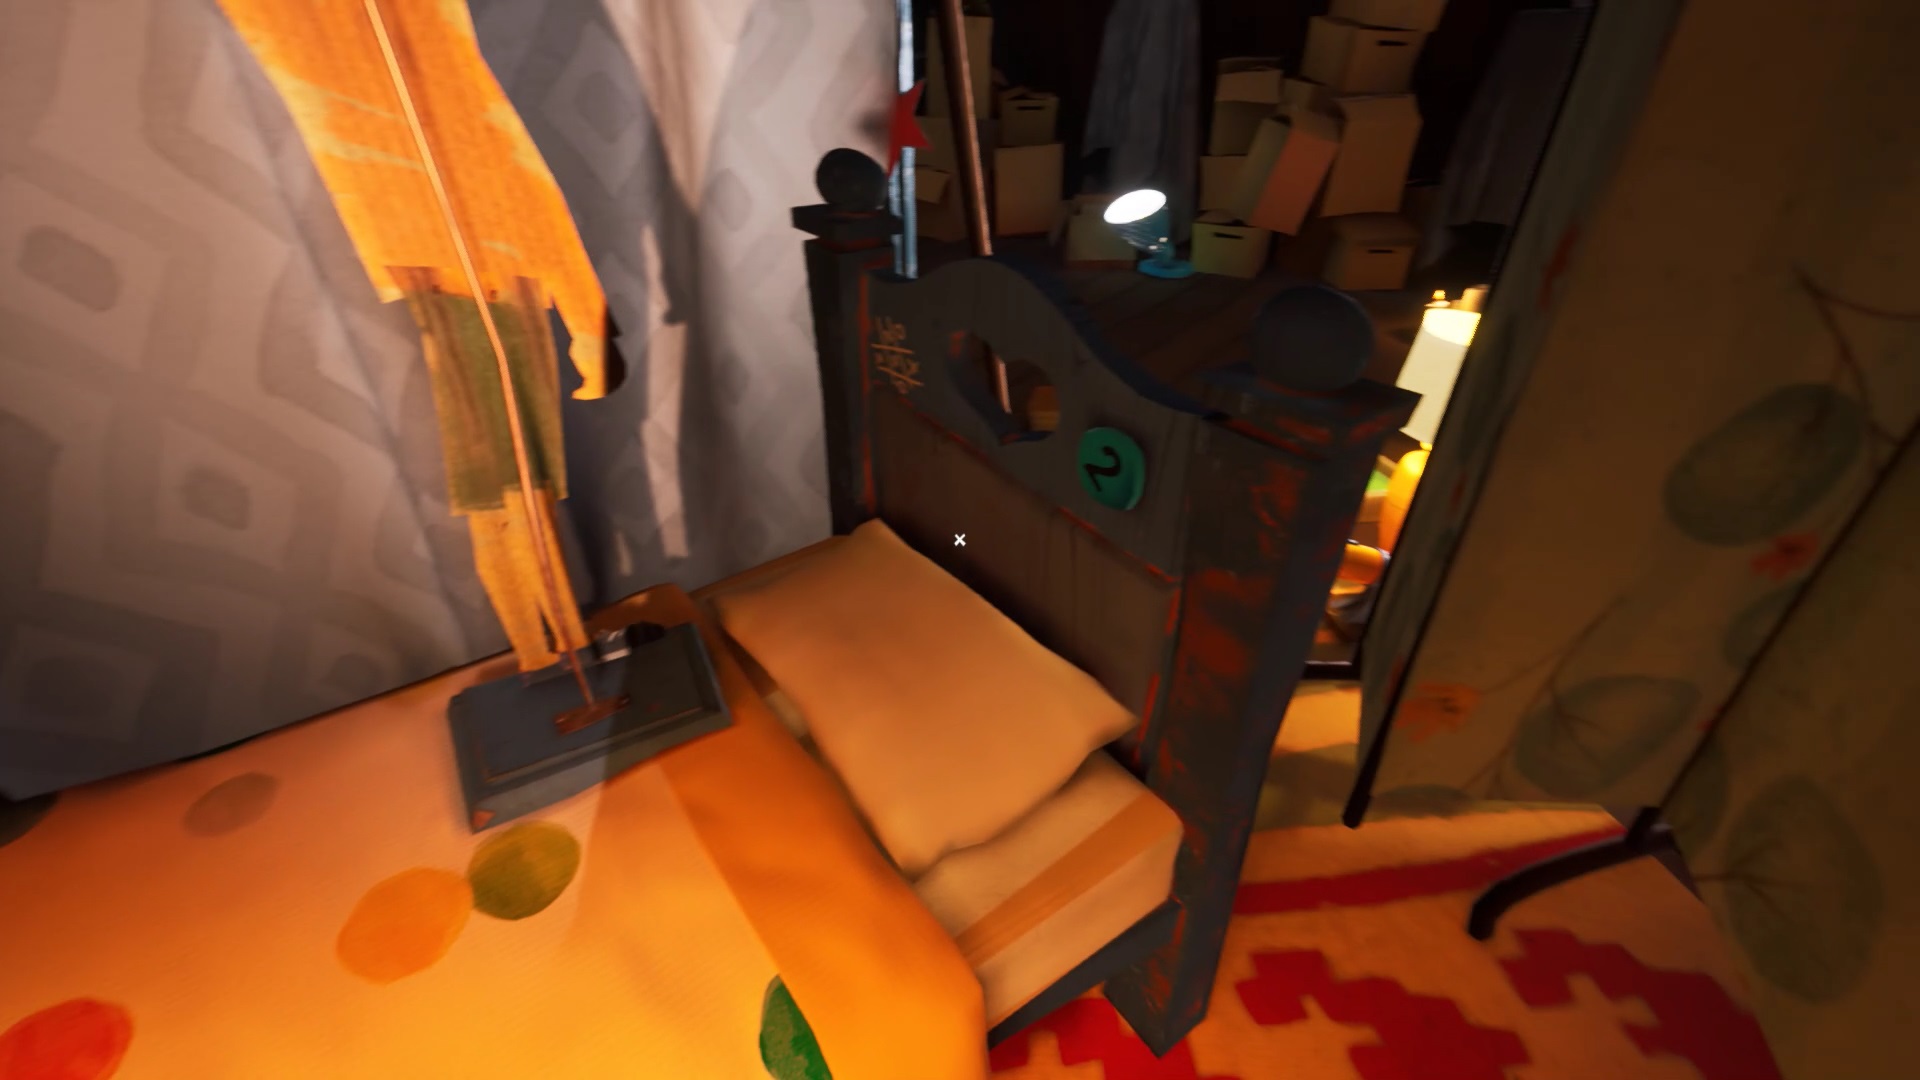
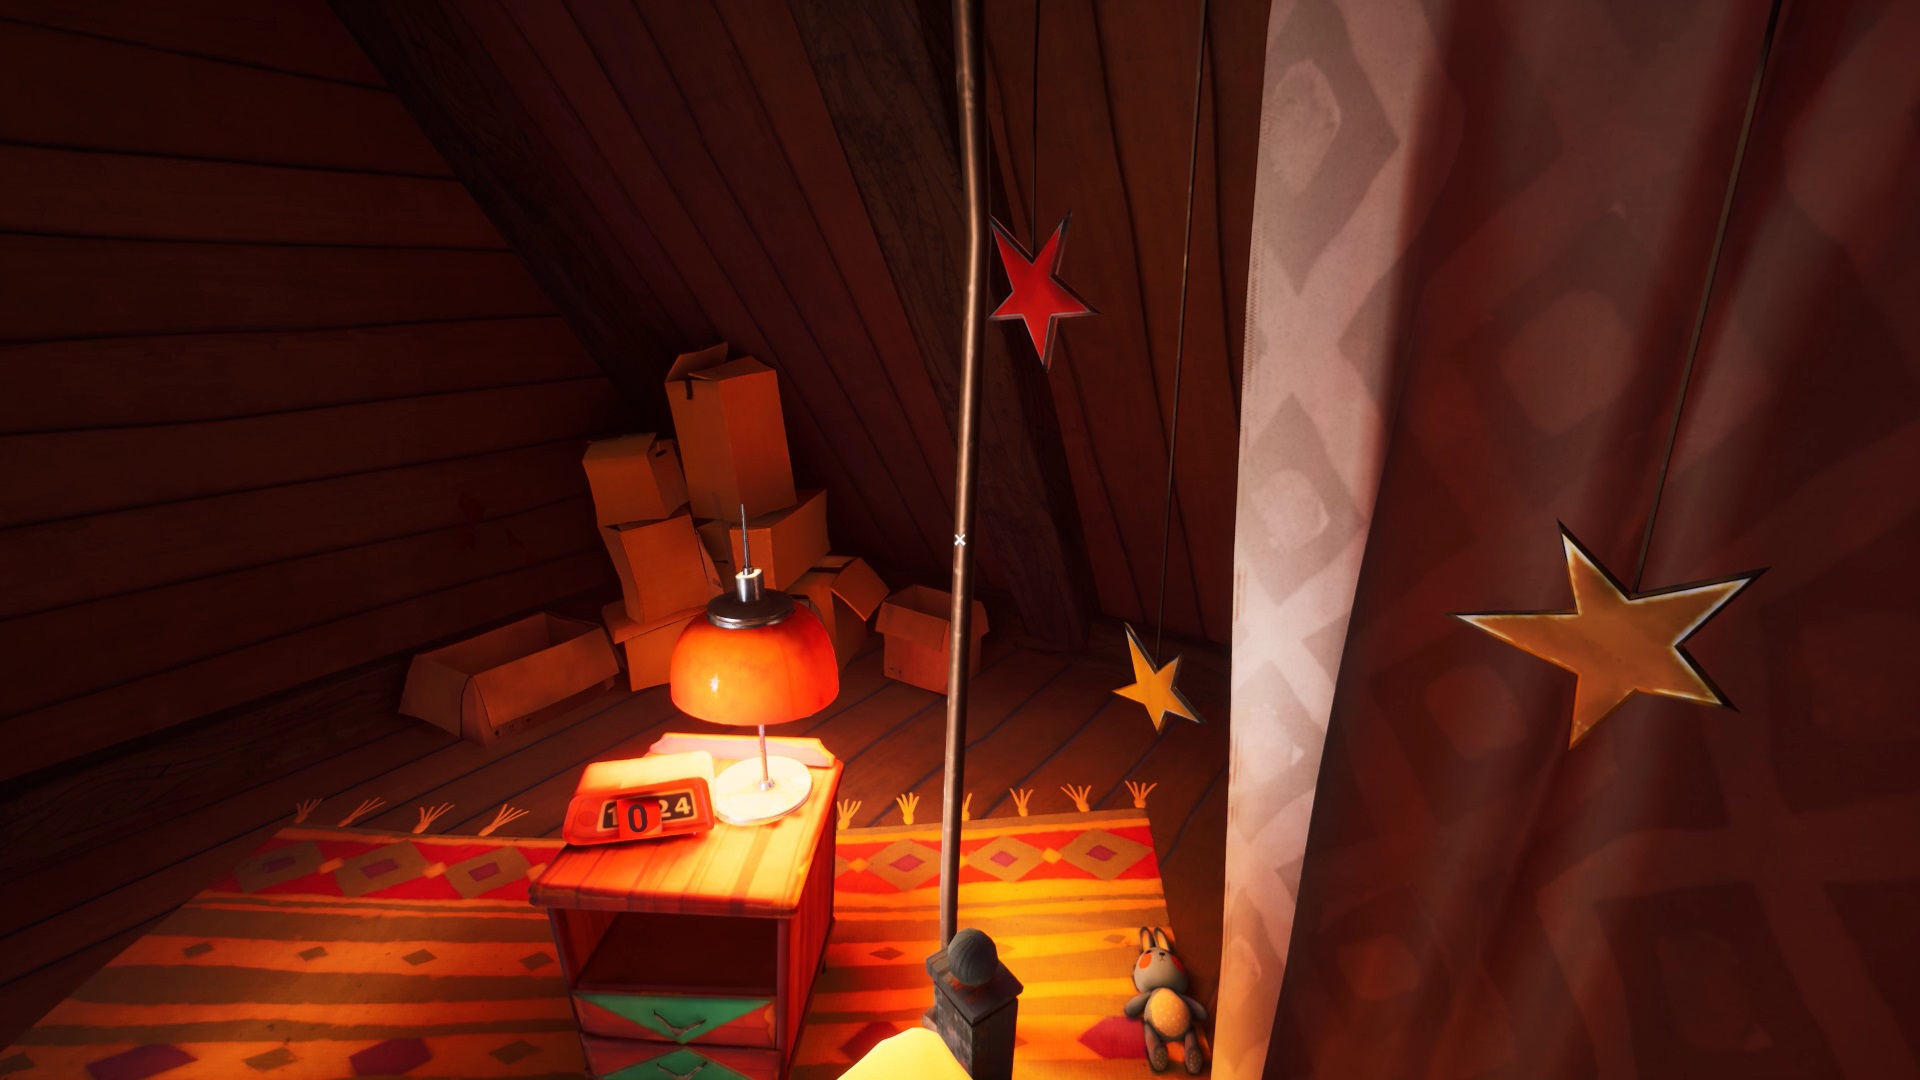
On the headboard, you discover the blue number 2. On the alarm clock you find the red number 0. When you have found all the numbers, go to the level of the padlock. Enter the numbers according to the colors you found. Attention, the padlock is upside down on your side. You have to rotate the numbers so that they position themselves on the other side. Add 6 to your number to find the number to place in your direction. Here is the code we found by following the colors of the padlock: 75203. Reversed, the code gives: 31869
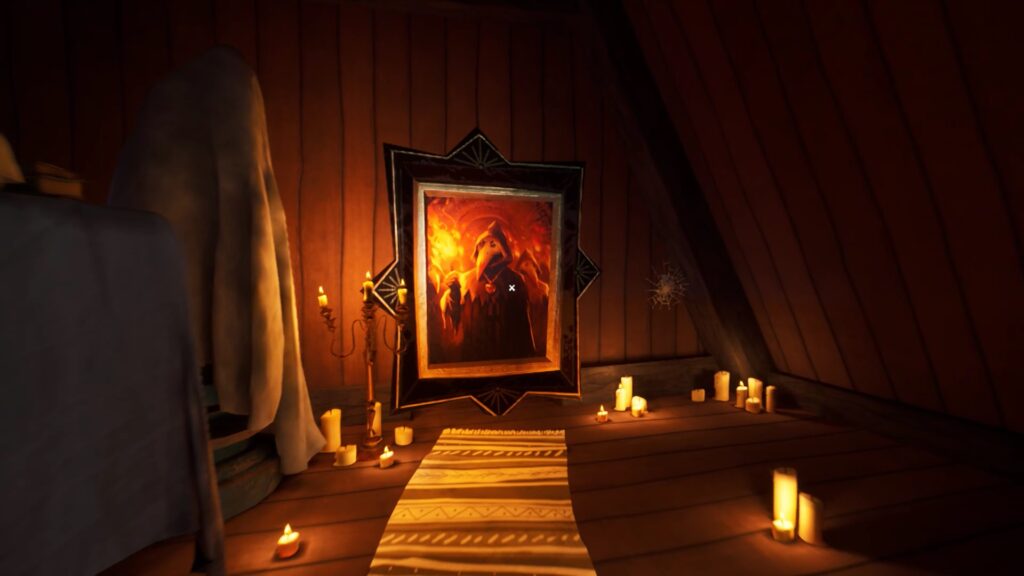
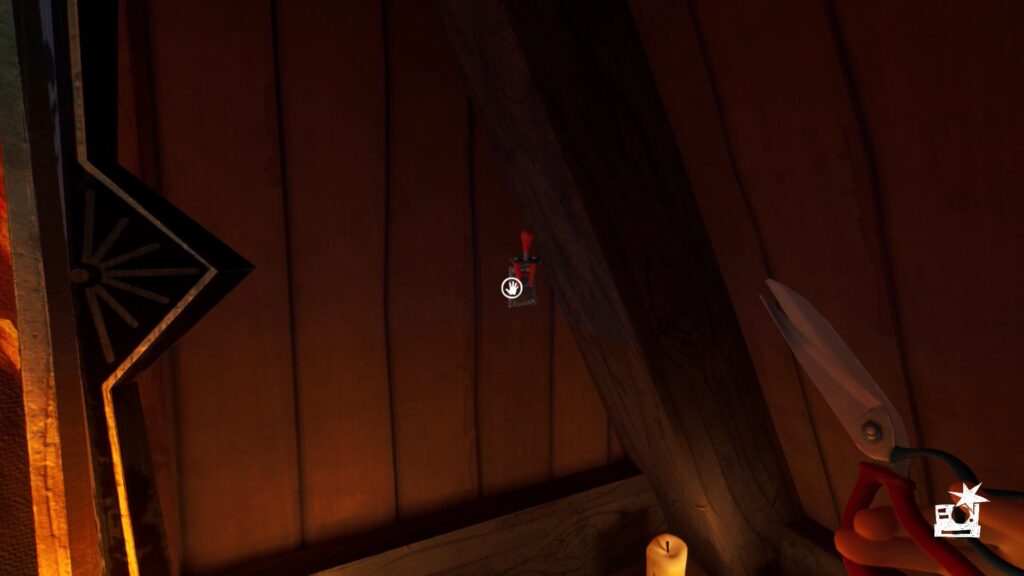
Facing the cage, you find a painting. Use your chisel on the cobweb to the right of the painting. Position the lever found in the cage over the mechanism. Activate the lever to open a passage. Go forward and lift the hatch on the ground to reach the museum library.
Final Boss
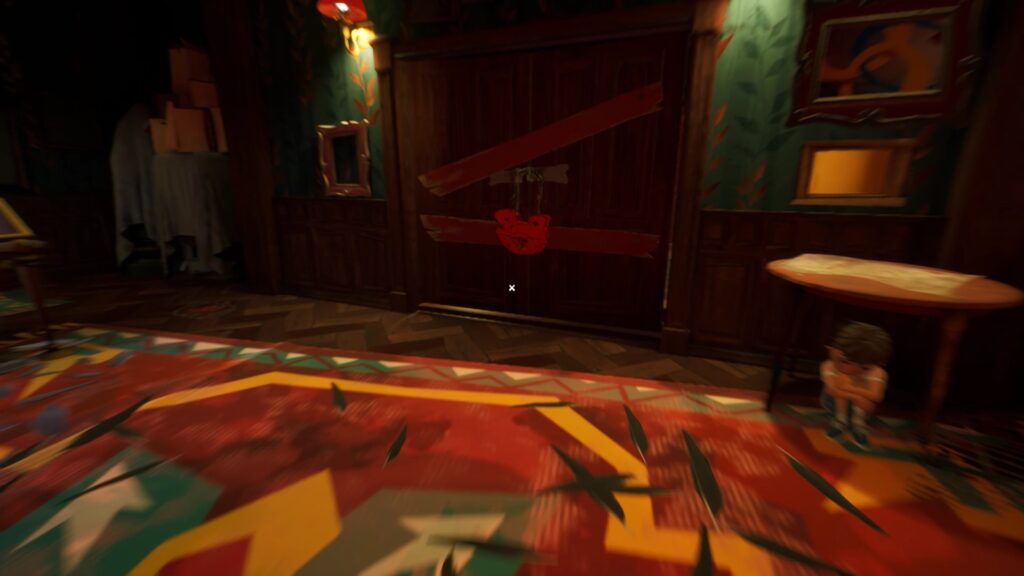
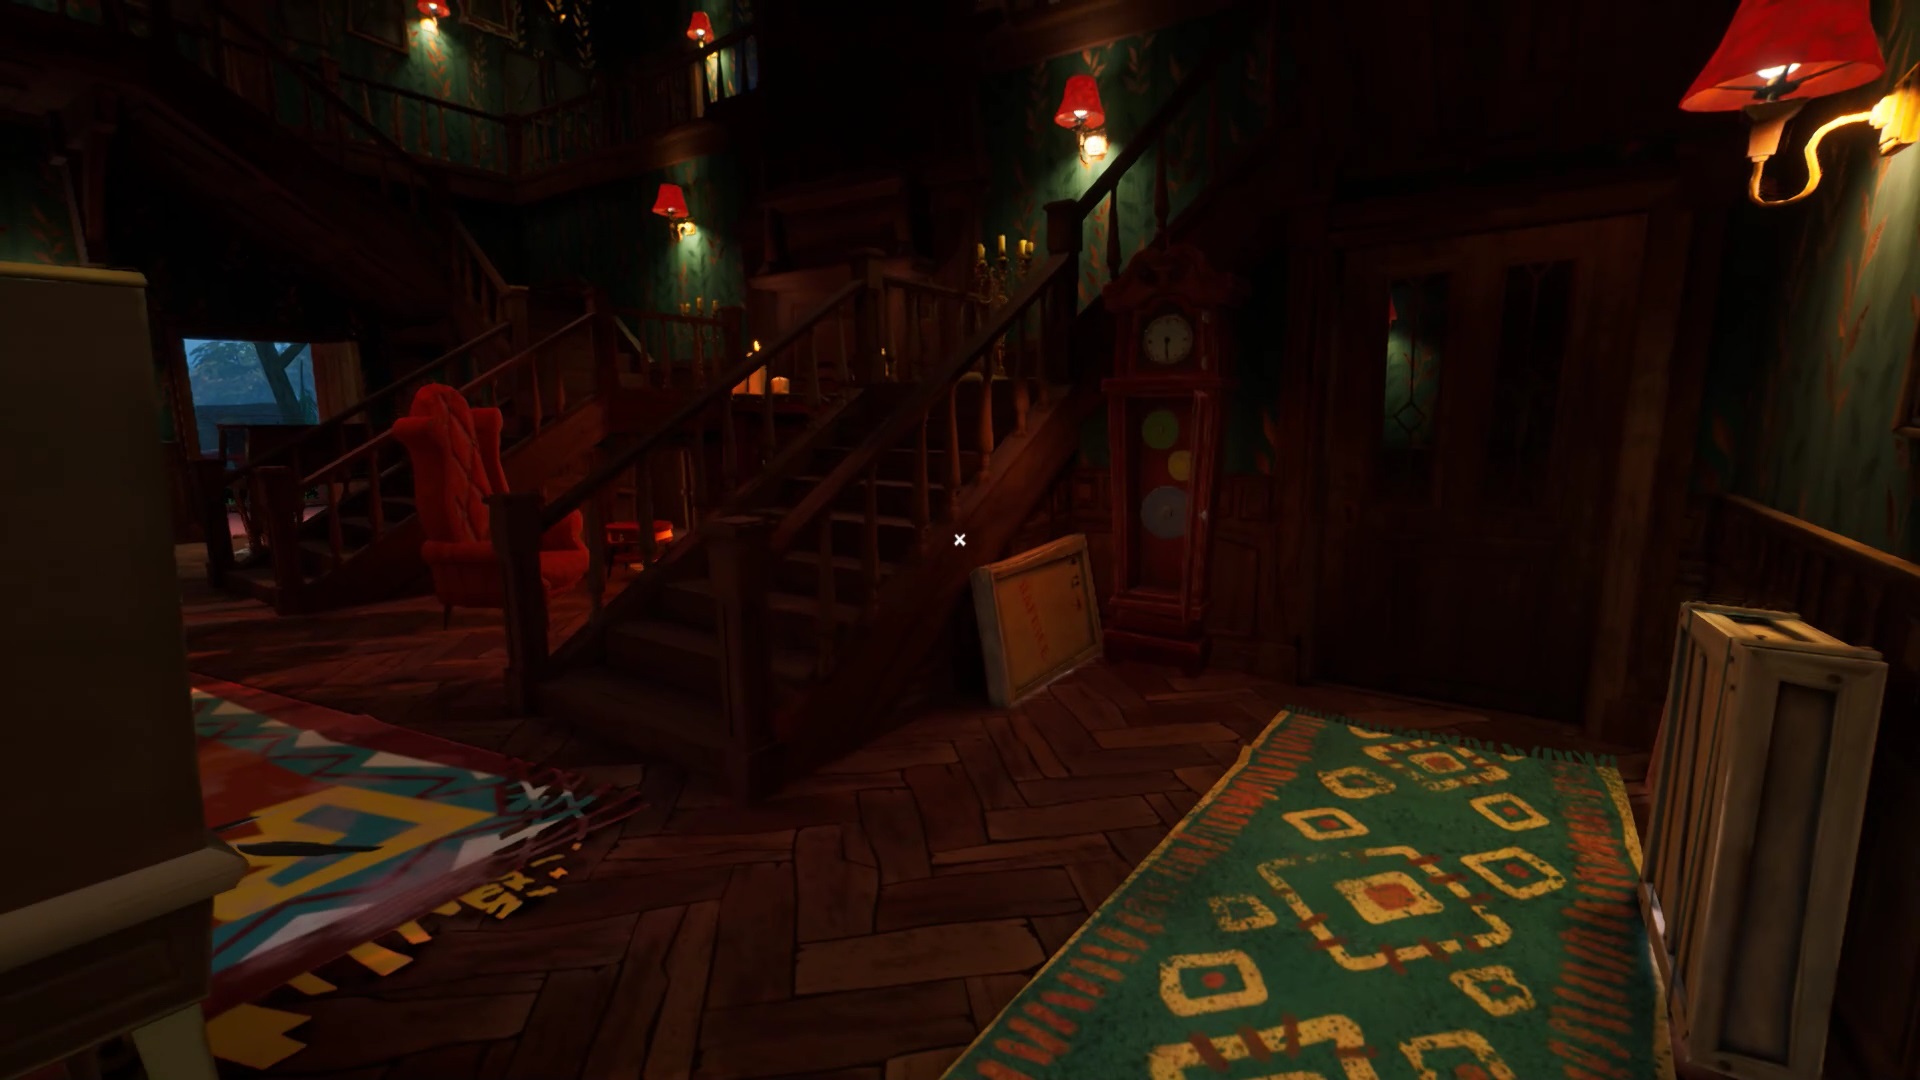
In the library room, grab the crowbar from the desk. As soon as you exit the room, your foot is trapped in a bear trap. Pay attention, new ground traps have appeared. Mr. Peterson is not going to let you go. As soon as he sees you, run to take refuge in the hiding place near the fireplace on the ground floor. You have to exit the museum, but the door is locked.
The key to the exit is in the fireplace. A grid prevents you from accessing the chimney. You must retrieve a wrench to remove the grid. Unfortunately, it’s on Mr. Peterson’s belt. Analyze his movements and hide in cupboards to spy on him. When he’s standing still, sneak up behind him to steal the wrench. The ideal moments: Sitting on the armchair, when he contemplates the document near the stuffed animals. As soon as you have the adjustable wrench, take refuge in the hiding place near the fireplace.

When you have the adjustable wrench, remove the nuts from the grate of the chimney. Attention a bear trap is placed at the level of the chimney. For the left nut, you can unscrew it then the hiding place. When you have removed the grate, you have access to the chimney.
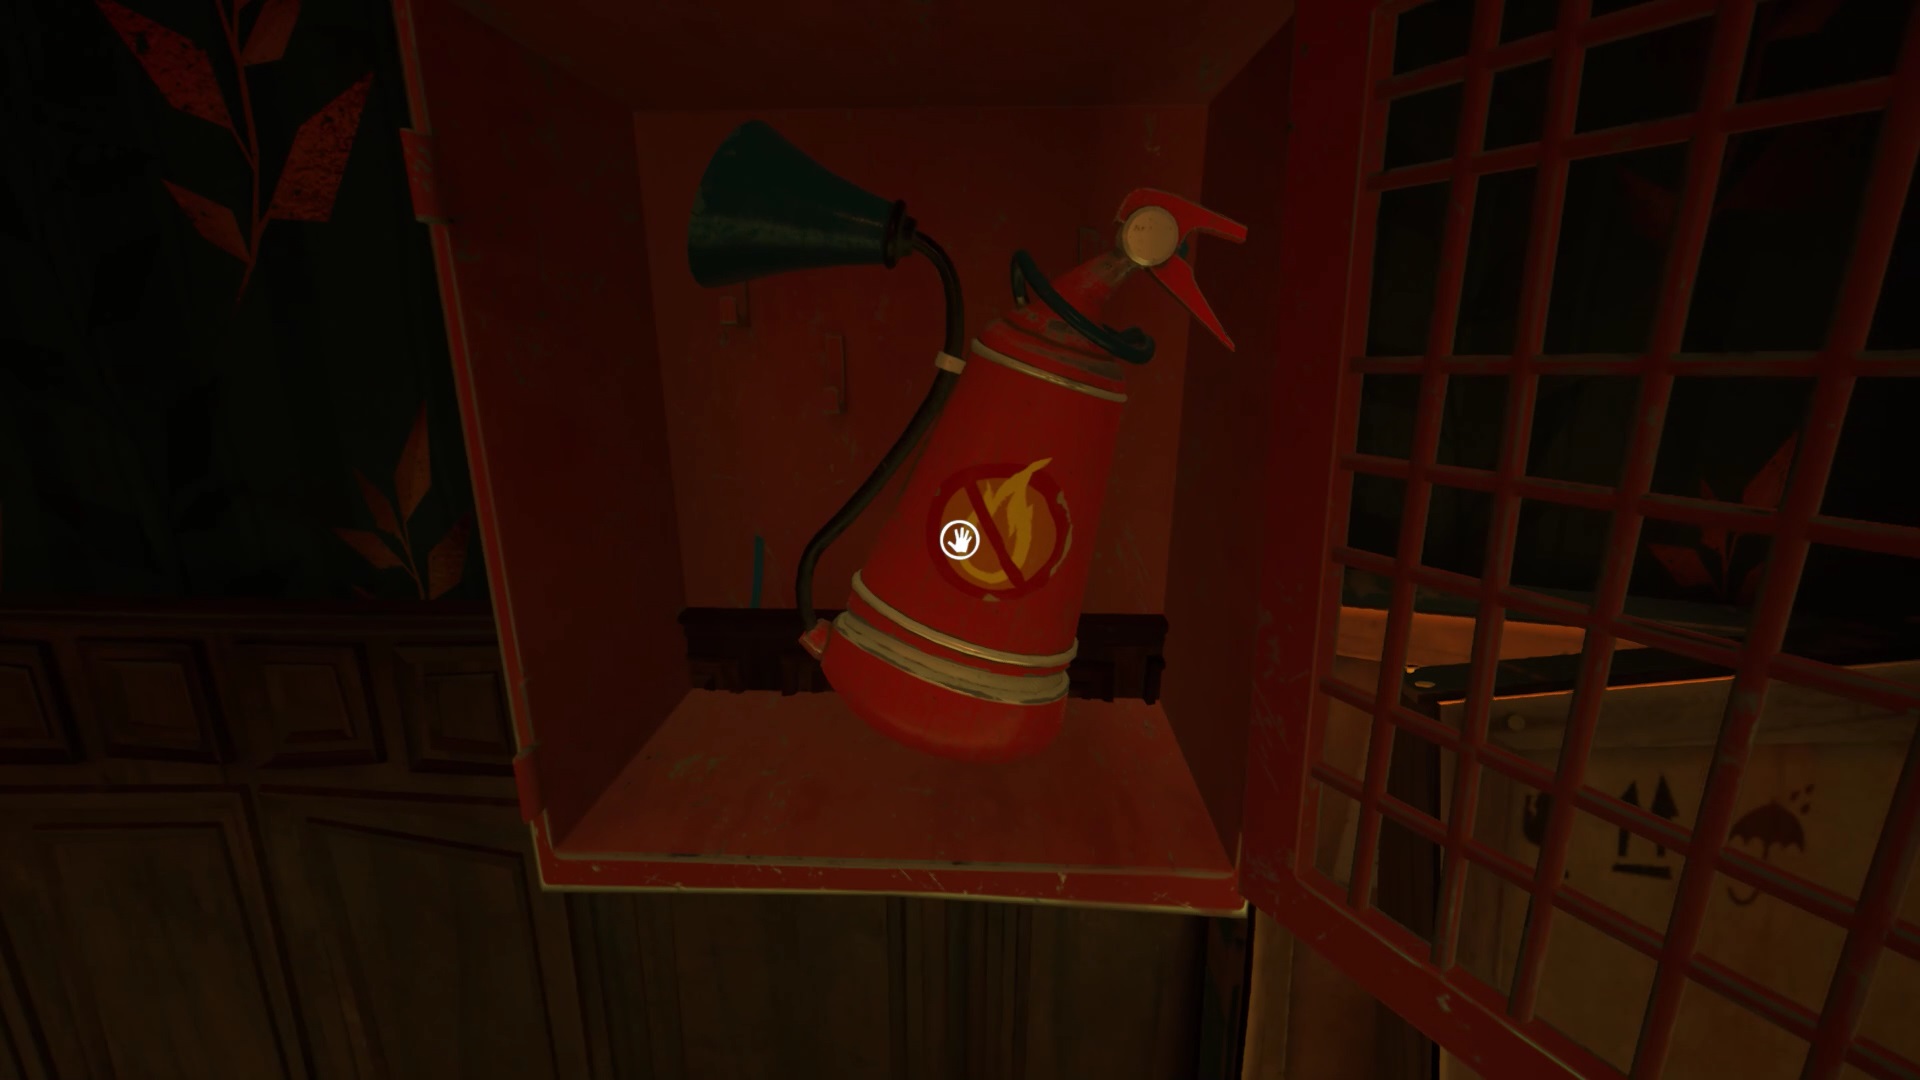
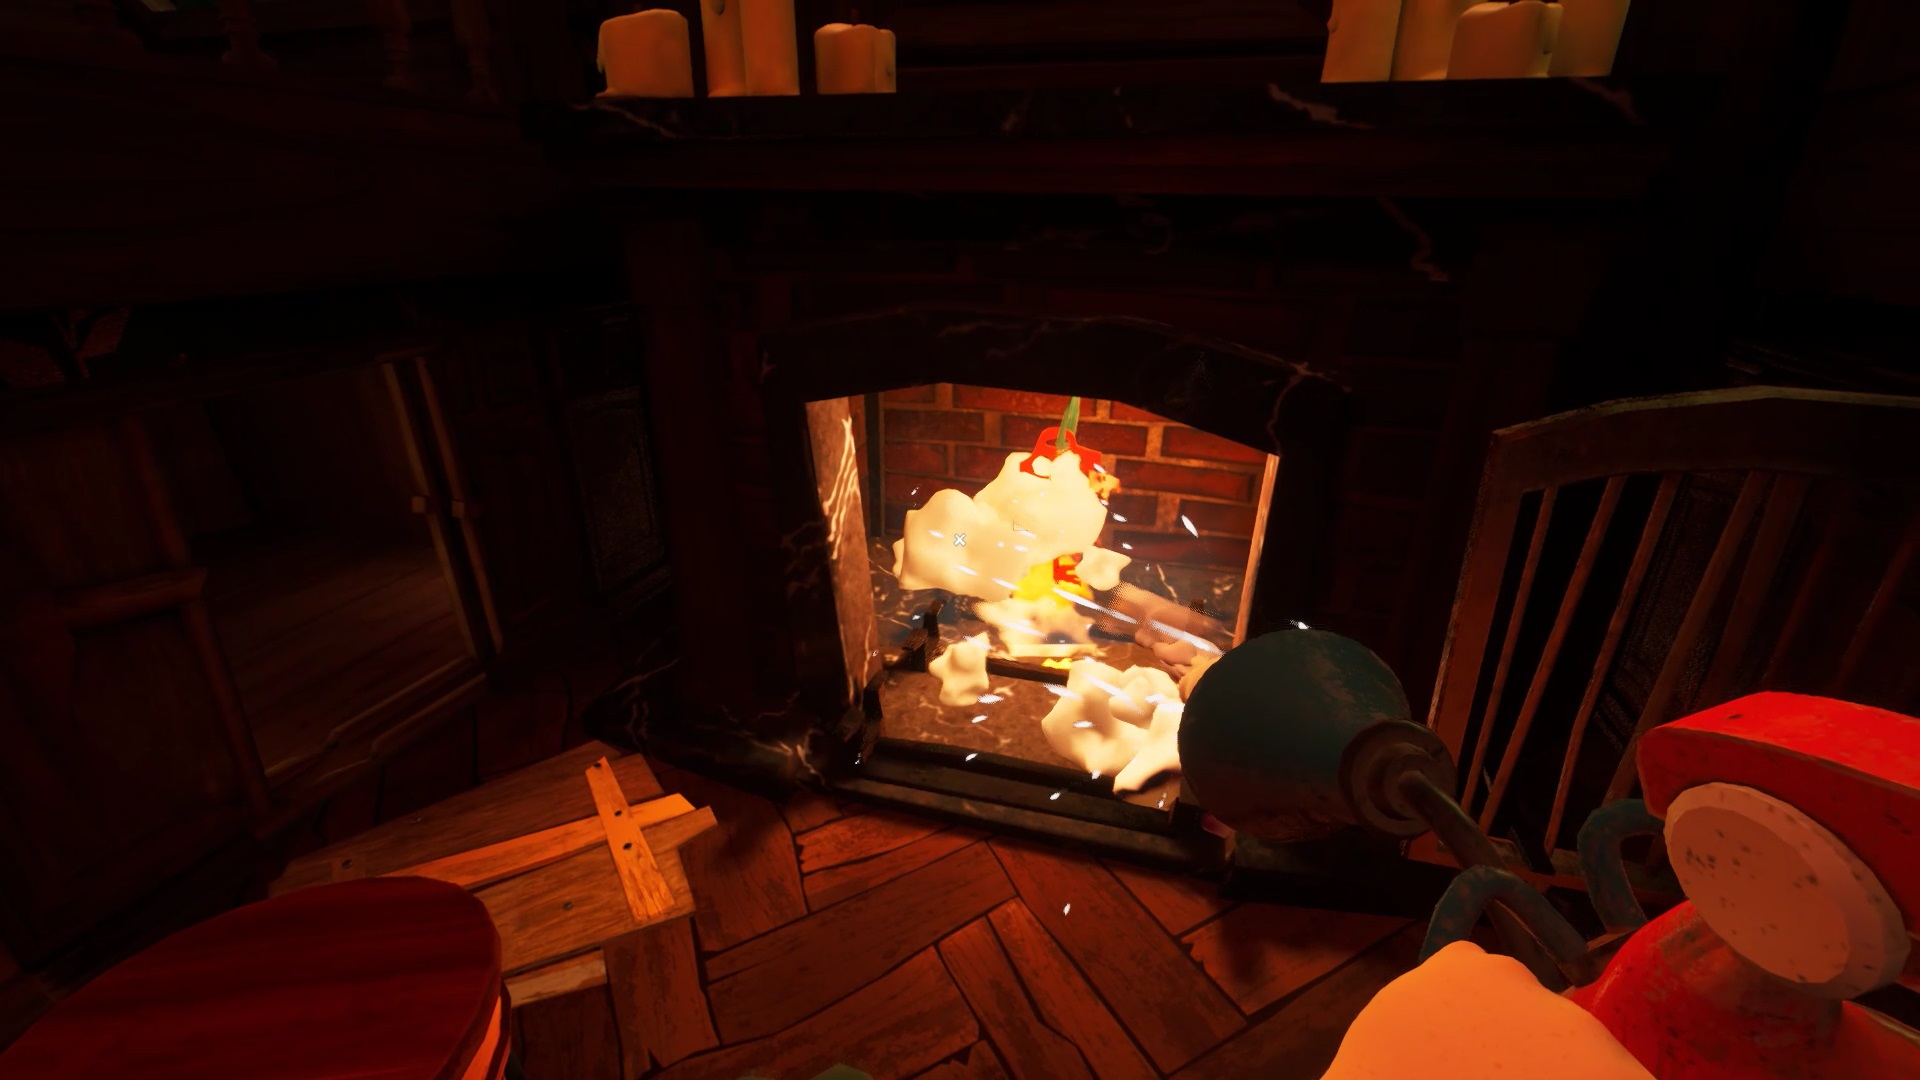
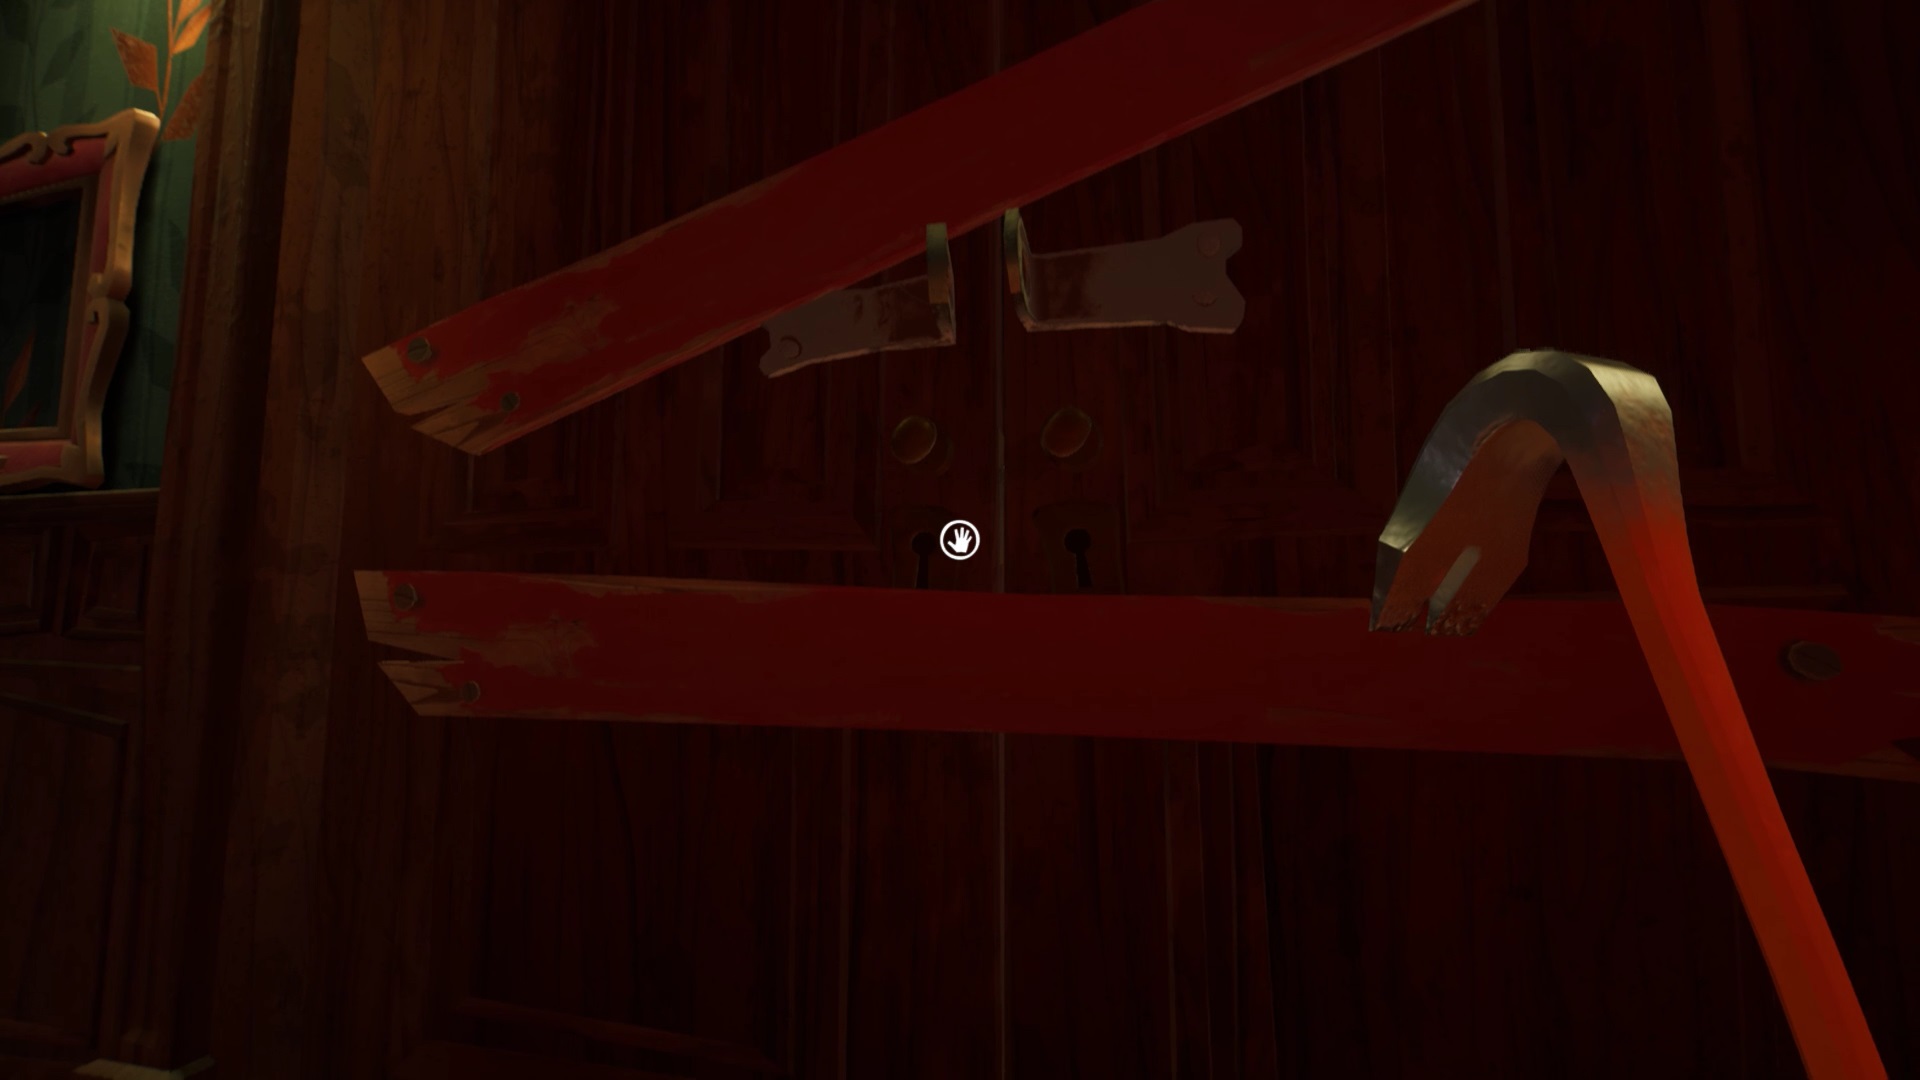
To put out the fire, head down the hallway at the back of the museum. This is the hallway that leads to the garage. You find a fire extinguisher on the wall. Use your adjustable wrench to unscrew the nut and retrieve the fire extinguisher. Go put out the fire to get the key to the exit door. Remove the wooden planks on the exit door with your crowbar. Use the key to open the padlock and escape to complete the adventure.

Journaliste gameactuality.com


The crowbar isn’t the on the desk! Is there anywhere else in the museum where there is a crowbar?
There’s another crowbar in the one of the glass cases on the first floor
There is a spare crowbar In The glass cabinet next to the fireplace – smash it with the wrench or fire extinguisher
For some reason the wrench despawned, and it’s nowhere to be found
it’s again at the hip from the neighbour.
In a glass cabinet
Do load an save and try again
merci beaucoup
Might as well have put a rick roll at the end of the game. How the hell is that an ending? I will cry if there isn’t a 3rd😤
Se nel primo livello lanciate dei sacchi di spazzatura sul poliziotto (li potete trovare in giro per il paese nei bidoni ecc.) lui andrà in bagno per pulirmi e potrete approfittarne per chiuderlo nel bagno