[Guide] Dead Space (2023): Full Walkthrough and Tips [EN]
Full Walkthrough of Dead Space 2023 Remake available on PC, Xbox Series and PS5. Dead Space 2023 is a remake of the original survival horror . Check out our guide to the path and all the puzzles and puzzles in the game.
Summary
- Episode 1
- Episode 2
- Episode 3
- Episode 4
- Episode 5
- Episode 6
- Episode 7
- Episode 8
- Episode 9
- Episode 10
- Episode 11
- Episode 12
- Scientific Methods
- Premeditated fault
- Authorization required
- How to get the secret ending?
Our survival tips
Our walkthrough is not exhaustive and does not indicate the locations of resources such as ammo and healing. Use our following tips to supplement our guide.
- Use your compass to find your way. Use the compass to identify side rooms and collect additional resources.
- When you eliminate an enemy, trample its carcass to recover resources.
- Aim first when possible for the lower limbs to slow down enemies. Then finish them off by cutting the other limbs.
- Upgrade Plasma Cutter and Assault Rifle damage first.
- Use the objects of the decoration to eliminate your enemies and preserve your ammunition.
- If a necromorph is lying on the ground, shoot him as a precaution to avoid unpleasant surprises.
Episode 1
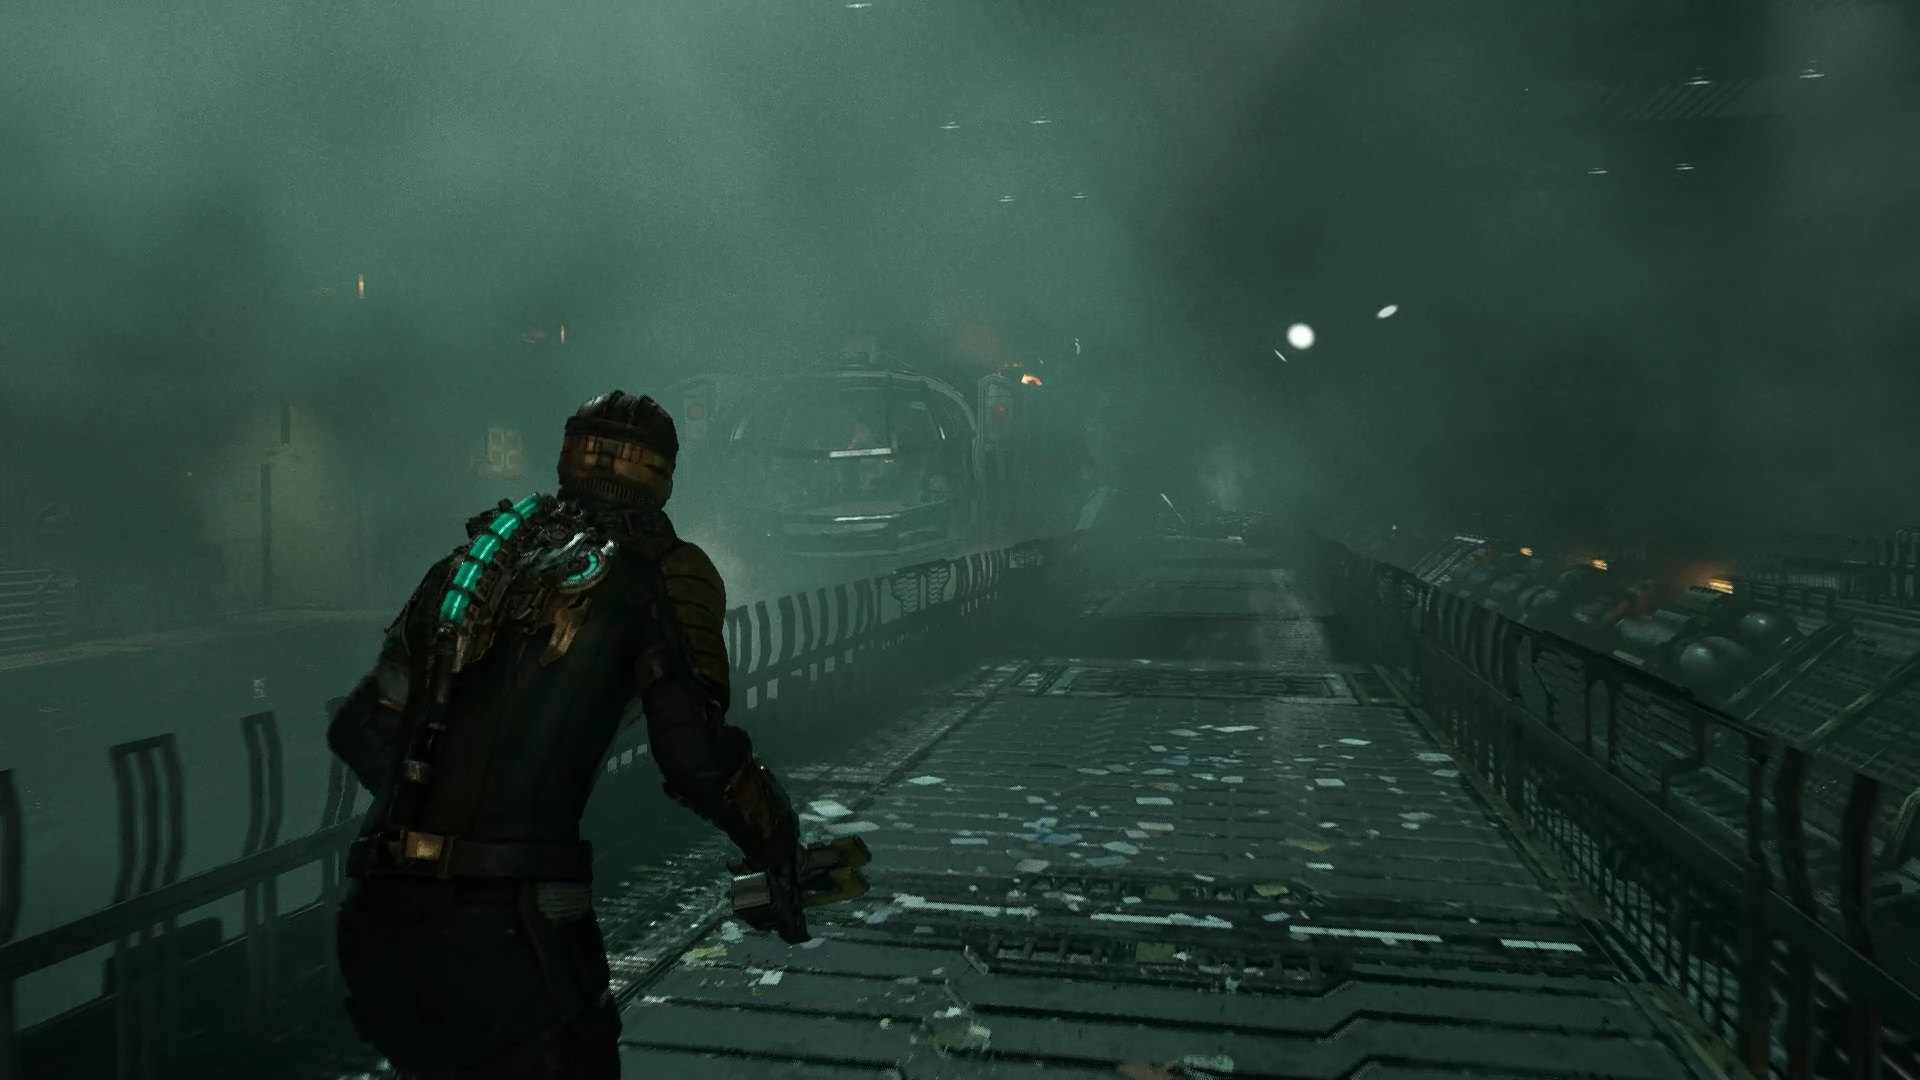
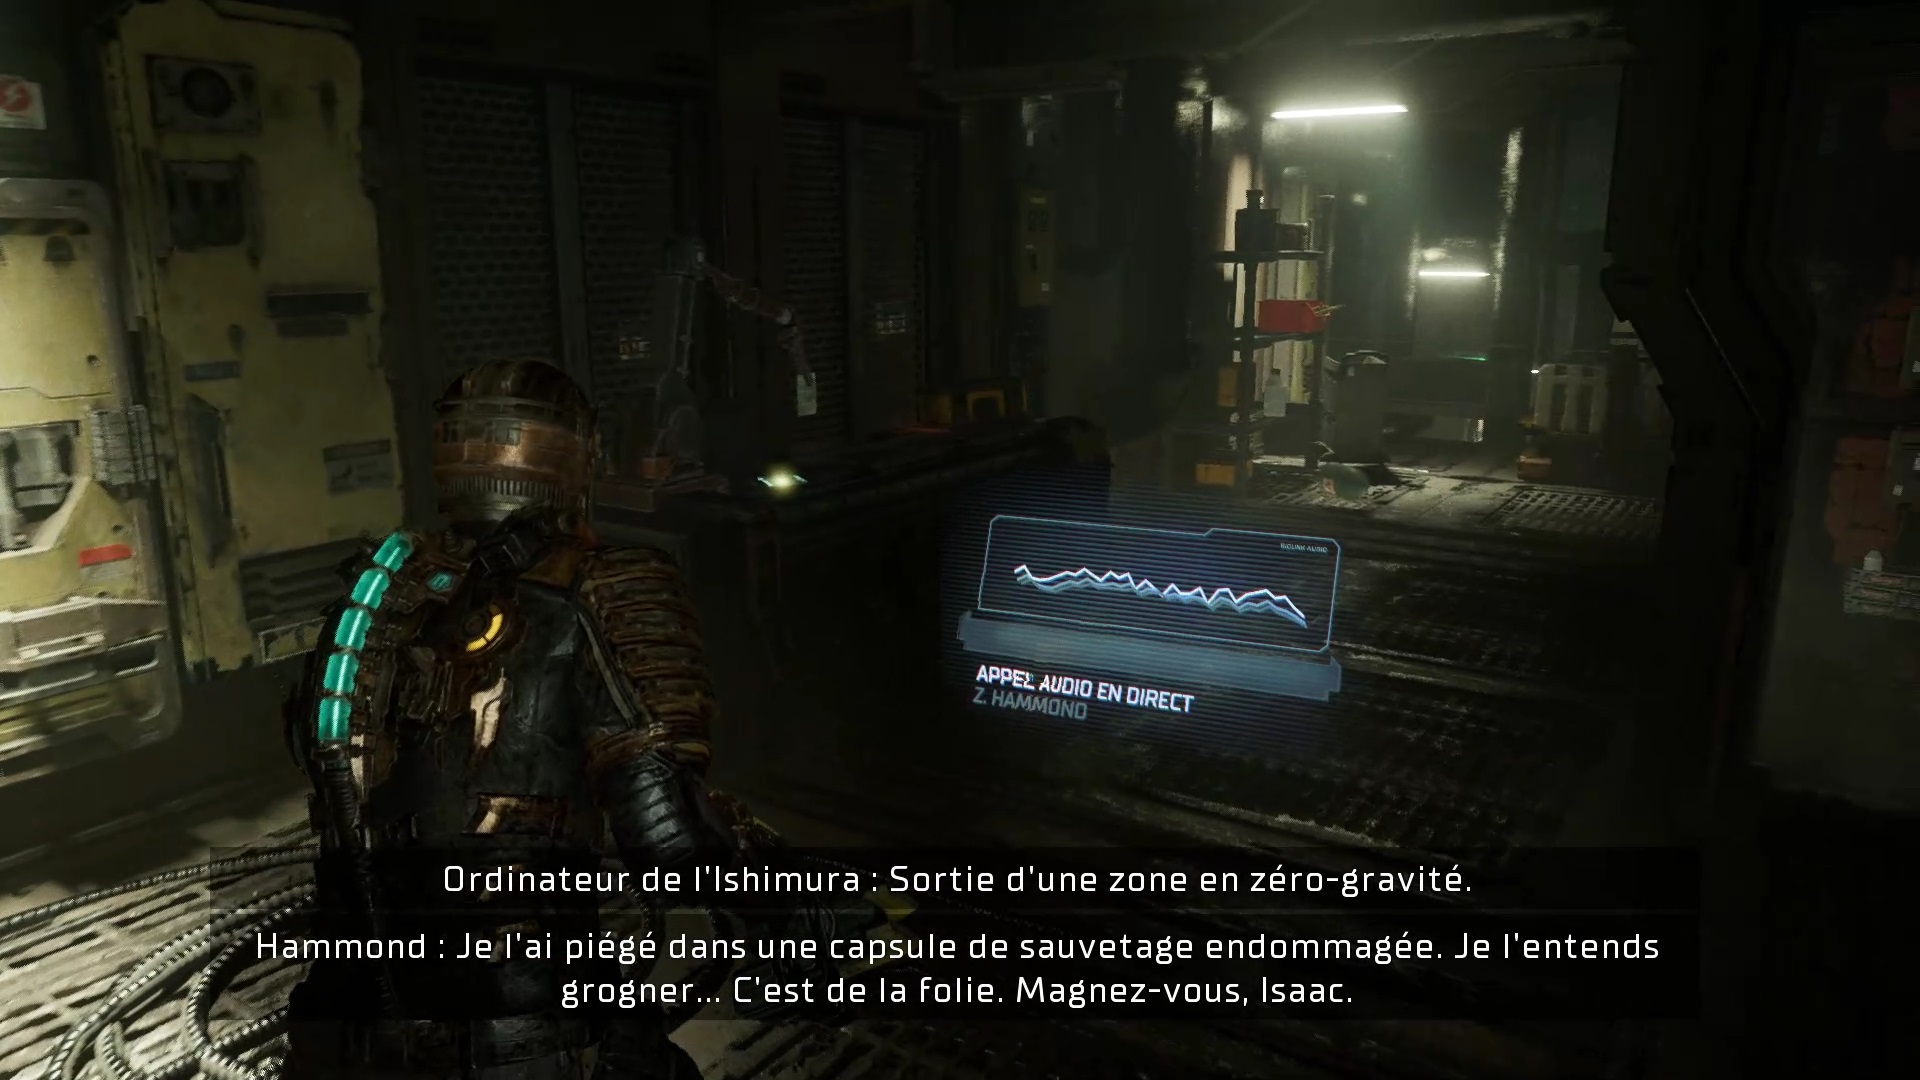
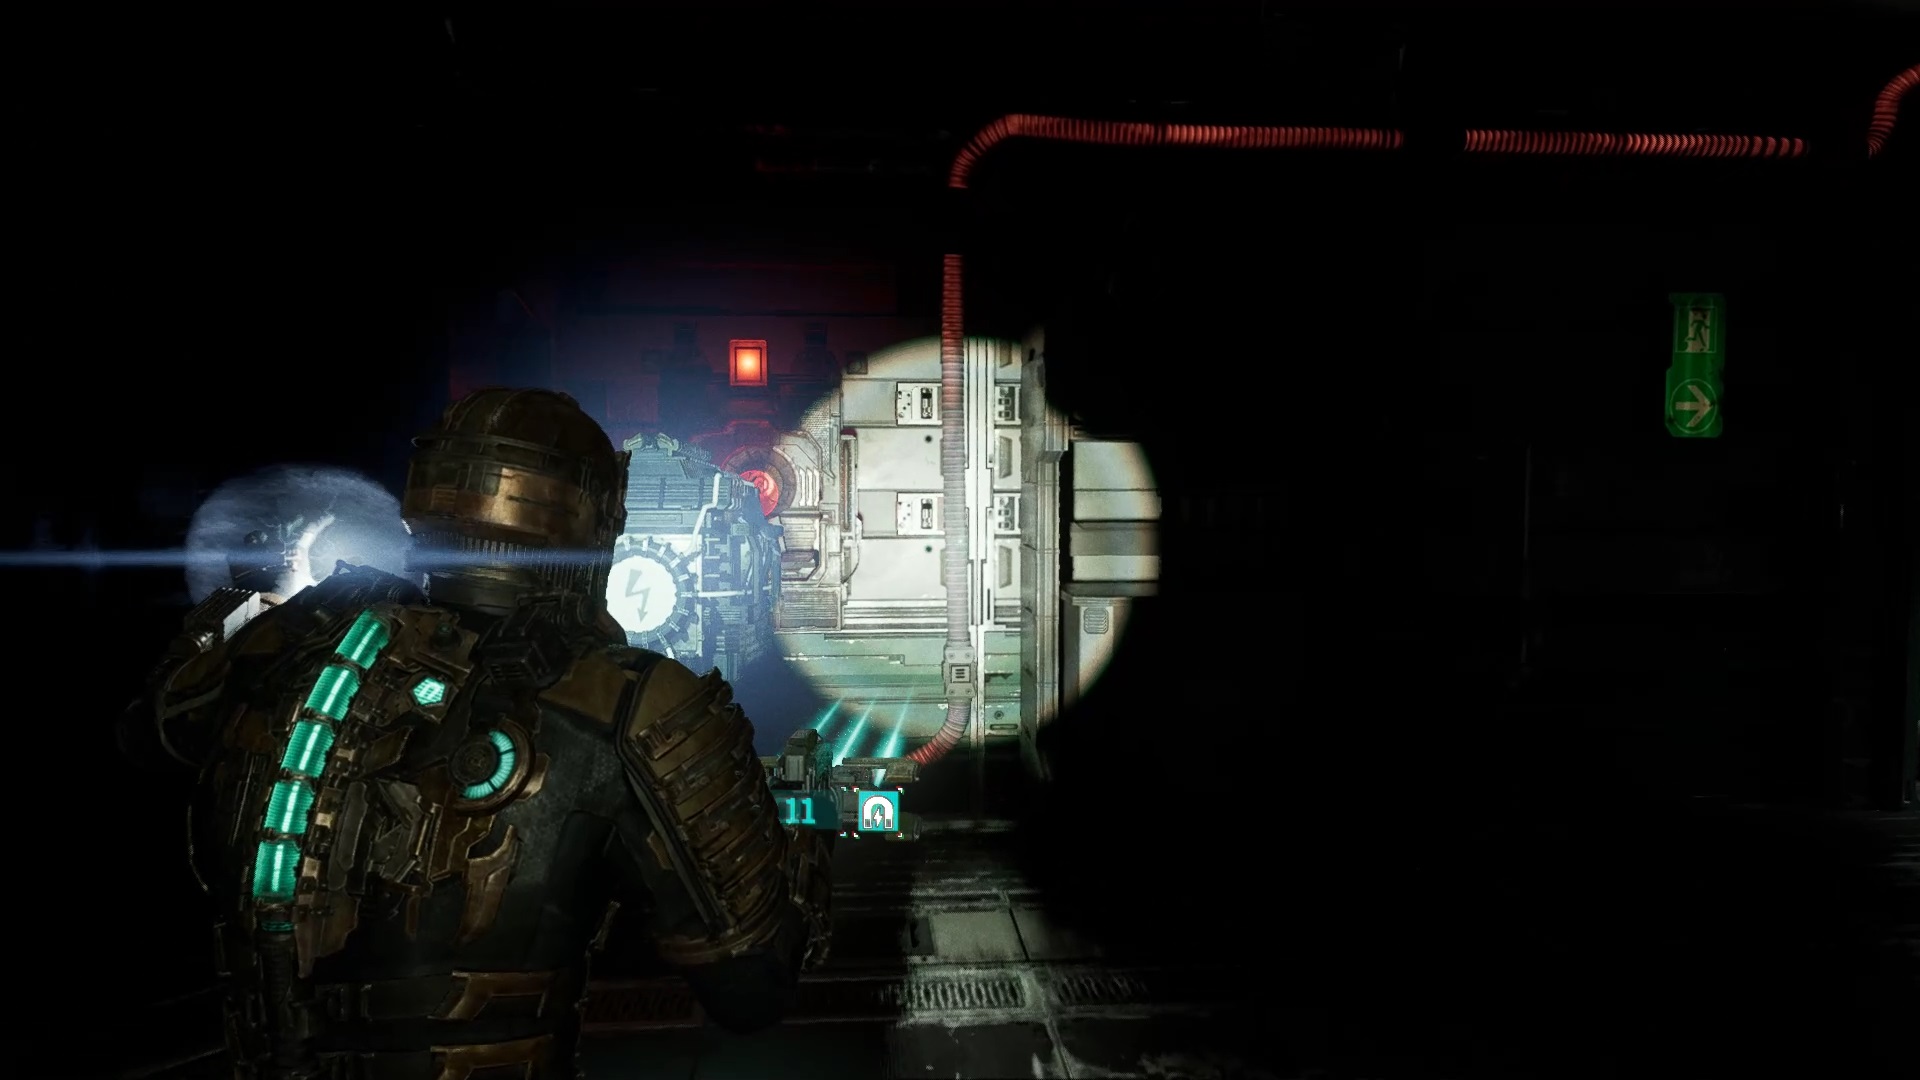
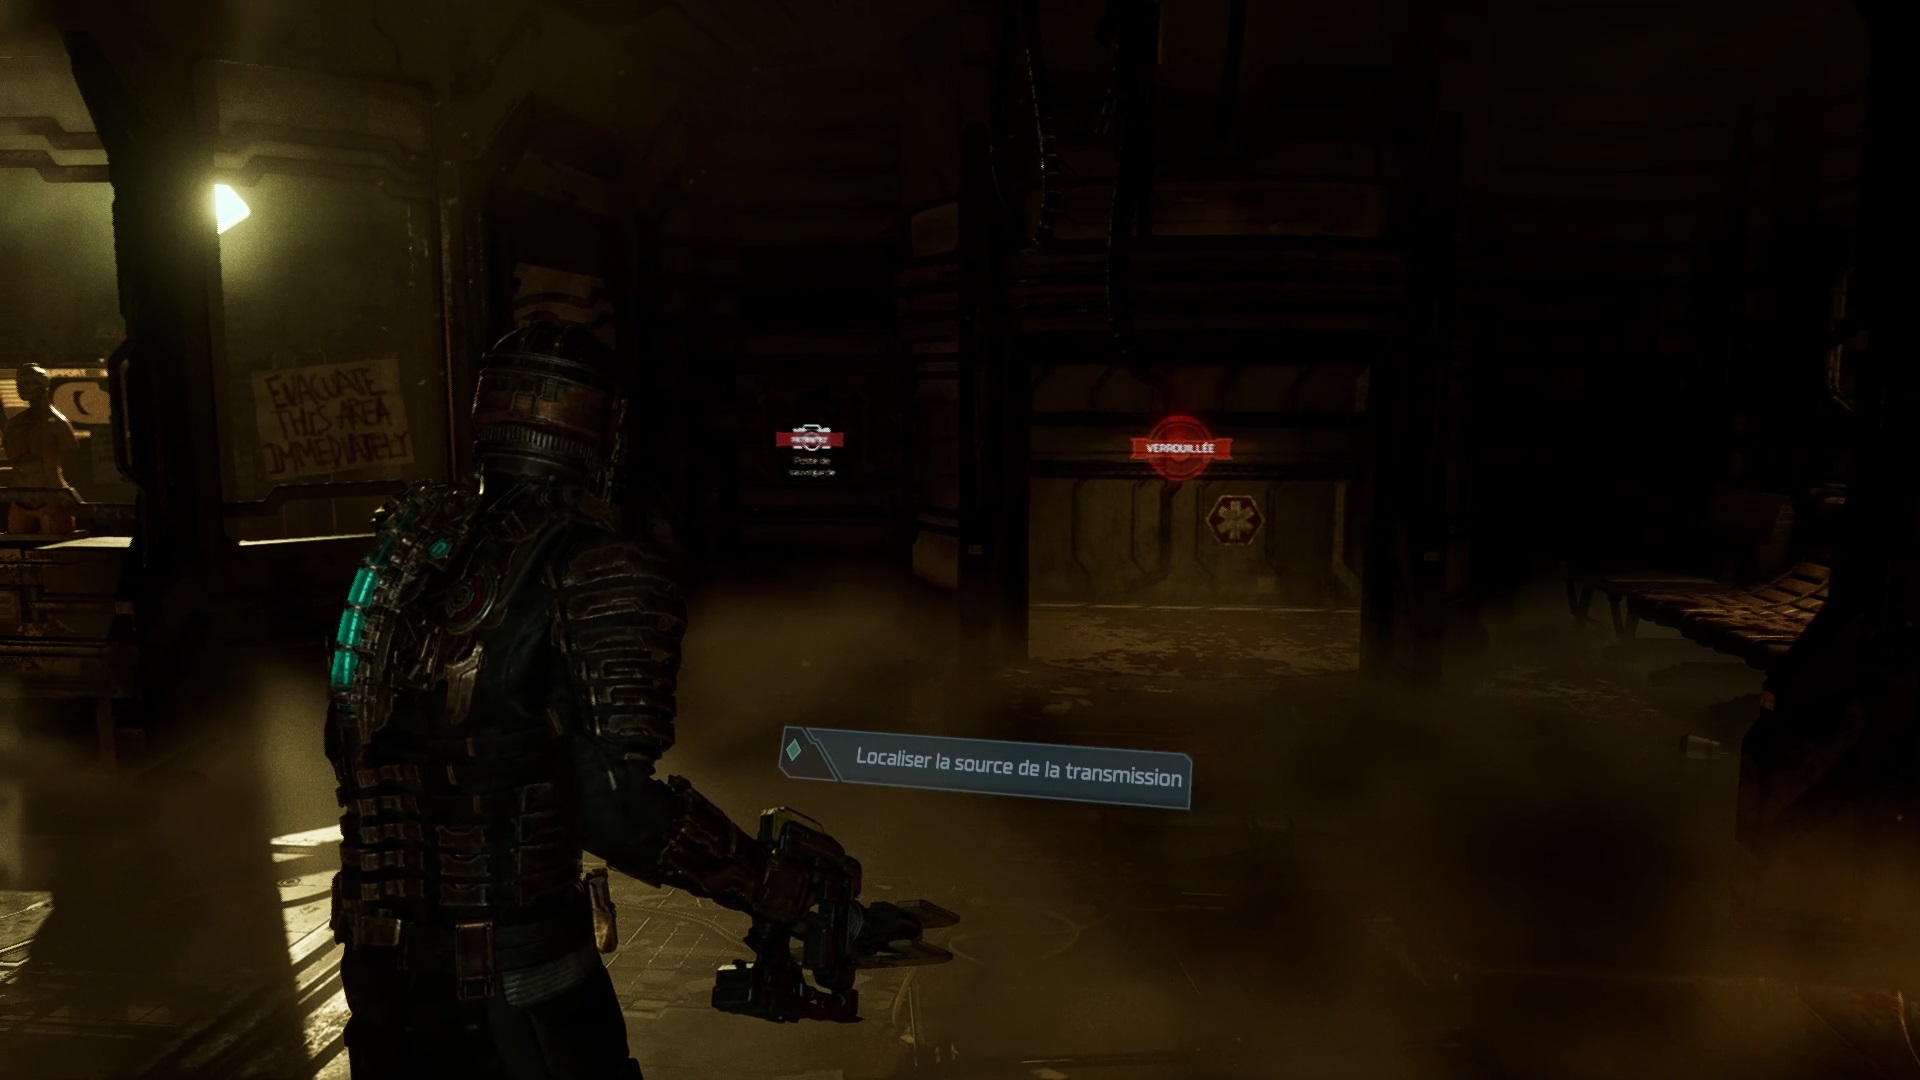
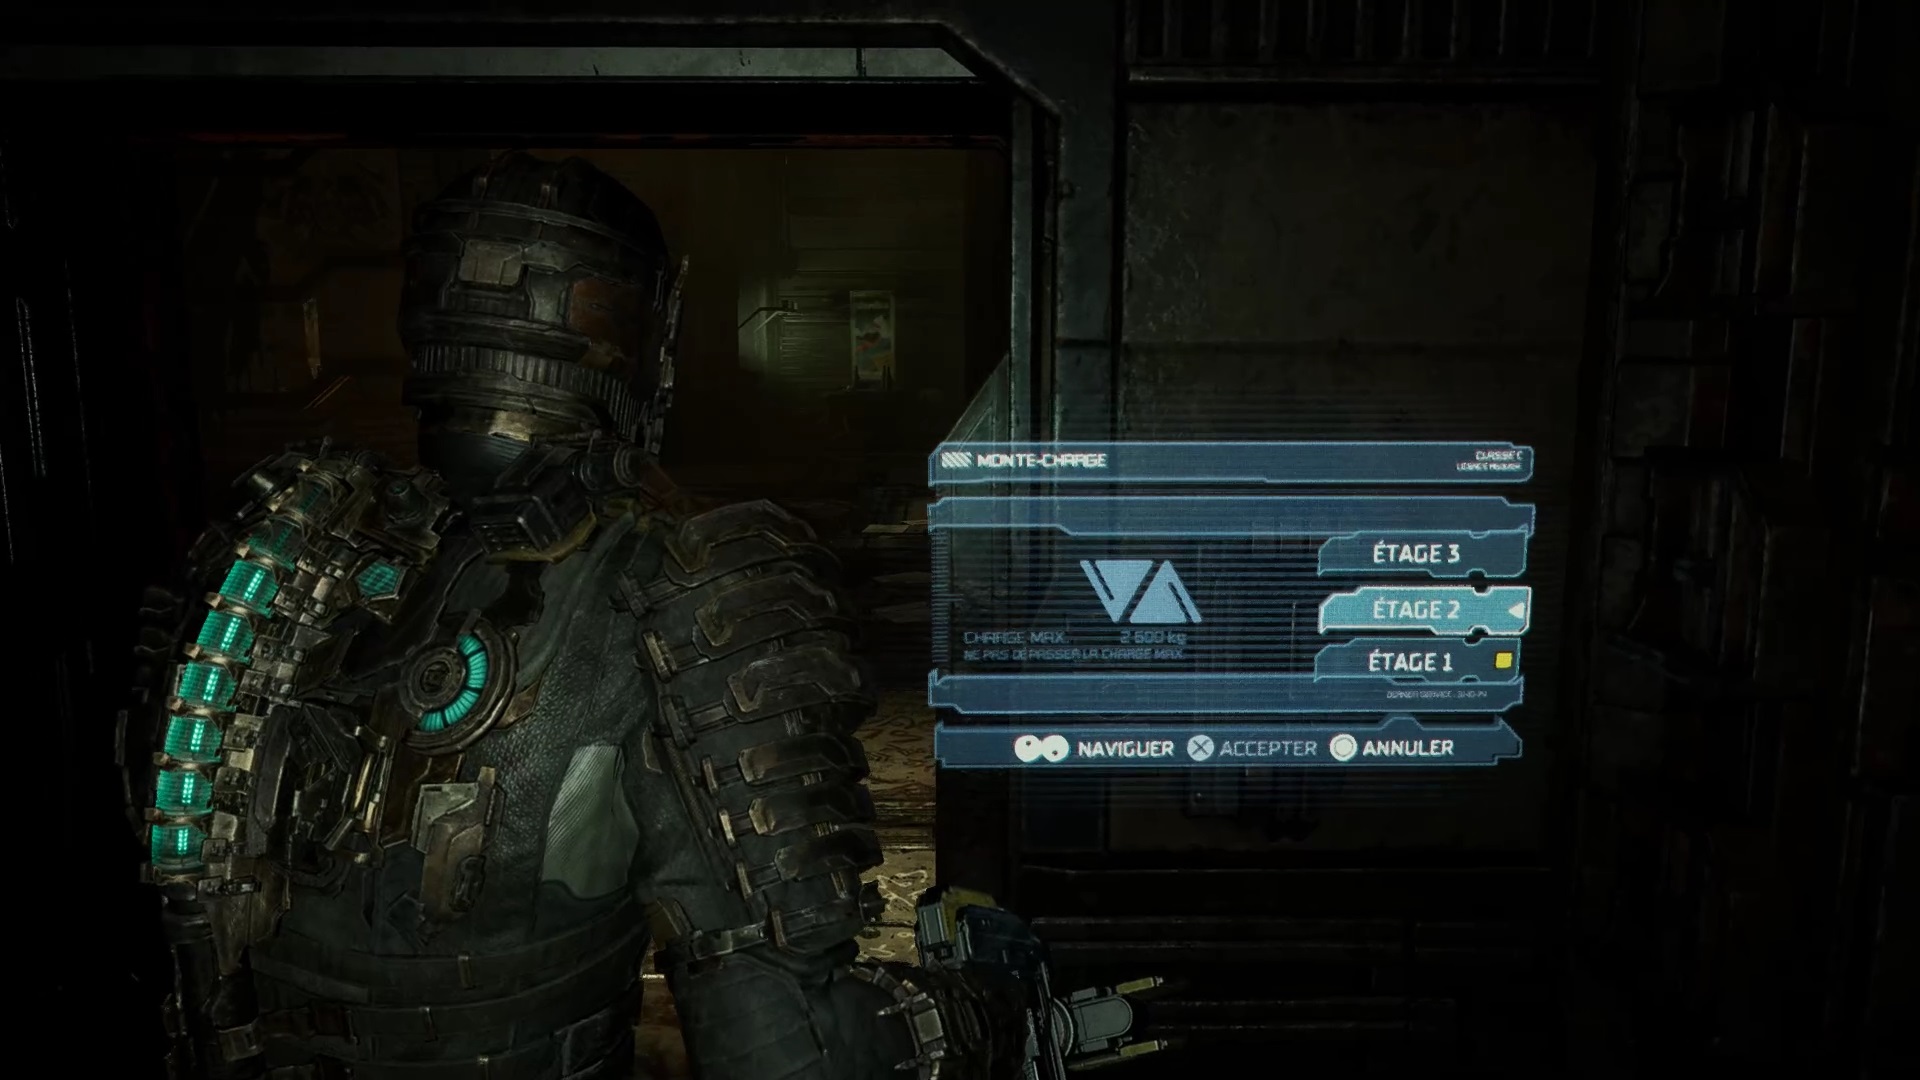
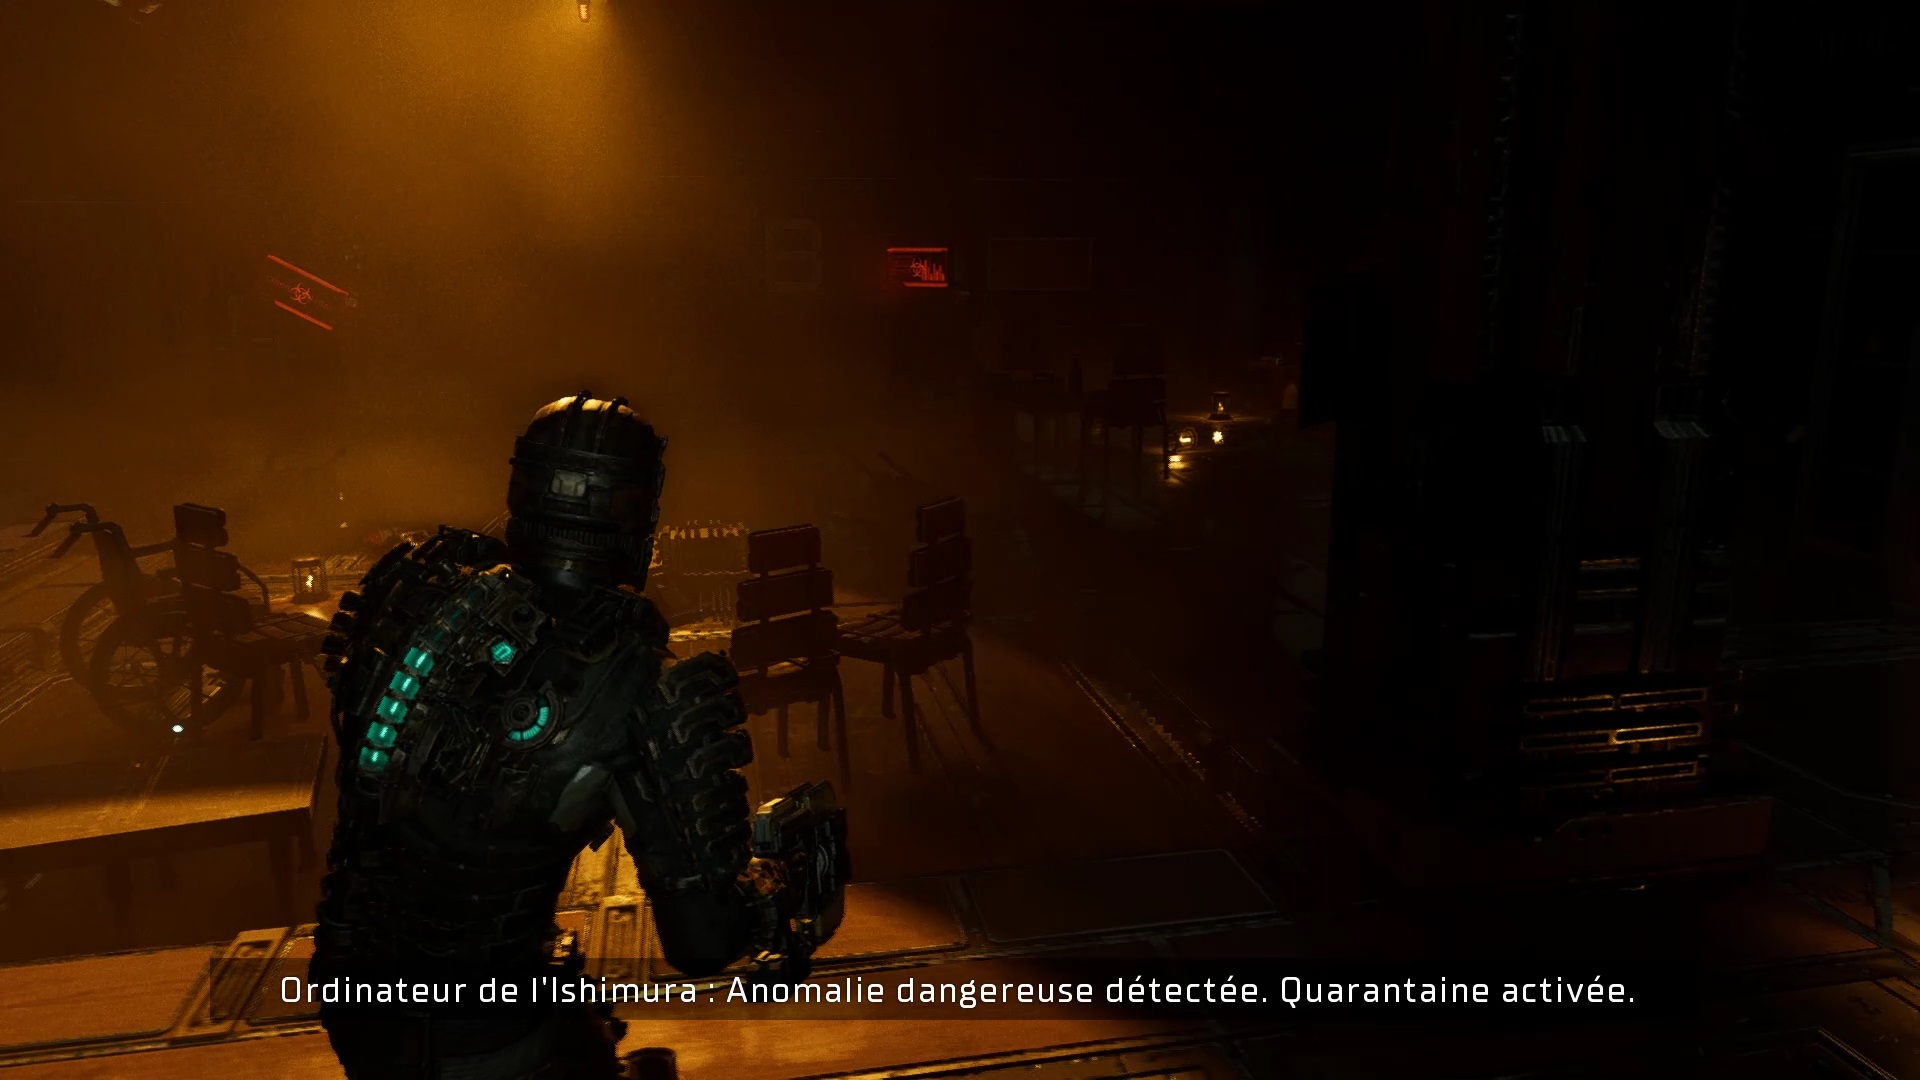
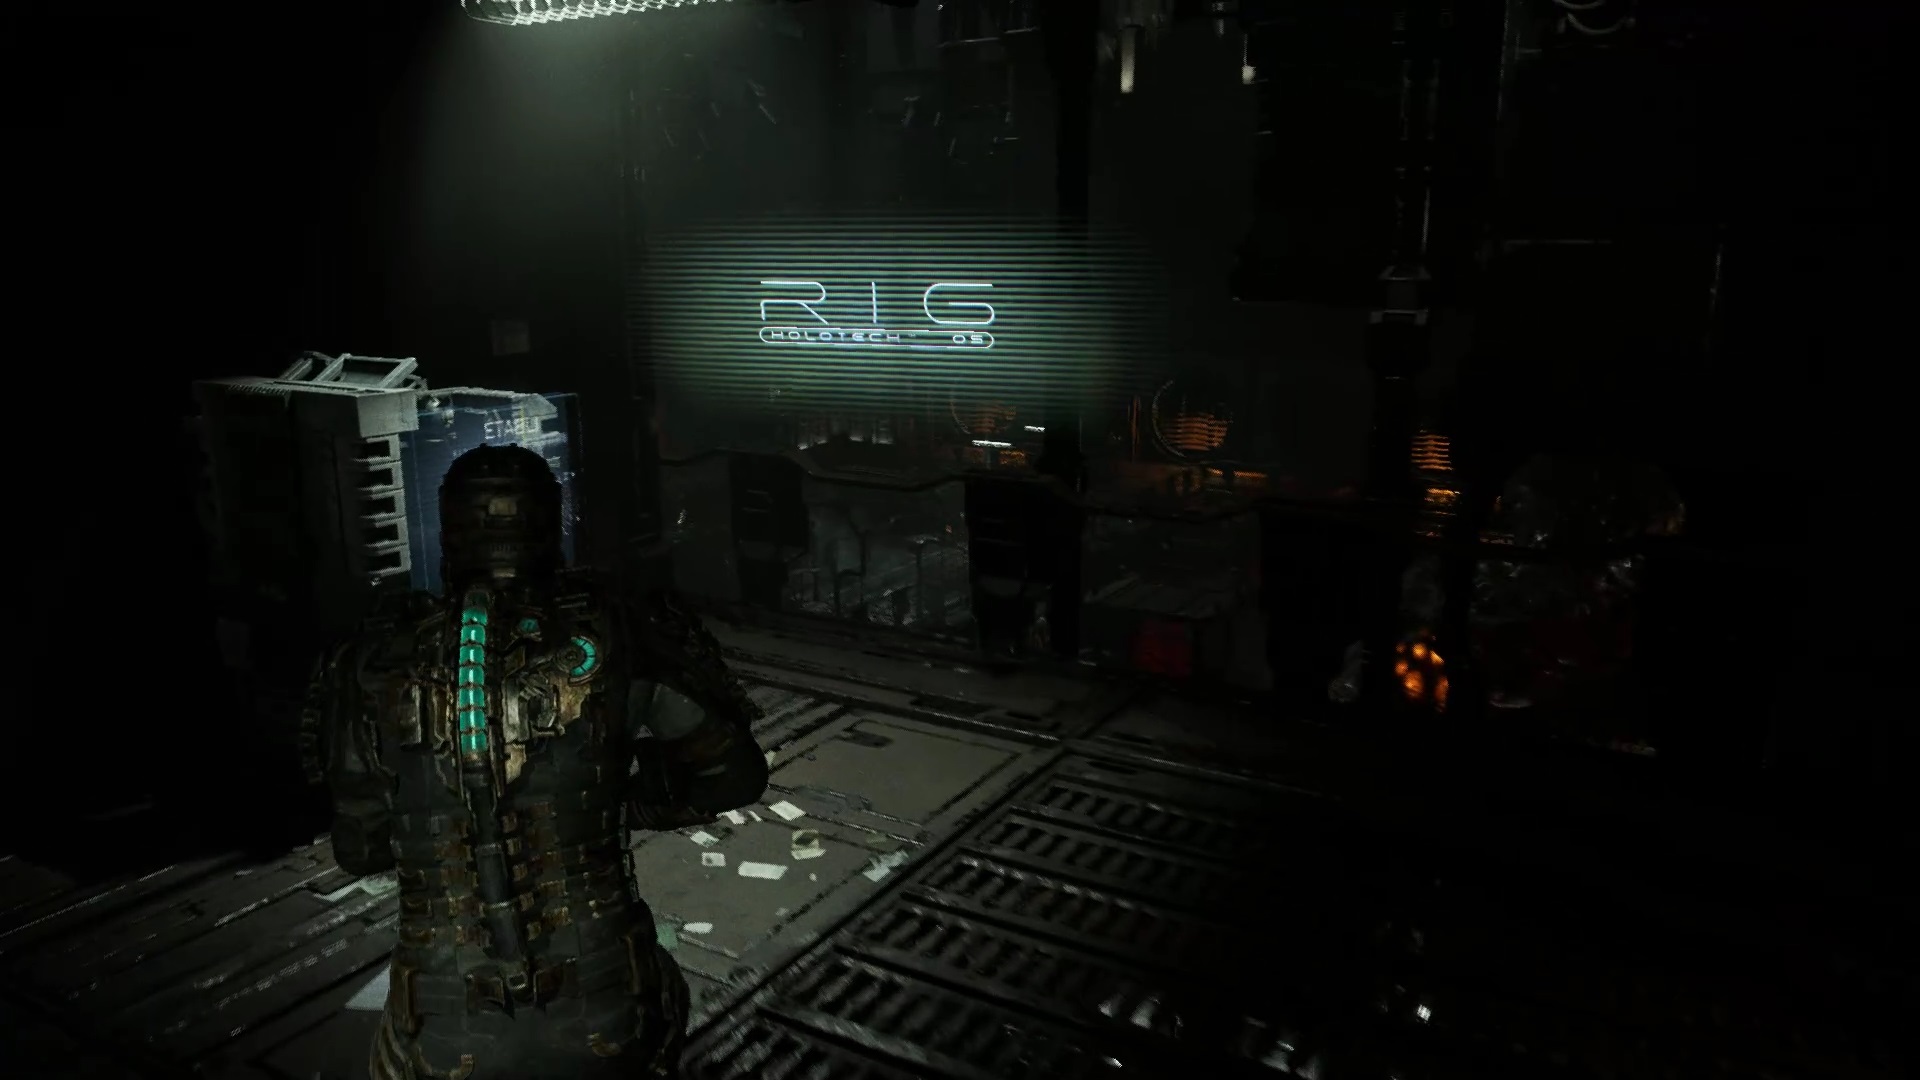
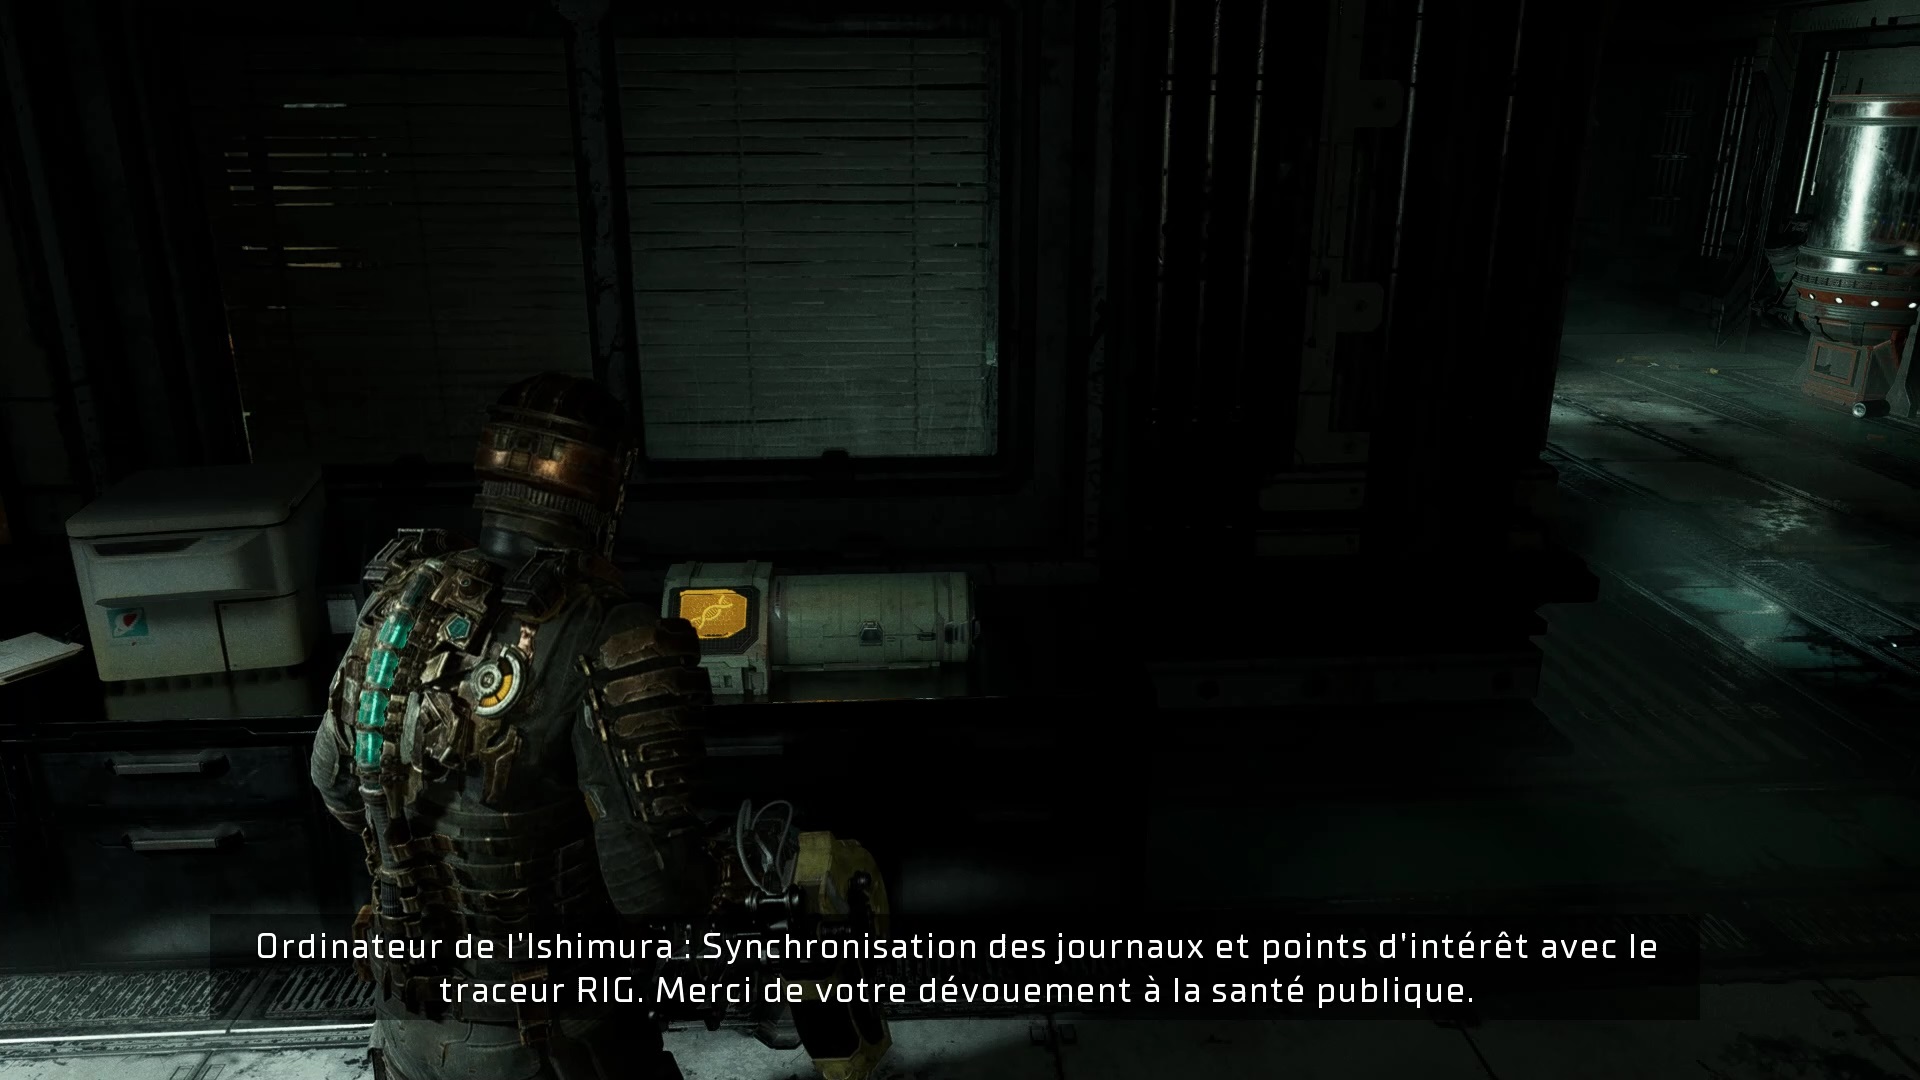
Welcome to new and good feedback for regulars on Aegis VII. At the beginning of the chapter, follow the crew of USG Kellion. On board the Ishimura, stand in front of the front door to synchronize your RIG. After the dialogues, unlock the door to the left of Hammond and assess the ship’s damage on the console. Necromorphs appear. Run towards the elevator. Once inside the cage, use the cage button to drop down and take cover.
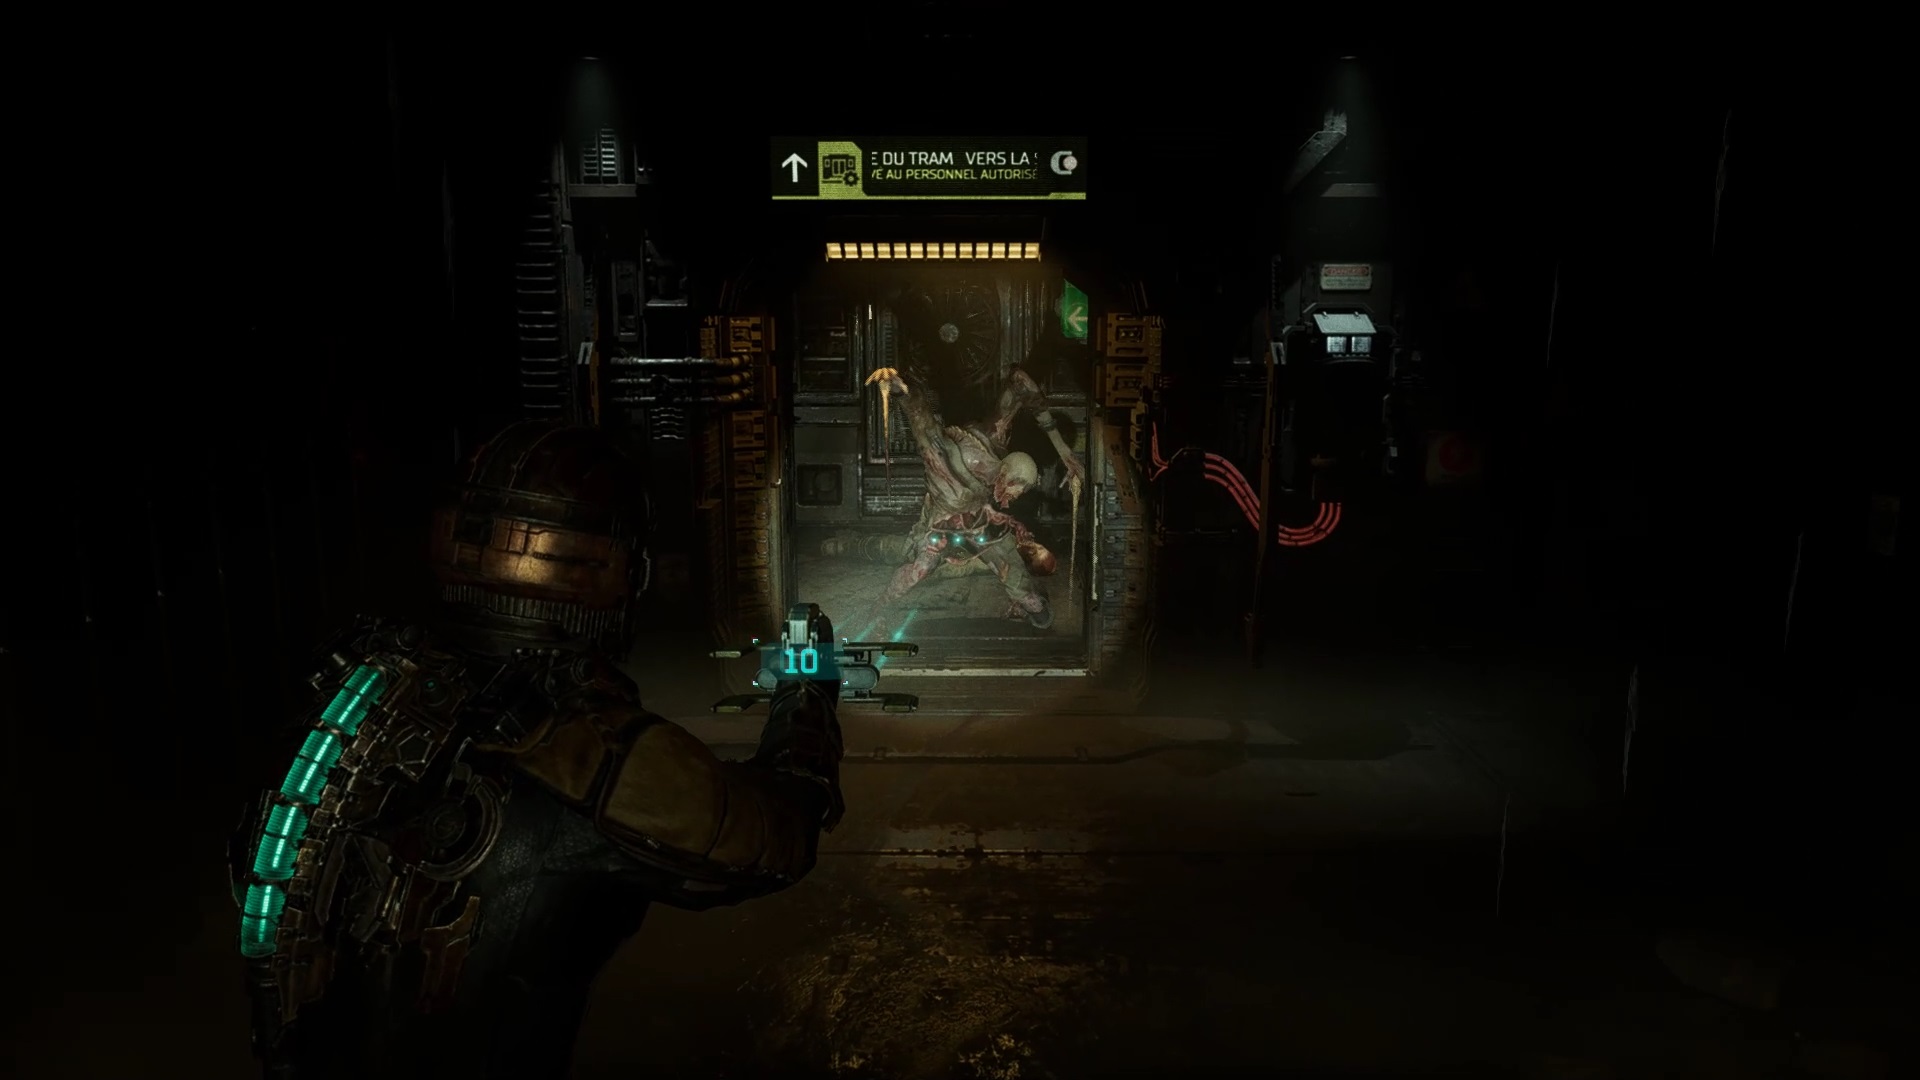
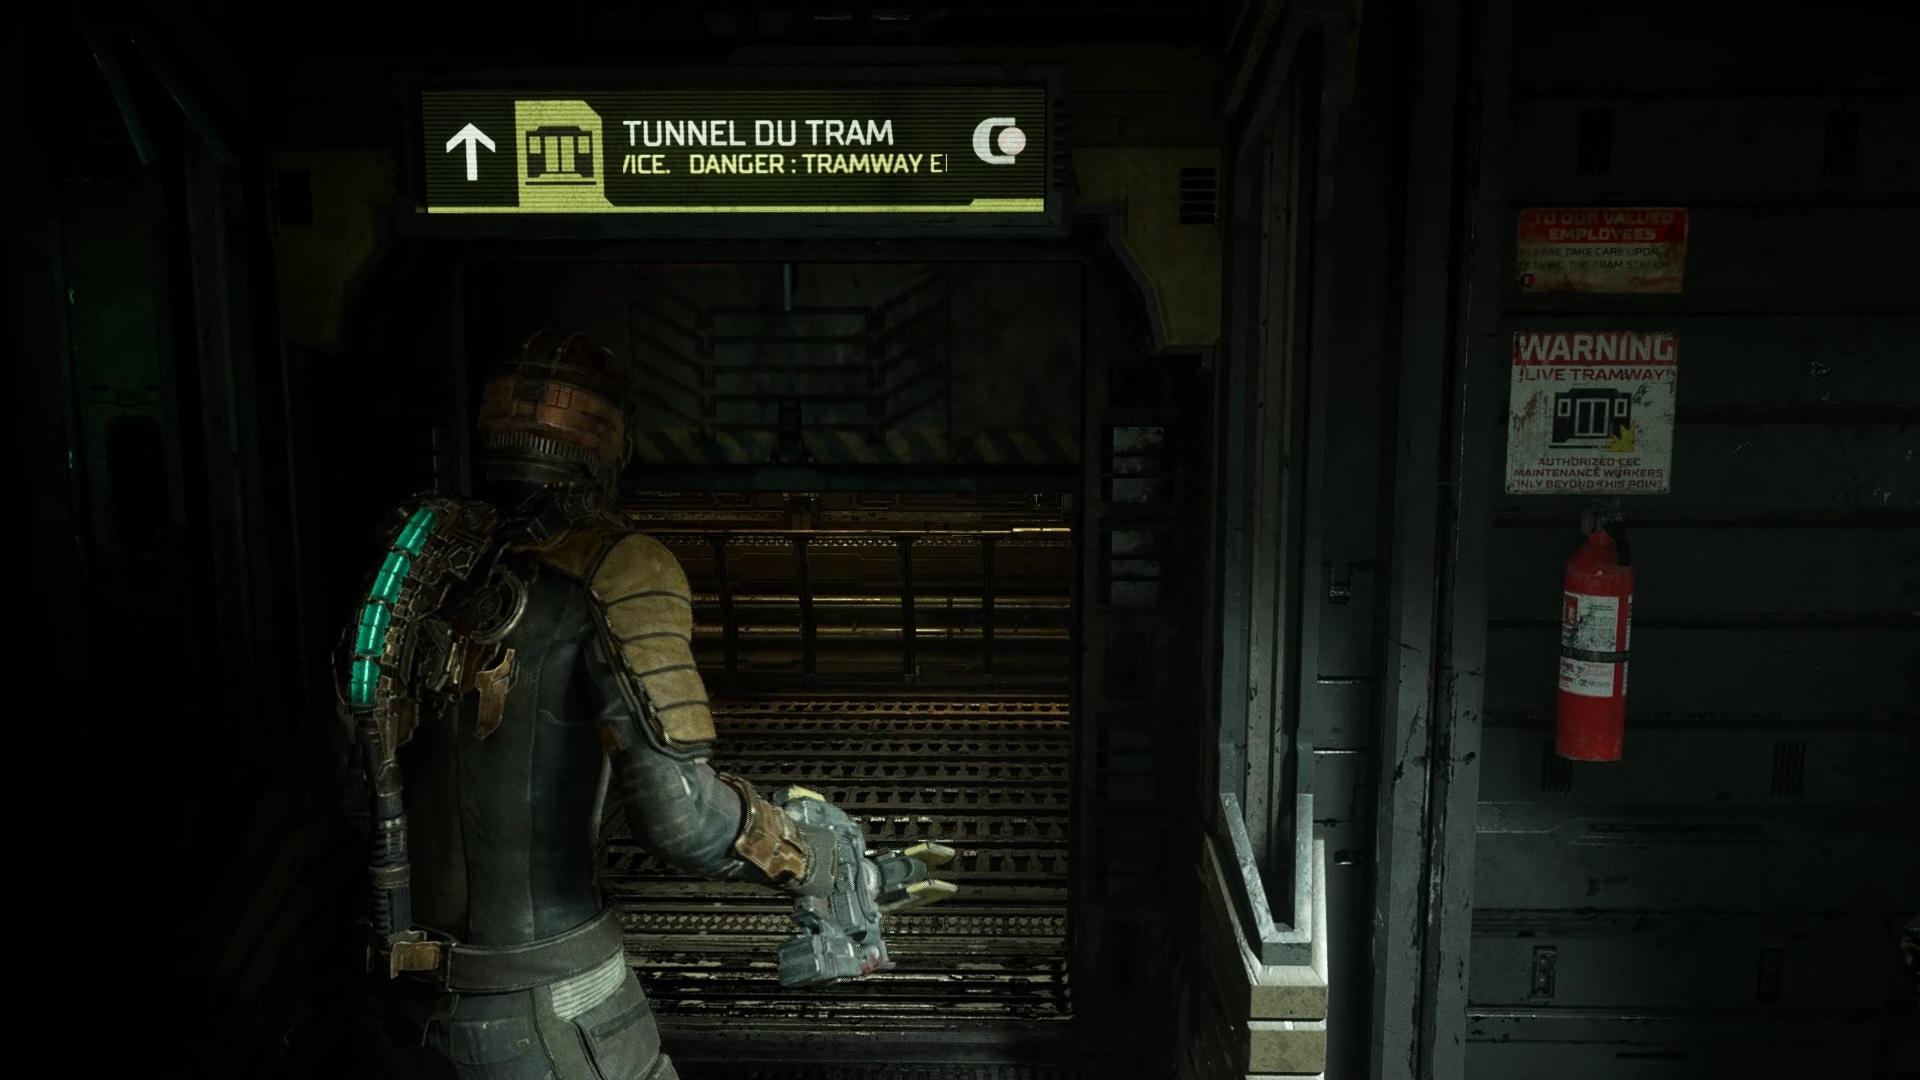
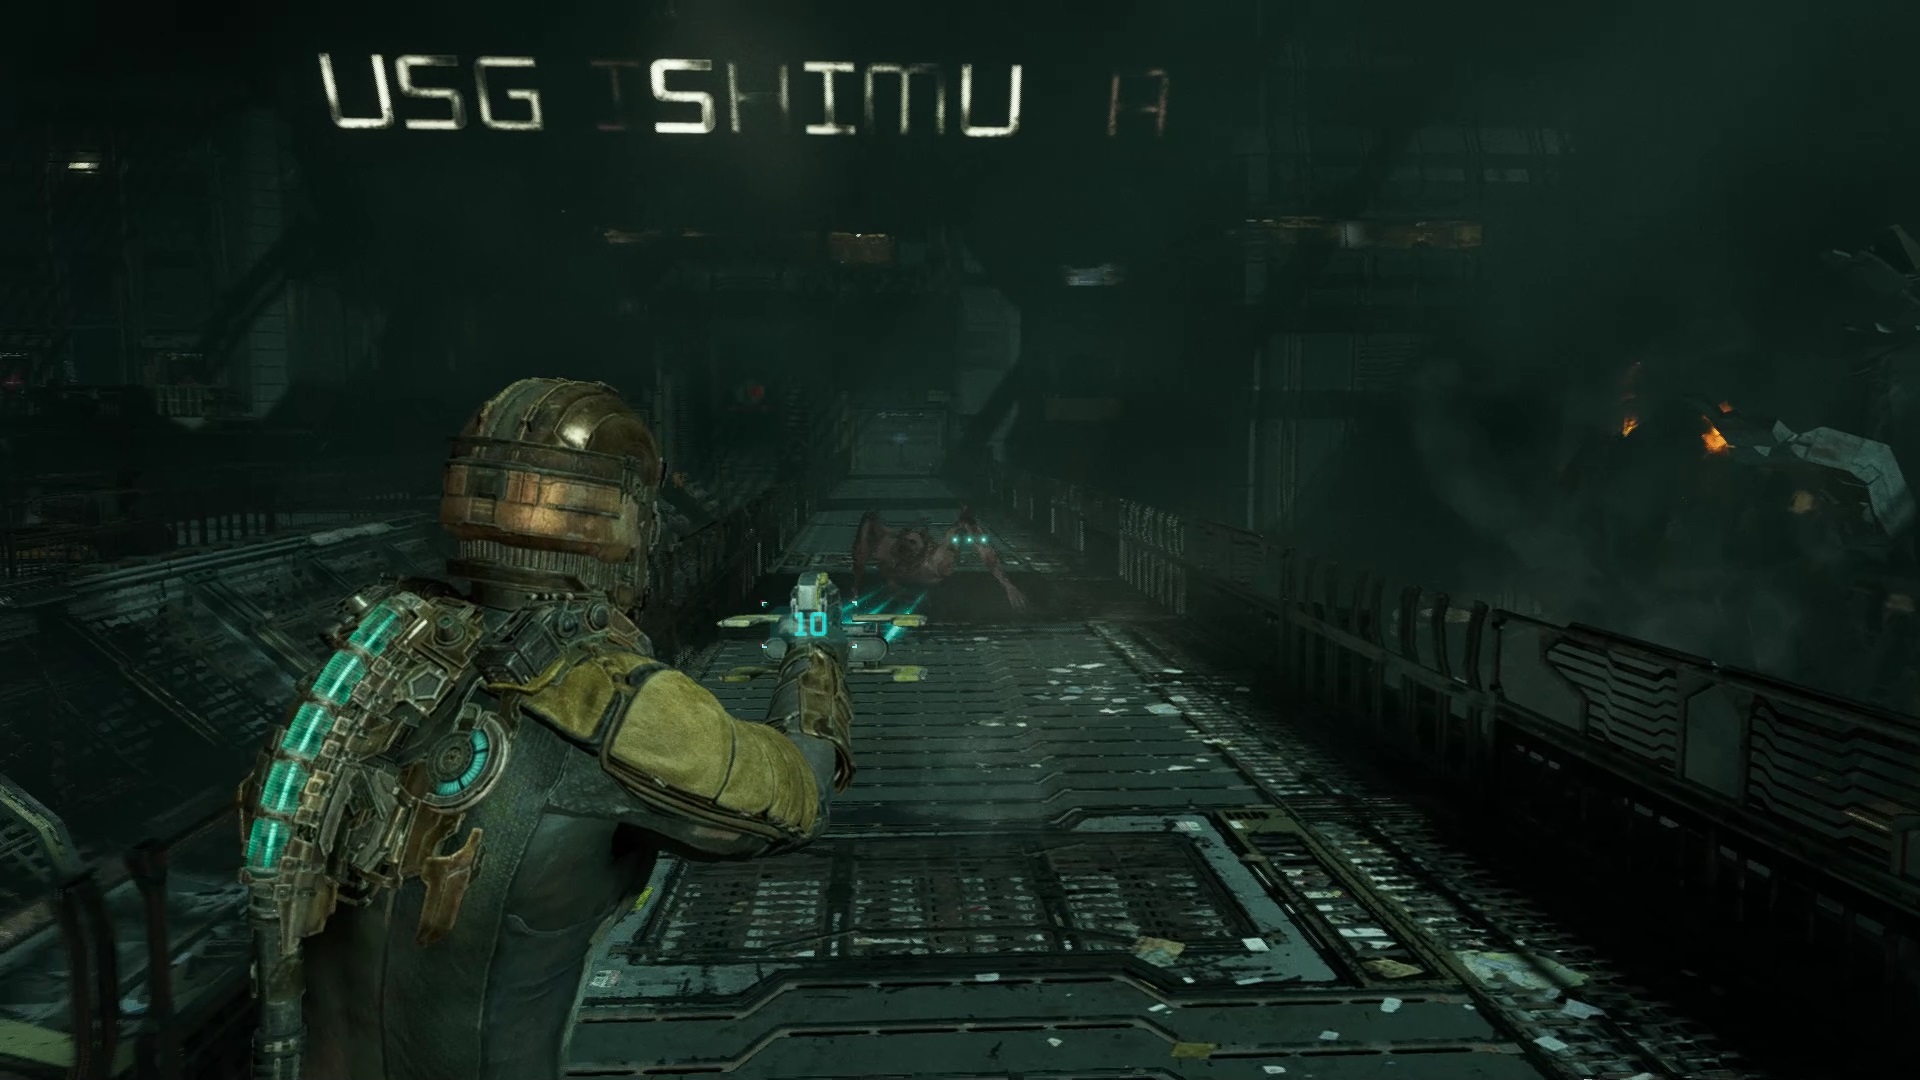
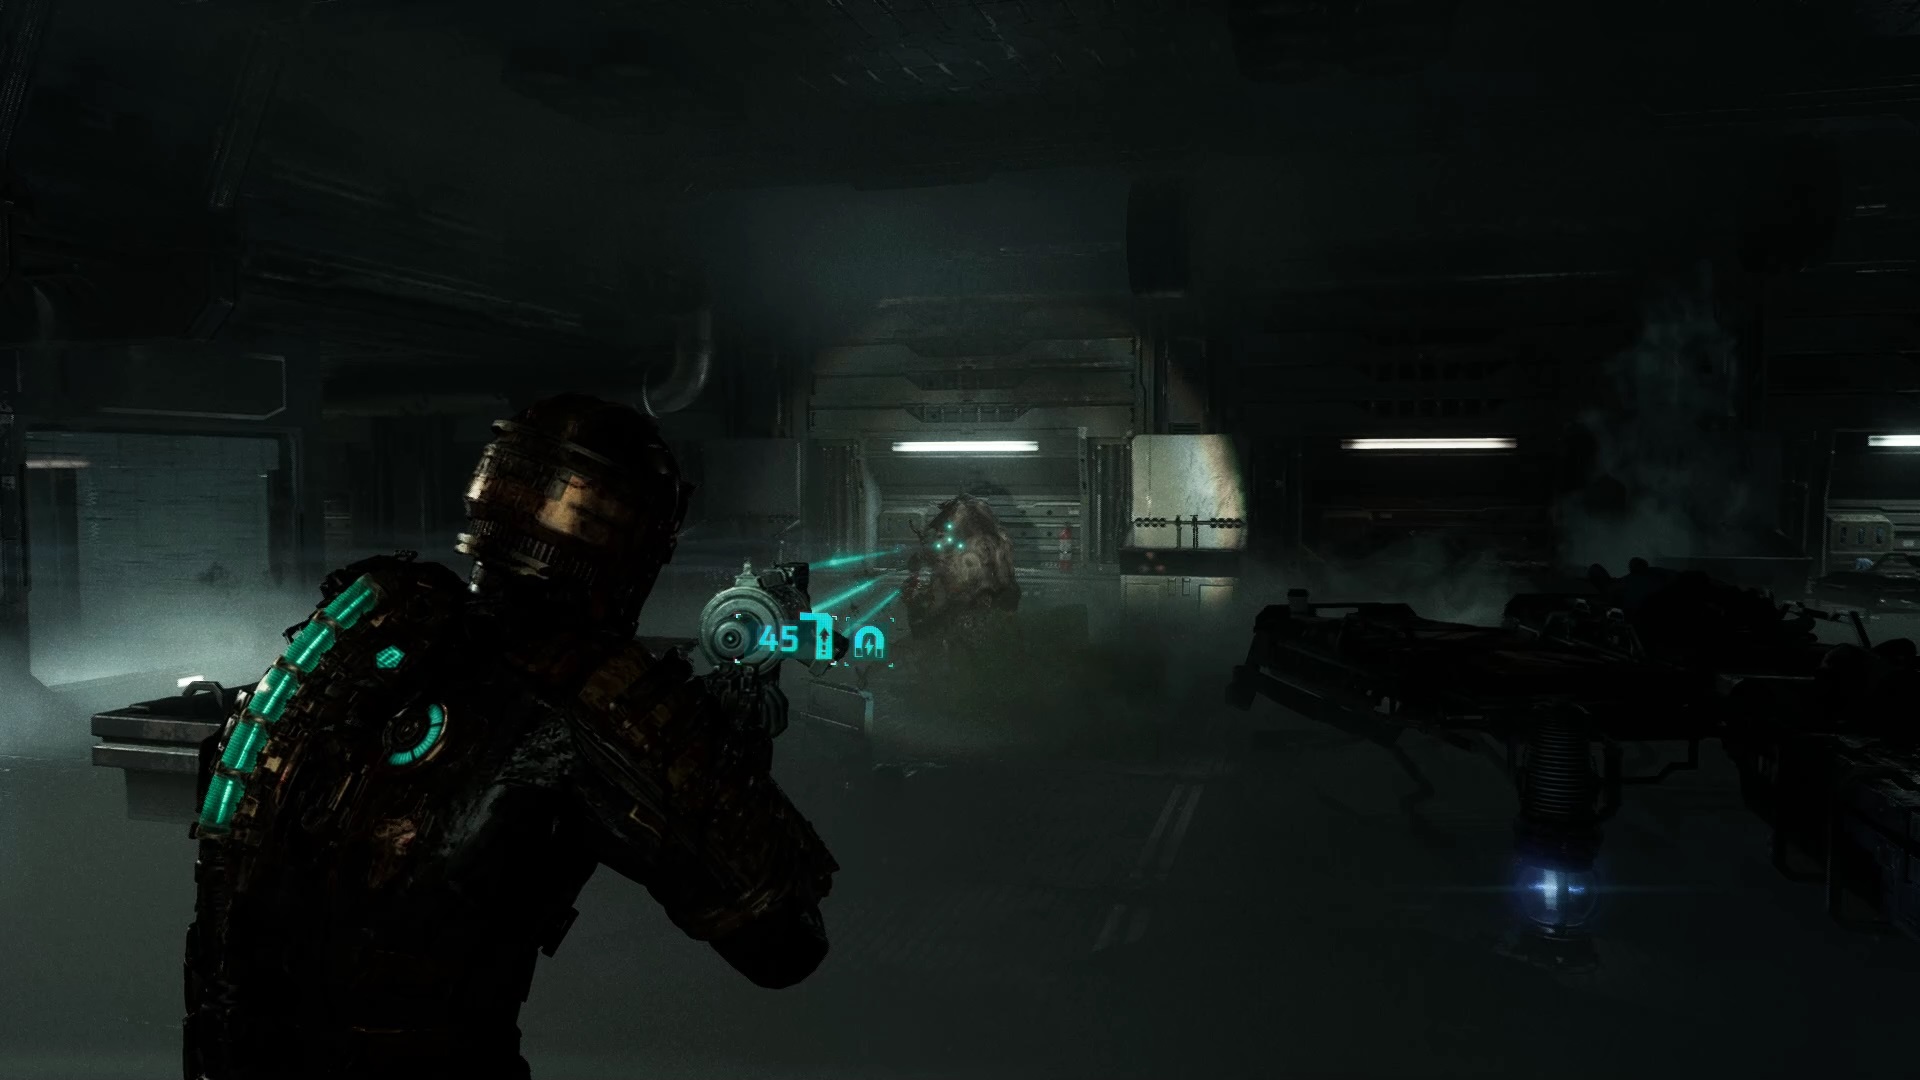
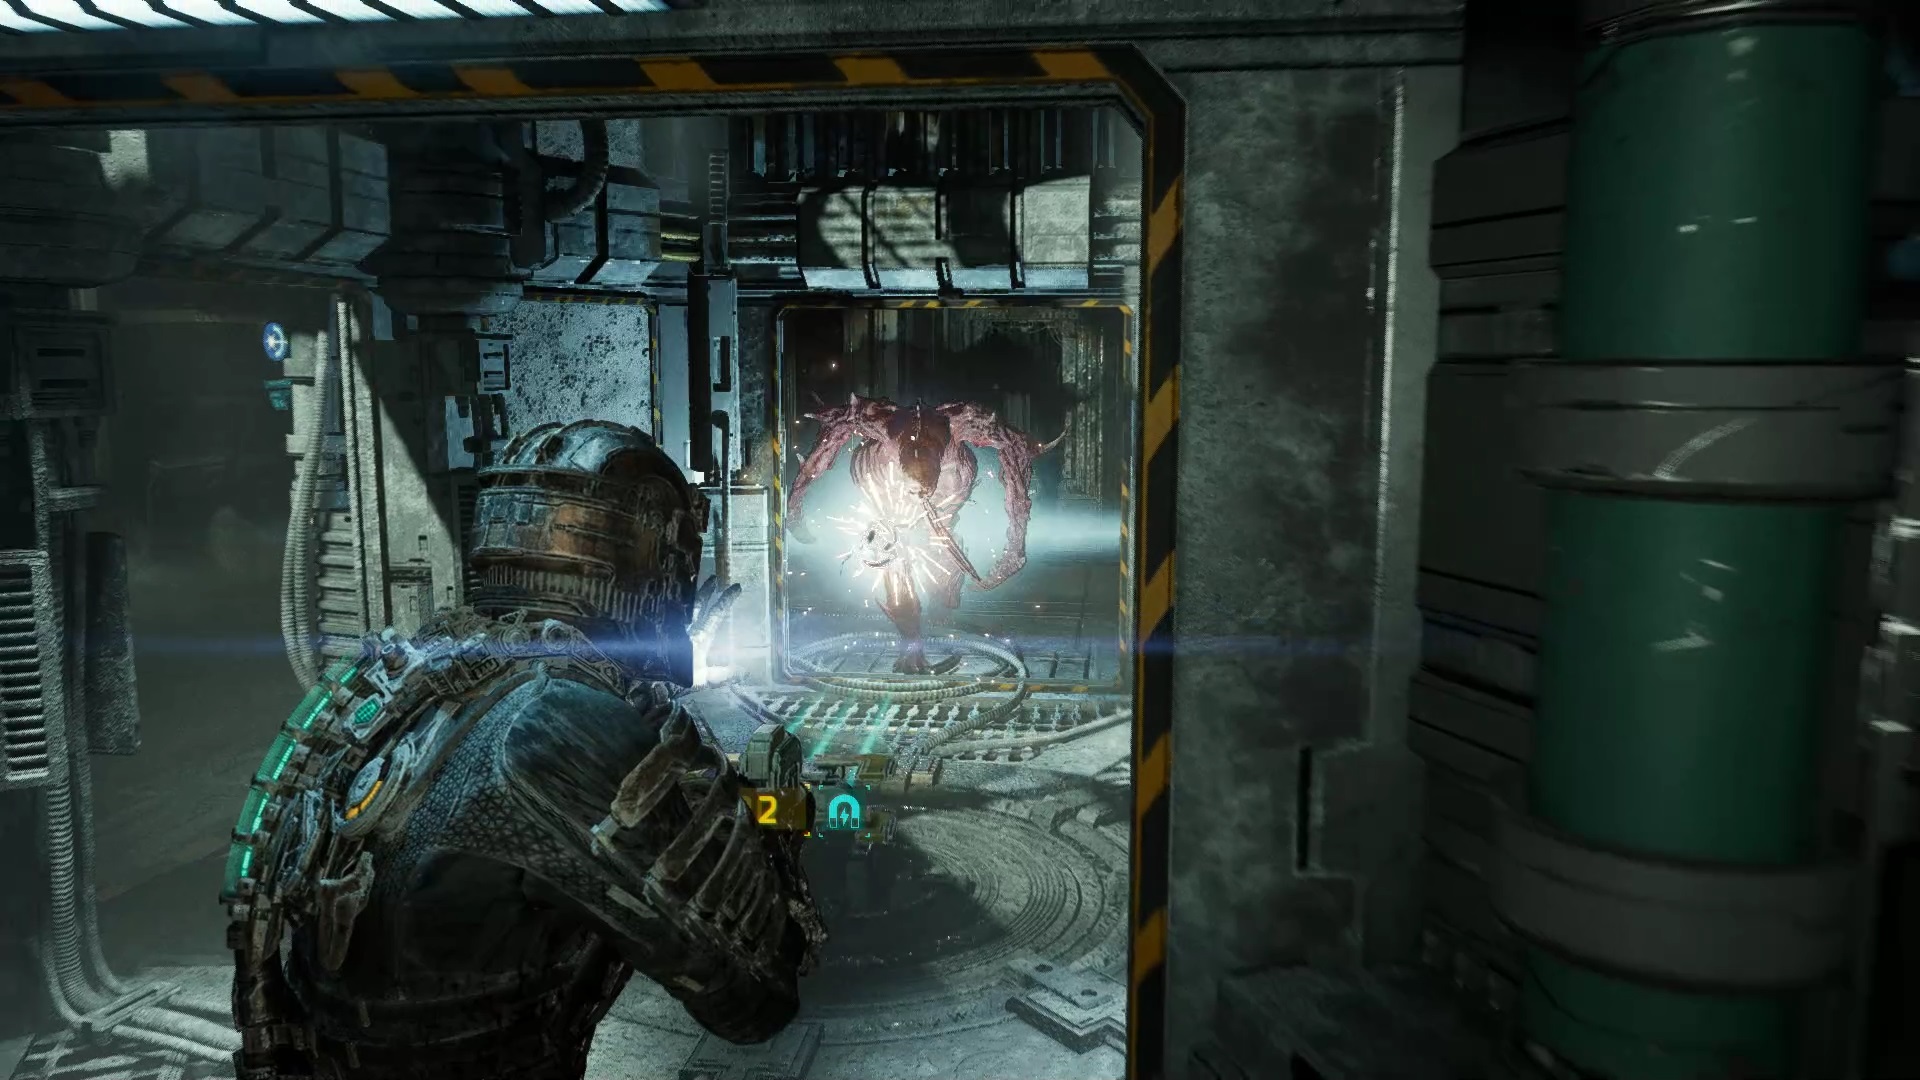
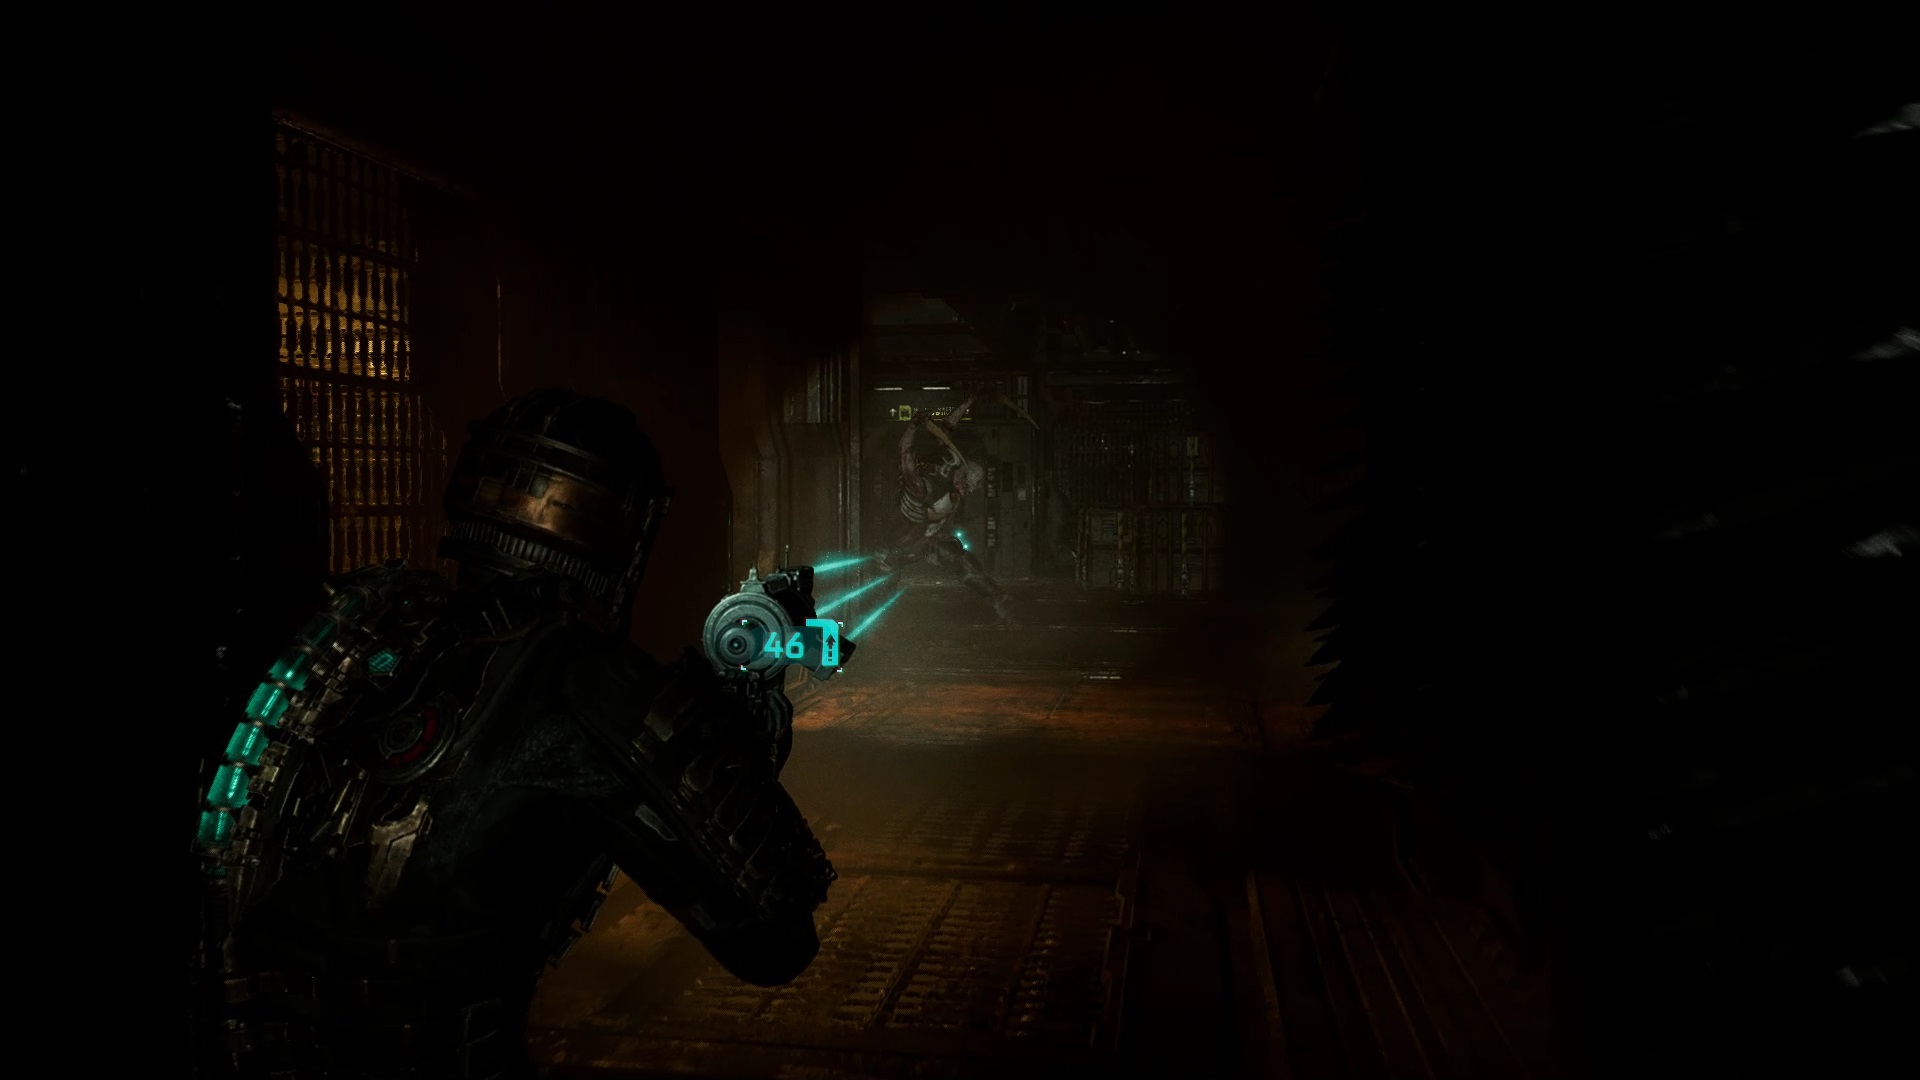
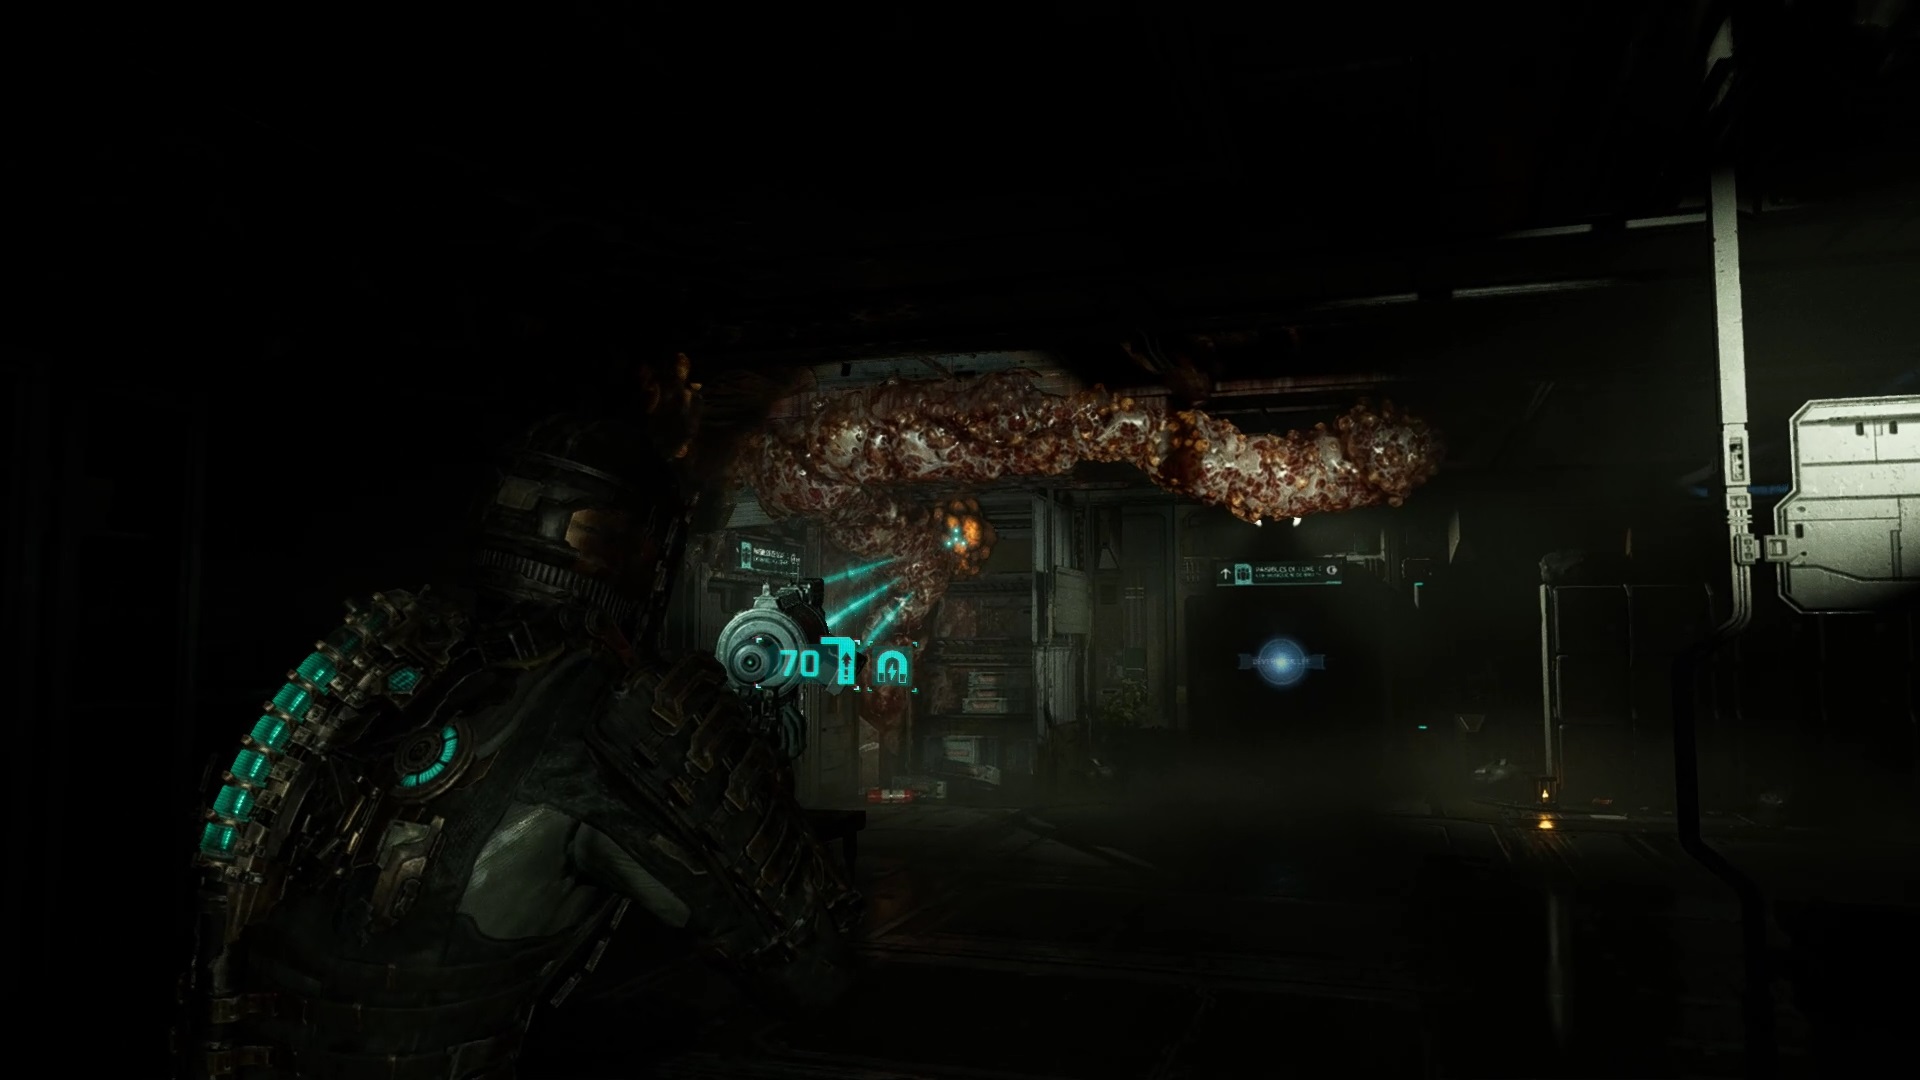
Below, get the Plasma Cutter placed on the workshop. Join the door to the control room and hit the power supply so as not to lose ammunition. A necromorph gently introduces himself to you. Use your weapon to cut off his lower limbs to slow him down. Finish off the beast by severing its claws. Then continue to the control room at the end of the hall. Hammond and Kendra task you with fixing the Tram. Join the tram tunnel.
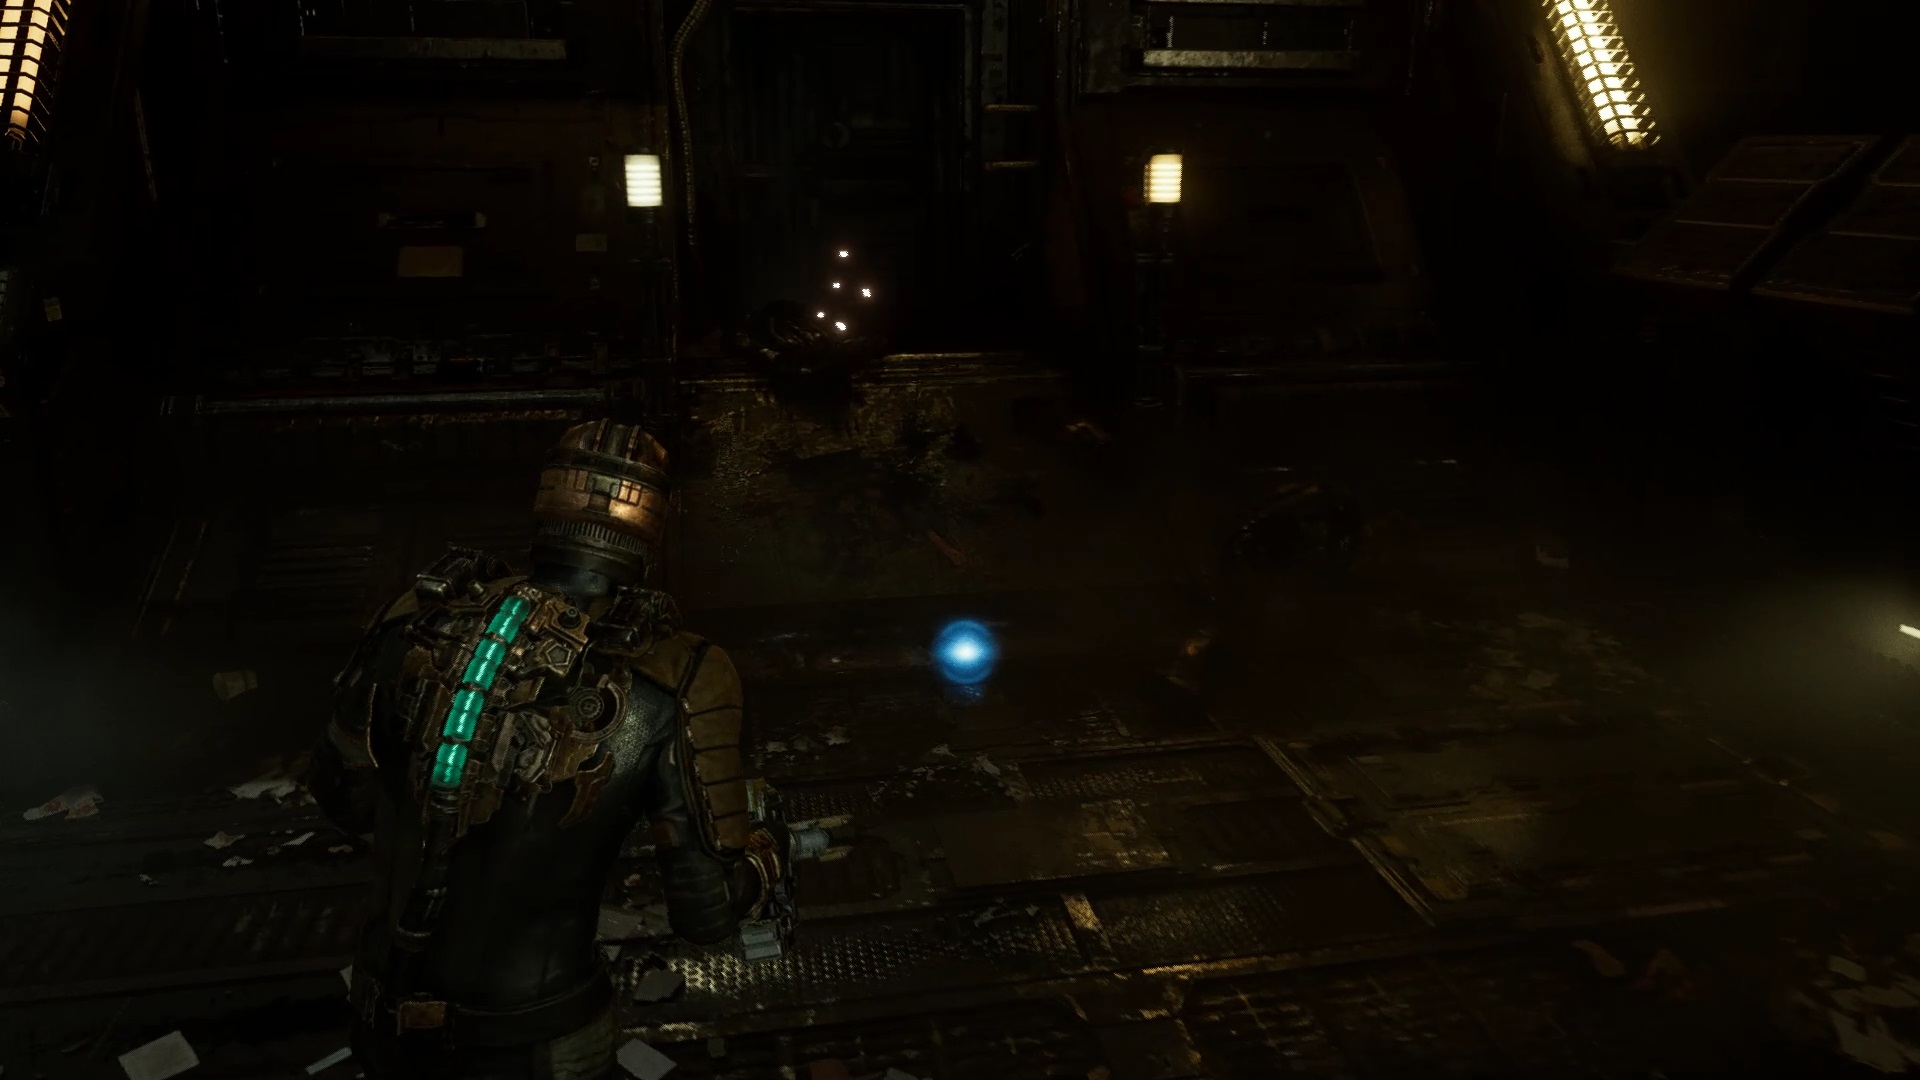
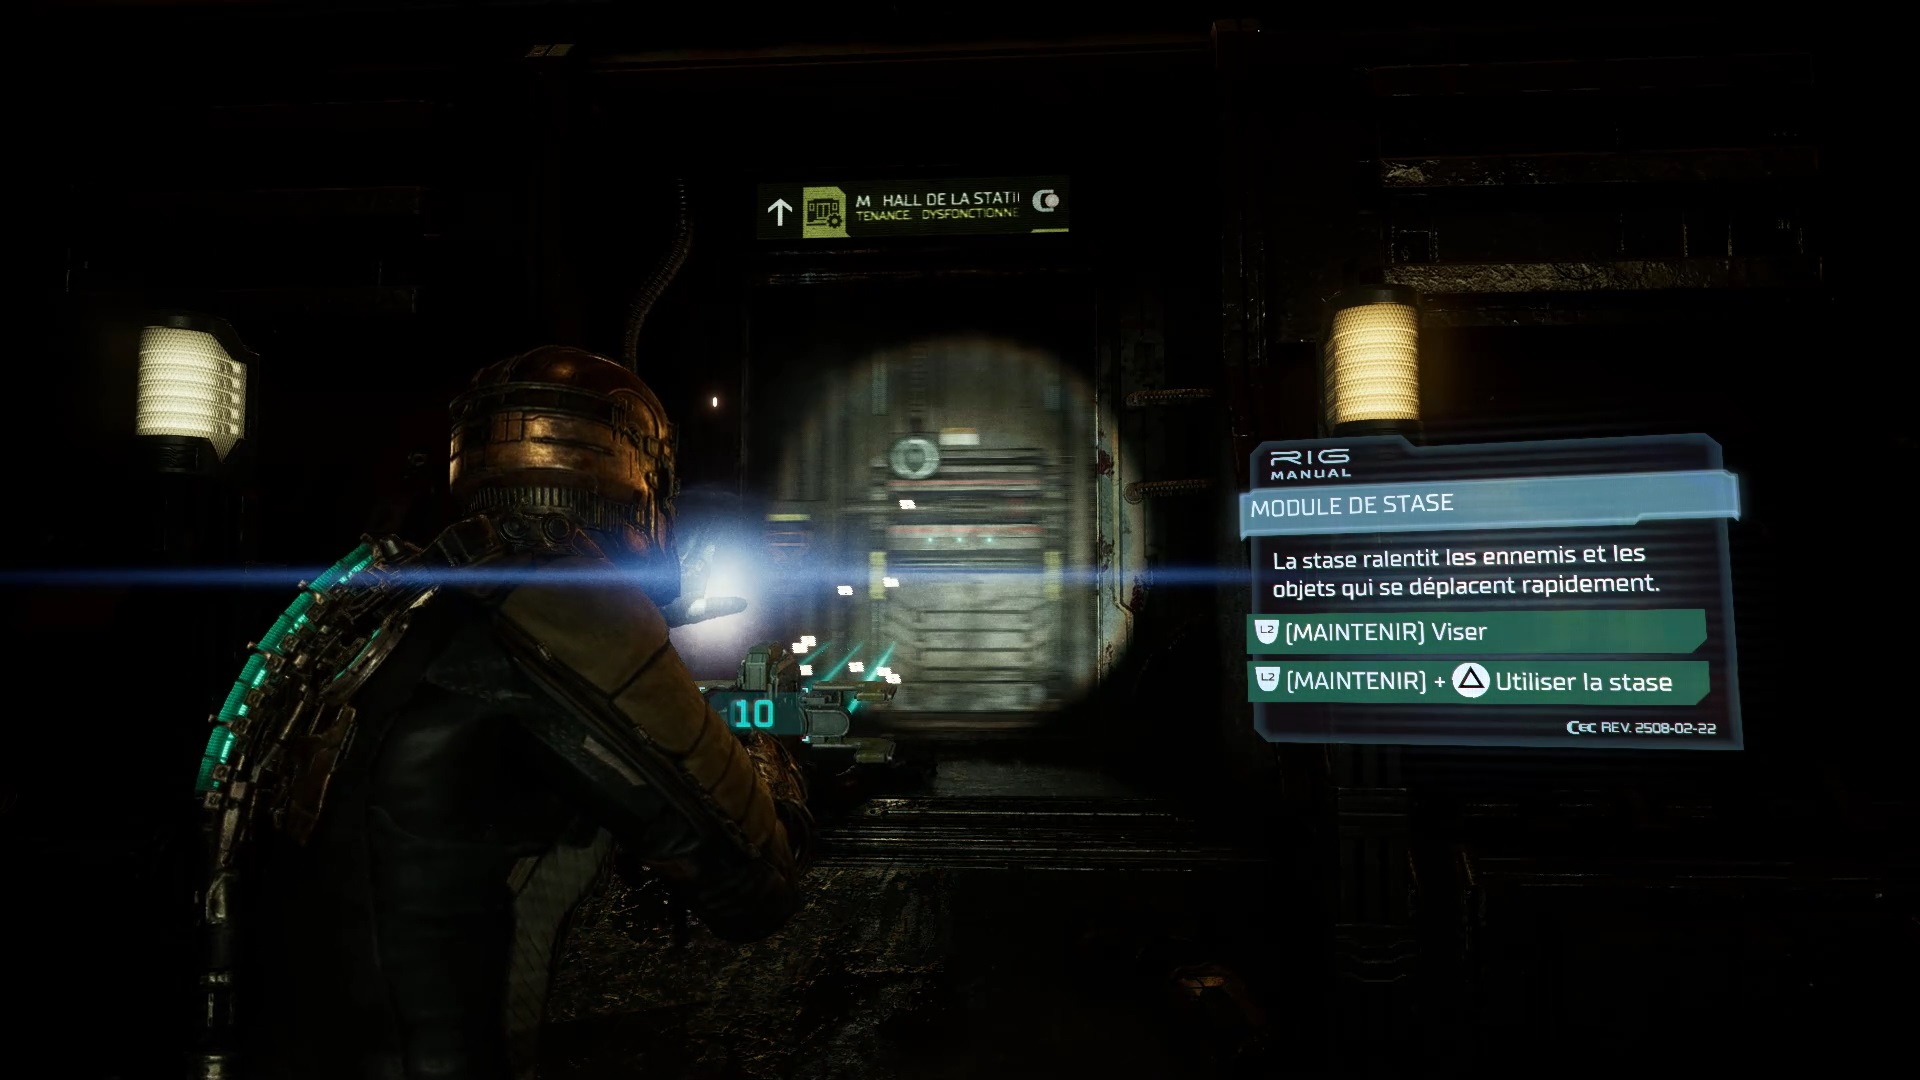
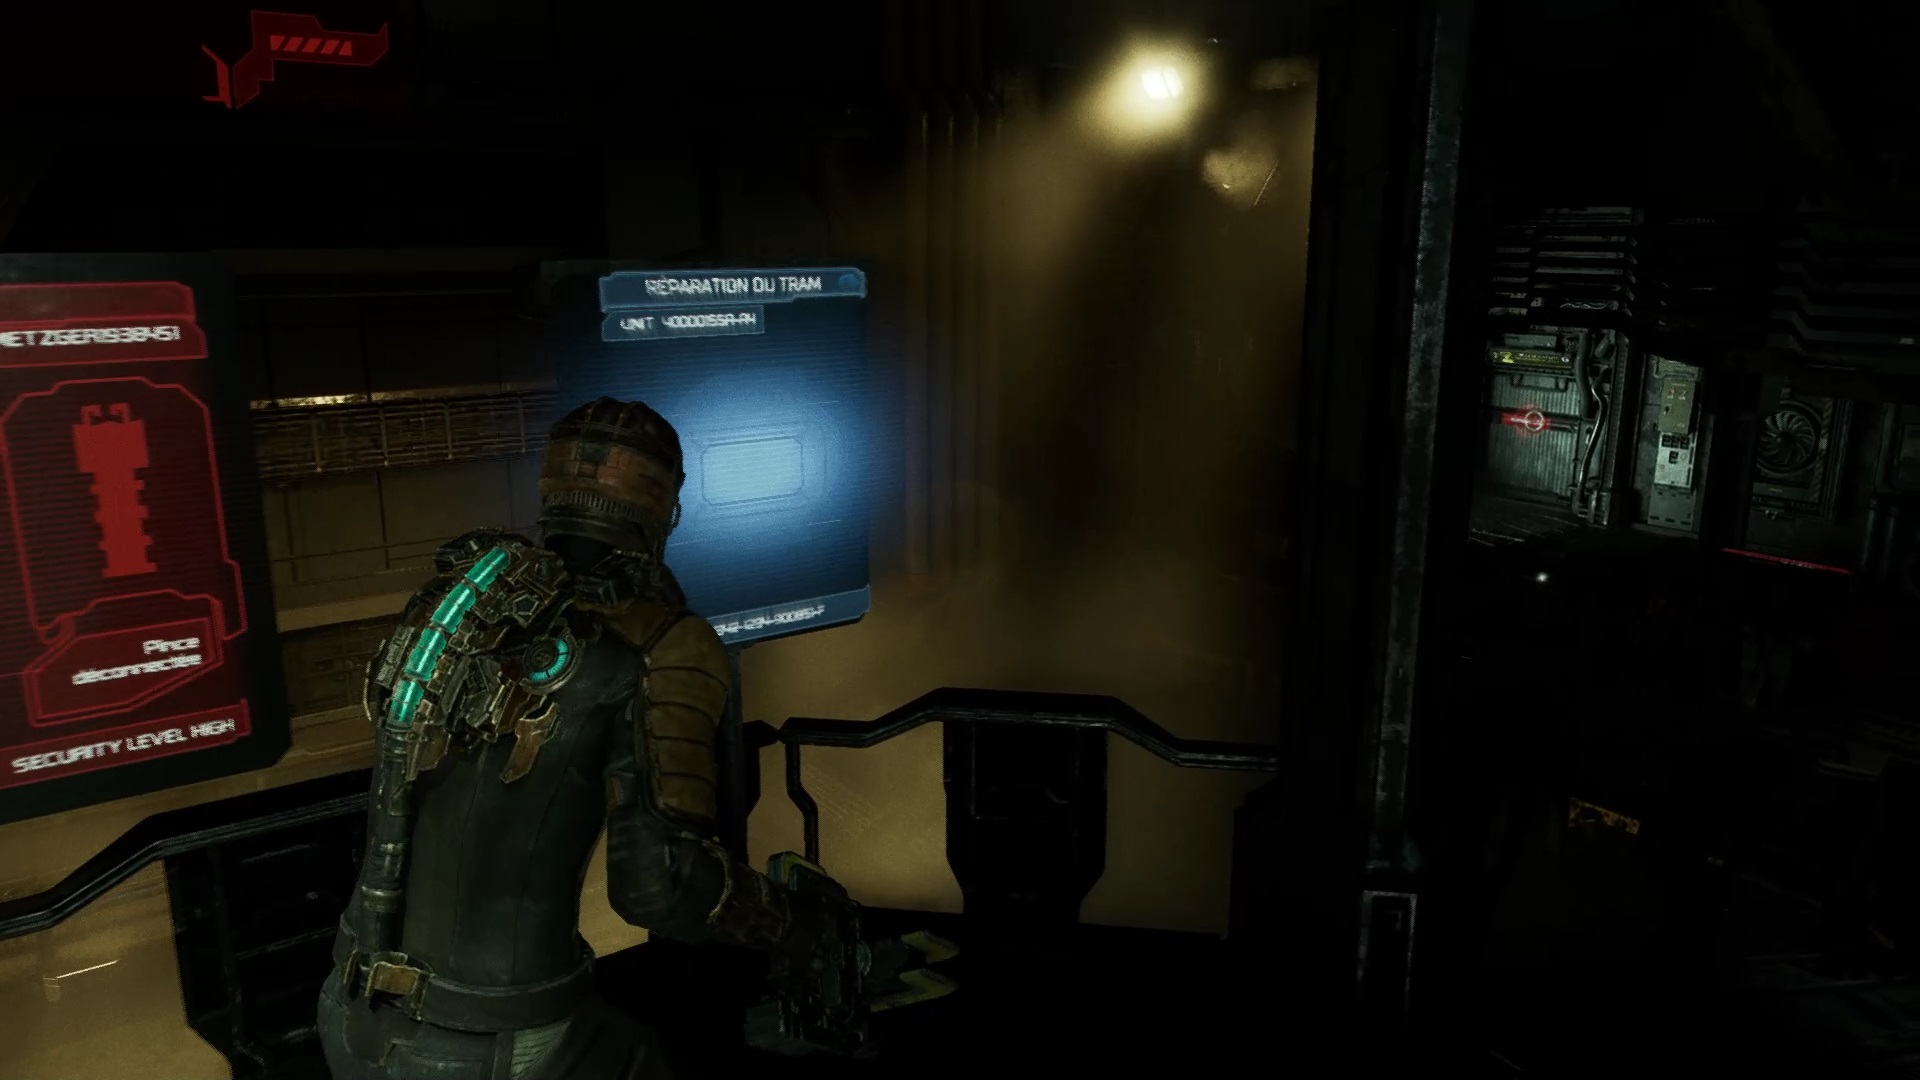
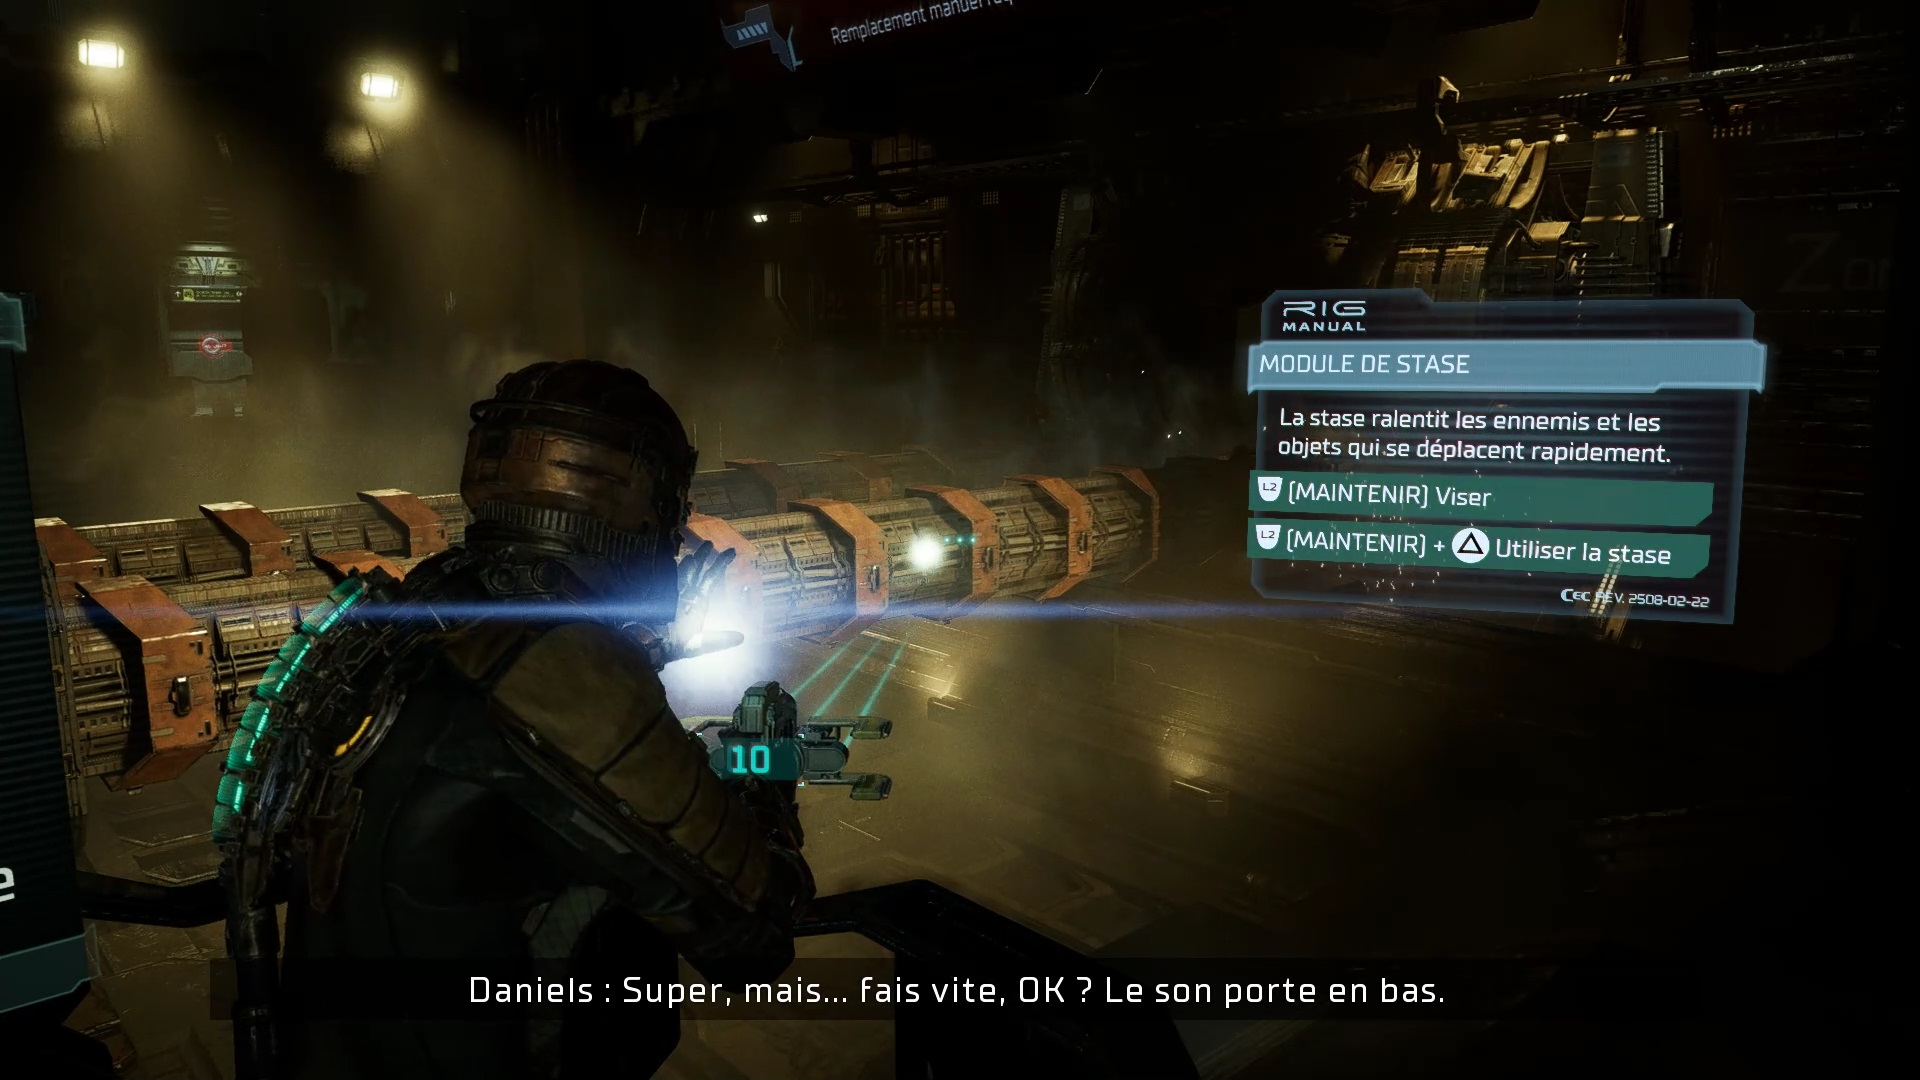
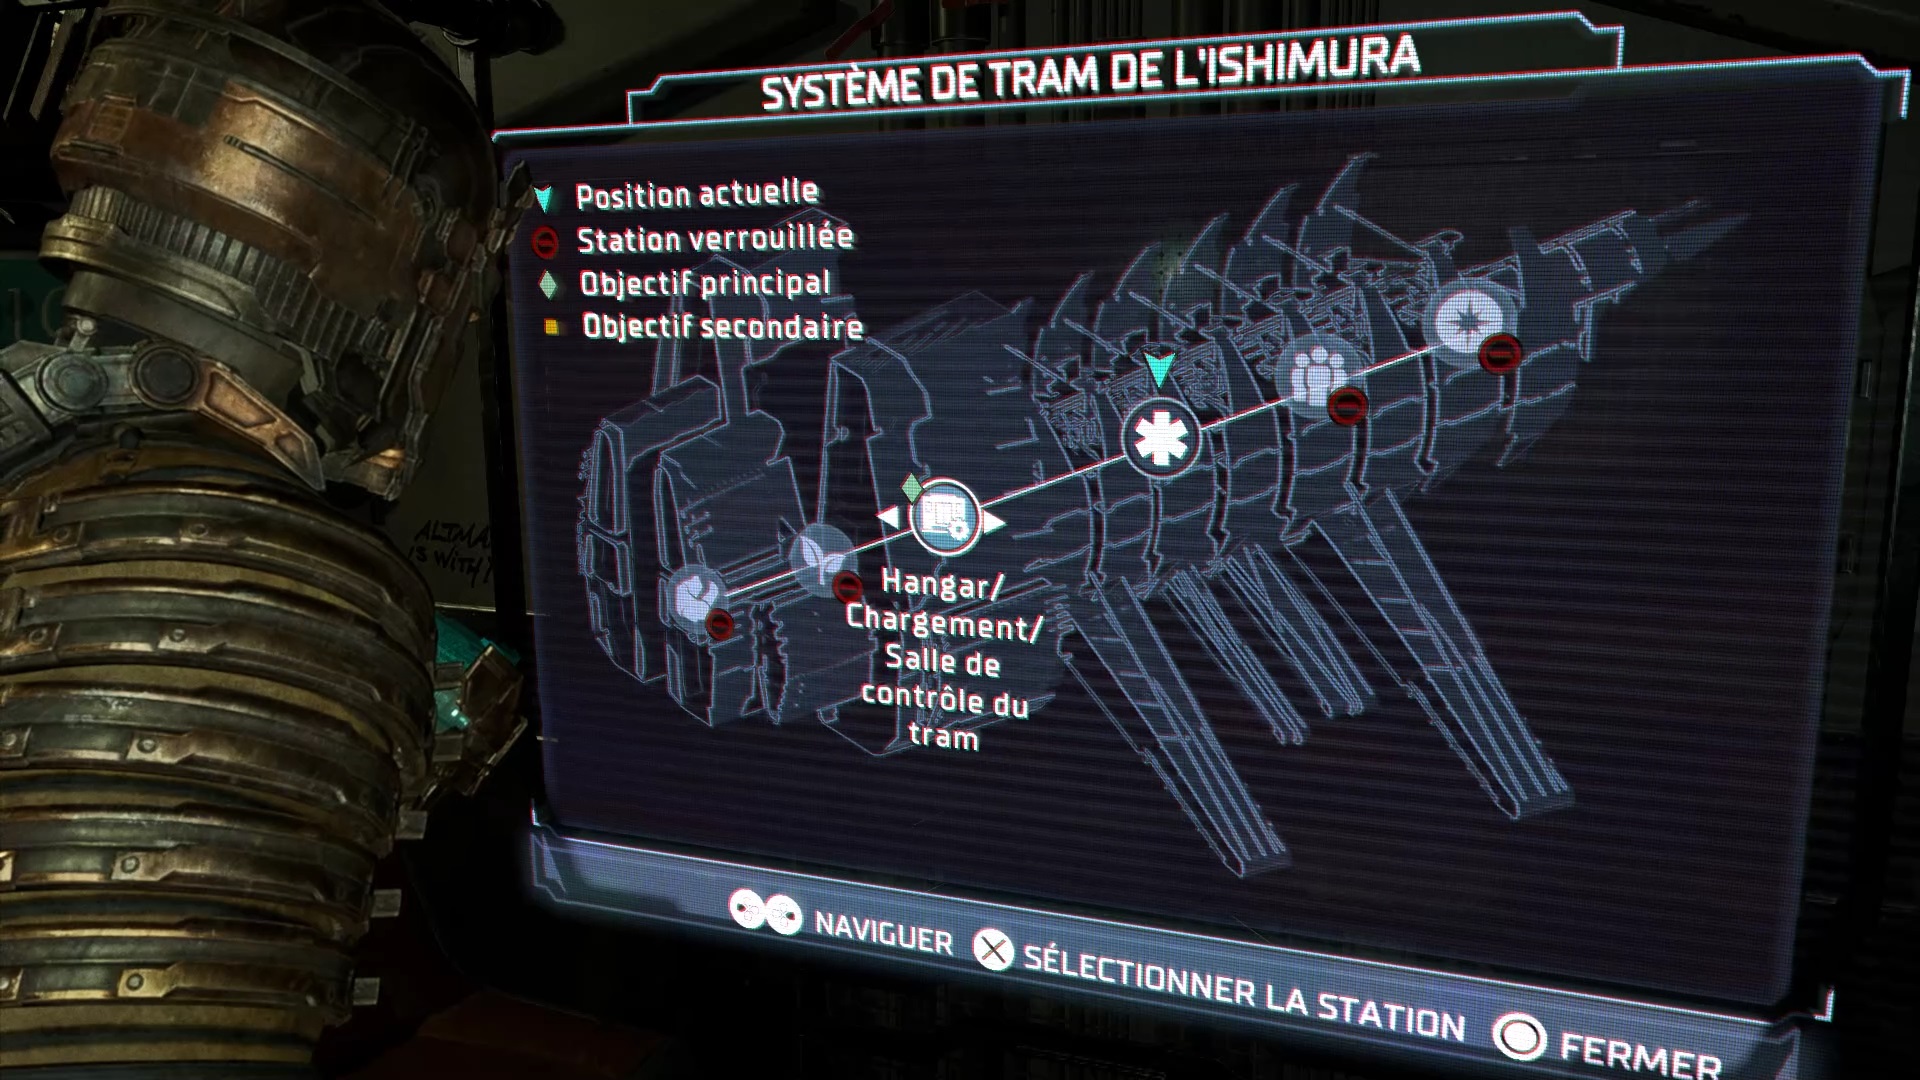
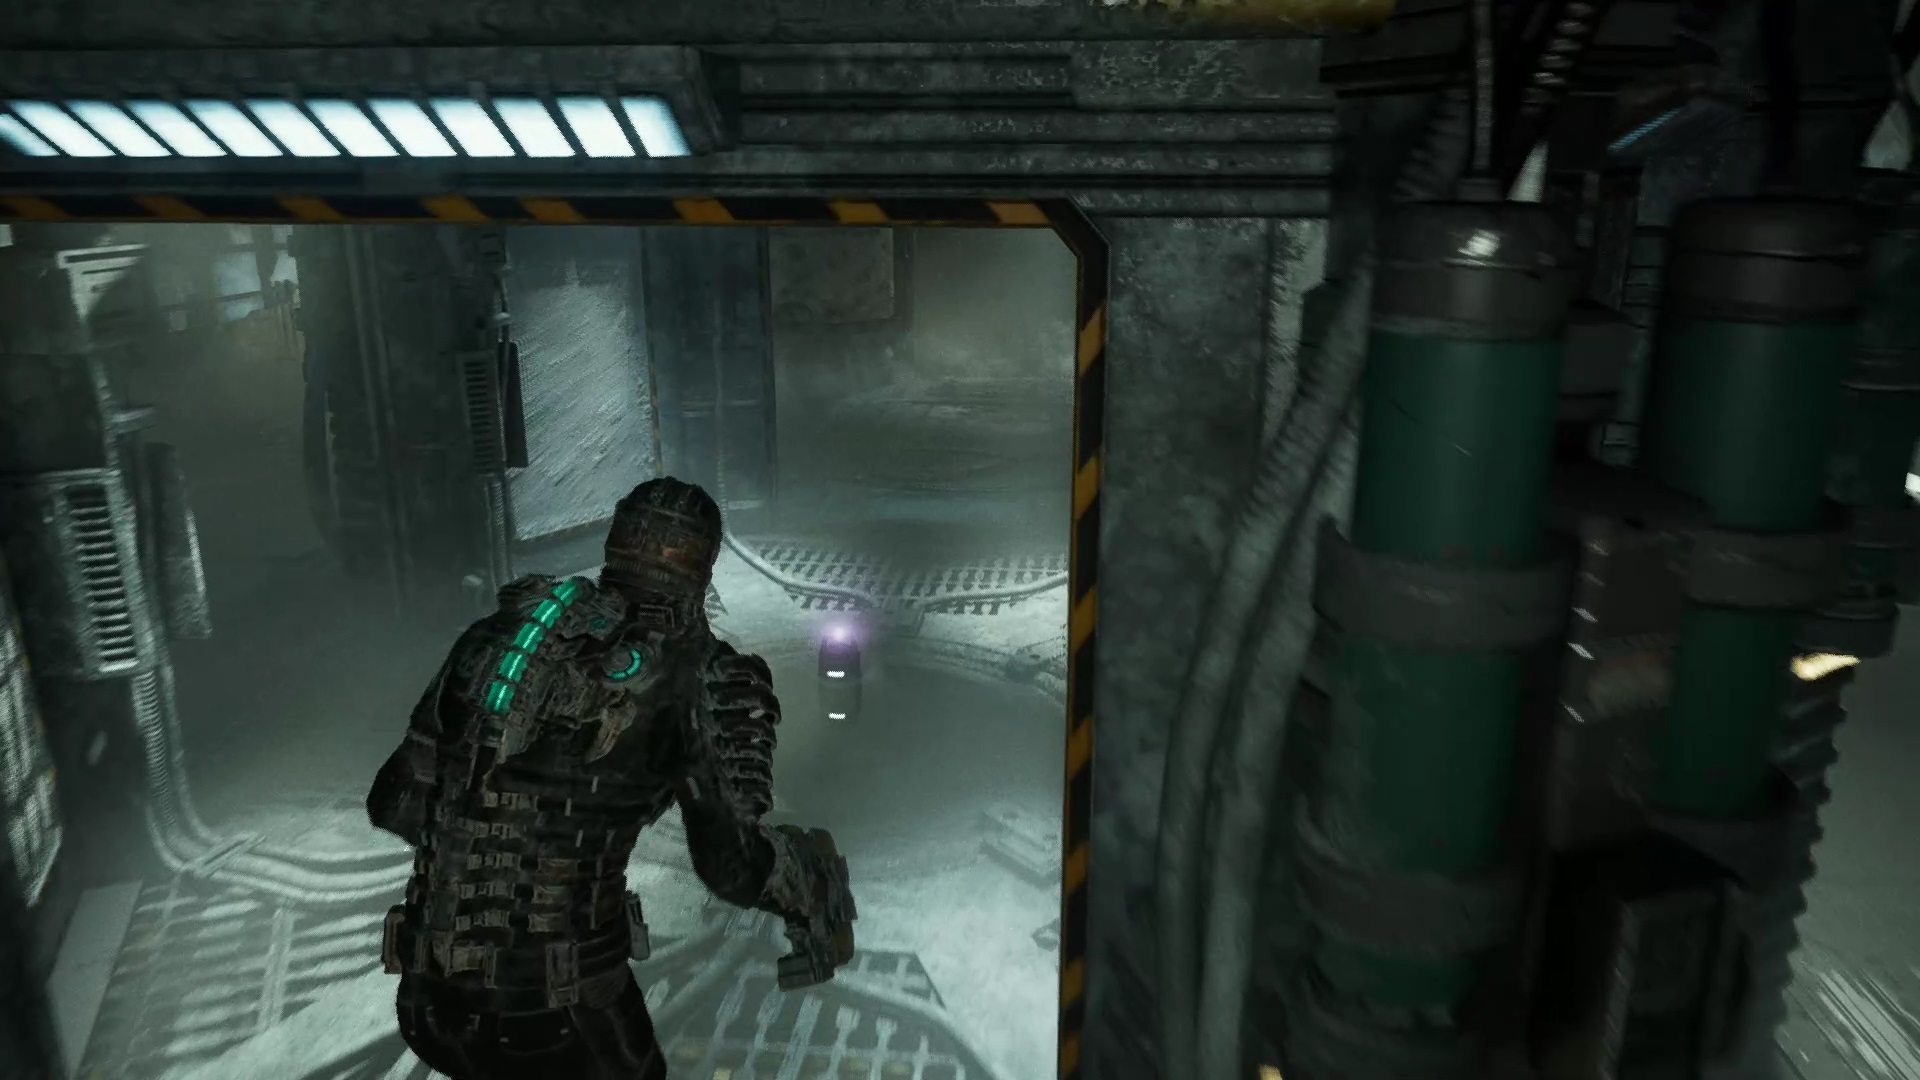
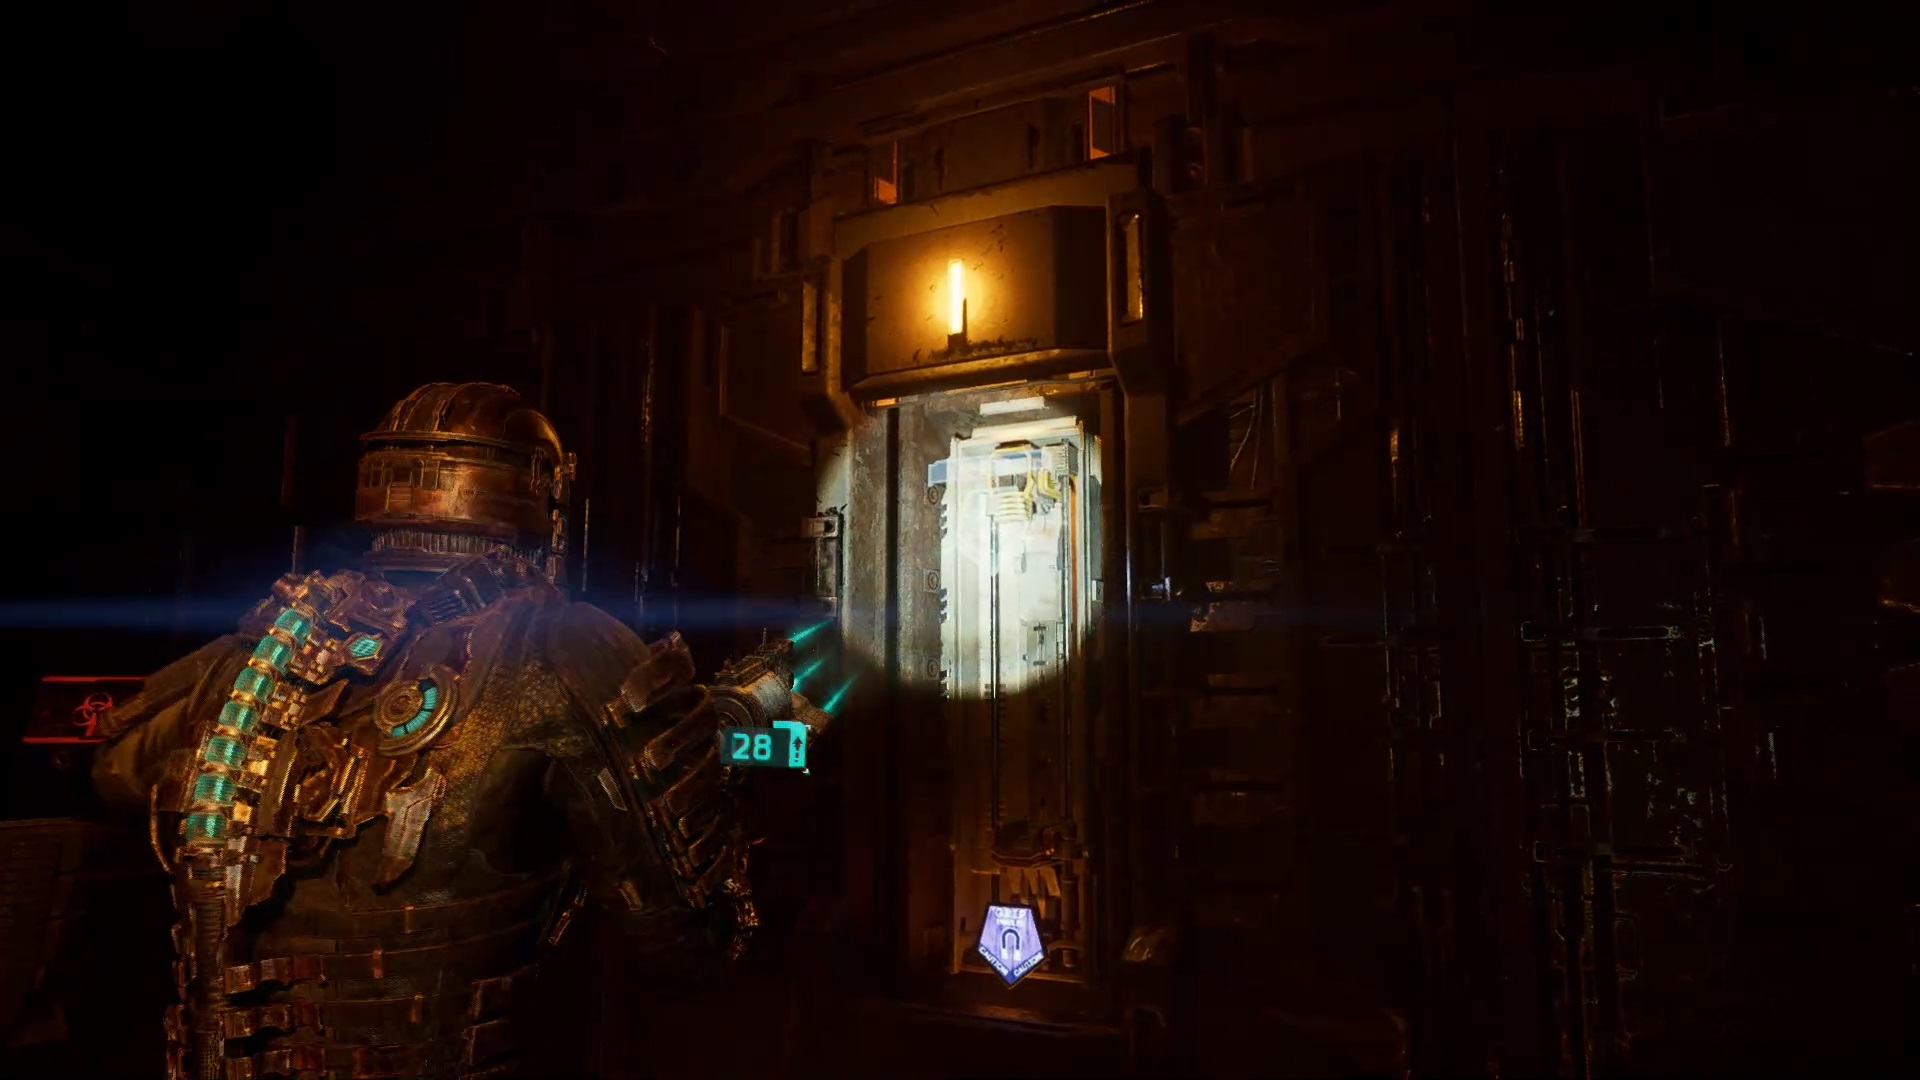
Go down the slope and collect the stasis module near the faulty door. Use stasis on this one and move on. Go to the loading area. Open the door using the gateway screen. Activate the first clamp from the left on the tram. Necromorphs are coming, eliminate them.

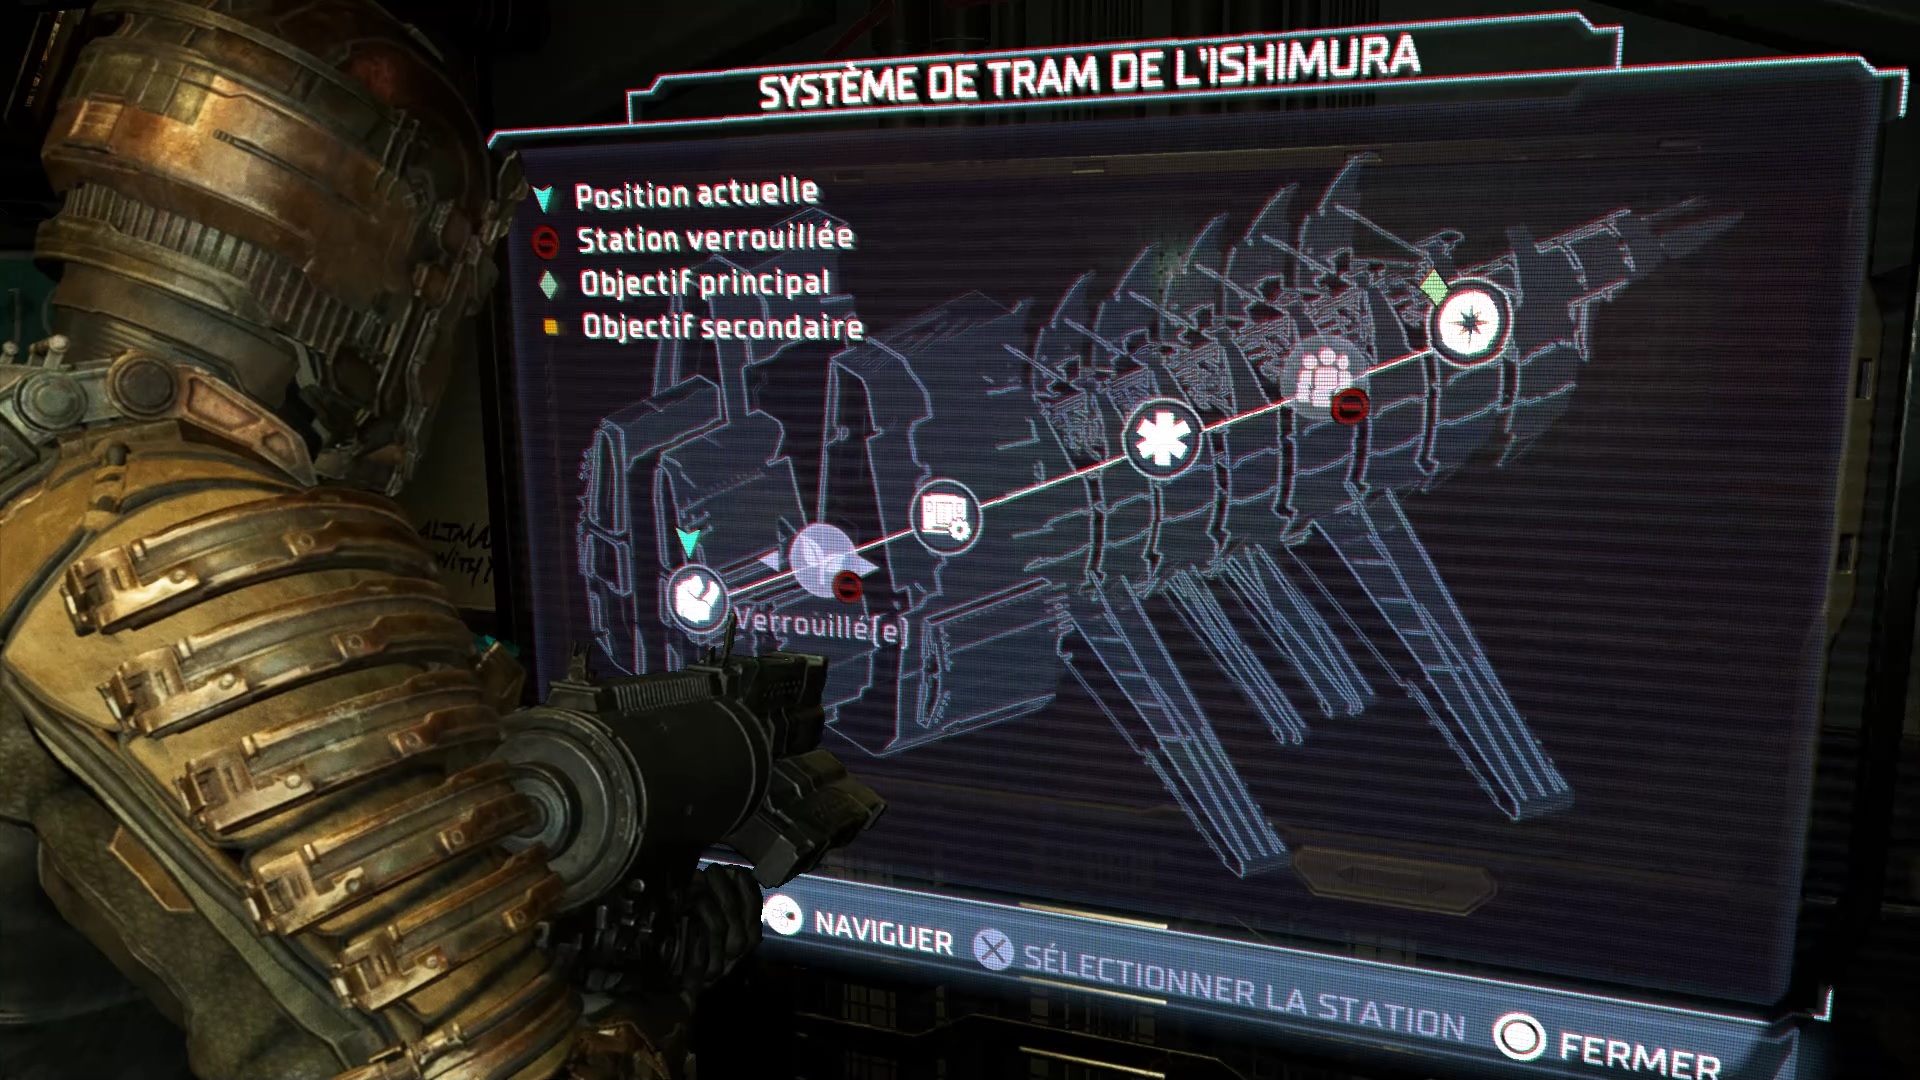
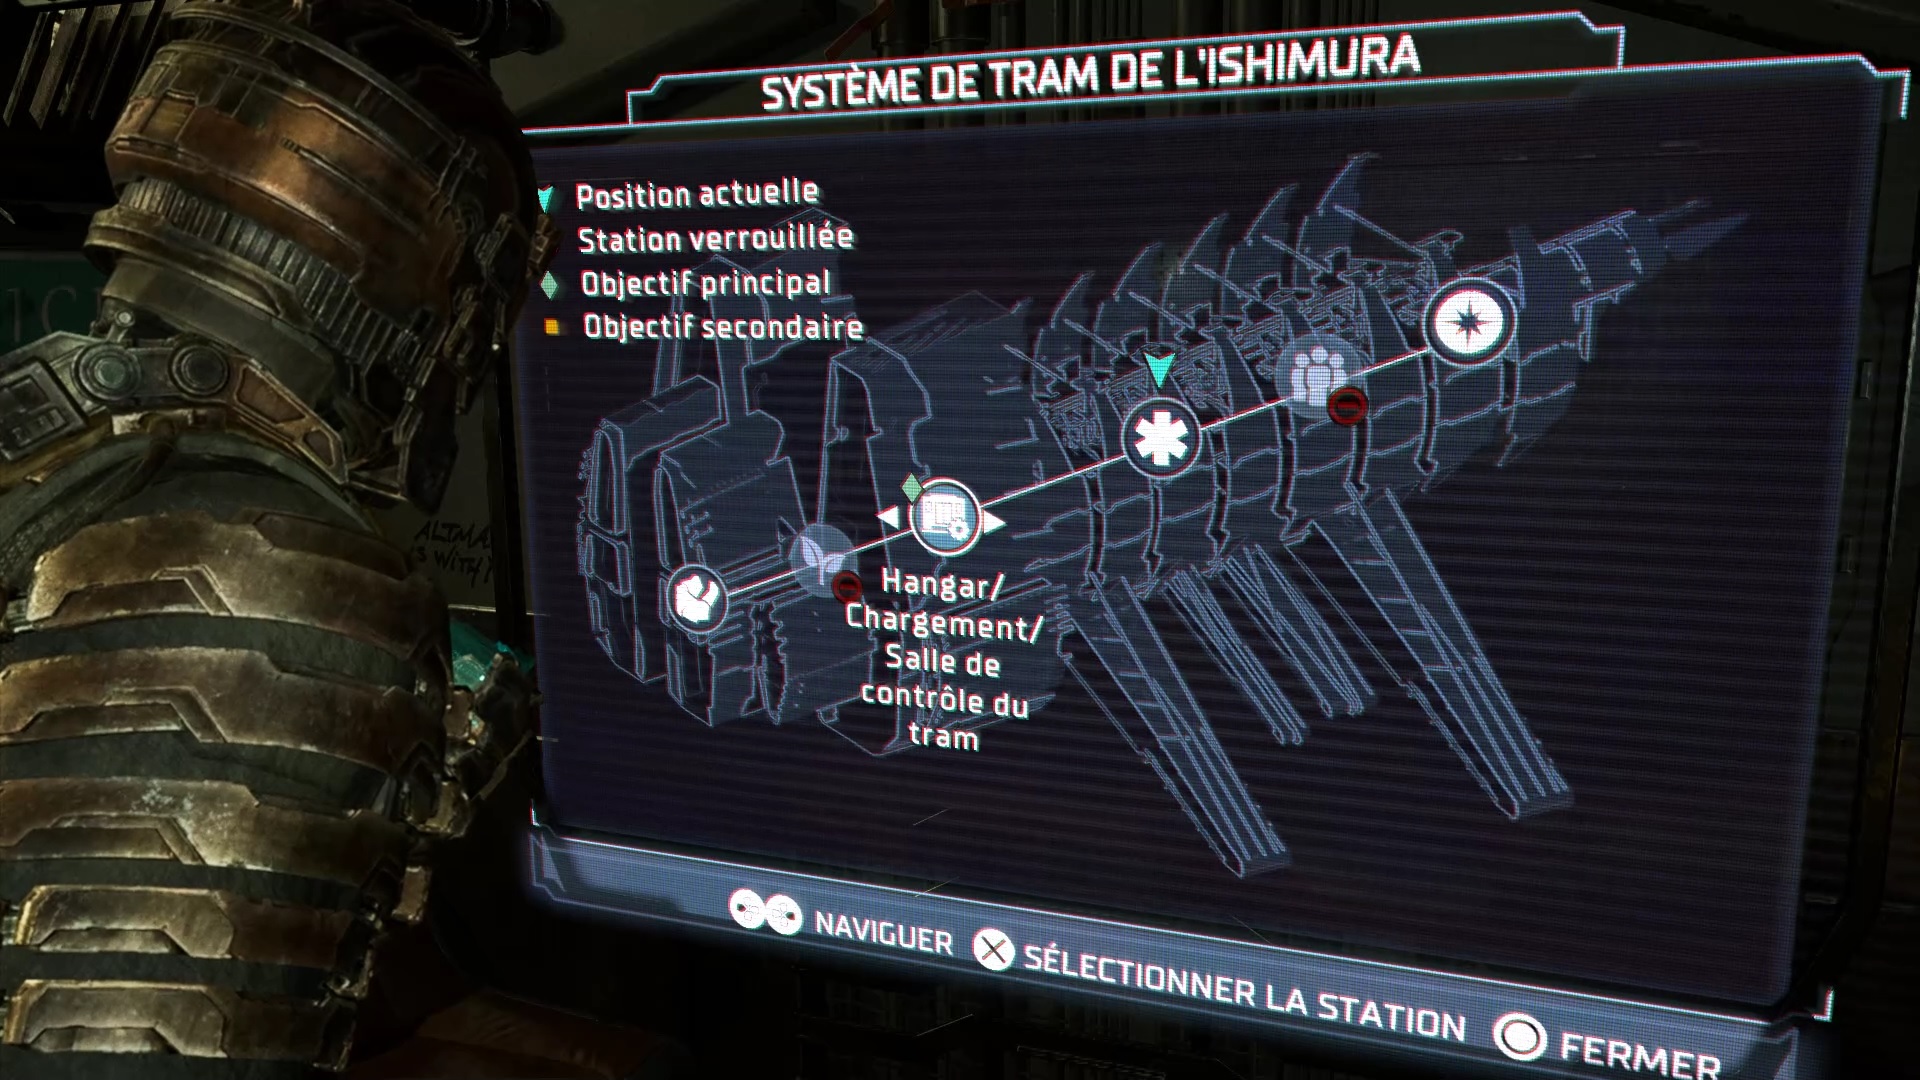
Activate the second clamp on the right and quickly use stasis on it to freeze it. Then launch the repair on the gateway’s main screen. The Tram is now repaired, you need a hard drive to restart the system. Go back to the control room to find access to the maintenance room through the goods hall.
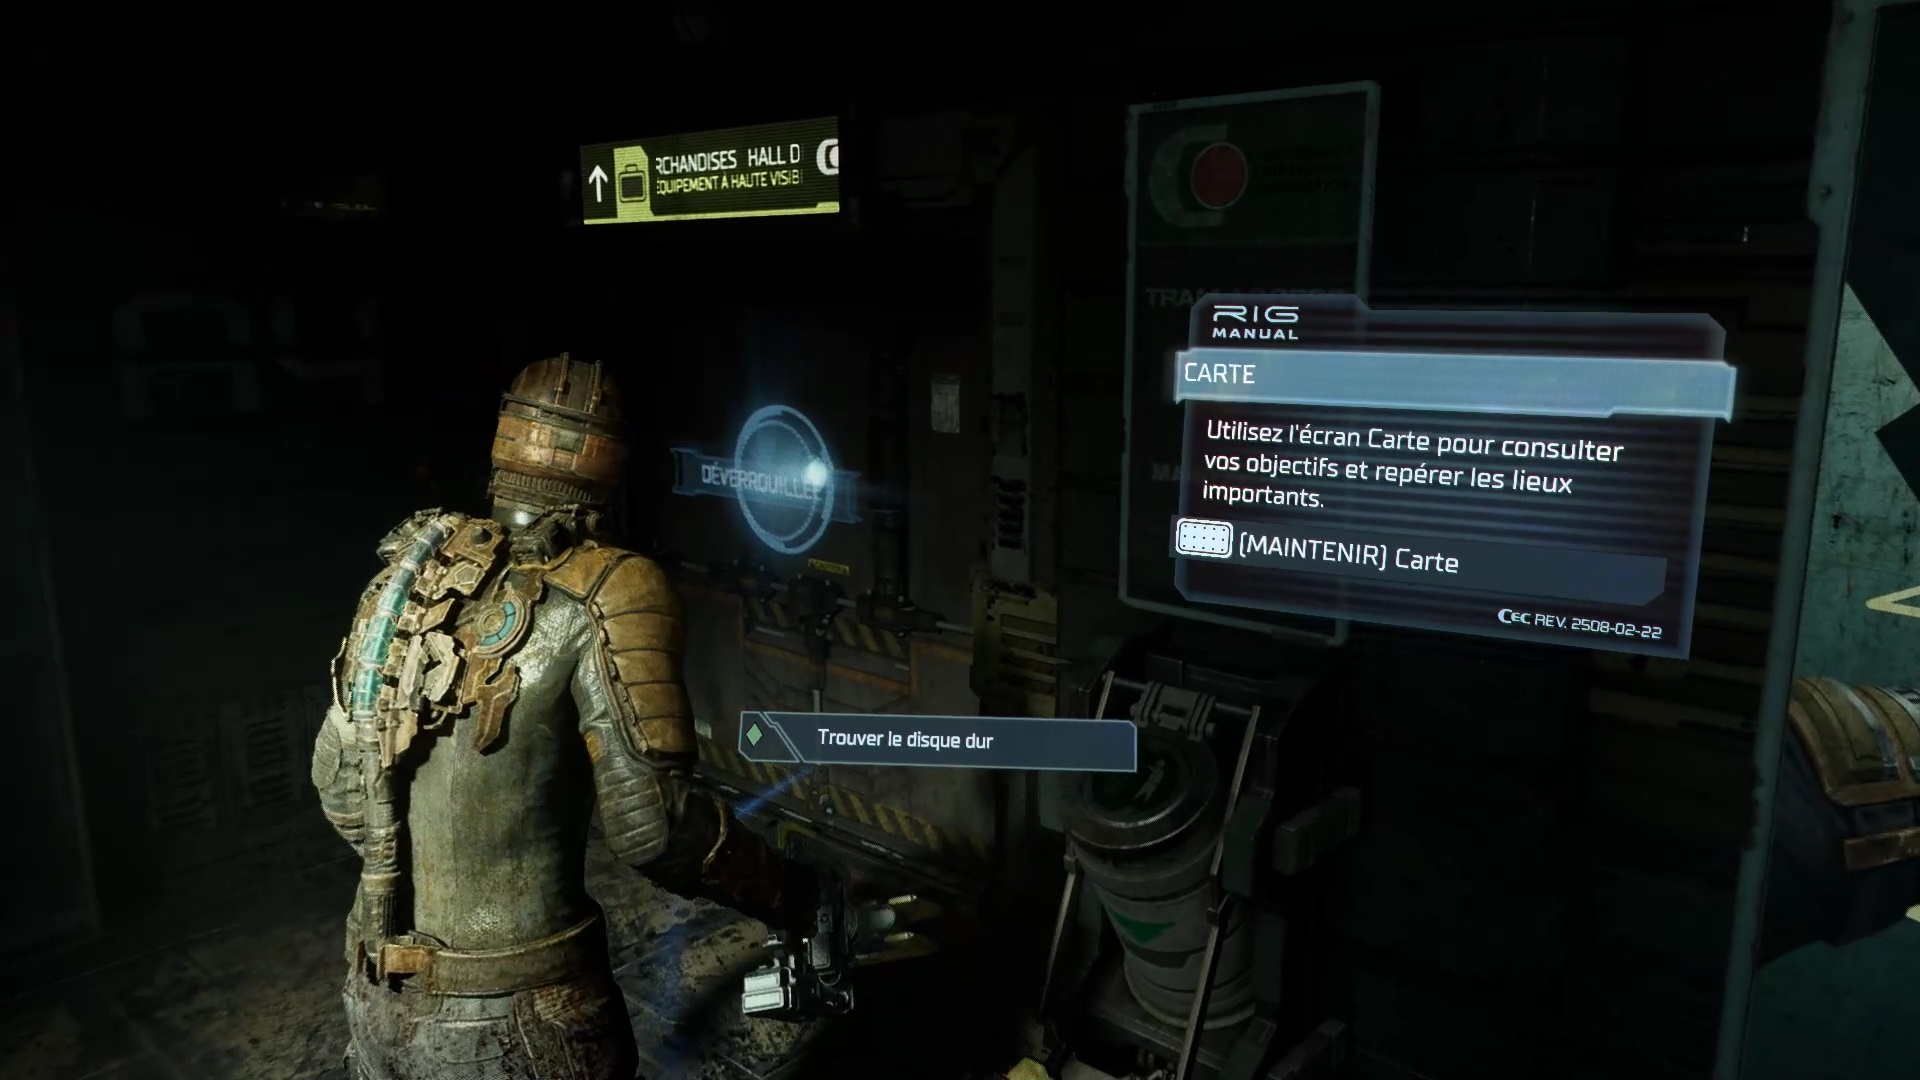
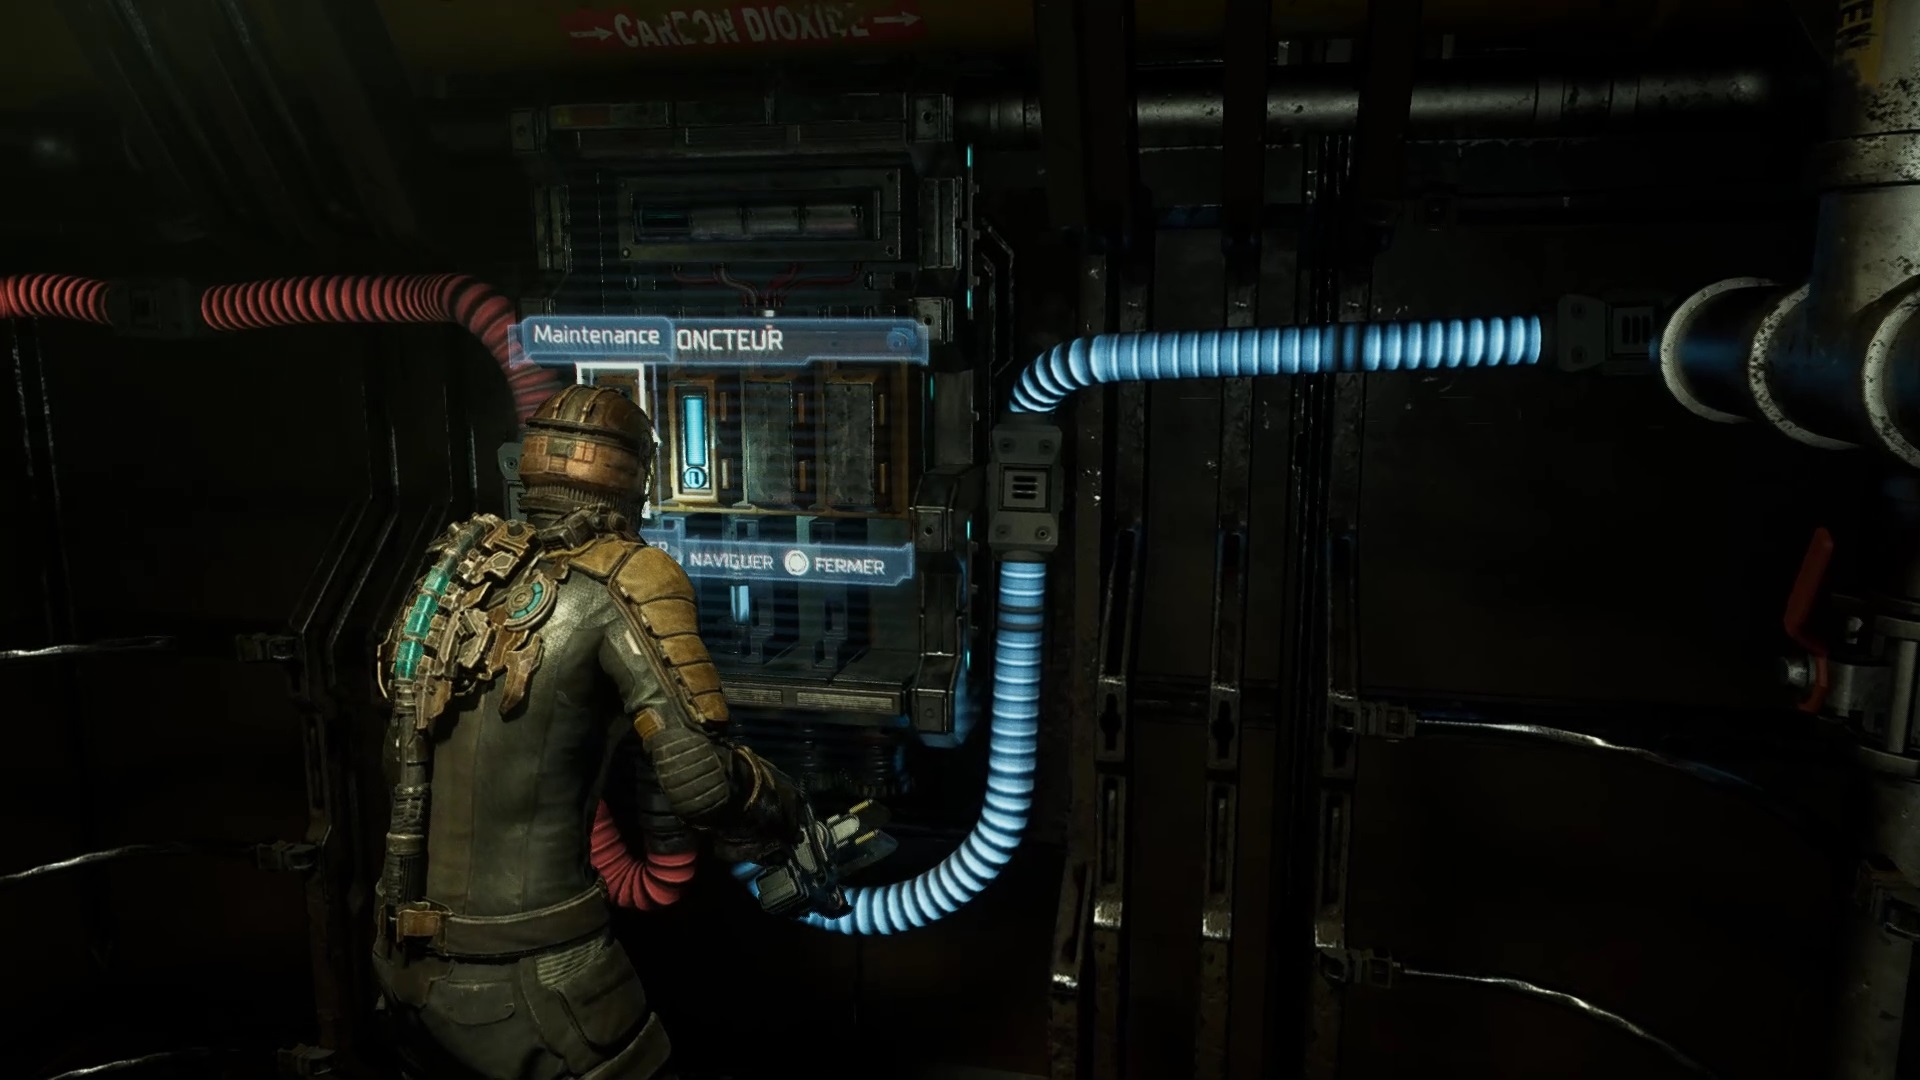
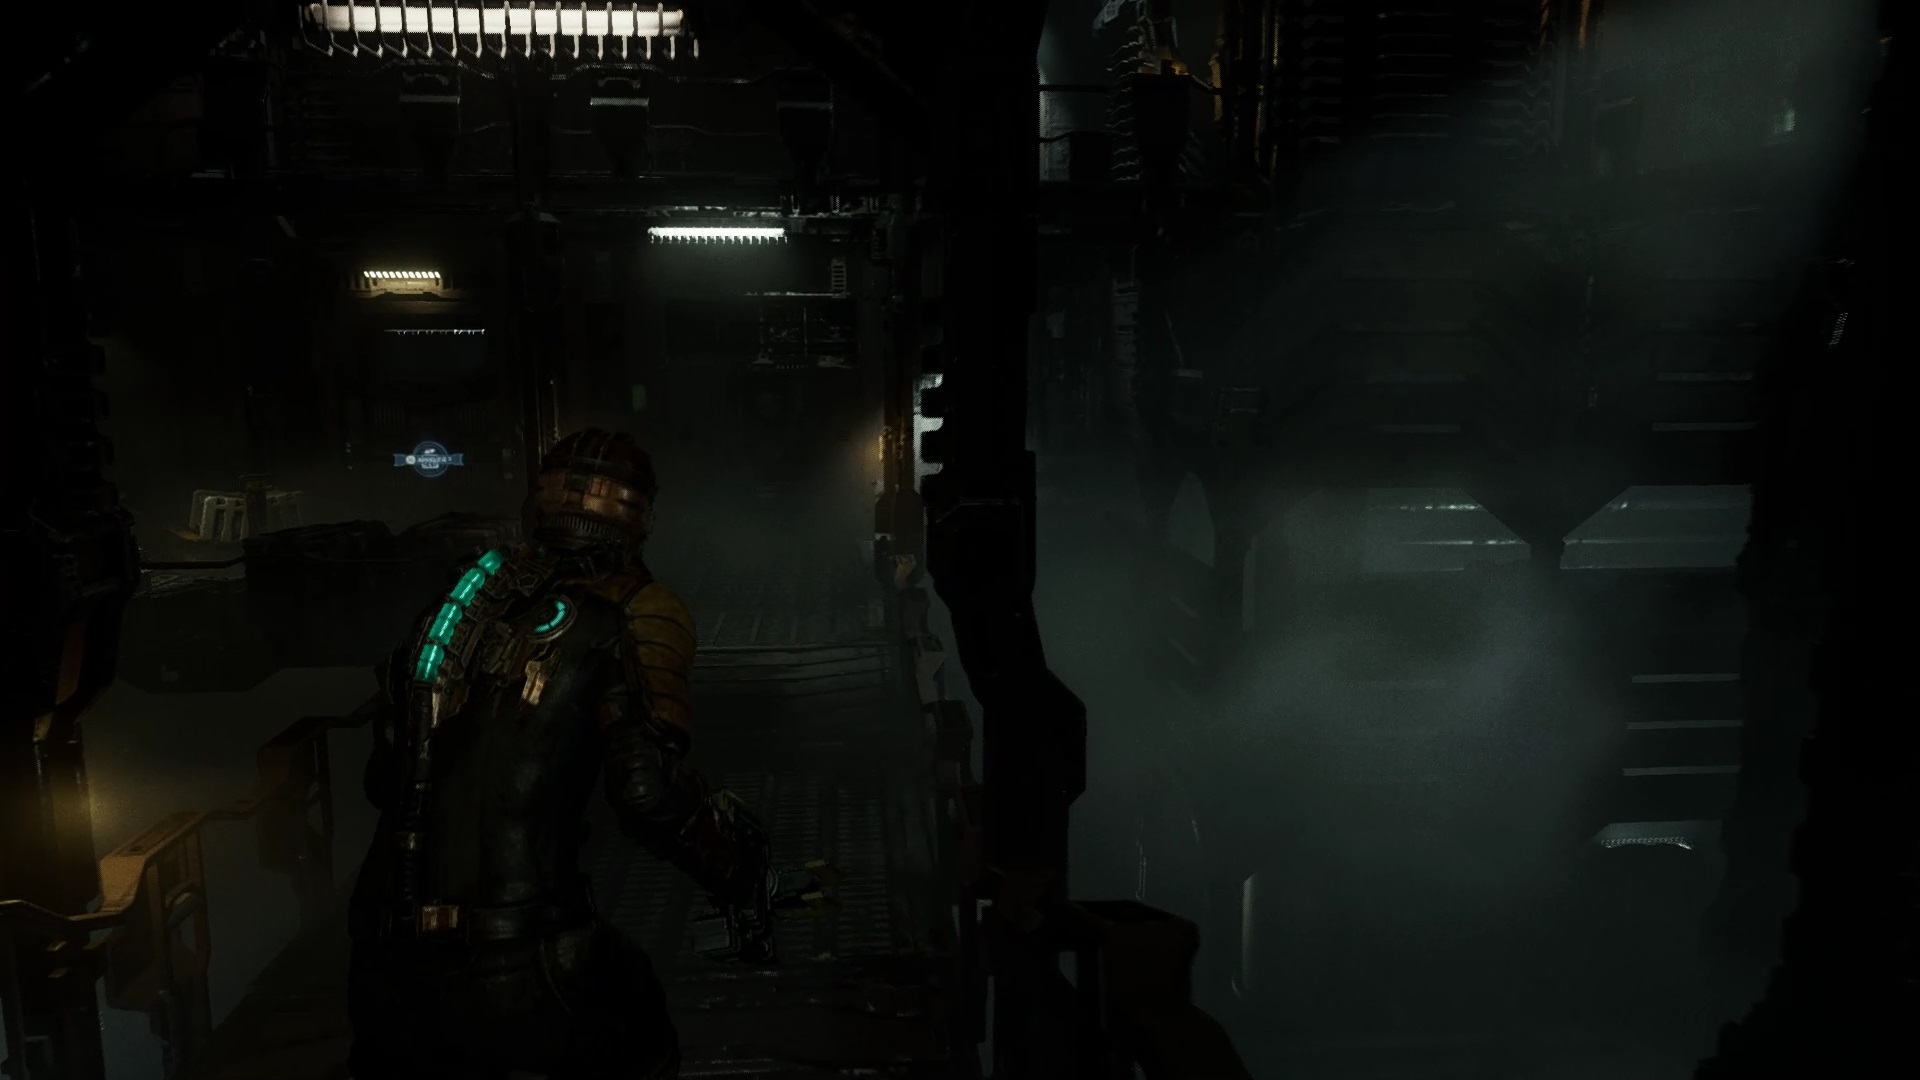
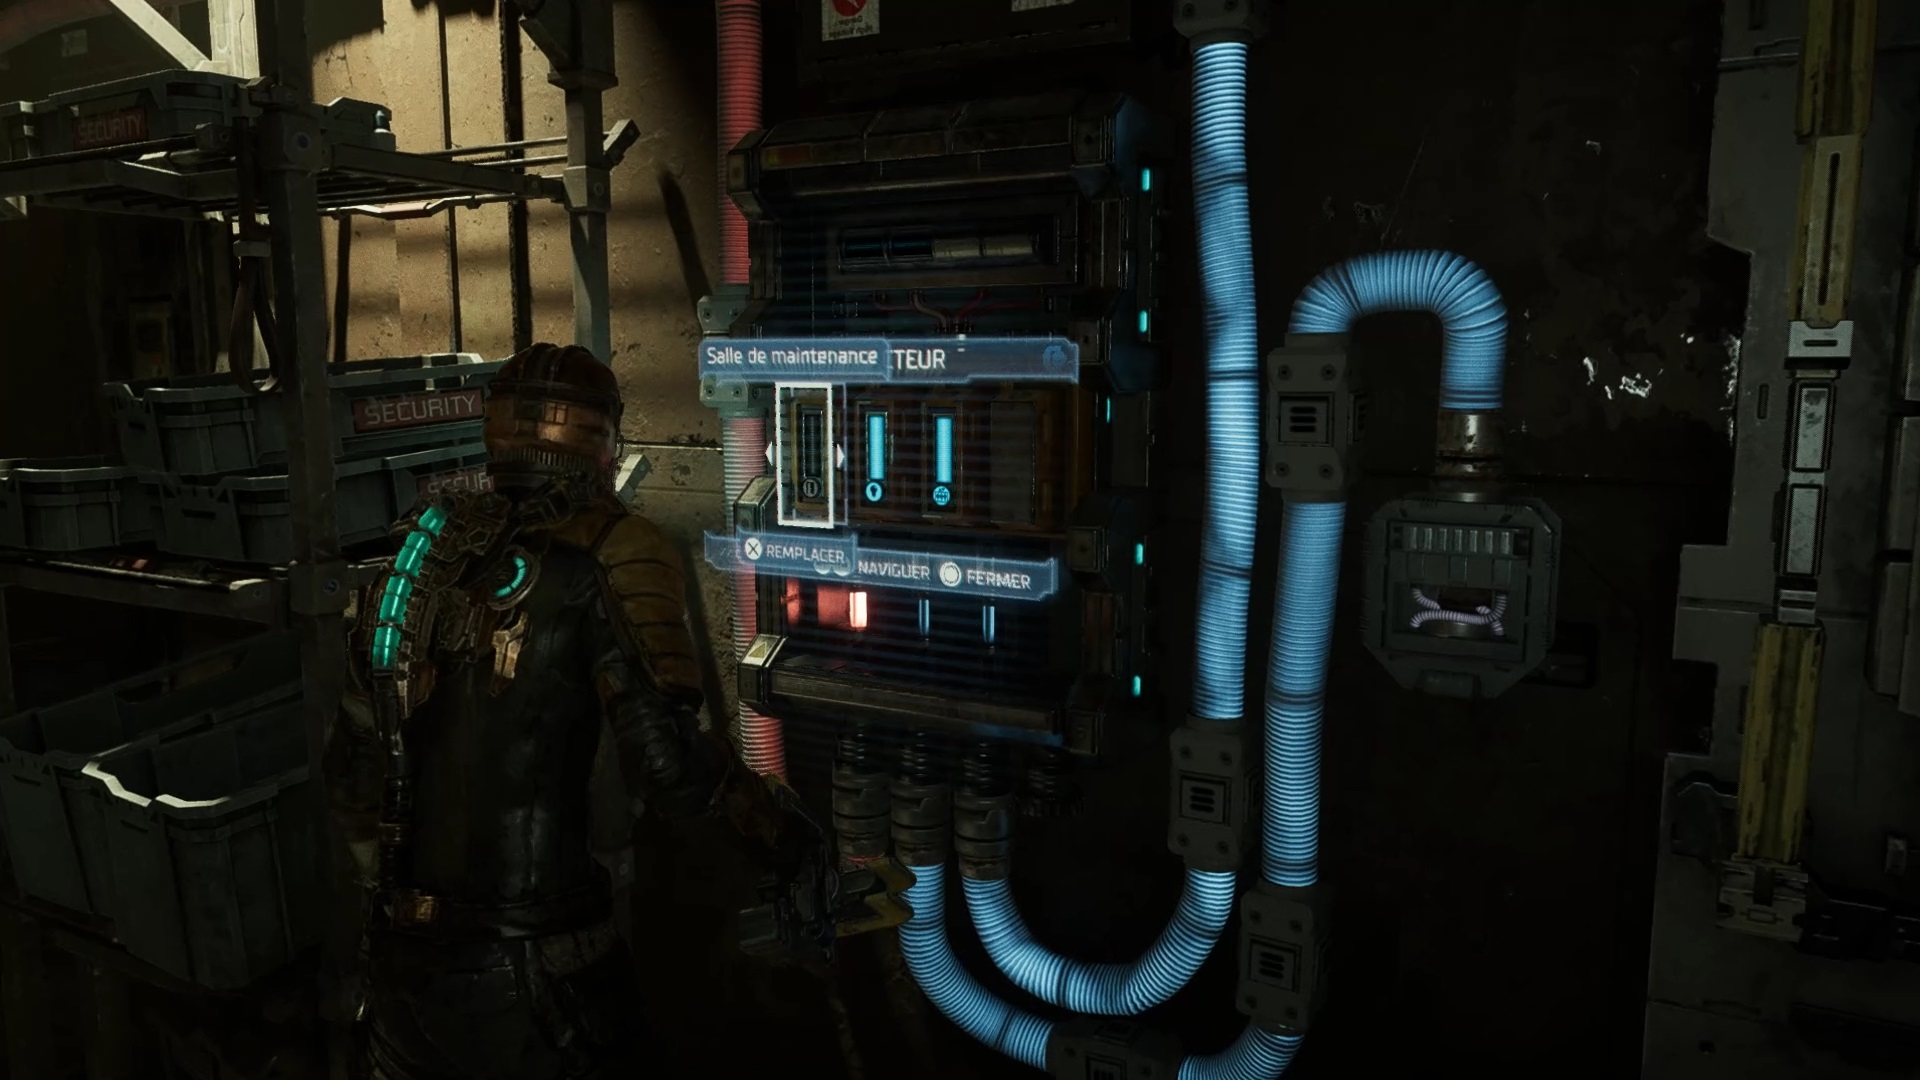
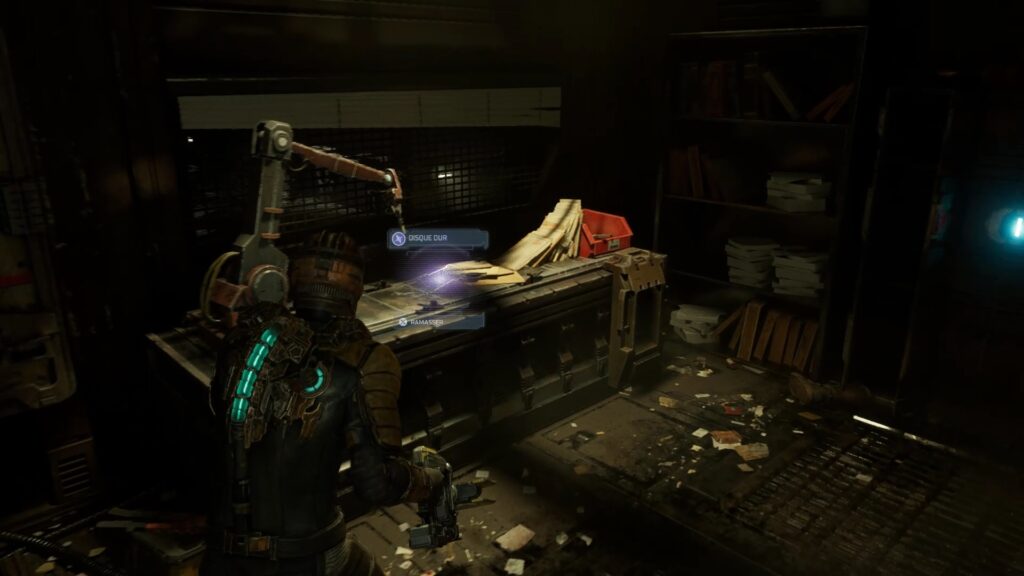
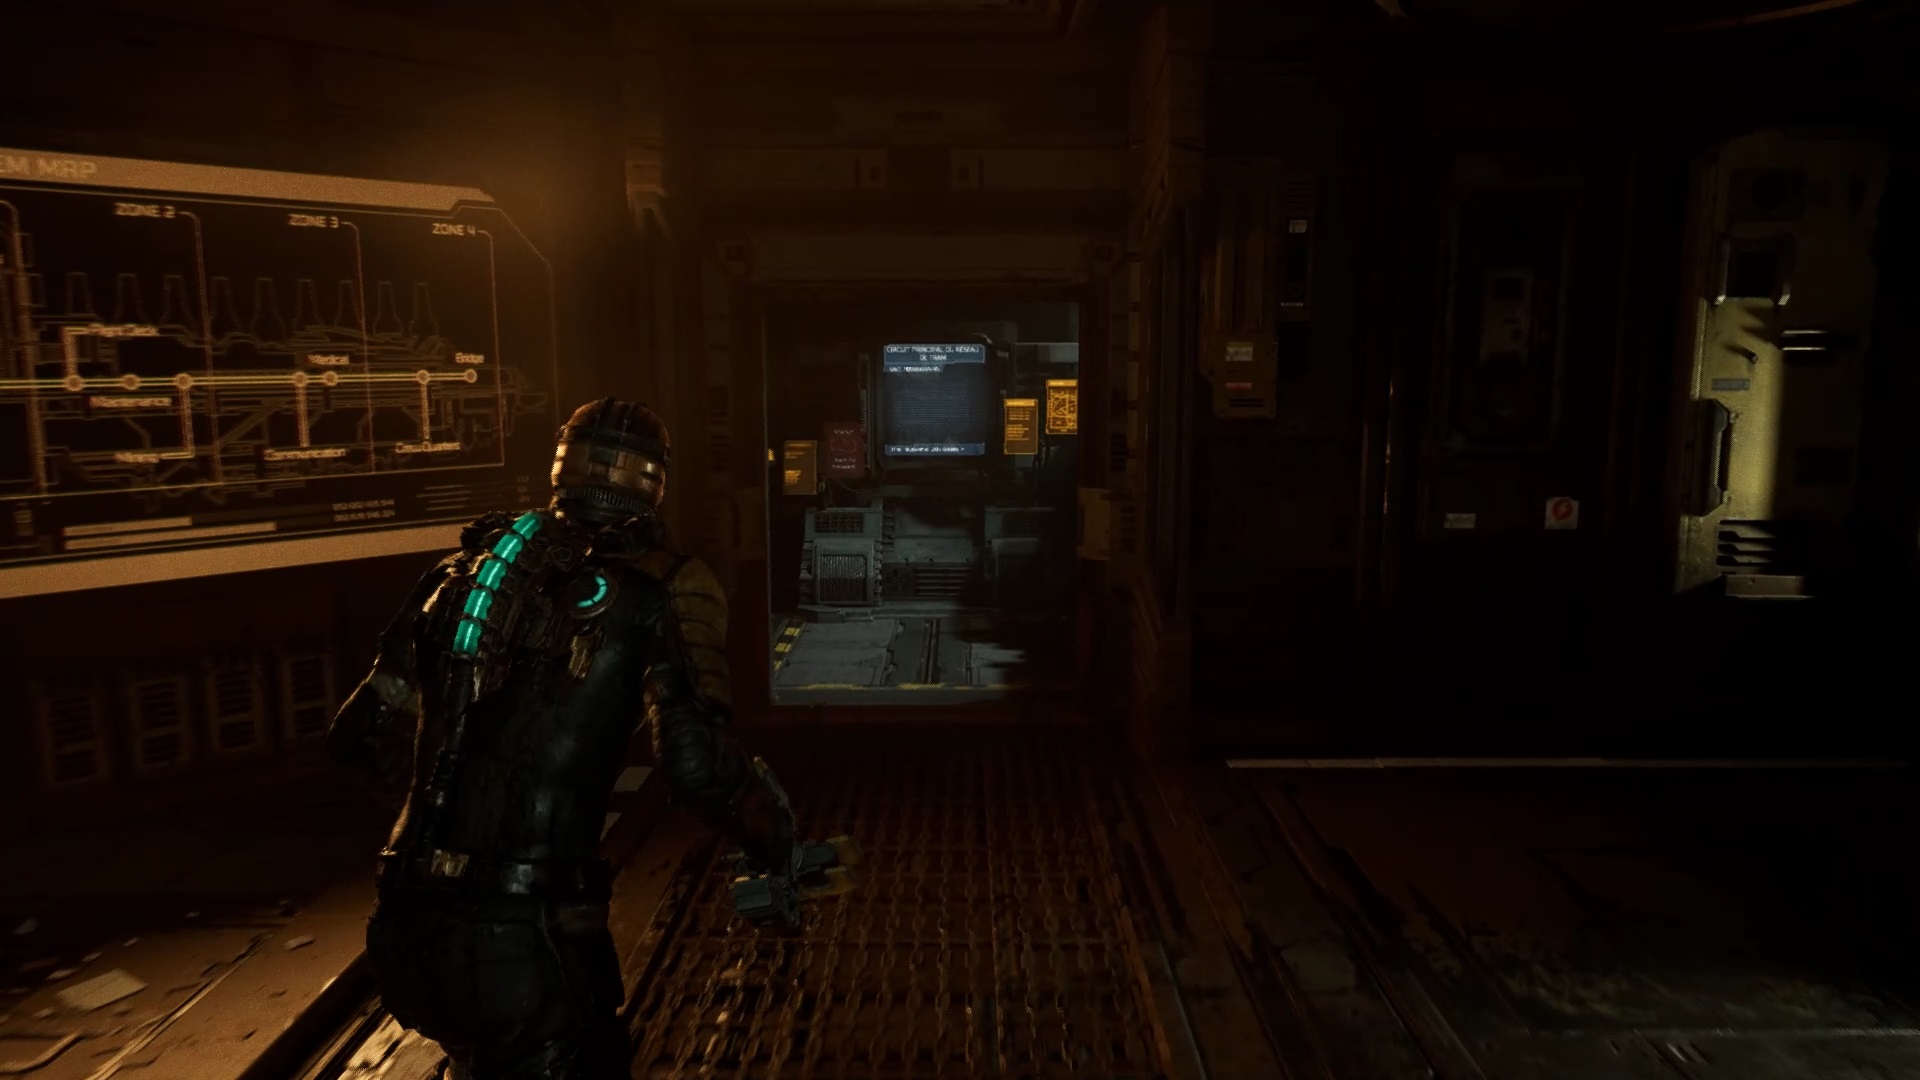
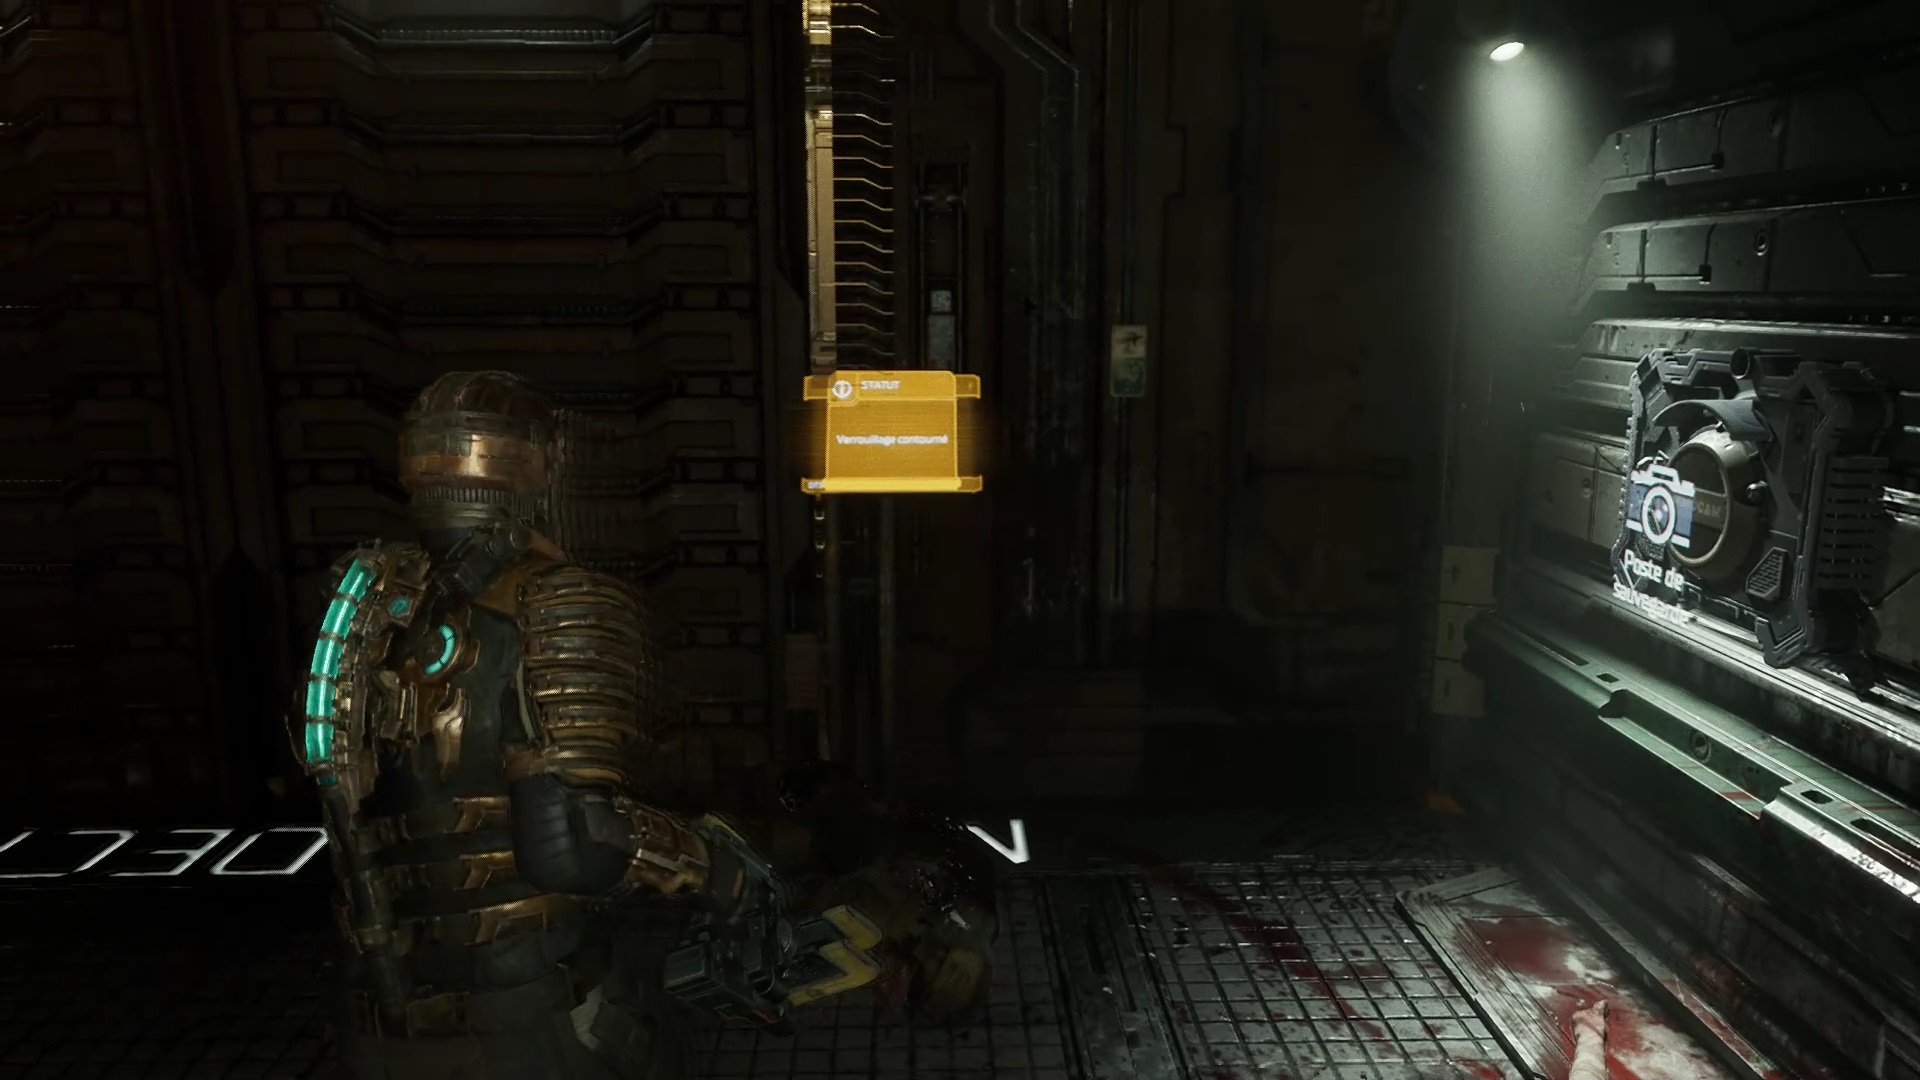
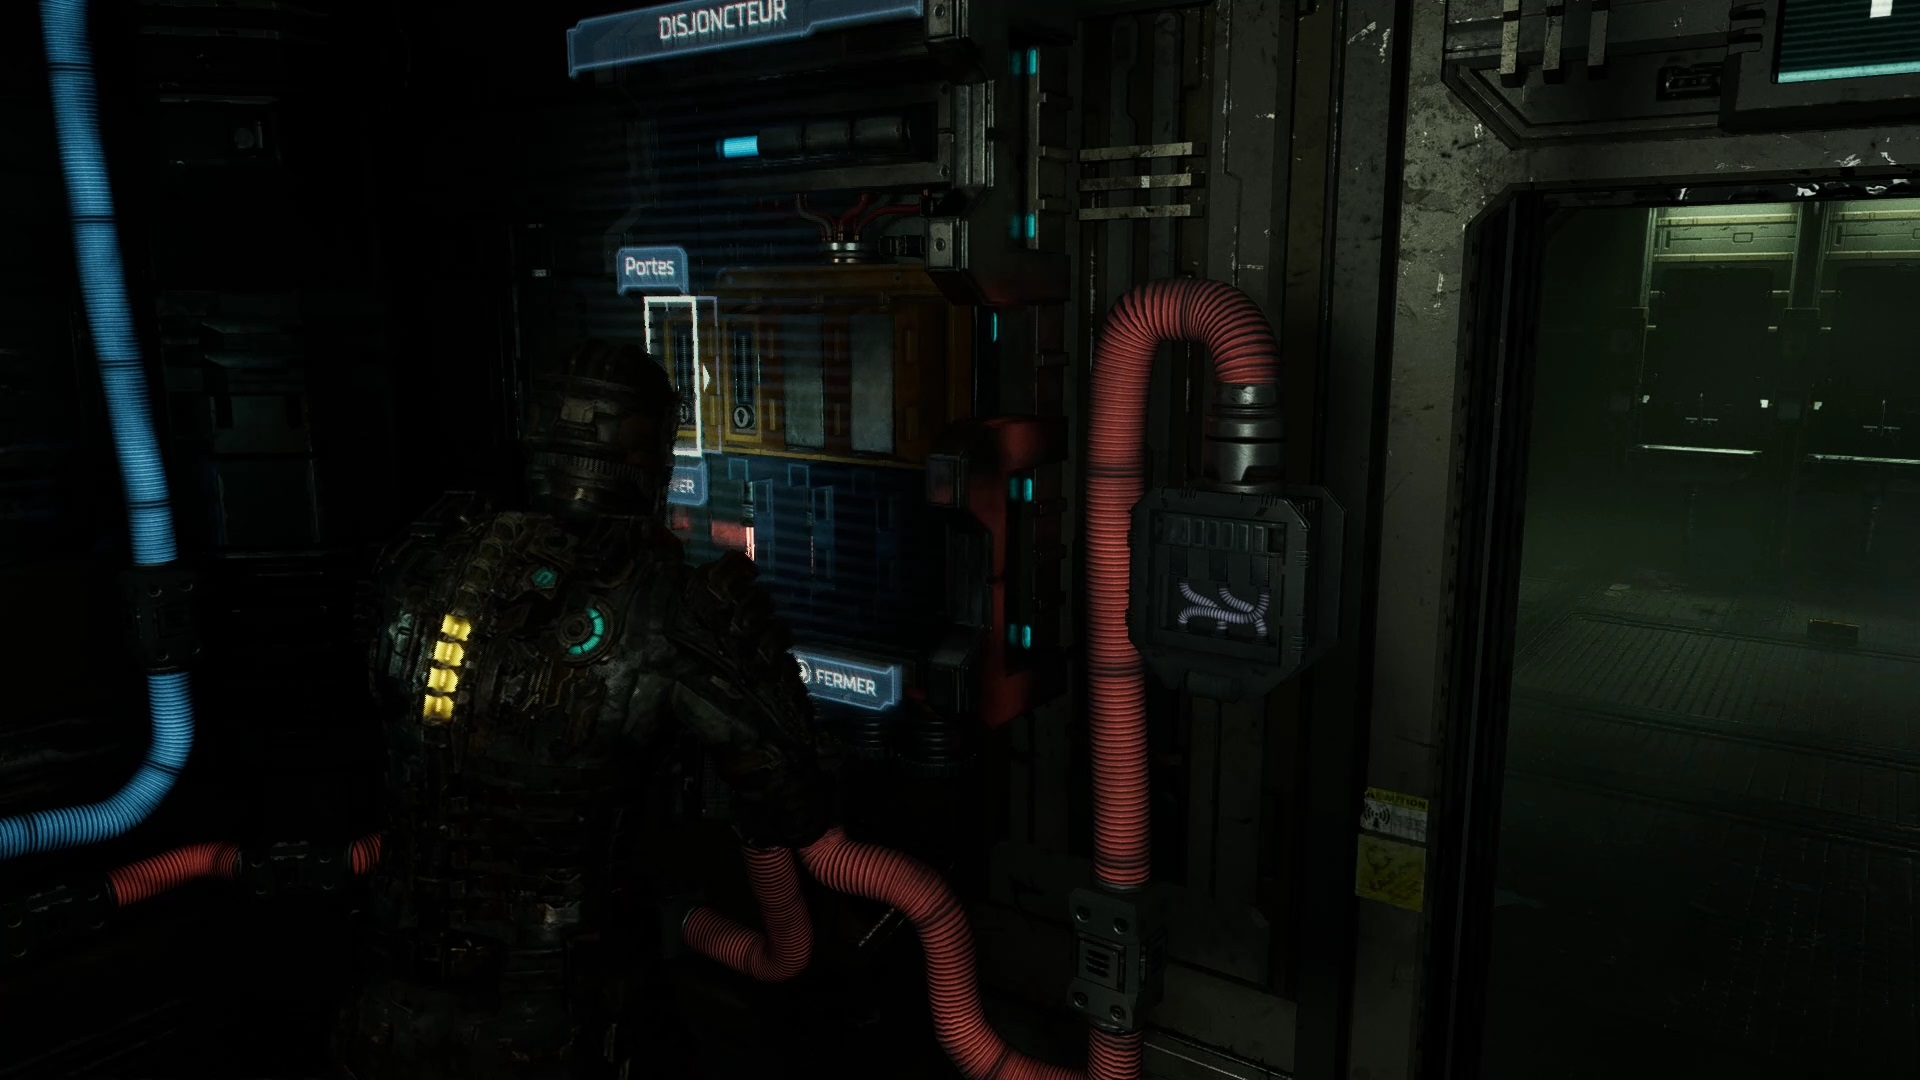
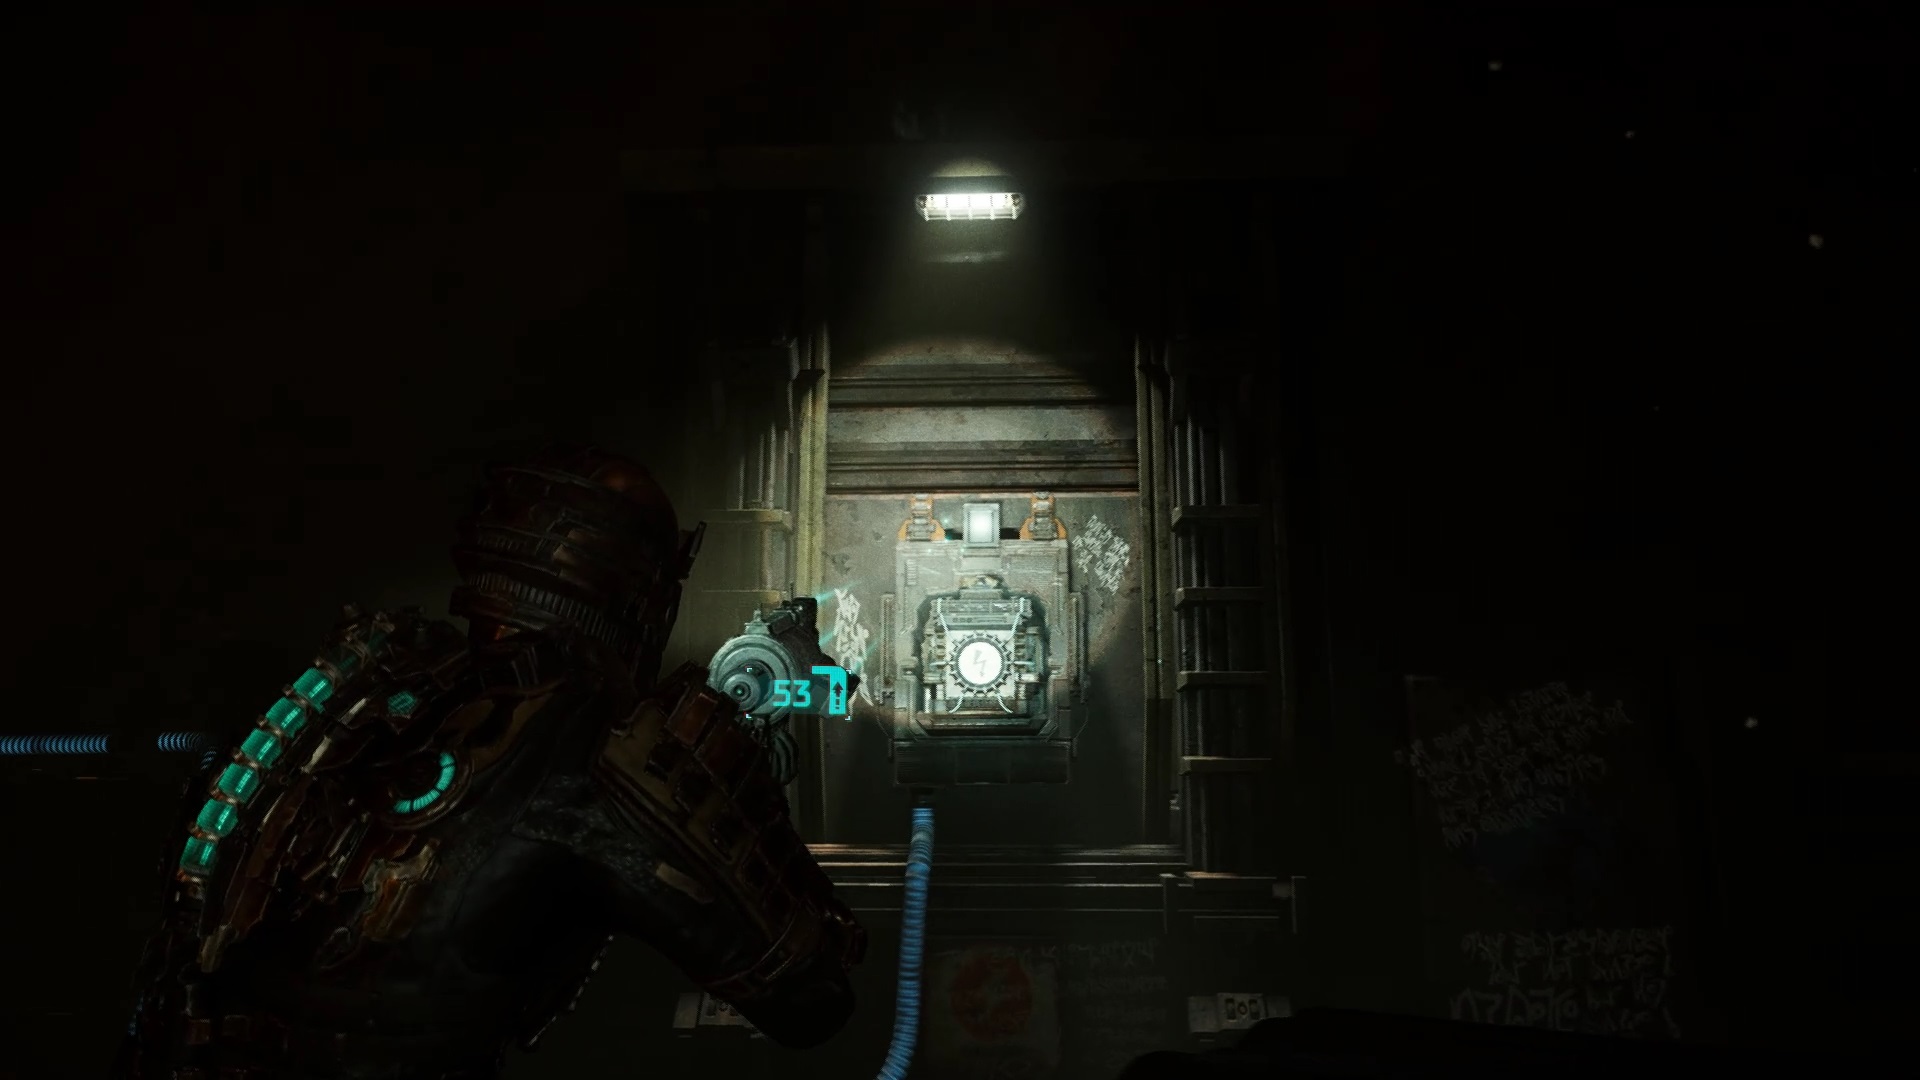
Bypass the power from the circuit breaker on the maintenance door at the end of the hall. Enter maintenance and clean up the enemies present. Once the way clear, use your compass to find an elevator. Upstairs, use the circuit breaker to transfer power to the maintenance room and the elevator. Go back down using the elevator and access the maintenance room. Recover the hard drive inside. Return to the control room, eliminating enemies along the way. Install the hard disk to repair the tram.

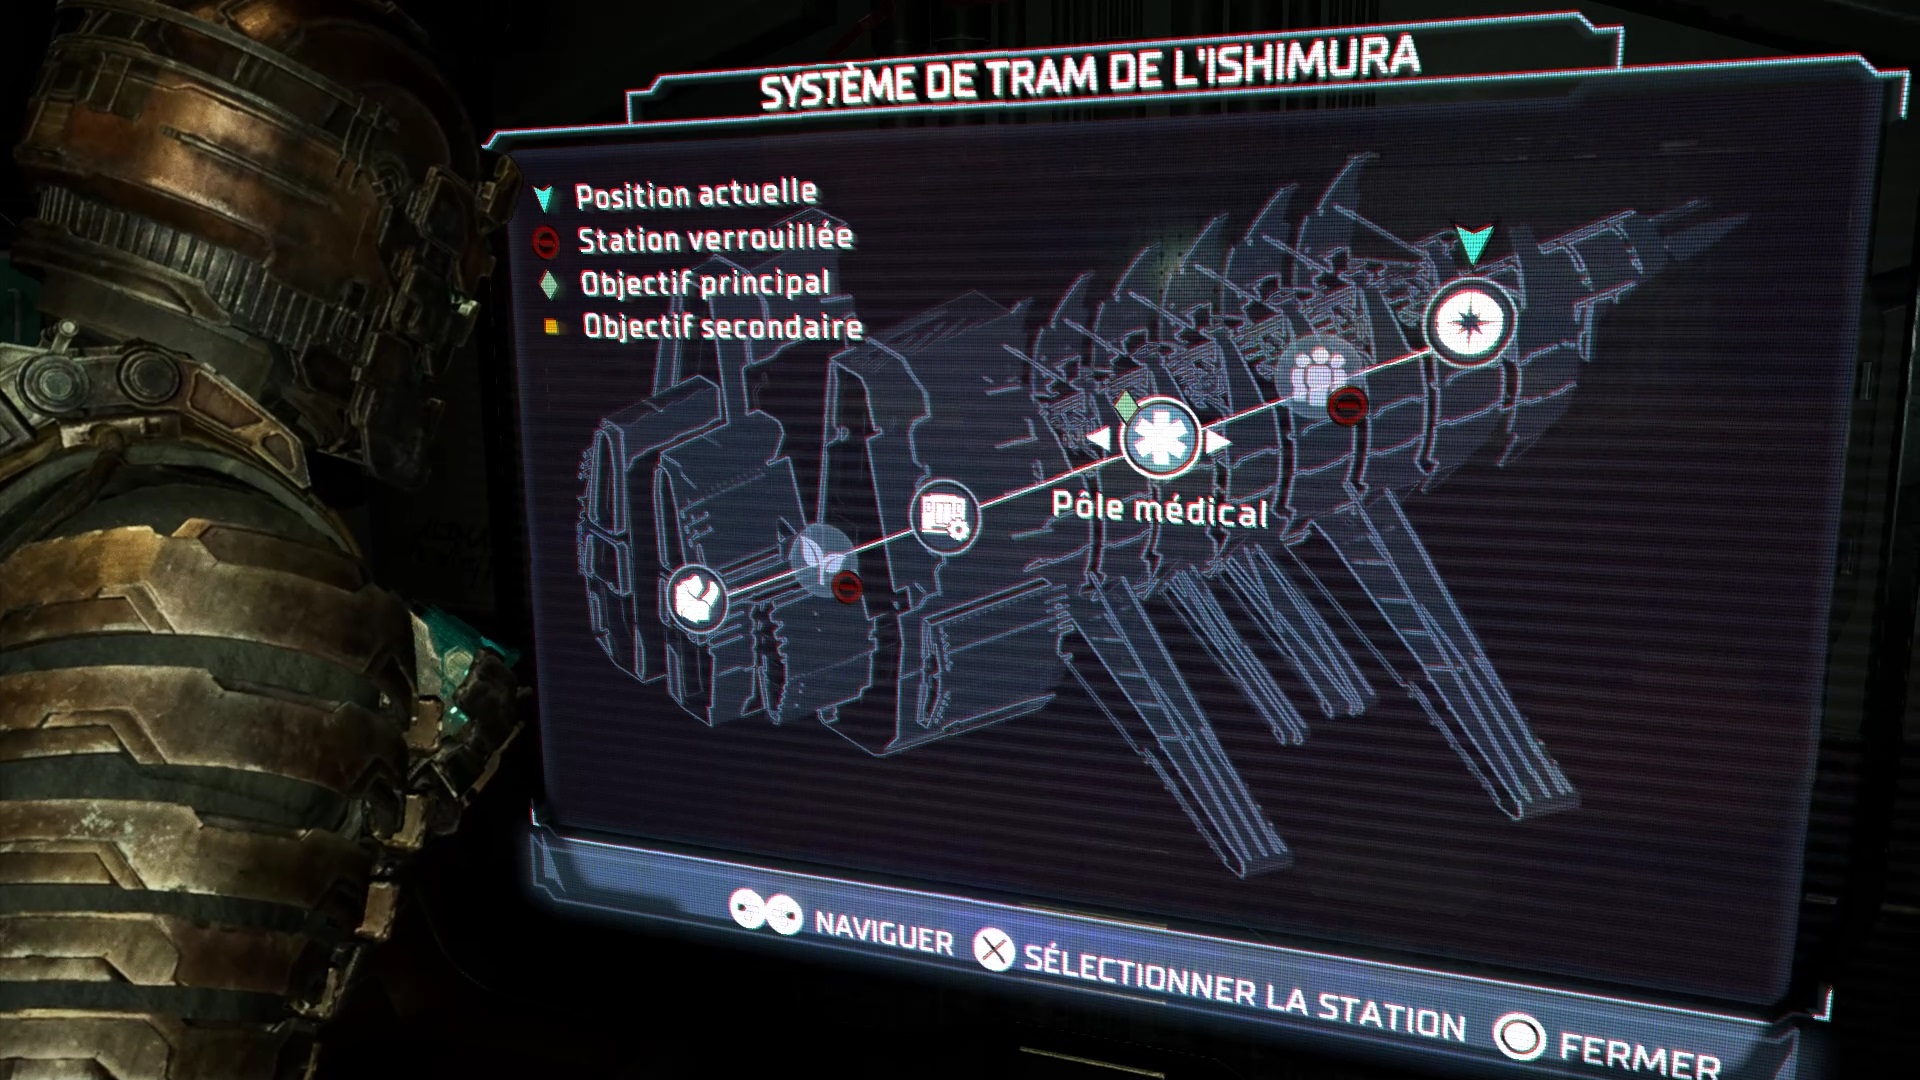
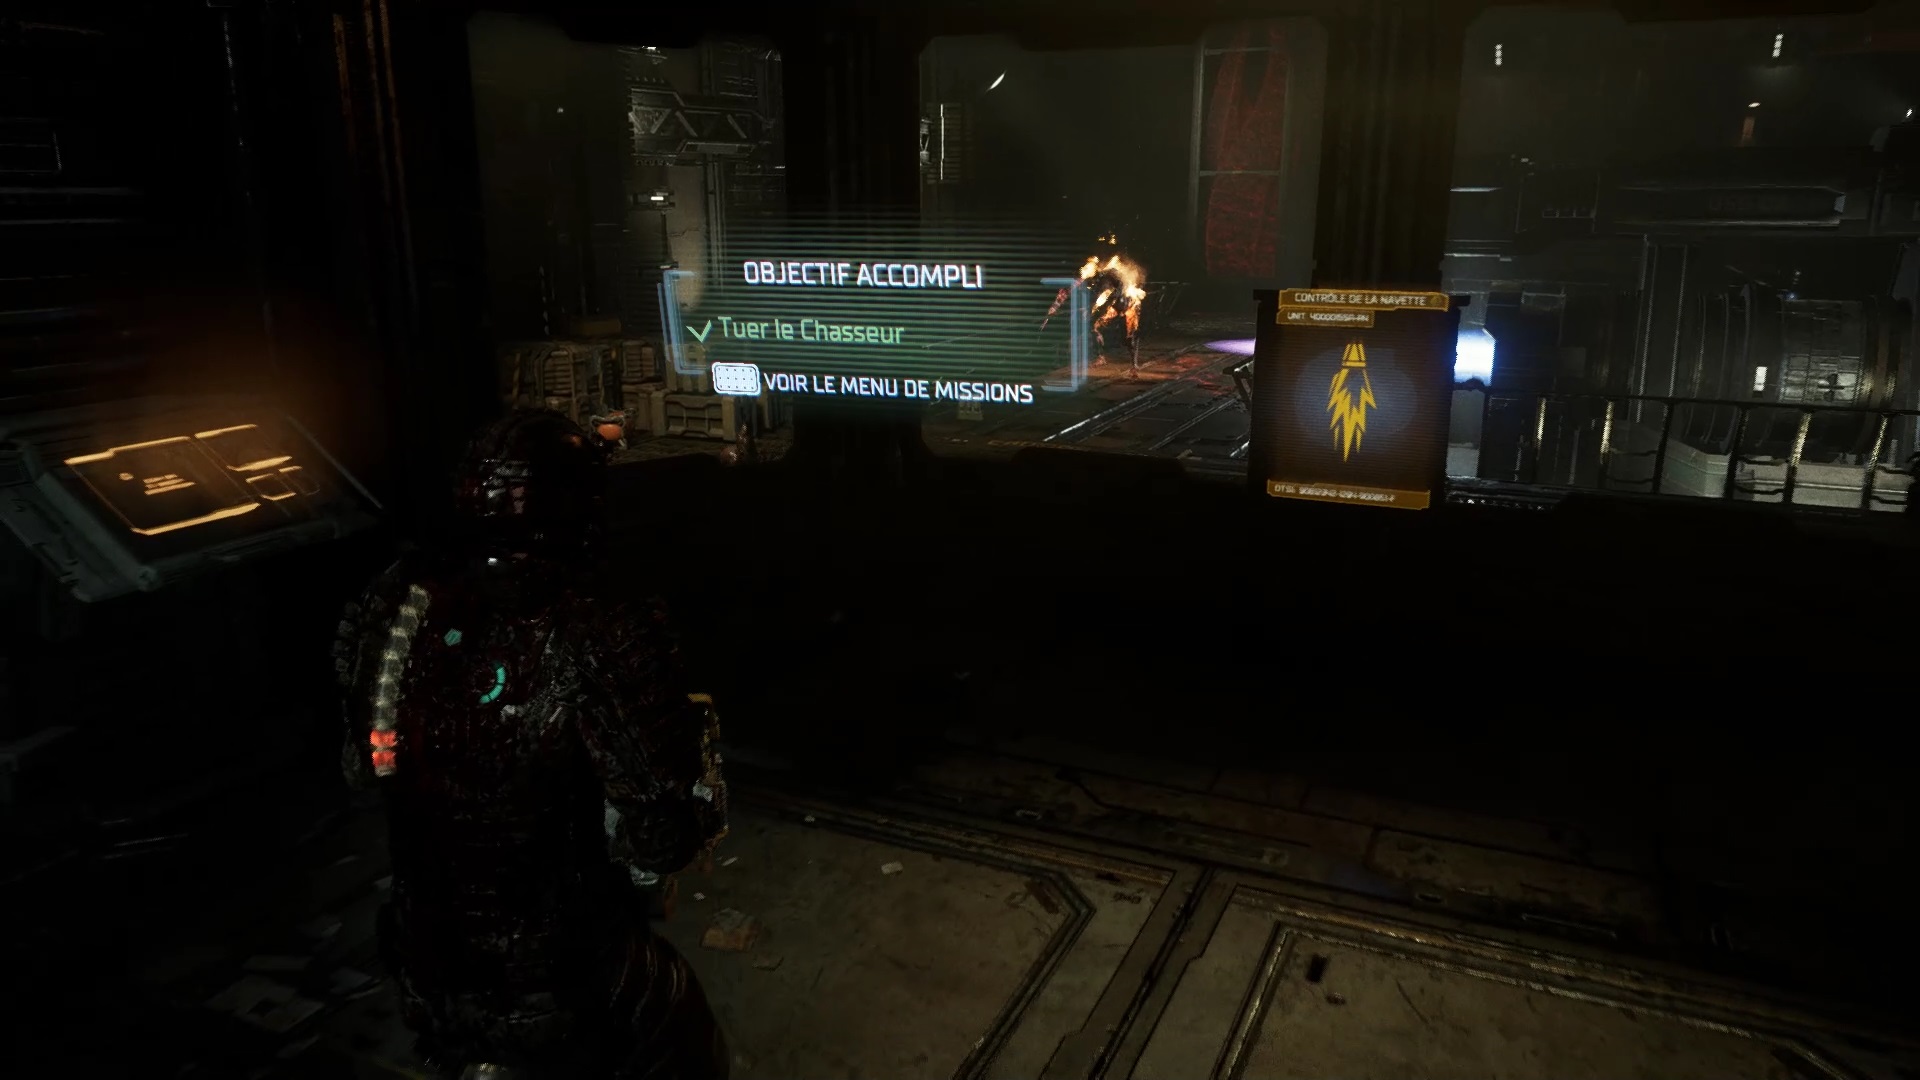
Retrace your steps to reach USG Kellion. Be careful, necromorphs will block your way. Talk to Agent Johnston on board to trigger a cutscene. A new enemy appears. Rip his arms off to keep him from reaching you and finish him off. After the fight, you get new objectives. Collect the RIG from Captain Mathius at the Medical Pole. Use your compass to reach the medical center via the tram station. Take advantage of the station to equip yourself with the level 2 outfit. At the medical center, retrieve the telekinesis module to complete the chapter.
Episode 2
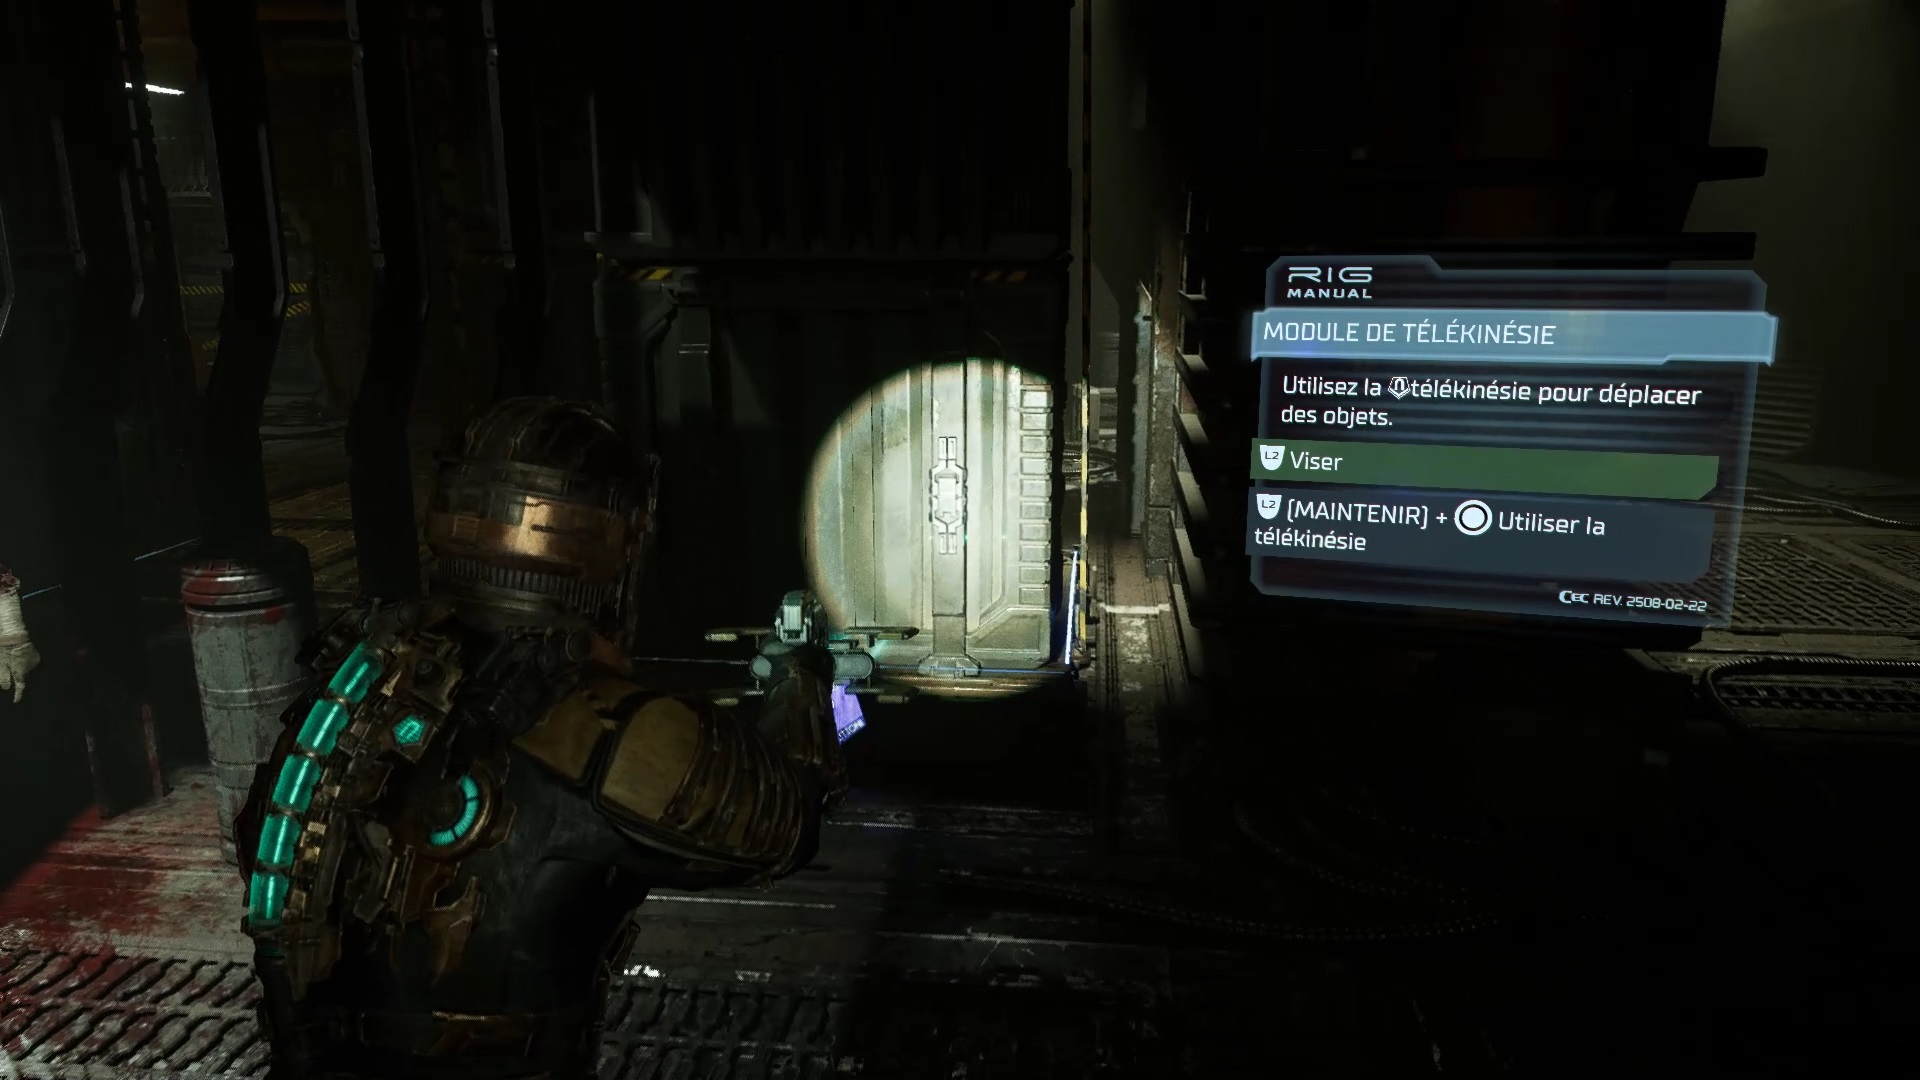
Using the telekinesis module, move the crates to clear your way to the medical bridge station. At the station retrieve the assault rifle from the corpse of the security guard. Unlock the station using the control panel to facilitate your next trips. Go to the security post. Use telekinesis to move the crates down the hall. On the other side a dialogue with Hammond starts. You get the objective to destroy the barricade.
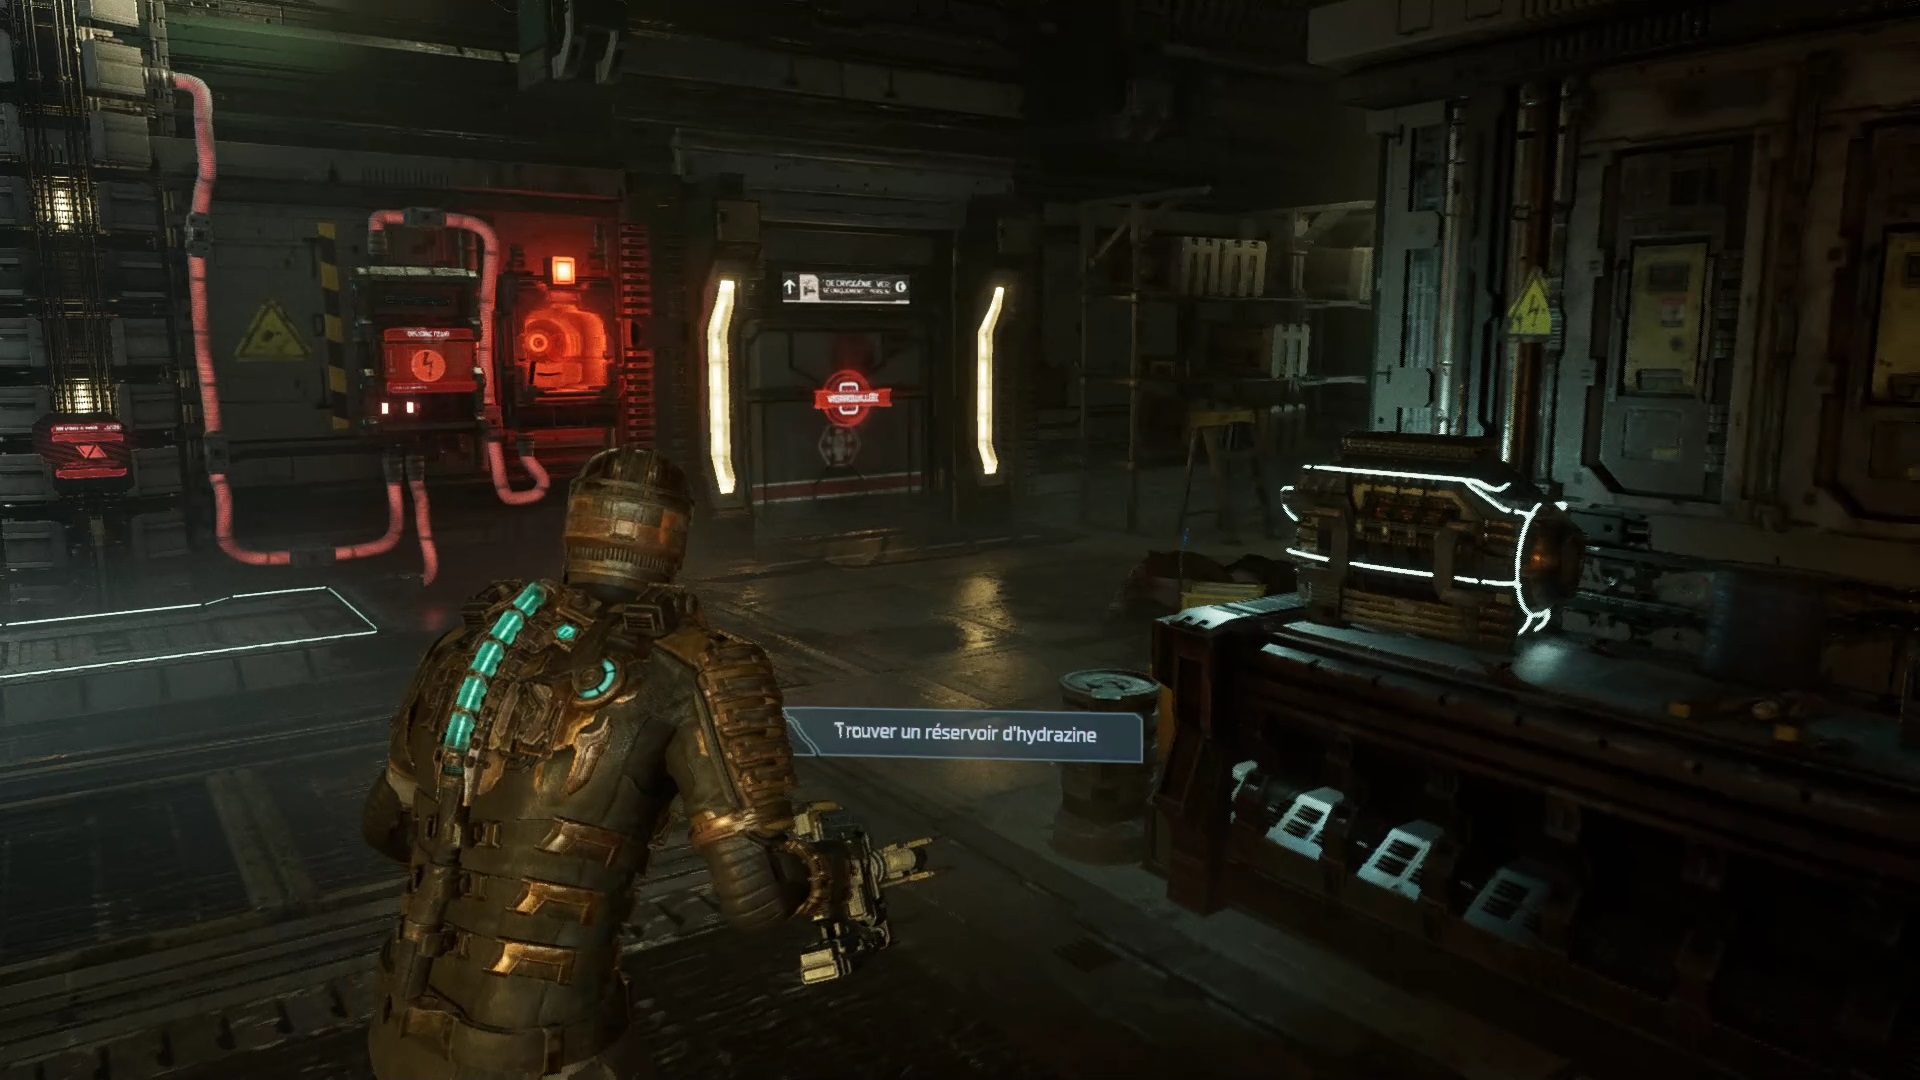
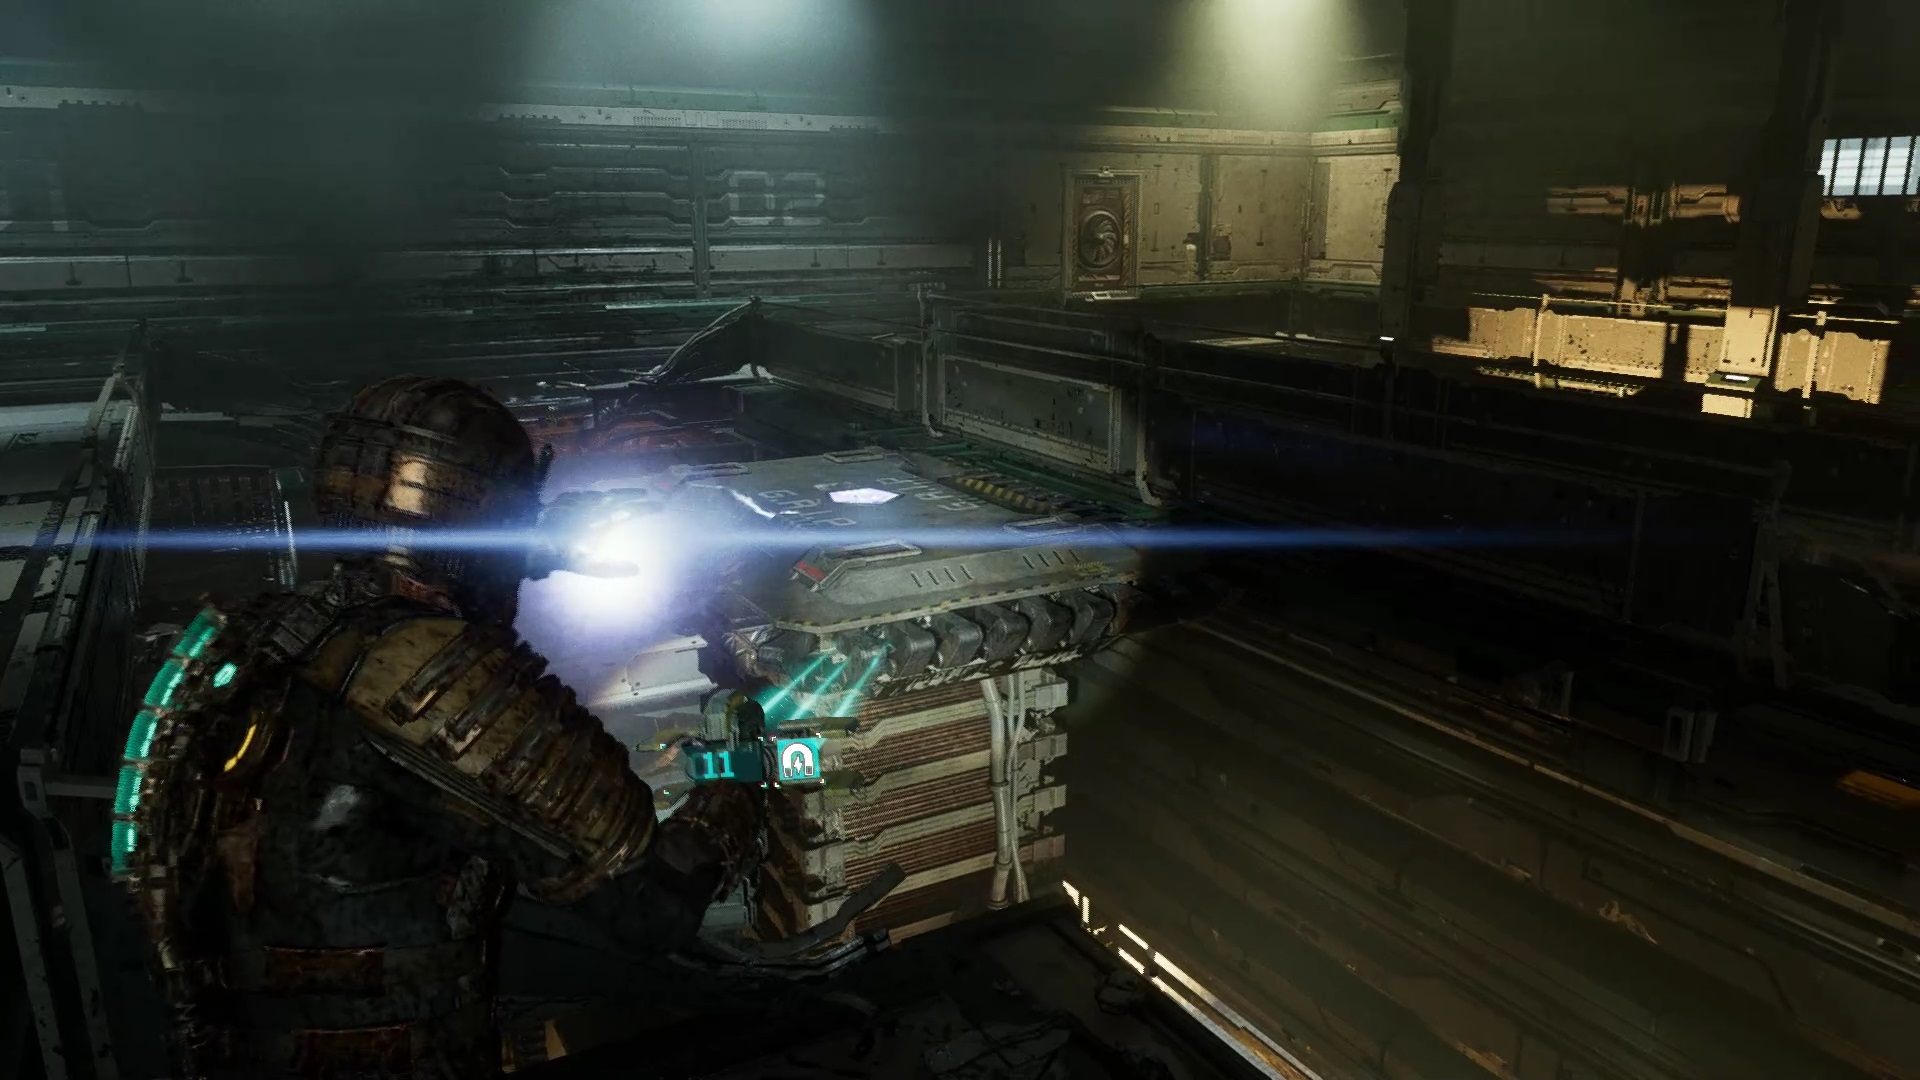
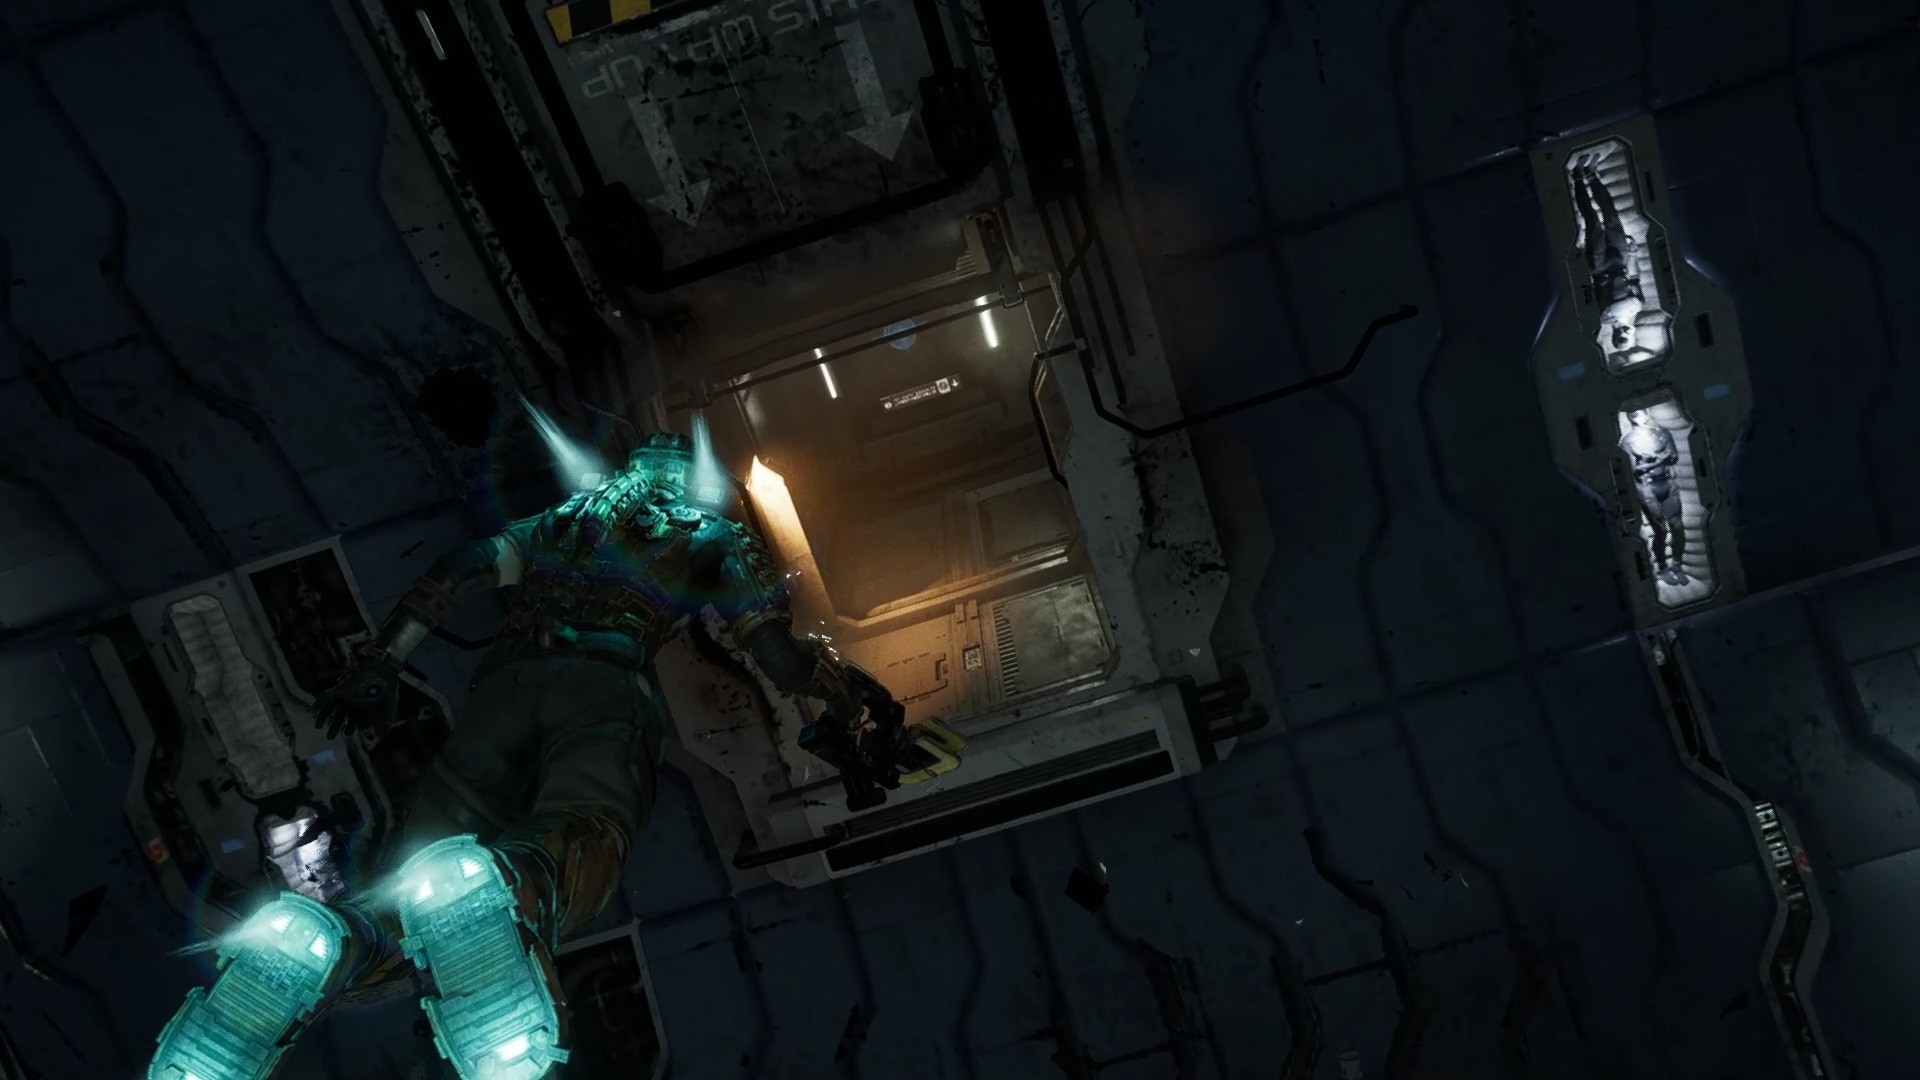
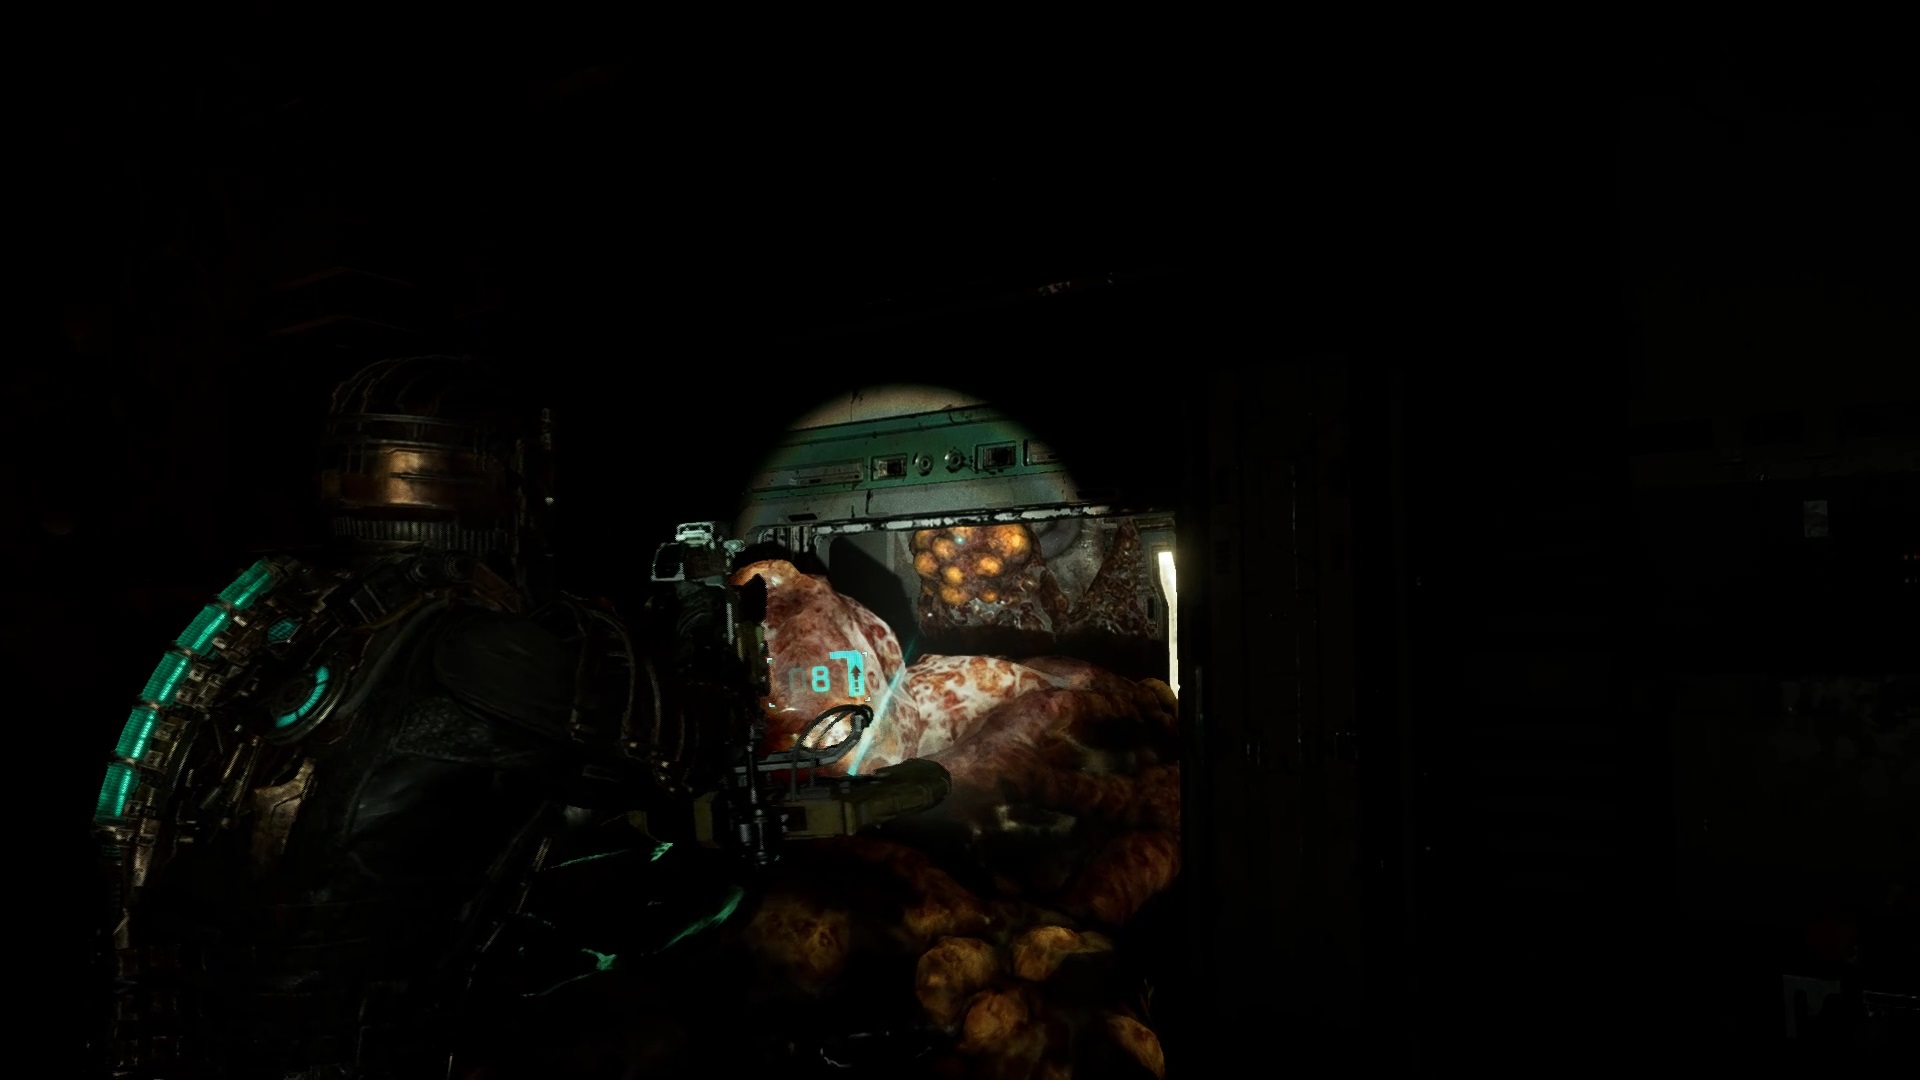
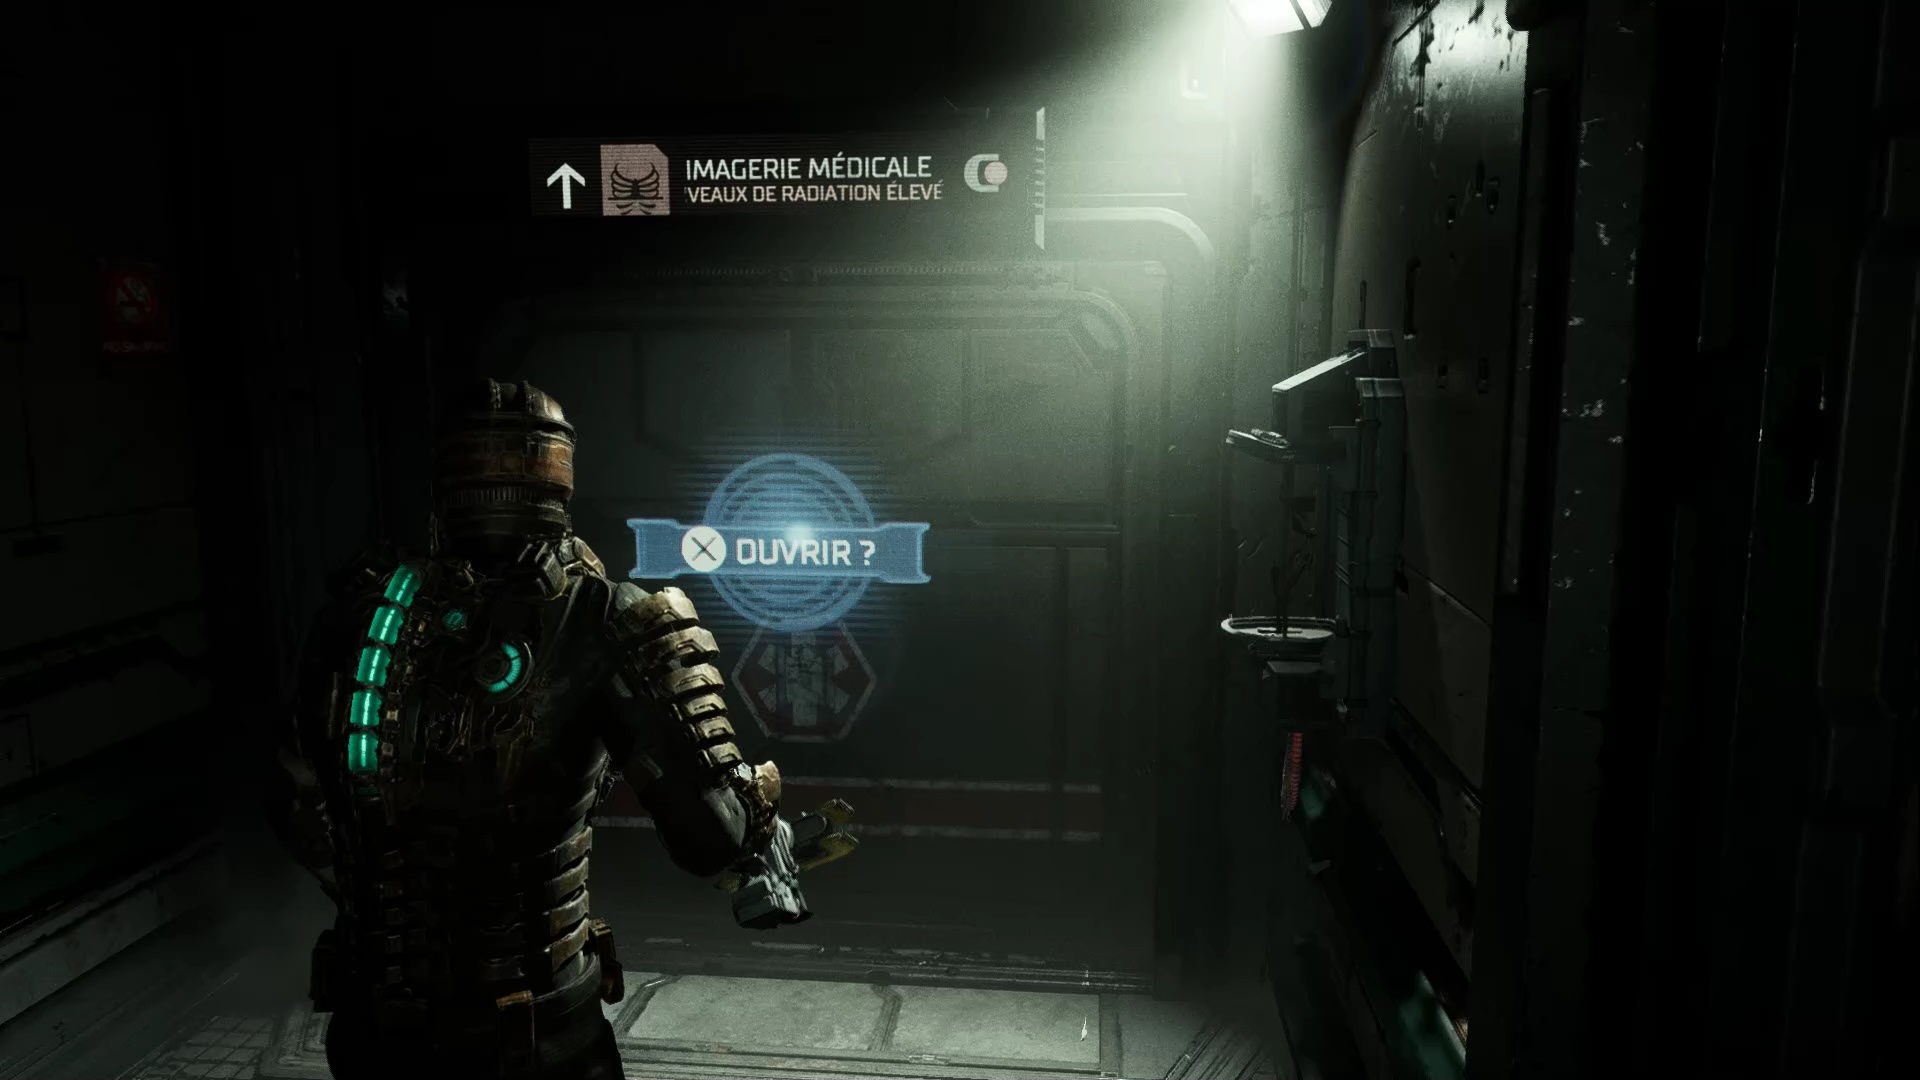
Go to the medical imaging wing. In the room, move the tank with your telekinesis power. On the other side identify the location of the empty battery. Take the battery opposite on a table and insert it into the slot. Redirect the energy to the elevator and go up. Above, use telekinesis to bridge the platform. Proceed to the zero gravity treatment room. Go through the hallway into the space to reach the room. Use your thrusters to navigate to maintenance.
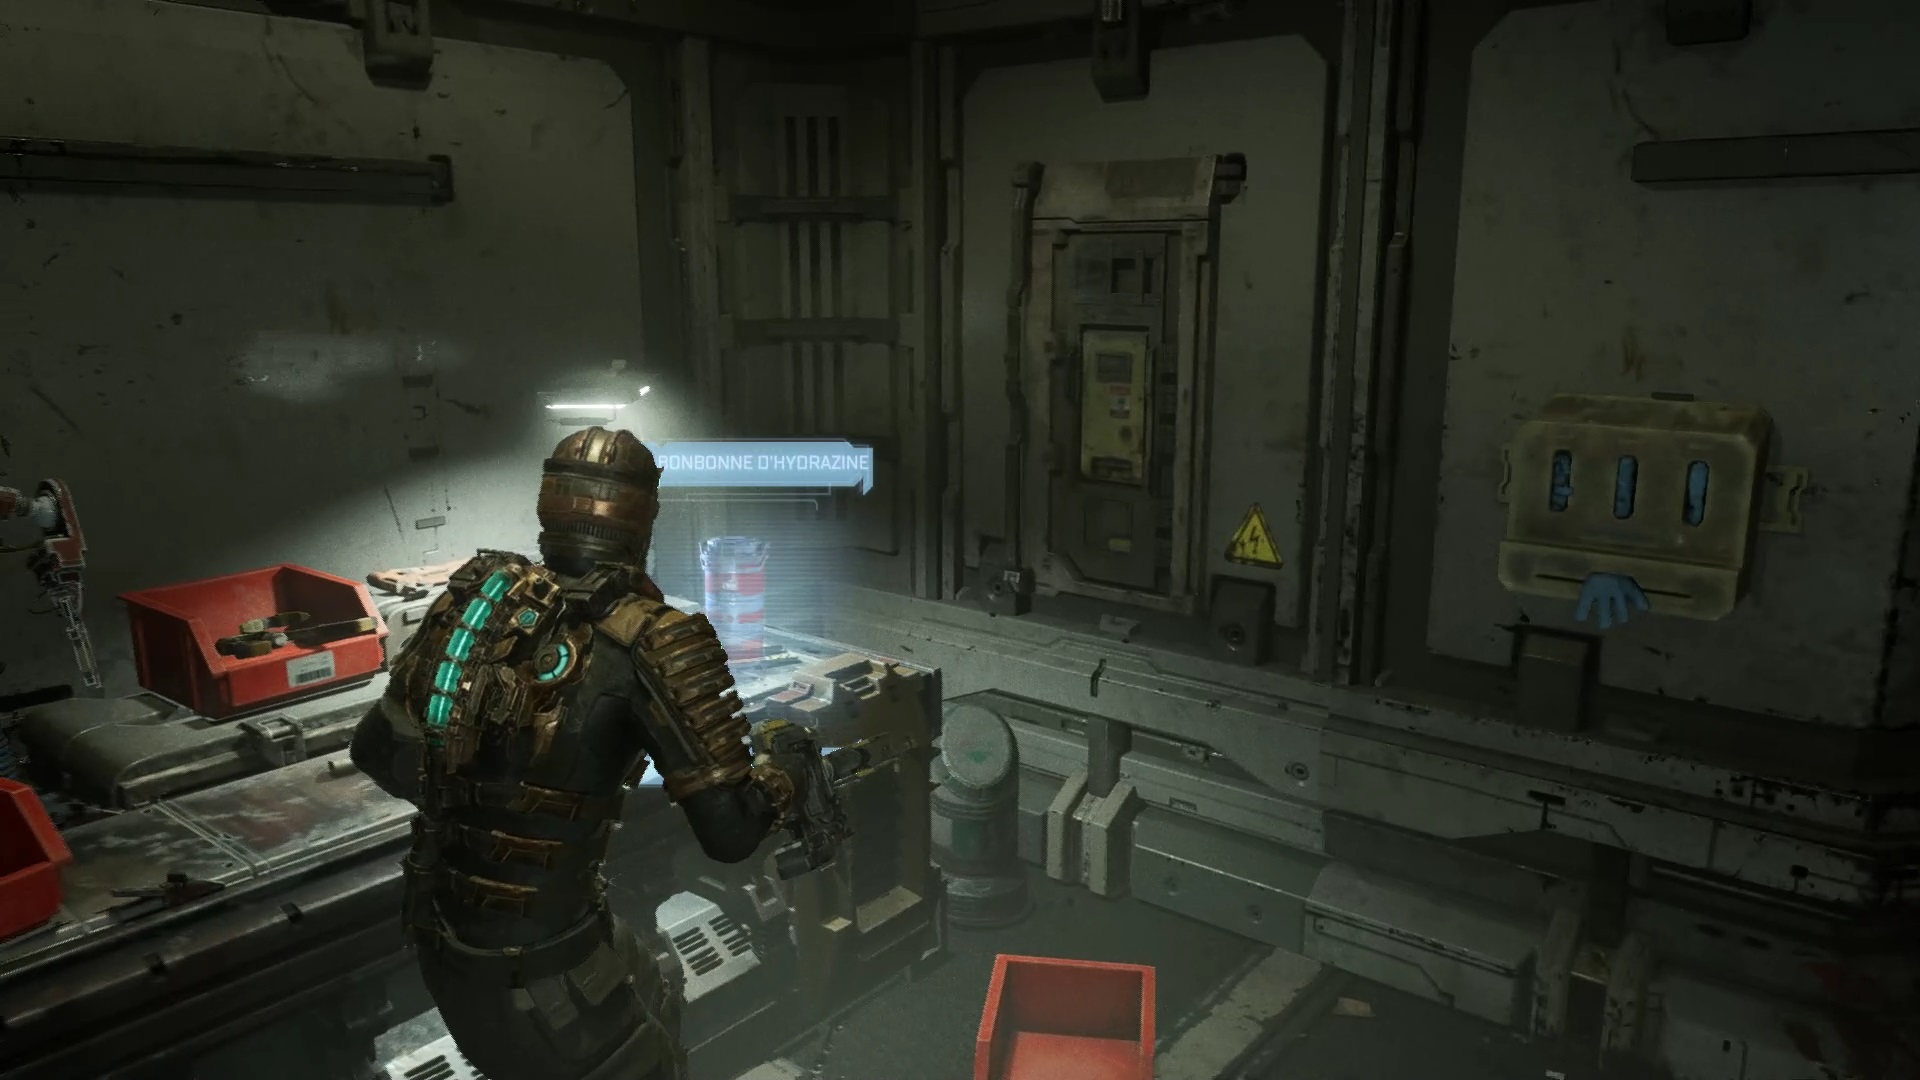
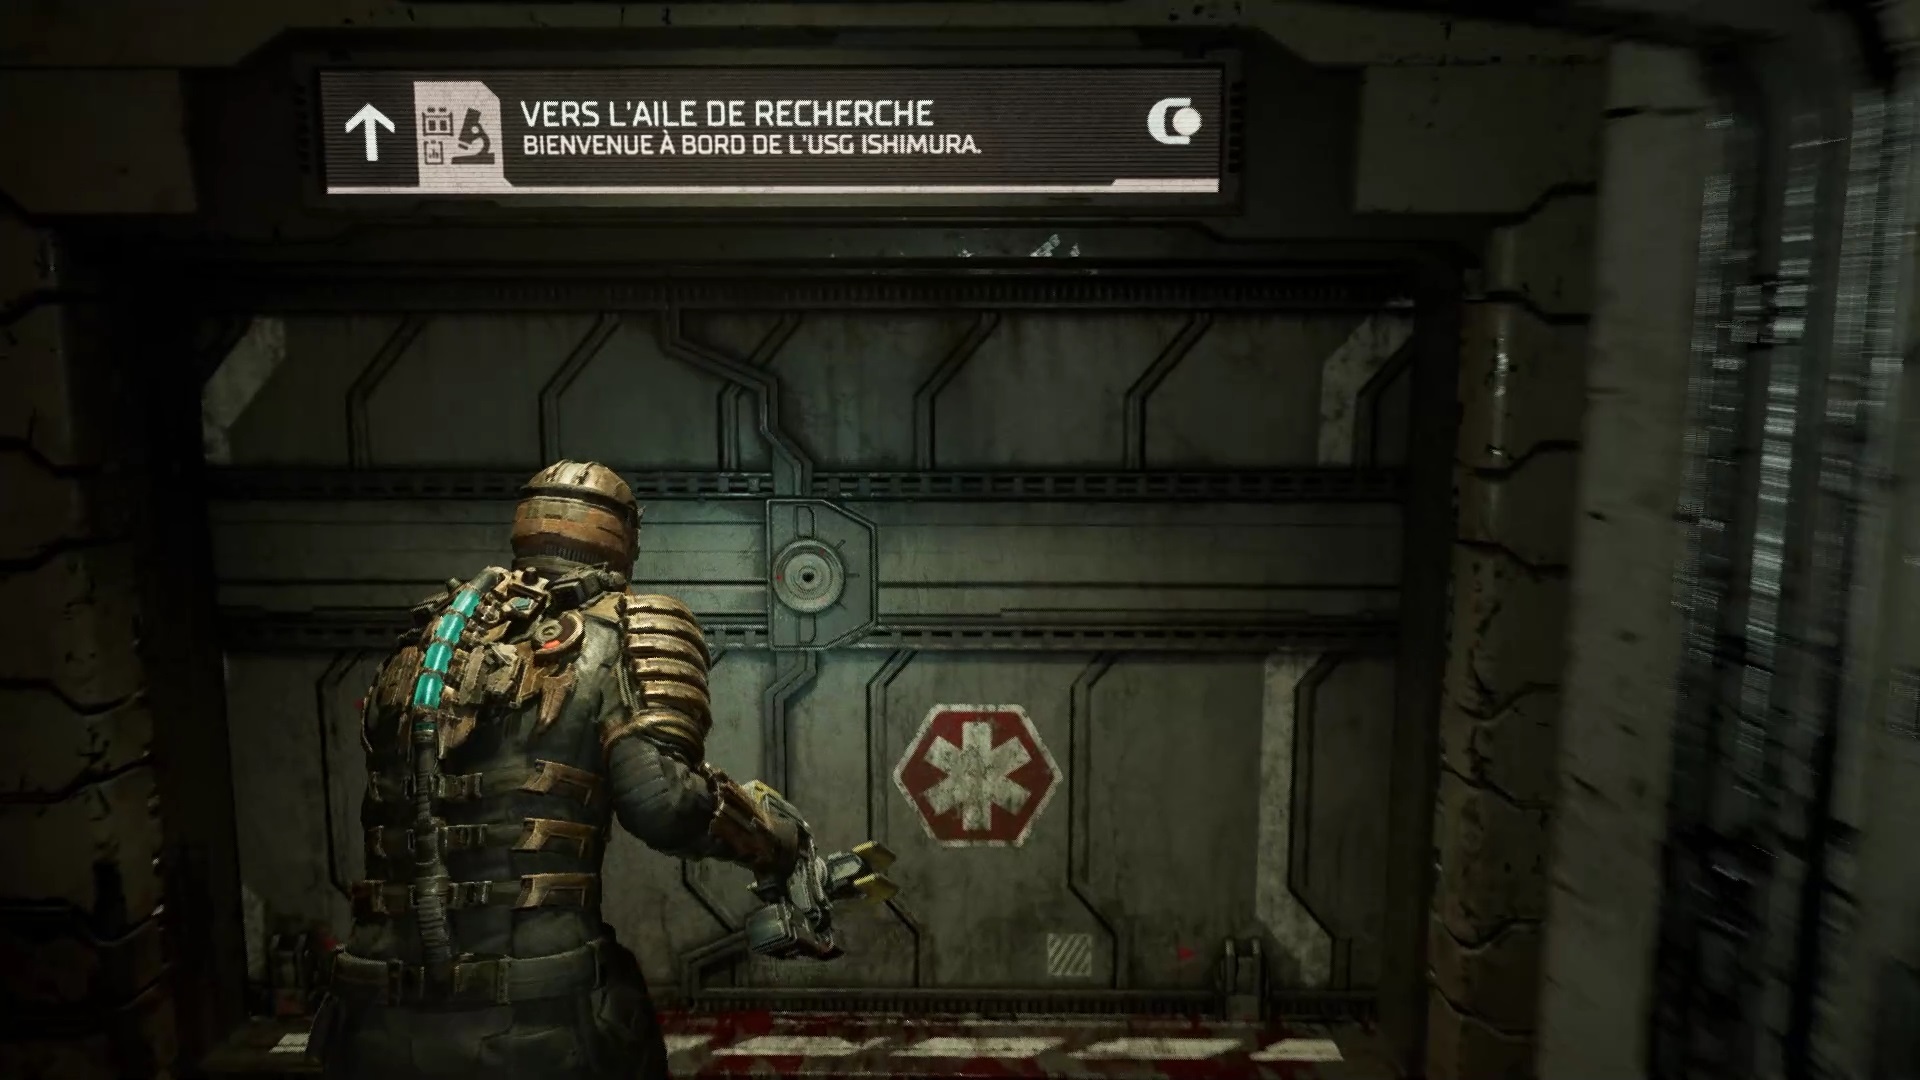
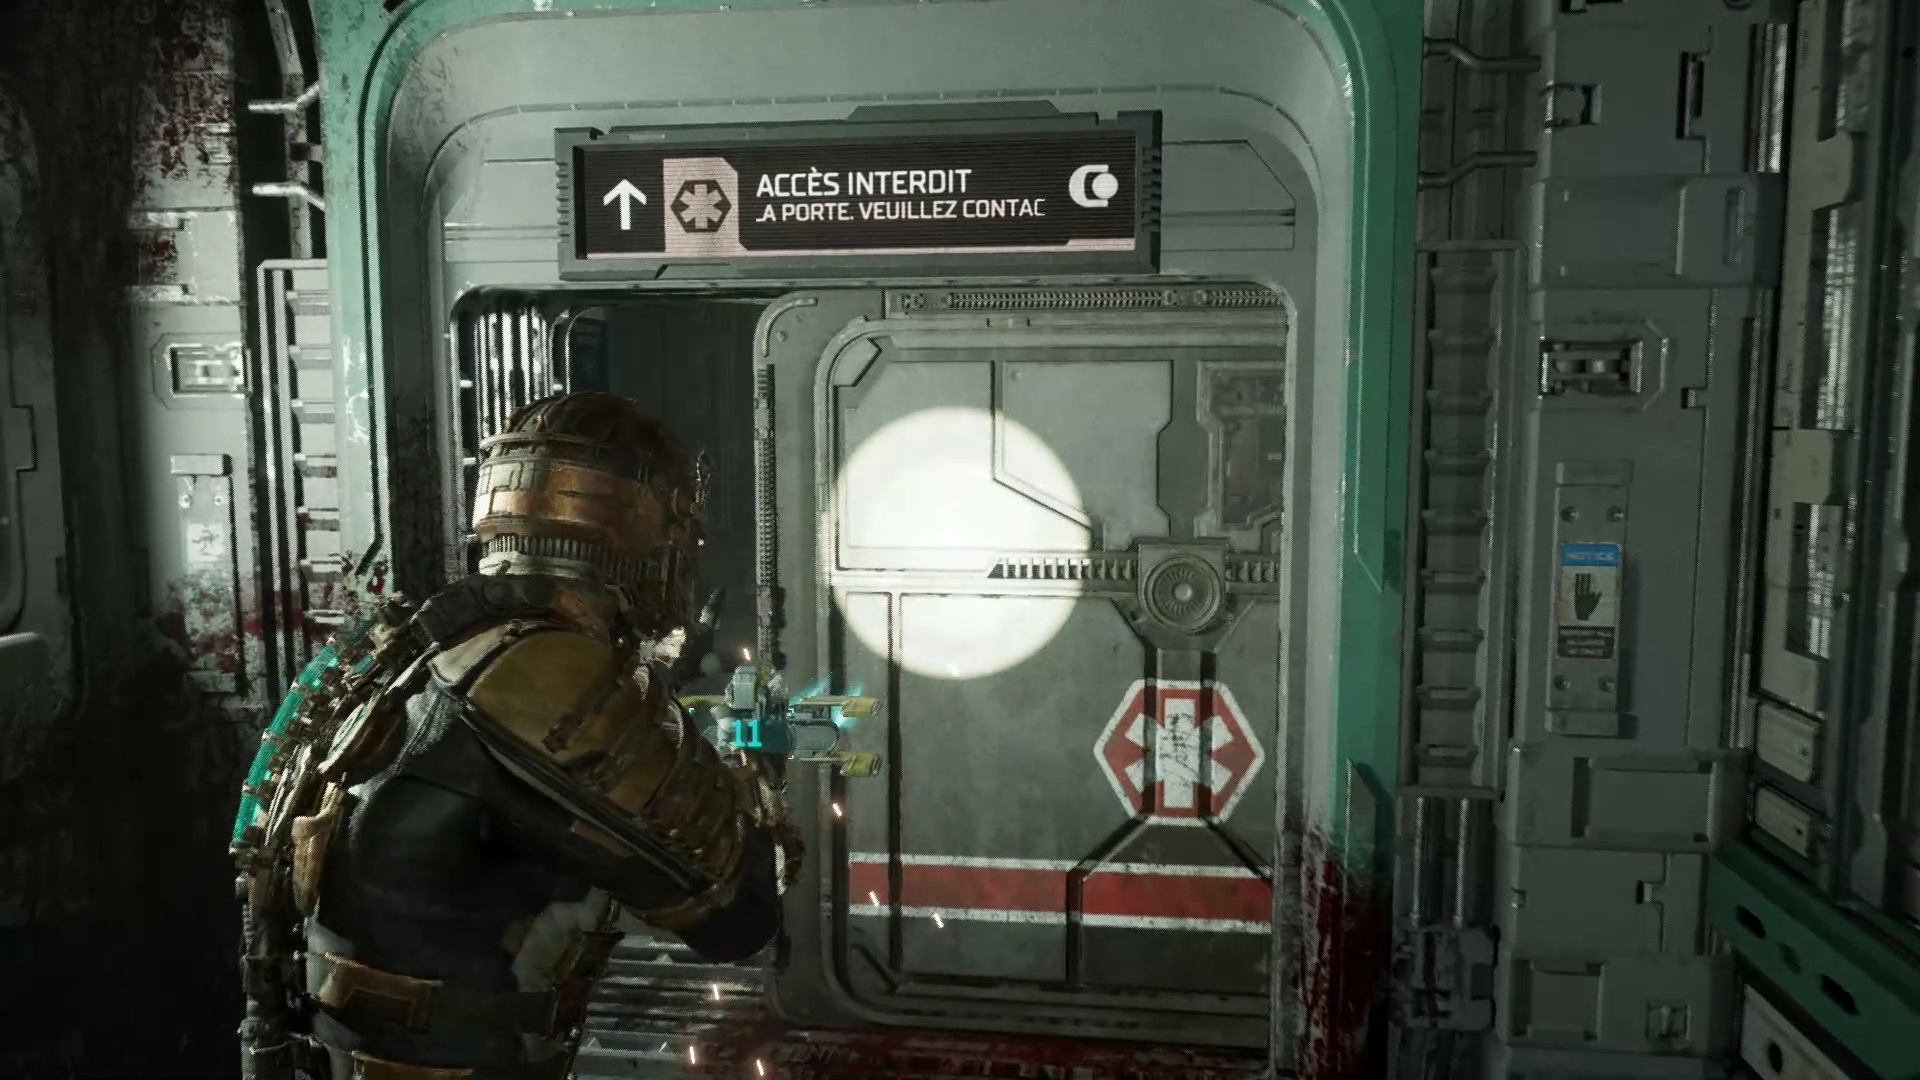
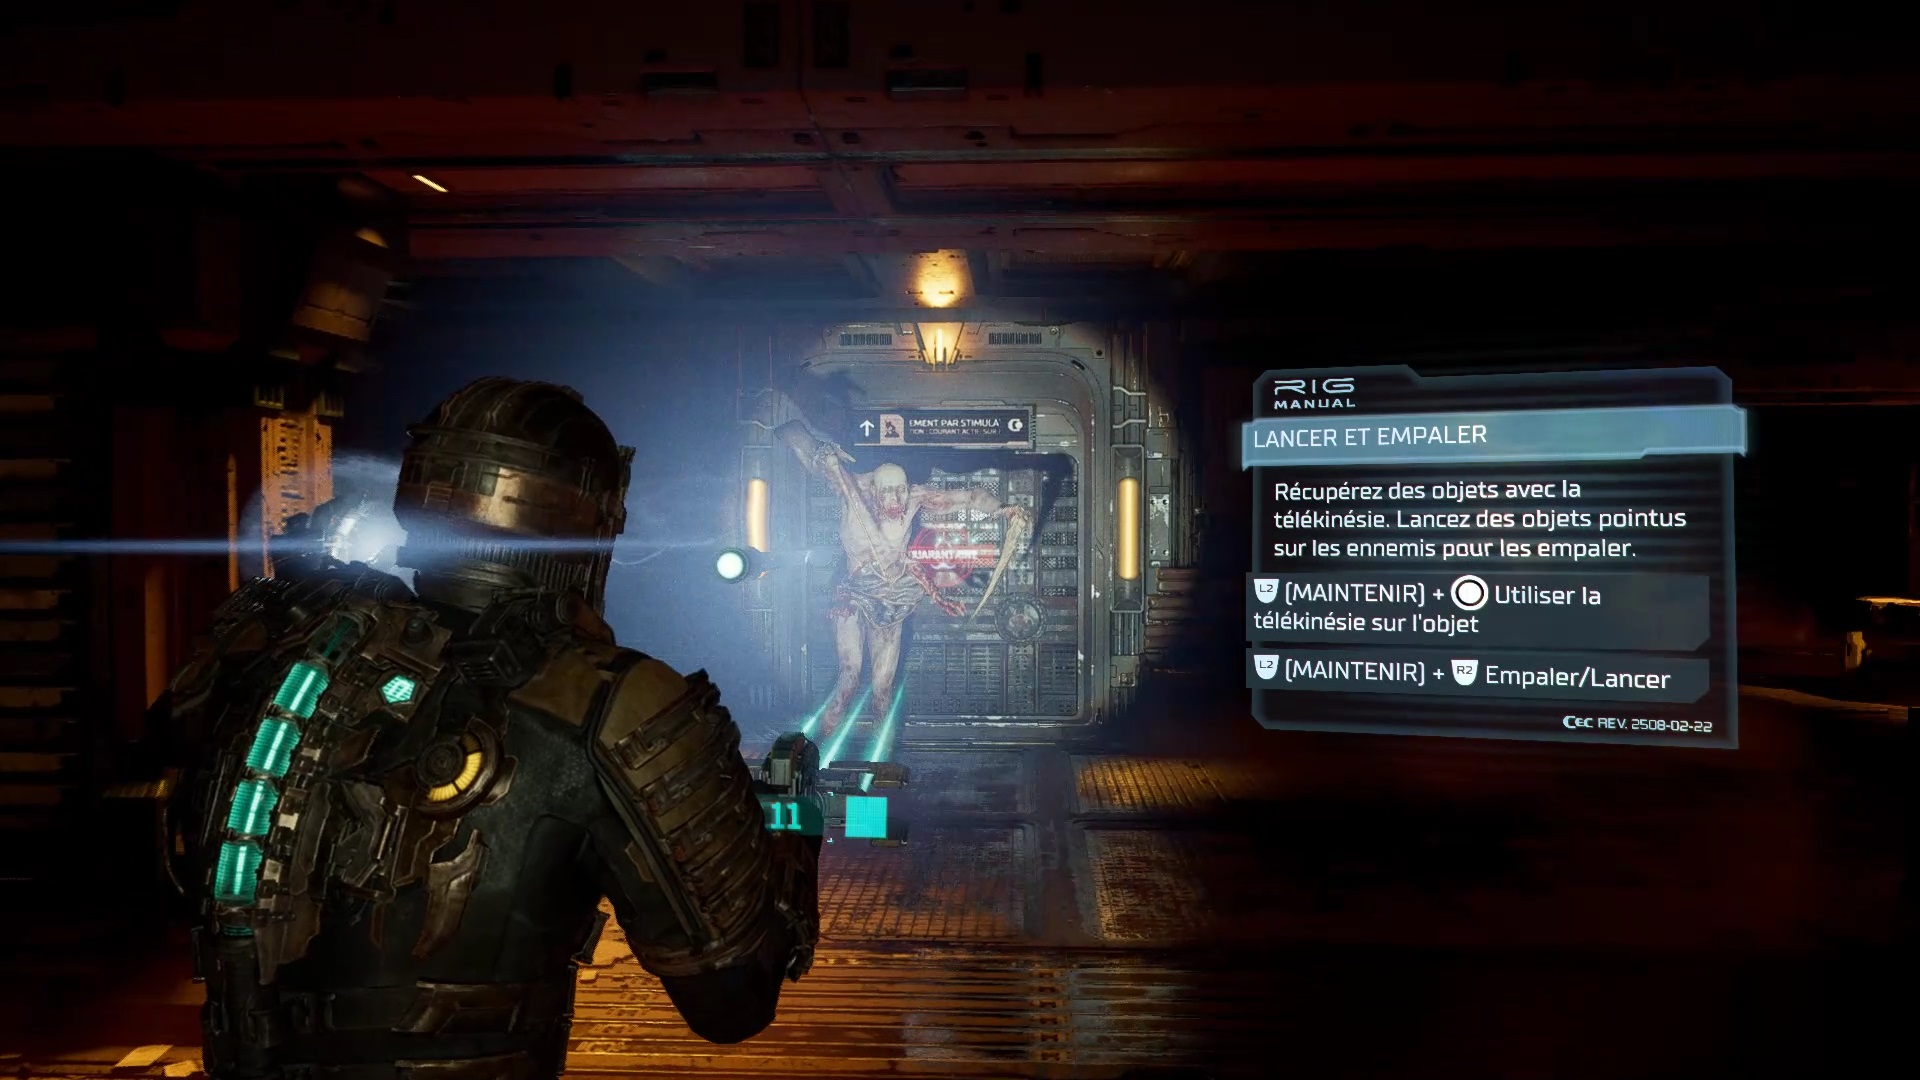
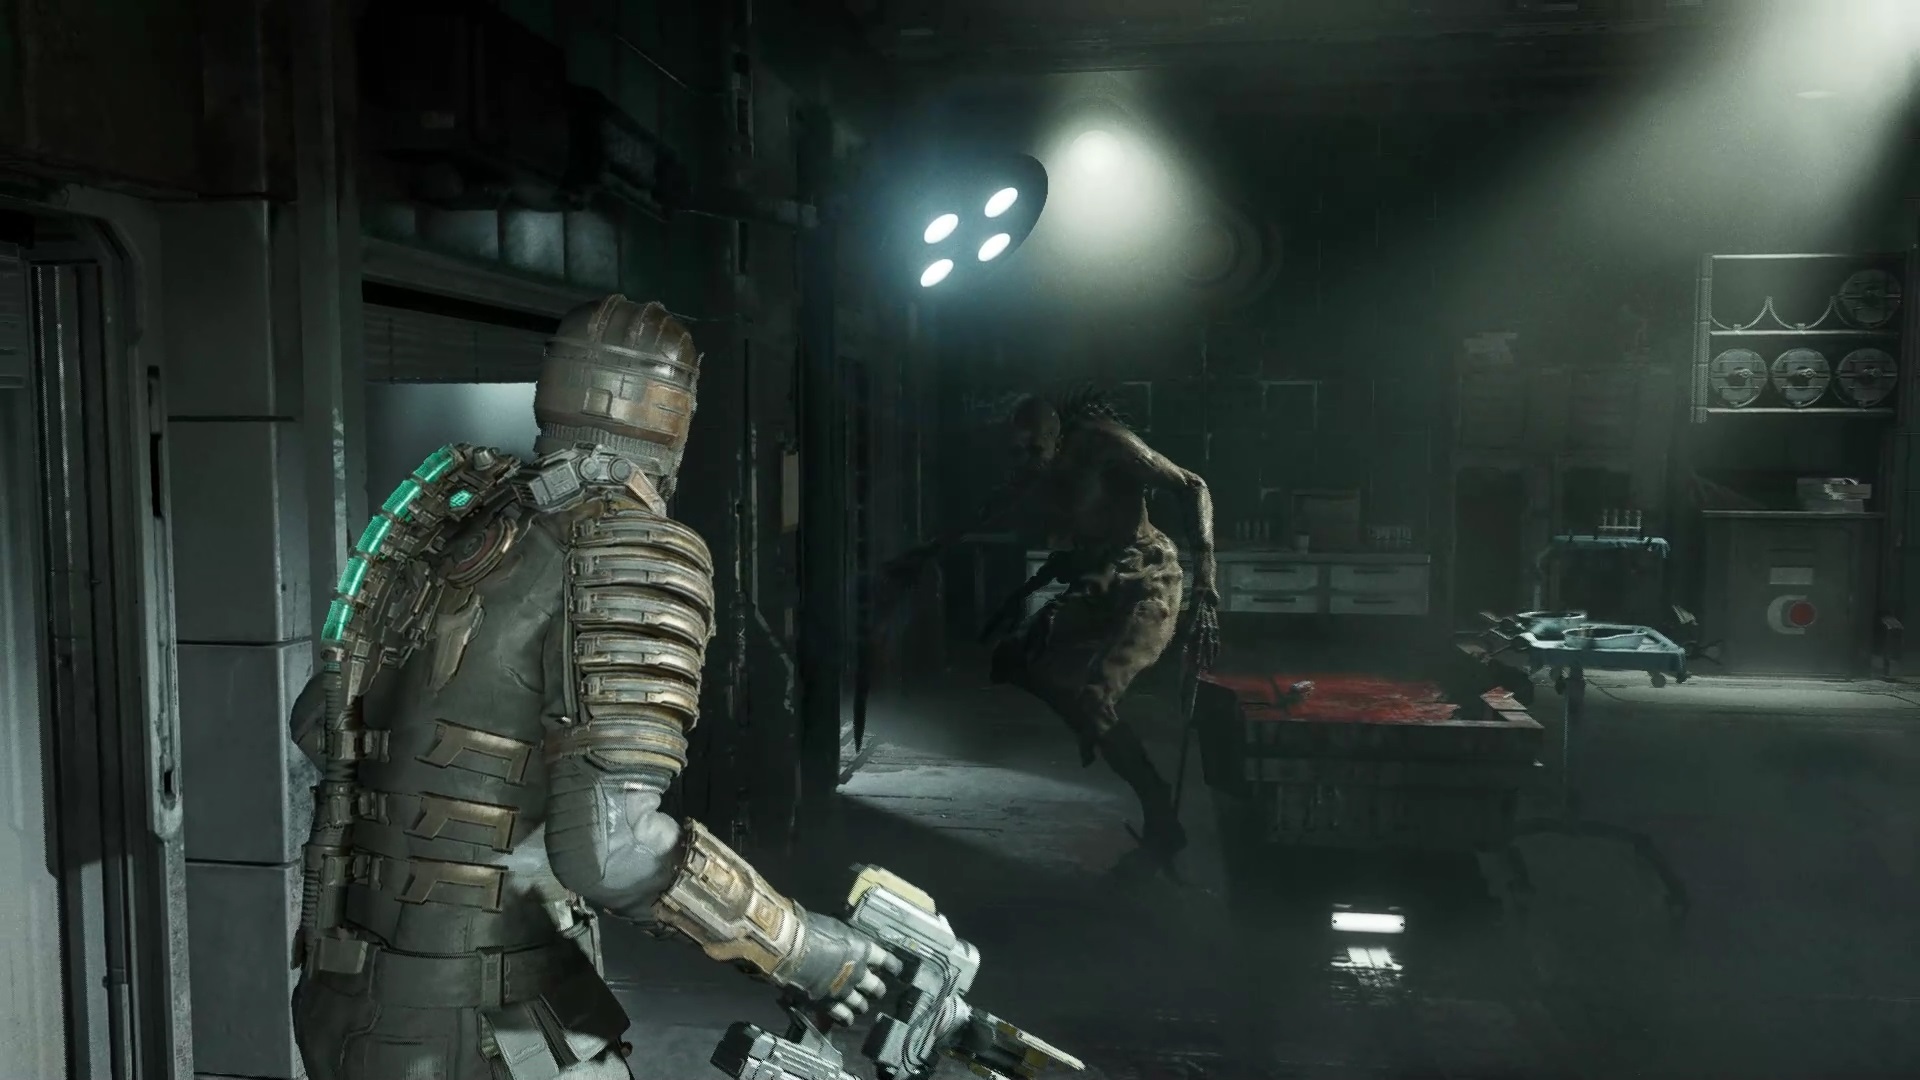
In the room, take the hydrazine canister on the table on the left. Return to the Security Room. Along the way, pick up the Impulse Ammunition Plan placed on a workshop. Arrive at the security post, go through the door to the research wing. Use telekinesis to go through the faulty door. In the main lab, impale monsters with spears on the ground to save ammo
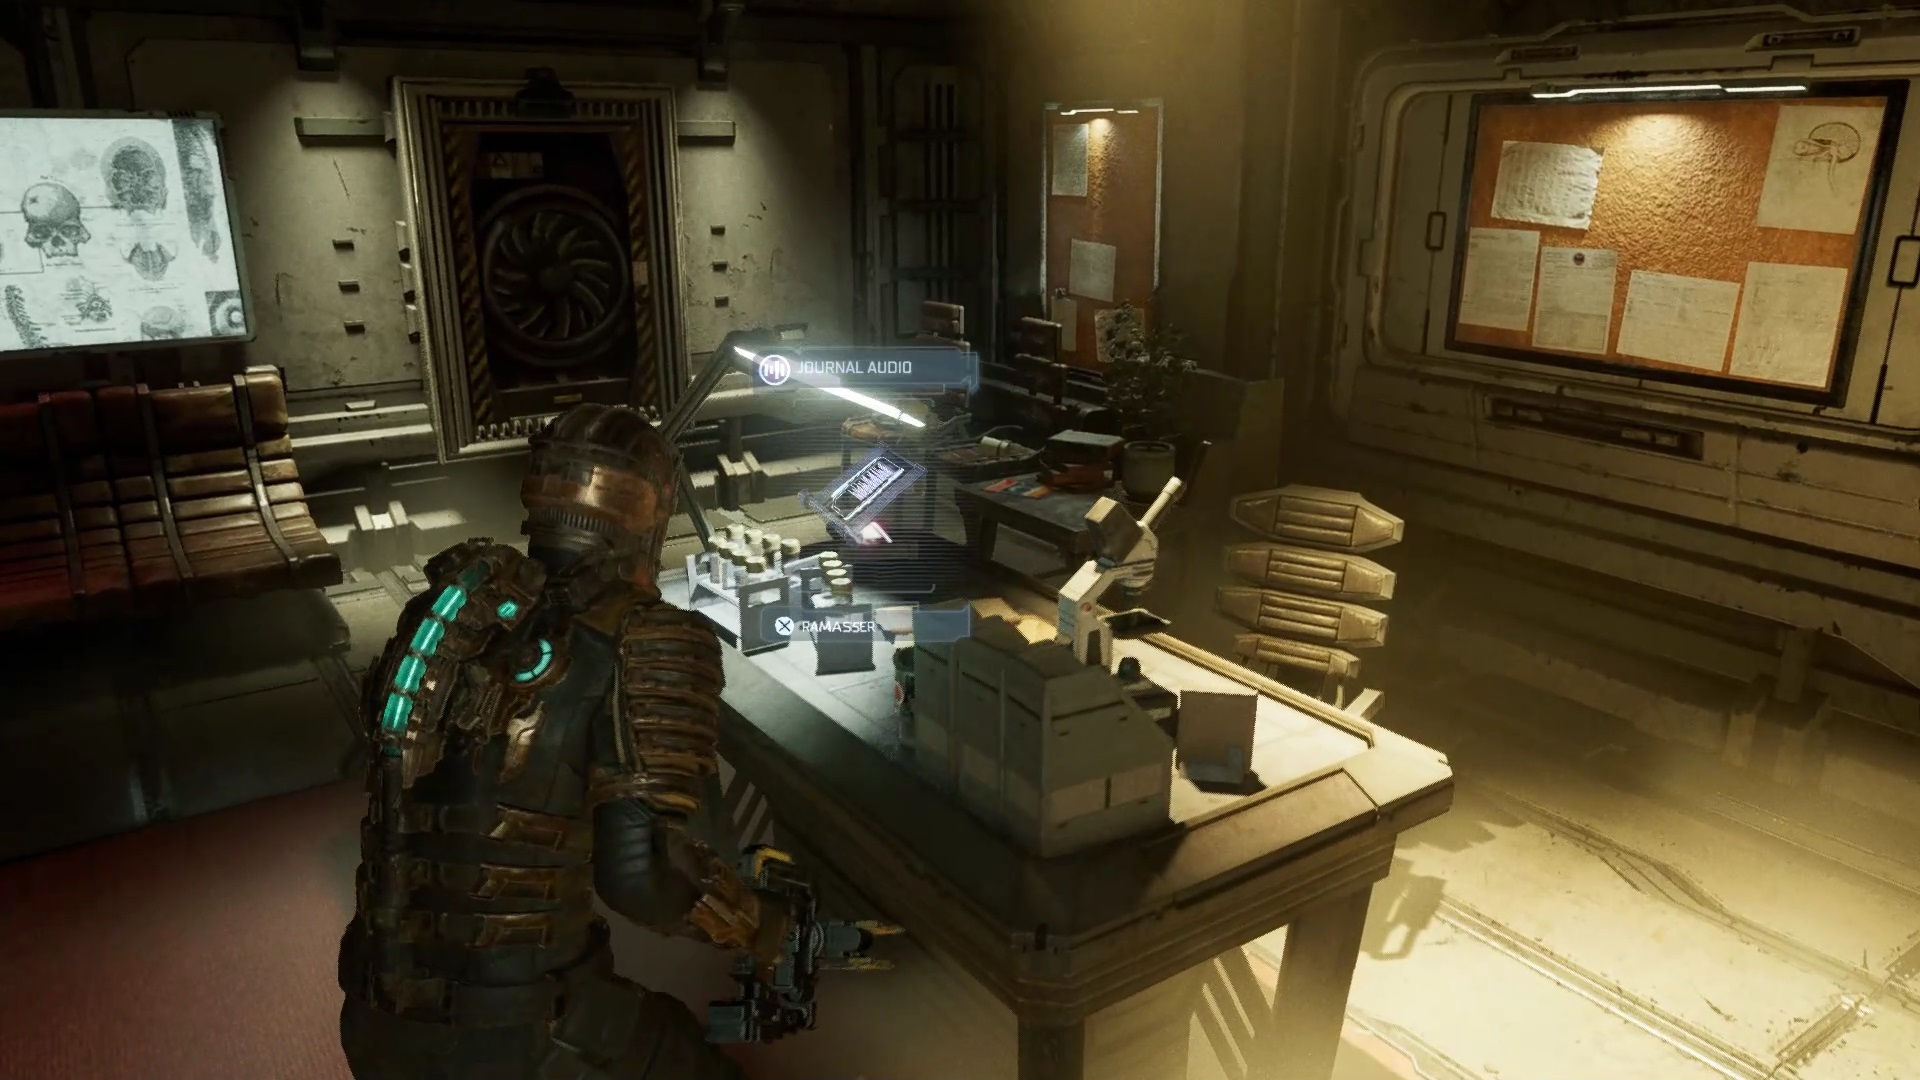
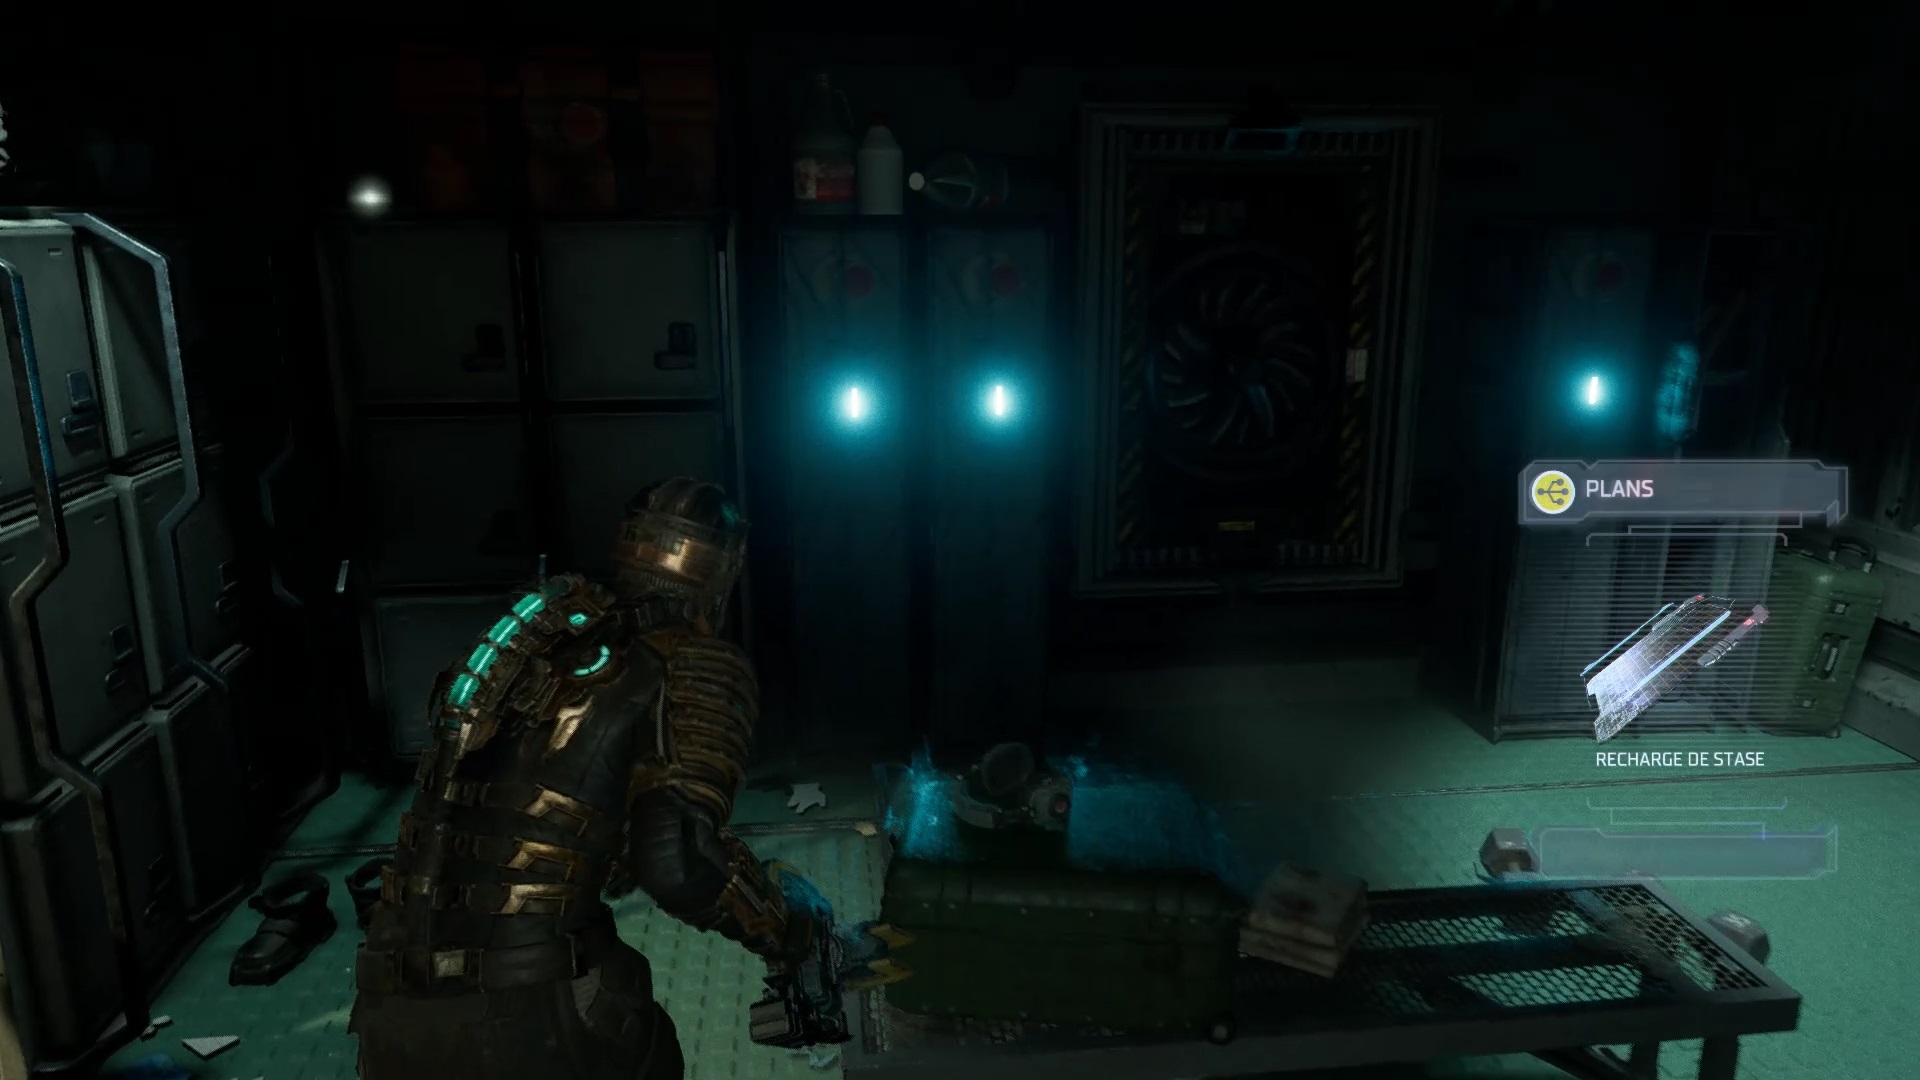
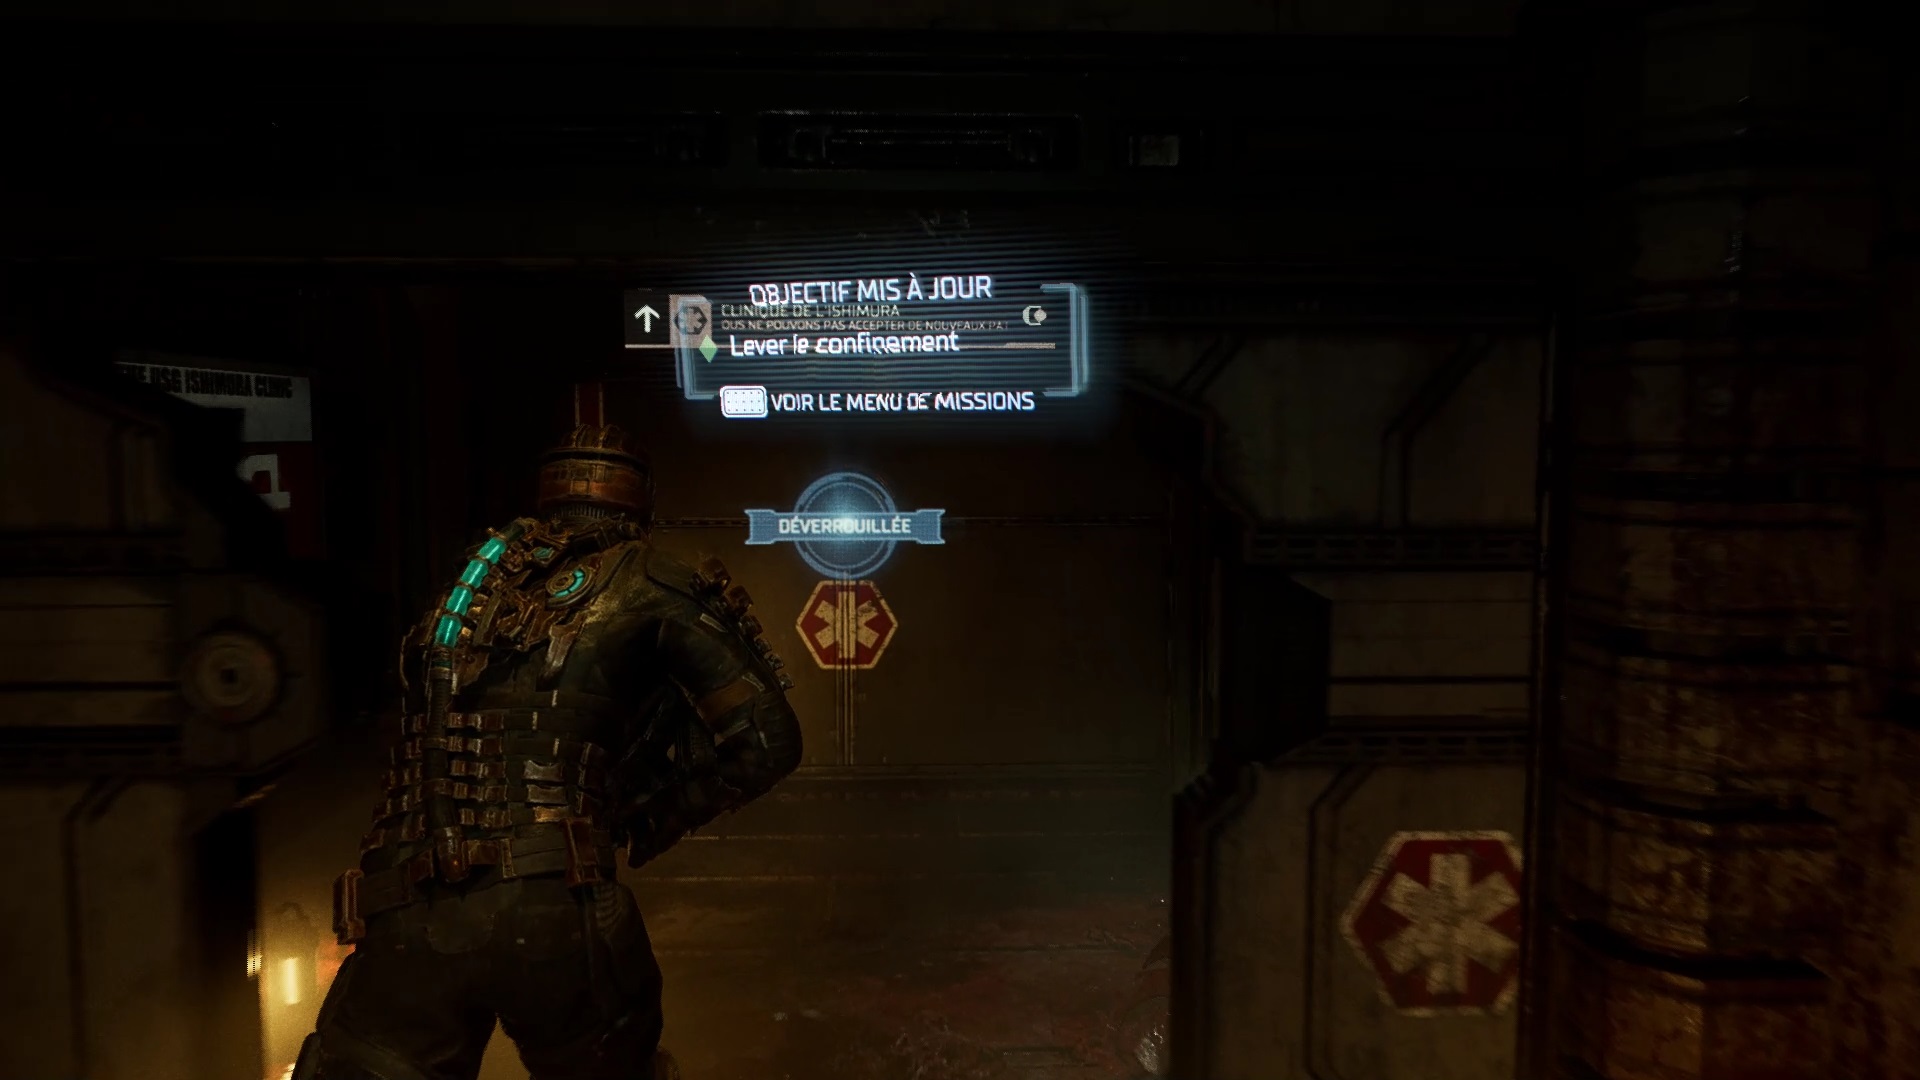
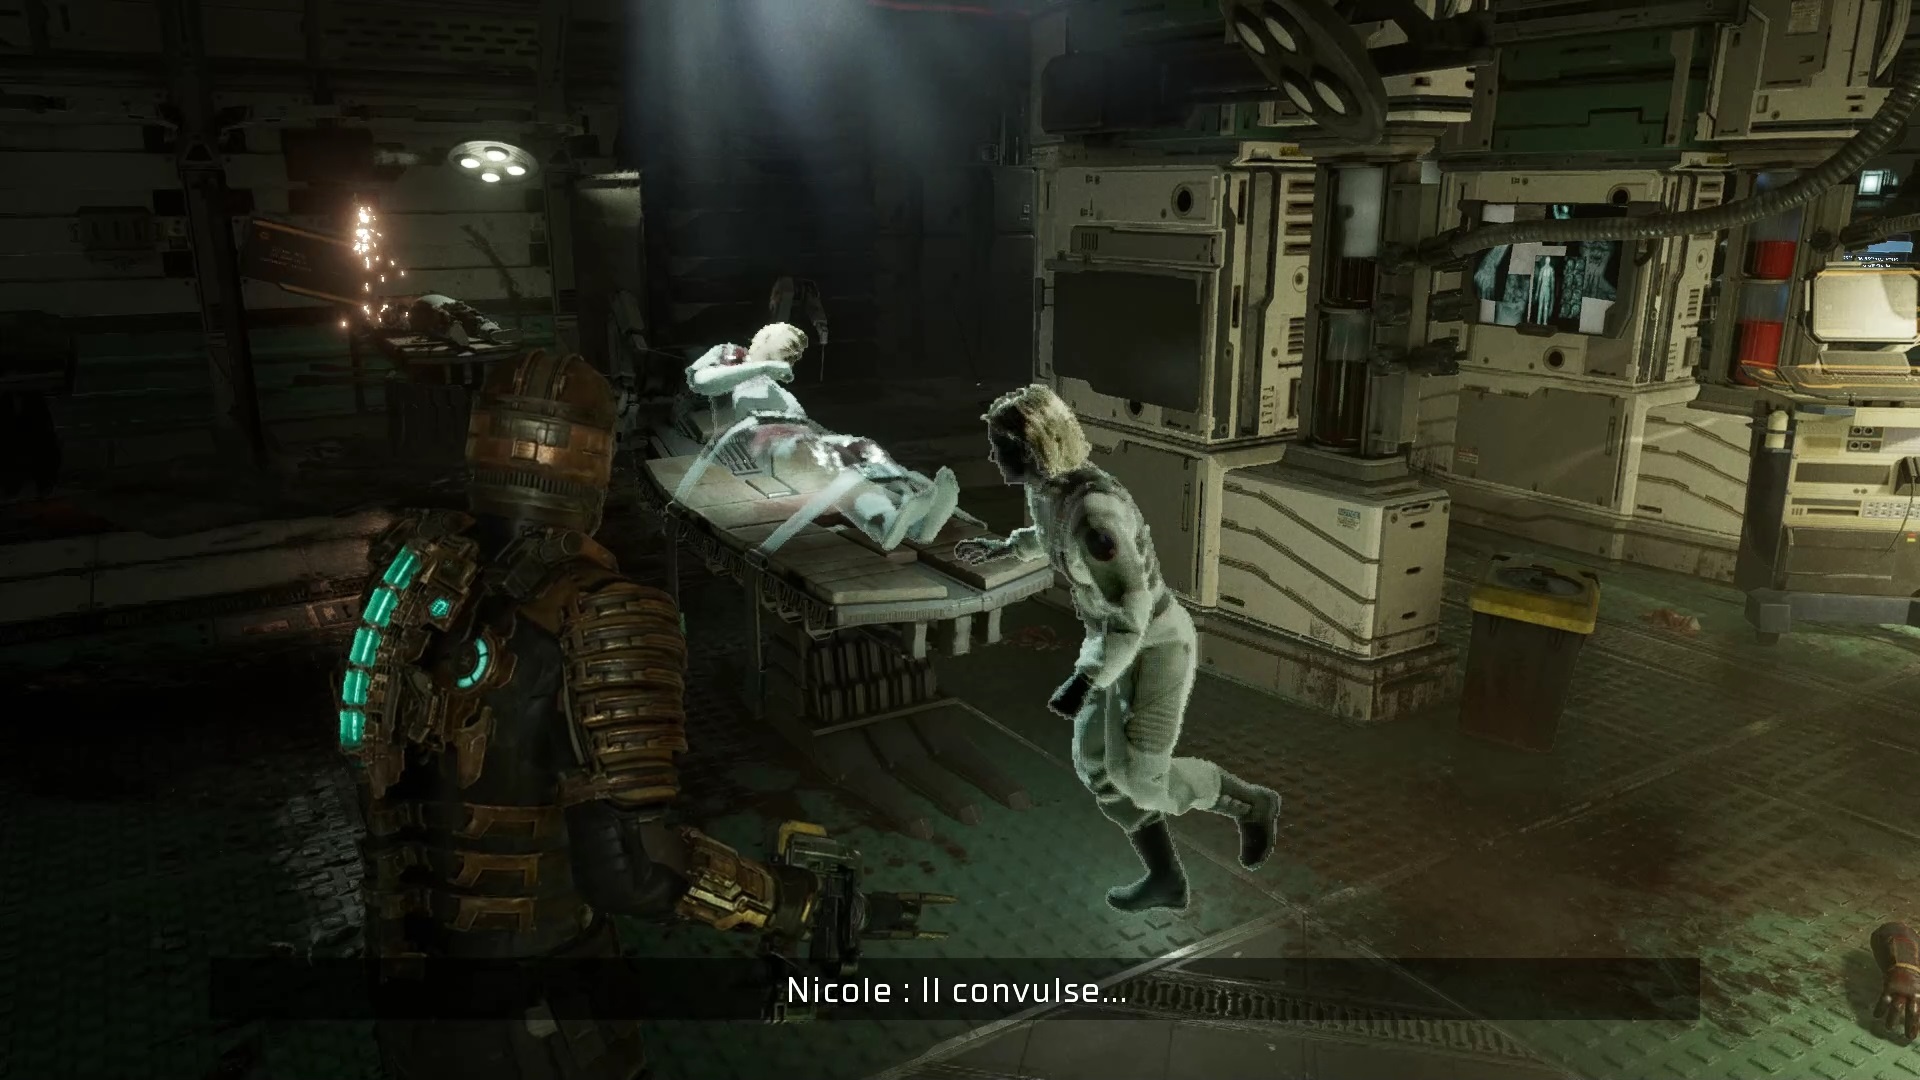
After the fight, the confinement lifts. Search the lower room of Dr. Nicole Brennan for a recording. Play the recording to unlock a side mission: Scientific Methods . Then search the locker rooms of the lab to find the stasis recharge plan . Proceed to the bioprostheses room. Advance the lab to encounter a new enemy. Break his legs before he draws or cut his tentacles to take him down. Use the elevator at the bottom of the laboratory to go up
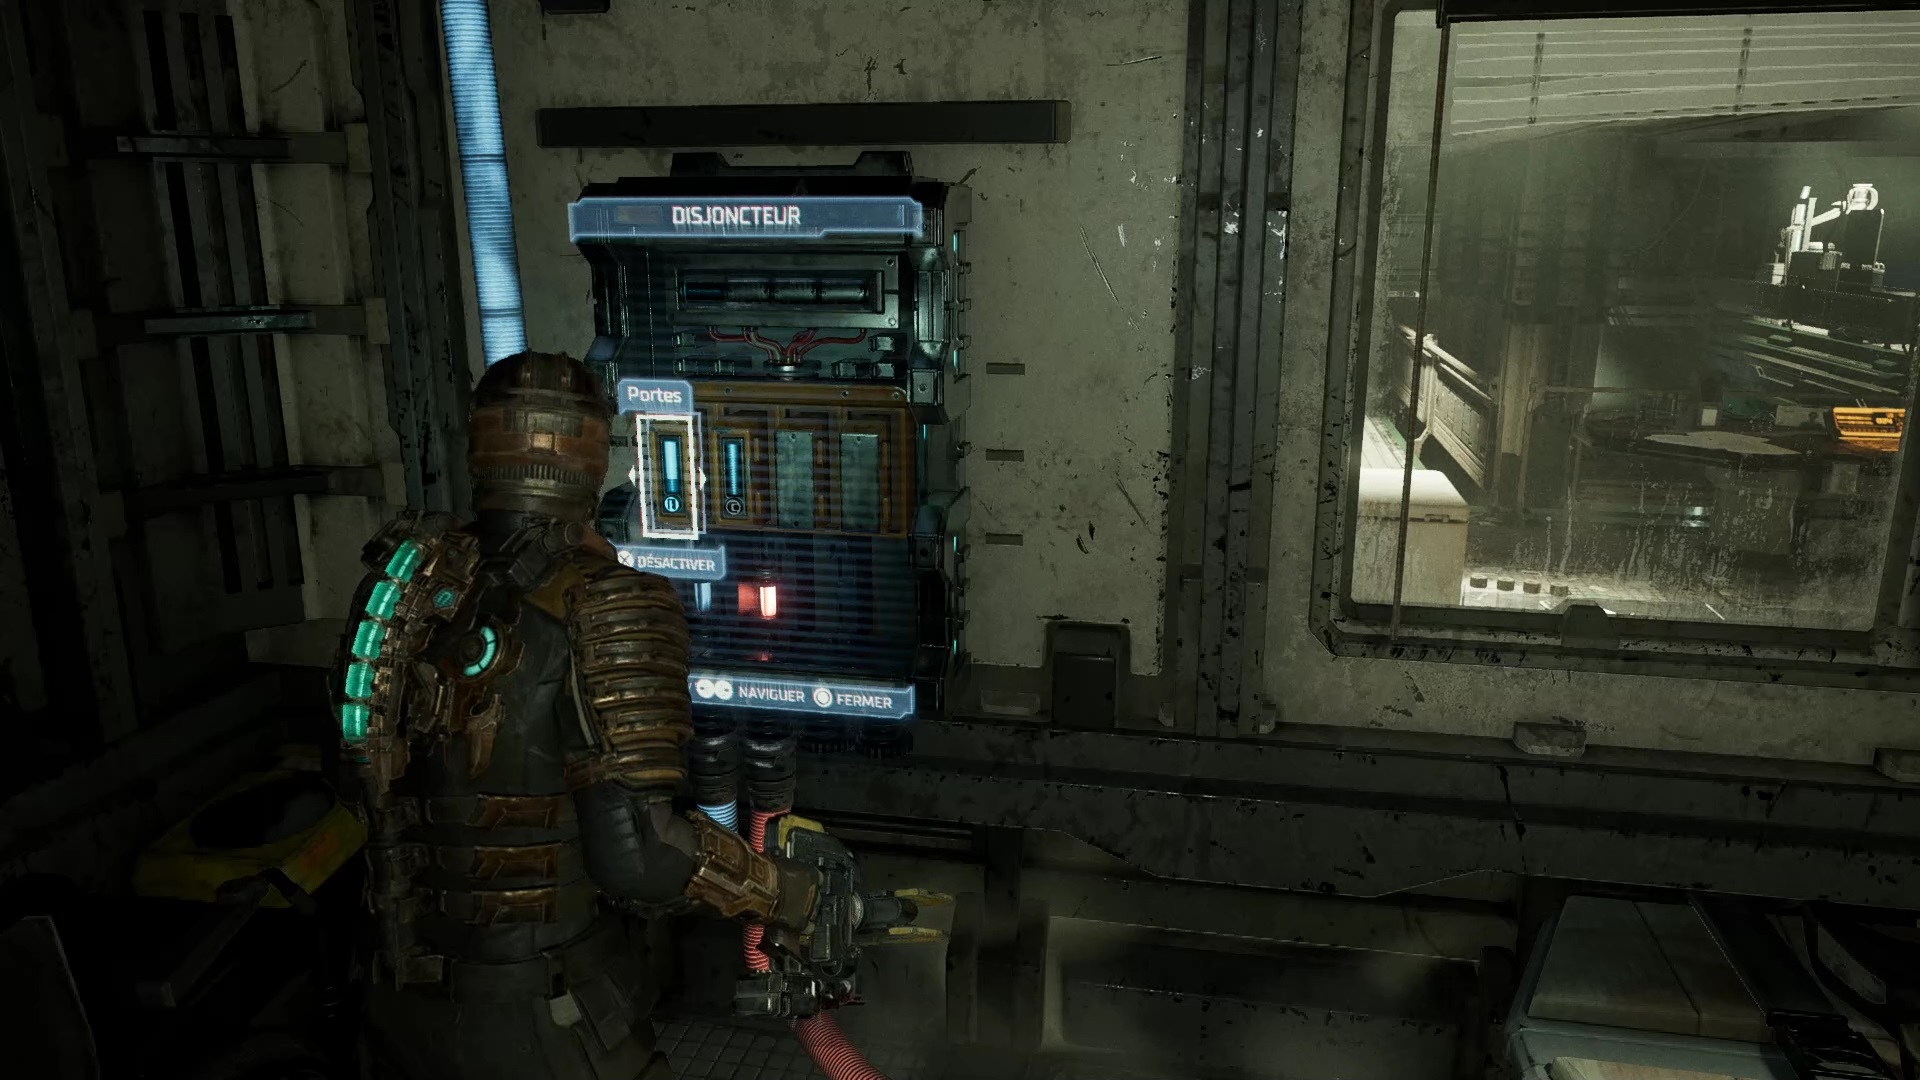
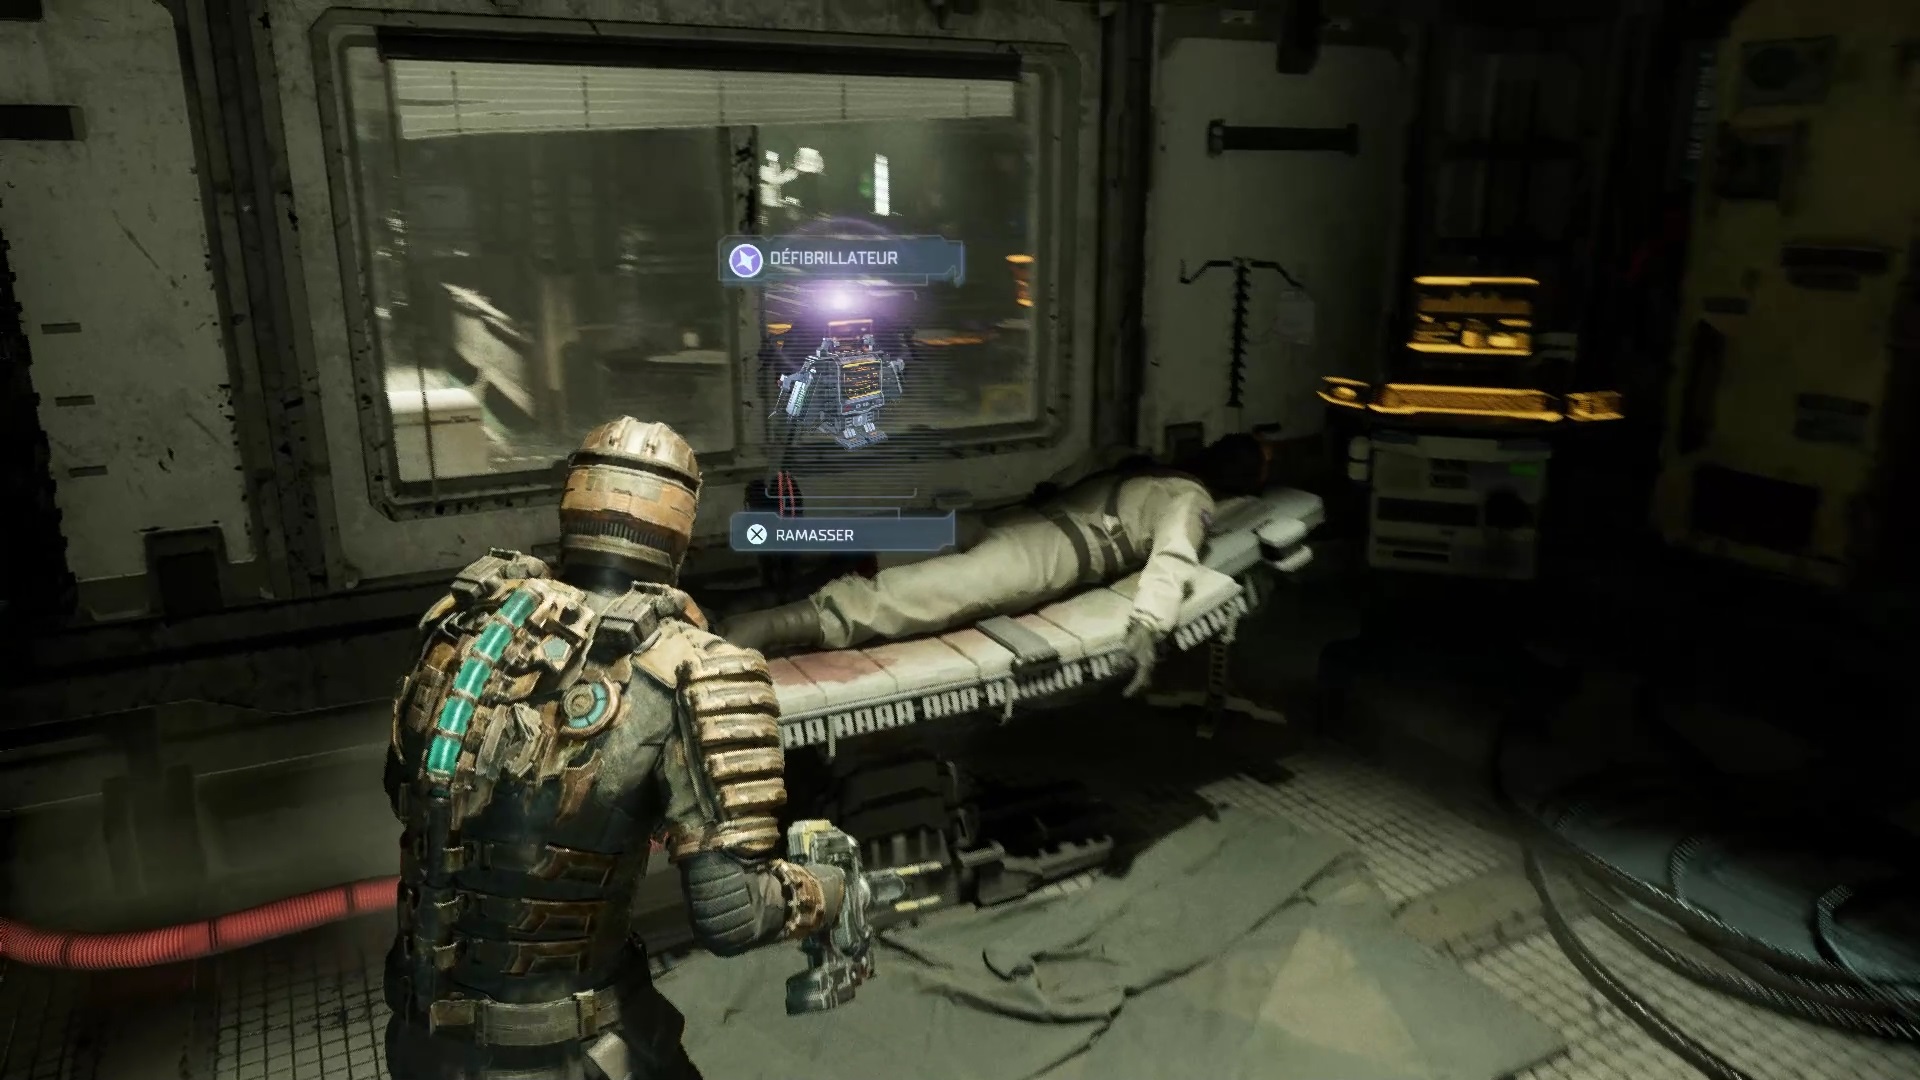
Other enemies are waiting for you upstairs. Pass the door of the sanitary showers after the fight. Continue into the Limb Stimulation Room. Divert the energy to the doors. Retrieve the defibrillator above the patient. Return to the security post to arm the charge against the barricade. Take cover in the nearby box to trigger the charge
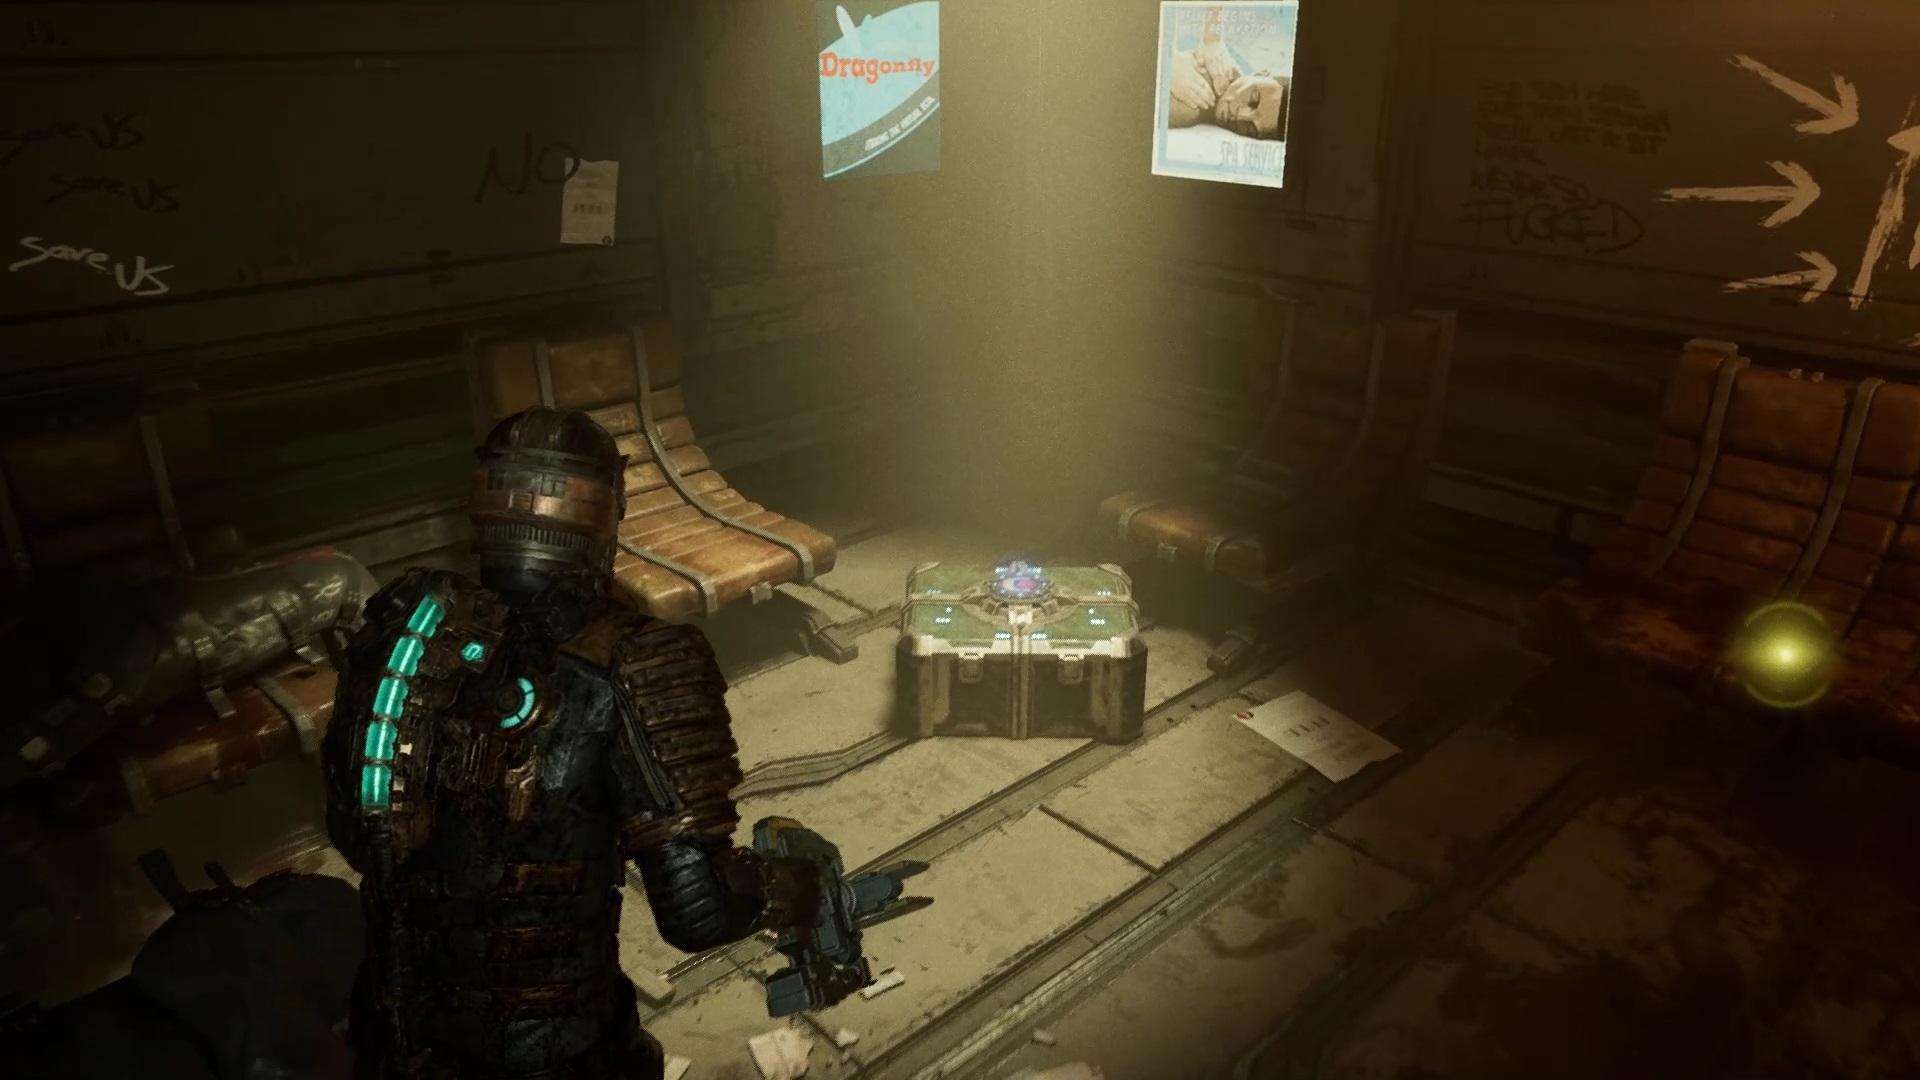
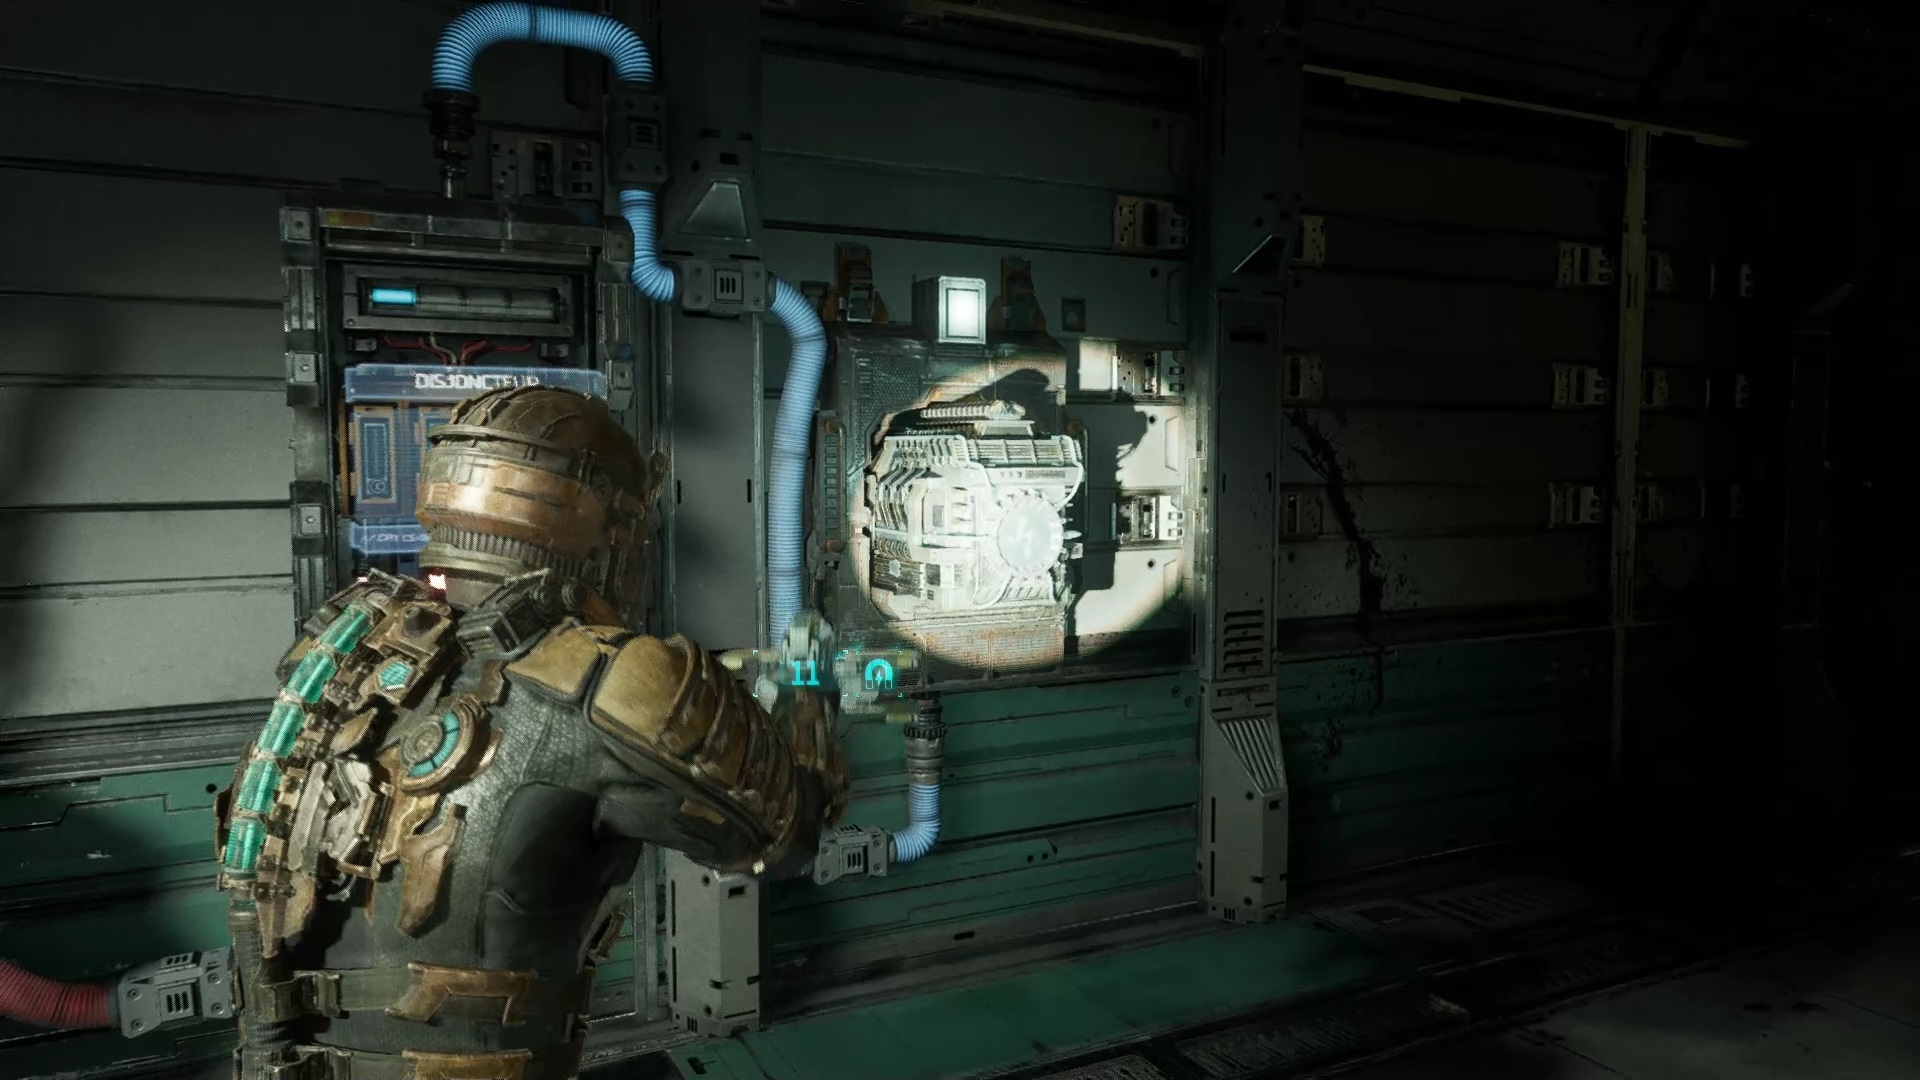
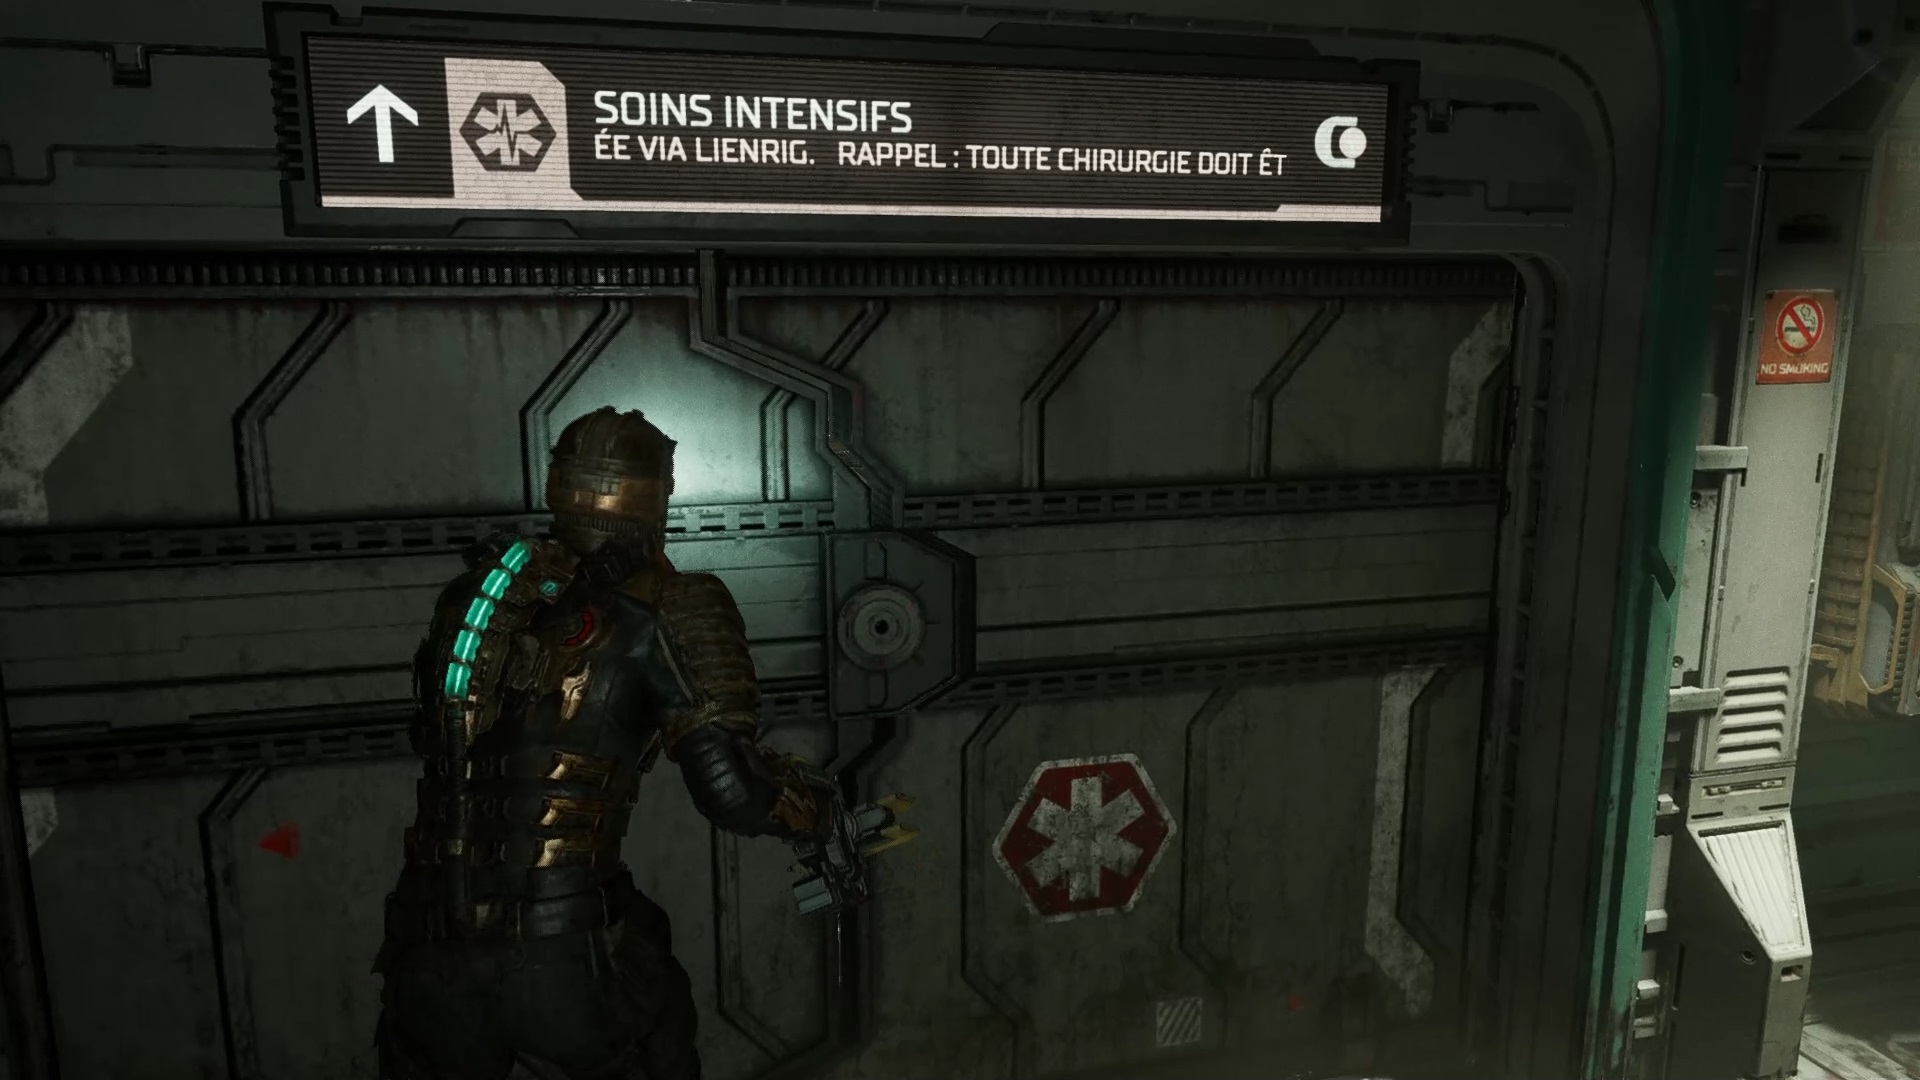
An upgrade for the Plasma Cutter can be found on the seats on the other side of the clinic door. Enter the emergency room, disconnect the fuses to remove the battery. Place the battery in the slot on the opposite wall. Go through the door to ER hallway A. Go through hallway B to find Intensive Care. Pass intensive care and go to the morgue
The hallway explodes. Eliminate the enemies on the spot and raise the battery against the wall of the corridor. Use the battery to unlock the passage at the end of the corridor. Take the elevator to reach the morgue. Go to the back of the morgue to find the captain’s body. After the cutscene, run fast behind to quickly destroy the flying enemy. Then take care of the captain and the remaining enemies. Use stasis to limit their movements. After the fight, take the RIG from the operating table.
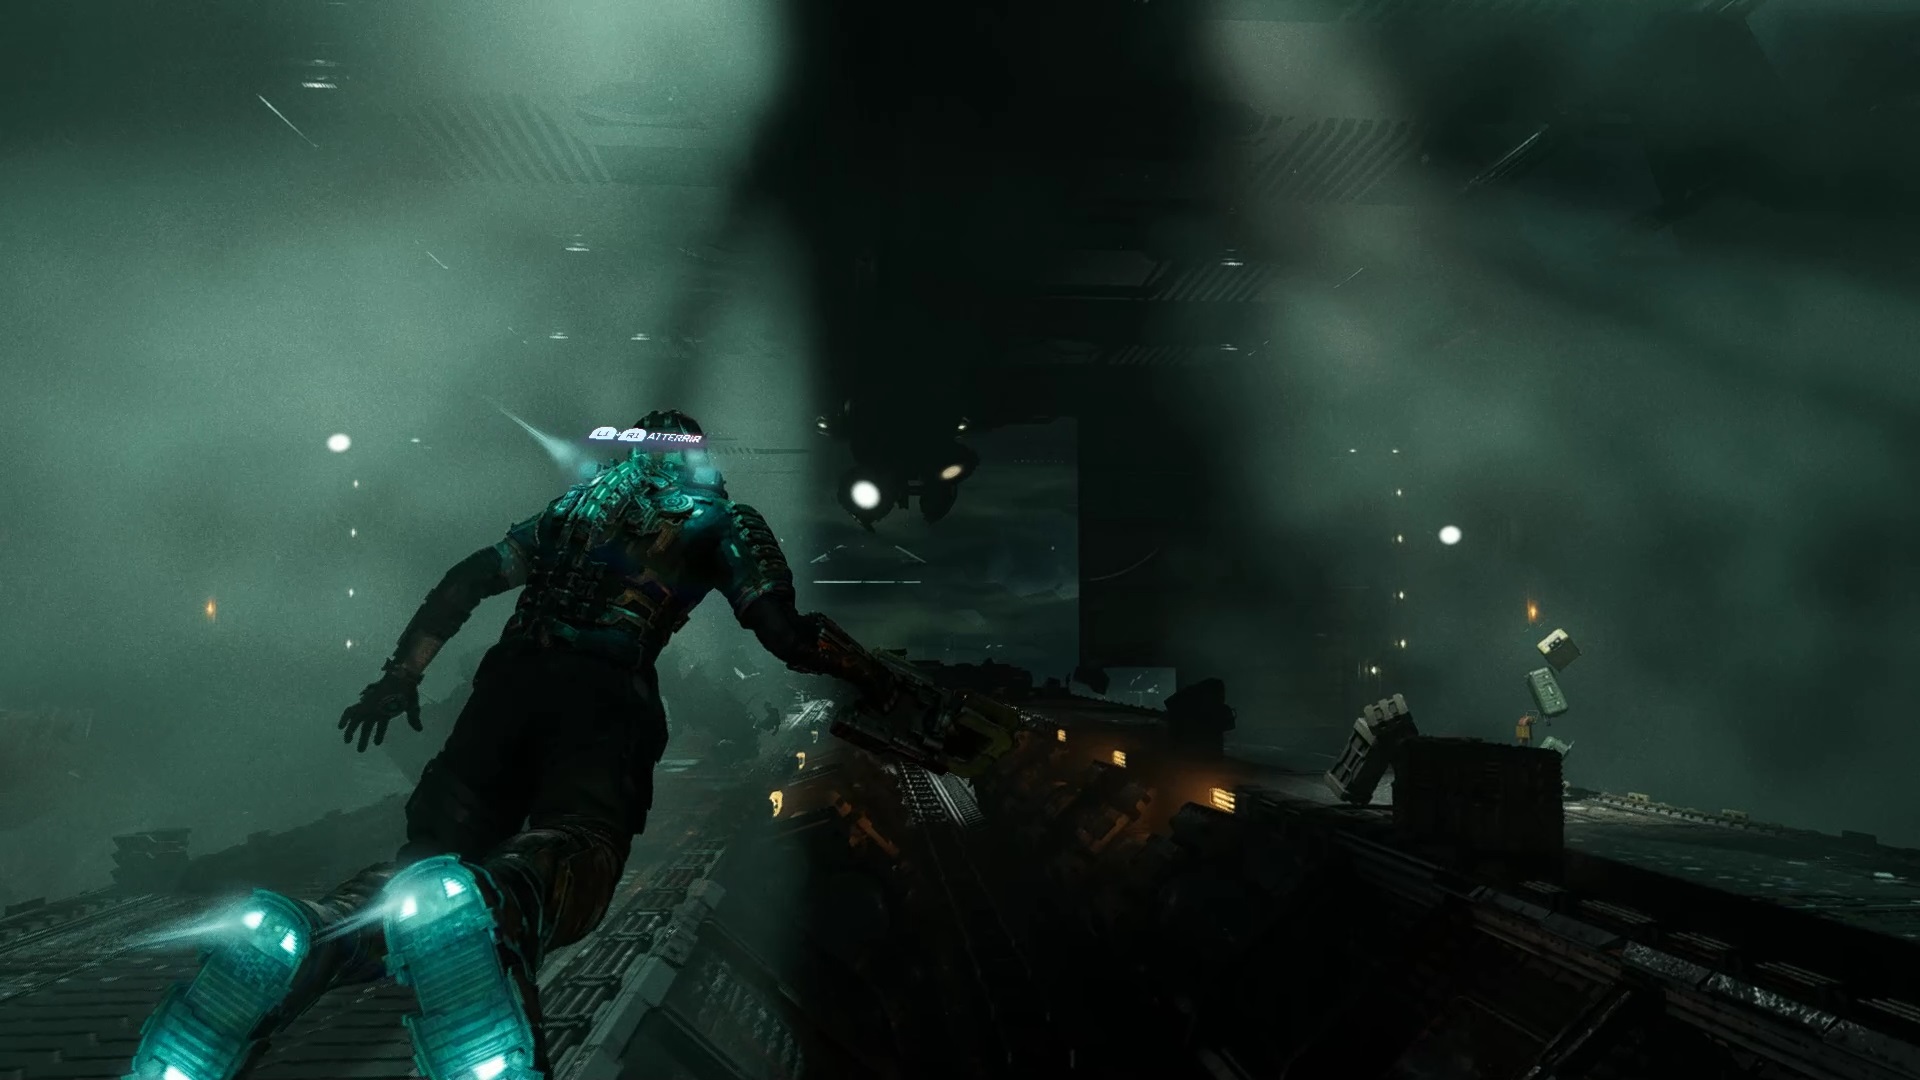
Return to the security post via the elevator. On Hammond Road, change your plans and ask you to join the hangar. Follow your compass to find your way. Use the tram to reach the hangar more quickly. In the hangar, use your thrusters to exit outside the station.
Episode 3
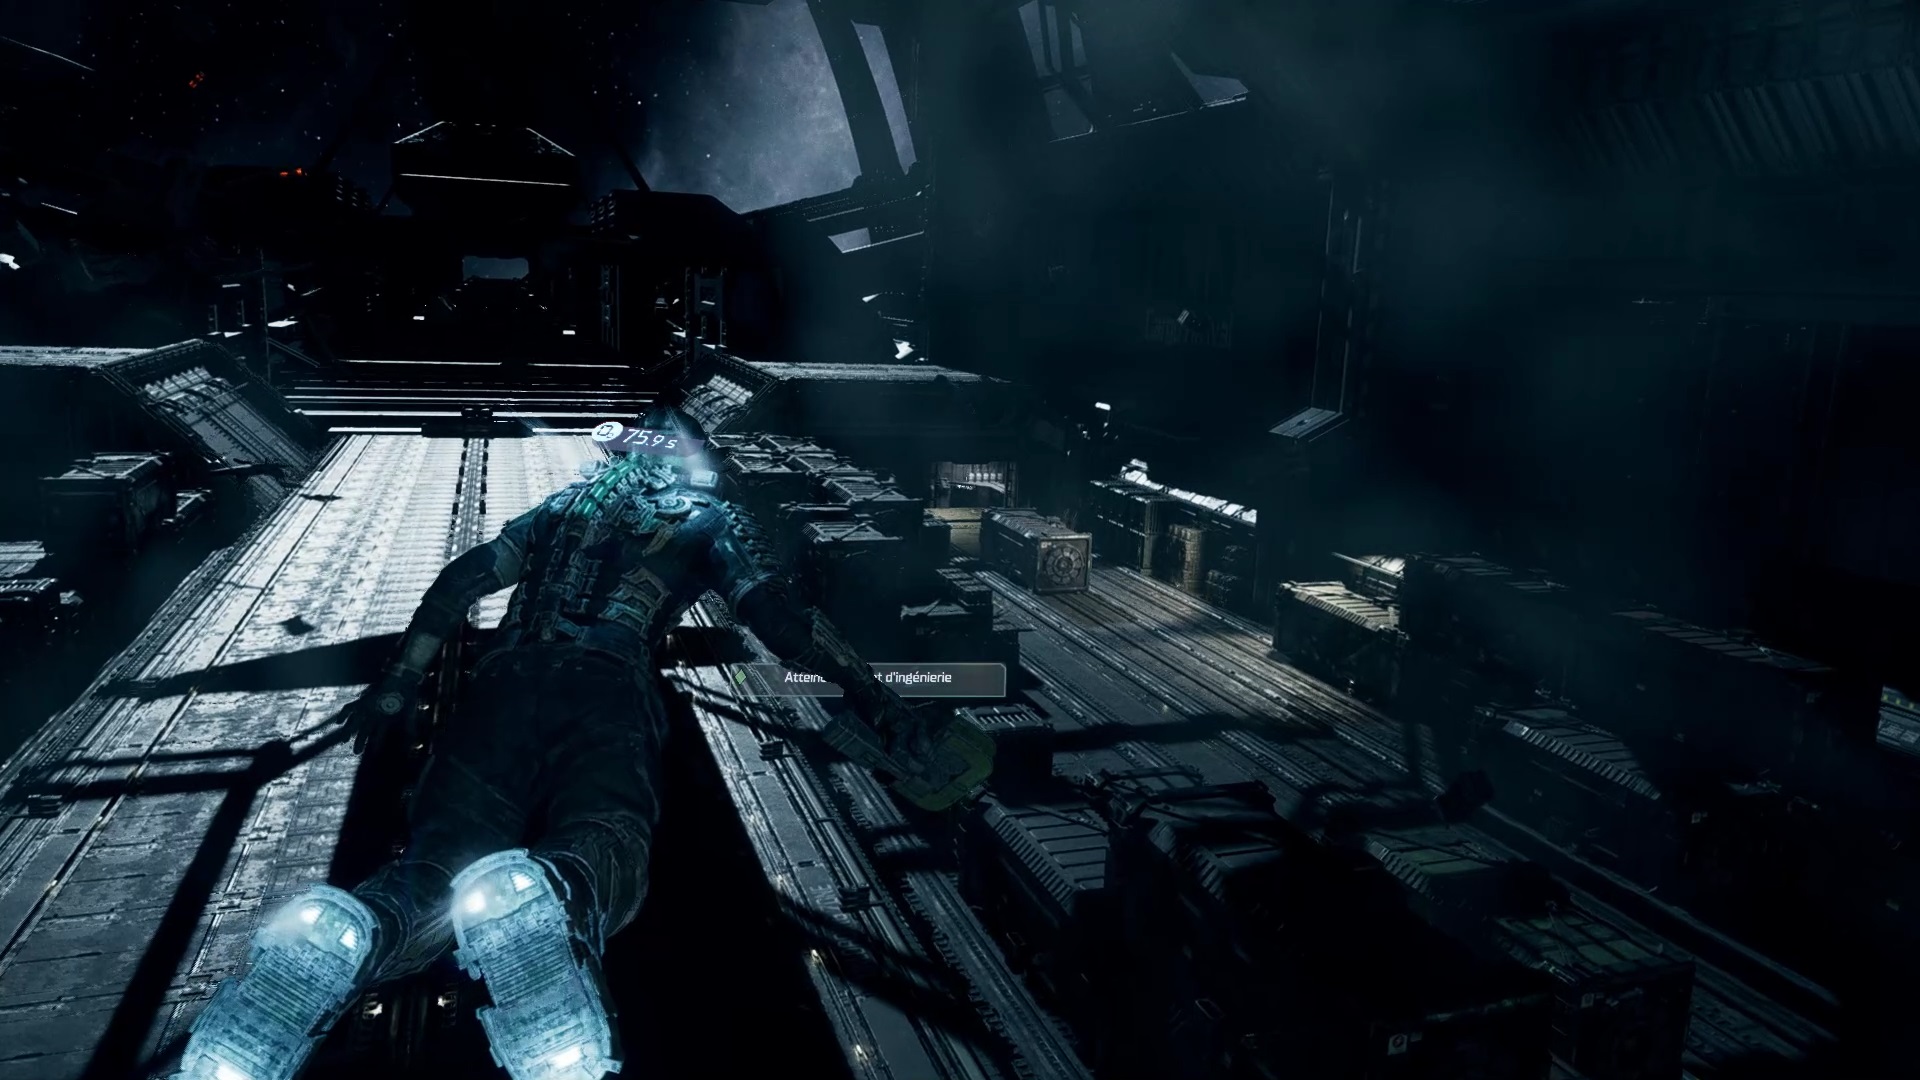
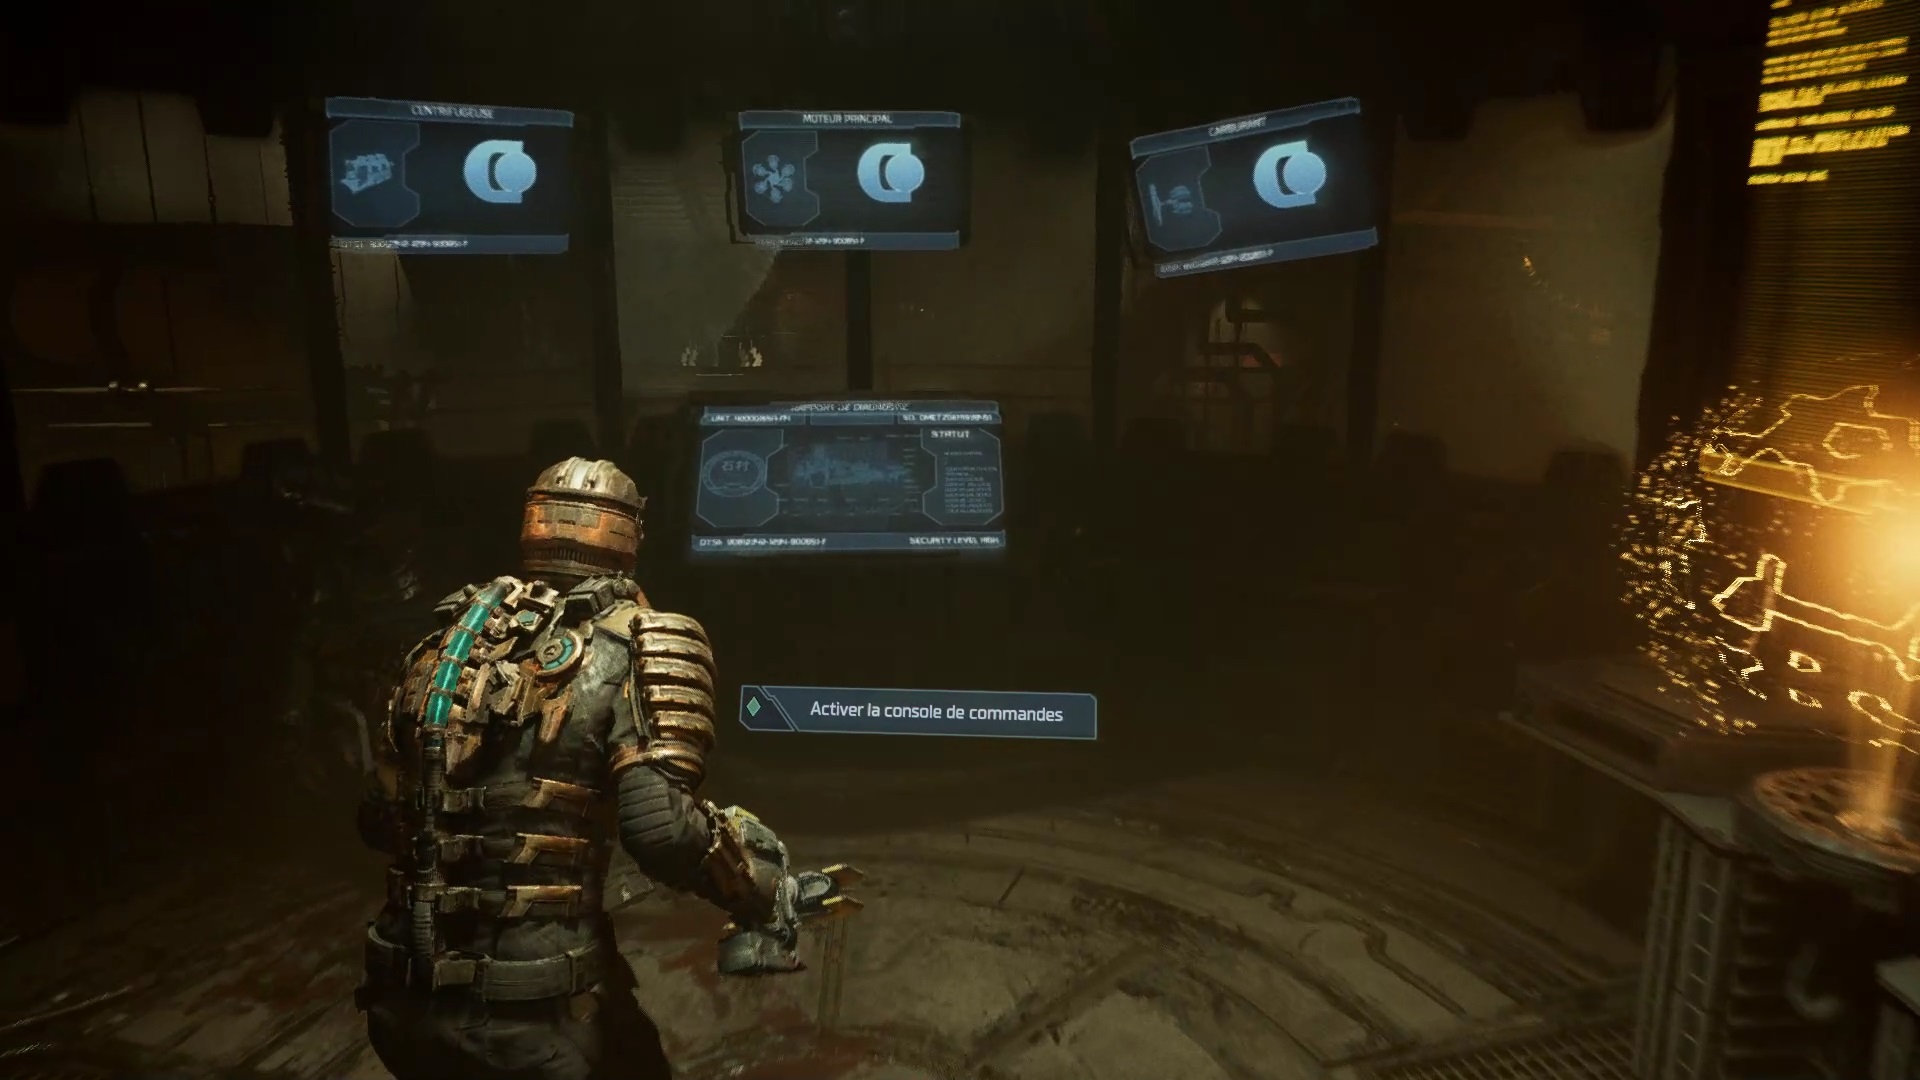
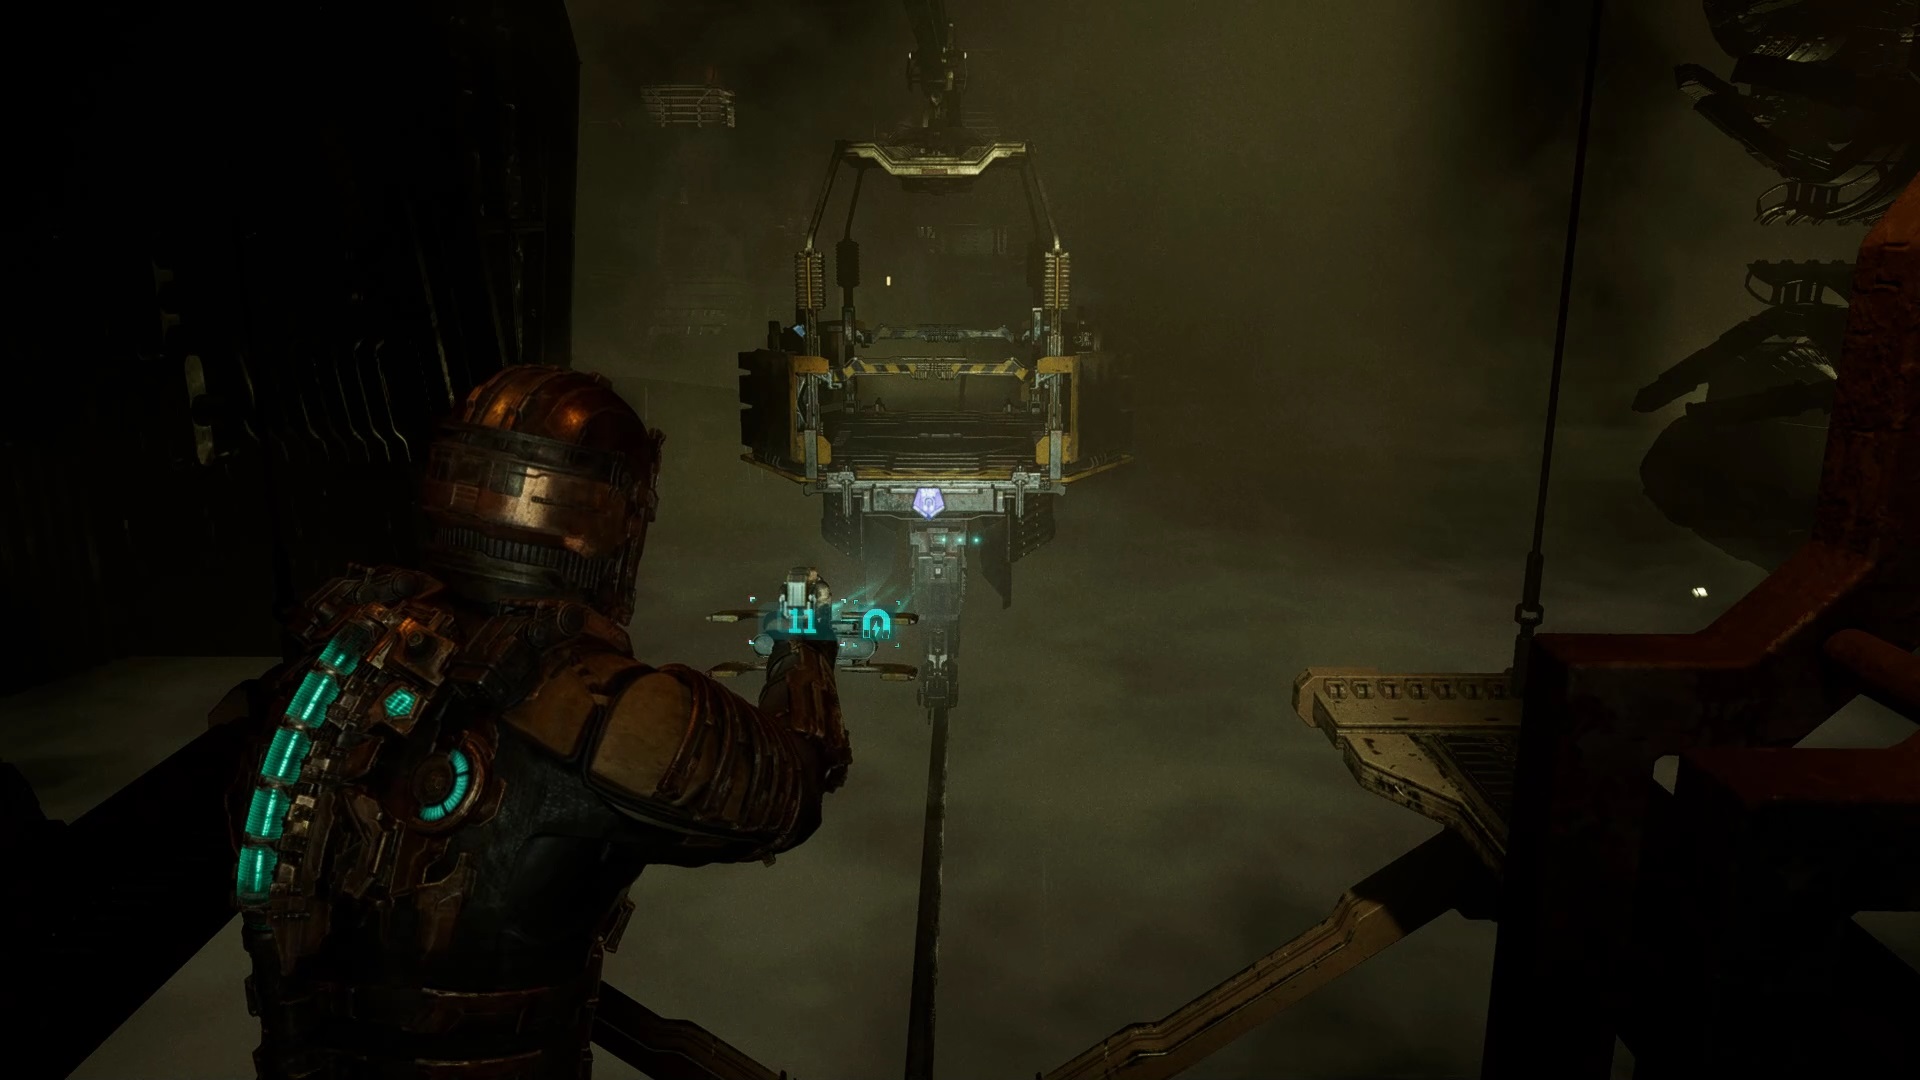
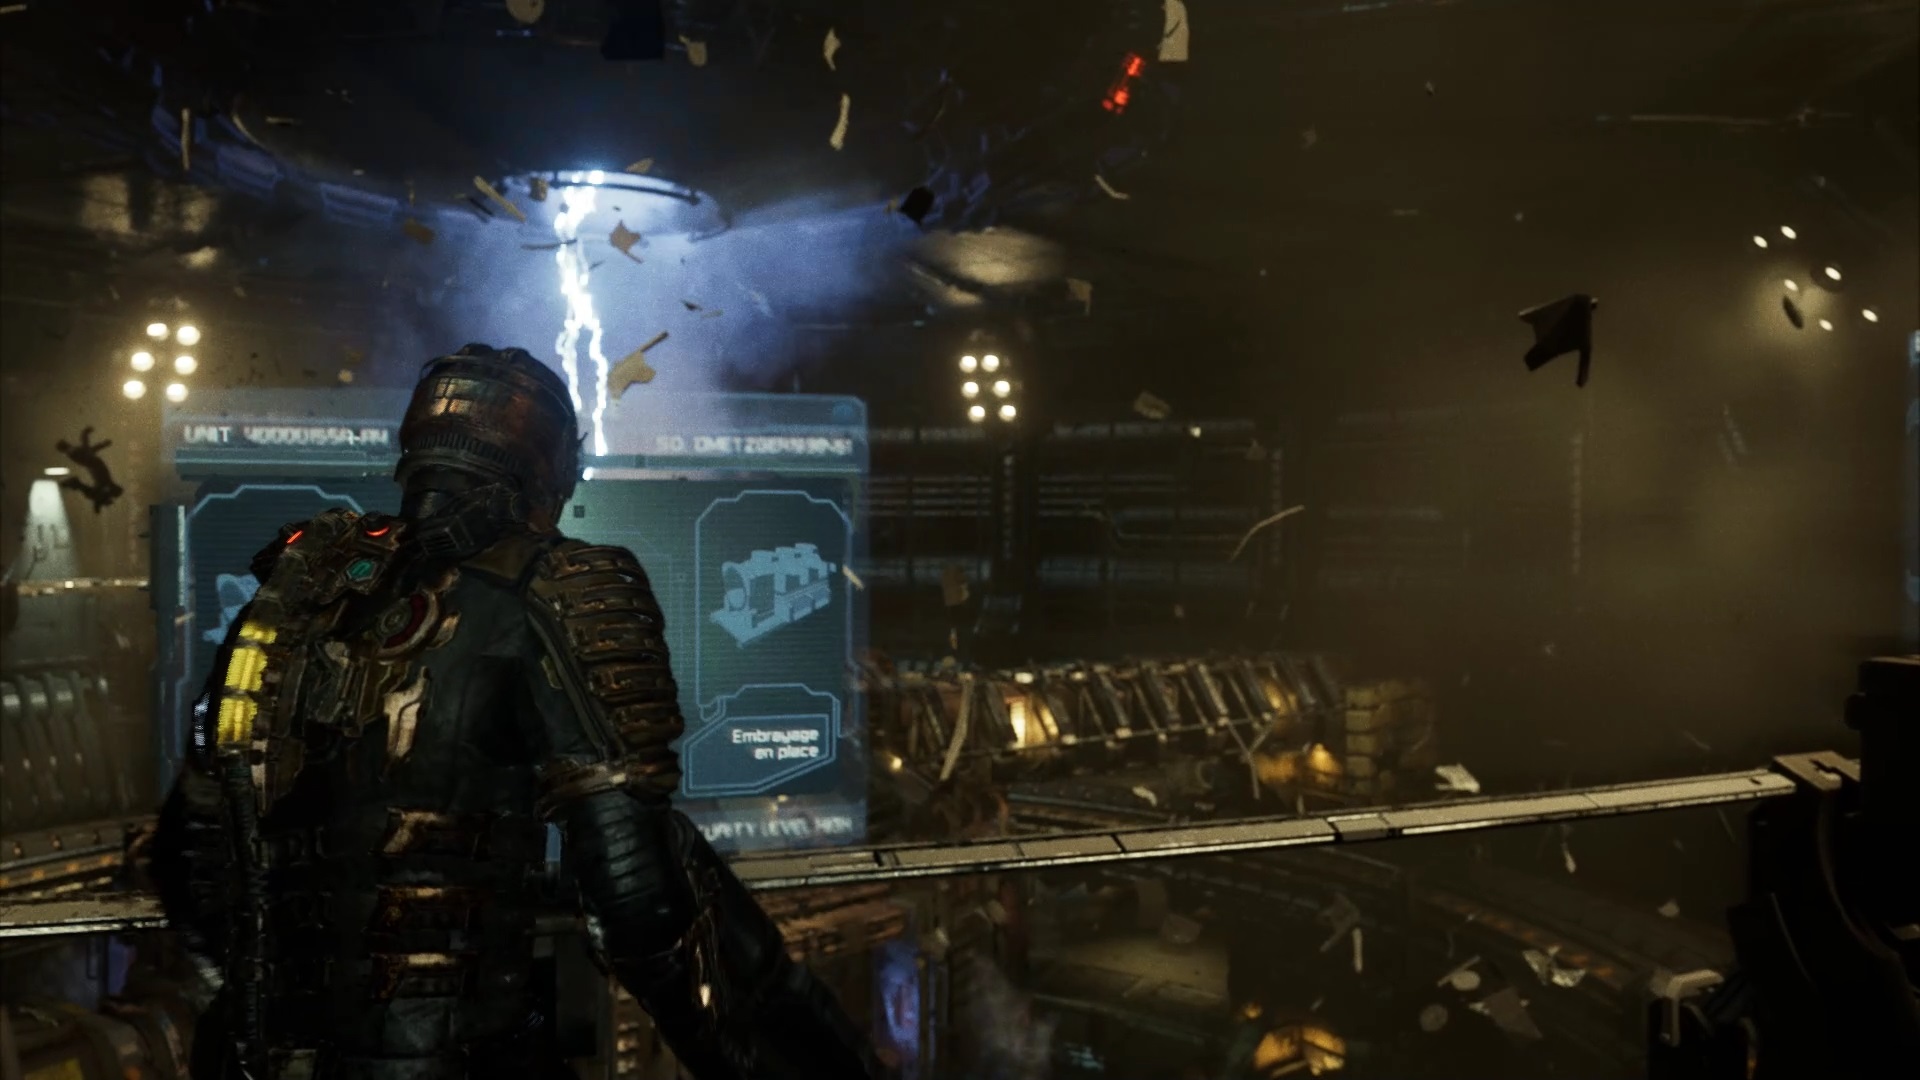
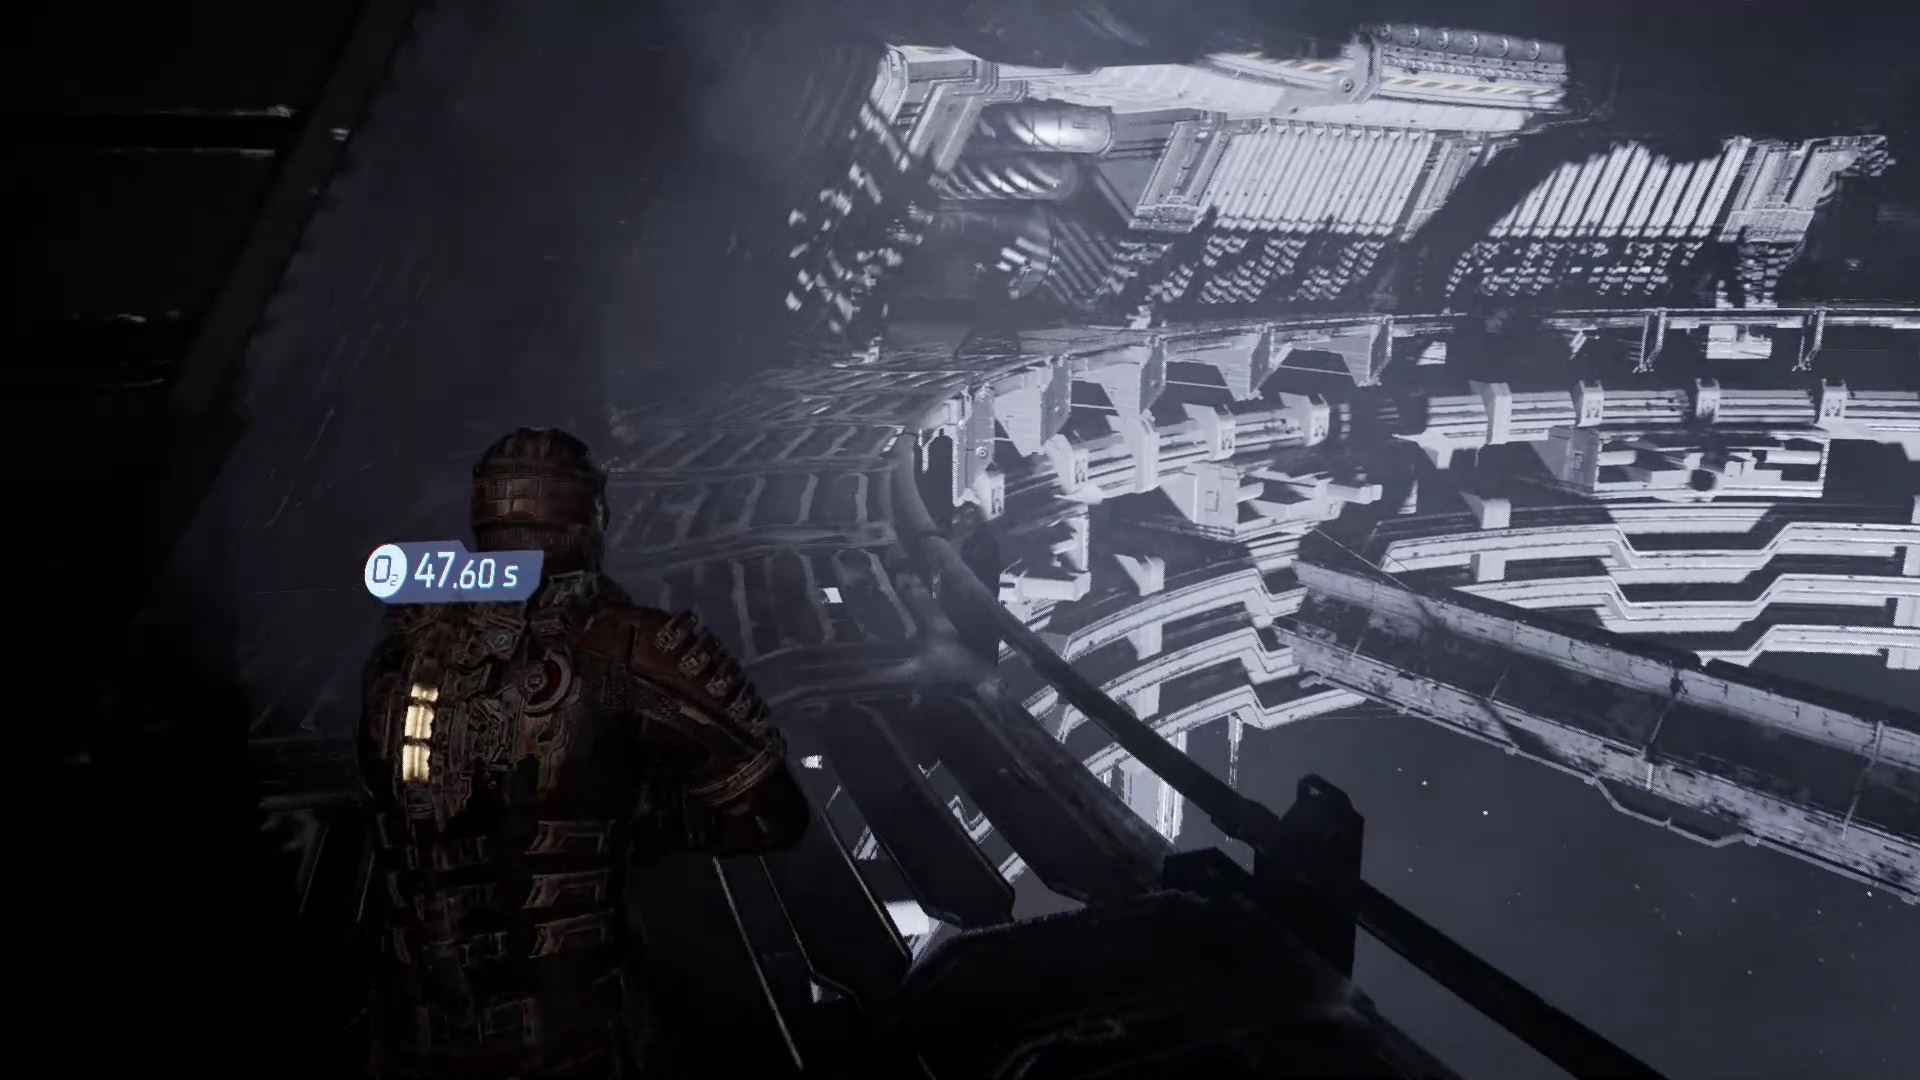
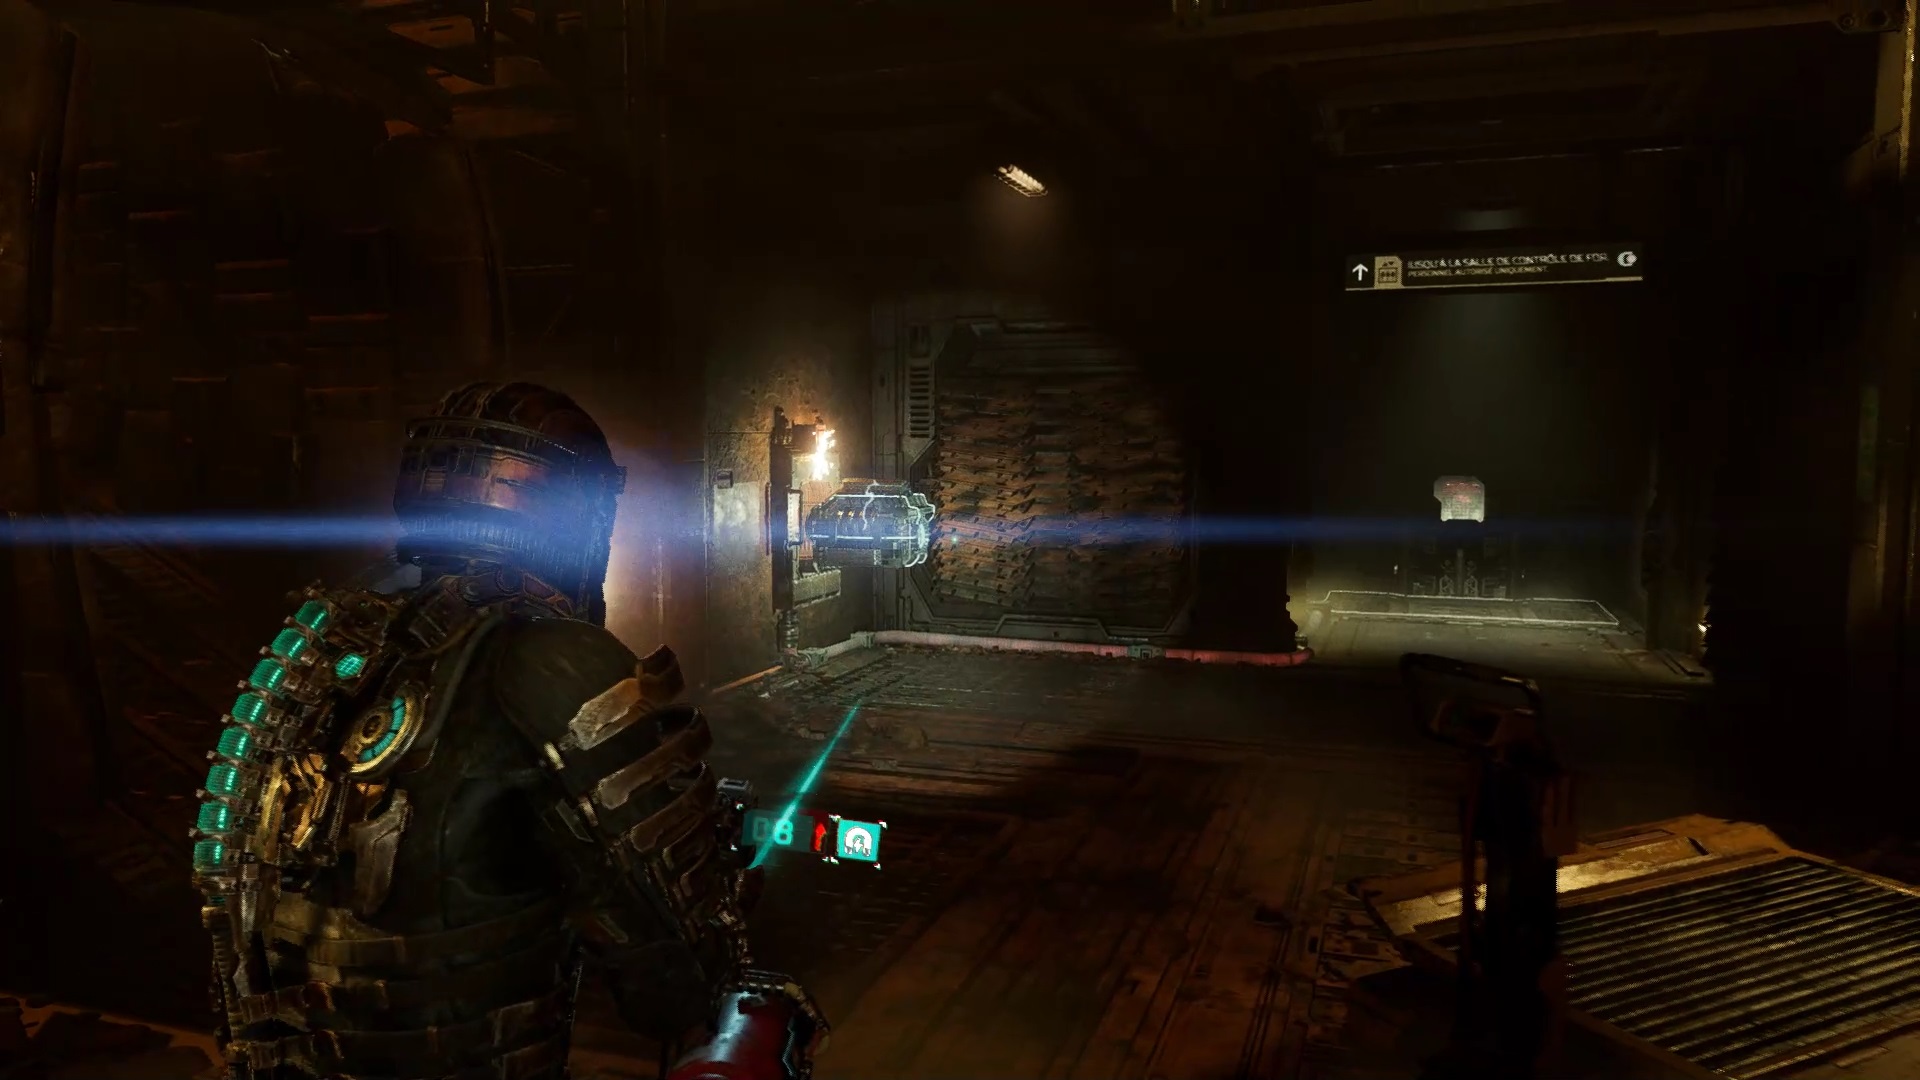
Go to the engineering bridge, watch out for enemies and use nearby oxygen stations to keep breathing. Follow your compass to find your way around the hangar. Use the elevator to reach the bridge. On site, activate the command post. Go through the prep room and the buy station room to find the carver at the foot of the stairs. Proceed to the Fuel Control Room. Get rid of the enemies and use telekinesis to bring the cable car closer
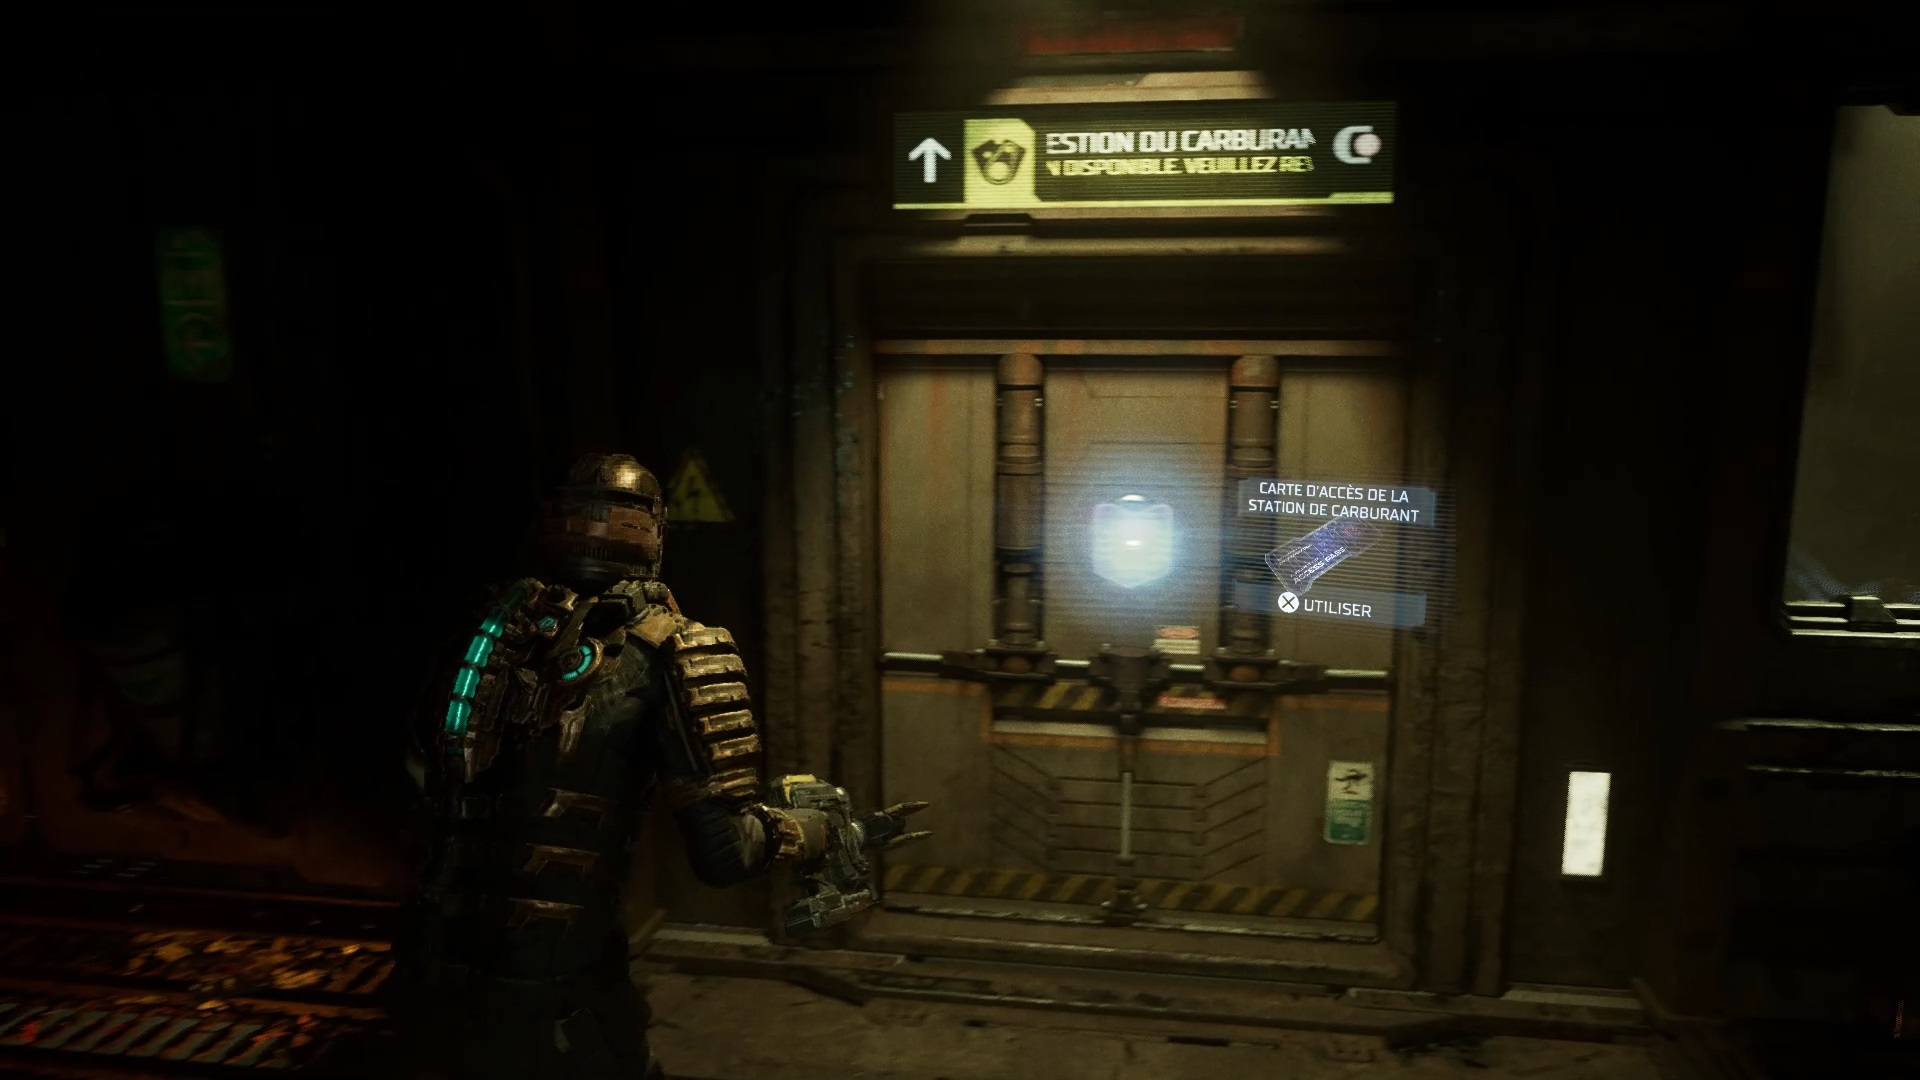
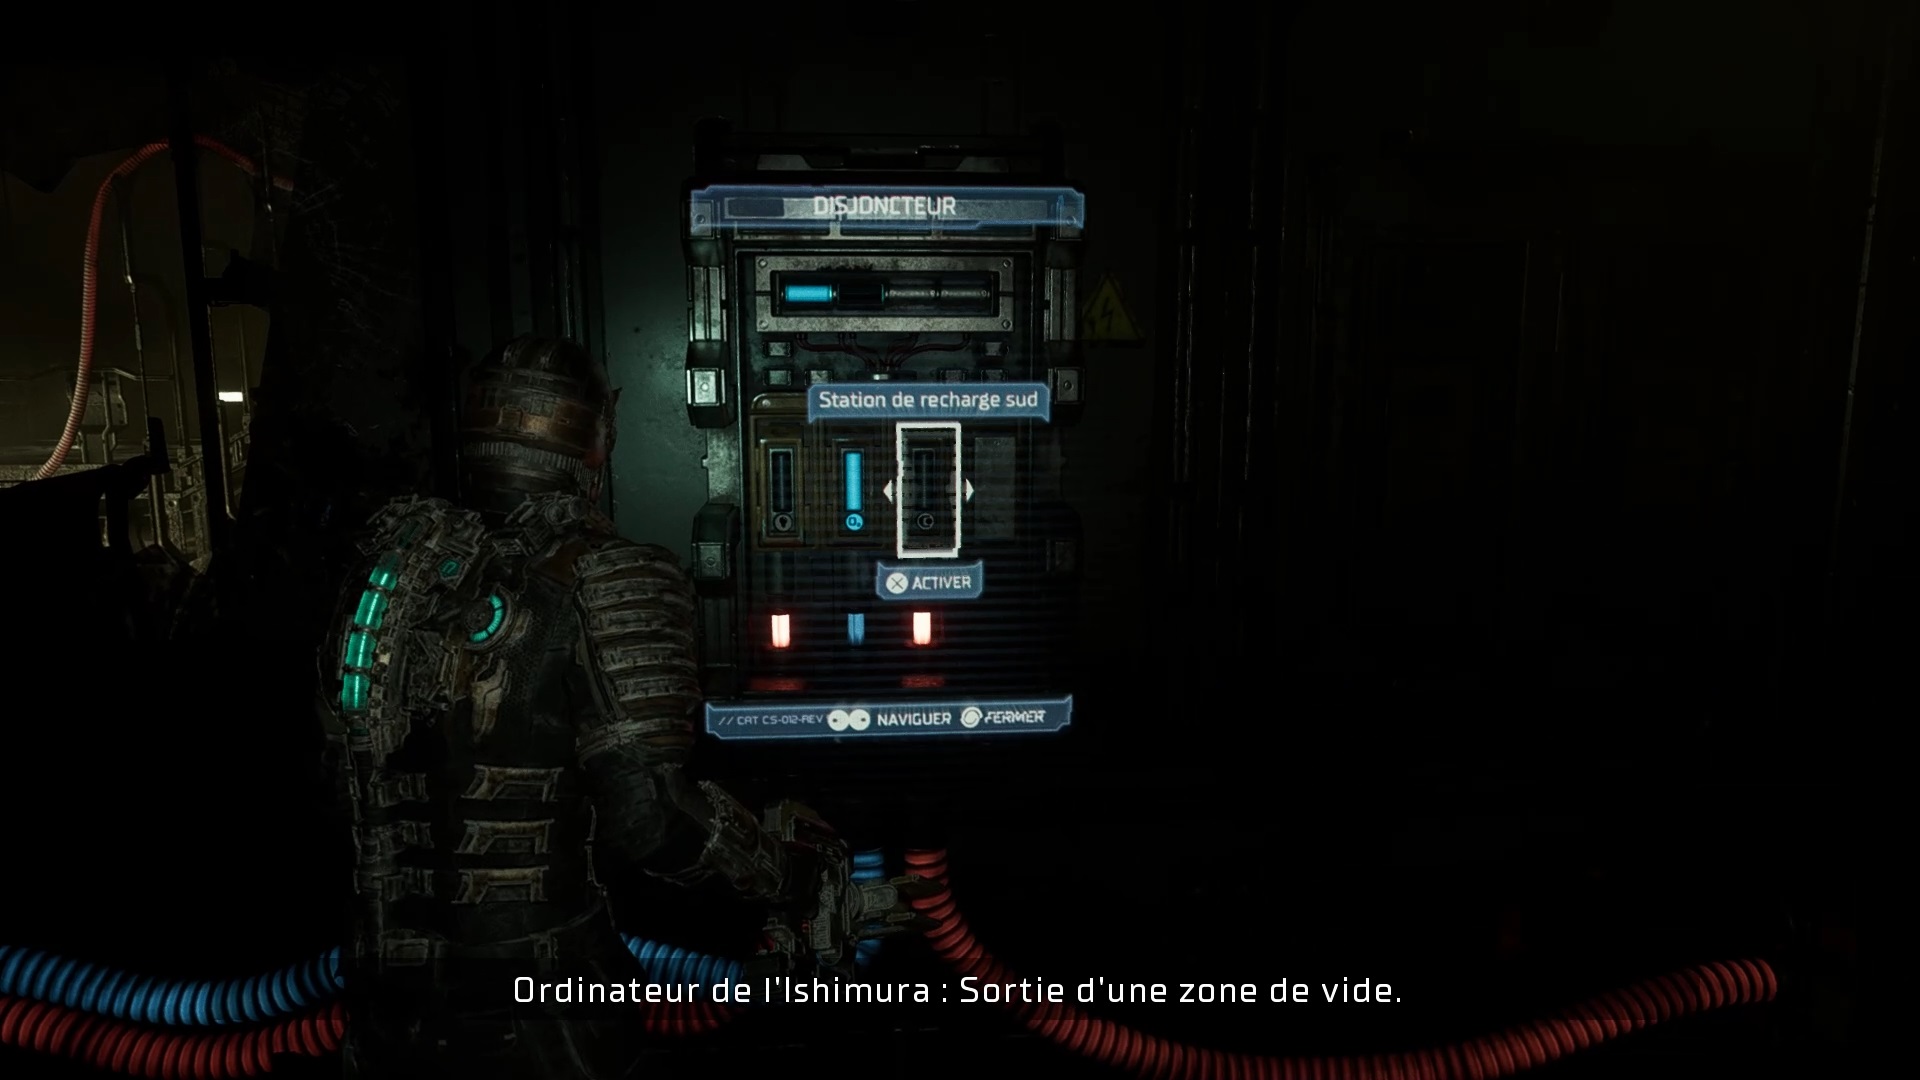
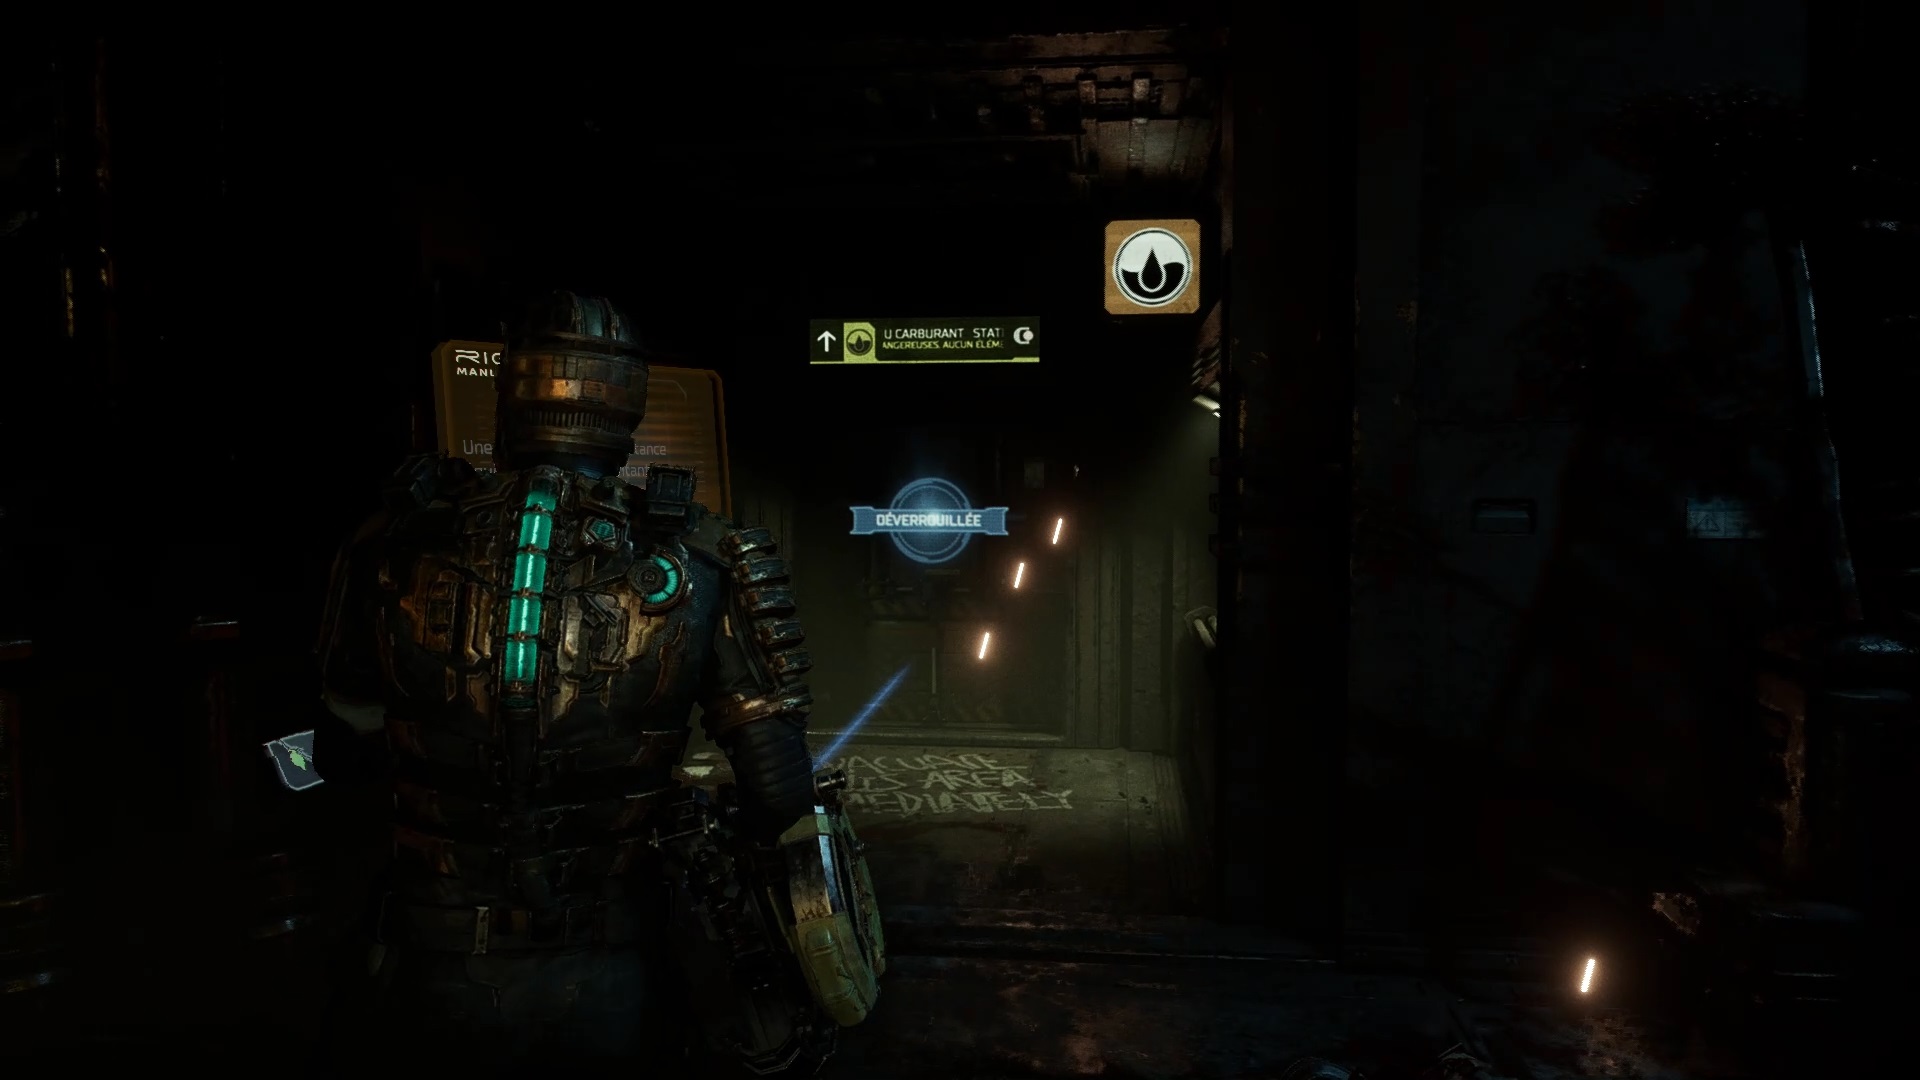
Enter the cable car to activate it. Beware of the welcoming committee on arrival. Go upstairs to find the access card to the fuel station on a workshop. Use the access card with the station door to unlock it at the bottom of the slope. Divert power from the circuit breaker to the station and life support system. Go to the south engine with your compass and activate it manually. Join the north engine on the other side by eliminating the enemies that have just appeared.
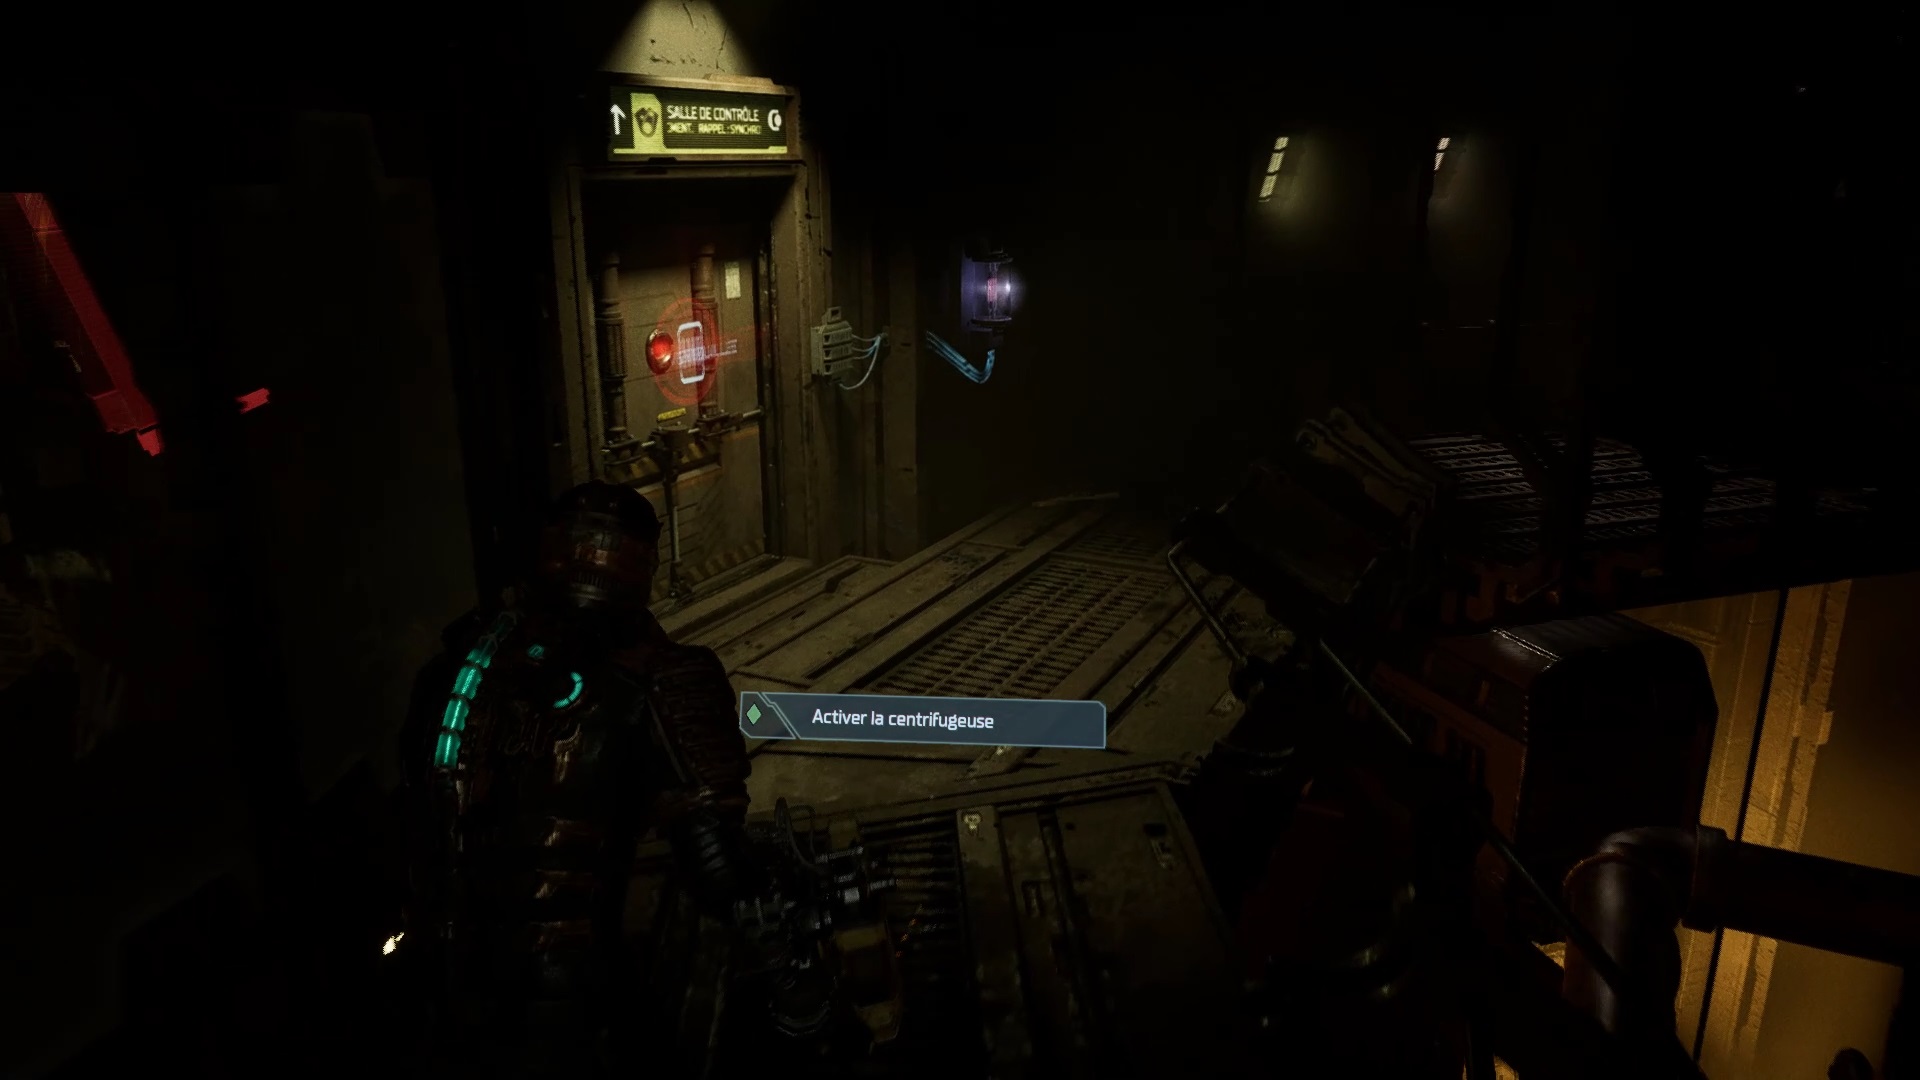
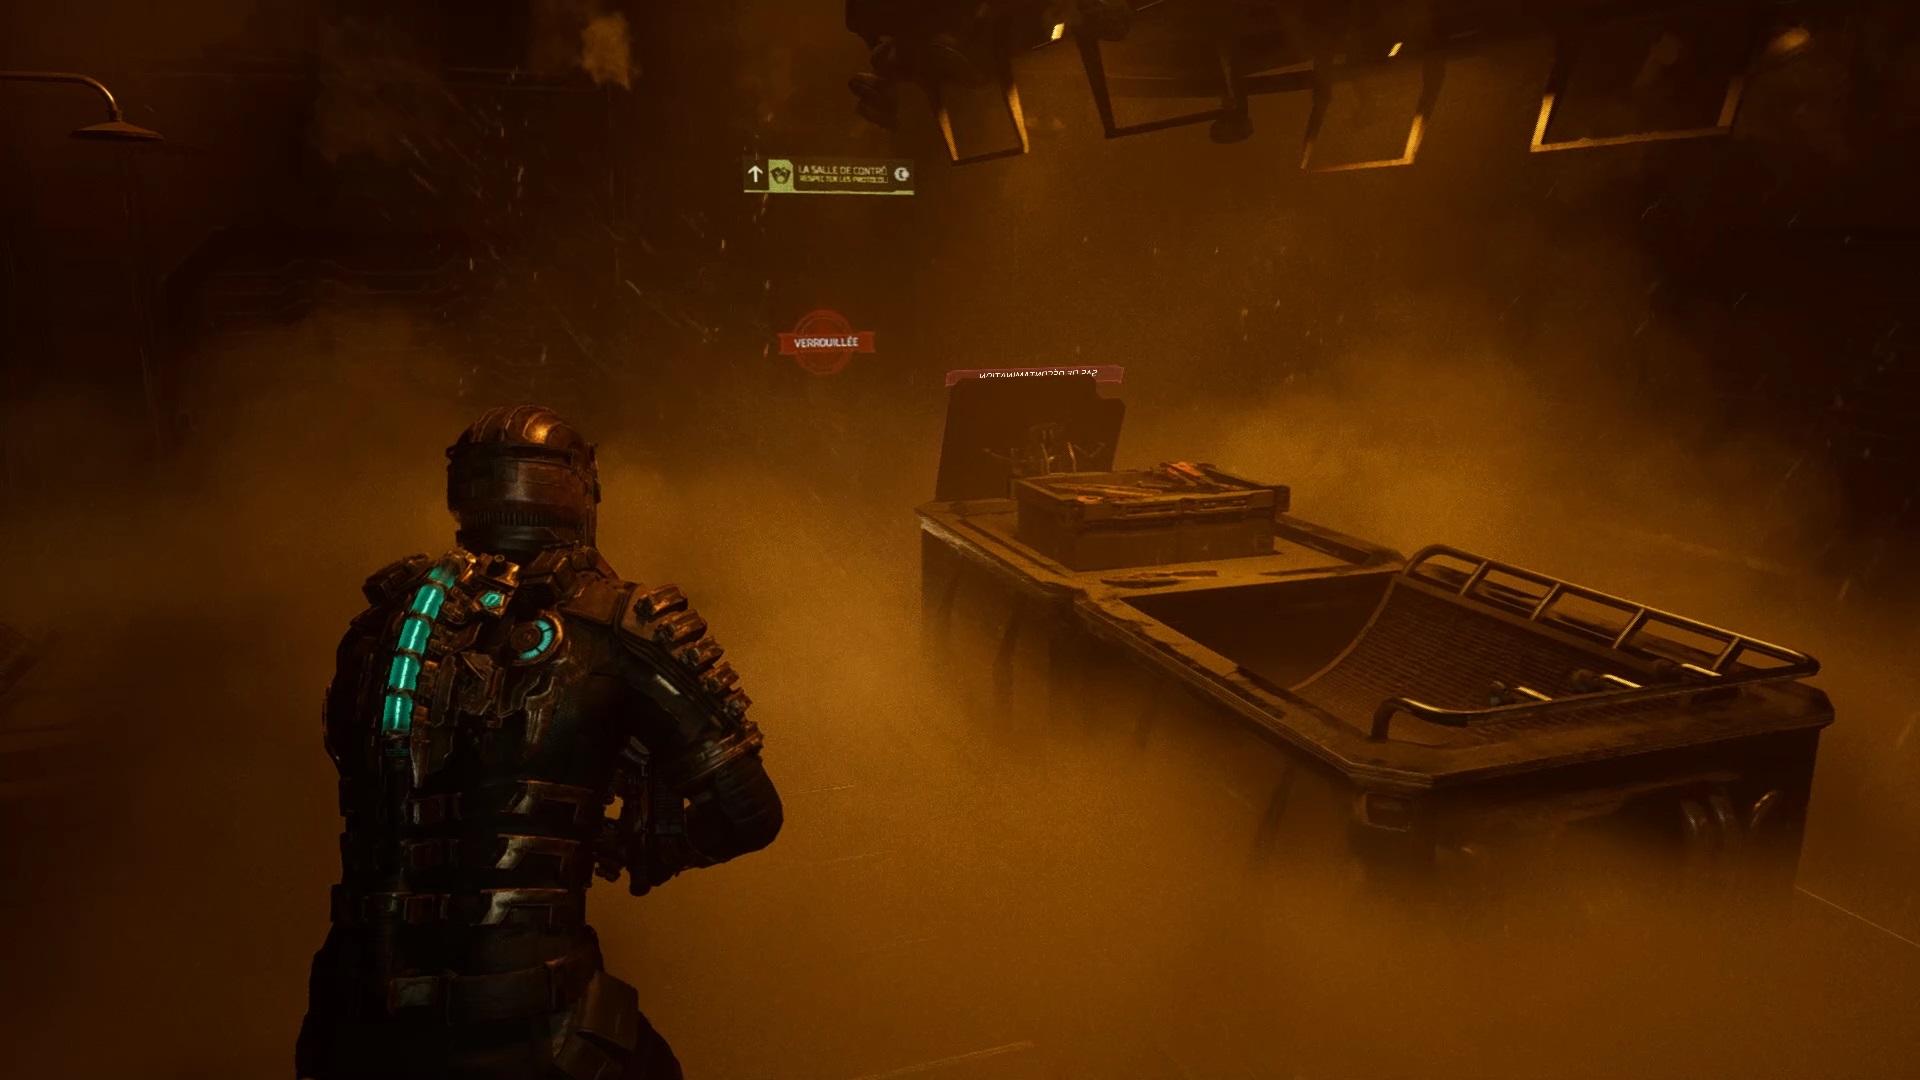
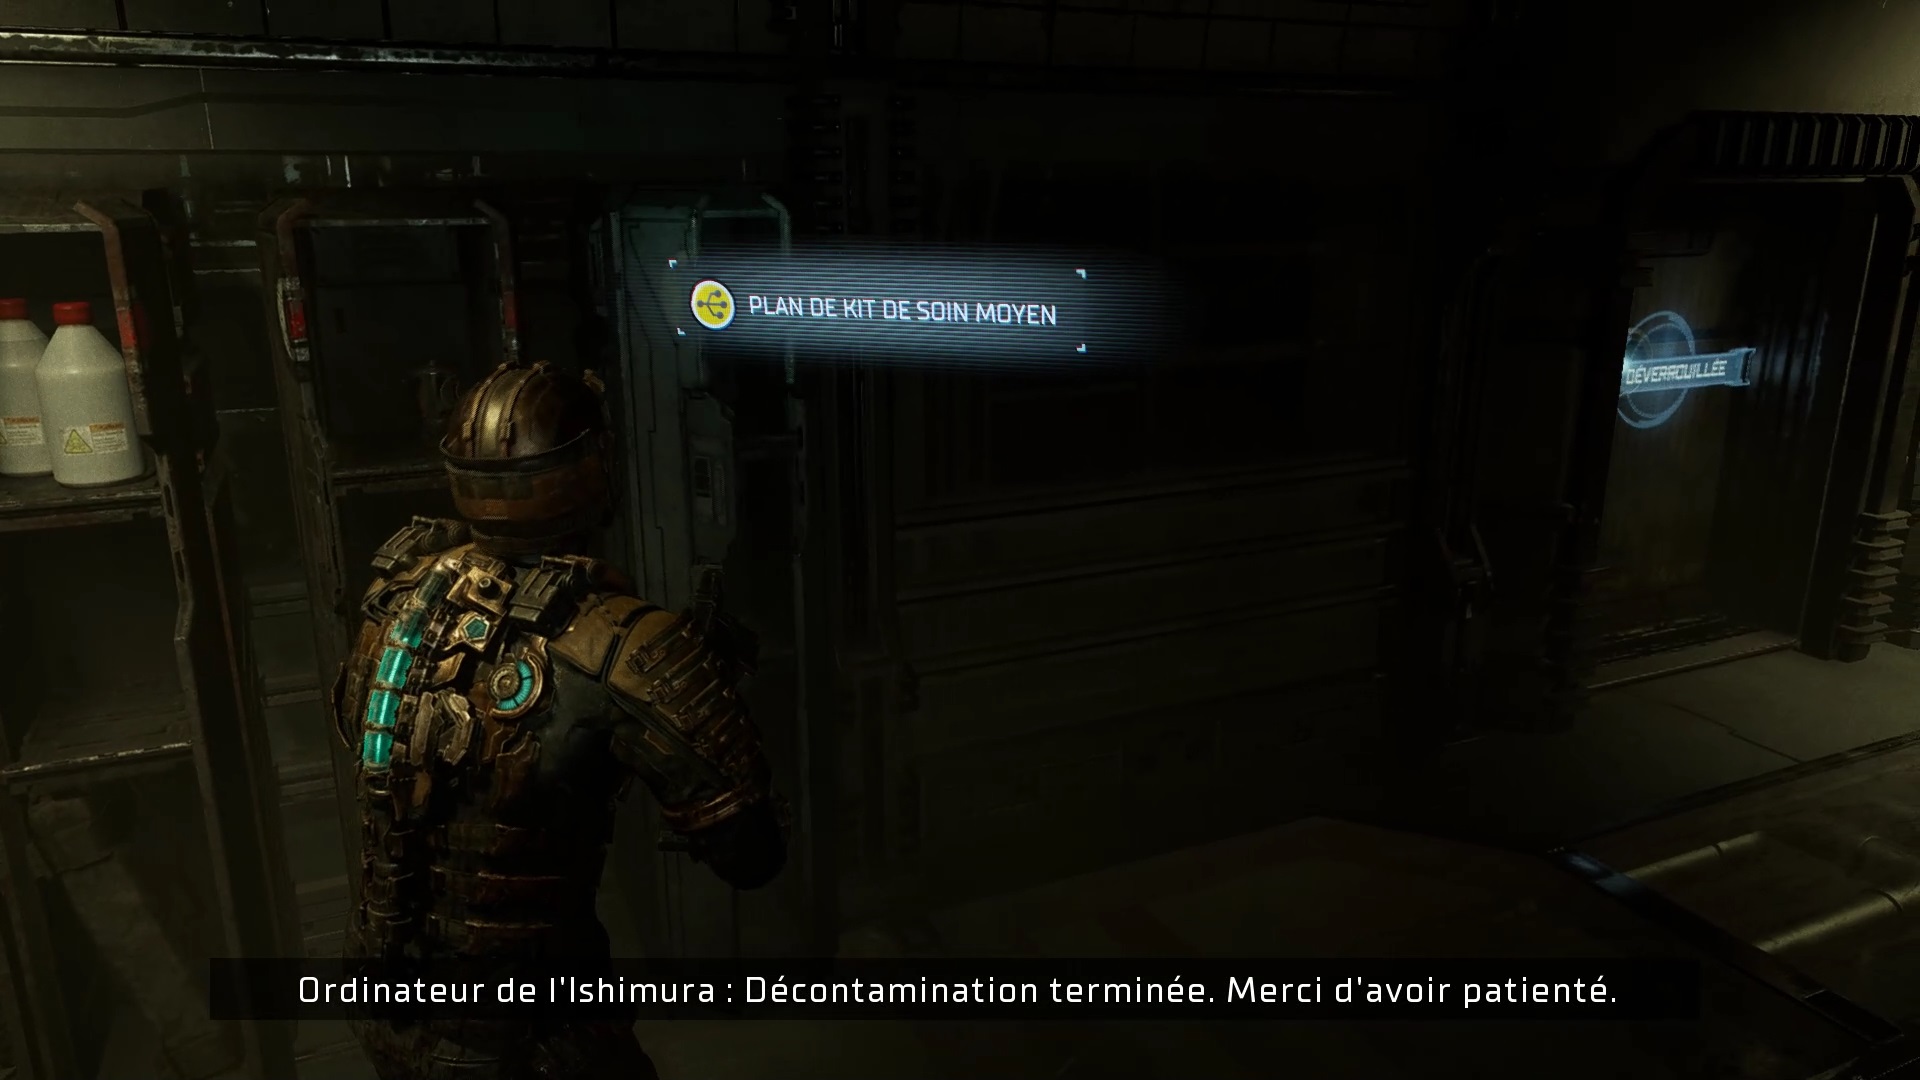
Follow the compass and unlock the control room door by breaking its power supply. Follow the path to the centrifuge to take an elevator. Go inside a decontamination airlock to start a fight. Survive the fight and continue to the centrifuge. Search the locker outside the airlock to find the Medium Med Kit Blueprint . Enter the centrifuge.
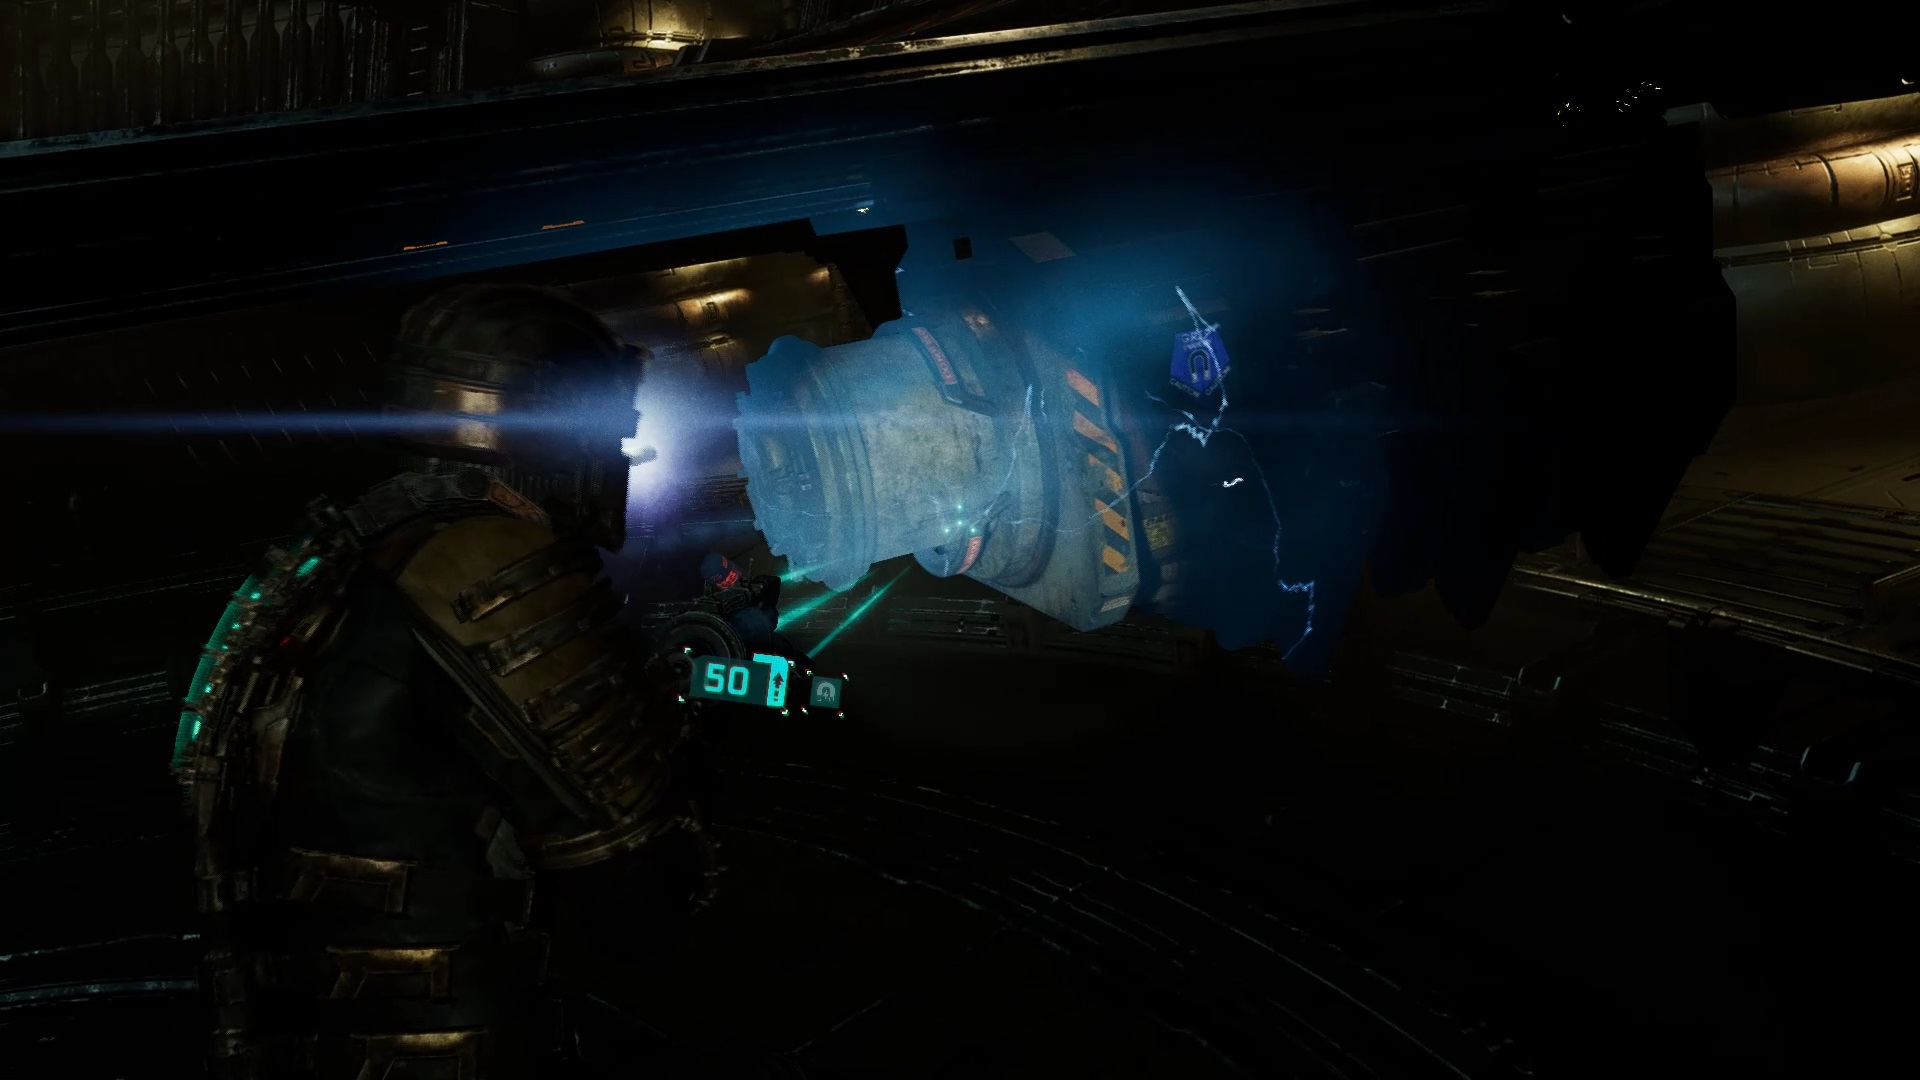
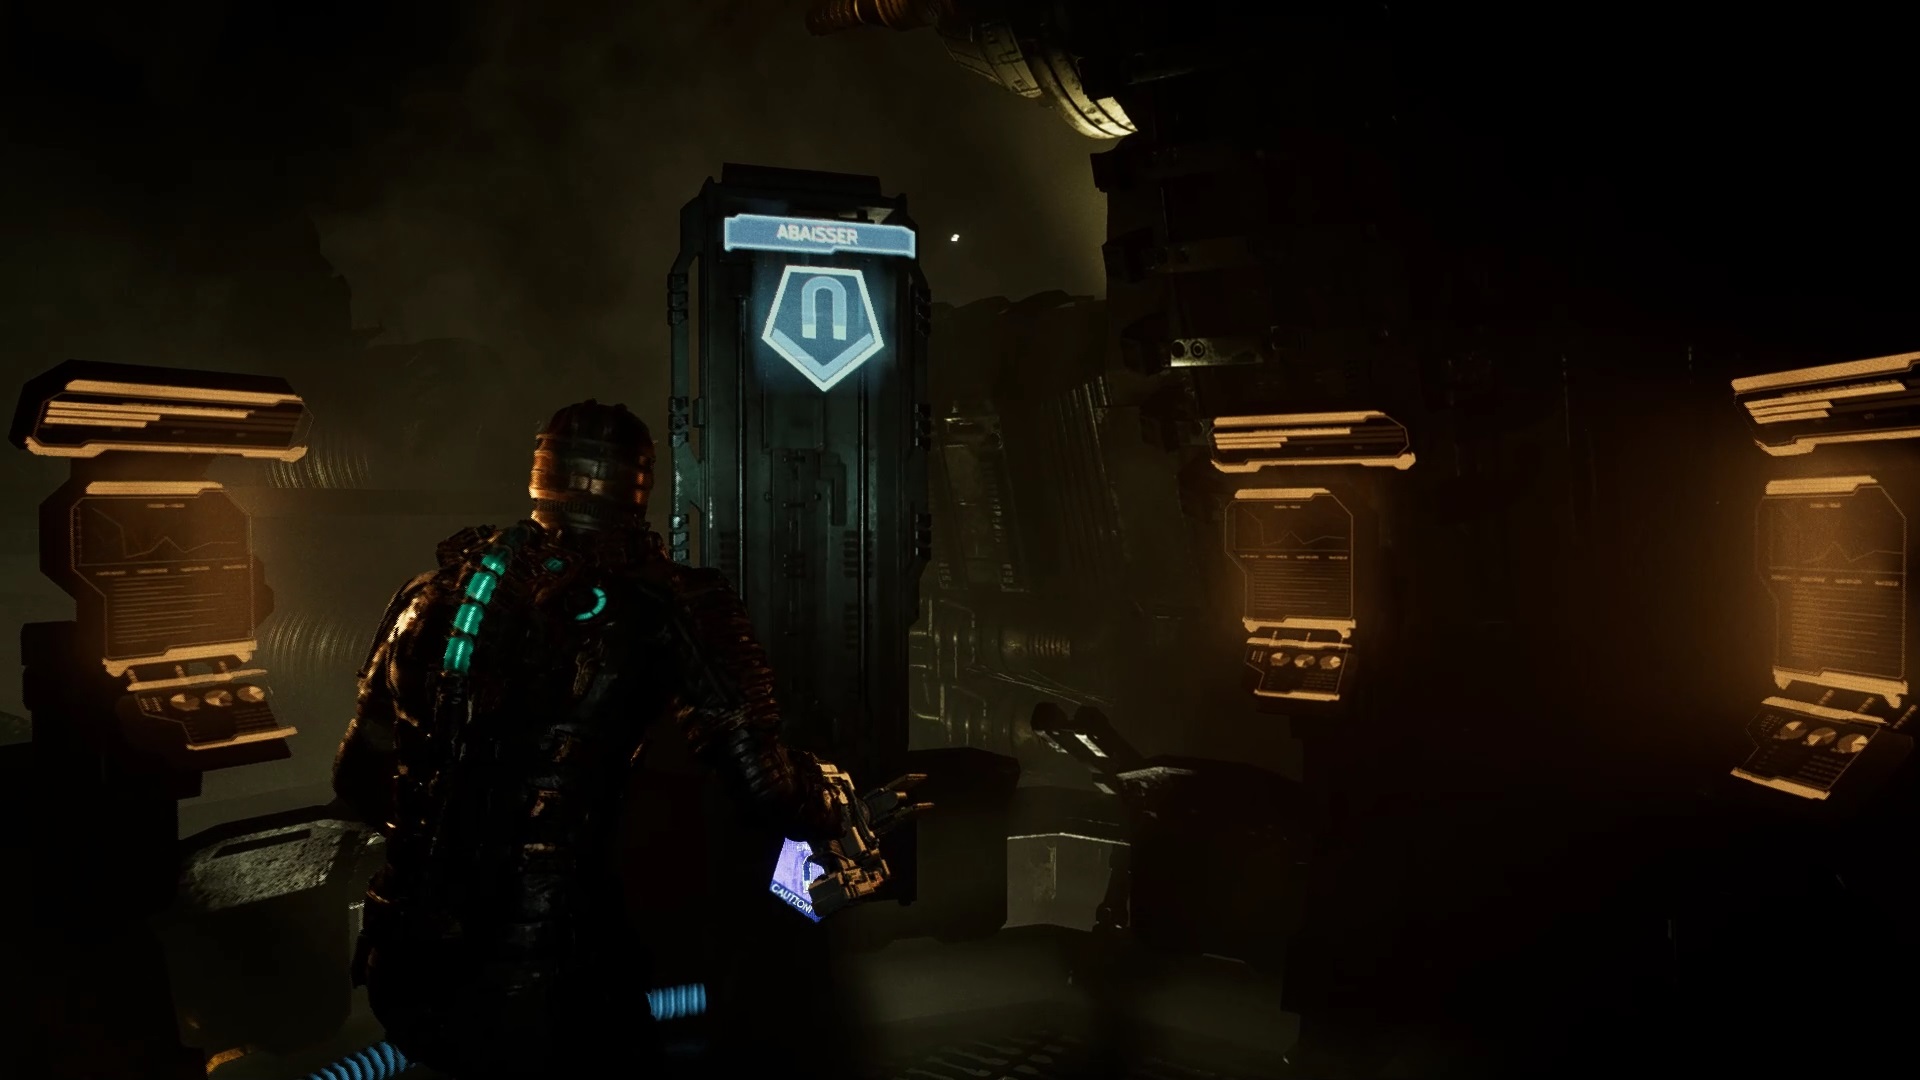
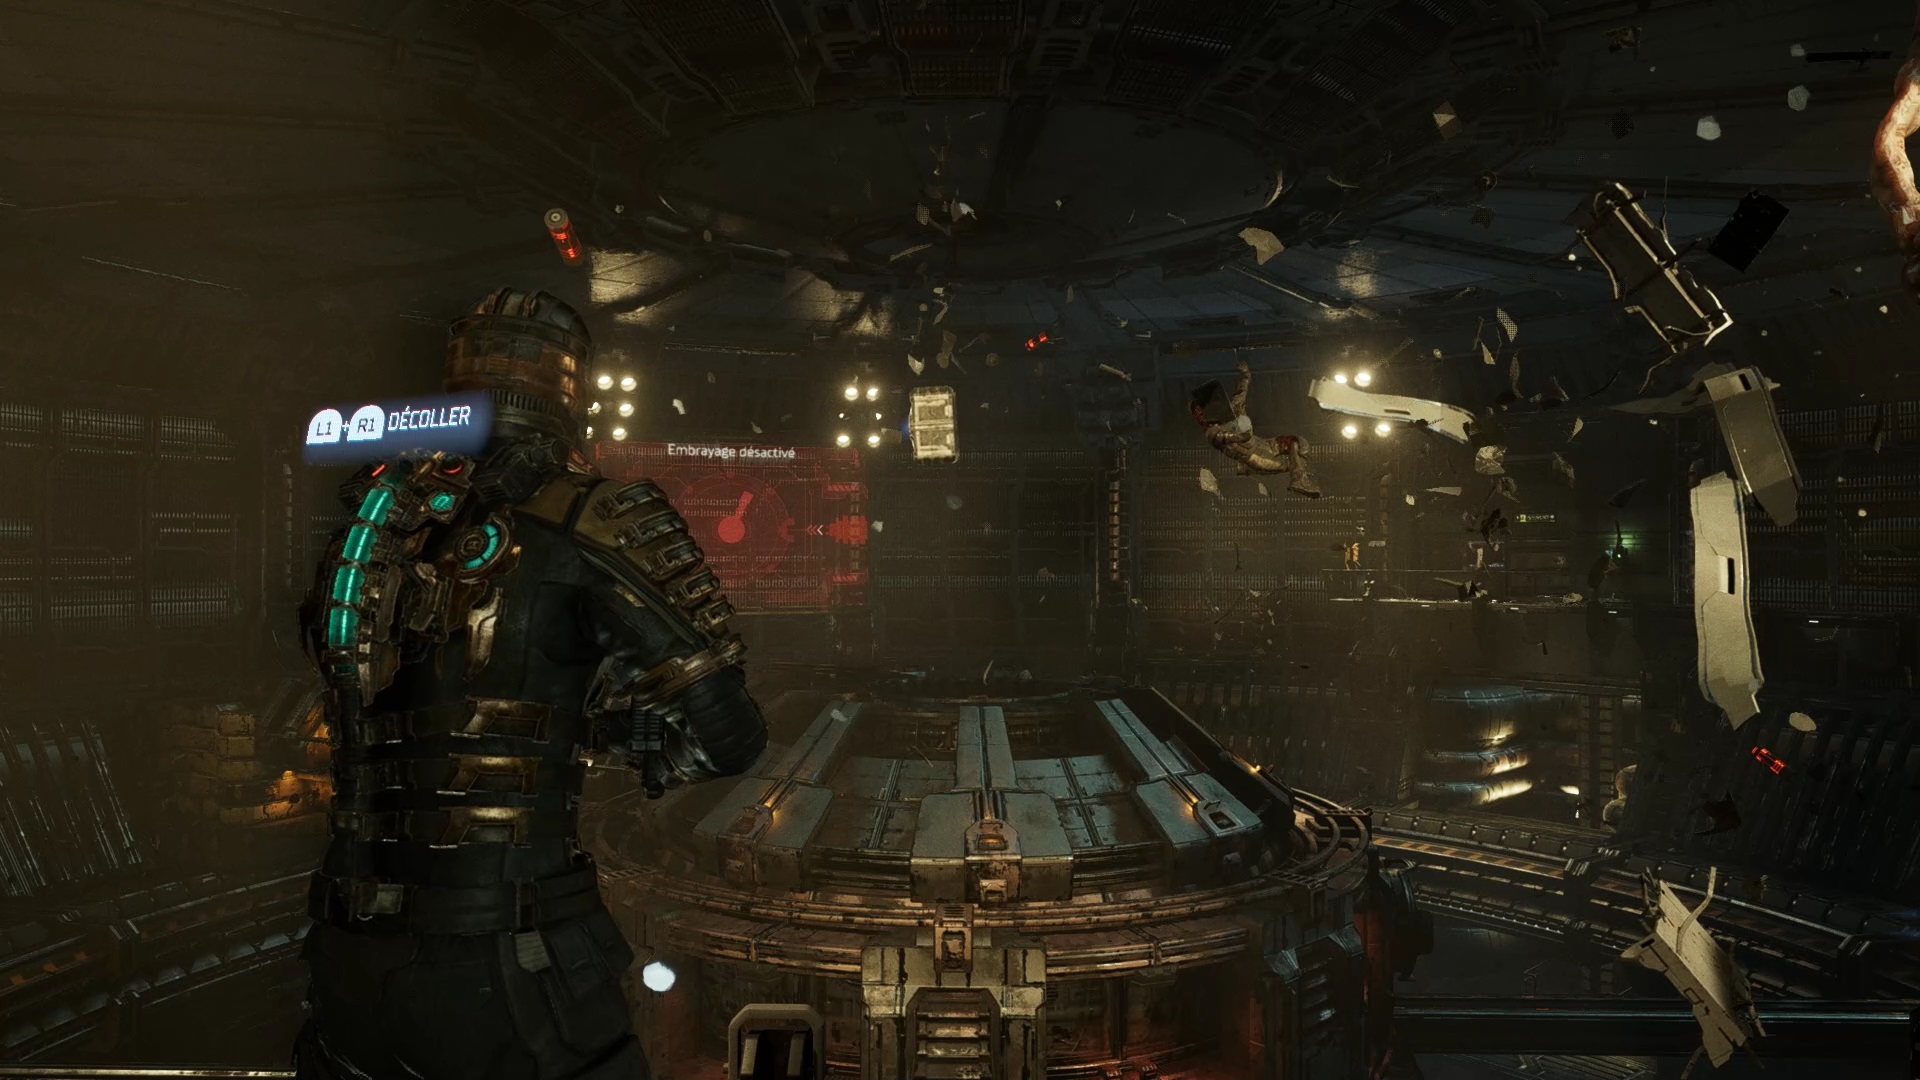
Locate the generators on either side and use your stasis on them. Then use the power of telekinesis to attach them to the spinner. Go upstairs and activate the control panel to activate the centrifuge. Take the elevator behind to go down. You have to go to the other side. Use the corners for cover. Eliminate the enemies before moving forward so as not to be slowed down. Coming out of the centrifuge, a surprise awaits you.

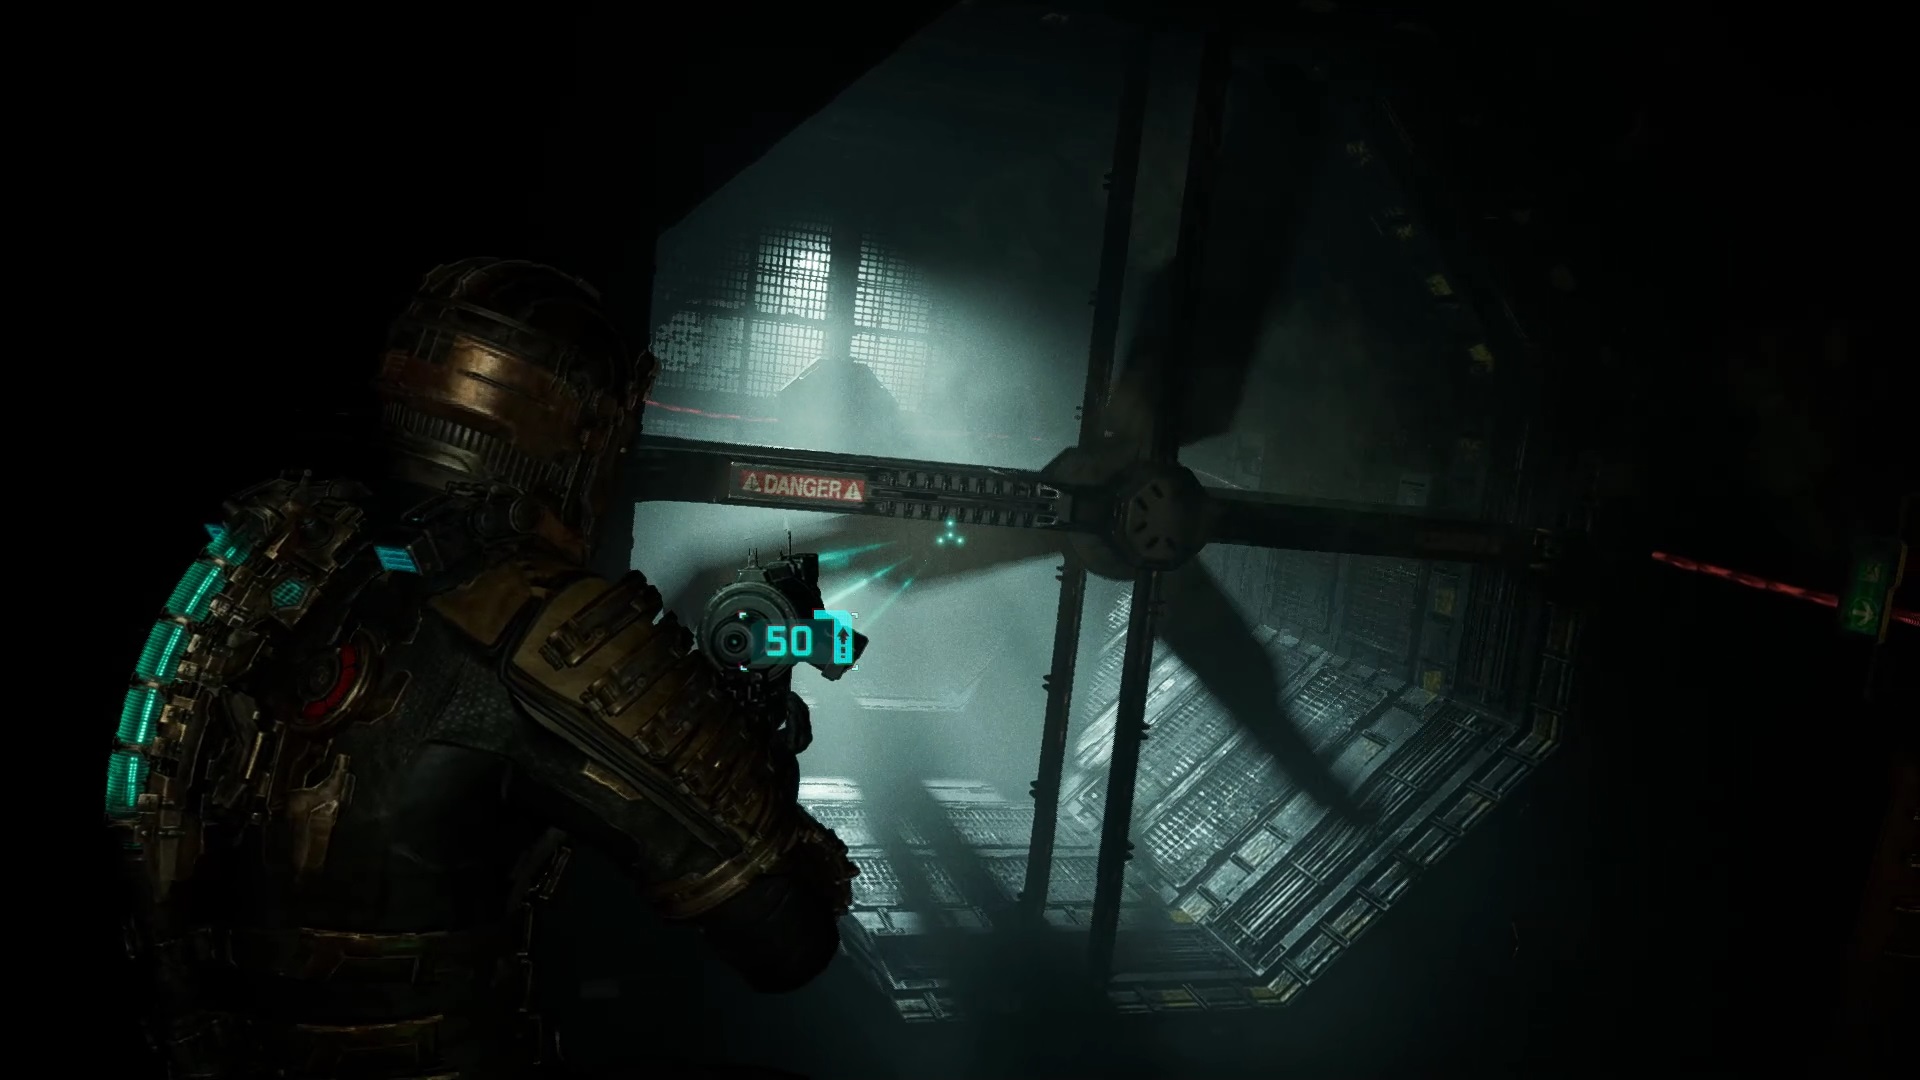
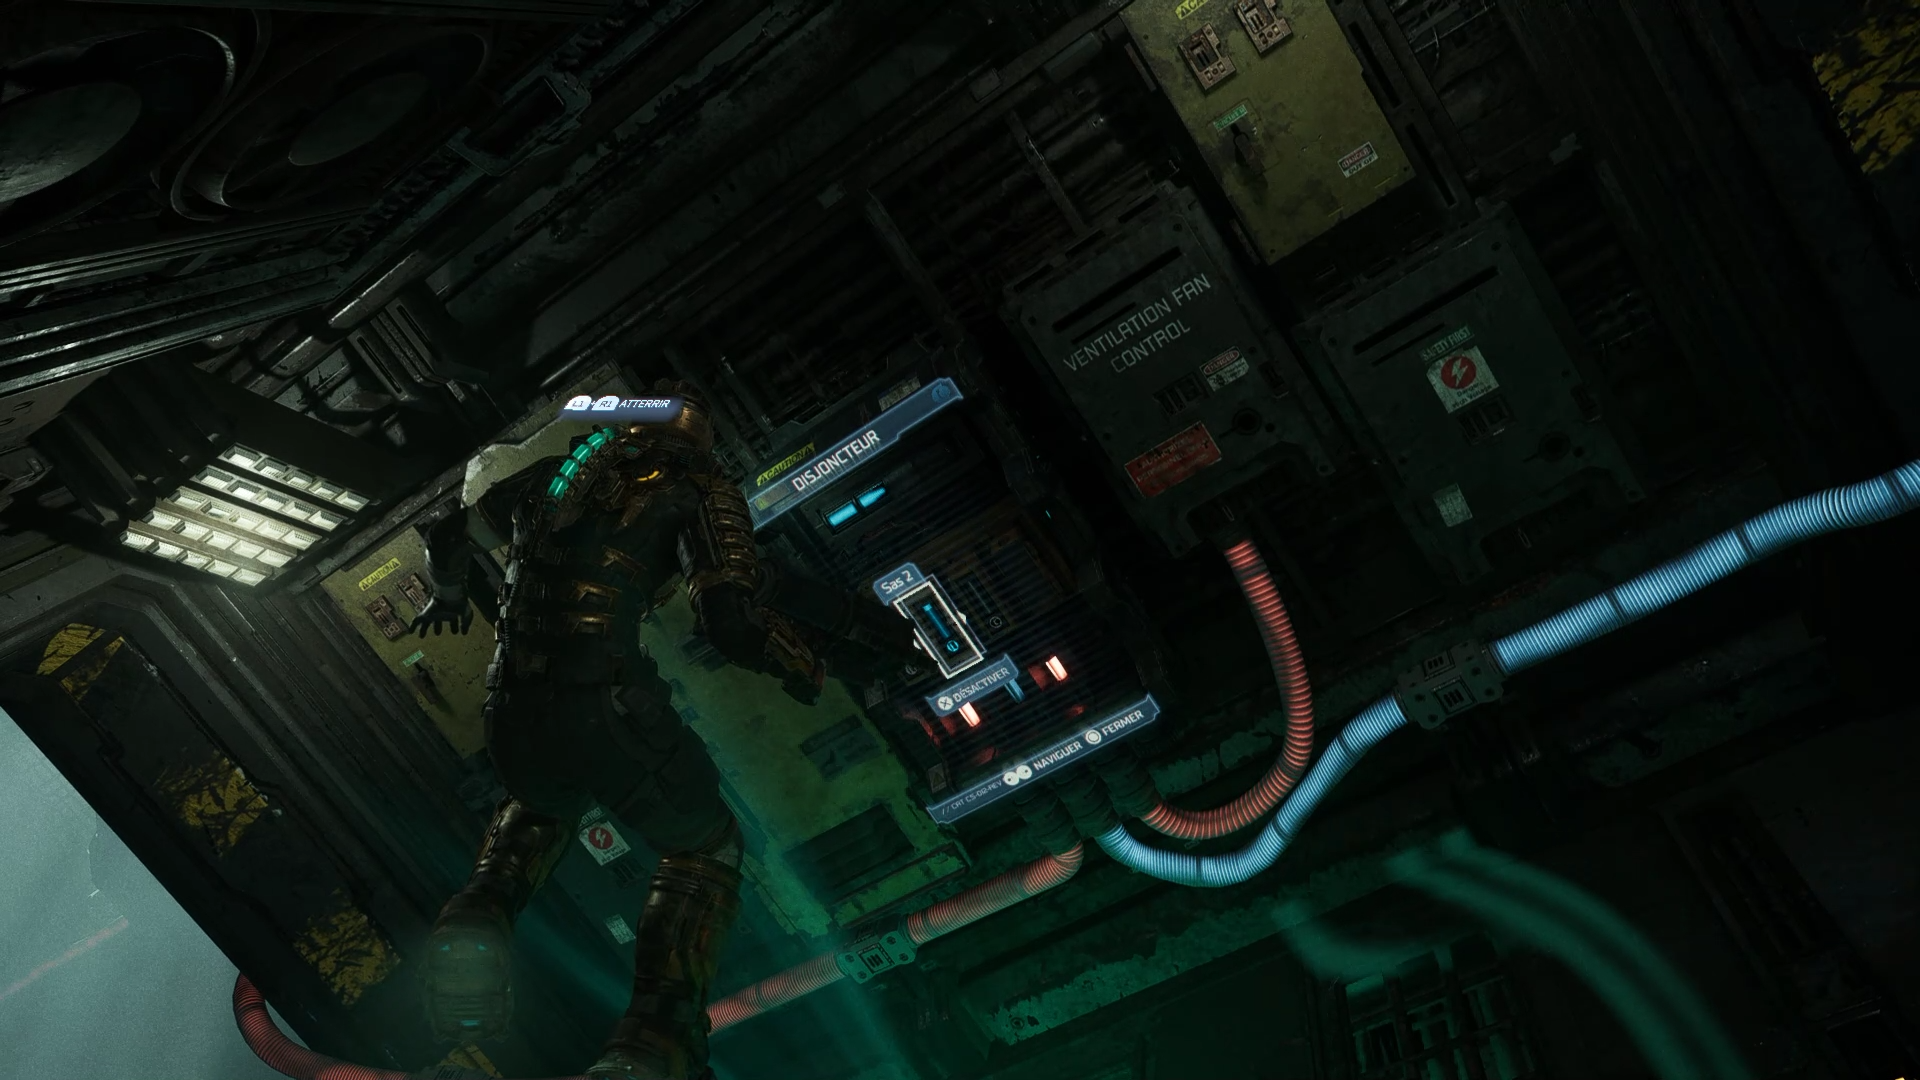
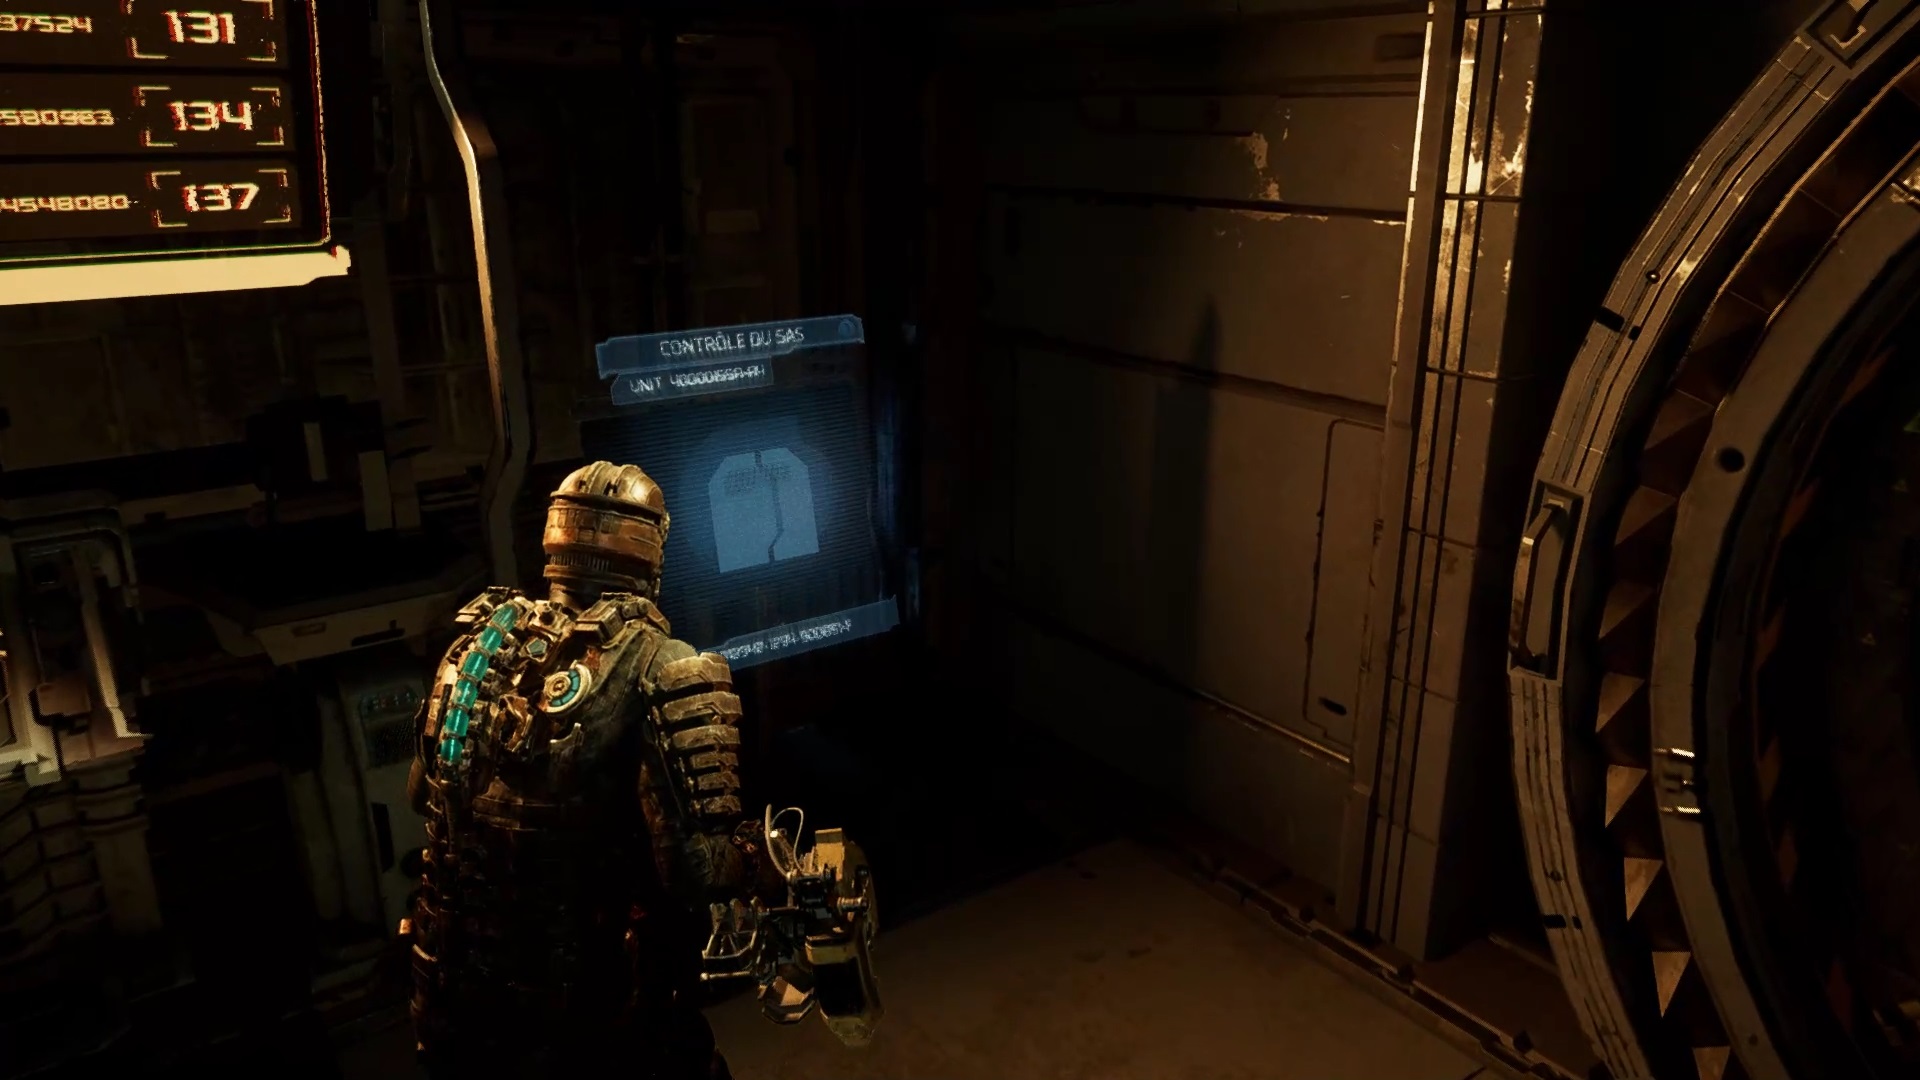
A gigantic tentacle falls on you. Shoot its growths to free yourself. Back on deck, go through the airlock to the engine room. Use the stasis on the vent to get to the other side with your thrusters. If needed, a stasis charging station is located below. You will find behind a circuit breaker. Direct its power to the SAS 2.
Pass the SAS 2 to encounter an outgrowth. Shoot it to unlock the passage. Go to the engine room and retrieve the flamethrower from the body. Continue and use the elevator to go down. You will find at the end of the path a new growth to explode with your weapons. Prepare the flamethrower to destroy the enemies on the other side. Enter the first room to pick up the Chopper Blades blueprint
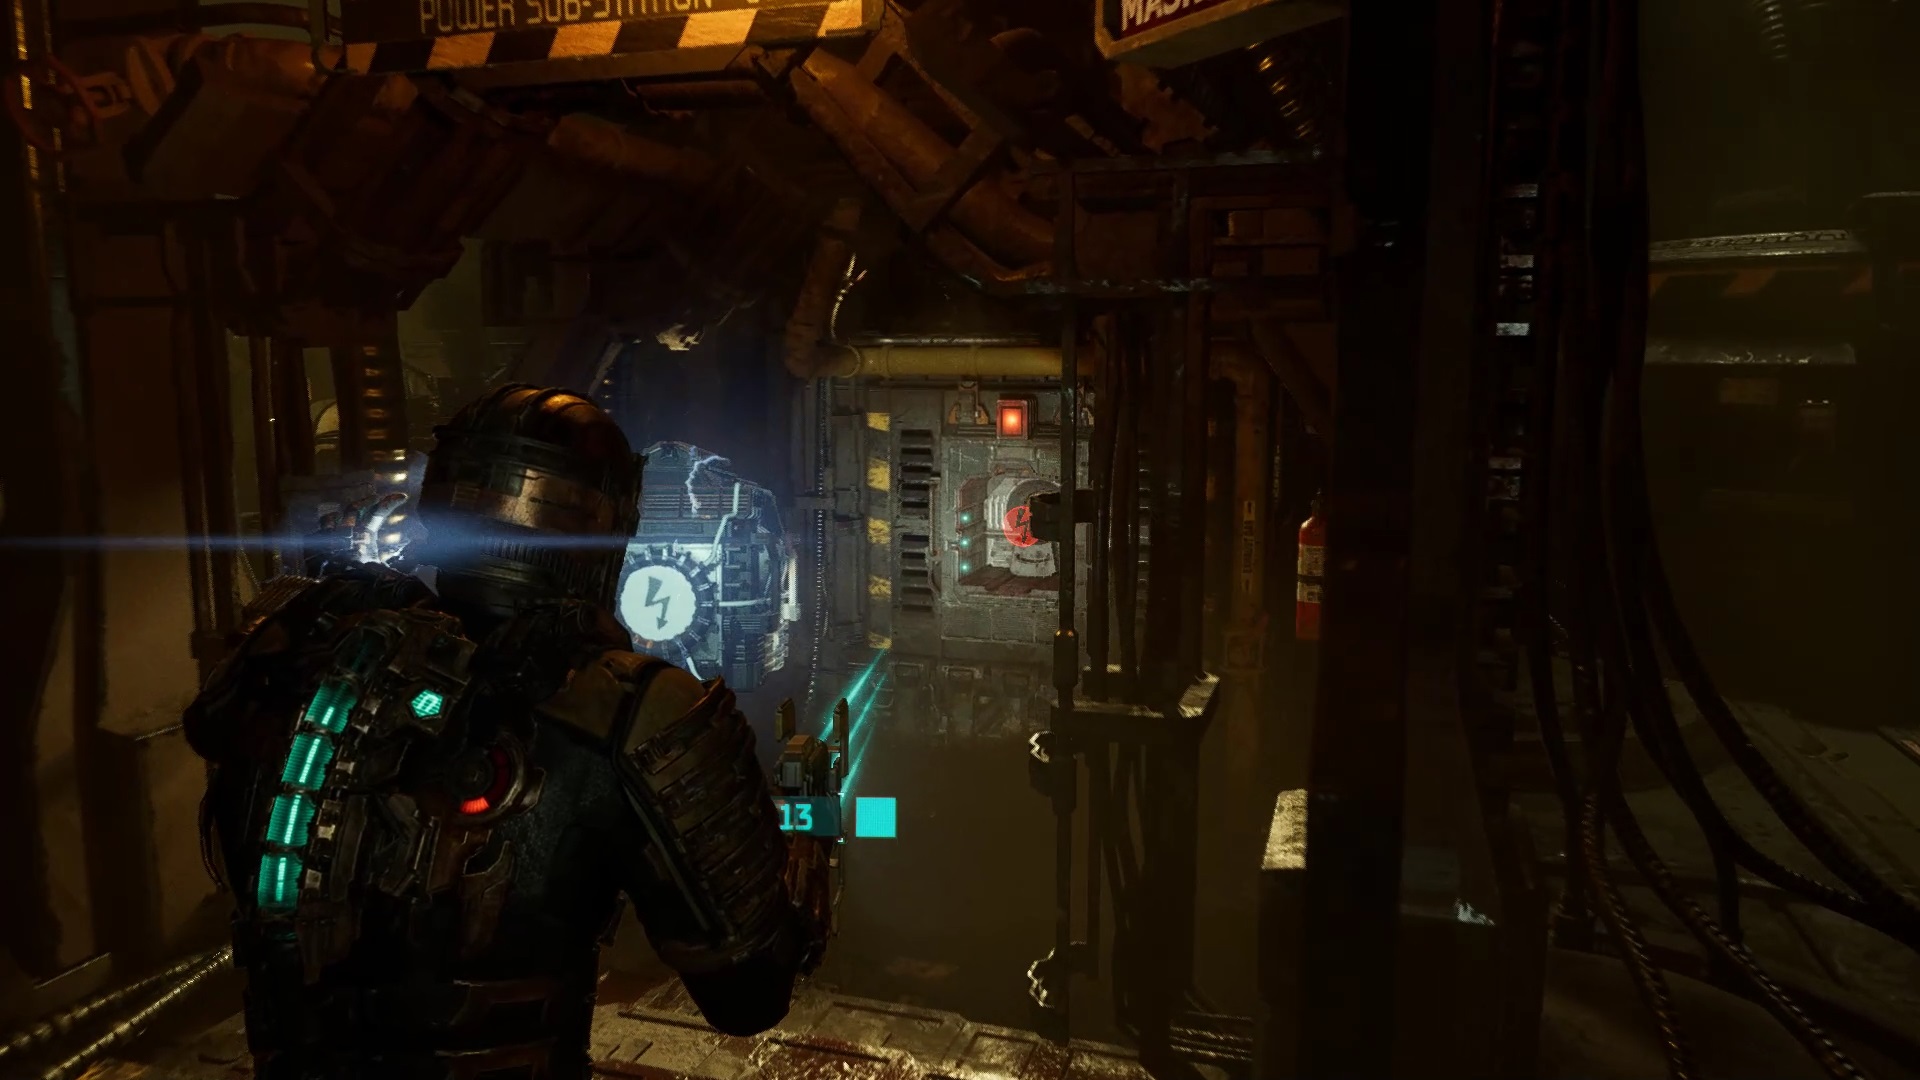
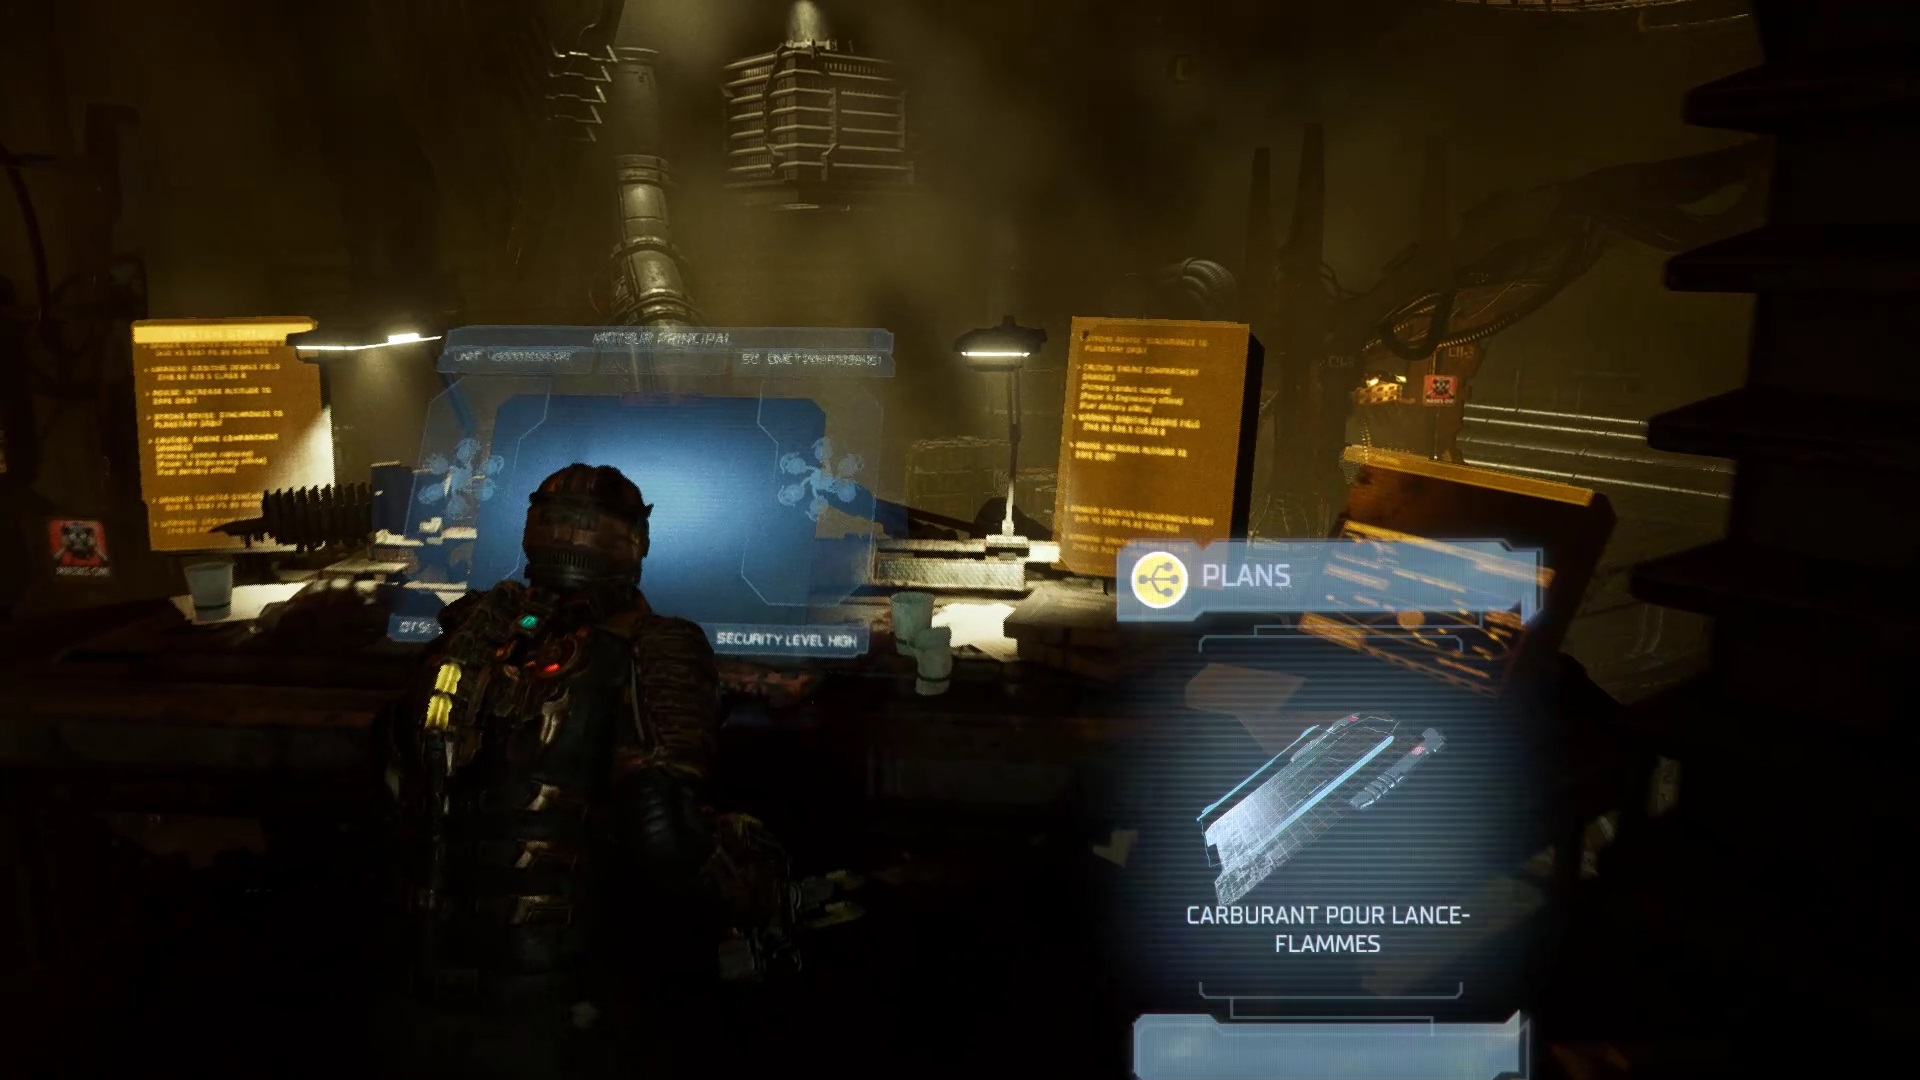
Take a second elevator at the back to descend to the engine room. Once in the engine room many enemies await you. Clean up. Go upstairs to find a battery. Replenish yourself with the surrounding resources before taking the battery and placing it in the slot in the center of the room. When you ready insert the battery and survive the enemy wave. After the fight start the engine on the control panel. You will find near the panel the fuel plan for the flamethrower .
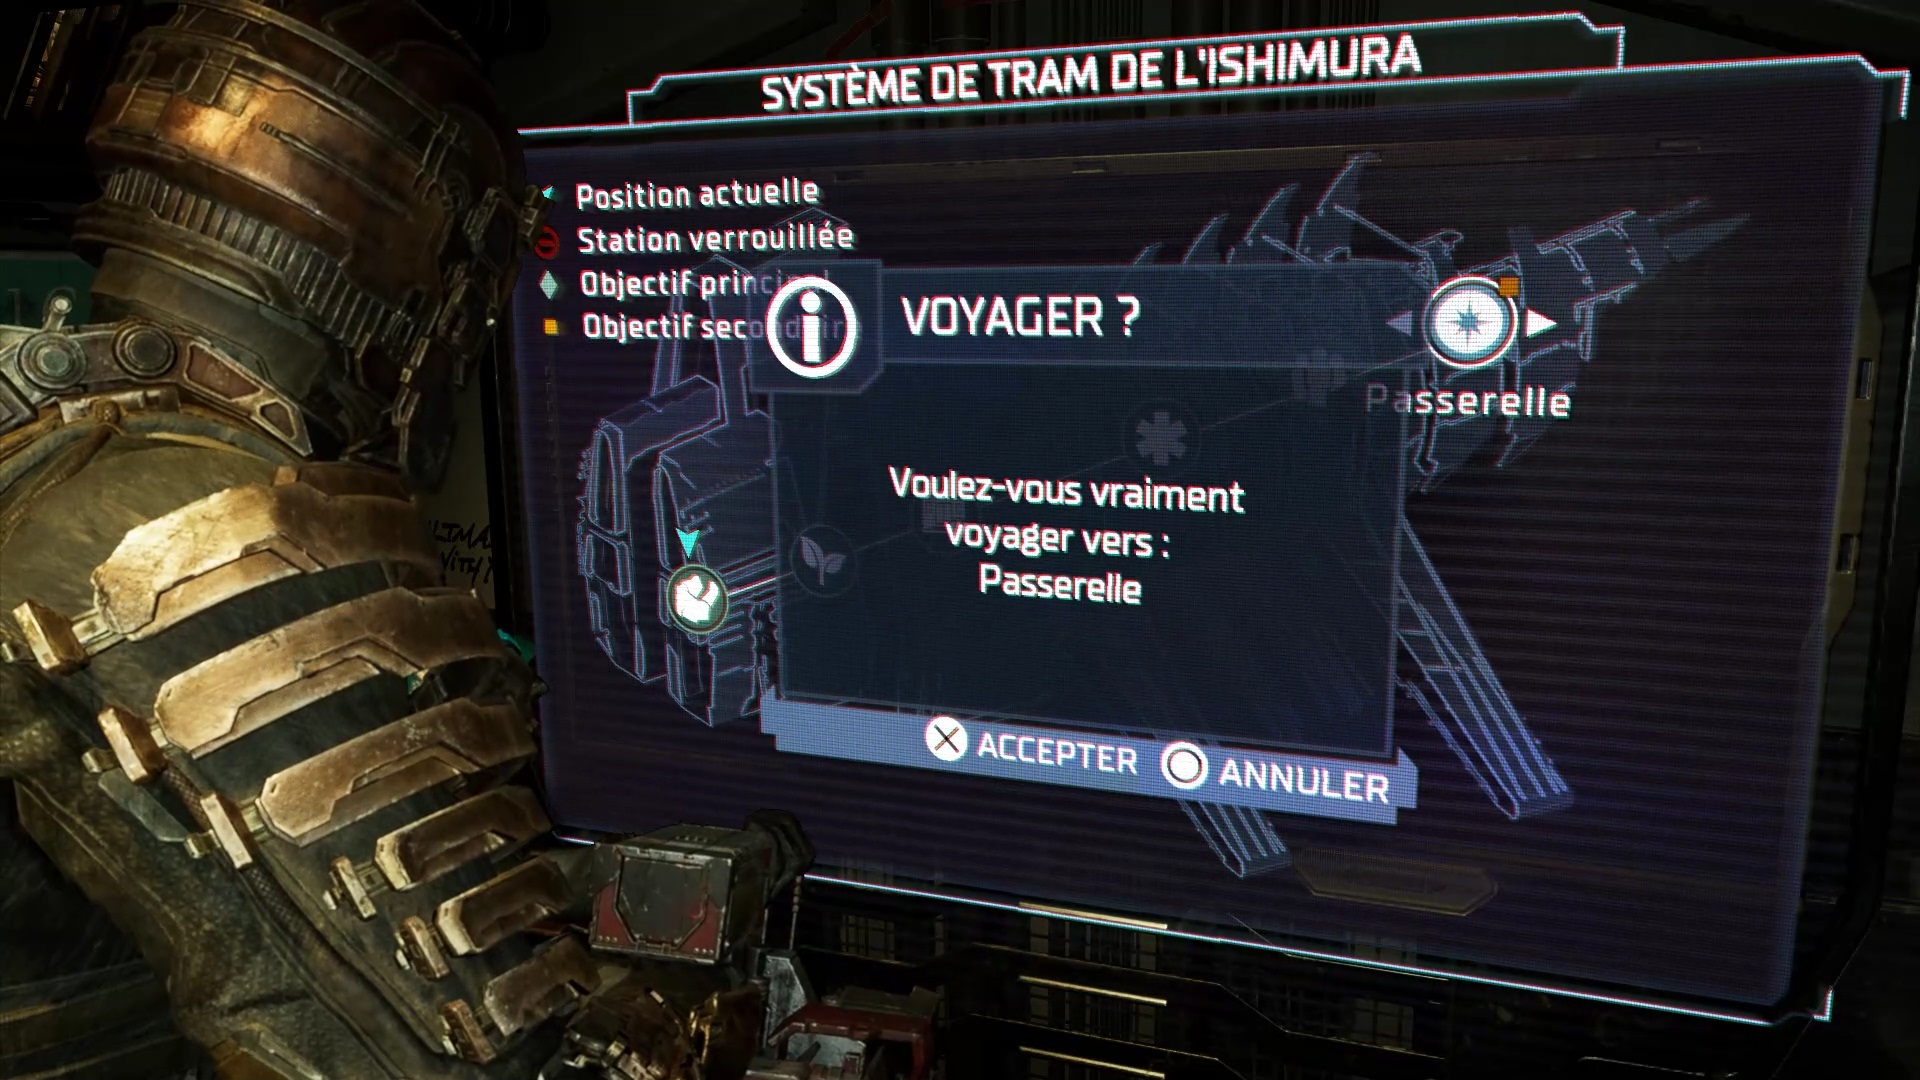
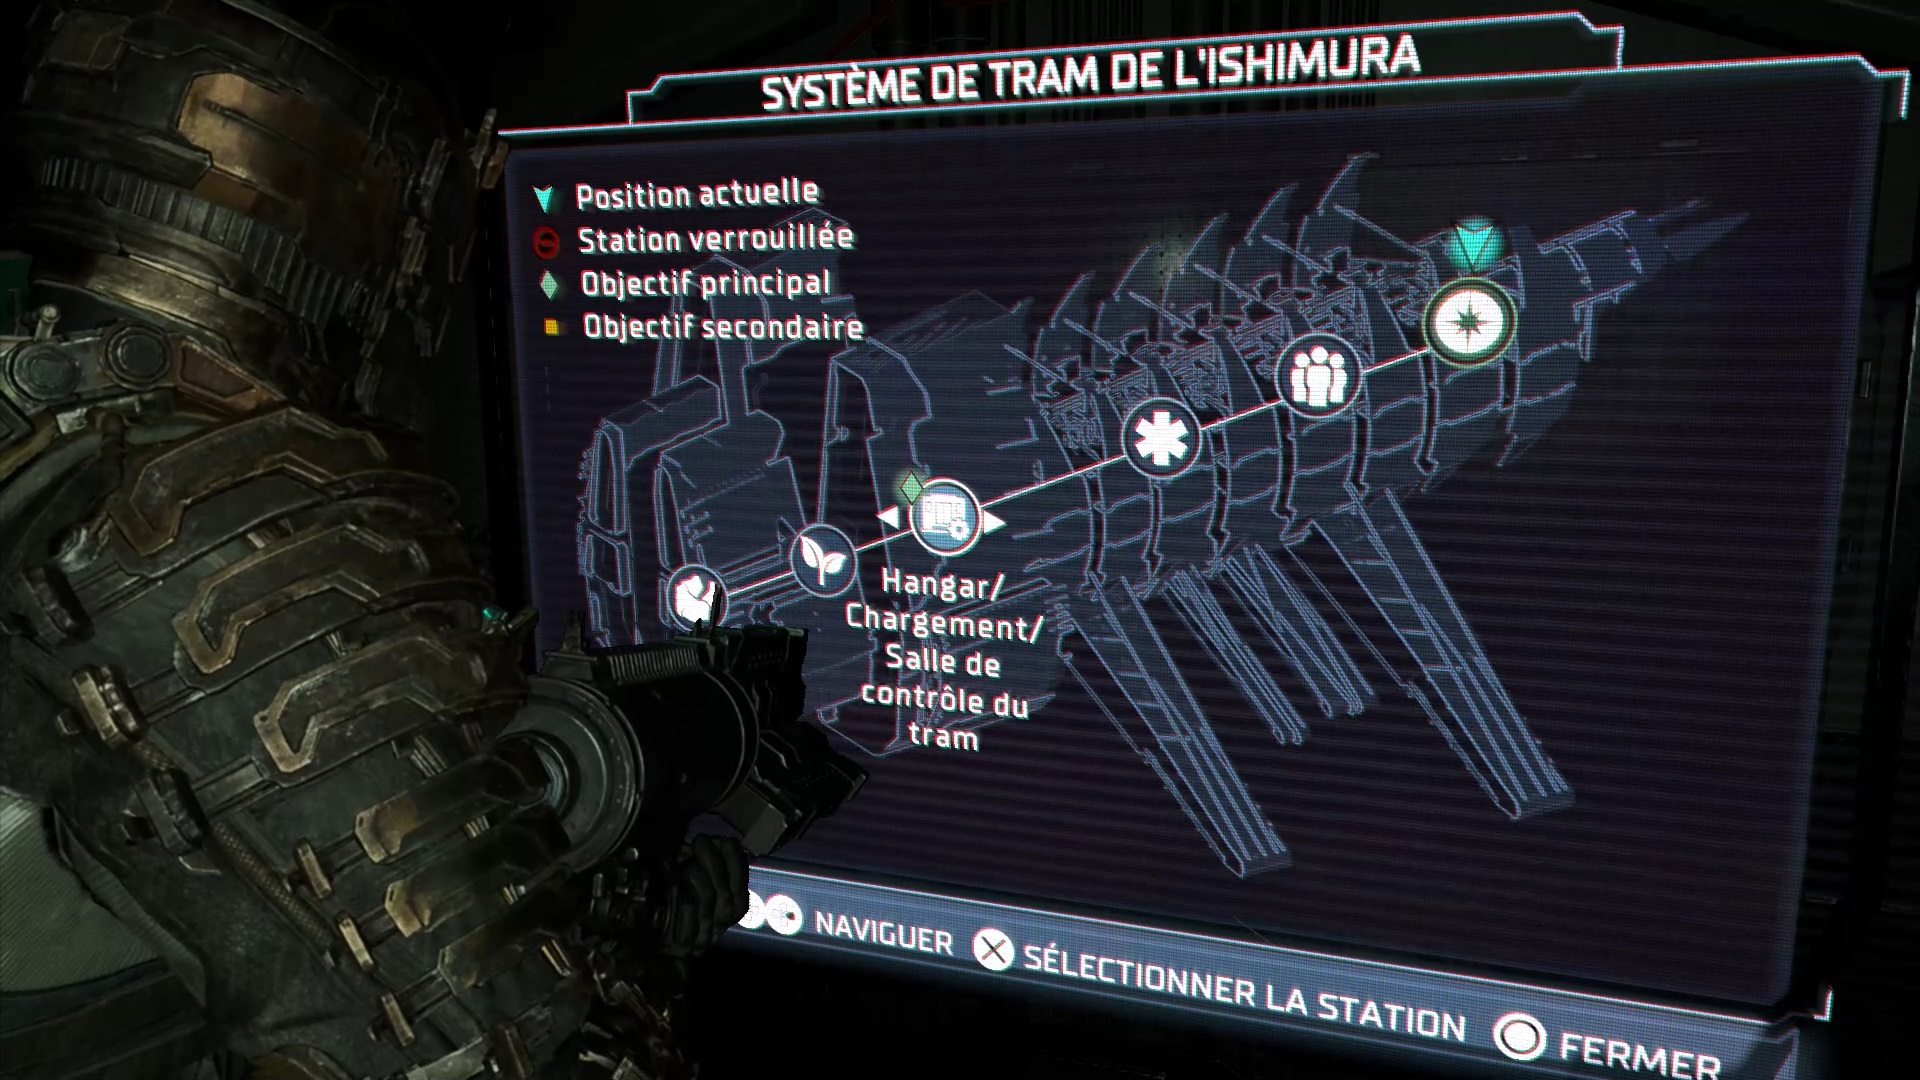
Go to the tram station following your compass and unlock it with the panel.
Episode 4
At the start of episode 4, take the tram towards the bridge. Arrive at your destination, you must find Hammond. Go to the main atrium to find an elevator under a staircase. After the dialogue with Hammond go back to the atrium to be confronted with a big beast. To defeat him go to the east of the room to find a hole. Turn around the hole so that the beast chases you without catching you. Wait for her to throw her projectiles and hit her in the back during the animation to knock her out. You can use stasis to ease your attacks.
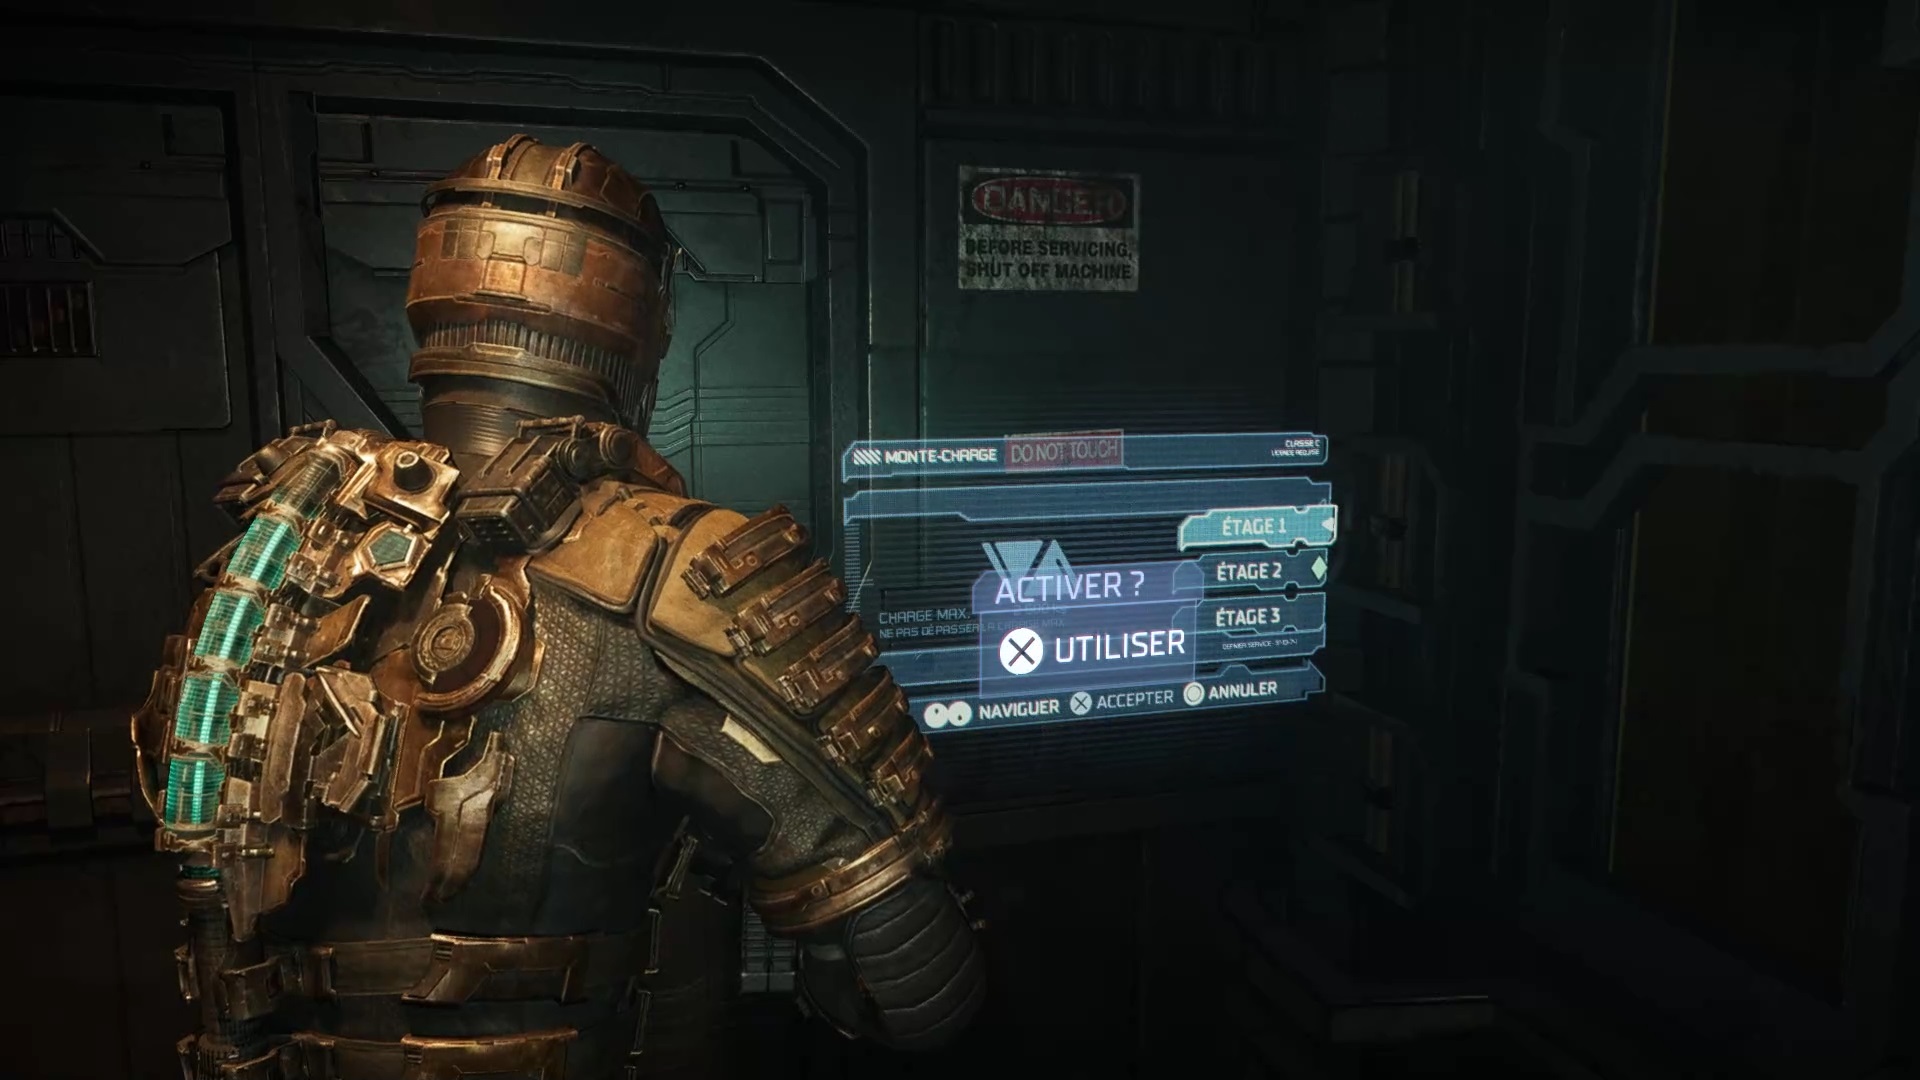

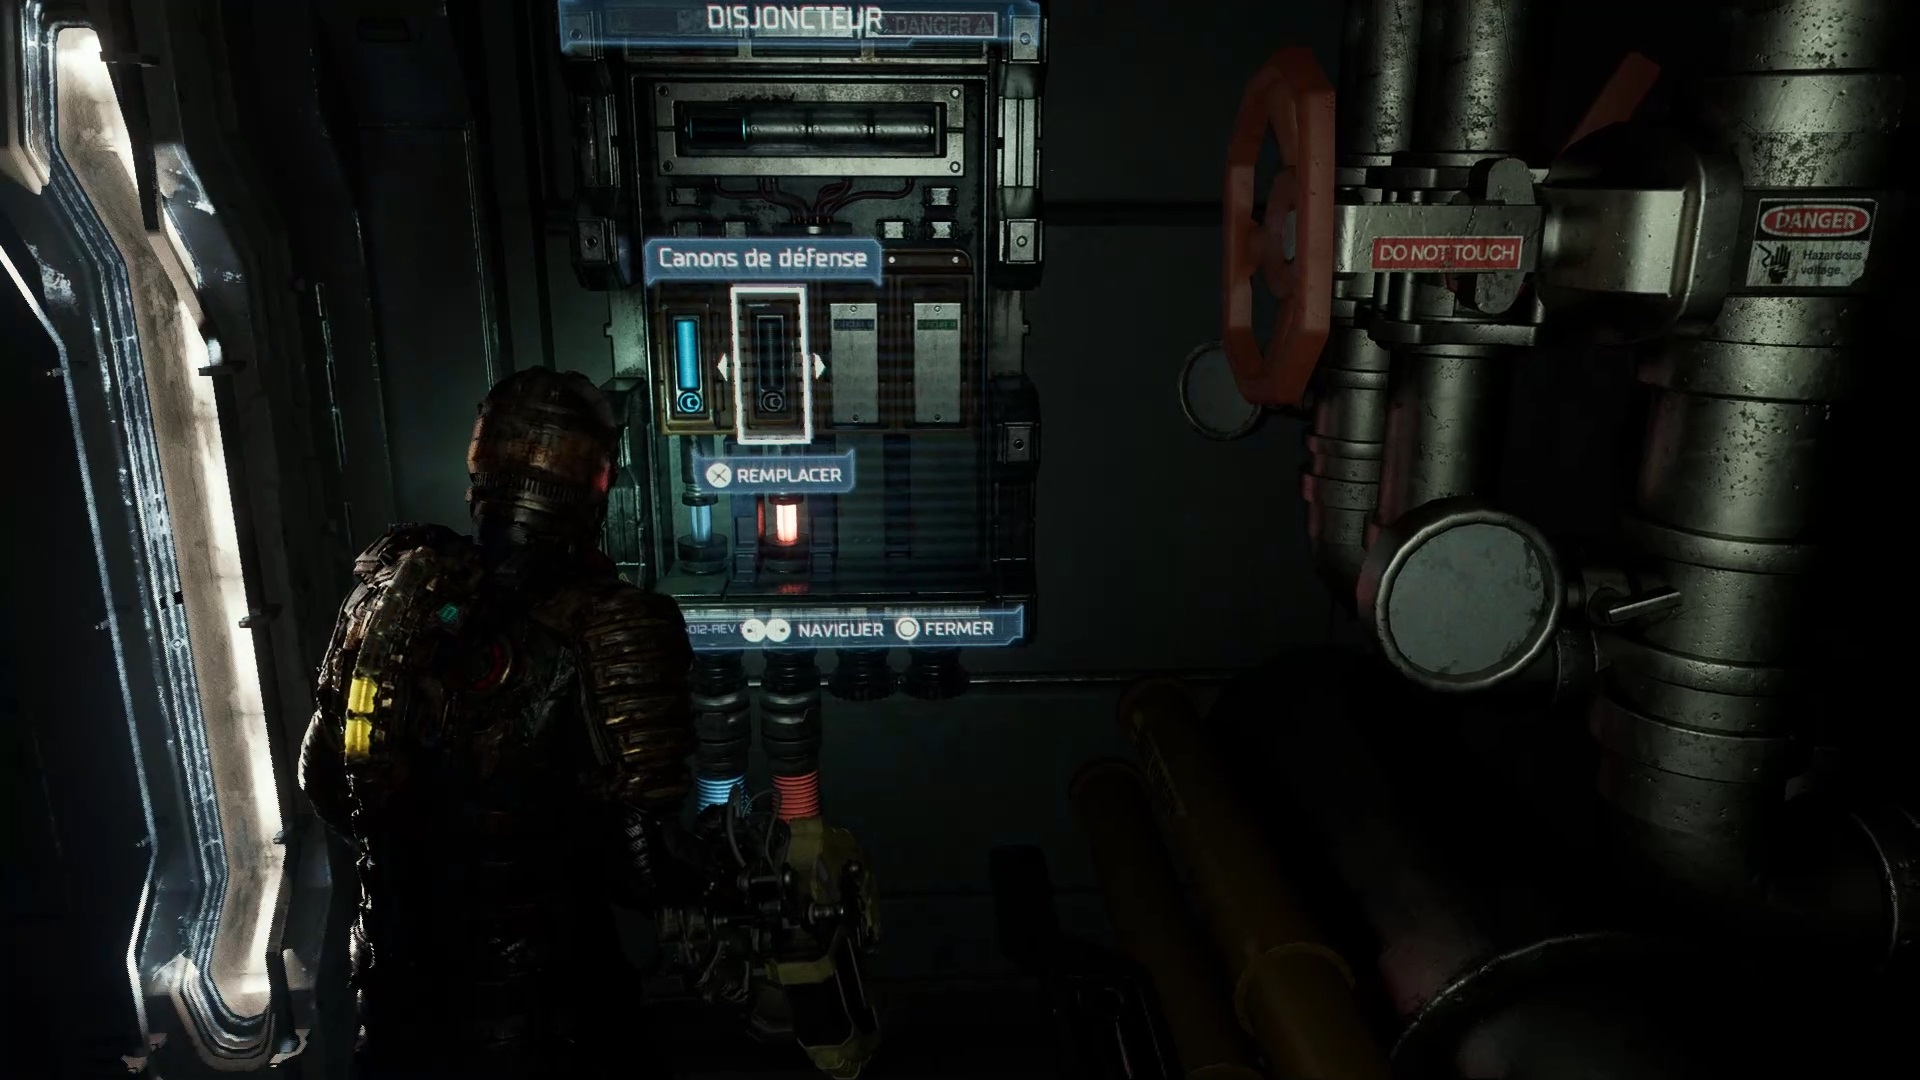
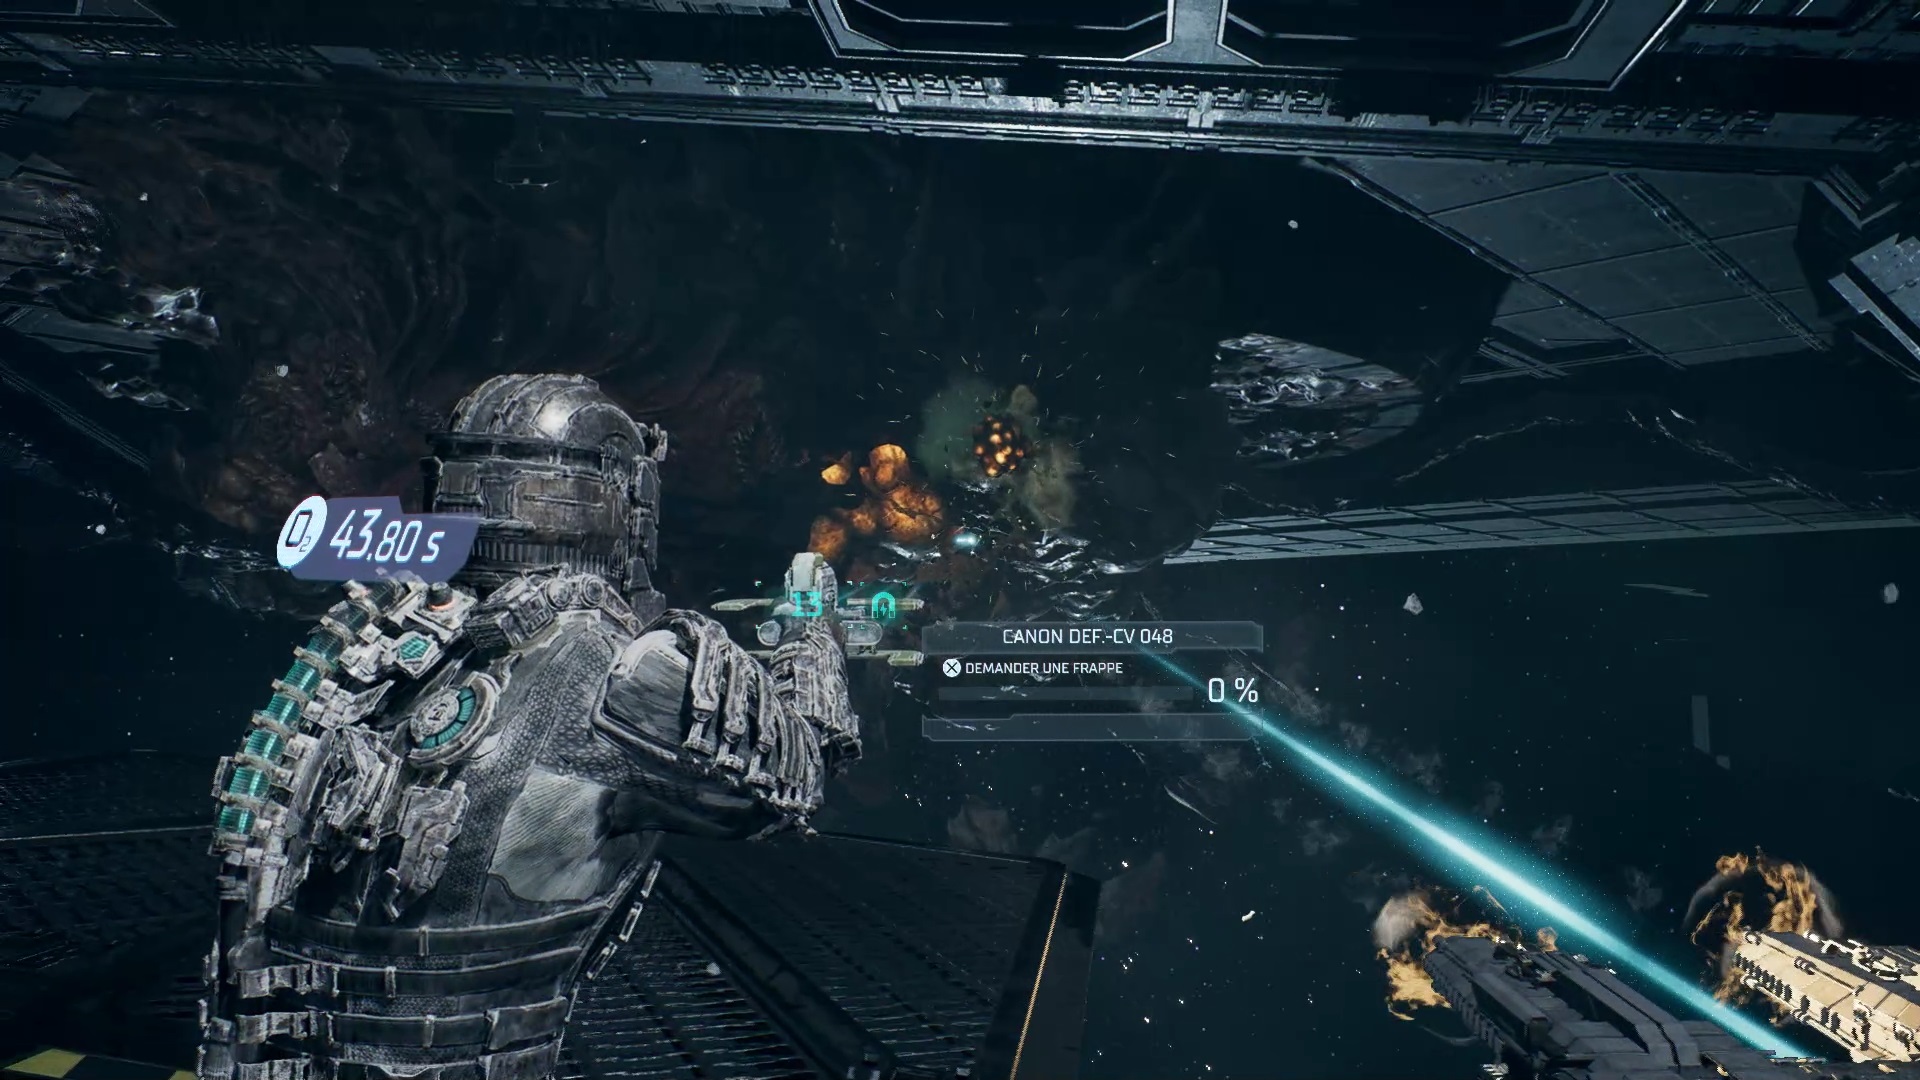
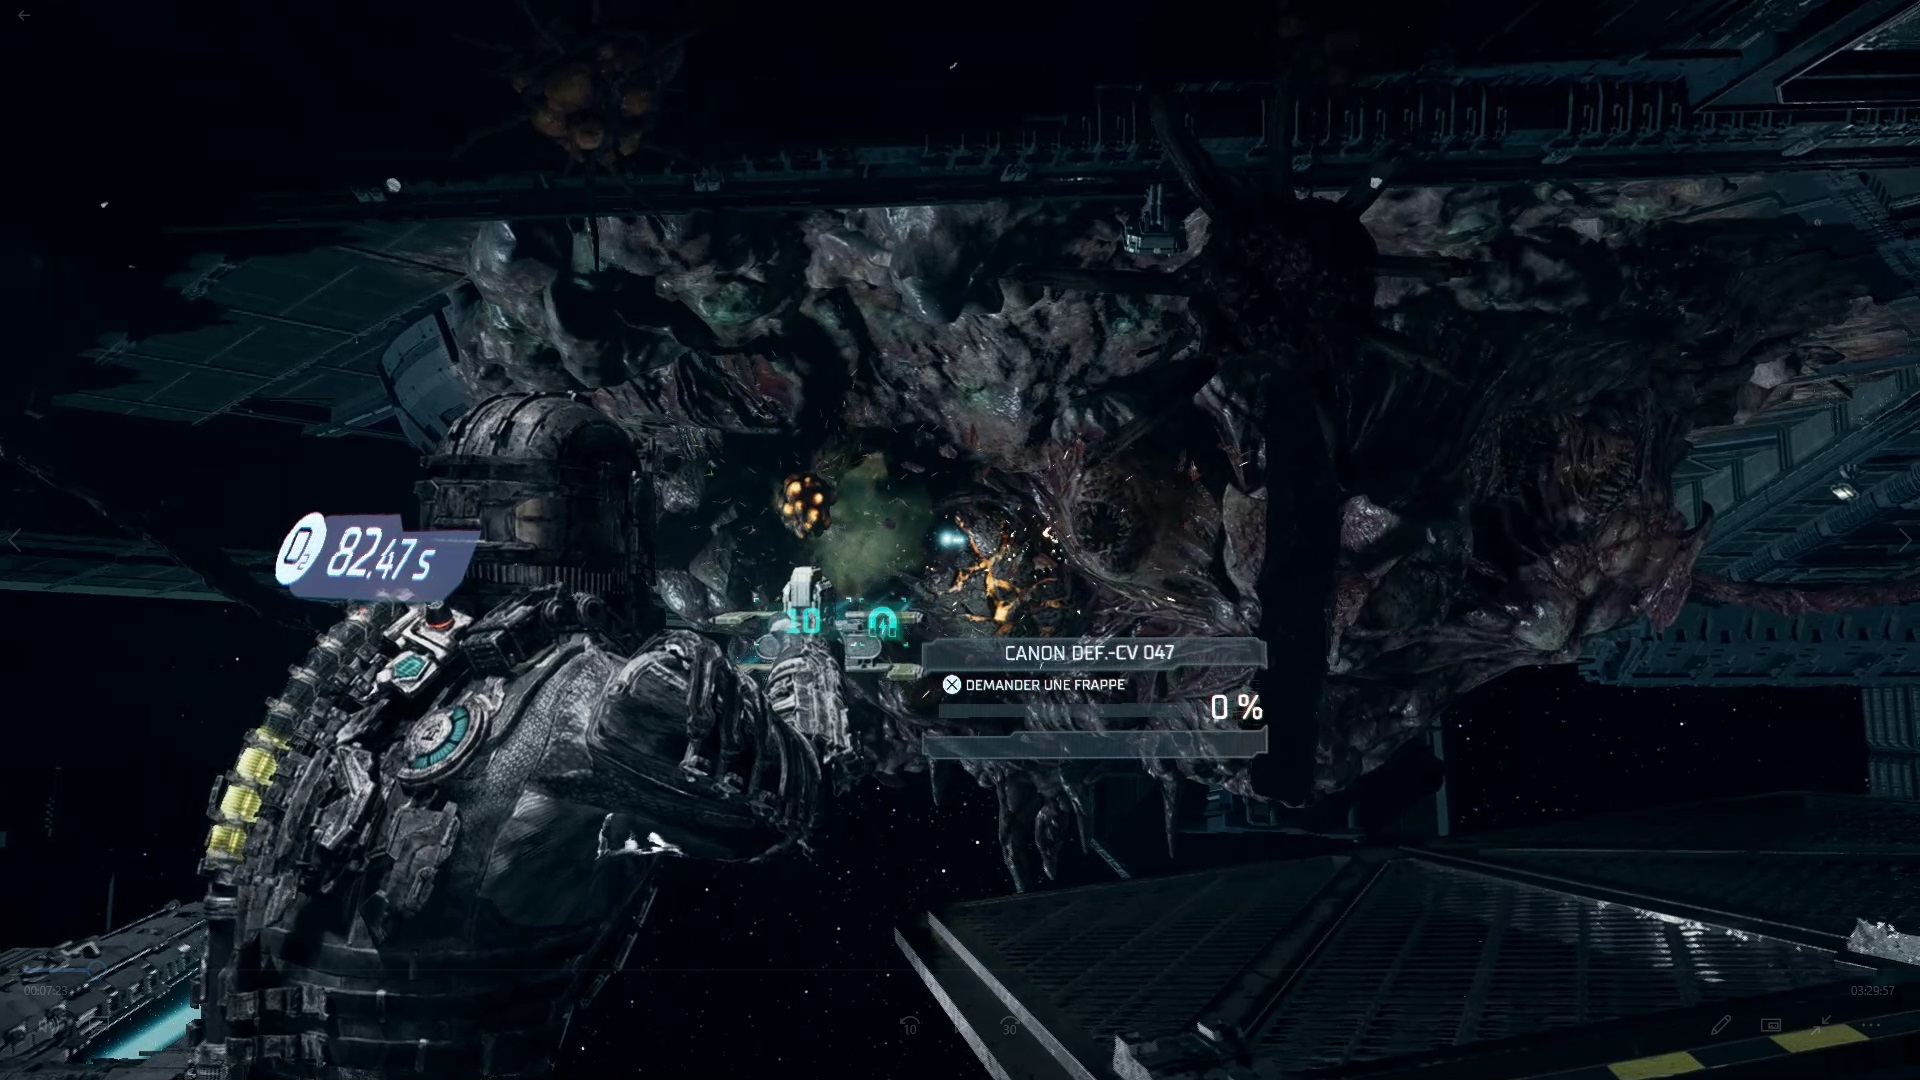
Step into the beast’s breach to reach the safe room. Reactivate the elevators by pressing the controls to the right of the armory. Take the elevator in the center of the atrium to reach the second floor. Proceed to the drill quarters at the end of the hallway. Eliminate the threats present to find a circuit breaker at the bottom. Activate the defense cannons fuse.
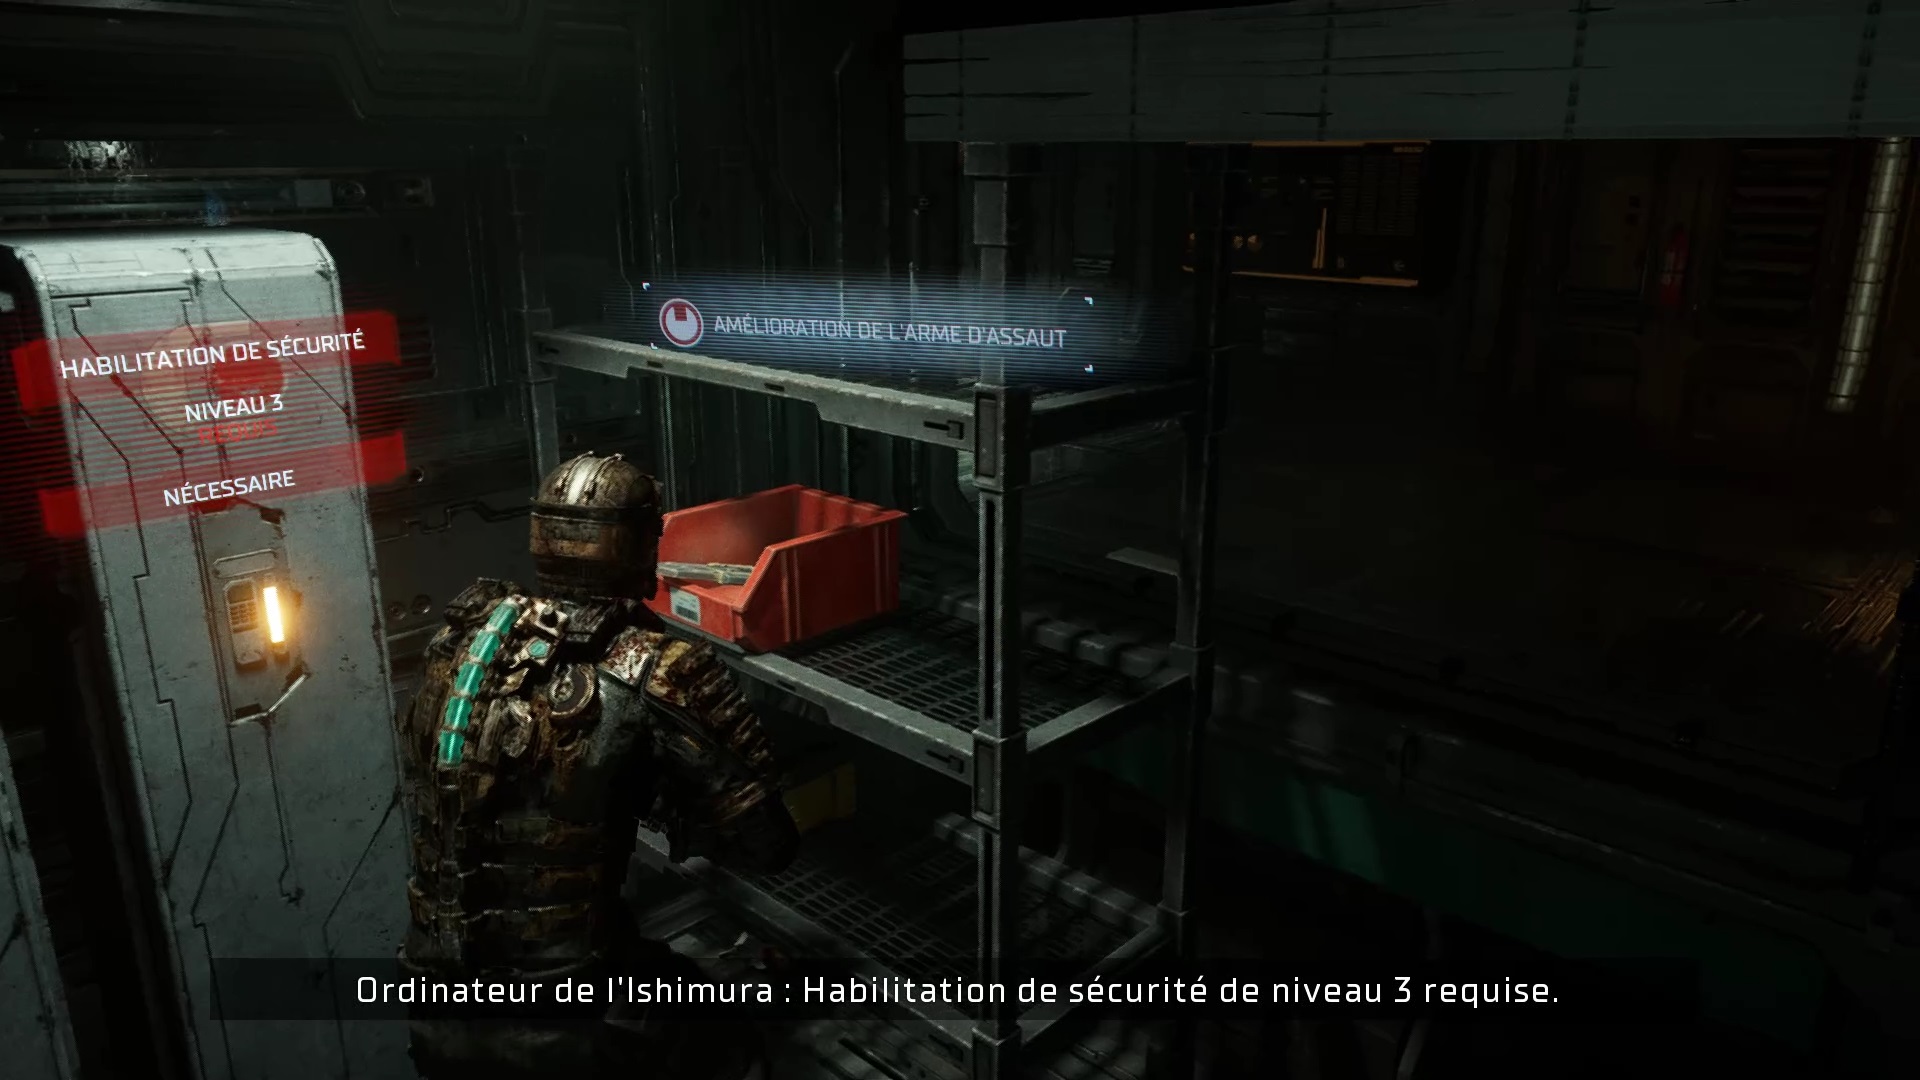
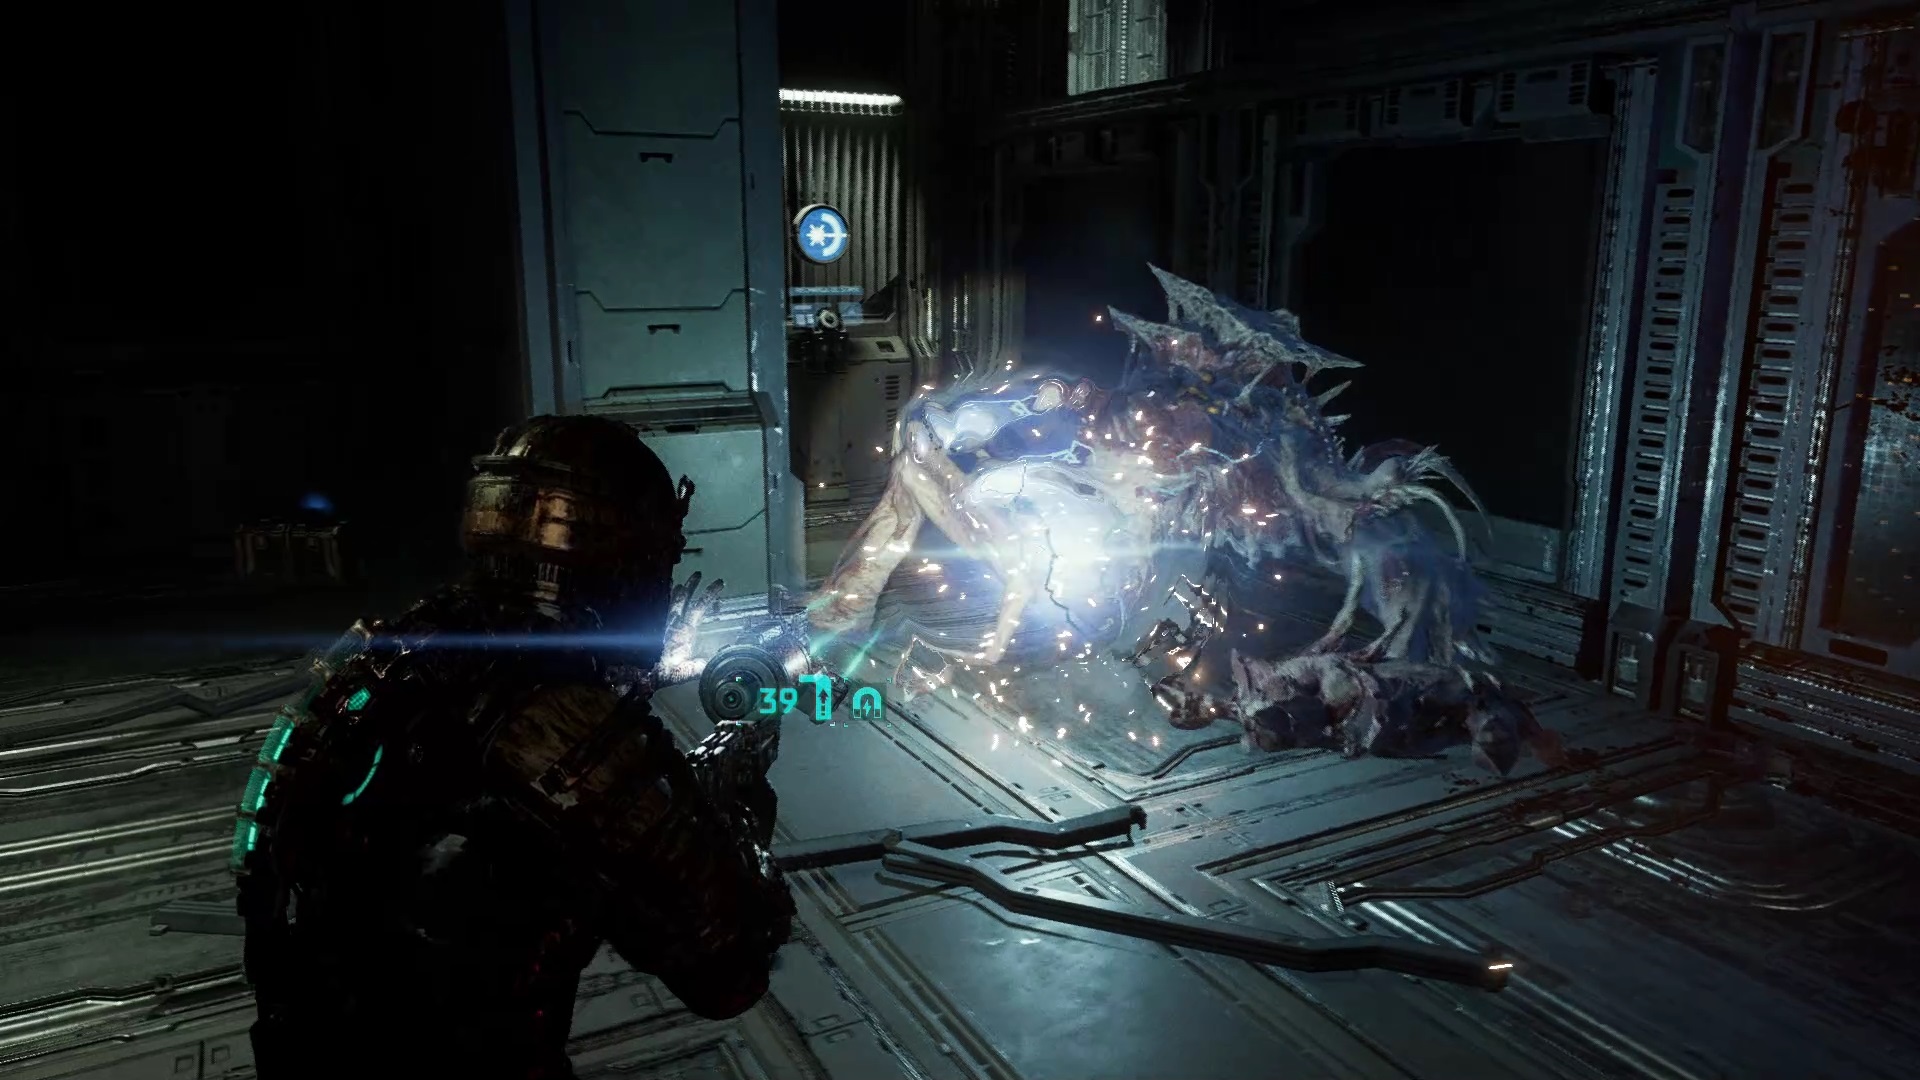
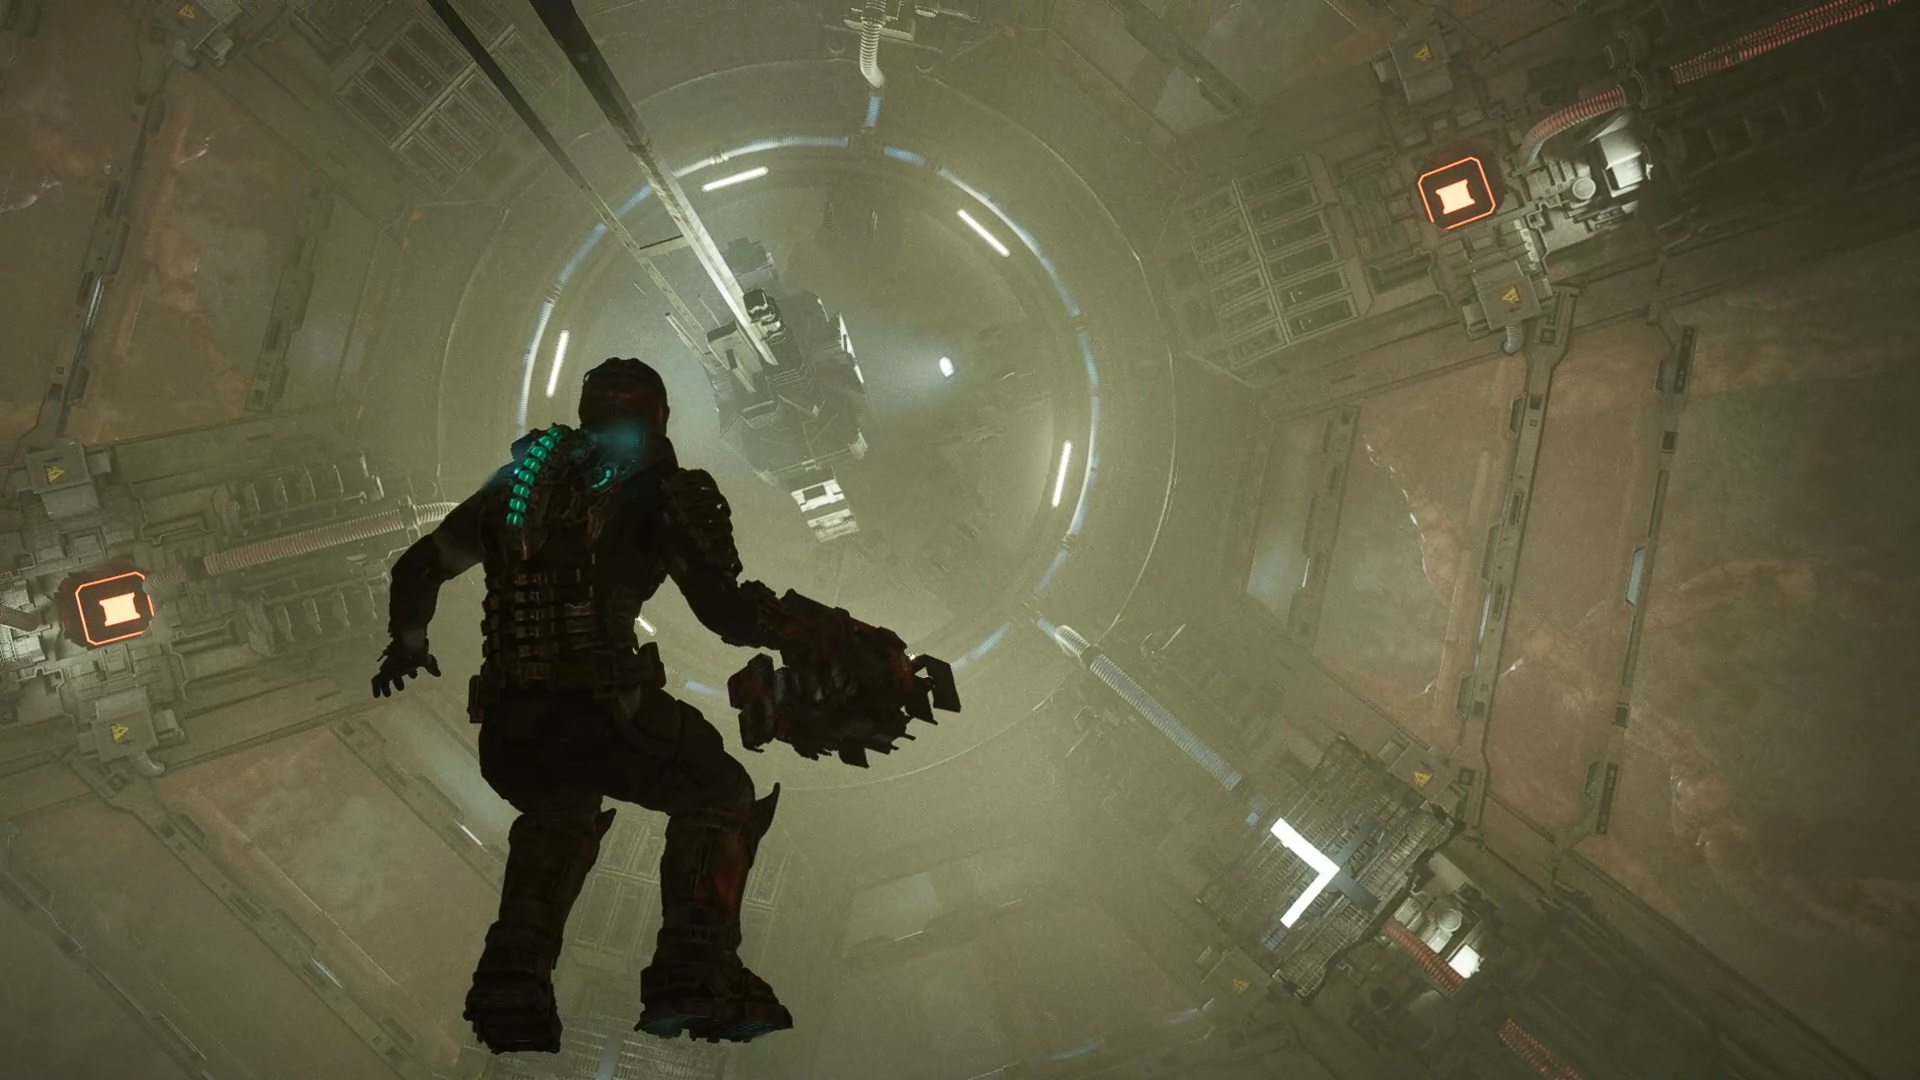
Take the elevator again and go to the third floor, direction of the communication antenna. On the way, you will be able to observe an improvement through a window. Use the power of telekinesis to move the crates and shoot the power supply from the door. Head inside to pick up the Assault Weapon upgrade . Follow your compass to continue to the electrical systems. Several enemies await you, including the big beast. Stay near the room’s stasis recharge to slow it down. Take care of the others then move on to the beast by shooting him in the back.
When the fight ends, follow your compass to find a new breaker. Use stasis on the electrical wires and redirect power to the defense cannons. Take the elevator back to the first floor at the atrium. Go to the other side of the elevator to go up in a second to the outer shell. Enemies await you above. Once cleared, feed the defense cannons.
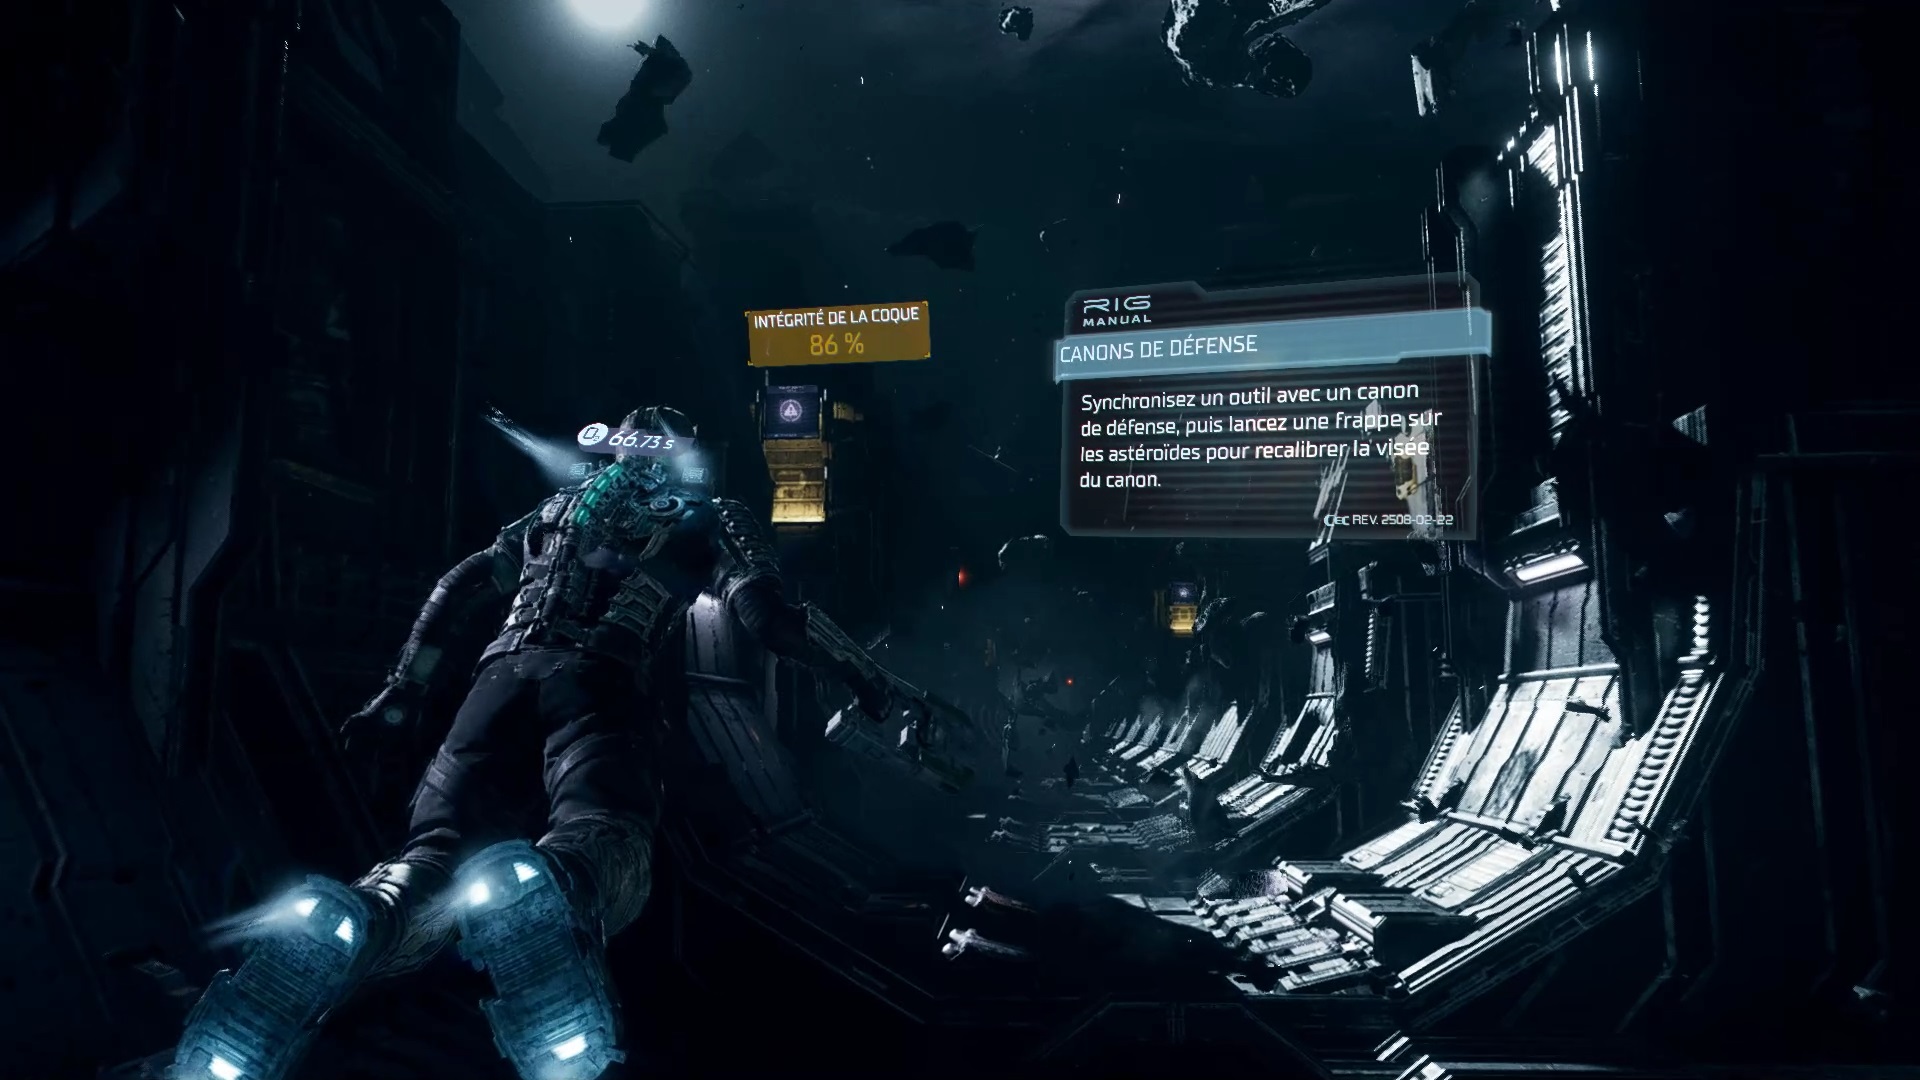
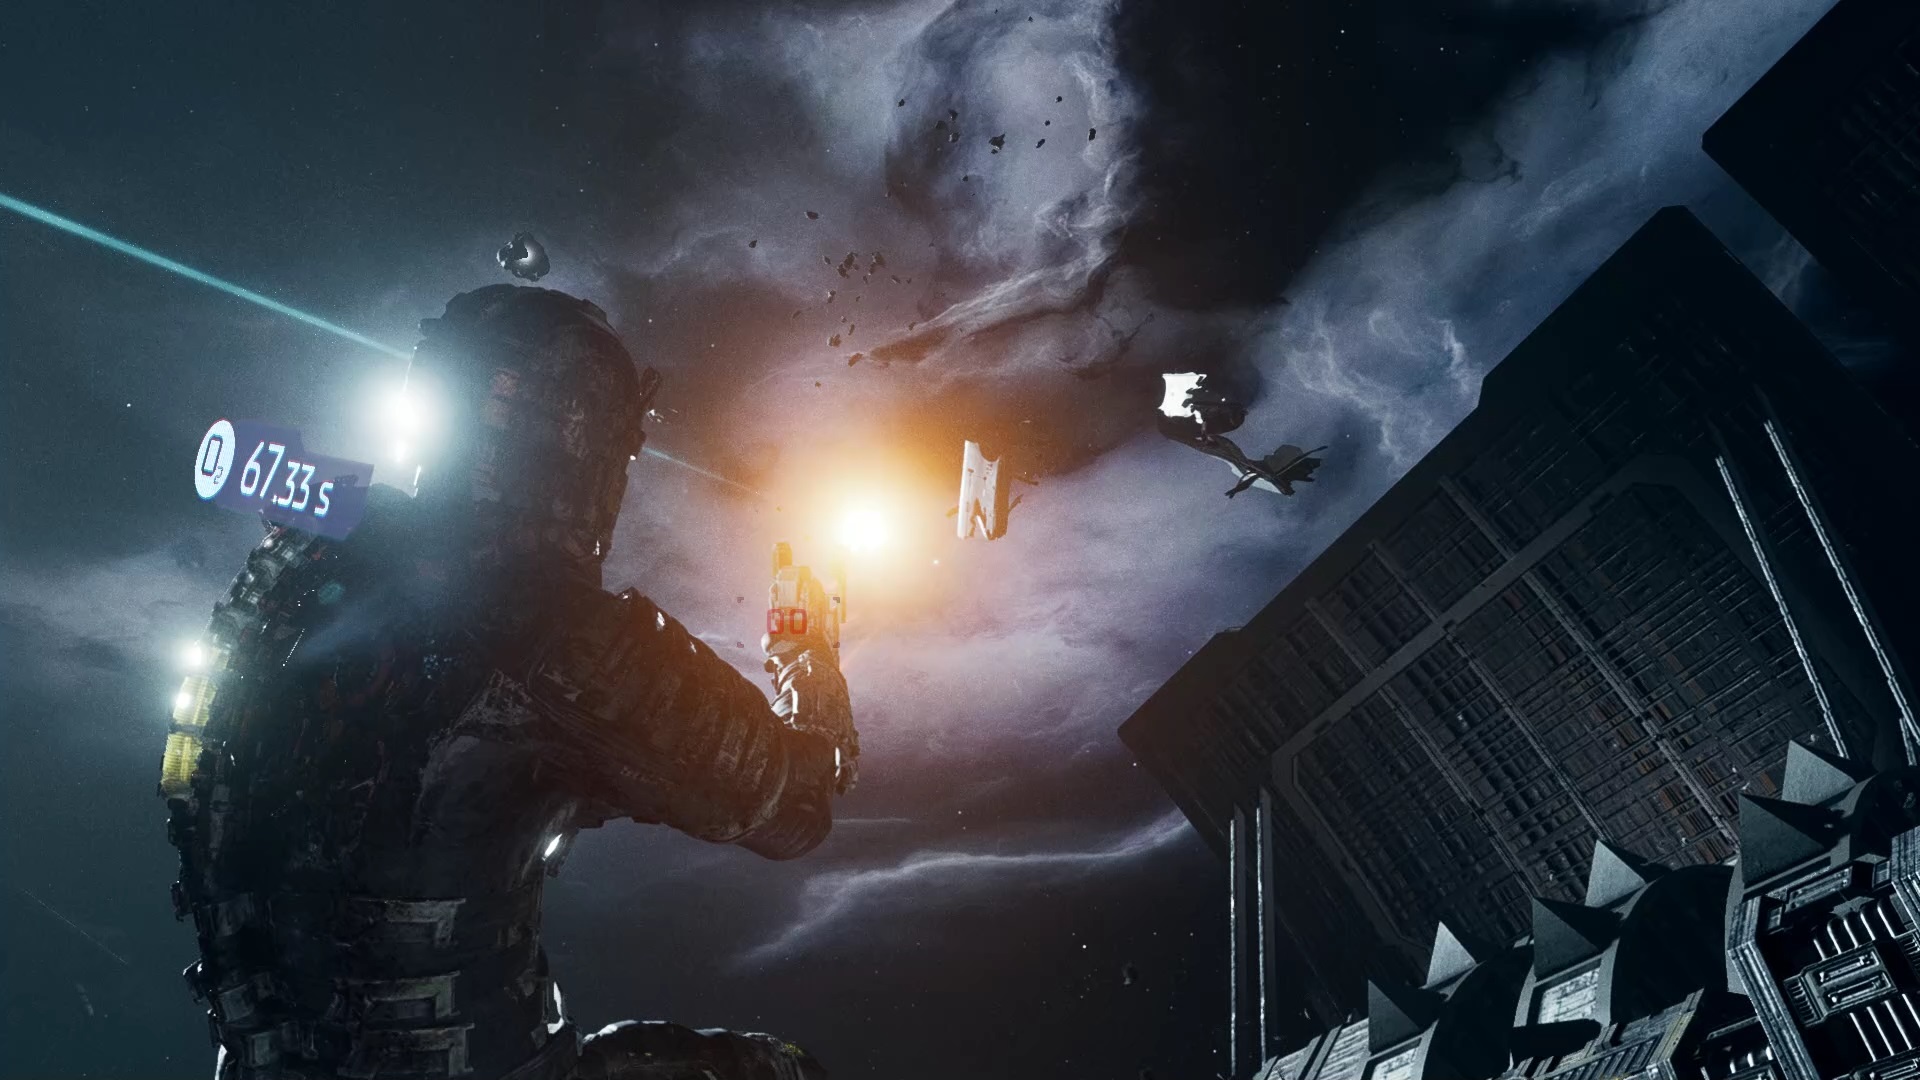
After feeding the cannons exit through the outside access. Outside, sync up with the cannons to shoot some asteroids. Do this for all three cannons to complete the mission. Return to the atrium to end the episode.
Episode 5
Isaac must return to the medical pole. Go to the tram to reach the pole more quickly. Go through the station shop to equip yourself with the level 3 outfit. Passing through the security post, Isaac finds himself stuck. Continue to medical imaging. In the room, burn the growth in the center to unlock the path. A new enemy on the wall is in front of the elevator. Cut all his ties to eliminate him.
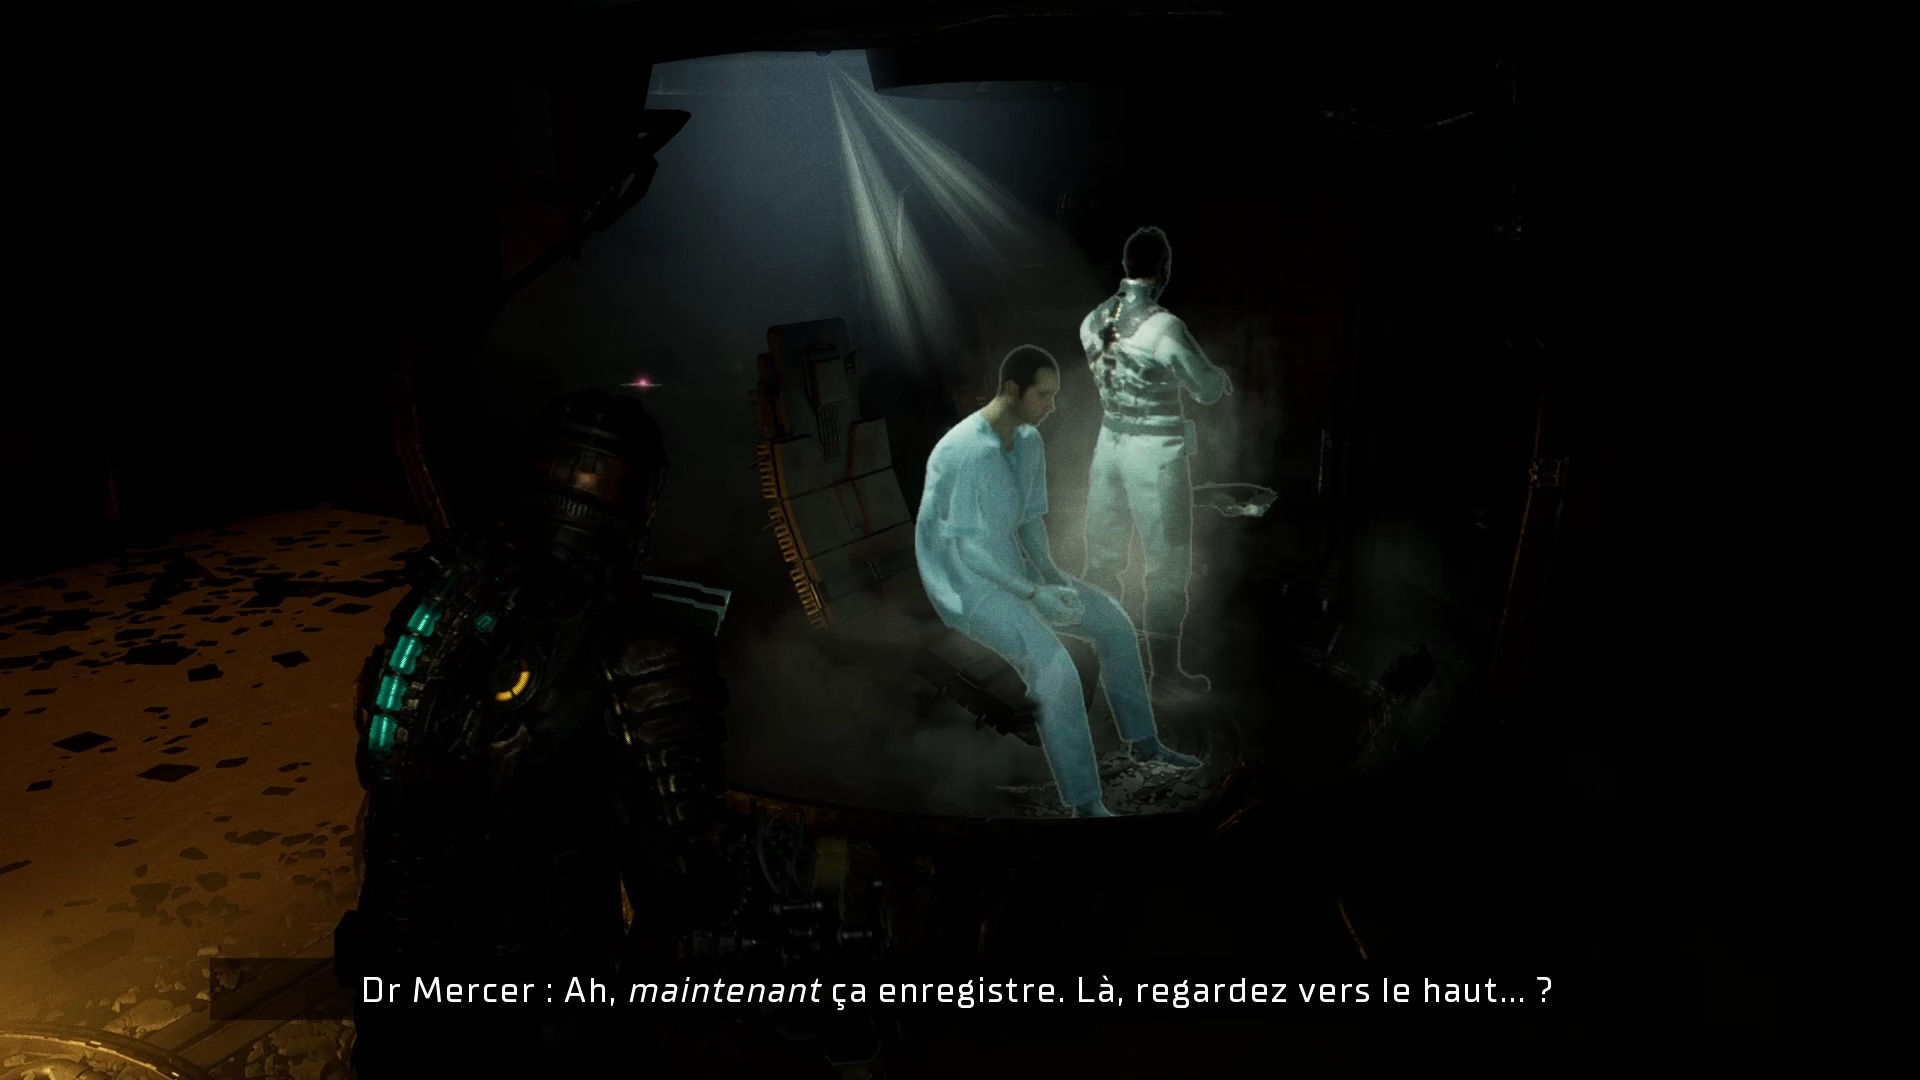
Take the elevator to access the floor. Pull on the growth to free the path. Continue and look right to find a new growth to destroy. Continue to the chemistry lab and unlock the imaging door by breaking the power supply before entering the lab. Inside, Dr. Mercer sets a trap for you.
Survive by using stasis or severing the creature’s lower limbs. Run away as soon as Kendra opens the door for you. Join the security post and continue towards the clinic to lift the containment. In emergencies, don’t worry about enemies, take the battery in front of the hallway A door and insert it to unlock it. If enemies catch up with you, eliminate them in the corridor, the creature will not pass.
In the hallway, go to the emergency equipment depot to find a new weapon: the slicer. Proceed to intensive care. Passing to the morgue, enter the office of the assistant scientist to lift the containment. Return to the security post to reactivate the life support systems. Then continue following your compass towards the cryogenics to recover the liquid nitrogen.
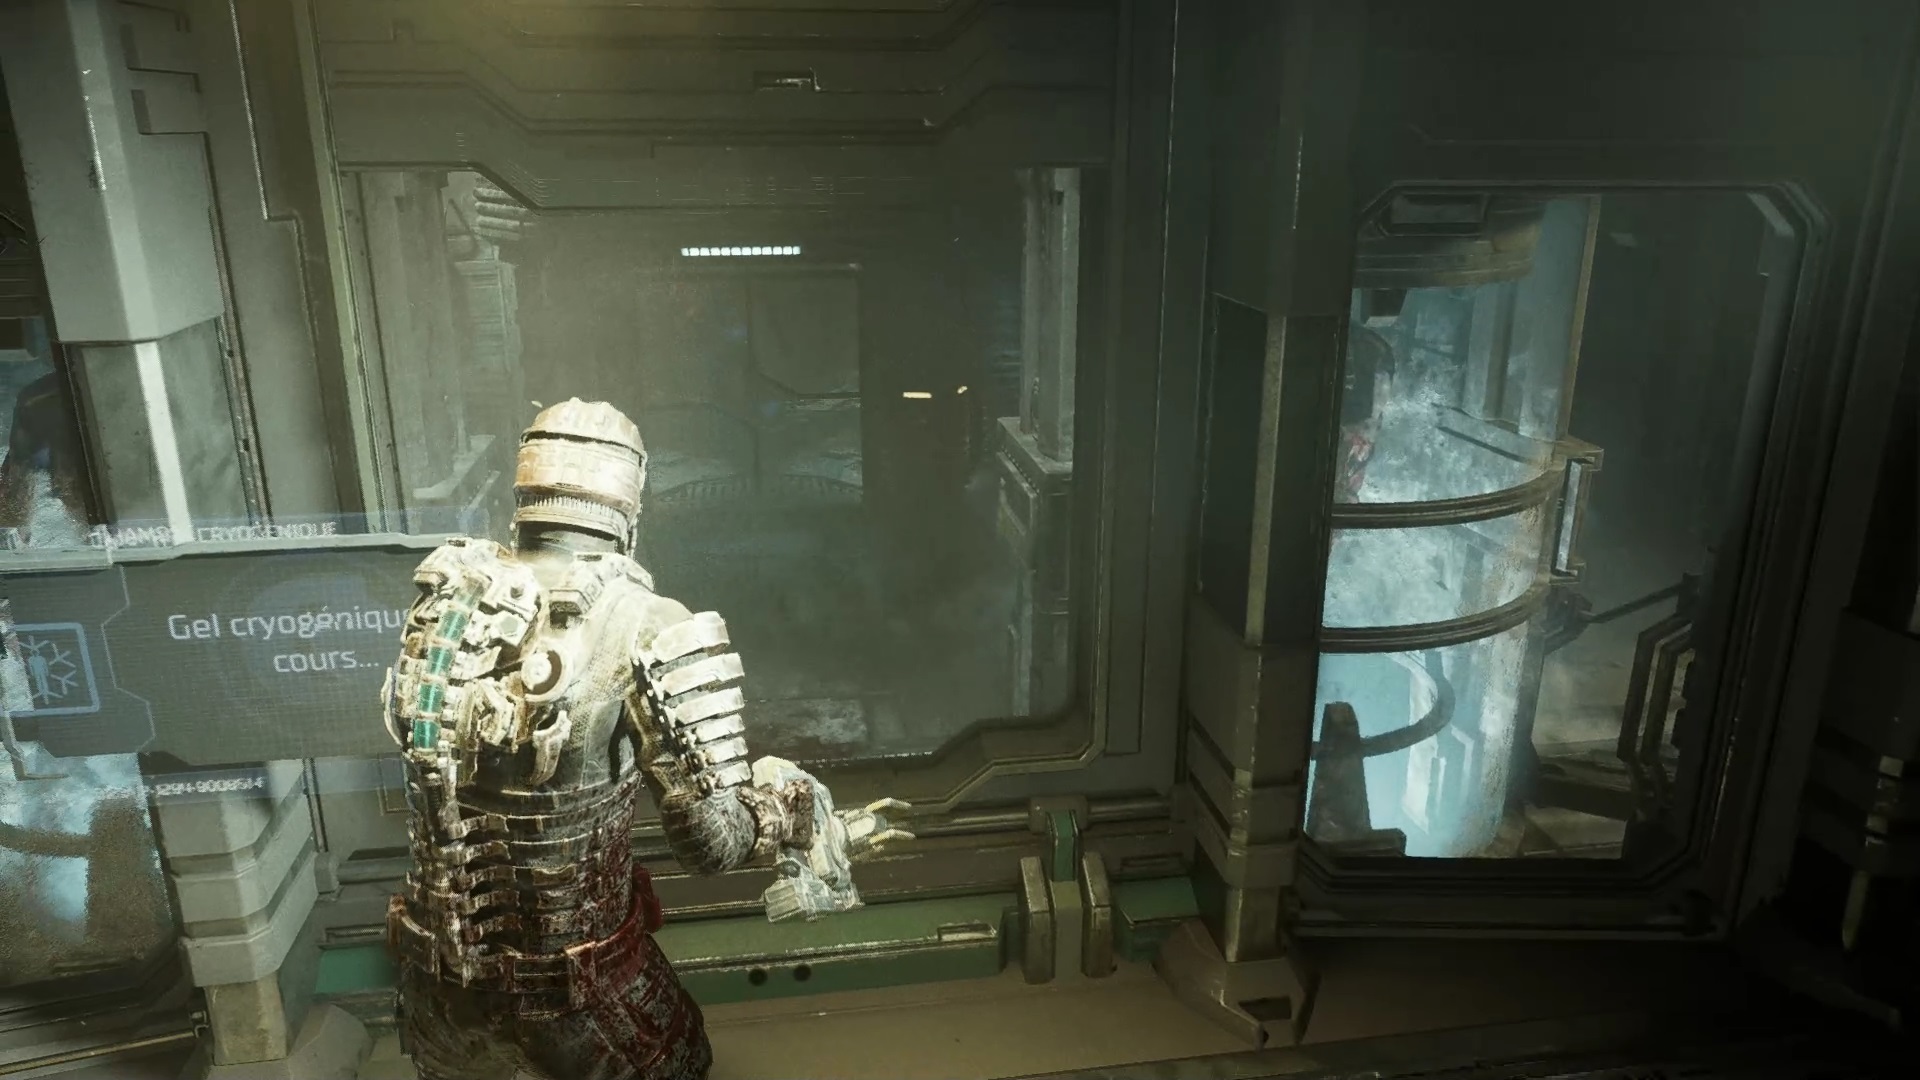
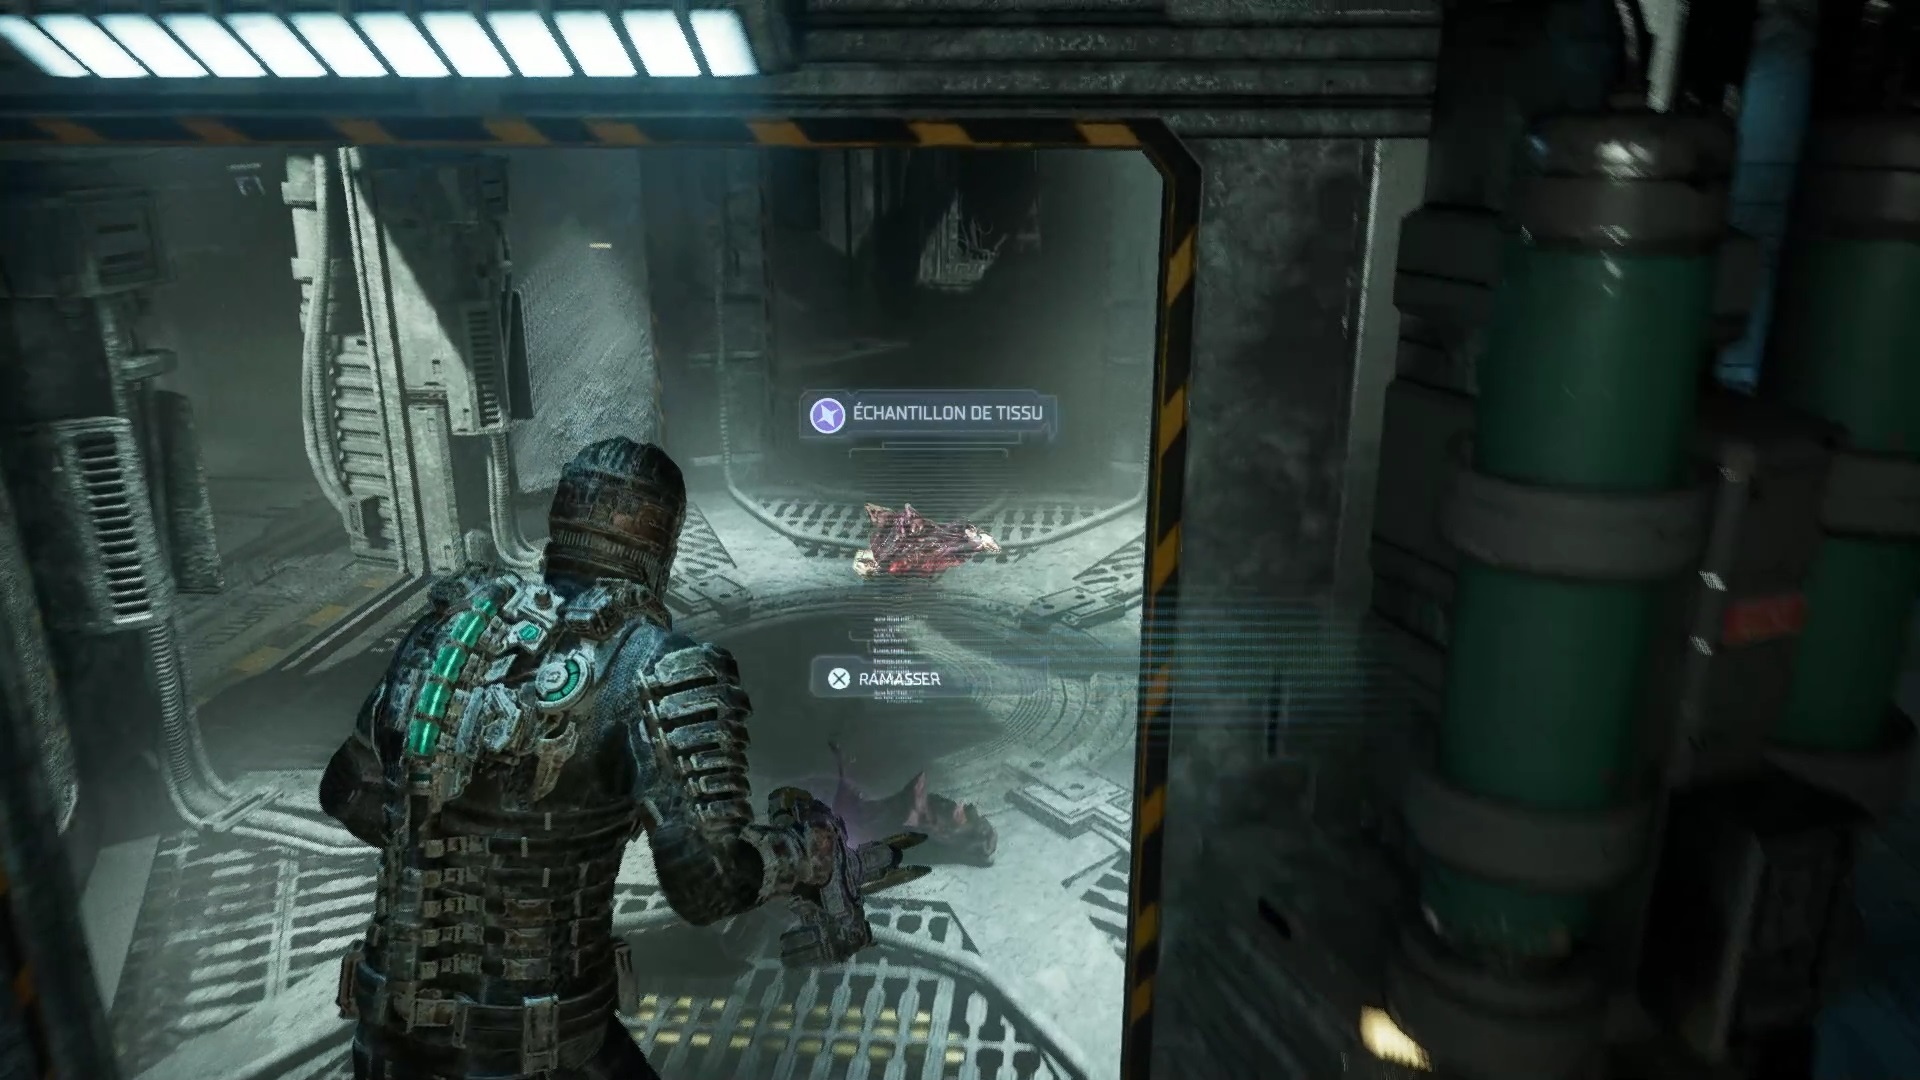
A fight is triggered against the creature. Flee towards the control room to unlock the doors first to make the fight more fluid. Your objective is to stasis the creature in the cryogenic cell to lock it up. Wait for him to come inside to slow him down. Then go for the panel of the control room to lock it. After the fight take the tissue sample from the cell for a side quest.
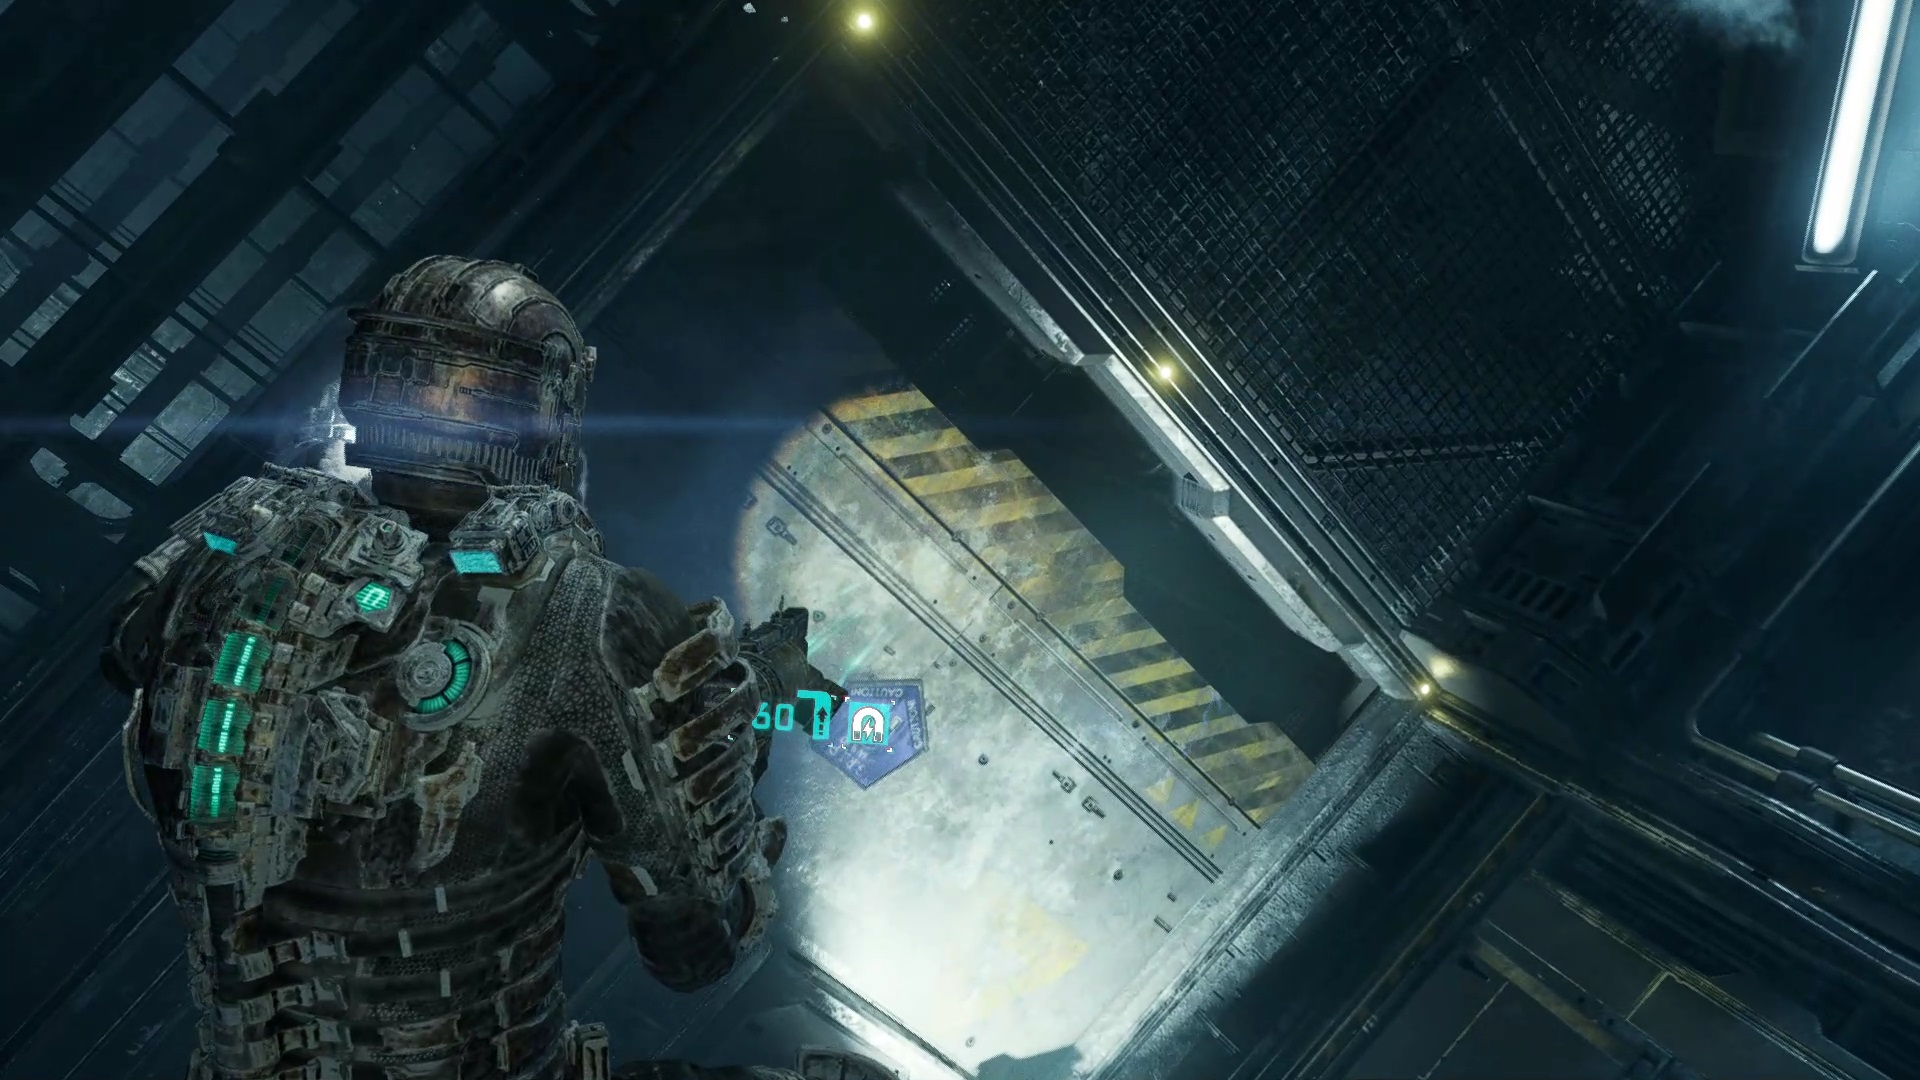
Episode 6

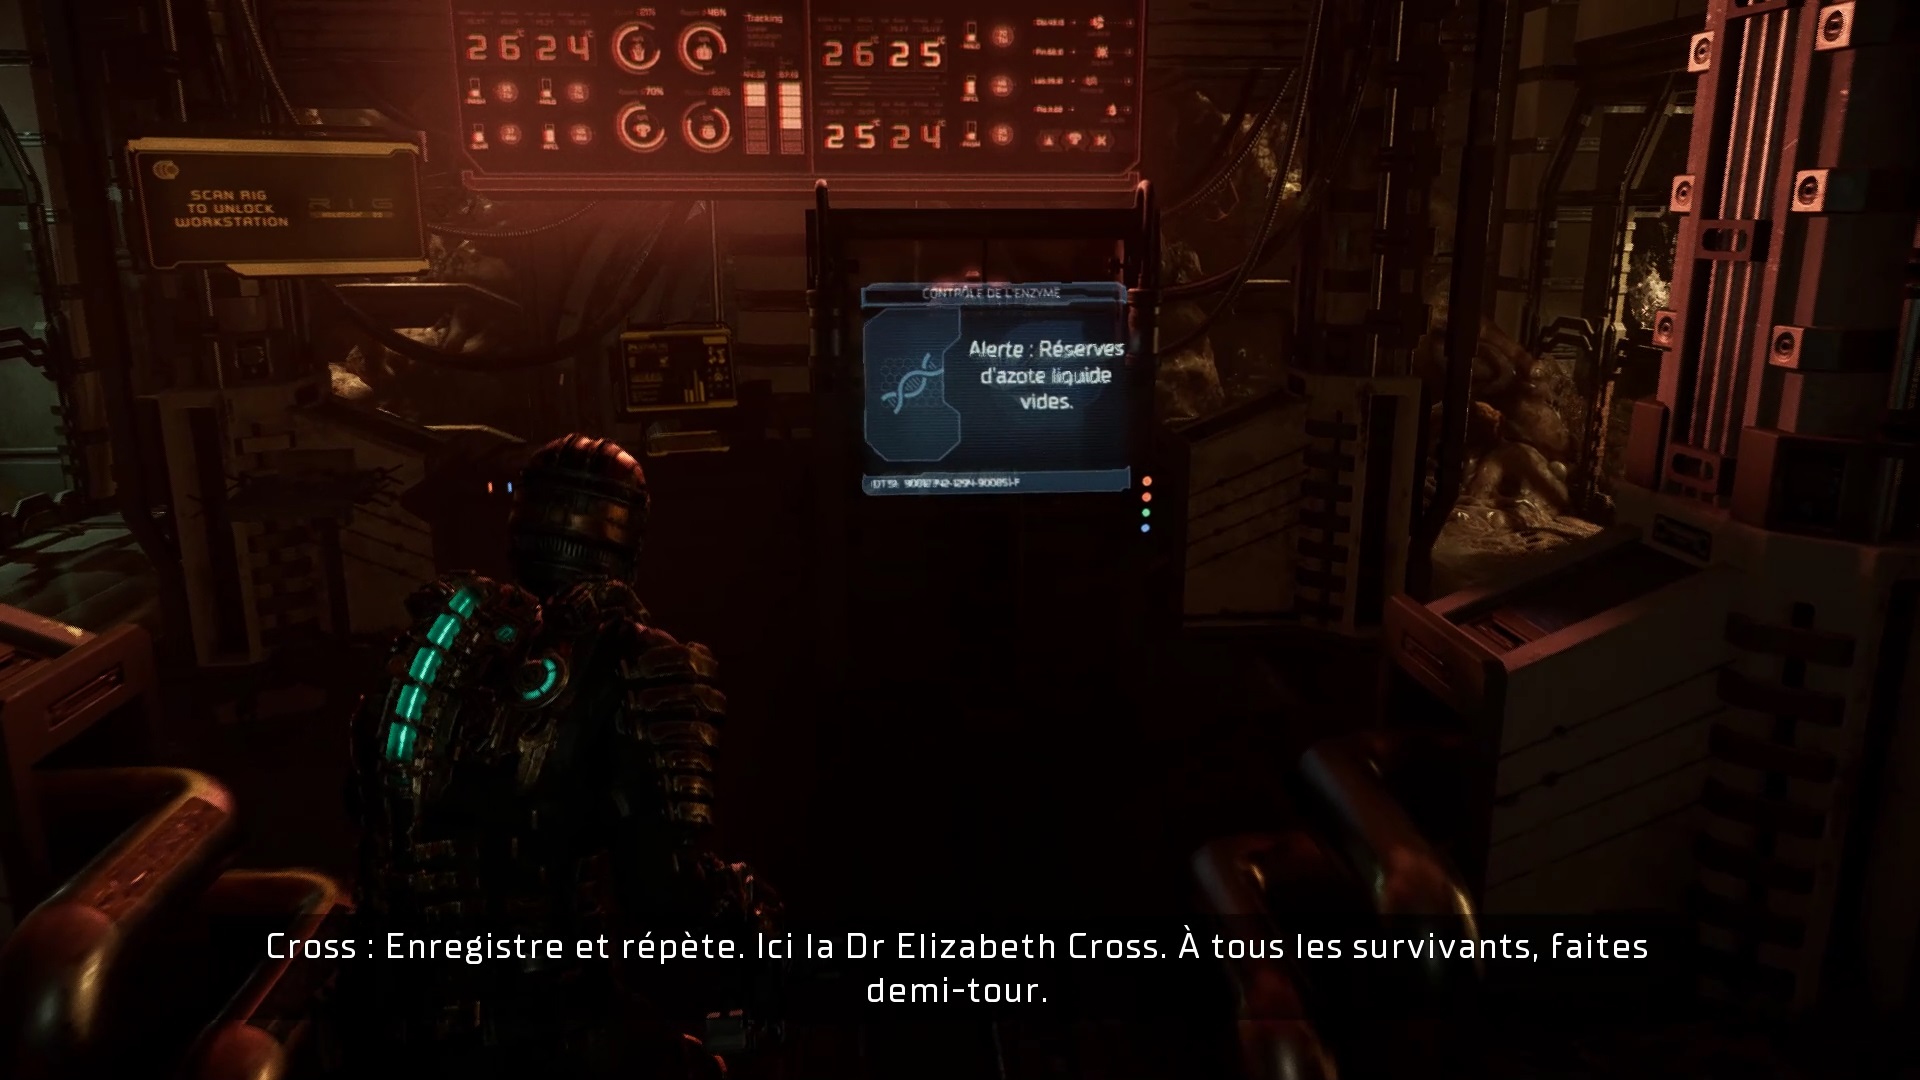
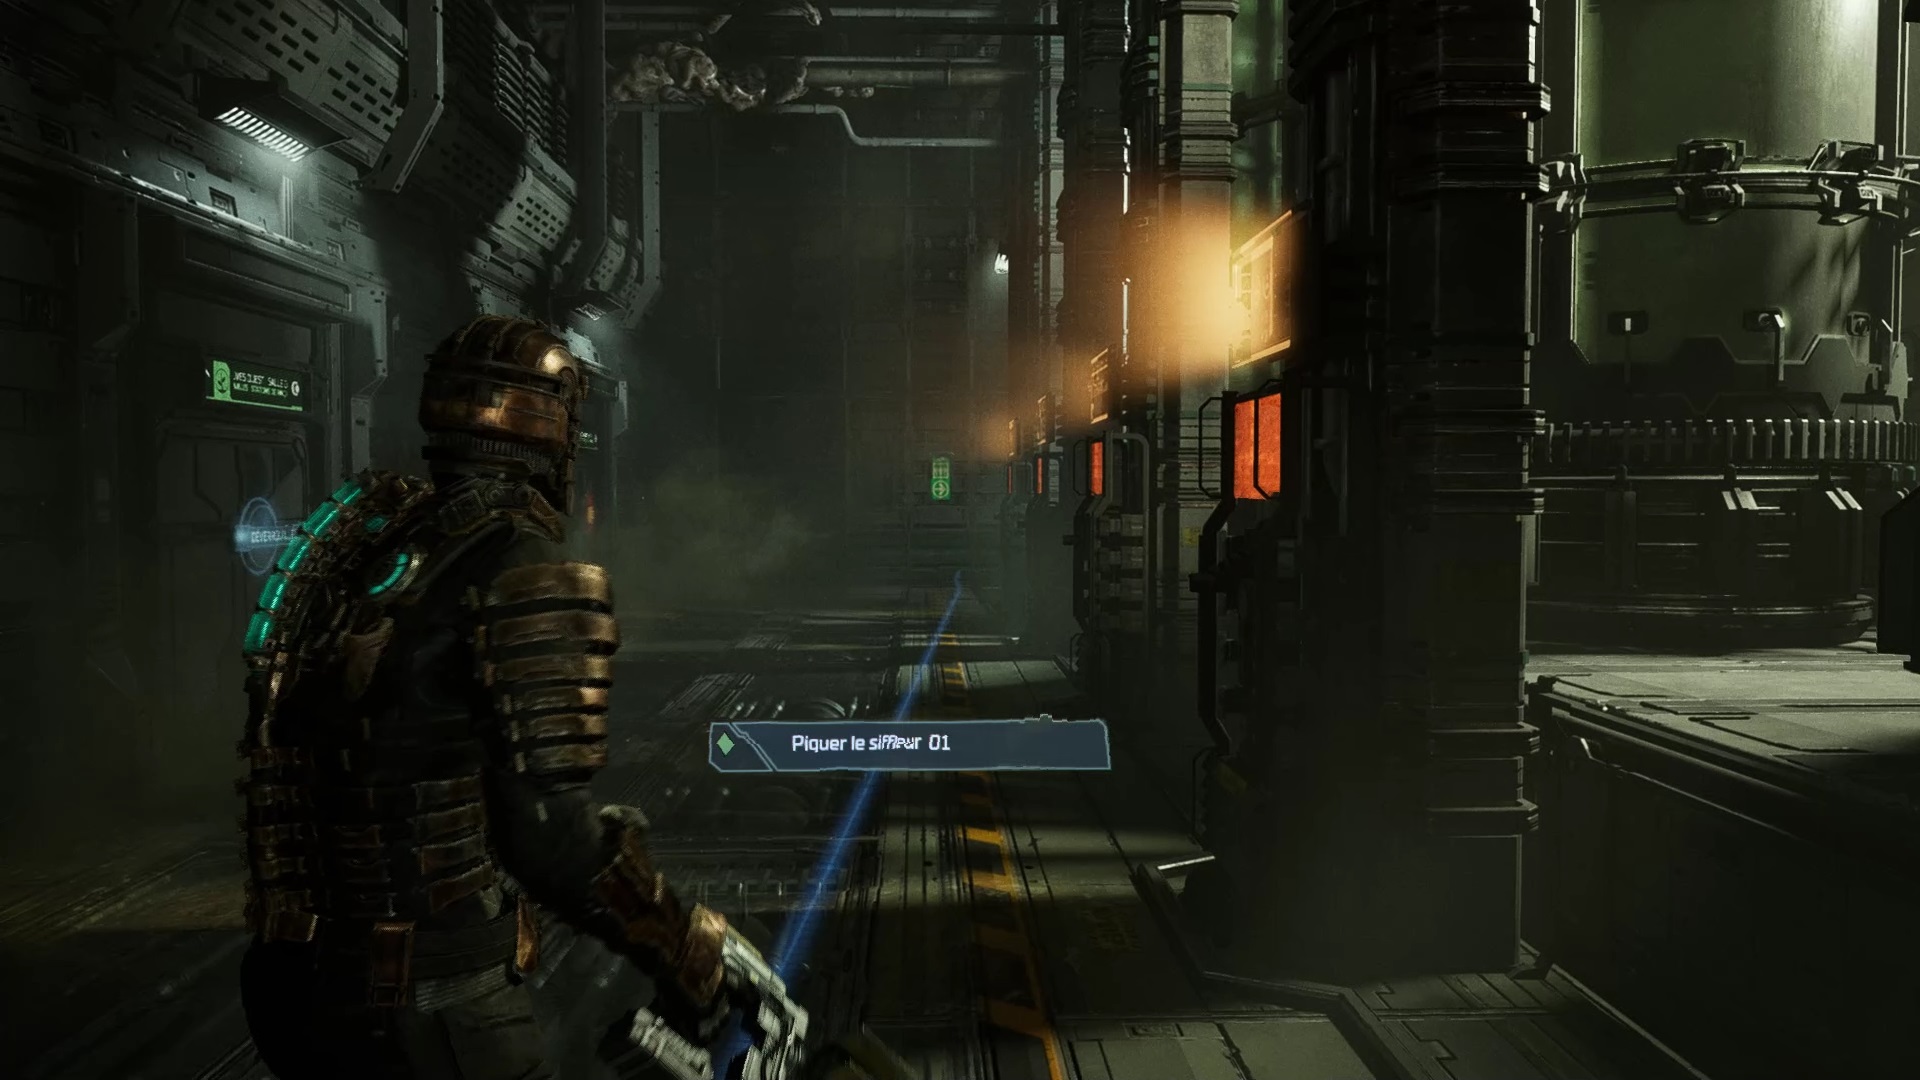
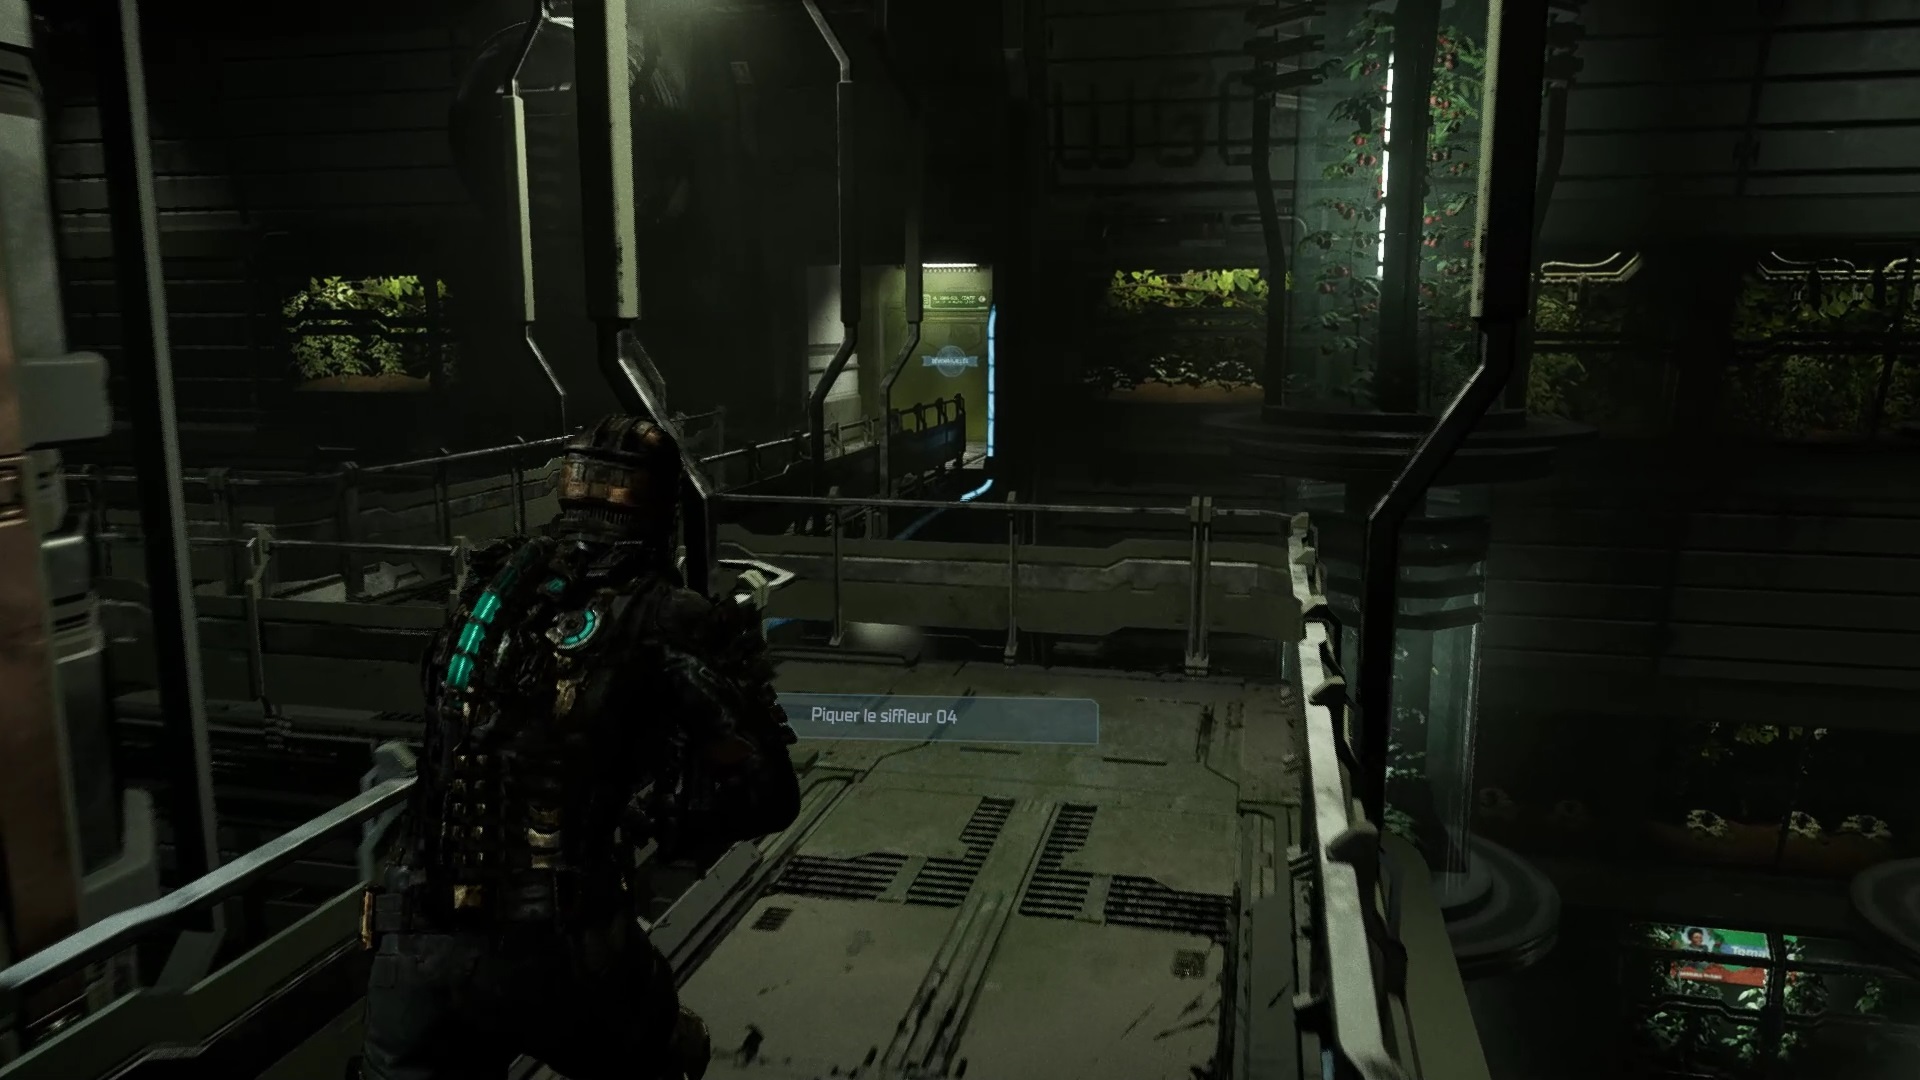
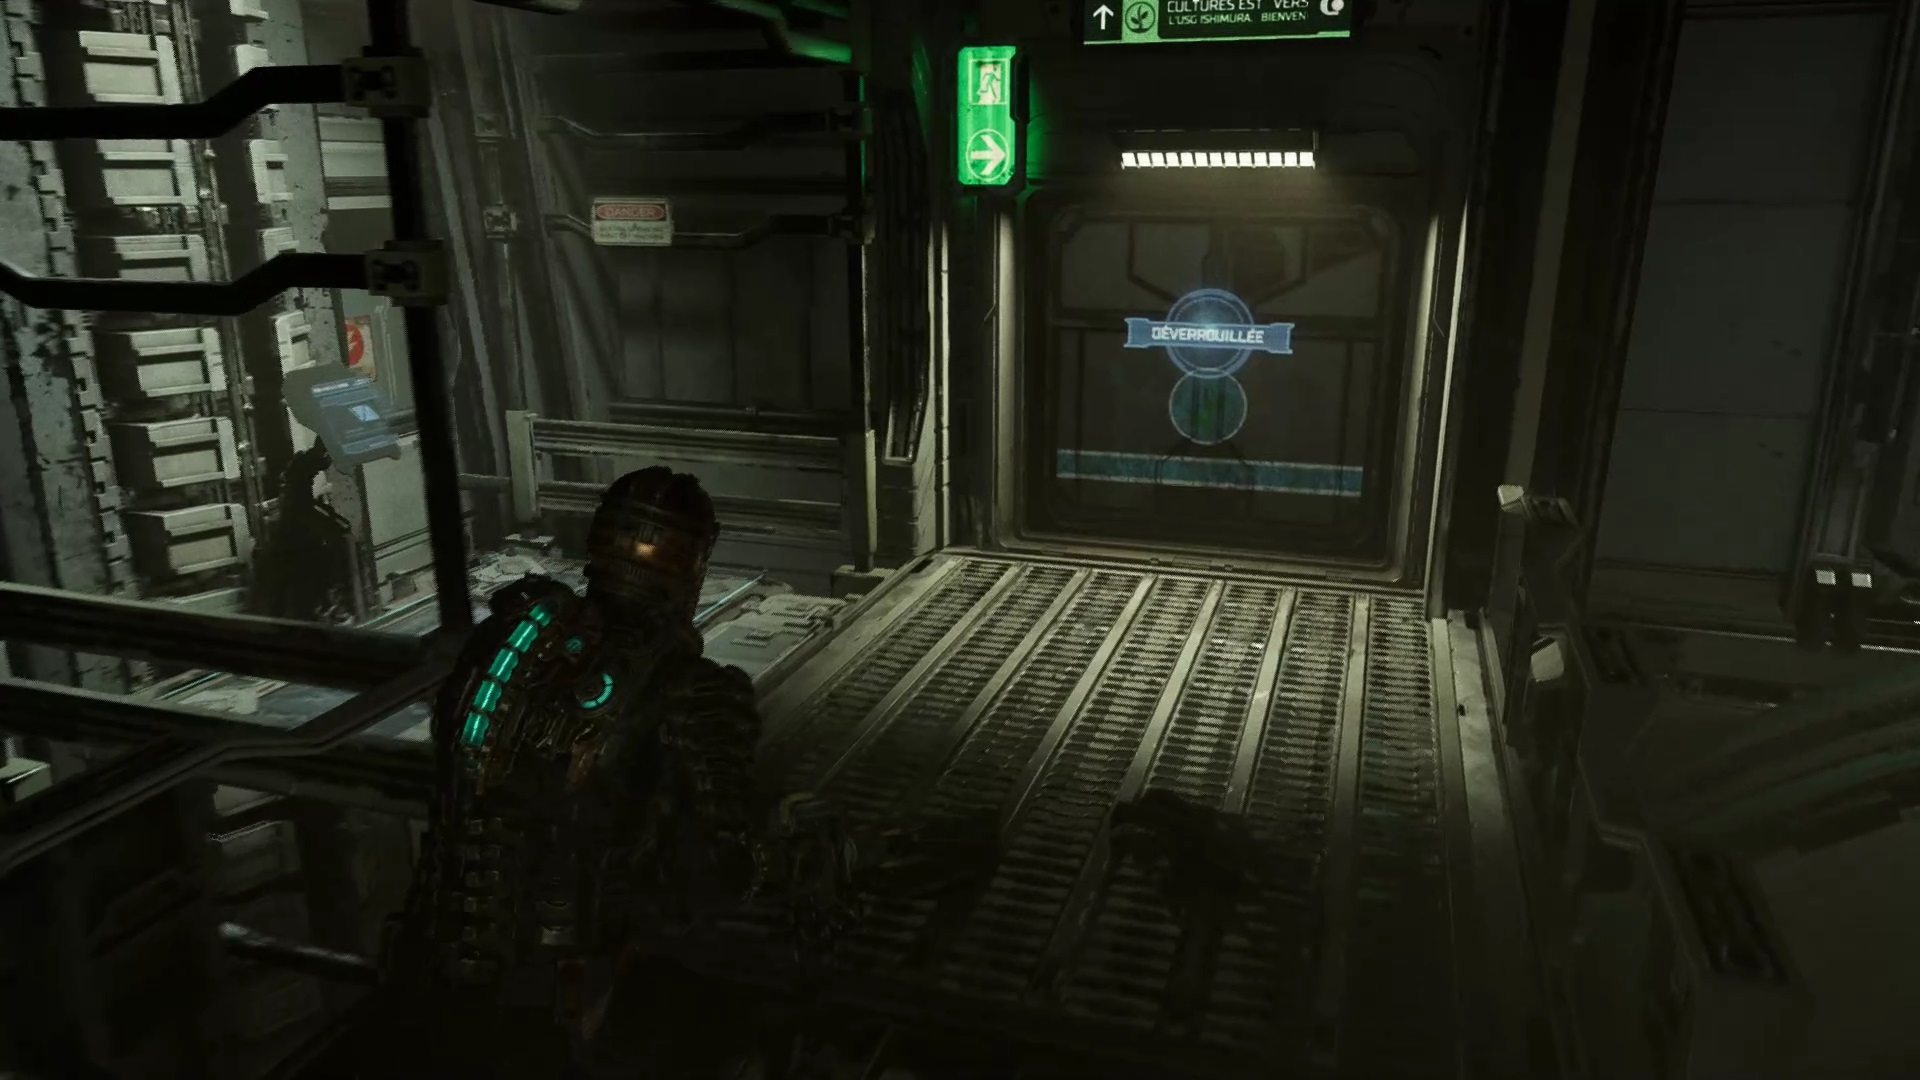
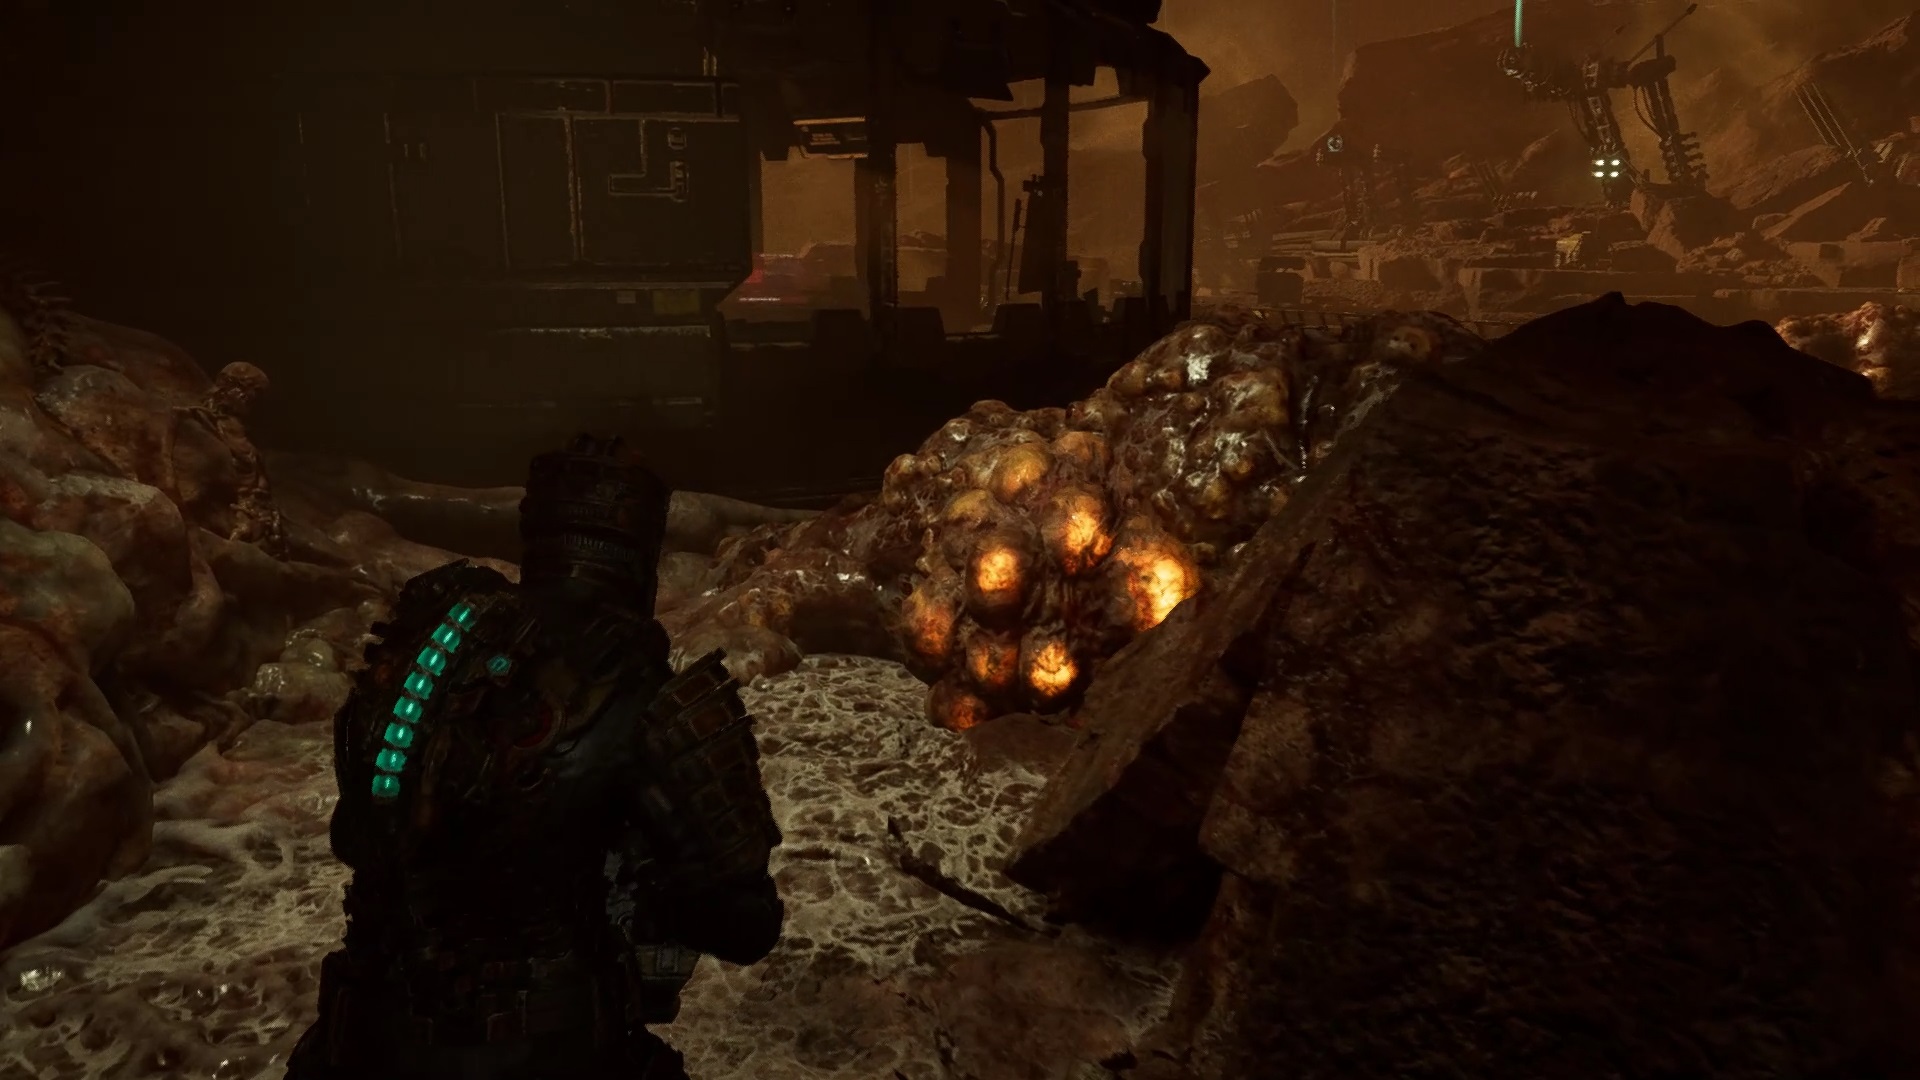
Go to the tram, towards the shed in the repair station where there is access to the above-ground crops. Arrive at the station, unlock access to the tram to create a shortcut for later. Enter the main soilless crops entrance and press the panel to add the nitrogen to the enzyme. Continue to sink into the area to obtain a new objective: to sting the whistlers.
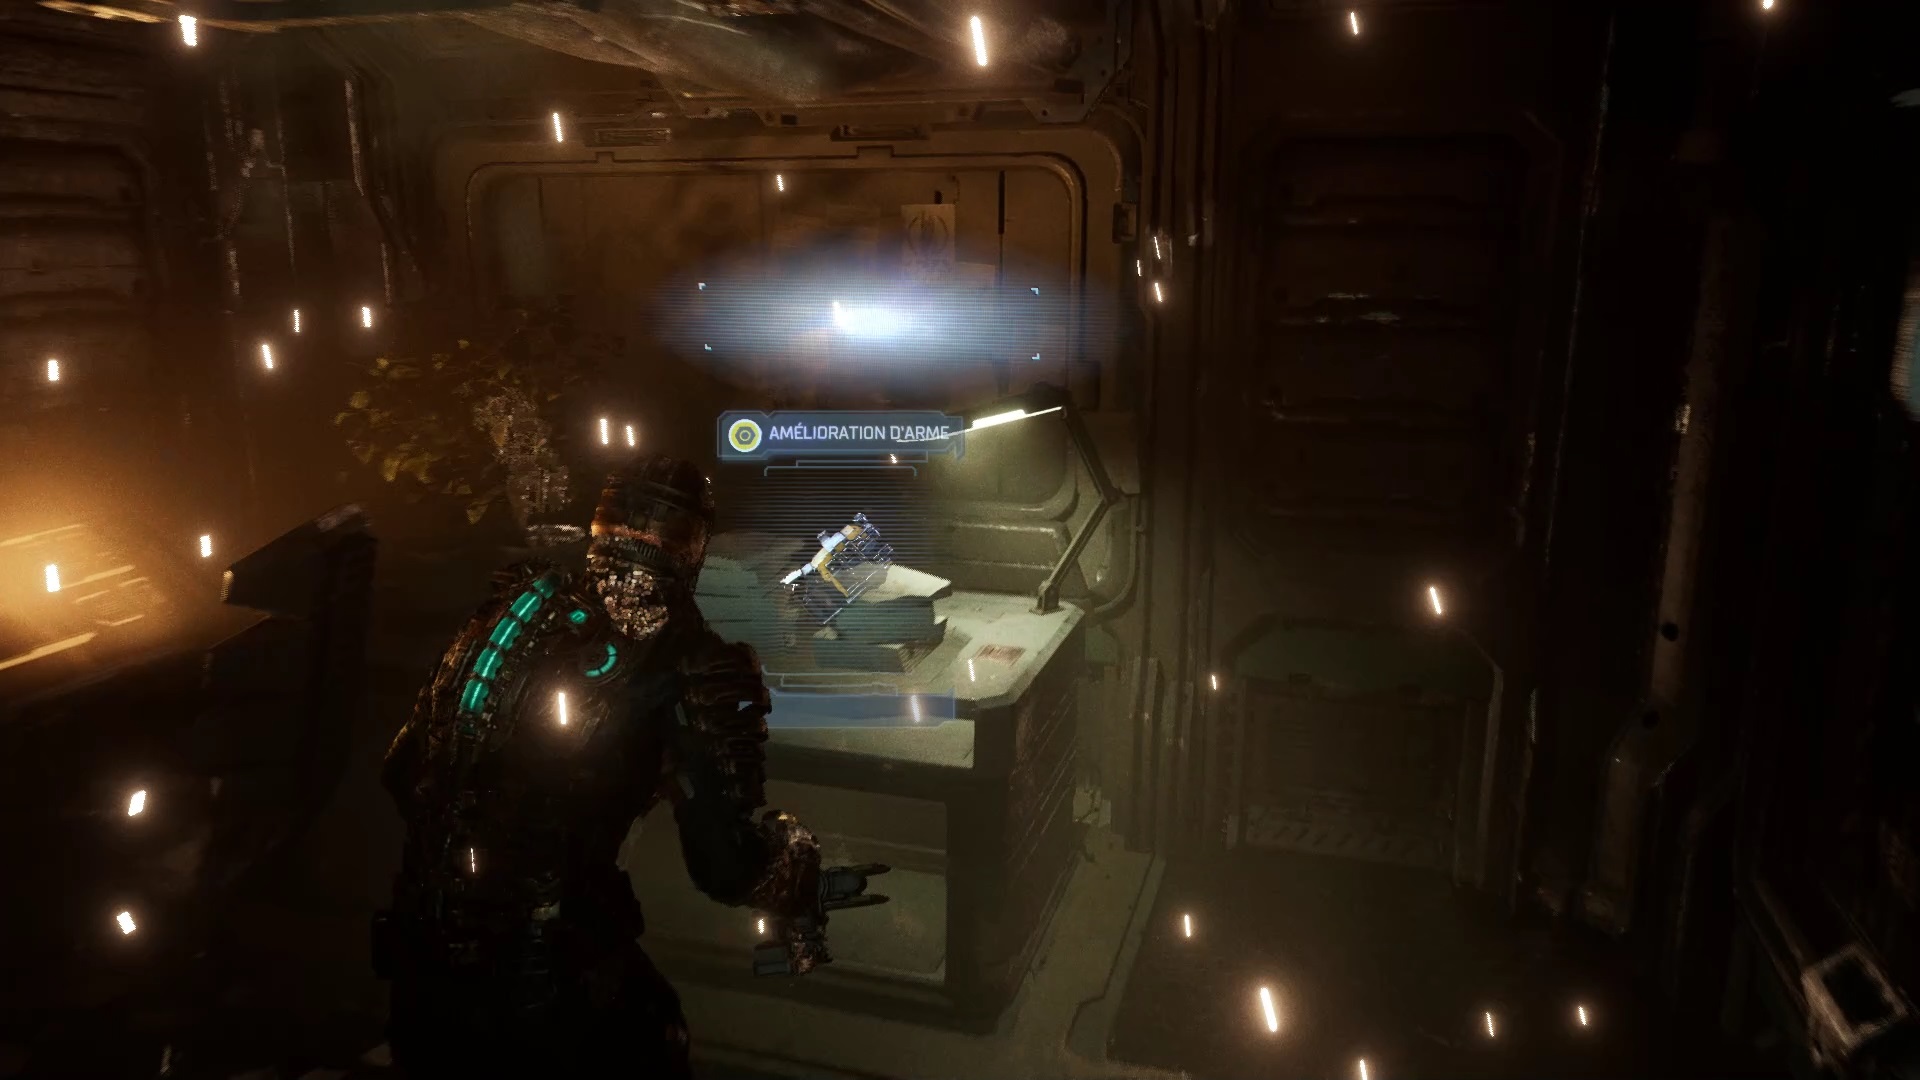
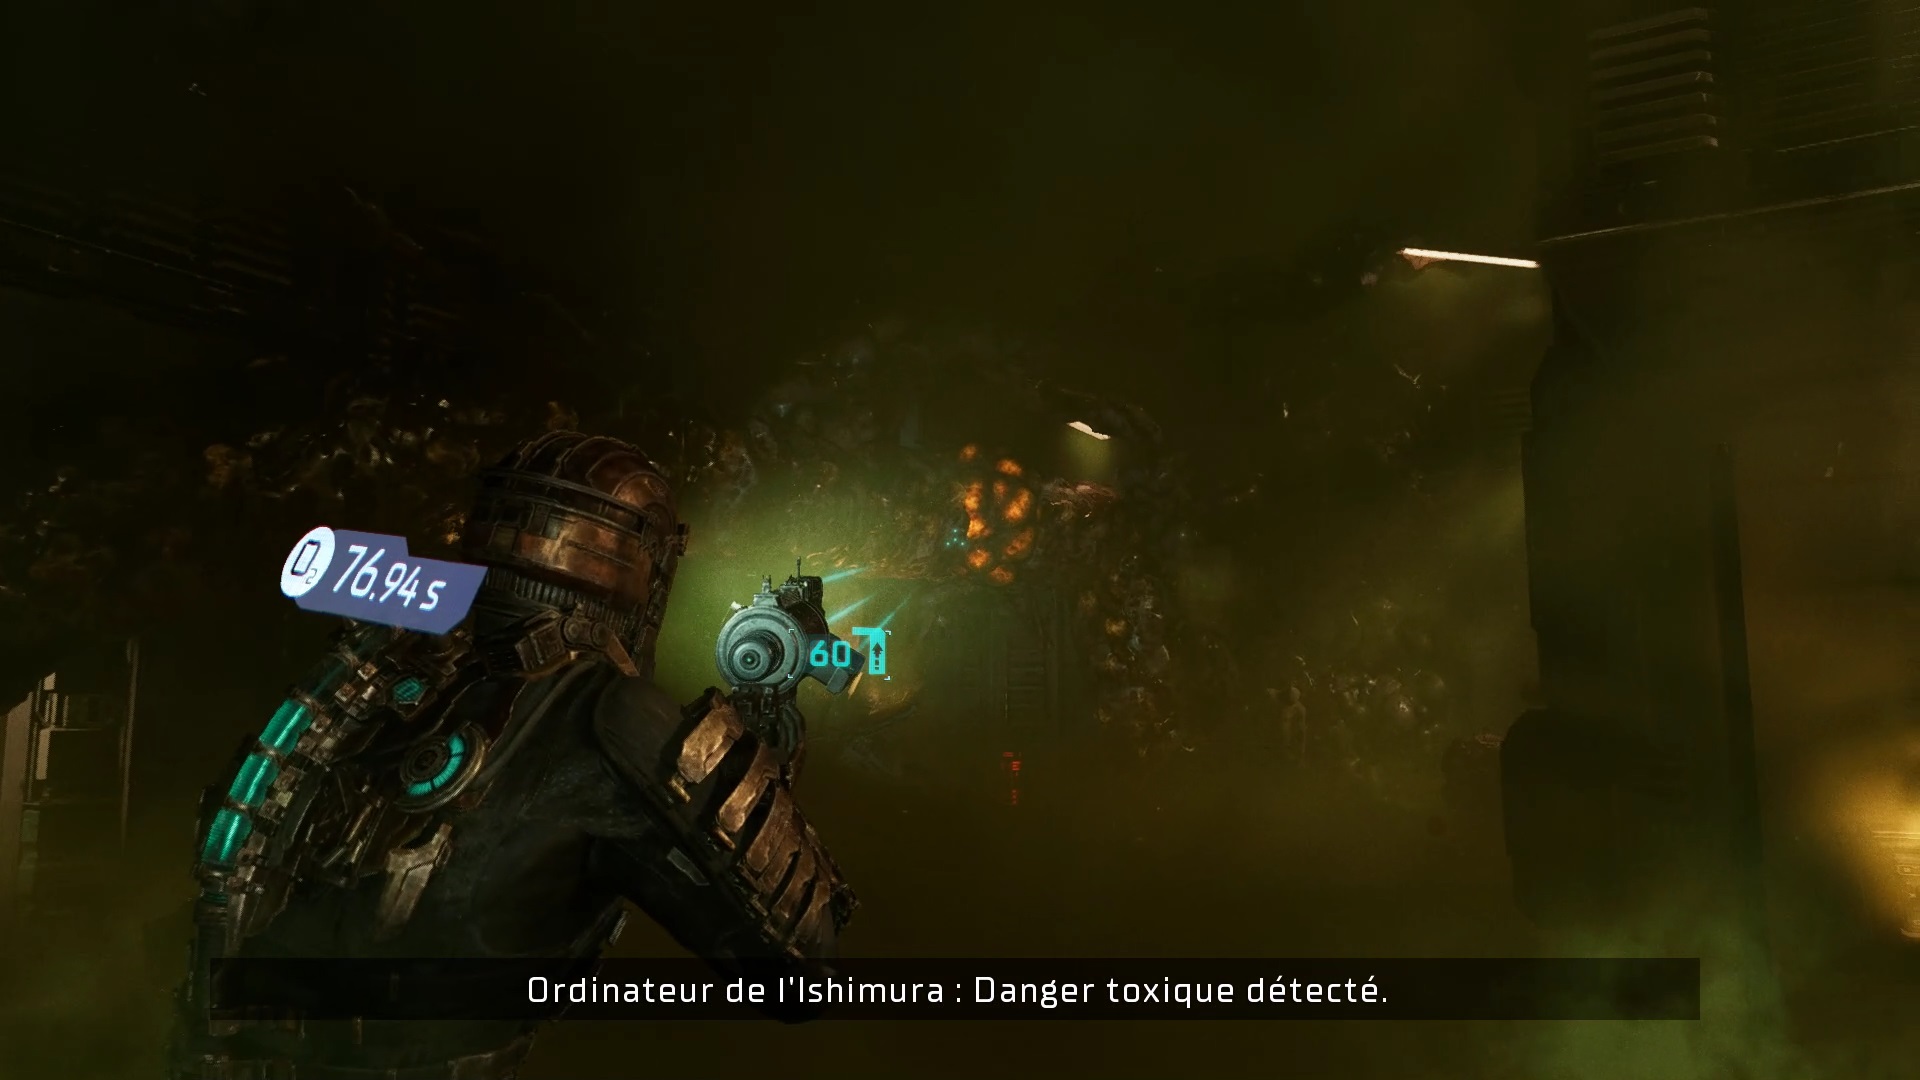
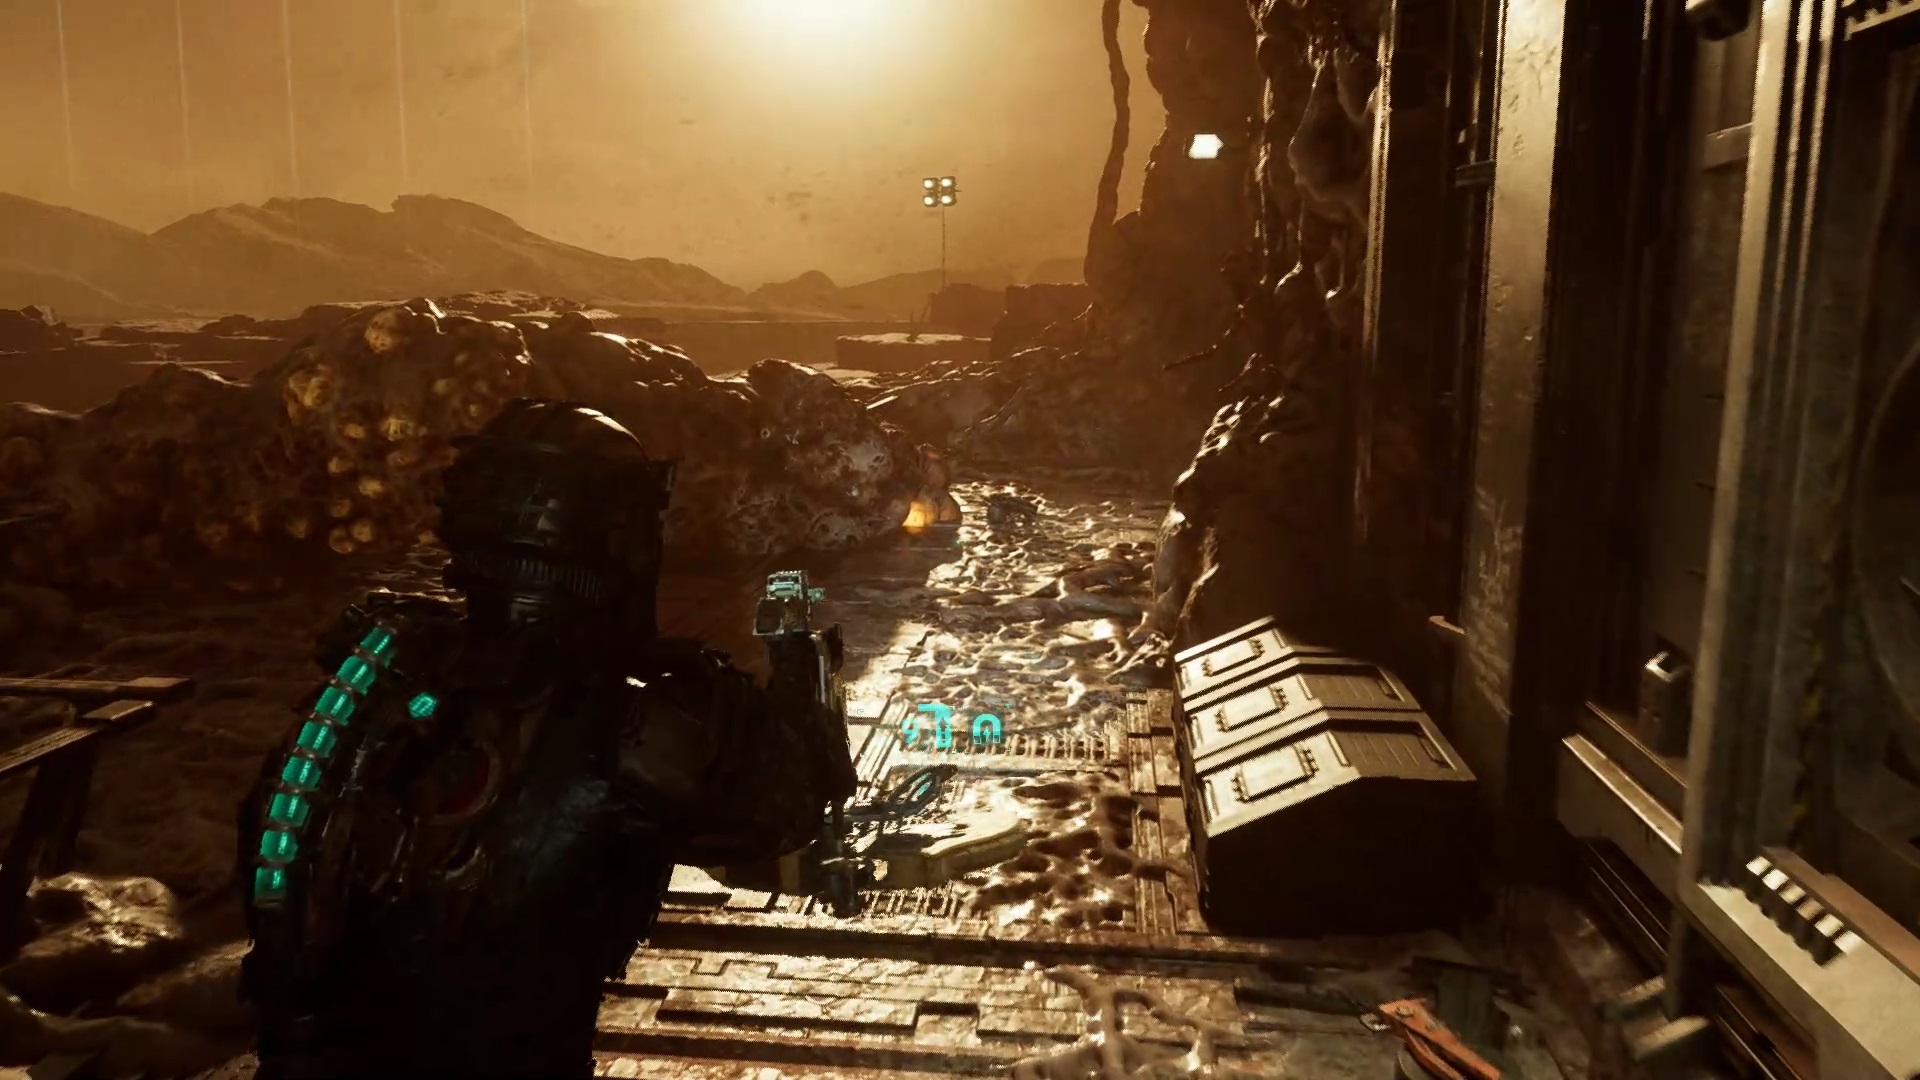
Continue to the east tower, you will come to the flow control room. Beware of acid projectors. Enter the first room on the left to find an upgrade for the Cutter. Then continue to the bottom and go up in the elevator. Pass the bridge by eliminating the threat and reach the western culture room.
Enemies are waiting for you in the room, clean up. Then enter the western sowing room B to find the first stinger. Inject the enzyme to destroy it.
Enter West Seedling Room A to pick up the Mega PK Weapon . One of the most fearsome weapons in the game. Follow your compass to the third floor of the grow room. Above, enter Doctor Cross’s office to find a second Whistler. Then go down to the second floor. Go to the circuit breaker and redirect the energy to the doors. Continue to the cooling tower opposite.
Advance to meet a new type of enemy. Shoot his left arm so that it explodes. Clear the way to continue to the refrigeration tower. Use your thrusters and shoot the hatch above with your telekinesis. Go up to reach the exit and the third whistler. Return to the grow room.
Enter this time in the opposite room. Inside, shoot the growth to reveal the fourth Whistler. After having eliminated it, leave the East culture room. Take the elevator to start another fight. You know the technique to defeat the big beast. Use stasis and aim for his back to eliminate him.

After the fight, head back to East Seedling Room A to find another Whistler. Return to the grow room and look up to find growths. Break the growth and go upstairs to eliminate others. Take Holt’s Rig to the ground for an upcoming side mission.

Search the floor below to find a battery in the corn greenhouse. Use the battery on the location against the wall to activate gravity. Climb above with your thrusters to find a Whistler.
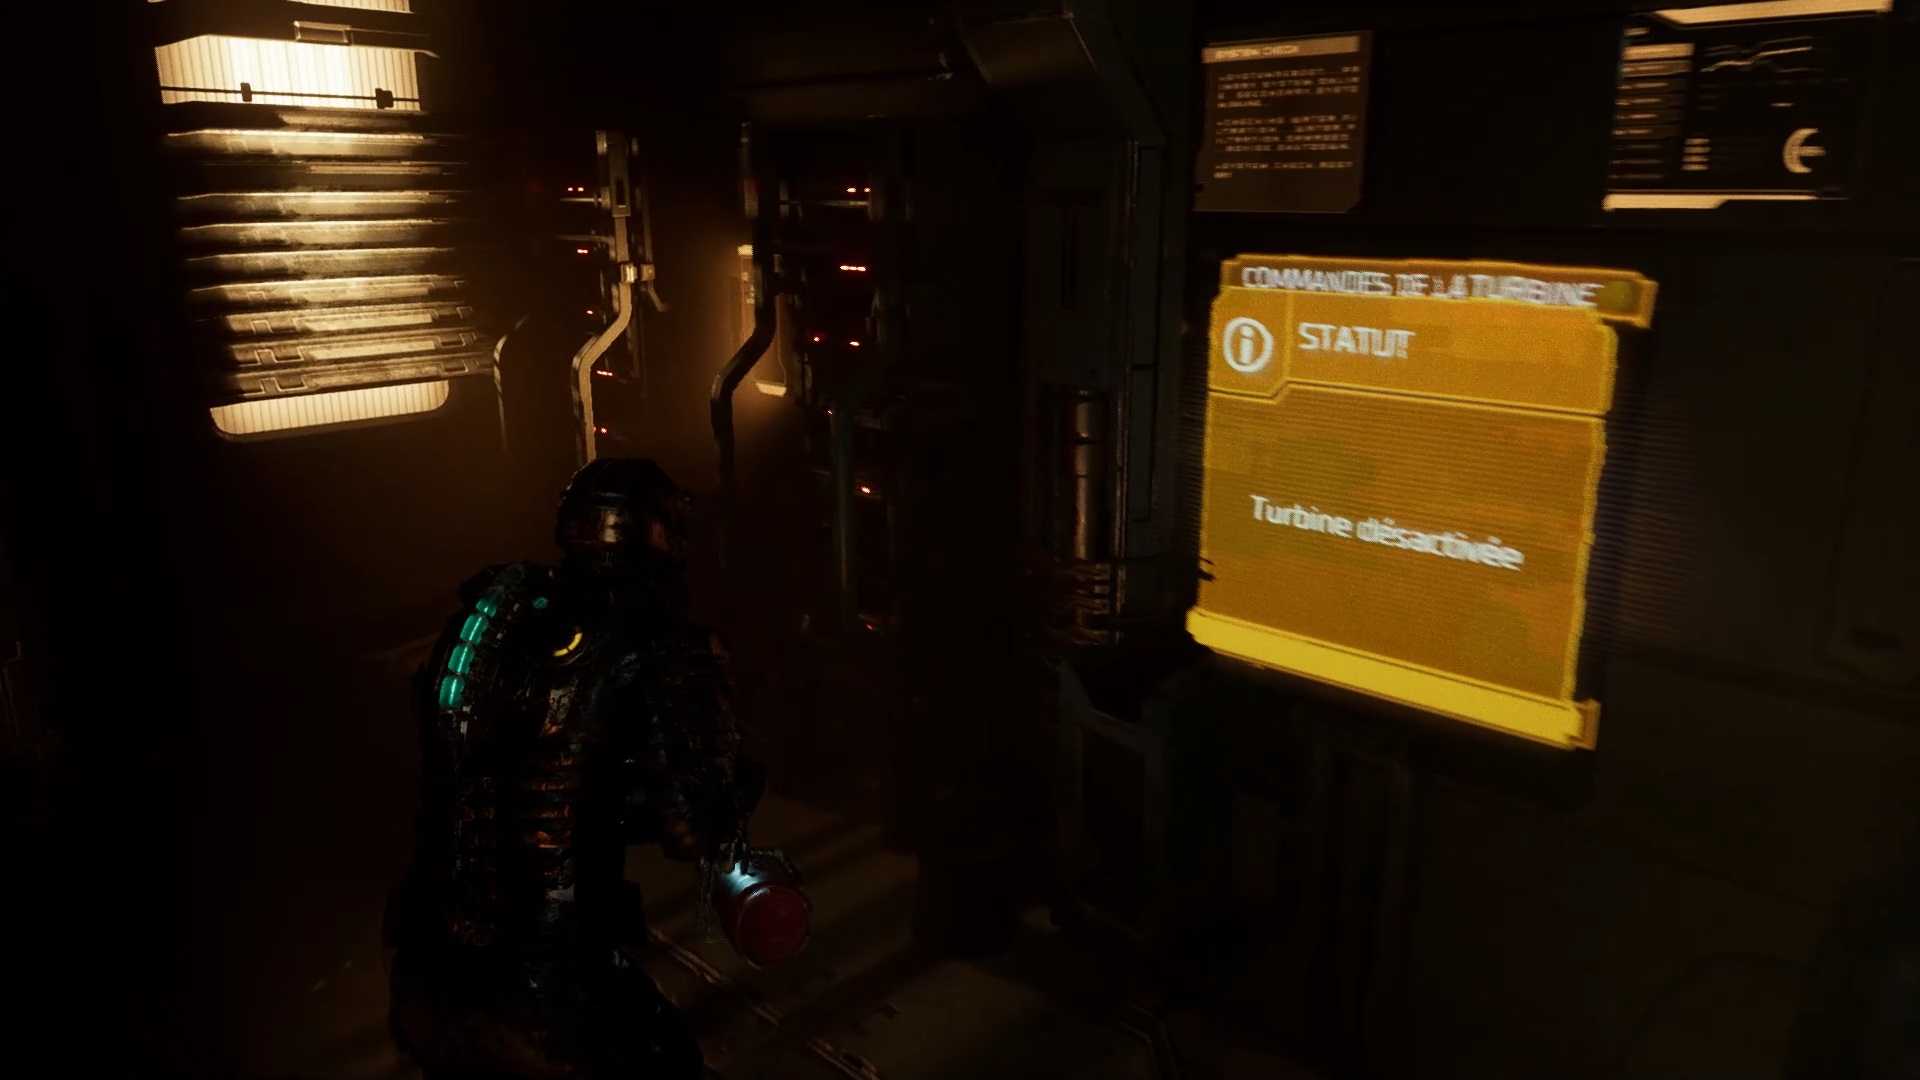
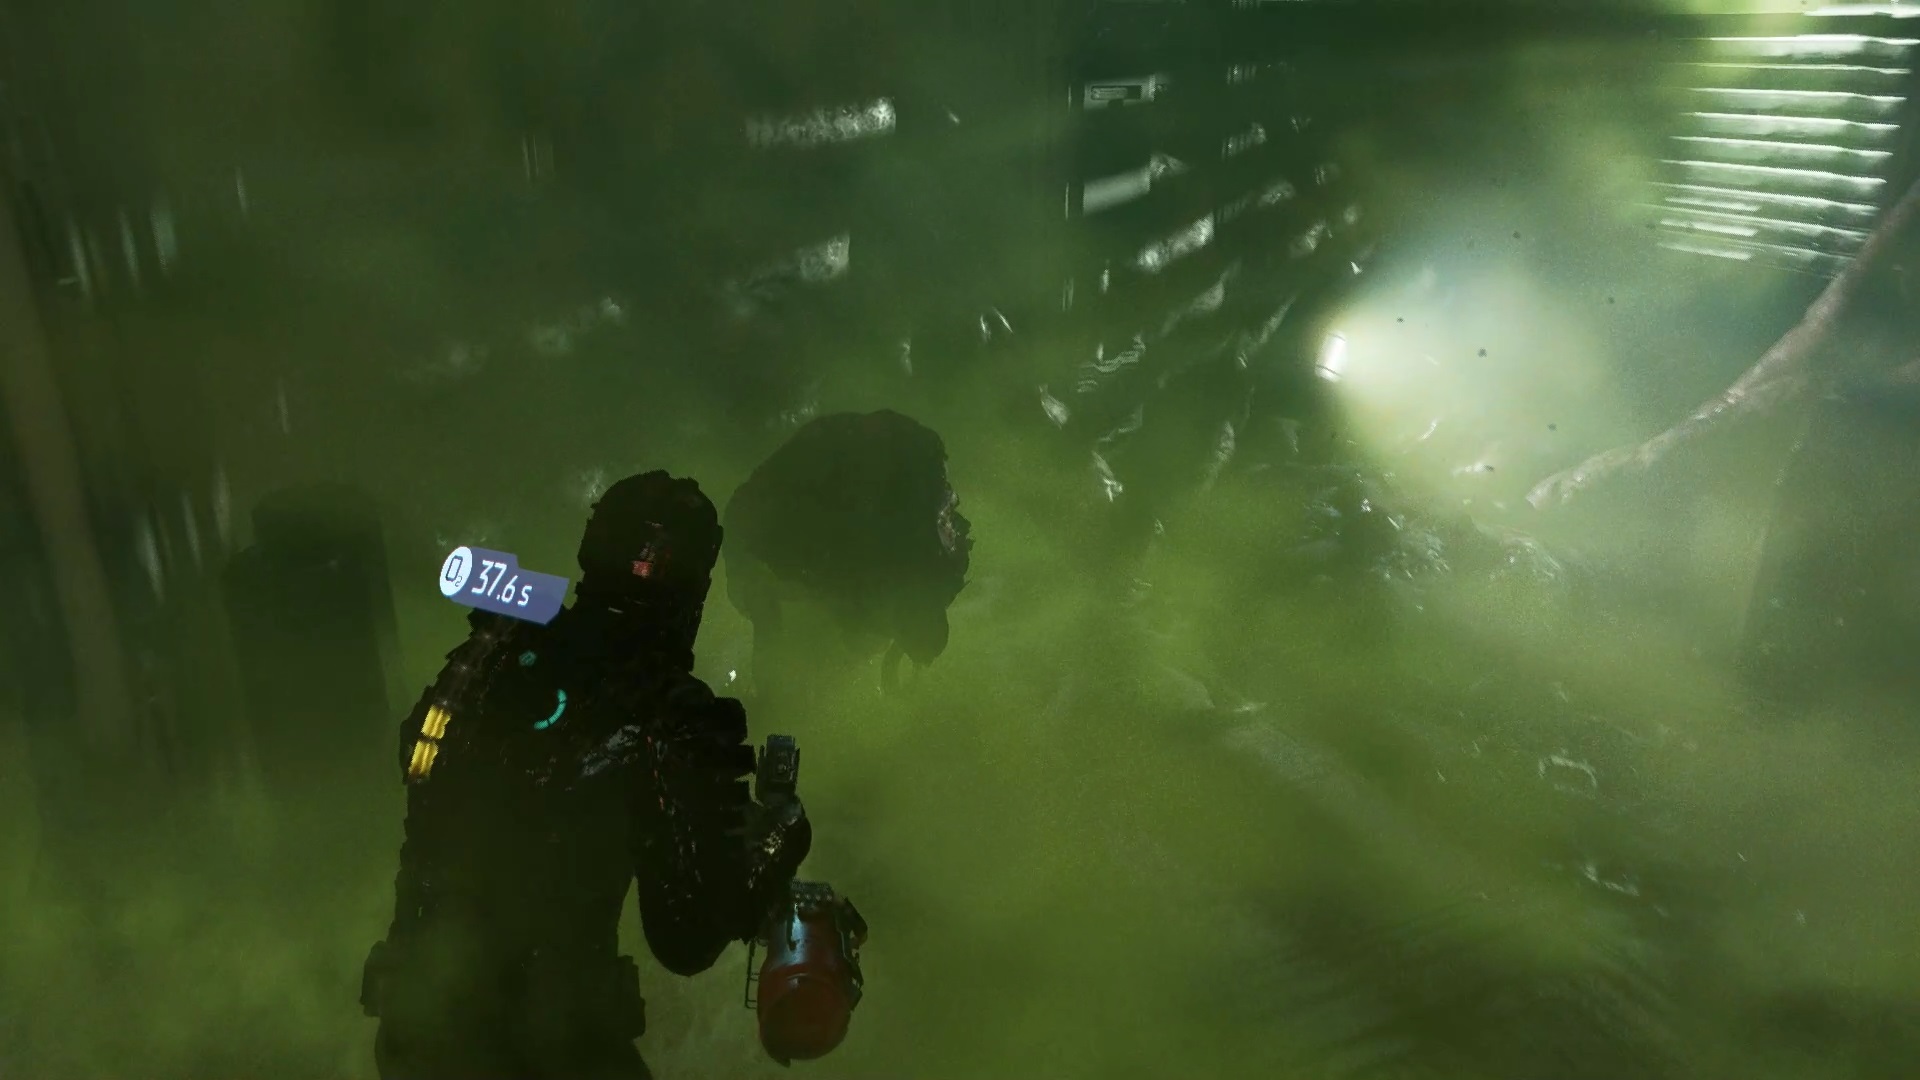
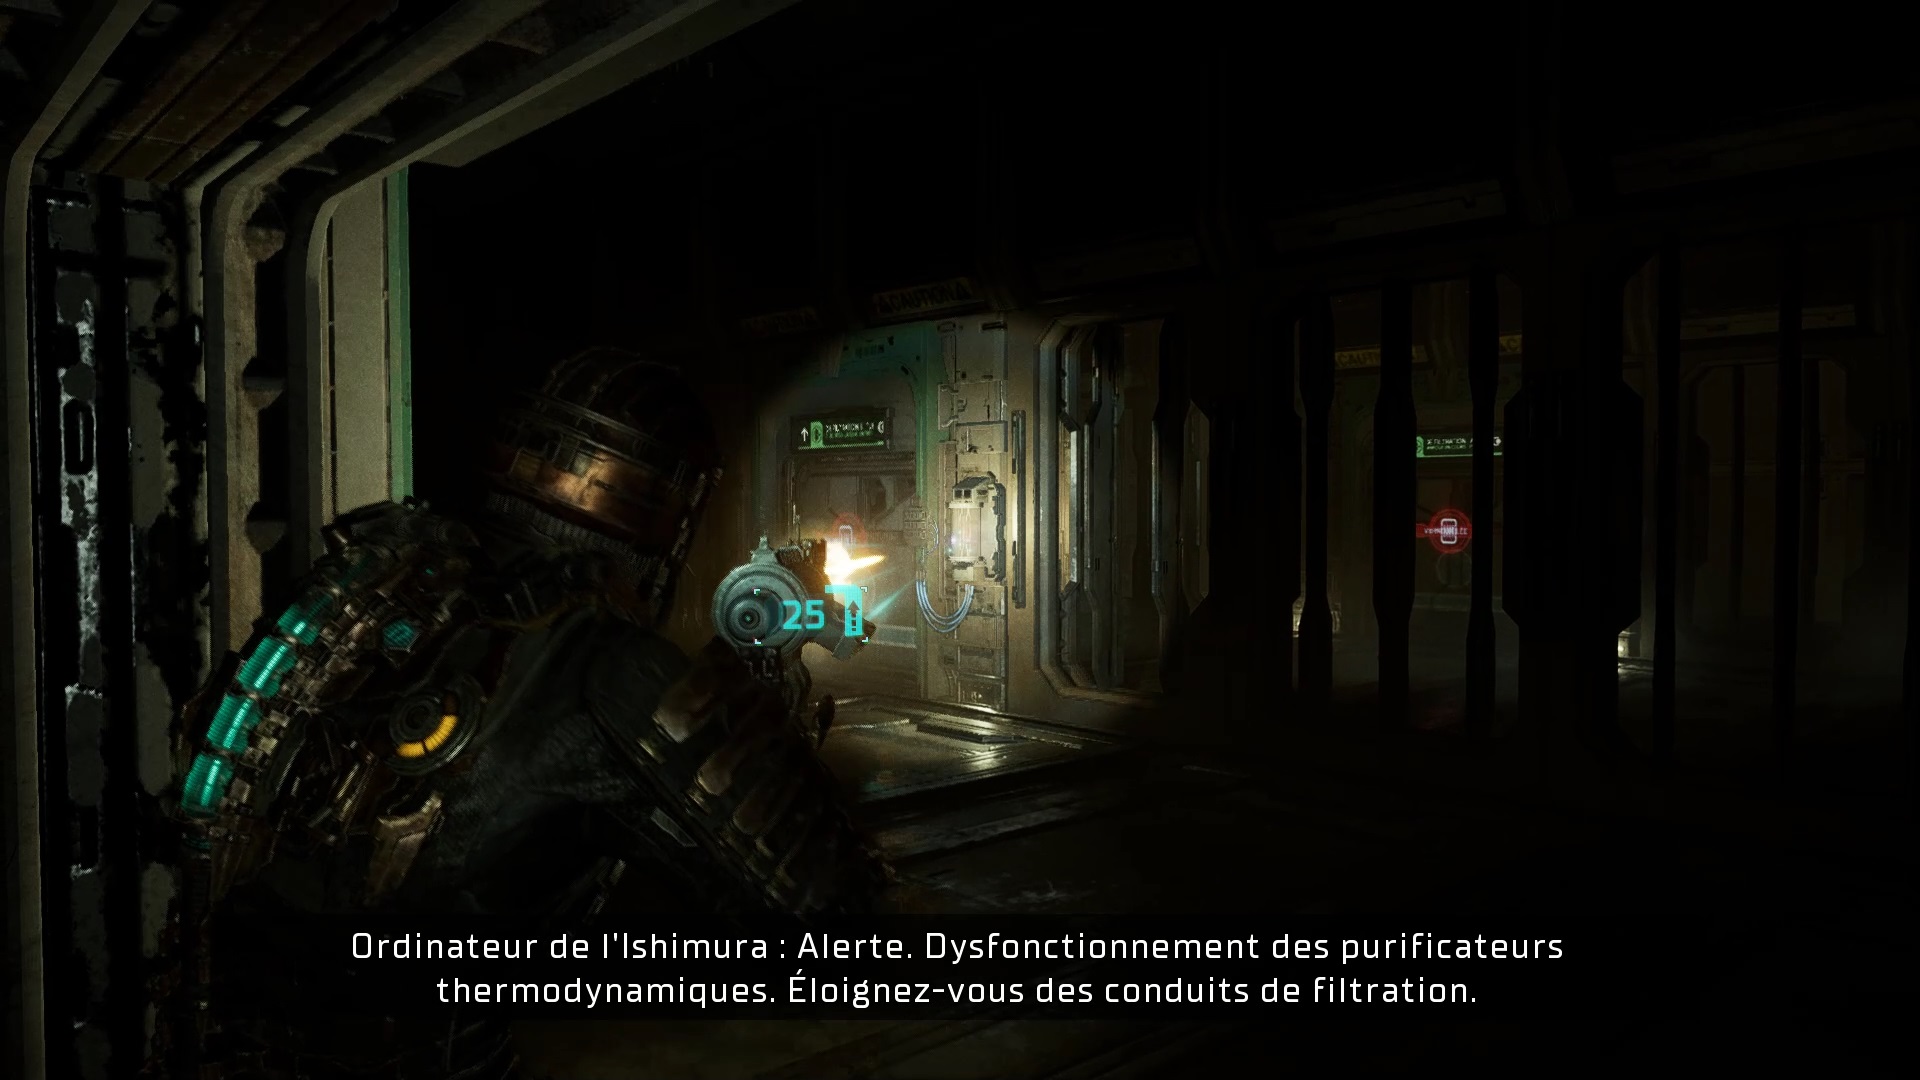
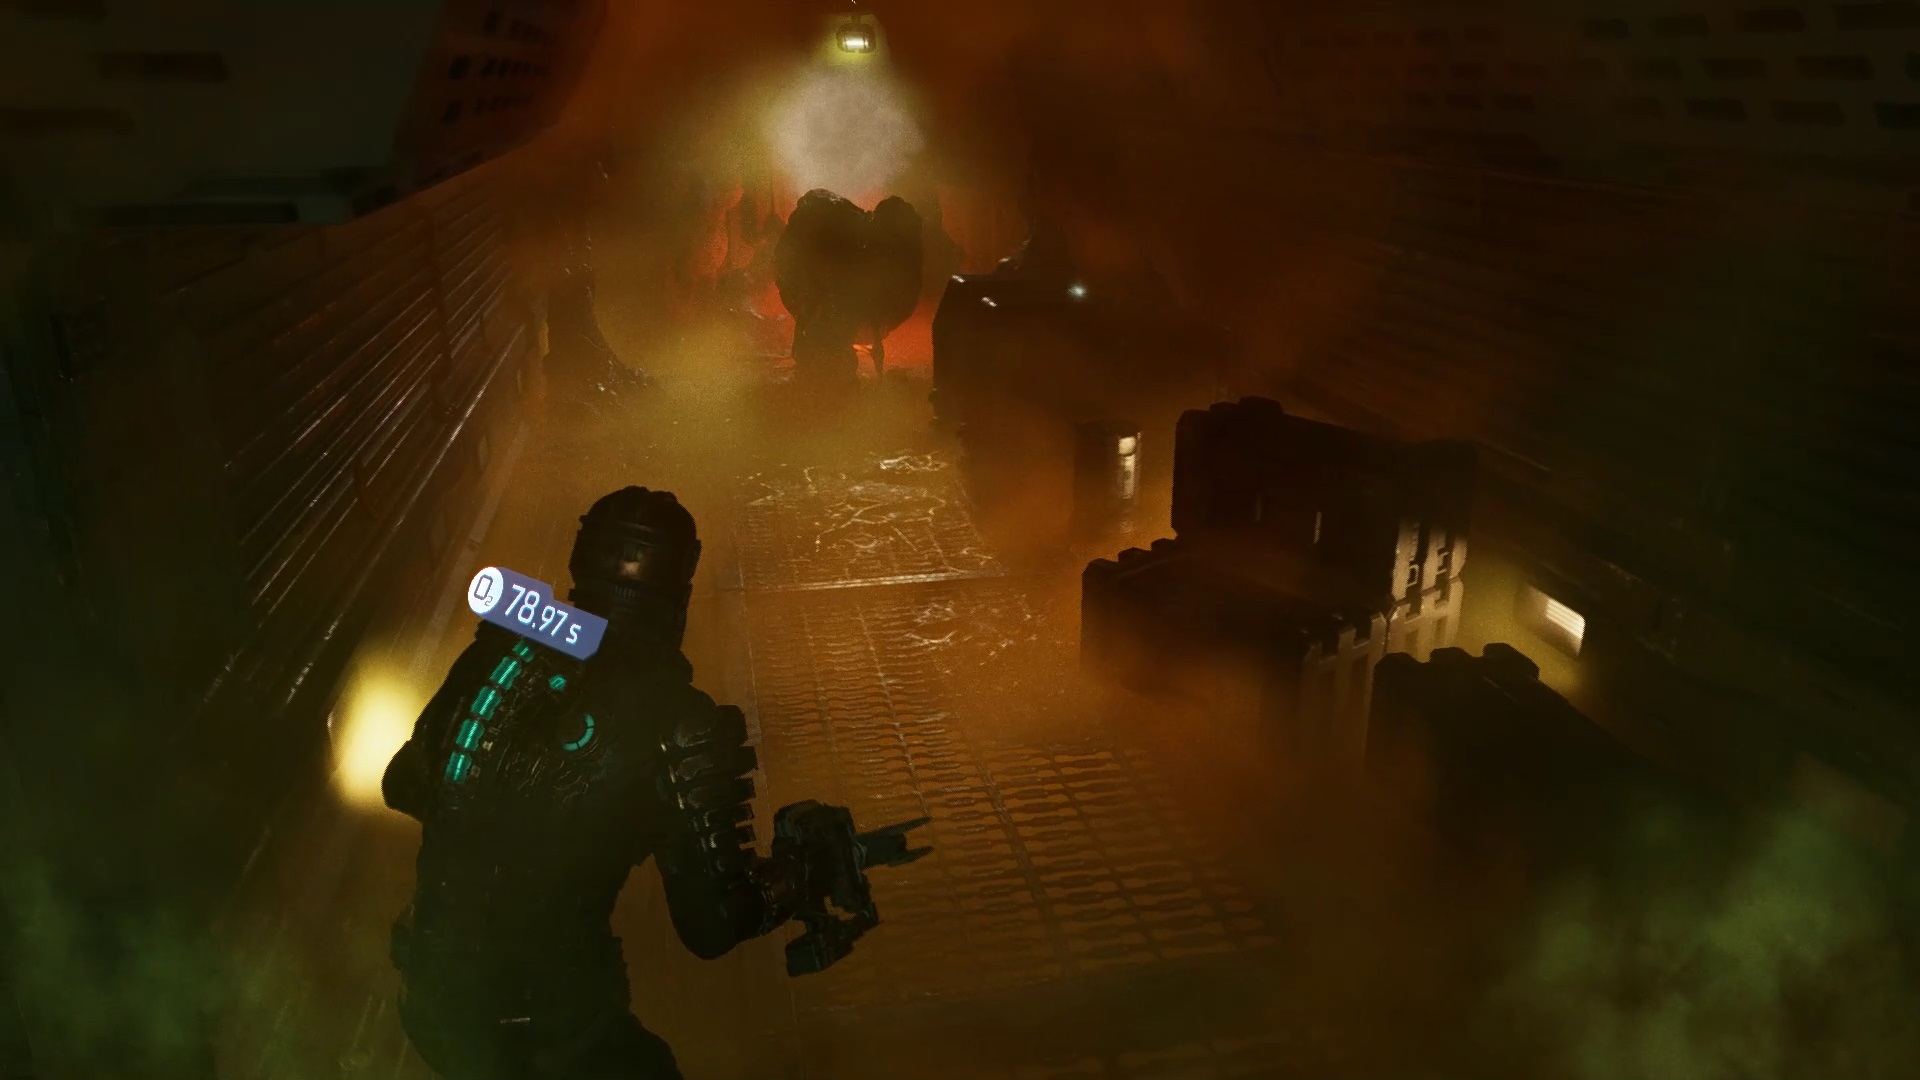
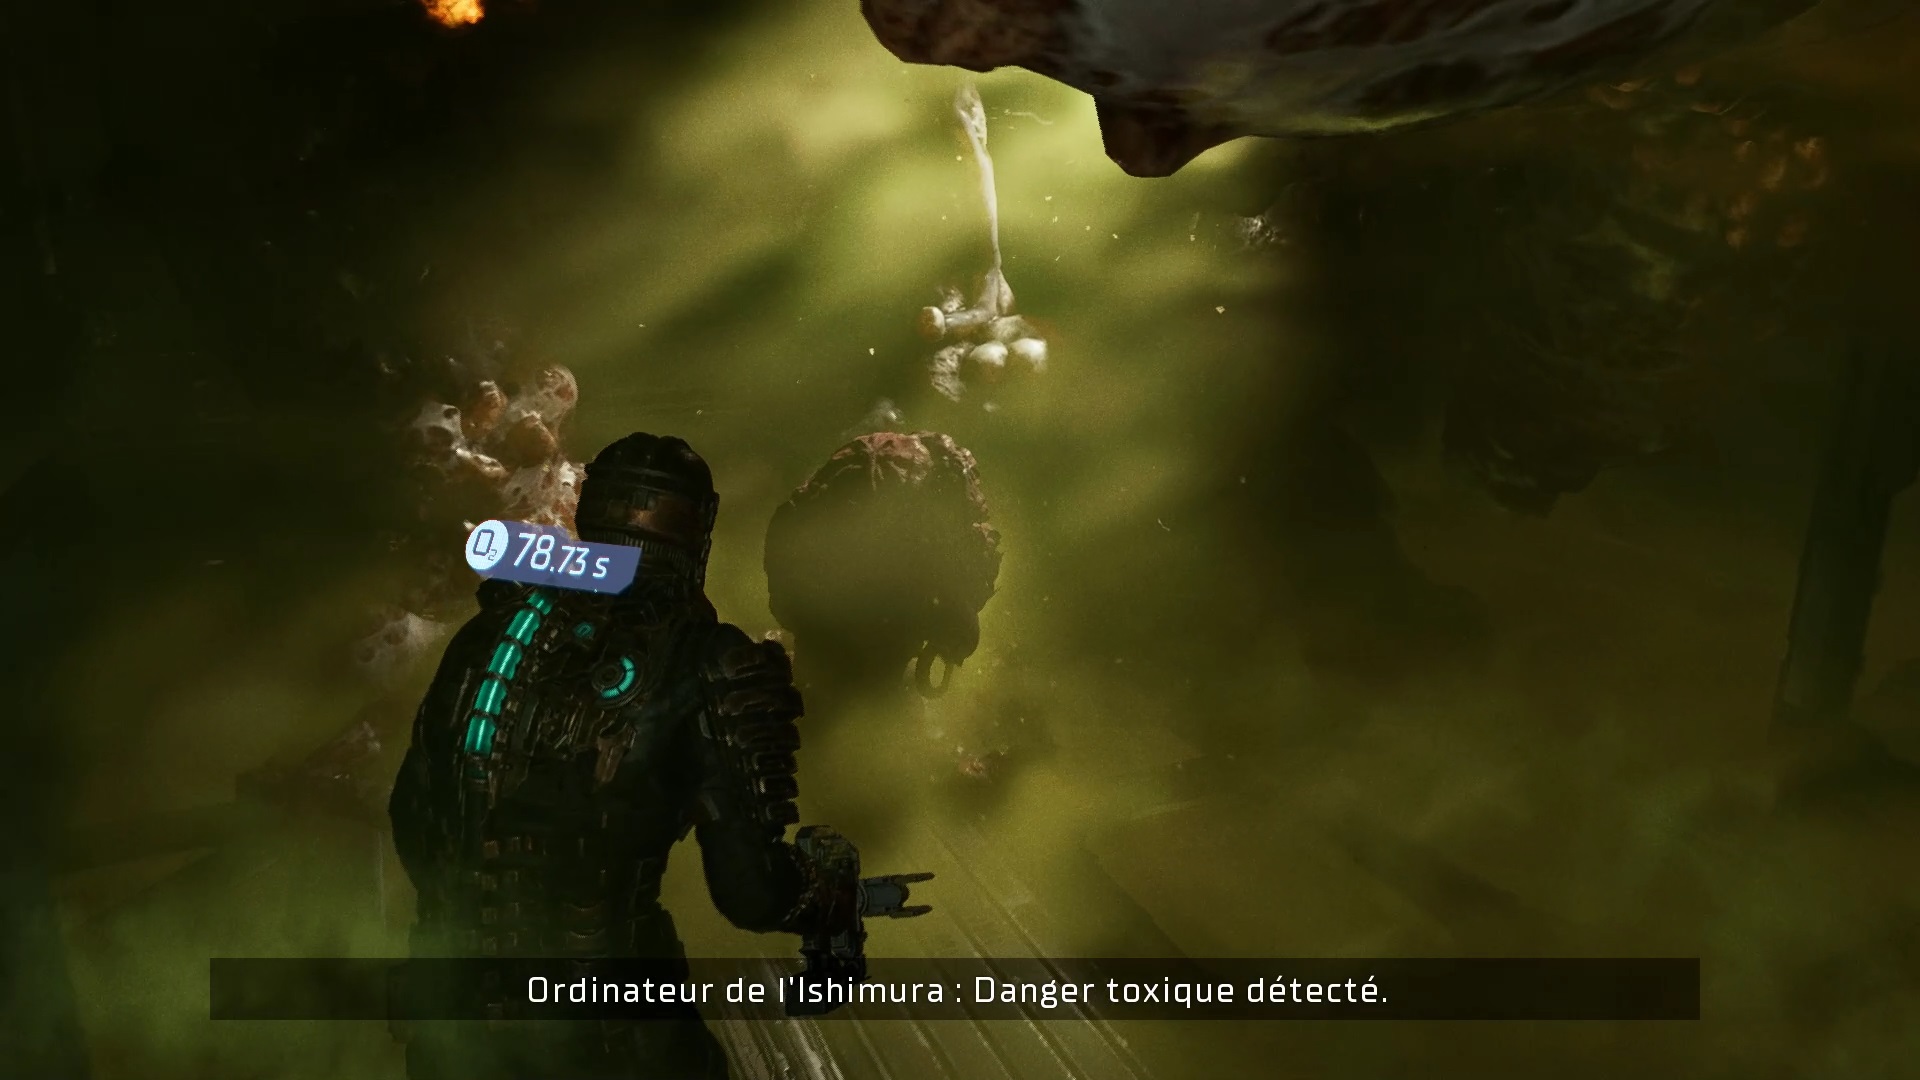
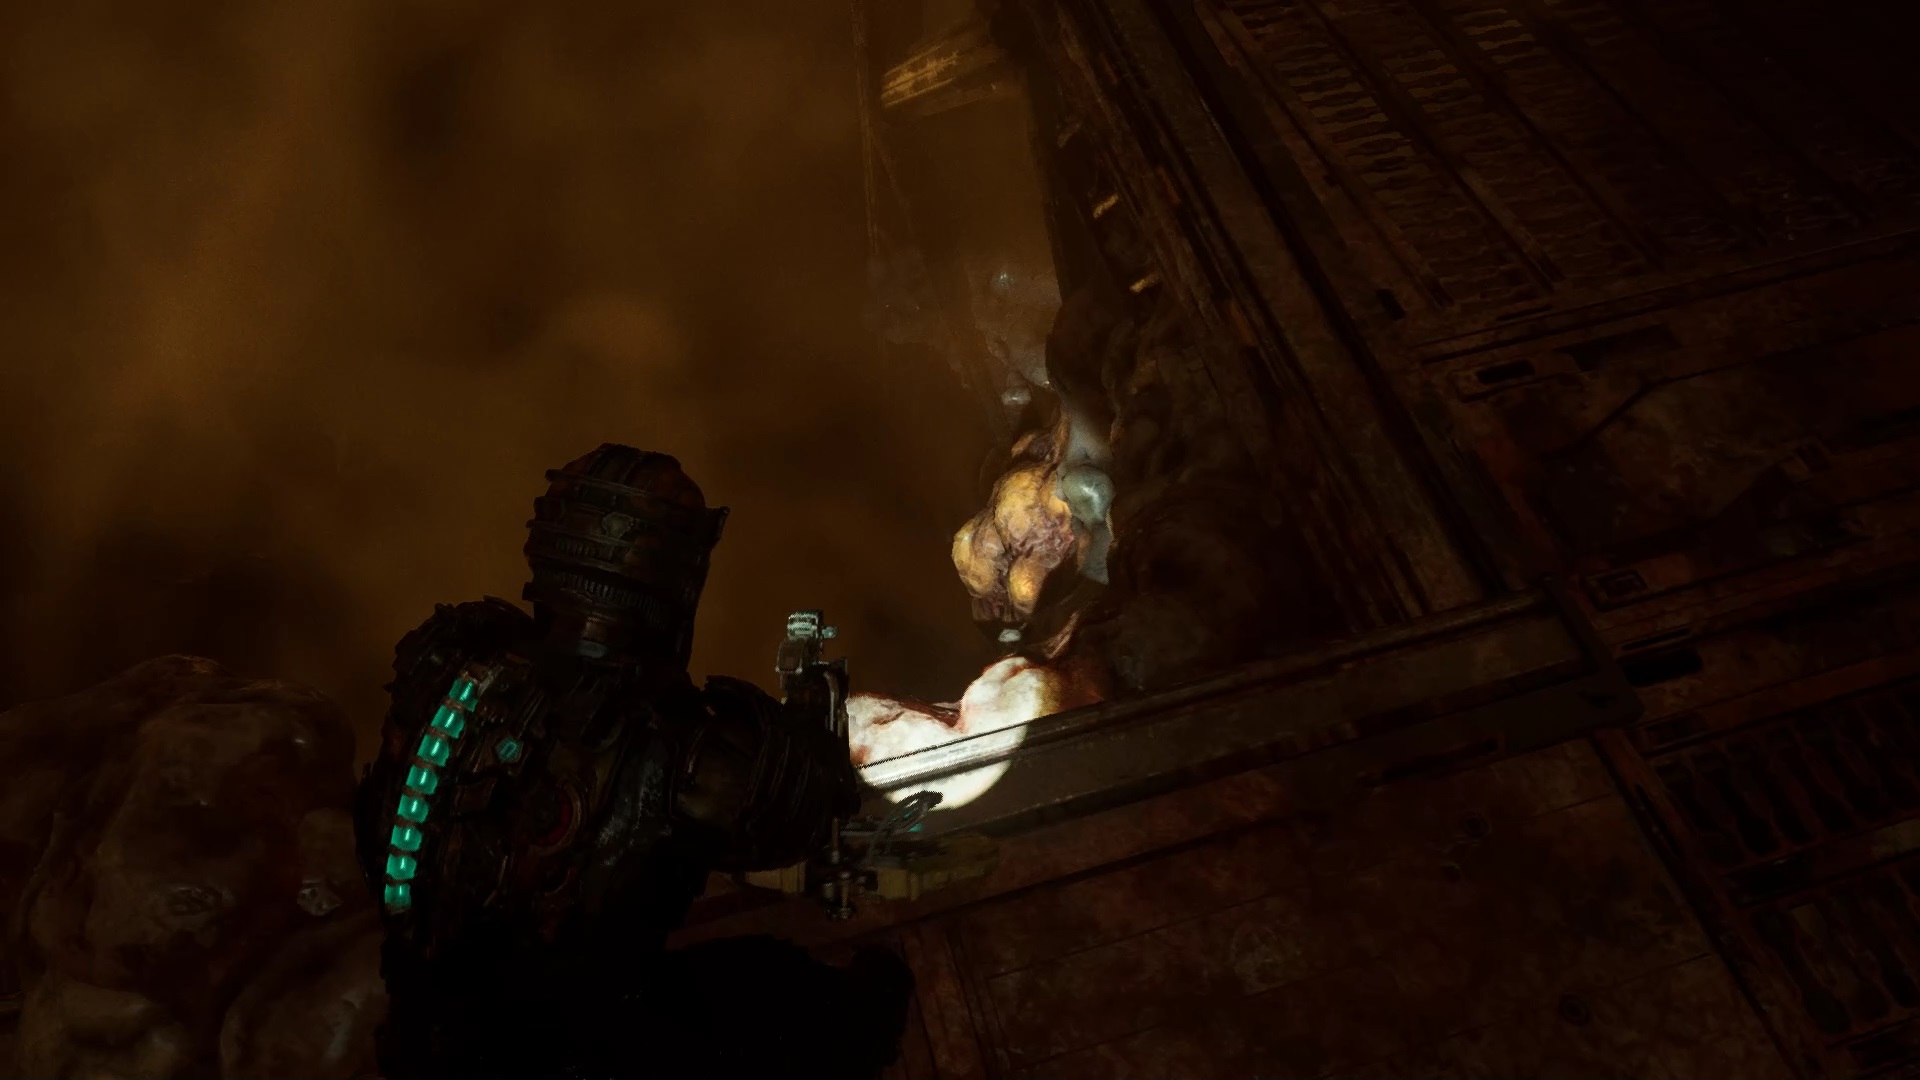
Now continue to the air filtration hall upstairs. A tentacle sets a trap for you at the end of the corridor. Shoot the growth to free yourself. Continue to enter a zero gravity zone. Fight your way through the organic heap. Use your stasis to block the electric turbines. Above, disable the controls of the electric turbines.
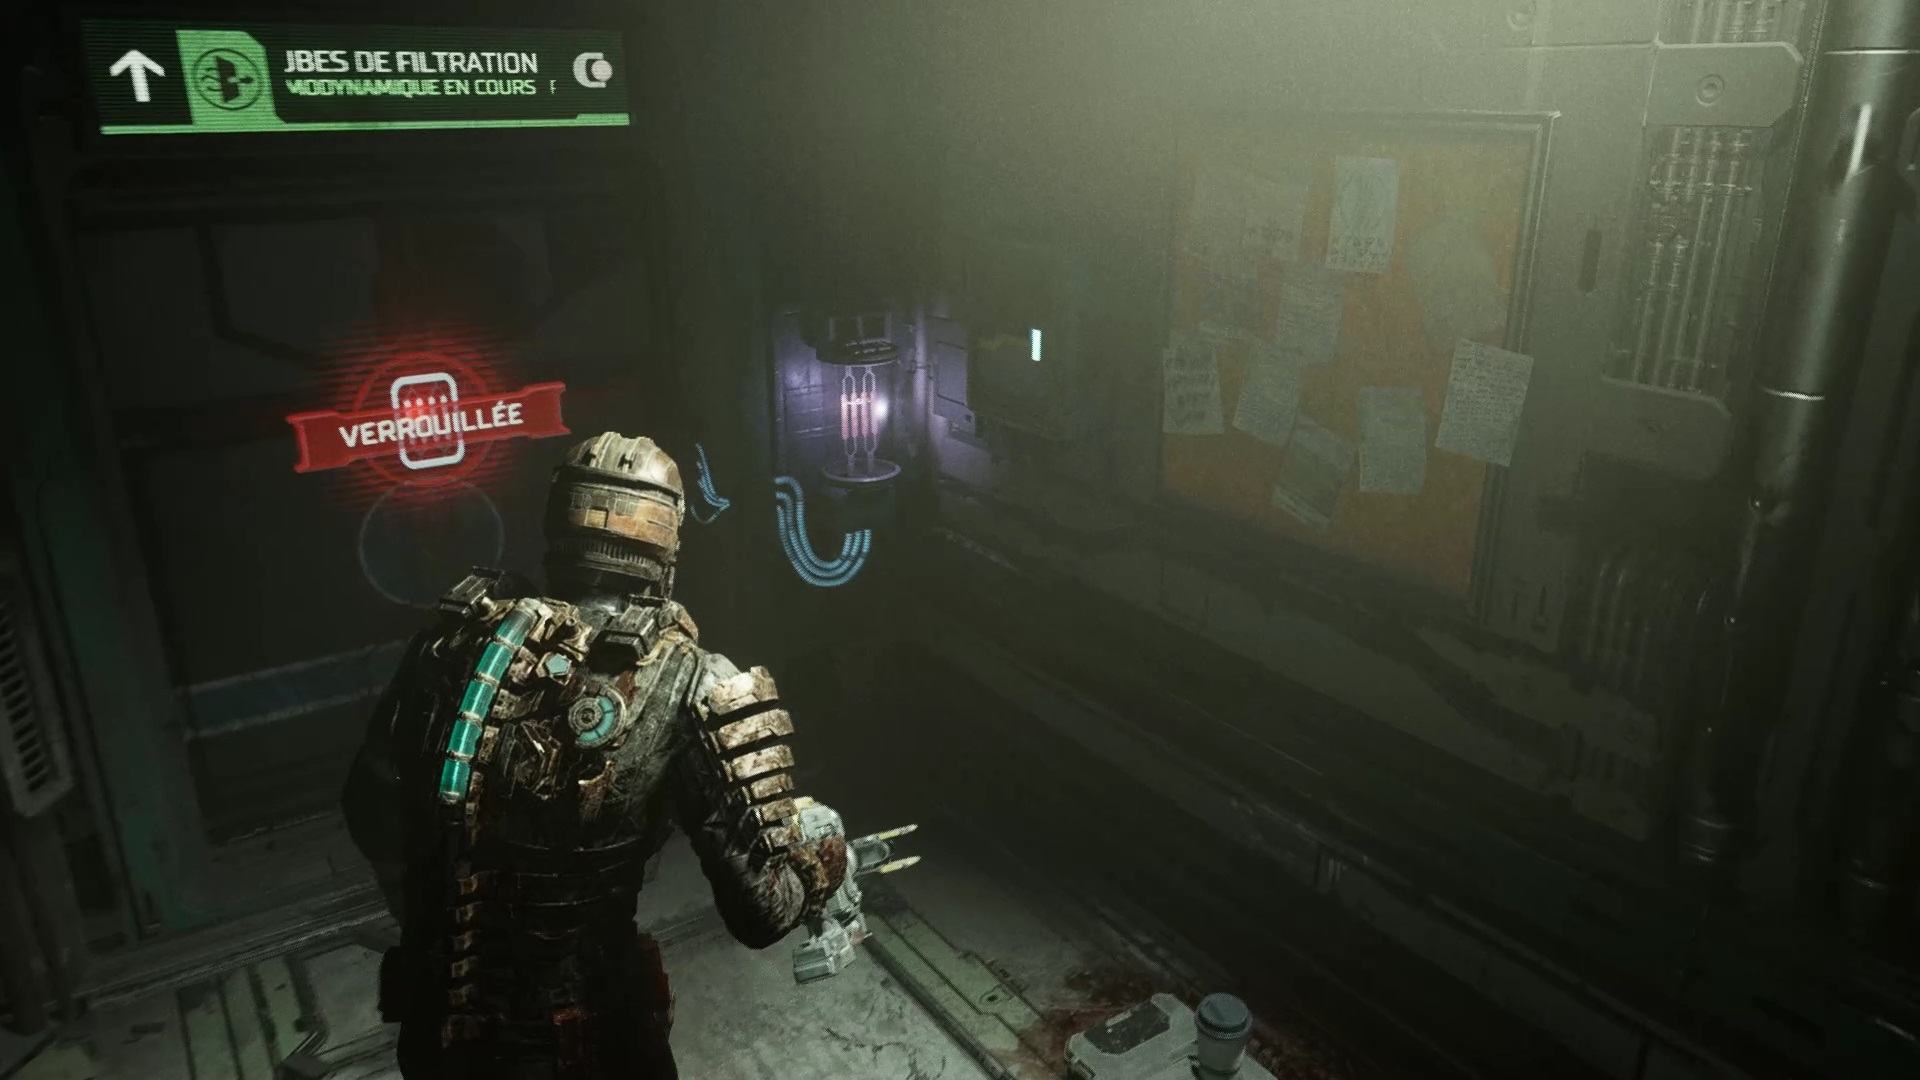
In the annex of the filtration tubes, go down with the elevator. Open the doors by destroying their power supplies and go to the other side. Go up and unlock the access to avoid going under. Then go to the annex depot to find a whistler. Exit through the door near the elevator to the eastern crops.
You will find an elevator leading to Seedling Room East B. Inject the Enzyme on the last Whistler. Exit by destroying the growths in the room. Follow your compass to the pantry at the main entrance. Unlock the airlock with the control panel.
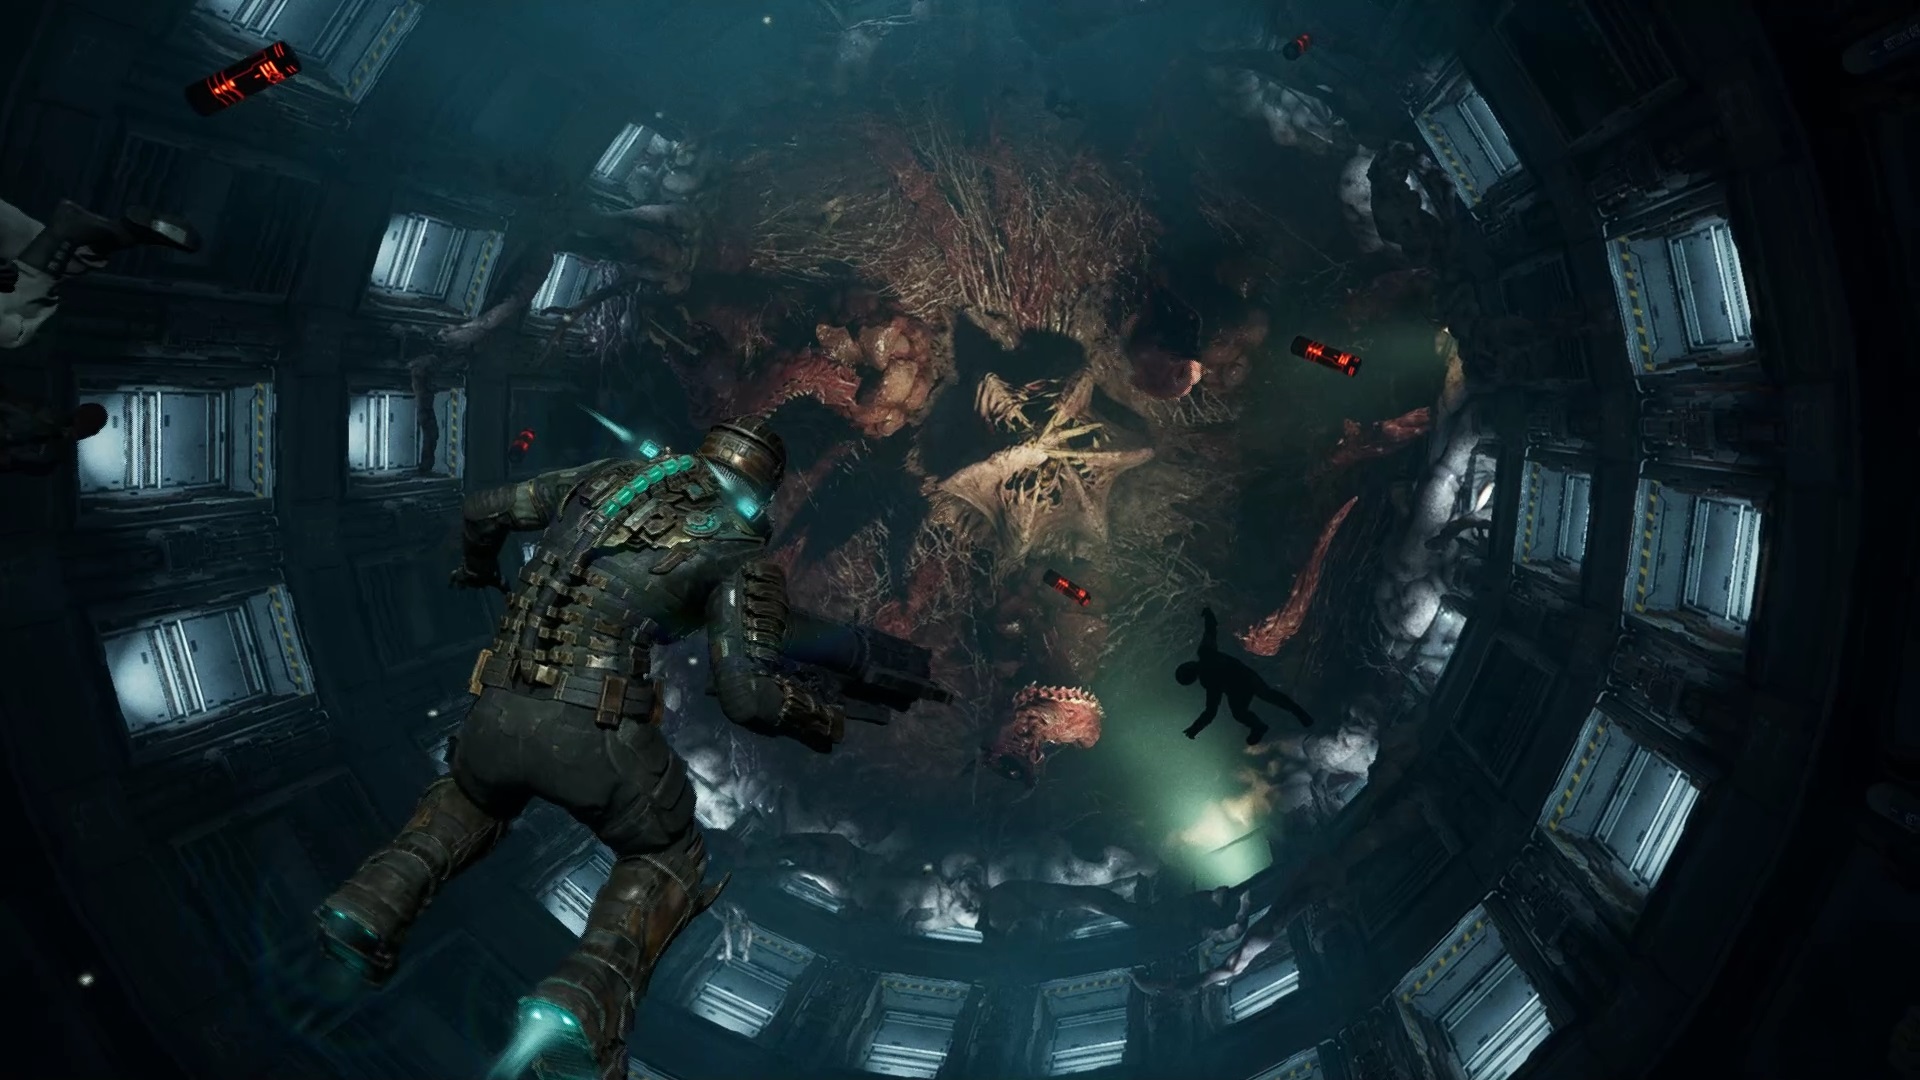
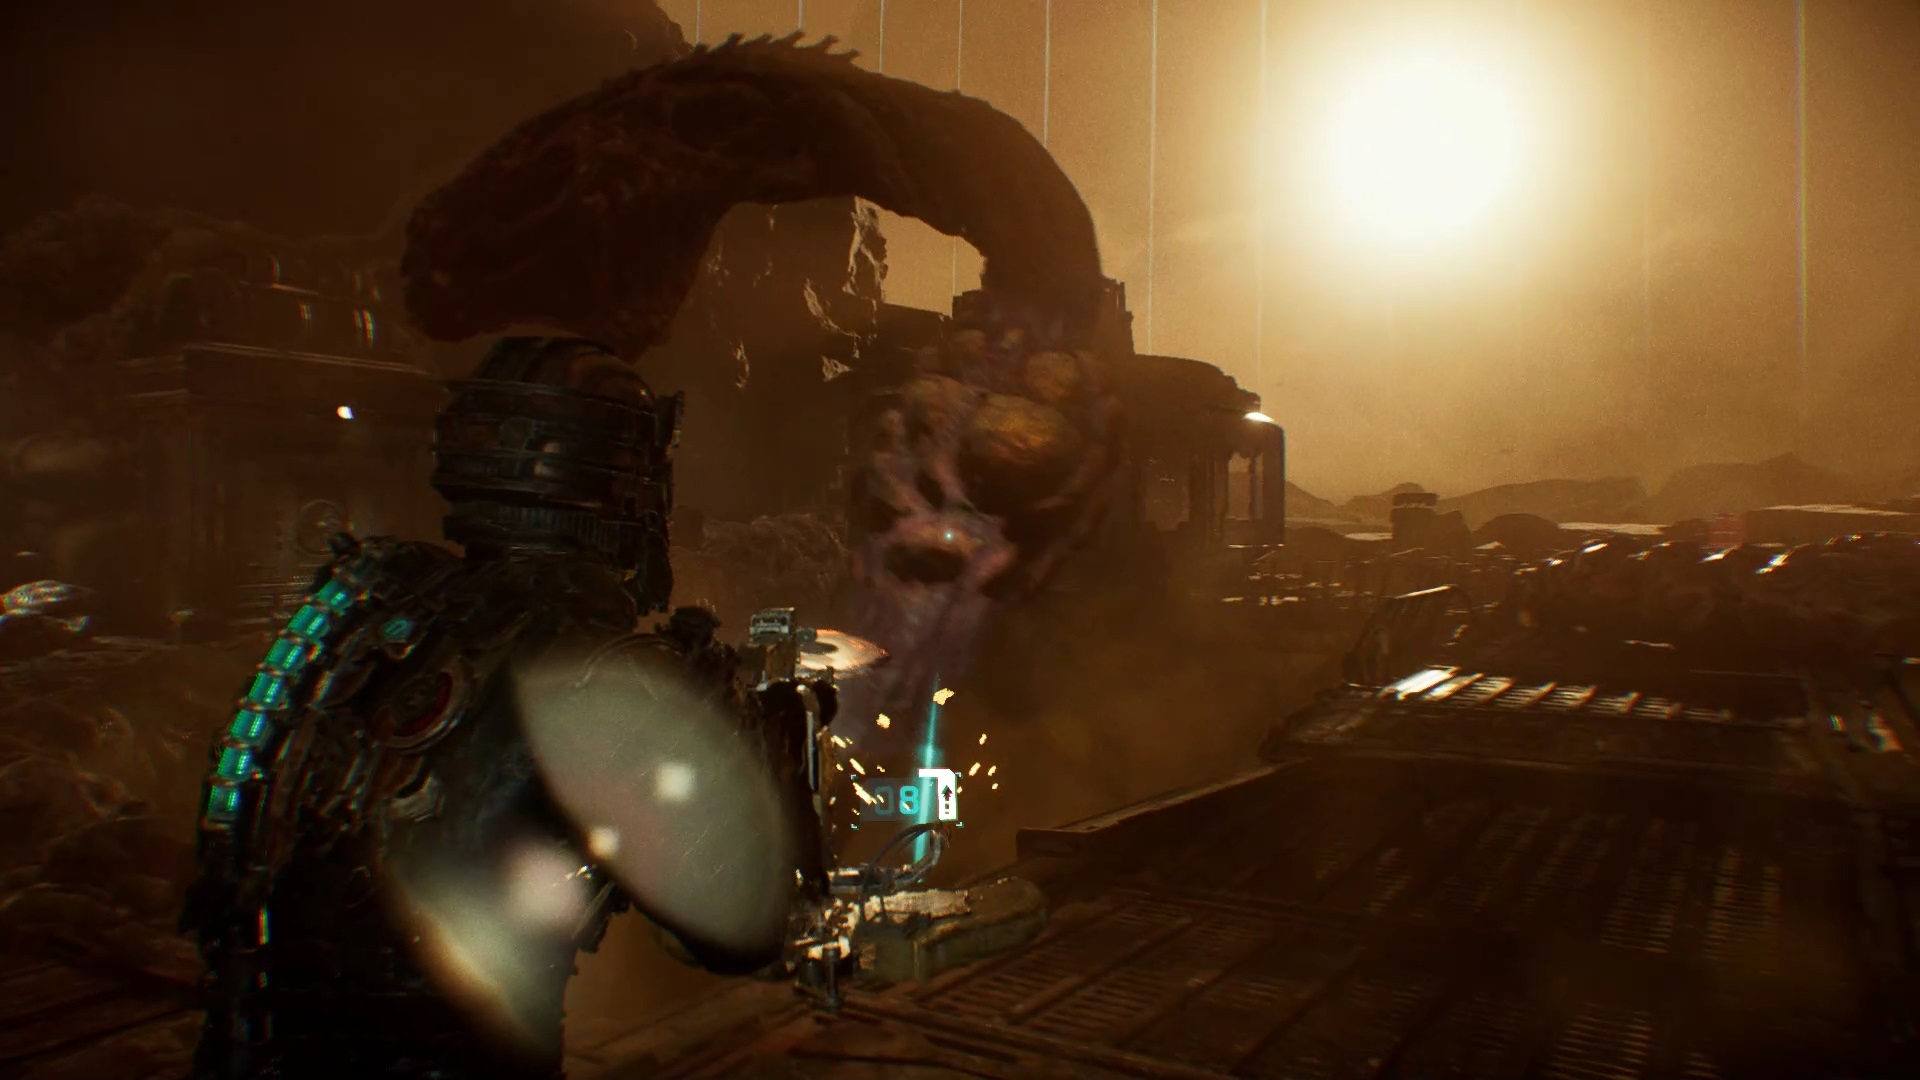
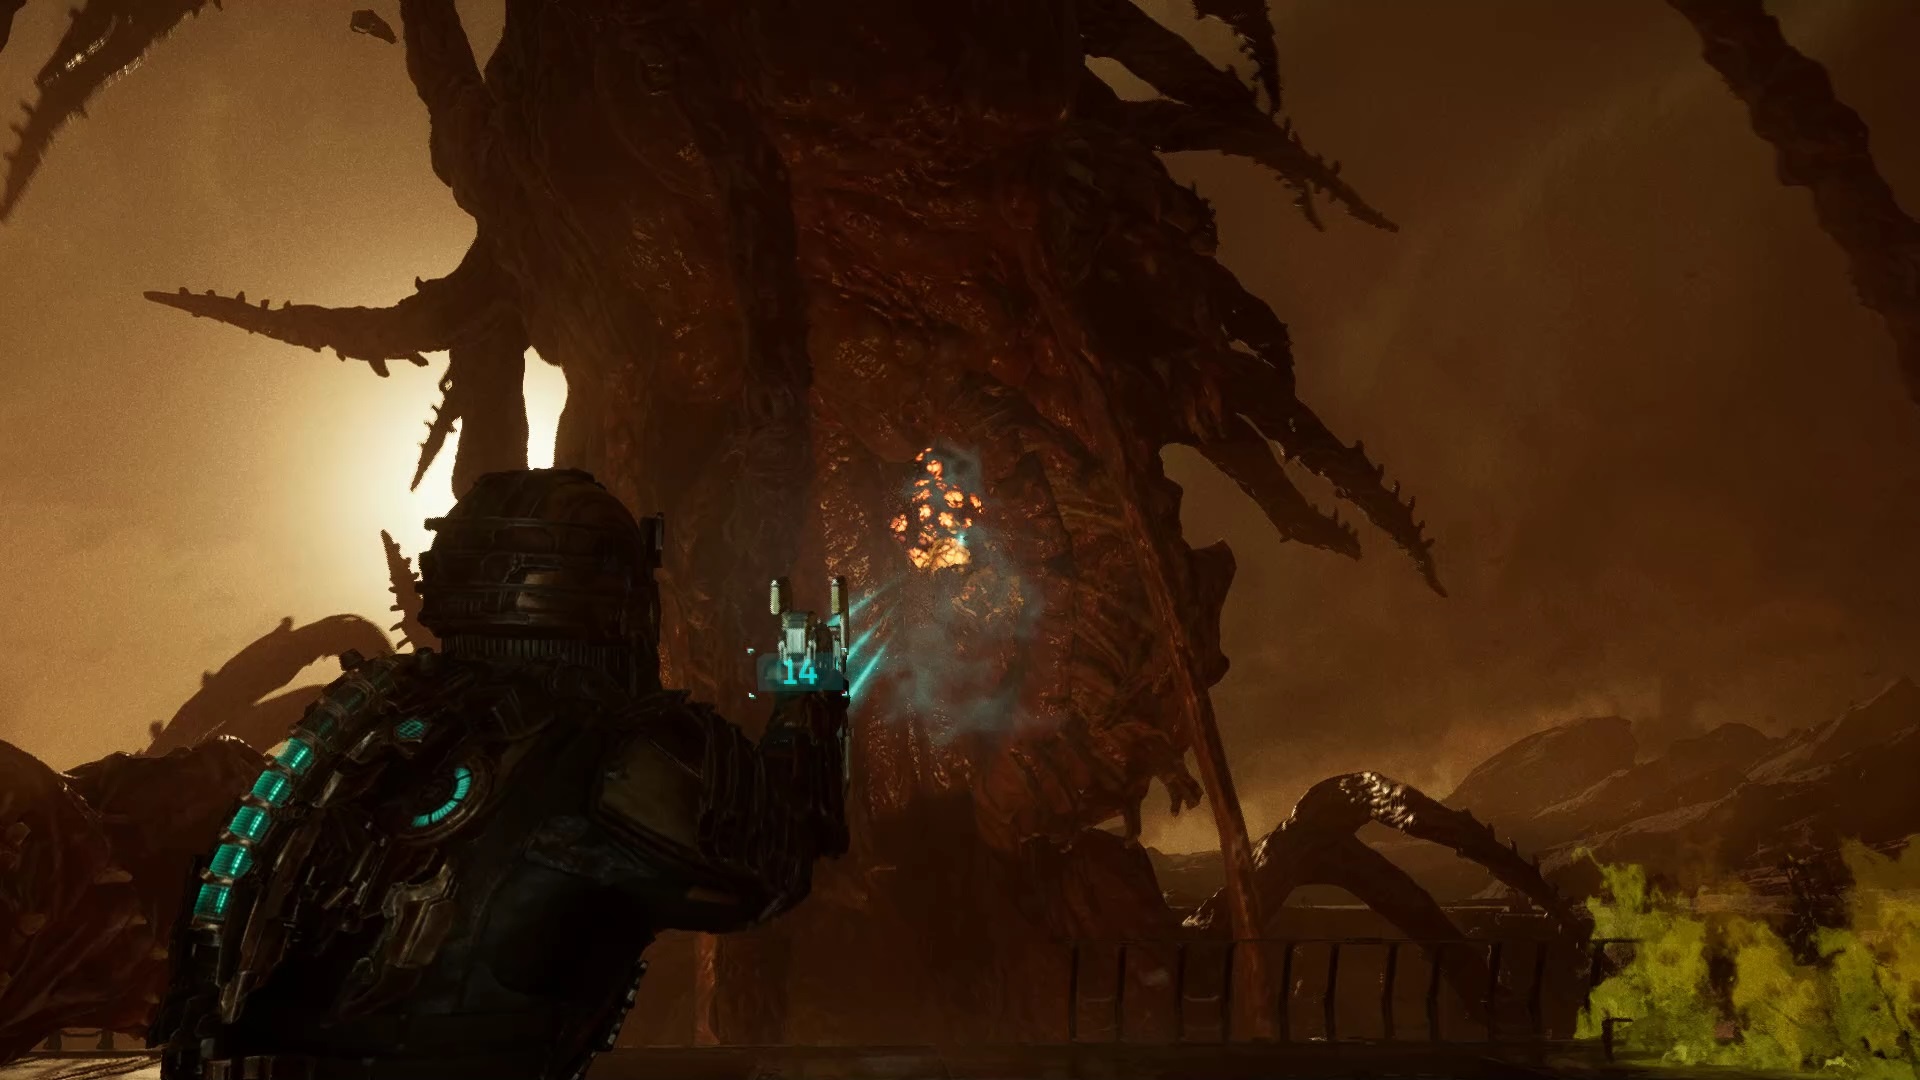
A fight starts against the Leviathan. Dodge his attacks by going away from his tentacles. Then shoot their growth to destroy them. In the second phase, destroy the growth in the center. You can use your telekinesis to reflect Leviathan projectiles. Exit the room to finish the episode.
Episode 7
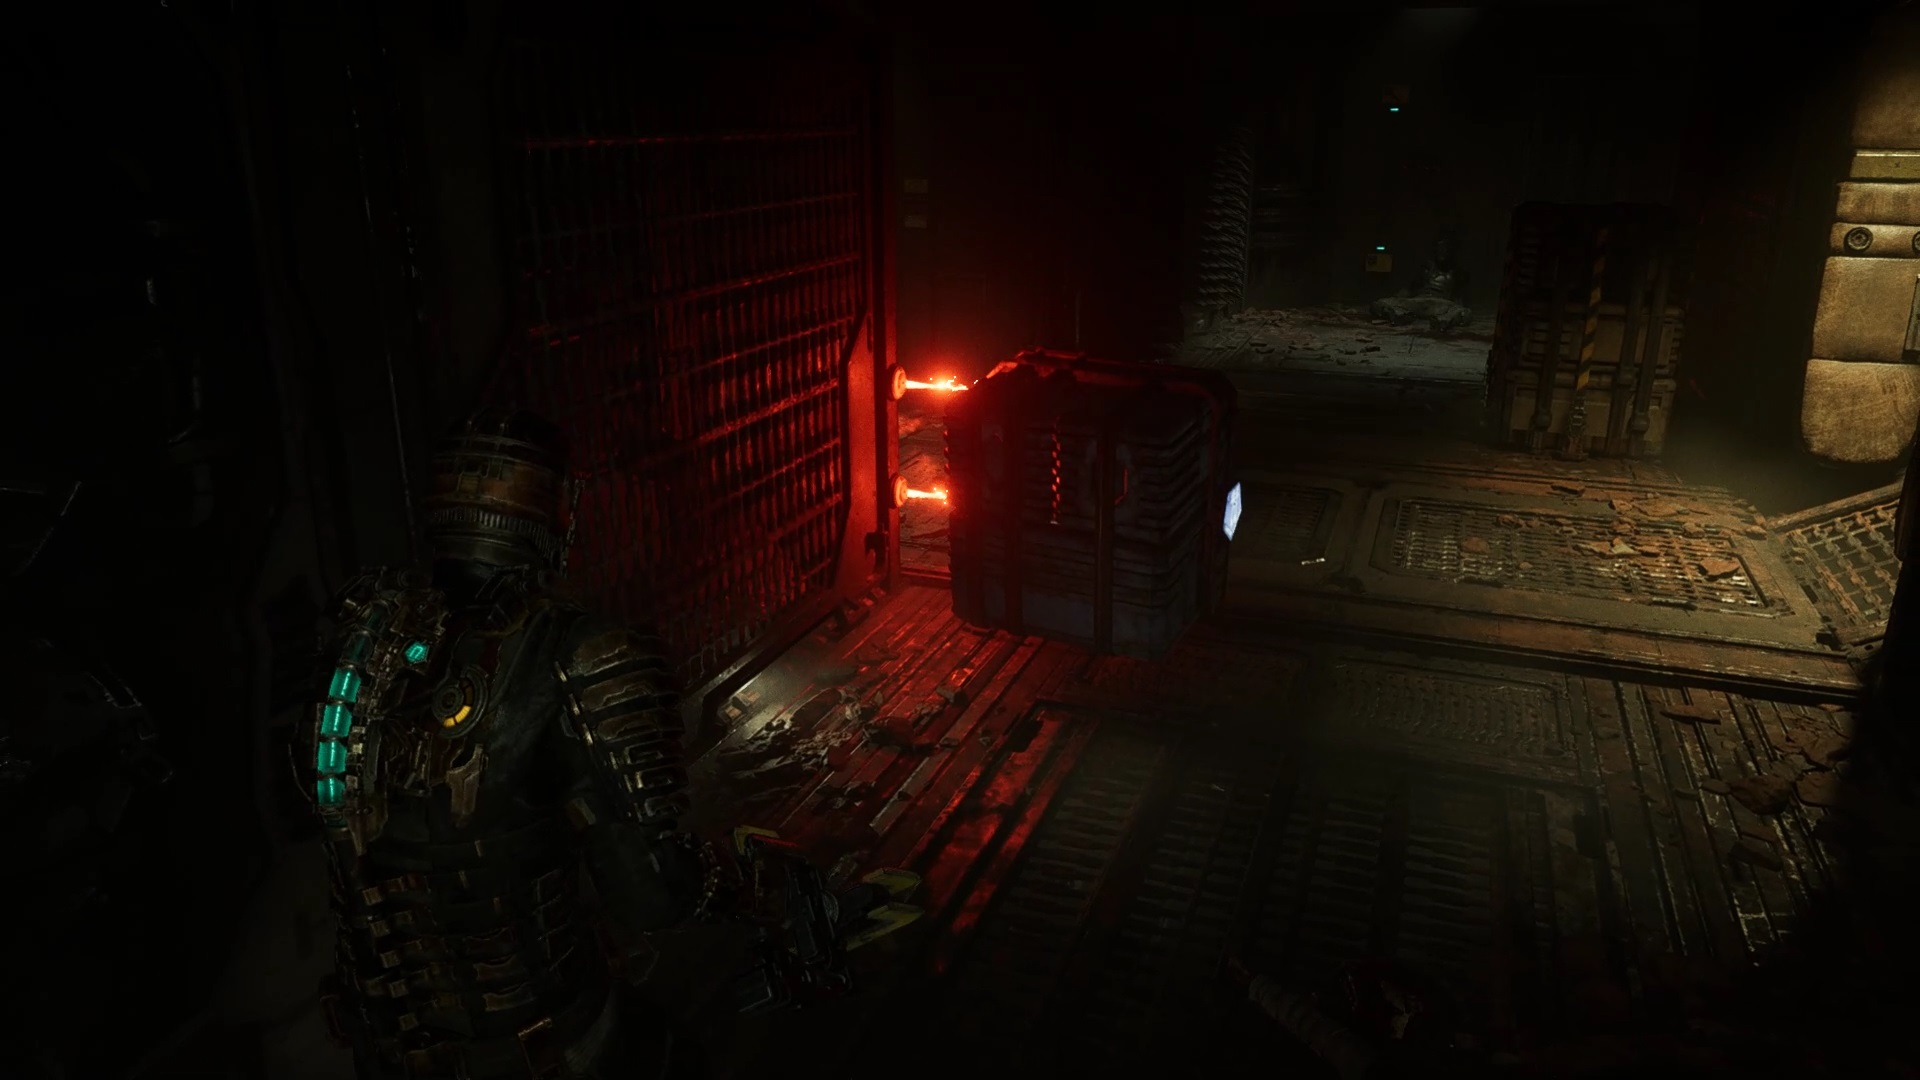
From the main entrance, follow your compass to find the Borehole Tram Station. Unlock access to the tram for later. Proceed to Drilling Operations and enter the elevator. Go to deck C. The elevator crashes and traps you with necromorphs. Fight them to restart the elevator. At deck C, use the crates with your telekinesis to pass the mines. Enter the nearby extraction area.
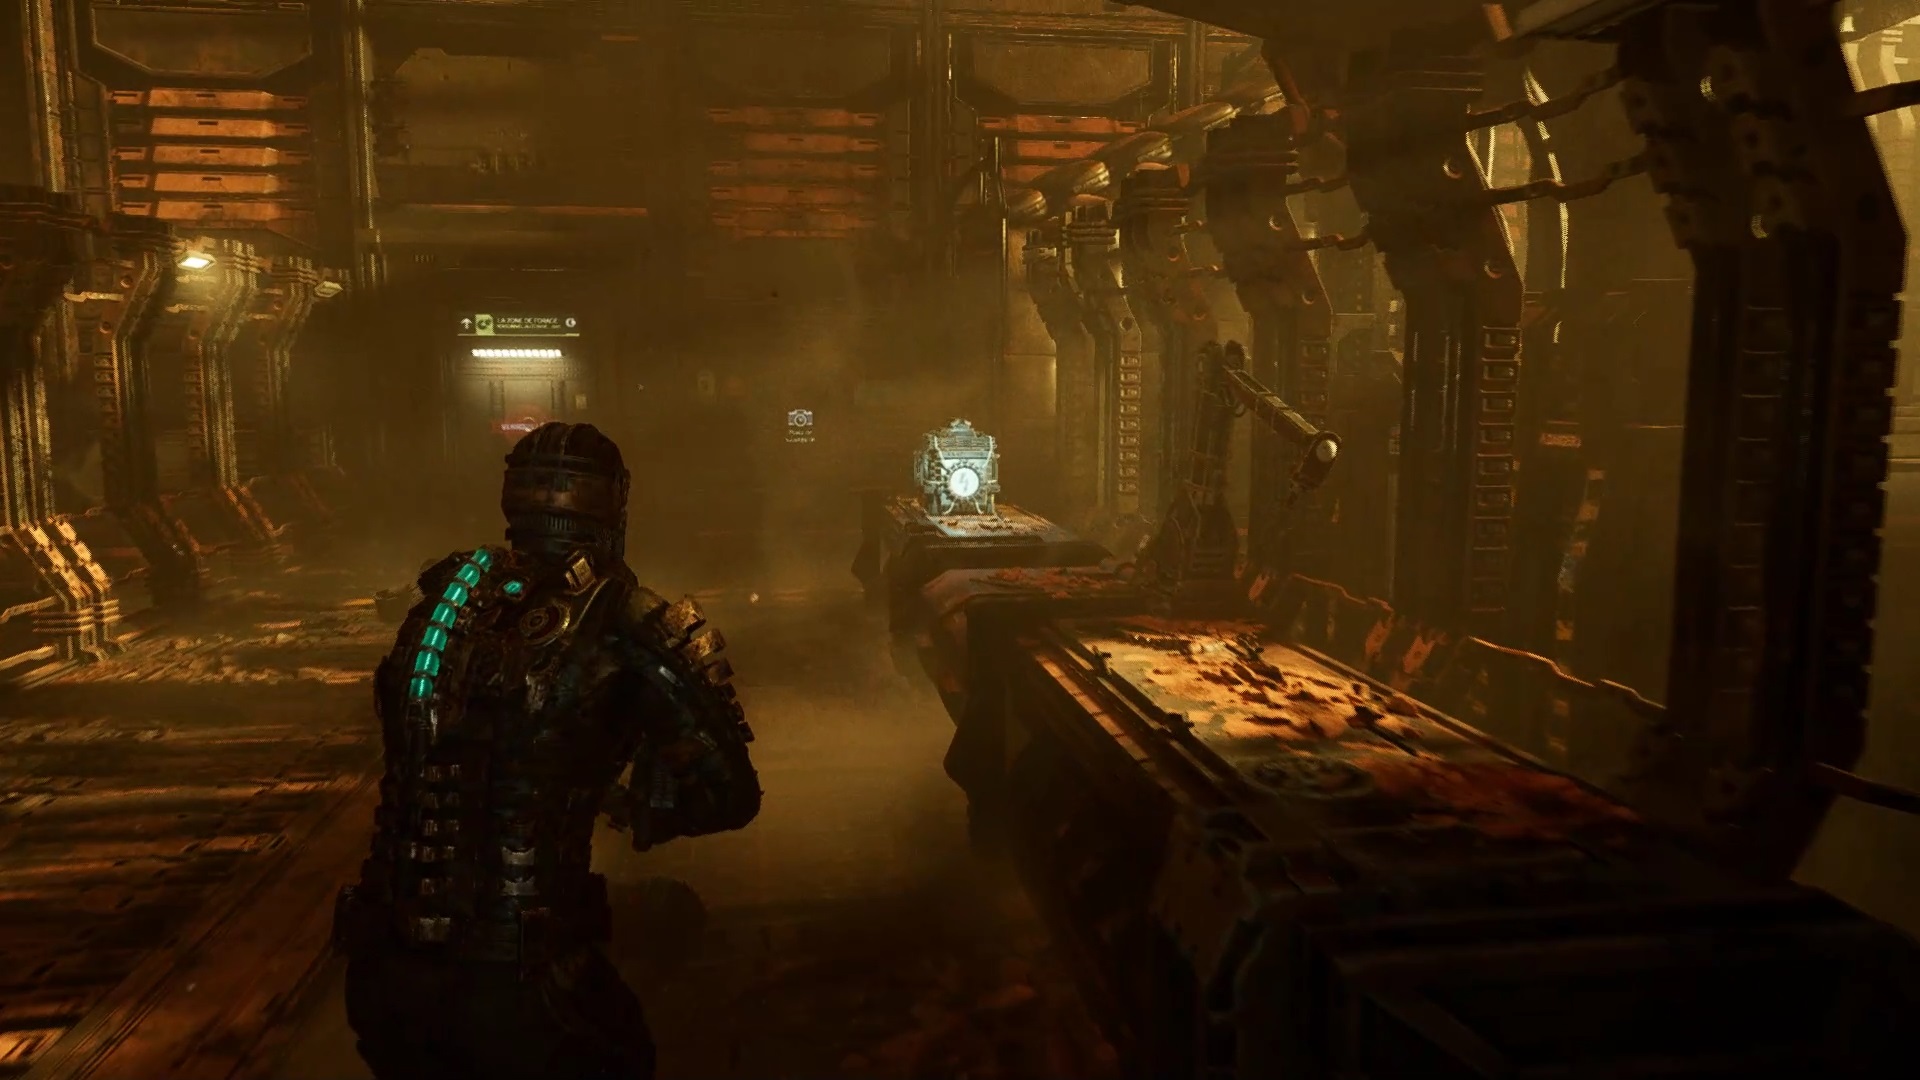
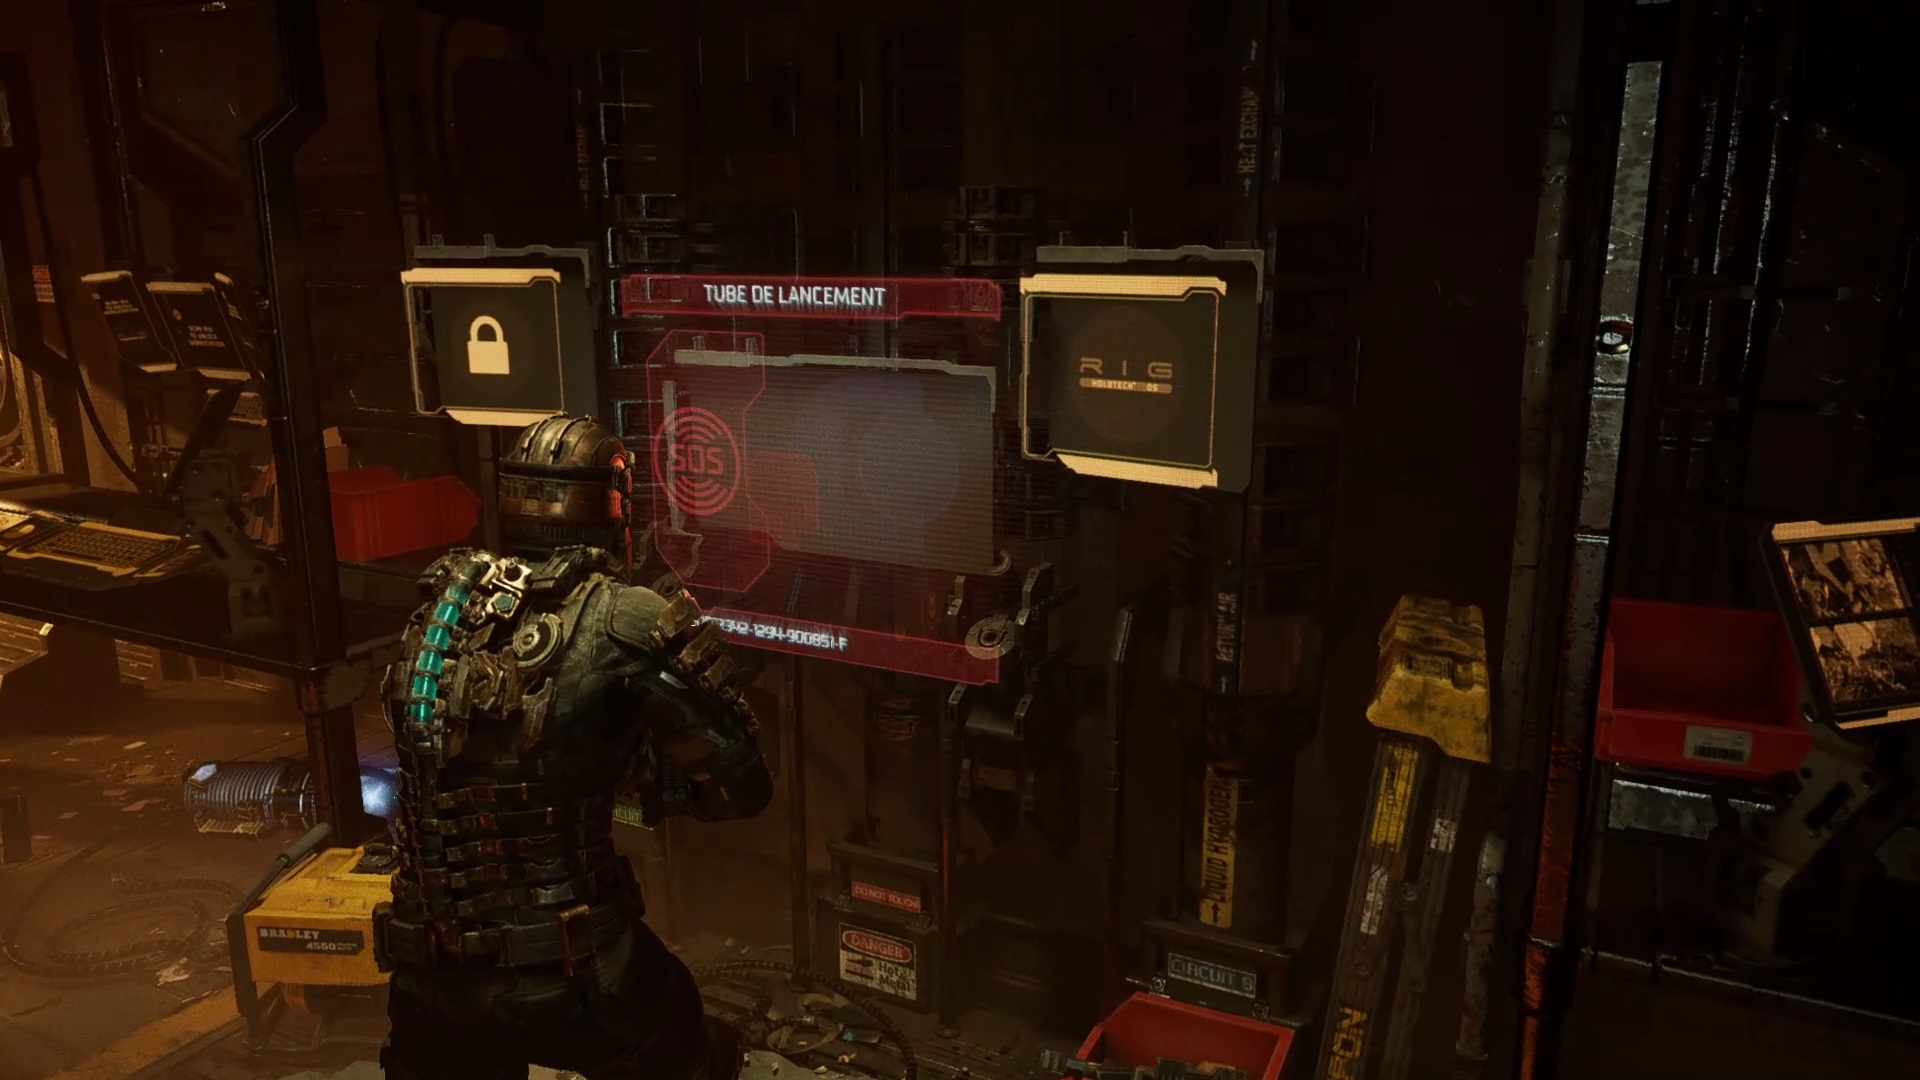
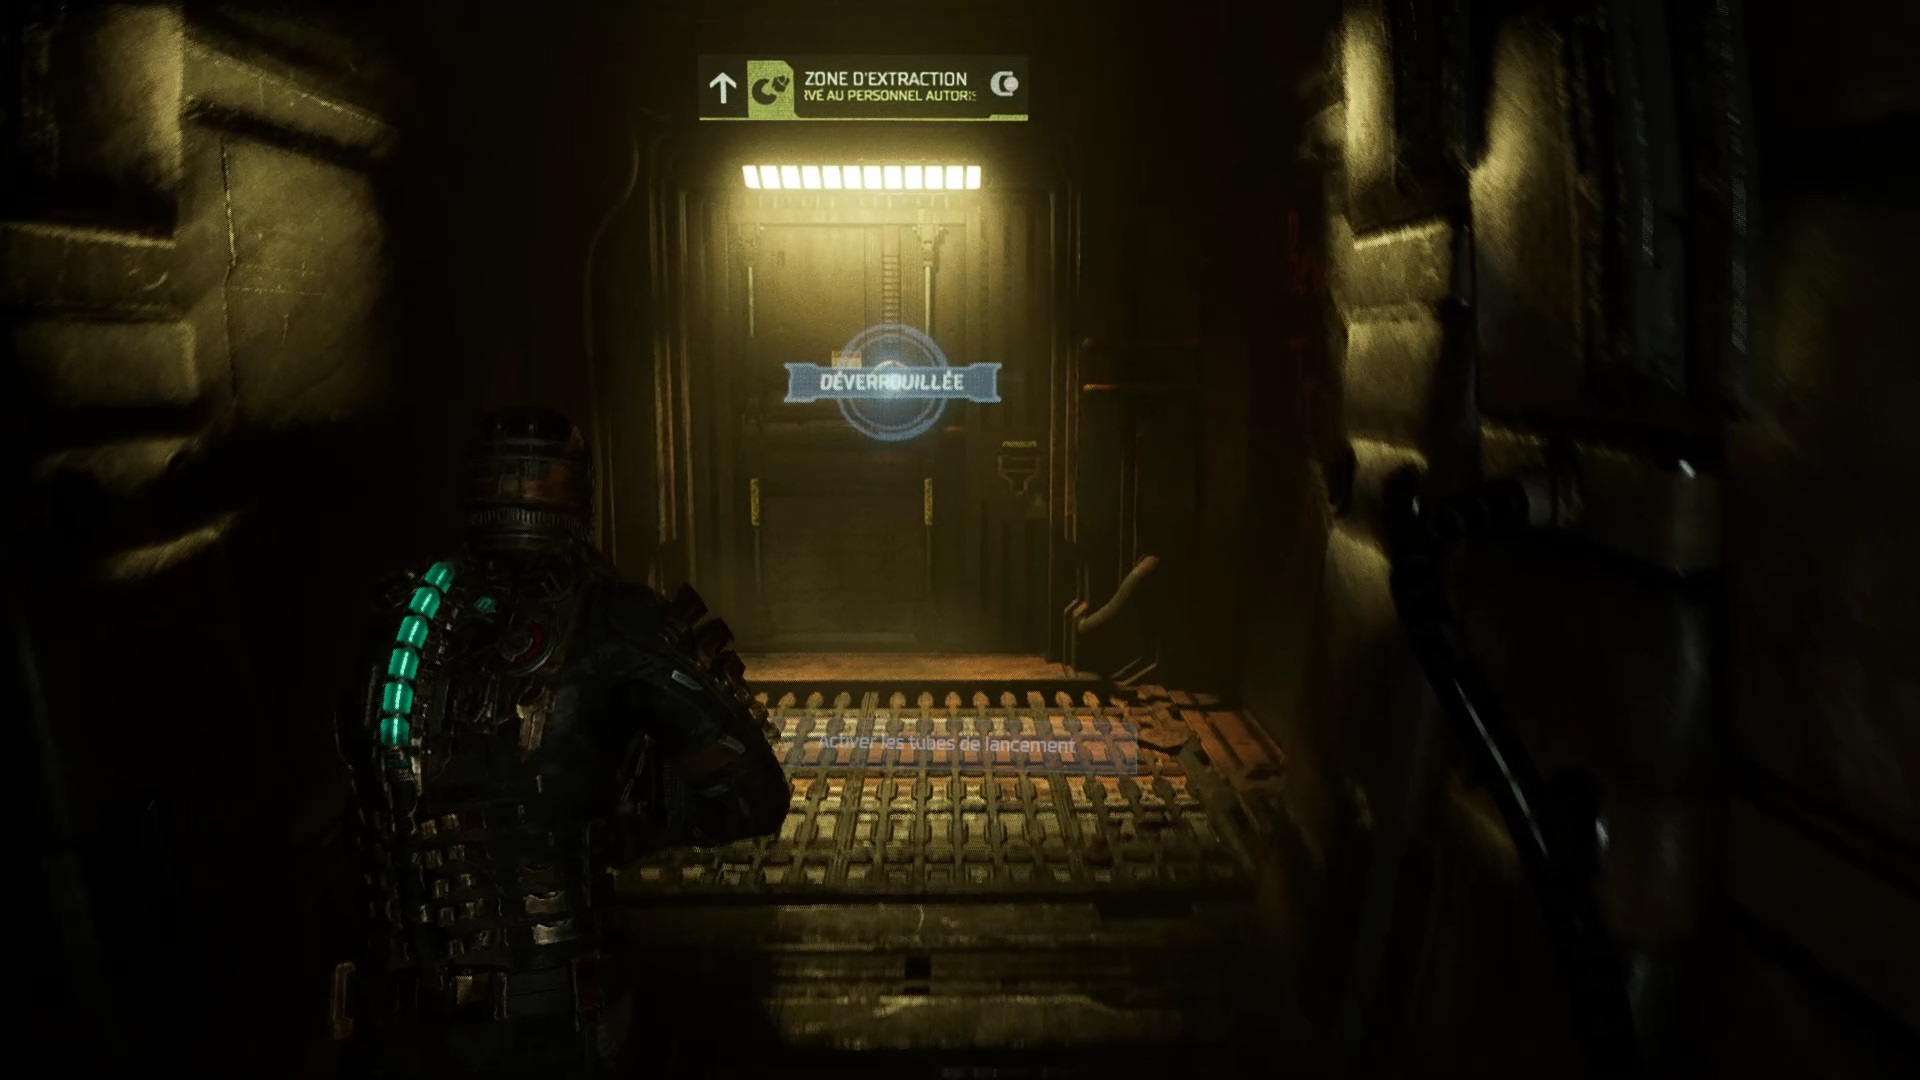
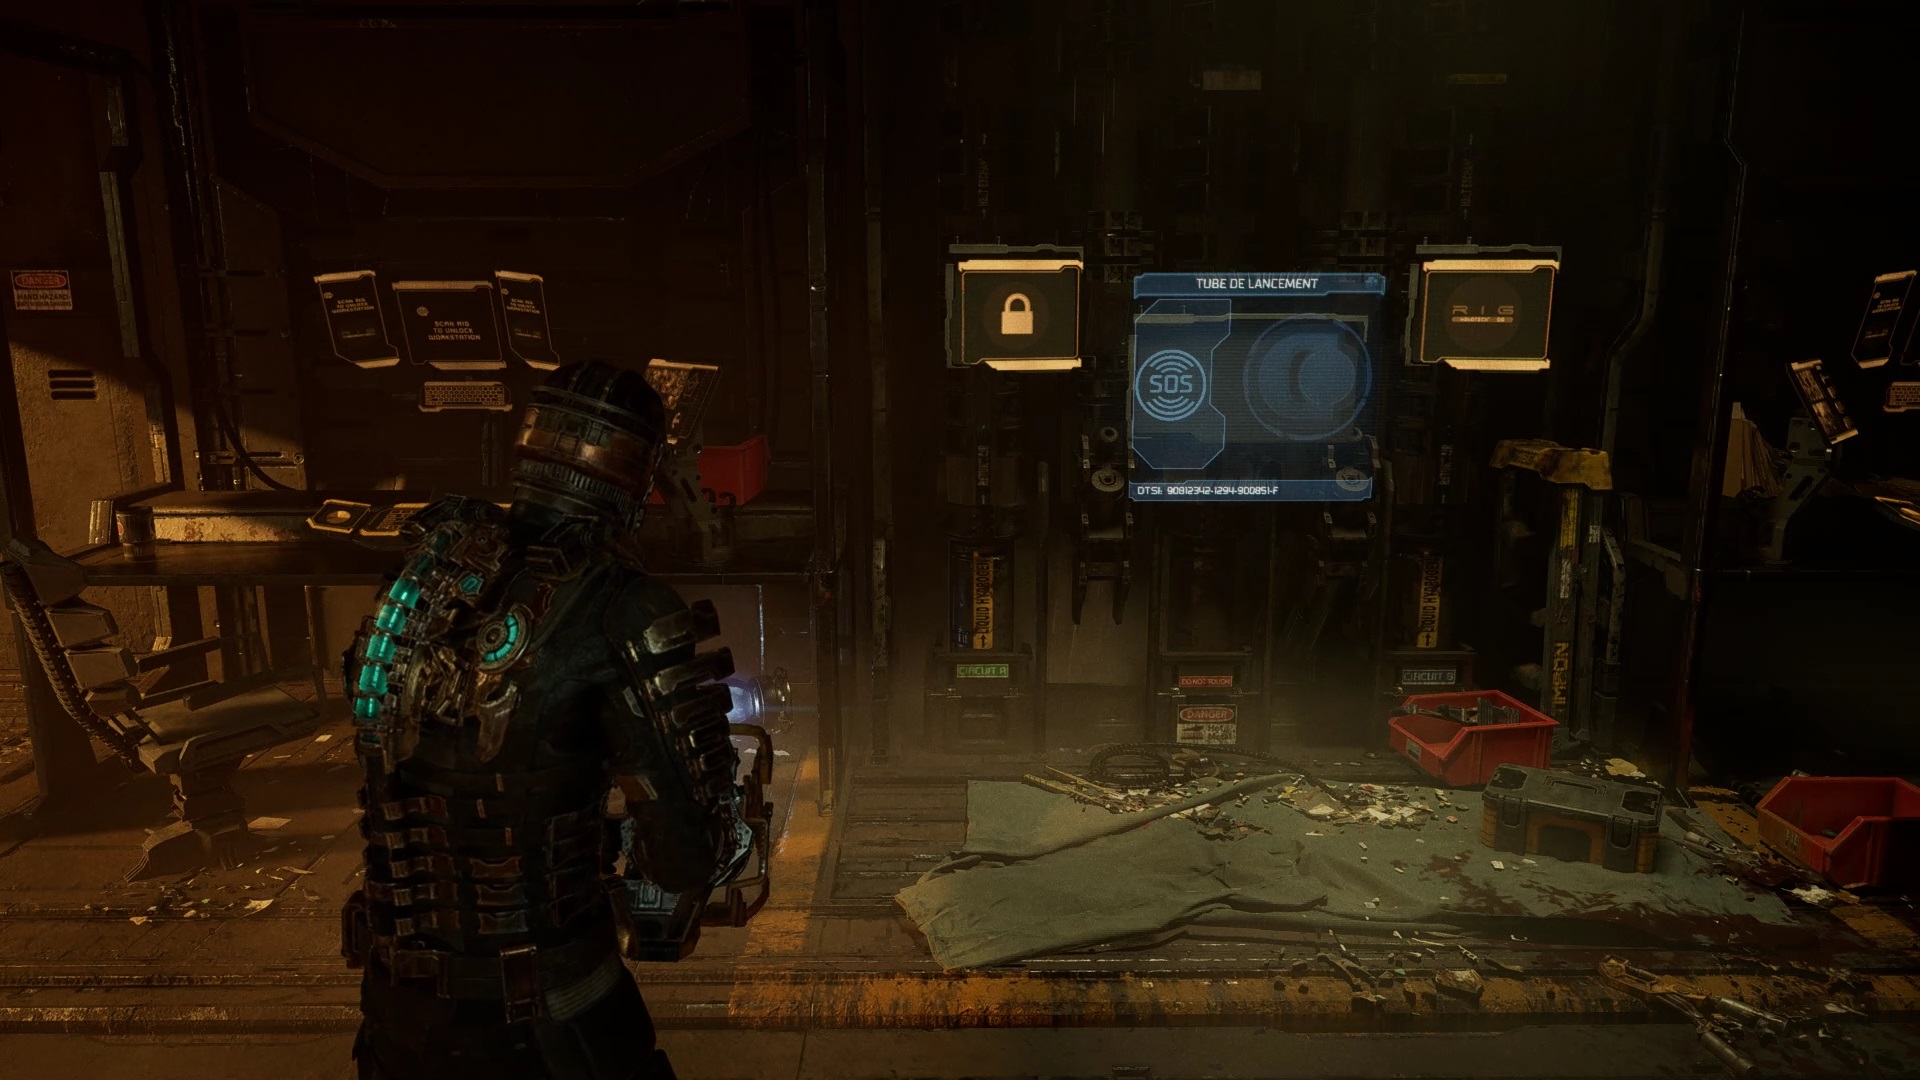
After the fights, take the battery in the center, insert it in the opposite slot to power the elevator. Go up with the elevator to reach the drilling control room. Interact with the launch tubes to get a new objective. Return to the elevator and access deck B: treatment.
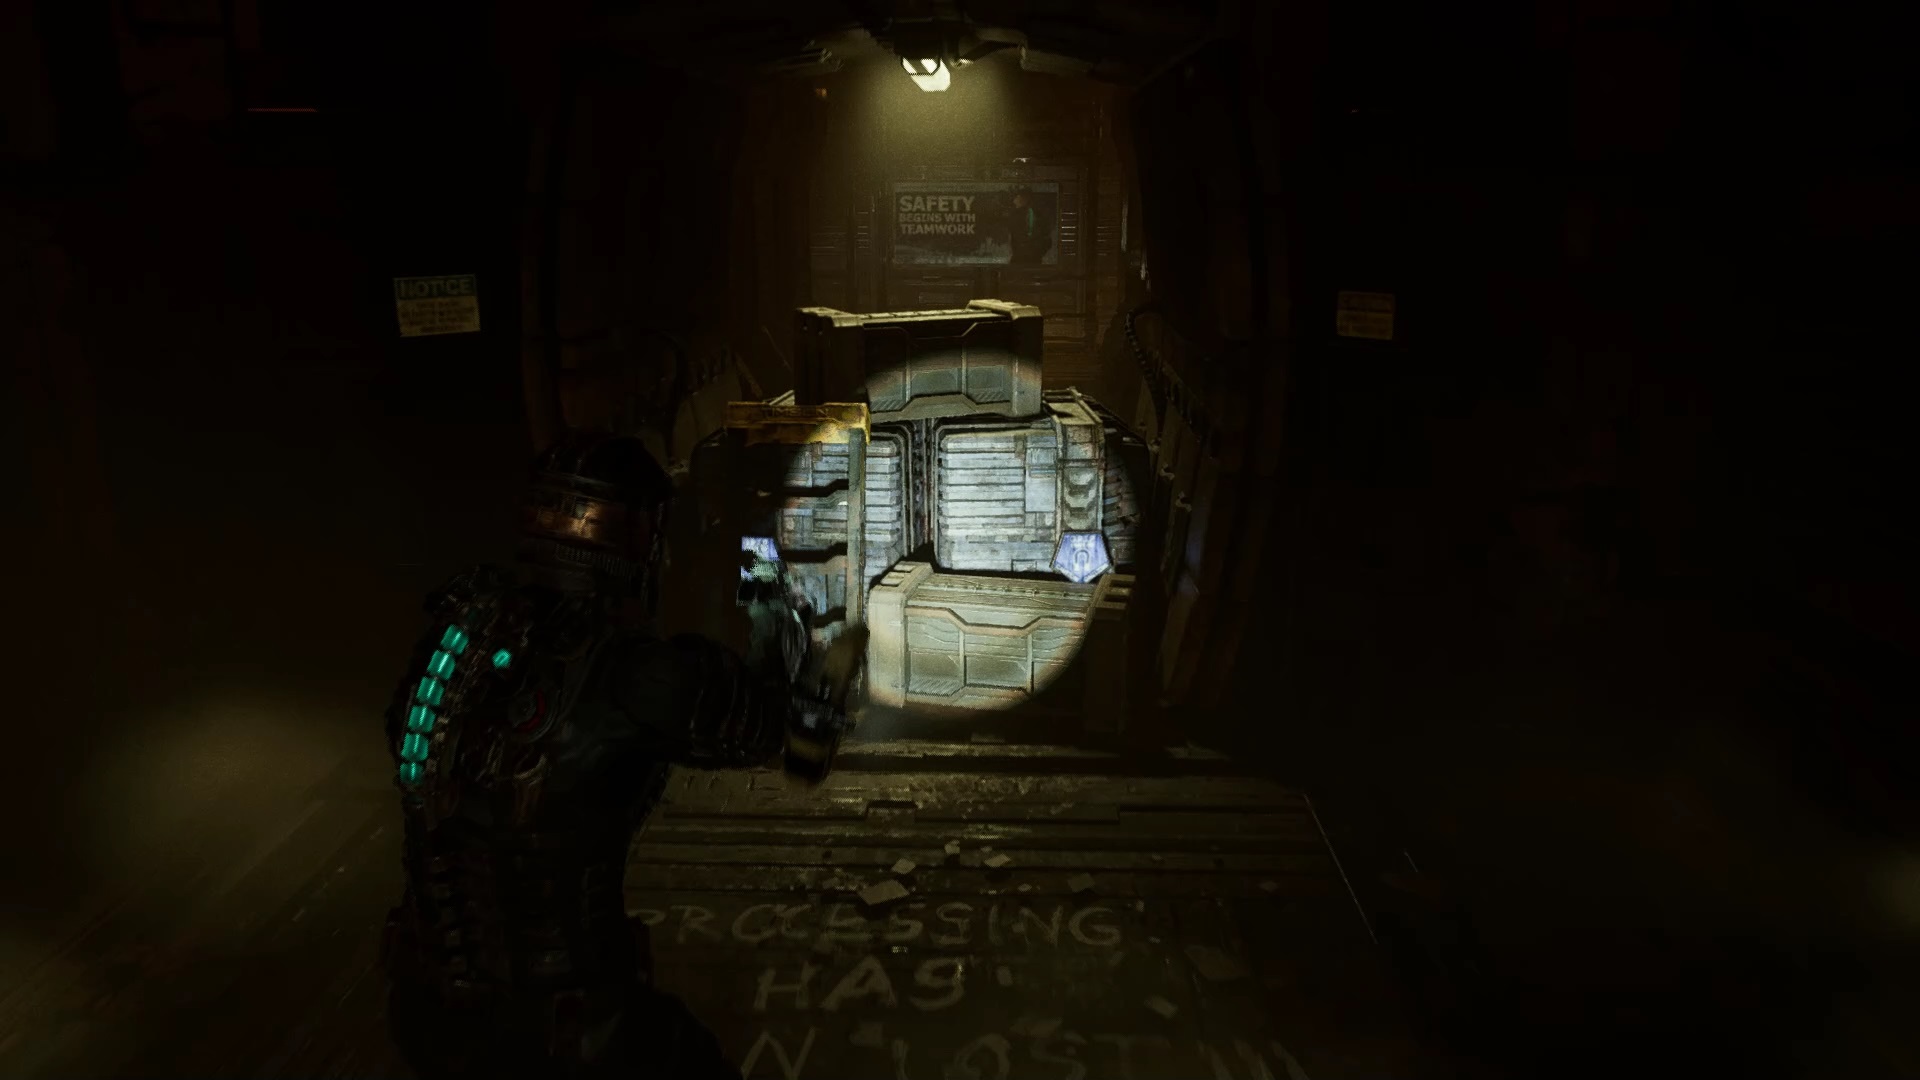
Move the barricade down the hallway with the power of telekinesis. Eliminate the enemies in front and move towards the zone of mineralurgy Attention in the corridor presents an armored enemy. Sever its upper limbs to kill it. Enter the breach to exit into a zero-gravity zone.

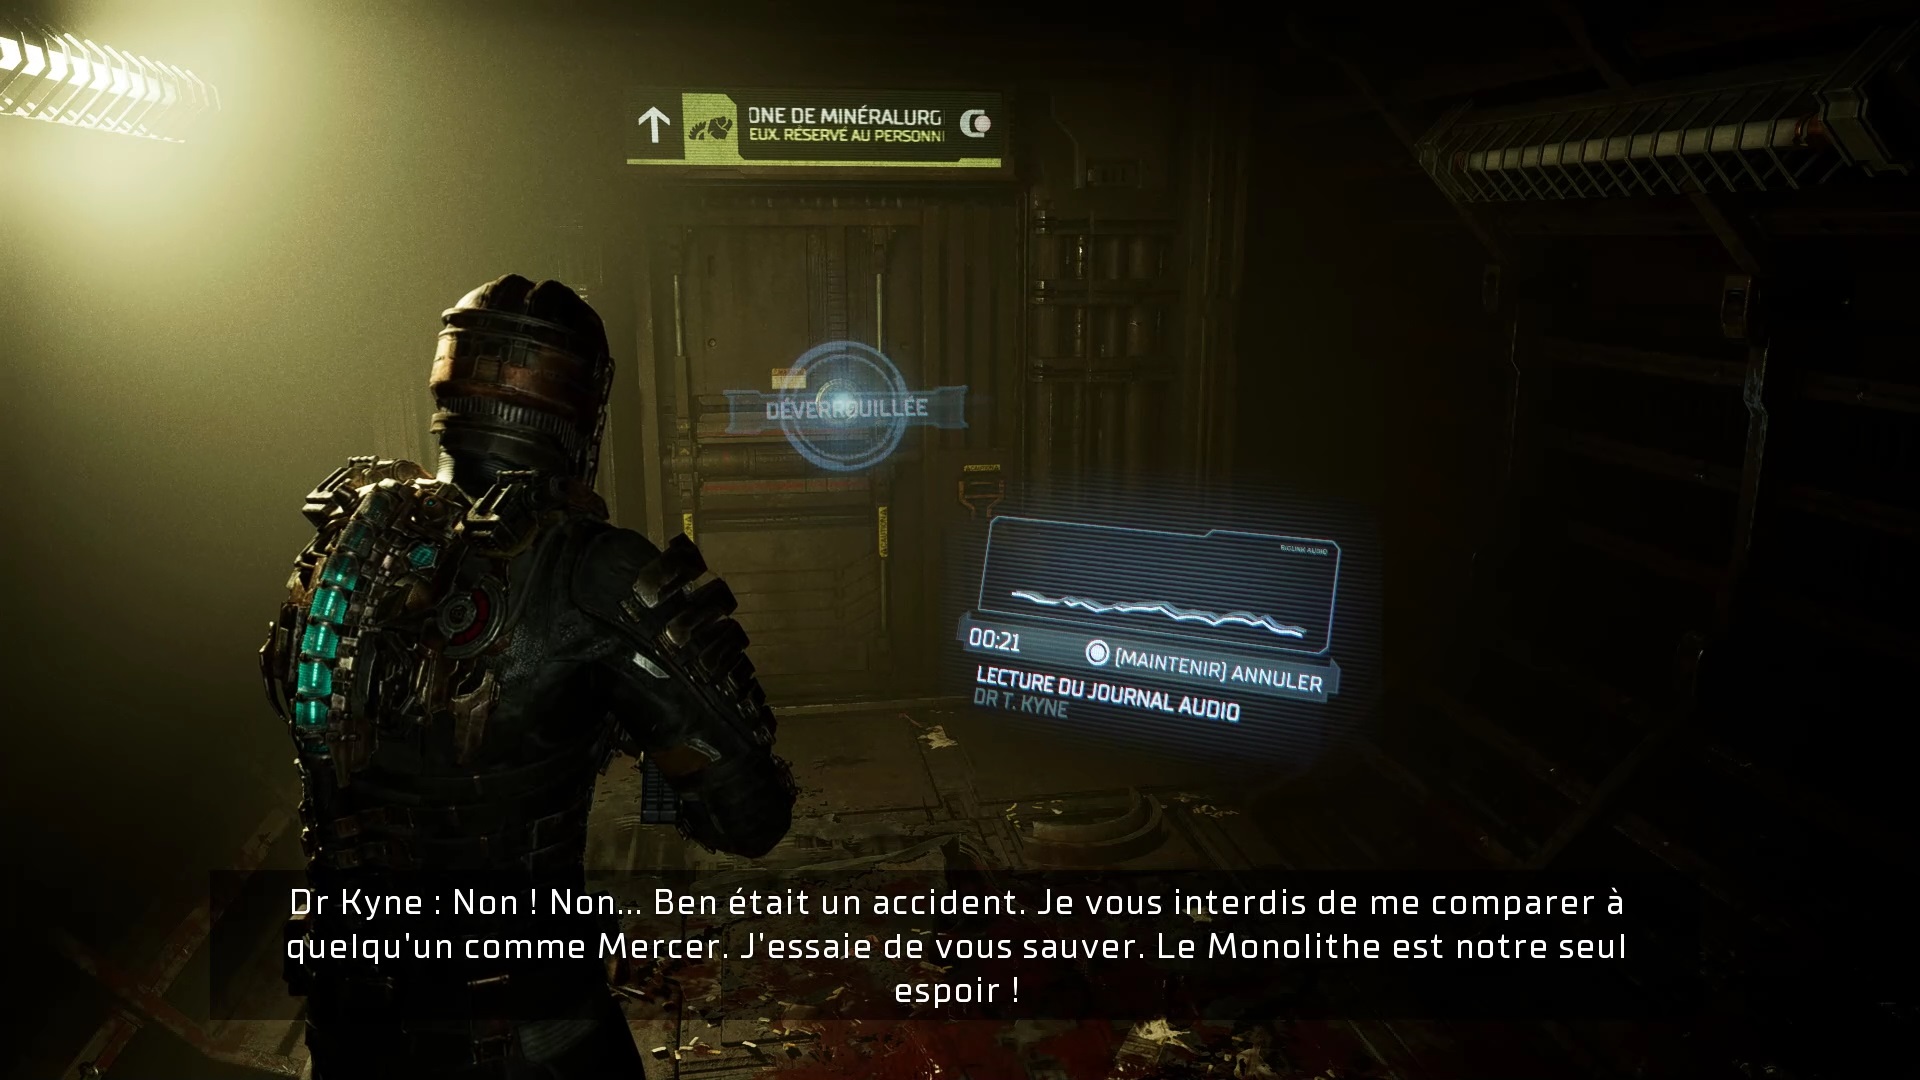
Use your telekinesis to send the asteroid pieces into the laser. When the anomaly count is 0, use the gravity control panel nearby. Other enemies arrive after activating gravity. Exit through the door leading to the mineral processing room. To find the Dallas RIG the administrator. Return to the elevator to descend to maintenance deck D.
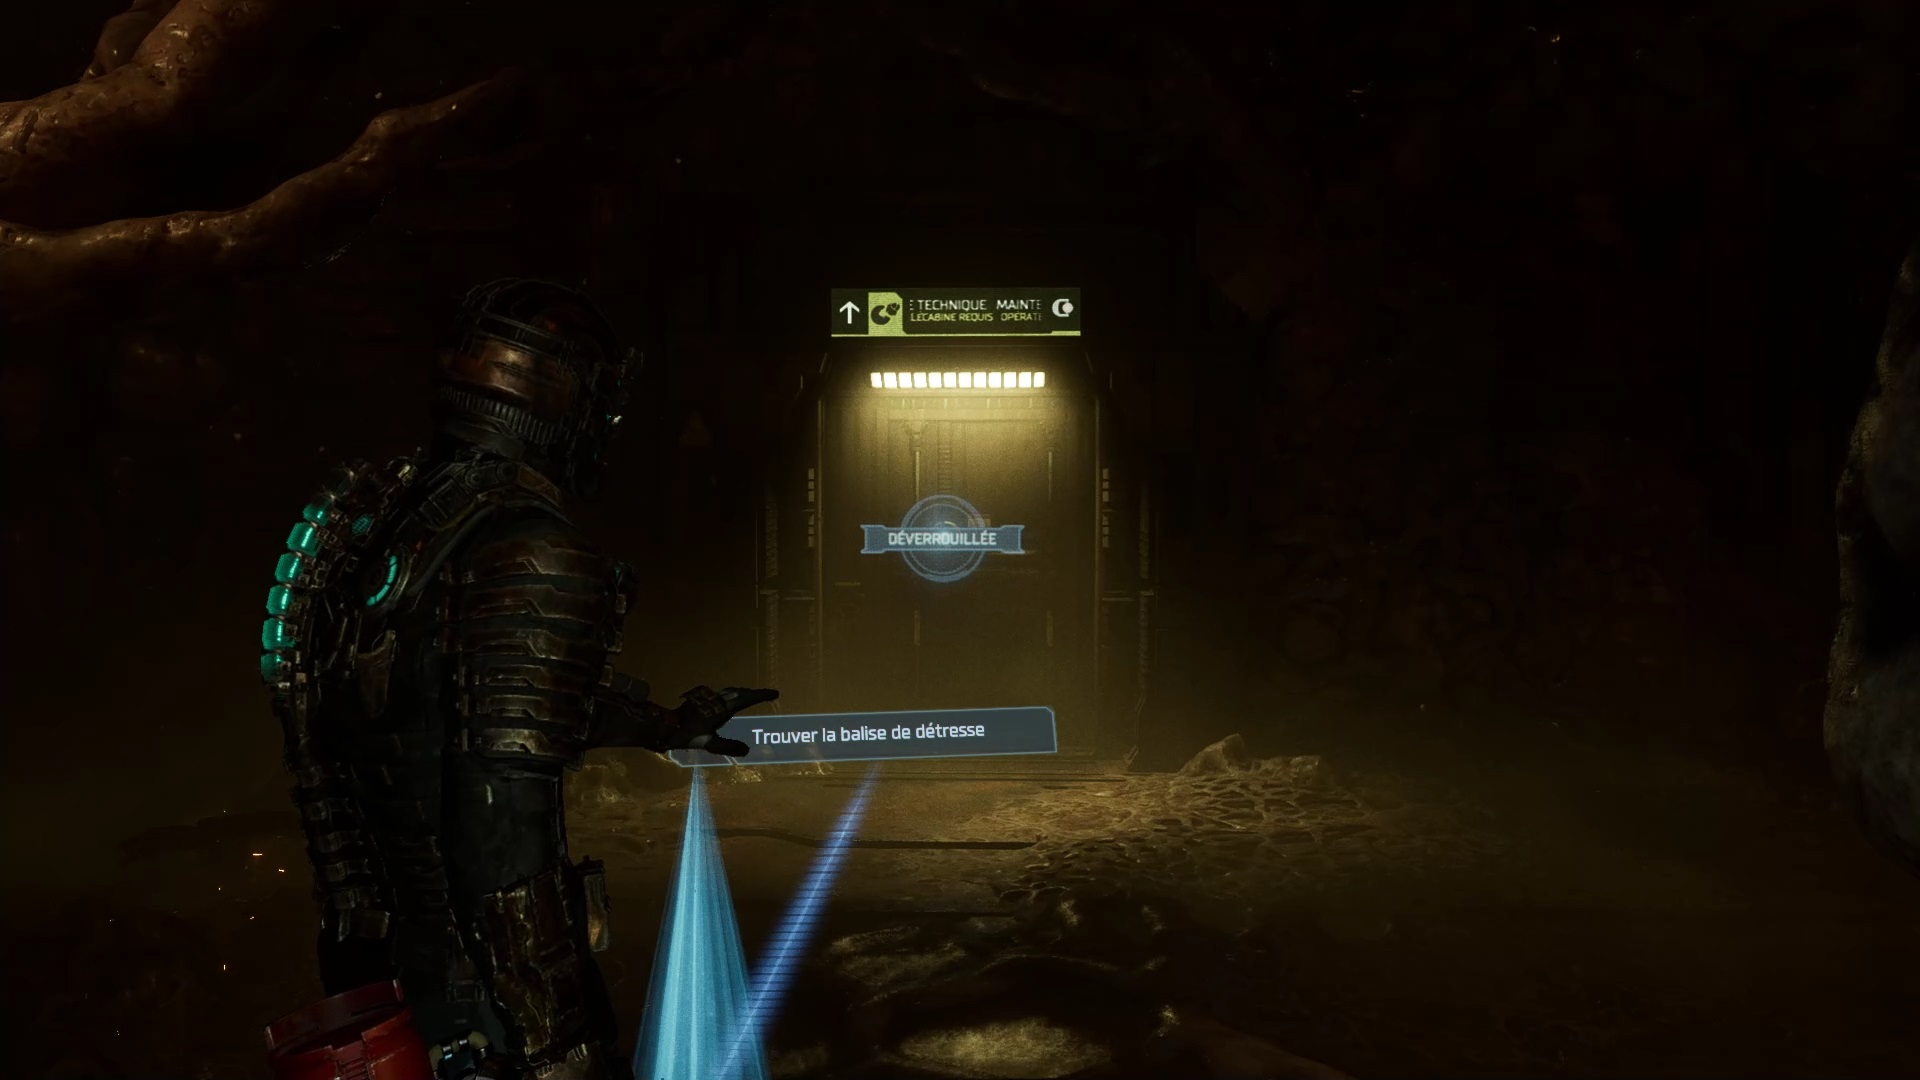
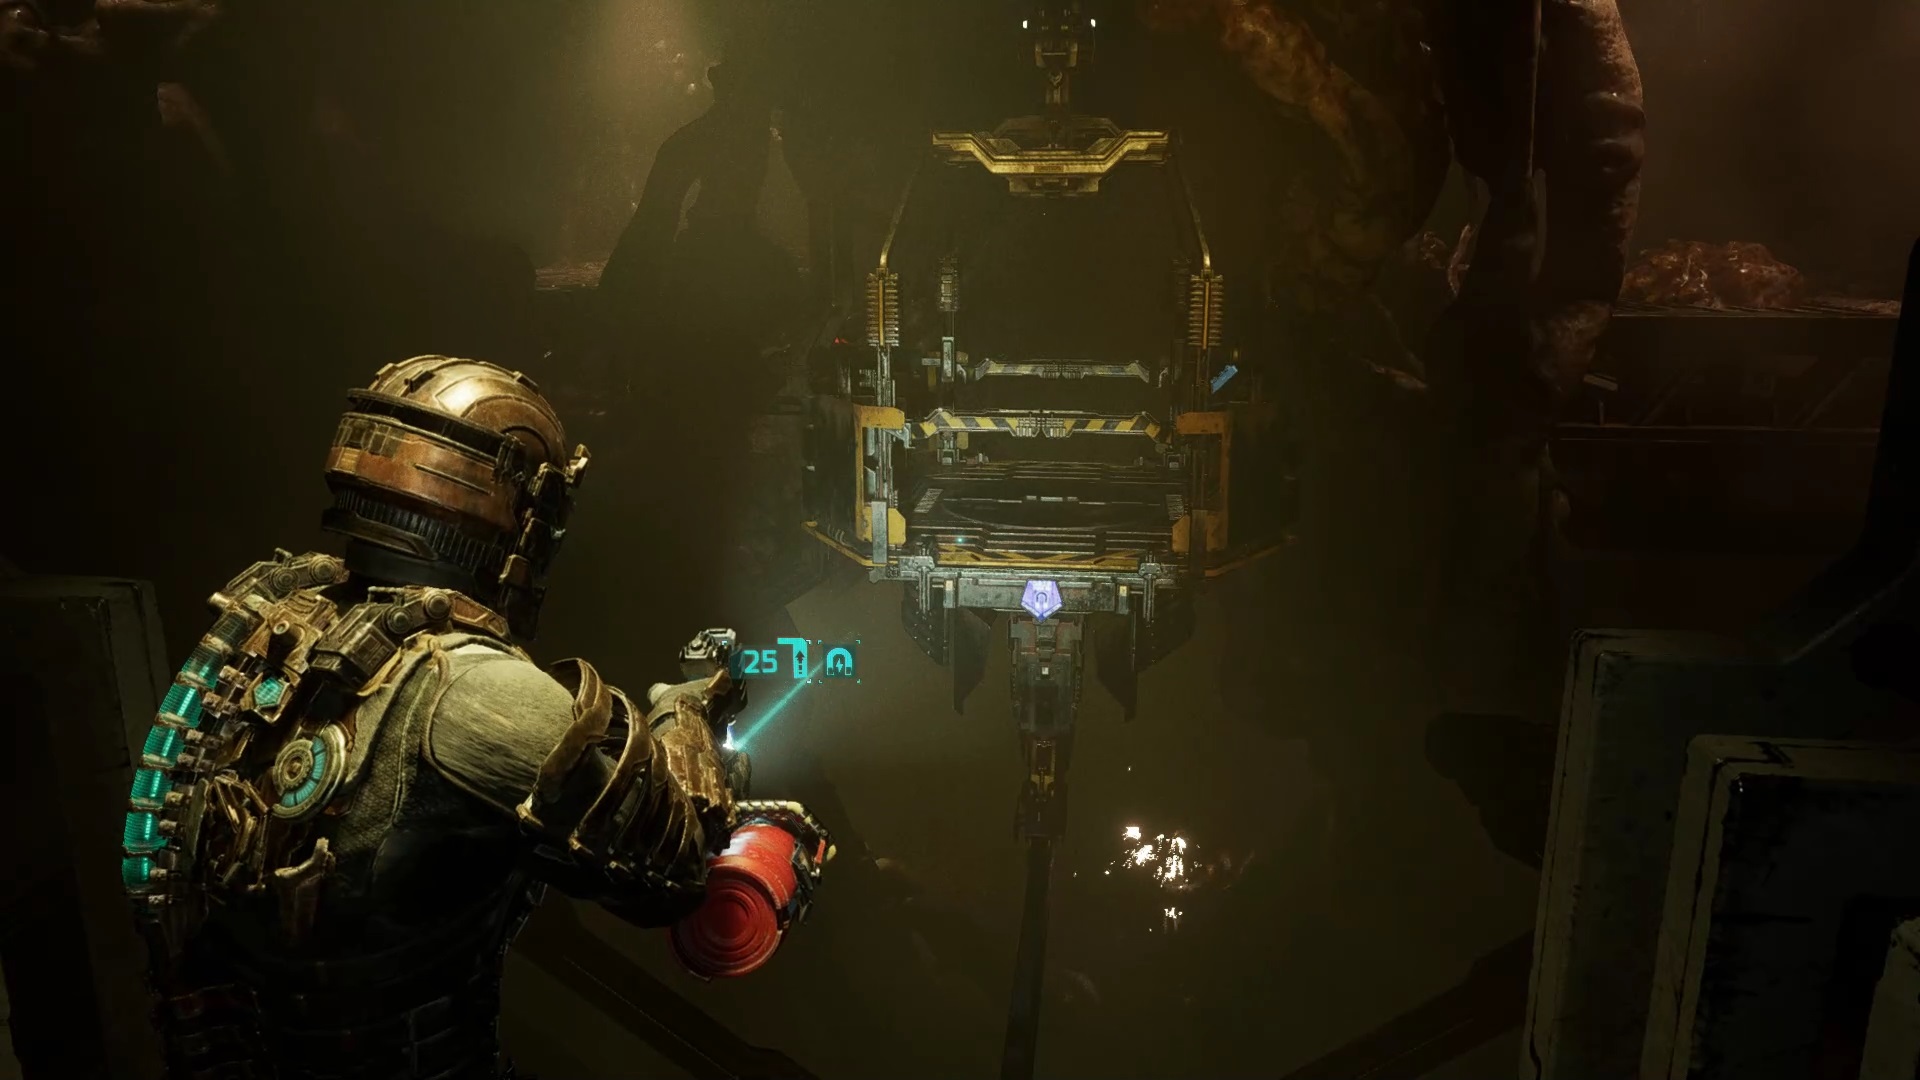
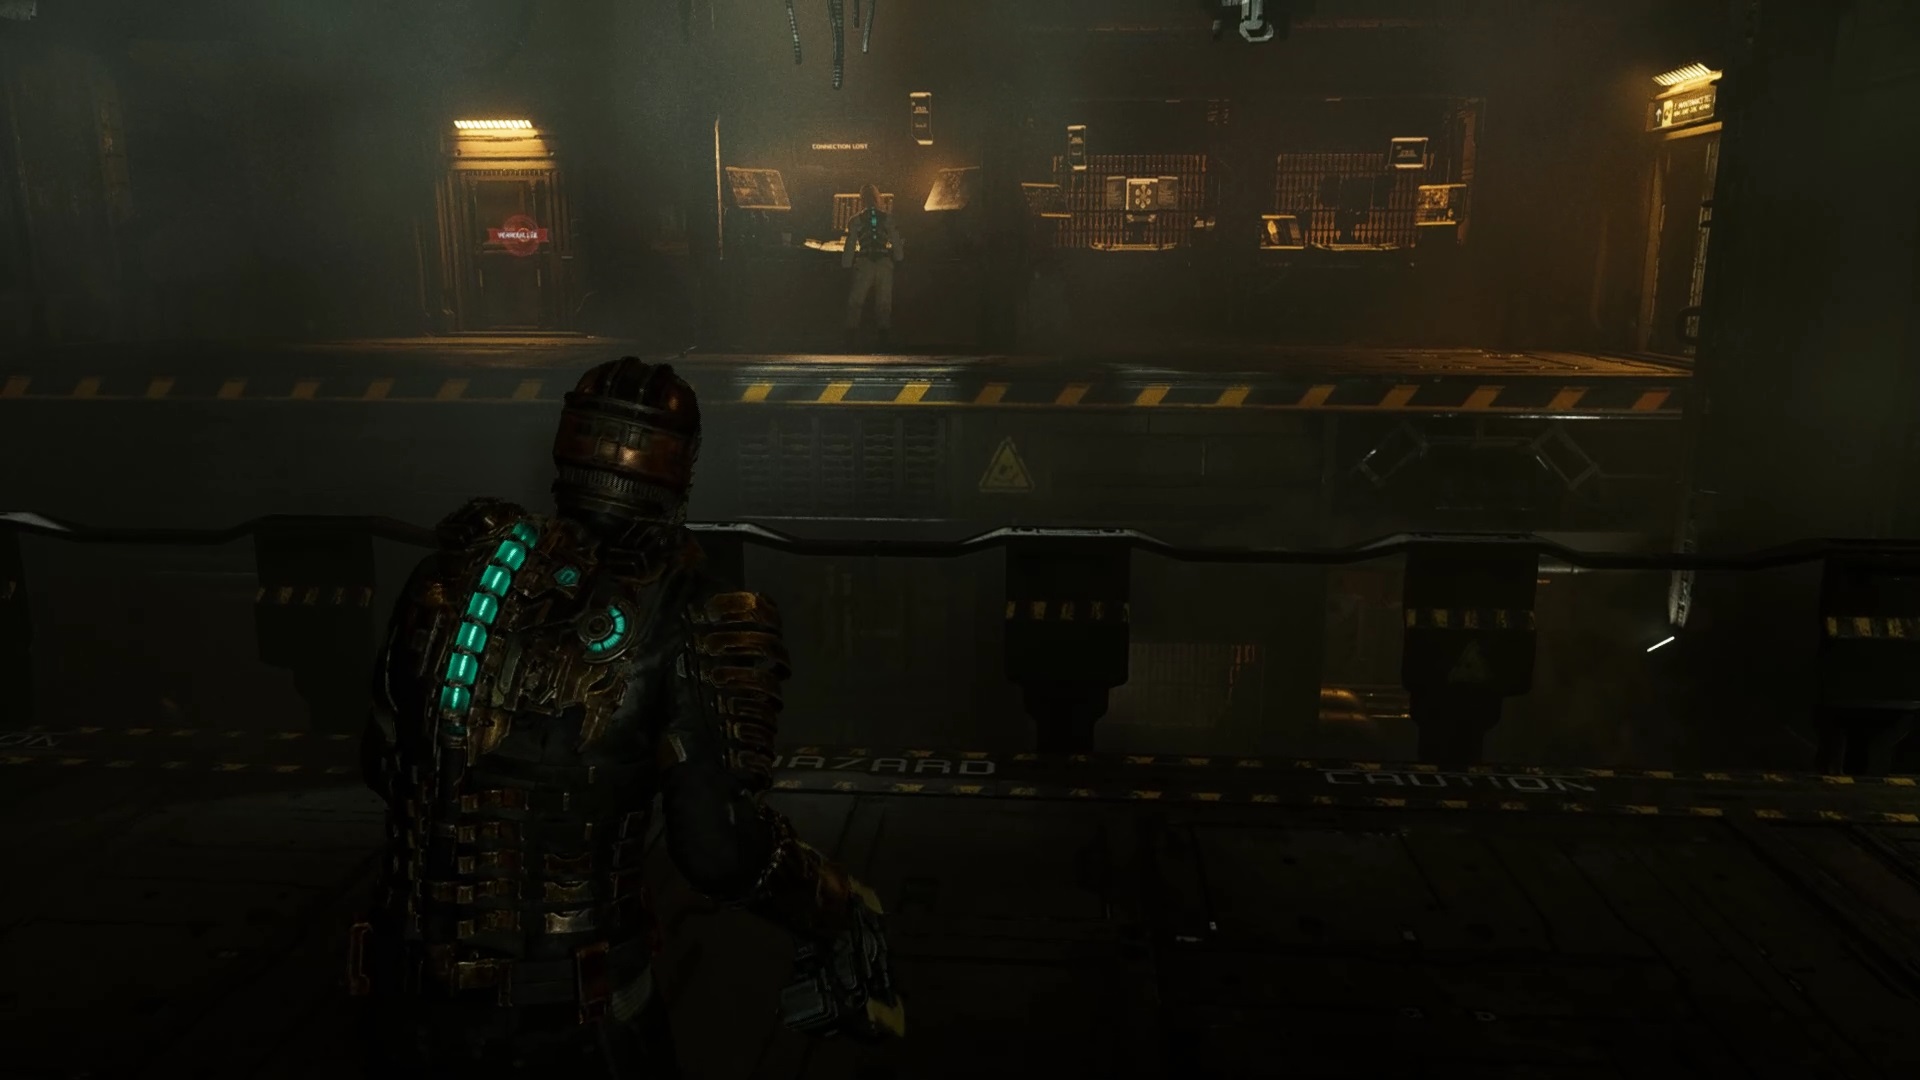
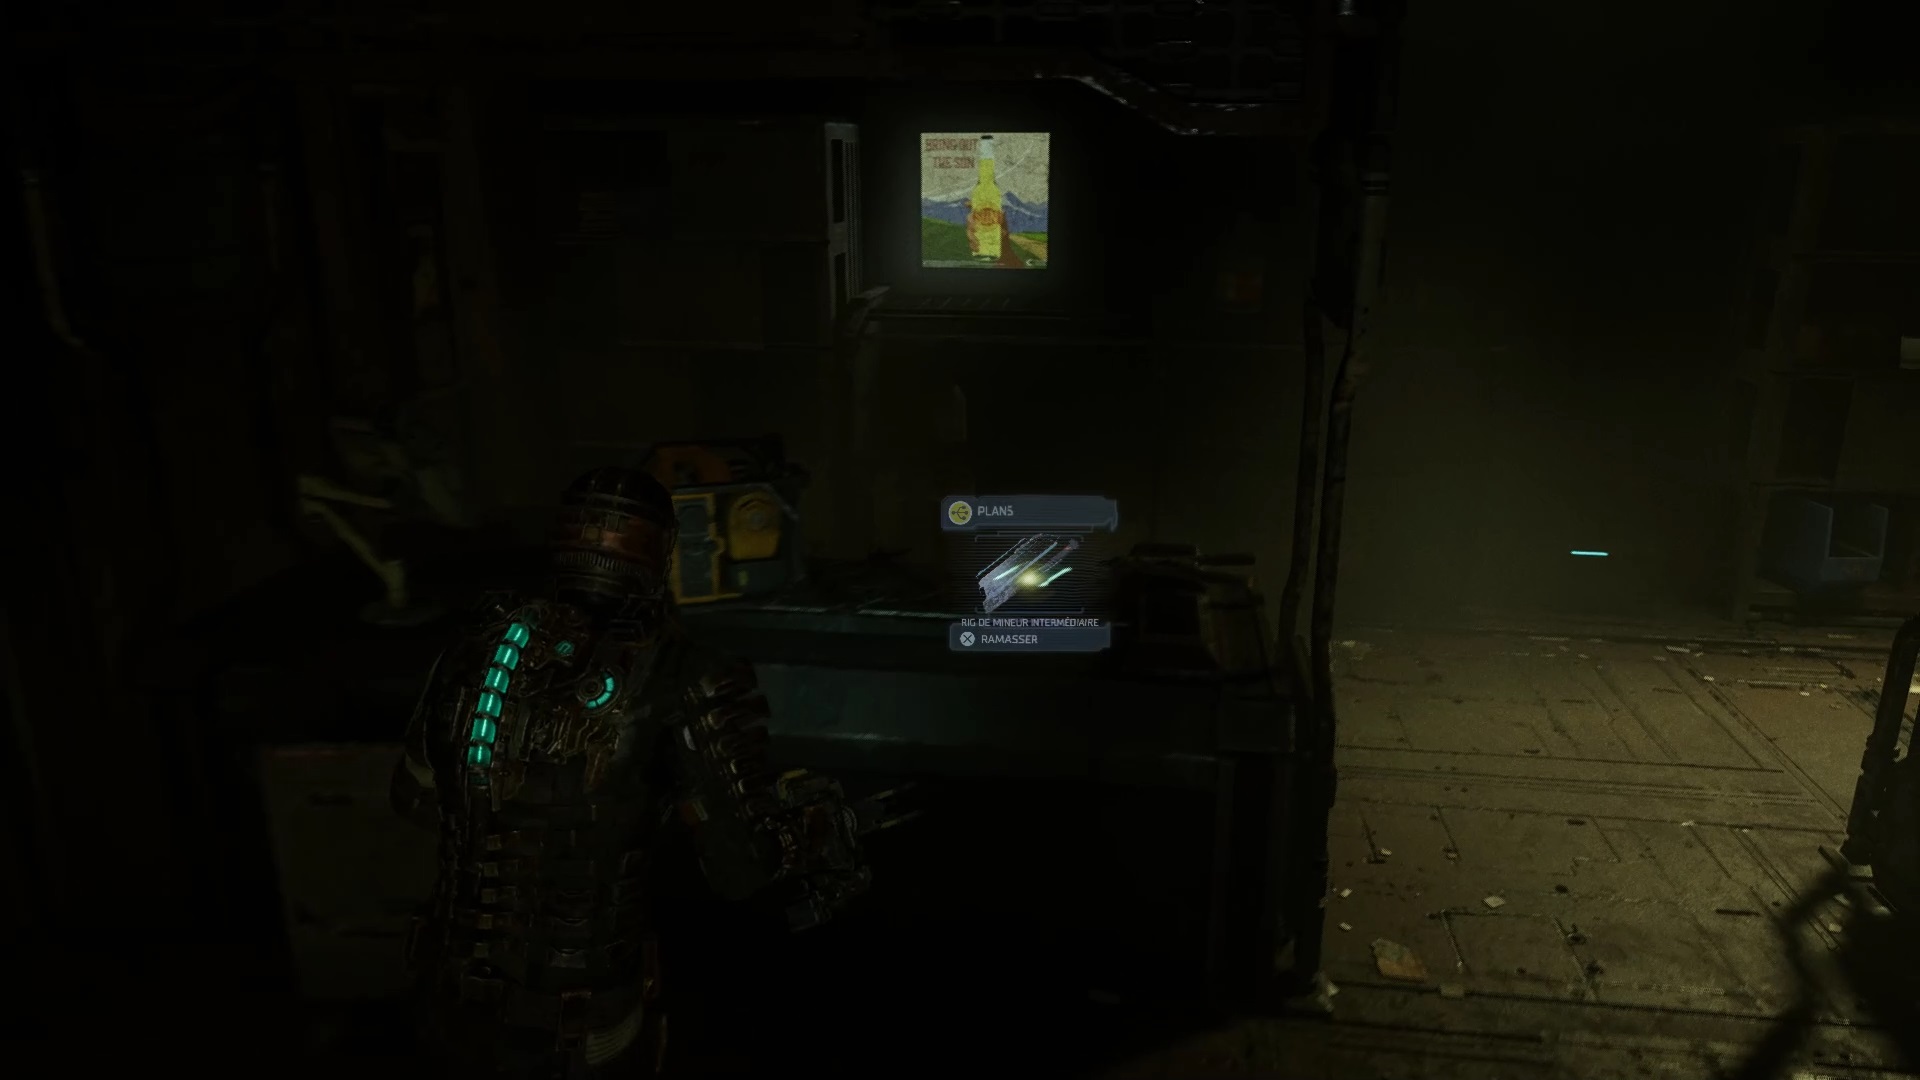
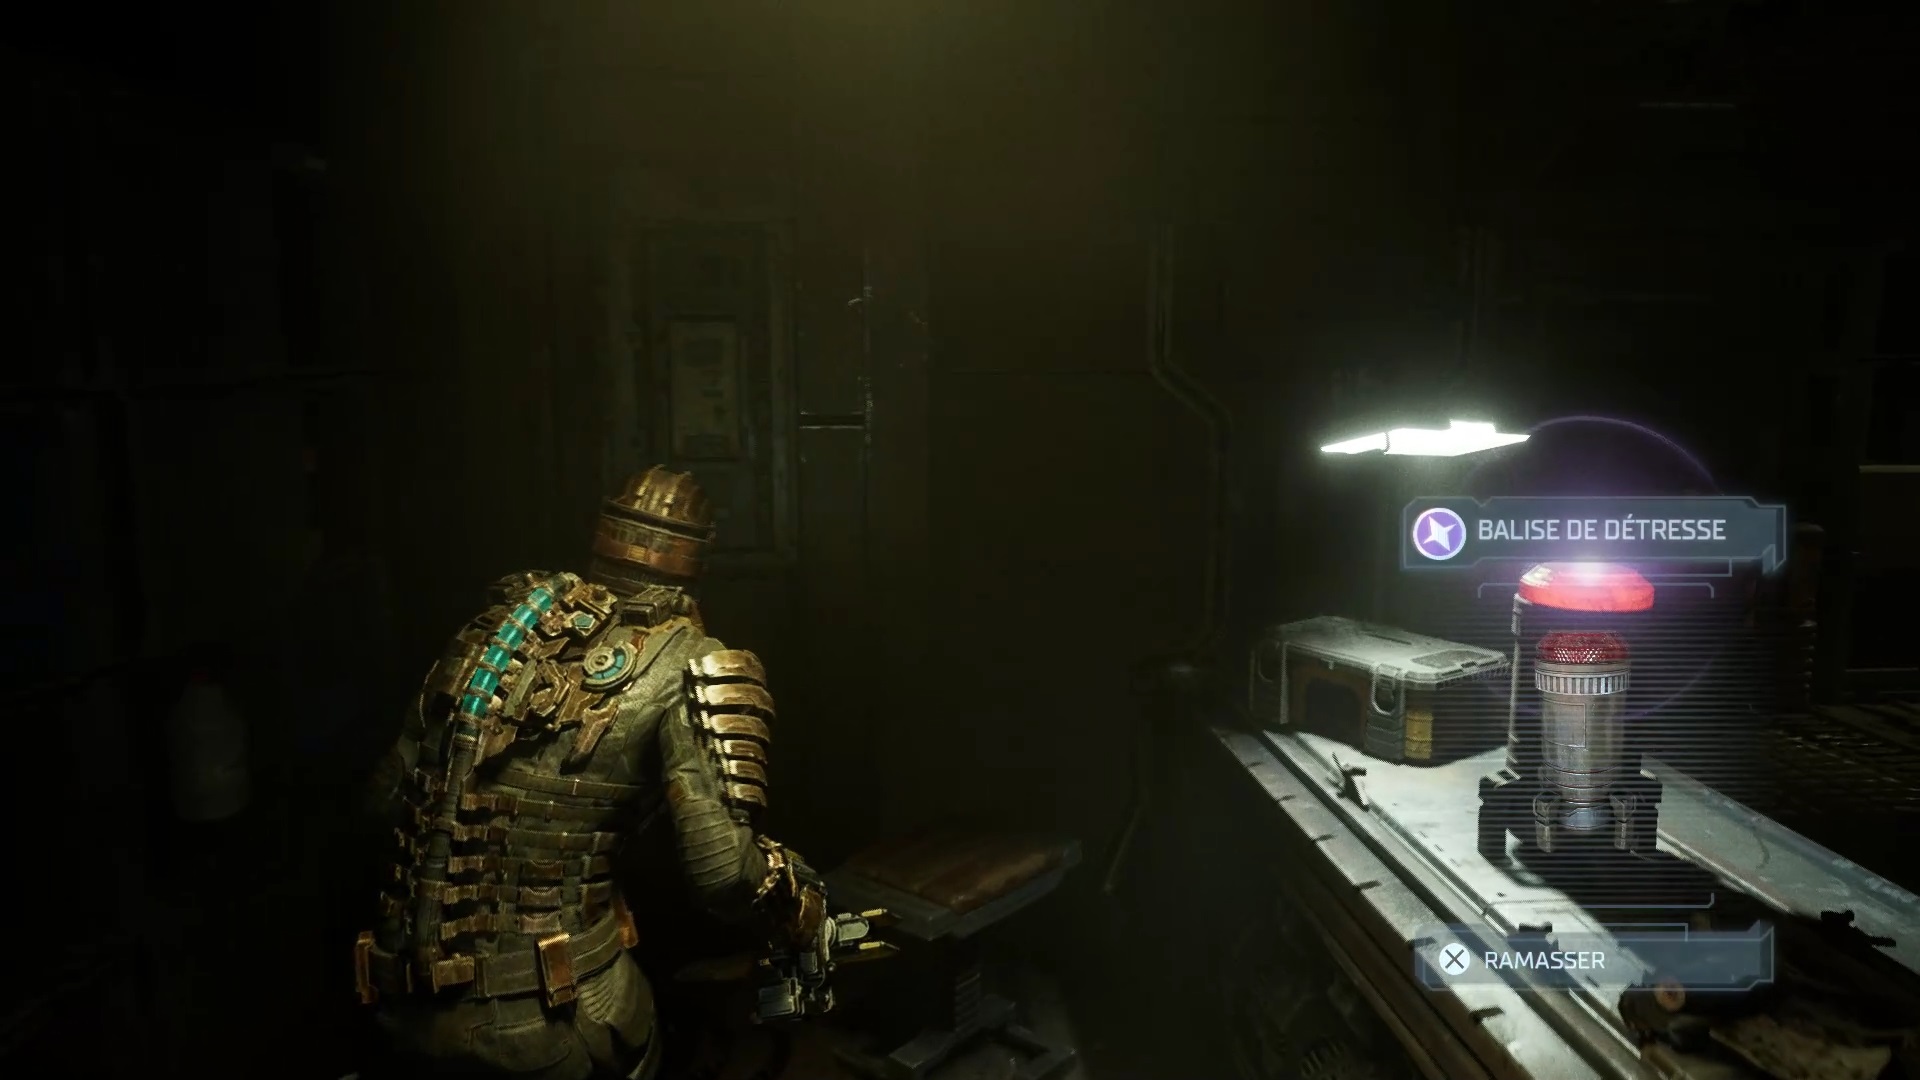
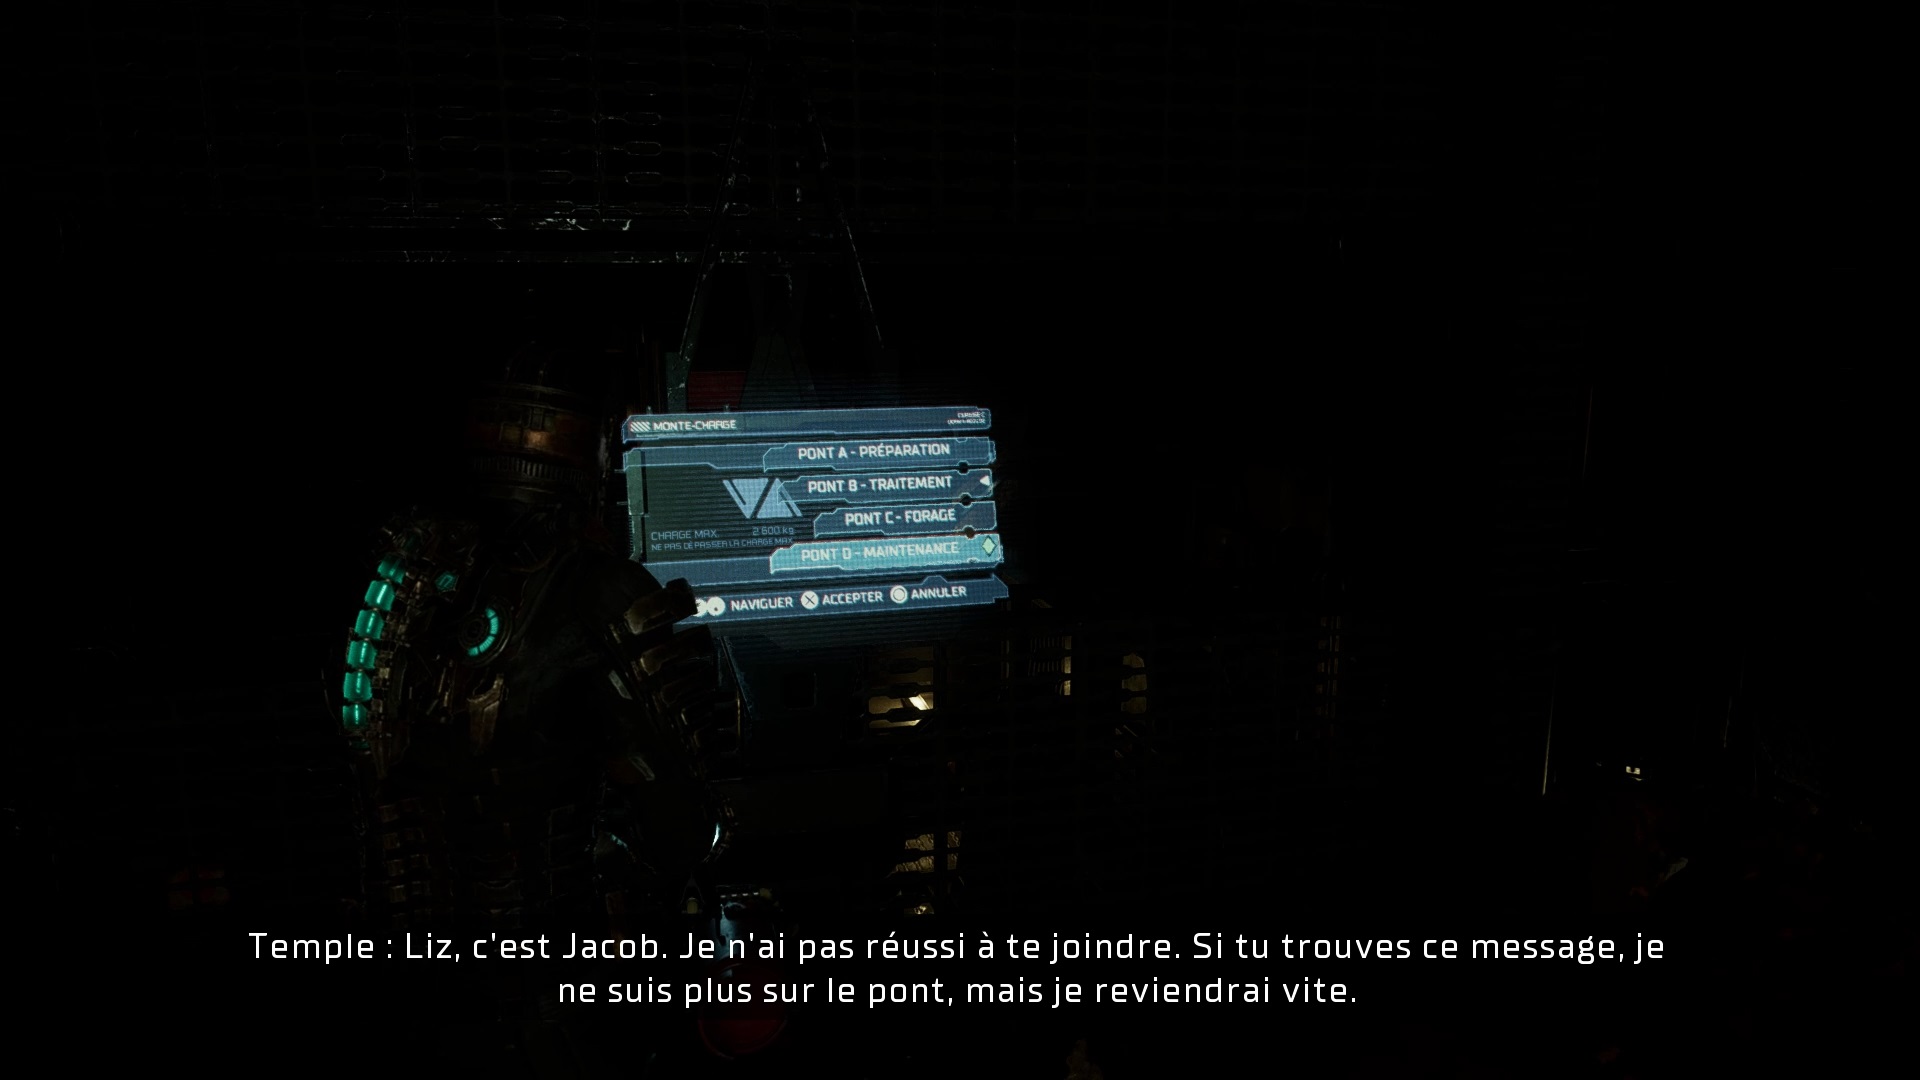
Advance to technical maintenance. Use your telekinesis to bring the gondola closer. Go inside to activate it. Use your weapons and nearby items to destroy enemies around. Once on the other side Nicole is waiting for you. Follow Nicole and defend her against threats. Continue into the Equipment Prep Room to find an Intermediate RIG Blueprint. Take the beacon on the workshop.
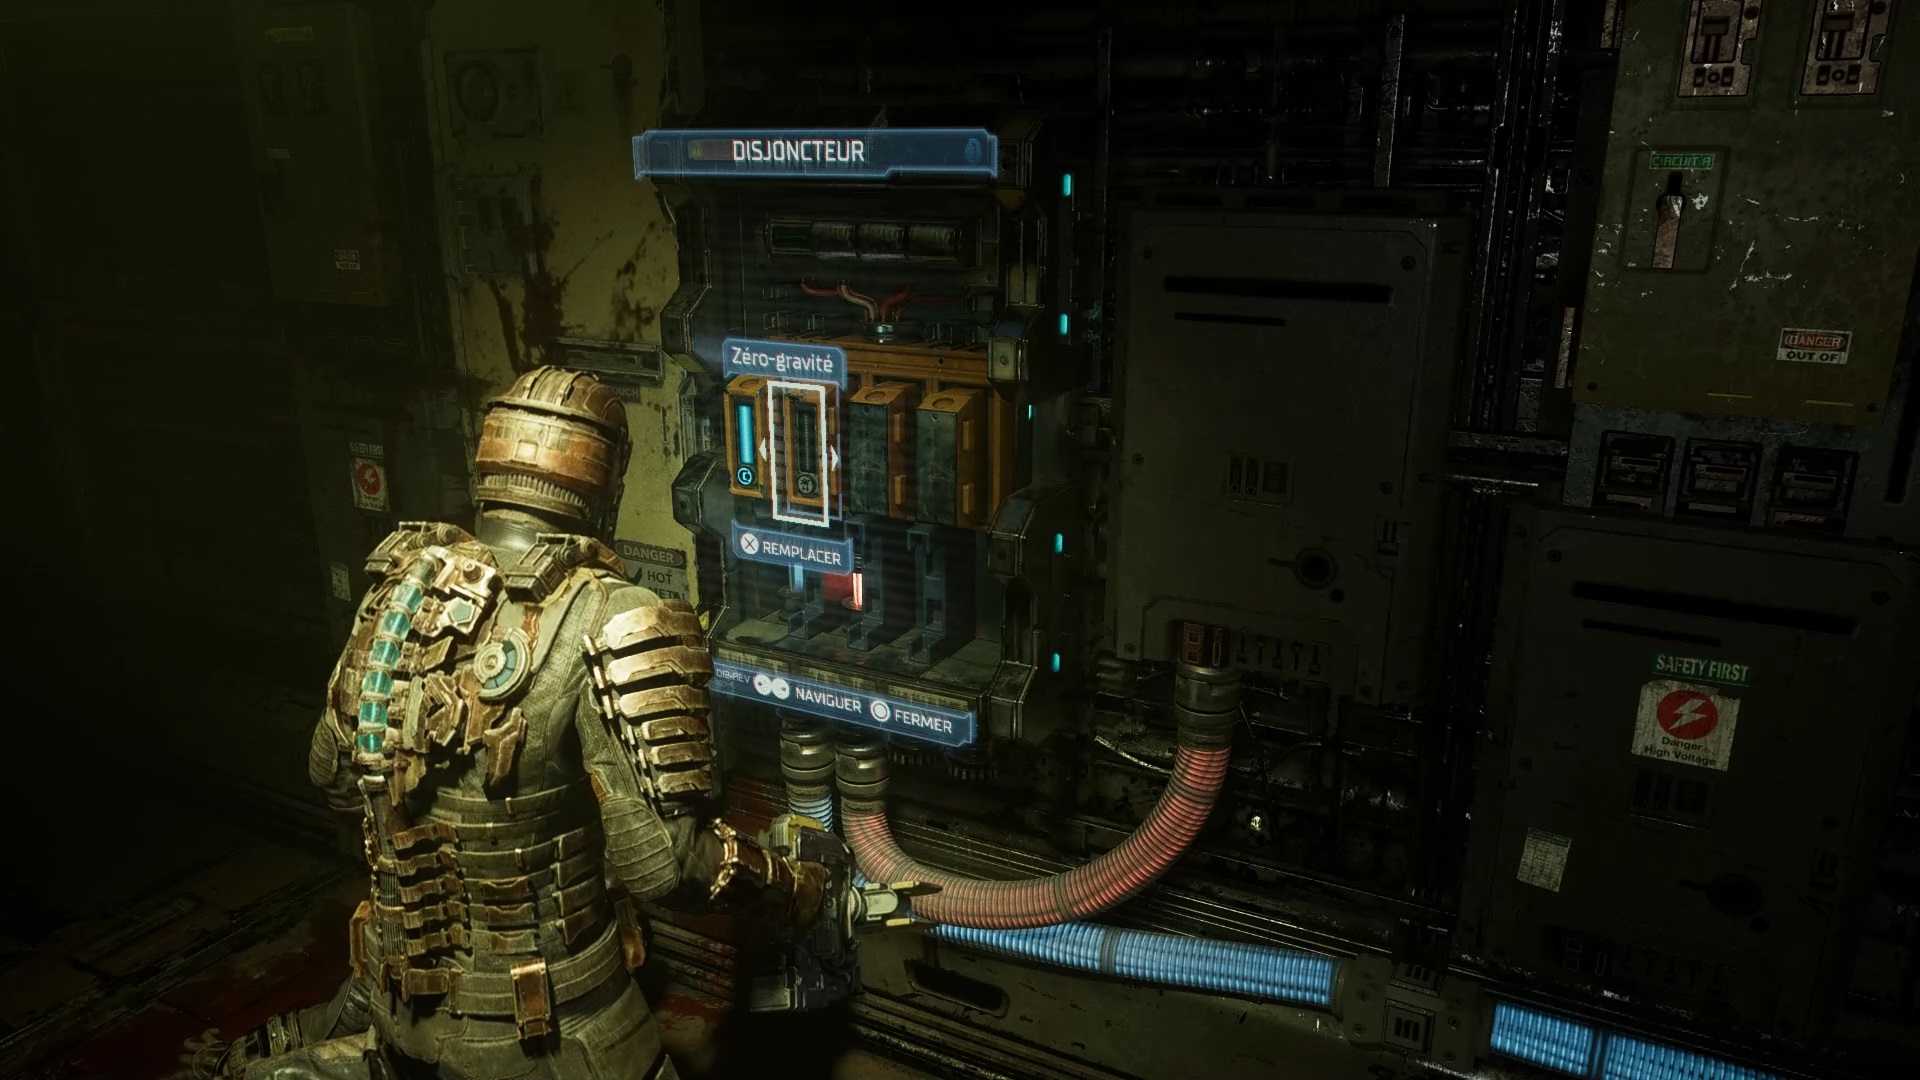

Take the elevator back to Technical Maintenance. Use the circuit breaker to activate zero gravity and go to the other side. Take the main elevator to go up to deck C. Monsters are once again setting a trap for you, survive. Upstairs, go through the mining area and then through the drill control area. Insert the tag into the tubes. Something is wrong. Retrace your steps to go to the drill area.
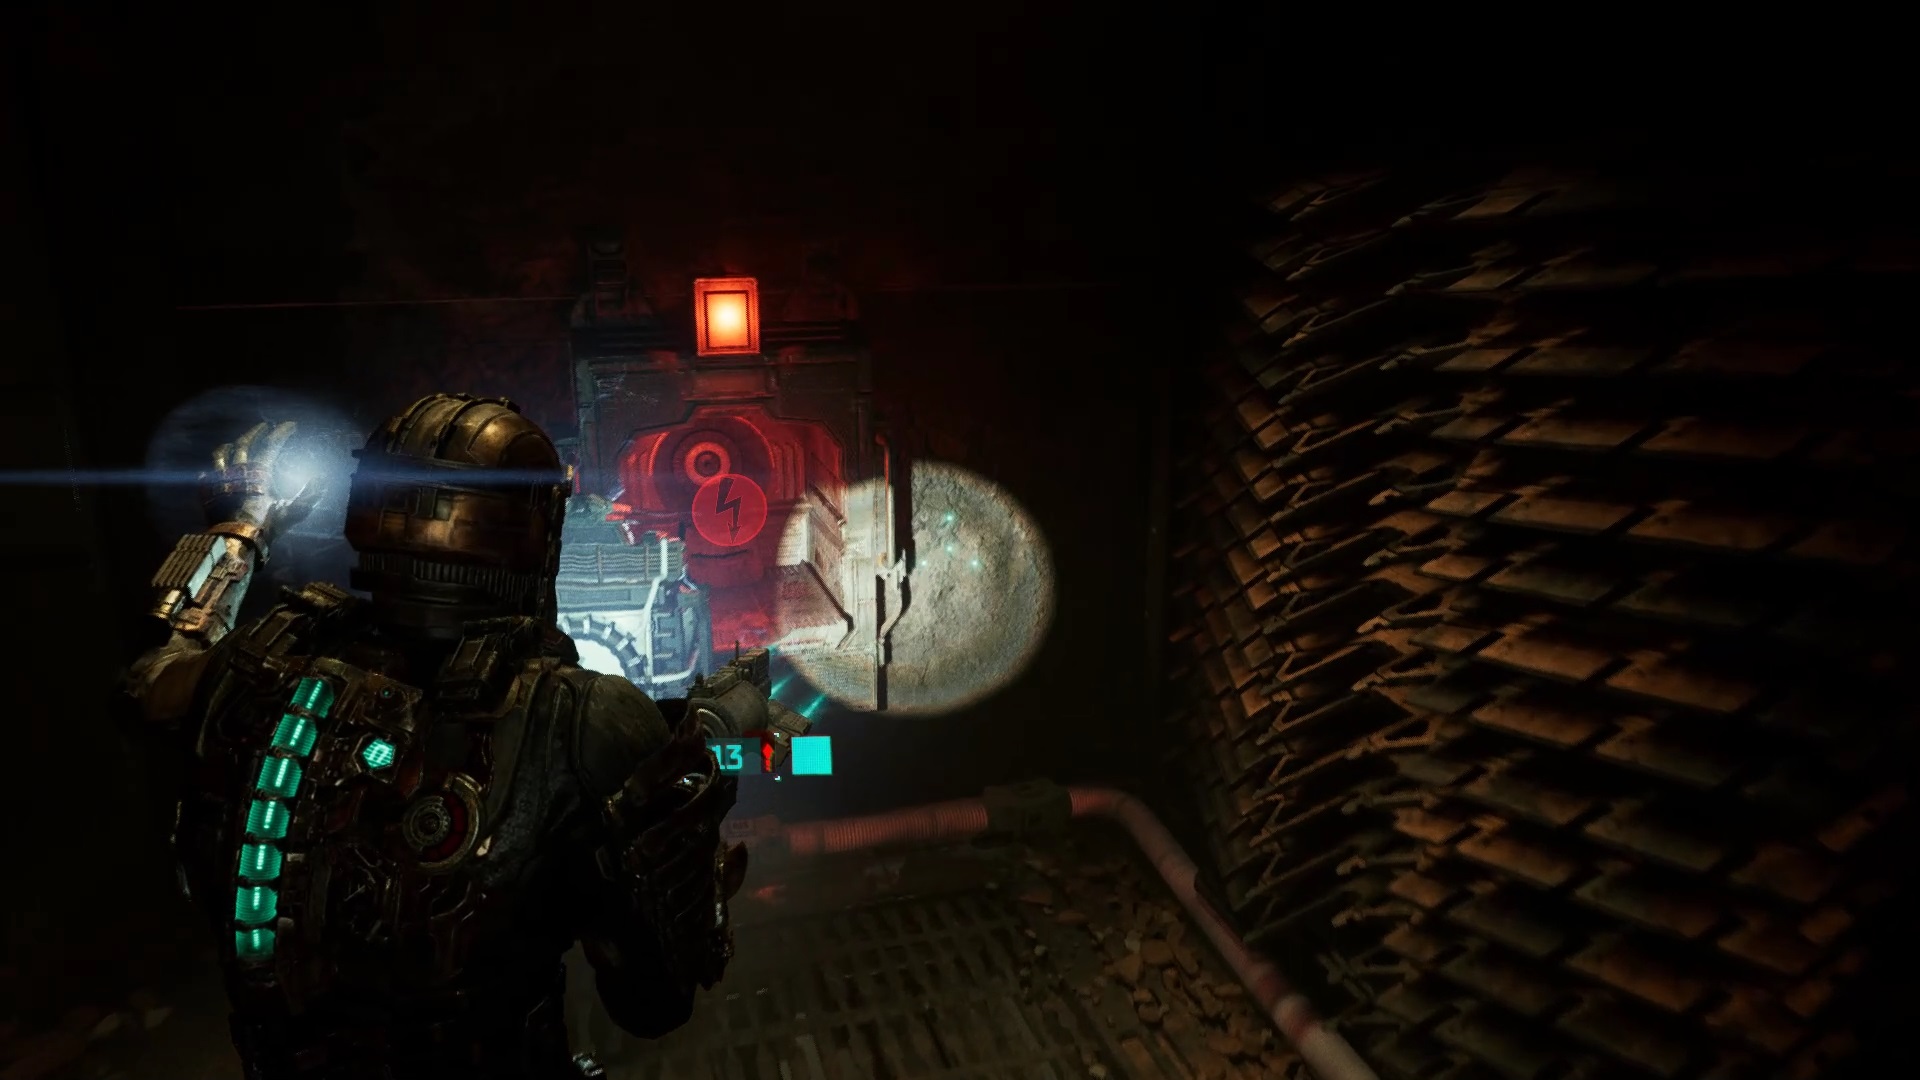
Recover by passing the battery through the extraction area. Insert the battery into the room towards the drill area to activate the elevator. Proceed to the drill area.

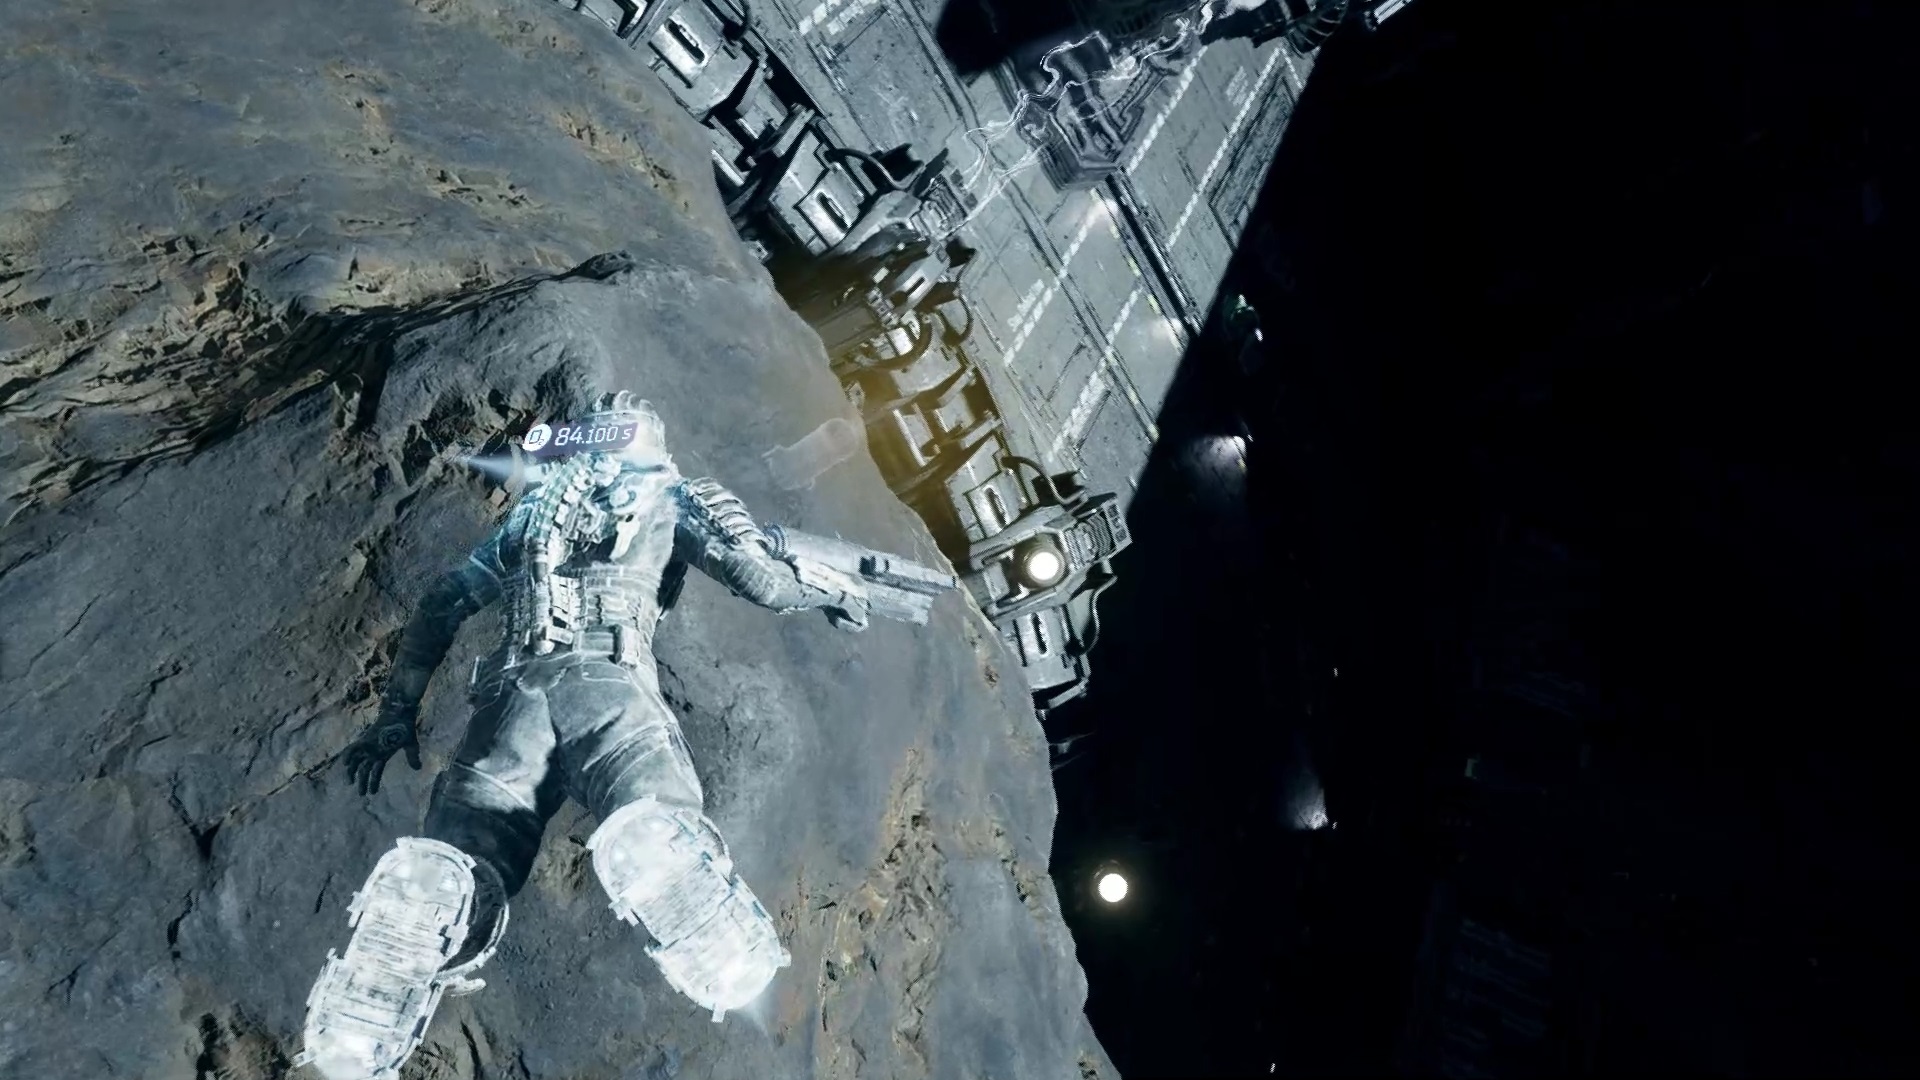
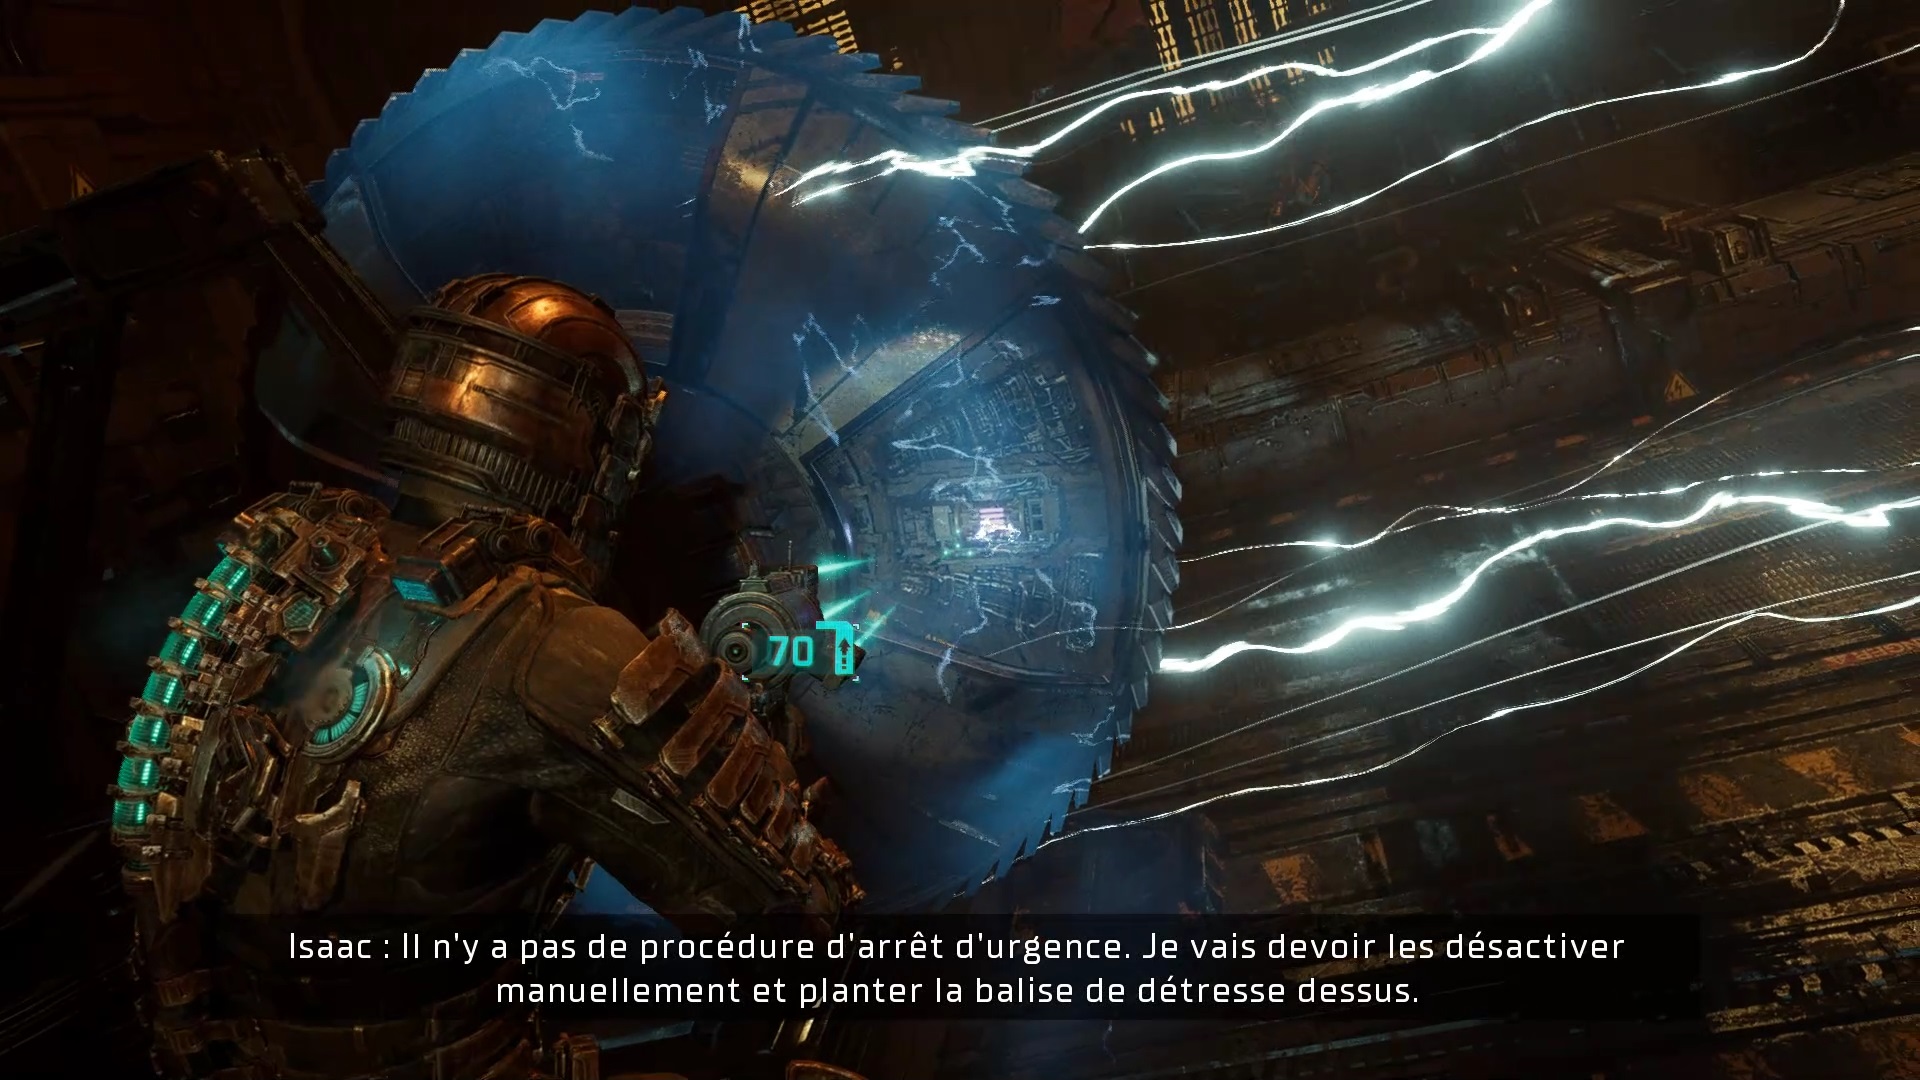
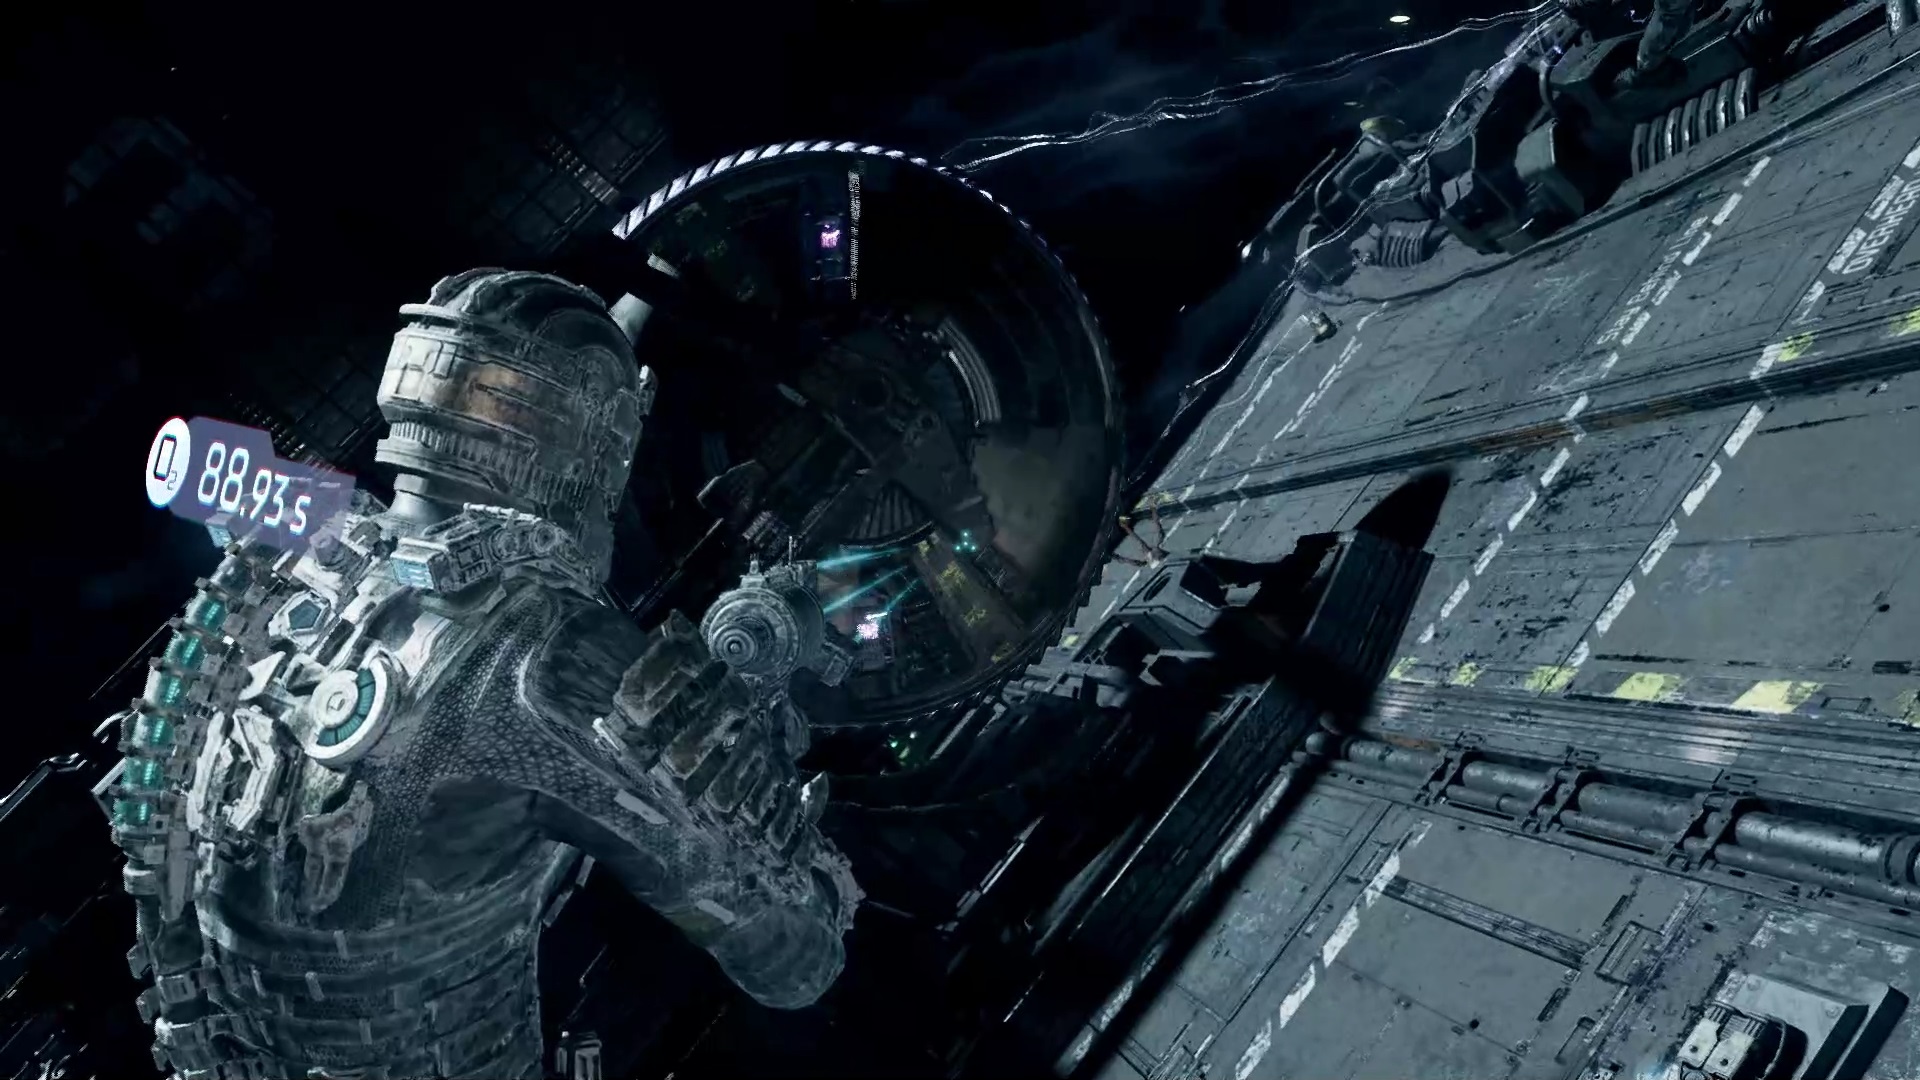
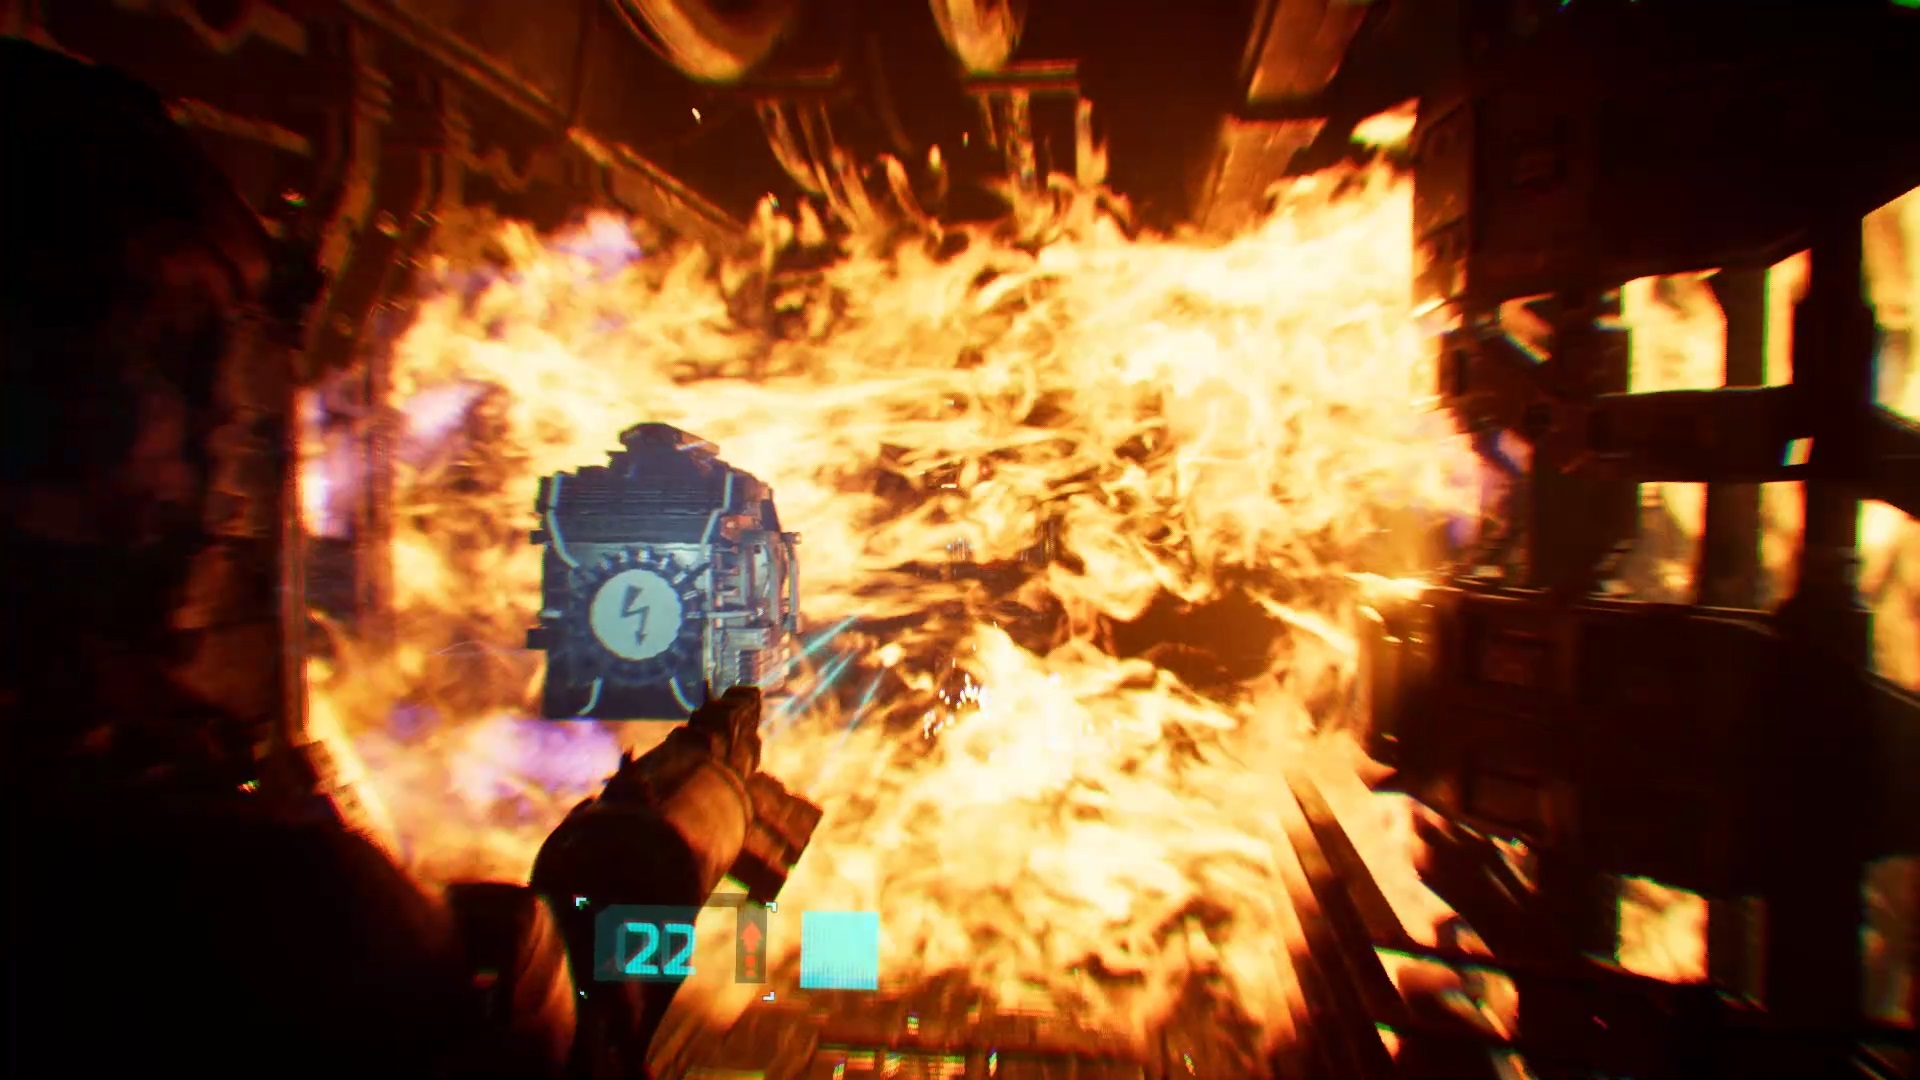
Start by passing between the rings of the asteroid to go outside. Land the beacon on the asteroid. Use your stasis to slow the gravitational tethers. Shoot the feed to stop them. Two are indoors and two are outdoors.
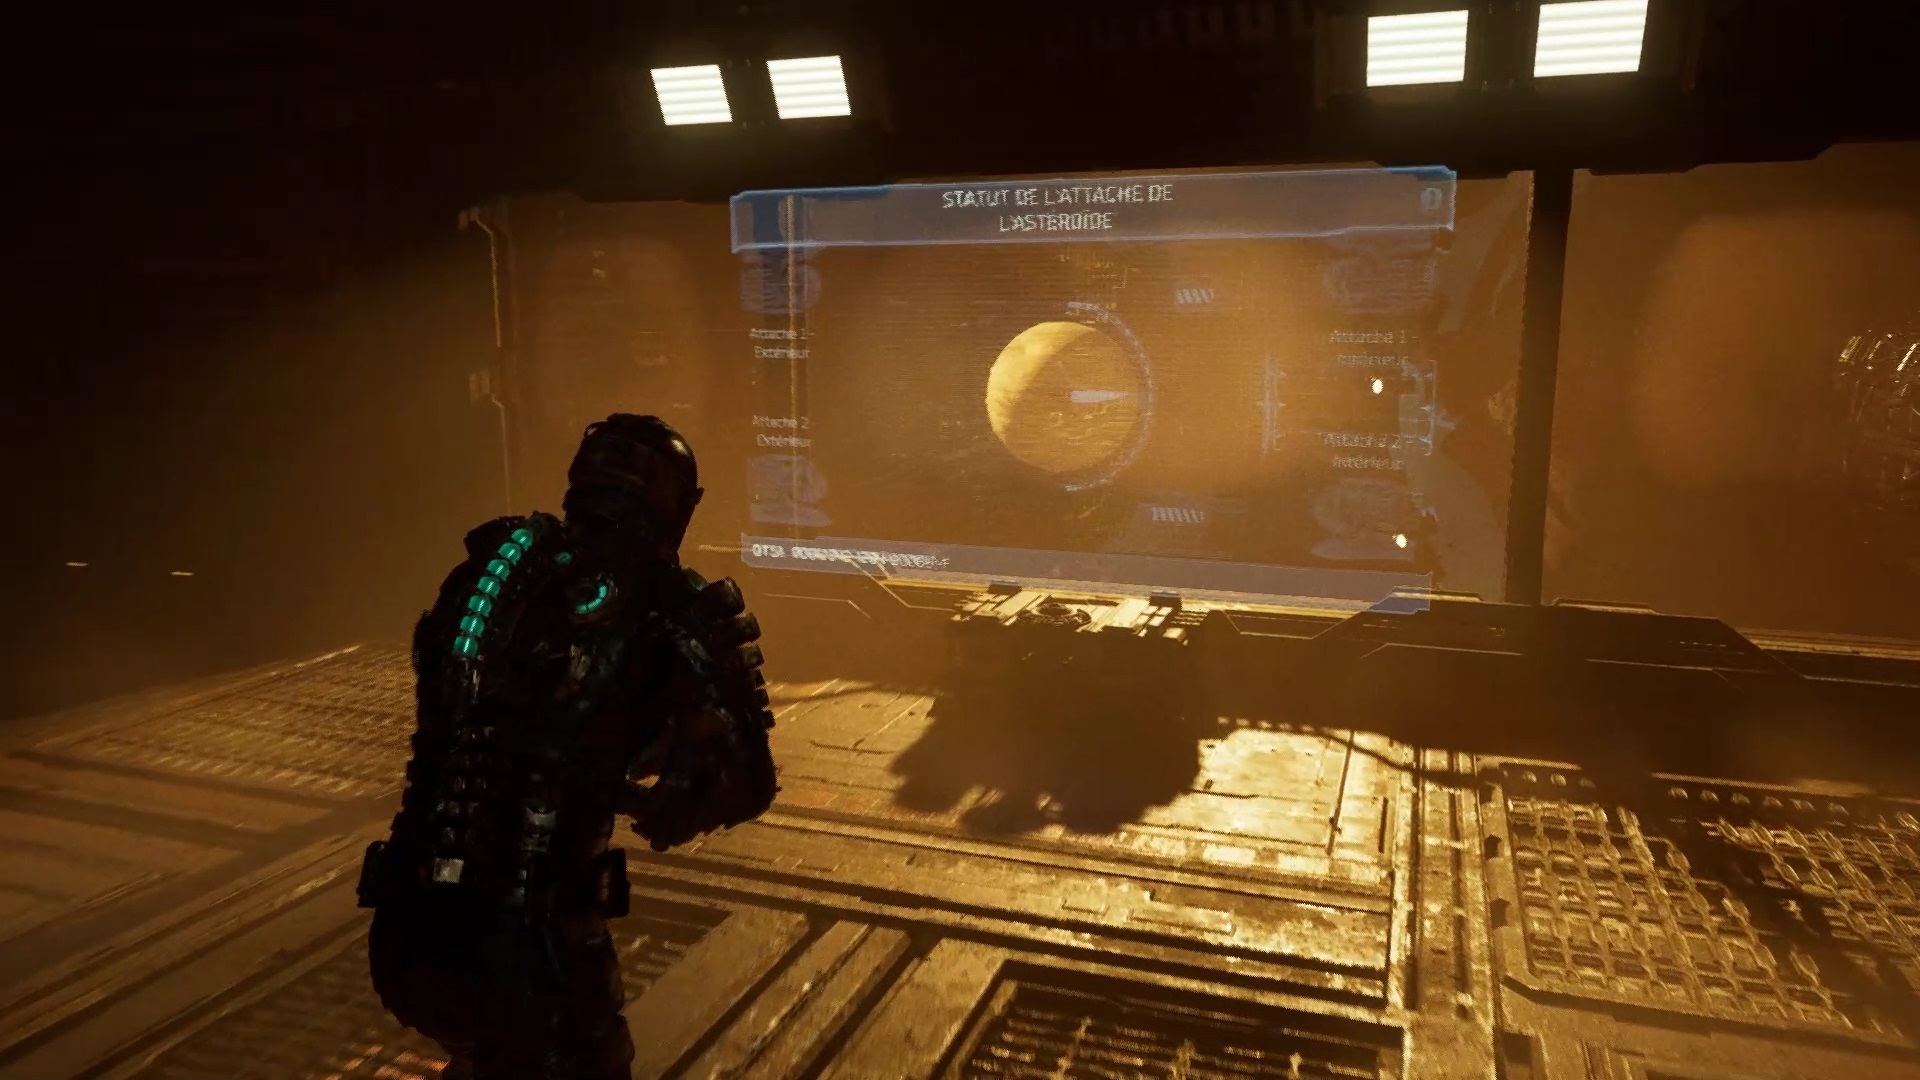
Once the mission is completed, return to the drilling control area. You’re going to need to pick up the battery from the extraction area to get back up. Once in the room, detach the asteroid. You get a new mission. Return to the tram station, but not everything goes as planned. The creature is back.

Slow down the enemies and open the door manually with the lever against the wall. Then go to the tram station to finish the episode.
Episode 8
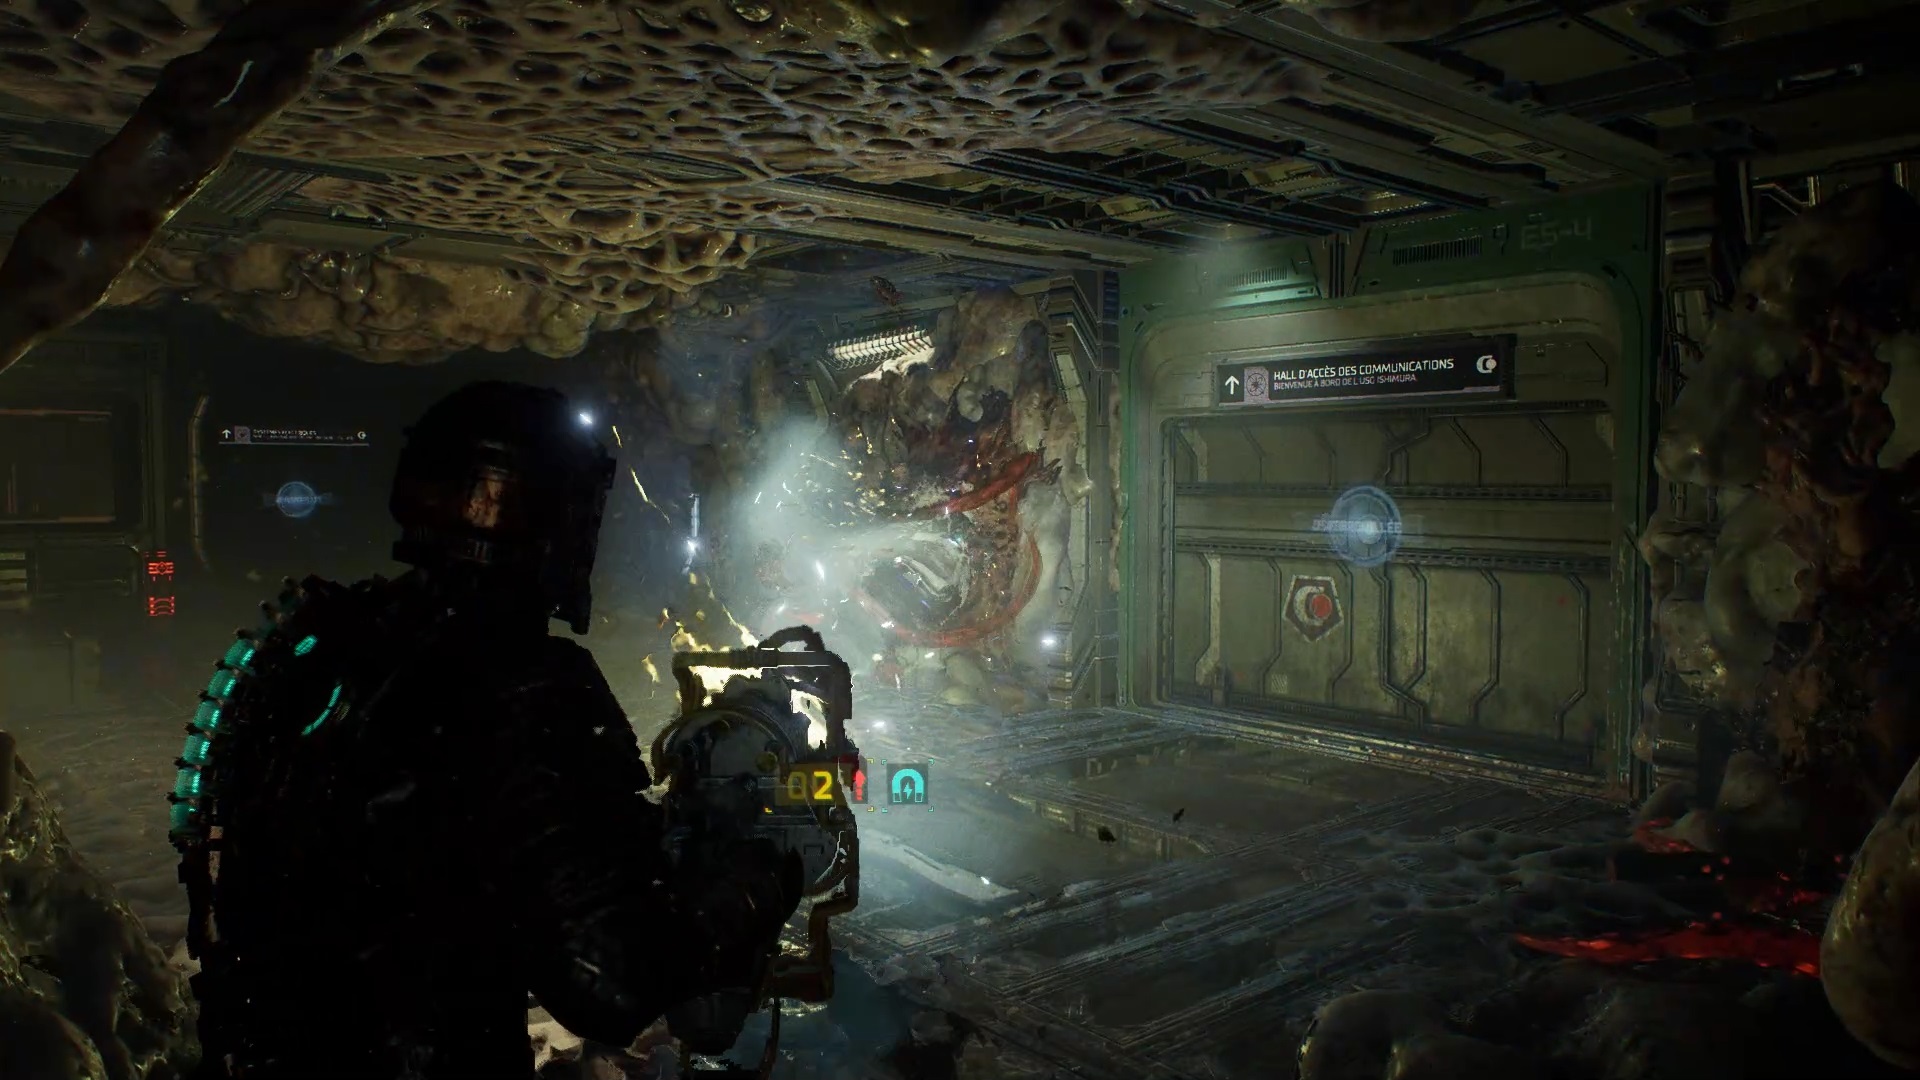
From the tram, return to the bridge. Get rid of the enemies on the catwalk. After the fight, use the first elevator to go up to the third floor. Go down the hallway and clear the passage to the communications hall.
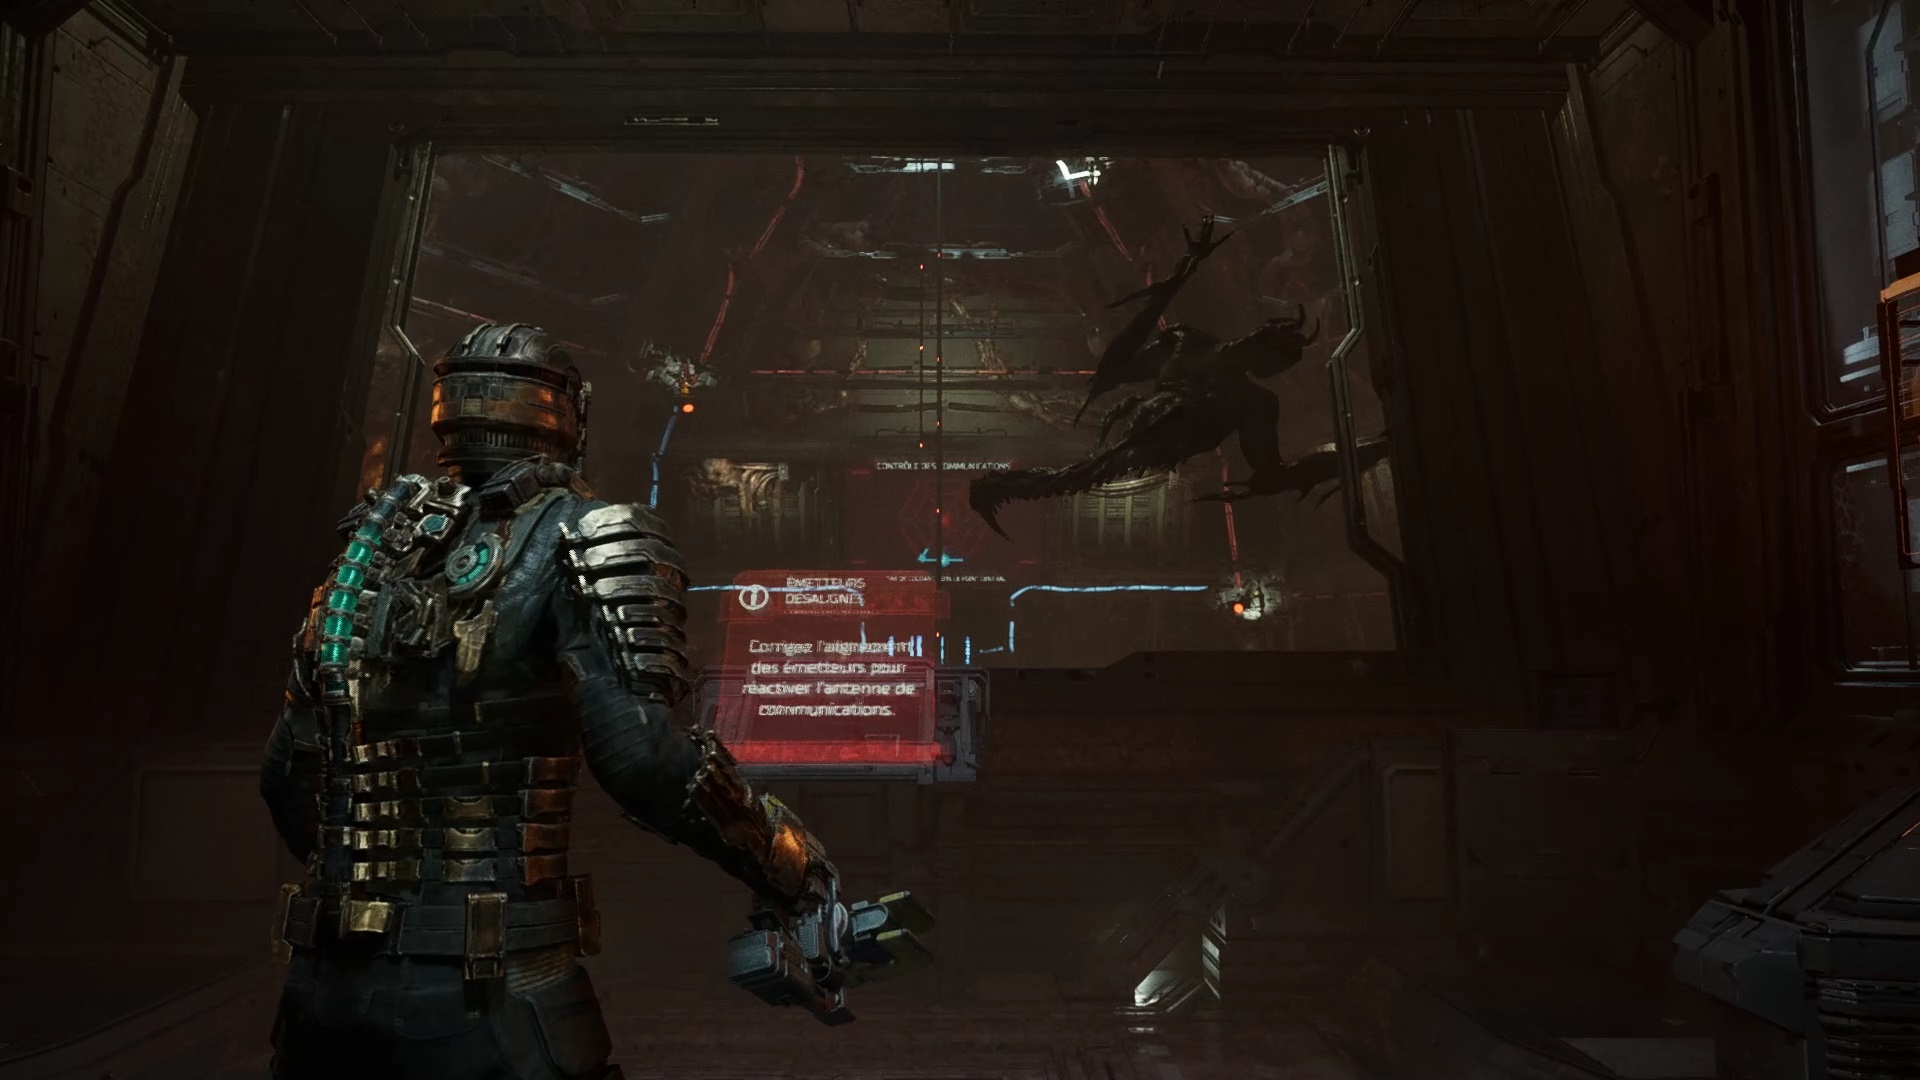
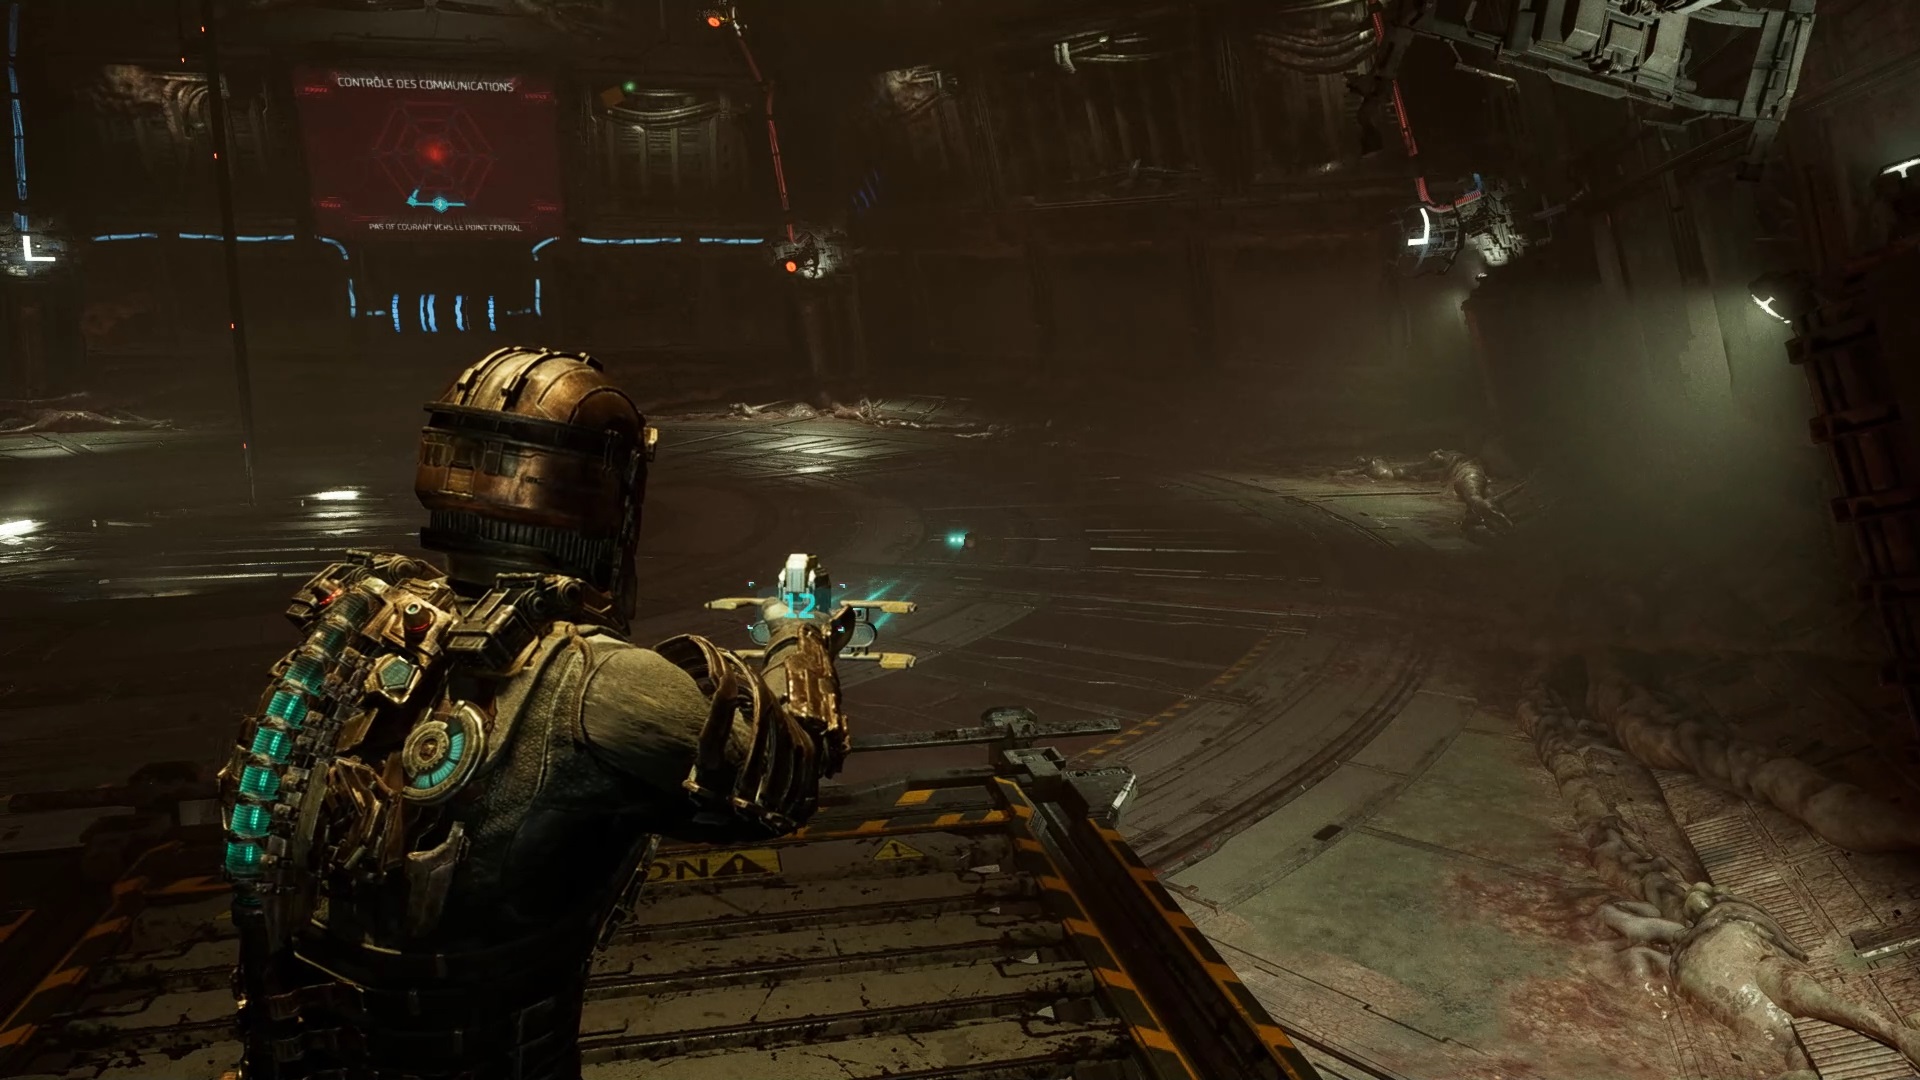
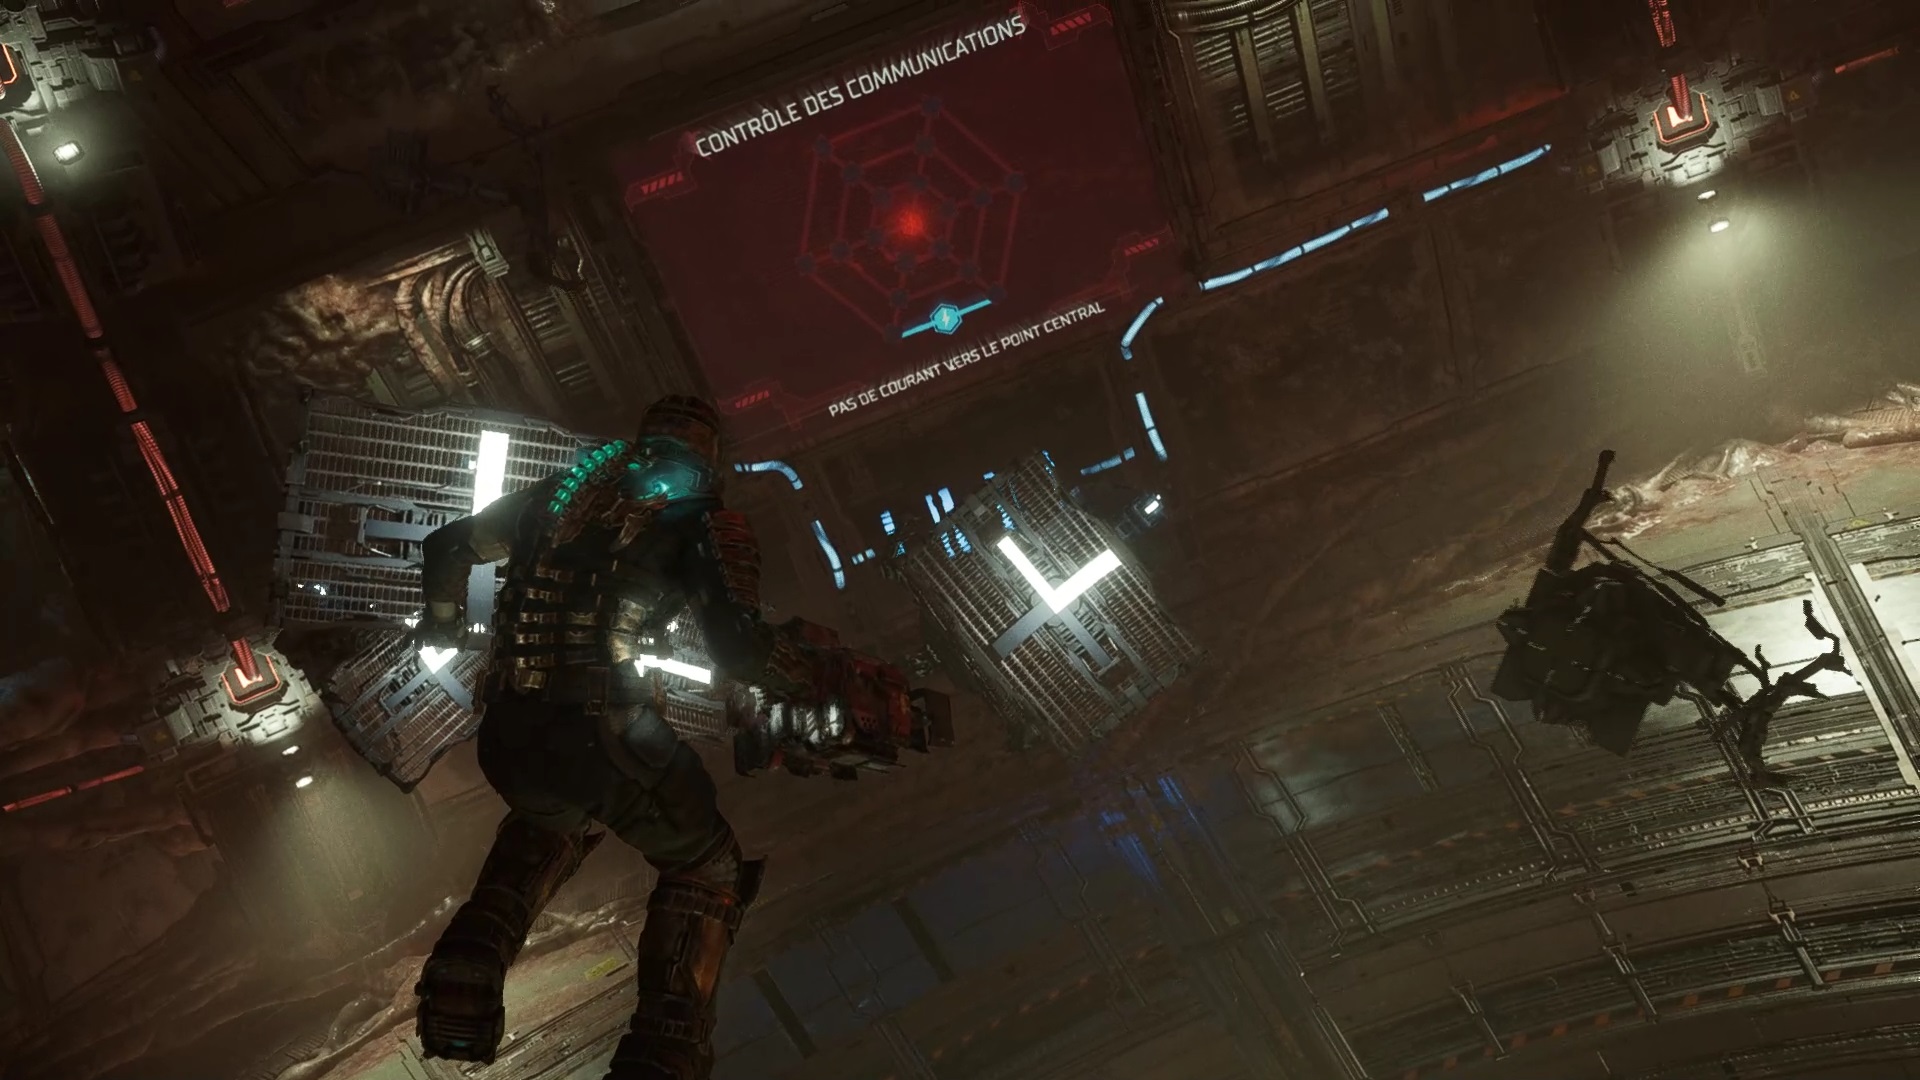
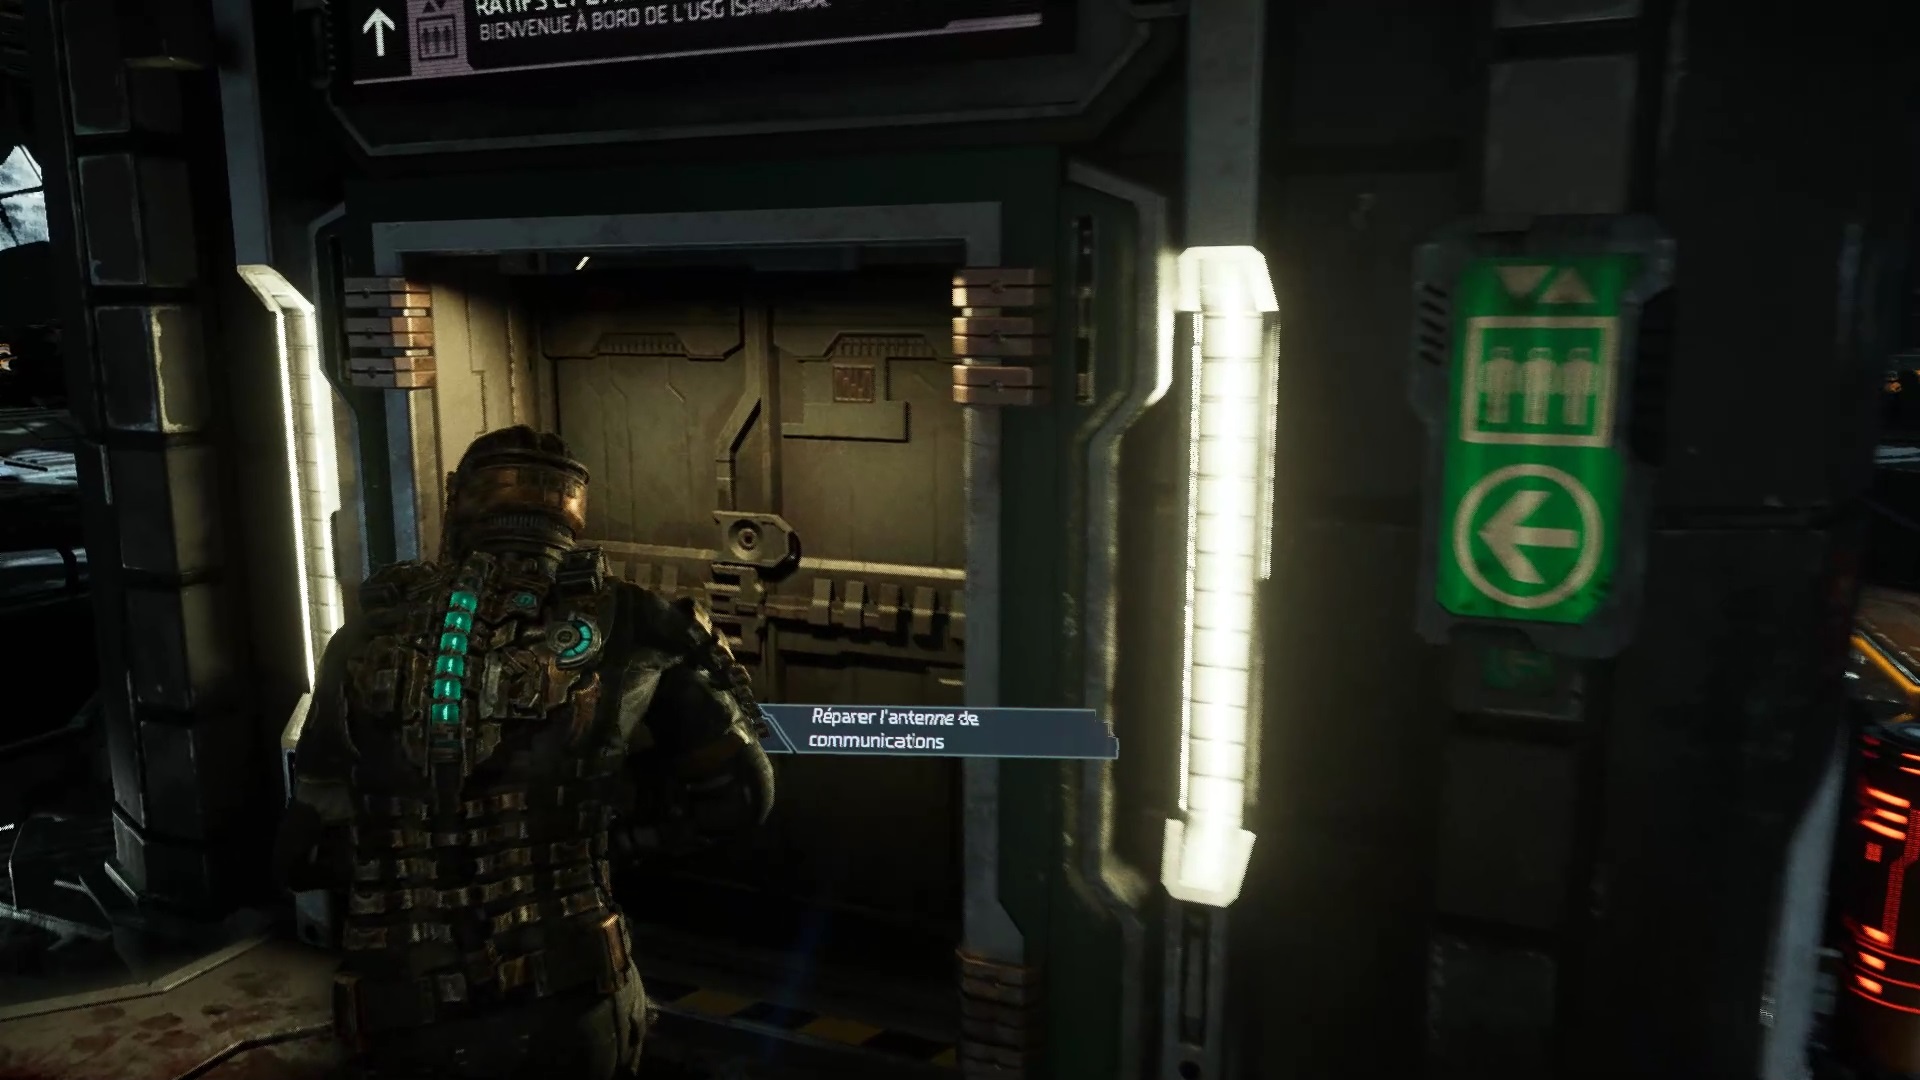
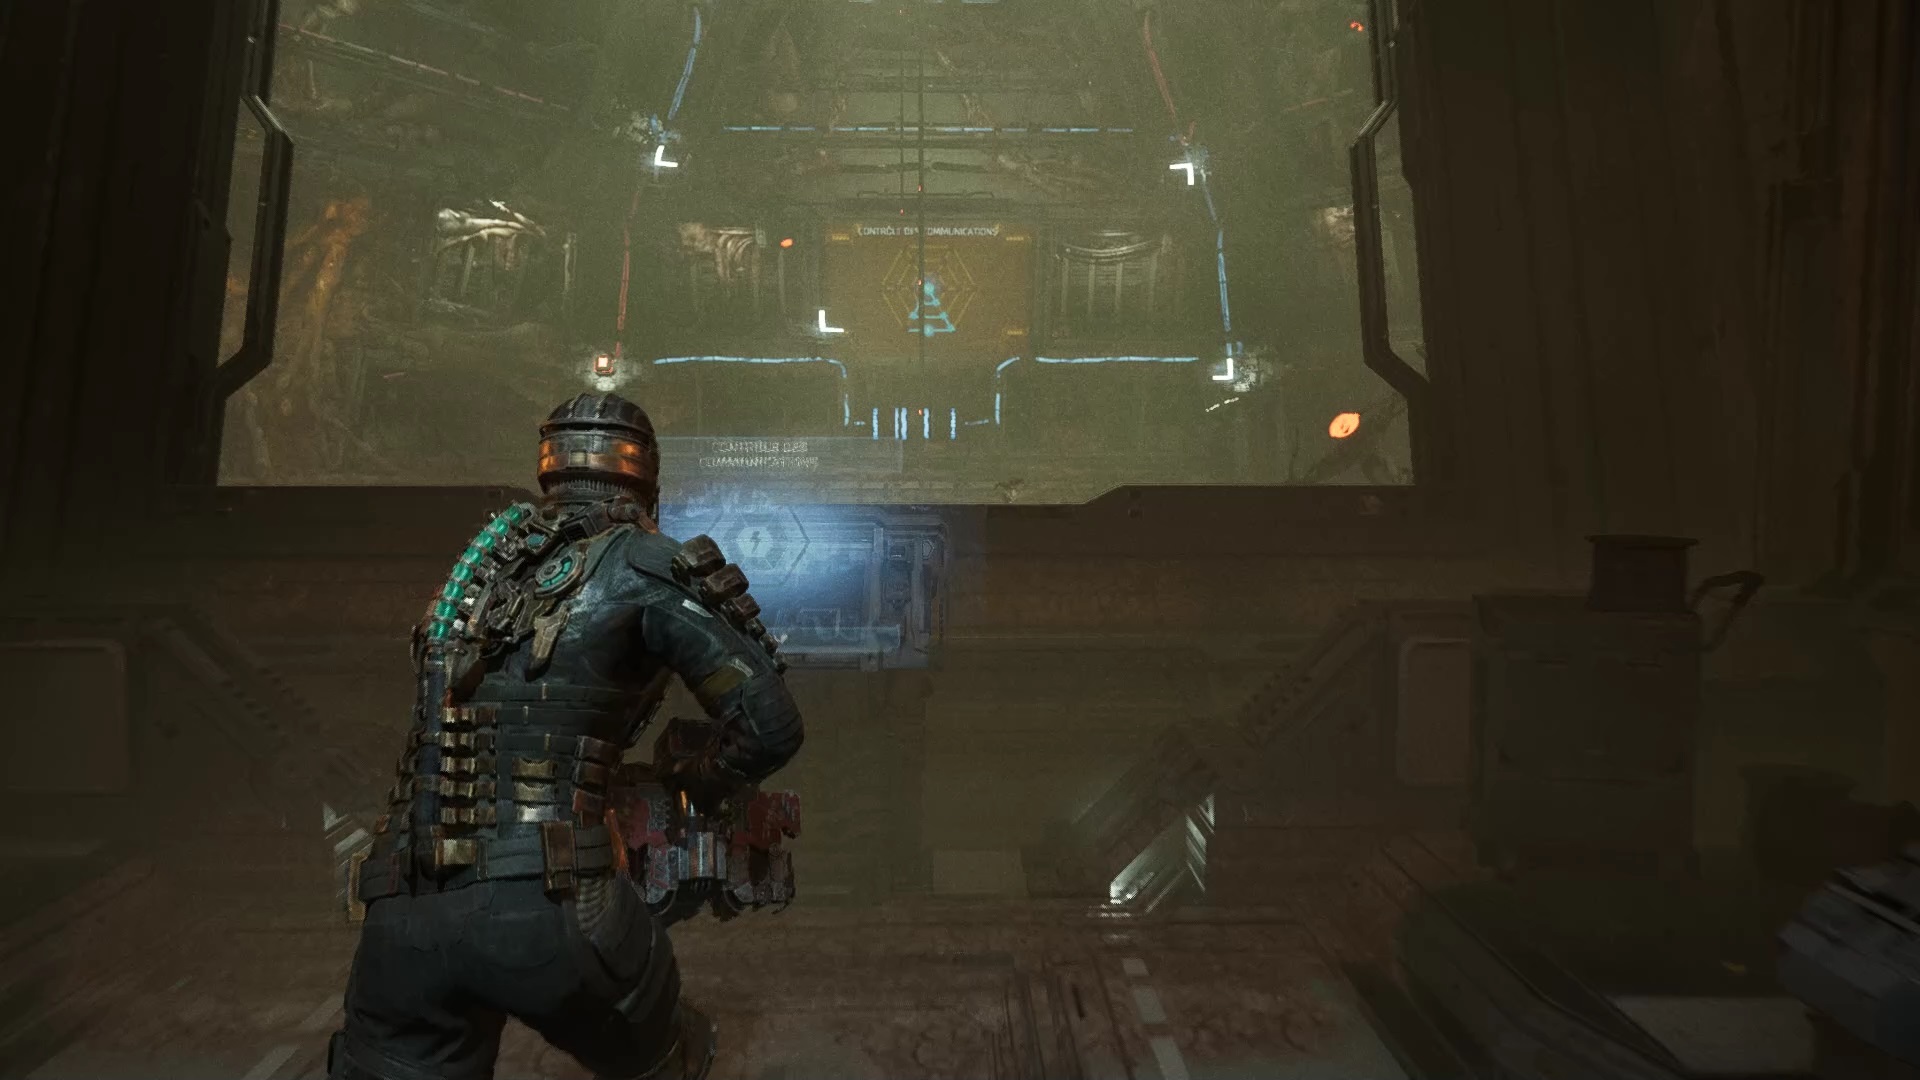
On site, go to the communication antenna. Go through the airlock and eliminate all enemies. You must solve a puzzle to activate the communications. Start by removing all defective dishes. Gather all the stable dishes near you to help solve the puzzle.
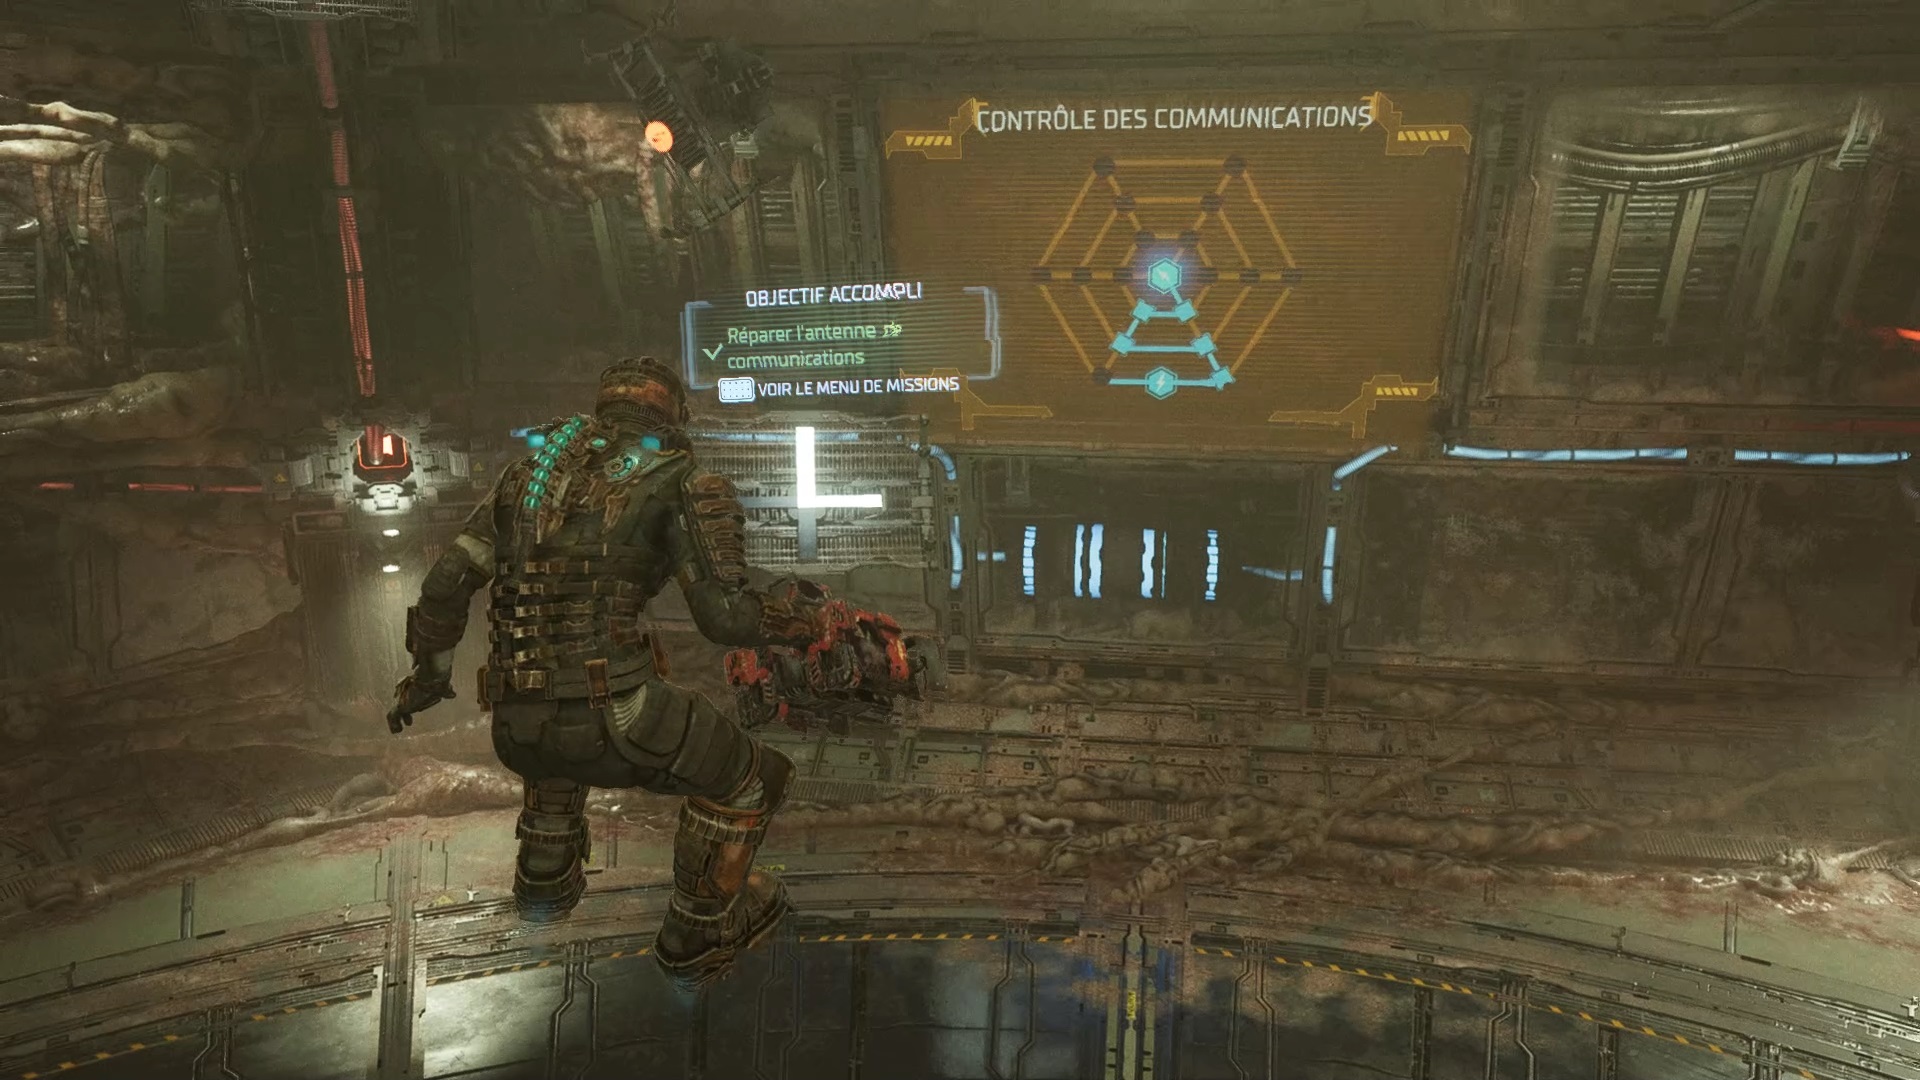
You need to start from the bottom of to create a feed path at the top of the structure. Derive the power right, up, left, up, right more up to solve the puzzle.

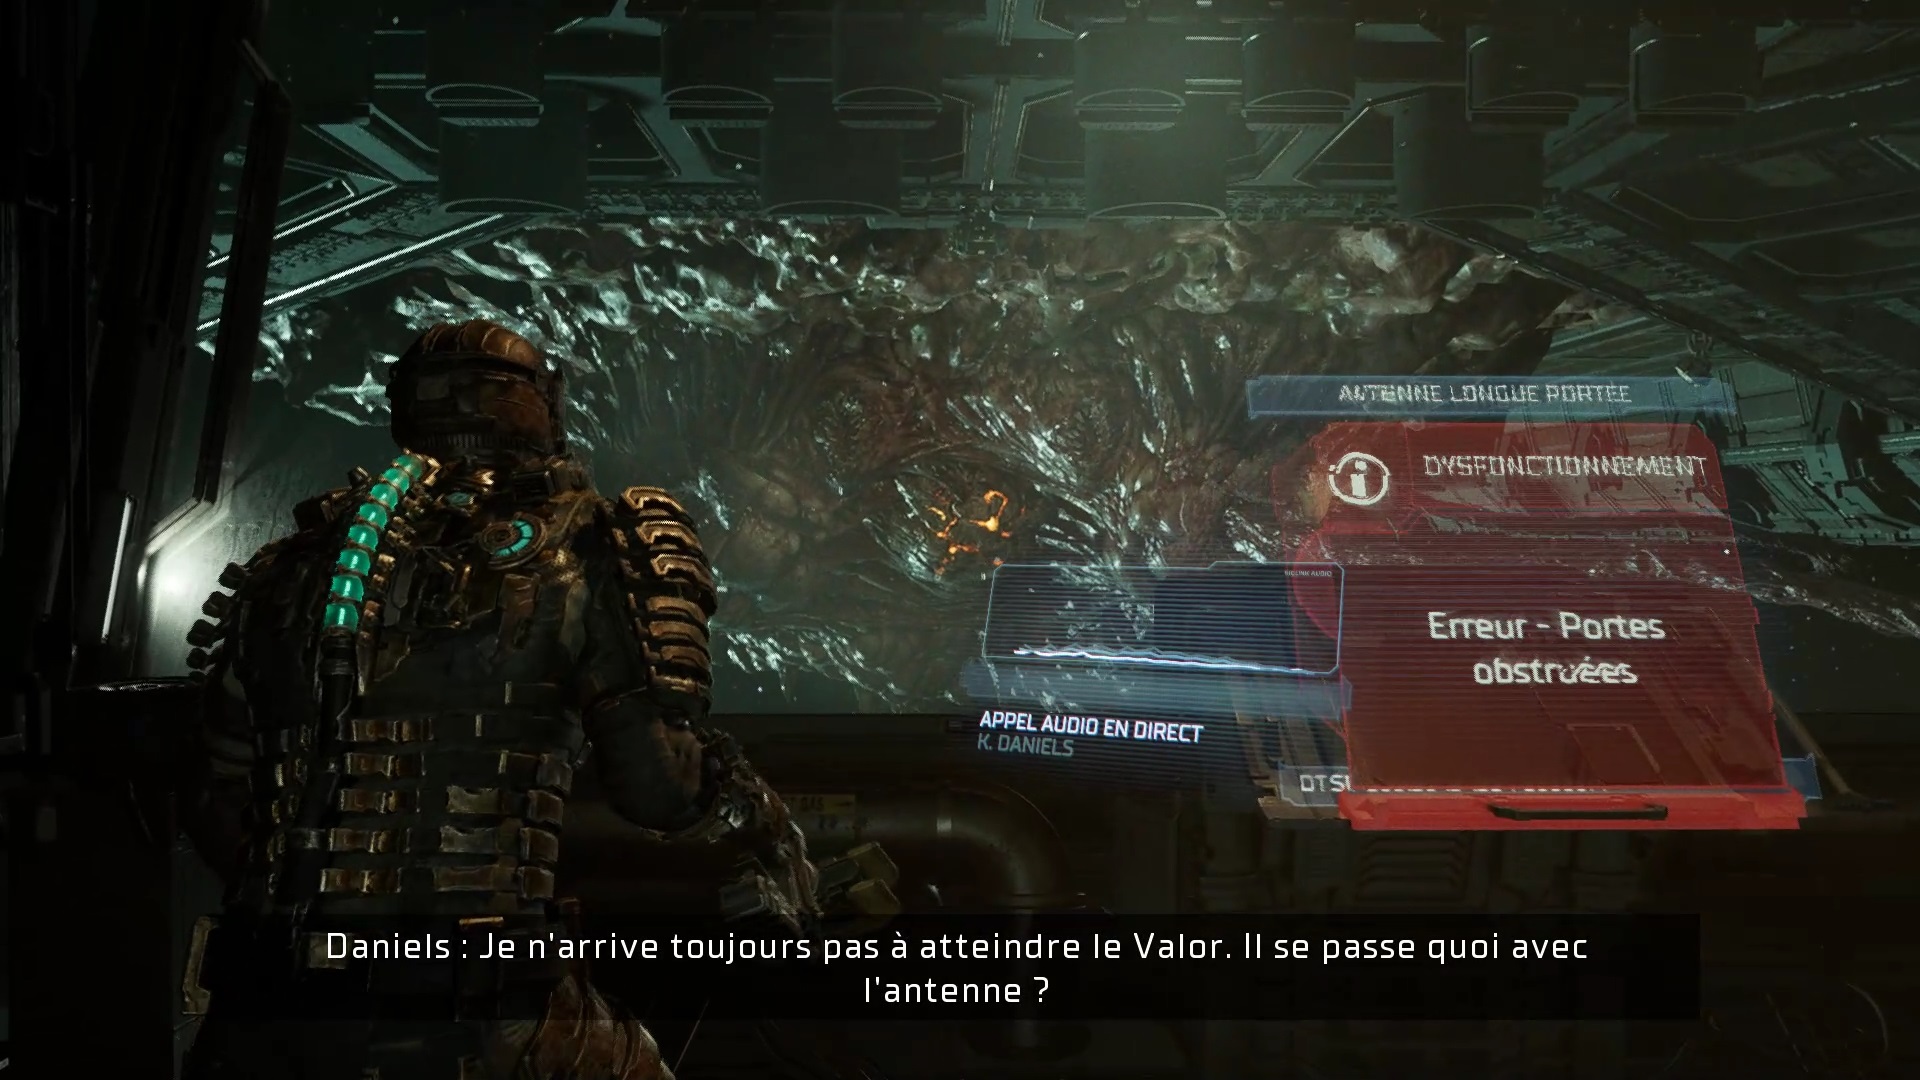
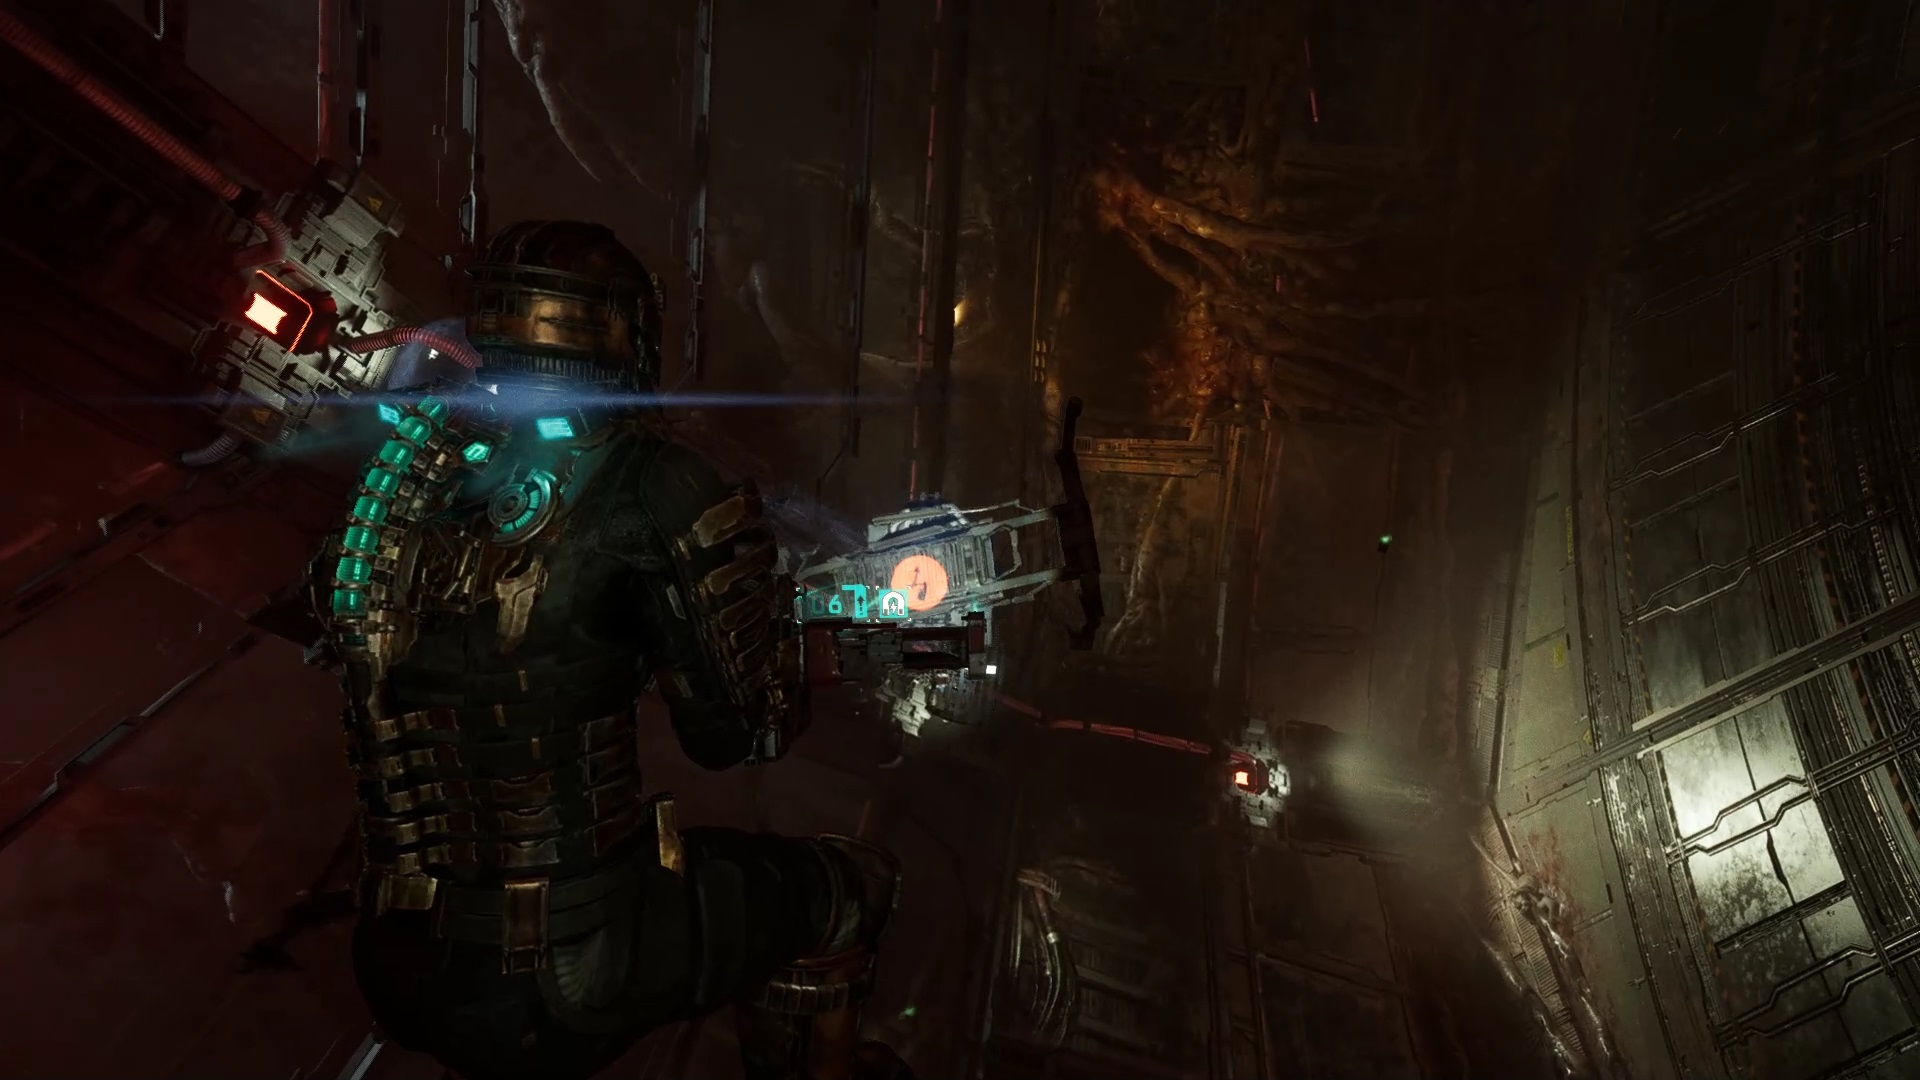
Activate the antenna to contact the emergency services. Follow your compass to the maintenance gondola. On the way to the antenna, change your outfit to that of level 4. Once at maintenance, you discover that the Leviathan is still alive. Exit through the SAS nearby to settle his account.
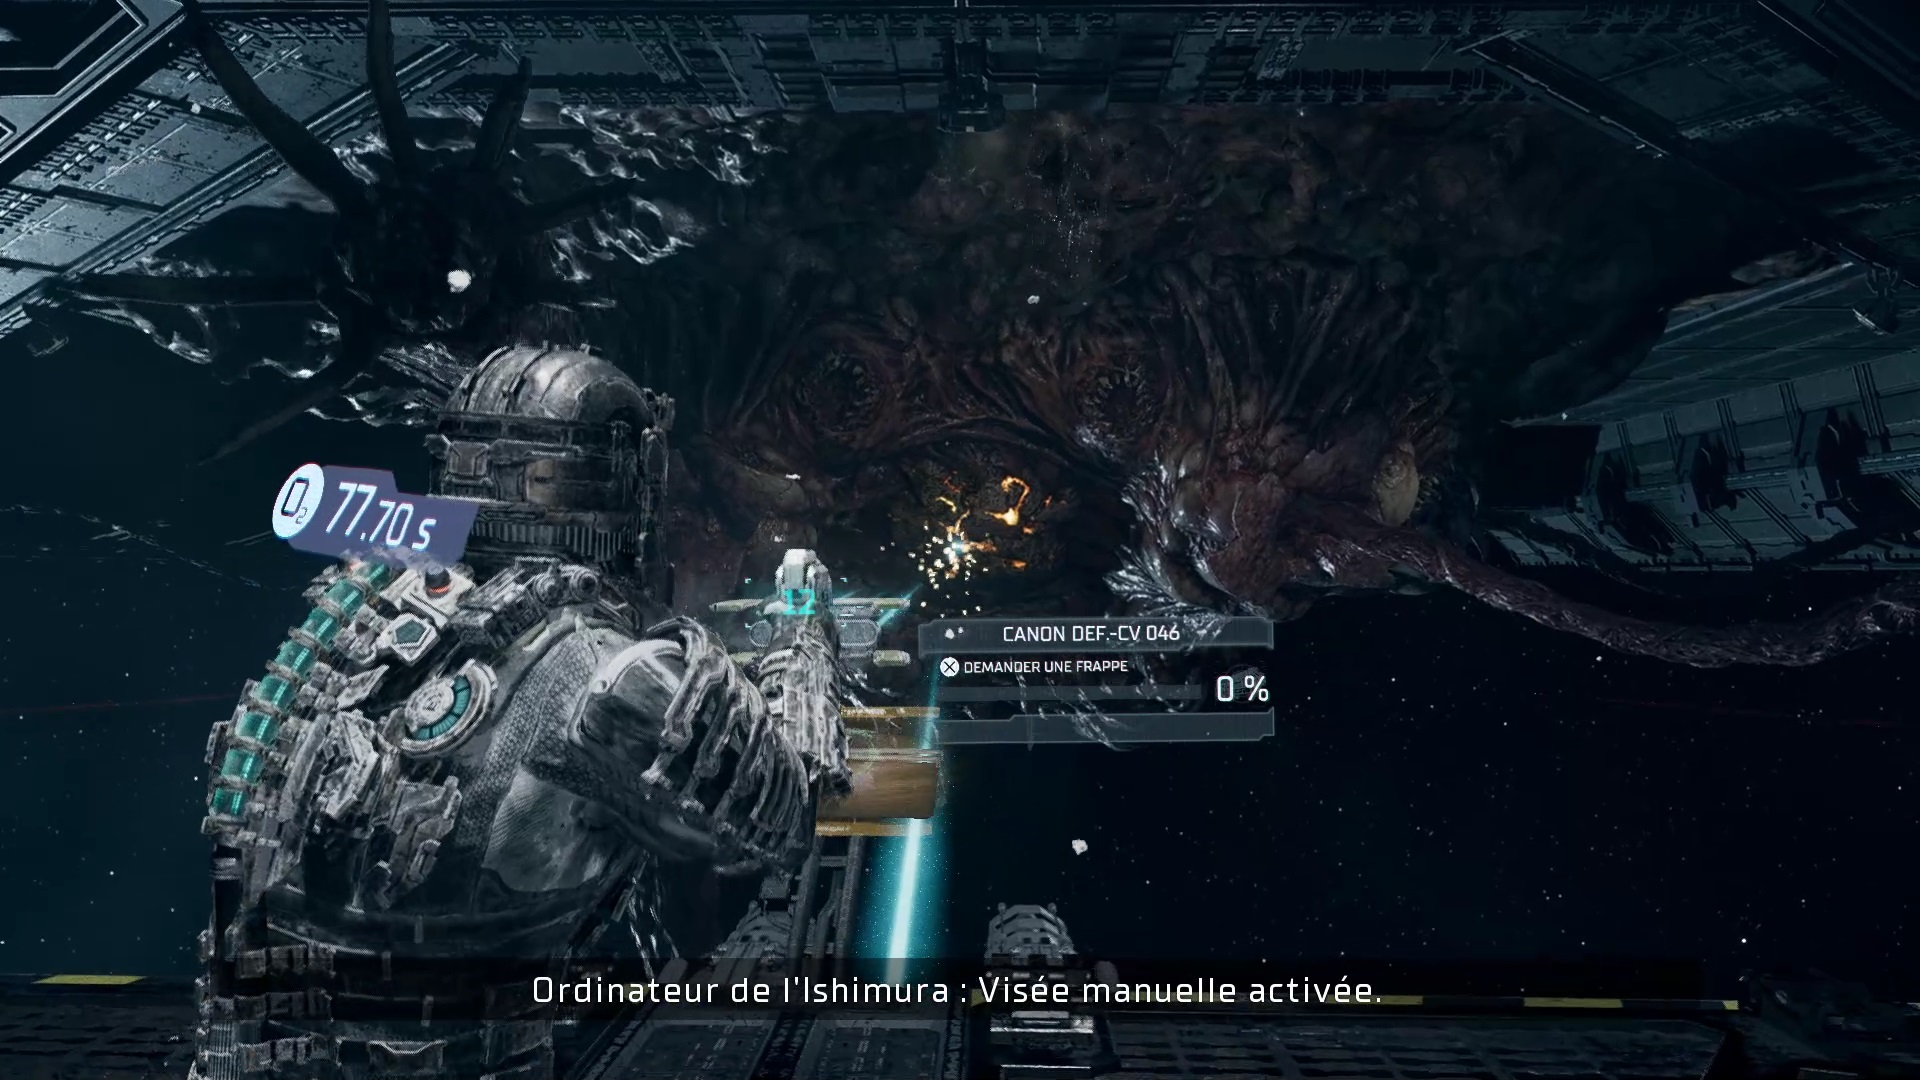
You fight the Leviathan again. Synchronize your weapon with the barrel in front of you to break the Leviathan’s hull and reach one of its growths. Dodge the attacks of its tentacles with your thrusters. Use nearby canisters to breathe. Use the same technique on the right while destroying Leviathan’s projectiles. End the fight with the last cannon on the left. Shoot its projectiles and dodge its tentacles.
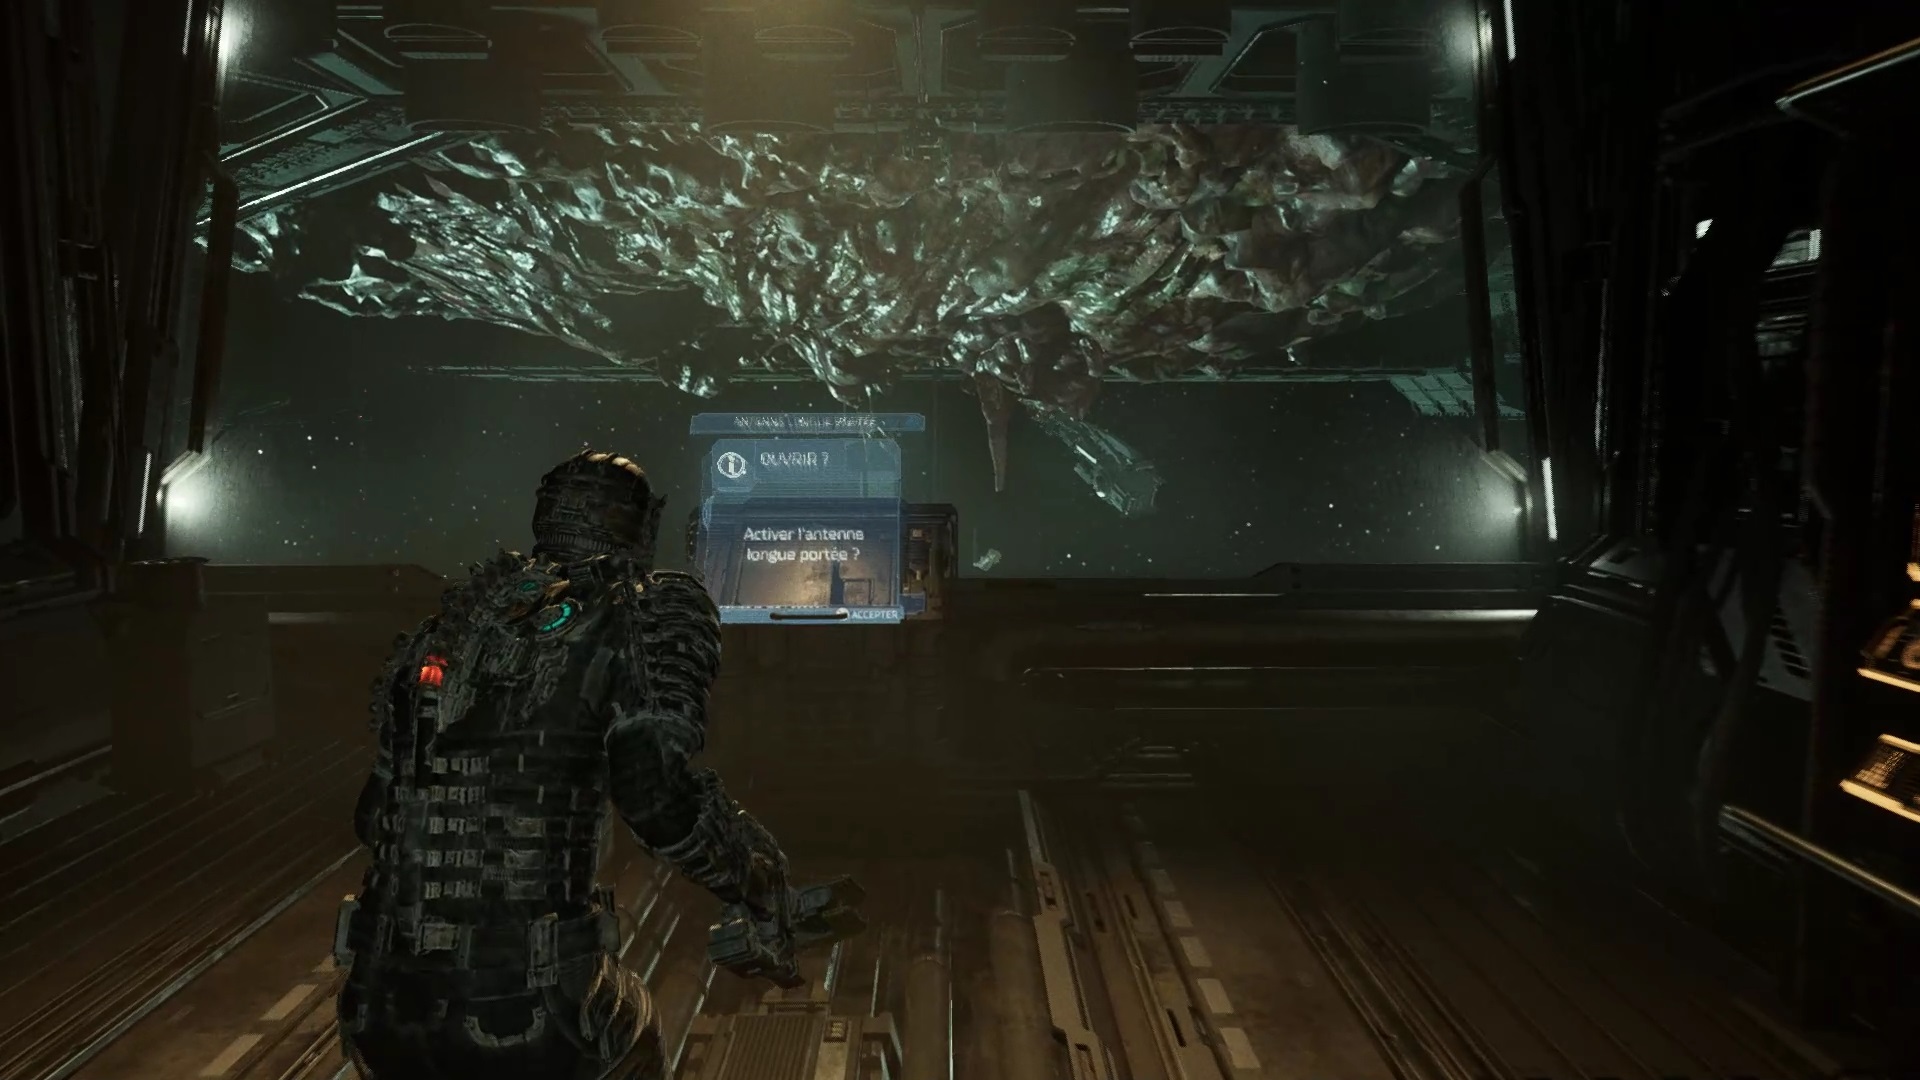
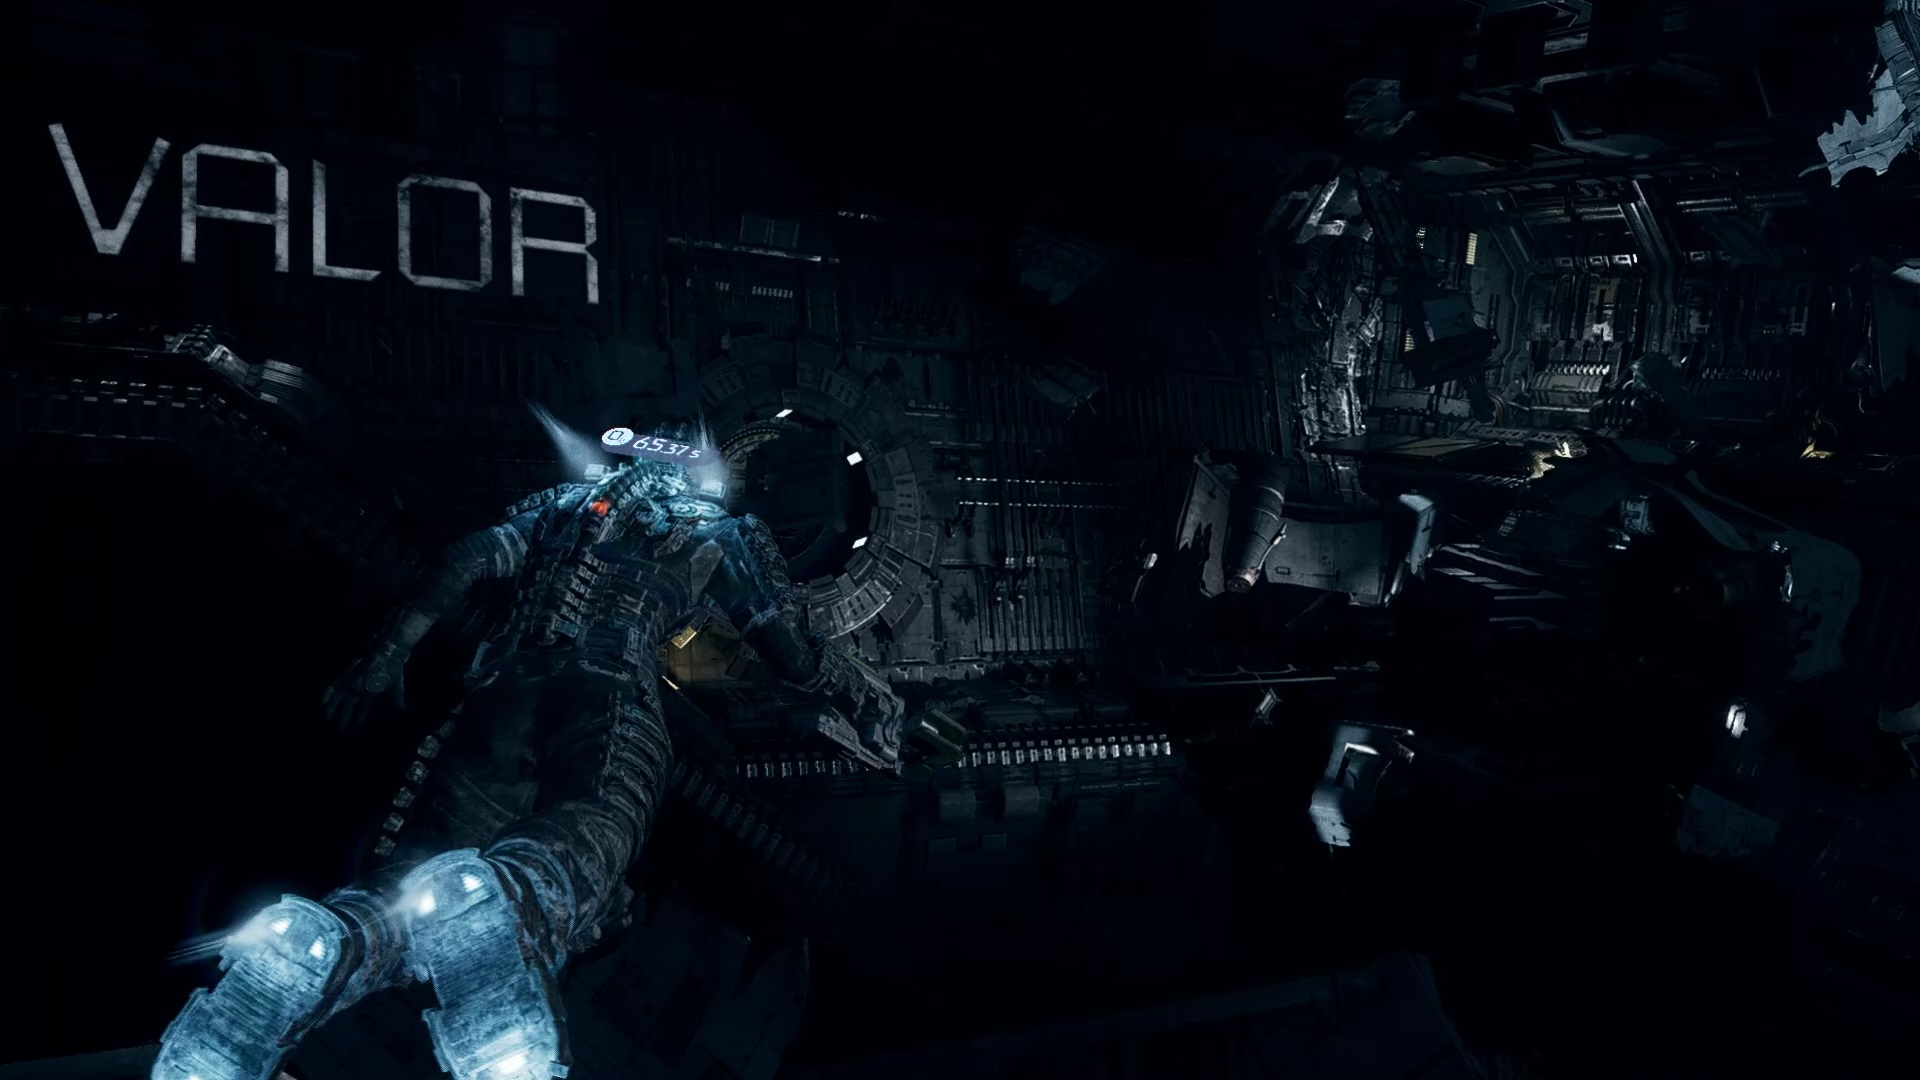
Deploy the antenna inside and join USM Valor to finish the episode.
Episode 9
Aboard the USM Valor, head deeper into the barracks to reach the lower deck. Proceed down the hall to meet an enemy much faster than the others. Don’t bother, use the Mega PK against this type of enemy to make short work of it when in range. Enter the briefing room at the back and get rid of the enemies present. Take the battery from the room and move it to the previous hallway. To replace the elevator battery.

Go down below with the elevator to reach the torpedo area. Eliminate the enemies with the spears on the ground to avoid exploding the torpedoes. Break all feeds around the torpedo with your weapons without firing. Retrieve the battery from the rubble. Place the battery in the slot near the entrance to activate the commands of the warhead and bring it to safety.
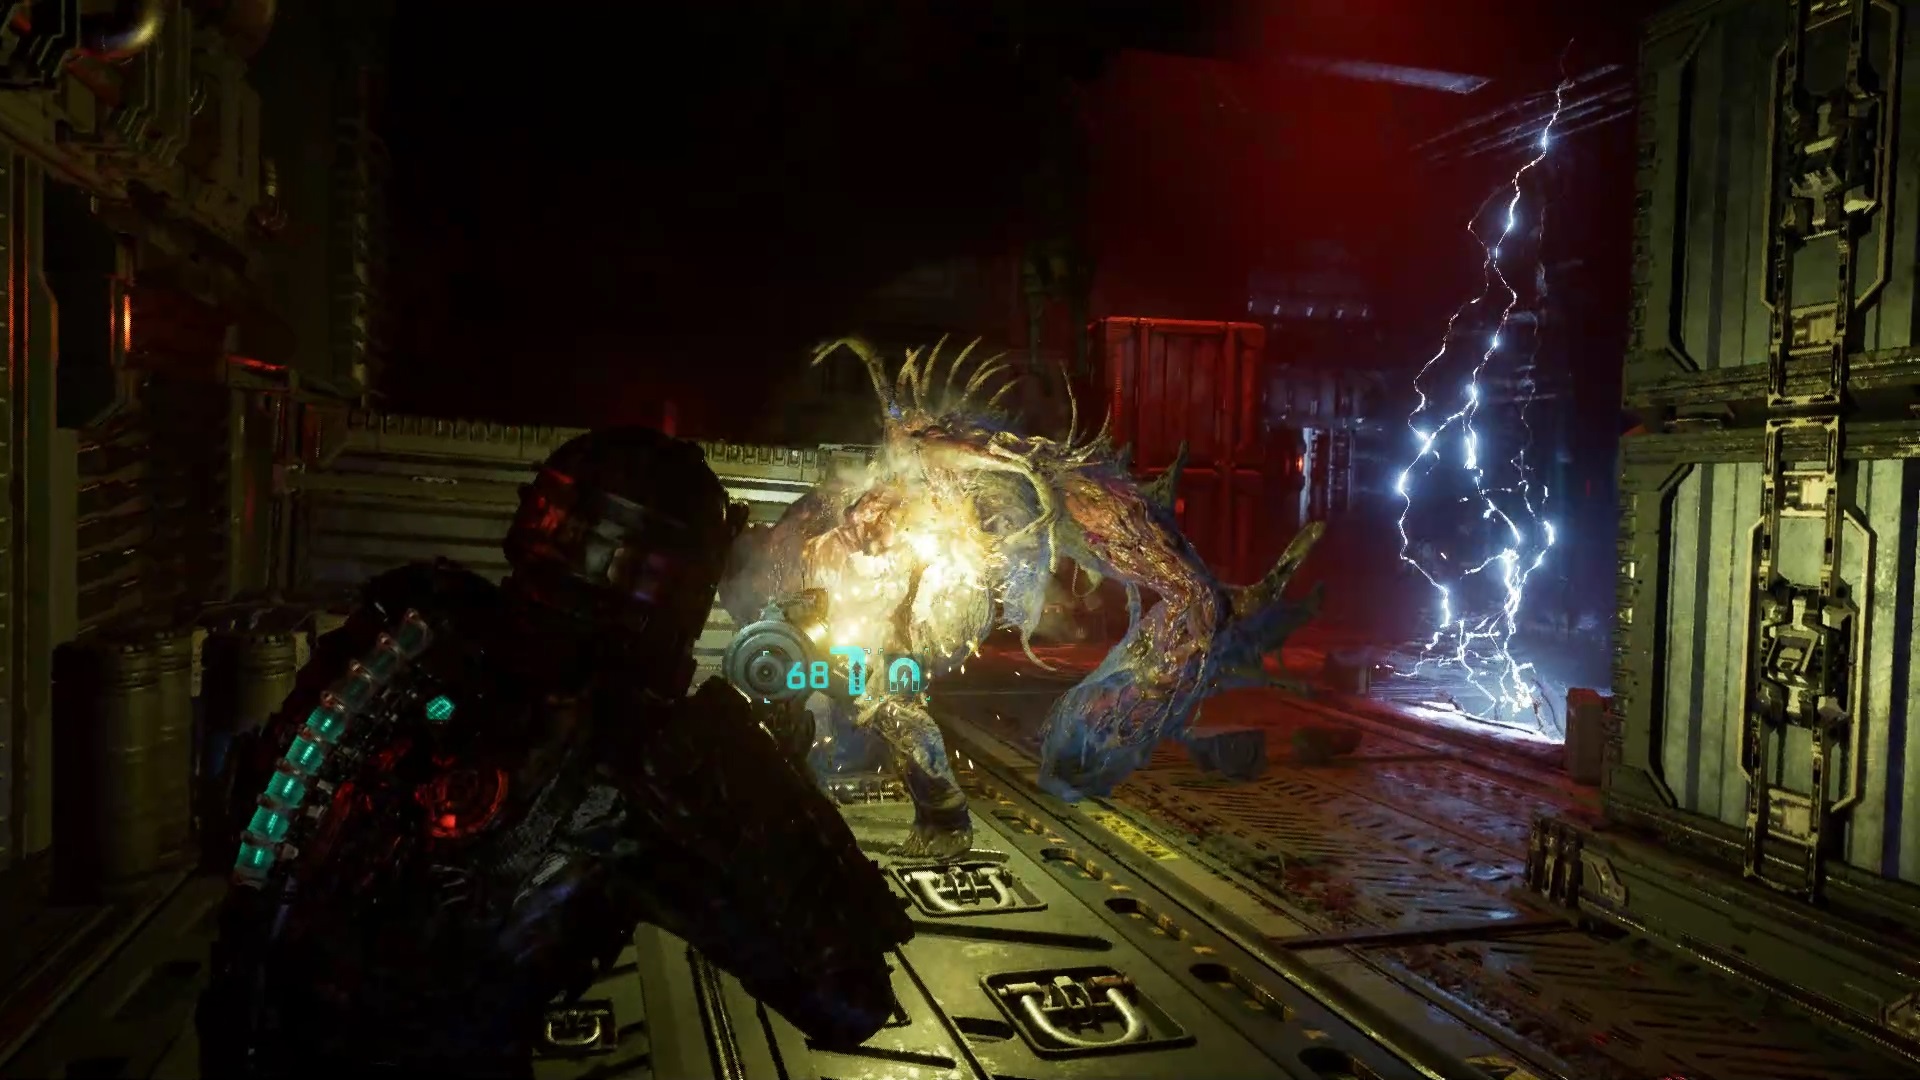
Continue to the armory where enemies are waiting for you. Fight and collect resources then move towards the infirmary. The blueprint for the medium med kit is on a table near the entrance. Use stasis to slow down the lasers in the infirmary and get to the other side. Proceed to the armed loading area of your Mega PK to clean up. A big beast awaits you at the end of the fights. Use stasis to slow him down and kick him in the back. Then proceed to the engine room.
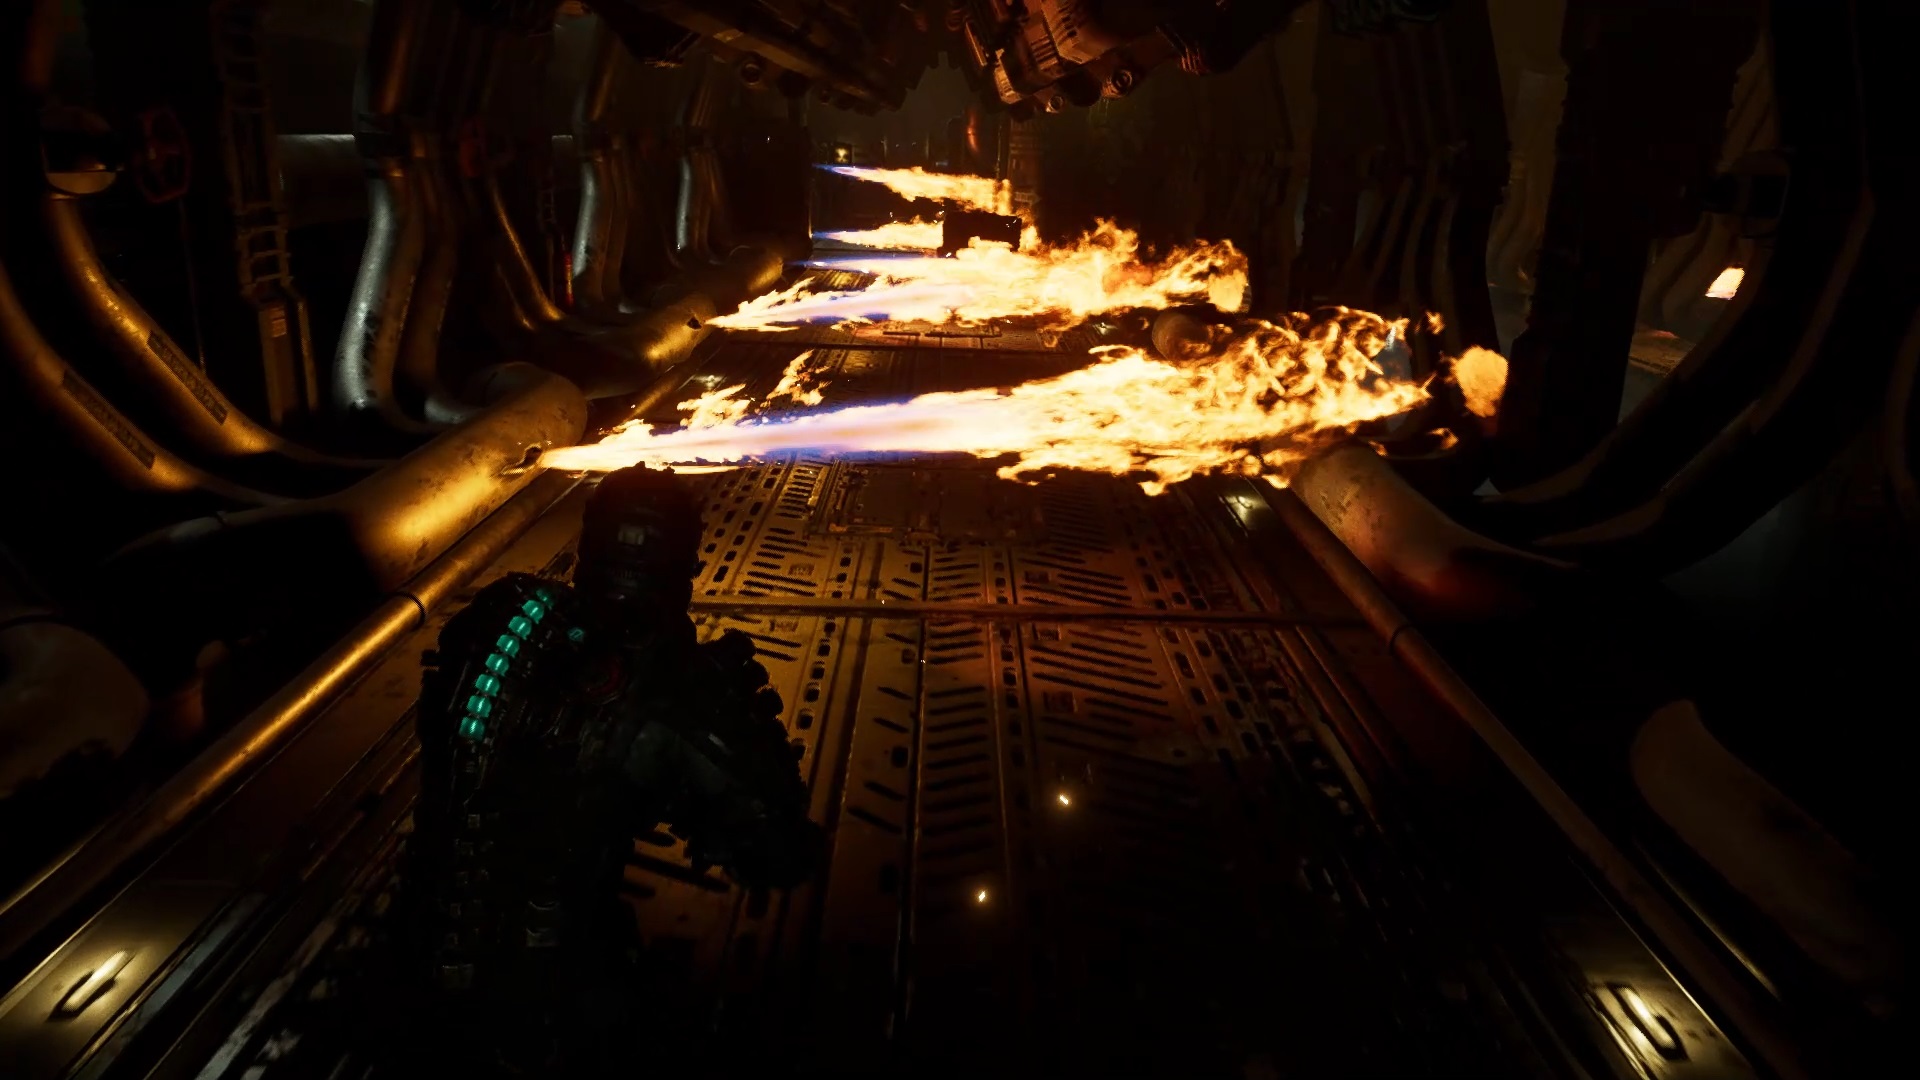
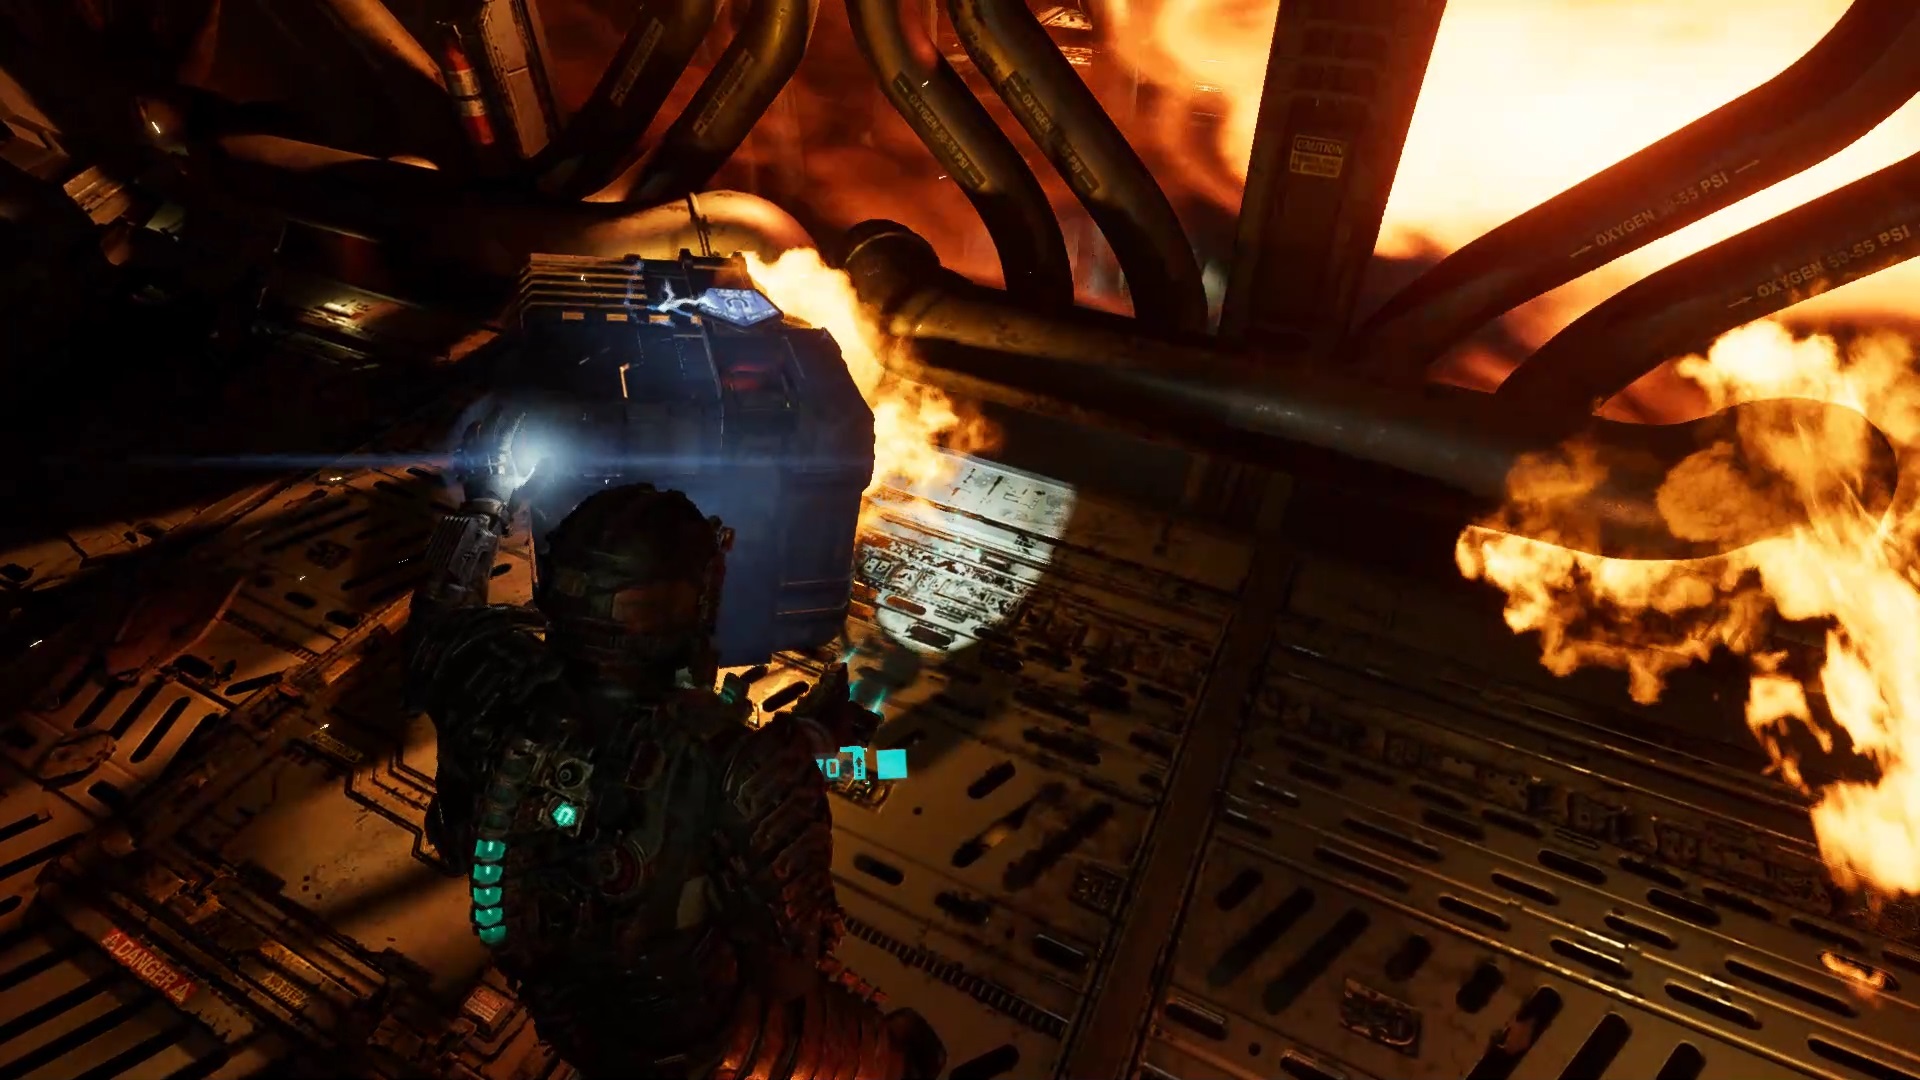
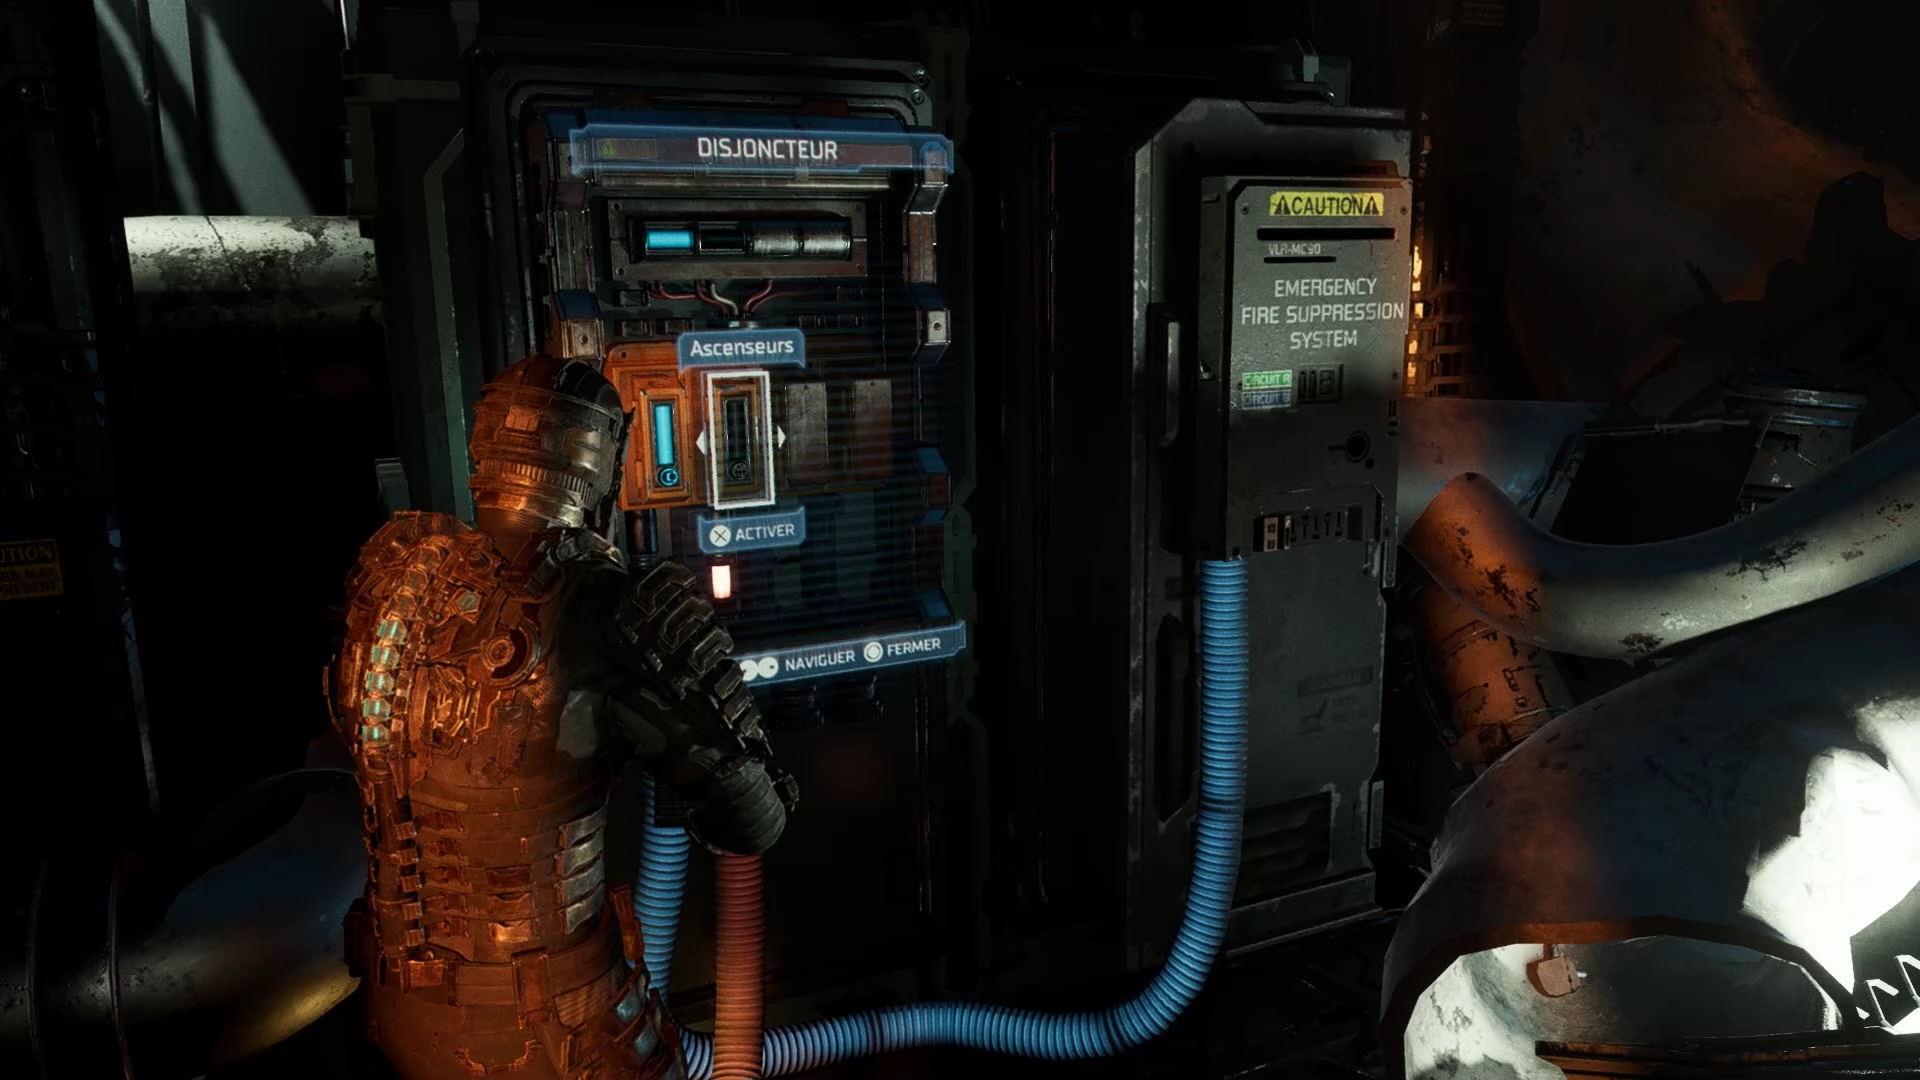
Pass at the right time so as not to burn yourself between the flames. A first box is at the bottom. At the end of the path, turn to the right of the reactor to find a circuit breaker. Use the crate to join him. Activate the fire extinguishing system and the elevator. Eliminate the enemies that appear and go up the elevator. You find Hammond. Retrieve the reactor and escape from the ship. Clear the way with Mega Pk to pass. Back on the Ishimura, pass the SAS to end the episode.
Episode 10
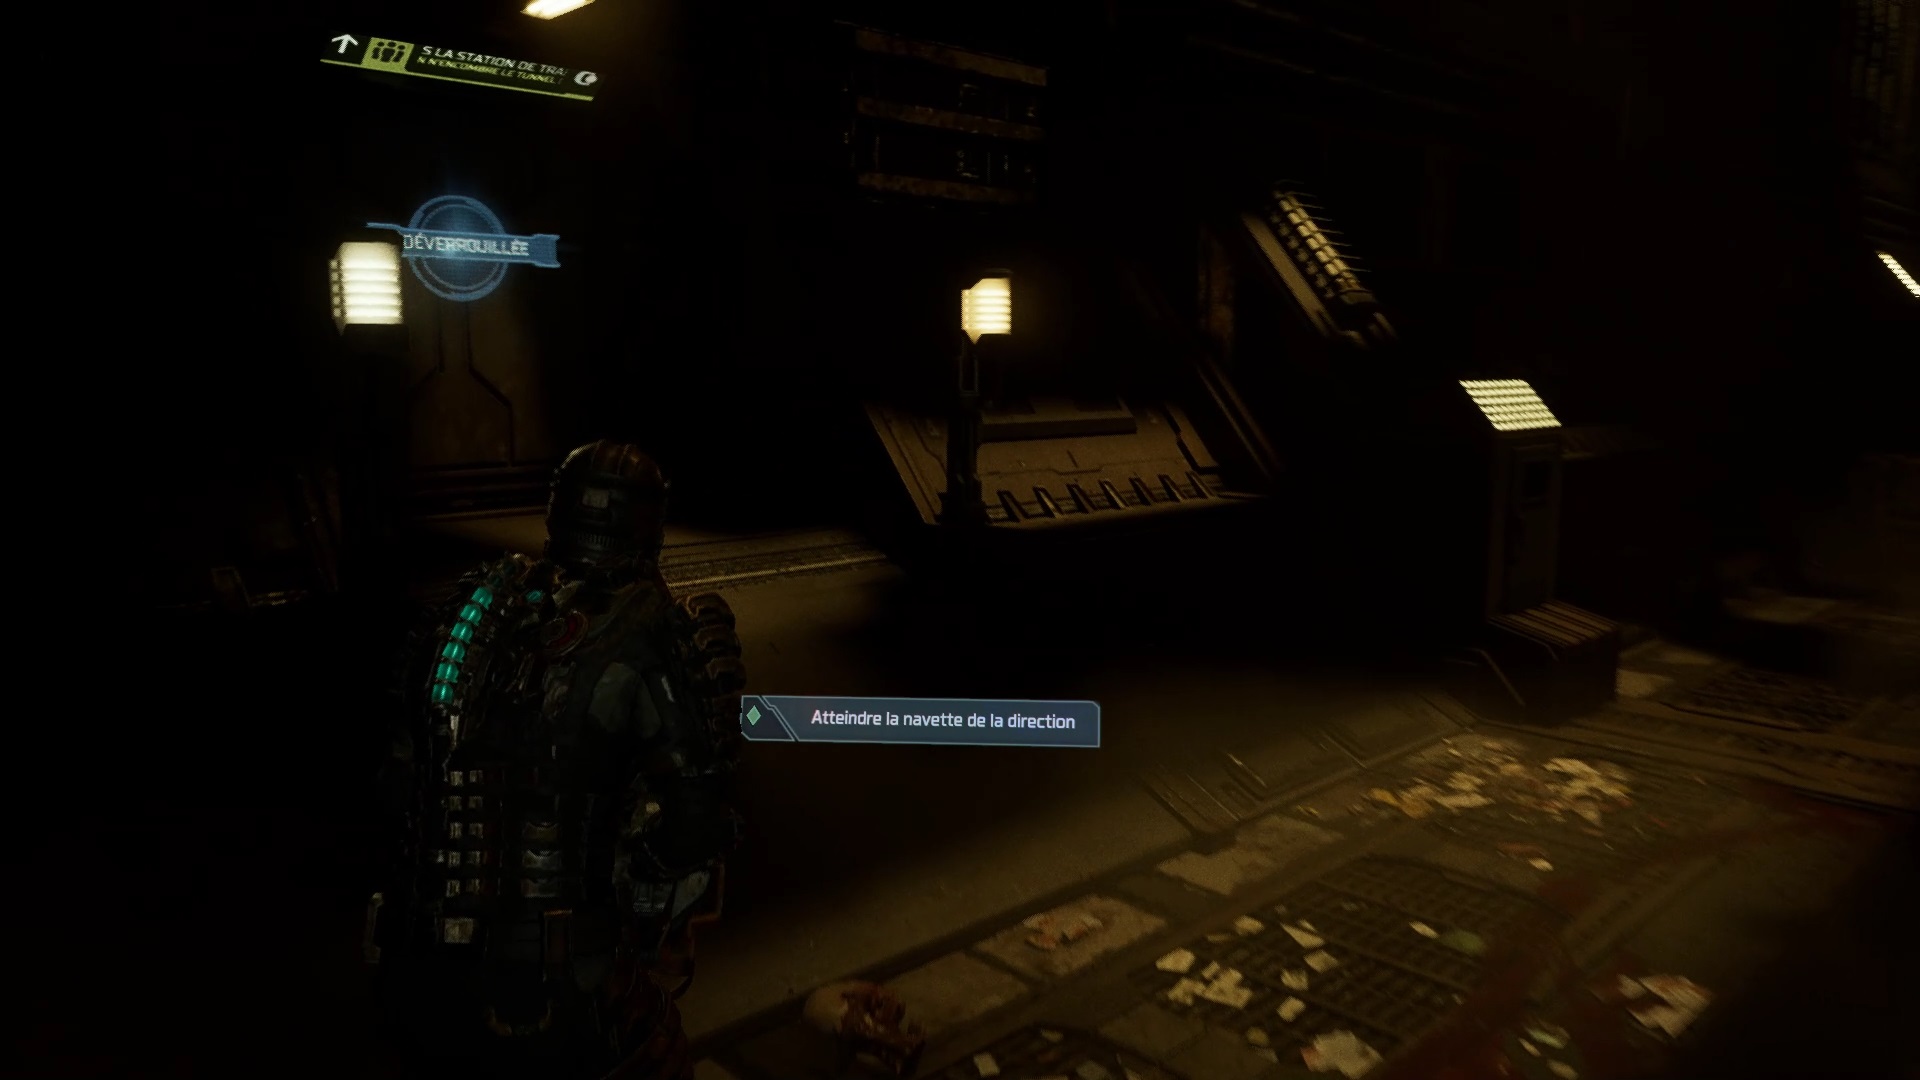
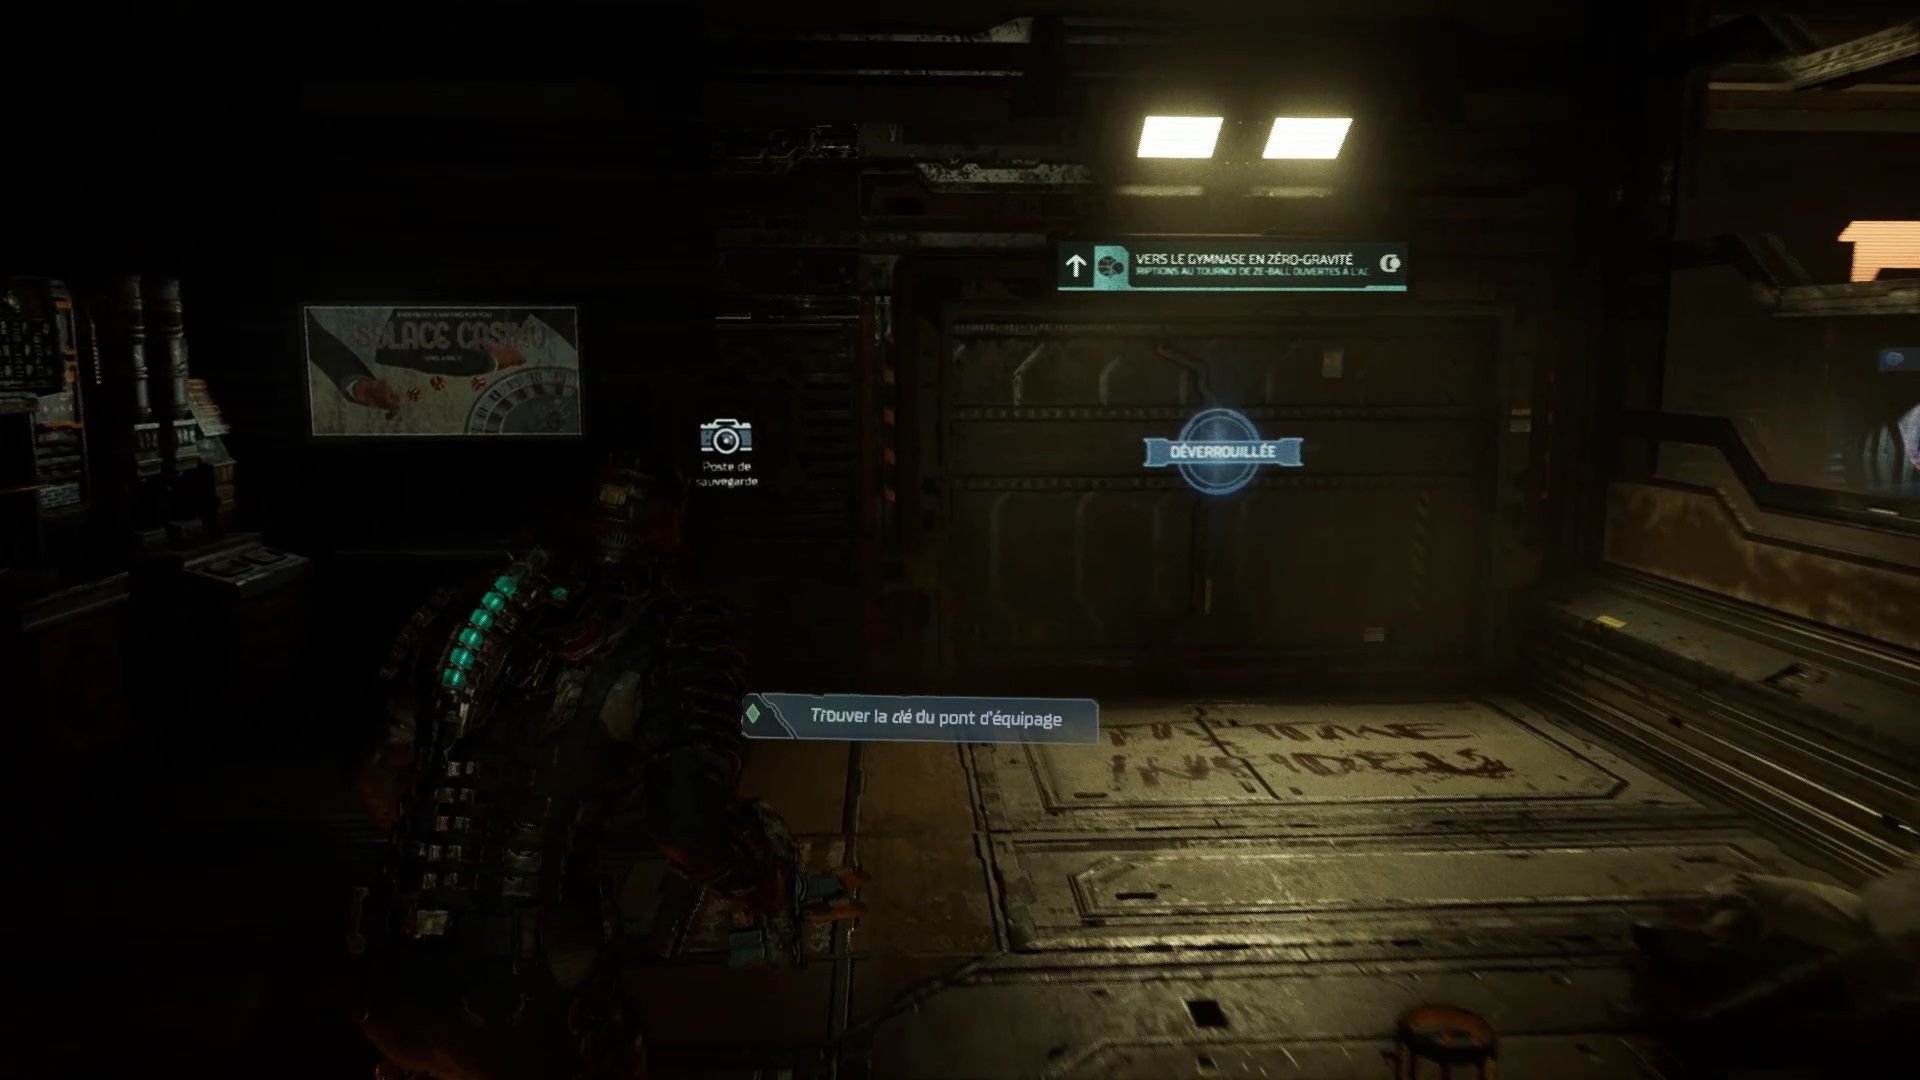

Join the bridge to reach the tram tunnel. A door leads to the crew deck station. Once at the station Daniels asks you to find the bridge key. Follow your compass to the crew deck. Proceed to the gymnasium. Enter the Locker Room and Showers to find an Advanced Engineer’s RIG blueprint sitting on a bench.
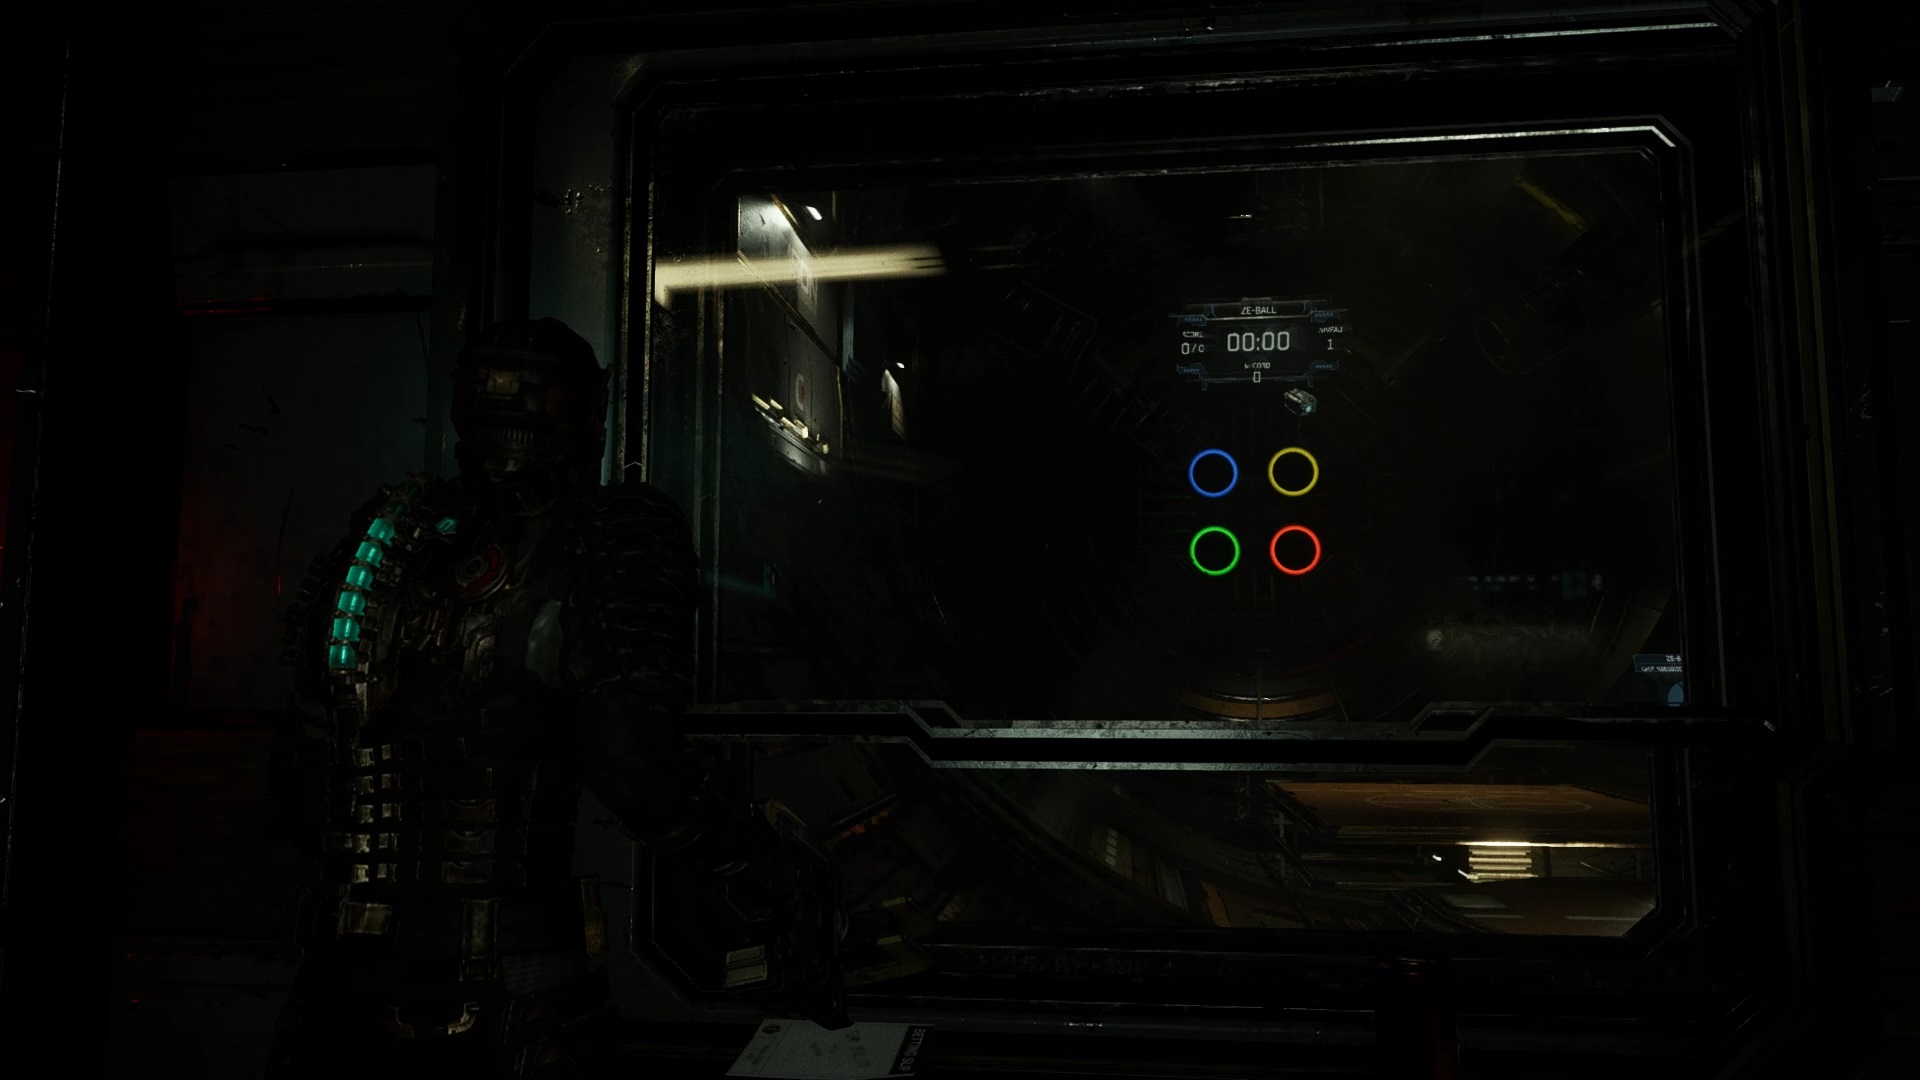
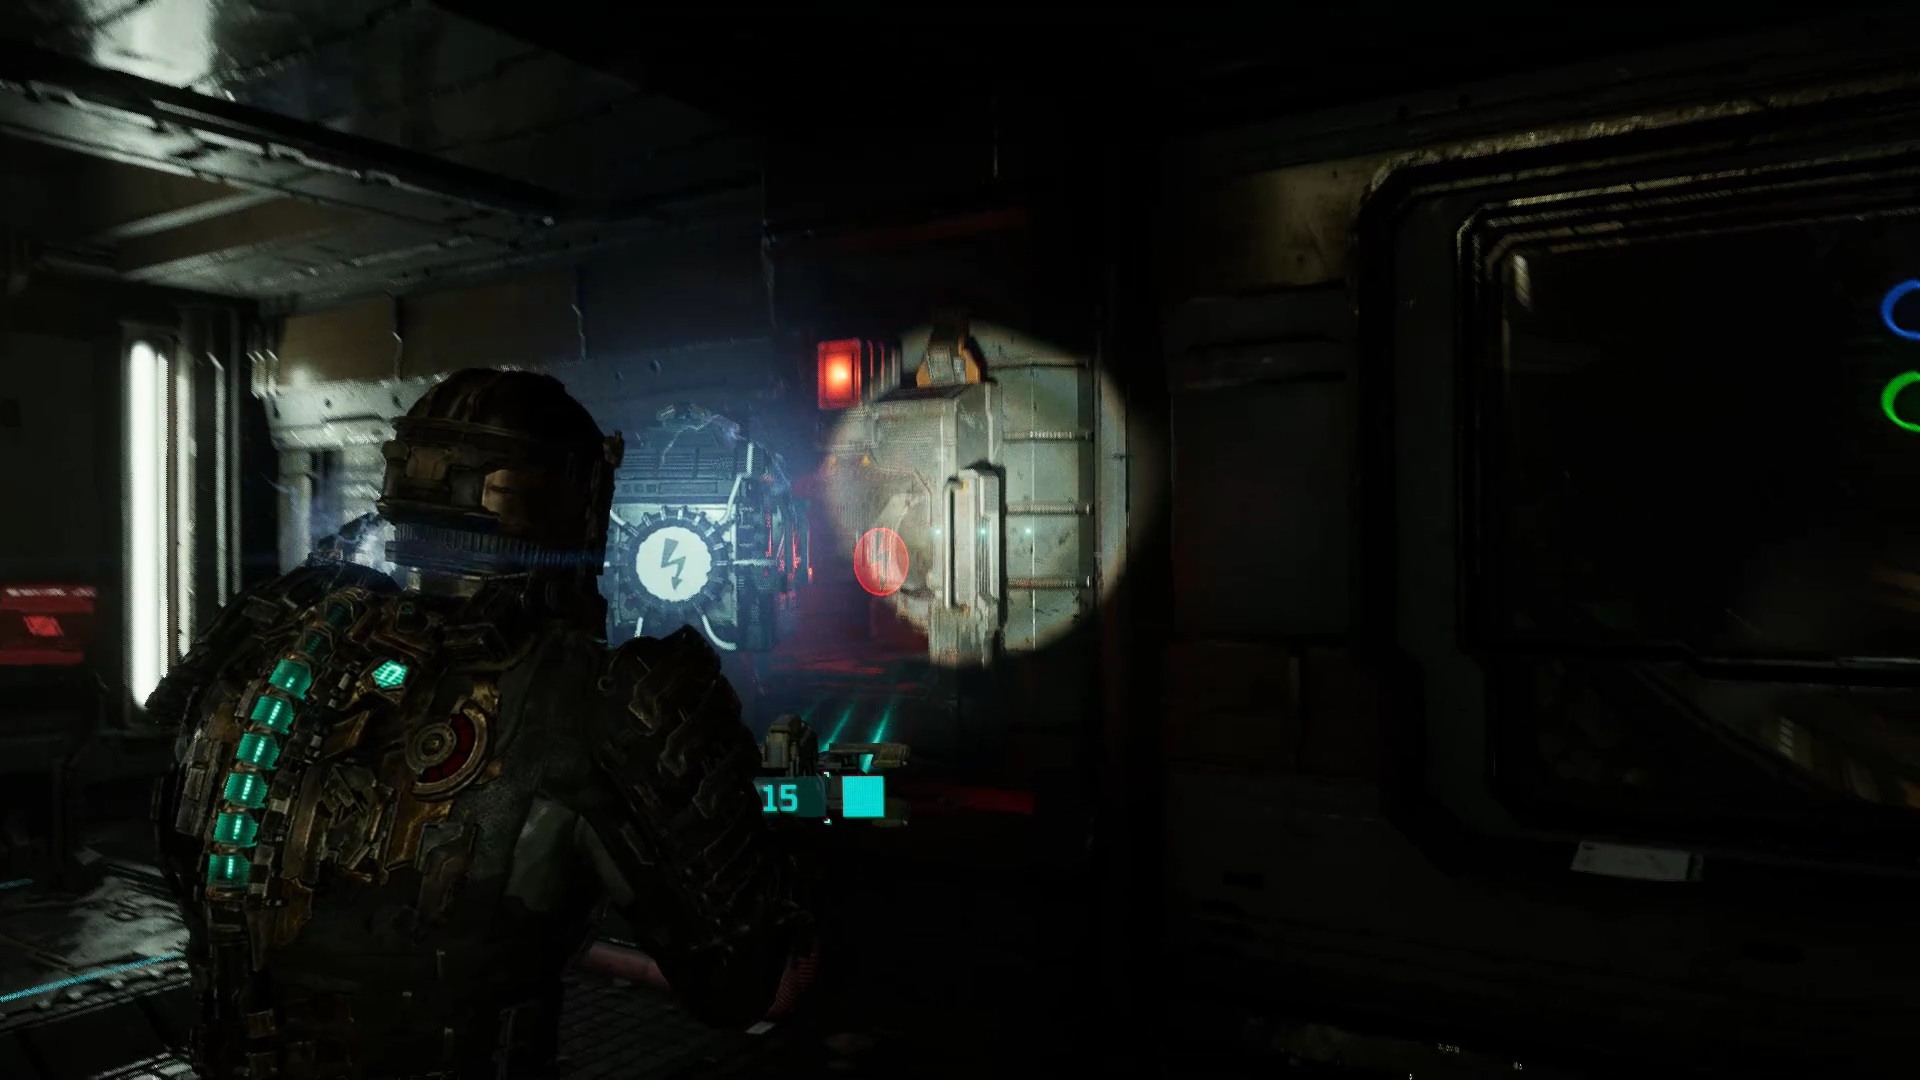
Enter on the playing field and recover the battery in height. Place the battery near the elevator to see it go up. Collect the key to the bridge above from the crew member. Return to the common area and unlock the central nexus elevator. Go to the first floor to meet an old friend.
The creature is back. Slow his movements with stasis and shoot the growth in height to unlock an exit. Take the exit to make the hunter disappear. go through the corridor to reach the refectory. Take the elevator at the end to go down. Eliminate the threats and continue to the standard quarters. On the spot move the barricade with your telekinesis. Go through the door to enter a toxic hallway.
Go down the hall to get rid of two threats against the wall. Search nearby to find a growth. Destroy it. Run to the central nexus to avoid all enemies. Get on the elevator in the center of the room. Upstairs, join the luxury quarters. In the room, a containment is triggered. Eliminate all necromorphs to break the containment. .
Go into the deluxe bunks to find a battery. Return to the main room near the bathroom door to insert the battery on a circuit breaker. Activate all doors. Search the Health Consultant’s suite to find the Mega PK upgrade. Go back to the luxury quarters to search near the bunk doors, you will find a growth to break.
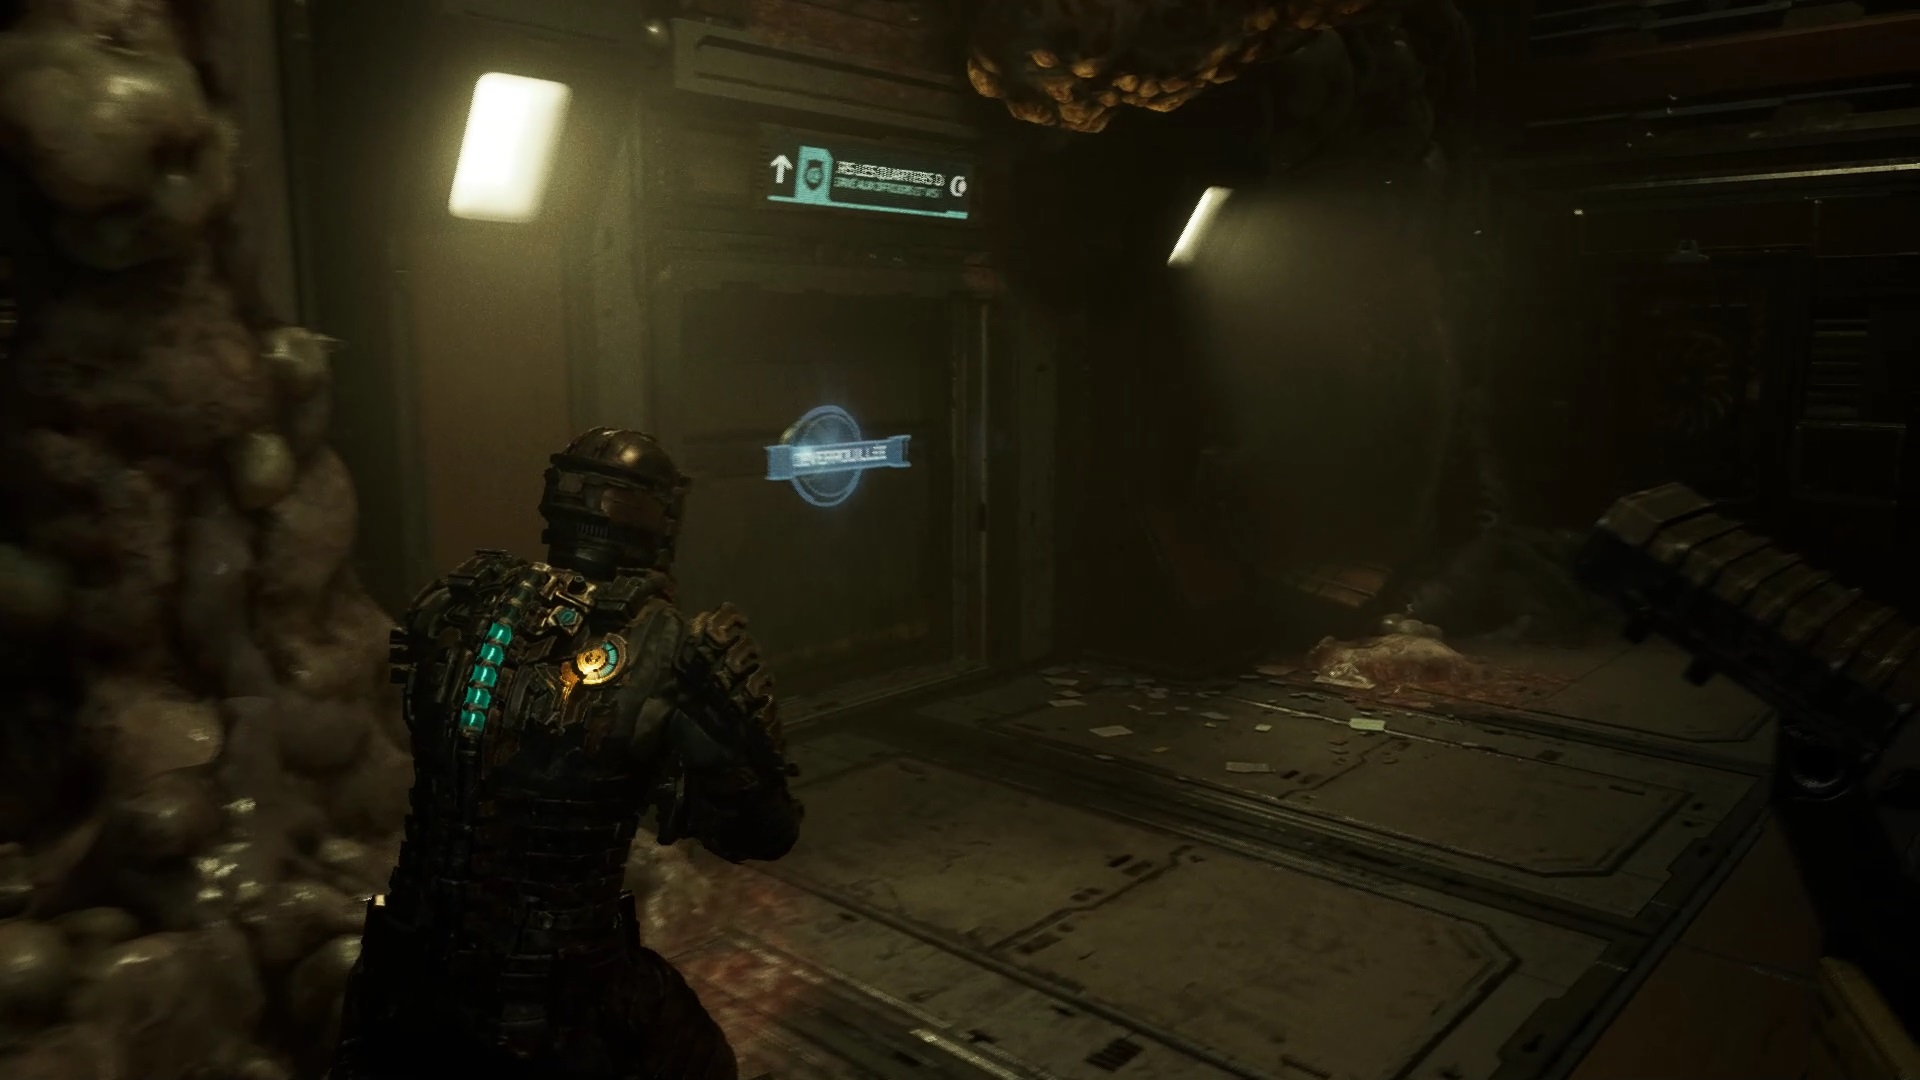
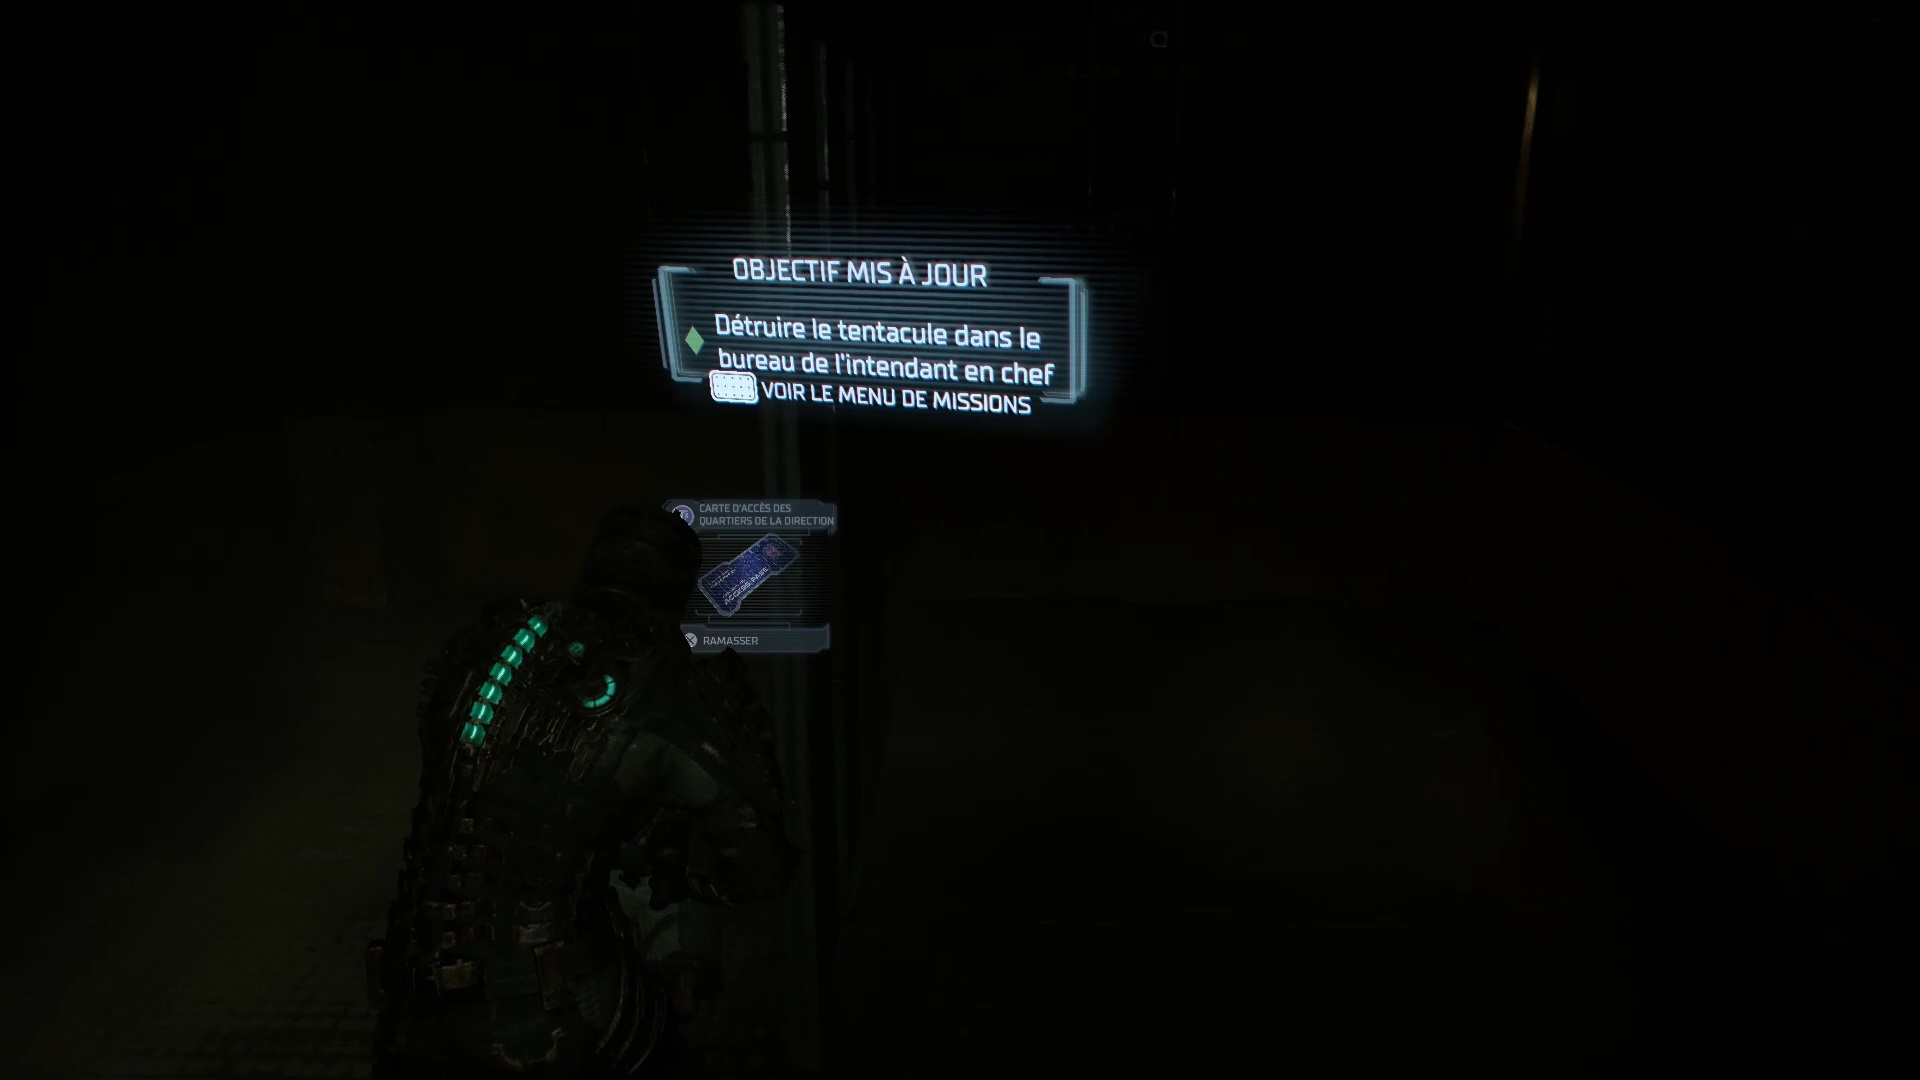
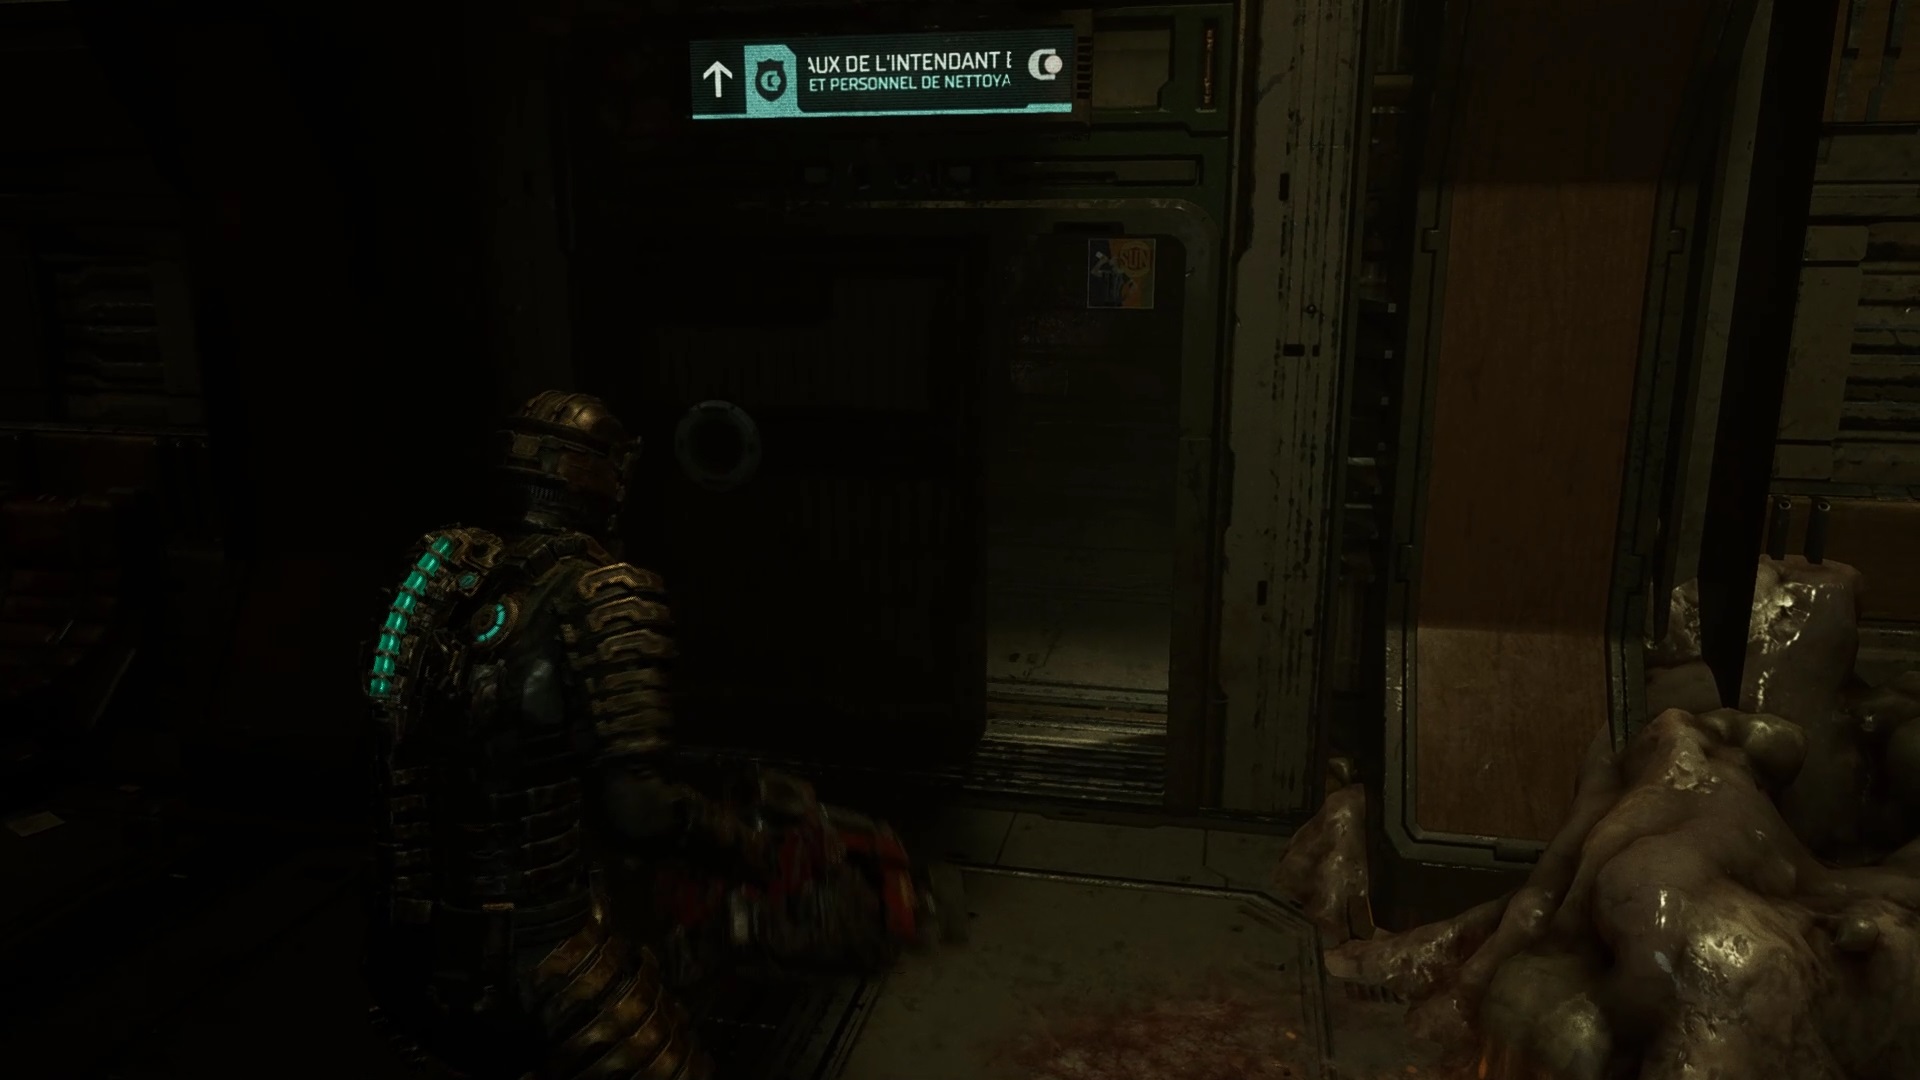
Dash towards the central nexus to avoid the enemy wave. Once there, go through the door to the management quarters. Search the management bathroom to find another growth. Before leaving, take the map of the districts of the direction in one of the showers. Return to the central nexus to go to the office of the chief quartermaster.
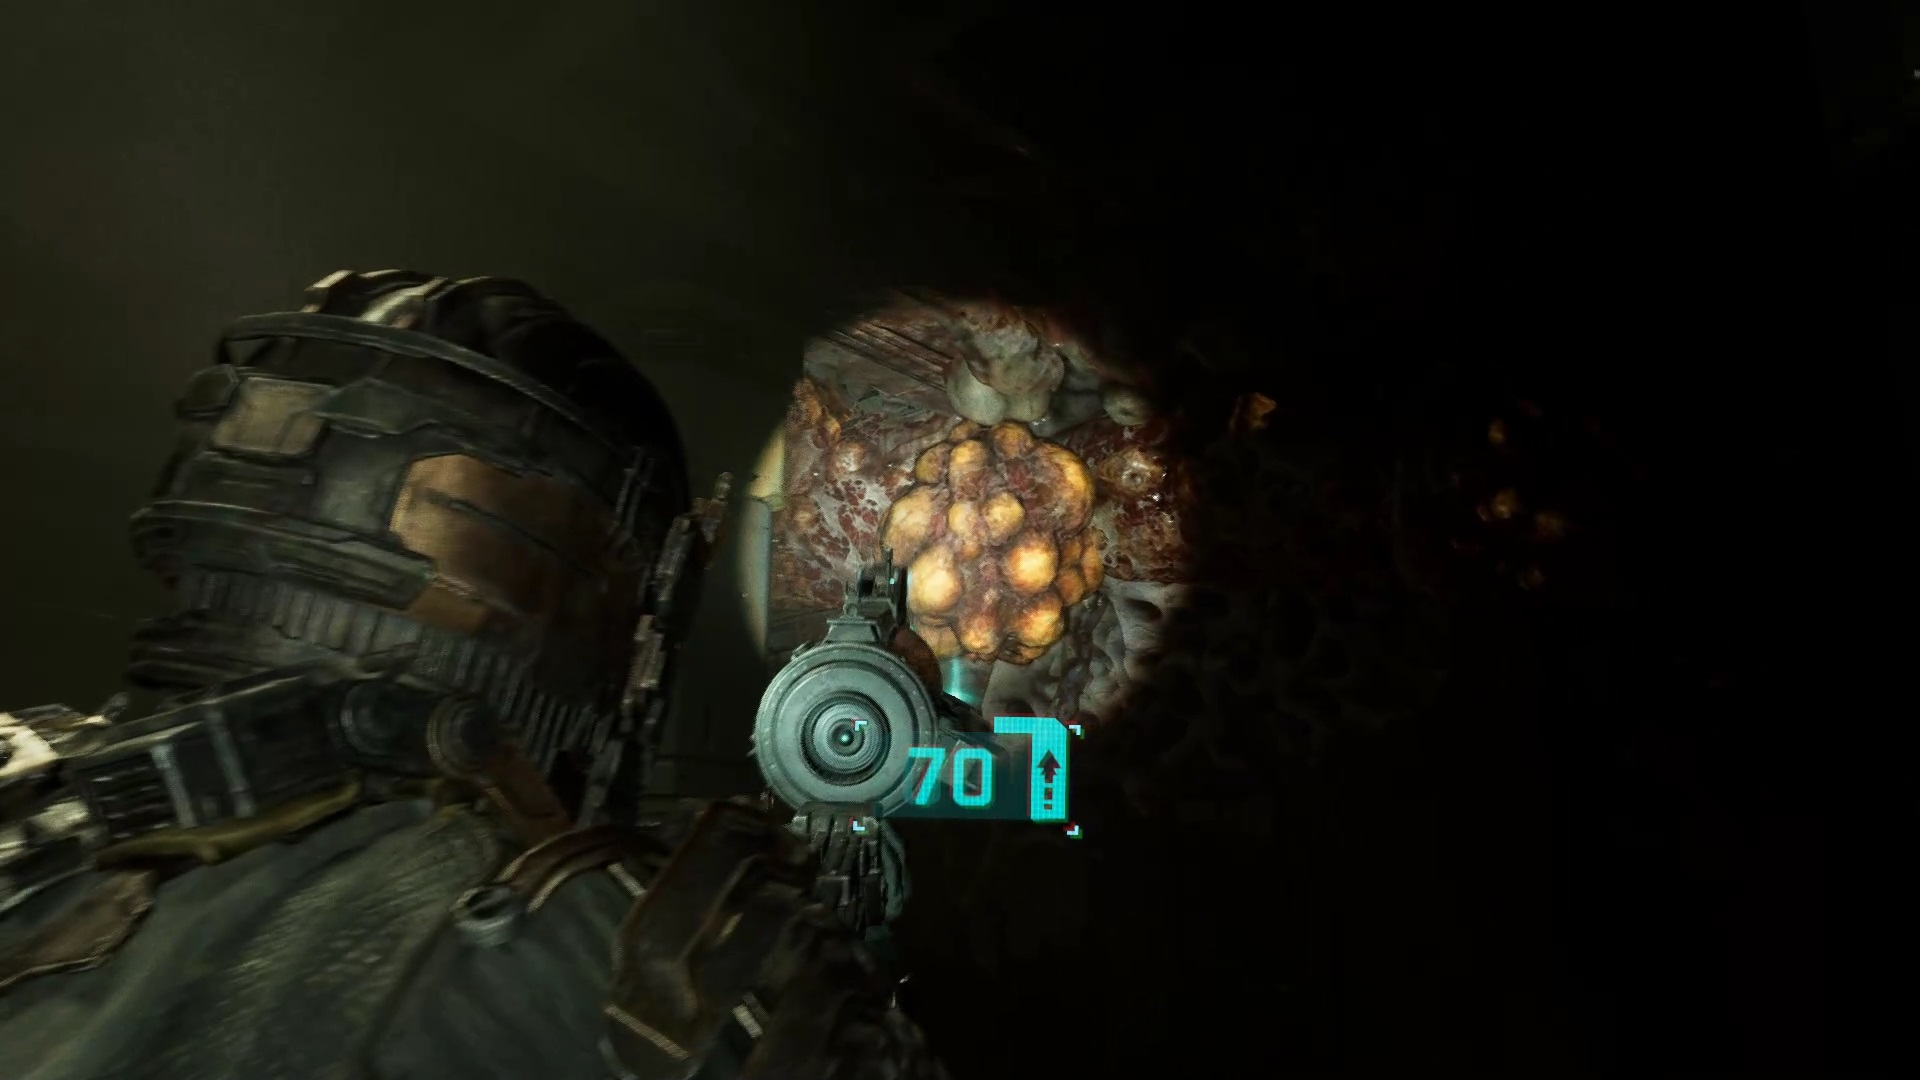
After the dialogue with Kyne, destroy the growth. Return to Nexus Central to be trapped in containment. Eliminate the threats to recover the marker. After in the management shed. Place the reactor in the ship and test the reactor at the nearby station.
The hunter is back for a final fight. You need to immobilize it with stasis behind the ship’s reactors and fire up the engines to get rid of it. Eliminate other threats with Mega PK. If necessary. A stasis refill can be found next to the engines. Exit the room to get caught by a tentacle. Aim for the growth to free yourself.
Episode 11

Return to the tram station and leave for the hangar. Go through the tram station hall to reach the loading area. Take the elevator down. Directly, when descending the elevator, destroy the growth in front of you. Eliminate the threats and go behind the marker. Shoot the growths to free the passage.

Interact with the control panel at the back of the room to charge the marker. Survive until the marker is lifted. Once the marker is in place, lift the gangway with the panels to transfer the marker to the ship. Go through the tram station to go to the boarding area. Take the opportunity to equip yourself with the level 5 outfit. Move forward to free the boarding area from containment.
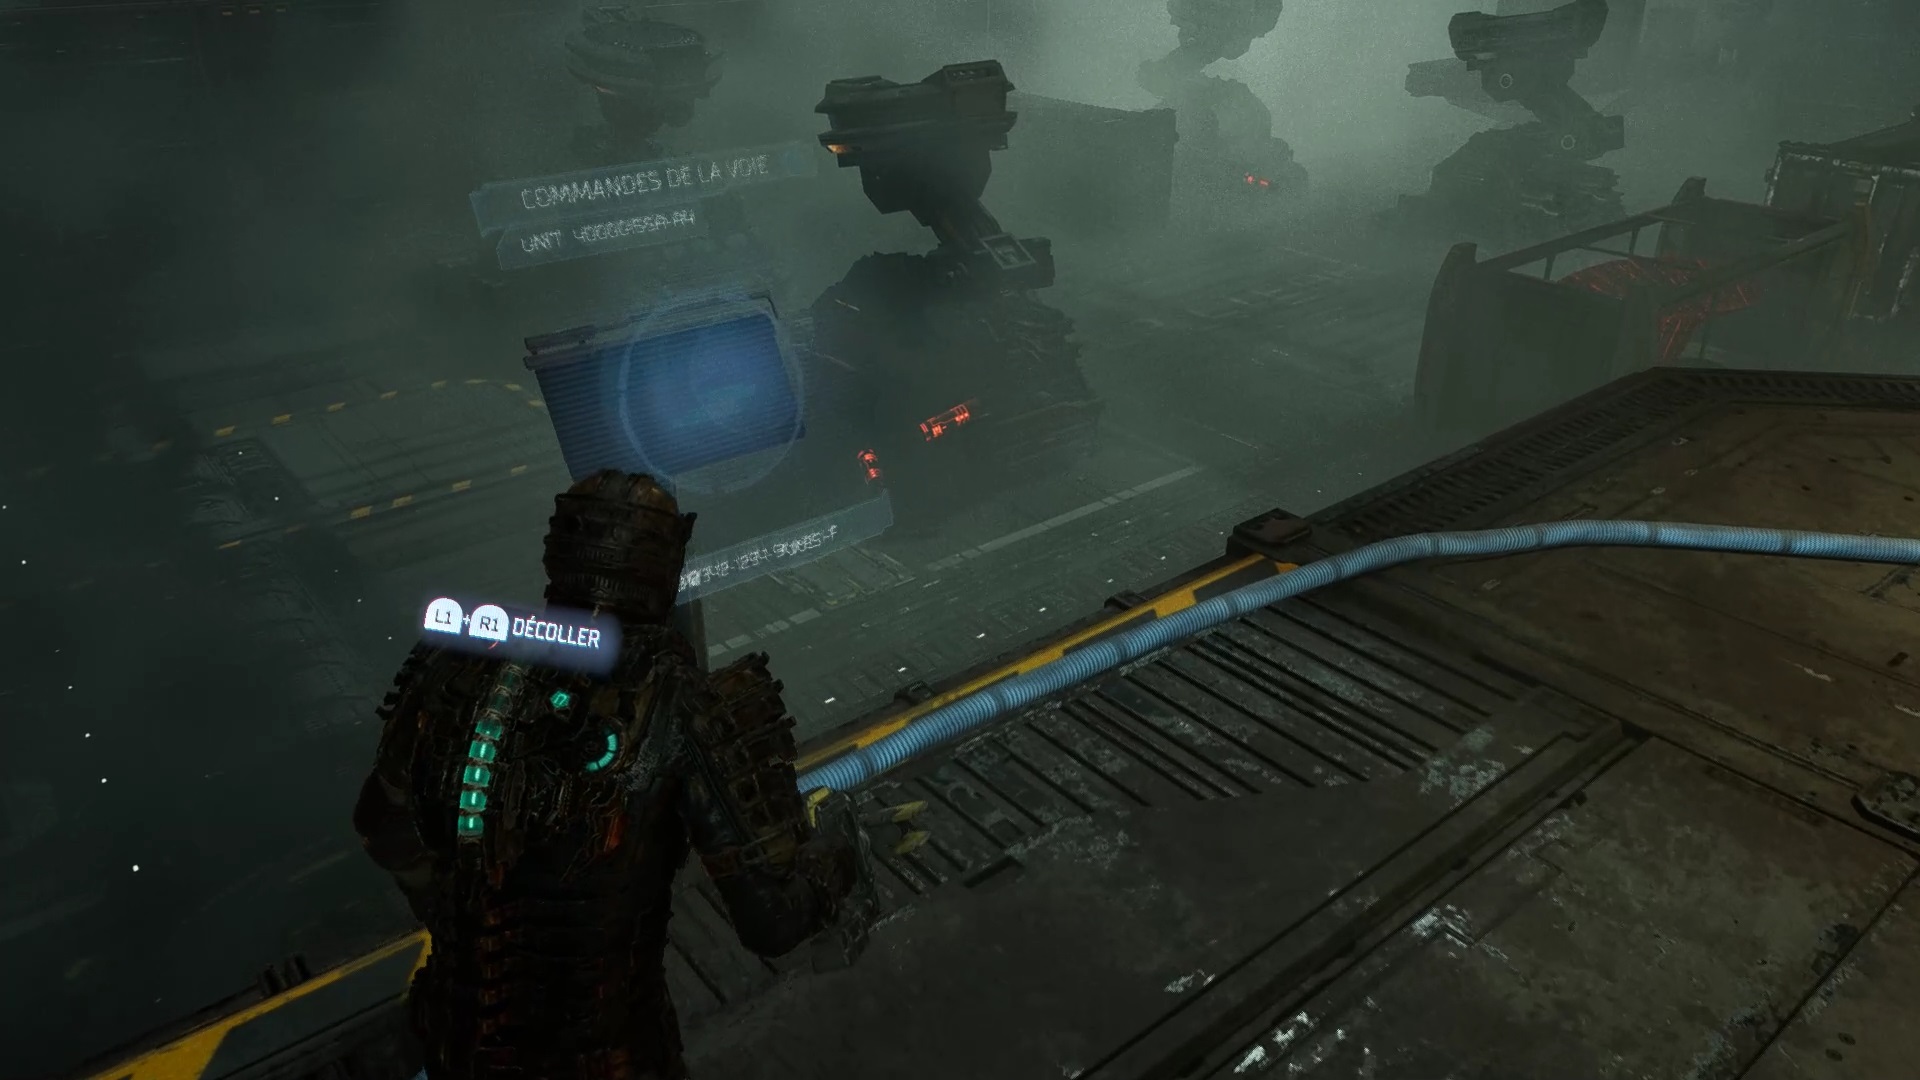
Then go to the hangar to park Kyne’s ship. Then follow your compass to activate zero-gravity within the hangar. Fly to the marker to spawn it. Then load it onto the rails with the control panel nearby.
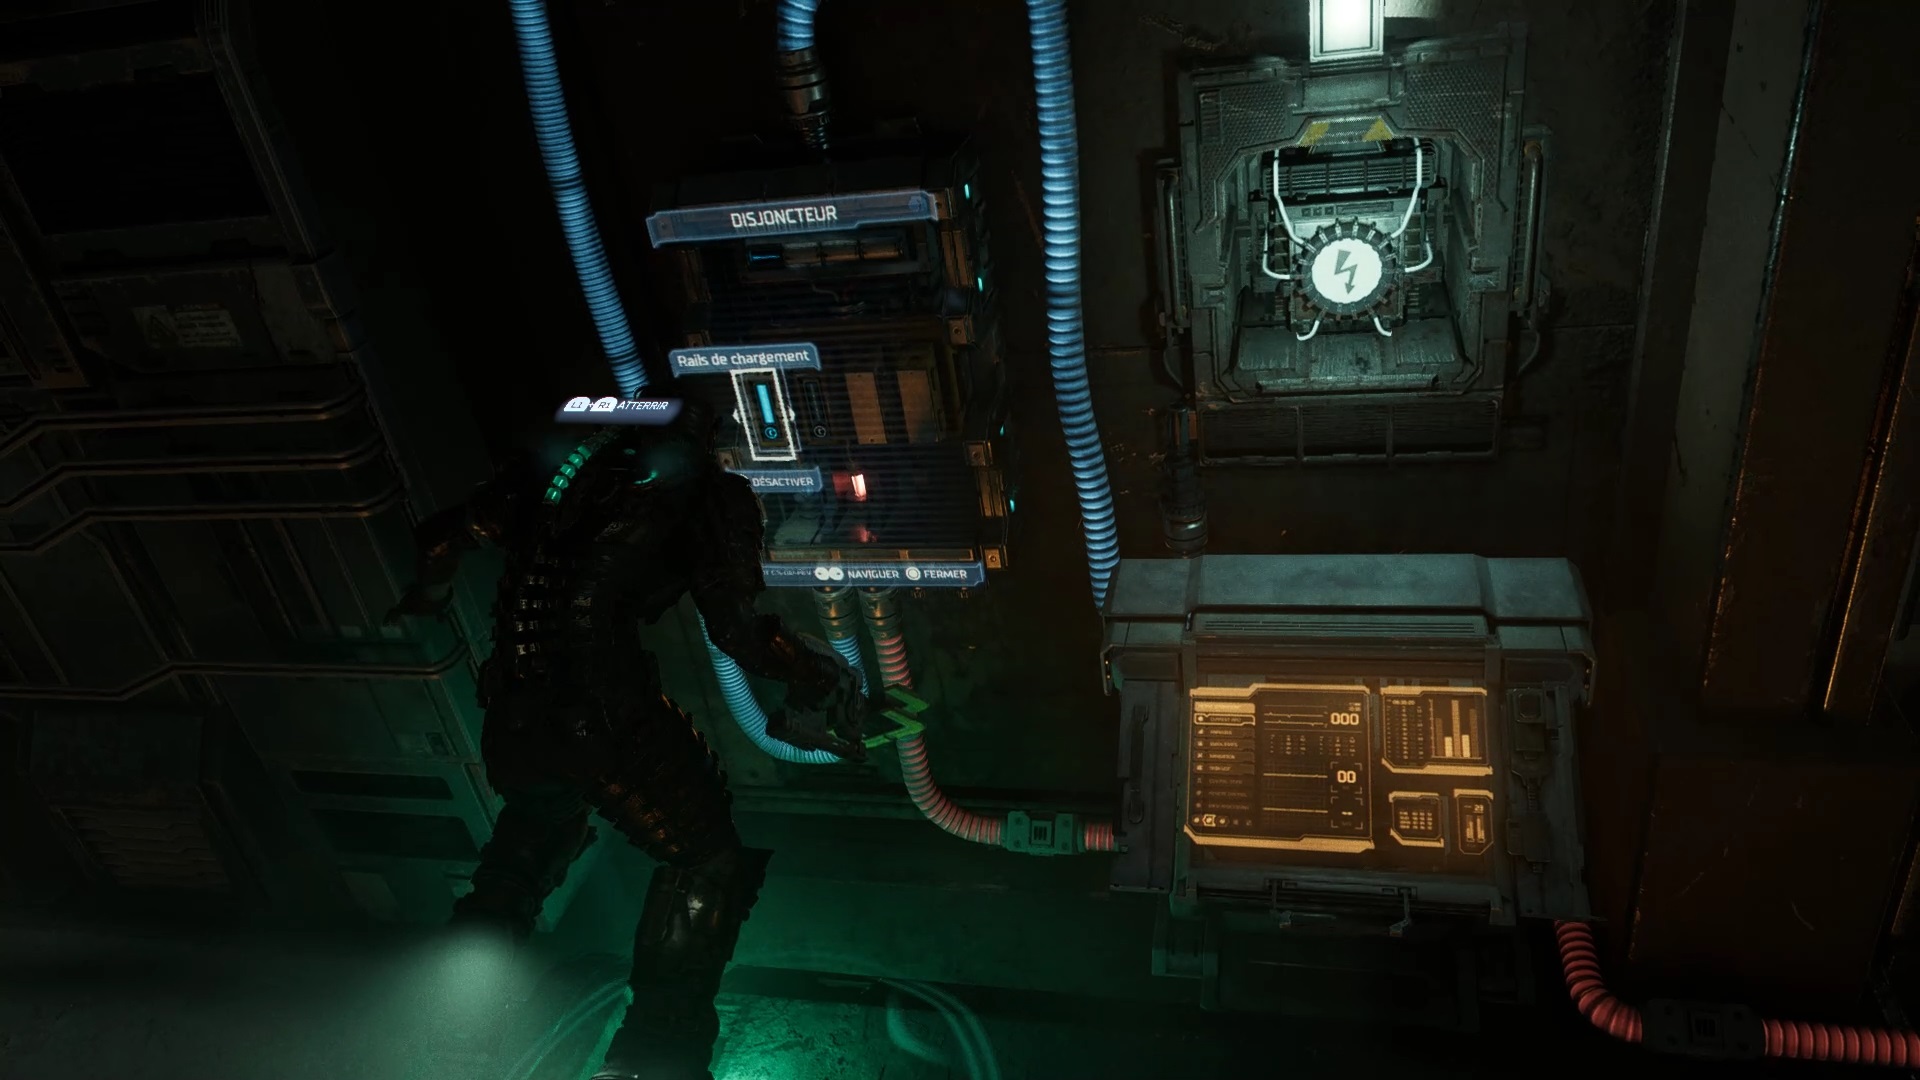
Take the battery in the shed where the marker appeared on the left. Insert the battery into the slot near the rails. Branch off power to the load rails on the circuit breaker.
Use the panels above the marker to load it onto the ship. Then eliminate all threats to complete the objective. Join the ship on the main hangar. After the cutscene, Nicole gives you a solution to take back the ship. Meet Nicole at the control room and board the ship to join Aegis VII.
Episode 12

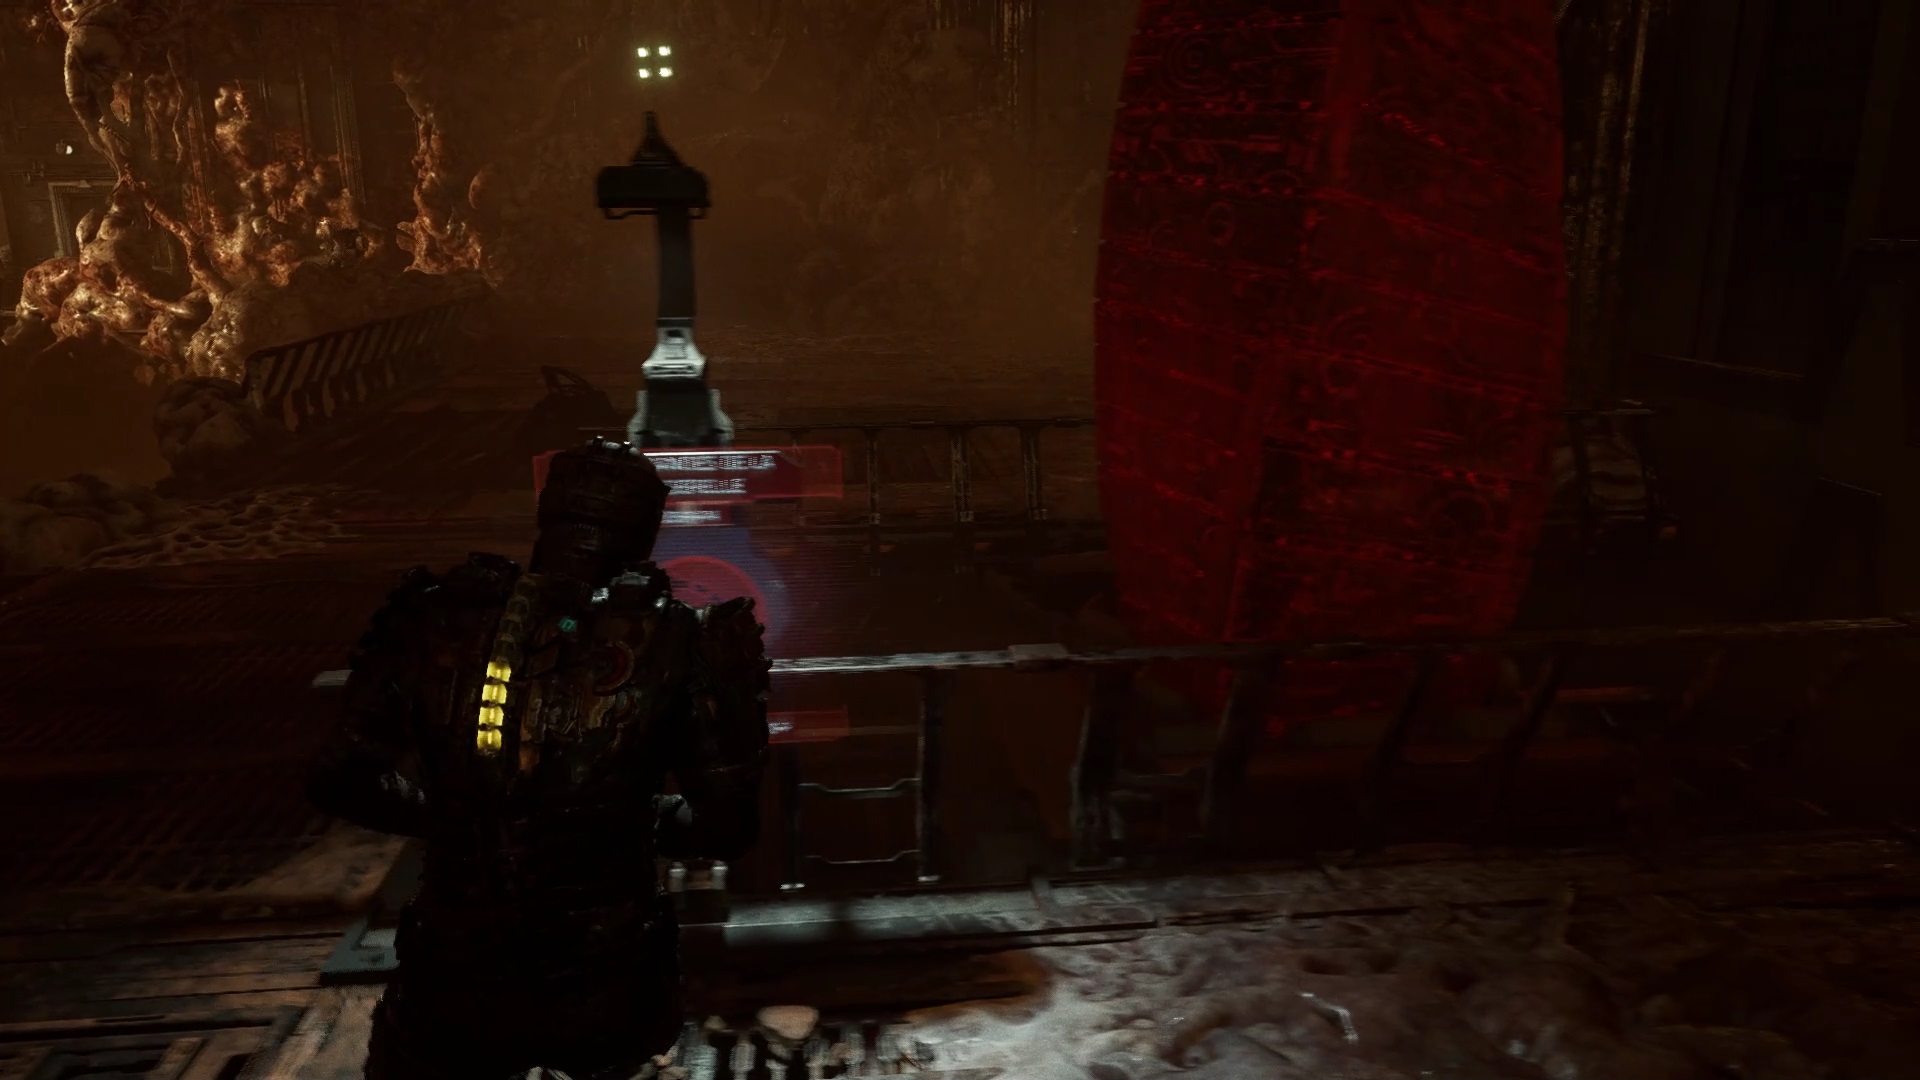
Arrive on the planet, follow Nicole’s instructions. Unload the marker by pressing the control panel. Enter the main platform post. Search the server room to find a battery. Watch out for enemies falling on you when you pick up the battery. Insert the battery into the main platform slot. Once the power is restored follow the marker.
Press the door control panel to transfer the marker. In the supply depot, a containment prevents you from advancing. Remove threats. Then lift the footbridges to pass the marker towards the transfer path. The current cuts off. Continue without the marker to the docking control airlock. Then take the elevator down to the generator.
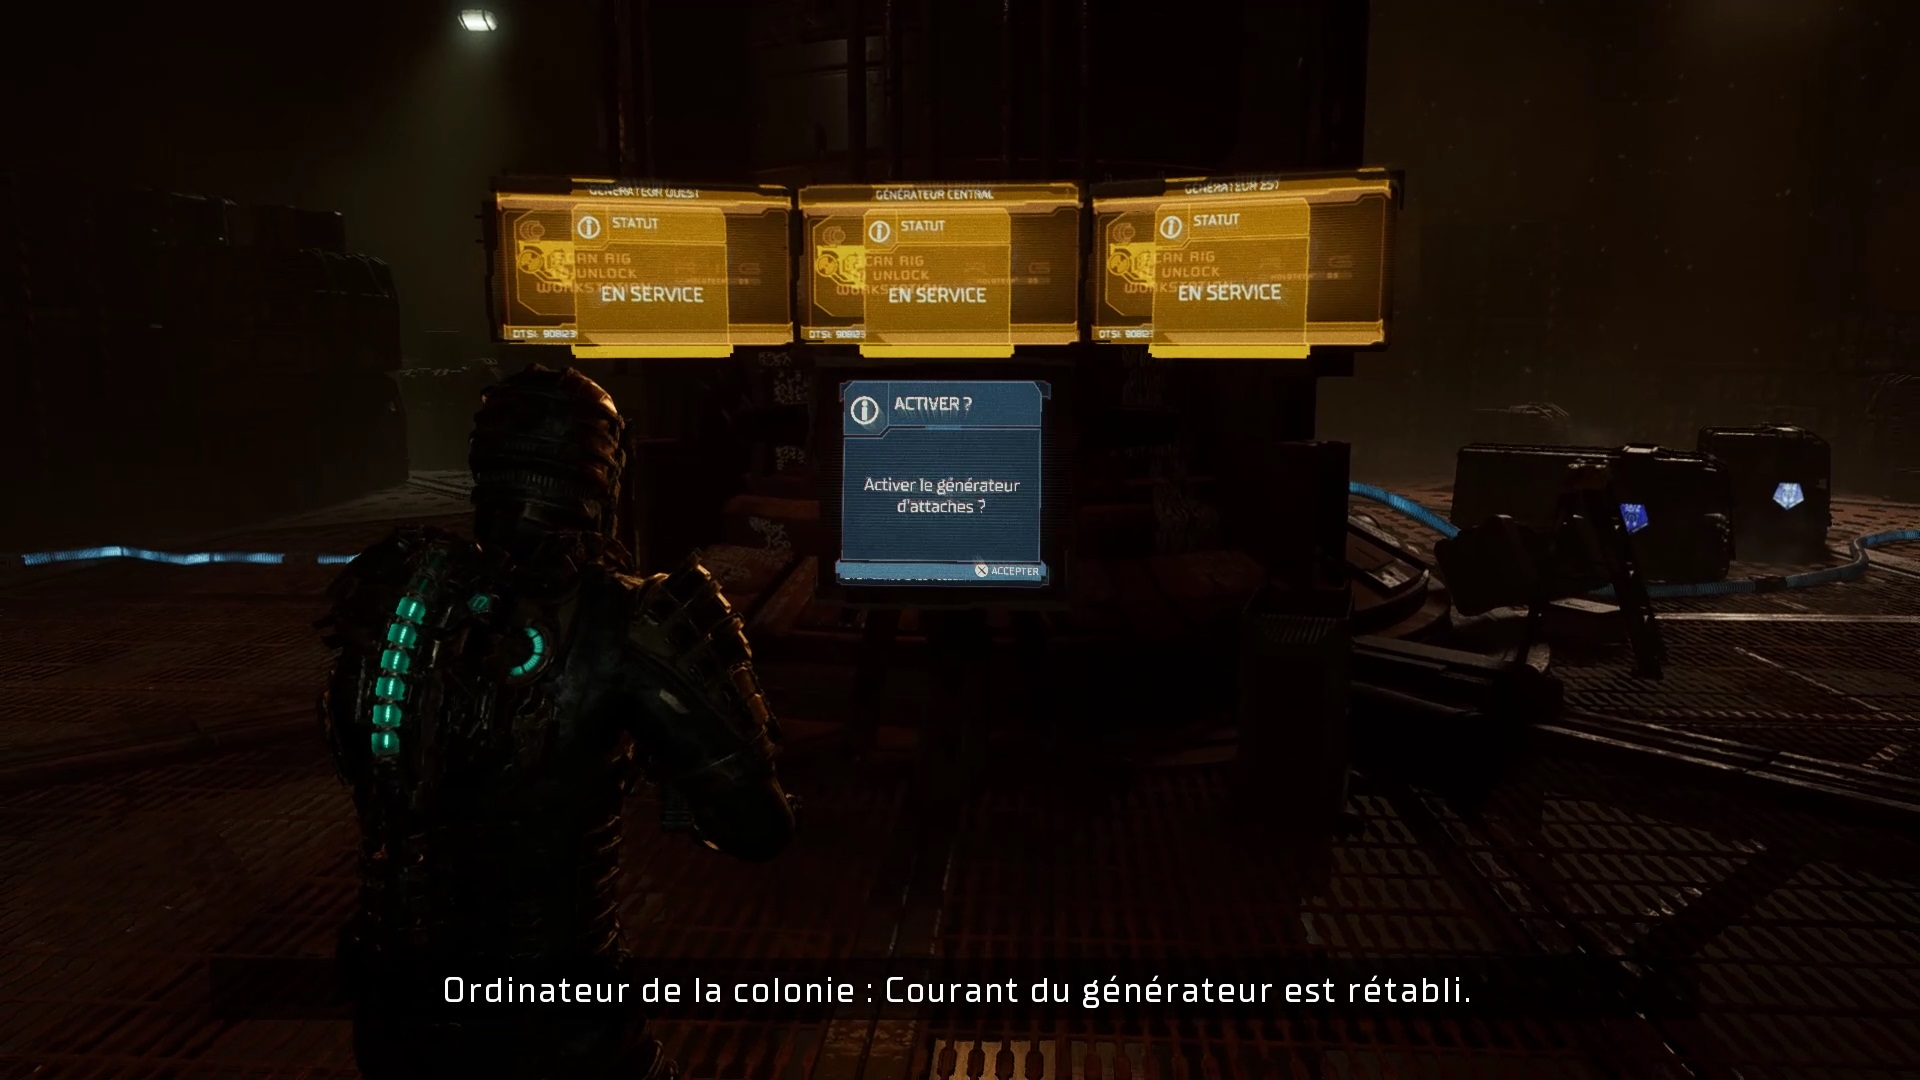
Three are needed to power the generator. The first battery is hidden behind crates. The second is also behind crates, but you have to remove them with telekinesis. The last battery is linked to the elevator removed the battery to place it in one of the slots of the generator.
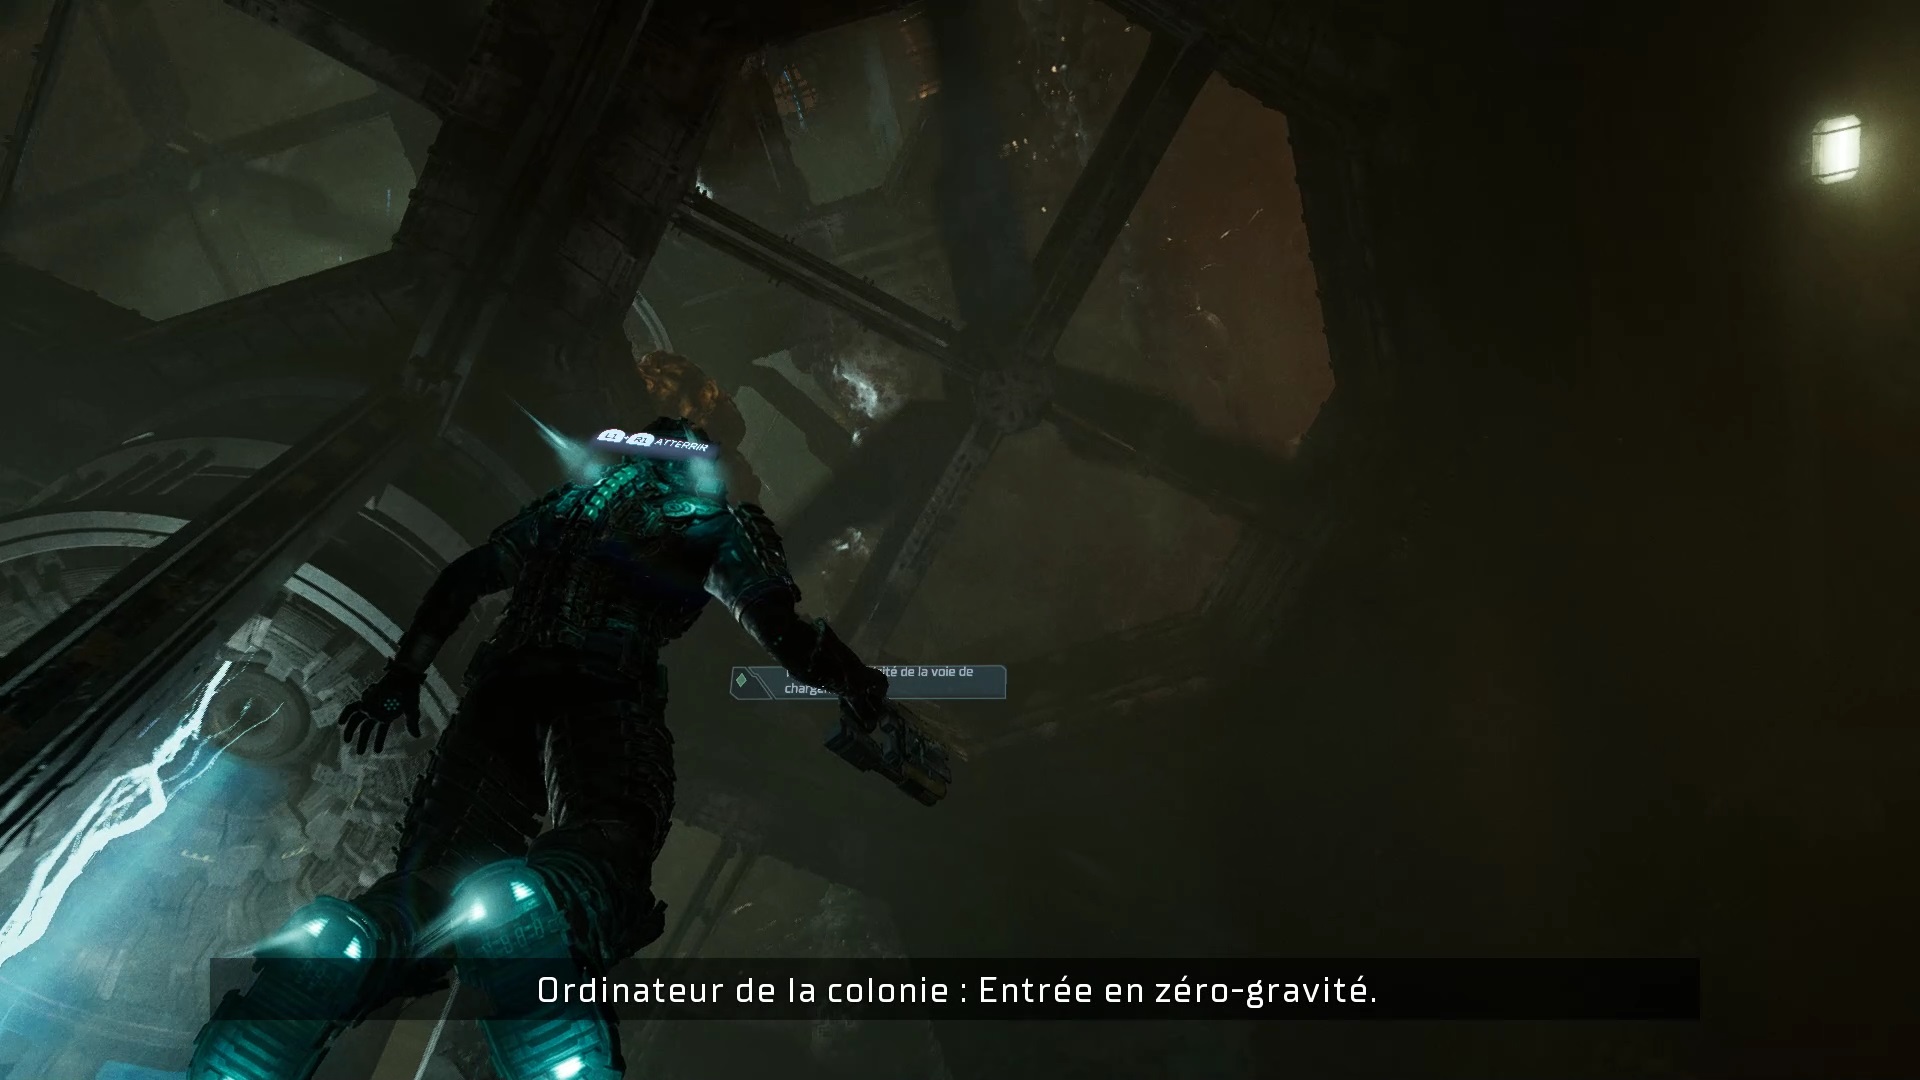
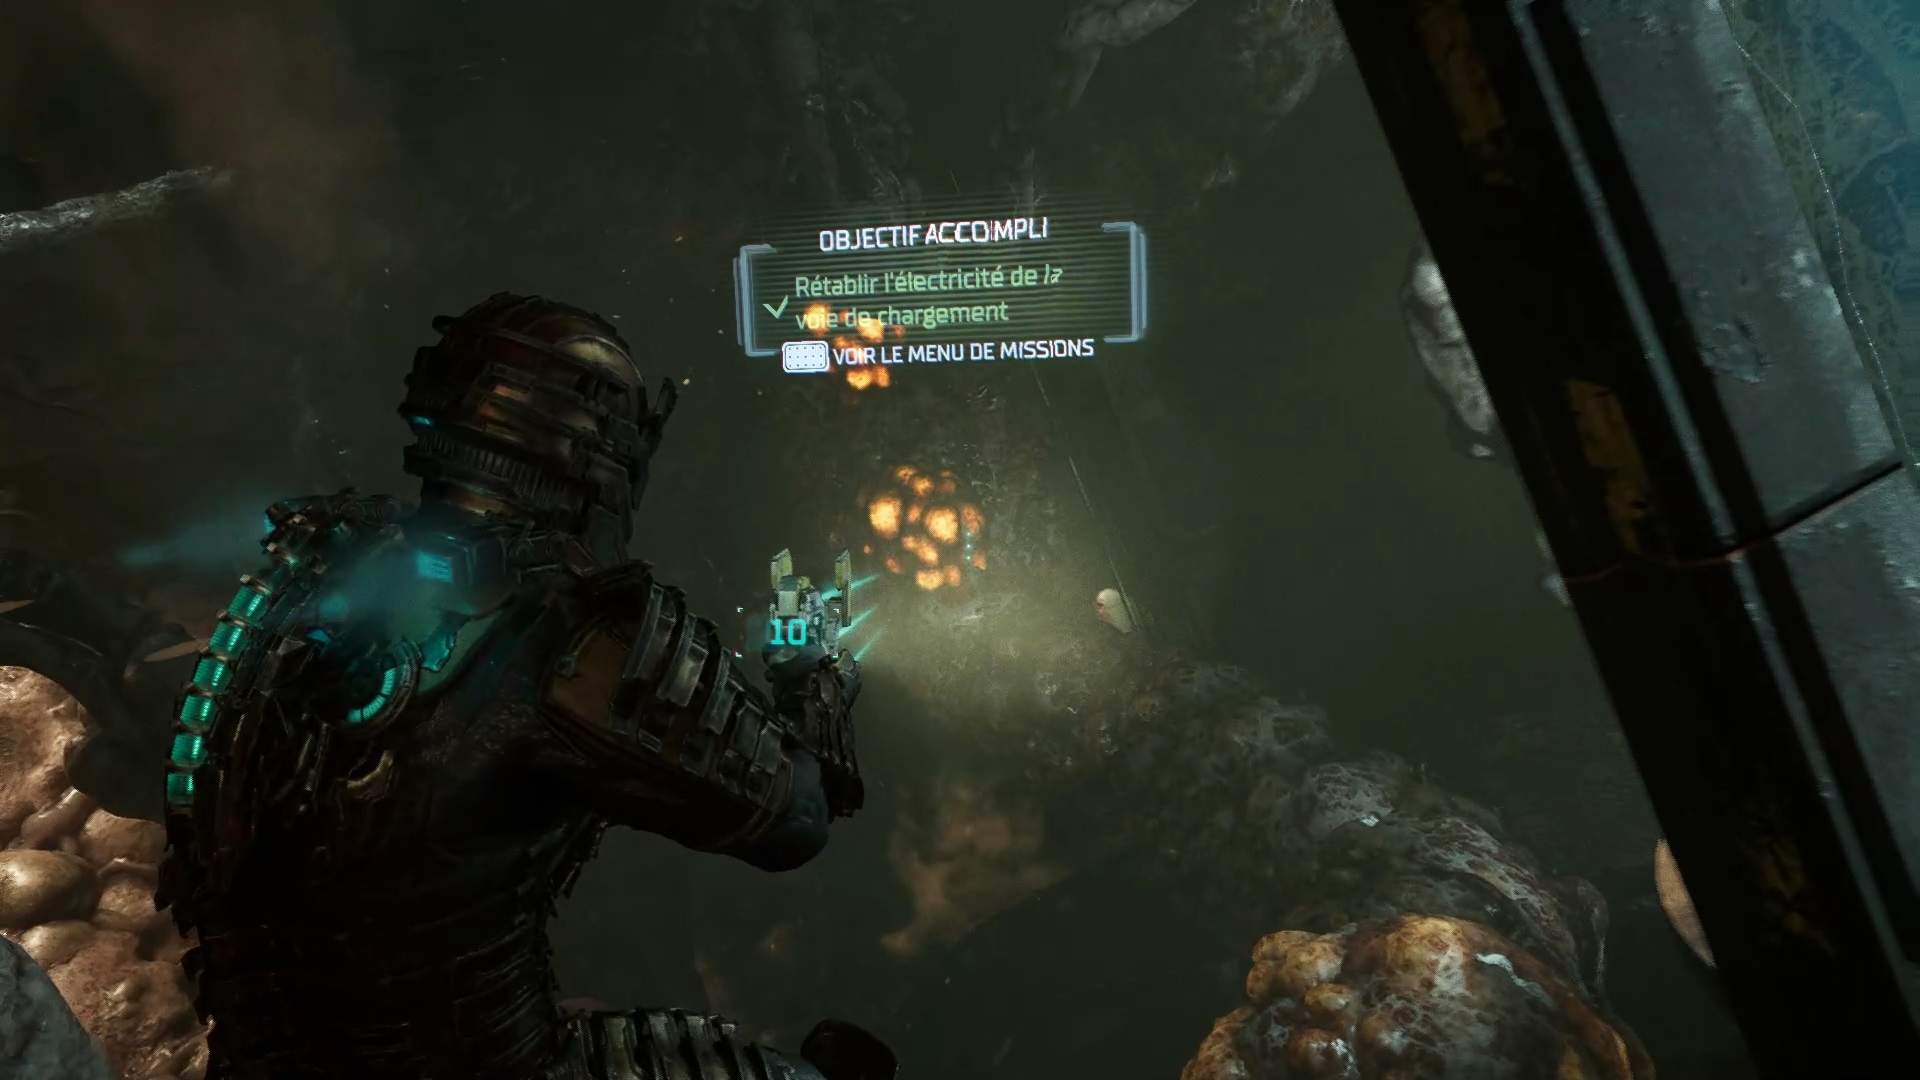
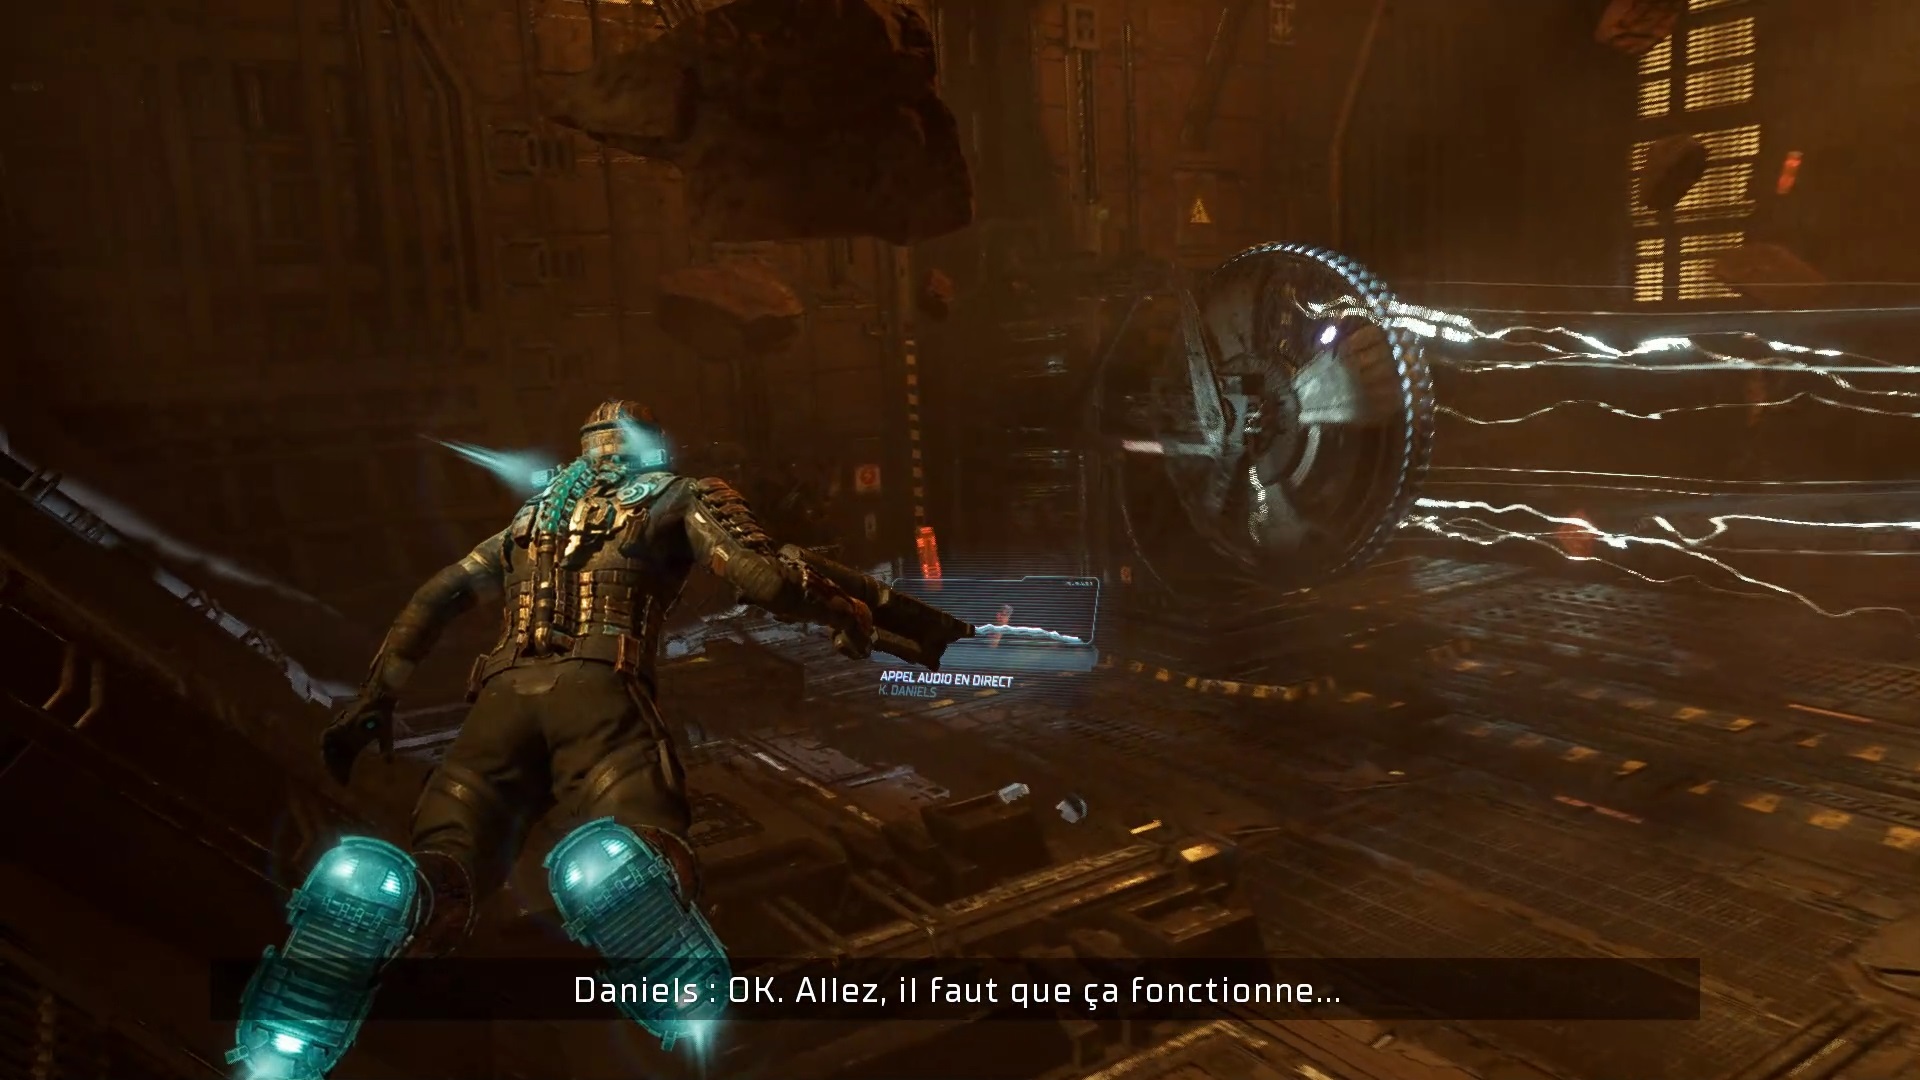
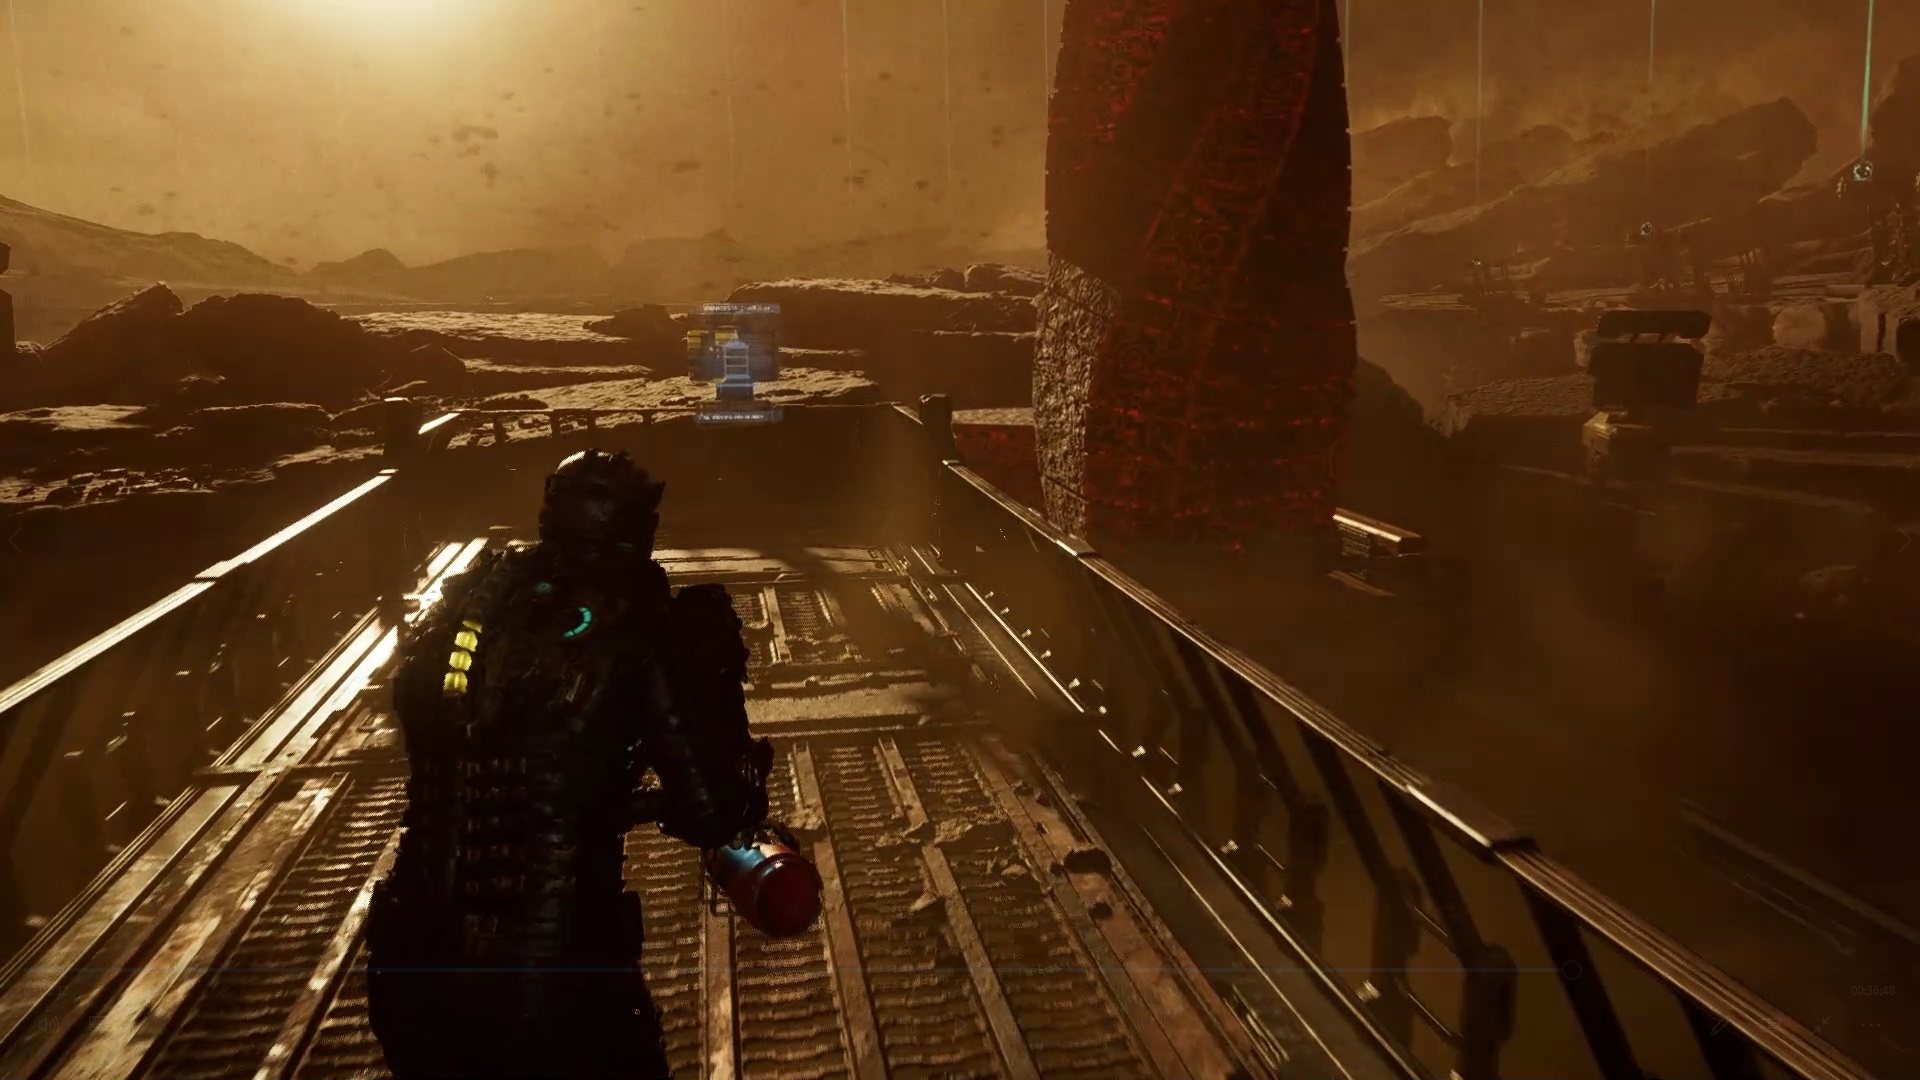
Use your thrusters to exit high and pass through the propellers. Stasis is needed to slow their movement. On the way break the growths to release the exit. Return to the marker to face an enemy wave. Once defeated, transfer the marker again using the footbridges.
In the storage lane, walkways are no longer the obstacle. You will have to destroy the growths present to free the path of the marker. The first is at the end of the path on the ground floor. The second is upstairs. Go down the elevator from the platform to find a bridge to lift.
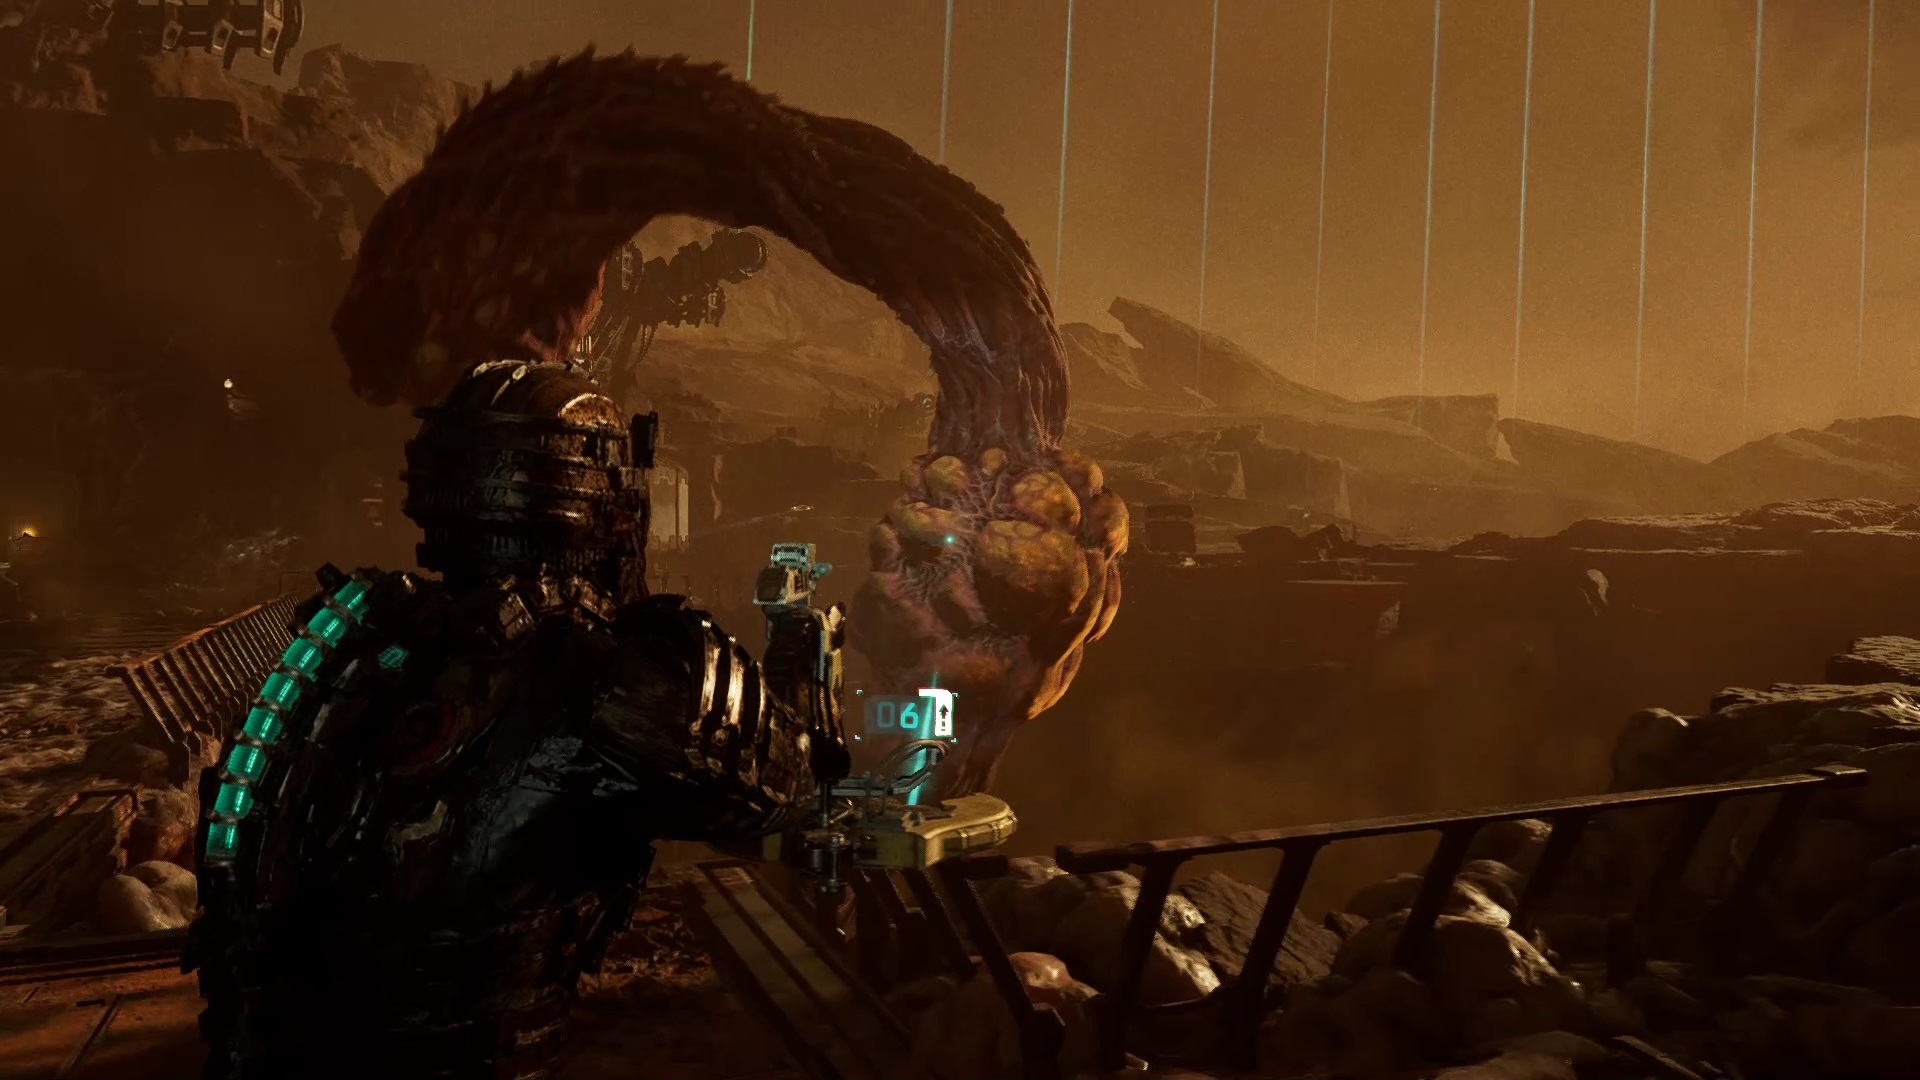
You are about to place the marker on the pedestal. Start by destroying the tentacle that emerges from the precipice. Then break a first growth near the checkpoint. Attention waves of enemies arise at this time. Feel free to use your Mega PK to destroy them. Continue by shooting a second growth under the bridge. Break a last growth at the end of the footbridge. Destroy the last tentacle and quickly activate the transfer of the marker.
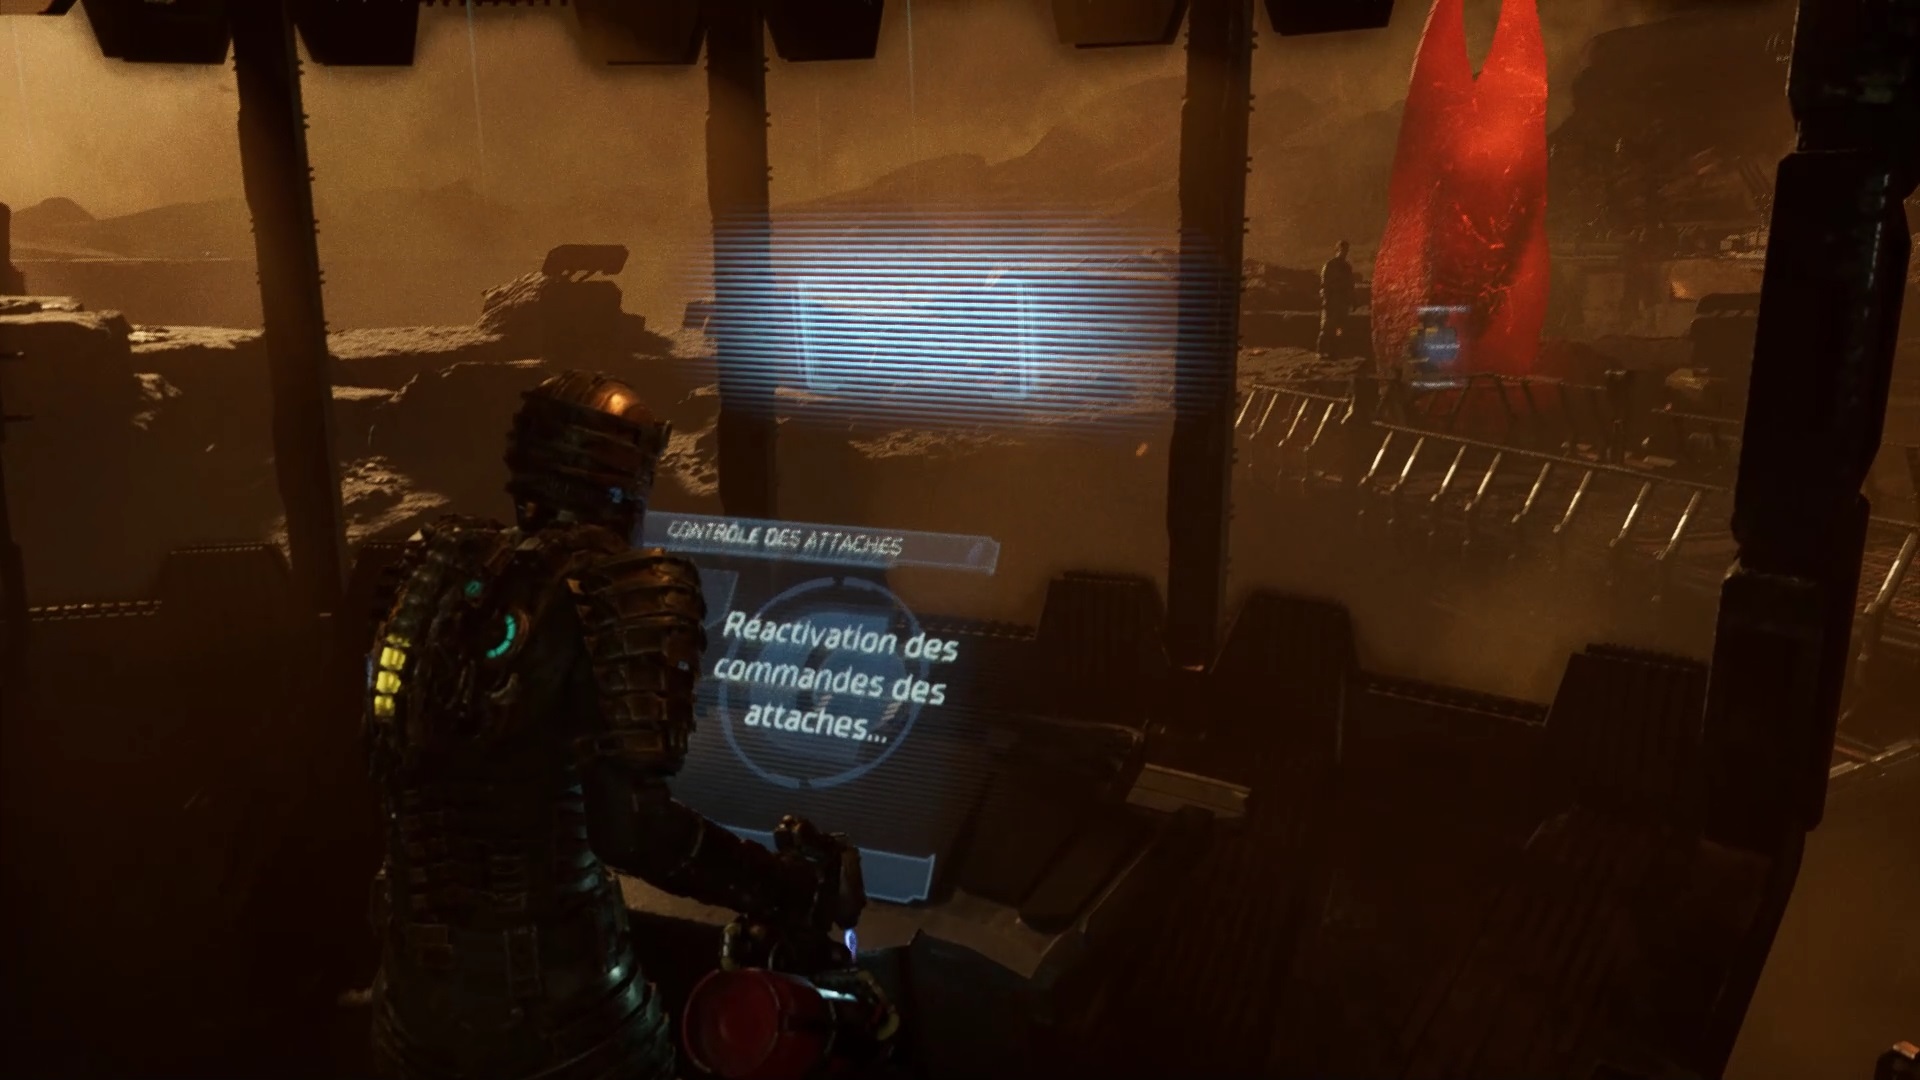
Press the panel near the marker to initiate a cutscene. Then follow Nicole’s instructions to activate the tethers. After the dialogues, return to the landing platform. We recommend stocking up on ammo for your Plasma Cutter and Assault Weapon. If you have improved their damage enough, they will be enough for the fight that awaits you.
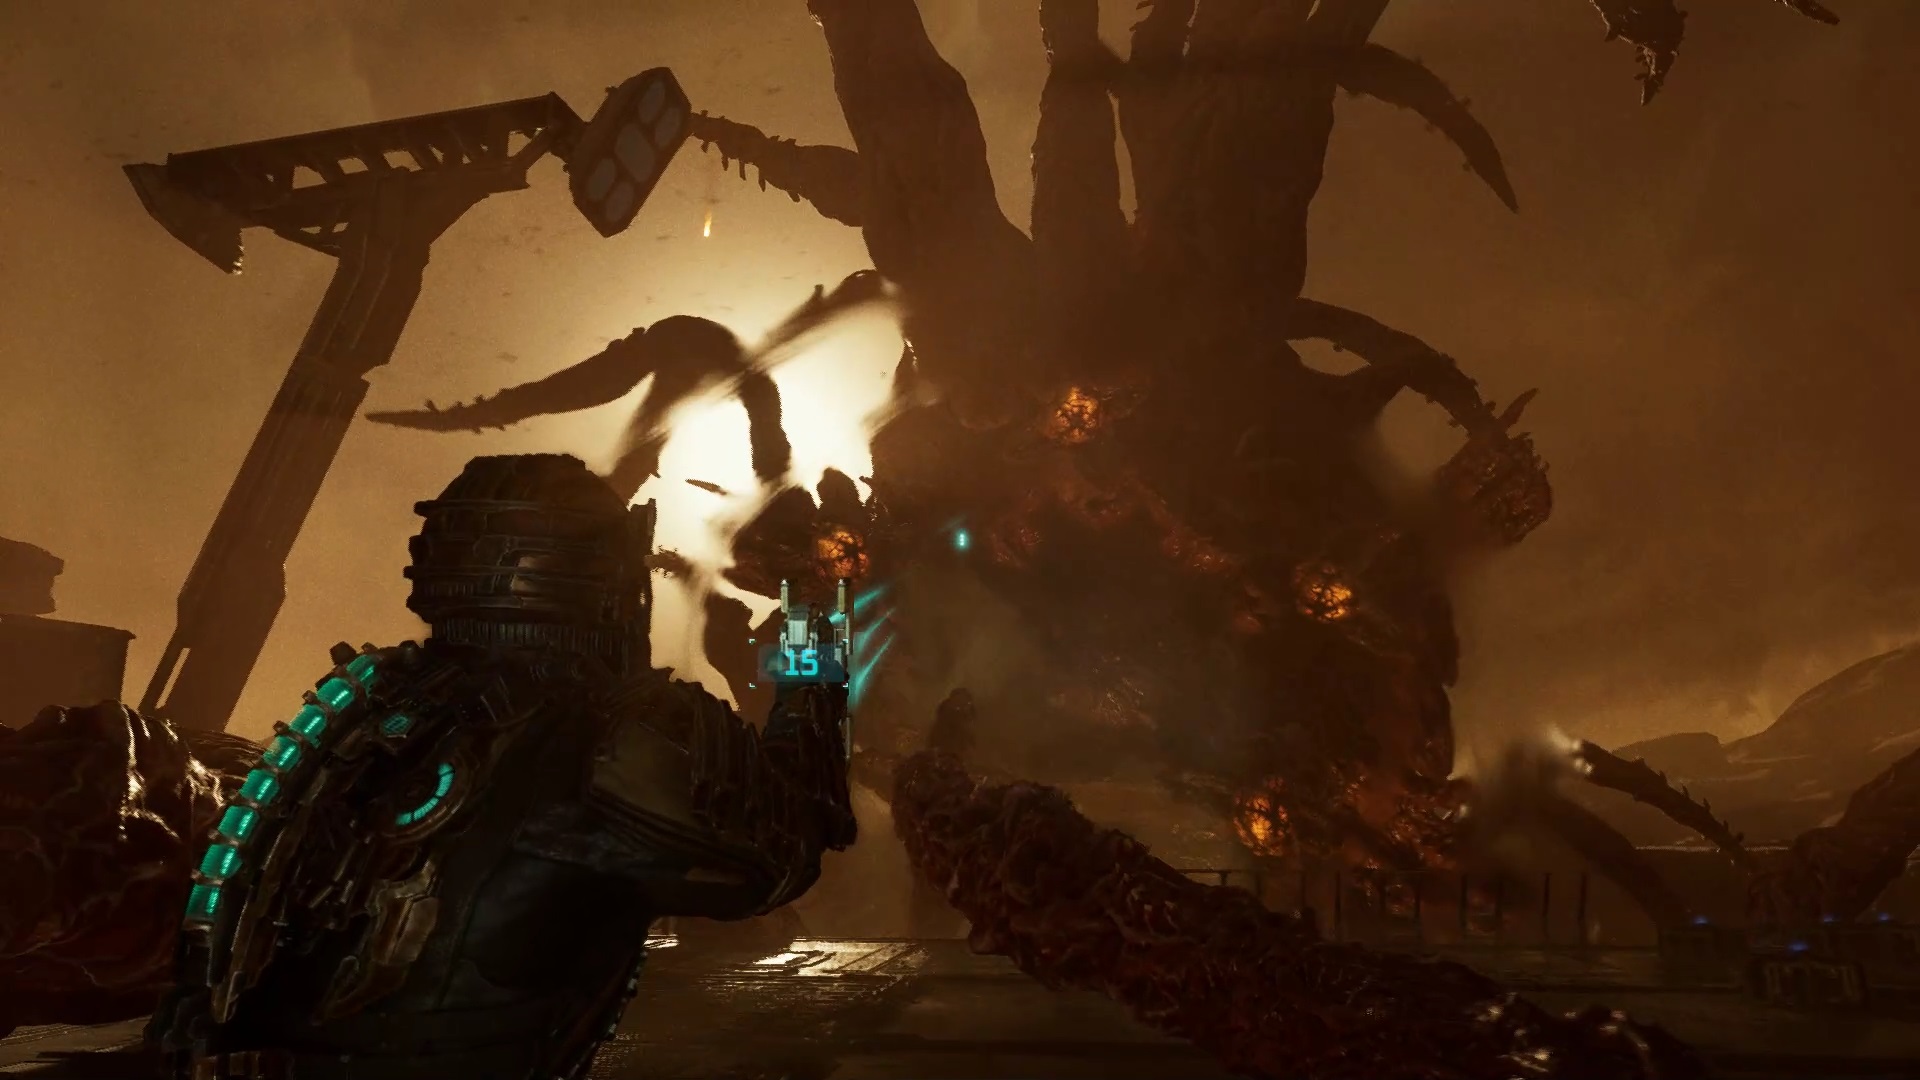
The final battle begins against the Queen Mother. Dodge its tentacles by running on the platform. Use your Plasma Cutter on the Queen Mother’s yellow growths as soon as she starts screaming. During the first phase, the Queen throws projectiles at you, avoid them to avoid taking damage. Once all the growths are destroyed, a wave of enemies rushes against you. Eliminate them for the second phase to begin.
In the second phase, the weak point is always on the growths. When the Queen retreats to the center of the arena then she plans to throw acid. Move to the periphery so that the Queen Mother launches her acid on the edge and gives you freedom of action. If it backs up to the sides then it plans to strike with its tentacles. You can anticipate where it intends to strike with its tentacles. Just watch his movements and take cover on the opposite side. For example: if The Queen goes left then dodge right to avoid her tentacle. Destroy all its growths to destroy it. Use the Assault Rifle to finish the fight.
Scientific Methods
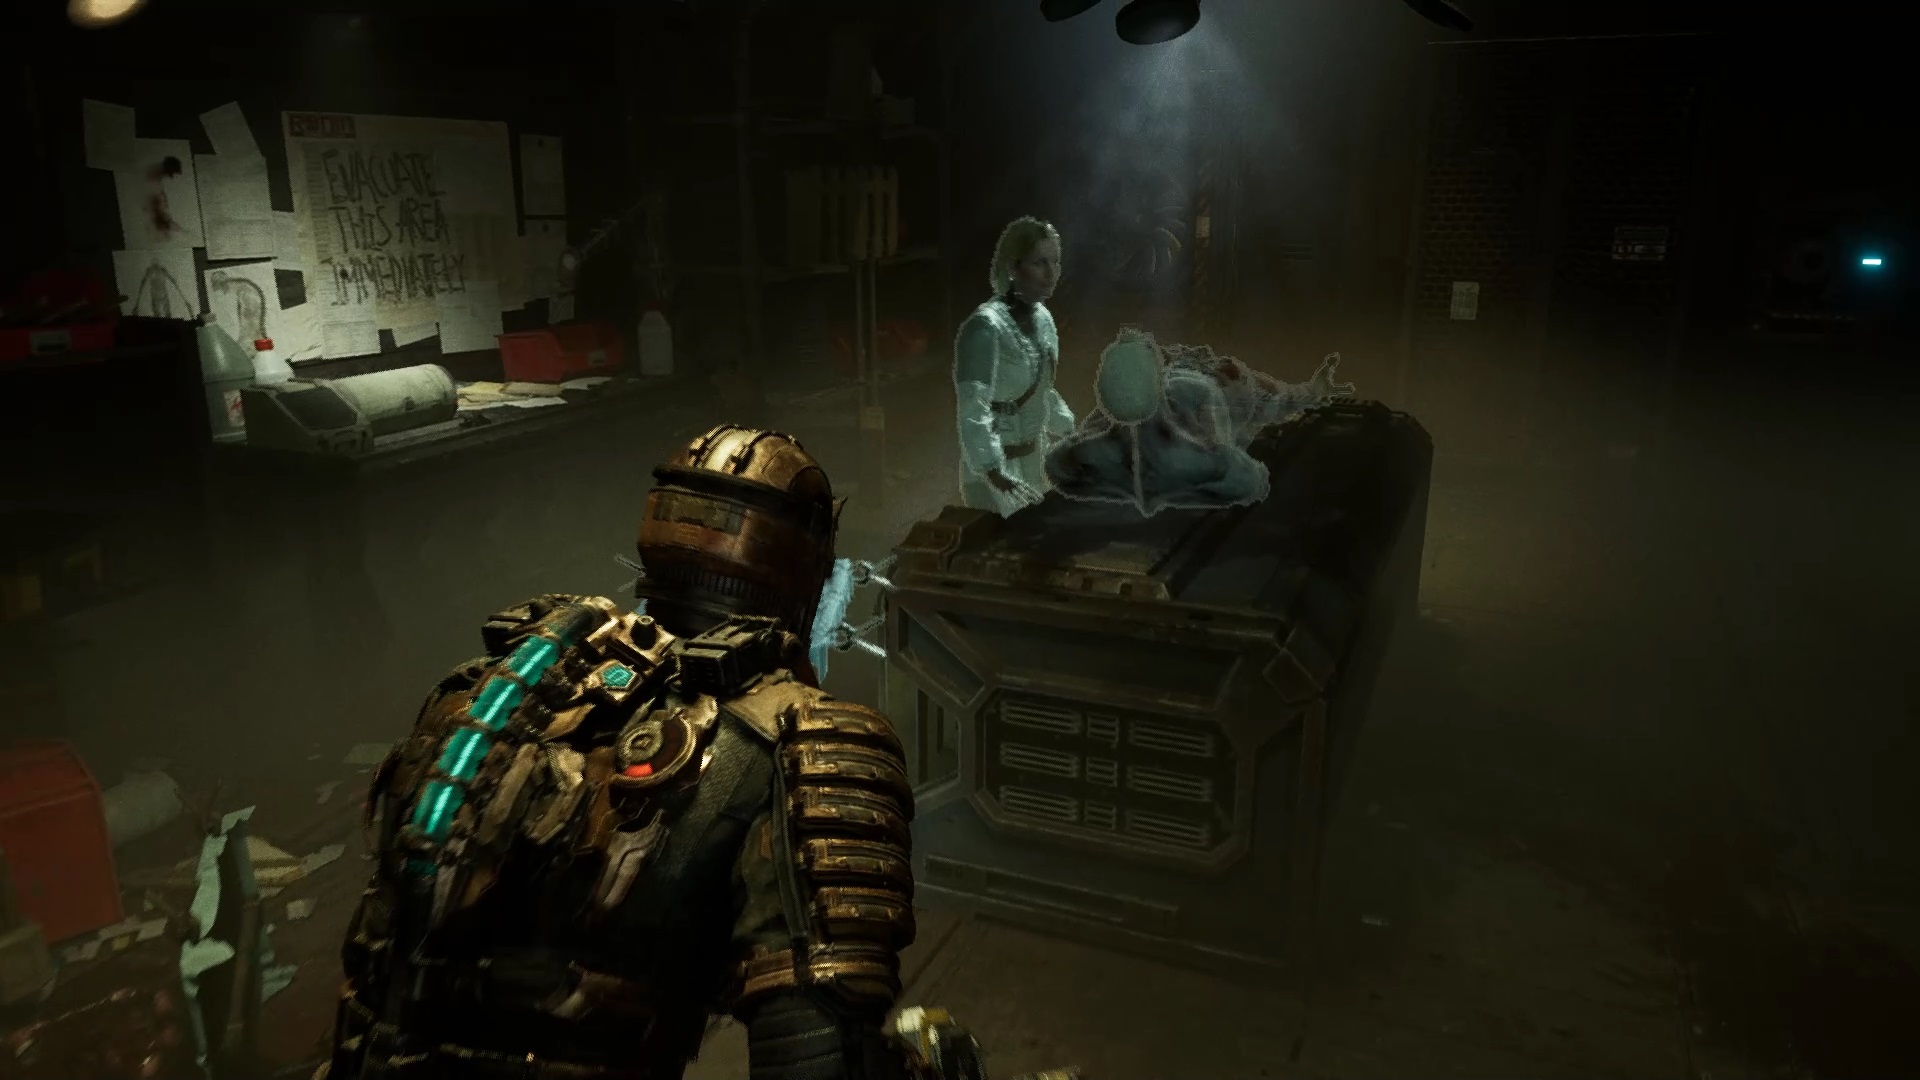
Search the lower room of Dr. Nicole Brennan to find a recording in the main lab. Play the recording to unlock a side mission. Search the ER in the Ishimura Clinic for a recording of Nicole. Follow Nicole’s hologram to find a door to move with the power of telekinesis. Collect the newspaper inside and play it.
You must now look for the location of the autopsy in engineering. Head to the engineering deck in the hangar. Follow the compass to find the coin nearby.
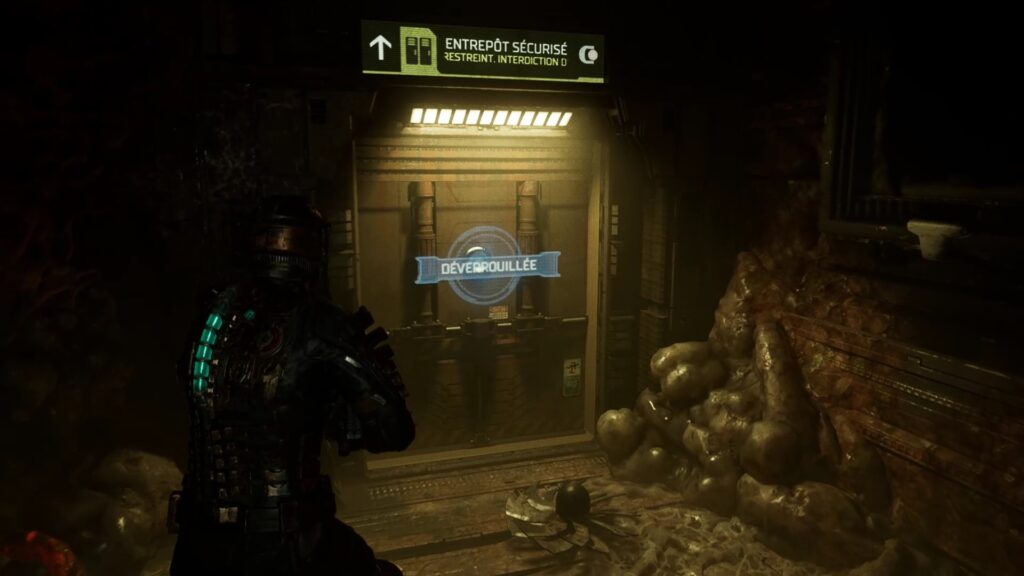
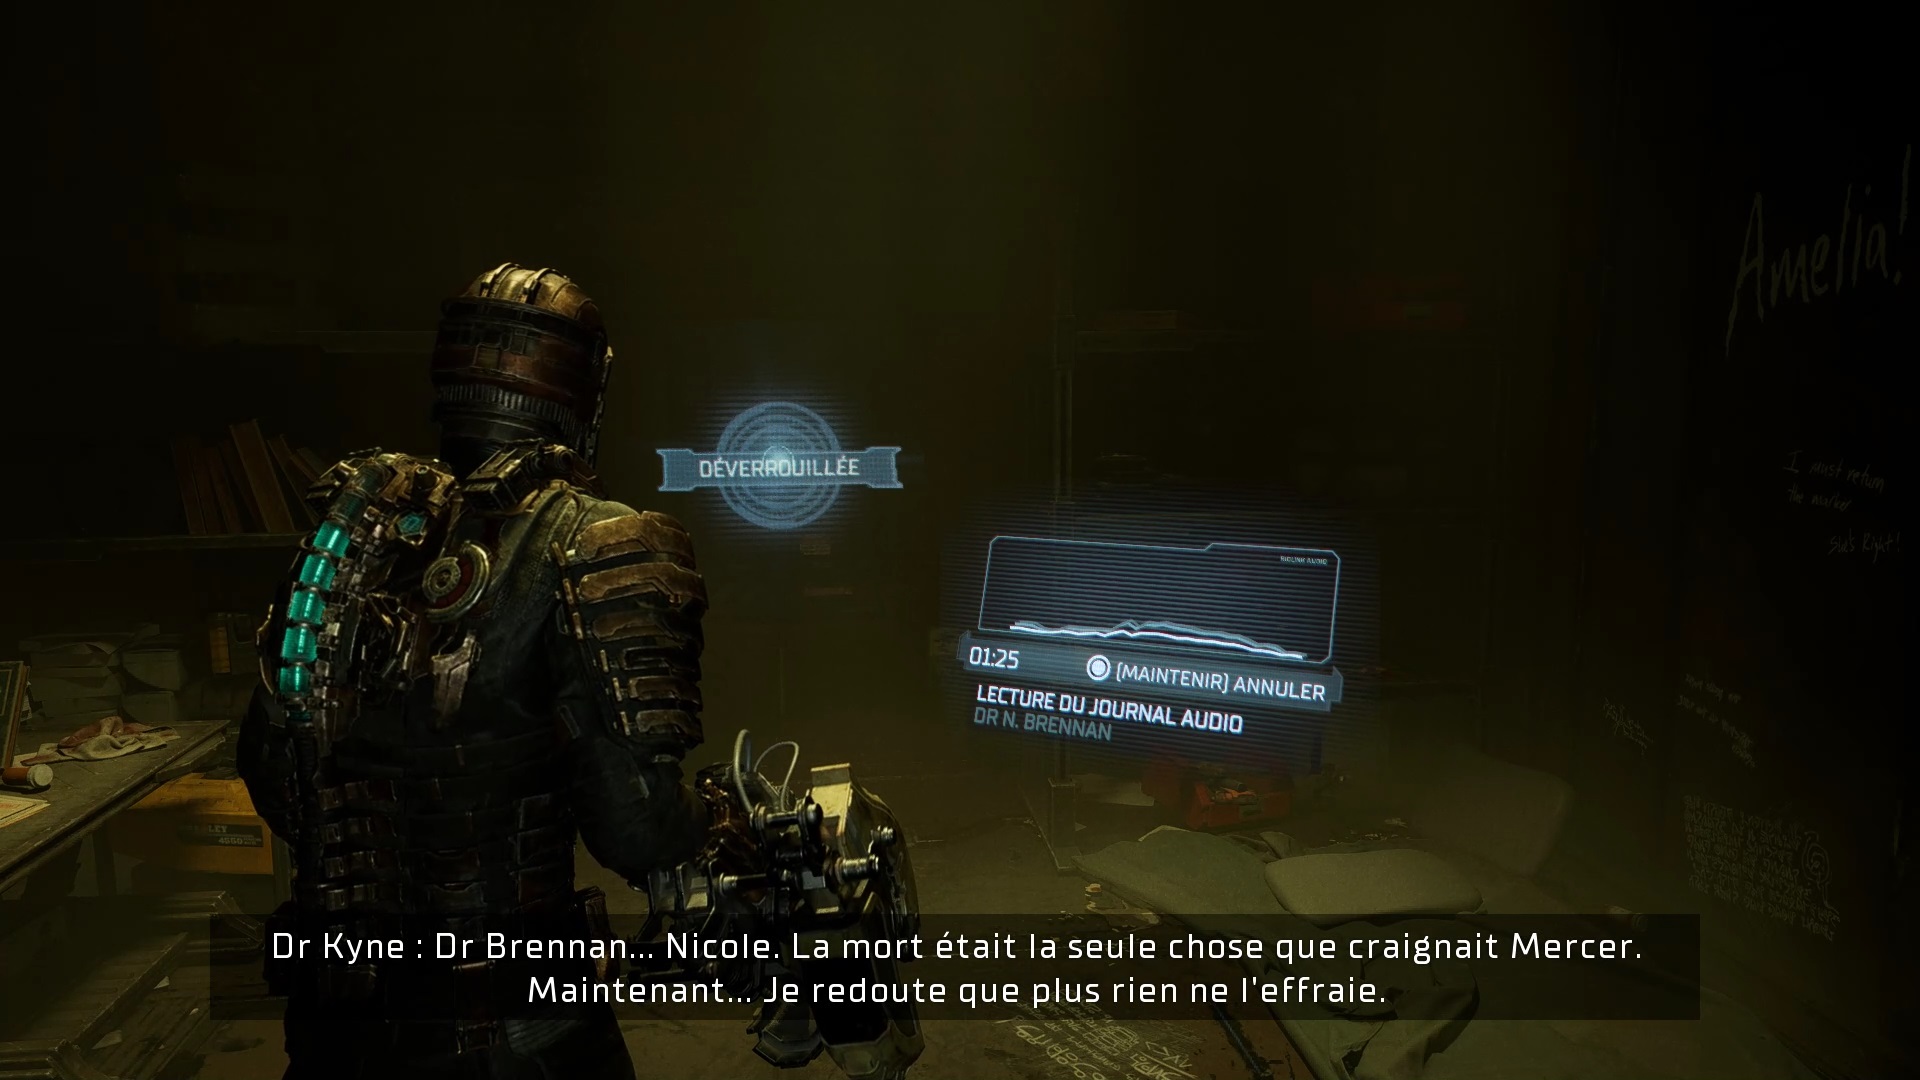
Continue the mission in the drilling pole. Use the main elevator to access maintenance deck D. Enter the Secure Warehouse and search Depot 02 for a recording of Kyne. A Dead Space 2 easter-egg is in another recording with Nicole. To continue the mission, you must wait for episode 10.
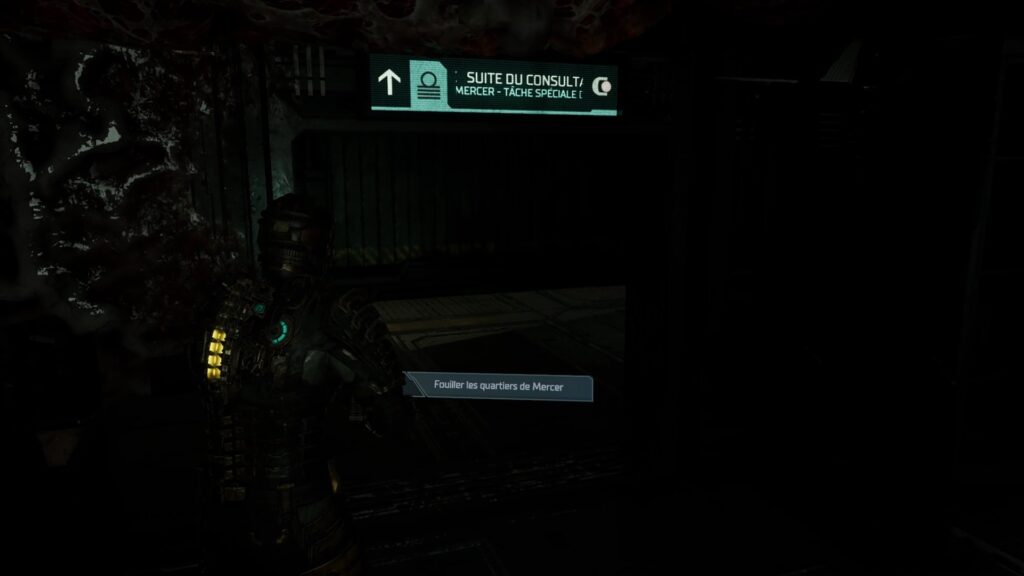
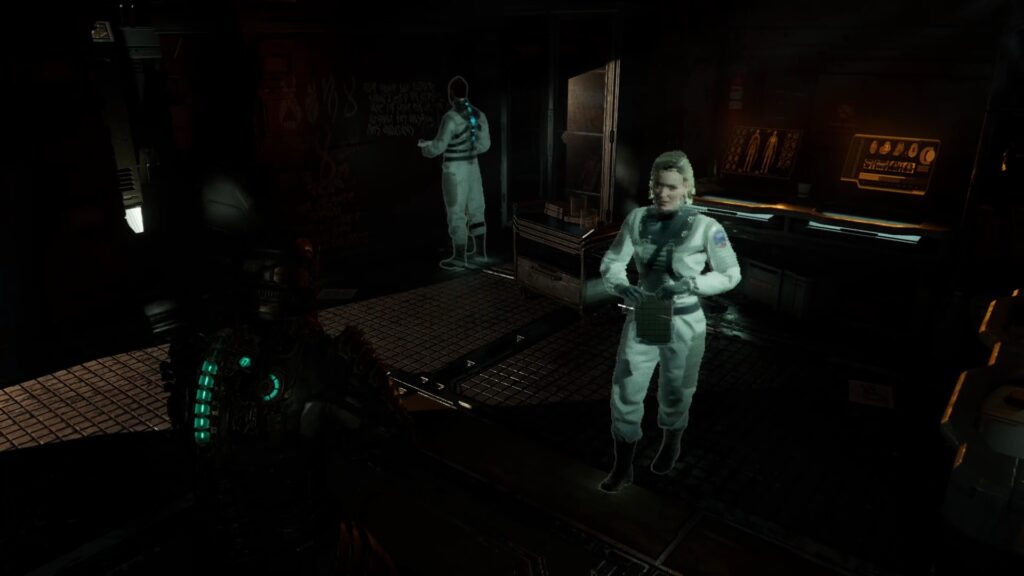
Once in the episode search the room of the health consultant to find a recording of Nicole.
Premeditated fault
After the fight against the creature in the freezing chamber. Retrieve the tissue sample from the cell. Go to the main lab to analyze the sample. Then go to intensive care to find Harris’ recording.
Continue the mission later at the drill pole. Take the elevator to the C deck floor and search the ore deposit. Move the crates to find a recording of Harris. Head to the catwalk to play a recording of Nicole. Continue into the subcultures through the nutrition system. Upon entering the diagnostic room take Nicole’s recording to complete the mission.
Authorization required

In this side mission, you need to find Ishimura Agent RIGs. Several accesses require having progressed in the main adventure. We advise you to do this mission in episode 10. To activate the mission go to the bridge. Holt’s first RIG is upstairs in the East Cultivation Hall. The second Dallas RIG is obtained during the main adventure in the drill area. White’s RIG is on the first floor of the catwalk outside the defense cannons. Bailey’s RIG is located in the comms hall above the catwalk. Take the second elevator to get there and take the RIG into the office.
Return to Engineering to find Rousseau’s RIG. he hides behind a level 3 accreditation door. Bensom’s RIG is in the tunnels of the tram. You can access it through the gateway. For Voelker’s final RIG, return to the hangar in the zero gravity zone. You can access it via the freight elevator or behind the hangar where the USG Kellion was. Finish the mission by returning to the bridge and crafting the master key.
How to get the secret ending?
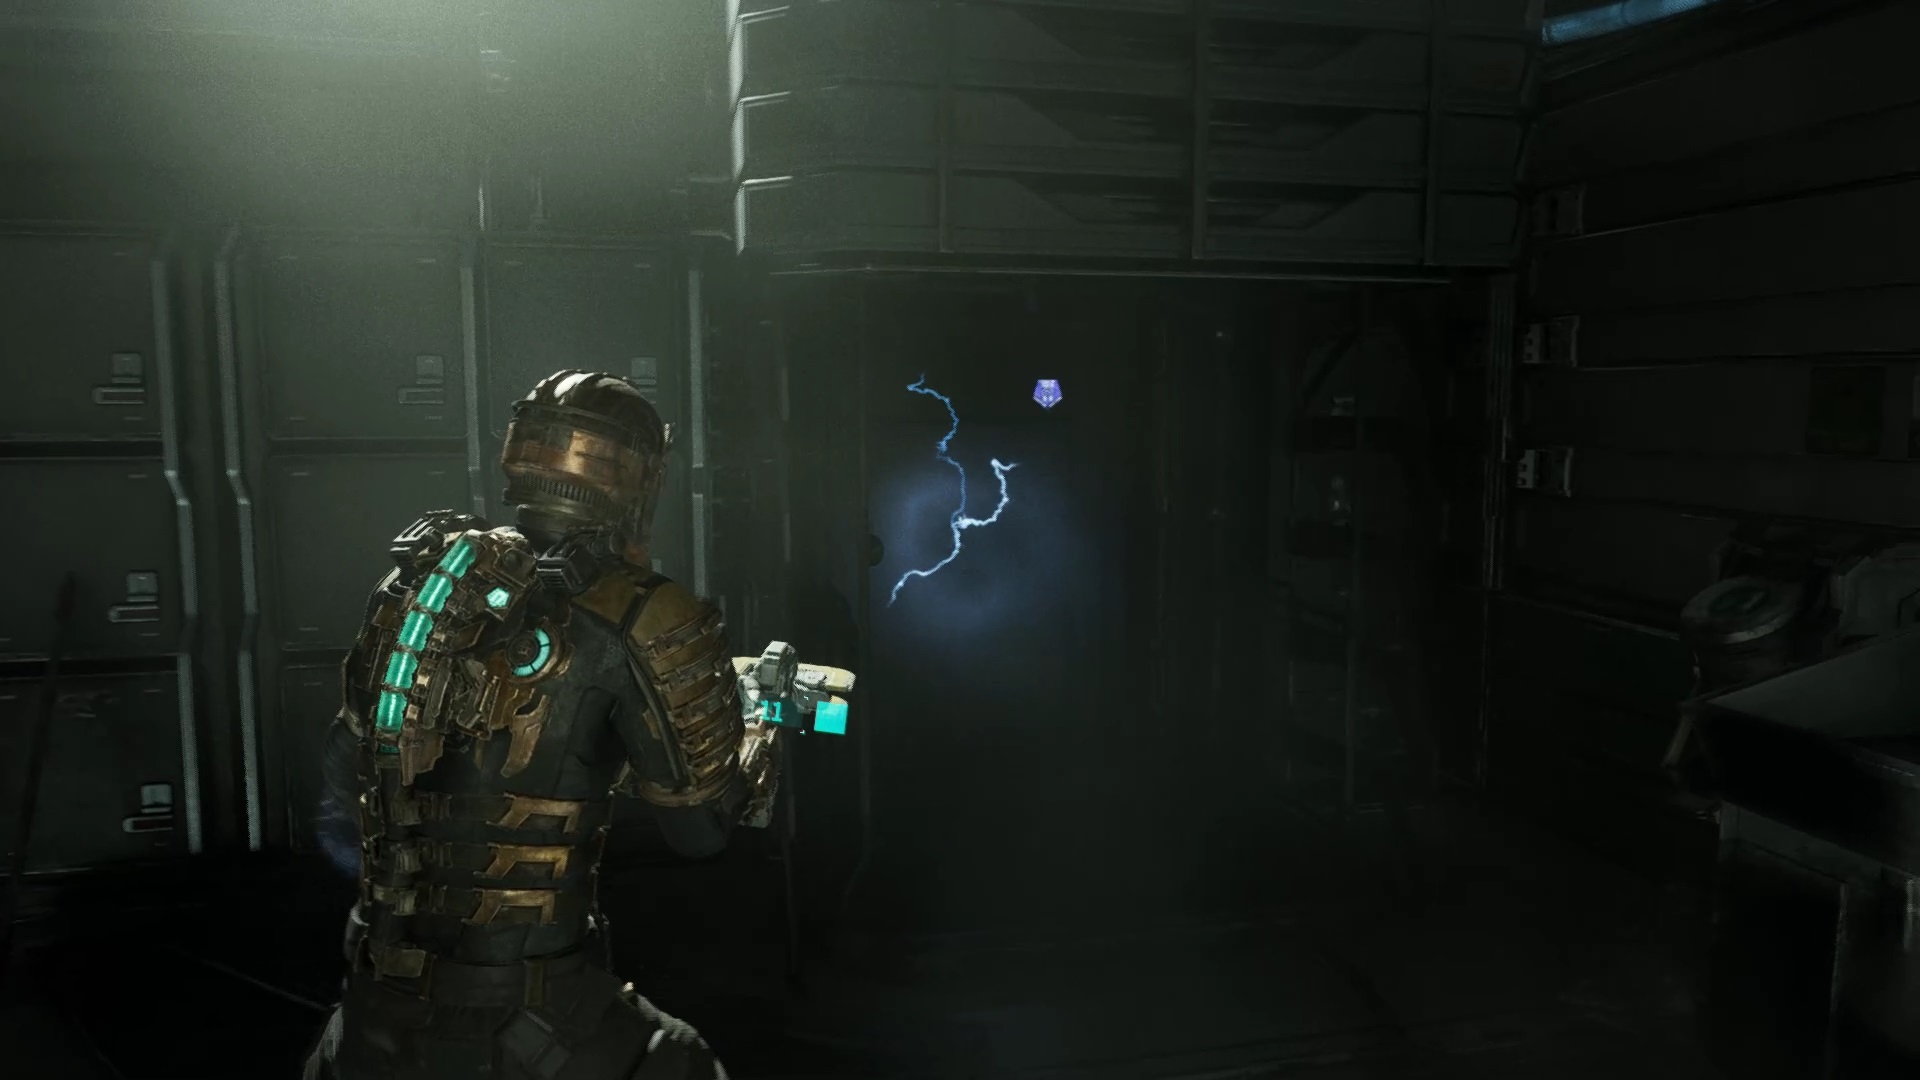
To get the secret ending in Dead Space Remake you will first need to beat the game once to unlock New Game+ mode. Thanks to this mode you will be able to find twelve fragments of monolith in order to obtain a different ending scene.
- In Chapter 1, you’ll find the first fragment in the hangar inside the maintenance room on a shelf near the hard drive.
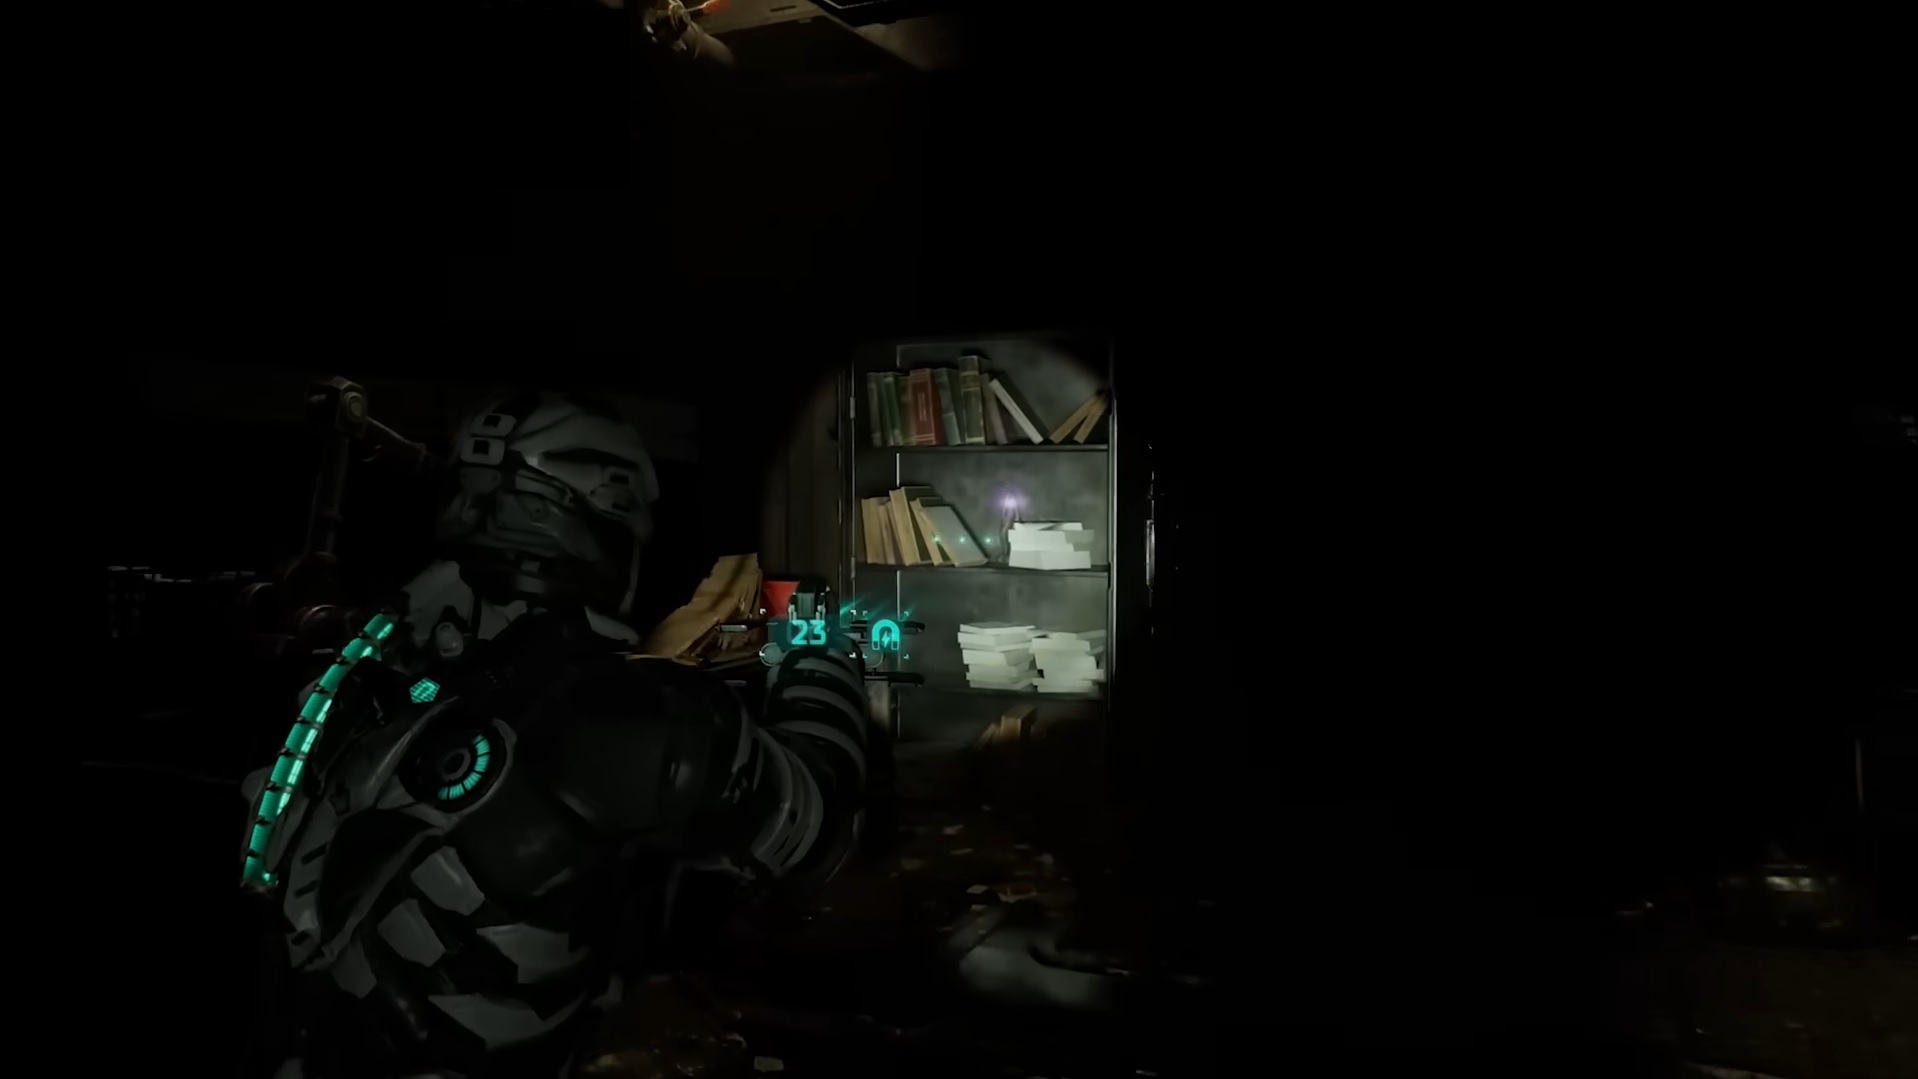
- In Chapter 2, you’ll find the second fragment in the medical hub at the main lab. In Kyne’s office behind a bookcase to be moved with the power of telekinesis.
- In Chapter 3, you will find the third fragment in the engine room. Behind crates of a battery location.
- In Chapter 4, you will find the fourth fragment in the rest room.
- In Chapter 5 you will find the fifth fragment in the medical pole in intensive care. Search the assistant scientist’s office to find him.
- In Chapter 6, you will find the sixth fragment at the medical pole above the cryogenics cell in cryogenics.
- In Chapter 6, you will find the seventh fragment in the subculture pole. Search above the eastern subculture room. The fragment is suspended on an organic column.
- In chapter 7, in the drill area. Search the mineral sample room for the fragment. You will need the Dallas RIG to open in the mineral processing area.
- In Chapter 8, at the catwalk in the communications antenna room. Search the organic cavity in the wall to find the fragment.
- In chapter 10, at the crew deck and specifically in the luxury quarters on a table.
- In Chapter 10, at the Crew Deck you will find a fragment on a table in the Chief Steward’s office.
- In Chapter 11, the last fragment is in the hangar in the loading area.
Once all the fragment are in hand, place them in Captain Mathius’ suite in the executive quarters on the crew deck.

Fan de jeux Nintendo, Xbox, PlayStation, PC et de l’univers gaming
Je vous partage ma passion à travers mes articles sur les nouveautés jeux vidéo
Journaliste gameactuality.com