[Guide] Scorn : Complete Walkthrough and Tips
Scorn, our complete Walkthrough and game tips . All the acts of history. Solution of puzzles and riddles. Scorn is a first-person shooter and horror video game developed and published by Serbian studio Ebb Software. It was released on October 14, 2022. The game universe is inspired by the work of artists Hans Ruedi Giger and Zdzisław Beksiński.
Acts of Scorn
Act I – I
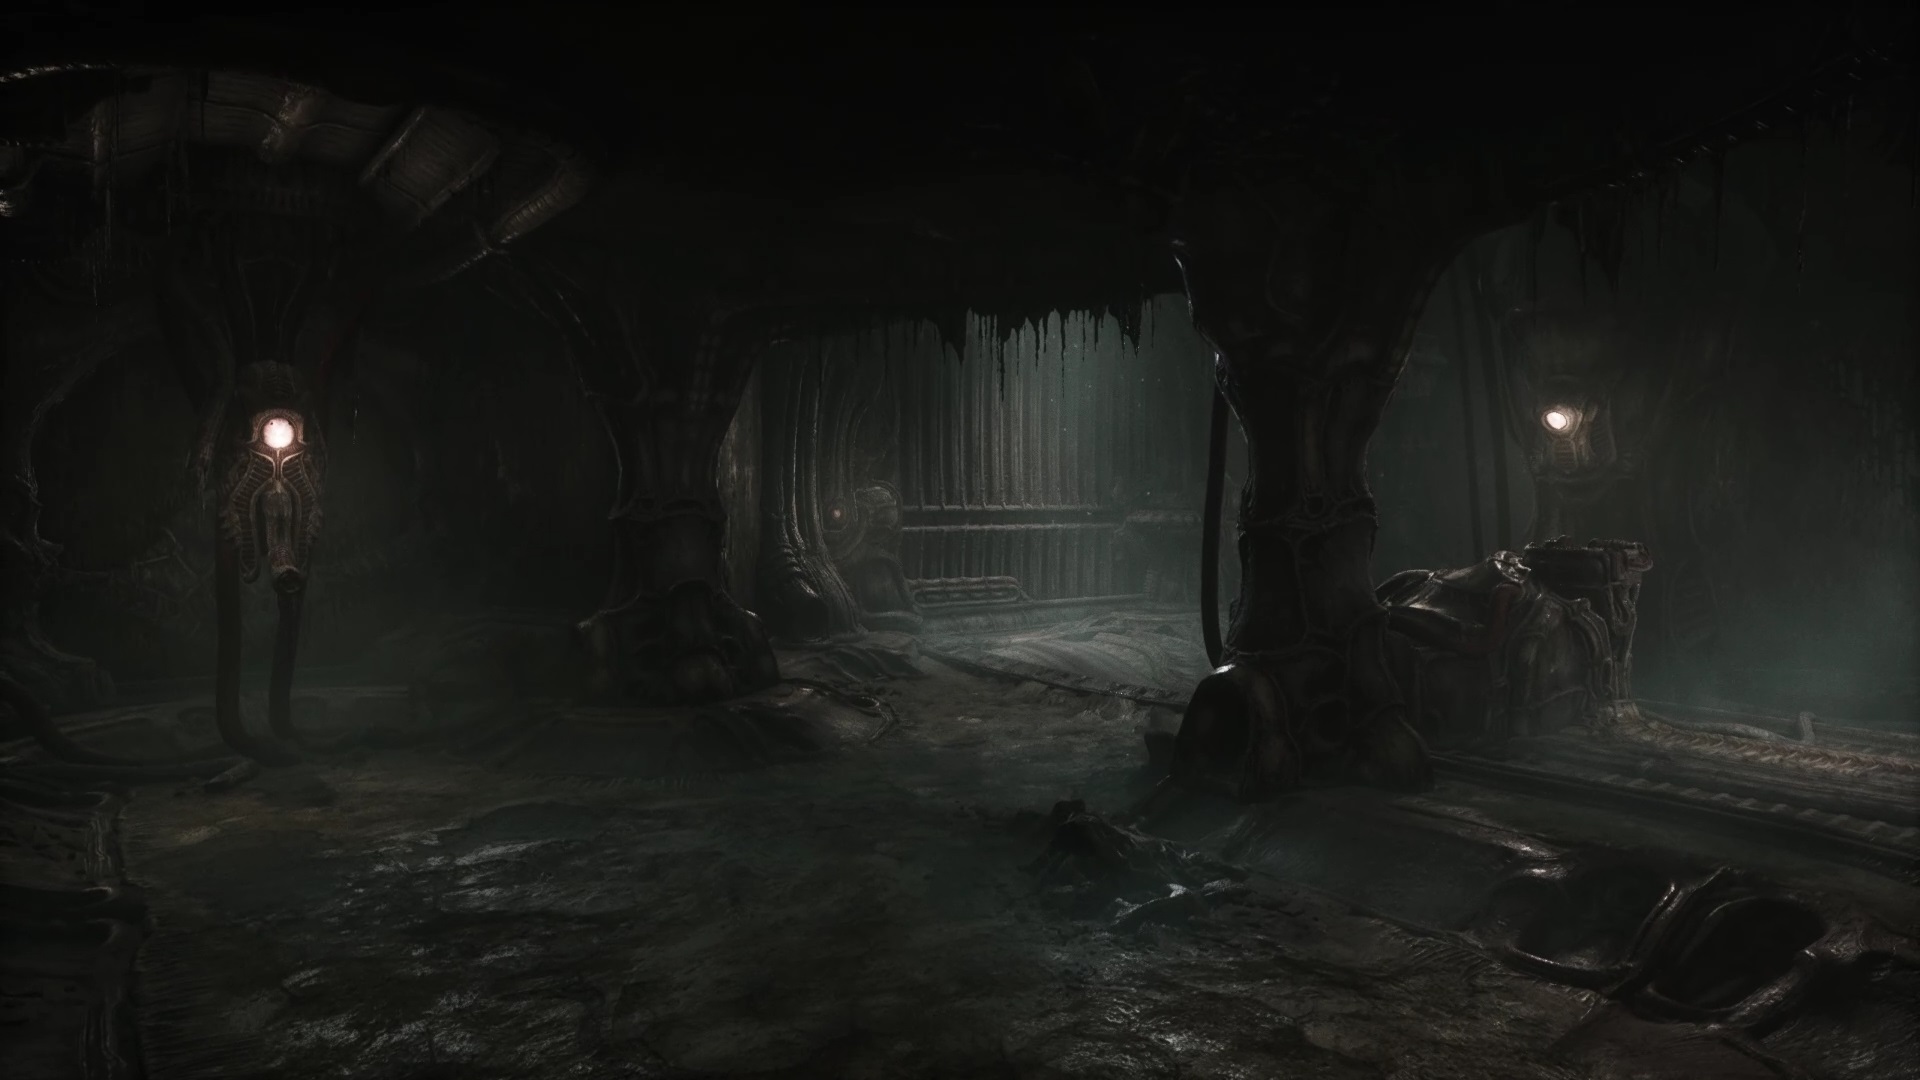
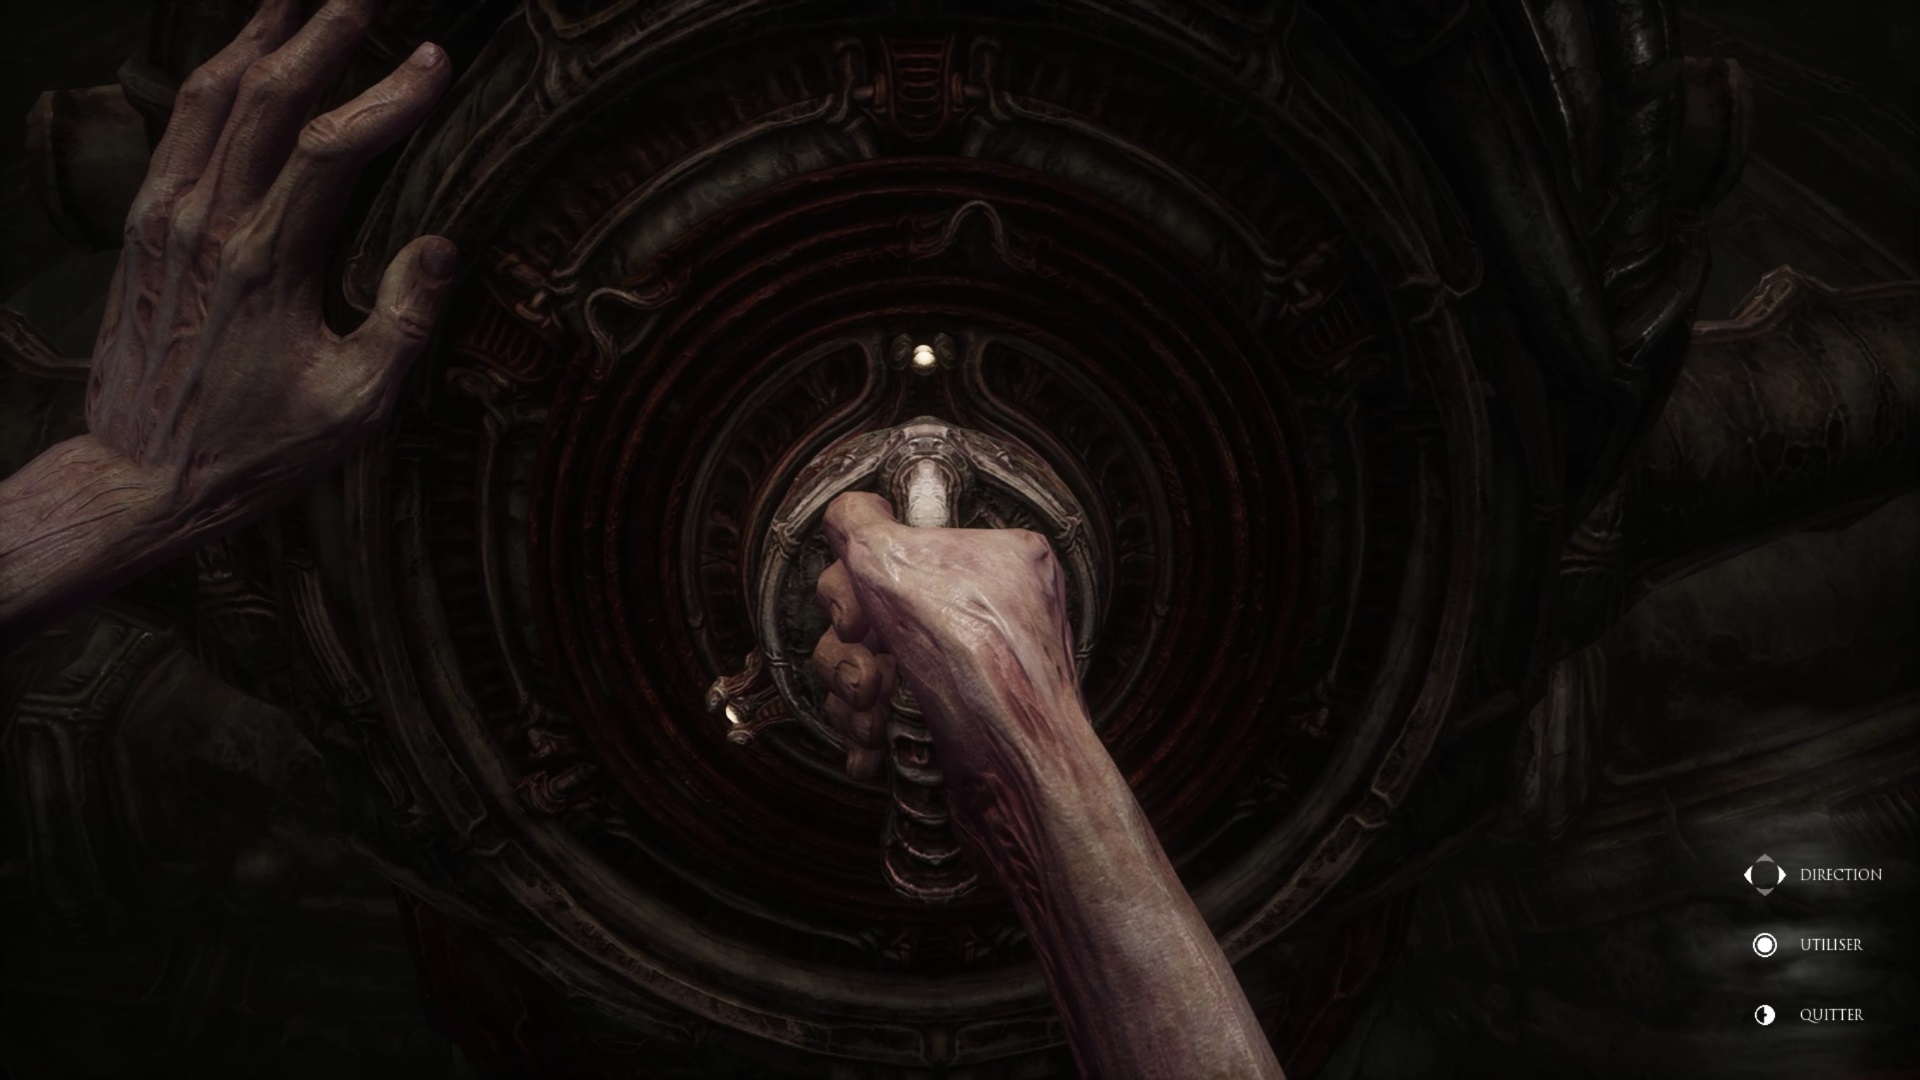
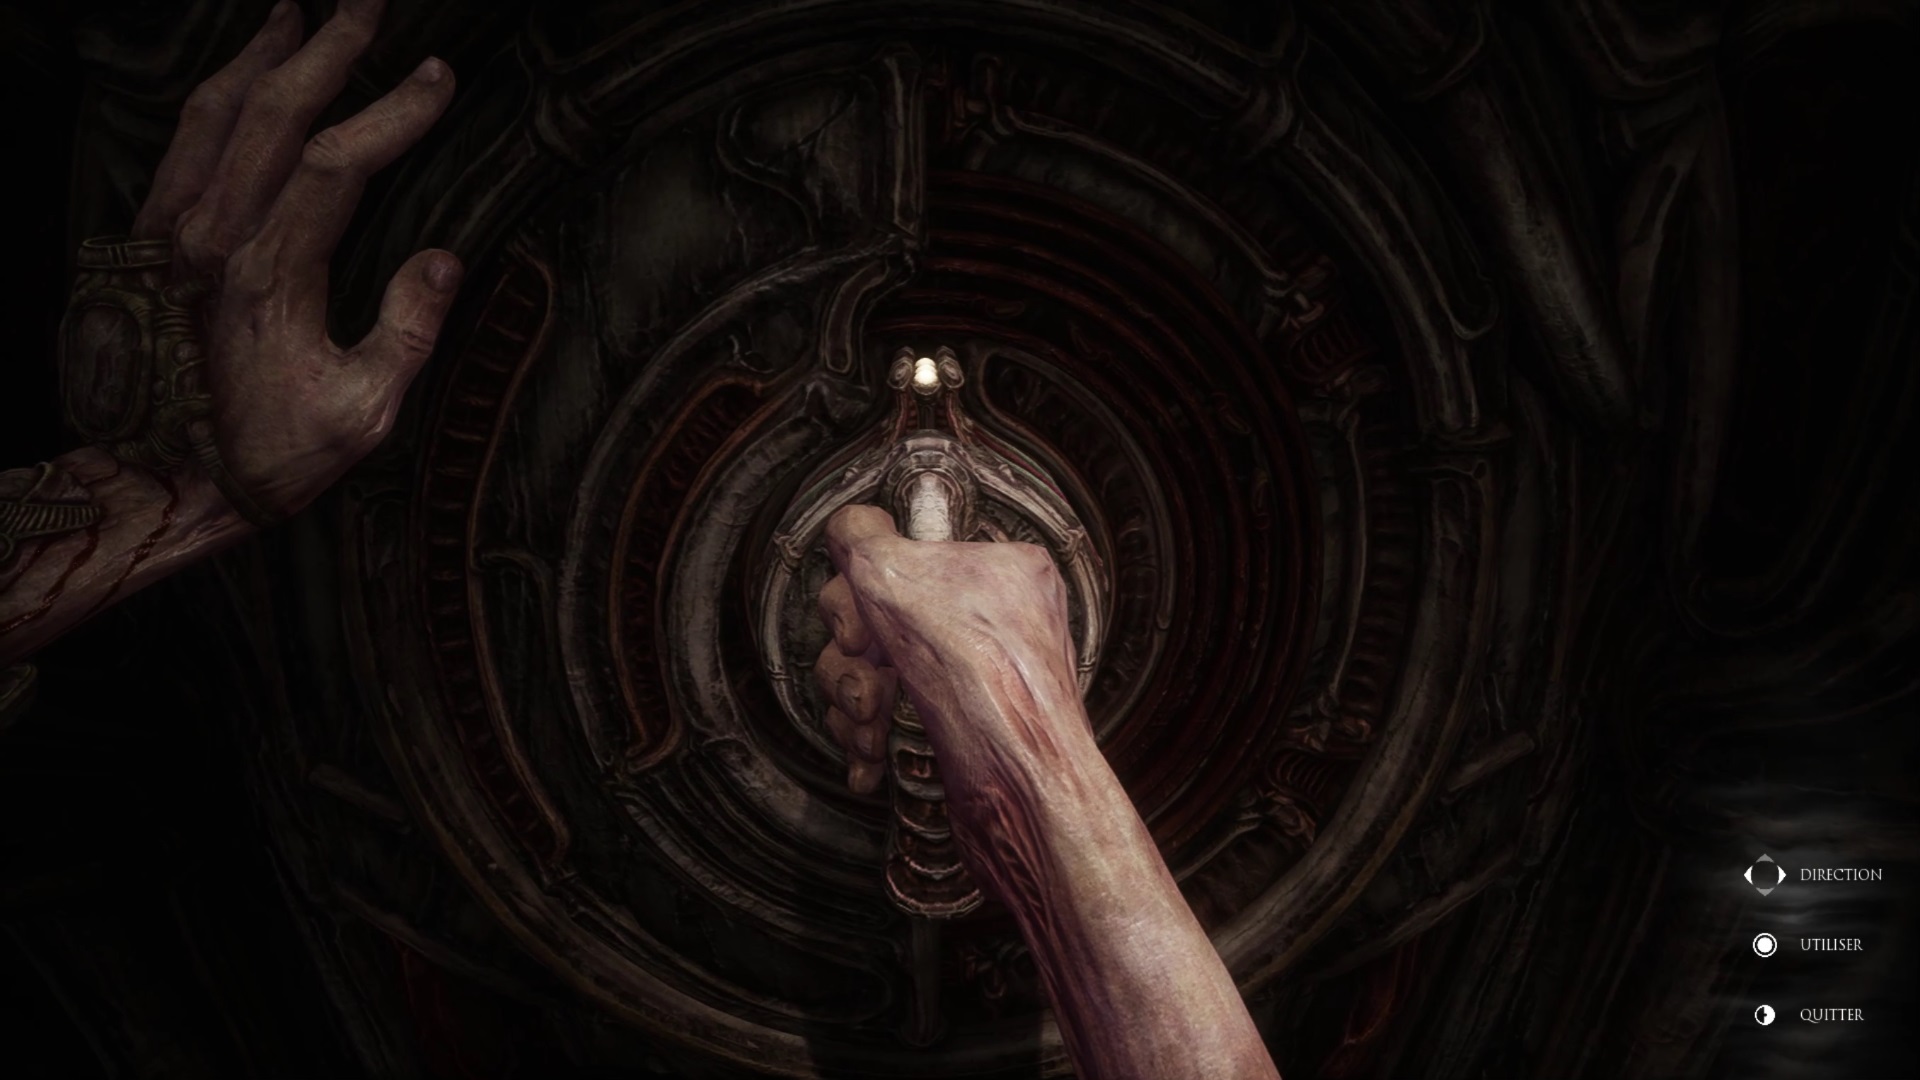
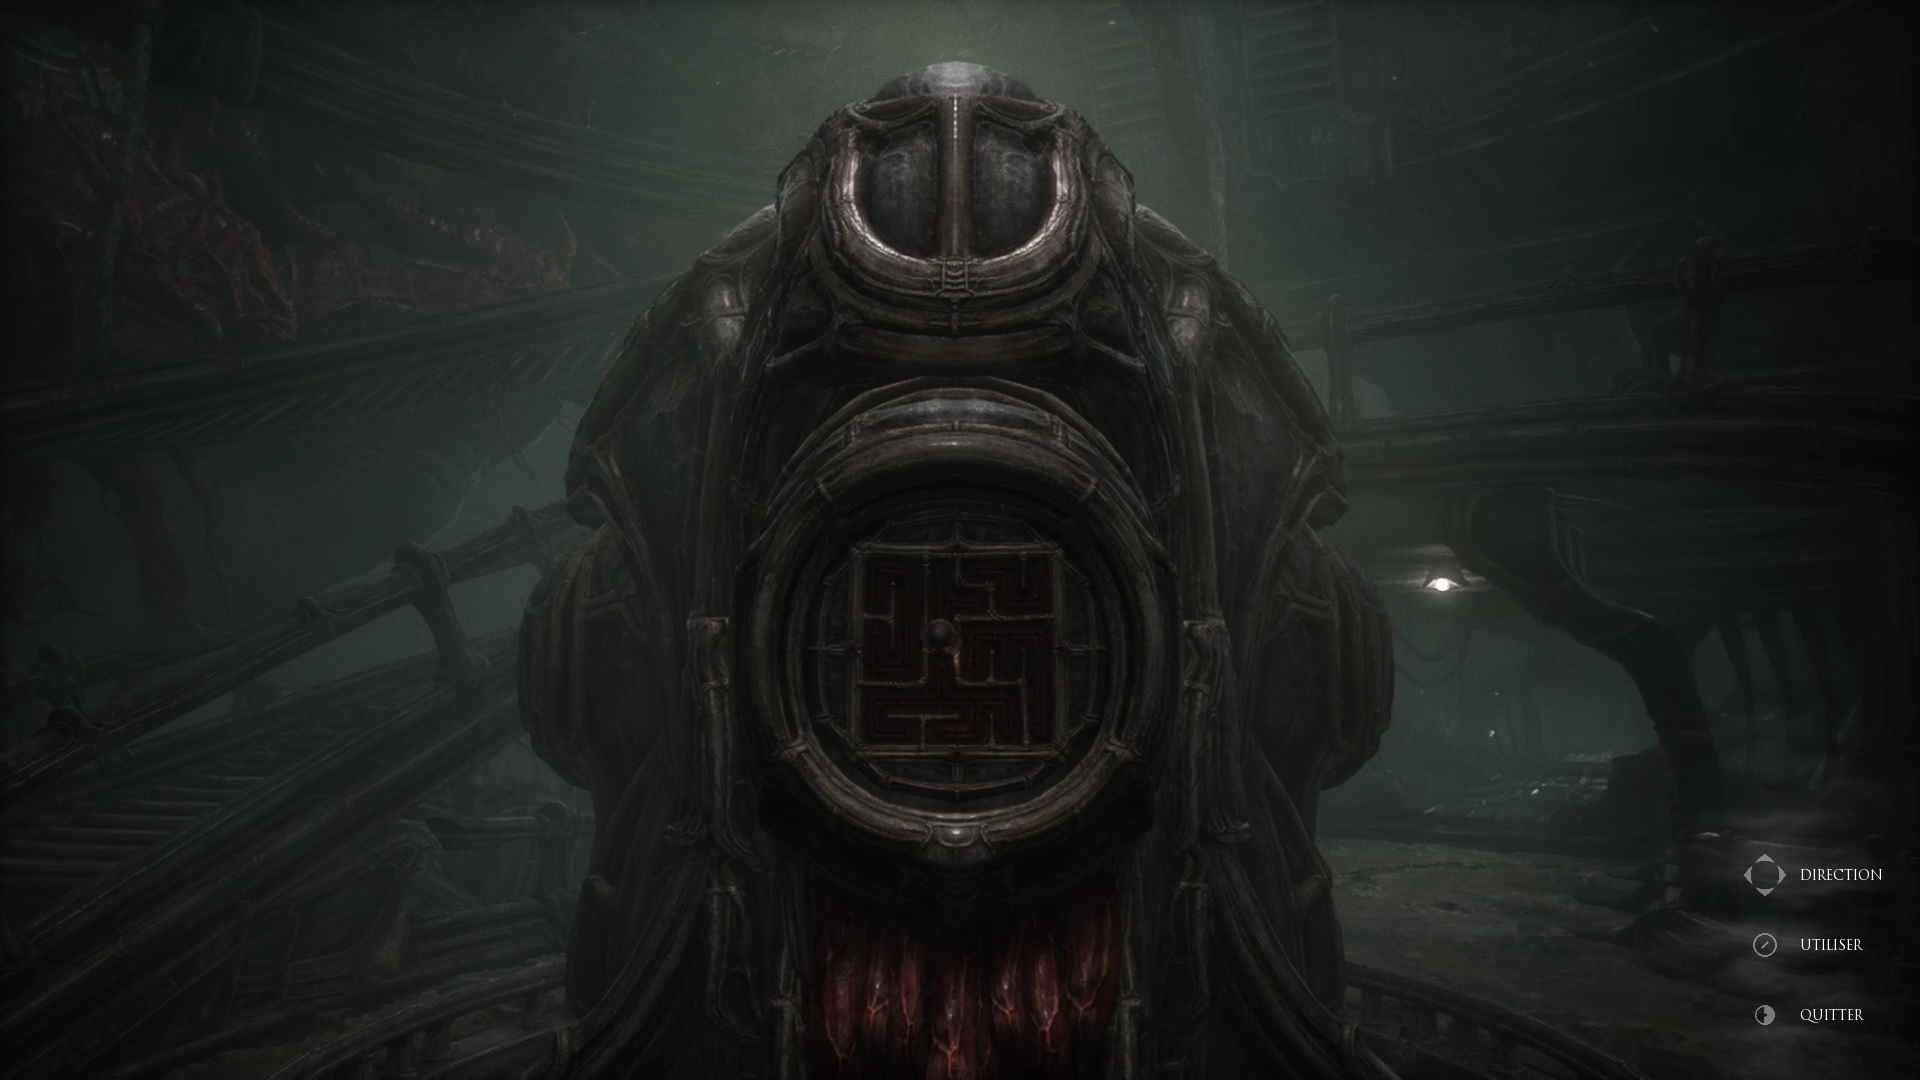
At the start of Scorn, start by venturing into the passage to the left of the door. Continue until you reach the balcony of a large room. Go down the tunnel on the right to pass a door that collapses as you pass. You are stuck in a new room. Interact with the machine to the left of the portal to graft yourself an organic key. Interact with the panel in front of the portal to unlock it. Follow the tunnels to reach the great hall.
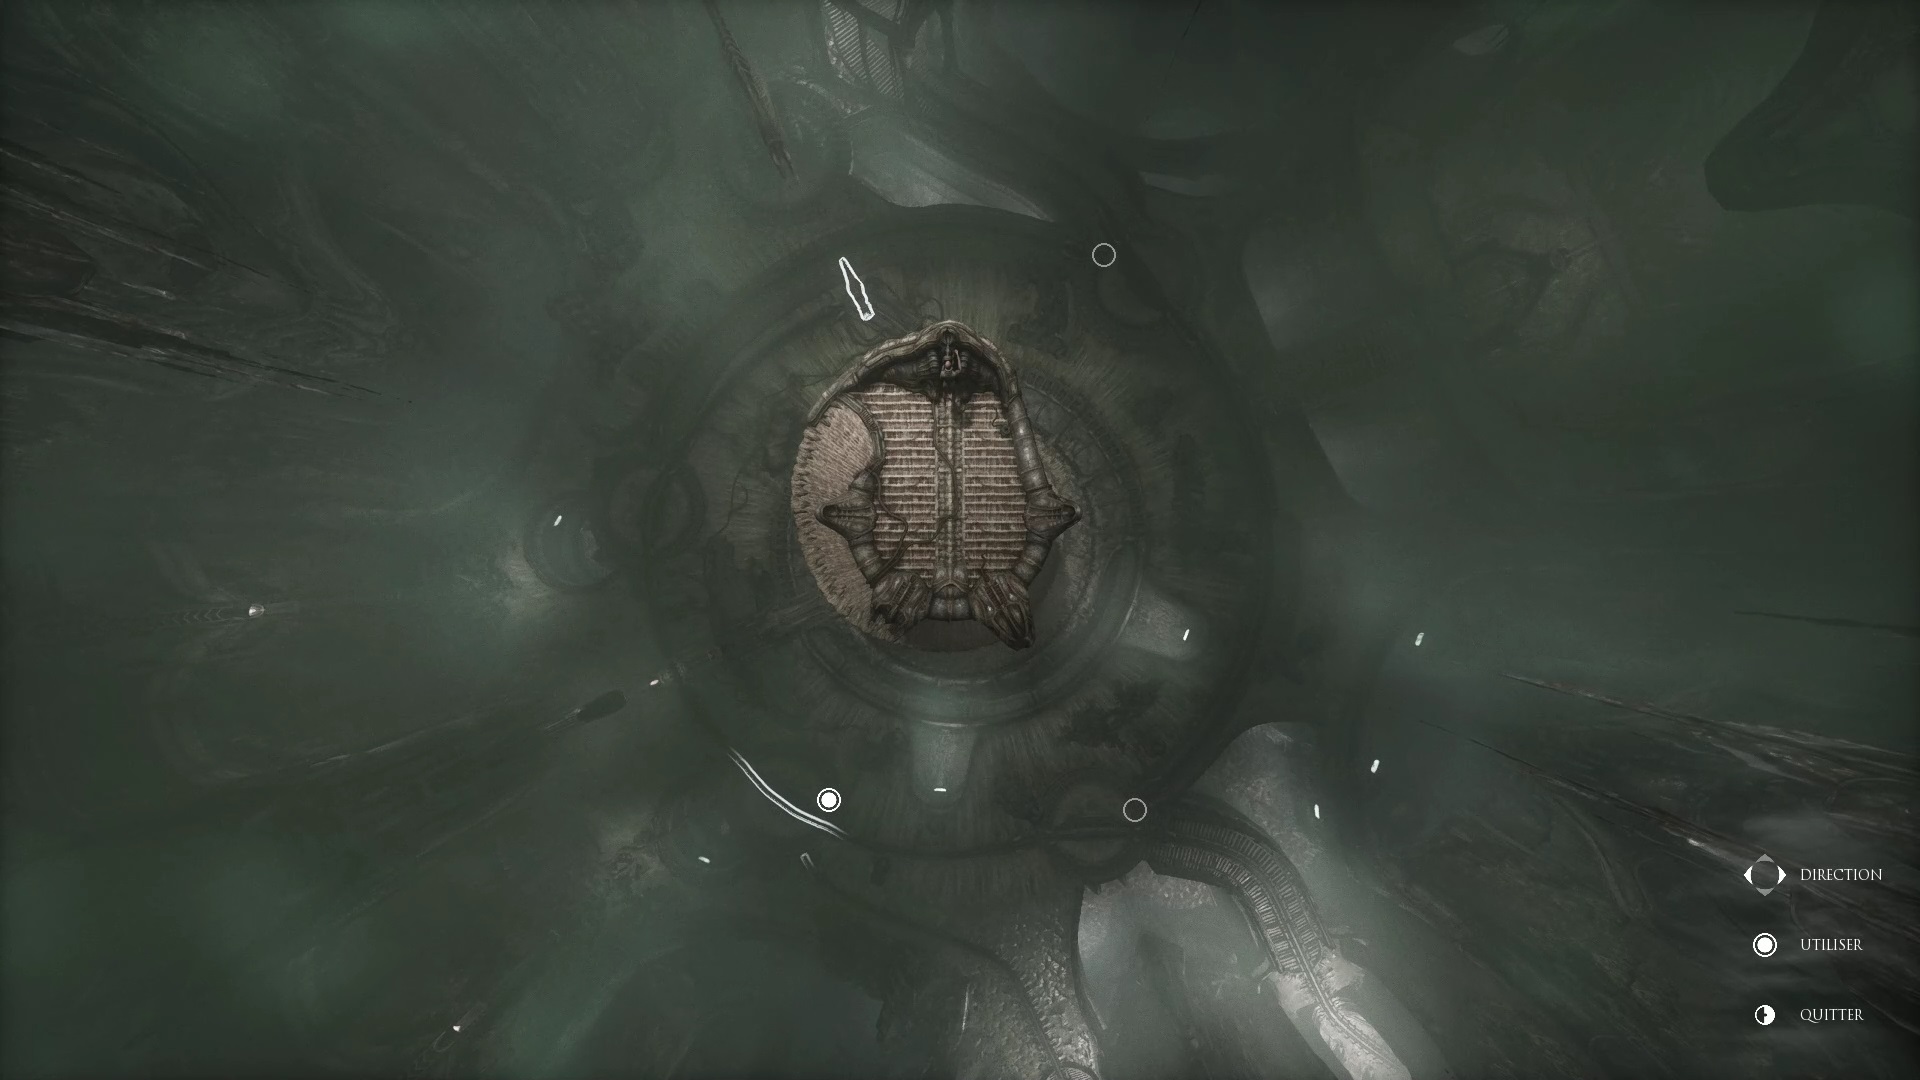
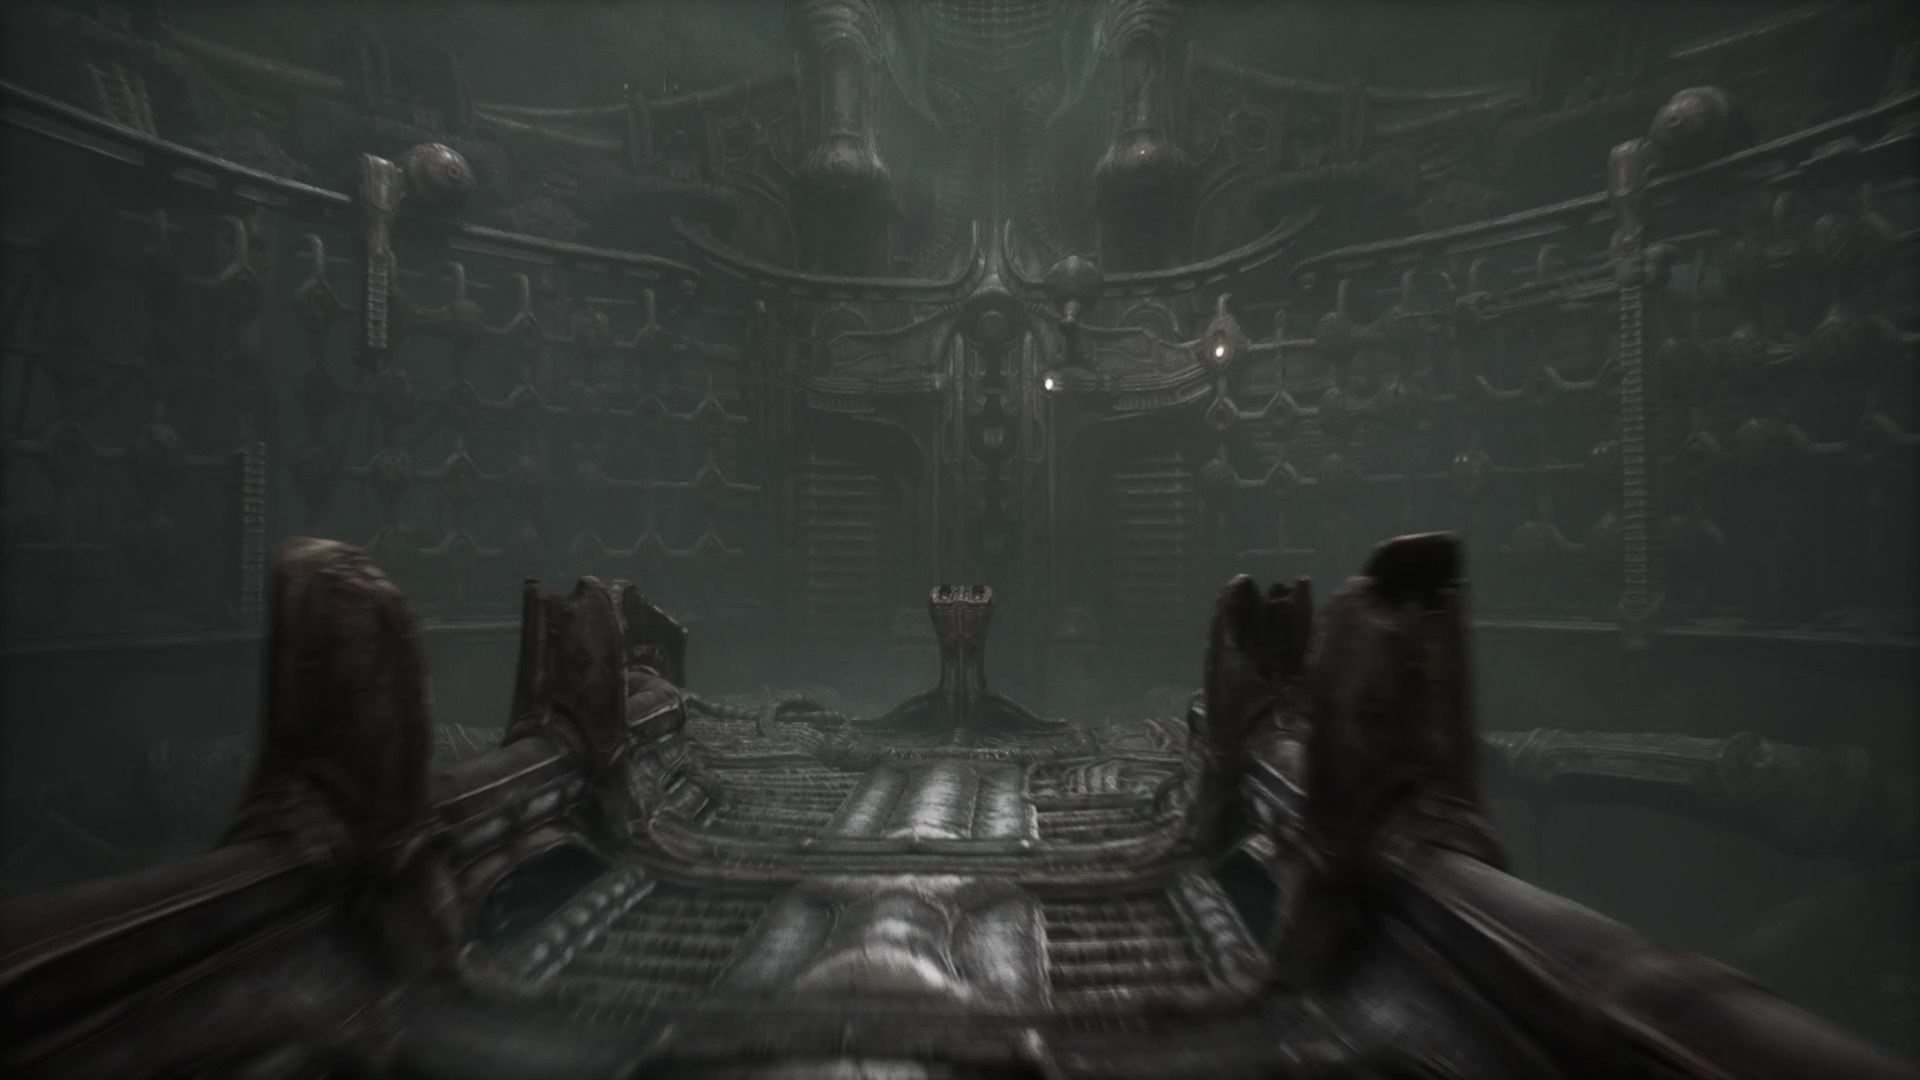
Climb the pillar in the center of the large hall to find a new panel. Interact with the strange machine to view the room from above. You need to route a path to the highlighted seat. You must create a path between the highlighted seat and the illuminated tunnel in the lower right. All you have to do is operate the bottom left rail. It will help you later. Once the path is done, go down to reach the lit tunnel. You will find inside an elevator, activate it to go up.
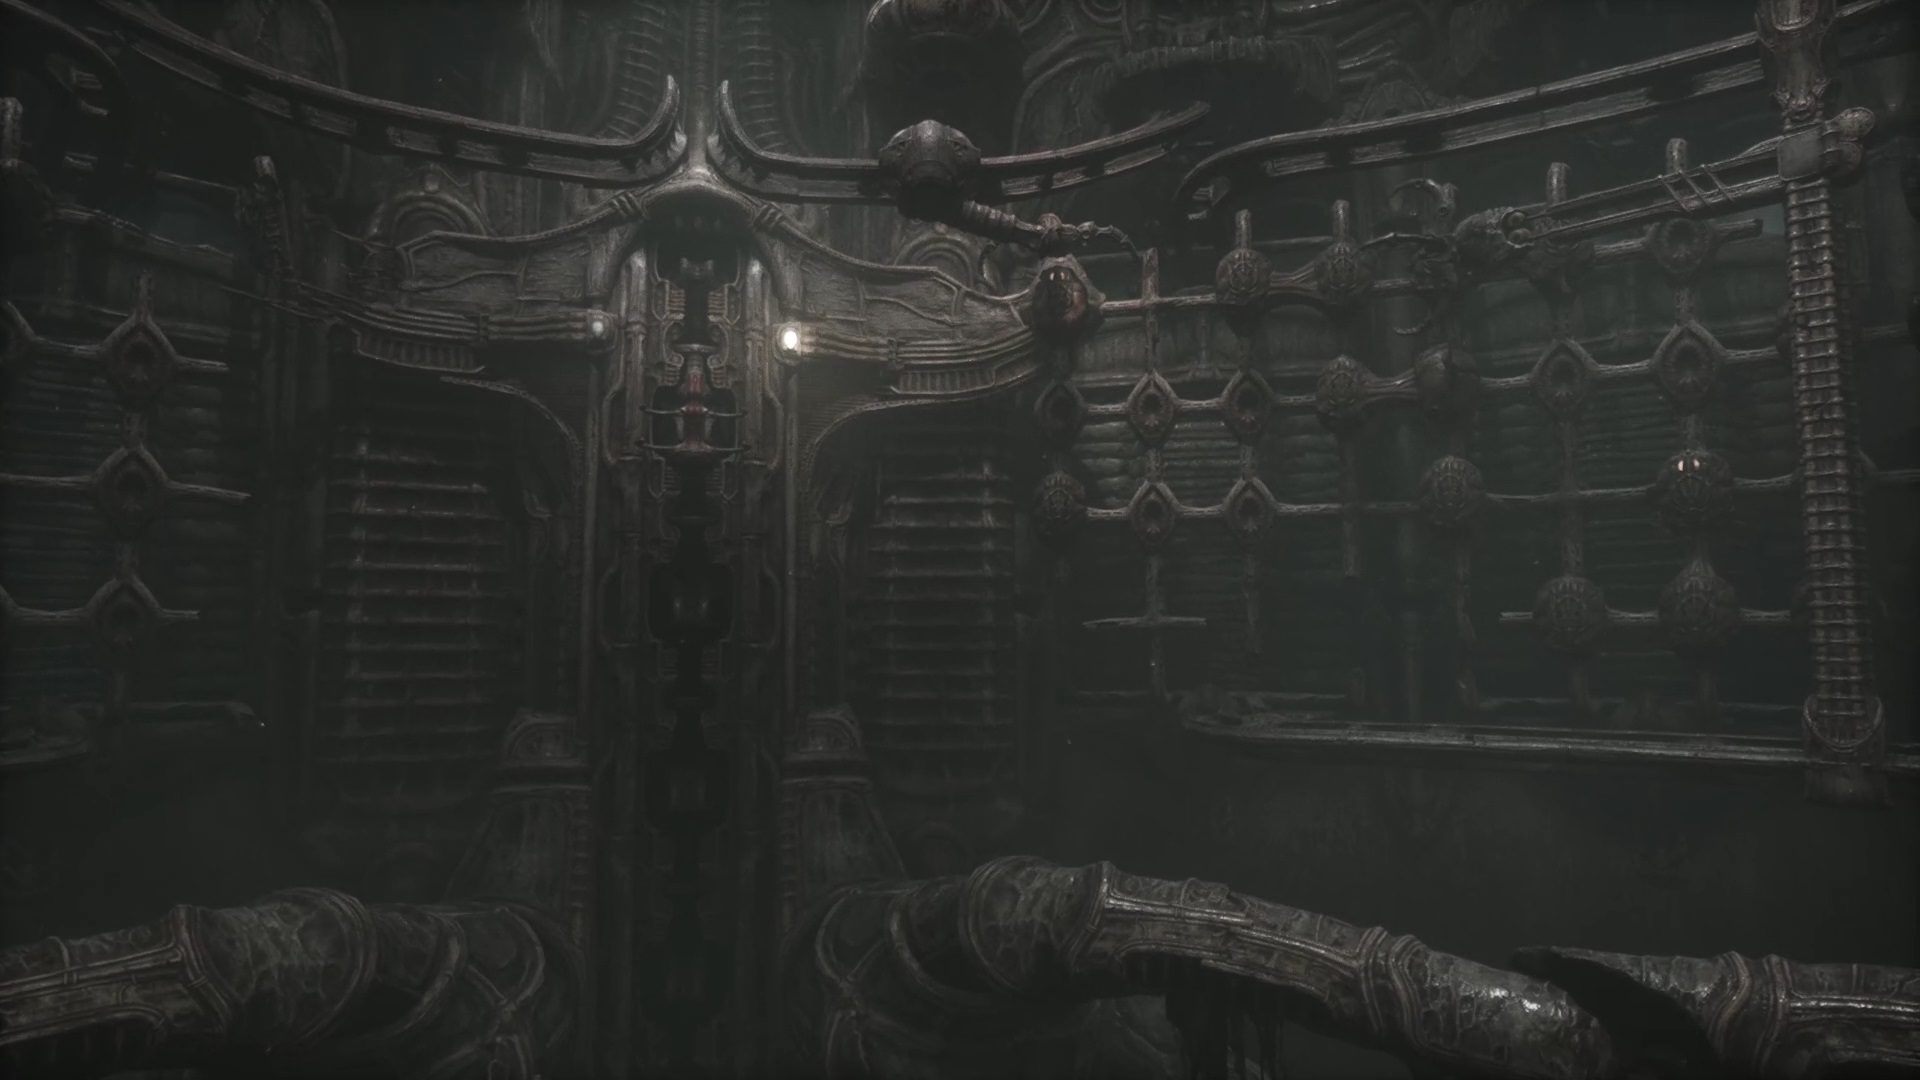
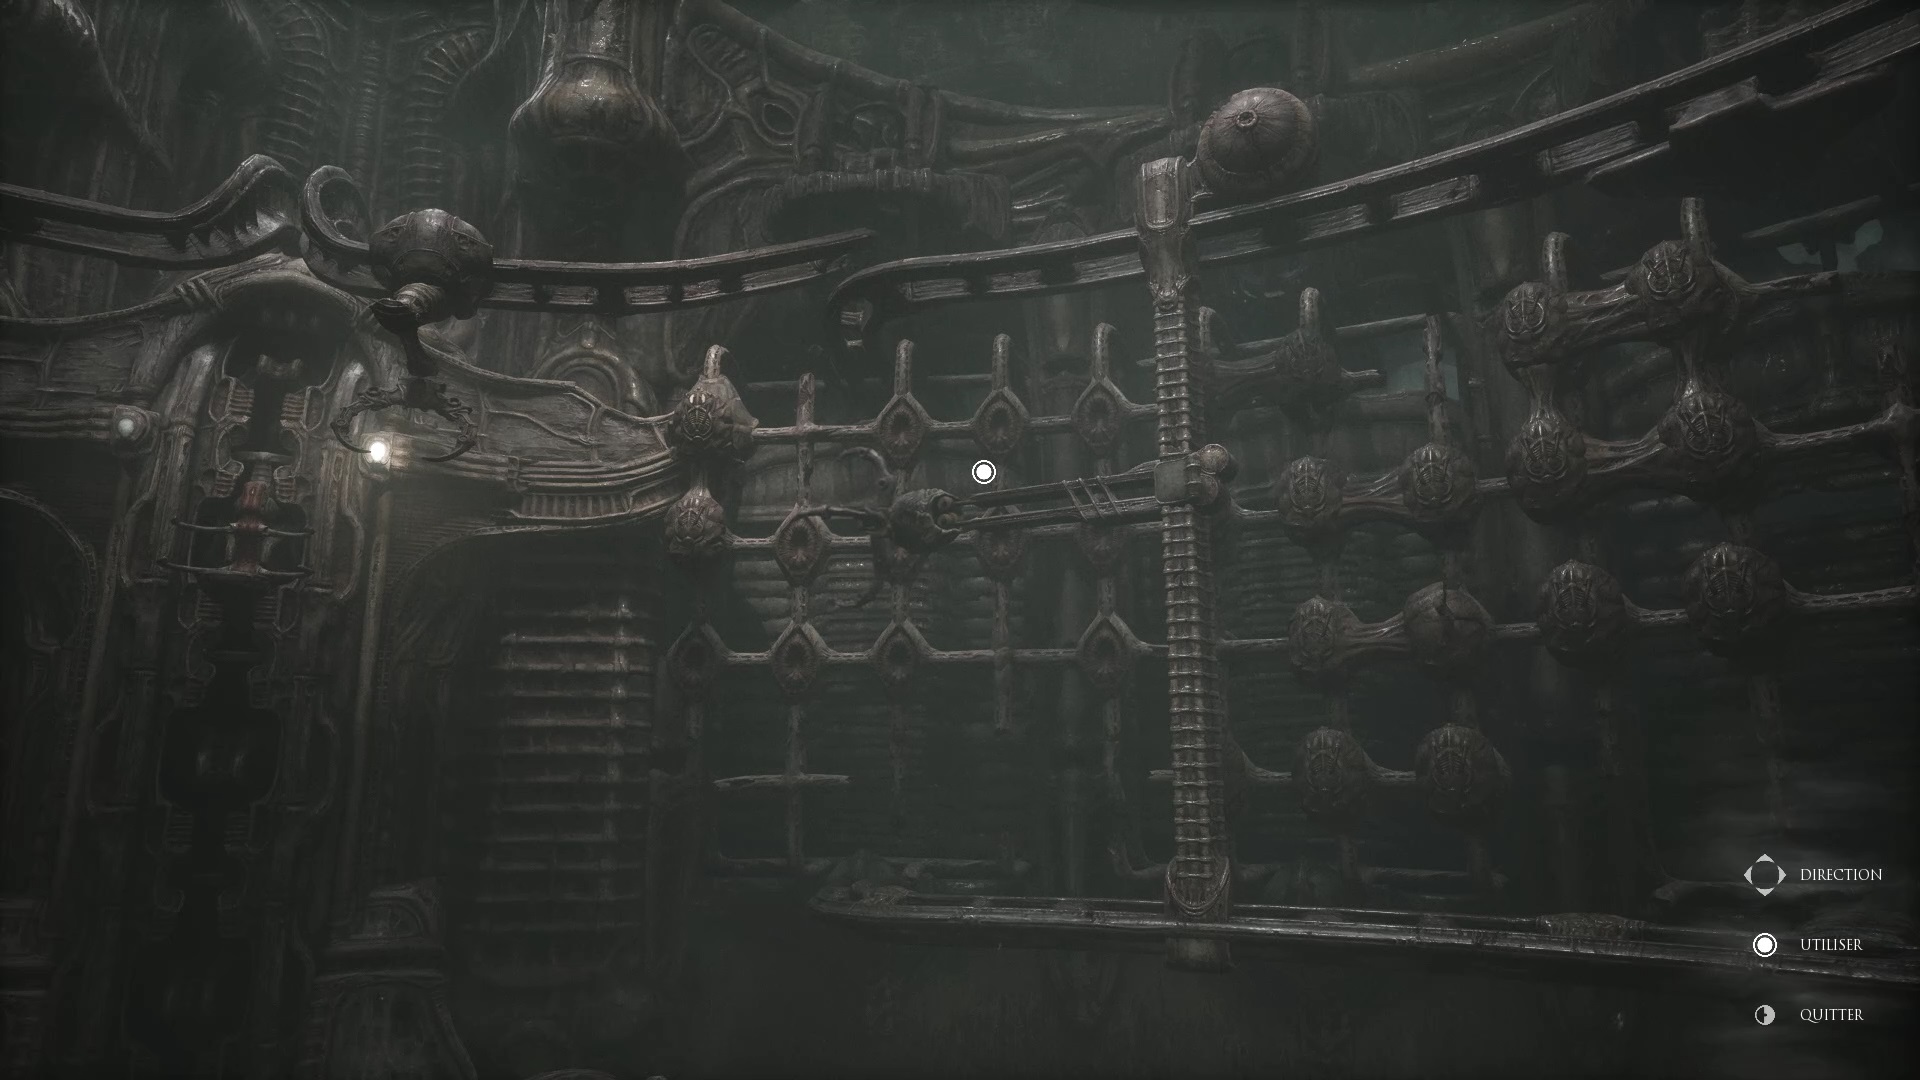
You will find in front of the elevator two panels with which to interact. Start with the right panel. You will see on the right two shiny eggs hanging among other dark eggs. The goal of the puzzle is to move the famous shiny eggs to the bright location at the top left. Start by moving the dark eggs to move the first bright egg on the left to the bright location. Once in place, use the middle panel to retrieve it, but it breaks down. You must now bring out the second shiny egg. It’s attached to a dark egg, so you need to prepare two vertical slots for it to move it. Make sure to move all the dark eggs to the right side to clear the way for the shiny egg. Once successful, take out the egg with the middle panel.
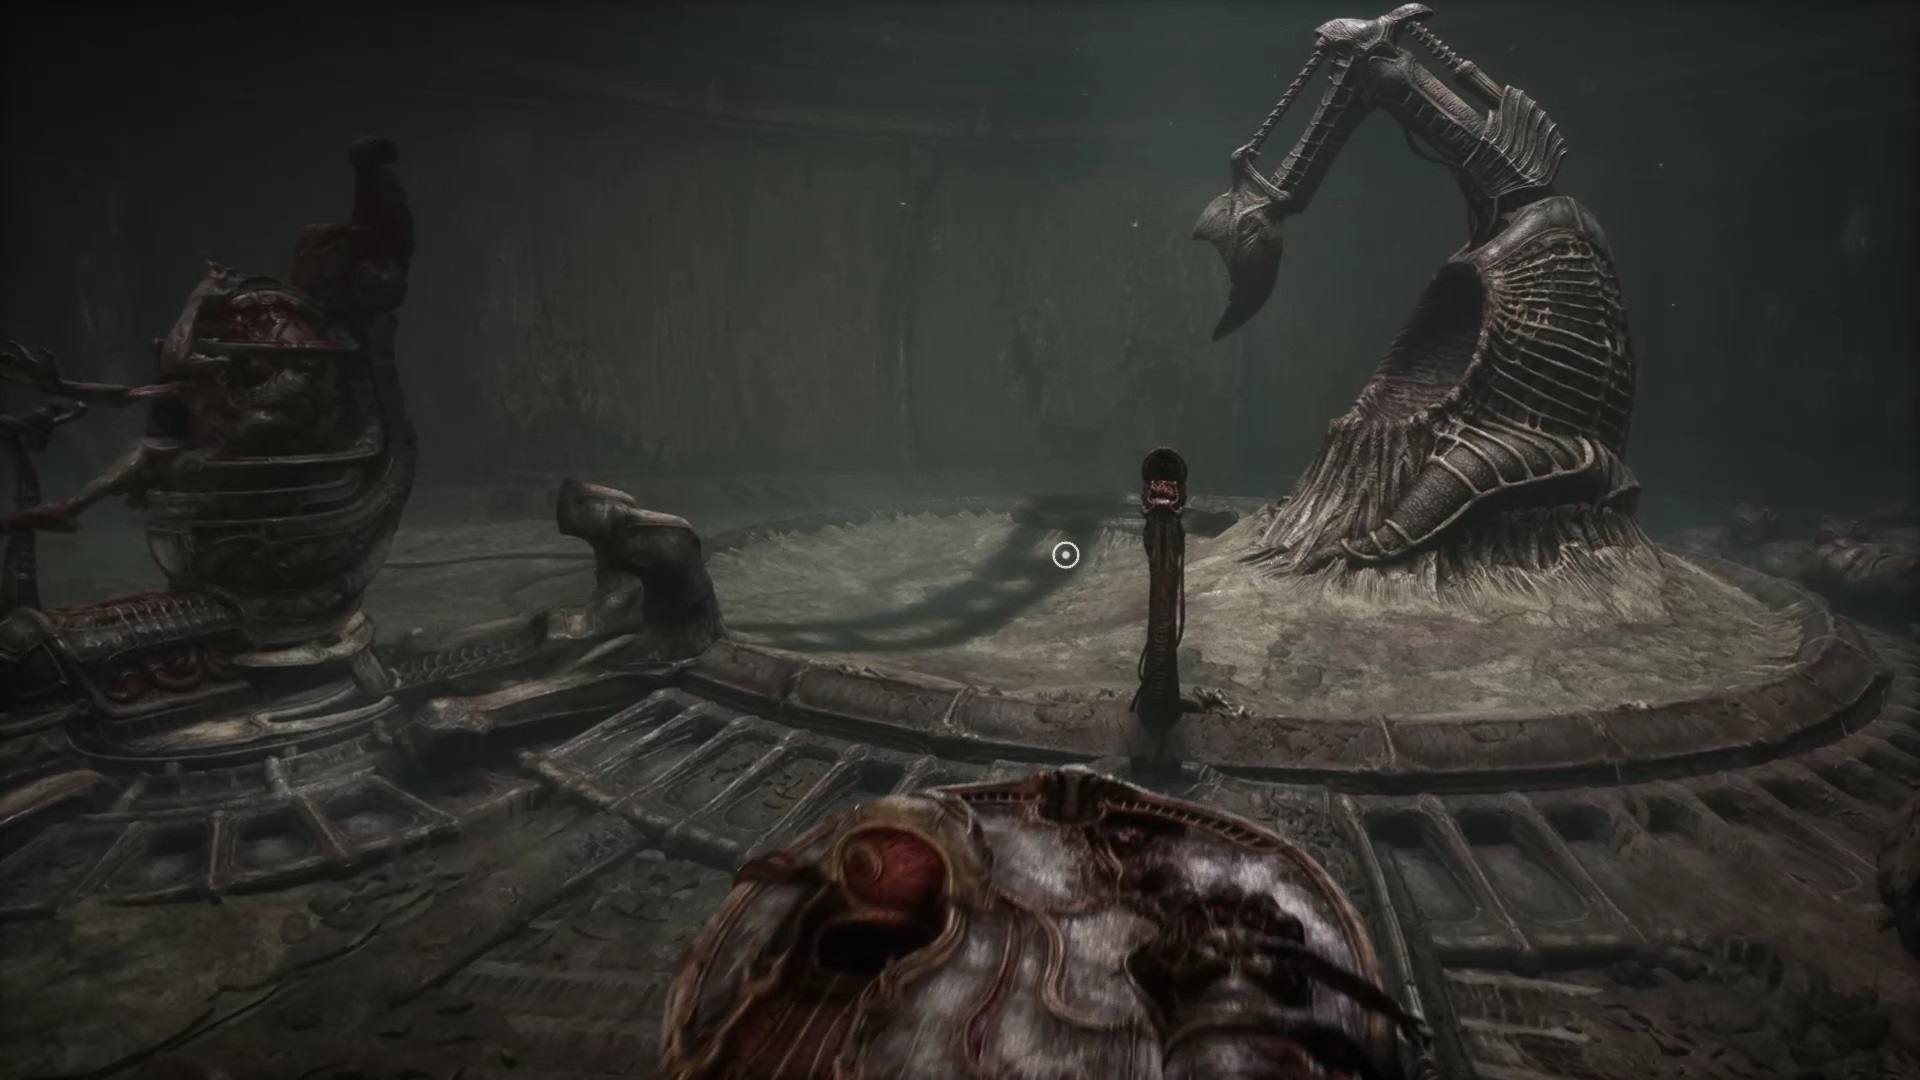
The egg lands in the large hall in front of the seat, opposite the pillar. Use the nearby panel to move the egg onto the seat. Move the seat to bring the egg back into the lighted tunnel room. You will make a stop on the way, use a second panel to continue. Once in the lighted tunnel room, use the panels to move the egg to the operating seat. Operate the shovel to cut the arm of the egg. Recover the arm and go towards the large hall.

Go to the large closed door of the large hall to find a passage on the left. Inside you will find the same key device. Insert the egg arm and go back to the big door. Insert the arm on the left panel and use the right panel to open the large door. Move forward to find an elevator. Use to go upstairs.
Act I – I I
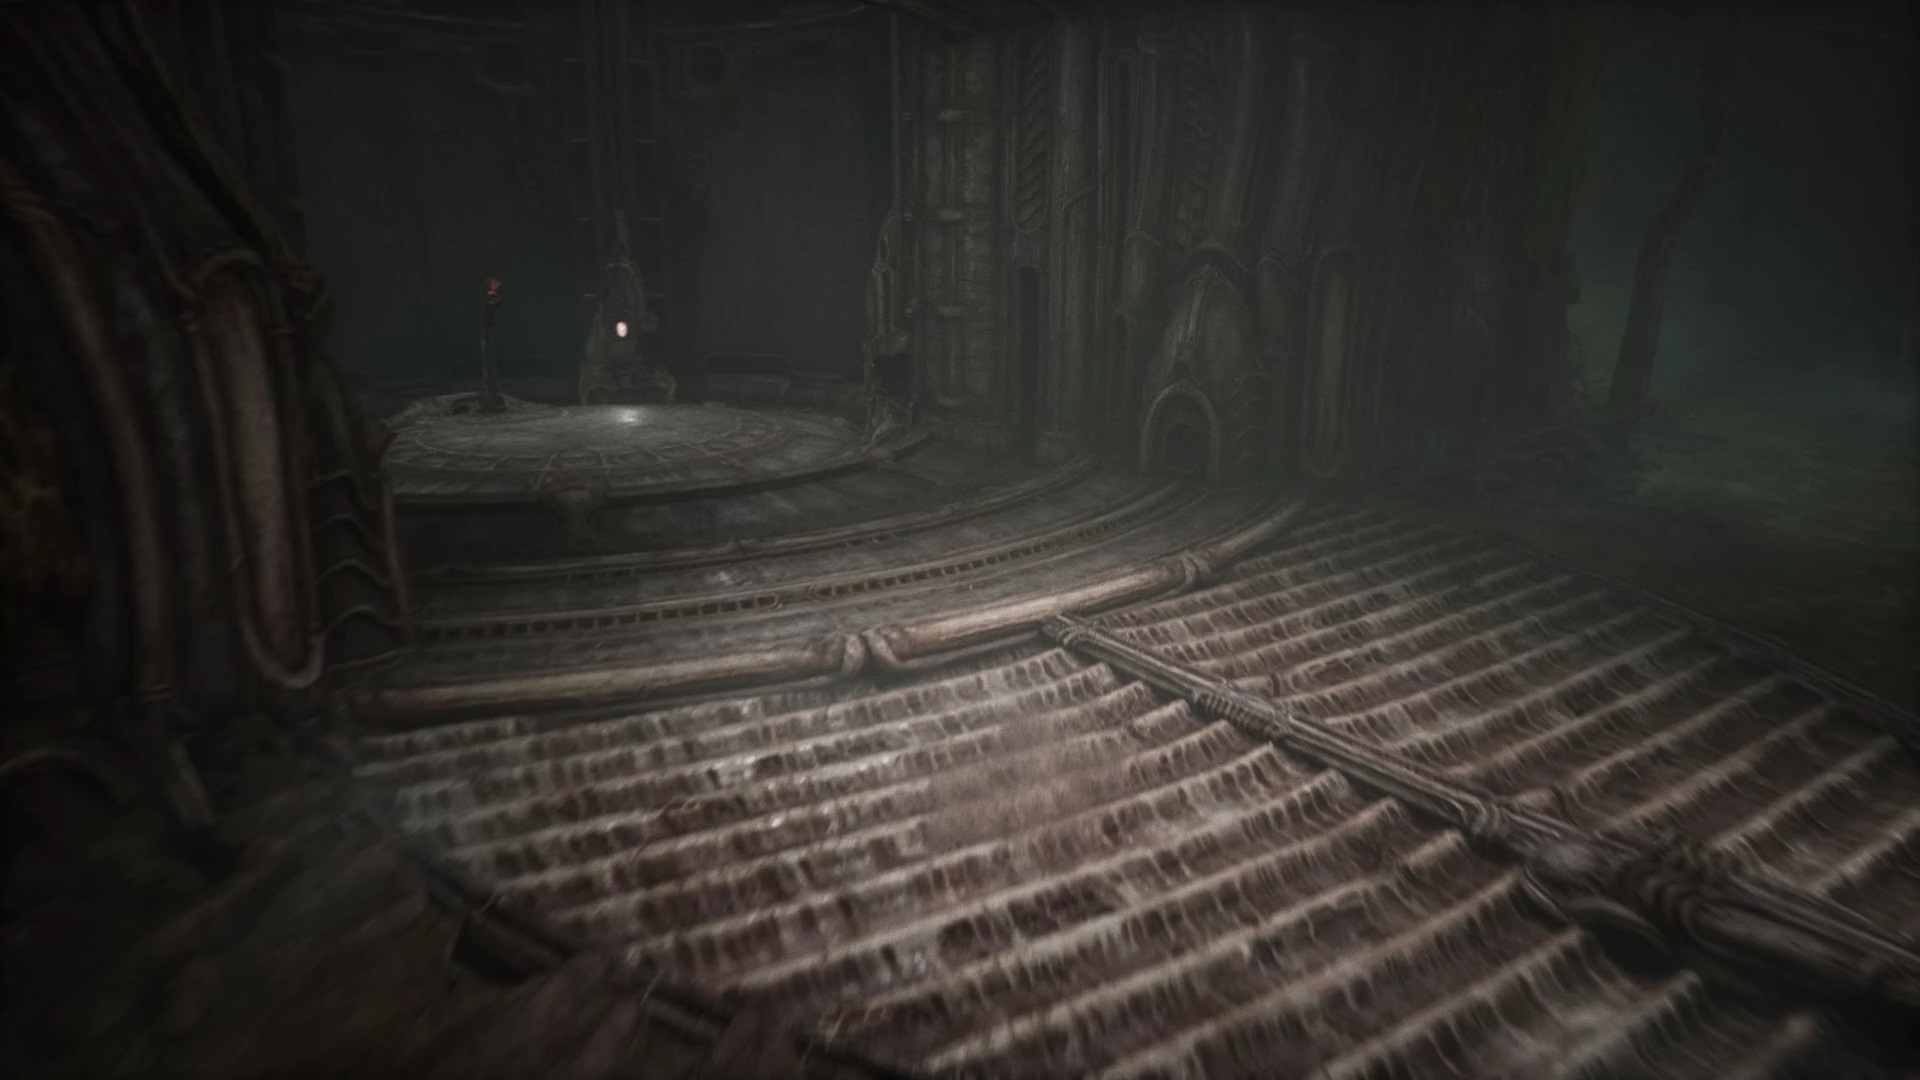
On the upper floor, you come across a circular room with two corridors on either side. Go around the room to find a strange platform. Stand on it to spawn an armory. Remove the weapon from its base to equip it. Two locks are located at the end of the two side corridors. Insert your weapon inside the lock to carry a tank. Do the same with the lock of the opposite corridor and follow the tank. Move between the pillars and use your weapon against the flying machines so you don’t get burned.
On the other side, you find the two tanks and another already on site. Use the panel in front of the central pillar to pilot a drone. Use the drone to transport the three tanks into the holes in the central pillar. Activate the tanks with the dials that spring up. Repeat the operation for the three tanks to move on to the next act.
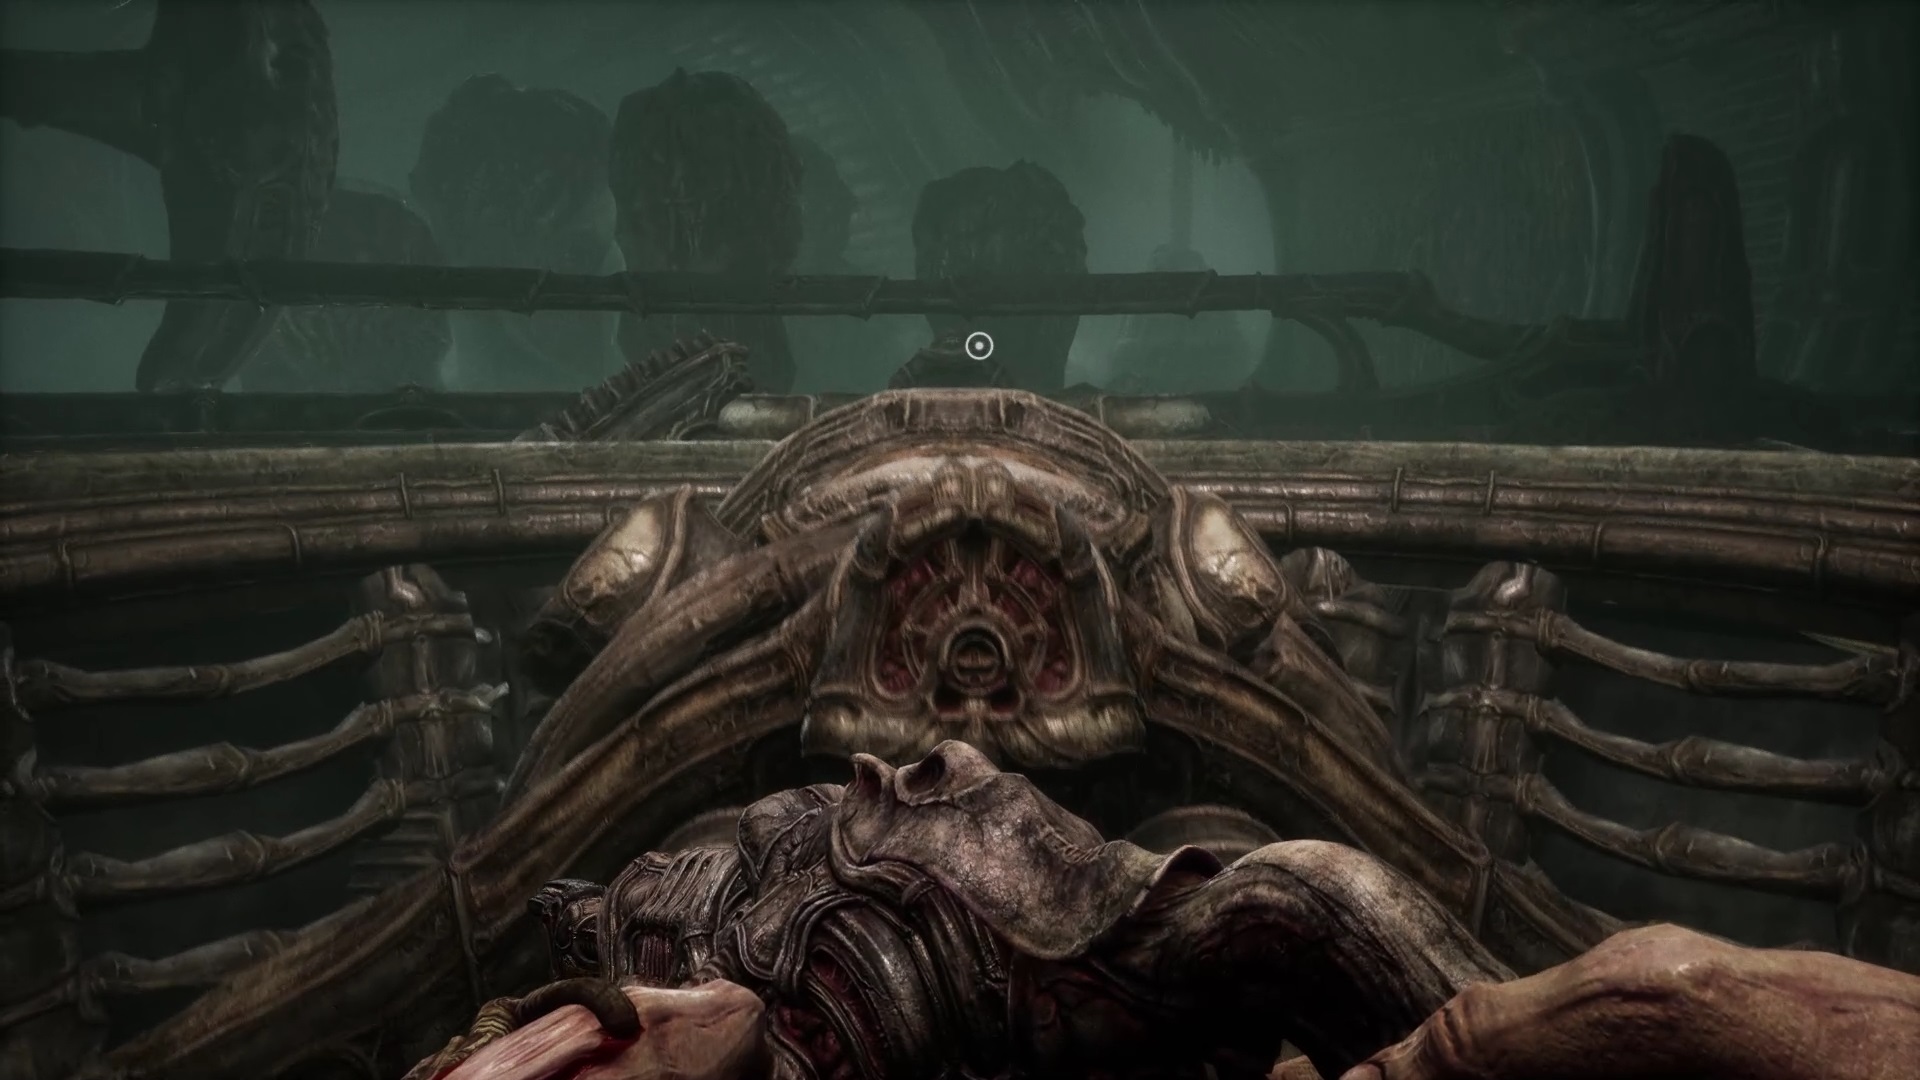
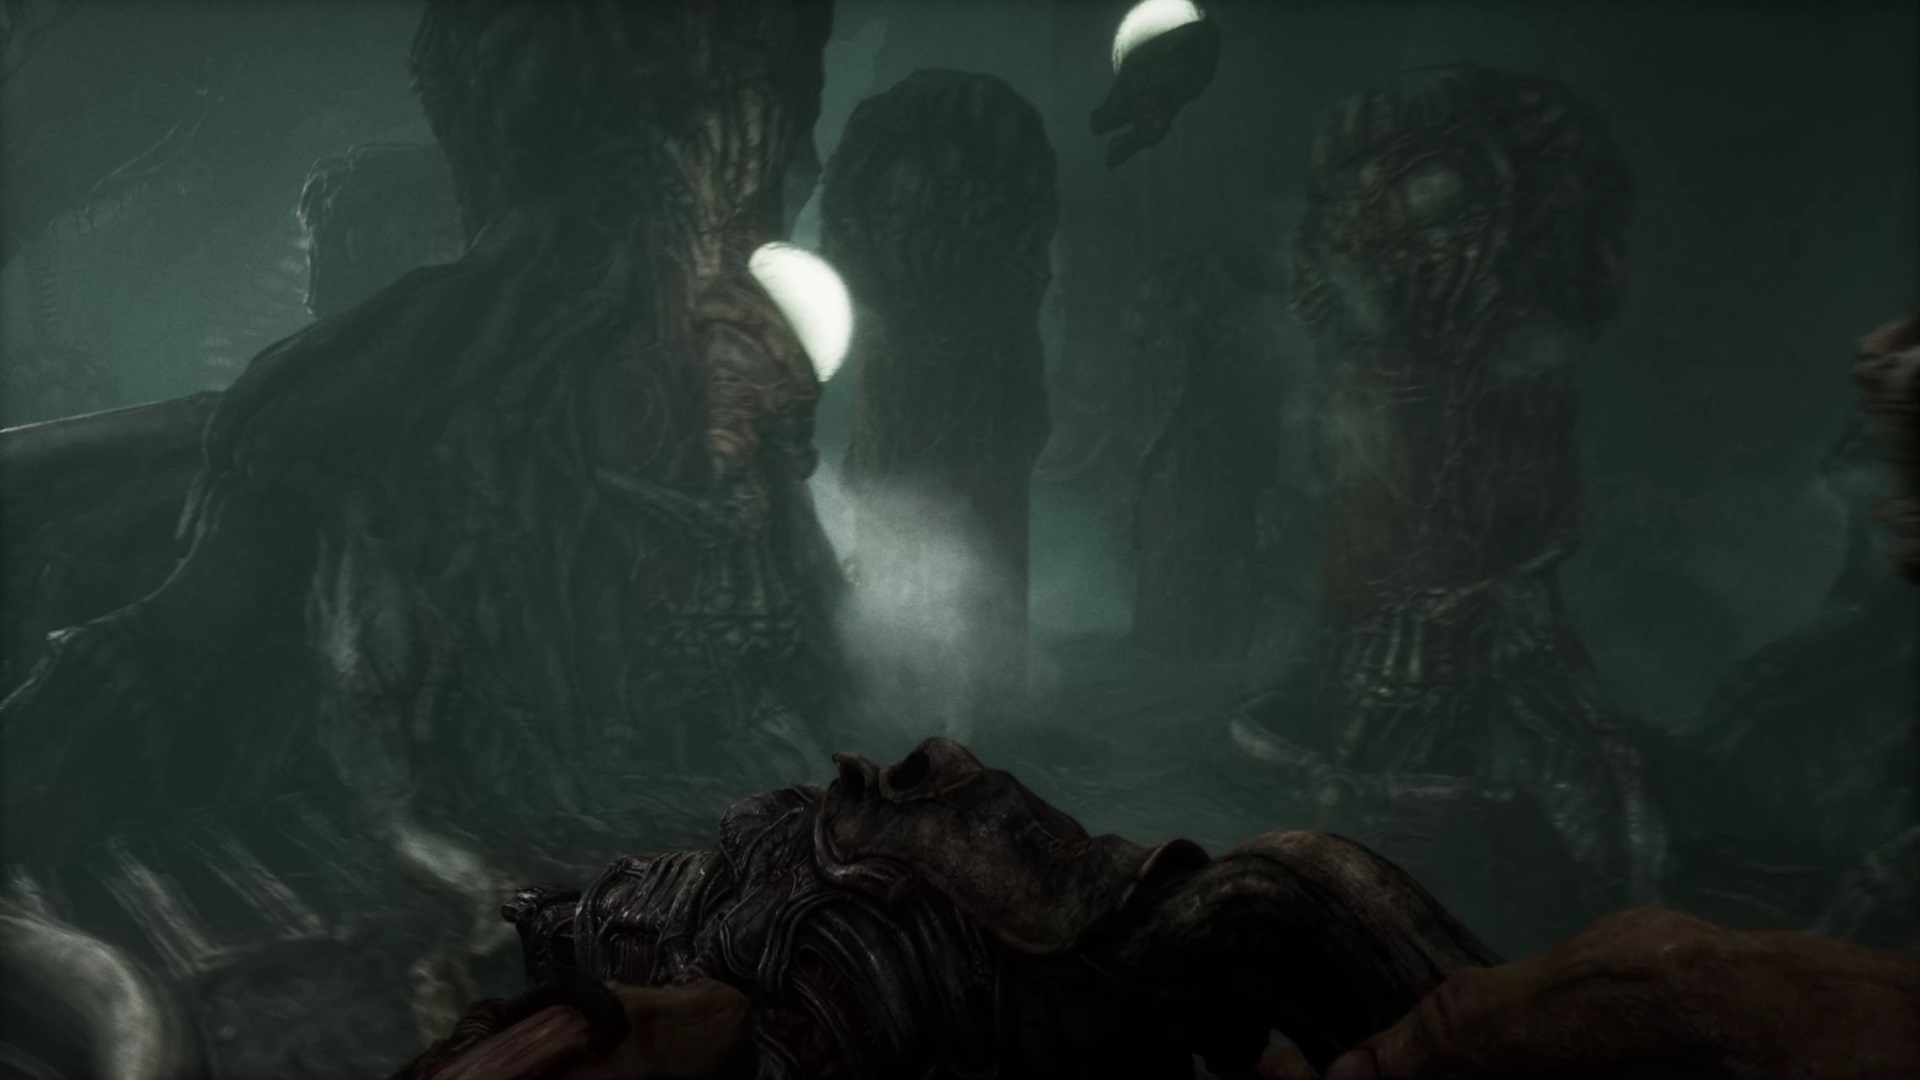
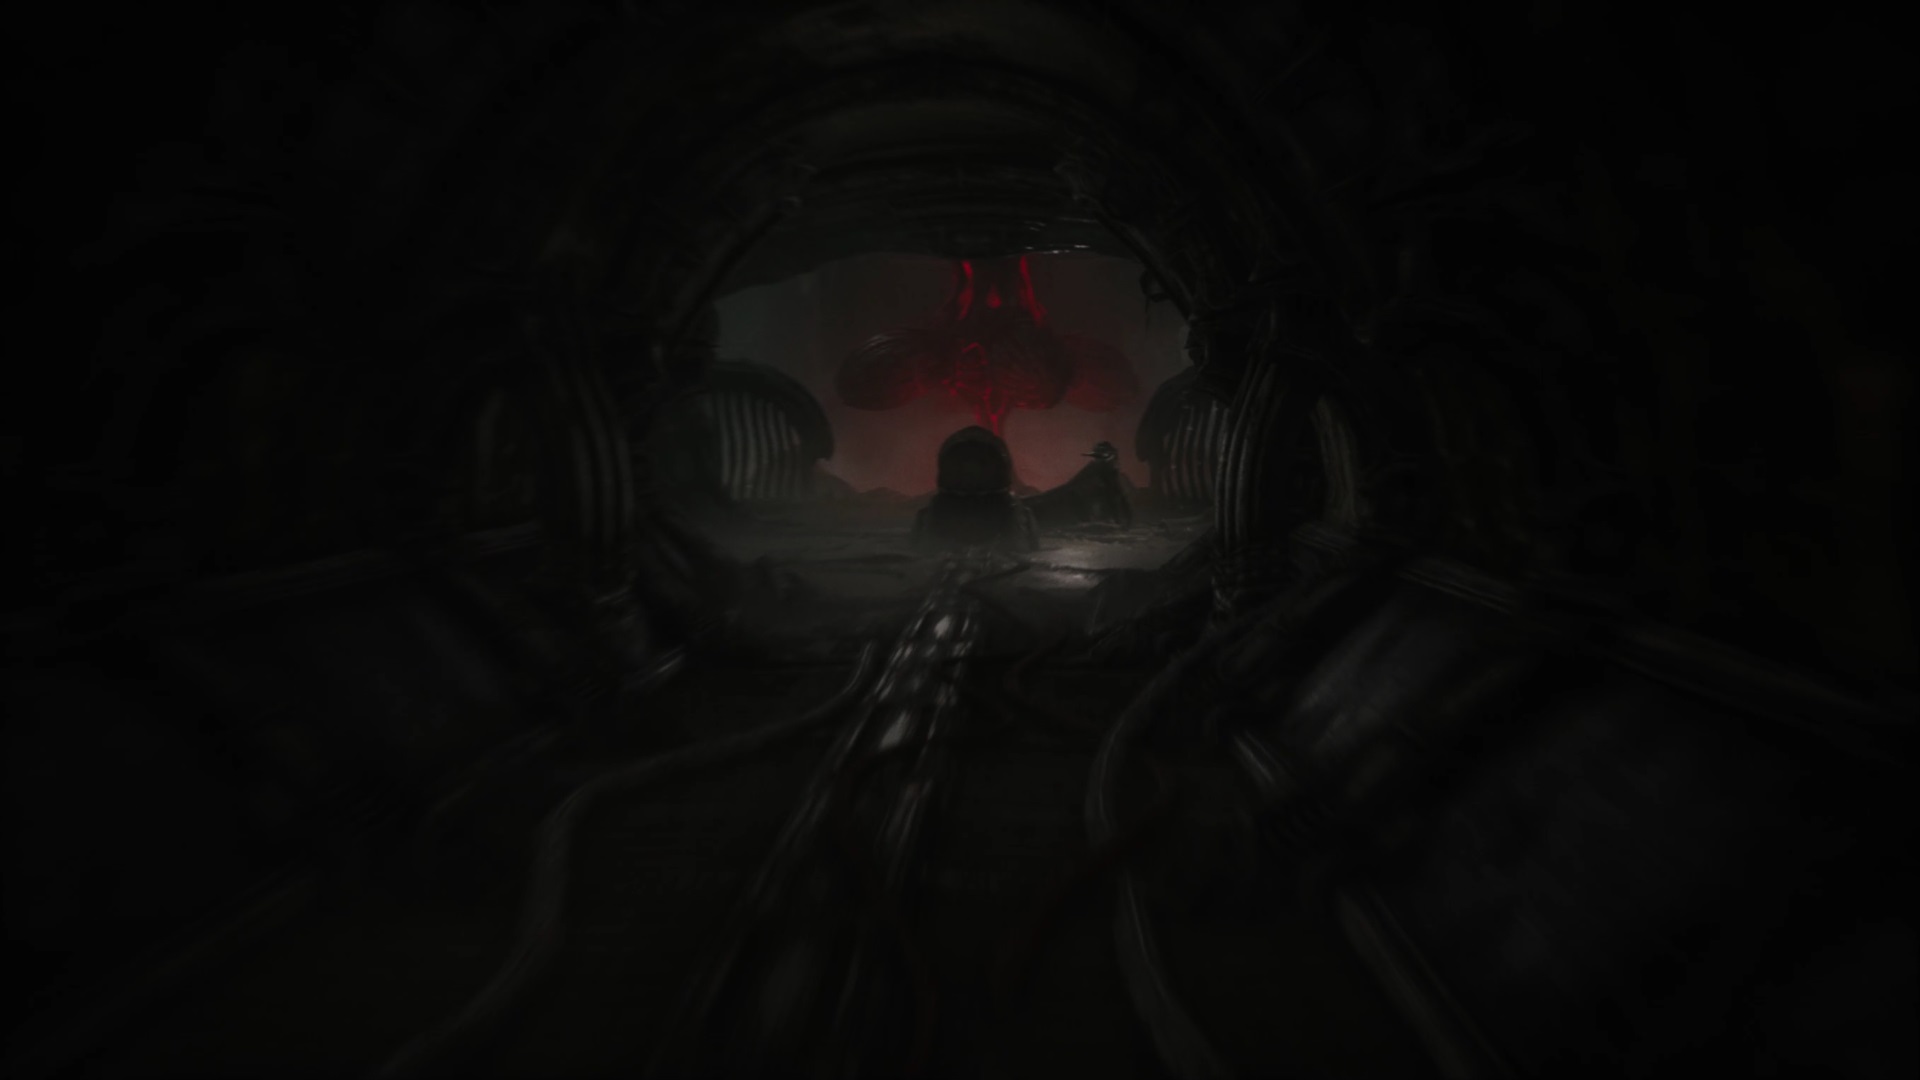
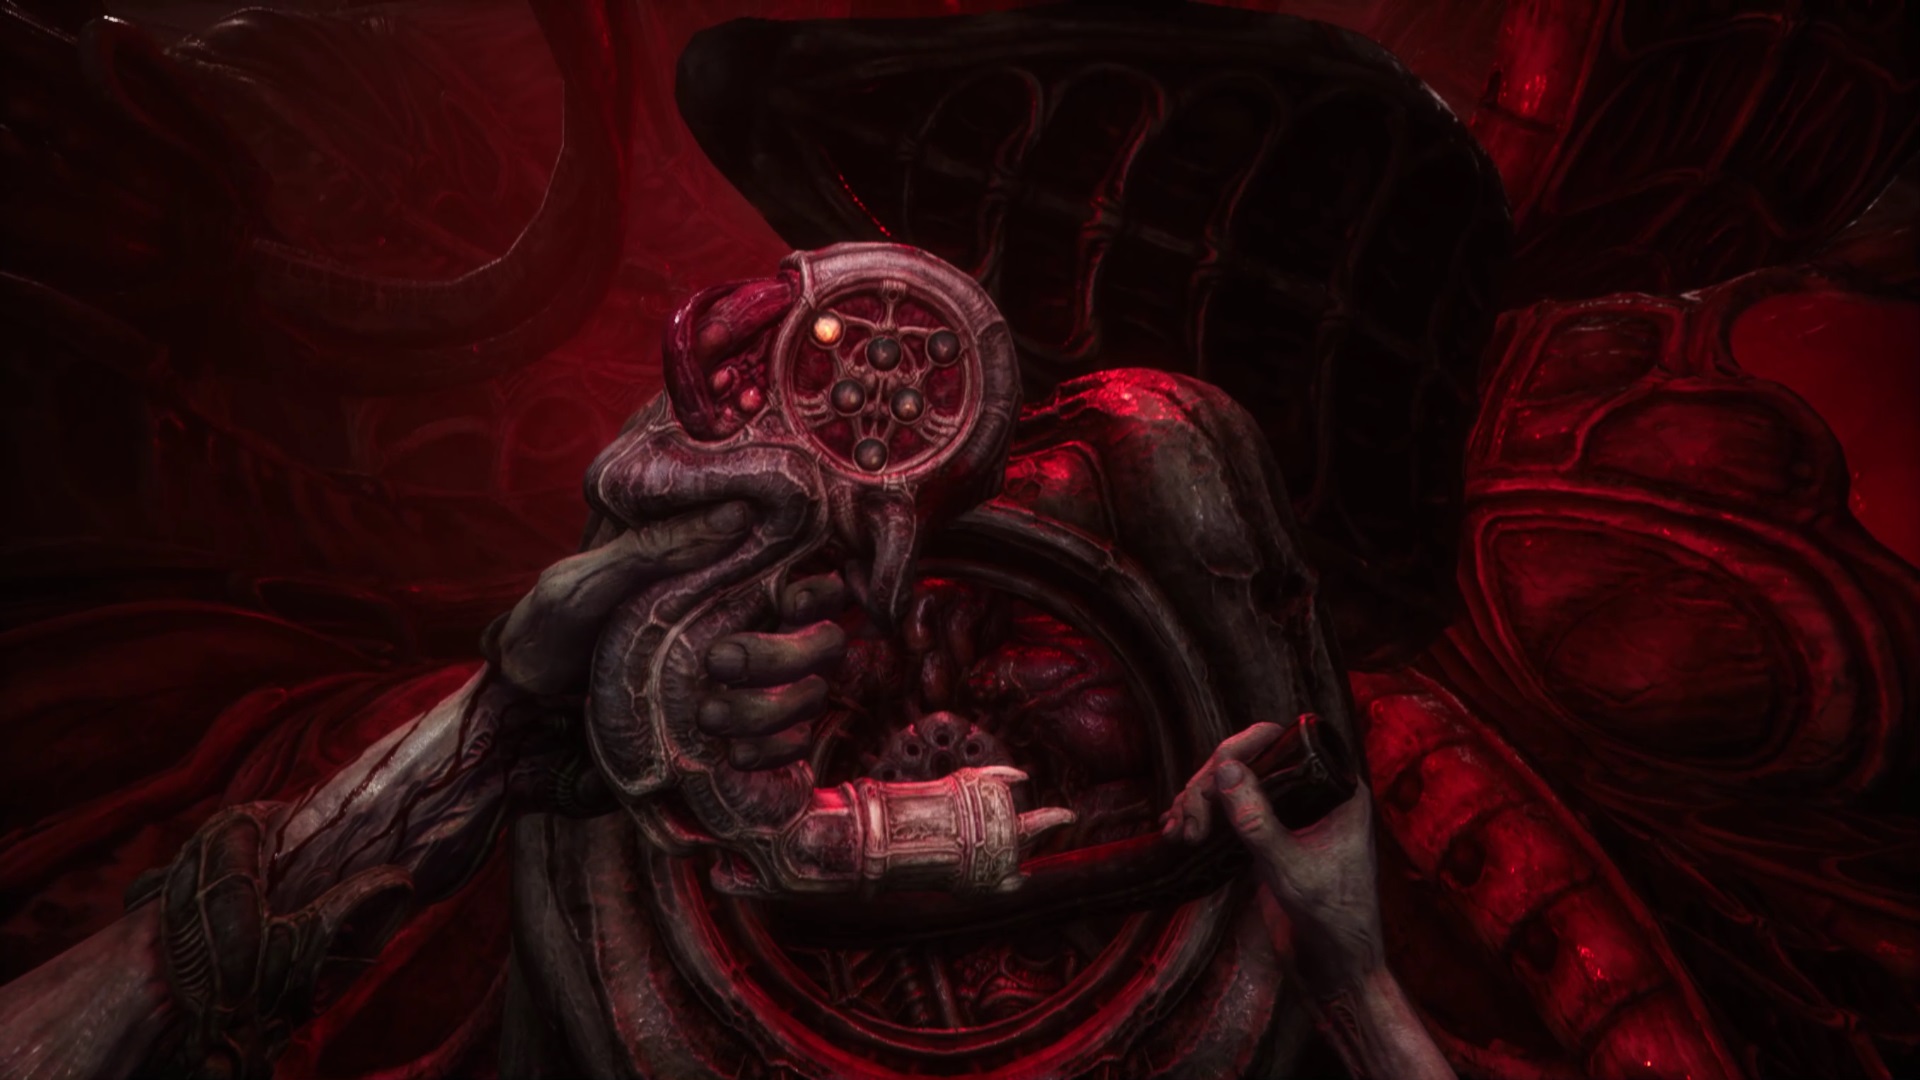
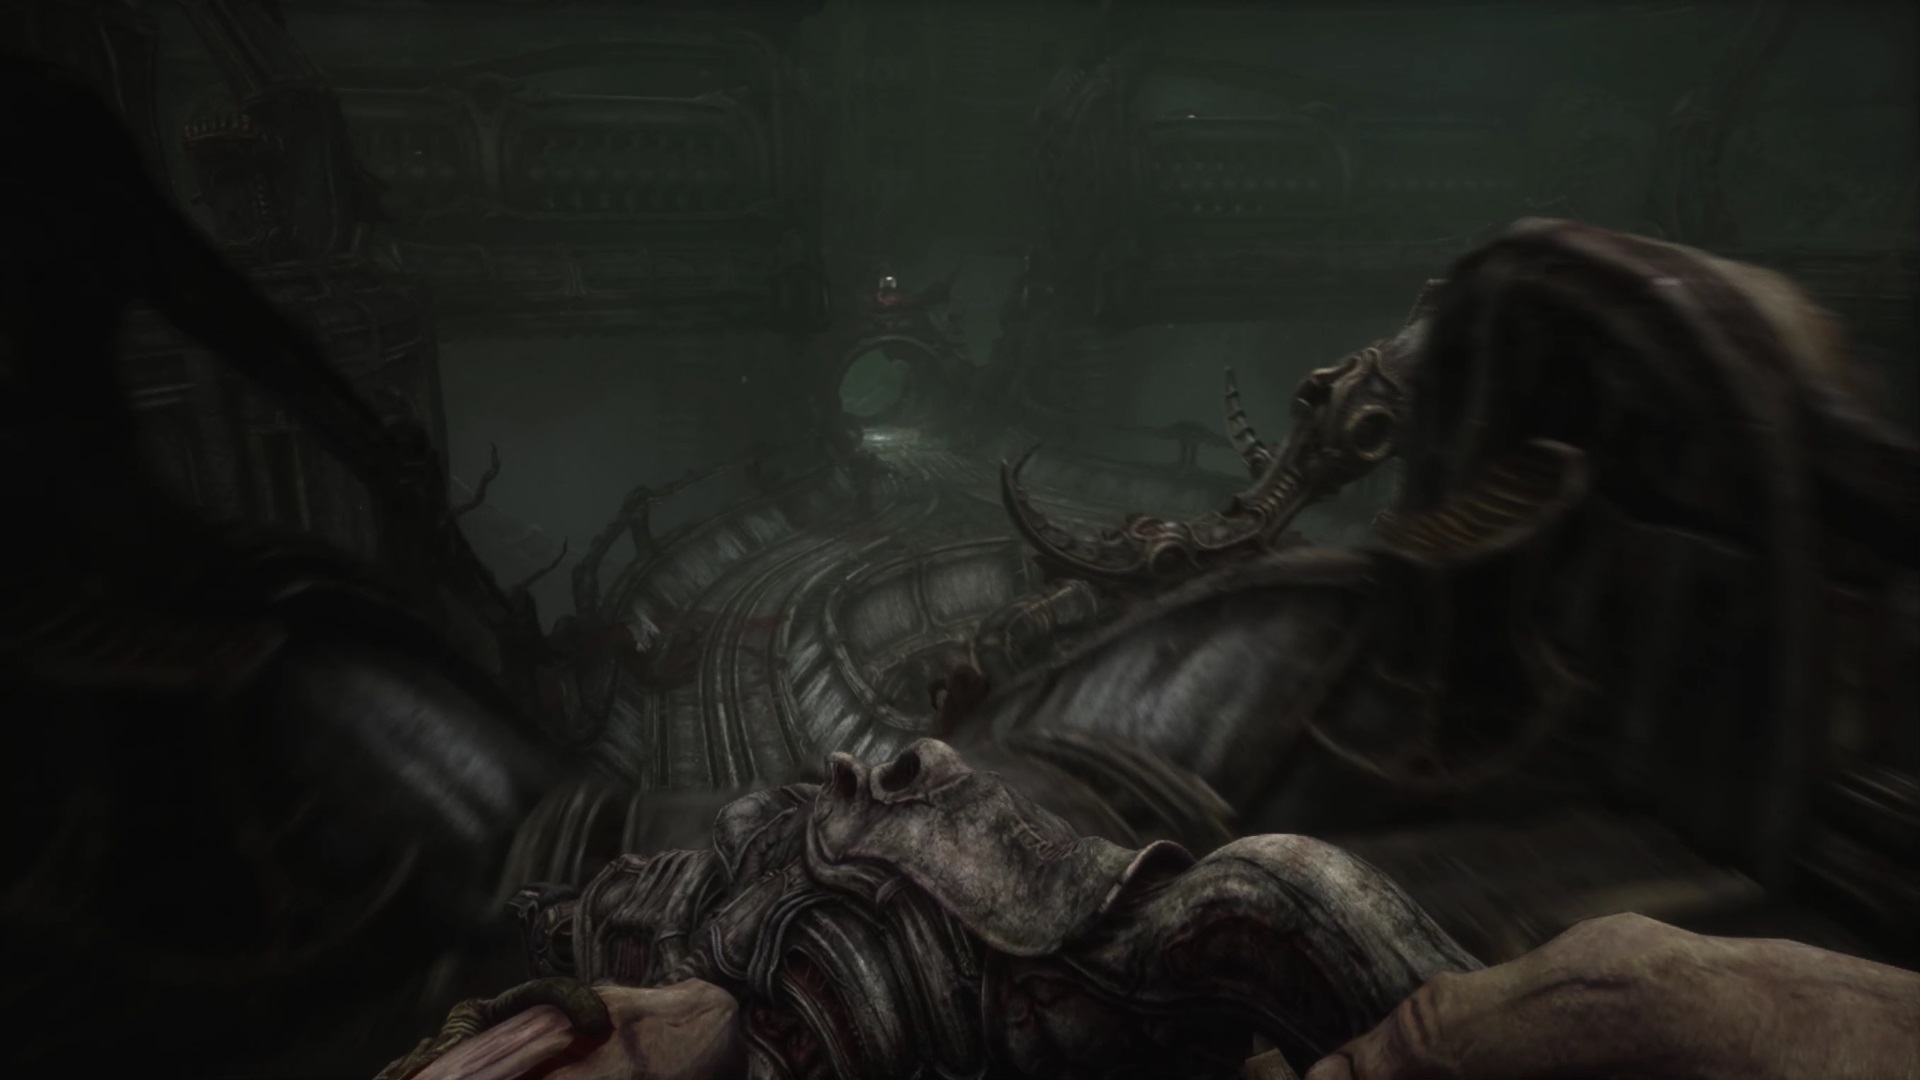
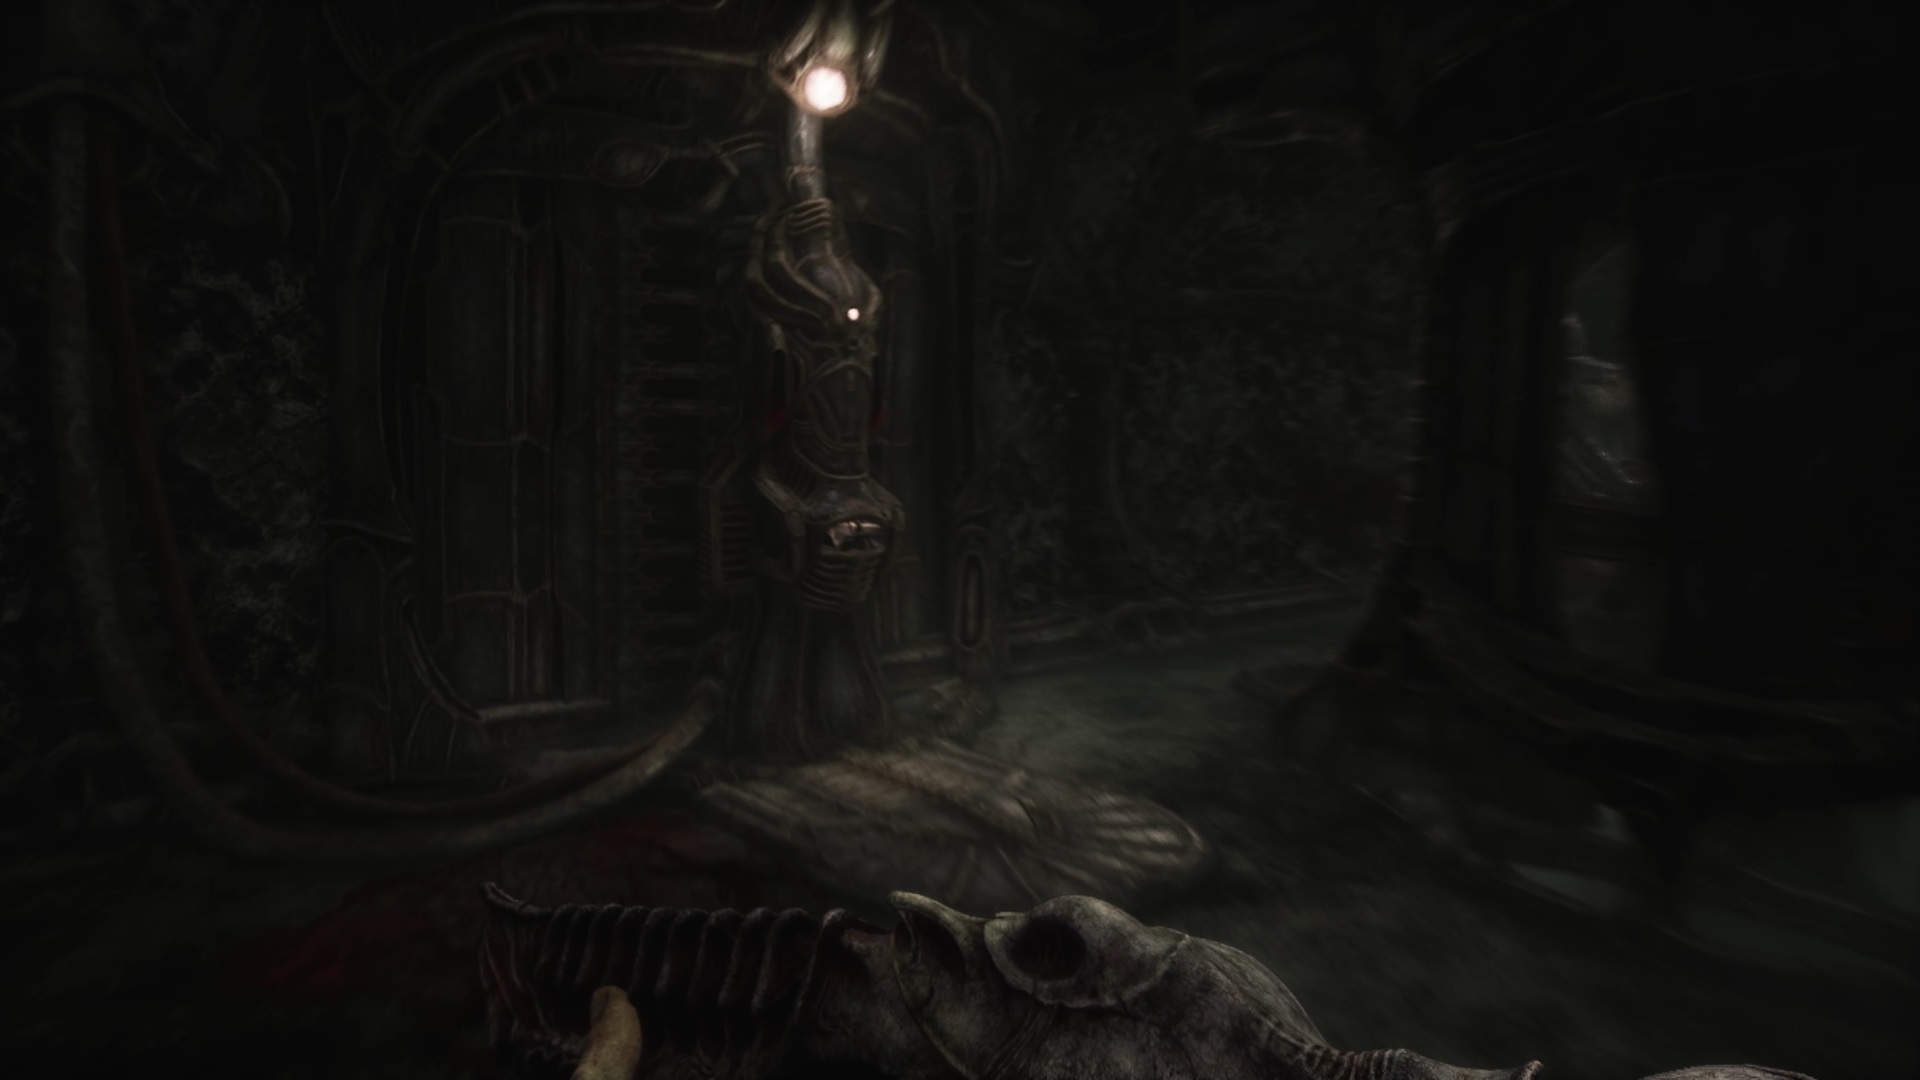
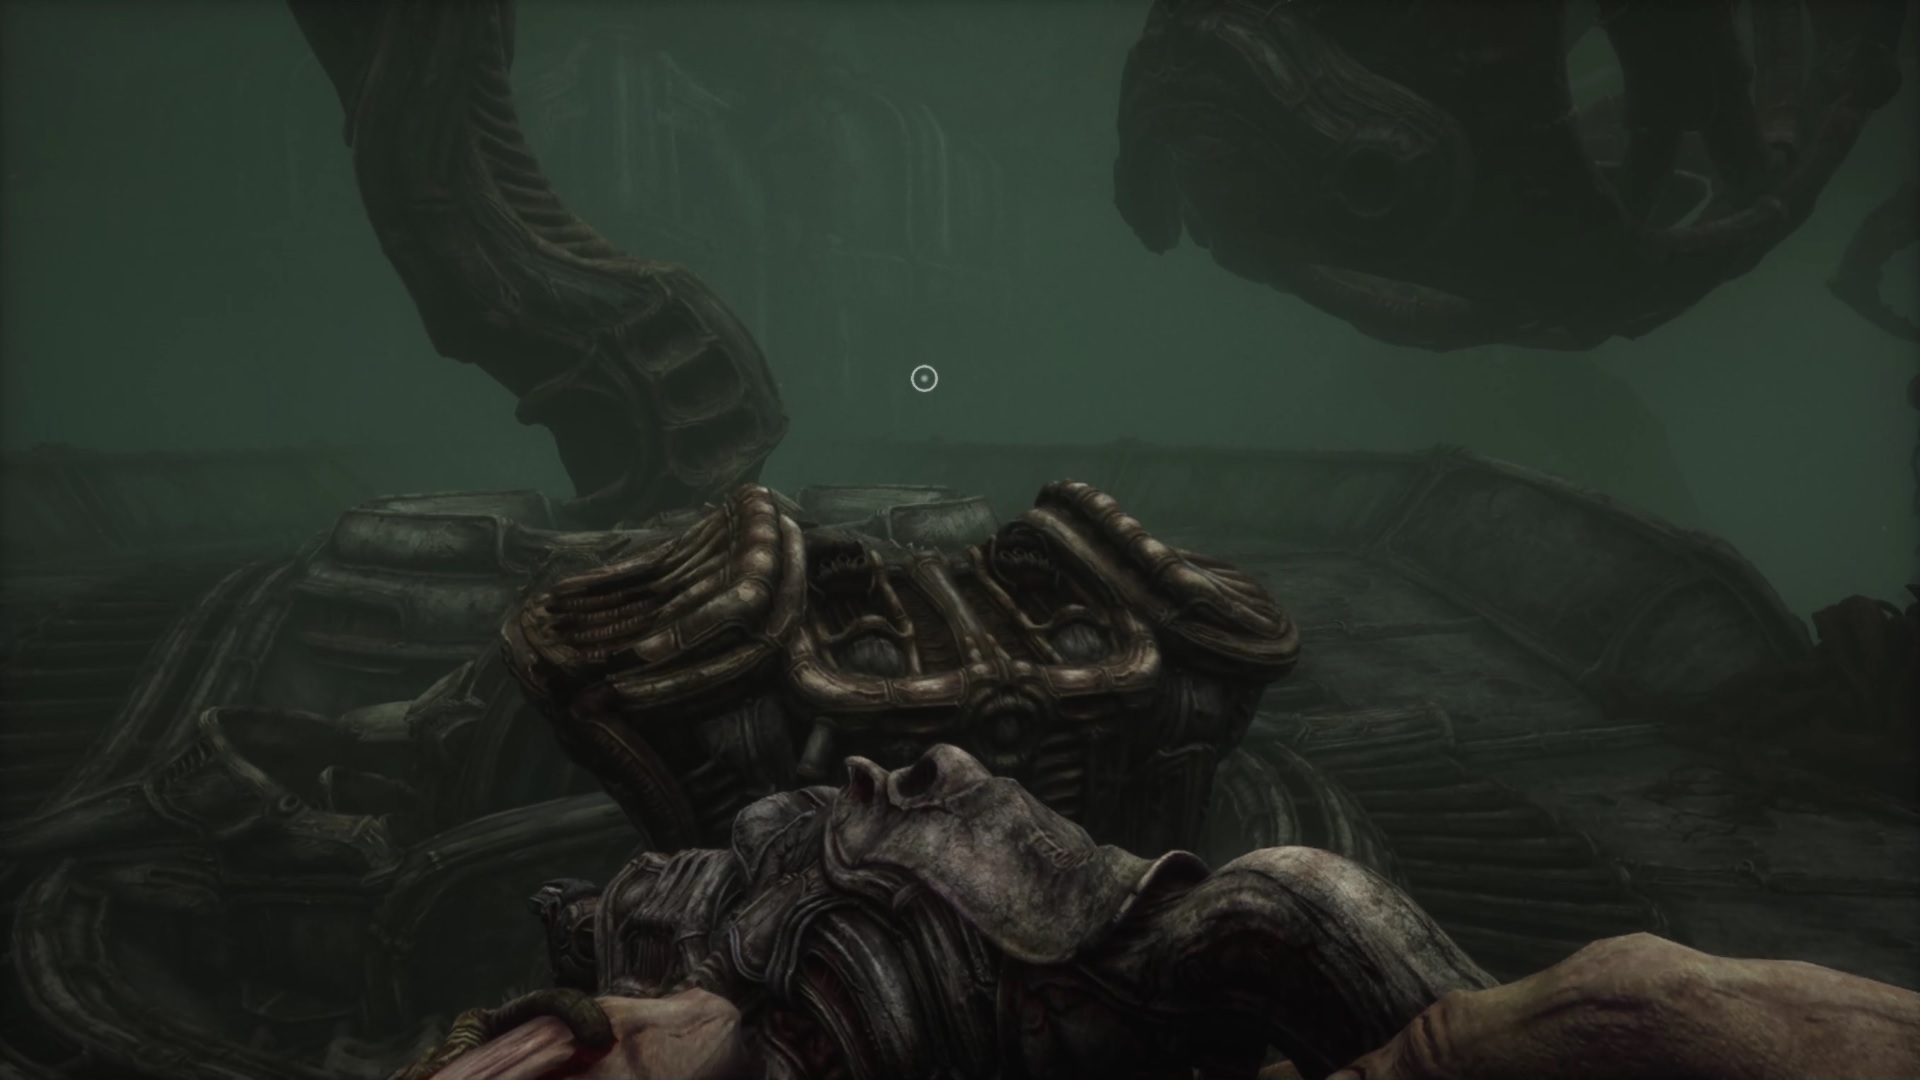
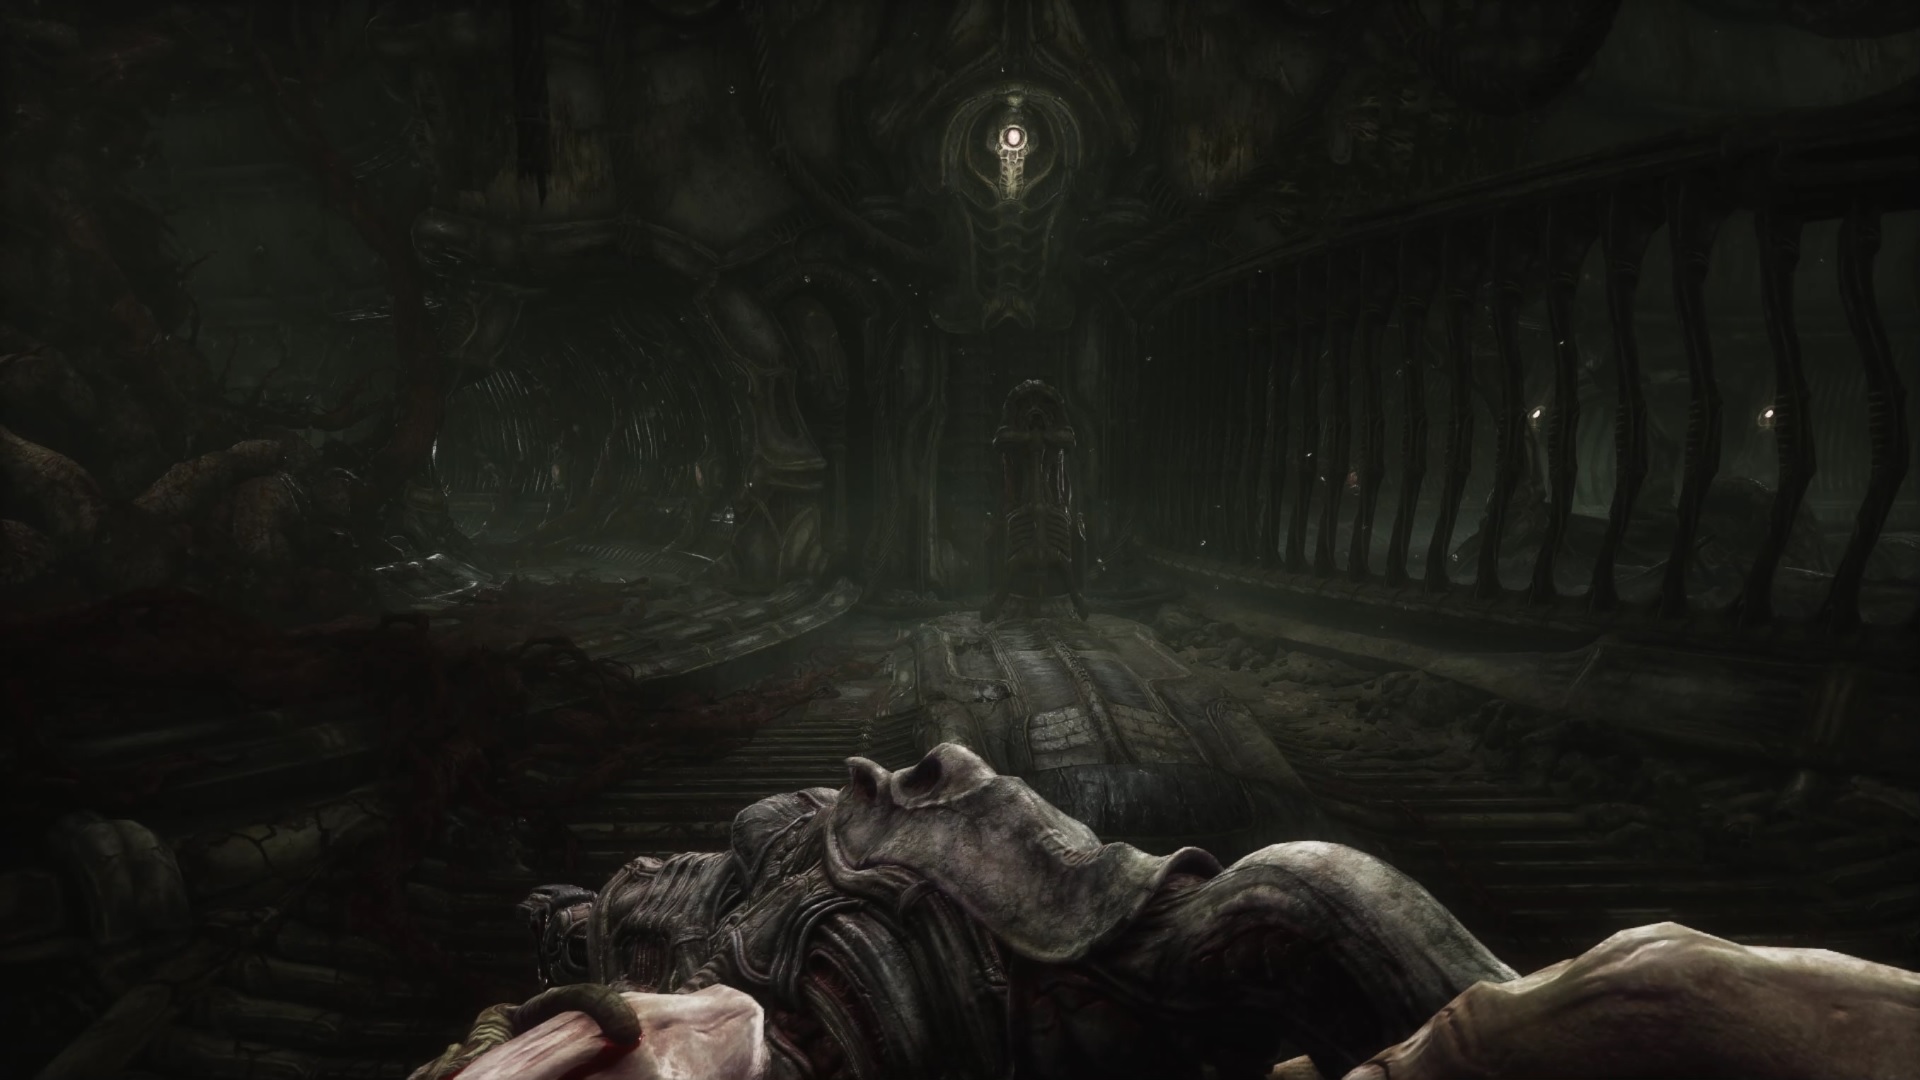
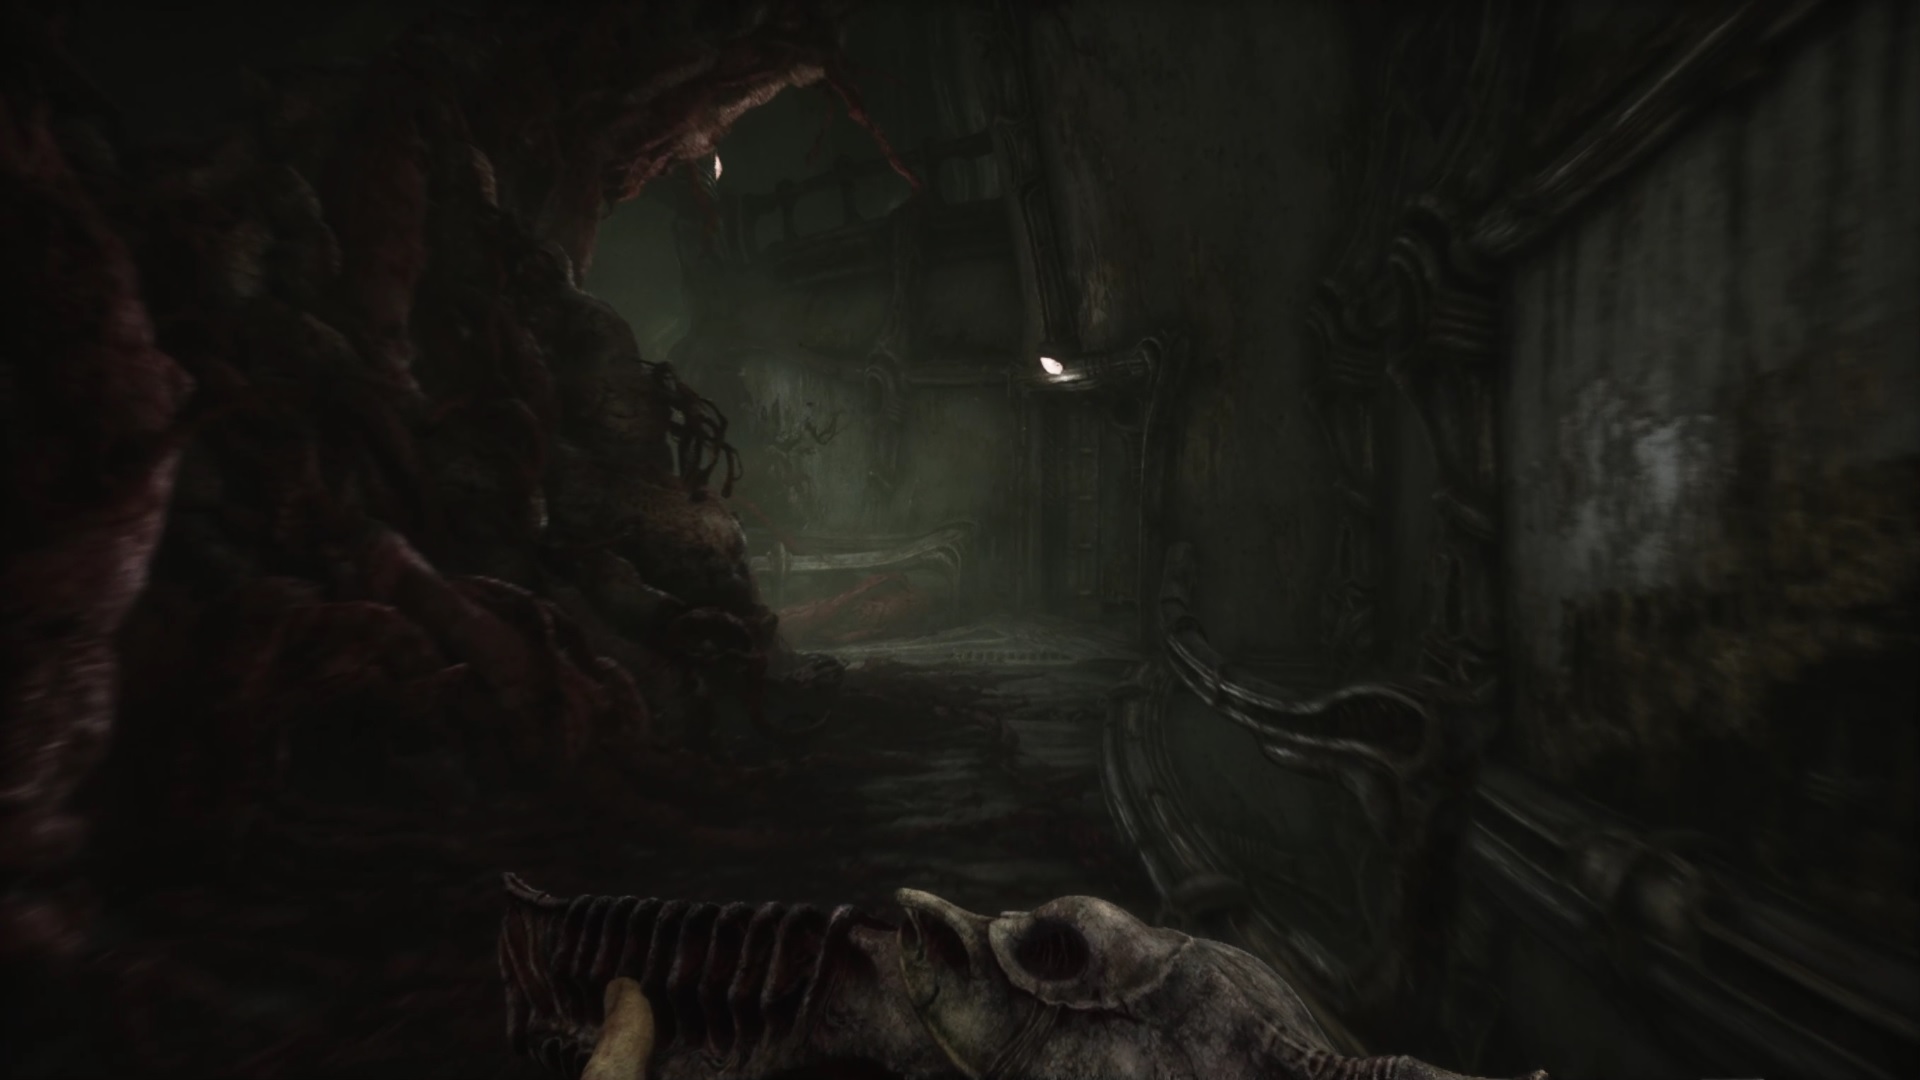
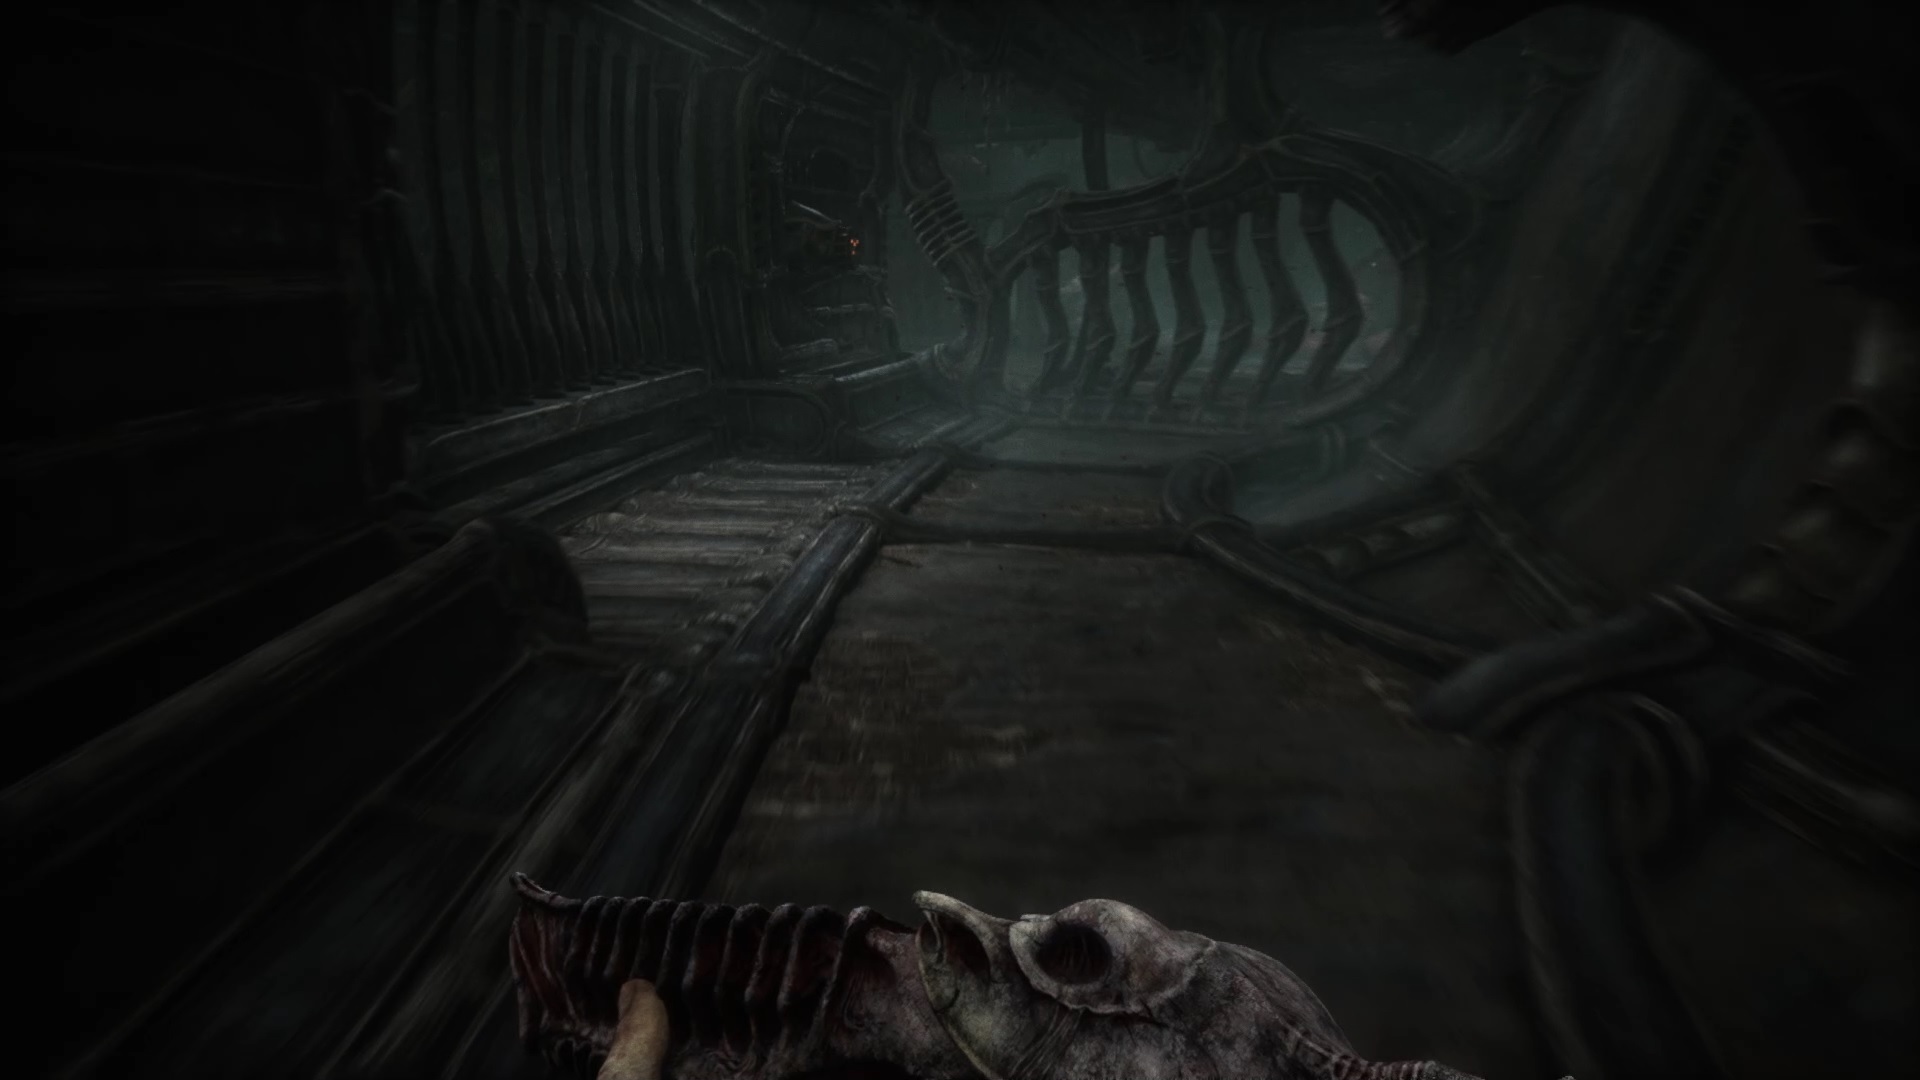
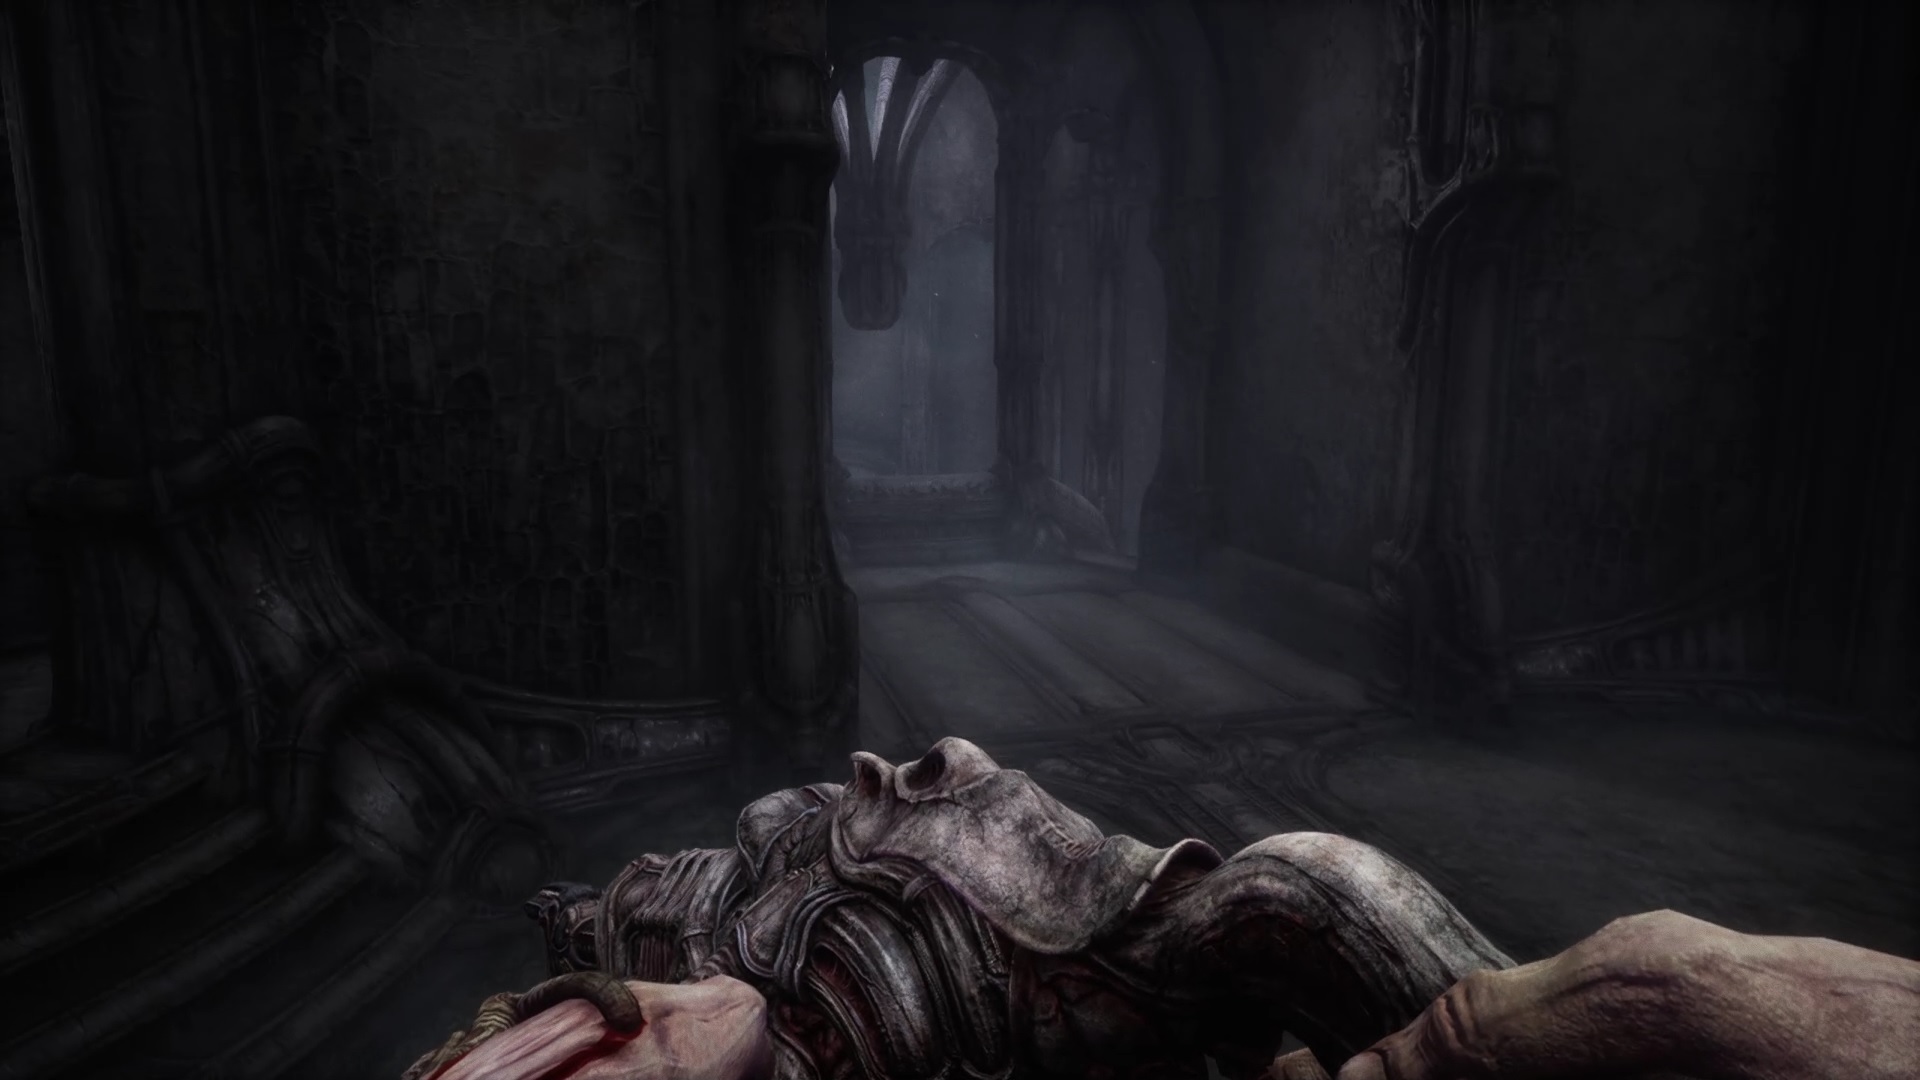
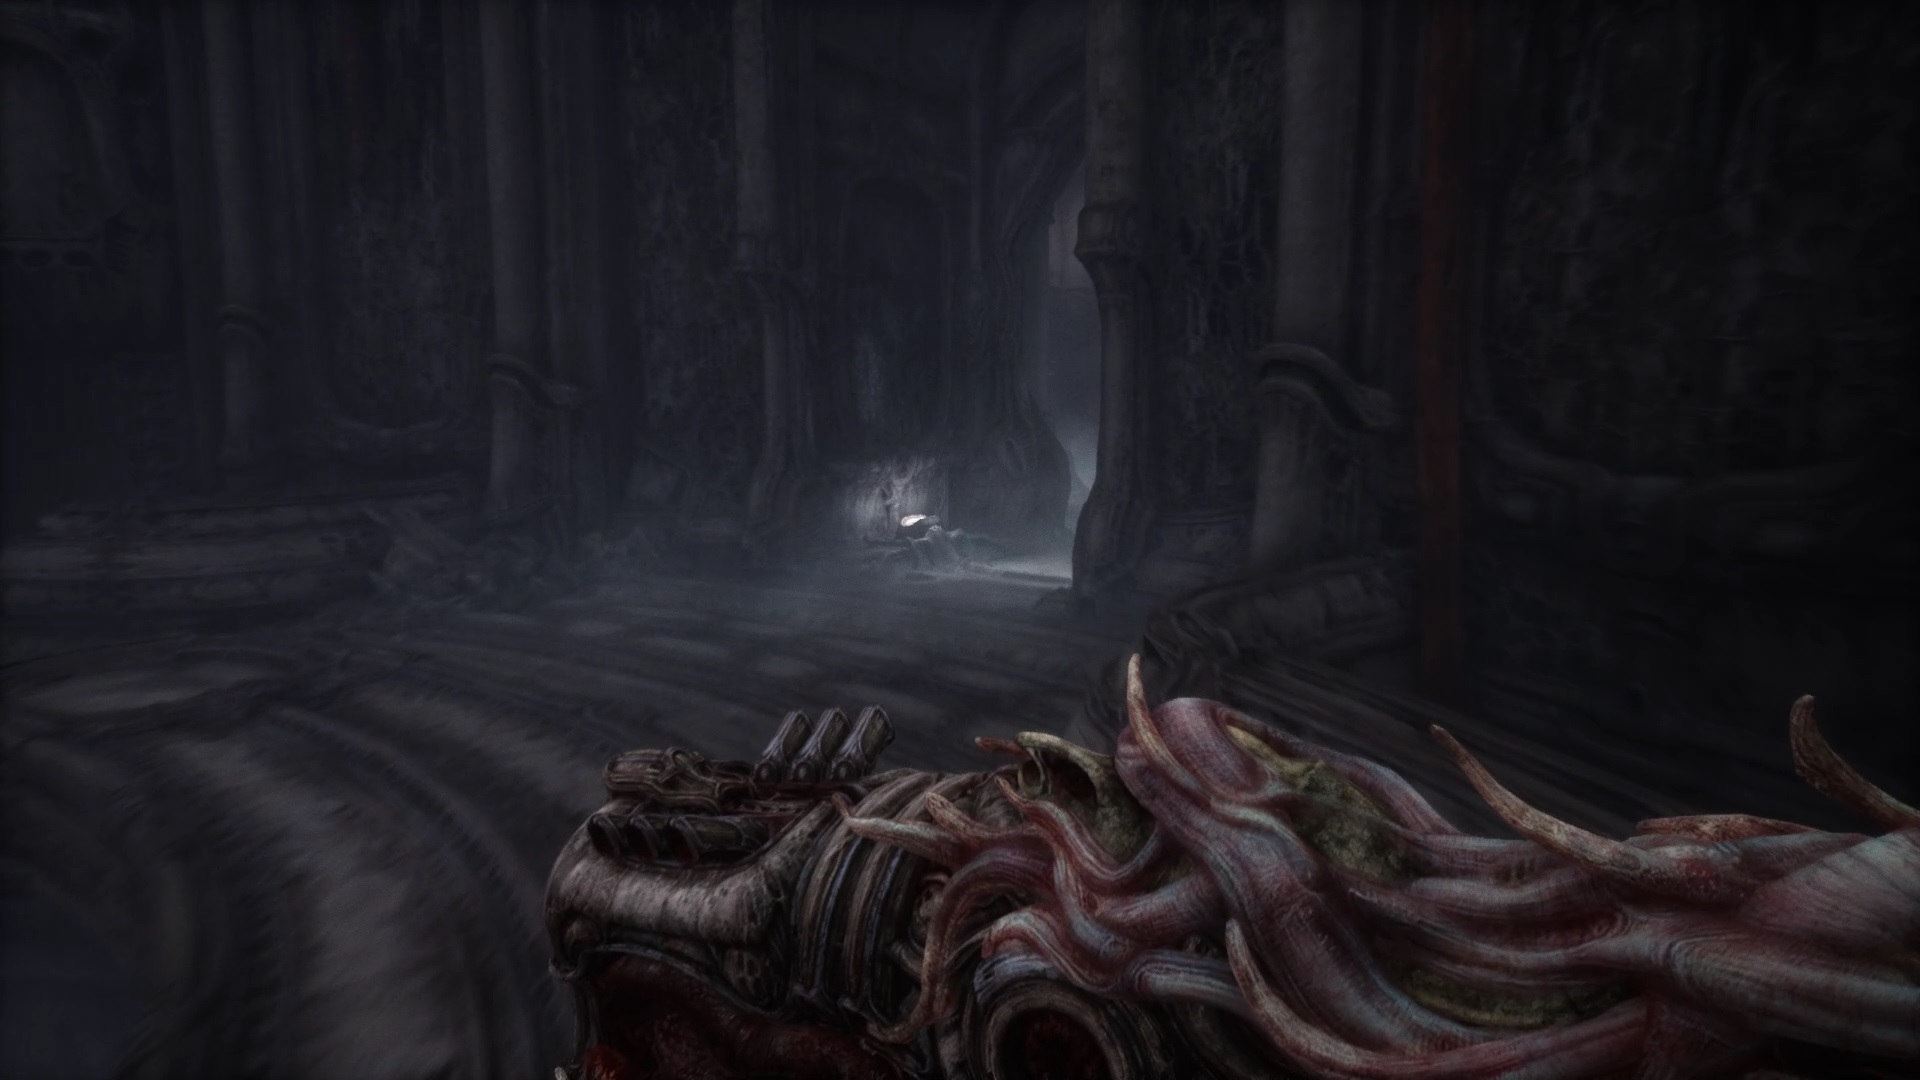
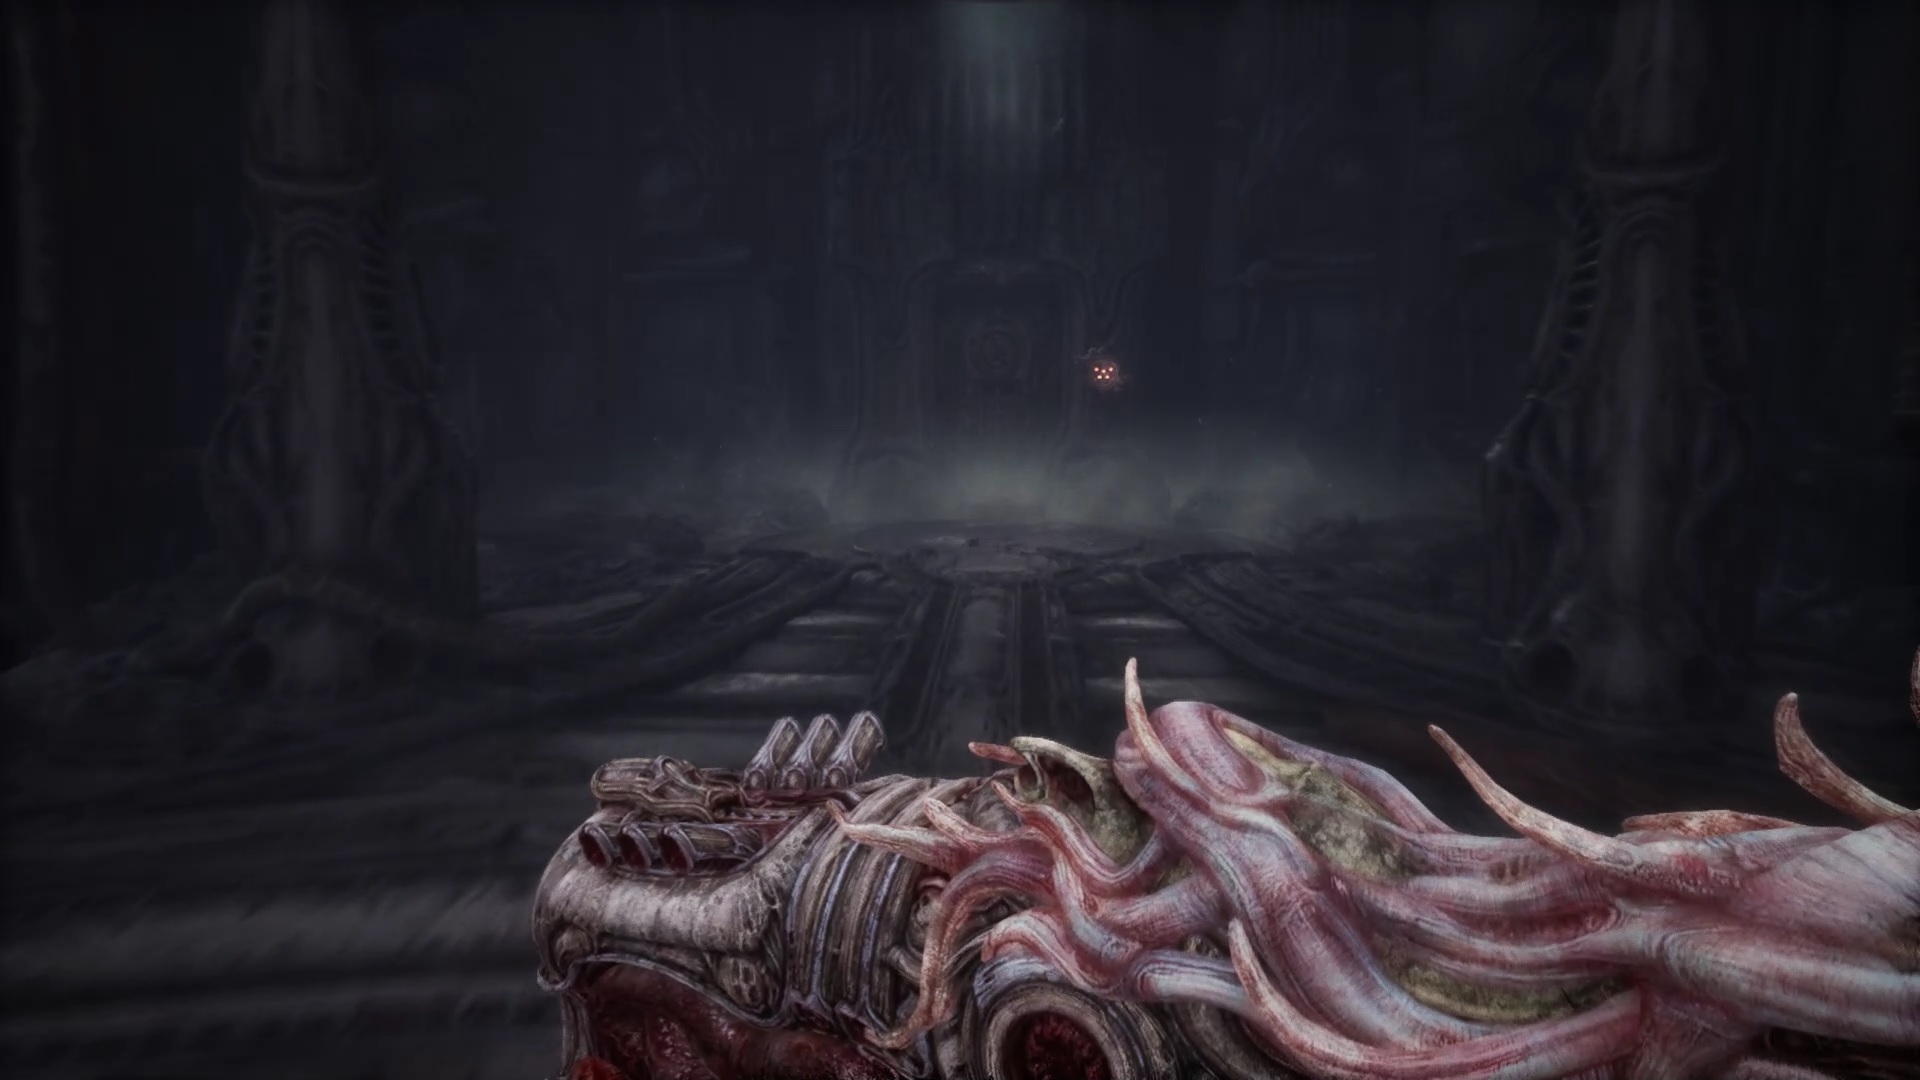
Act II – I
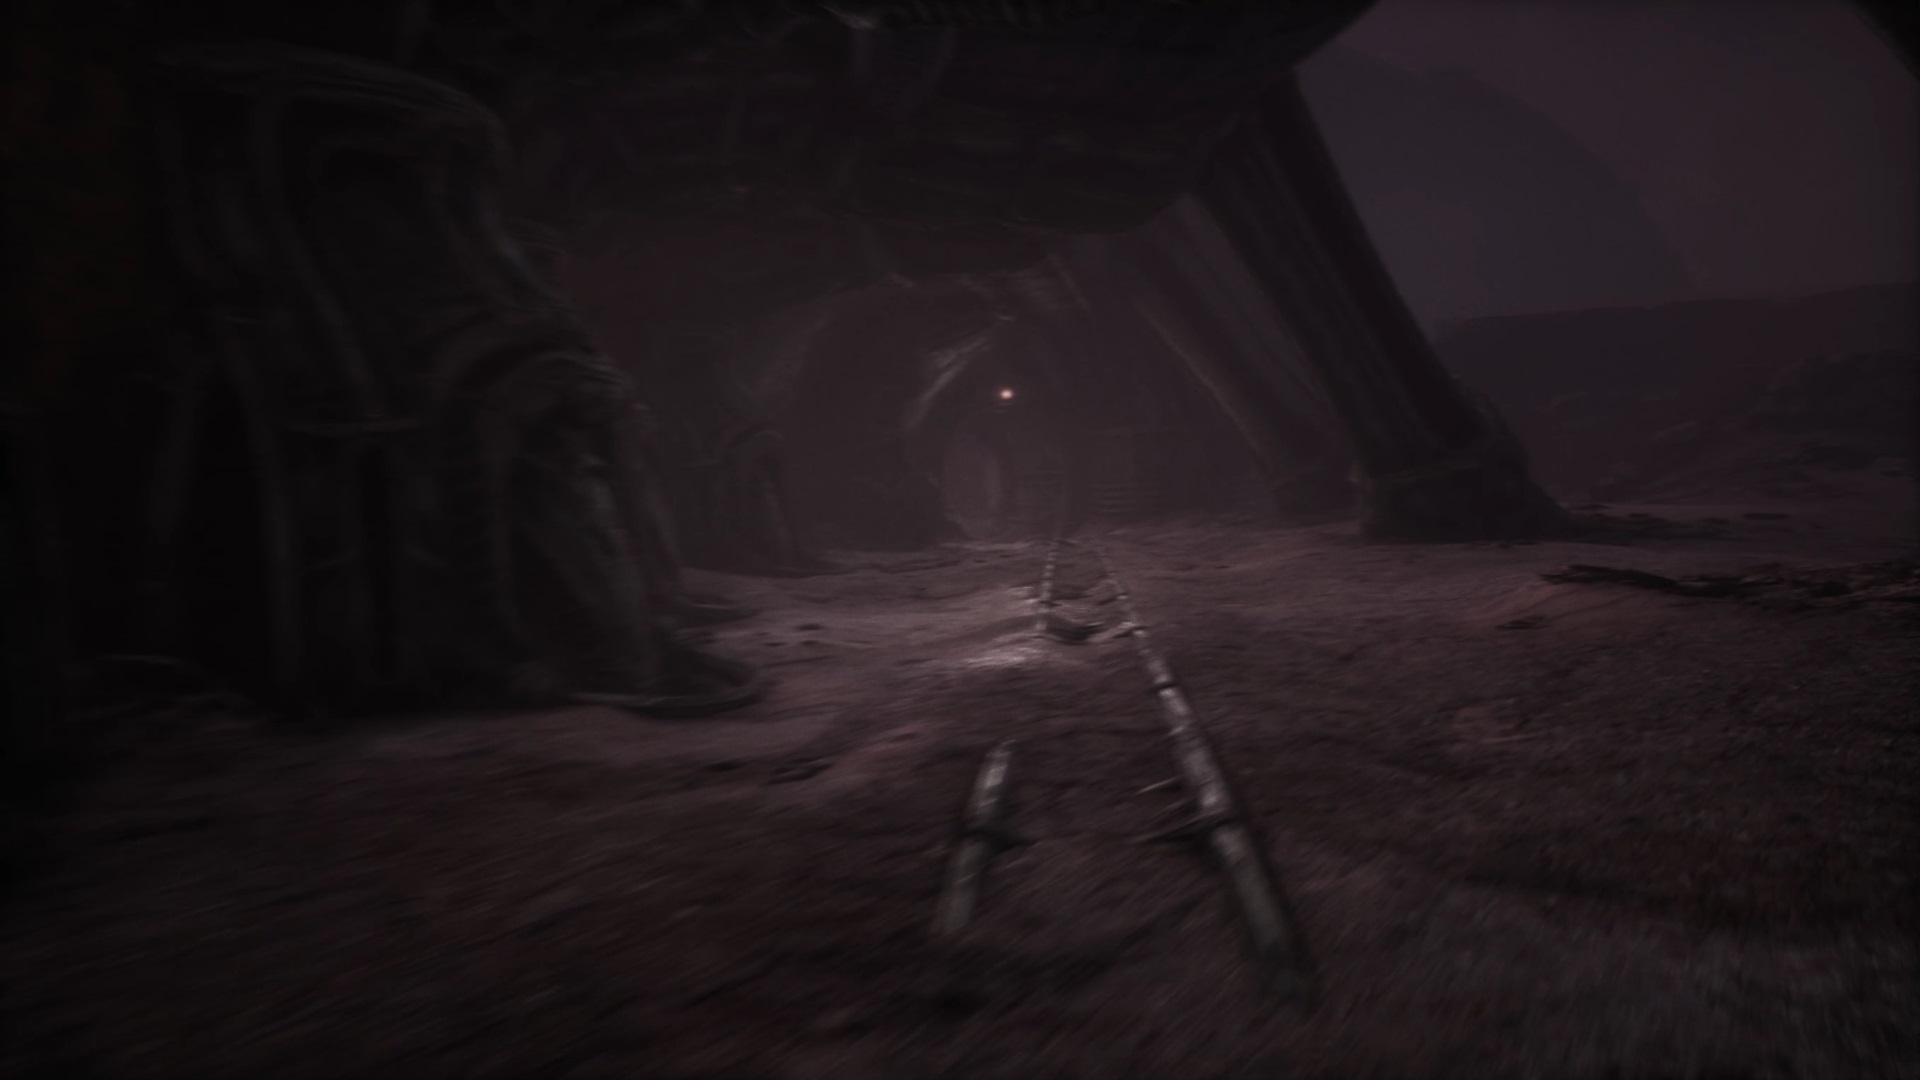
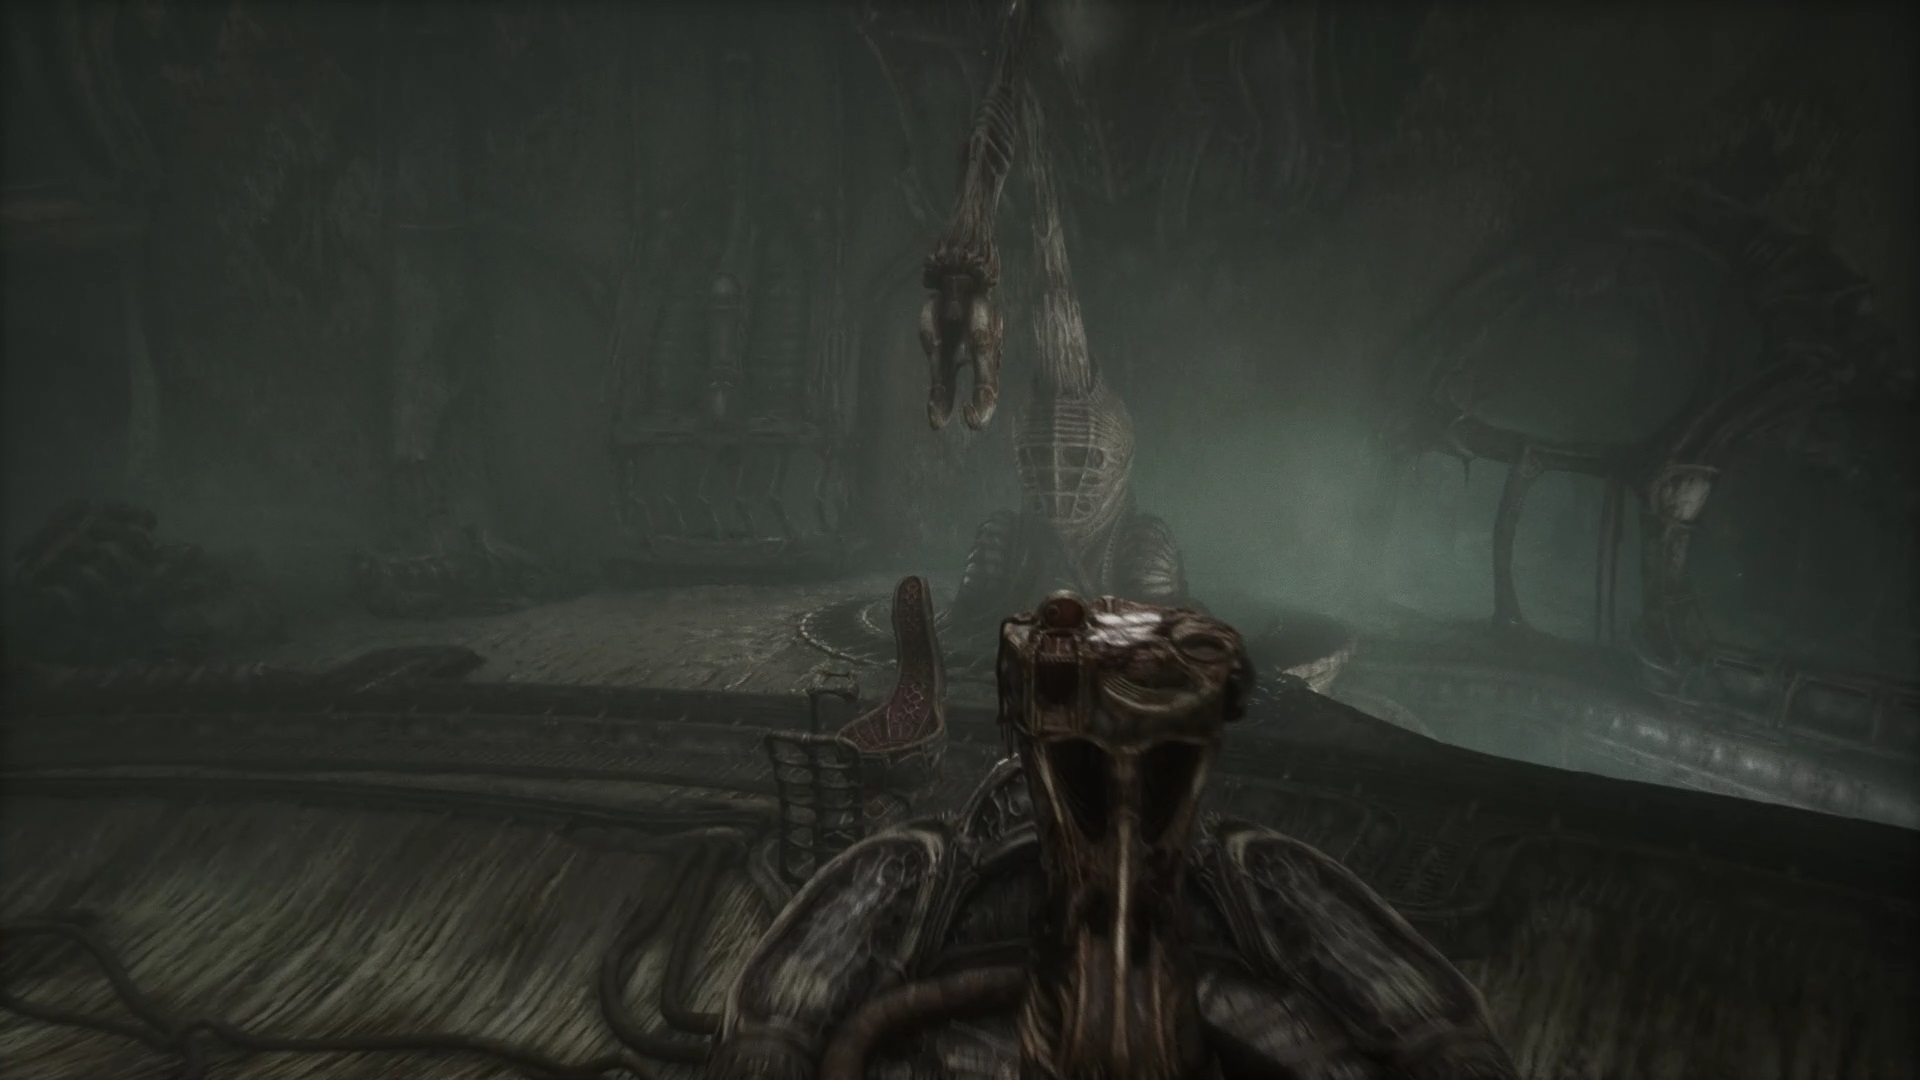
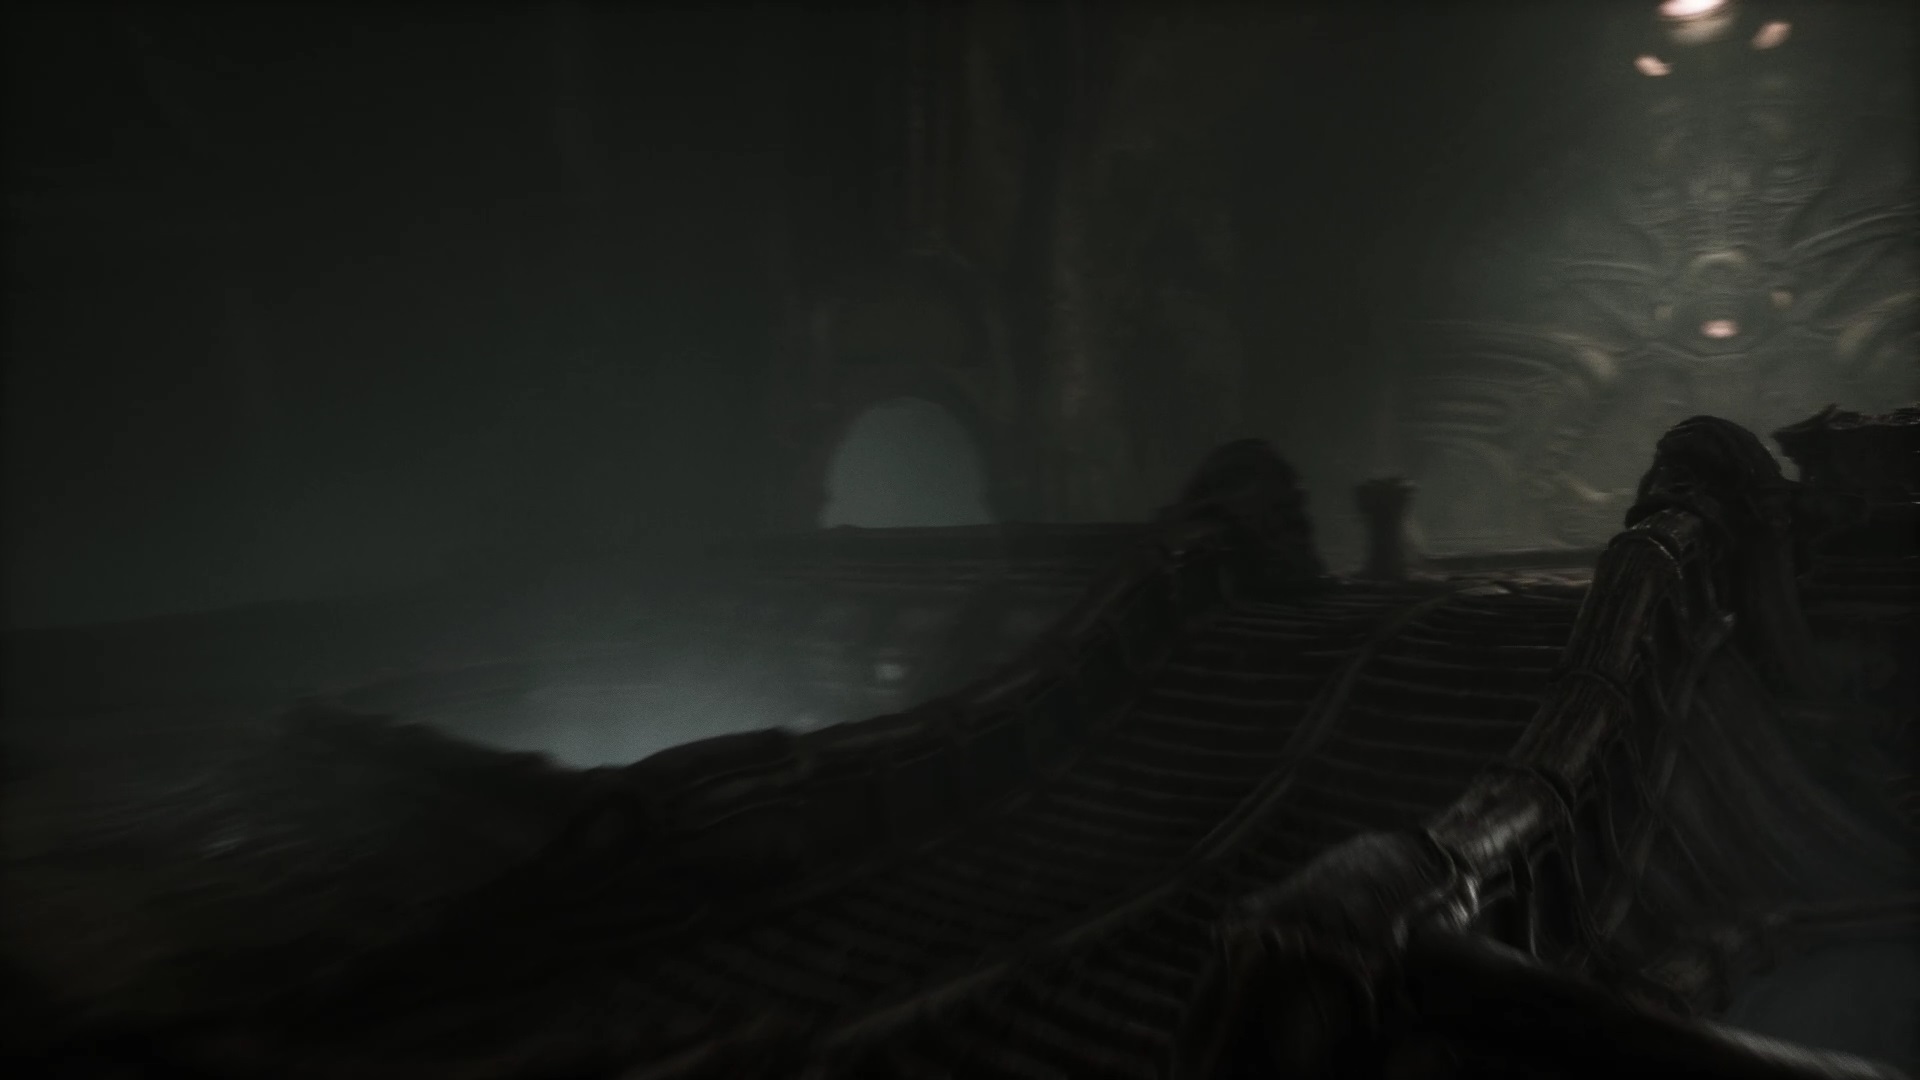
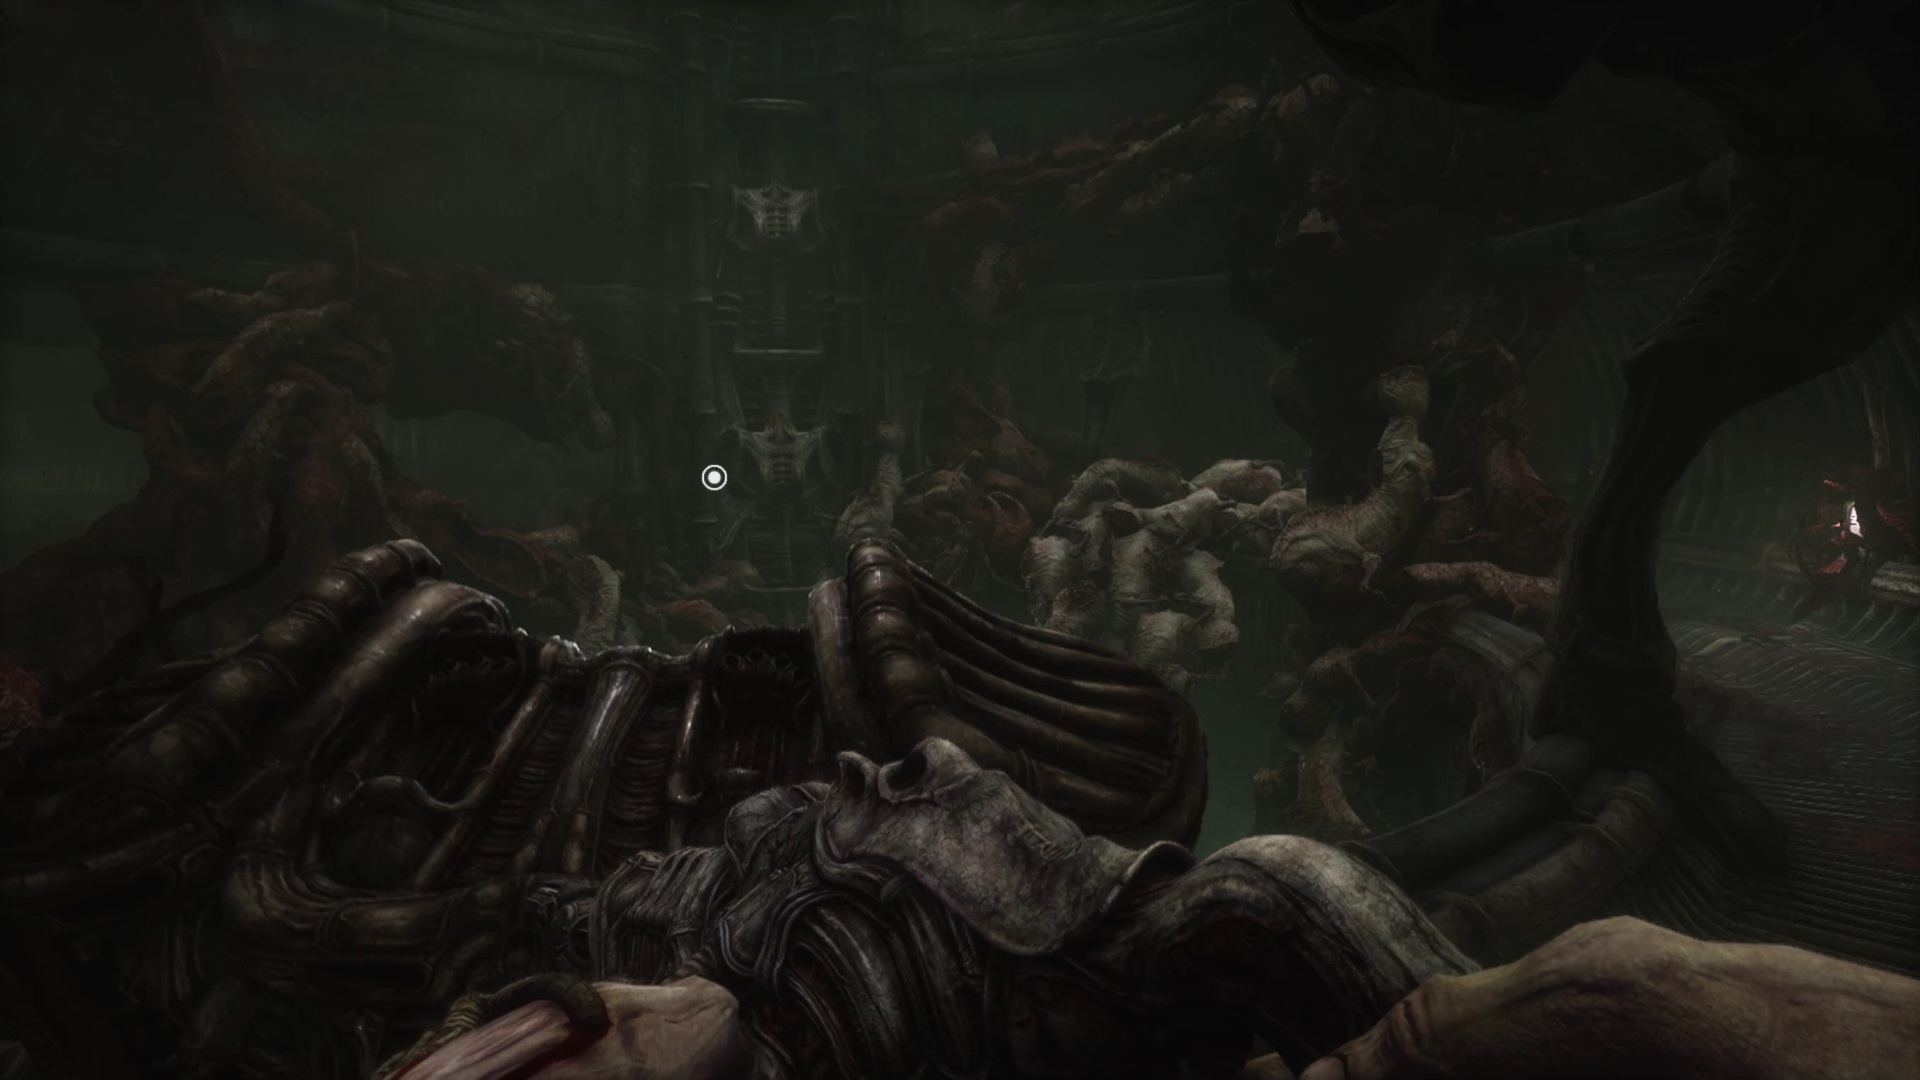
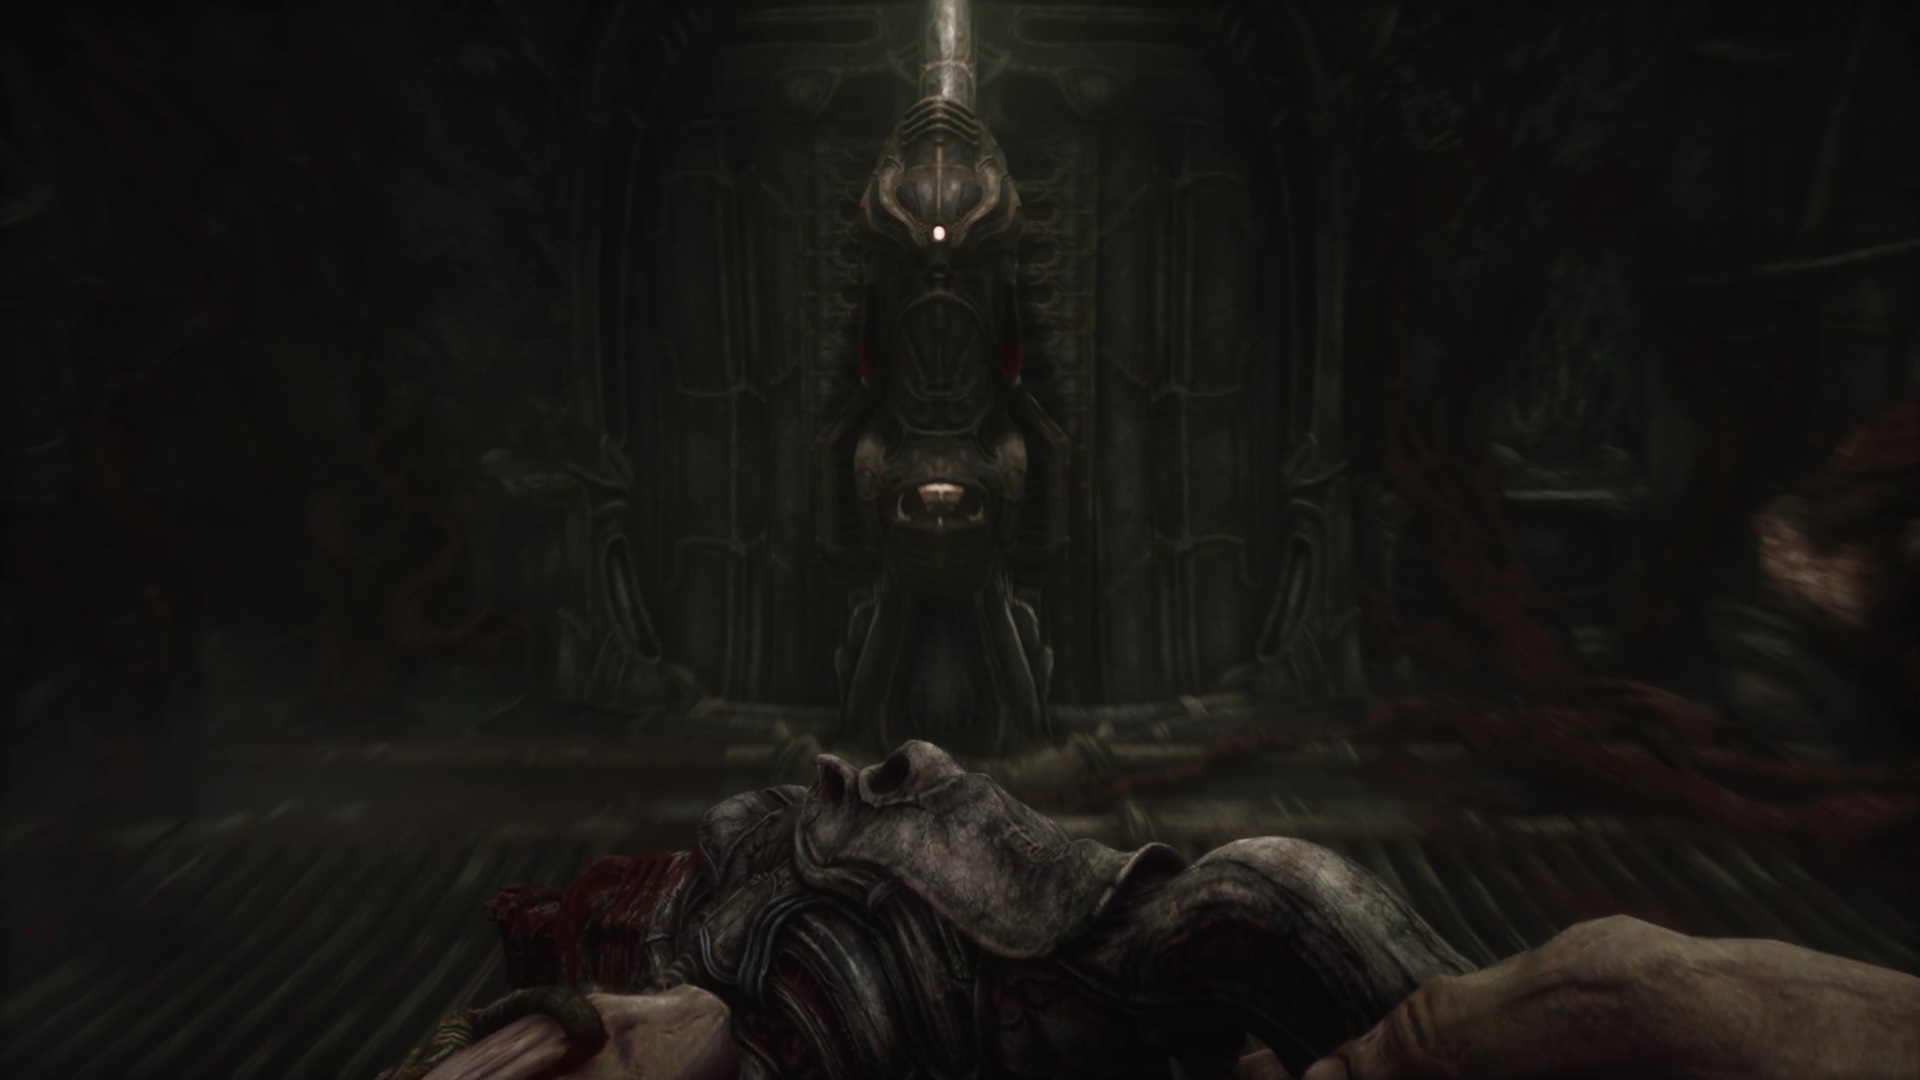
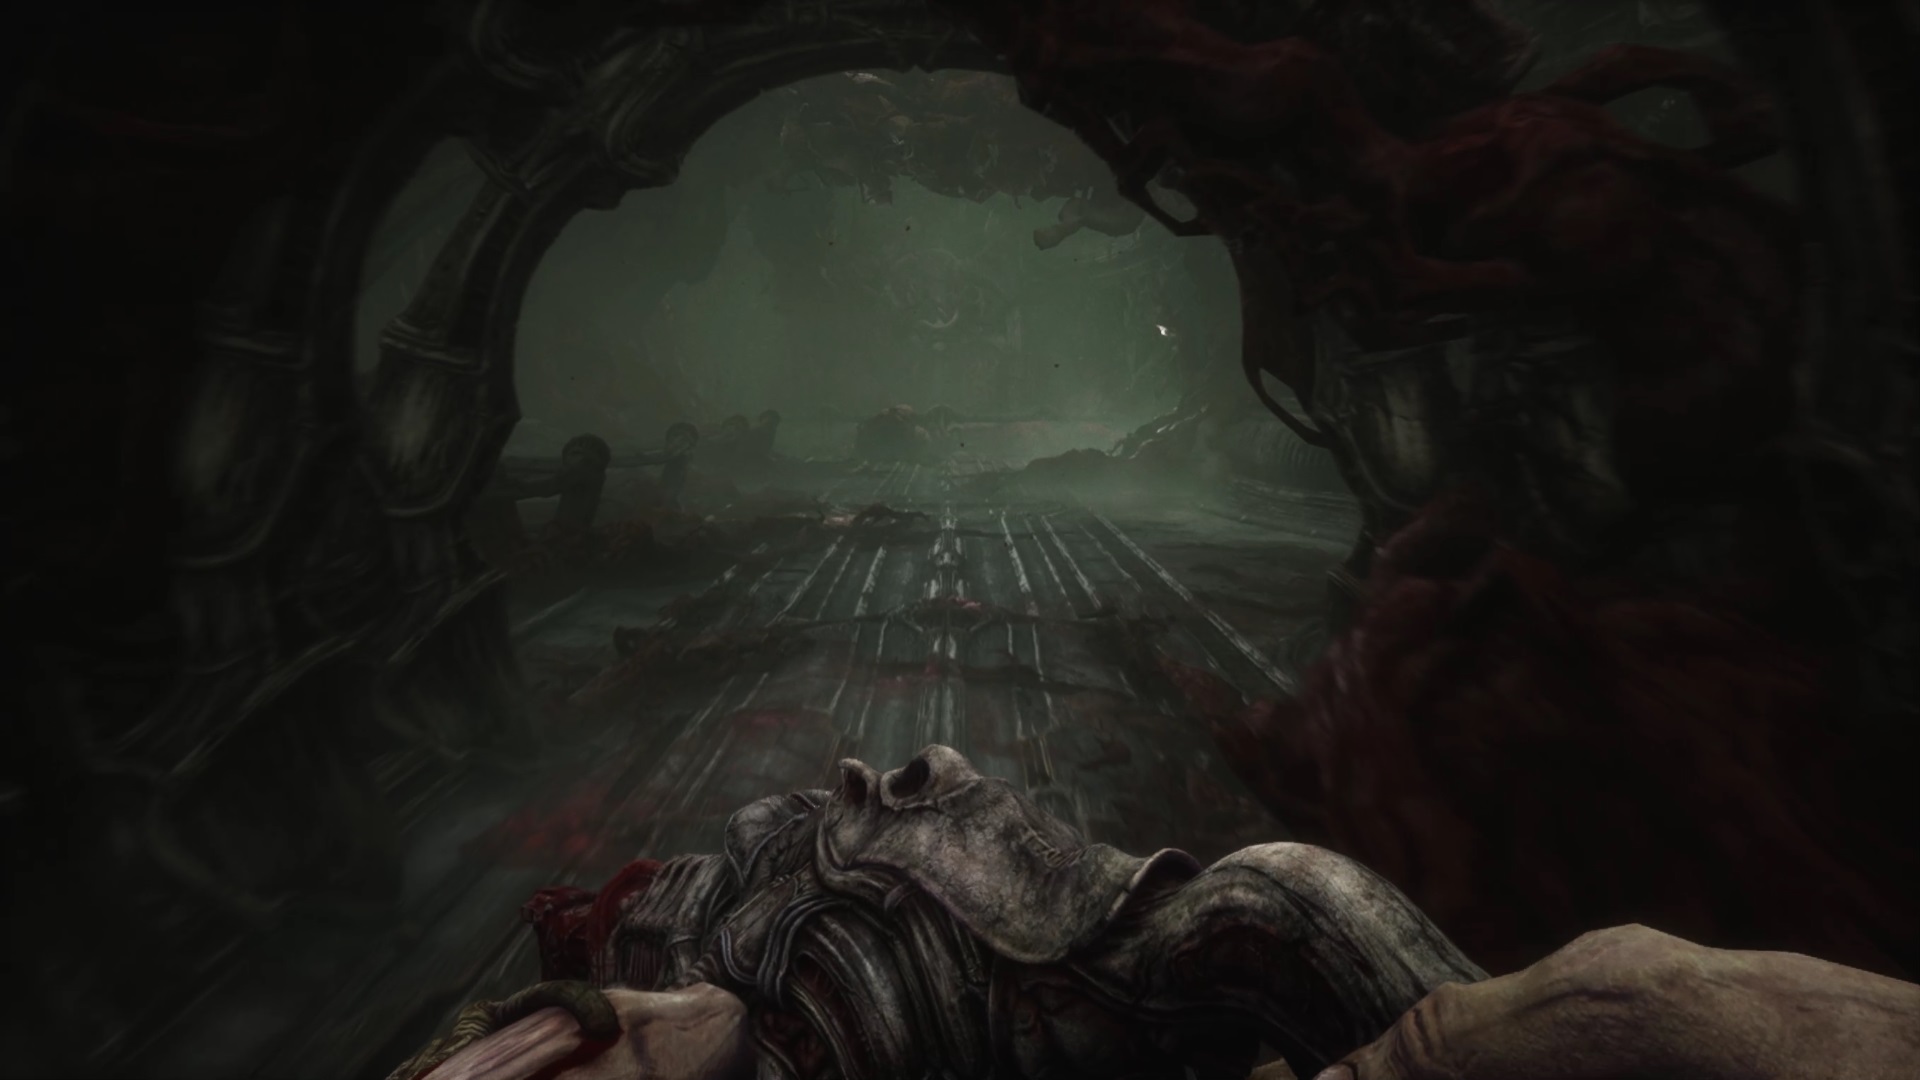
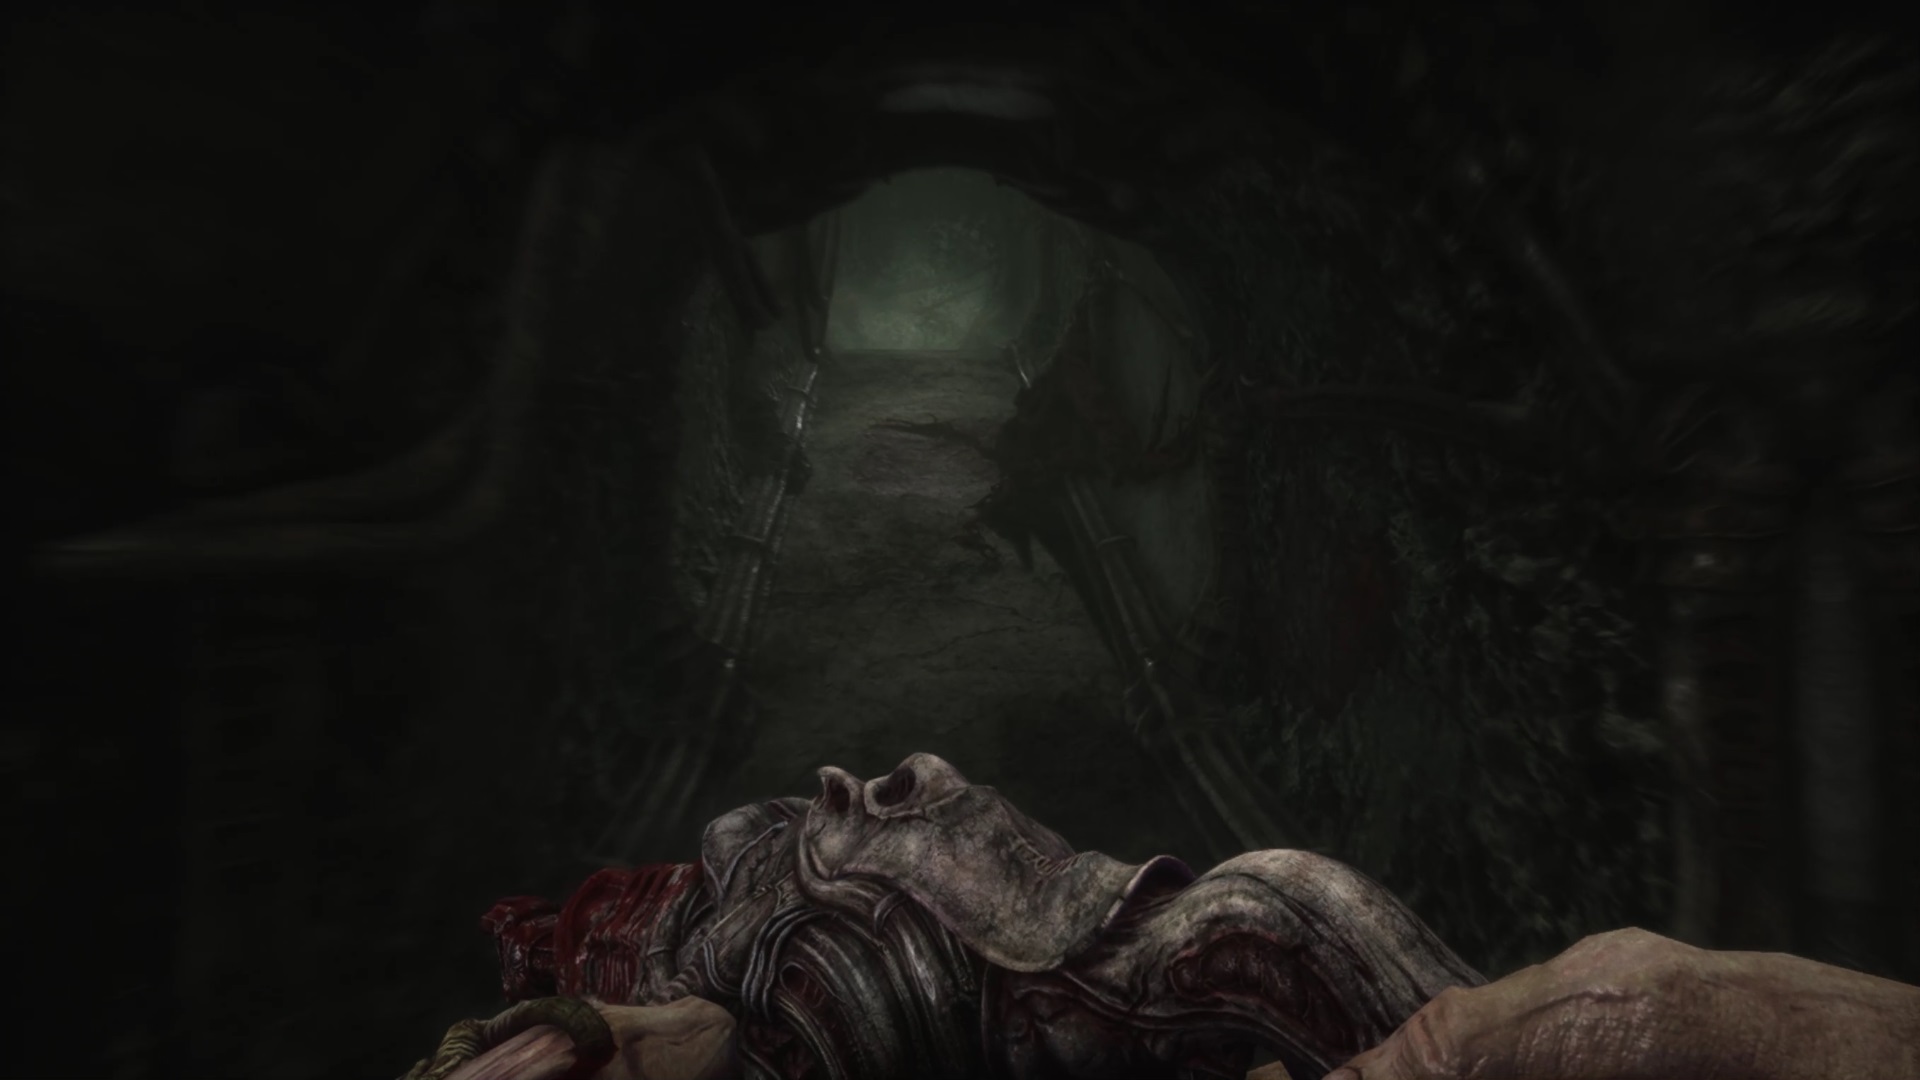
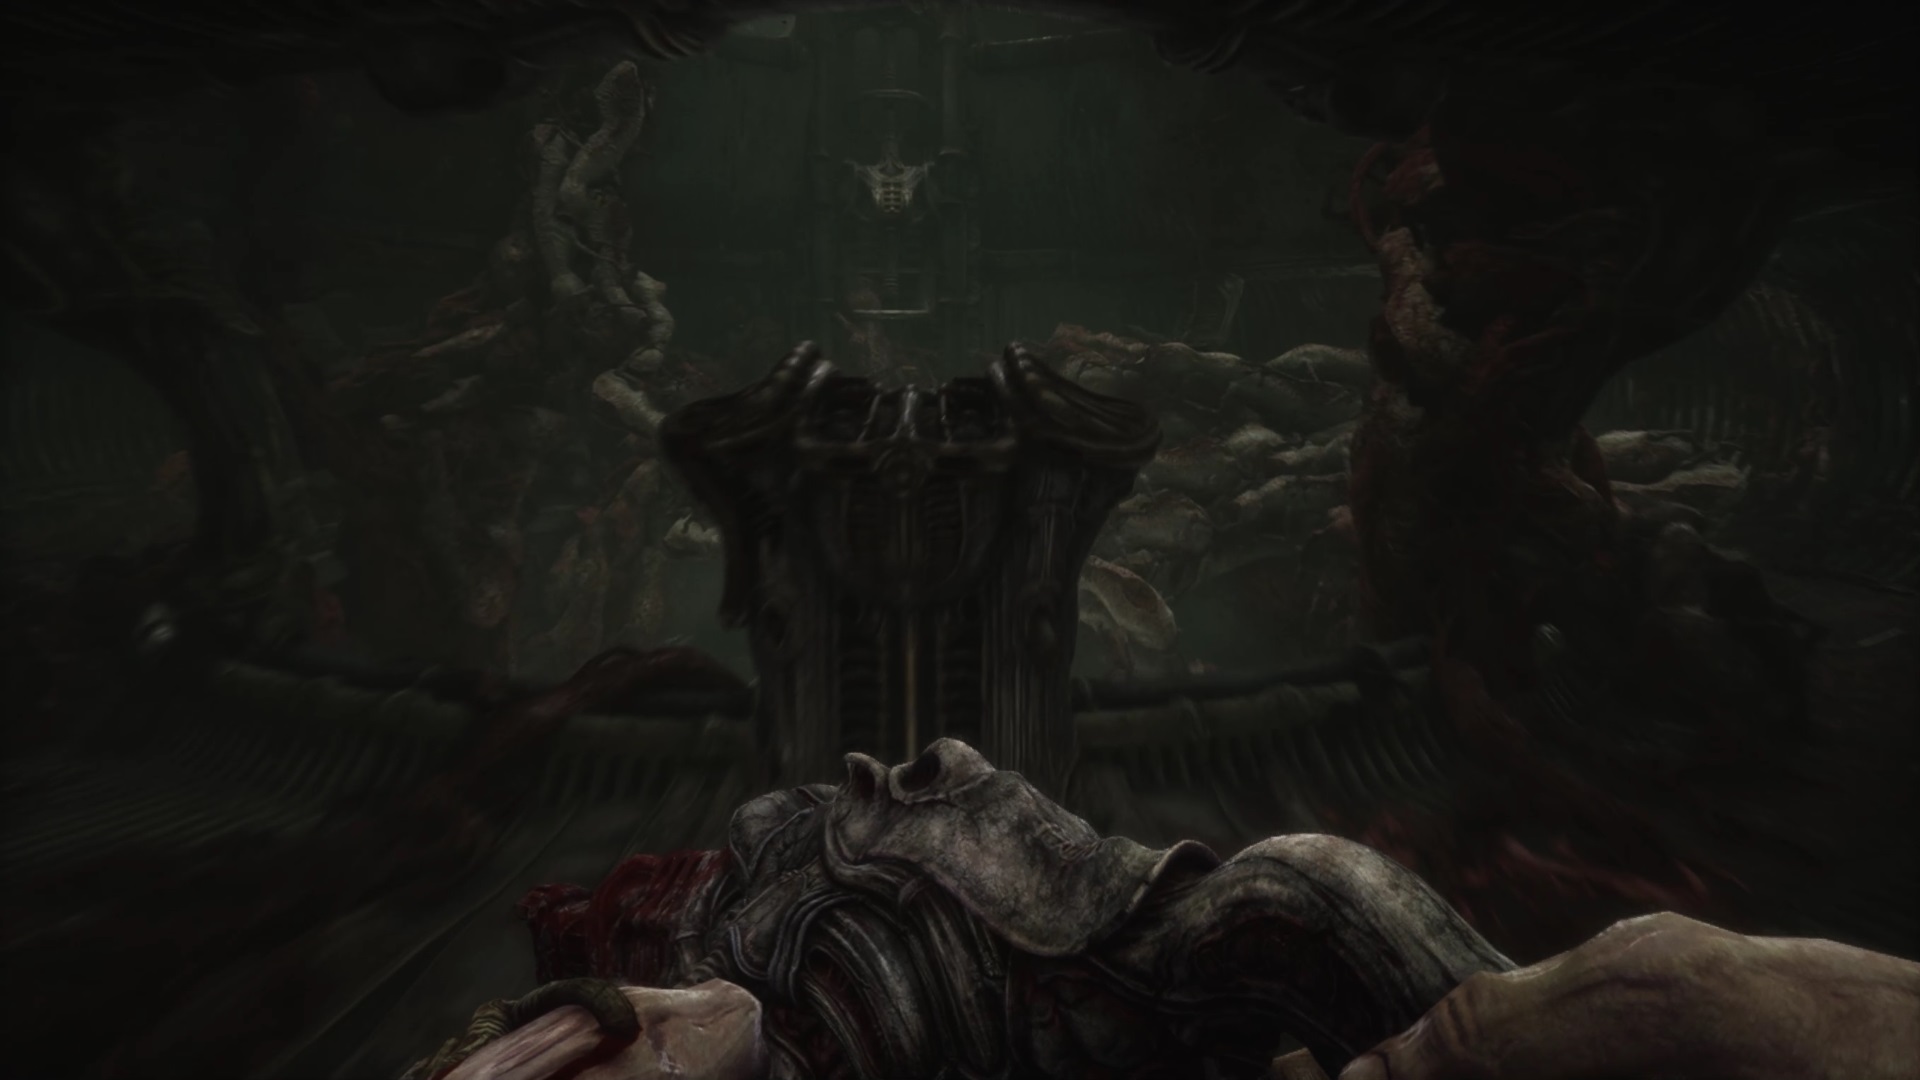
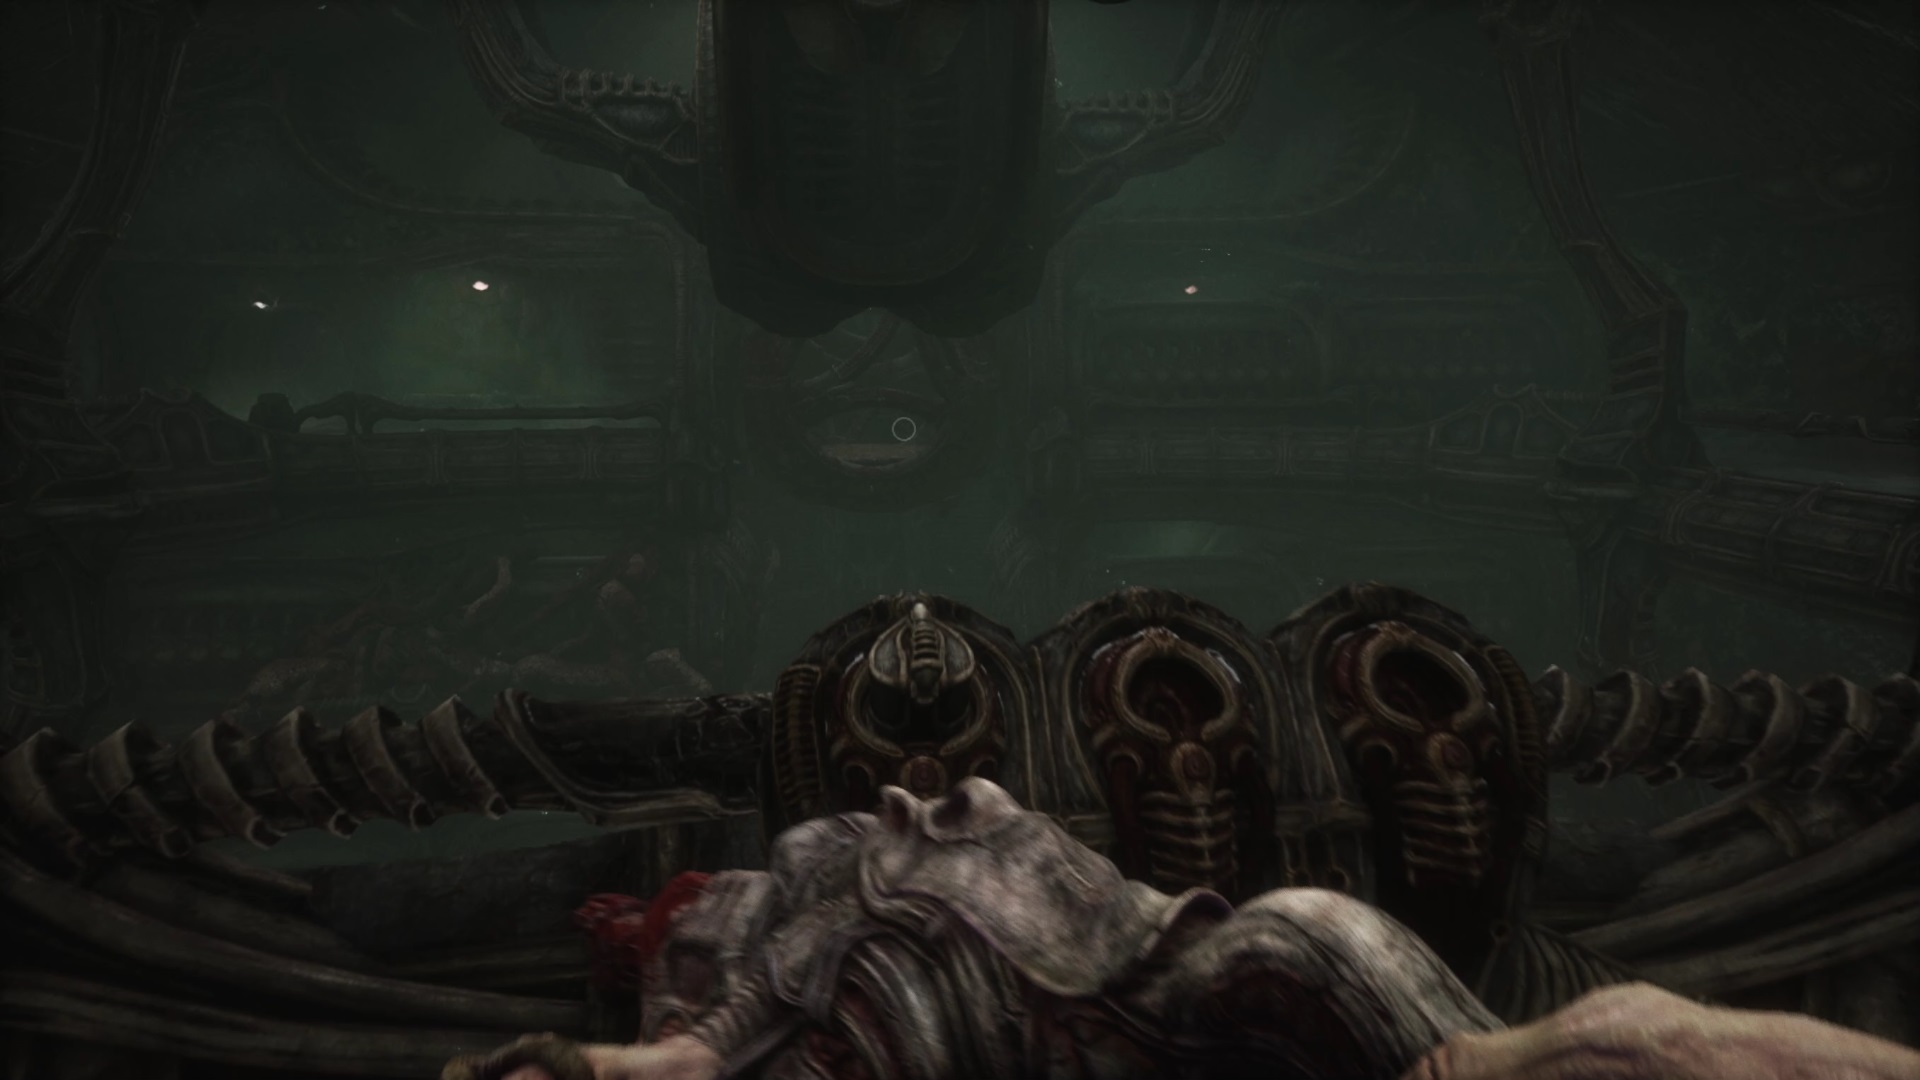
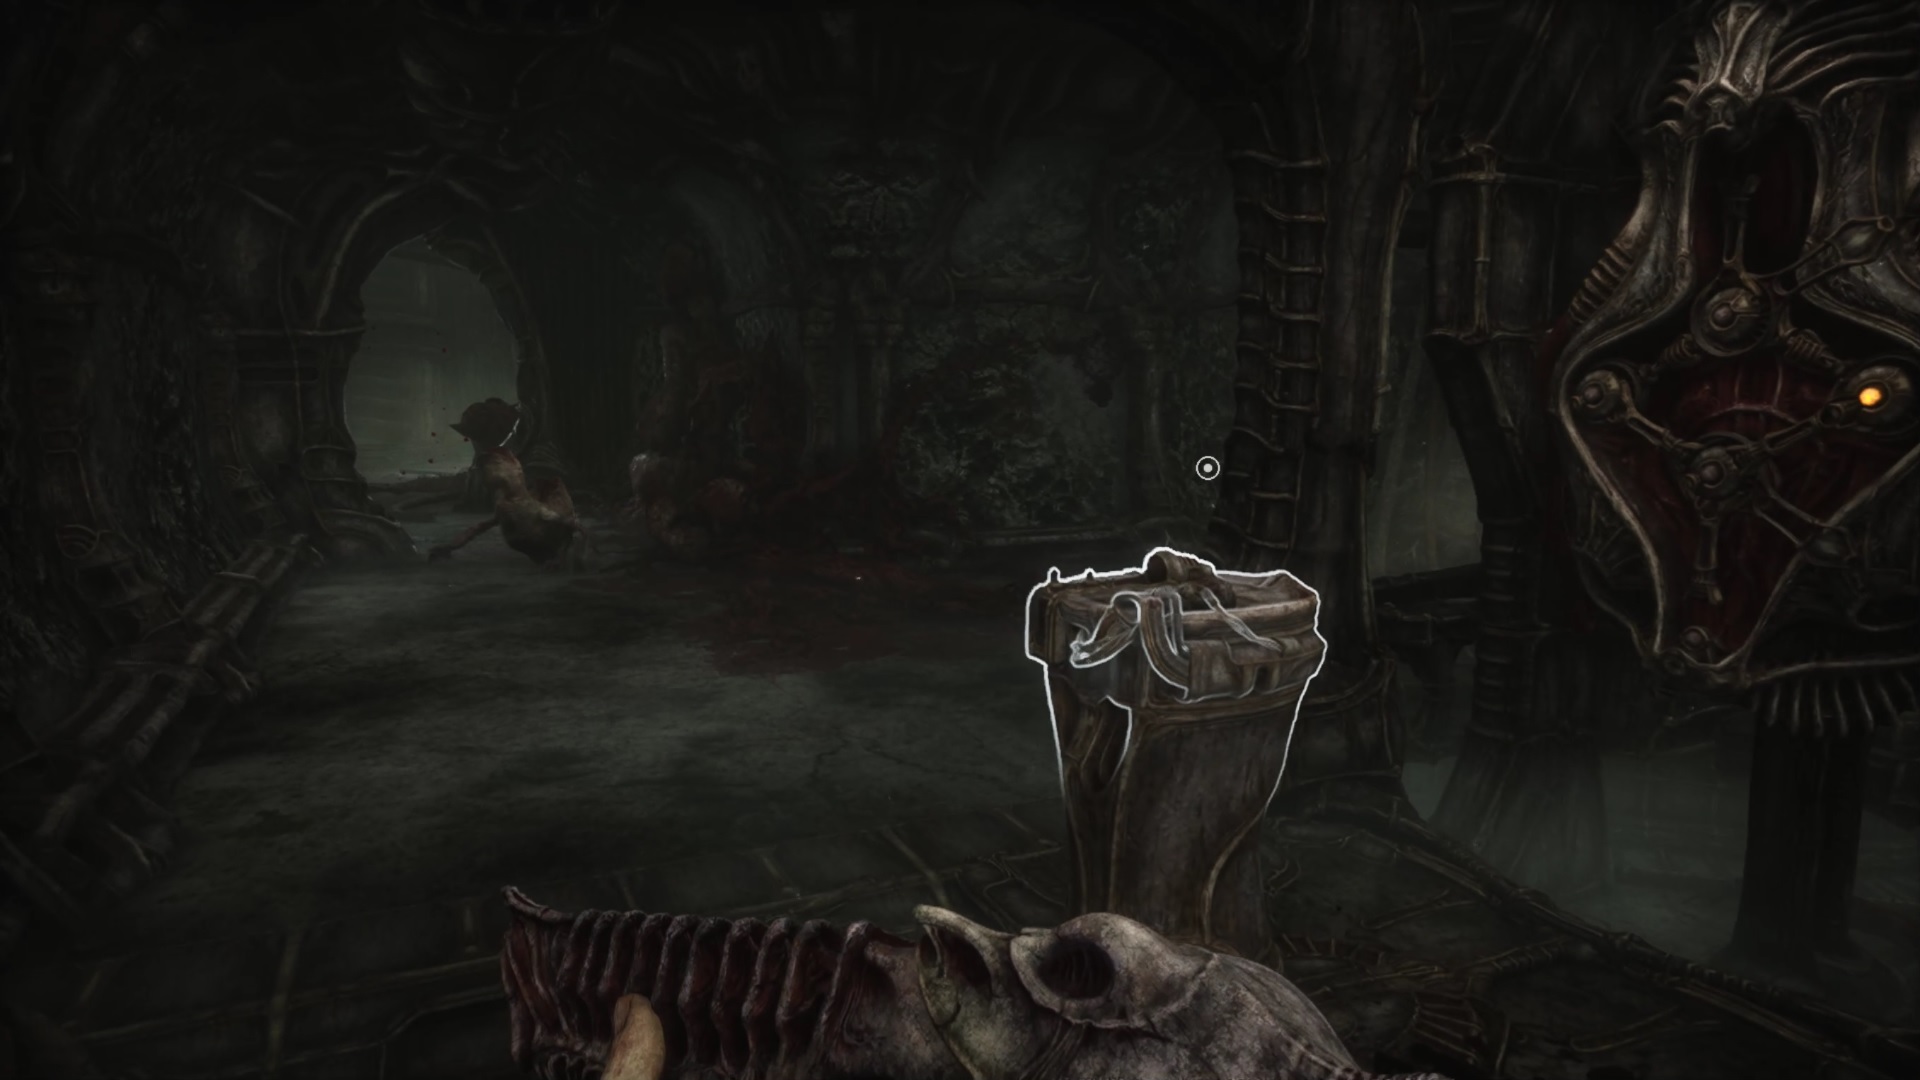
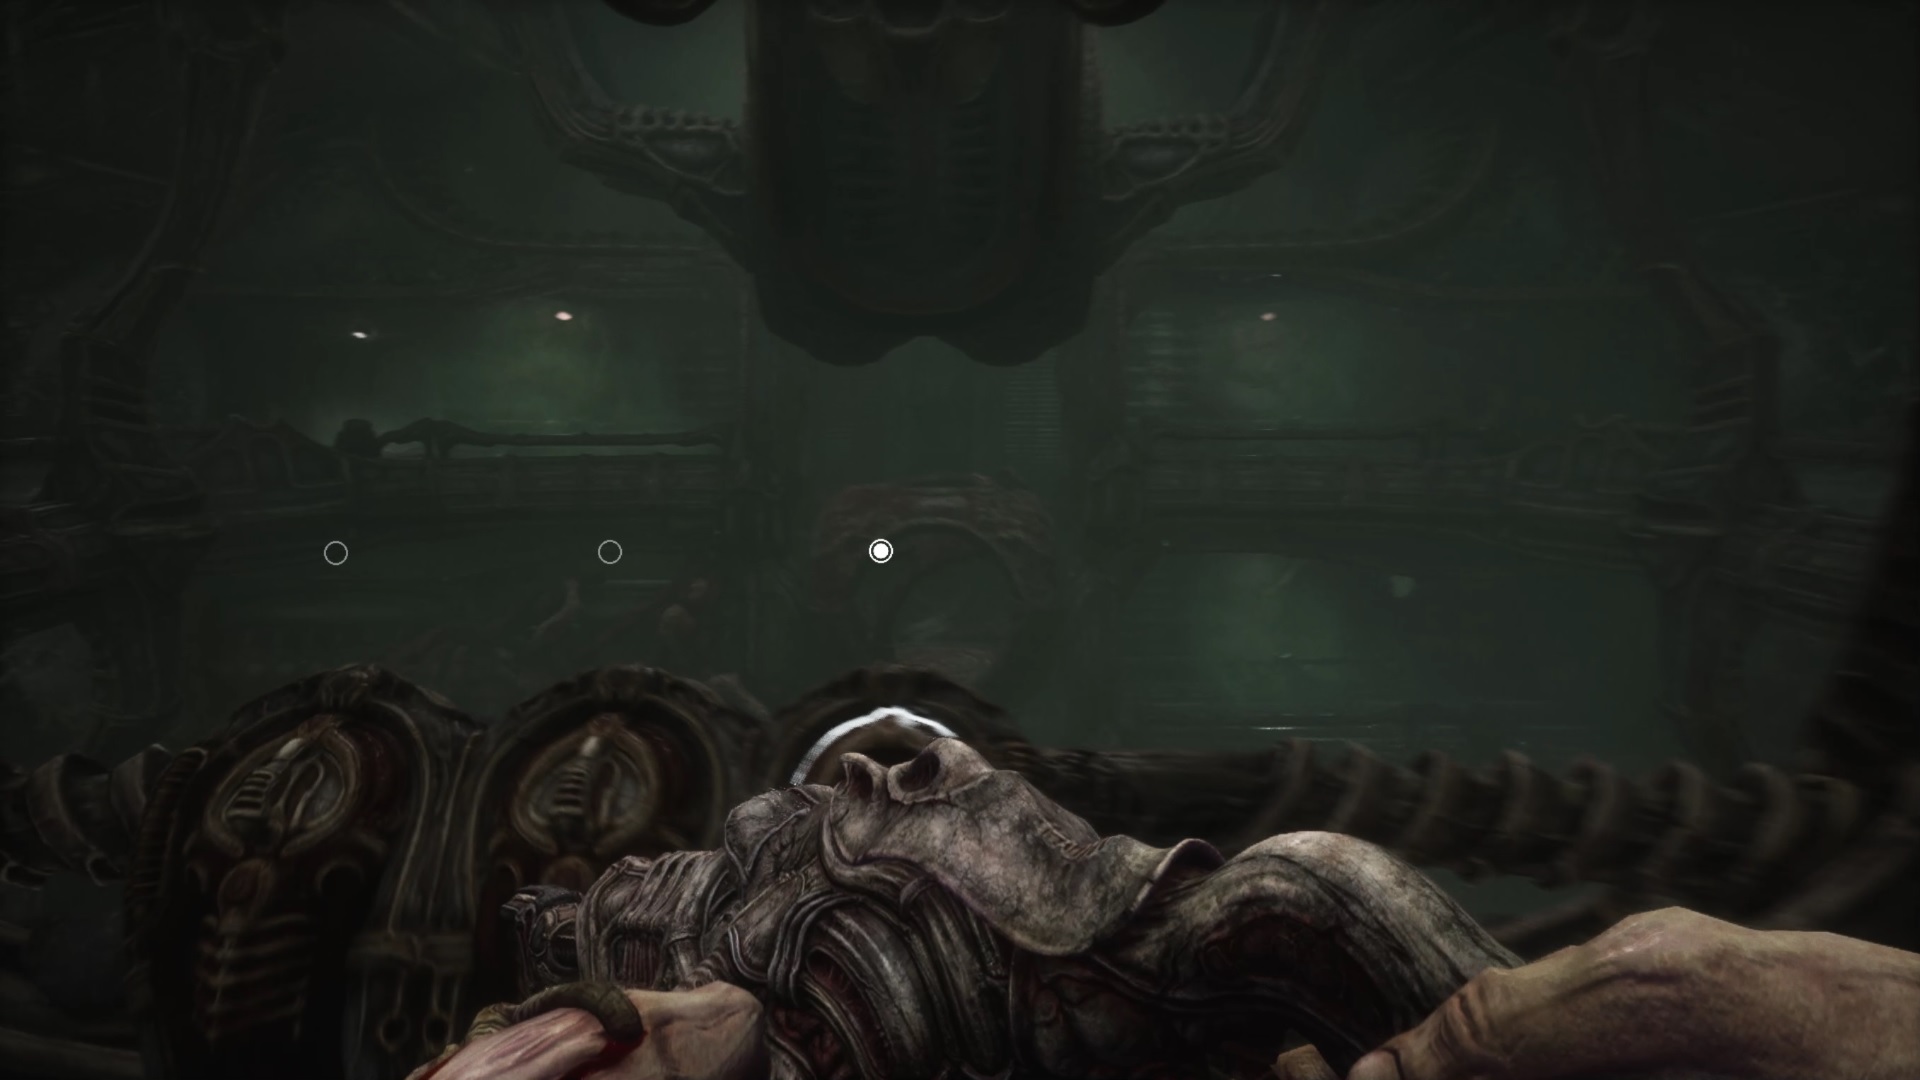
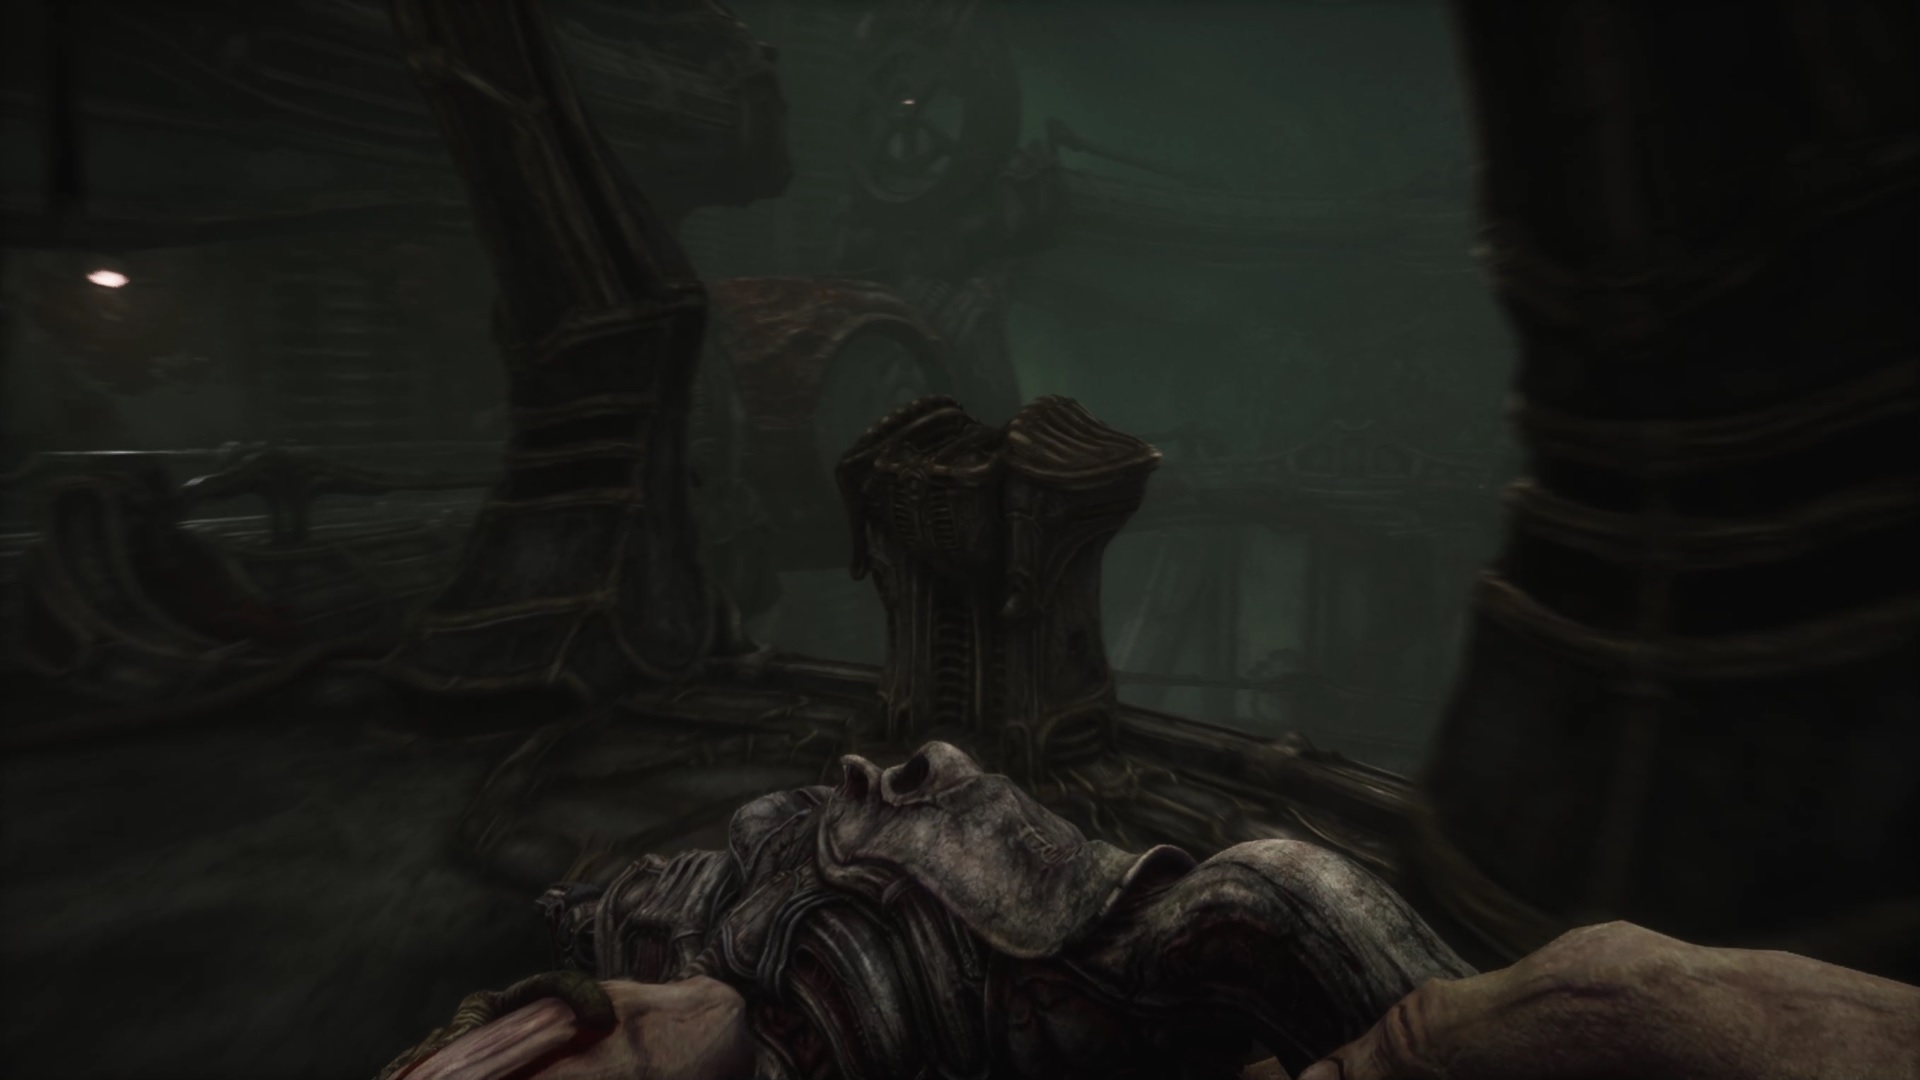
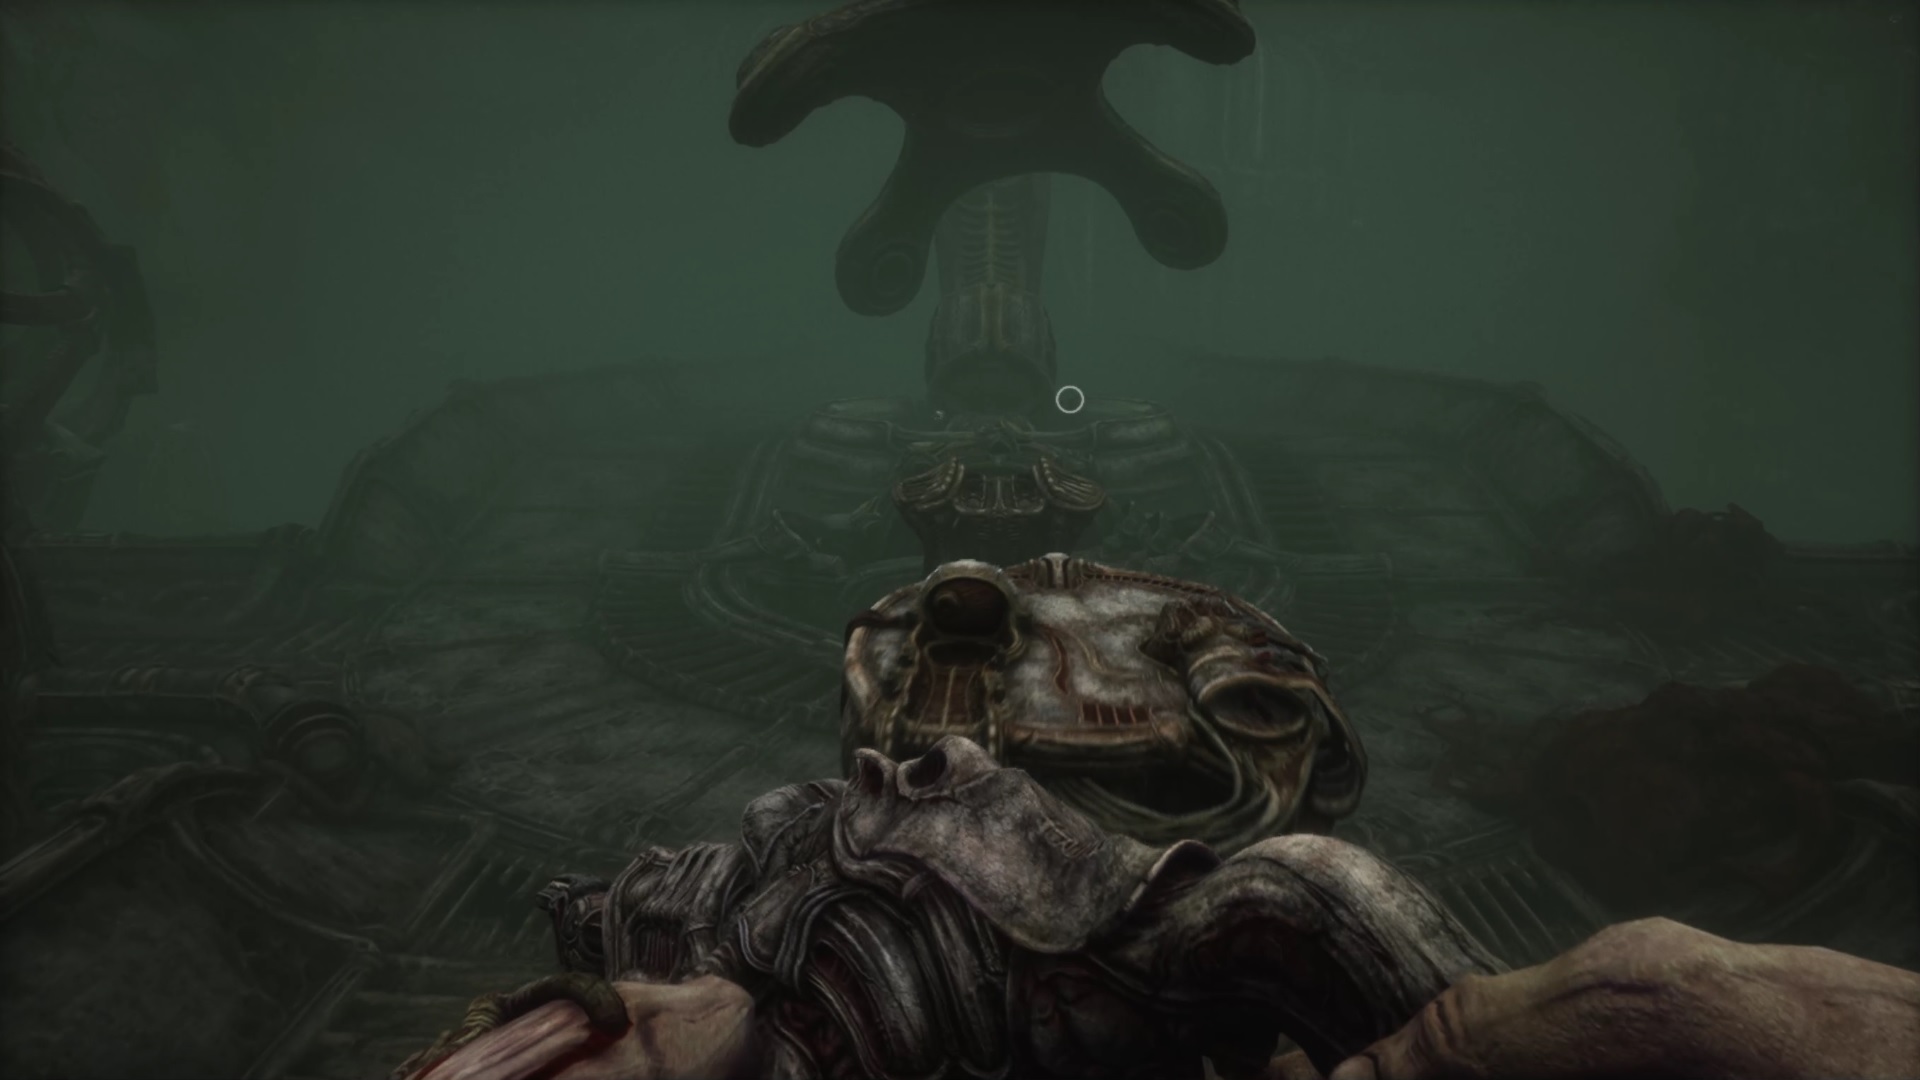
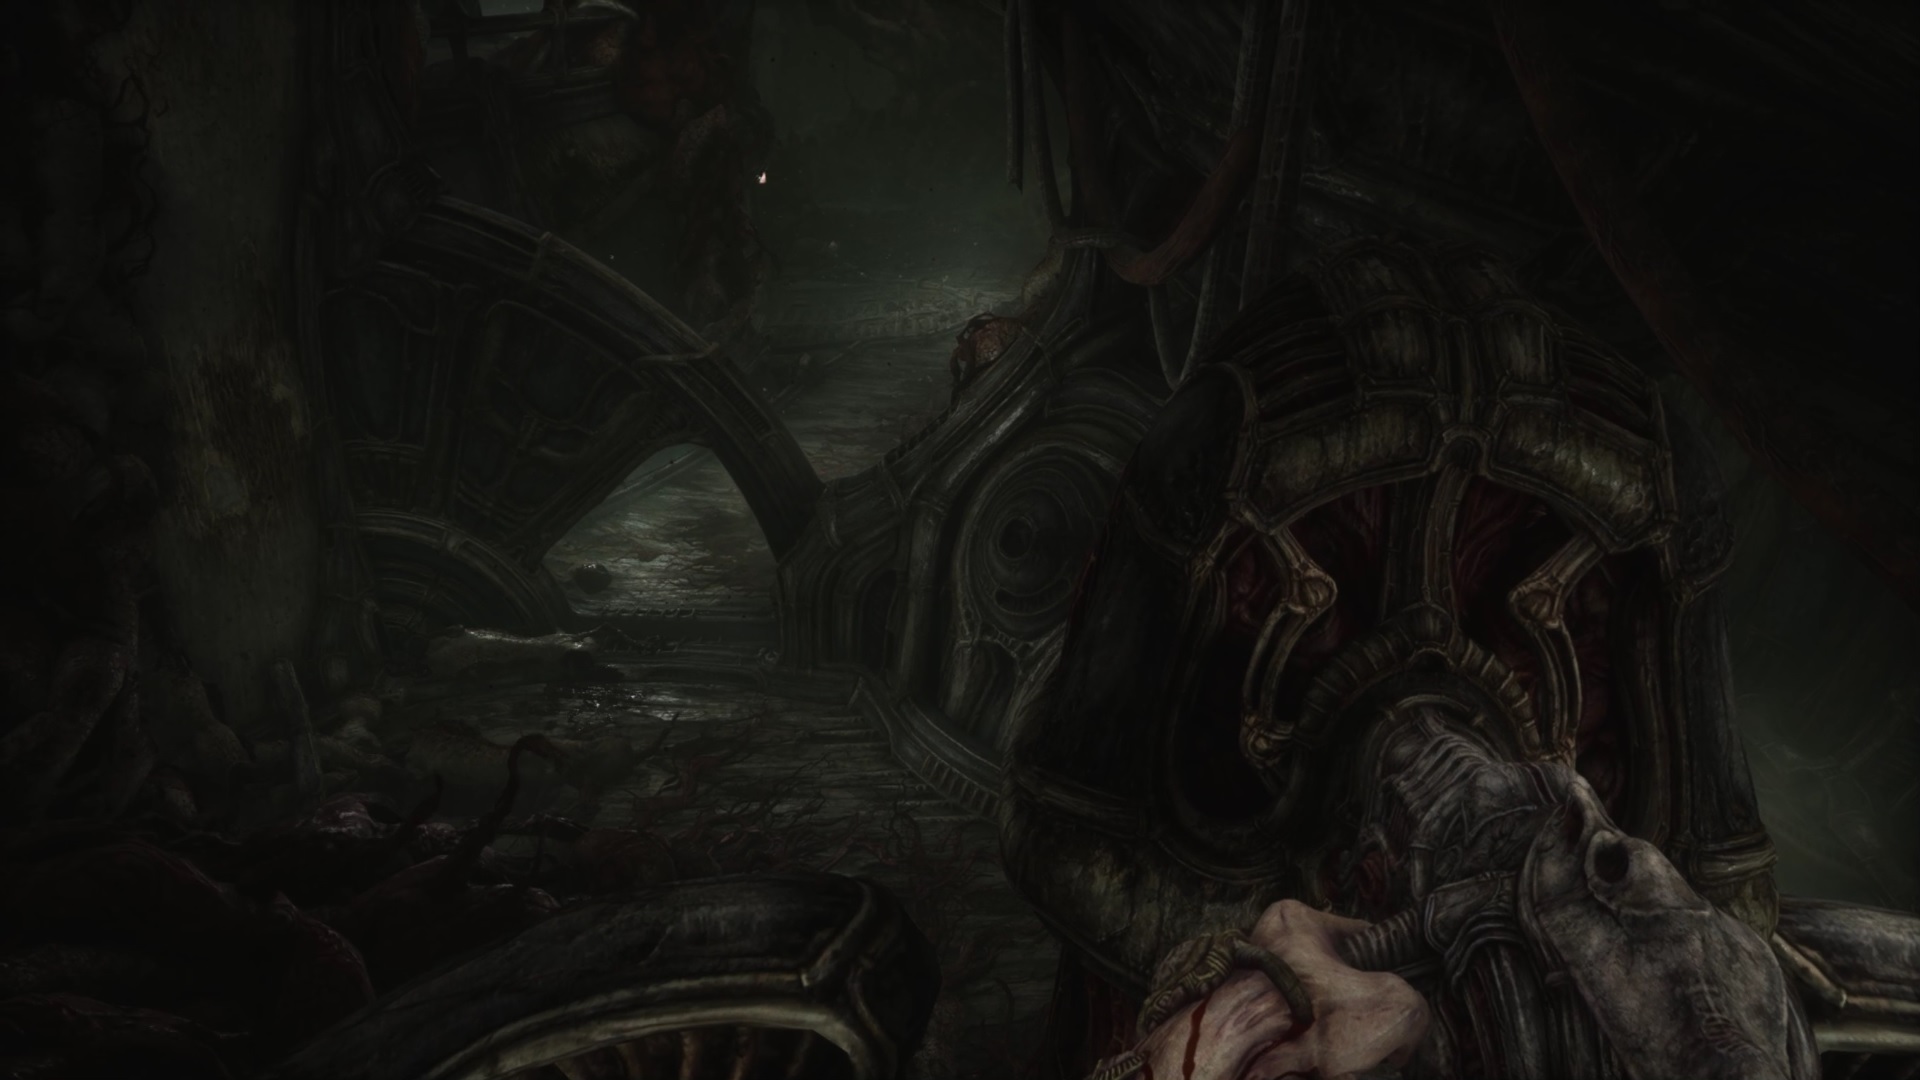
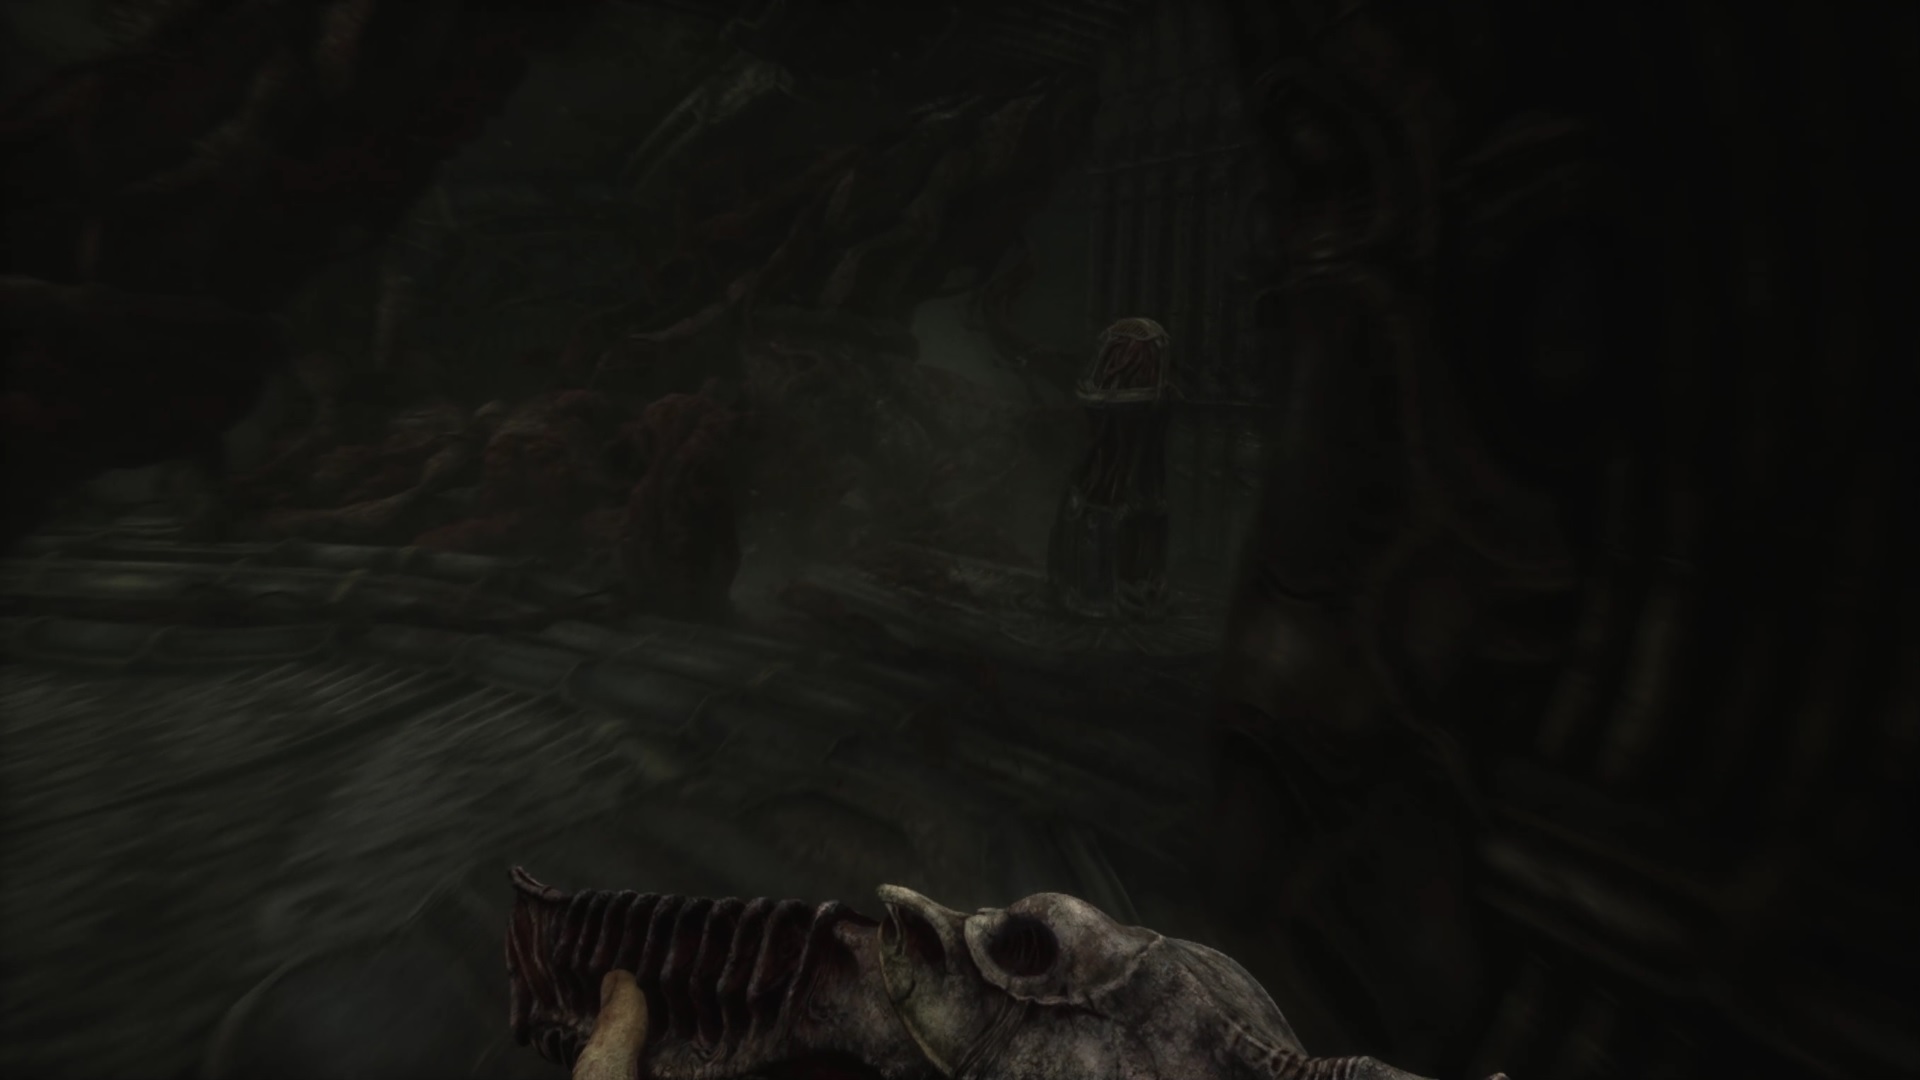
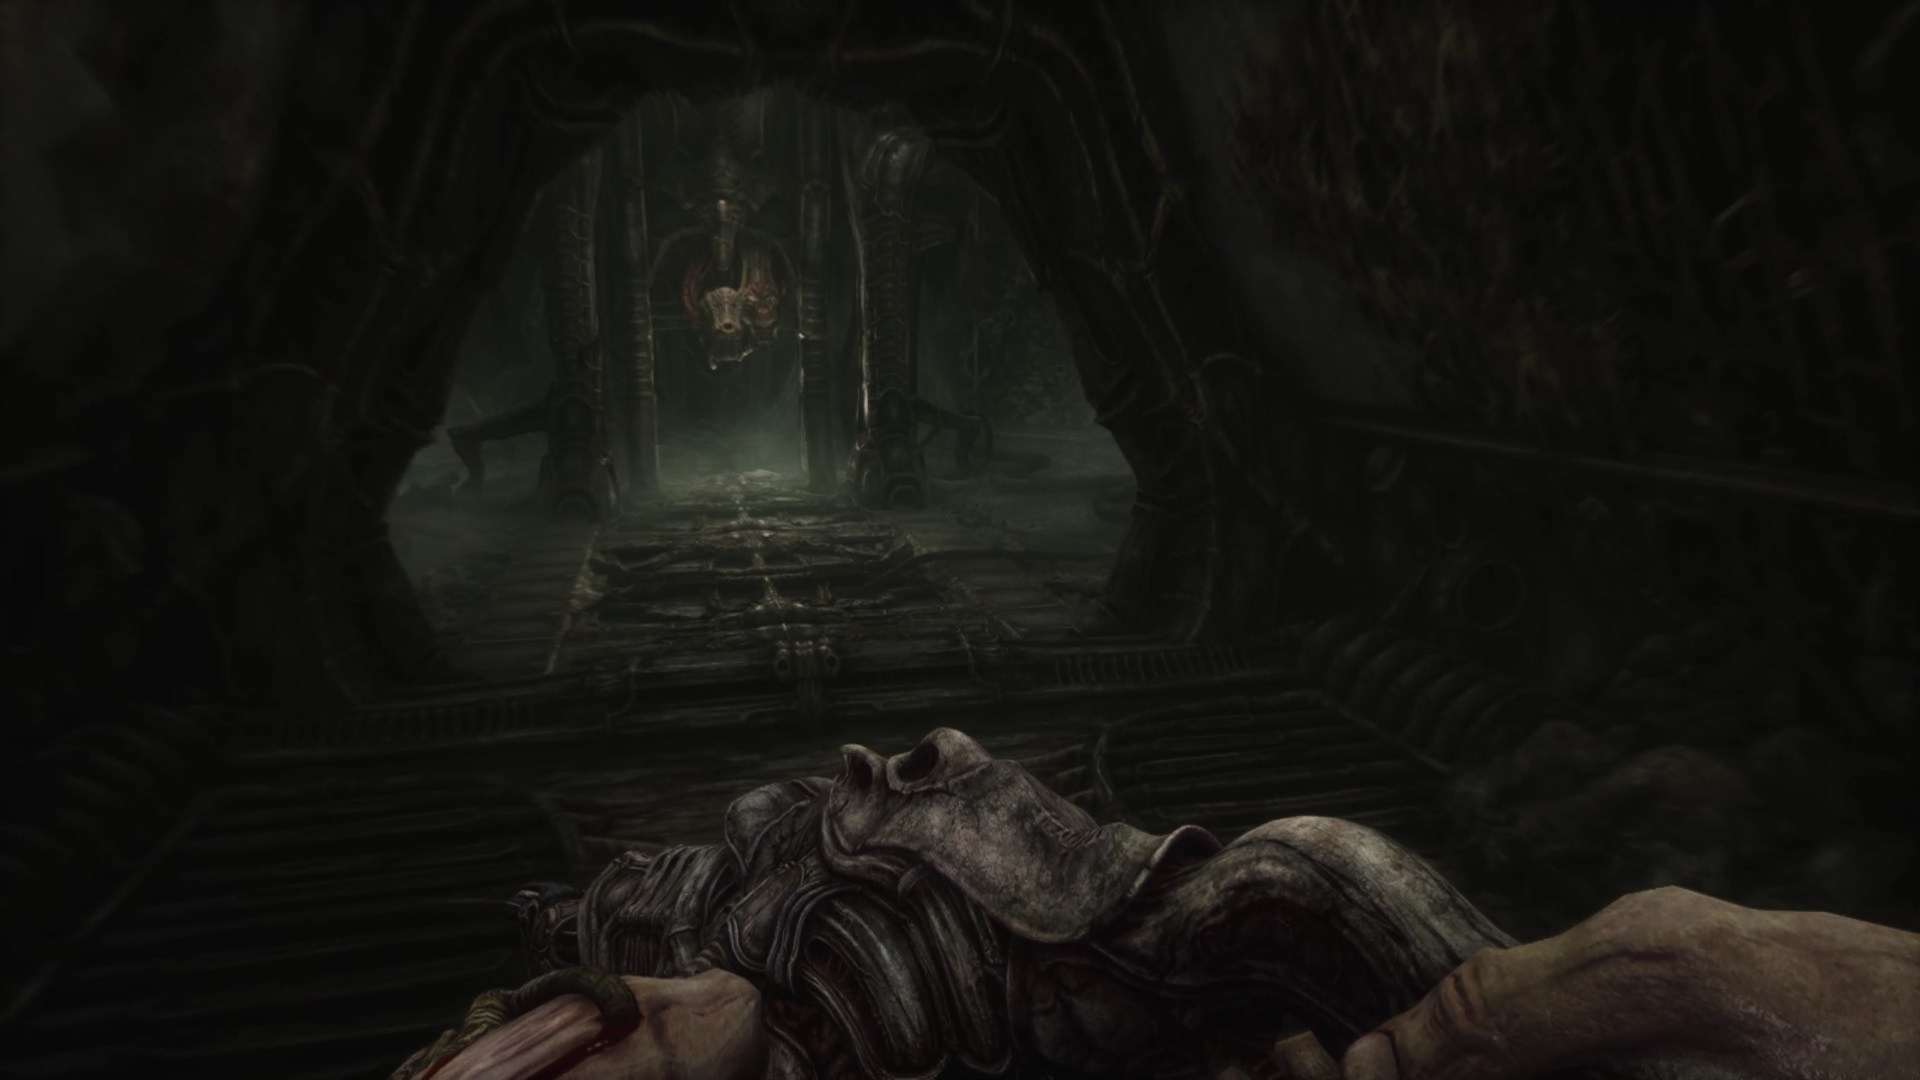
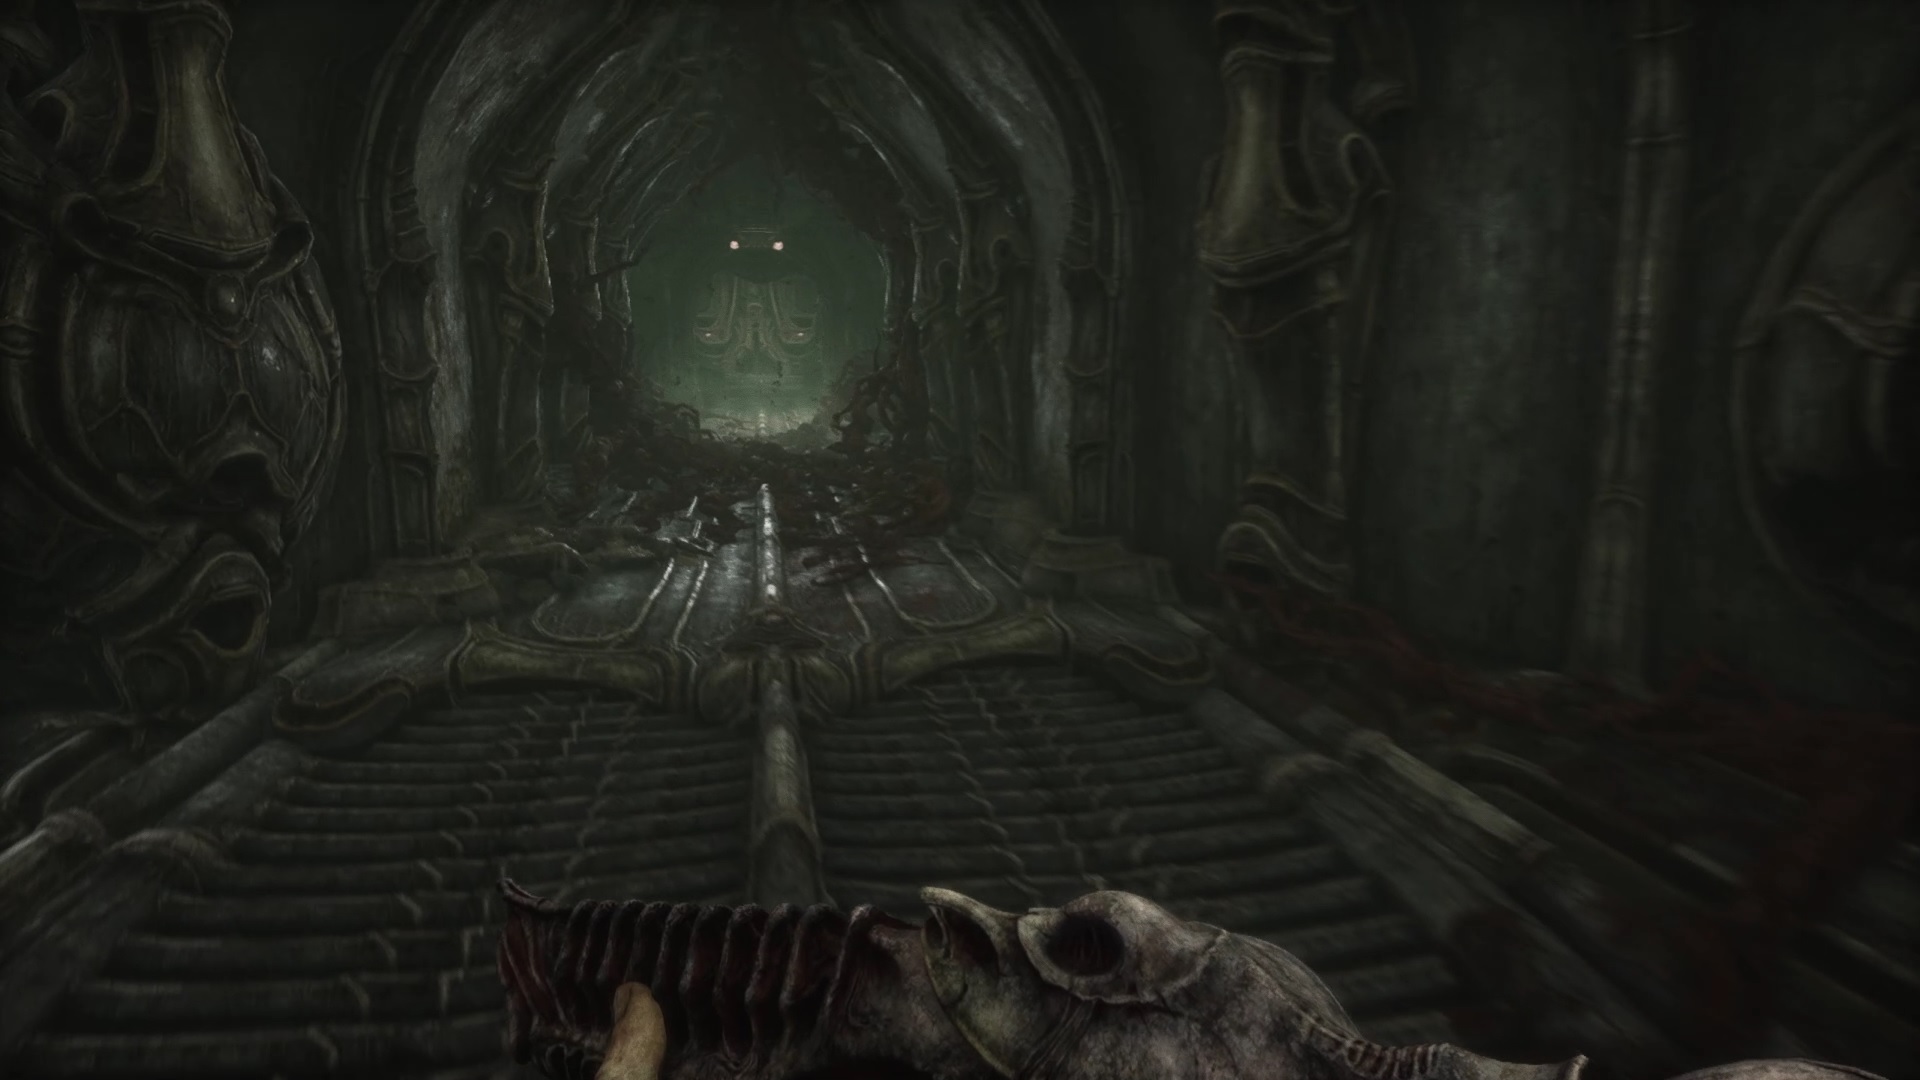
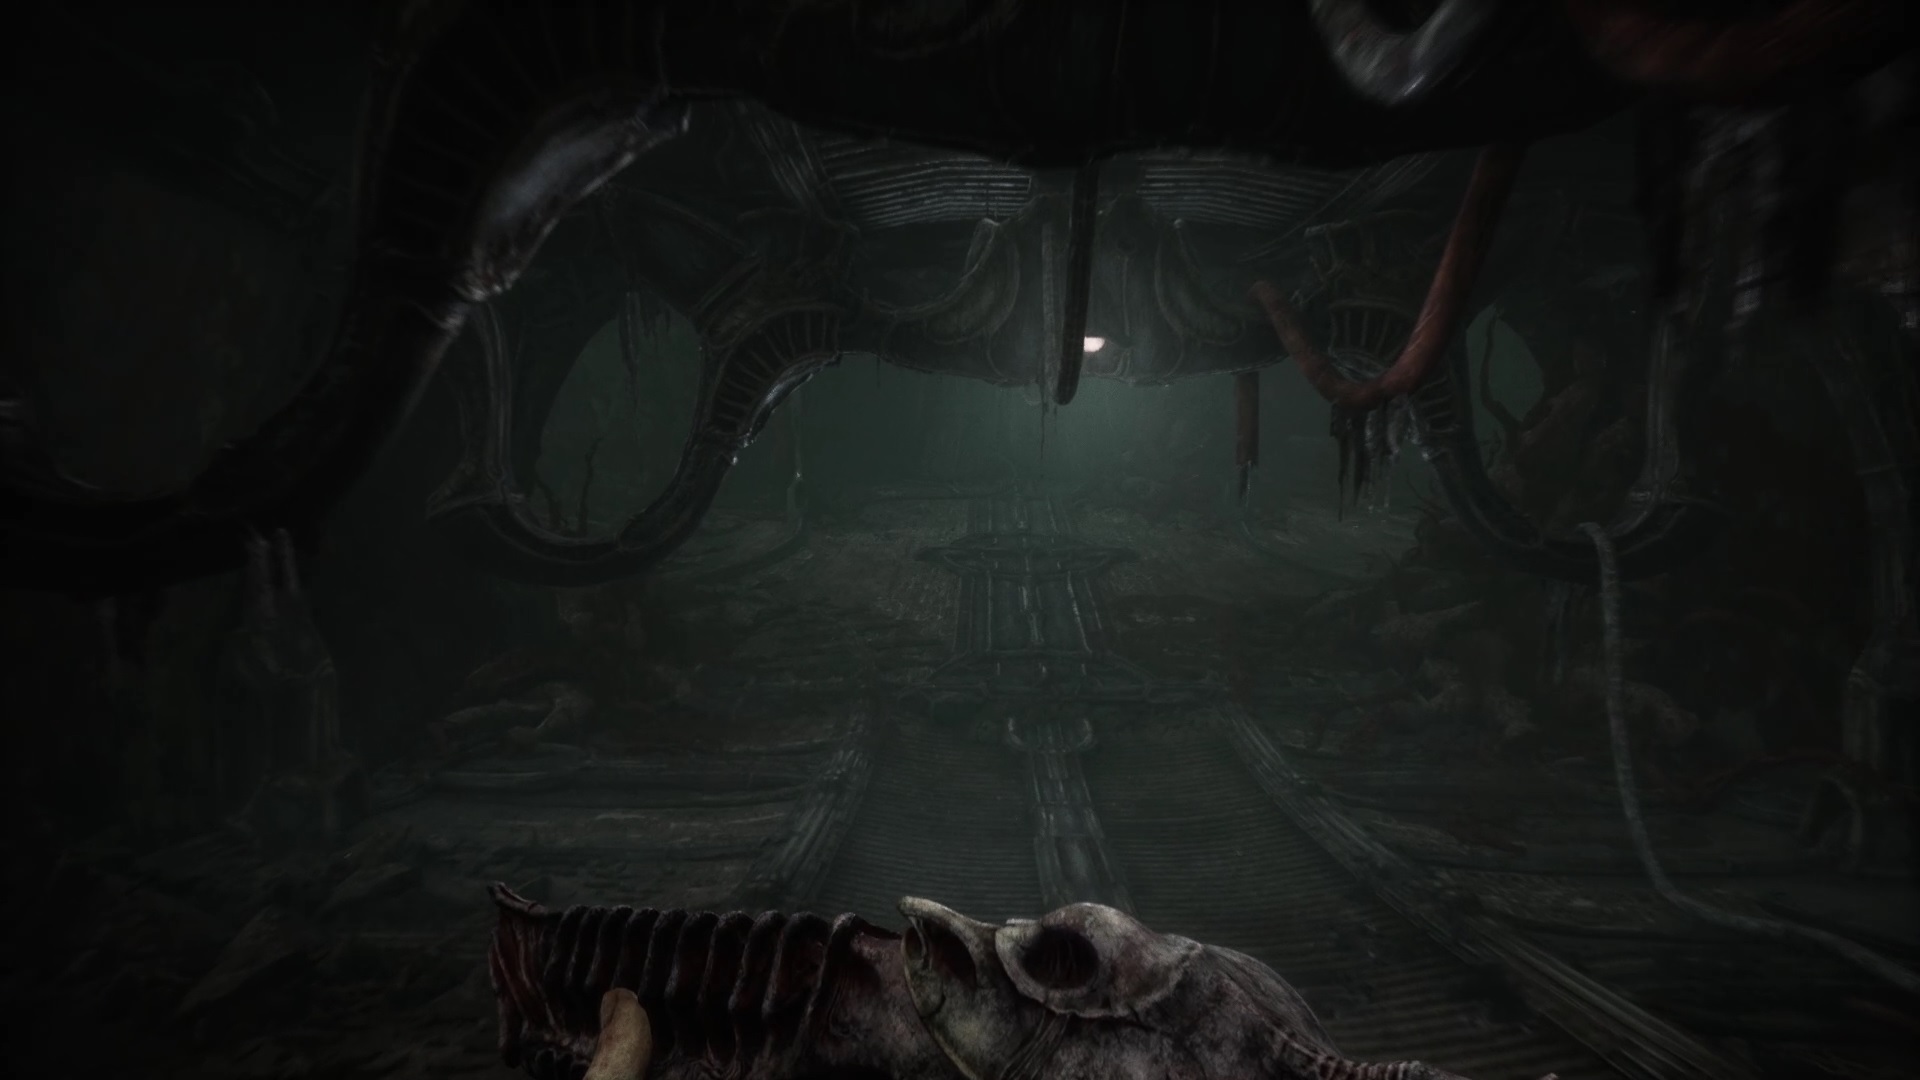
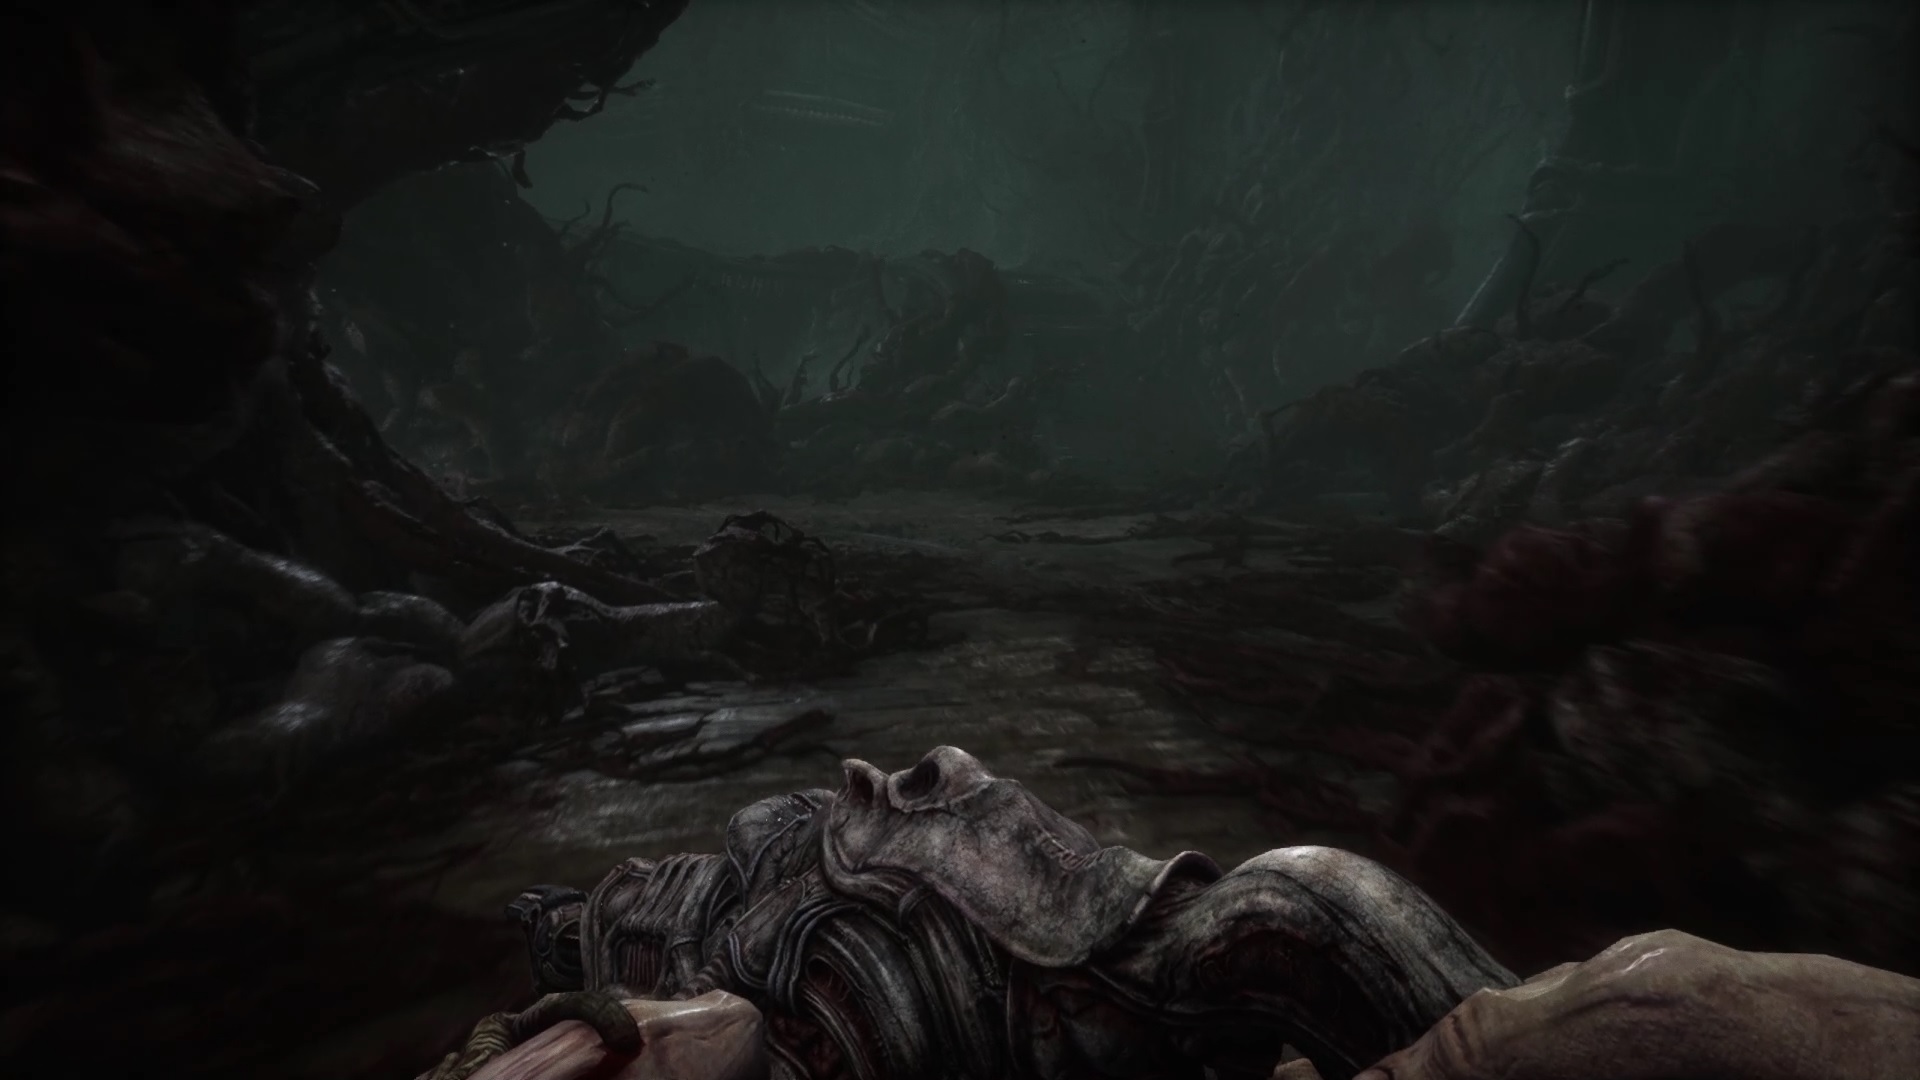
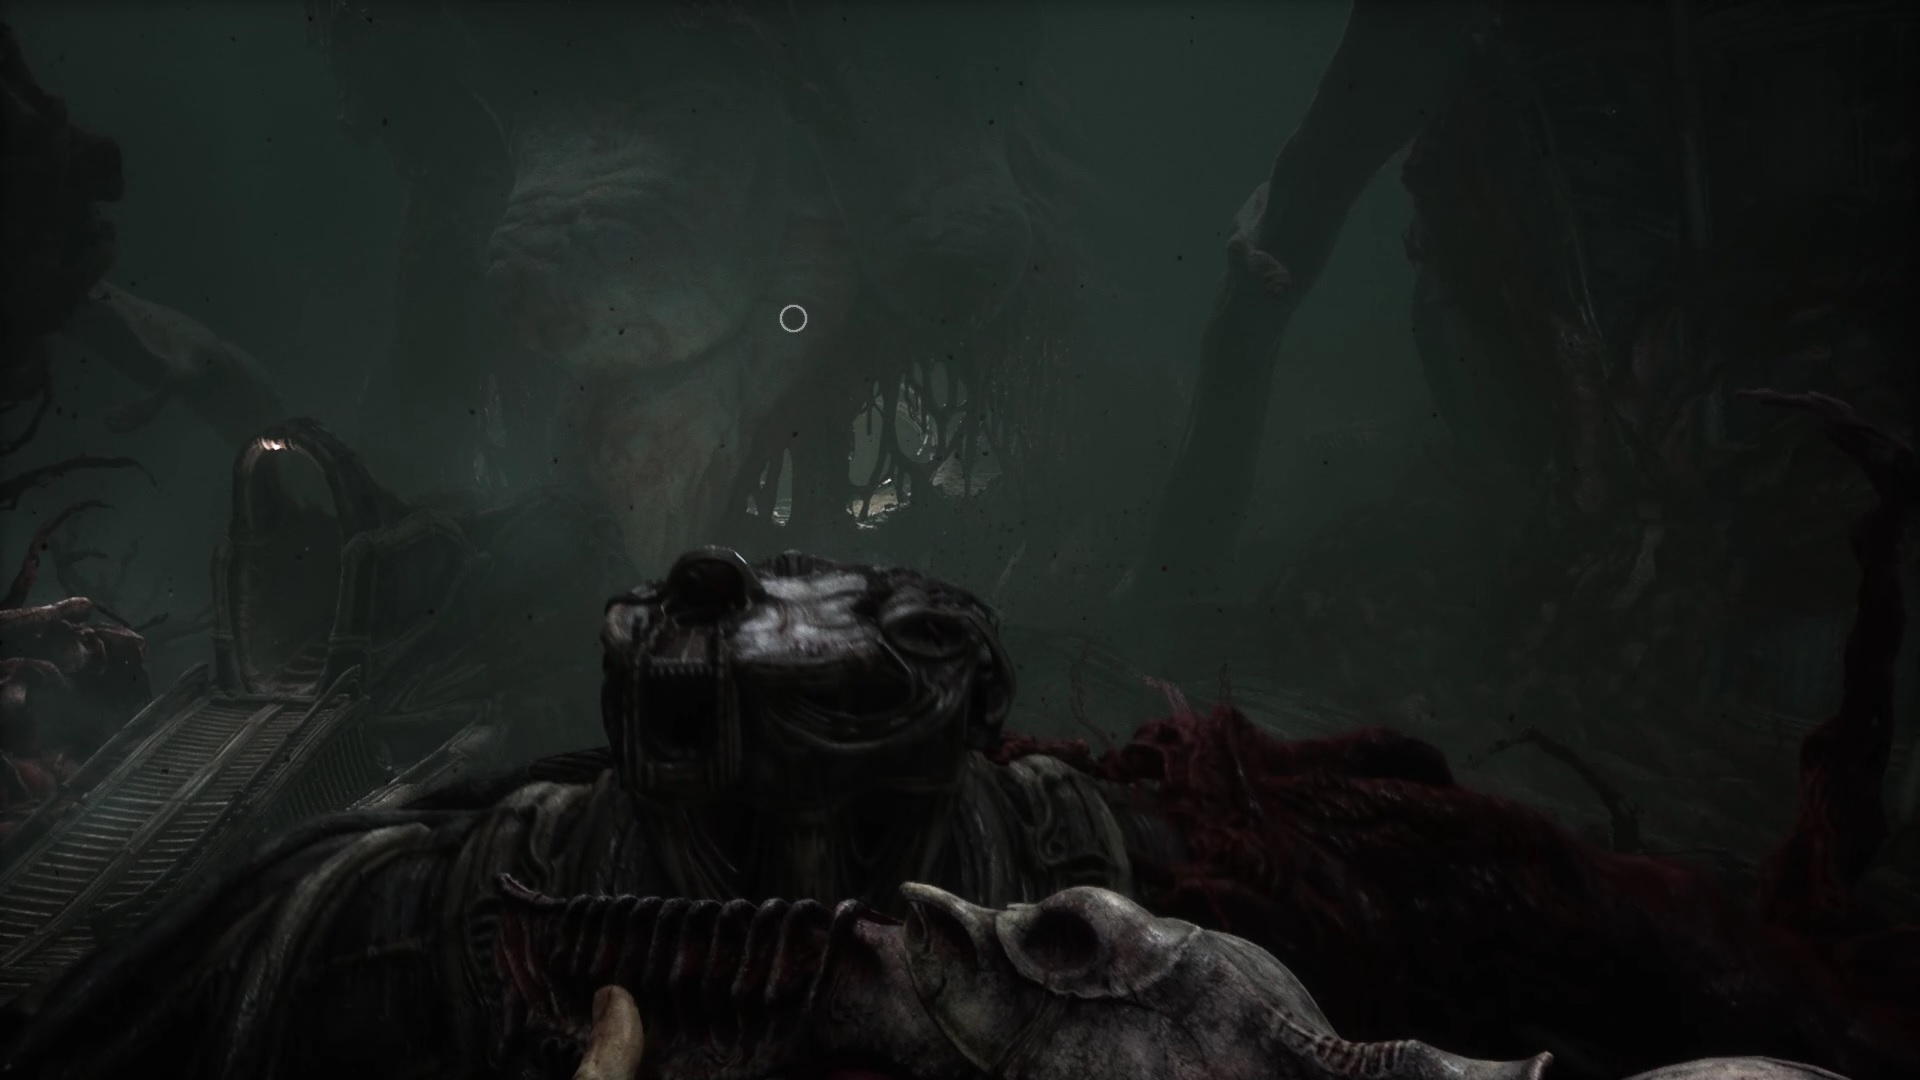
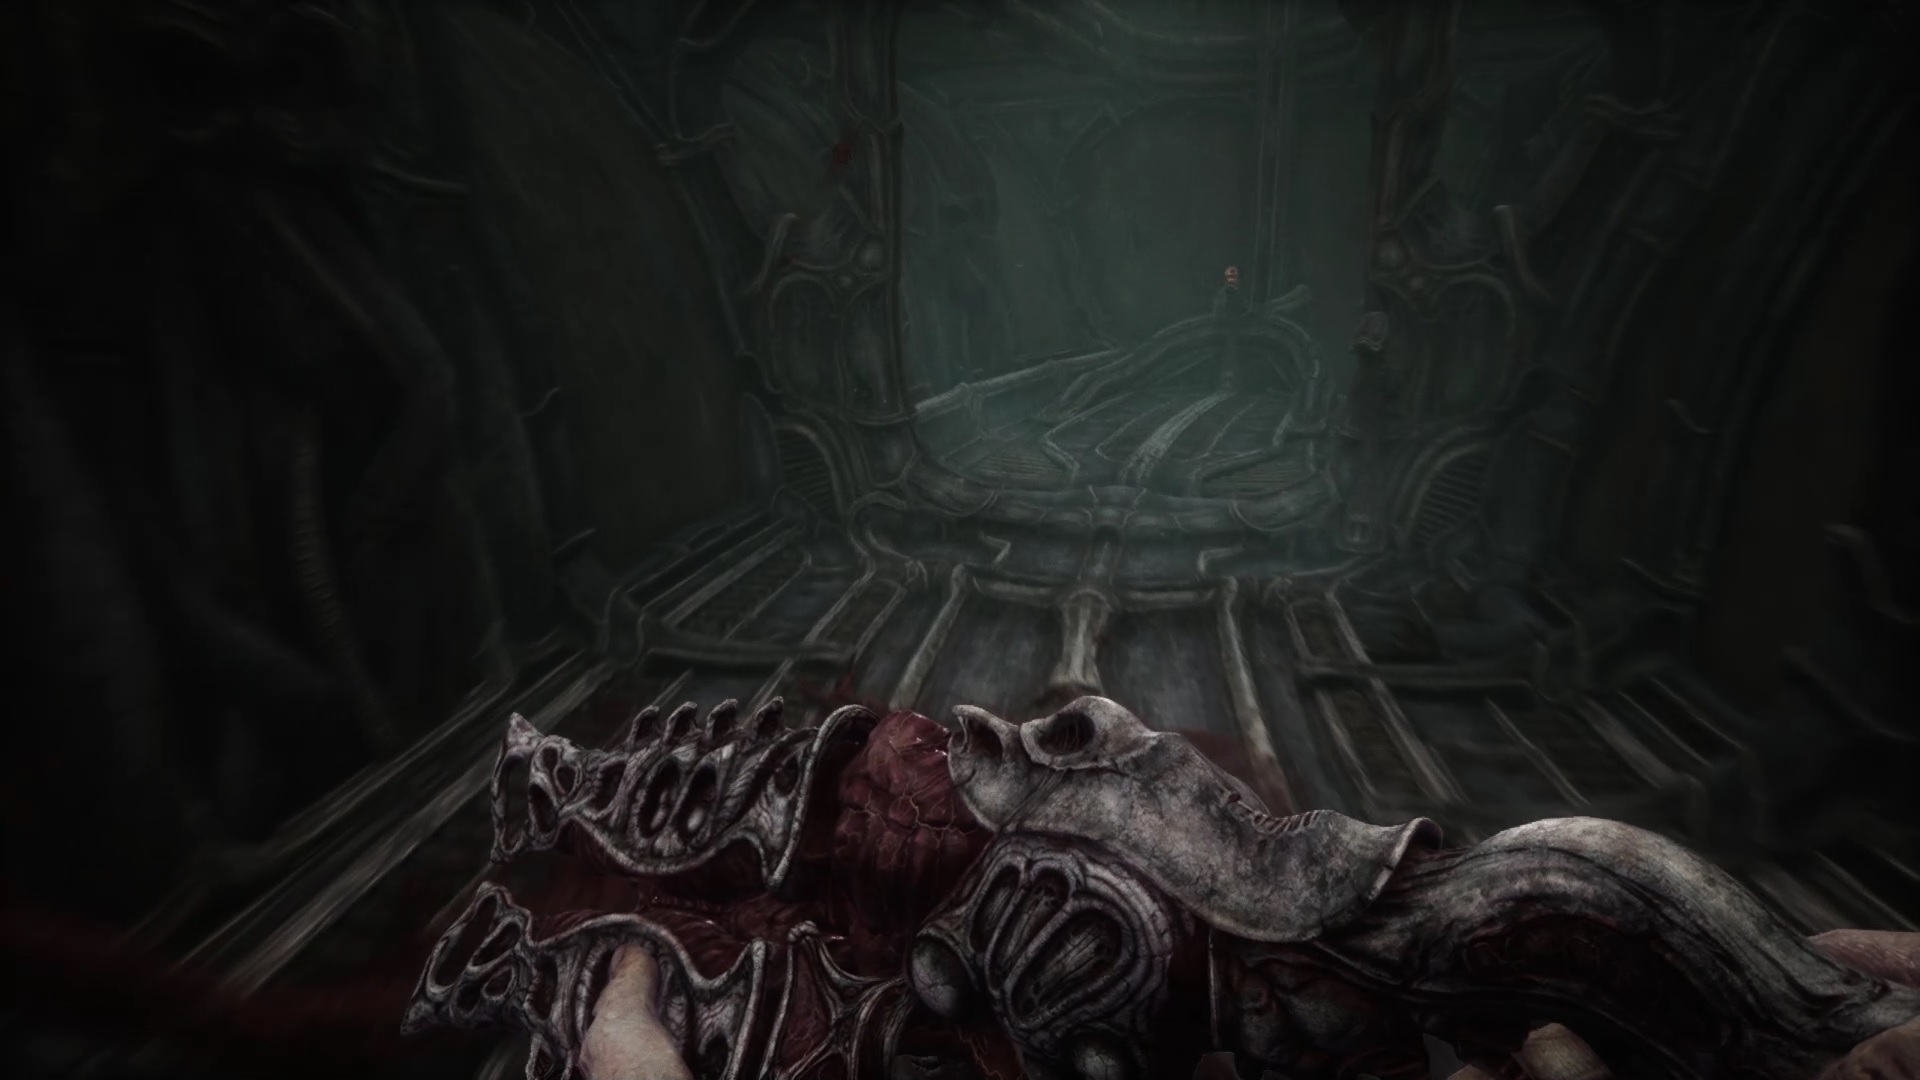
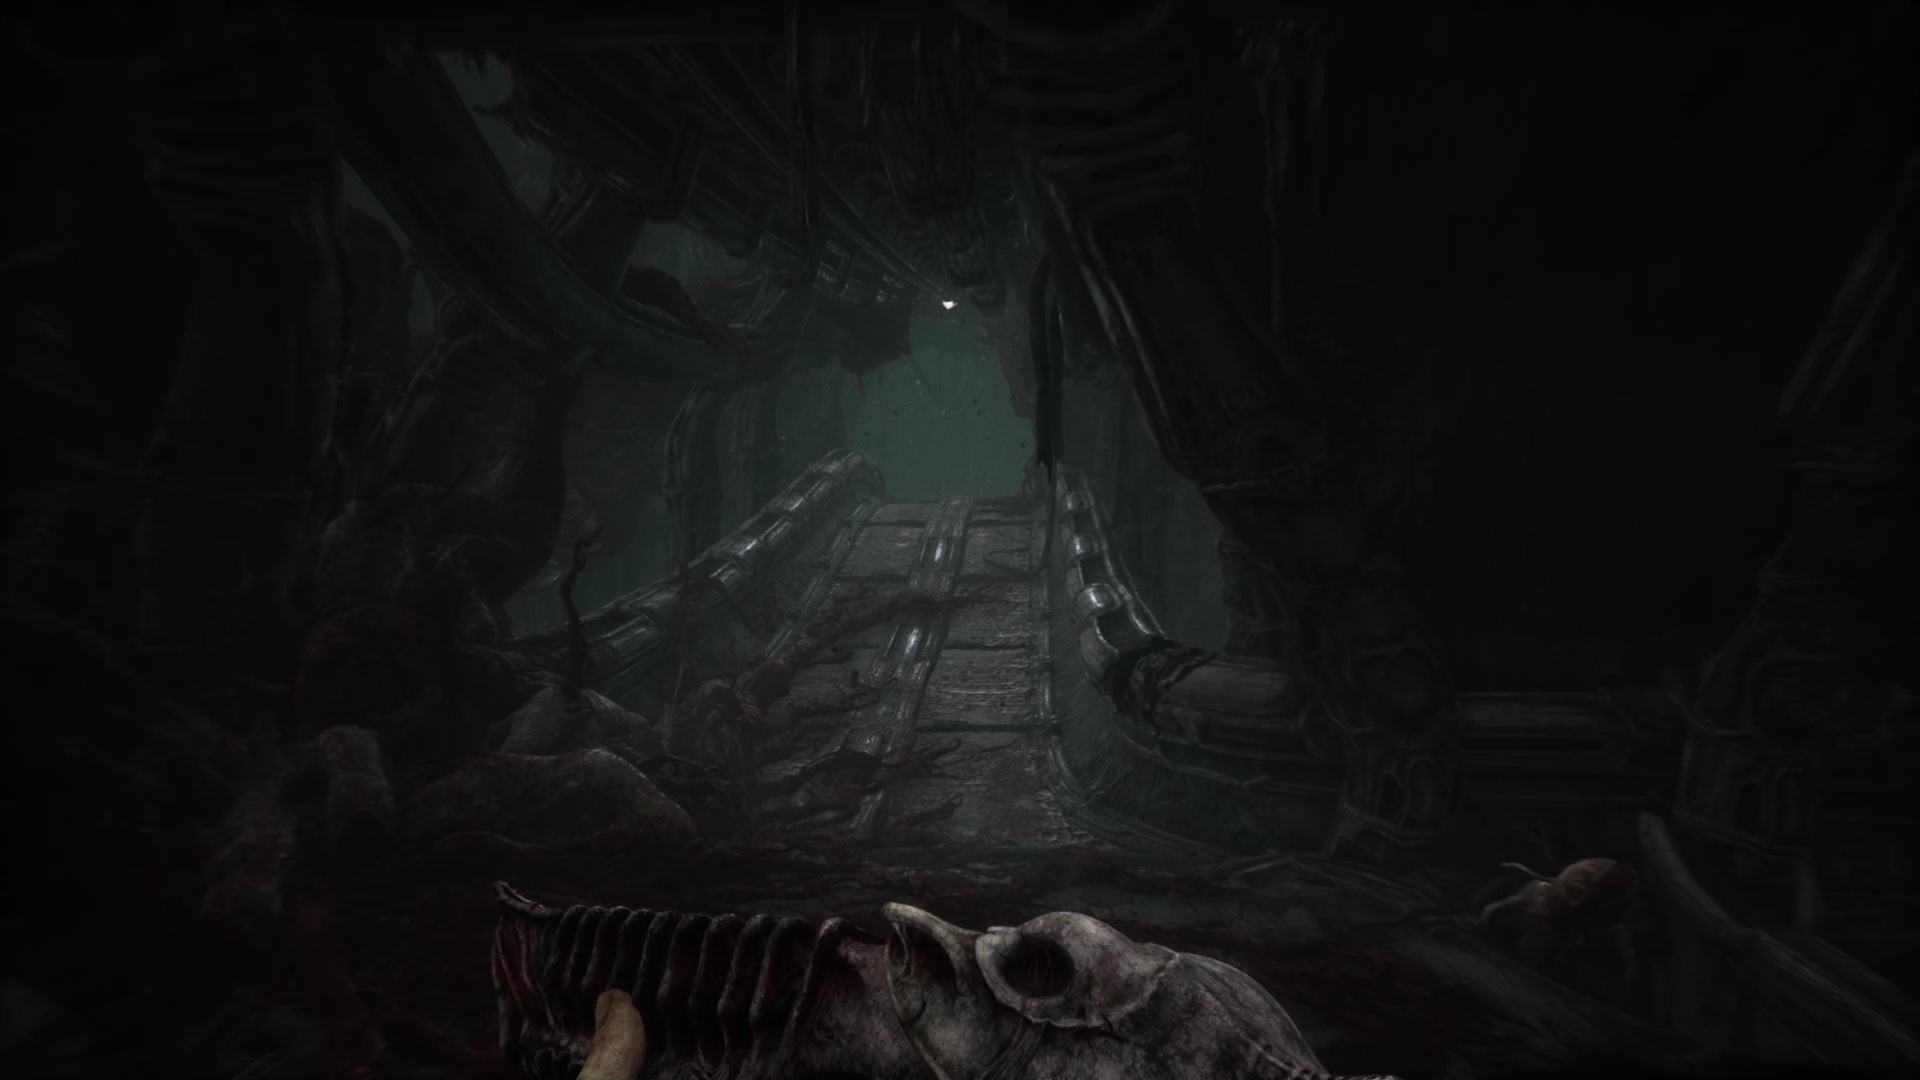
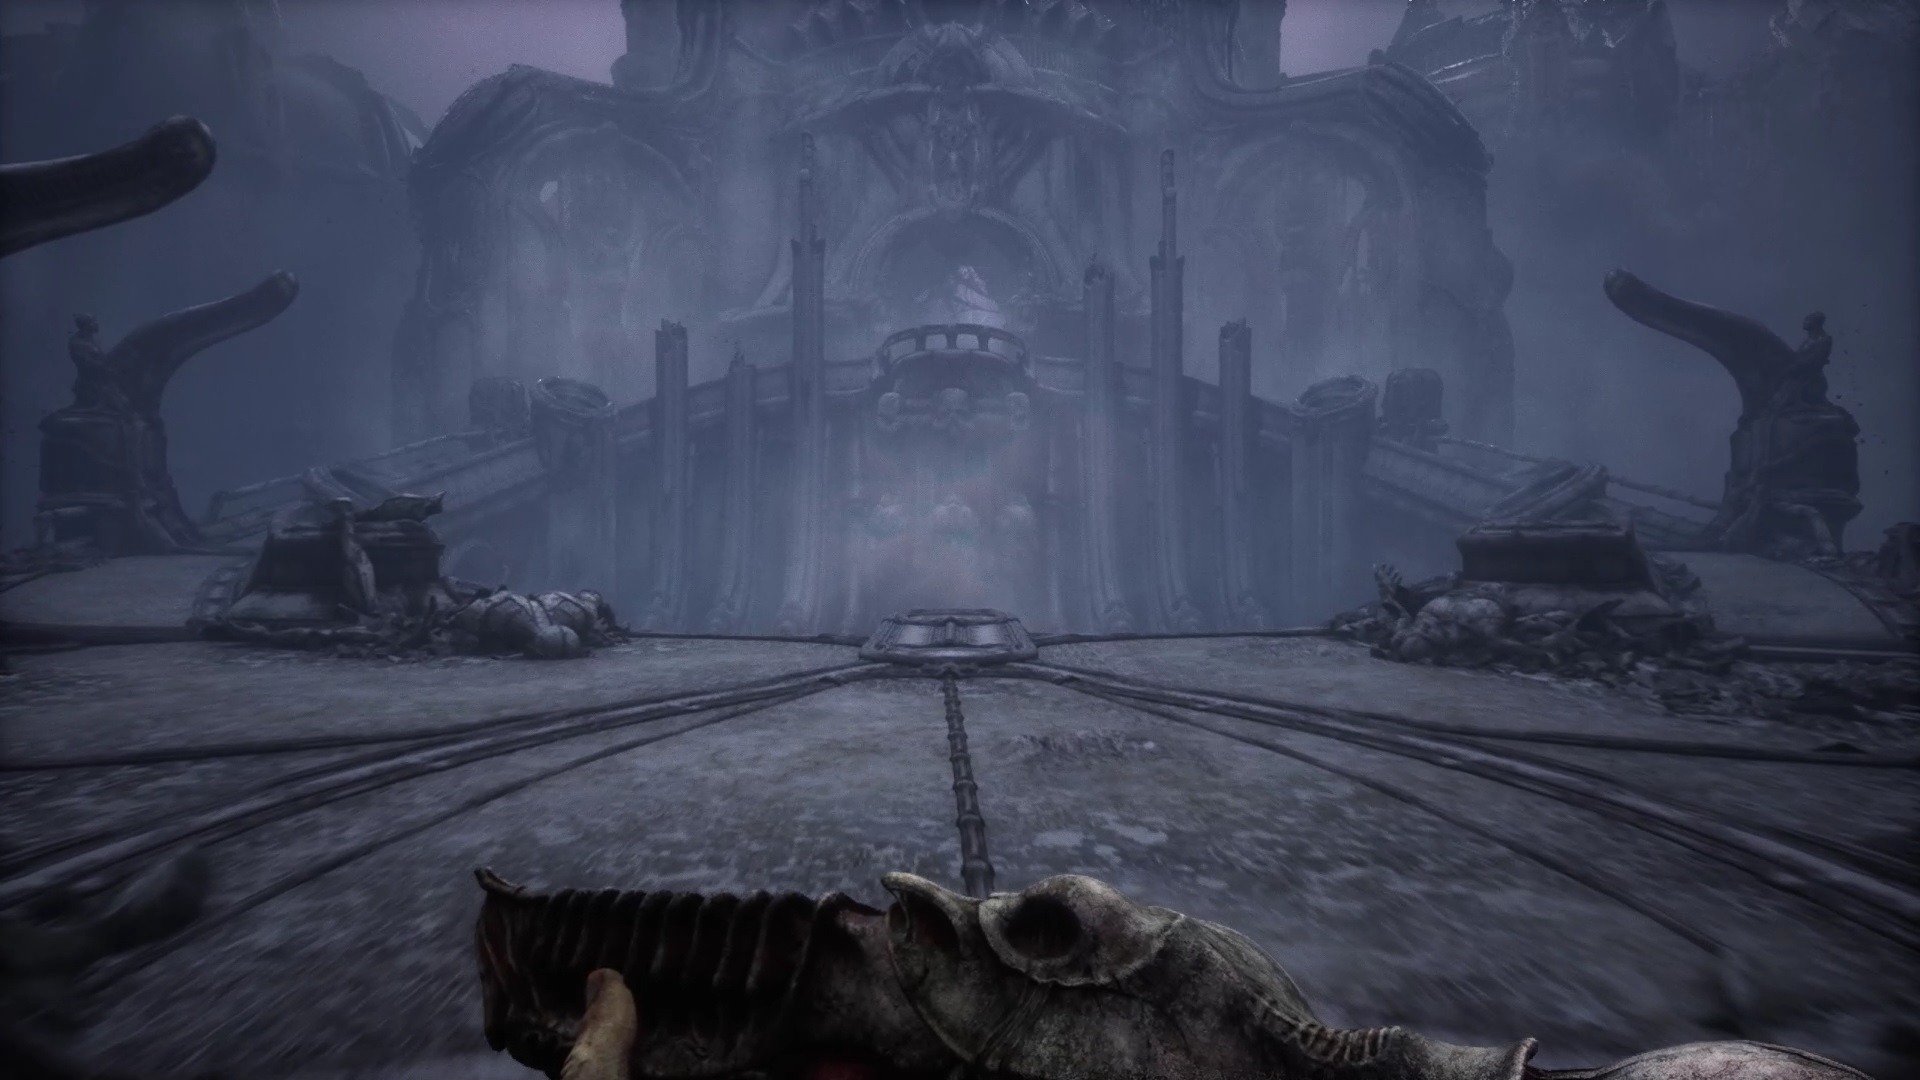
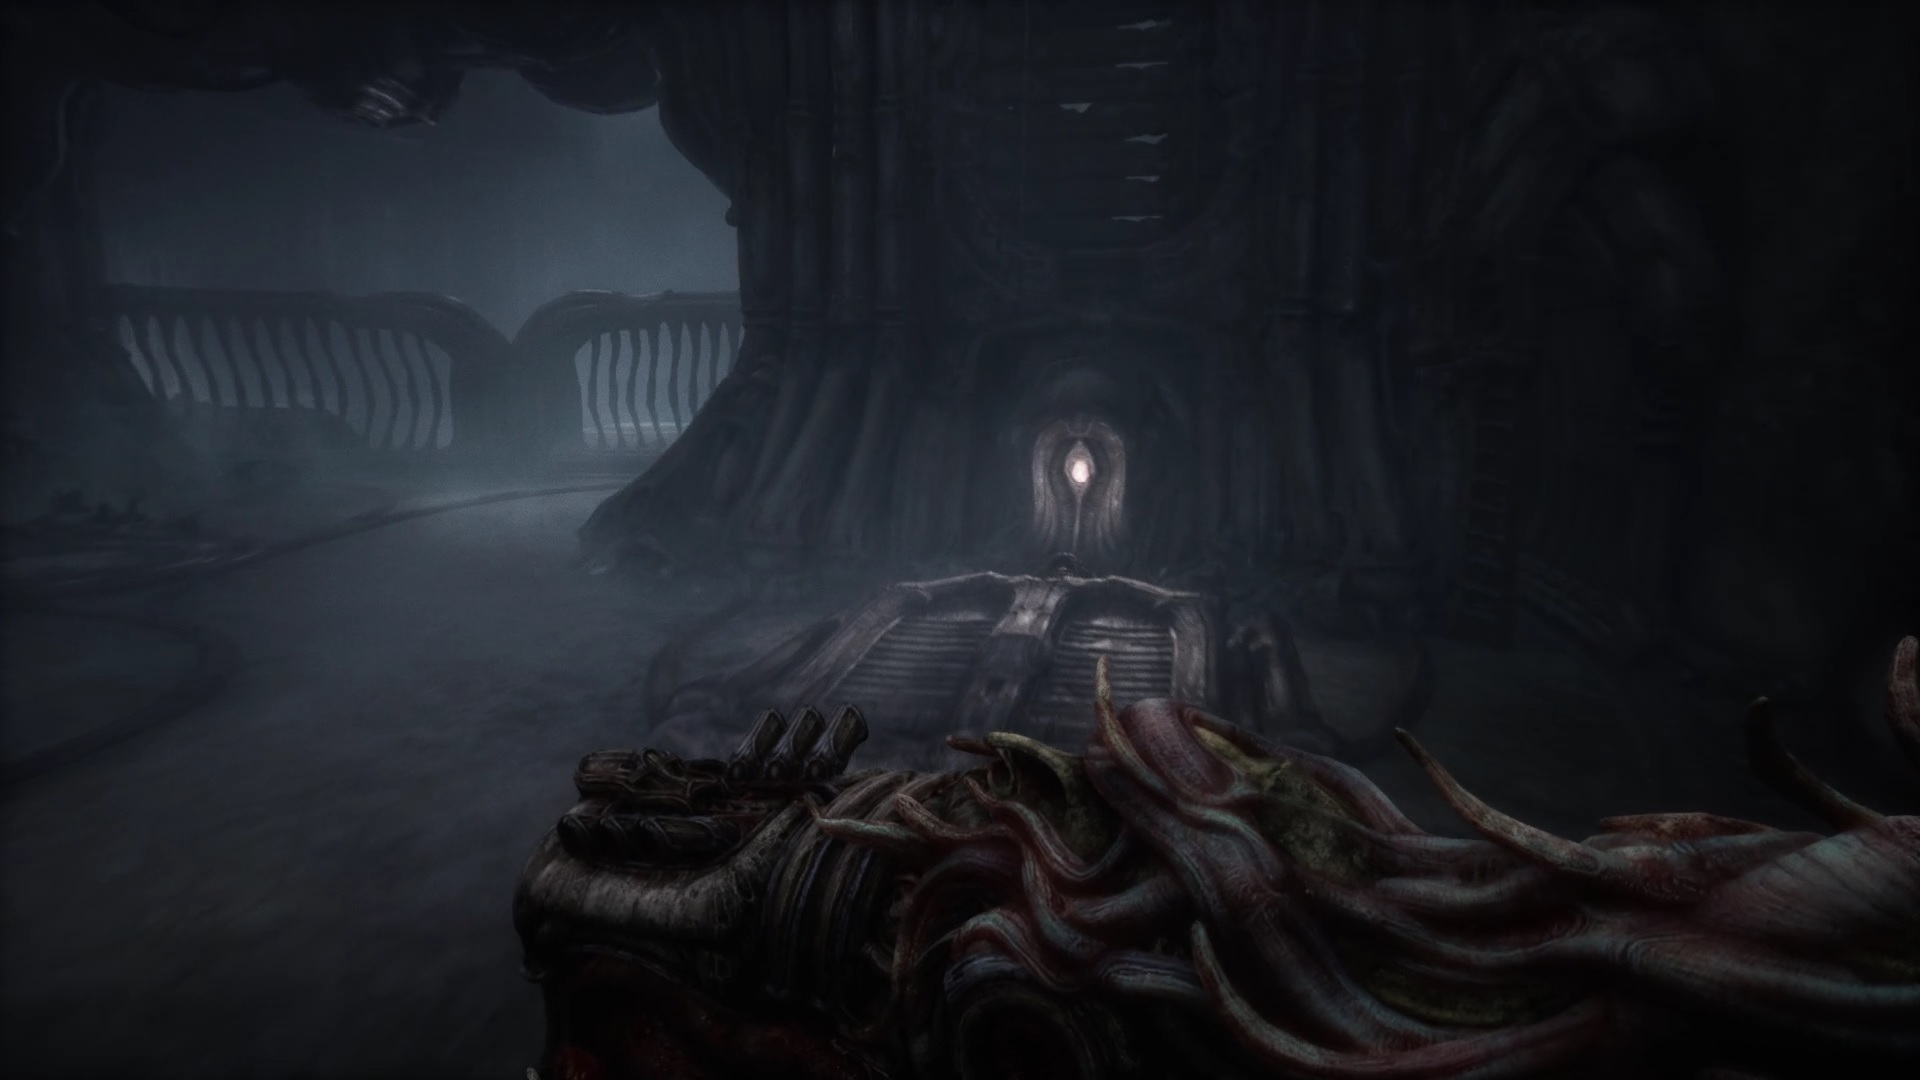
After the cutscene, walk along the path to the east. At the edge of the debris, follow the large rings. You will find a base. Walk around the base to find an entrance. Go inside to pass a gate.
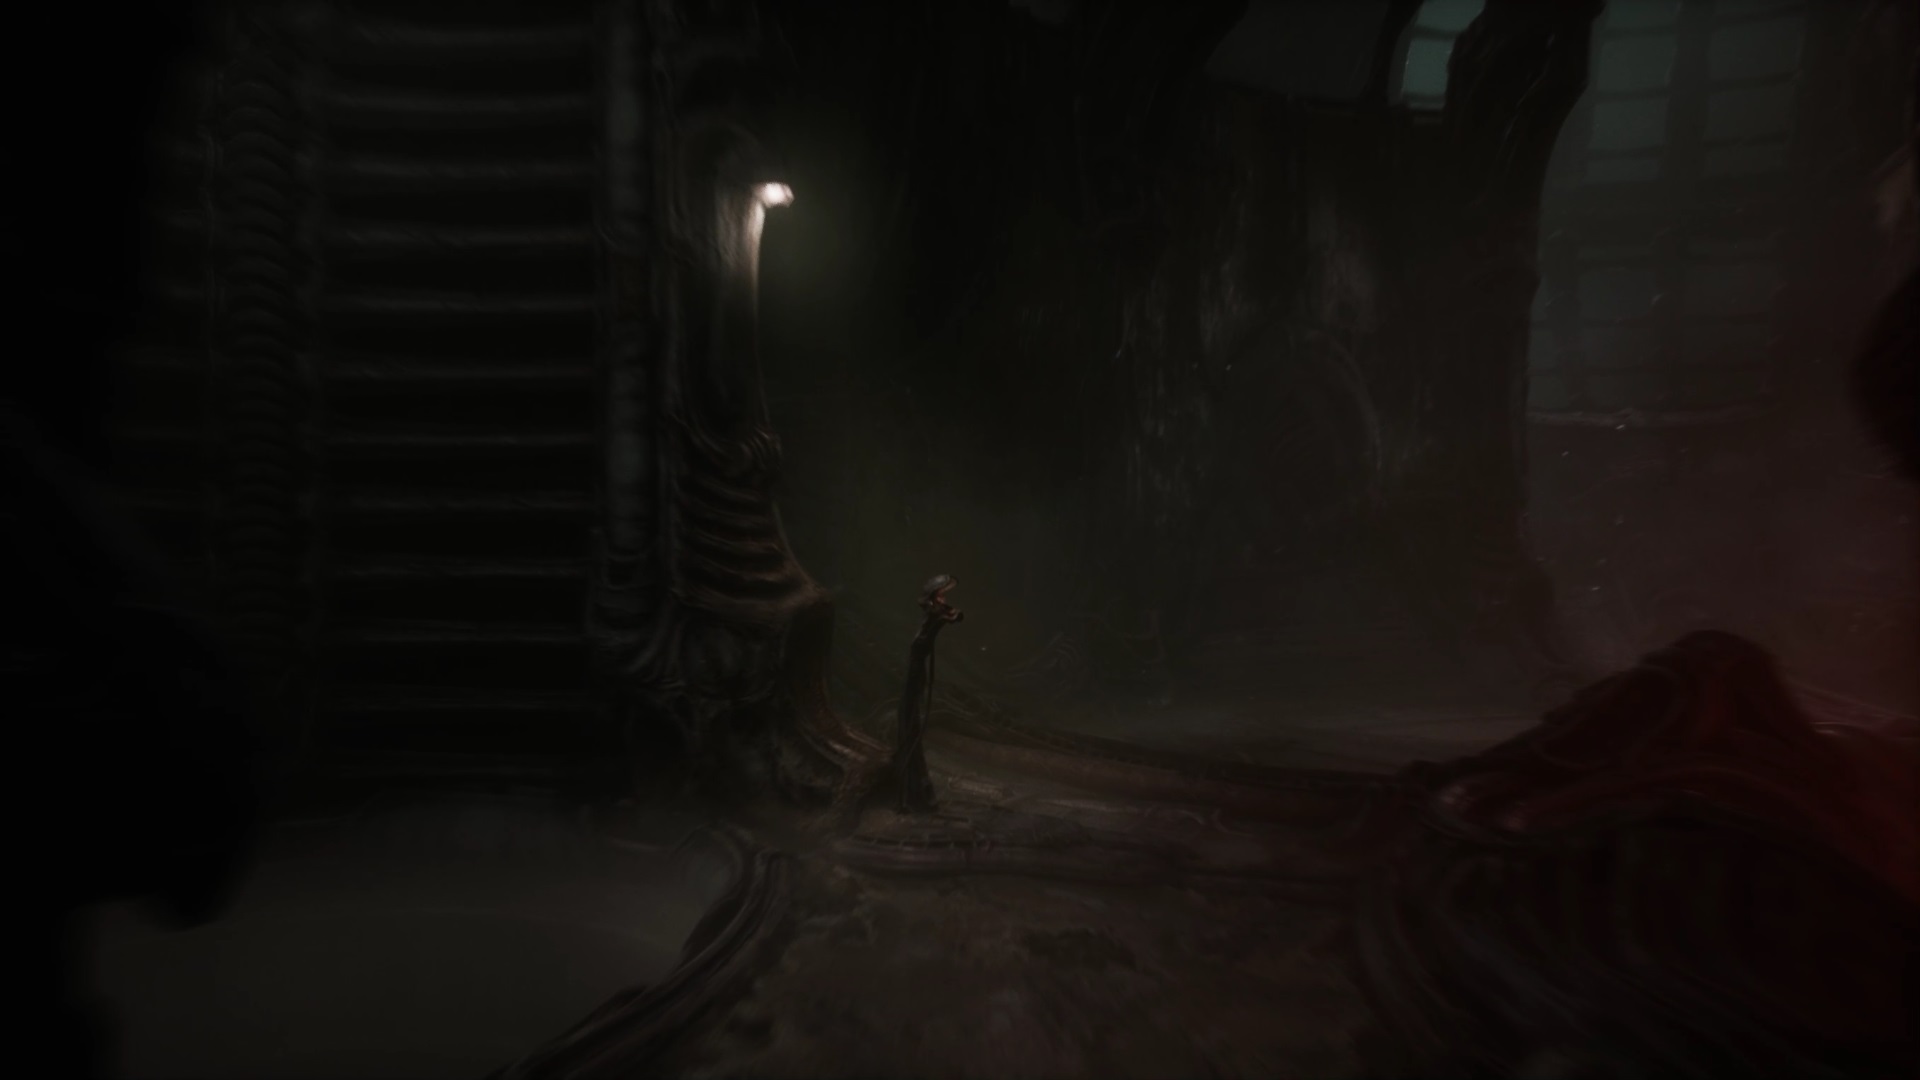
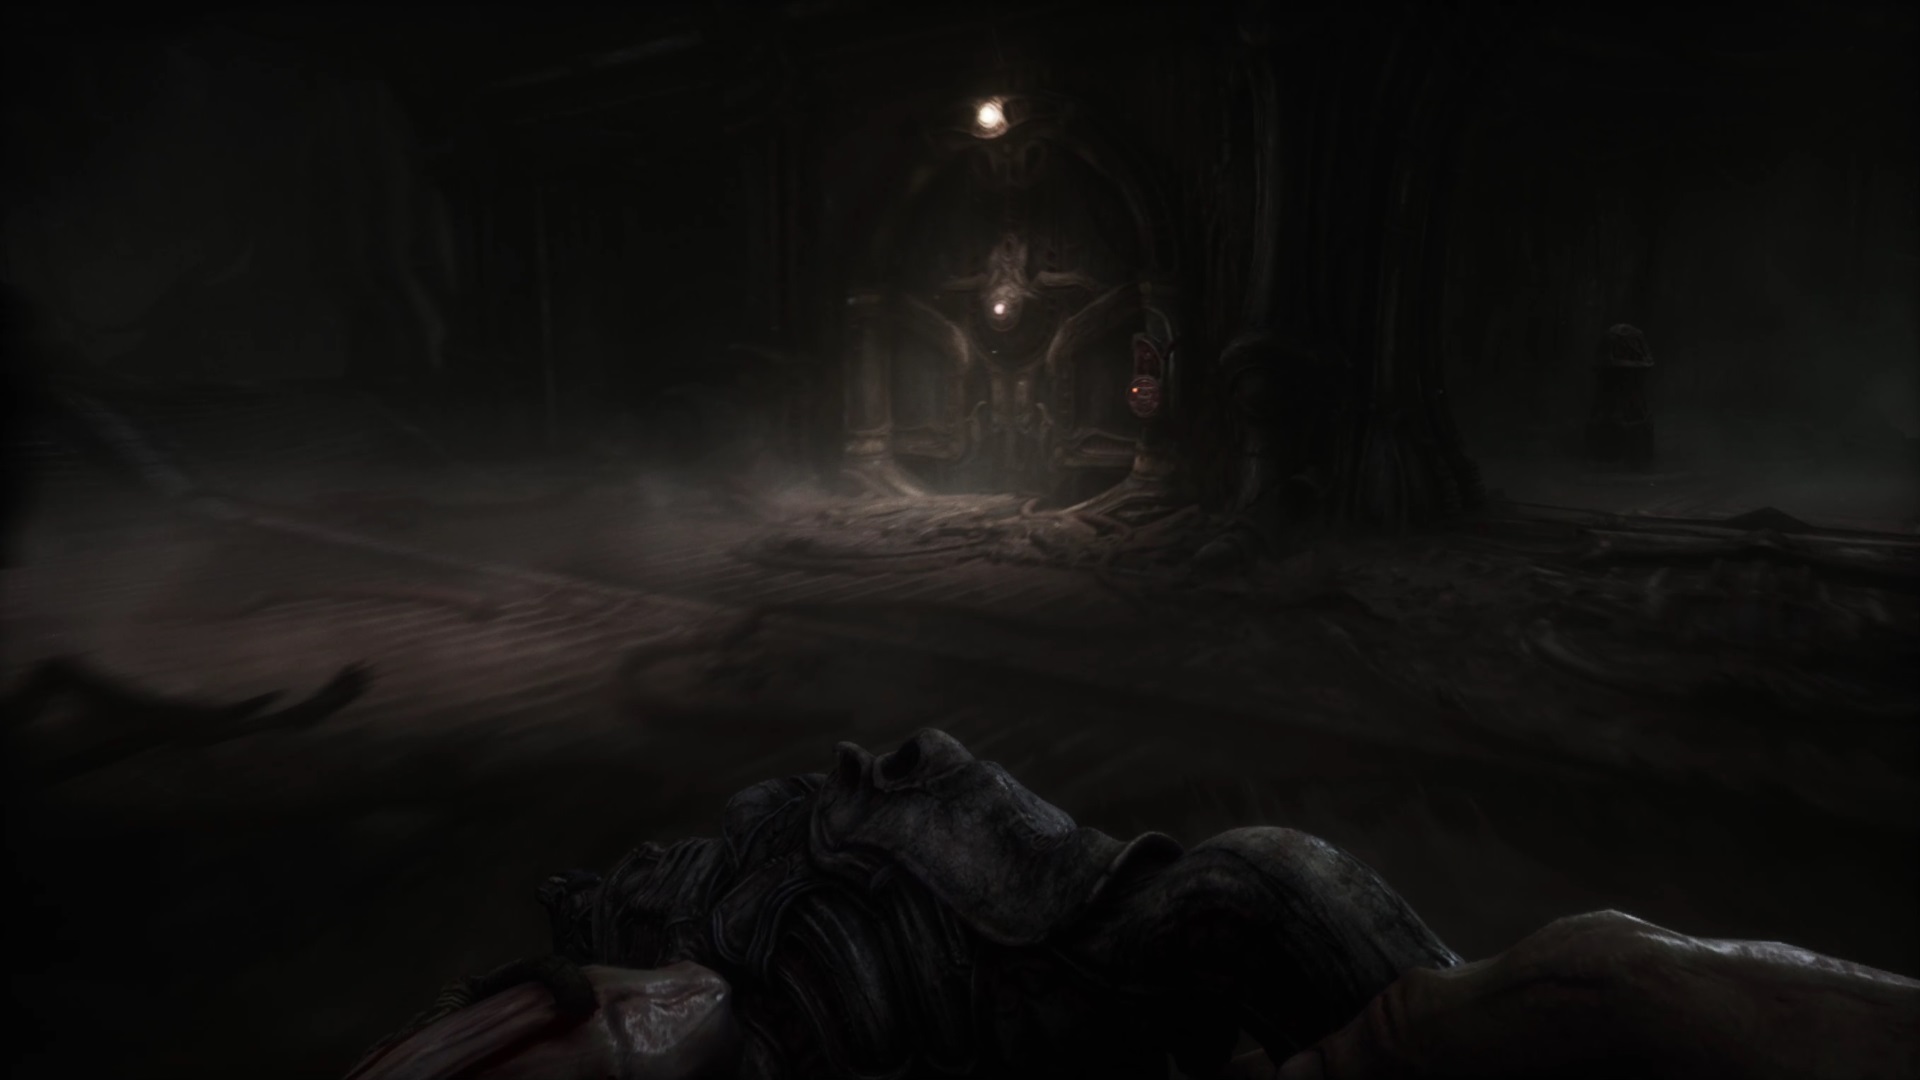
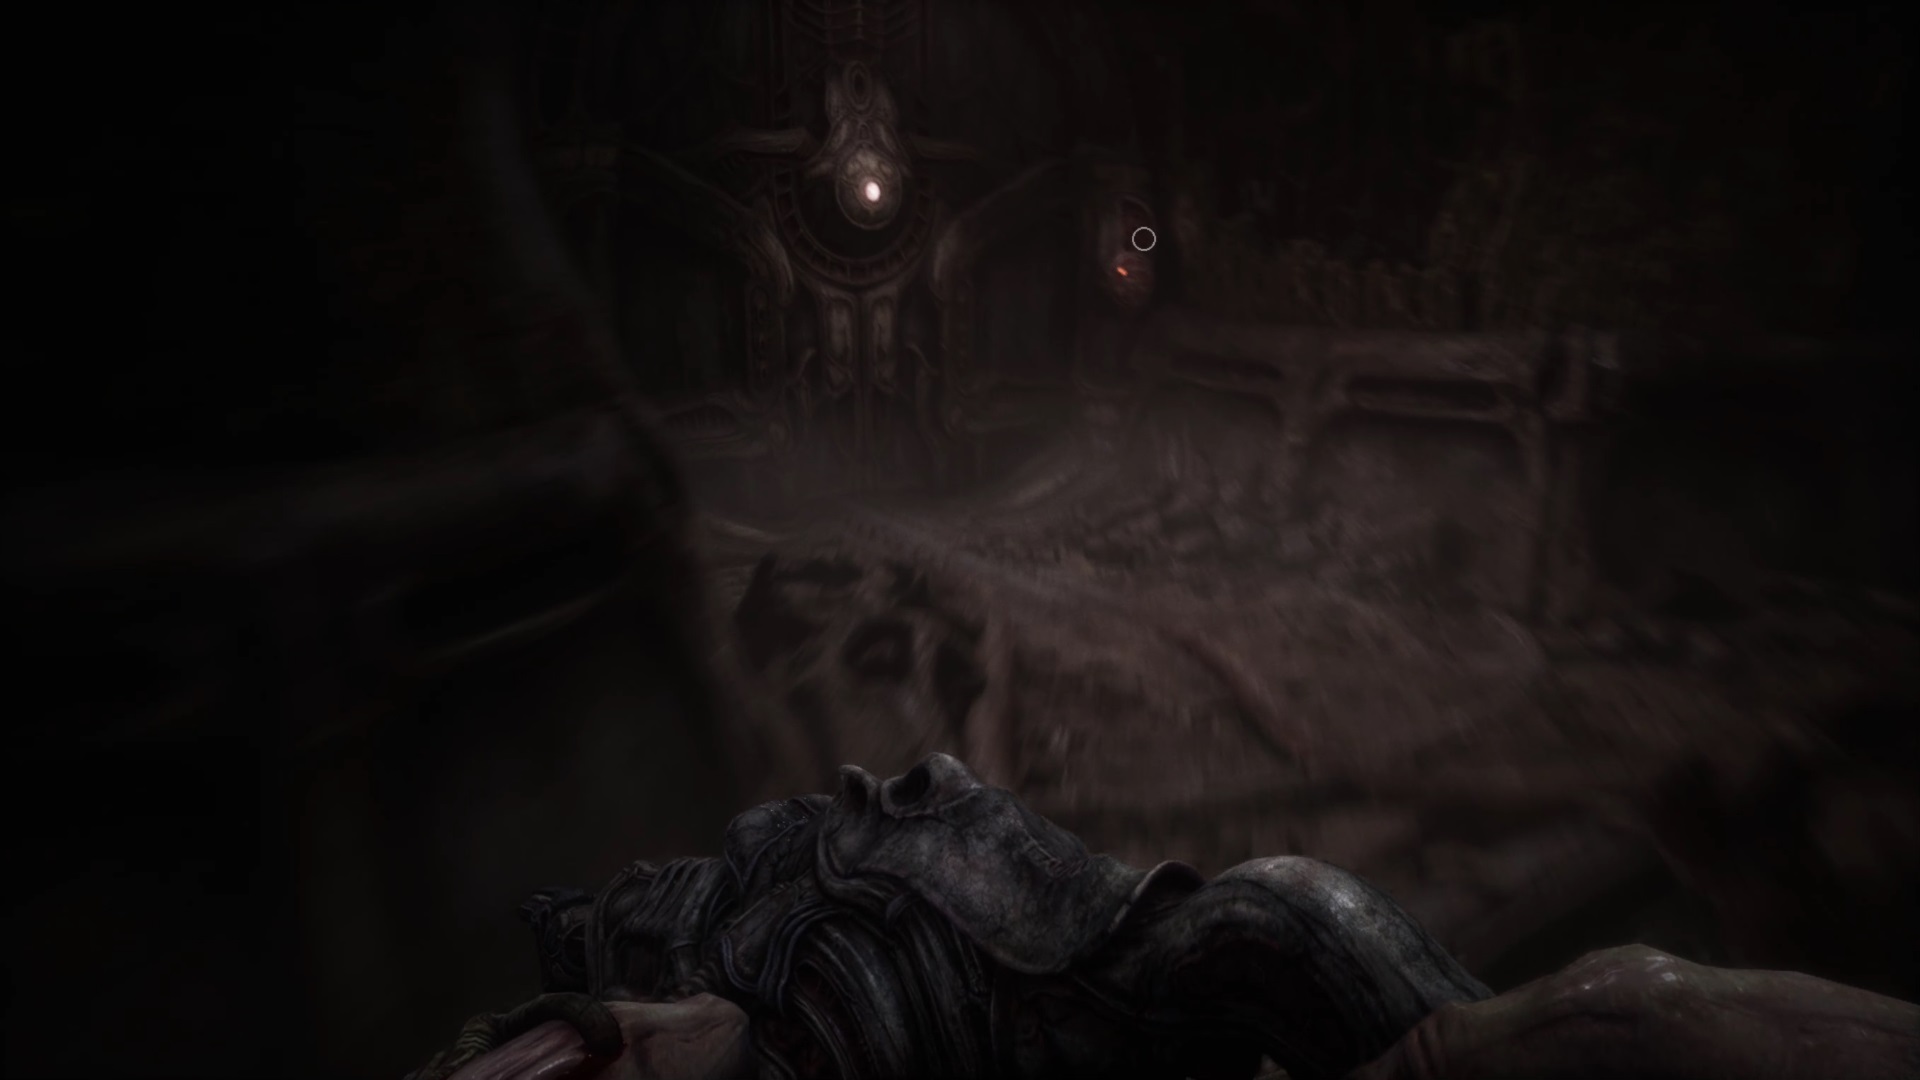
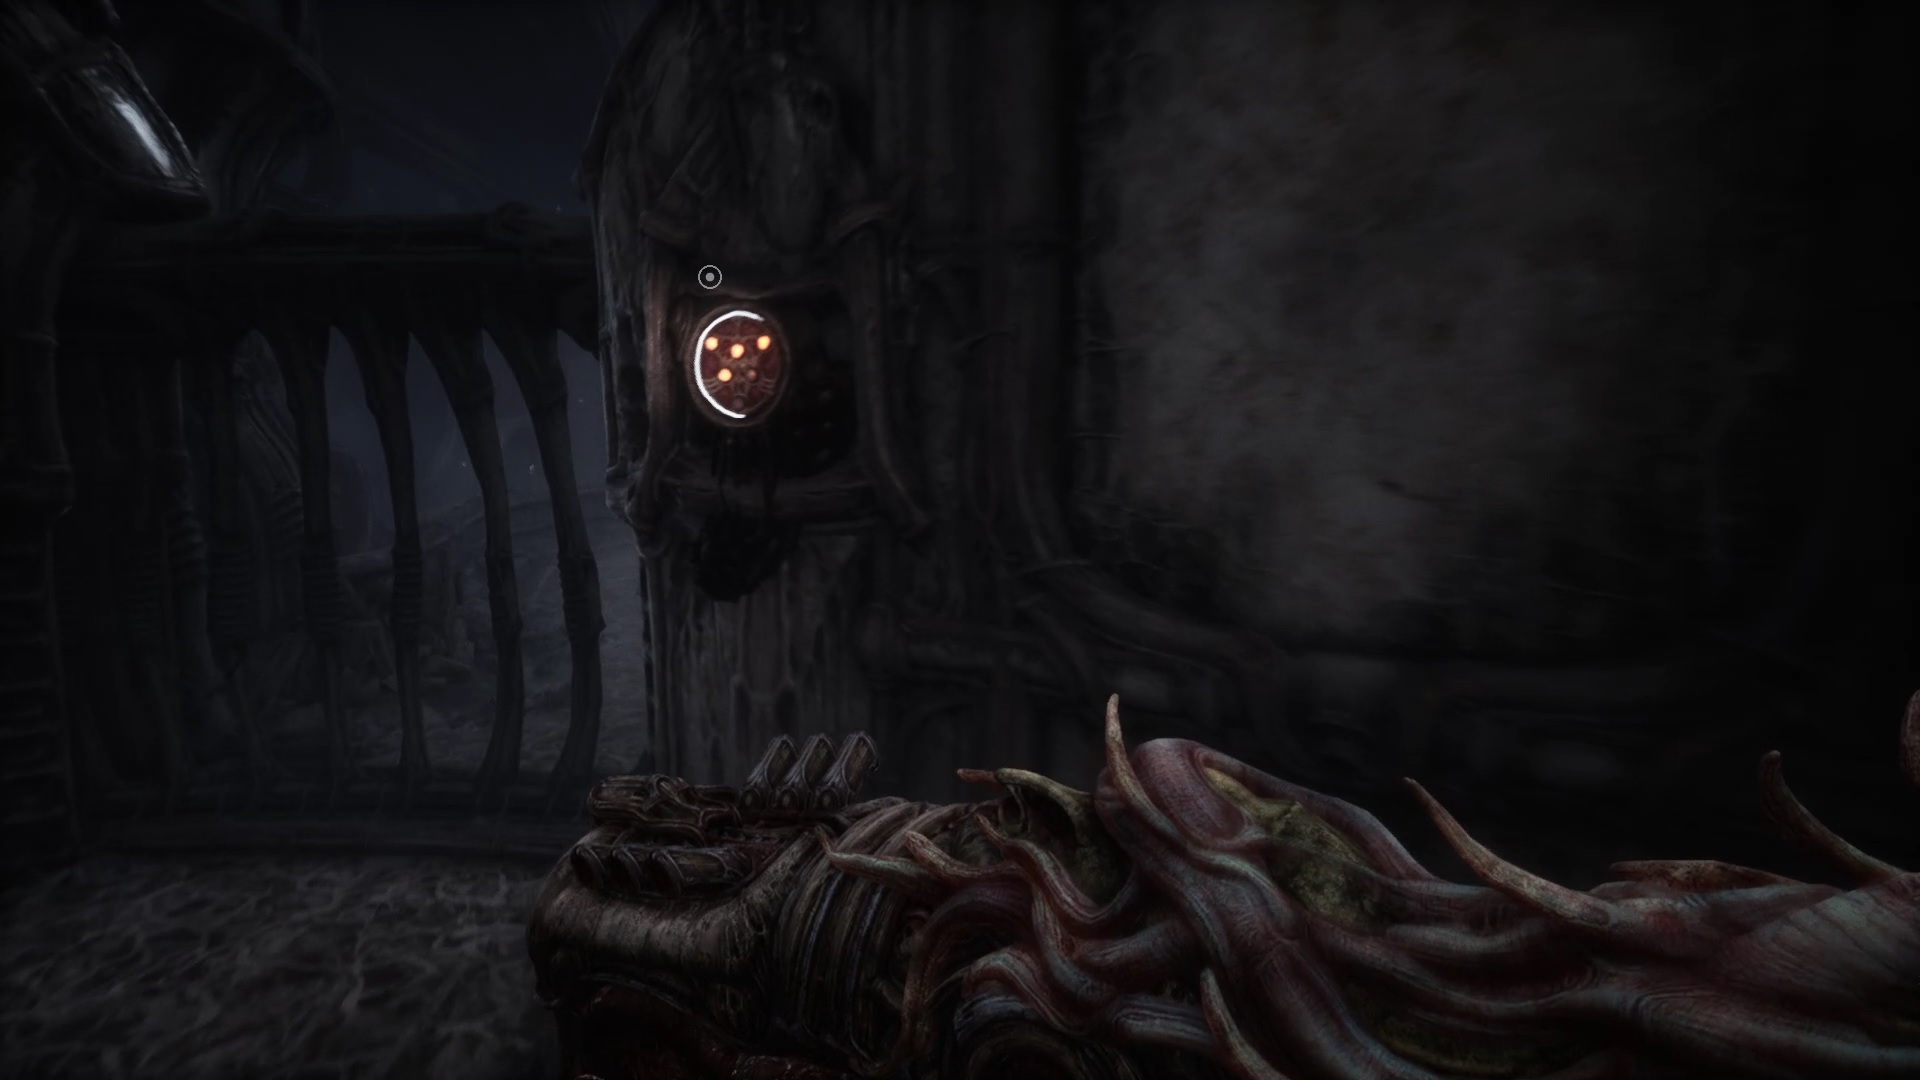
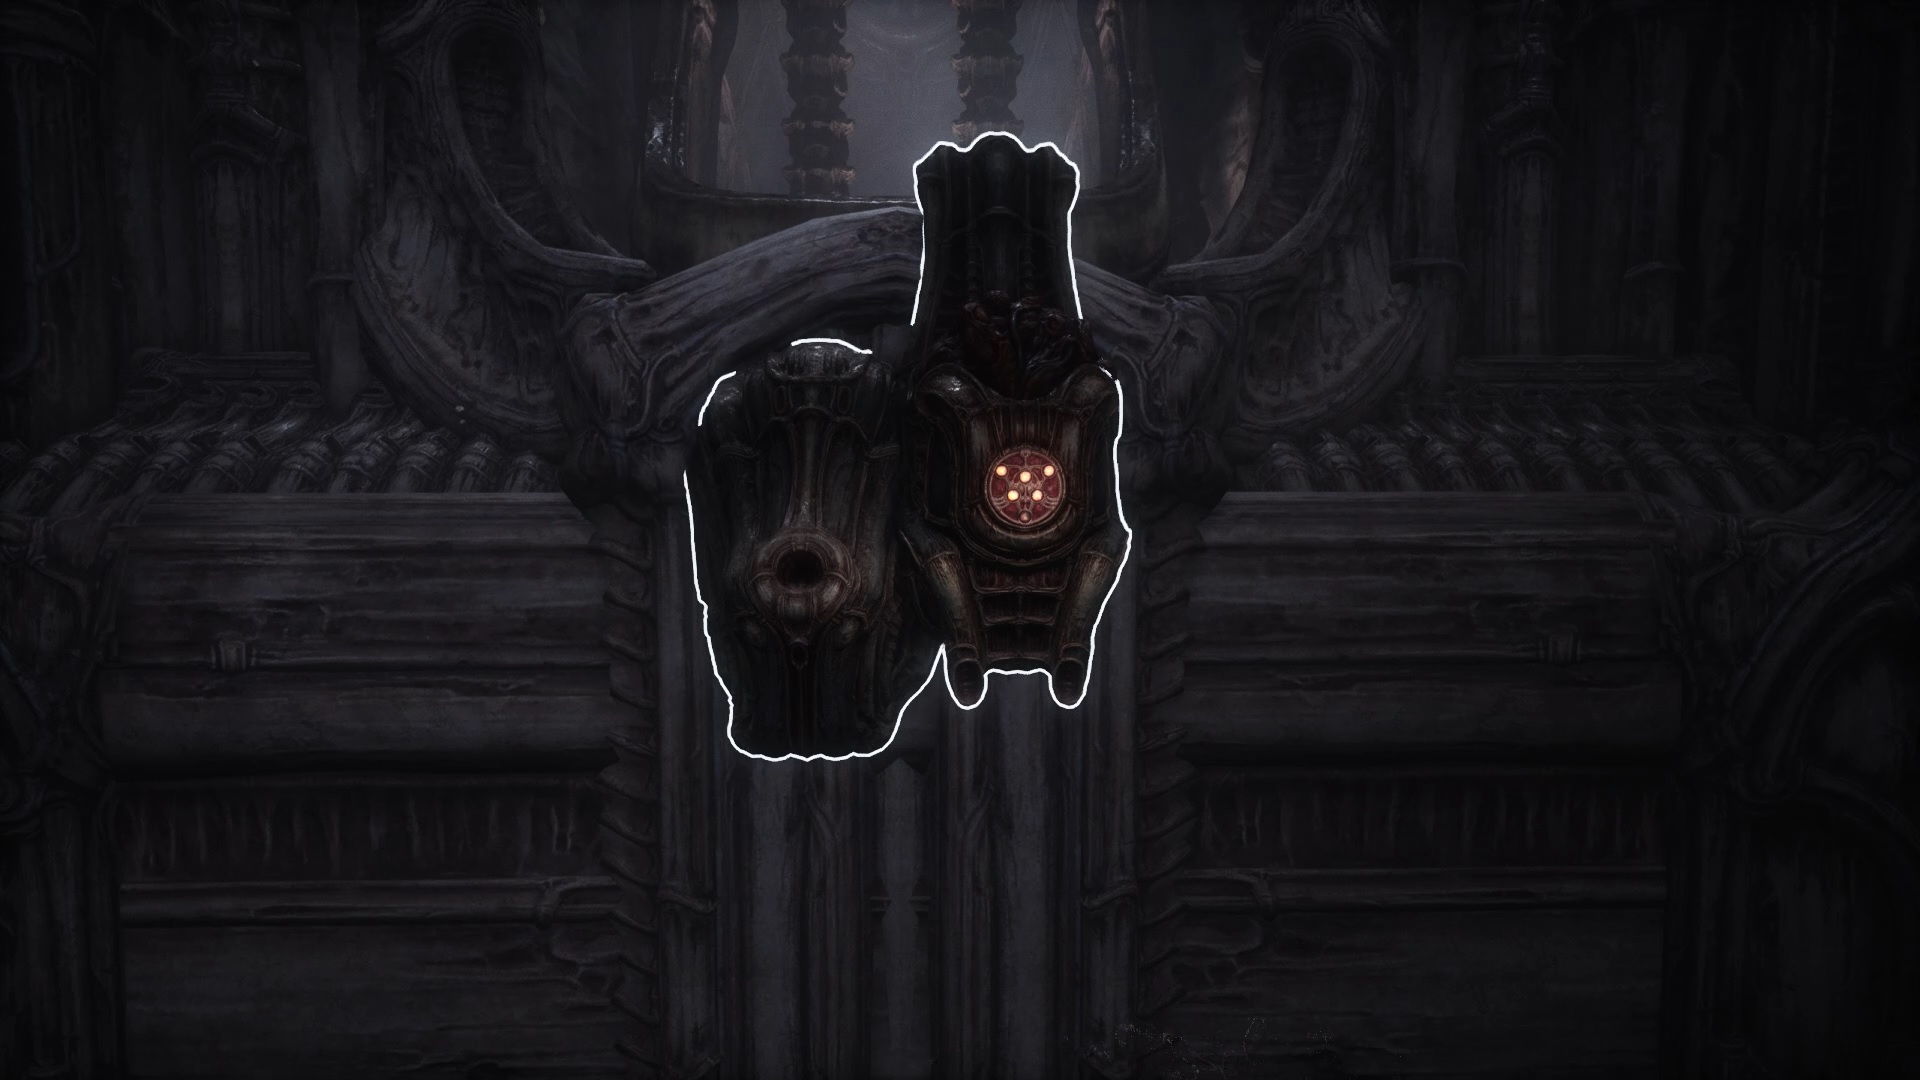
Act II – II
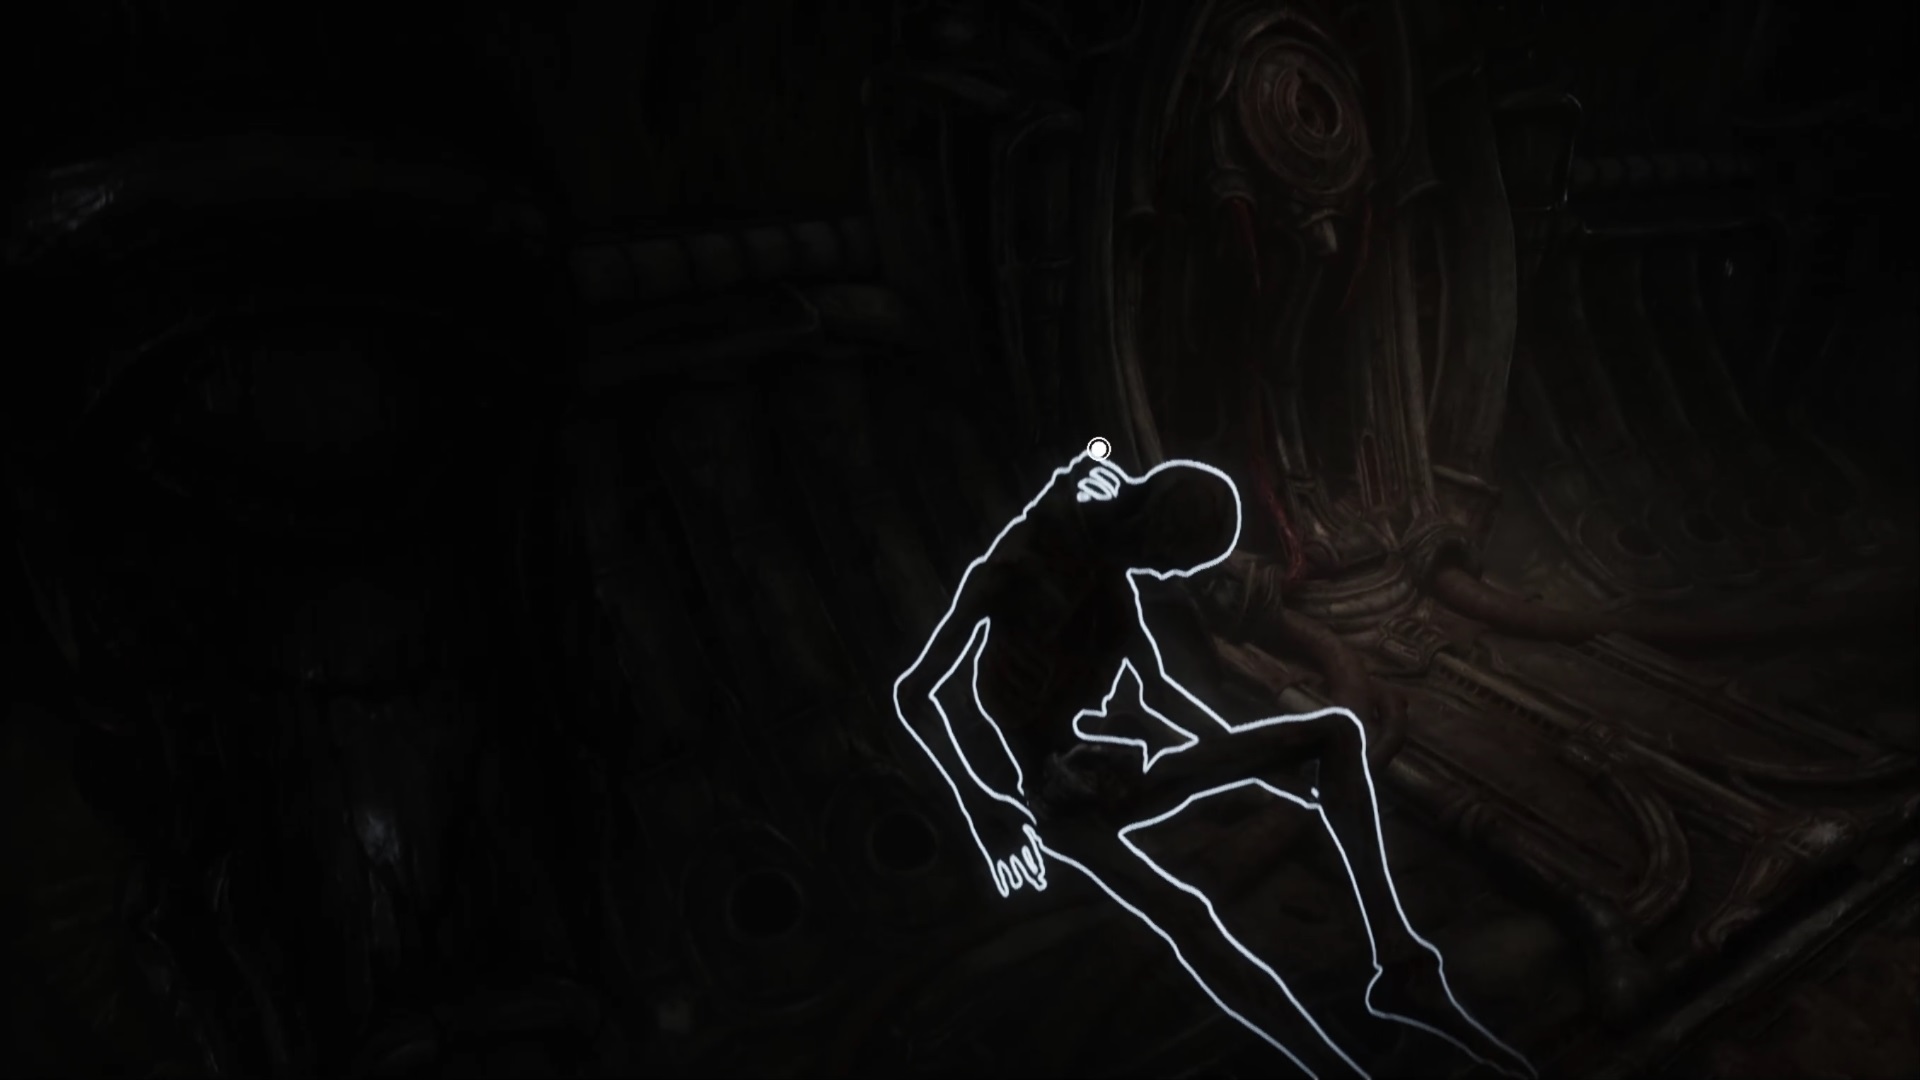

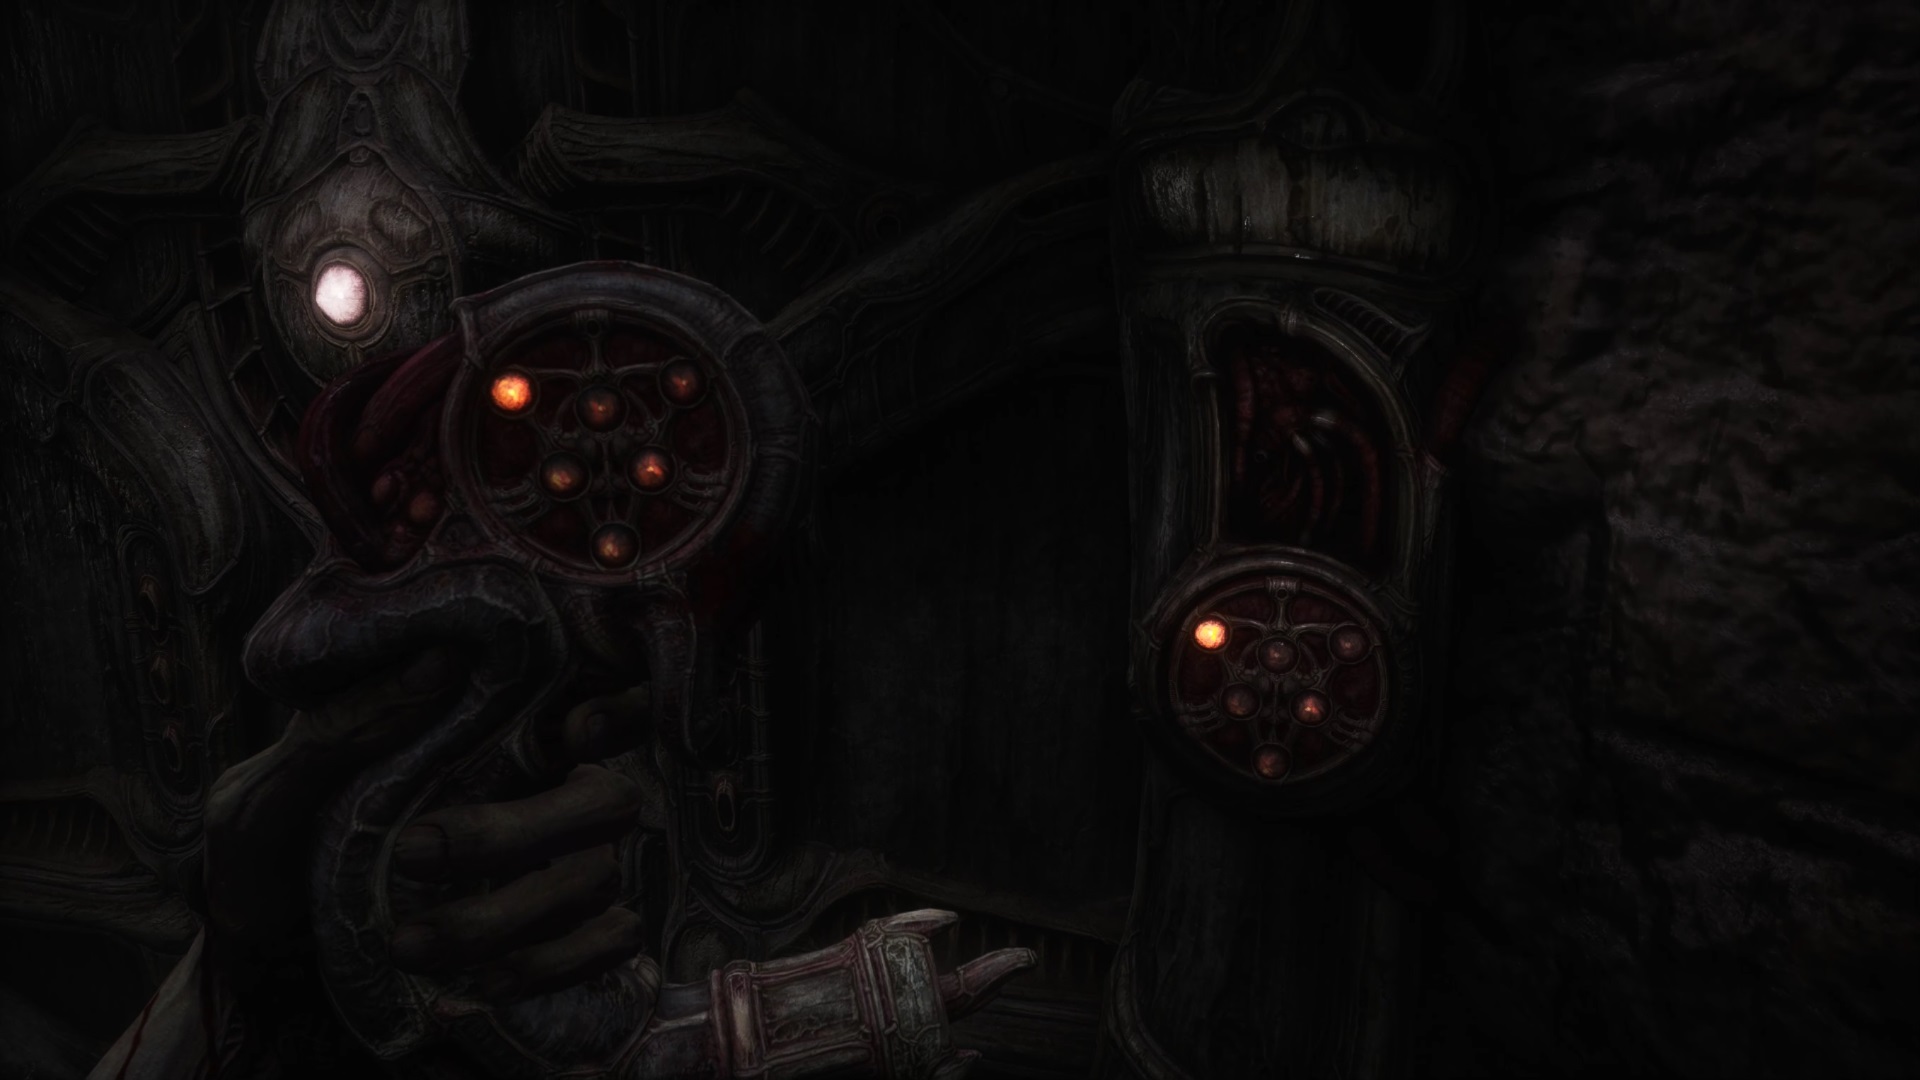
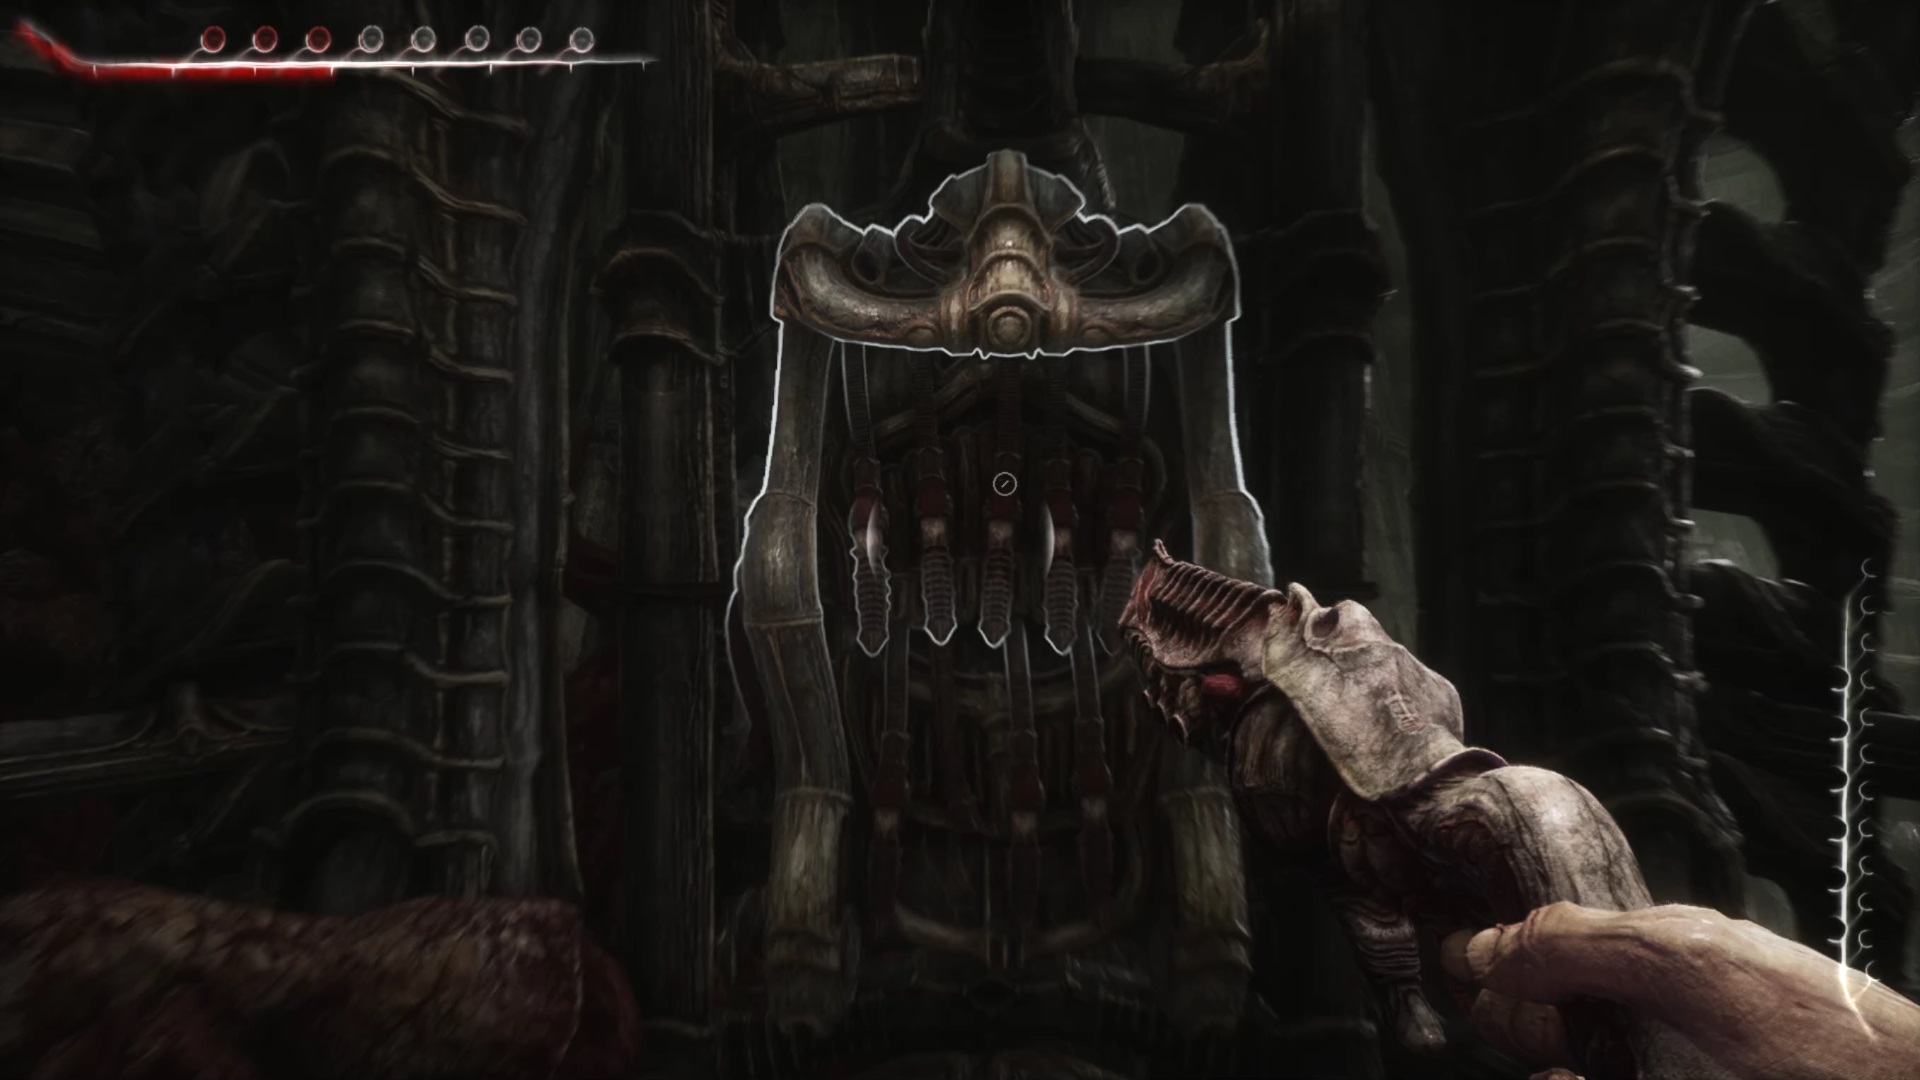
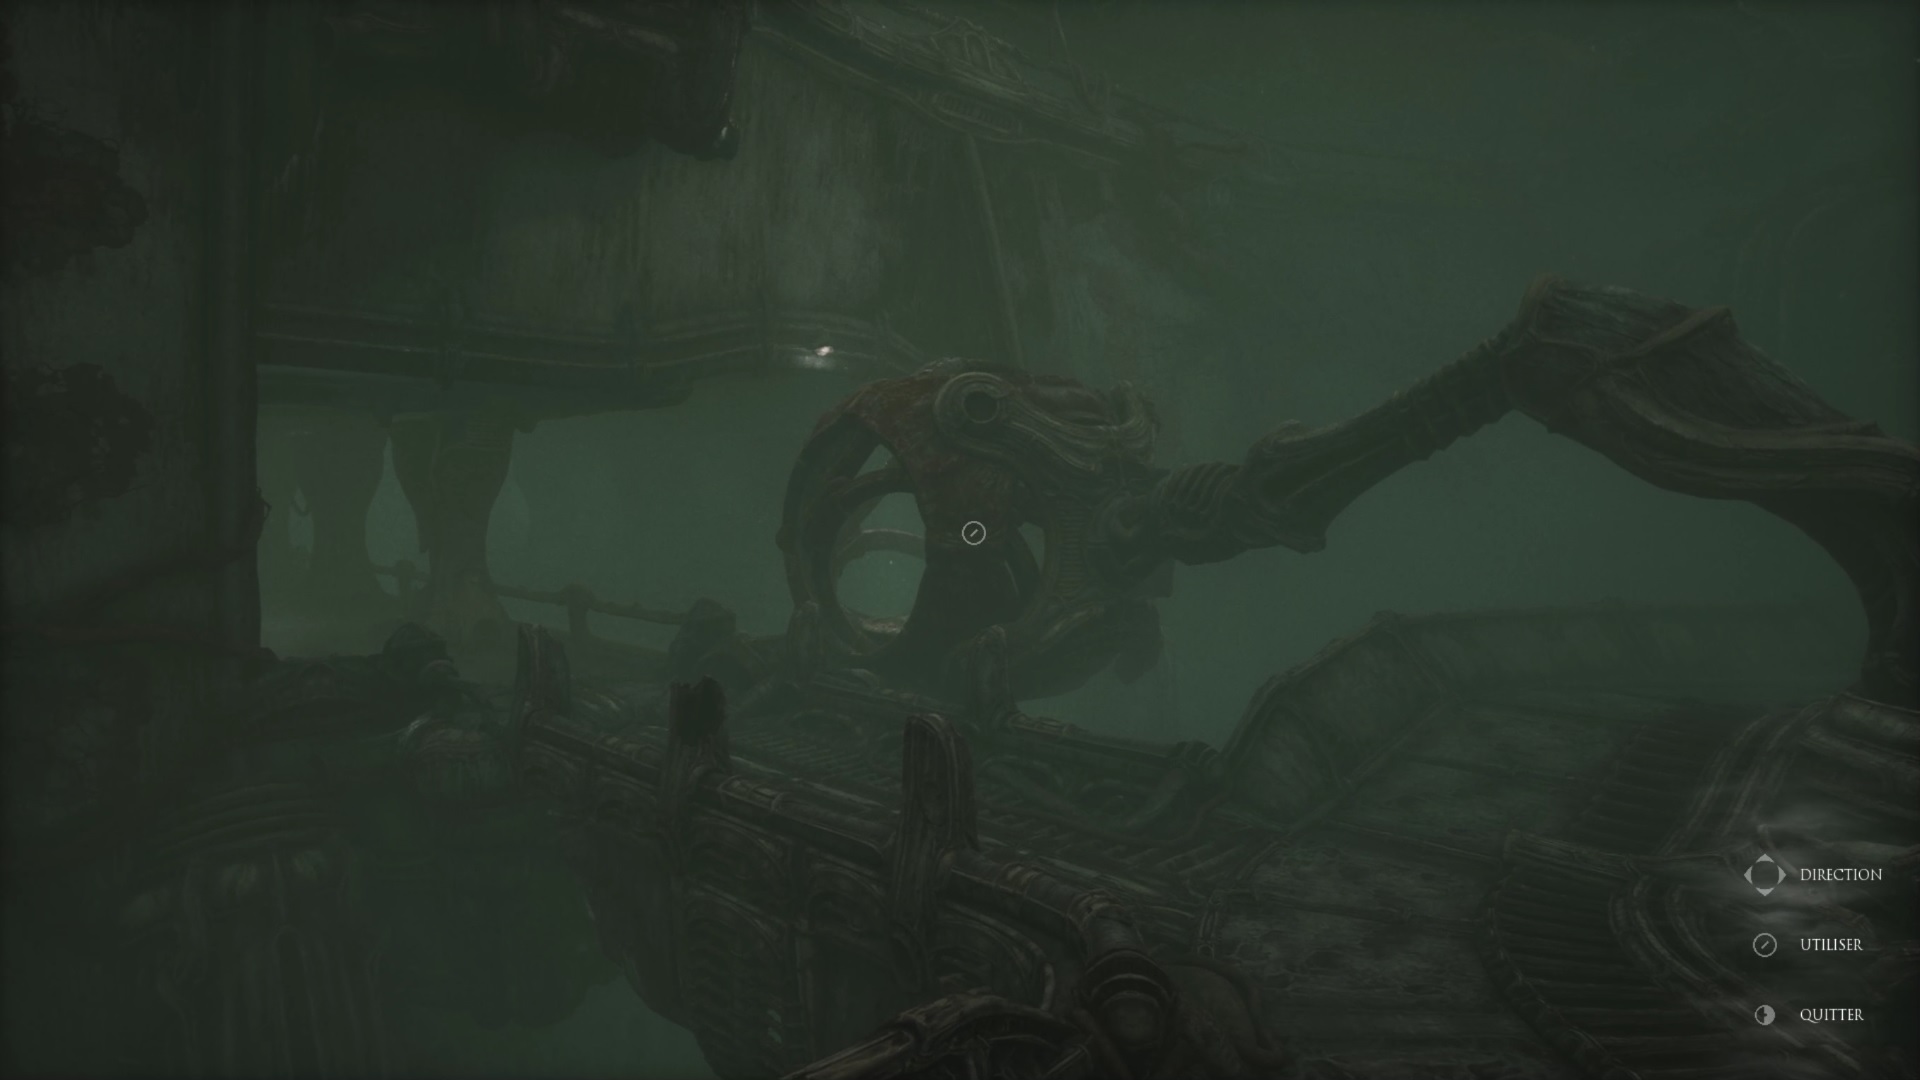
Go around the walkway to find an entrance to a balcony. Head to the back of the balcony to find a body in front of a closed door. Inspect the body to find a strange device. Insert the device into the lock on the right of the body to trigger a puzzle. To solve it nothing simpler moved the needle in each hole to reach the center. You collect a ring, you have three left. Retrace your steps in the balcony to reach the red room of the cores.
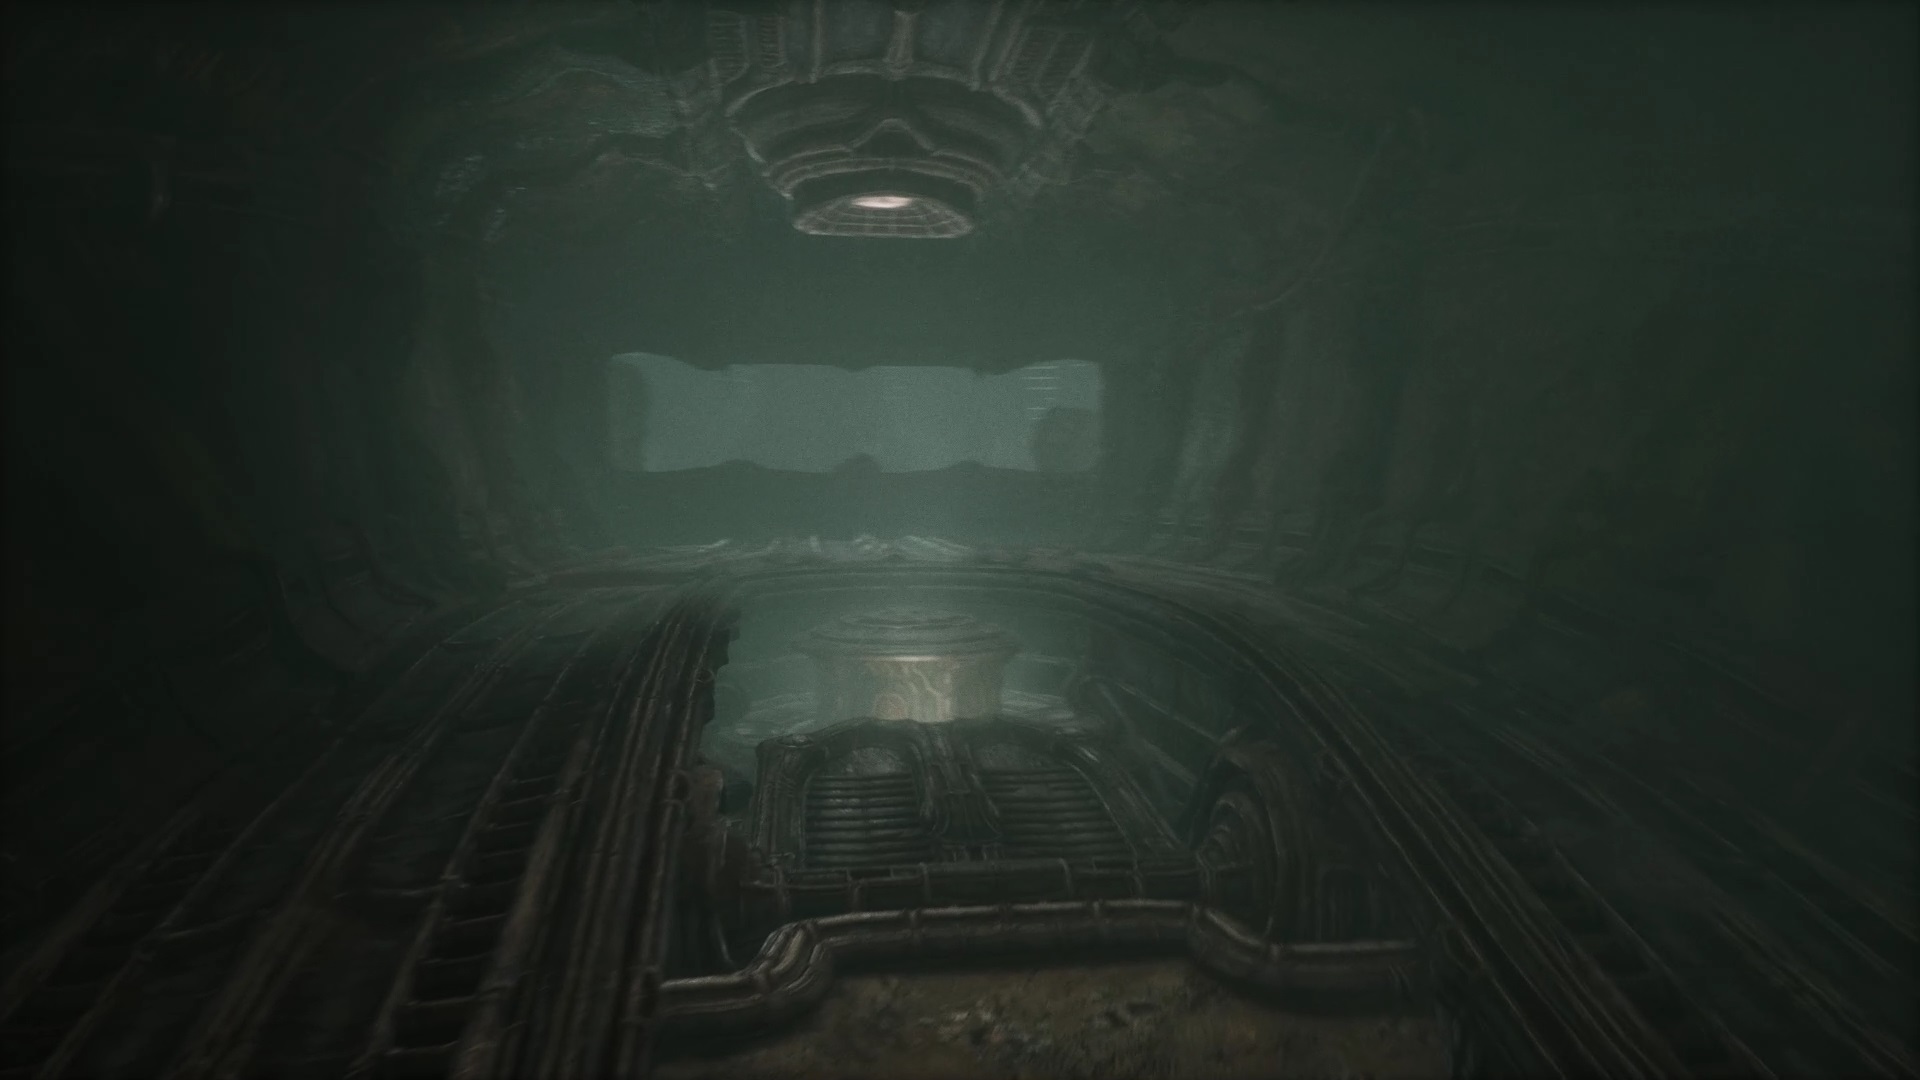
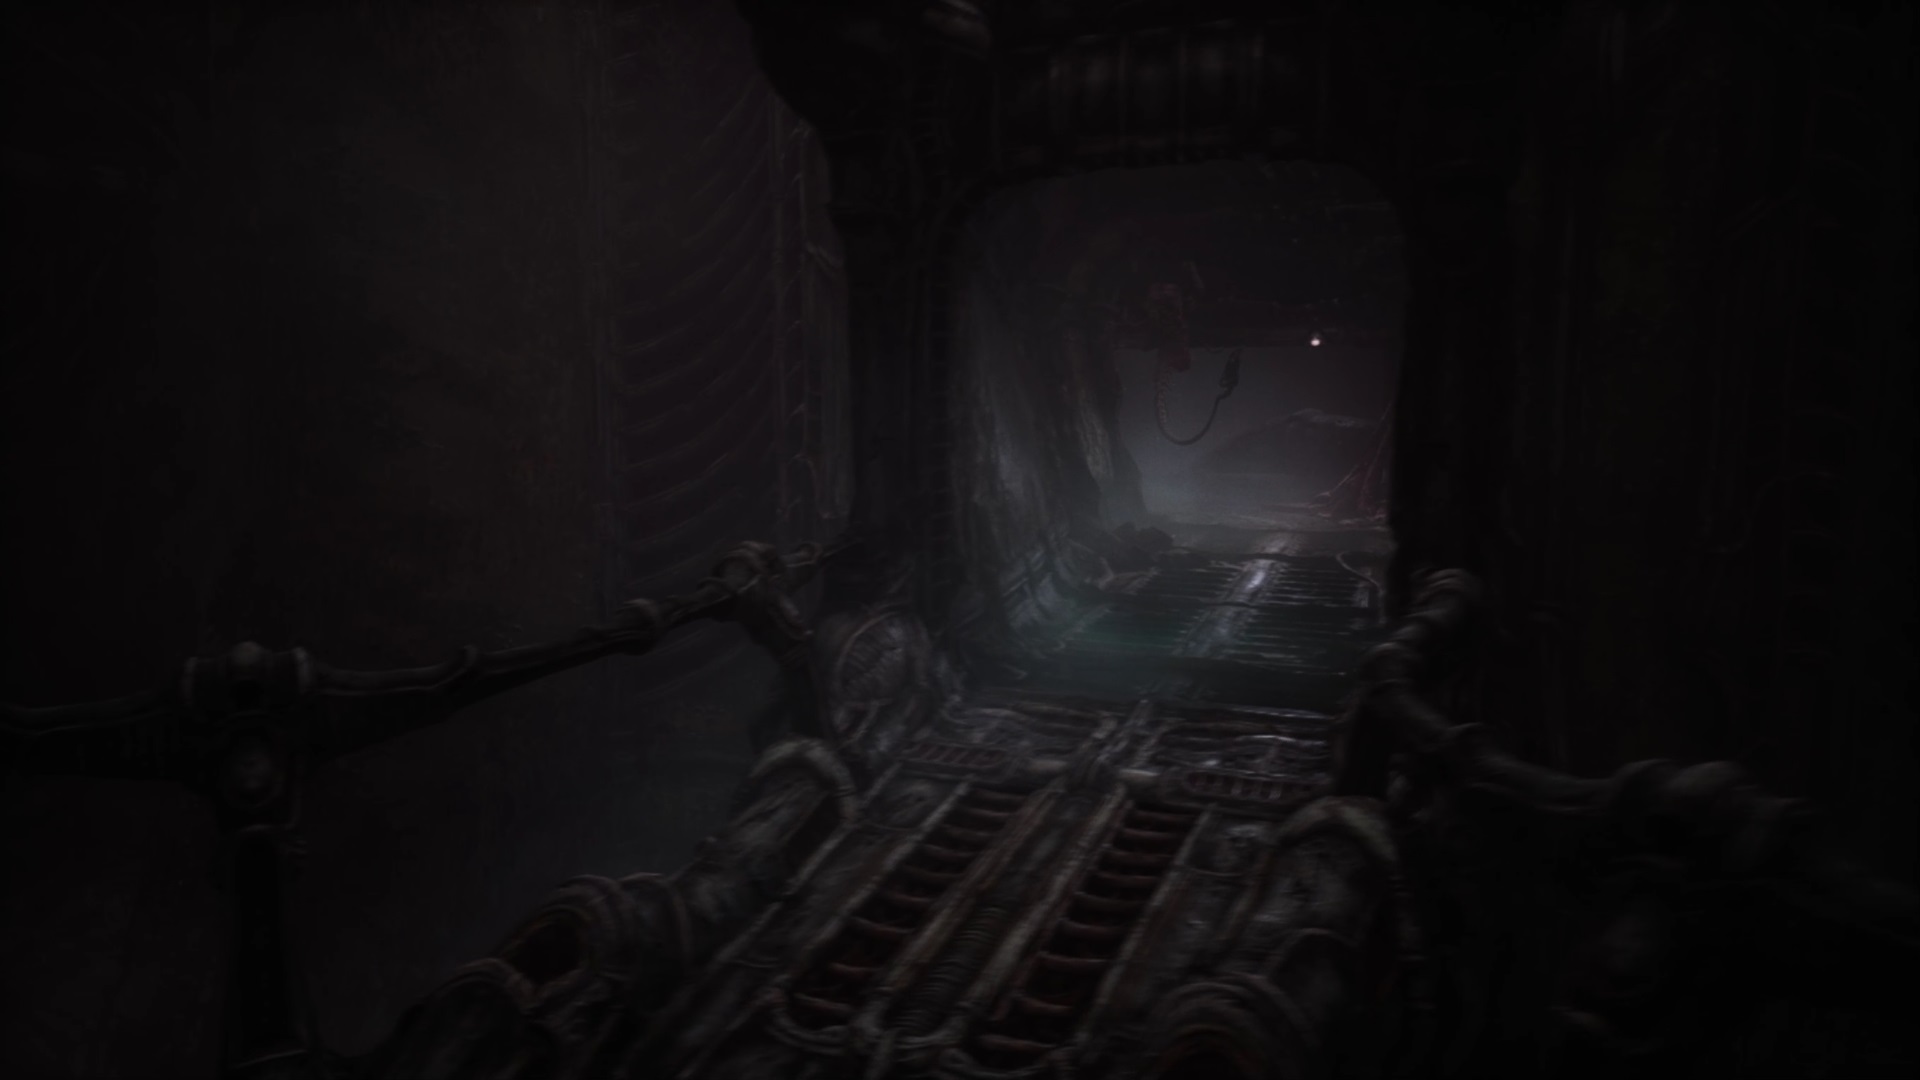
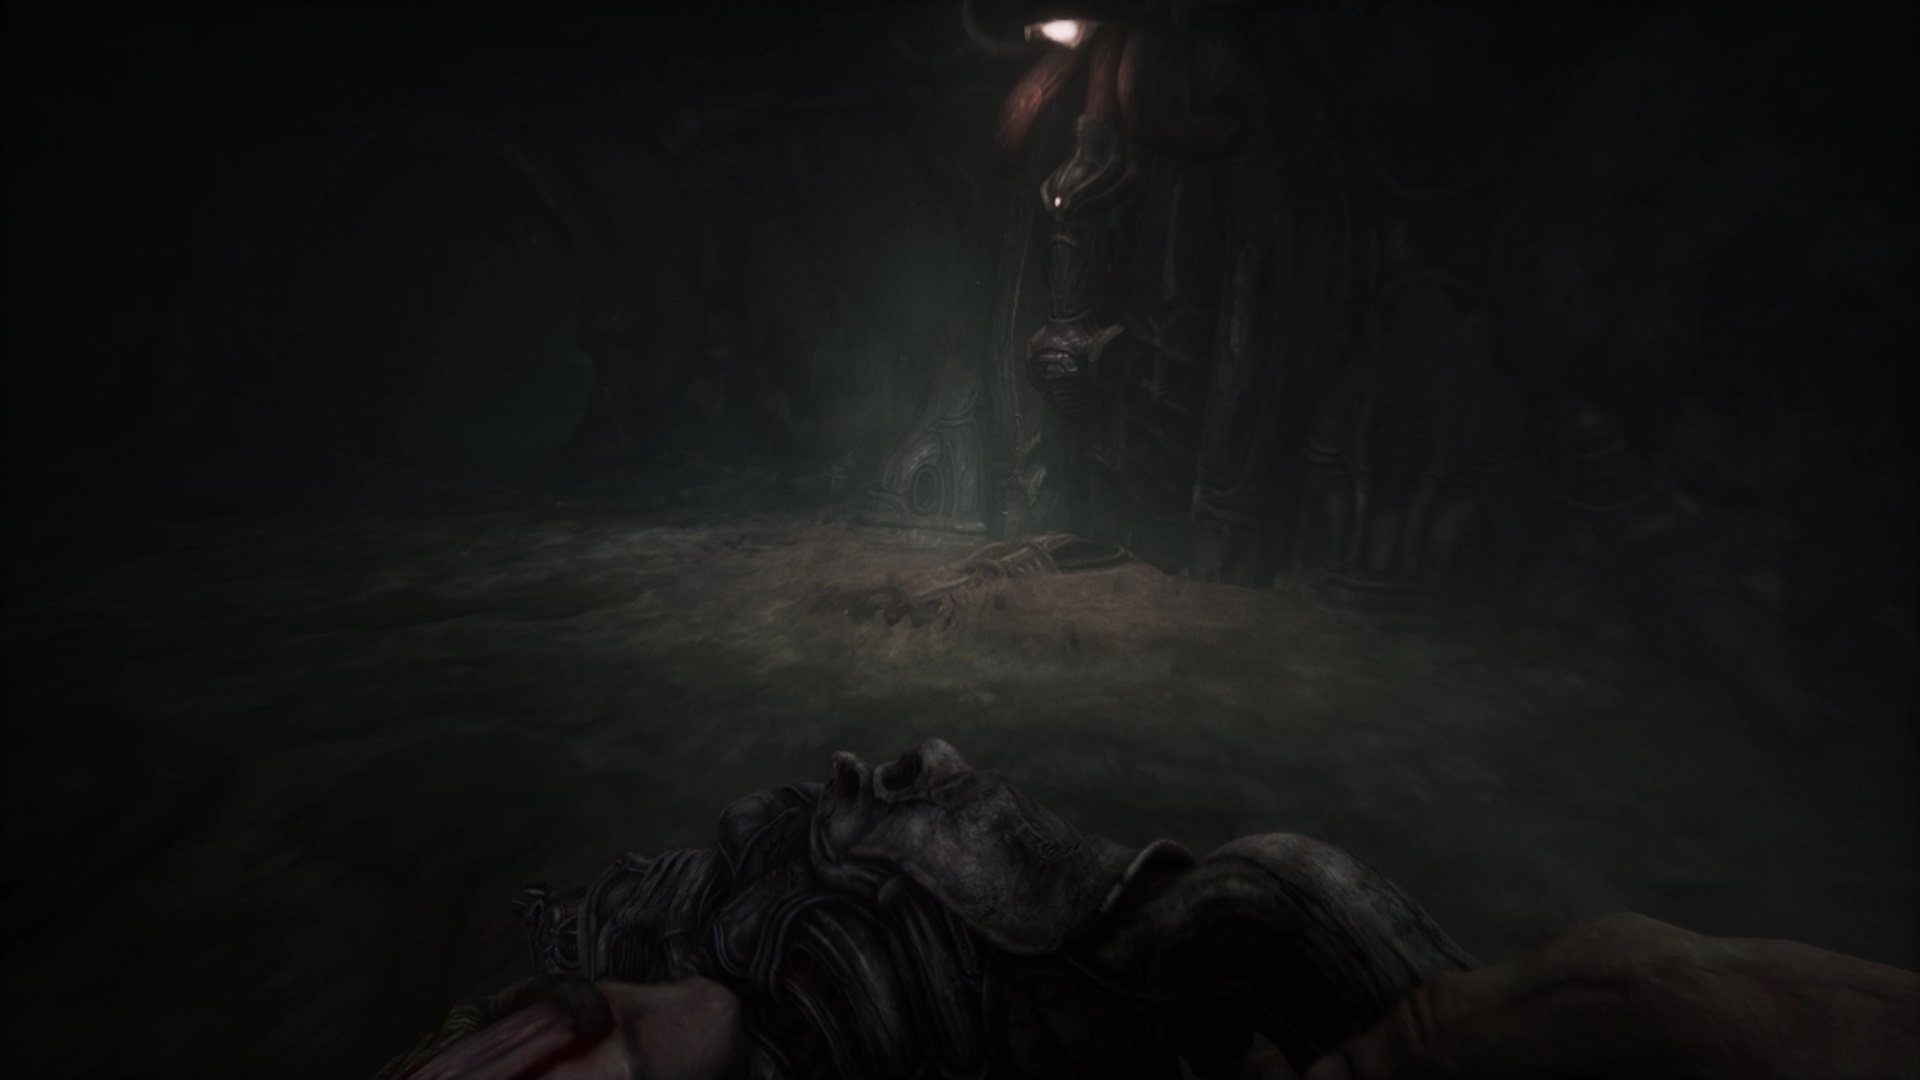
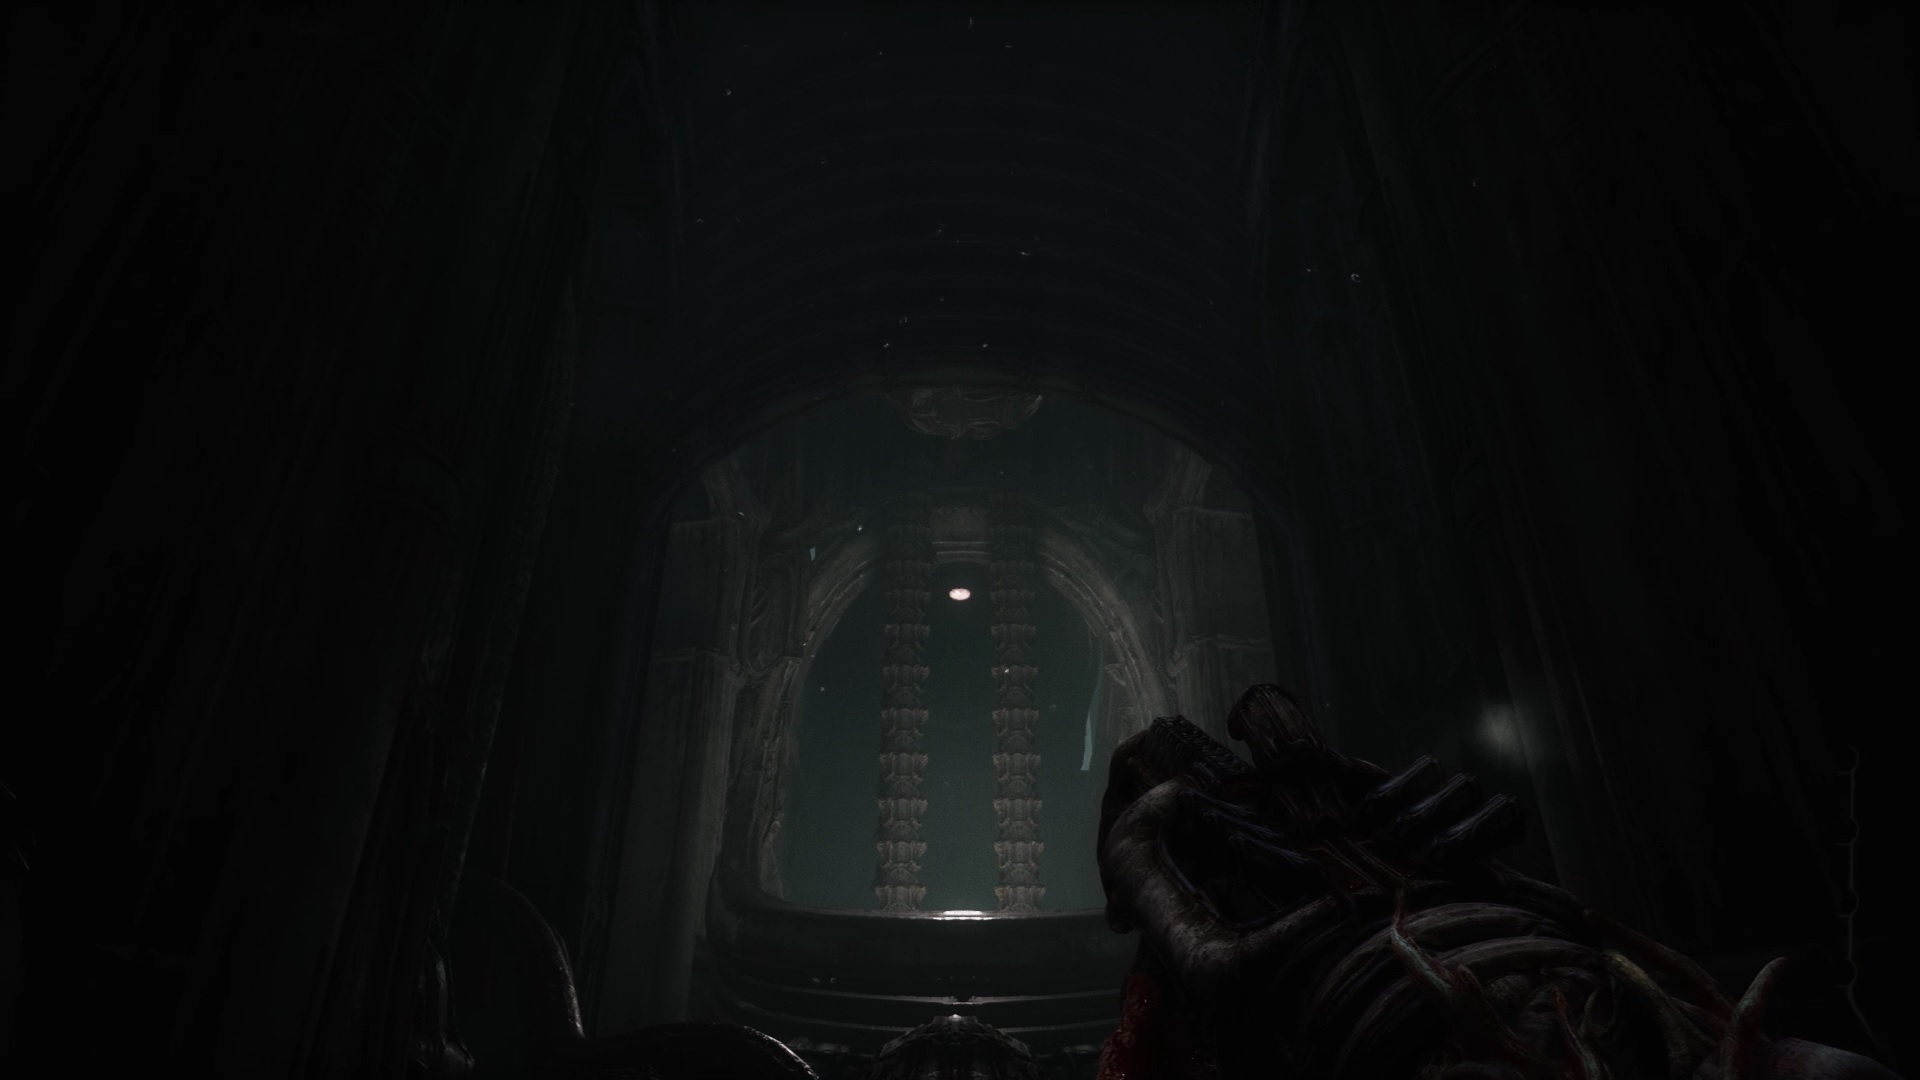
Take the elevator on the left. Move forward to enter a pipe. You will find a joystick inside to be able to connect other pipes to yours. Let’s start with the second pipe. As you move inside, you pass a propeller. Remember its location for later.
Move forward to find a machine with three power cables. Remove the three cables to stop the propeller blades. Retrace your steps to reach the propeller. On the way back, you get loosely grabbed by a parasite. Nothing to worry about at the moment, keep going. Go below the propeller to find a room with a new lock. Insert the device to solve another puzzle. To solve this puzzle, you will need to note that slots now produce a click. Move the needle to the click location so you can insert it through the slit. Perform the insertion from the outside to the inside and place the needle up to remove the ring.
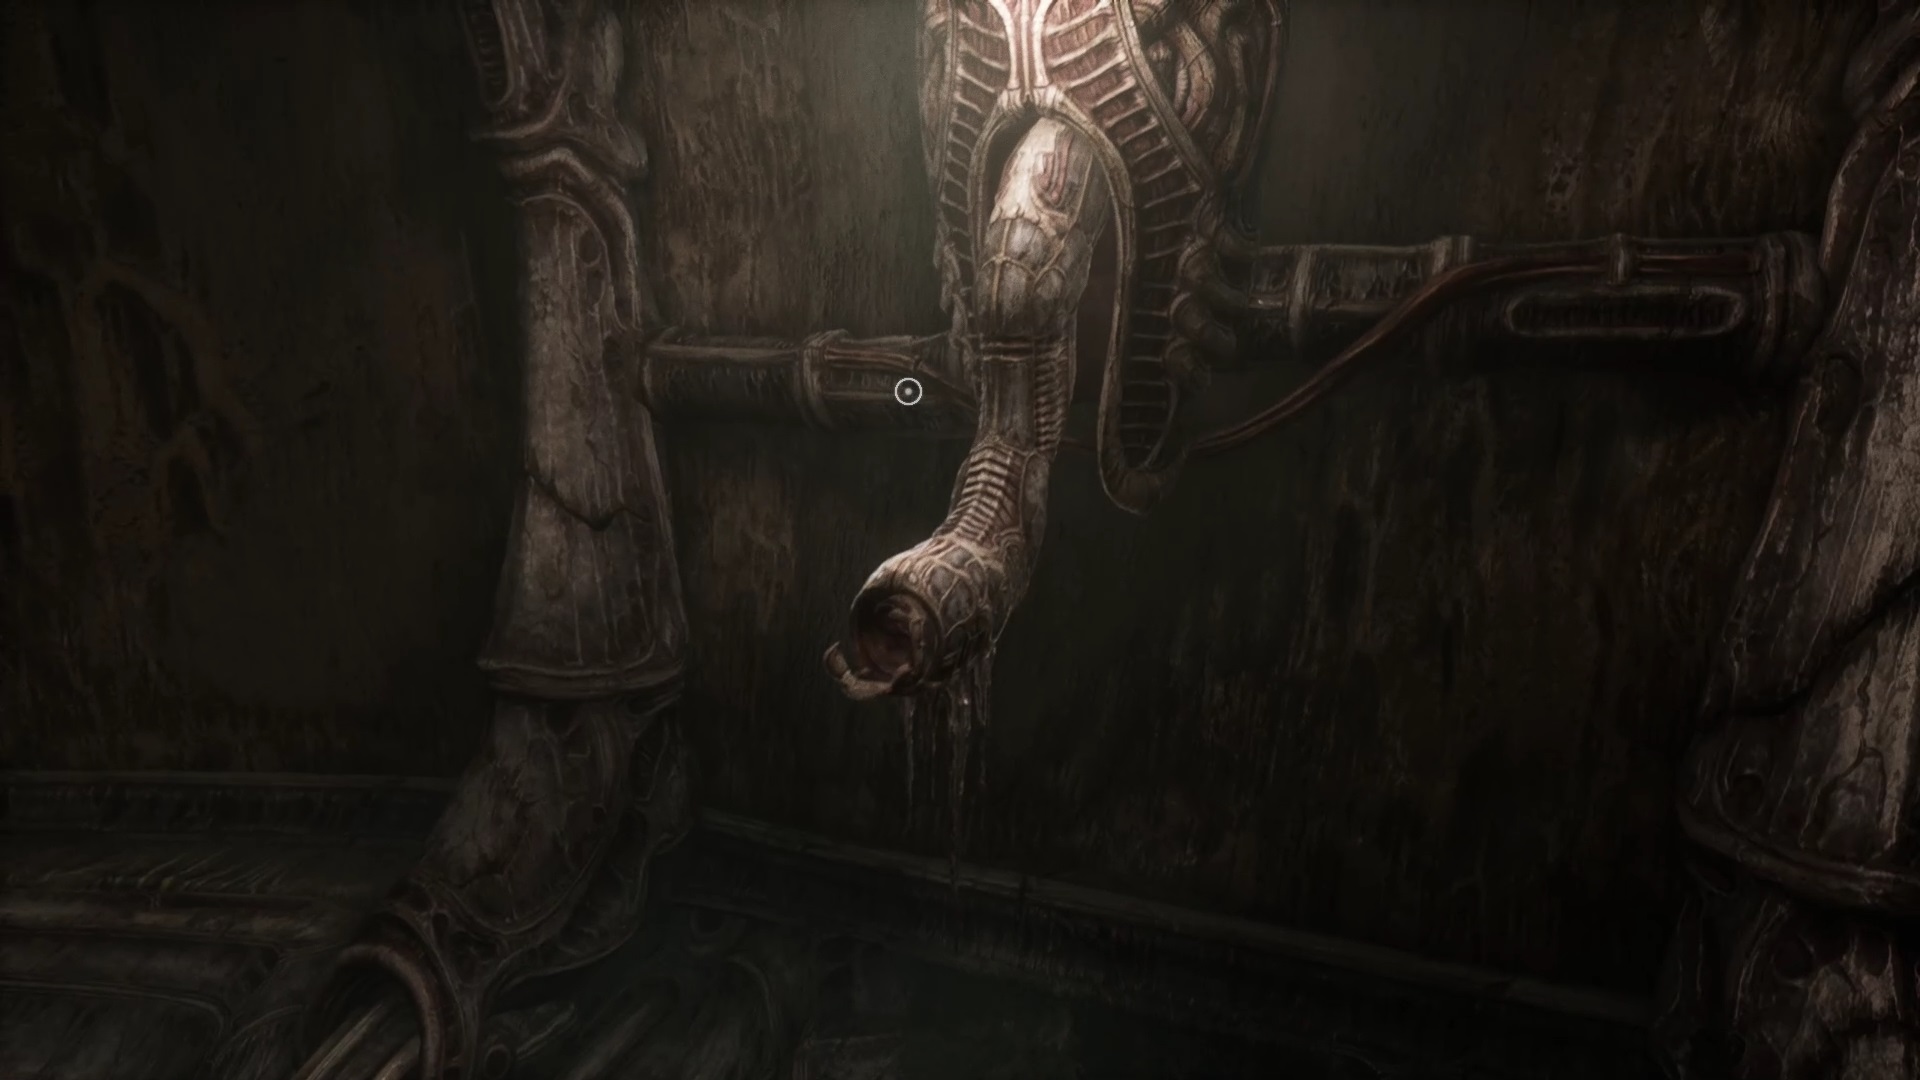
Before leaving go to the entrance on the right to find an elevator. Go down to find a key grafting machine. Return to the pipe to reach the first entrance.
Inside, you’ll find a control panel at the end of a hallway and a lock on the balcony. Let’s start with the lock. Same solution as for the previous lock, move the needle in the slot that clicks to push it from the outside to the inside. Now interact with the balcony panel. Move the pump to the tunnel clogged with bodies to unclog it with acid.

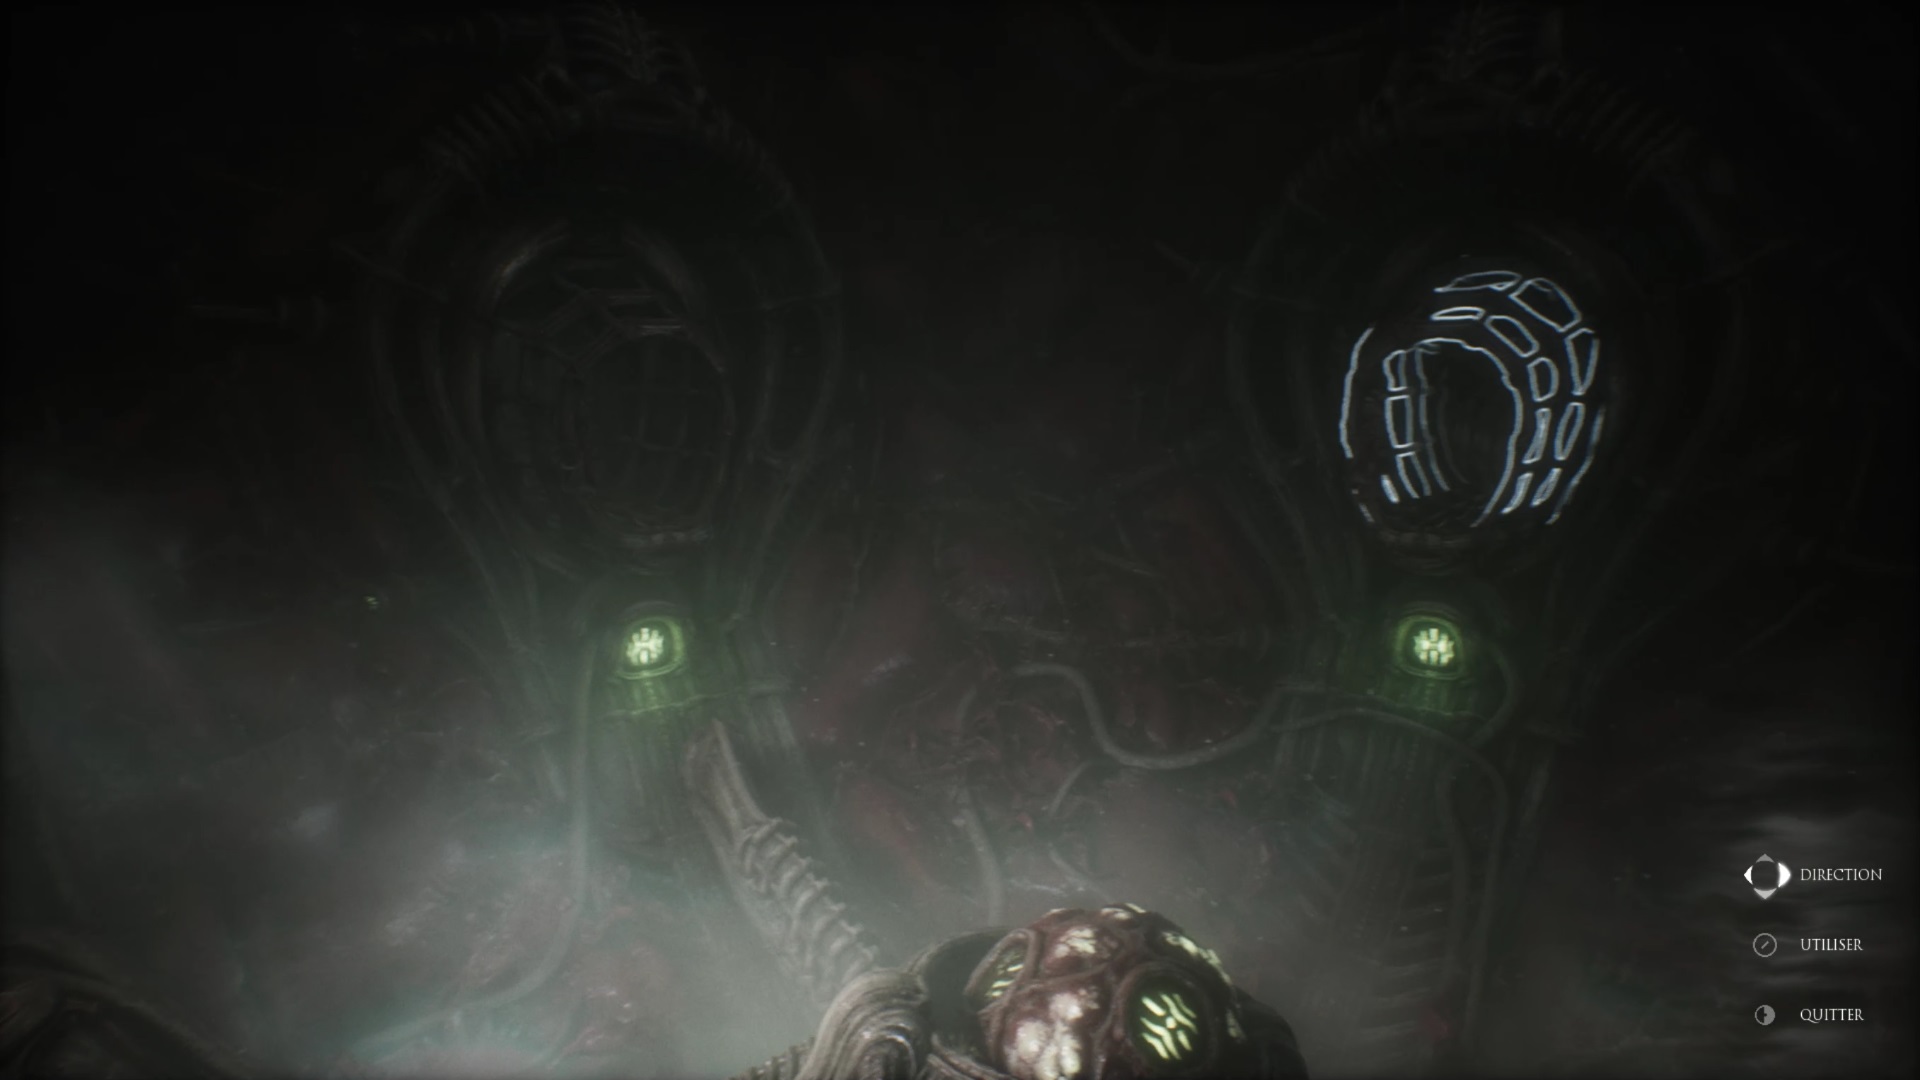
Return to the pipe and enter the tunnel unblocked by the acid. One last lock awaits you. The principles of this last puzzle are also based on the principles of the previous puzzles. You will simply have the left part hidden. Insert the needle into the click to reach the center and collect the last ring. With all the rings in hand, head to the core room. Insert the device into the panel.


Move the rings according to the images above to solve the puzzle.
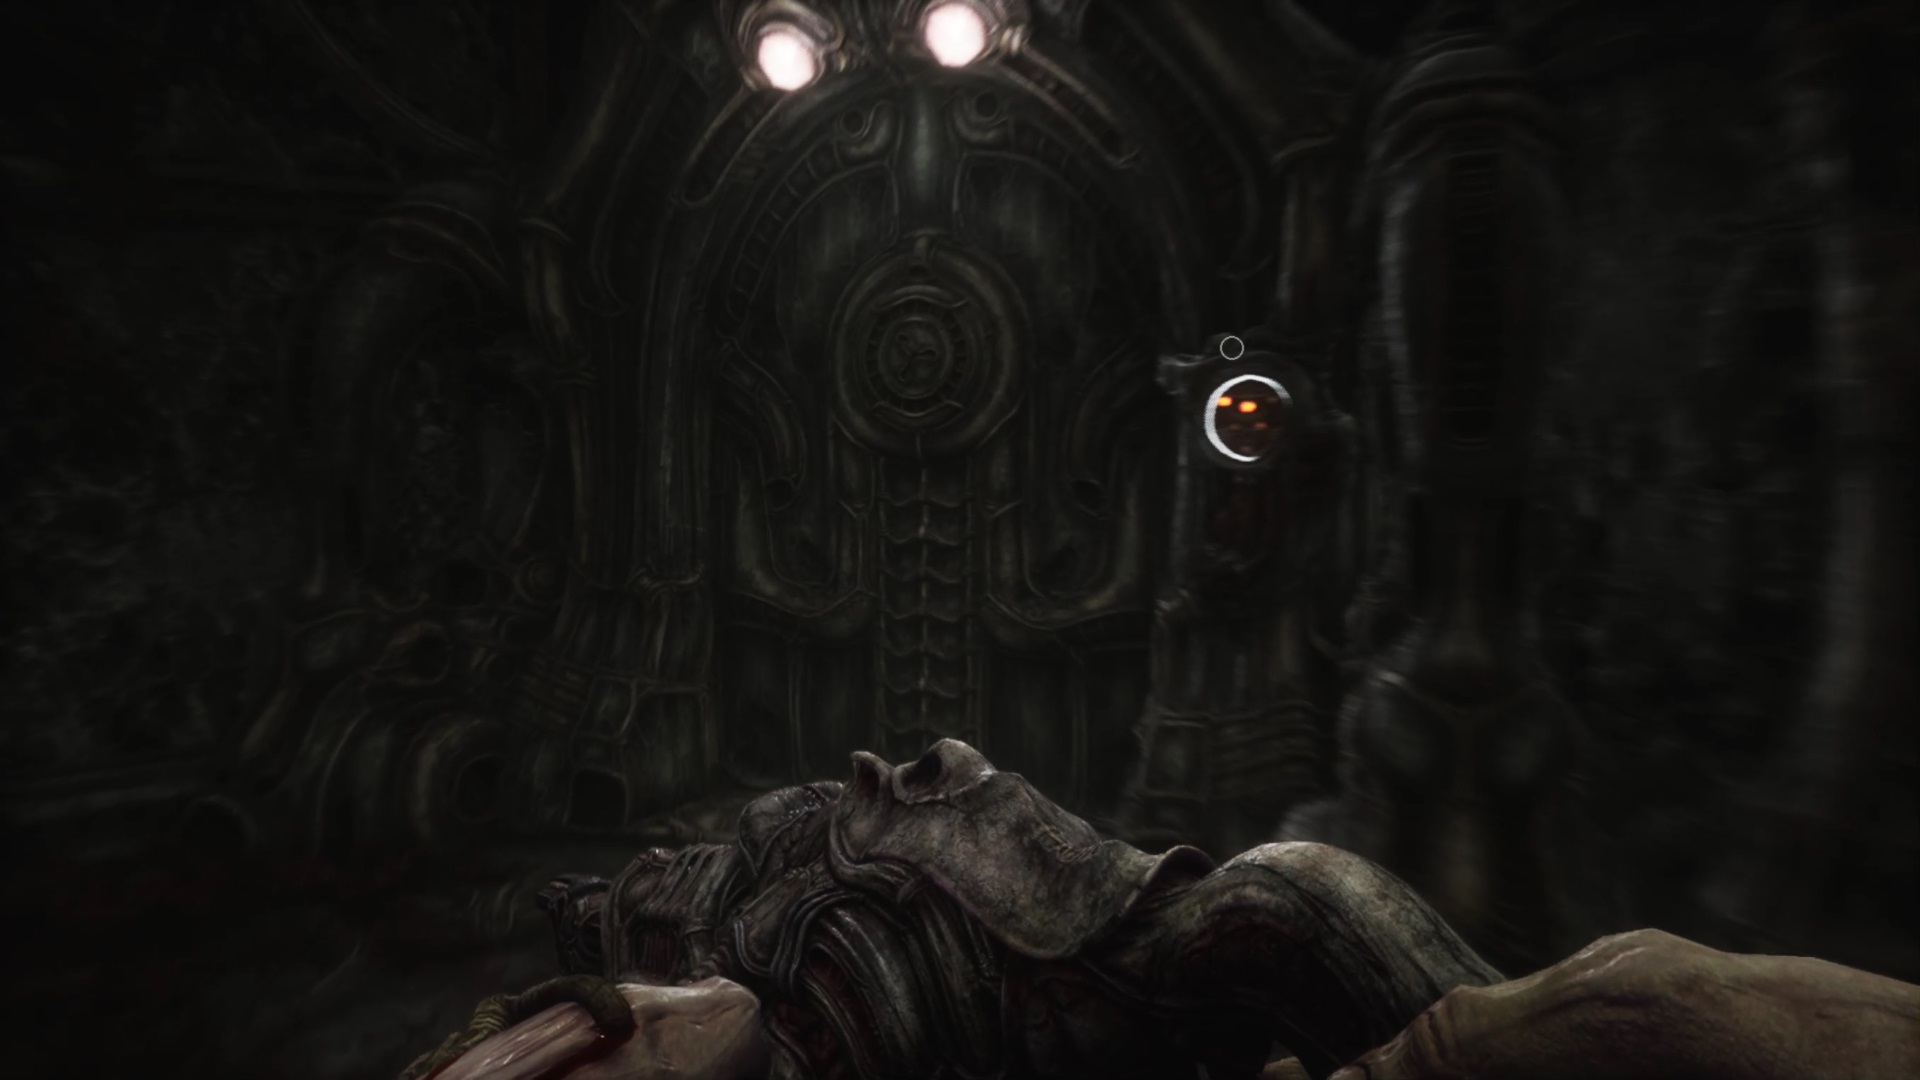
Take the remote control on the core and go back to unlock the closed door in front of the body where you found the device. Proceed through the tunnels to find a new door to open. Go up the elevator to trigger a cutscene. Move forward to find a care panel.
Enter the corridor to the left of the care panel to engulf yourself in new tunnels. Use the remote to go through a second door. You may have recognized the place, it is the great hall of the first act. Head down to a third door to find an elevator that goes up to the third act.
Act III
Upon exiting the elevator, you can spot a level two closed door to the left and a slope in the middle. Start by going down the slope to reach a footbridge. Moving forward, you will find a panel for your remote that will be accredited with a level two rank. Retrace your steps to unlock the closed door.

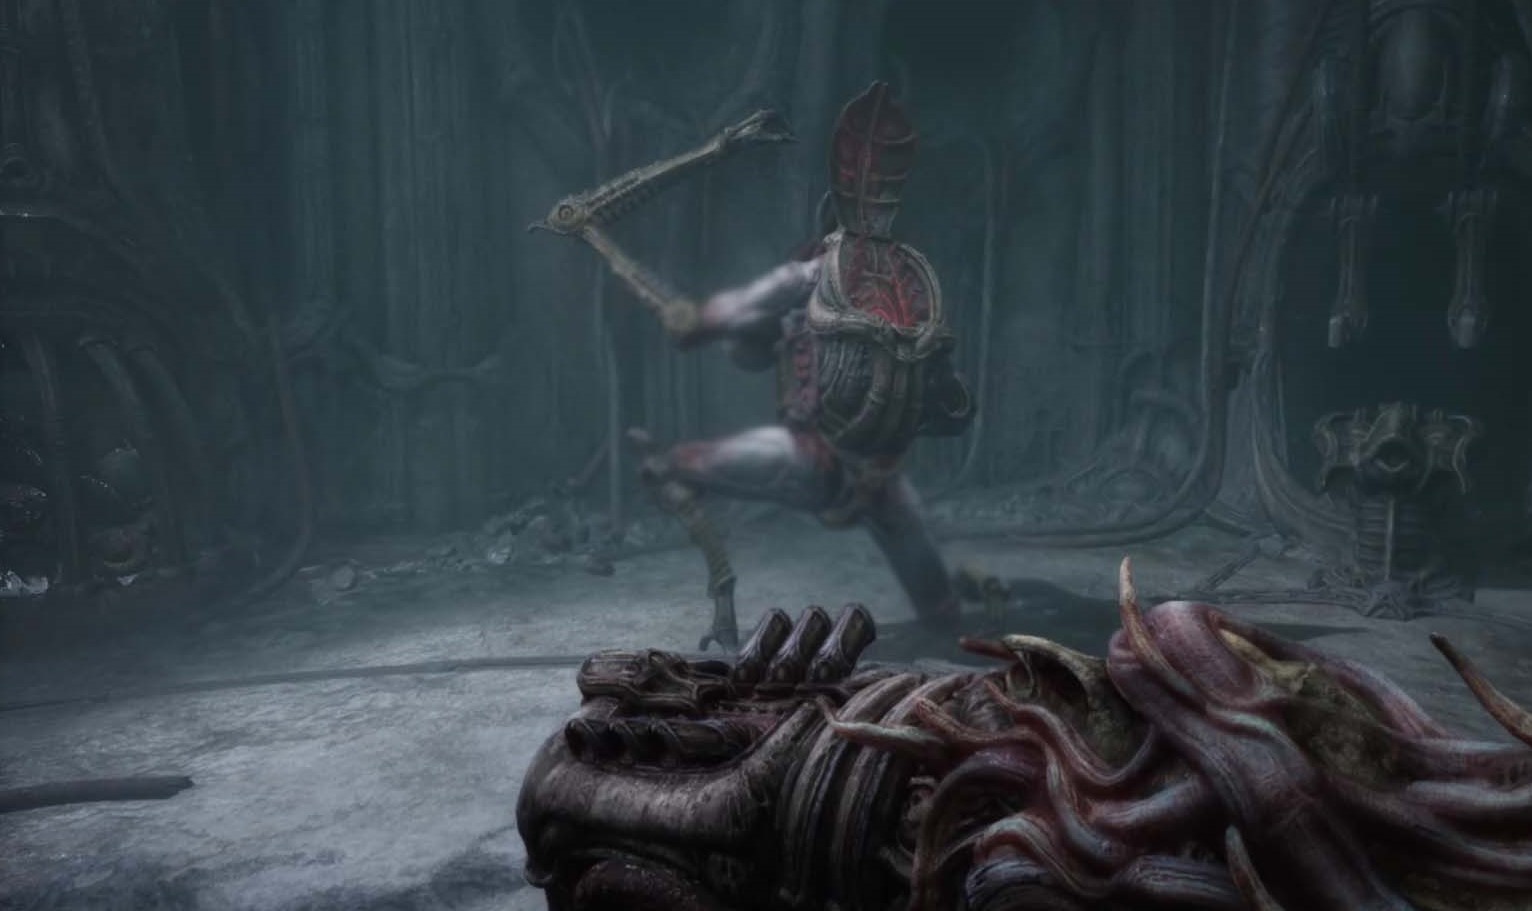
Behind the door you meet your first enemy. Use your weapon to hit him. Its weak point is in the head. Take care to dodge his acid attacks by running to the sides. You have the refill gauge, hit and step back to be able to attack again. Once the enemy is down, you must insert your weapon into the lock in front to spin the ring. Go inside to find a second lock and turn a second ring. Go back to the first ring. Flip it over again so as to create an opening for the footbridge at the top.
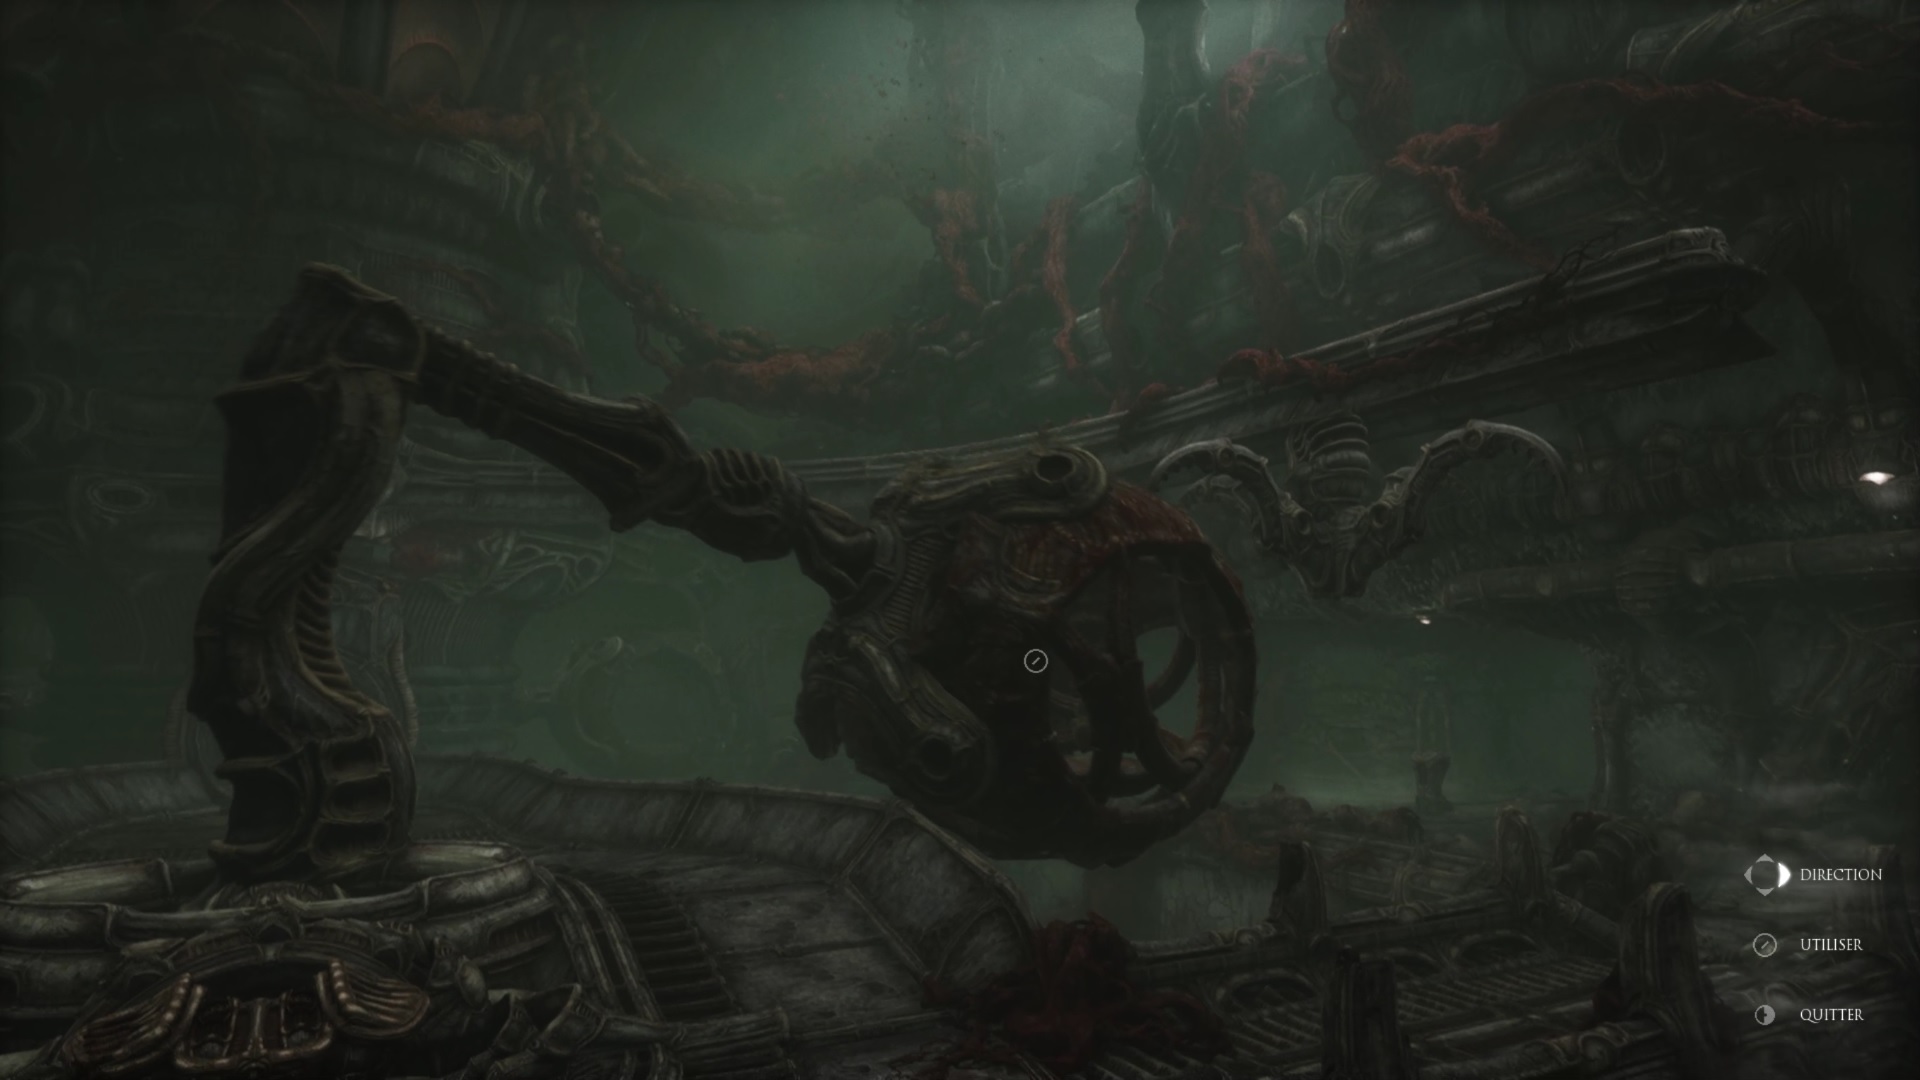
Return to the slope to reach the footbridge. Beware of new enemies waiting for you on the way back. Use the footbridge to pass the rings. On the other side you find a balcony. Use the panel to move the sphere to a station. Go inside the sphere to go to the opposite balcony. Use the nearby panel to use a new sphere. Unfortunately, it falls into the abyss. Go through the tunnel to the left of the station. Watch out for enemies waiting for you downstairs. When you reach an intersection, take a left and go down the slope at the bottom.
As you go deeper, you will reach a first level. Use the panel on this floor to levitate the replacement sphere to another level. Beware of enemies waiting for you ahead. Use the RB button to heal yourself. At the second level, a care station is present if needed. Continuing, you will reach a room with lots of enemies. Try to eliminate enemies one by one to clear the area. Use the corridors on the right to find a climb.
You access the third level. Use the panel to levitate the sphere to the third level. Continue forward on the right path. You find the sphere. Use the panel opposite to trigger the sphere’s power supply and clear the third floor corridor. Use the sphere to go down the hall and join the opposite part. You will find a room with a new ranged weapon. Ammunition is available just behind. Use your new toy to clean the area. To the right of the weapons room is a new puzzle to solve.

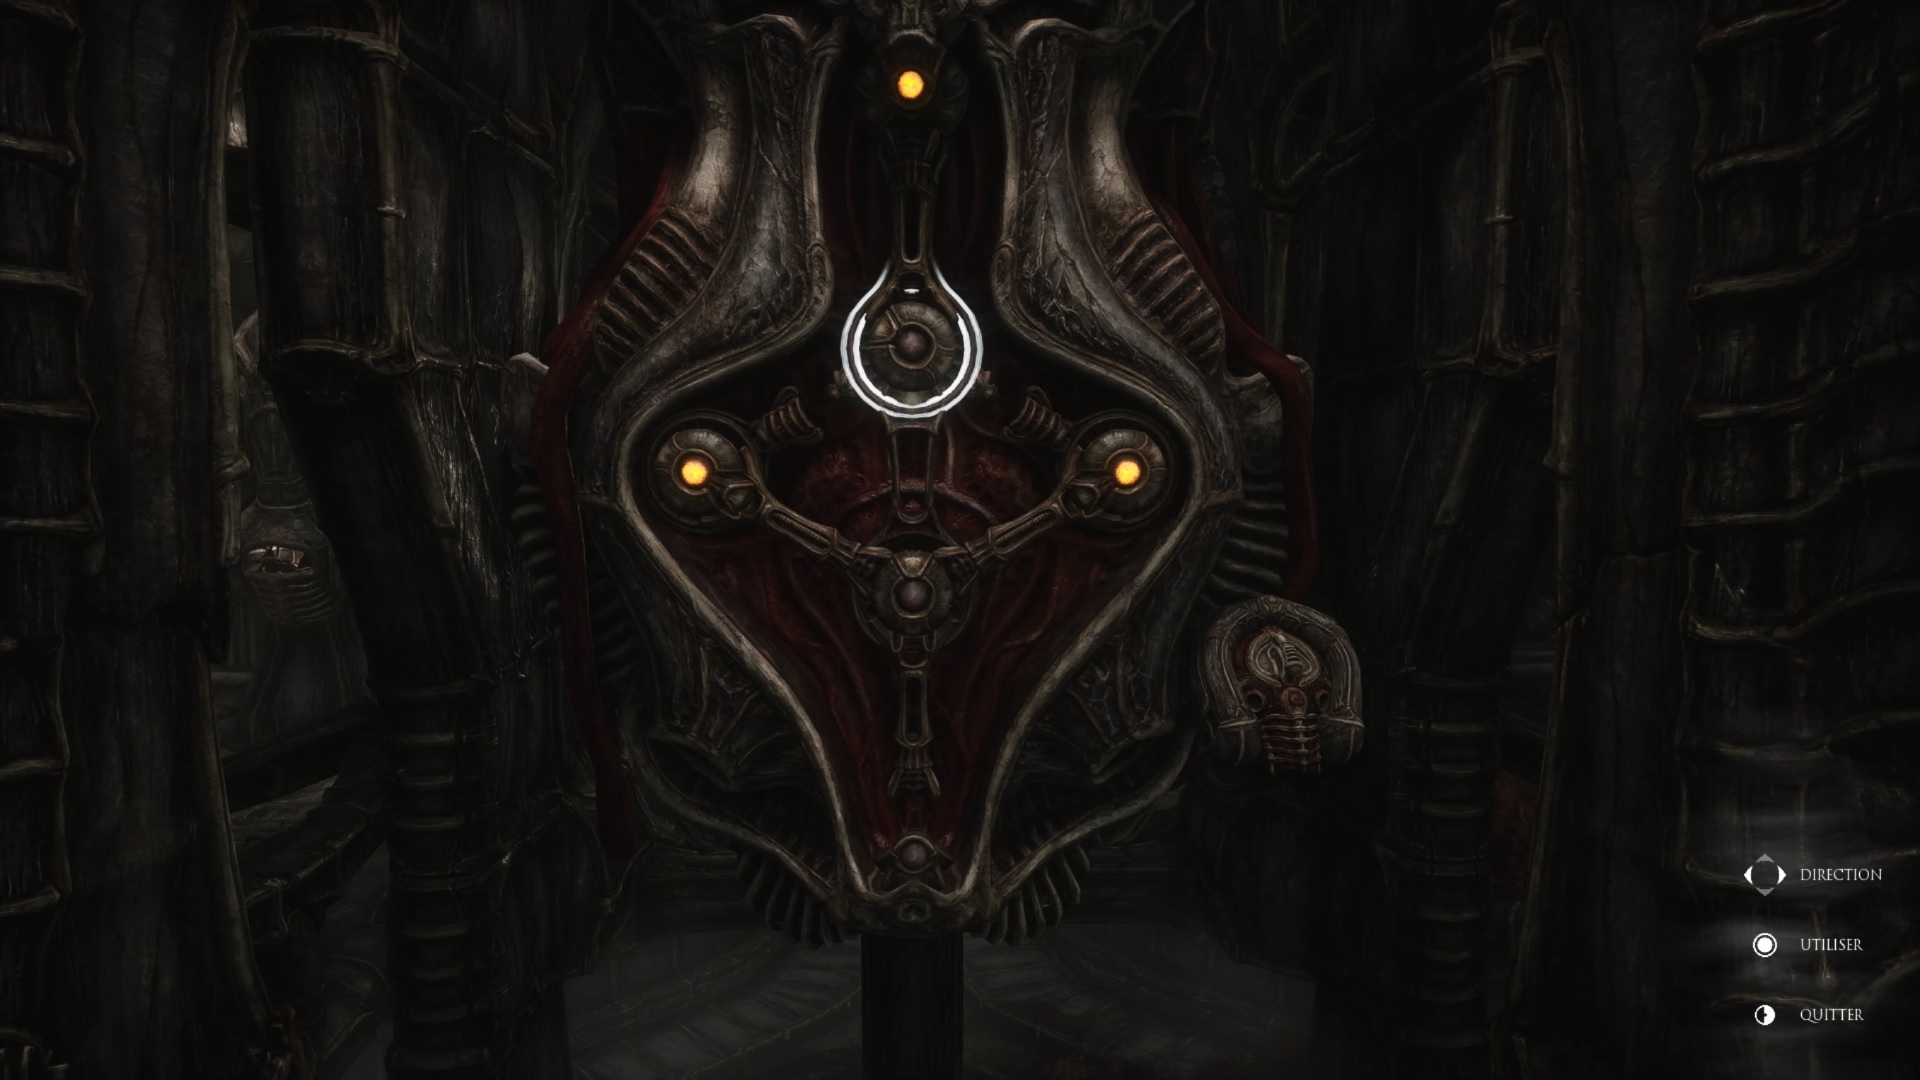
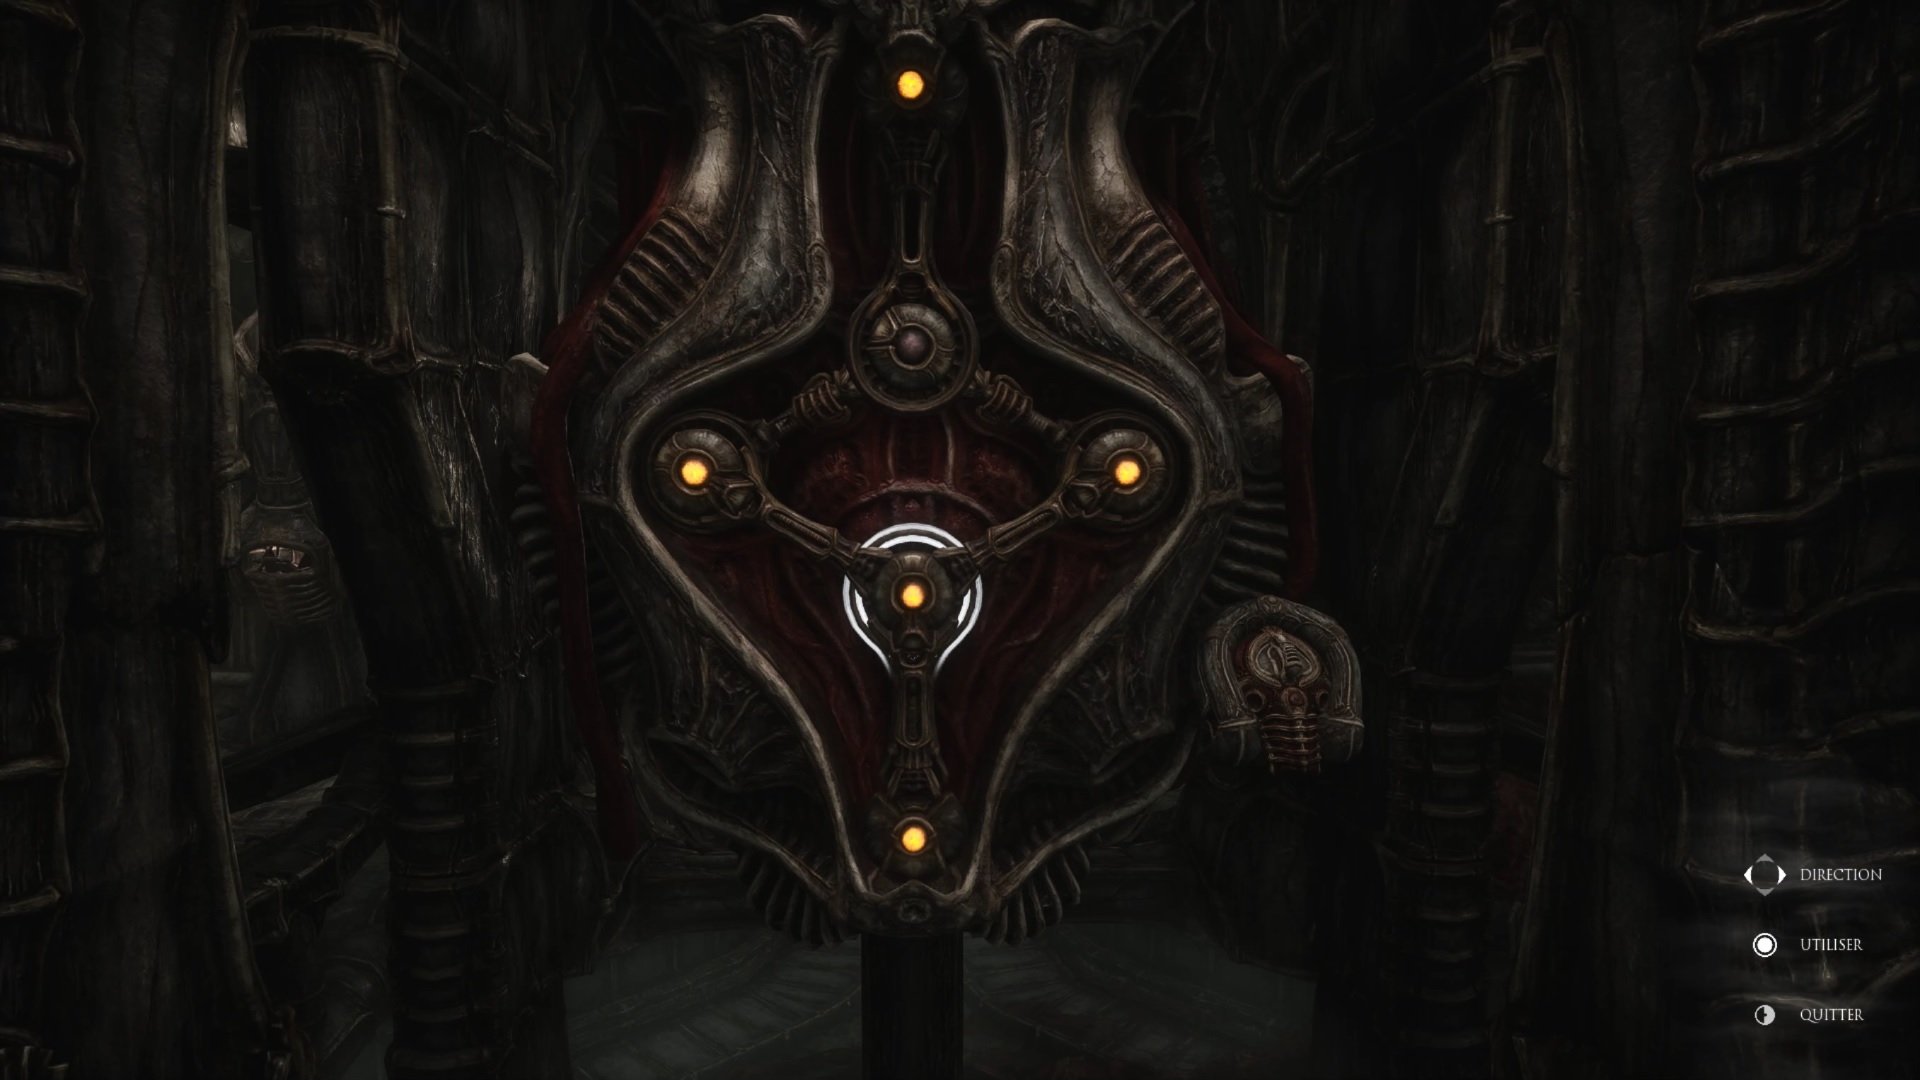
Connect the central mechanism to the right mechanism and pivot the right mechanism to the central mechanism (image 1). Then pivot the left mechanism to the middle mechanism (picture 2) and plug the middle mechanism down to complete the puzzle (picture 3).
Collect the battery and reach the sphere panel to unlock the second floor. Go to the second floor to clear the area. A care station is present at the bottom if needed. You will find a second puzzle in front of the healing station.
To solve this puzzle, you must first focus on the center pivot. Connect the center pivot with the top pivot. You can pivot the central pivot using the top pivot (image 1). Pivot the central pivot upwards to align it with the branch and connect it downwards to validate it (image 2). Now let’s focus on the top pivot. Connect the top swivel to the right one. Use the right pivot to rotate the top pivot towards the right pivot to align it with the branch (image 3). Connect the pivot from the top upwards to validate it (image 4). Use the lower pivot to connect it to the upper one to disconnect the two side pivots (image 4). Pivot the two side pivots to the center then connect the two pivots to the center pivot to complete the puzzle. (picture 5)
Remove the key from the panel and return to the sphere panel to clear the first floor hallway. Use the sphere to go down to the first floor. Go around to find a crane’s control panel. Use the crane to move the sphere. Follow the crane to find a second crane.
Use the panel of the second crane to attach the sphere to the platform. Use the front panel to mount the platform and reuse the crane to position the sphere on a rail. Go in front of the sphere to find a last panel to put it in station. Climb inside.

Exit the sphere and take the left path to trigger a cutscene. The parasite is starting to get a bit problematic. The first corridor gives you access to some ammo, stock up. Keep moving forward to find a slope to an outdoor balcony. Clear the passage to engulf yourself in a tunnel on the left. Use the first weapon to unlock the lock.
Go through the opening on the right and turn left down the tunnel to find a bully. Use your new weapon to get it over with quickly. Head to the plaza where the bully was to find an entrance. A second lock is on the right, use your first weapon to unlock it.
Follow the path to find an elevator. Go up to find a third lock. Use your weapon to find the ring on the lower level. Go back down to pass through the ring. You will find an entrance on the left with a new lock. It gives you access to ammo and the level three credential panel for your remote. Retrace your steps to go back up the elevator.

At the end of the hallway is a level three door. Open the door to join a sphere. Leaving the sphere continue your way on the right without stopping. You will find an elevator to the next act.
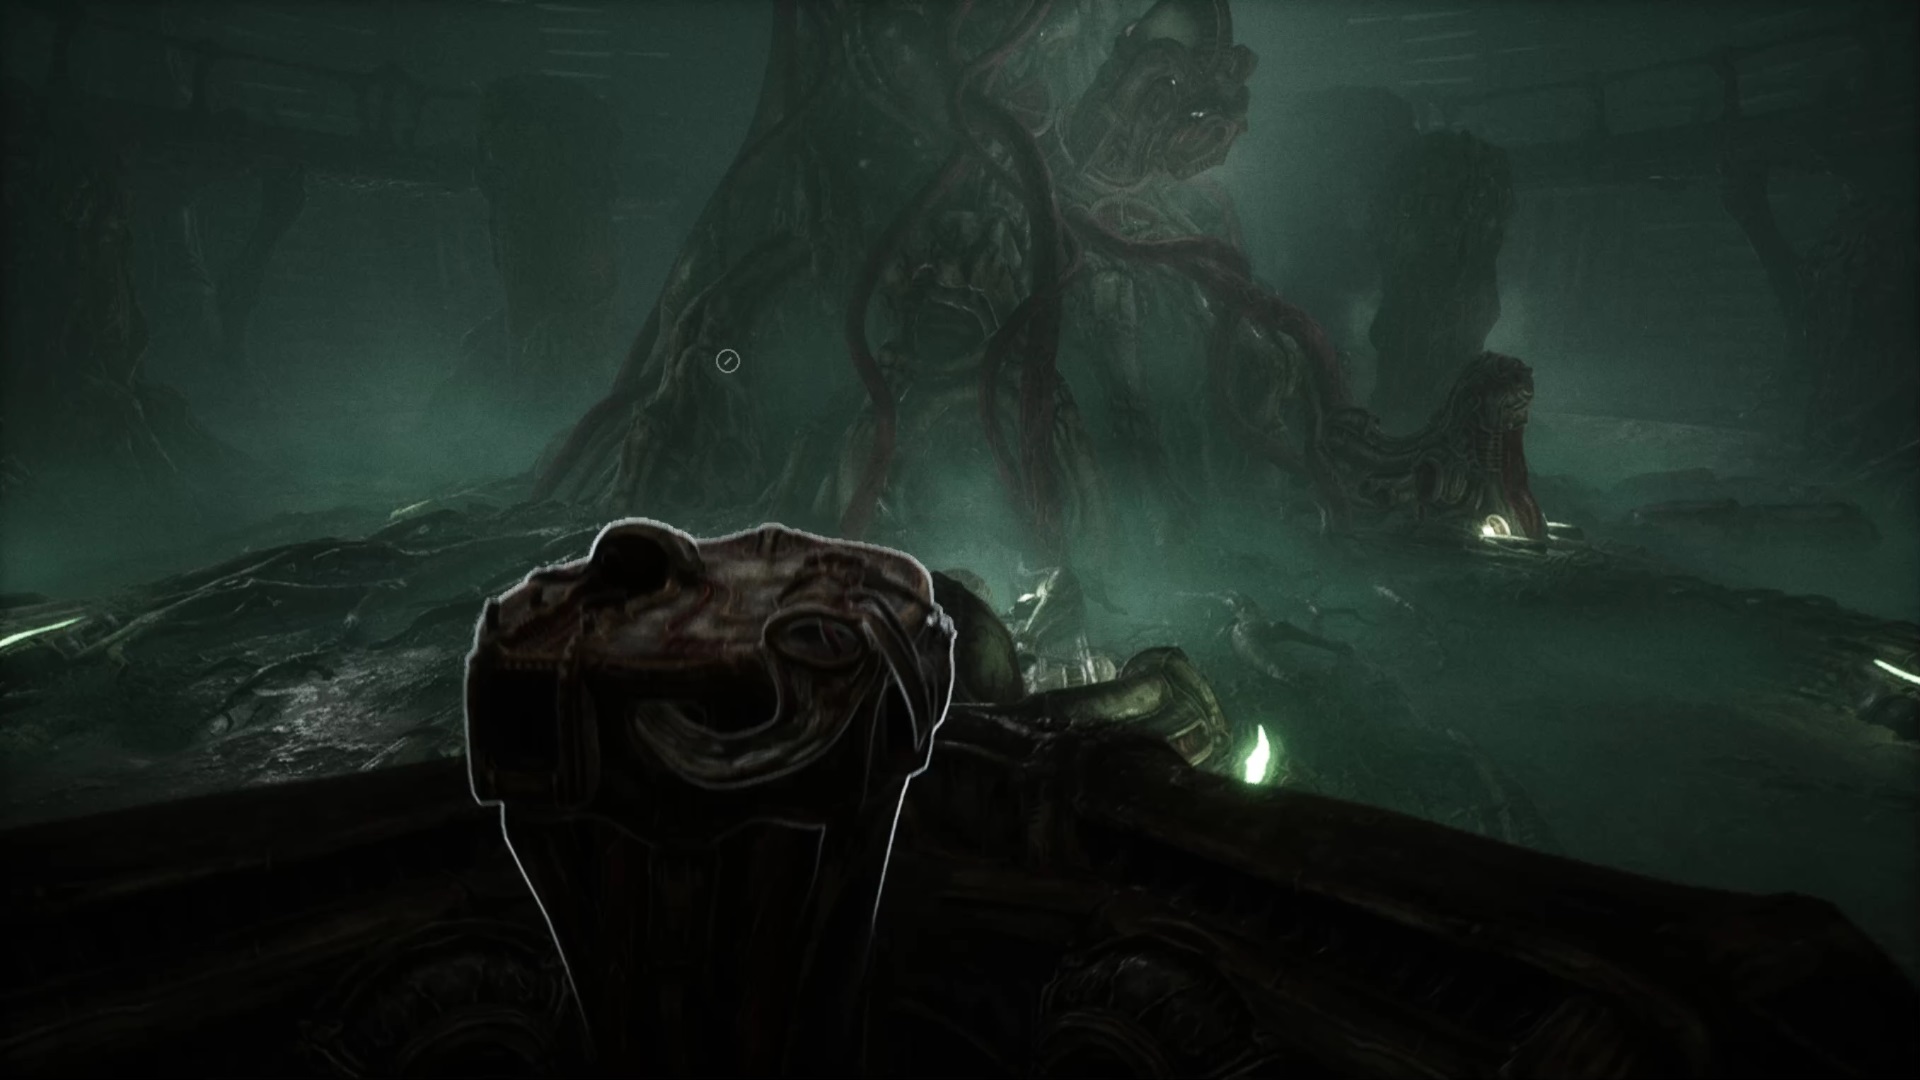
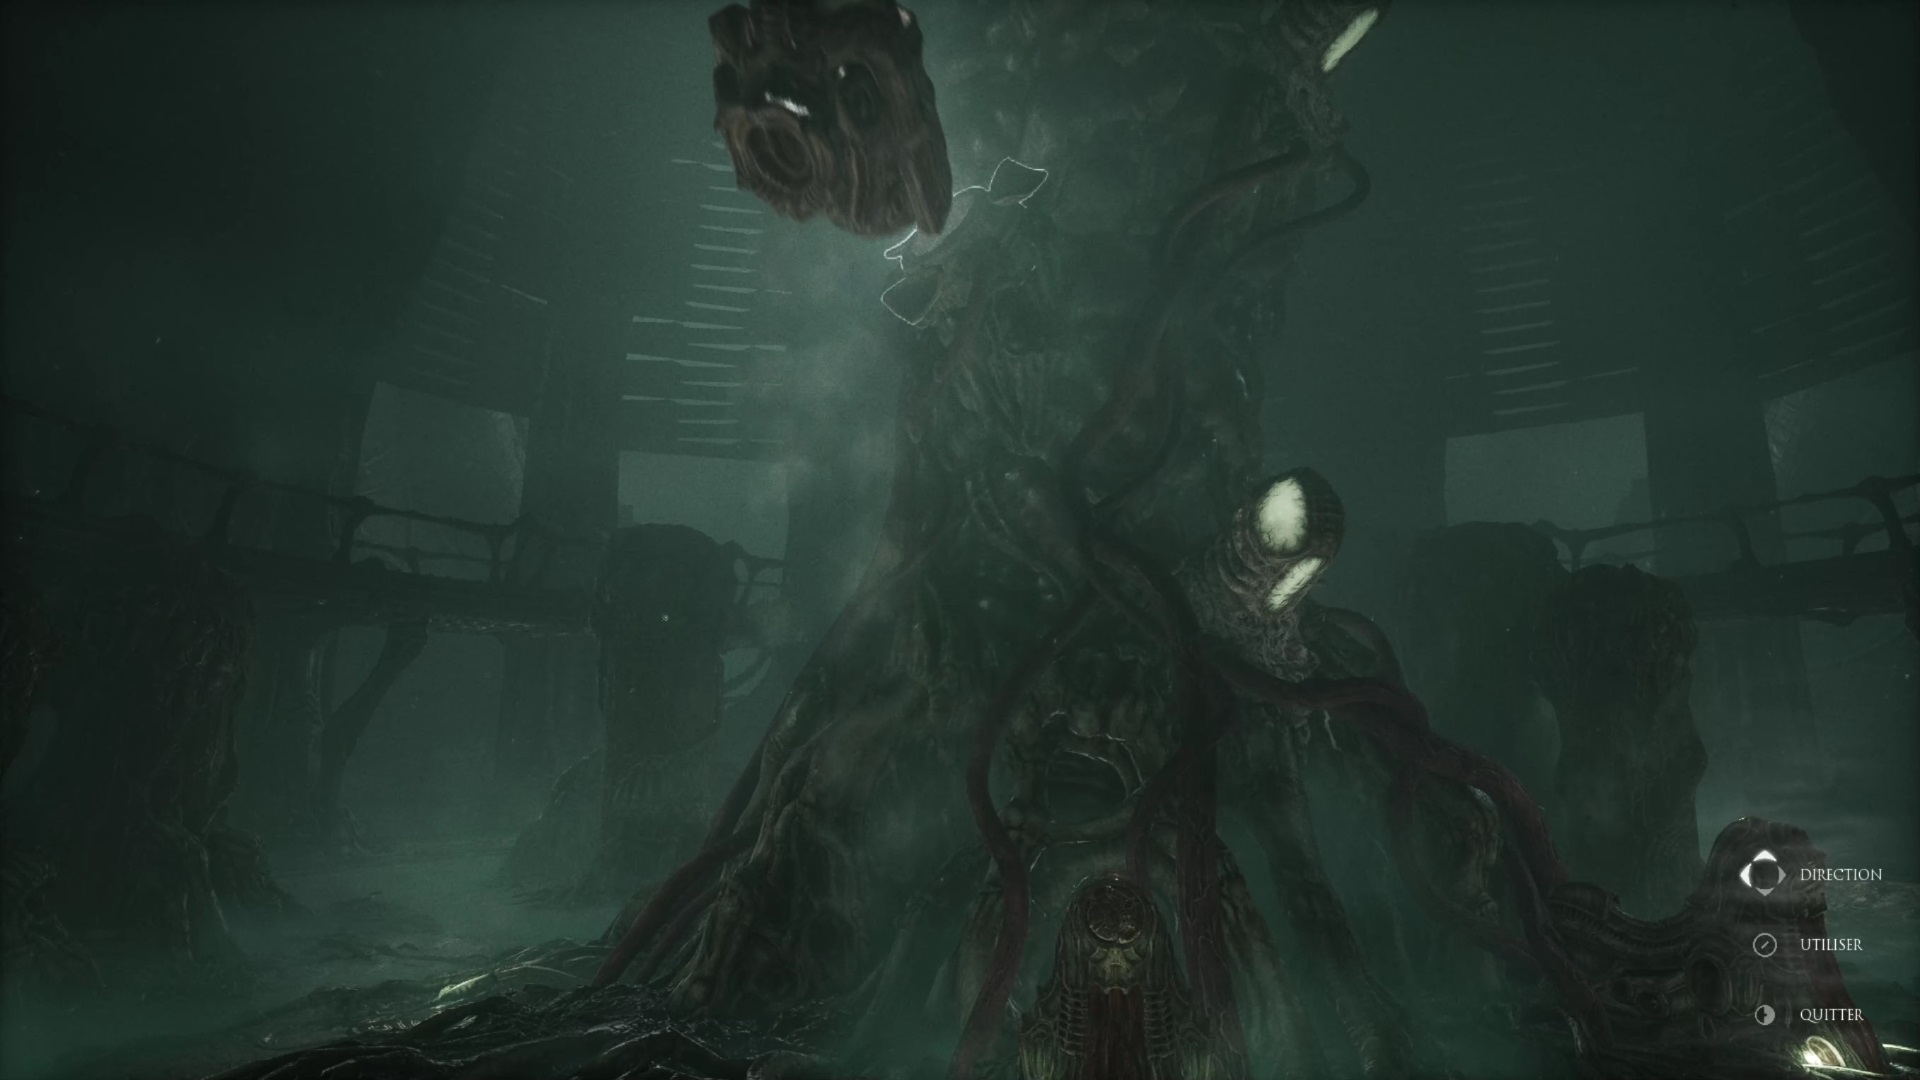
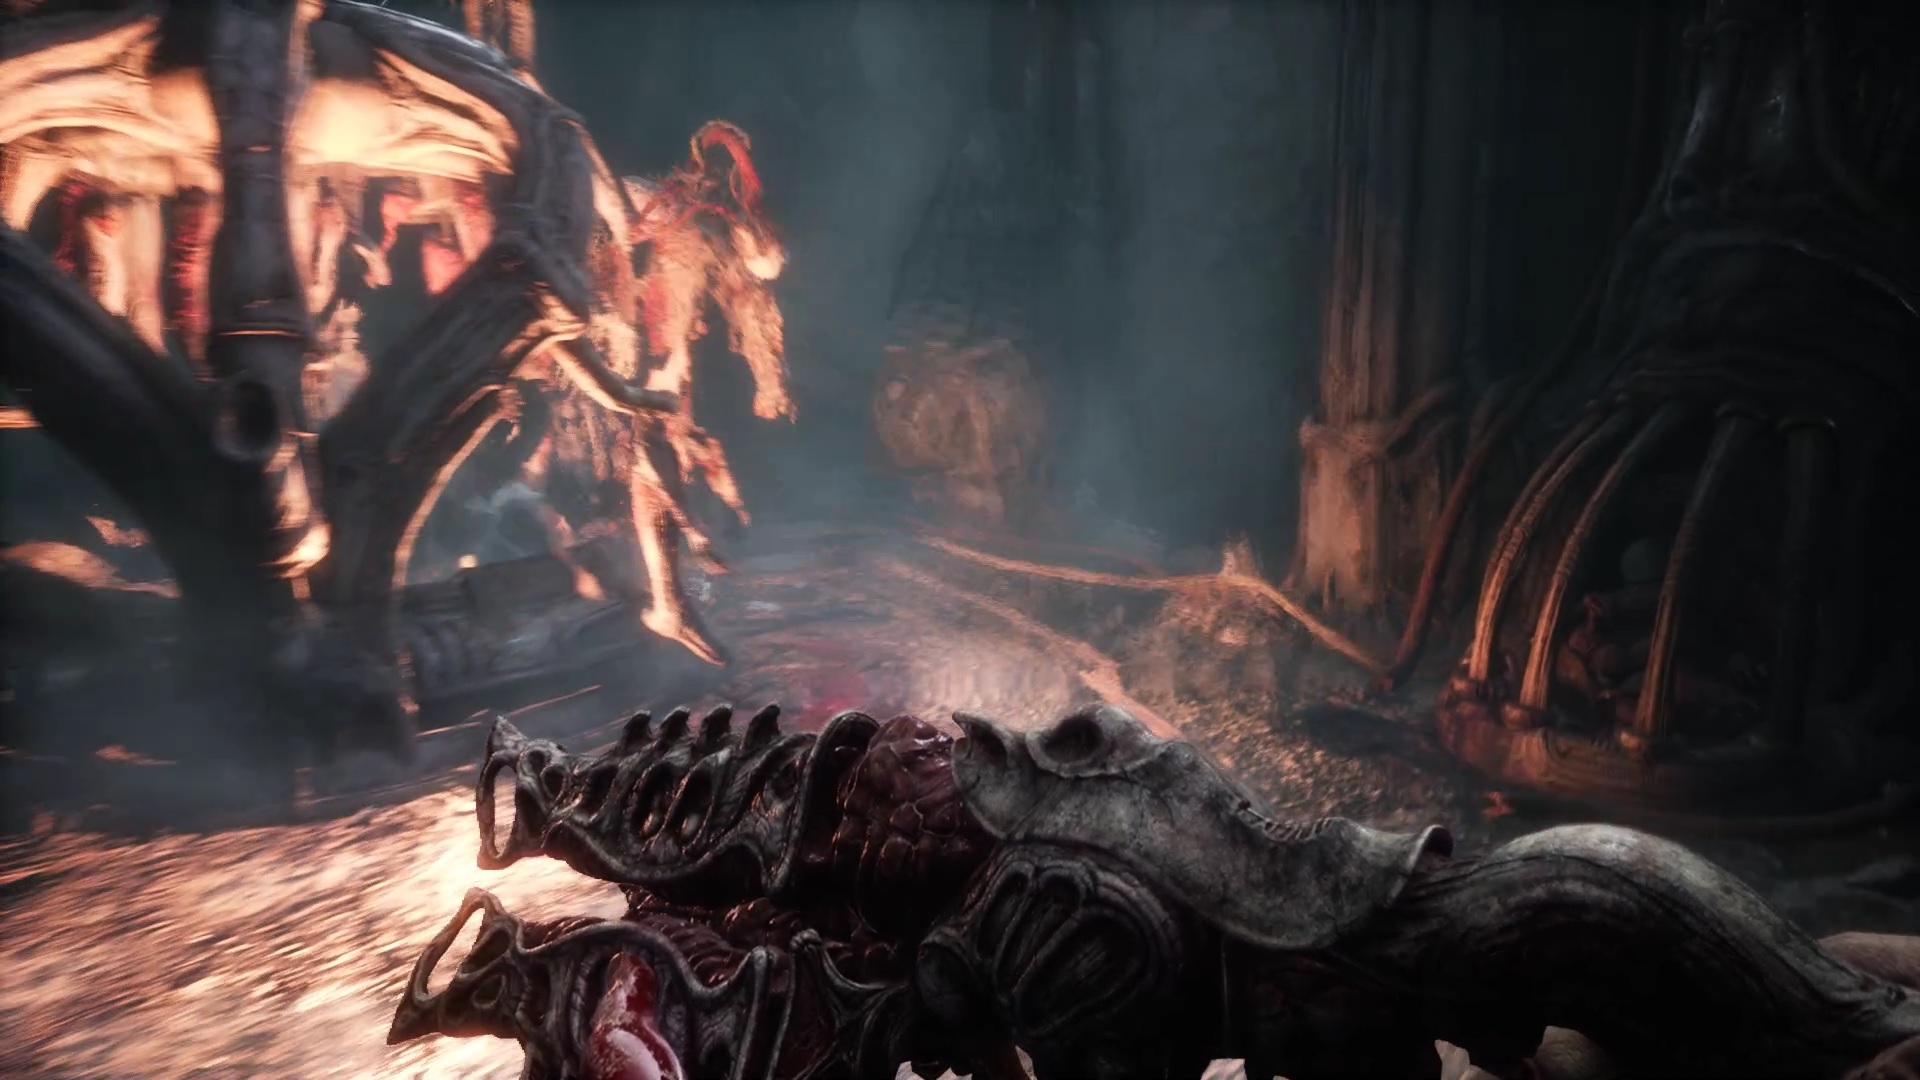
Act IV
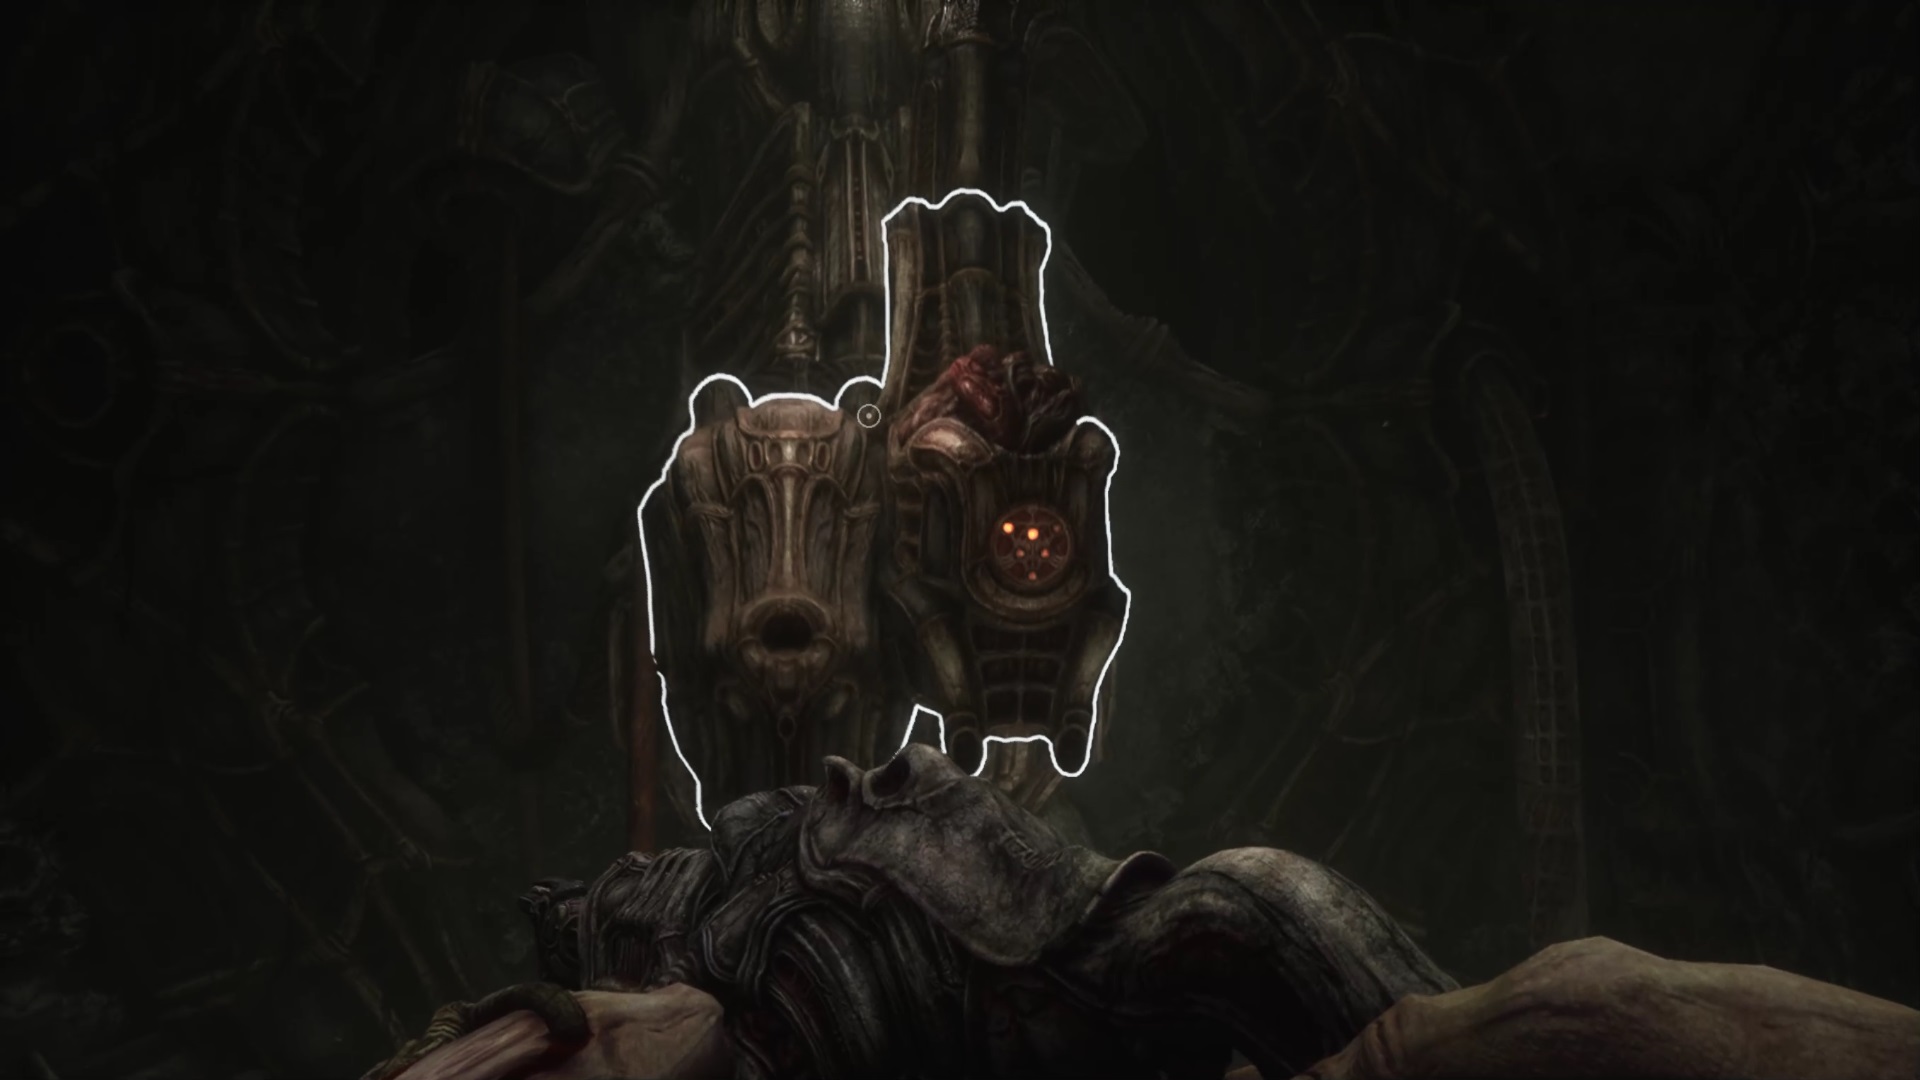
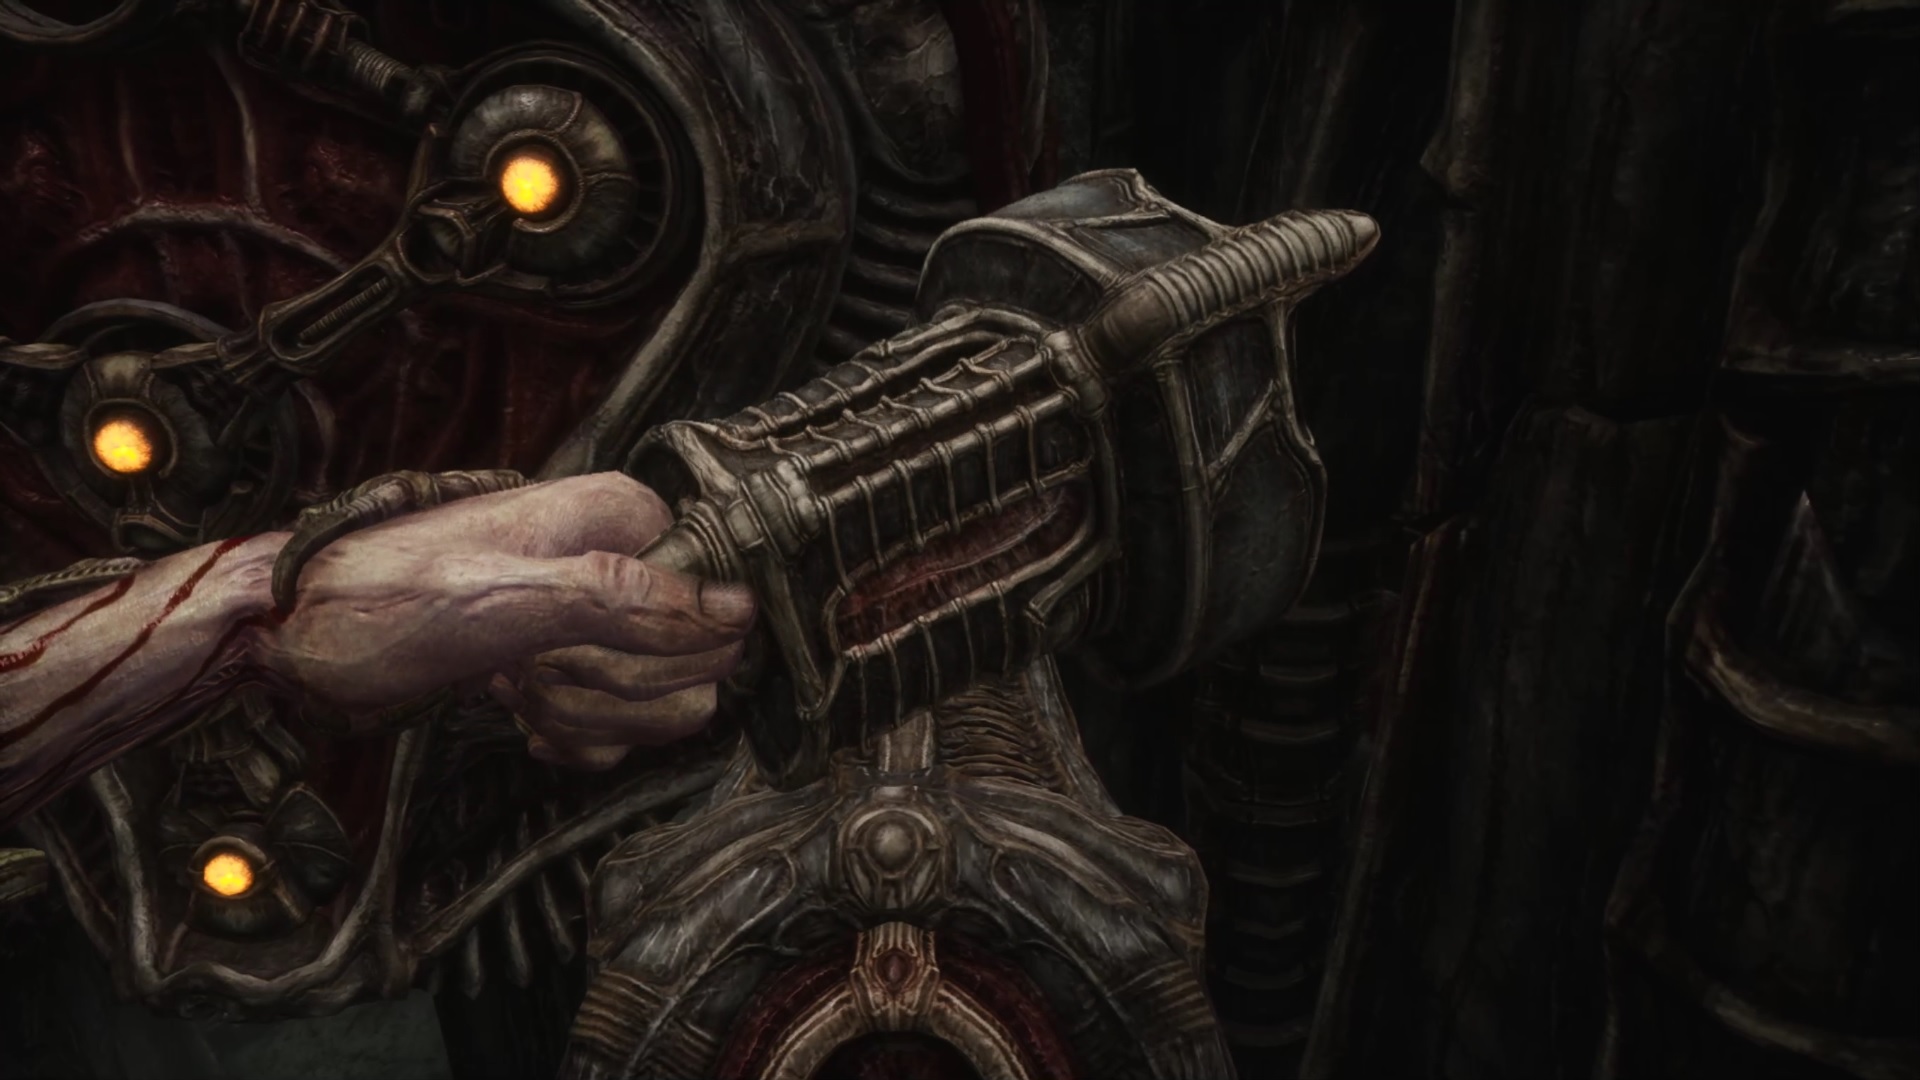
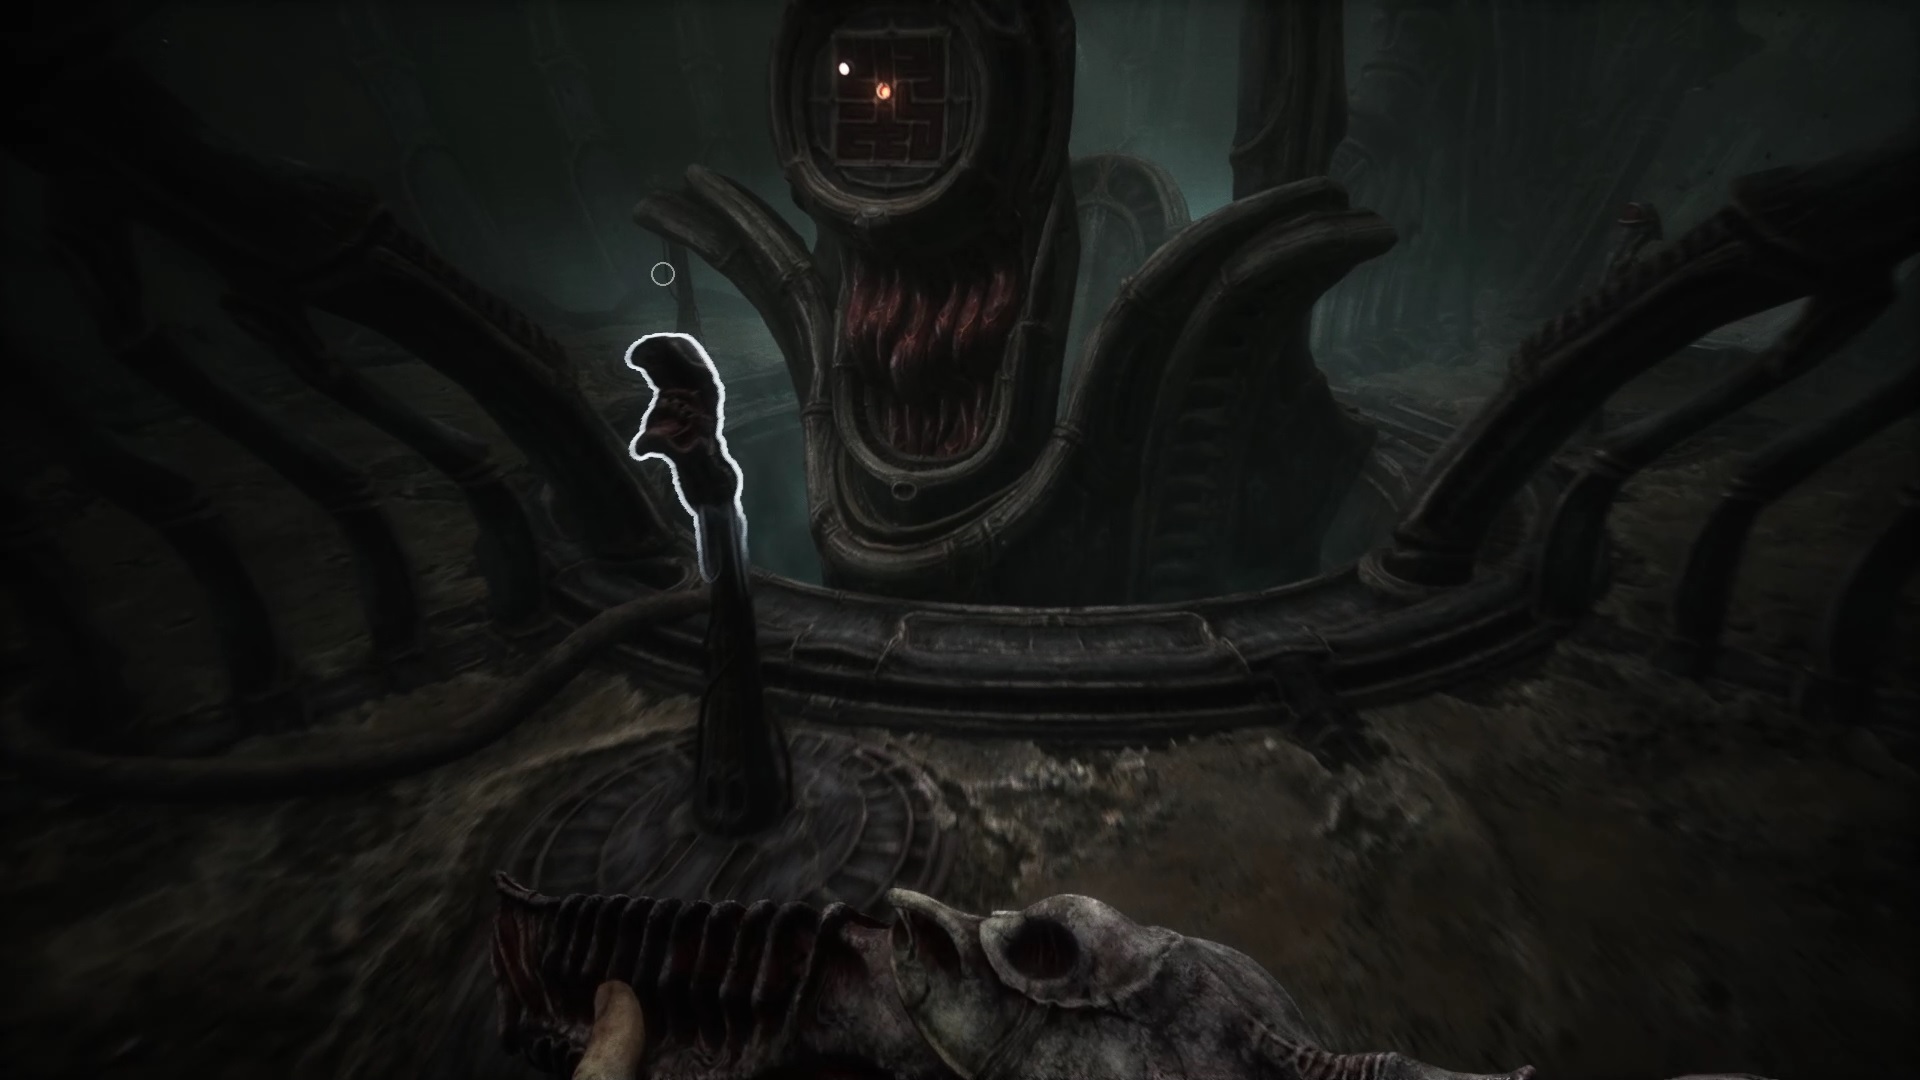
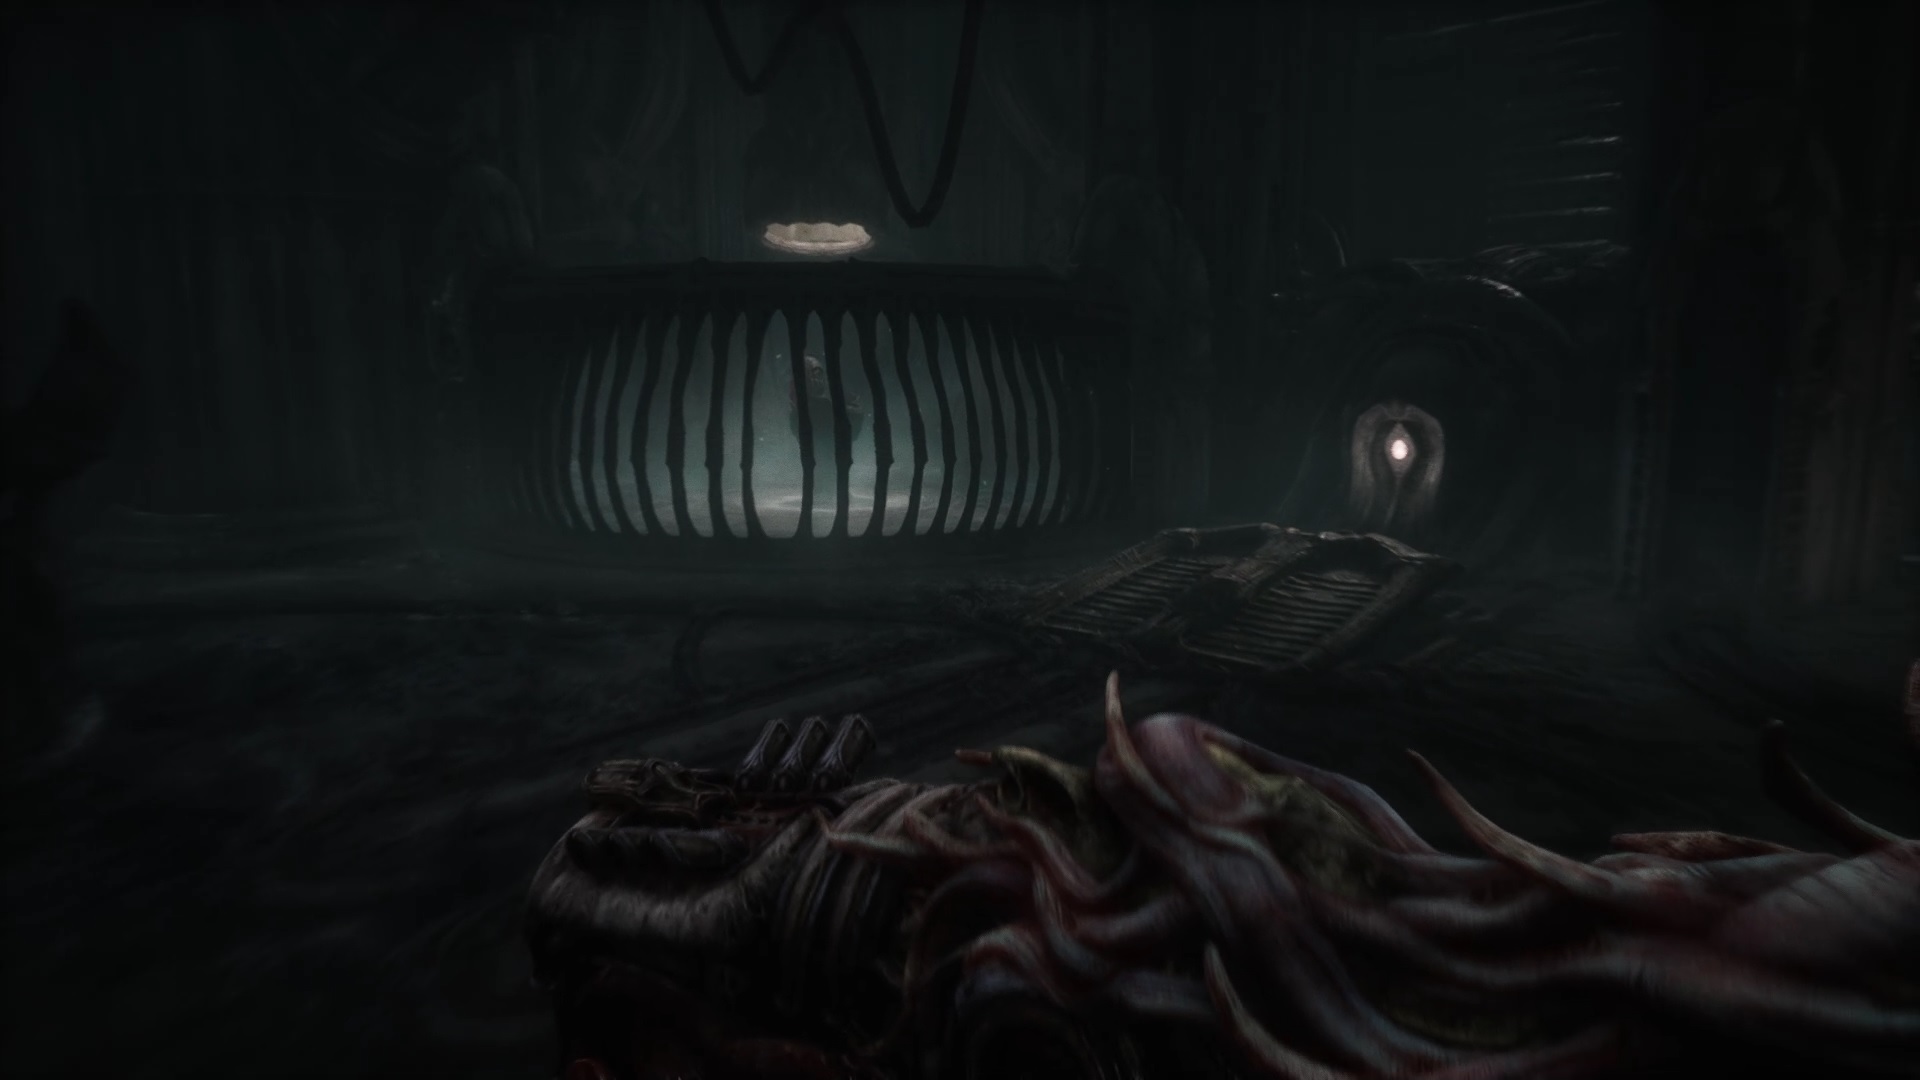
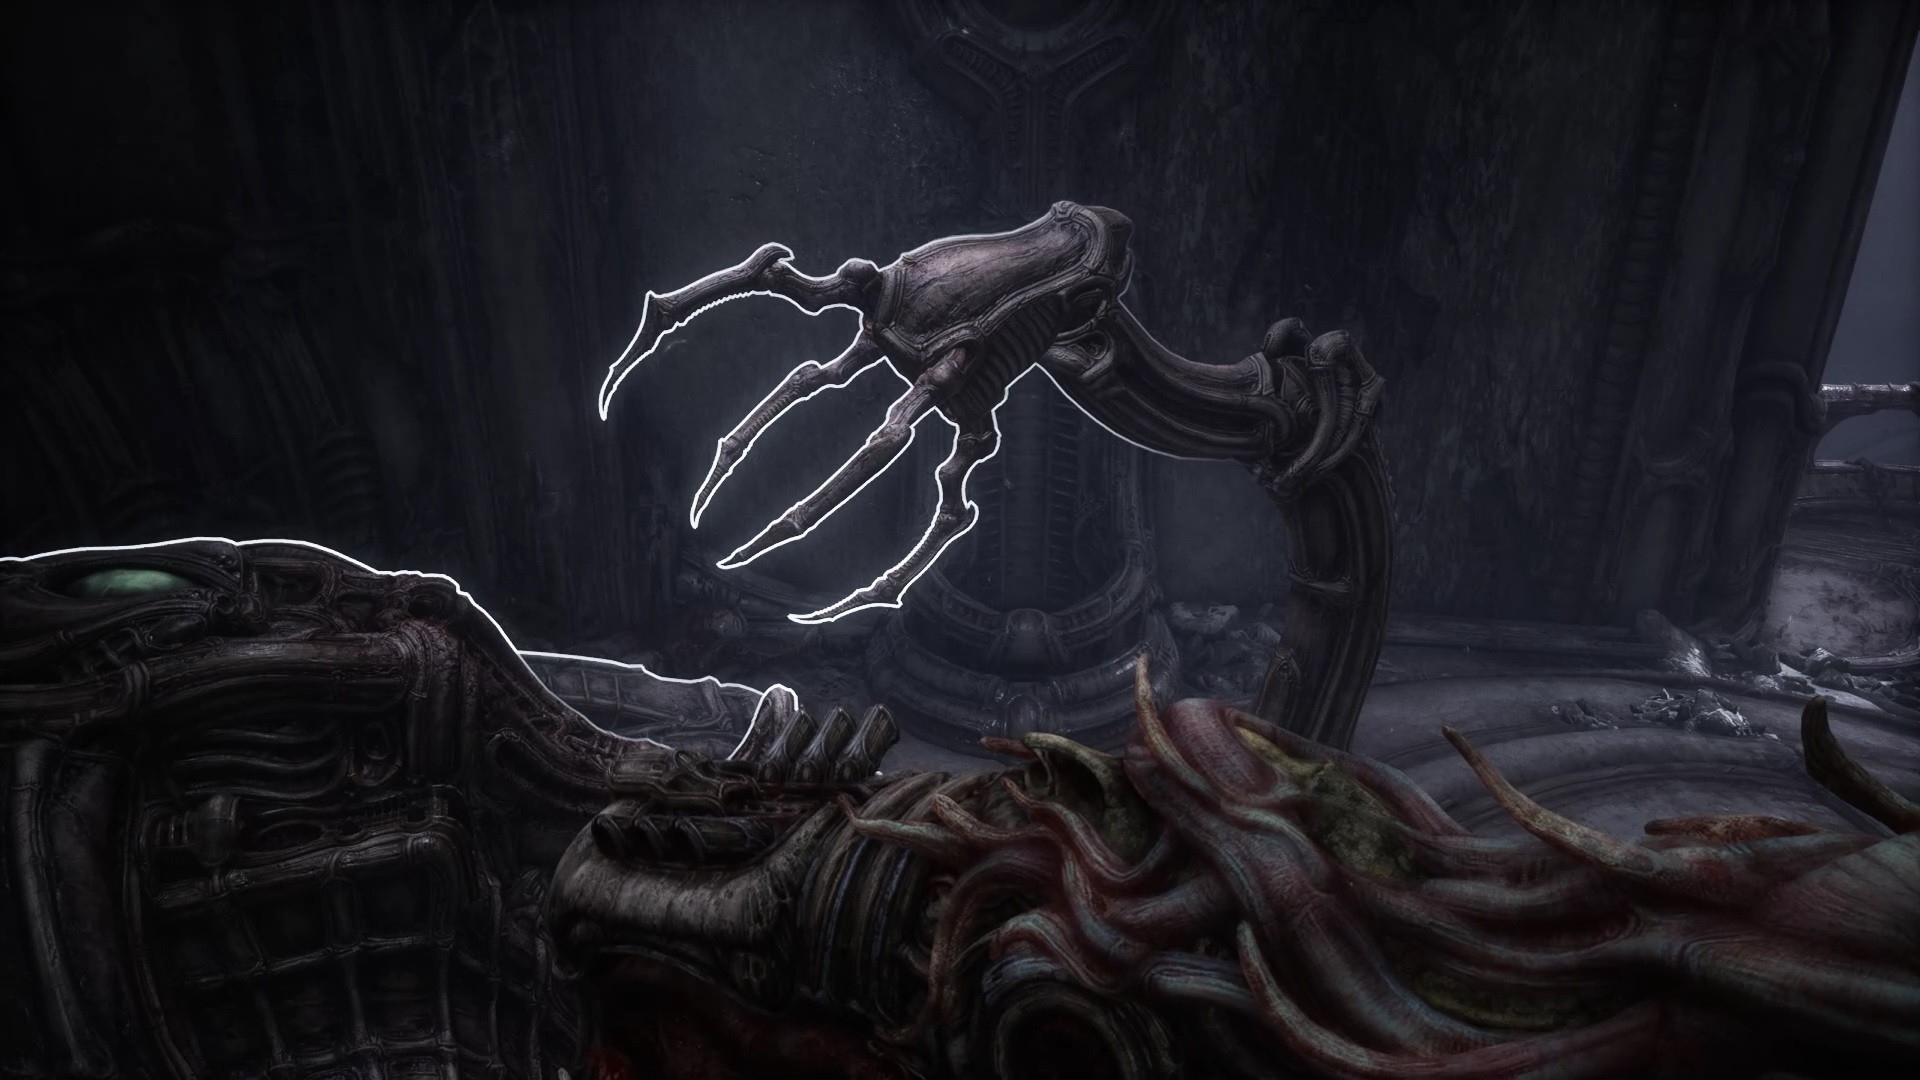
When you arrive, walk forward to find a circular square. Turn left and go to the bottom to find a climb. Use the panel above to open an entrance into the giant beast. Beware of enemies appear. Destroy them. Enter the opening to the left of the climb. Use the device on the spot to bring up a puzzle.

Use the left exit and sink to the bottom to find a new climb that leads to the base of the giant. Here you are in front of several junctions. Start by taking the upper left path to find a new sign and open a new entrance into the Giant. Enemies appear. Clean the area. You can use the nearby healing station to heal yourself.

Return to the branch to explore the middle path. Go to the bottom to trigger a cutscene. You are now in the puzzle room. Delve behind the puzzles to discover a path to a new weapon and ammo. Get out the left path to find a bully and an elevator at the end. Go up and follow the slope path. At the end of the path you will find a level four accreditation panel for your remote.
With the accreditation in hand, head for the junction of the base at the bottom left. Unlock the grid and join the puzzle. Take the puzzle to the next level.
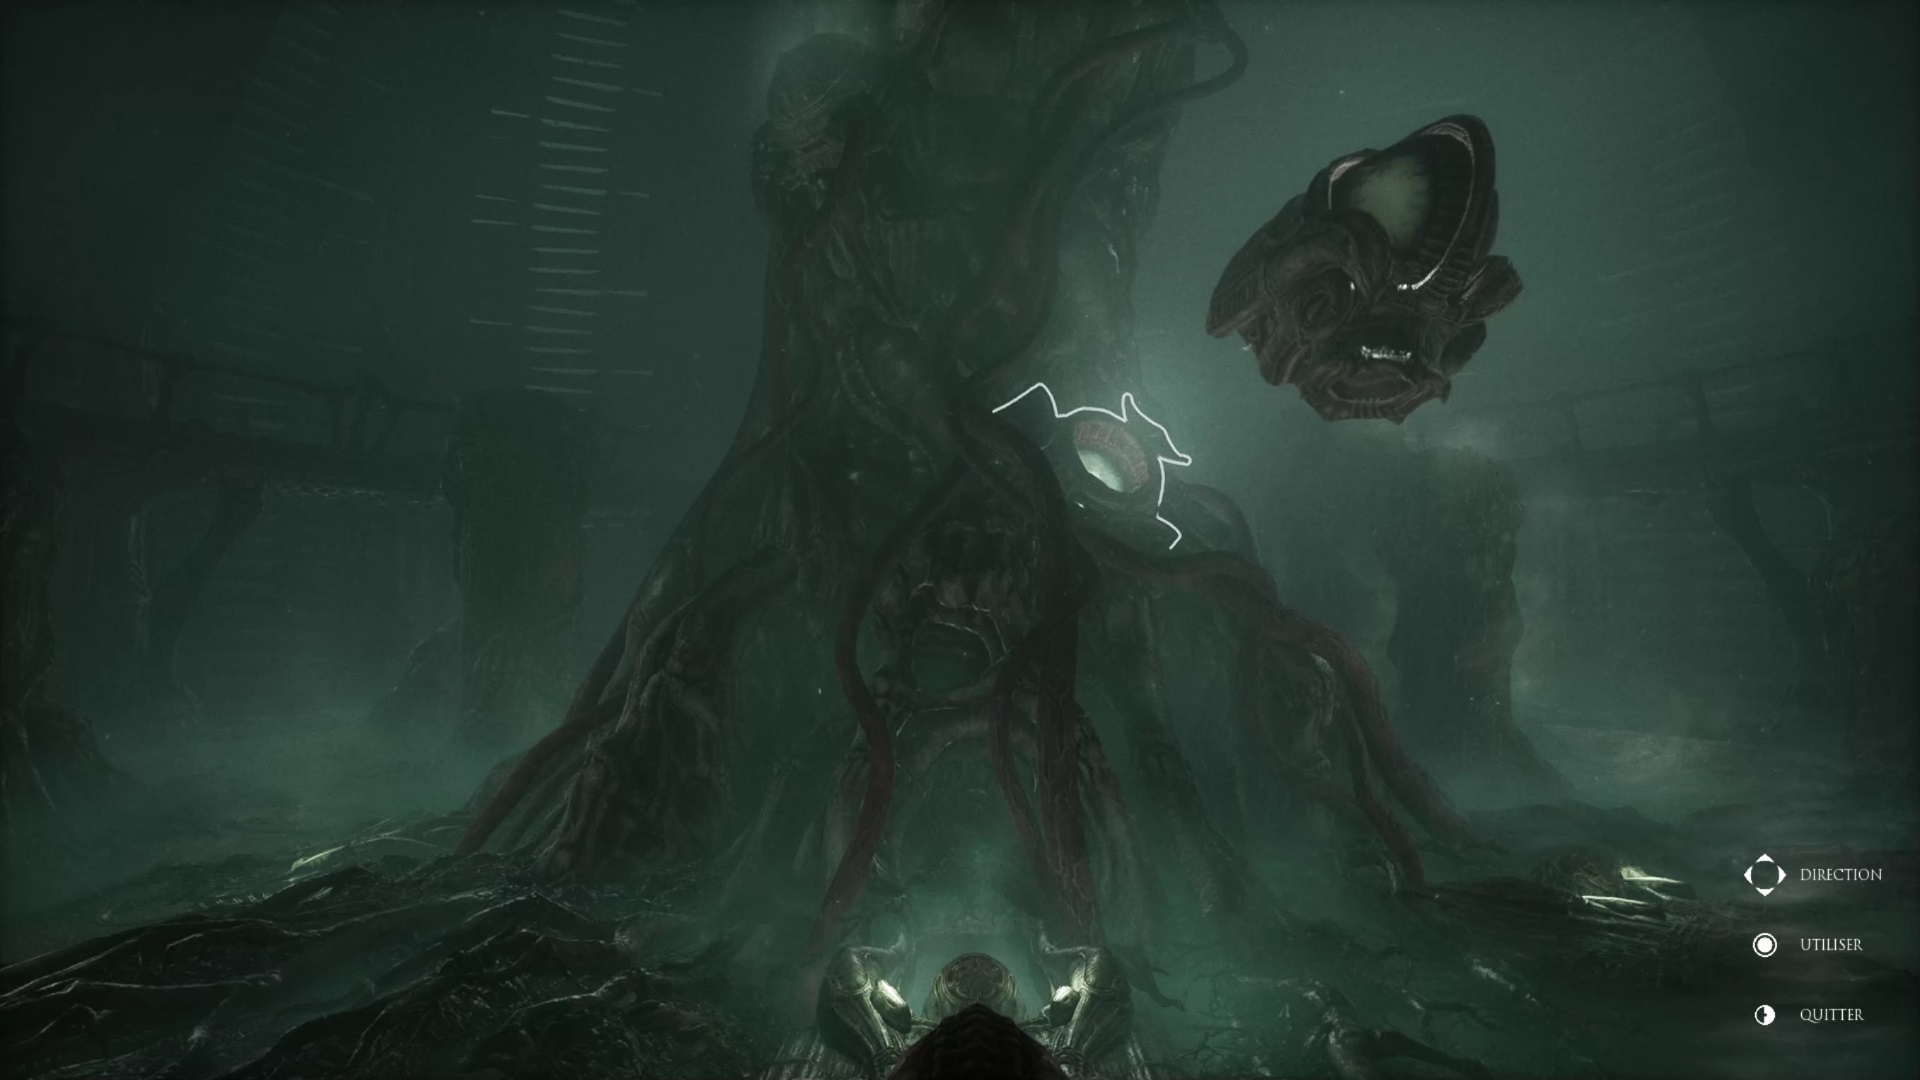
Return to the branch to explore the path at the bottom right. Go to the bottom of the path to find a new elevator. Upstairs, near a window, is a panel to open the giant one last time. Go down to the lower levels to find the entrance and move the puzzle.
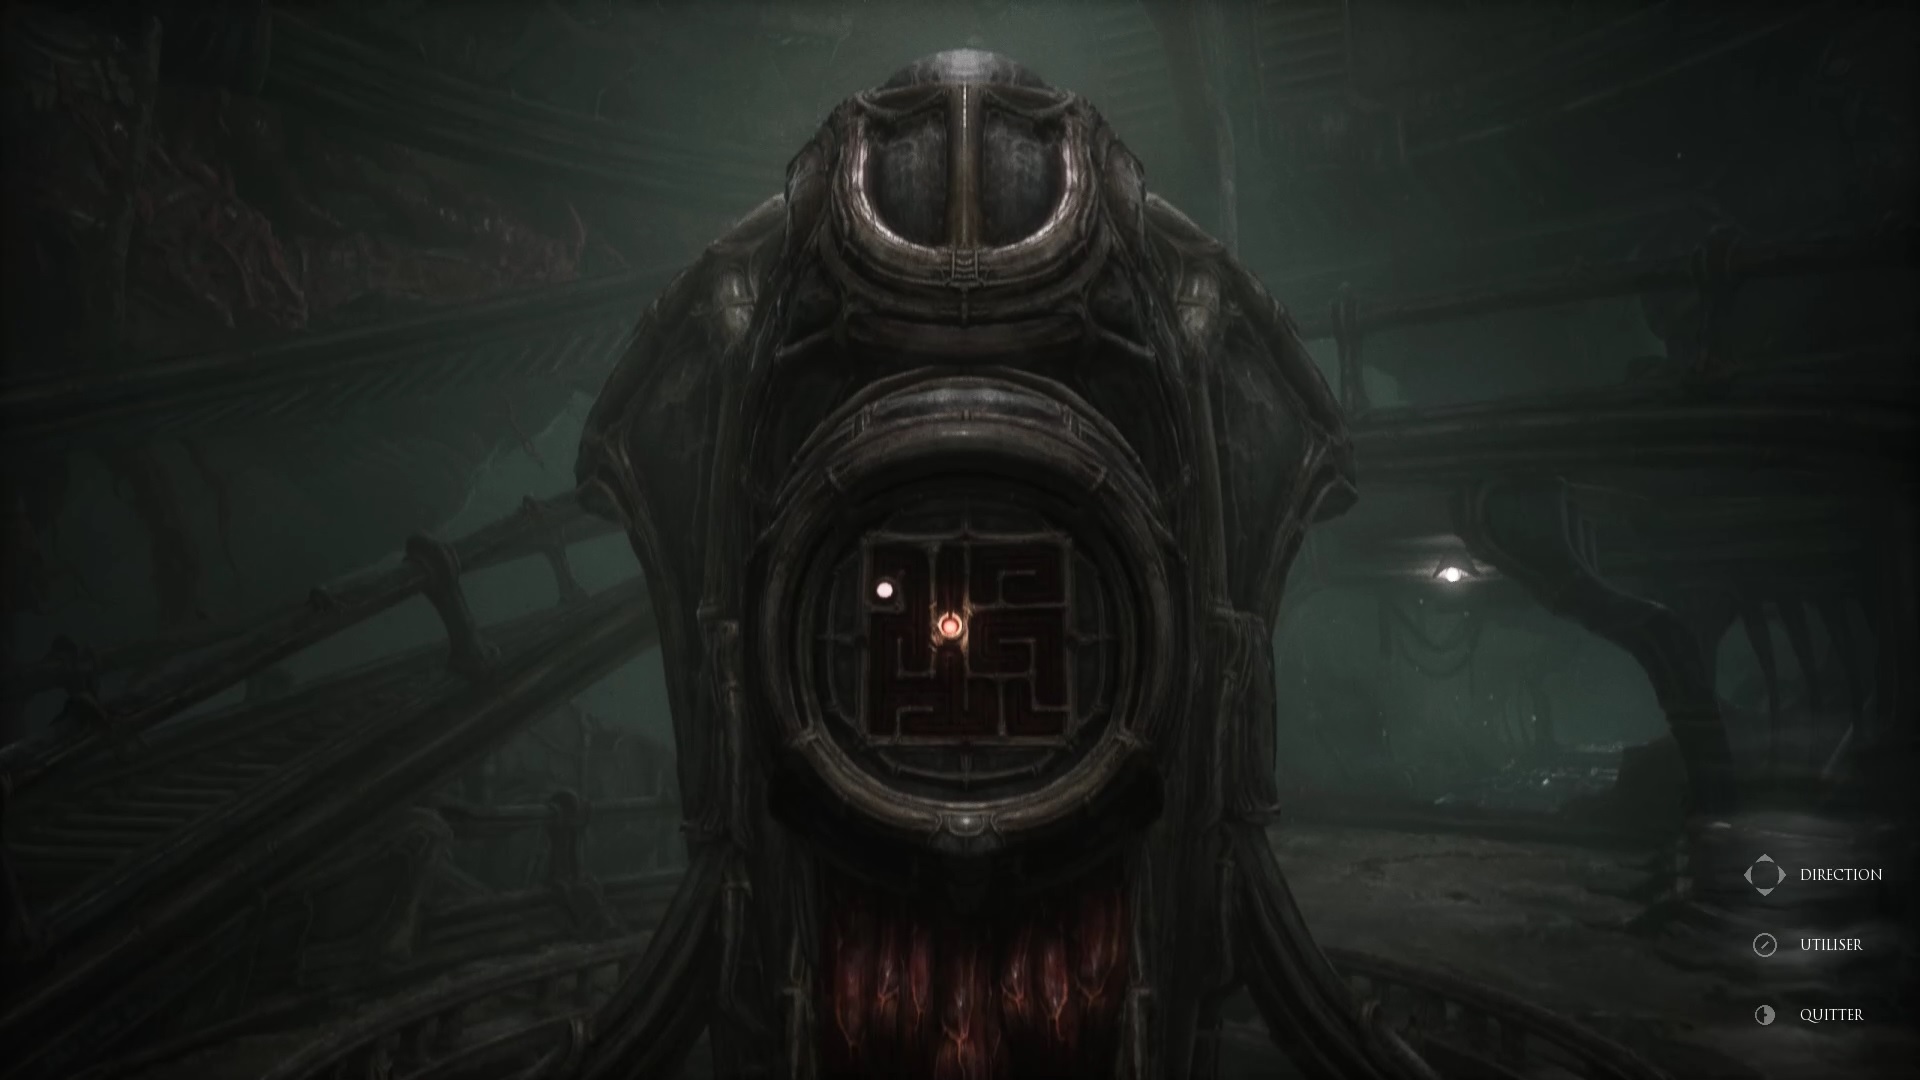
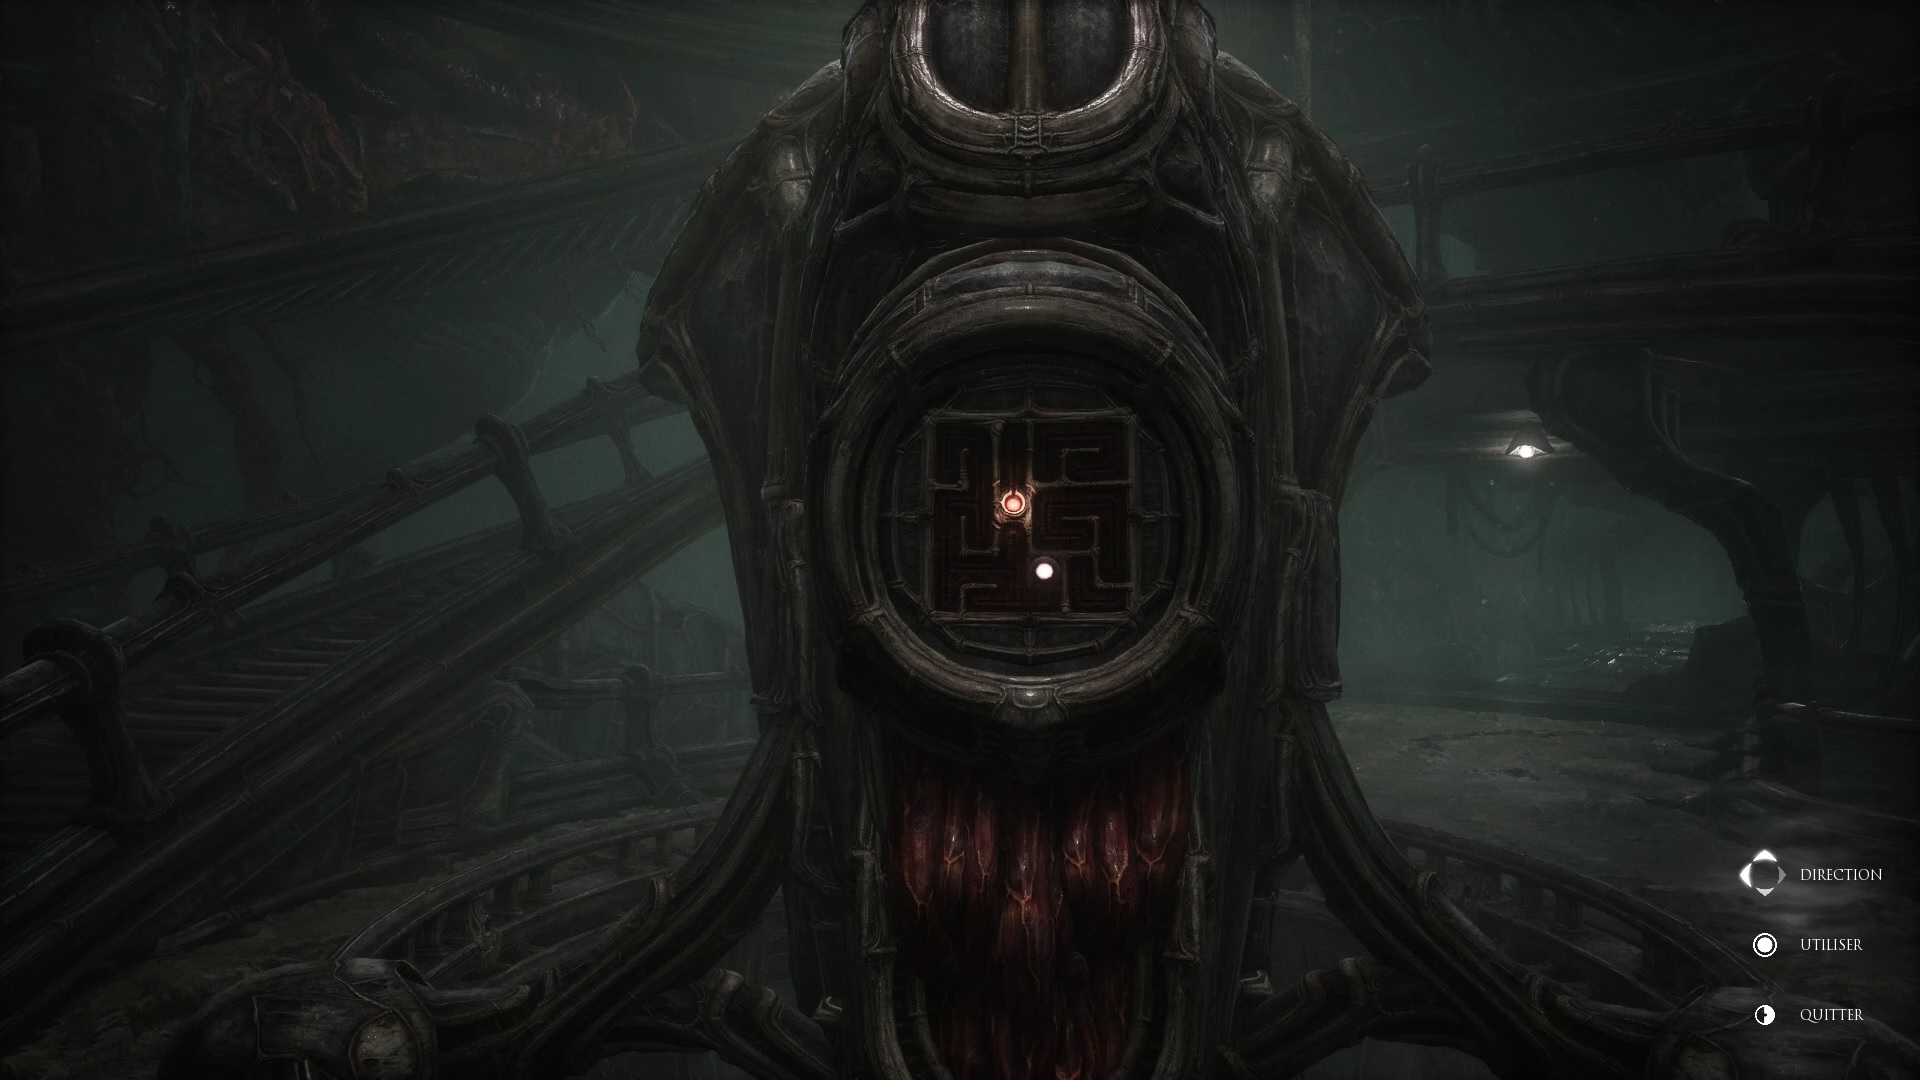
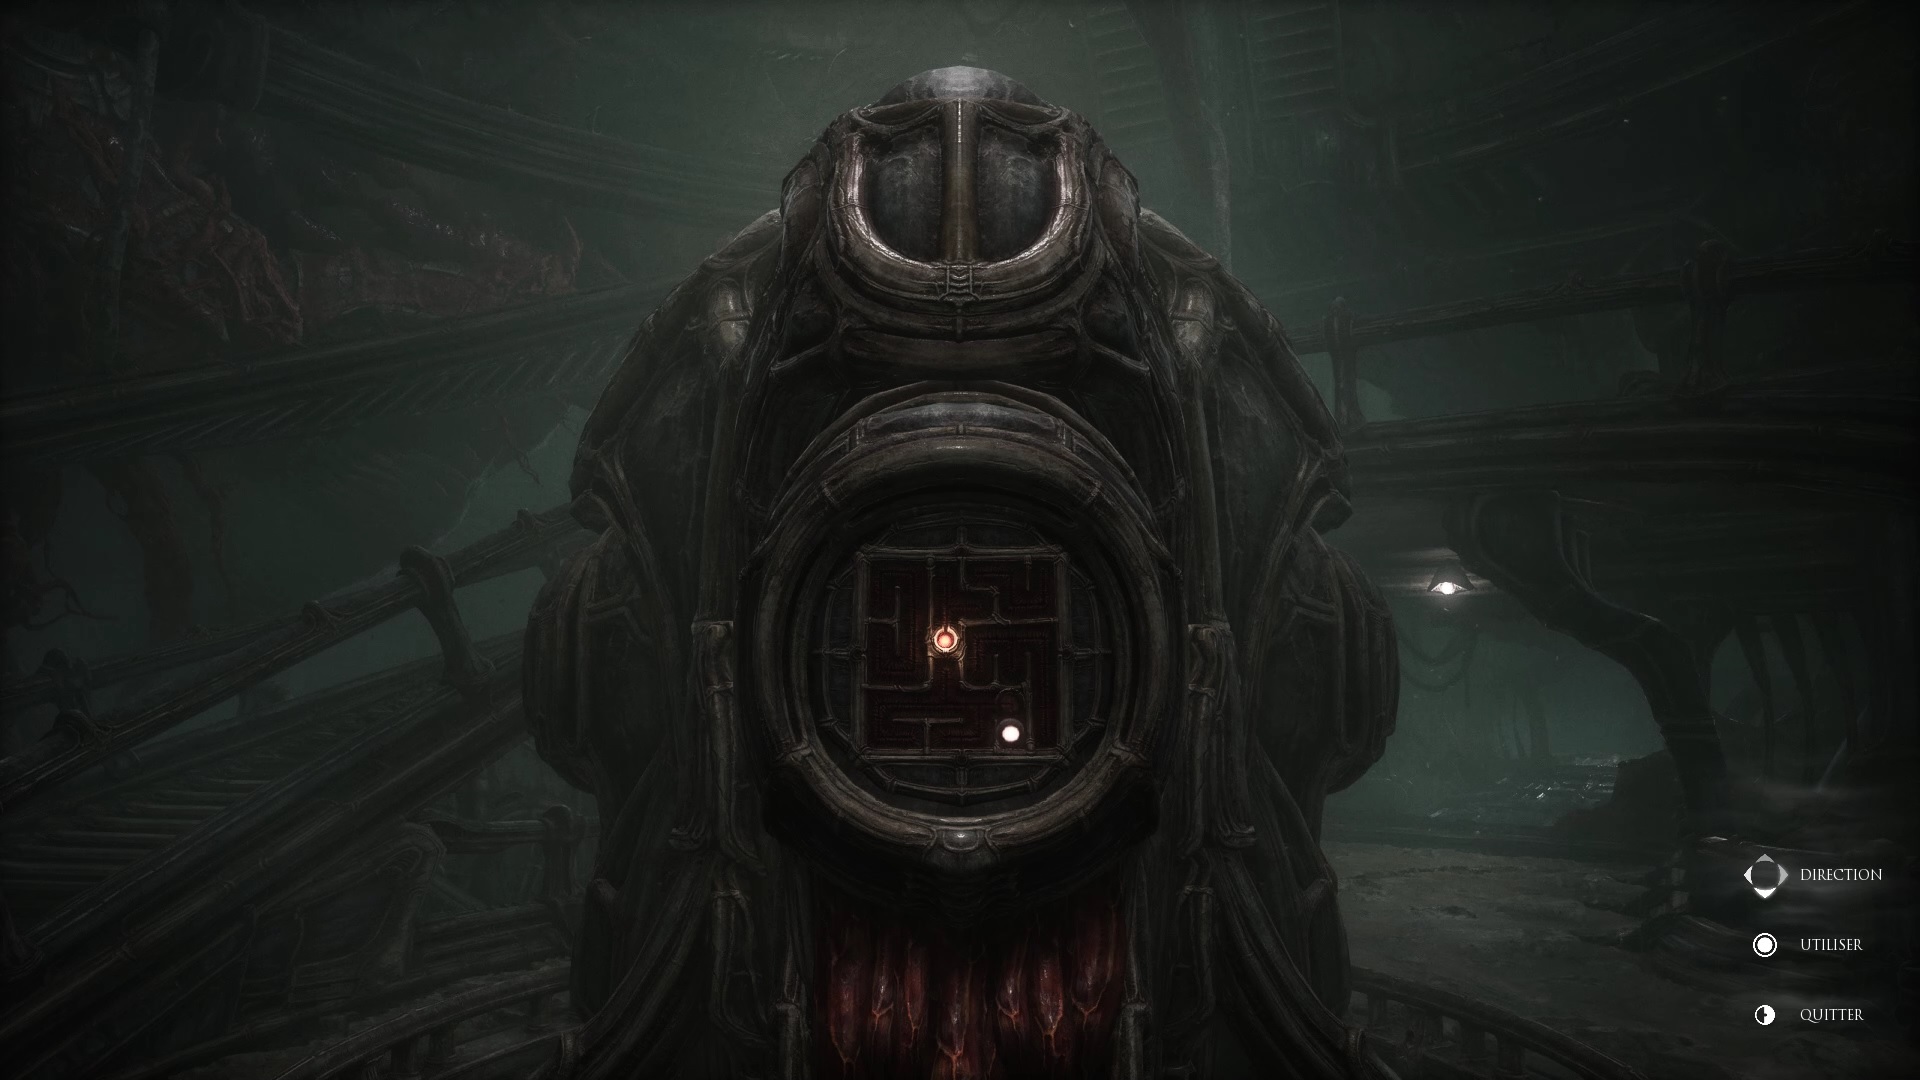
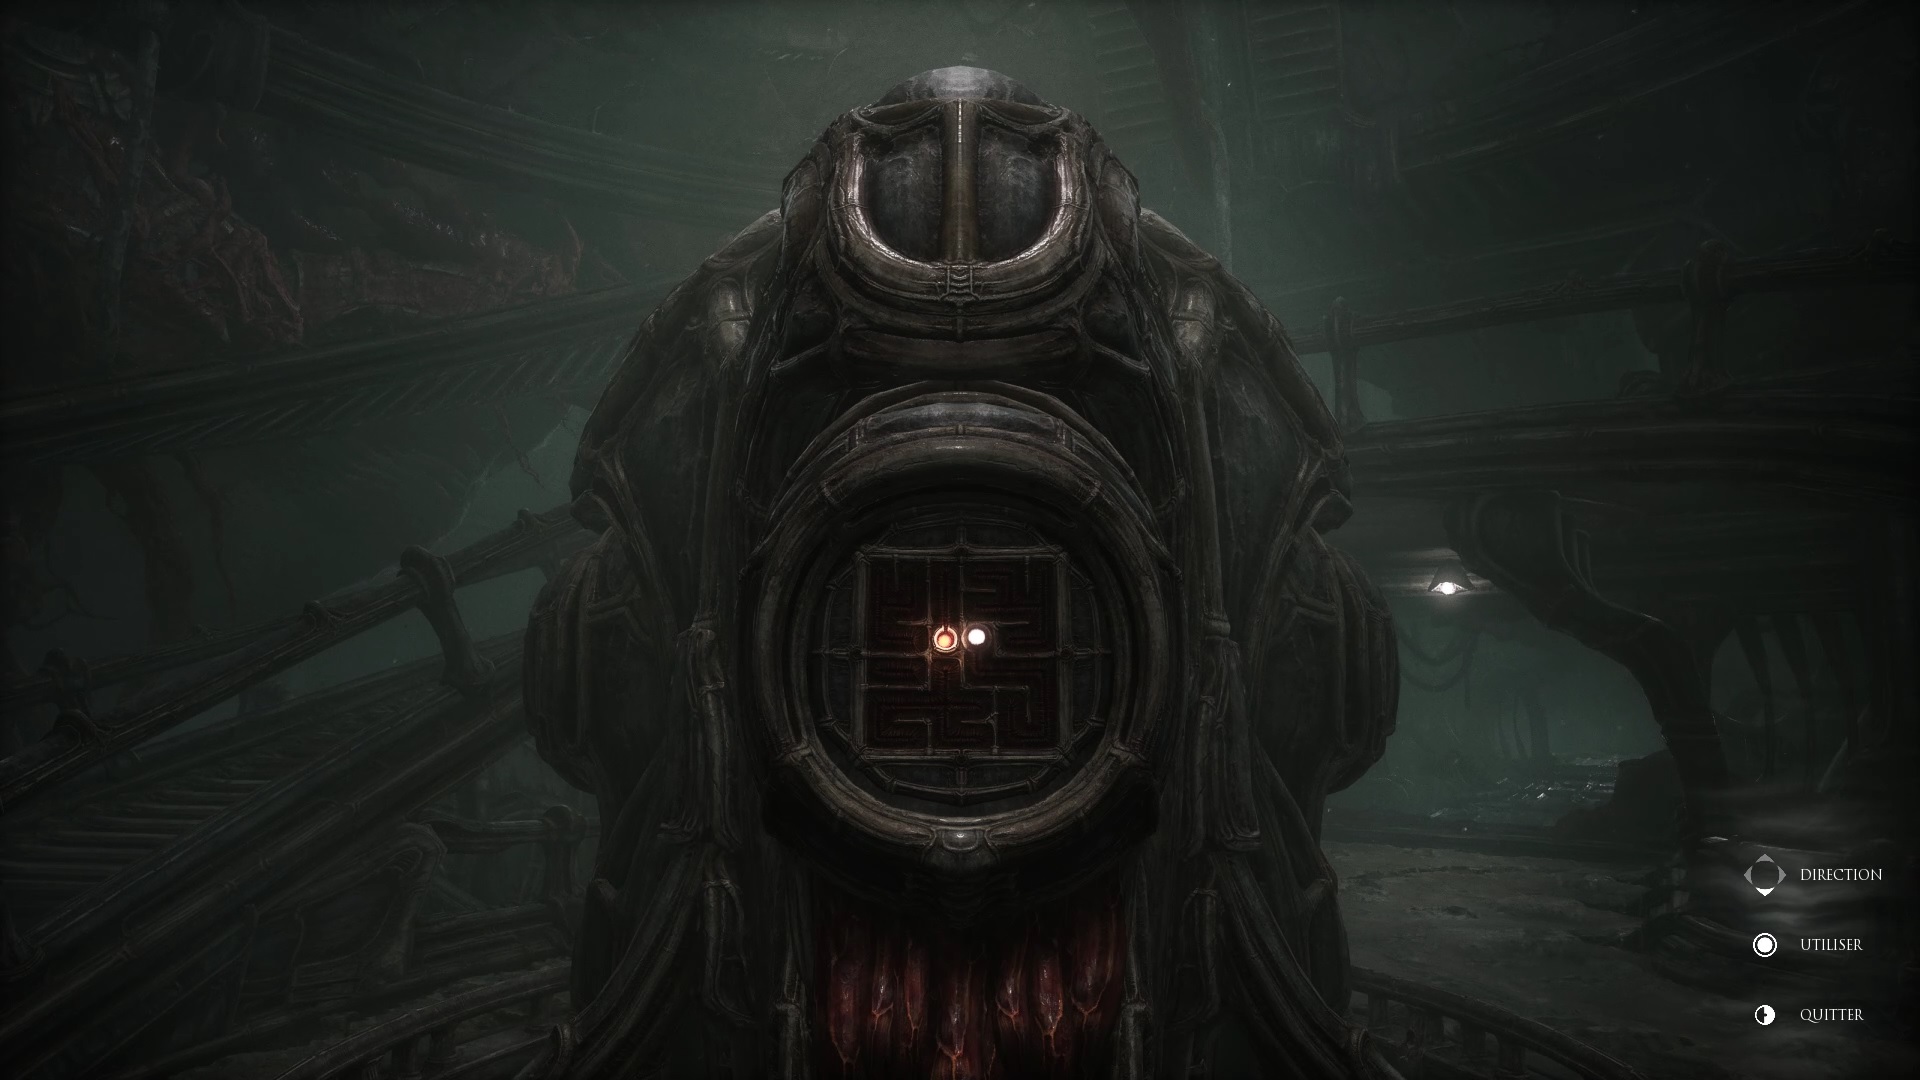
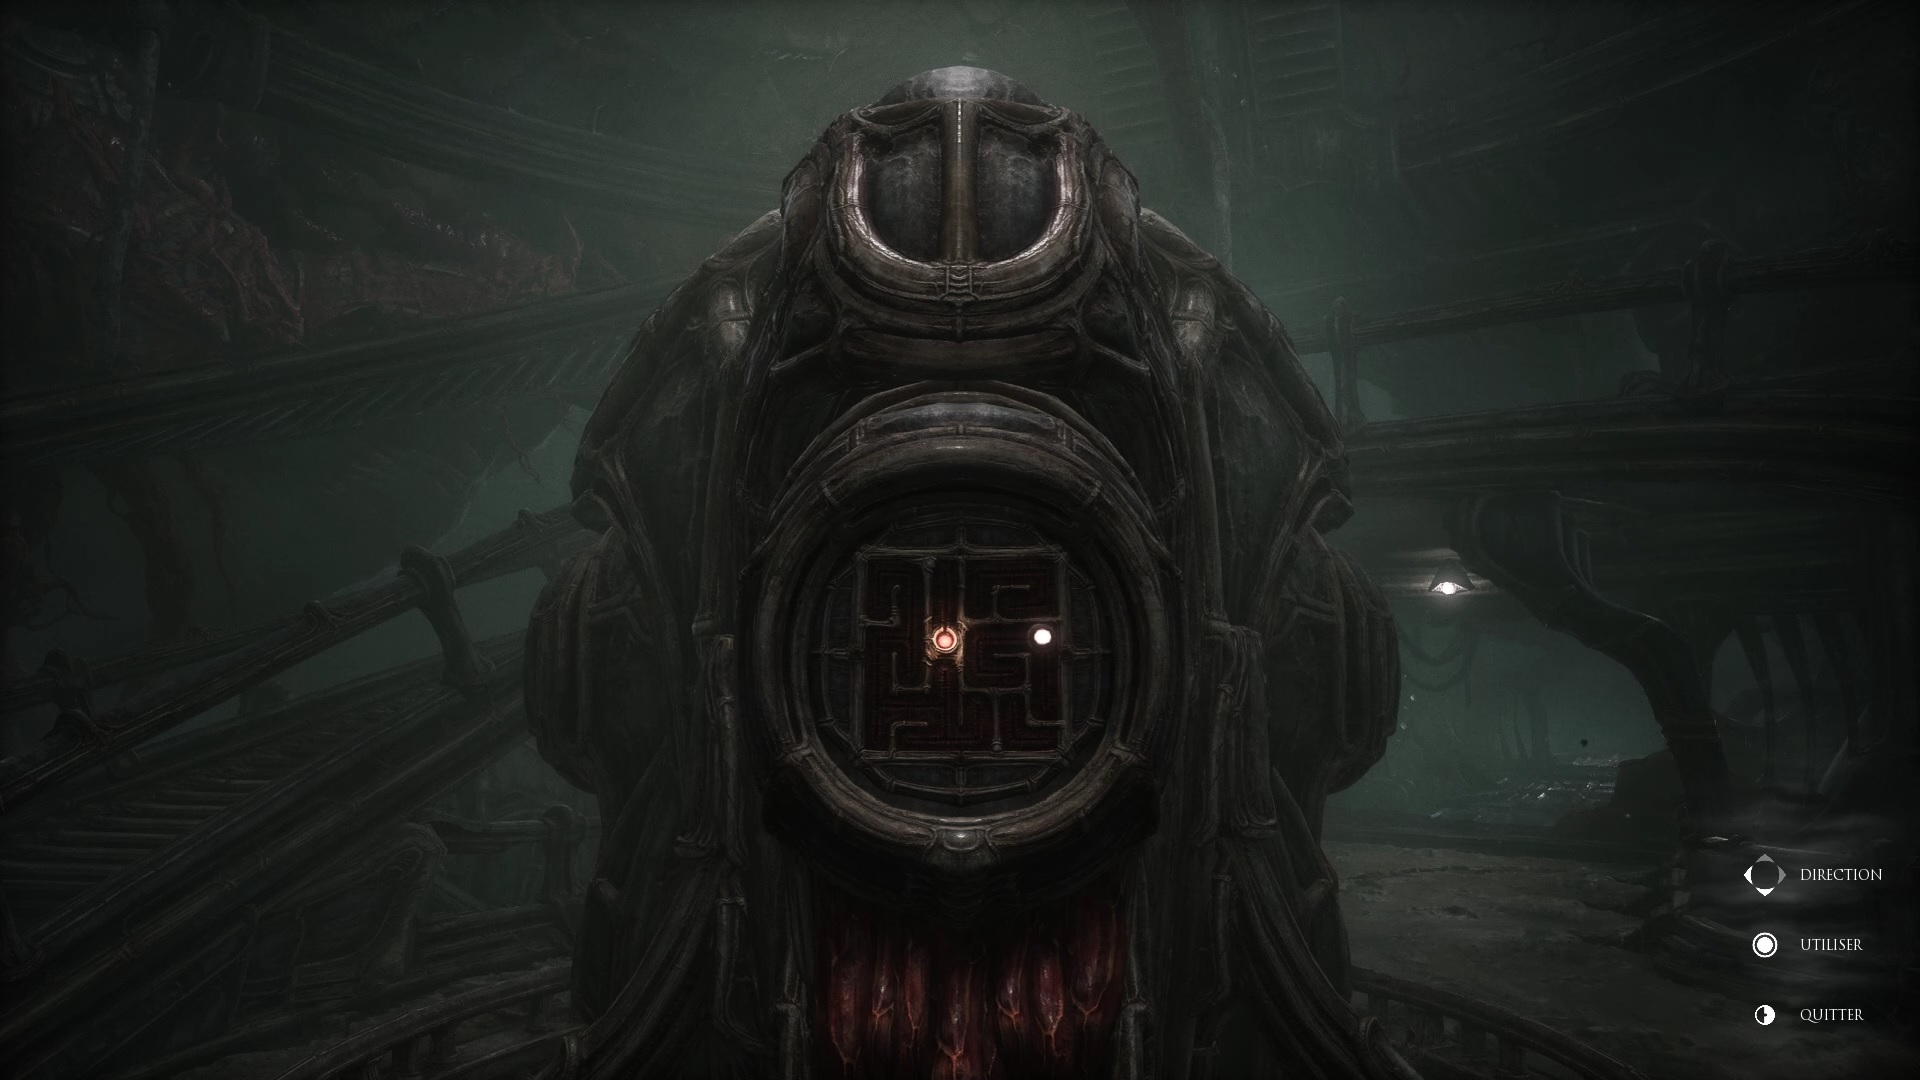
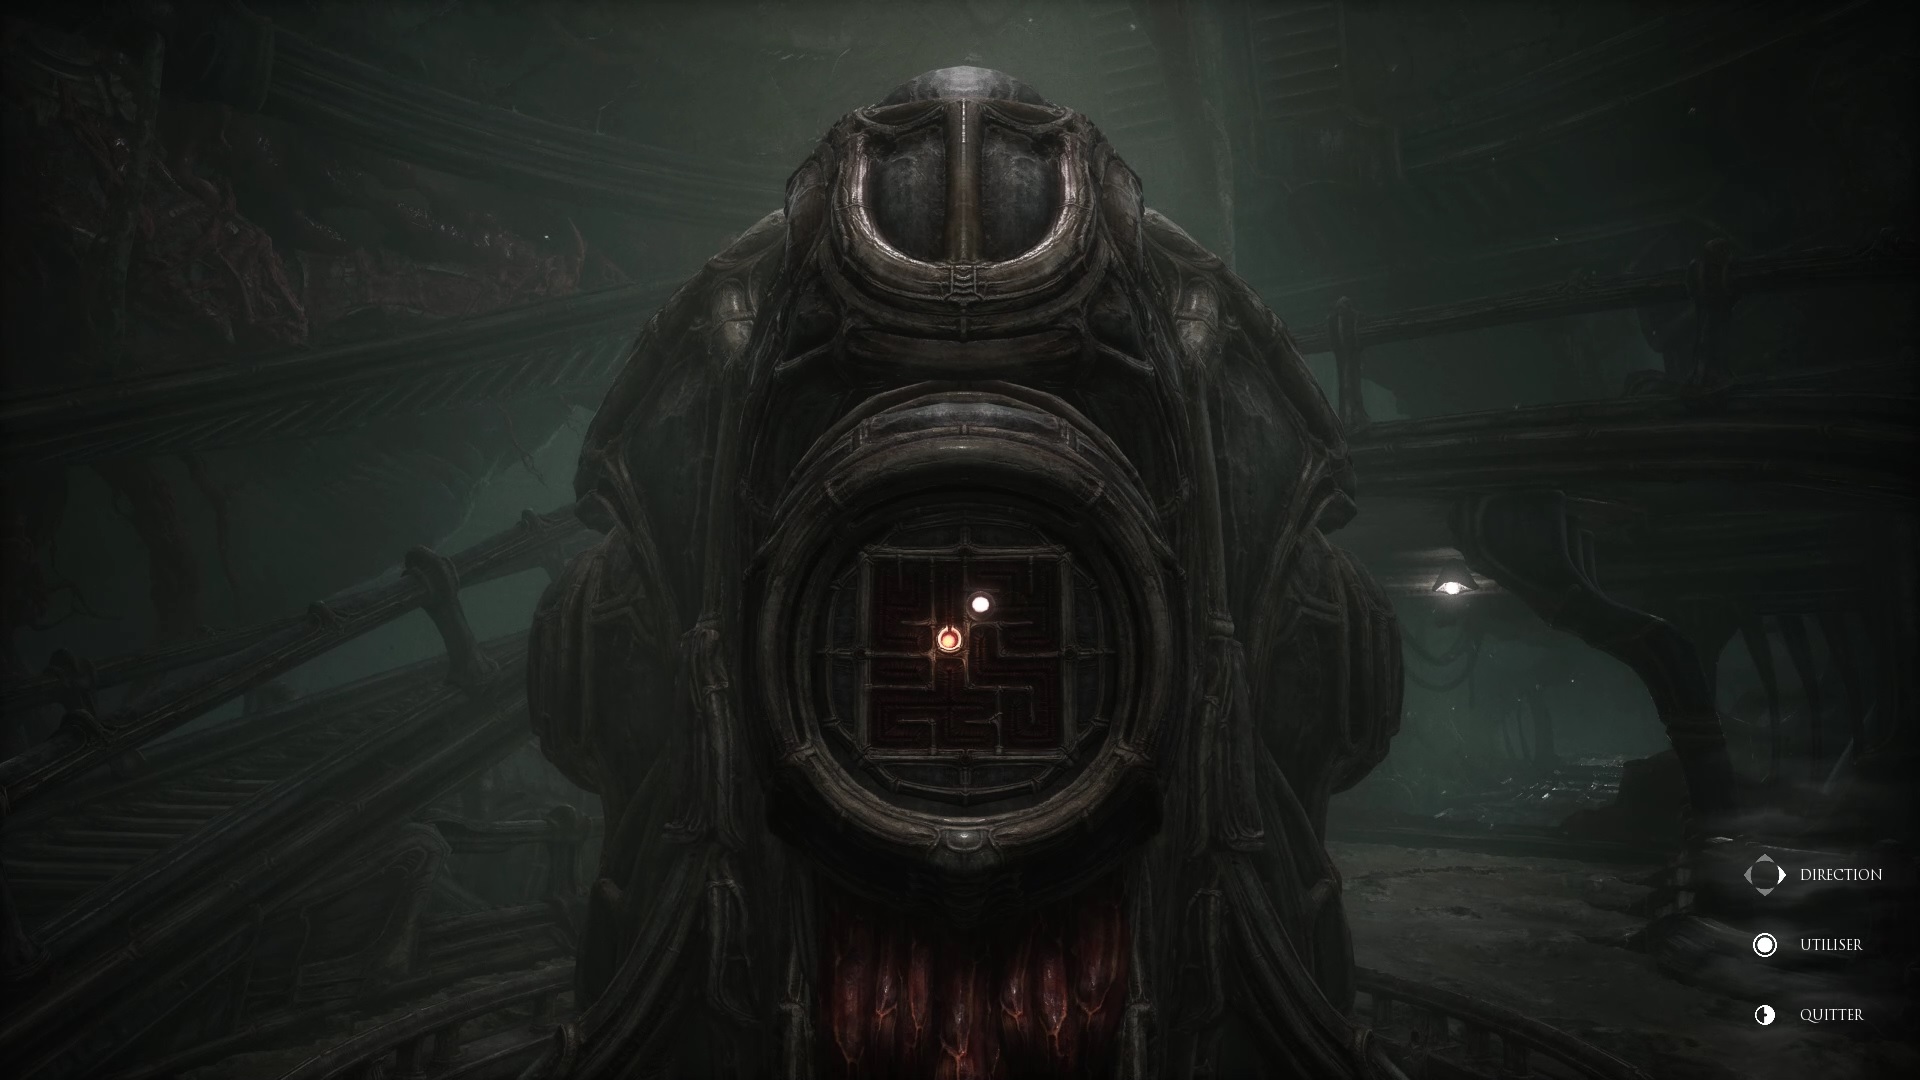
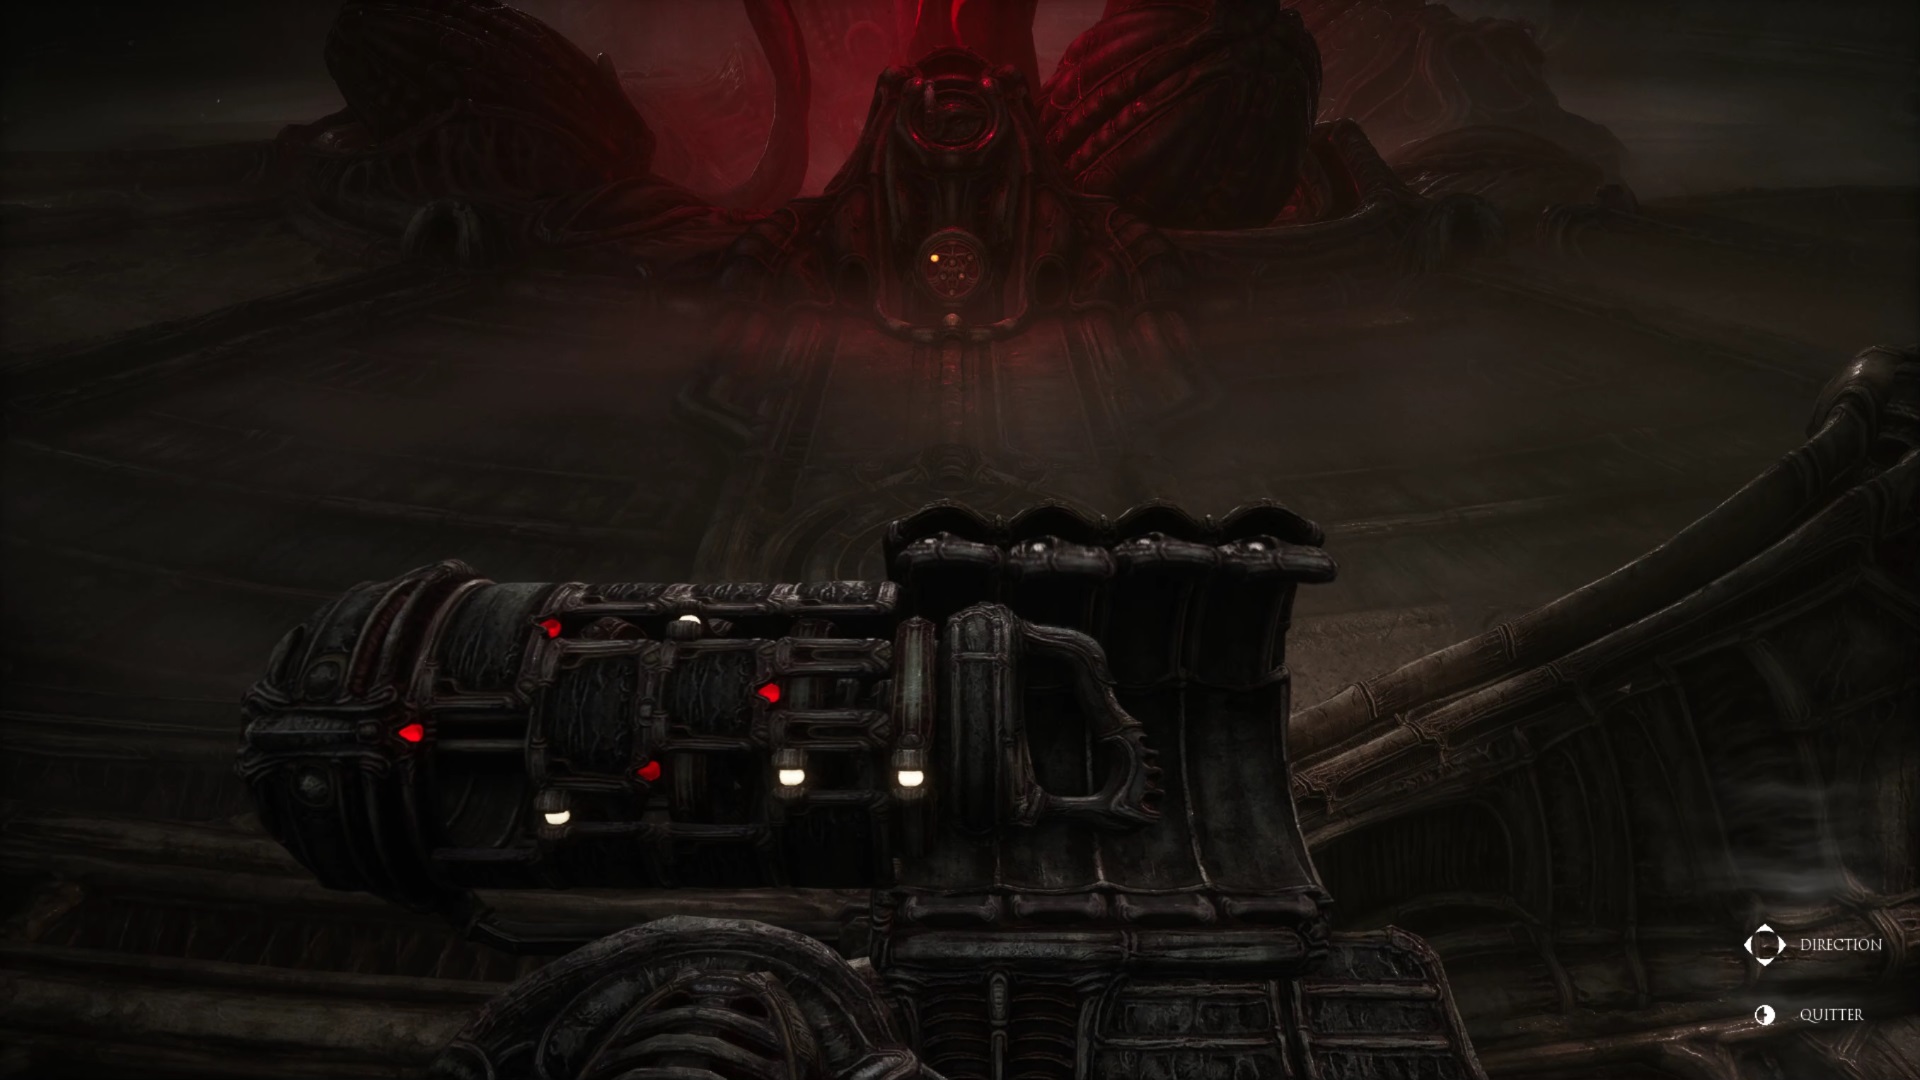
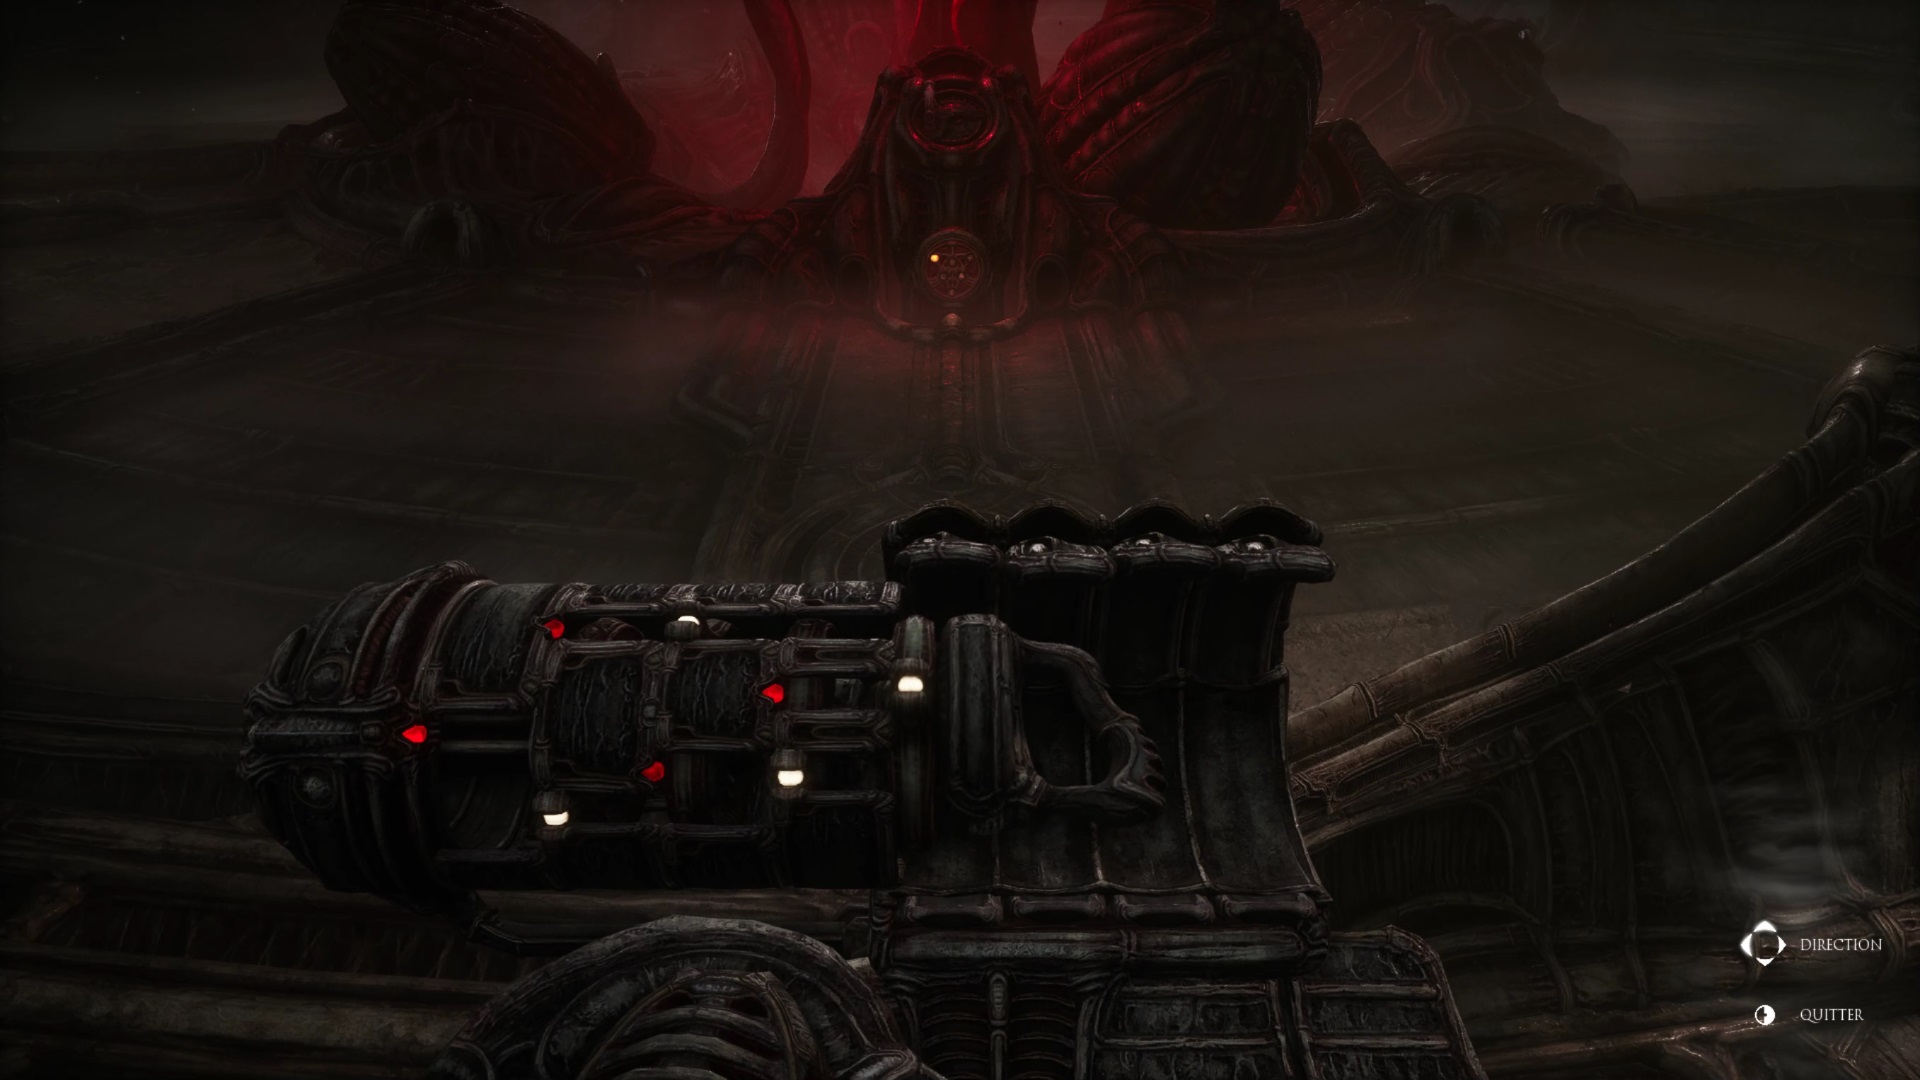
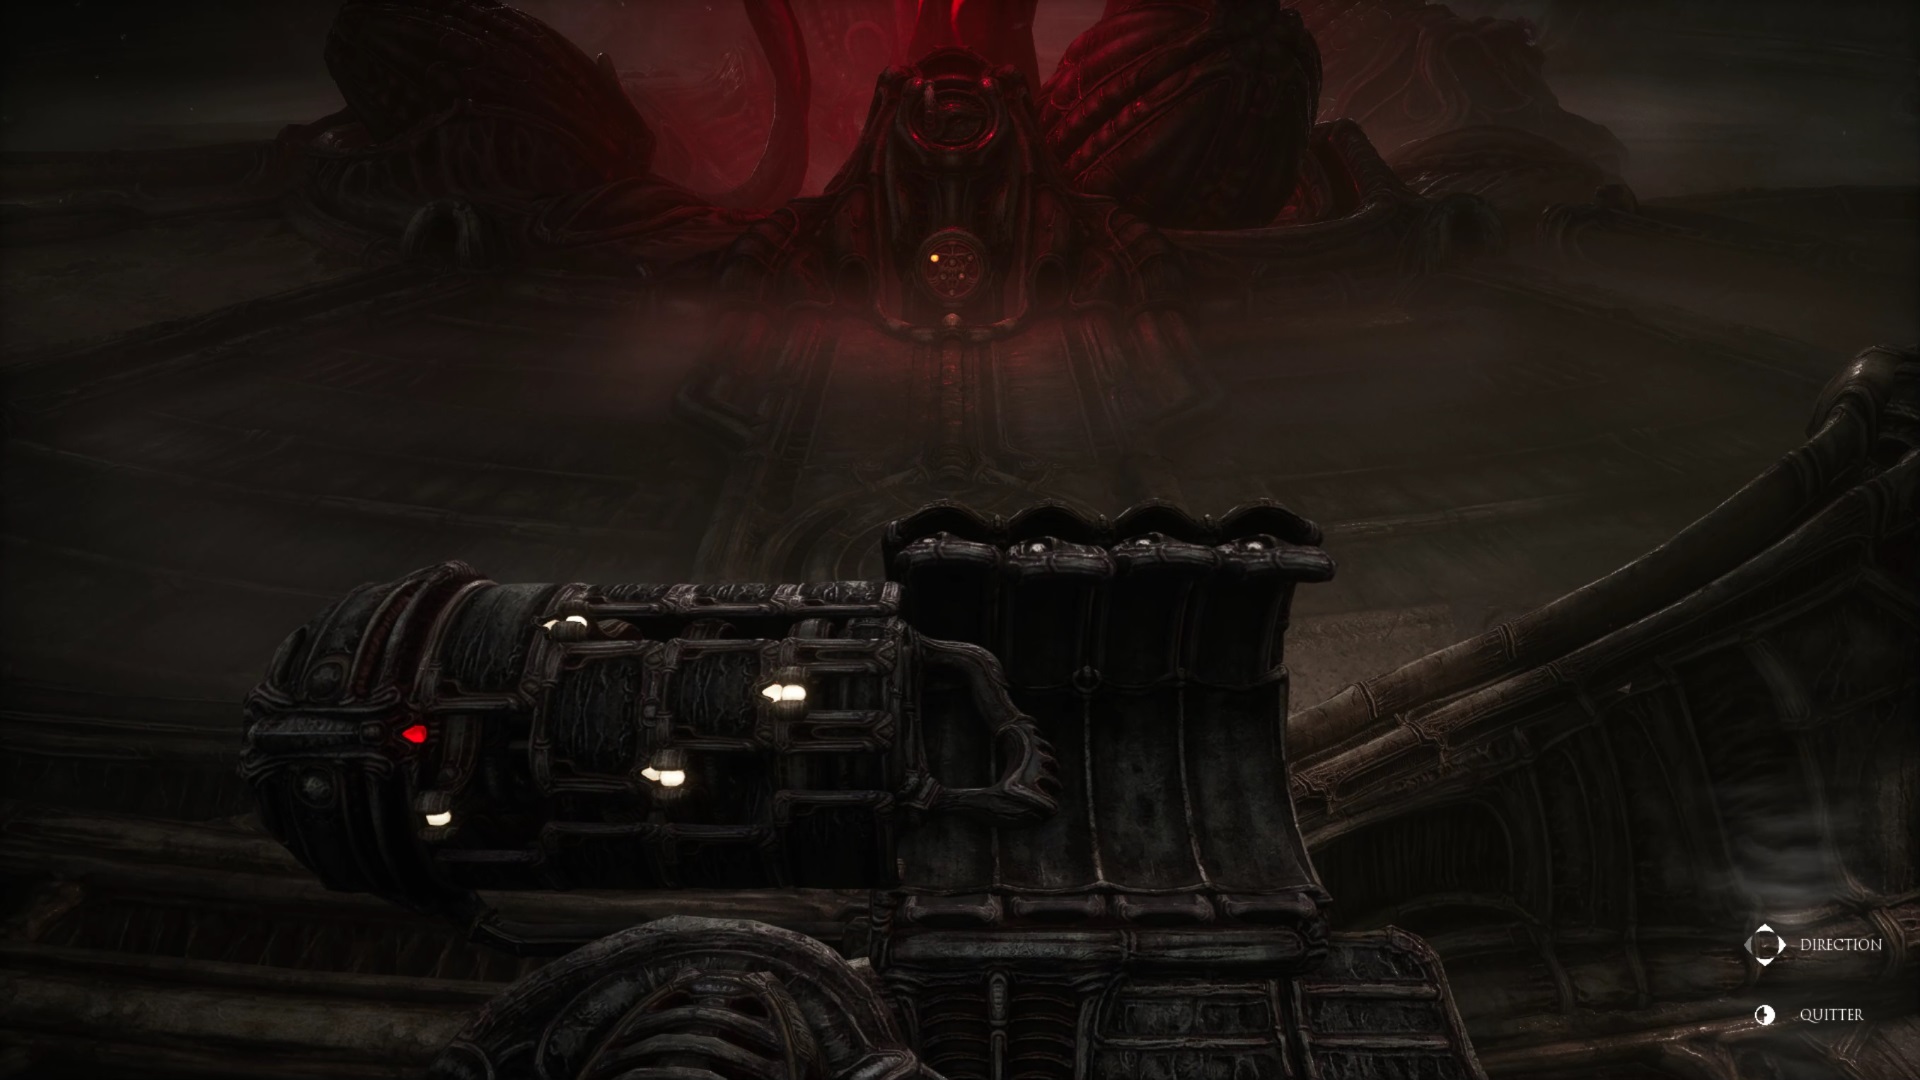
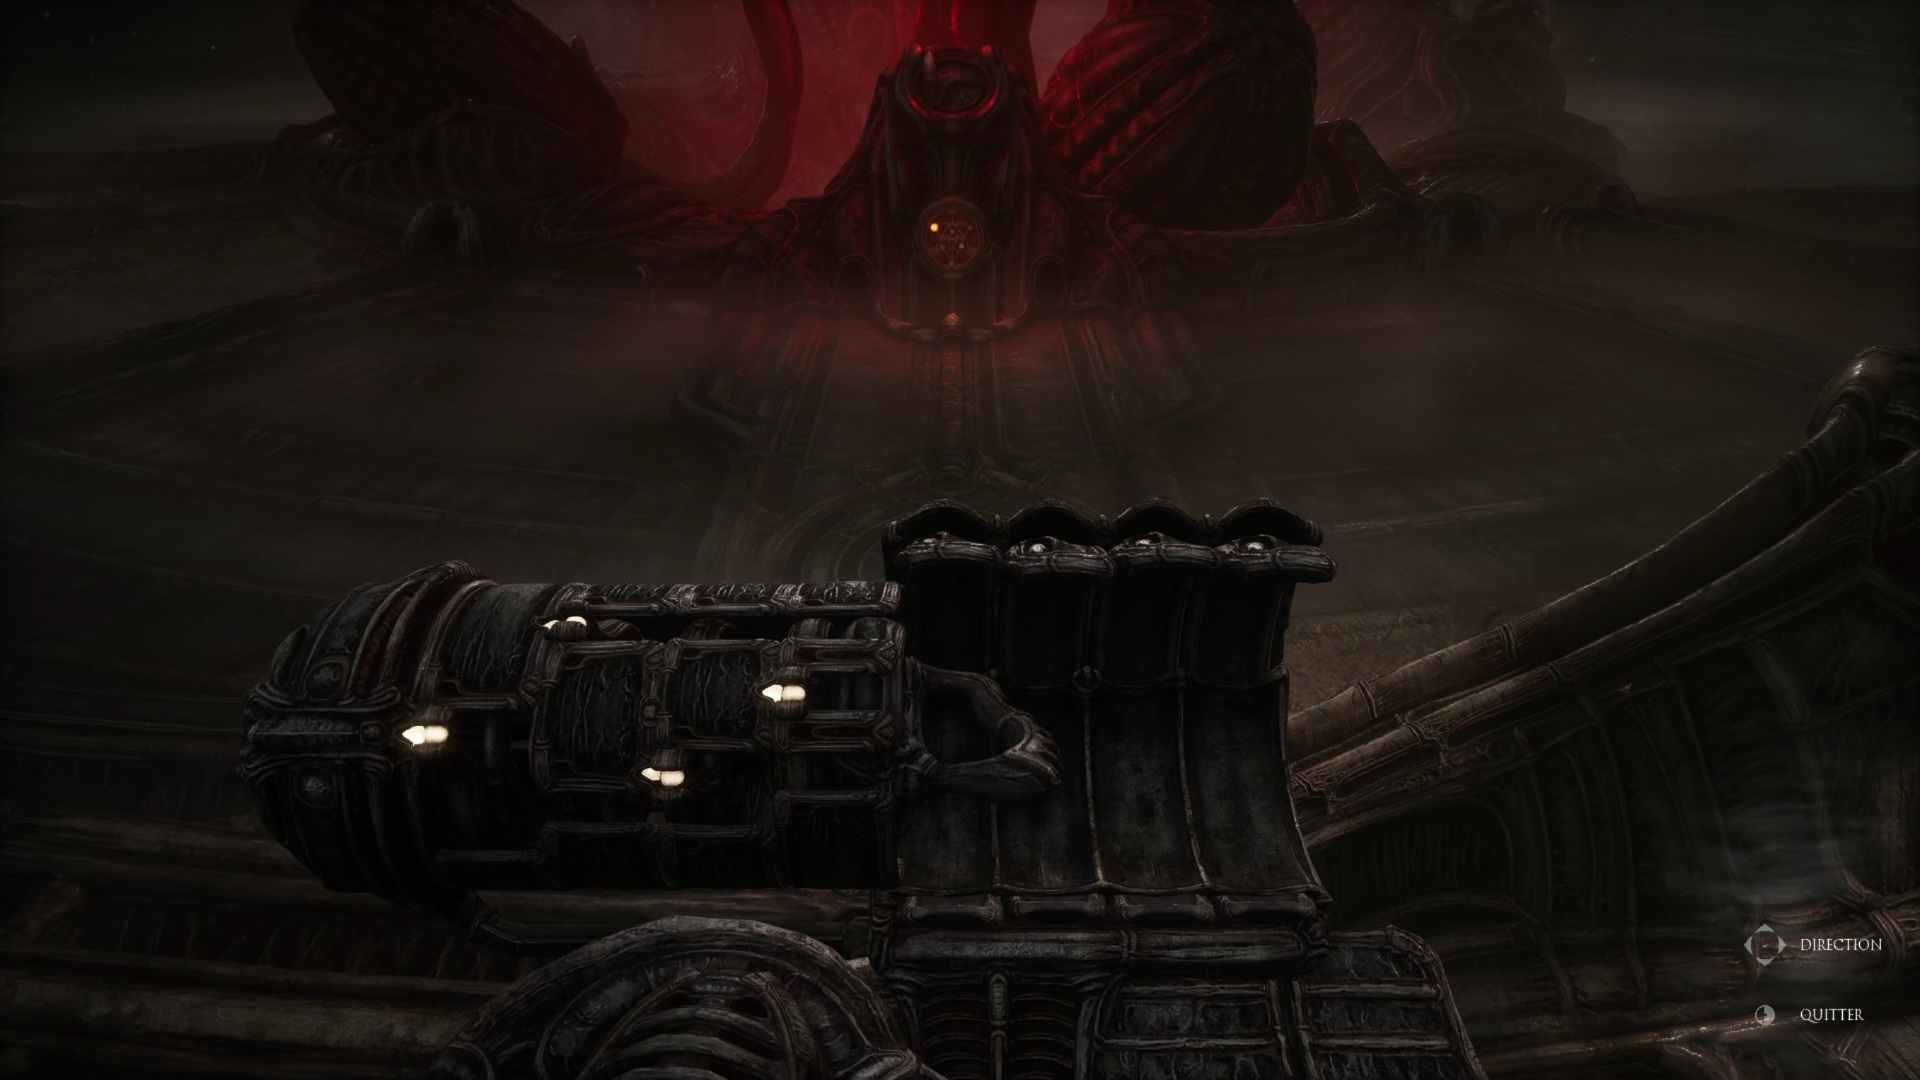
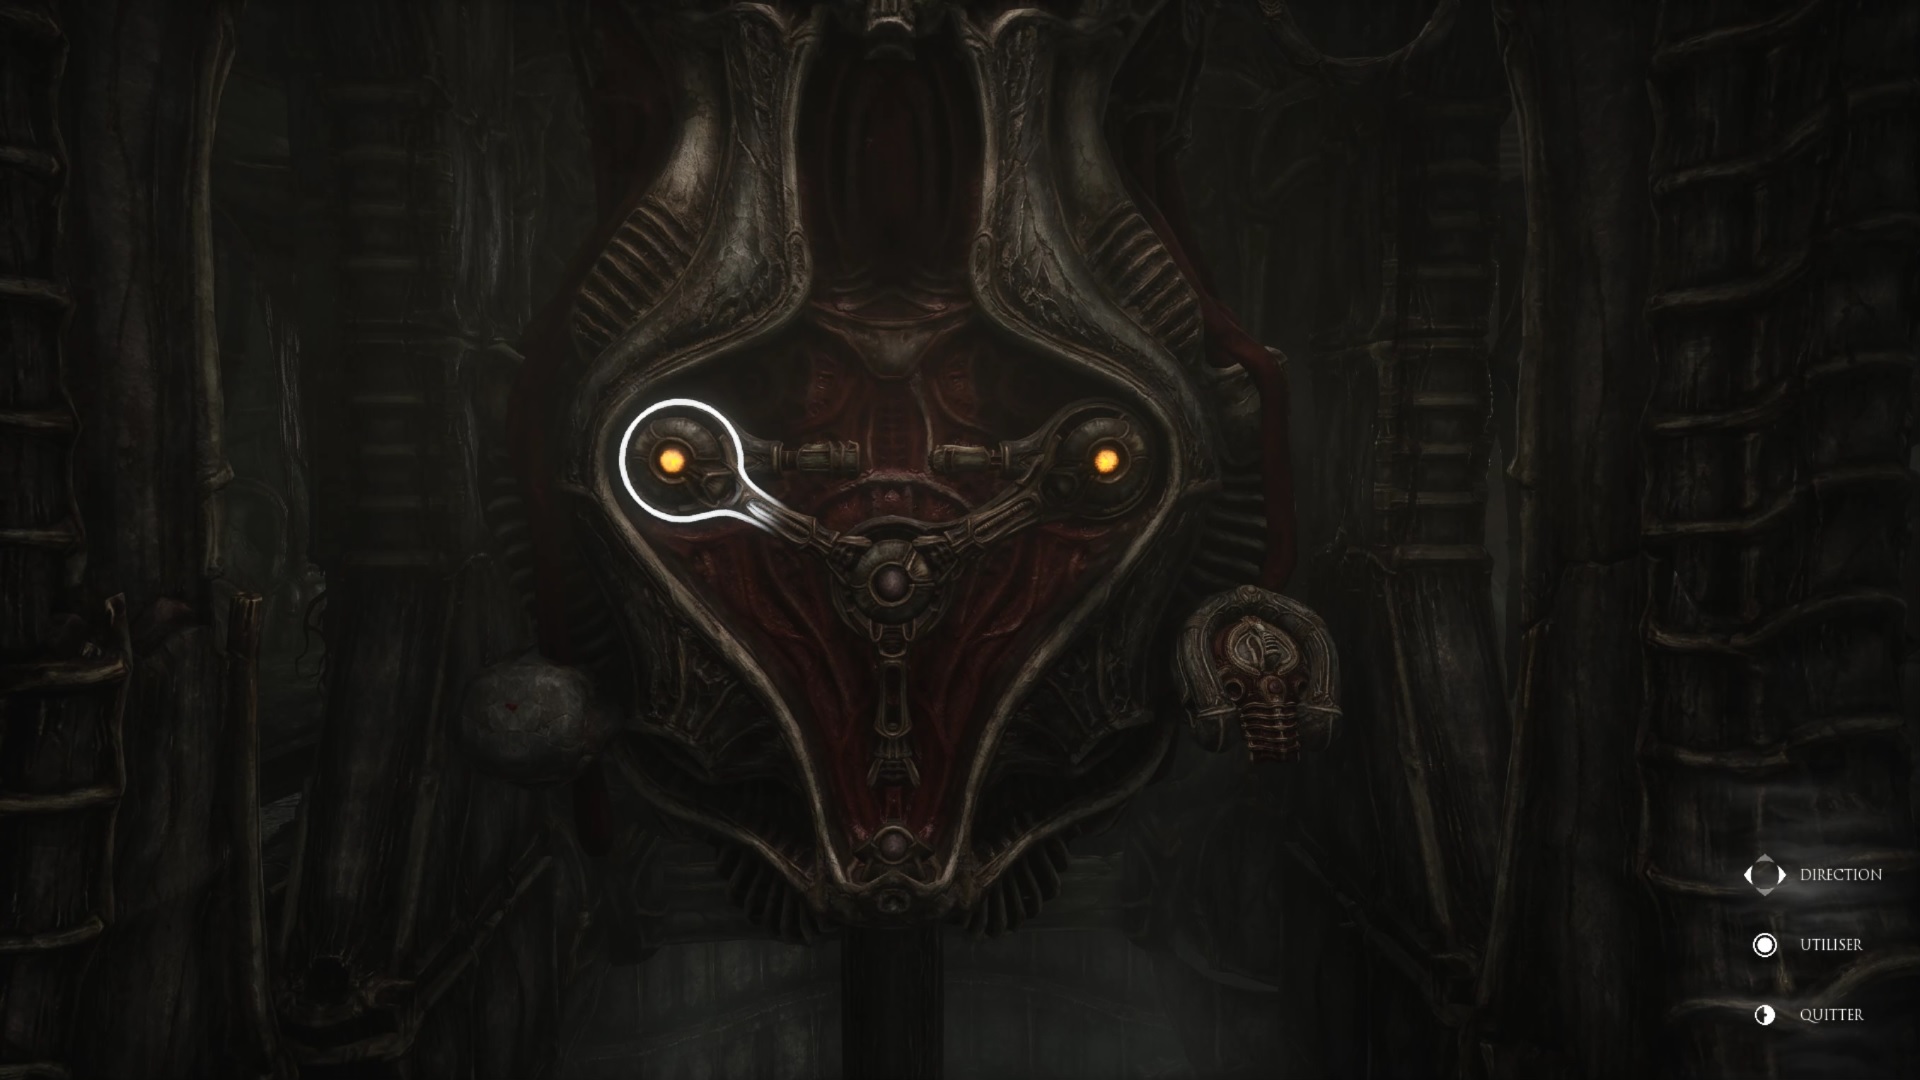
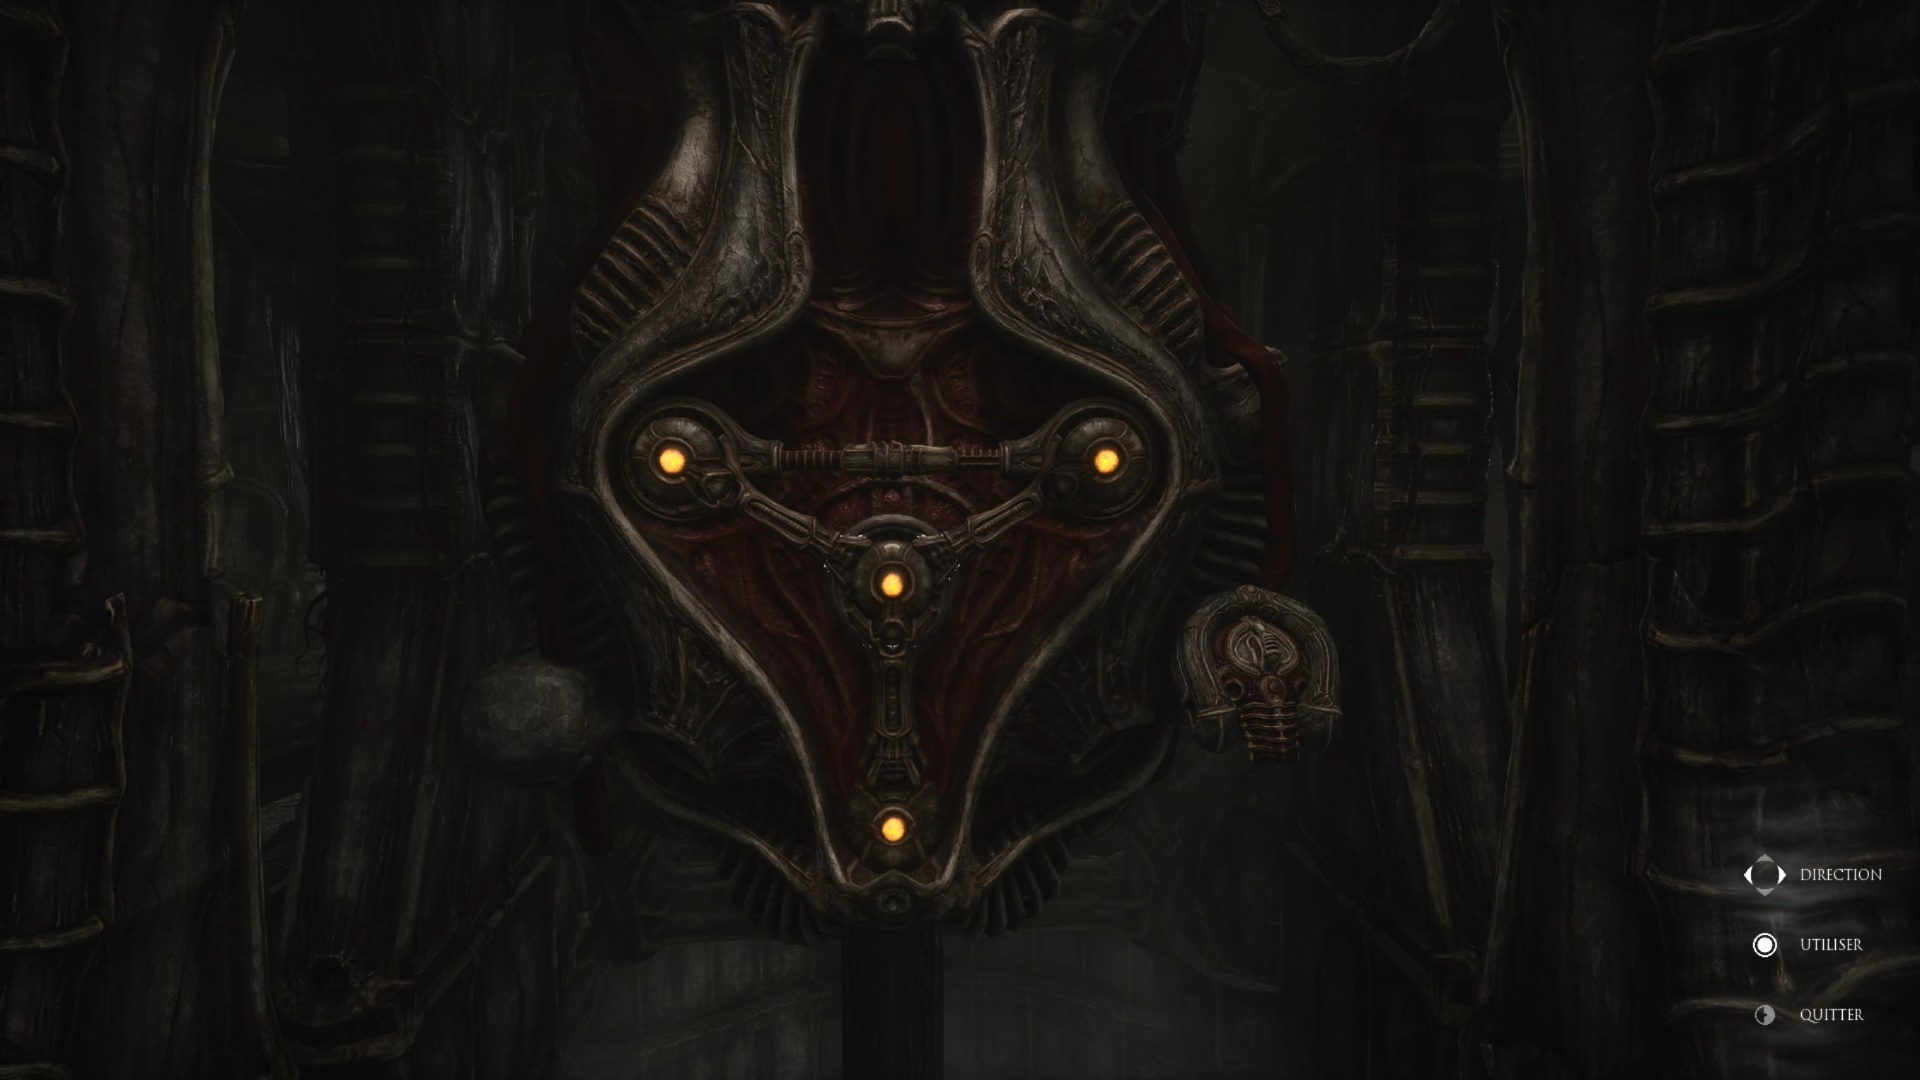
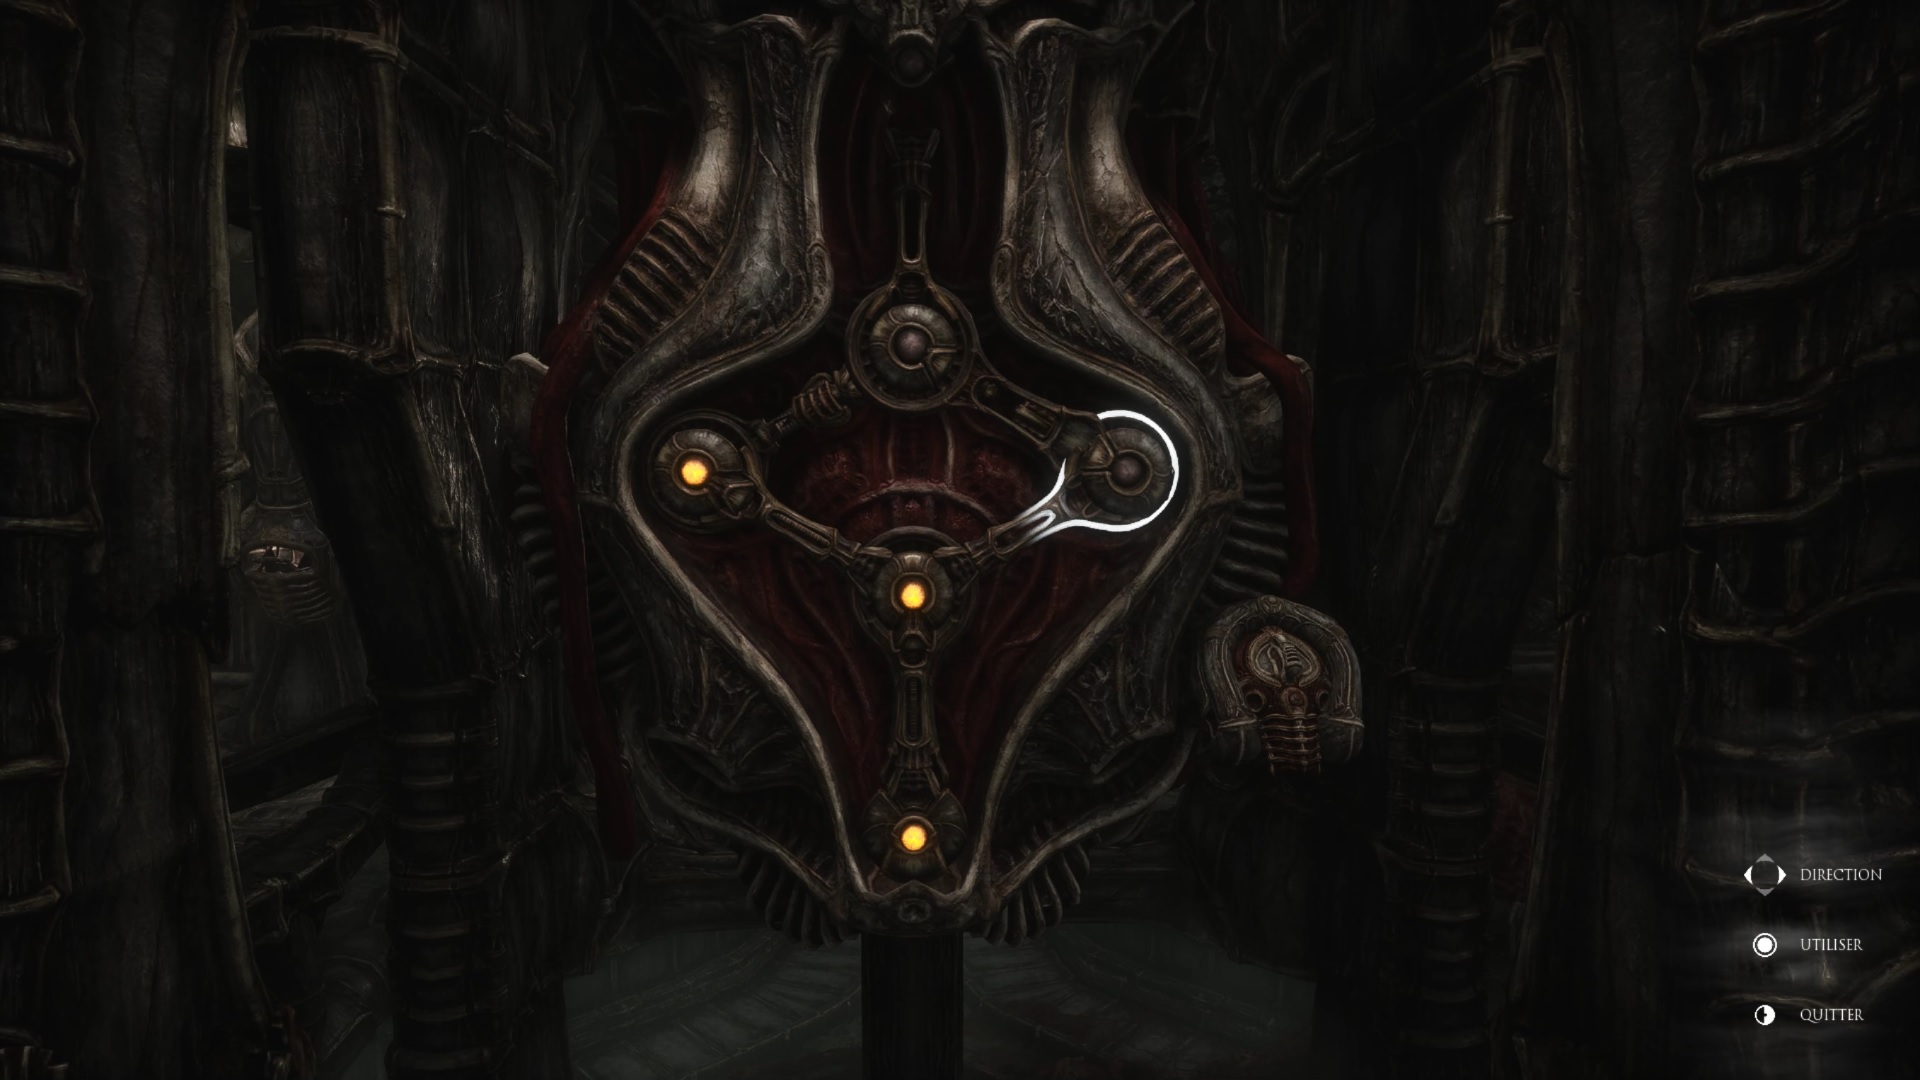
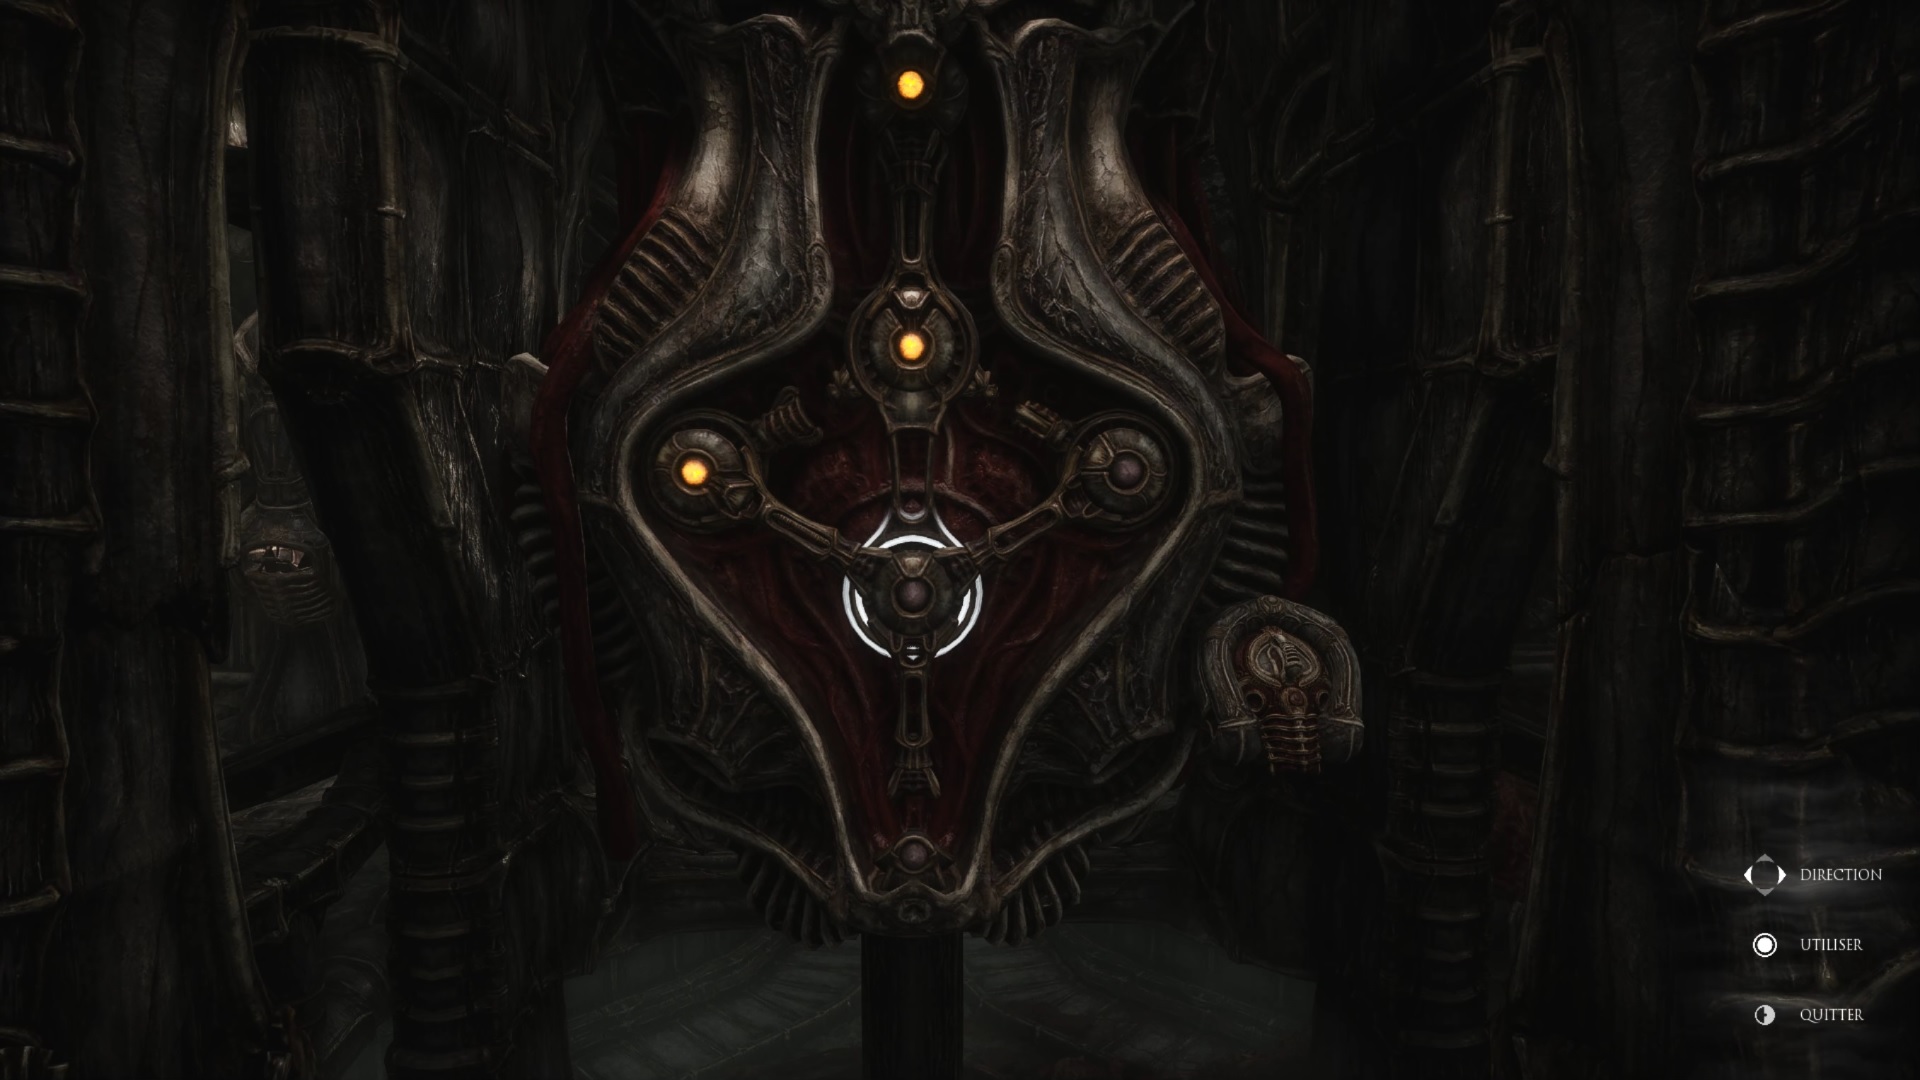
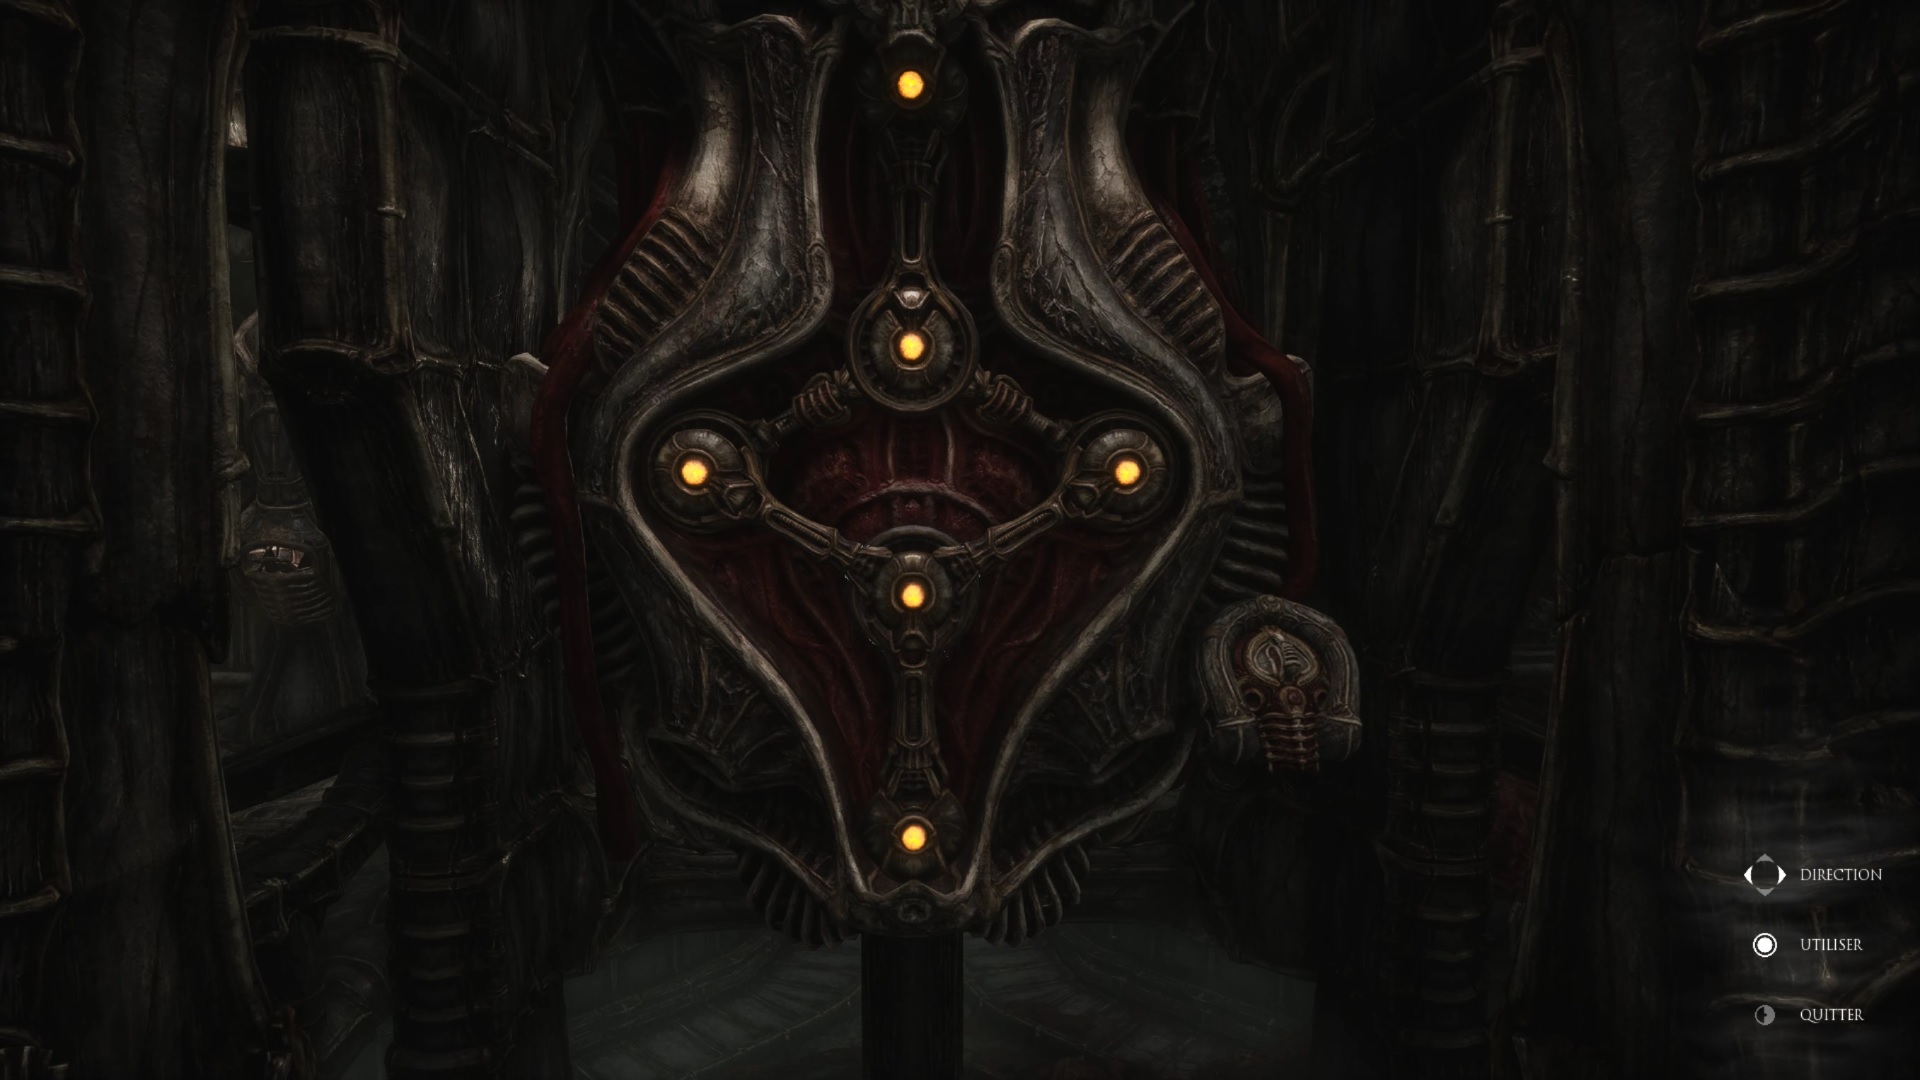
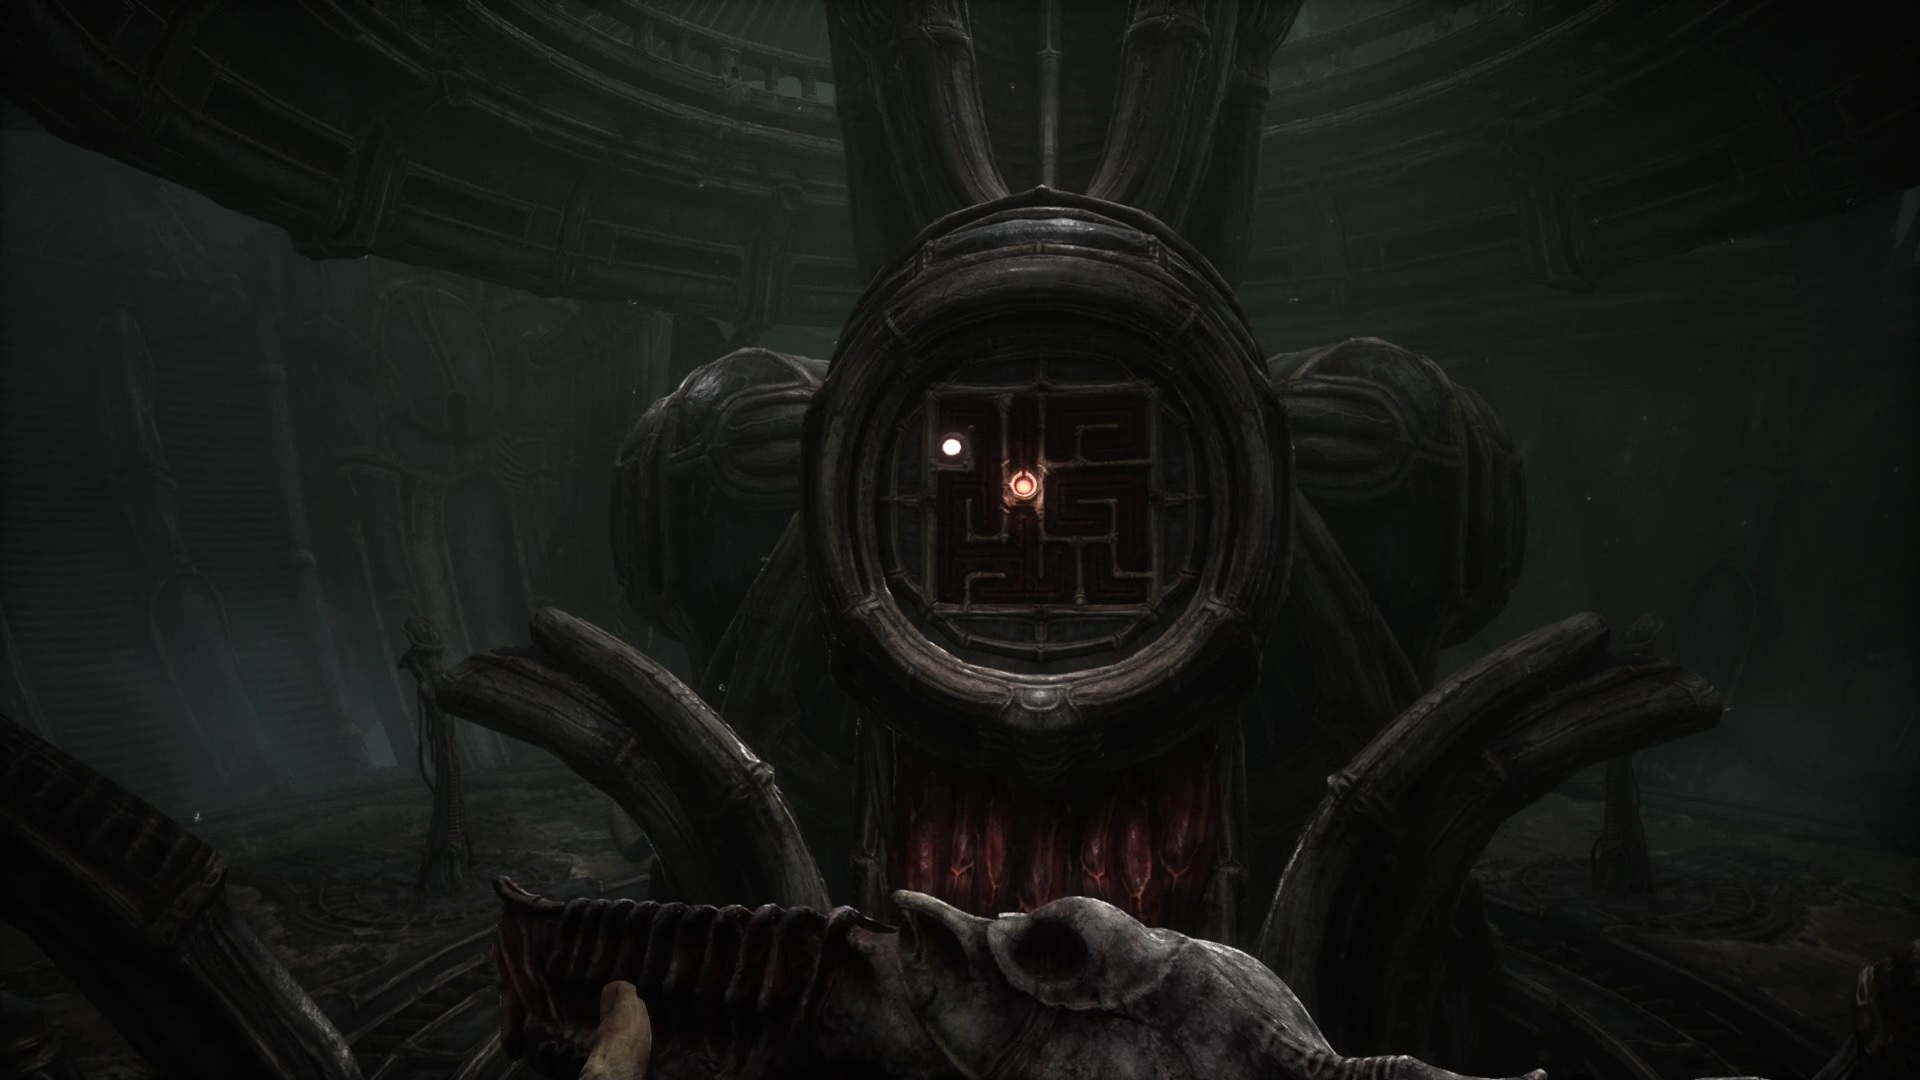
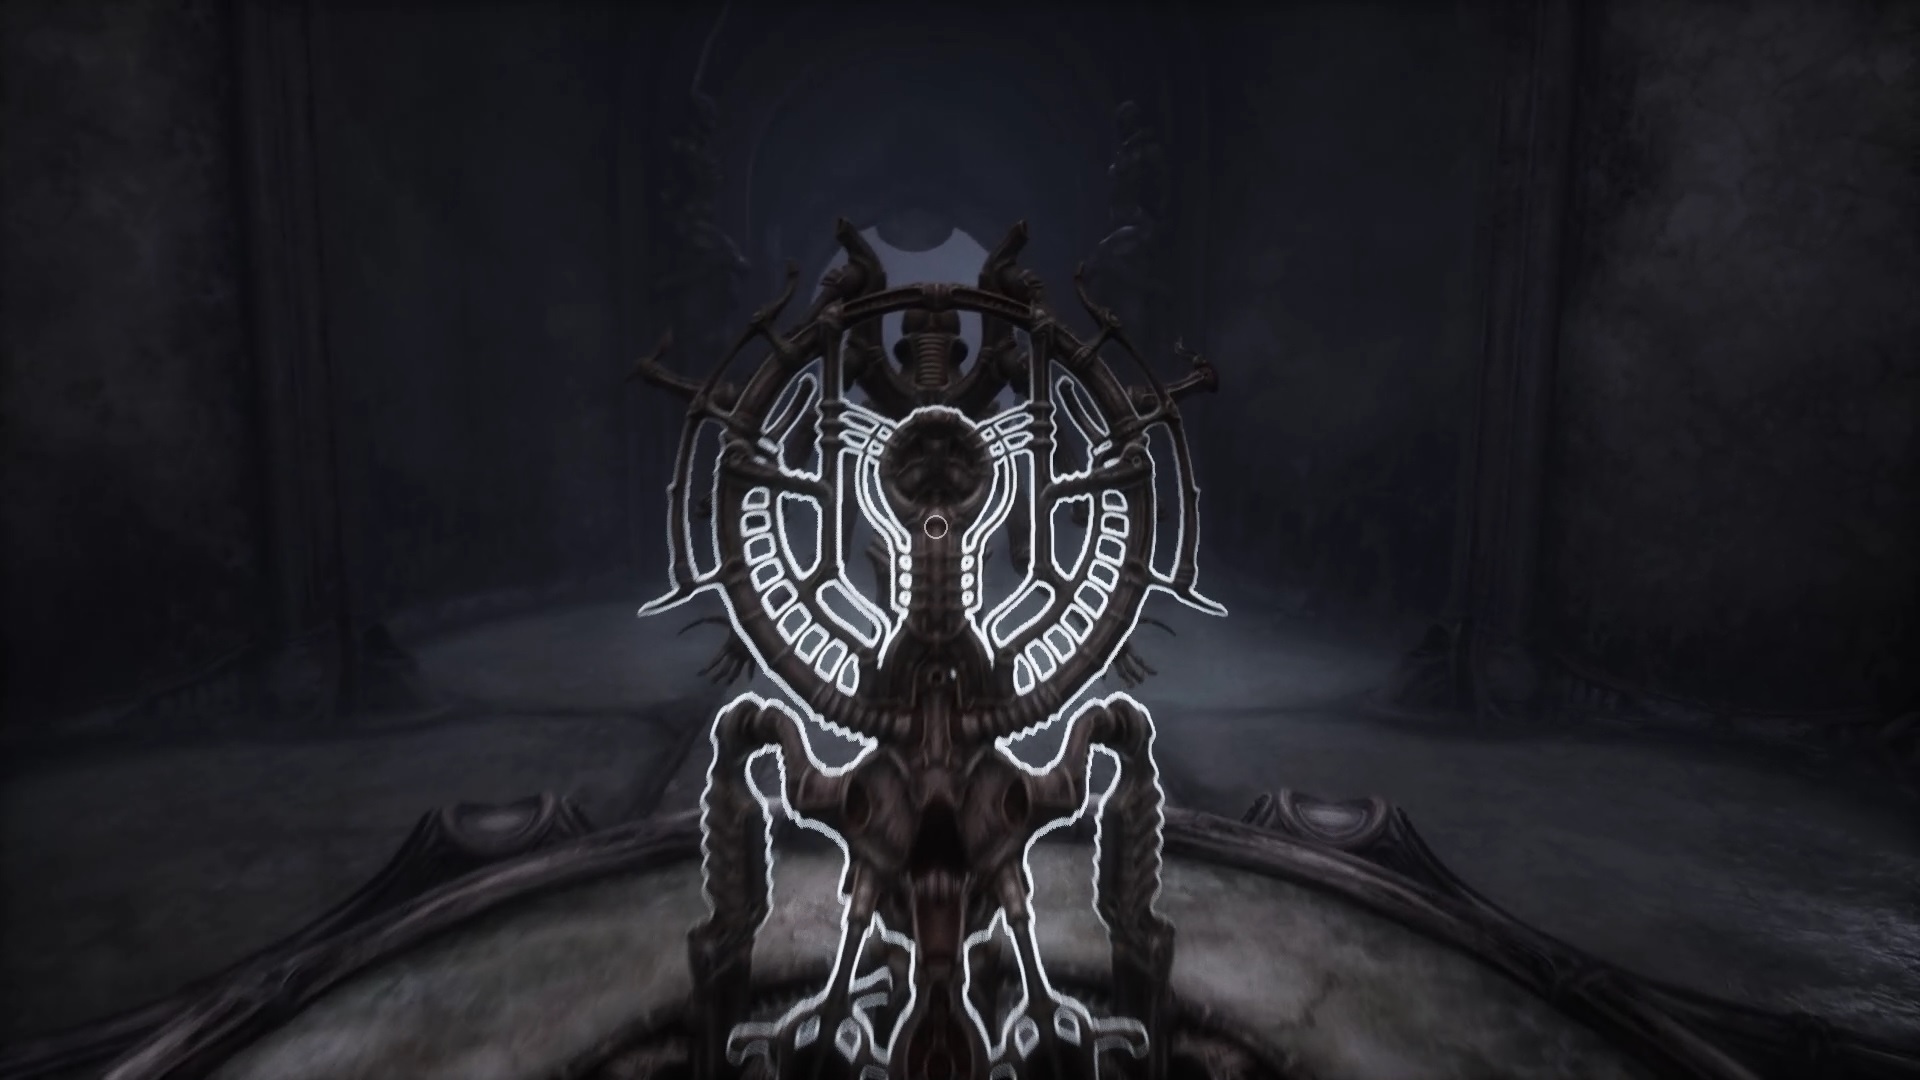
Head to the puzzle room at the branch on the middle path. You will surely have understood the purpose of the puzzle and to pass the white point towards the exit in red thanks to the different panels. Follow our picture walkthrough above to complete the puzzle.
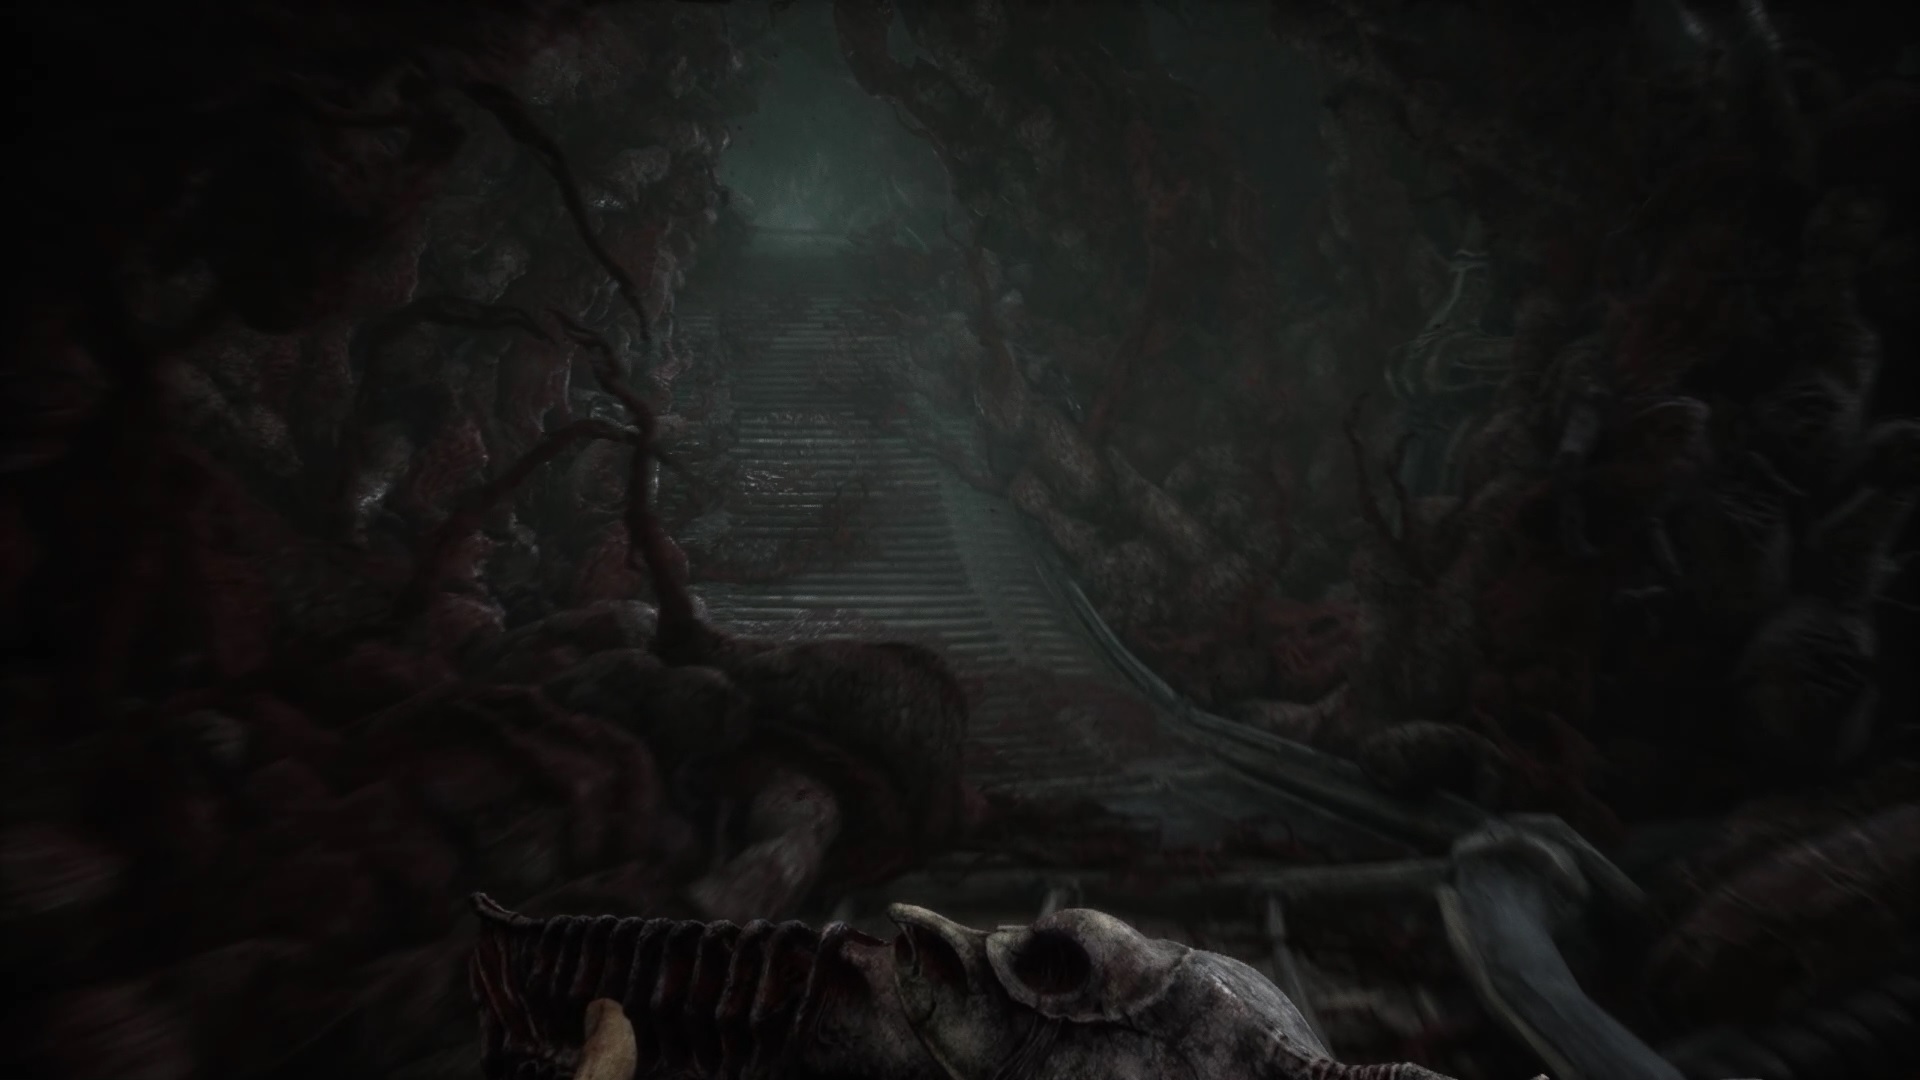
Climb to the top to reach an exit. Follow the path to board a cabin. Head to Act V.
Act V
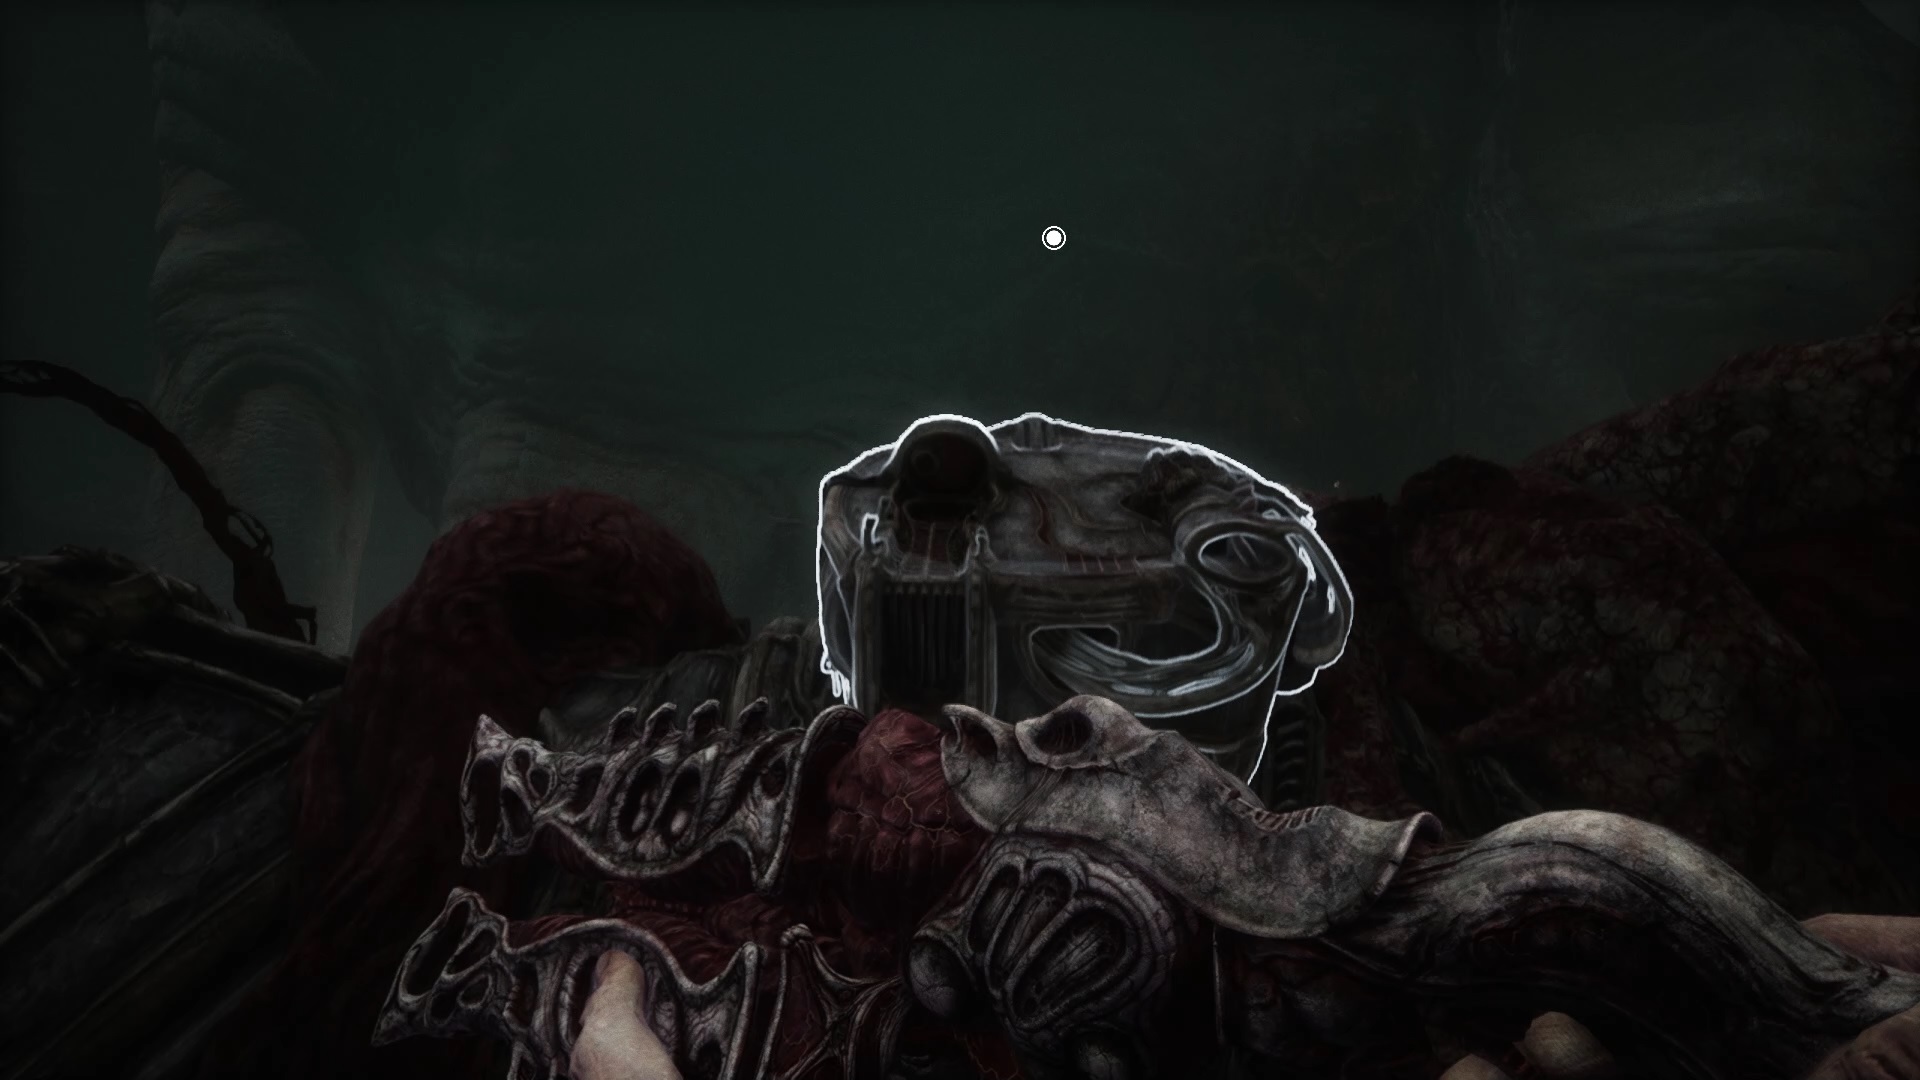
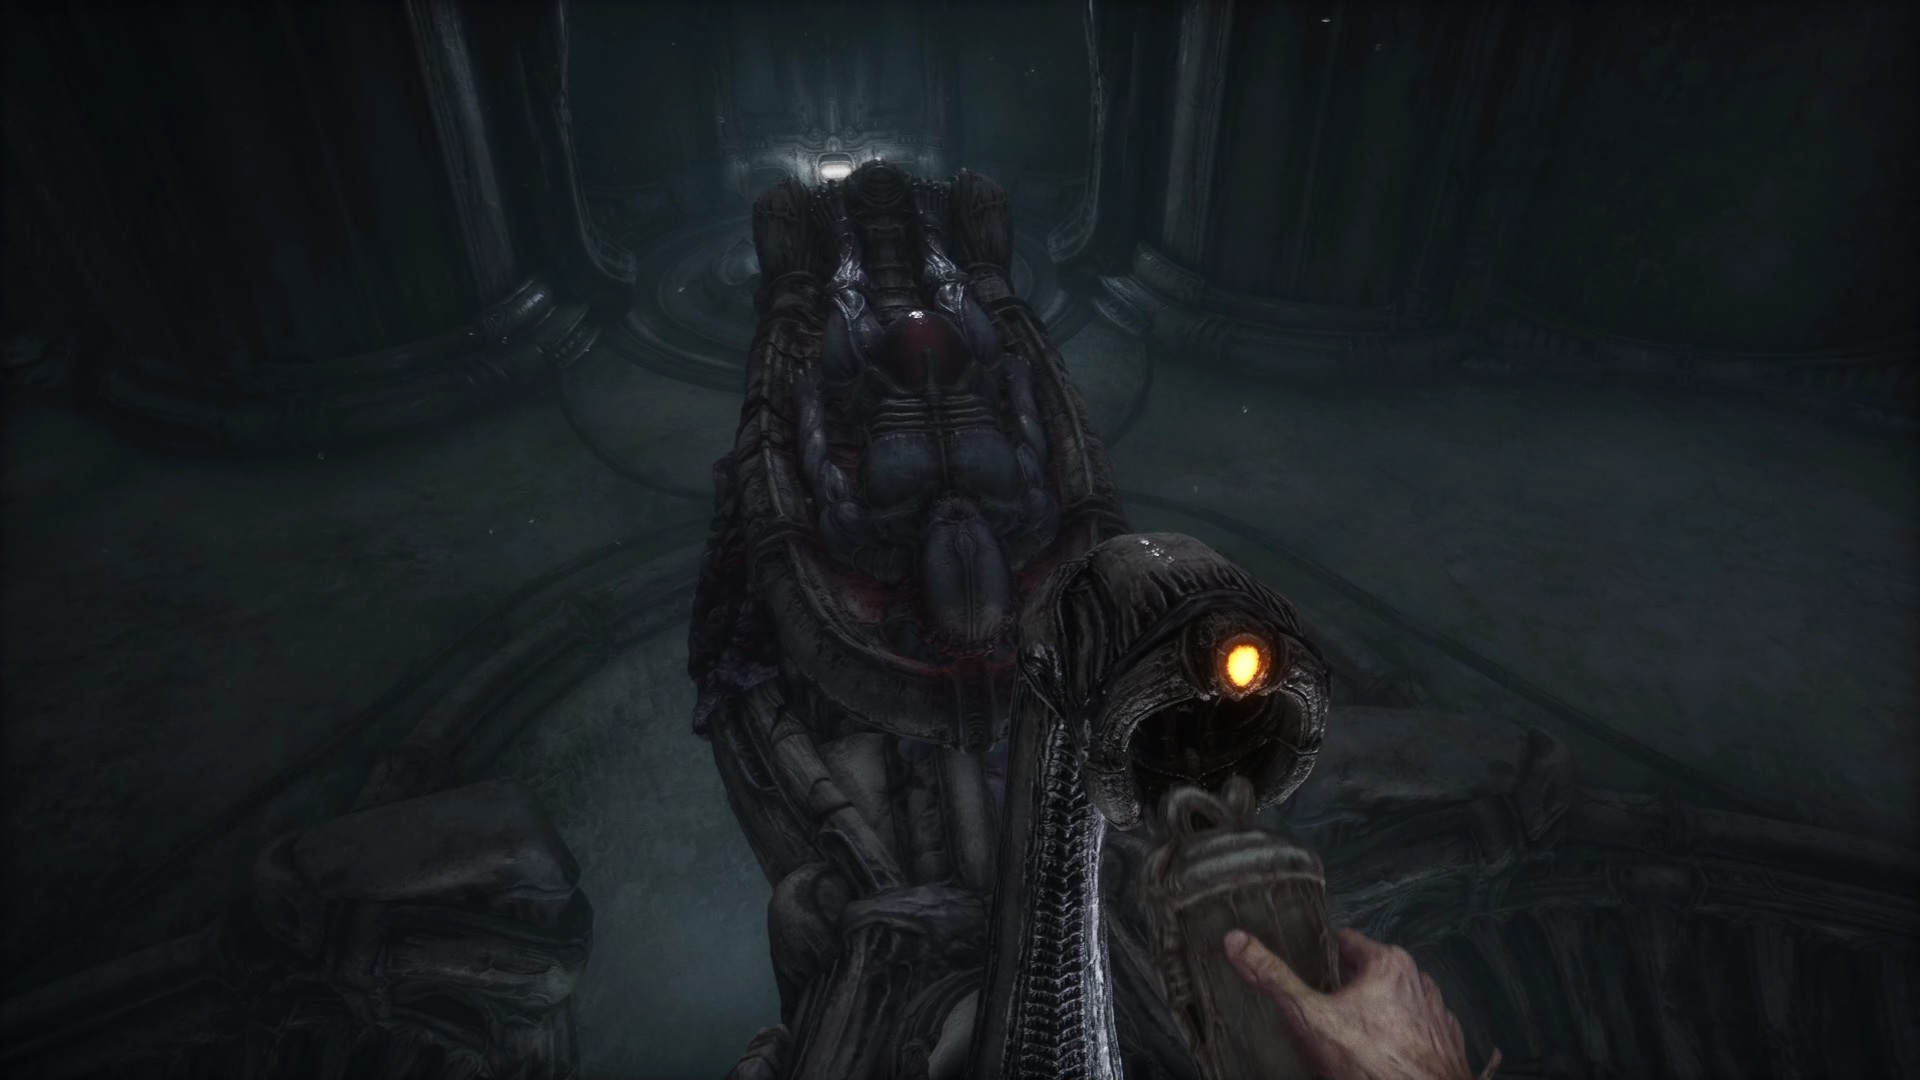
On to the final act. Climb the slope and enter the citadel. Explore the left walls to discover a staircase. Go down one floor. Examine the exposed bodies to identify a tank on the left. Take the tank and go down the central corridor.
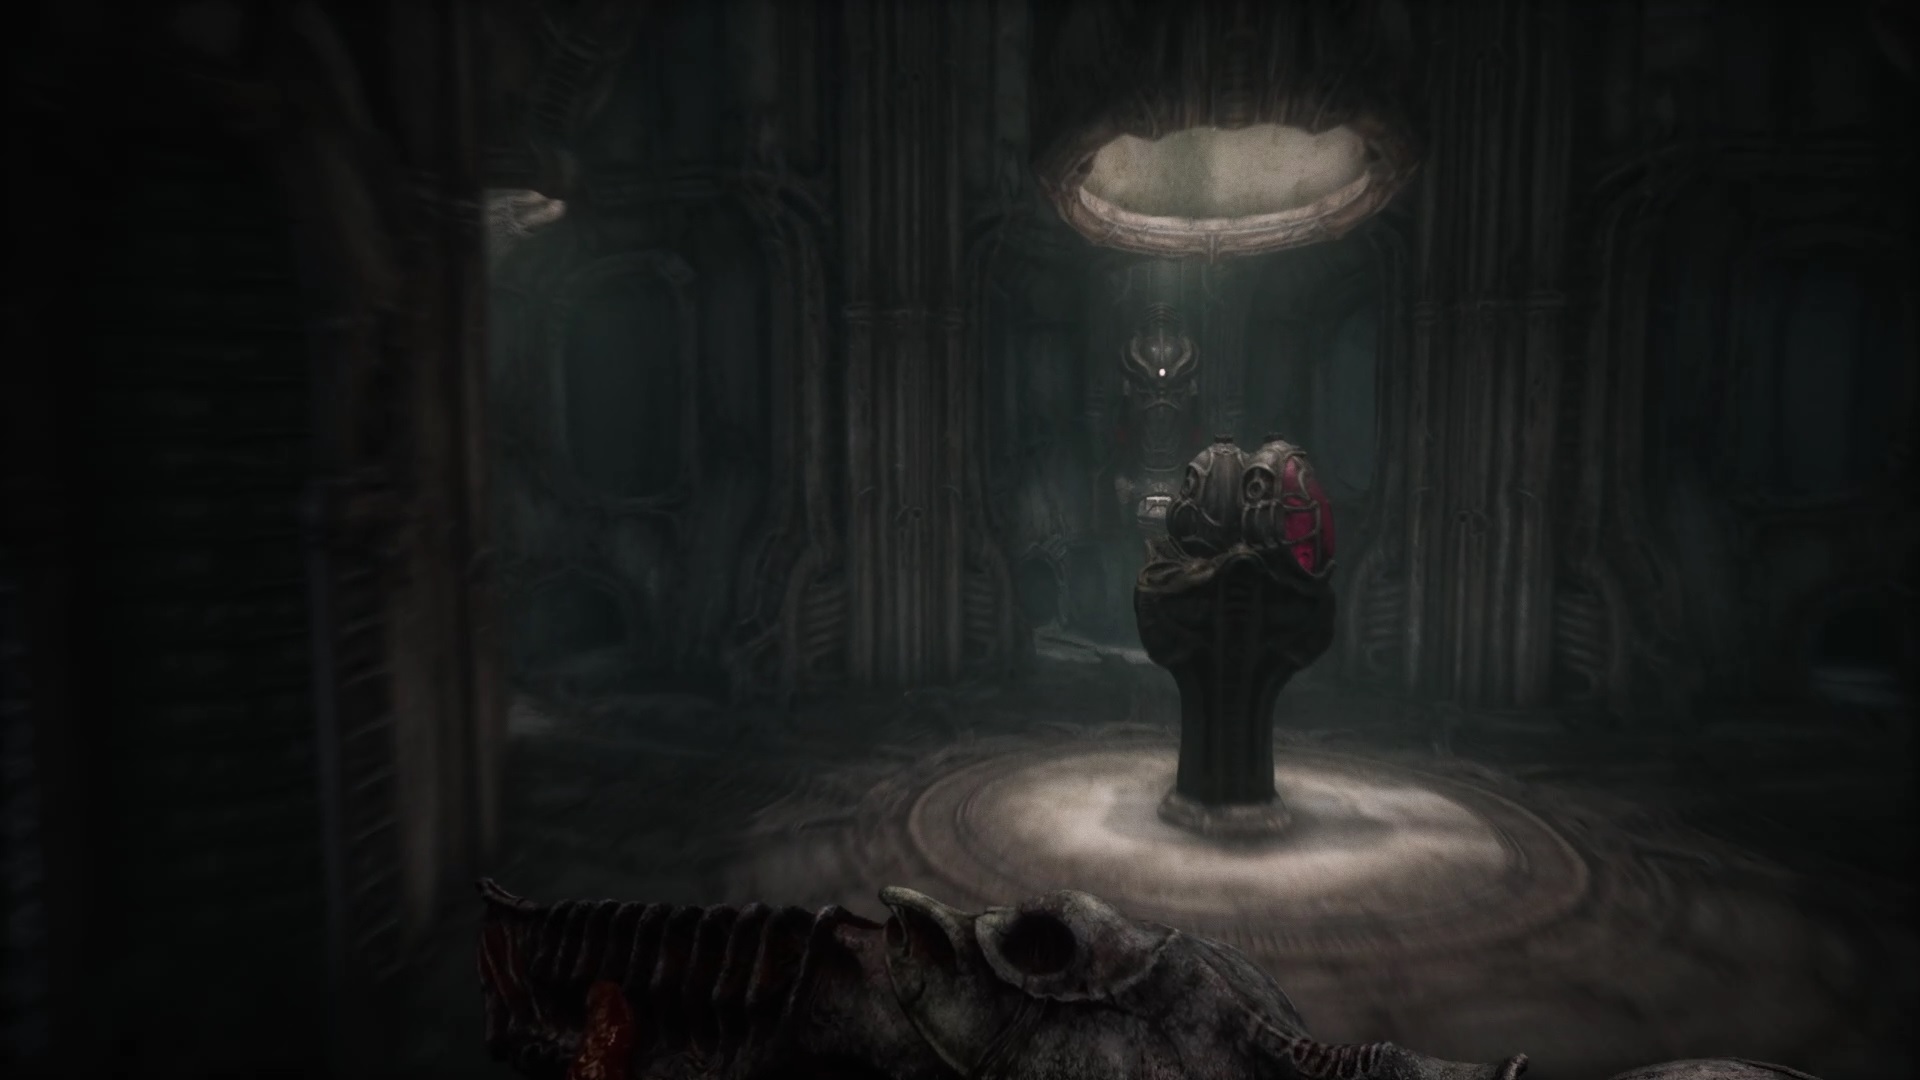
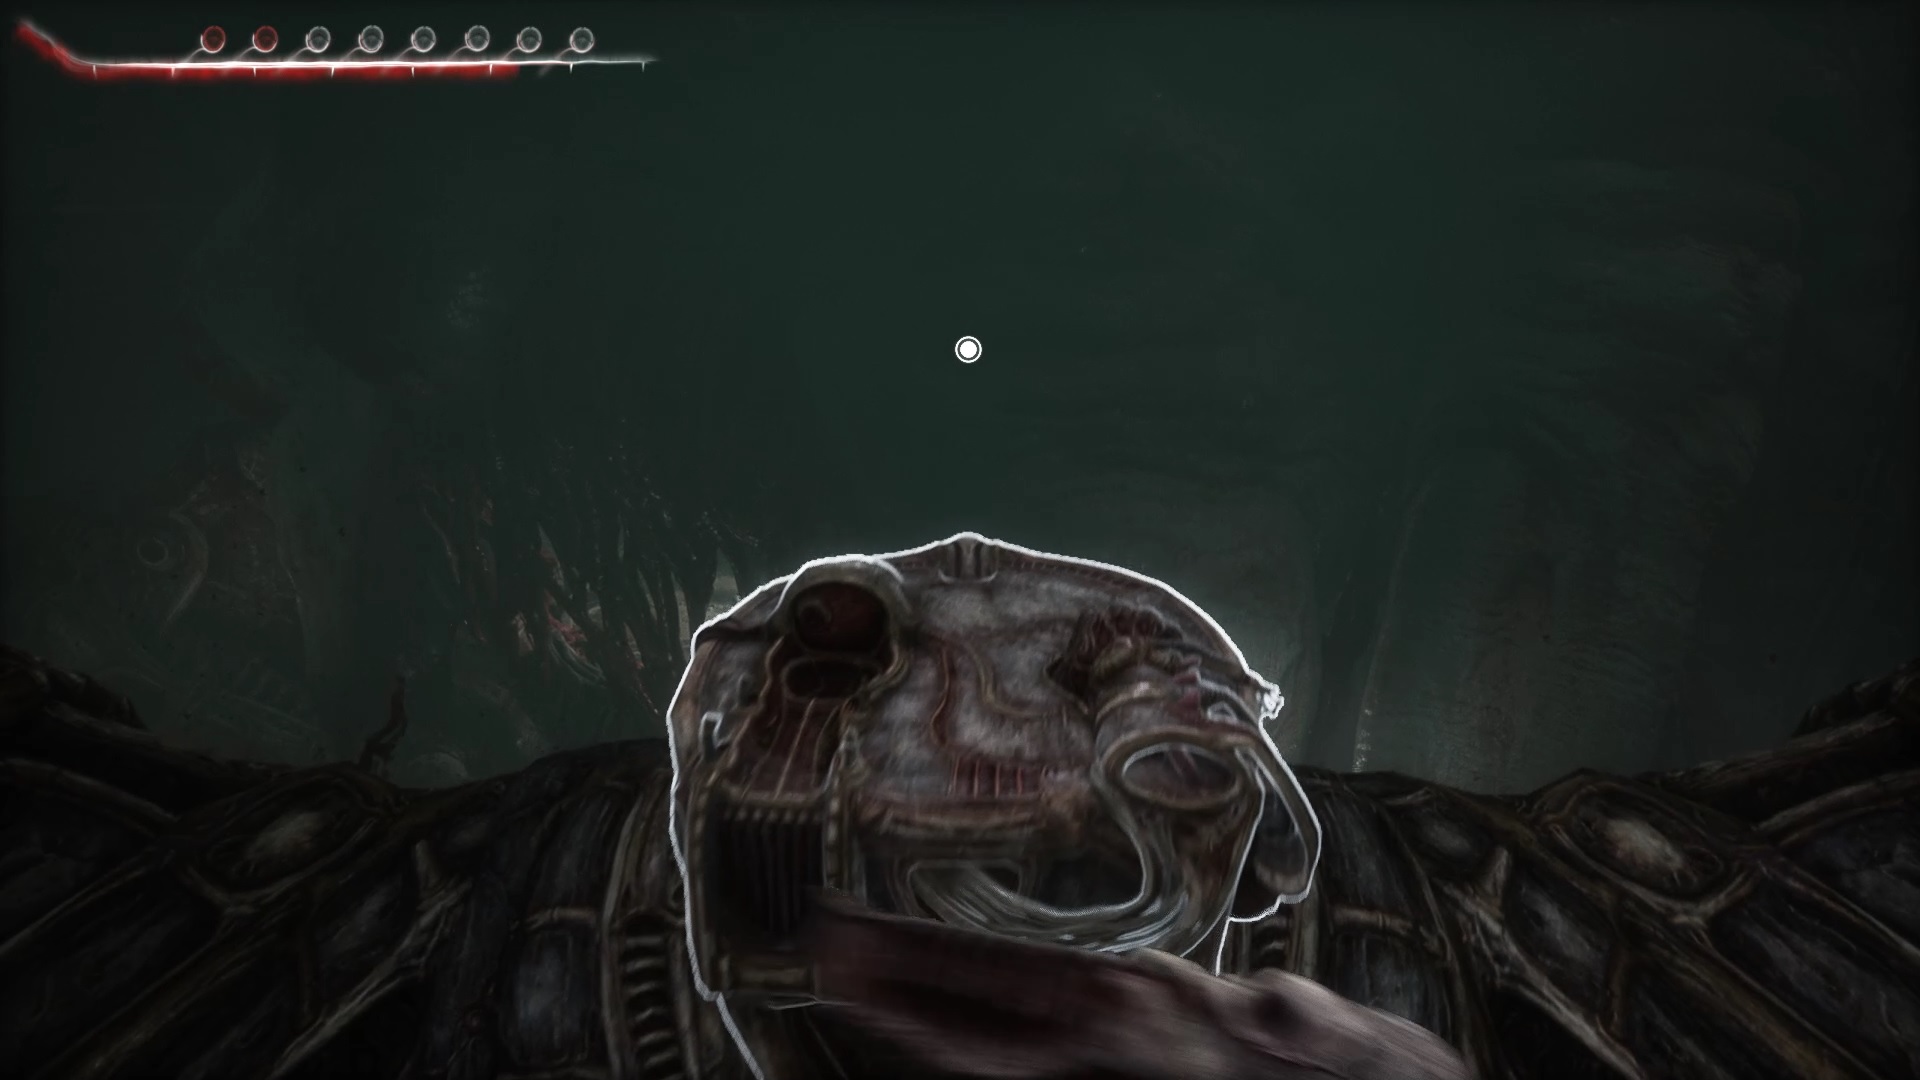
Use the tank with the machine at the end of the corridor to open the passage. Head inside the room to find floating heads, health, and ammo. A word of advice, stock up. Once in shape retrieved one of the floating heads. Place the floating head in the opposite mechanical body. Shoot your weapon at the floating head to pop a small being out of the container. Place his leftovers in the machine and take the filled tank back.

Place the filled tank on the body on the left. Take back the tank and leave for the room of the floating heads. Repeat the operation, but this time the little human being does not let it go.
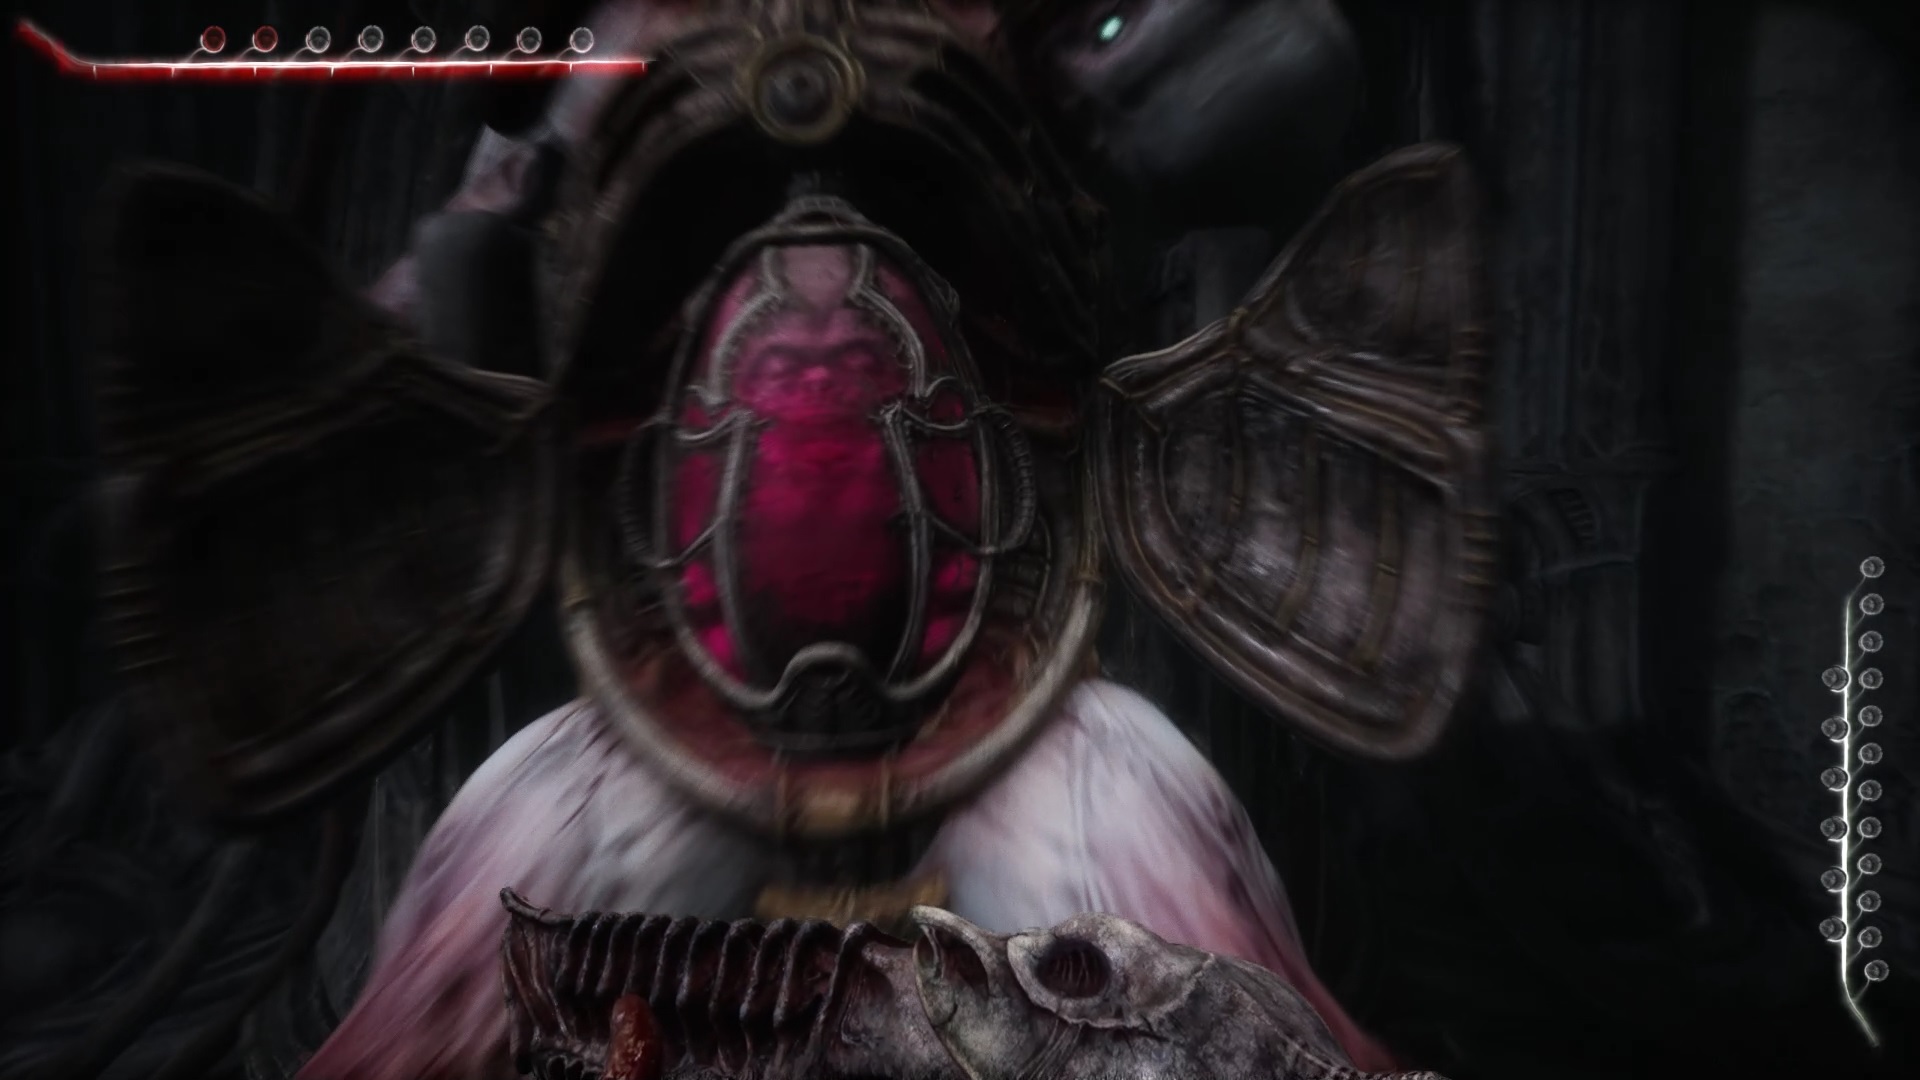
Fight against the Final Boss
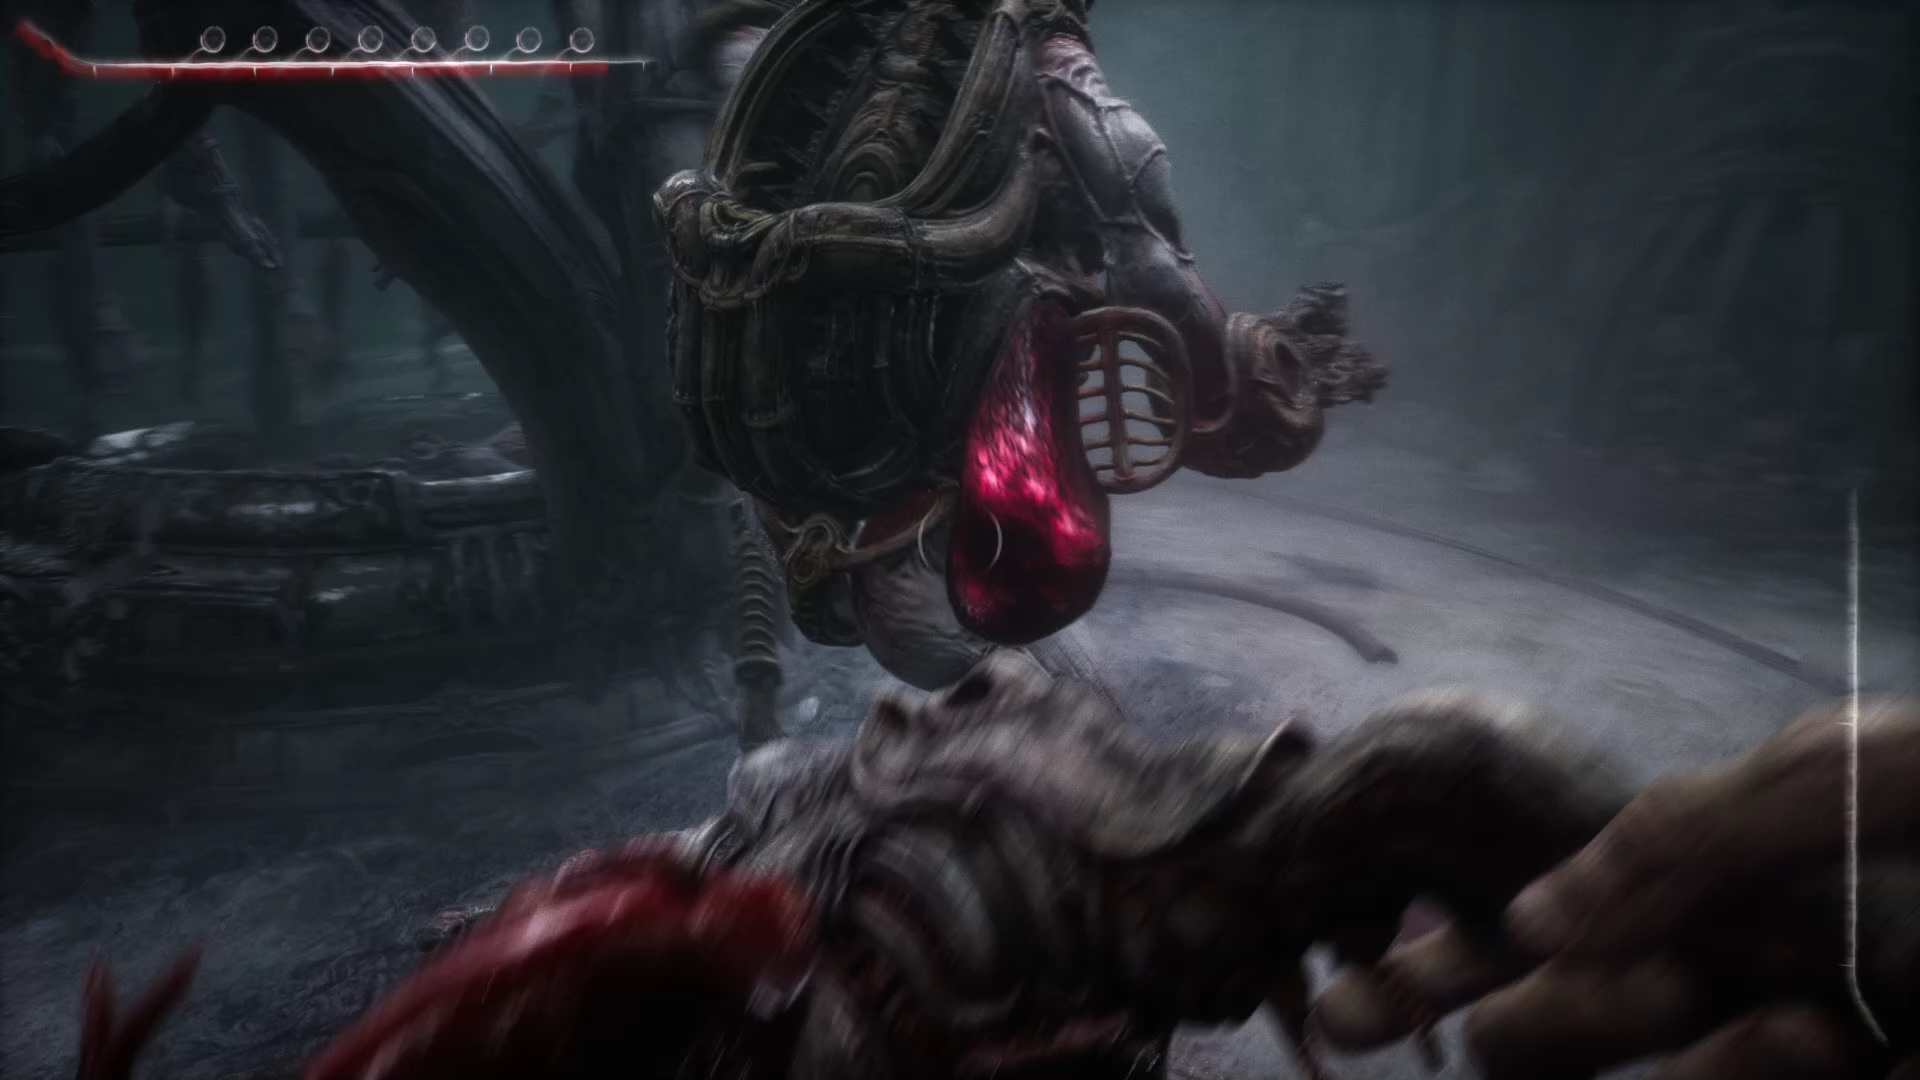
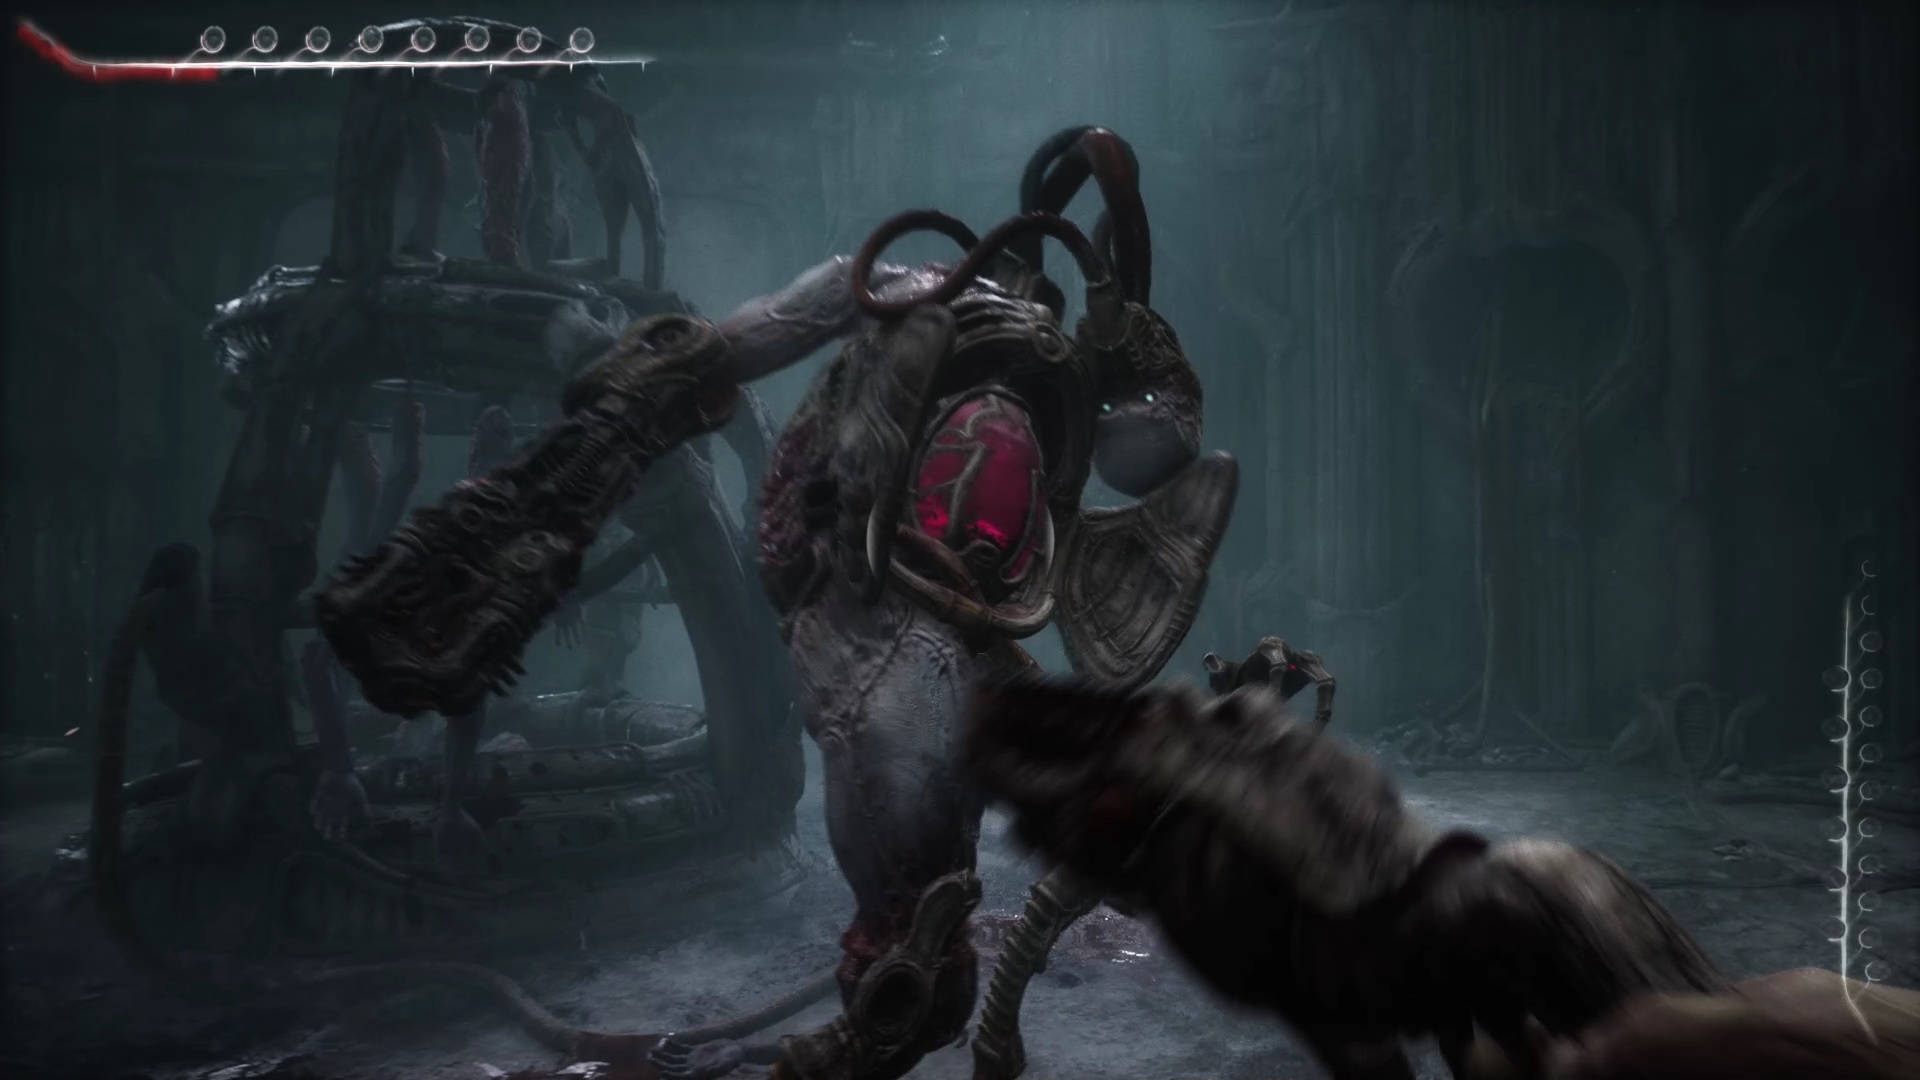
The little human being uses the mechanical body to throw grenades at you. Your goal is to dodge his grenades until he runs out. Don’t shoot him yet, it’s no use. To avoid it, you can slalom between the different structures or move laterally. Once his stockpile of grenades run dry, the little human reloads, but leaves two of his weak points exposed on the sides. Hit his weak points to bring him to his knees. Interact with it to pick up its weapon. But the little being does not let it go. Exhaust him his stocks of grenades so that he charges. This one reveals a second weak point, the door on his chest. Shoot the little being at this precise moment to recover his weapon and his remains to feed the tank.

You will surely have understood by the quantity of the tank, you are missing another little human. Enter the room to find a platform on the ground near the location of the old floating heads. Stand on it and pull the chains. You can collect the last head and place it in another body. The last fight is simpler. Wait for the little being to empty its ammunition and shoot its ammo tank in the back to explode it. Collect the body of the little being to fill the tank.

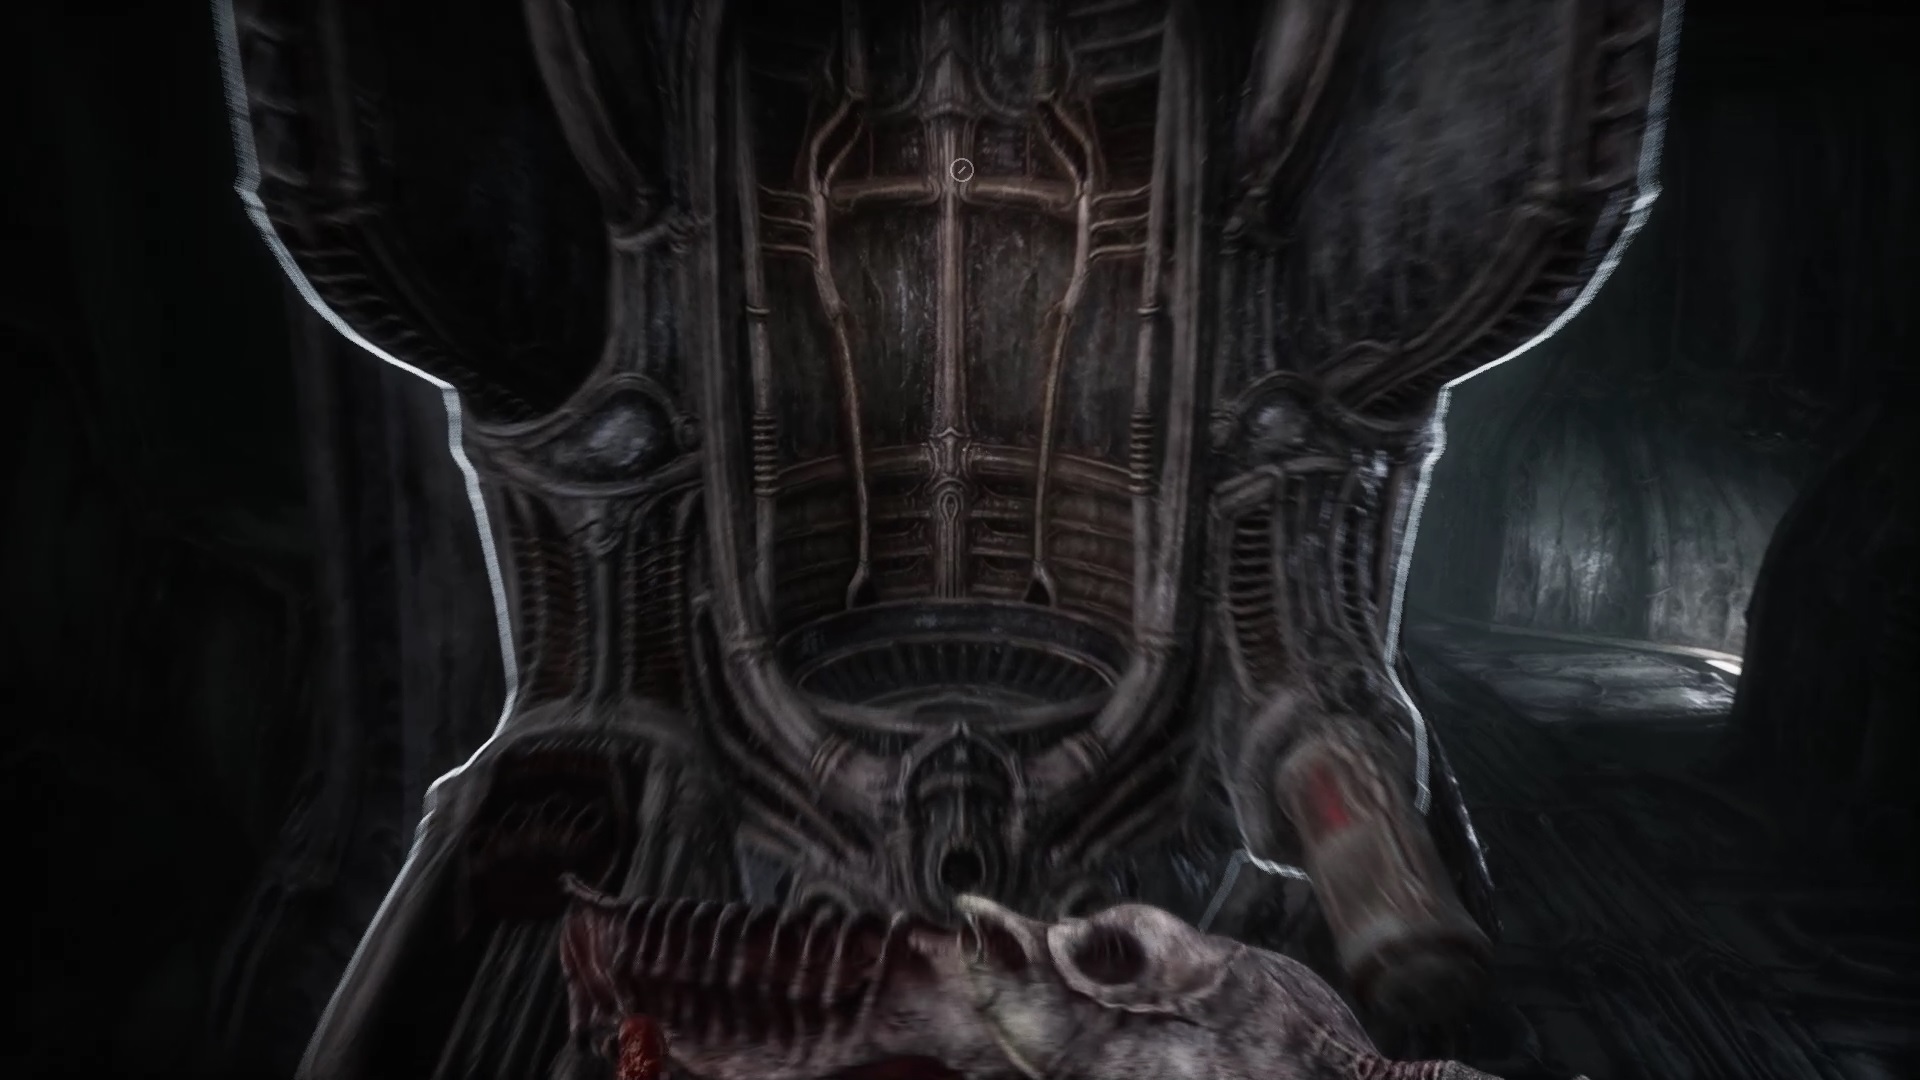
On the way back to the body, you lose the use of both hands. Take the stairs and go down to the lower floor. A second platform awaits you. Stand on it and pull the chains. Join the corridor on the right. You will find a care station if necessary for the operation that will follow. Use the cutting device to cut off the growths on your arm. Quickly turn to the gate to unlock it with your remote.

On the other side, stand on the platform and pull the chains away. Shoot at the right moment between the mechanical bodies. Ammunition is present on the right if needed. You will be rewarded with level five accreditation. Of course, you will have to go through the cutting machine to get it back. Retrace your steps to find the level five door. Go back to the cutting machine (yes again) to open the door. Inside, you identify an operating table.

Go back, cut your hand and quickly go back to the operating table. It’s time to part ways with your best friend. Aim for the parasite’s head to take it out. Once released, take the exit on the right. Return to the citadel to fuel the body. You take a little height. Interact with the brown statue to trigger a cutscene. In the new body, collect your old body from the brown statue. Head to the big platform. Switch bodies and open the big door. Reincarnate the first body to advance to the Far Rift of Light and finish off Scorn.

Journaliste gameactuality.com