
[Guide] Deliver Us Mars : Complete Walkthrough [EN]
Complete walkthrough of Deliver Us Mars. Follow our guide to complete the adventure. Our solution lists step by step and in image the path to complete the adventure: riddle, path. Codes or locations may vary from game to game. Deliver Us Mars is an atmospheric sci-fi adventure that takes you on a thrilling and momentous mission to recover the colony’s ARK ships, stolen by the enigmatic organization Outward.
Summary :
- Prologue
- Chapter 1
- Chapter 2
- Chapter 3
- Chapter 4
- Chapter 5
- Chapter 6
- Chapter 7
- Chapter 8
- Chapter 9
- Epilogue
Prologue
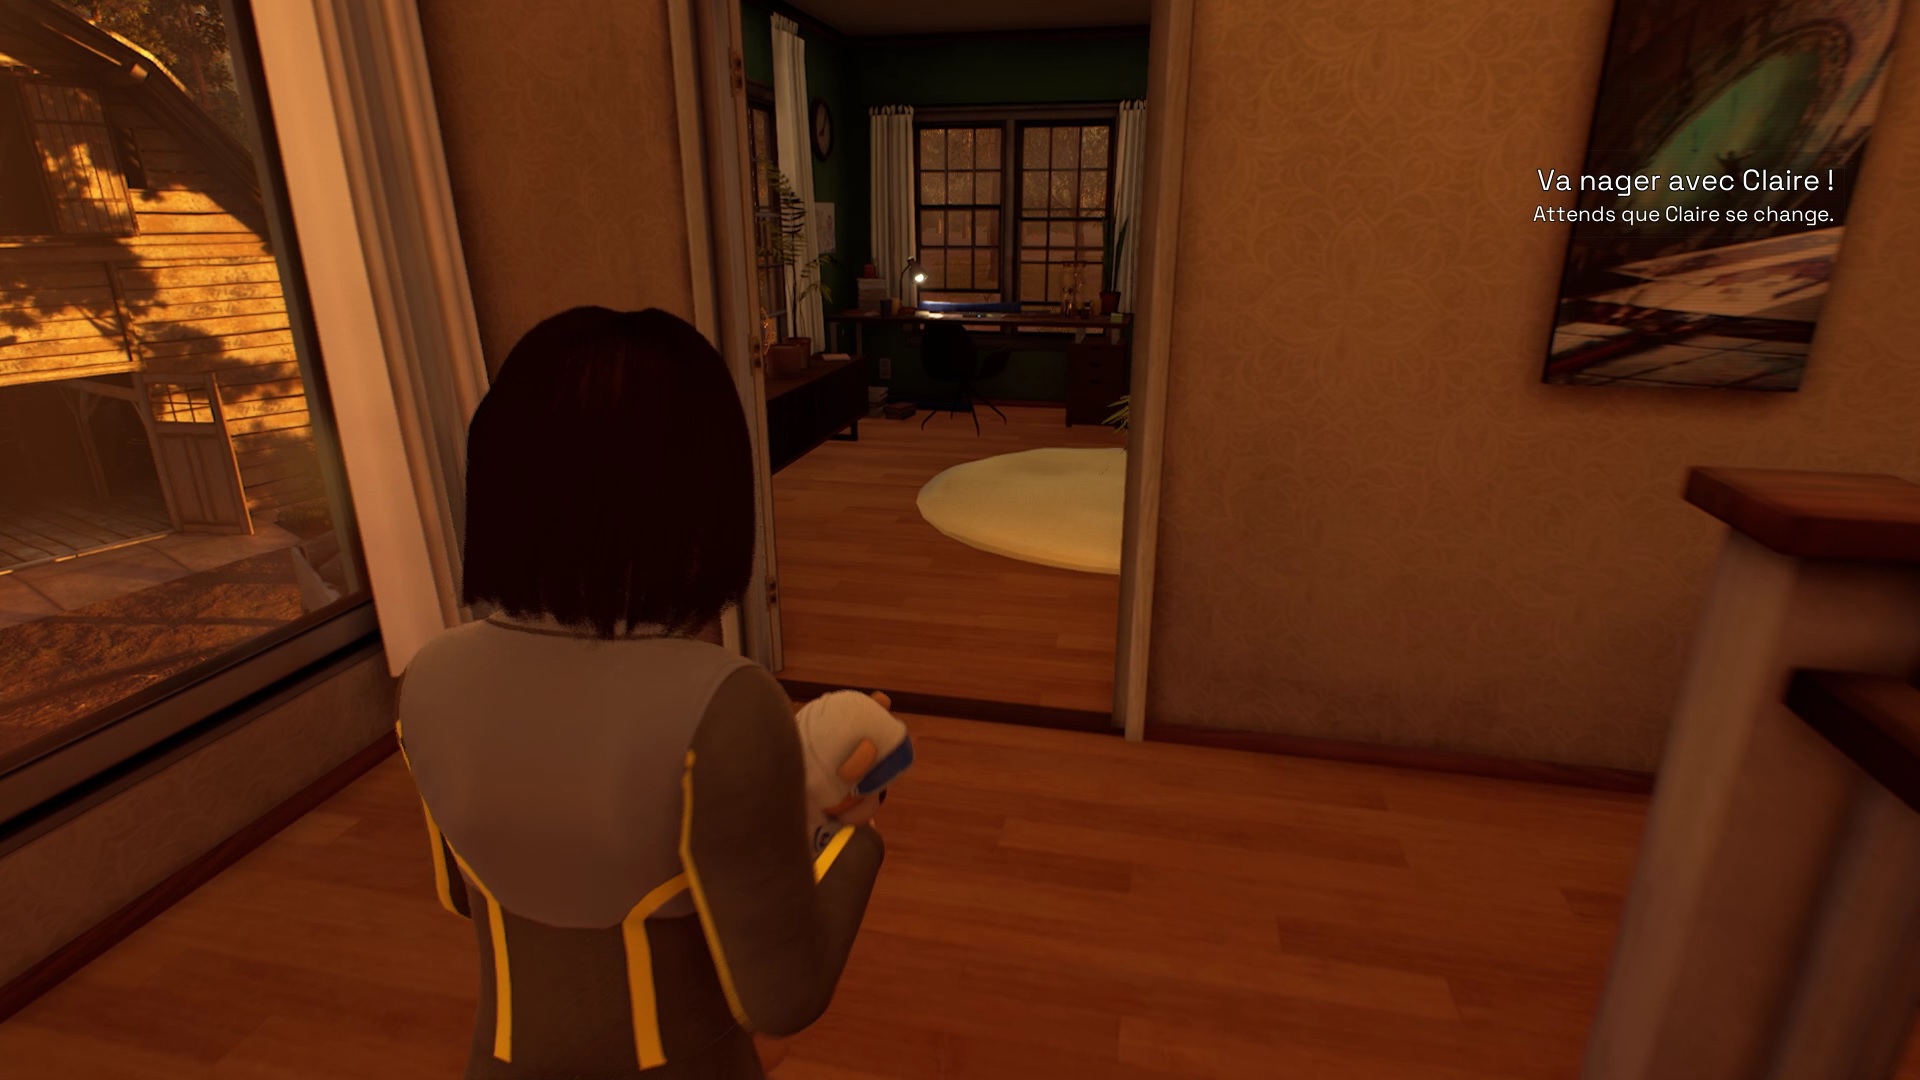
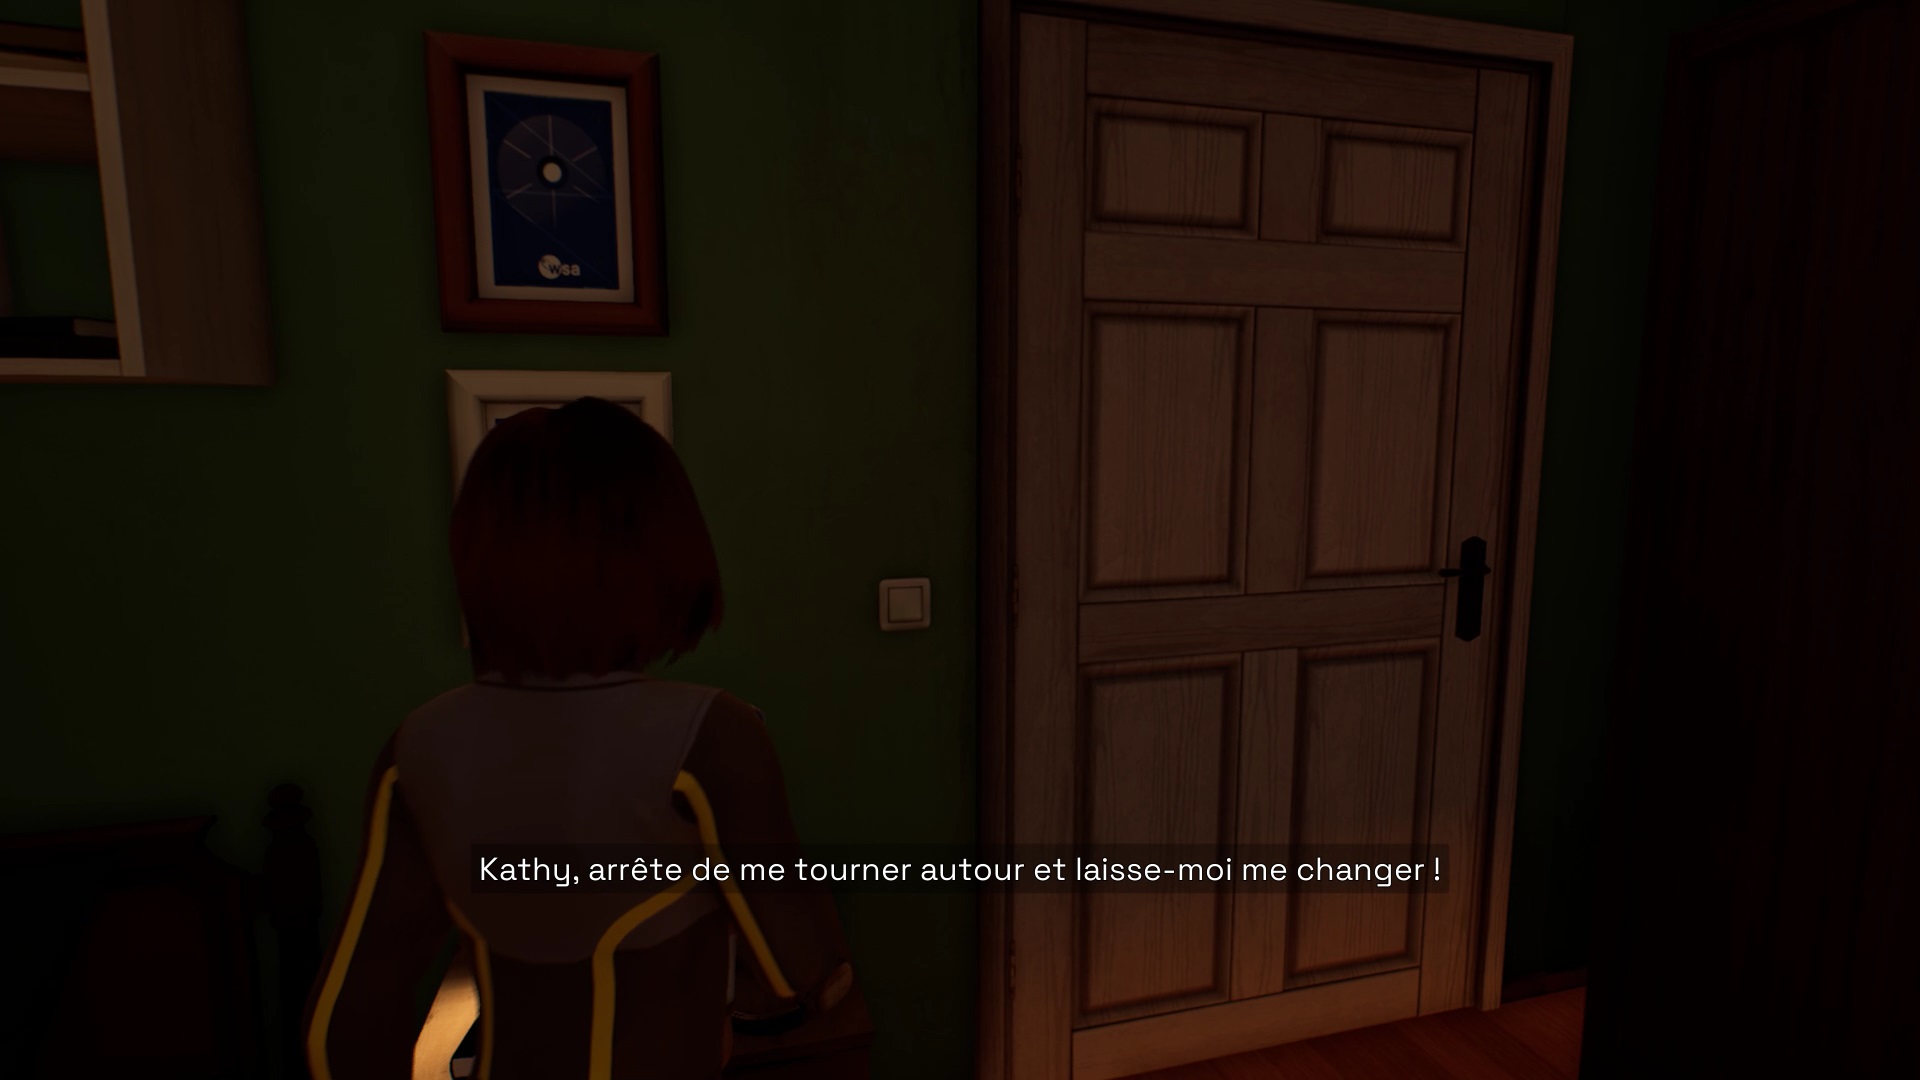
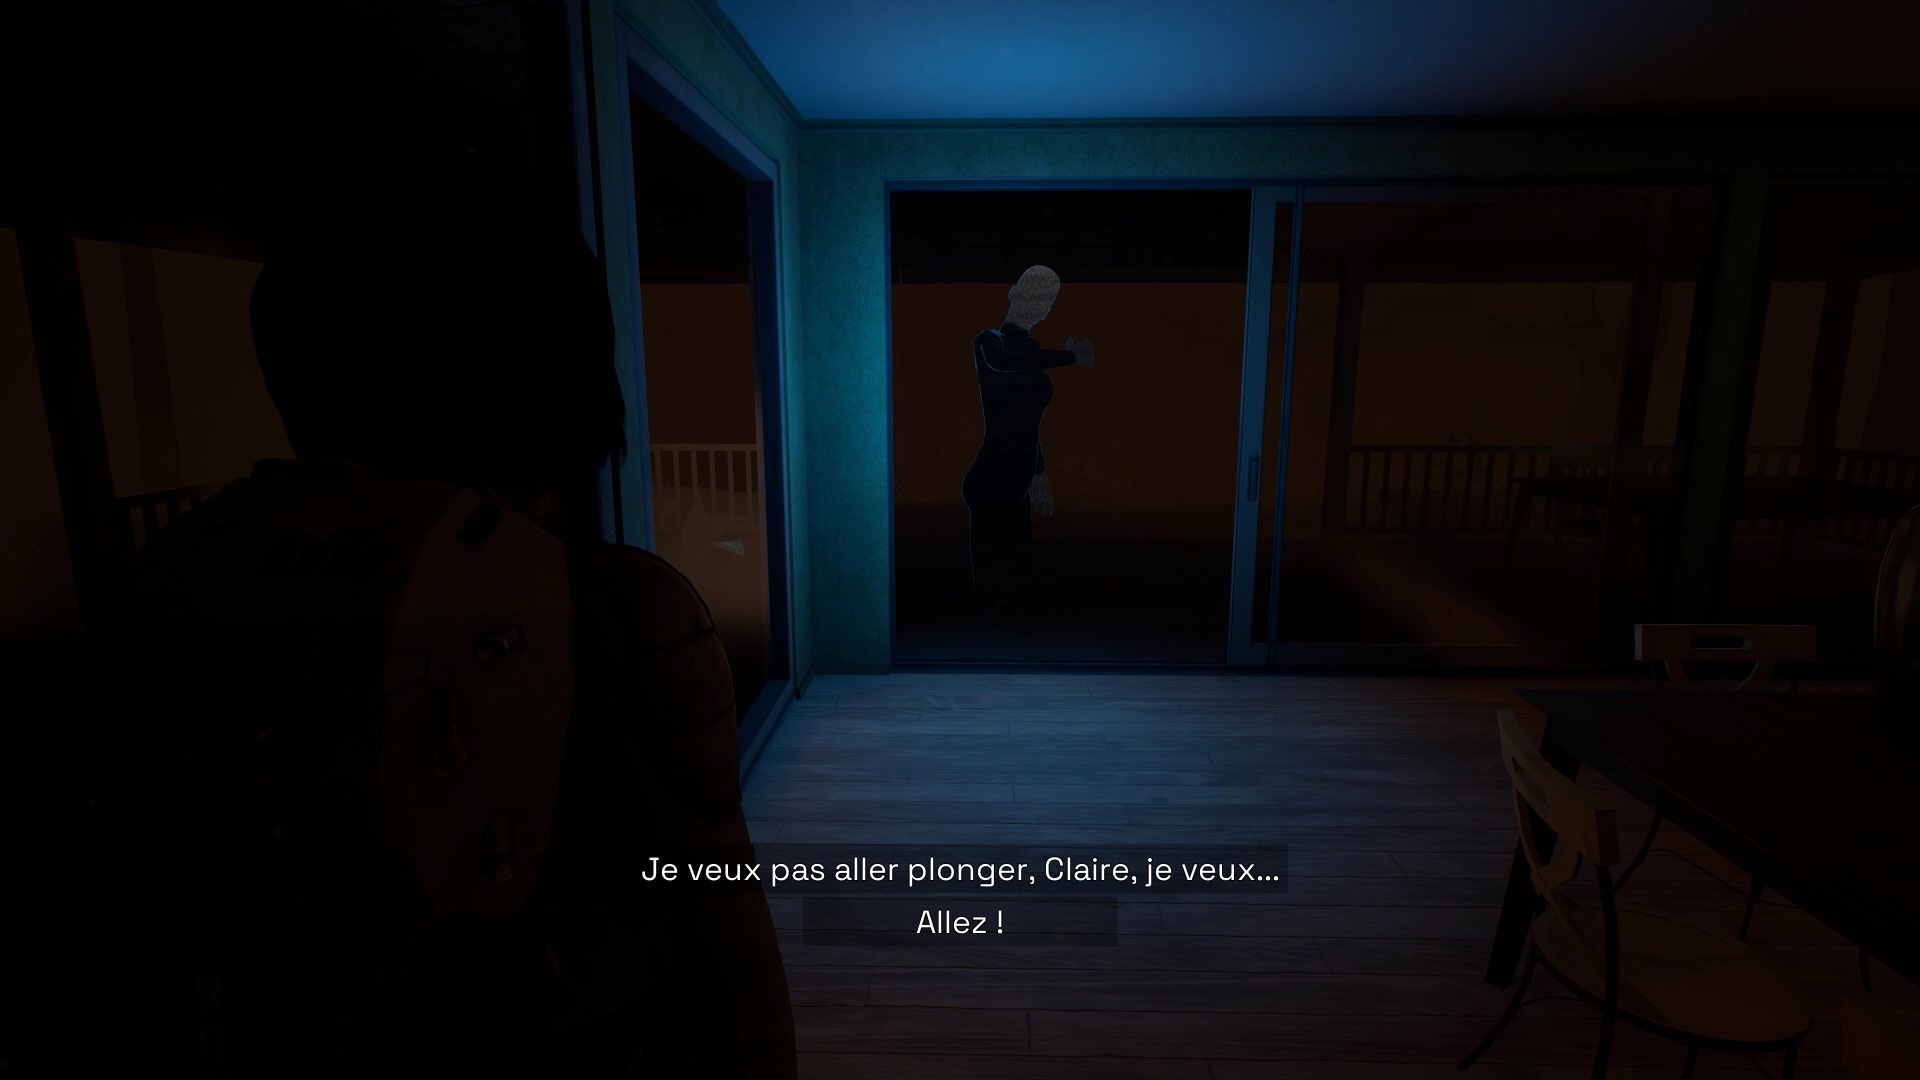
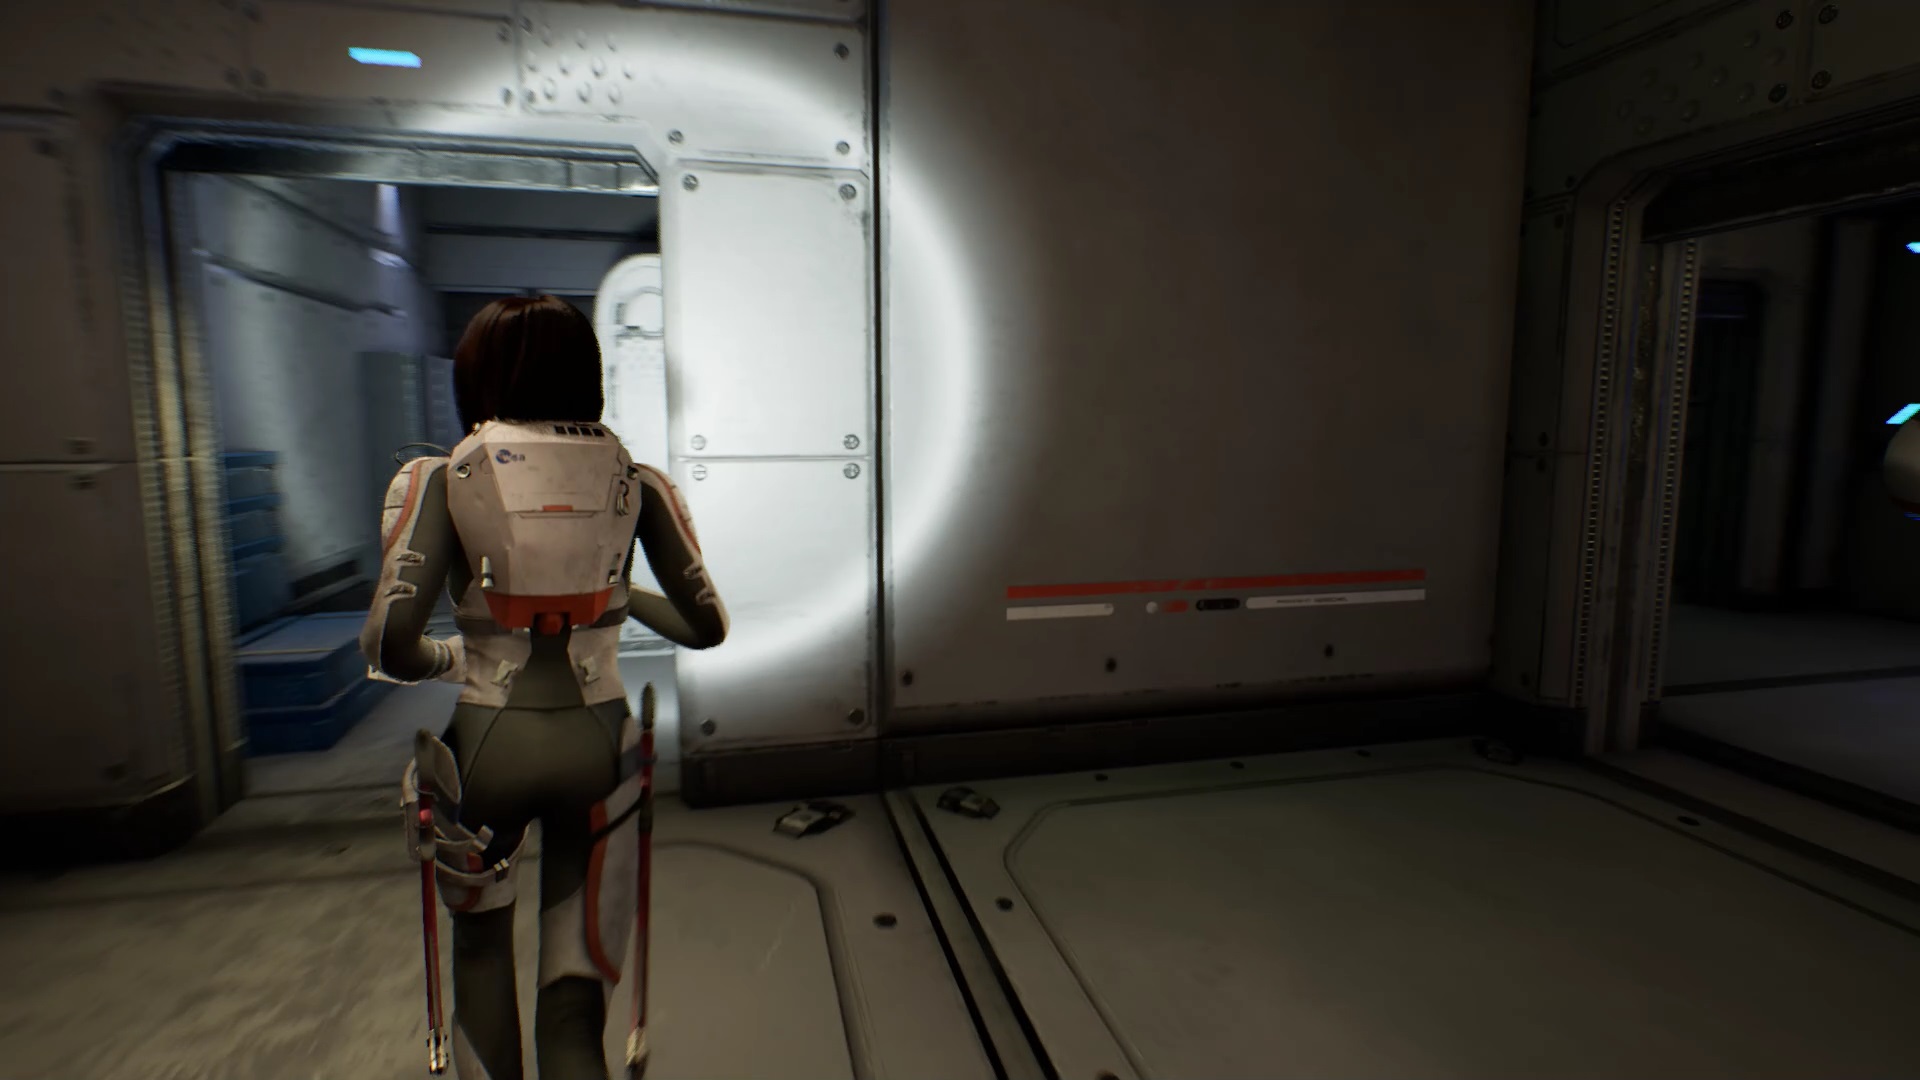
At the beginning of the prologue, you play as a young girl, Kathy. You have to go, you bathe with your sister Claire. While waiting for Claire to get ready in the room opposite yours, go down to the ground floor.
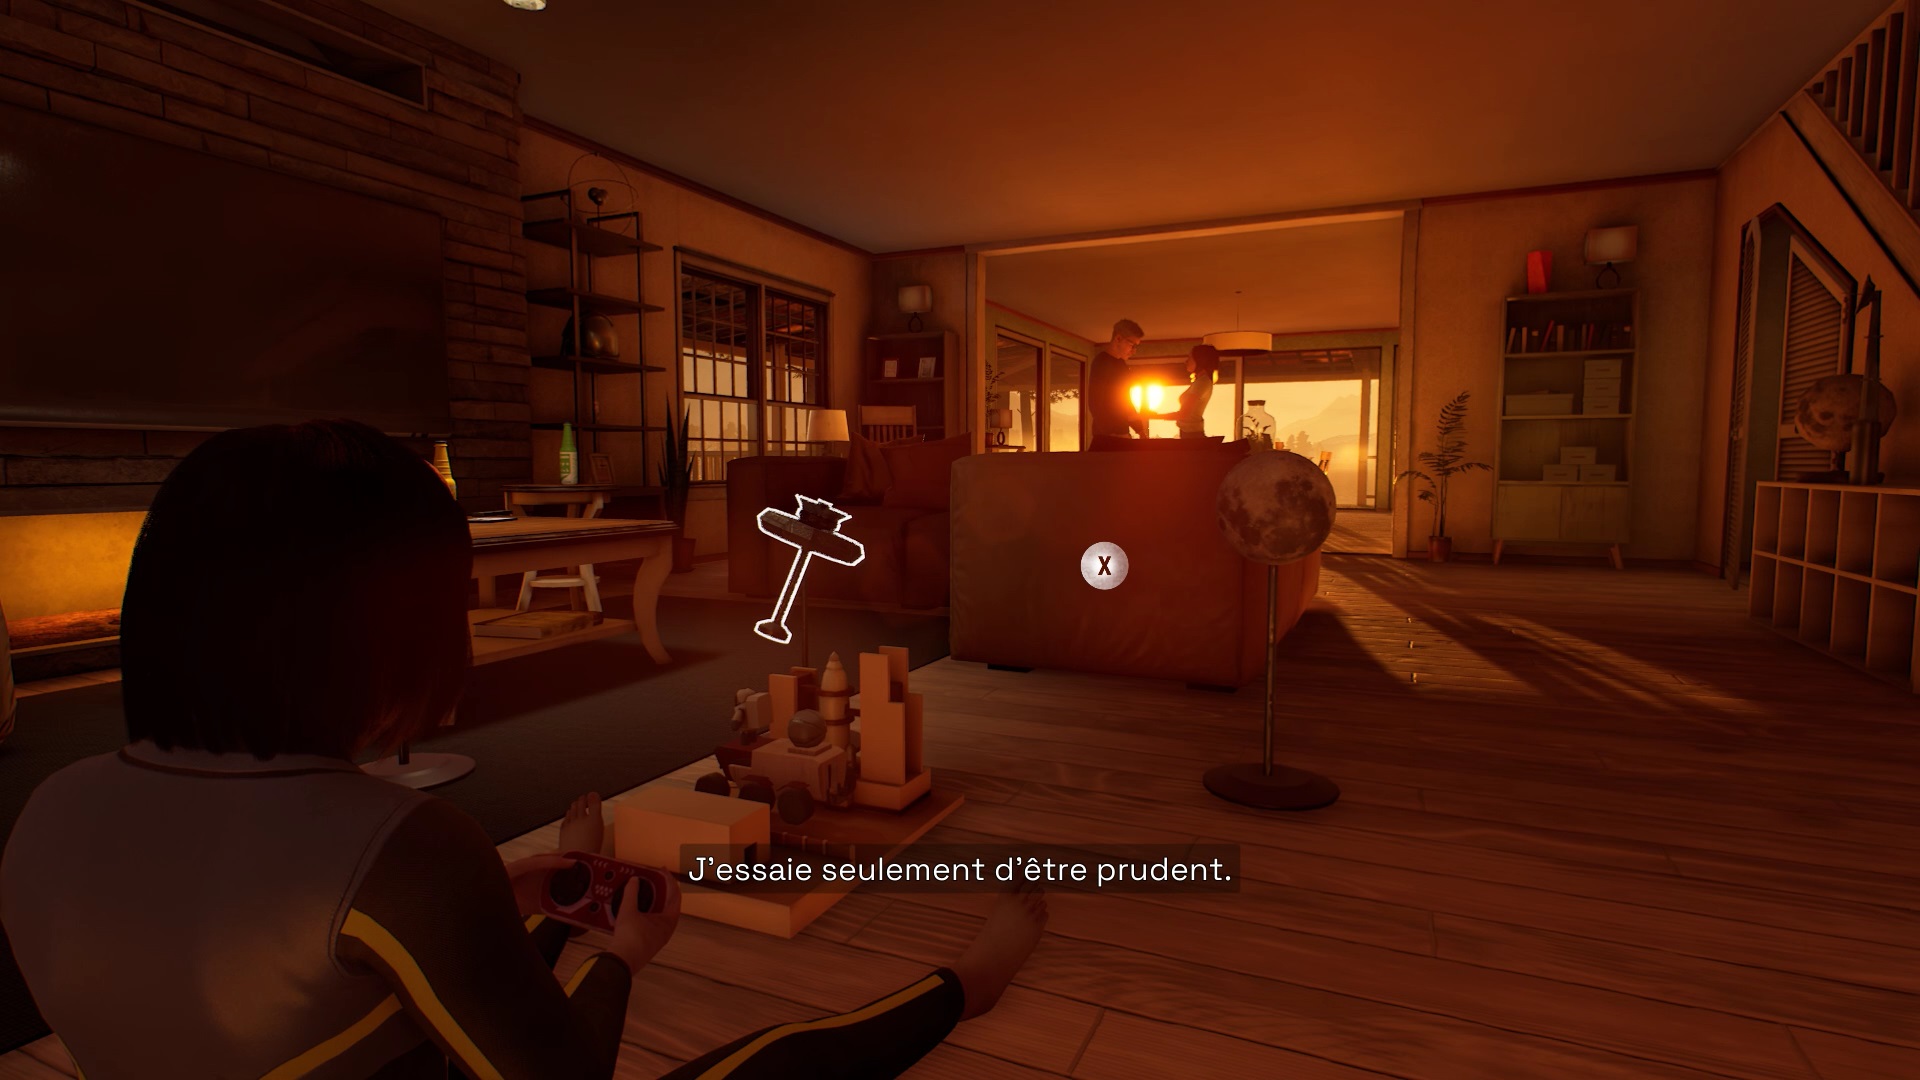


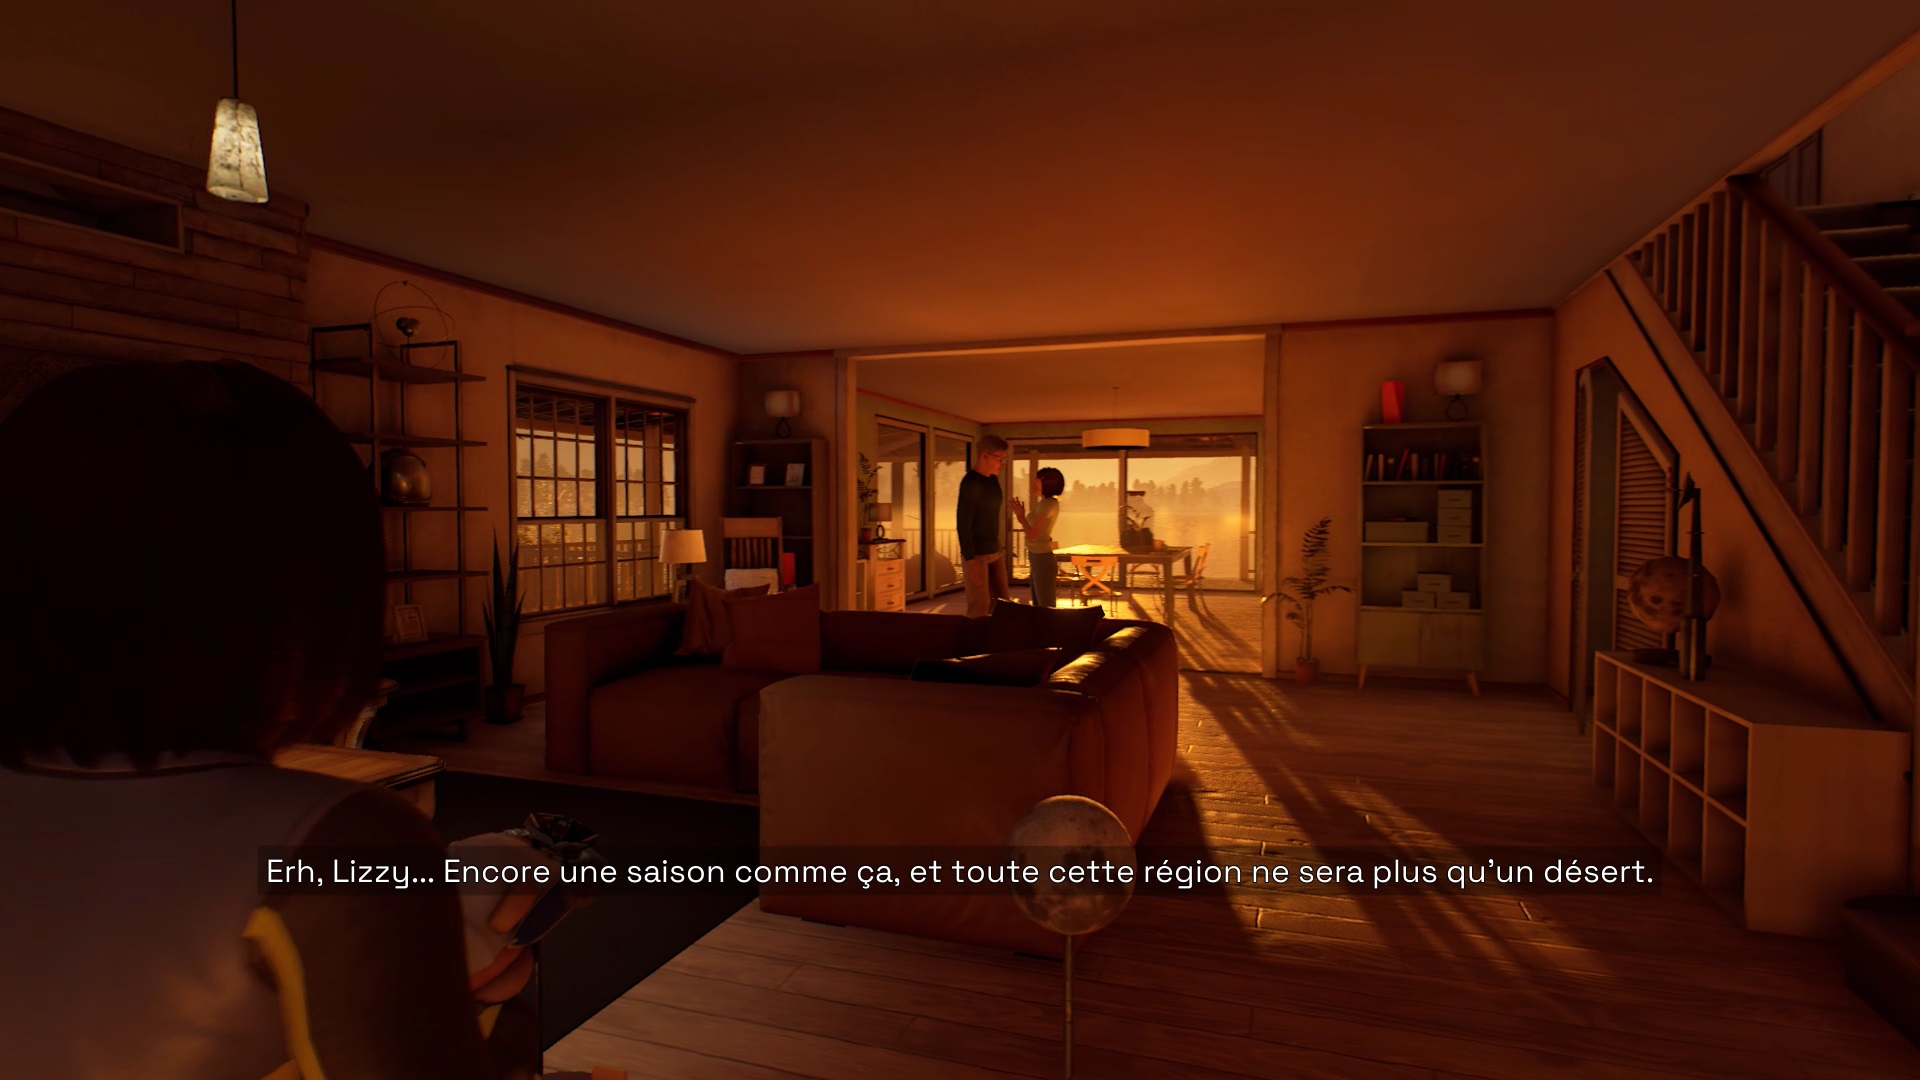
Your parents are having a discussion in the living room. Listen to them talk while playing with the wooden toys near the television. After the cutscene, Claire takes you outside to swim in the lake. Follow it and dive into the lake.
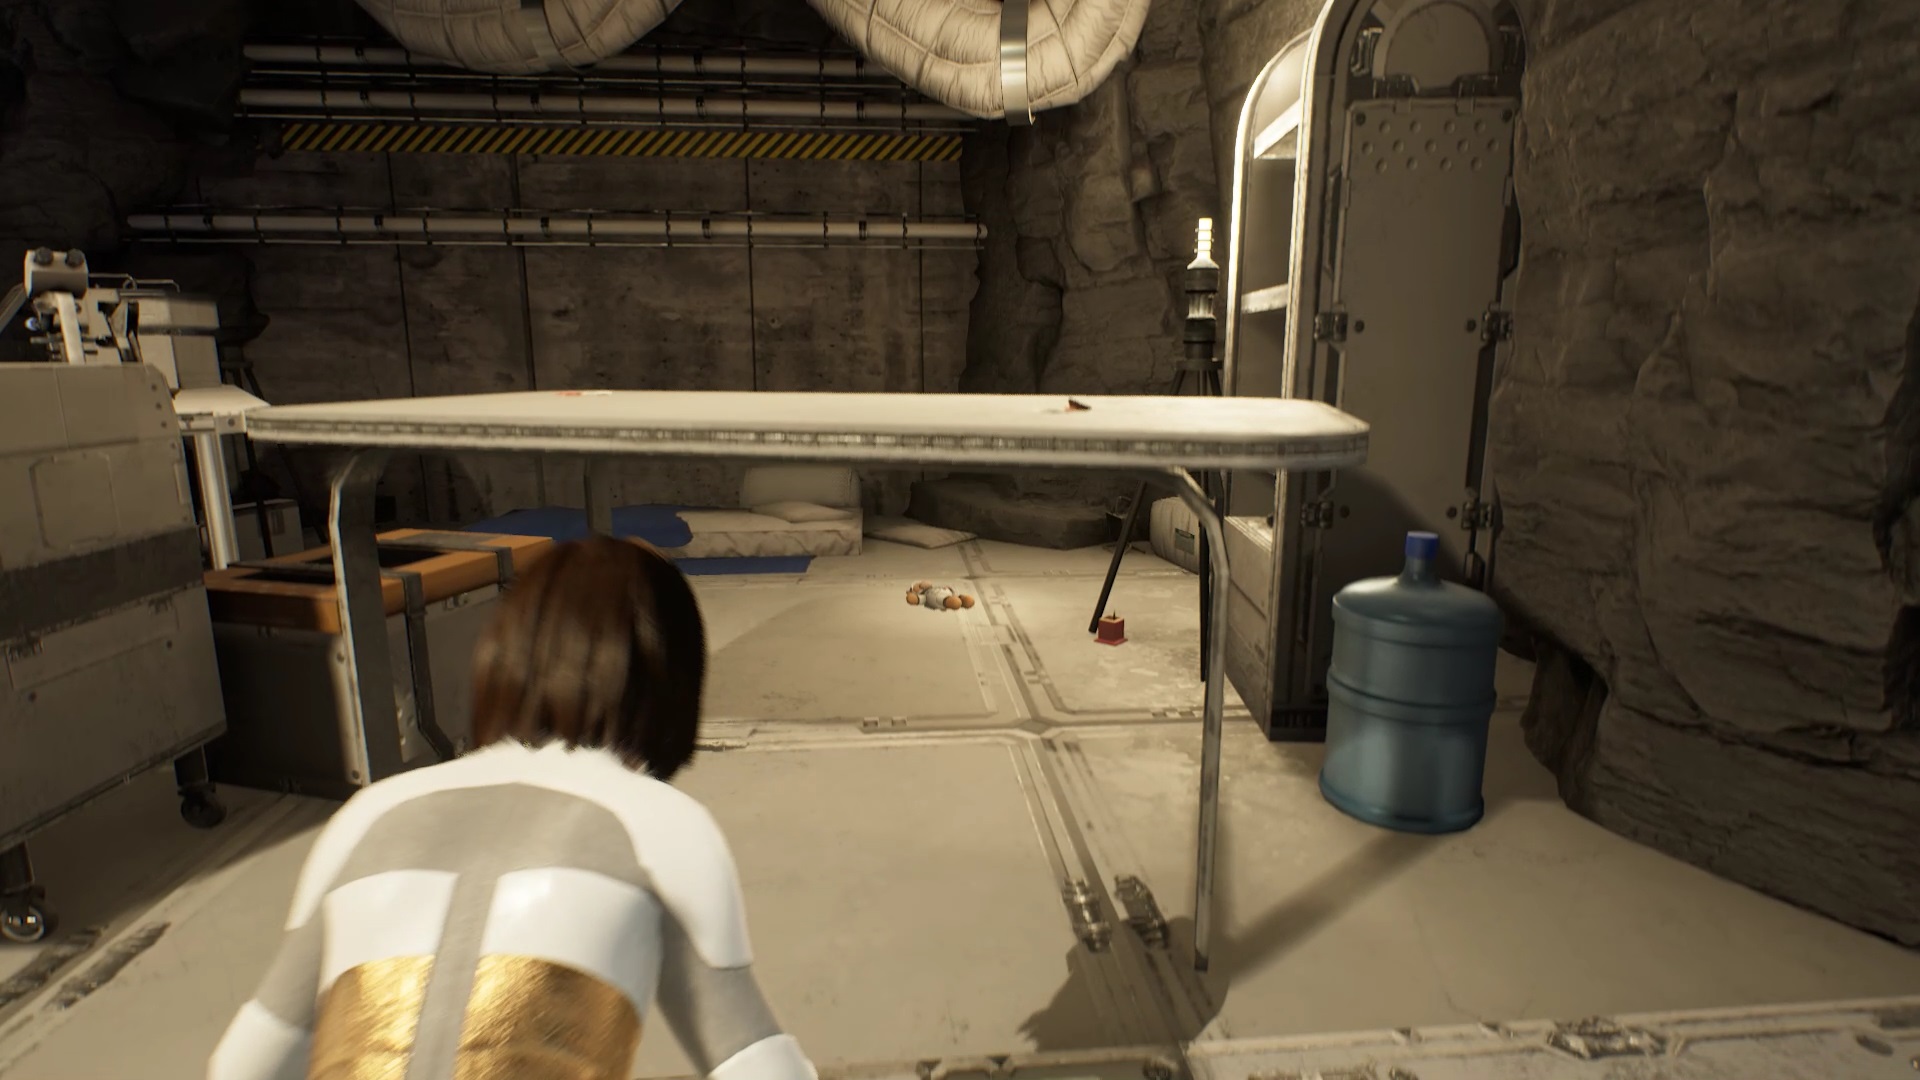
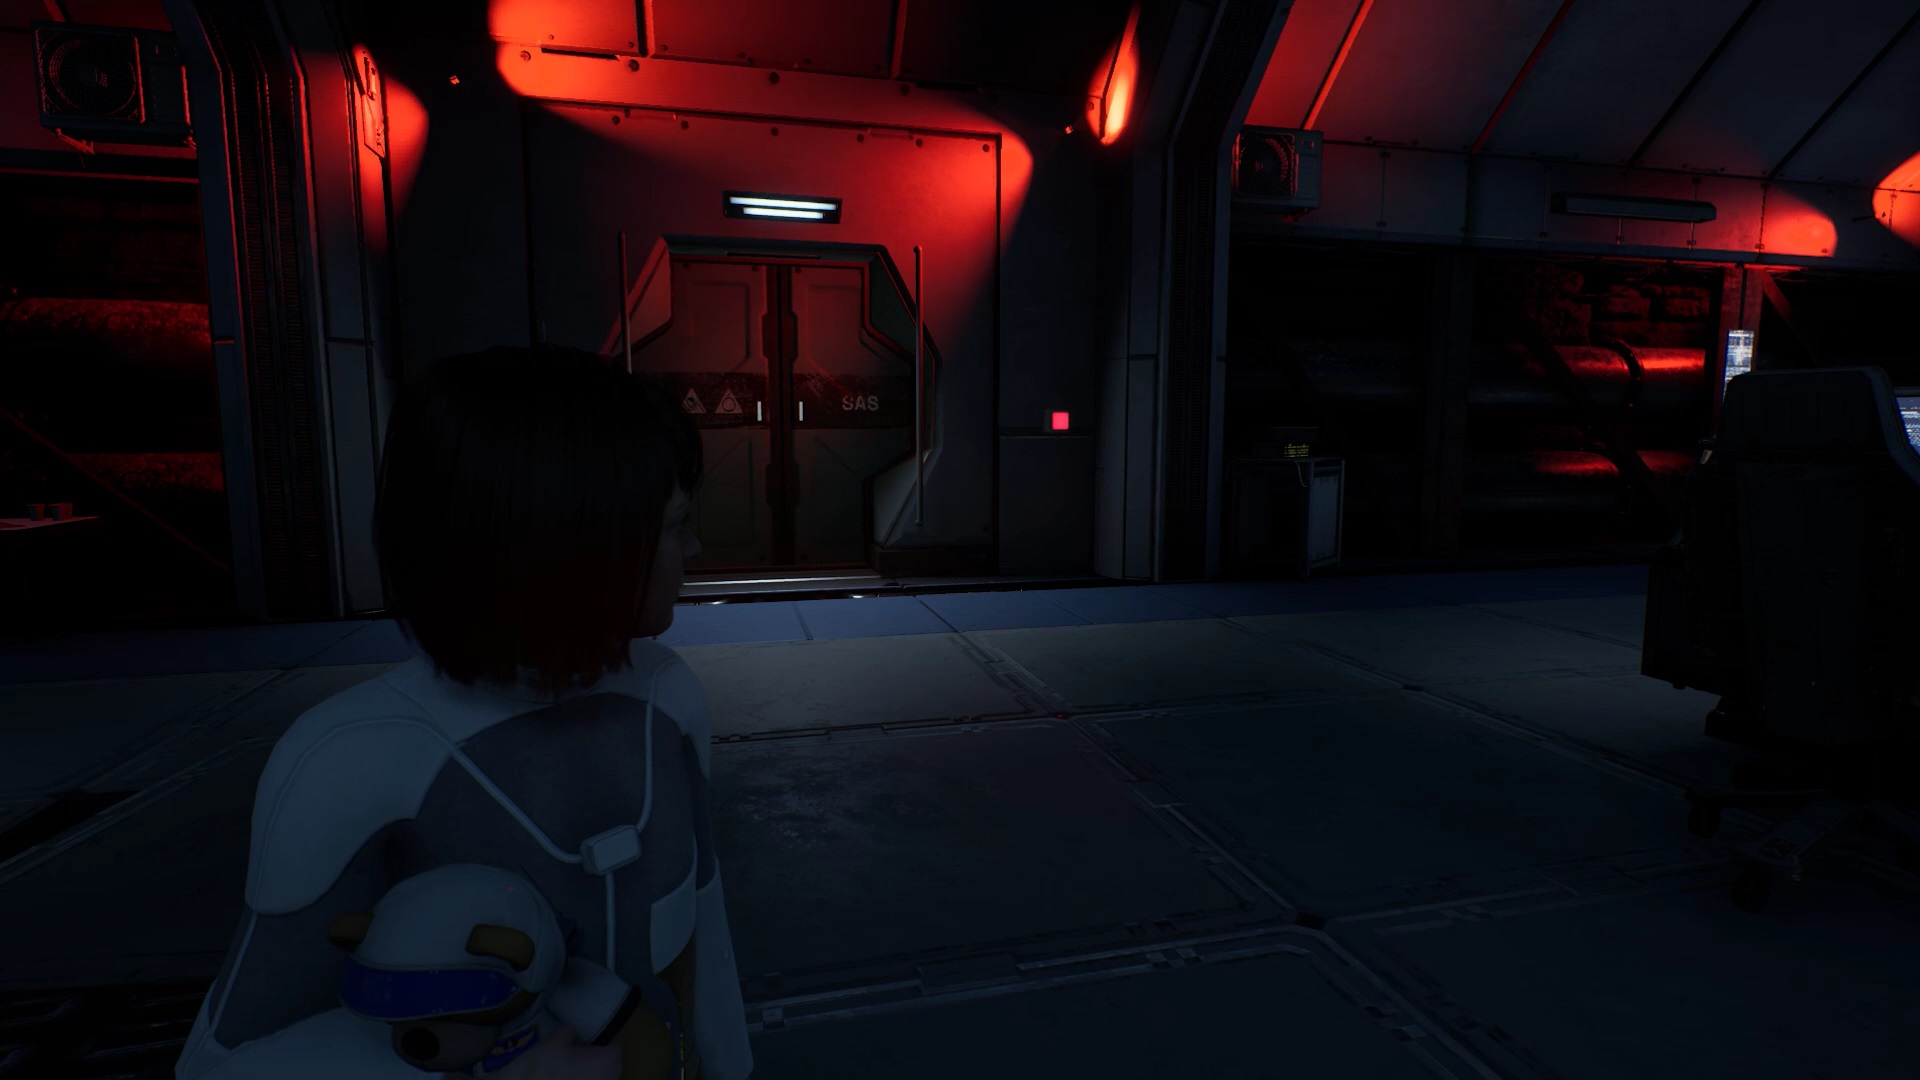
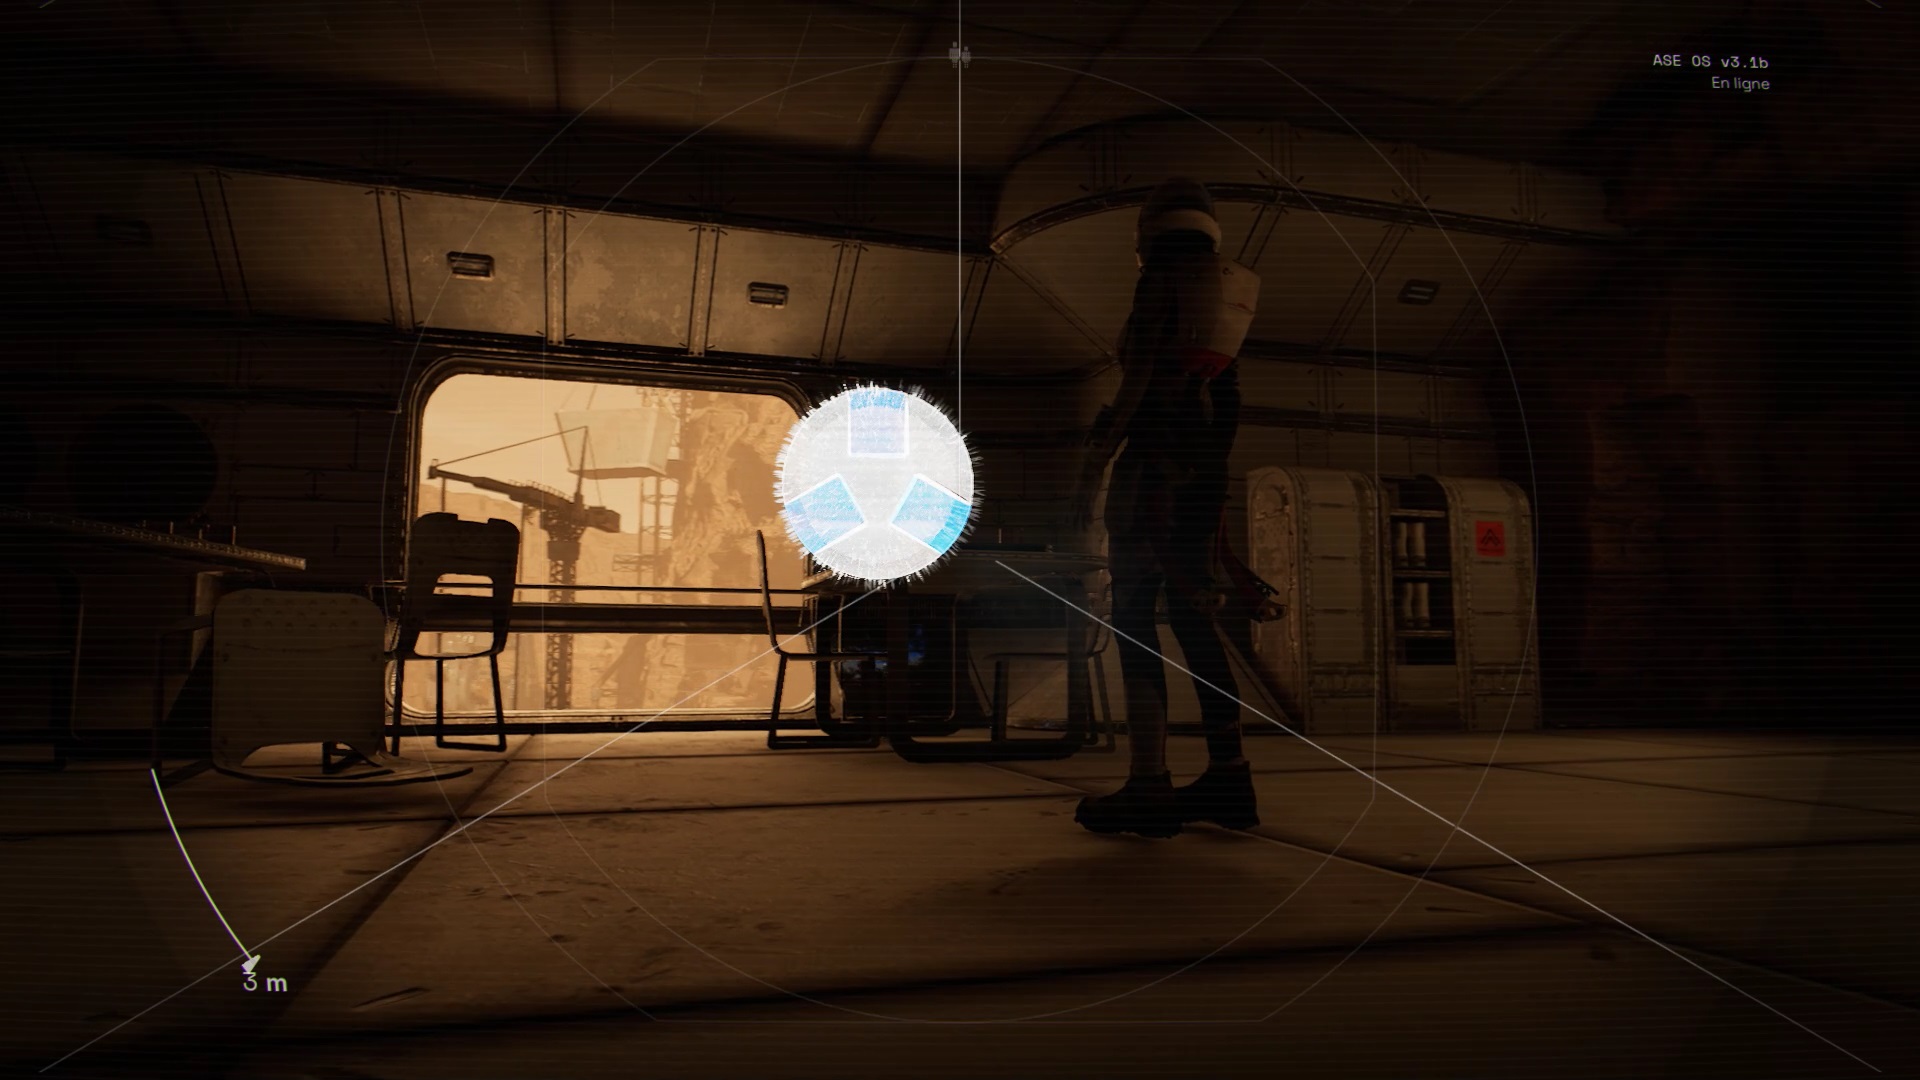
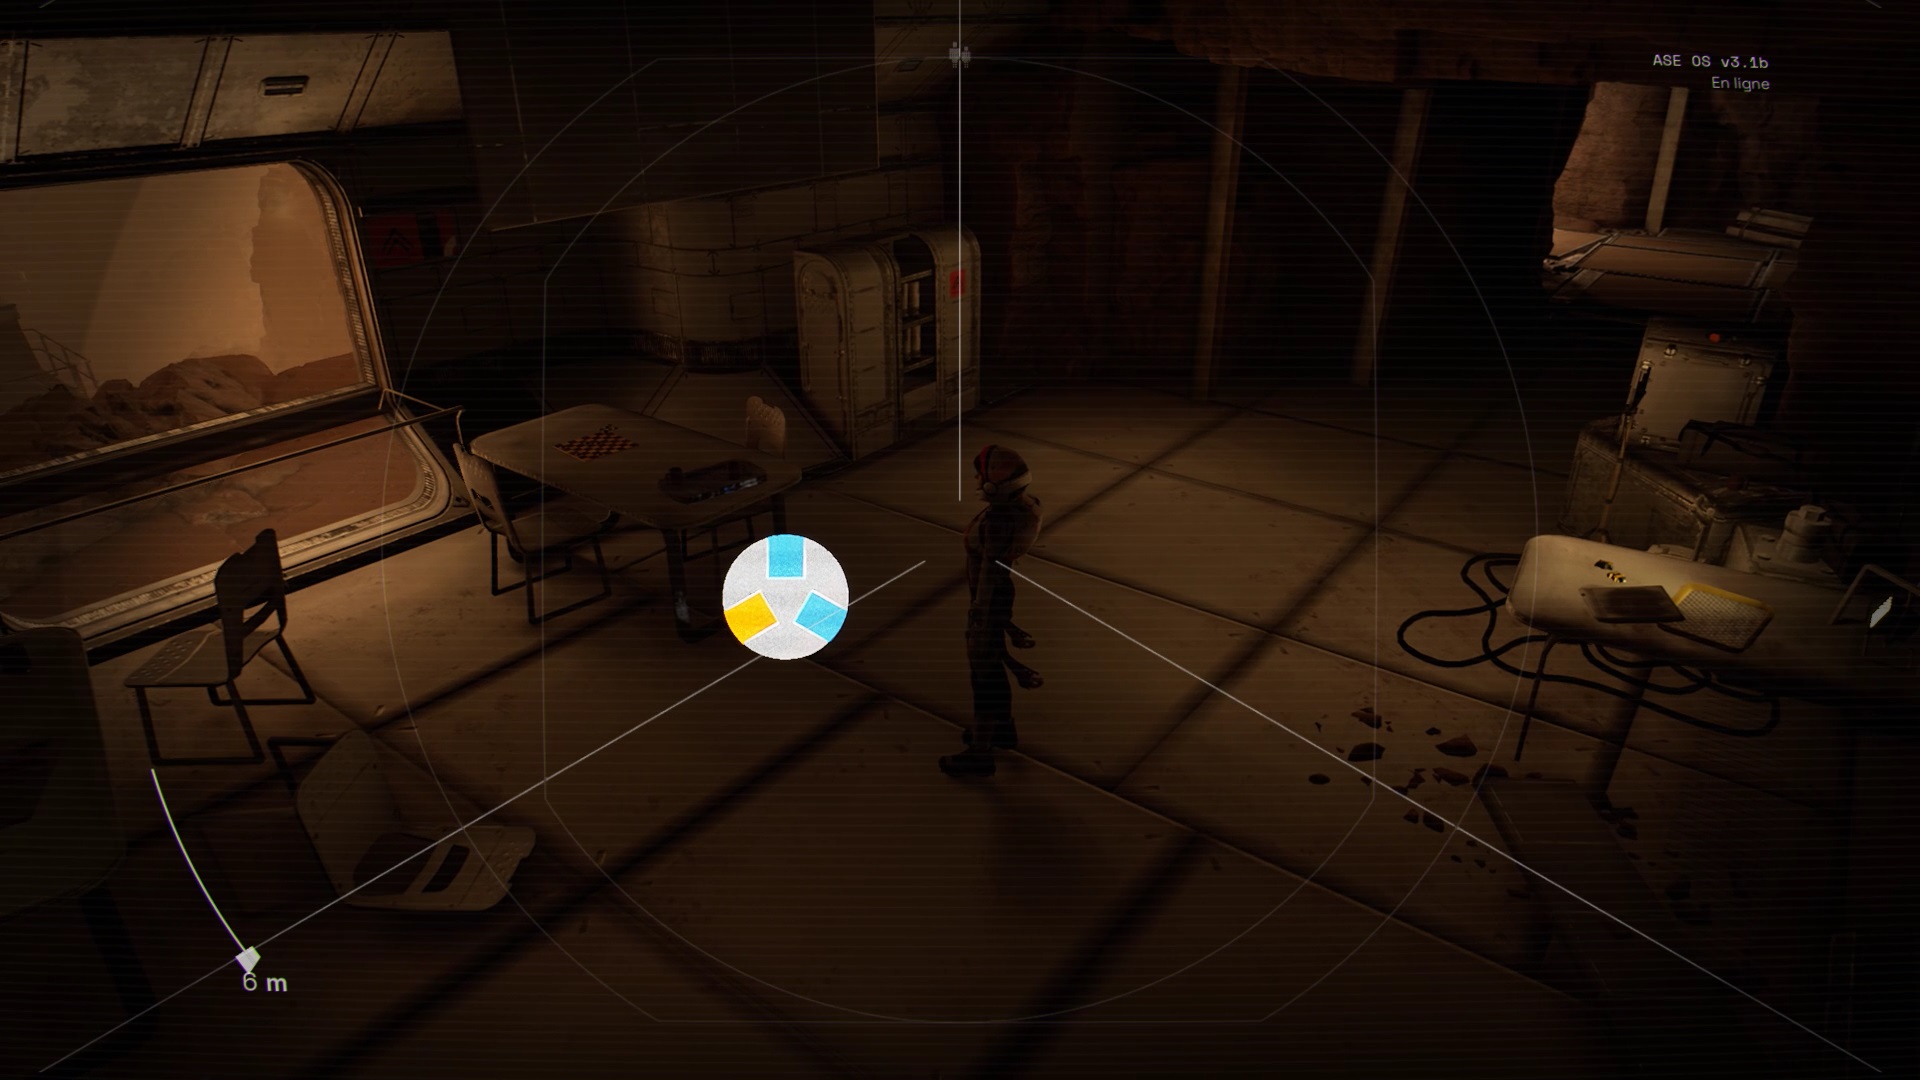
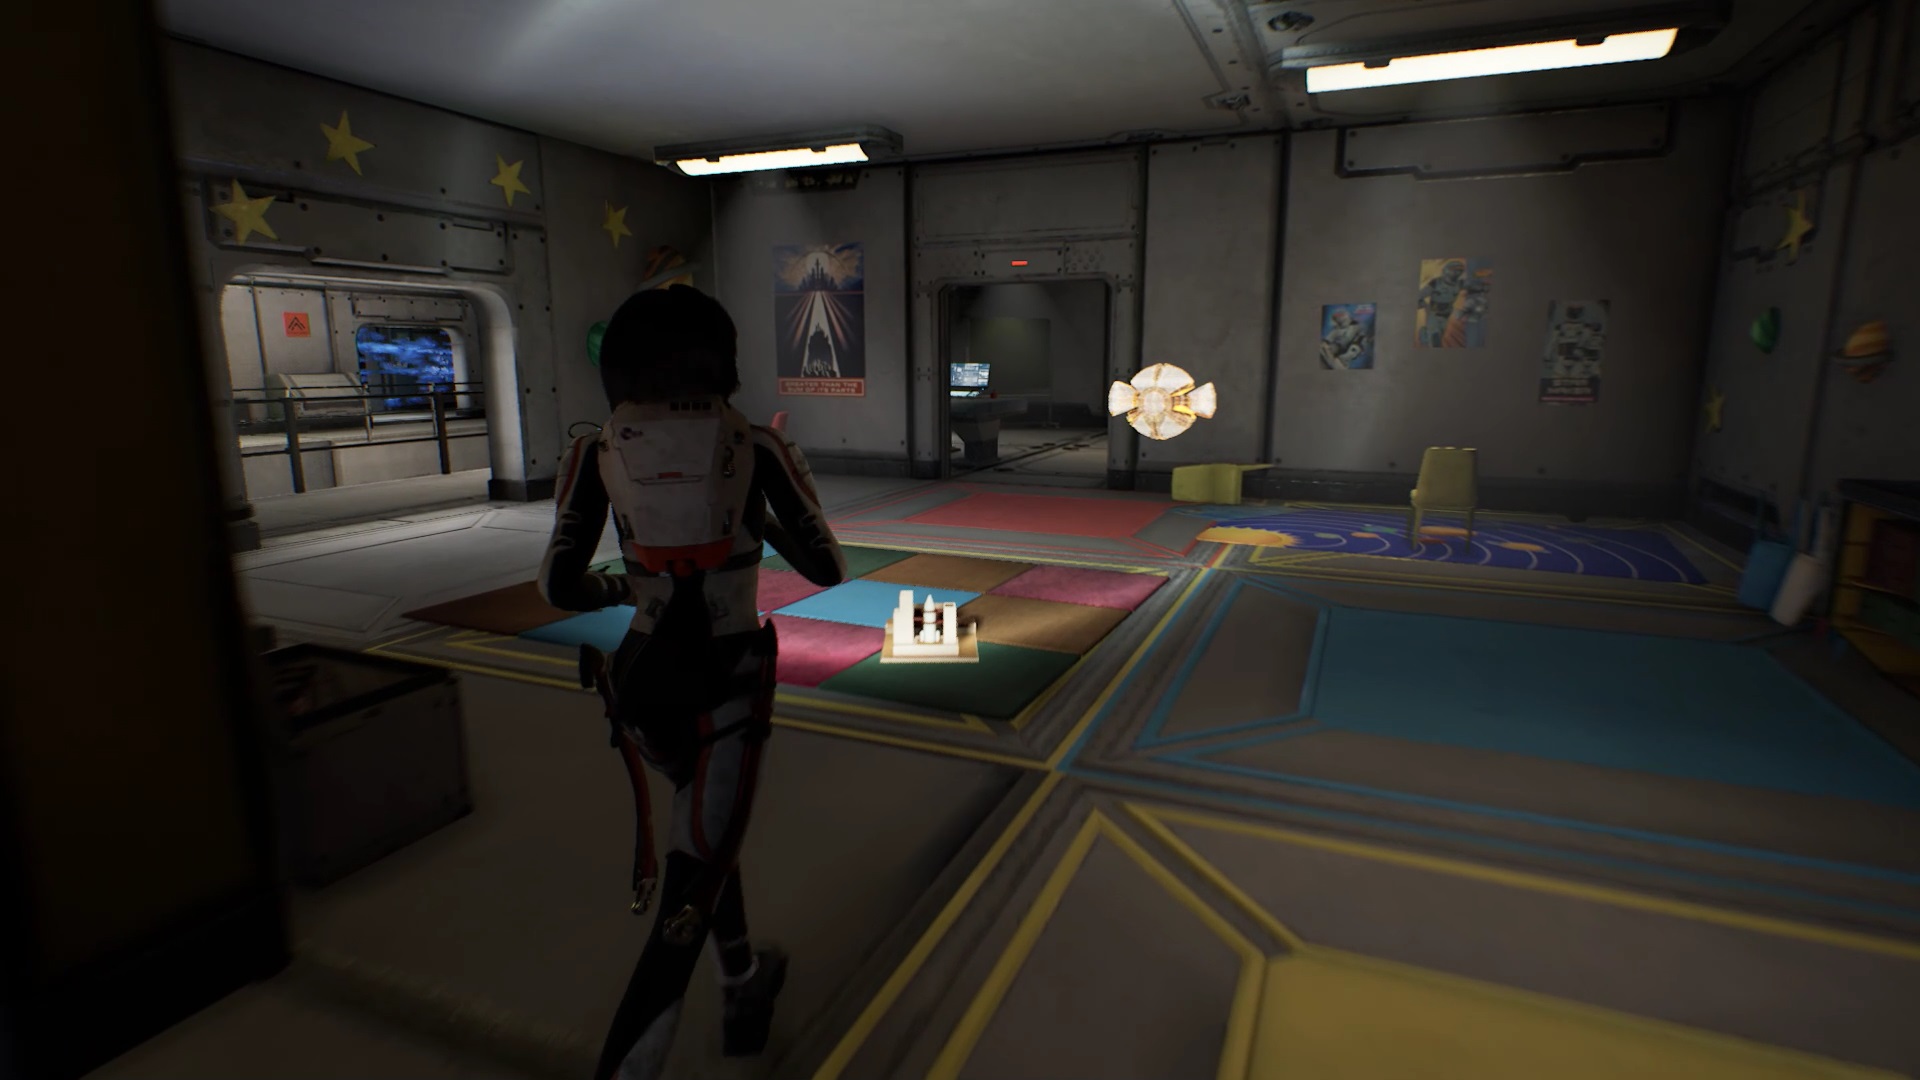
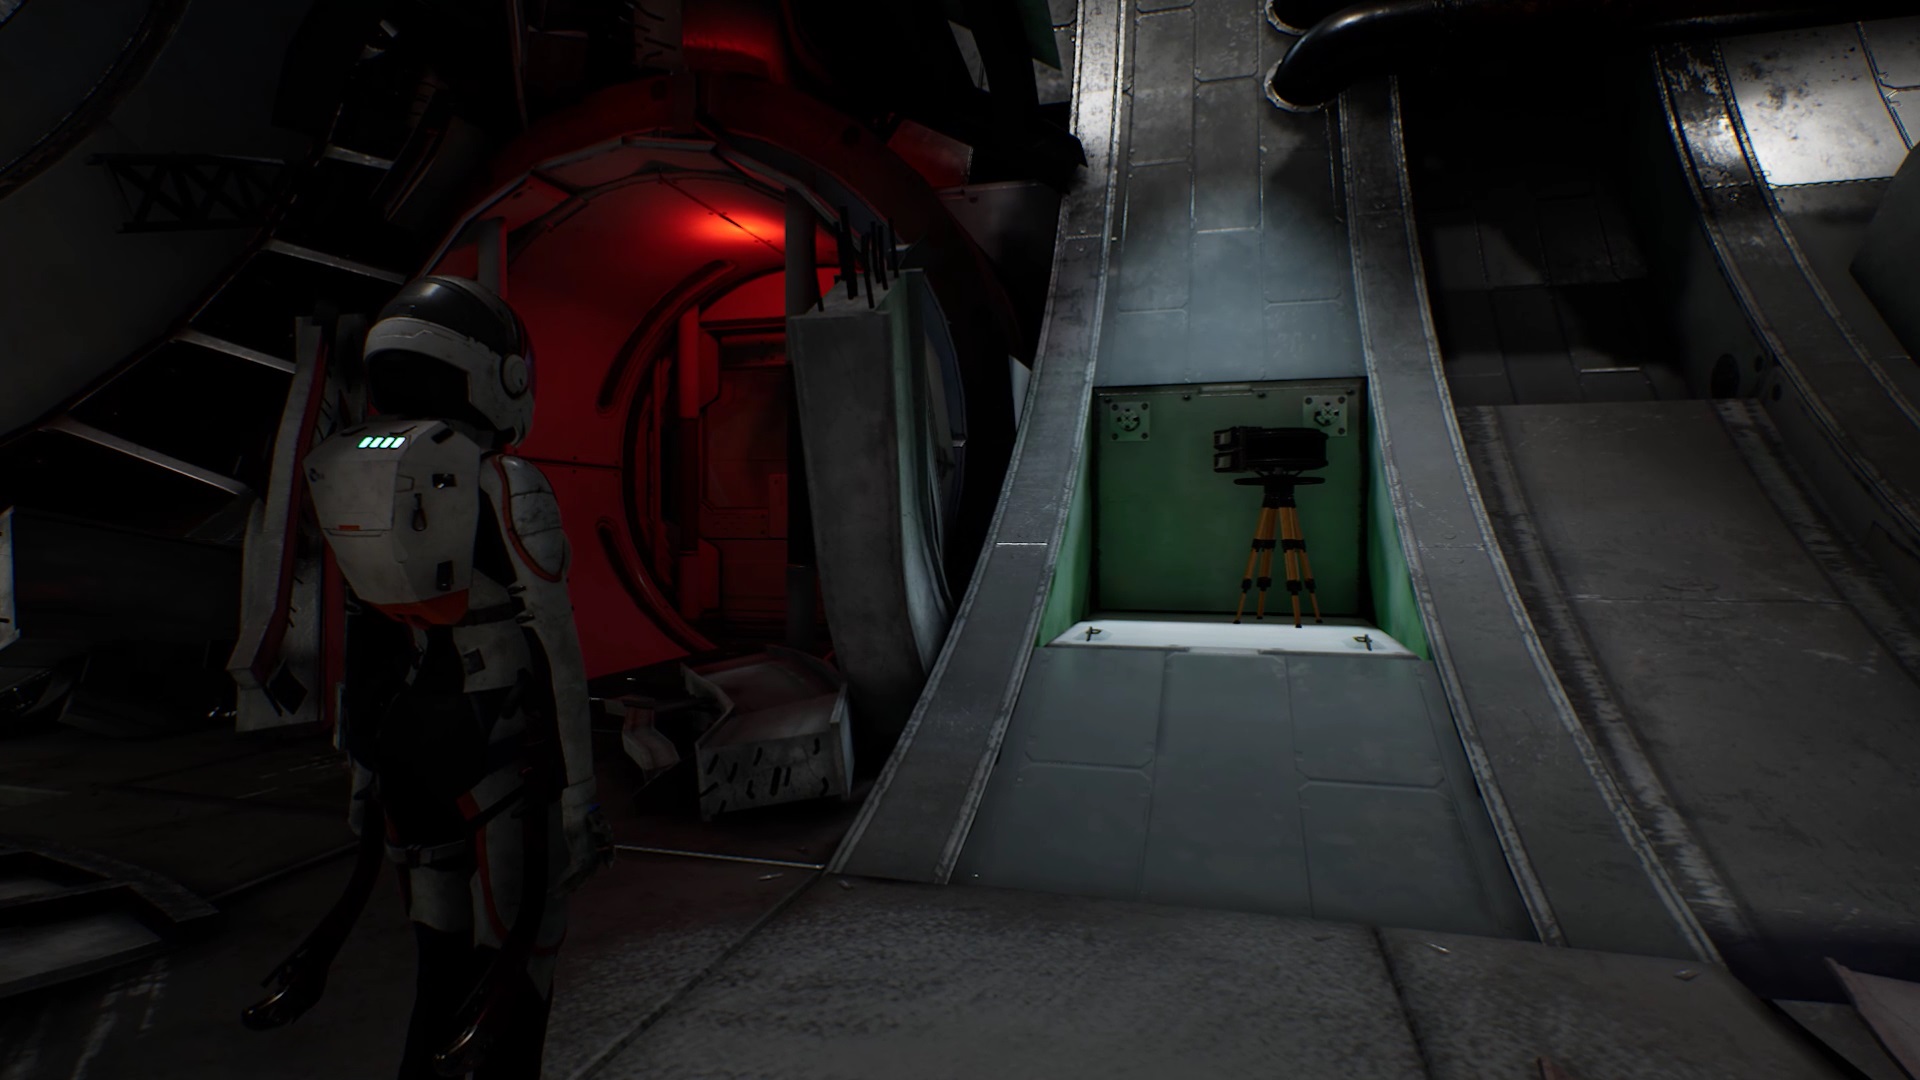
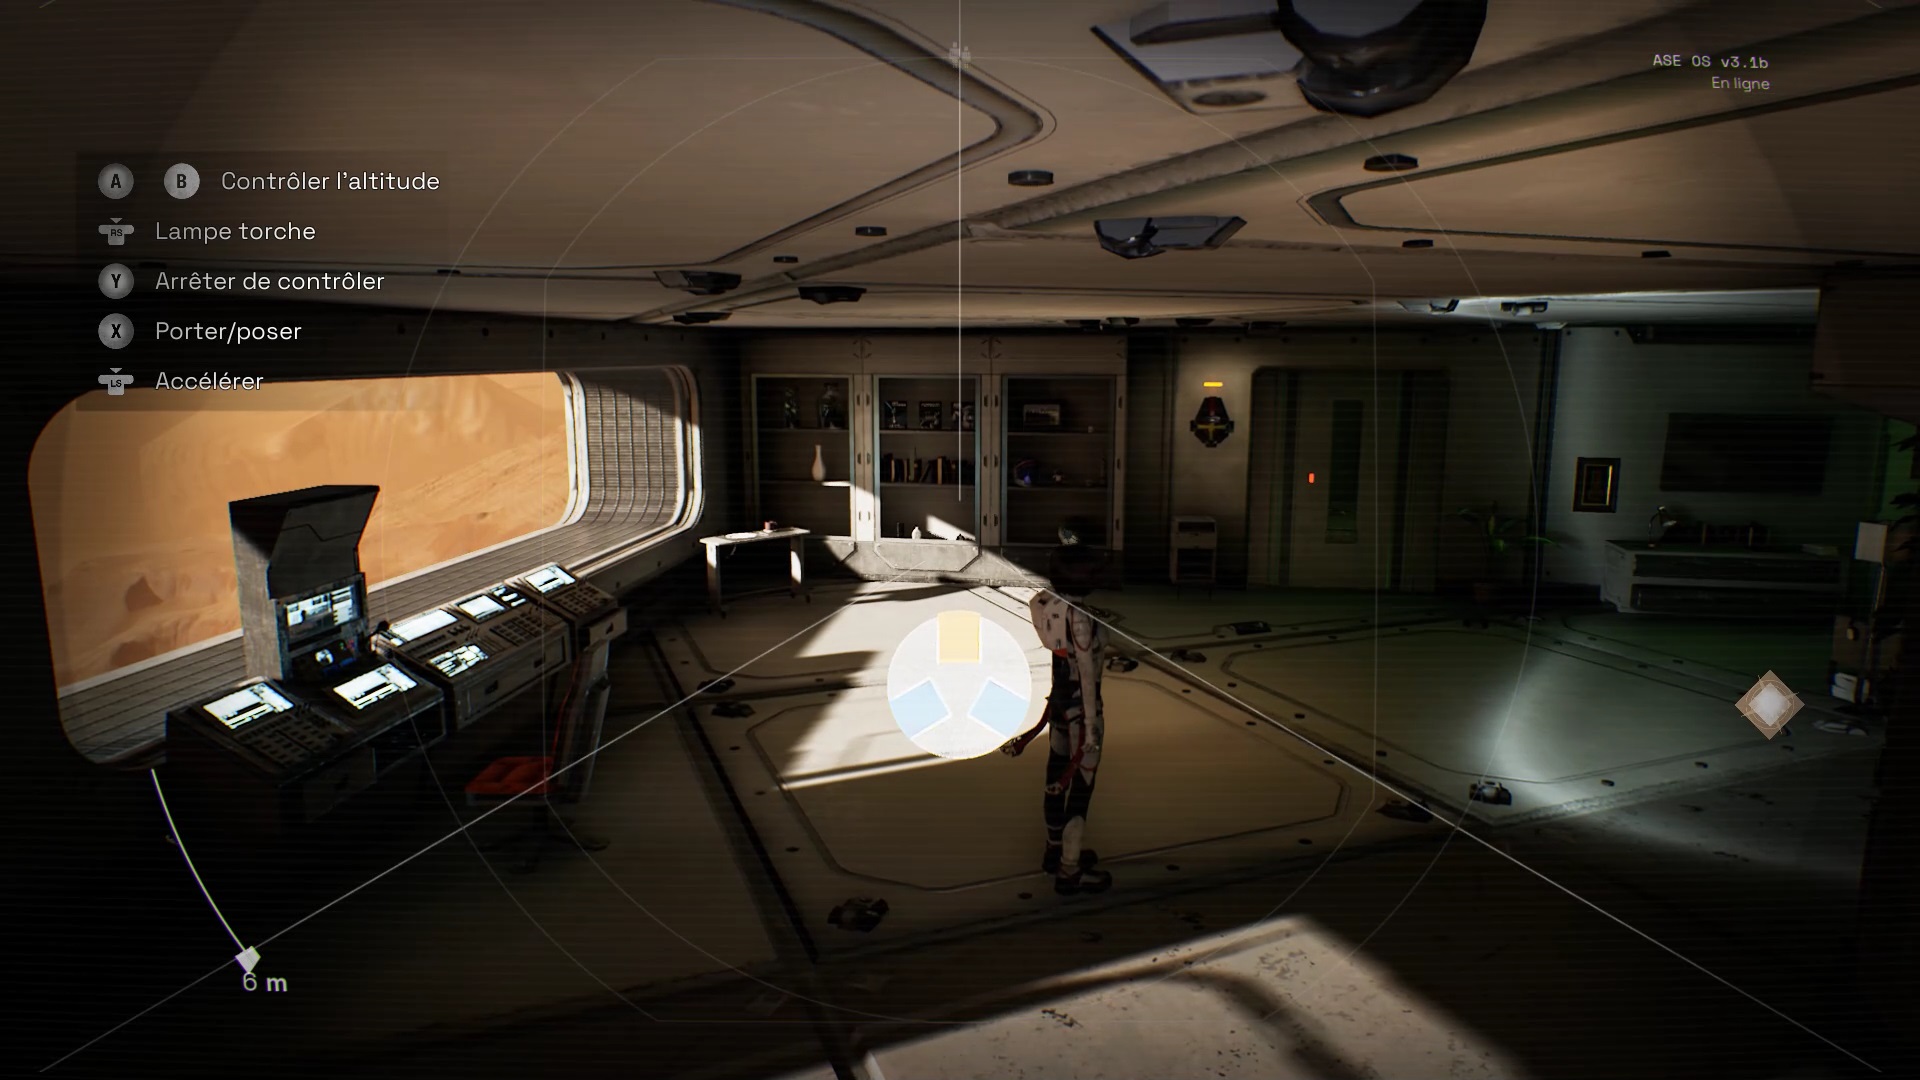
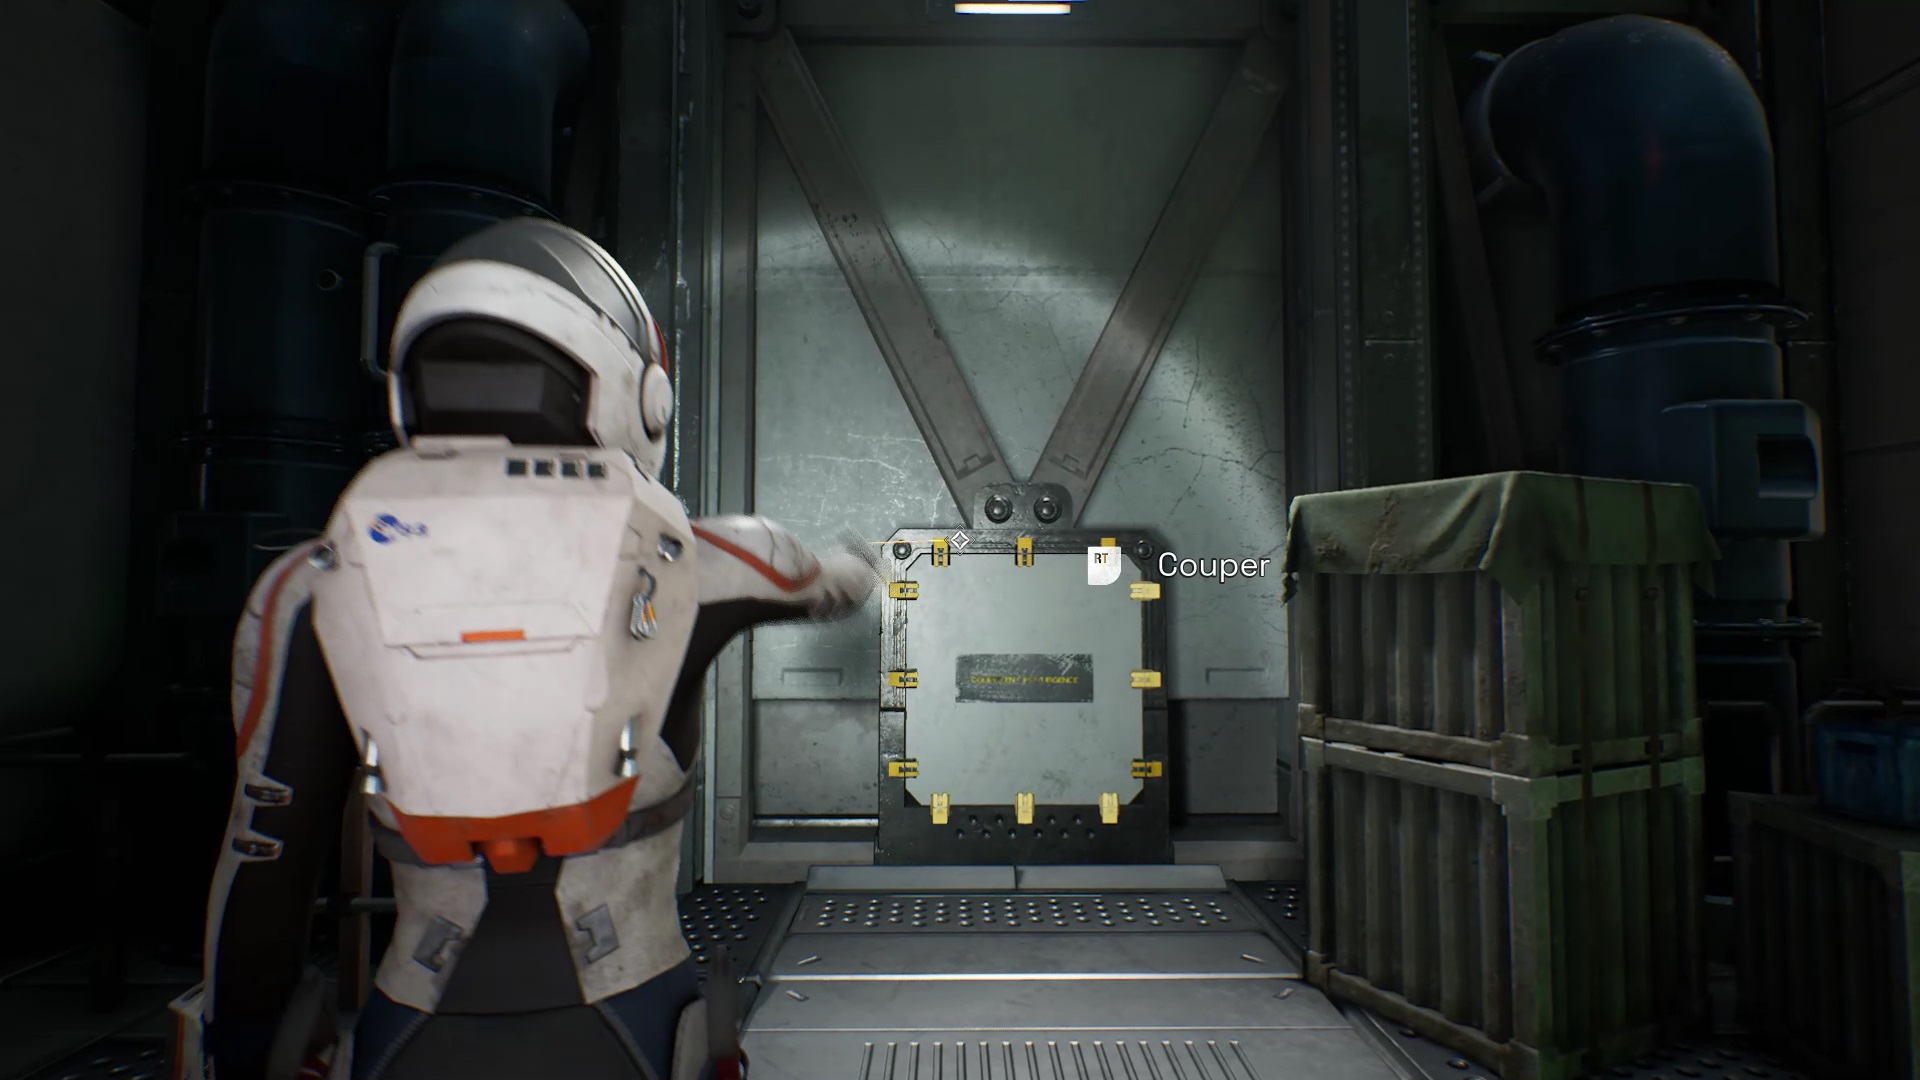
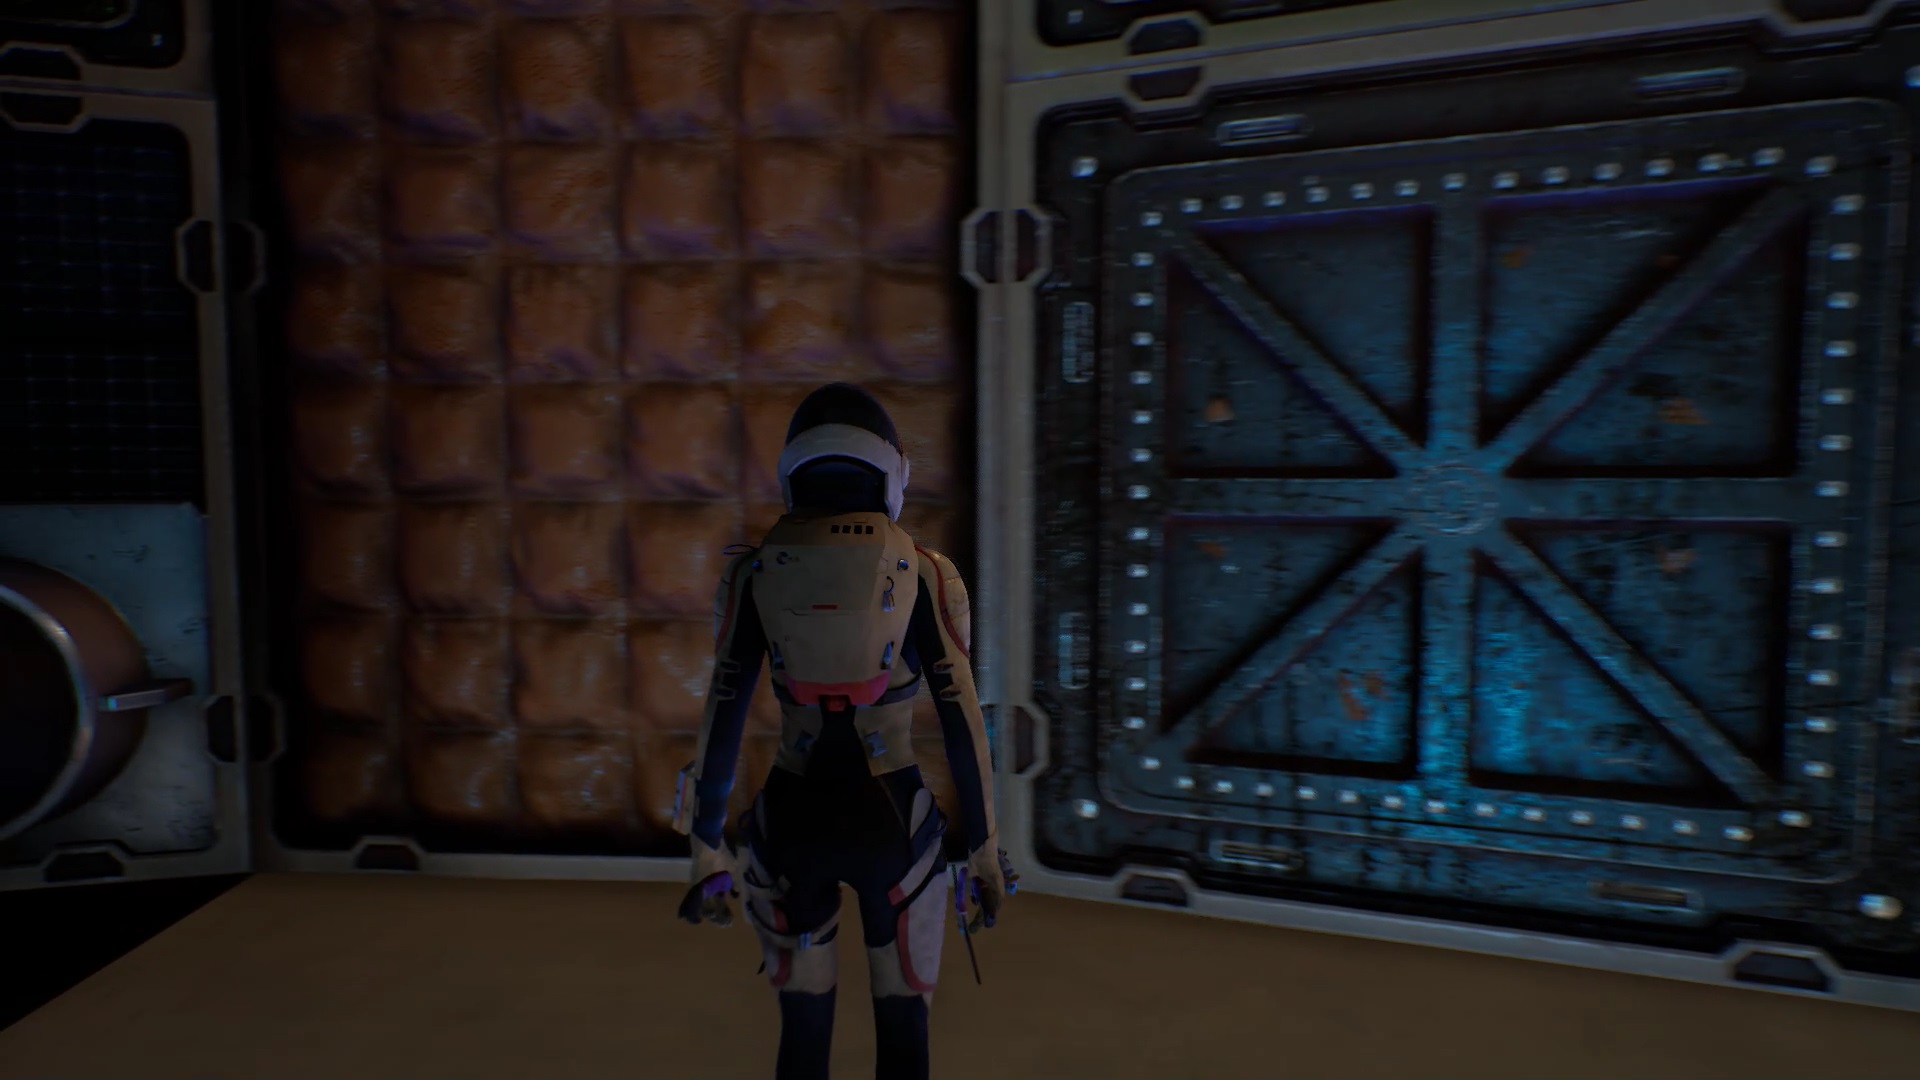
You find yourself in the moon base of Outward with your father. You need to find your Little Dipper plush toy. The plushie is behind the desks to the left of the exit door. To help your father open the exit door, press the red switch at the bottom left of the room.
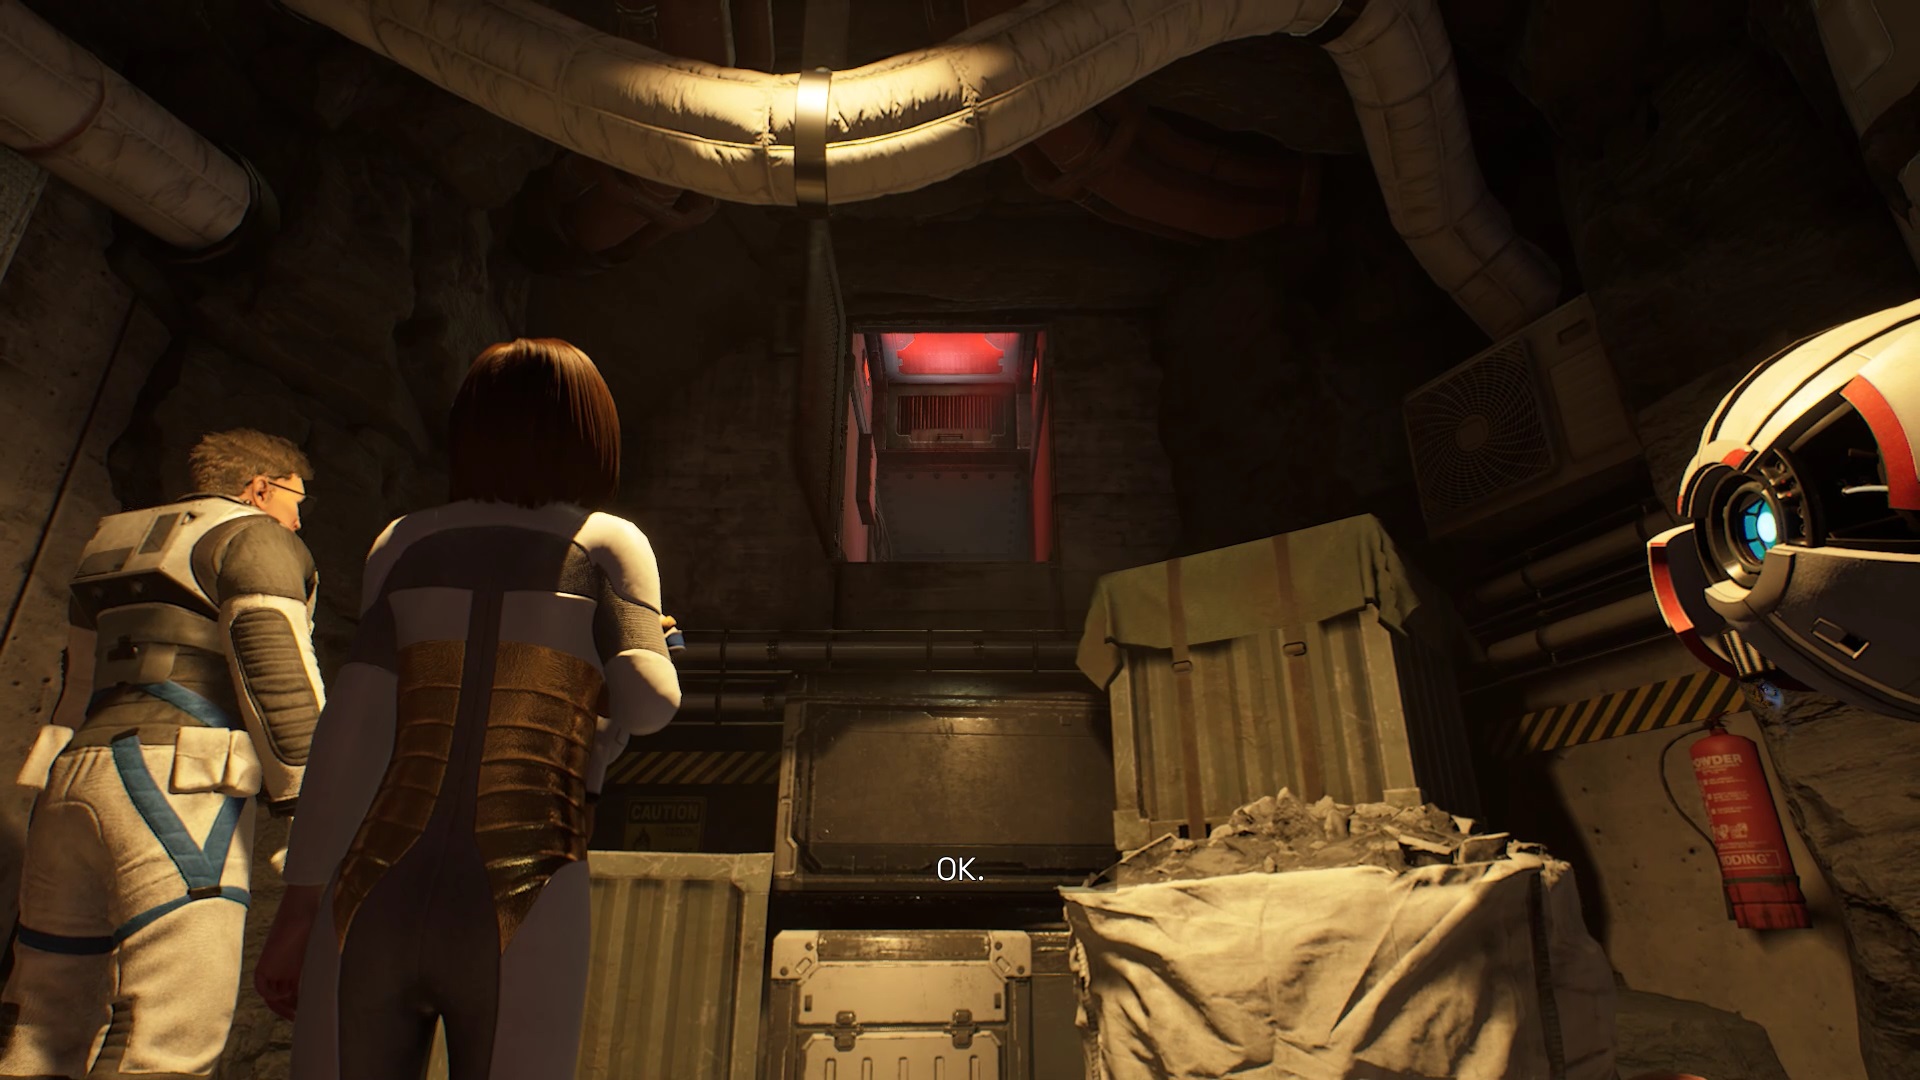
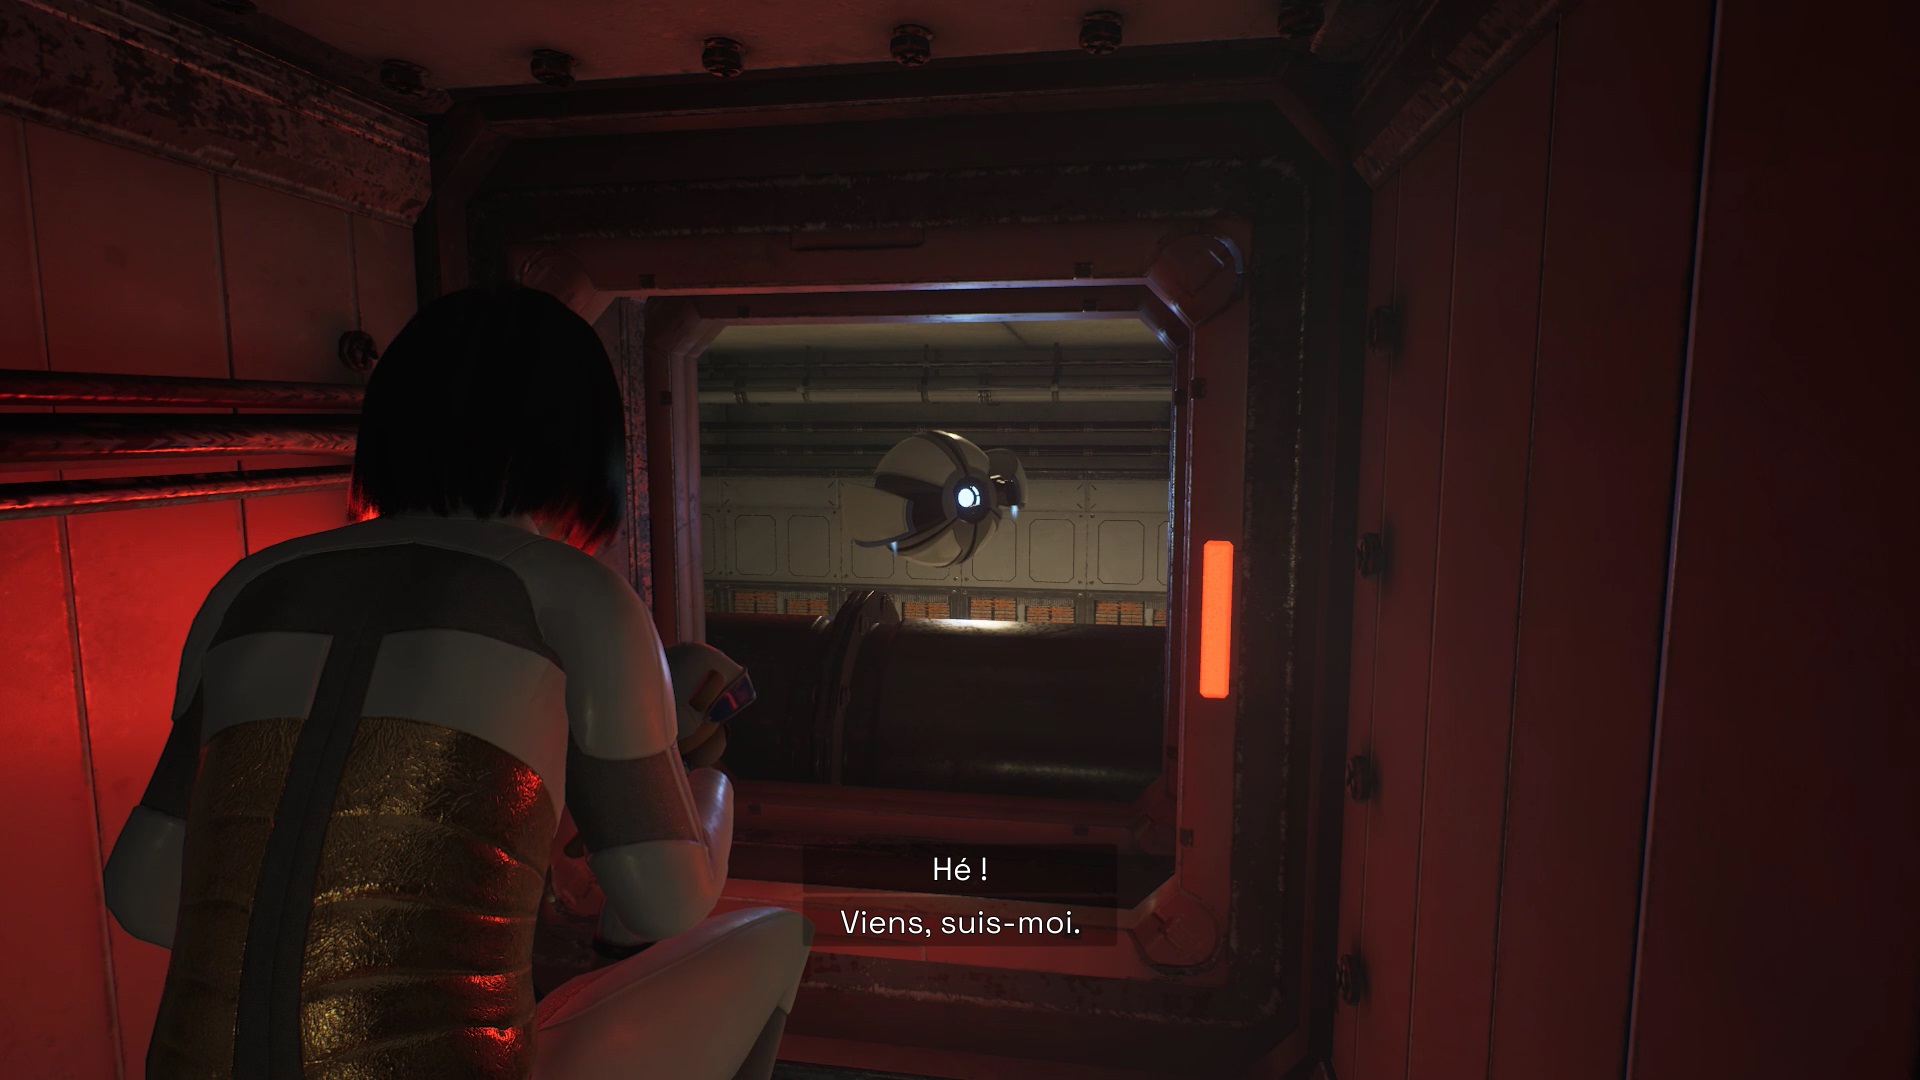
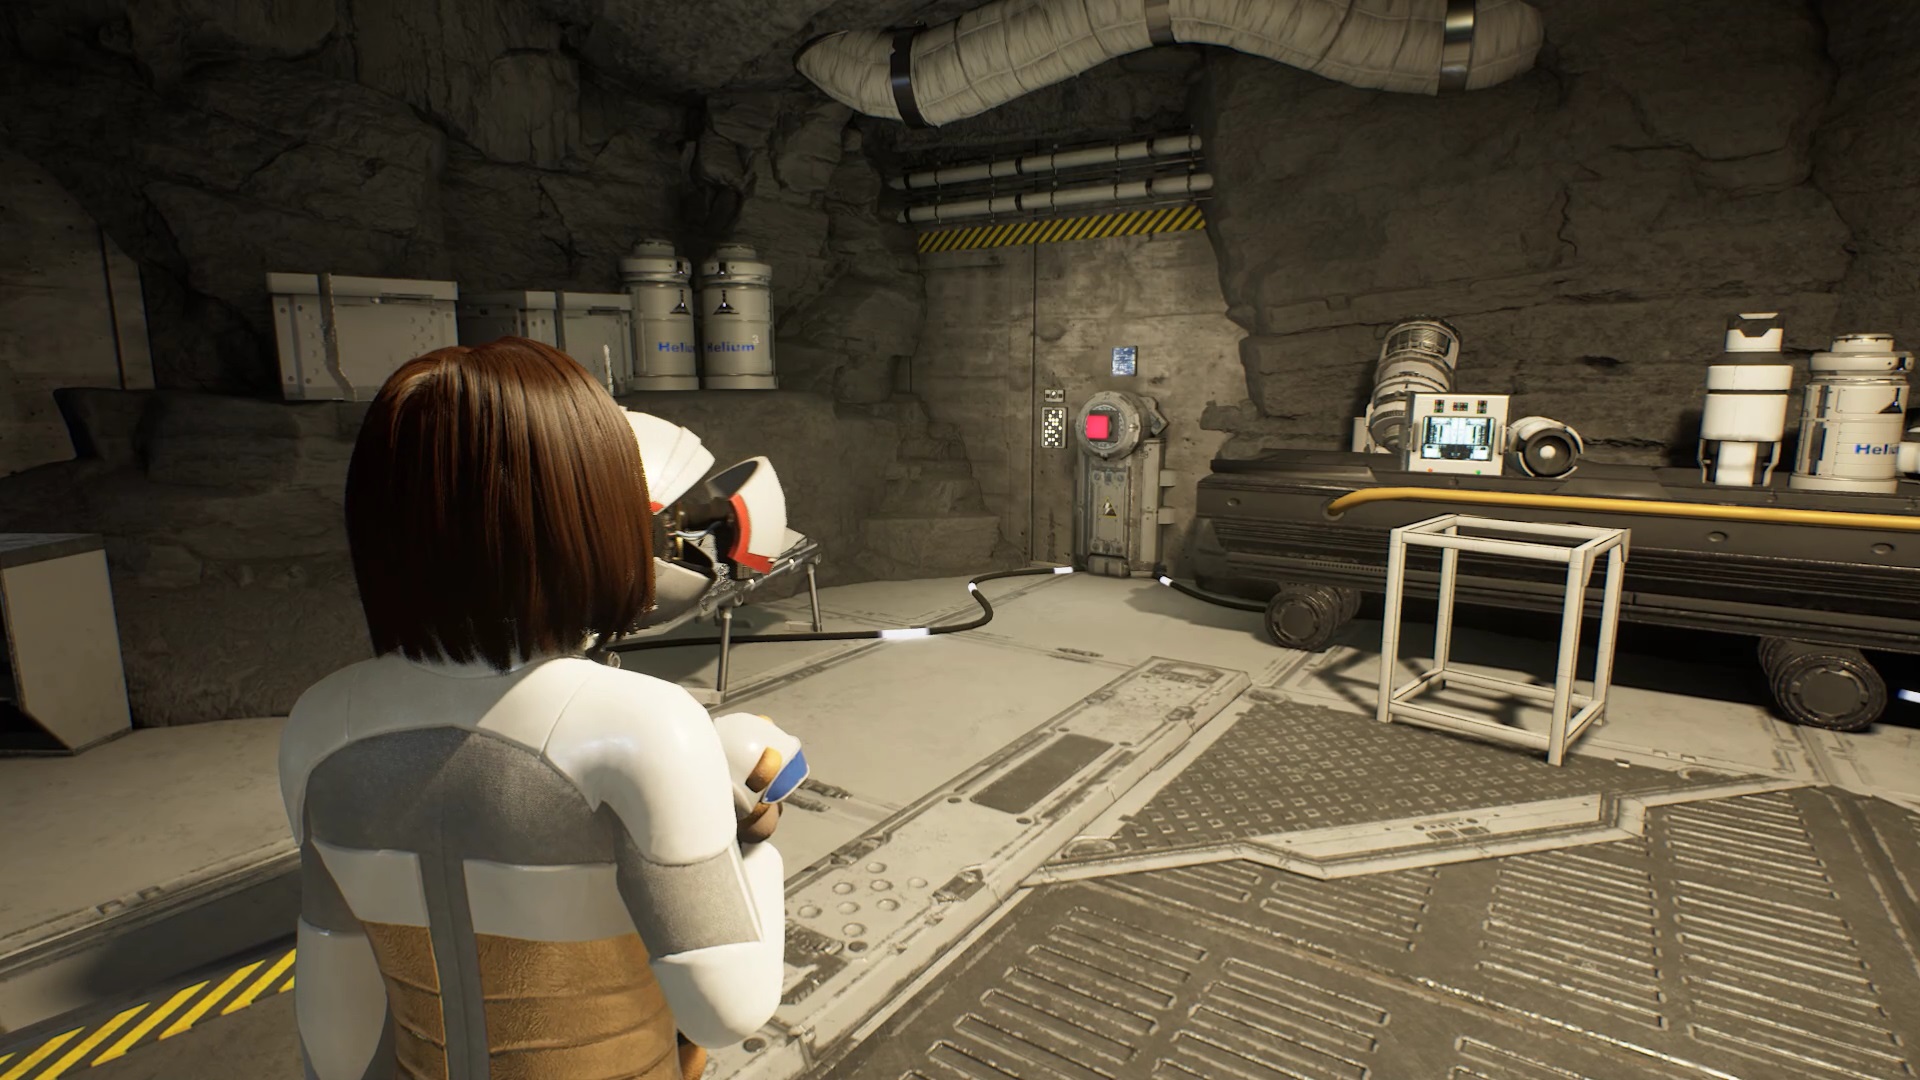
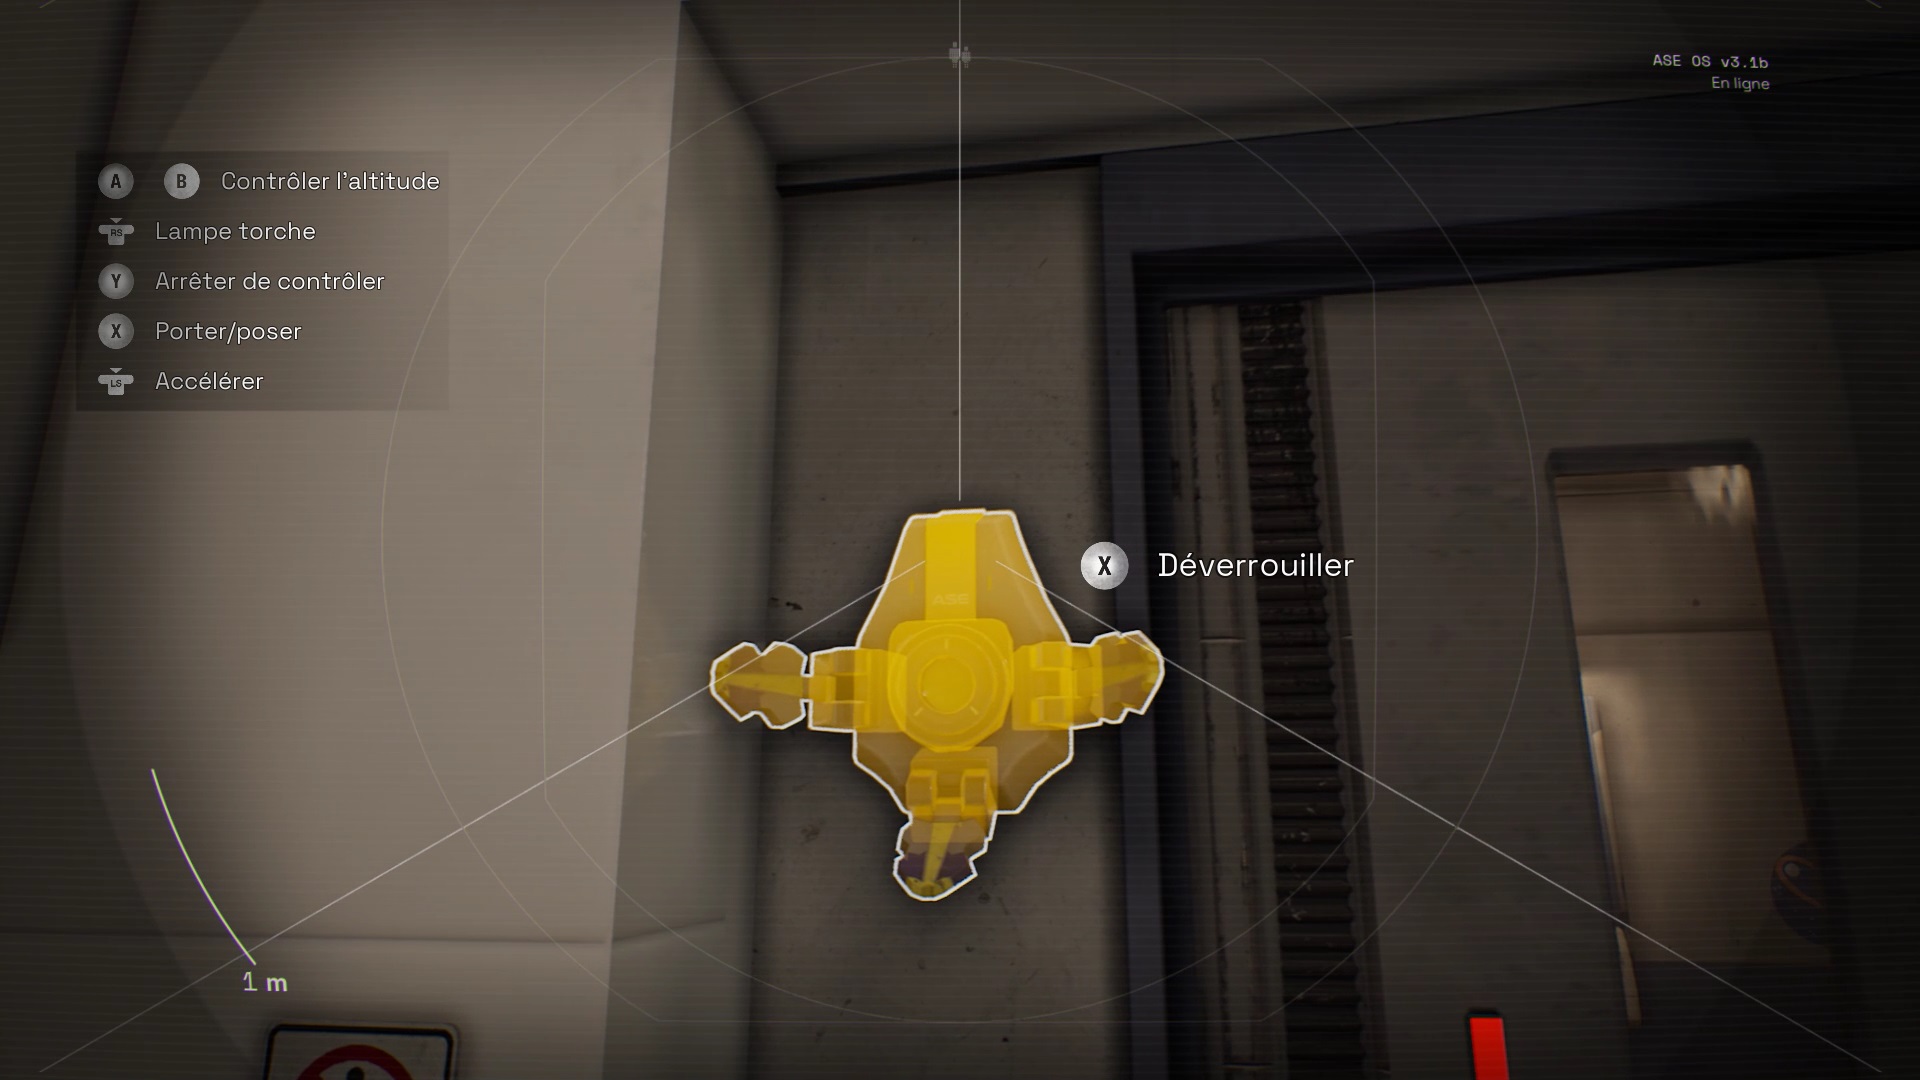
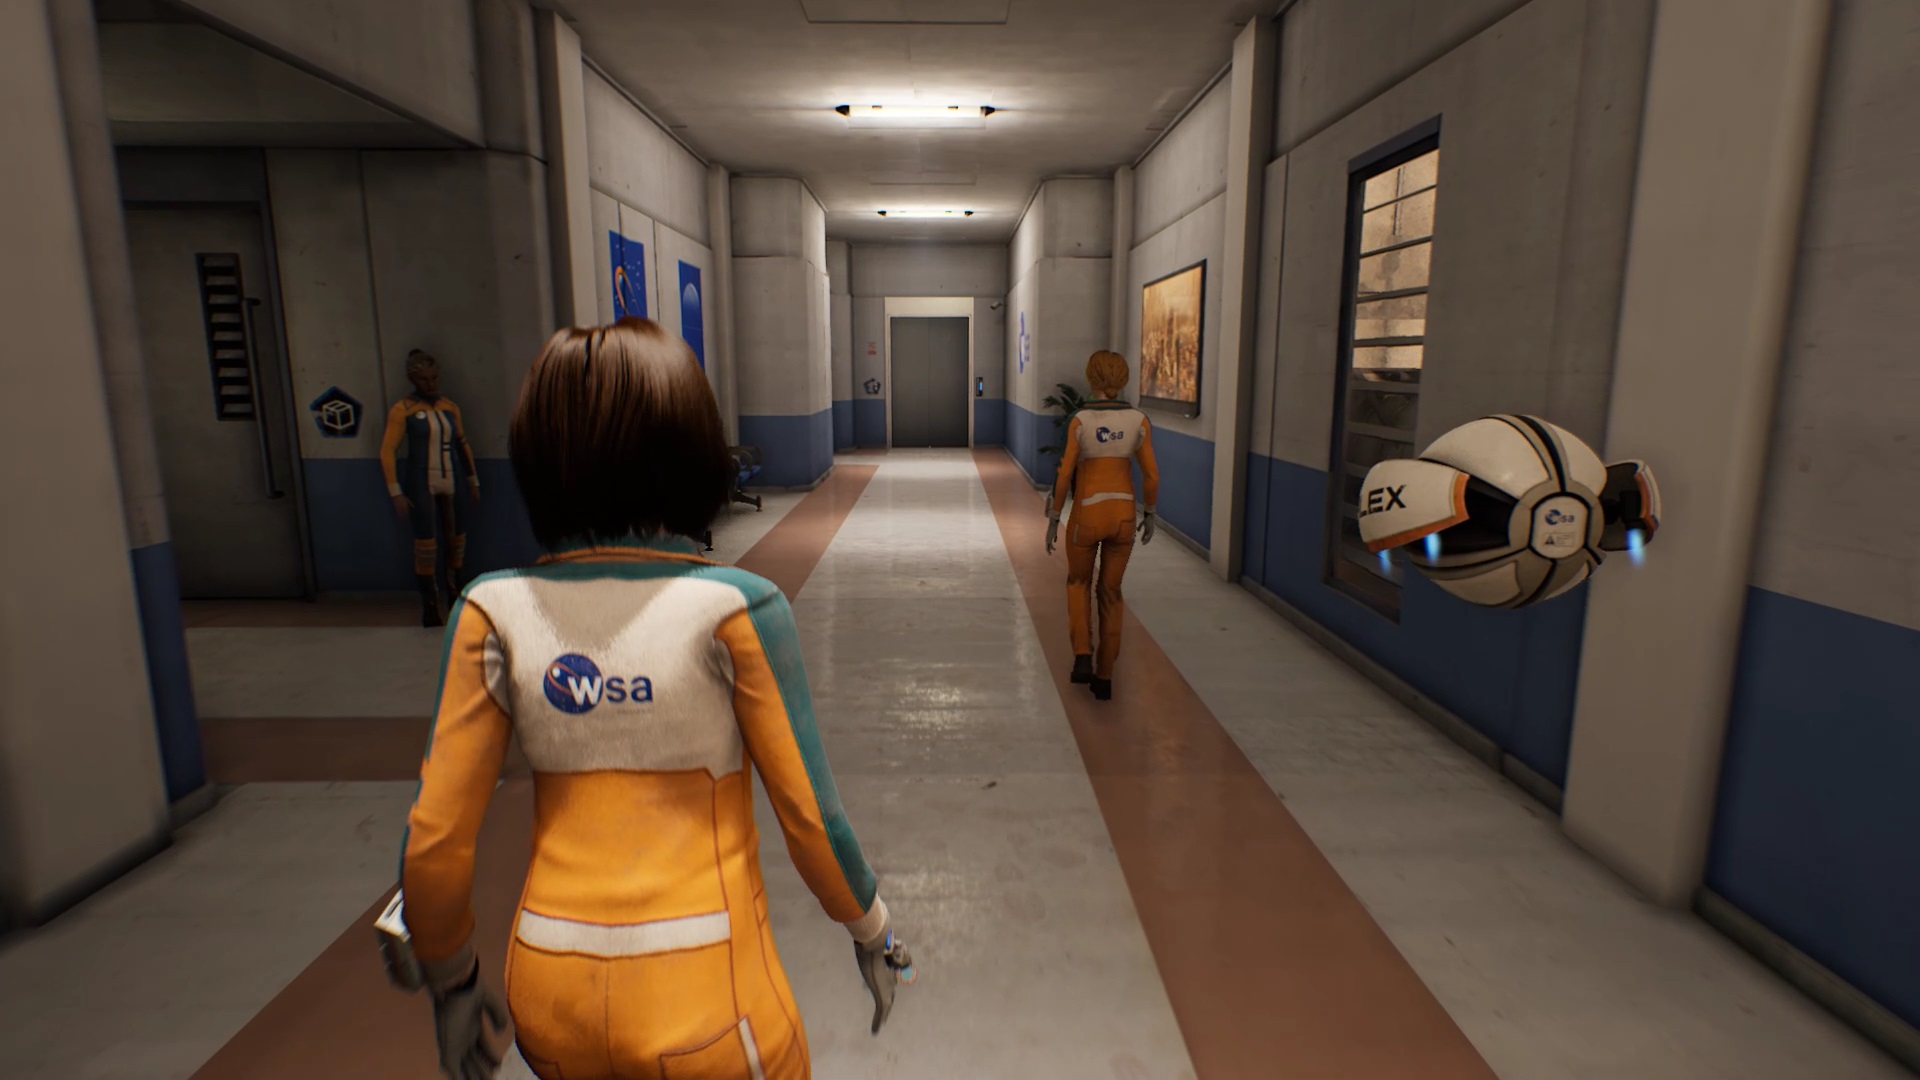
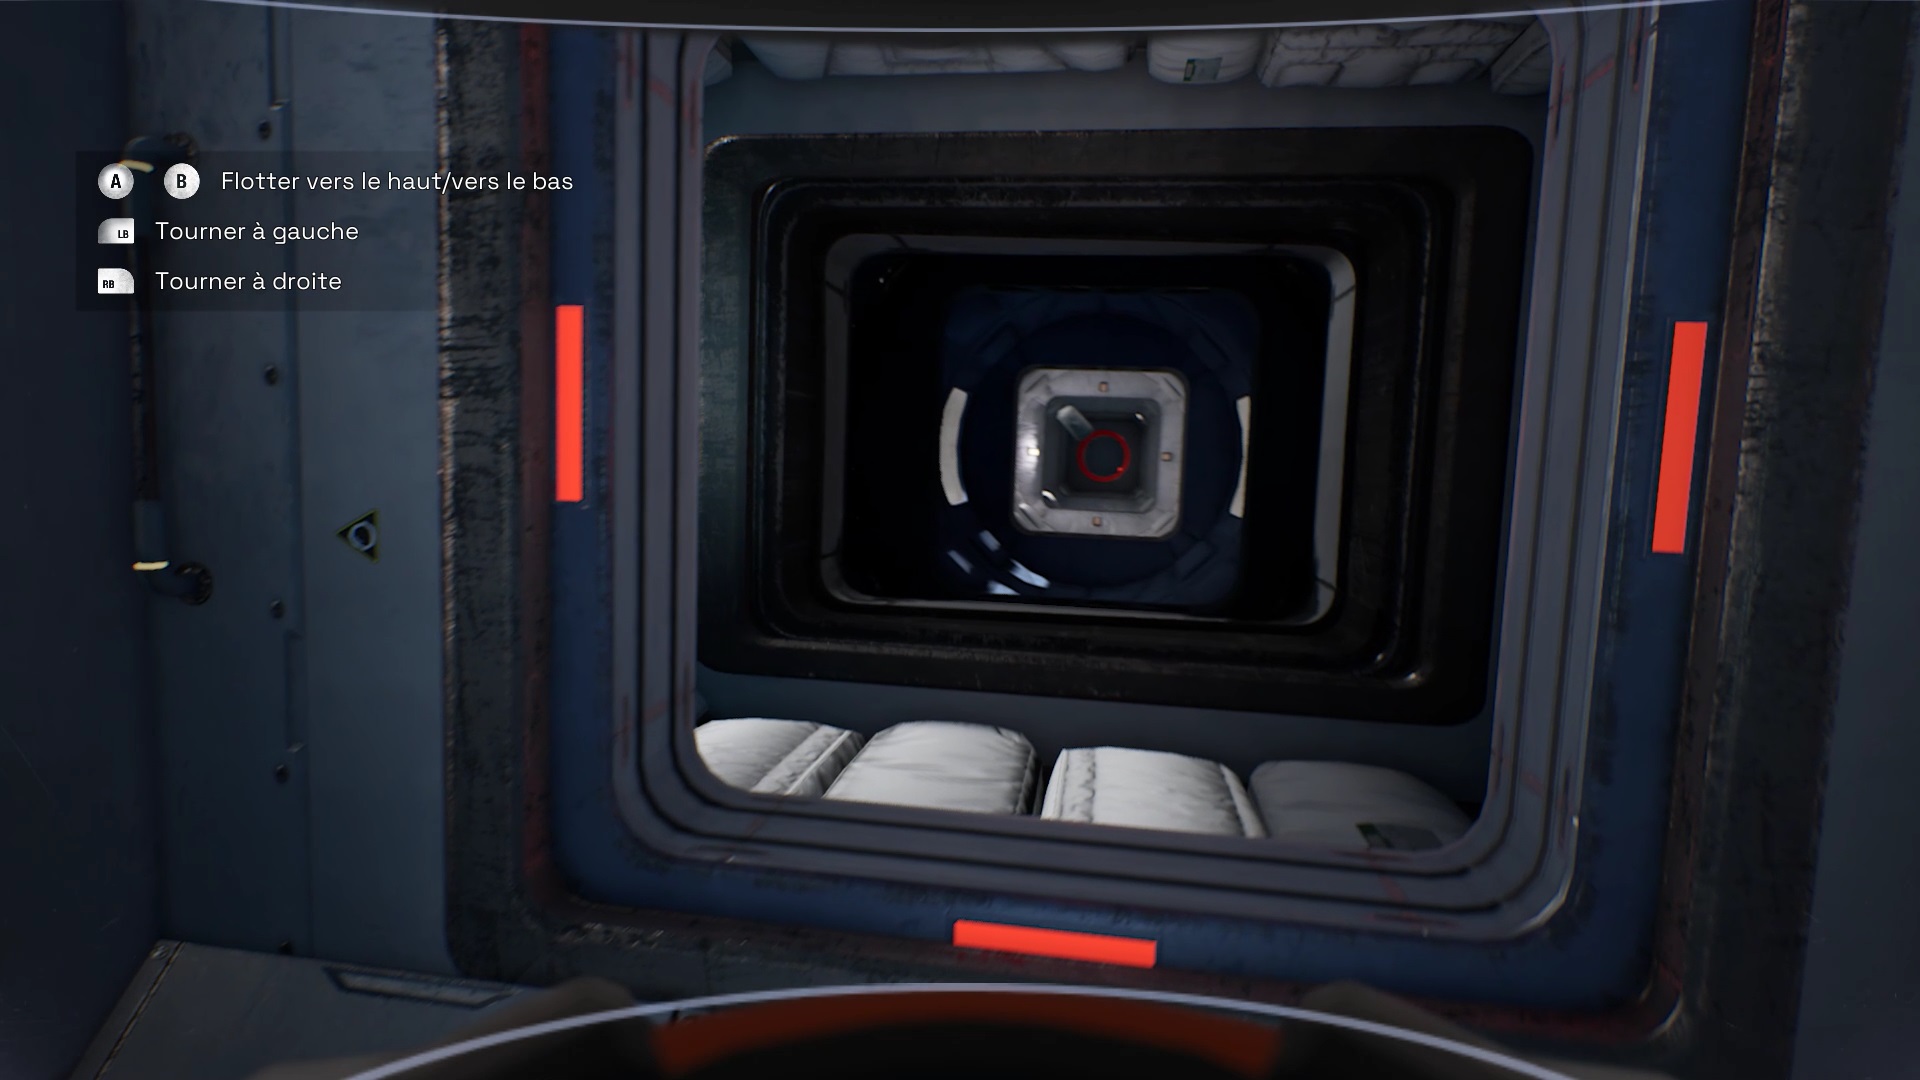
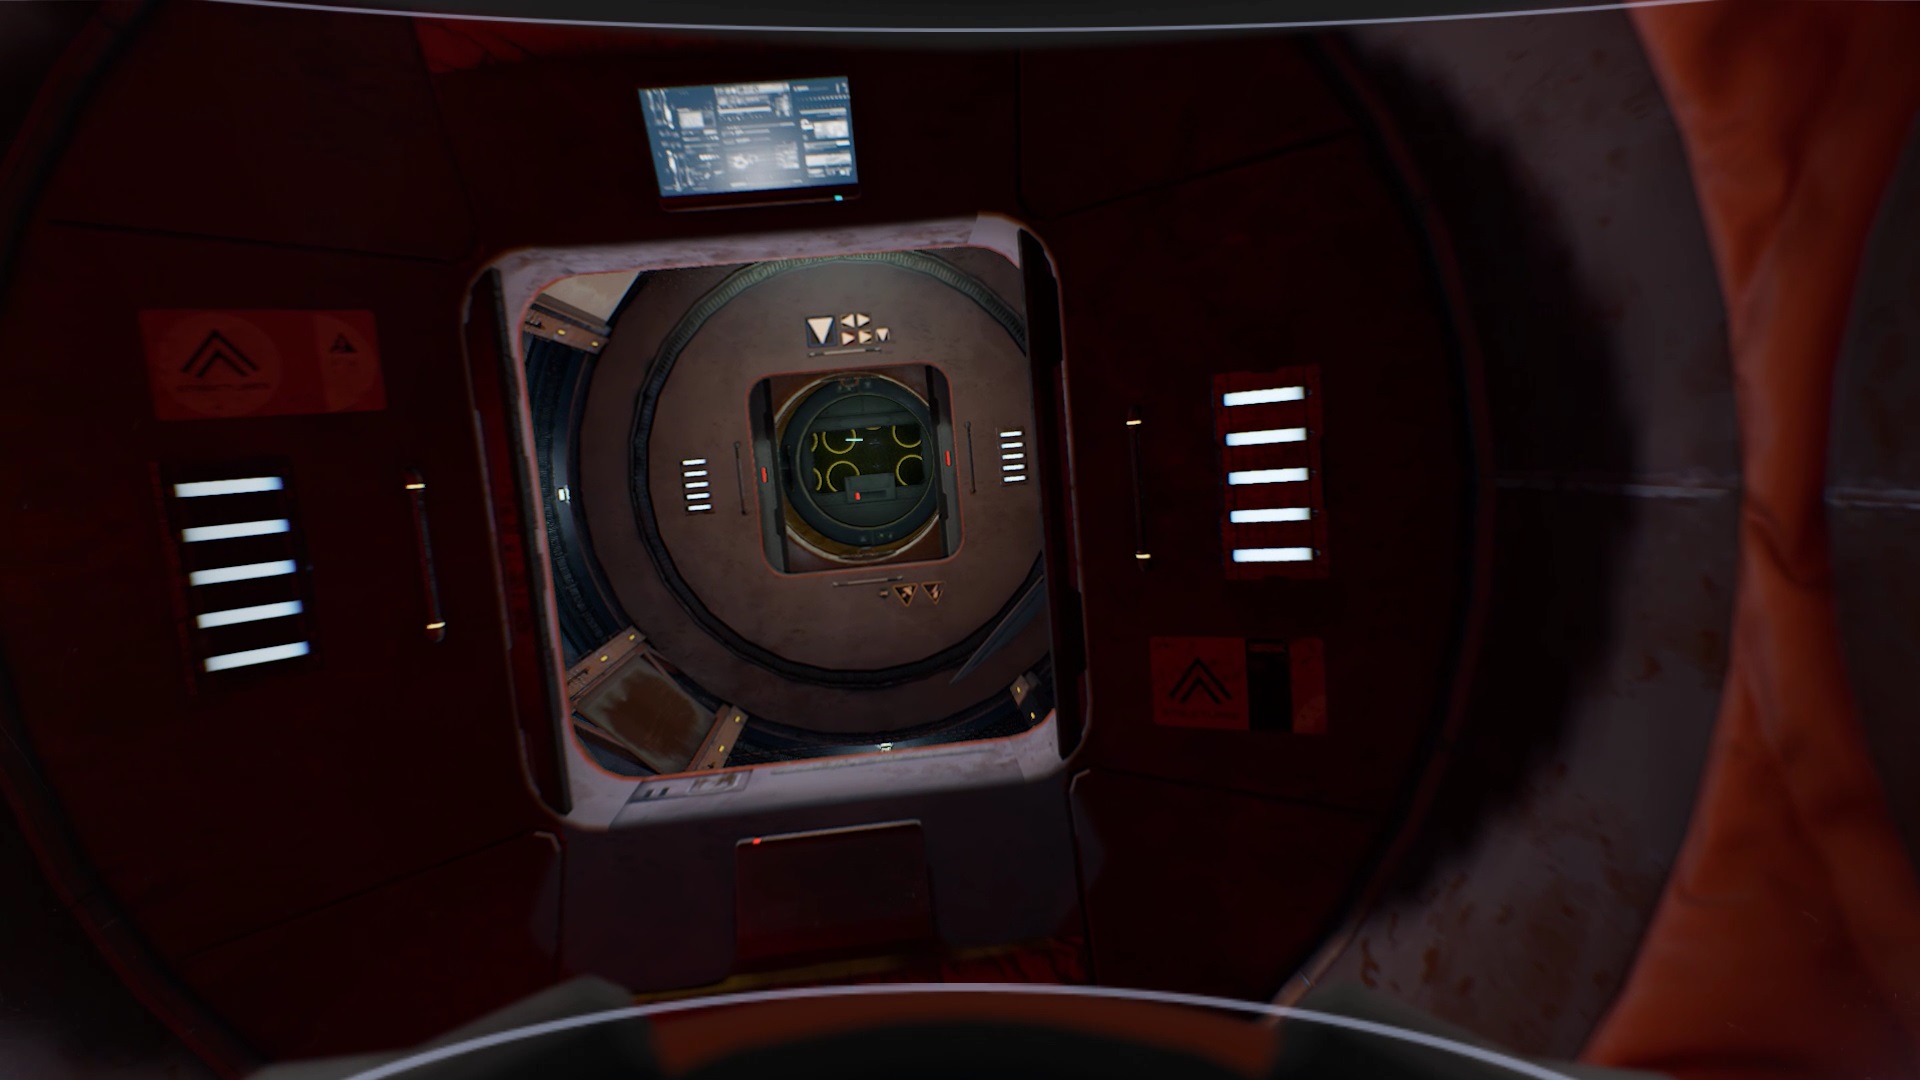
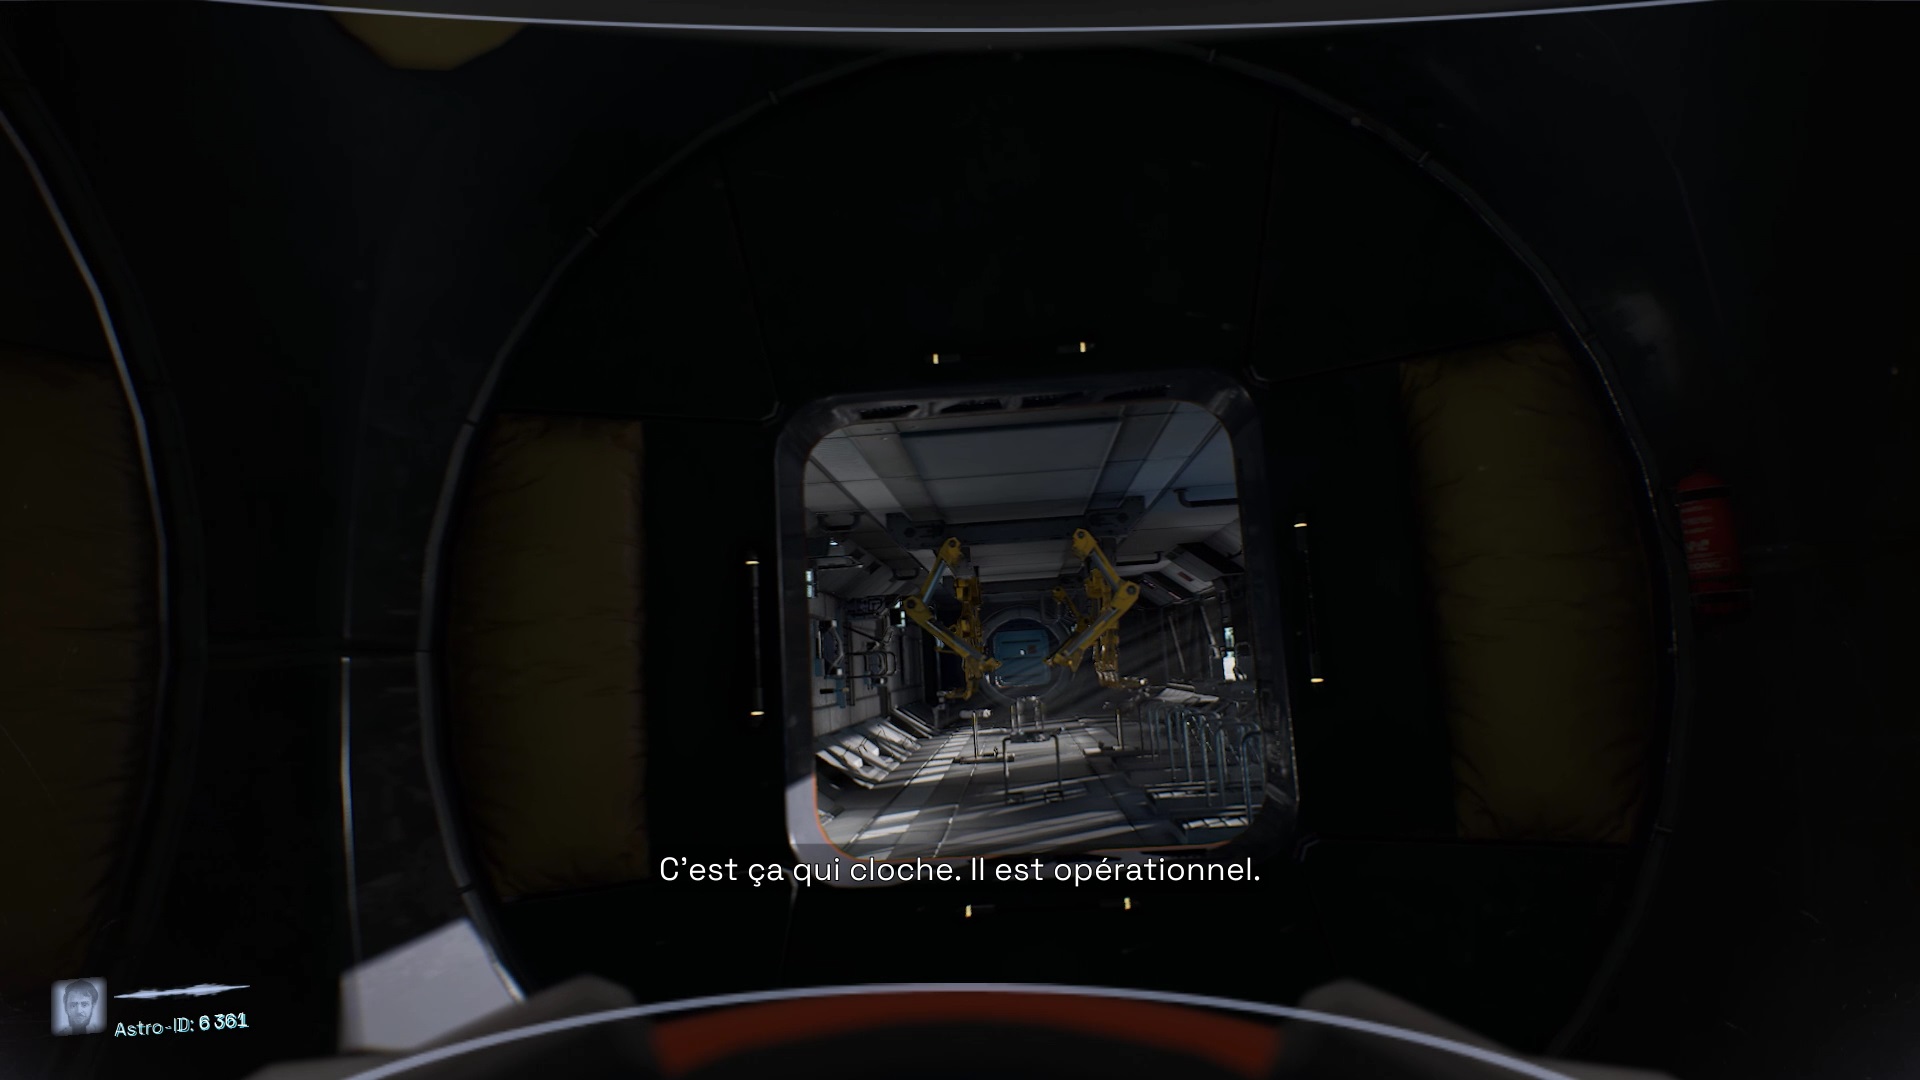
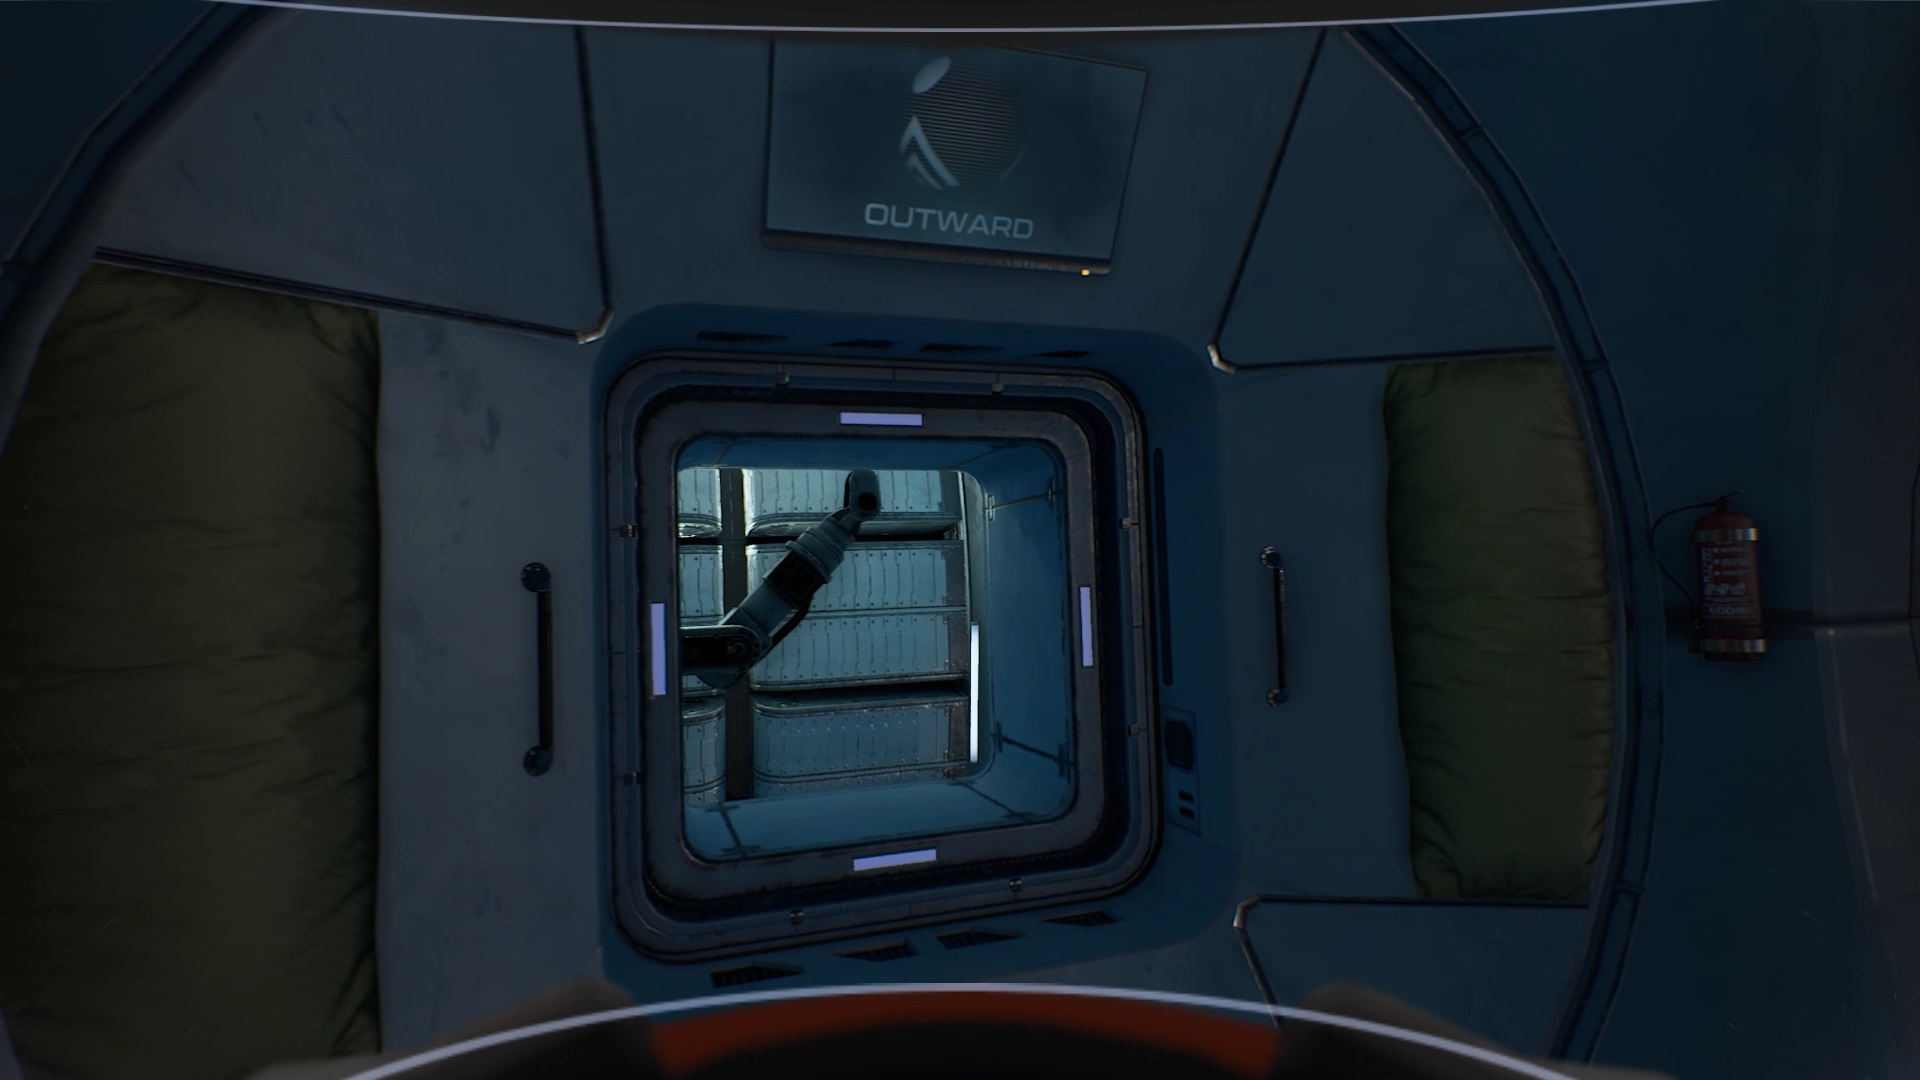
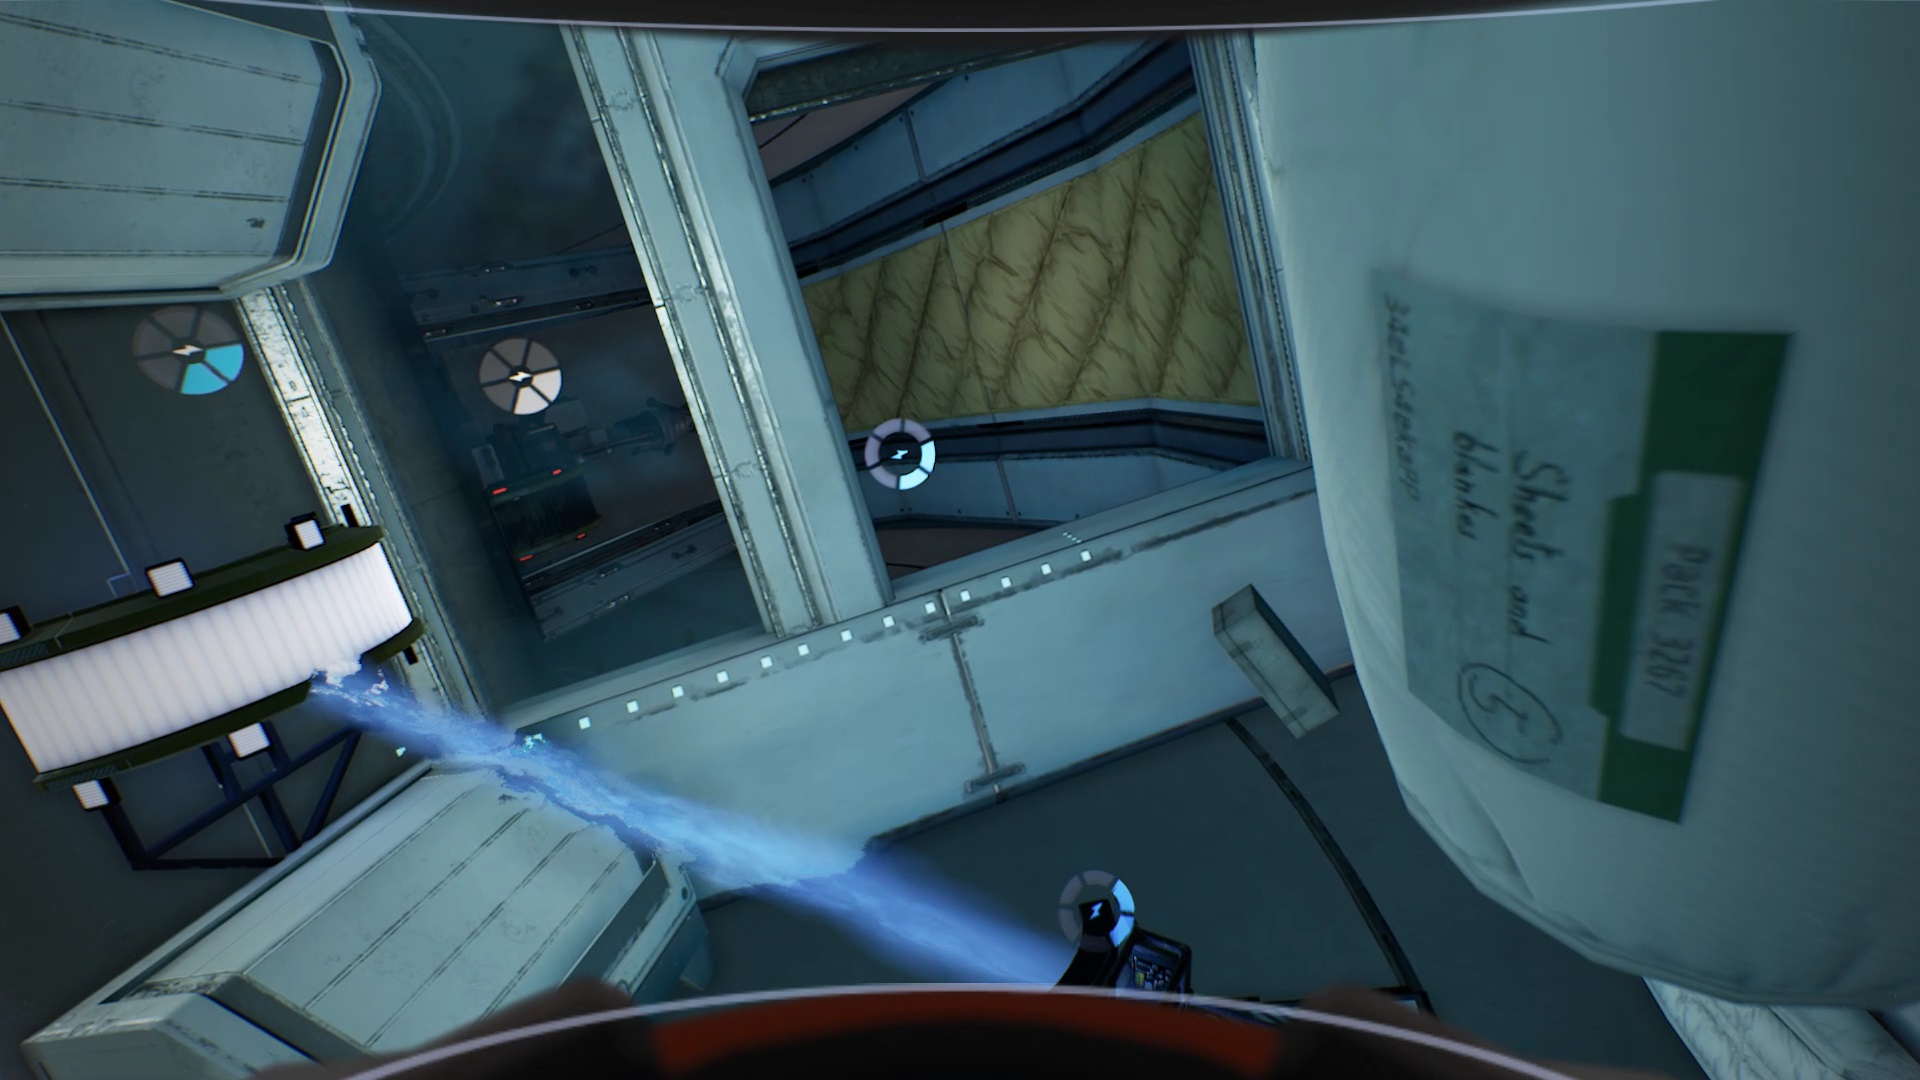
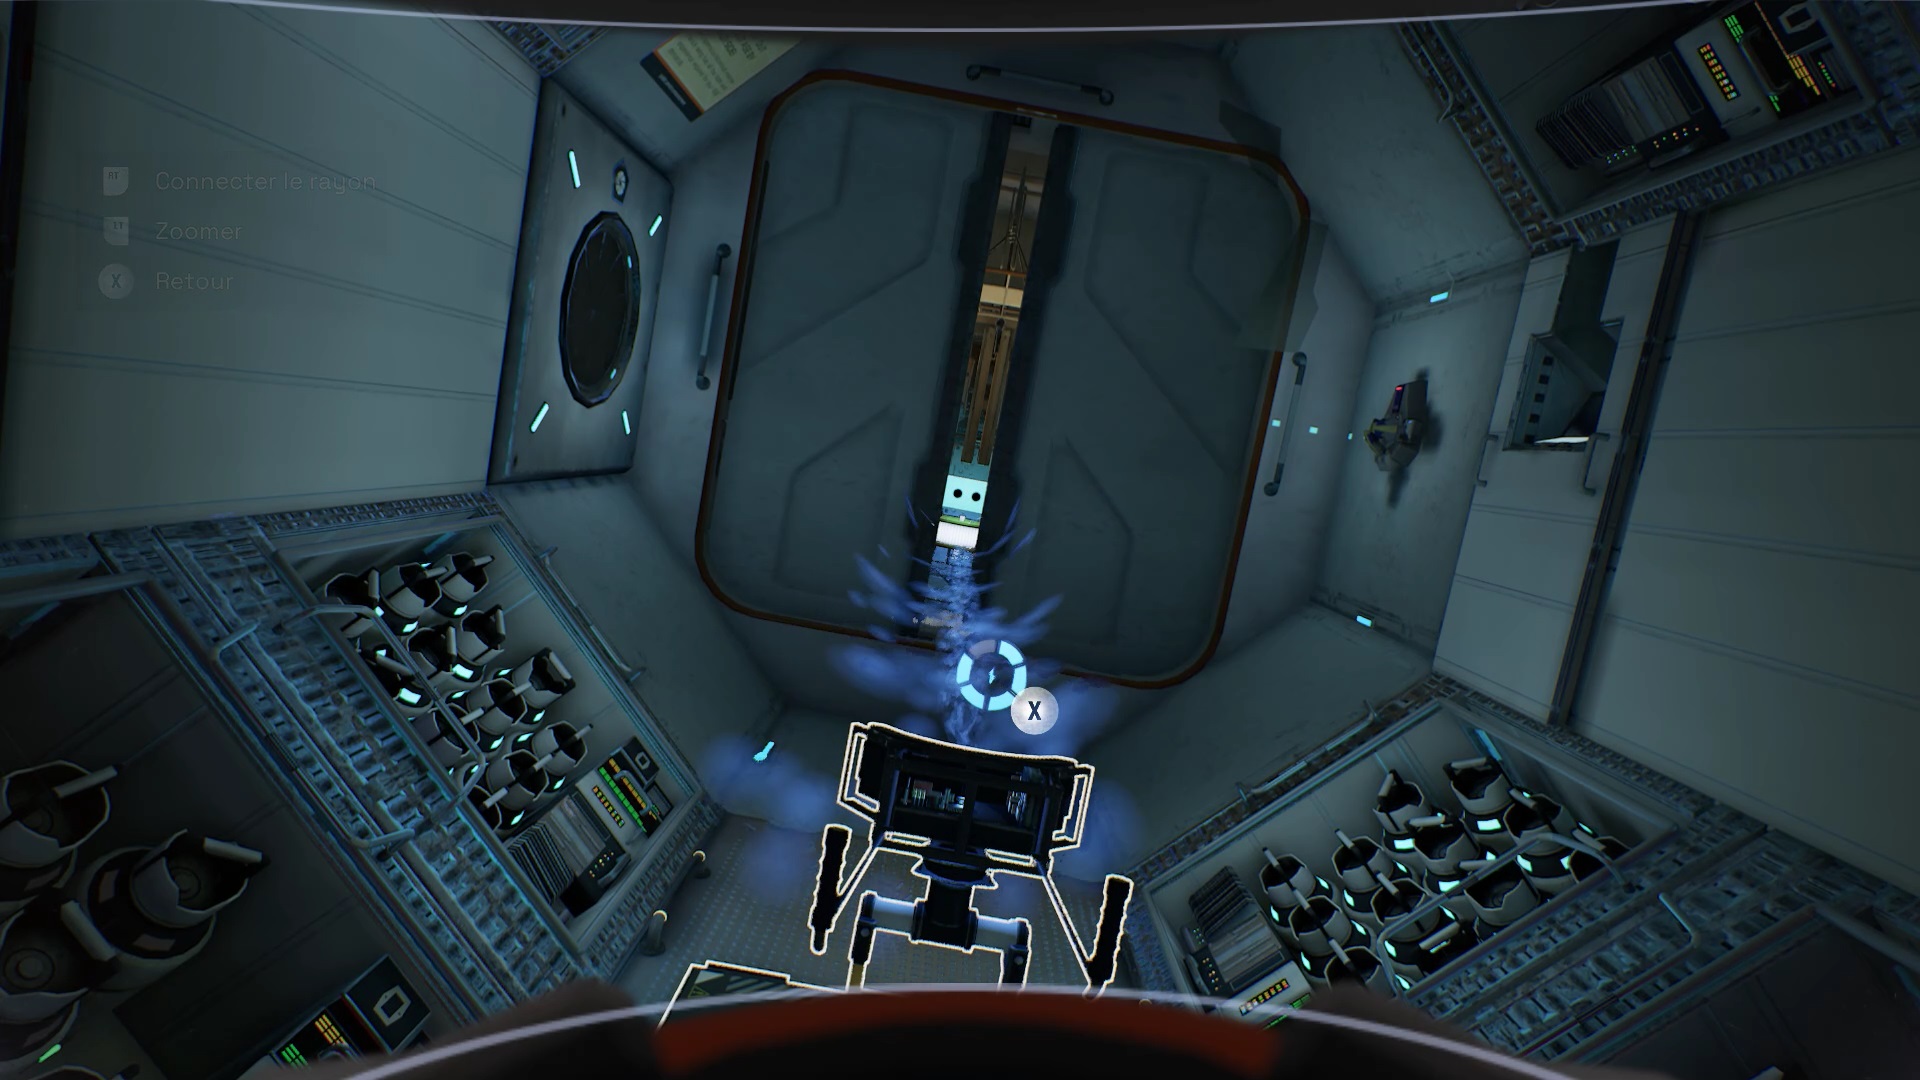
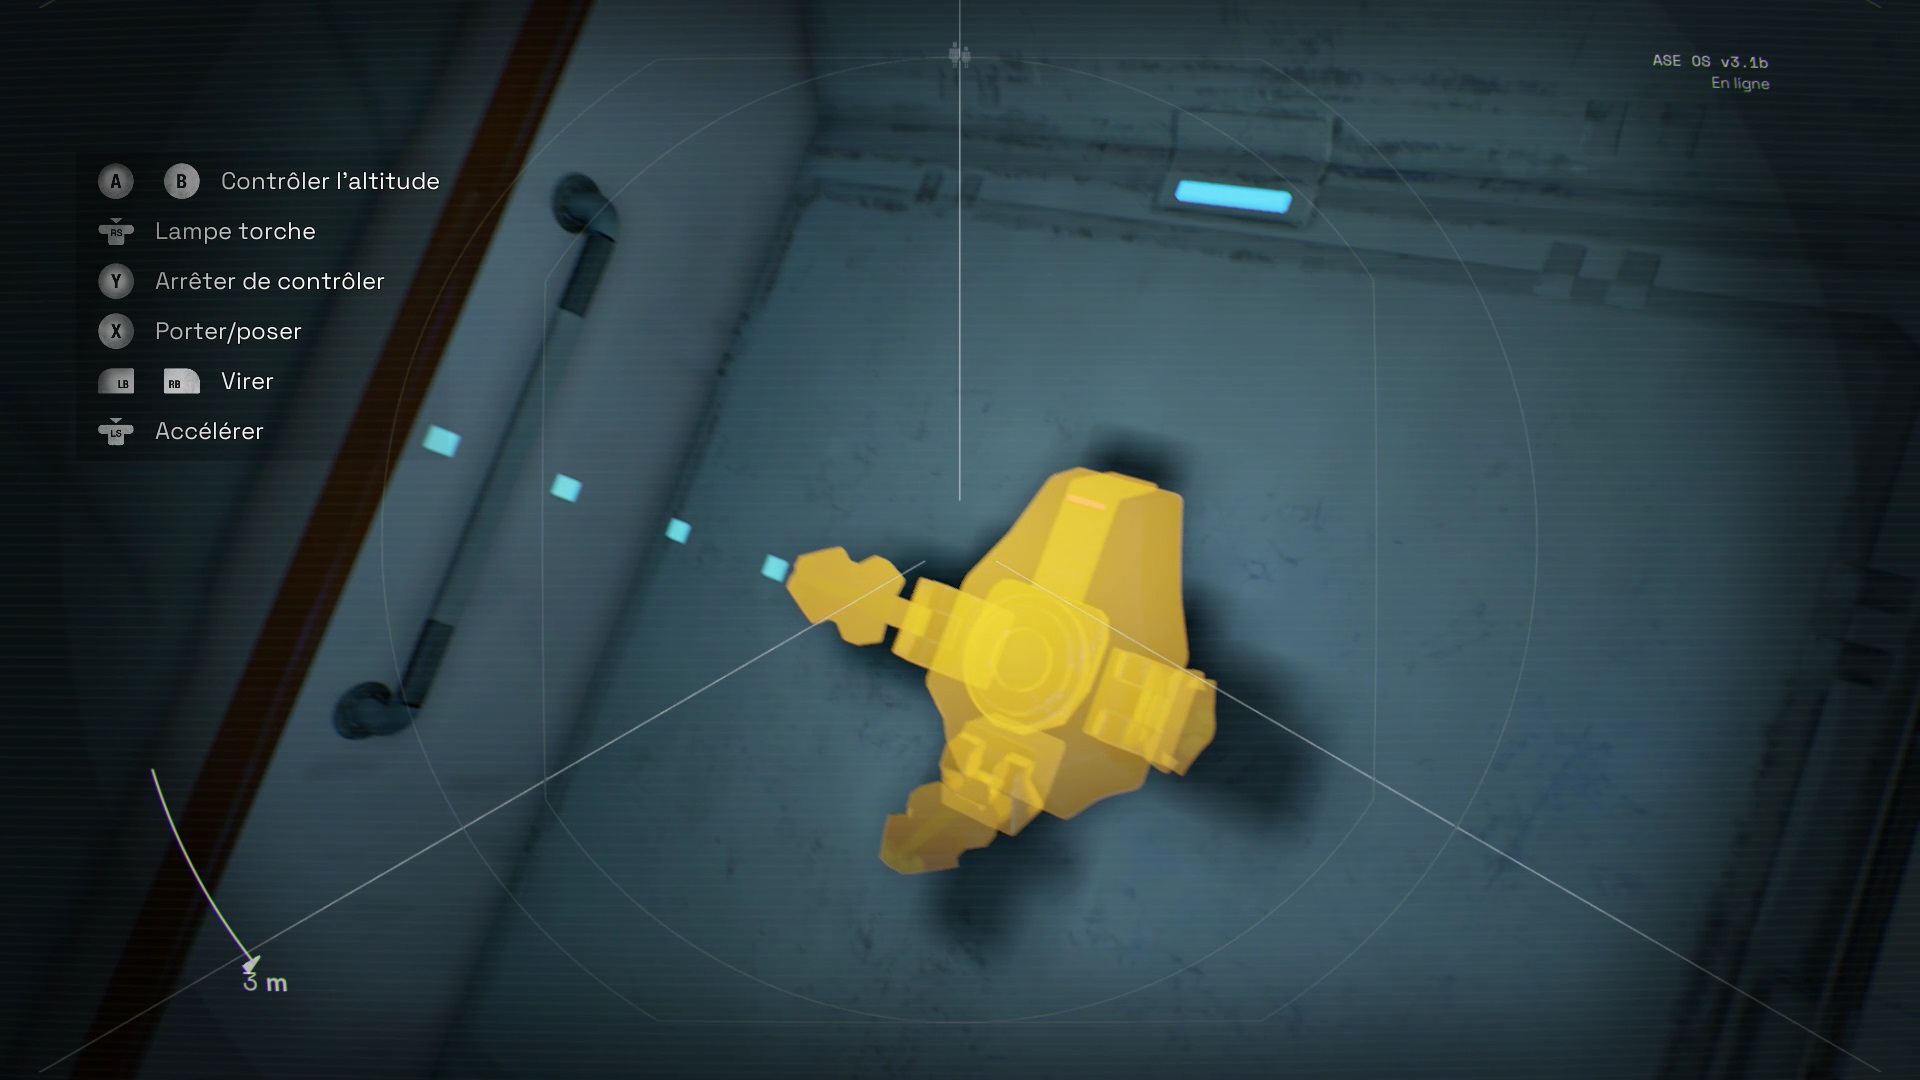
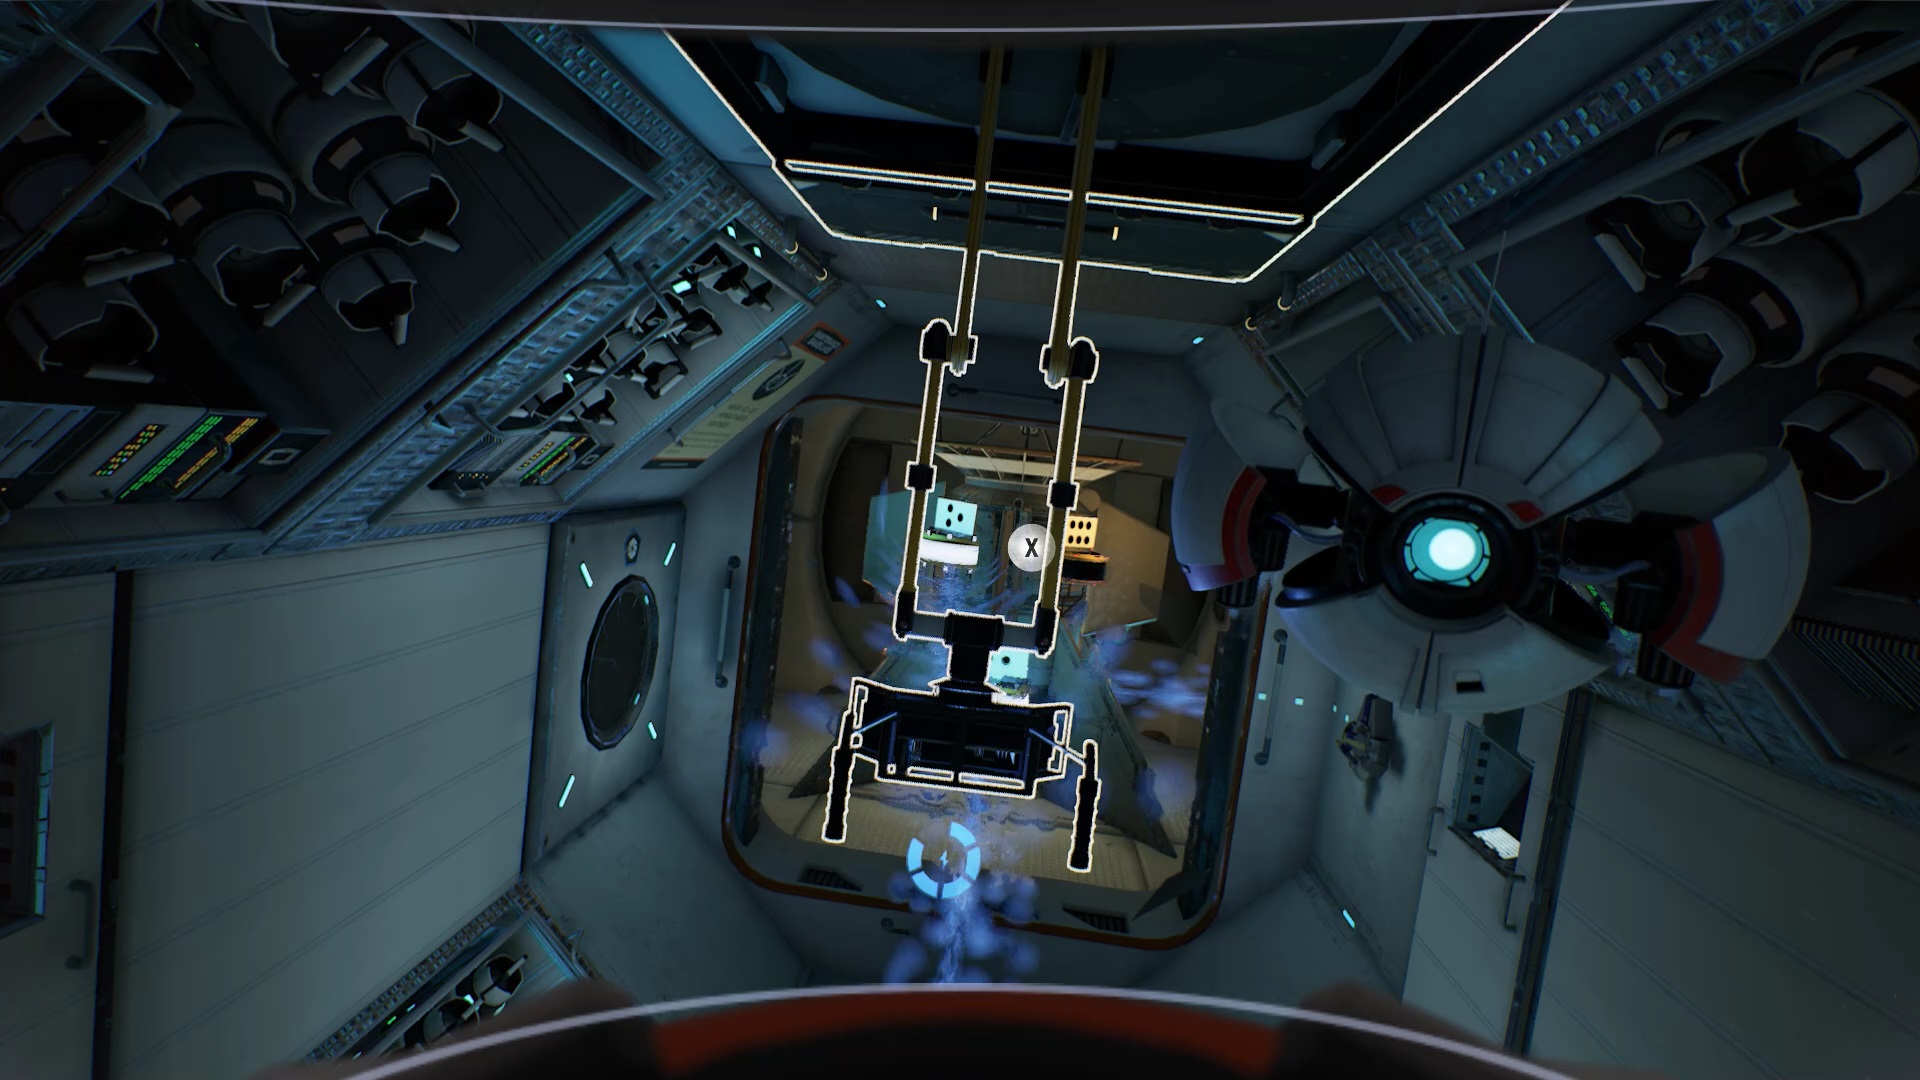
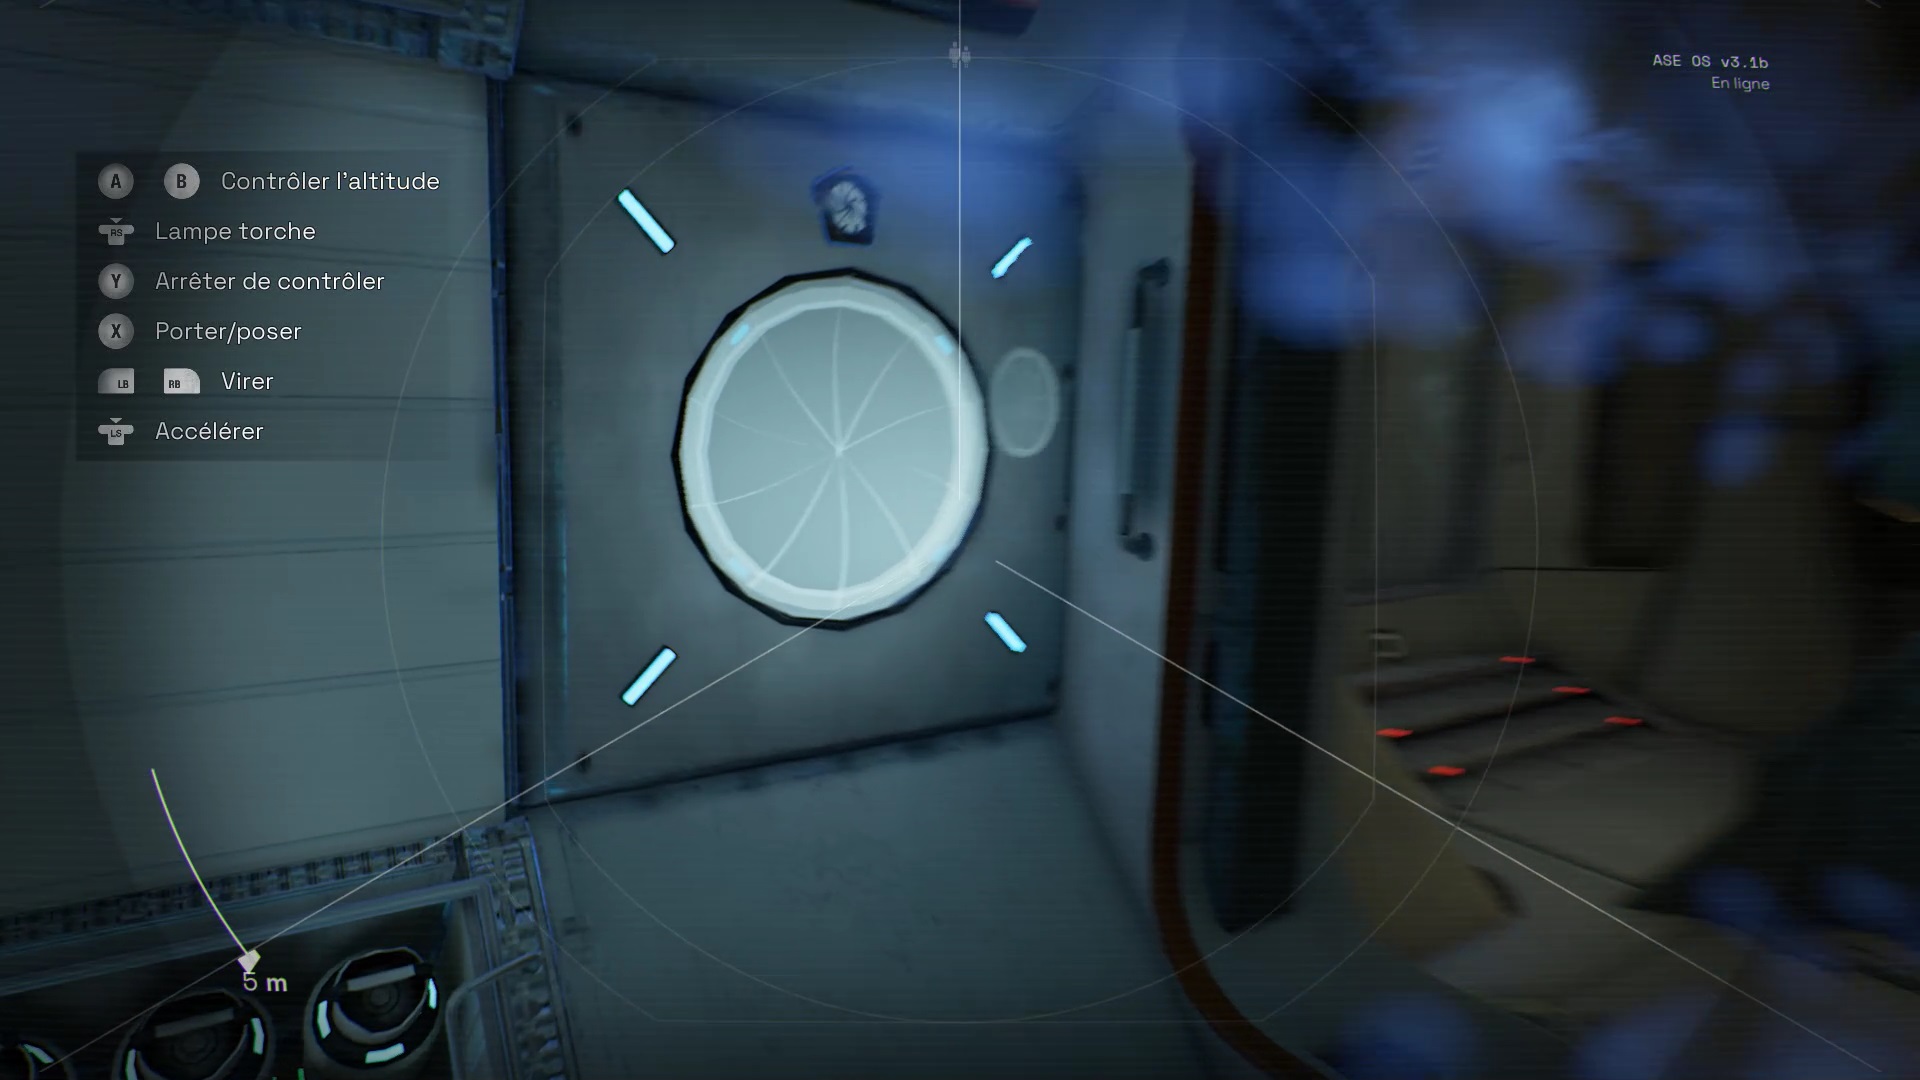
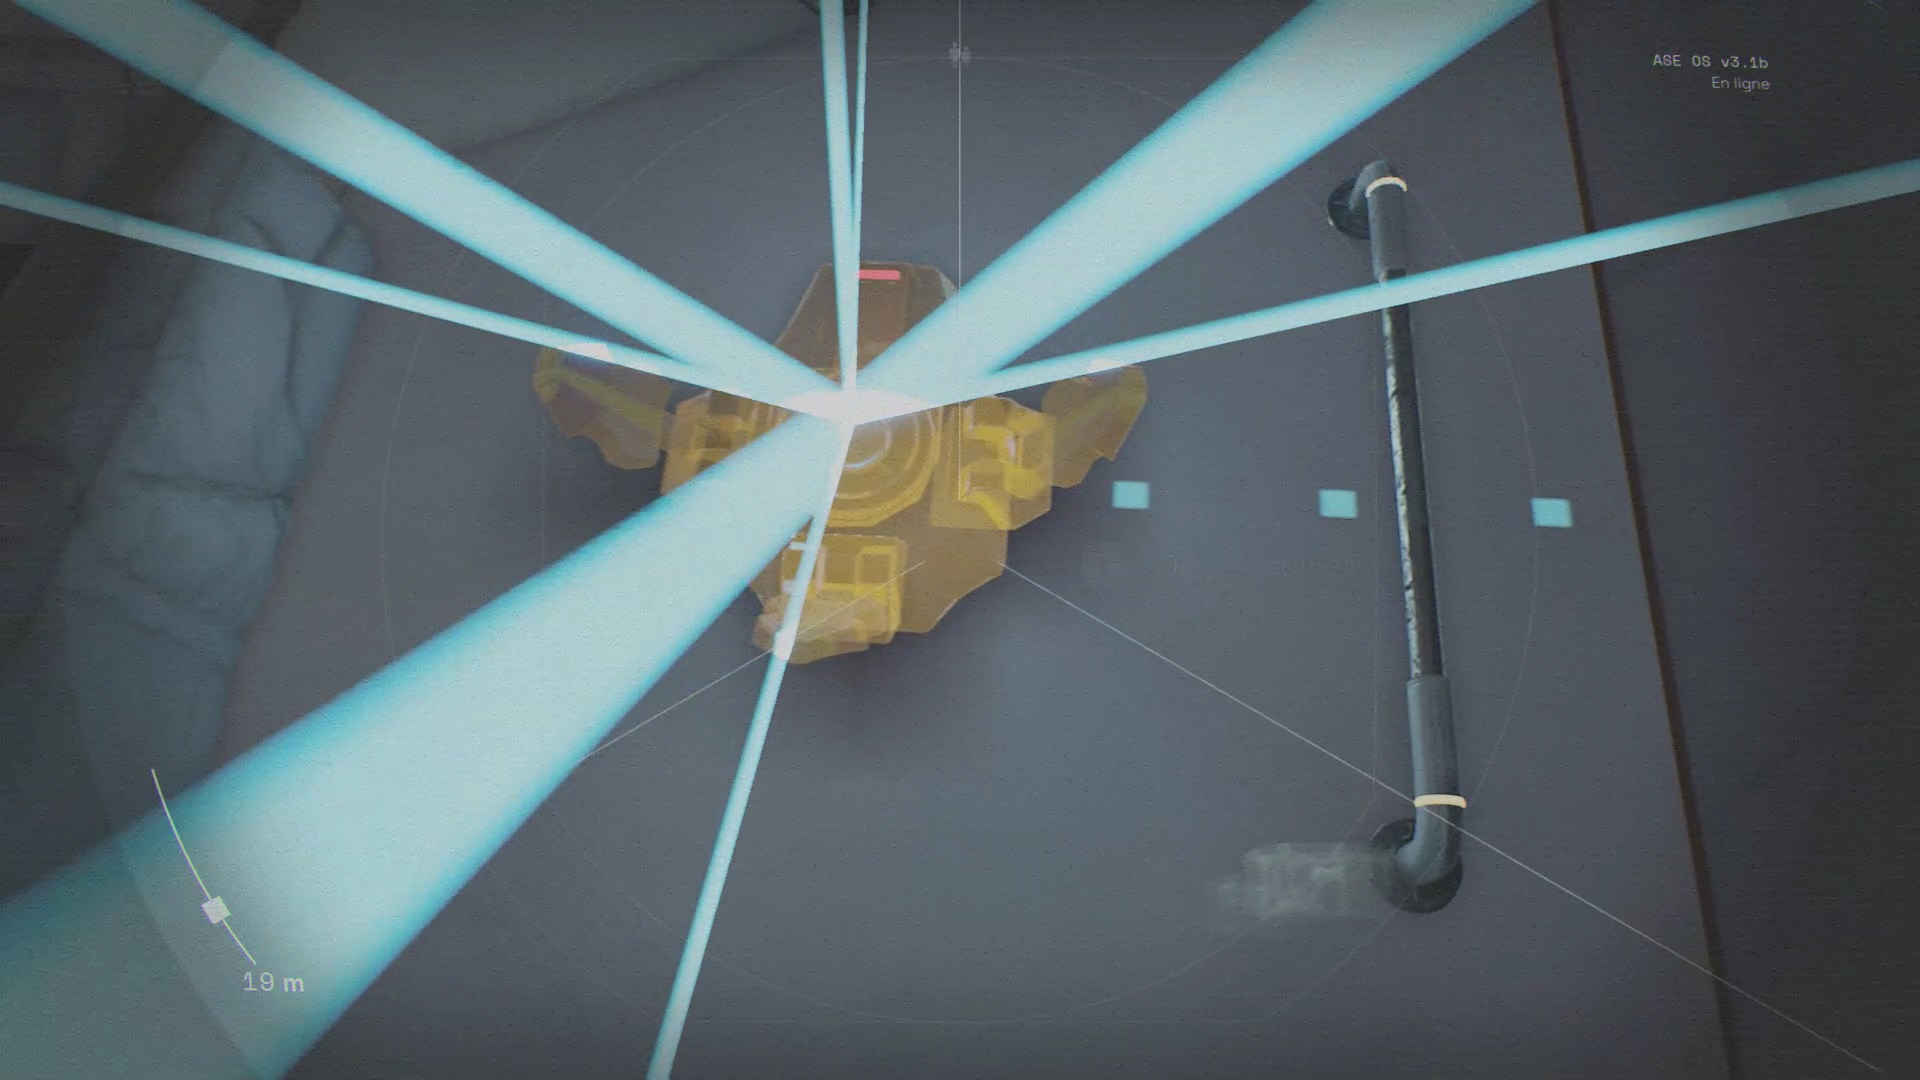
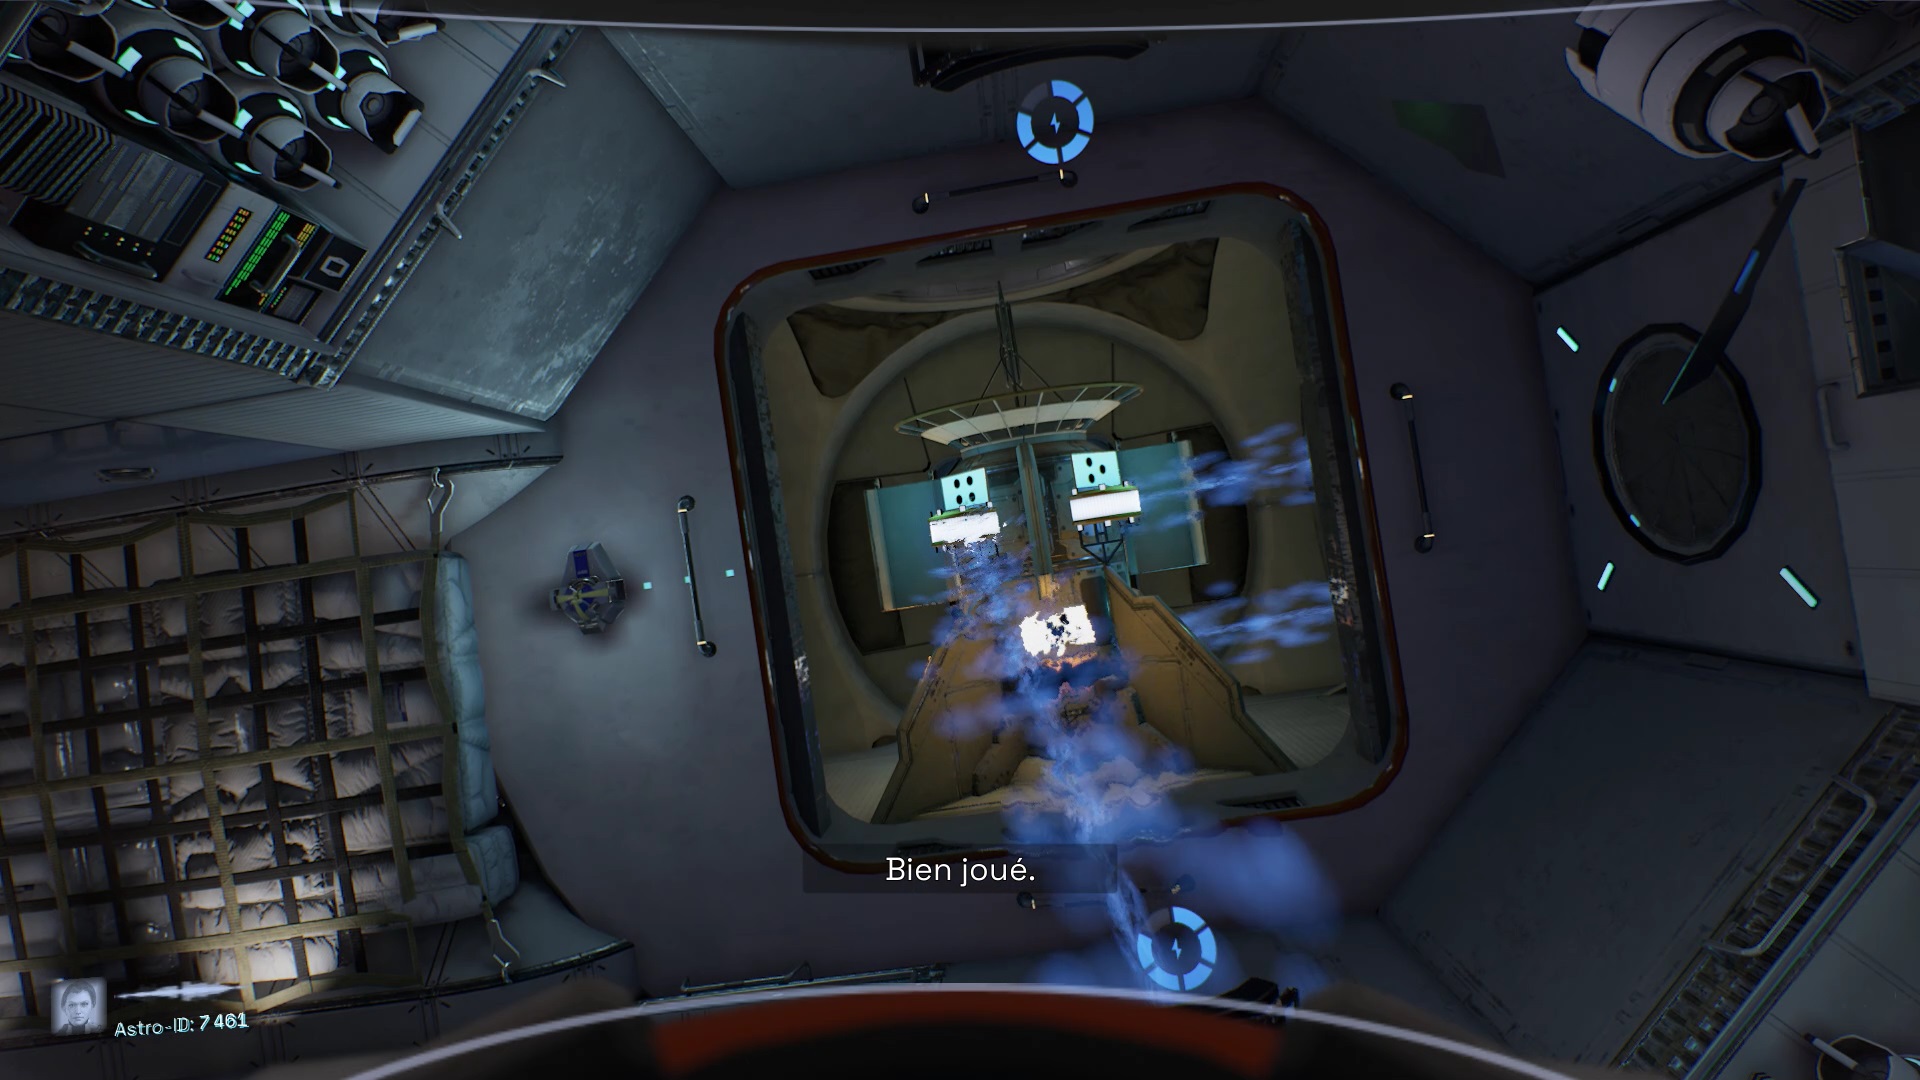
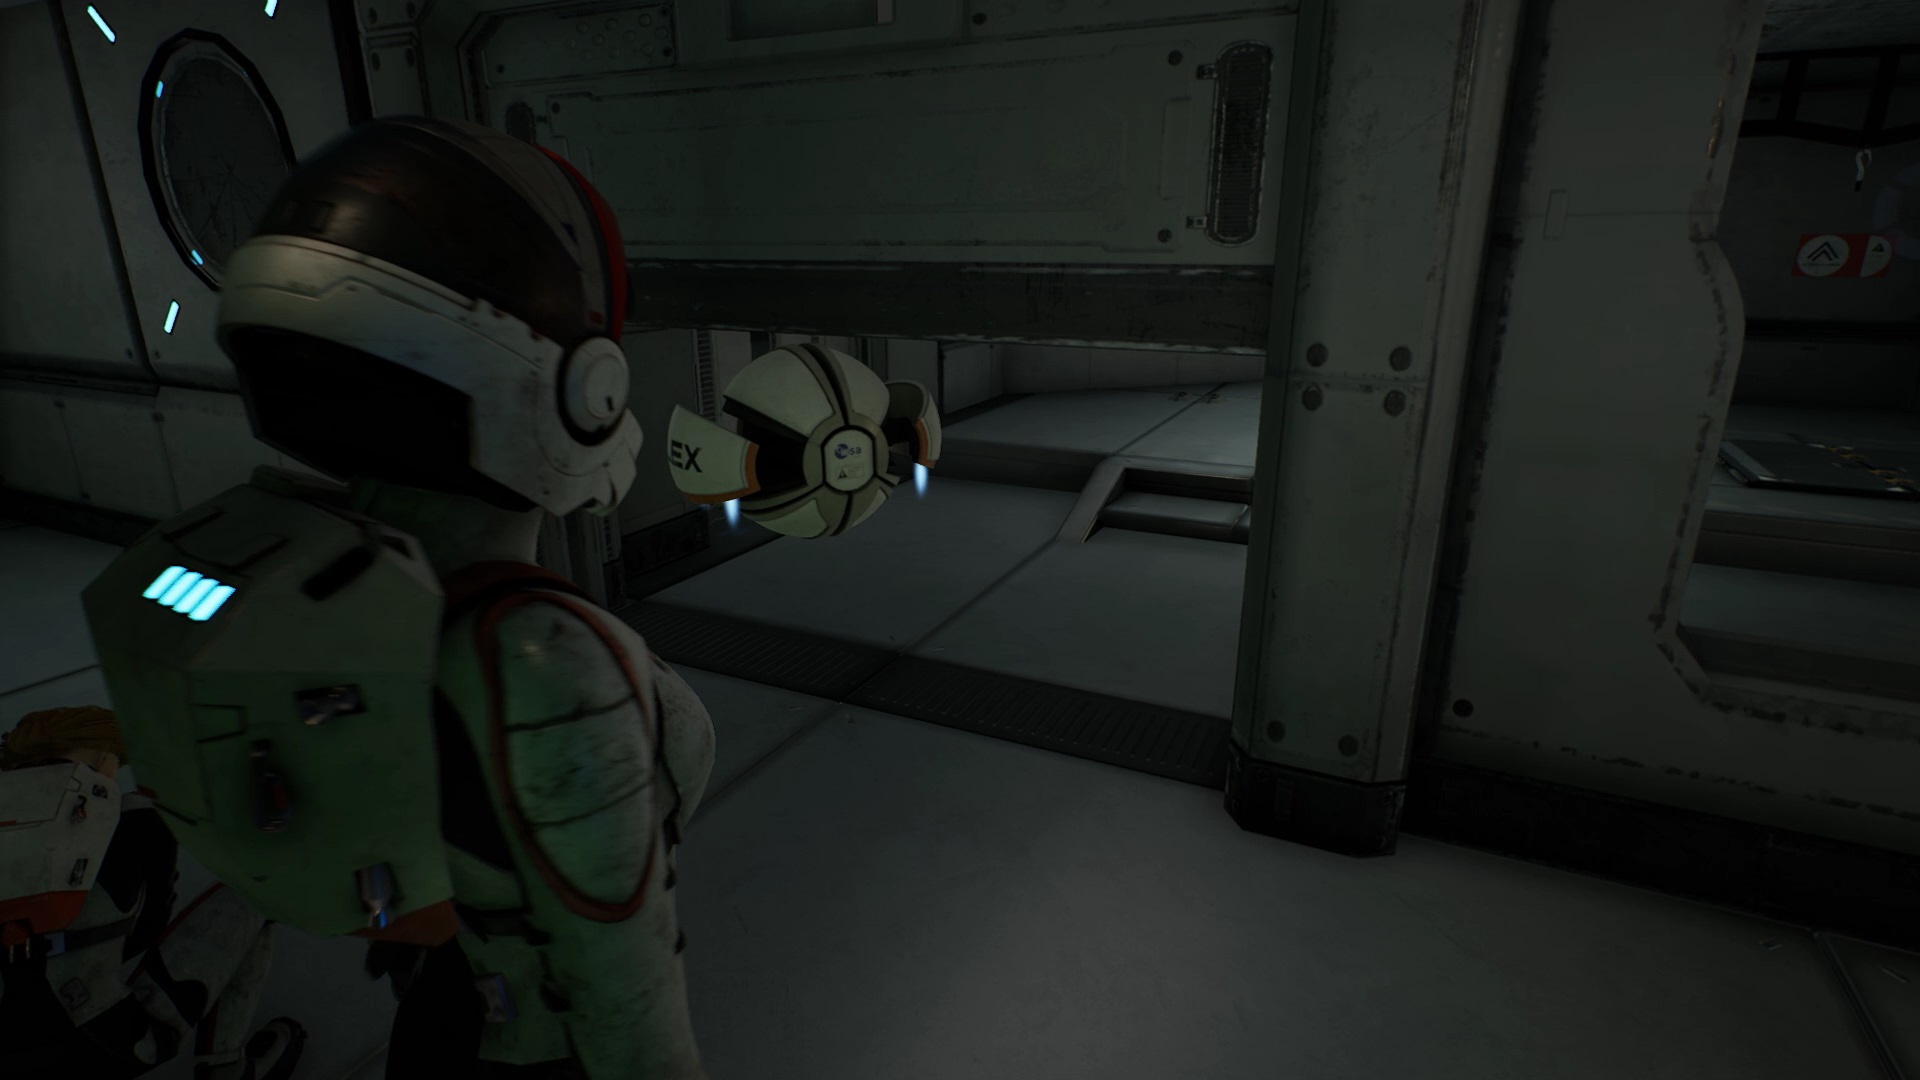
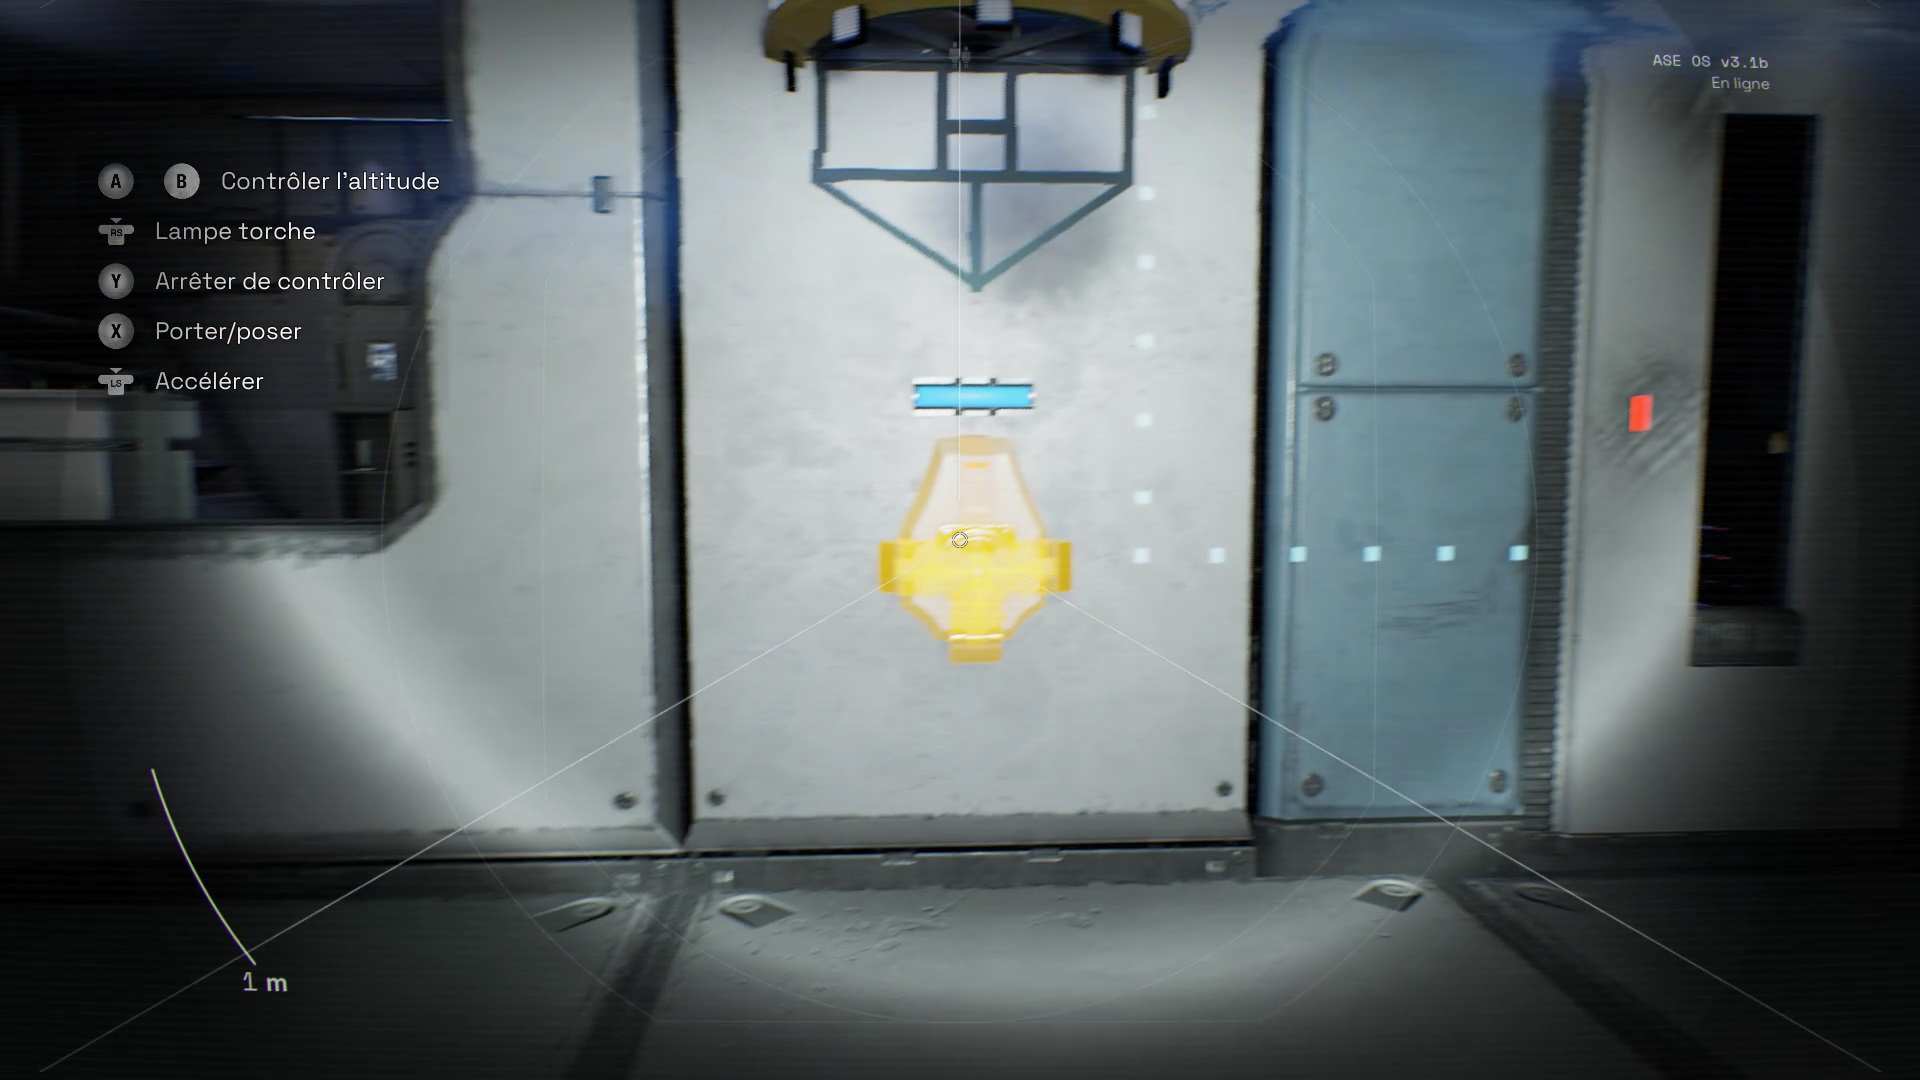
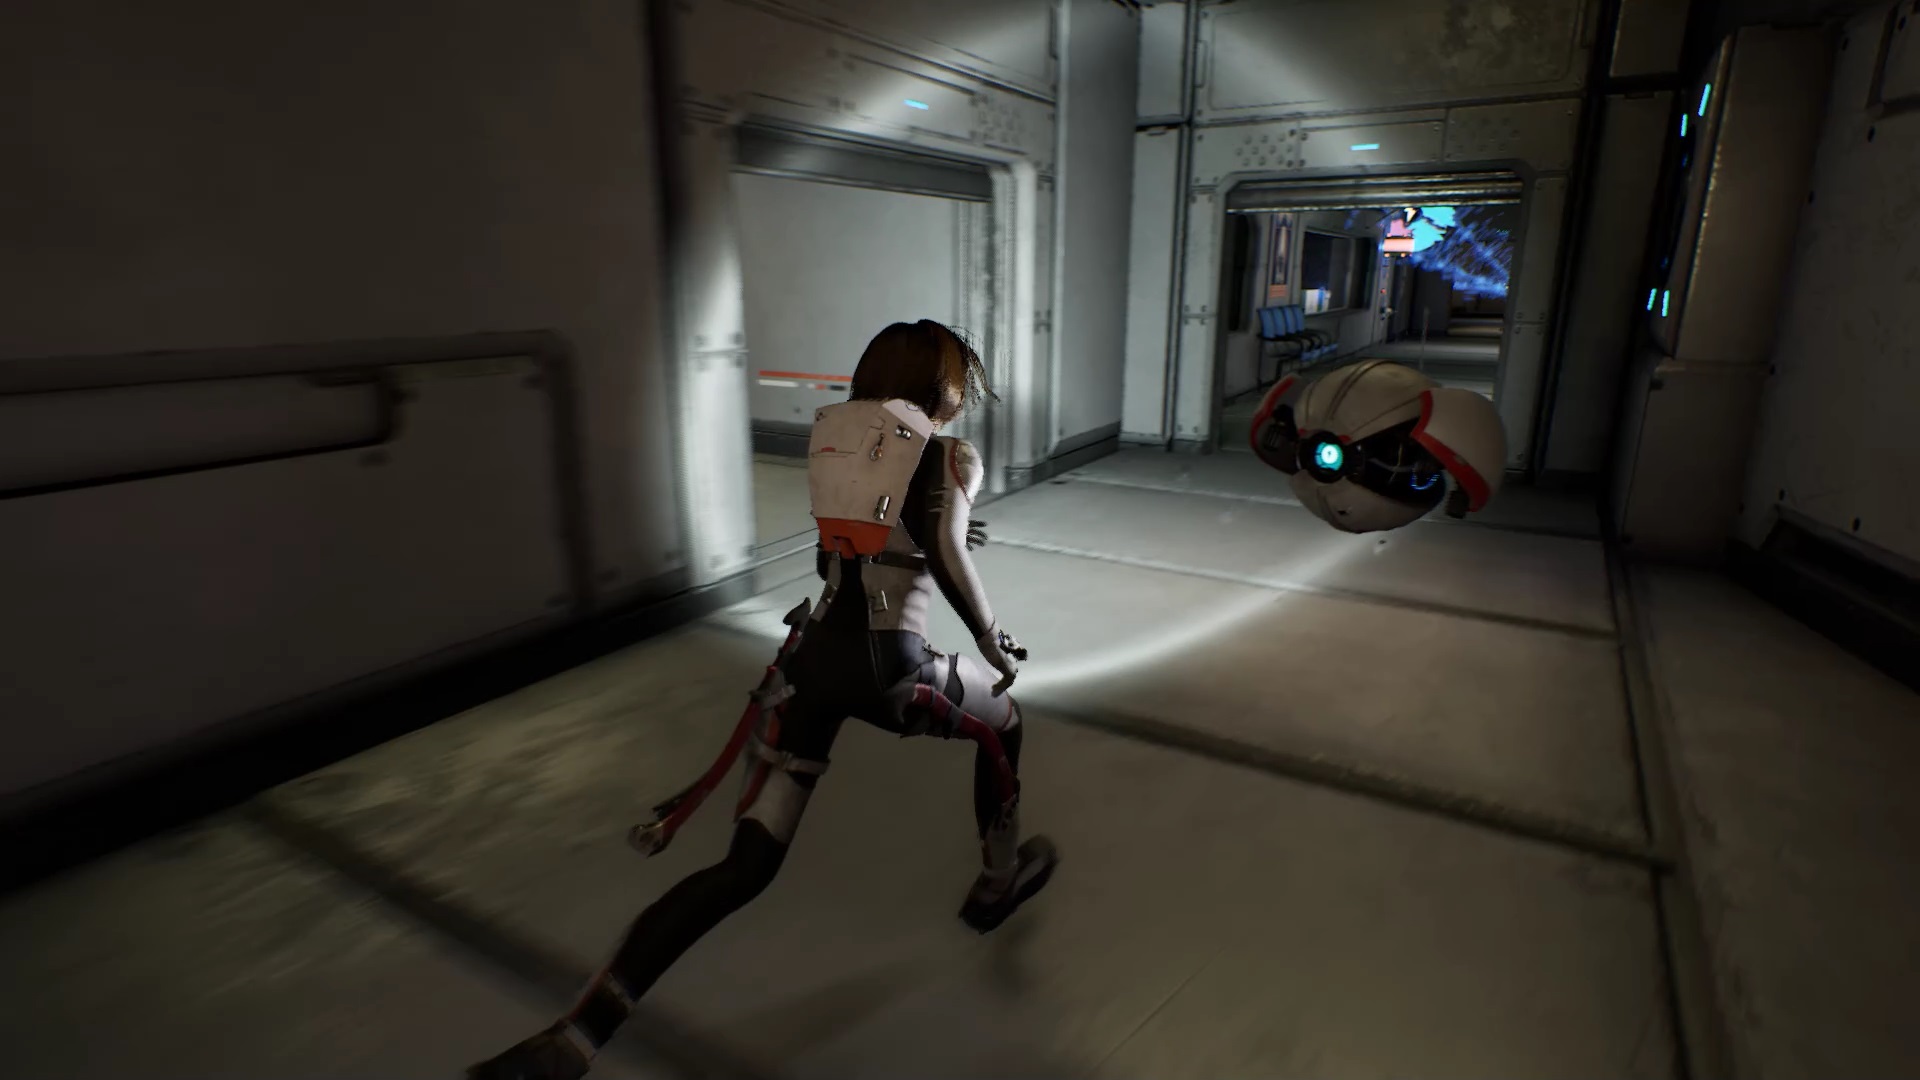
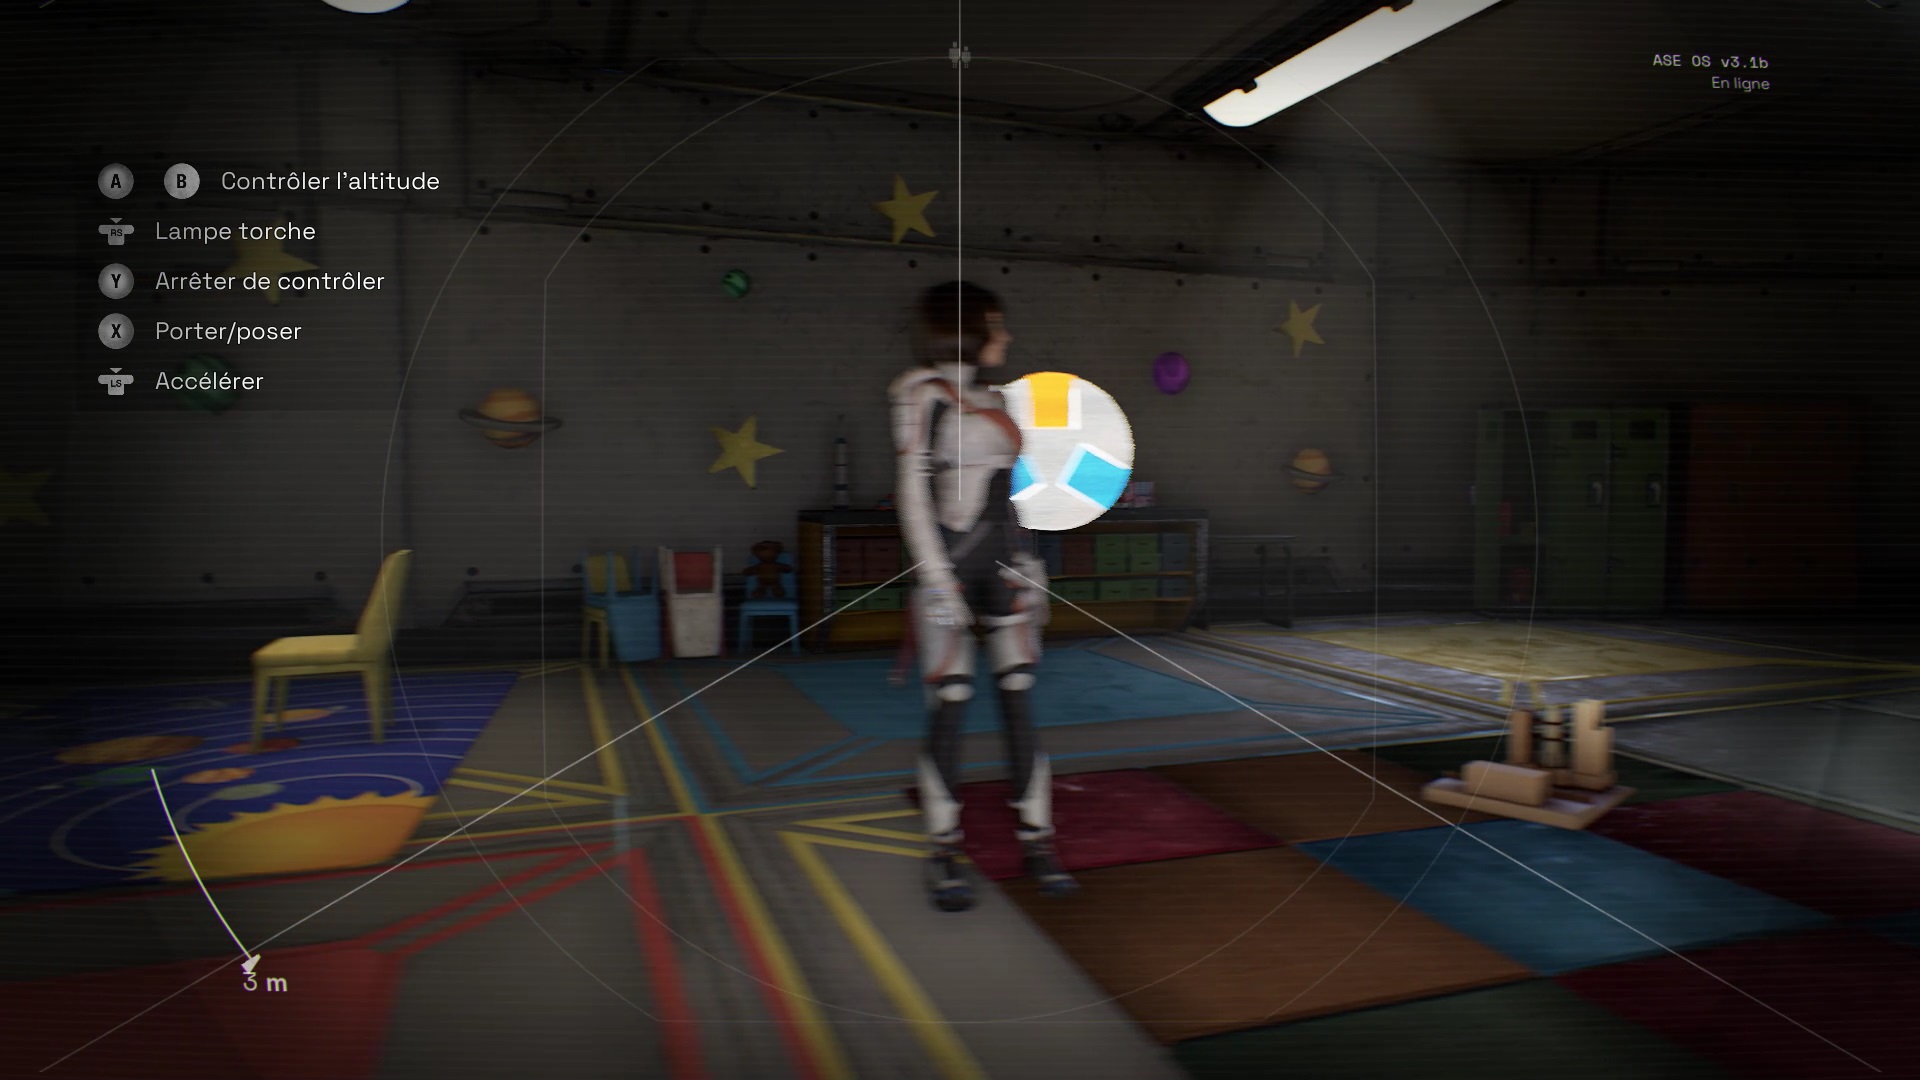
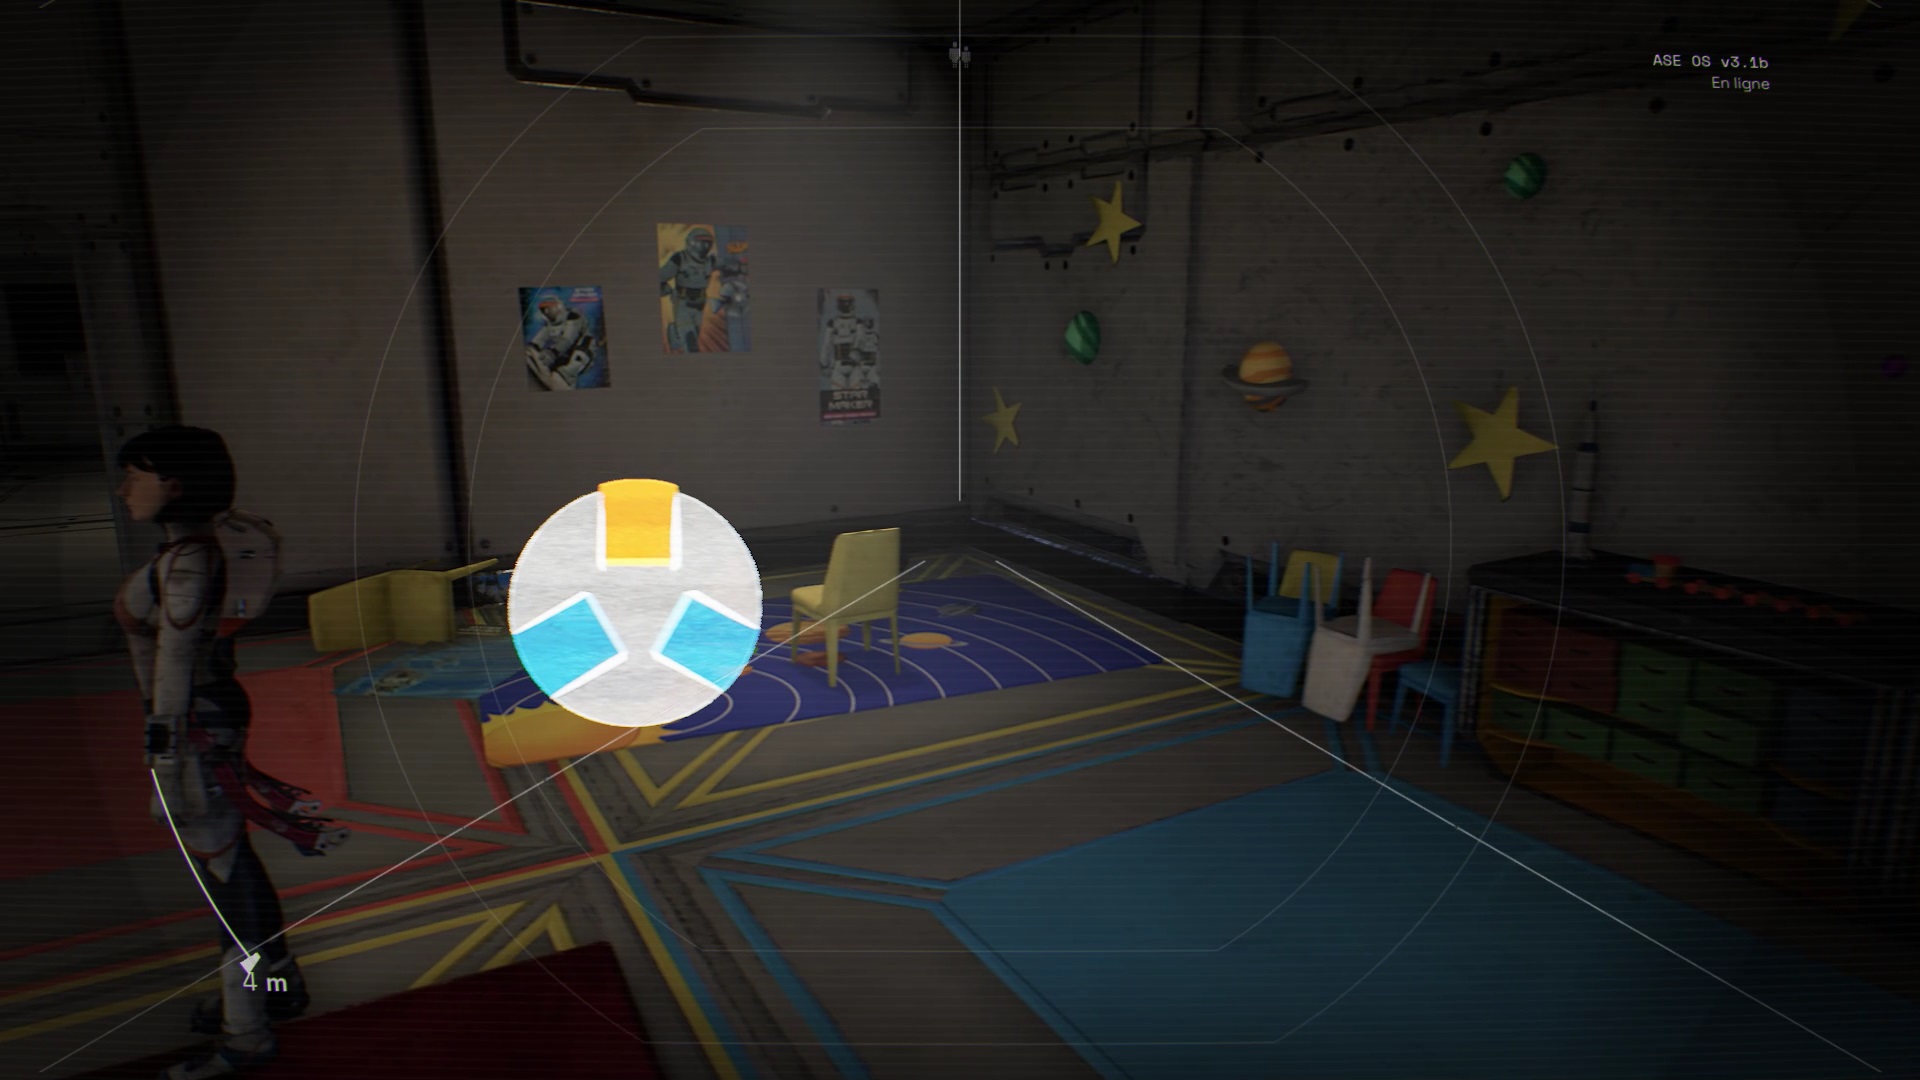
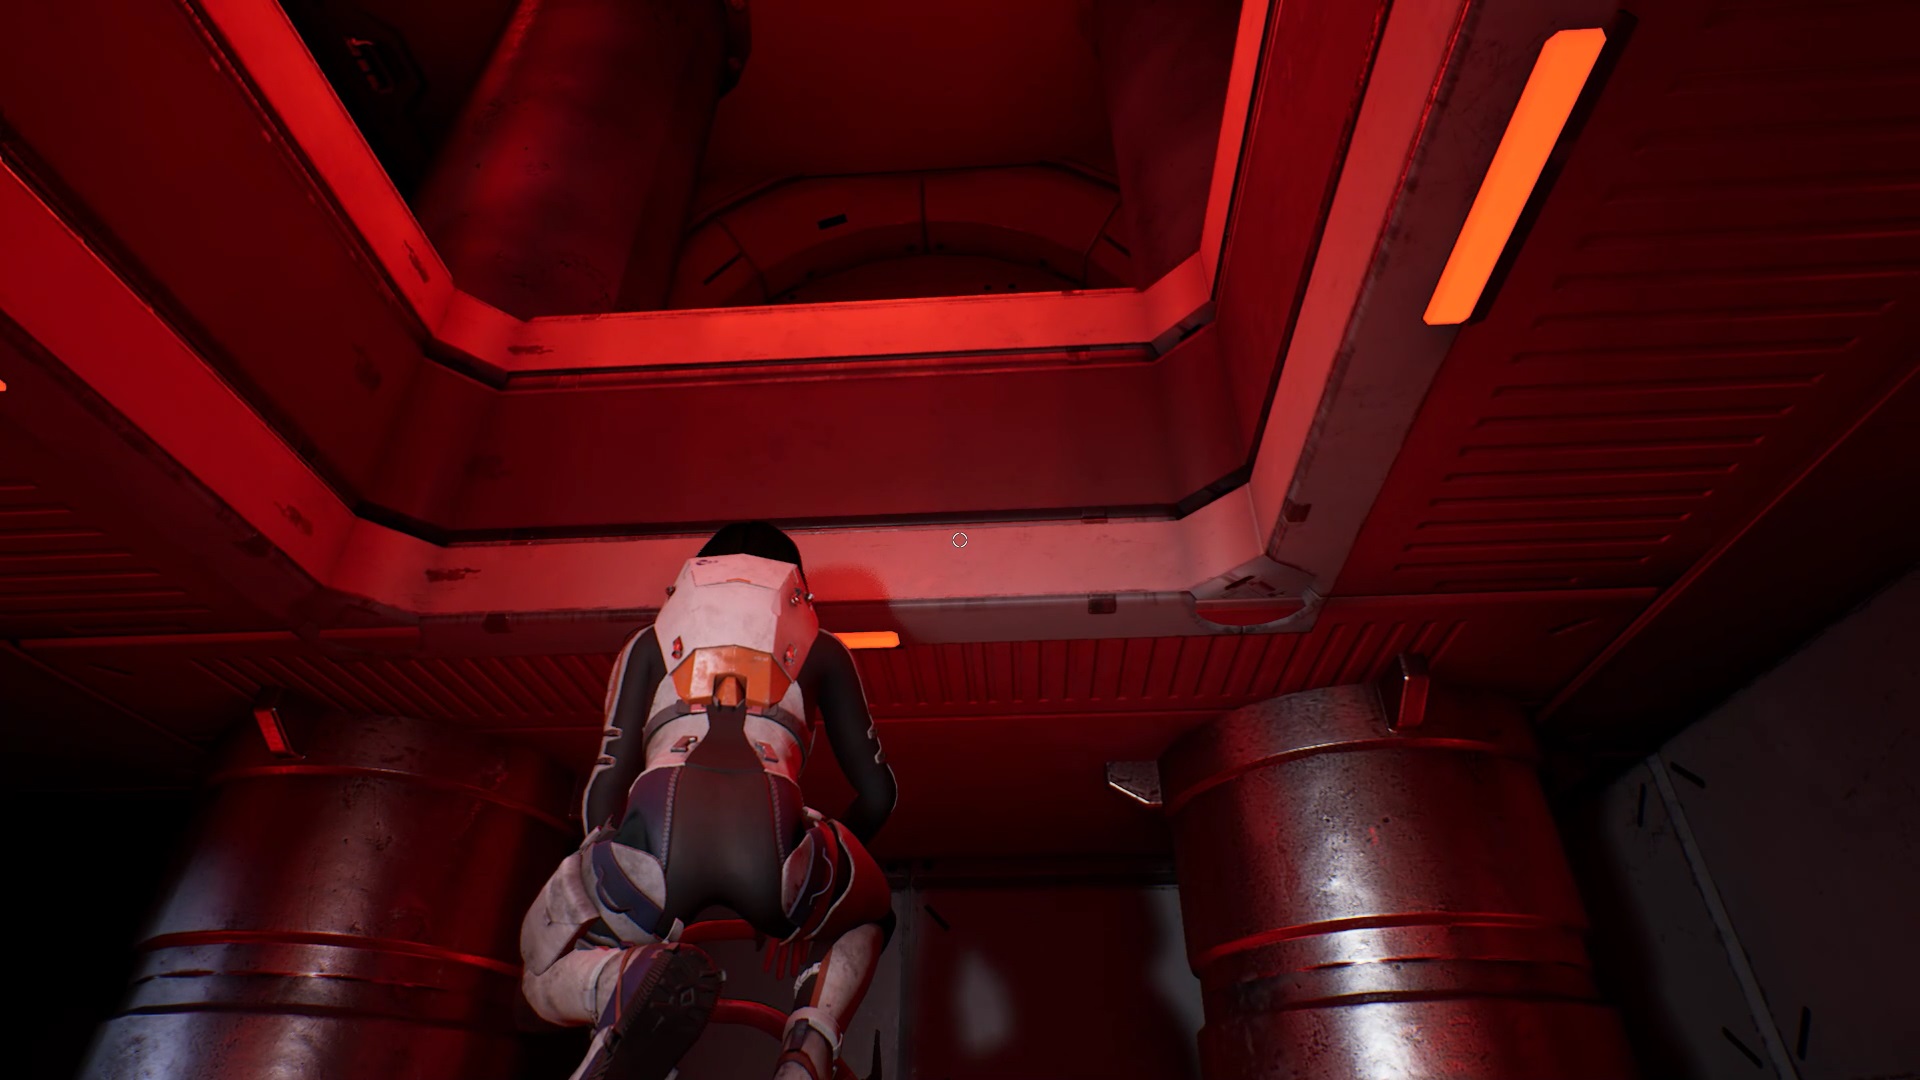
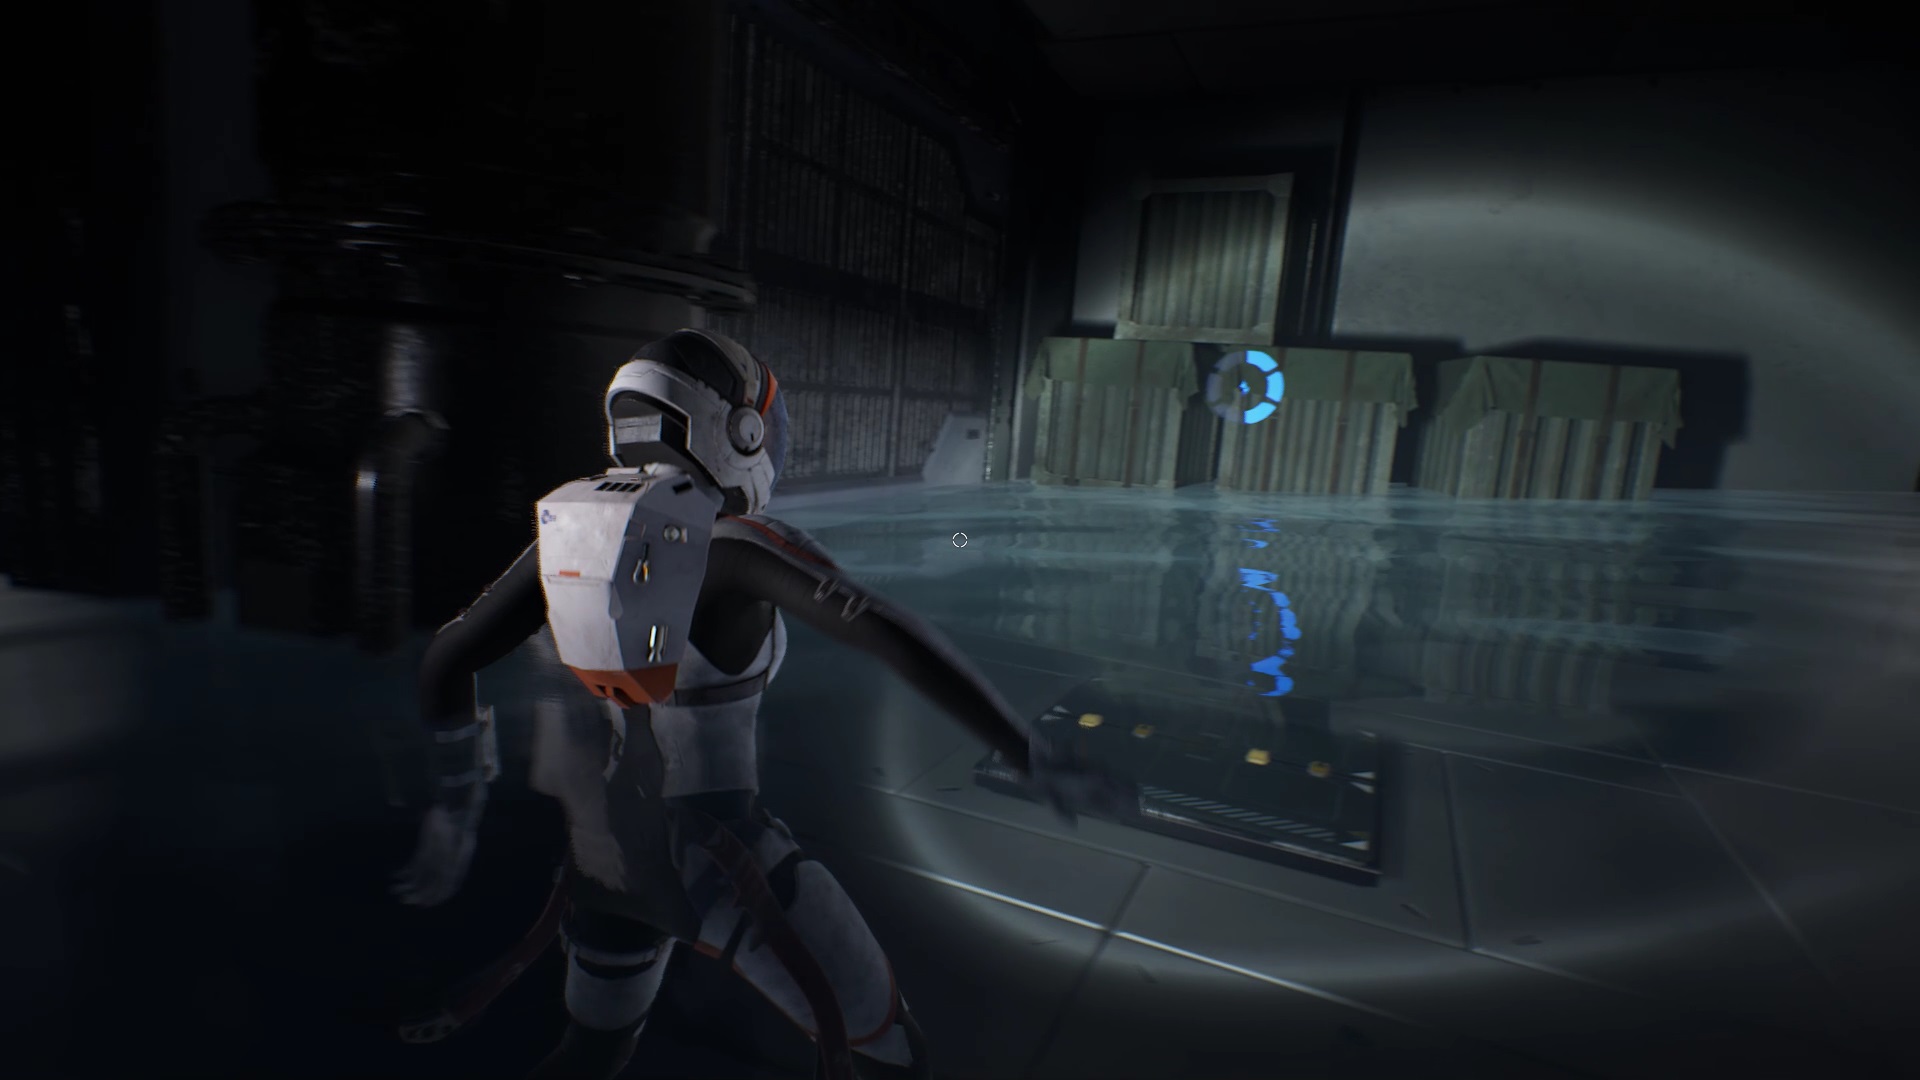
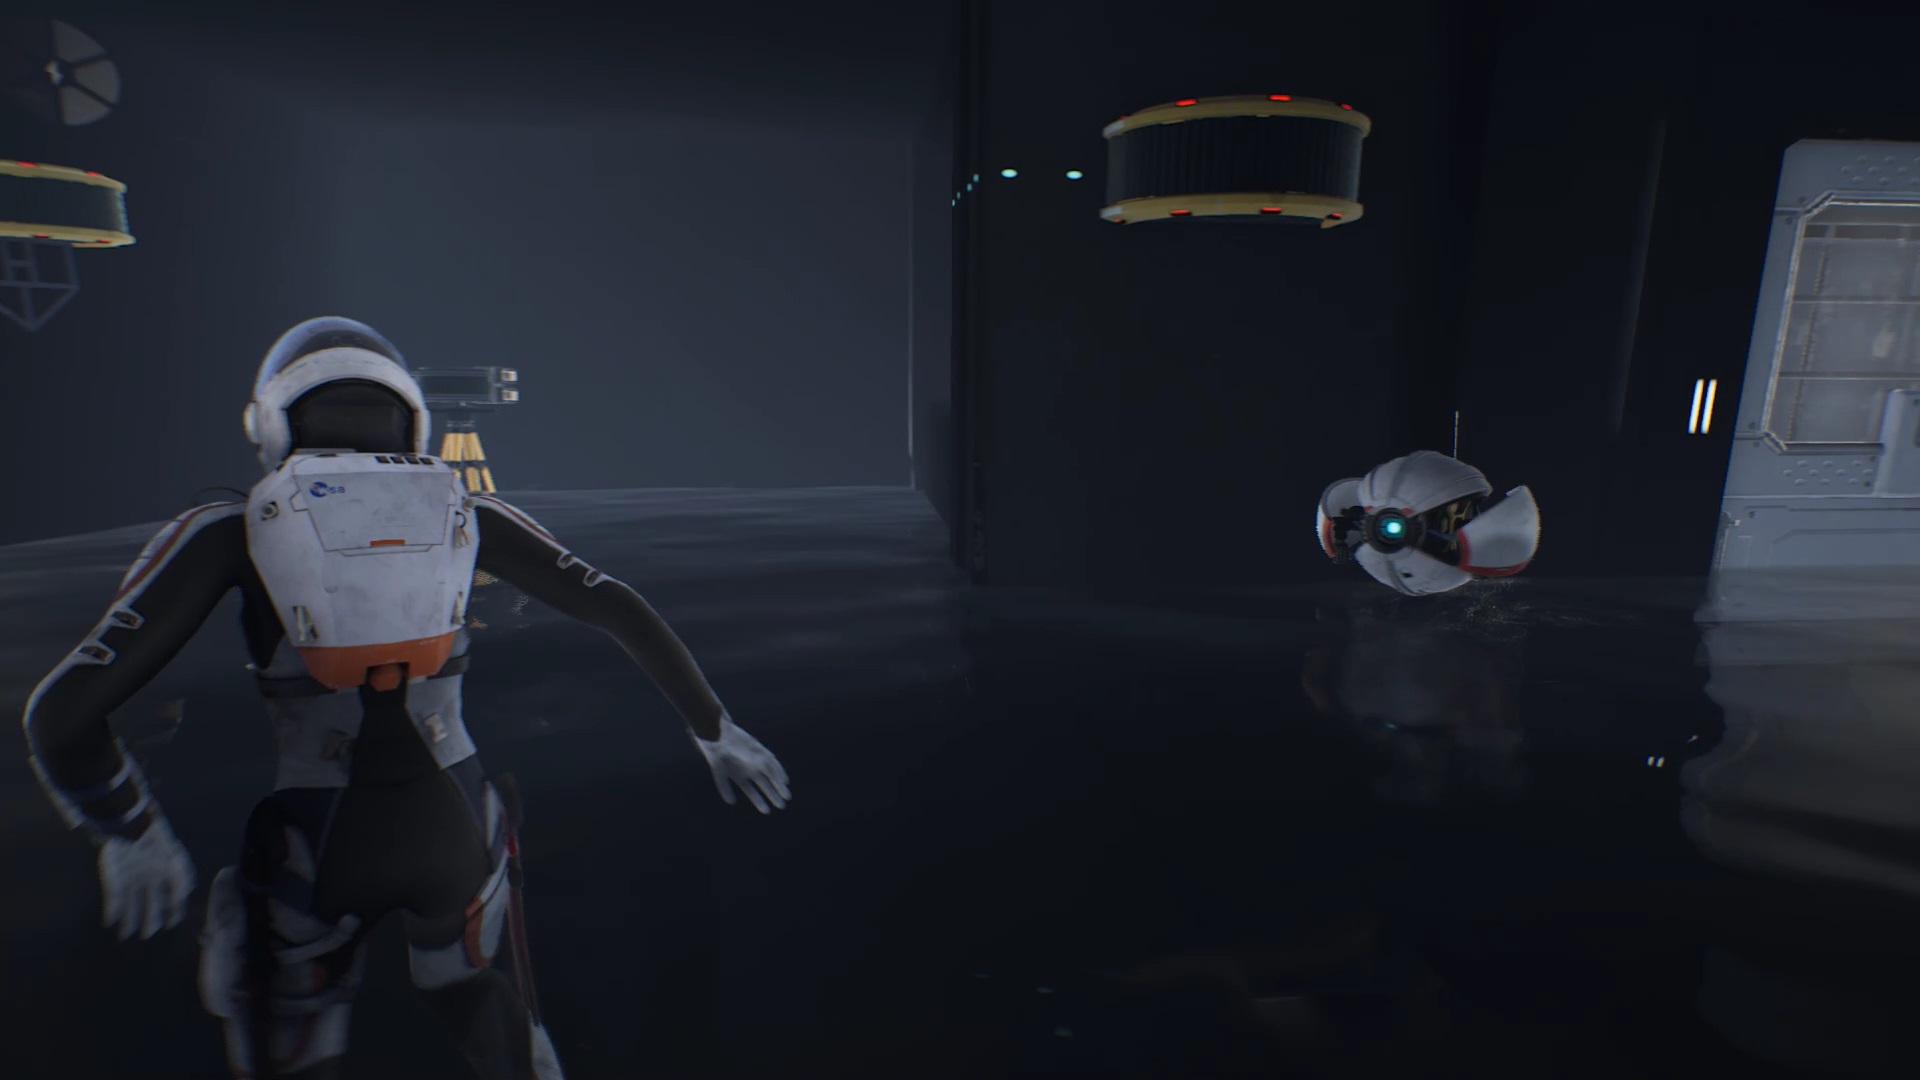
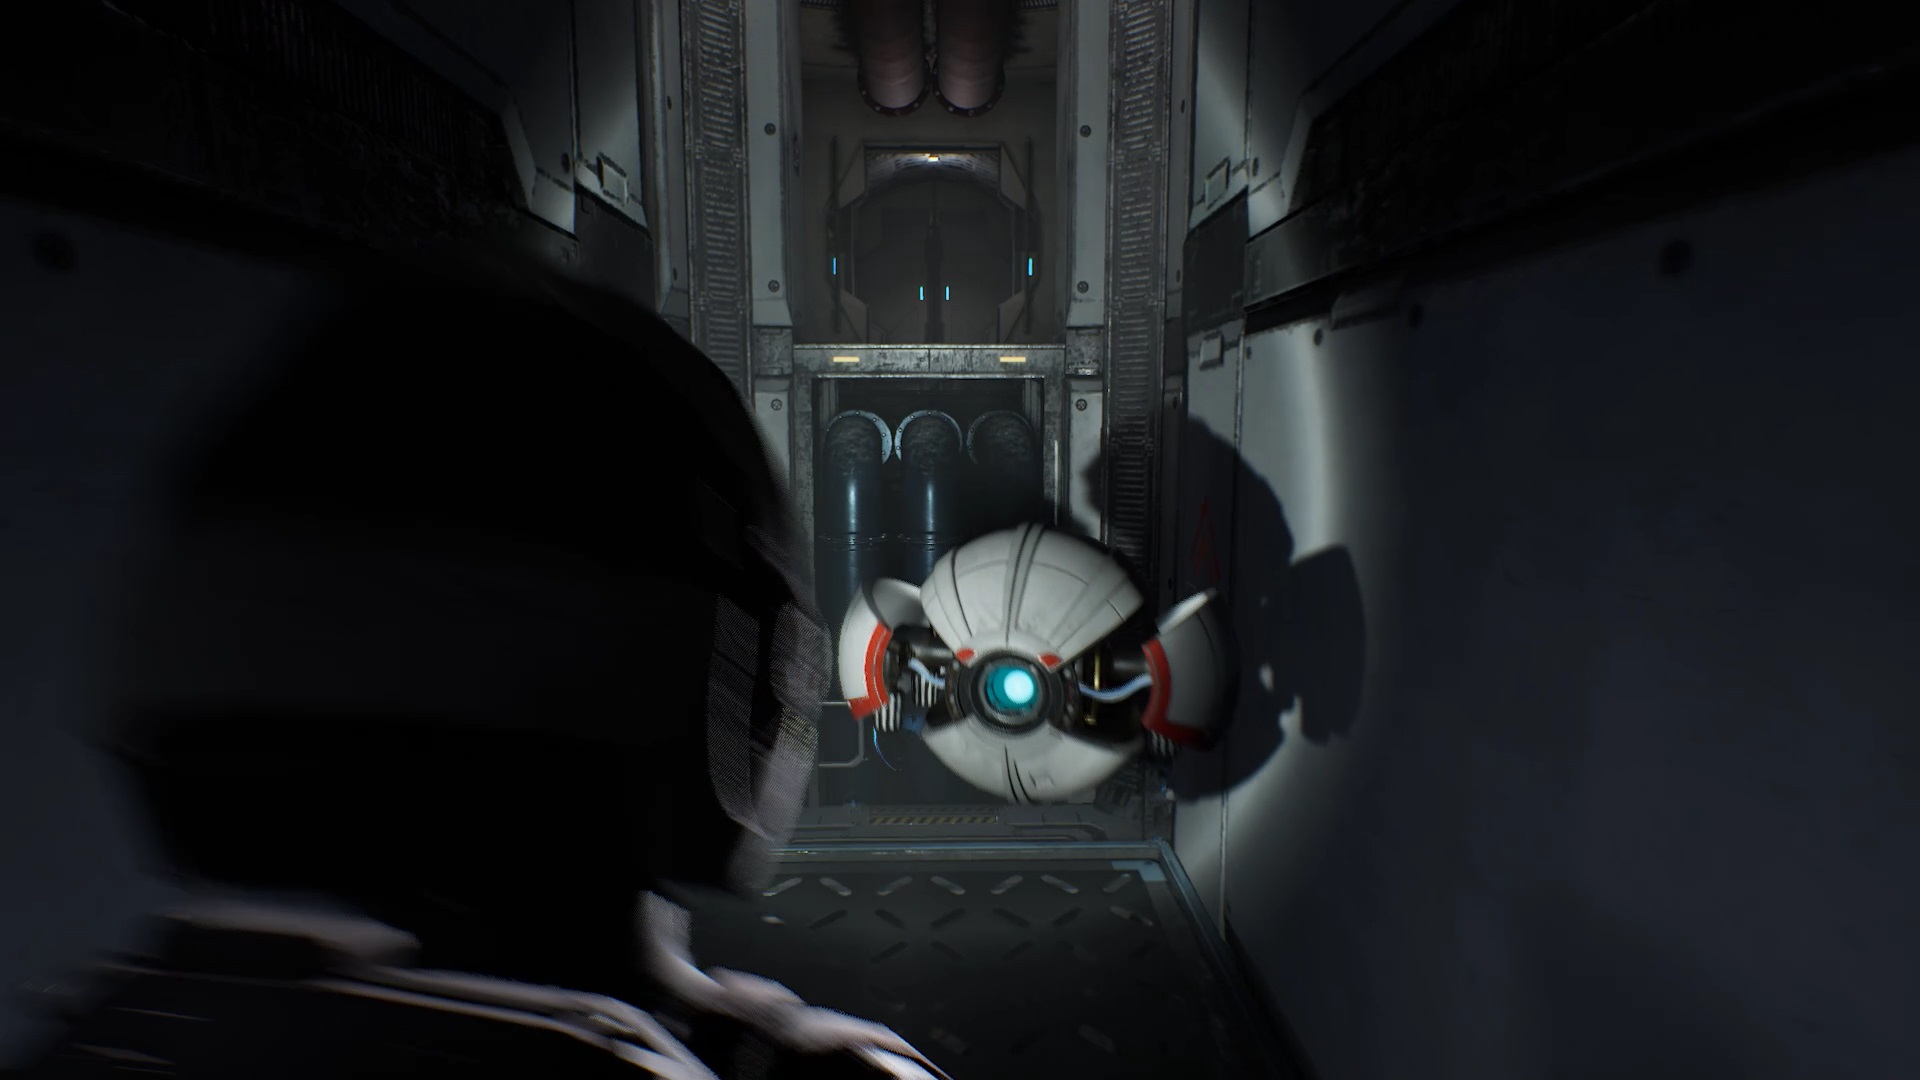
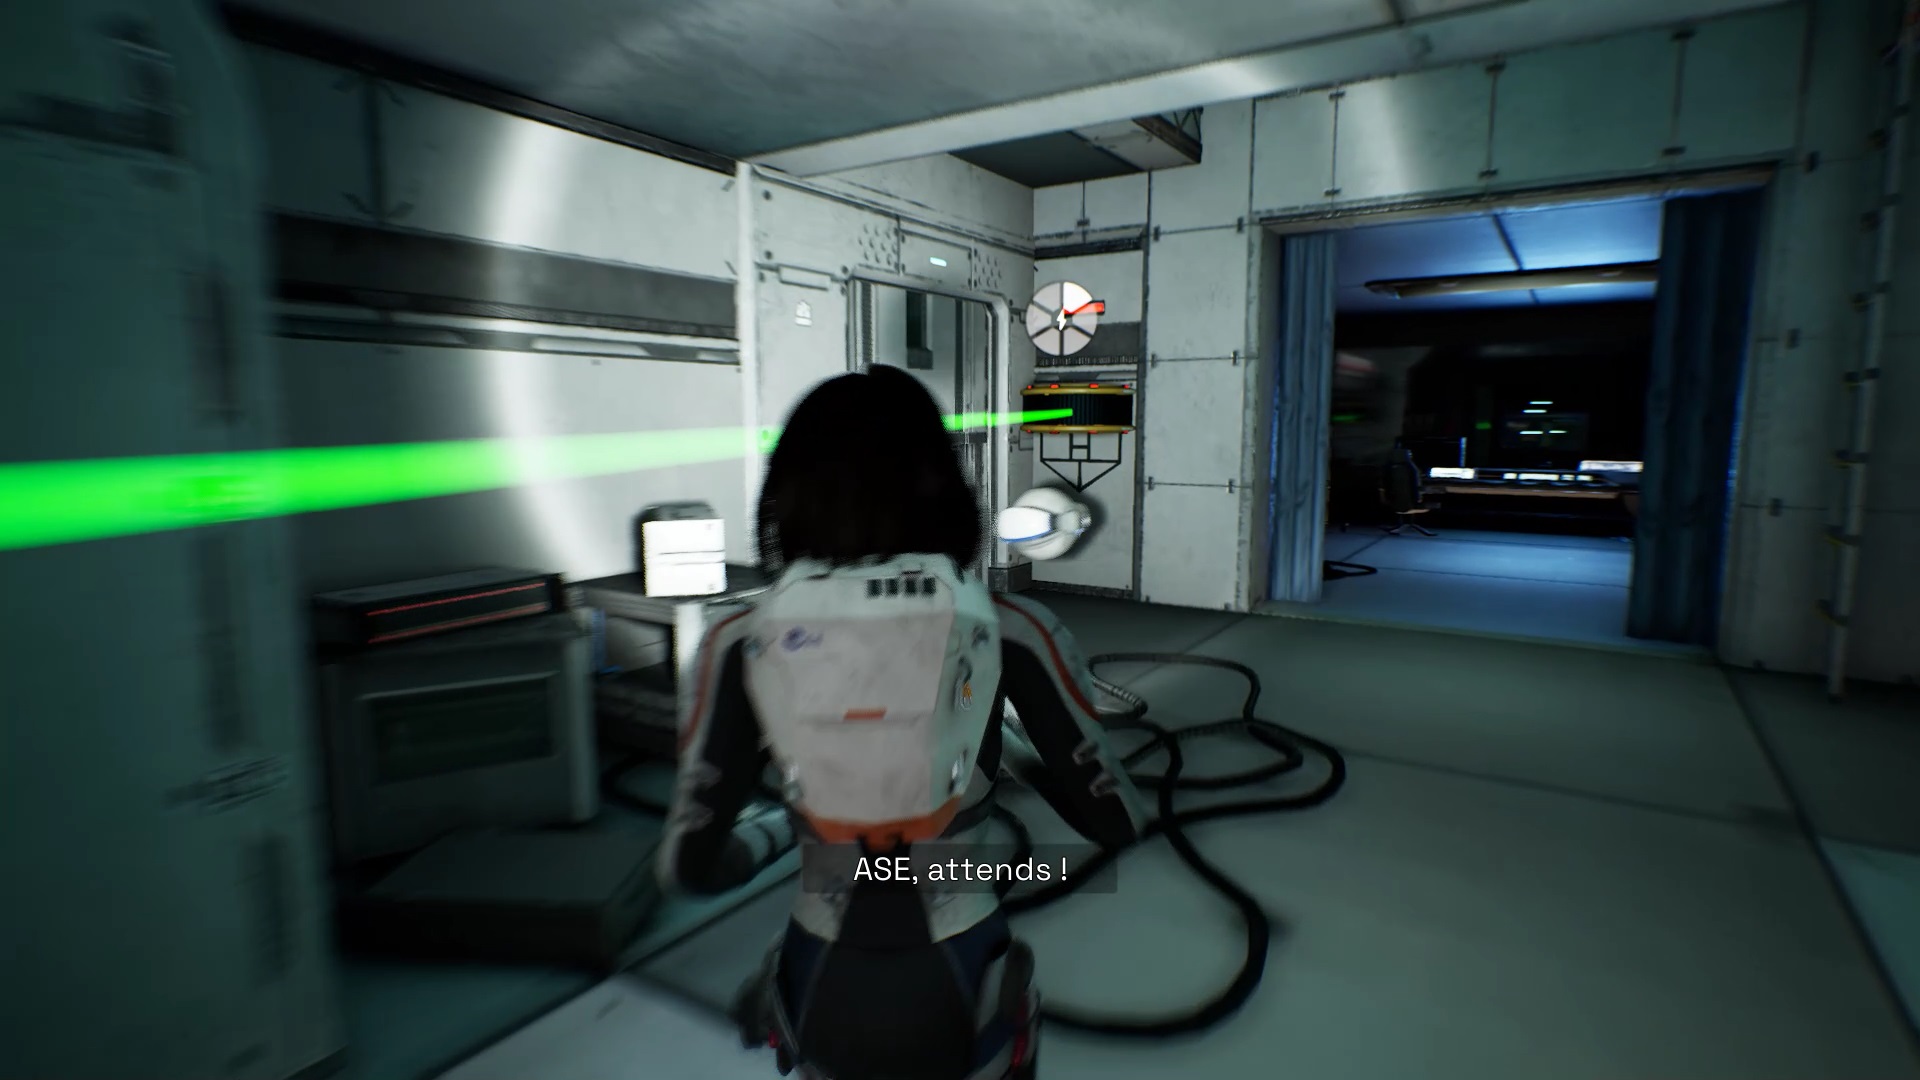
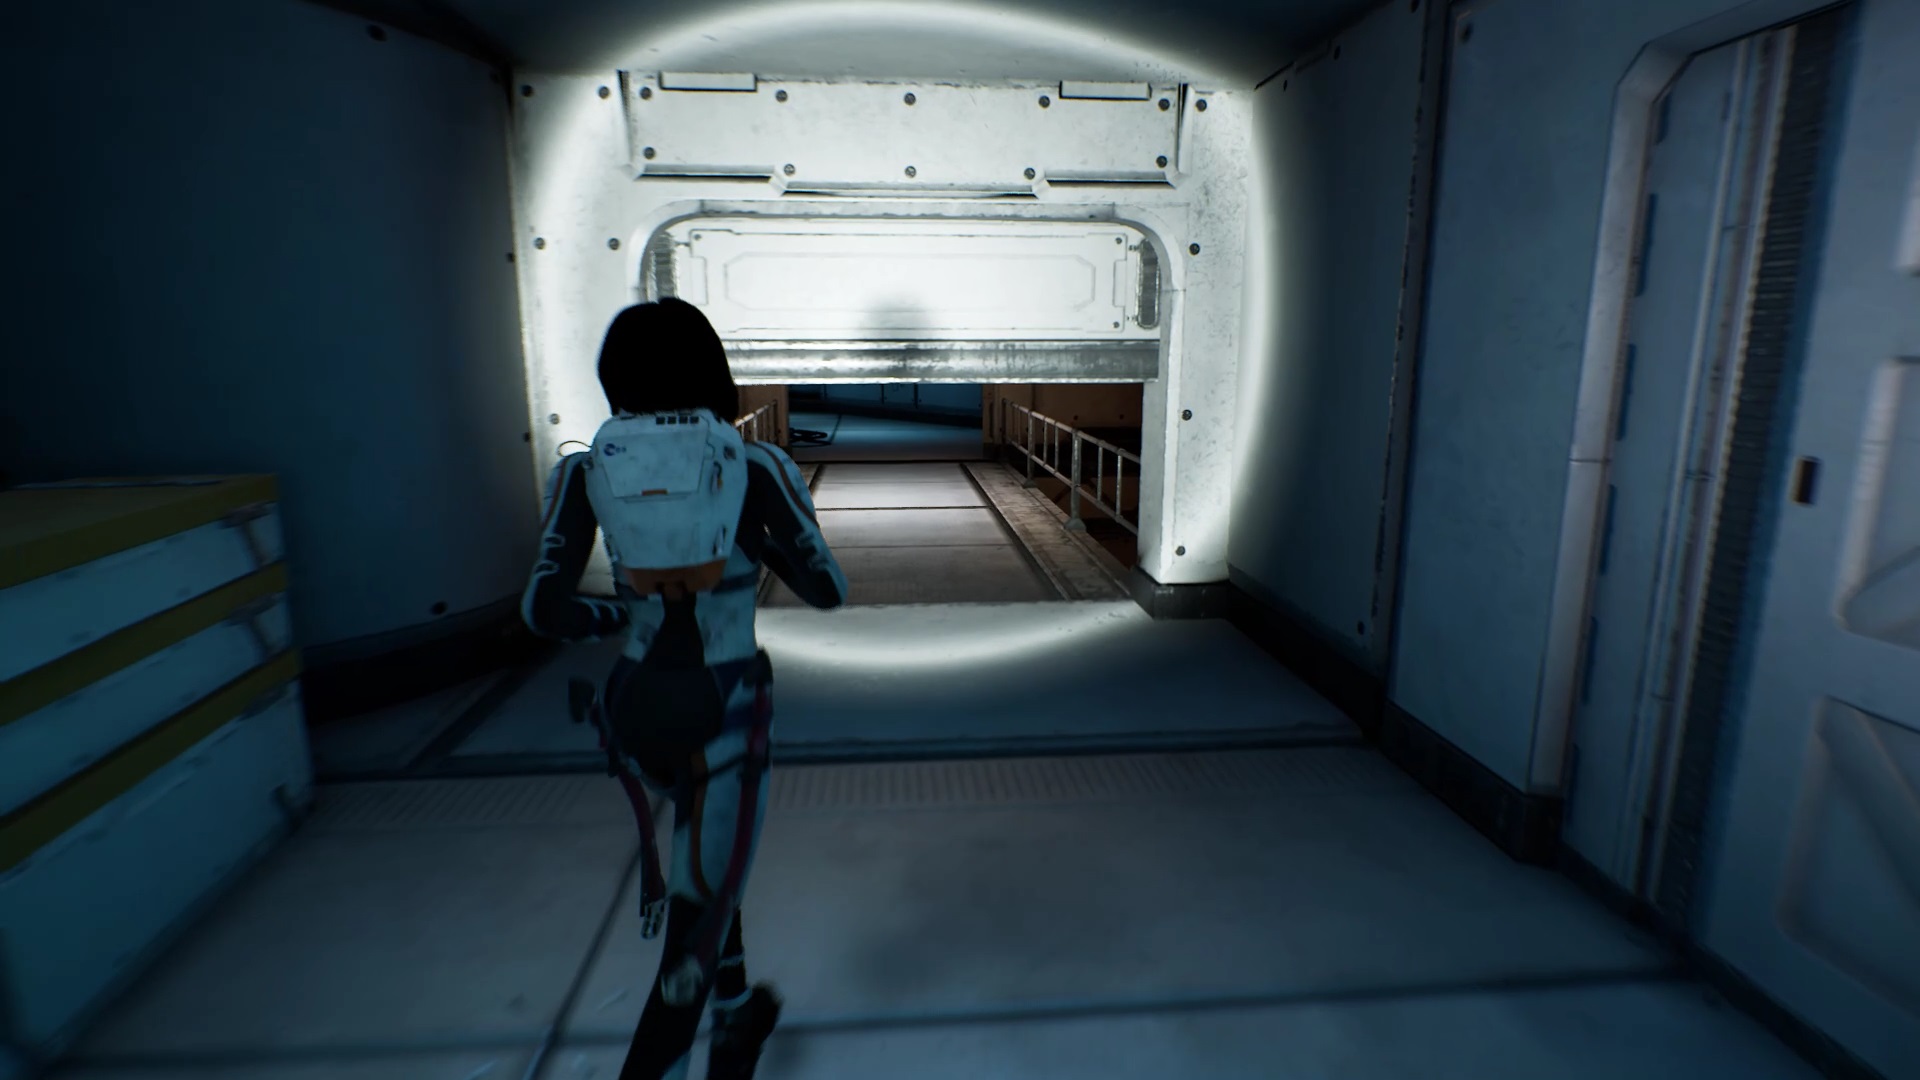
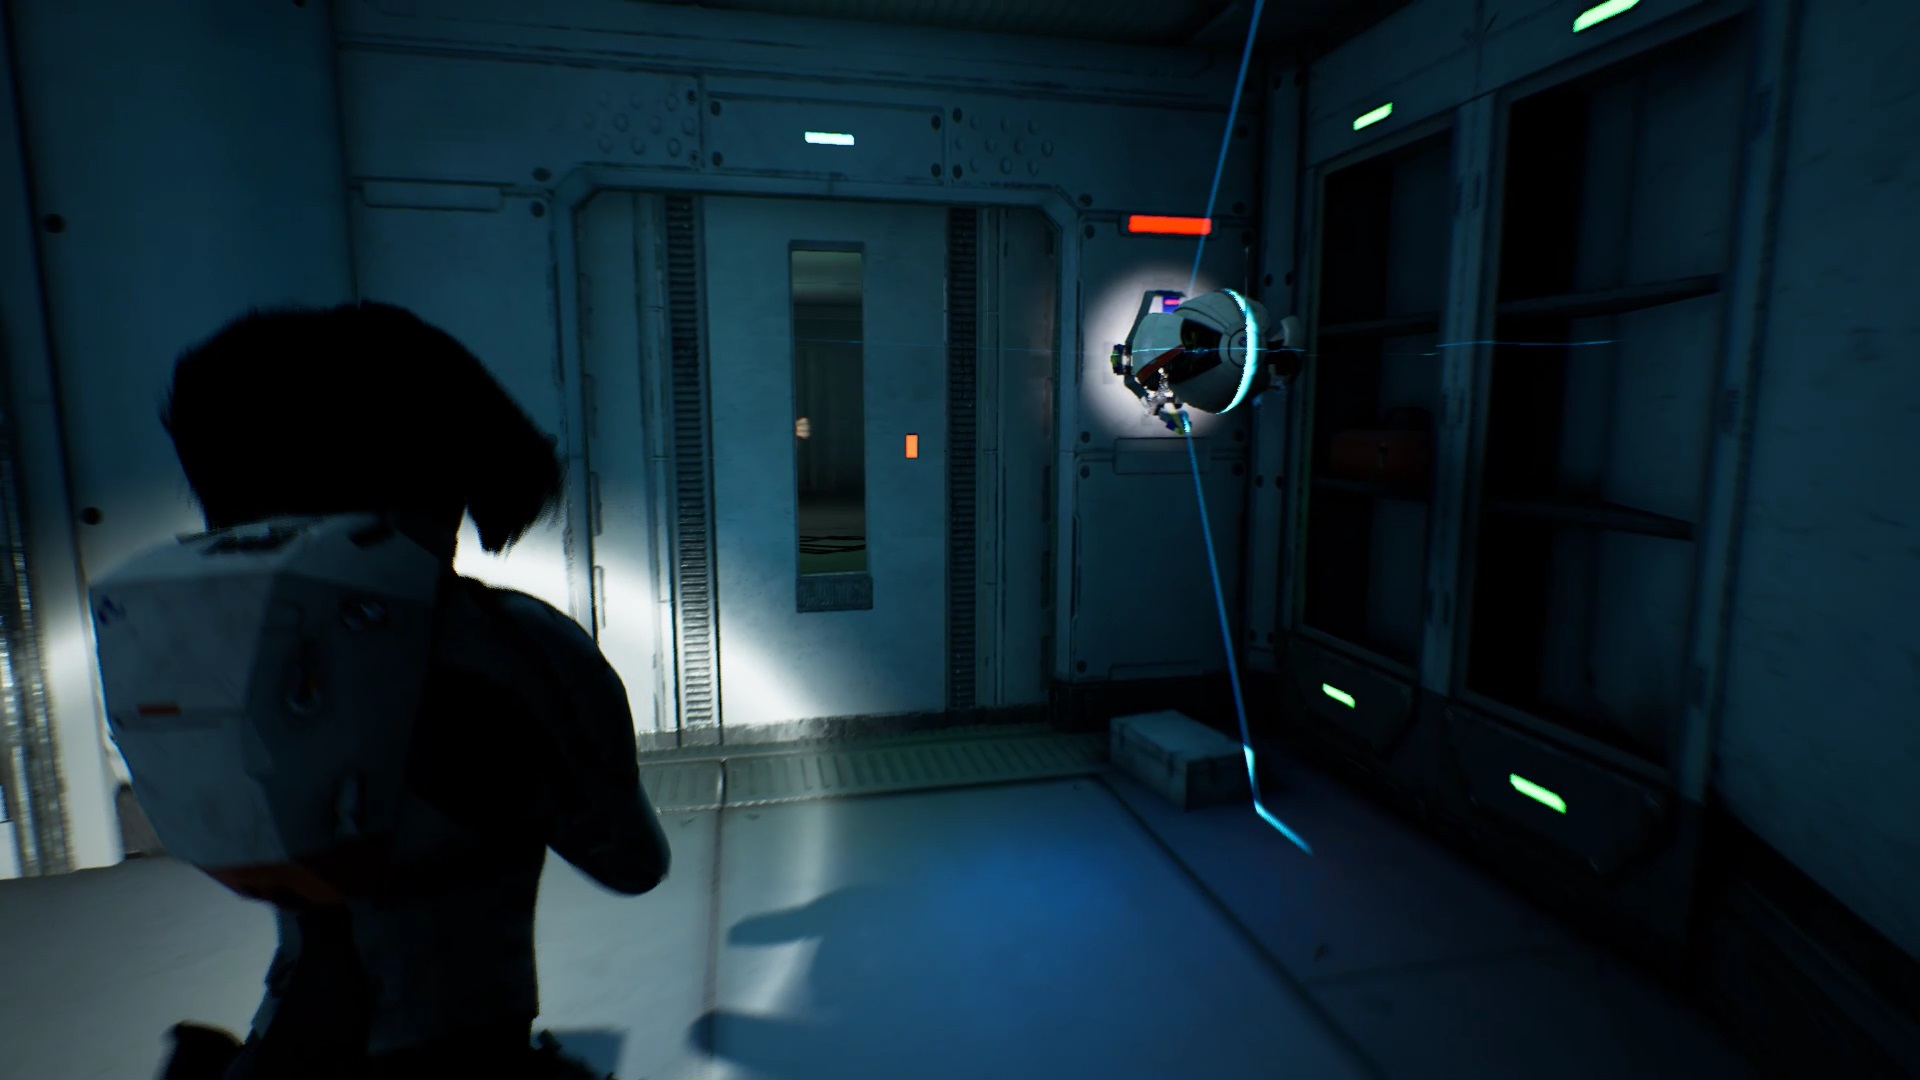
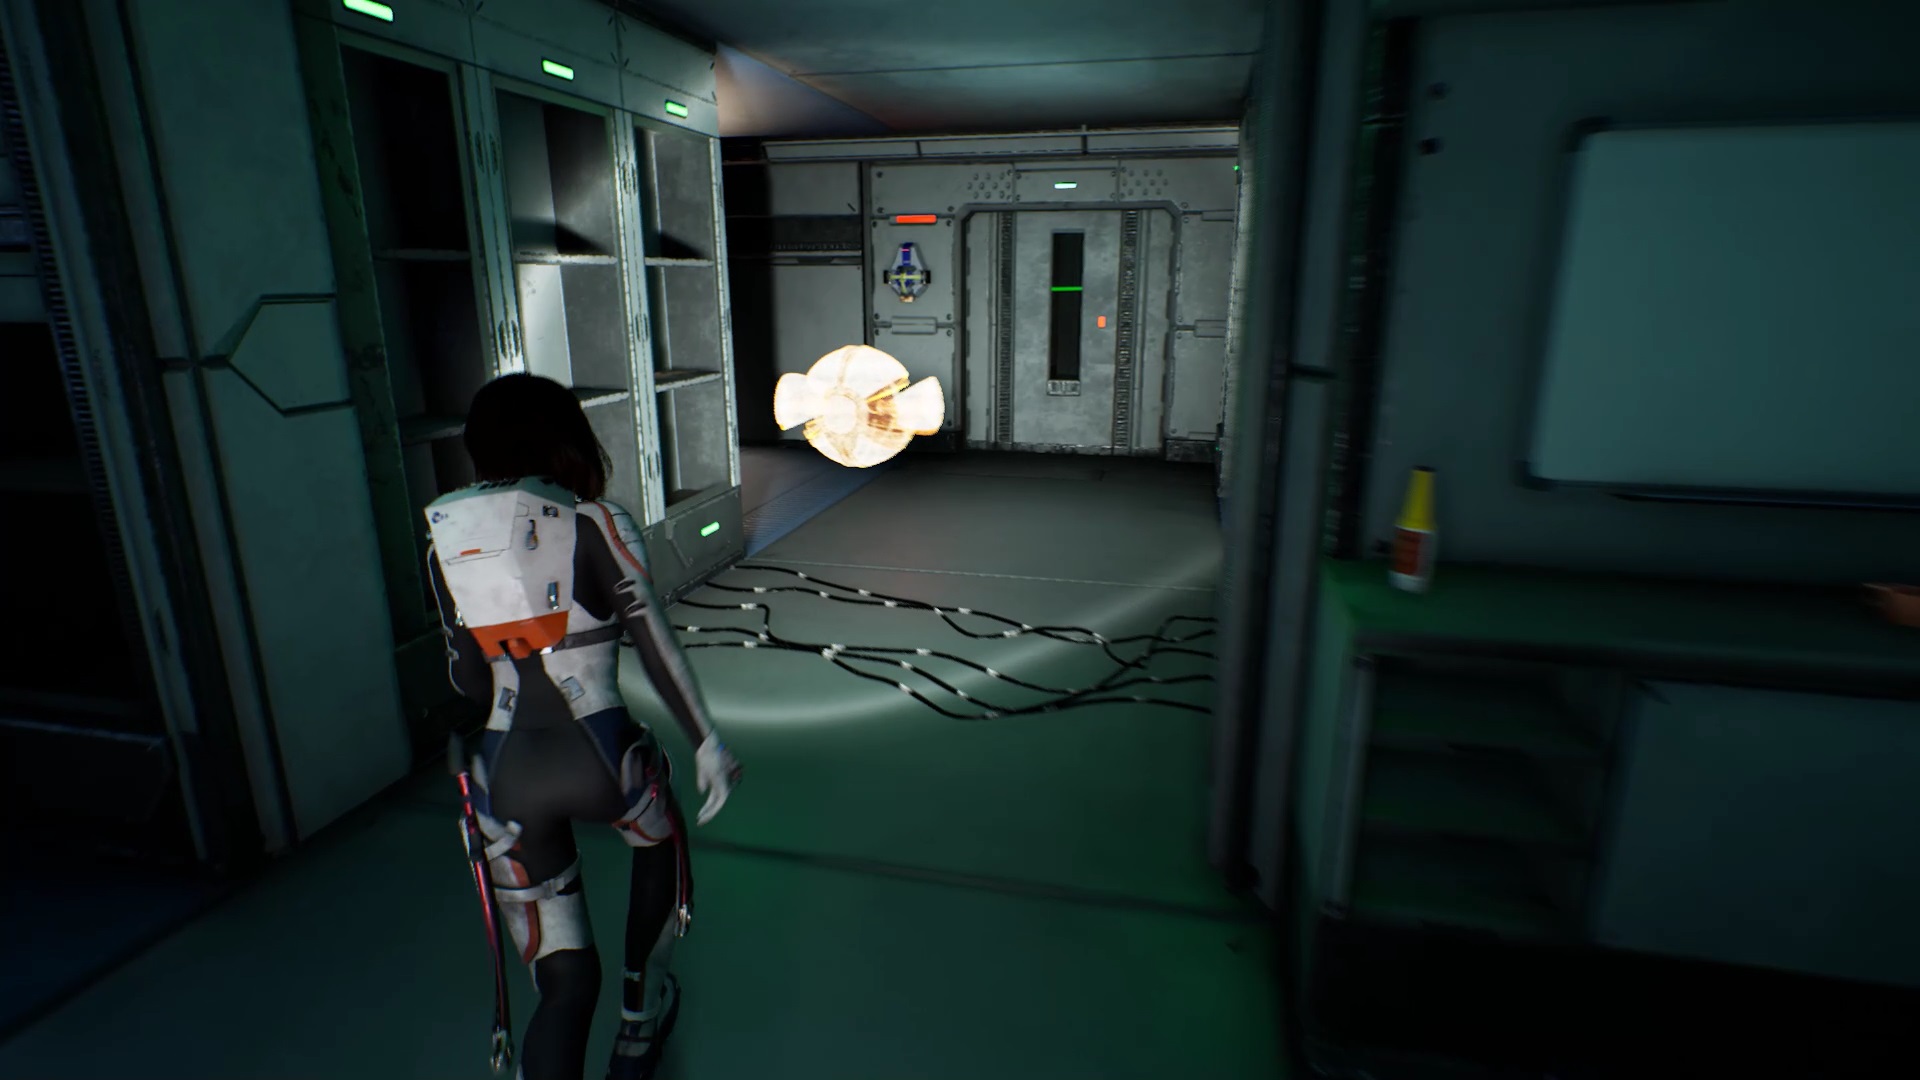
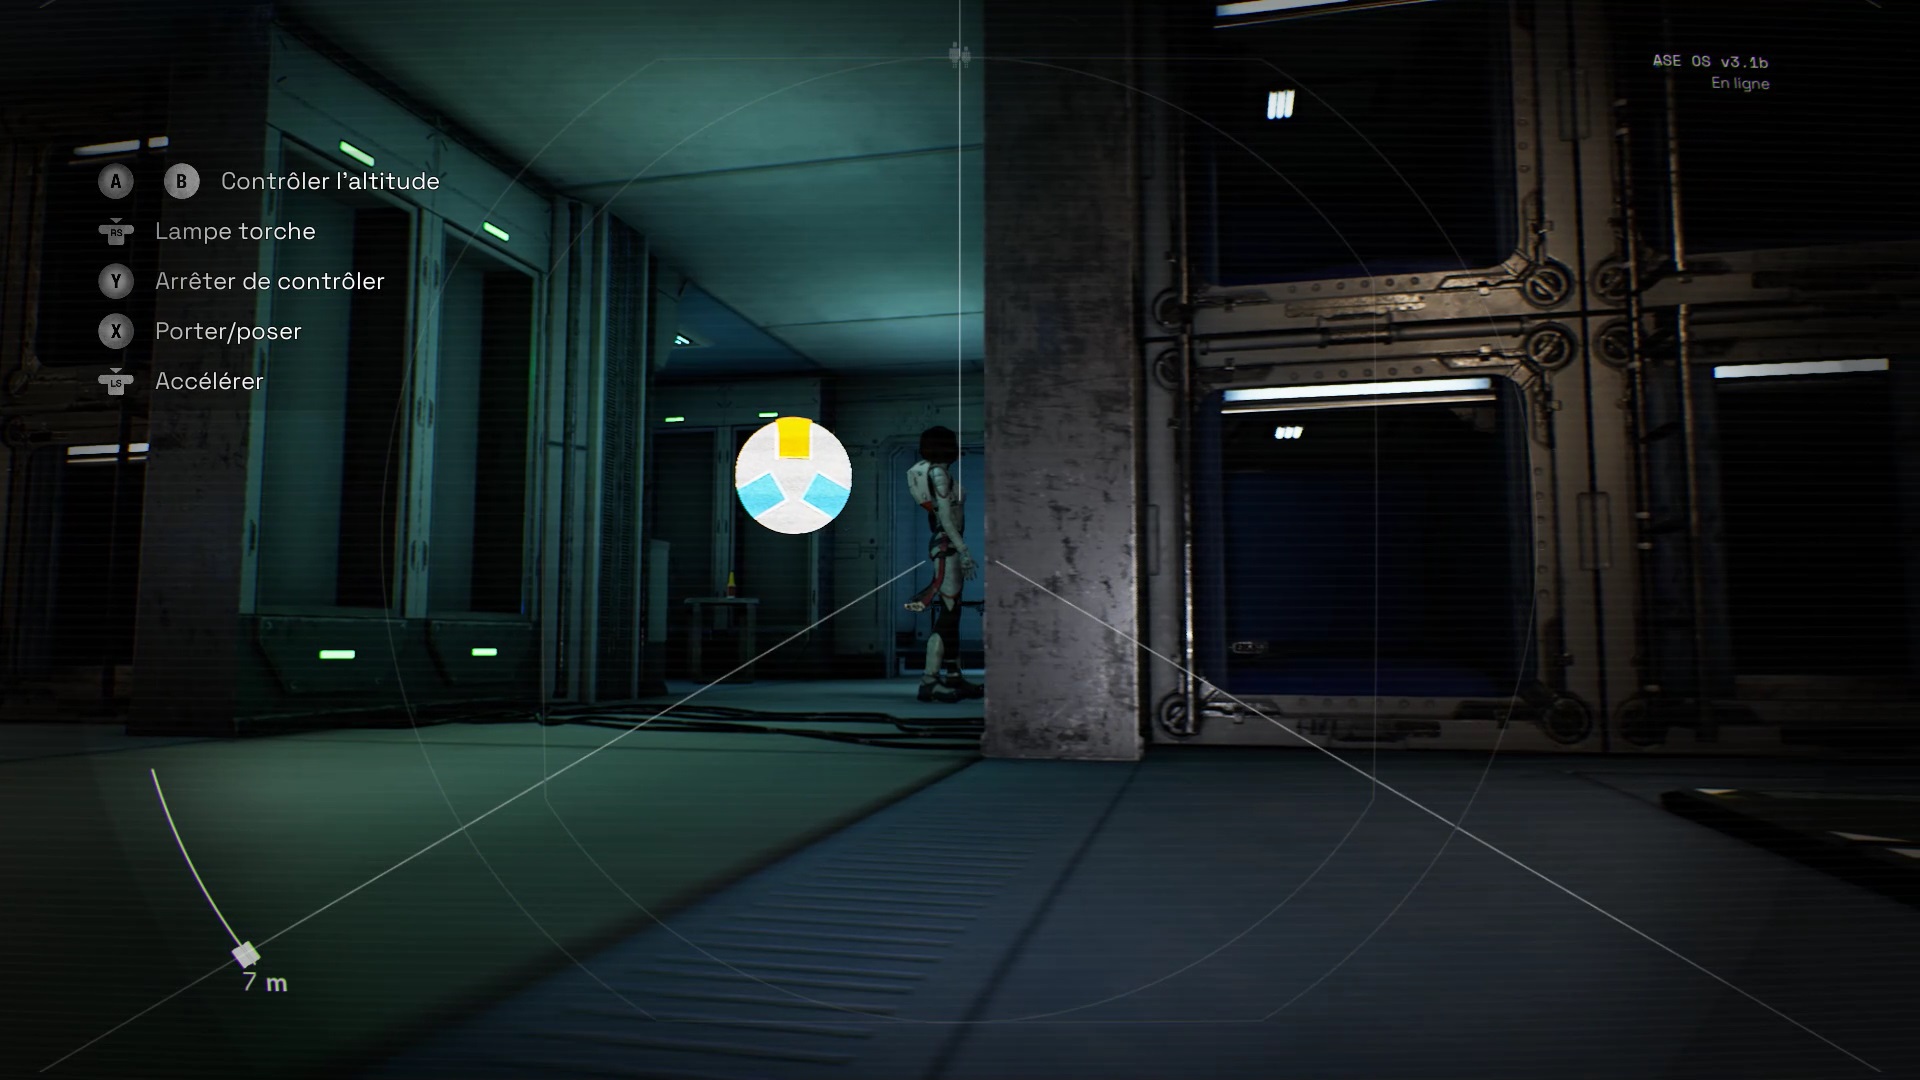
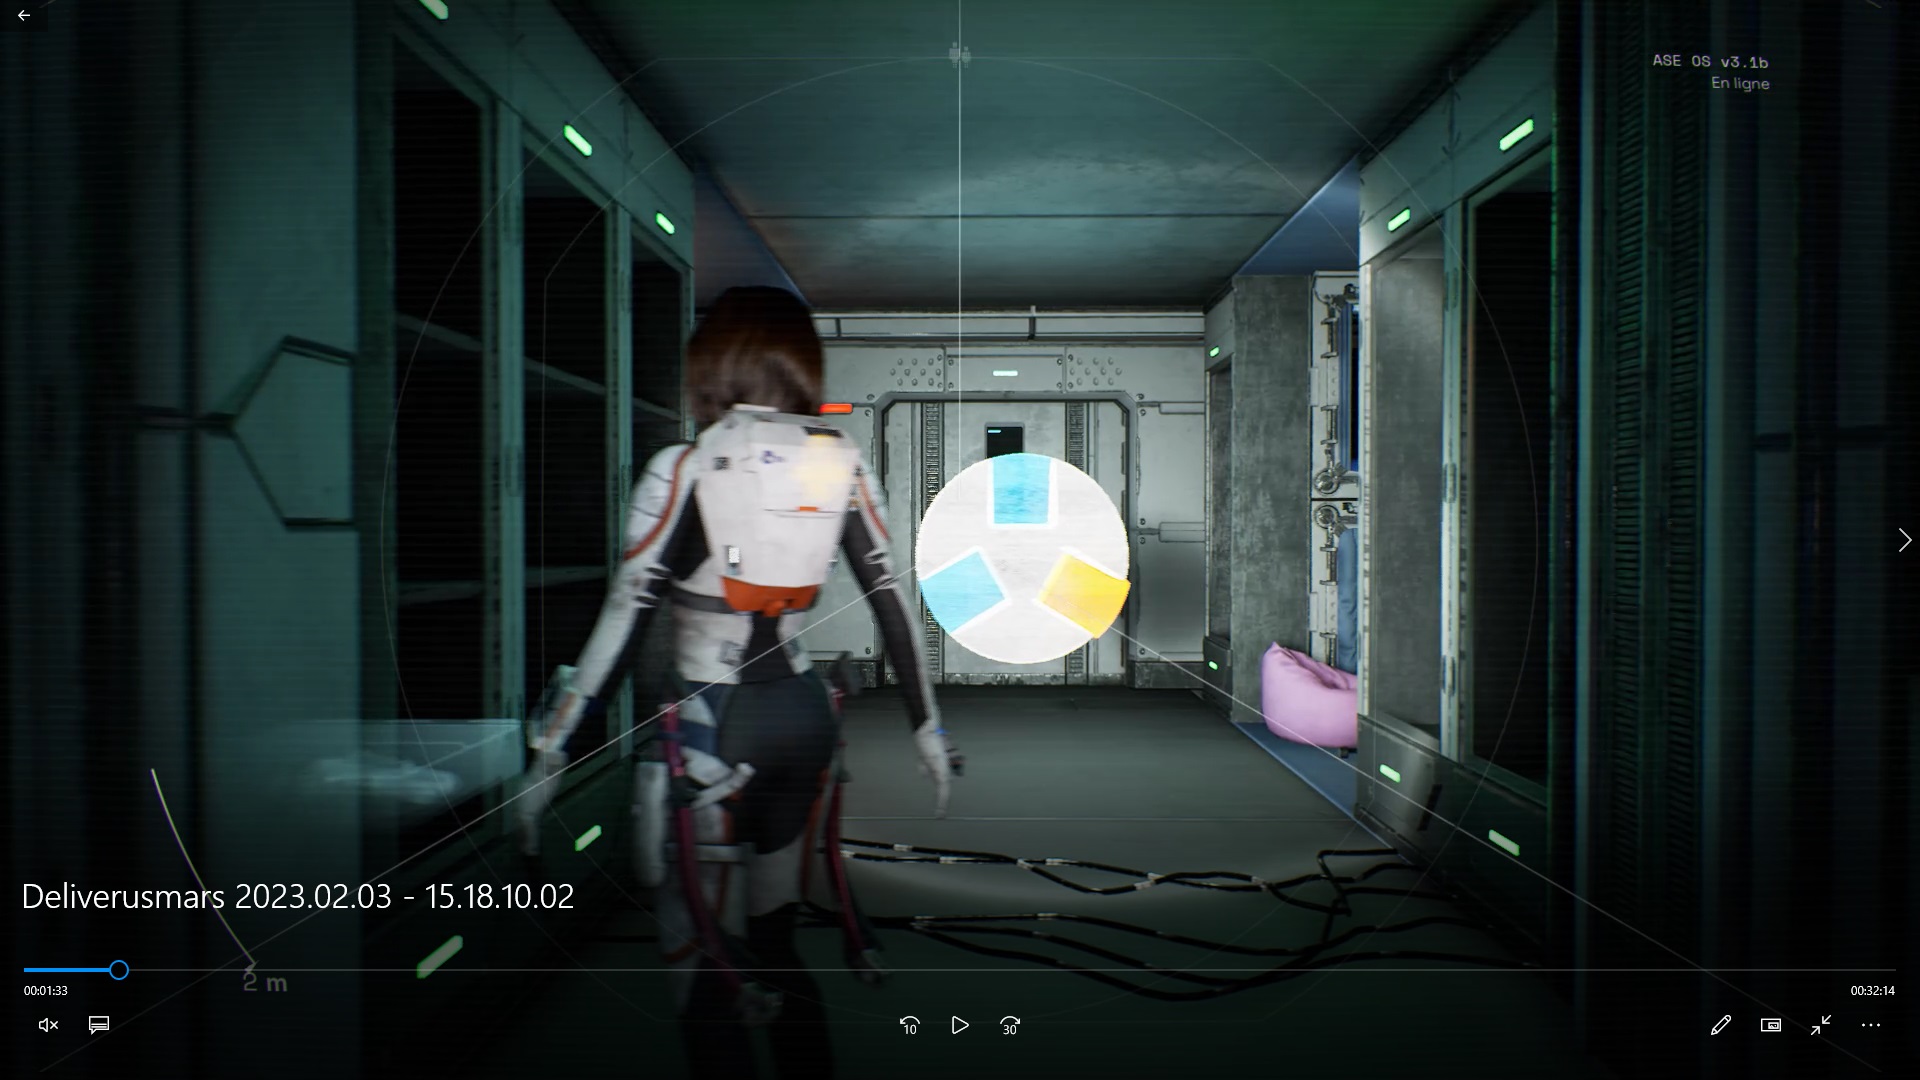
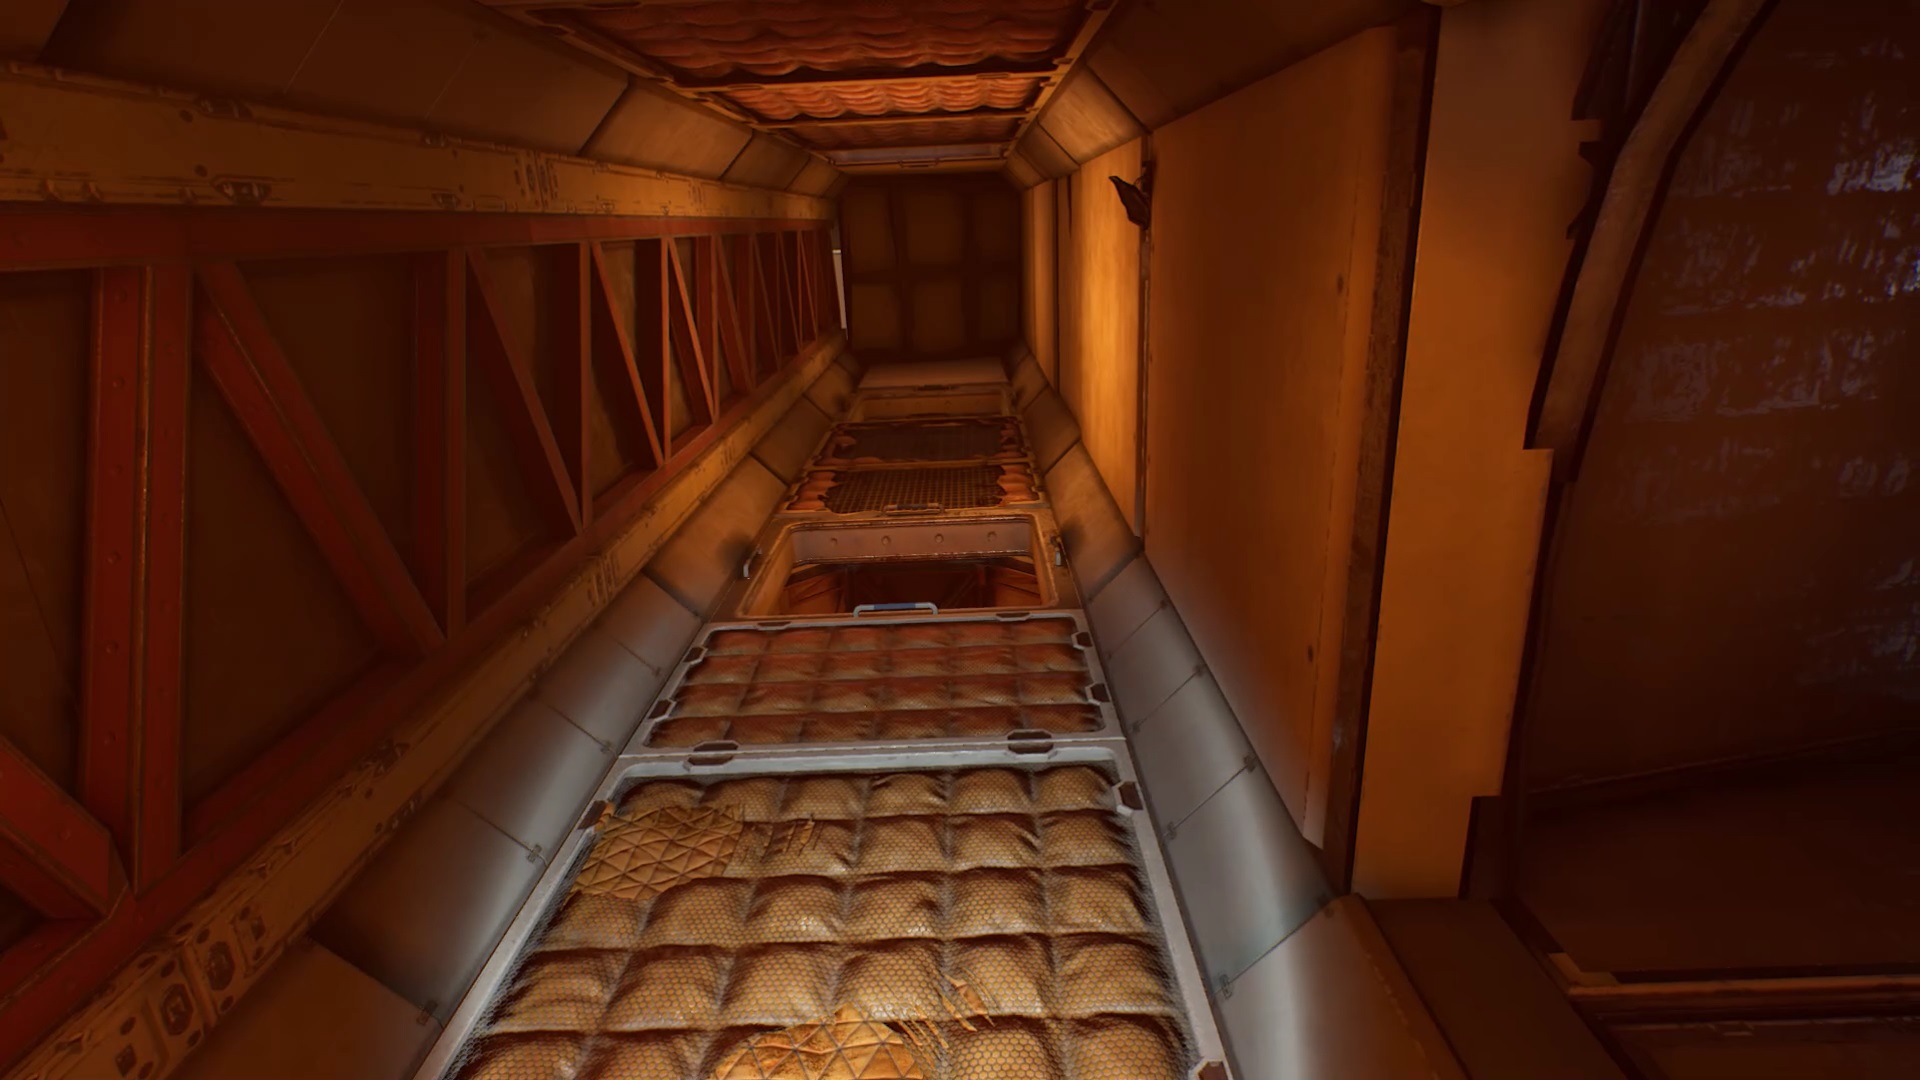
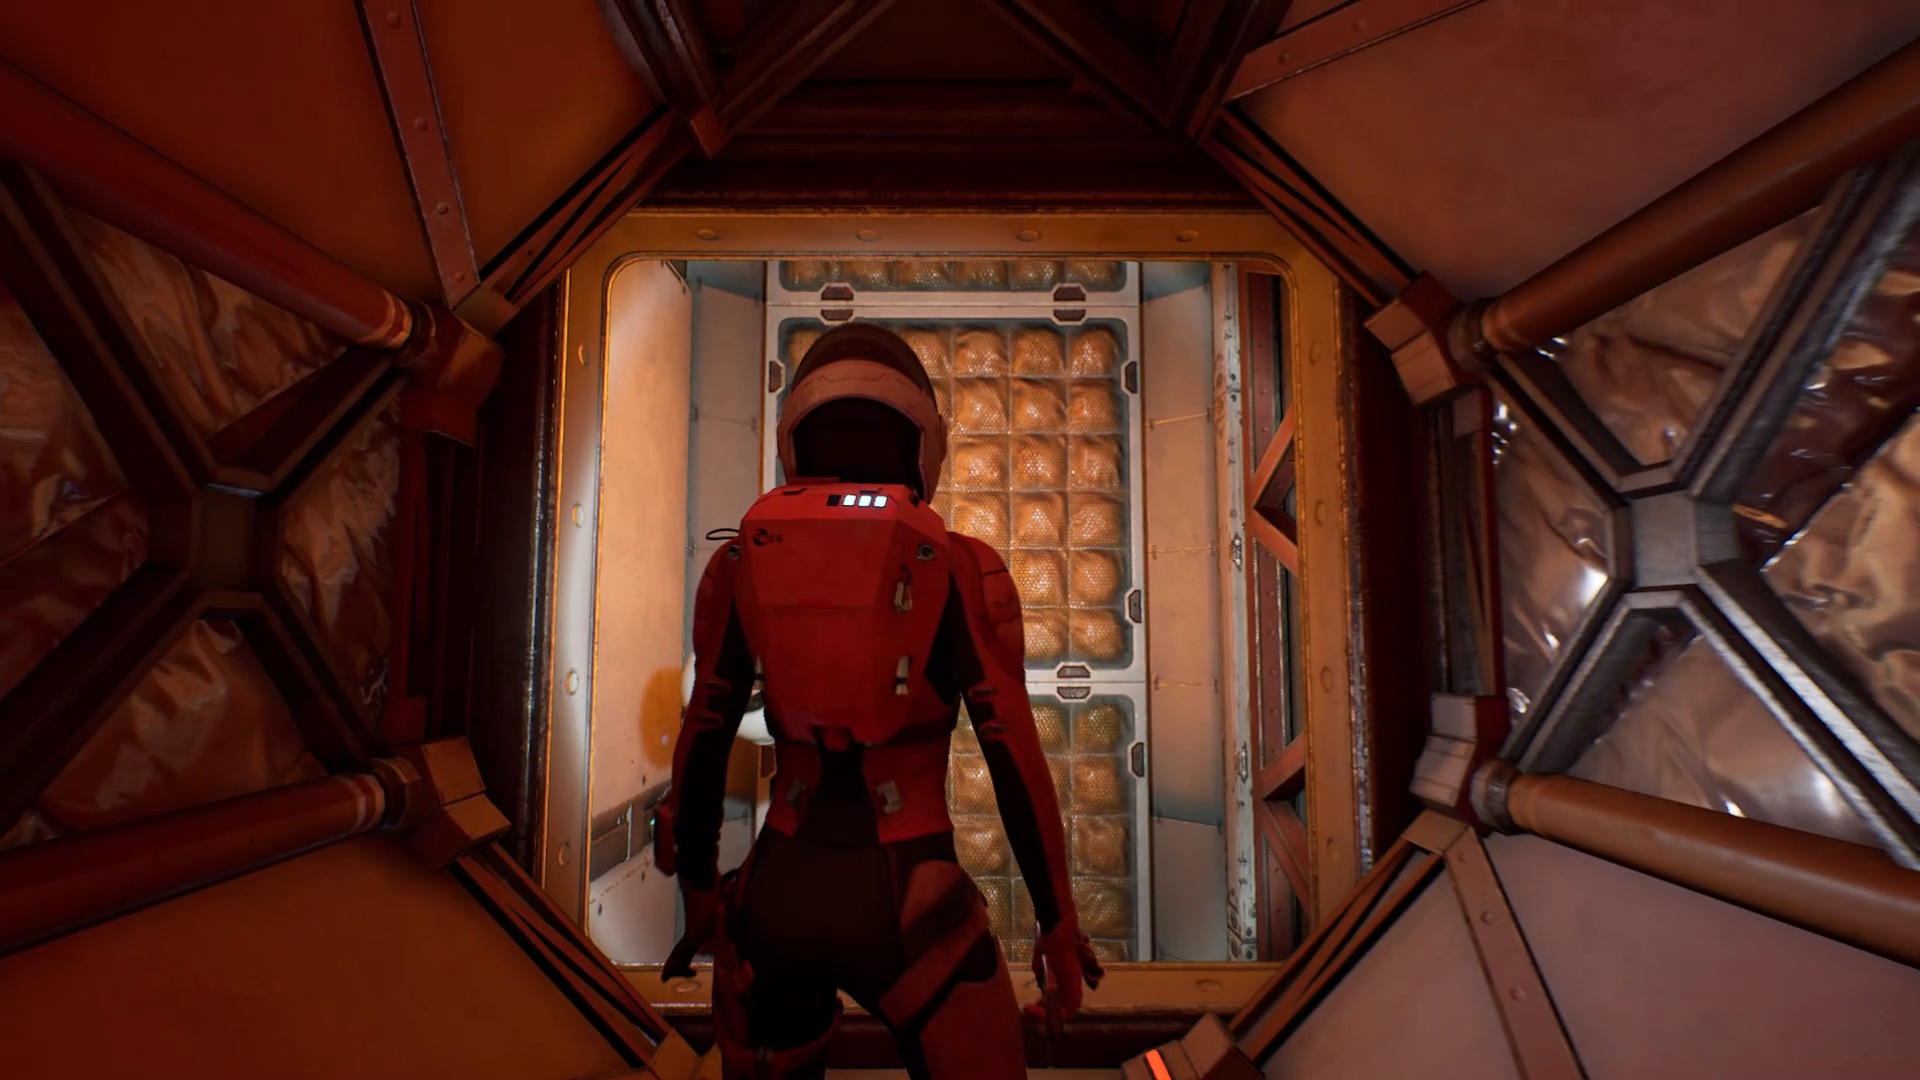
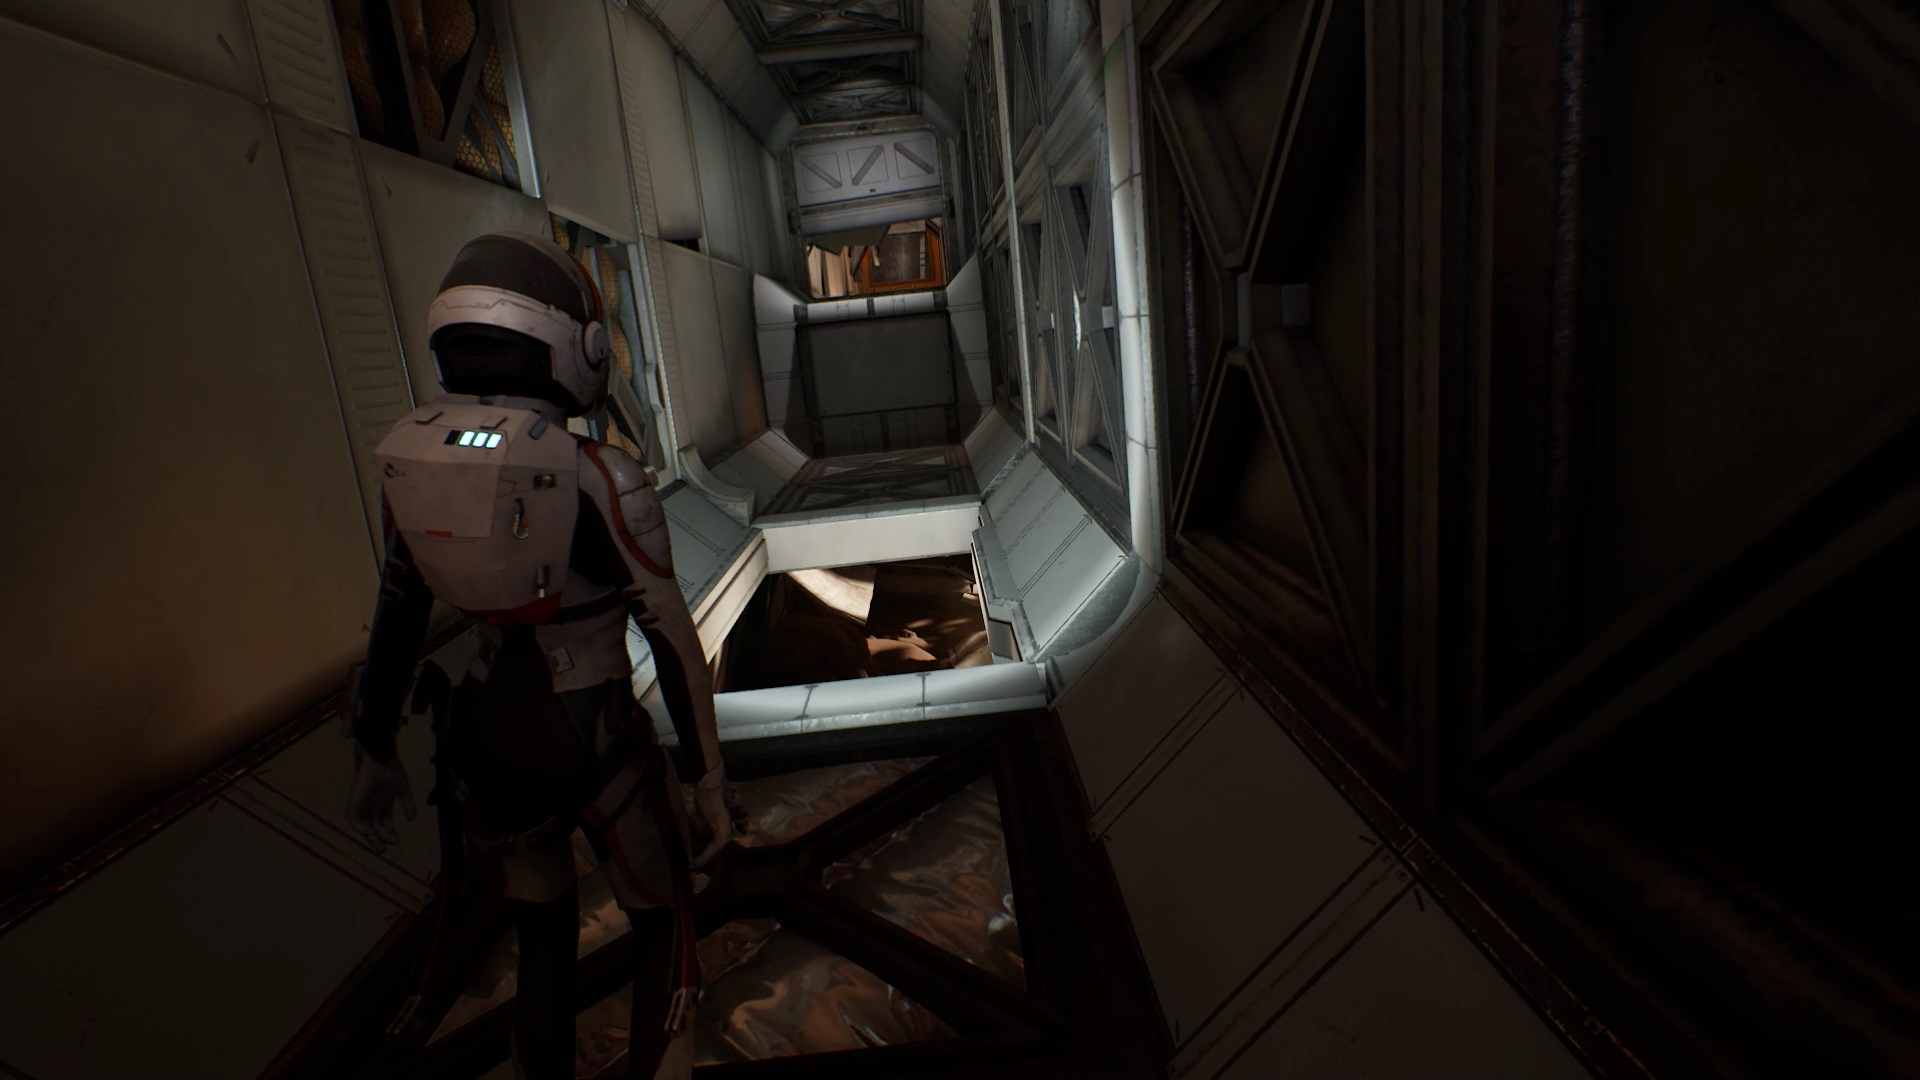
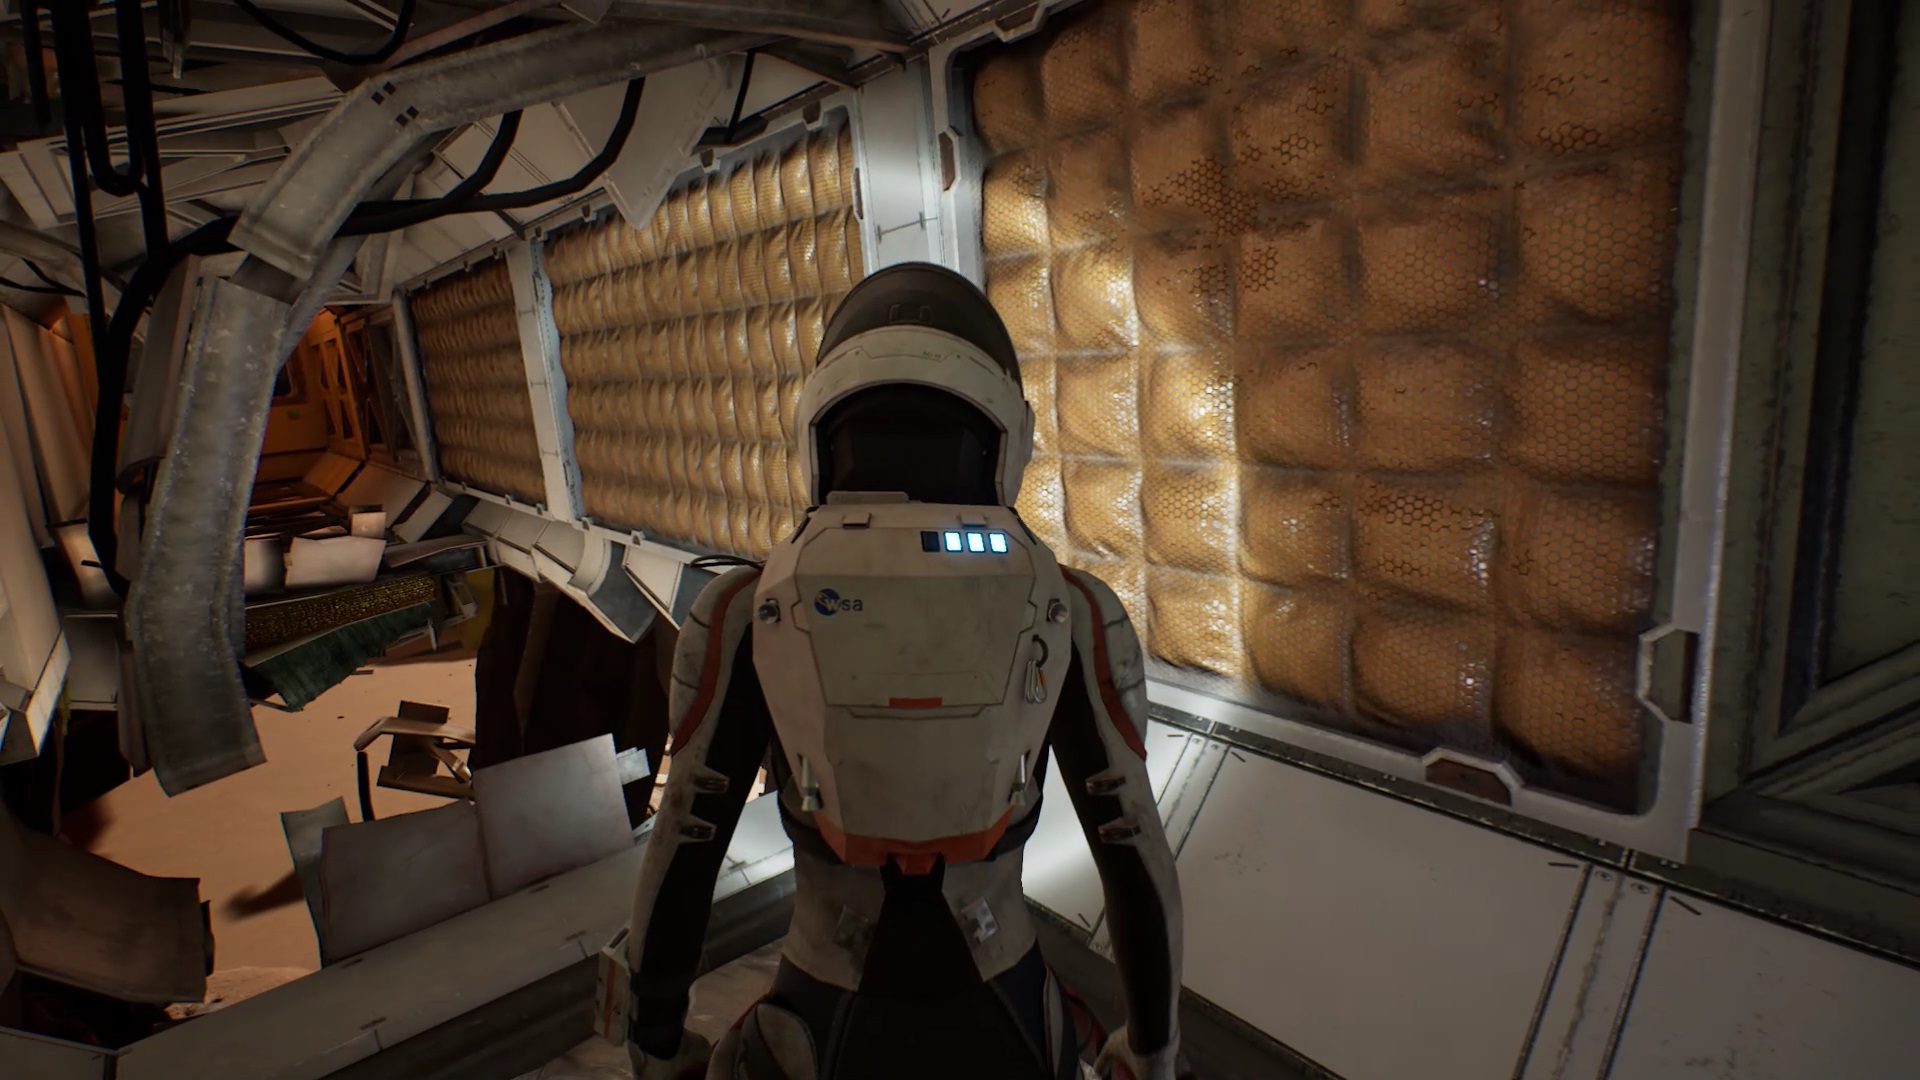
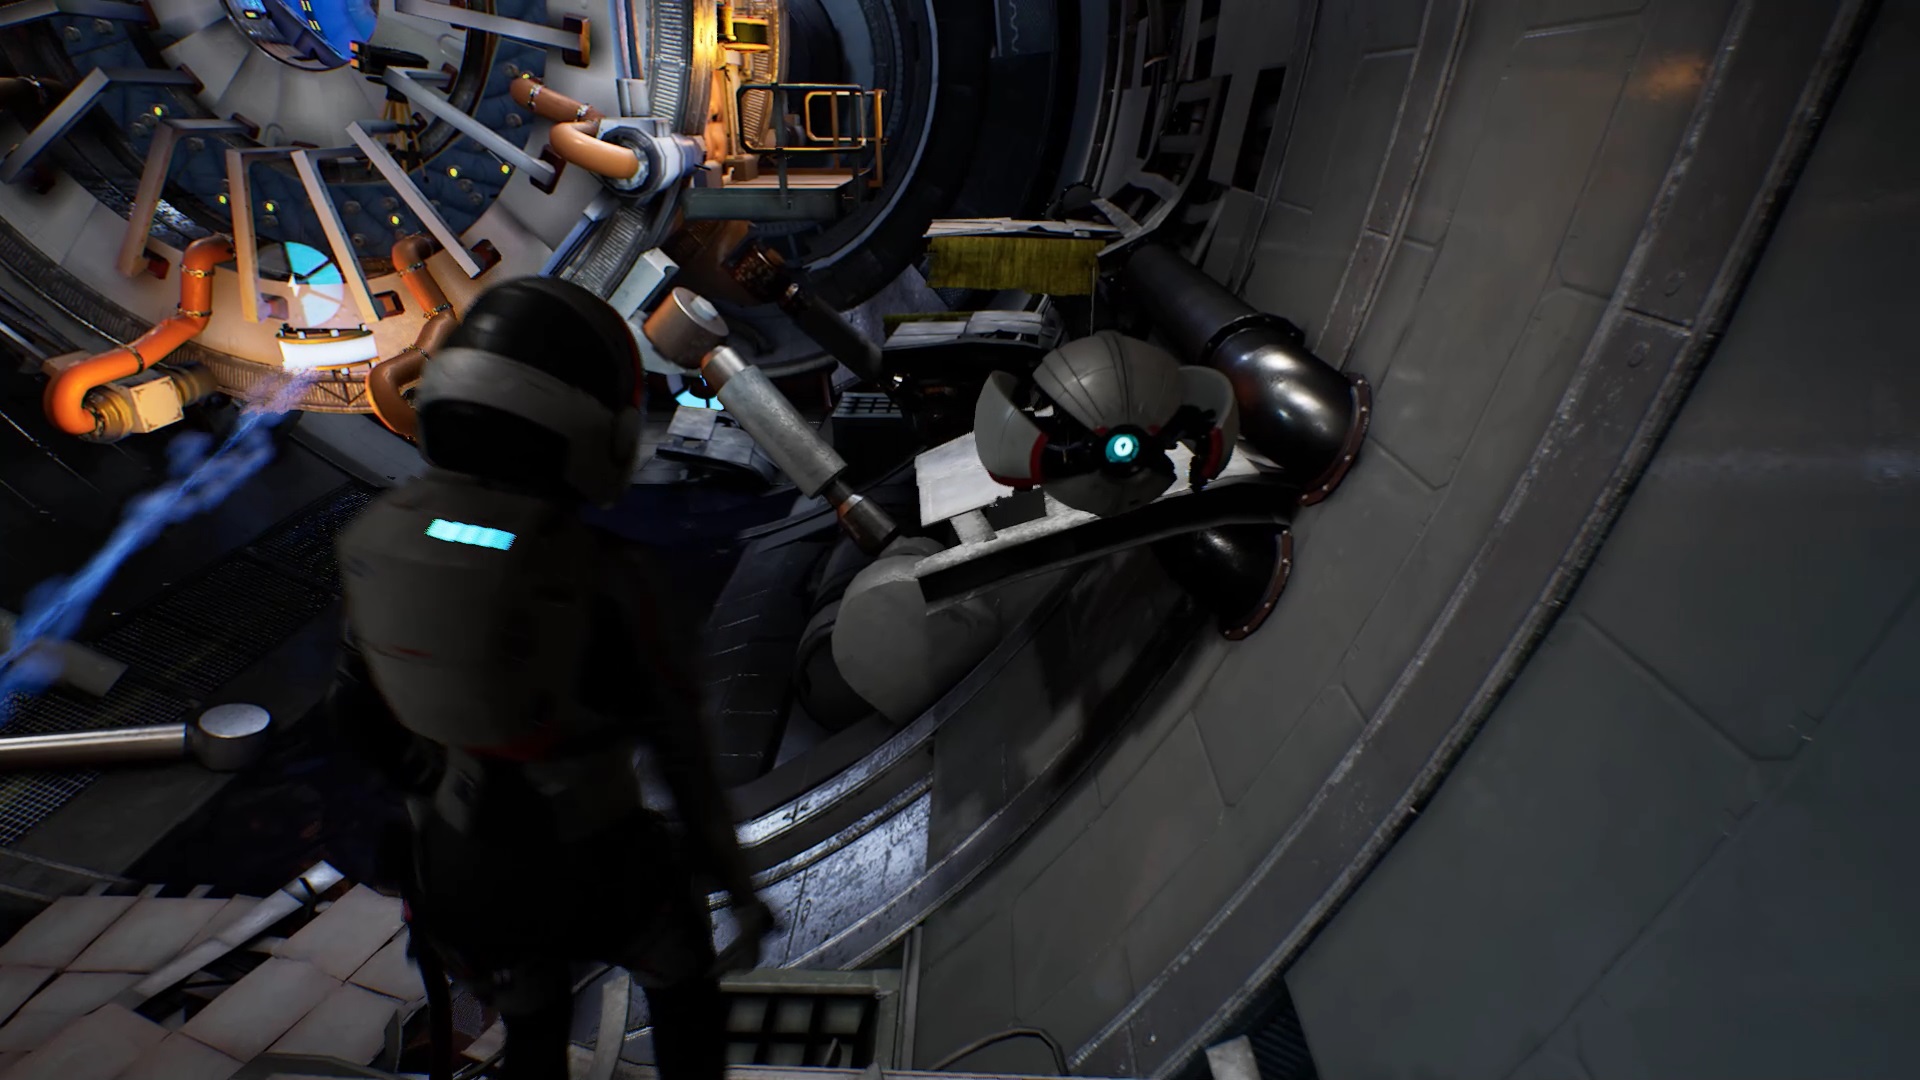
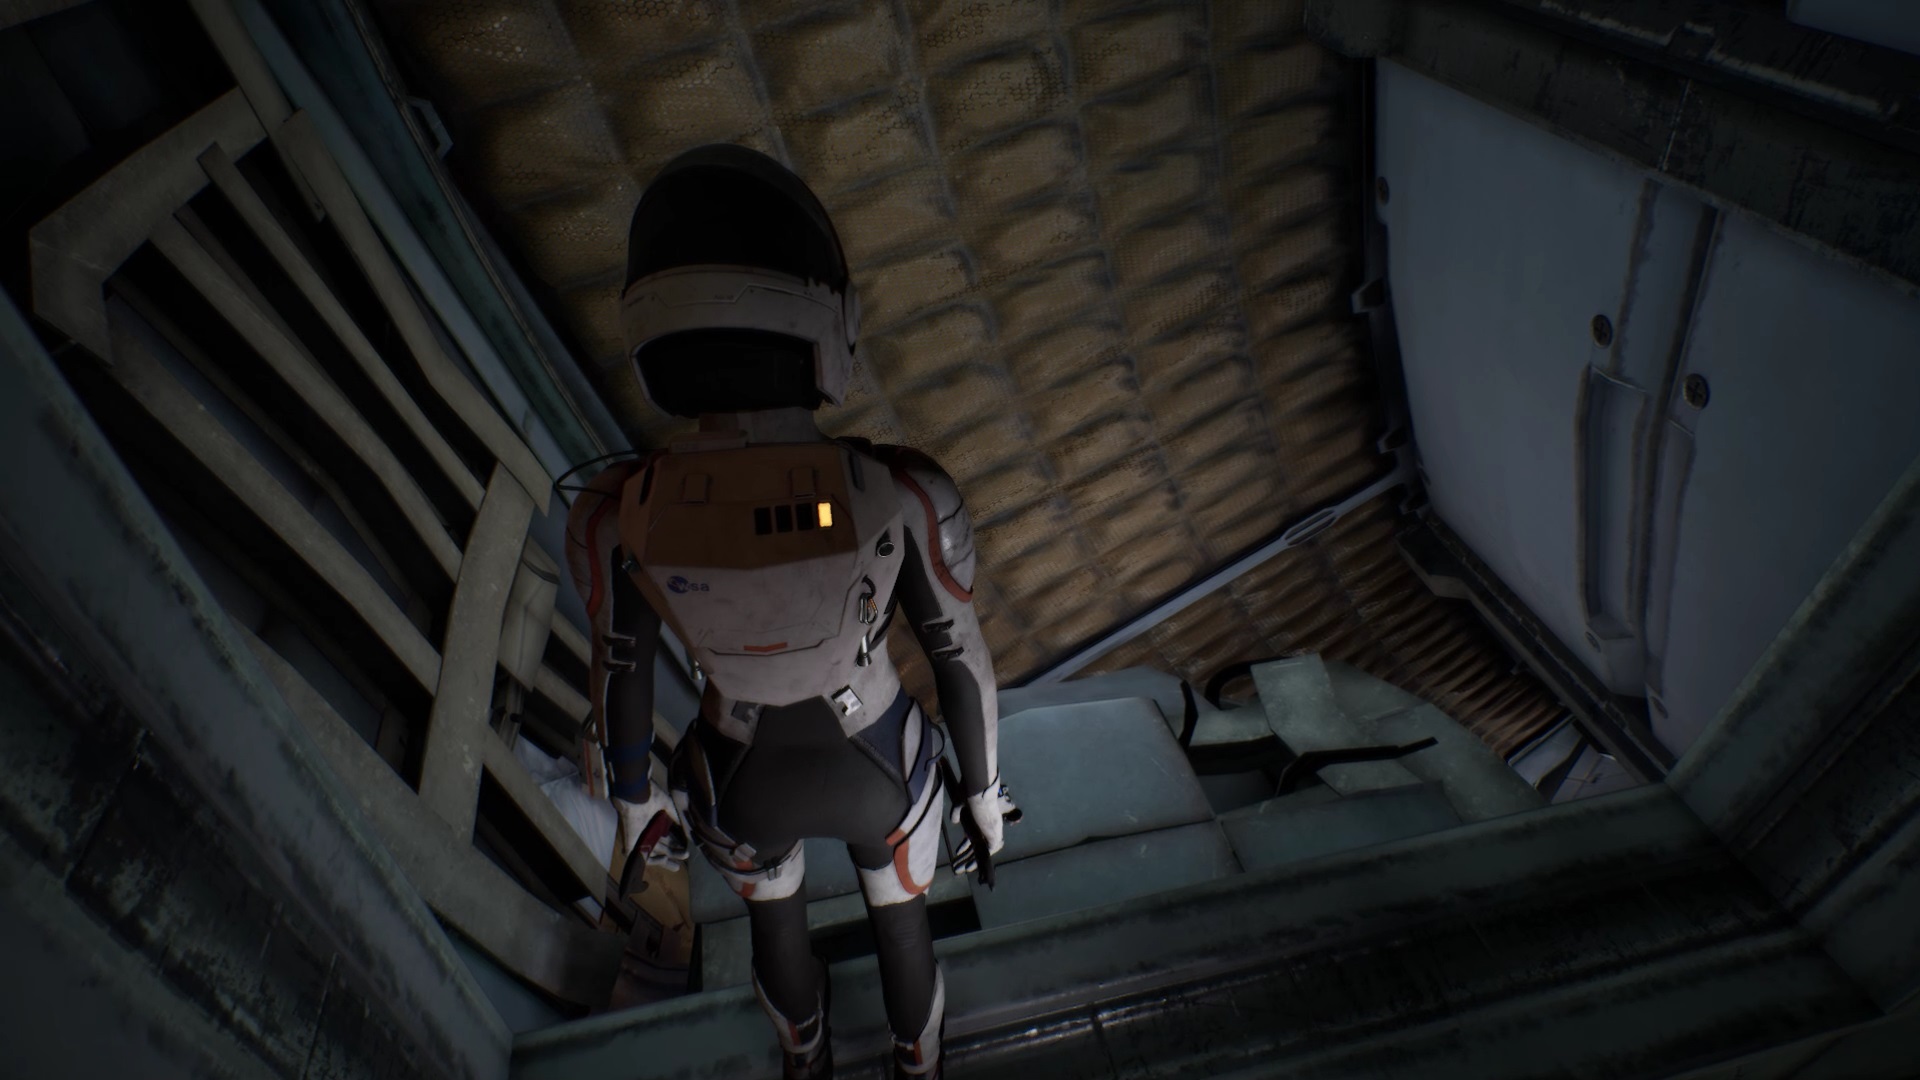
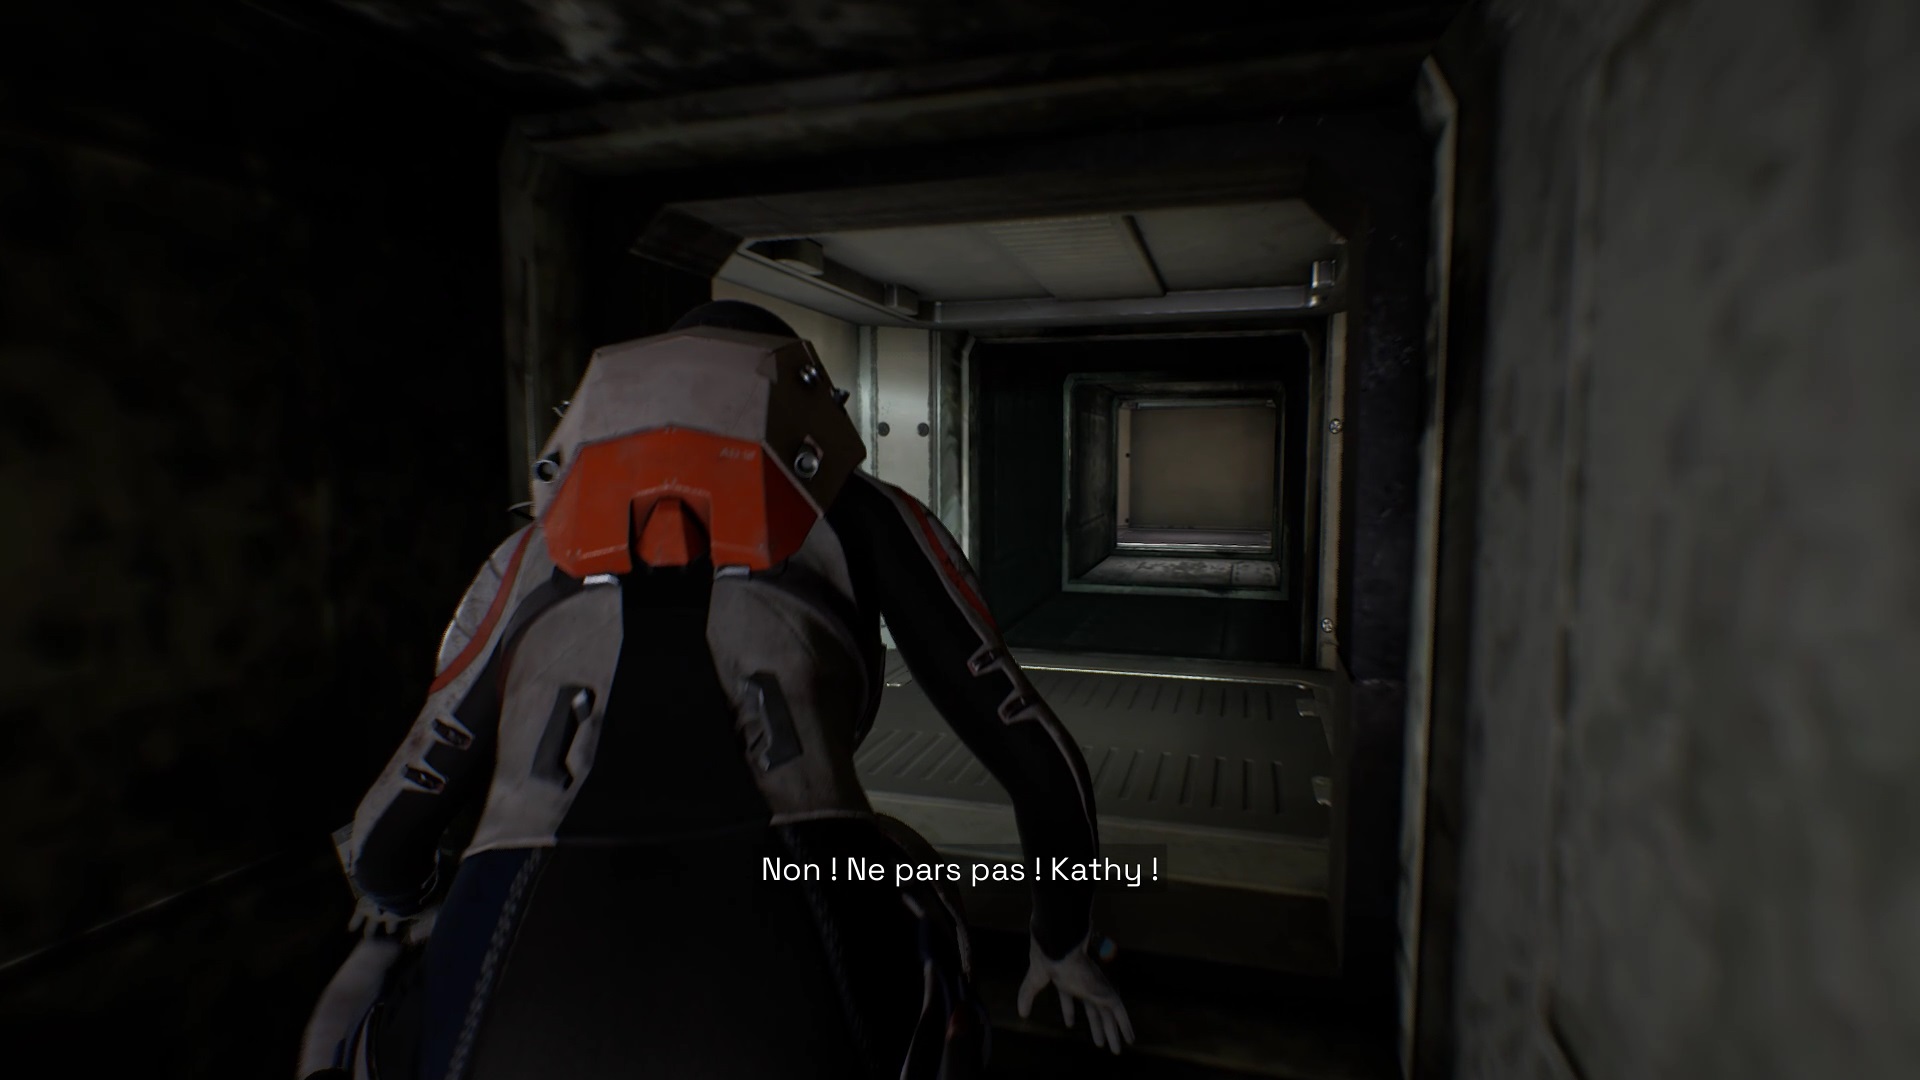
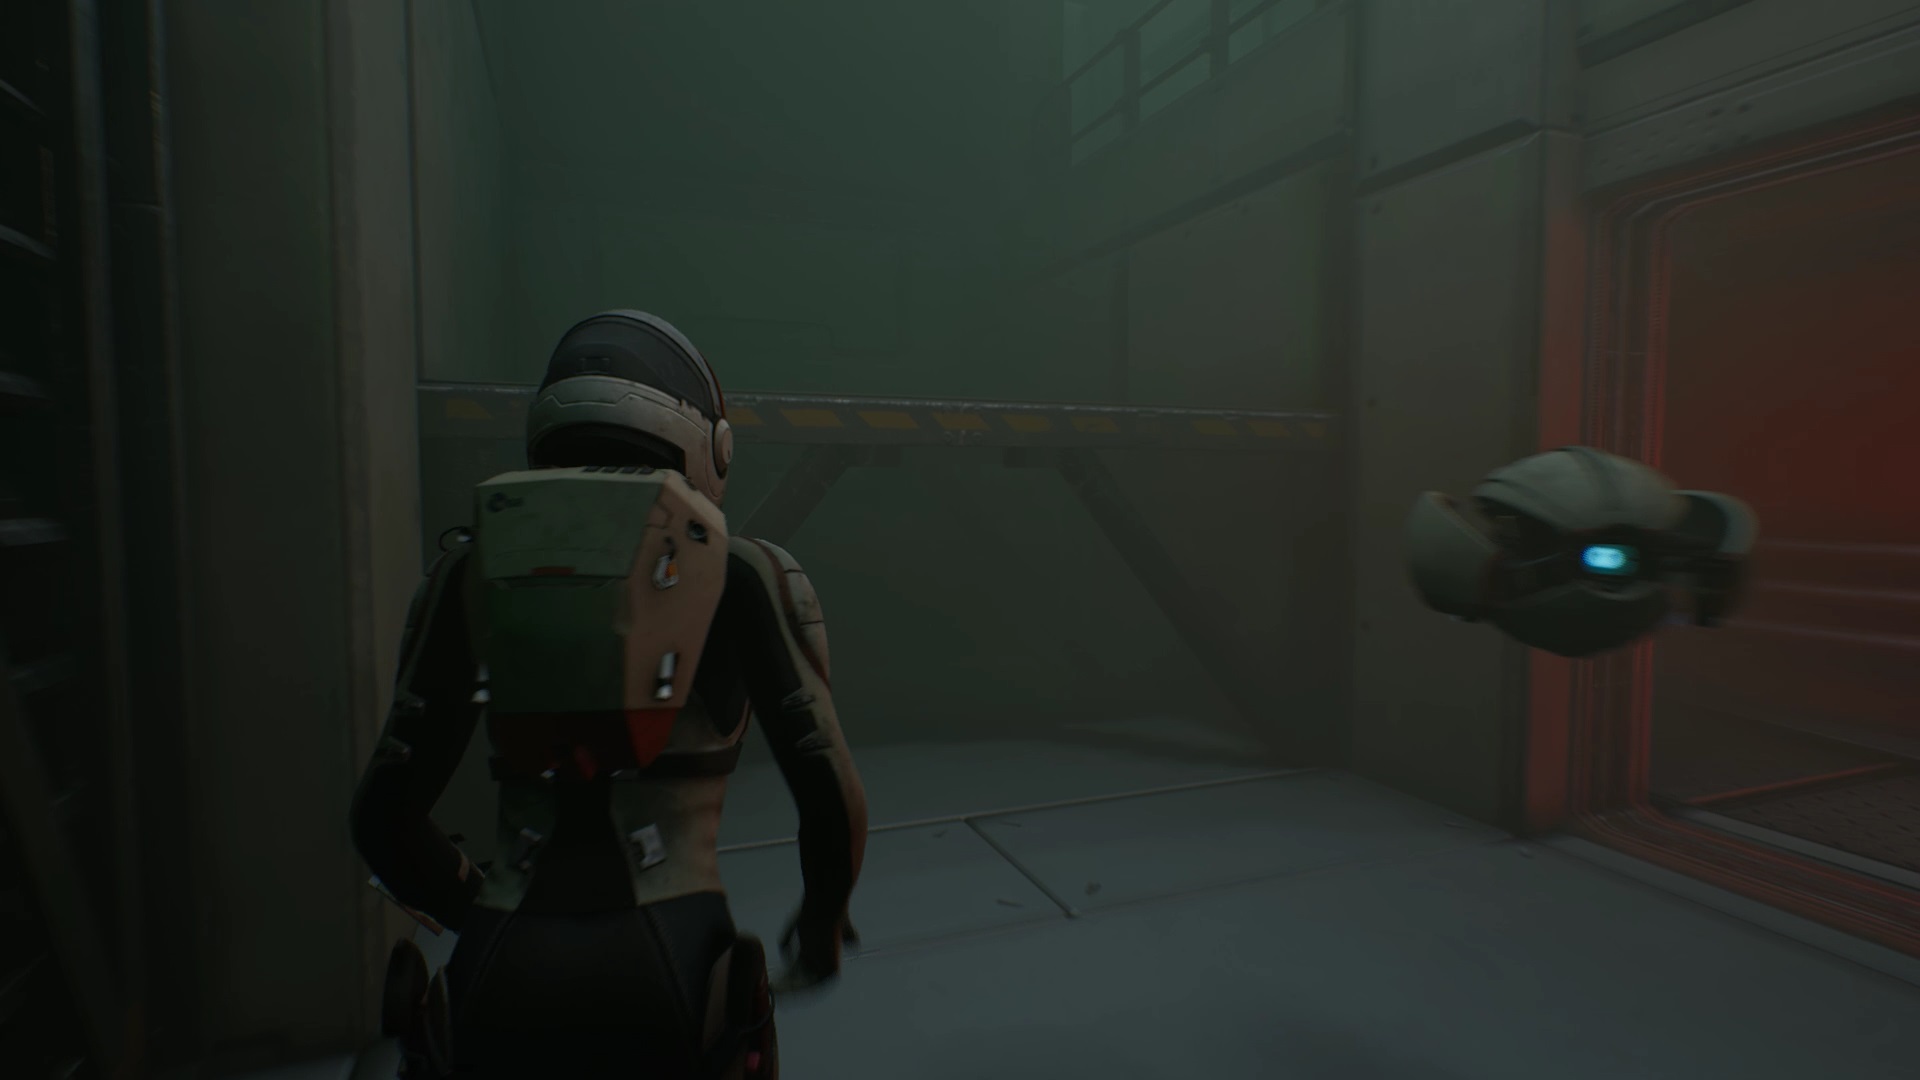
Follow your father to reach a locked airlock. Climb on the crates to reach the ventilation. Proceed through the conduits to reach Ase the flying robot. Bring Ase back to your father to keep moving forward.
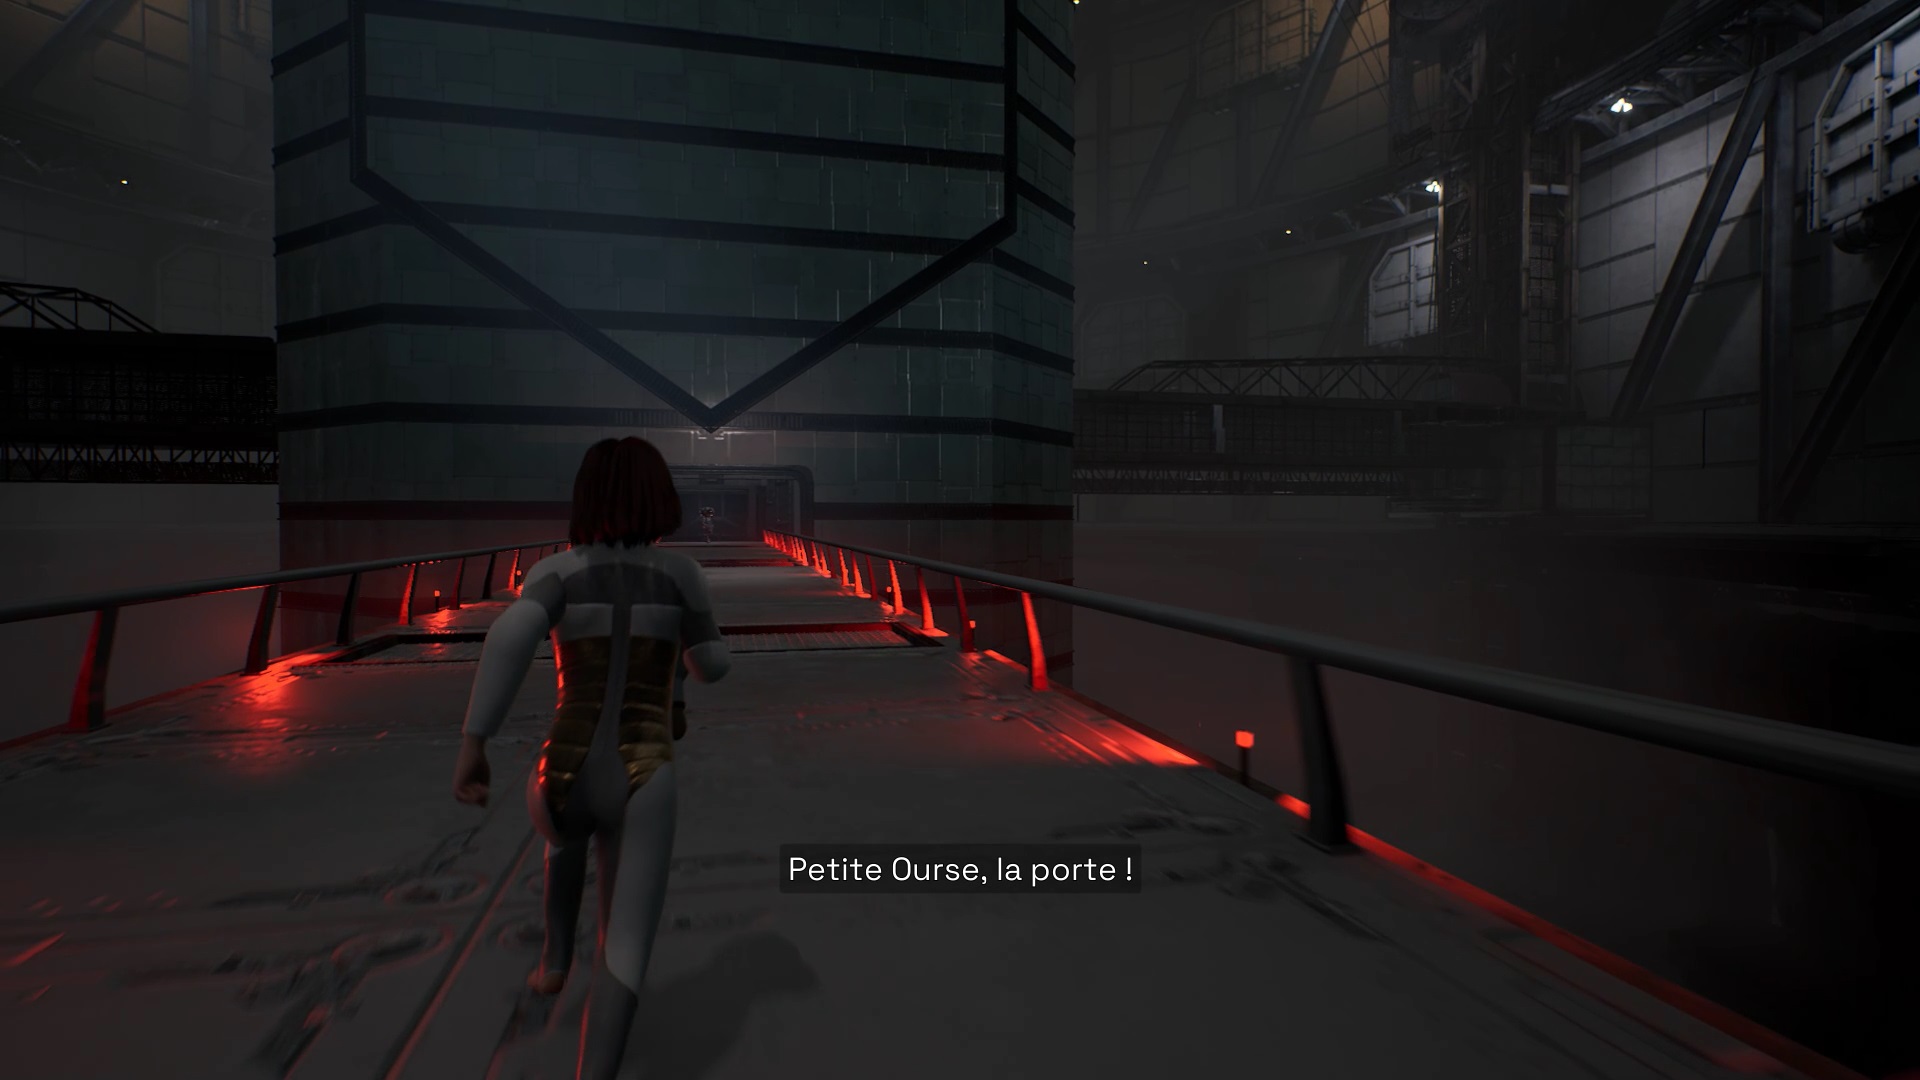
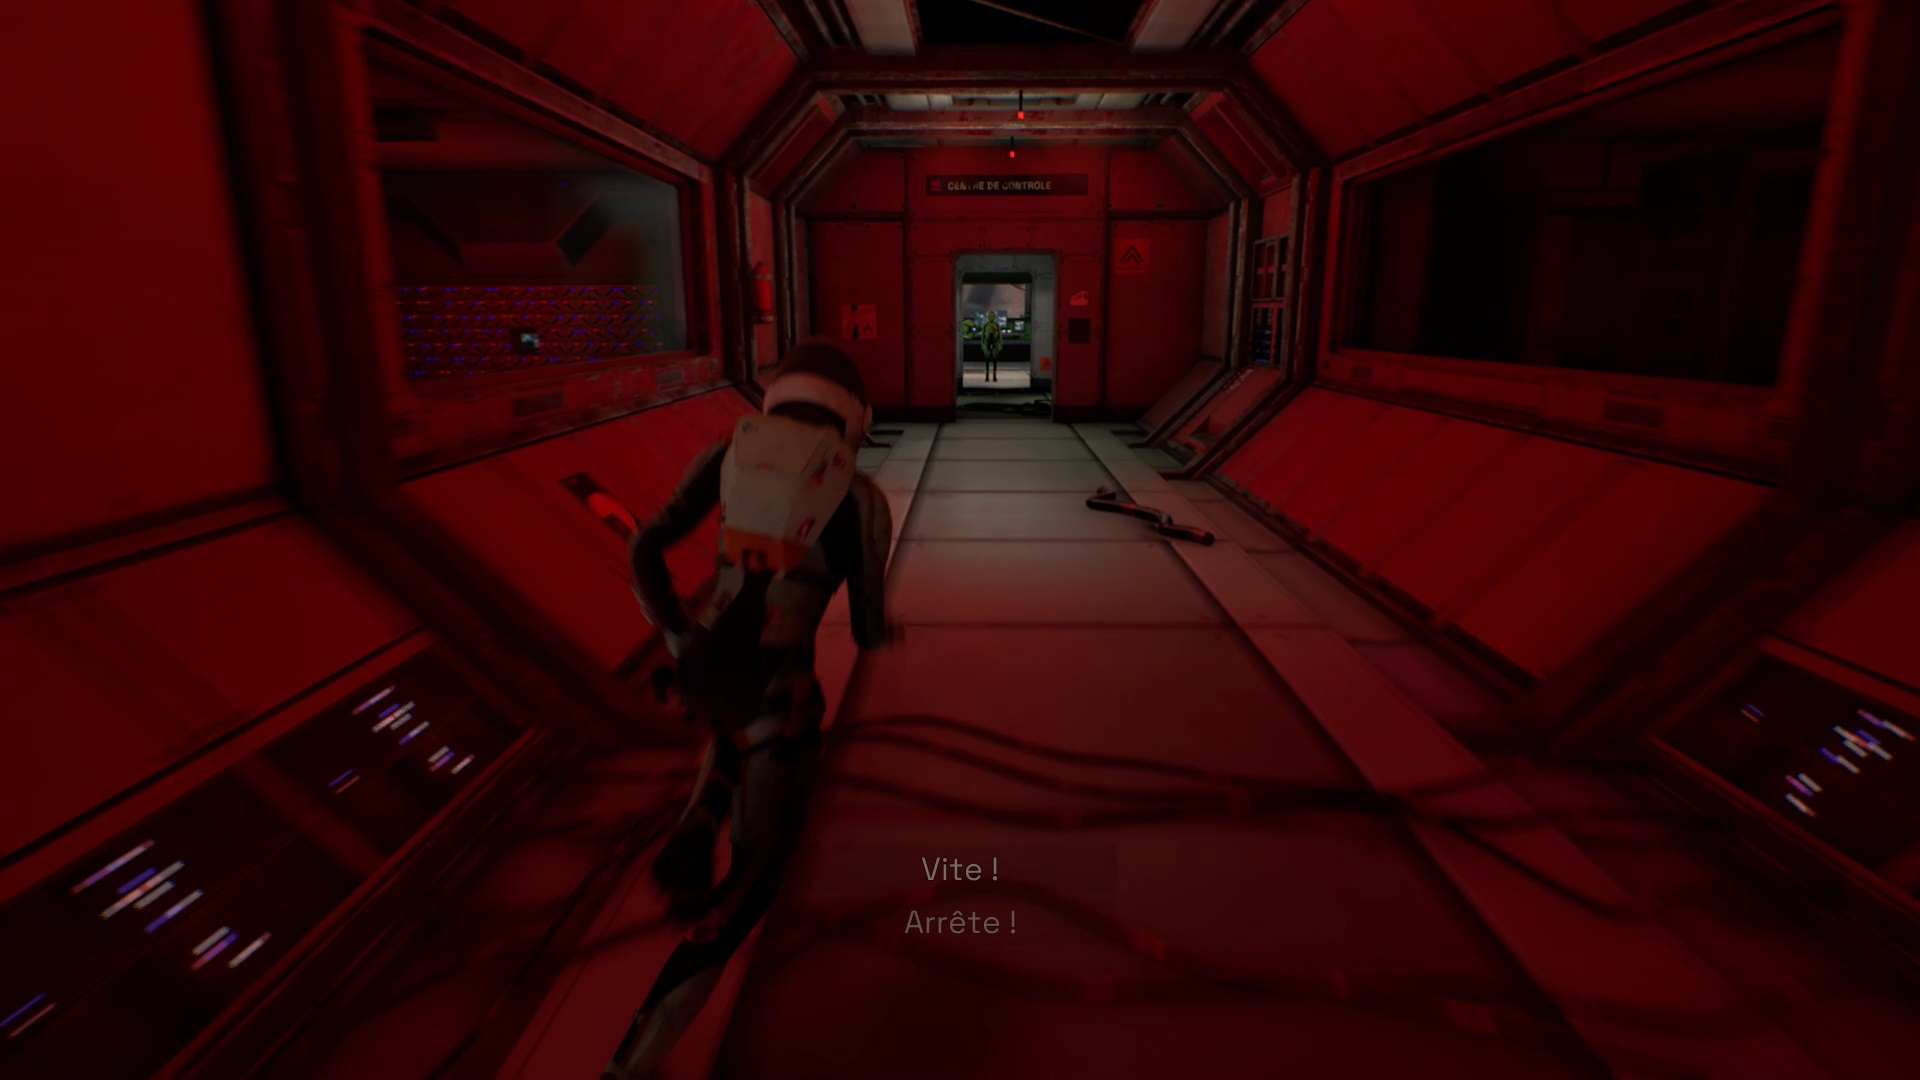
In the control room, your father locks you up with him and triggers the departure of a shuttle. Your sister Claire knocks on the door of the room. Head to the red switch on the door to the room to open it for him. Your father is stopping you. Run and follow your father to trigger a cutscene and complete the prologue.
Chapter 1
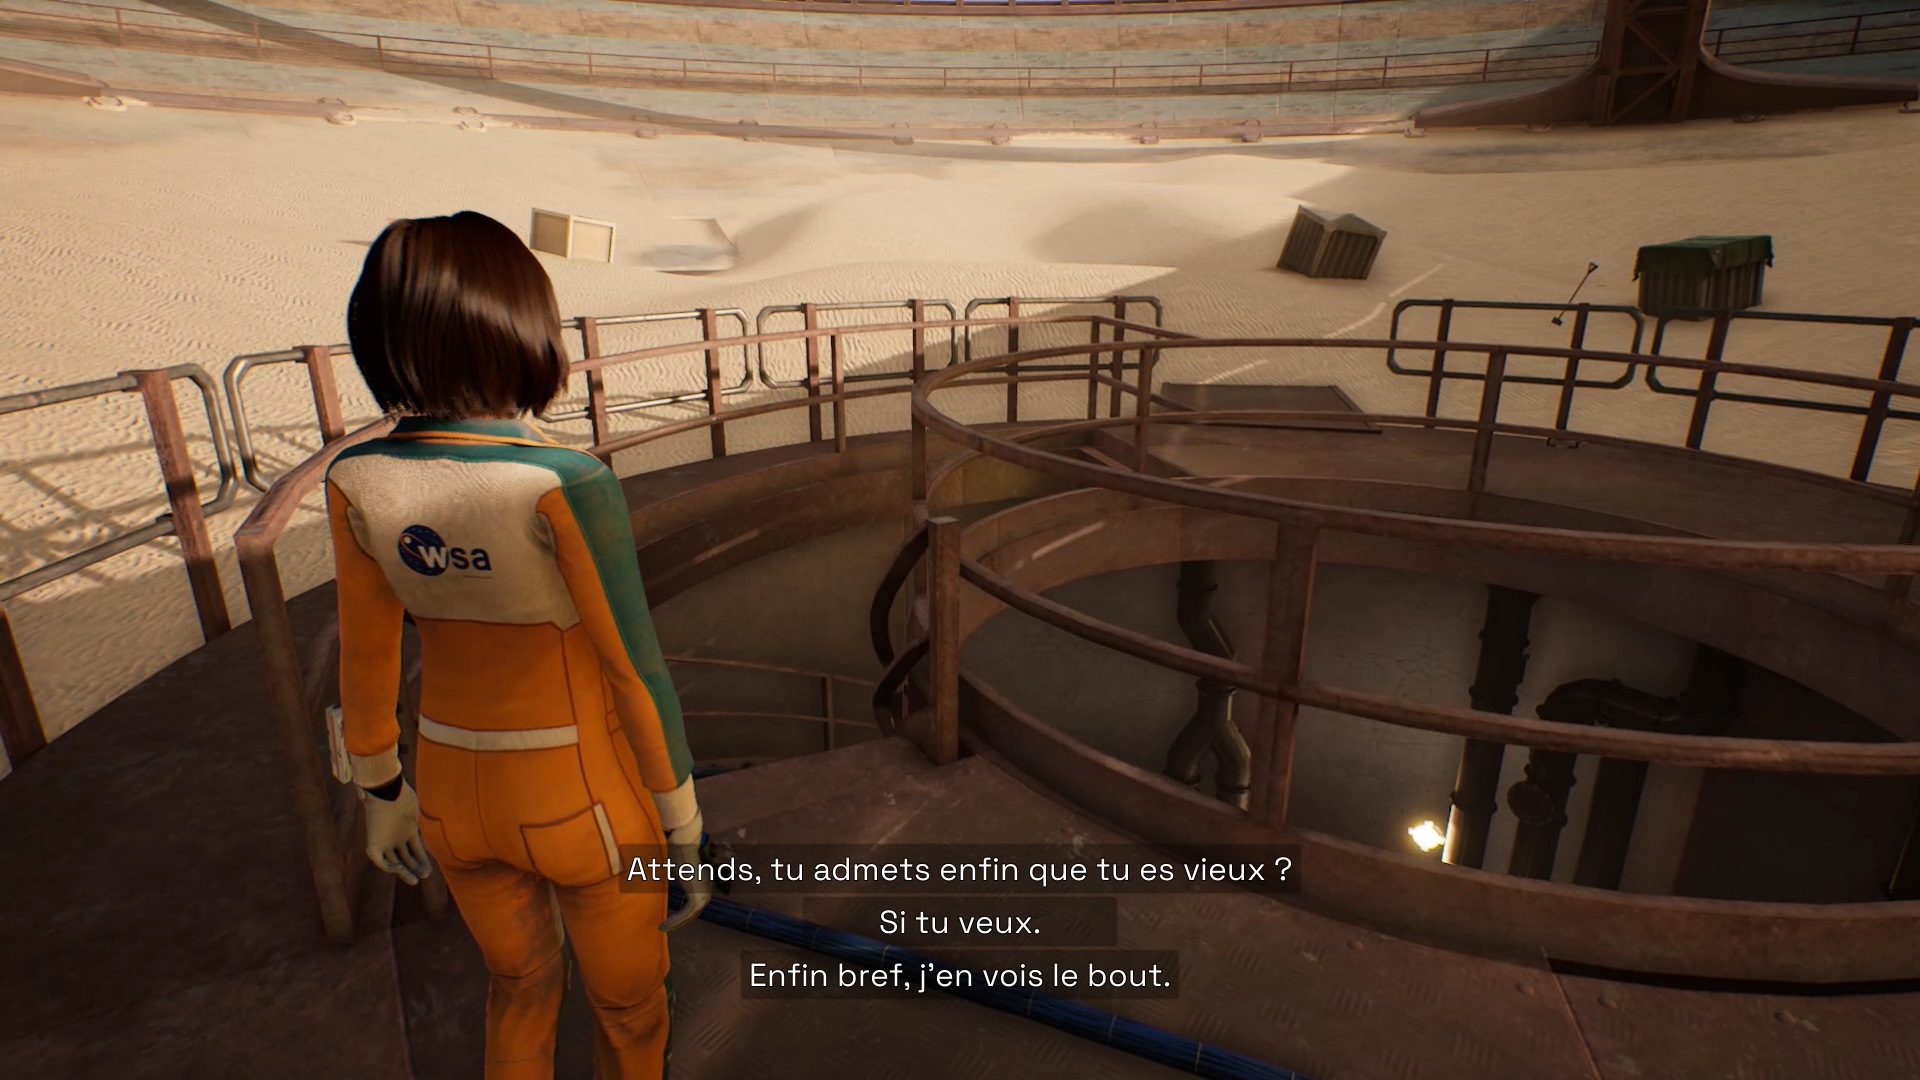
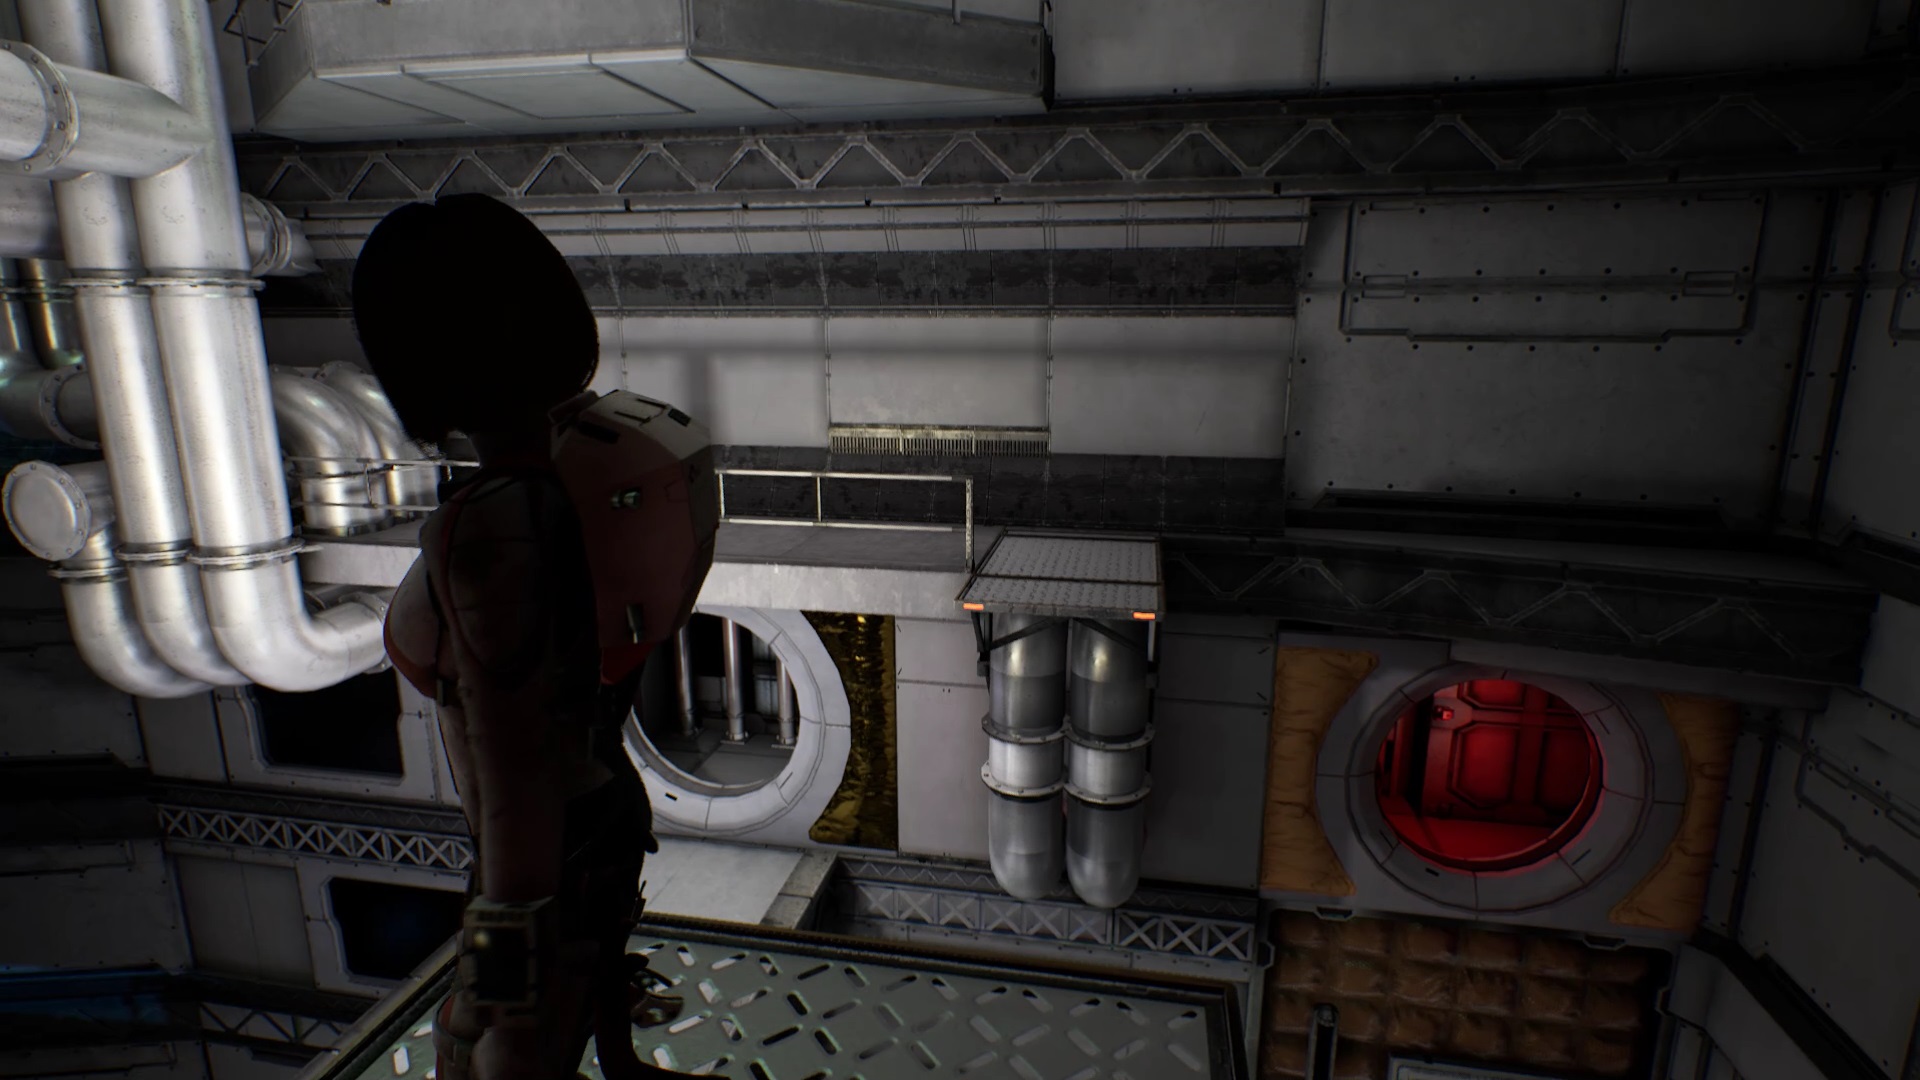
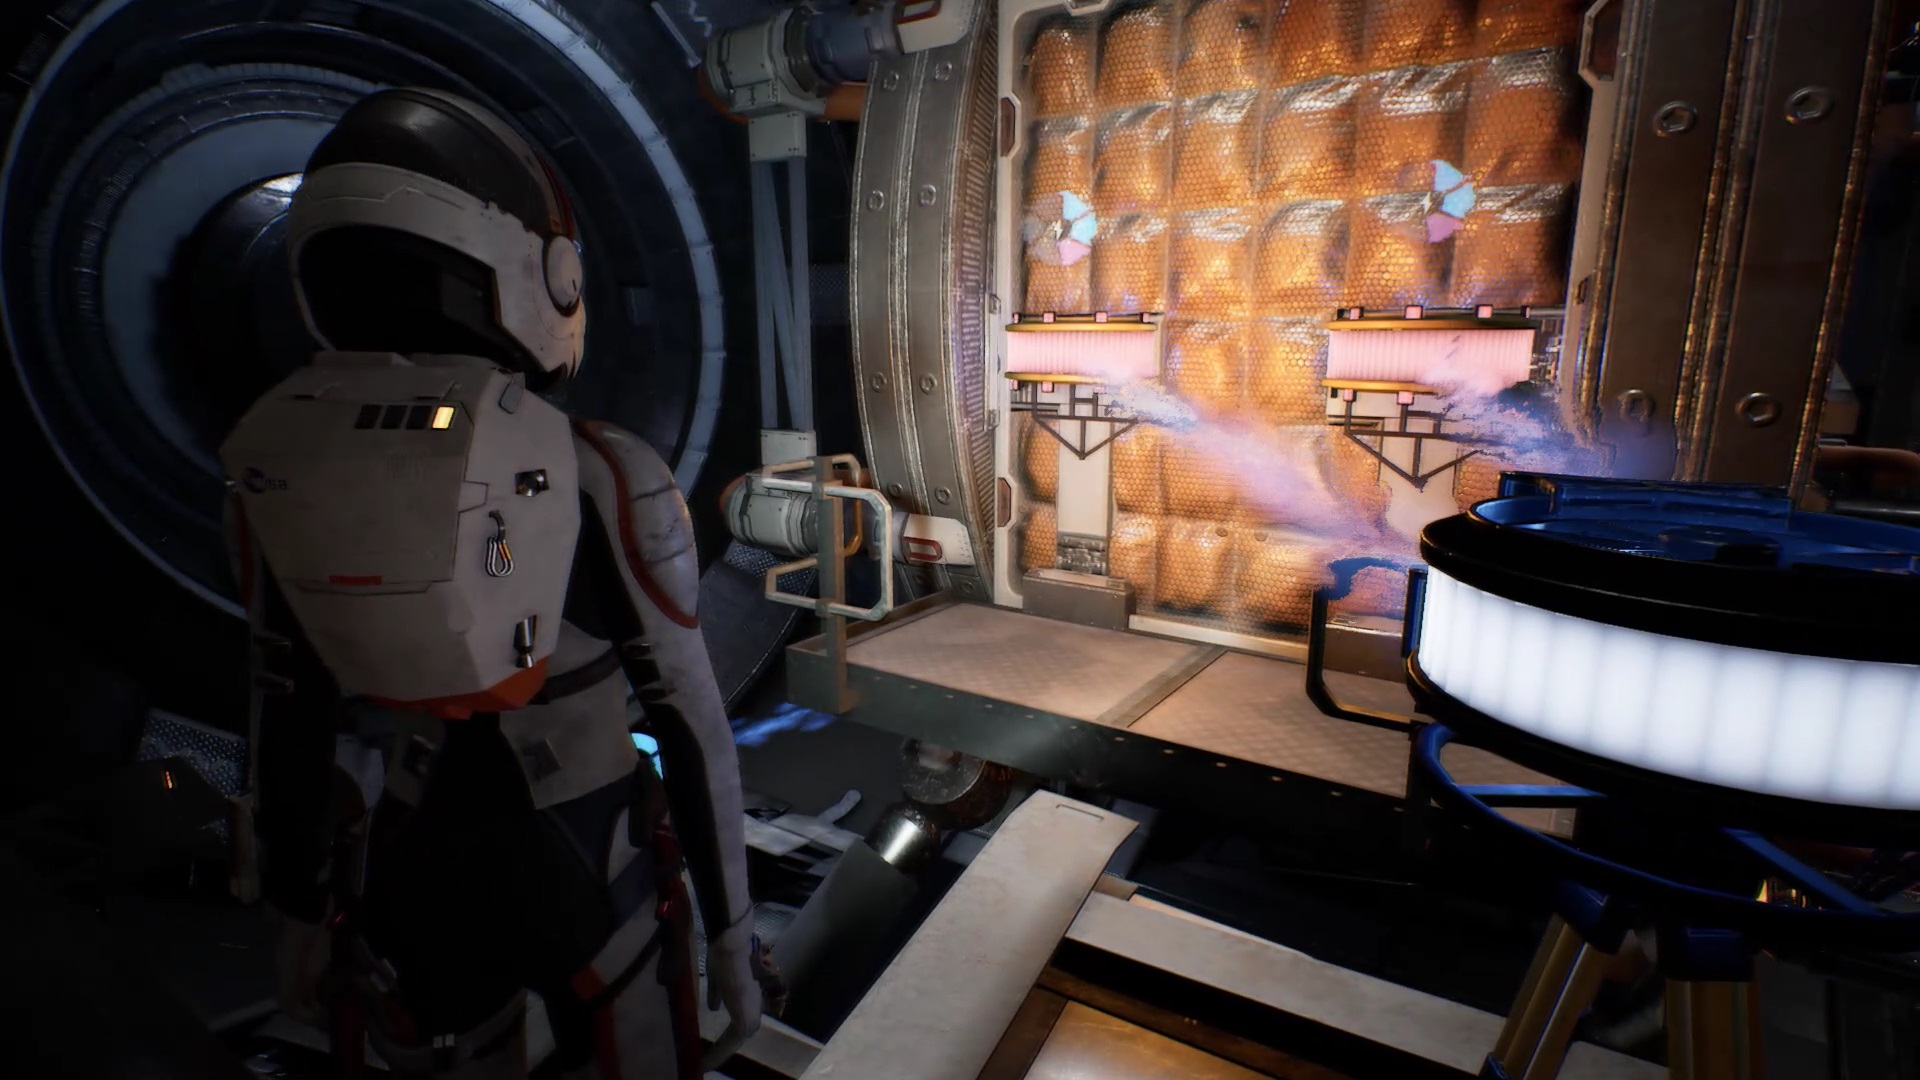
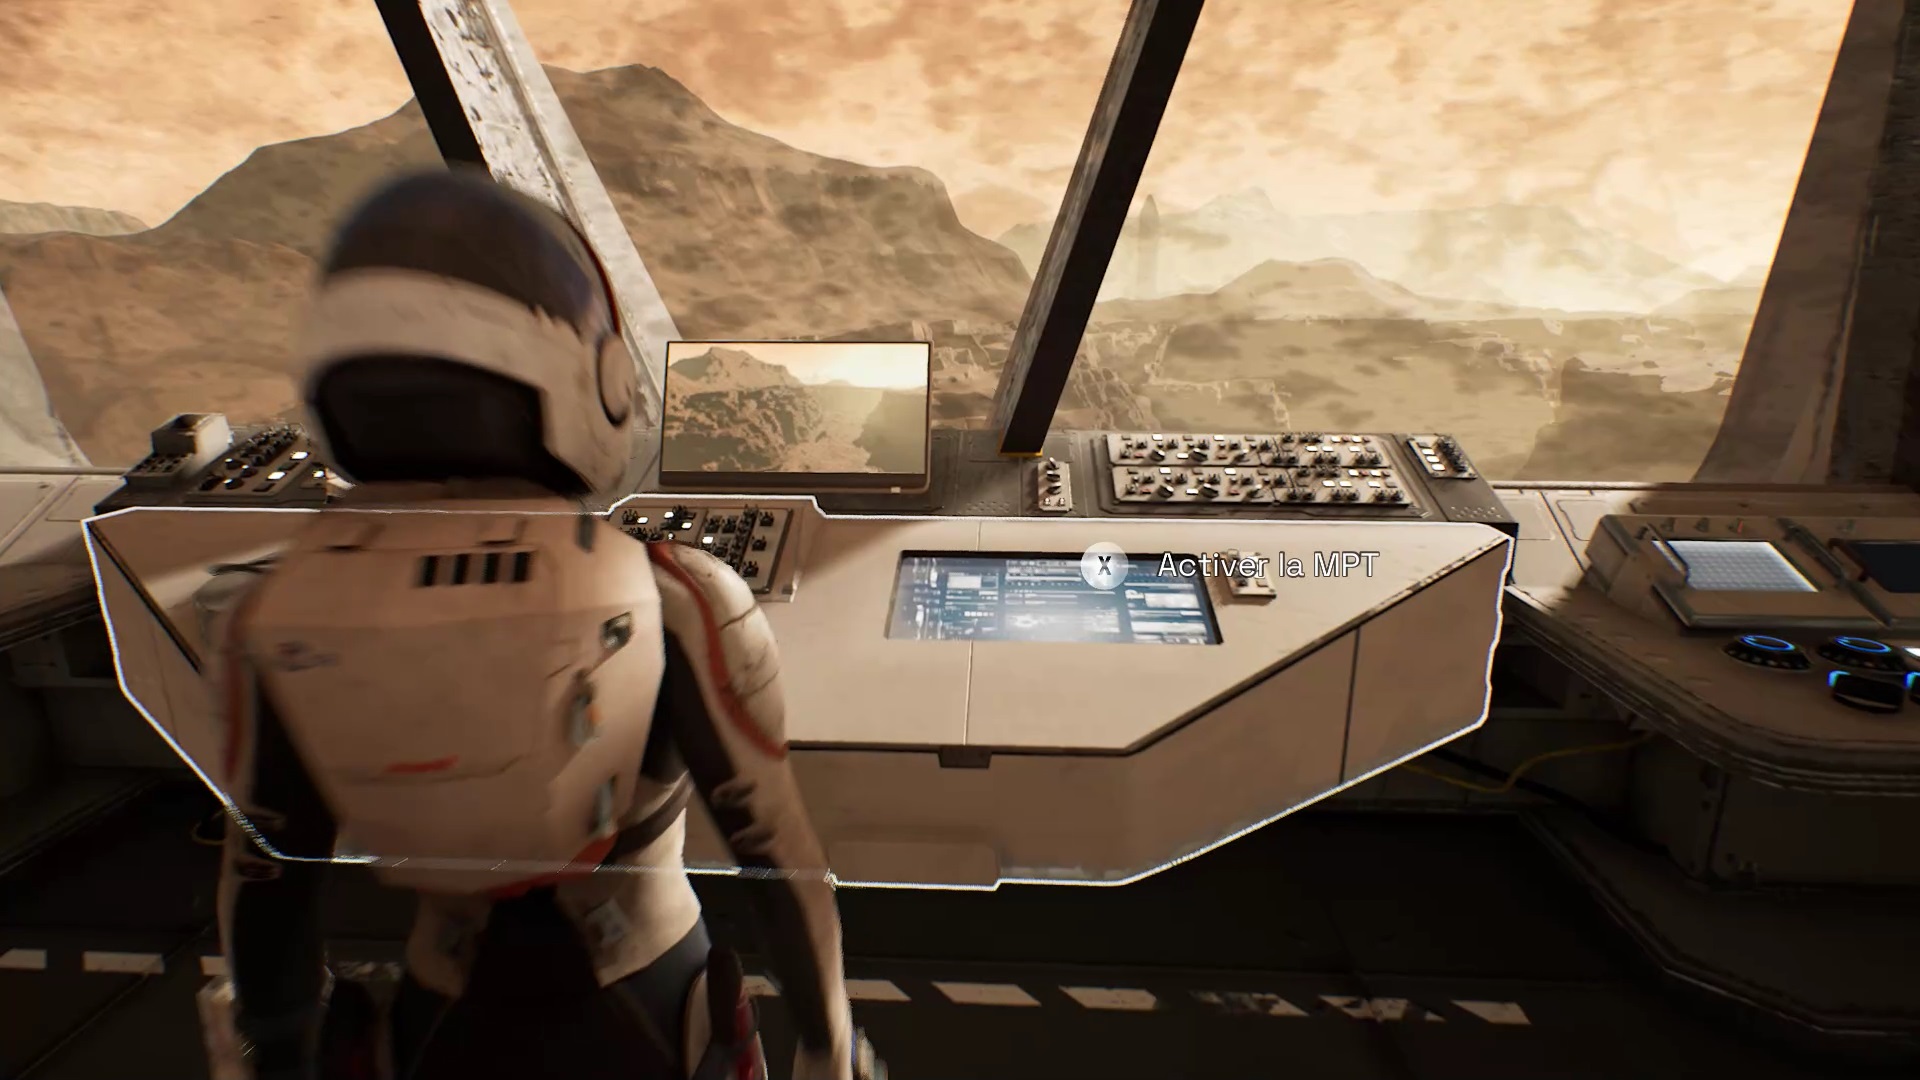
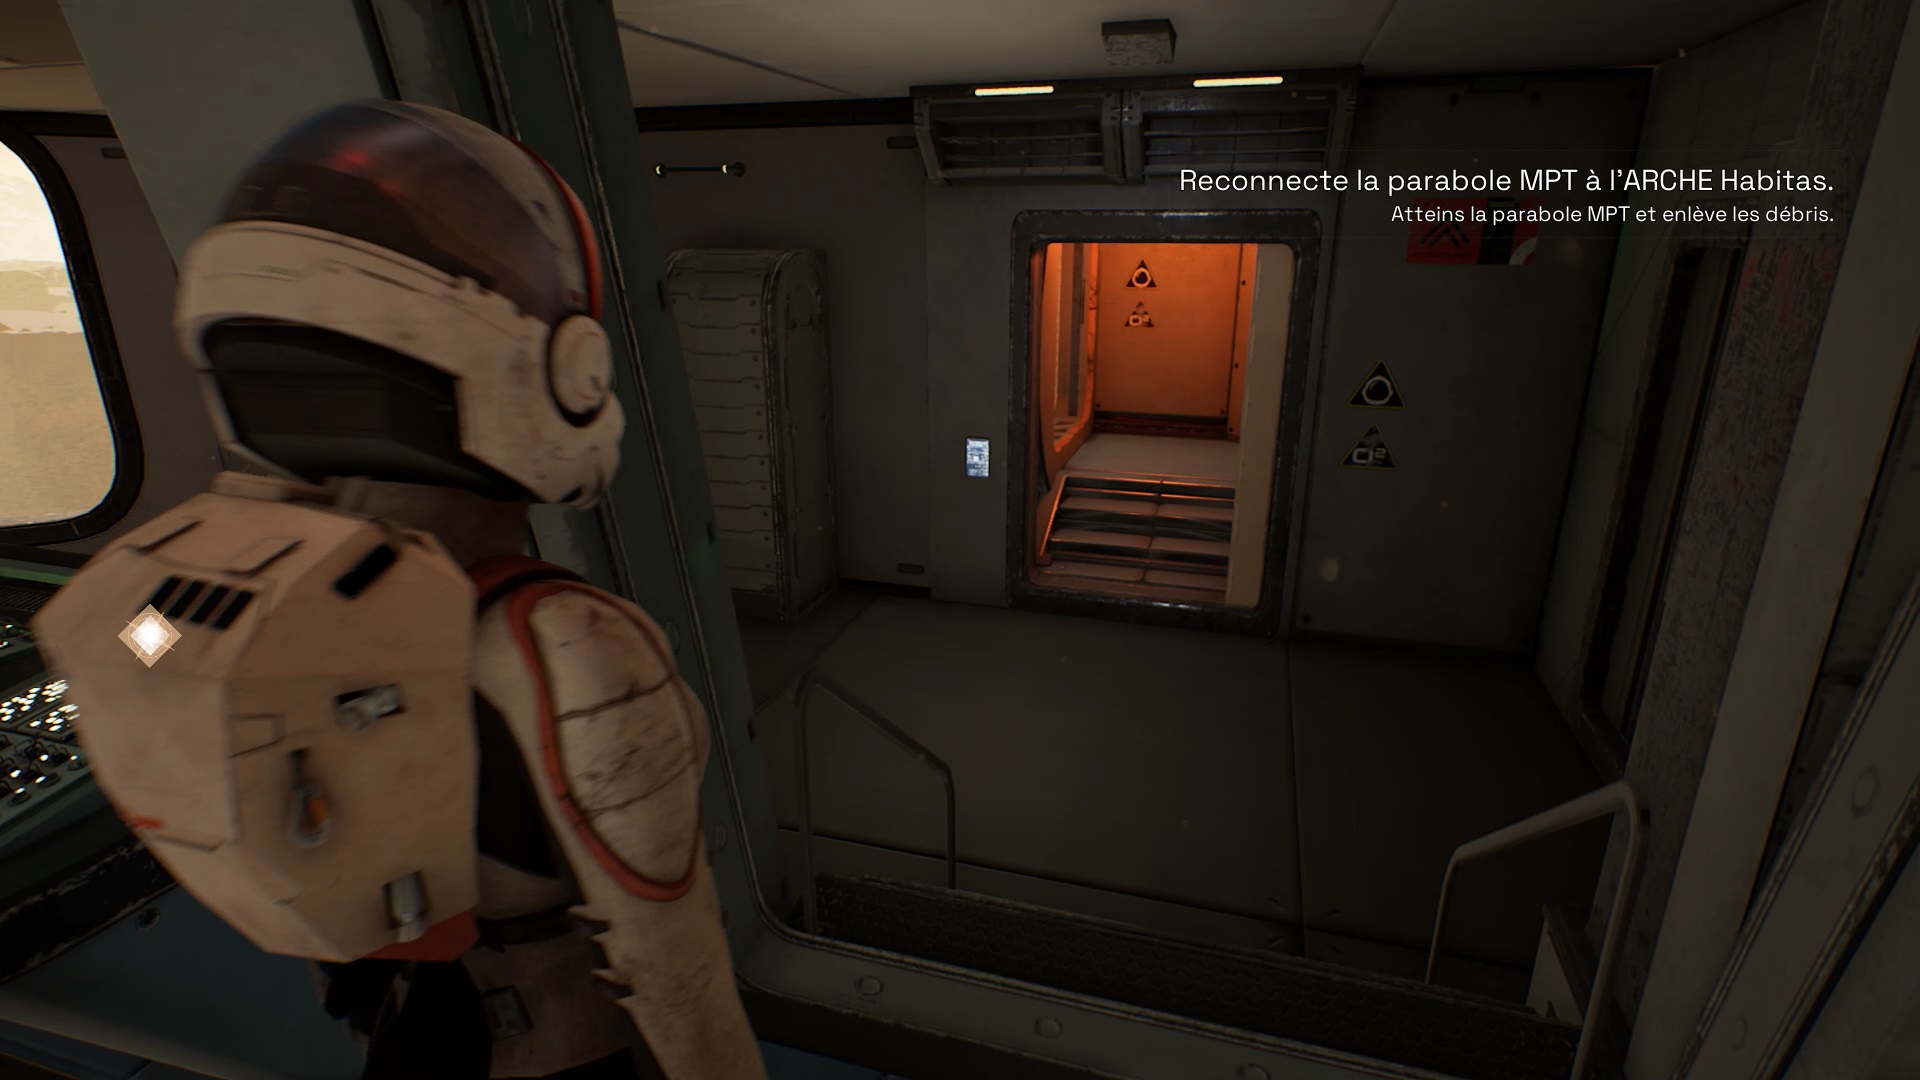
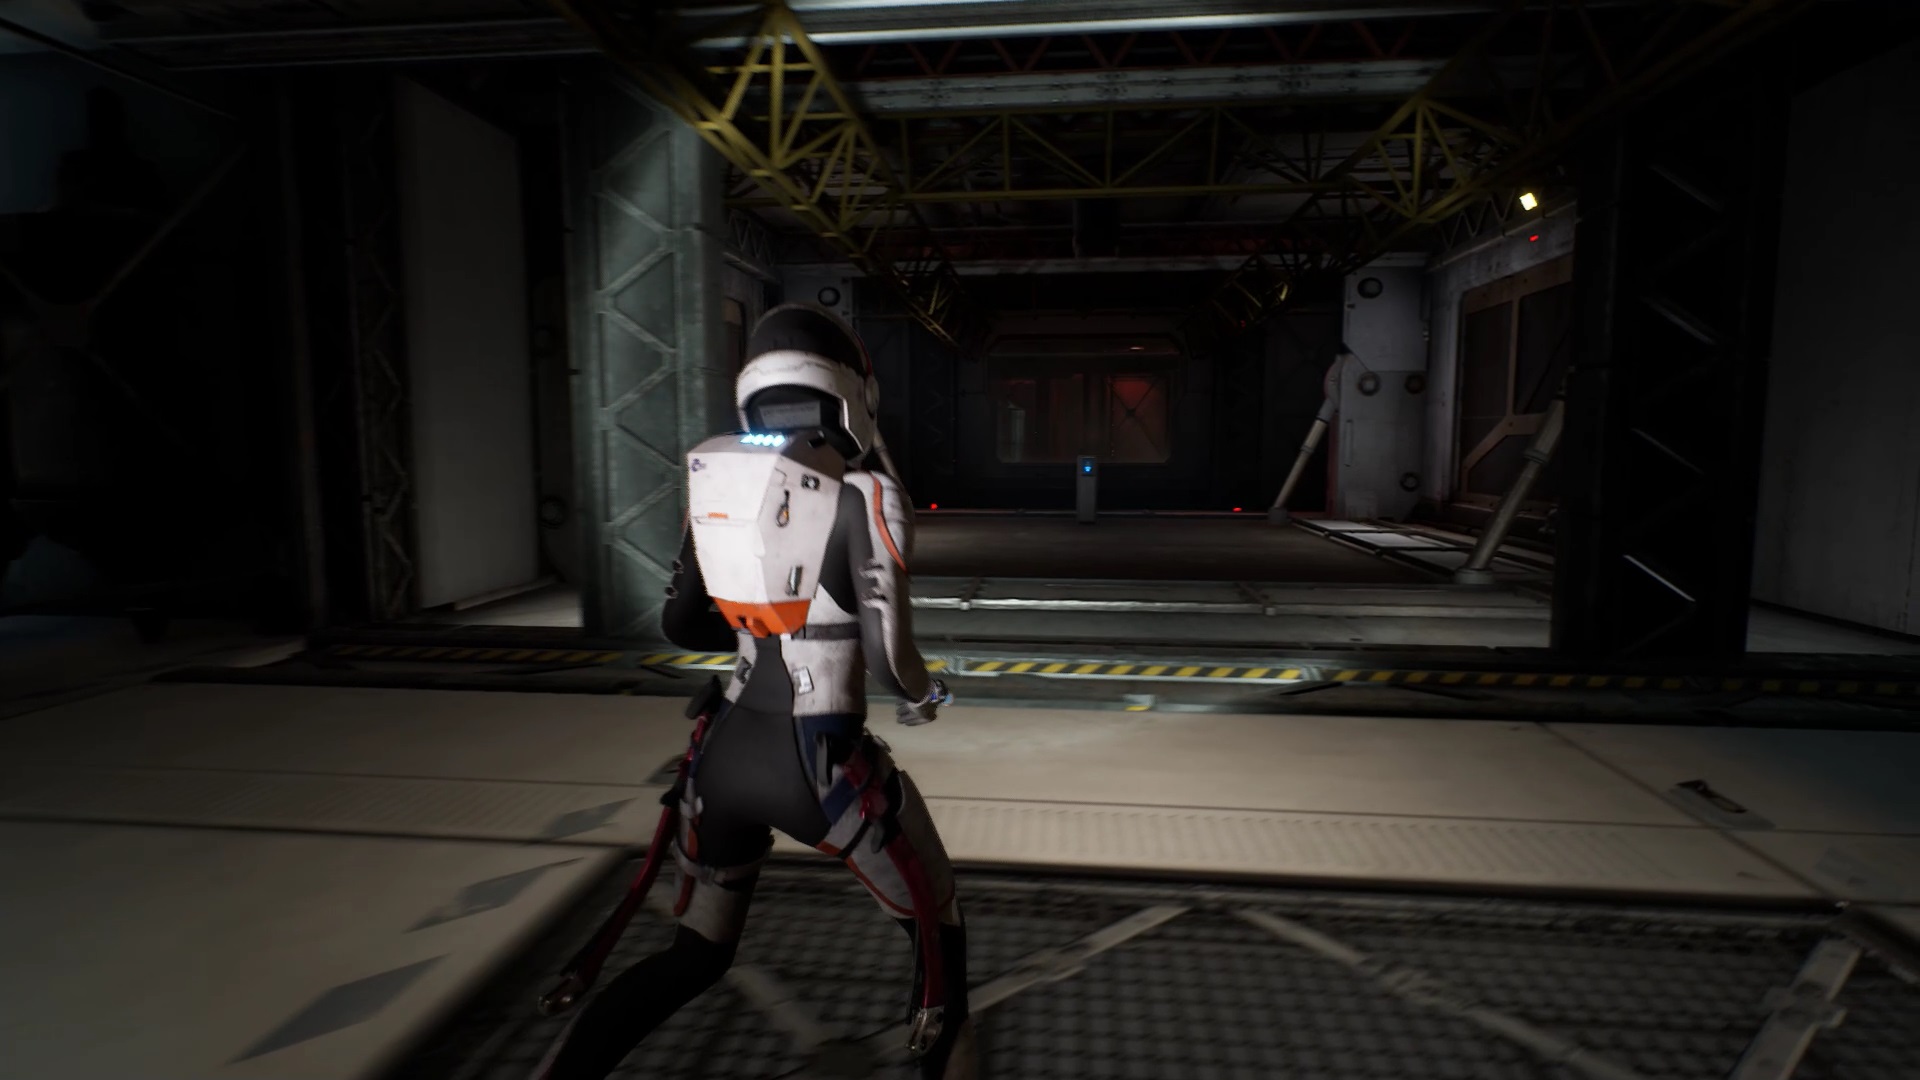
Again in the skin of Kathy, head to the center of the installation to go down the stairs. You need to repair the MPT dish. At the bottom of the stairs, go left to reach a ladder. Go down the ladder to reach the level of the obstruction zone of the dish.
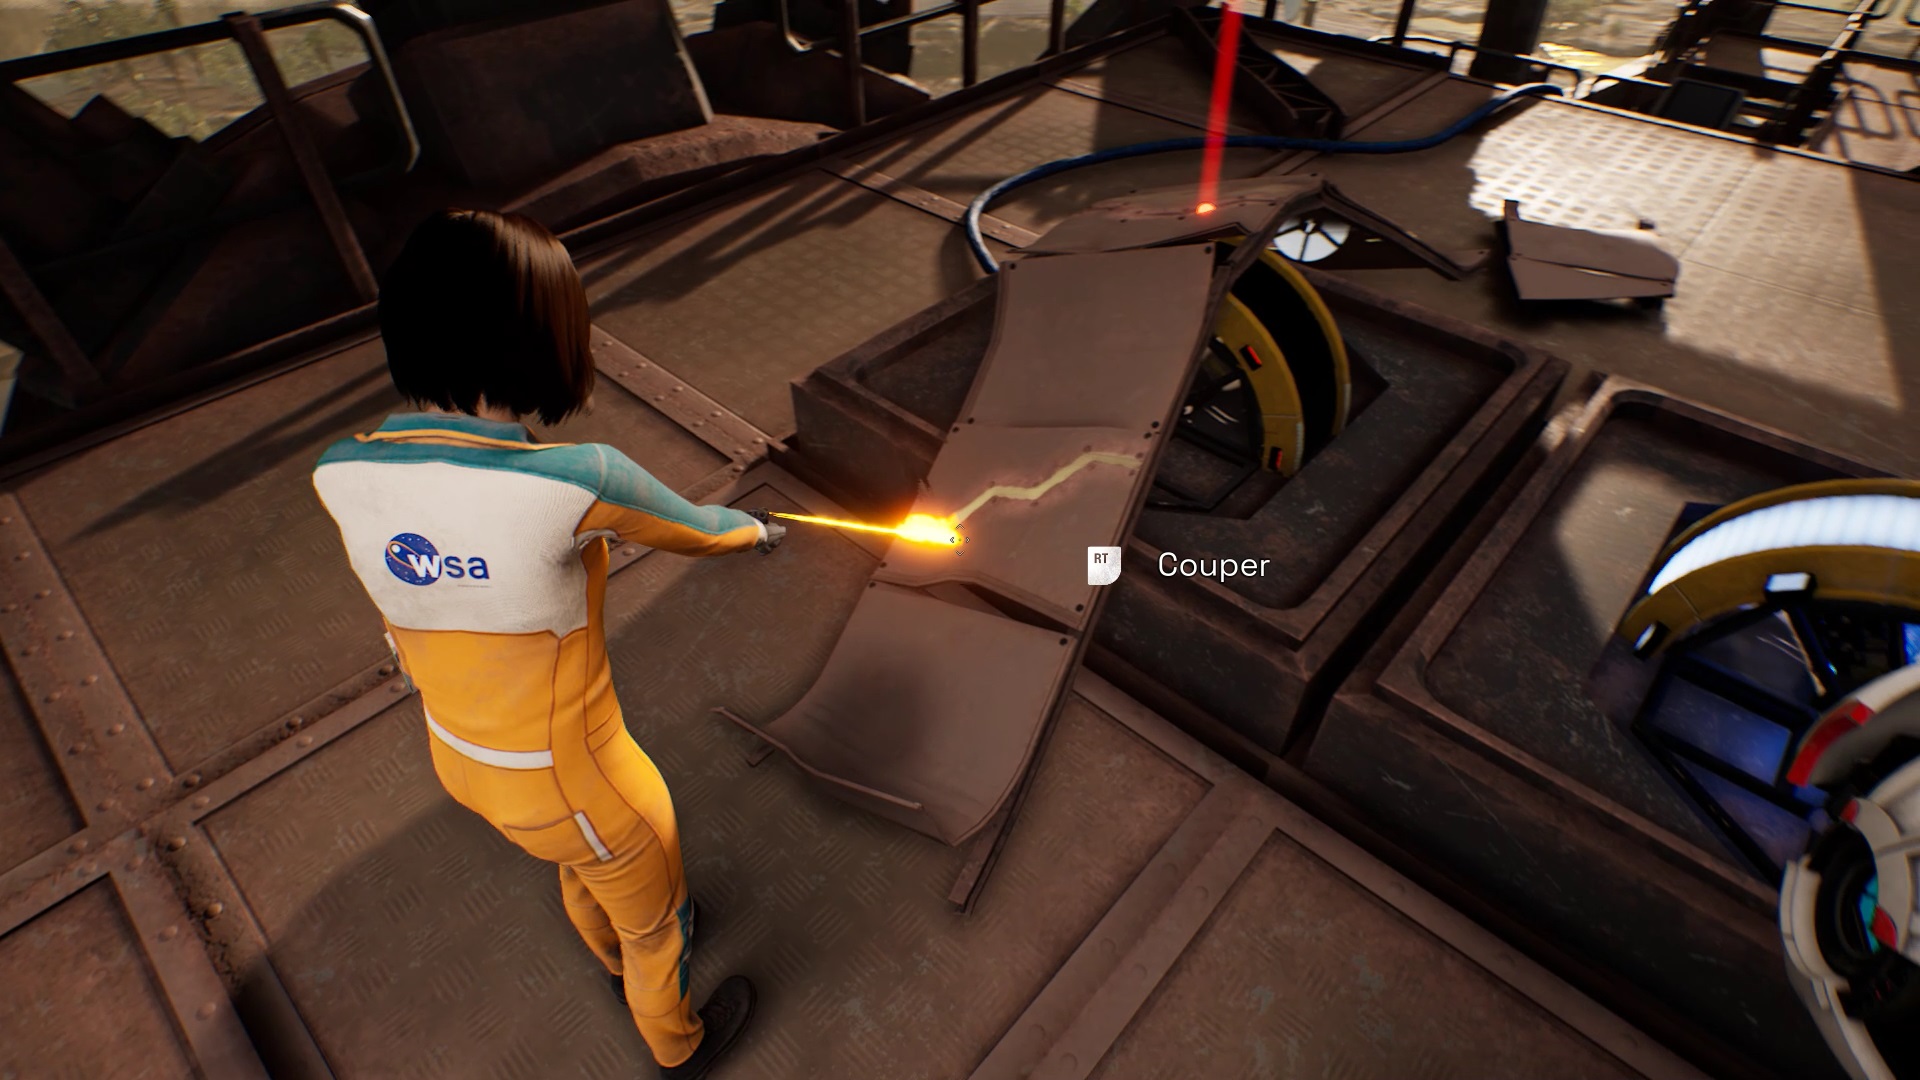
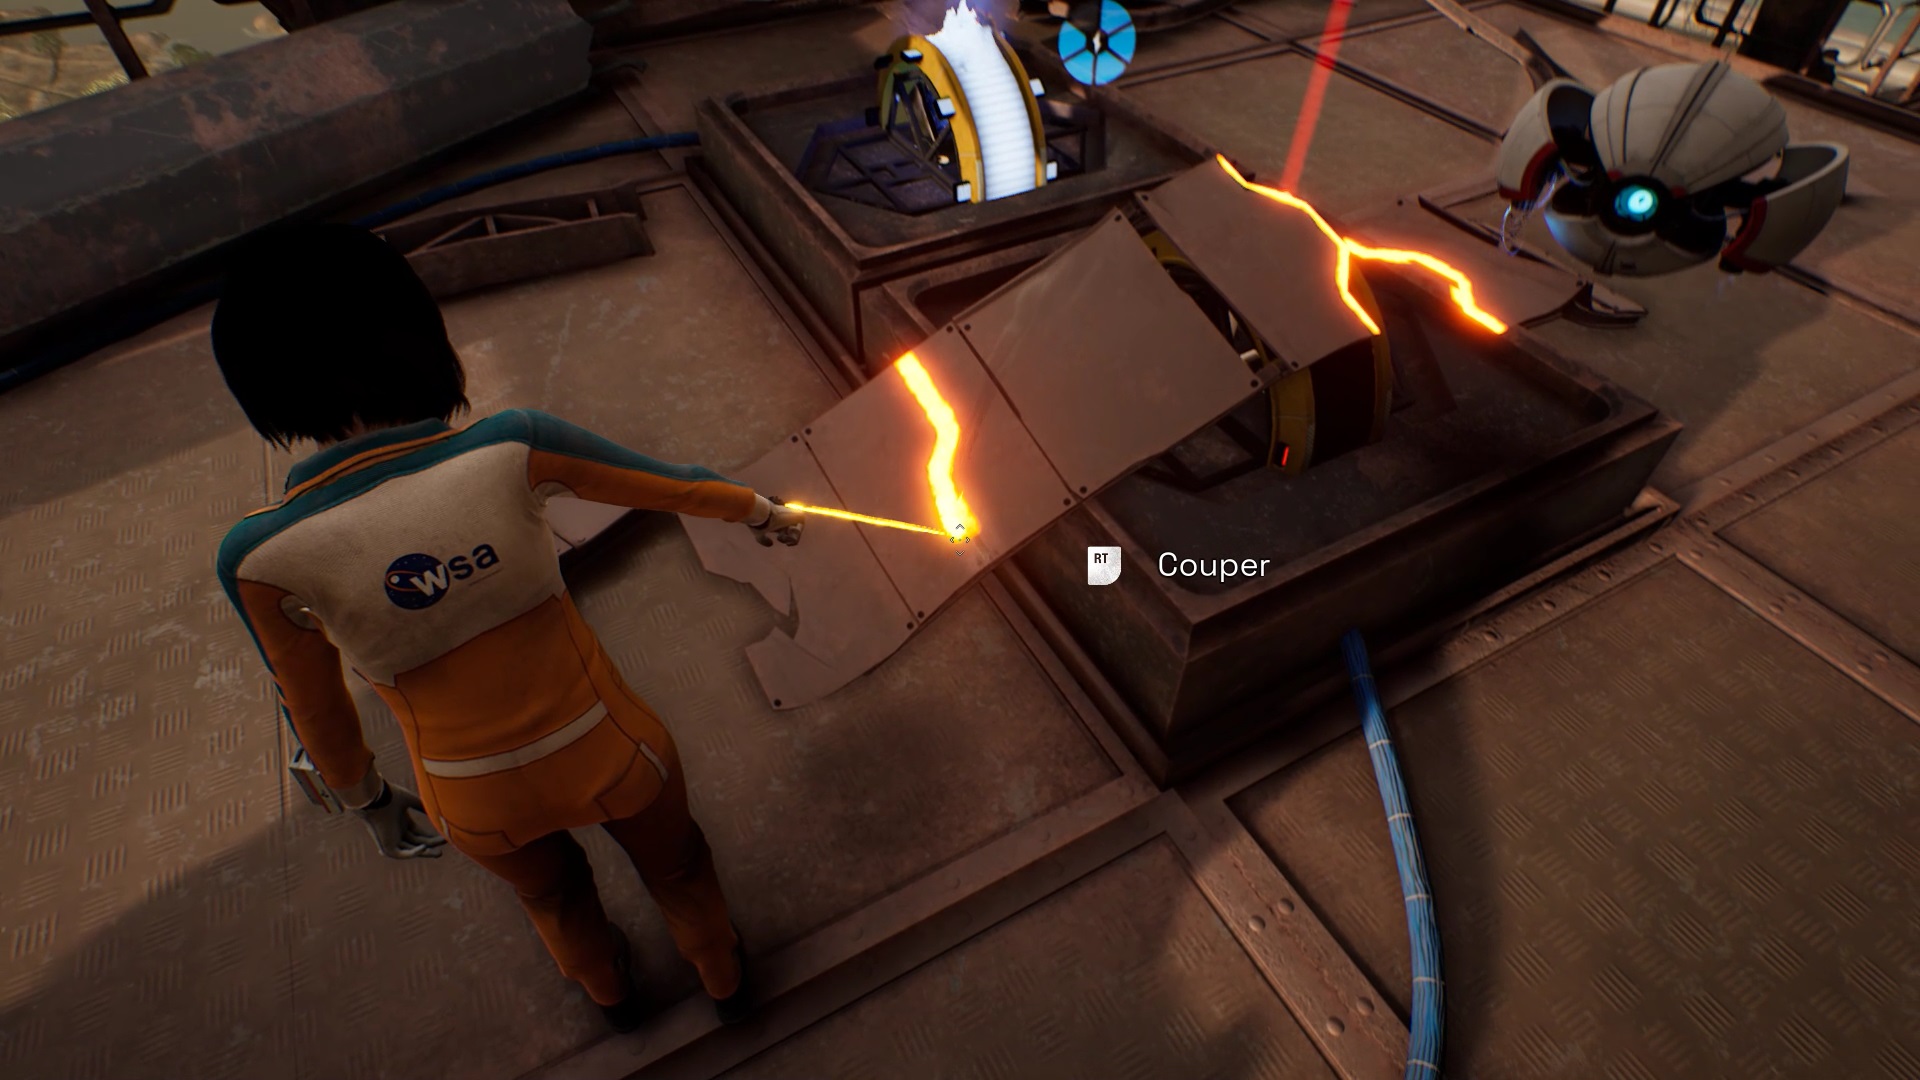
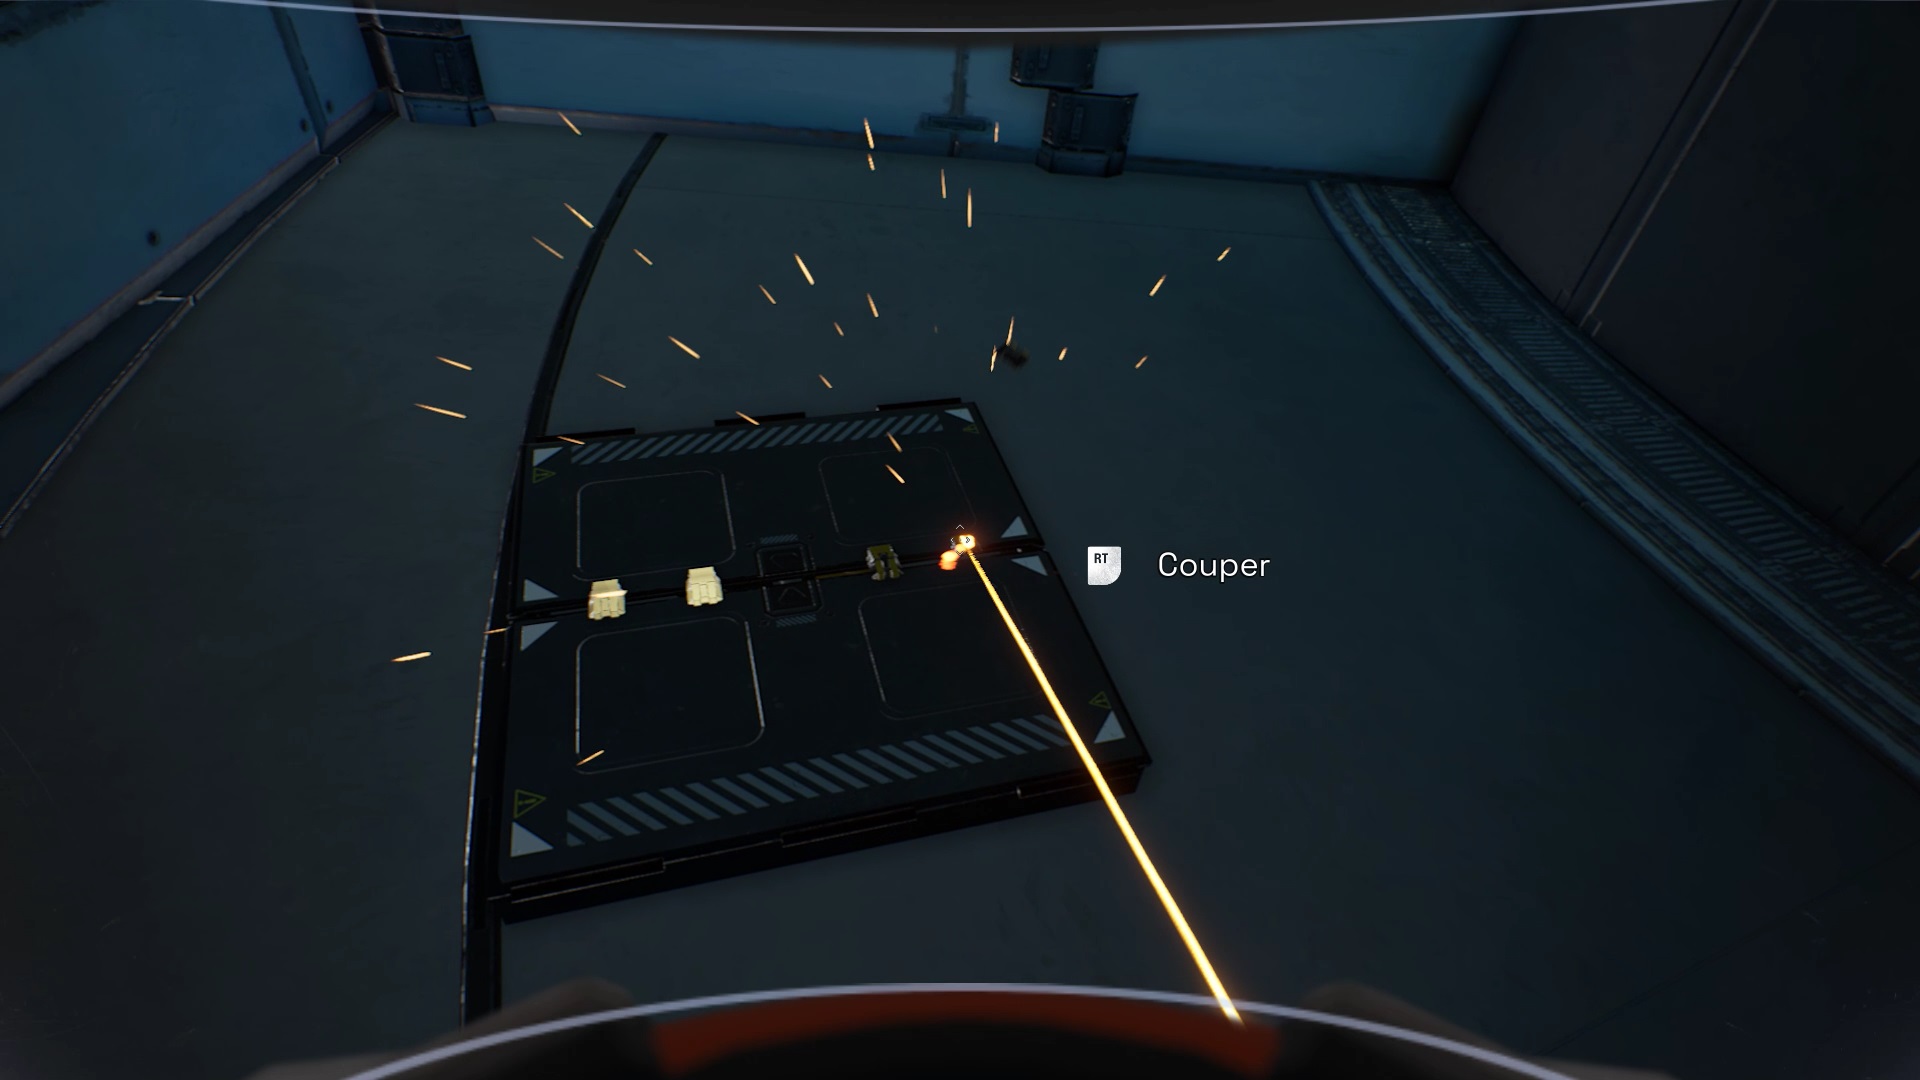
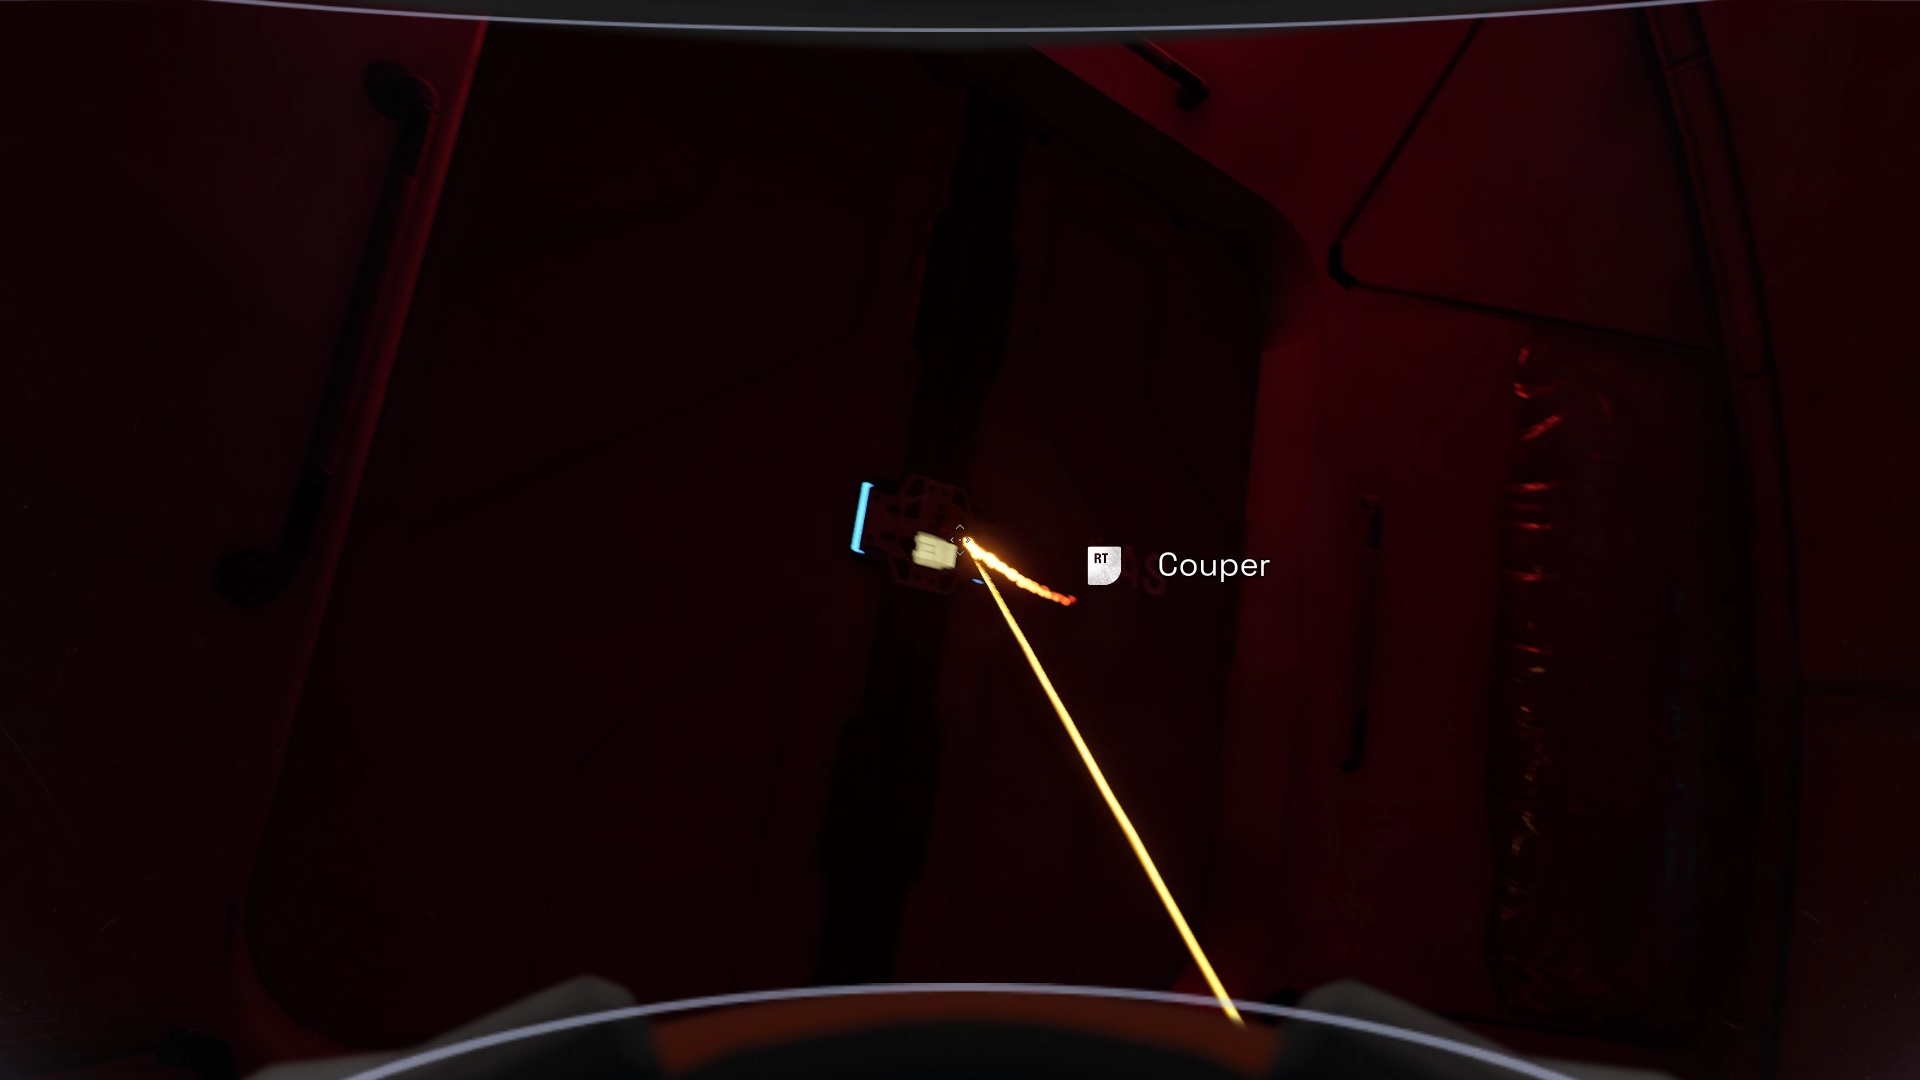
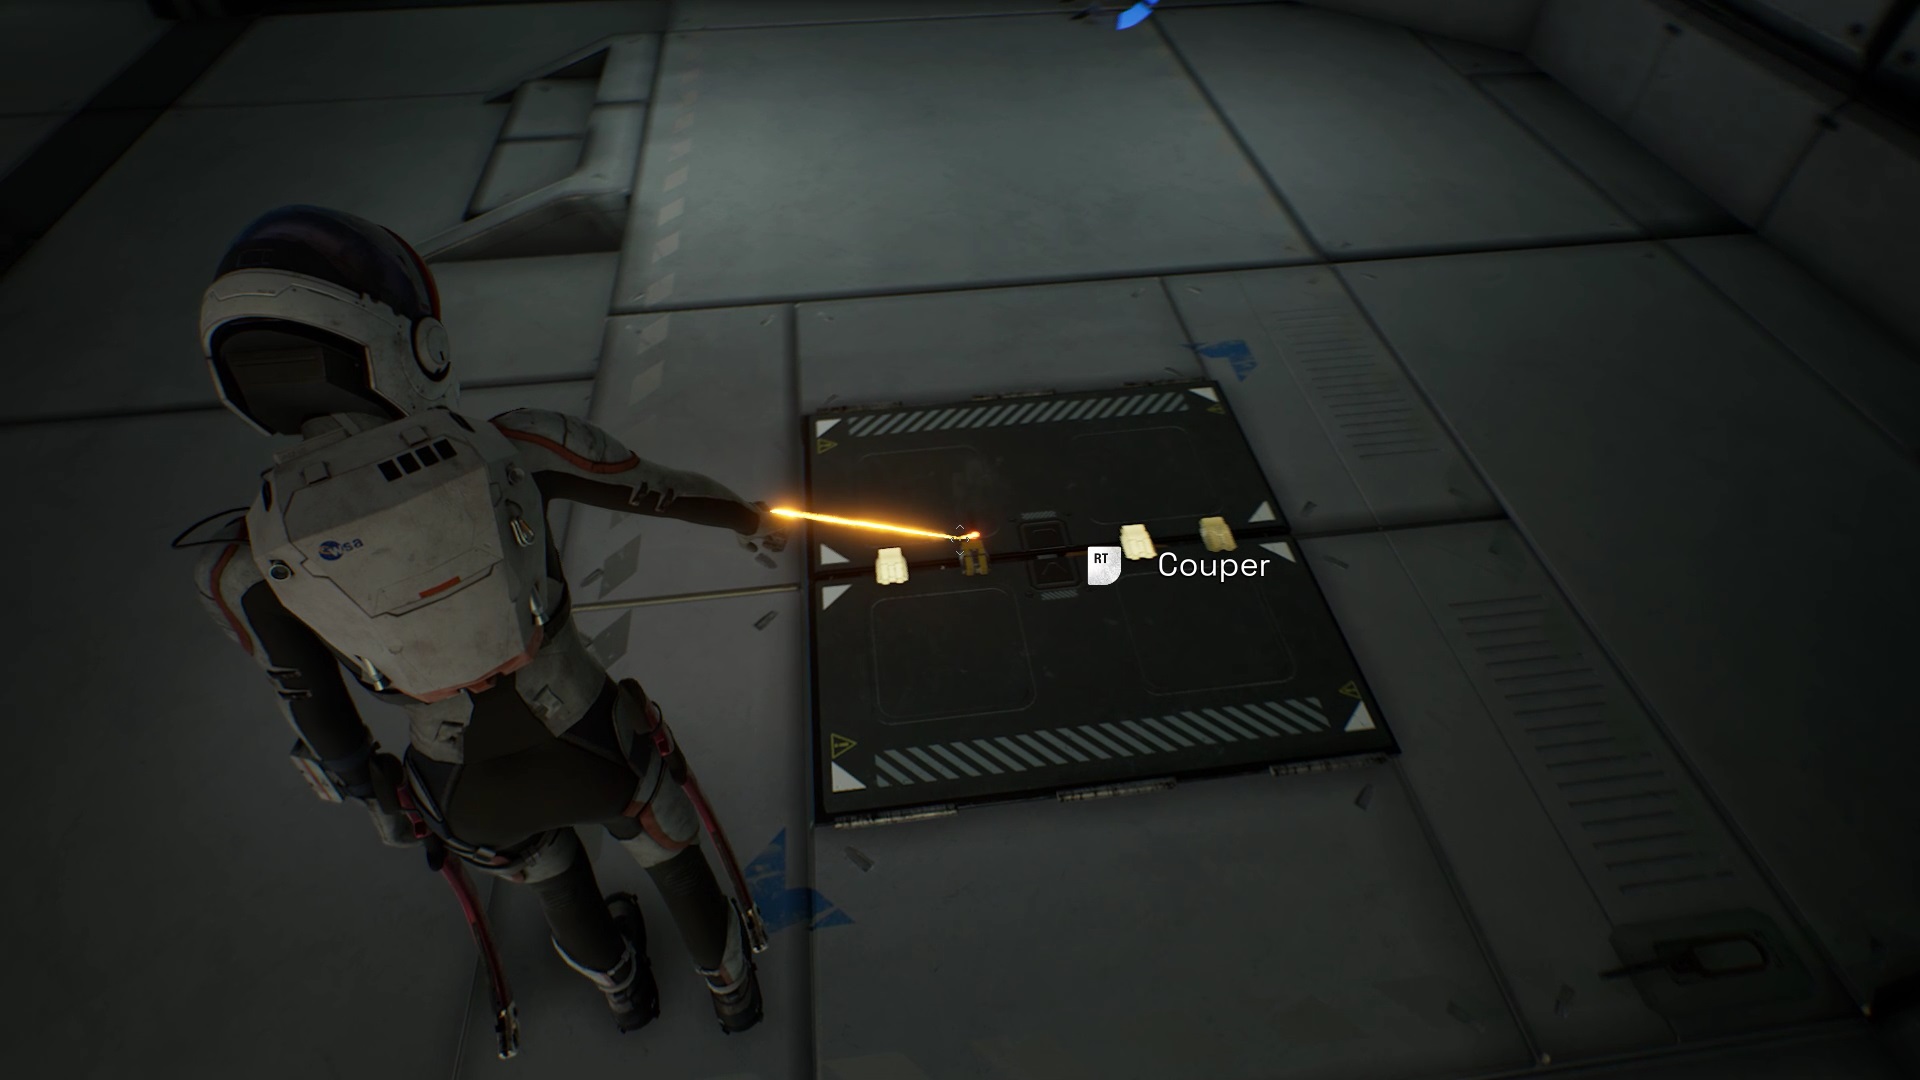
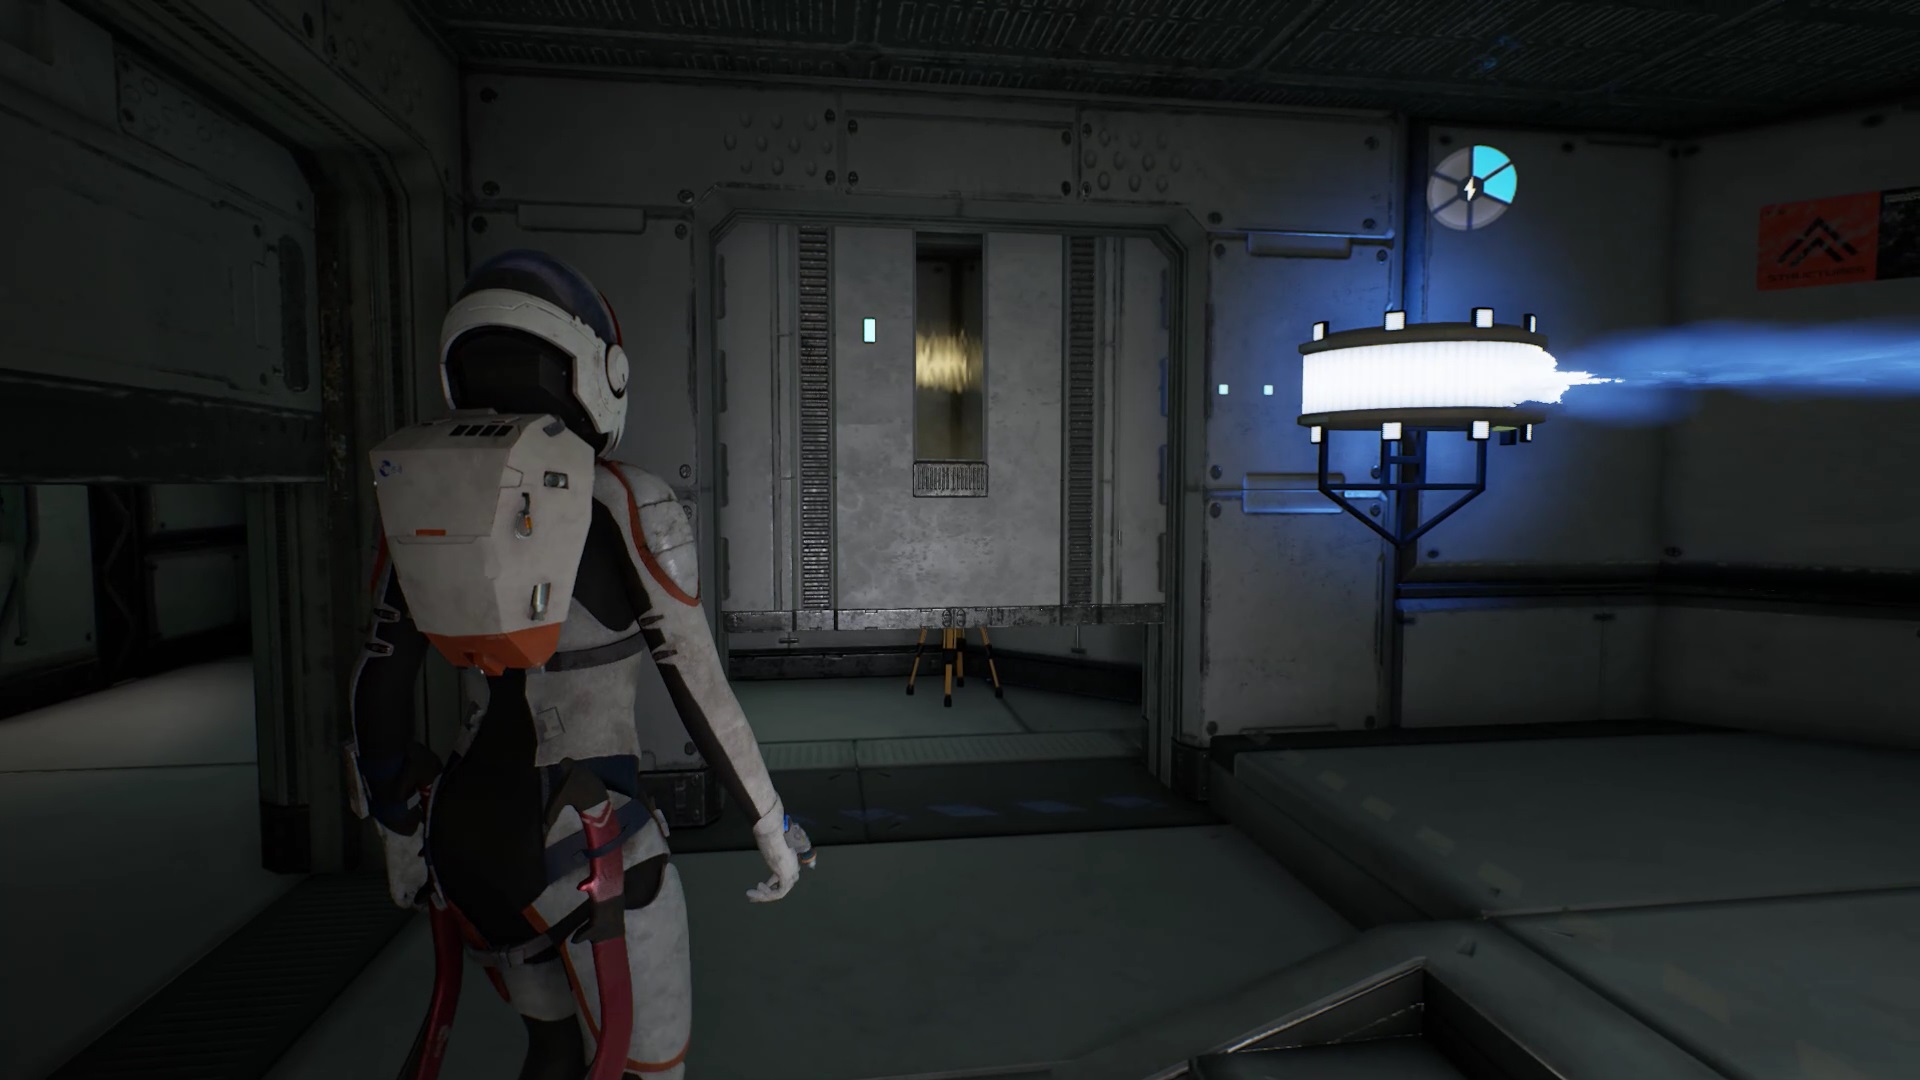
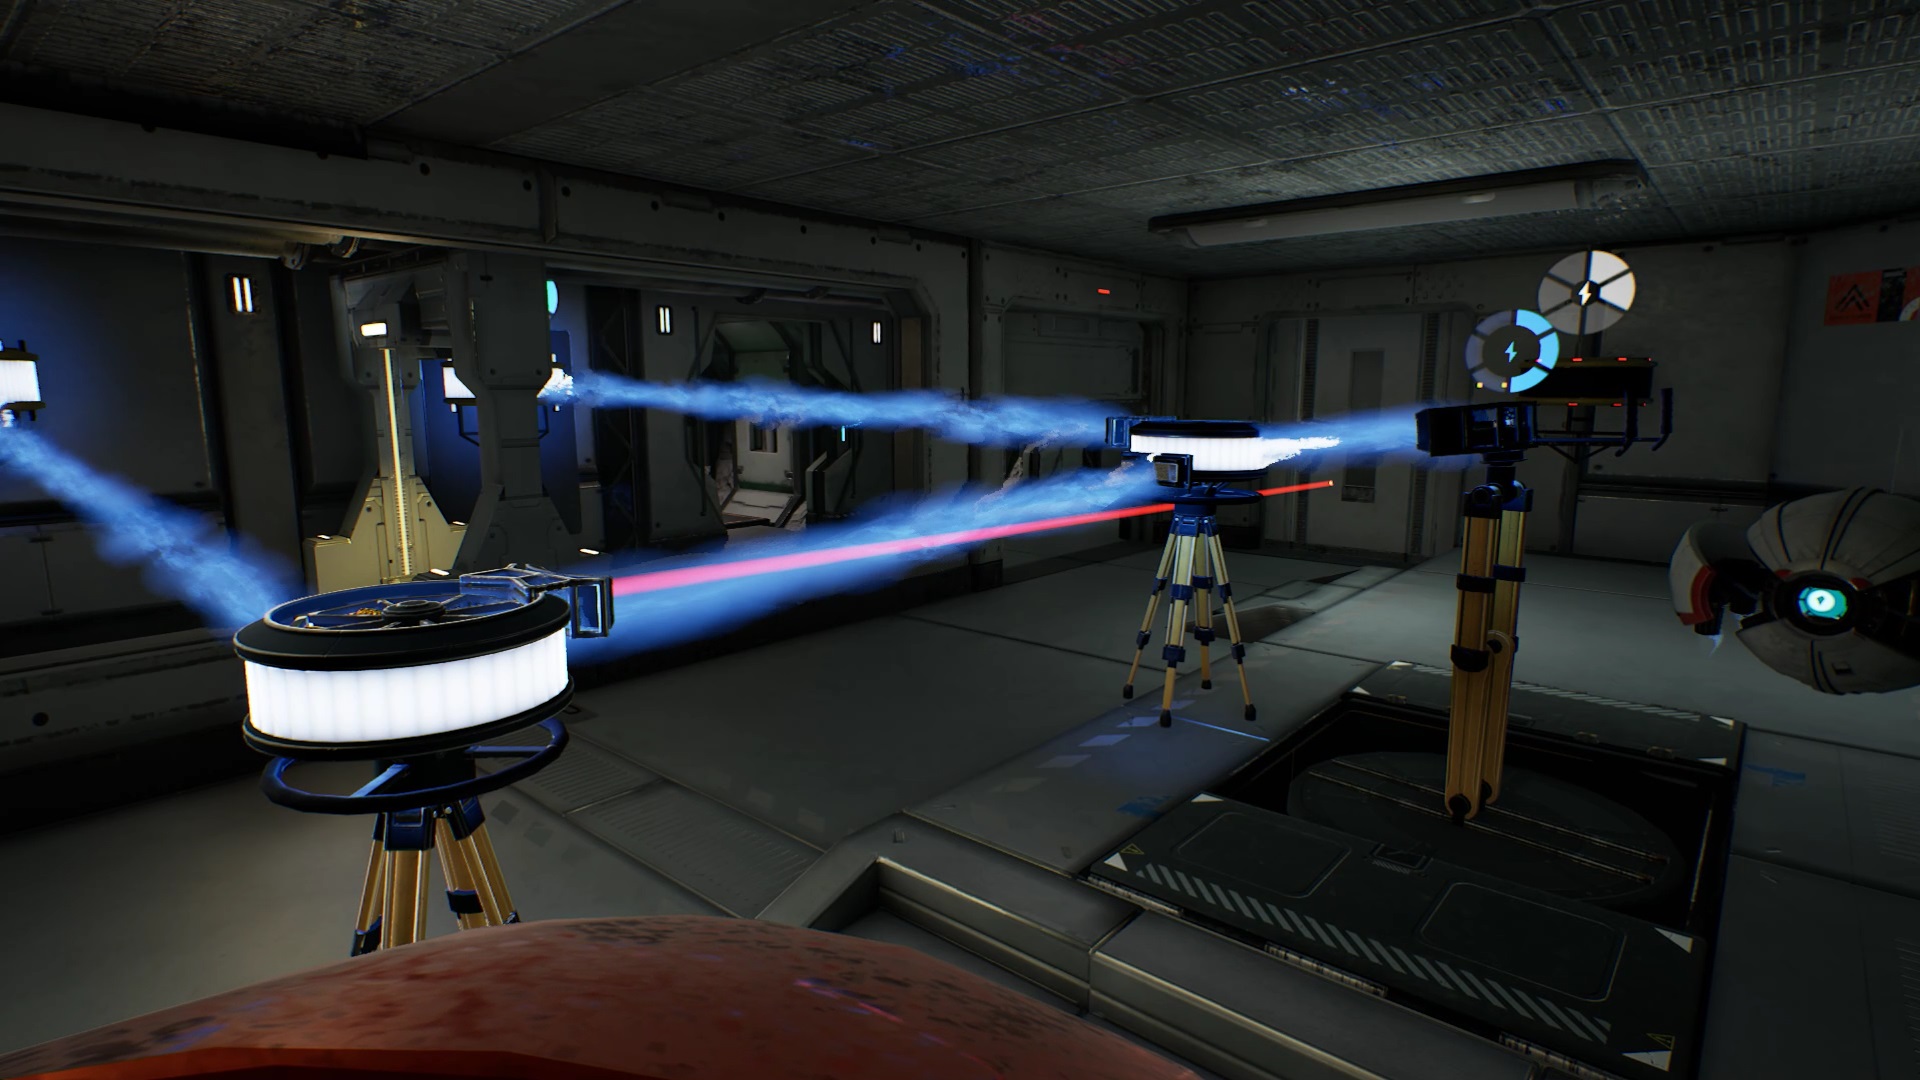
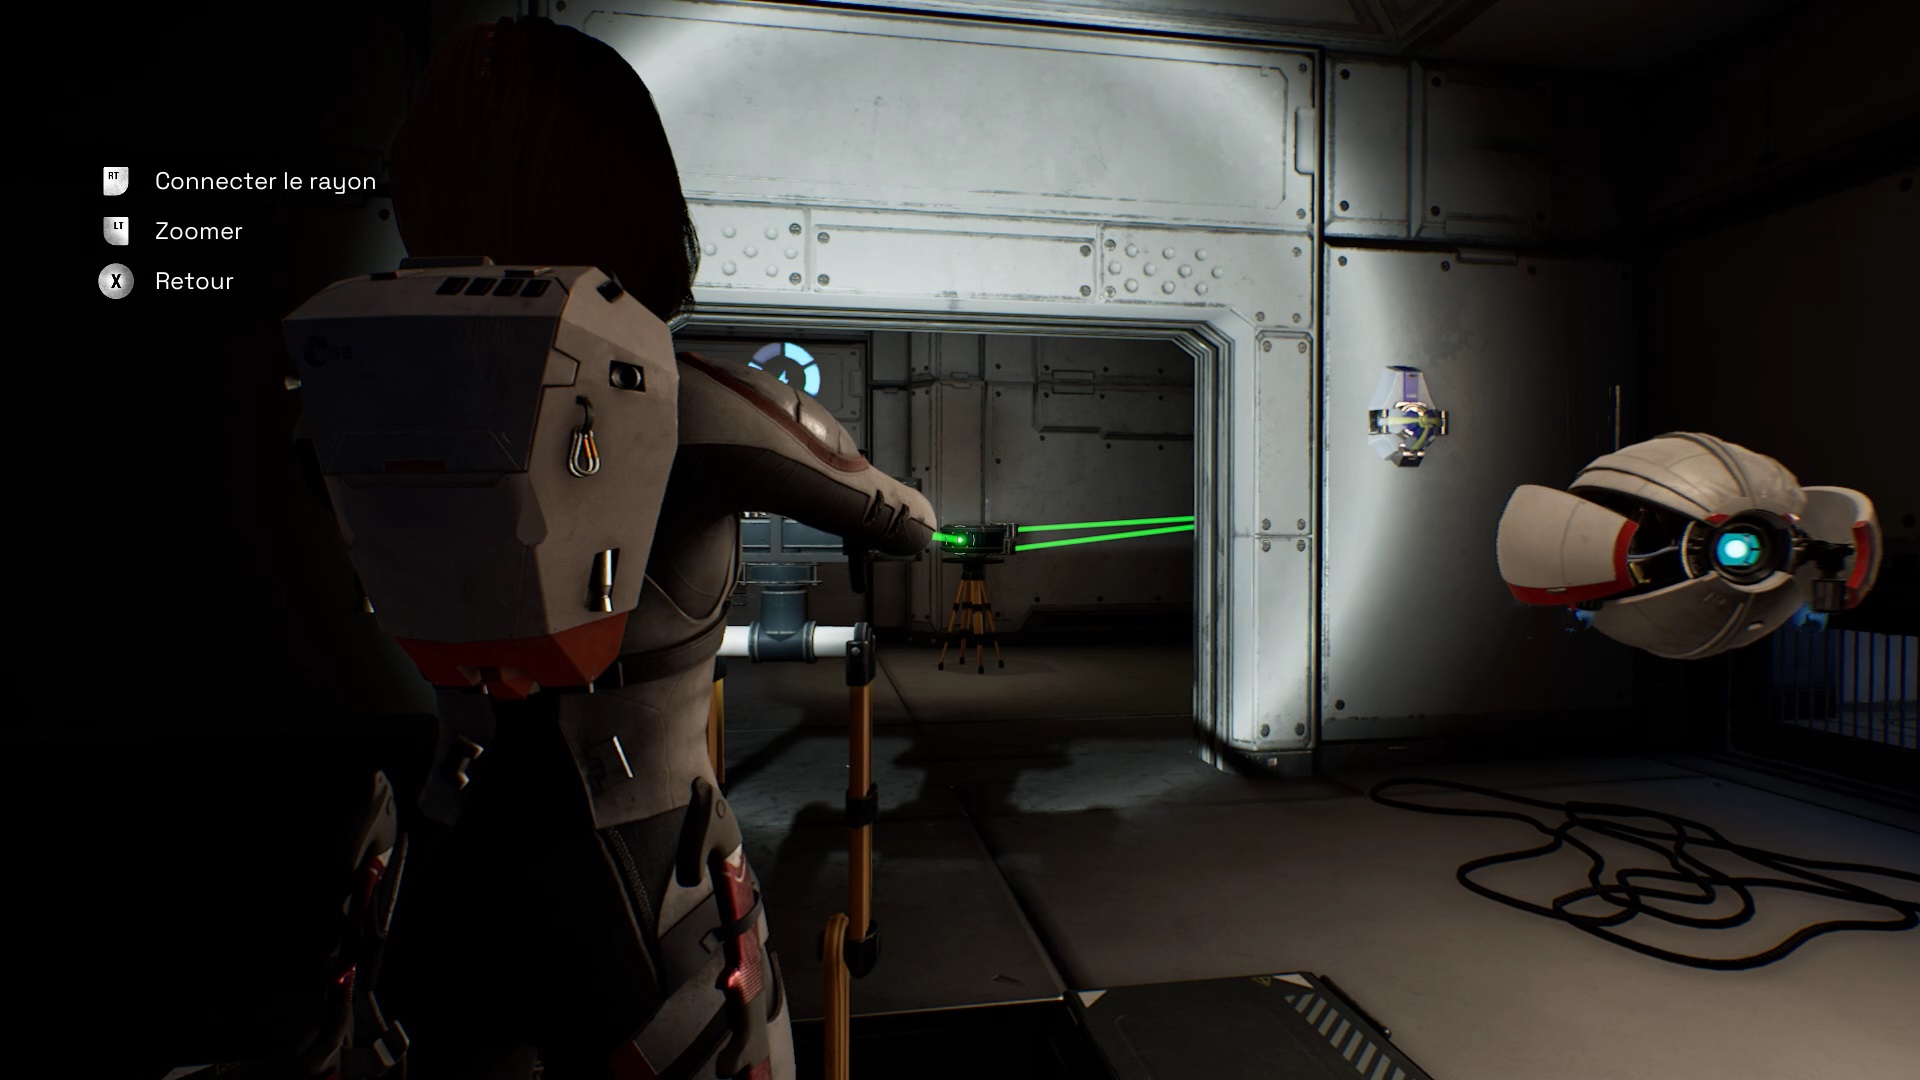
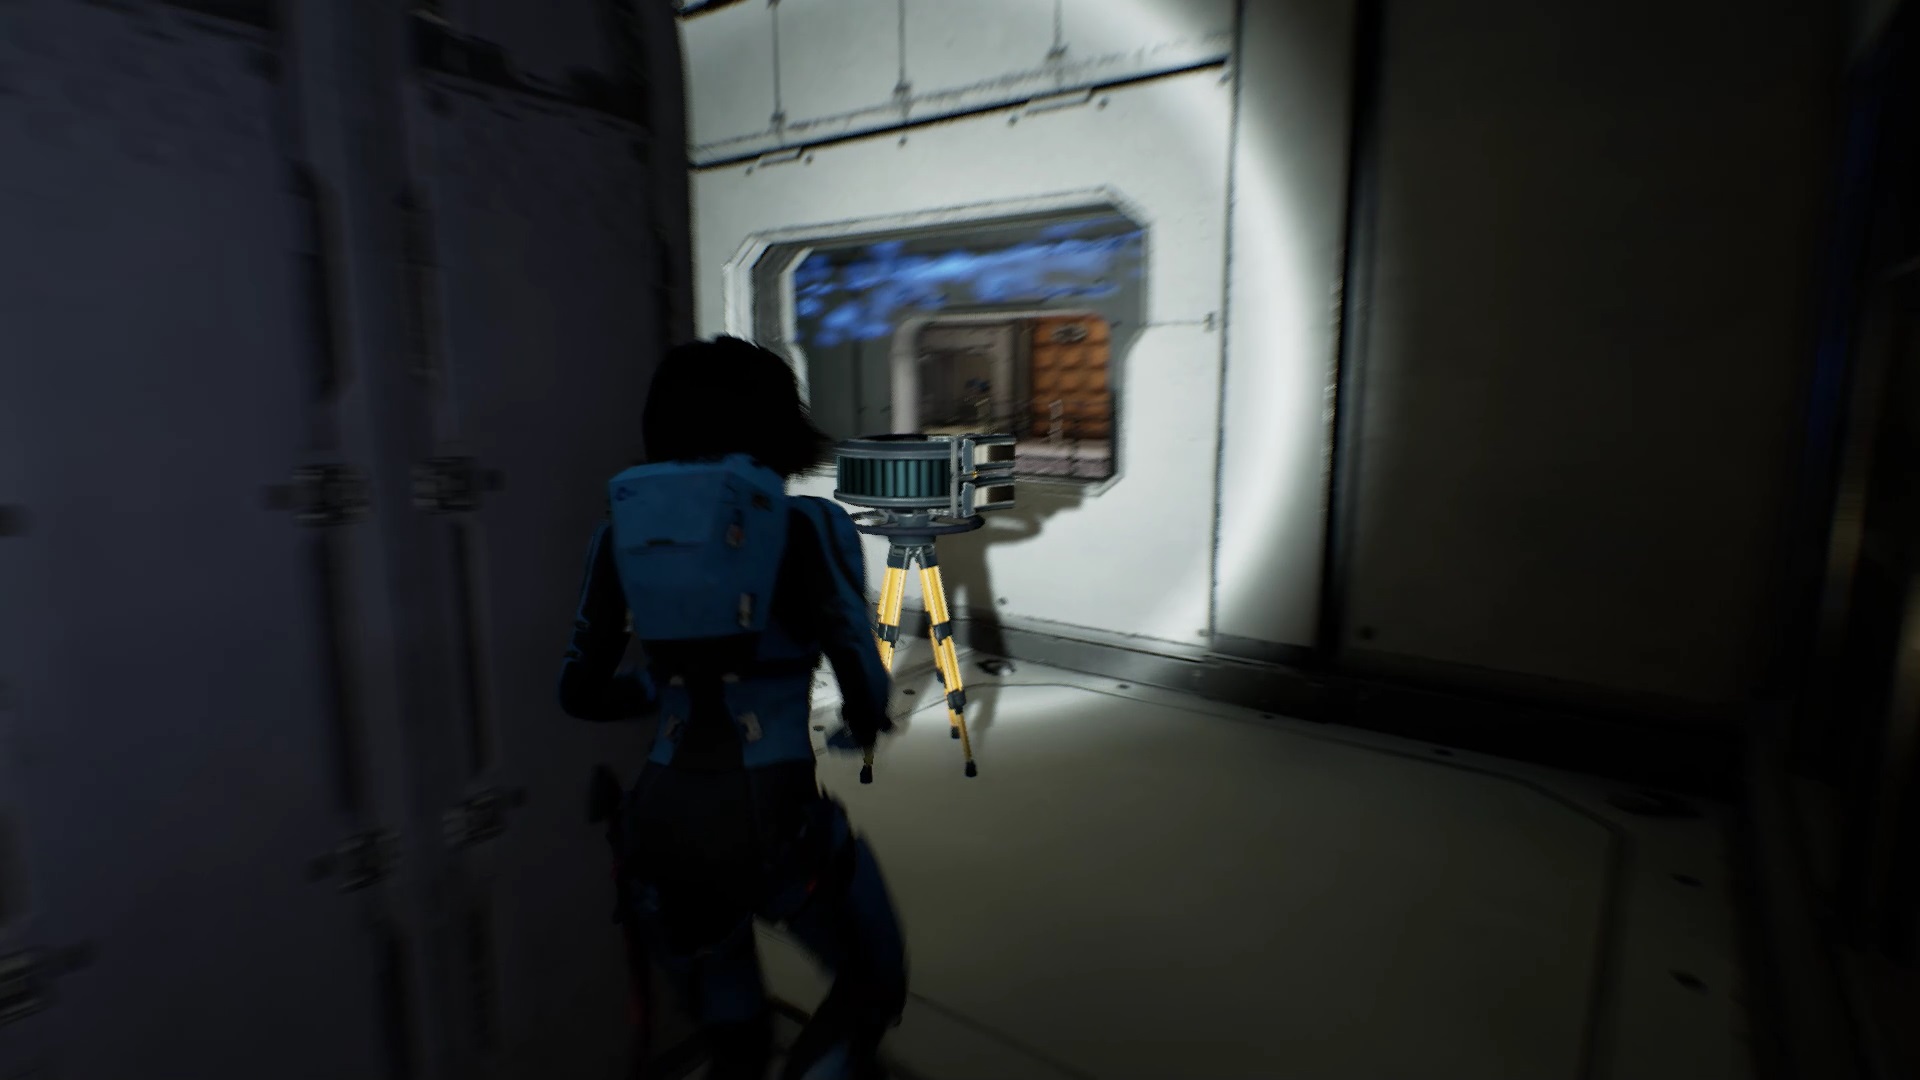
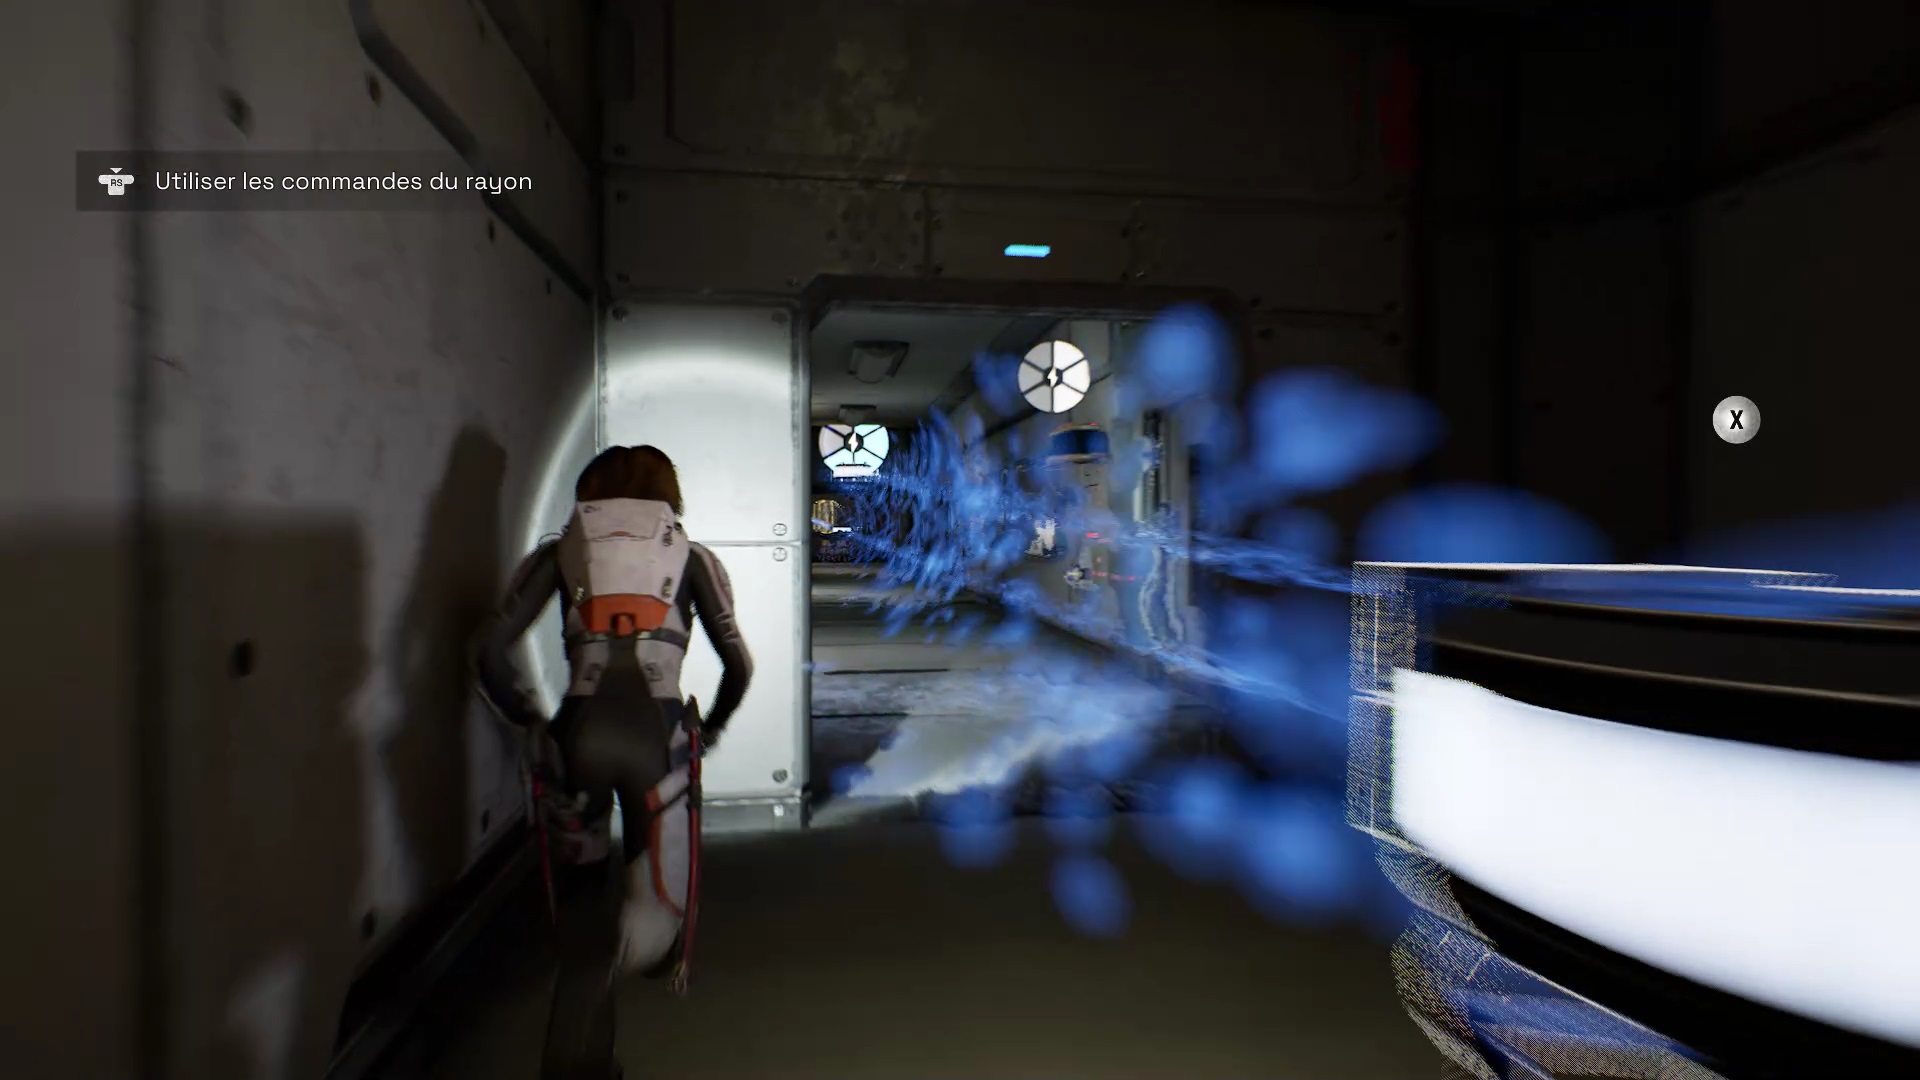
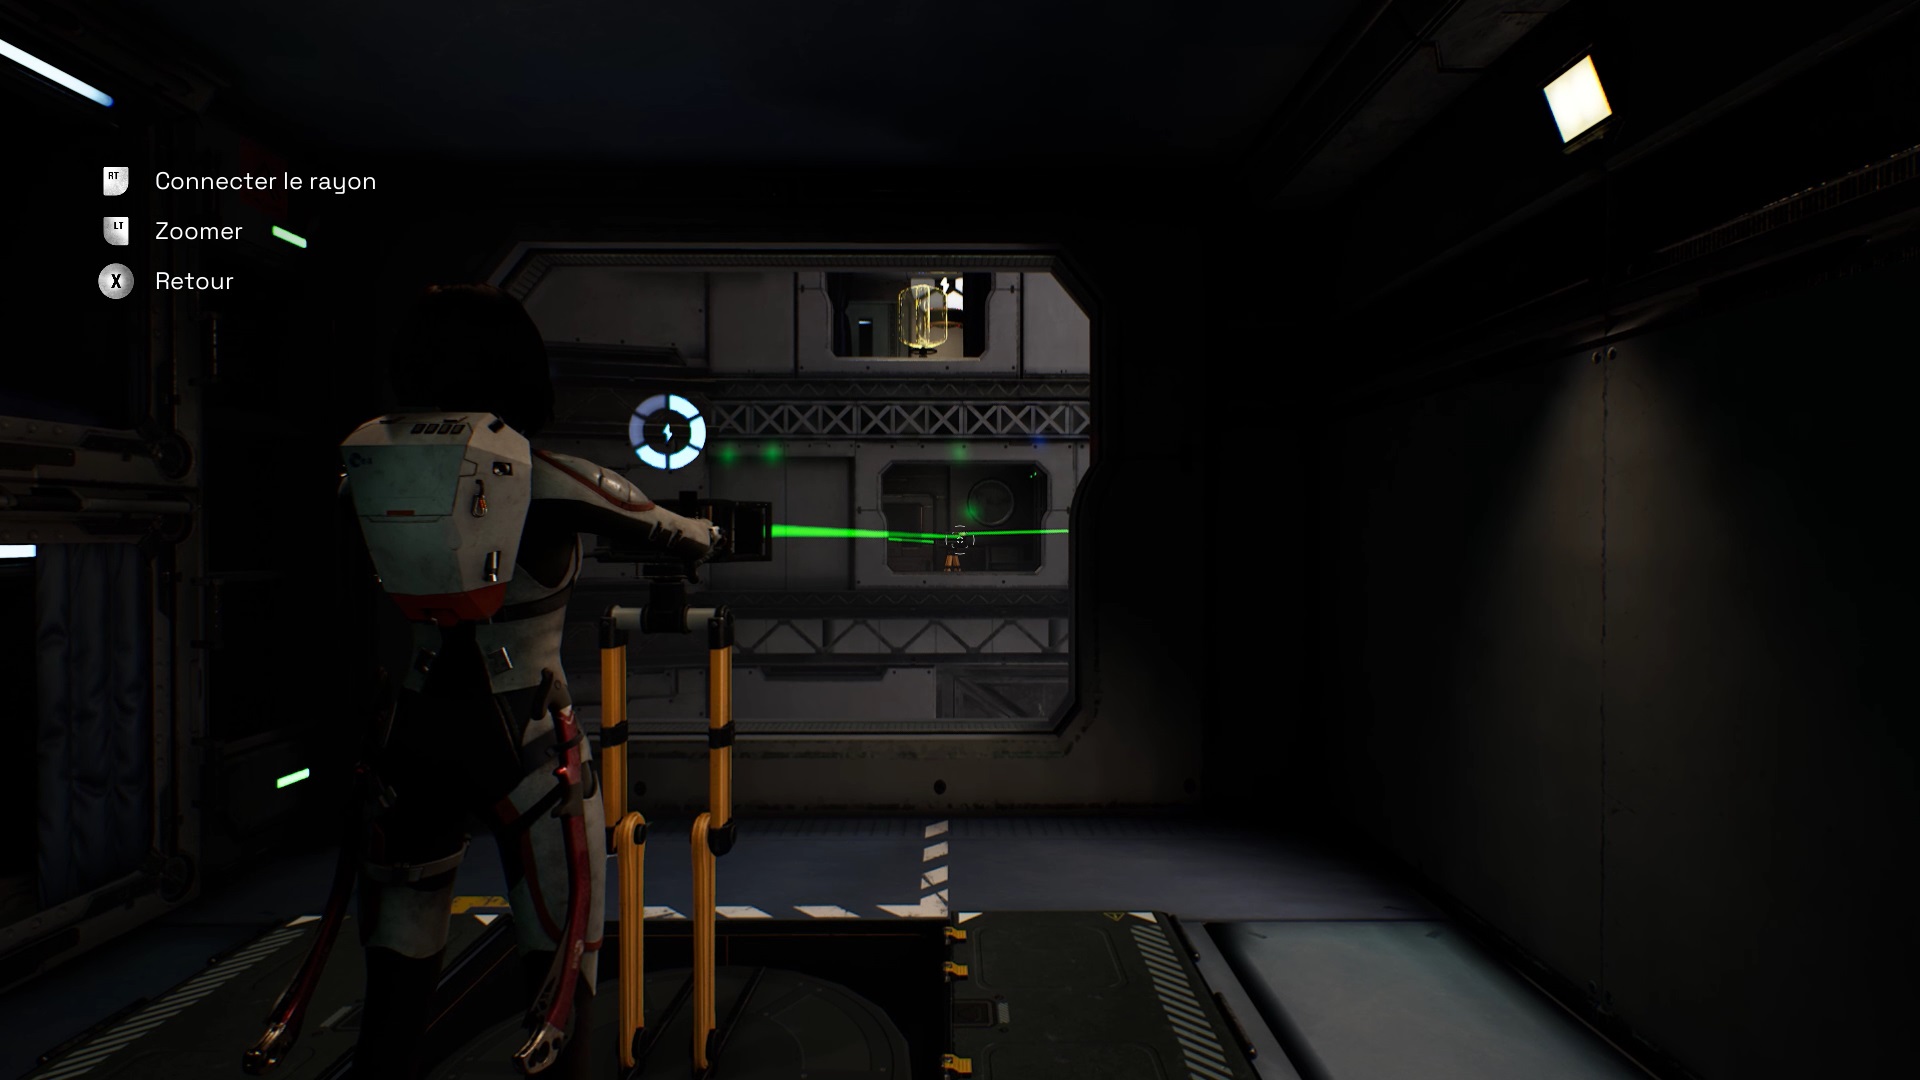
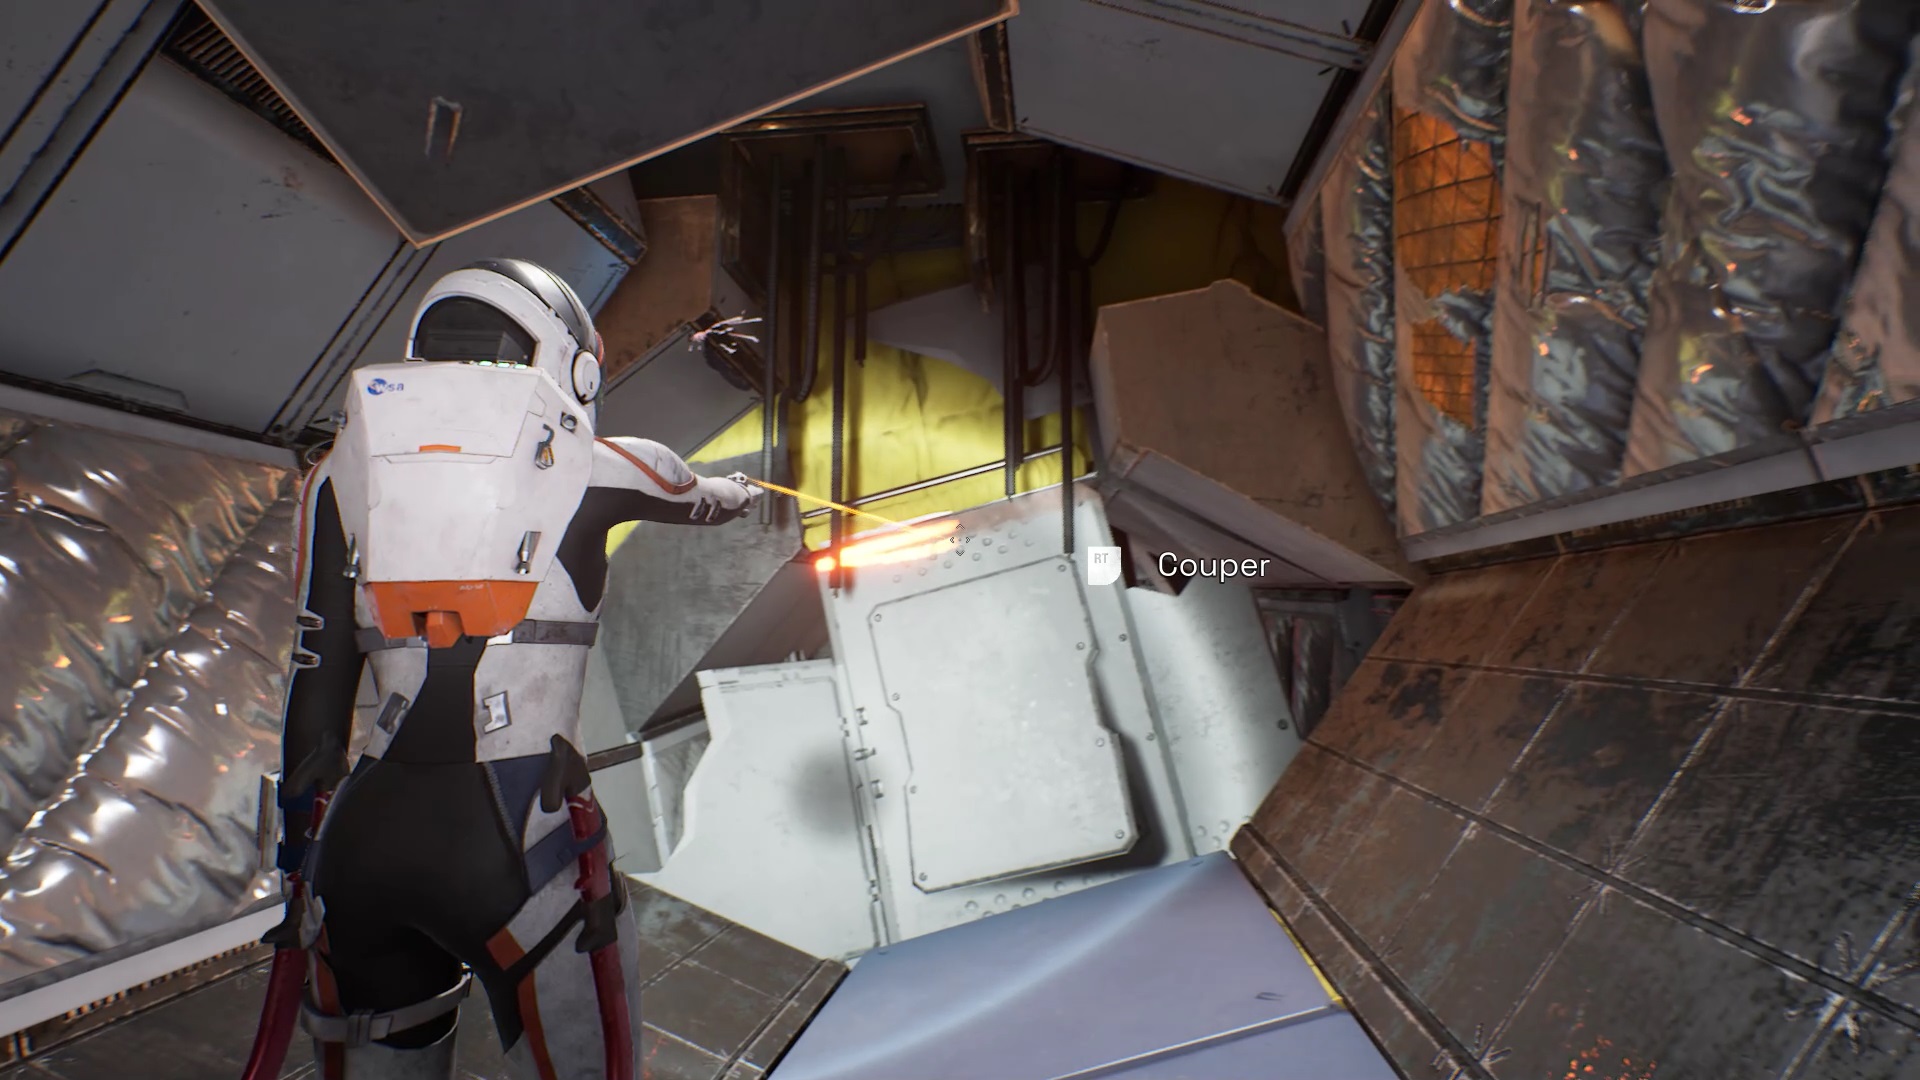
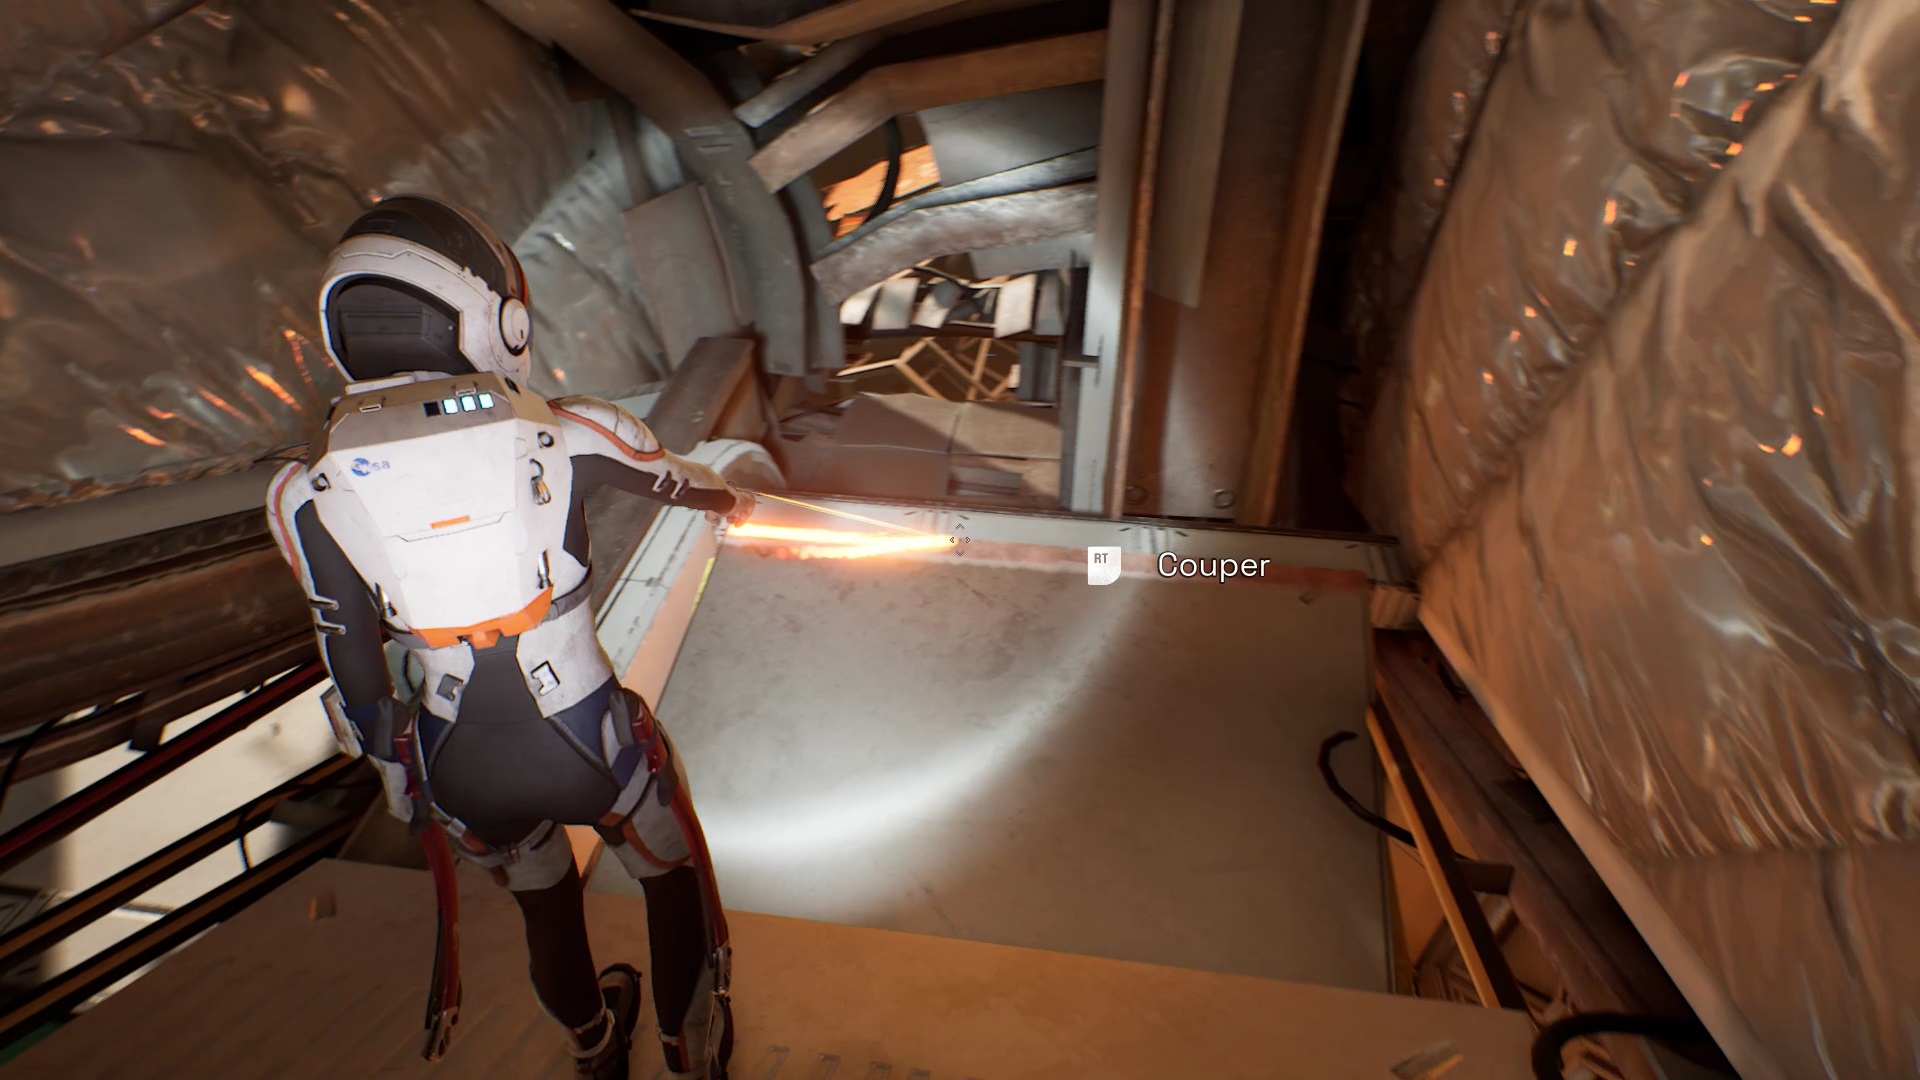
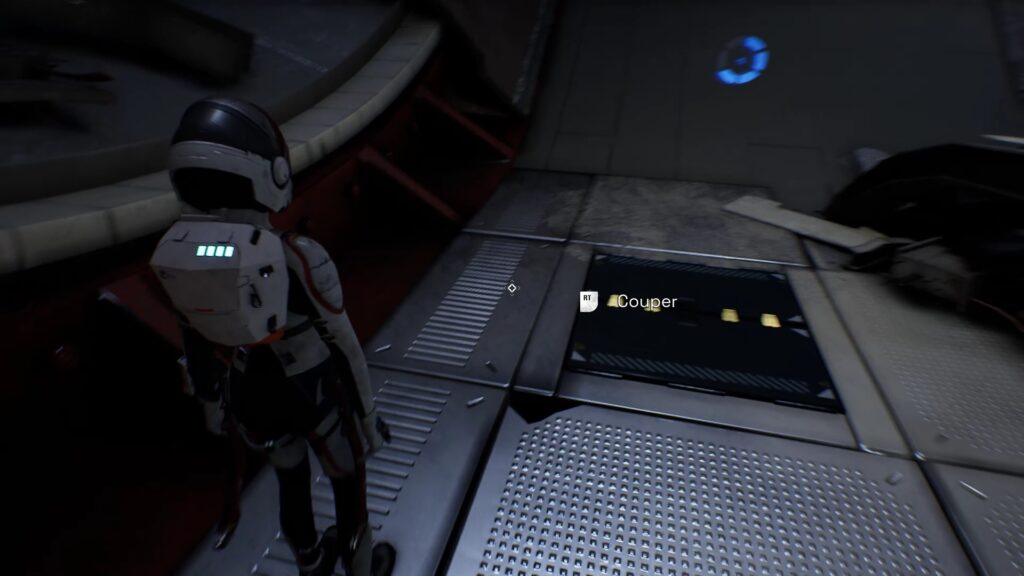
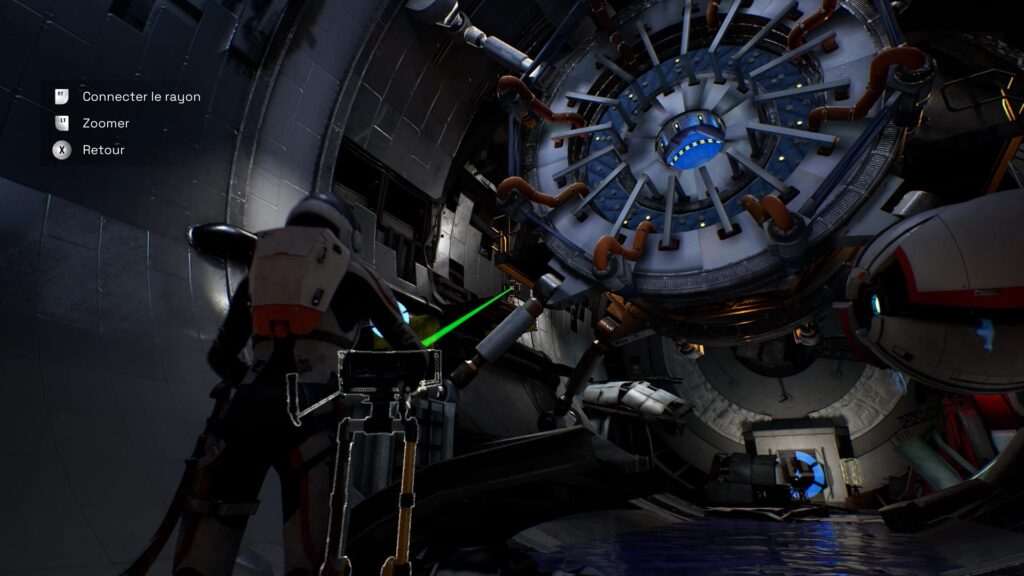
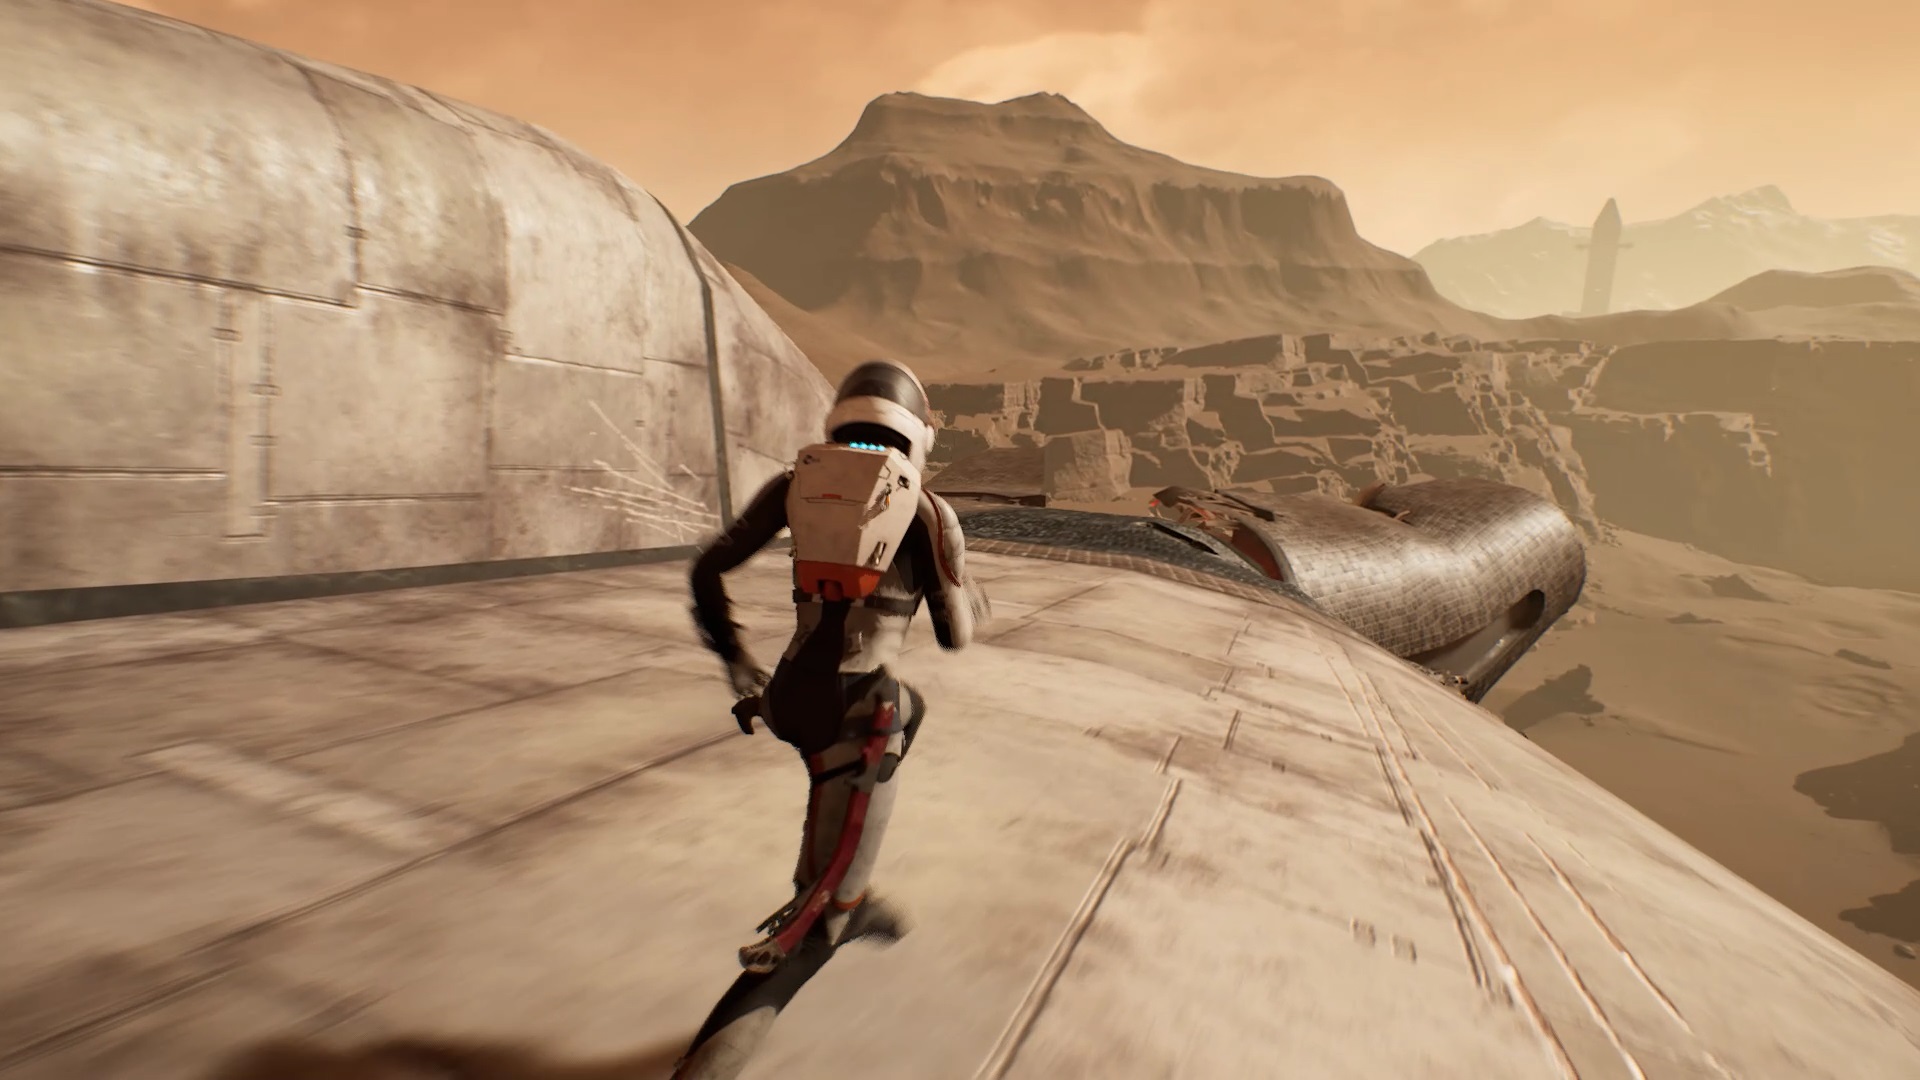
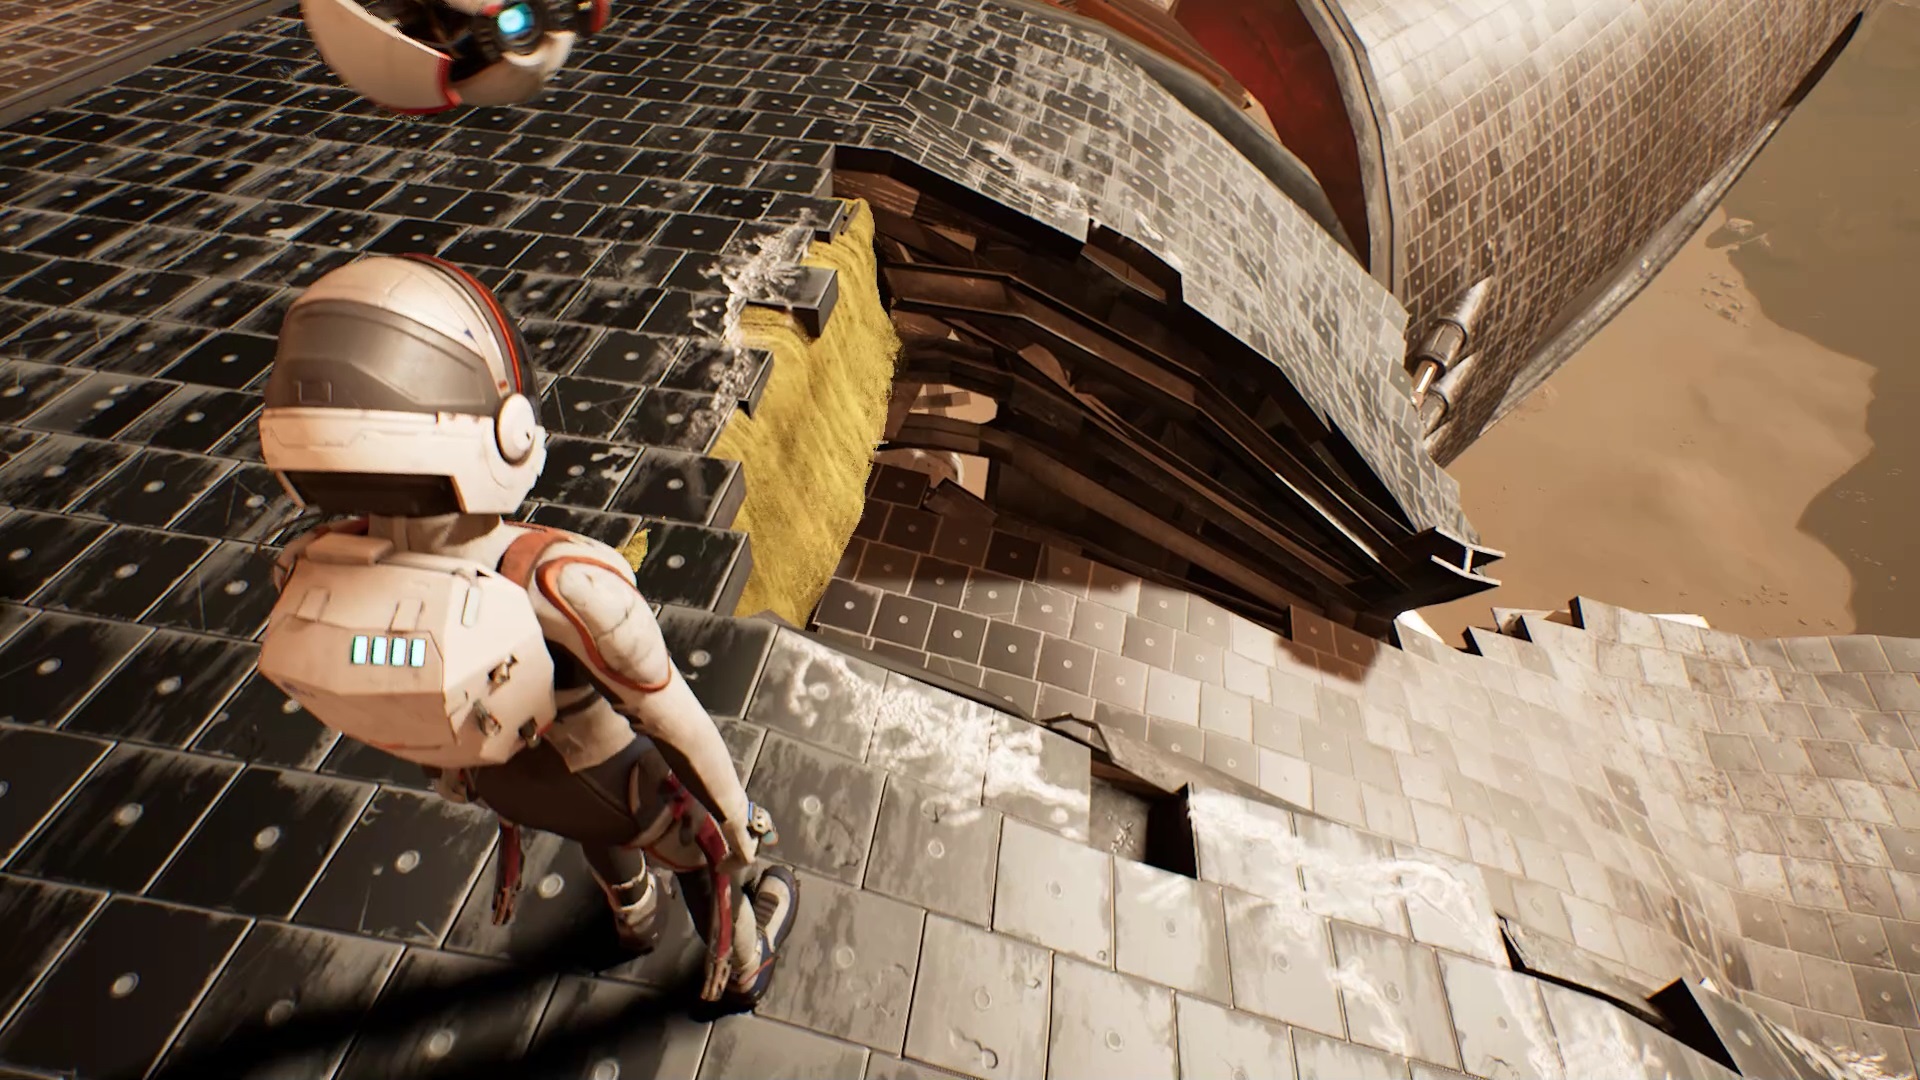
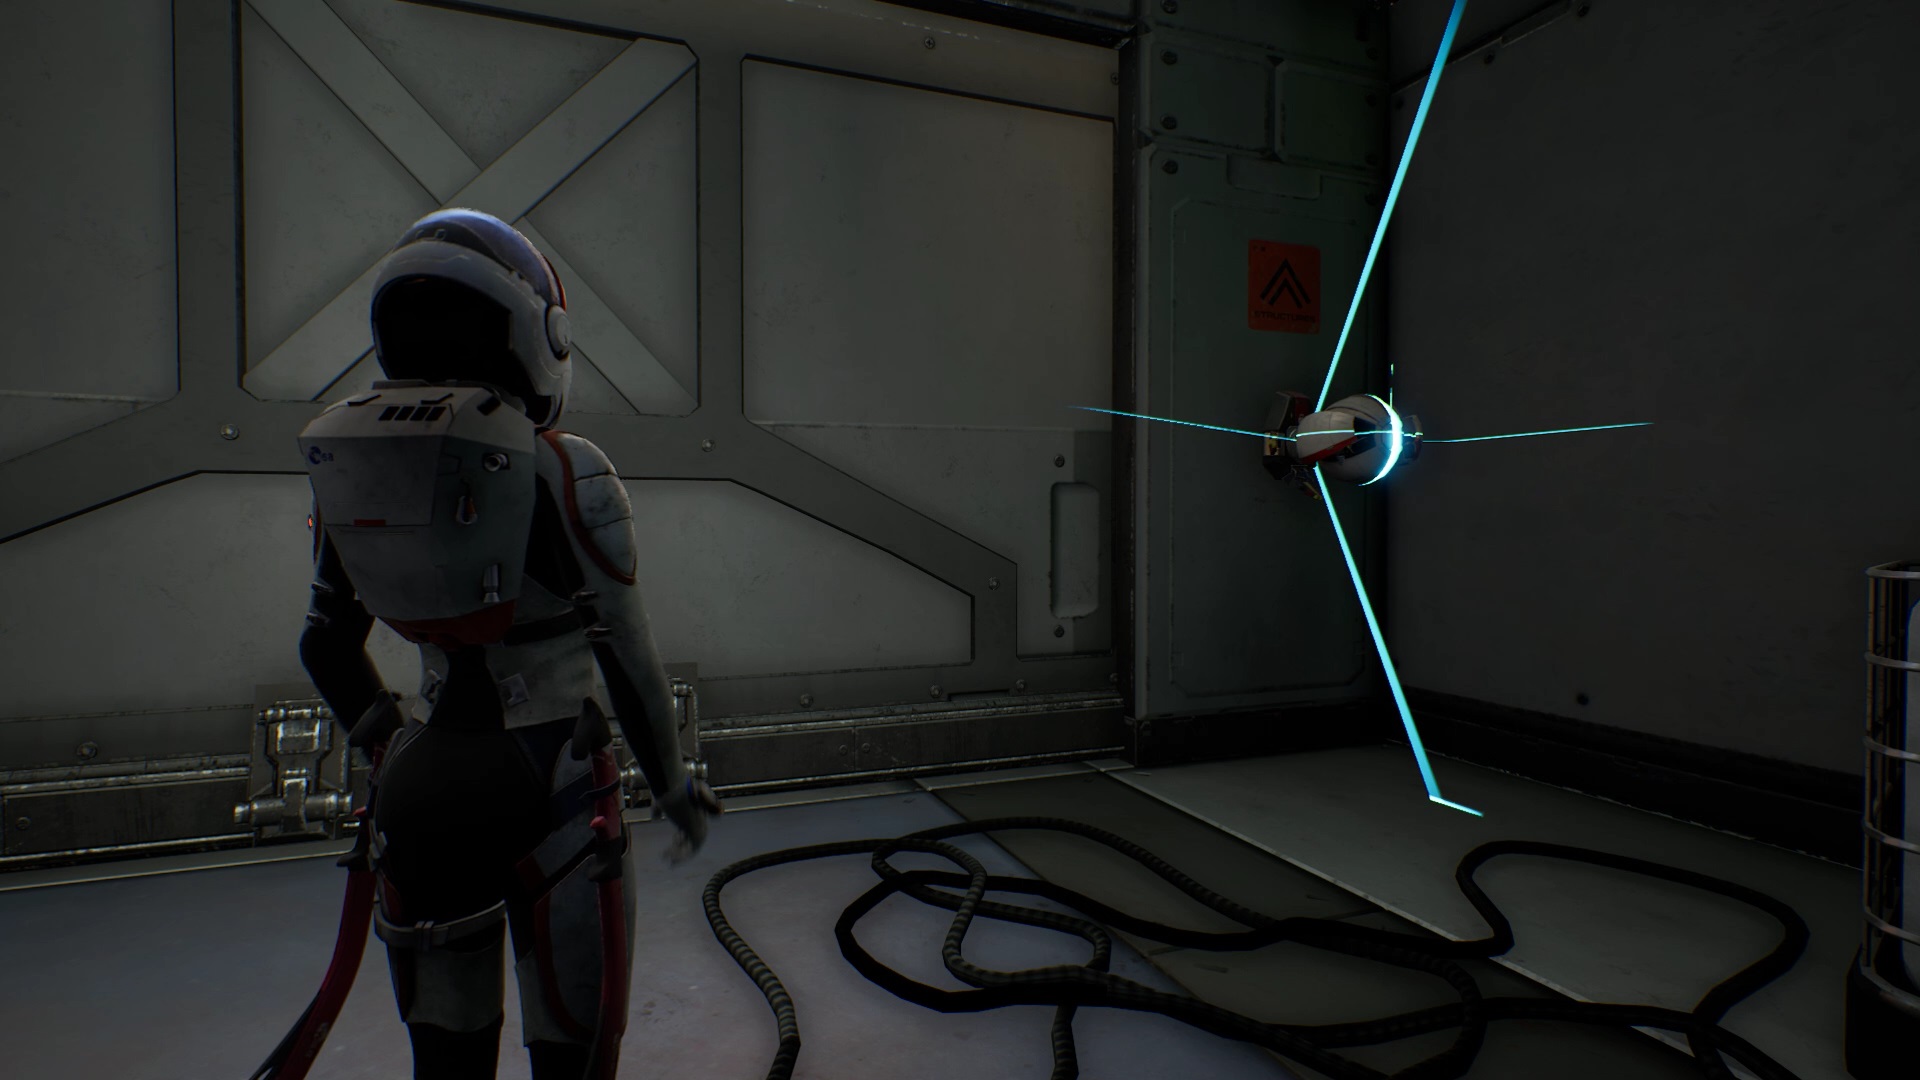
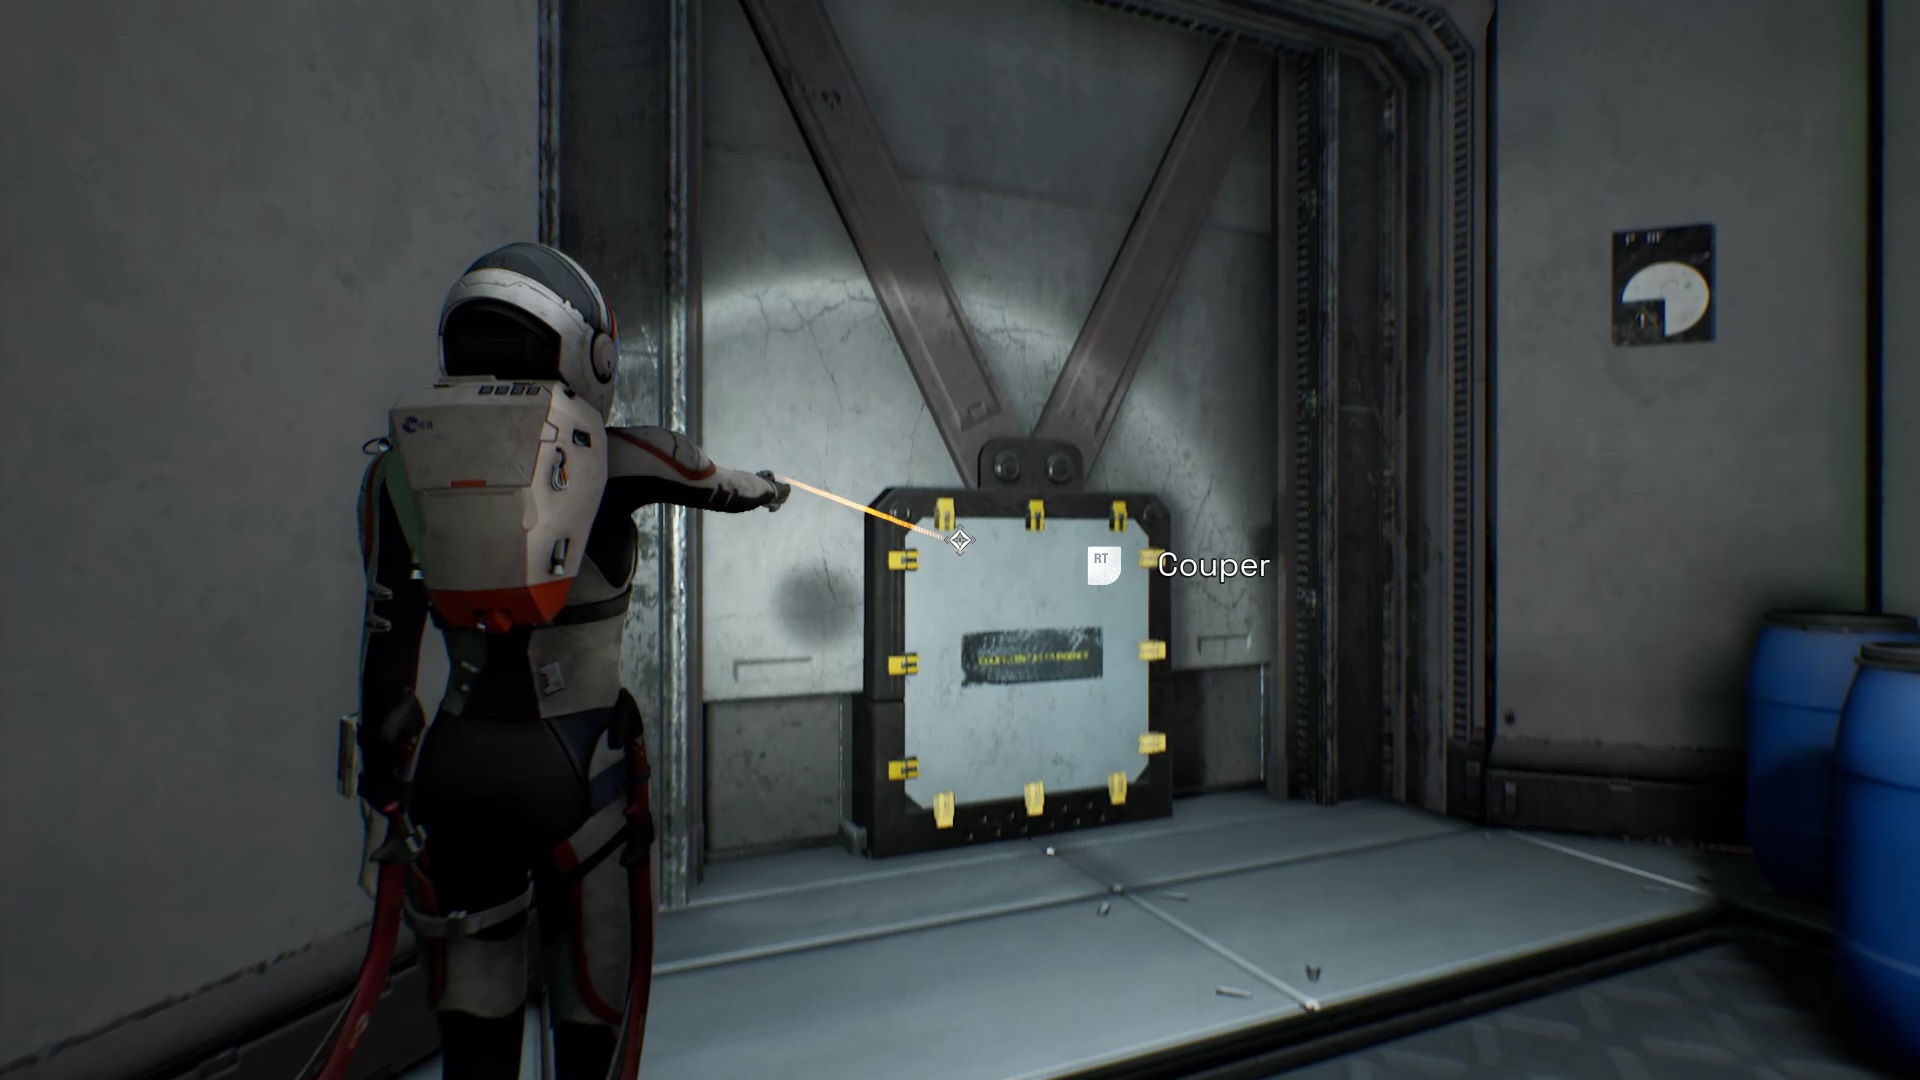
Climb onto the platform at the level of the light beams. At the red beam, use your laser to cut through the metal plate that is obstructing the laser. Follow the three lines on the plate to cut it. To connect the Streame points, follow the blue wires connected to the light beams. Go down the stairs and the ladder to continue forward.
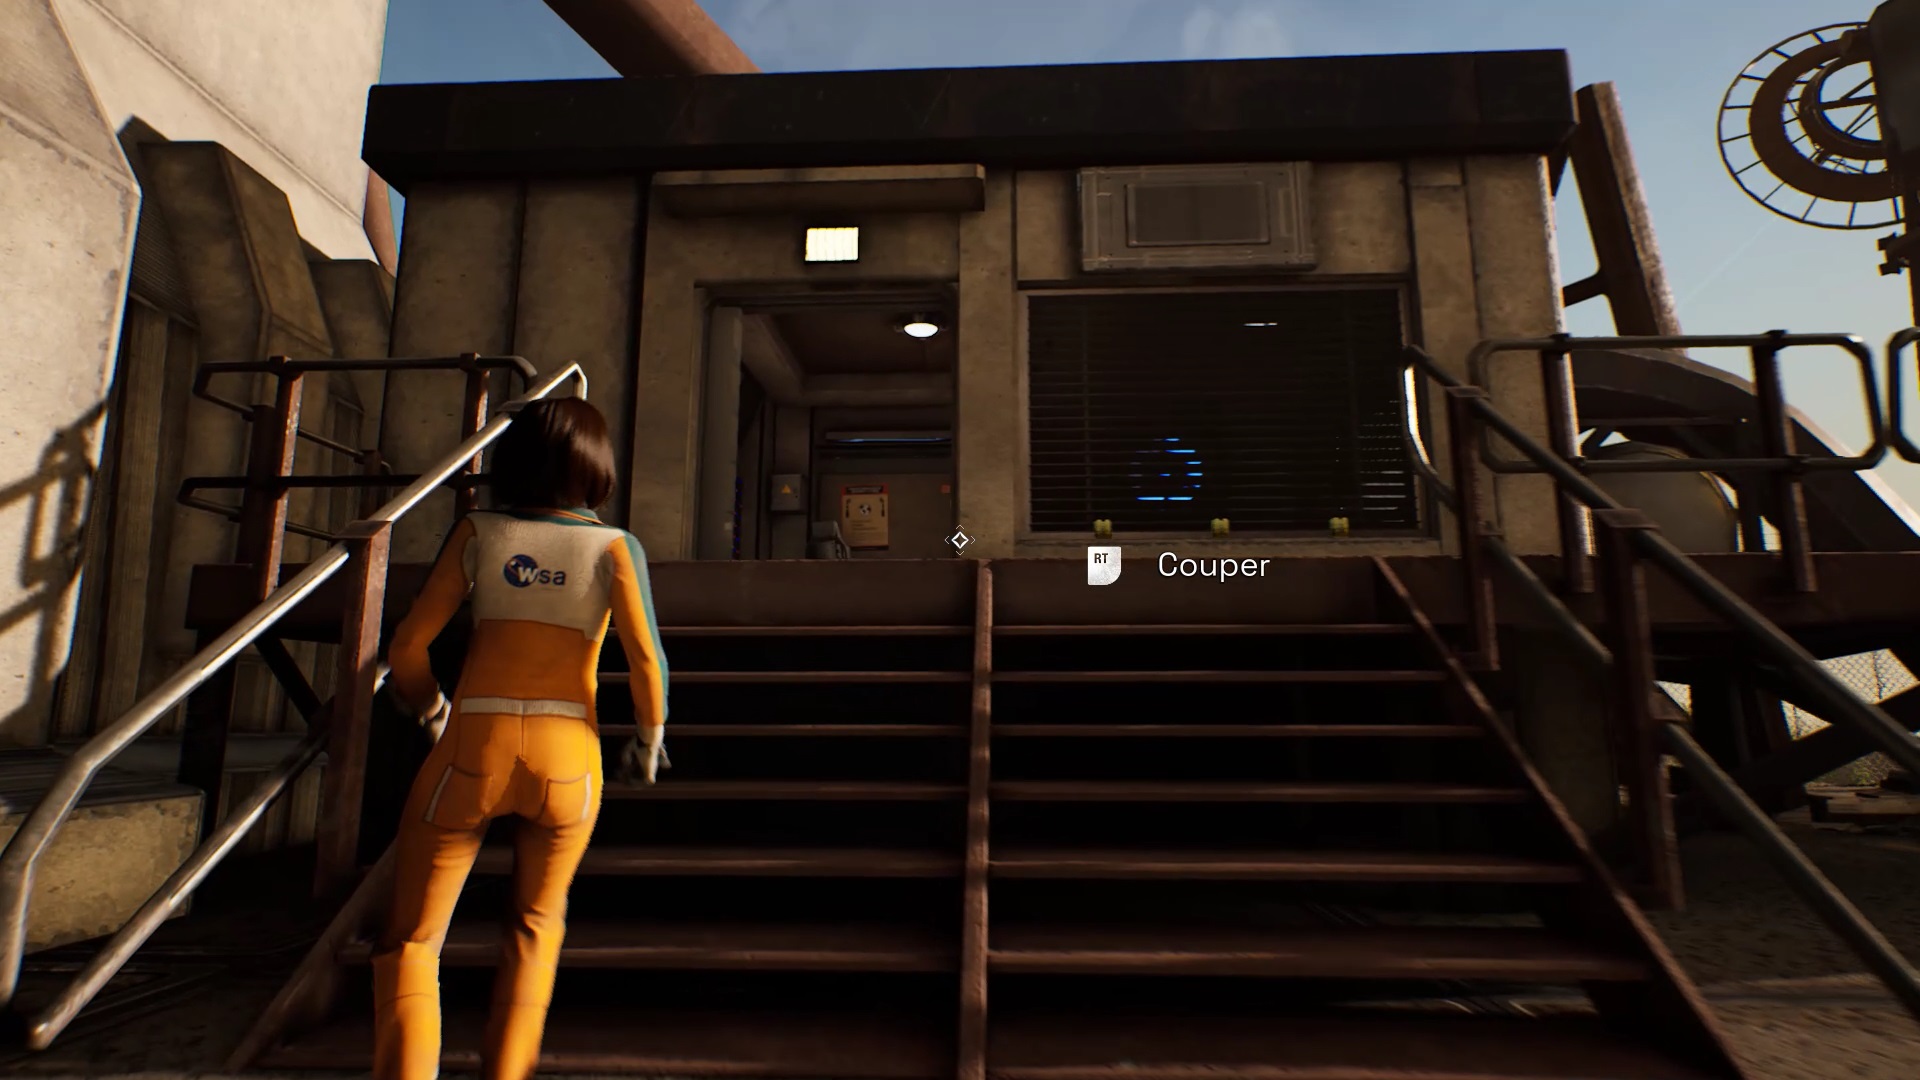
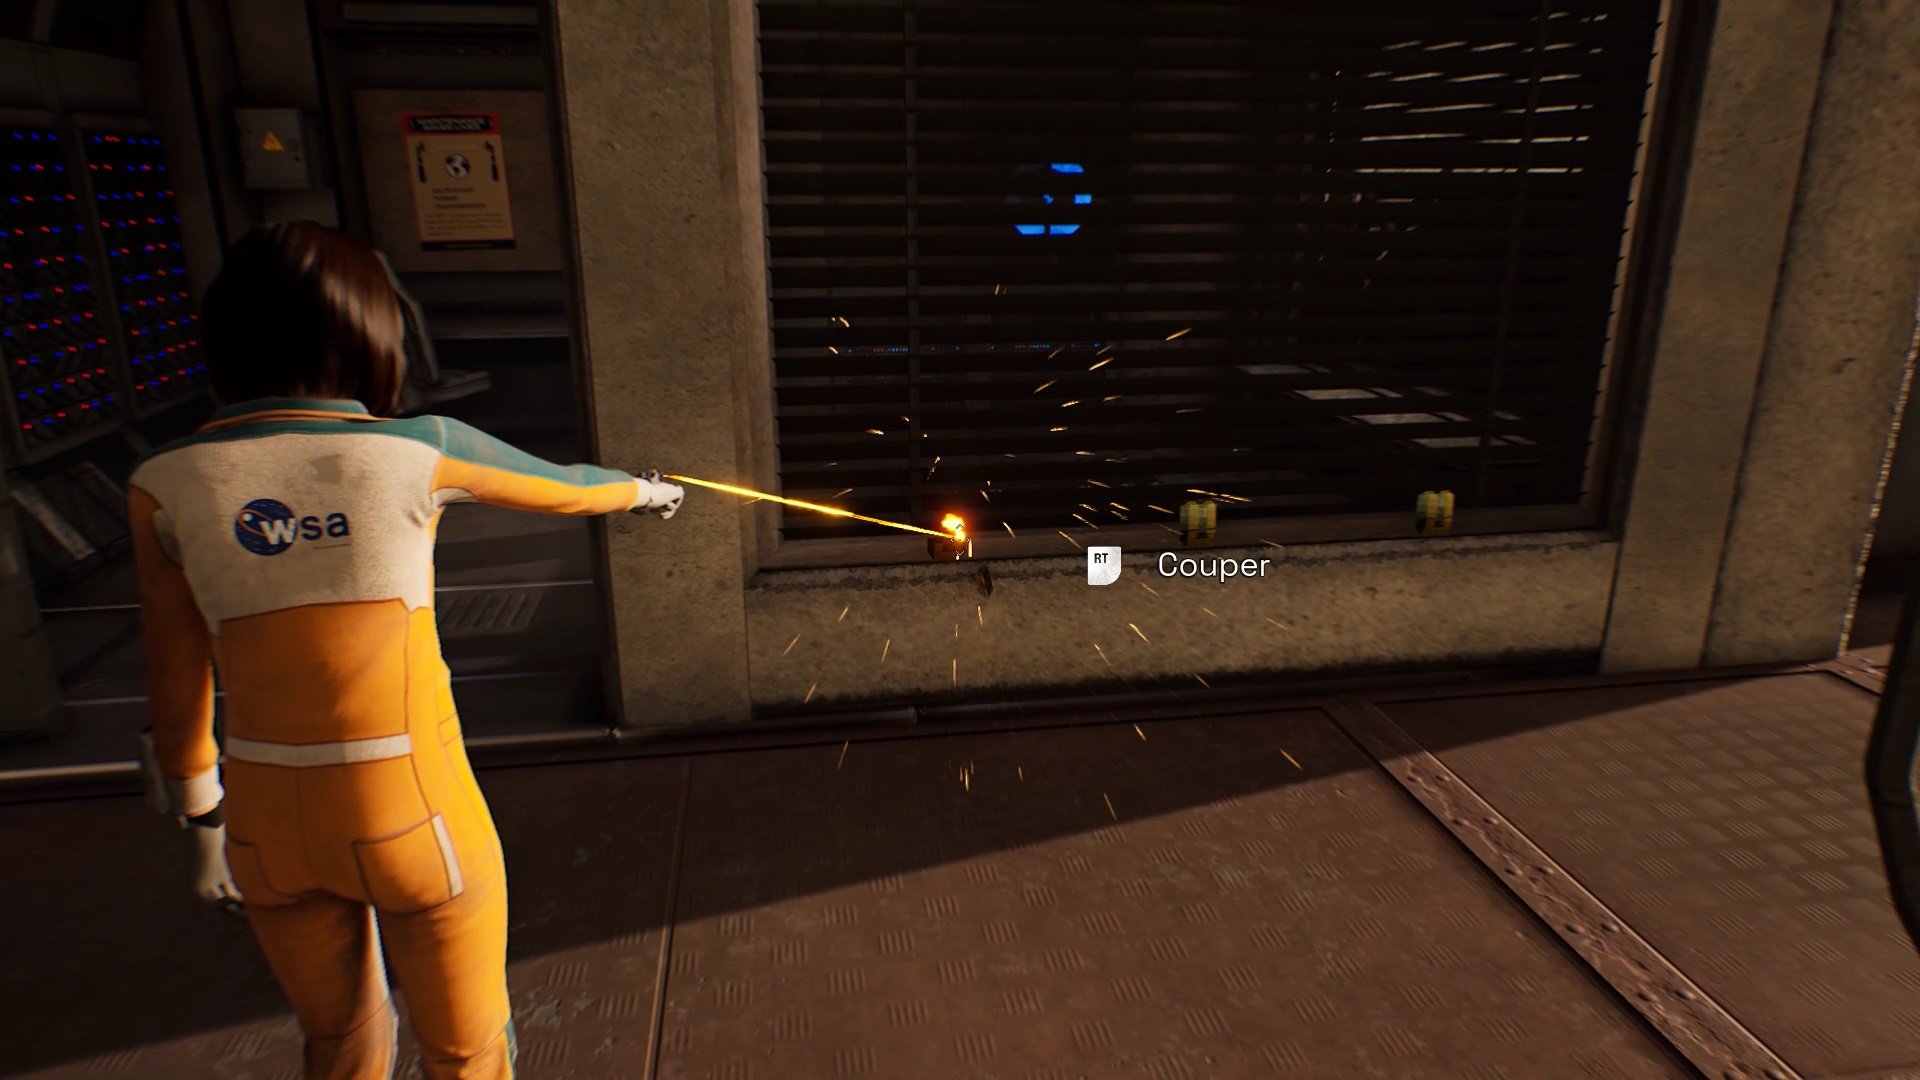

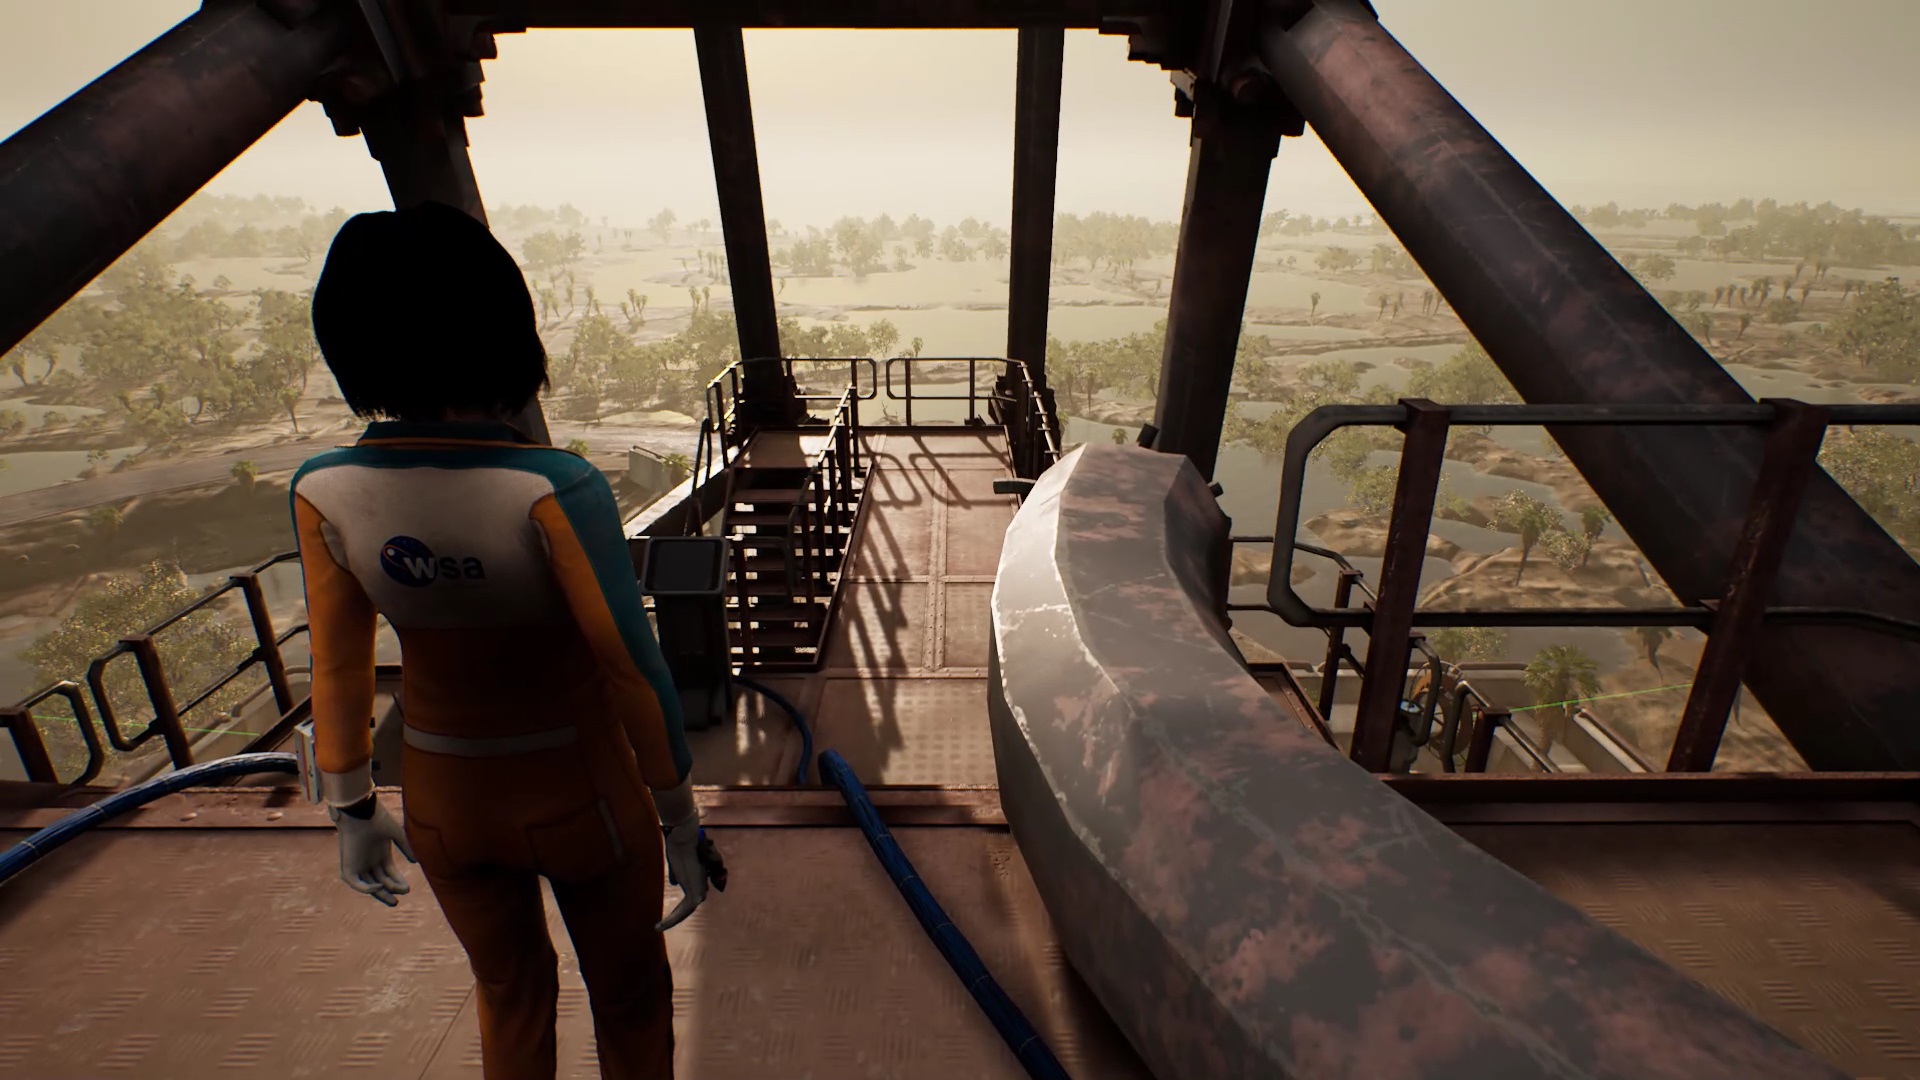
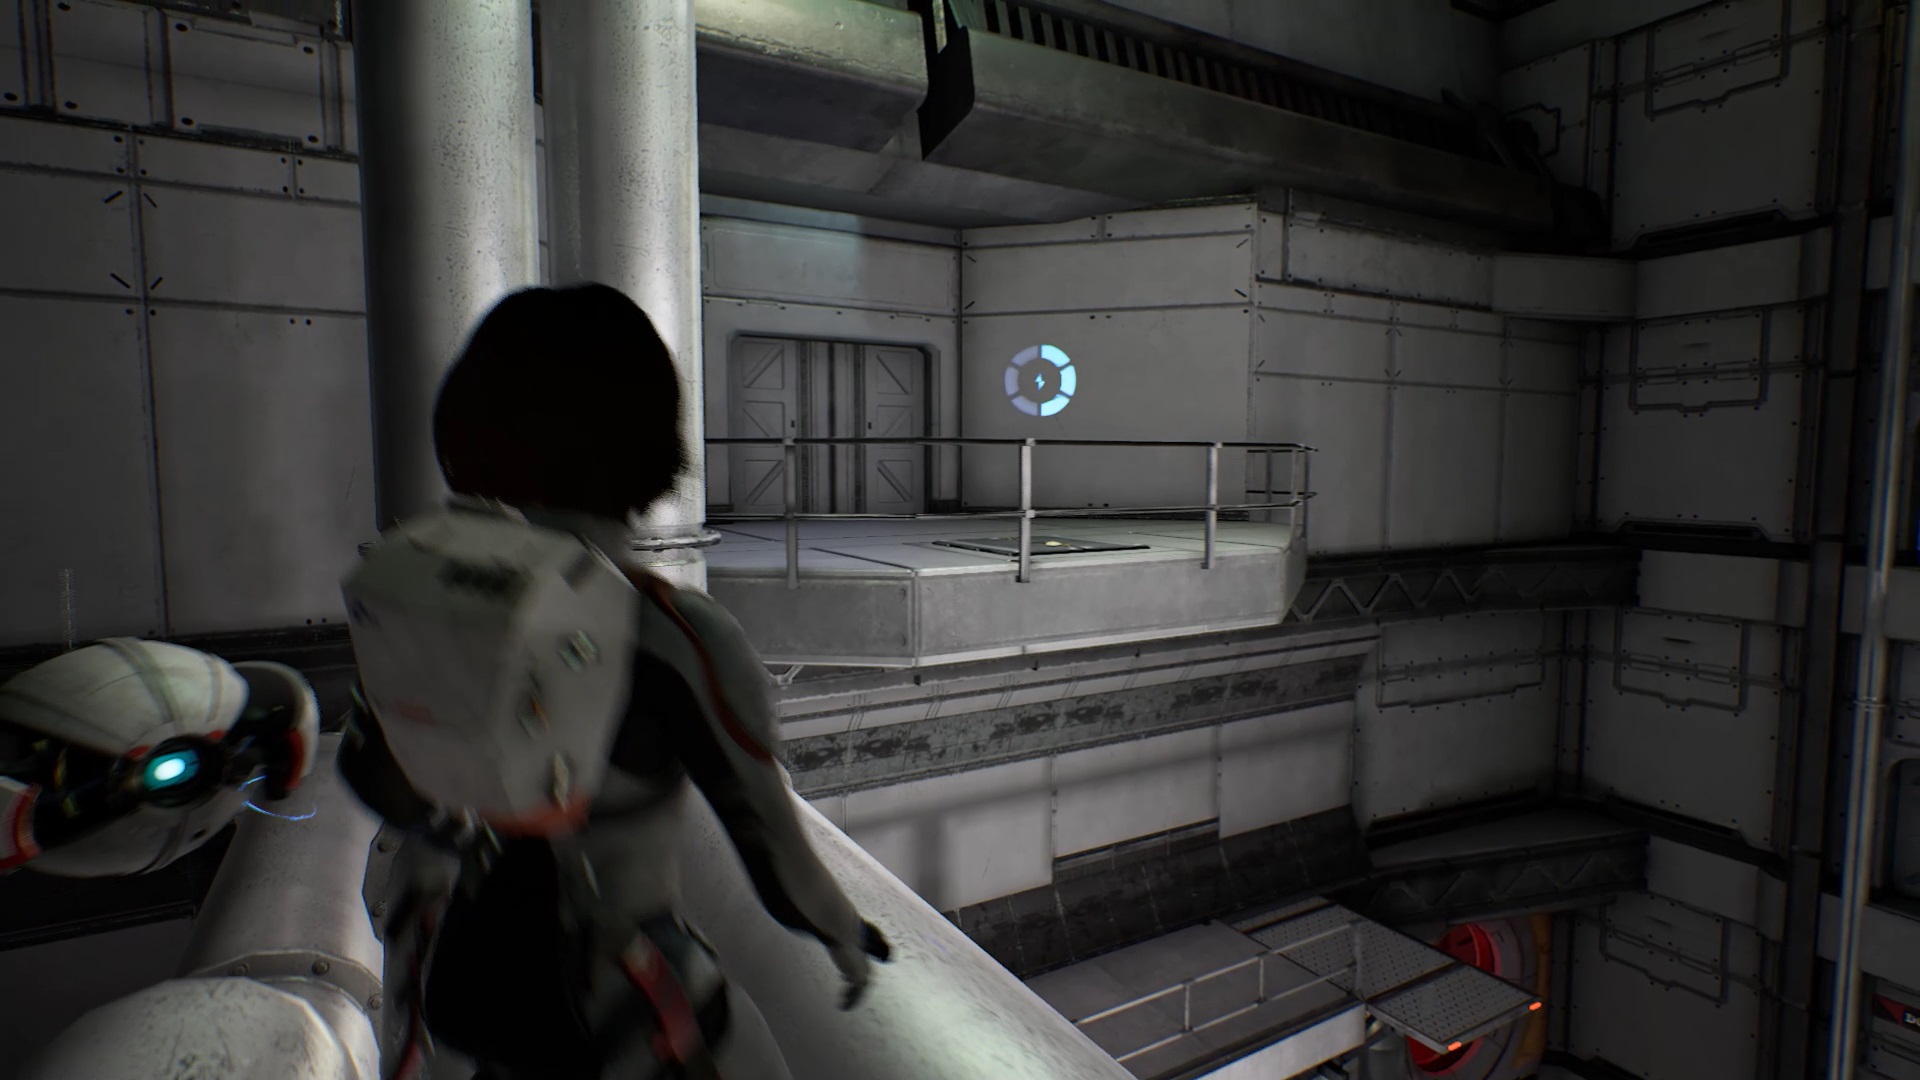
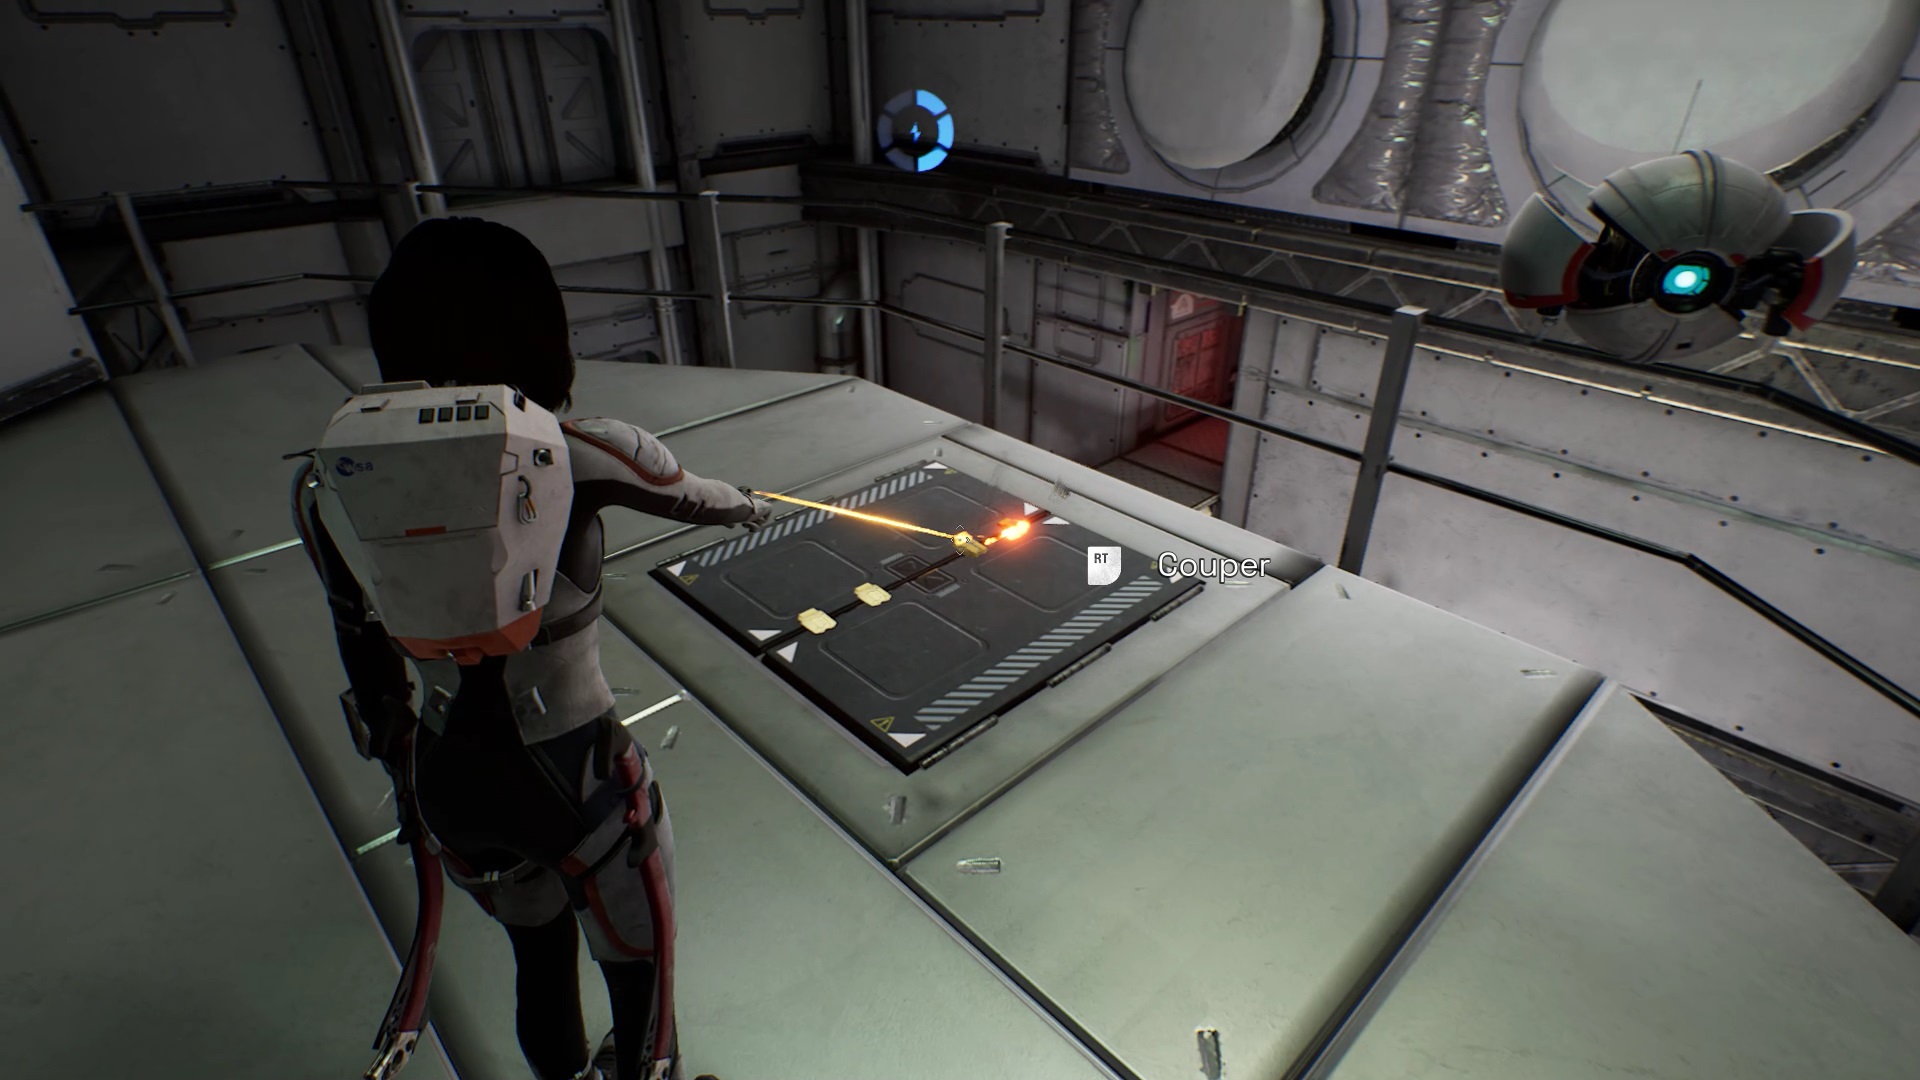
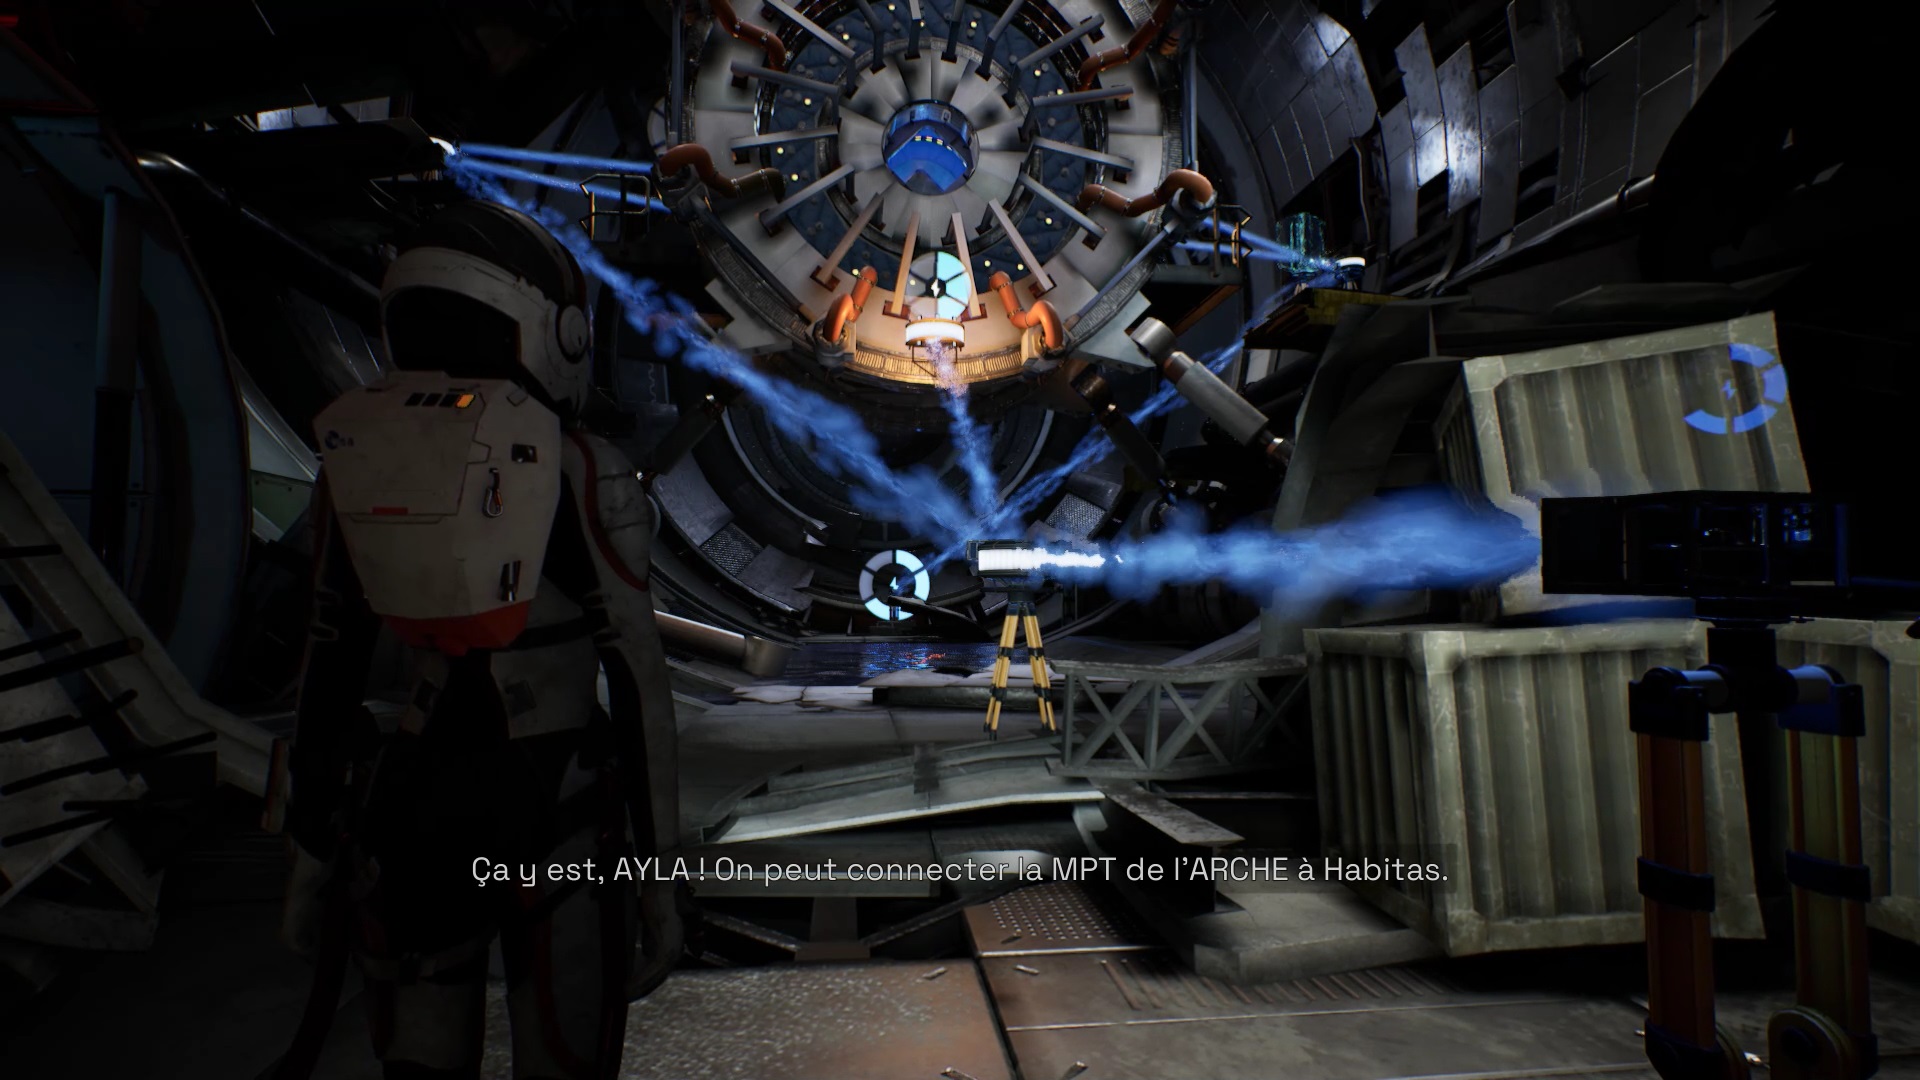
You reach the dish controls with the Streame points. Head up to the building level on the left under the stairs. Use your laser to unlock the window shutters. Enter the building and use the laser again on a floor plate.

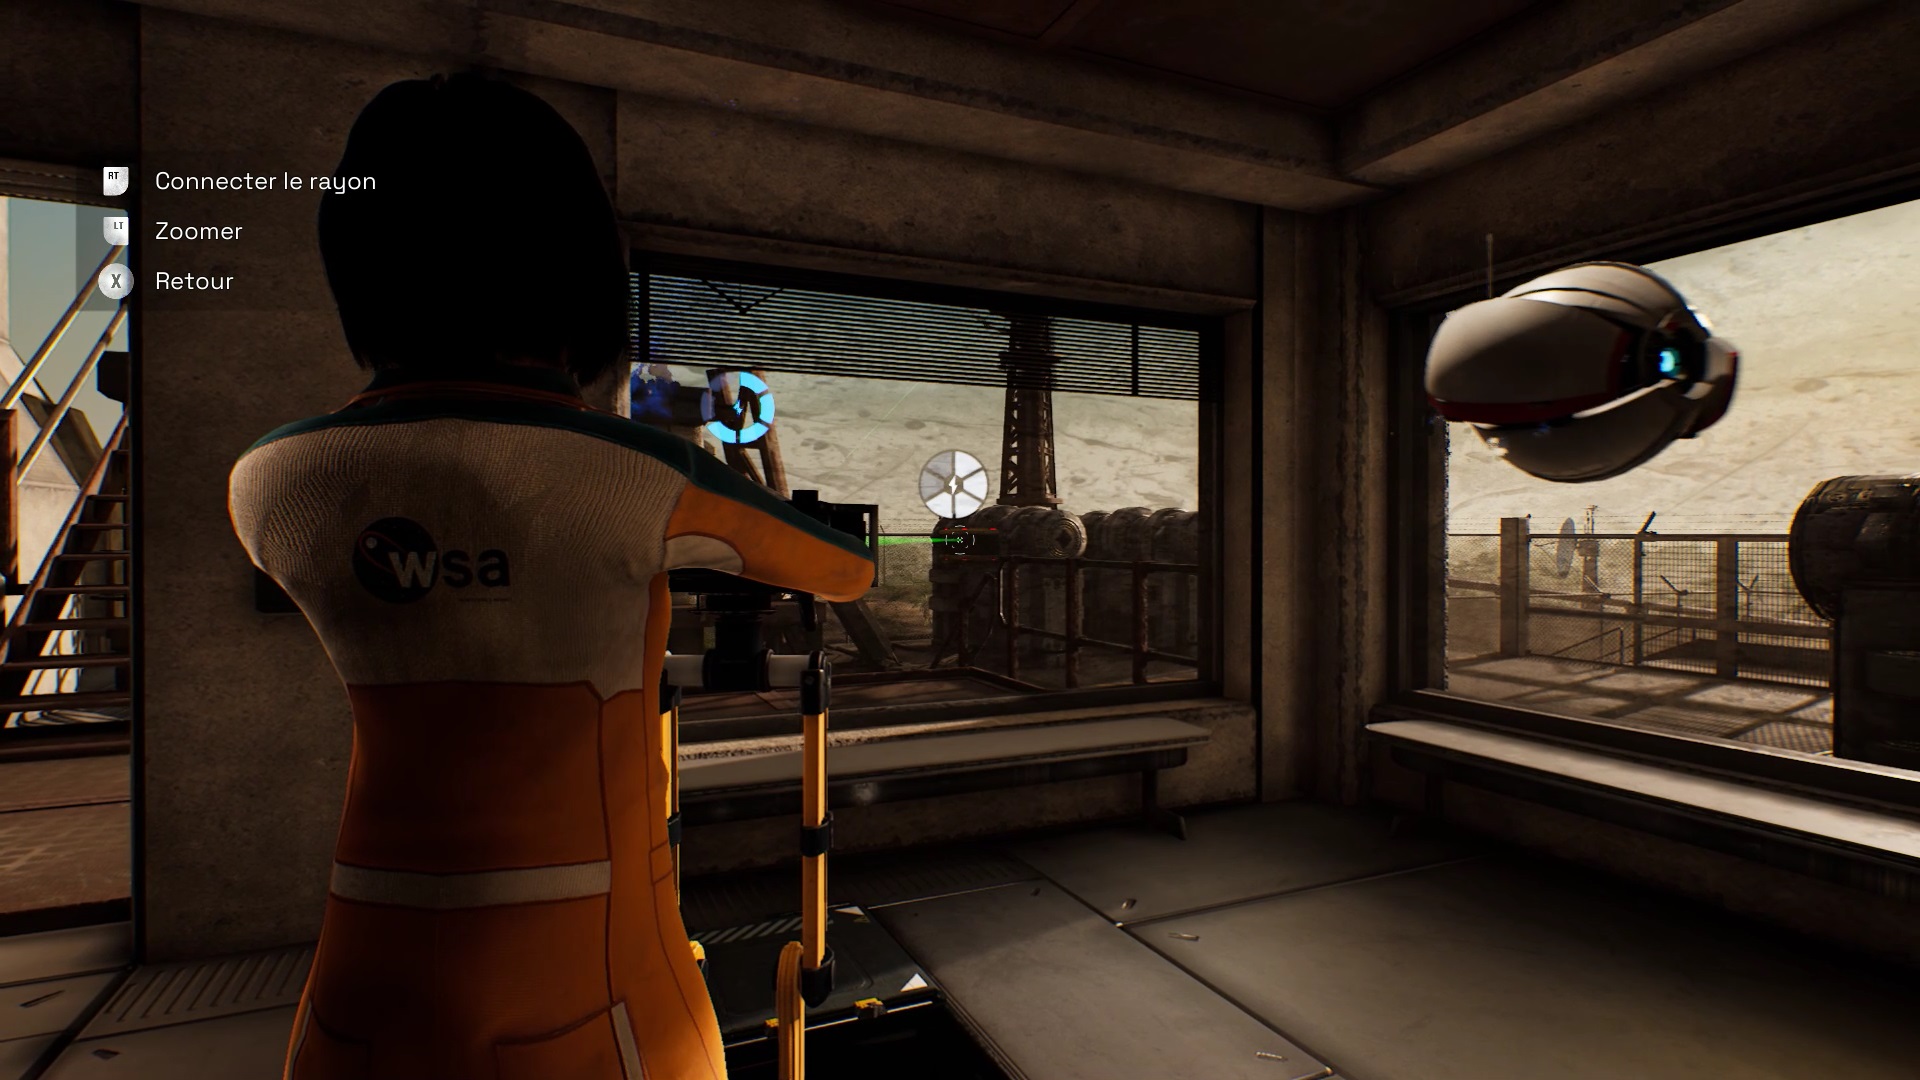
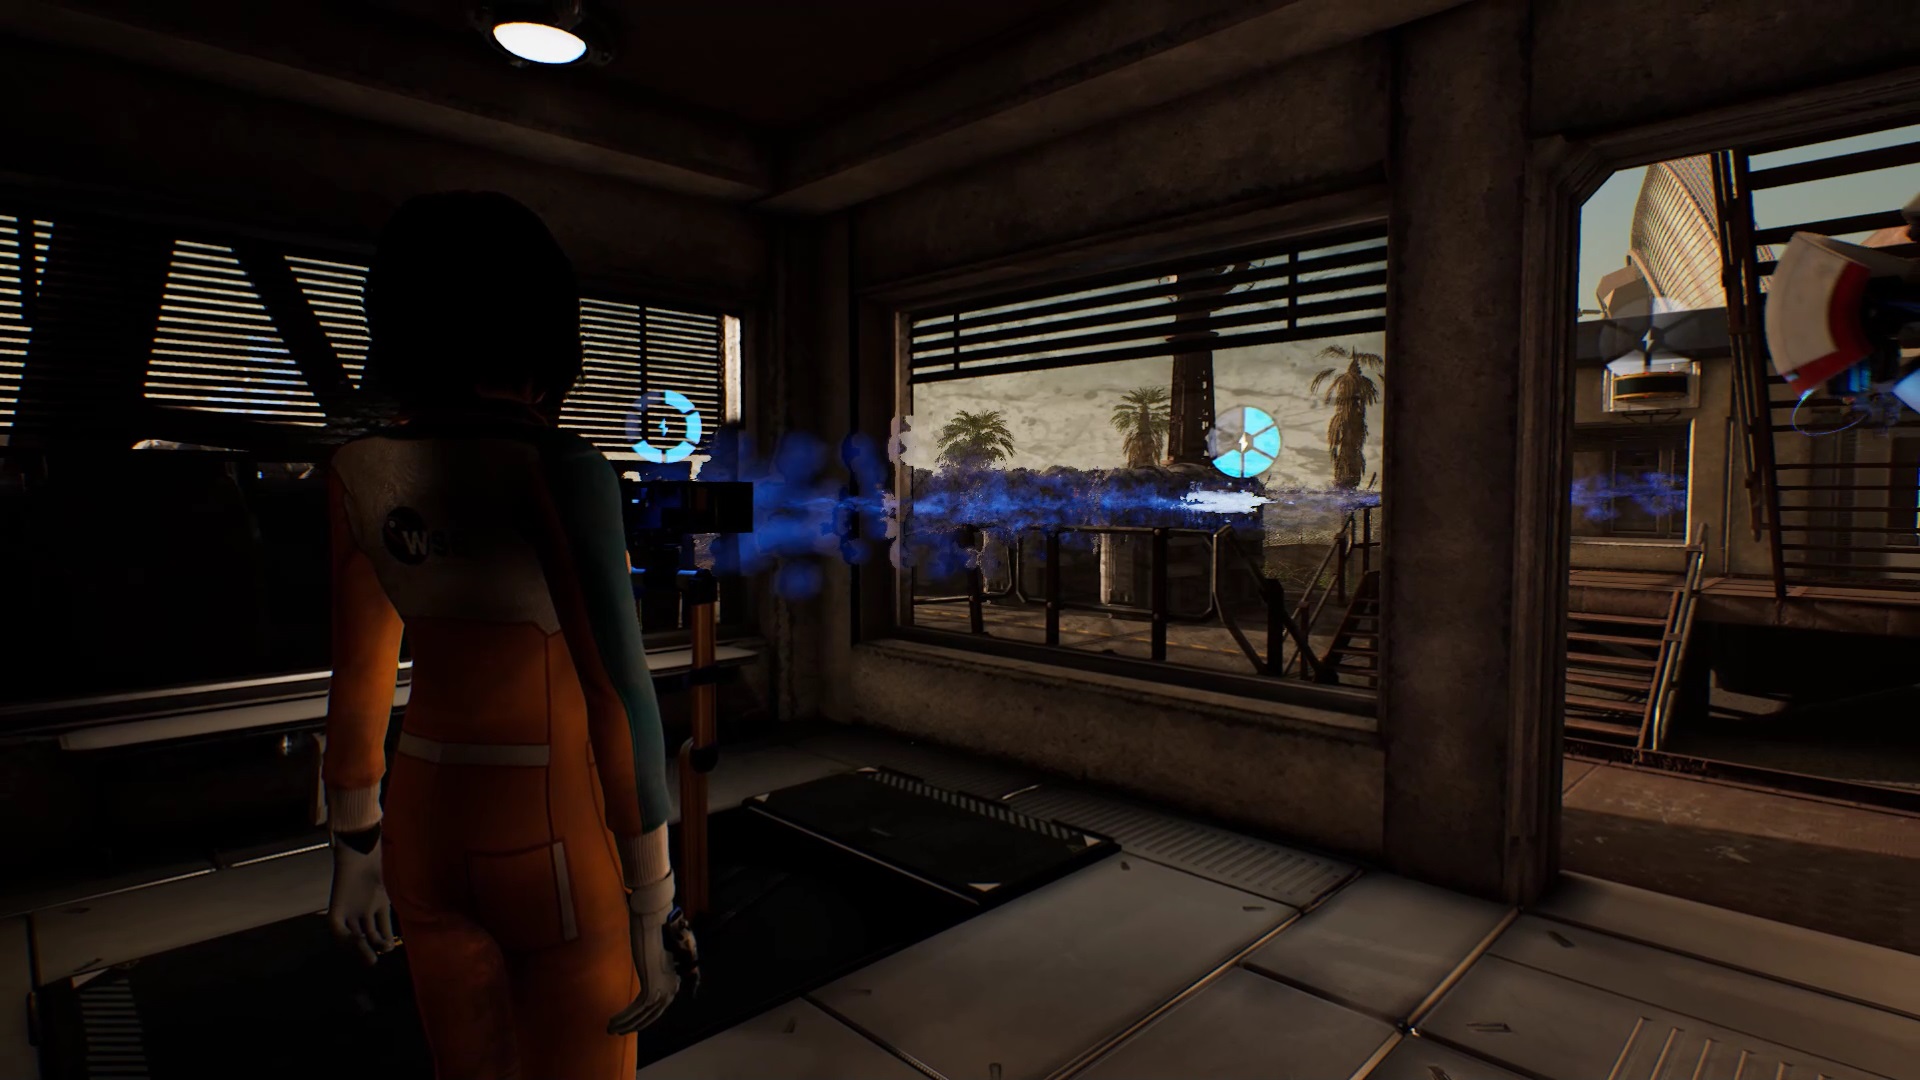
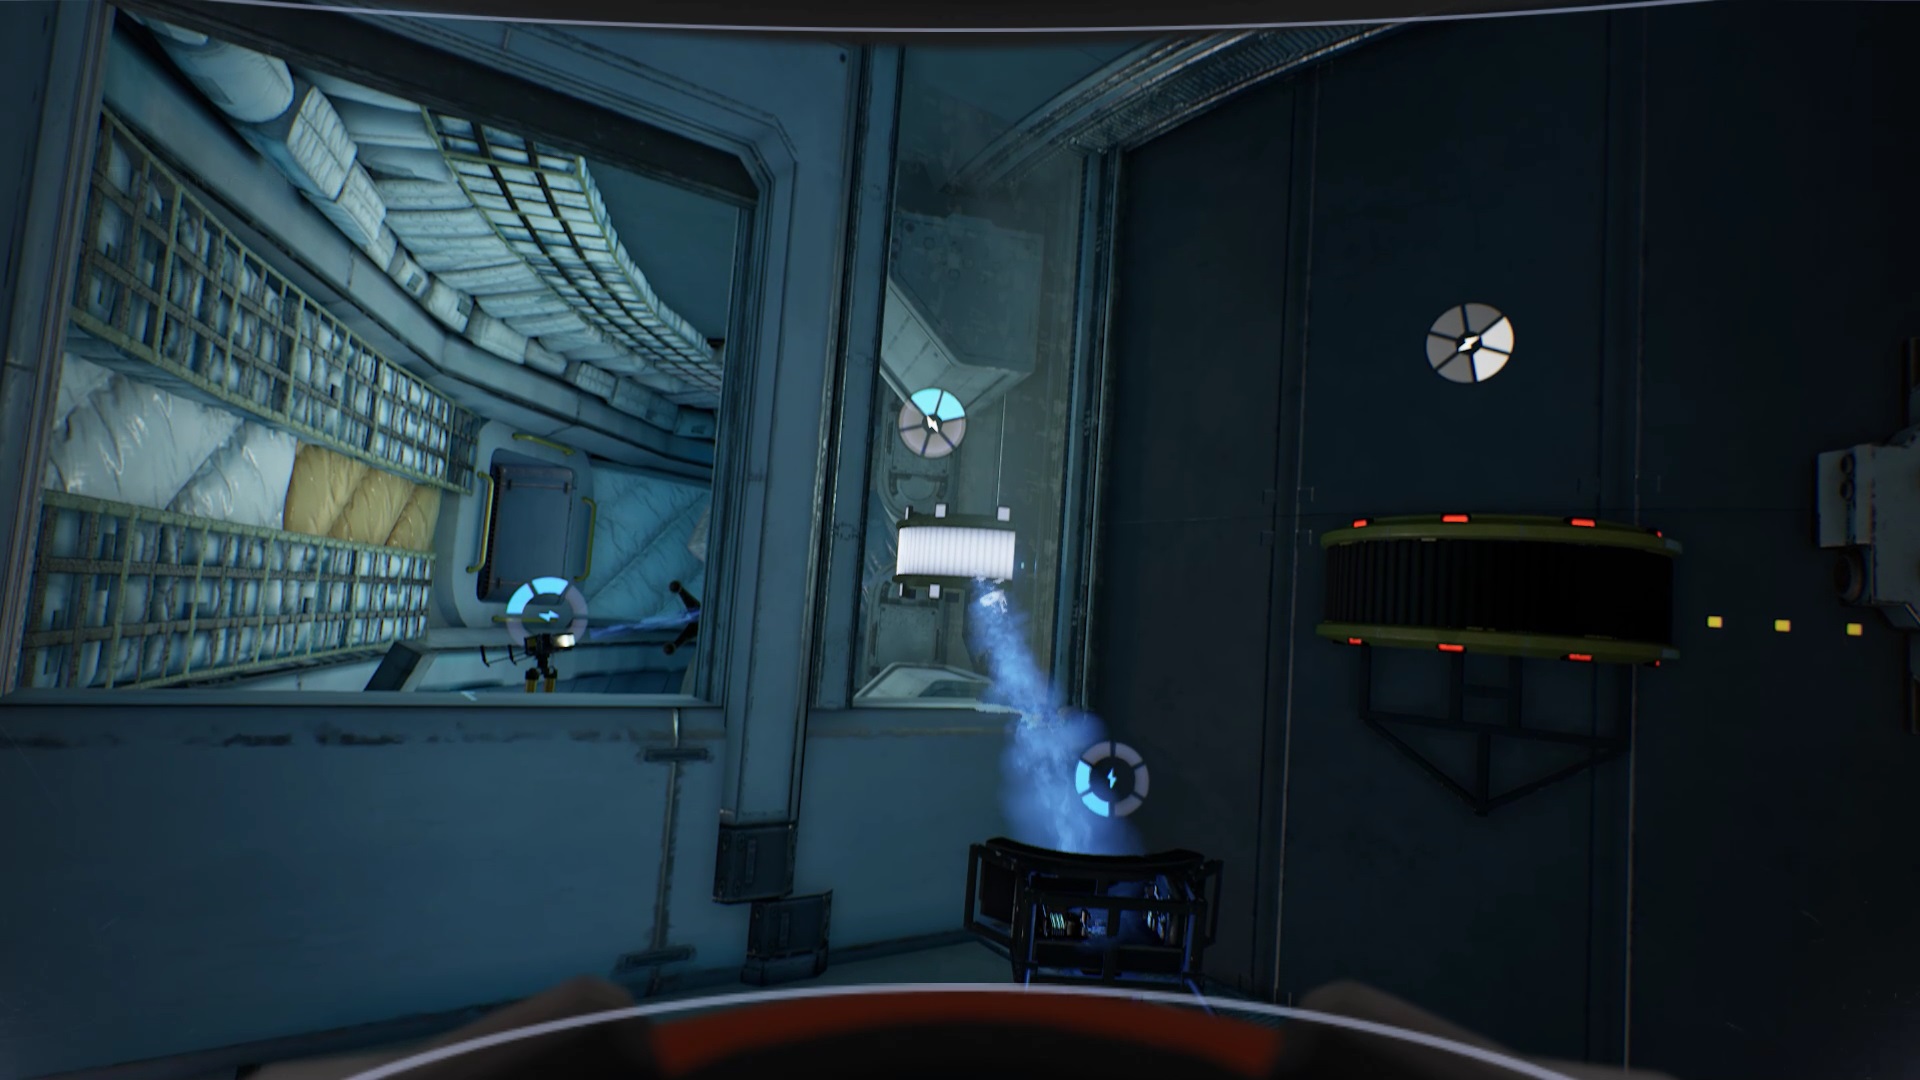
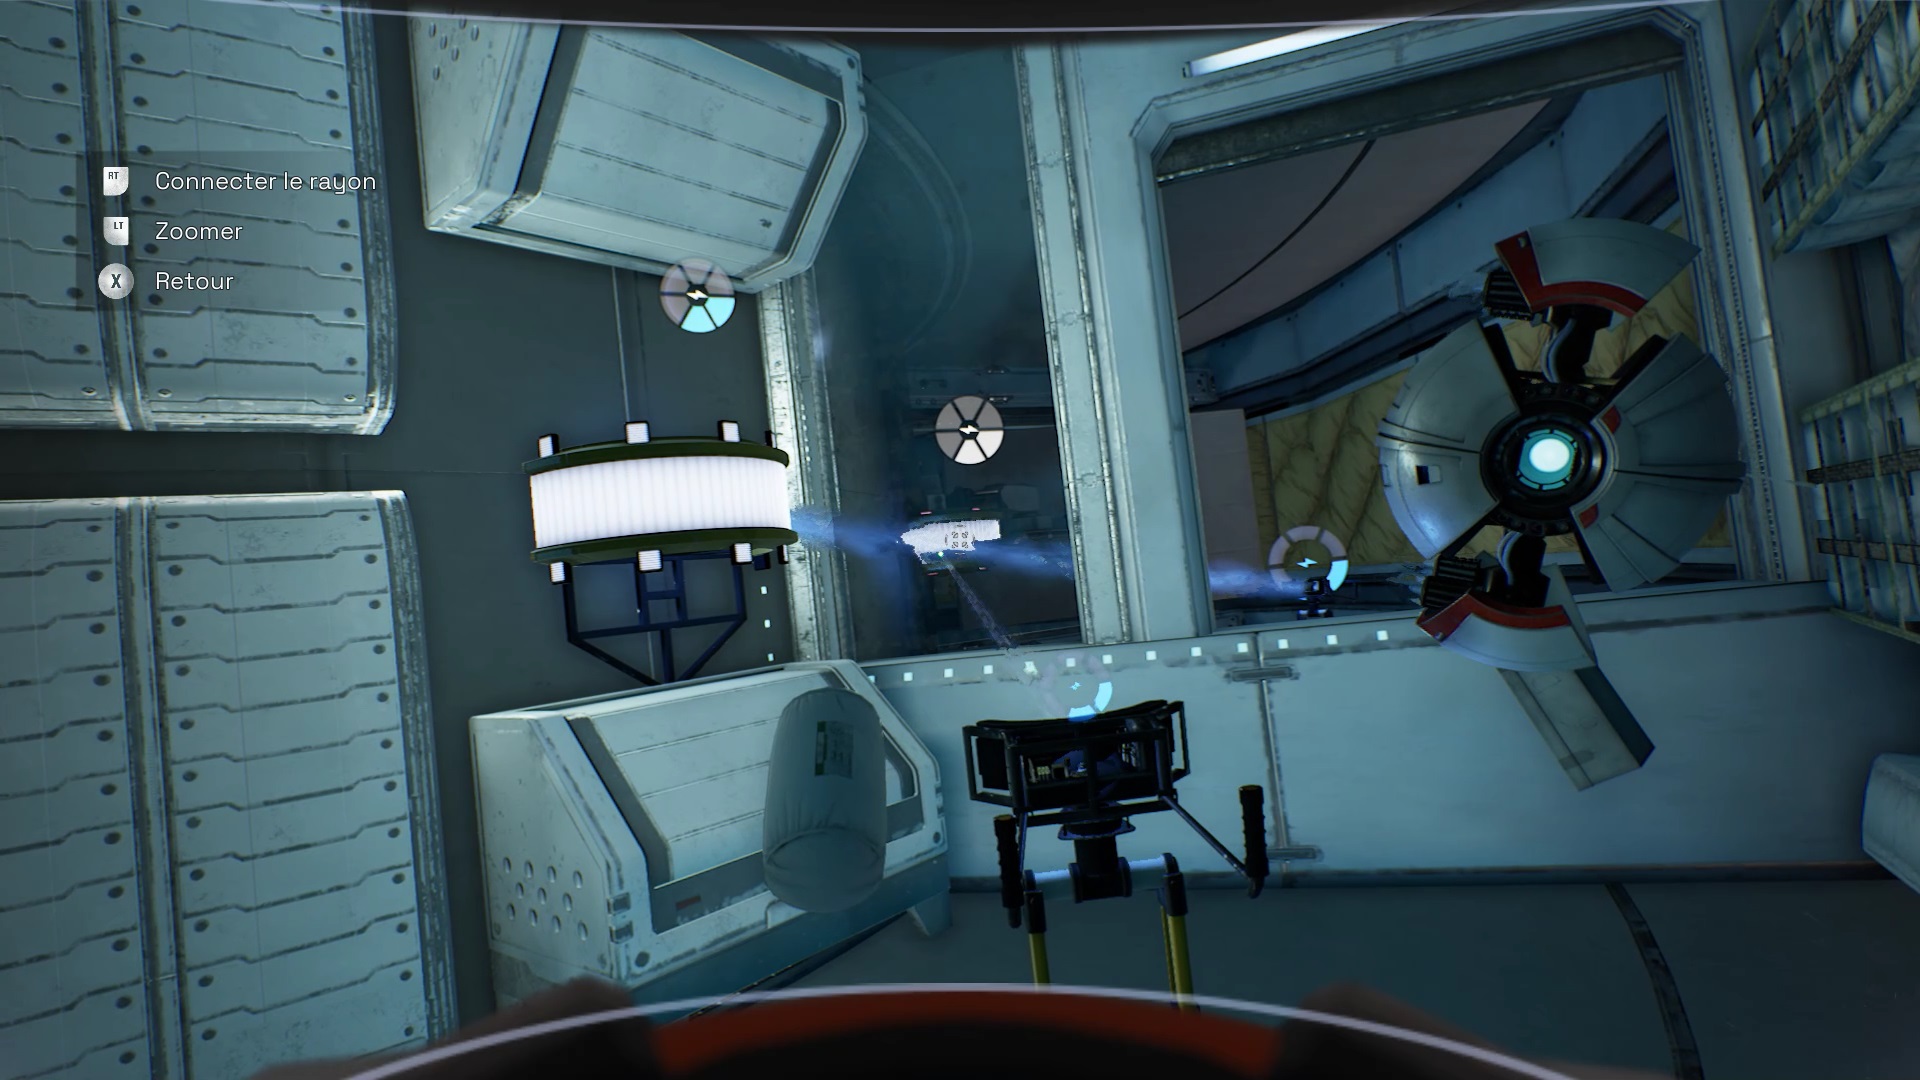
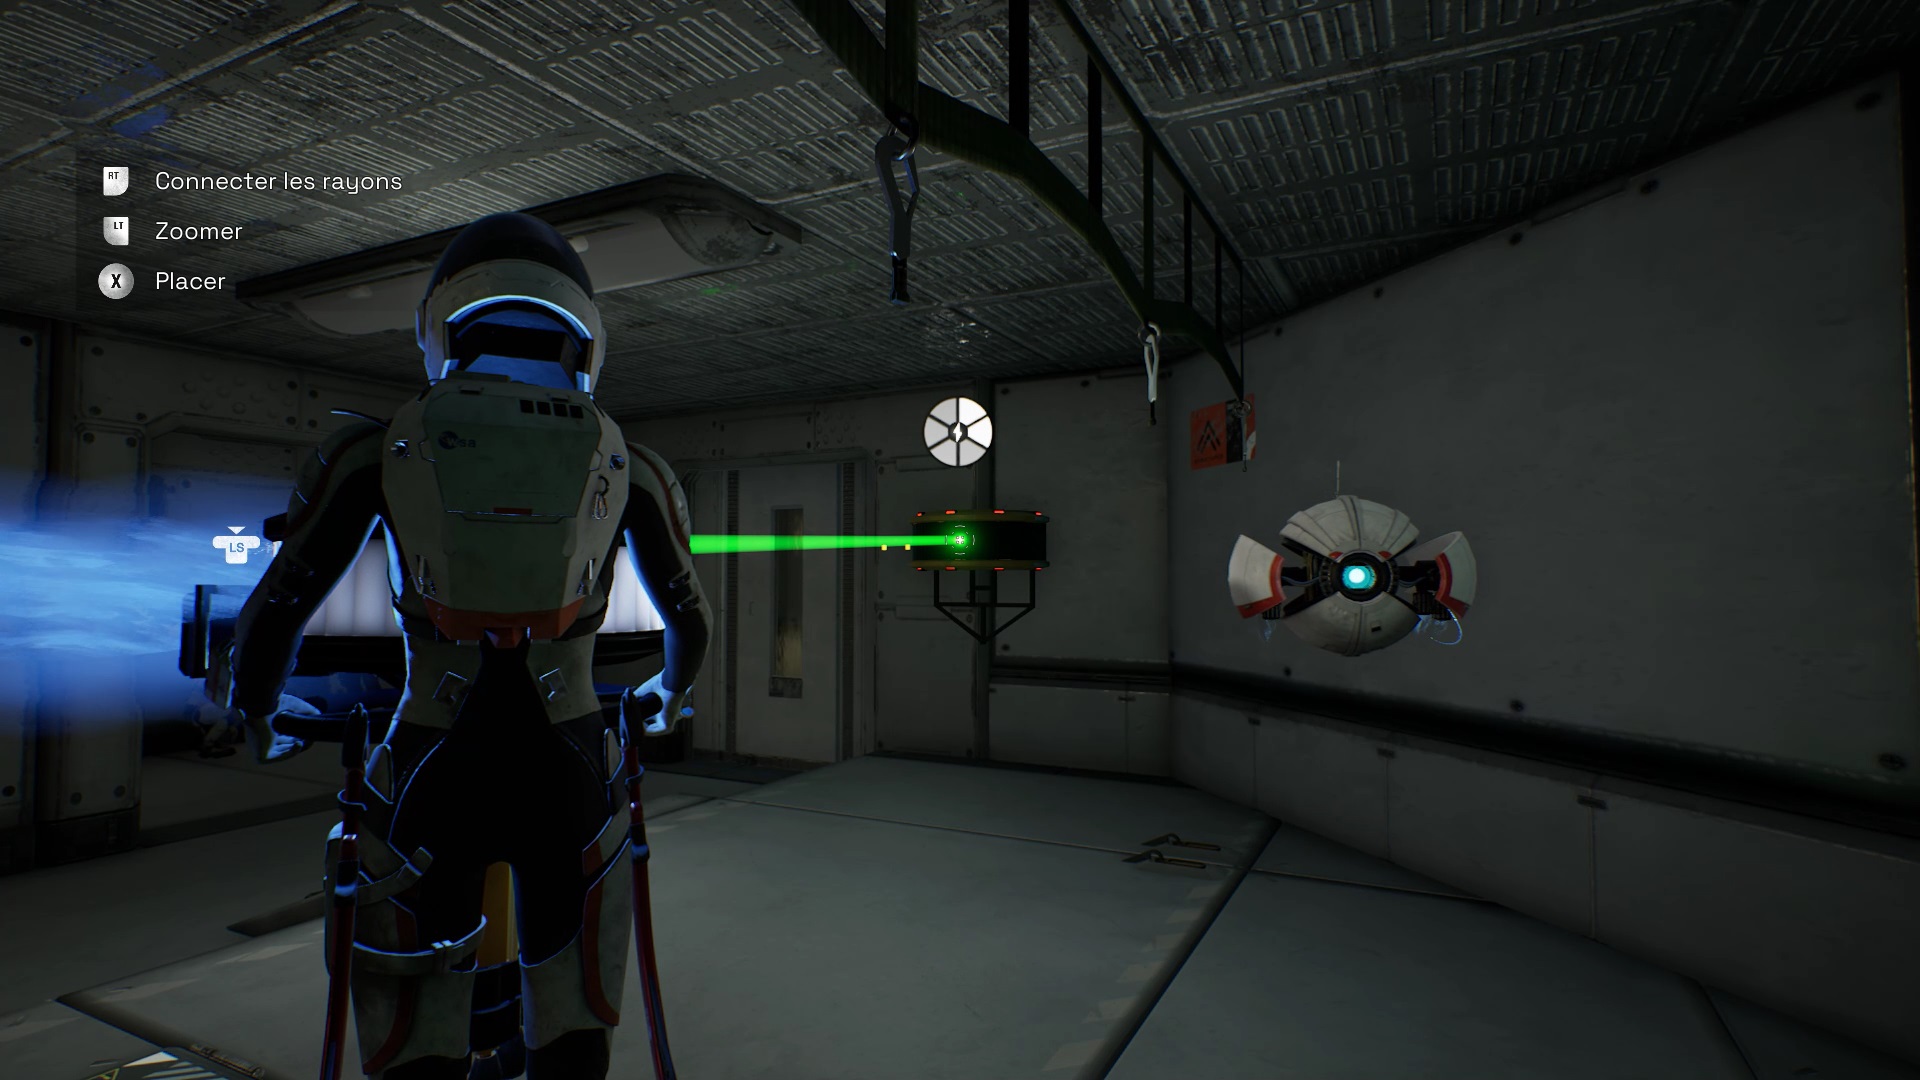
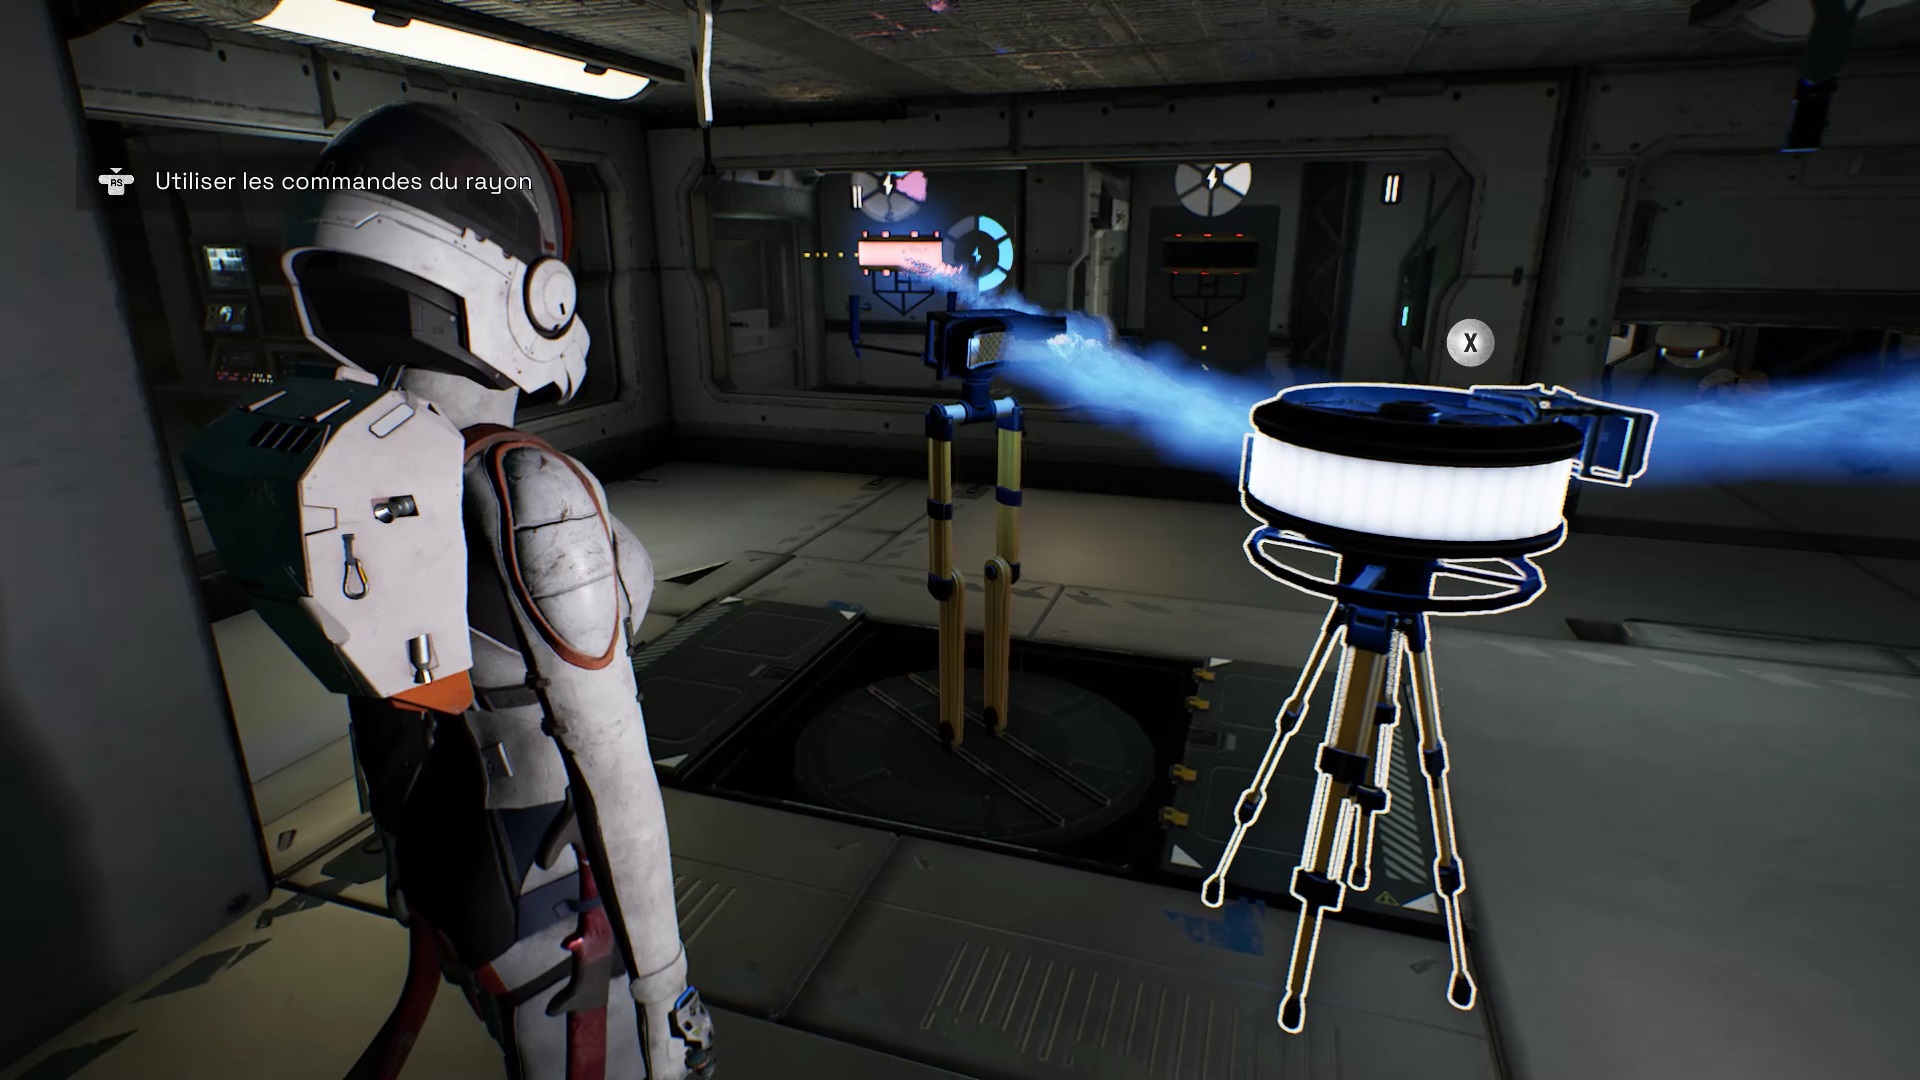
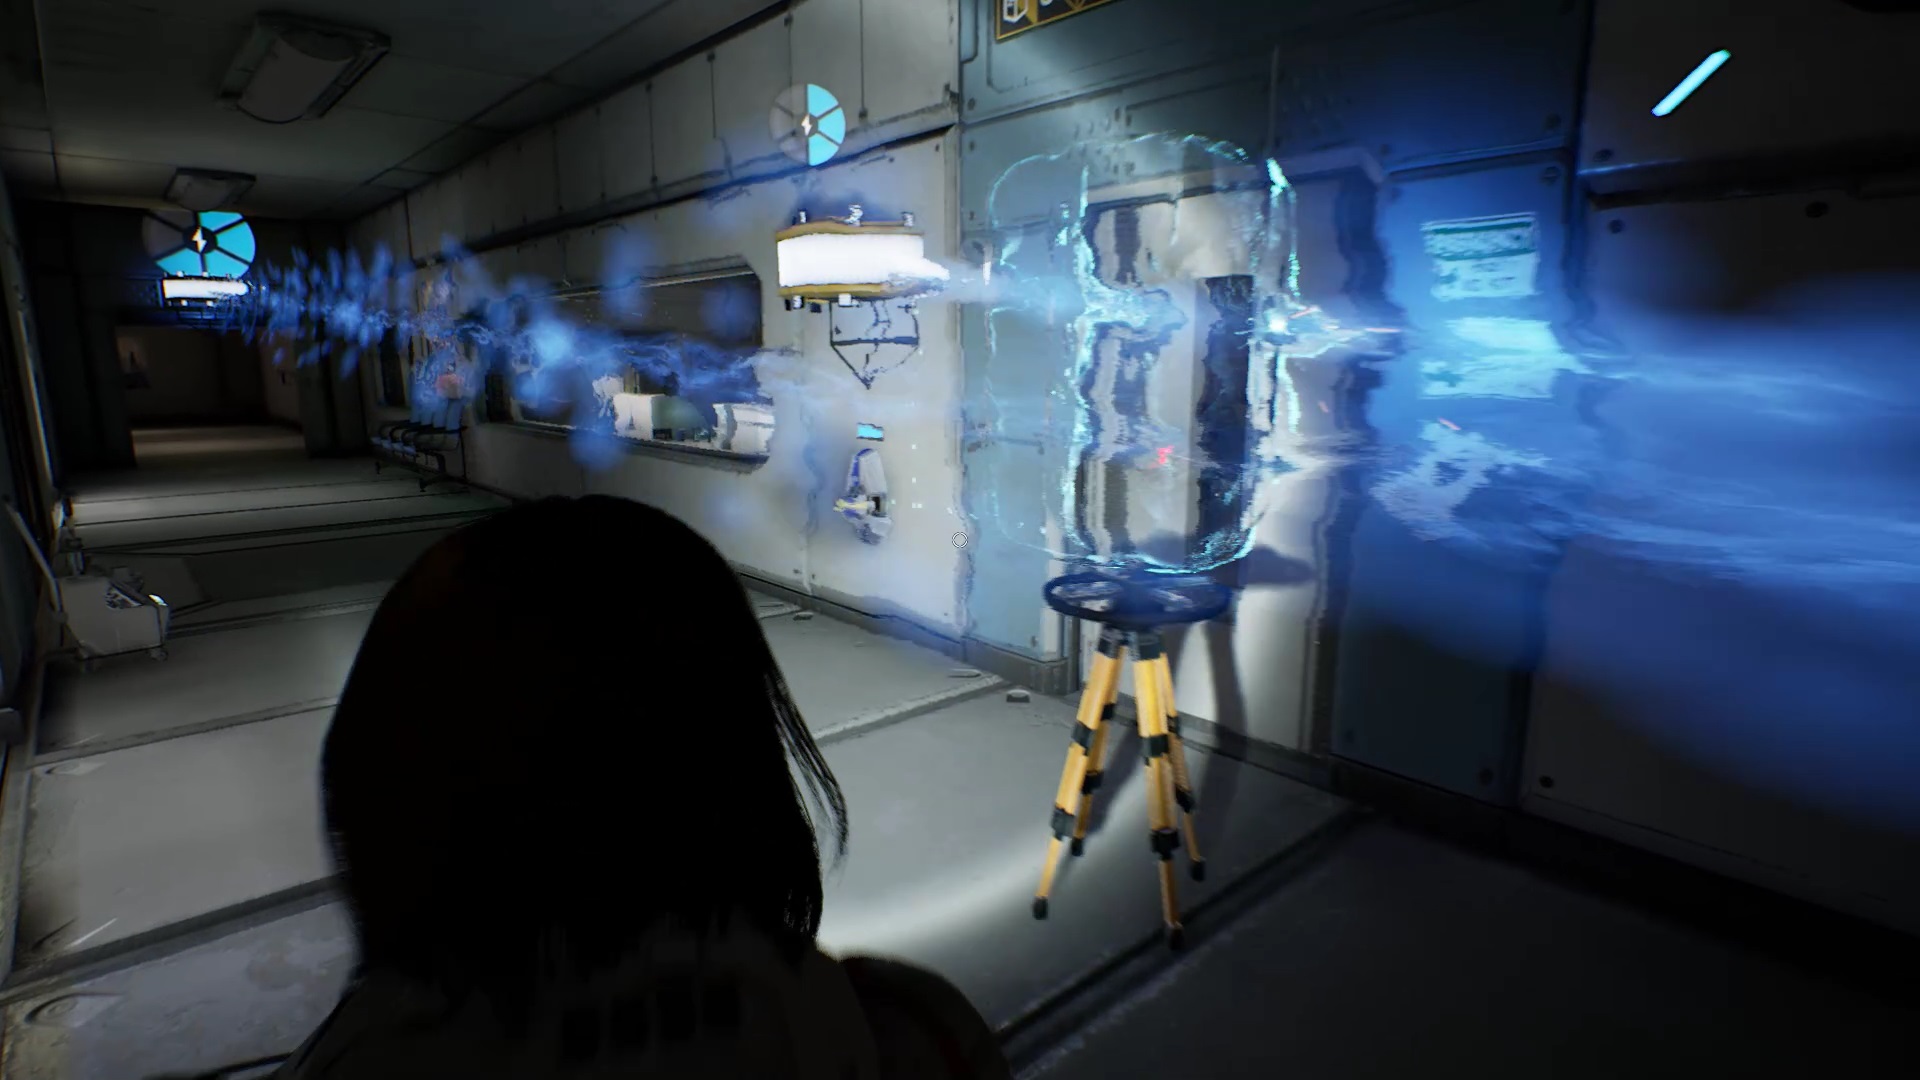
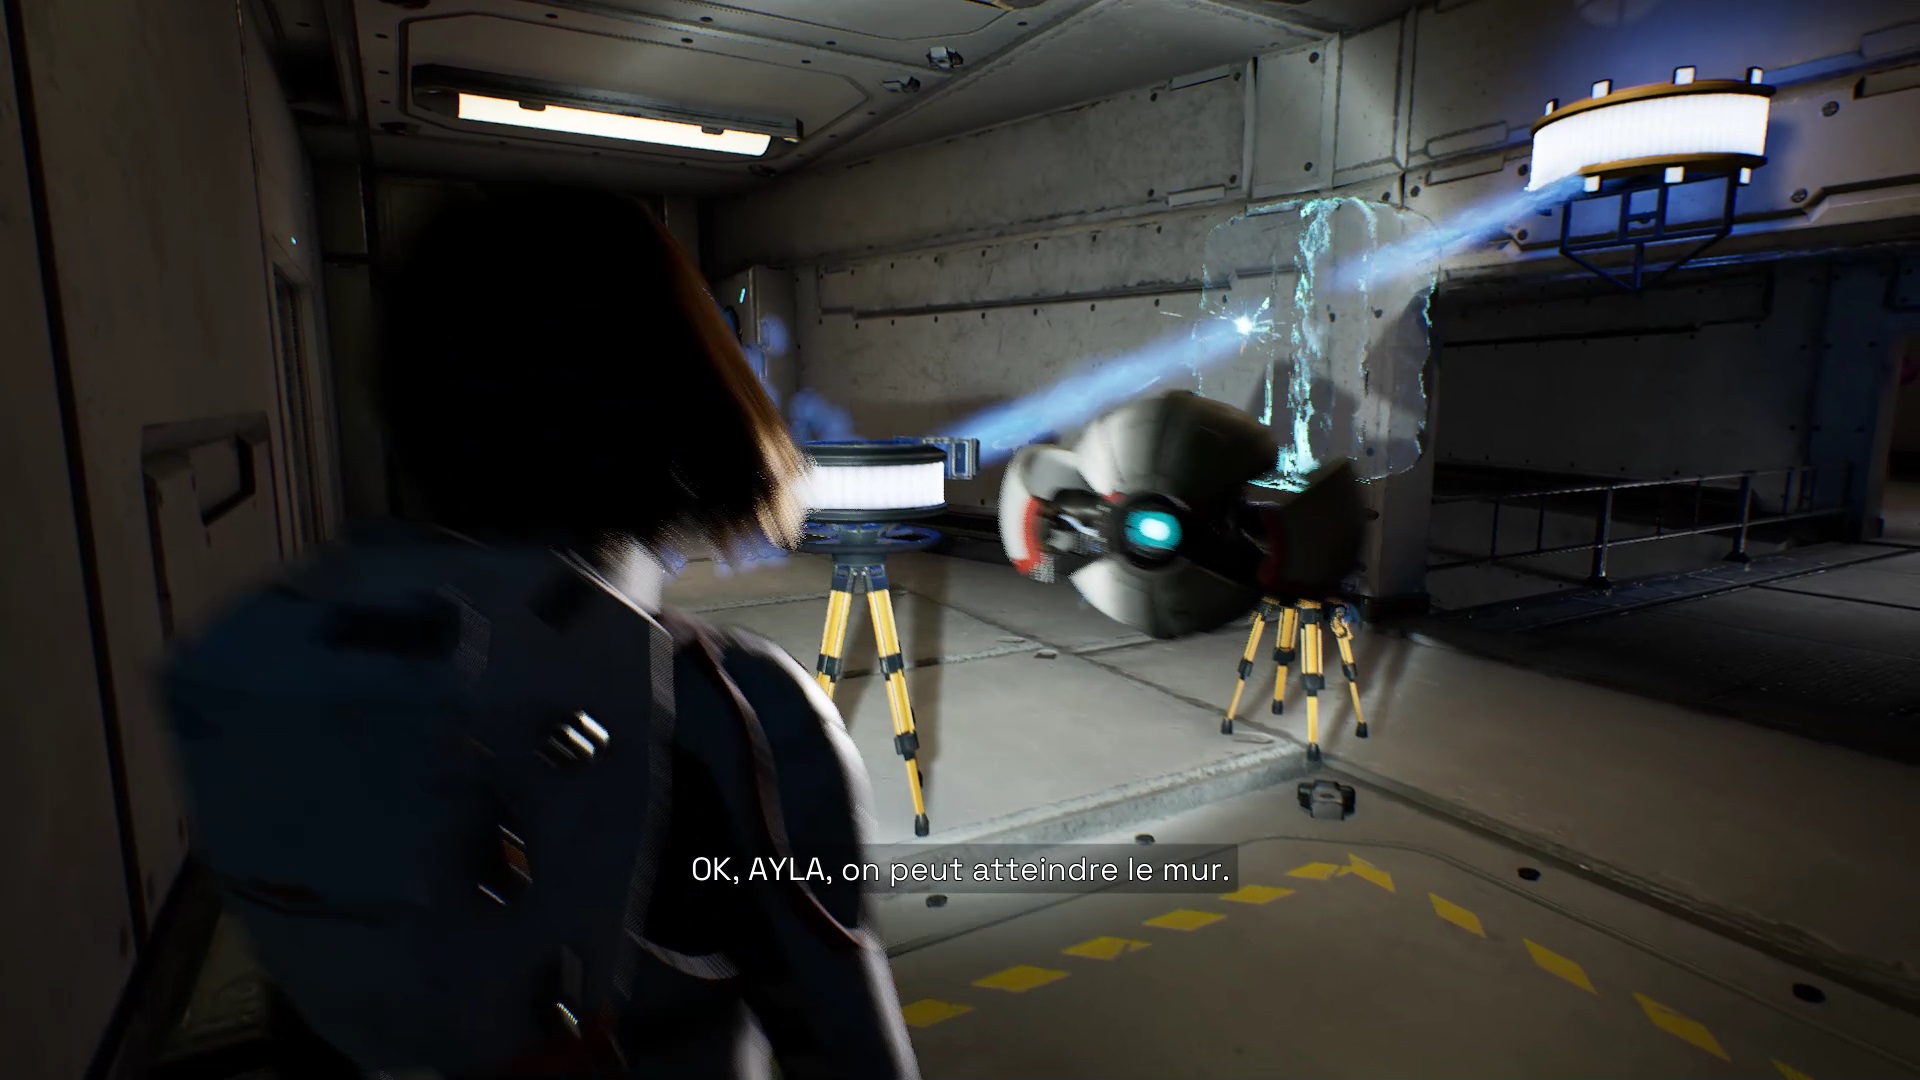
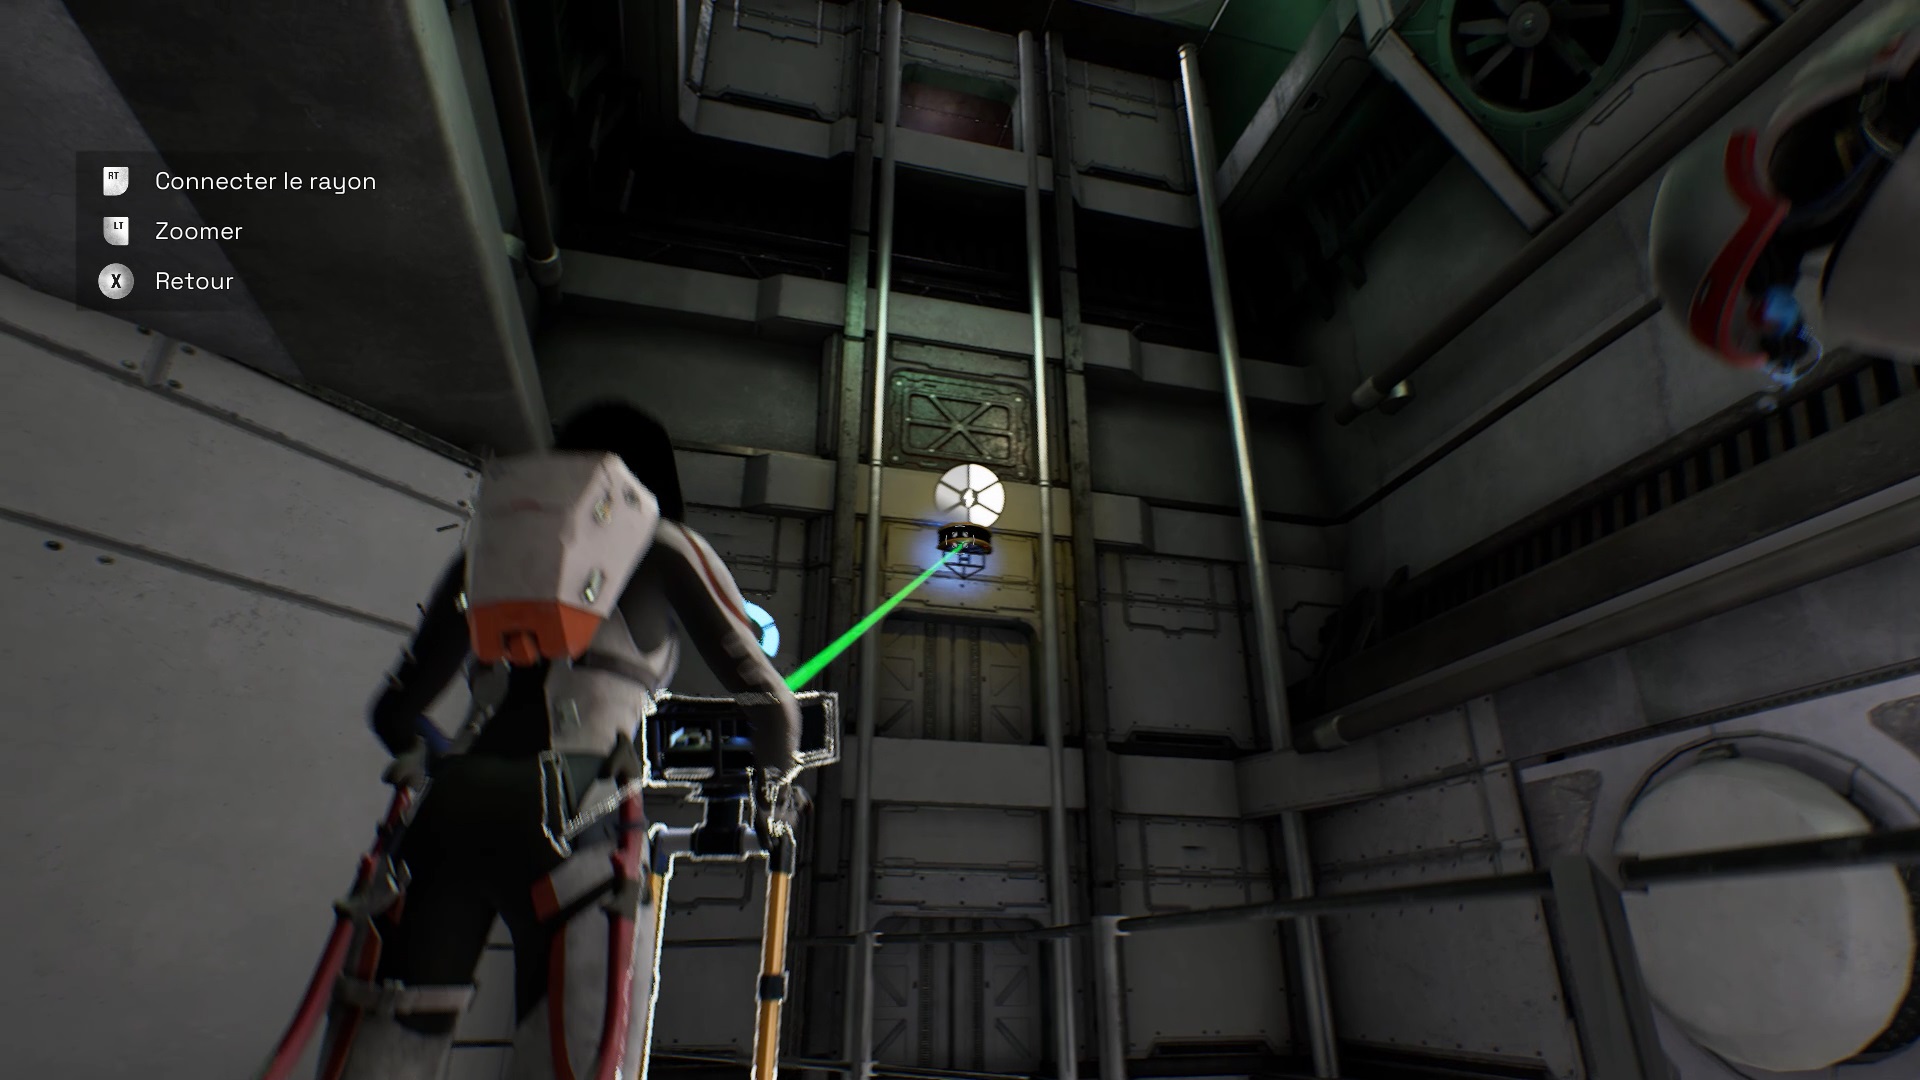
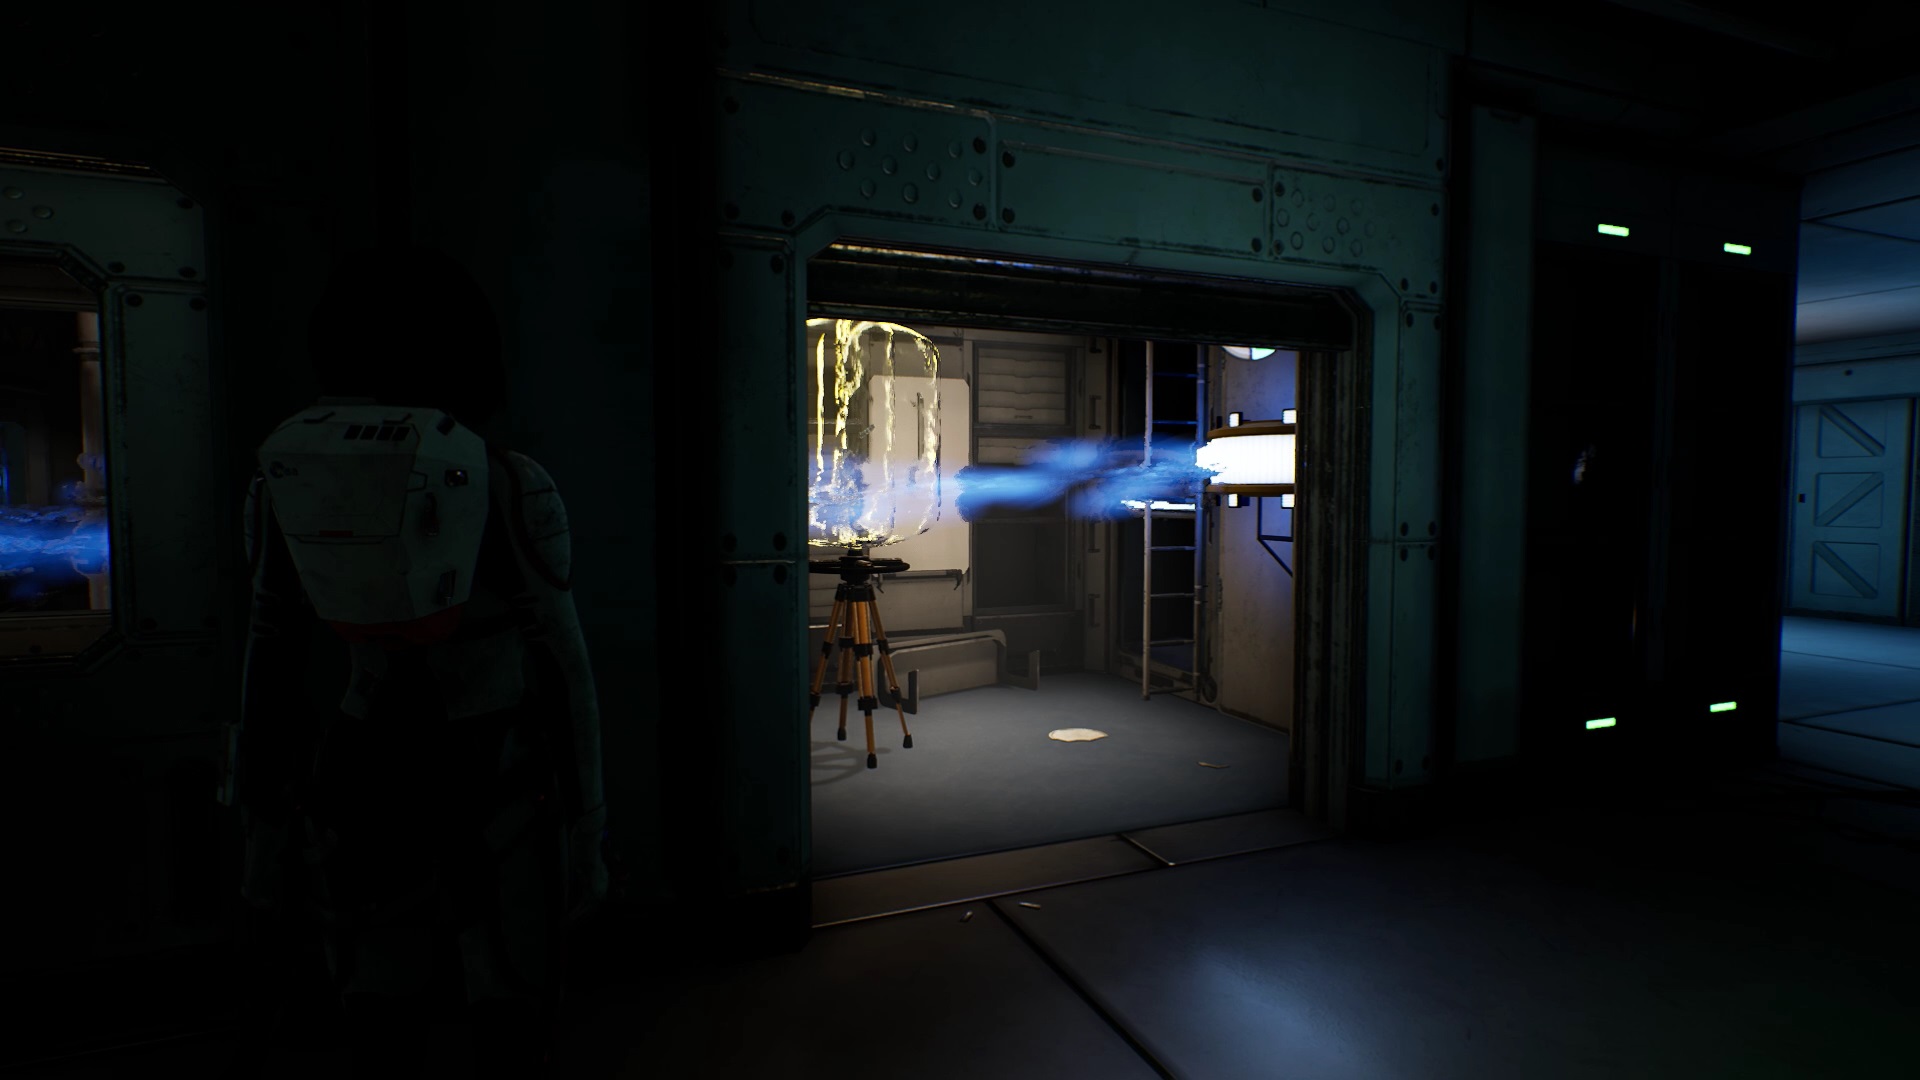
A mechanism with a spoke comes out of the plate. Use it and connect the beam to the streame point in the building in front of you. The dot streame is the mechanism above the entrance, with an electricity symbol. You opened the door to the building in front of you. Enter the building in front of you. Use the electricity ray and connect it to the streame point on the generators to the right of the first building.
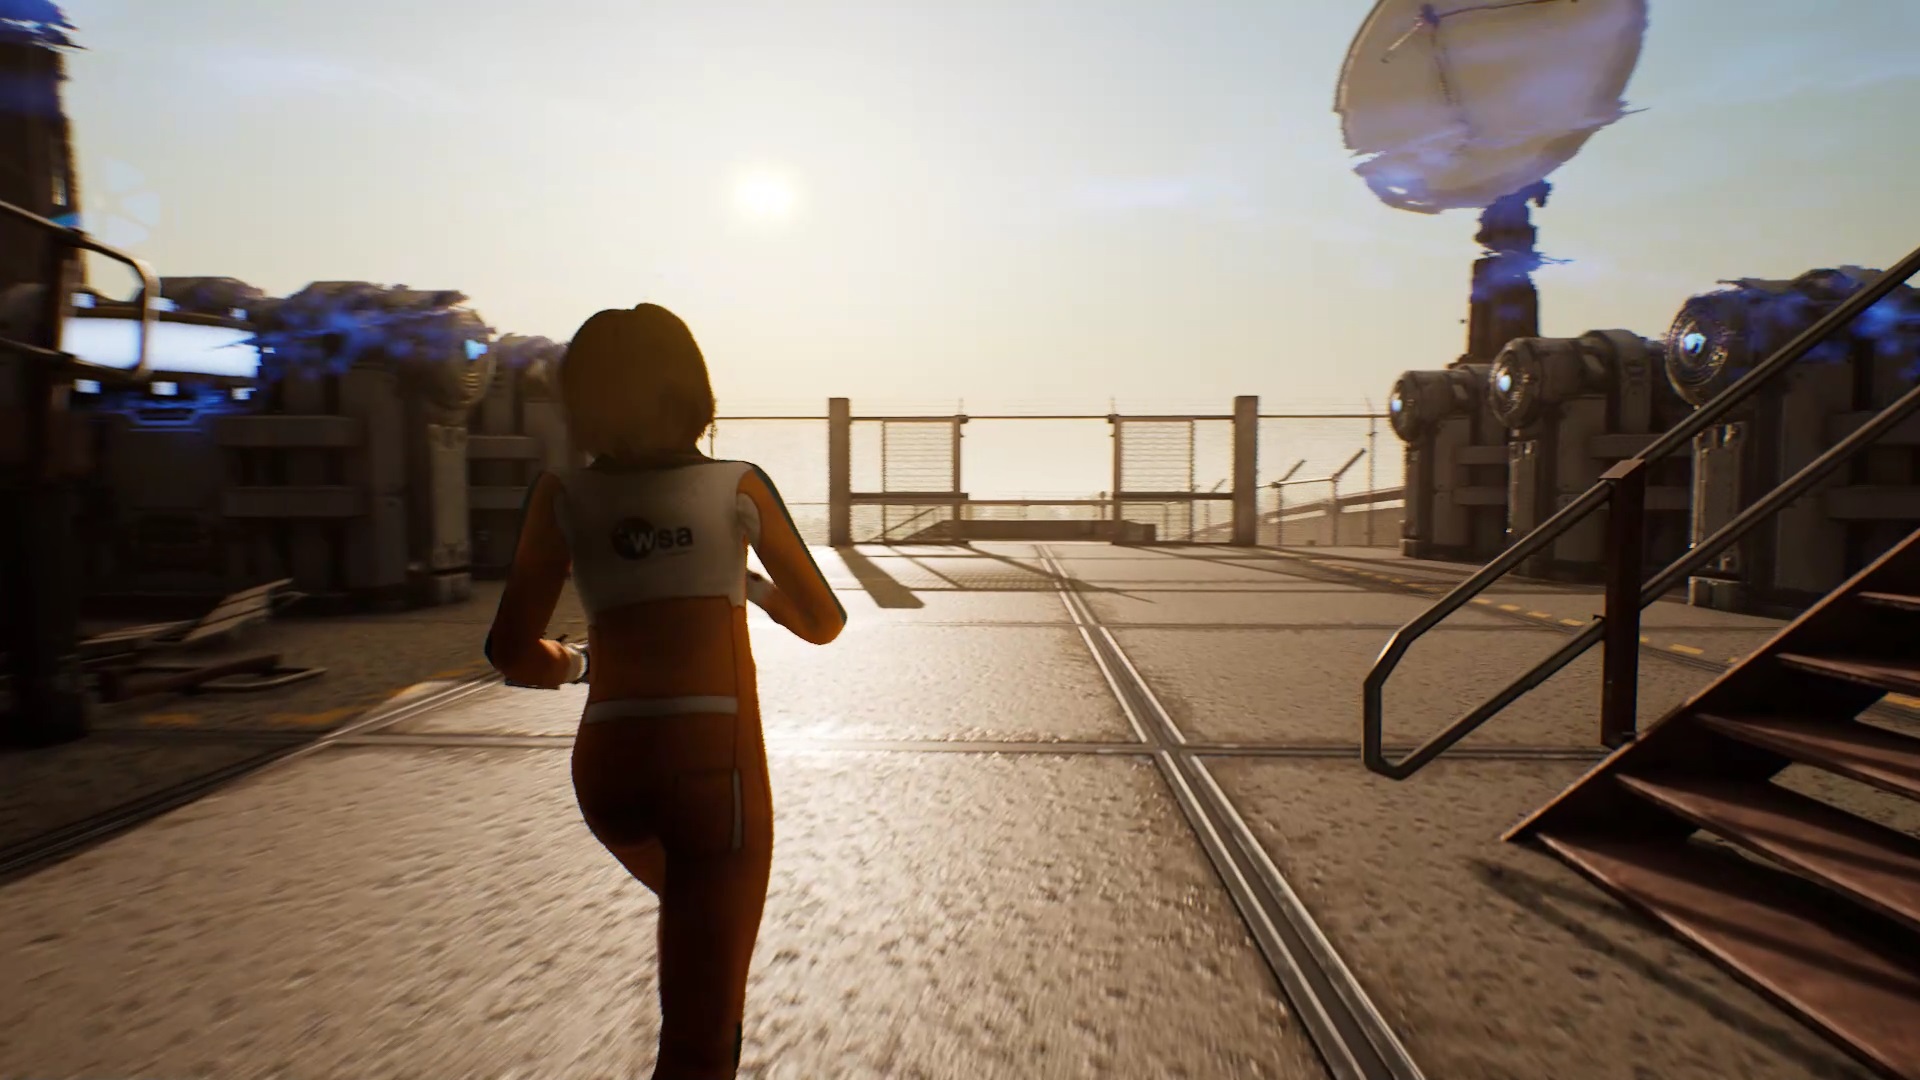
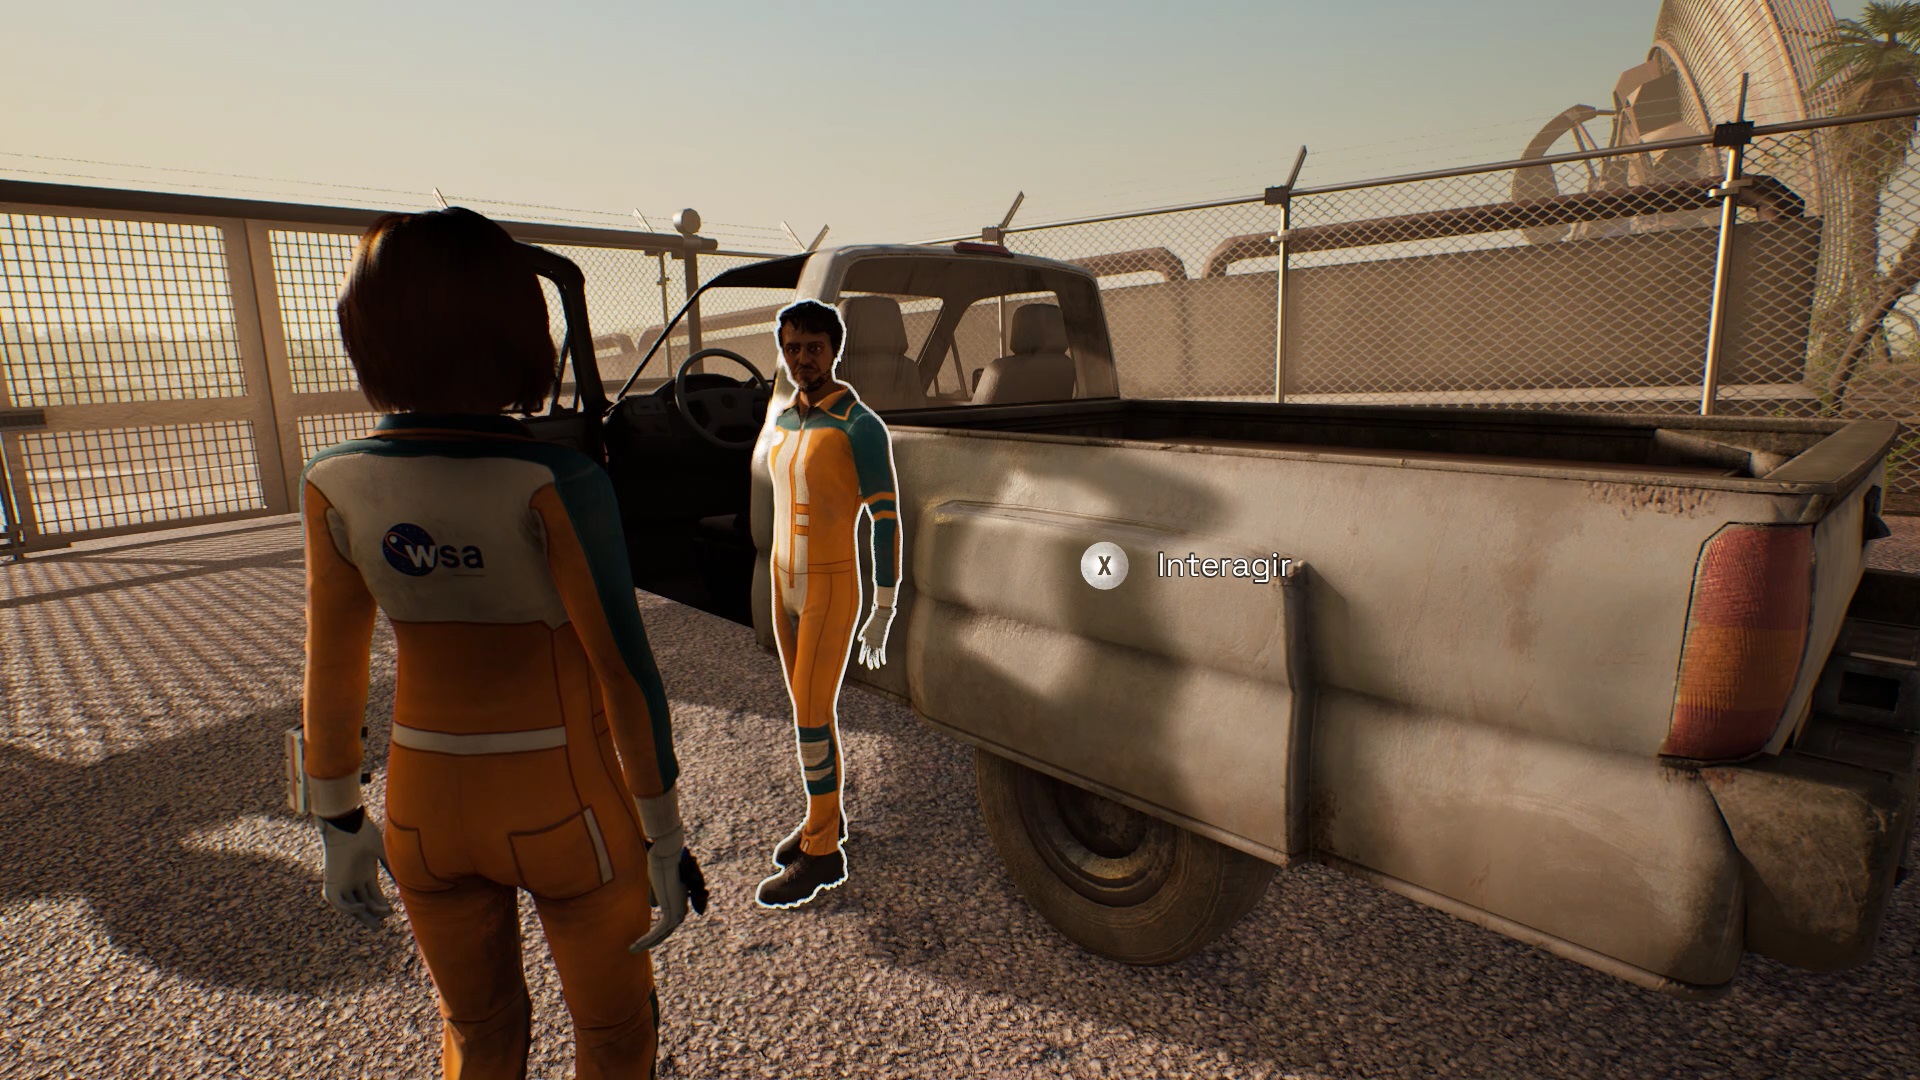
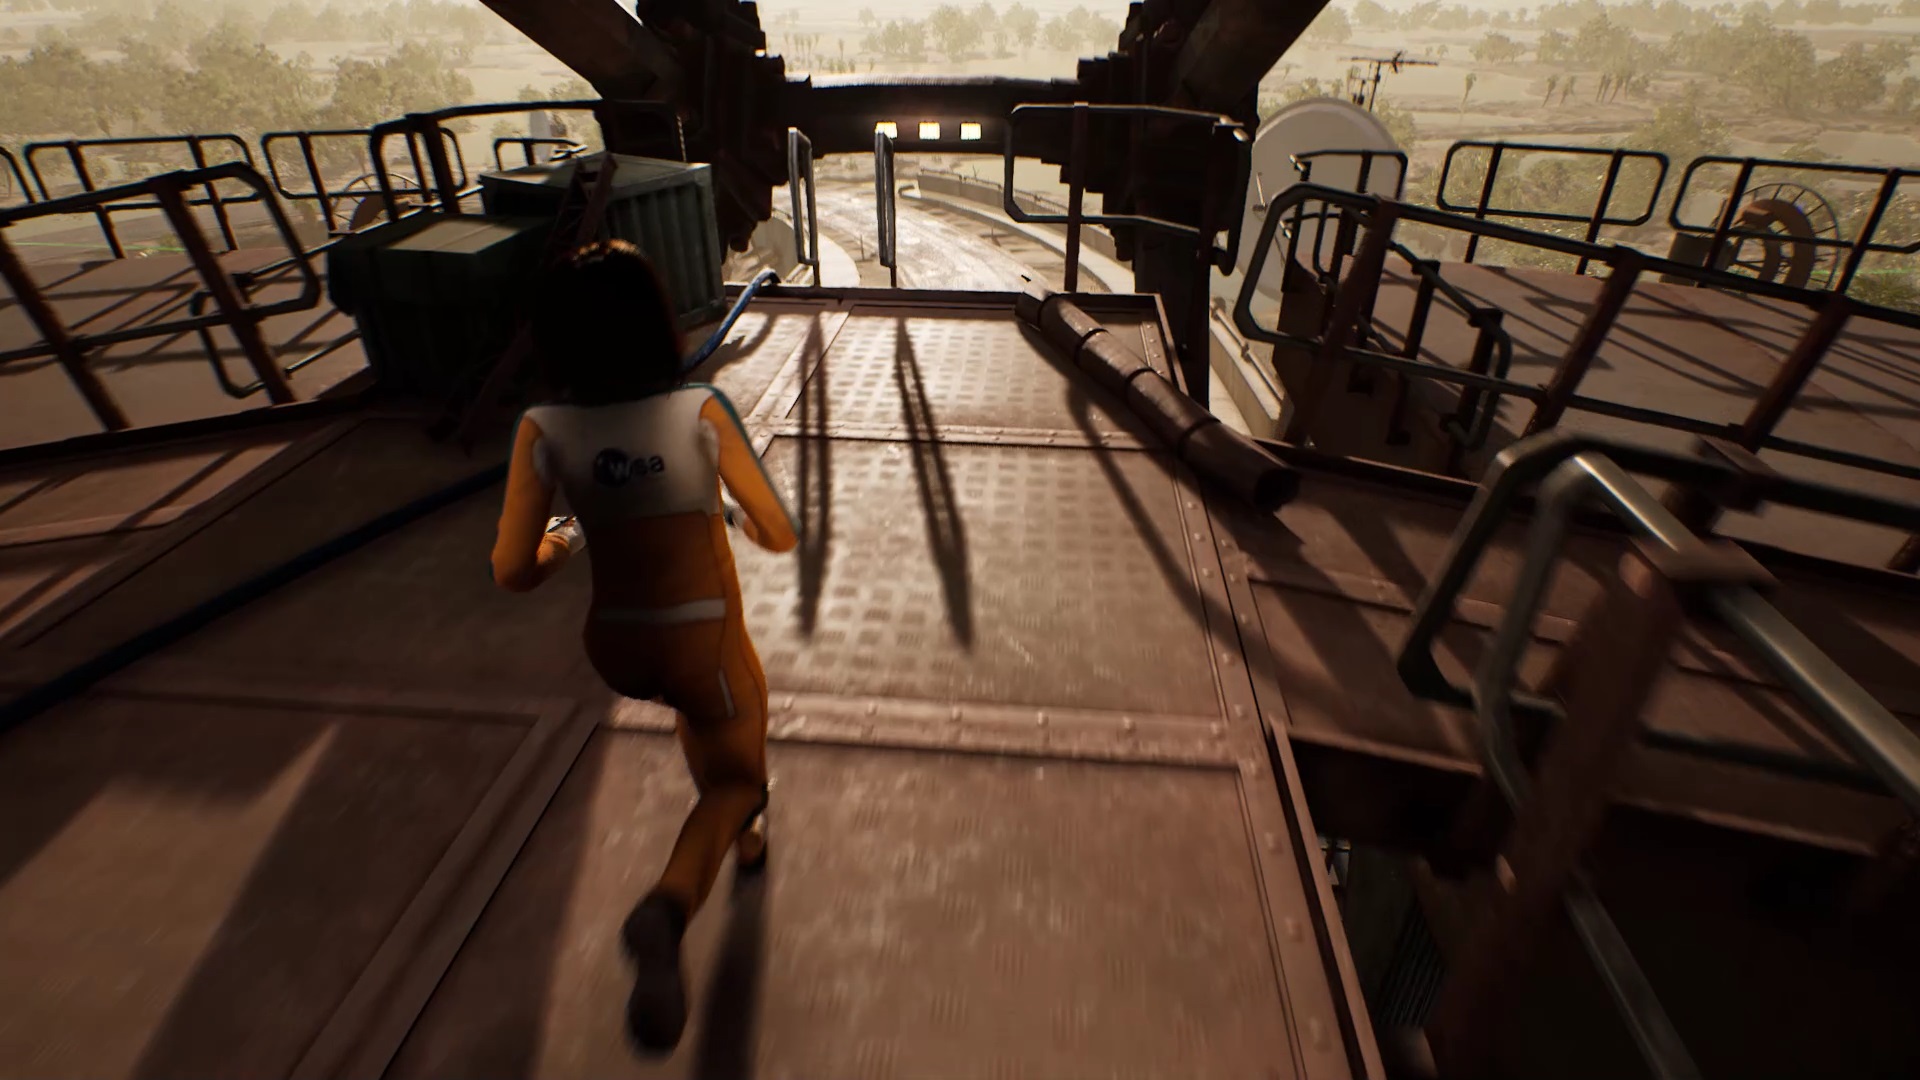
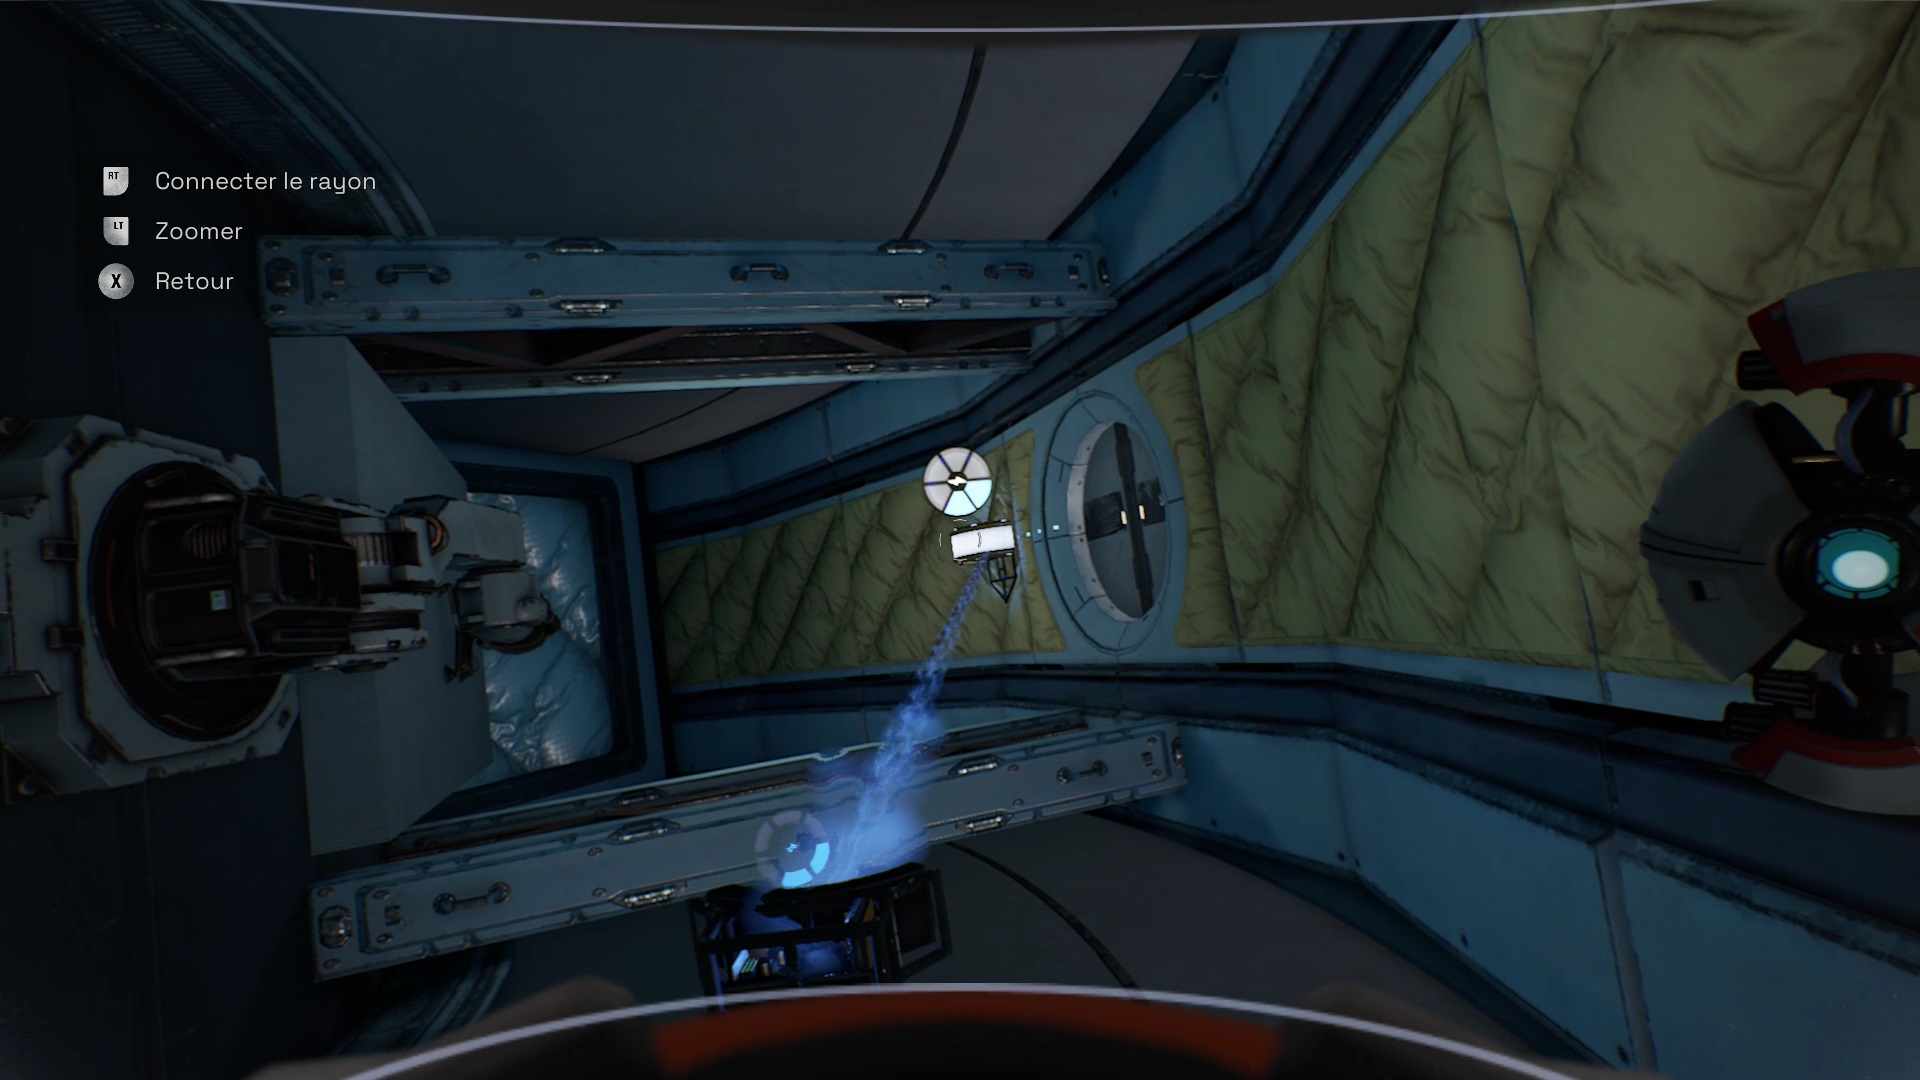
Return to the first building. Connect the ray to the streame point to the left of the building in front of you at the level of the generators. You have unlocked the area fence. Go forward and down the stairs to meet Ryan. Talk to him and get in the car to start a cutscene.
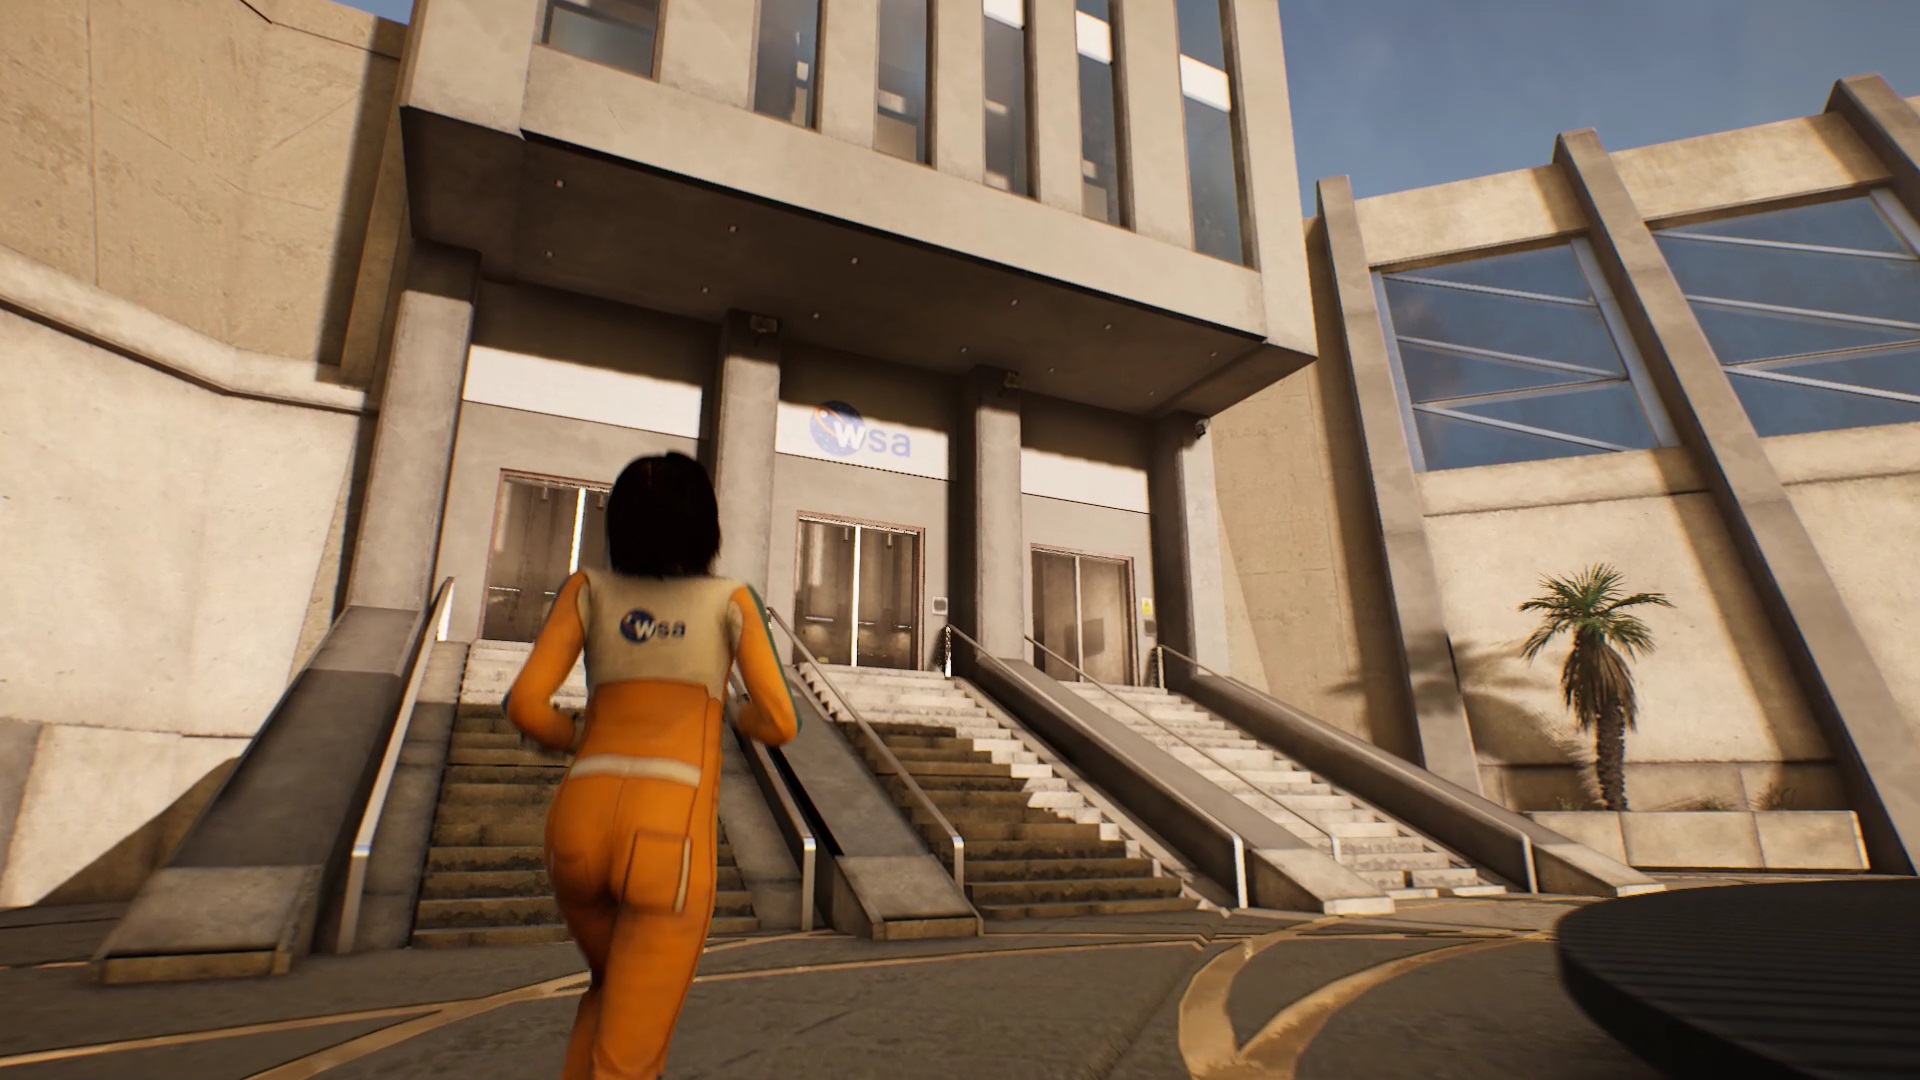
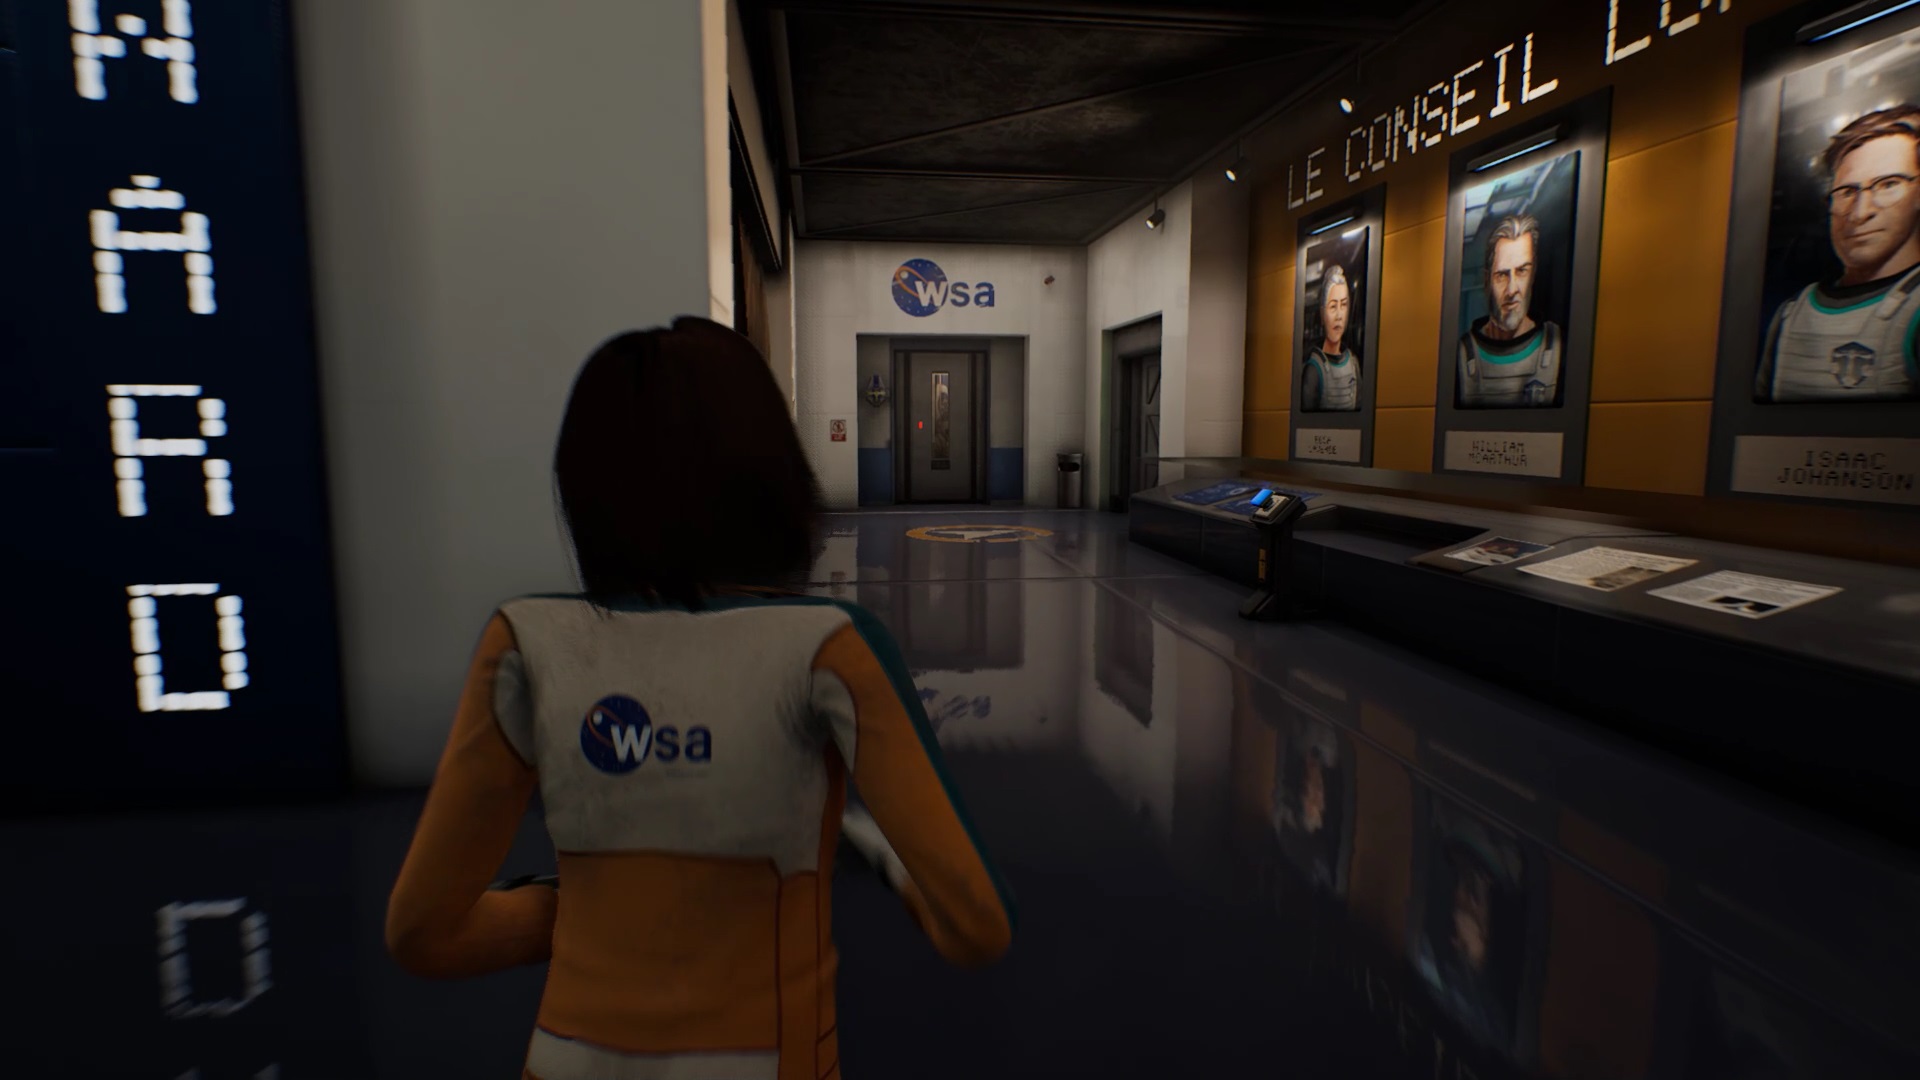
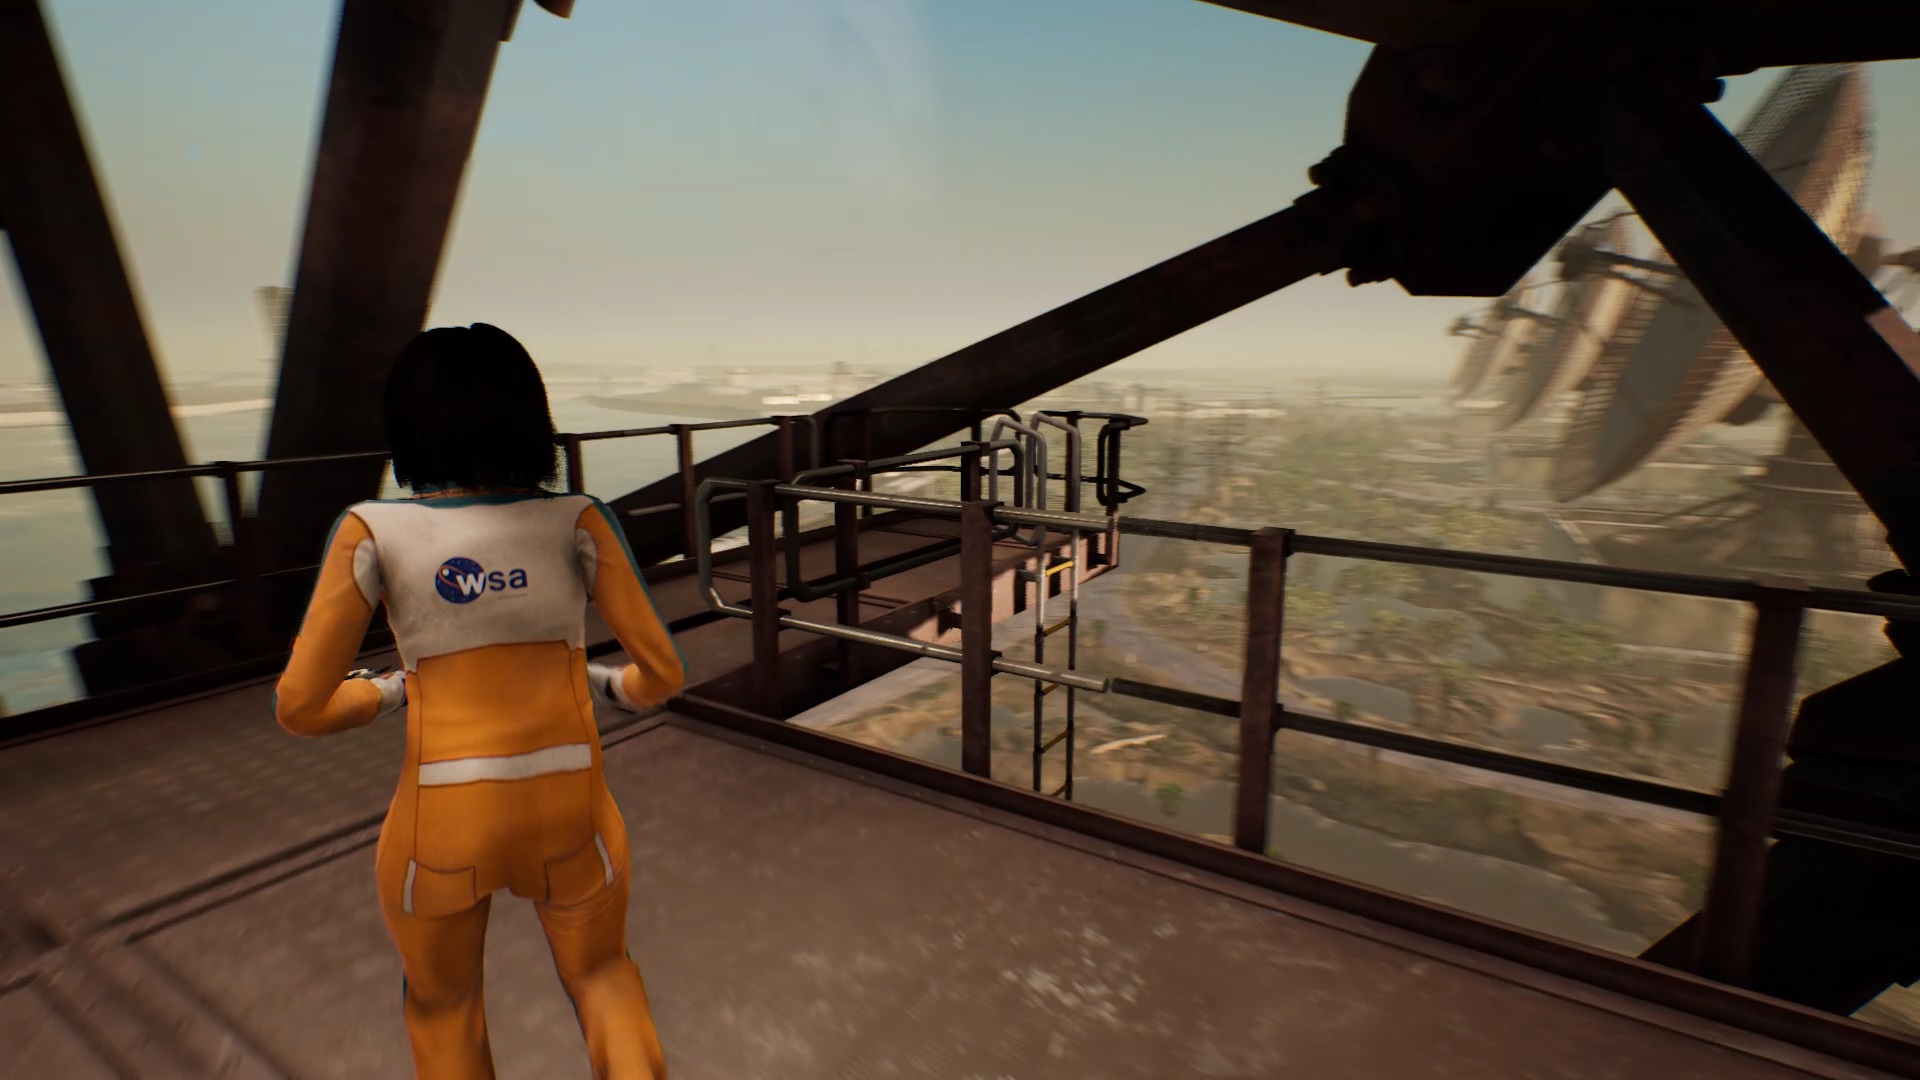
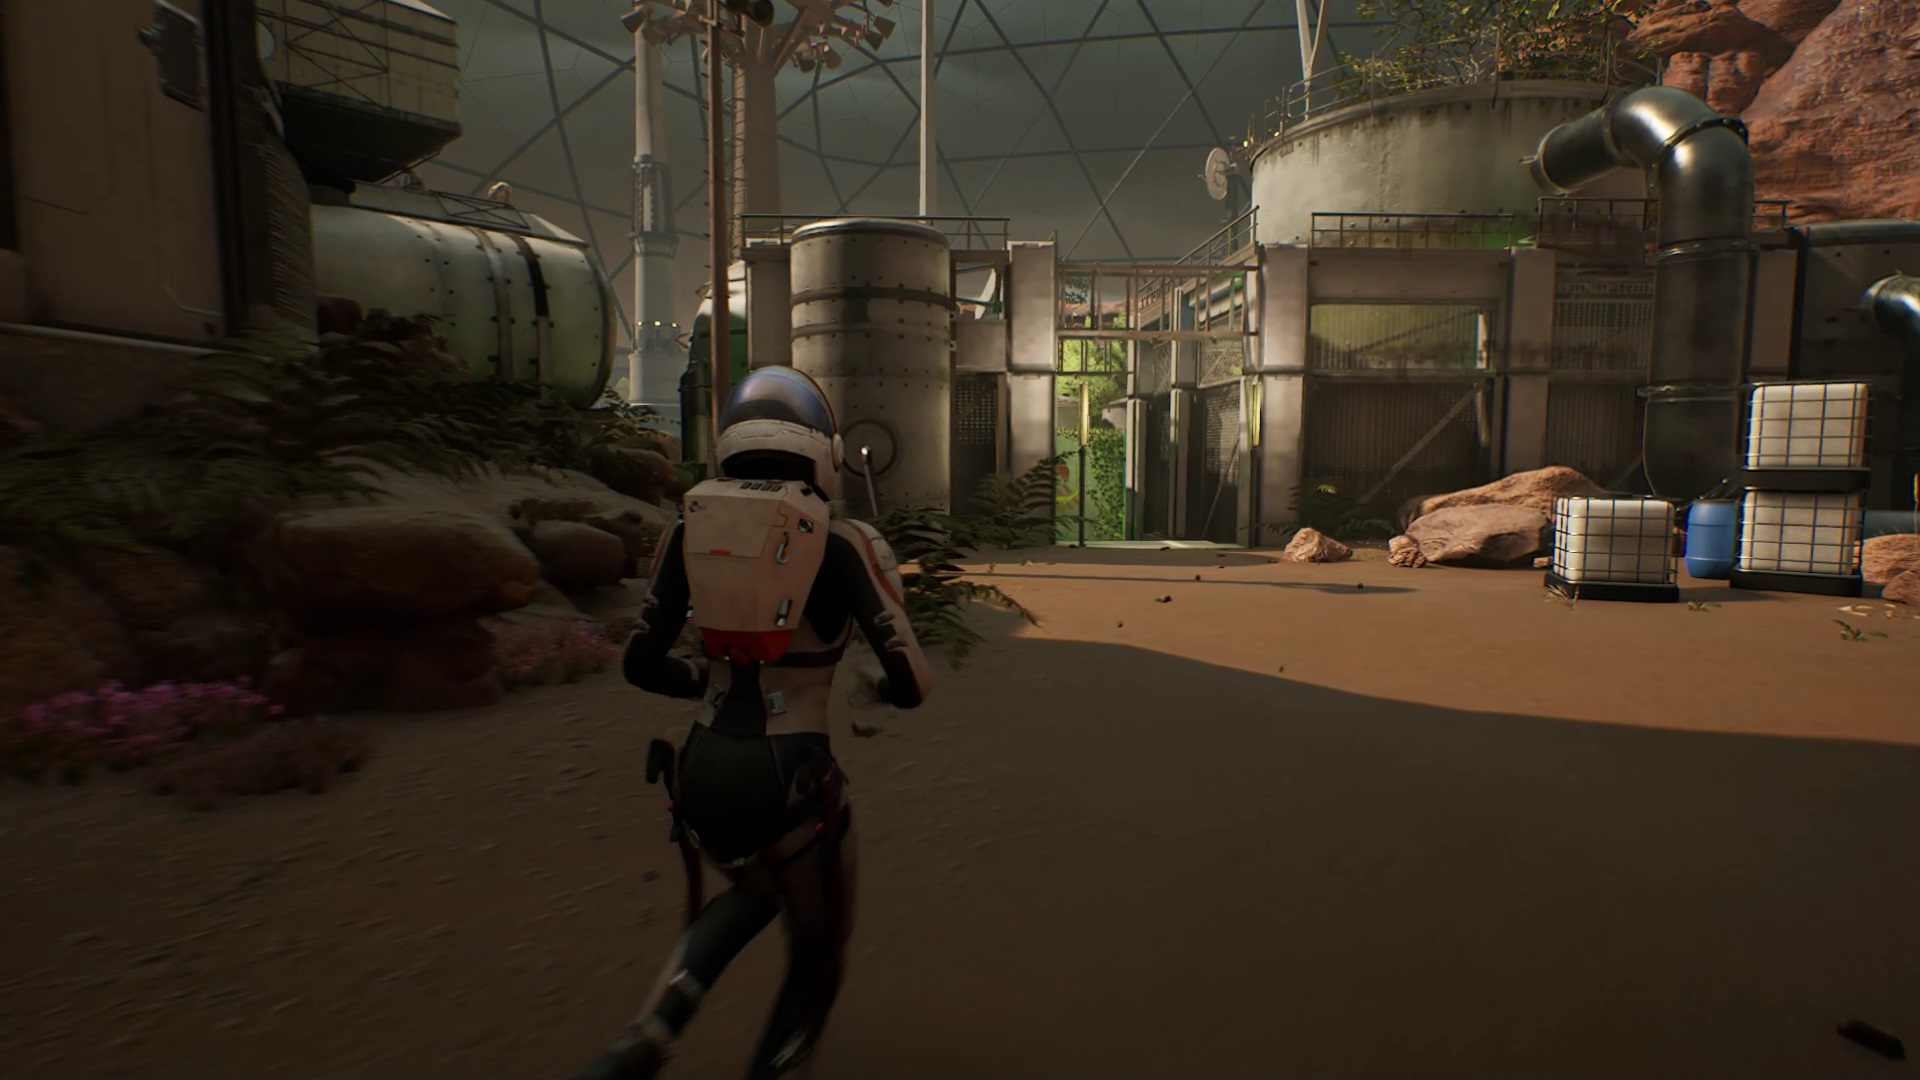
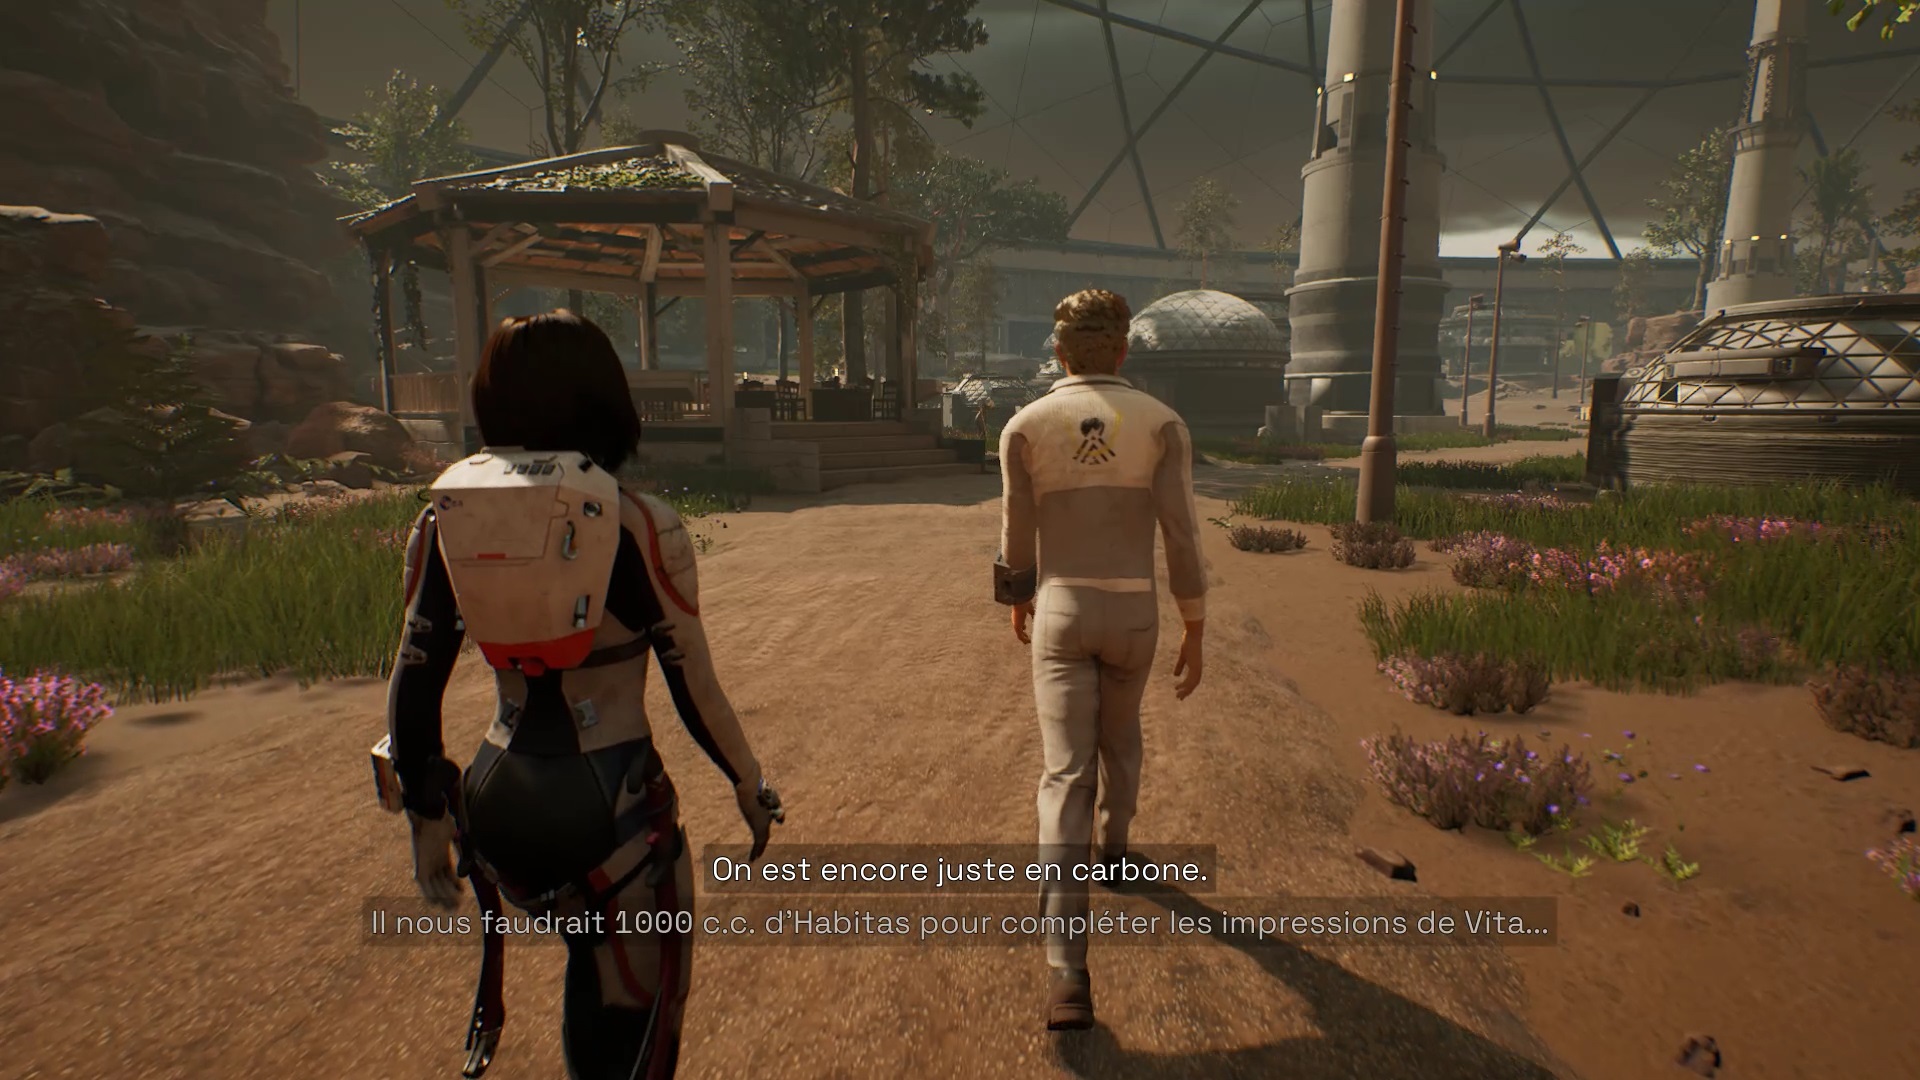
Get out of the car and up the WSA stairs. To spy on the meeting, enter the WSA compound near the globe. Discover the WSA museum, you can walk there. In the alley with the Lunar Council paintings, head towards the door. Use your Ayla robot to unlock the door.
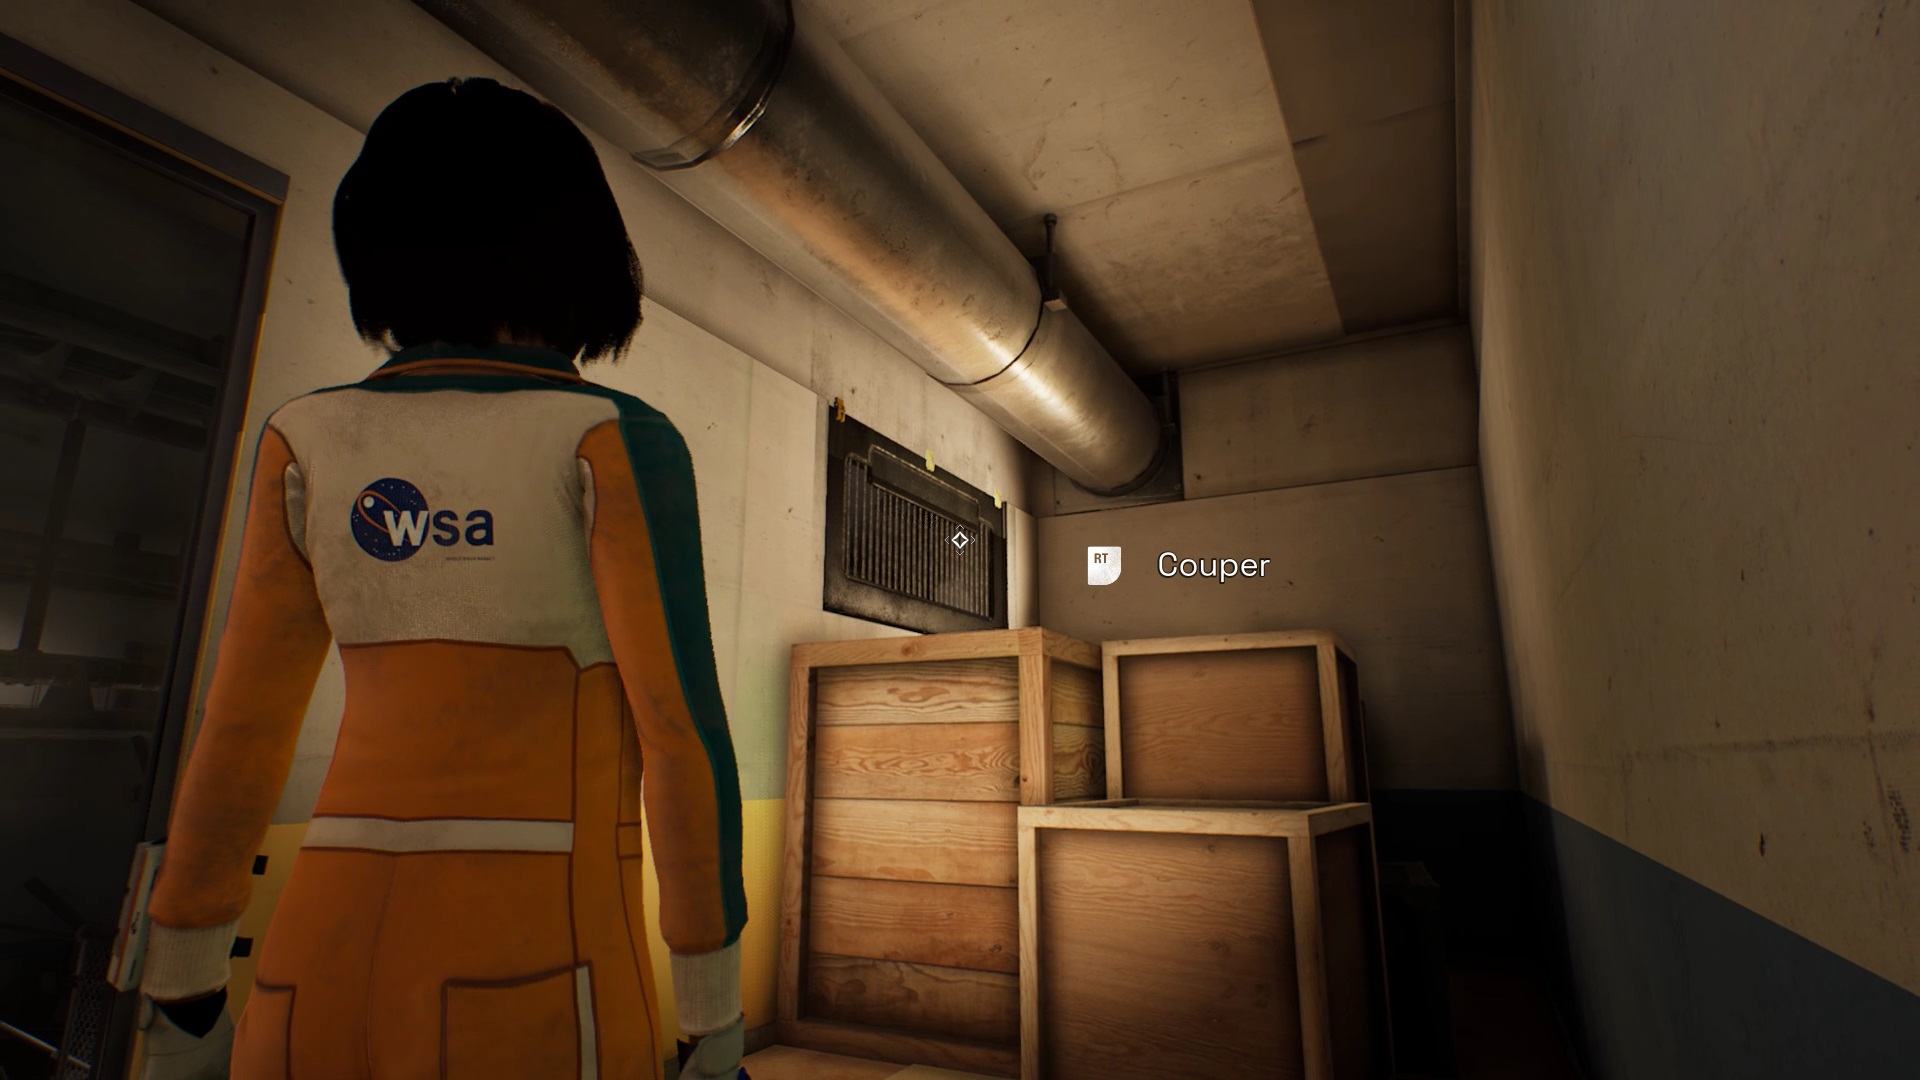
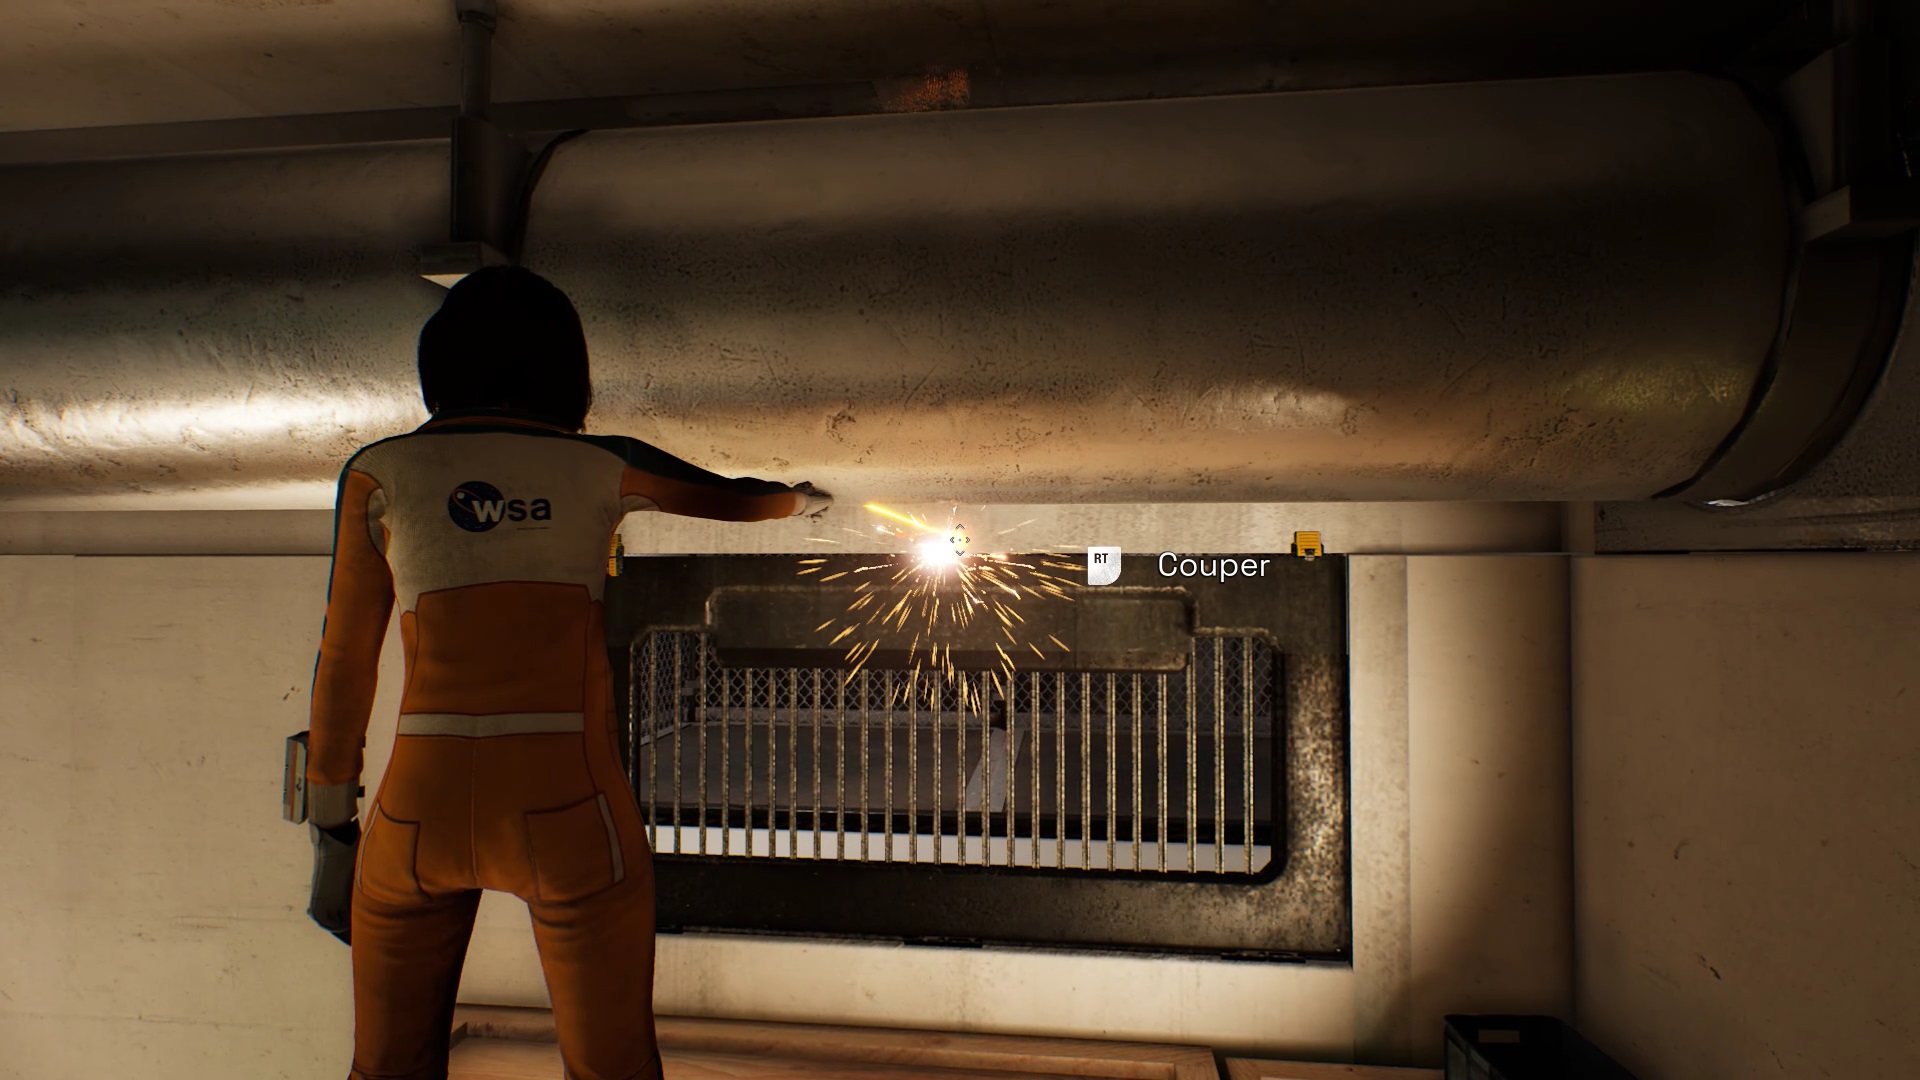
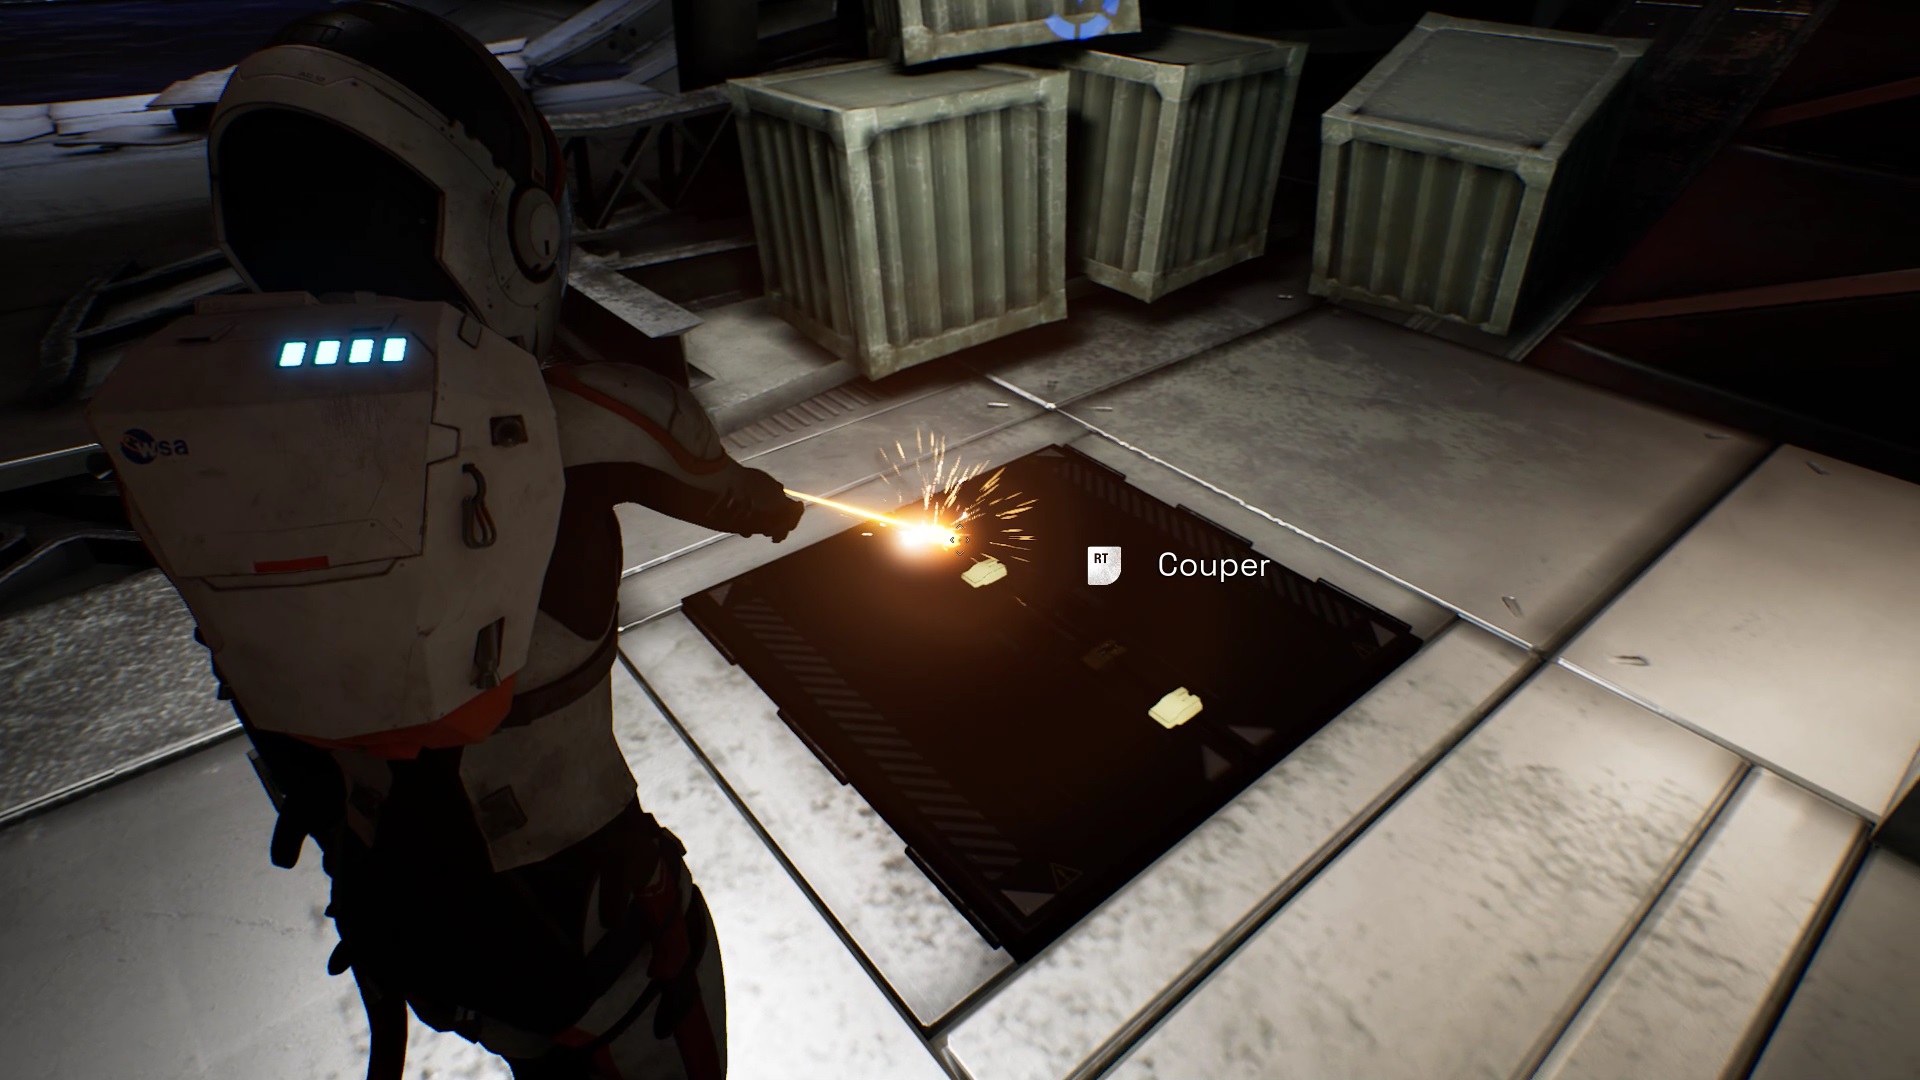
After the cutscene, follow Sarah and go up the elevator to trigger a new story passage. You need to find a way to listen to the meeting. Take the corridor to the right of the meeting room. At the end of the corridor, climb on the wooden crates. Use your laser to open the gate above the crates.
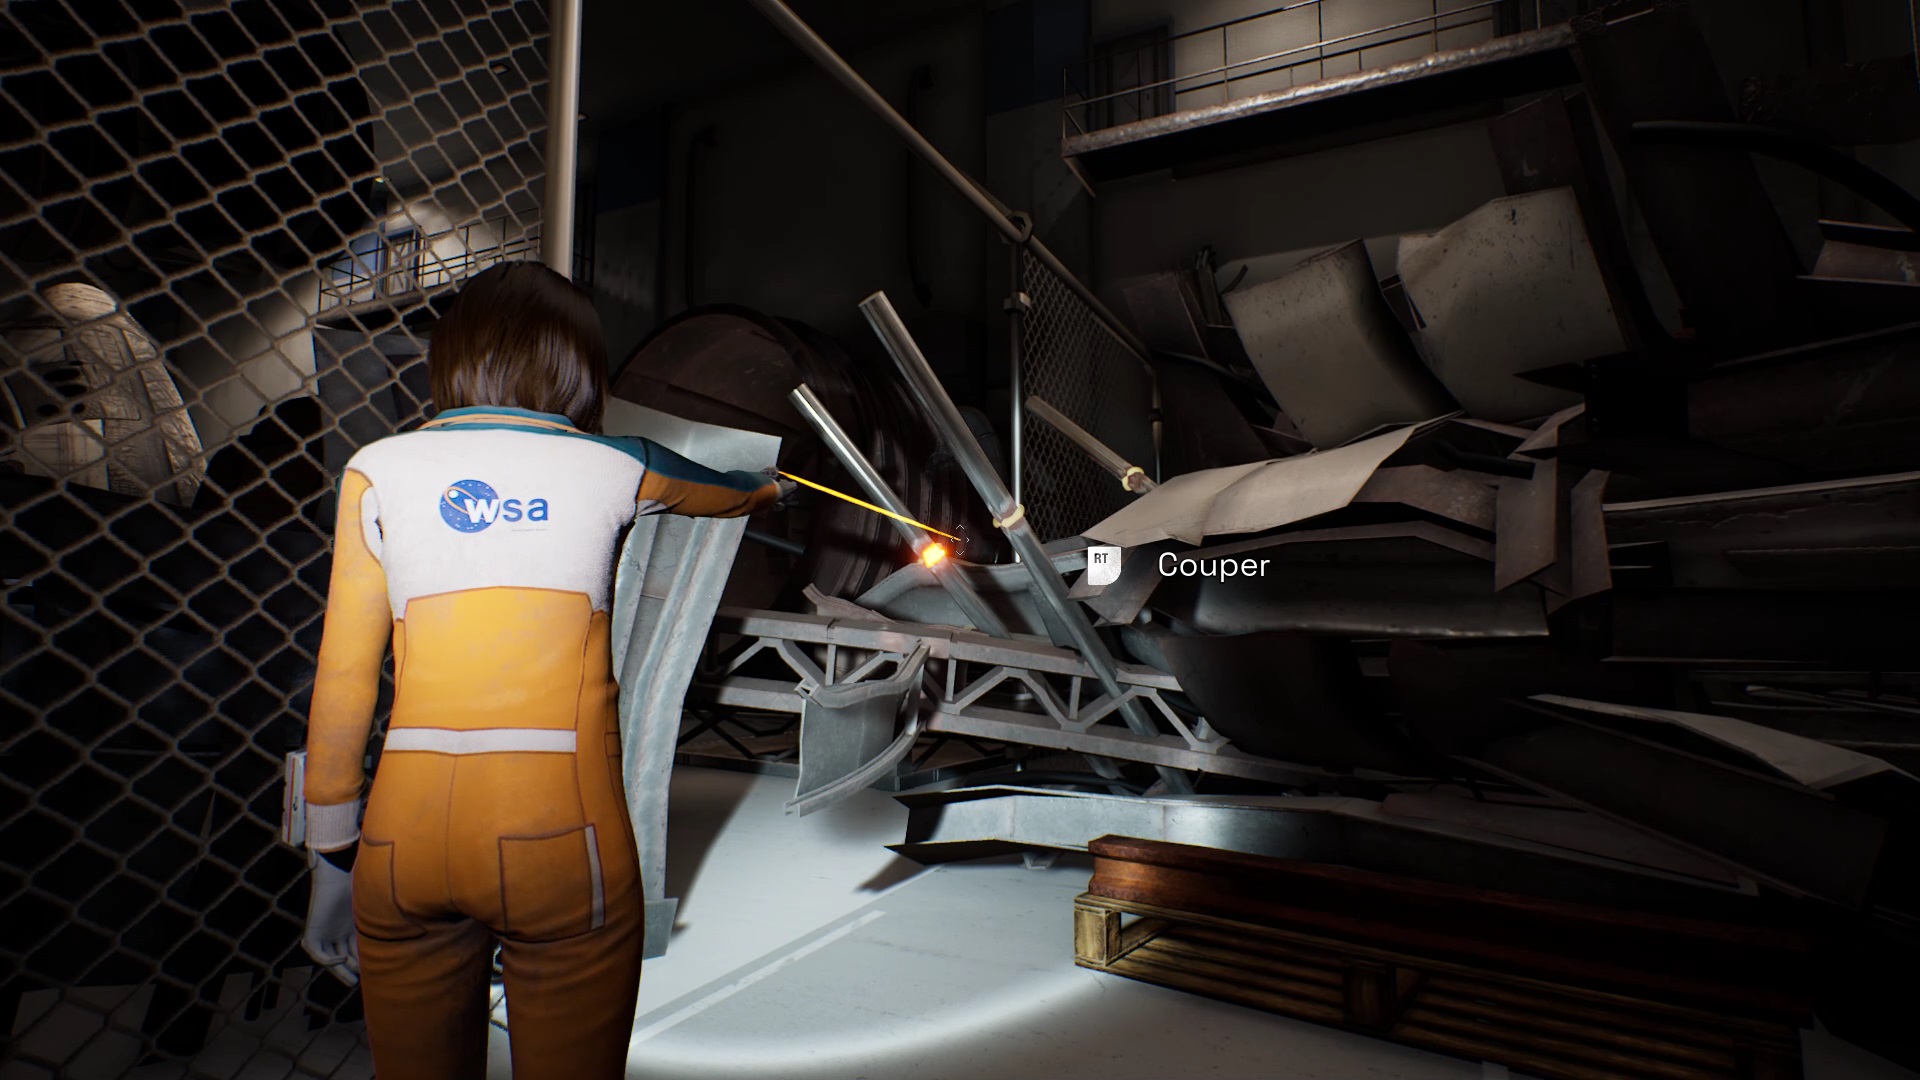
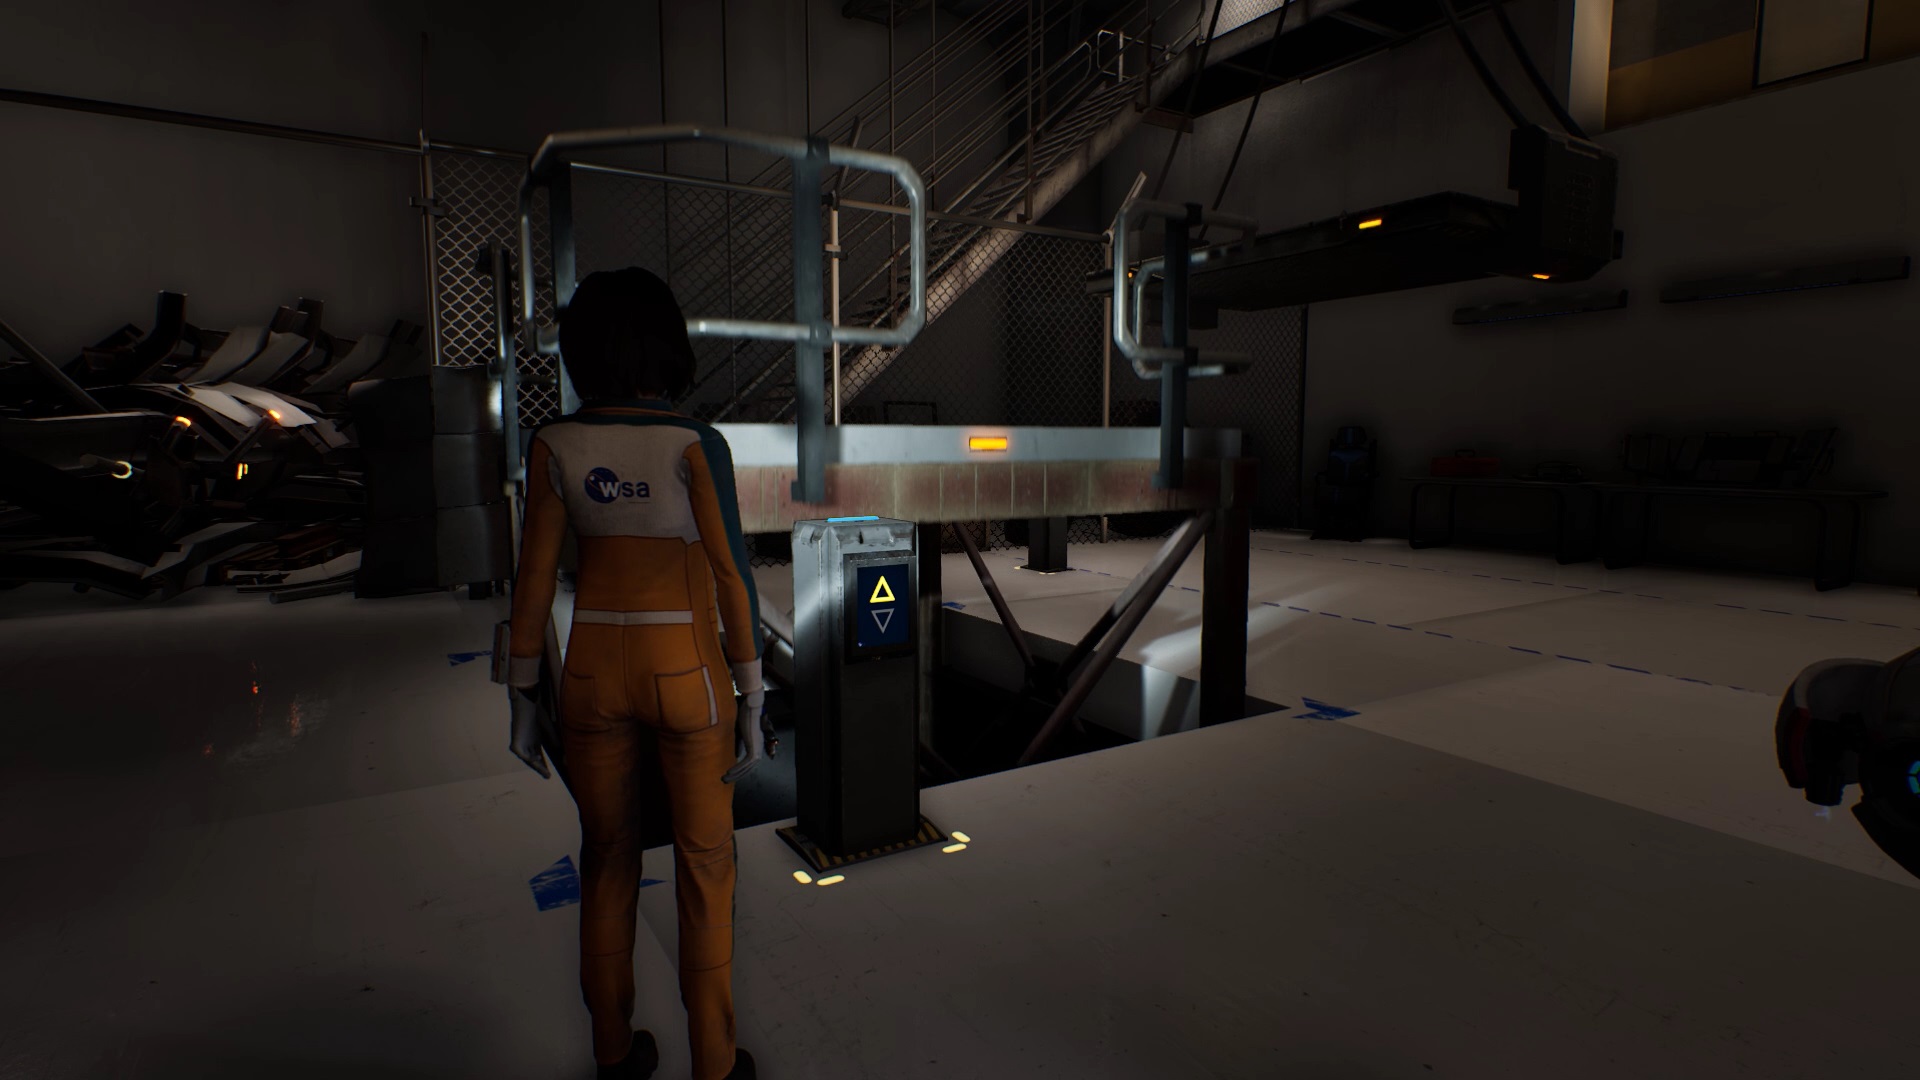
Go down the stairs. Use your laser on the metal debris to clear the way. Use the switch near the mobile platform on the ground to raise it. Activate the second zone switch. It controls a bridge supported in the air.
You have to get on the platform in the air. There is a time lag between when you activate the switch and when the walkway in the air begins to move. Quickly climb onto the moving platform you have elevated. Jump onto the second platform in the air in front of you.
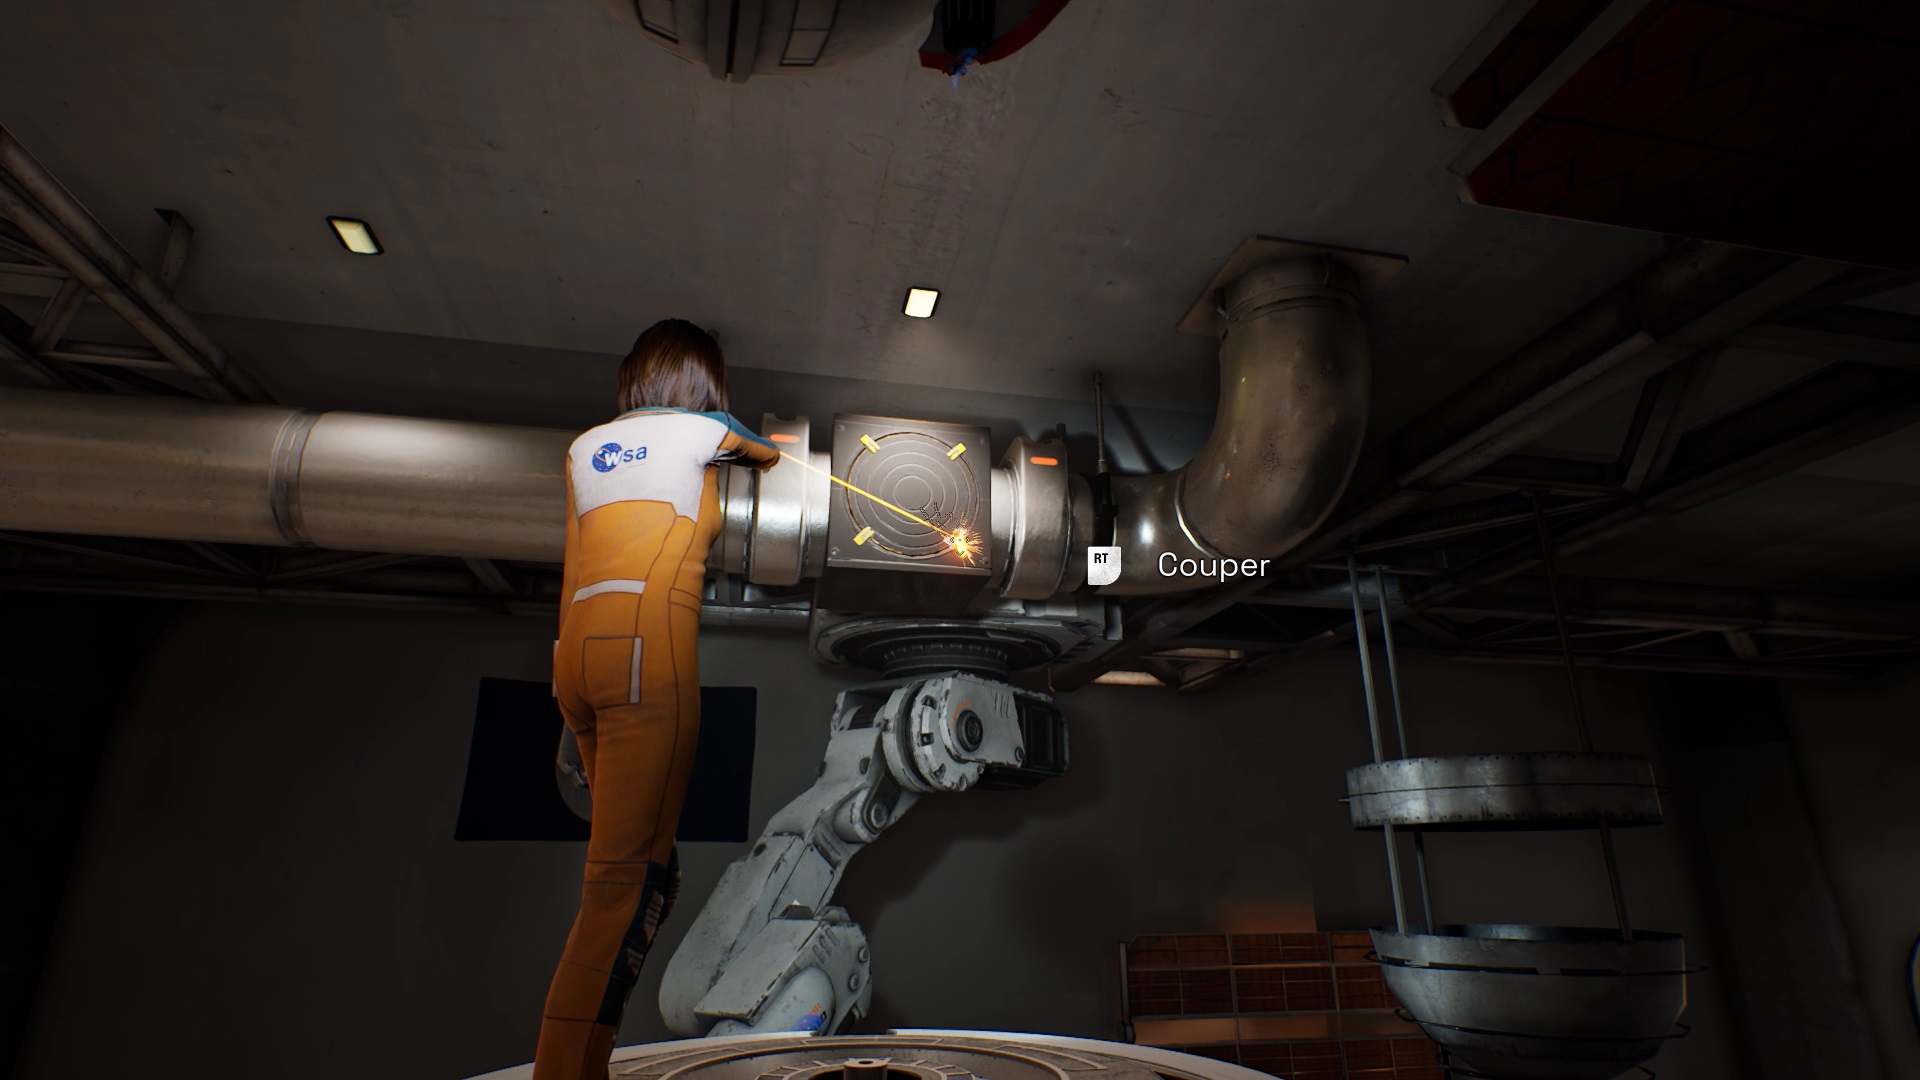

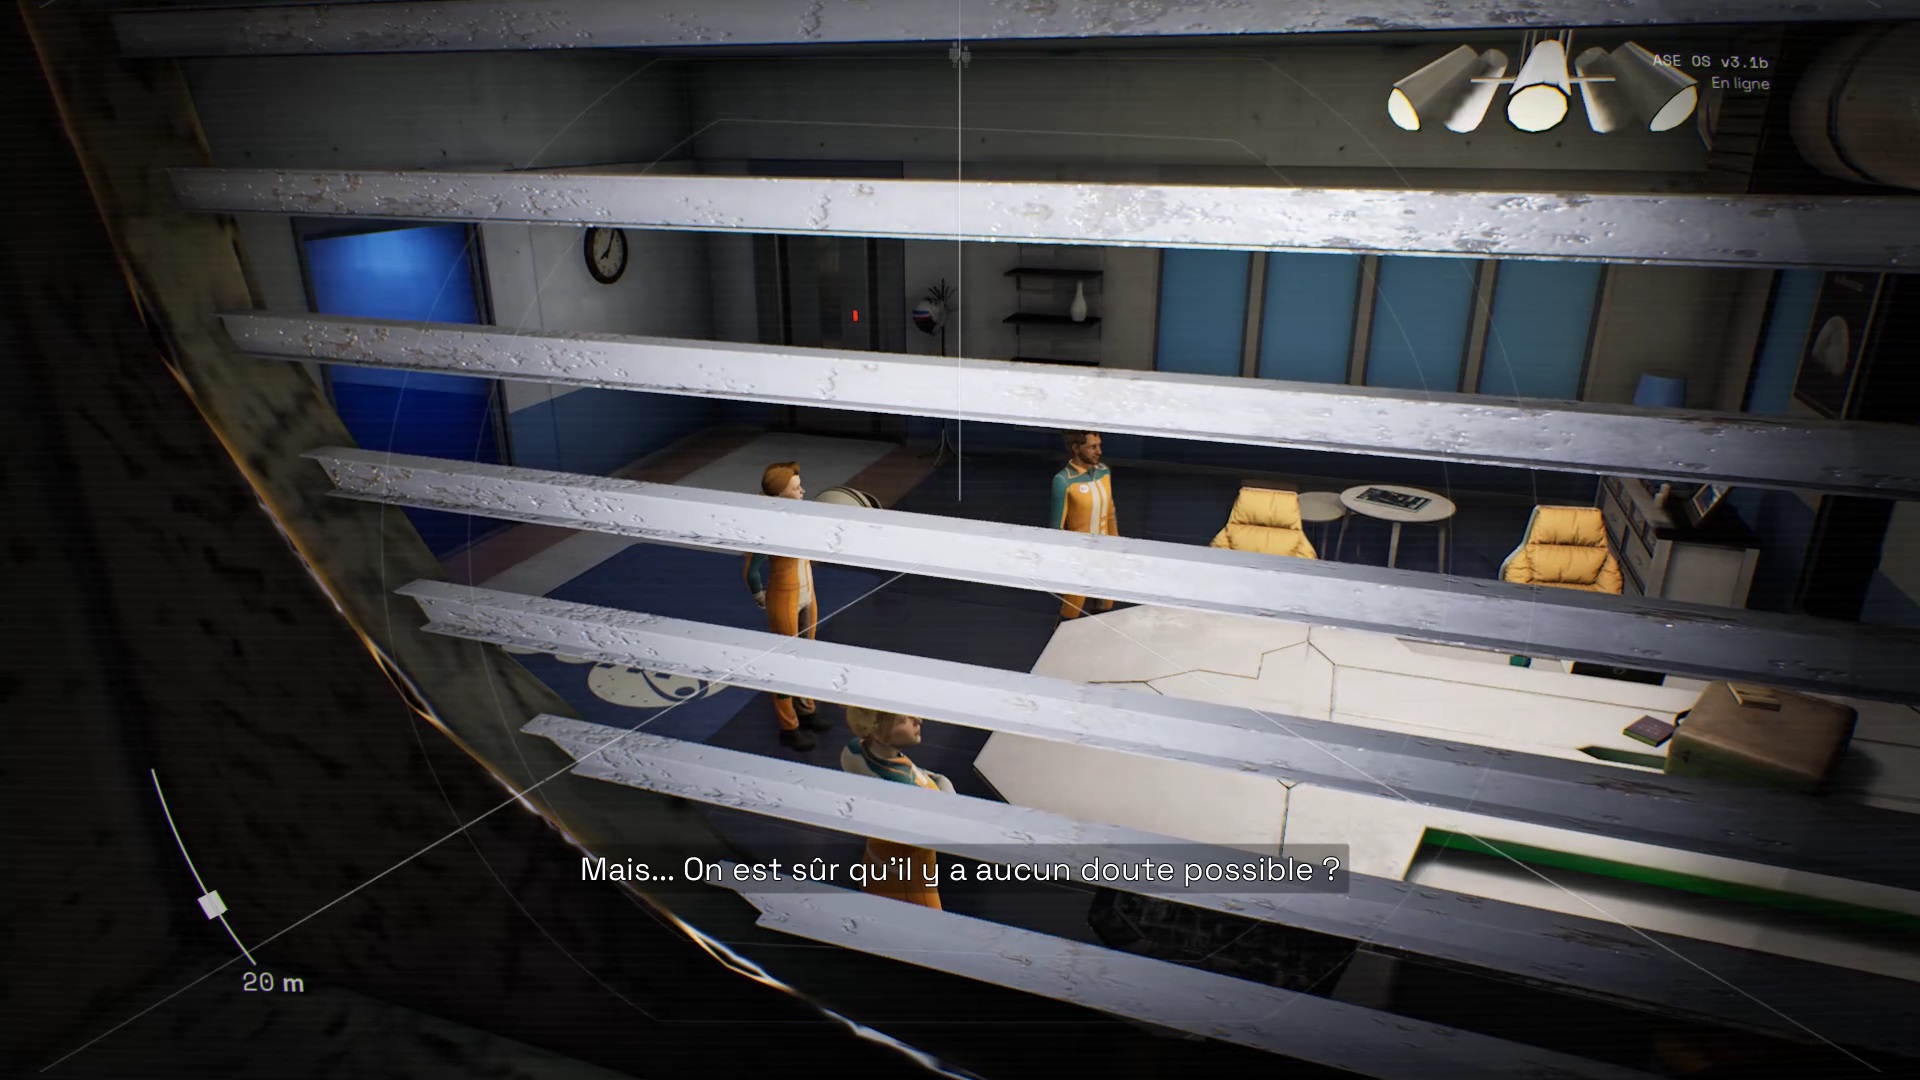
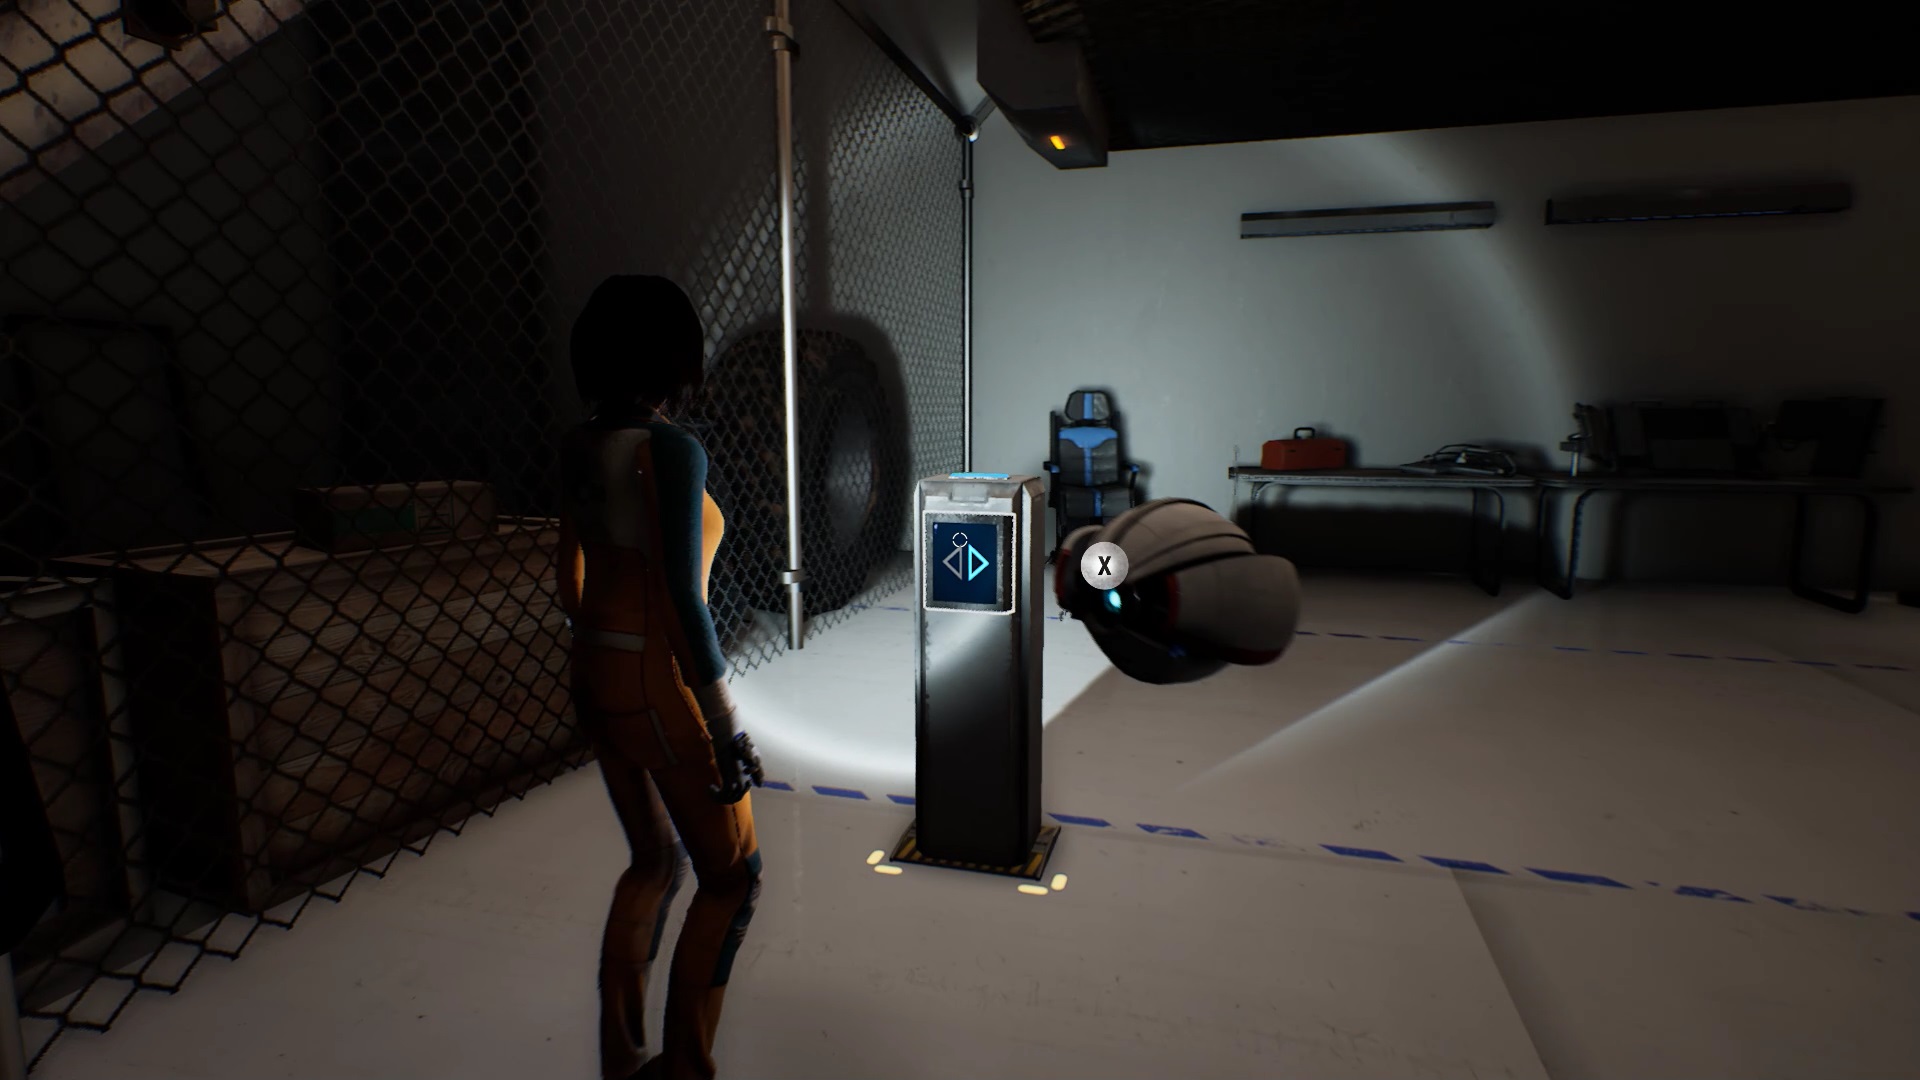
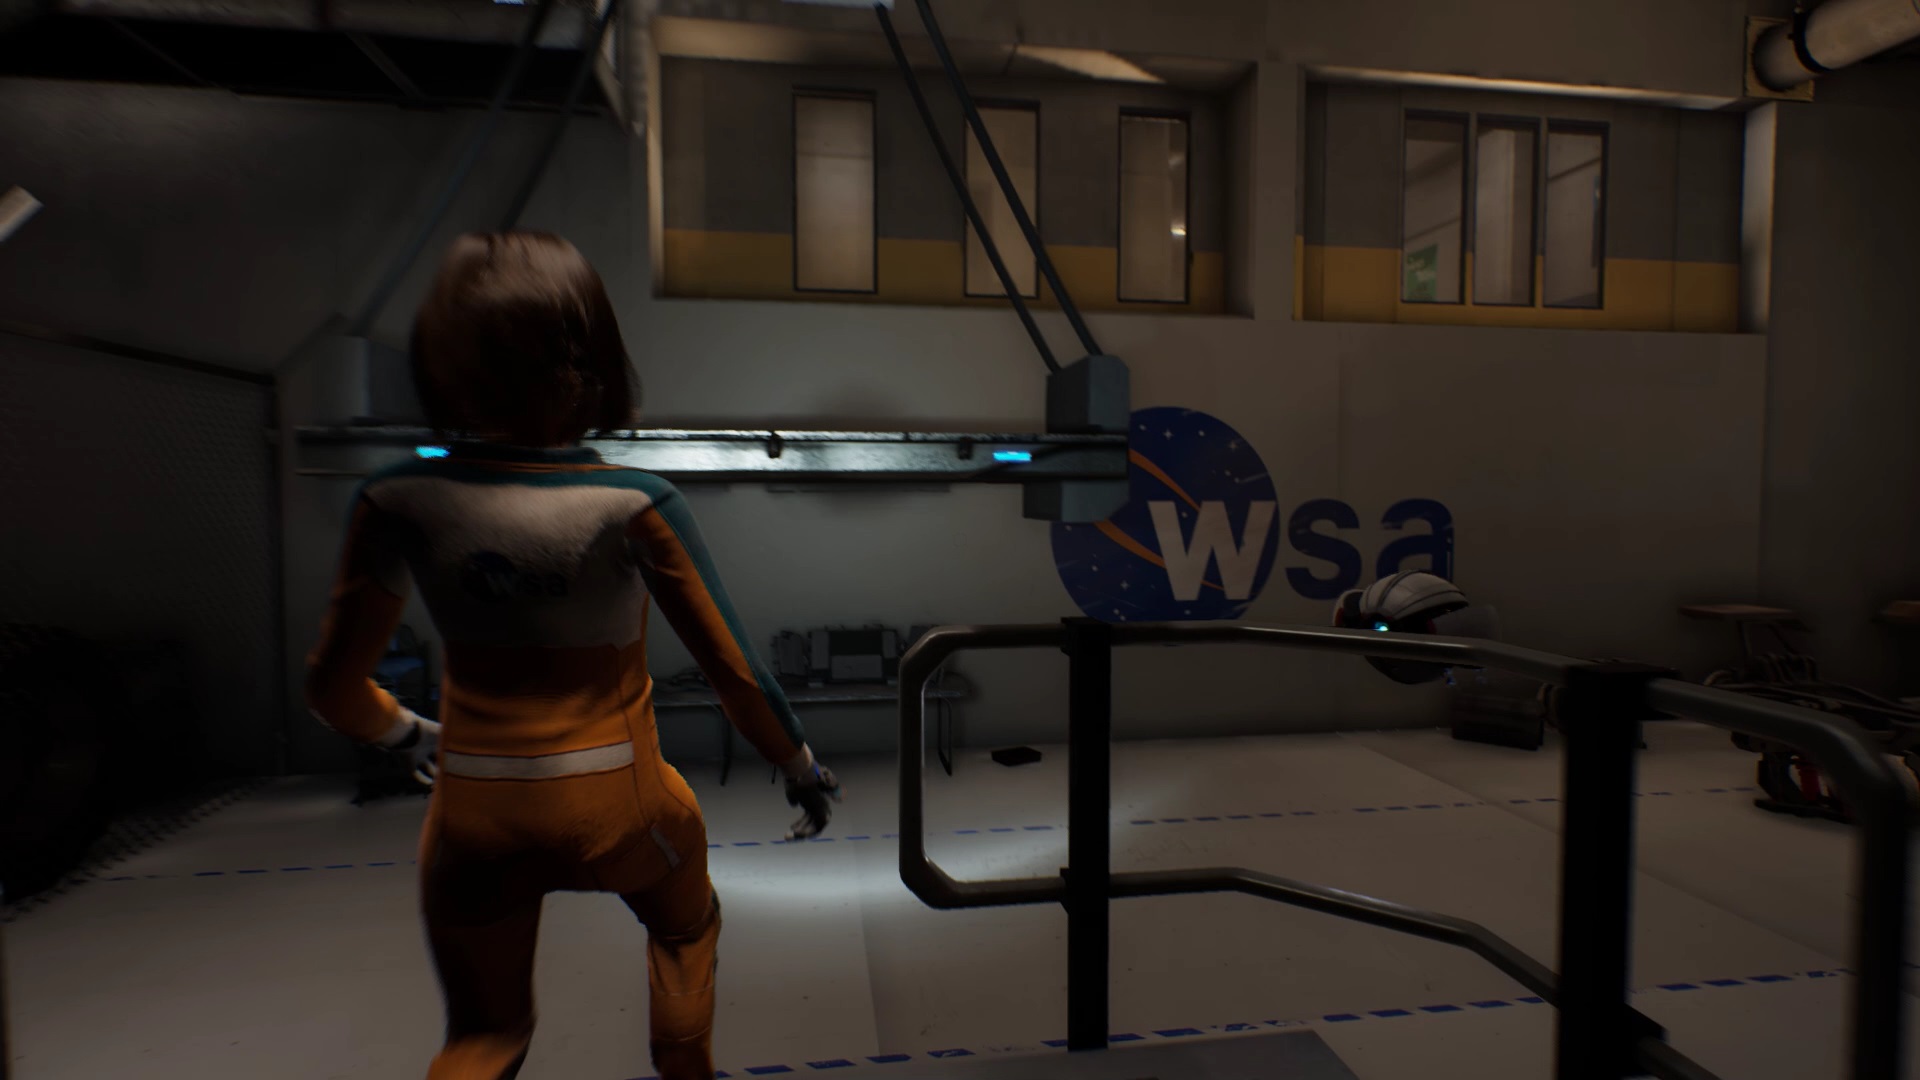
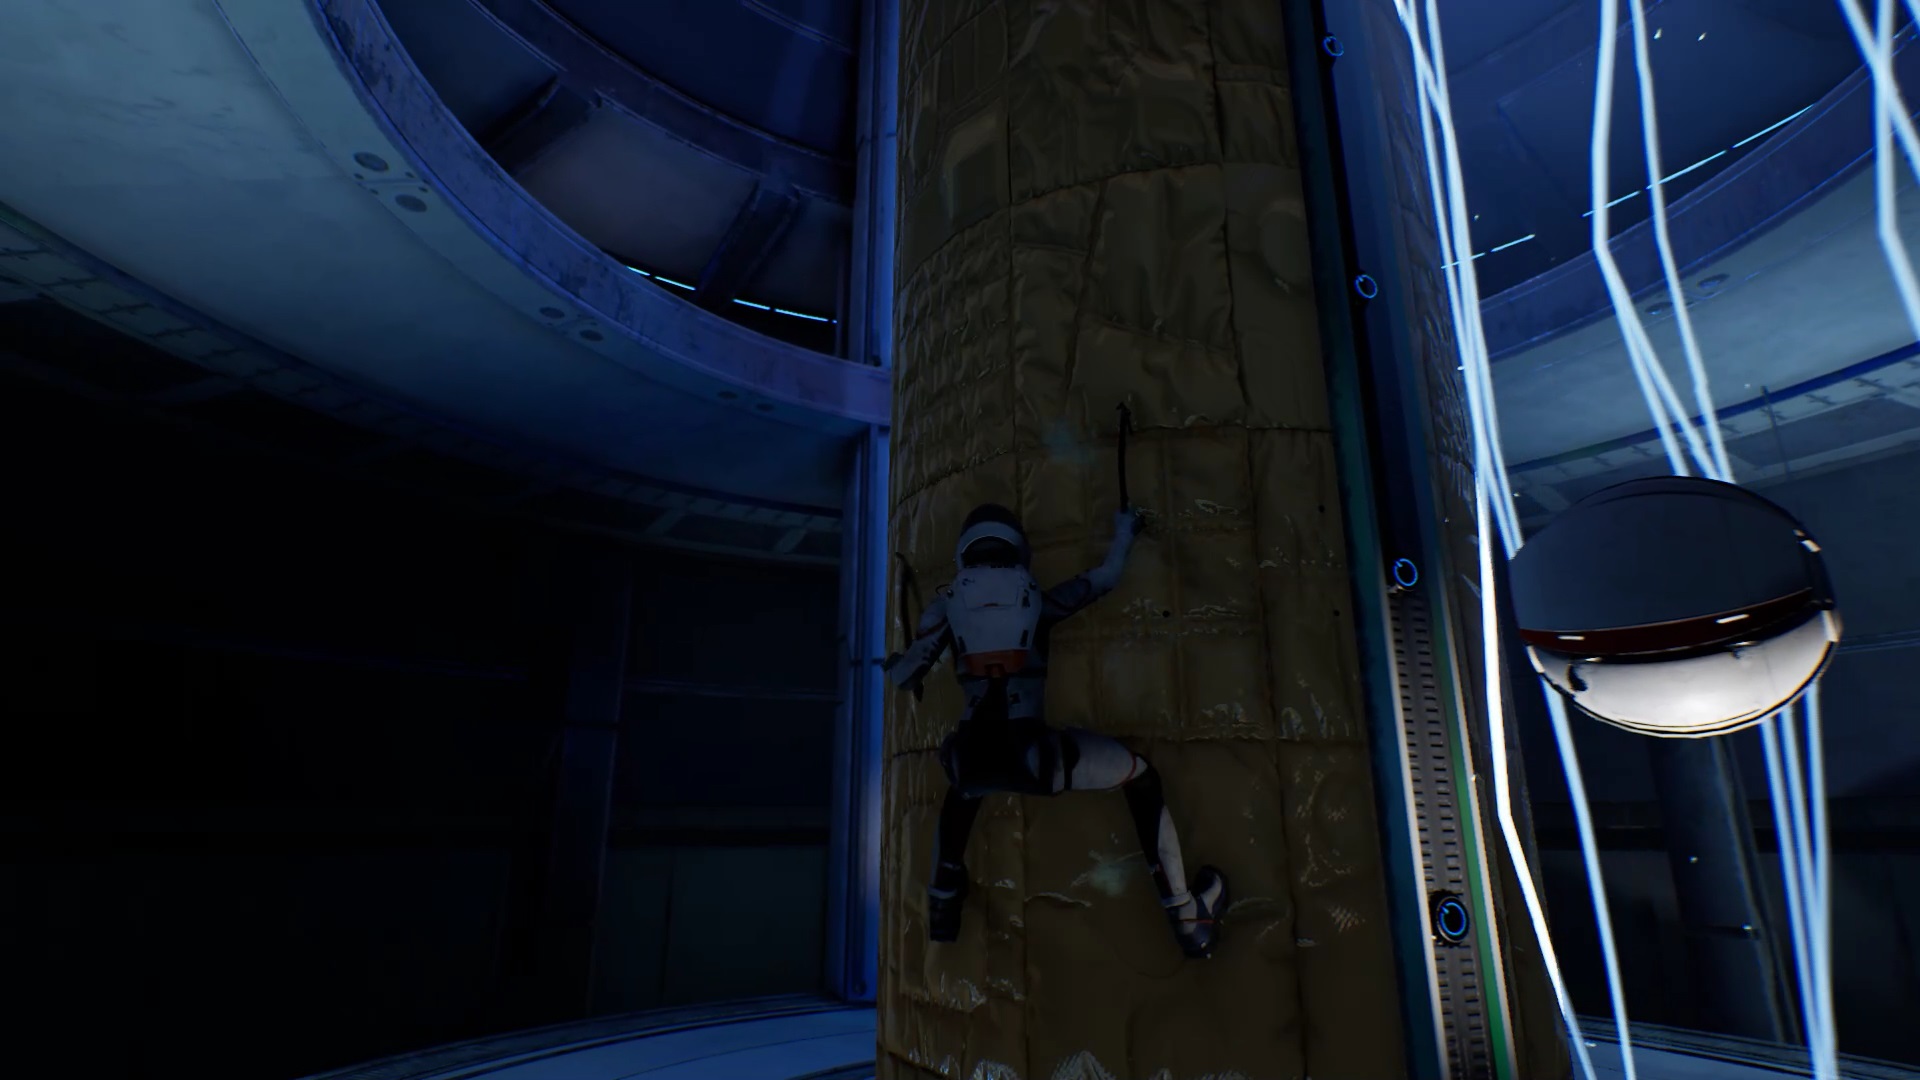
Once on the other side of the area, jump on the cylinder-shaped installation. Use your laser to unlock a passage at the ventilation level. Use Ayla to sneak through the vents. Walk along the conduit to go spy on the meeting. When the team leaves the room, keep moving forward through the conduits to trigger a cutscene.
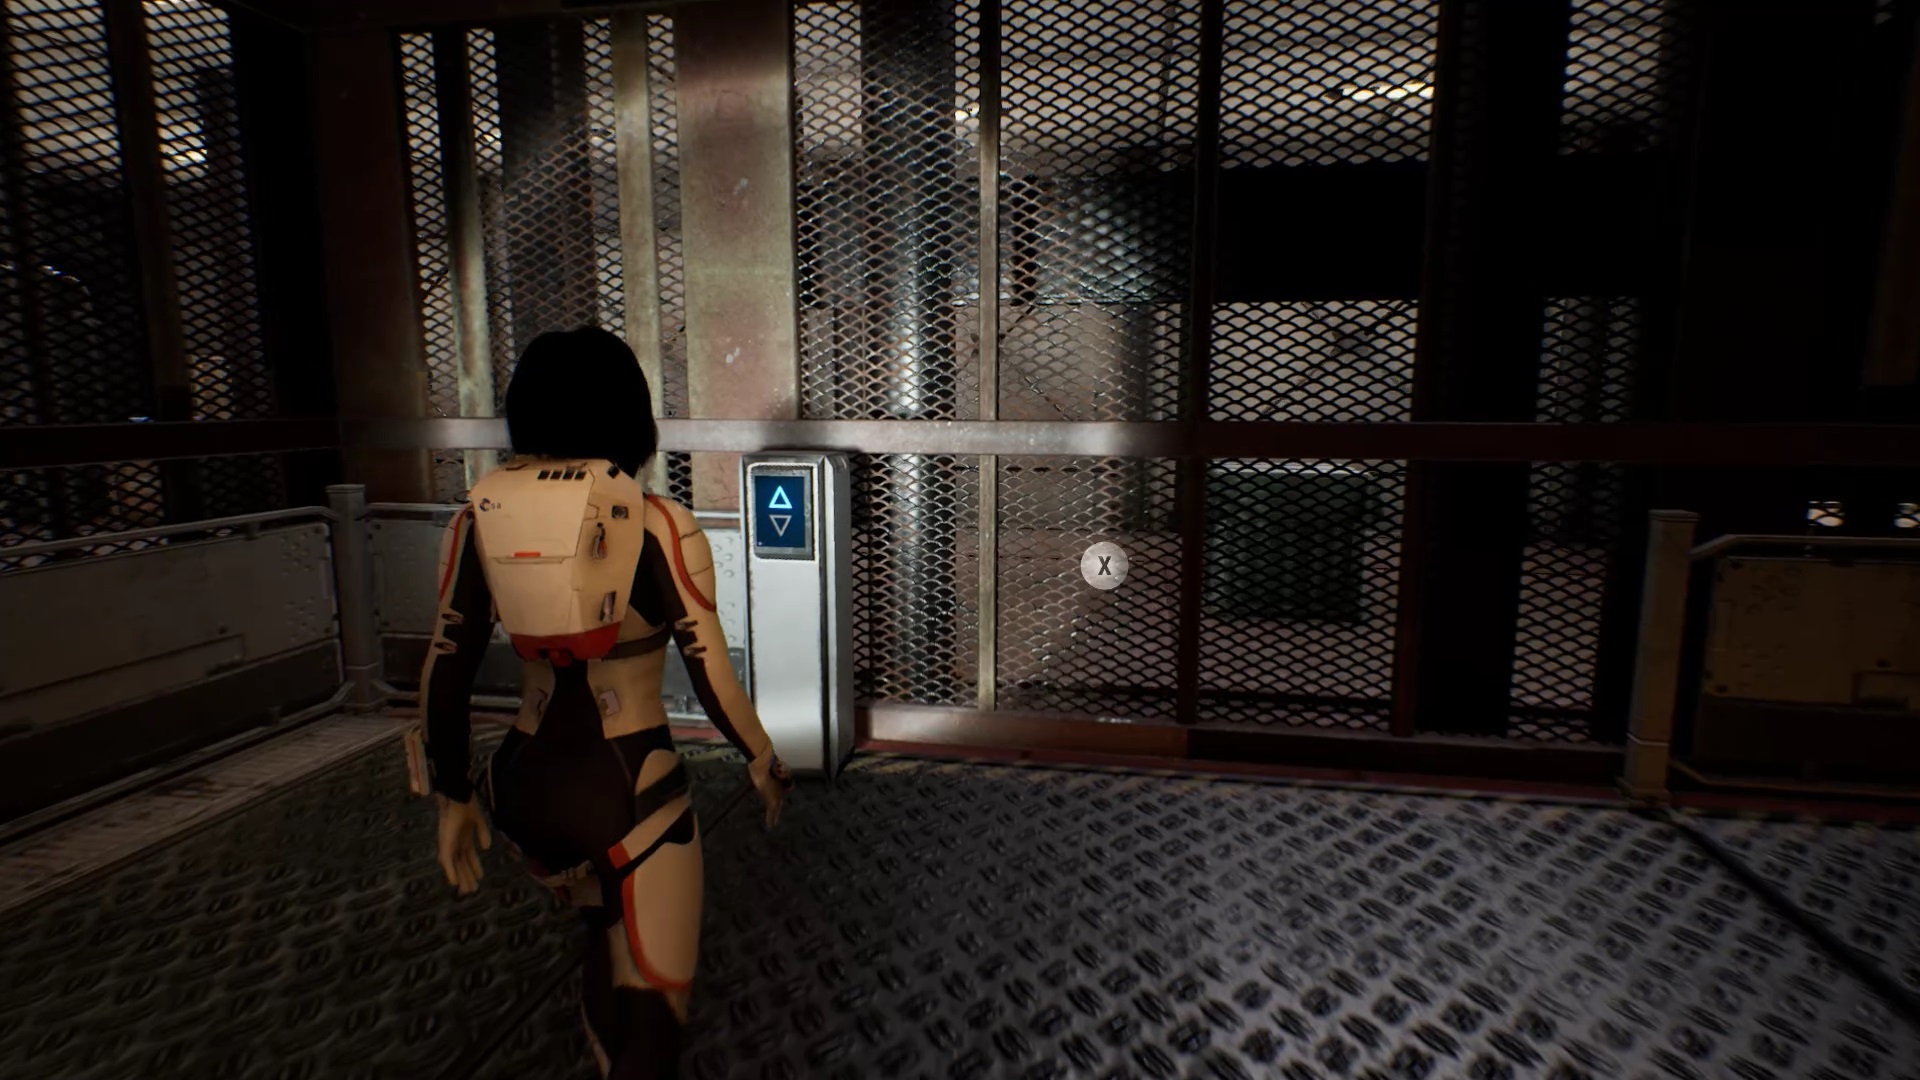
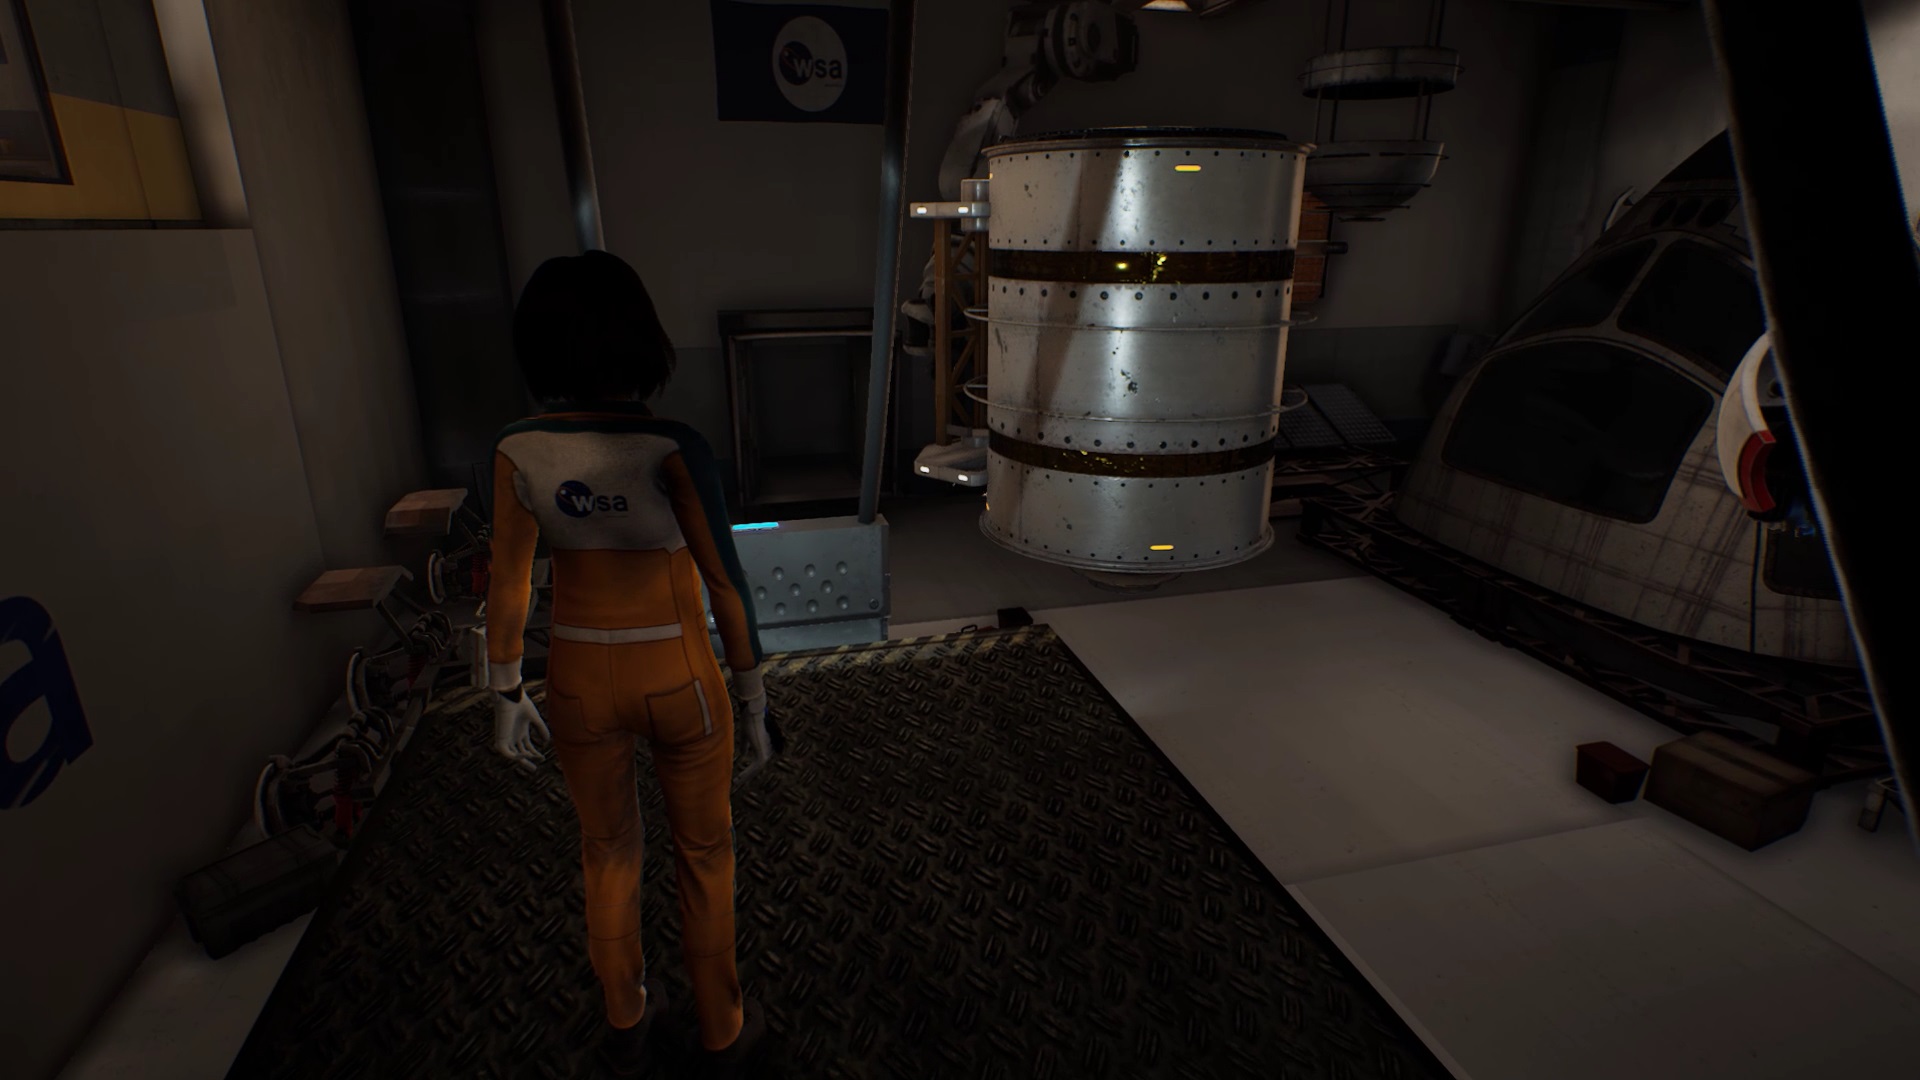
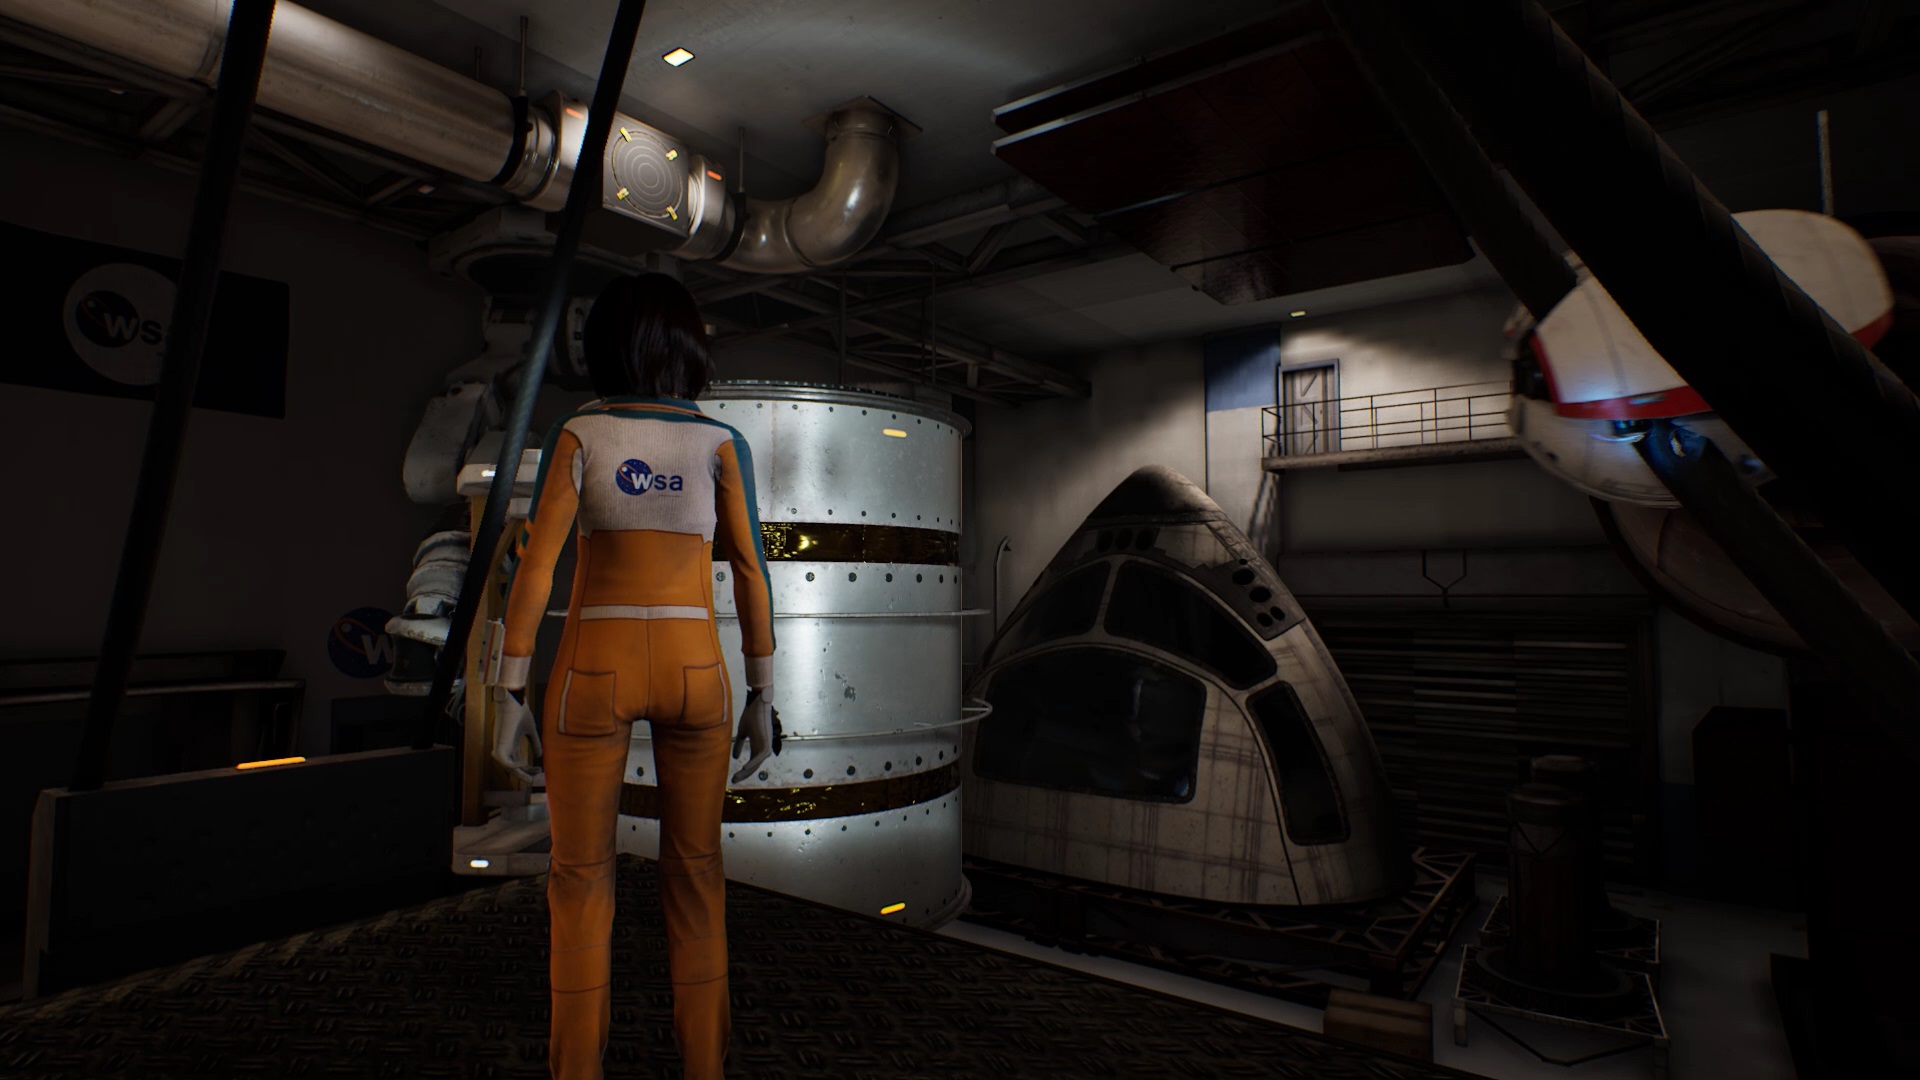
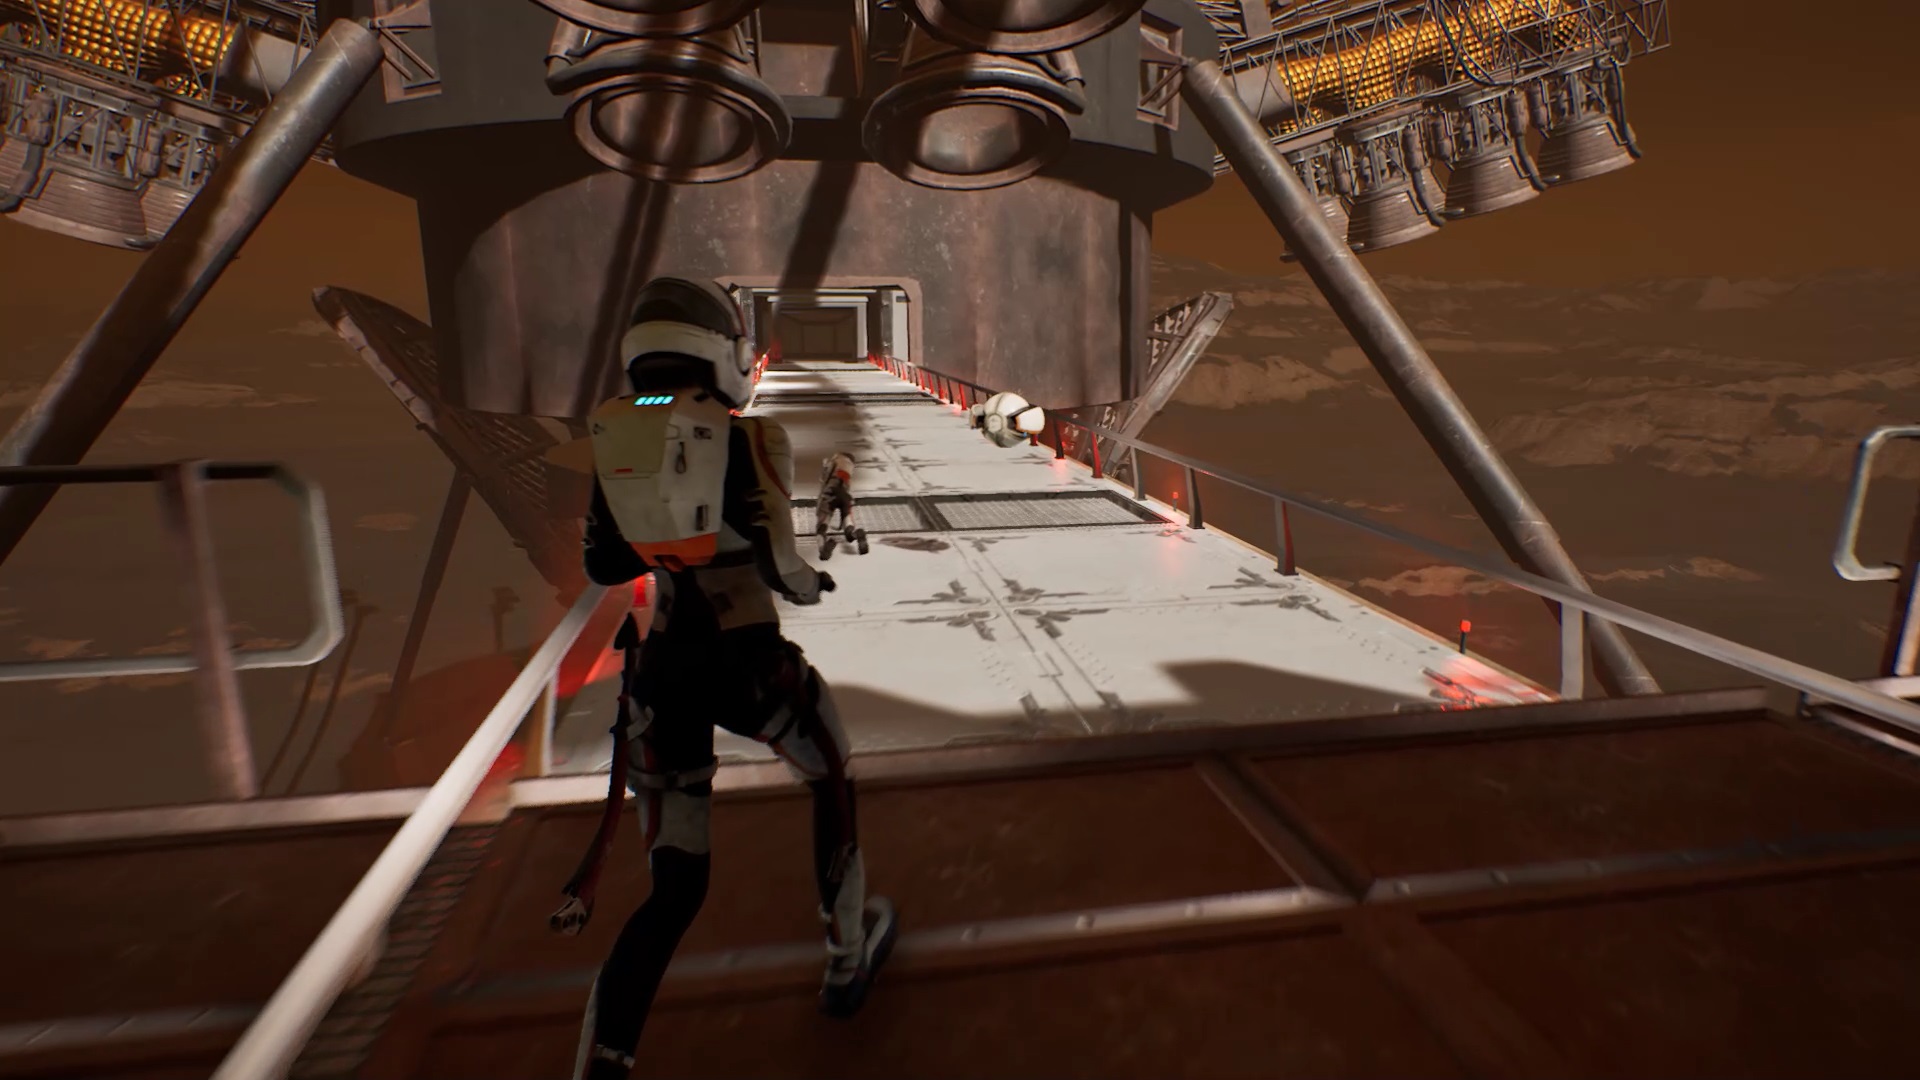
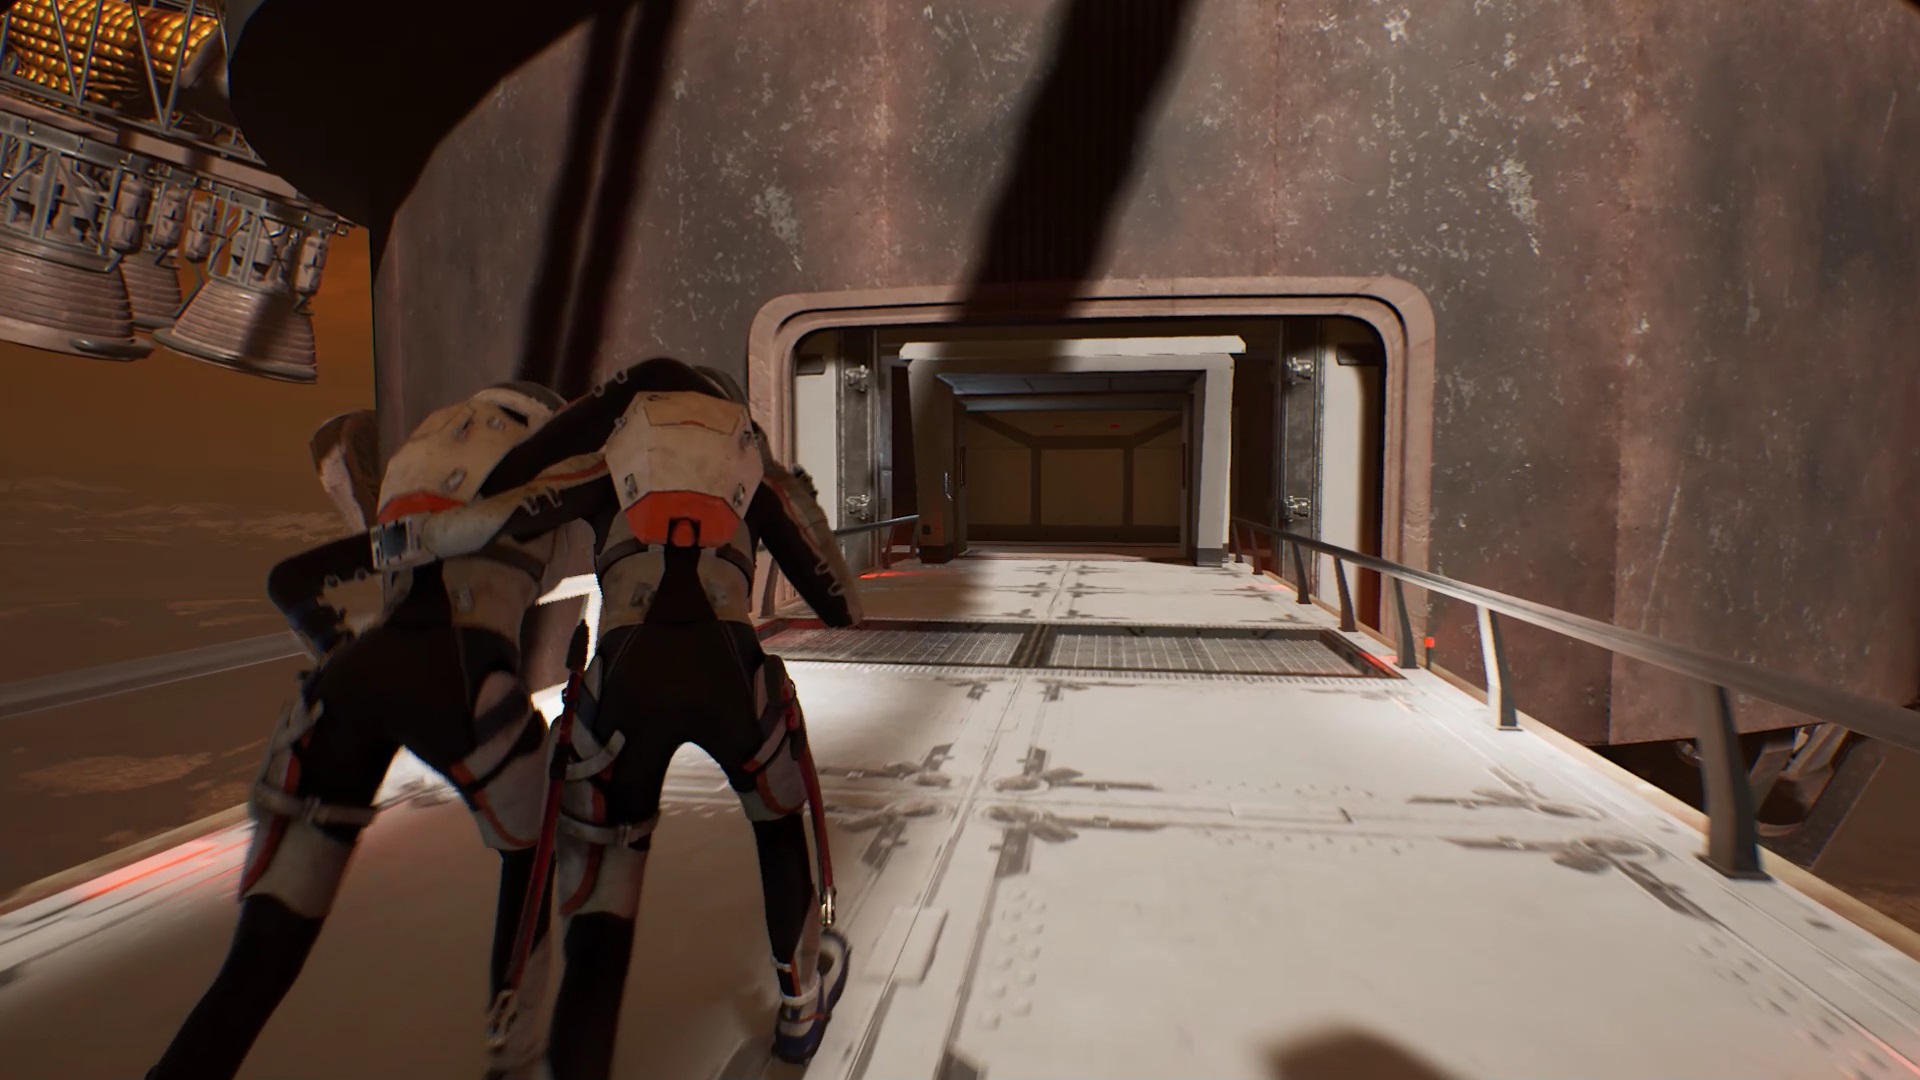
A few months later, you are ready to set sail for Mars. Exit the room and follow your team to the rocket. Board the shuttle and sit down to continue the journey. As you exit the shuttle, use the elevator switch to reach the rocket. Follow your crew to board the rocket.
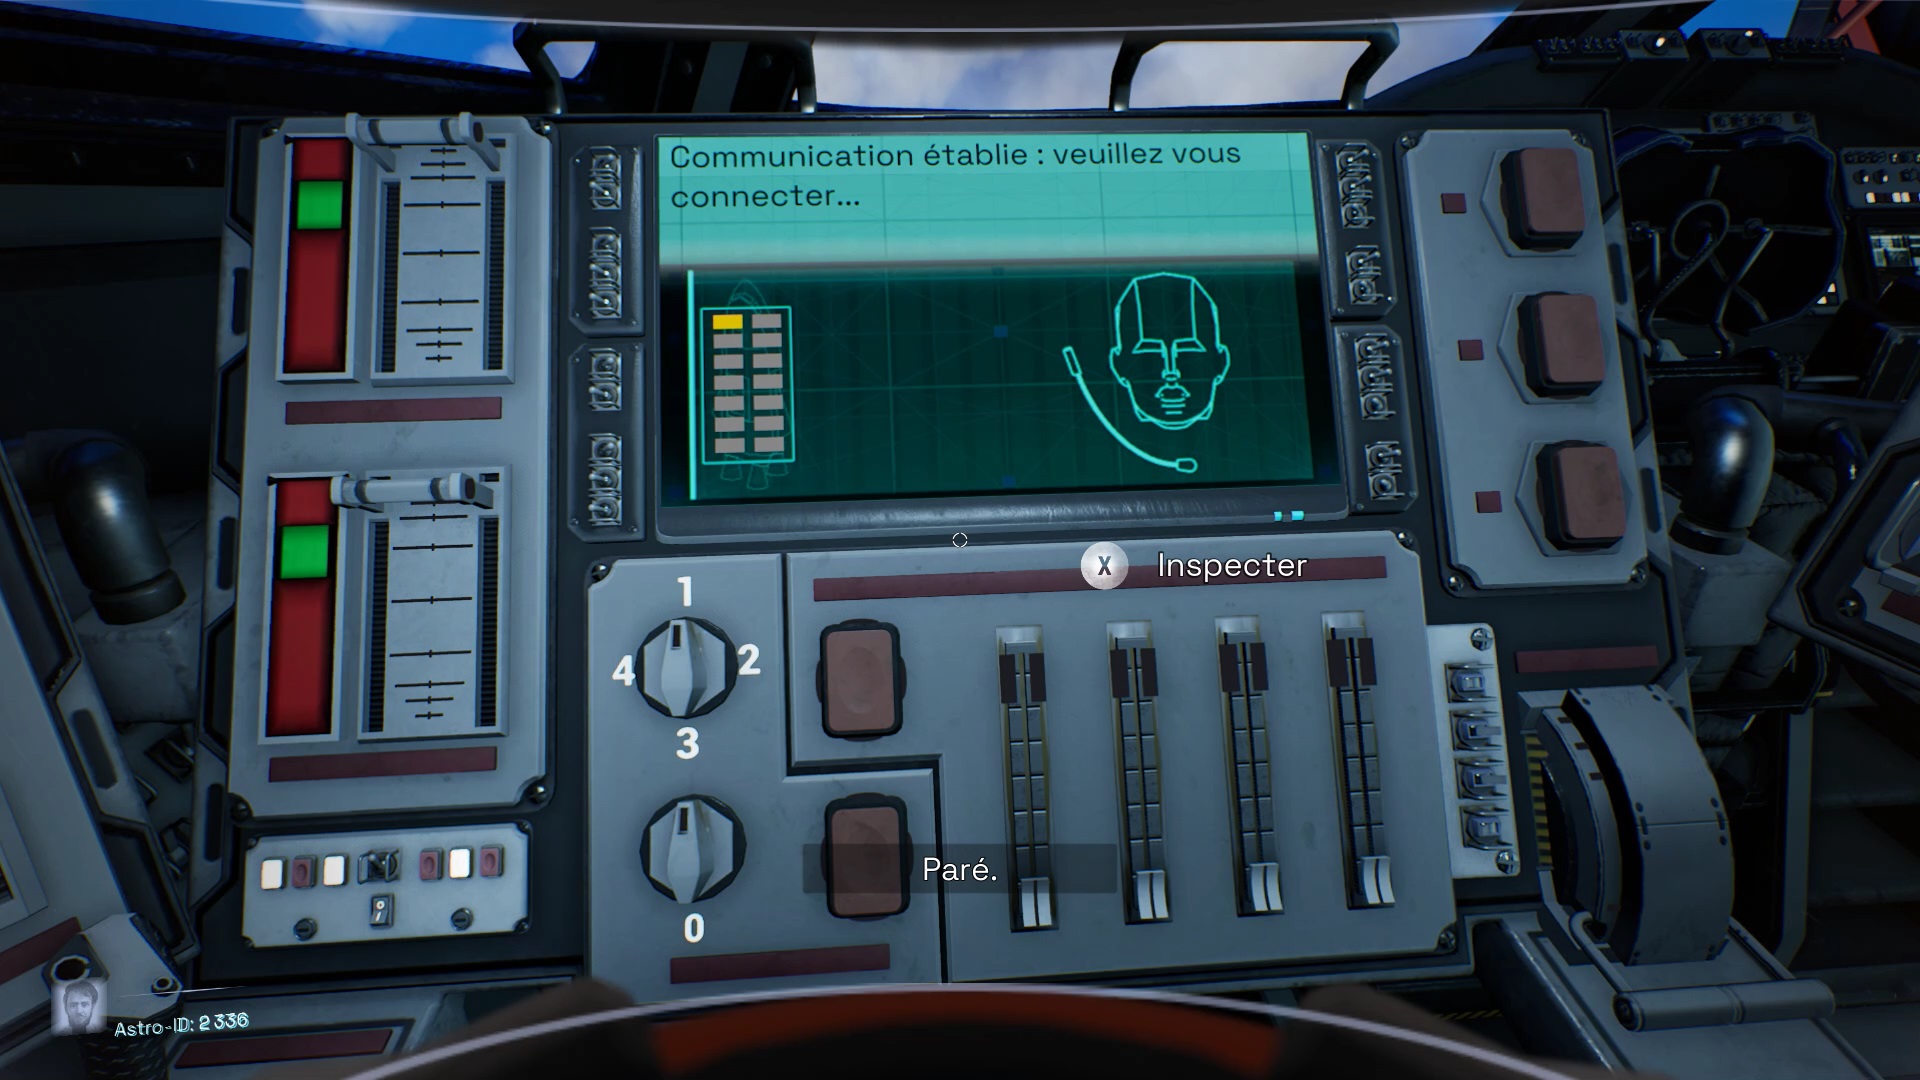
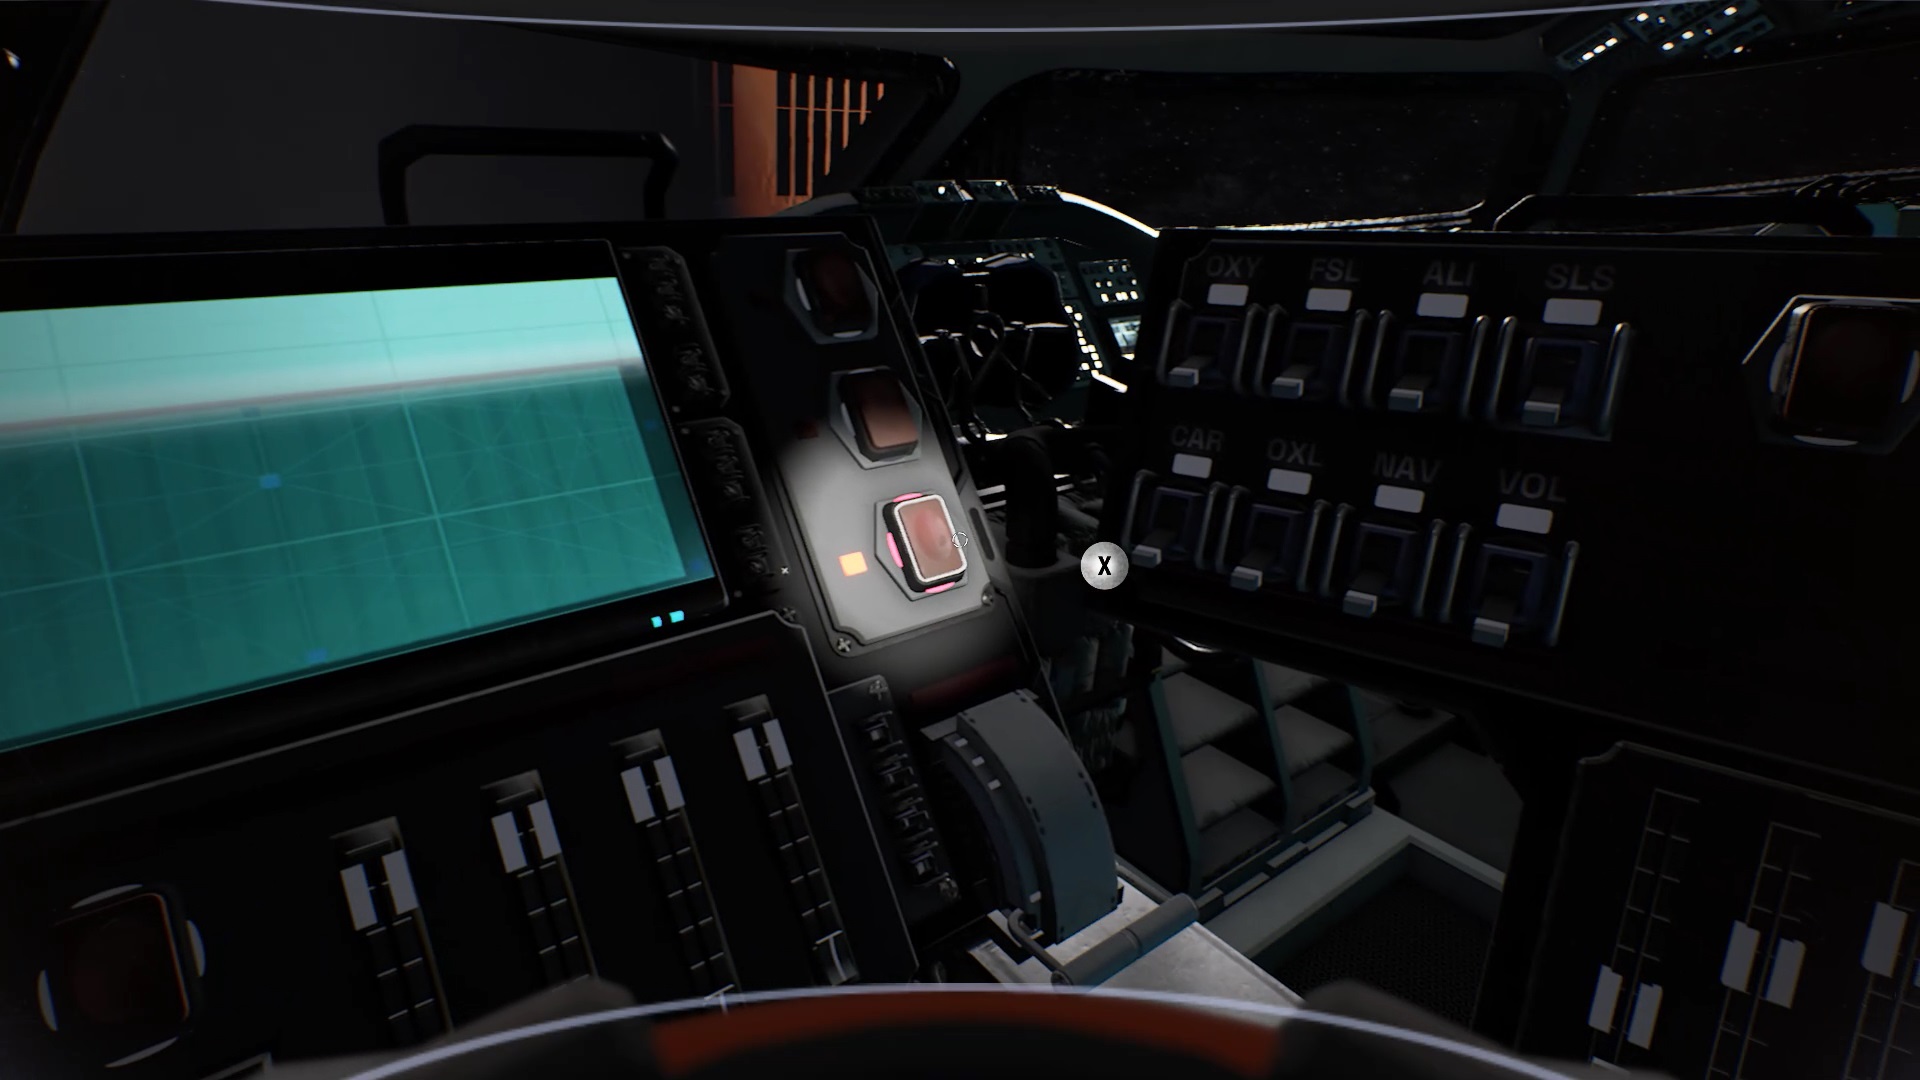
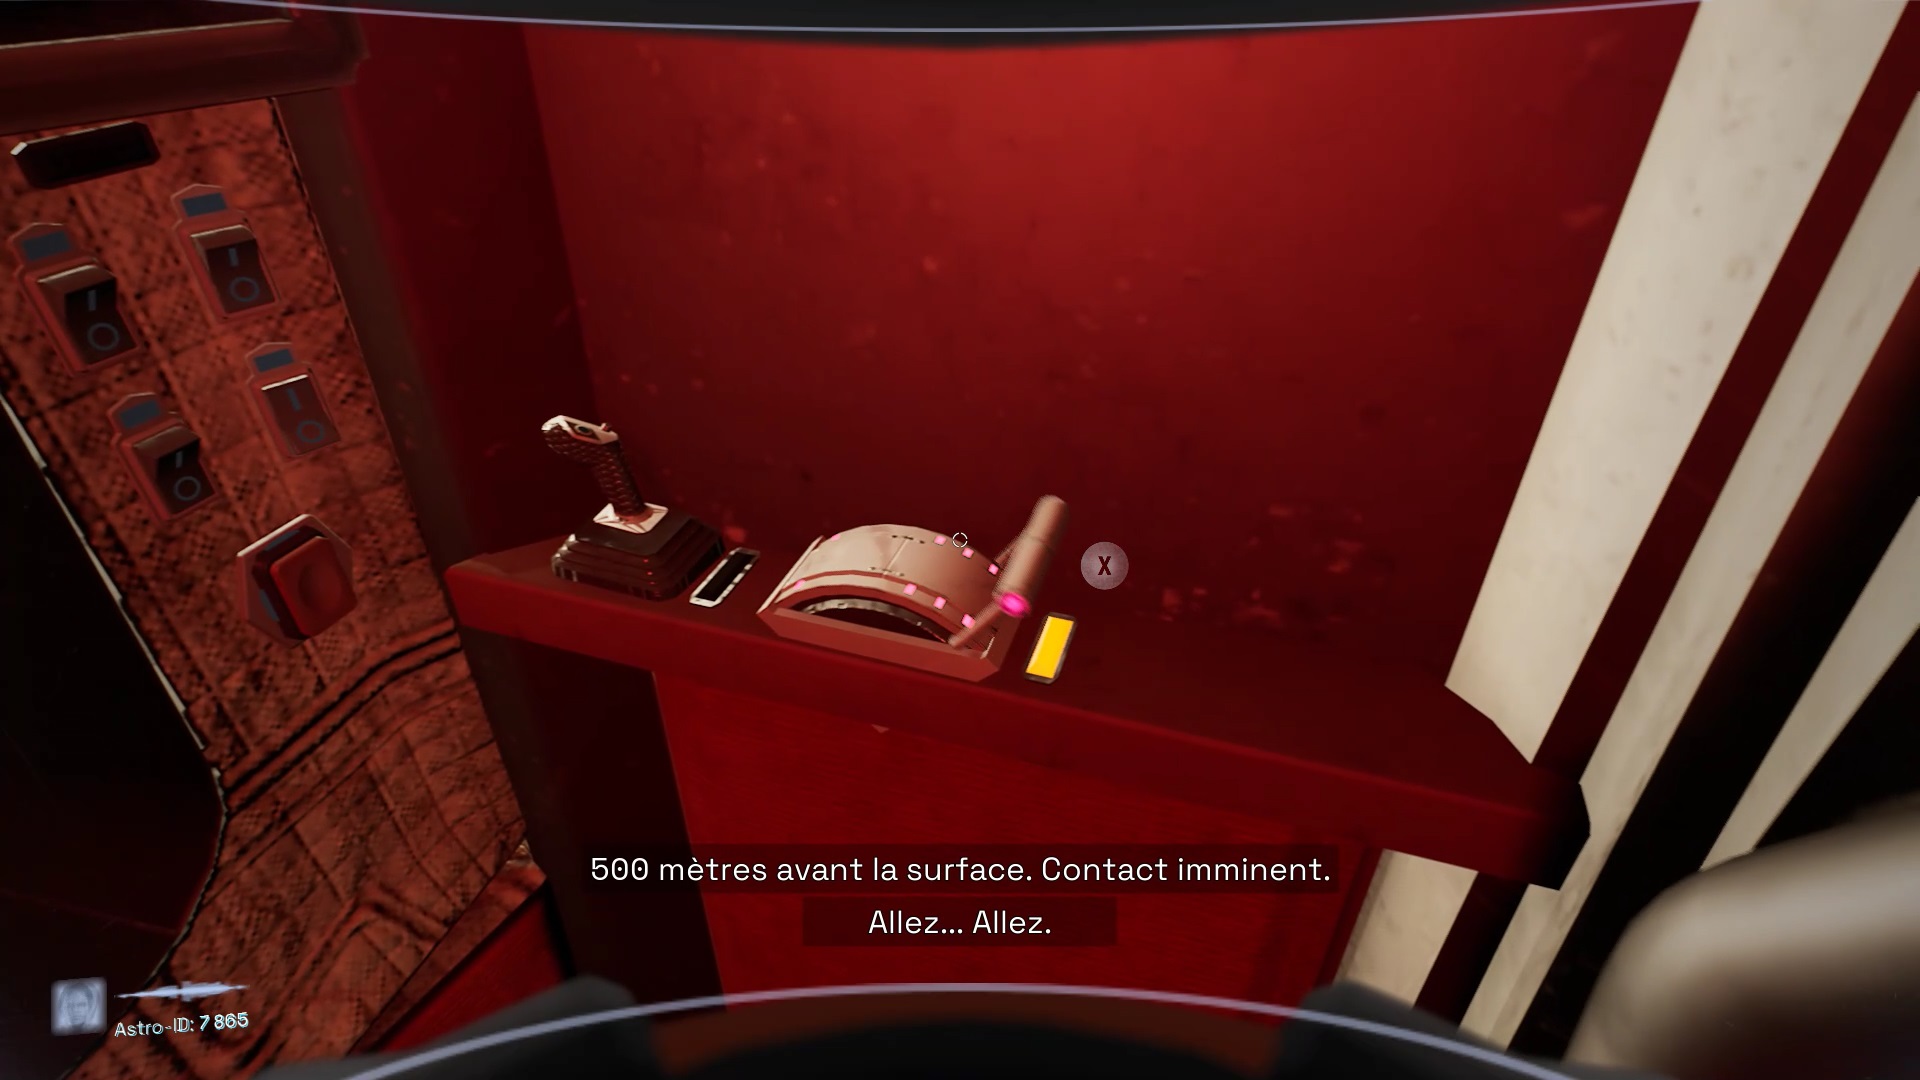
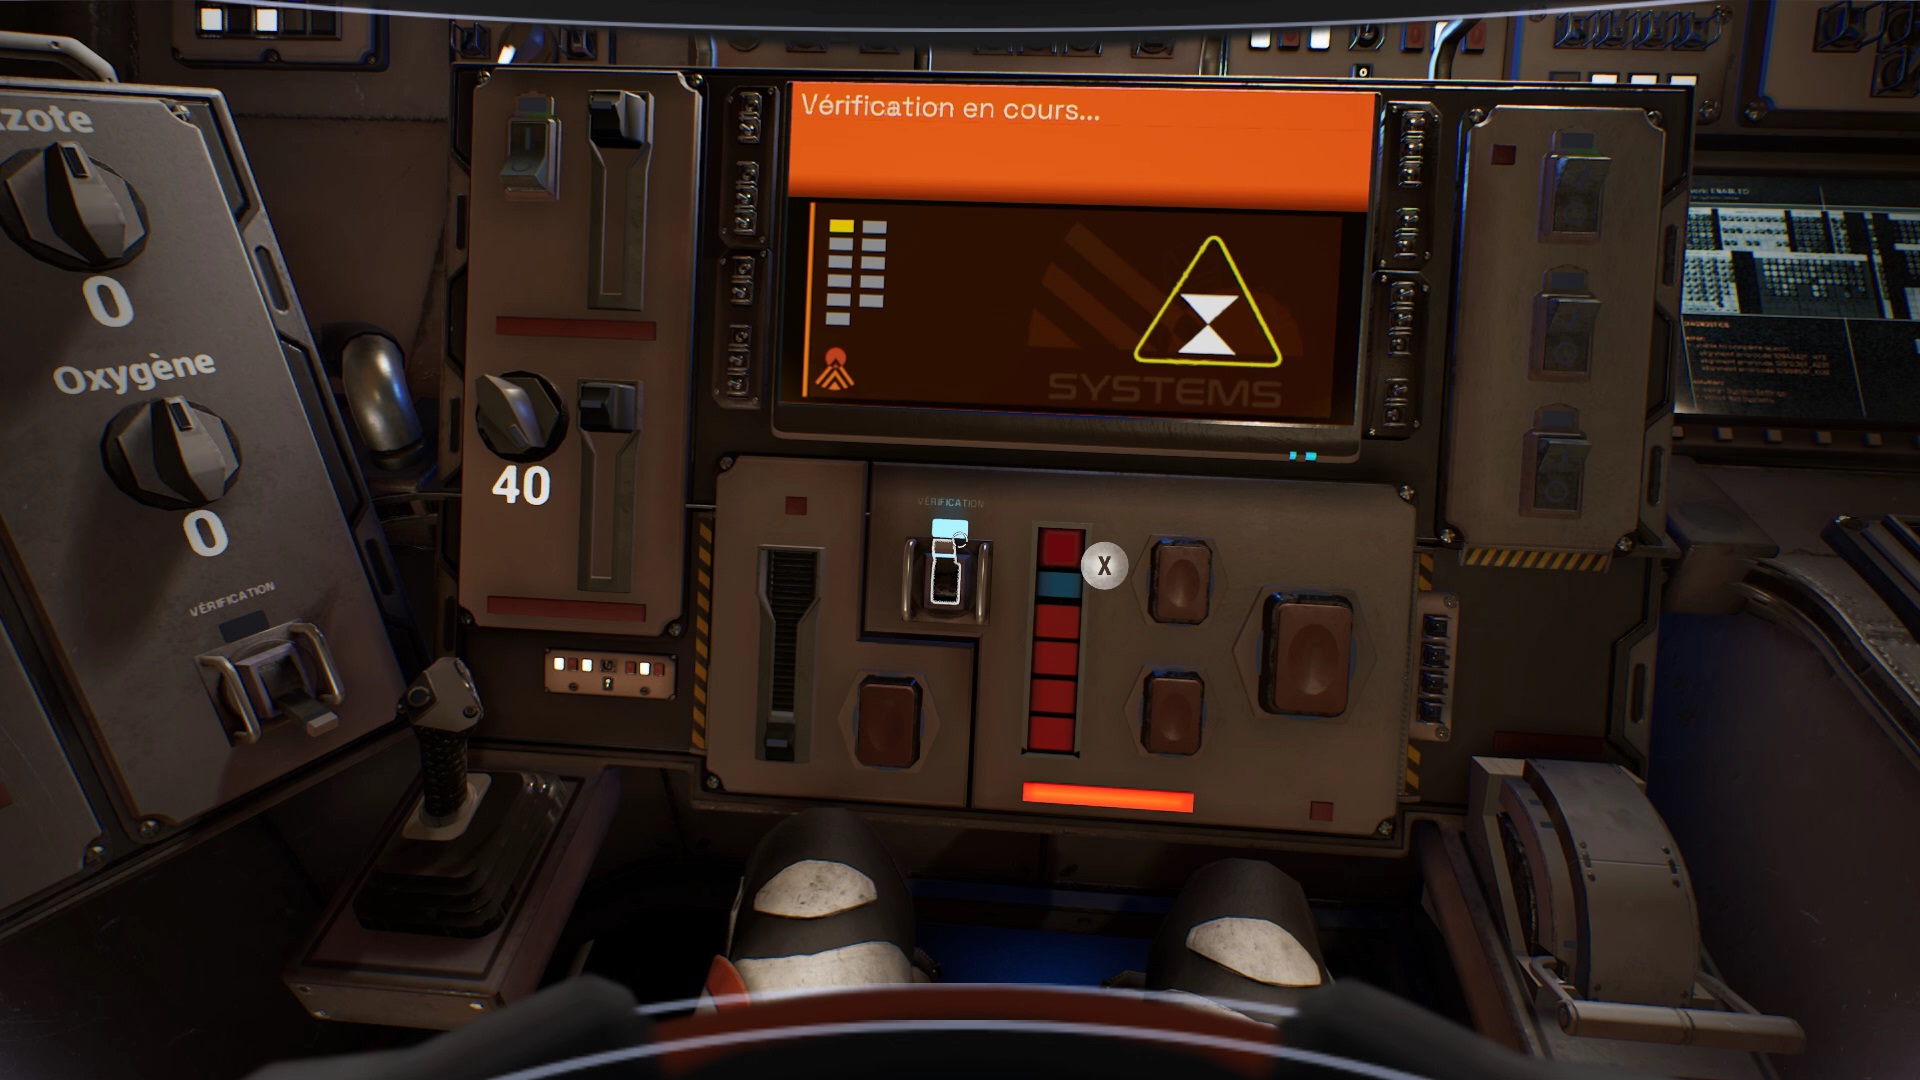
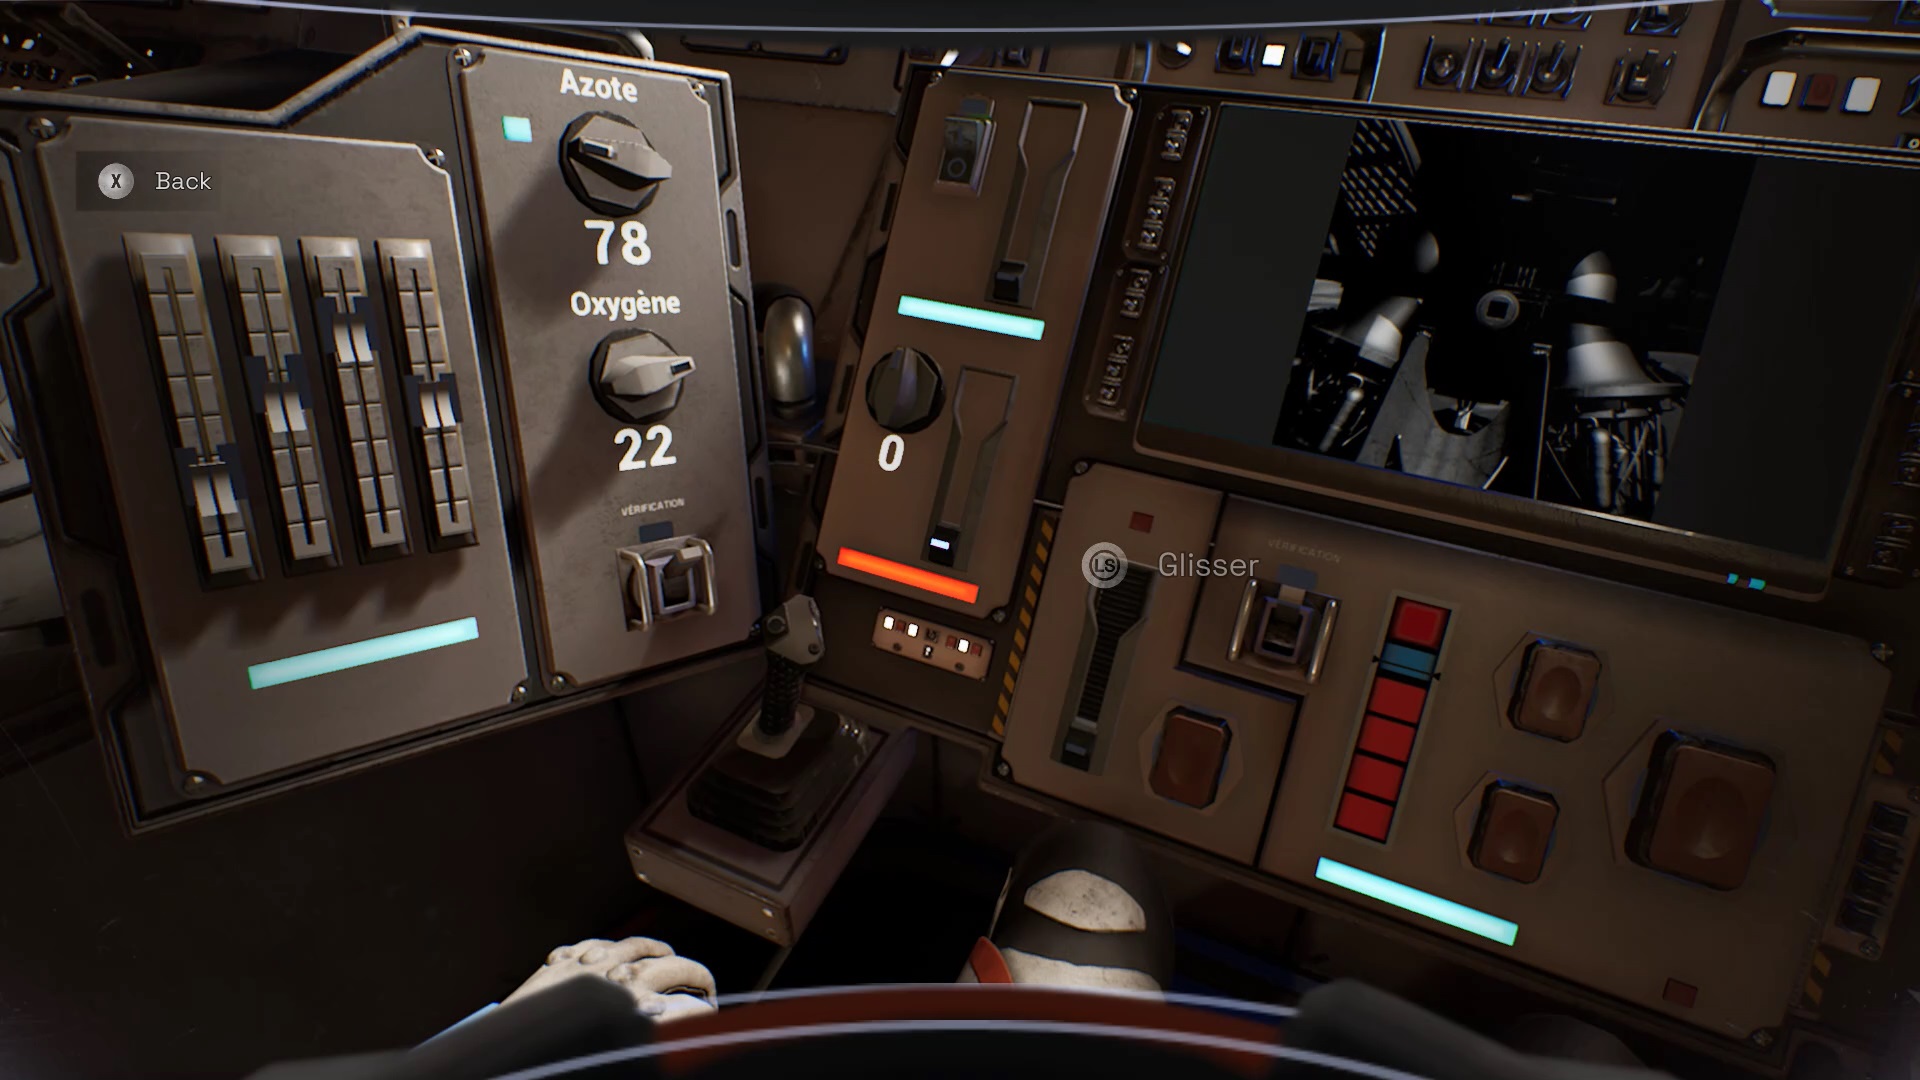
In the rocket, follow Claire’s instructions to prepare for takeoff. Inspect the control panel in front of you. On your right, you must adjust the various points that are listed for you. Activate the switches one by one as soon as they turn red.
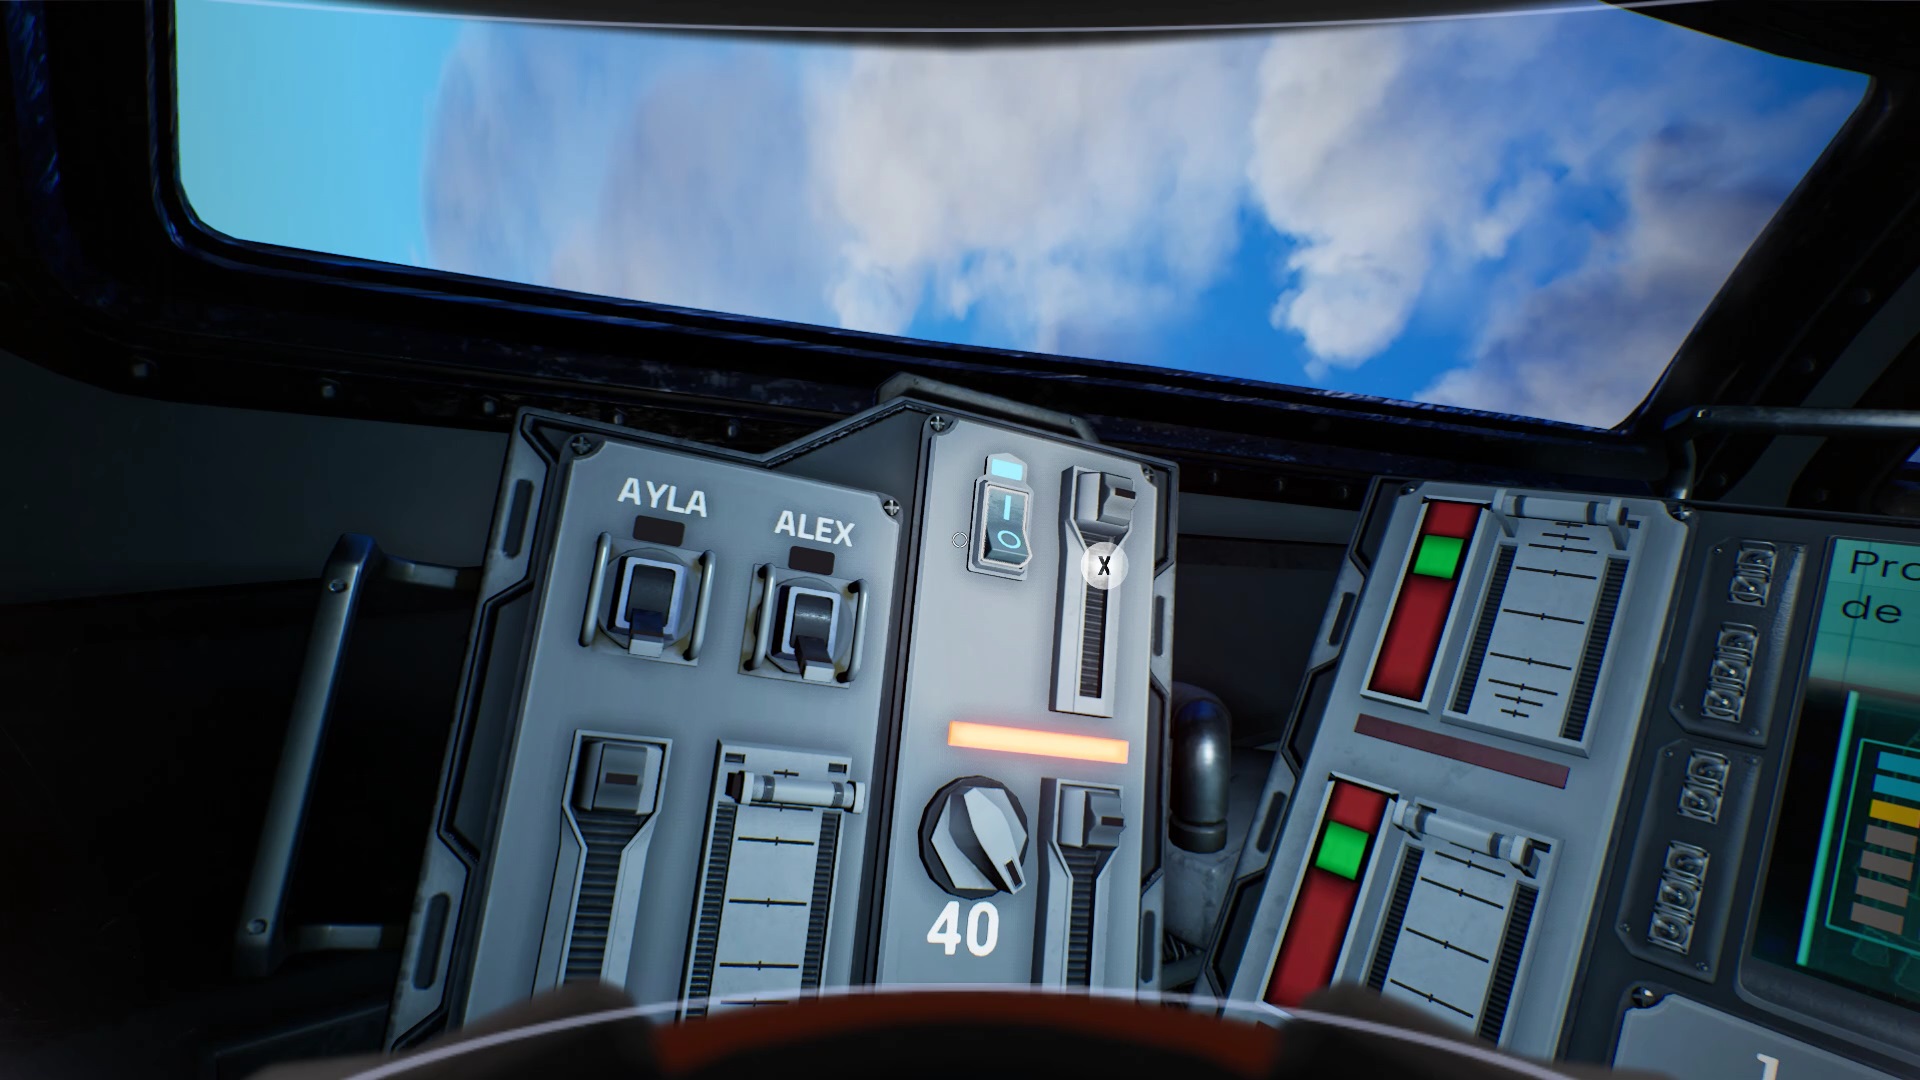
To achieve armature retraction, interact with the on/off button on the left. He is in blue. Then lower the notch to the right of the button to complete the task.
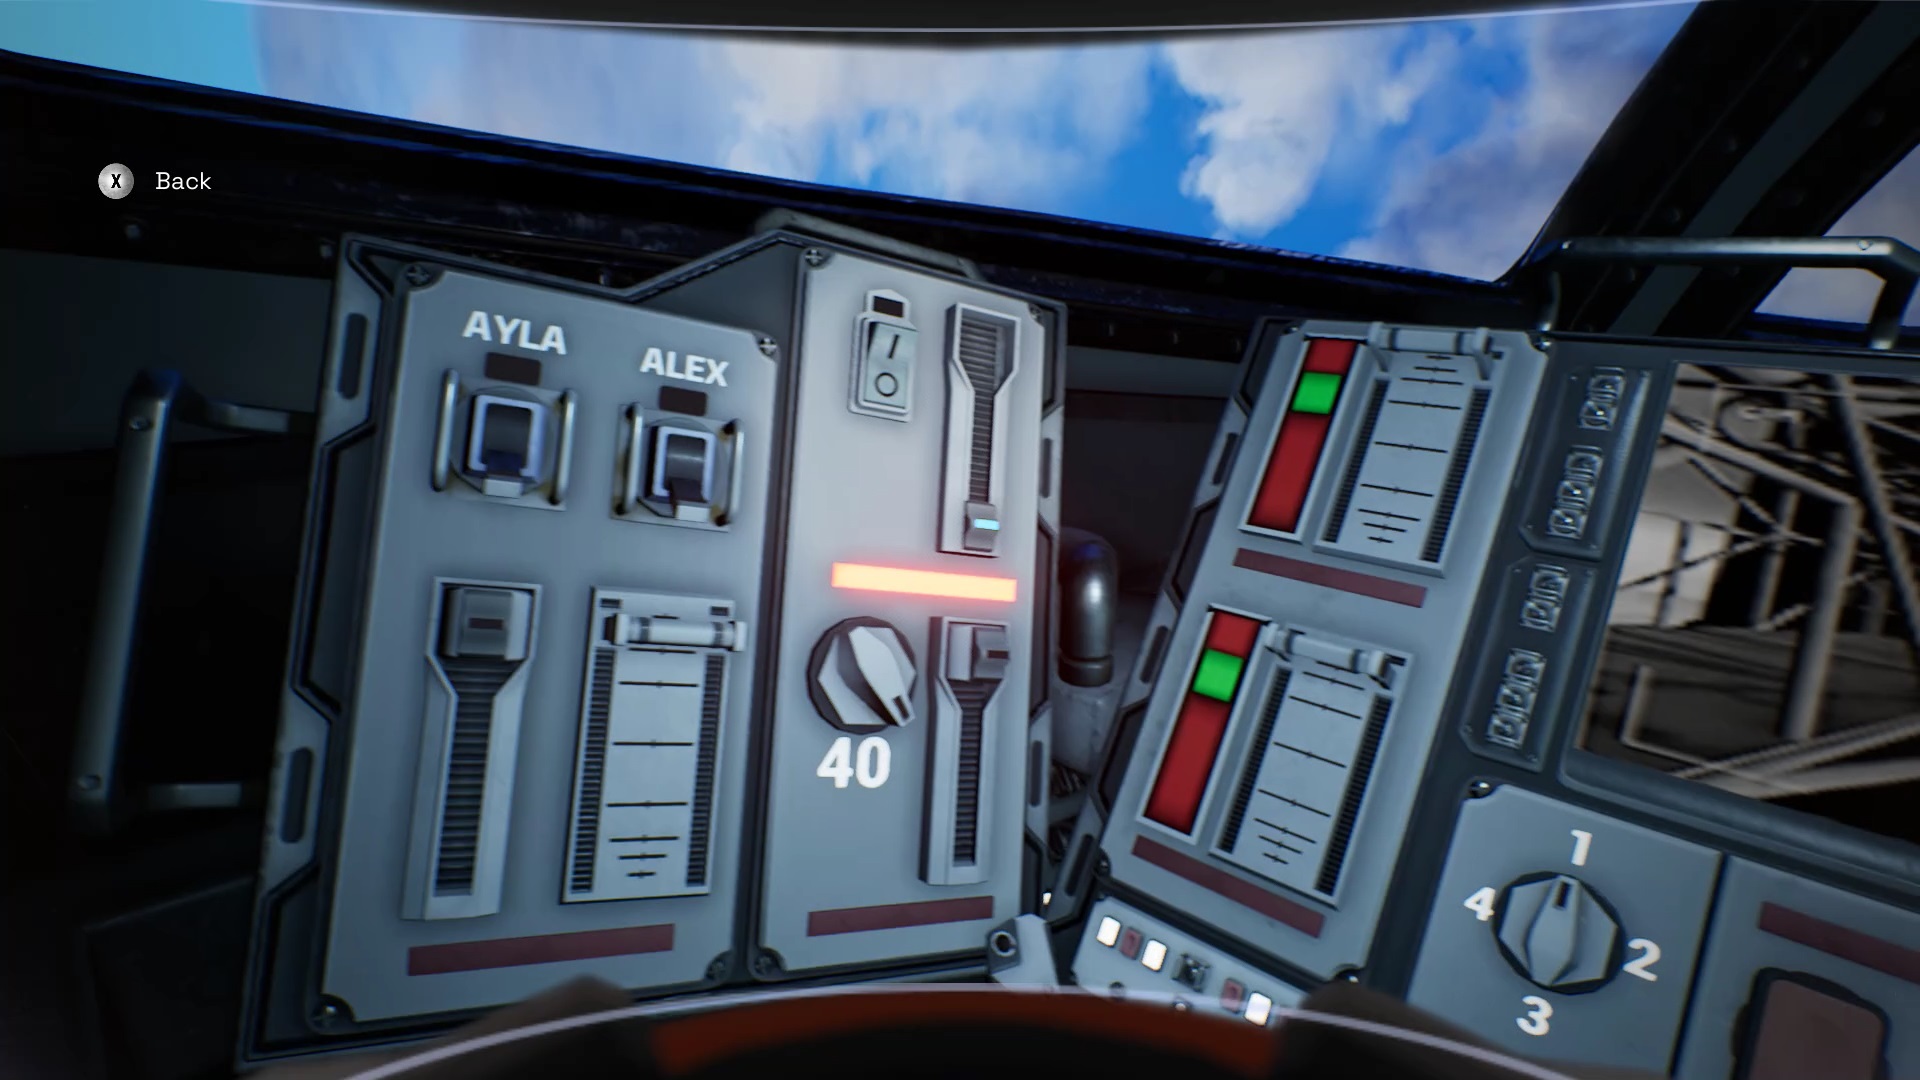
To retract the access arm to the orbiter, interact with the control lever on the lower part. Simply slide the arm to the left.
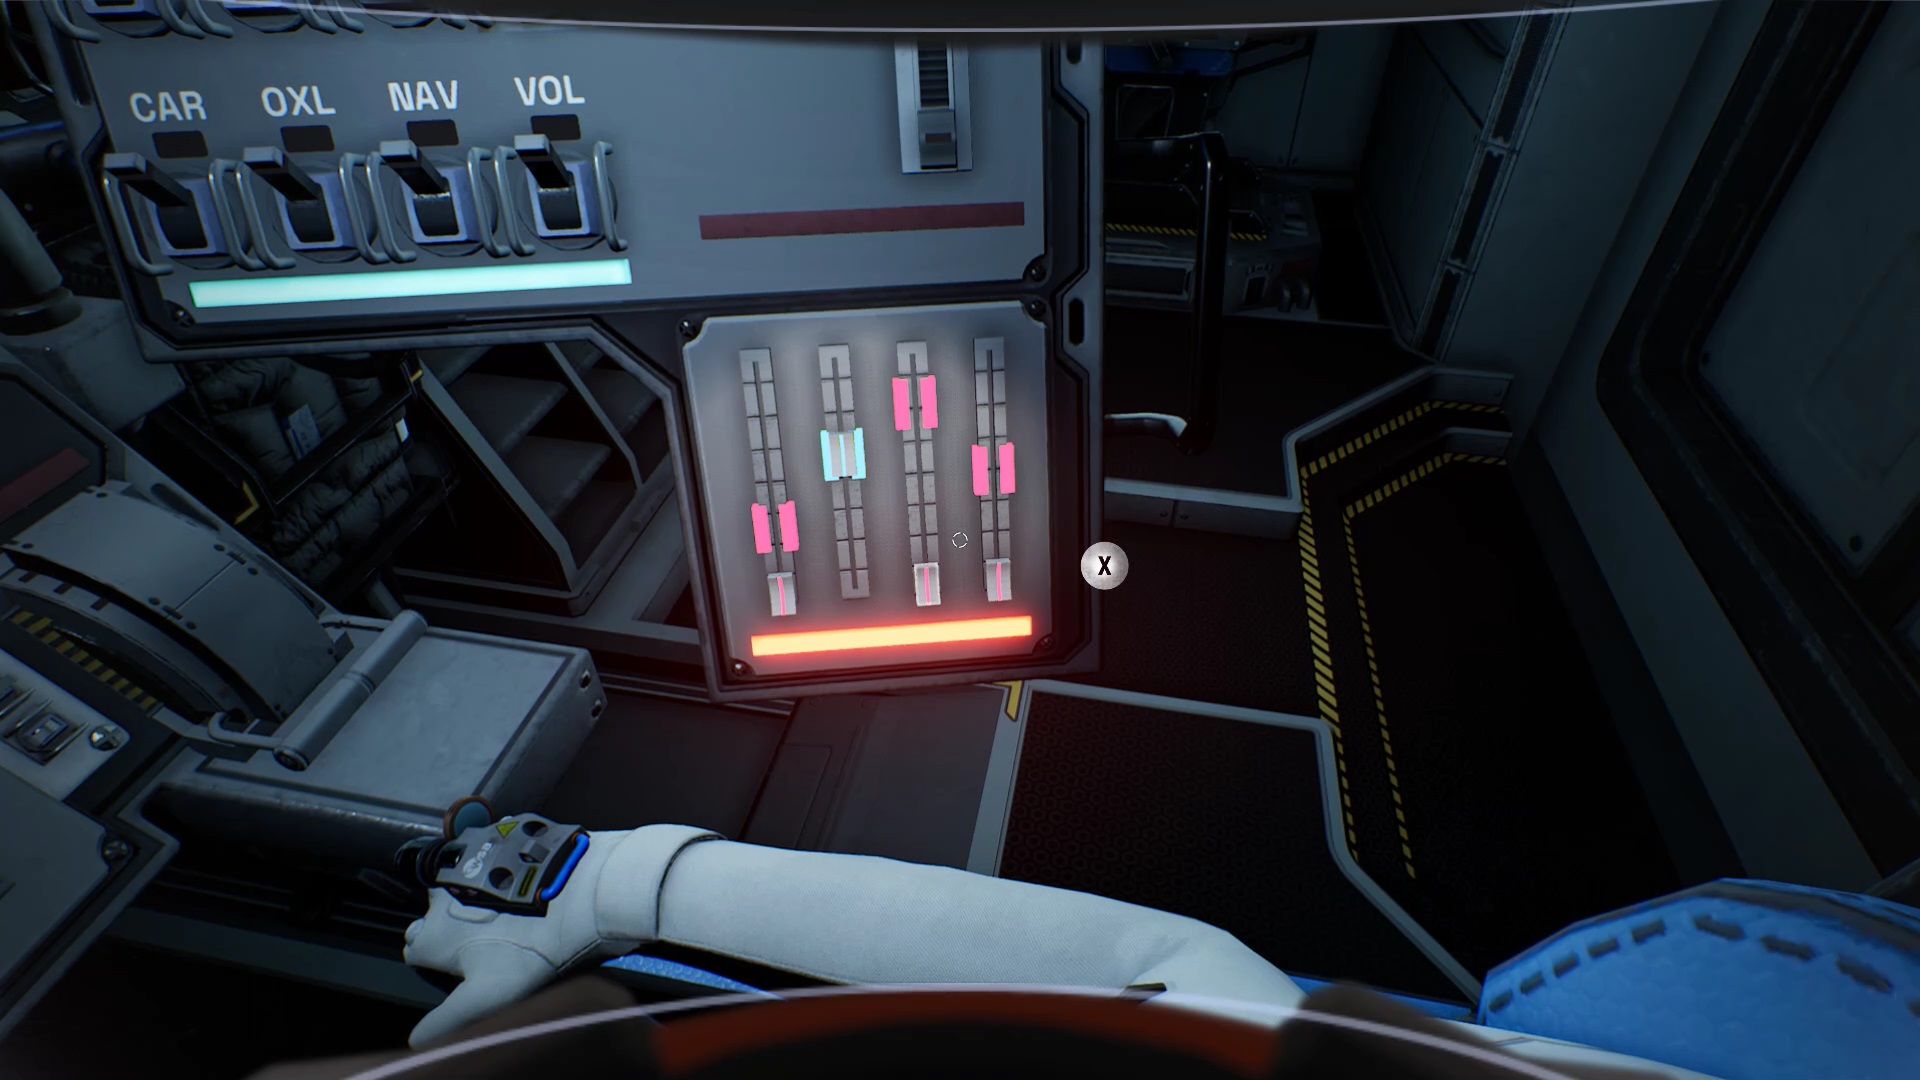
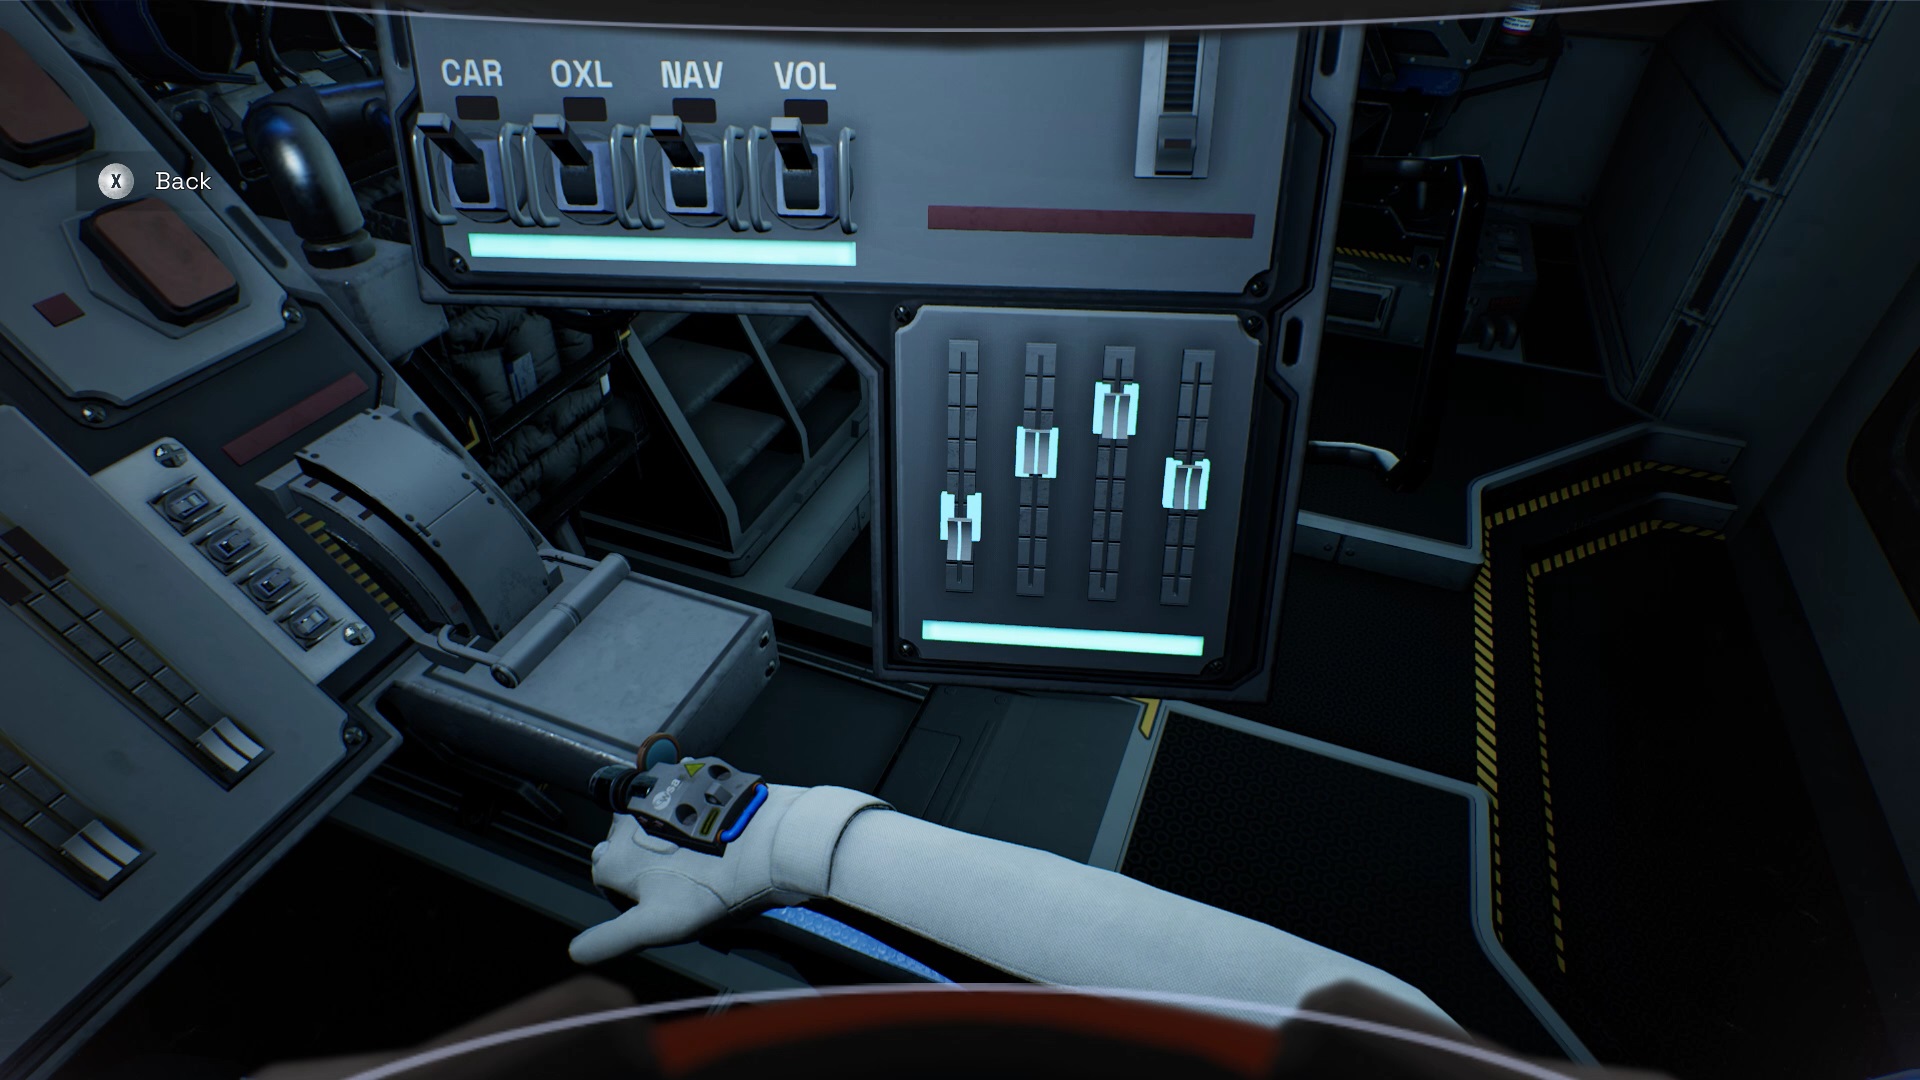
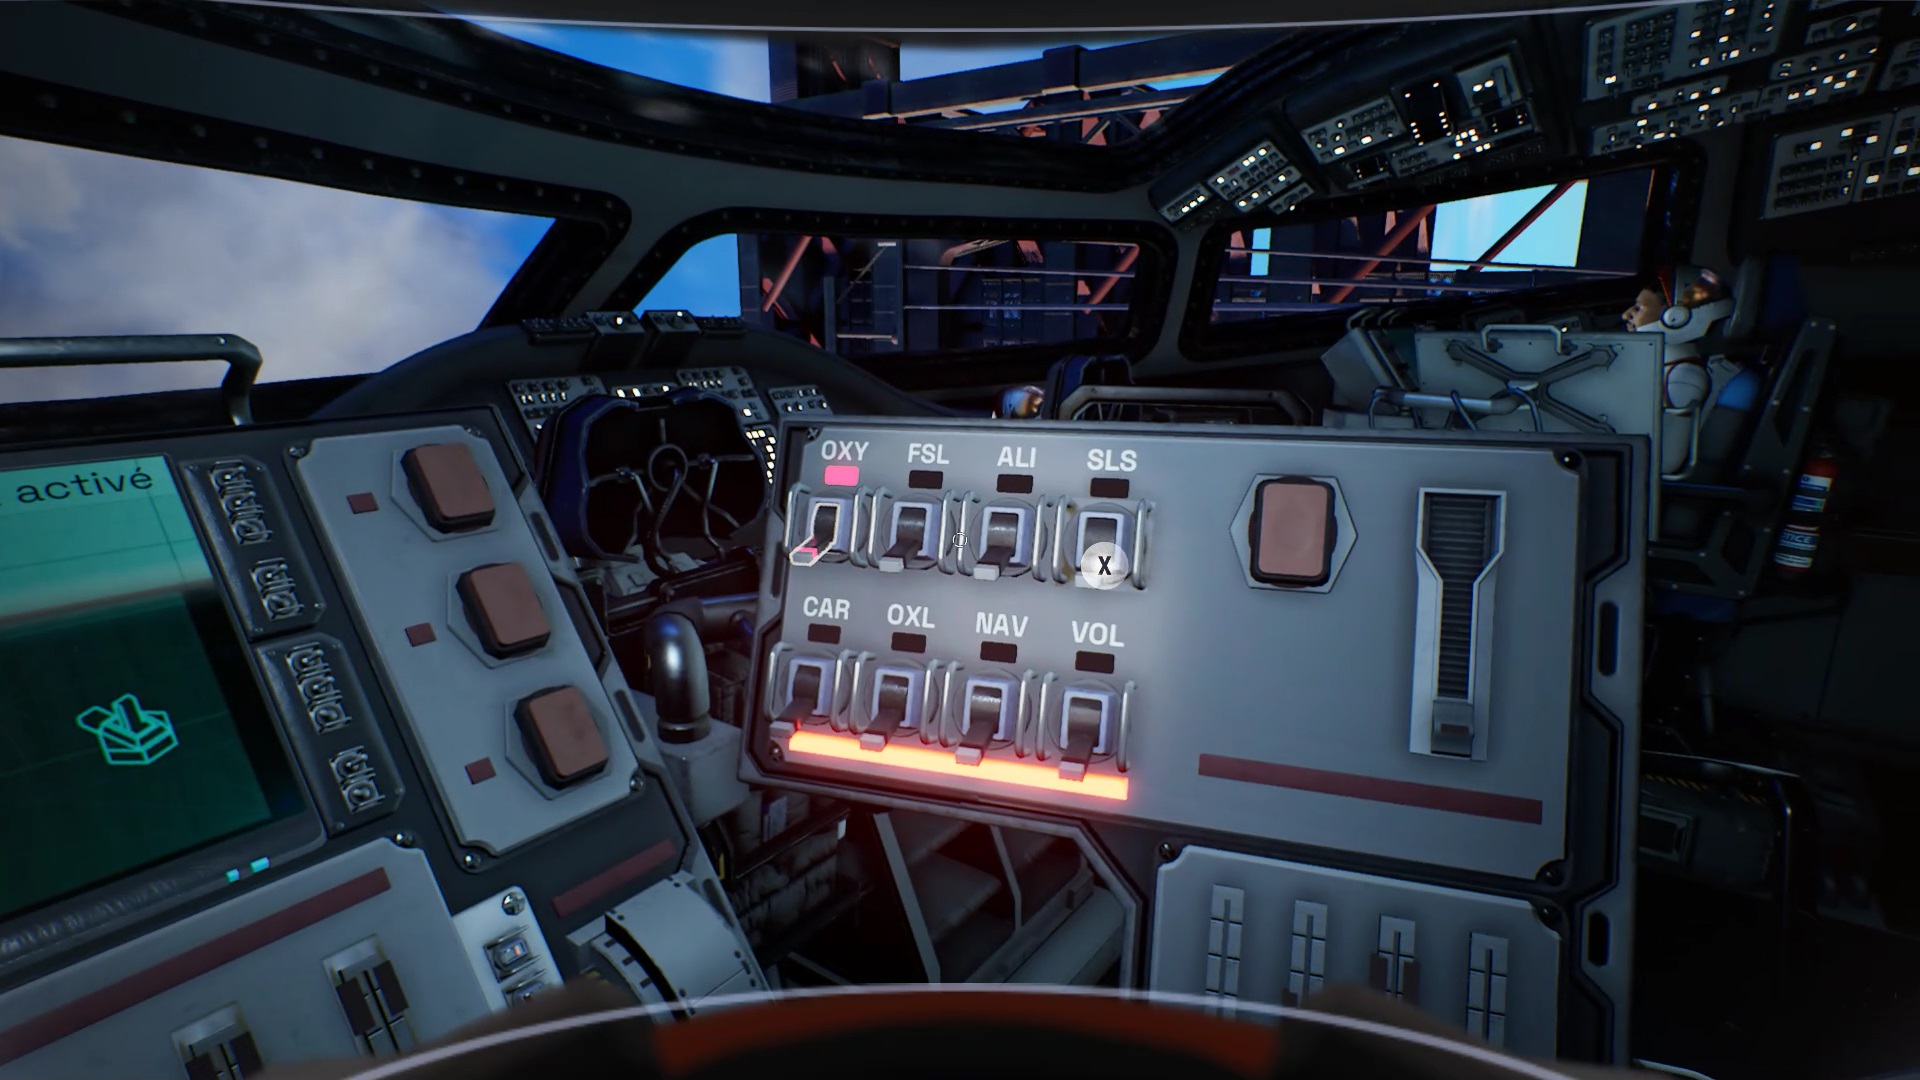
For auxiliary power, interact with the panel on the right. The panel has four notches with levels in red. You must position the different notches at the level of the zone in red.
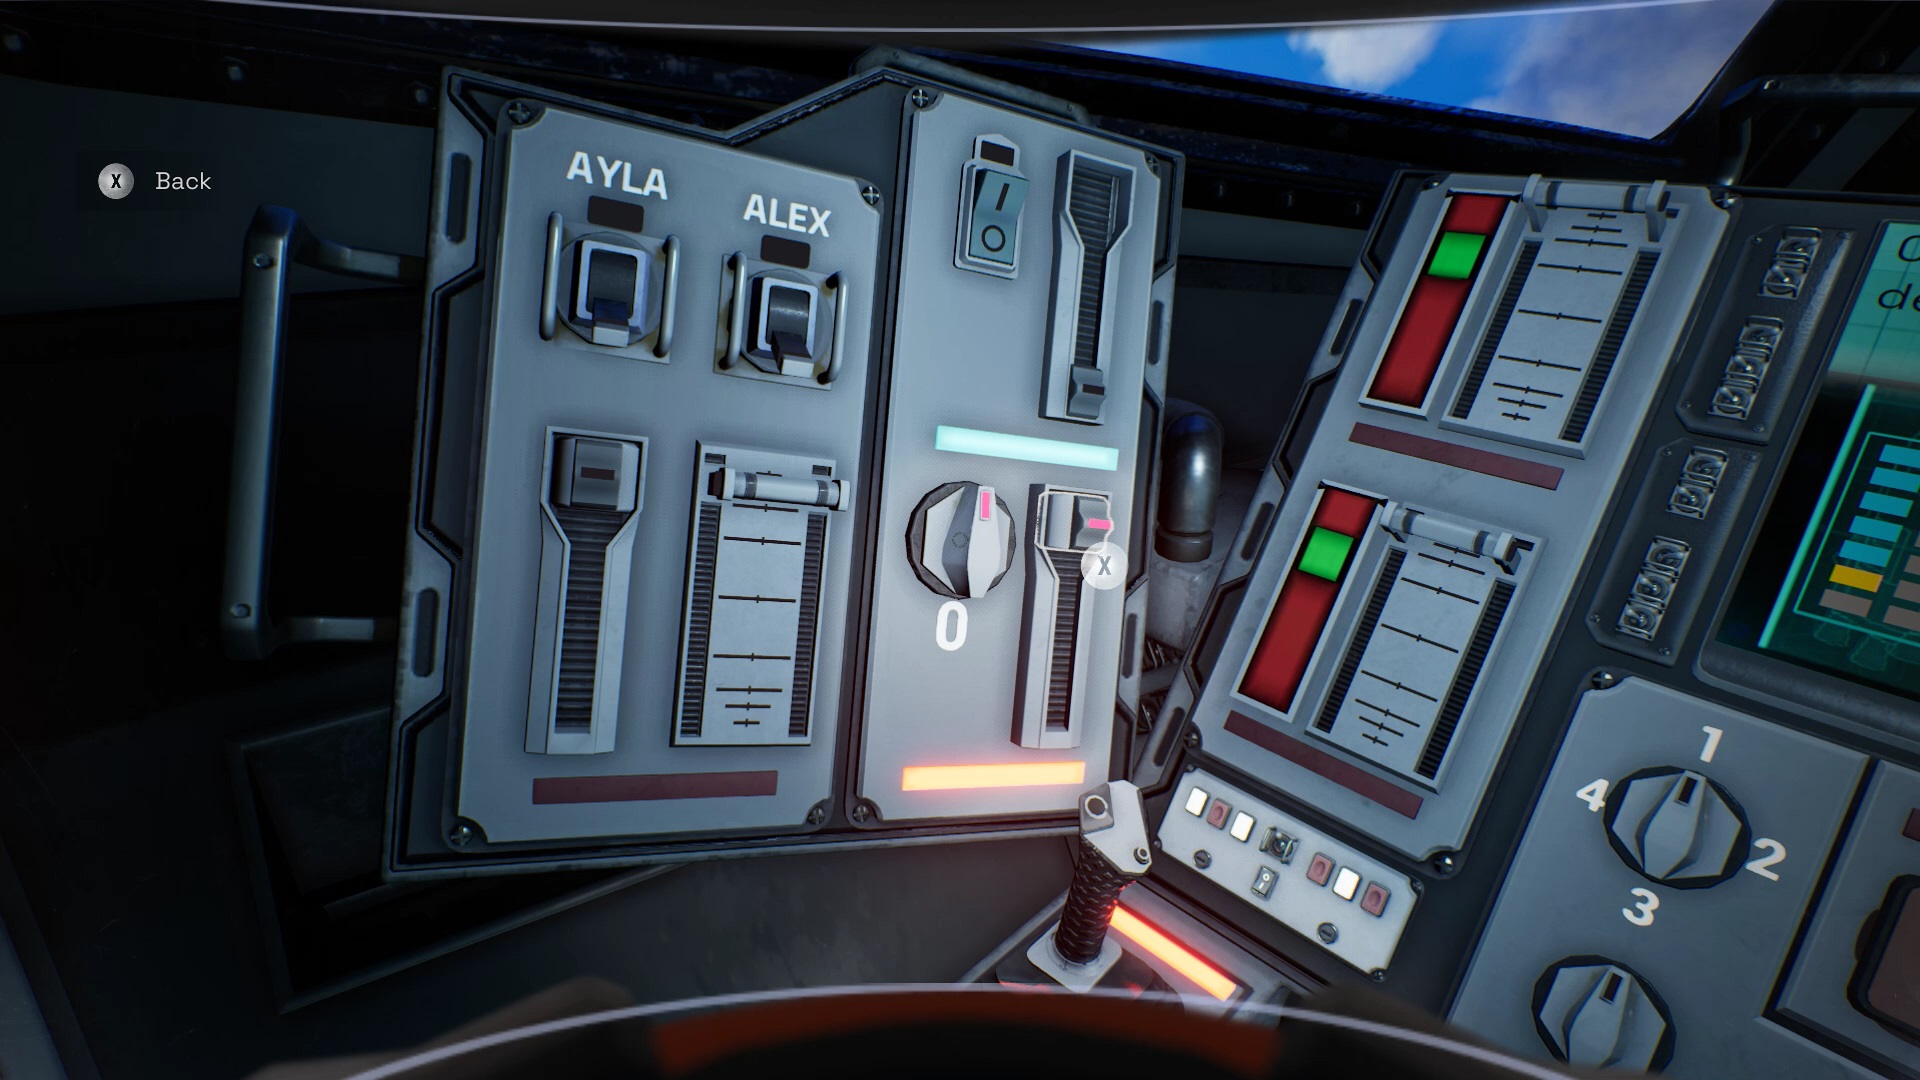
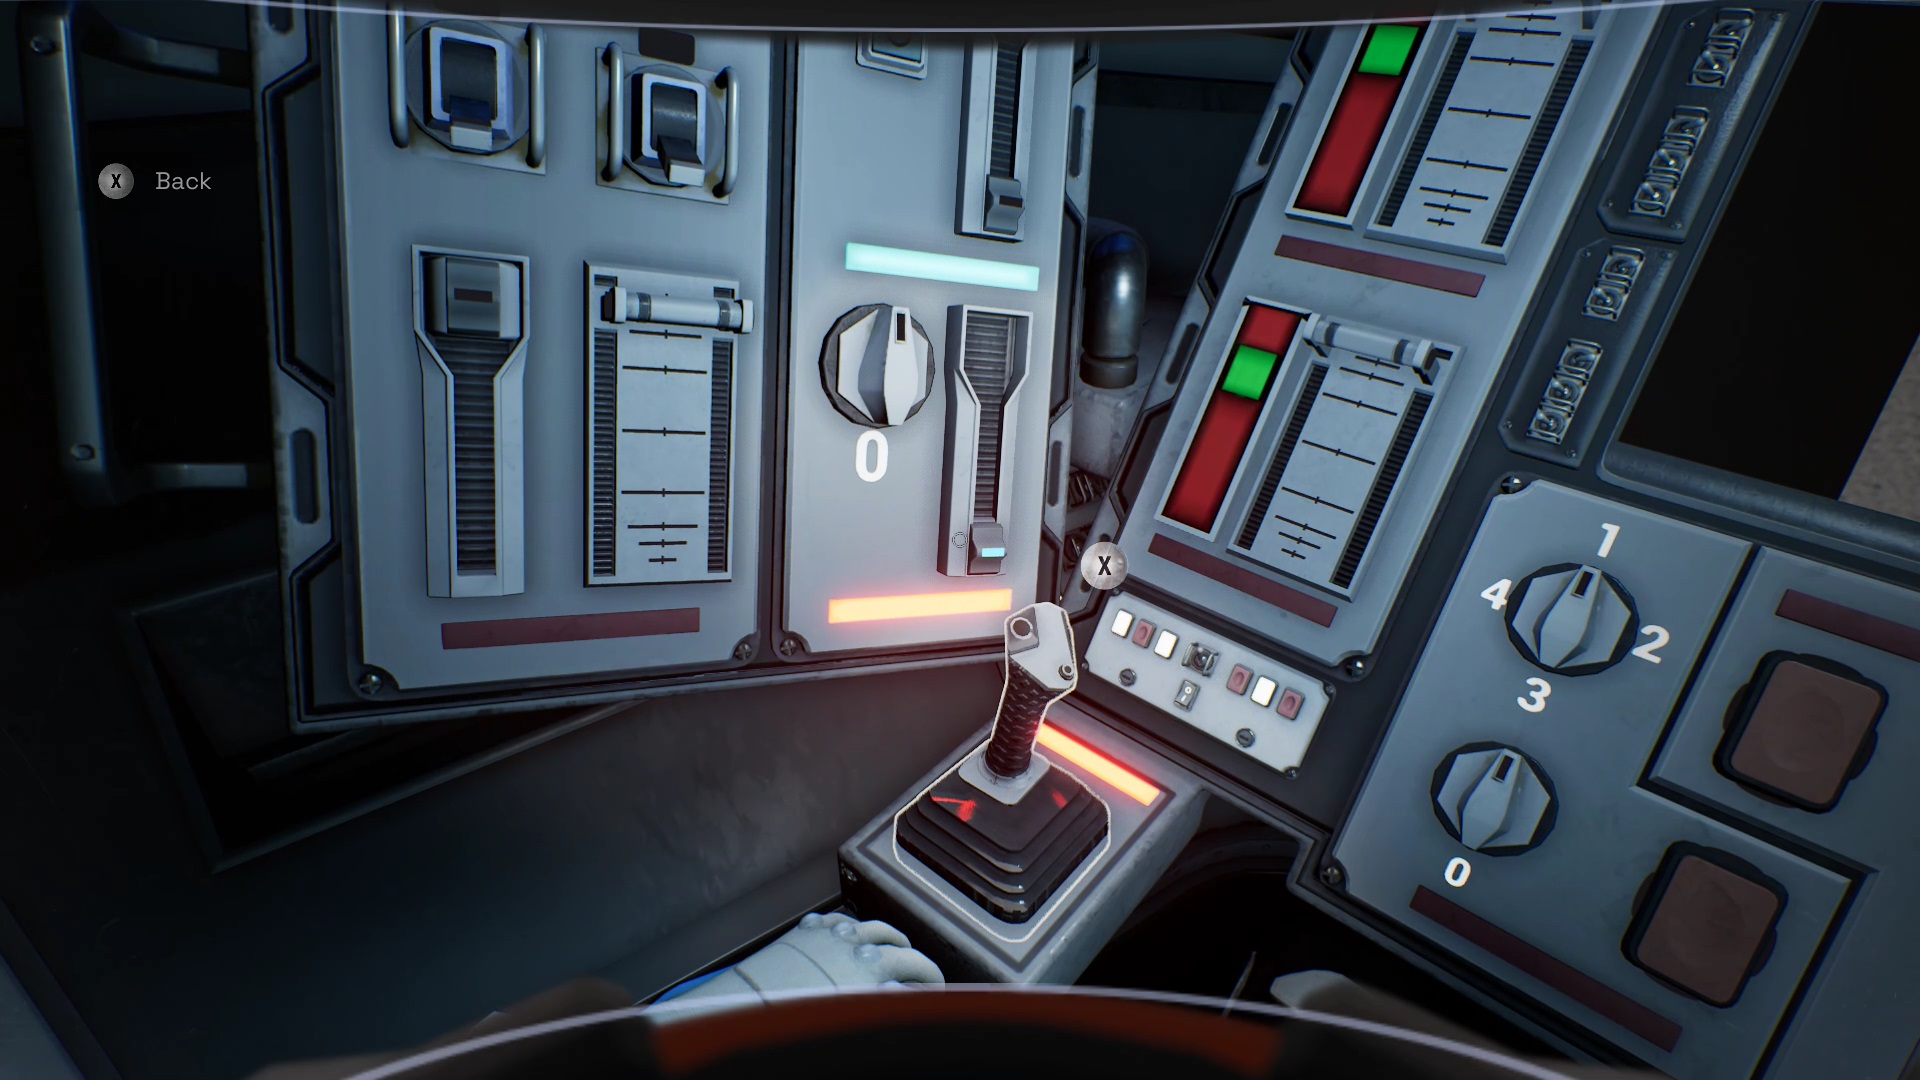
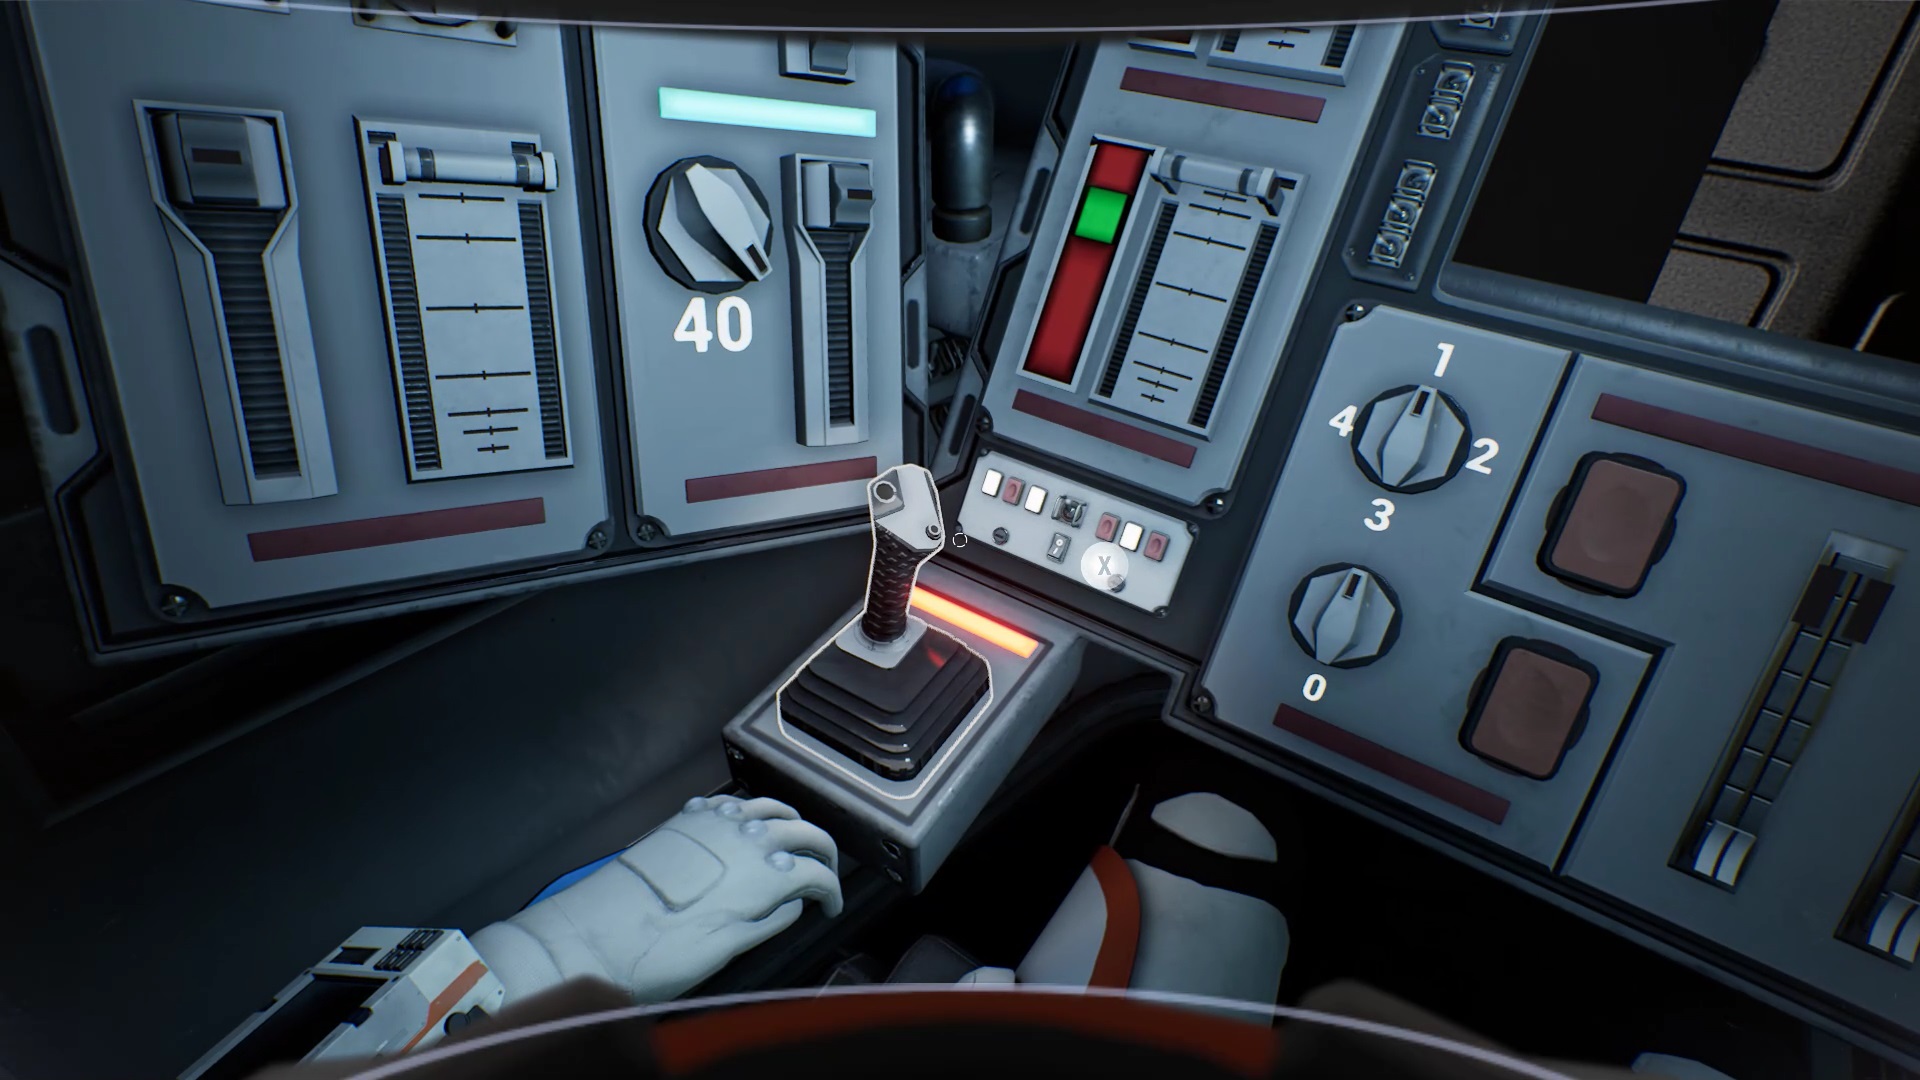
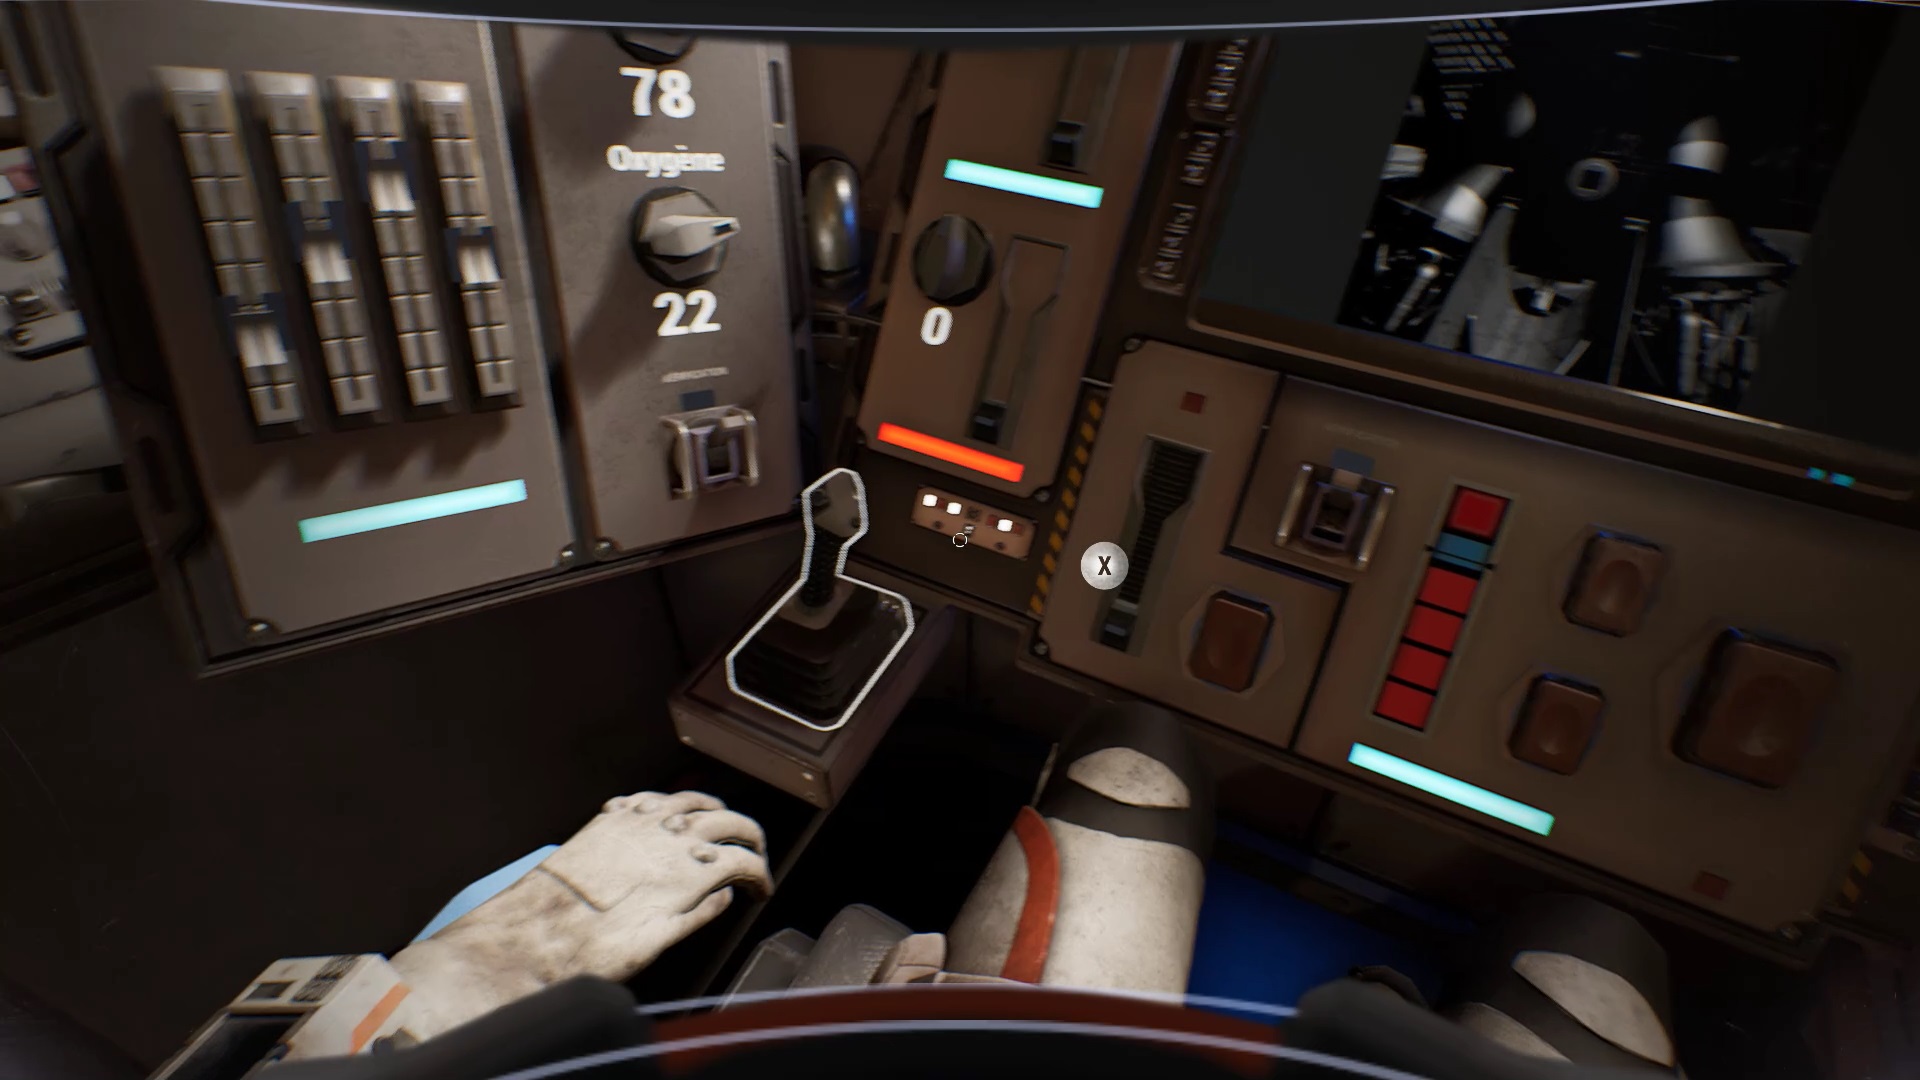
For gaseous oxygen ventilation arms, on your left you find a button with numbers. Position the button cursor on zero and lower the notch on the right. Activate the joystick to retract the fan arm.
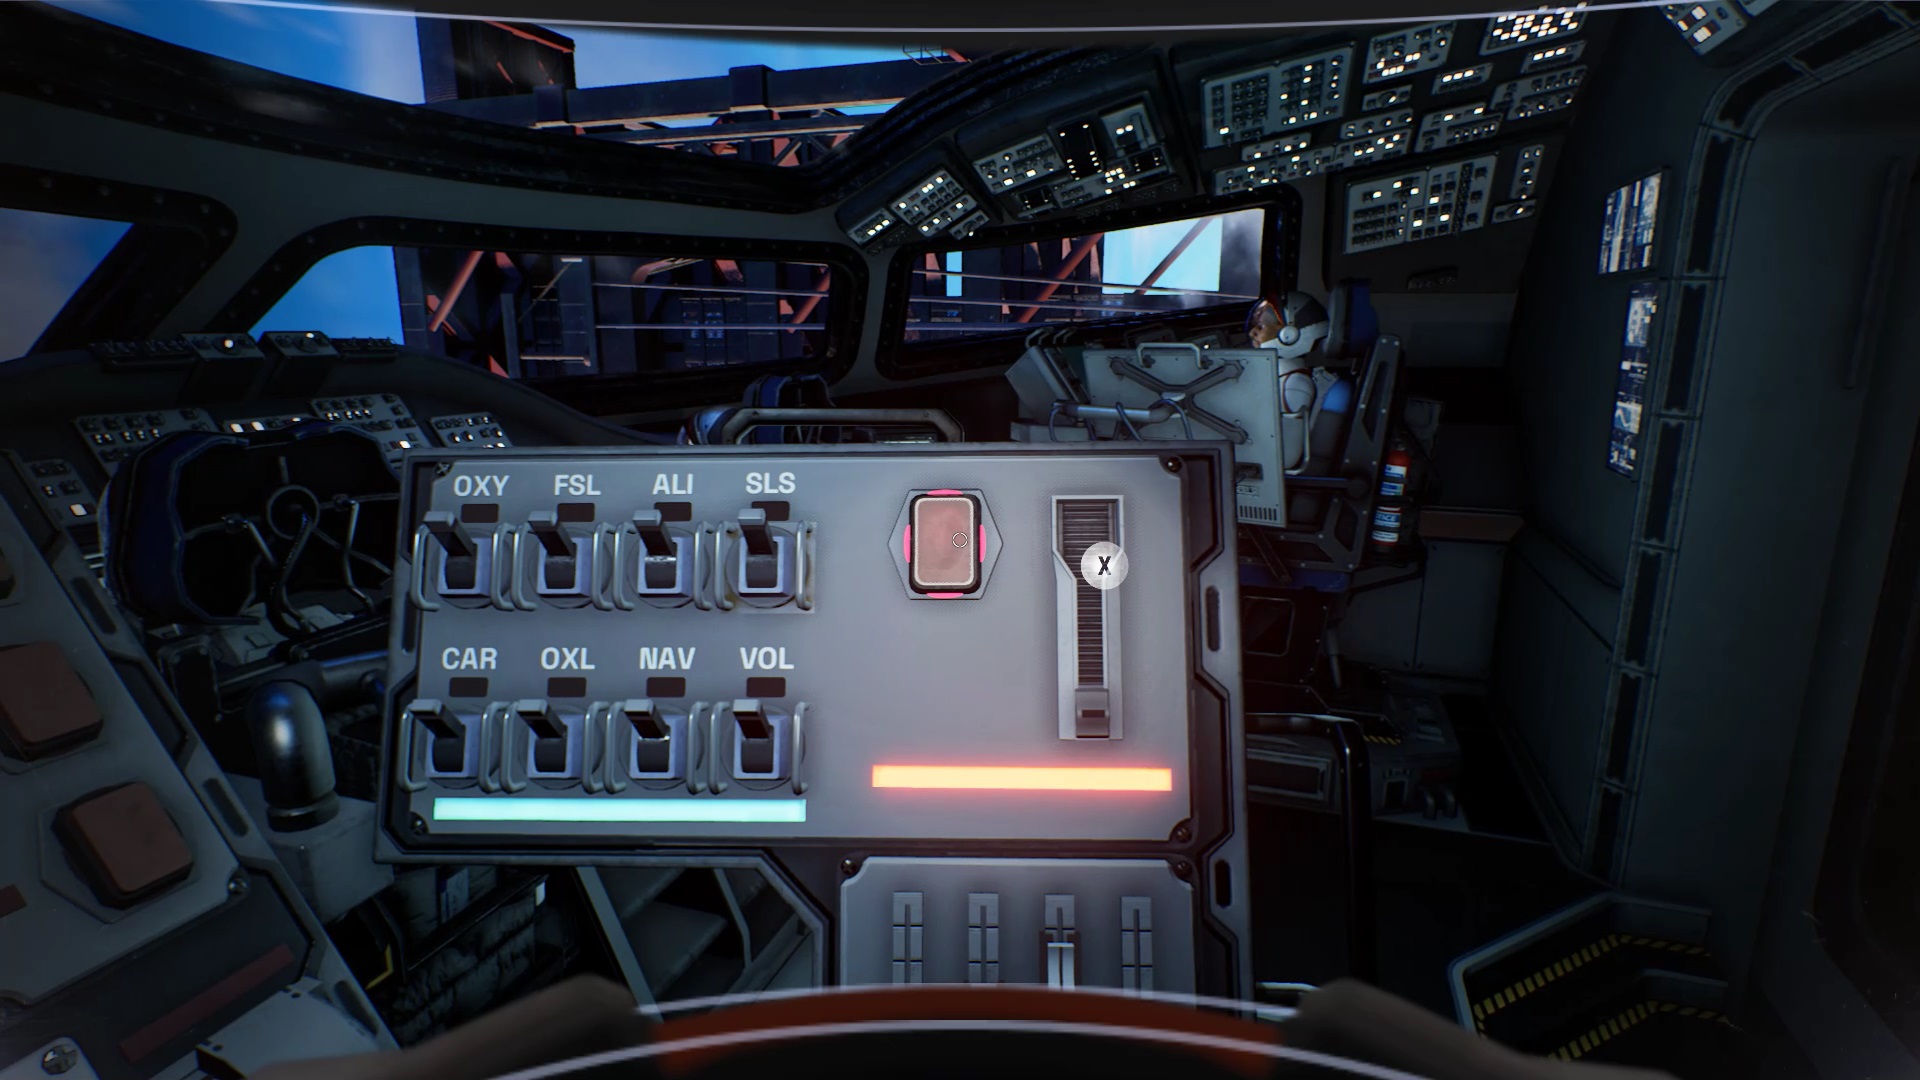
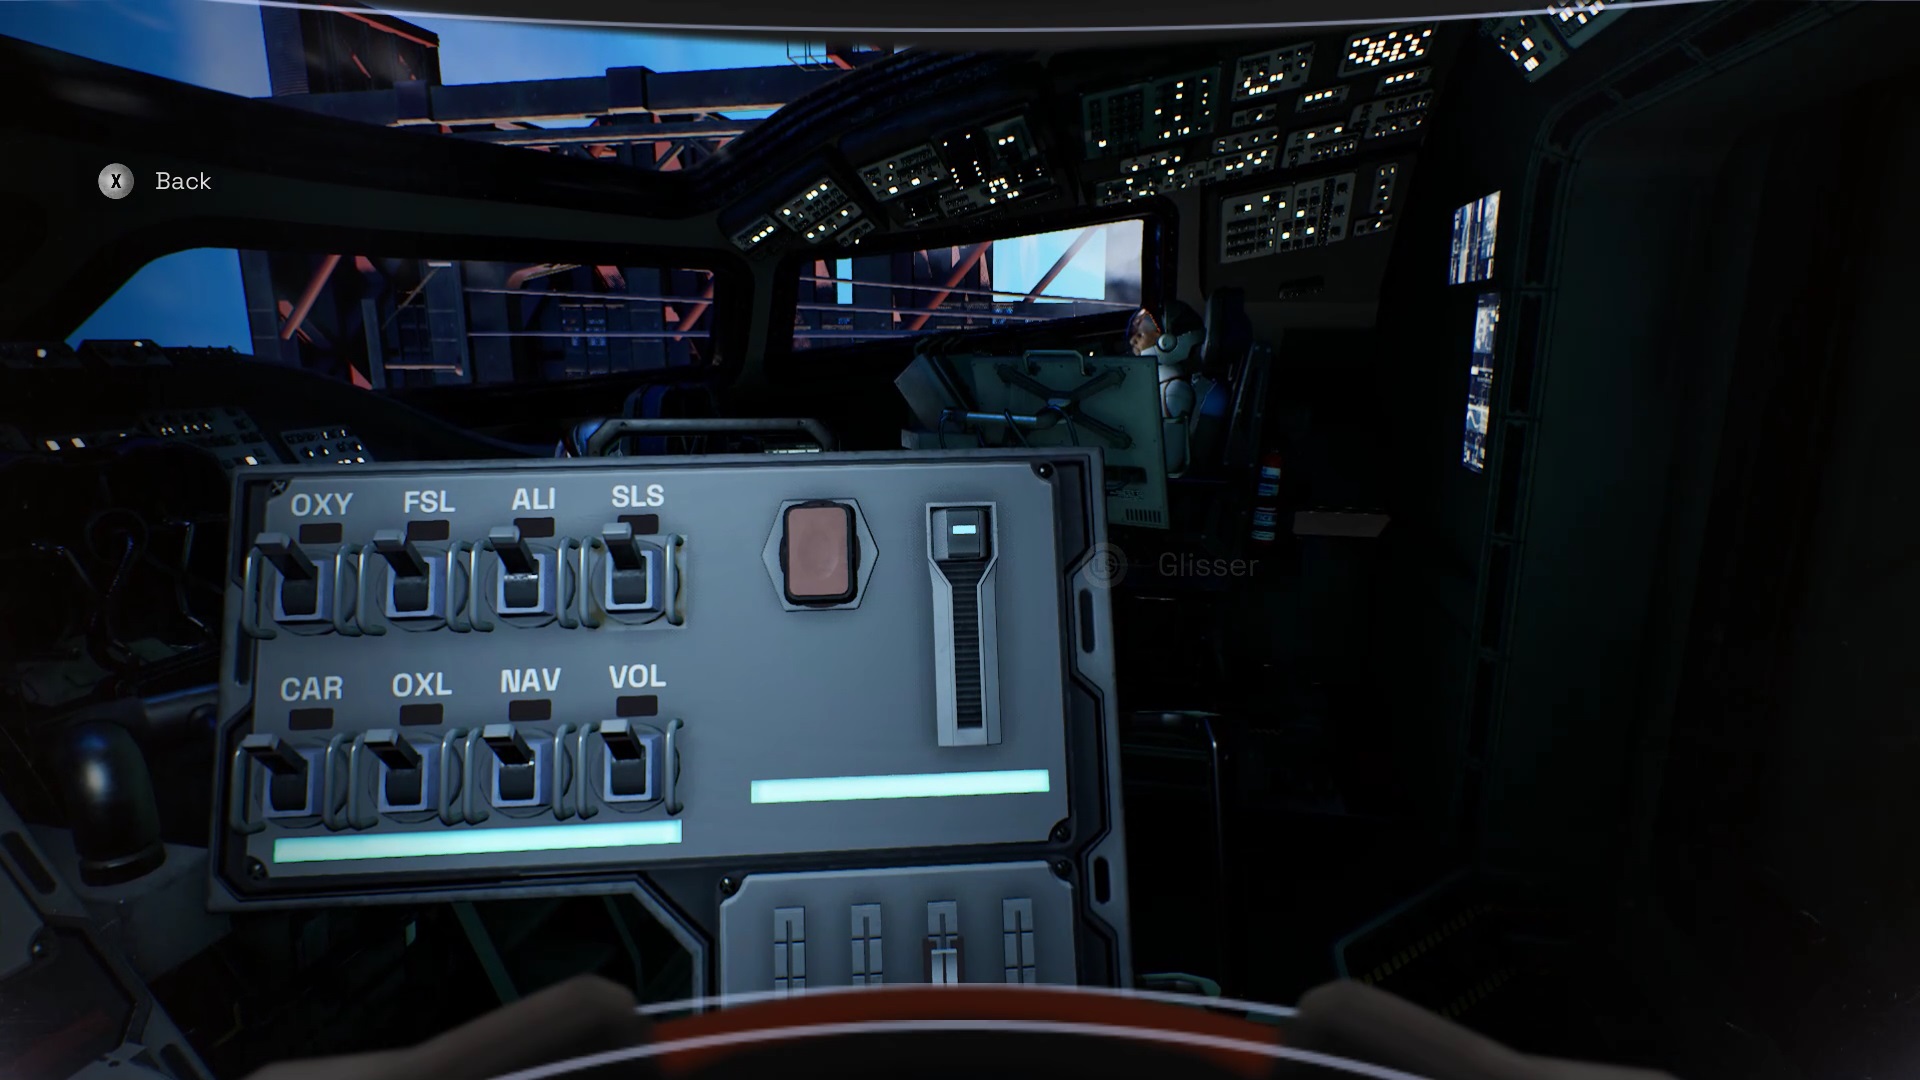
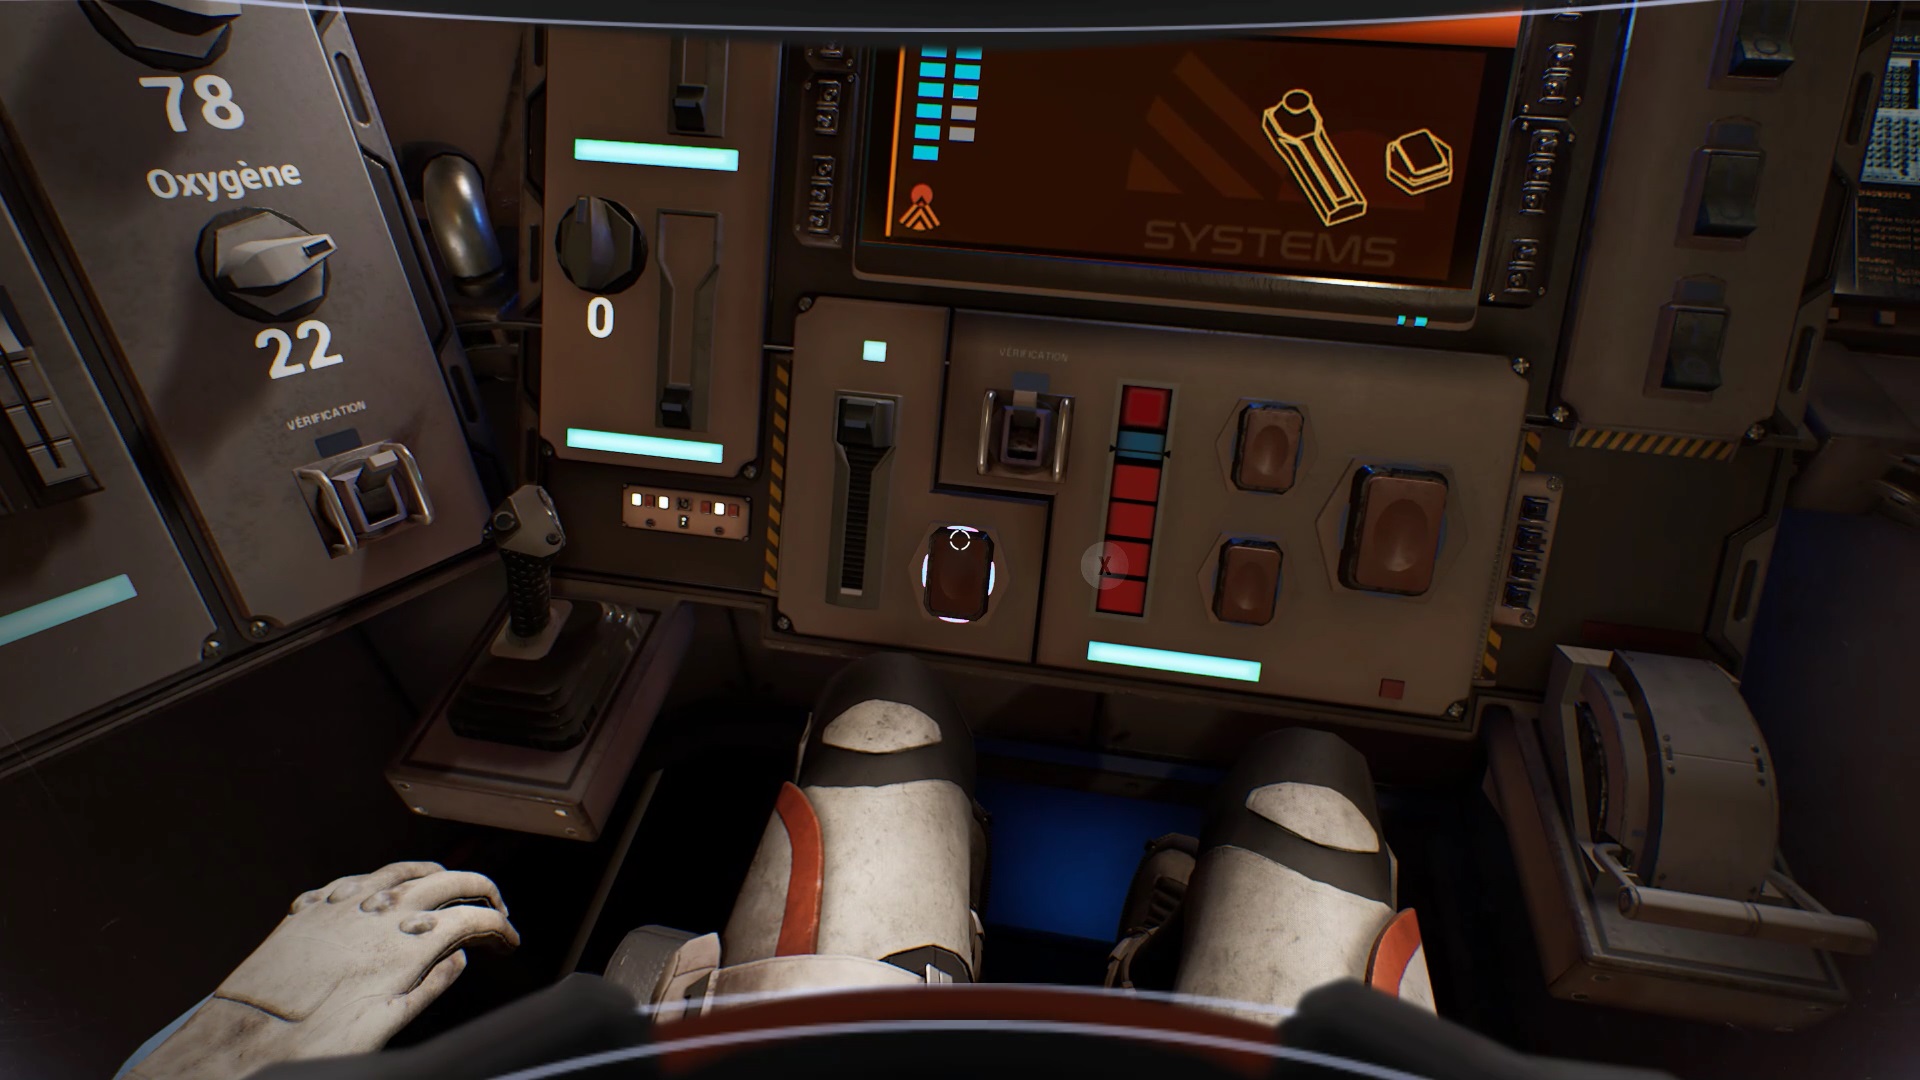
For the internal power supply, look at the panel on the right. There you find a big red button near the switches. Press the button and go up the notch on its right.
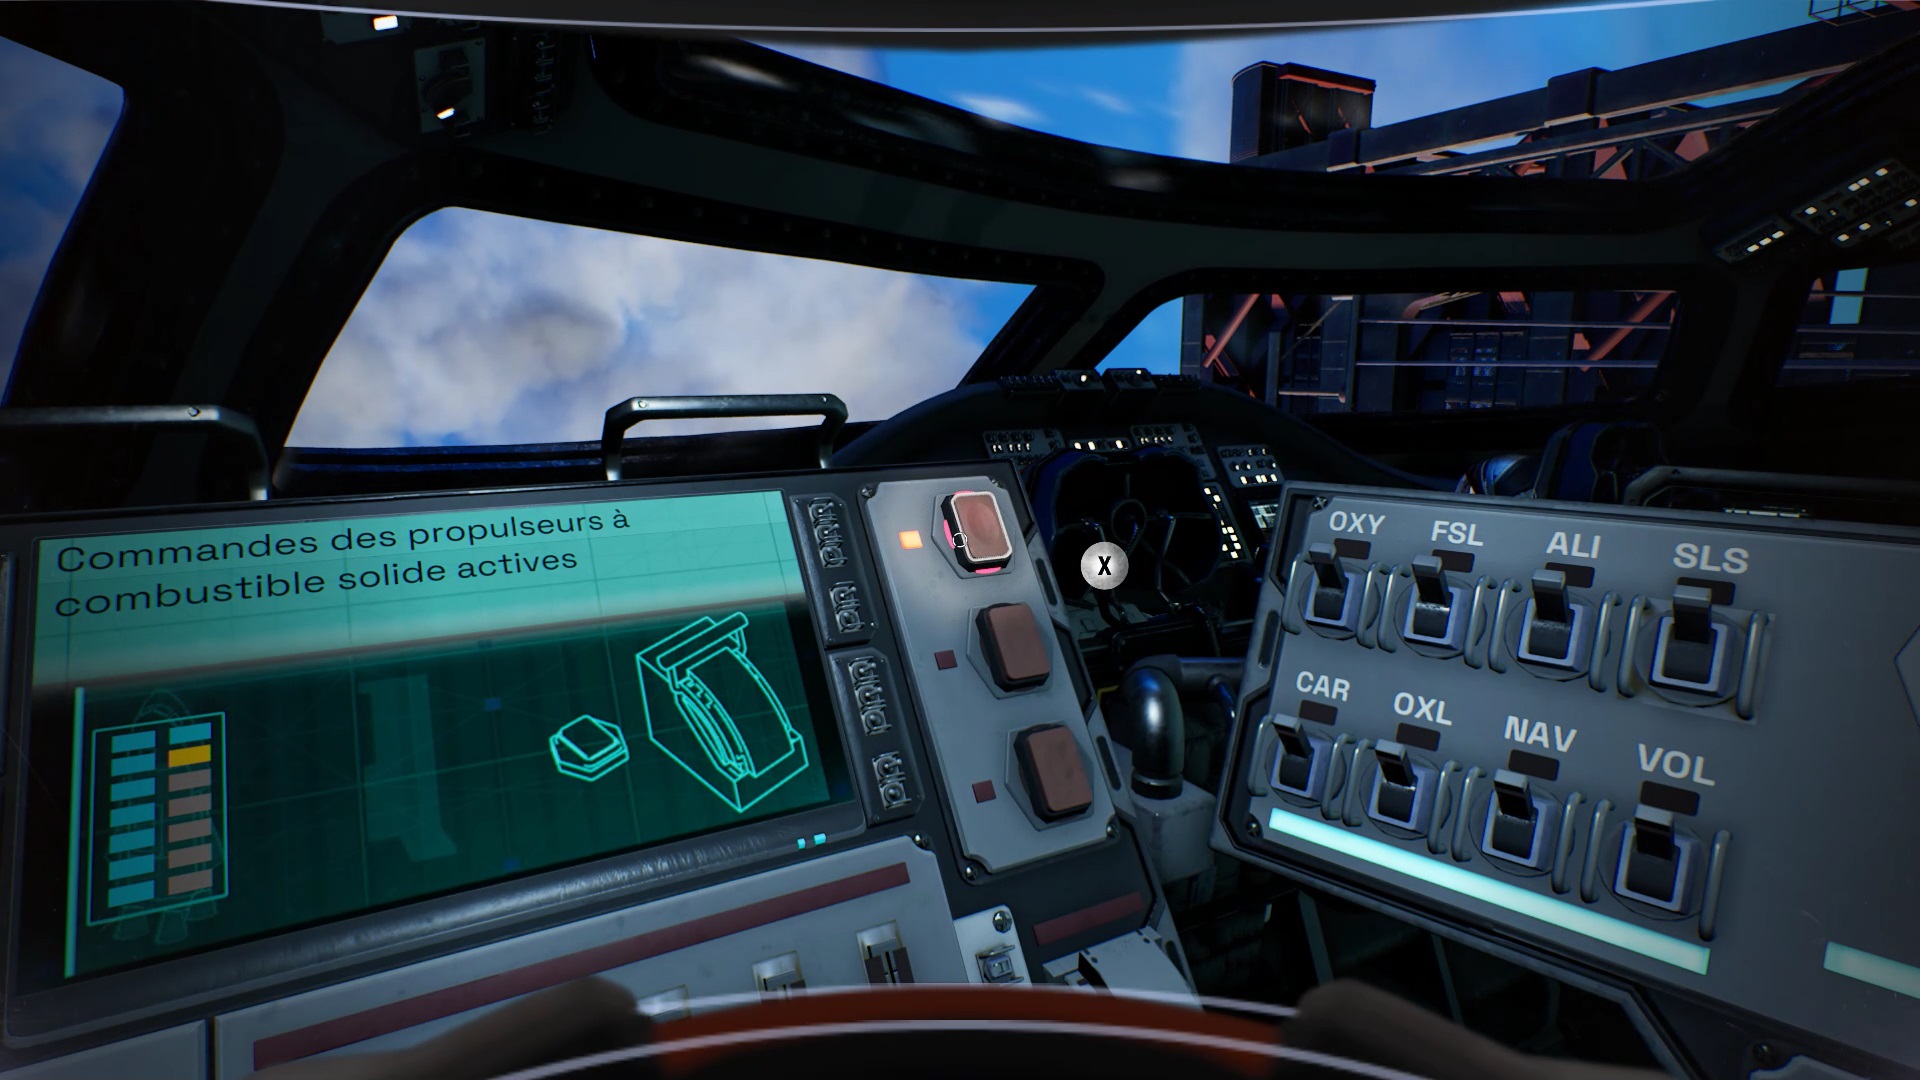
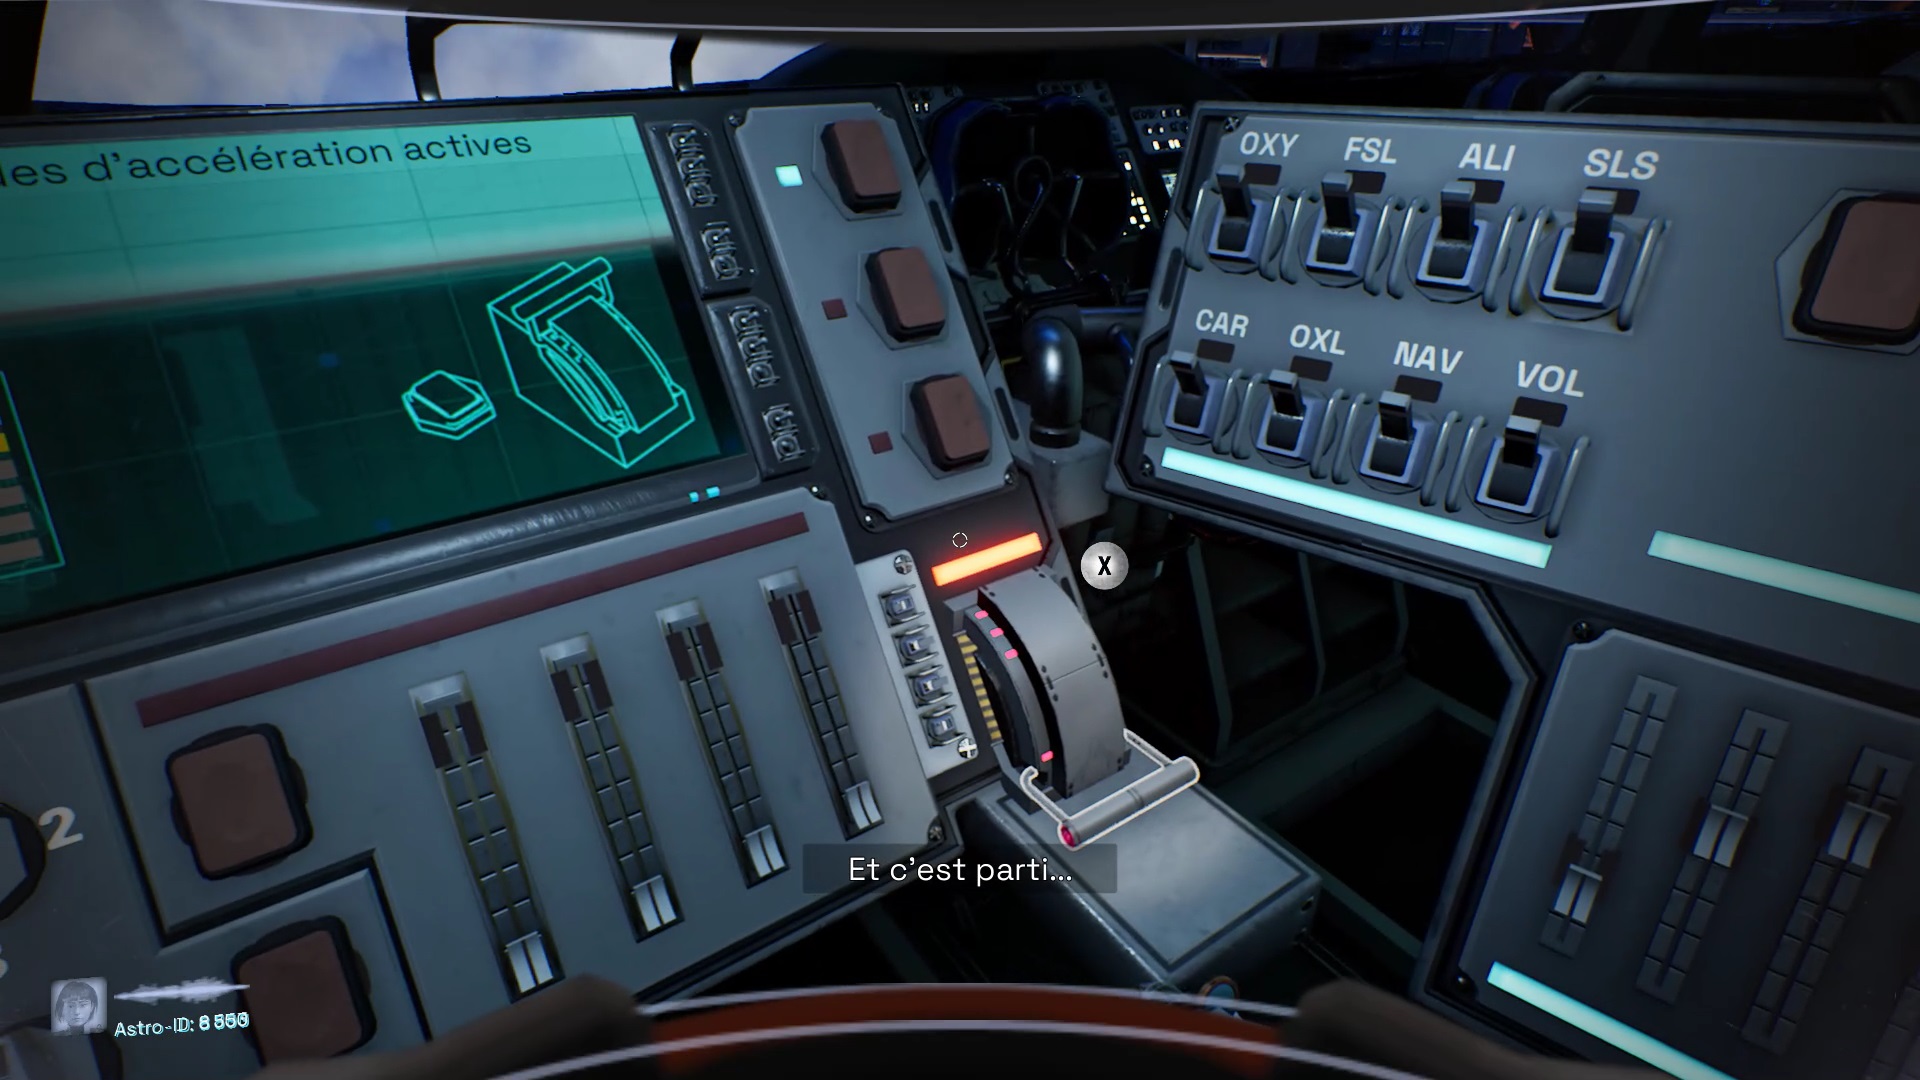
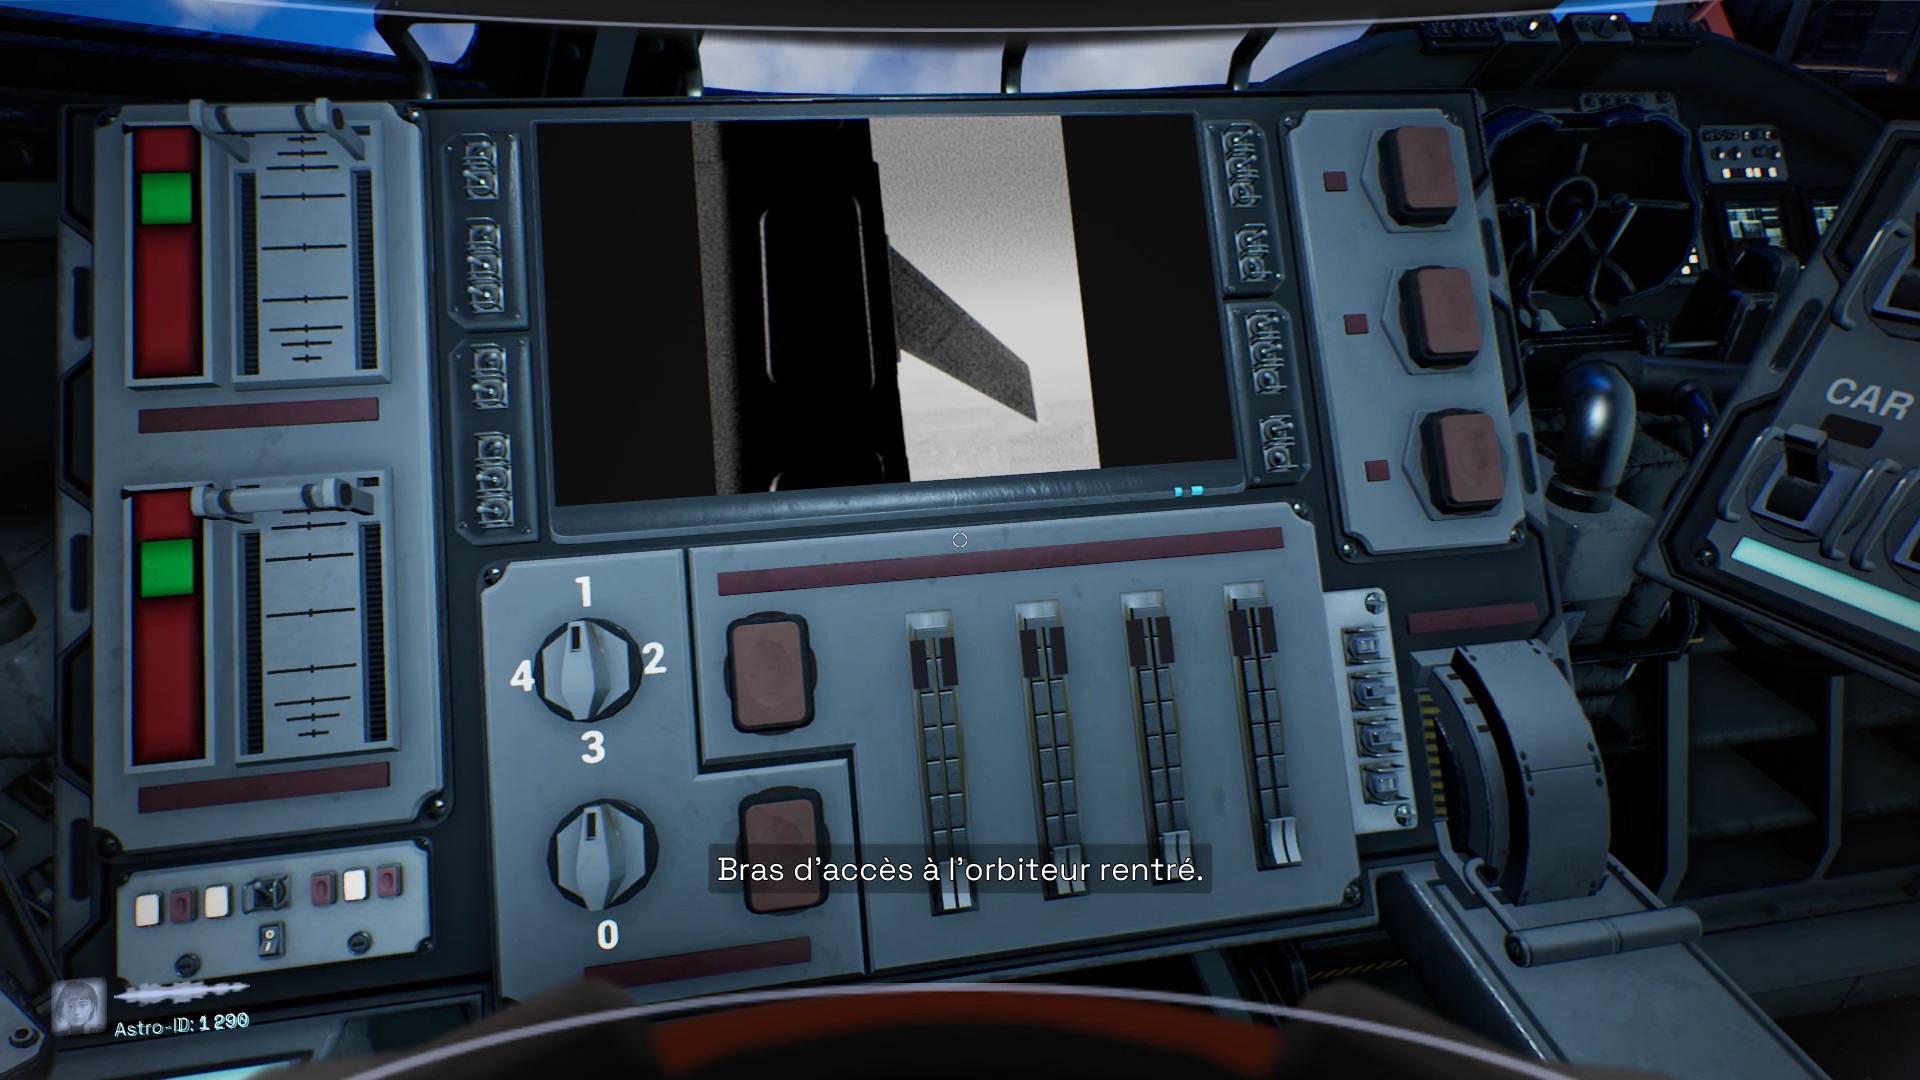
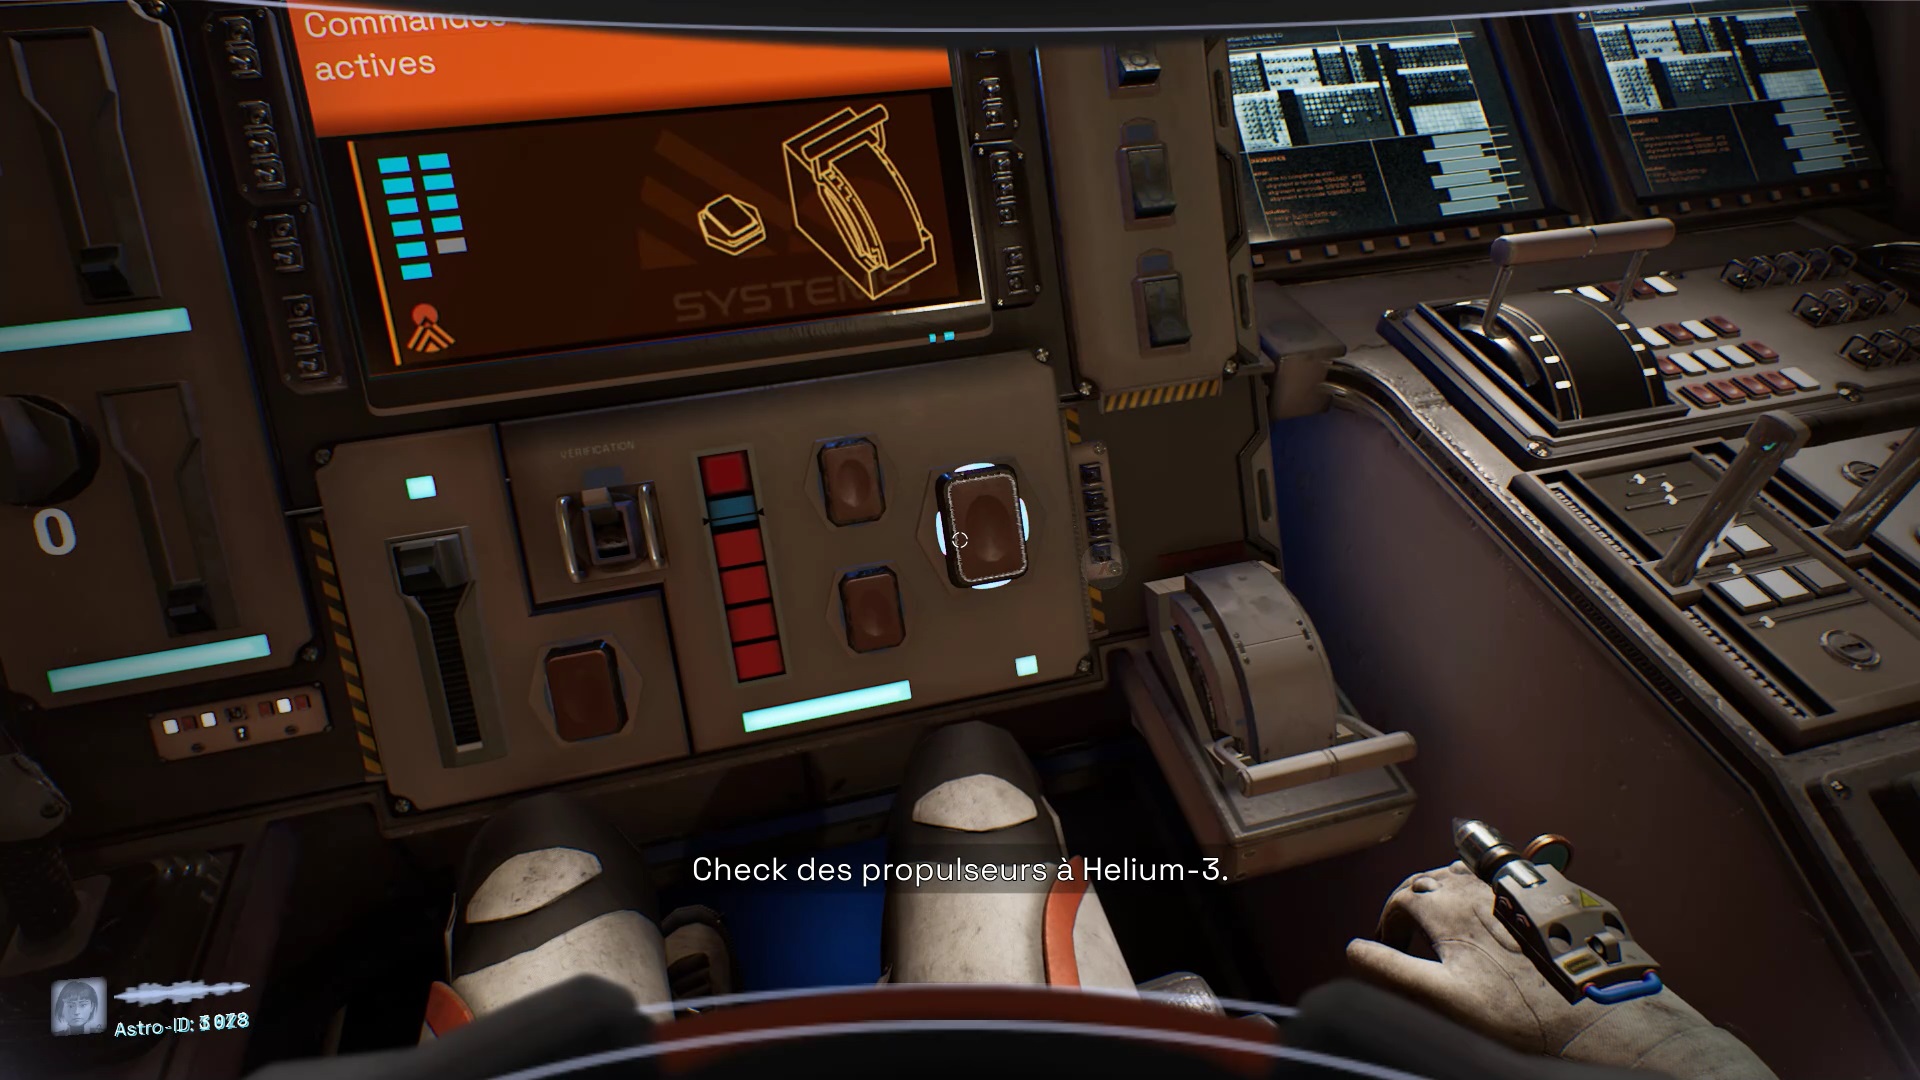
To launch the thrusters, press the red button at the top right of the center panel. Finally, activate the boosters with the lever at the bottom right to launch the rocket and complete this chapter.
Chapter 2
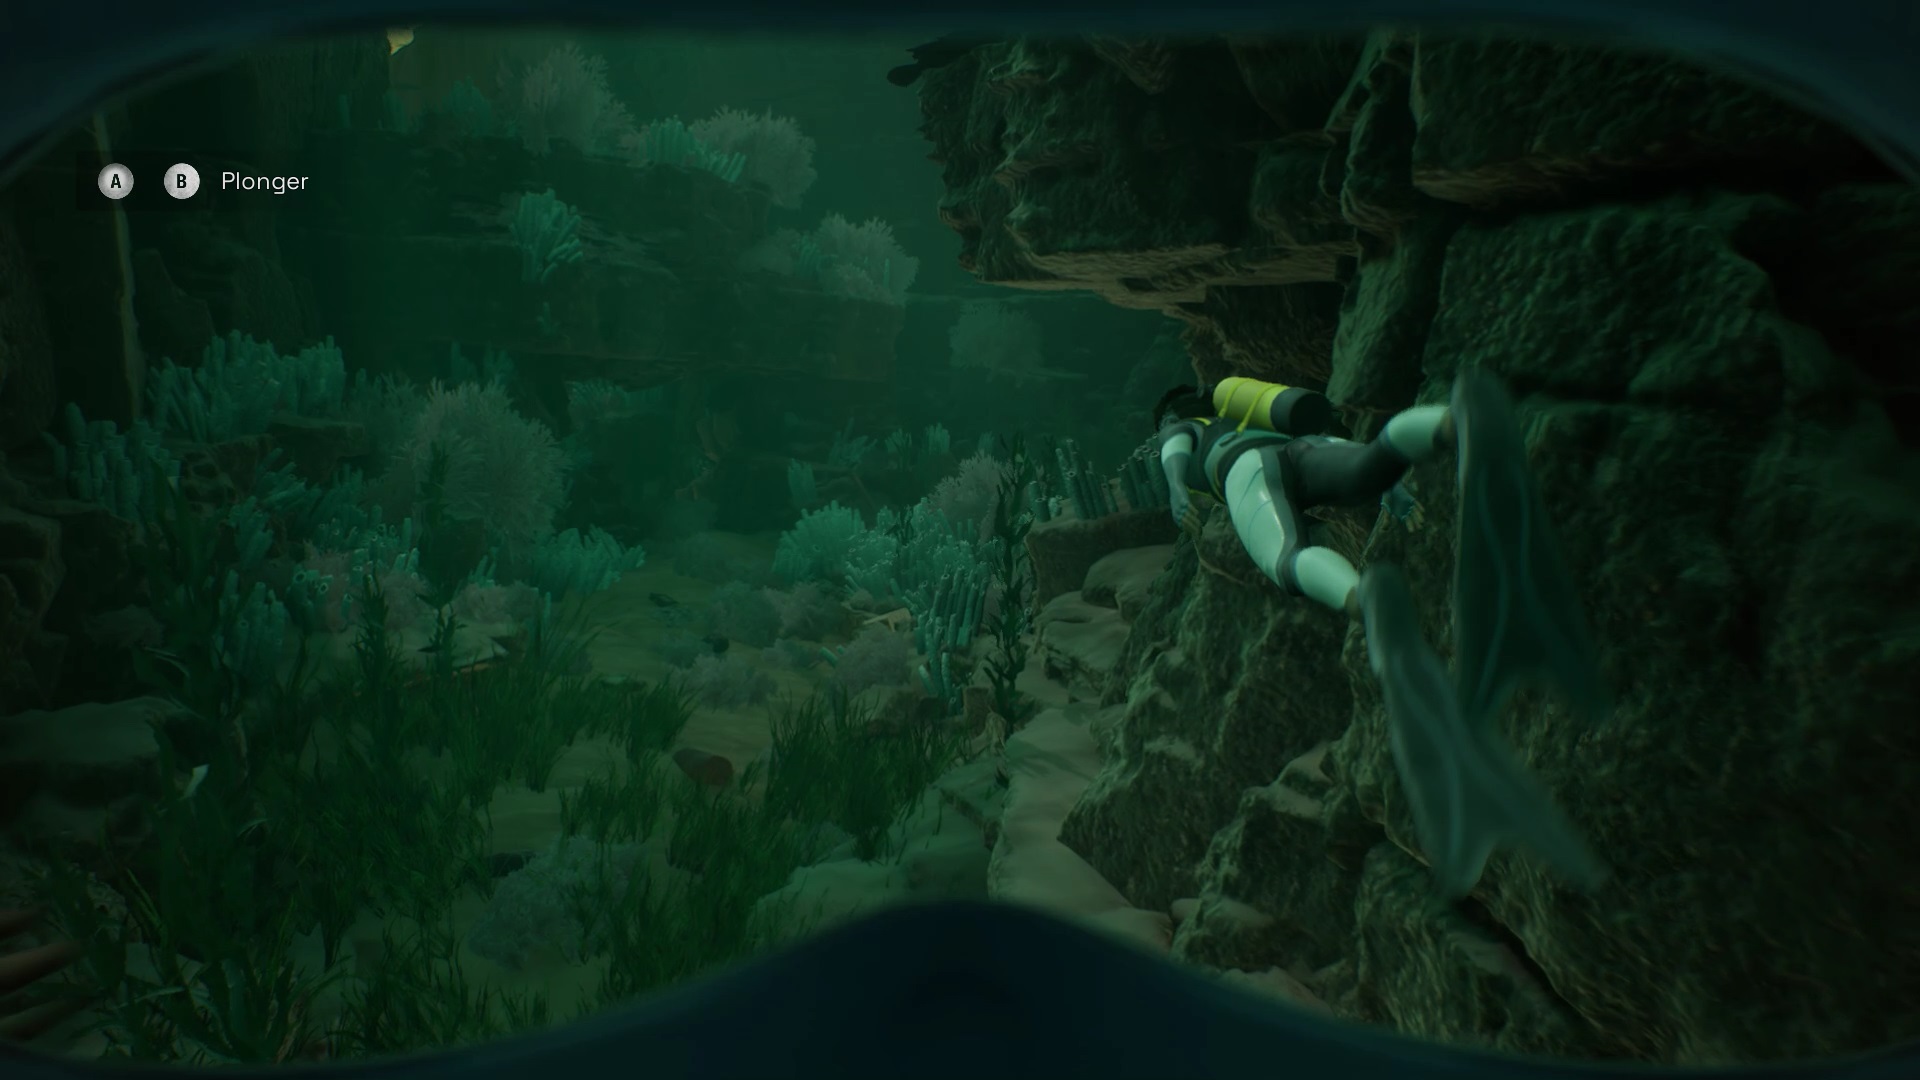
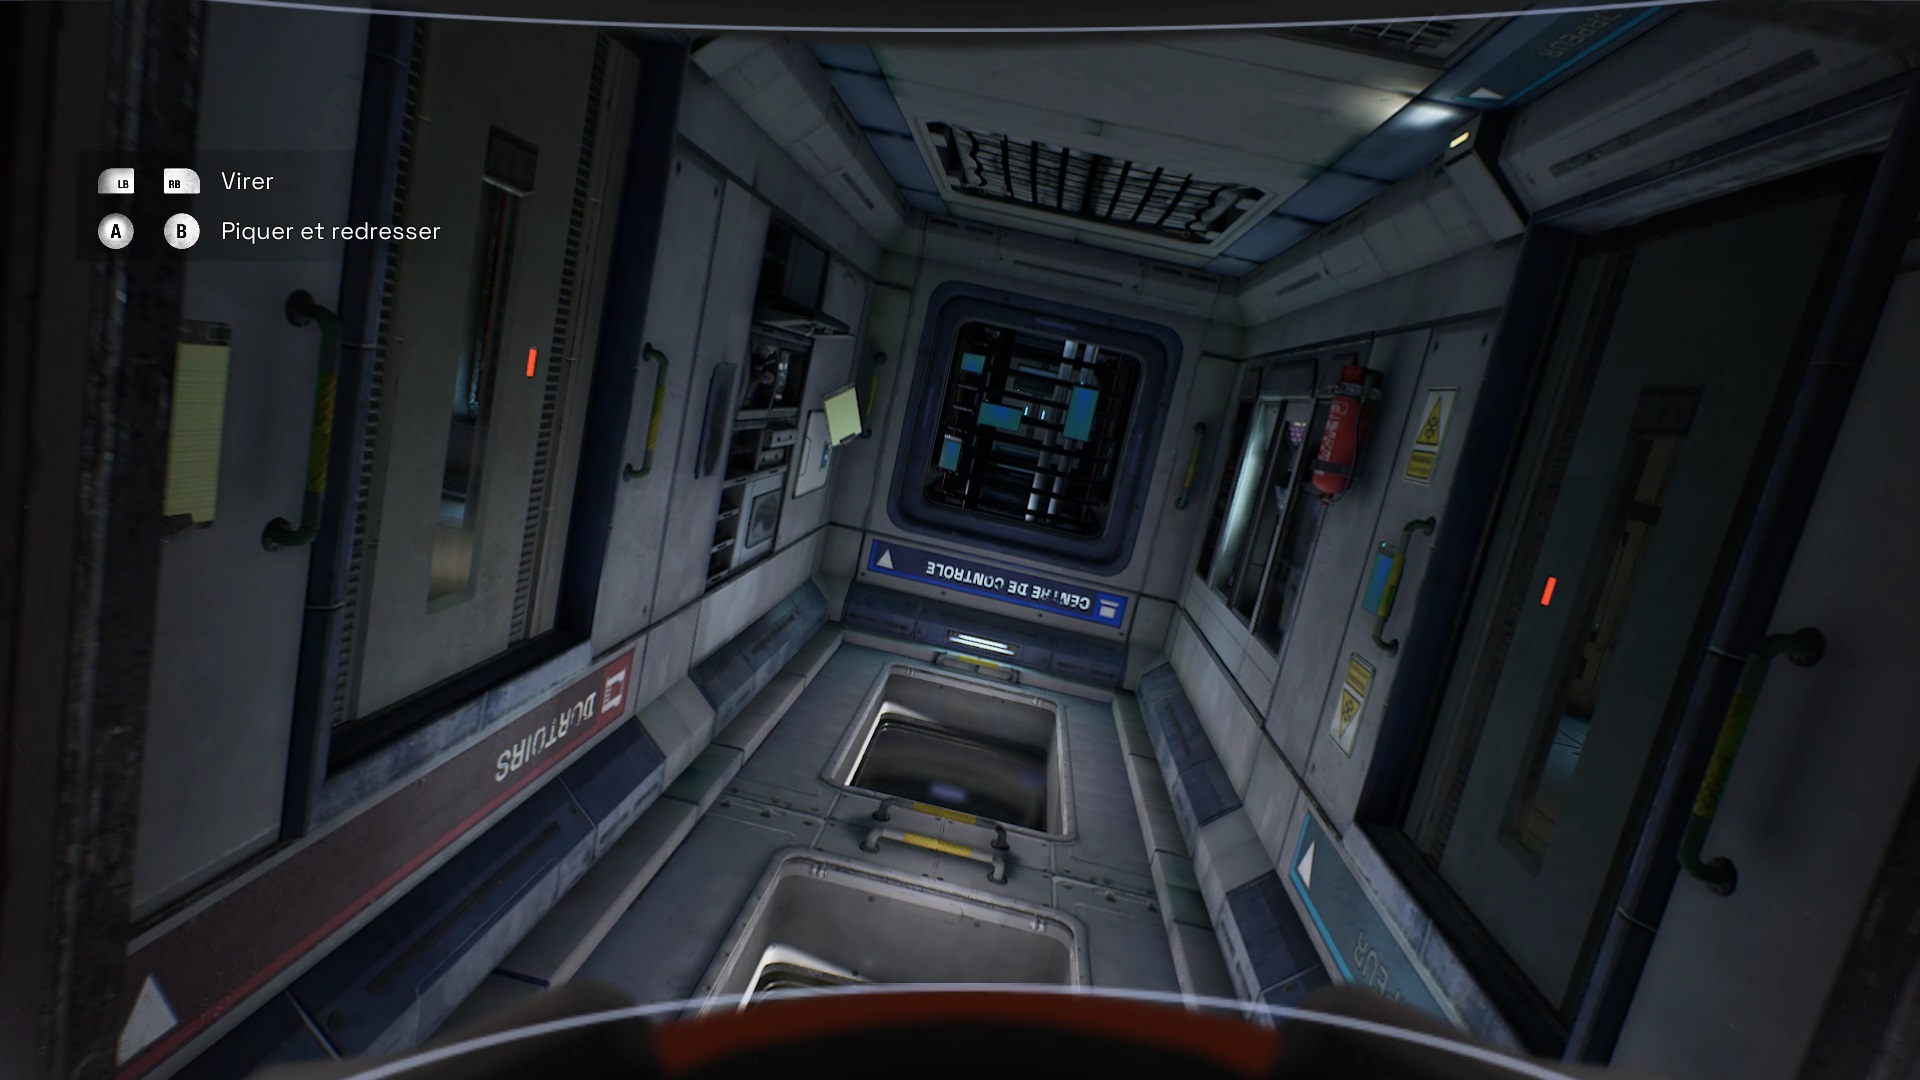
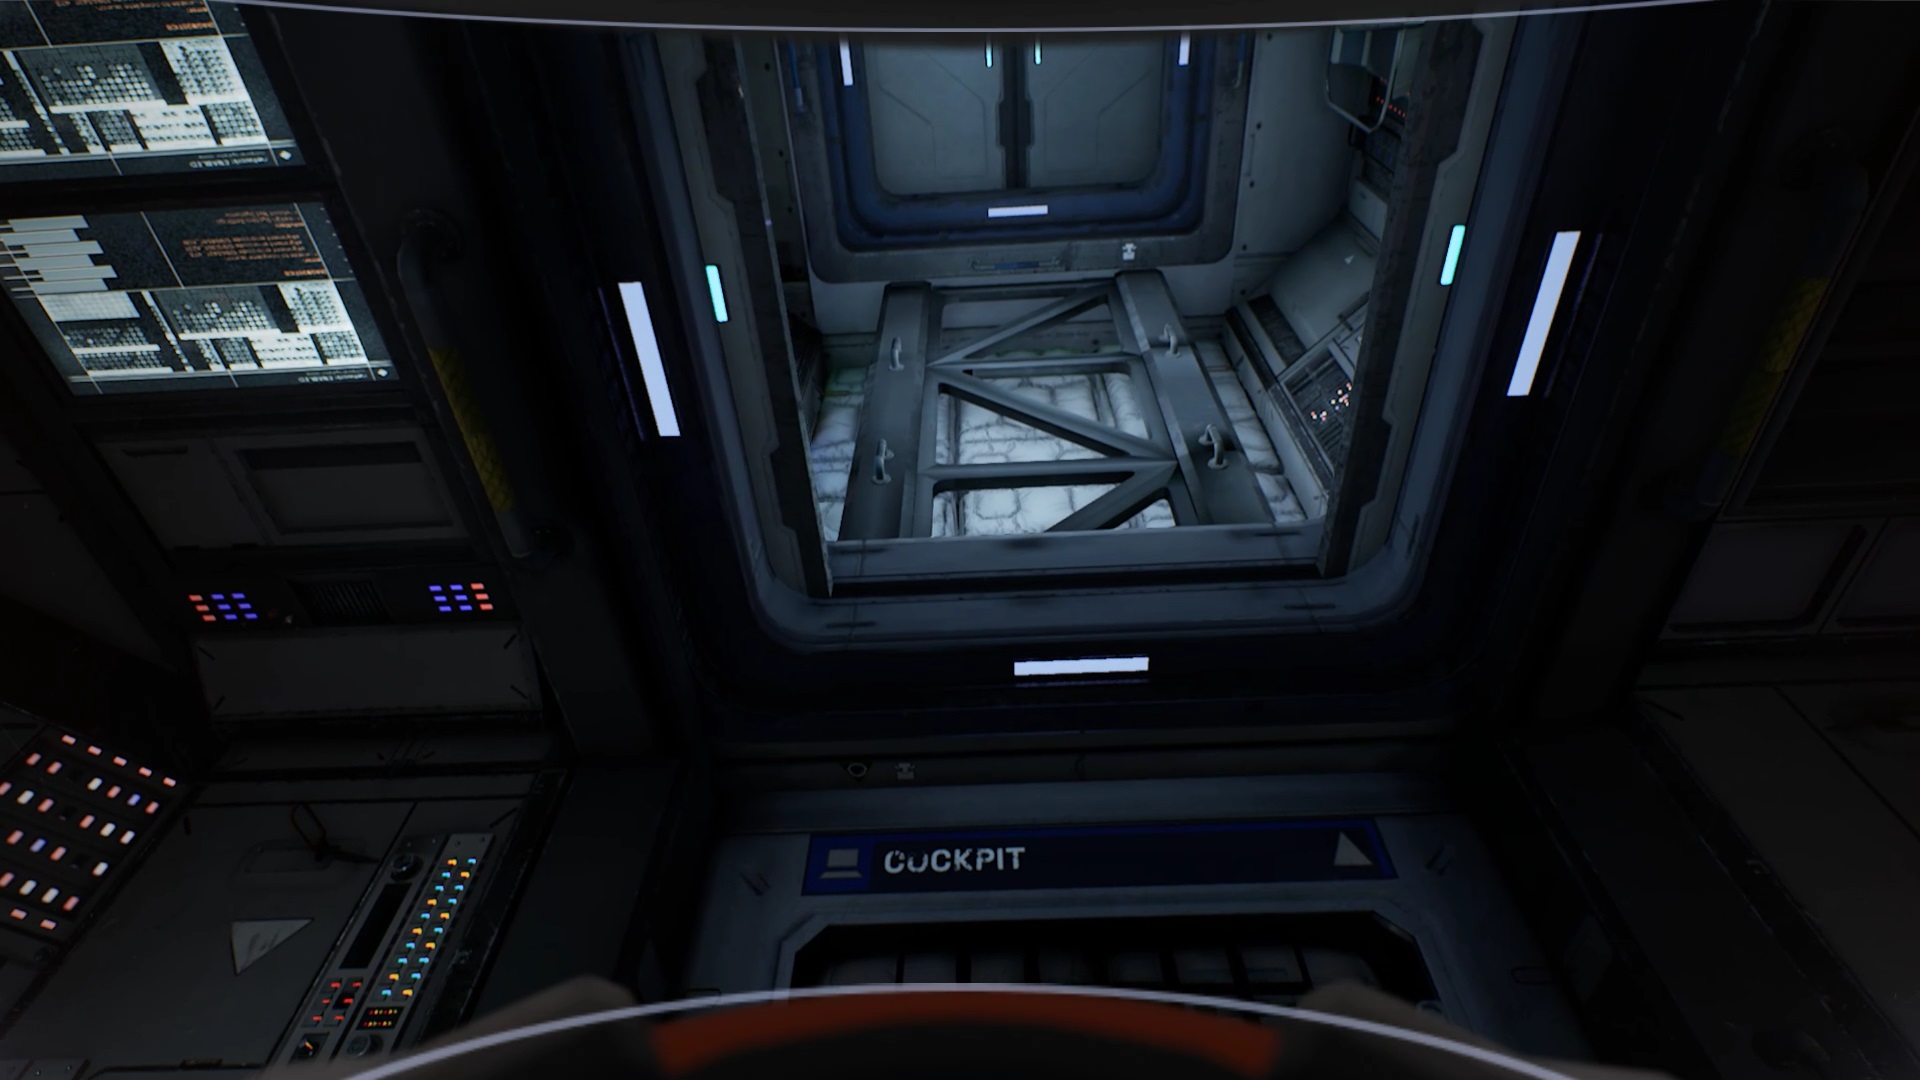
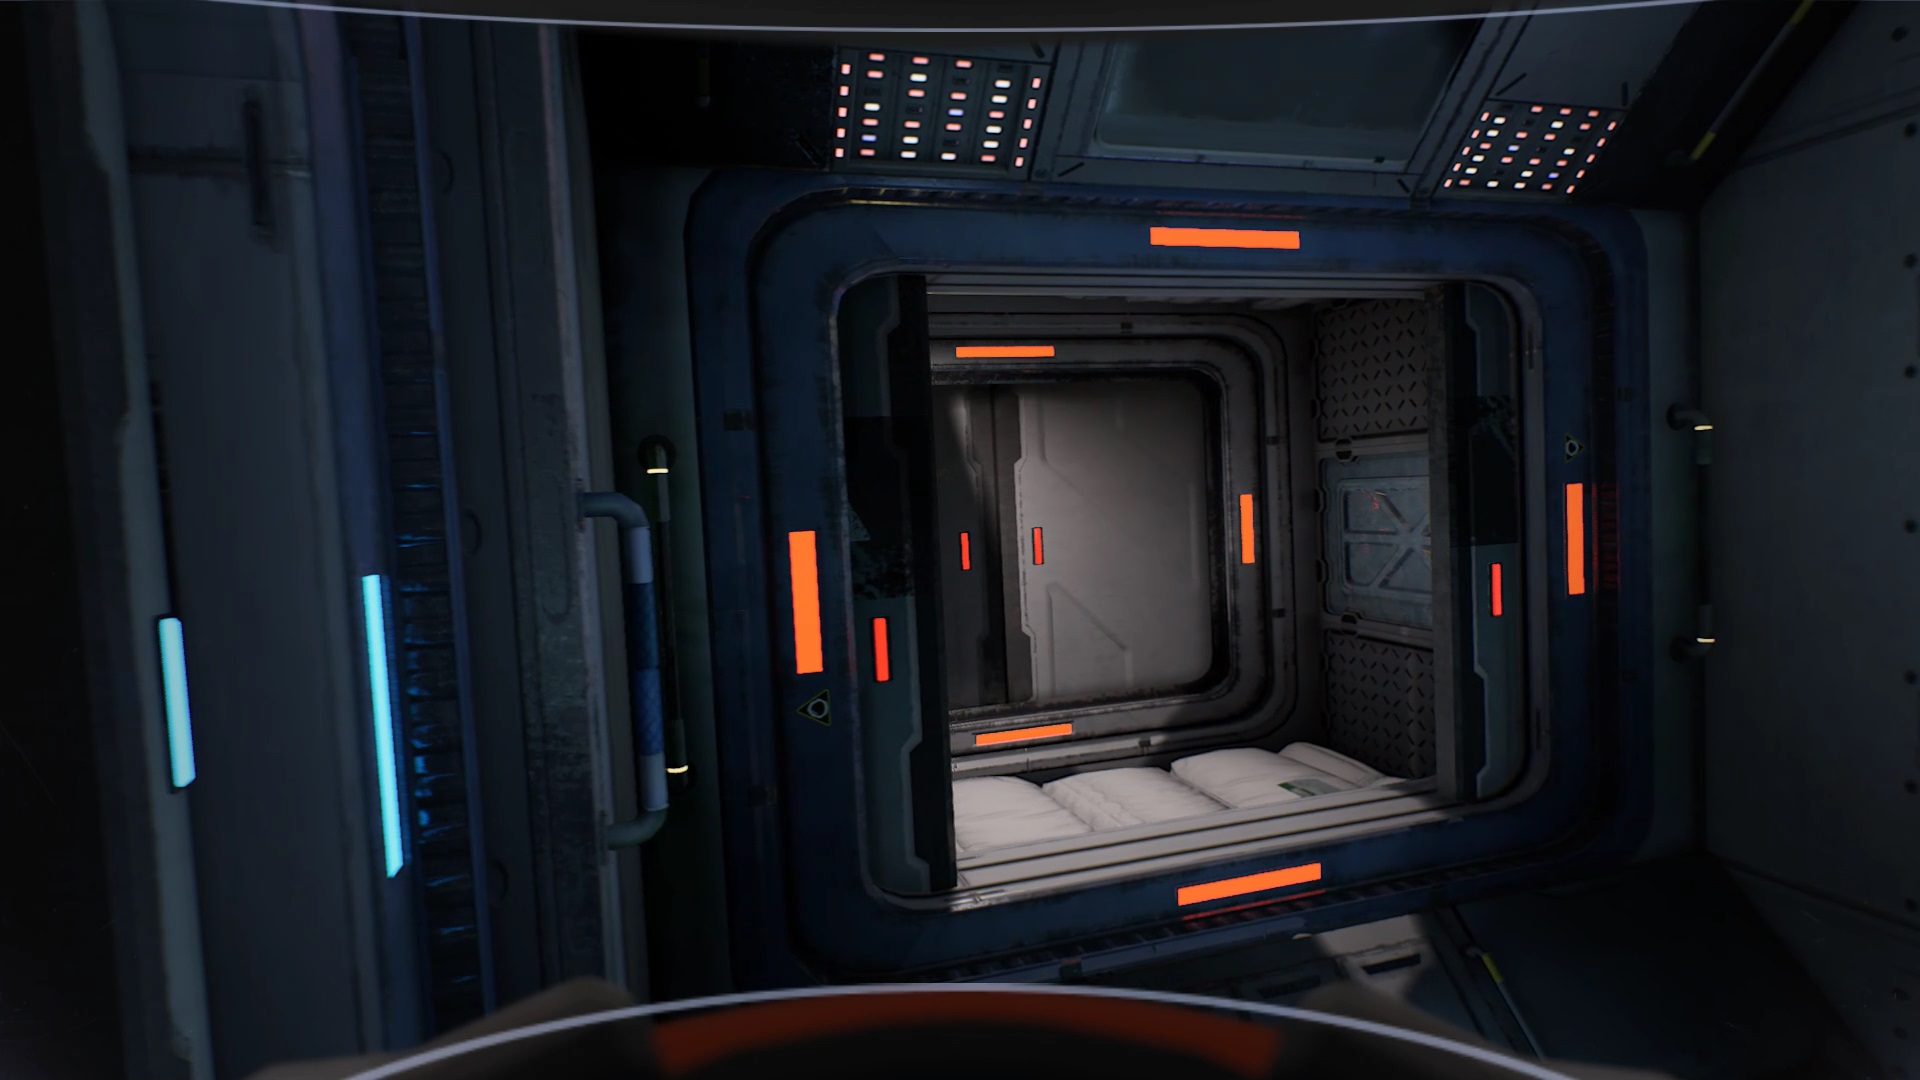
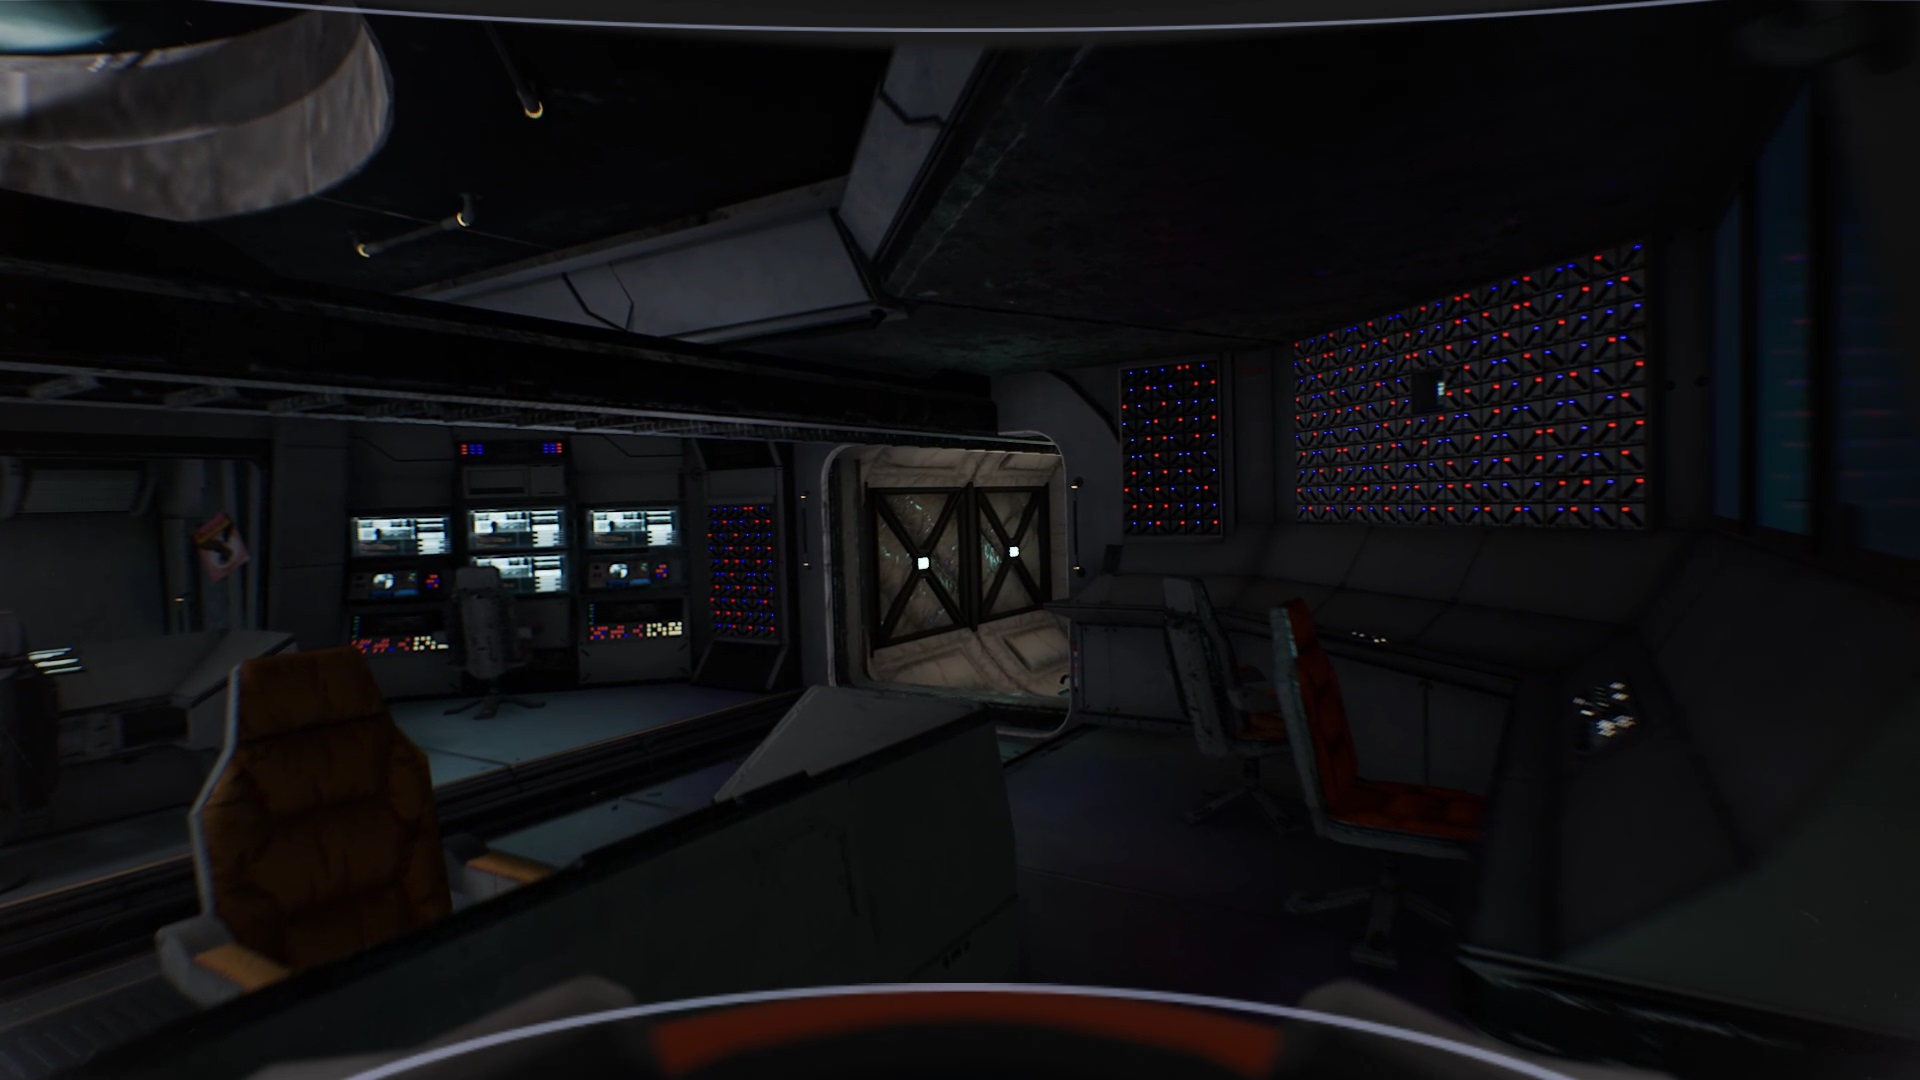
After taking off, you find yourself in the past. While diving, follow your father to recall a memory. Back in space, join Claire in the cockpit. Enter the « control center » room and move forward into the next room to find the cockpit.

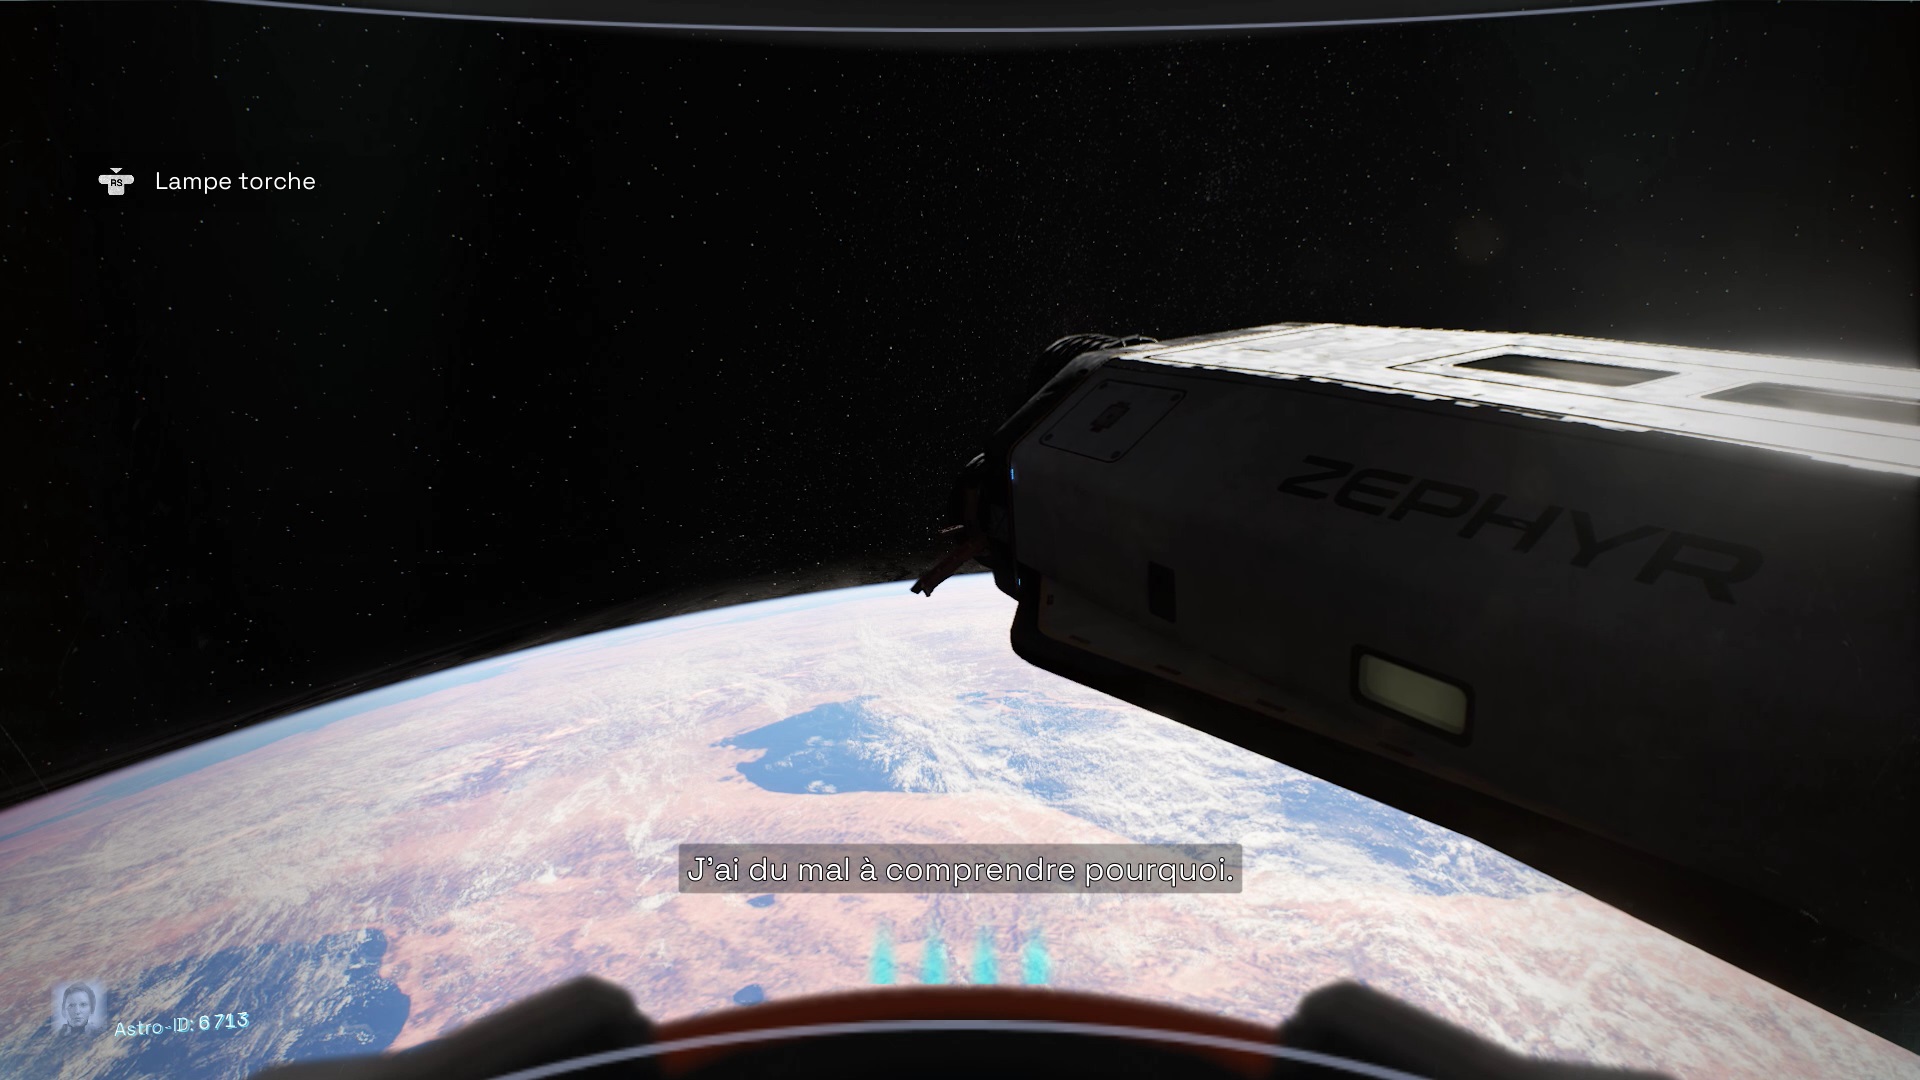
You must go and check the condition of the thrusters. Enter the red airlock at the cockpit exit. Press the airlock switch to exit into space. Move towards the thrusters at the rear of the shuttle.
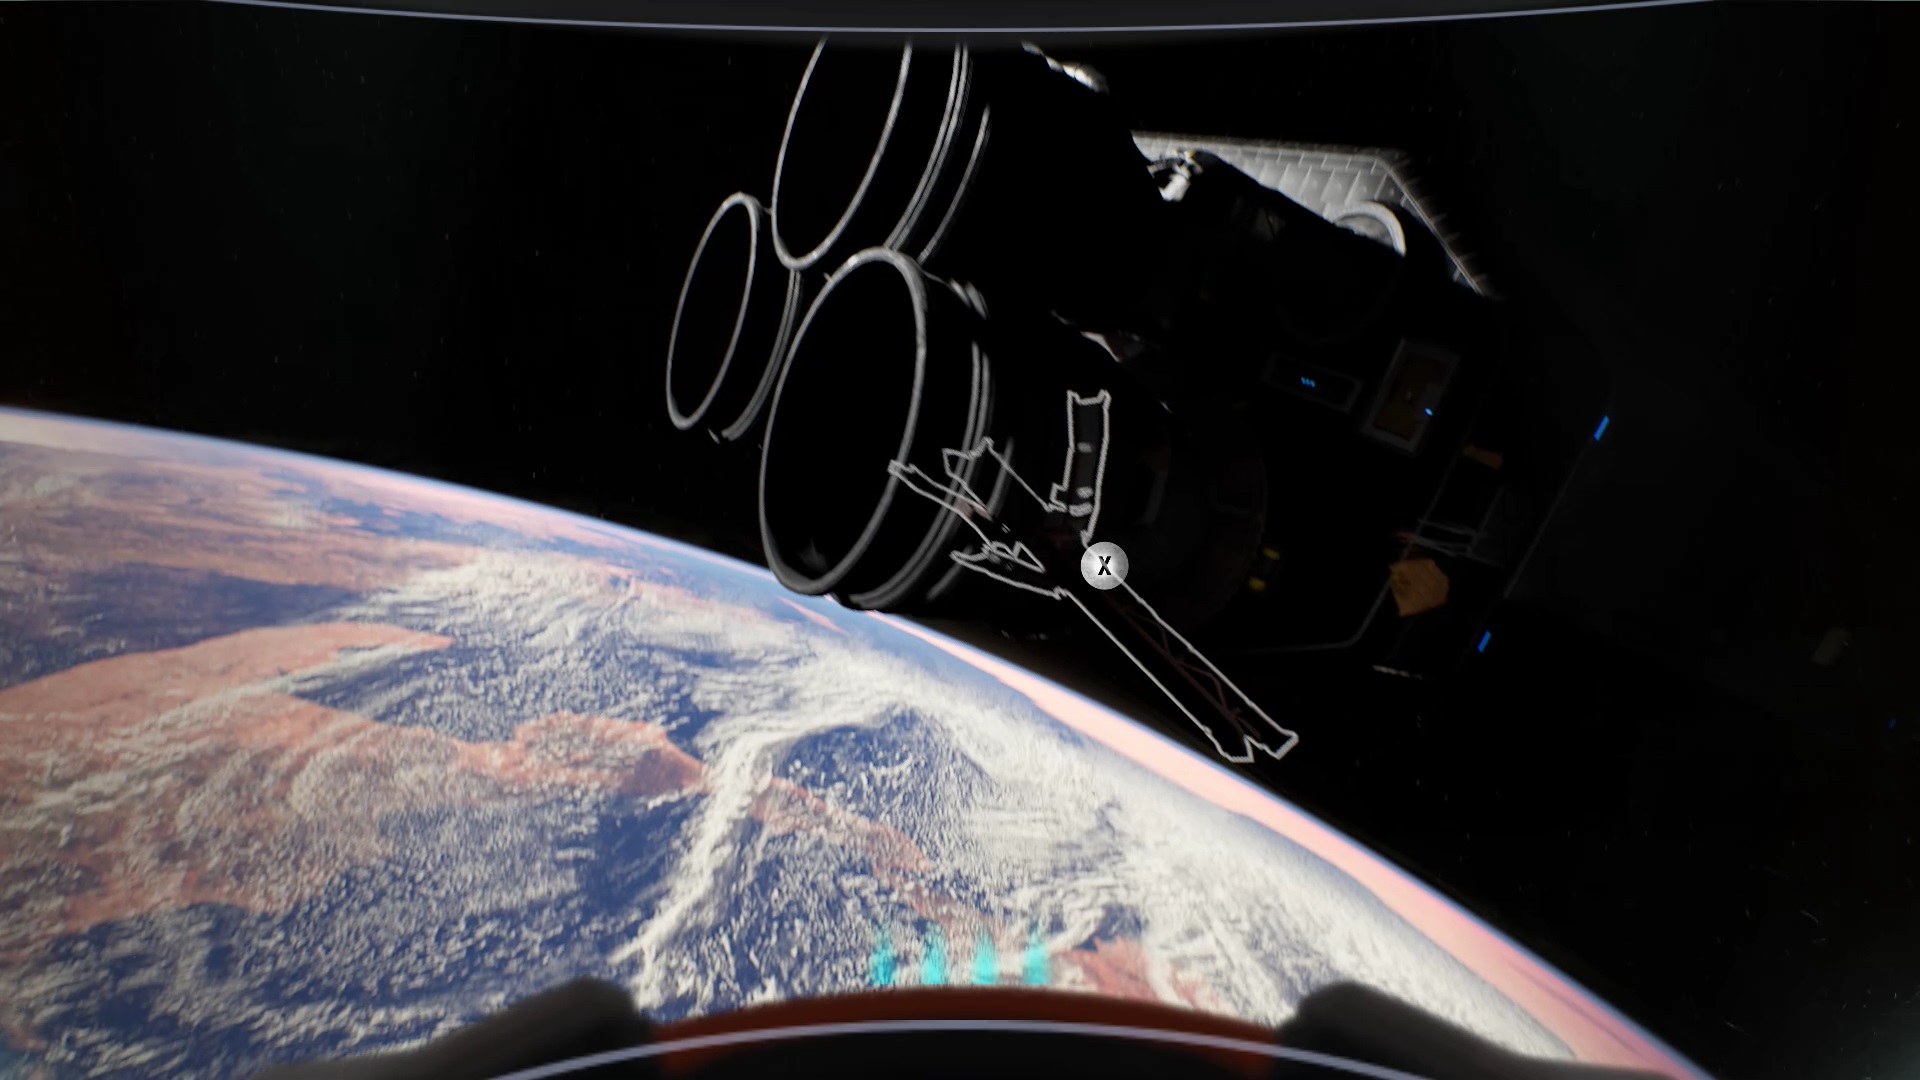
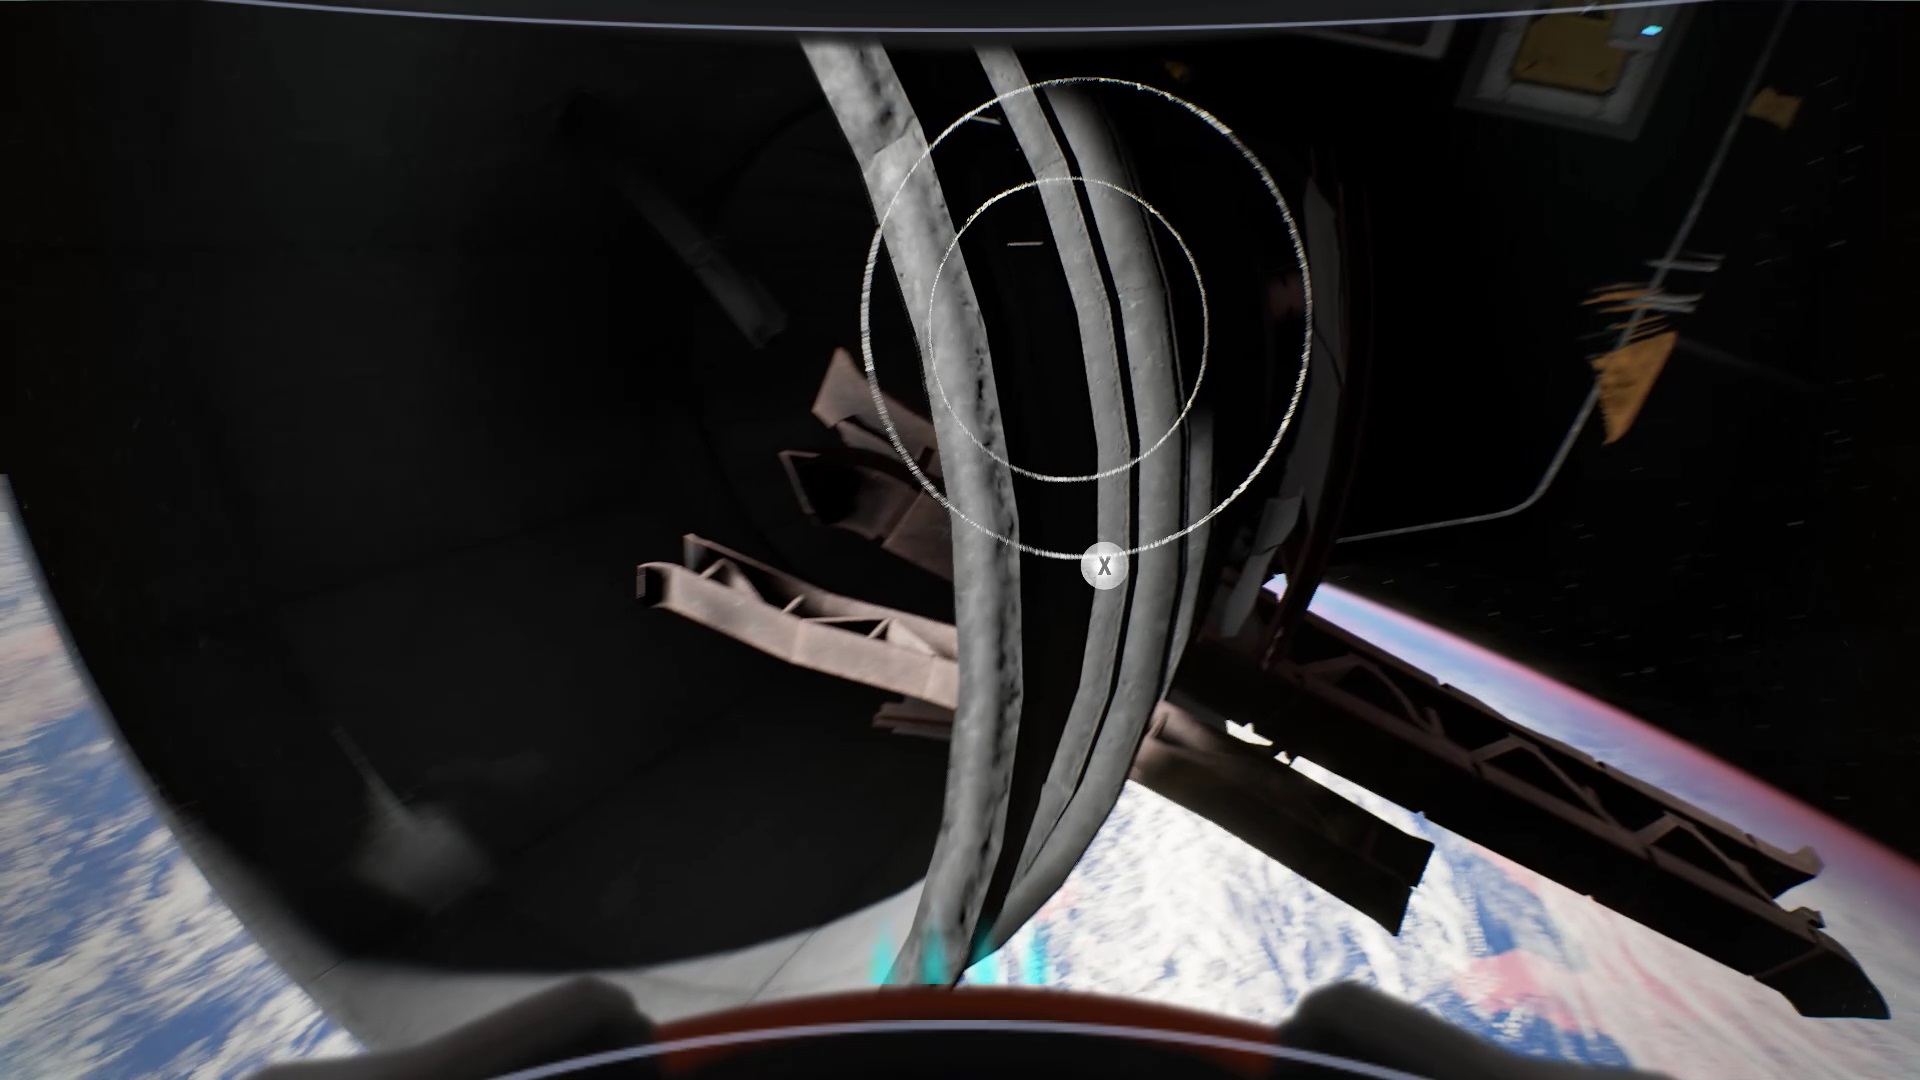
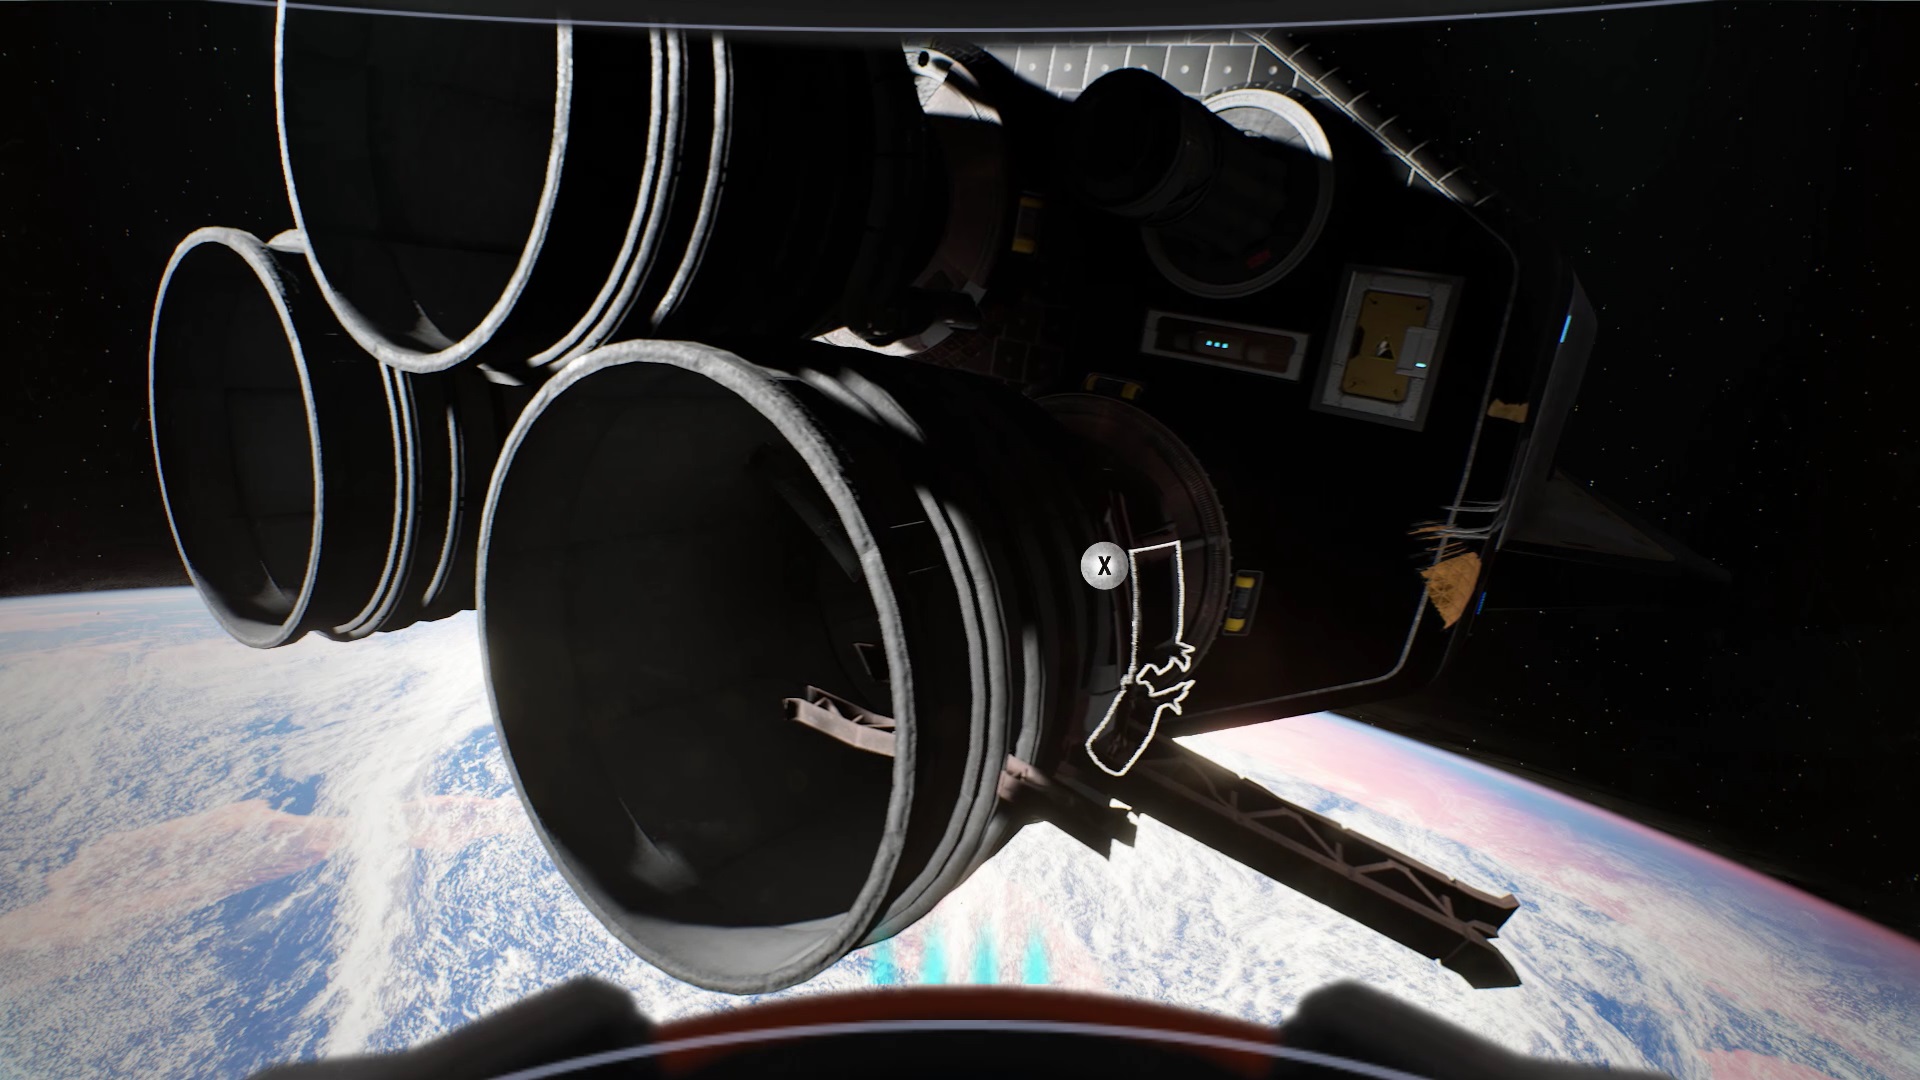
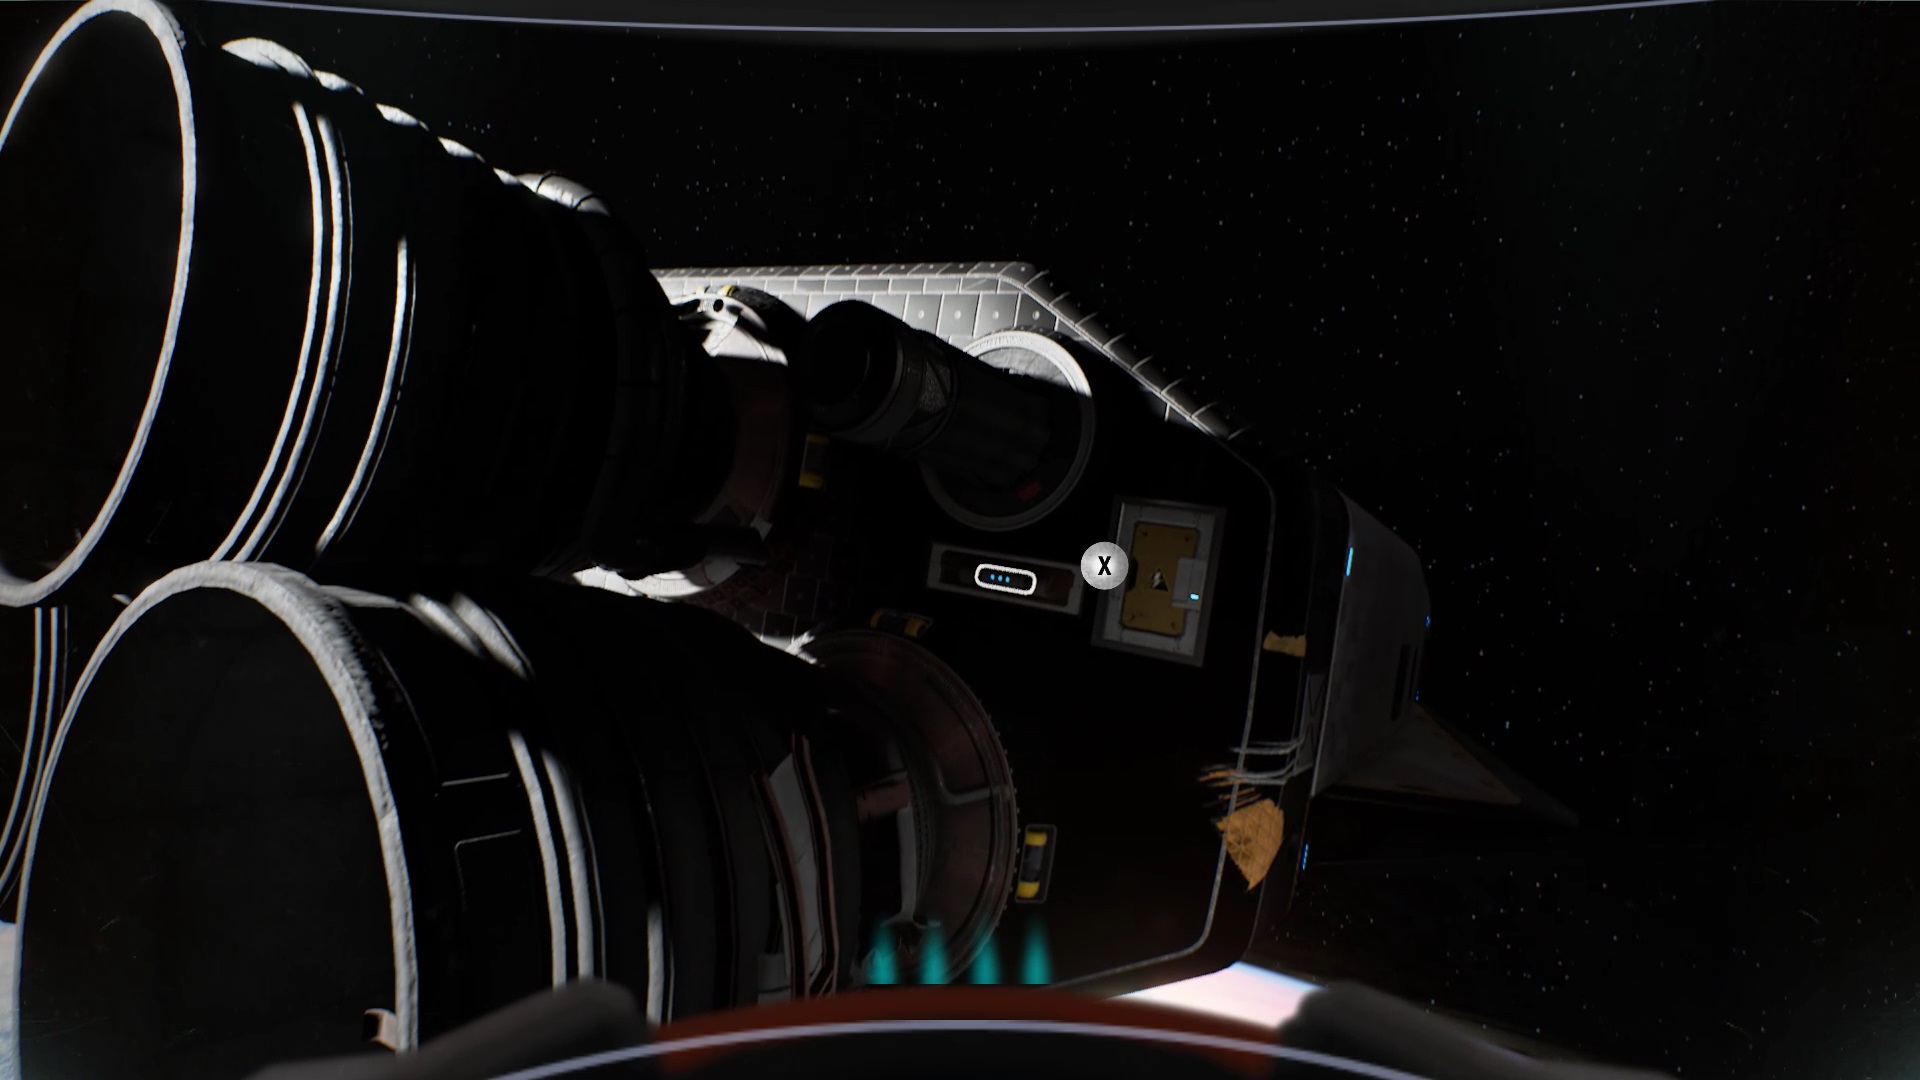
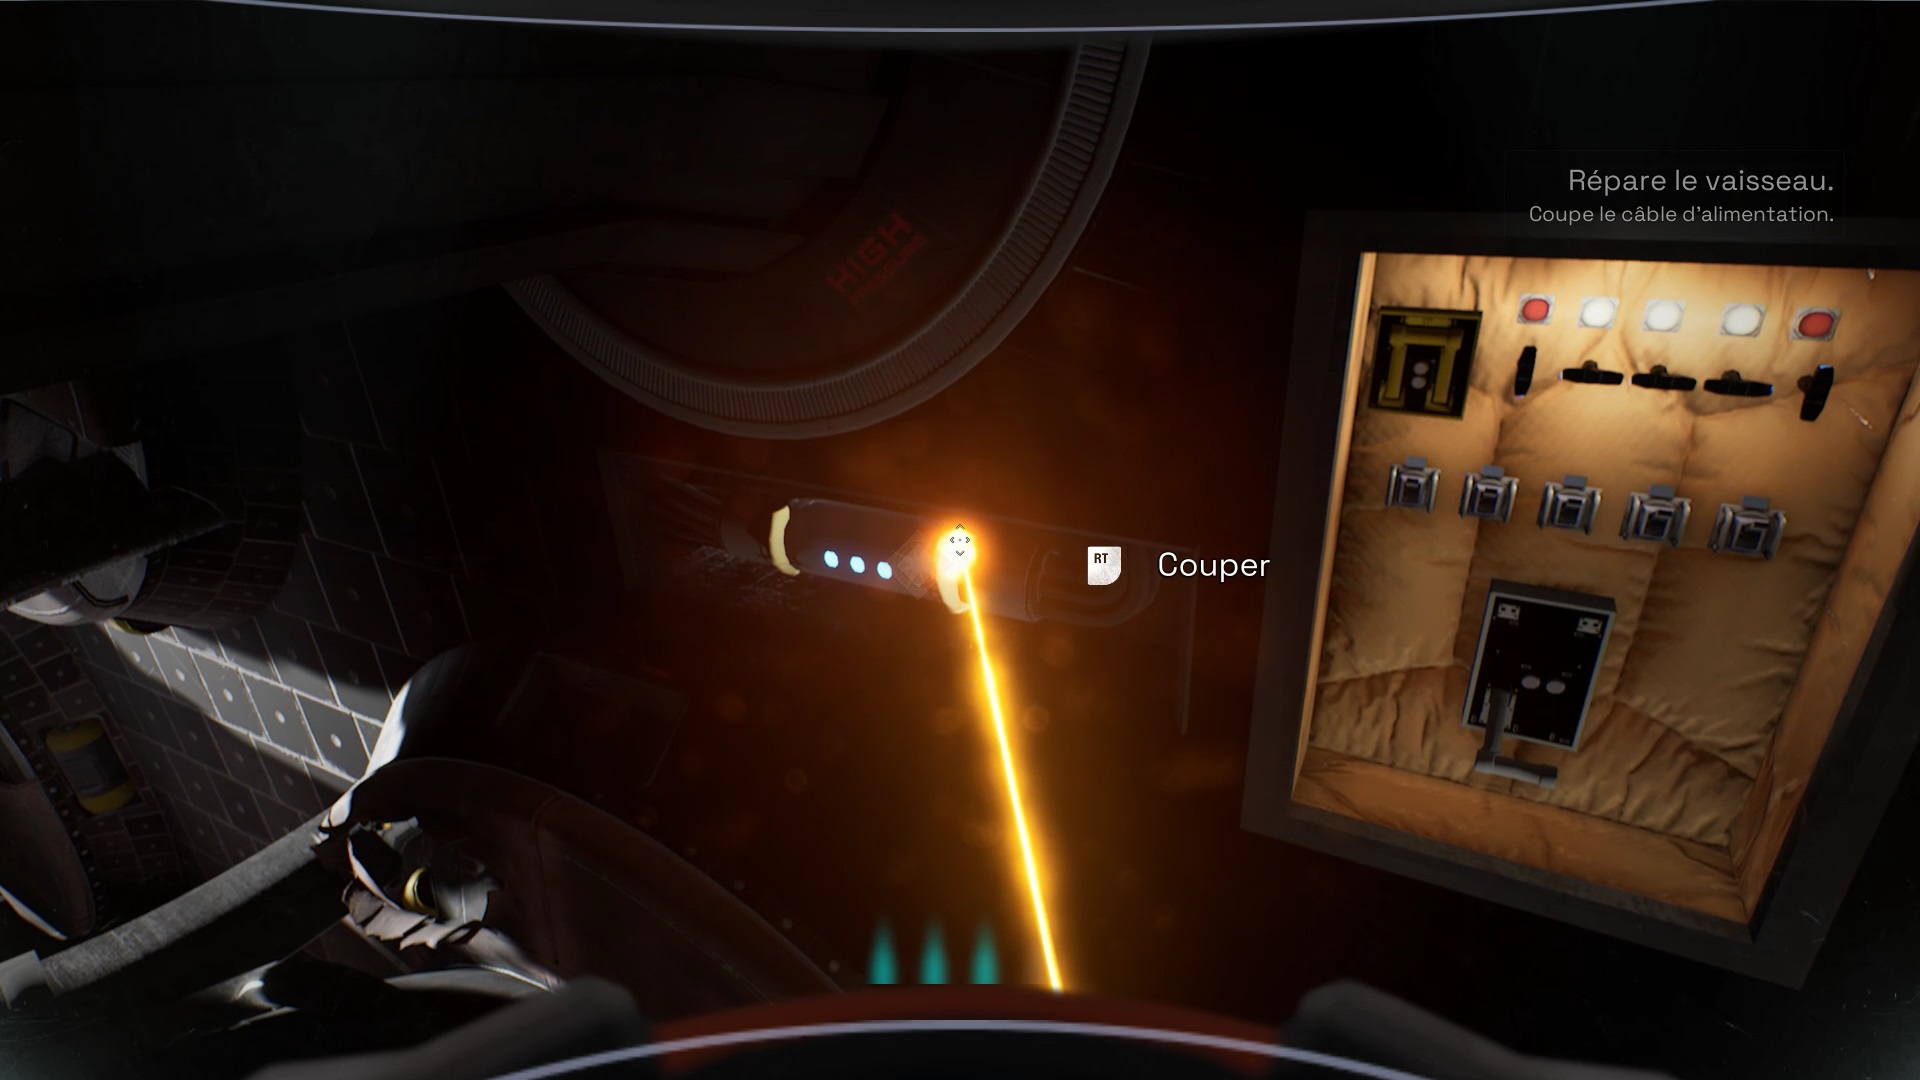
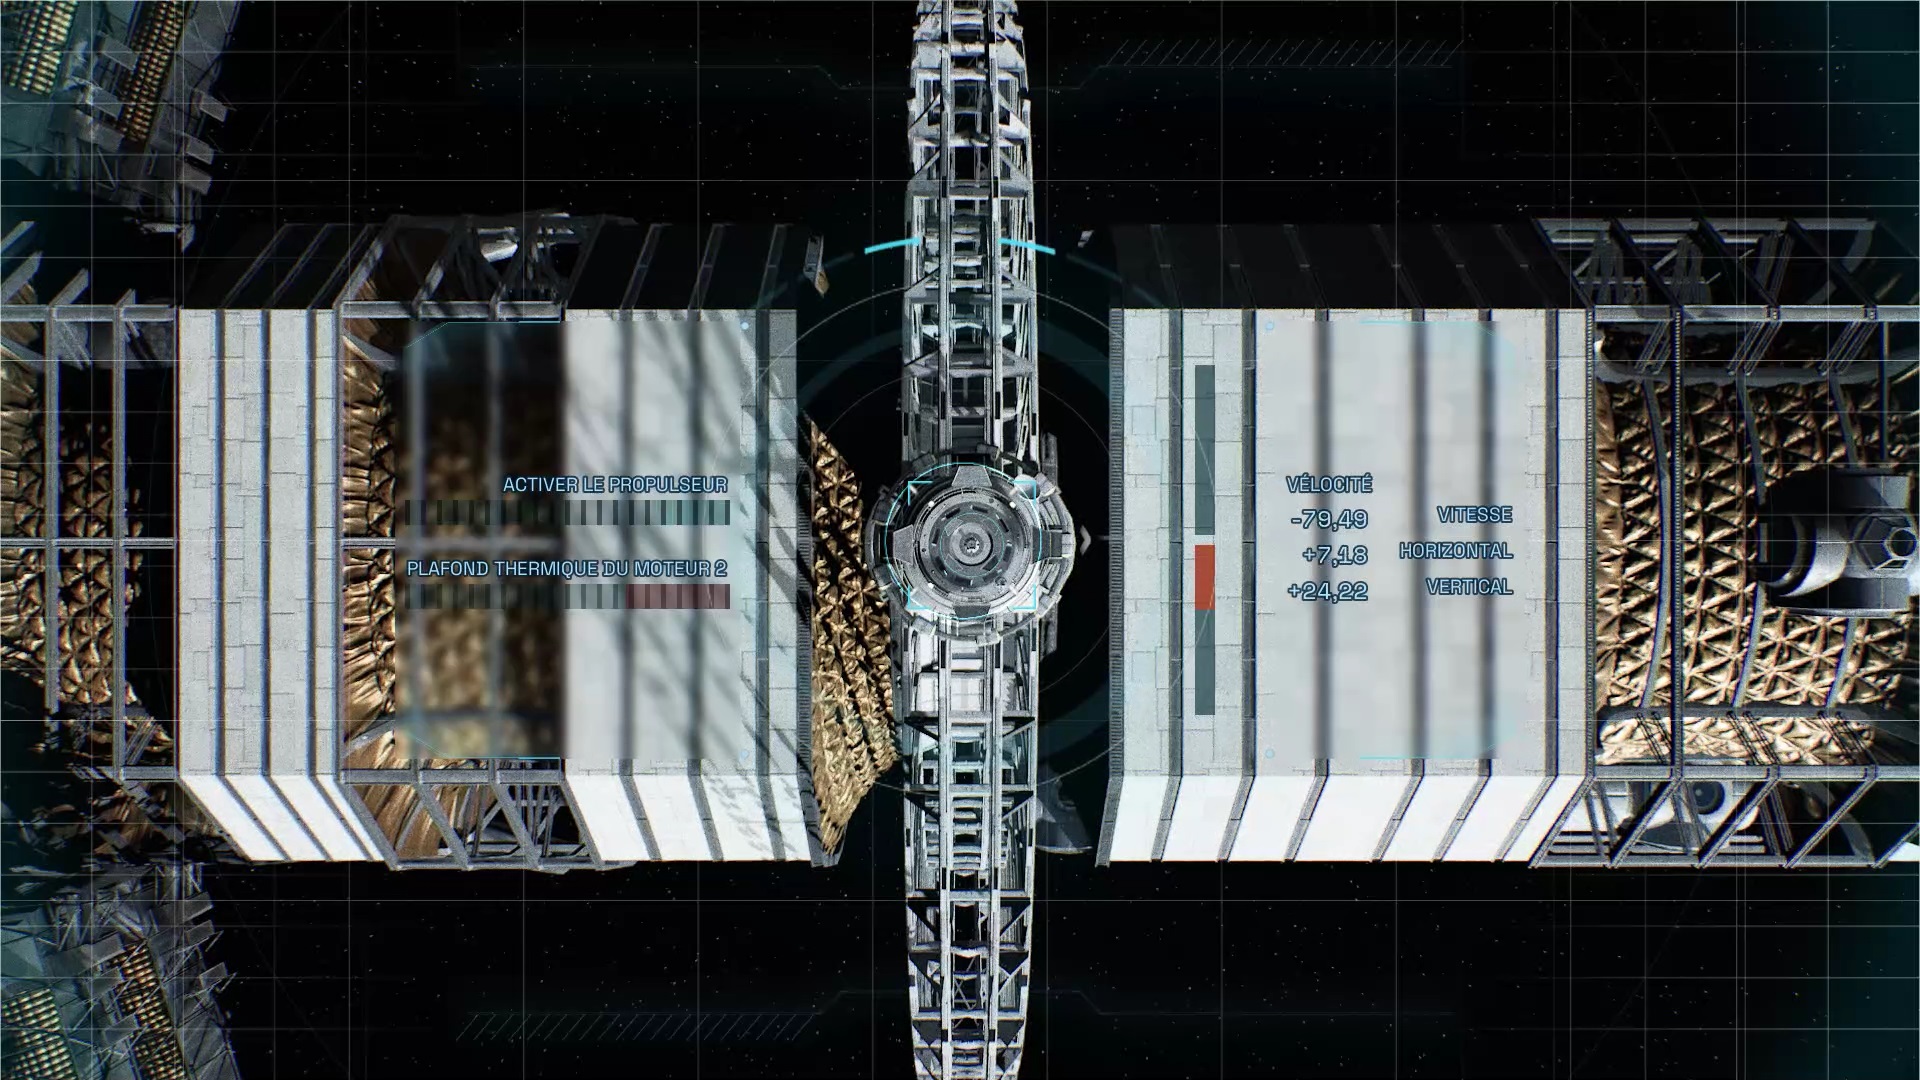
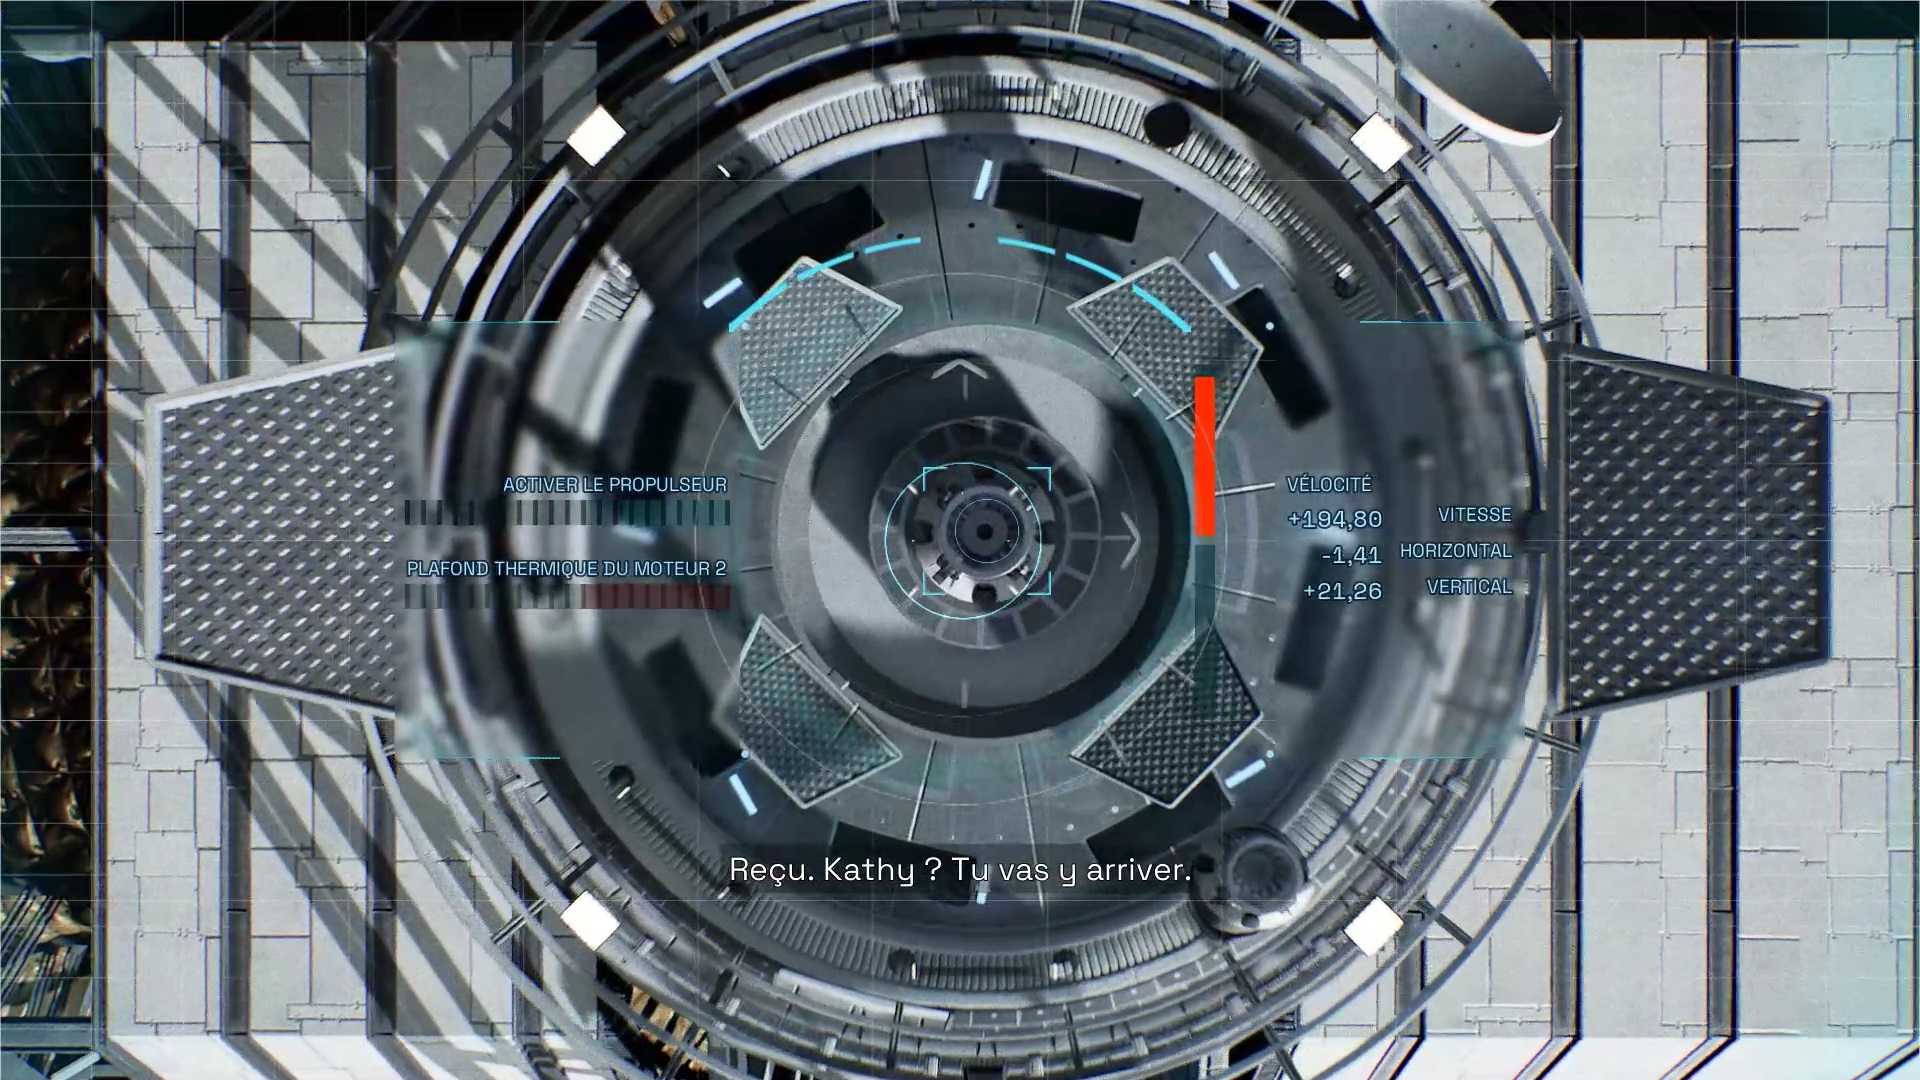
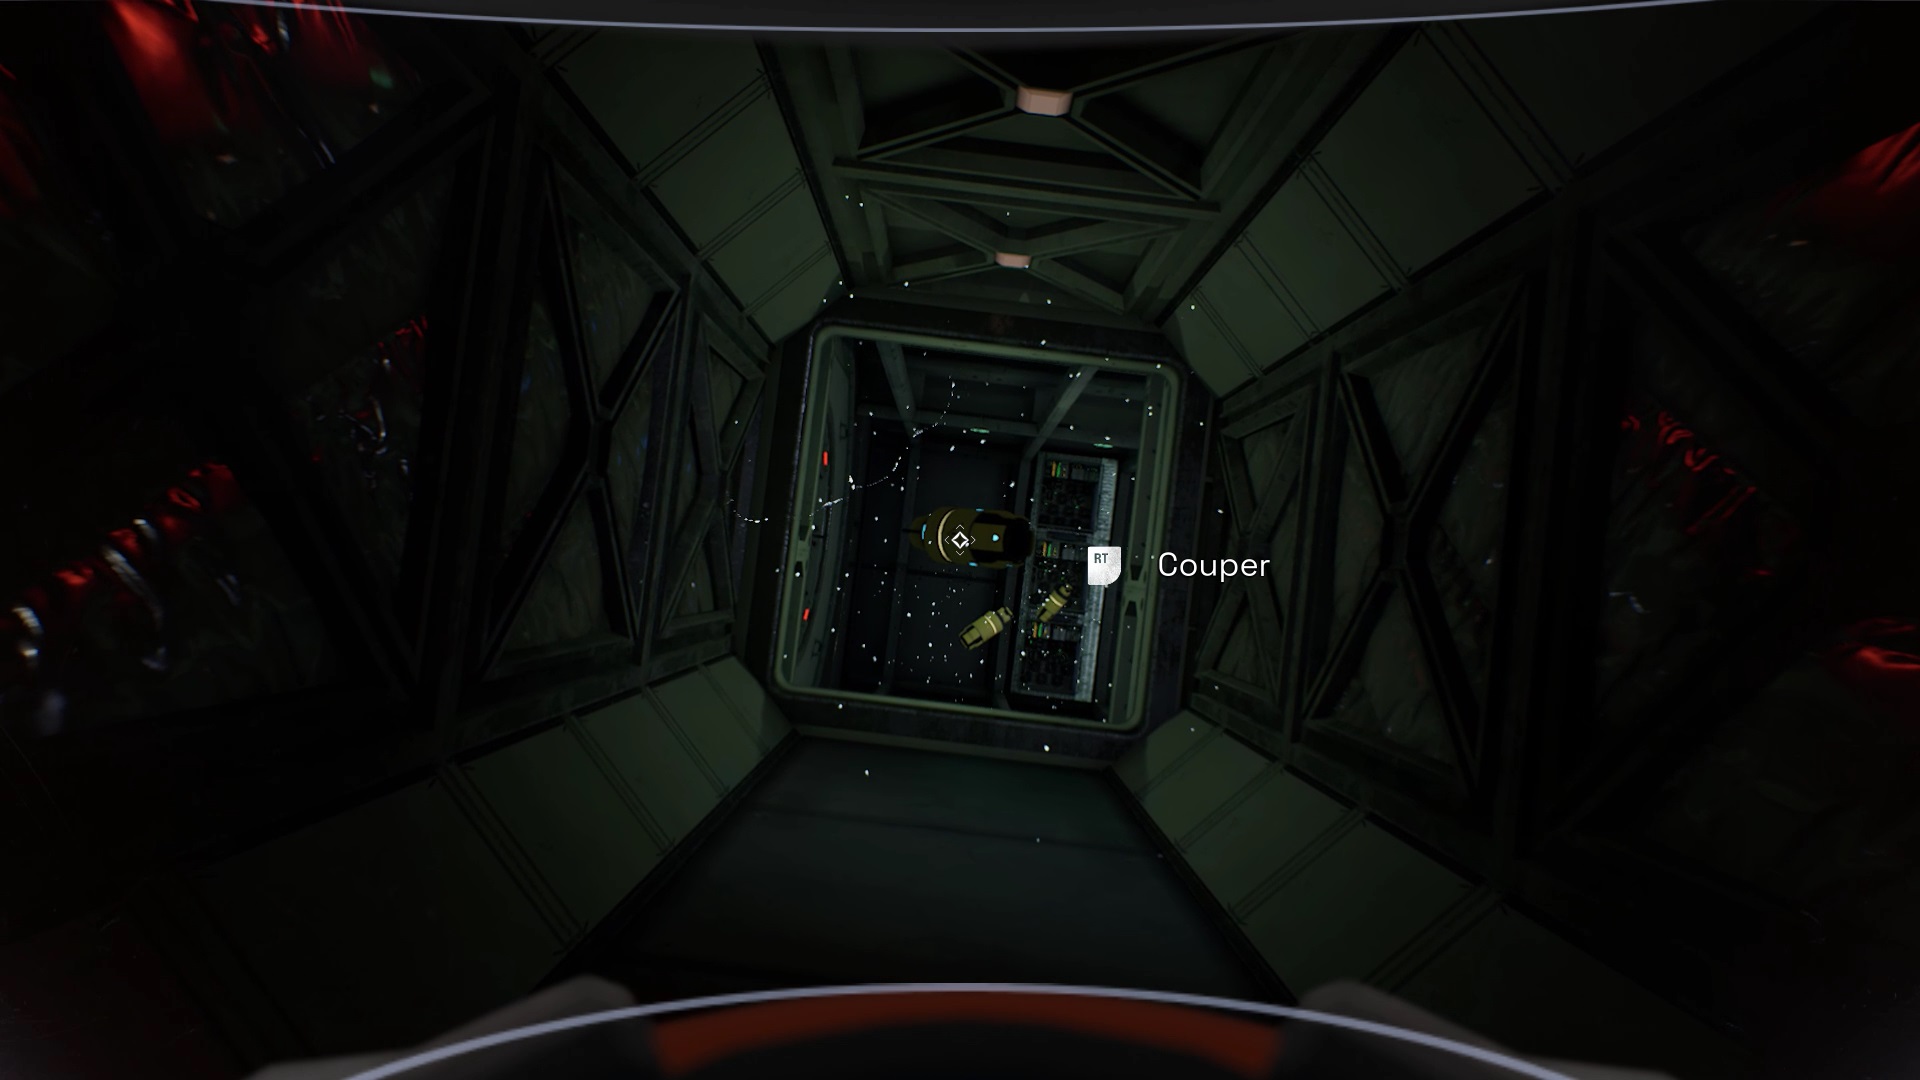
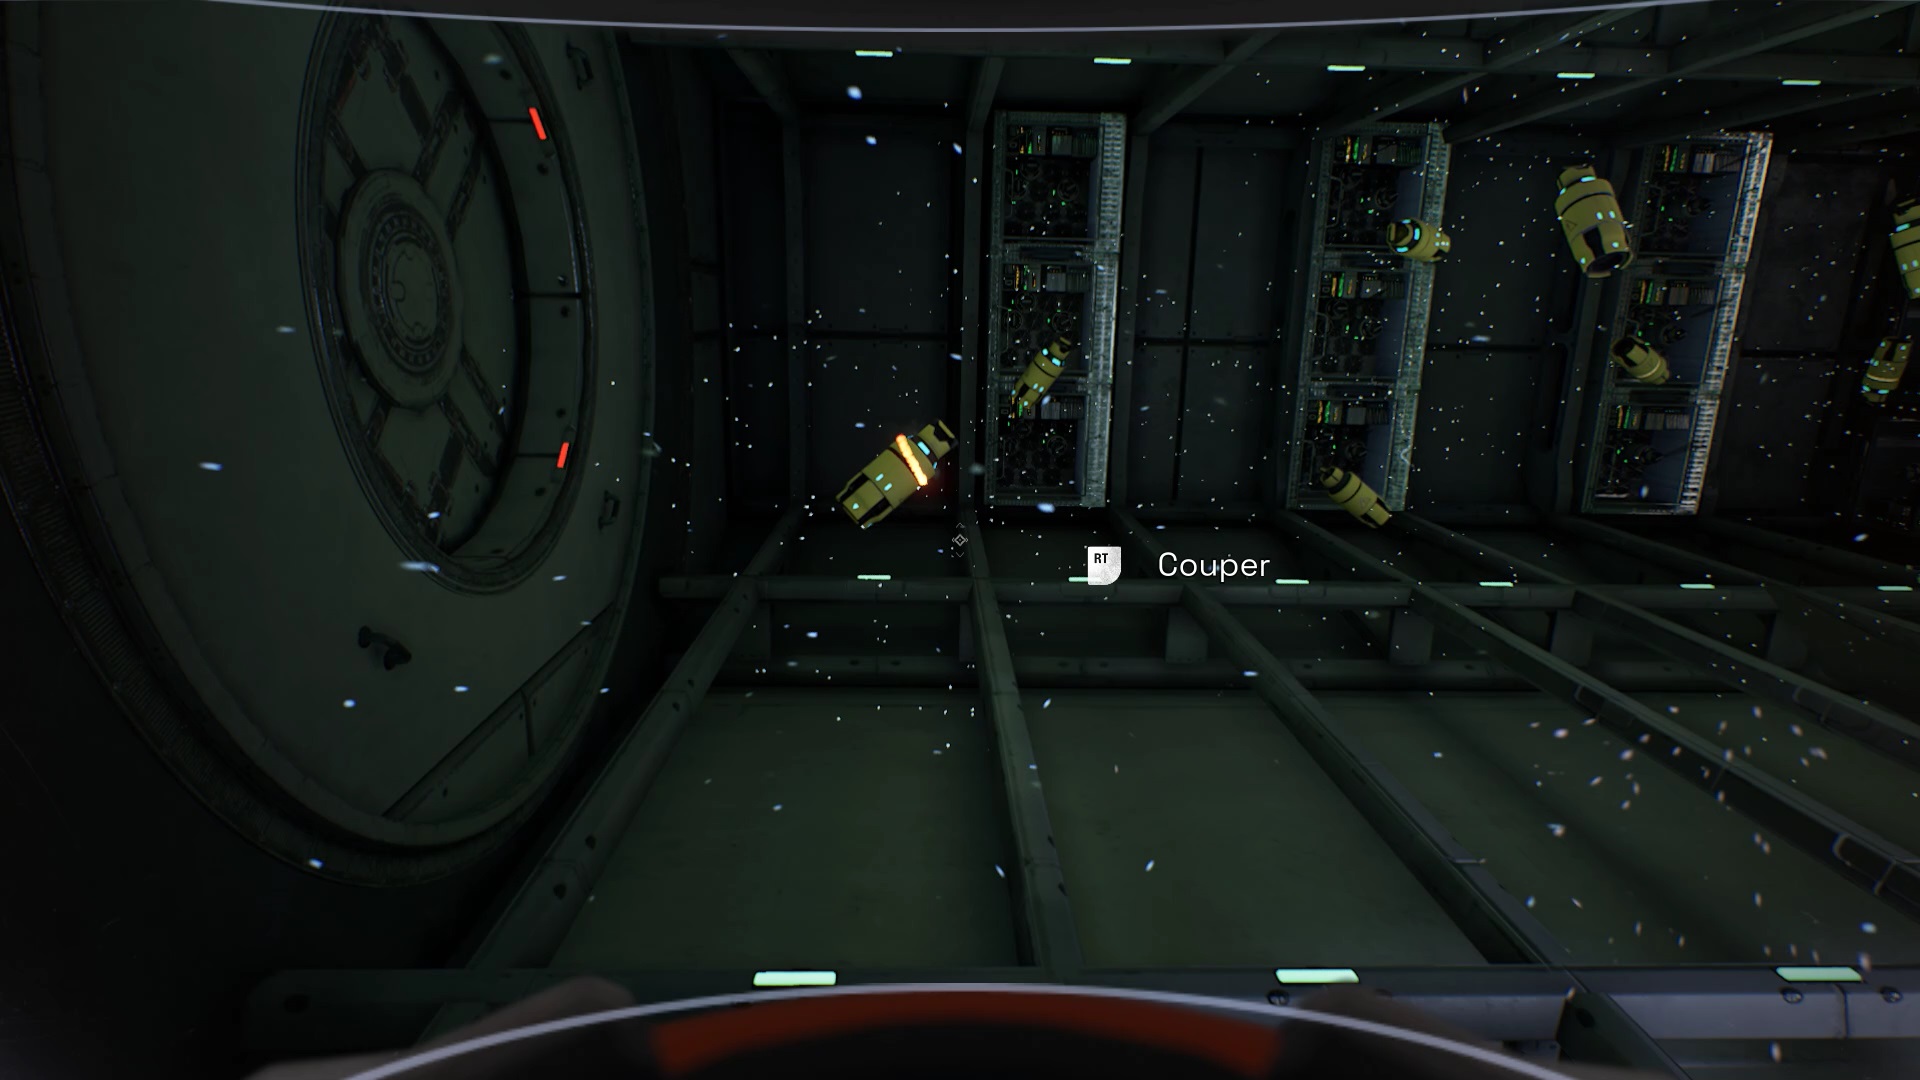
You need to analyze the damage. Start by looking at the debris stuck in the thrusters. Then analyze the coating of the thruster at its base. Check the thruster pipe on the right near the debris. Check if thruster power is on. You need to scan the power cables to the left of the electrical panel. Claire warns you about the yellow canisters. Look at them, they are located all around the thrusters.

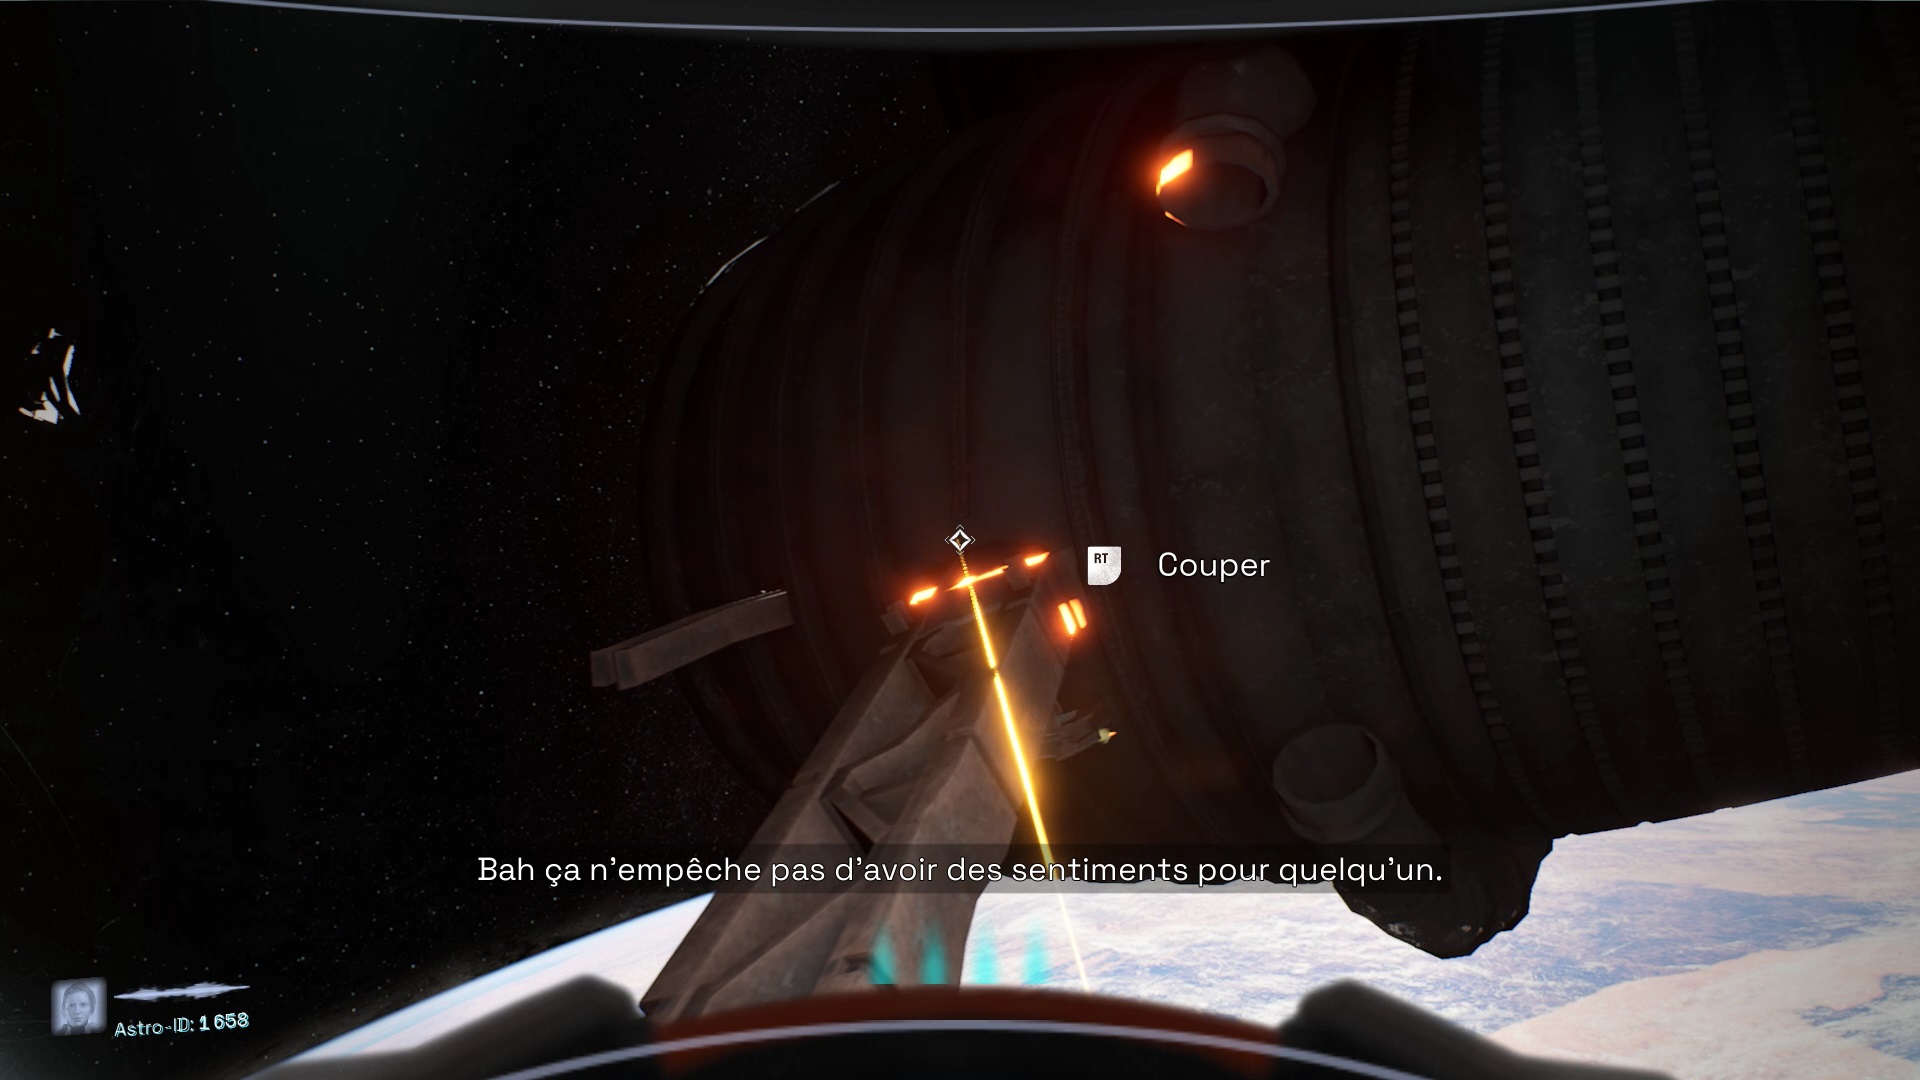
To repair the thruster, you must turn off the power. Open the electrical panel to the right of the thrusters. Lower the lever with the two bright red dots. Go around the right reactor and use your laser on the yellow lines to cut out the debris.
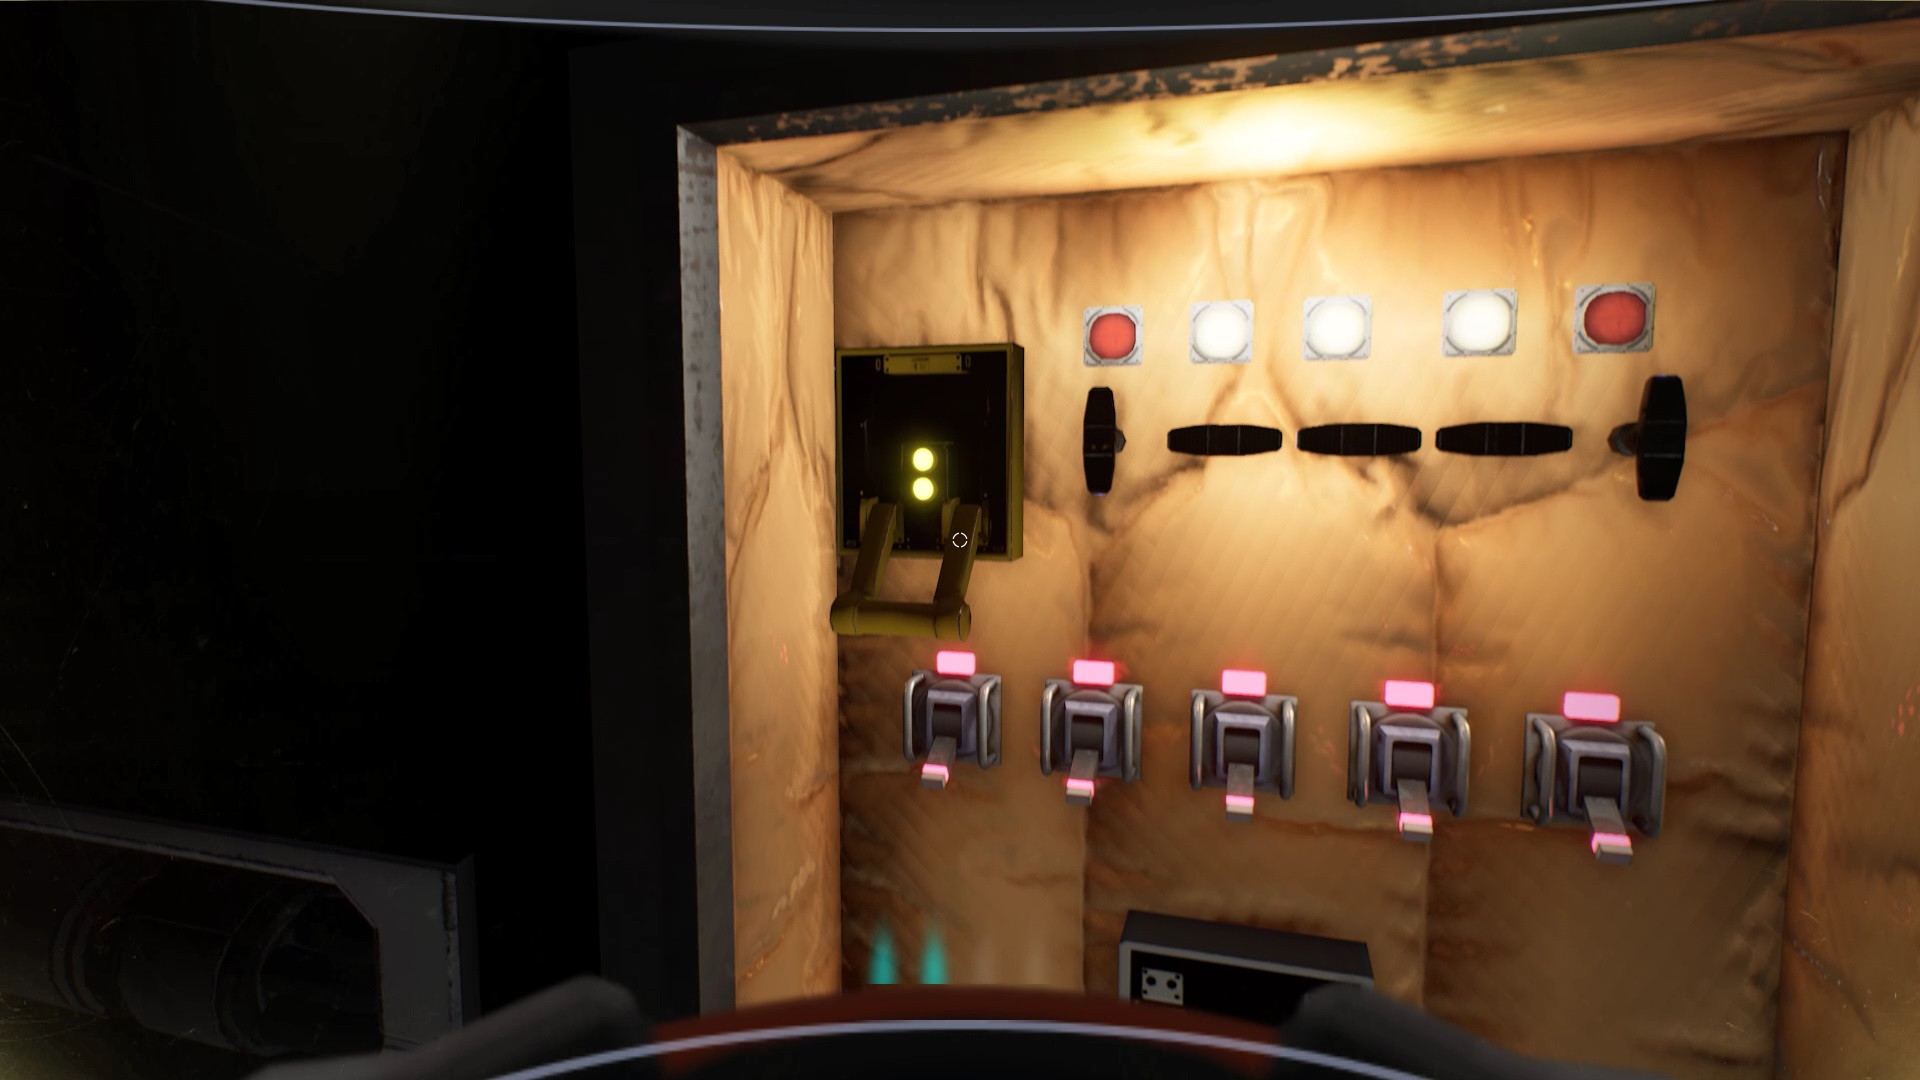
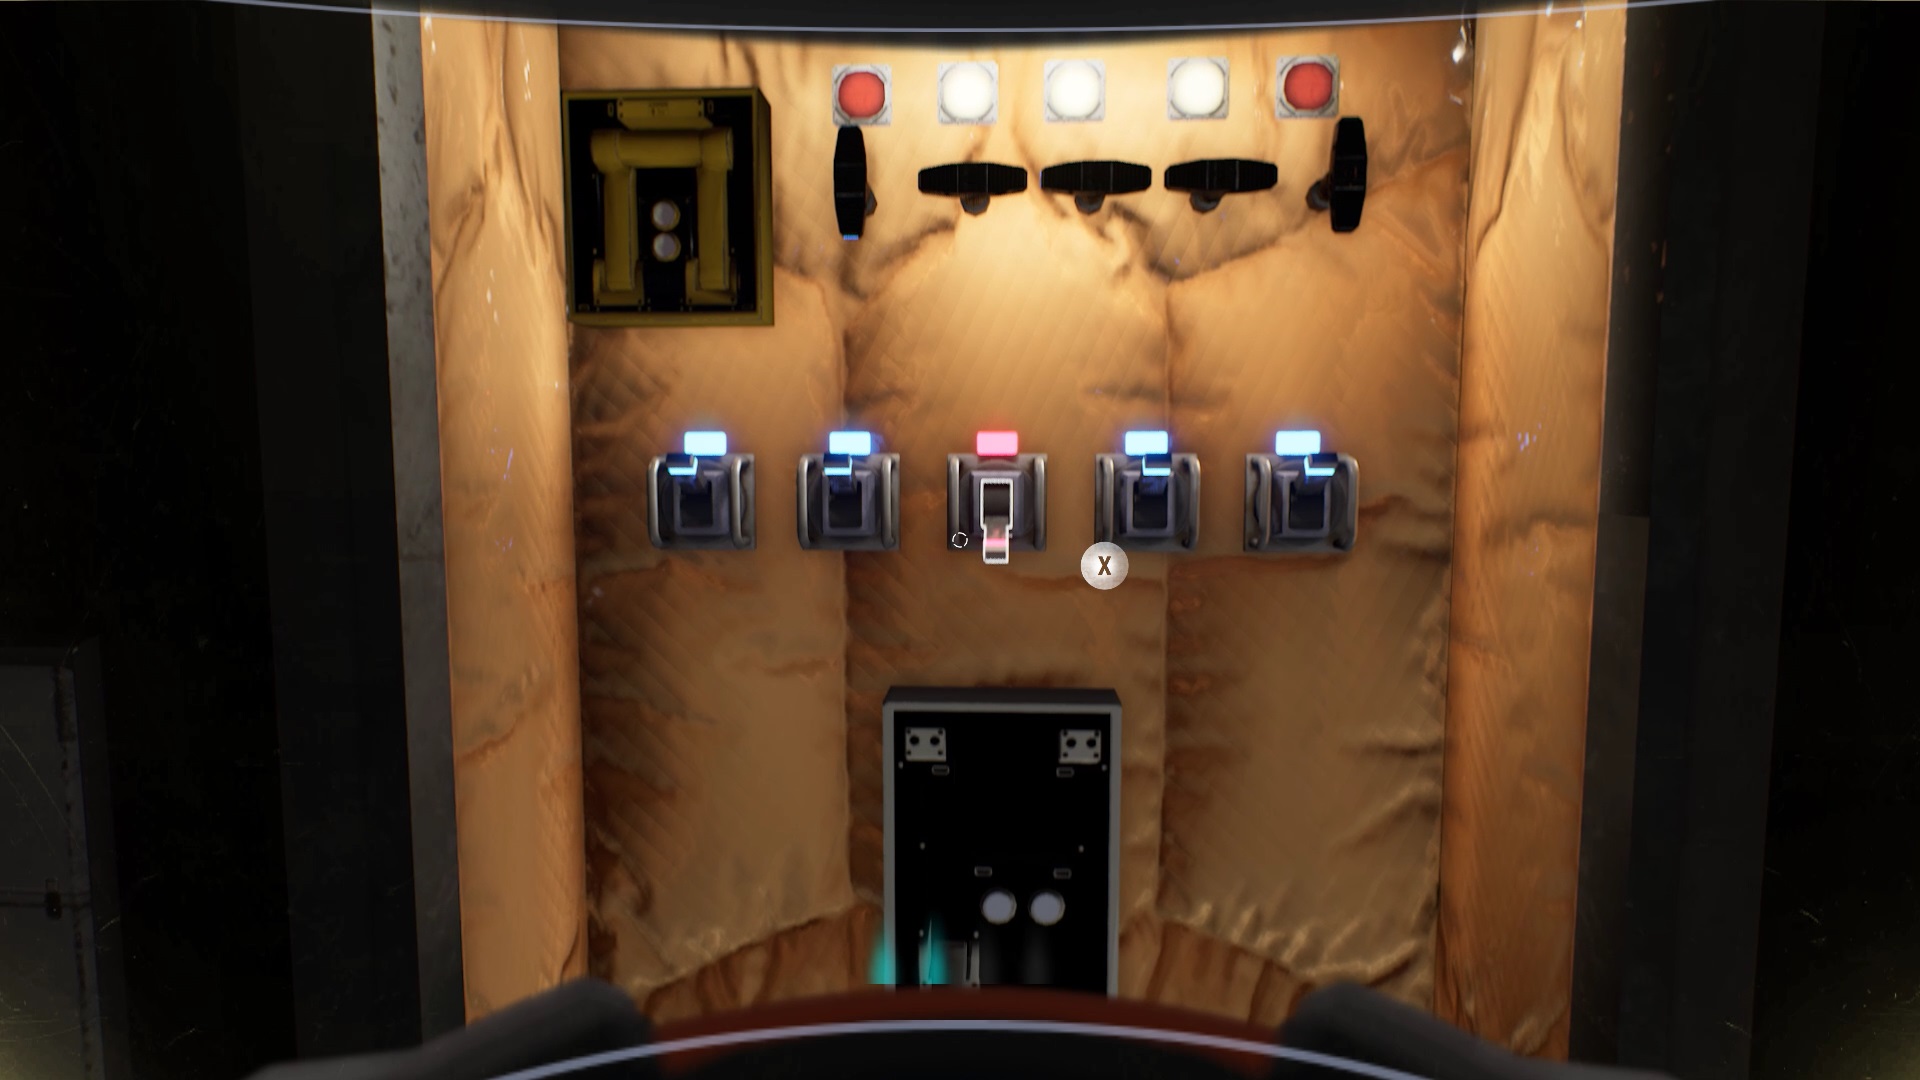
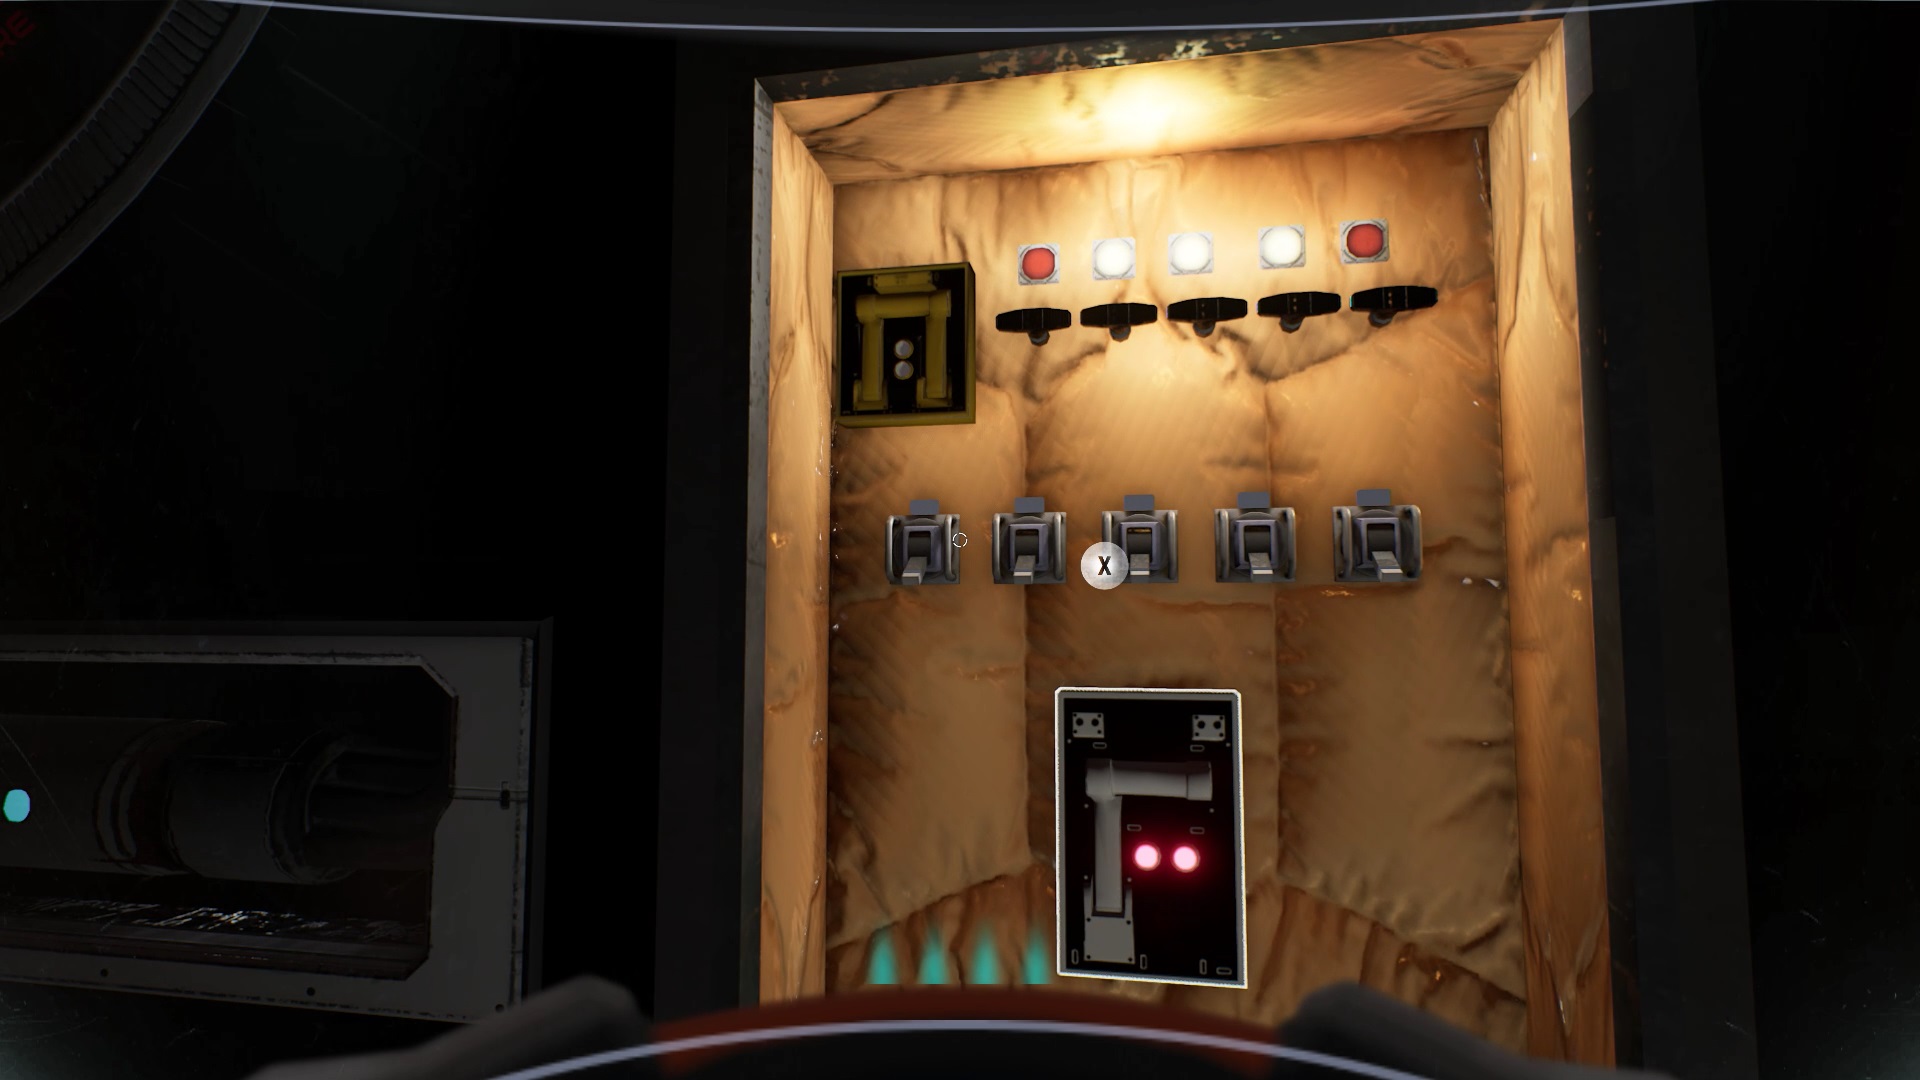
To resume power, open the power panel again. Under the red buttons at the top of the panel, set the switches to the vertical position. Under the white buttons, put the switches horizontally. Lower the lever on the left of the panel to access the switches on the lower part of the panel. Activate the switches in this order: 2-4-51-3. Lift the lever at the bottom of the panel to restore power.
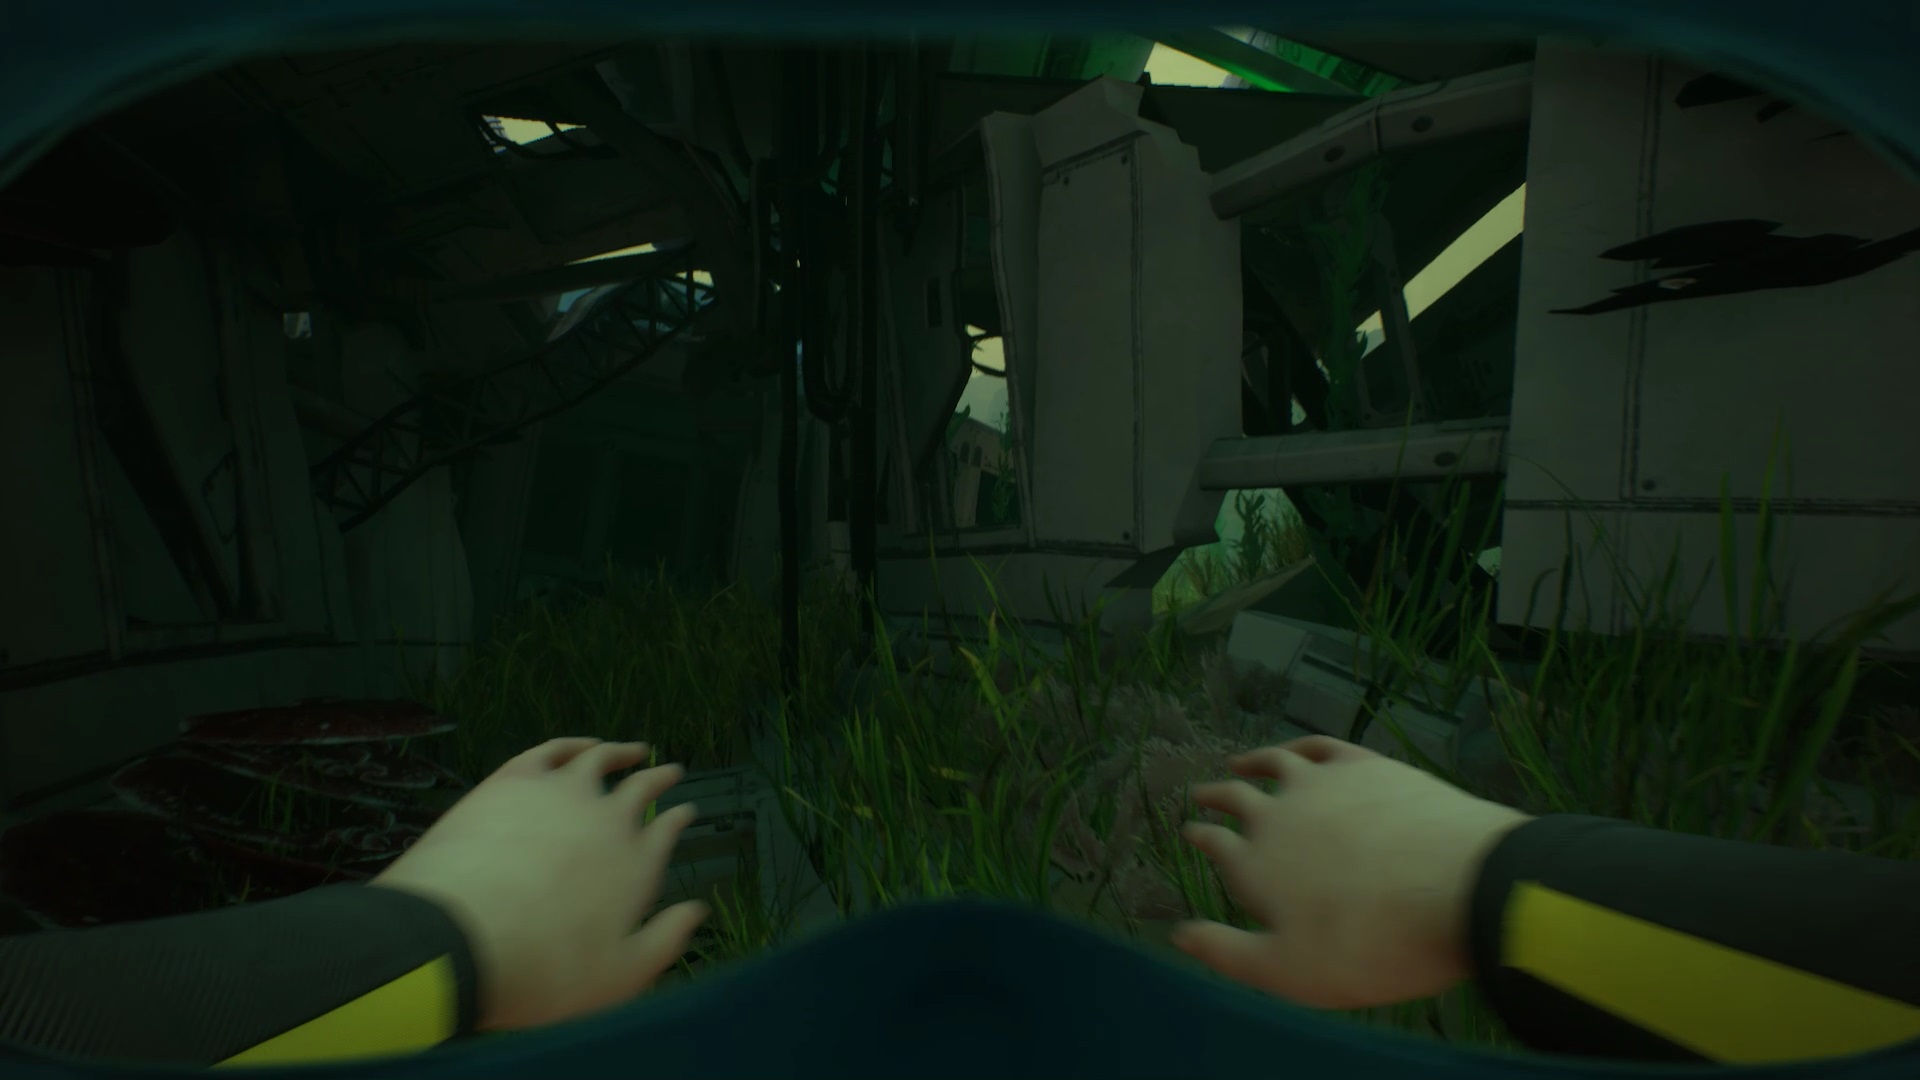
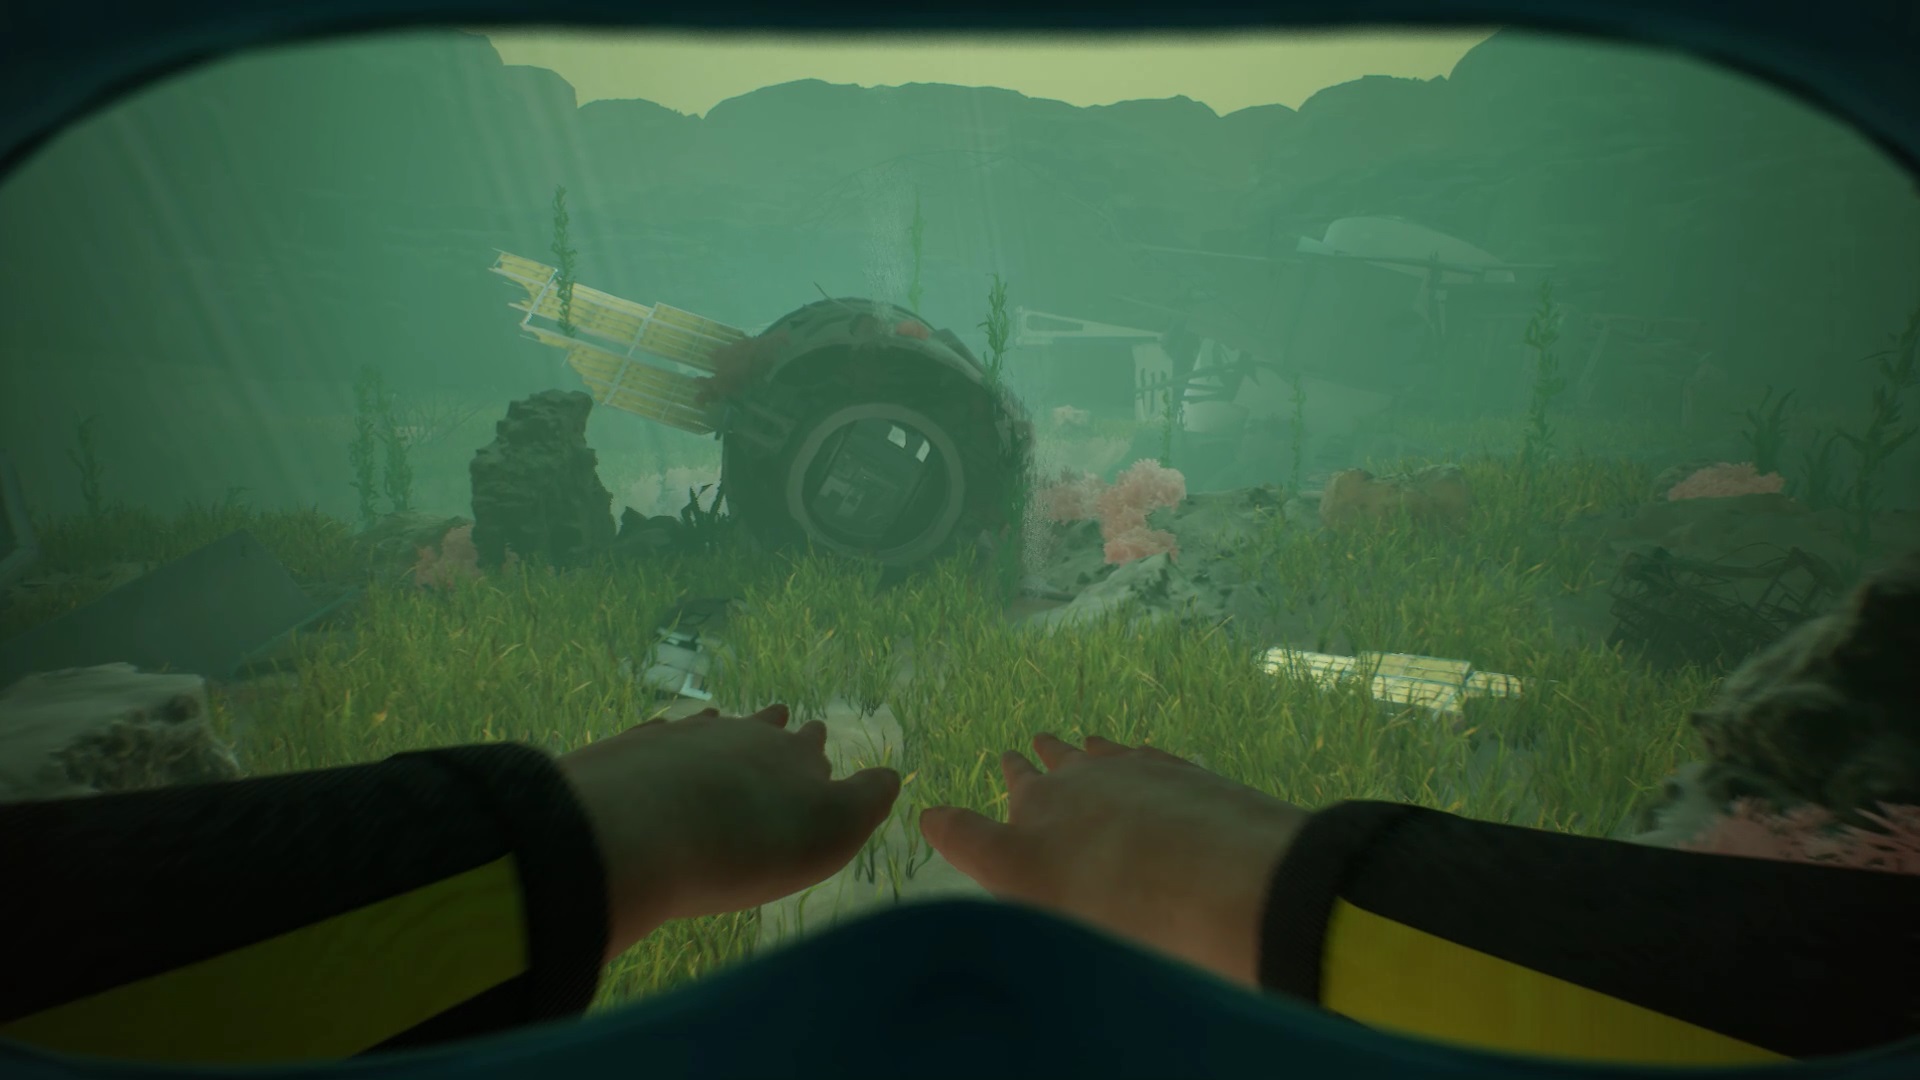
Go back inside the shuttle to immerse yourself in a memory. In the depths, continue to follow your father. When he begins to contemplate the structure, continue forward. Go around the structure to reach the other side. Move forward to find a cockpit carcass.
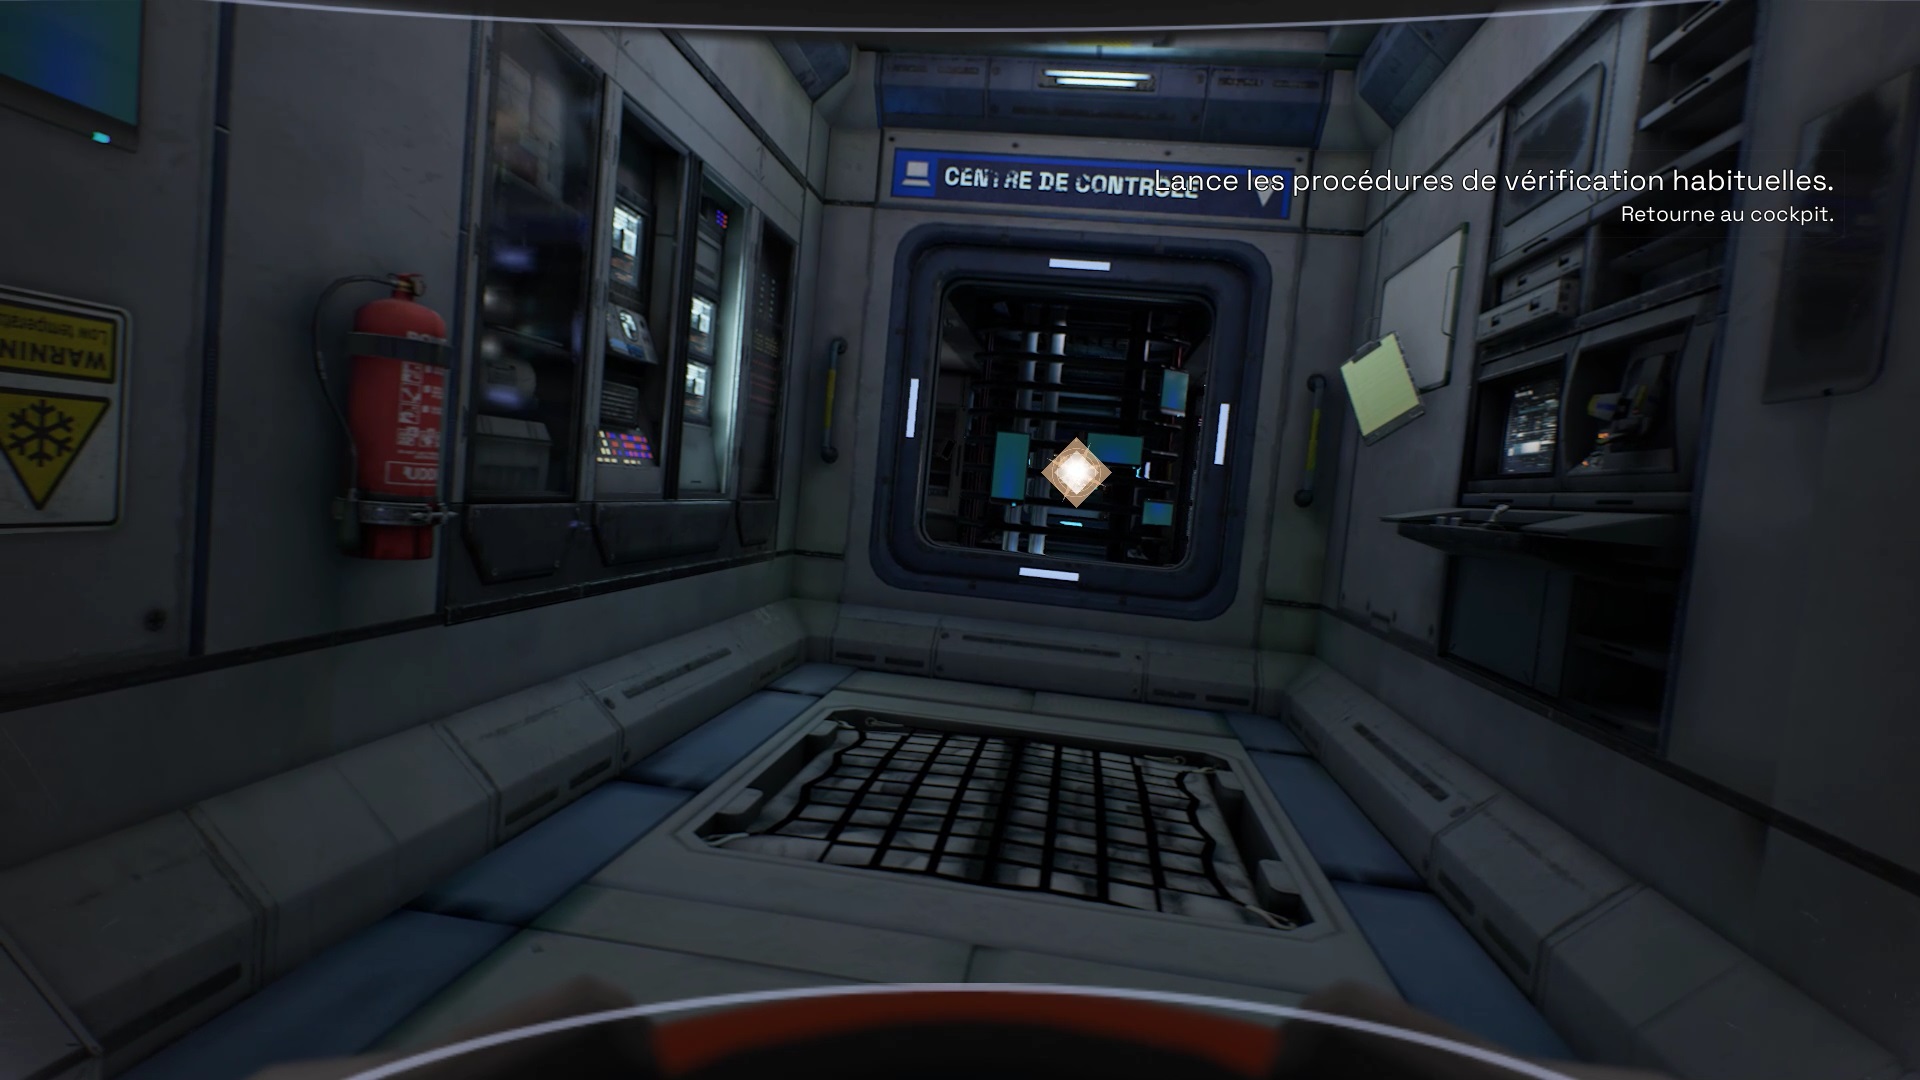
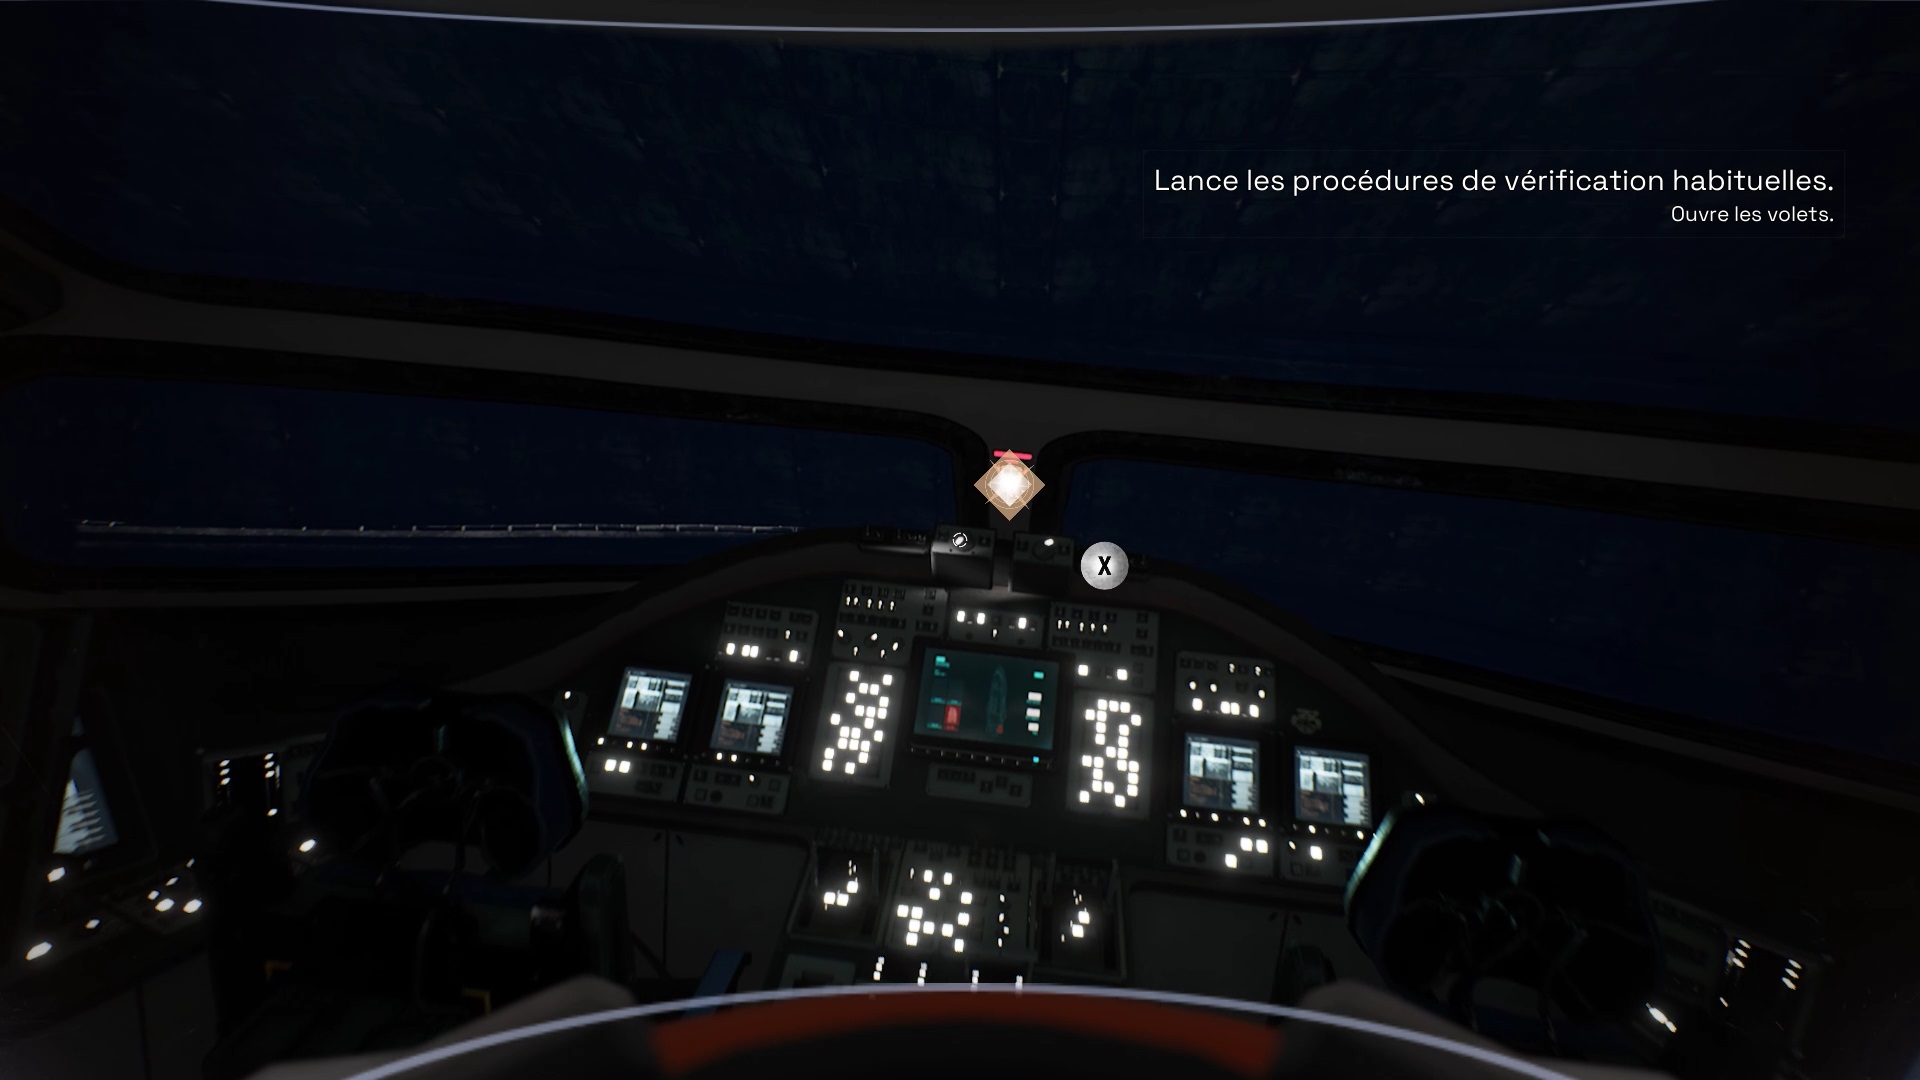
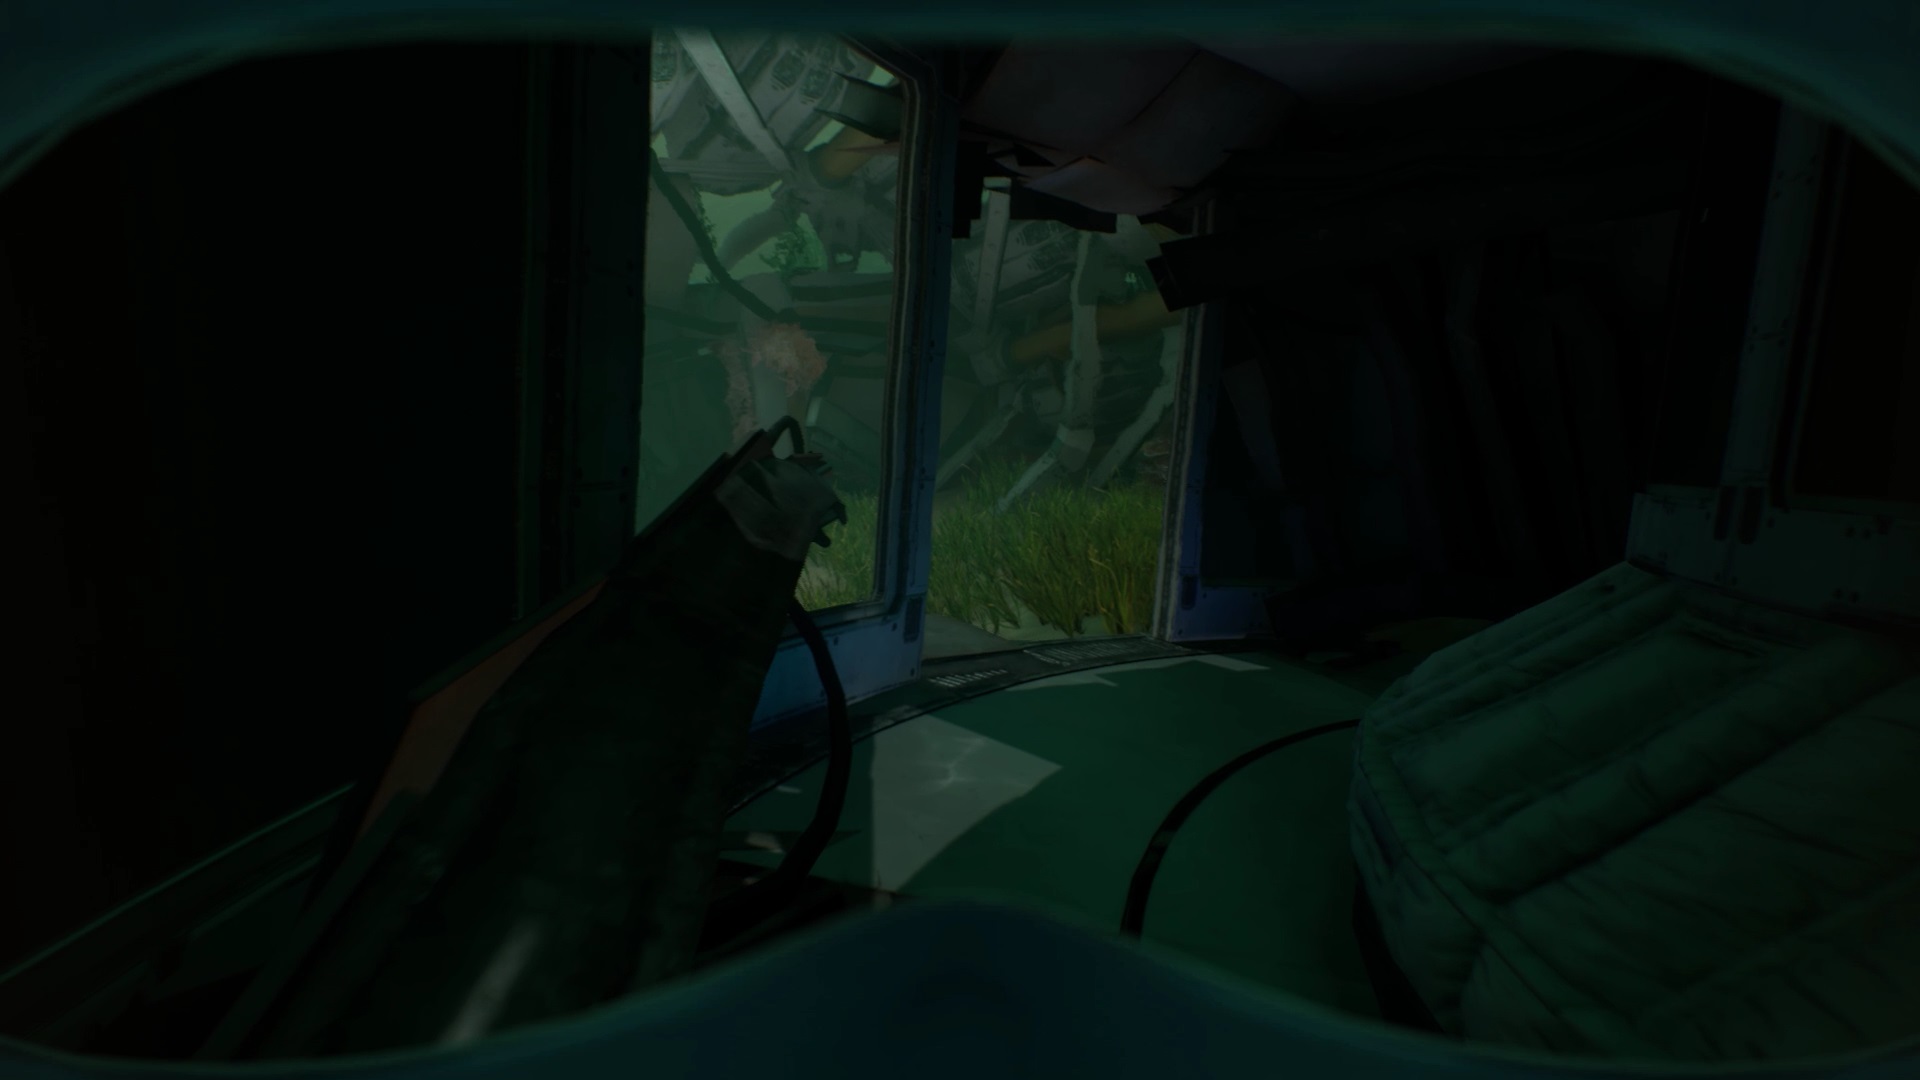
Enter the cockpit and play with the control panel. A cutscene begins and you’re back in space. Exit your room and go to the cockpit. Run verification procedures at the control panel. Again, the thruster is acting up. Get out into space and analyze the thruster you repaired.
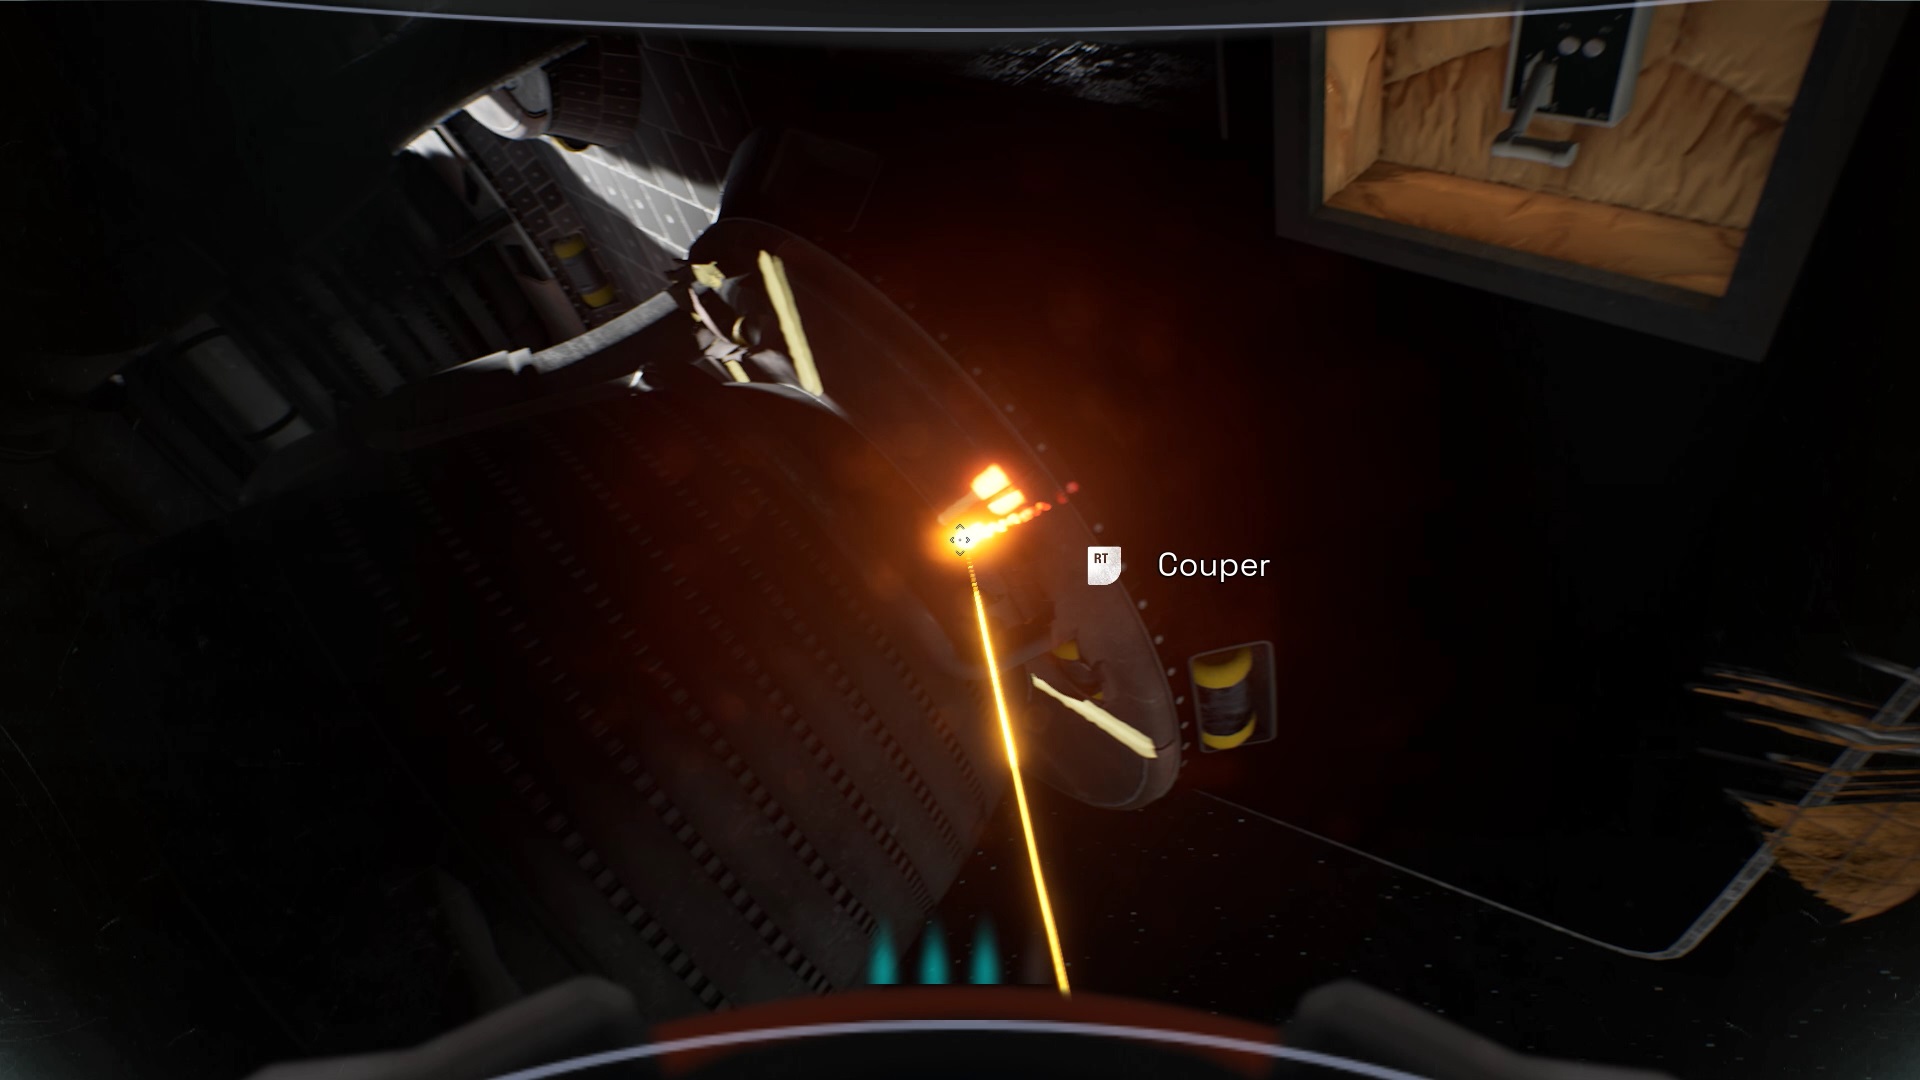
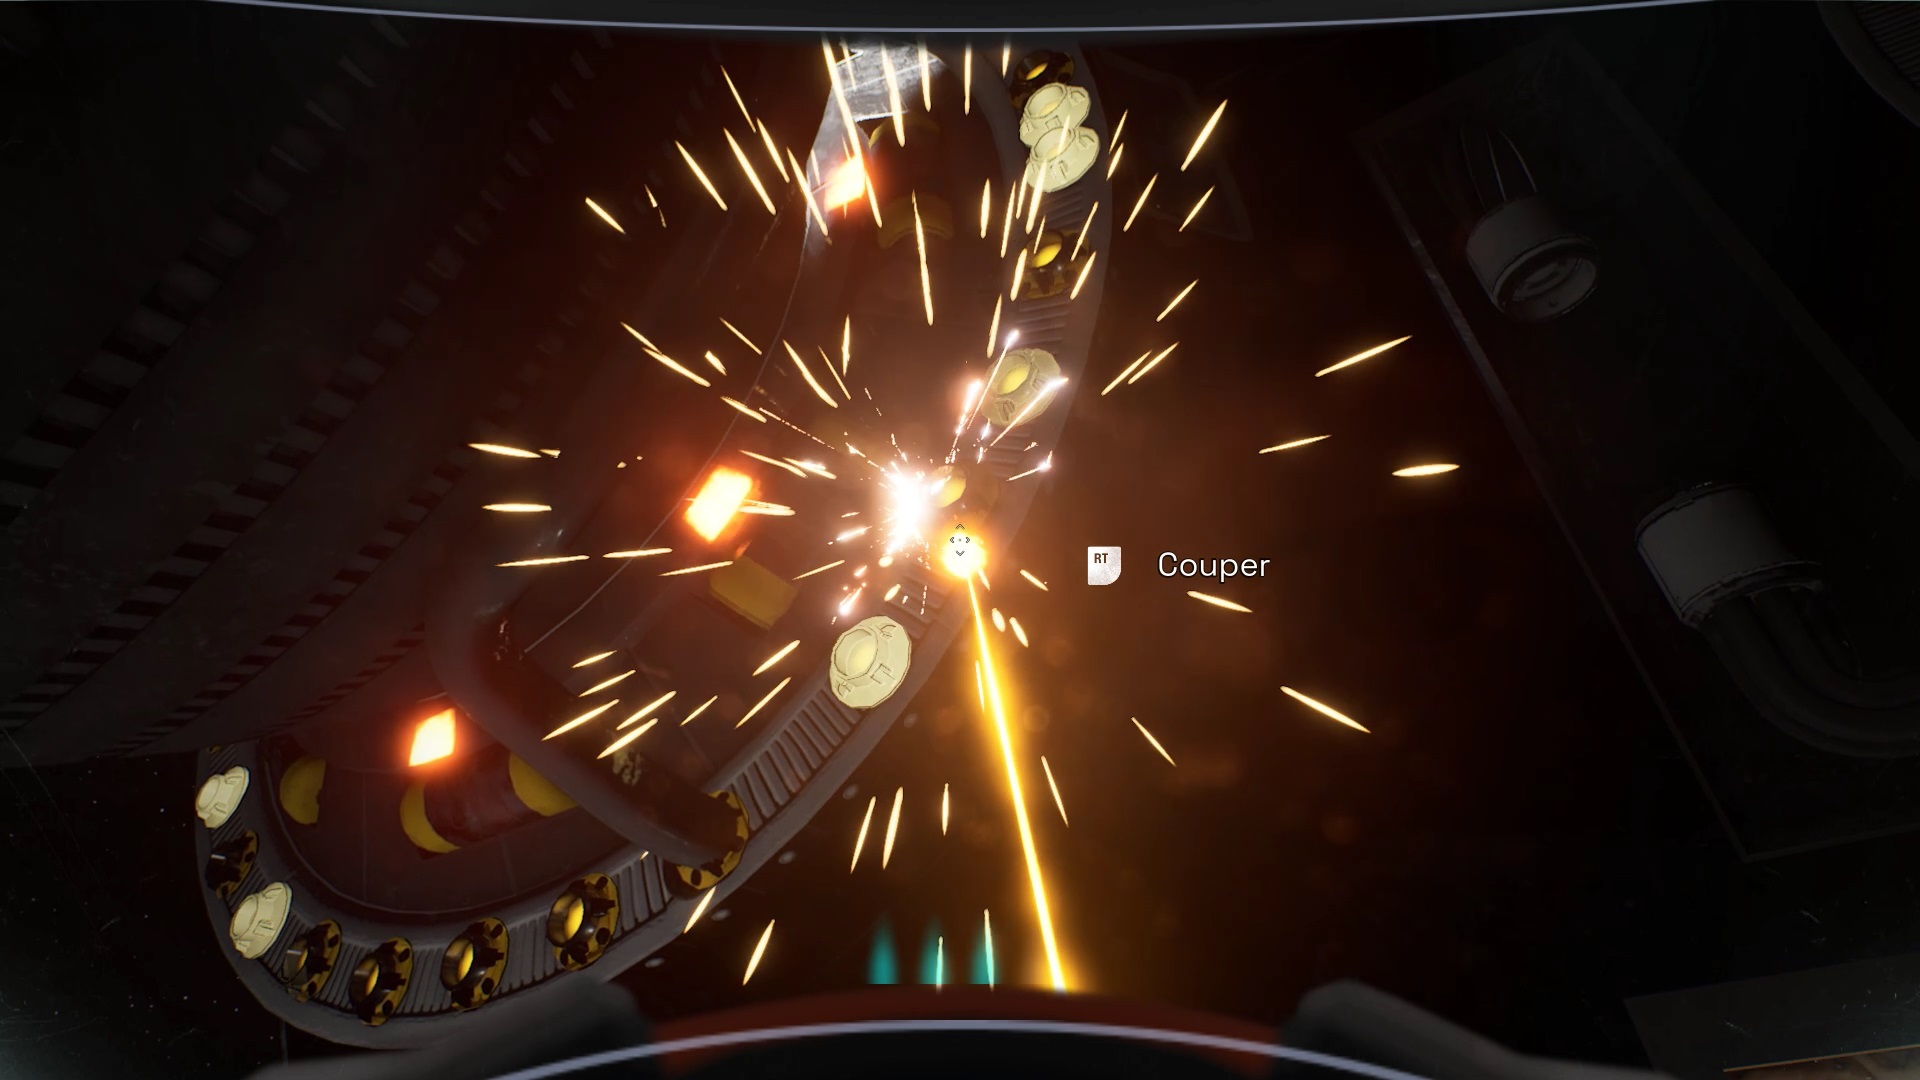
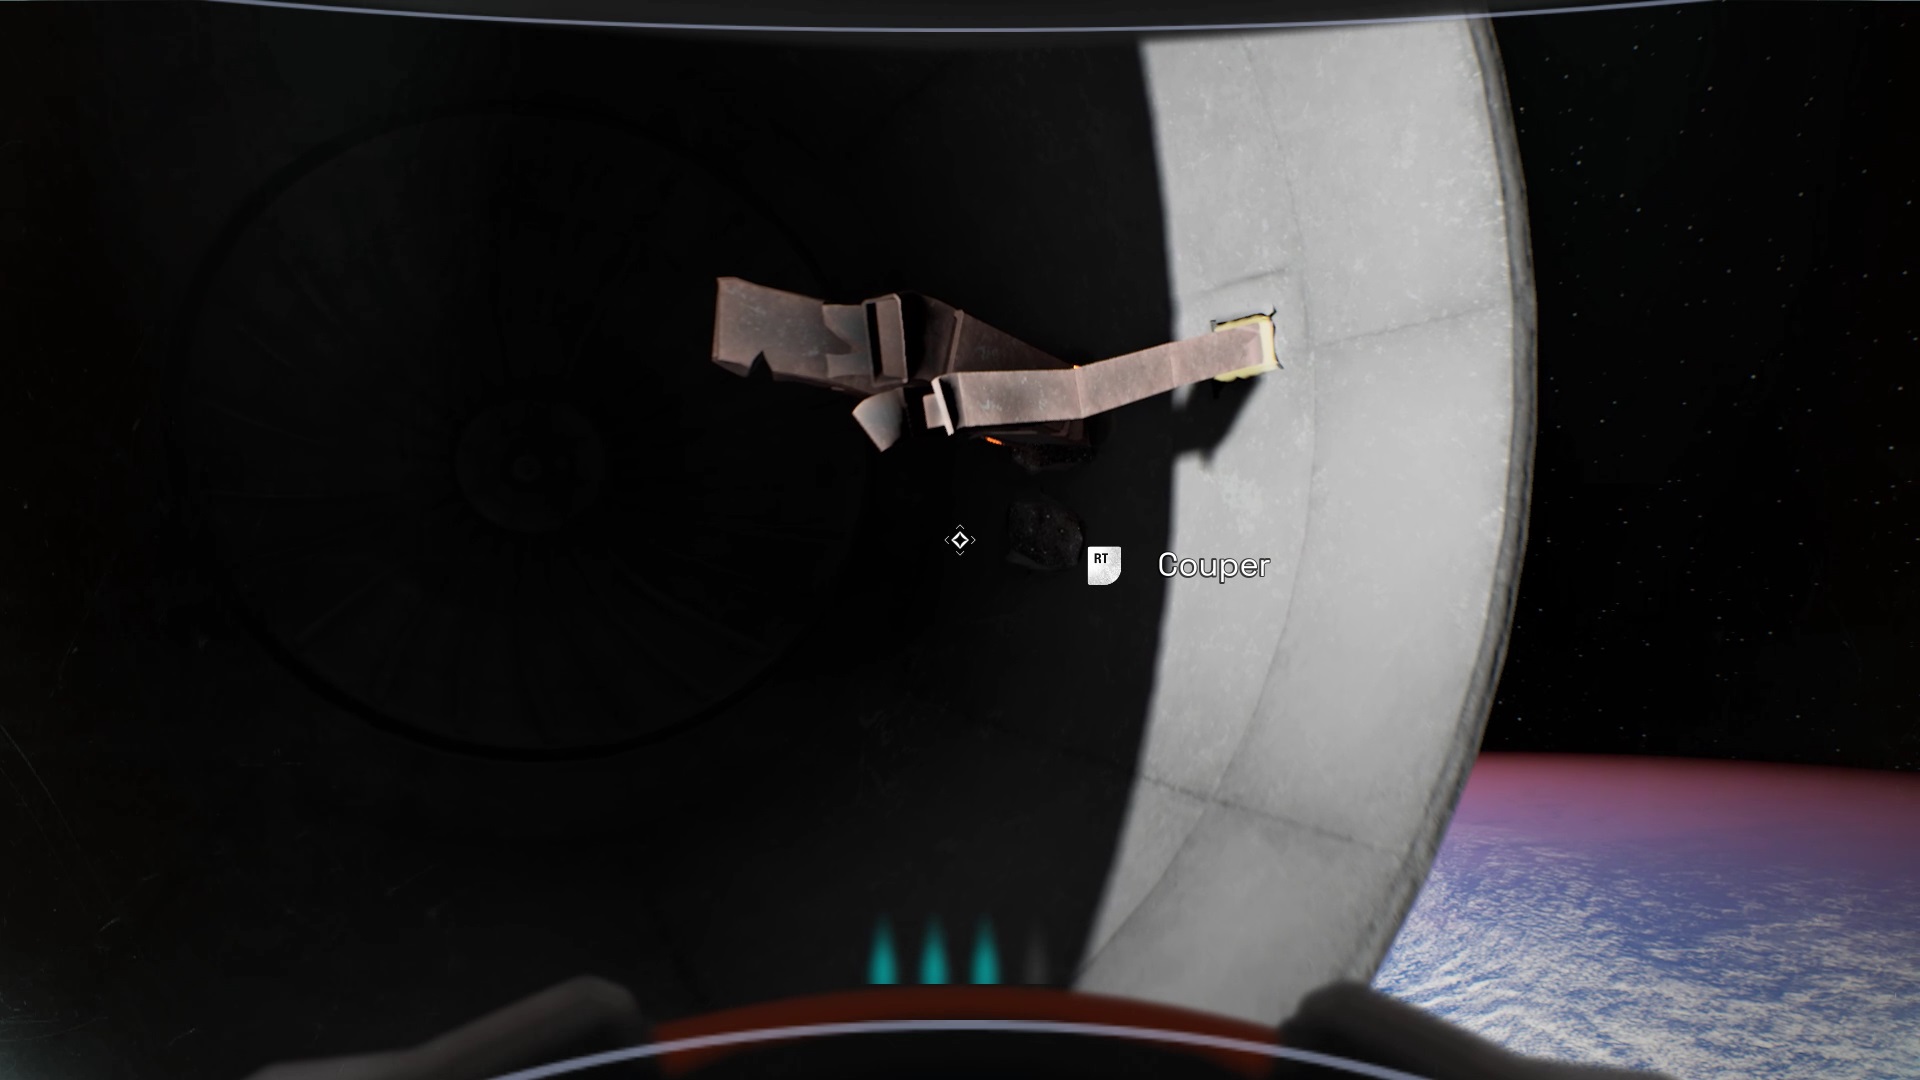
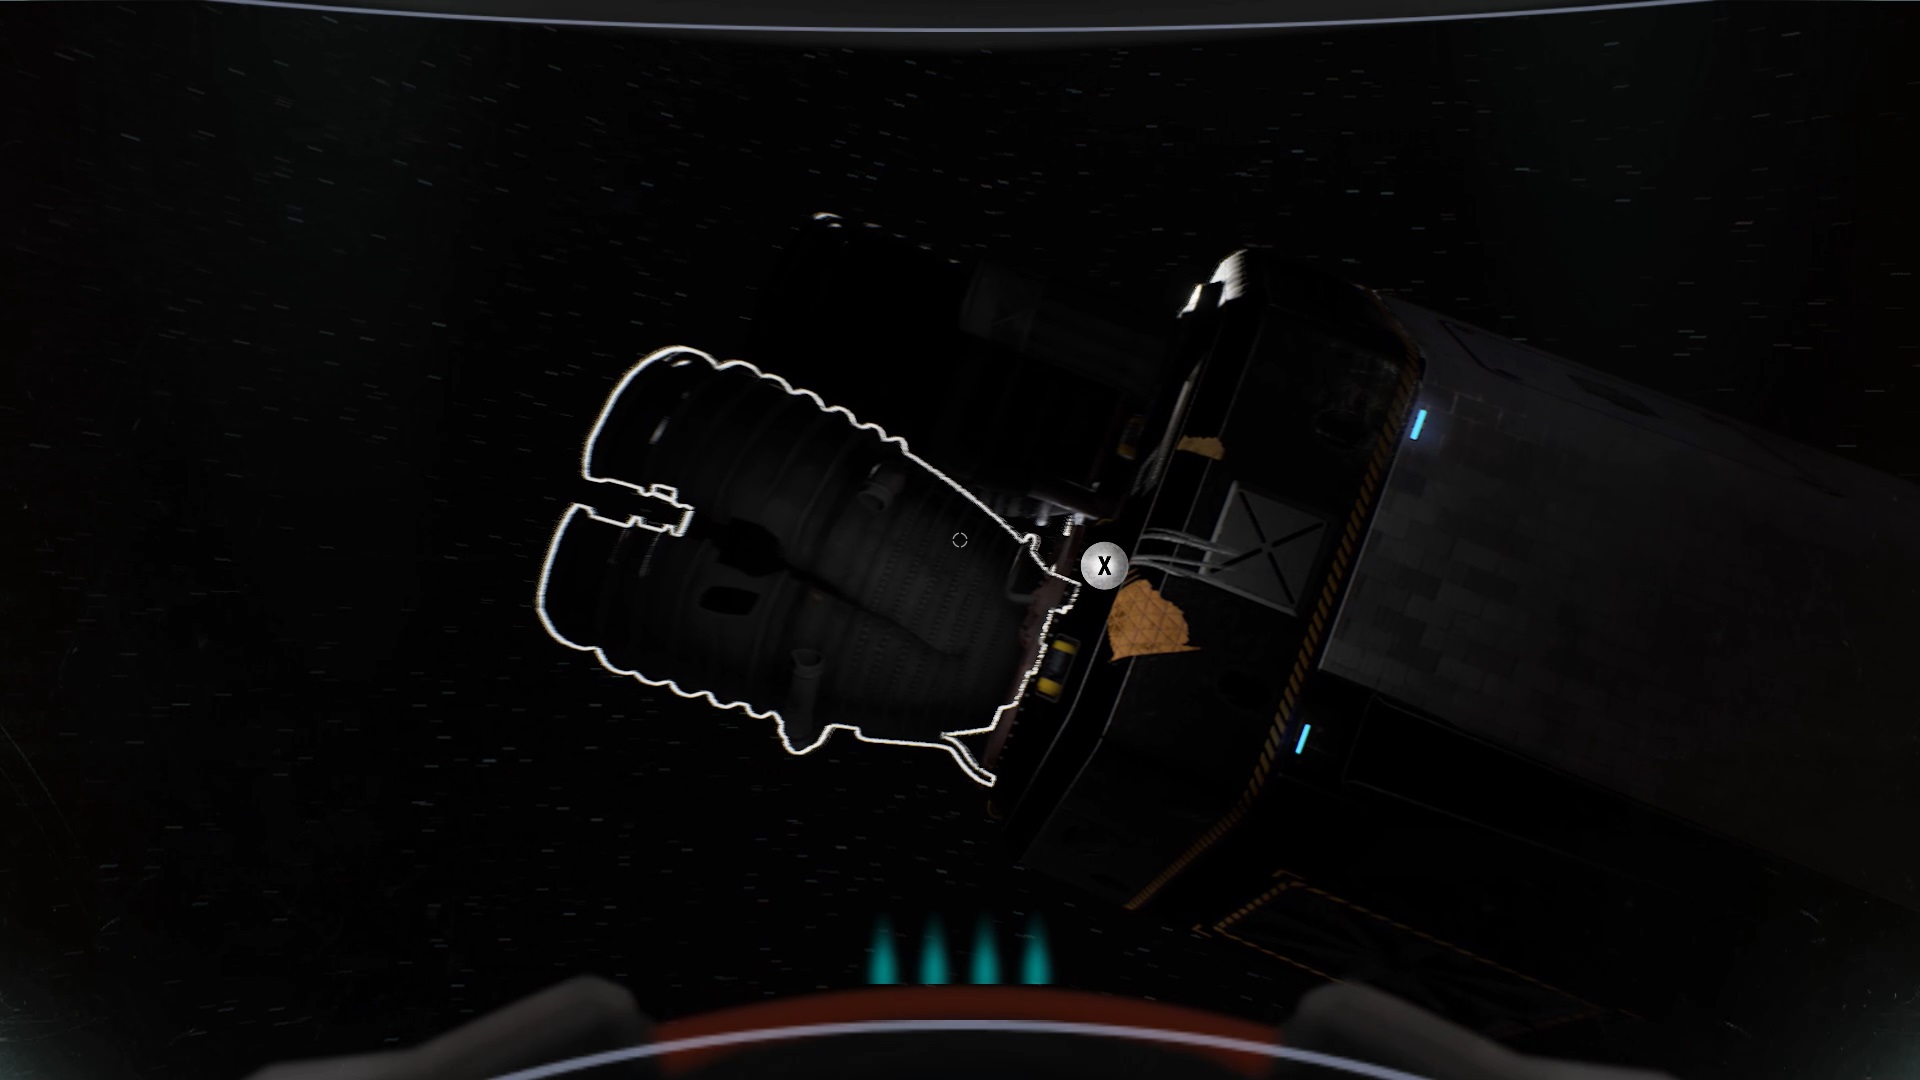
To detach the thruster, turn off the power. This time, the electrical panel does not work. Directly cut the power cable with your laser. The cable is positioned to the left of the electrical panel. Use your laser on the thruster structure at the yellow lines. When you have removed the whole structure, also cut the yellow bolts with your laser.
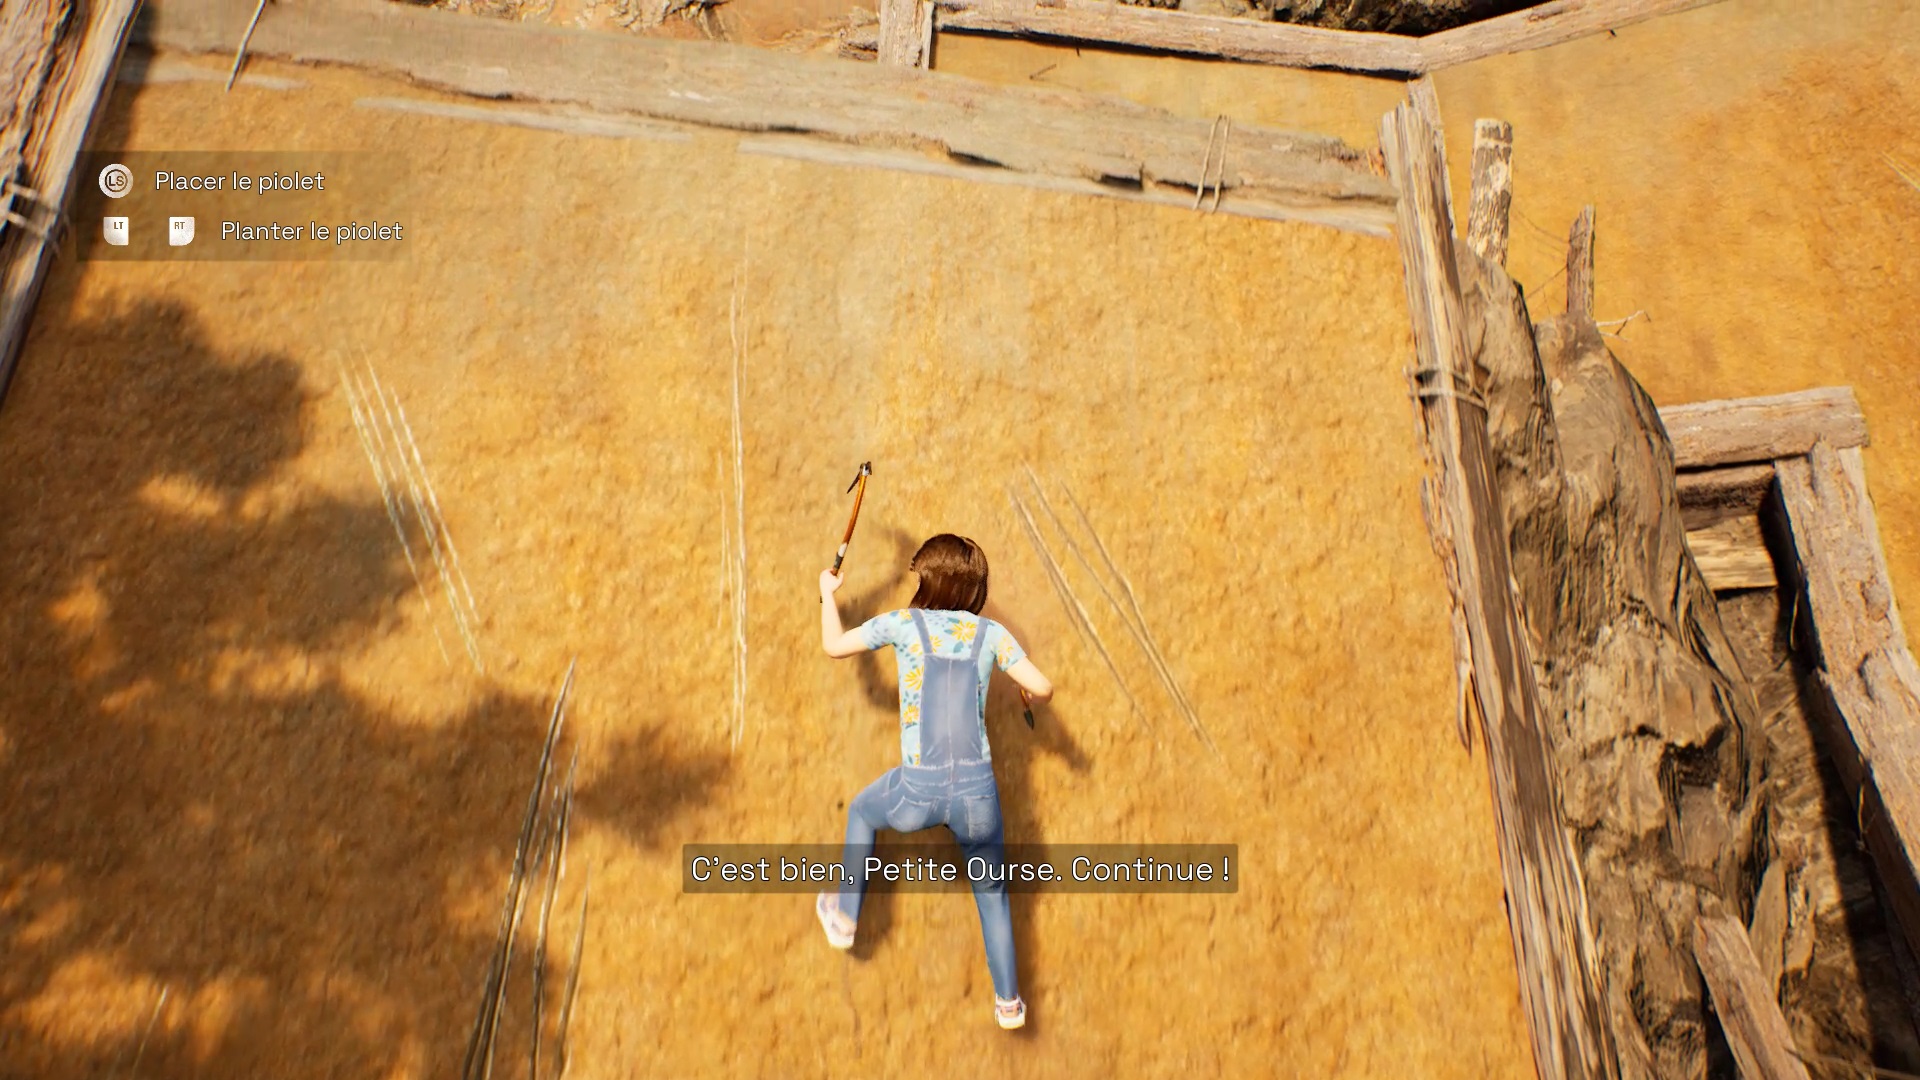
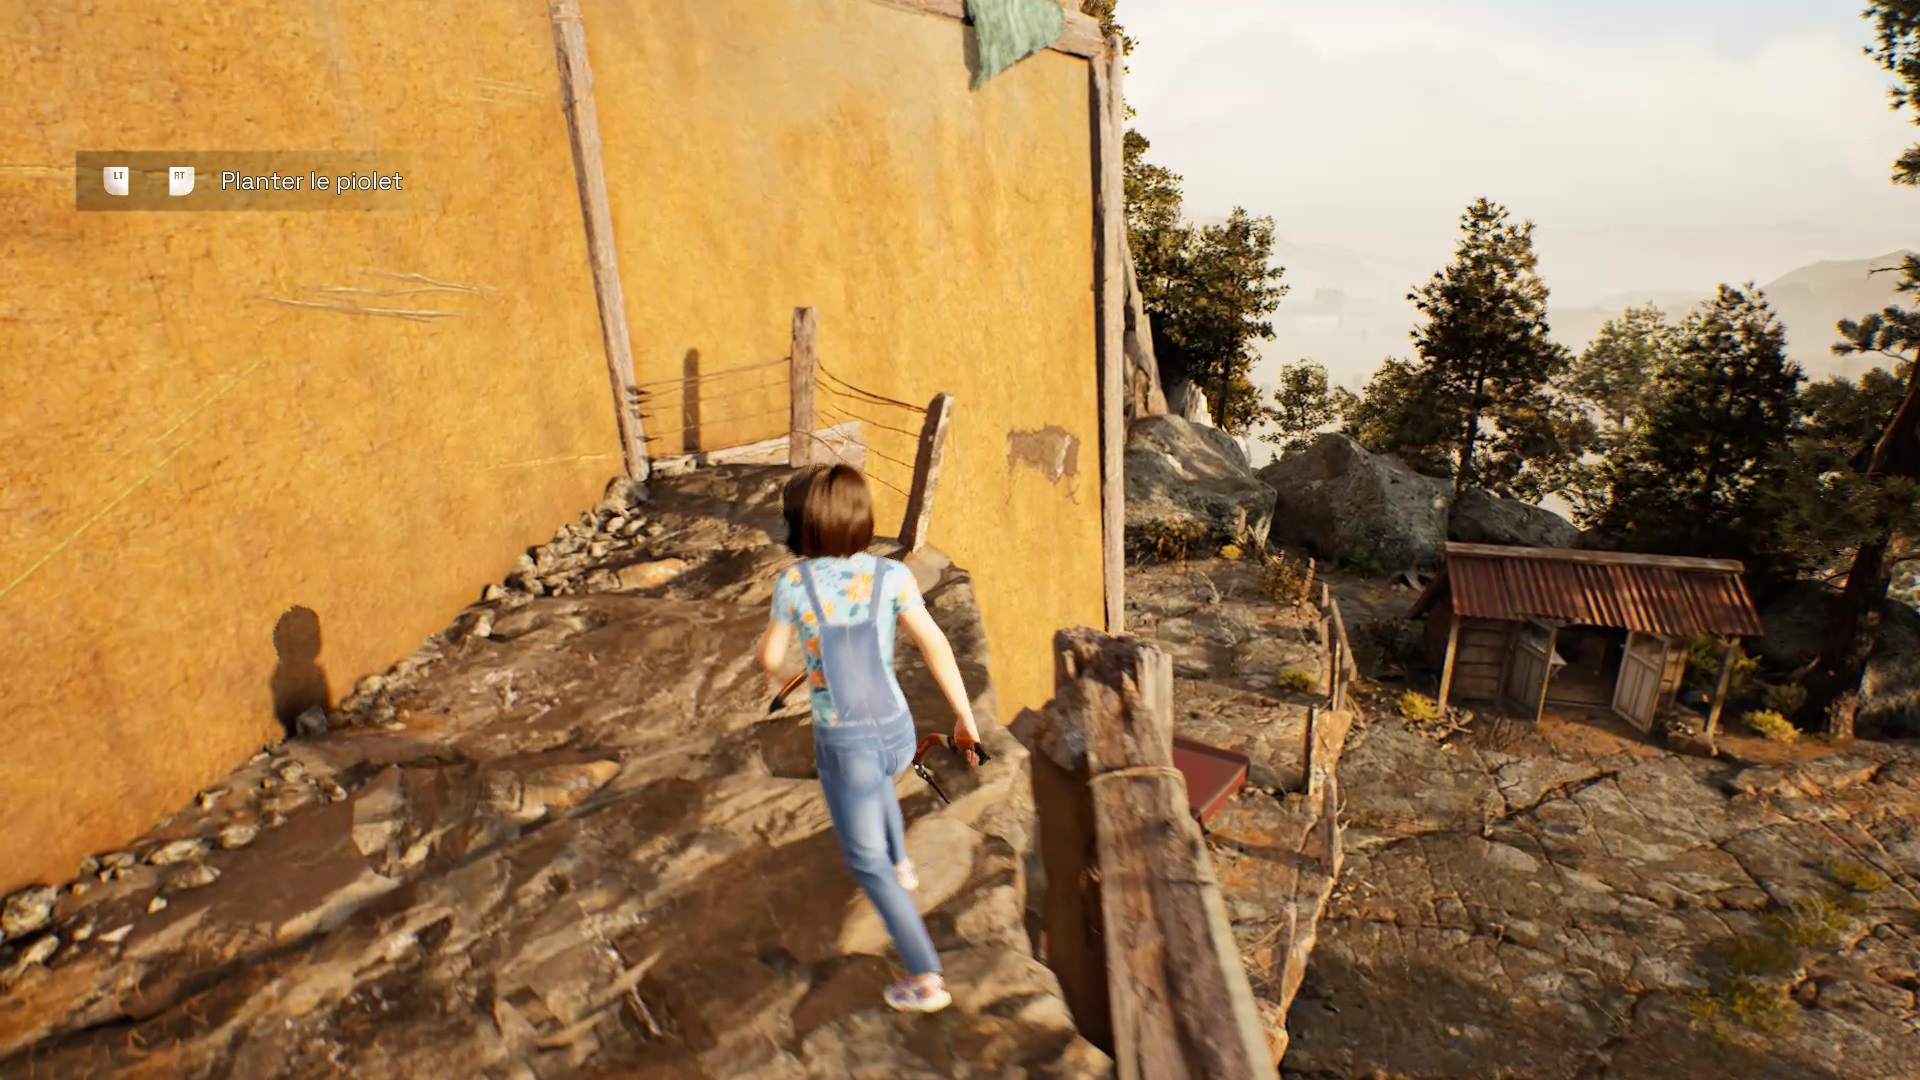
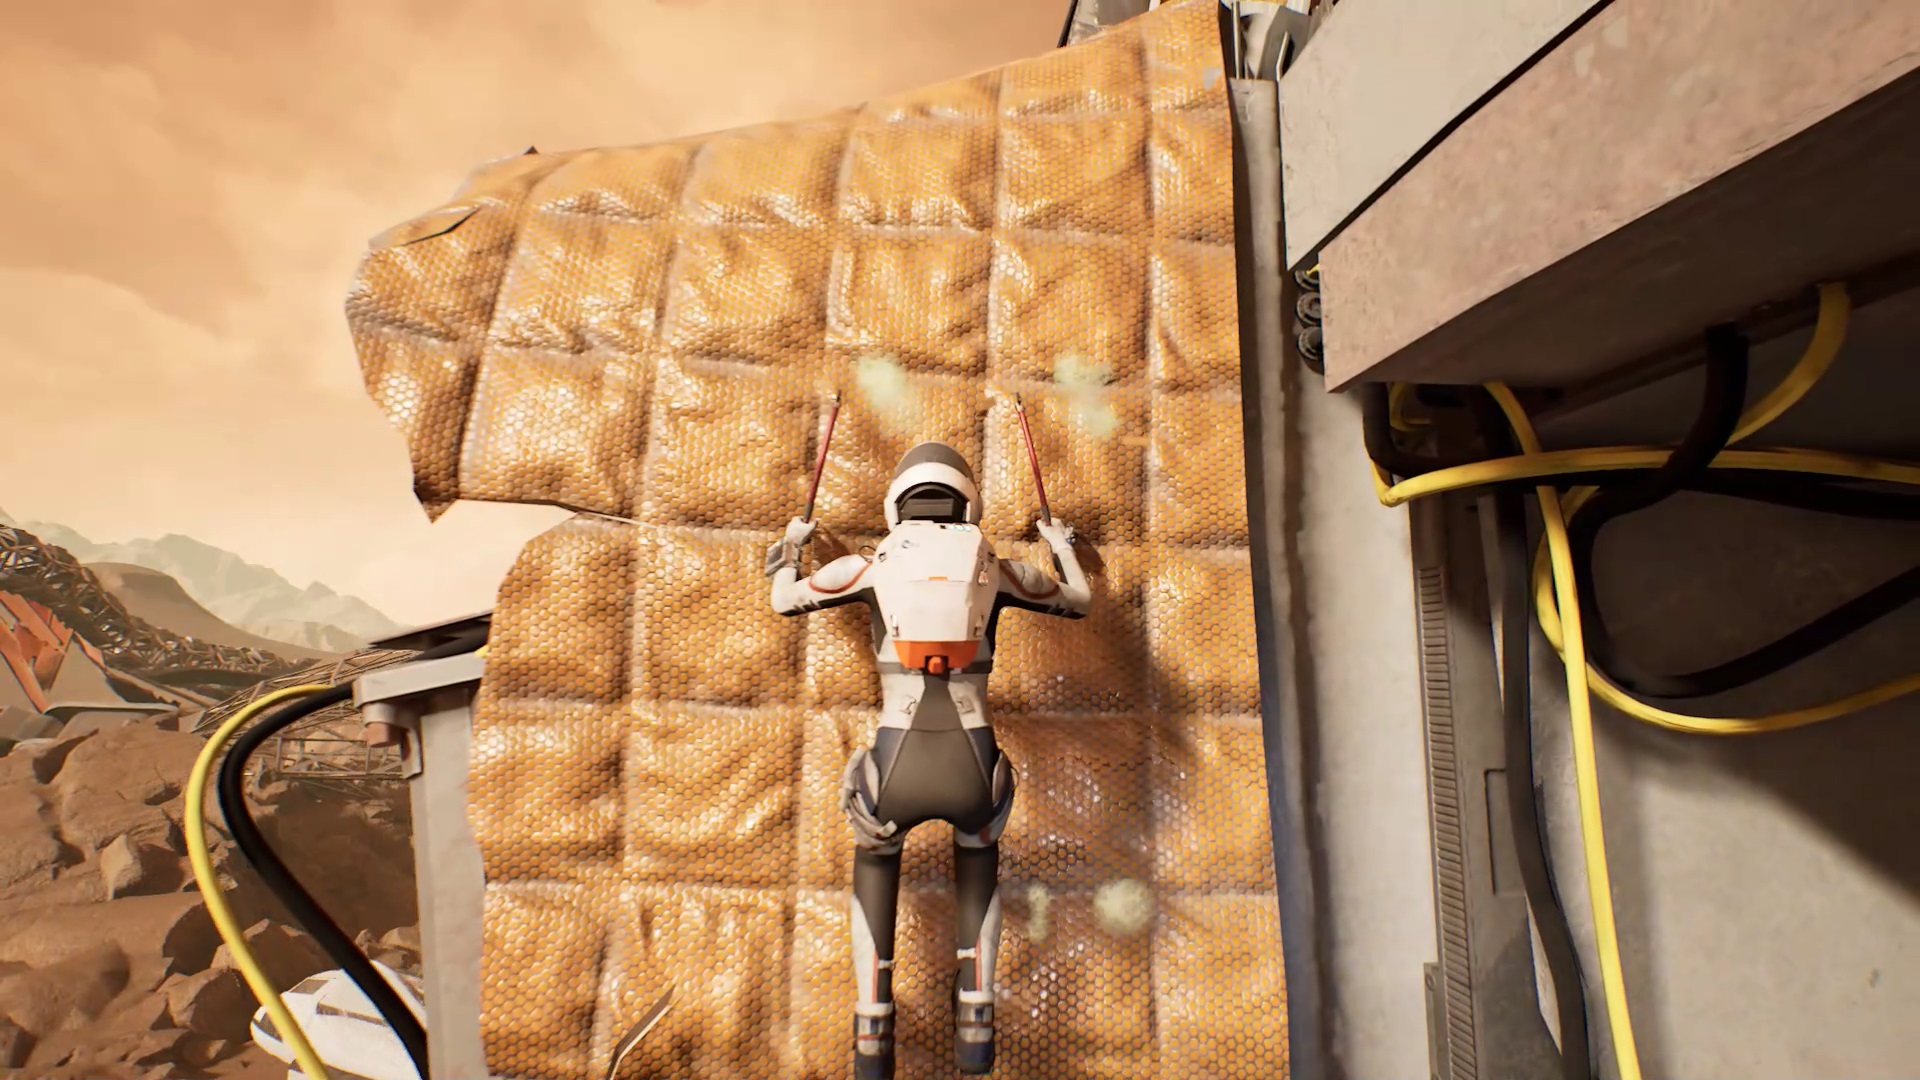
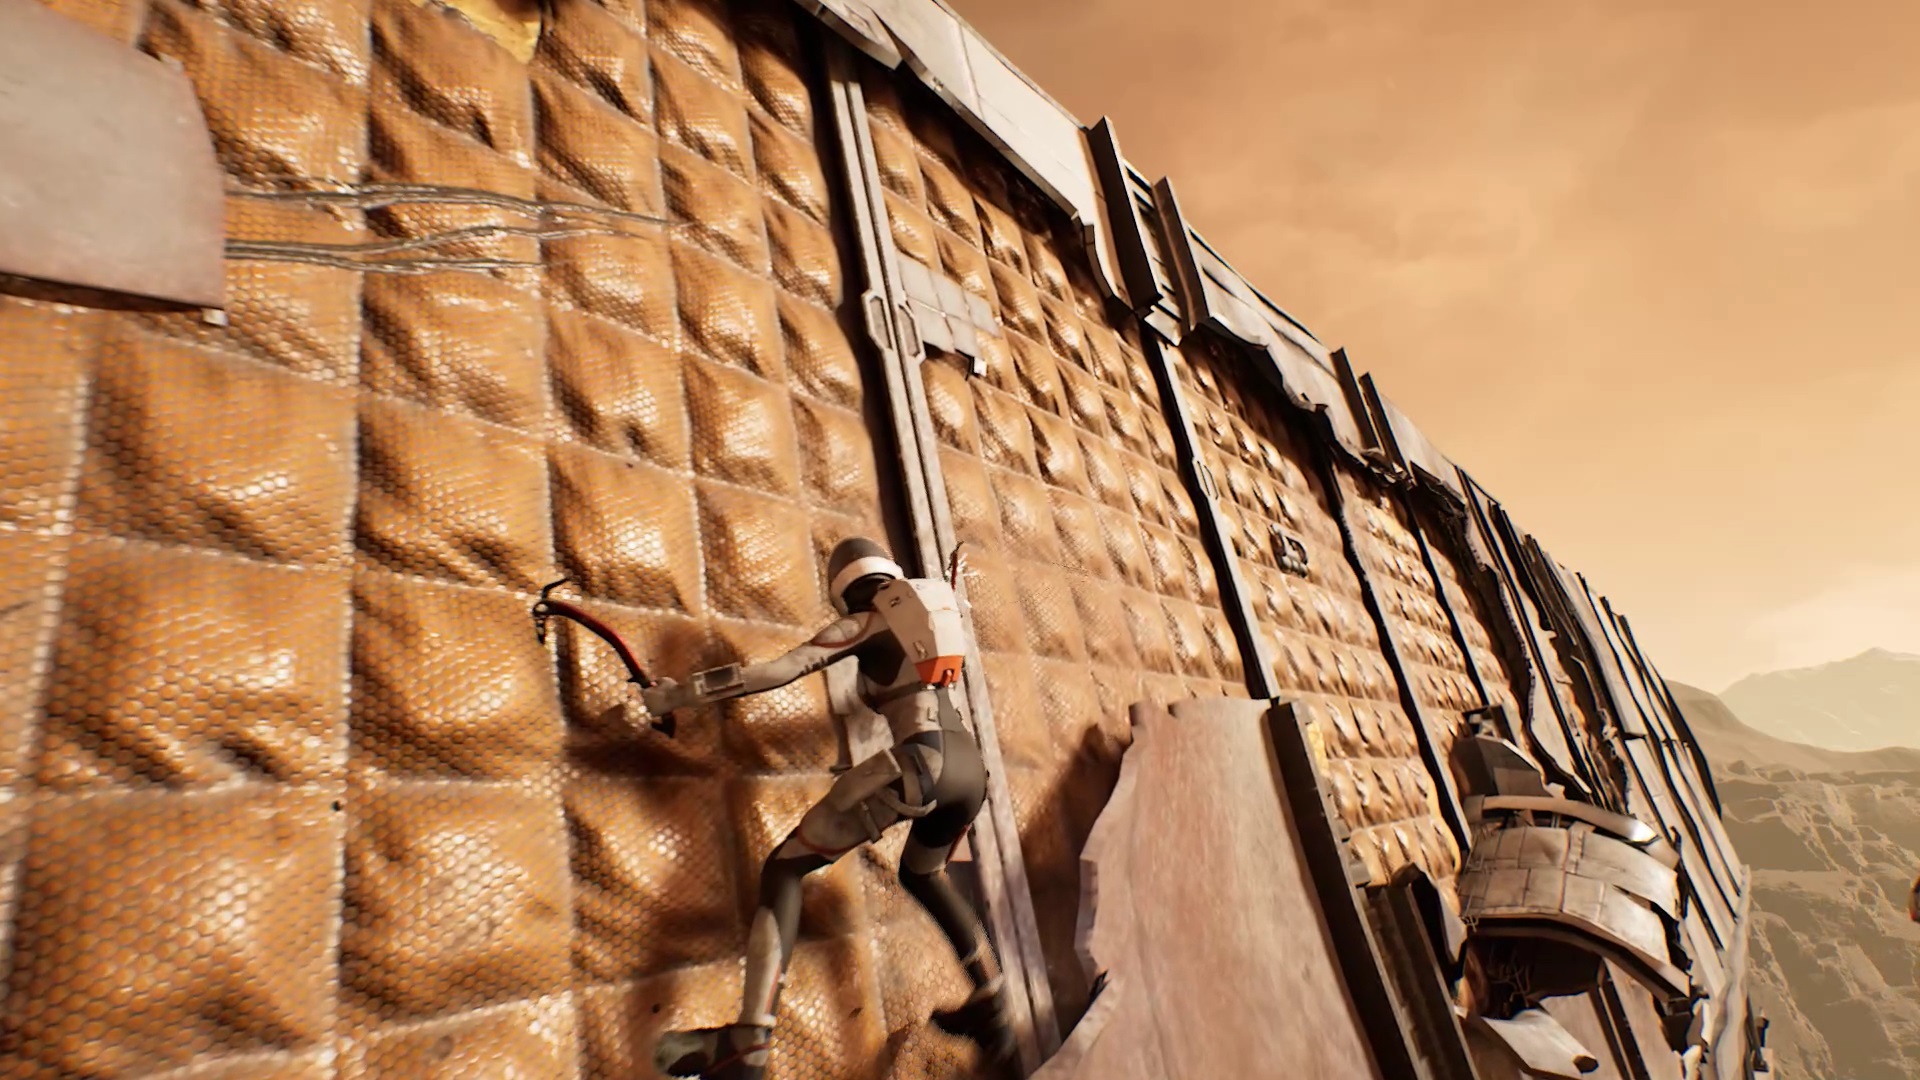
After the explosion, return as quickly as possible to the shuttle. In remembrance follow your father and sister. To retrieve your climbing gear, speak with your father. Follow the tutorial to build your first wall. In height, continue to climb the next wall and go down thanks to the climbing wall on the right.
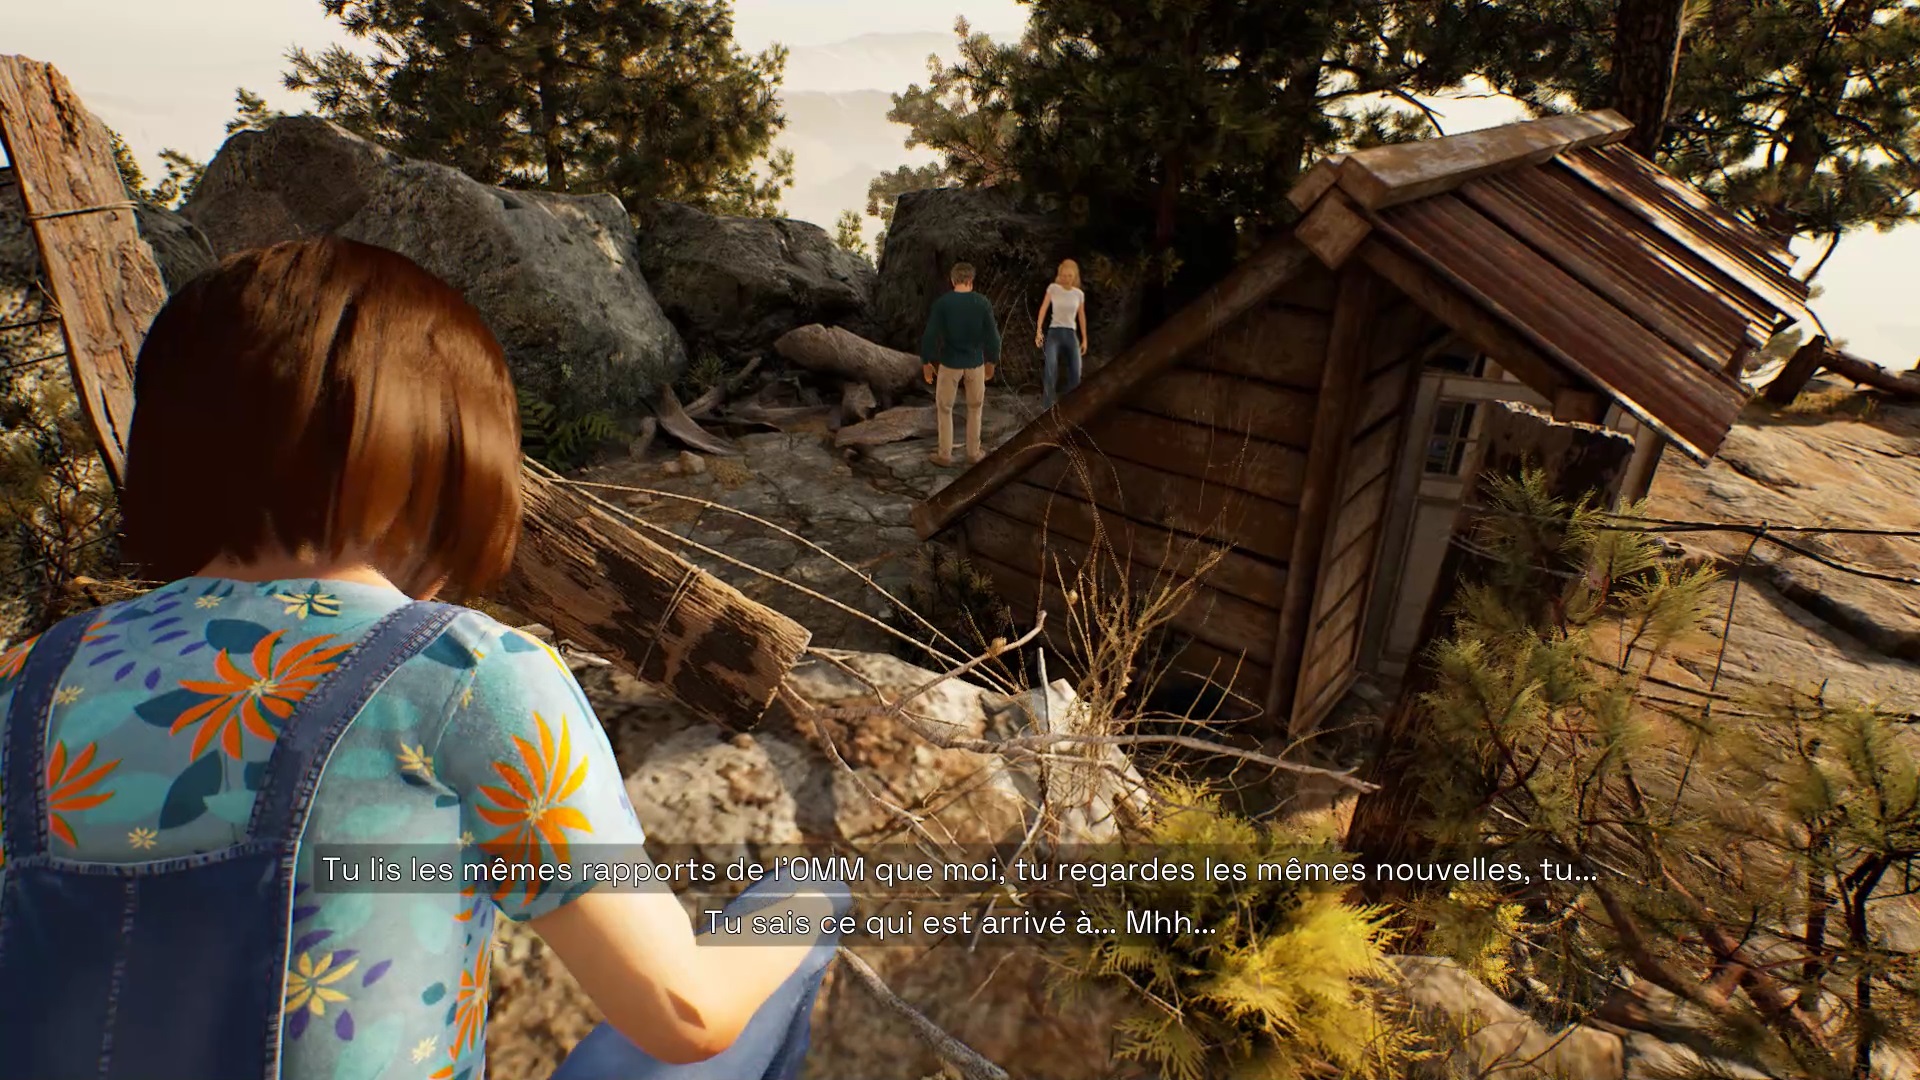

Go spy on your father and sister’s discussion. Go to the left of the path. Go back down to see your father and remove the wooden barrier blocking your way and complete the chapter.
Chapter 3
You must initiate the landing procedure. To check at waypoint 2, press the red button on the right side of the panel. You need to align the structure and connect it to your shuttle. Align the two structures and move your shuttle forward at the same time.
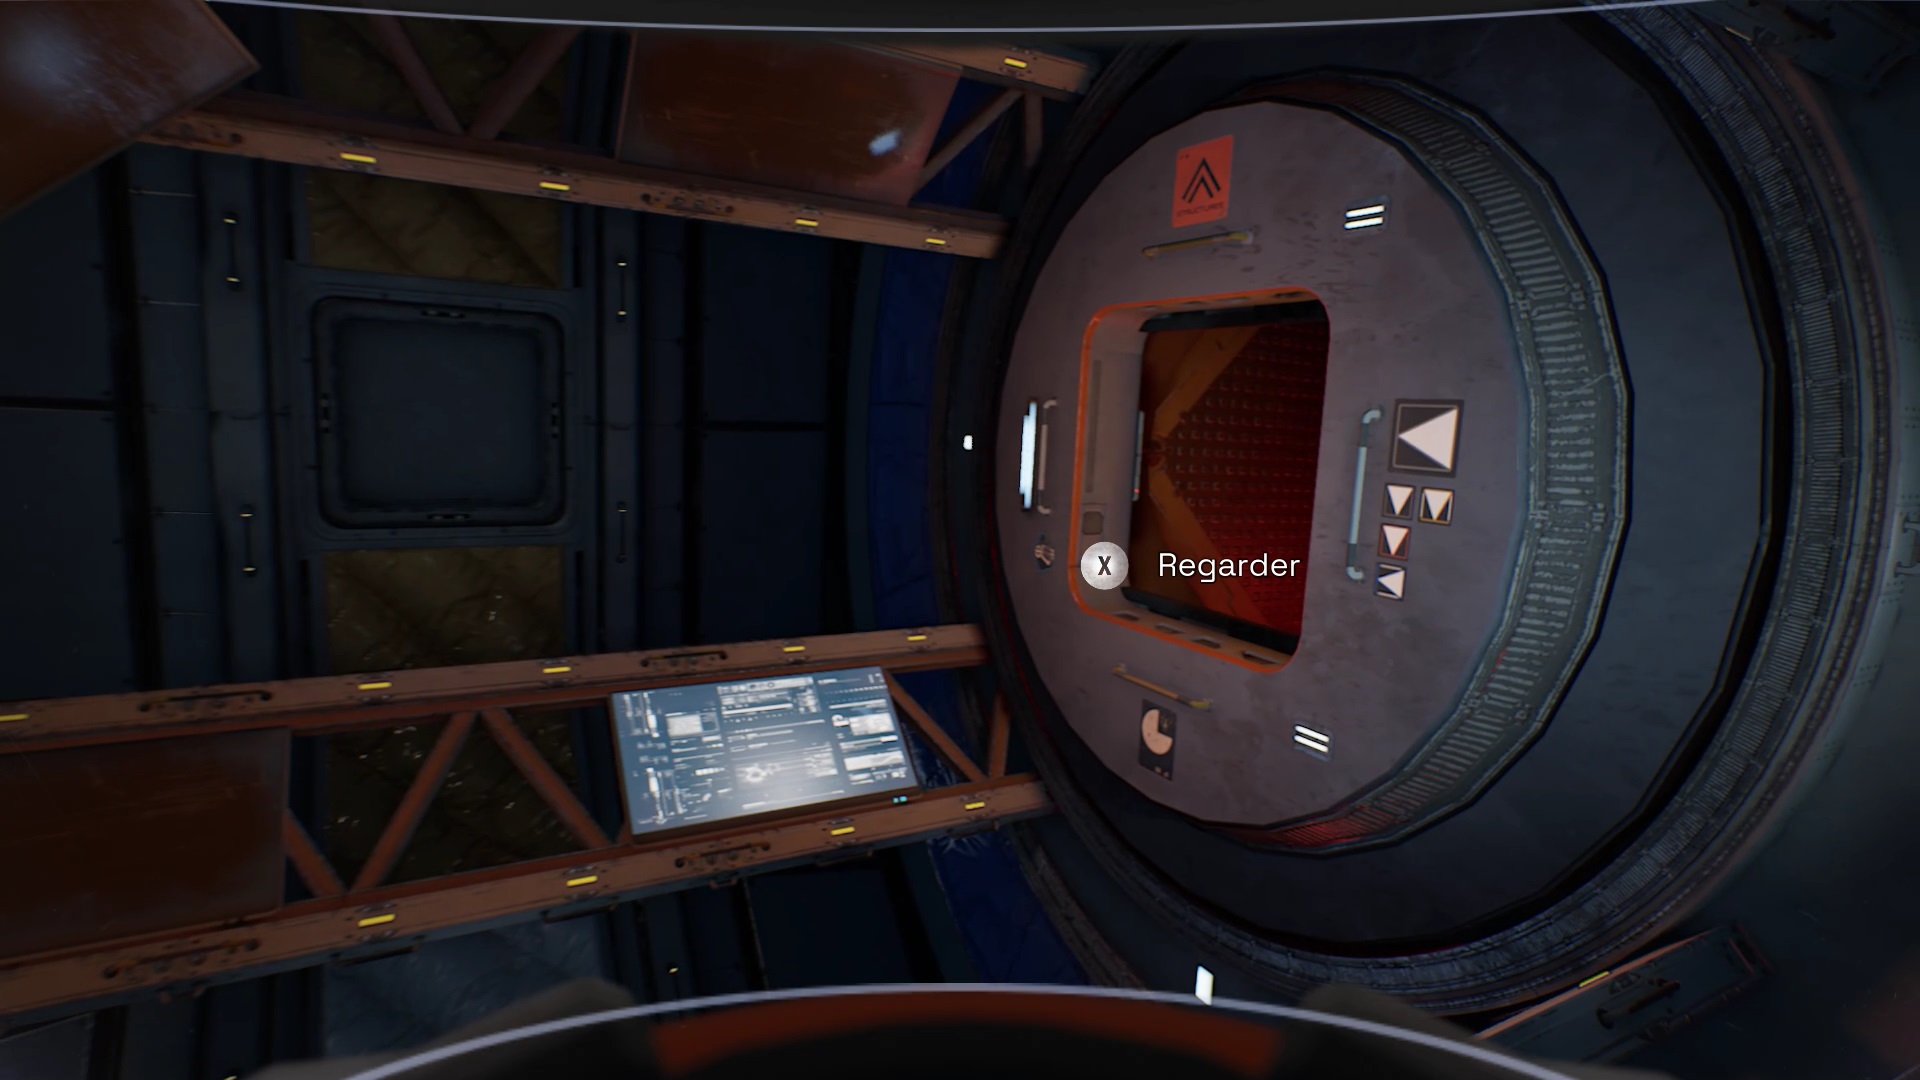
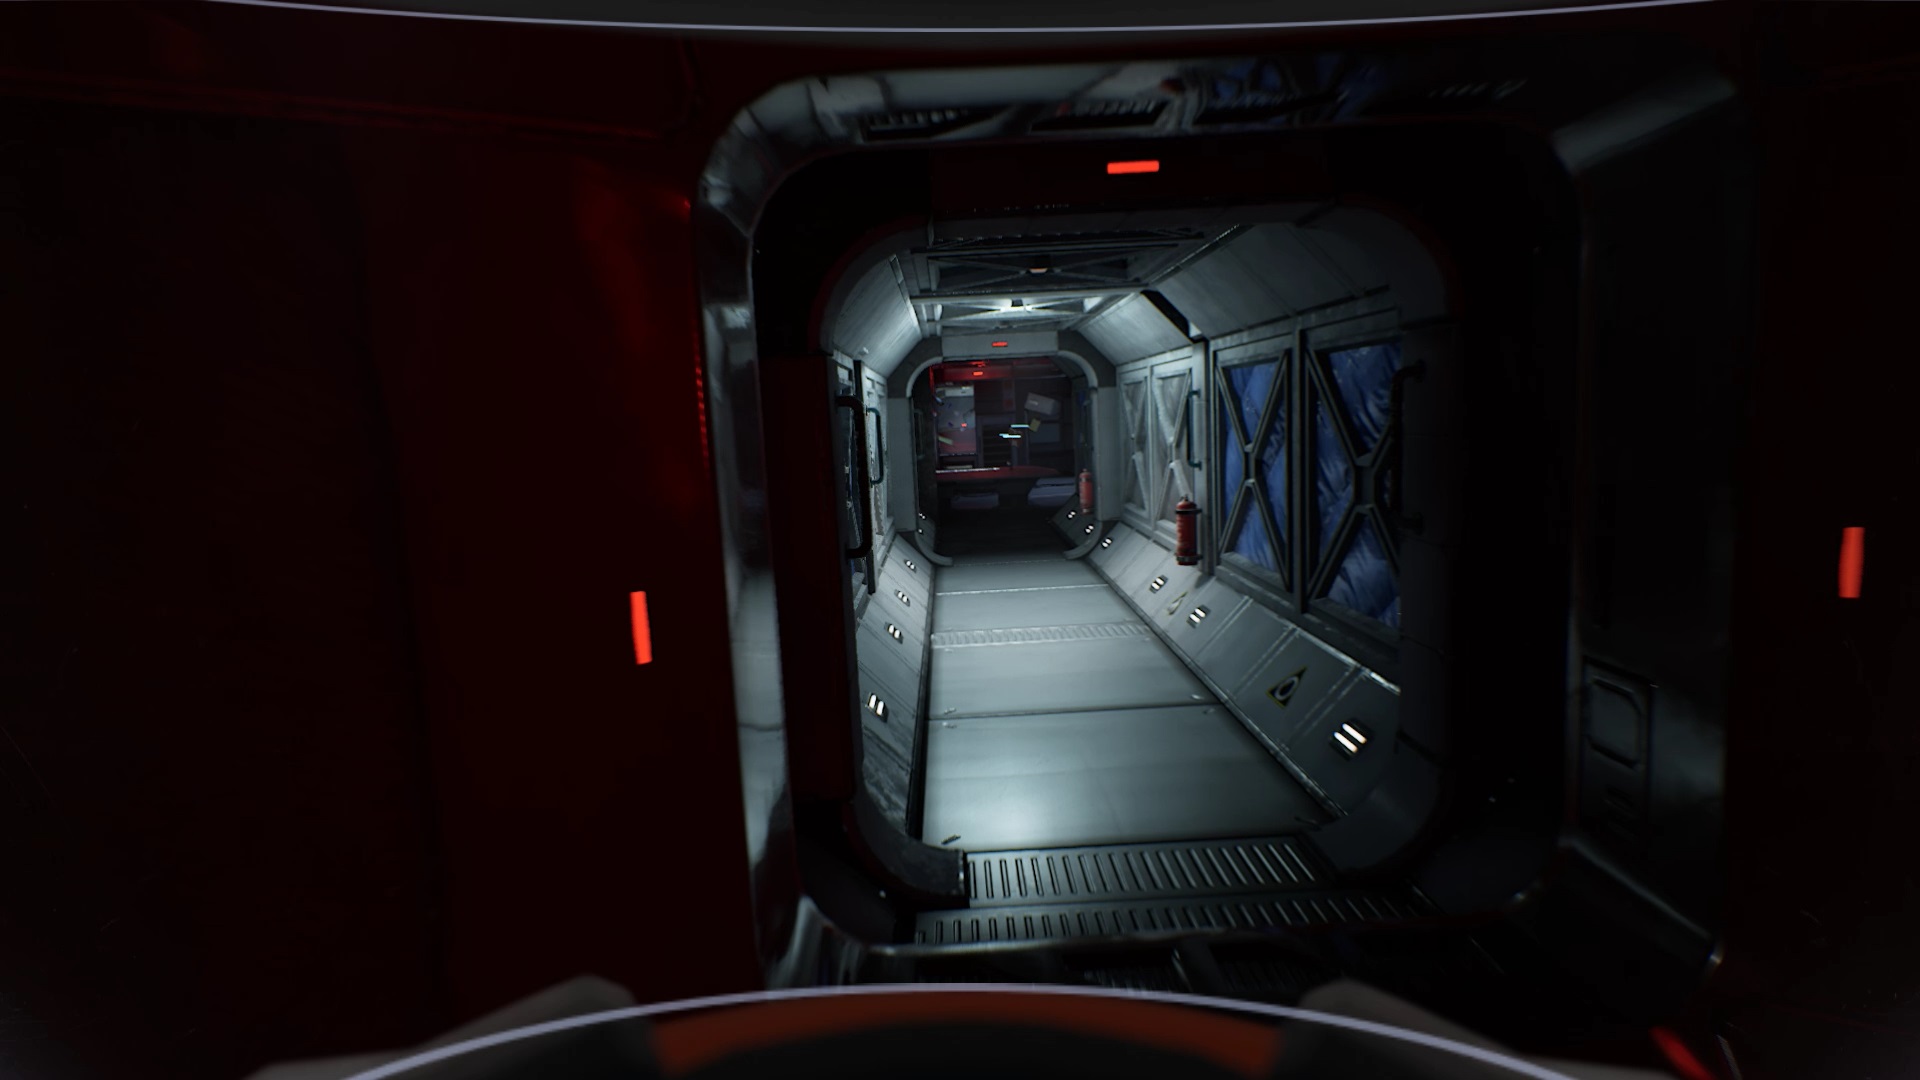

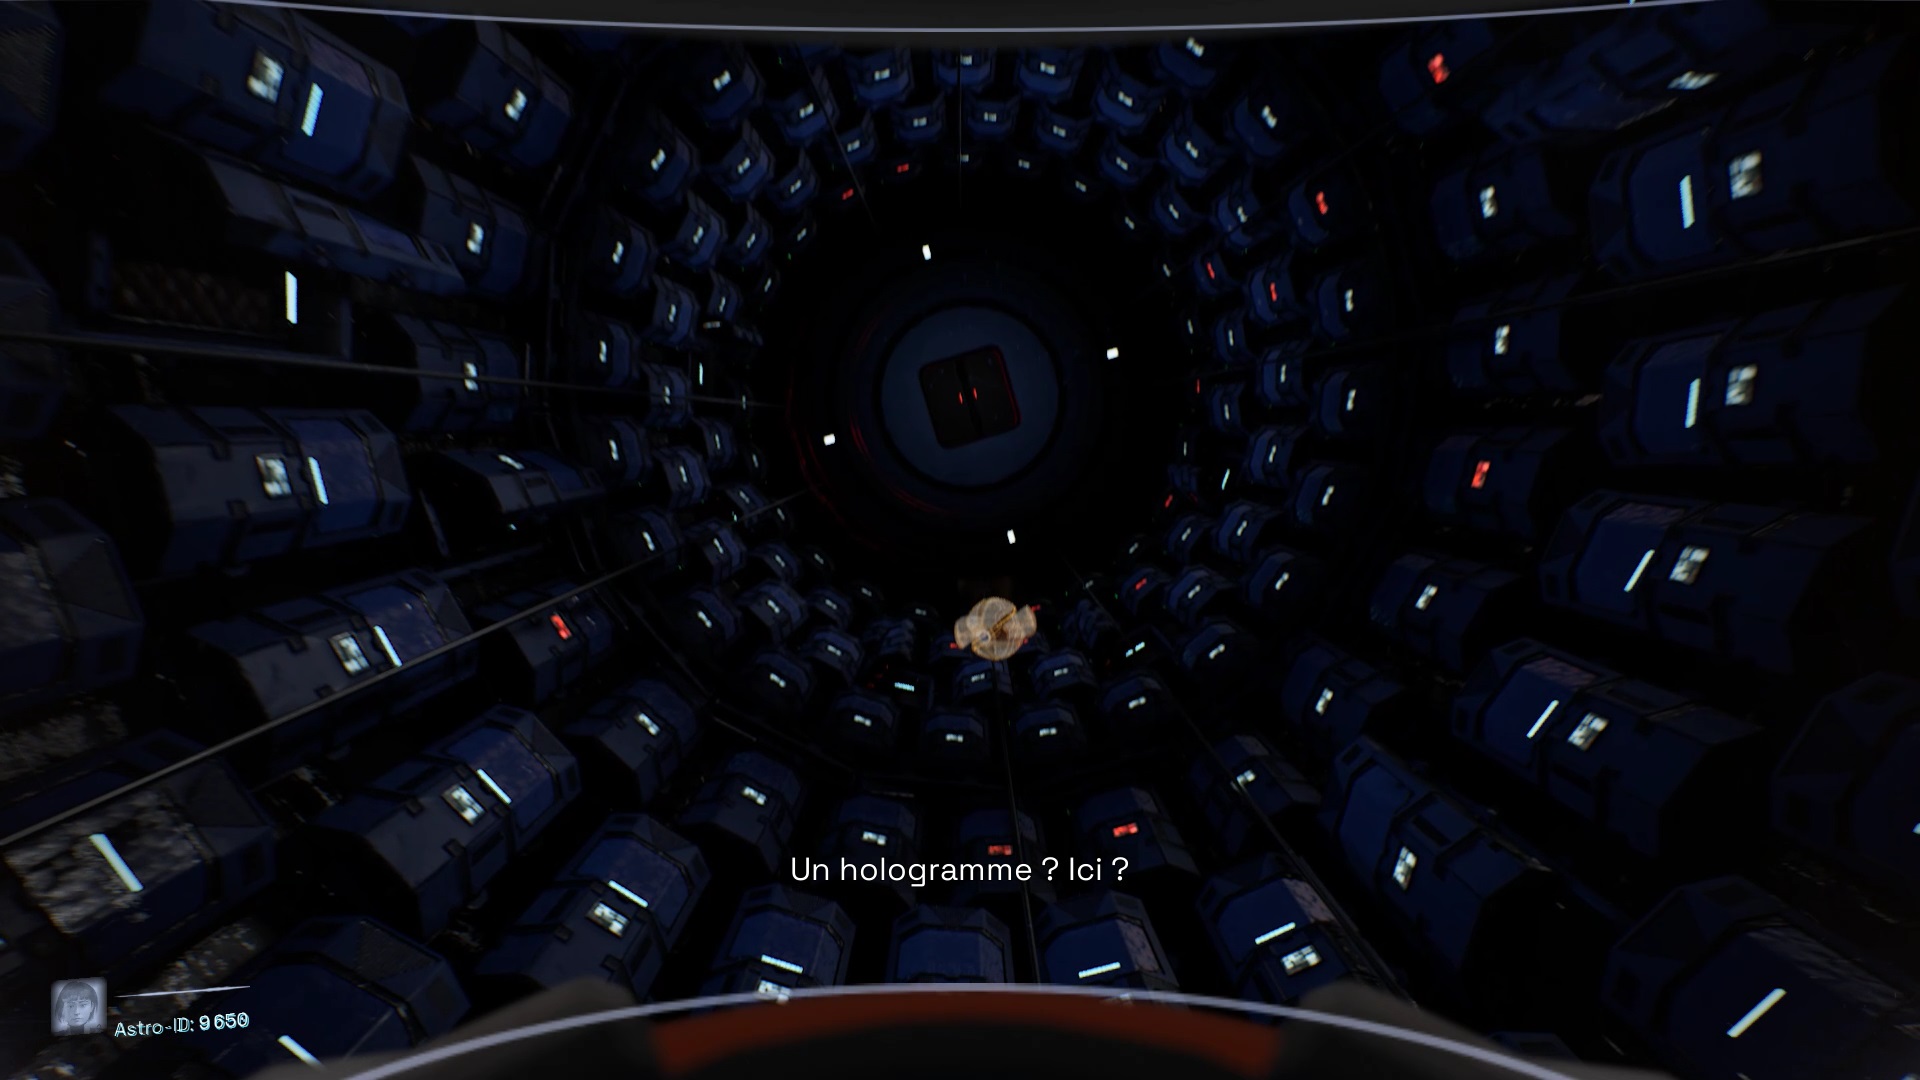
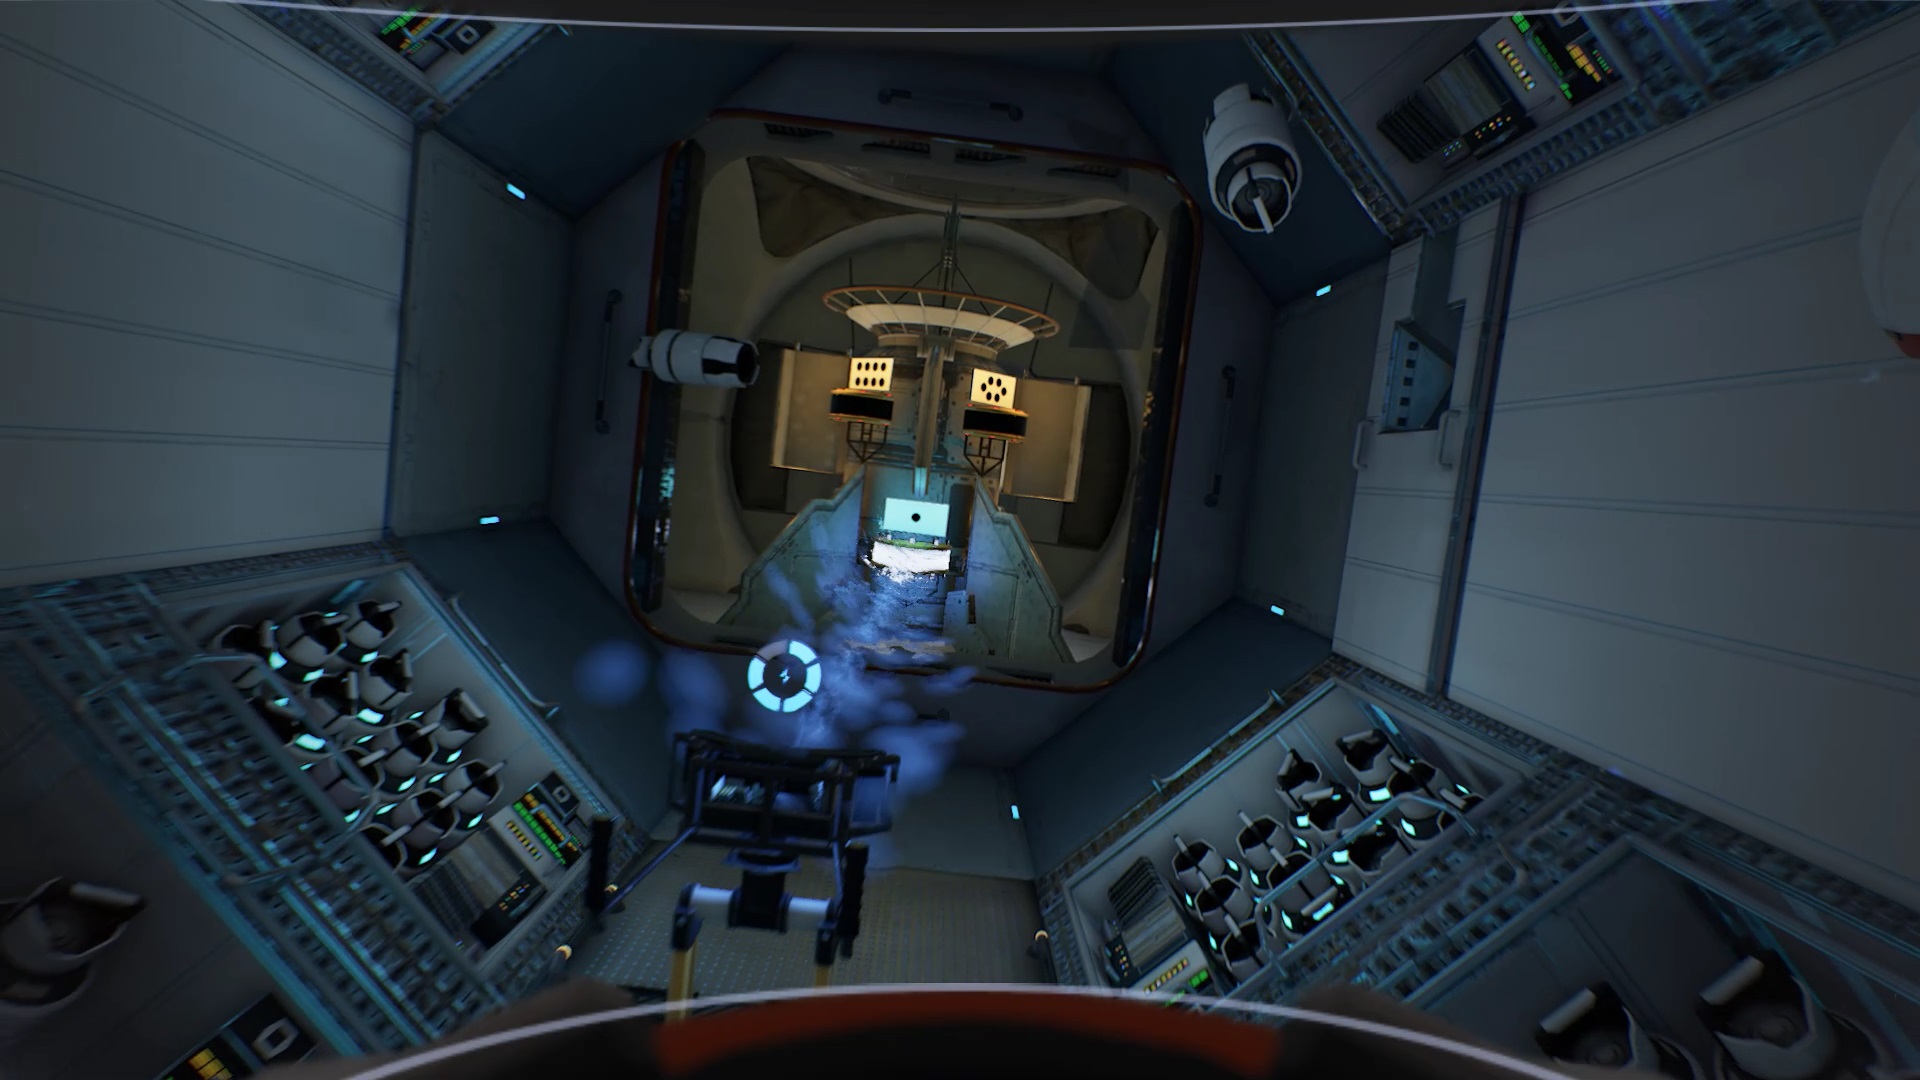
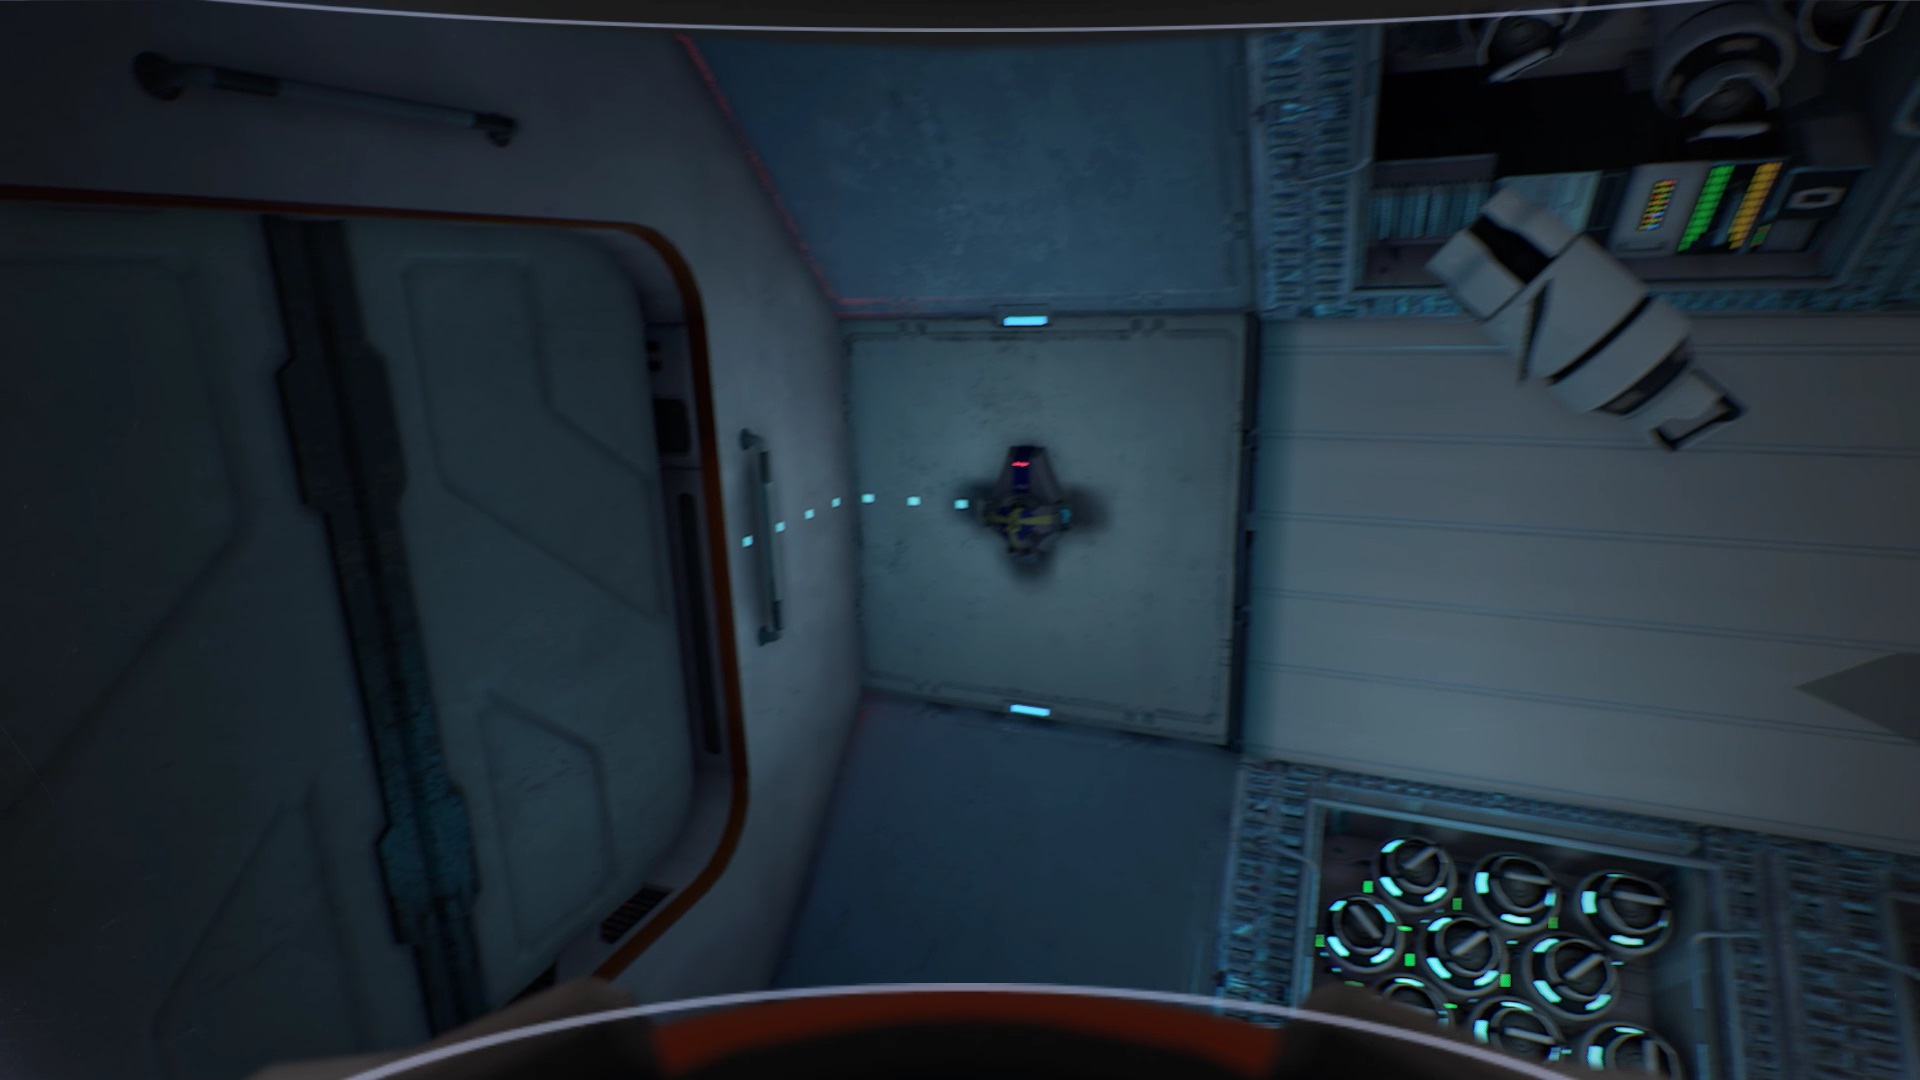
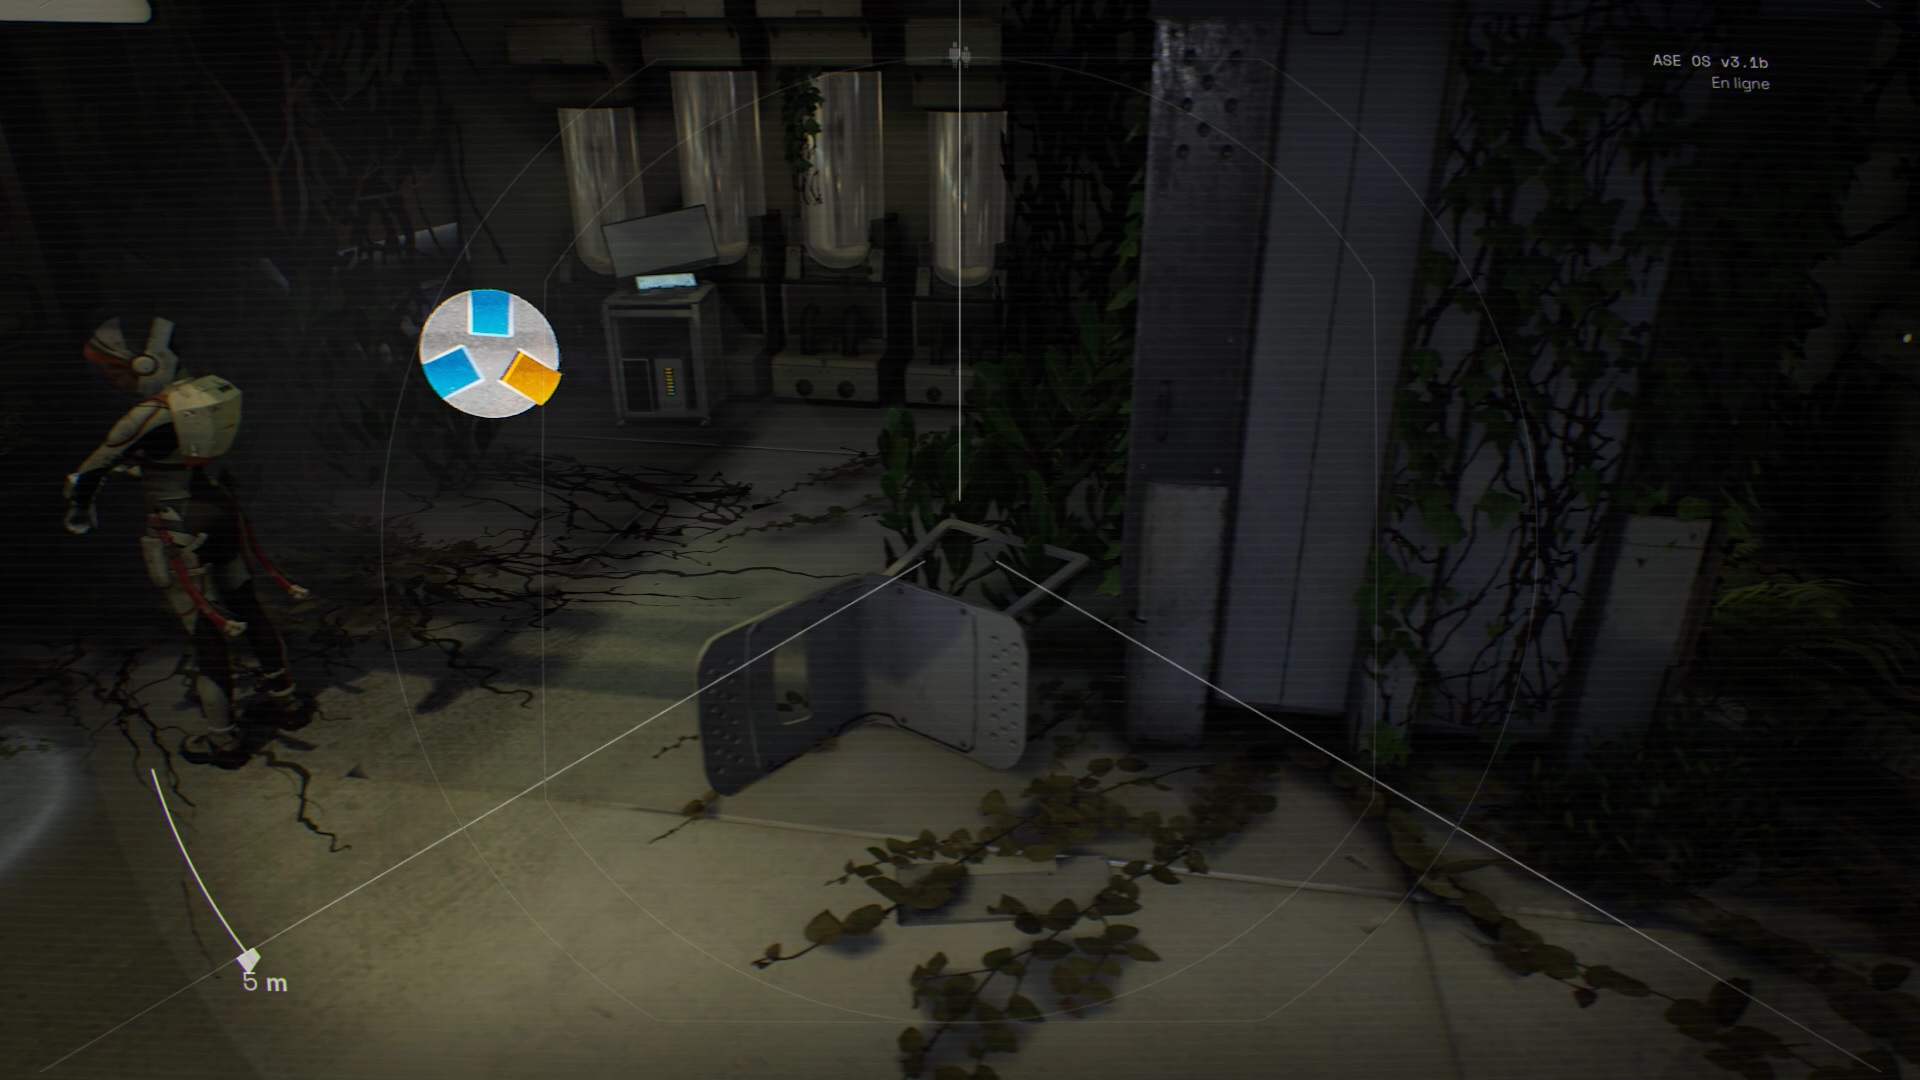
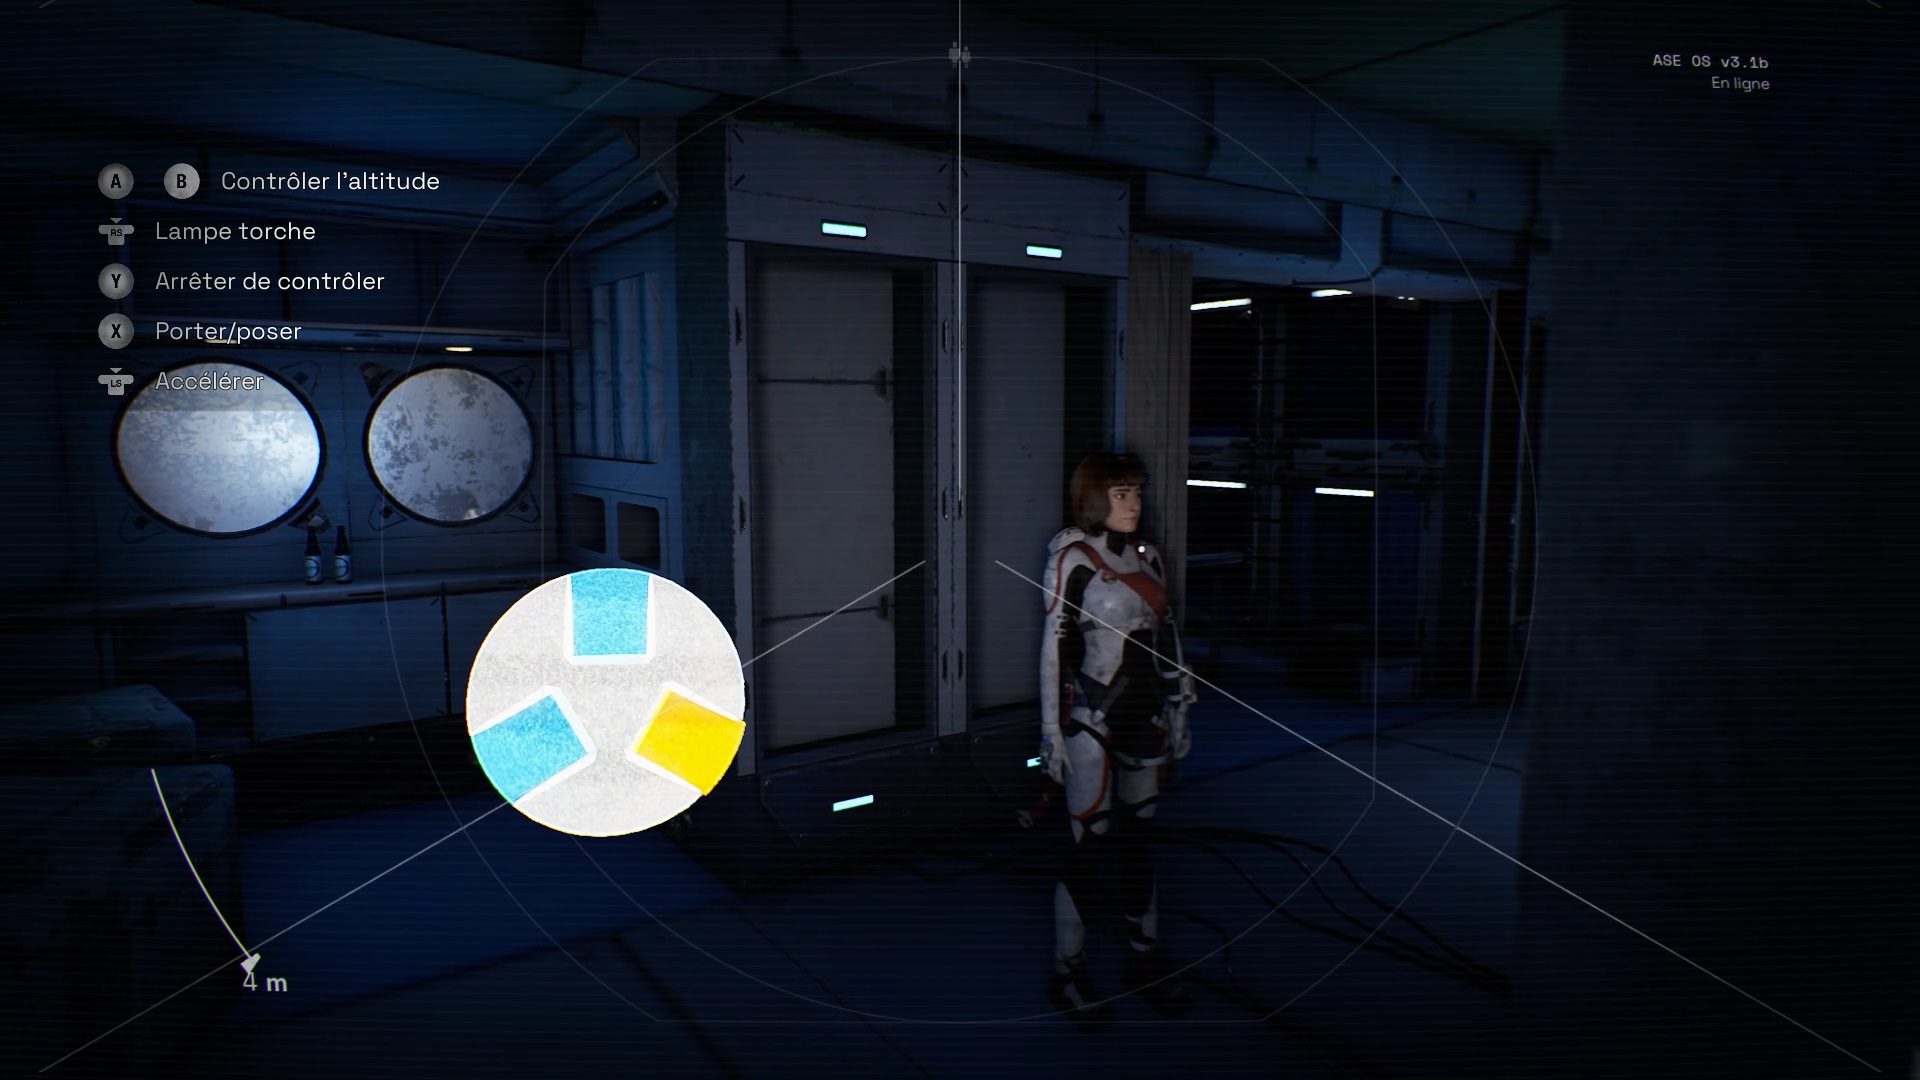
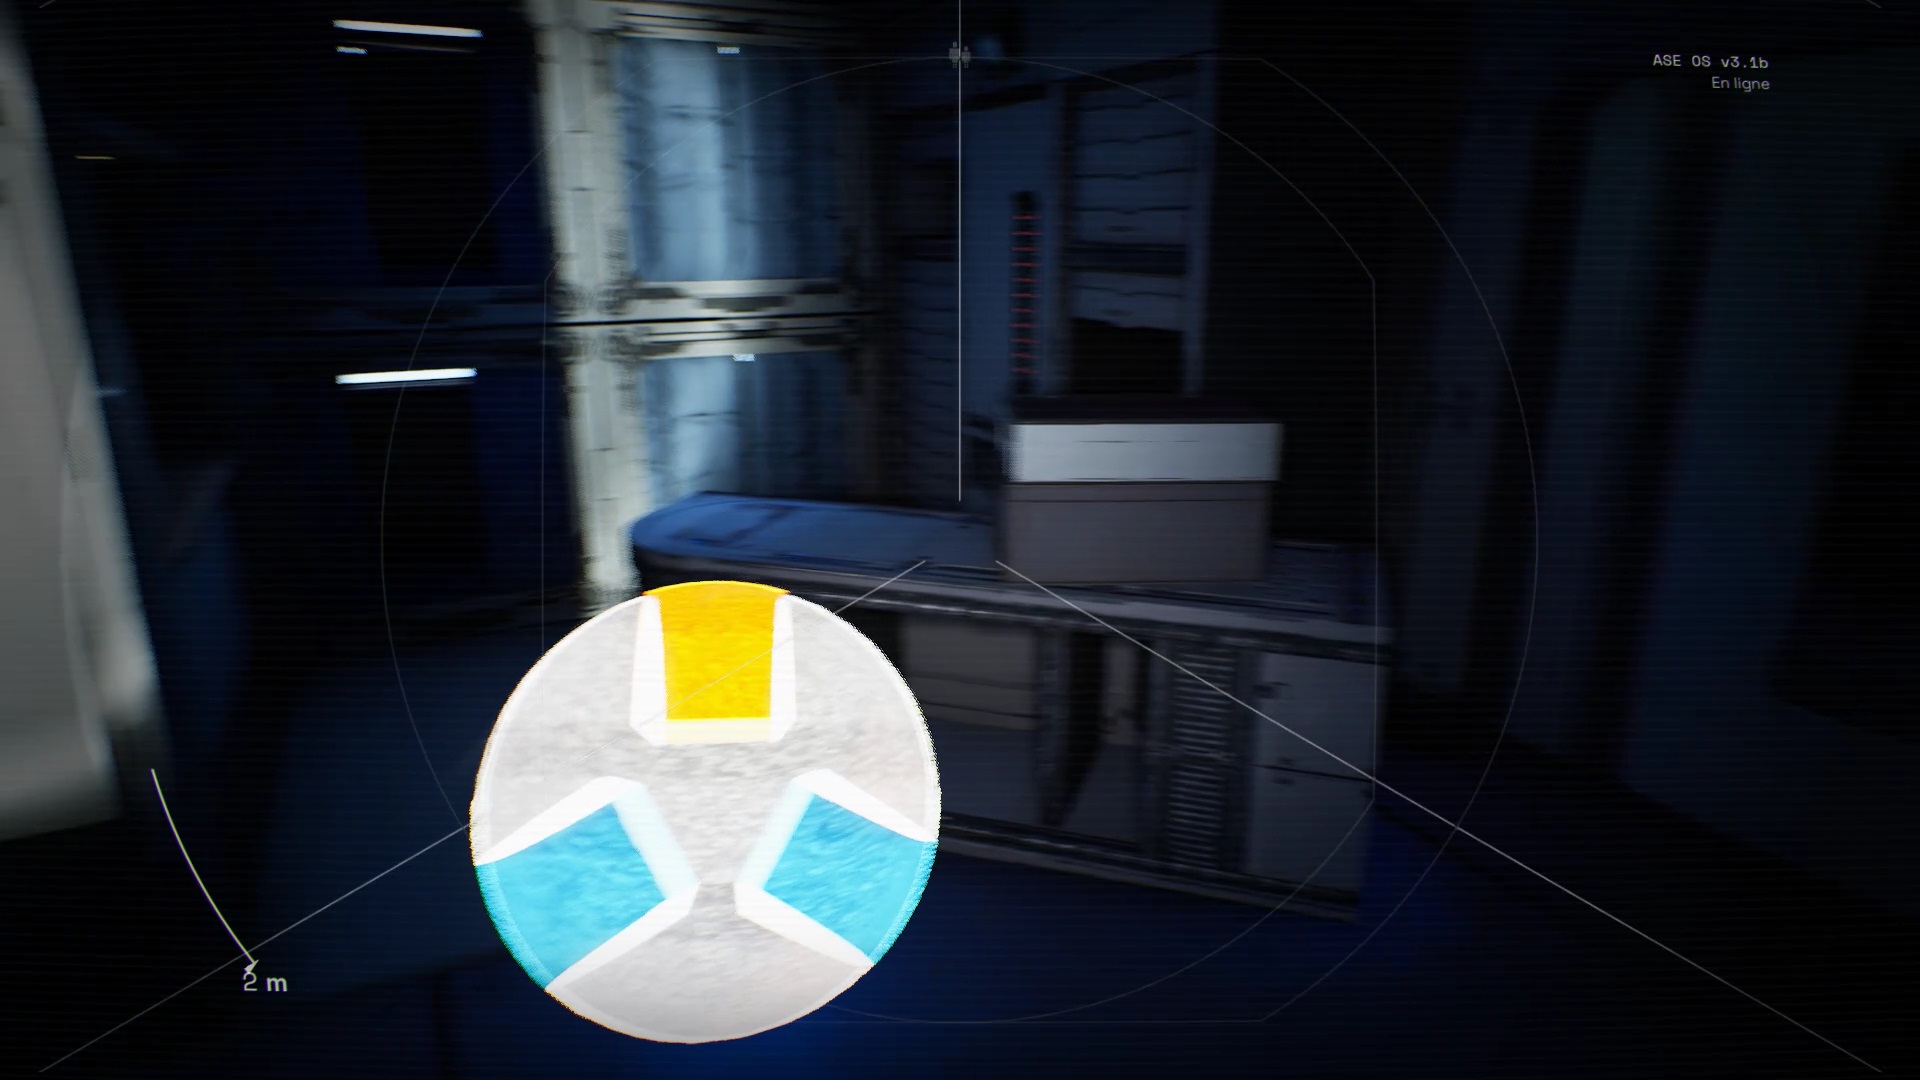
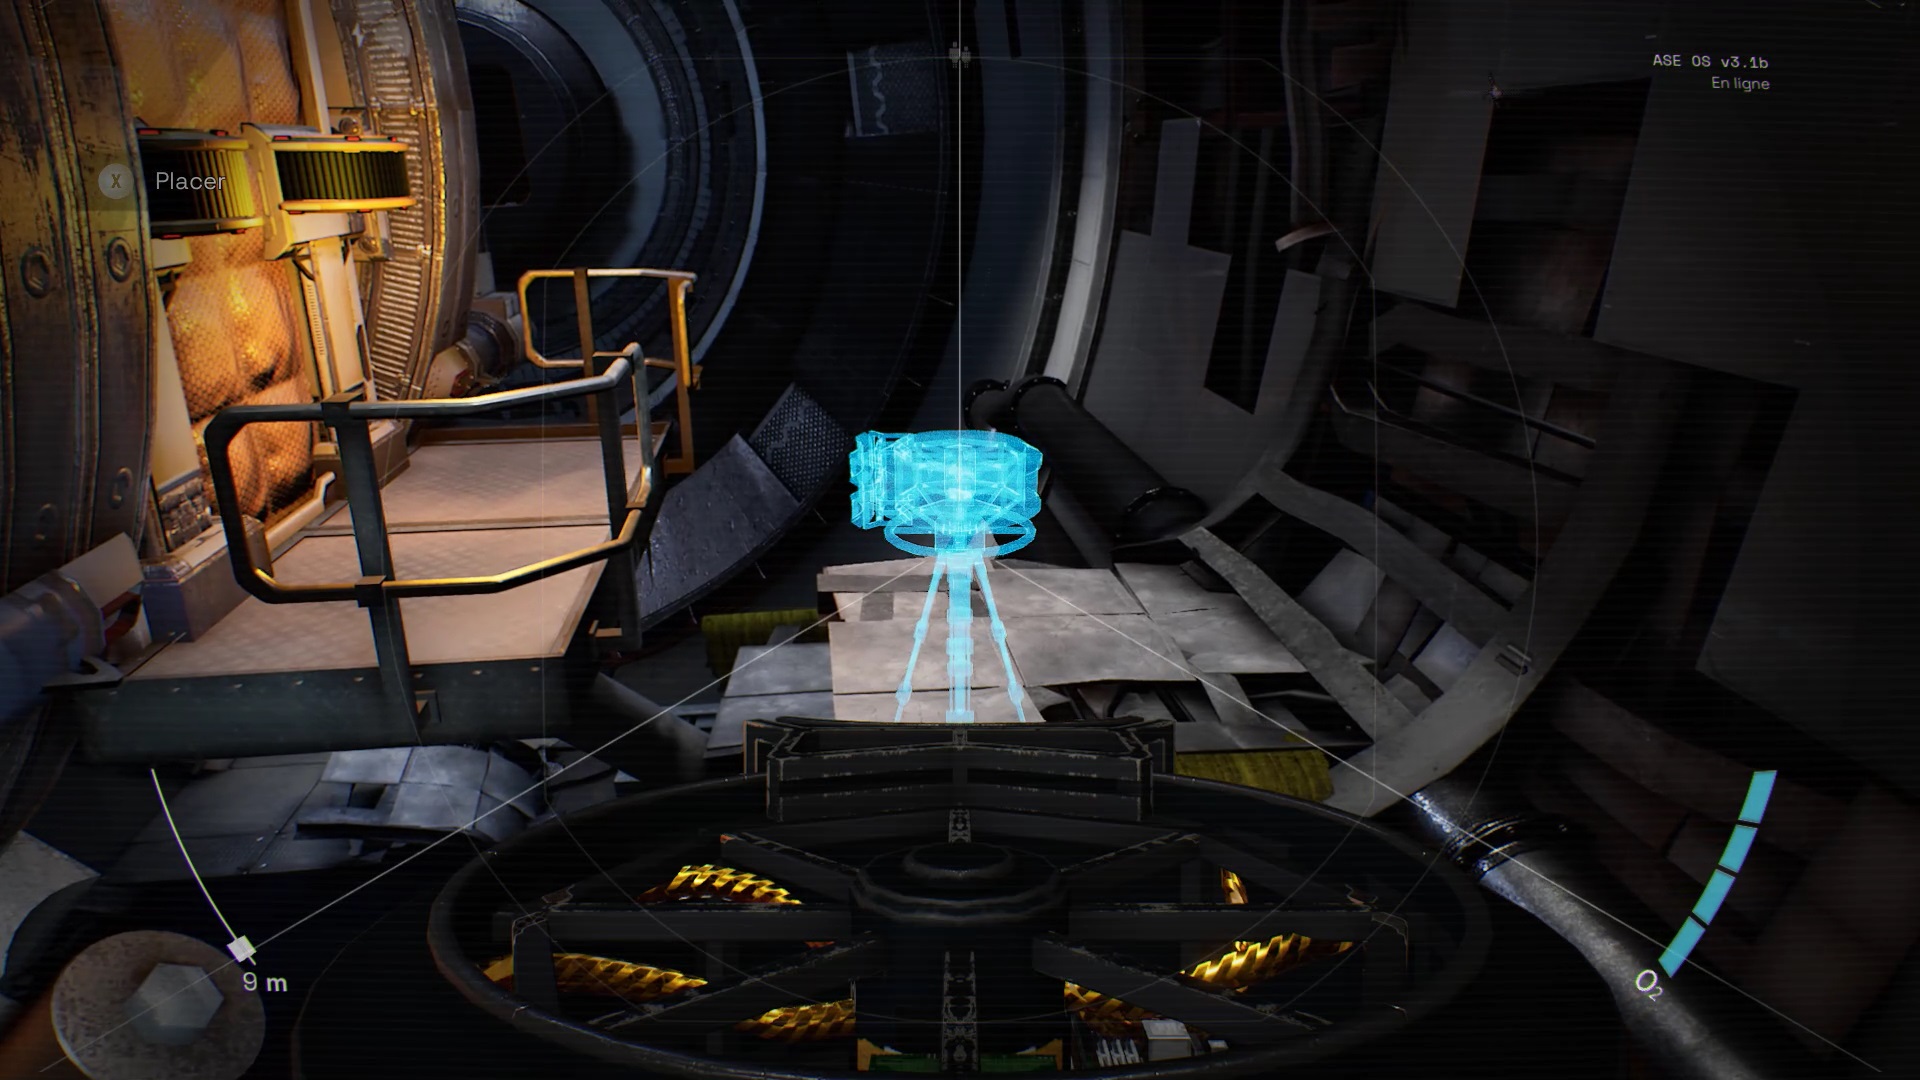
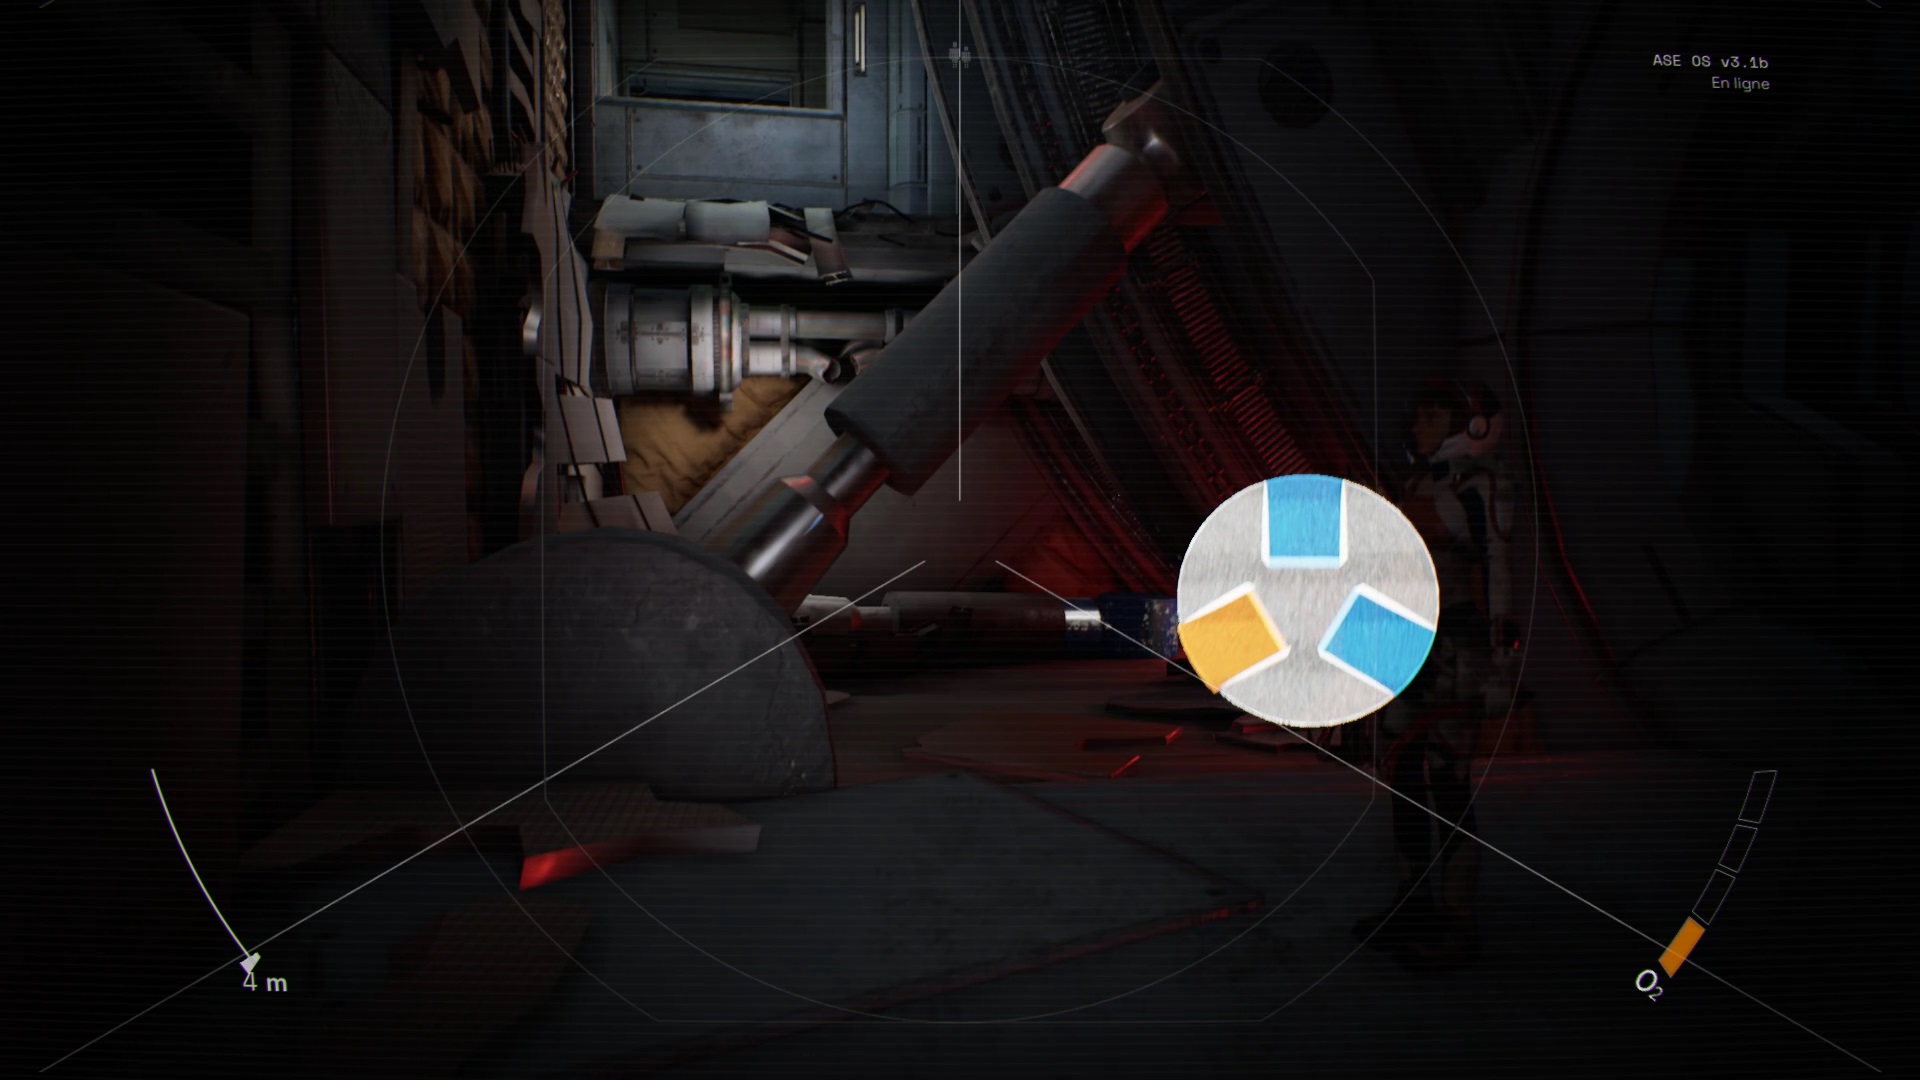
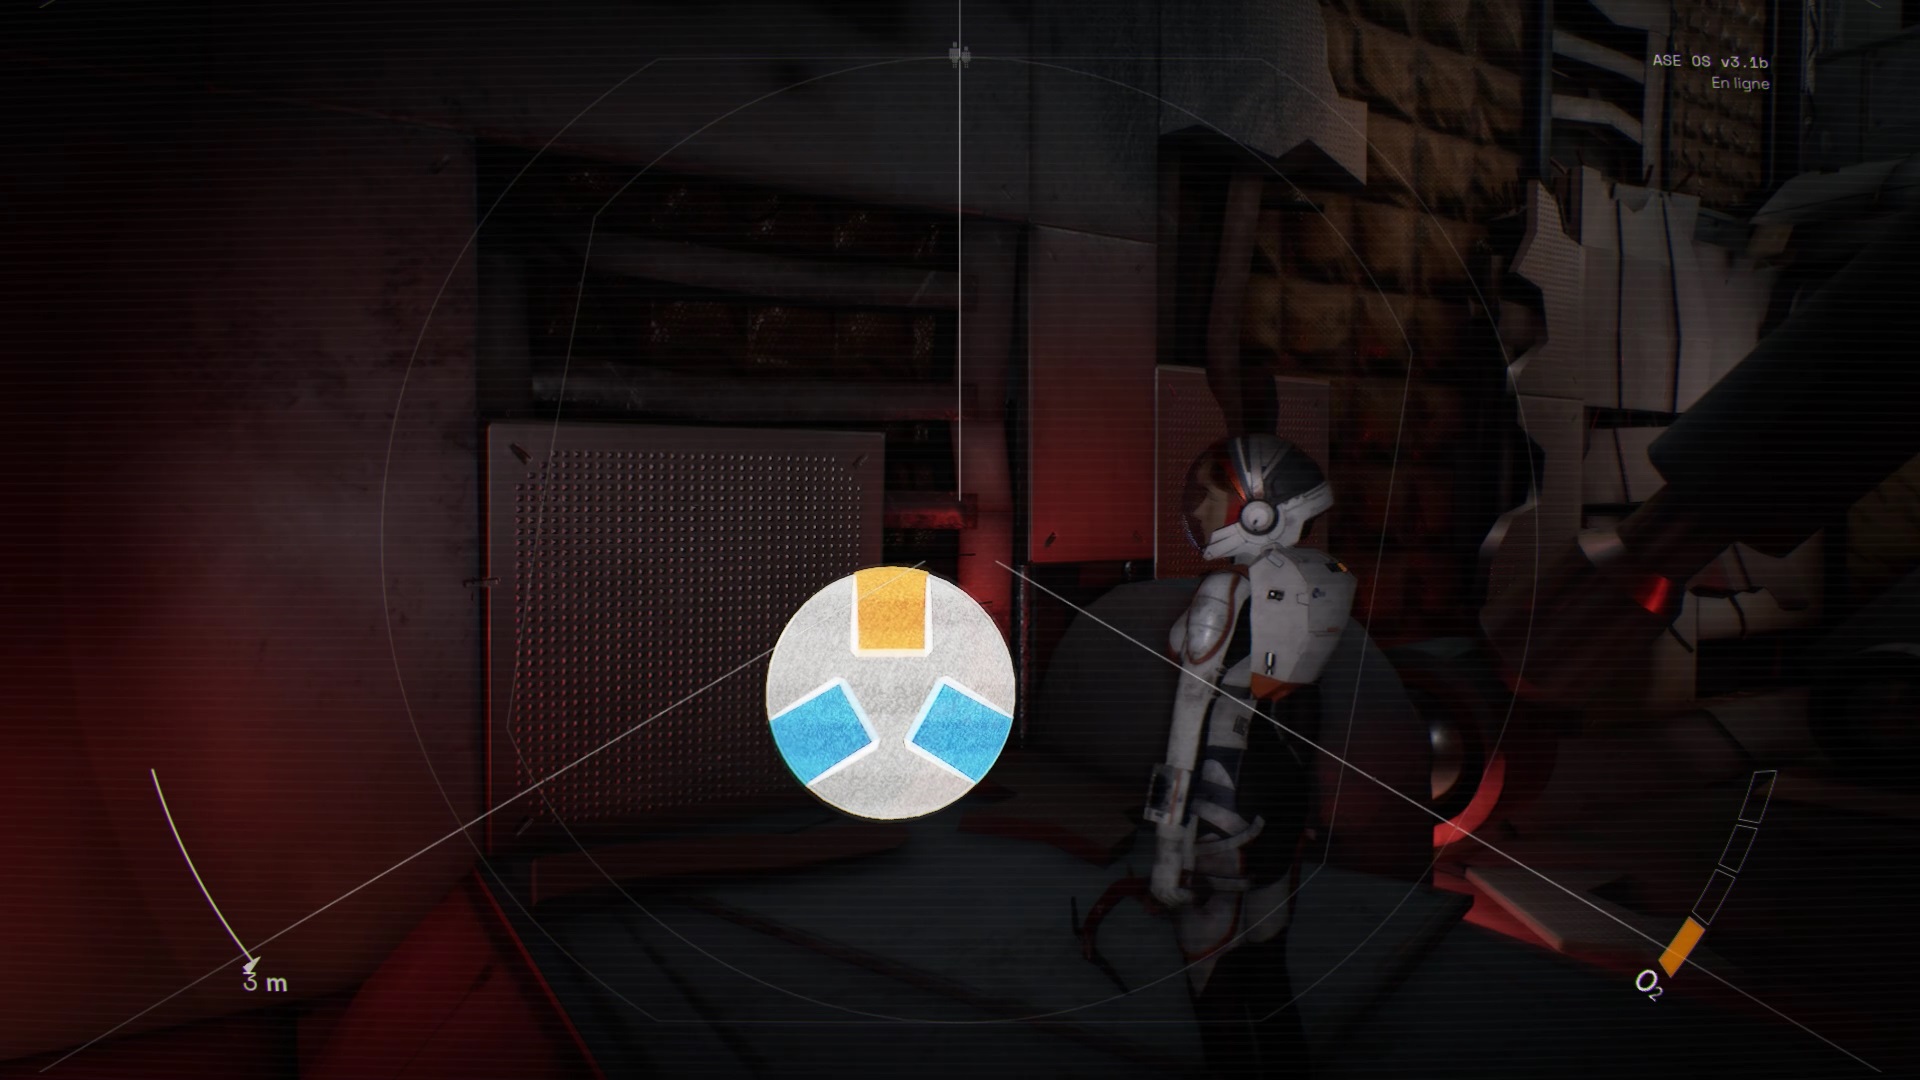
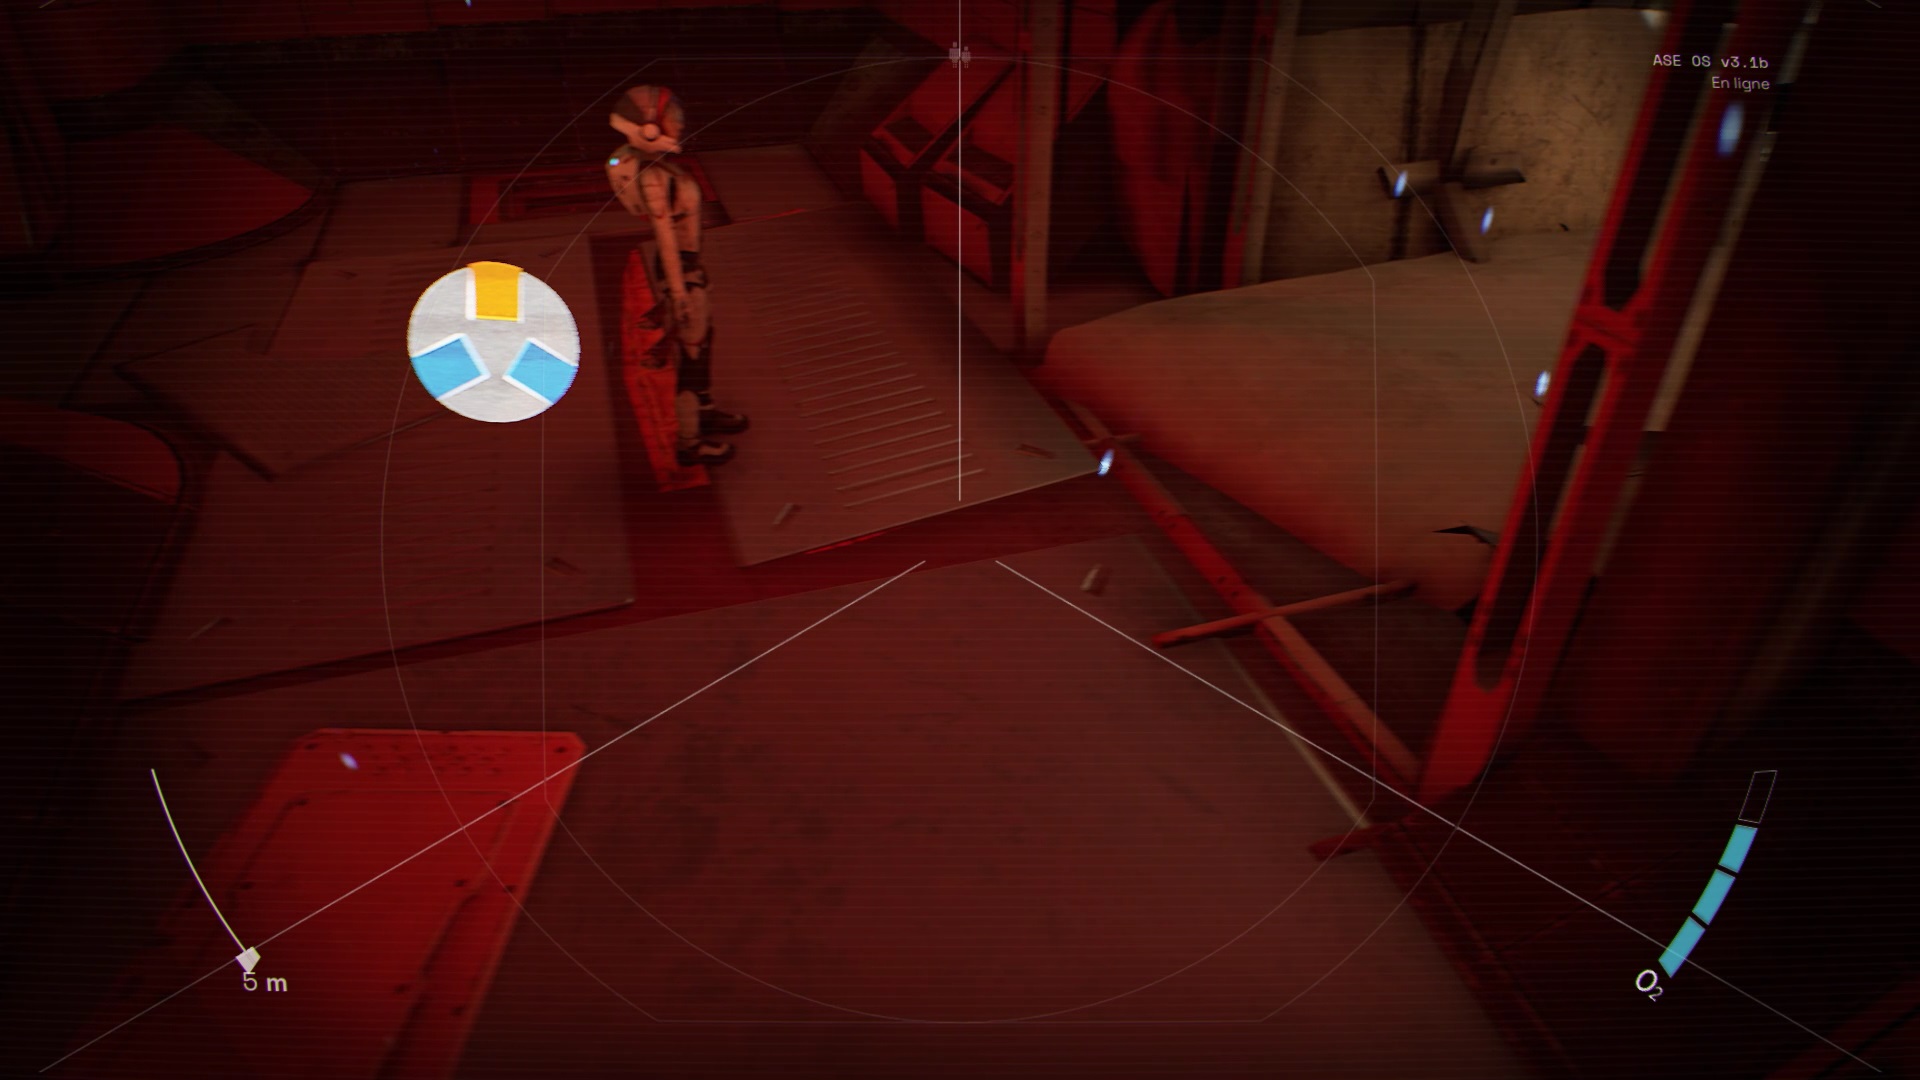
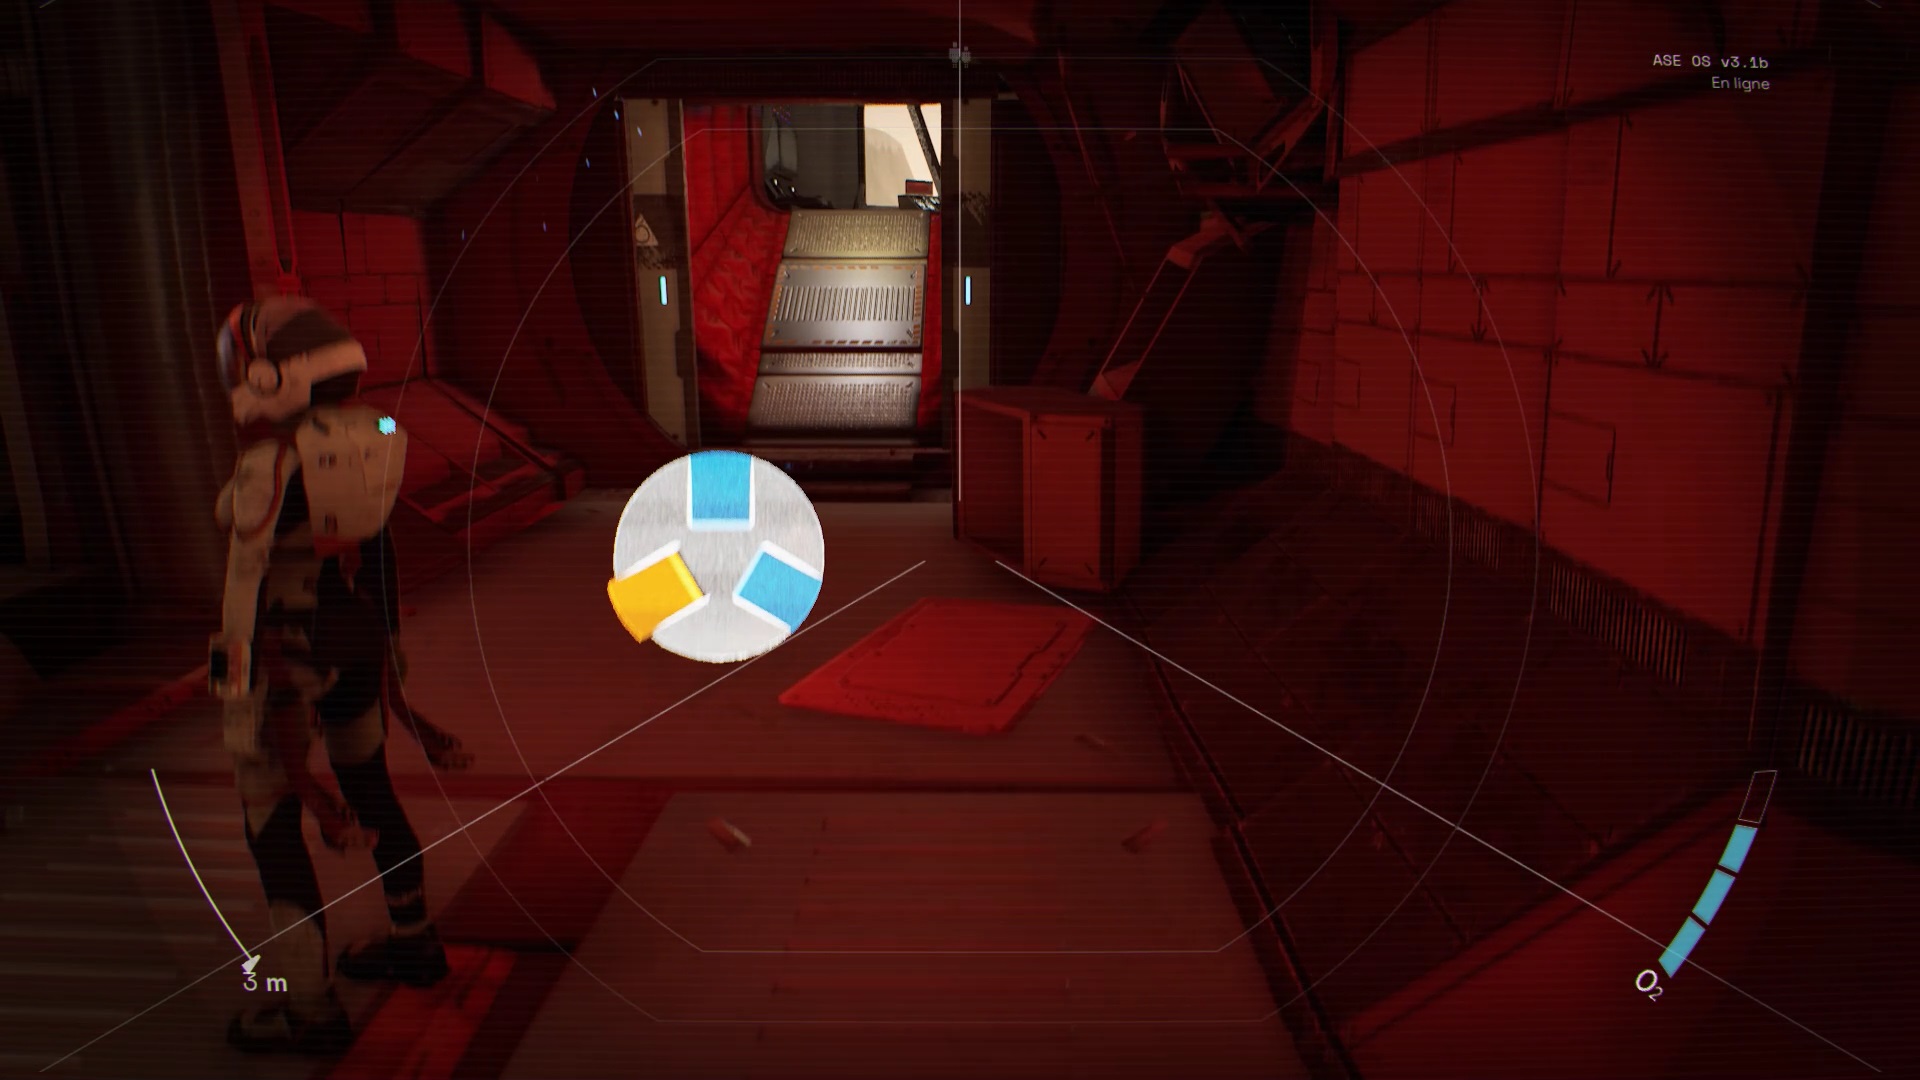
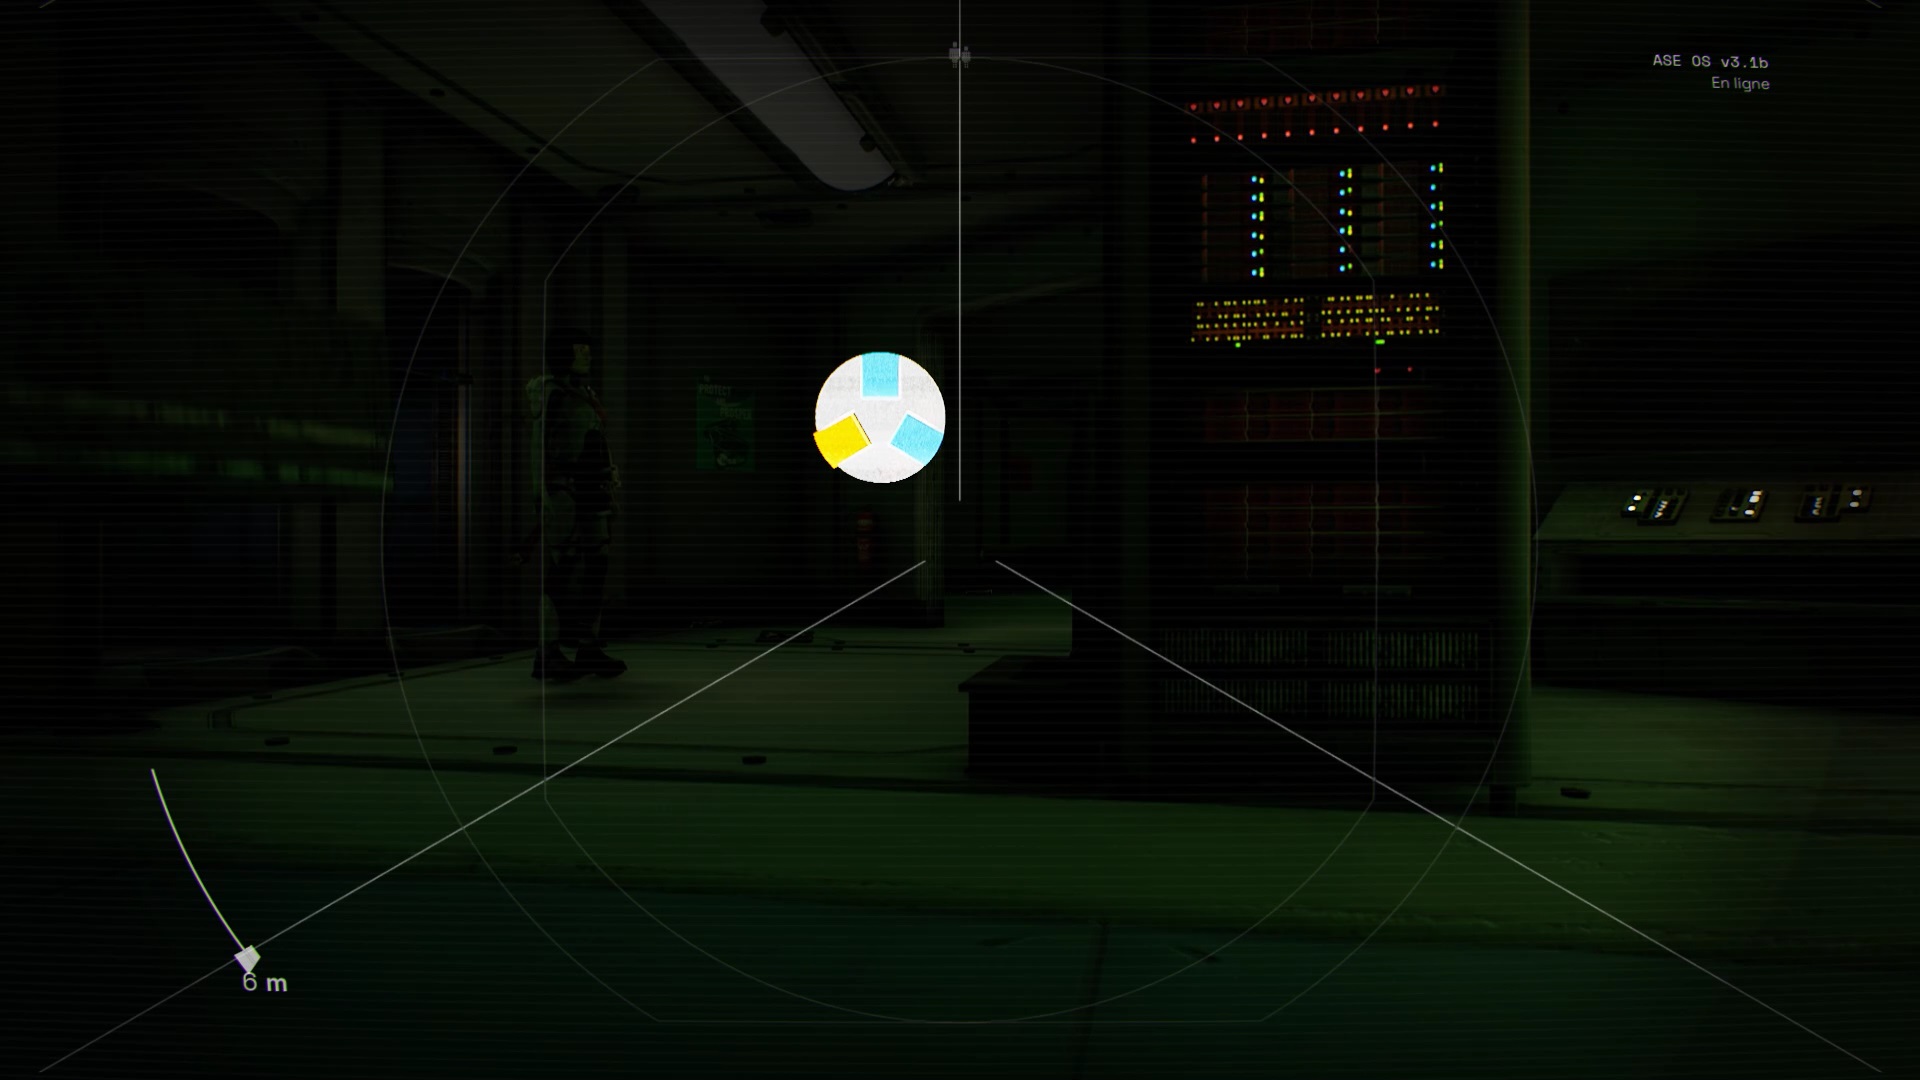
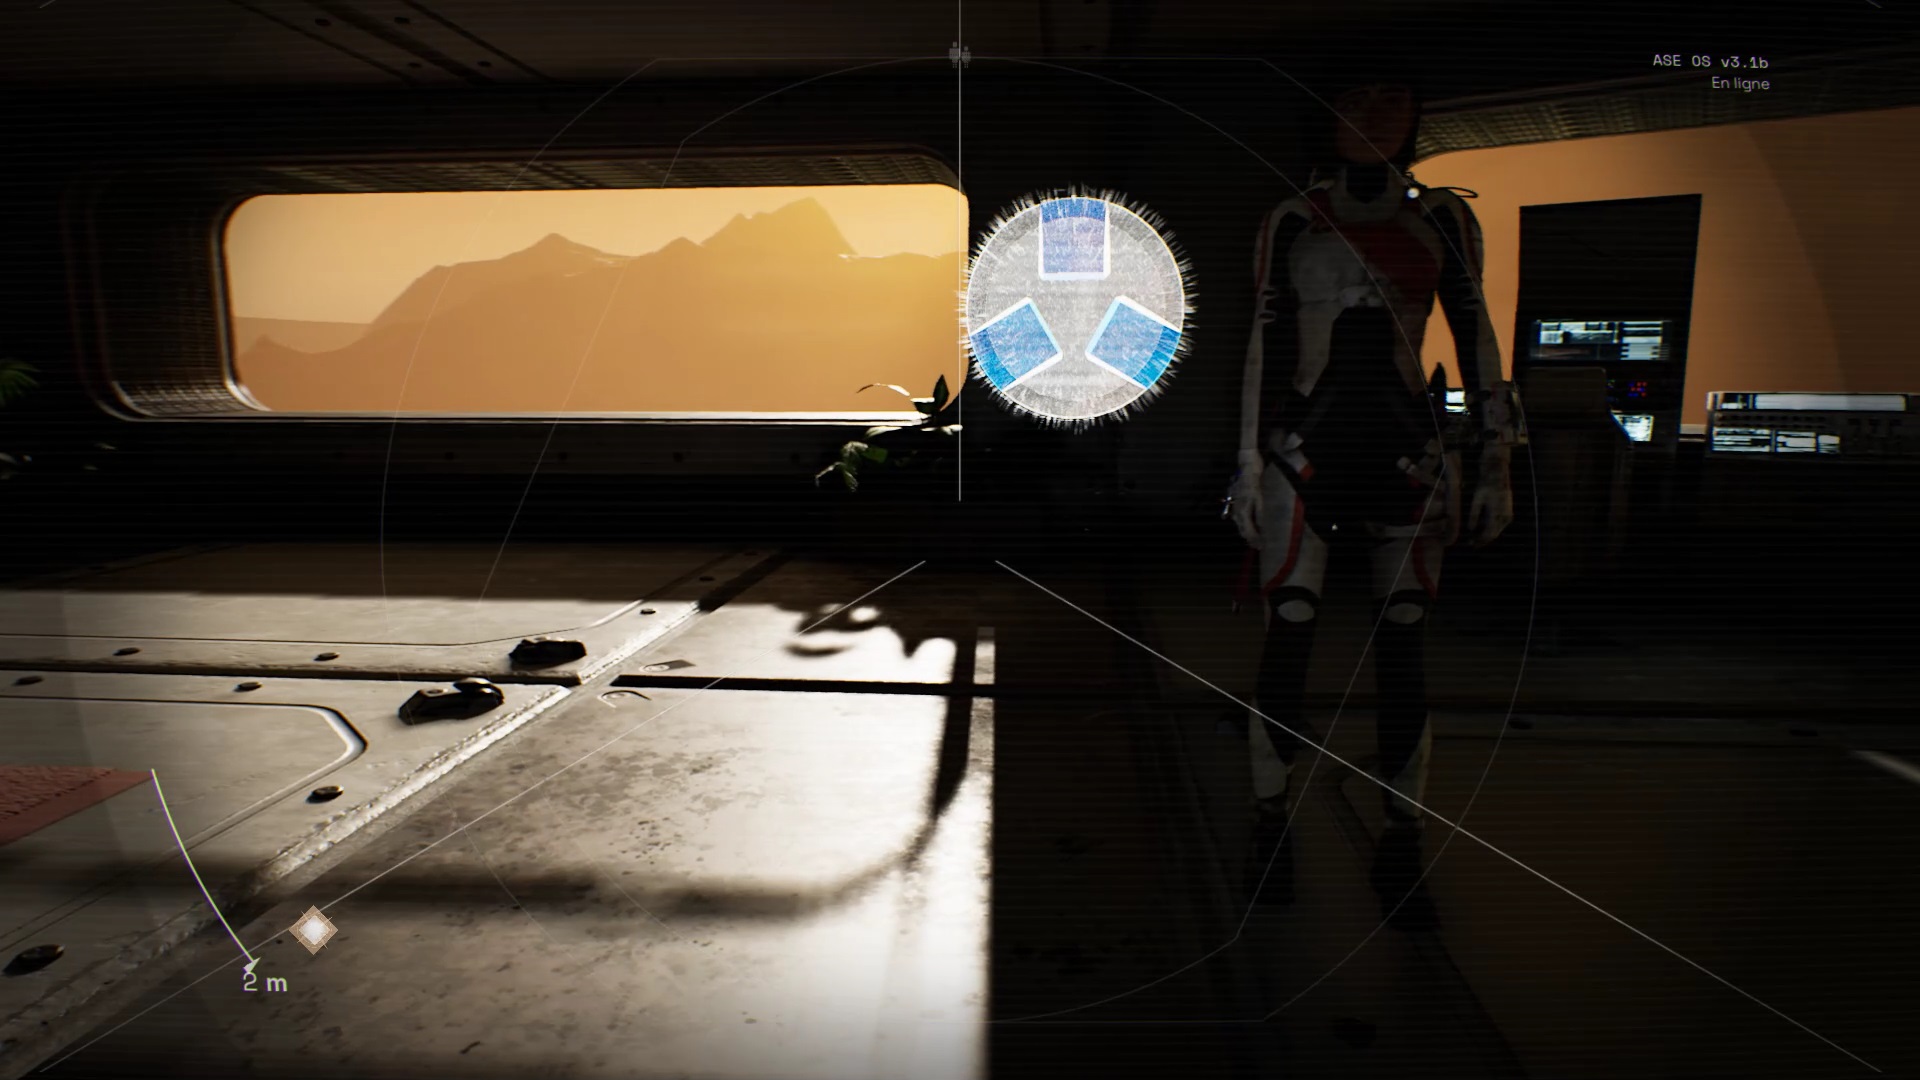
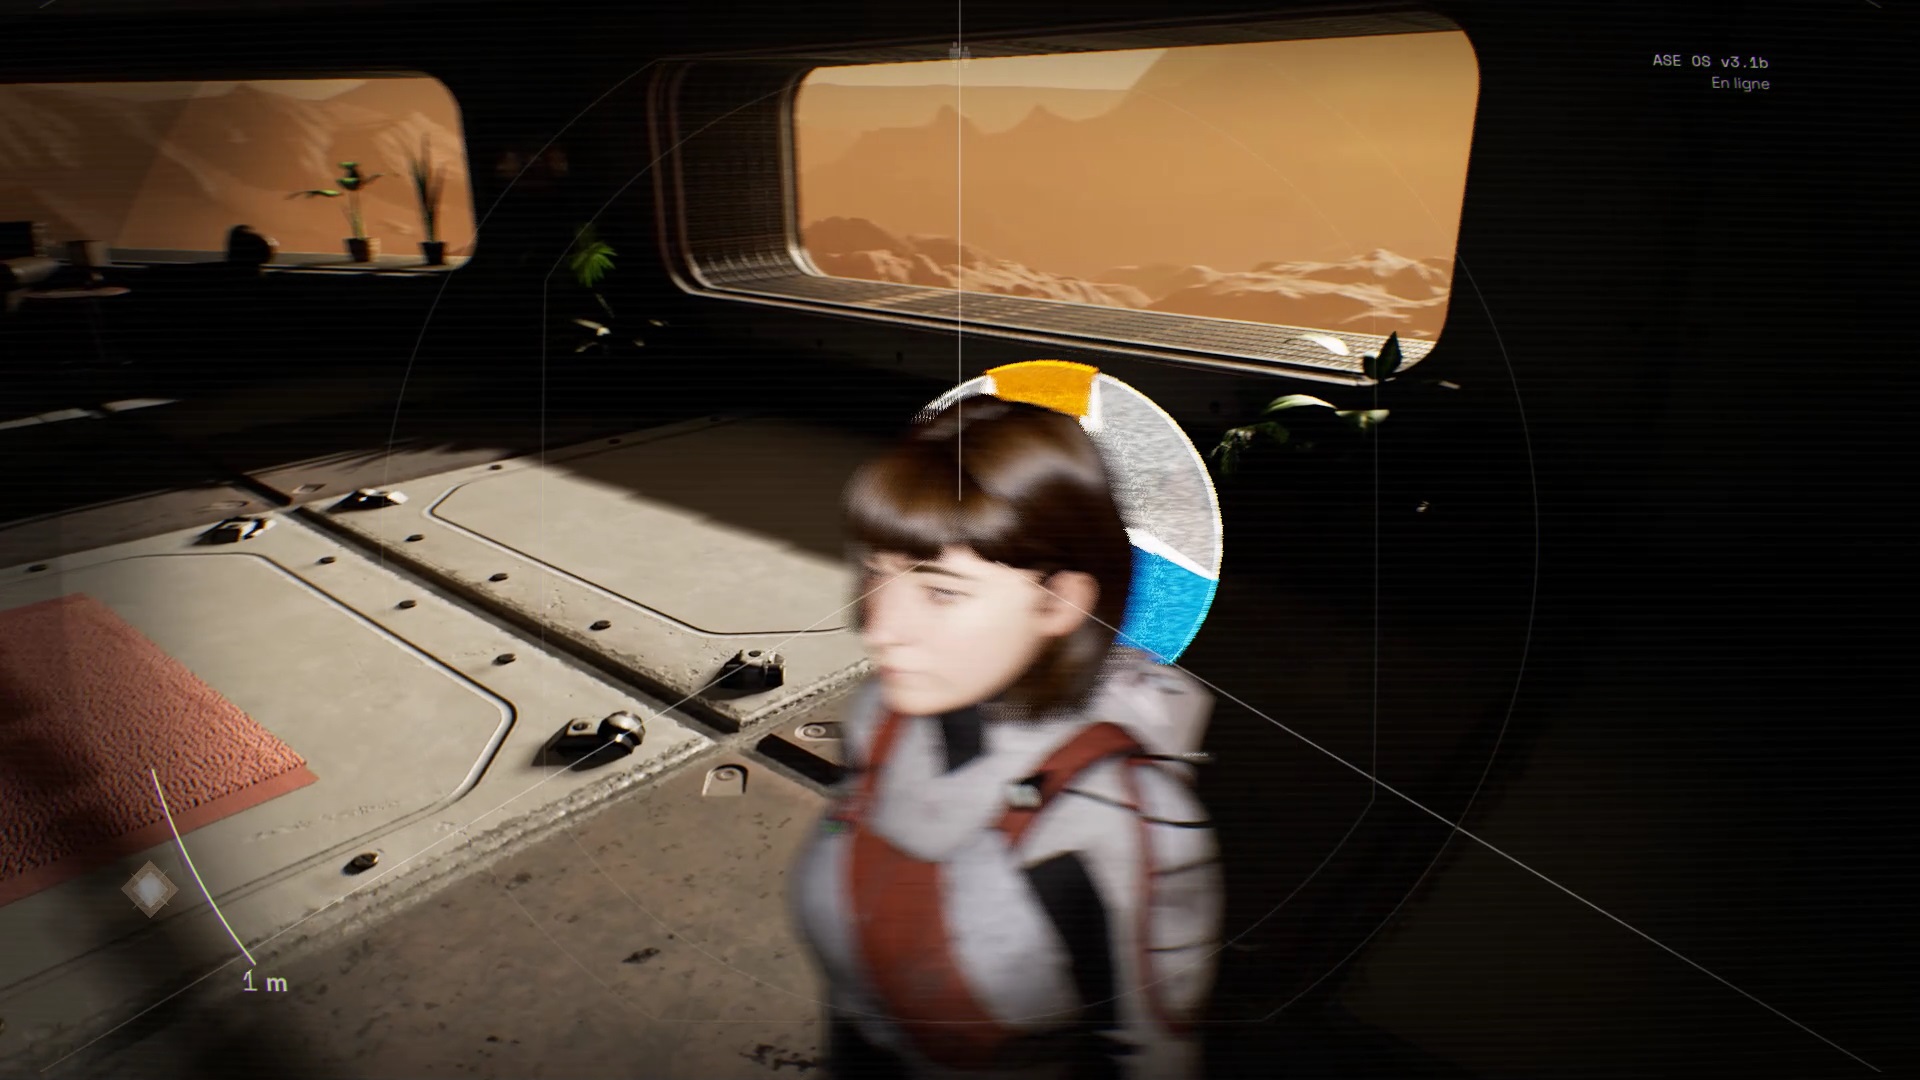
To join the crew in the station, exit through the airlock. Move forward in the ship, and reach a cryogenic capsule room. Proceed to the back of the room to find a hologram. To view the hologram, you must align its parts.
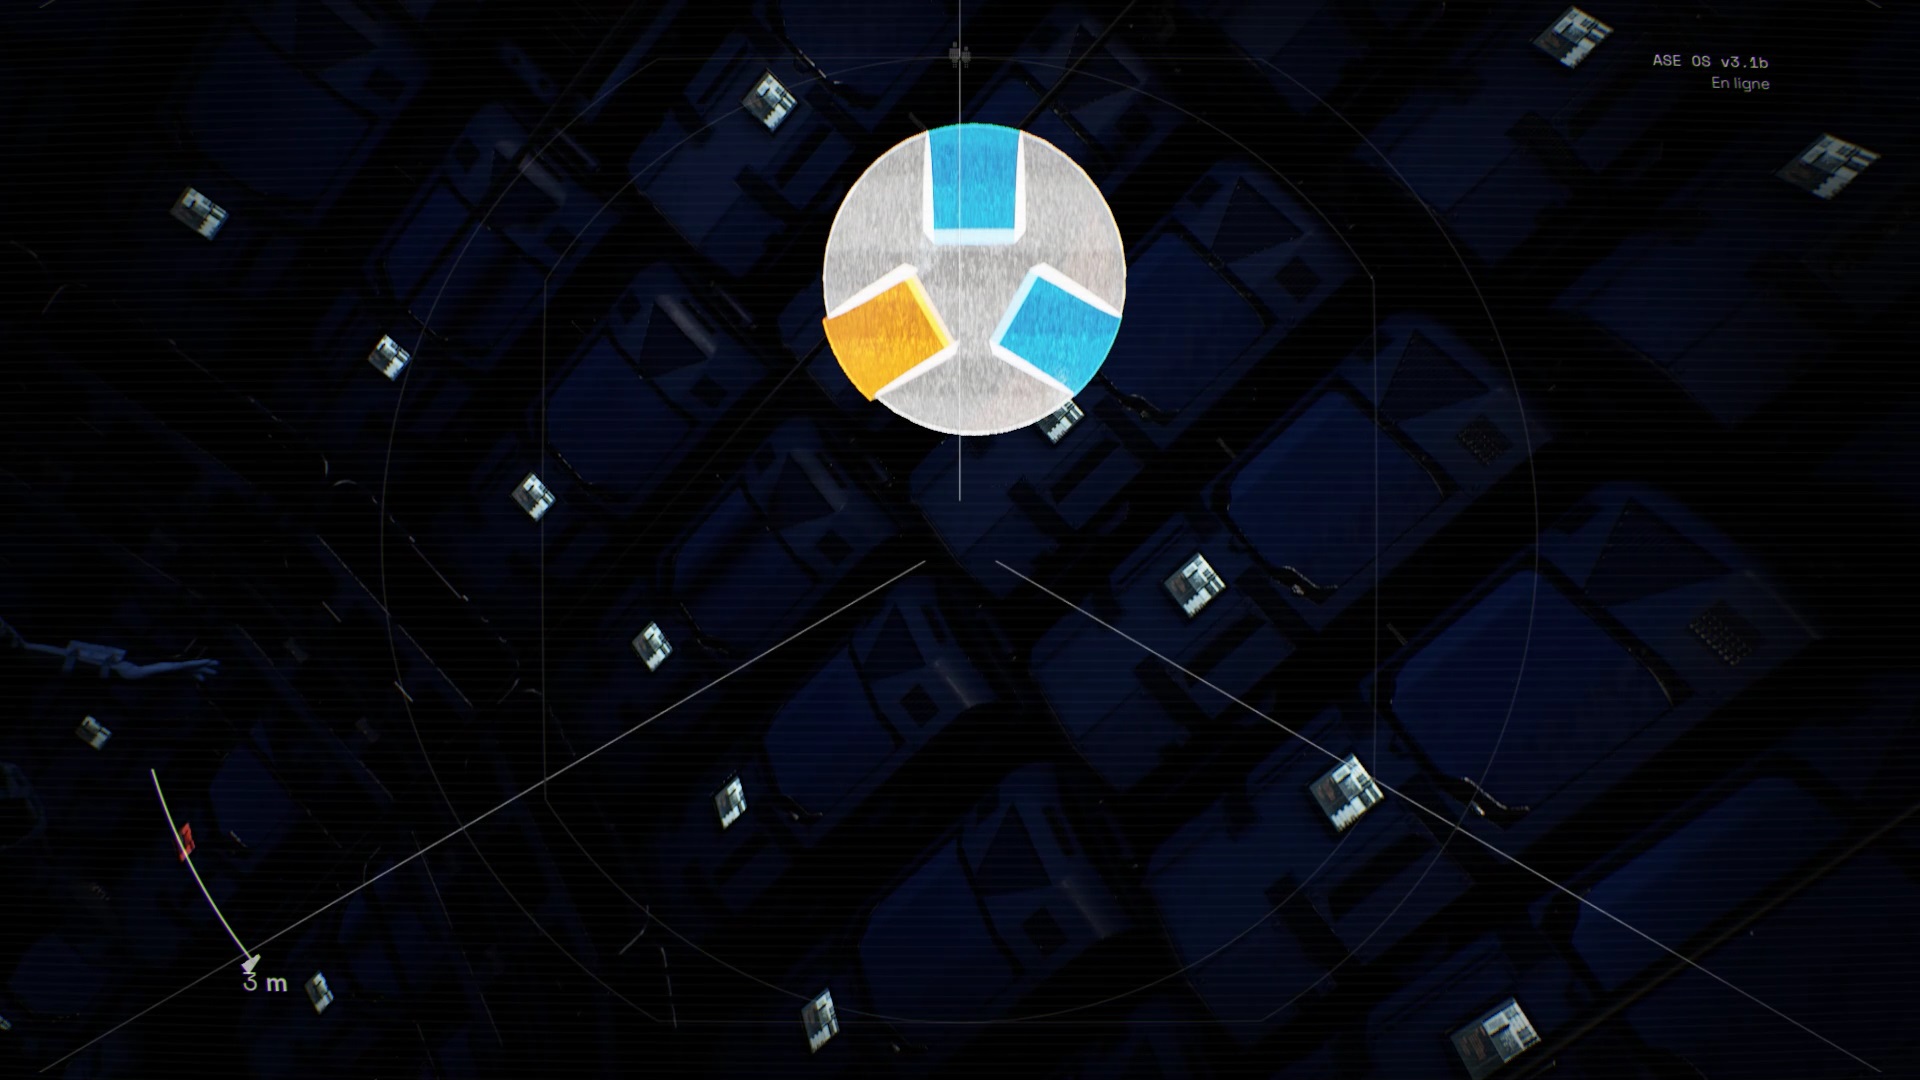
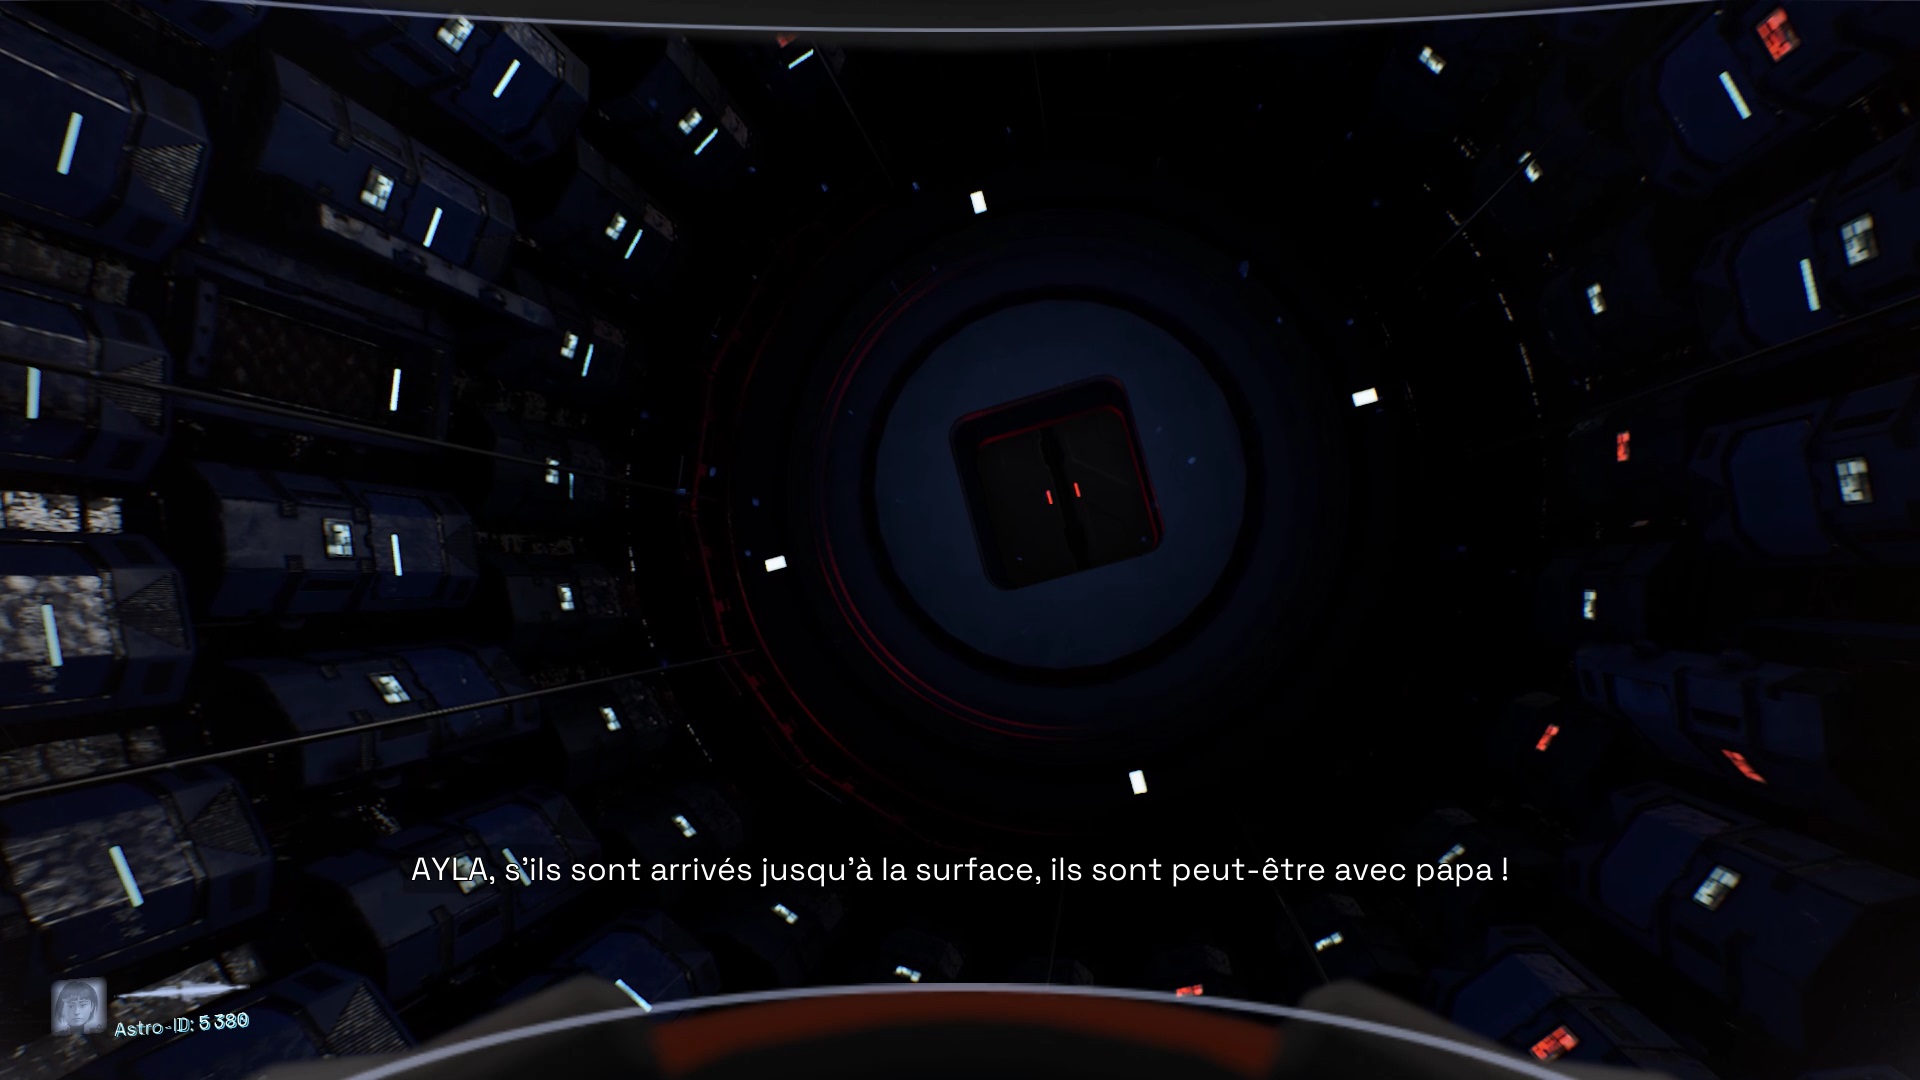
To decrypt the hologram, align the ends by placing yourself as in the images above. Proceed to the back of the room towards the locked doors. Continue your exploration of the ship to reach a room with Streame points.
Connect the ray to the streame point in front of you in the first room. You unlock a door. Go into the room on the right. Use your laser on the ground plate to get a second beam. Connect this ray to the same Streame point of the first part.
Return to the first room and connect the ray to the Streame point in the second room. Go to the second room and connect the beam to the streame point at the bottom right of the room. You open the exit door of the room.
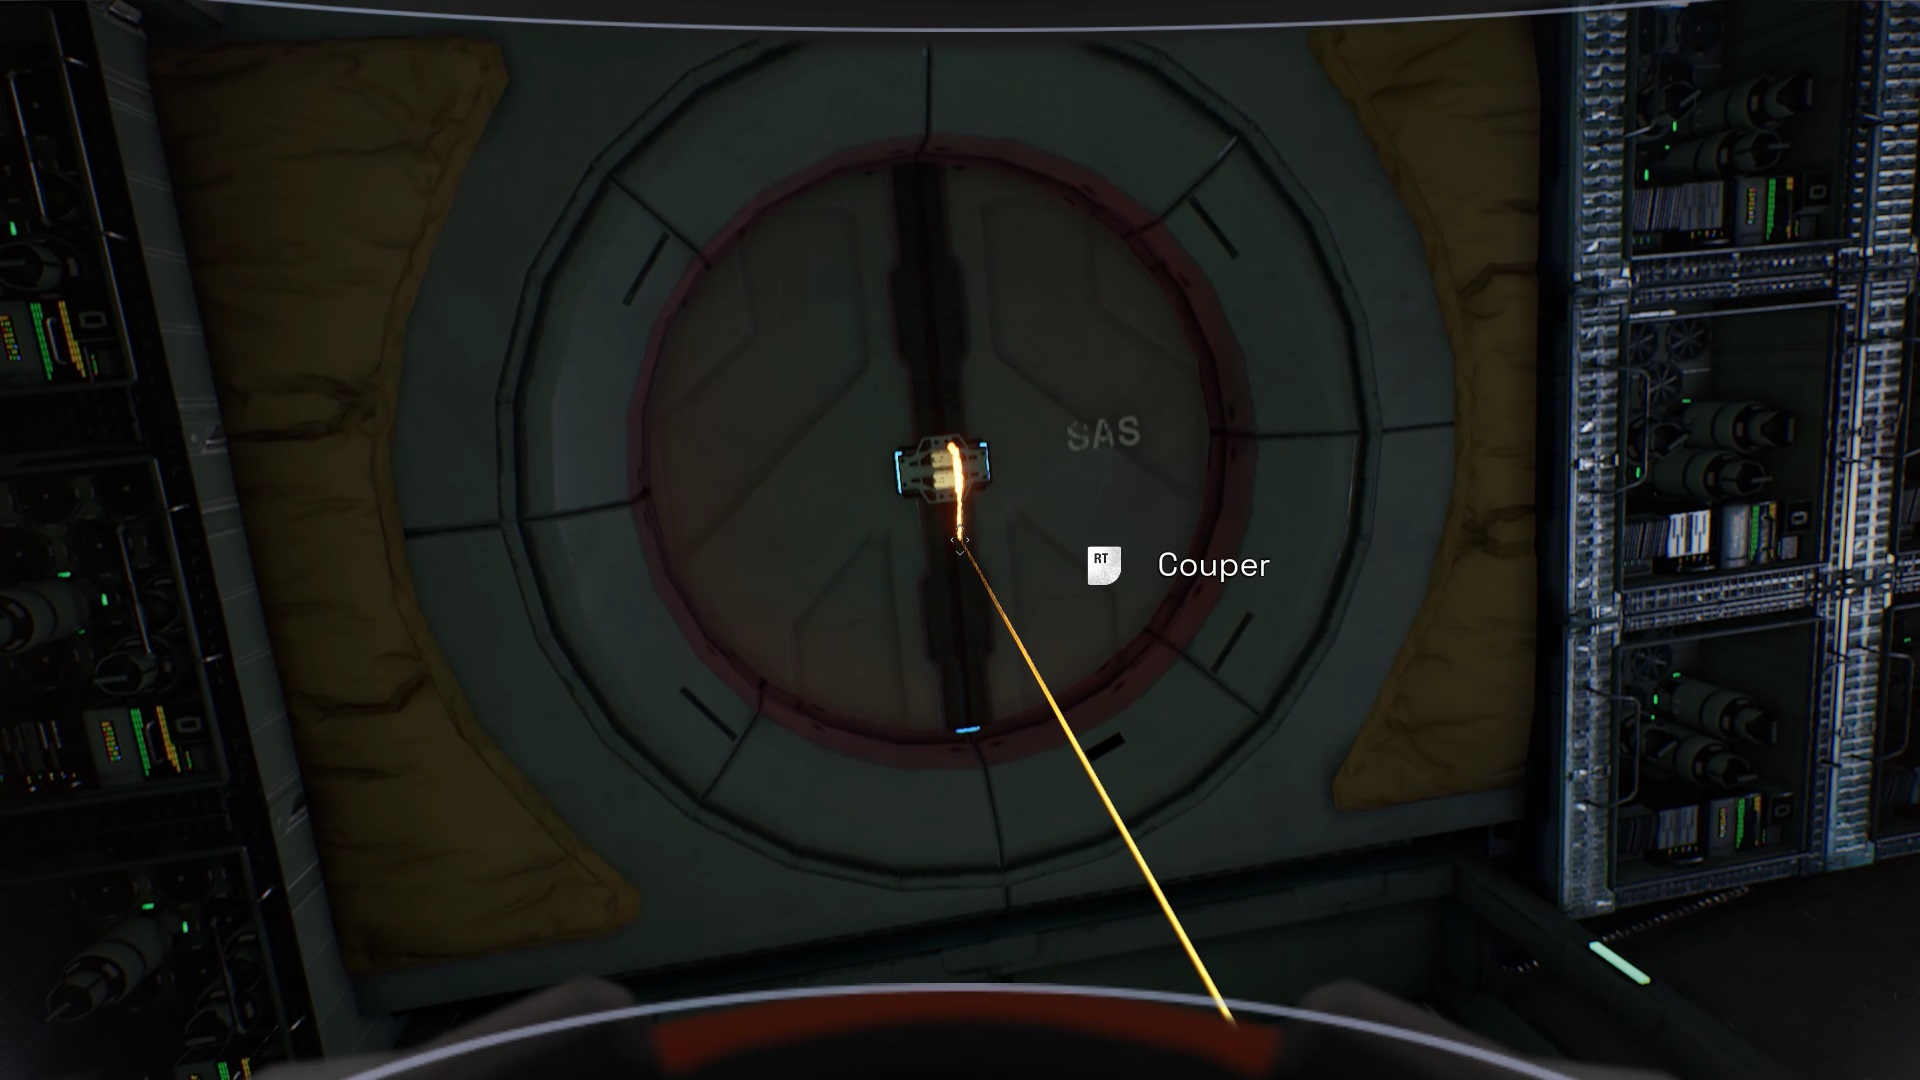
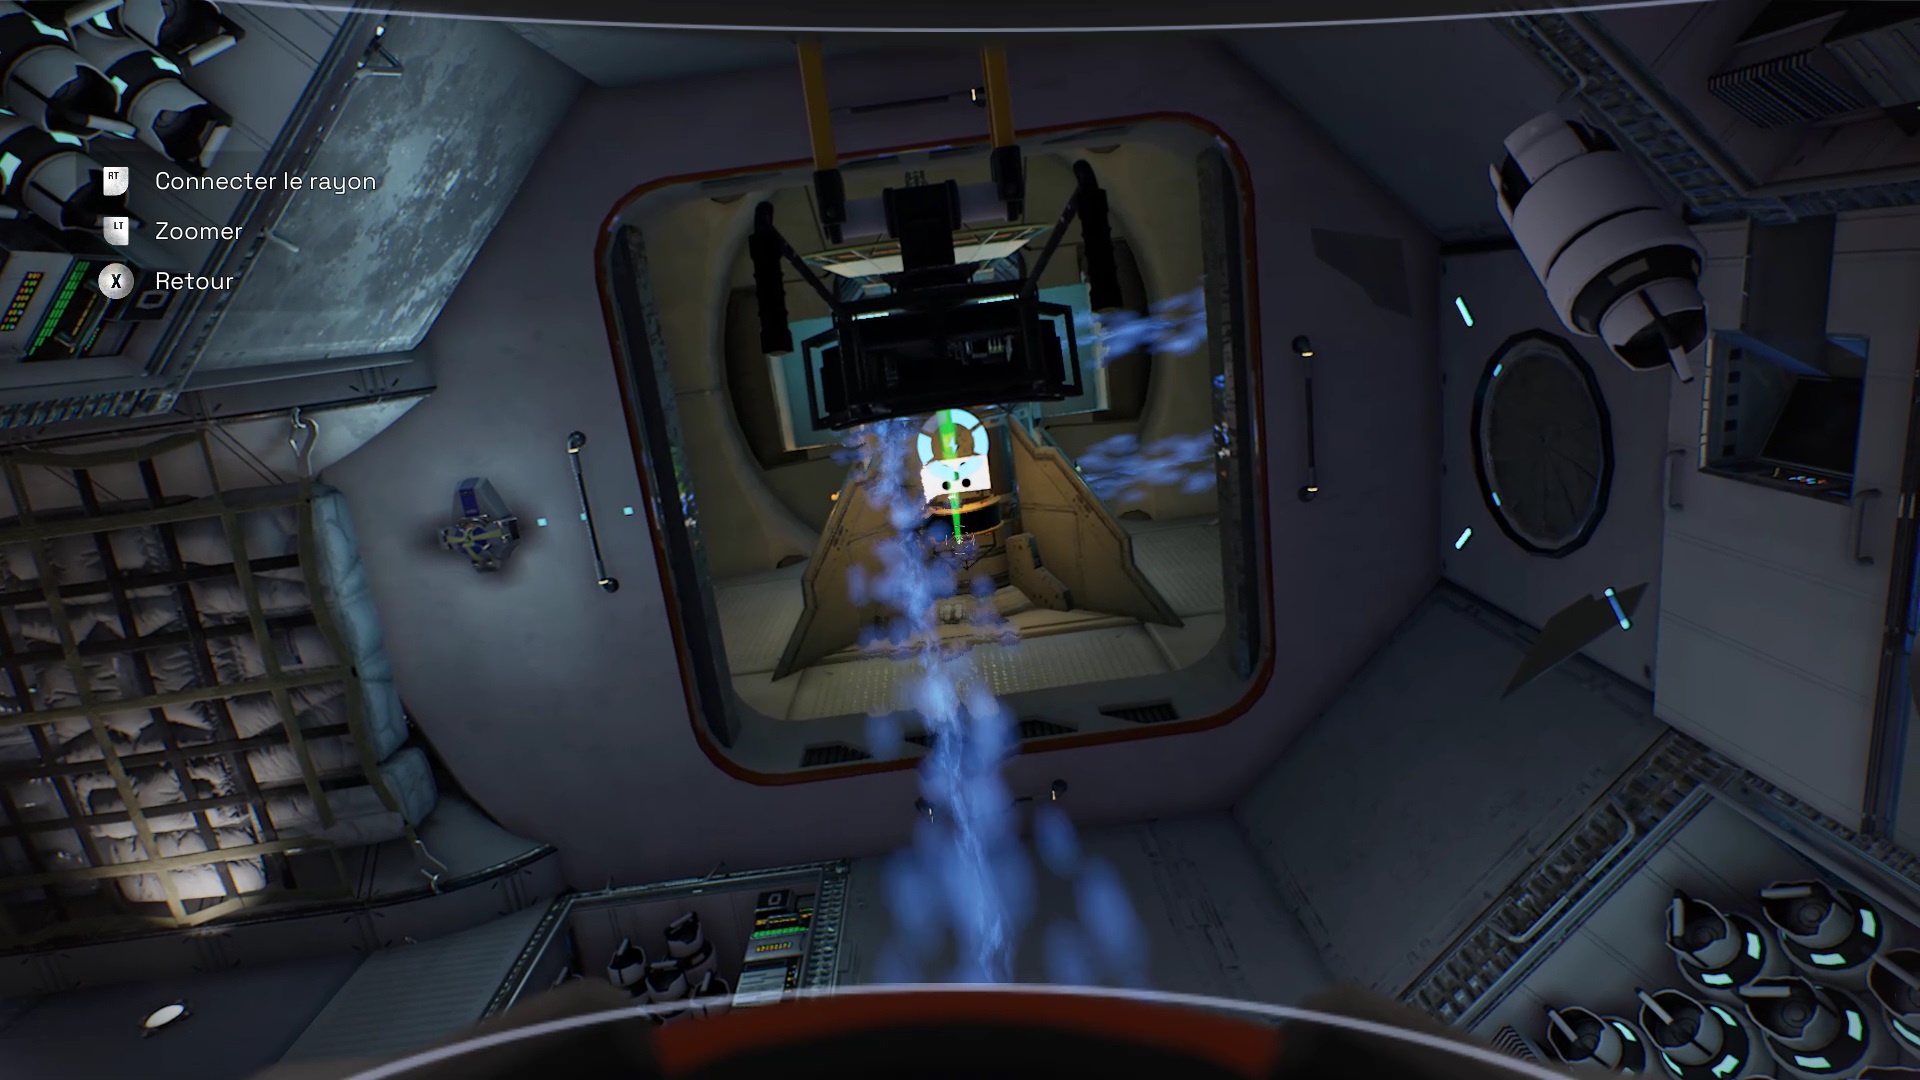
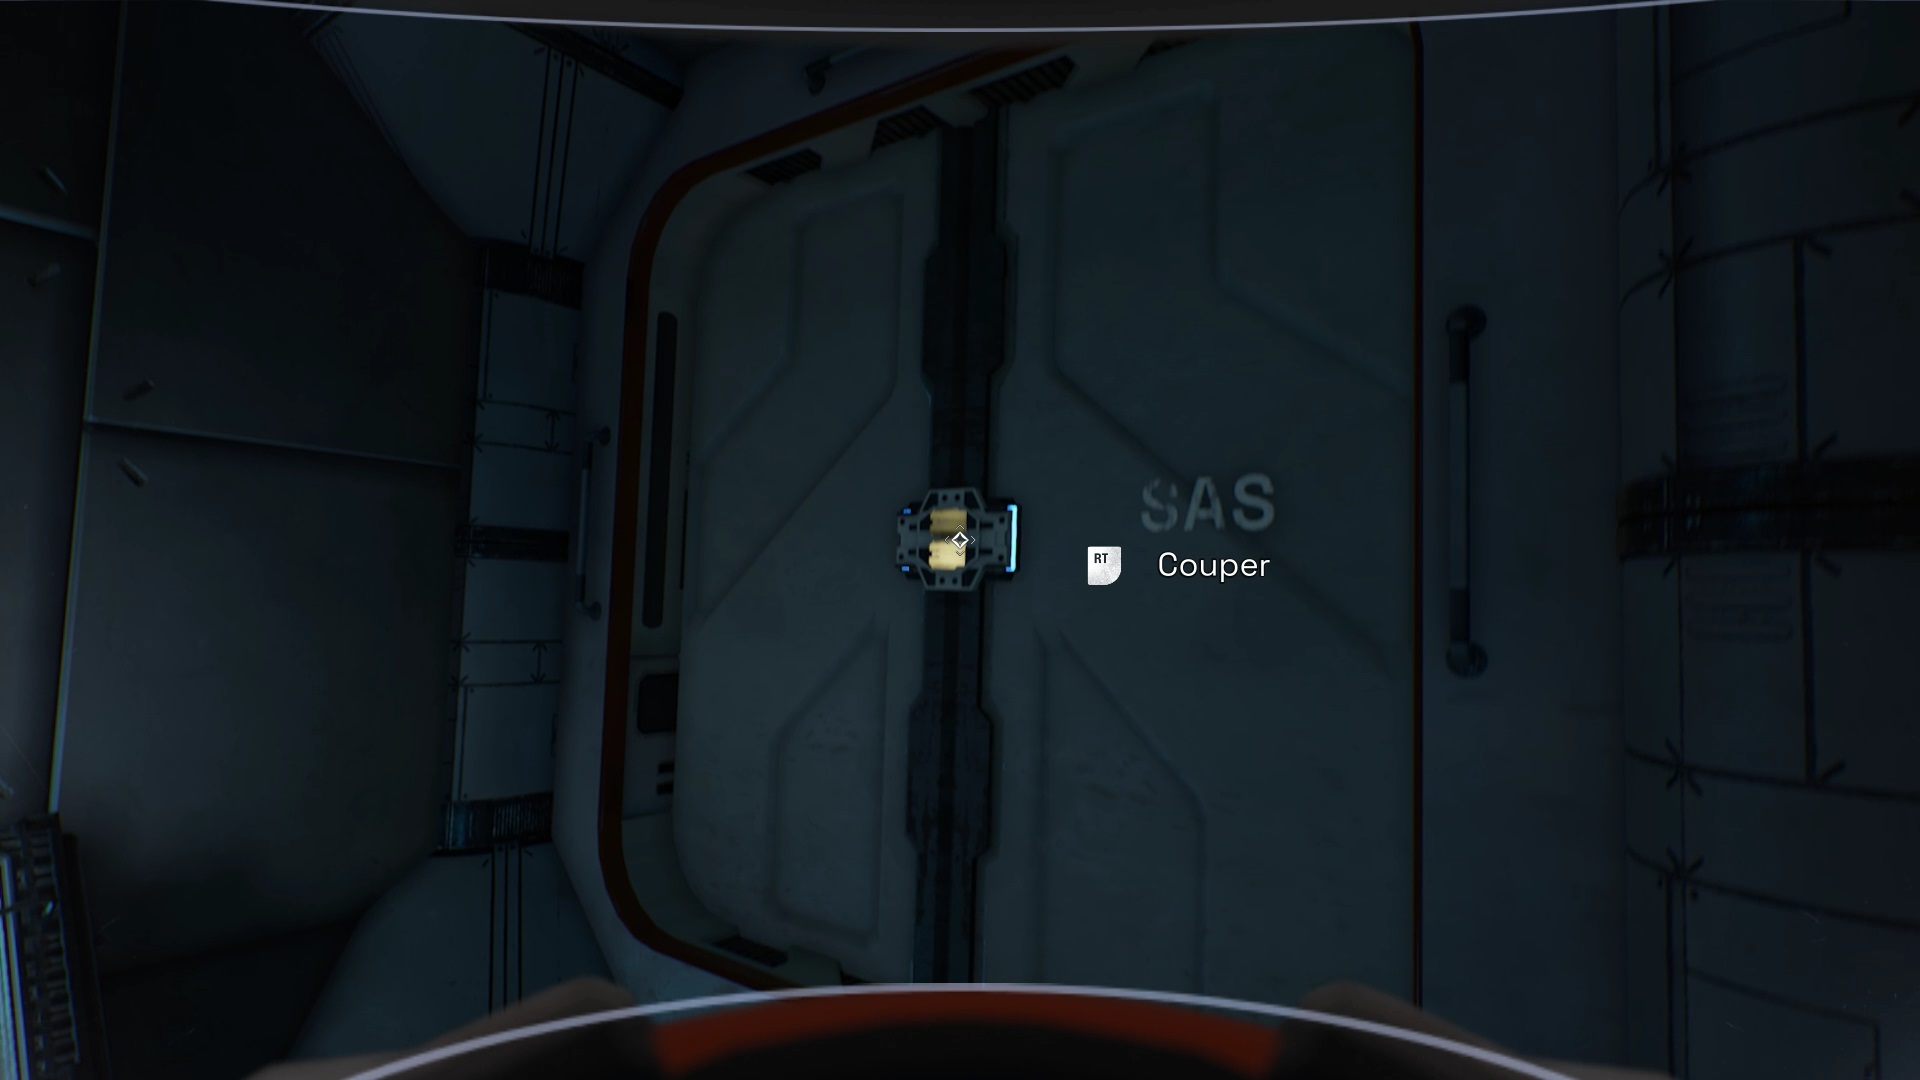
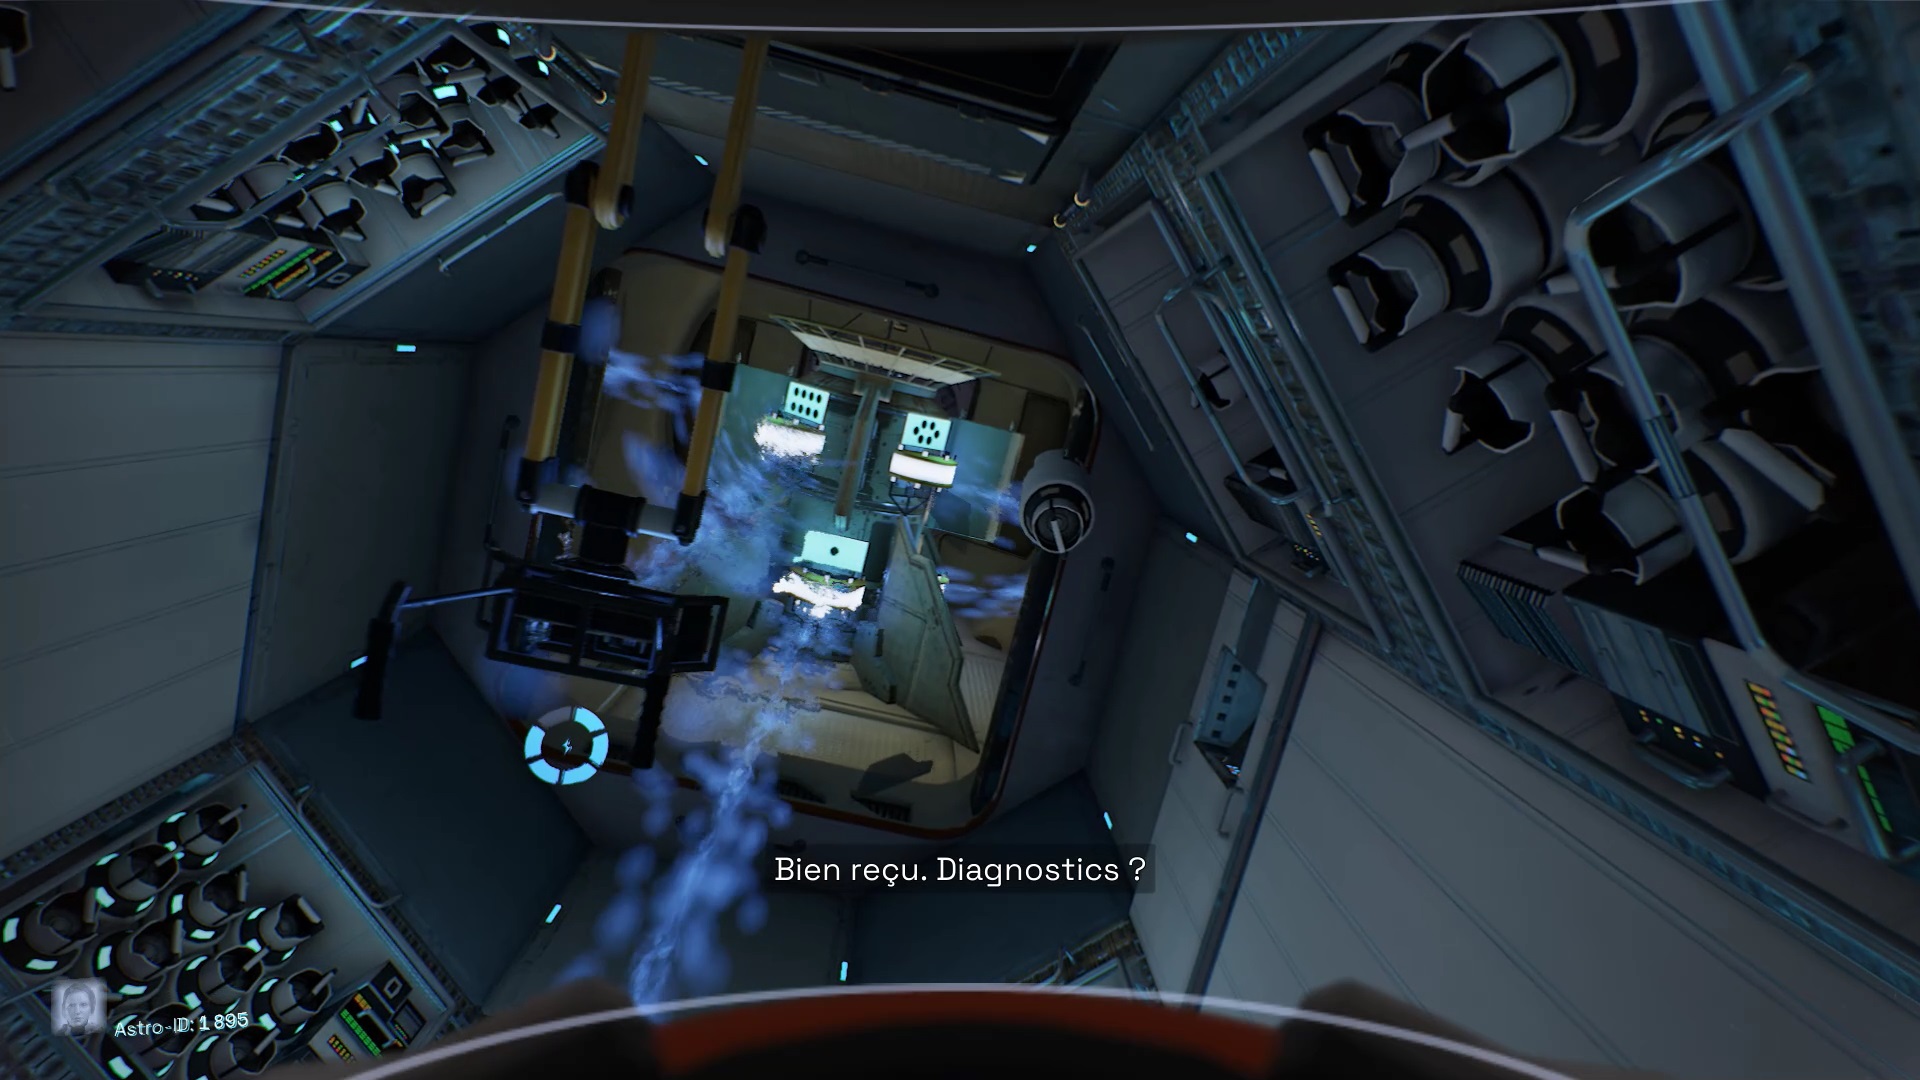
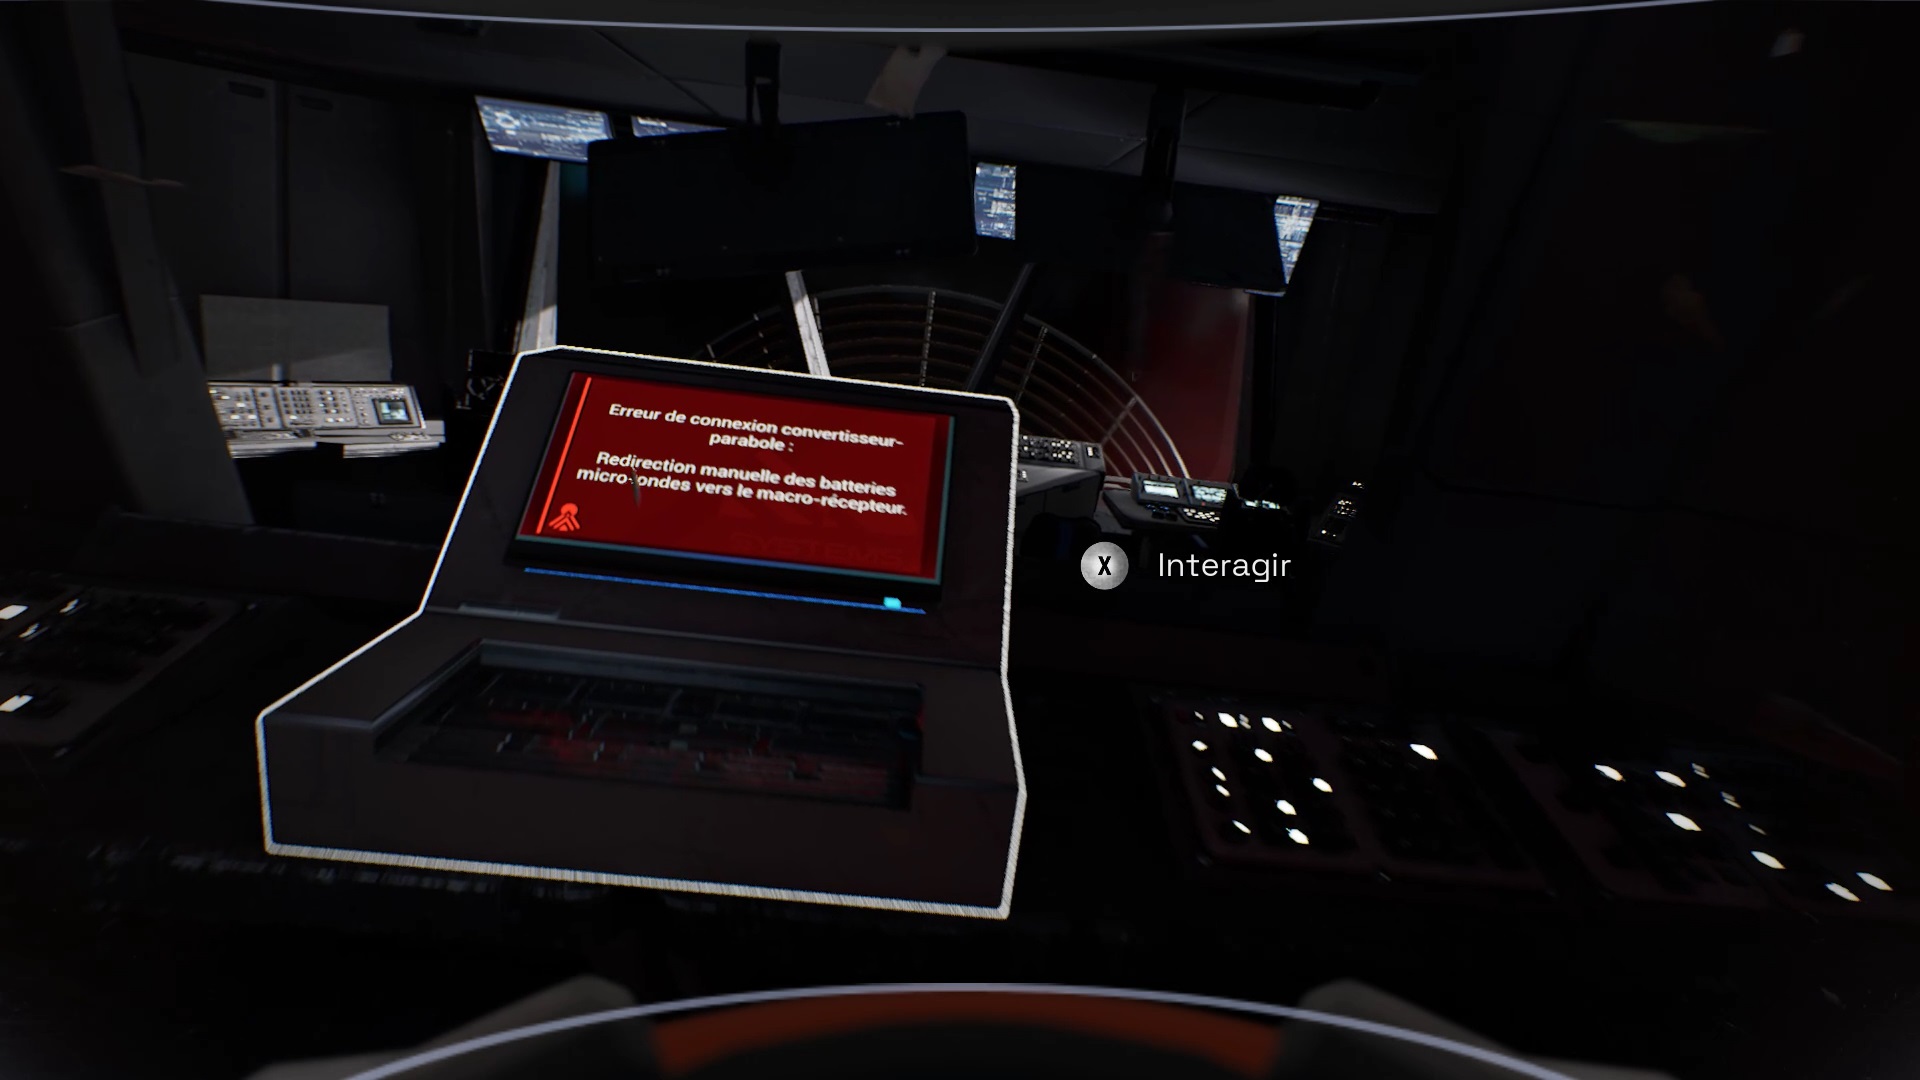
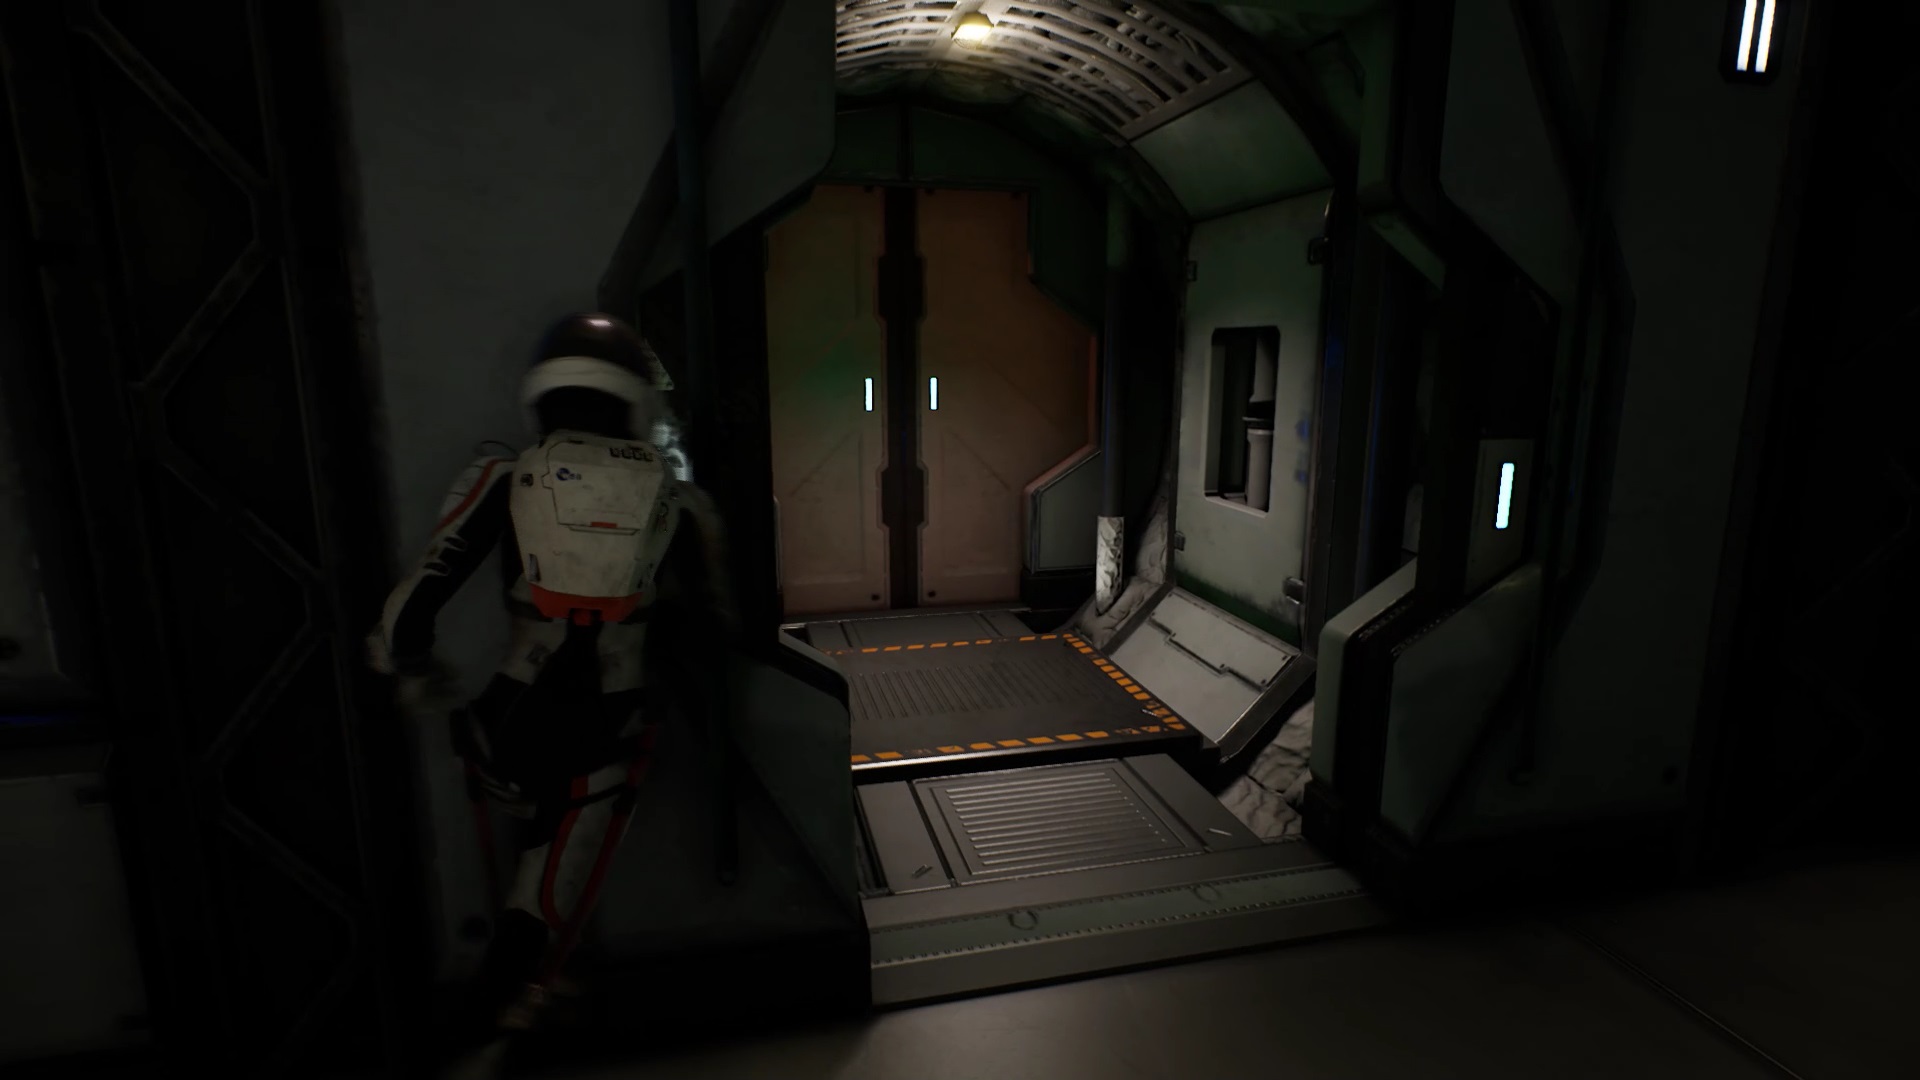
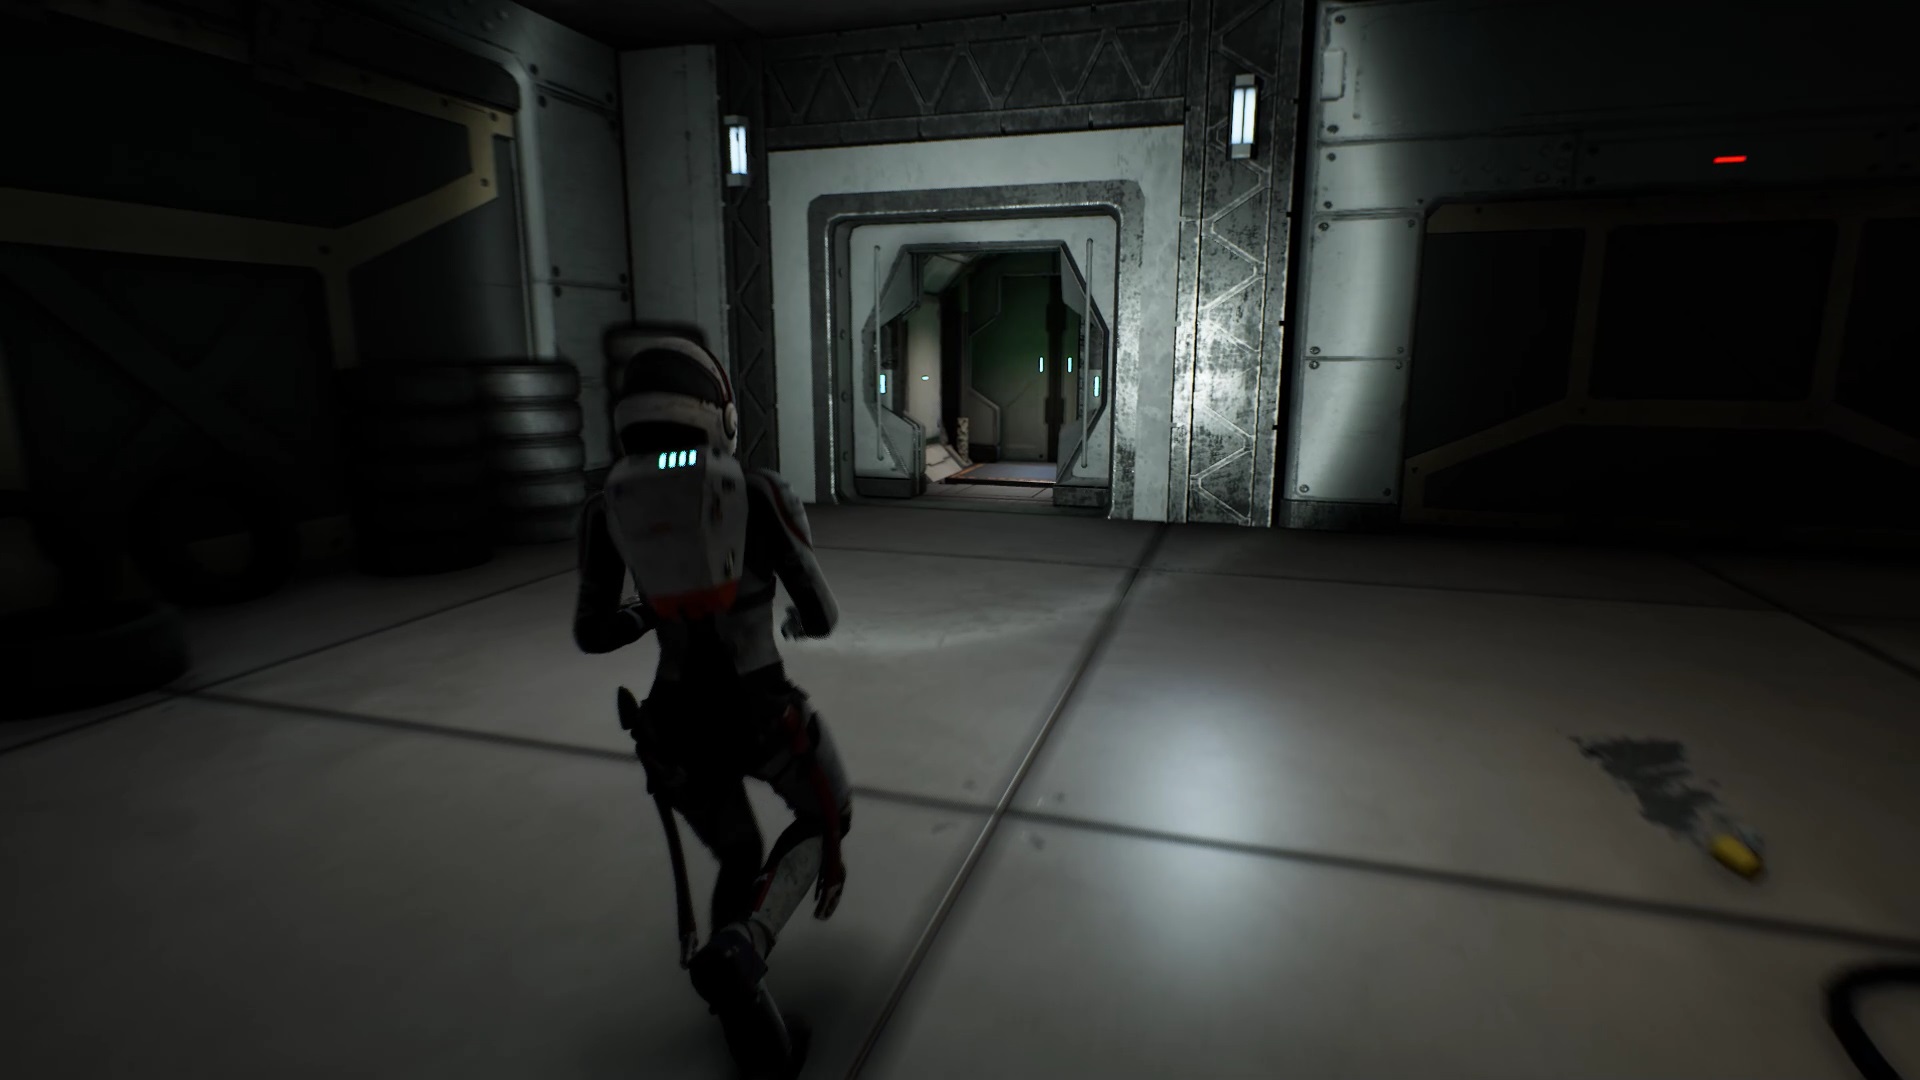
Move forward to enter a sas. Activate the switch to exit the airlock. In the control room, analyze where the debris came from. On the left side of the room, you discover that the security doors have been activated. A red light comes out of this door. Return to the hall entrance and interact with the main bridge terminal.
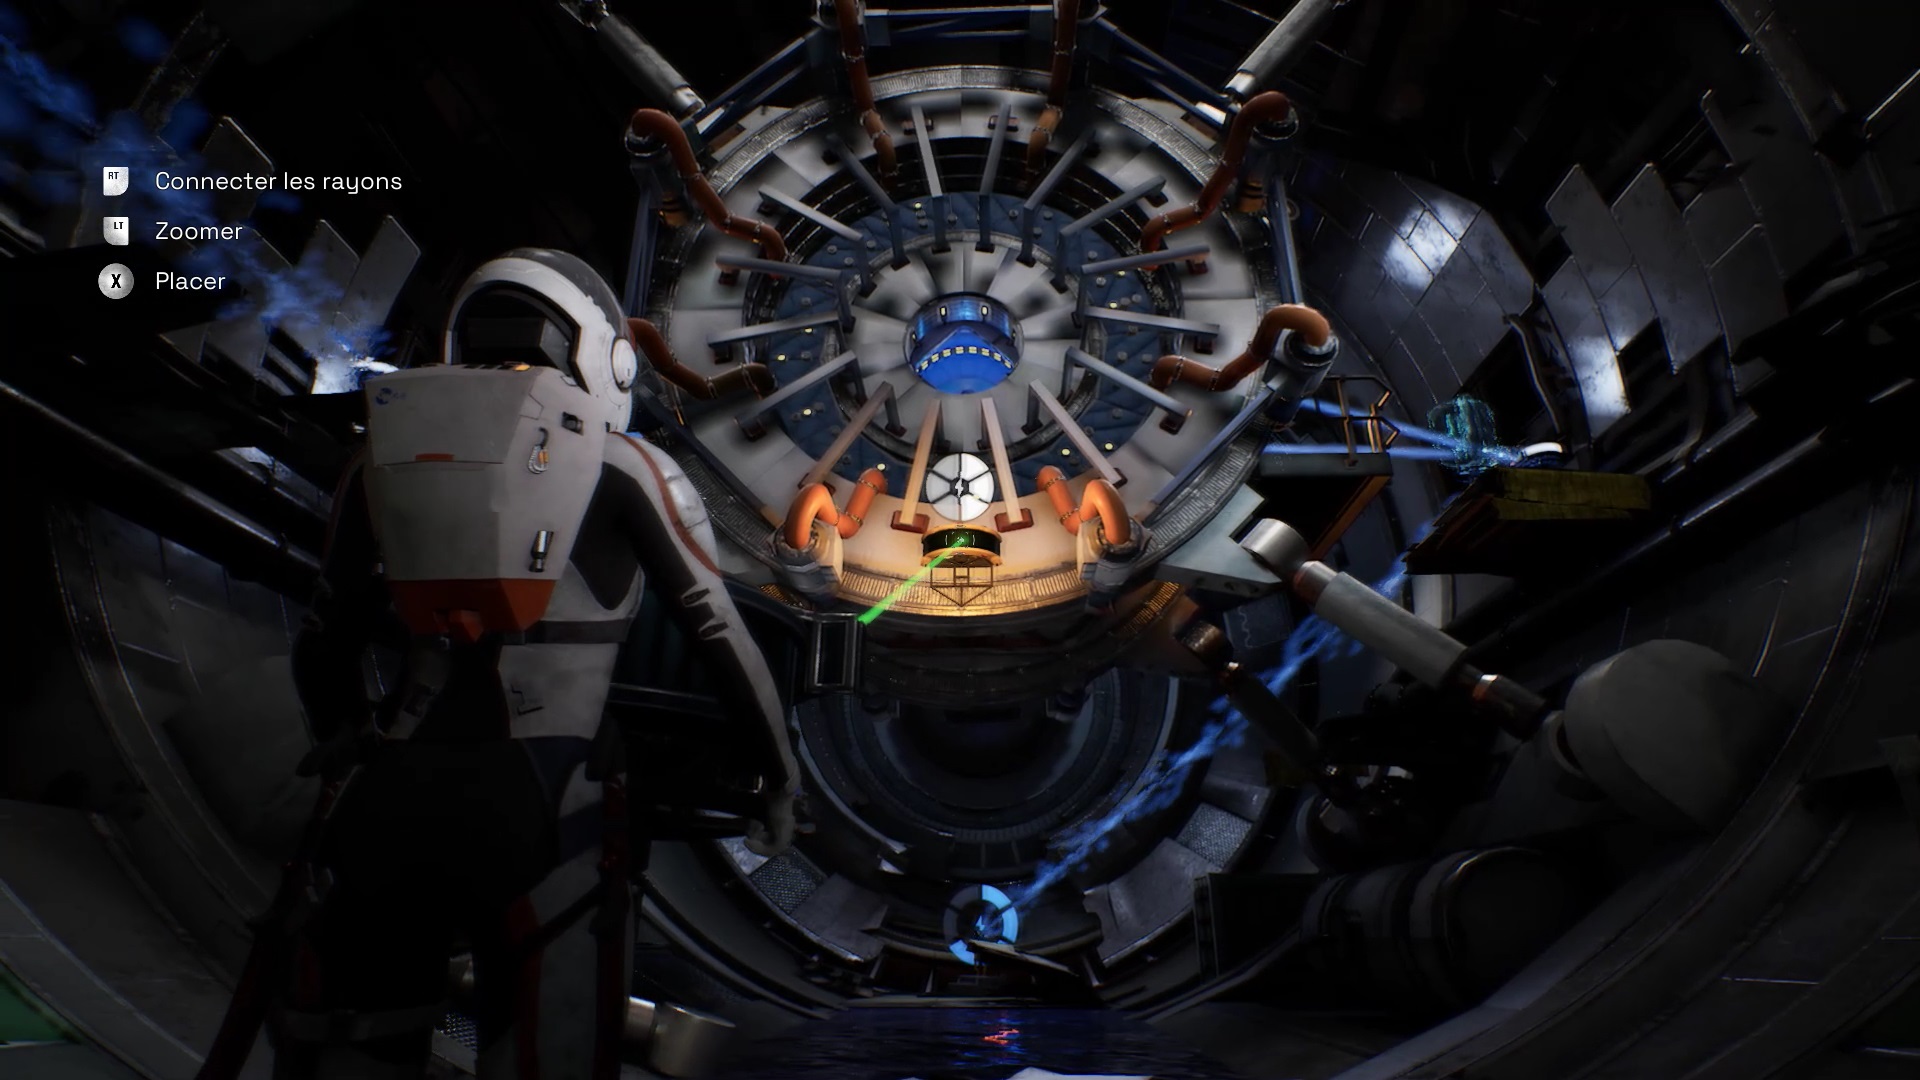
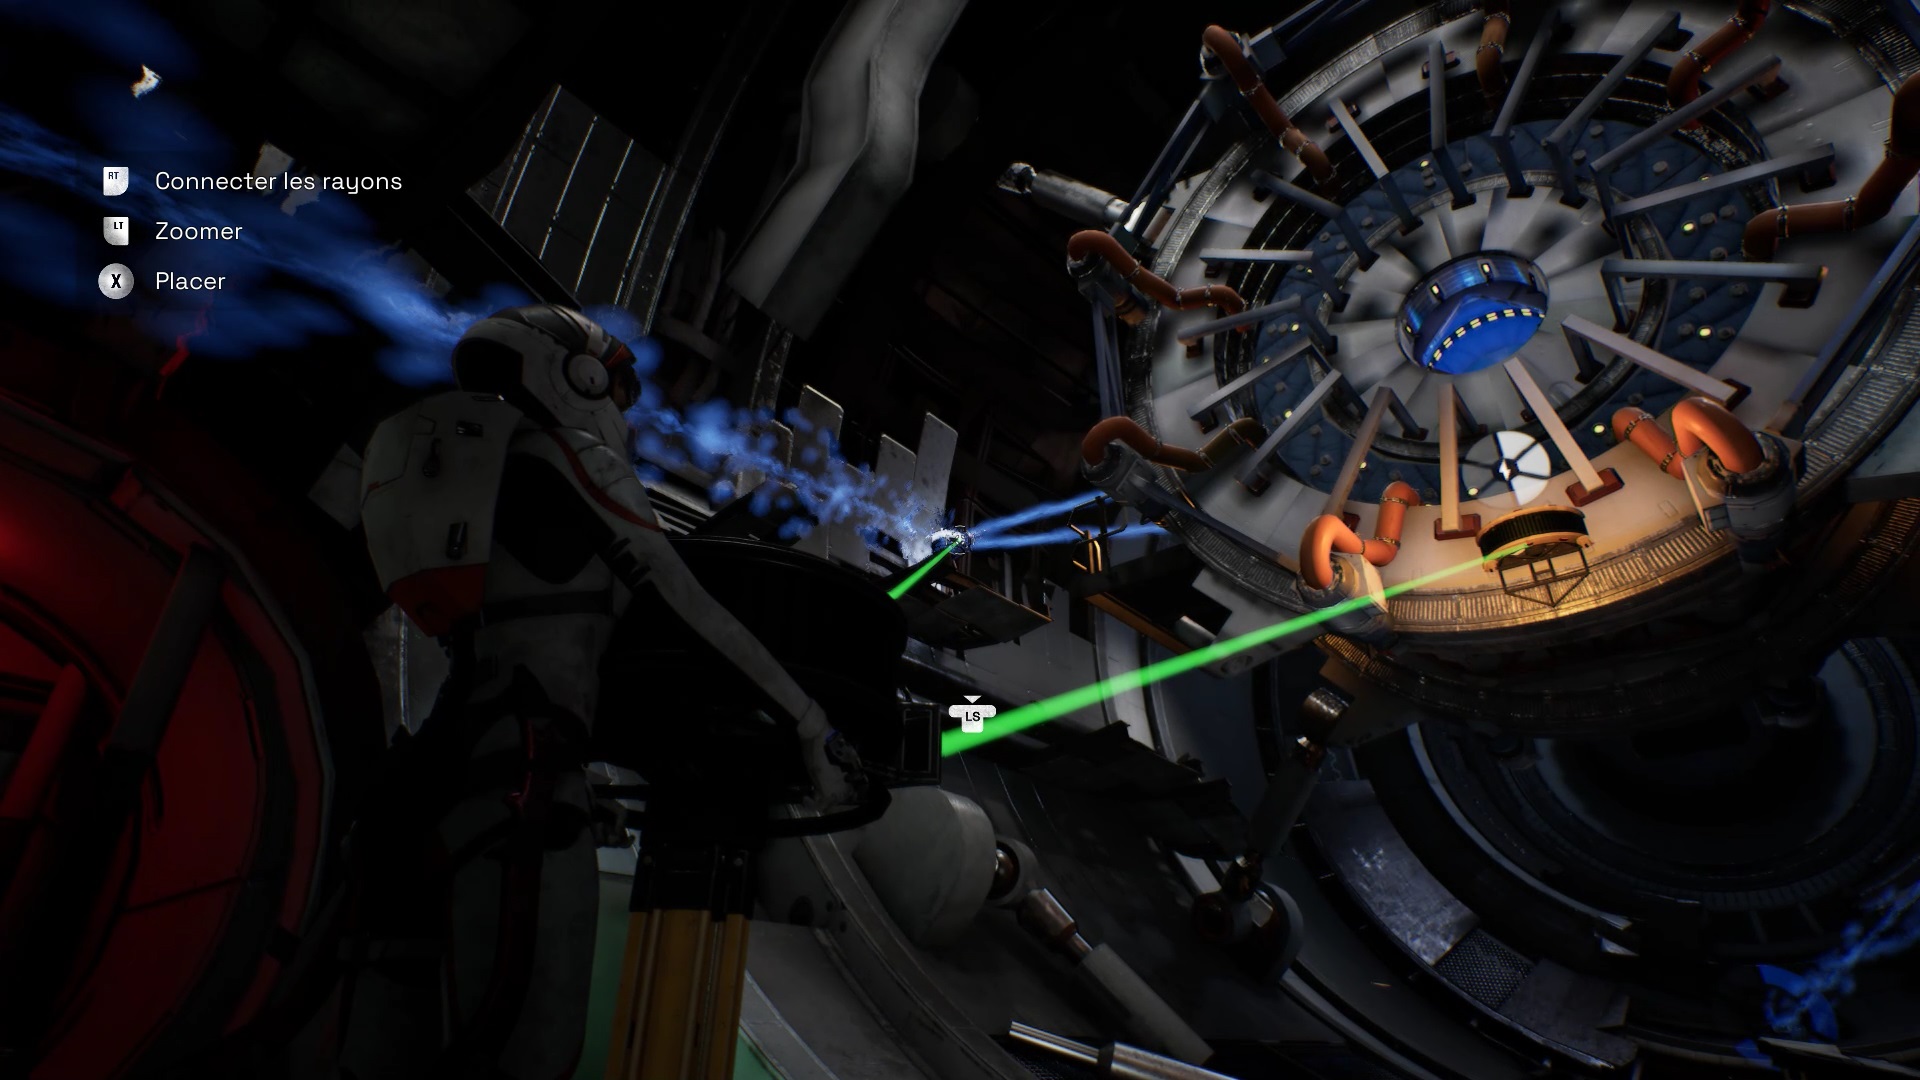
Take the door that just opened. Enter the airlock and open it with the switch. You must reestablish the connection to the MPT. In this area you have many stream points and spokes. To start, connect a spoke facing the entrance to stream point number 1.
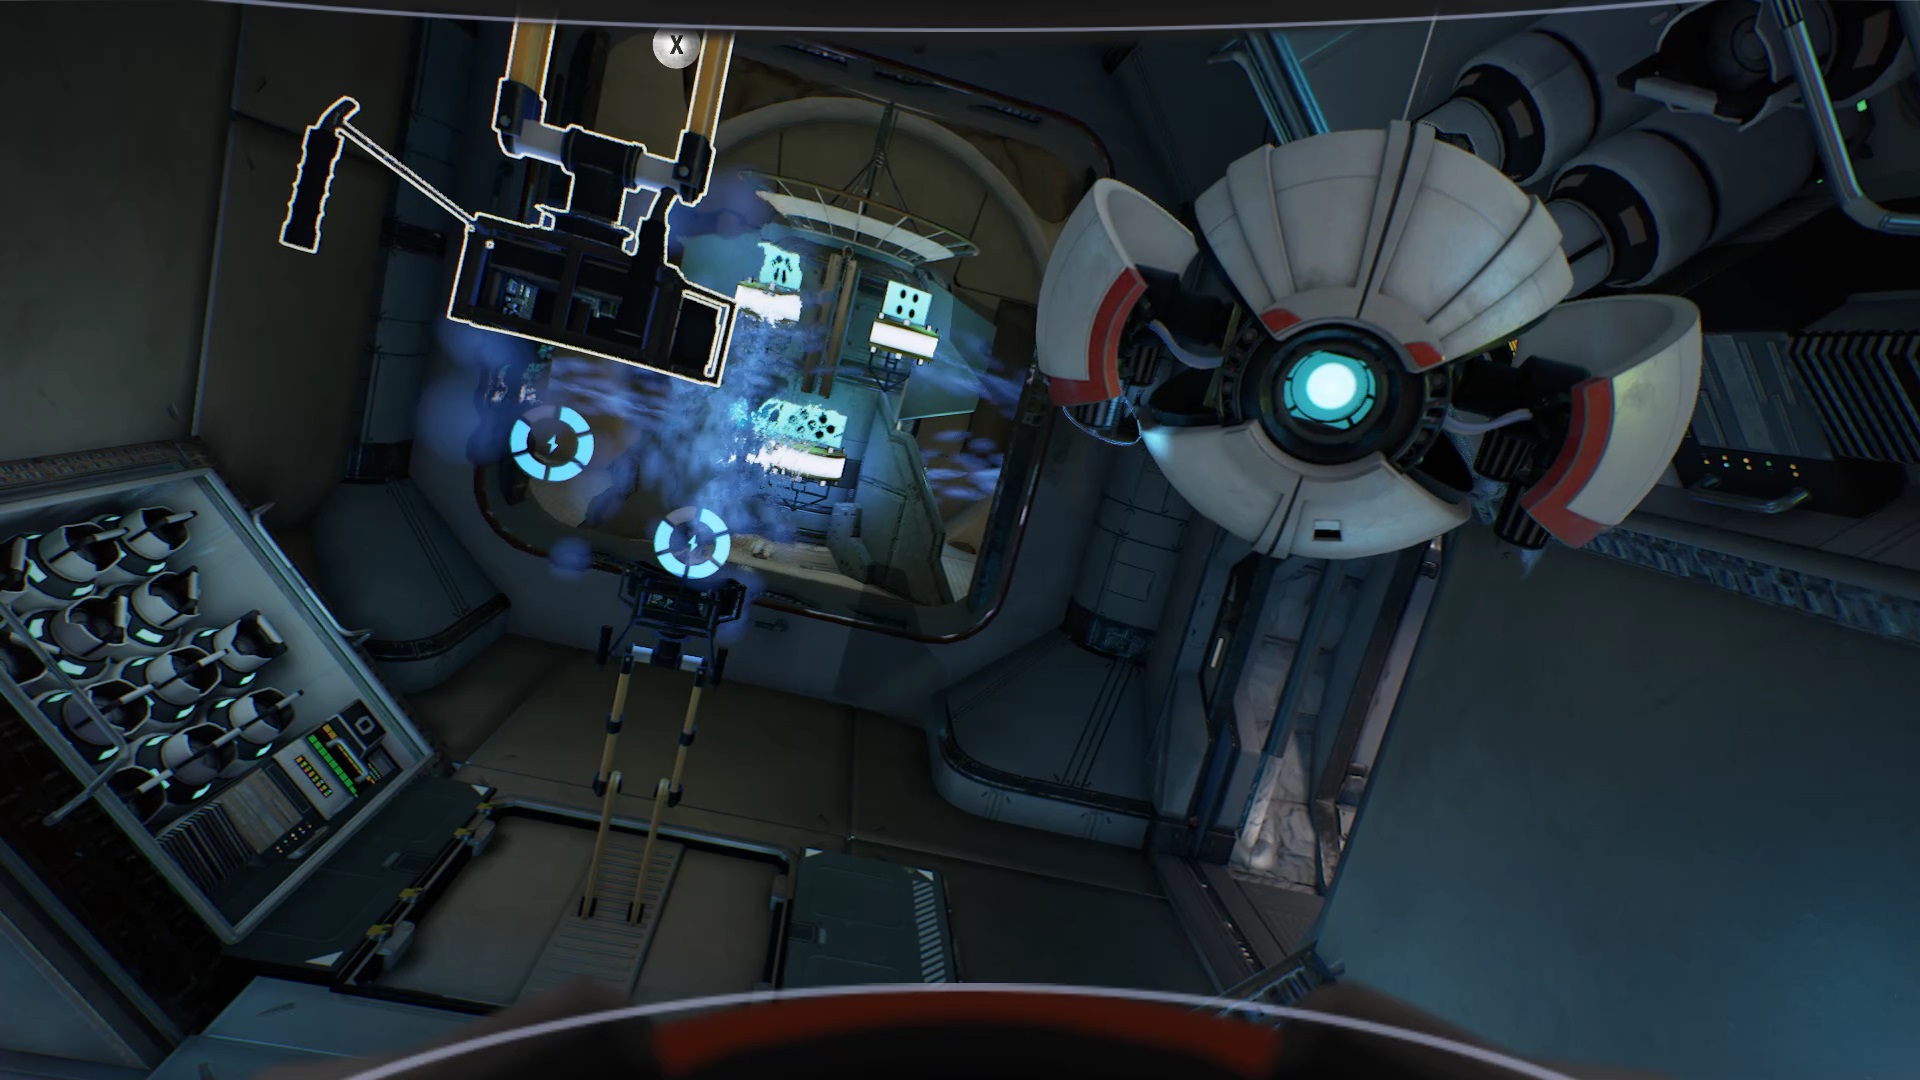
Now you need to find point number two and connect a spoke to it. Point streame 2 is on the left. Unfortunately, the spokes facing this point are not accessible. Behind the beam you activated is a locked door. Use Ayla to unlock the door. Go ahead and use your laser on the doors blocking the way.
As you move forward, electricity blocks your way. Explode all the oxygen canisters with your laser to continue on your way. Then use your laser on the doors of the room to reach new rays. Connect the ray to the streame point with the symbol 2.
In this room, unlock the main door thanks to Ayla. Use the second ray of the room and connect it with streame point 3.
To reach new rays, use Ayla. Pass it through the conduits of the room where you are. Proceed through the conduits and use Ayla on the mechanism of the door to the next room to open it. Go to this room and connect the beam to streame point 4.
Connect the second ray to the streame point 5. Continue forward through the door to the left of the room. In the airlock with the new rays, use your laser on the doors to unlock them.
Connect the ray to streame point 6 then connect the second spoke to streame point 7. Return to the first room with the spokes facing point 1. Connect the last ray to streame point 8.
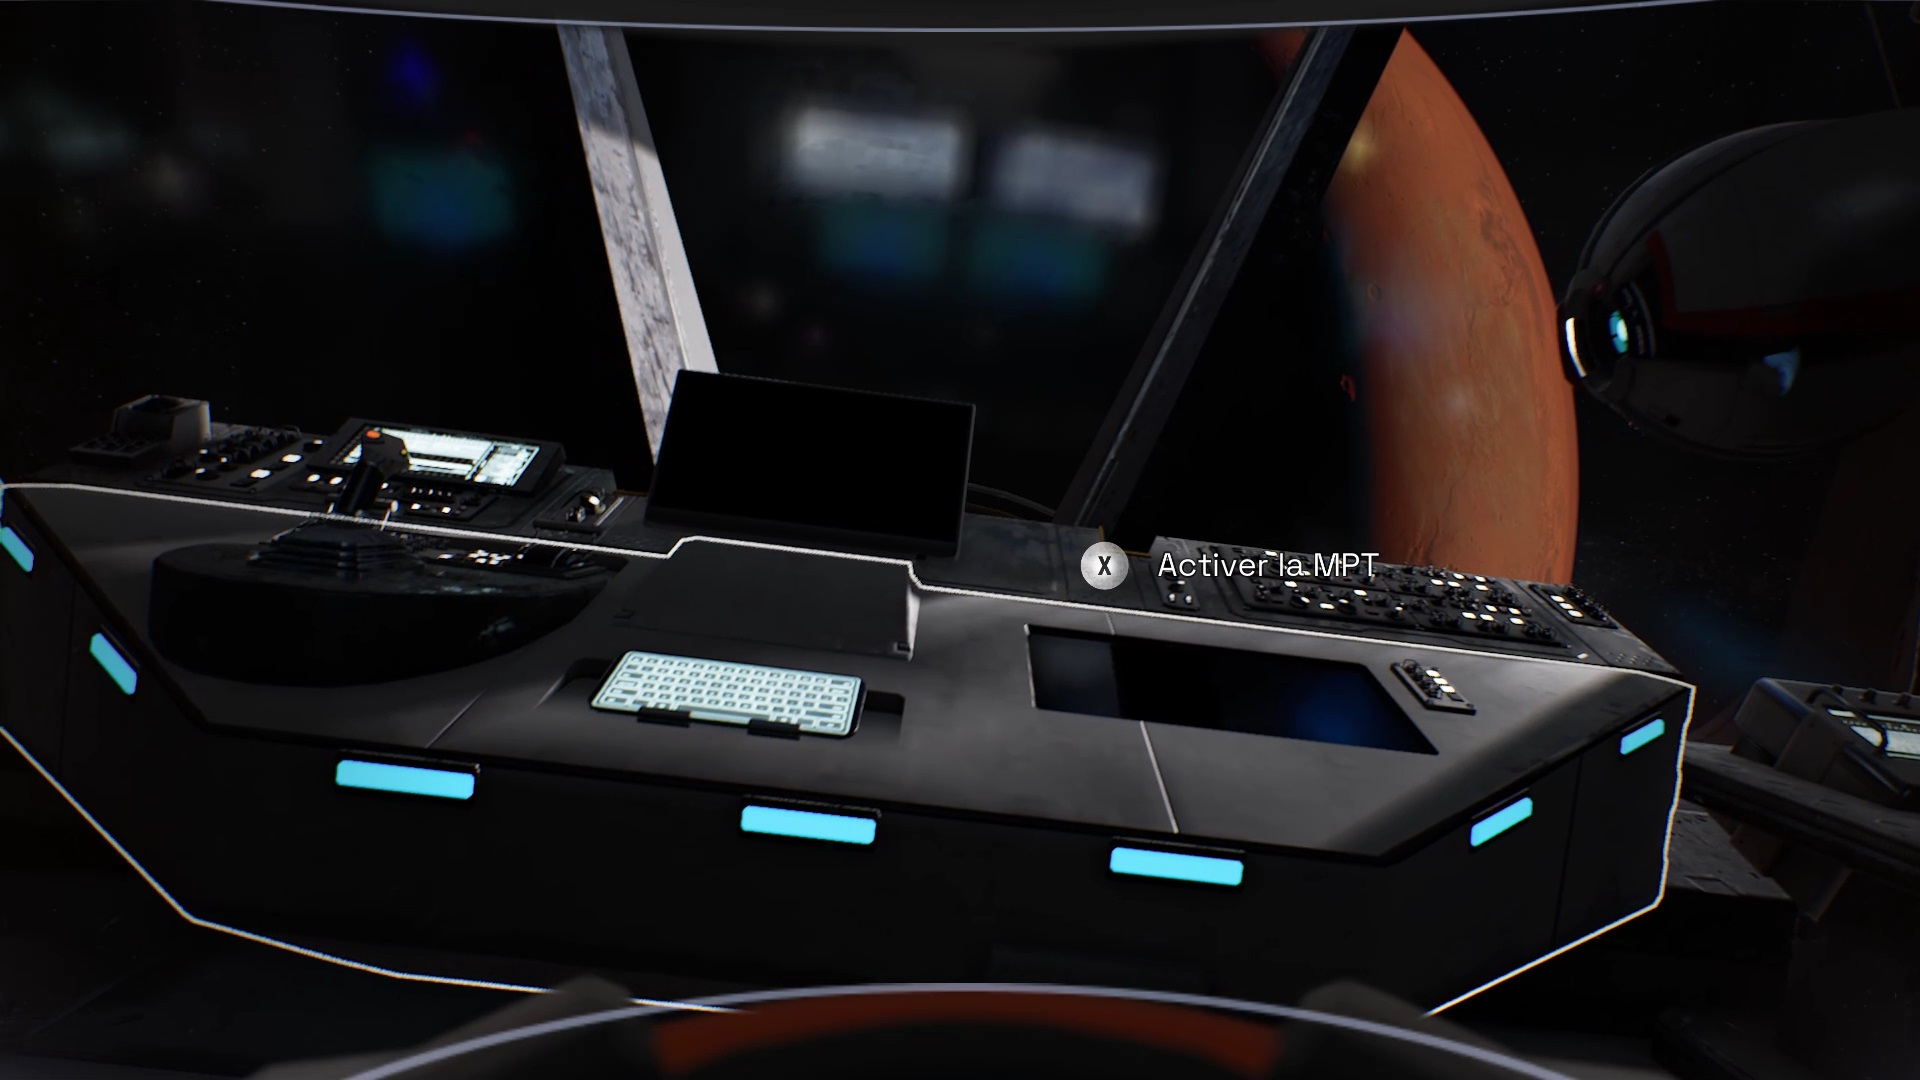
Return to the control room and interact with the bridge terminal. Then go reestablish the connection with the MPT on the control panel. A cutscene begins and you return to your shuttle.

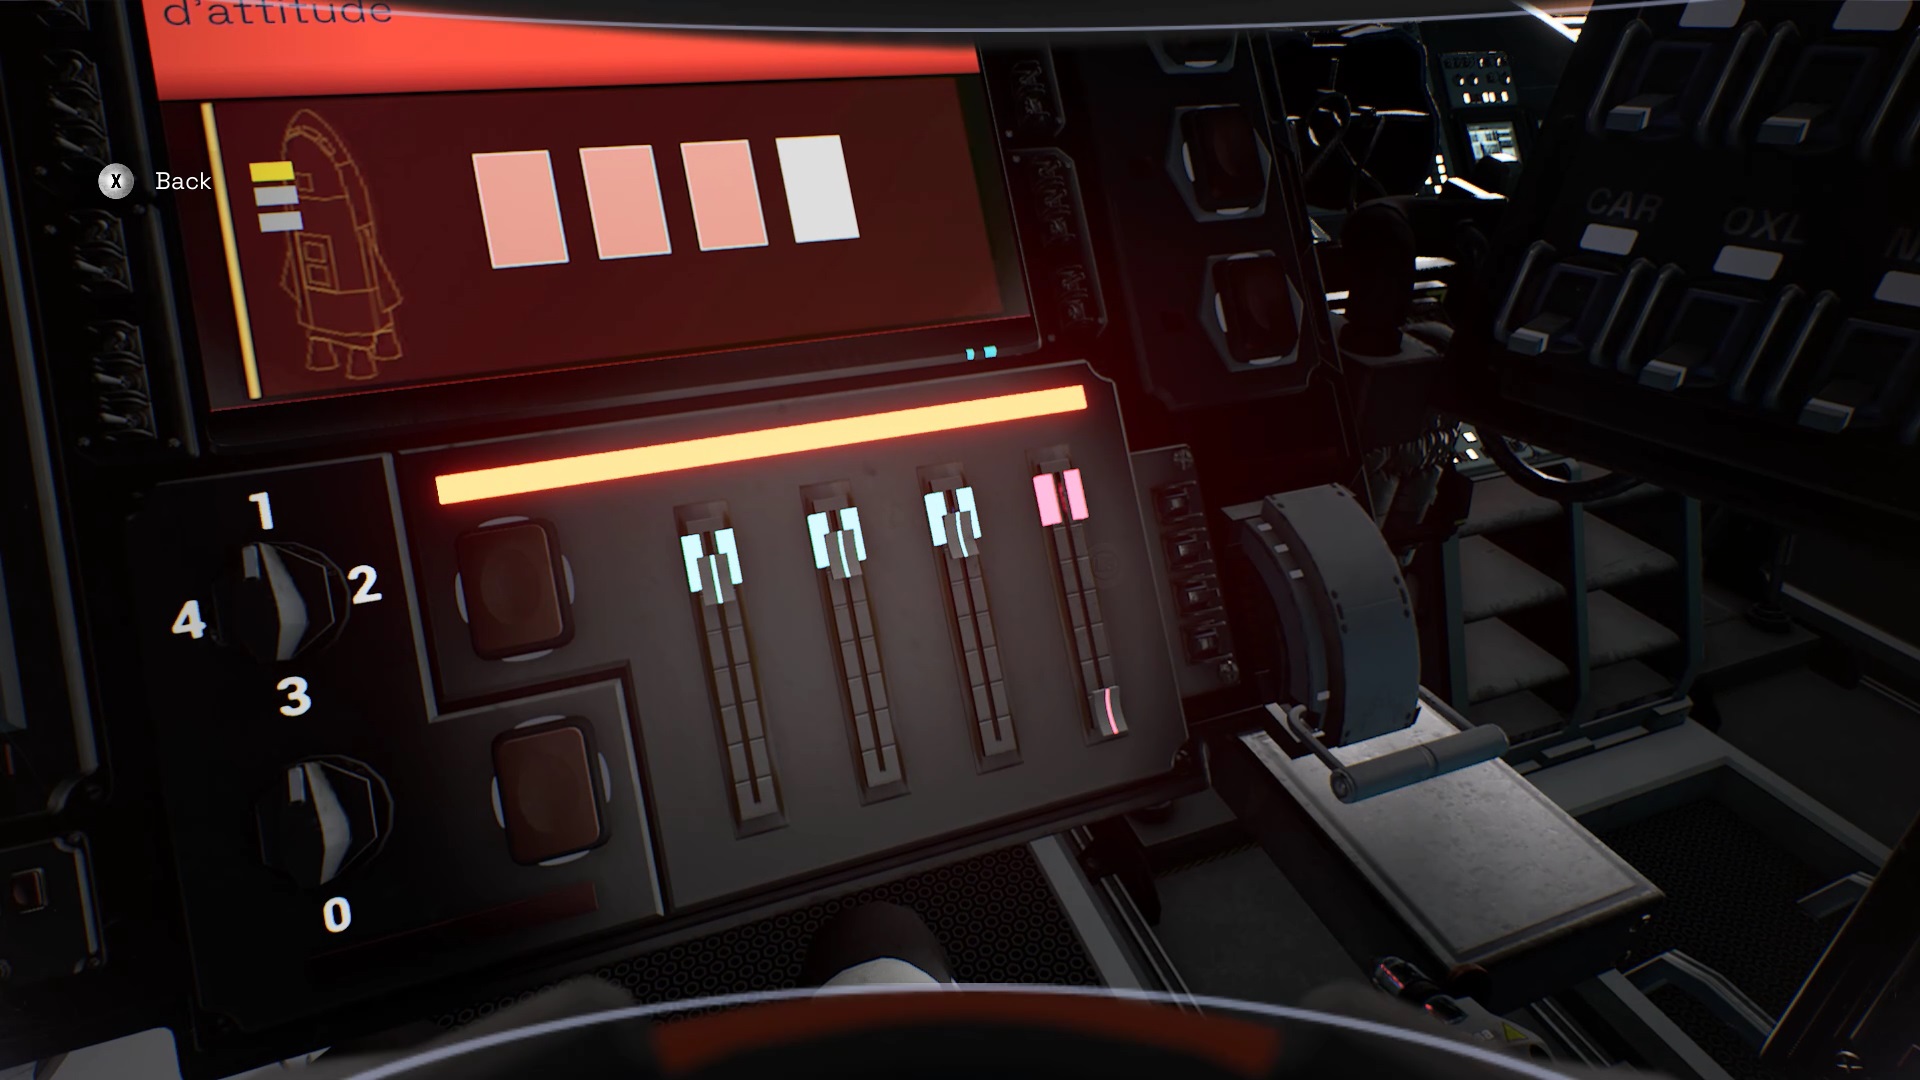
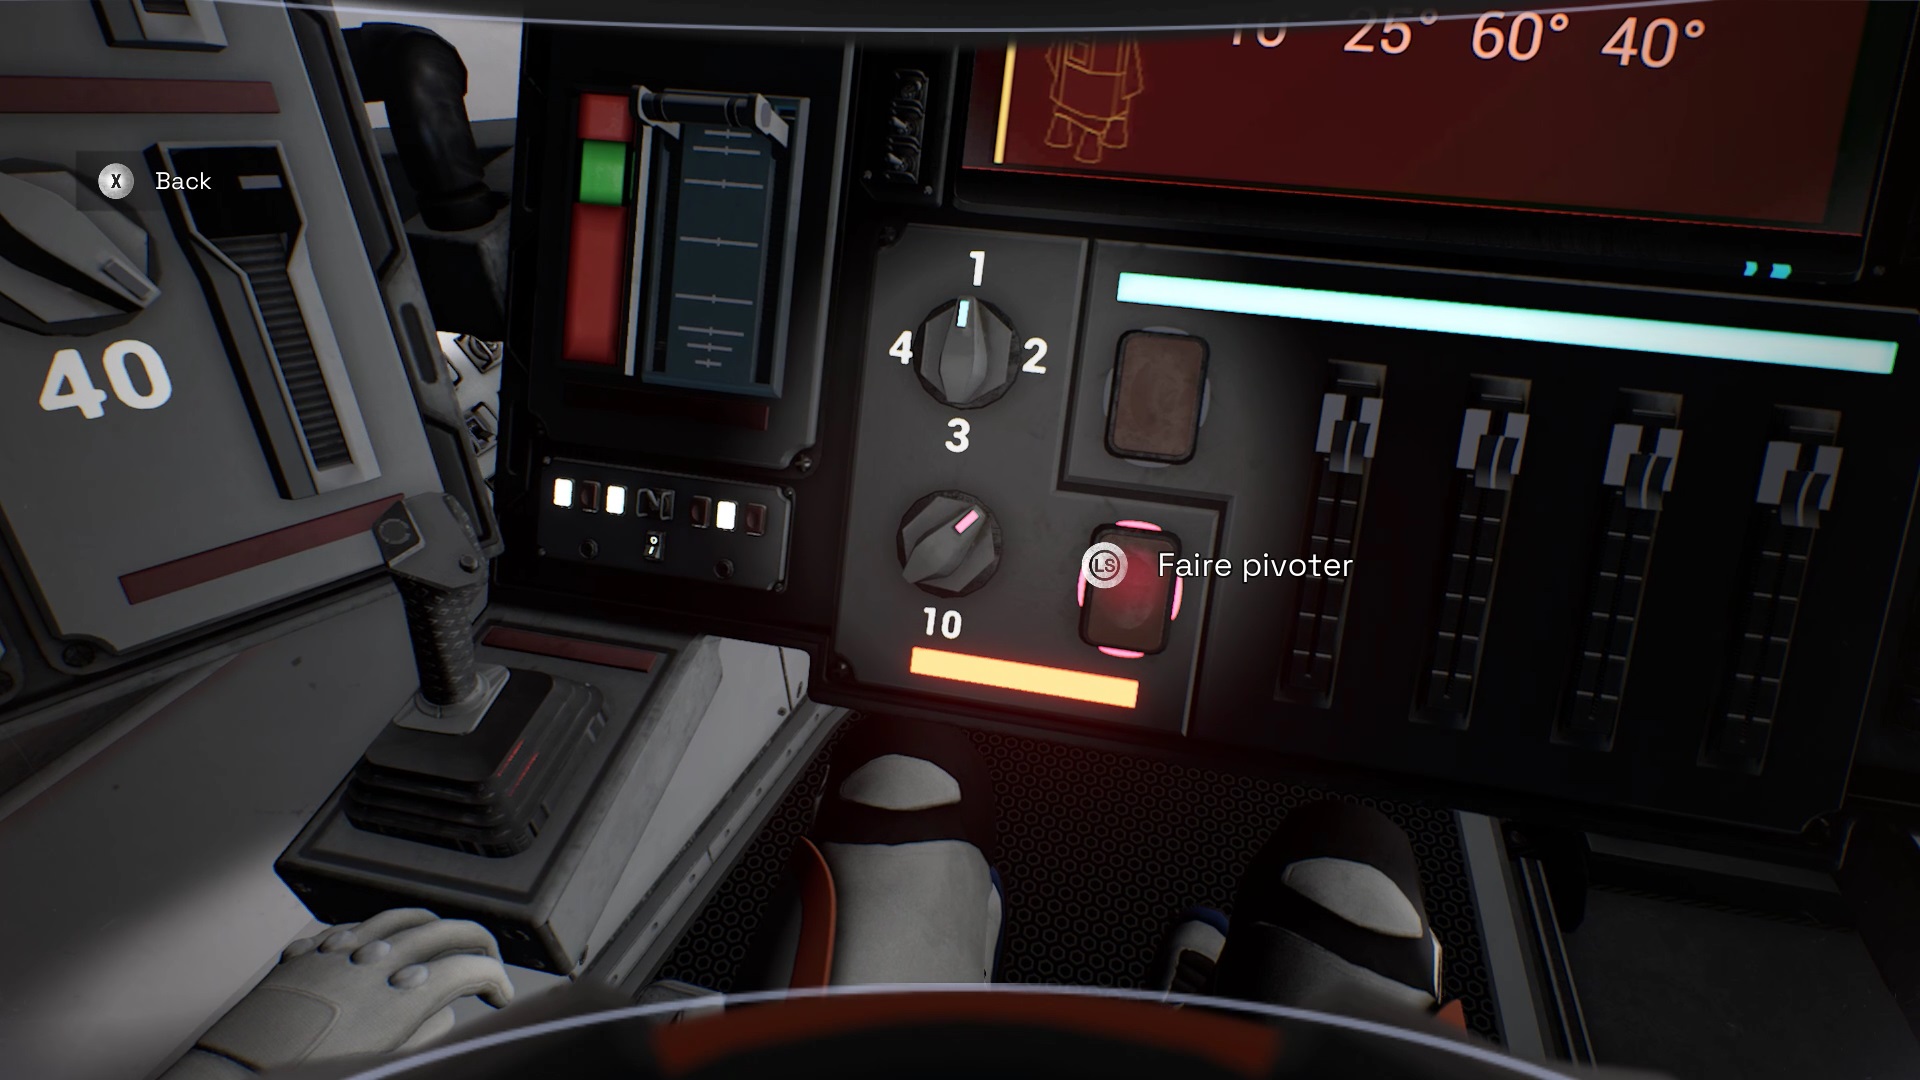
To stabilize the ship, align the notches at the bottom of the panel with the red part and press the red button. Data is displayed on your panel. Rotate the red knob under the panel following the numbers shown on the screen. Once you have rotated the button with the number displayed, press the red button to validate. Do the operation four times.
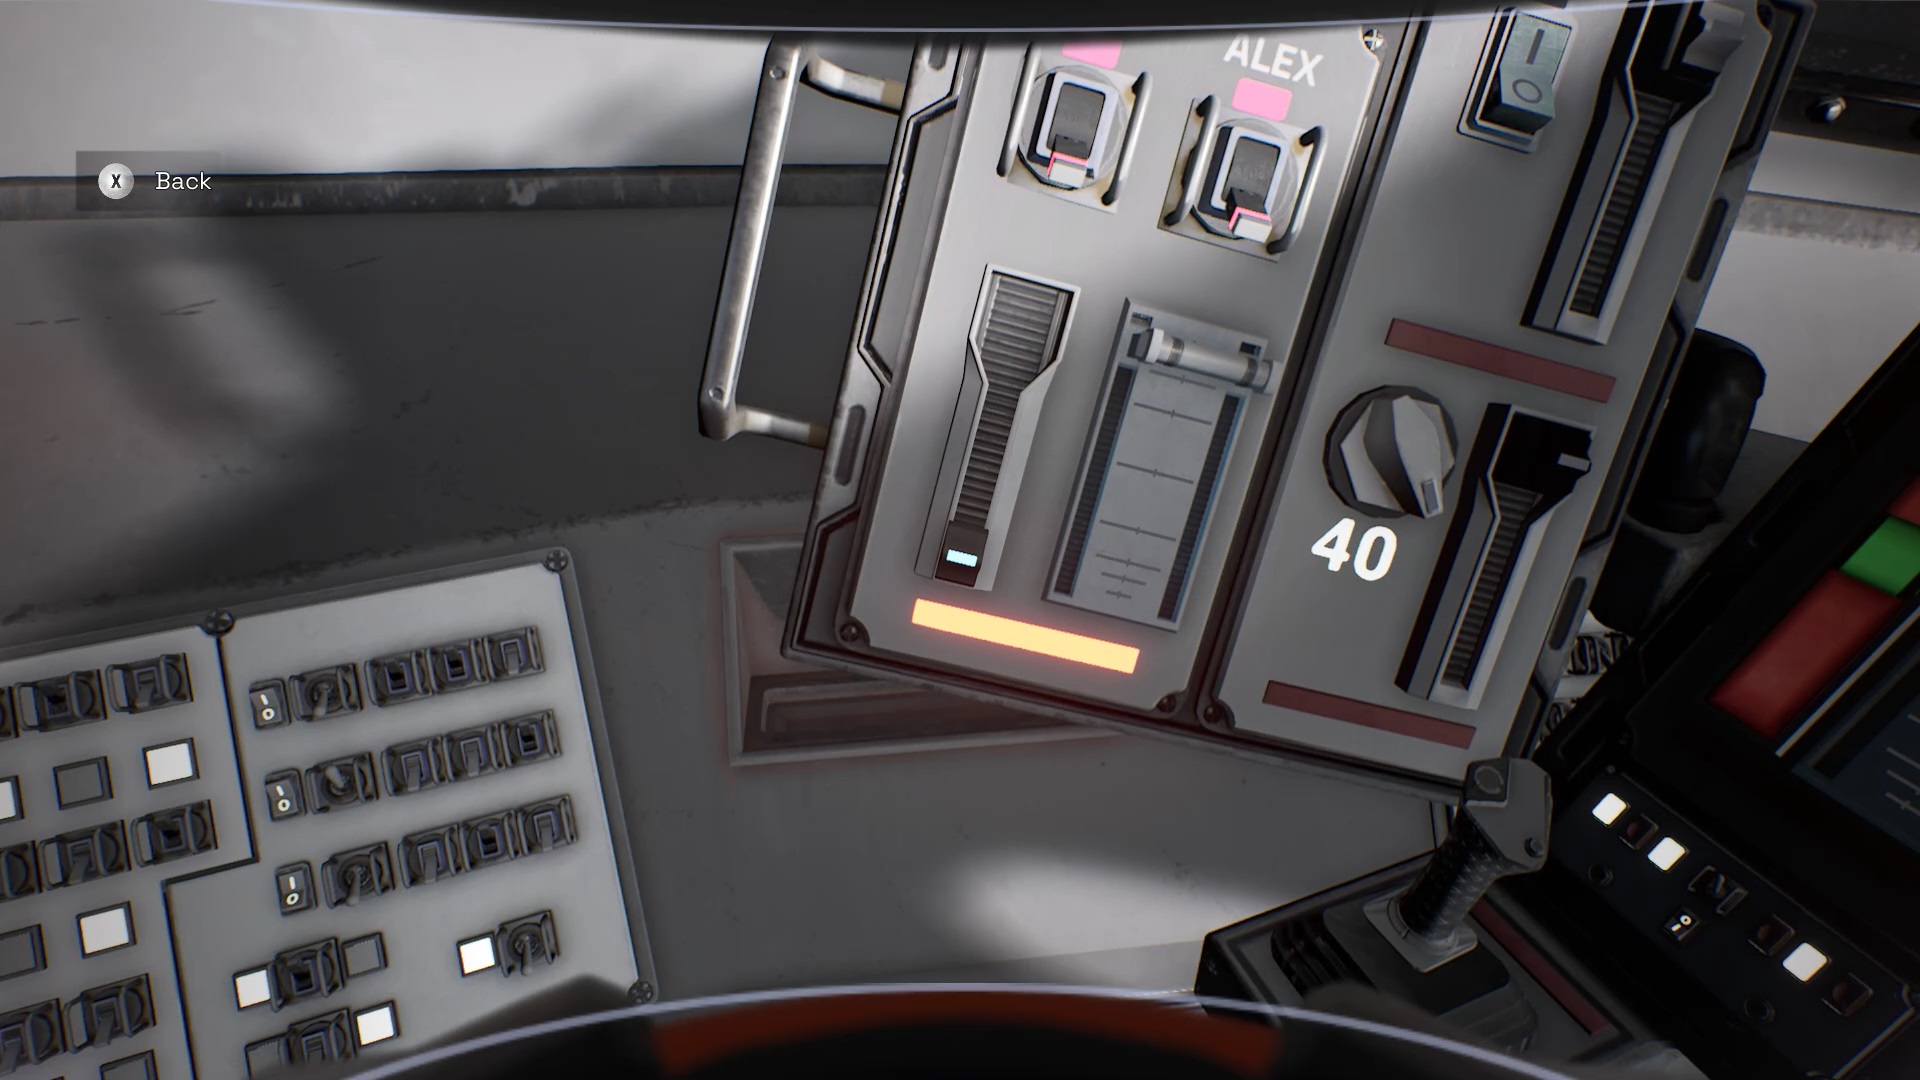
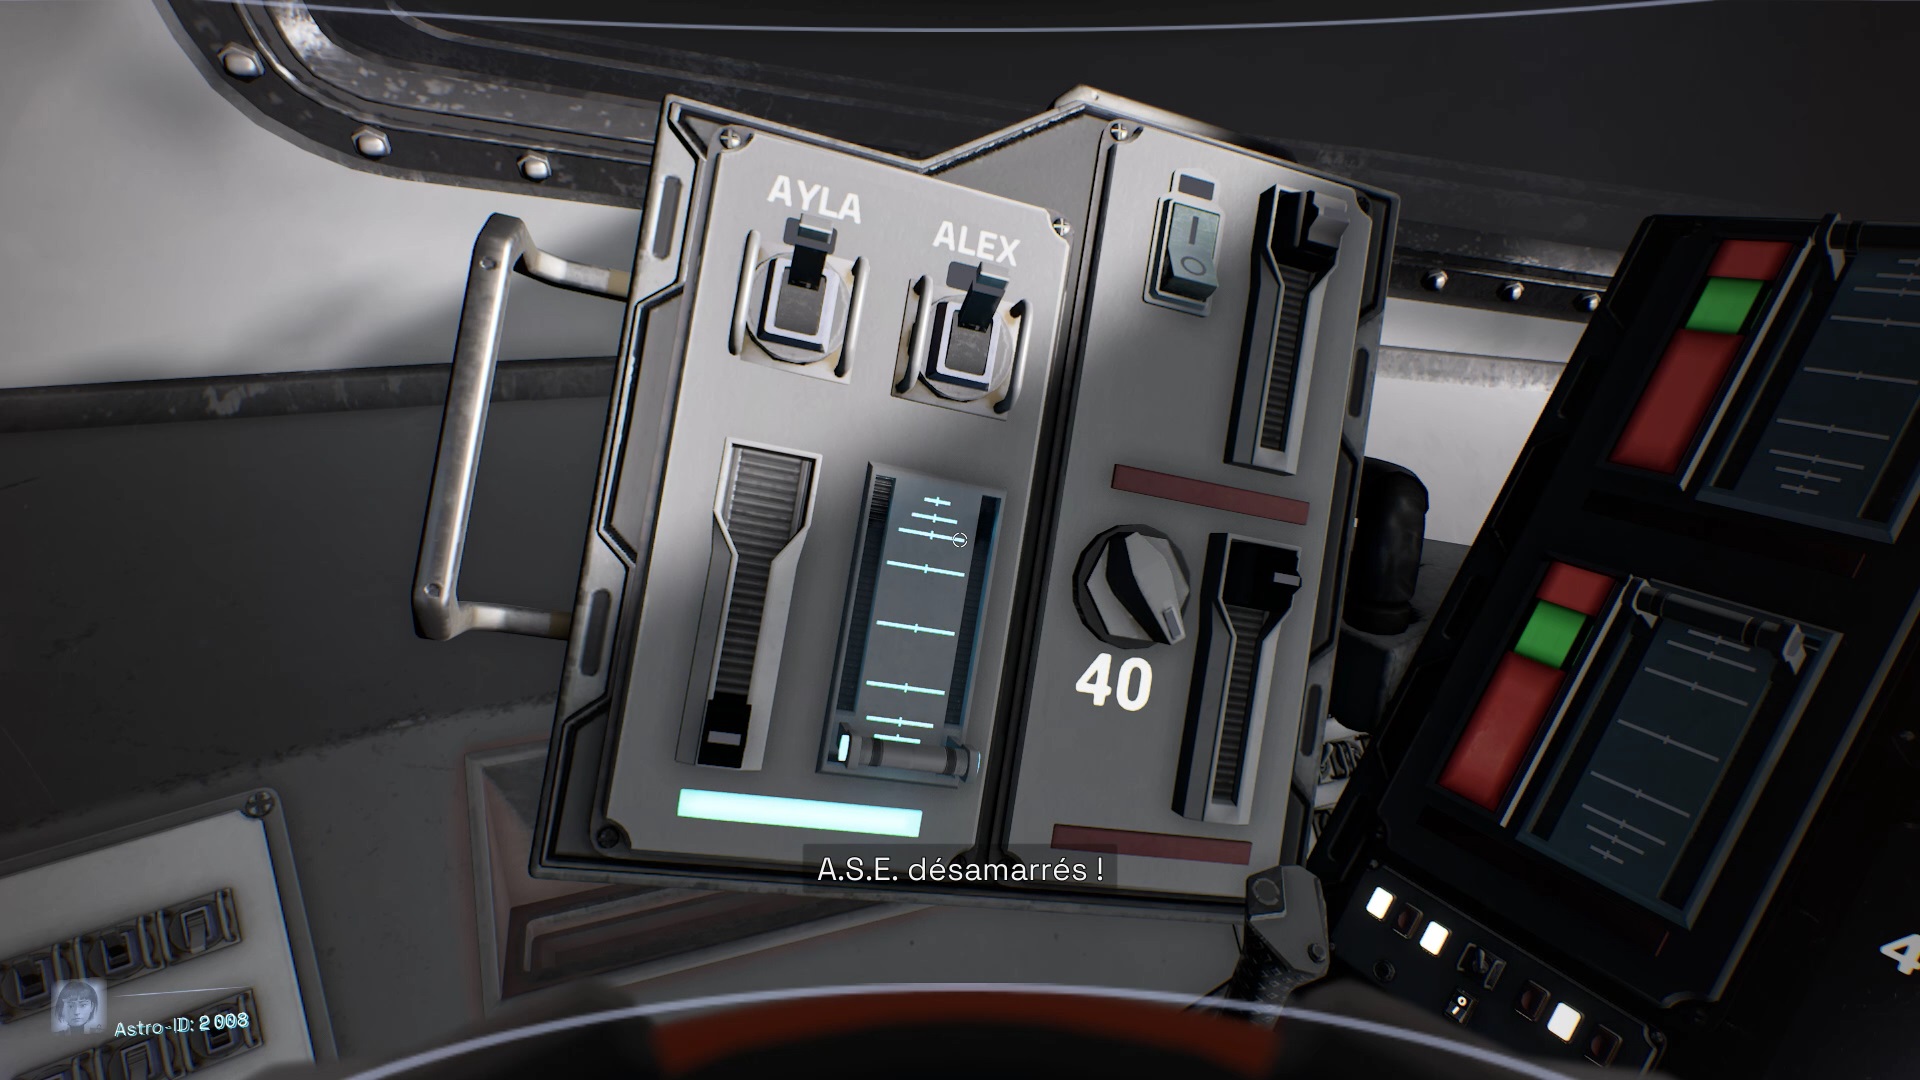
To unleash the ASEs, lower the notch on the left settings under Ayla and Alex. Interact with the Aya and Alex switches and pull down the red lever to release the ASEs.

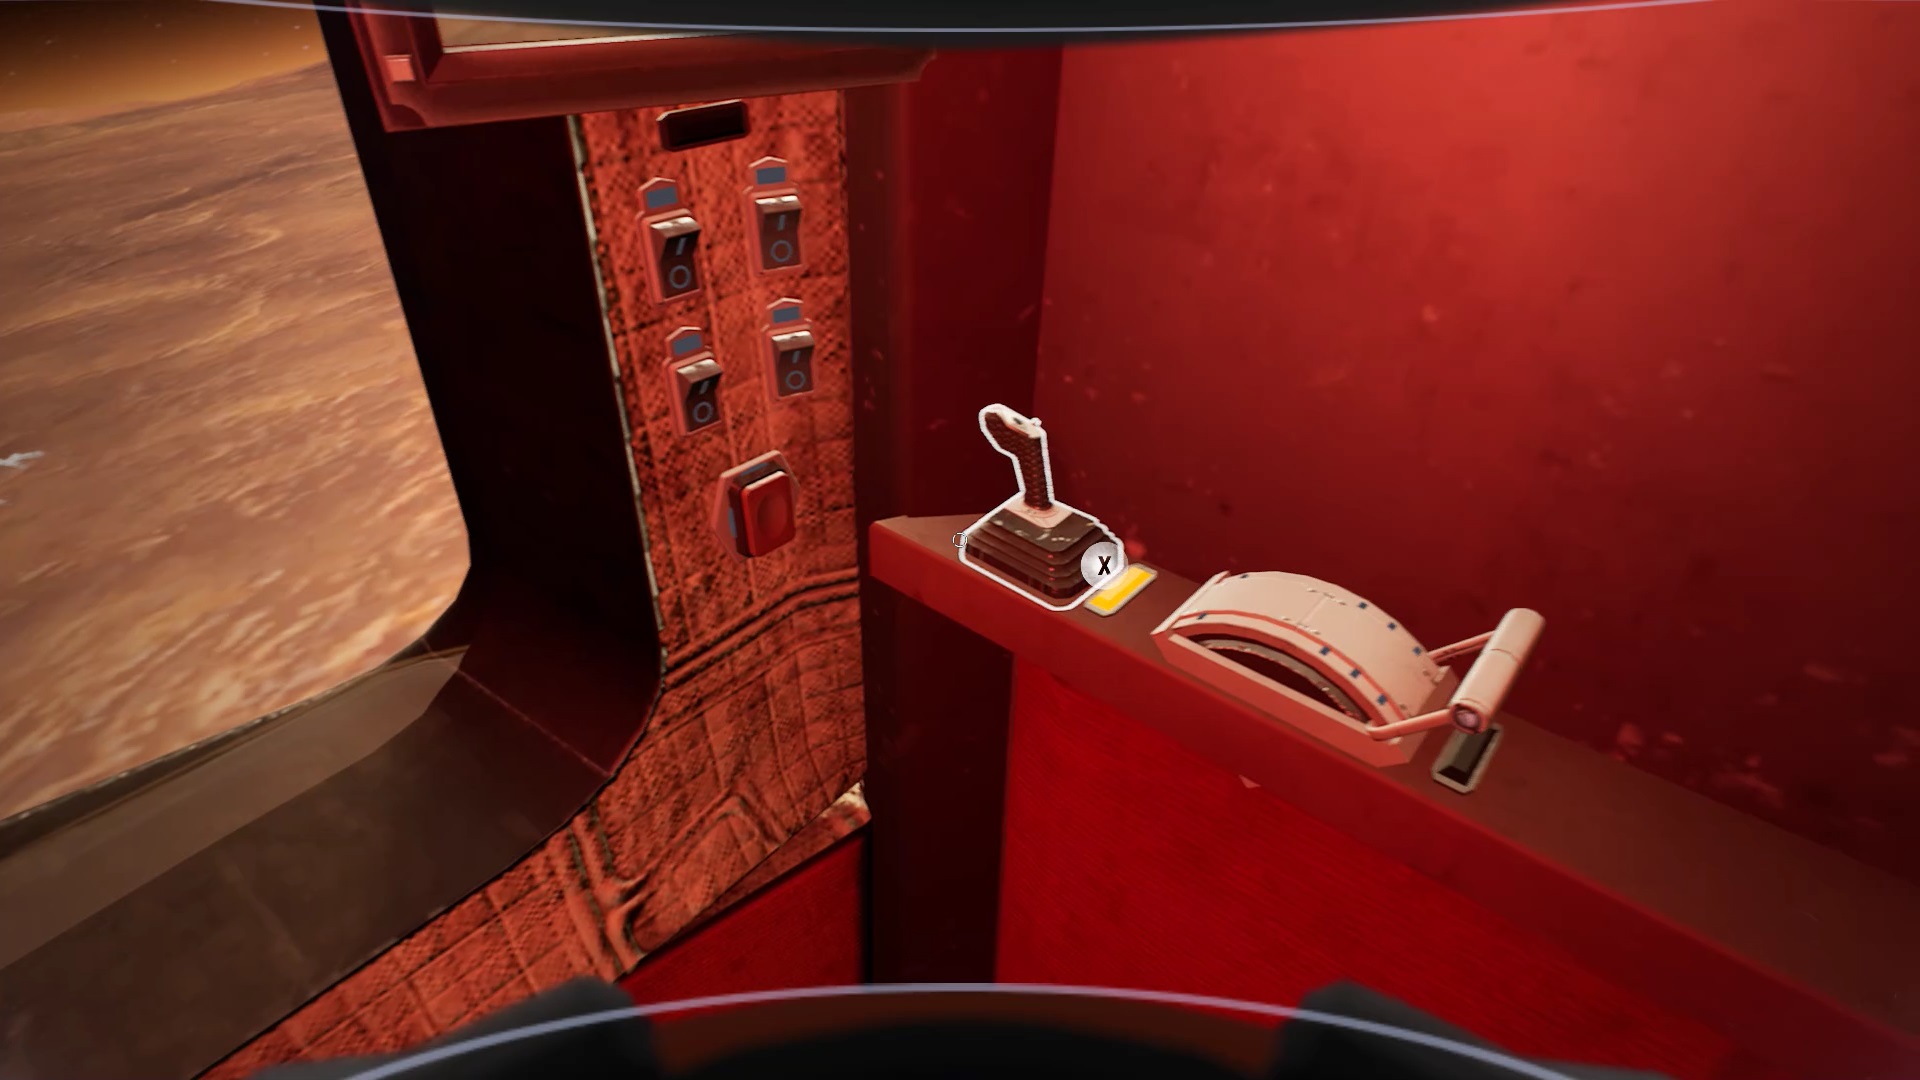
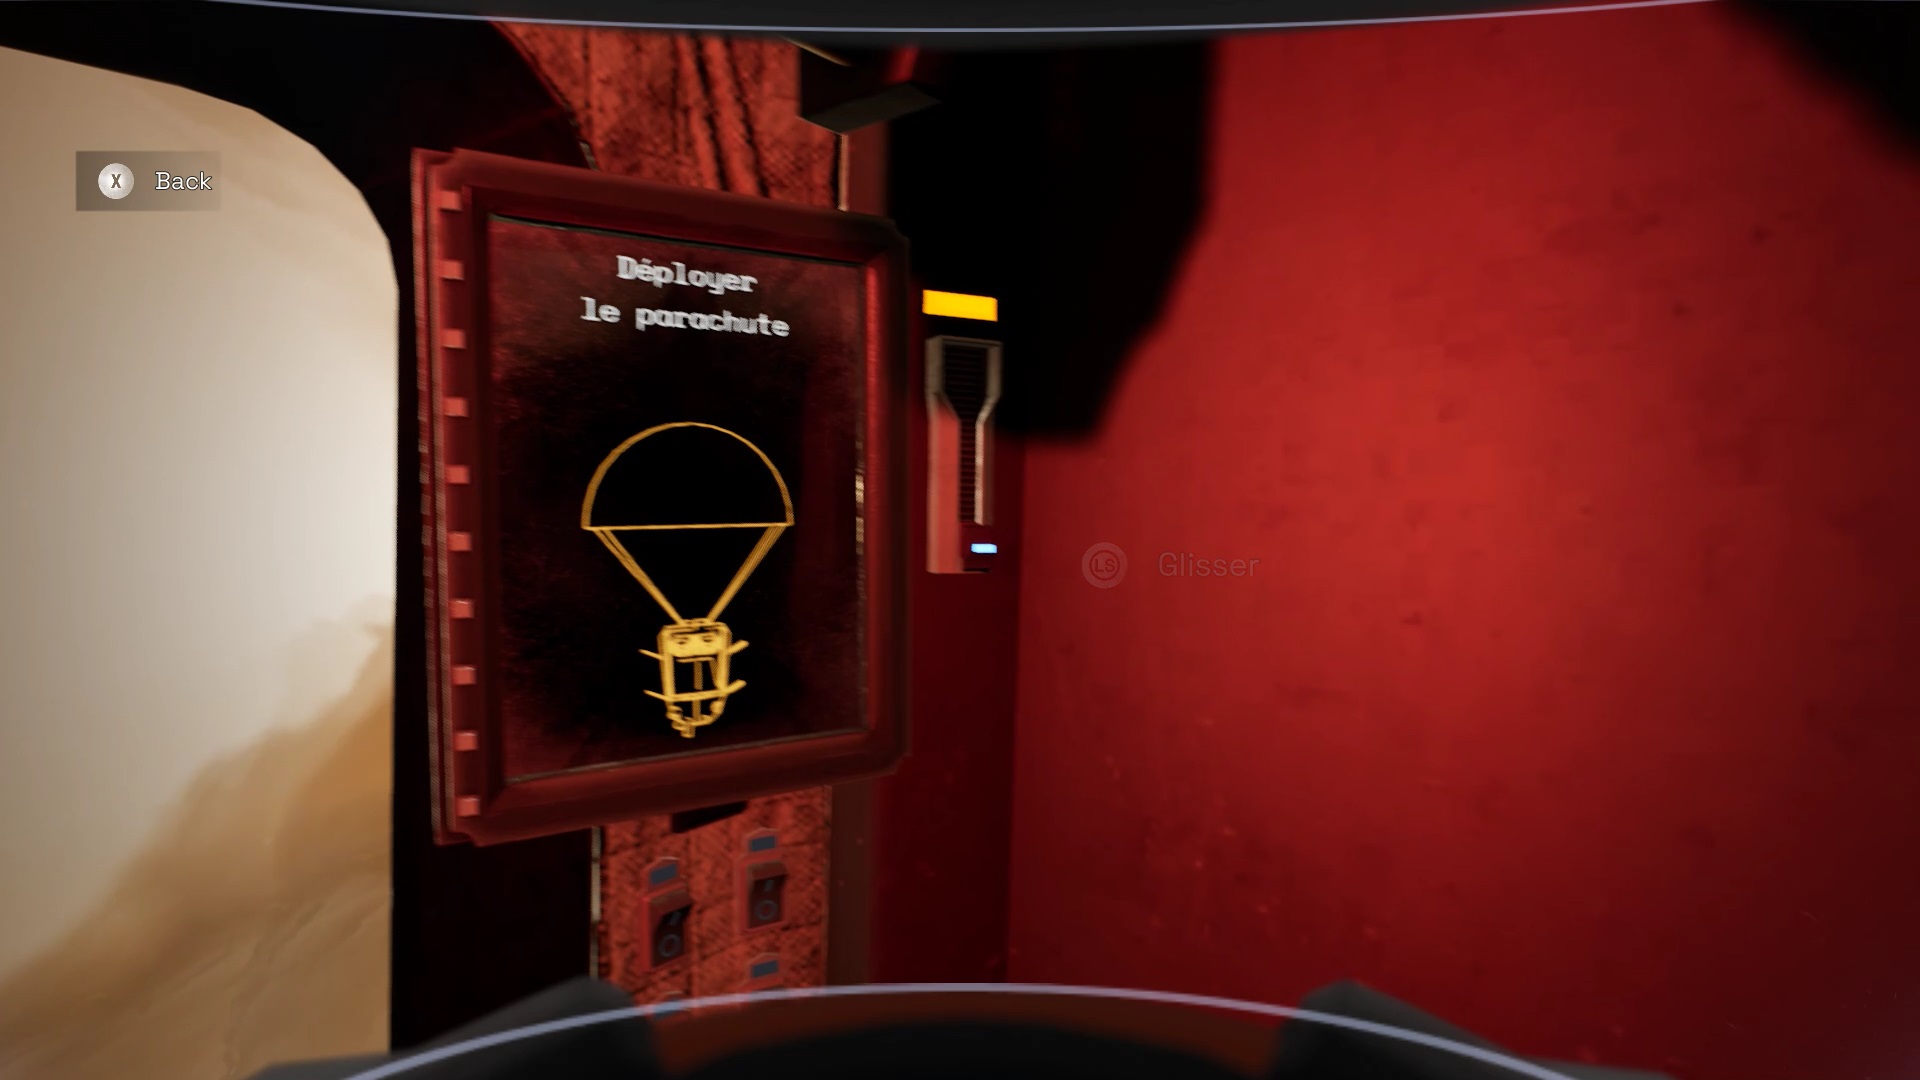
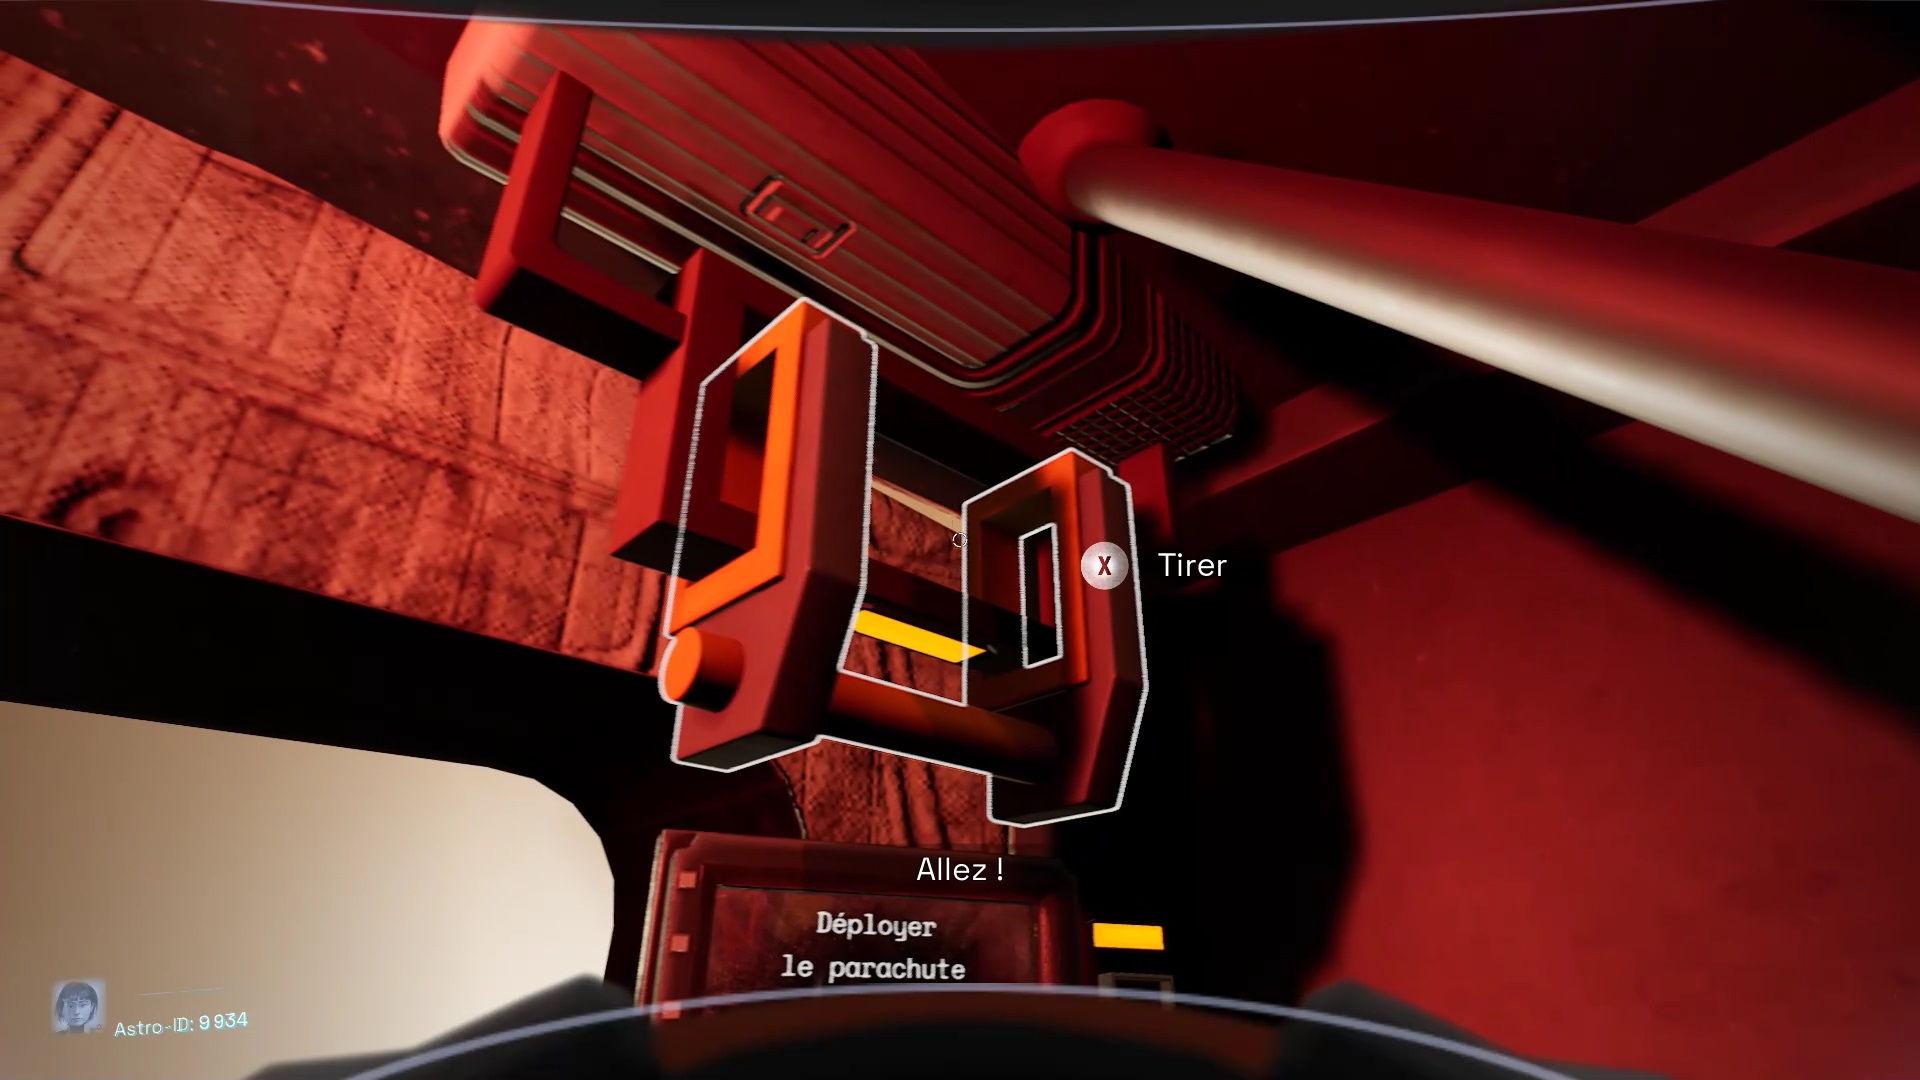
You must join the escape pods. Proceed to the bottom of the shuttle and enter your capsule. To control the landing of your capsule, use the joystick on the right. Align your capsule with the yellow dot on the screen. Lower the notch on the right to deploy the parachute. Pull the lever at the top of the capsule to trigger it.
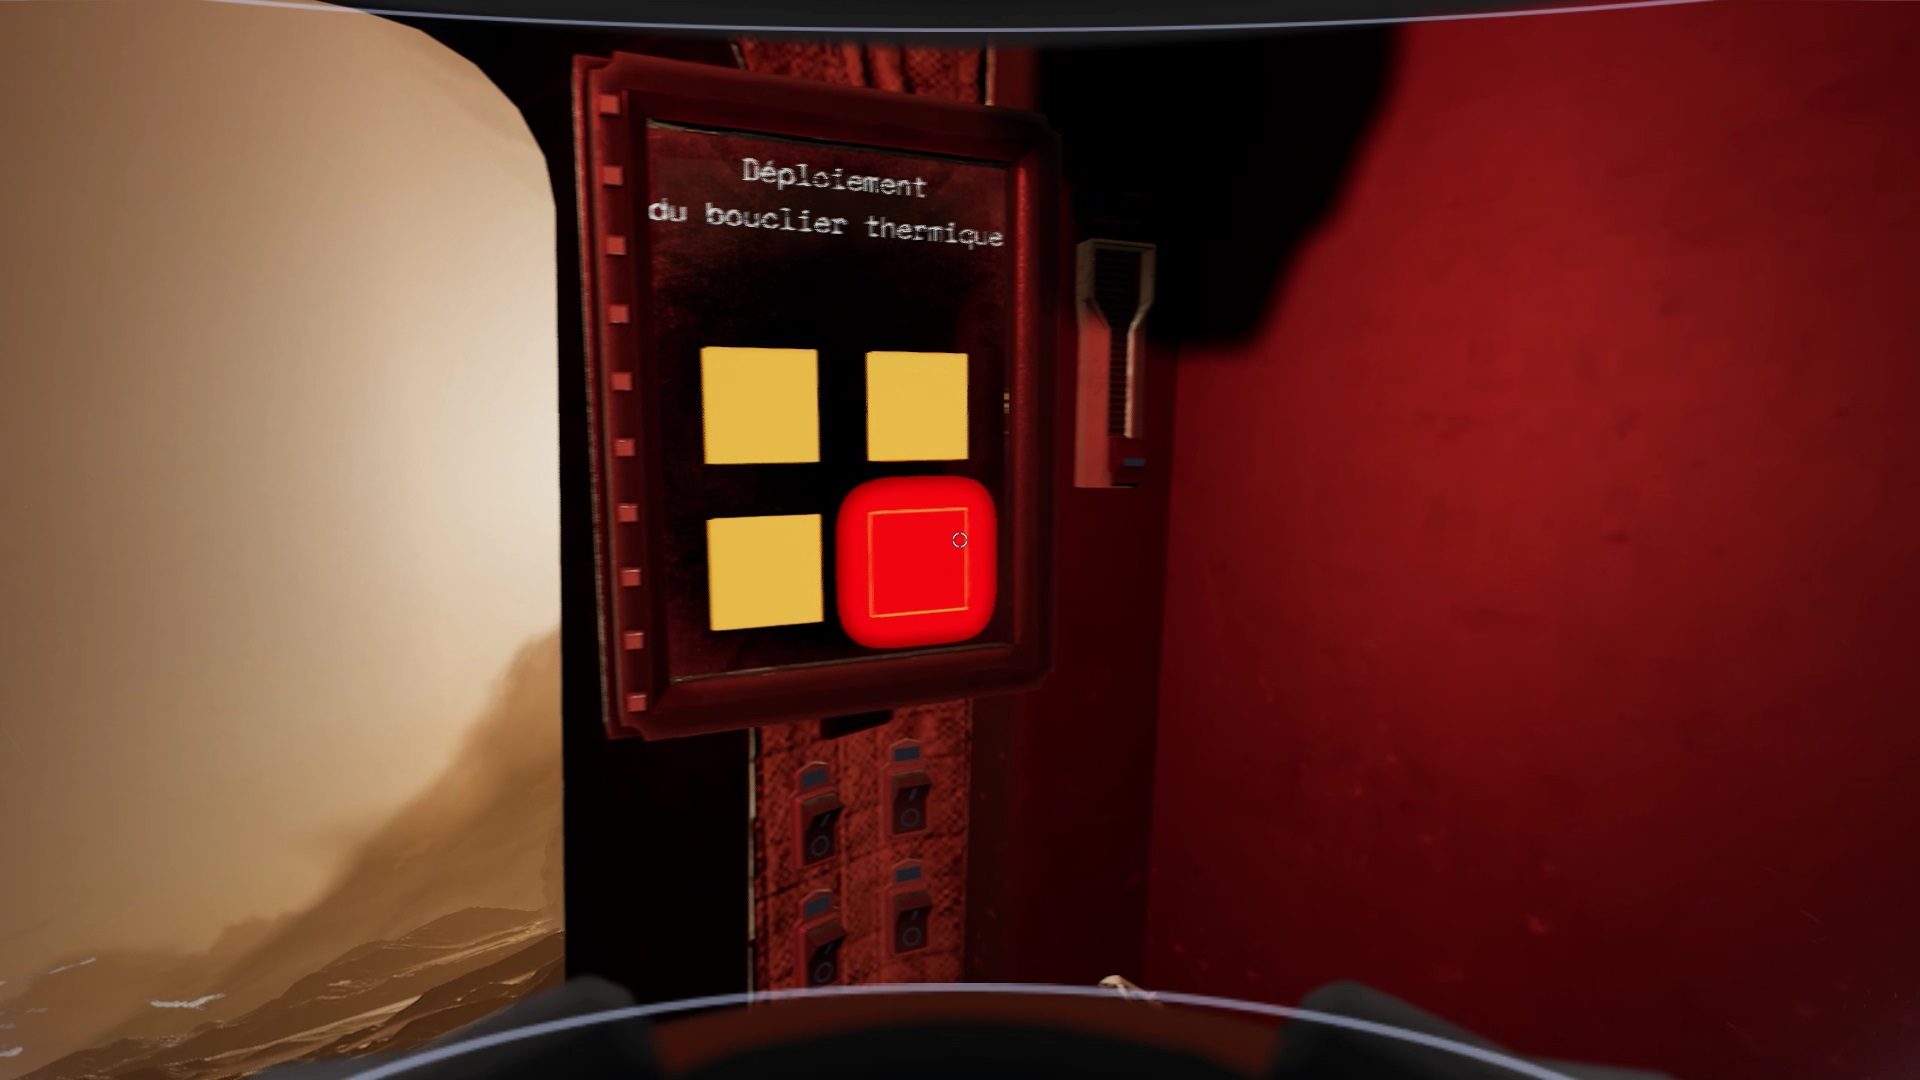
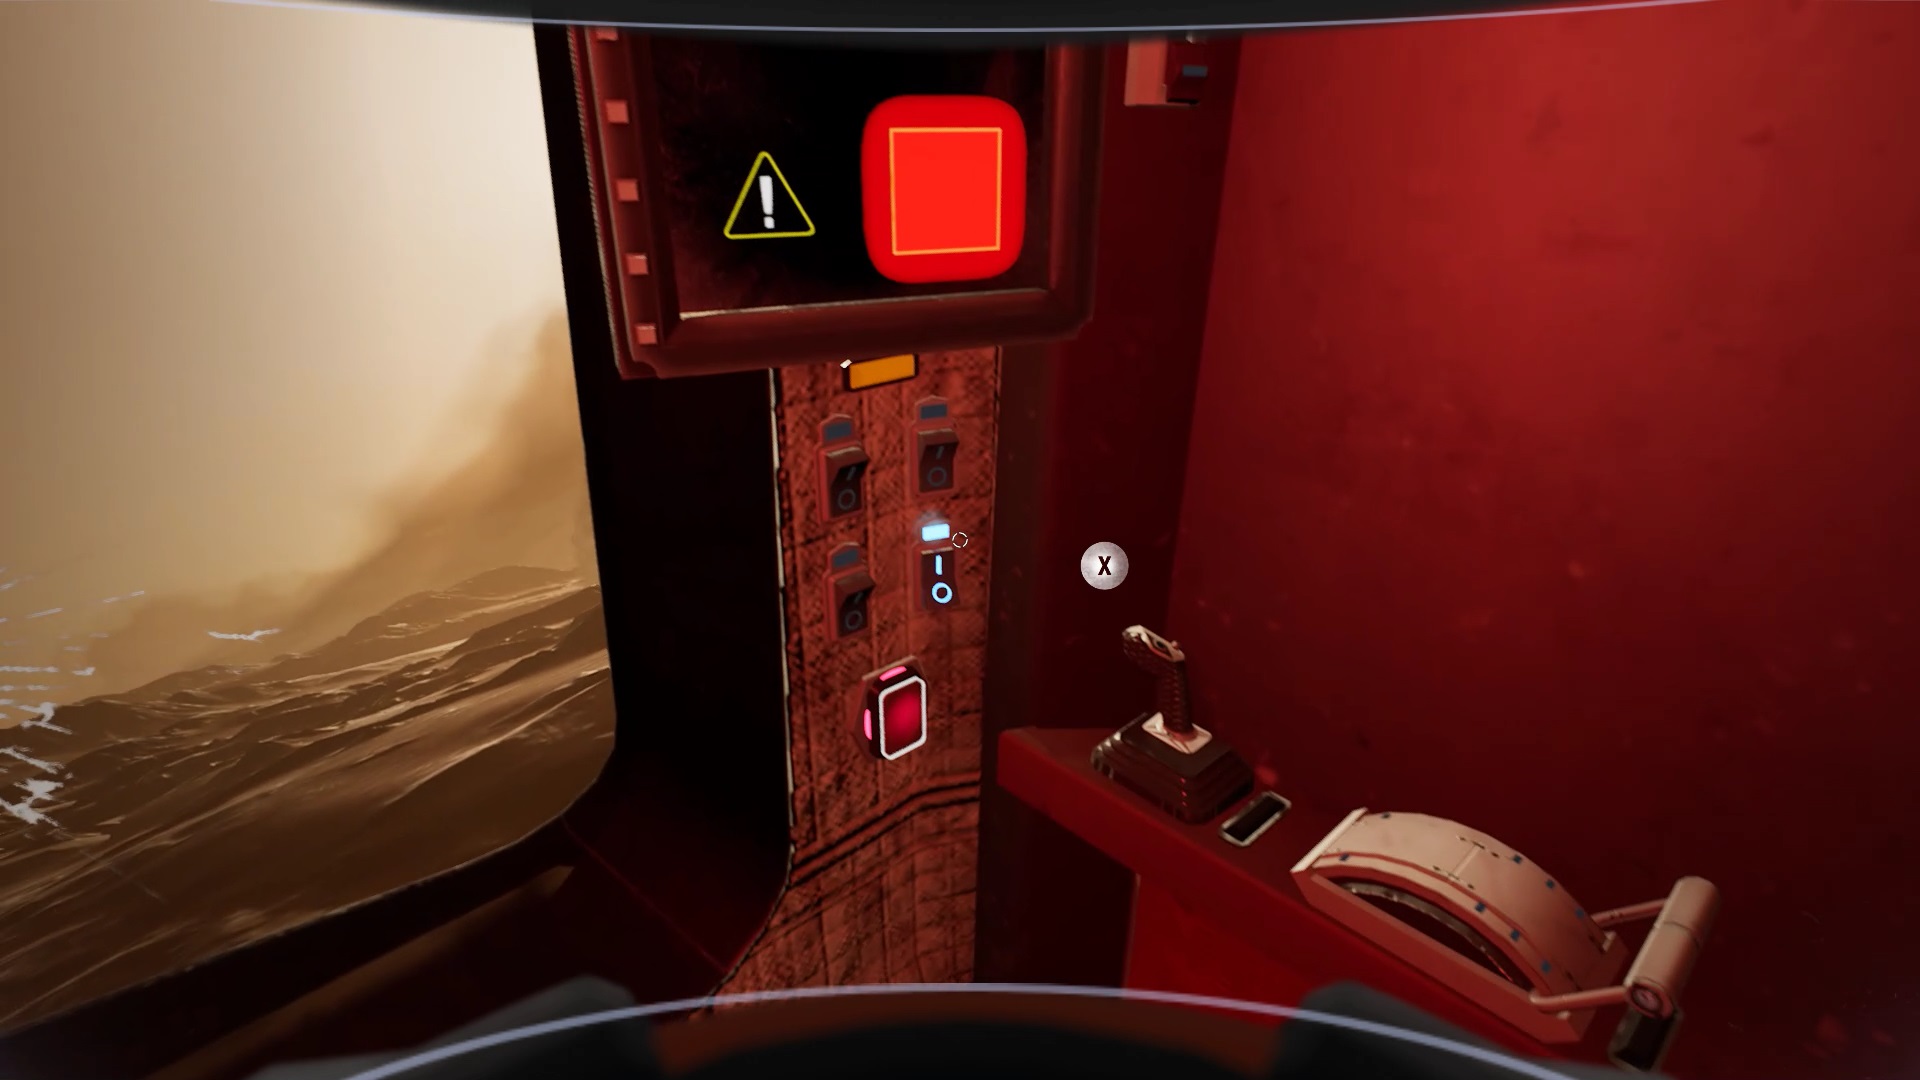
To deploy the heat shield, press the buttons that appear in front of you. Further down, press the switch and the red button. Finally, activate the lever on the right of the capsule to land.


Outside the capsule, move towards the sun to complete the chapter.
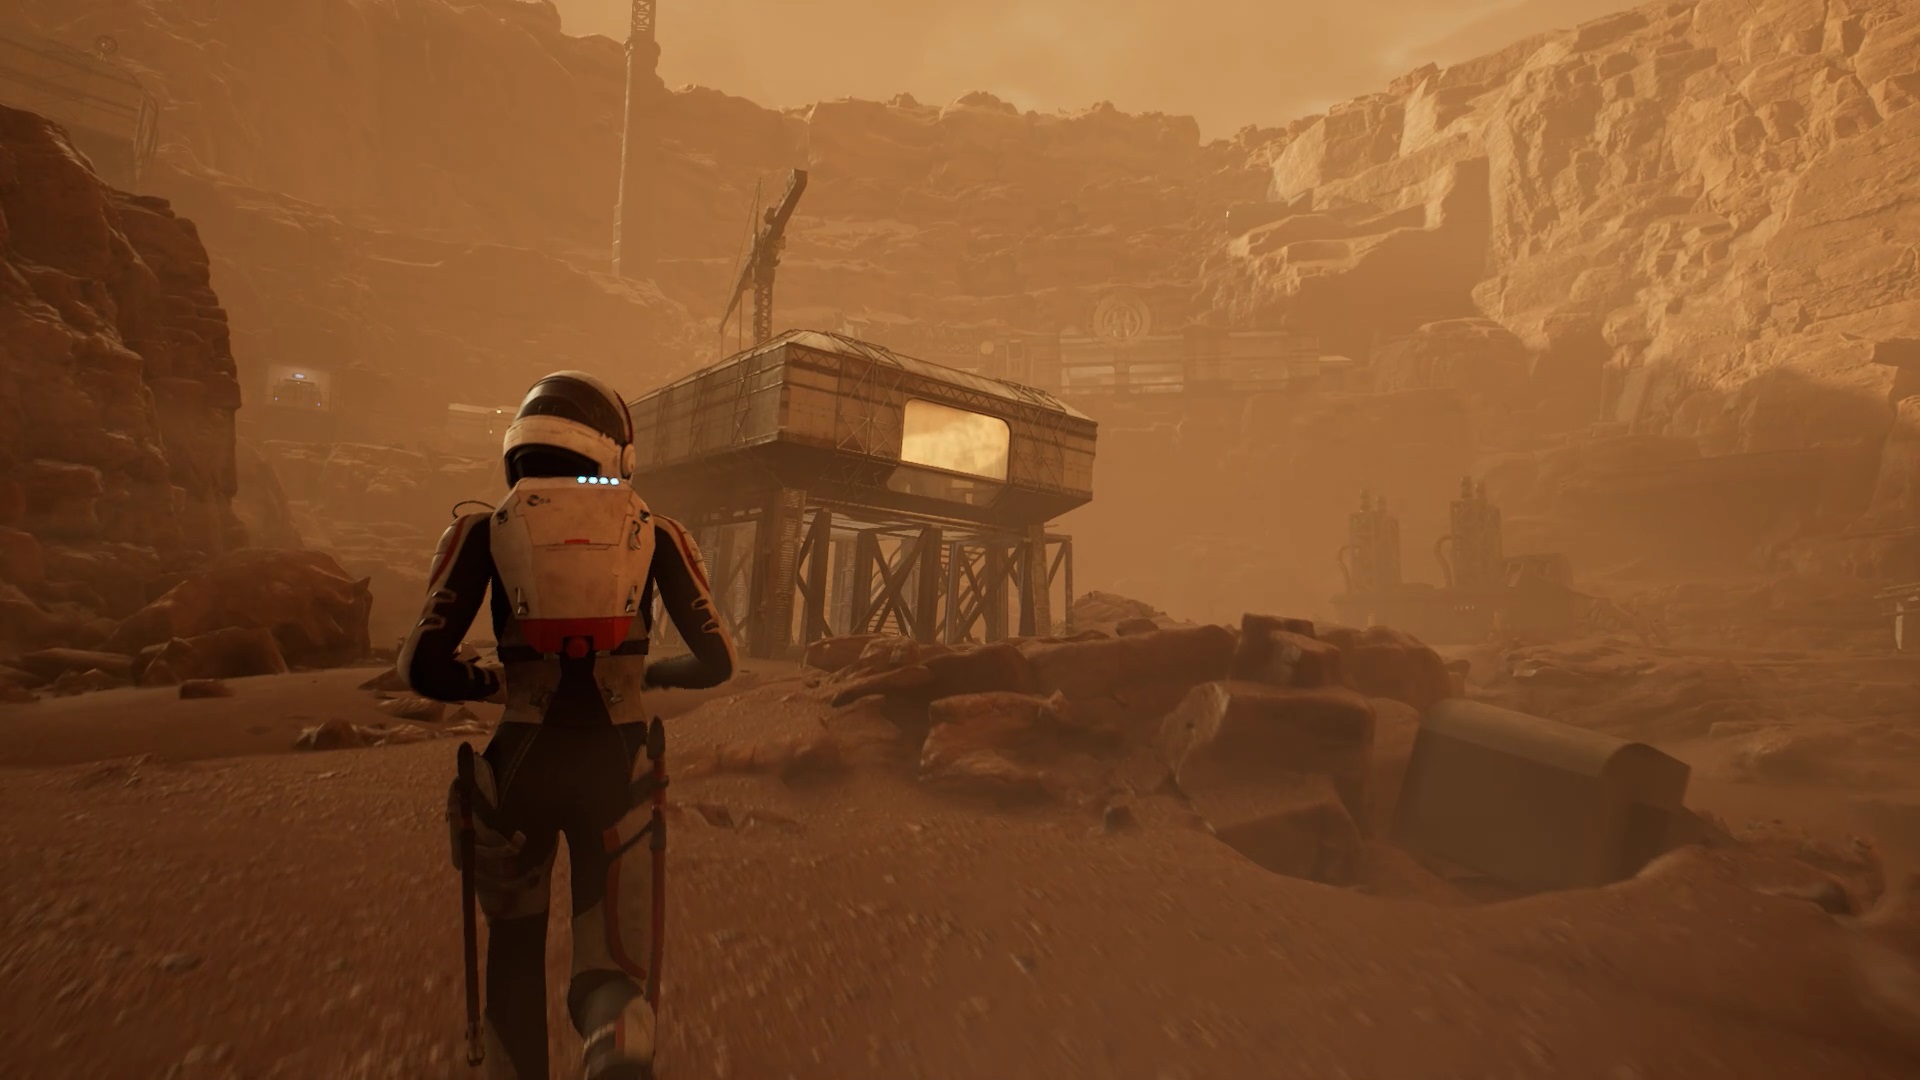
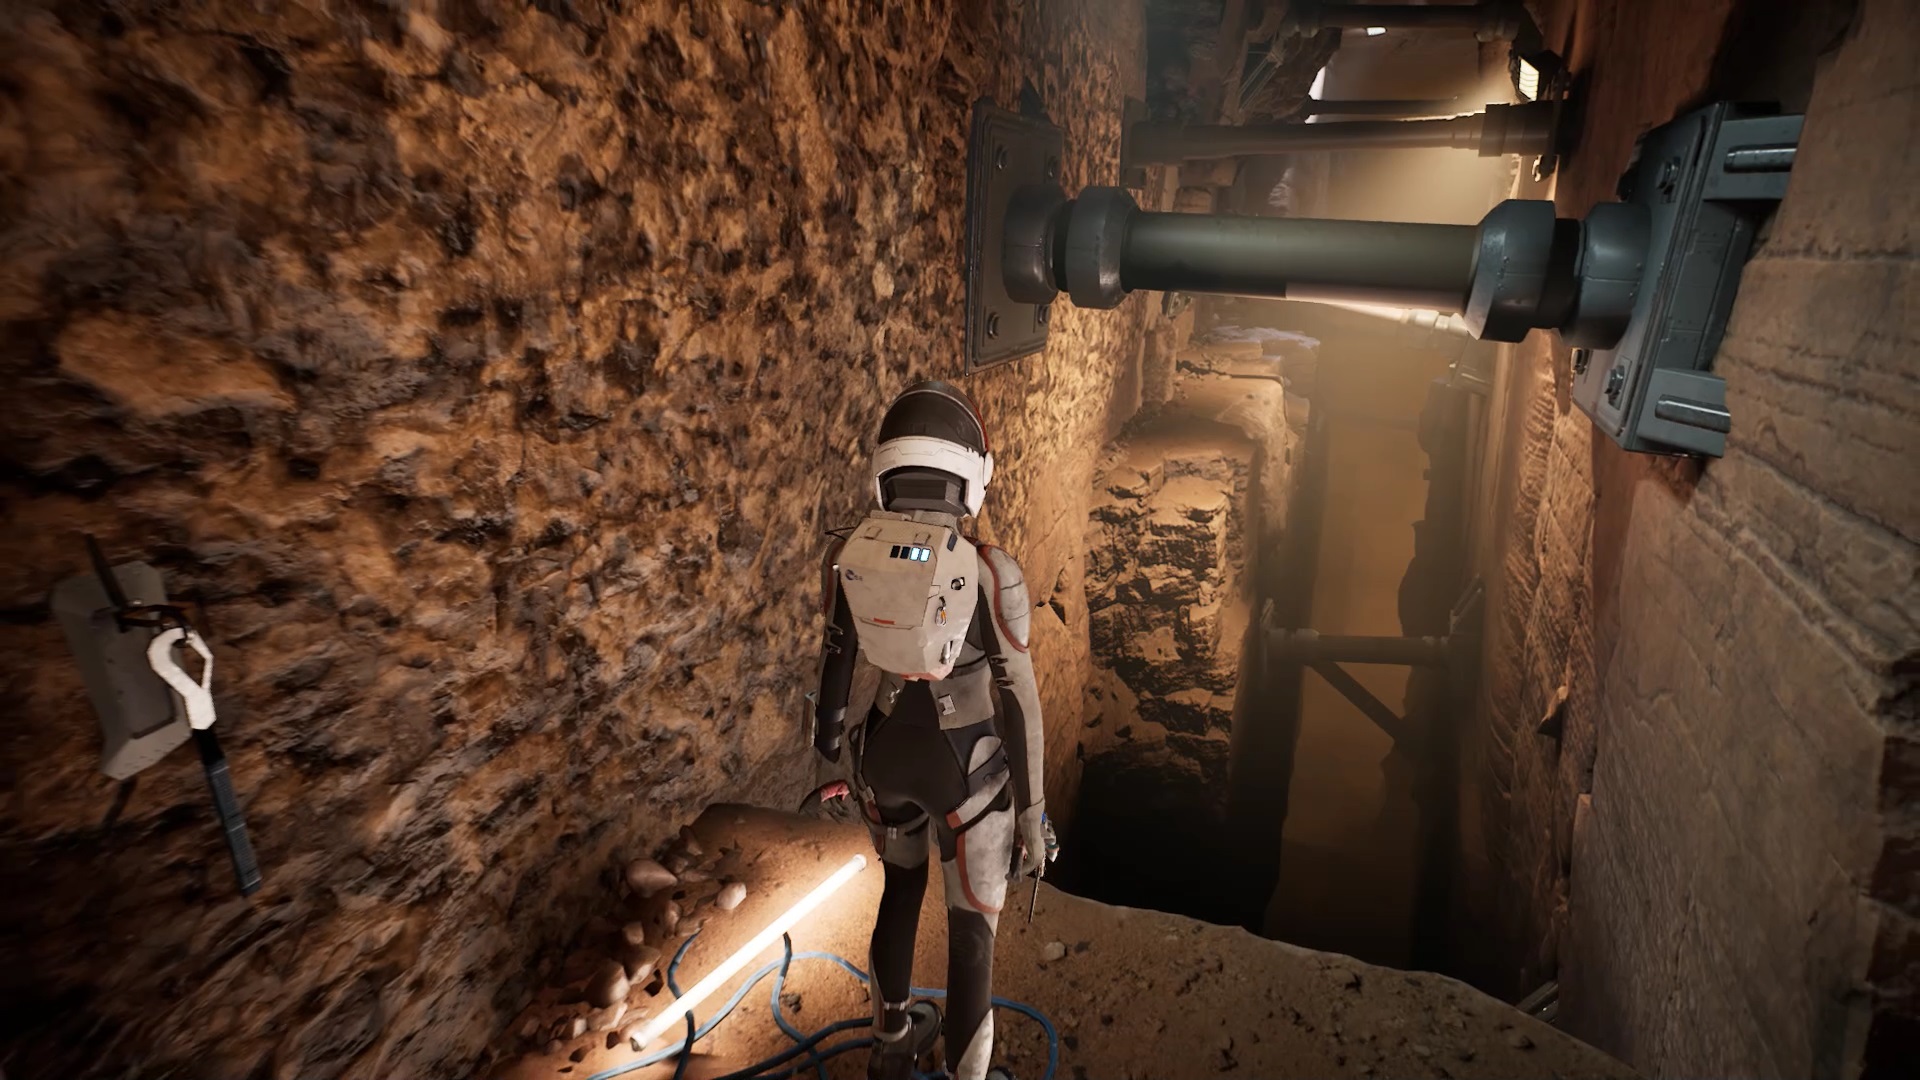
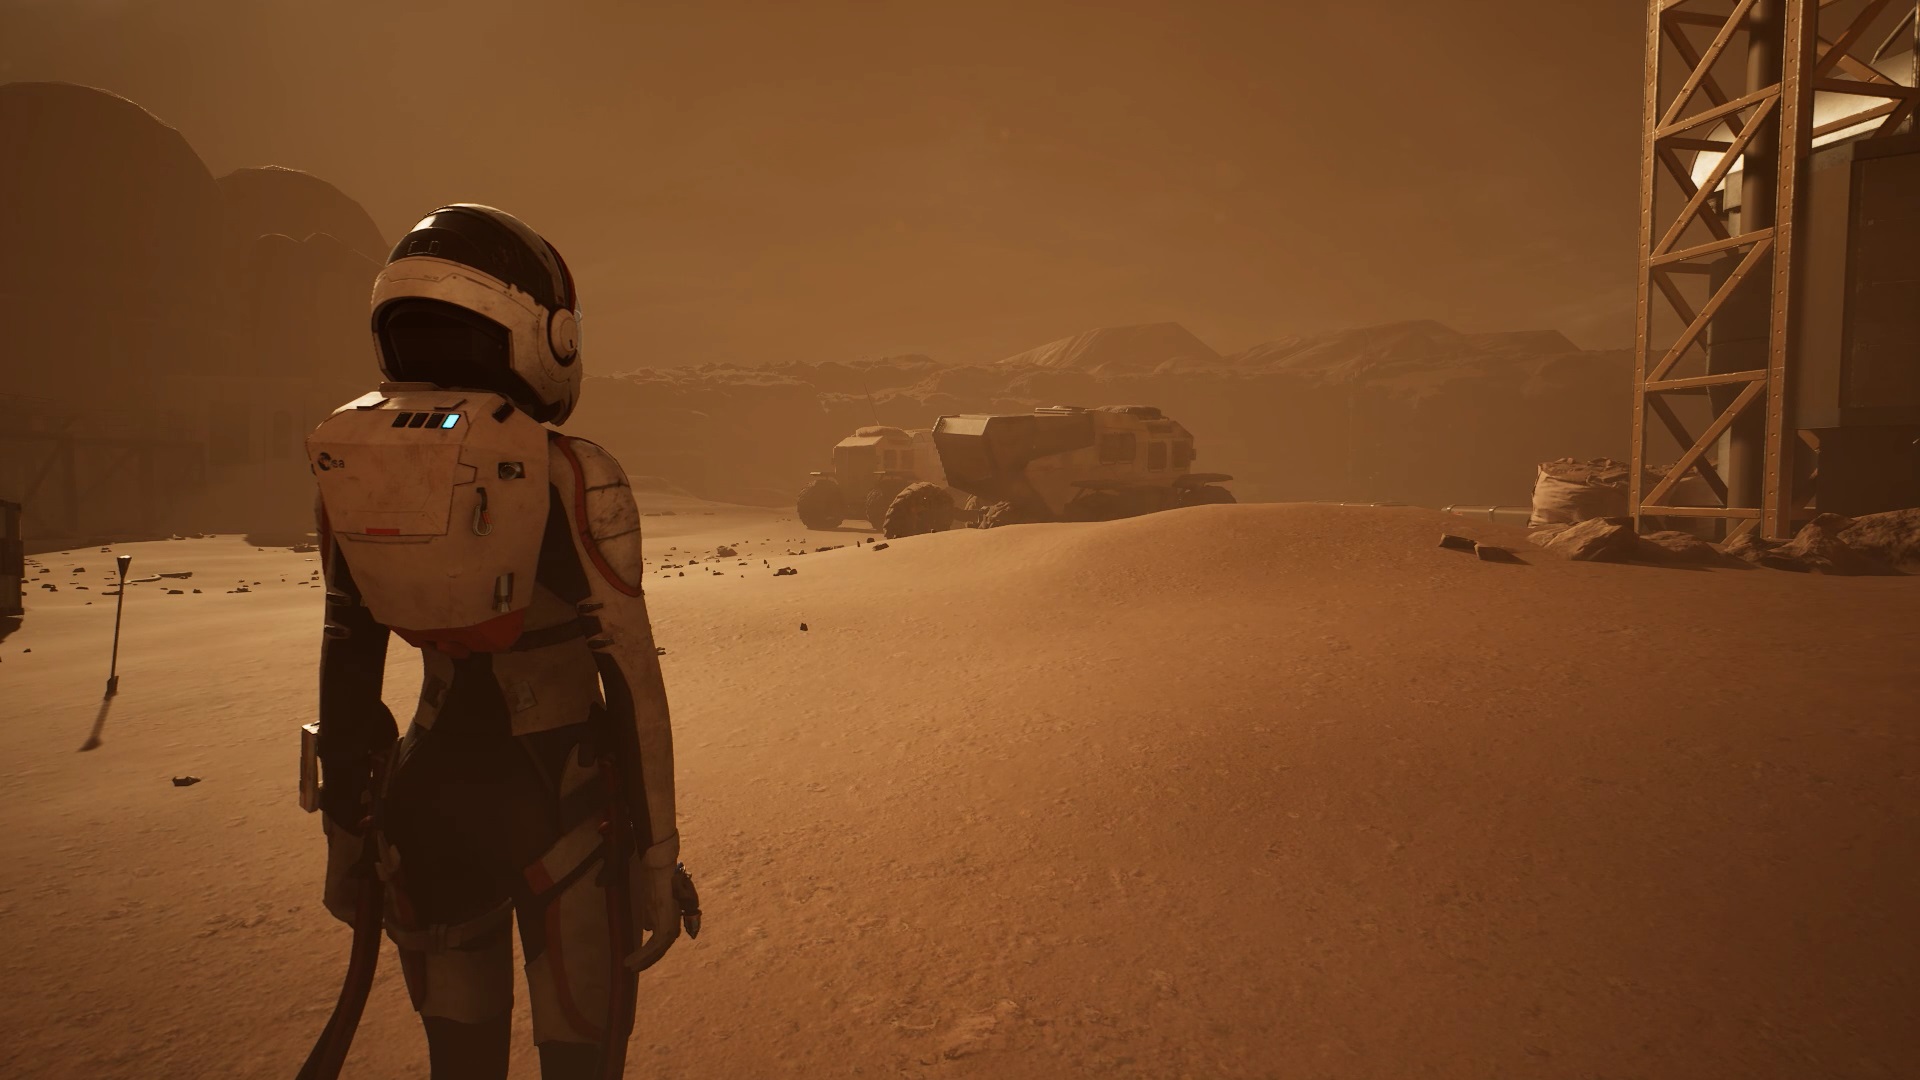
Chapter 4
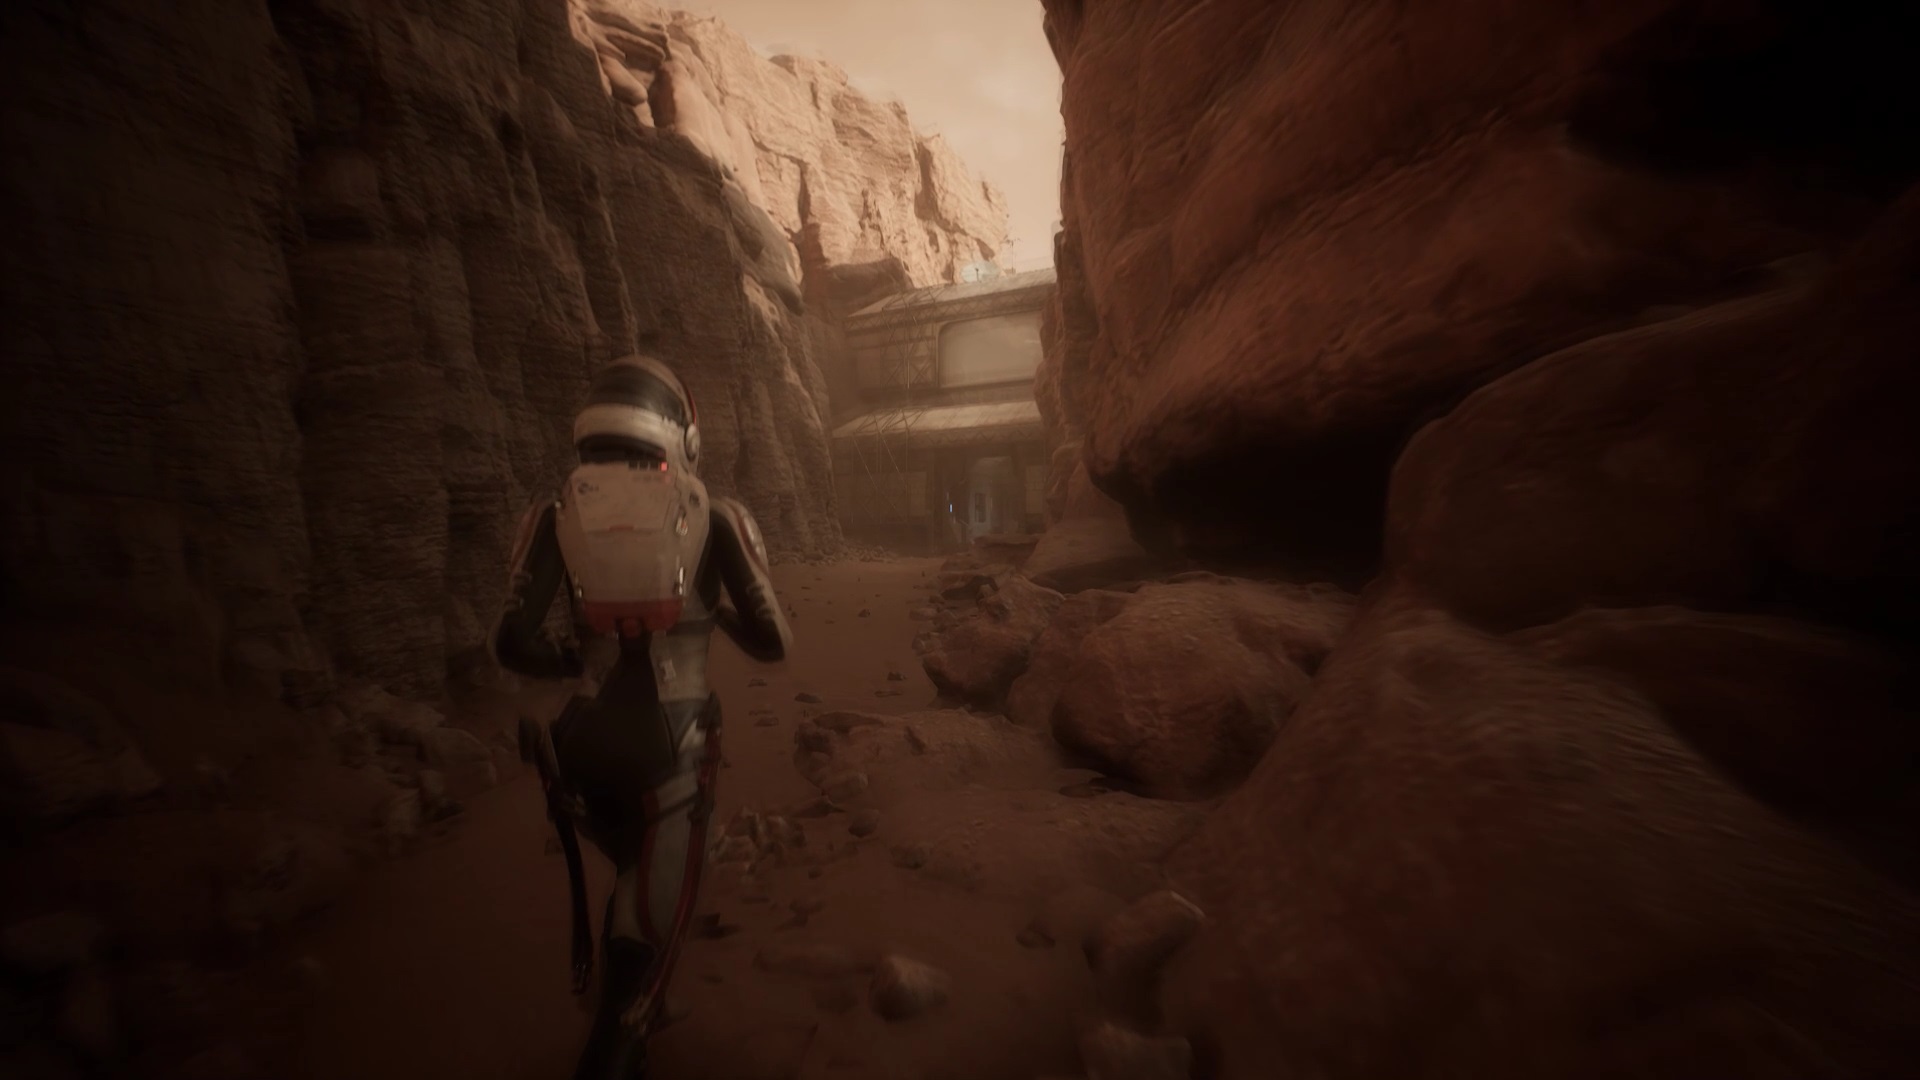
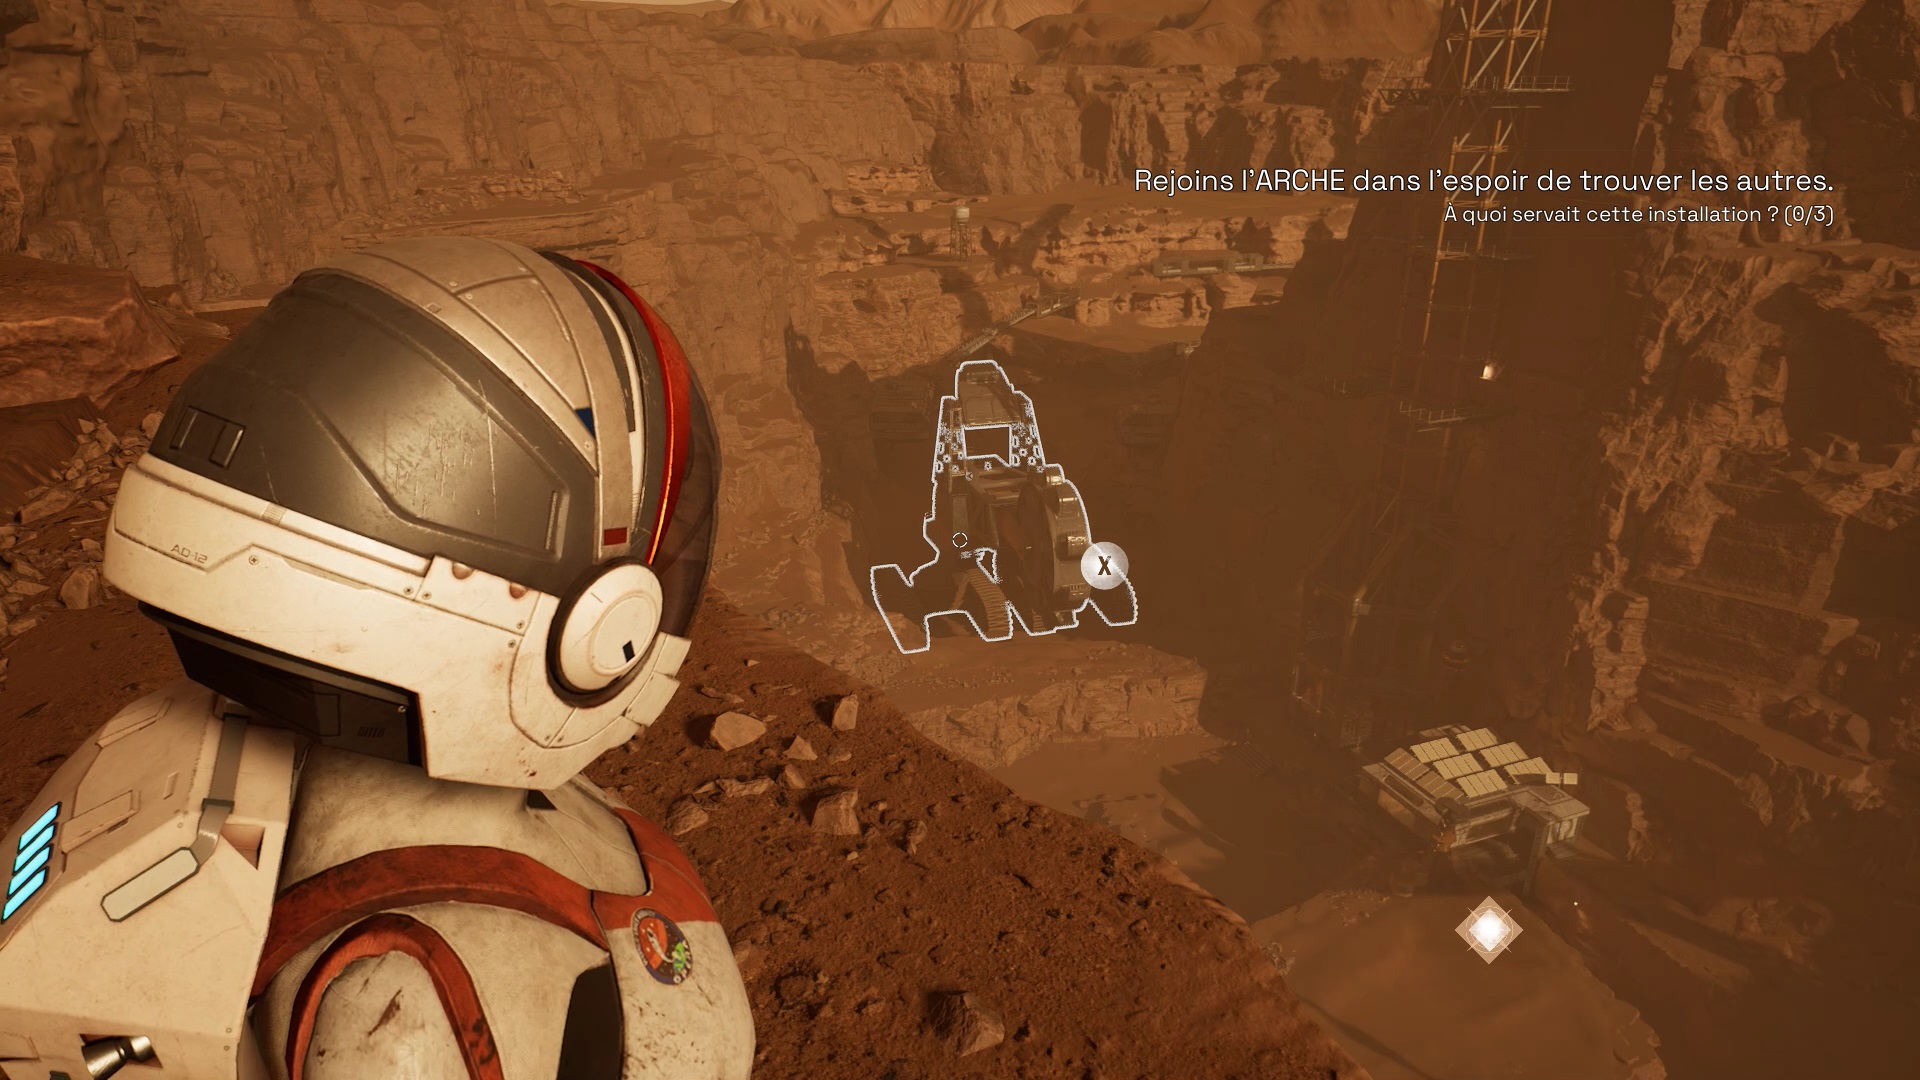
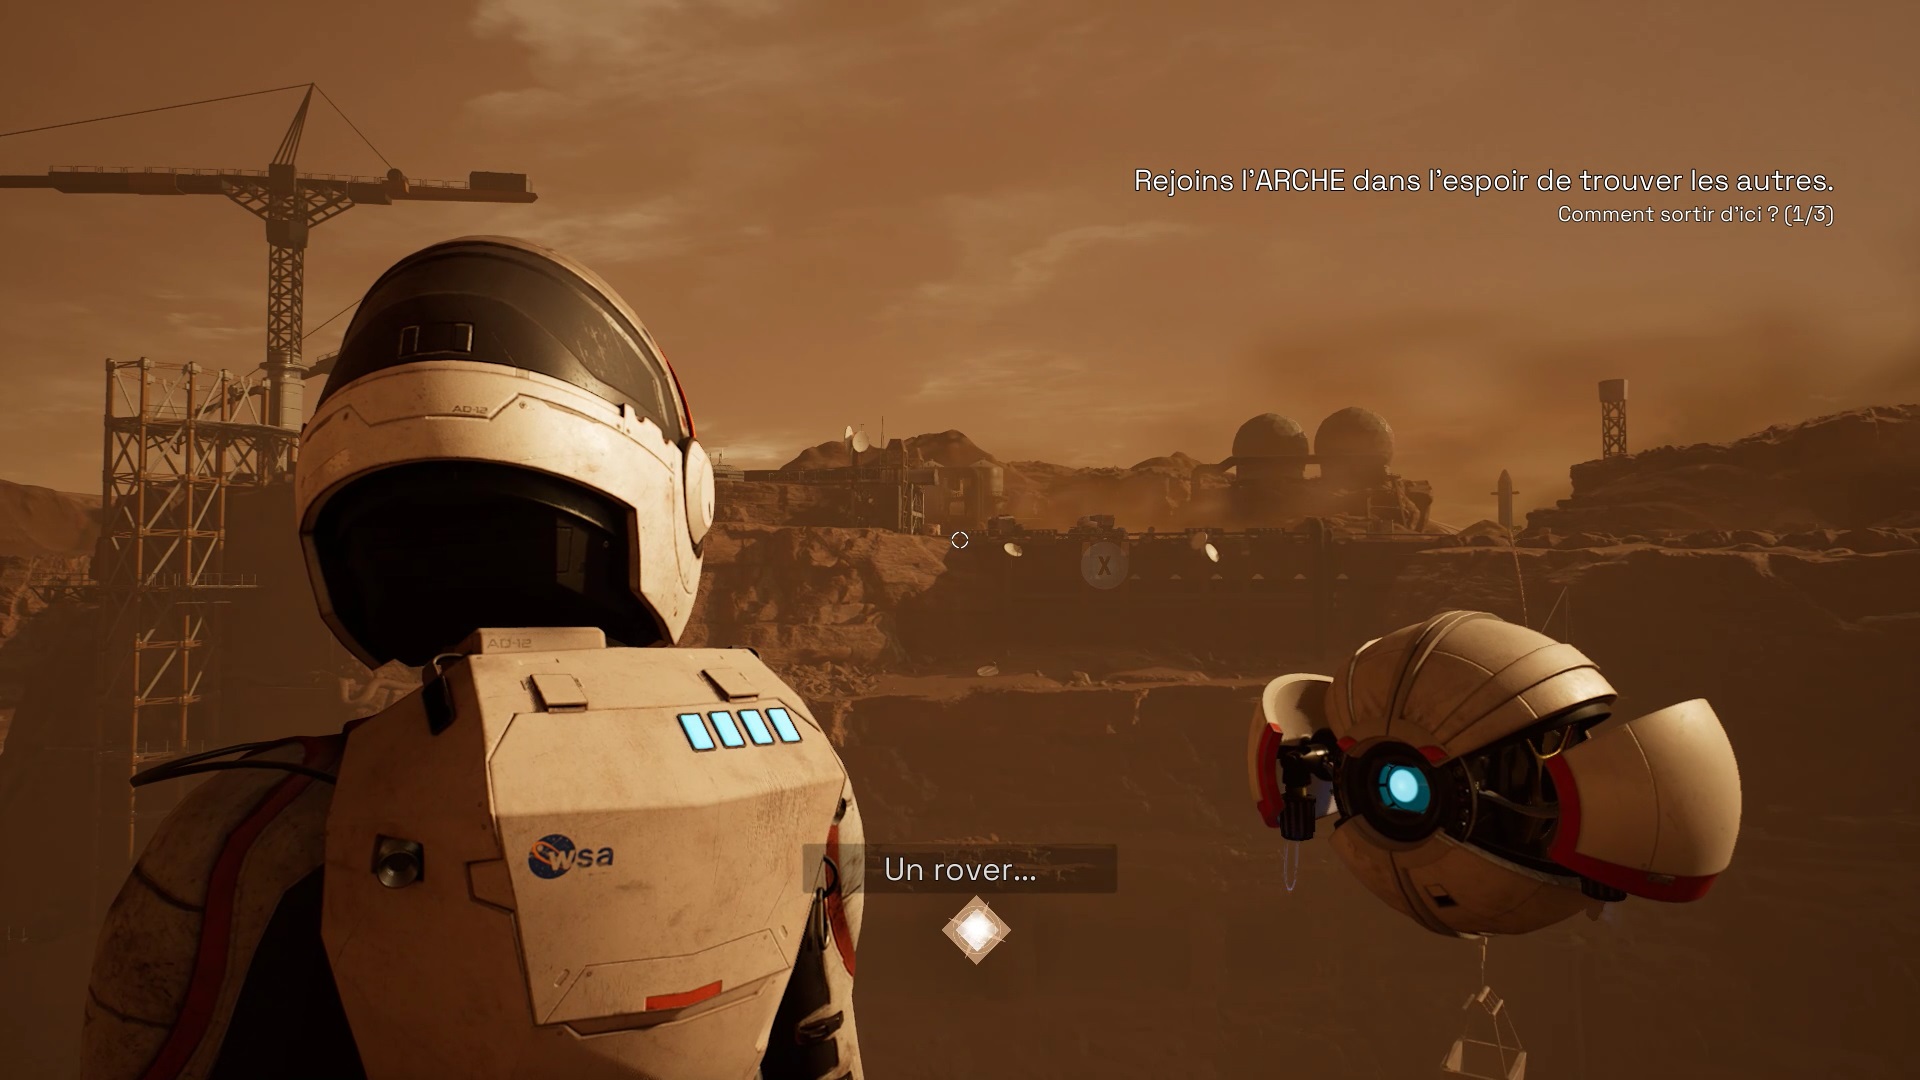
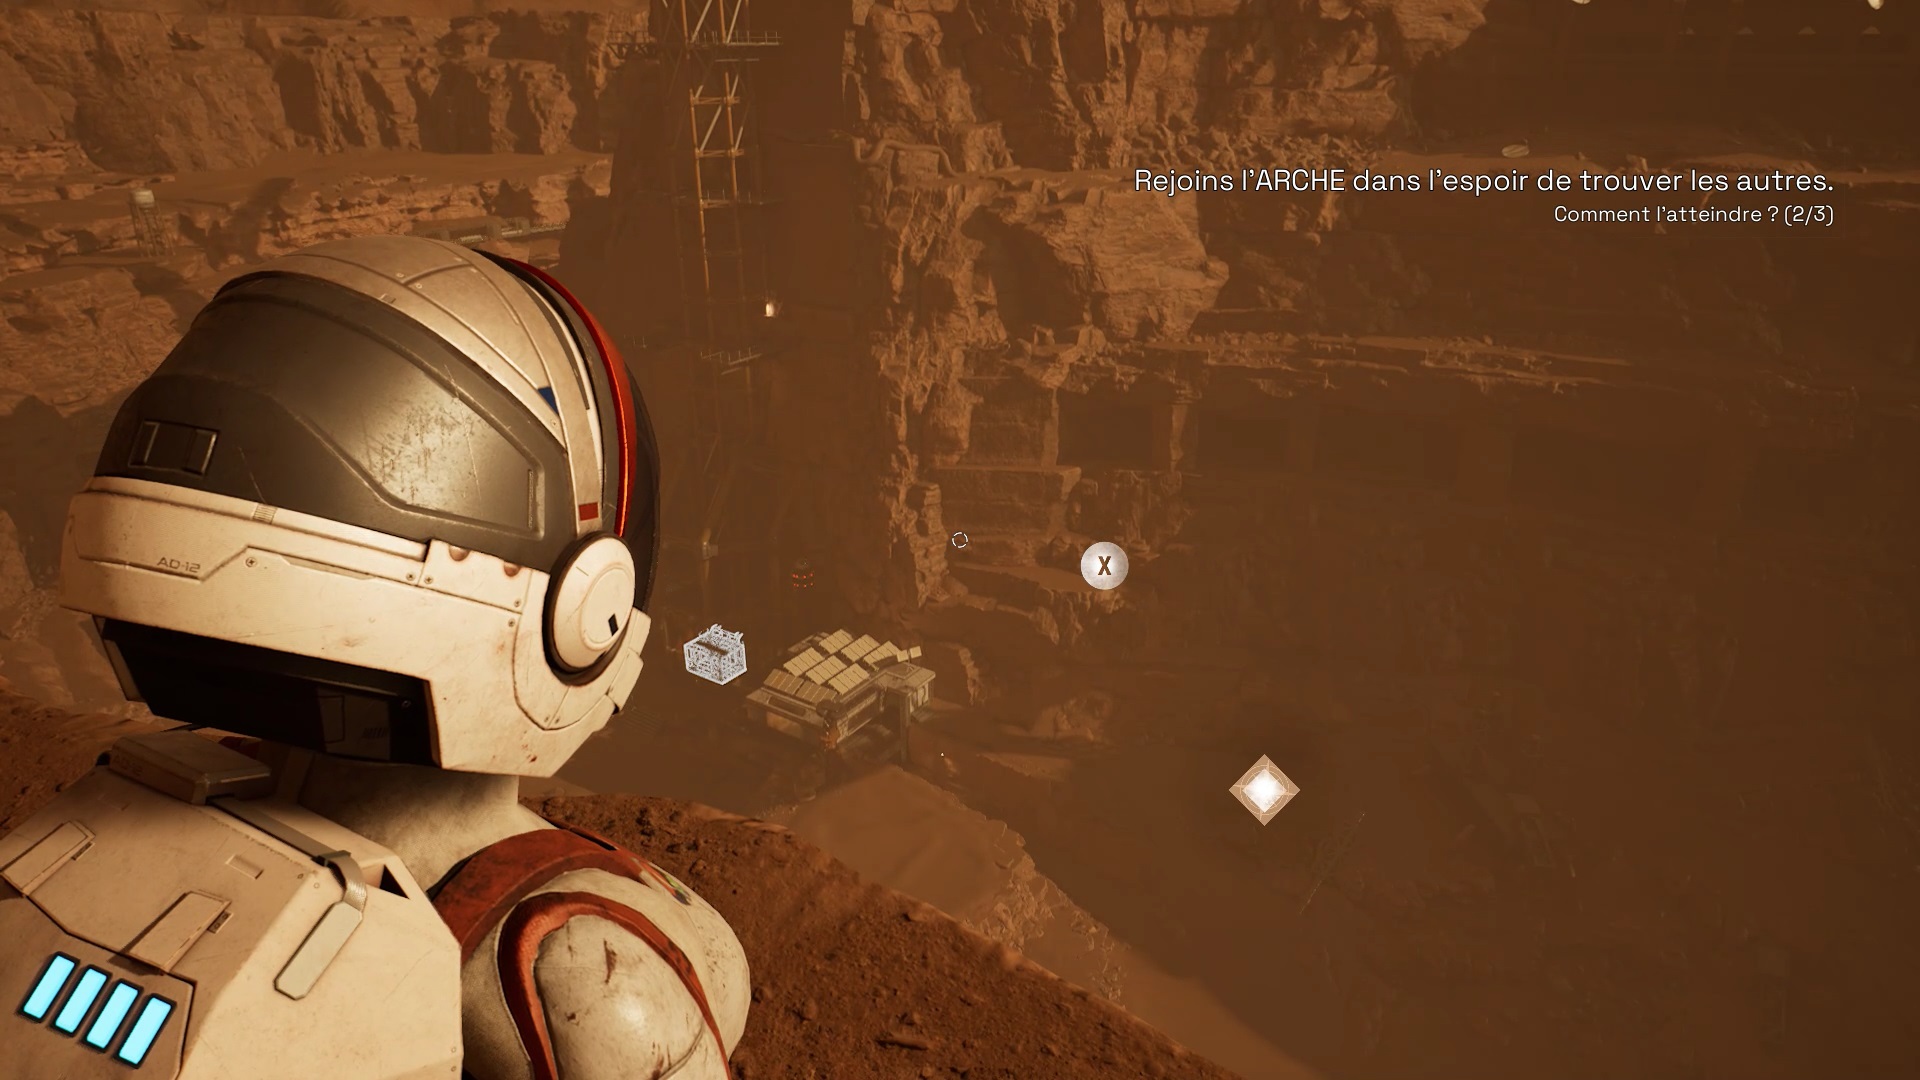
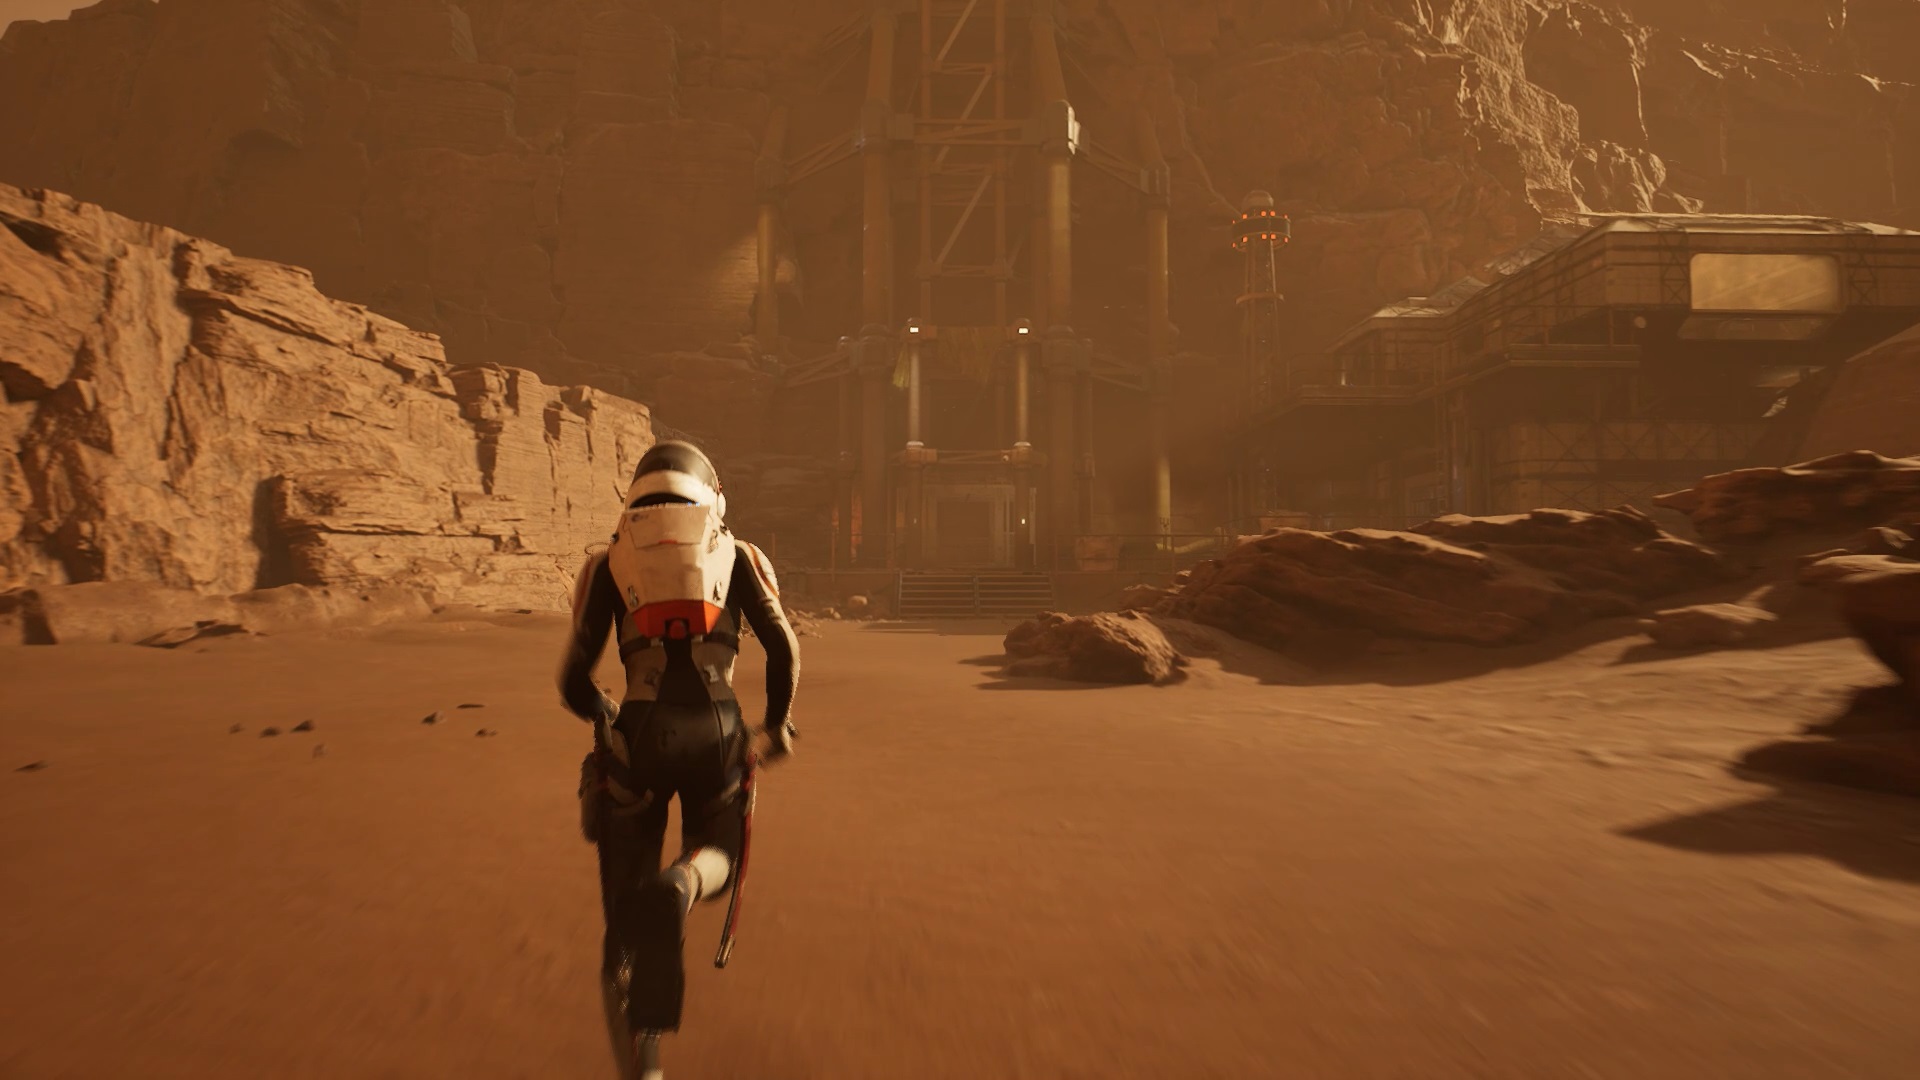
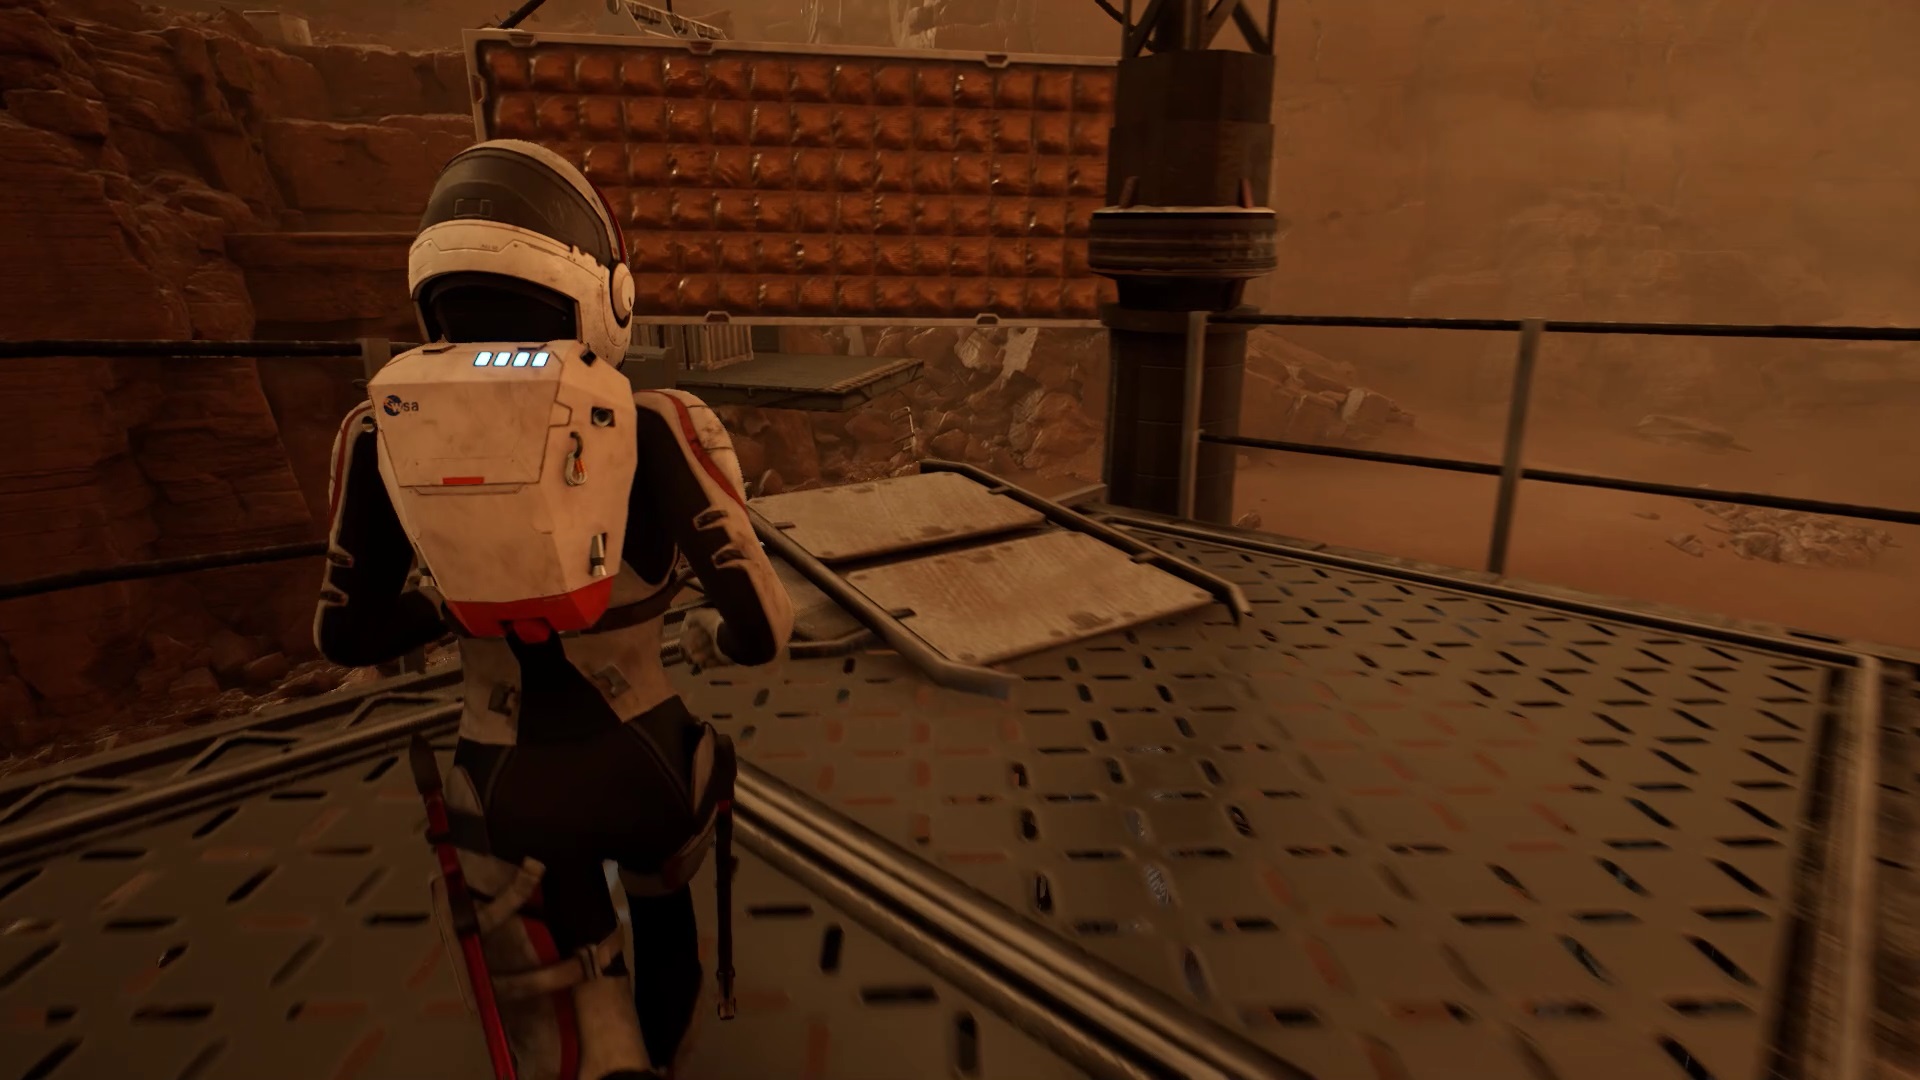
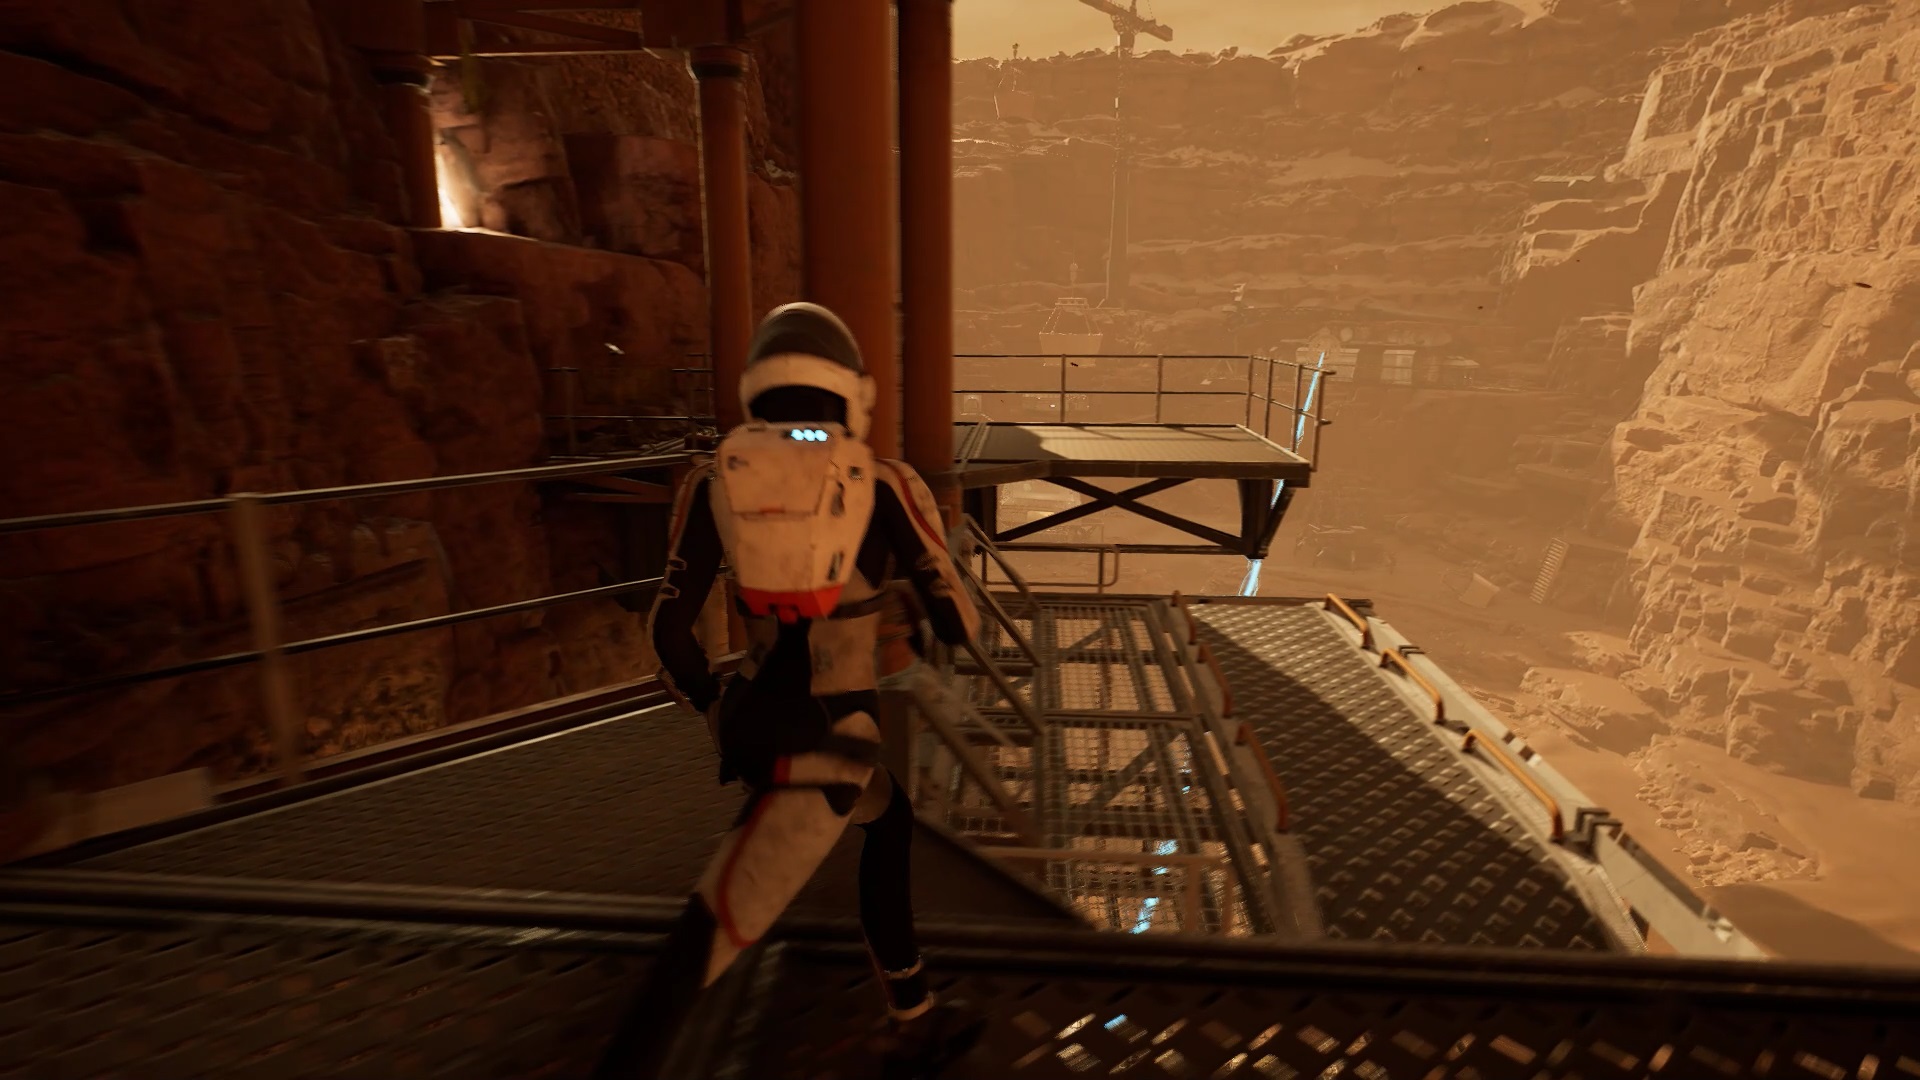
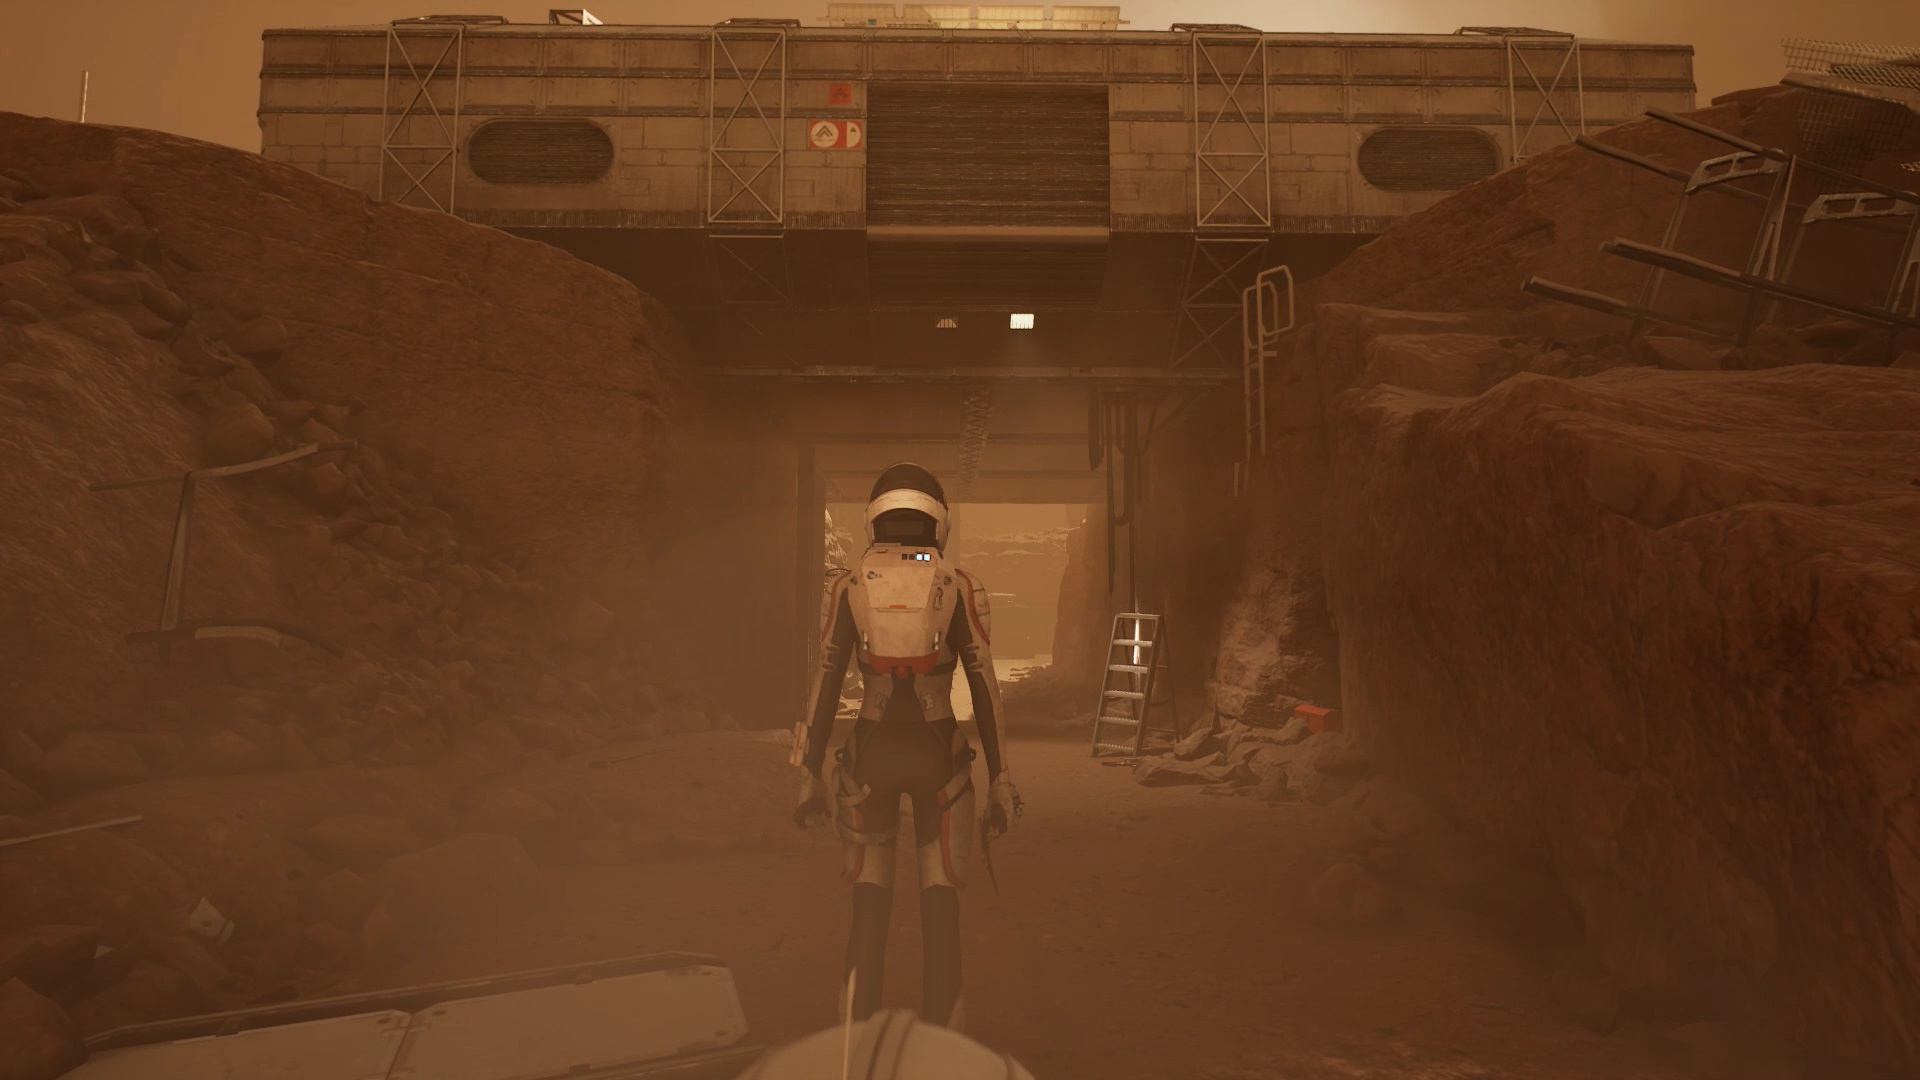
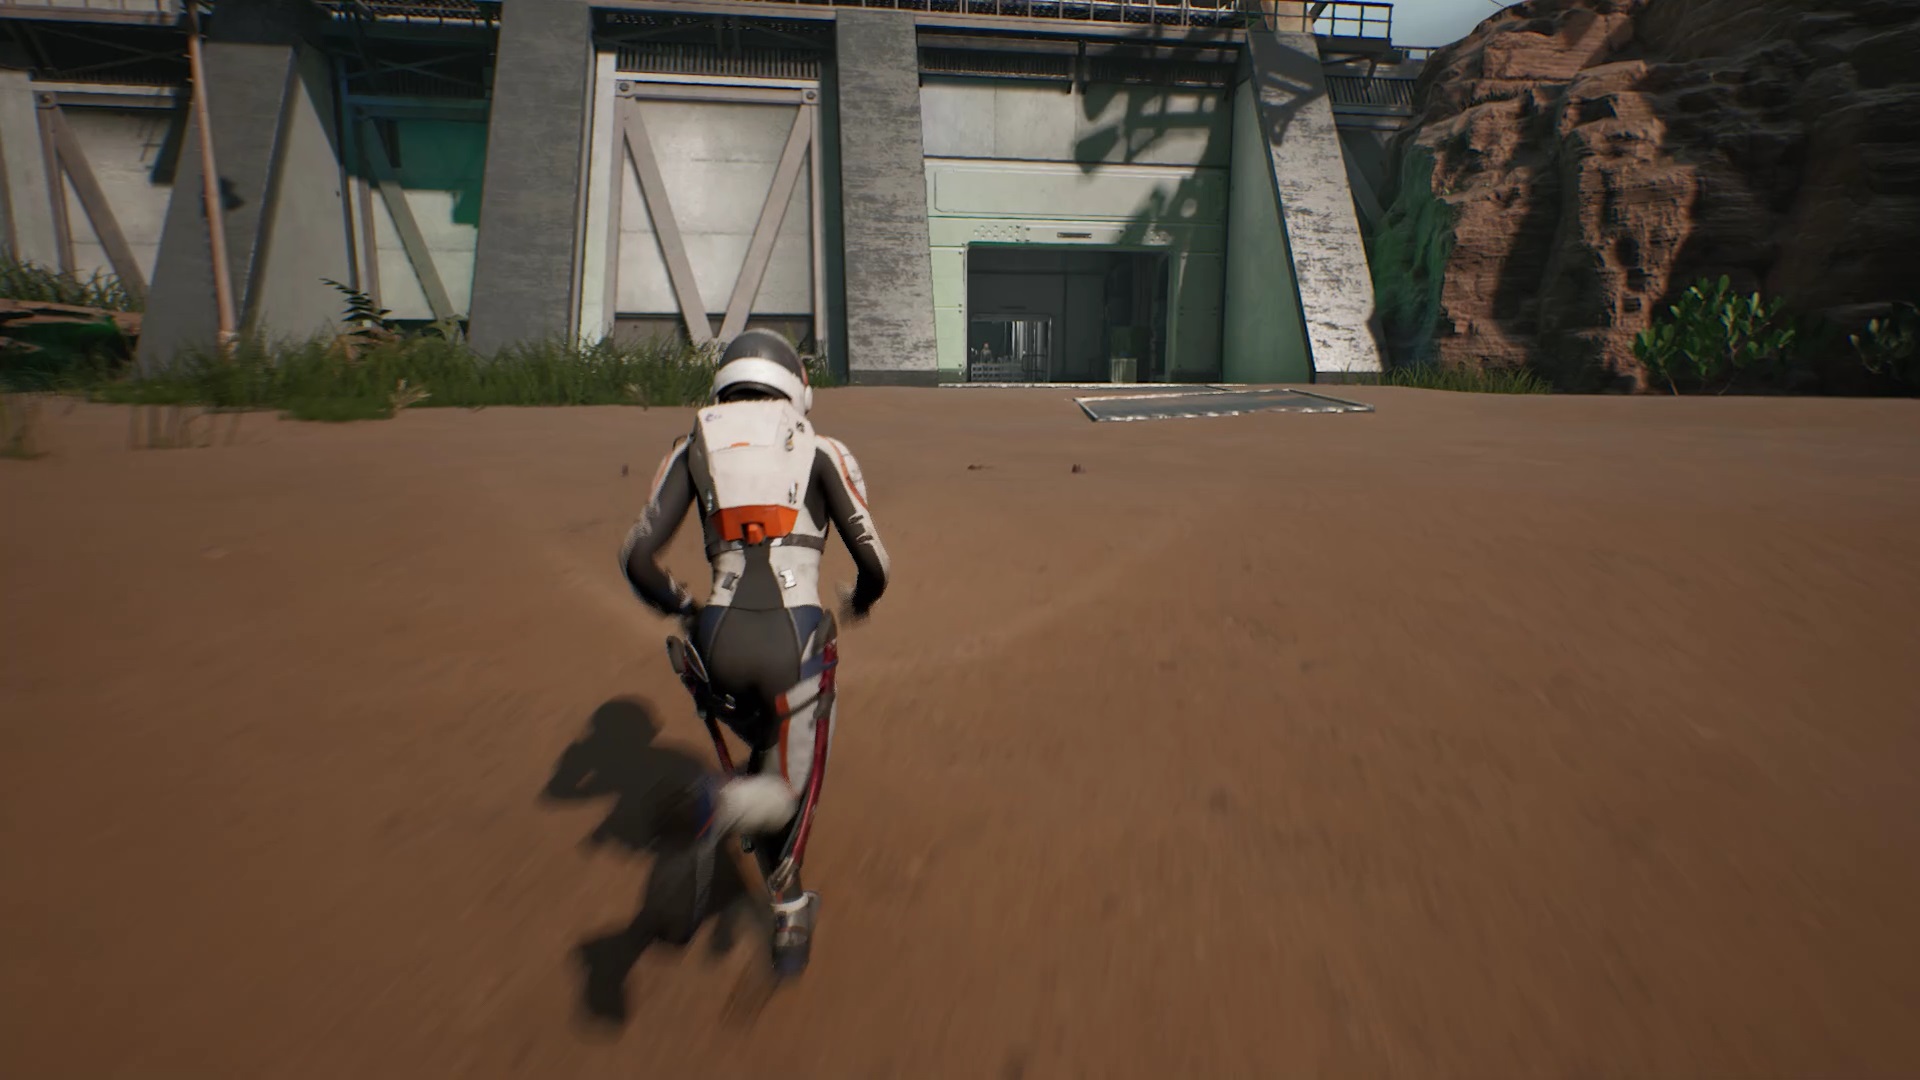
On mars, advance into the desert to find a facility. Climb the stairs and go through the airlock to come out. To find what the facility is for, scan the following three locations: the machines in the bottom left of the area, a rover in front of you on the other side of the clearing, and the freight elevator near the machines in the bottom from the clearing.
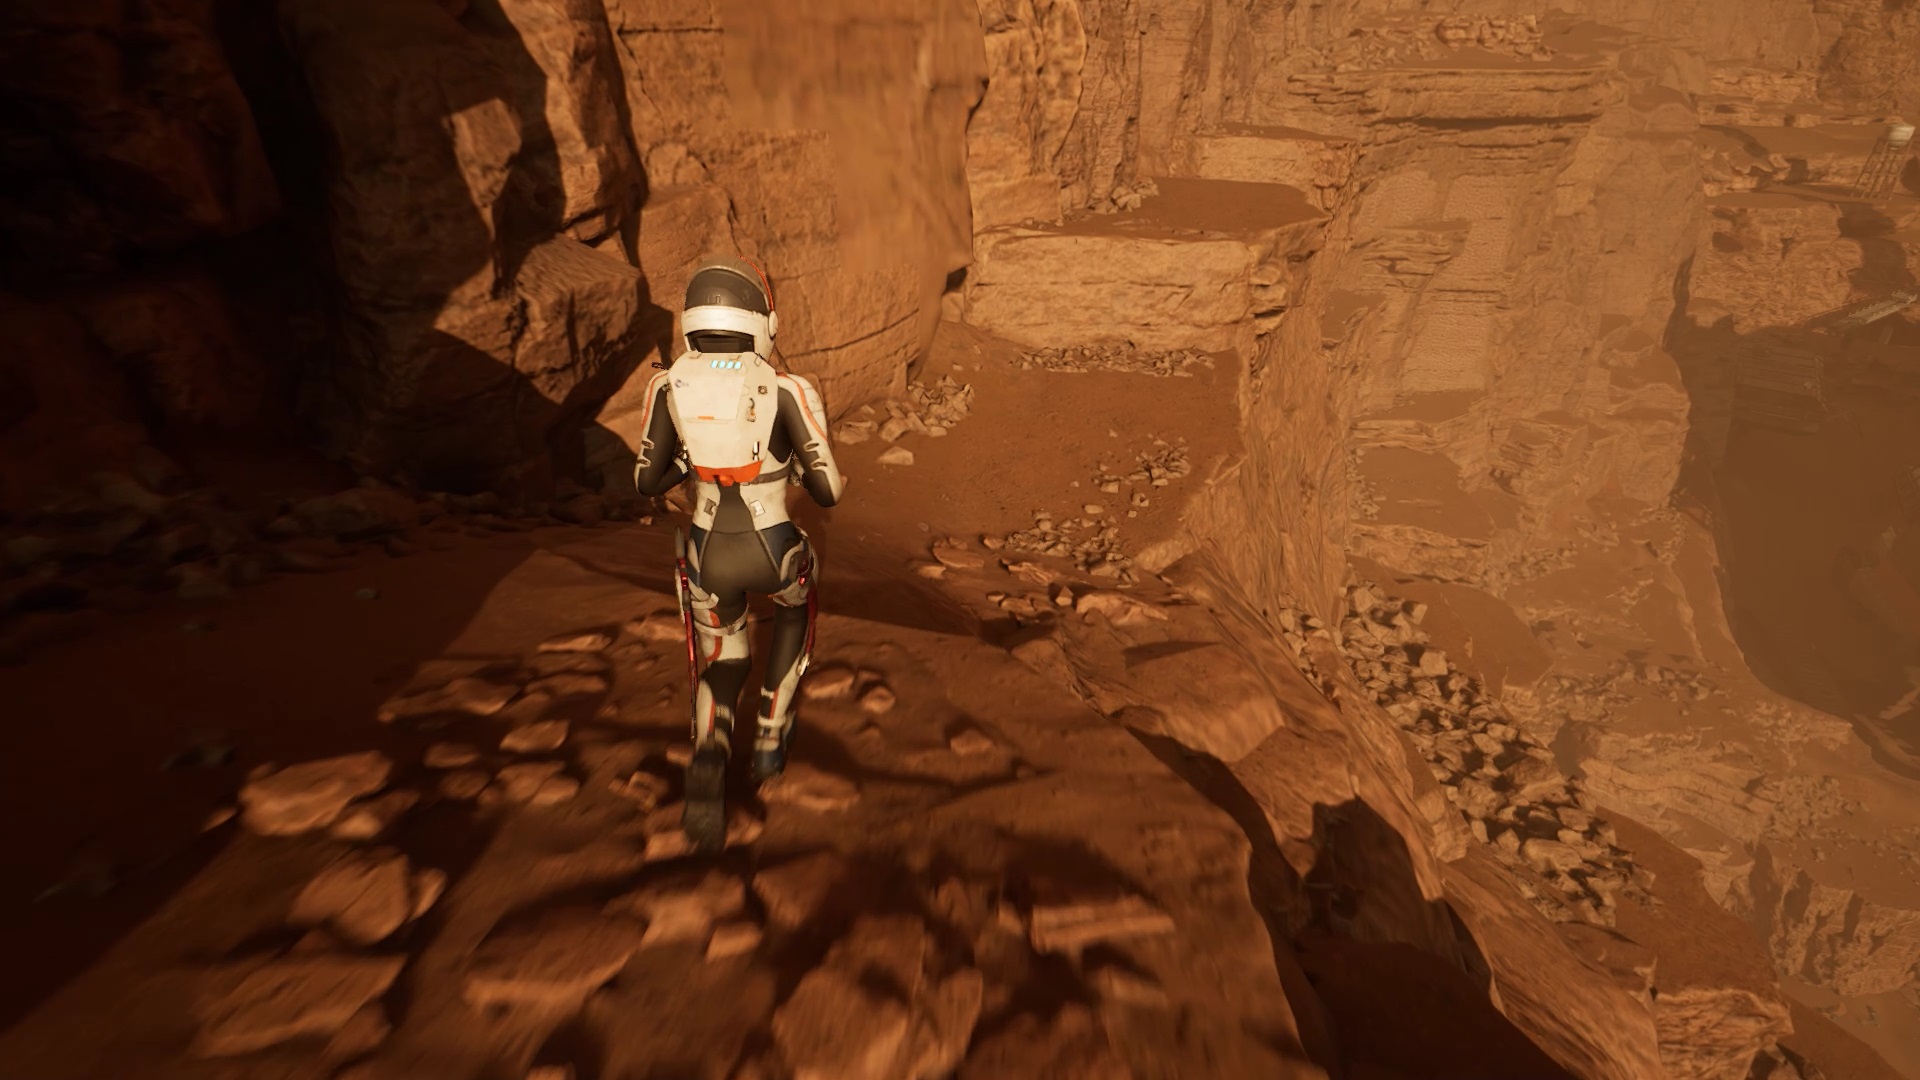

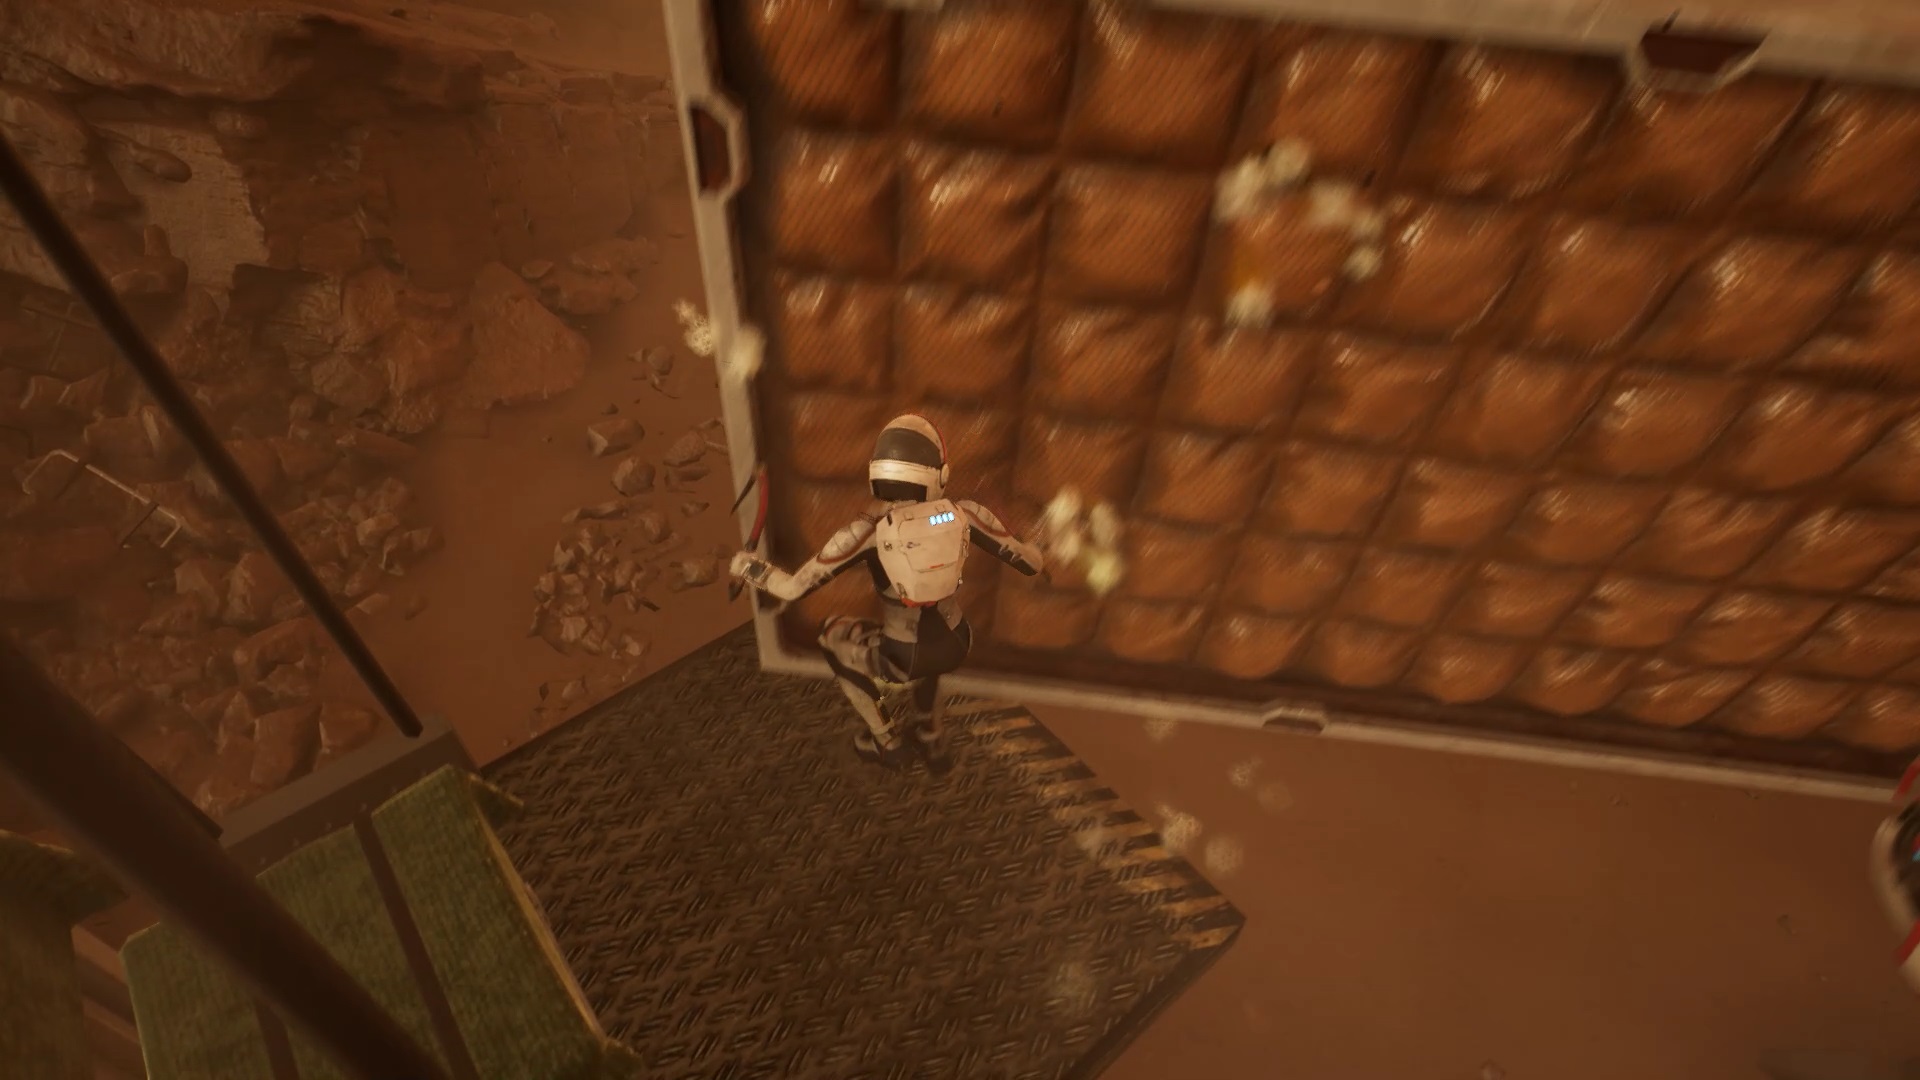
Go down the path on the left. Jump from rock to rock to reach an area to climb. Climb along the rocks on the right then descend to reach the lower area.

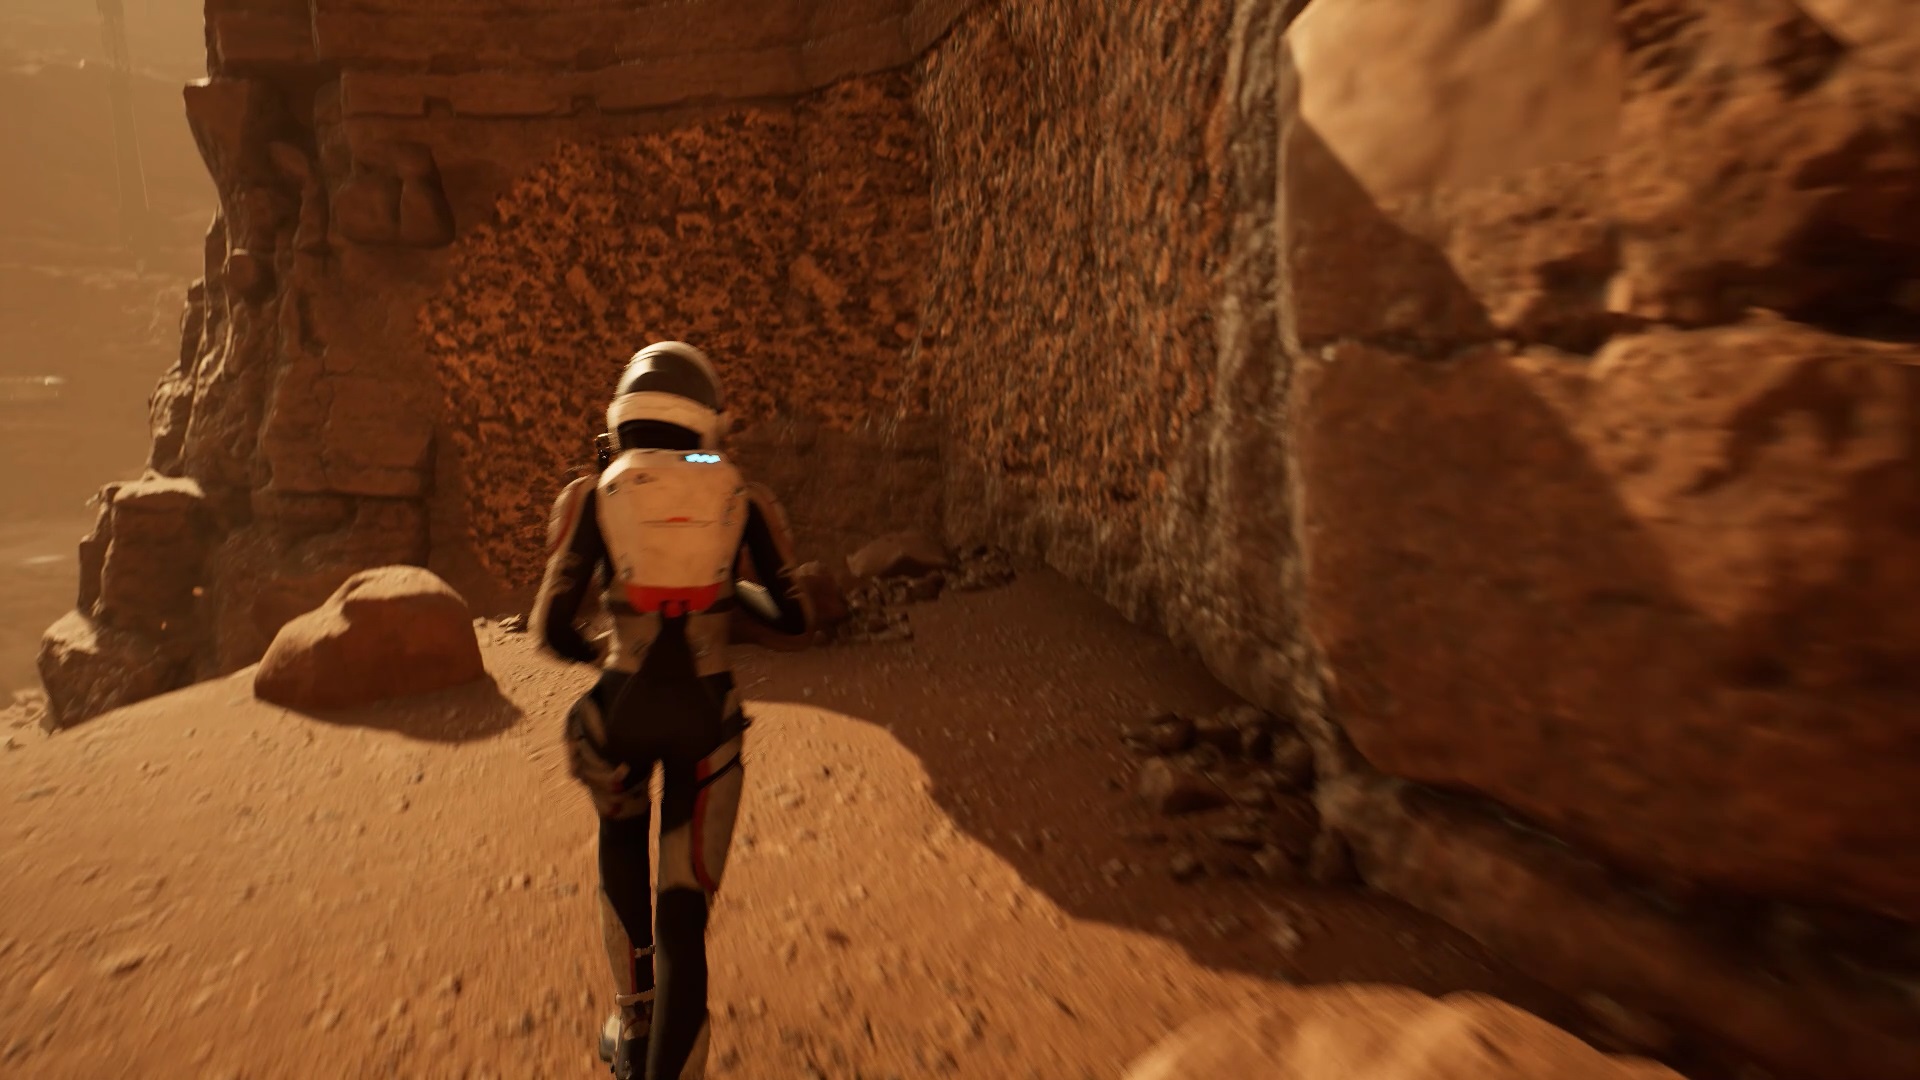
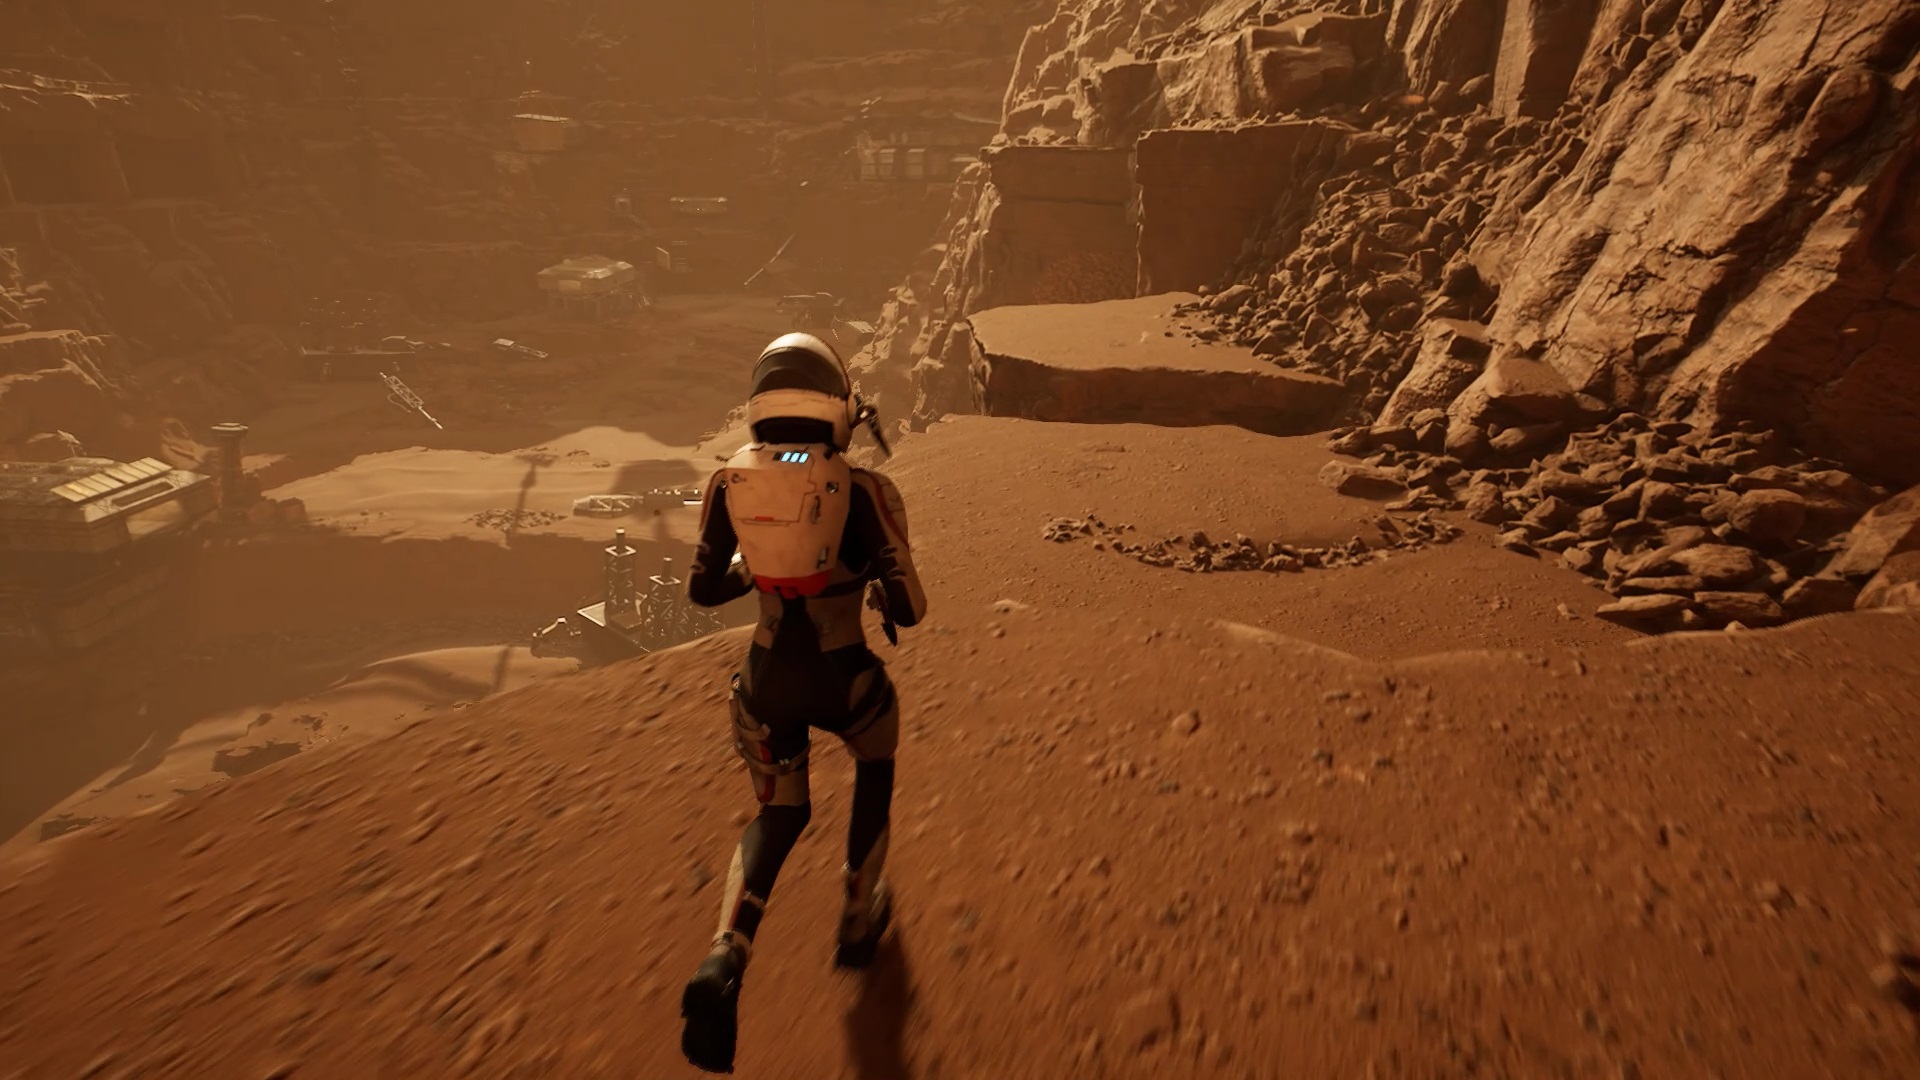
Keep moving forward by jumping on the rocks to clear your way. Alternate between climbing and jumping on the rocks to reach the bottom of the area.

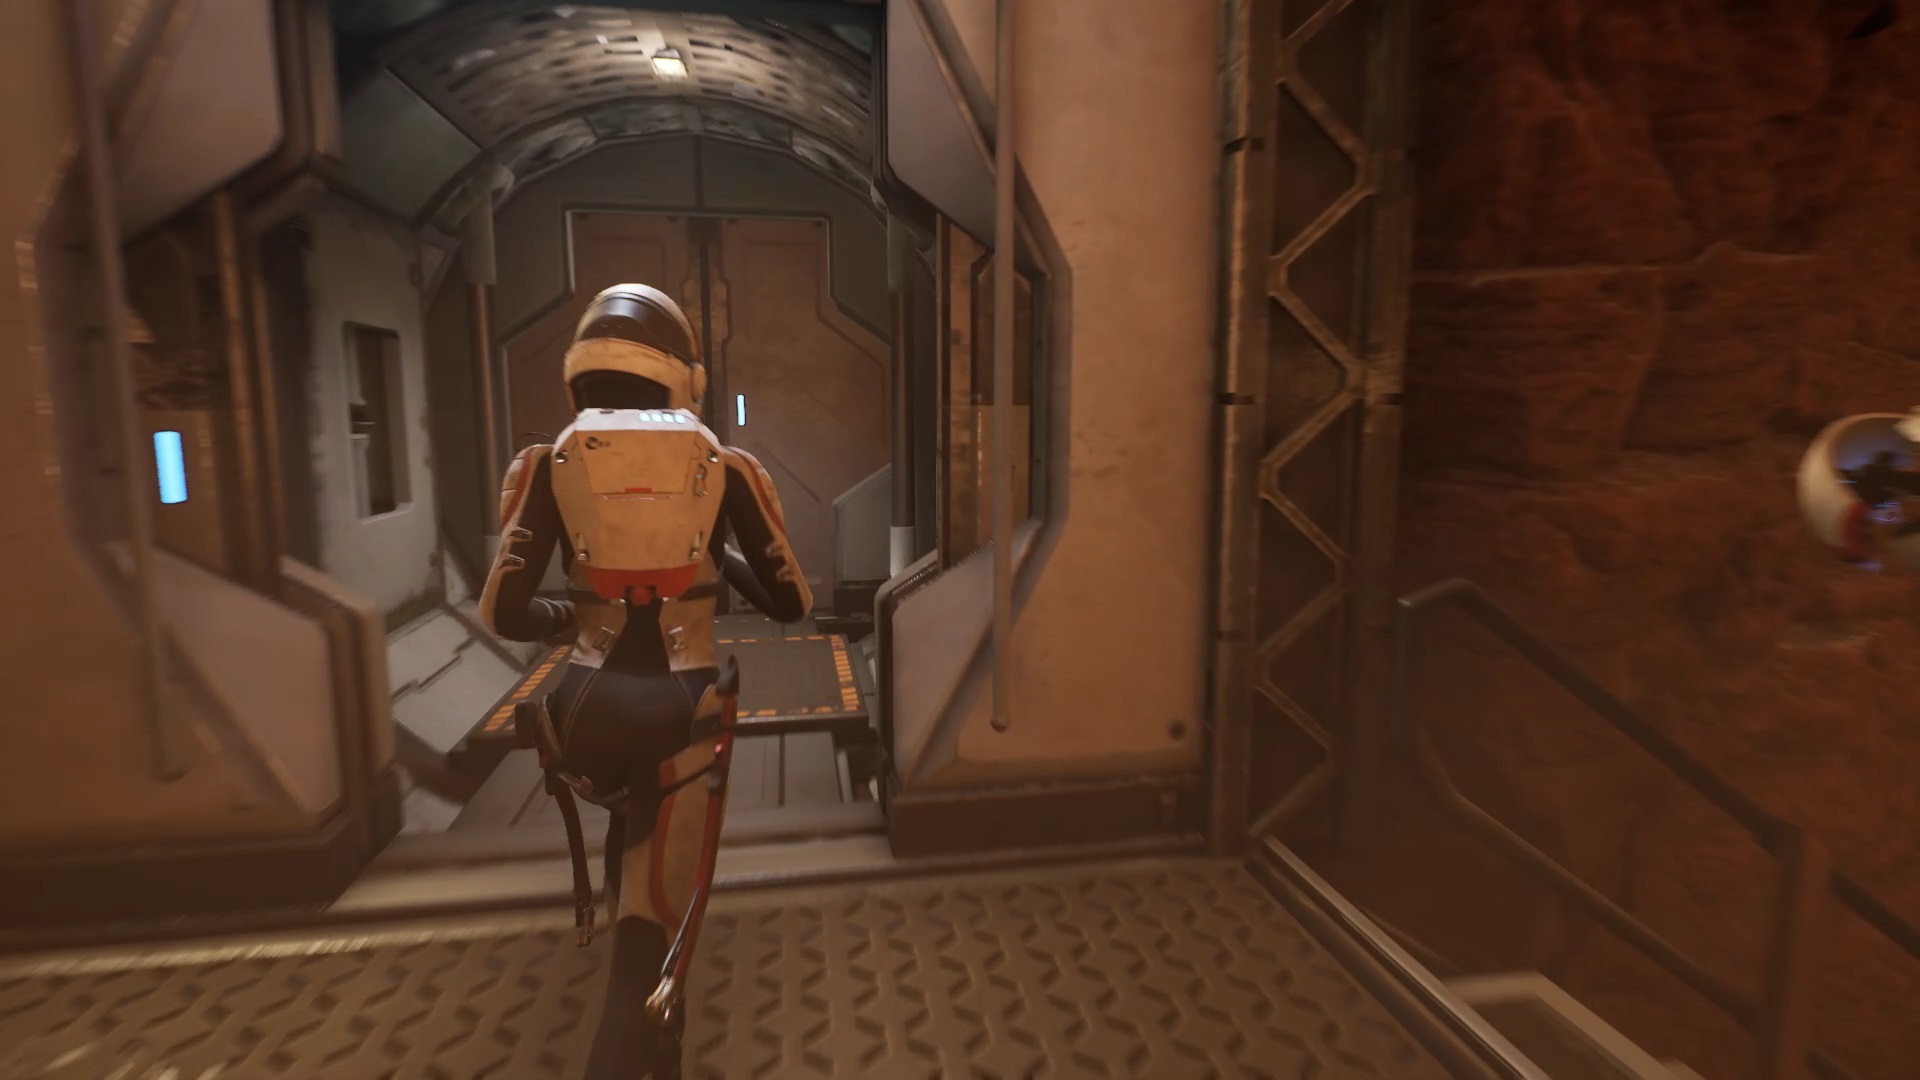
You must power the freight elevator. Climb the ladder on your right. Enter the facility. To decrypt the hologram, align the ends by placing yourself as in the images above.
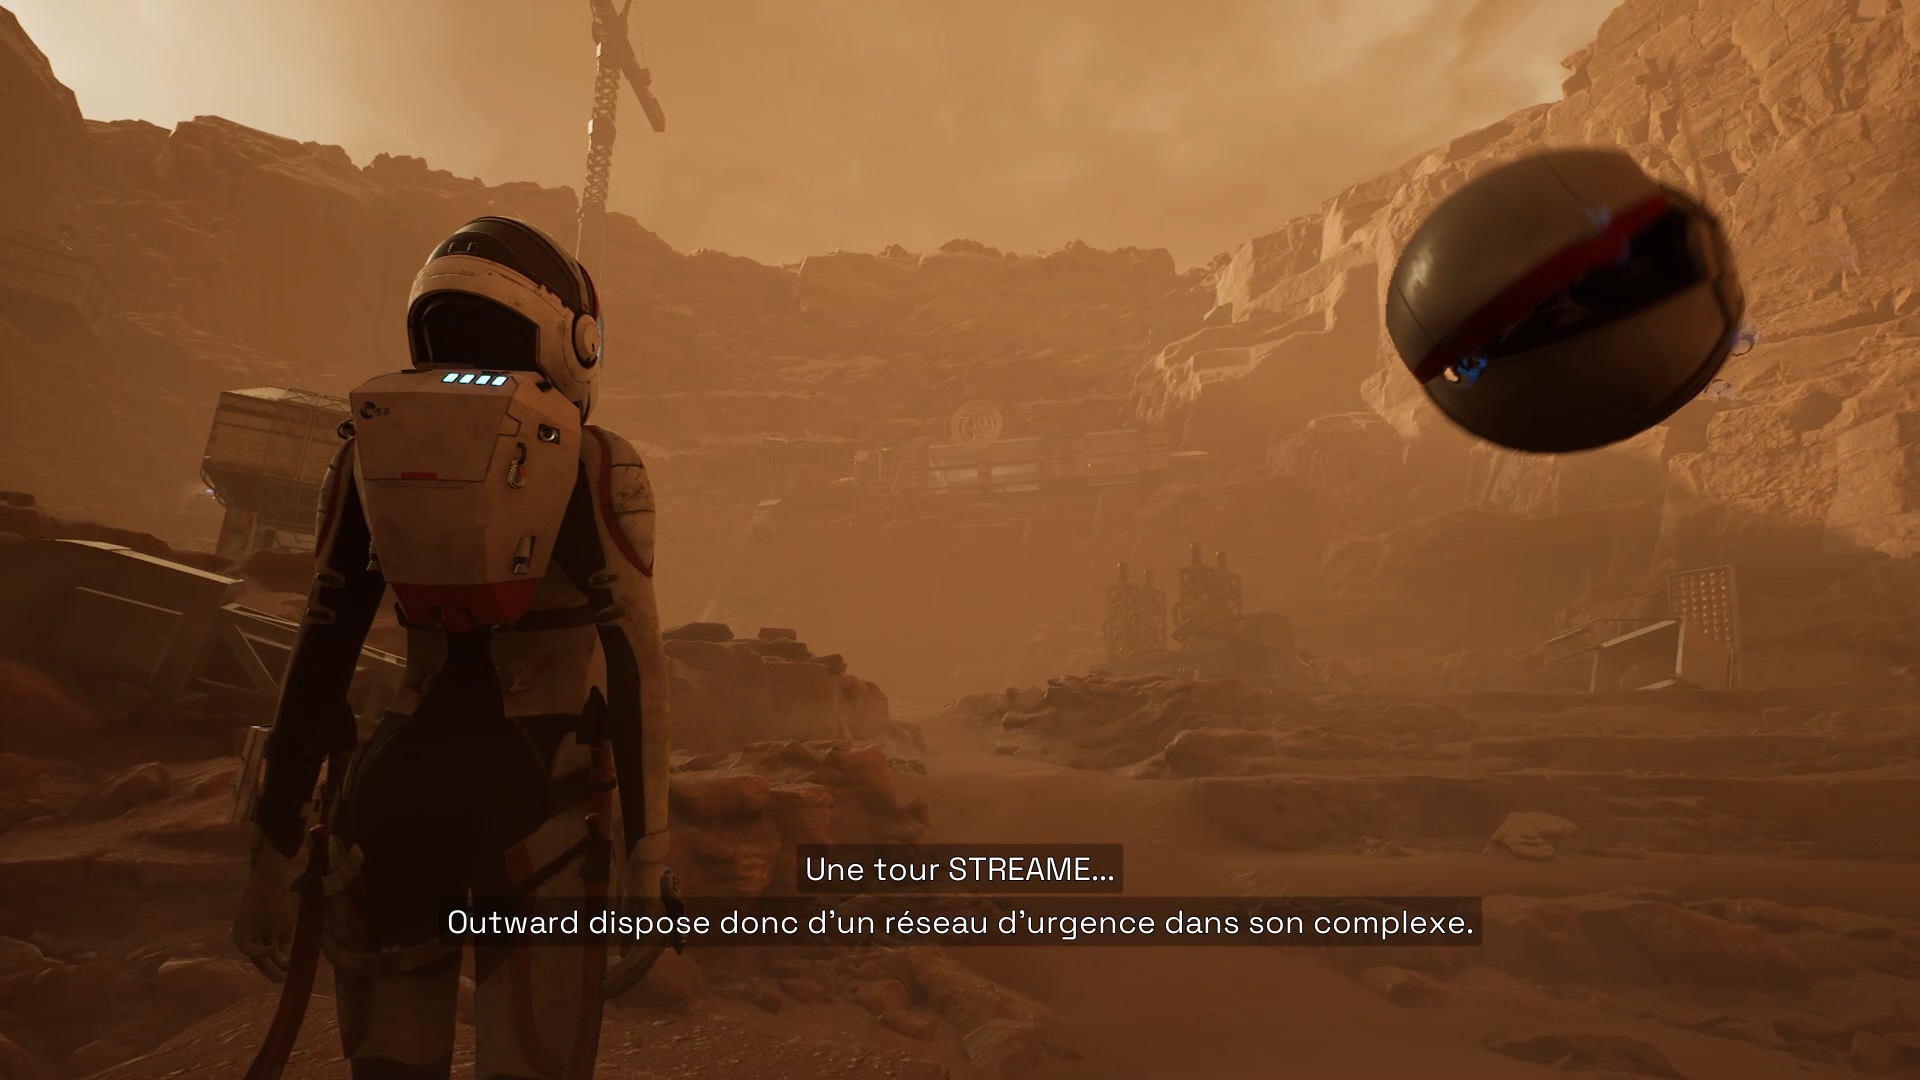
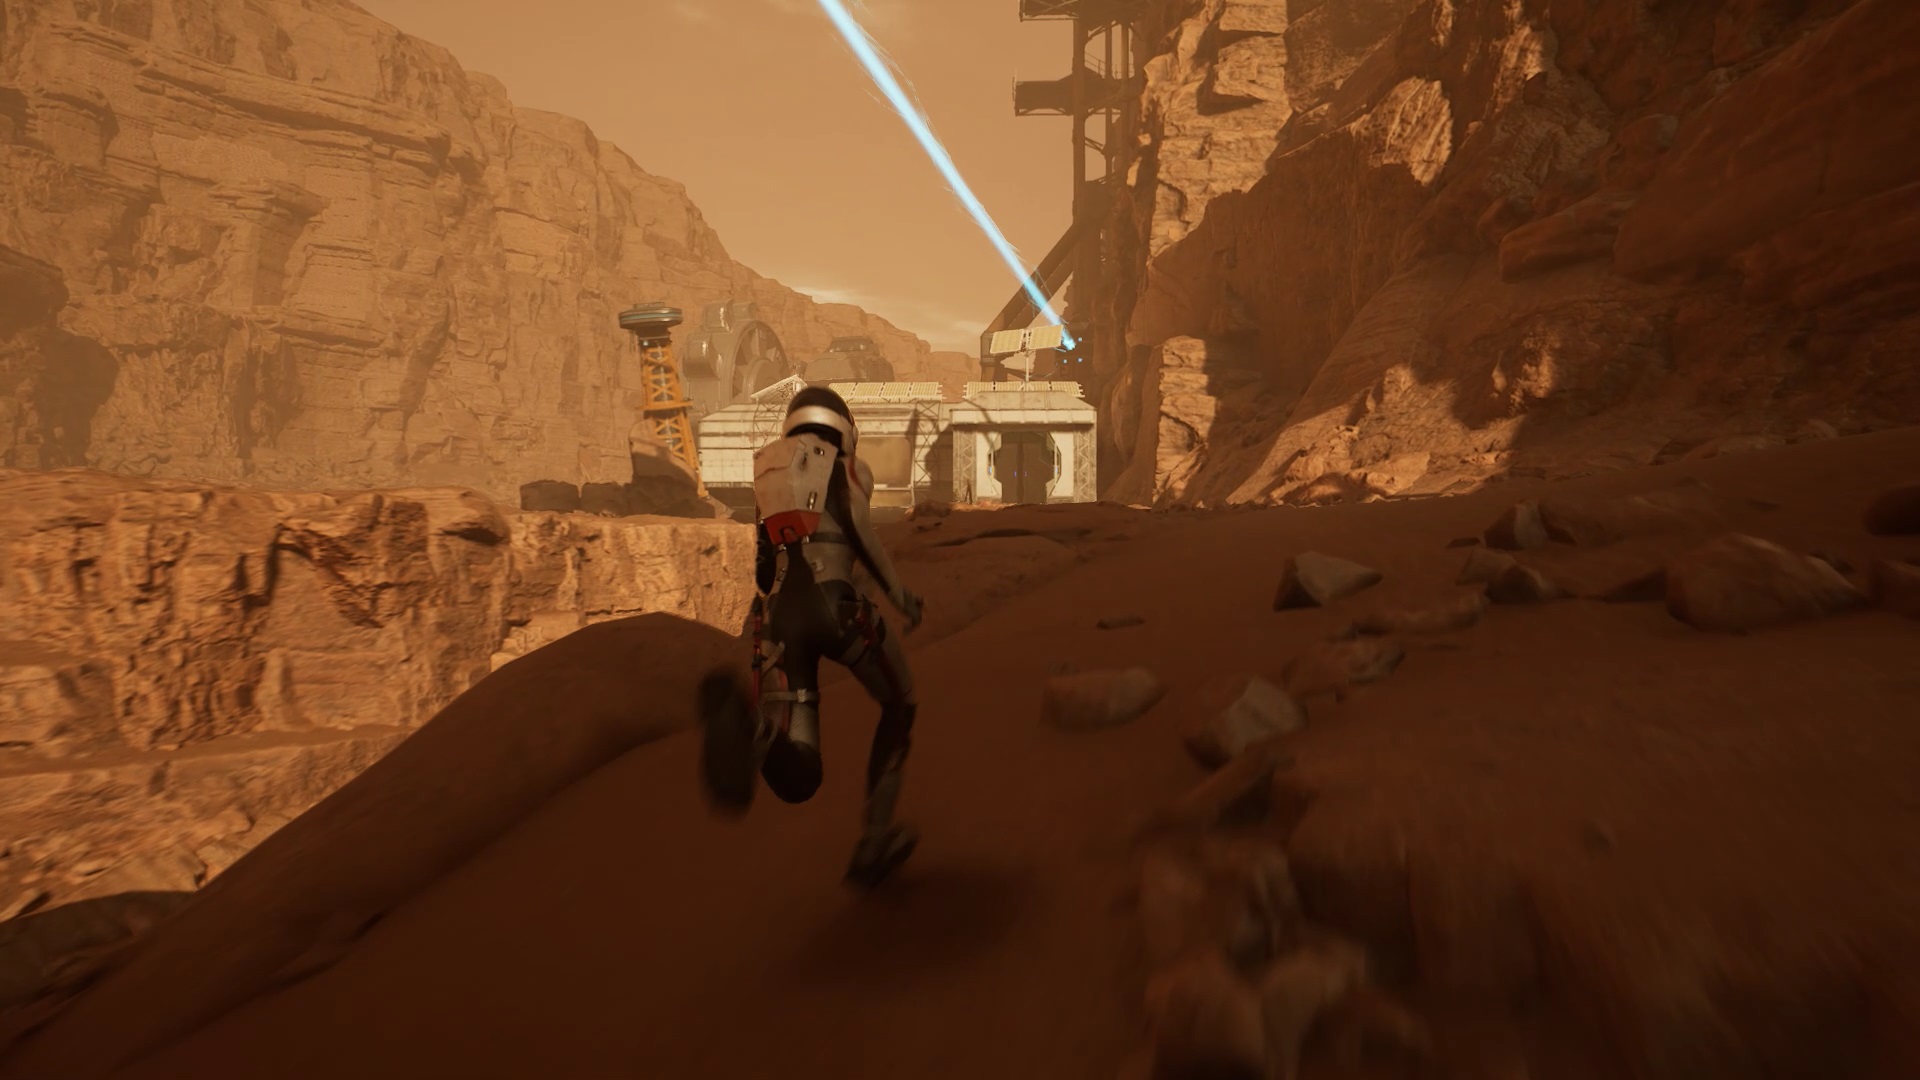
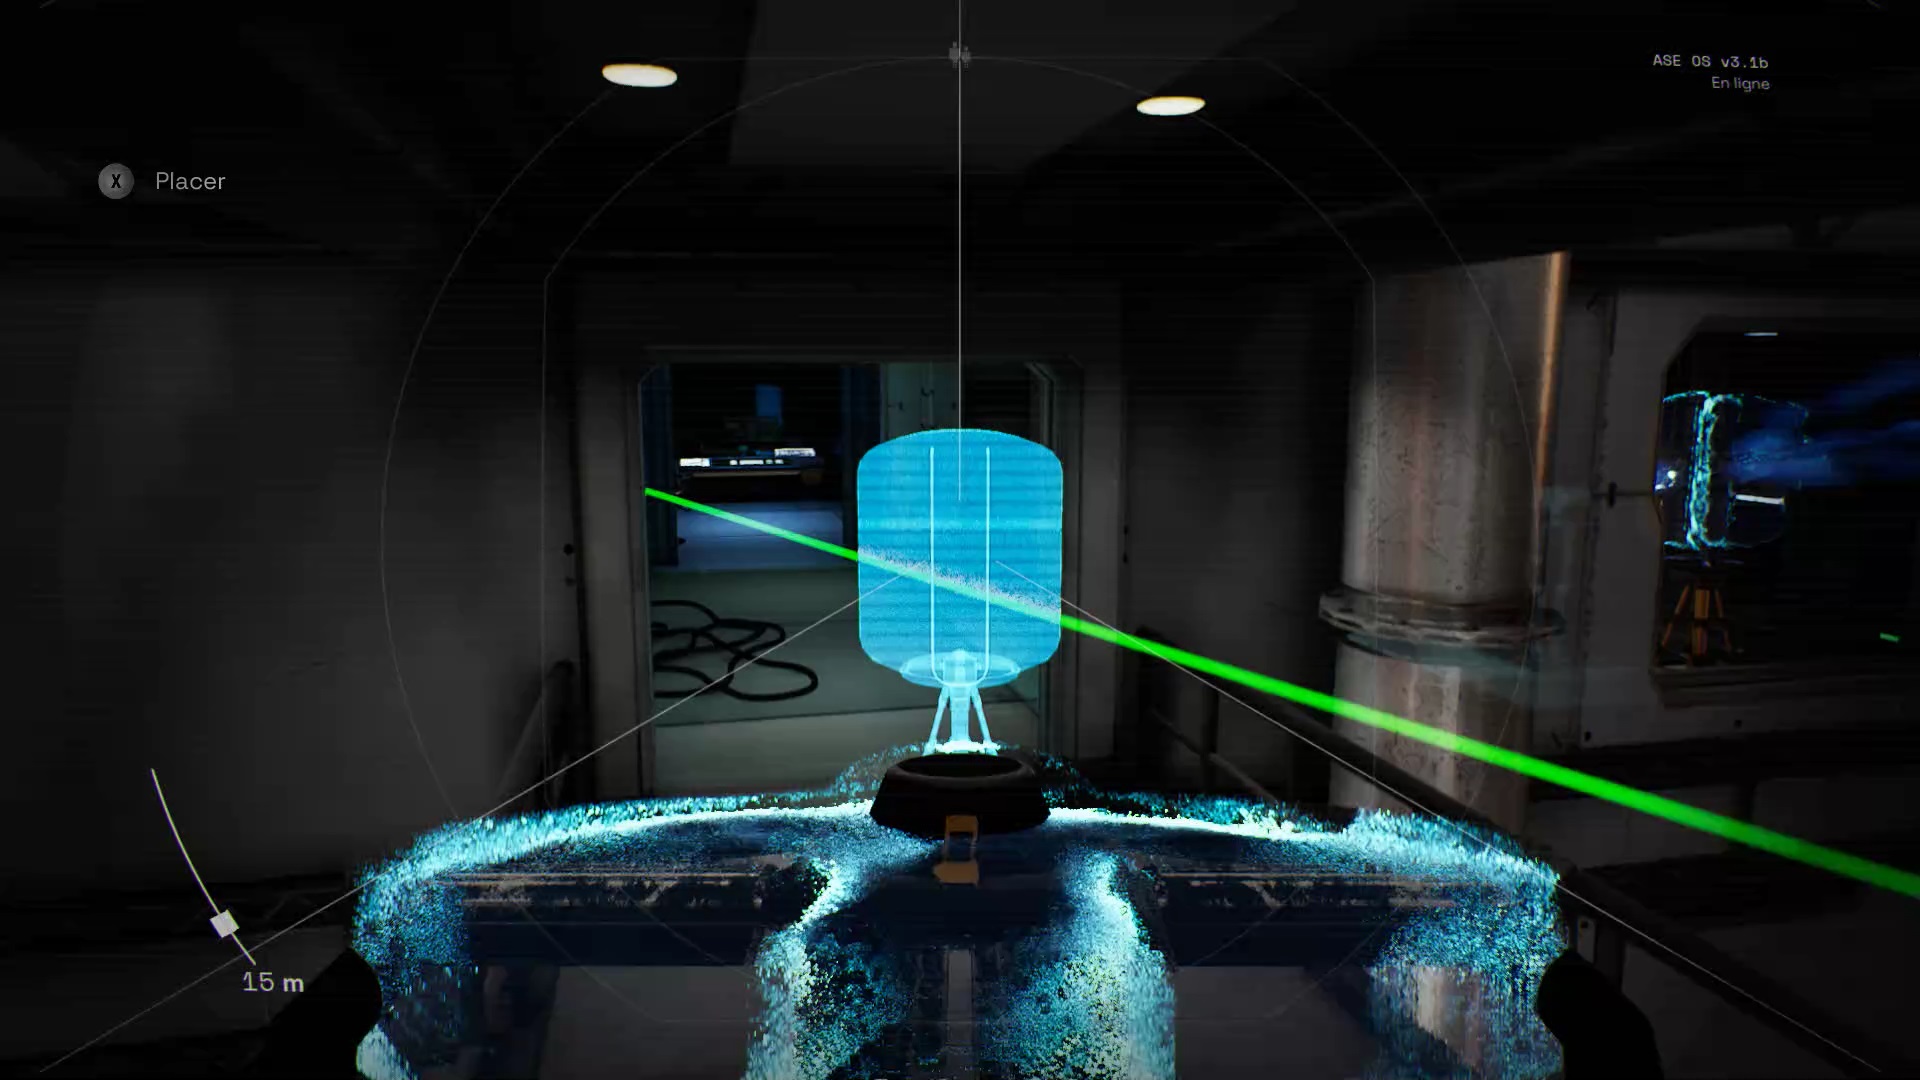
Continue forward through the airlock. Walk in the desert to discover a Streame tower. You must use it to supply power to the lift. Continue your way to enter the installation at the foot of the tower.
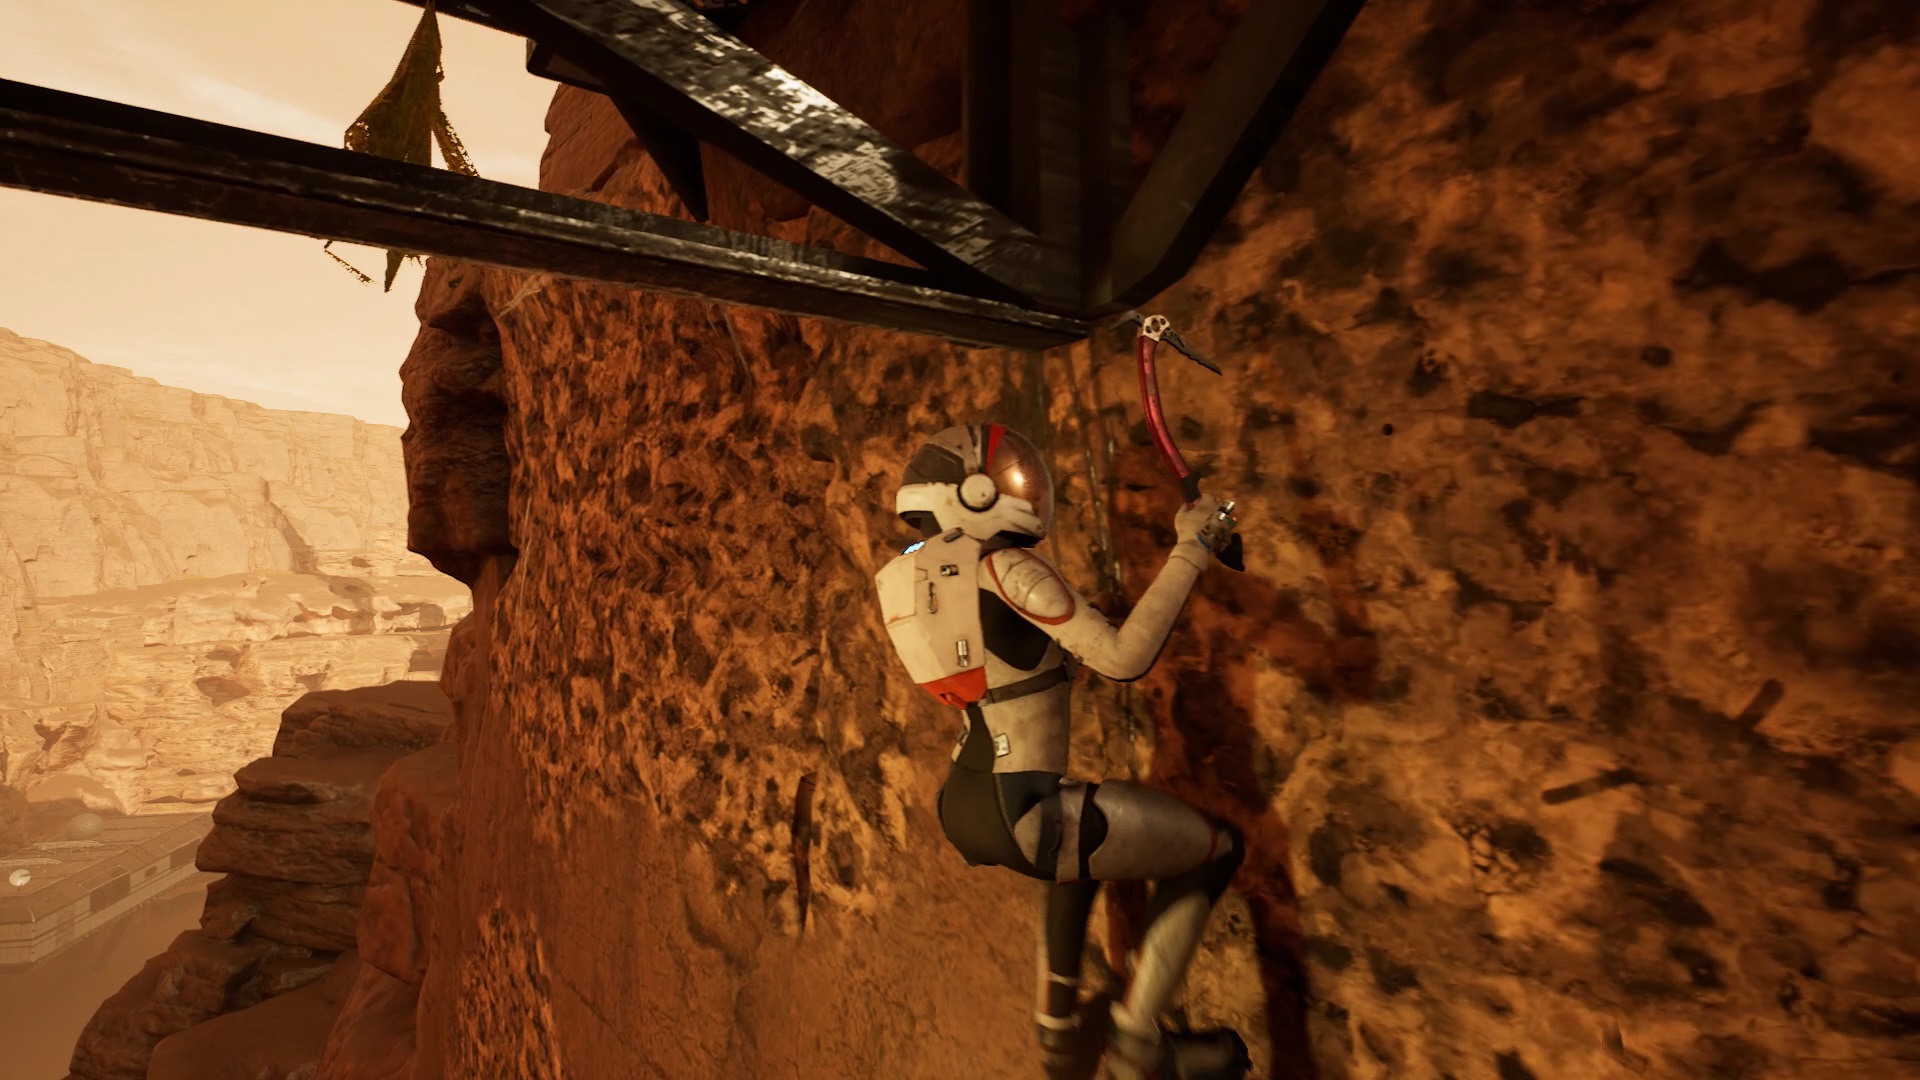
Climb the stairs and enter the facility. Go through the facility to discover a path leading to the tower. A rotating platform allows you to reach the opposite side by hanging onto it with your climbing equipment. Jump on the platform and plant your spikes to hold on. Let go of the platform when you’re on the other side.
Keep moving towards the tower and enter the new facility. You find a new hologram. To decrypt the hologram, align the ends by placing yourself as in the images above.
Take the airlock on the left of the hologram to continue. Go ahead and use your climbing gear on the left wall to climb. In height, jump to the other side and sneak through the rubble. You again find rocks to climb.

Go along the wall on the right to reach the end of the area. Jump on a pipe to reach the opposite side and exit. Enter the airlock of the installation in front of you.
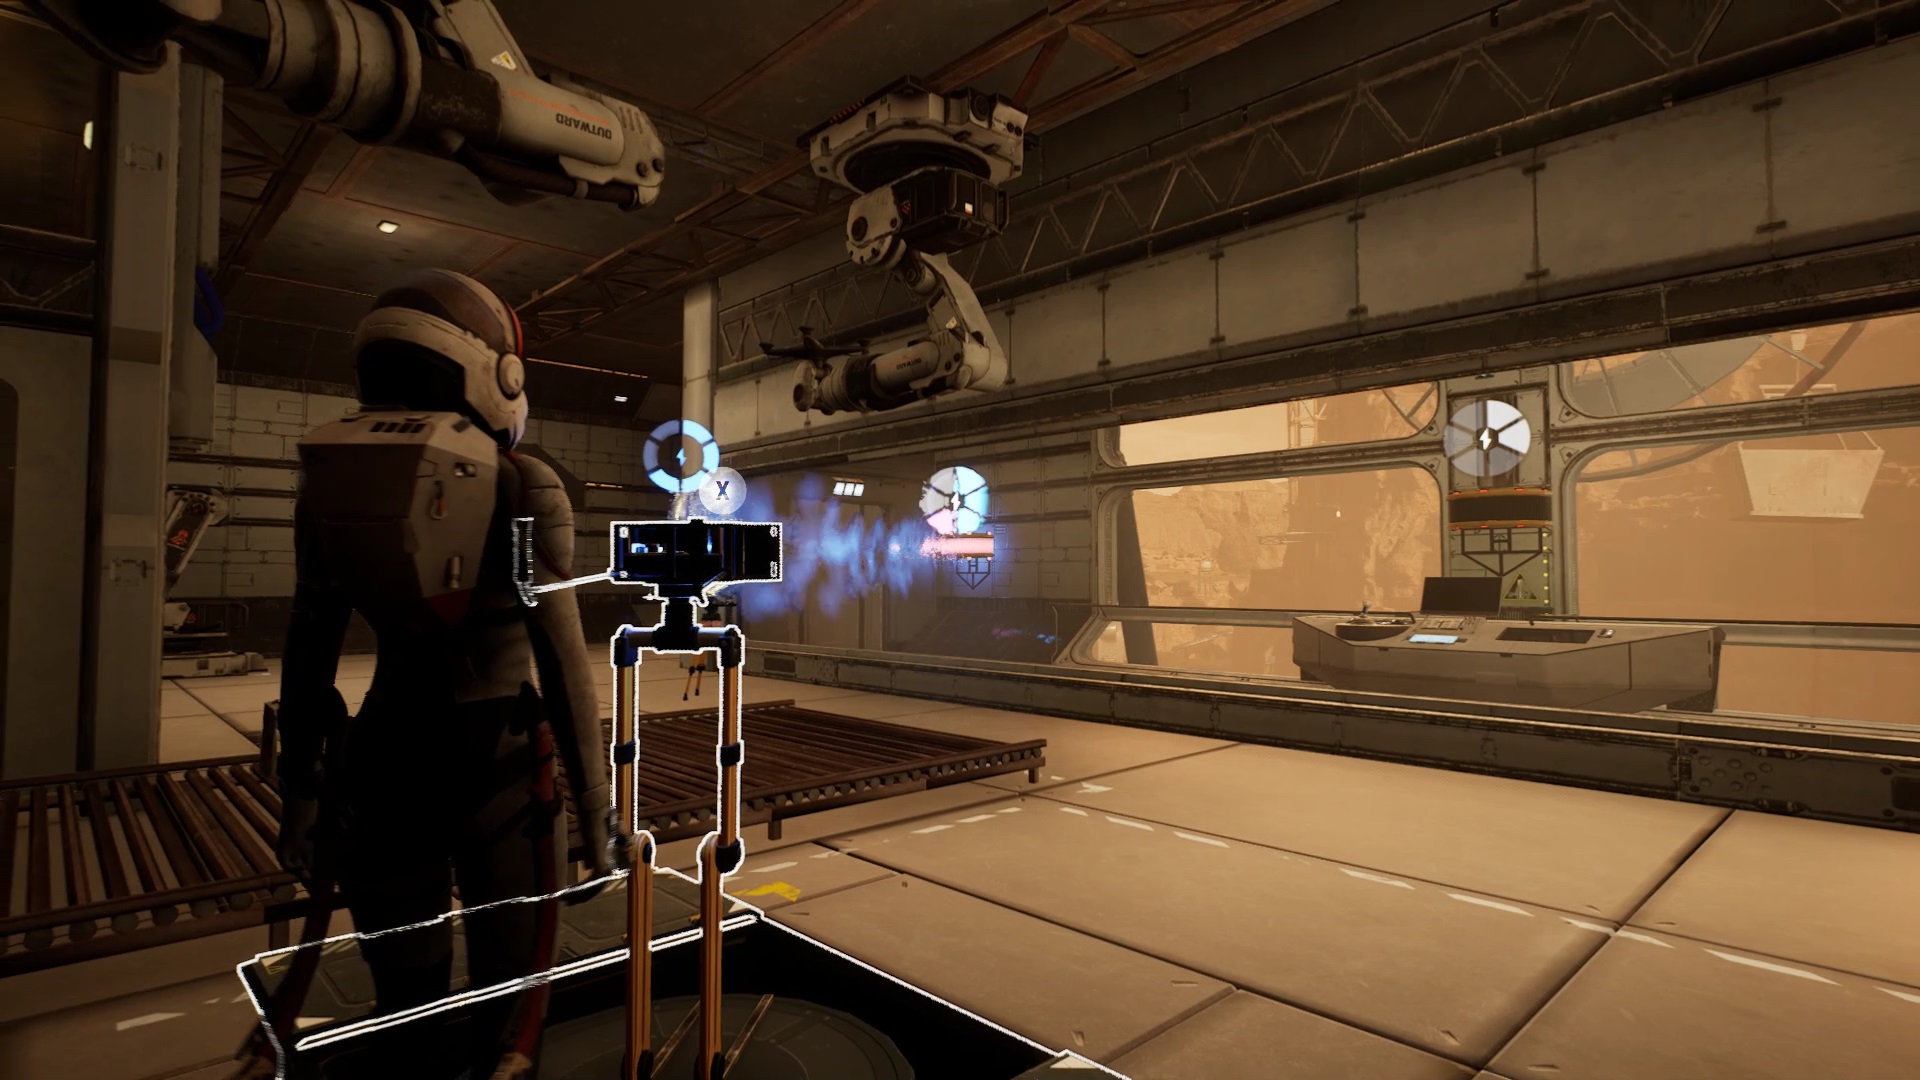

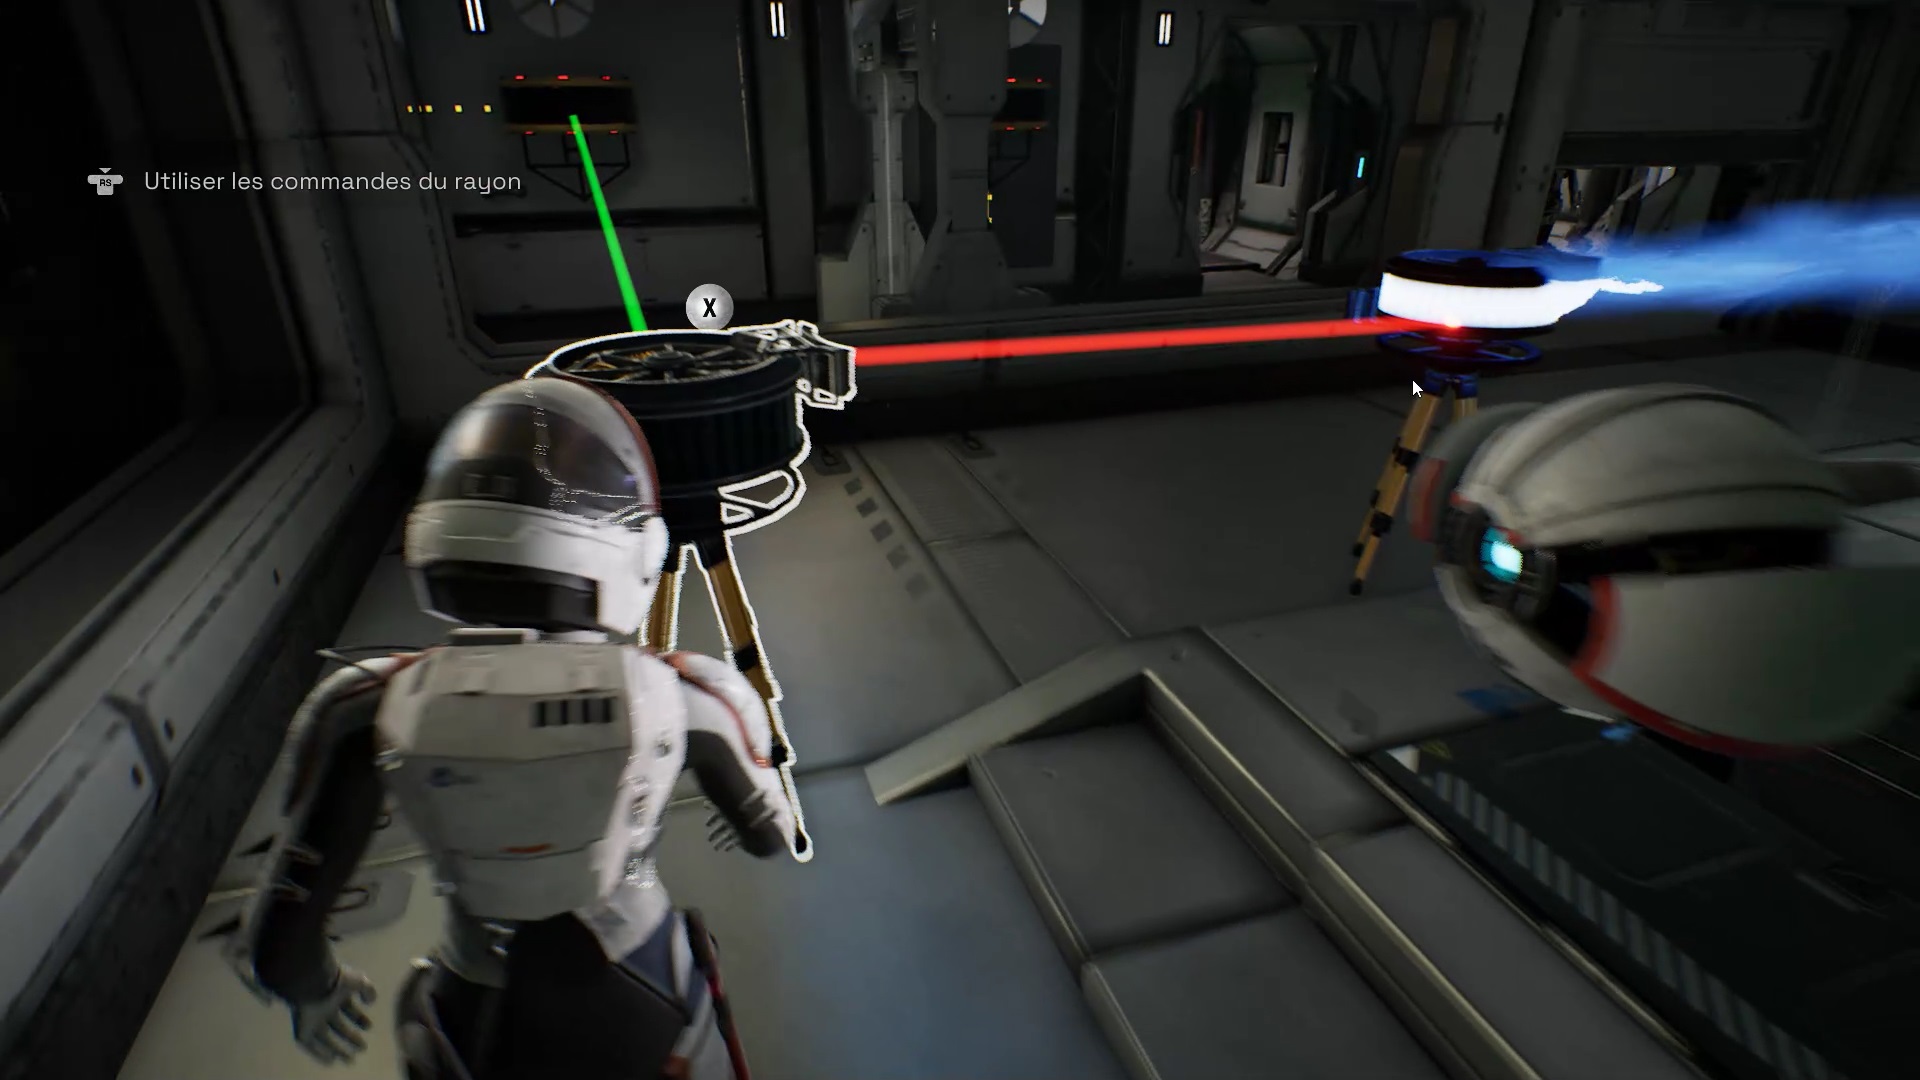
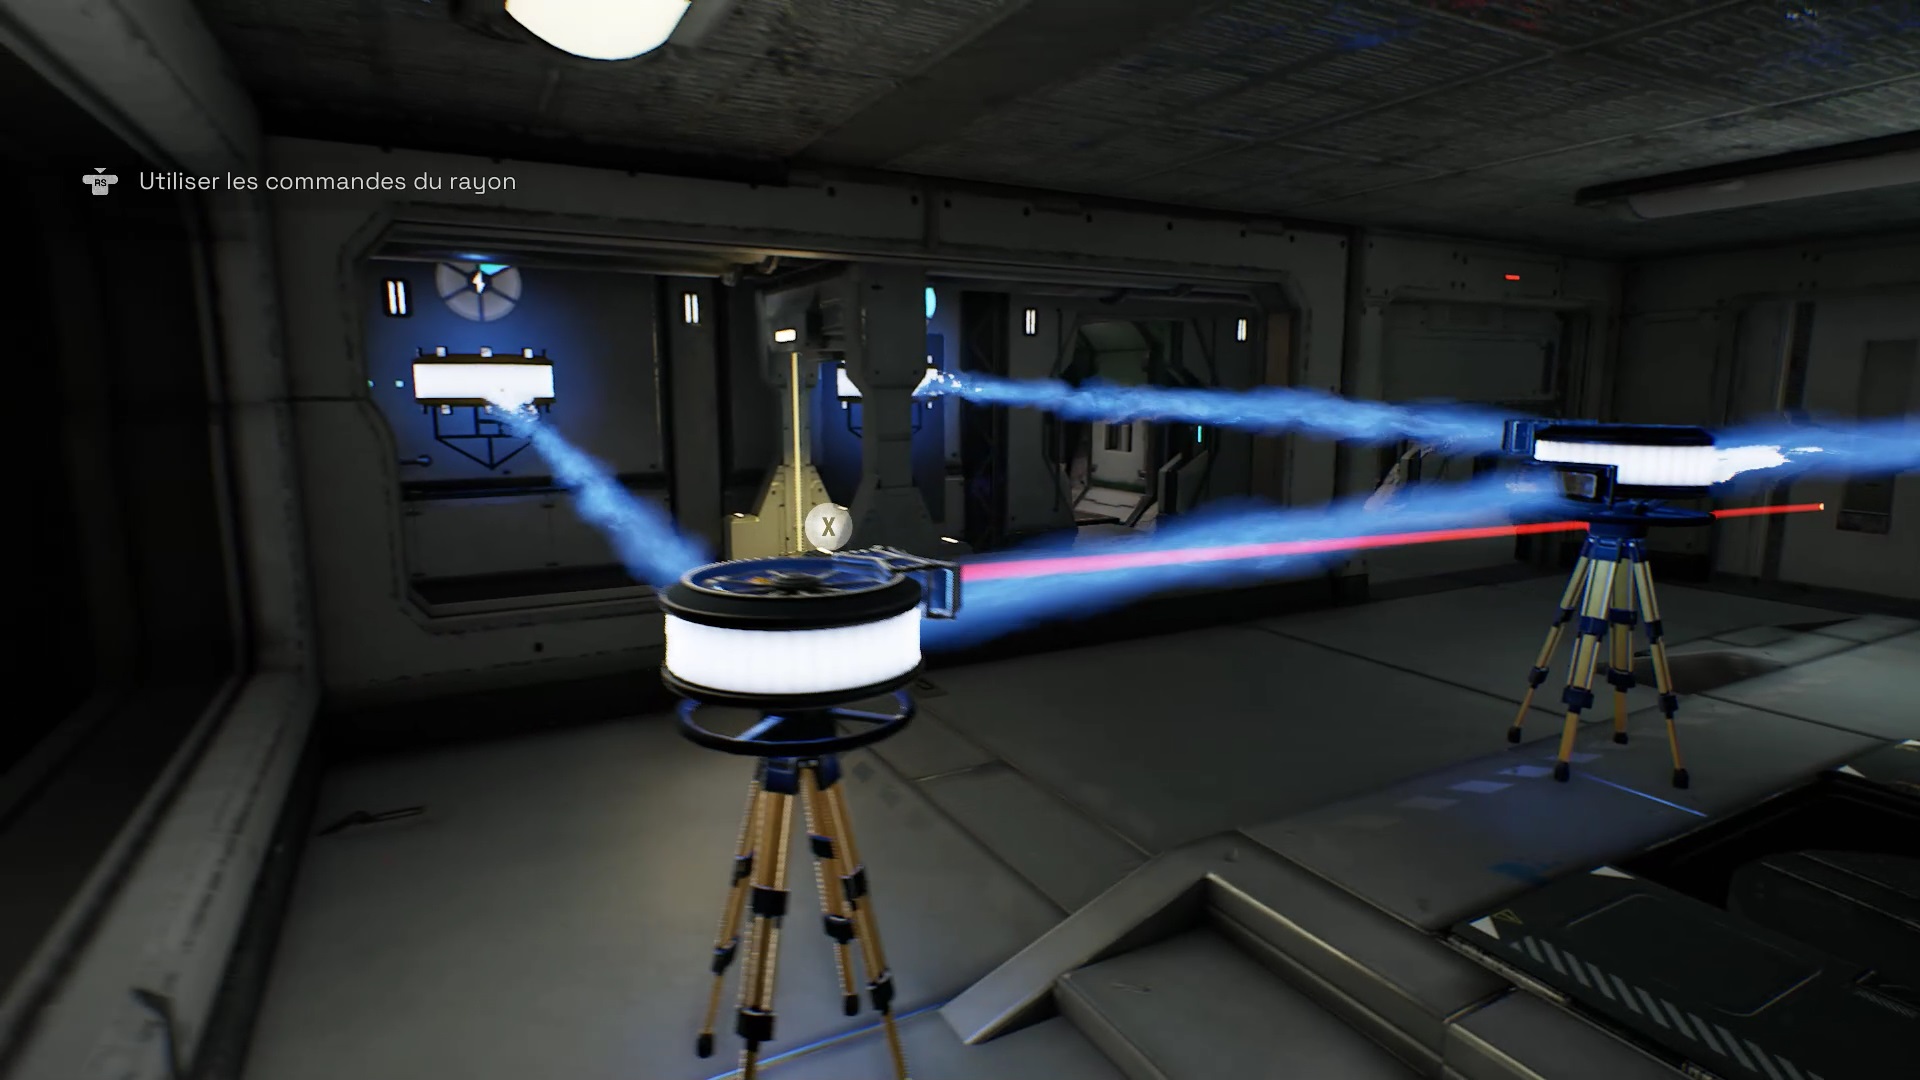
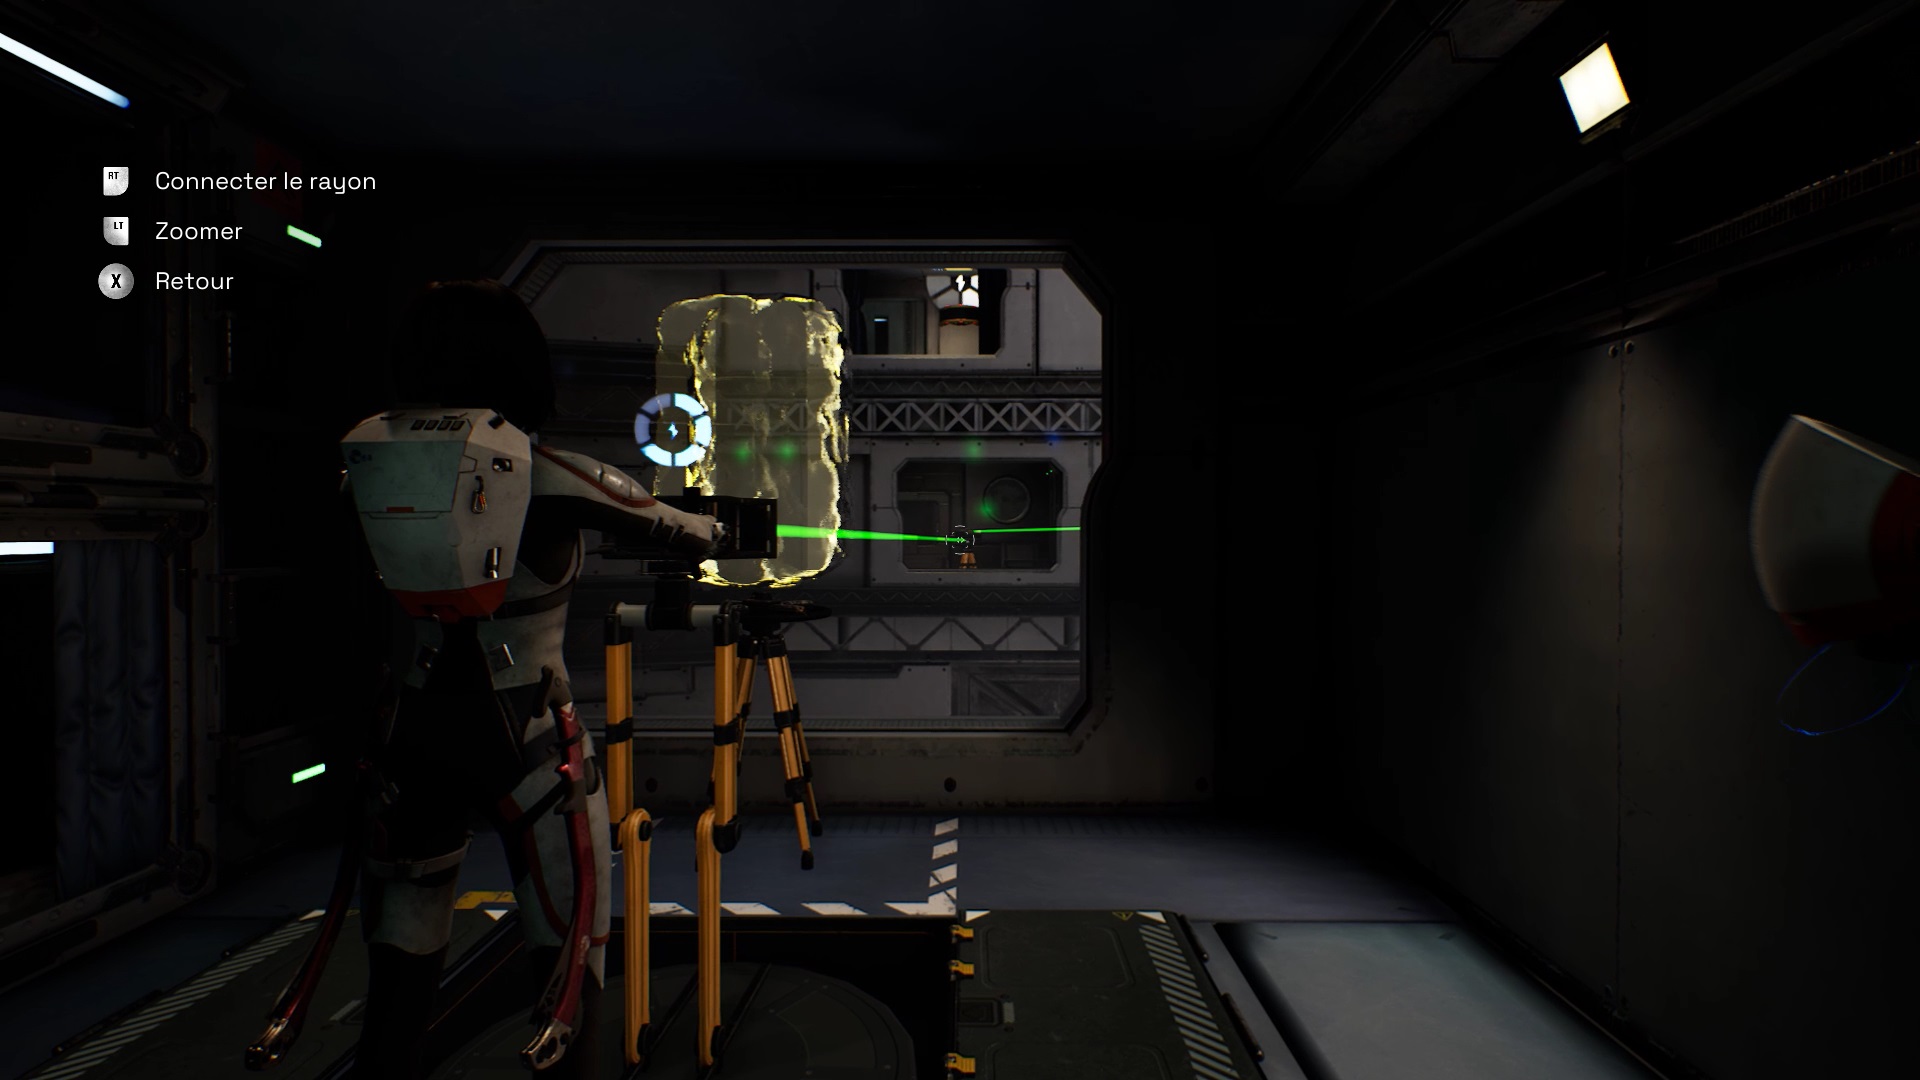
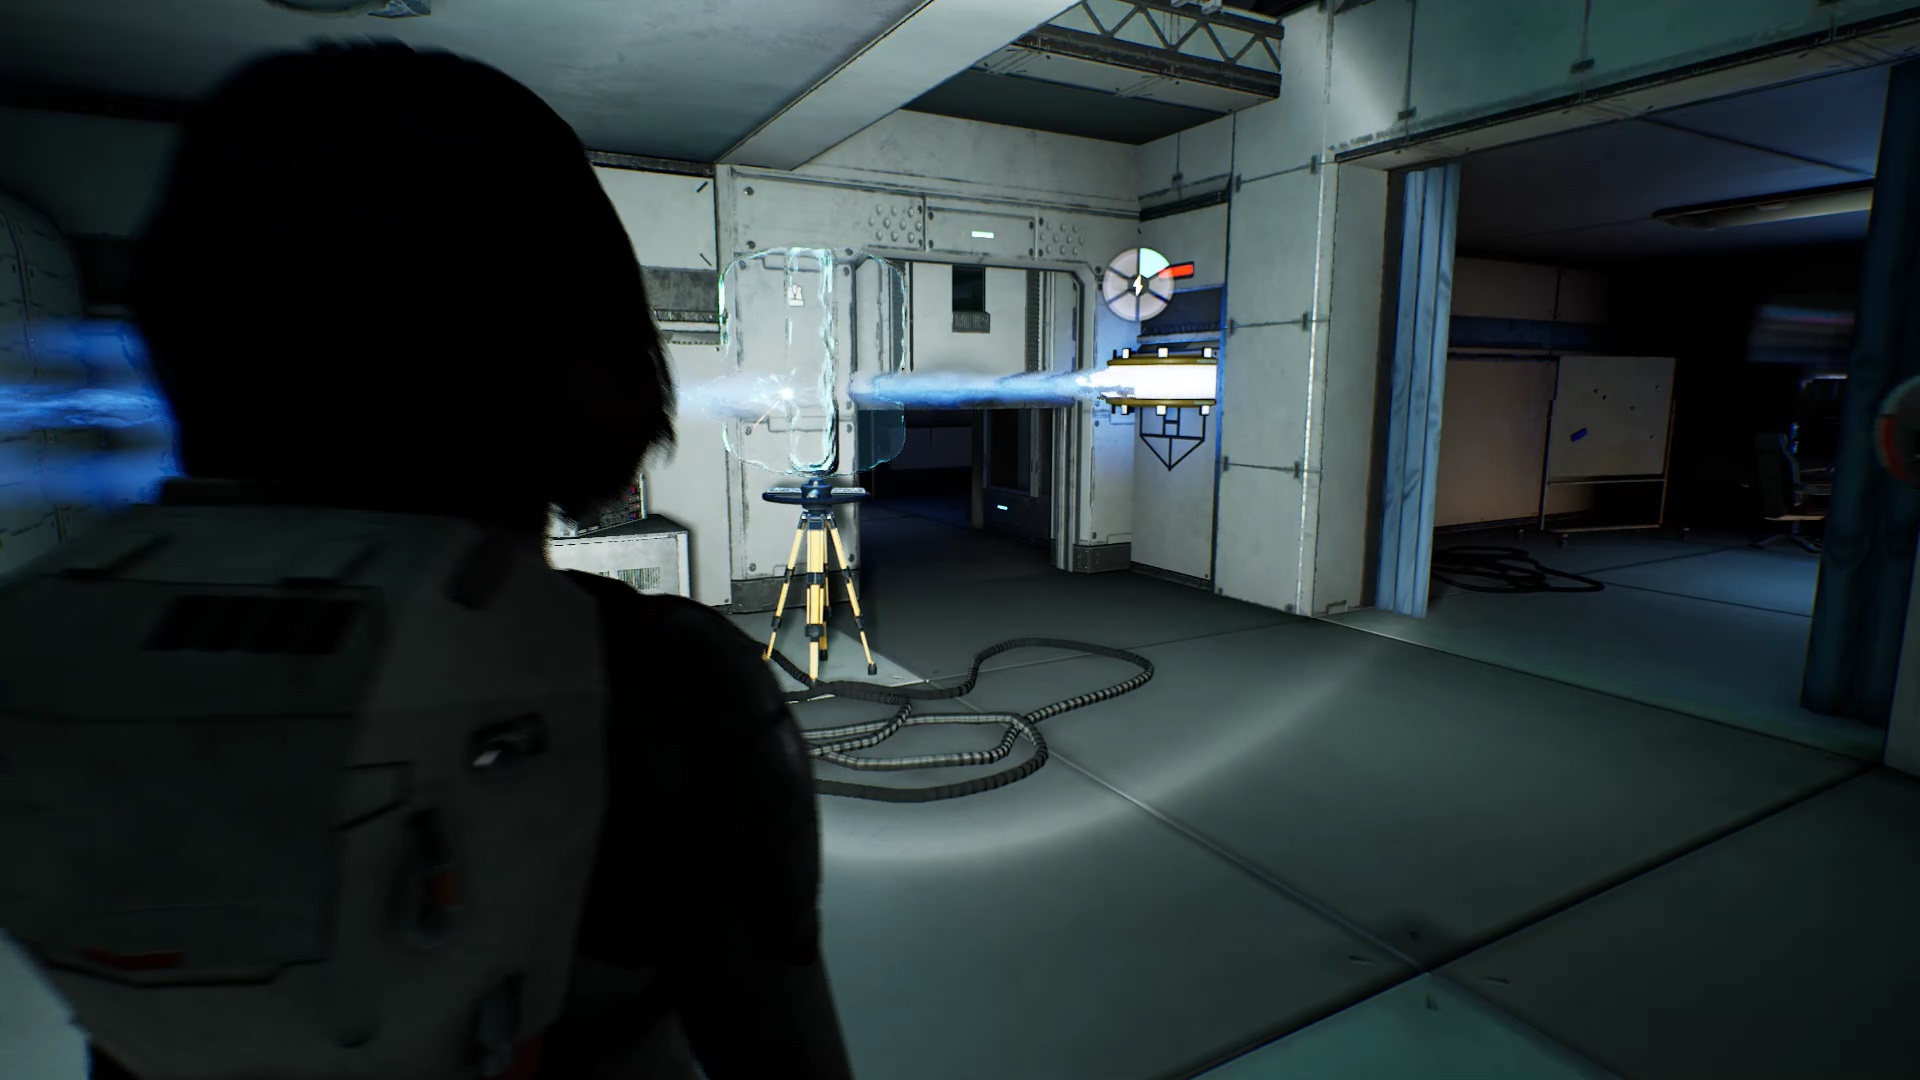
You need to power the Streame tower receiver. Facing the receiver, use your laser on a ground plate to get a beam. Connect this spoke to the streame point to the left of the control panel. Connect the second beam of the room to the streame point above the control panel.
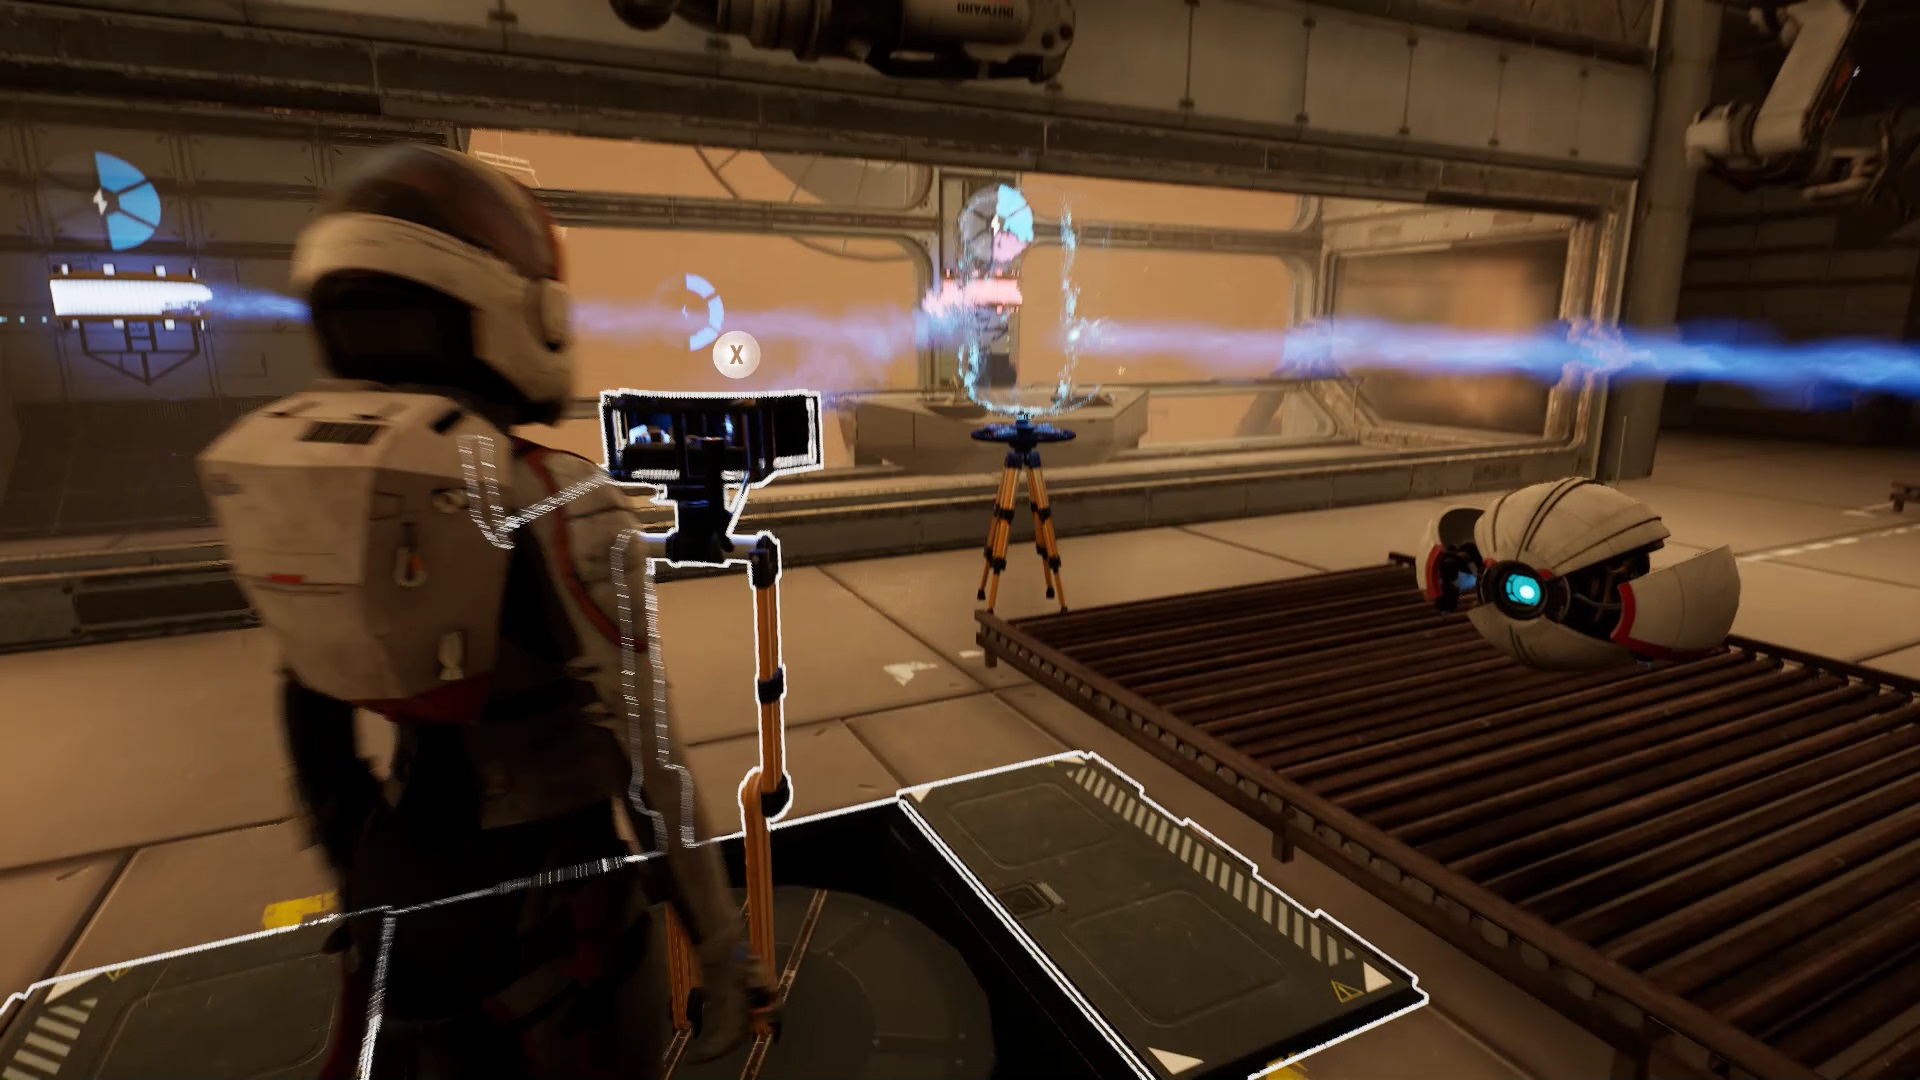
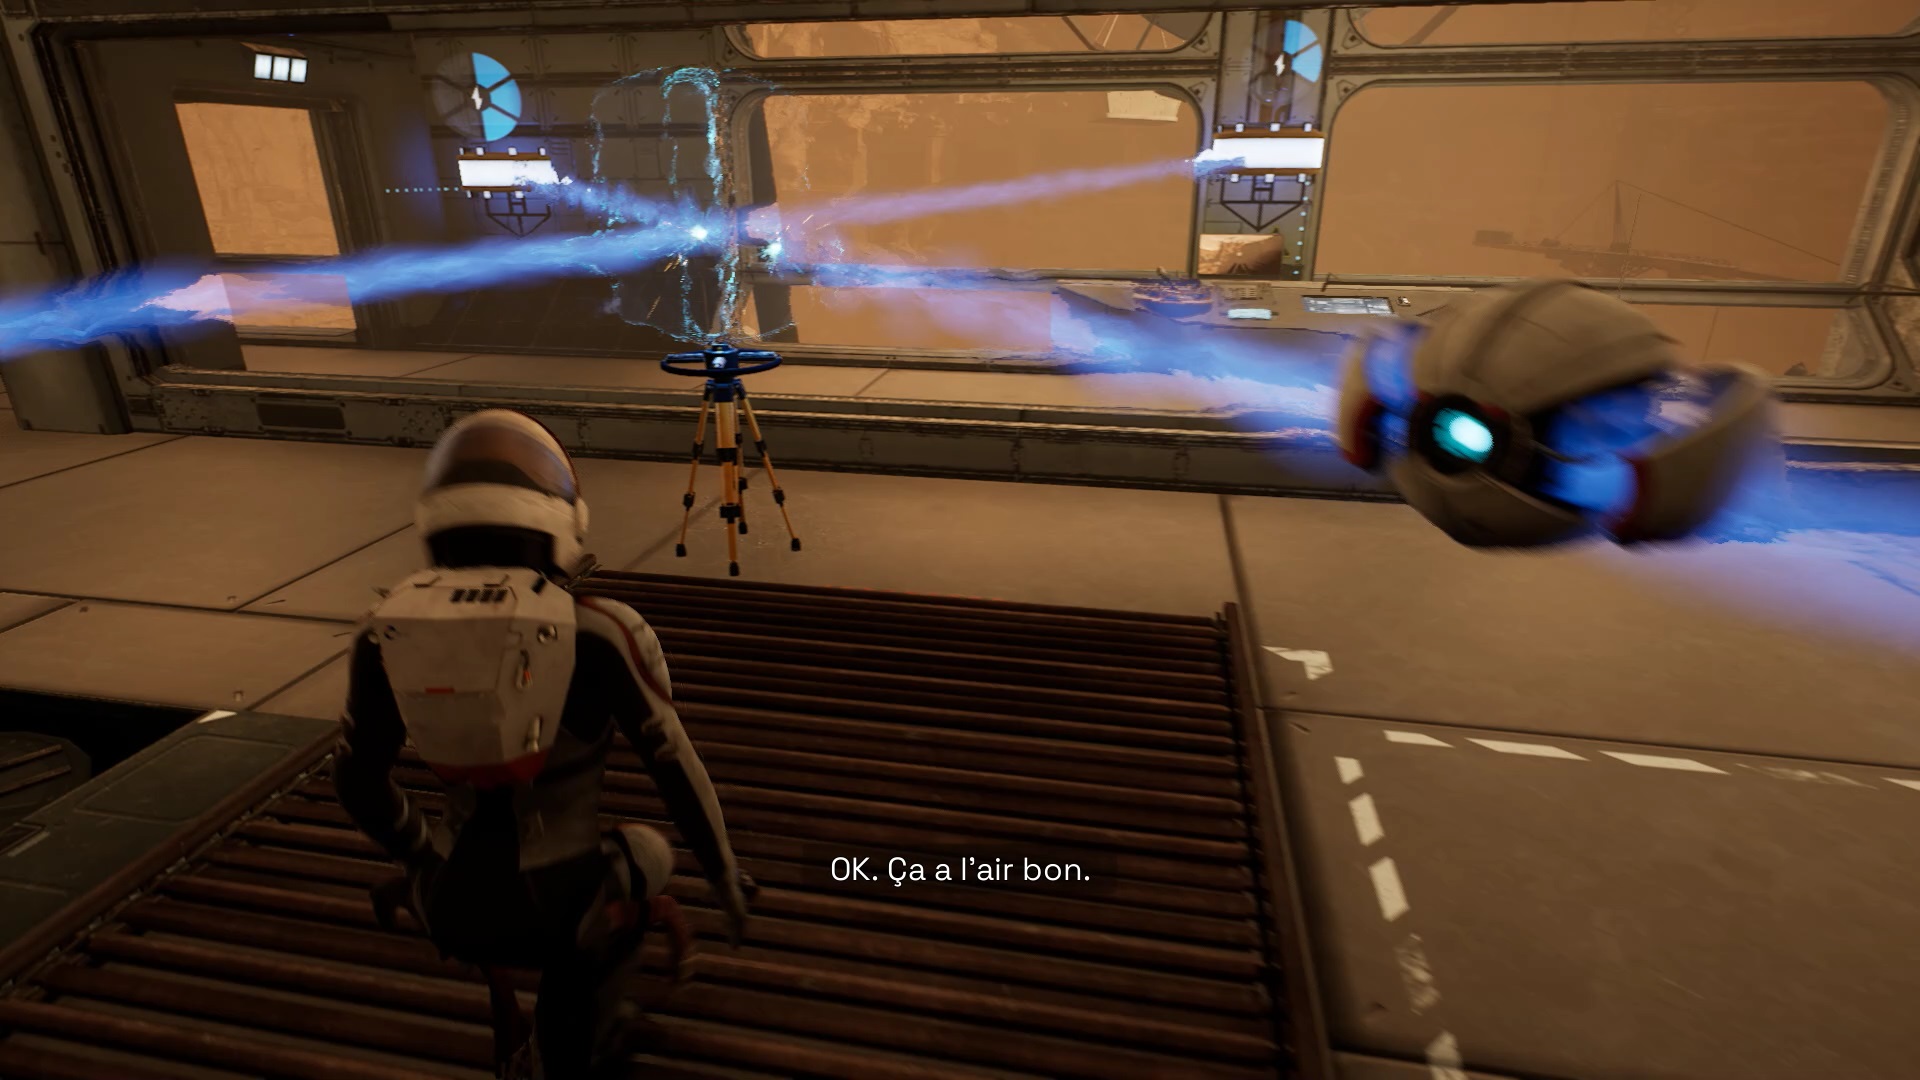
There is too much power for each of the streame points. You must use the discount field. Position it at the level where the two rays intersect to reduce the energy of the two rays.

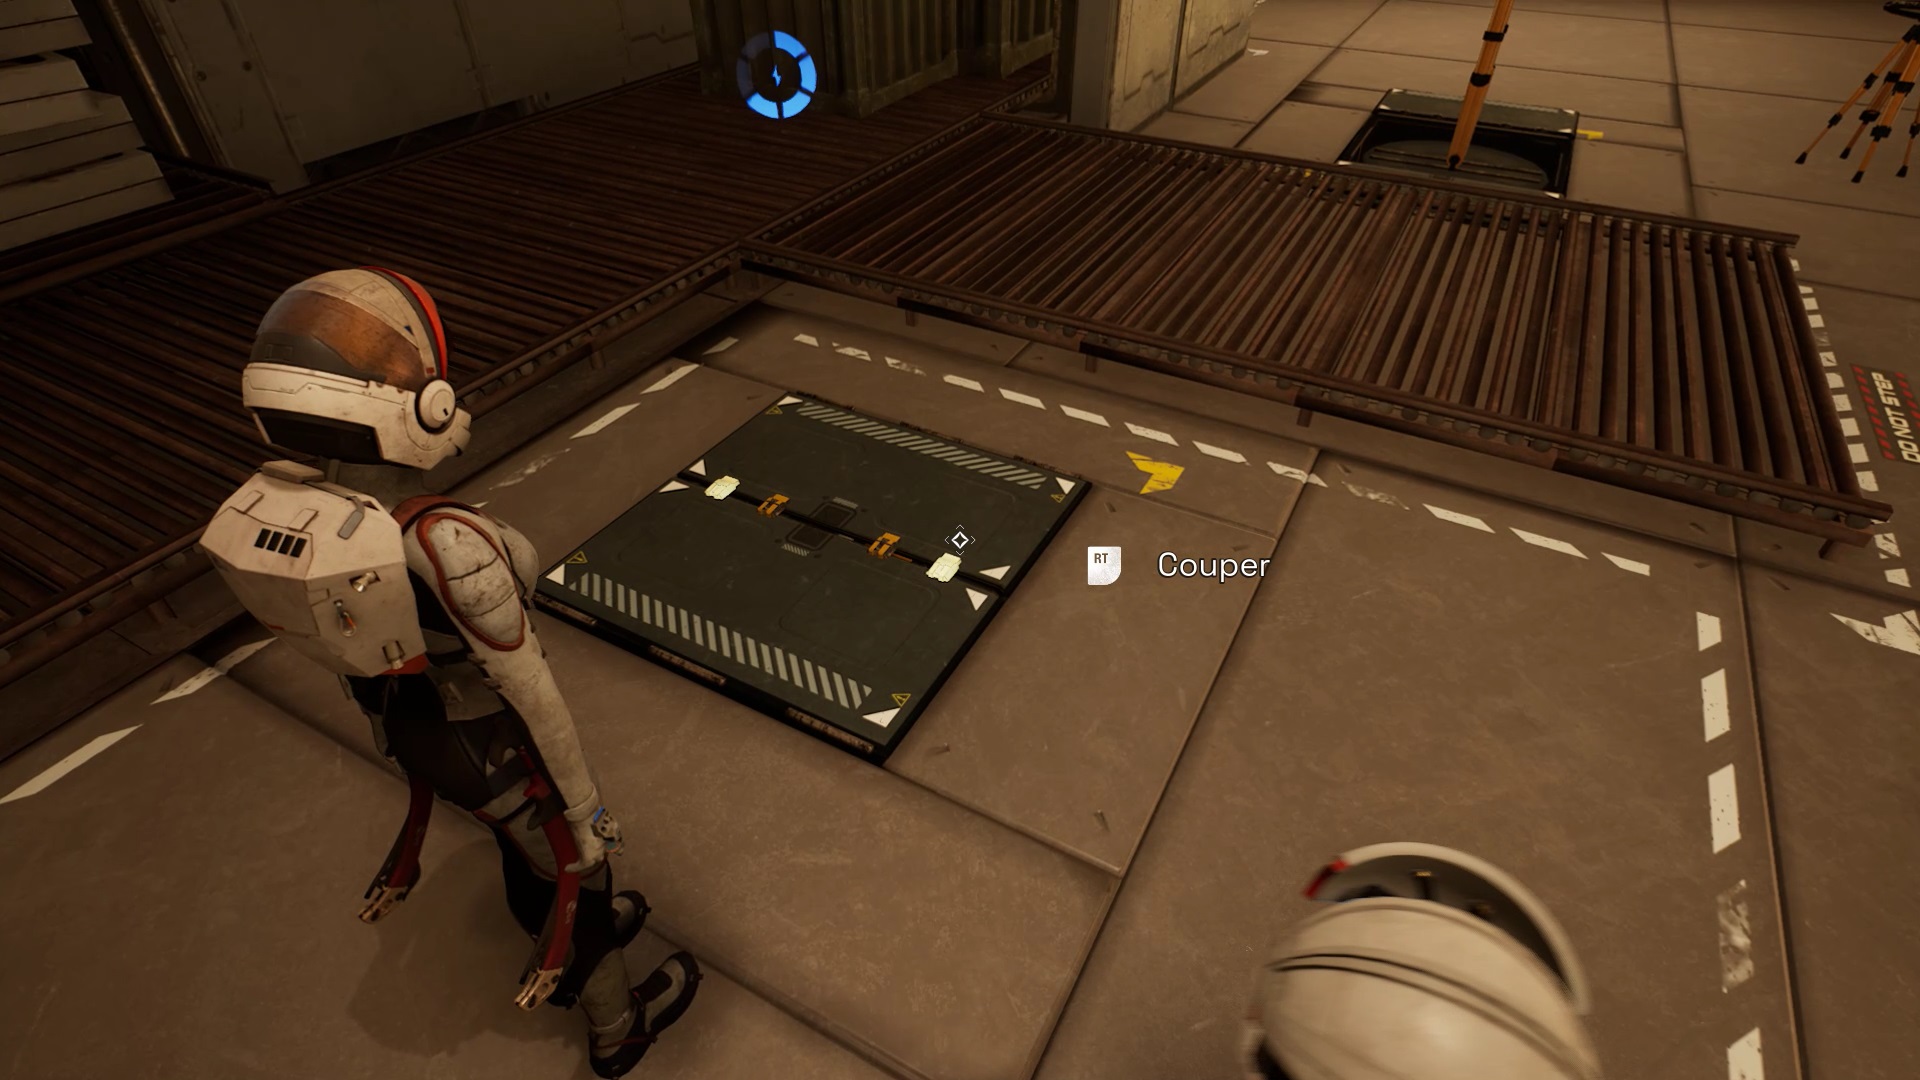
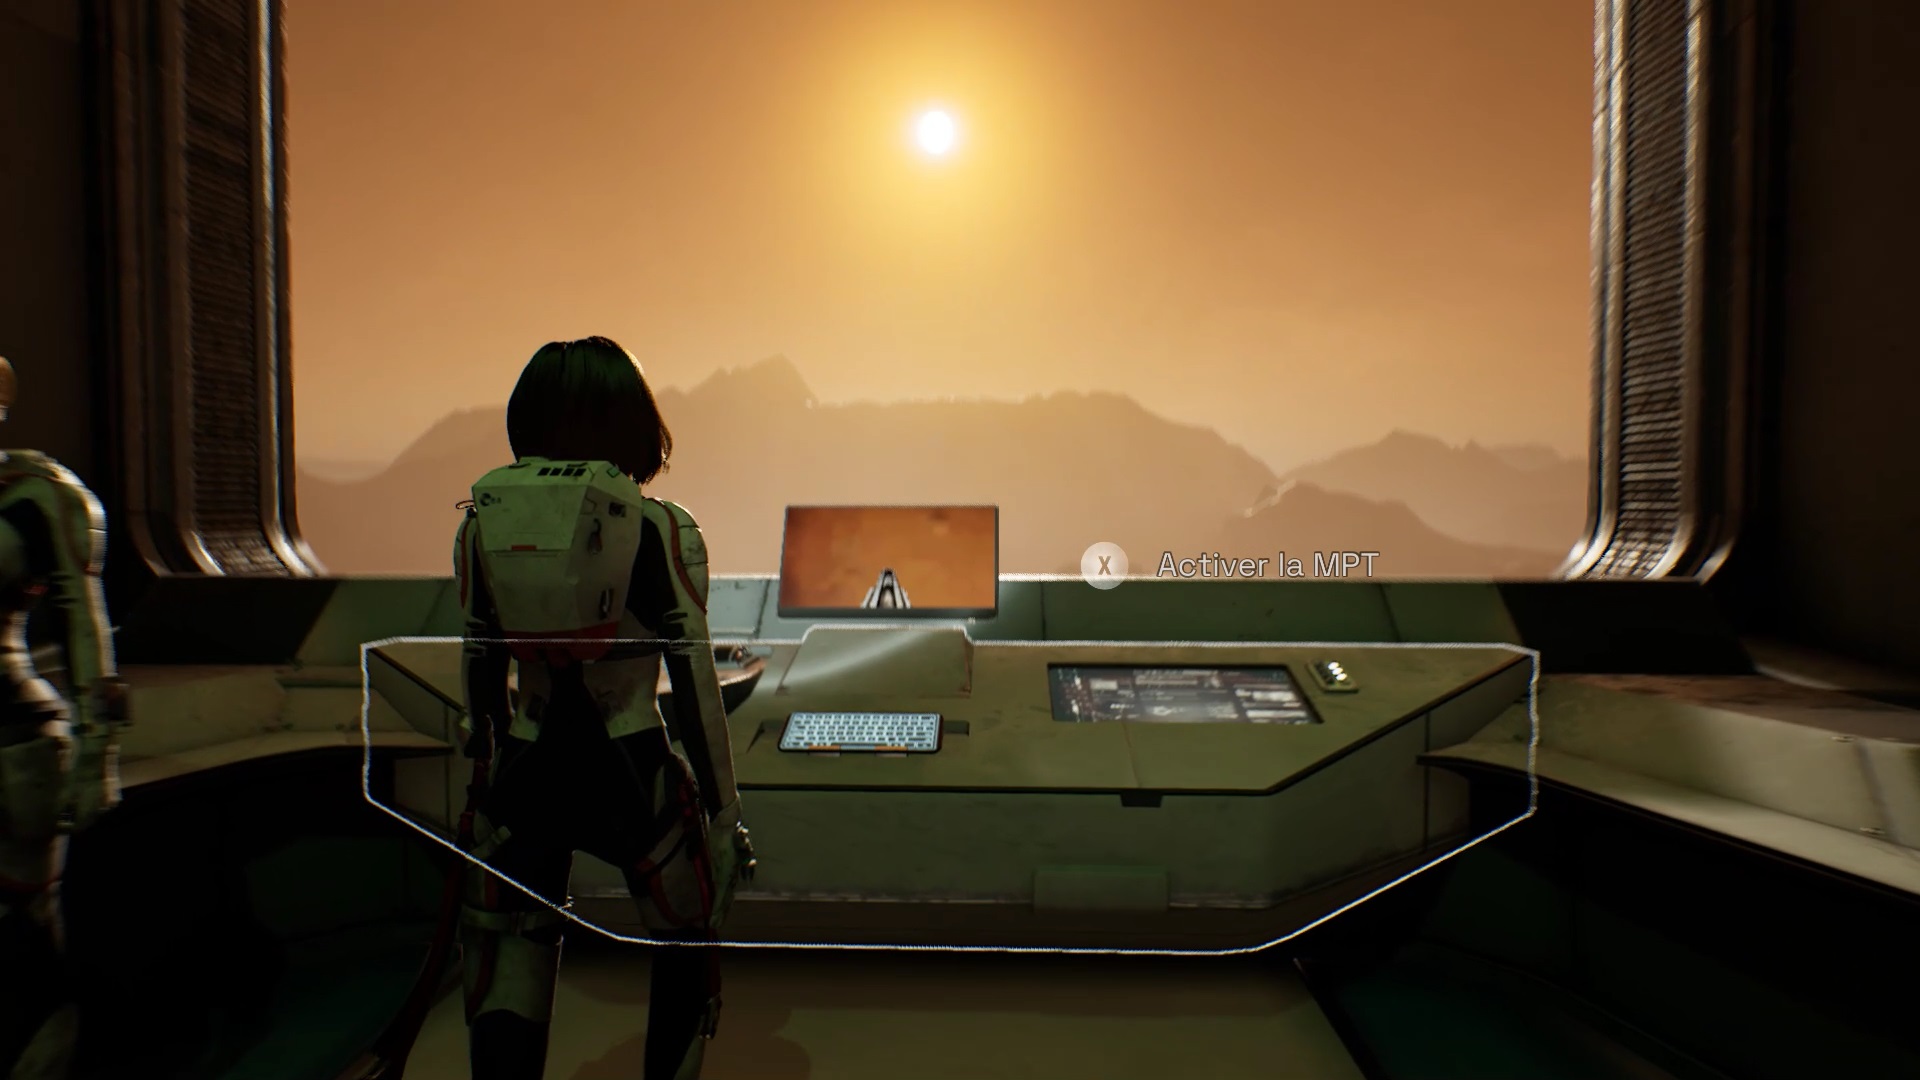
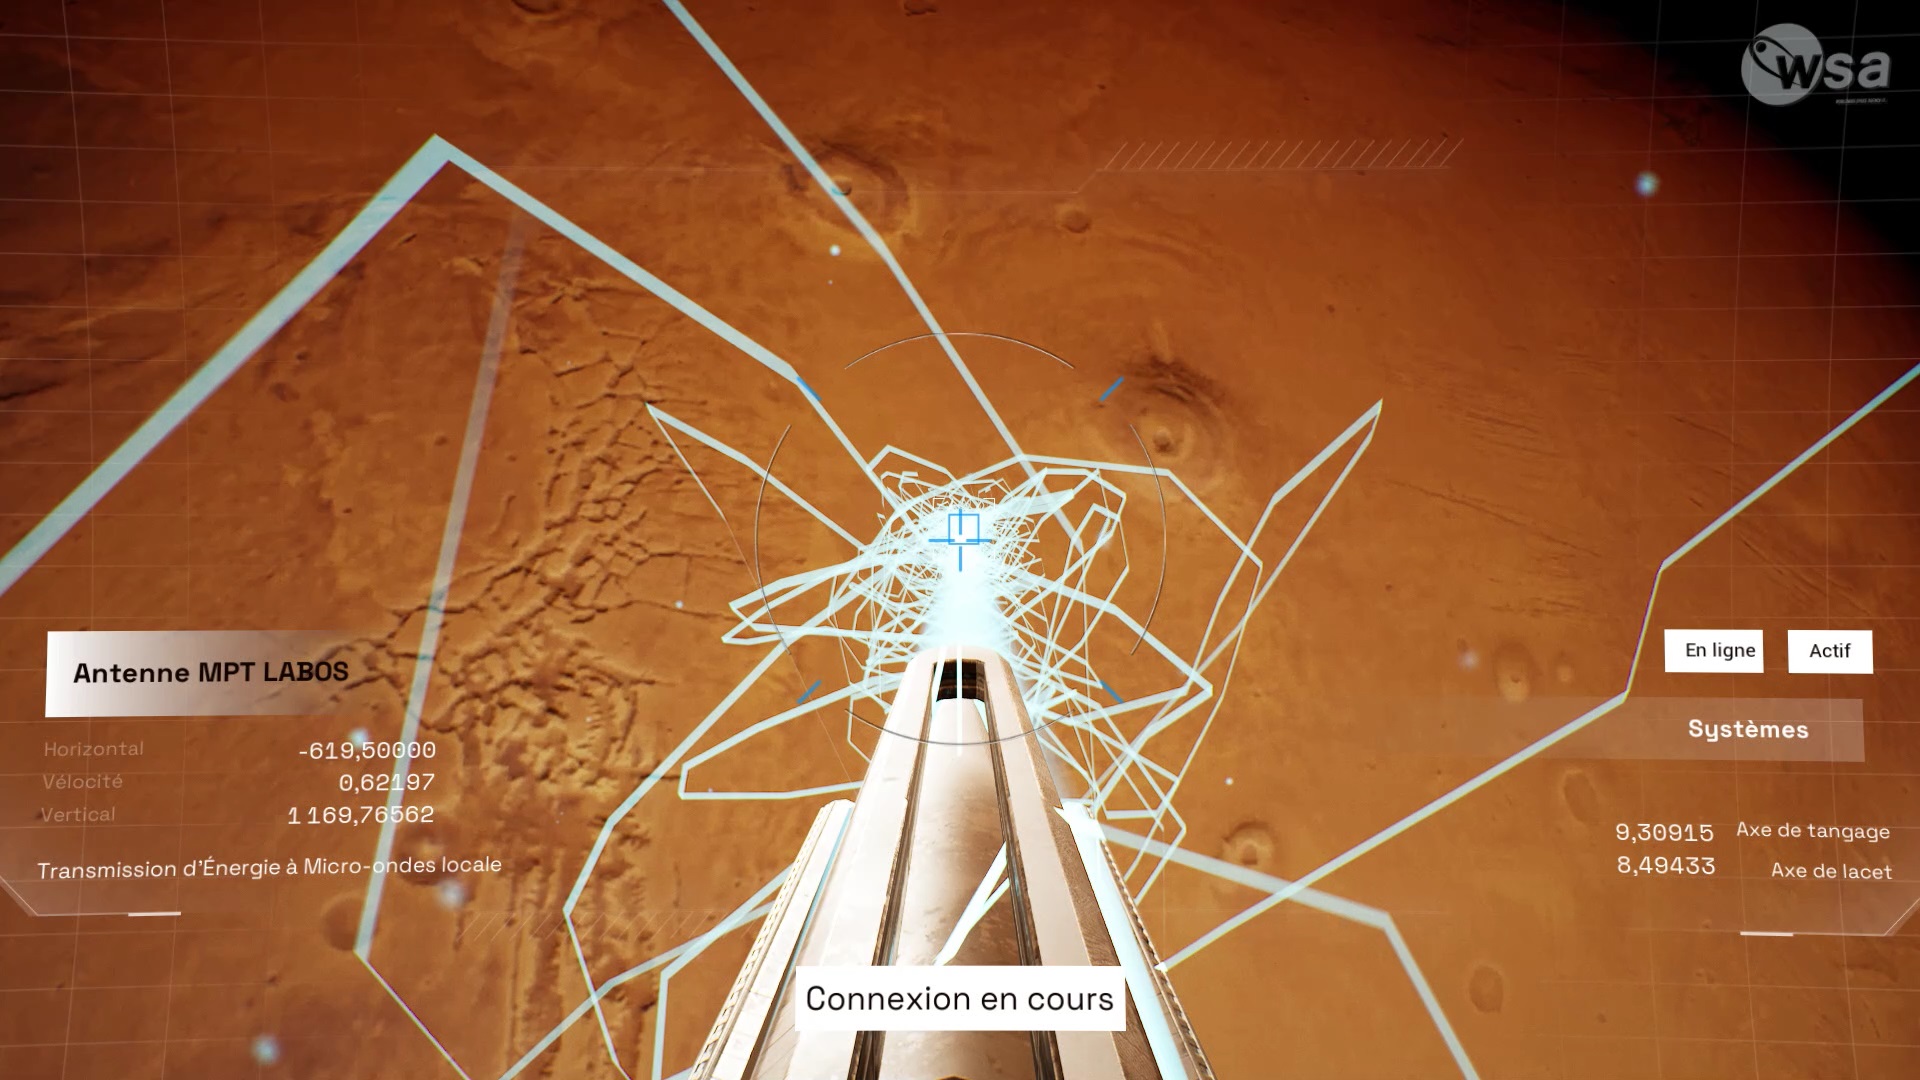
Enter the control panel area and activate the MPT. Connect the beam to the lift. Exit the facility through the Safety Airlock. In the desert, go back to the freight elevator. Activate the lift switch to make it work.


The climb does not go as planned. Jump off the freight elevator and hang on the wall in front of you using your climbing equipment. Go along the wall on the left to go up. Continue forward to reach a second wall to climb.
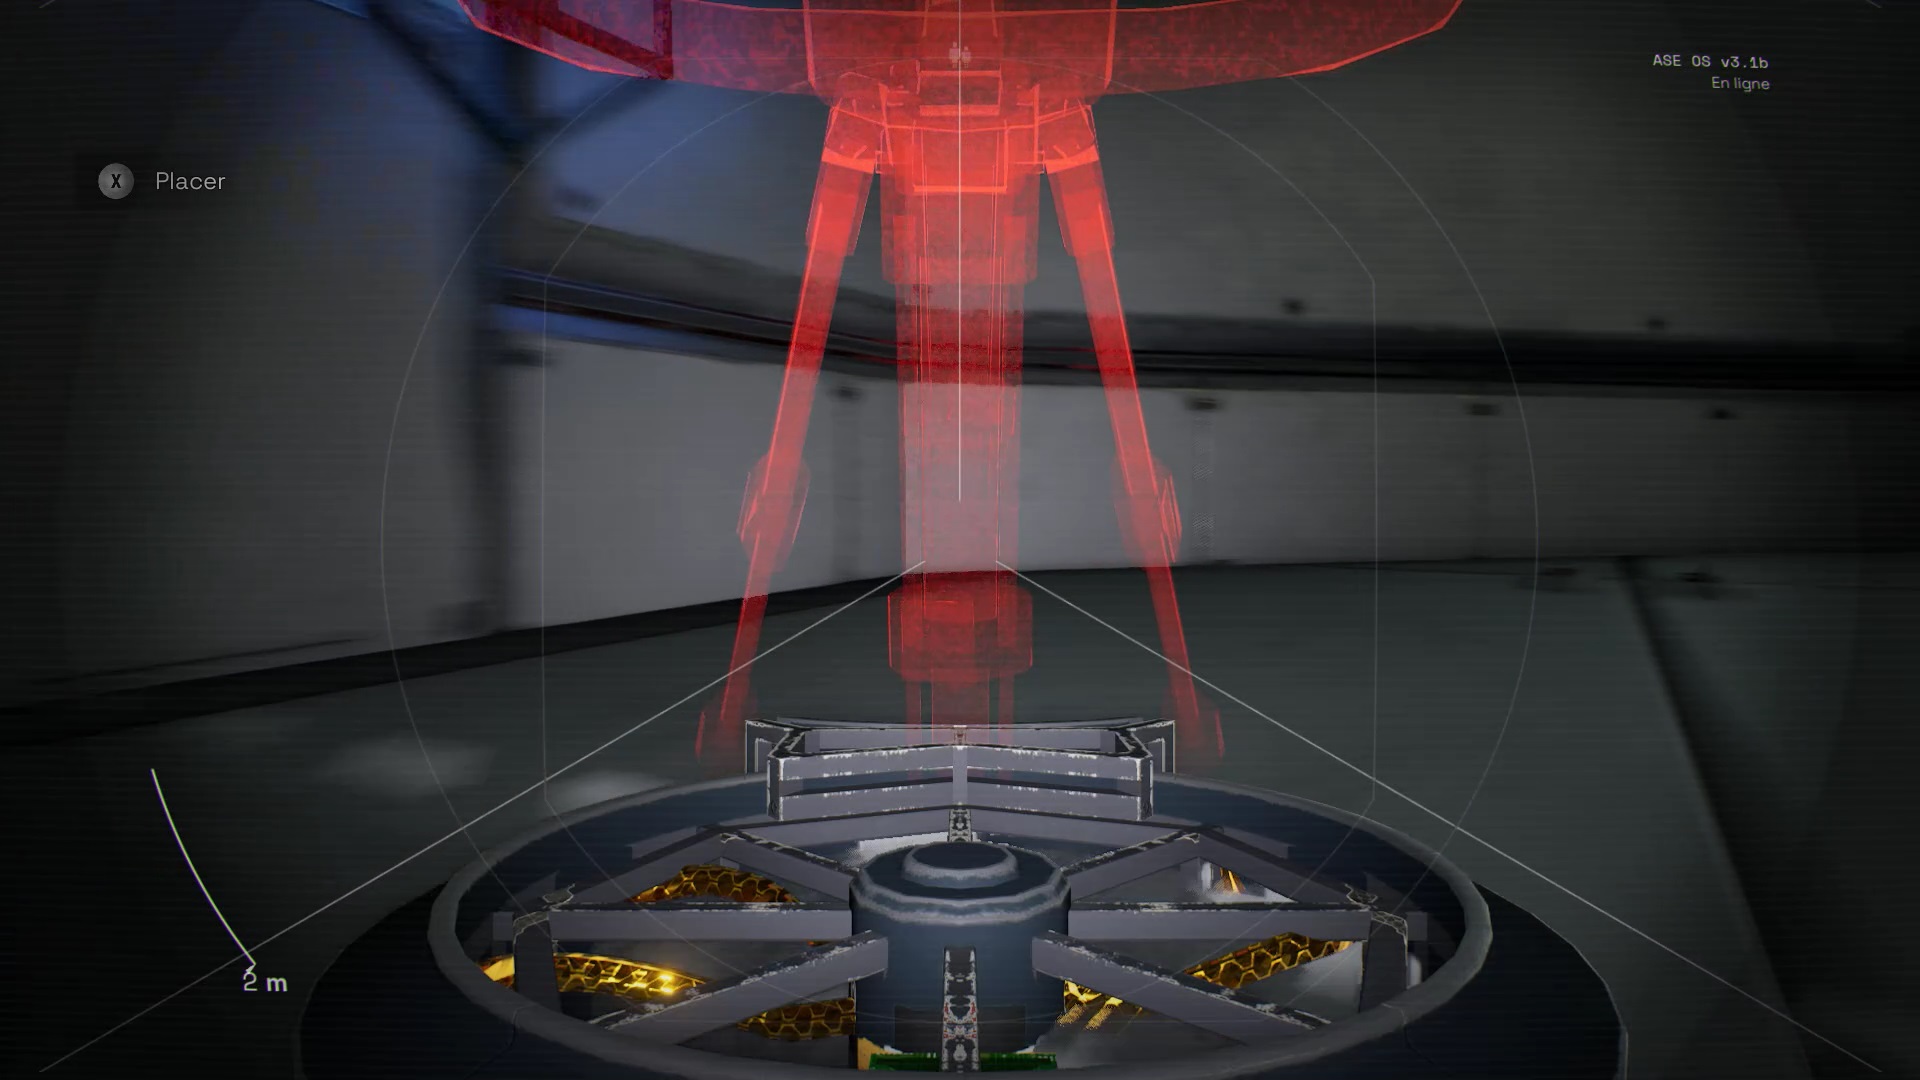
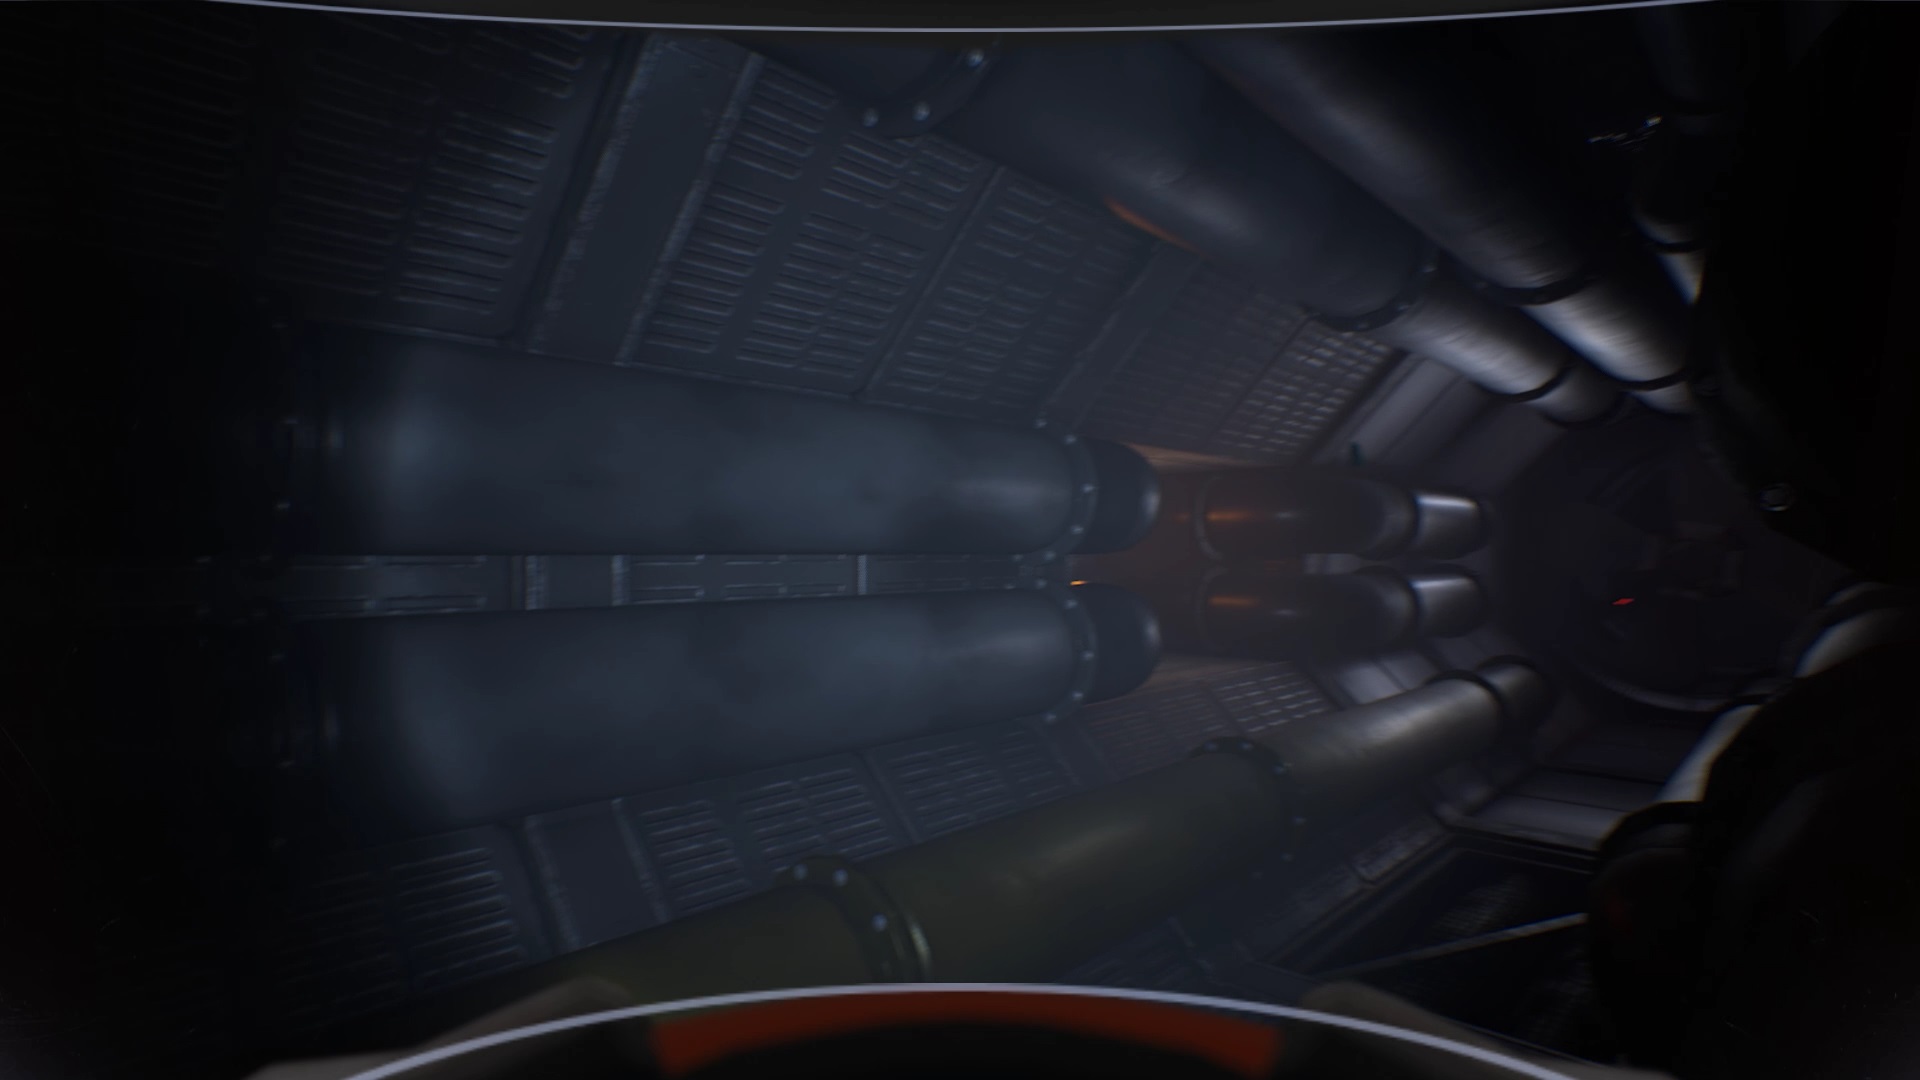
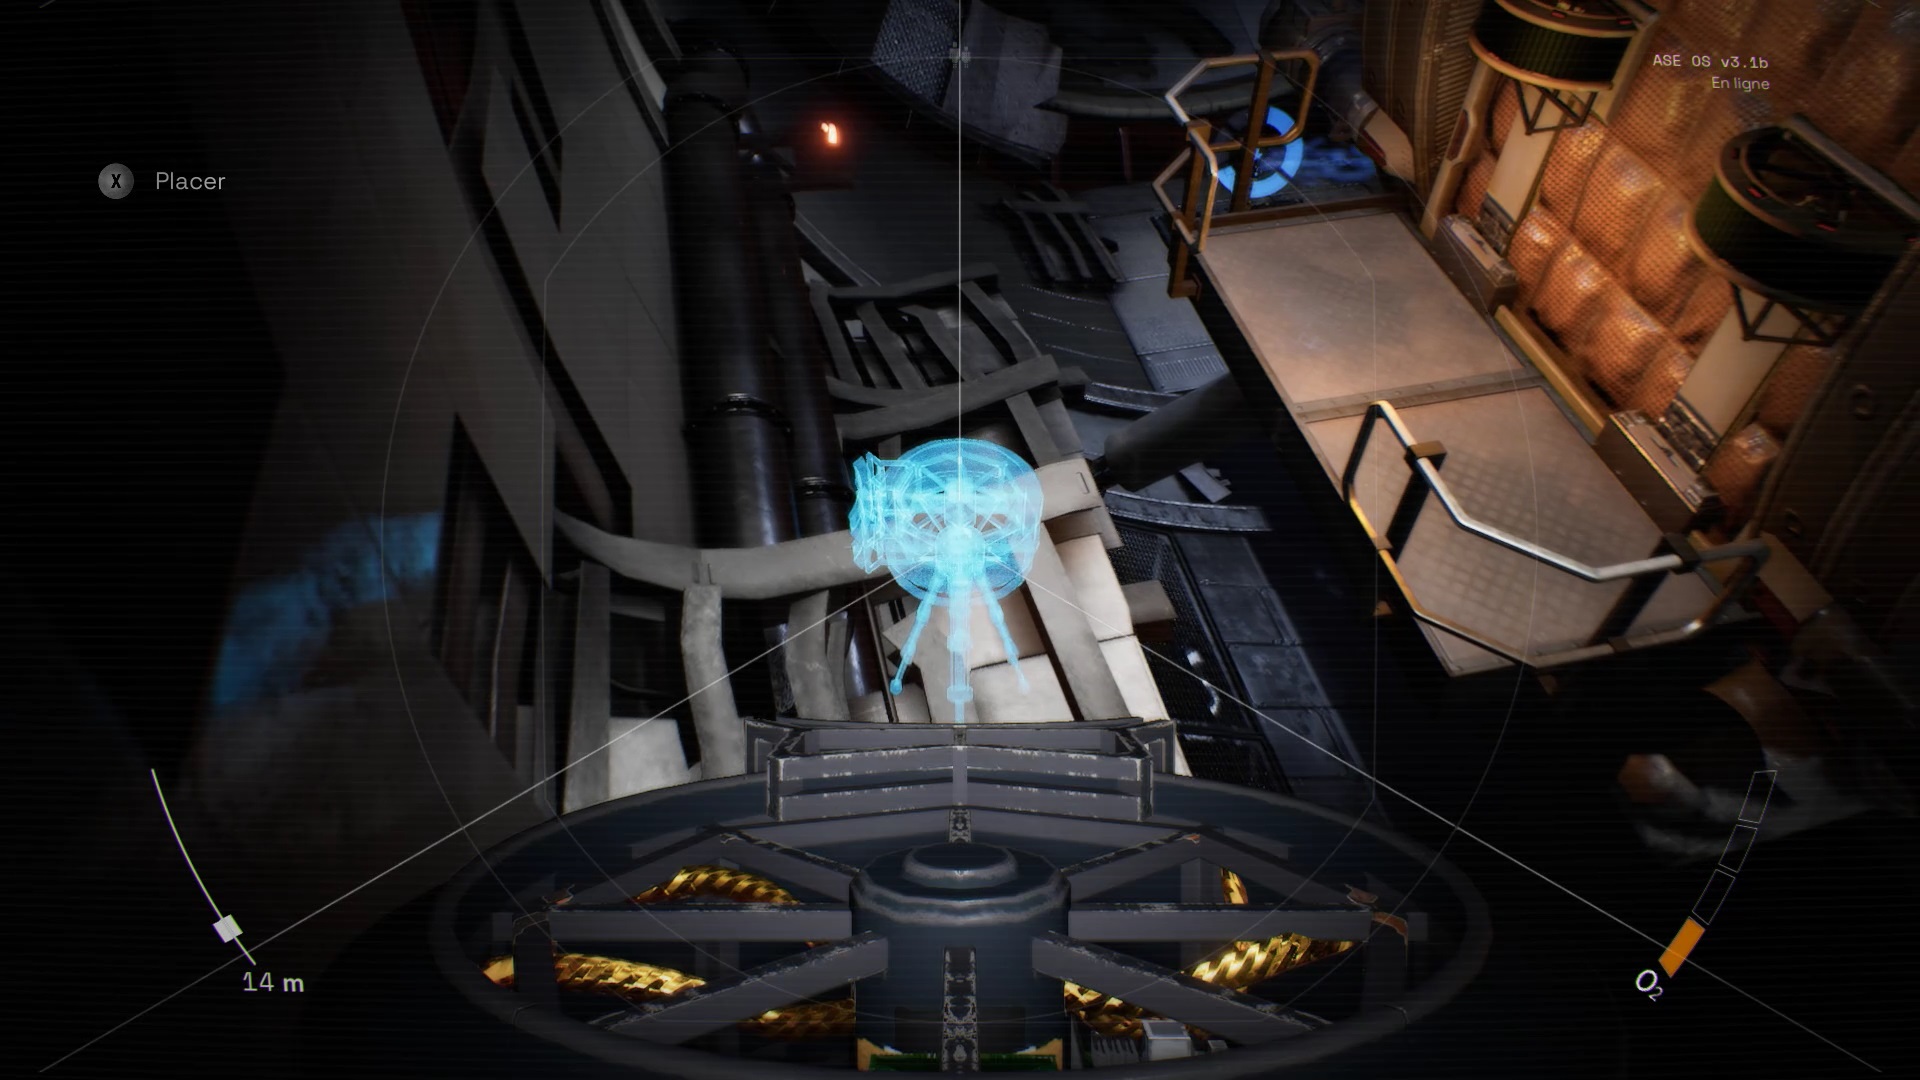
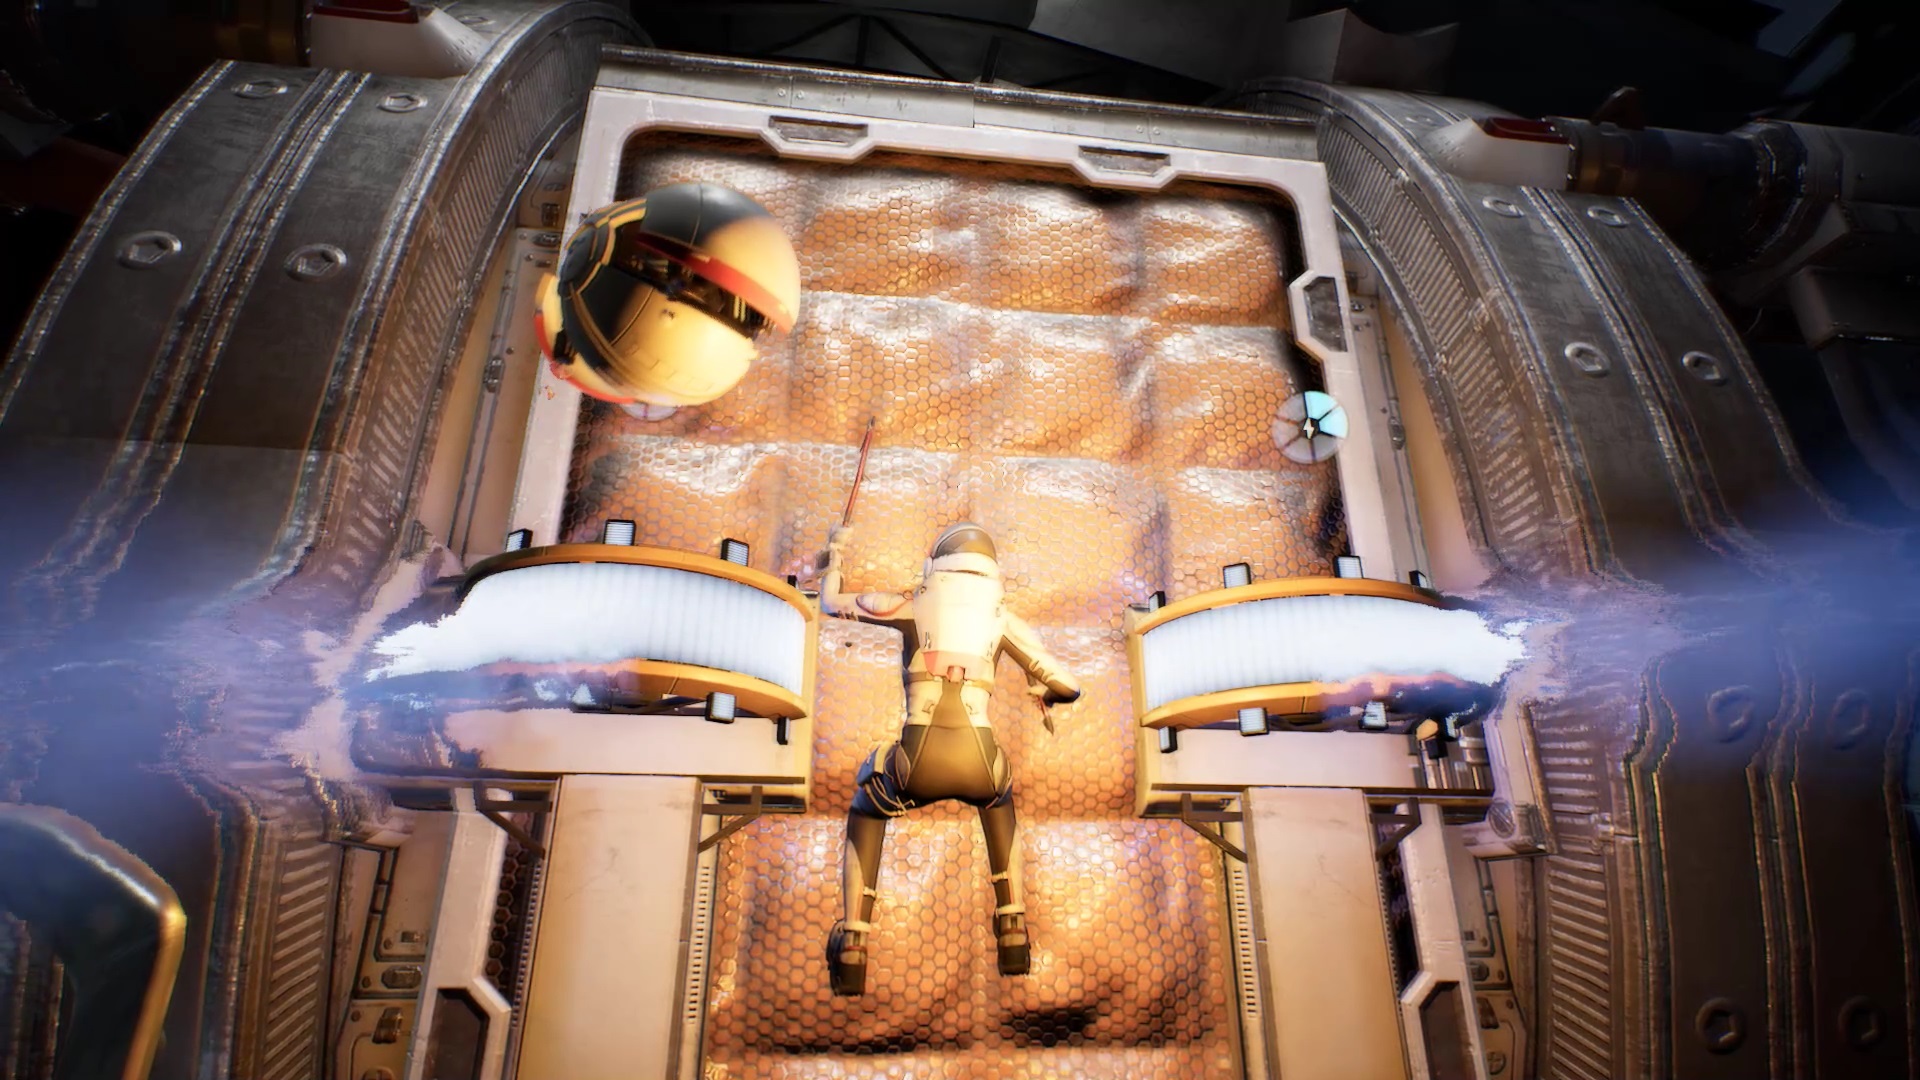
Reach a platform and continue on your way. You discover a room with a propeller mechanism. To climb to the top of the area, you must use the propellers. Climb on the first propeller at your level. It is the one that is stationary and lit. From this propeller, jump on the propeller which turns and arrives at you.
As it spins, the propeller brings you close to a new stationary propeller. Jump and climb on this propeller. At the top of the mechanism, continue your way to reach a wall to climb. Climb the wall avoiding the propellers to reach the top of the area.
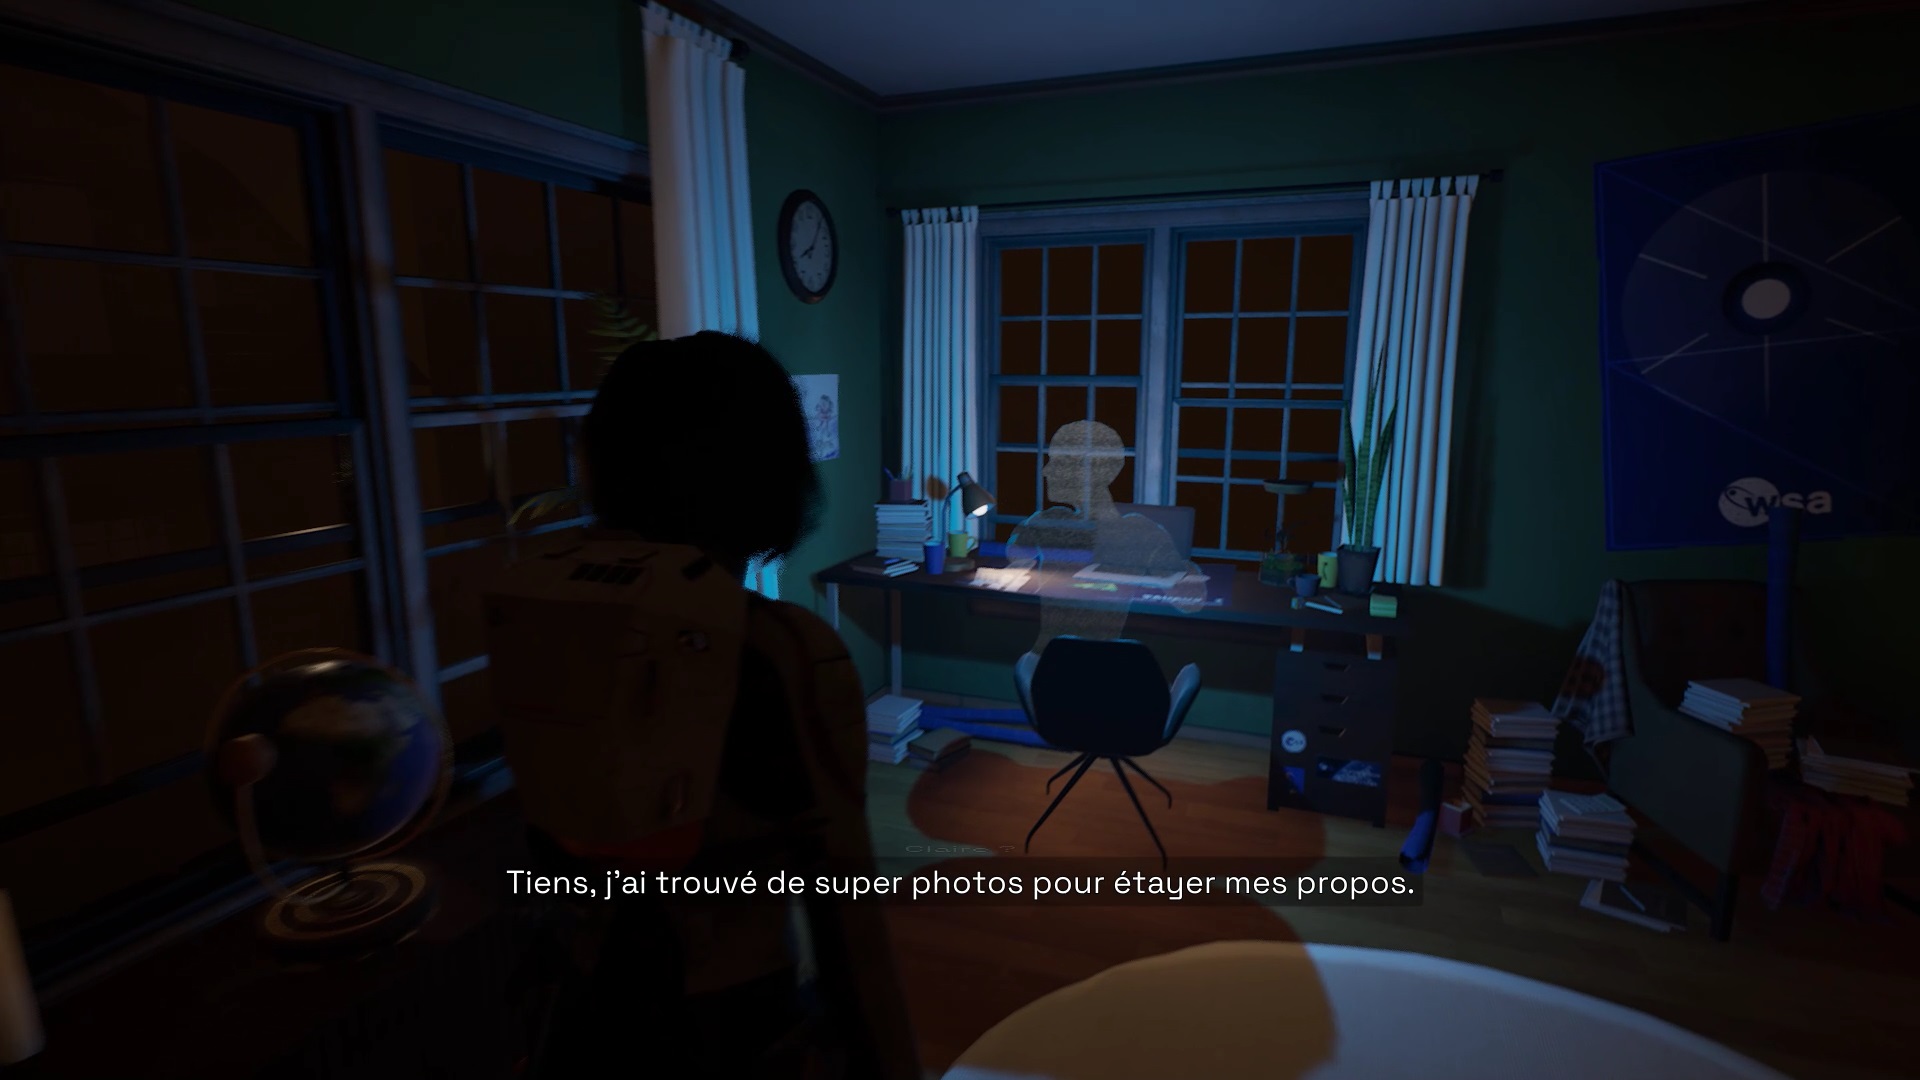
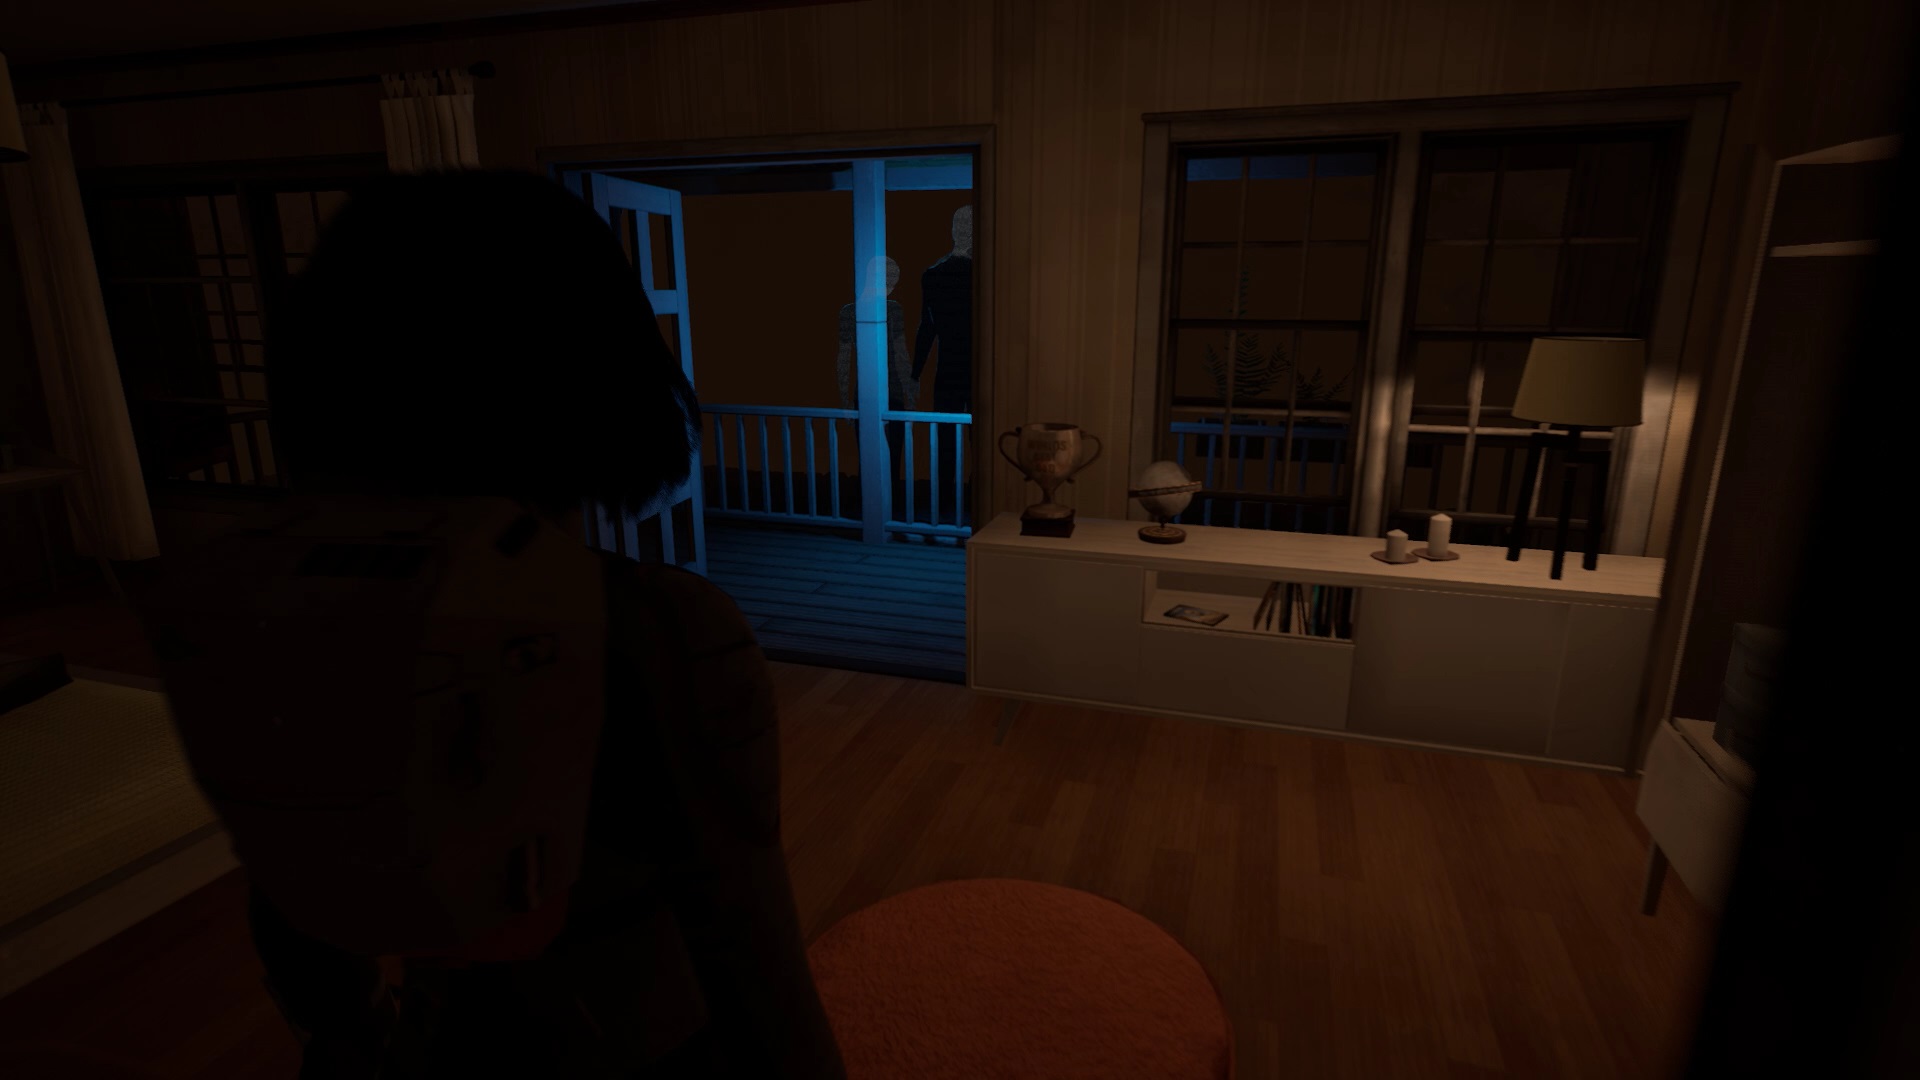
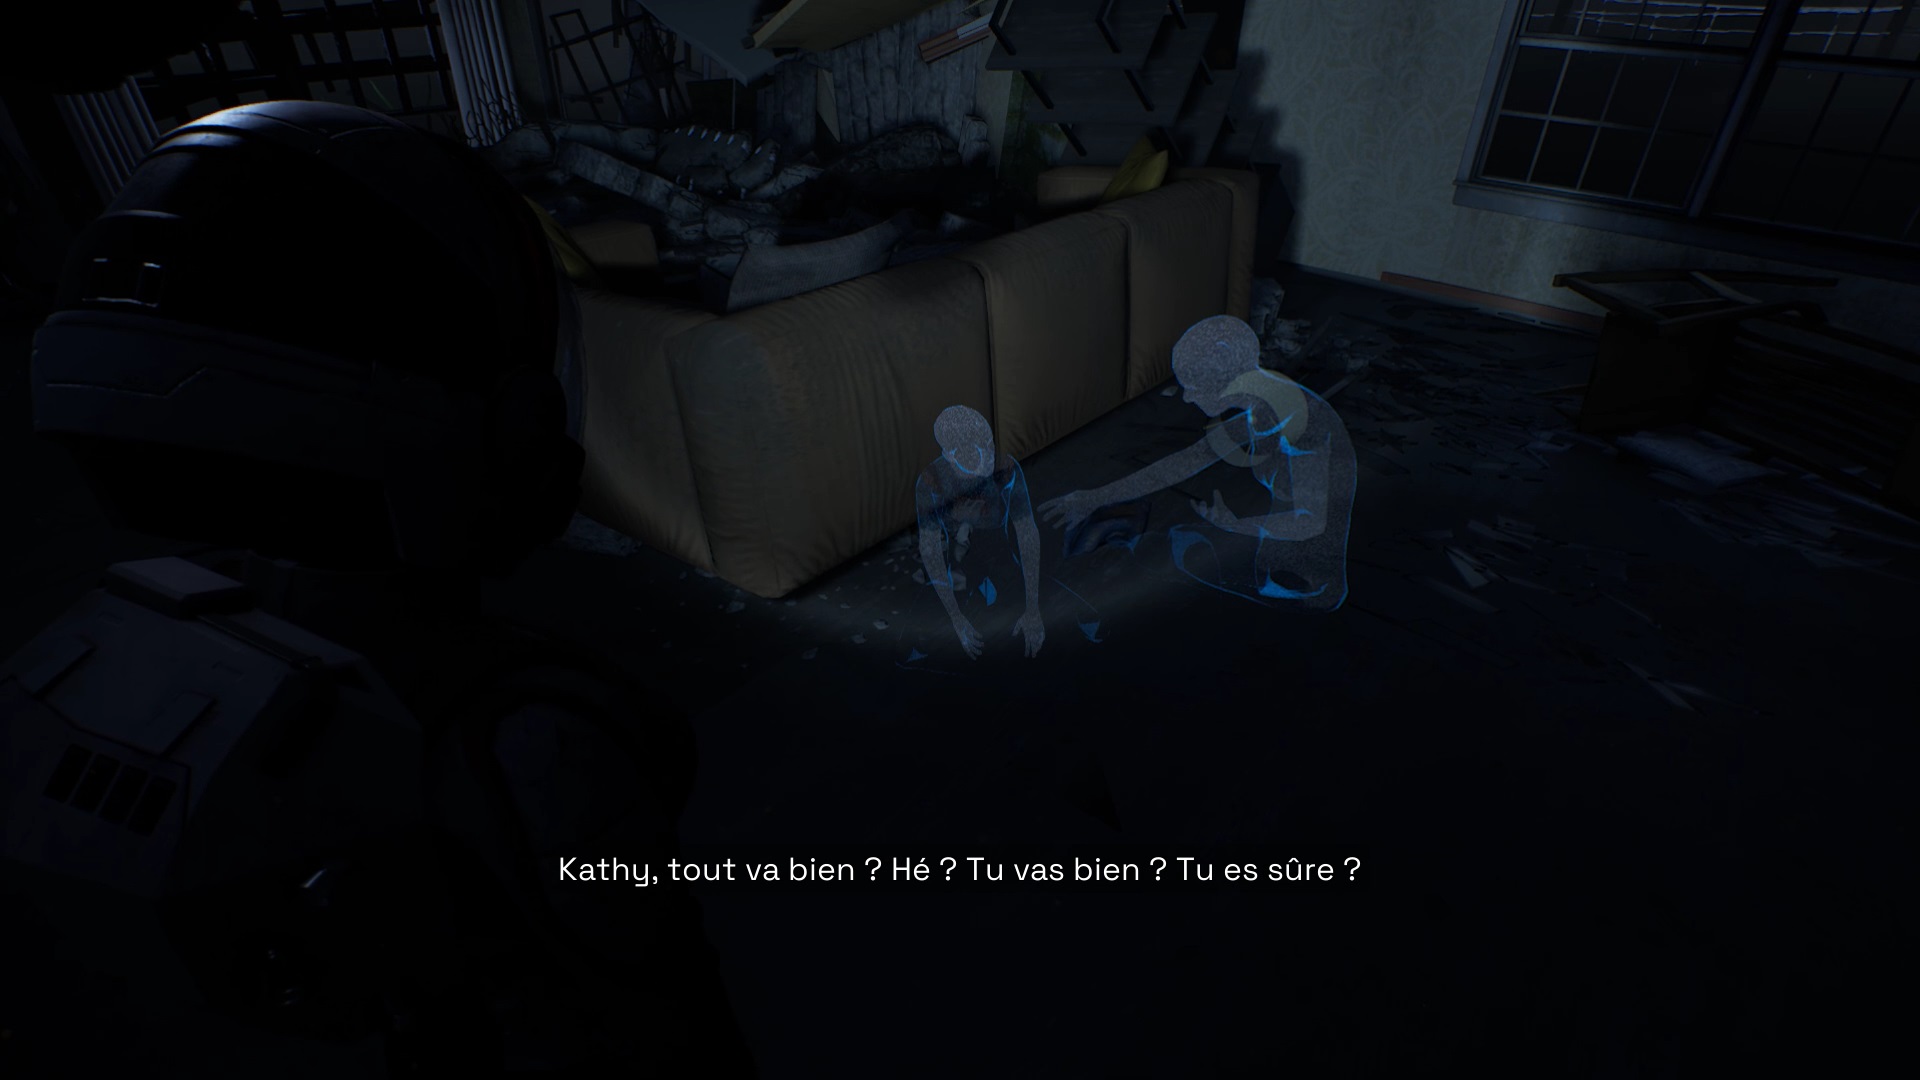
Advance in the desert to reach a Rover. Get in the vehicle to start a cutscene. You are immersed in a memory. In your house, go to Claire’s room opposite yours. Listen to Claire talk to you then go to the balcony on this floor. A new scene is activated.
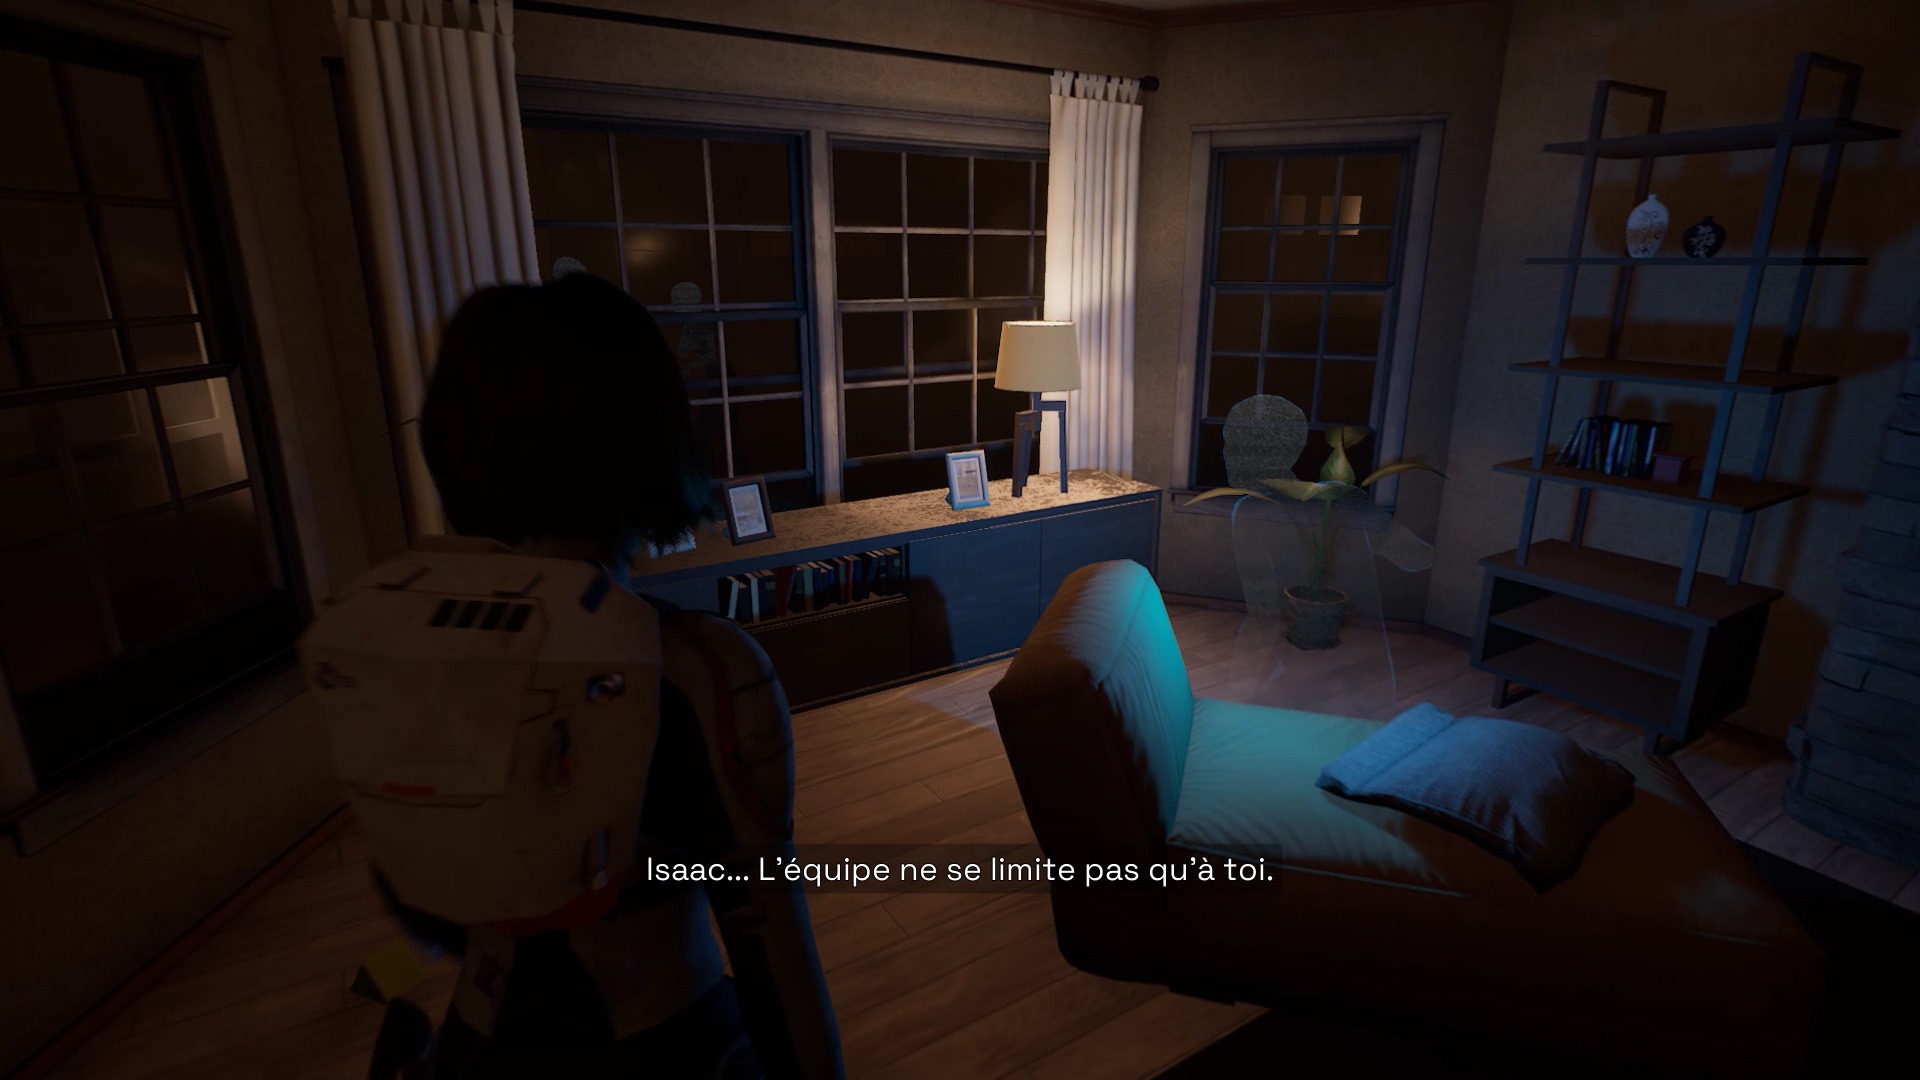
Go down to the living room to listen to another conversation and learn more about your story. Now head outside and step into the garden. Return to the house and follow your father’s hologram to trigger a cutscene.
Chapter 5


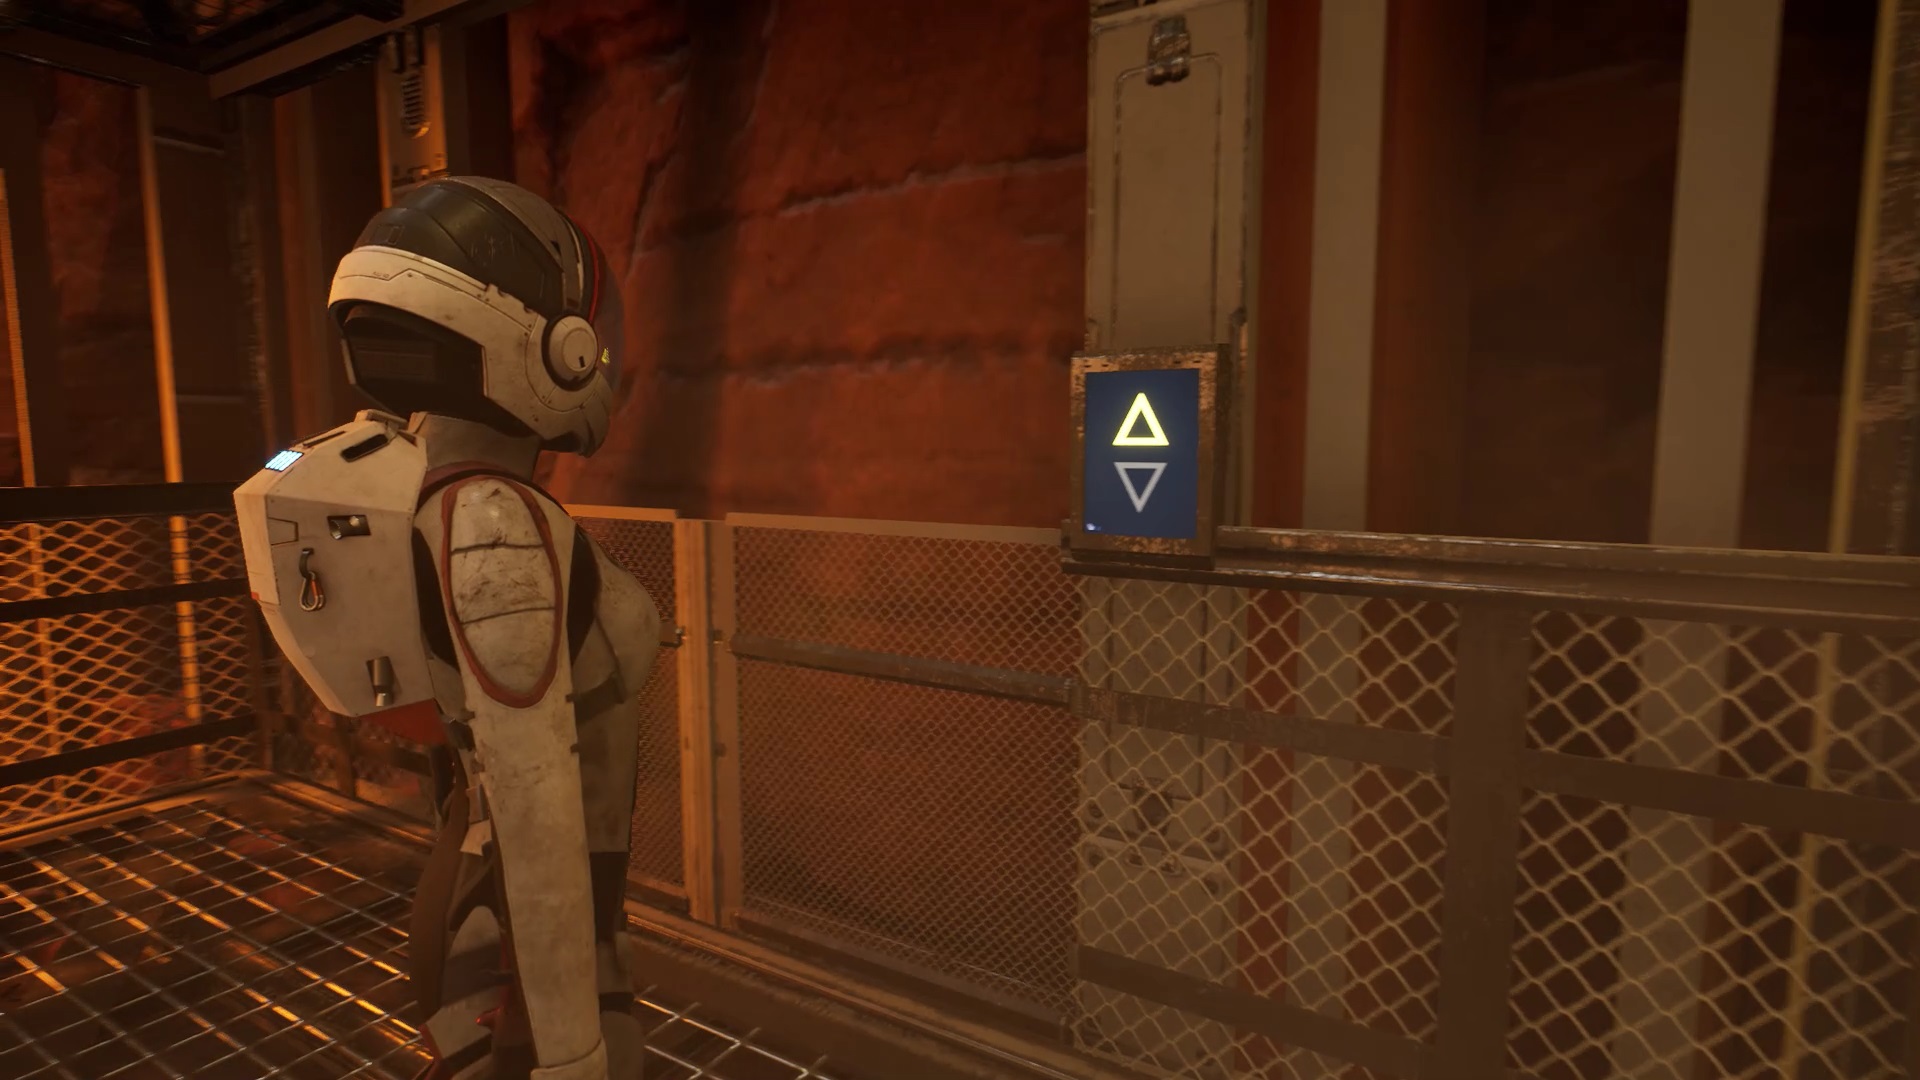
In the rover, follow the objective to reach the large monolith. At the foot of the structure, go down and go up on the elevator. Activate the switch to go up. Once in the monolith, enter the airlock to find Ryan and Sarah.
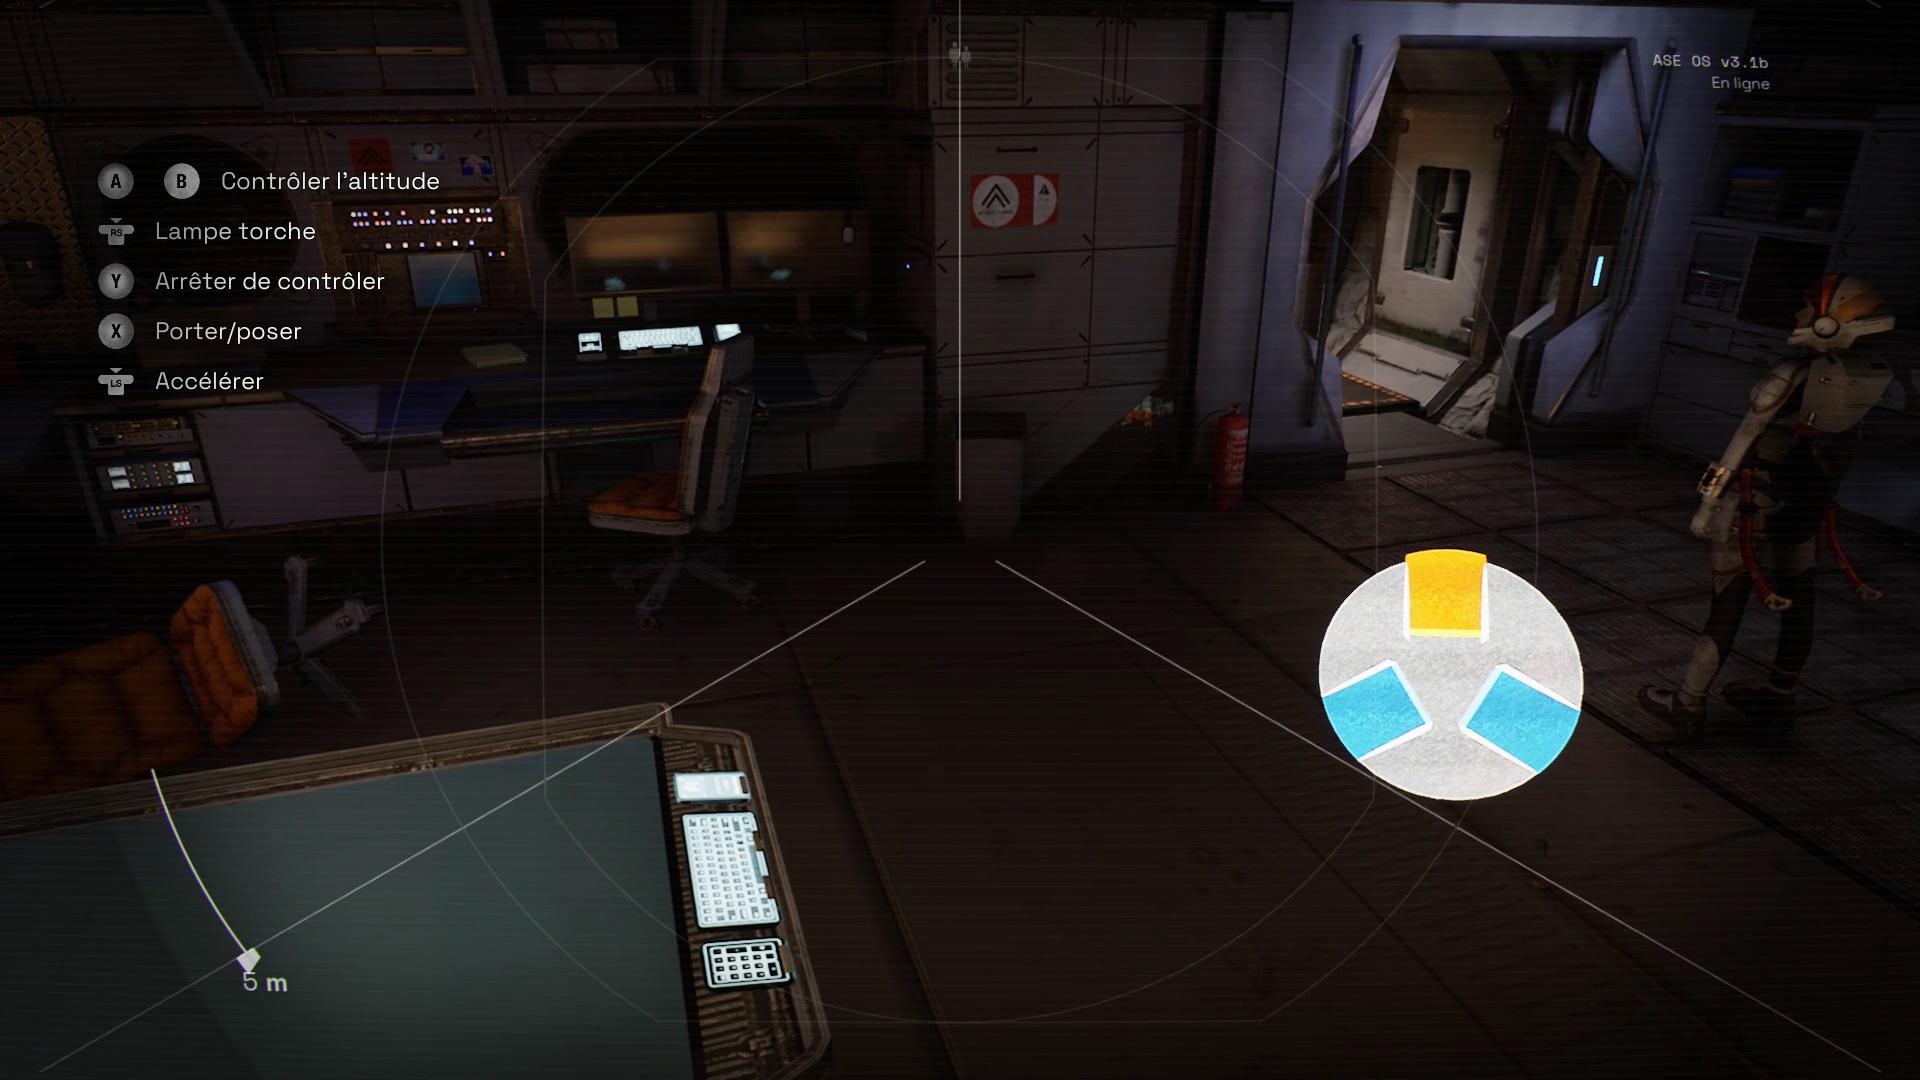
Follow Ryan to speak with Sarah. To collect medicine, you need to power up streame points. Get down and enter the room facing Sarah. Use your laser on the ground plate to get a beam.
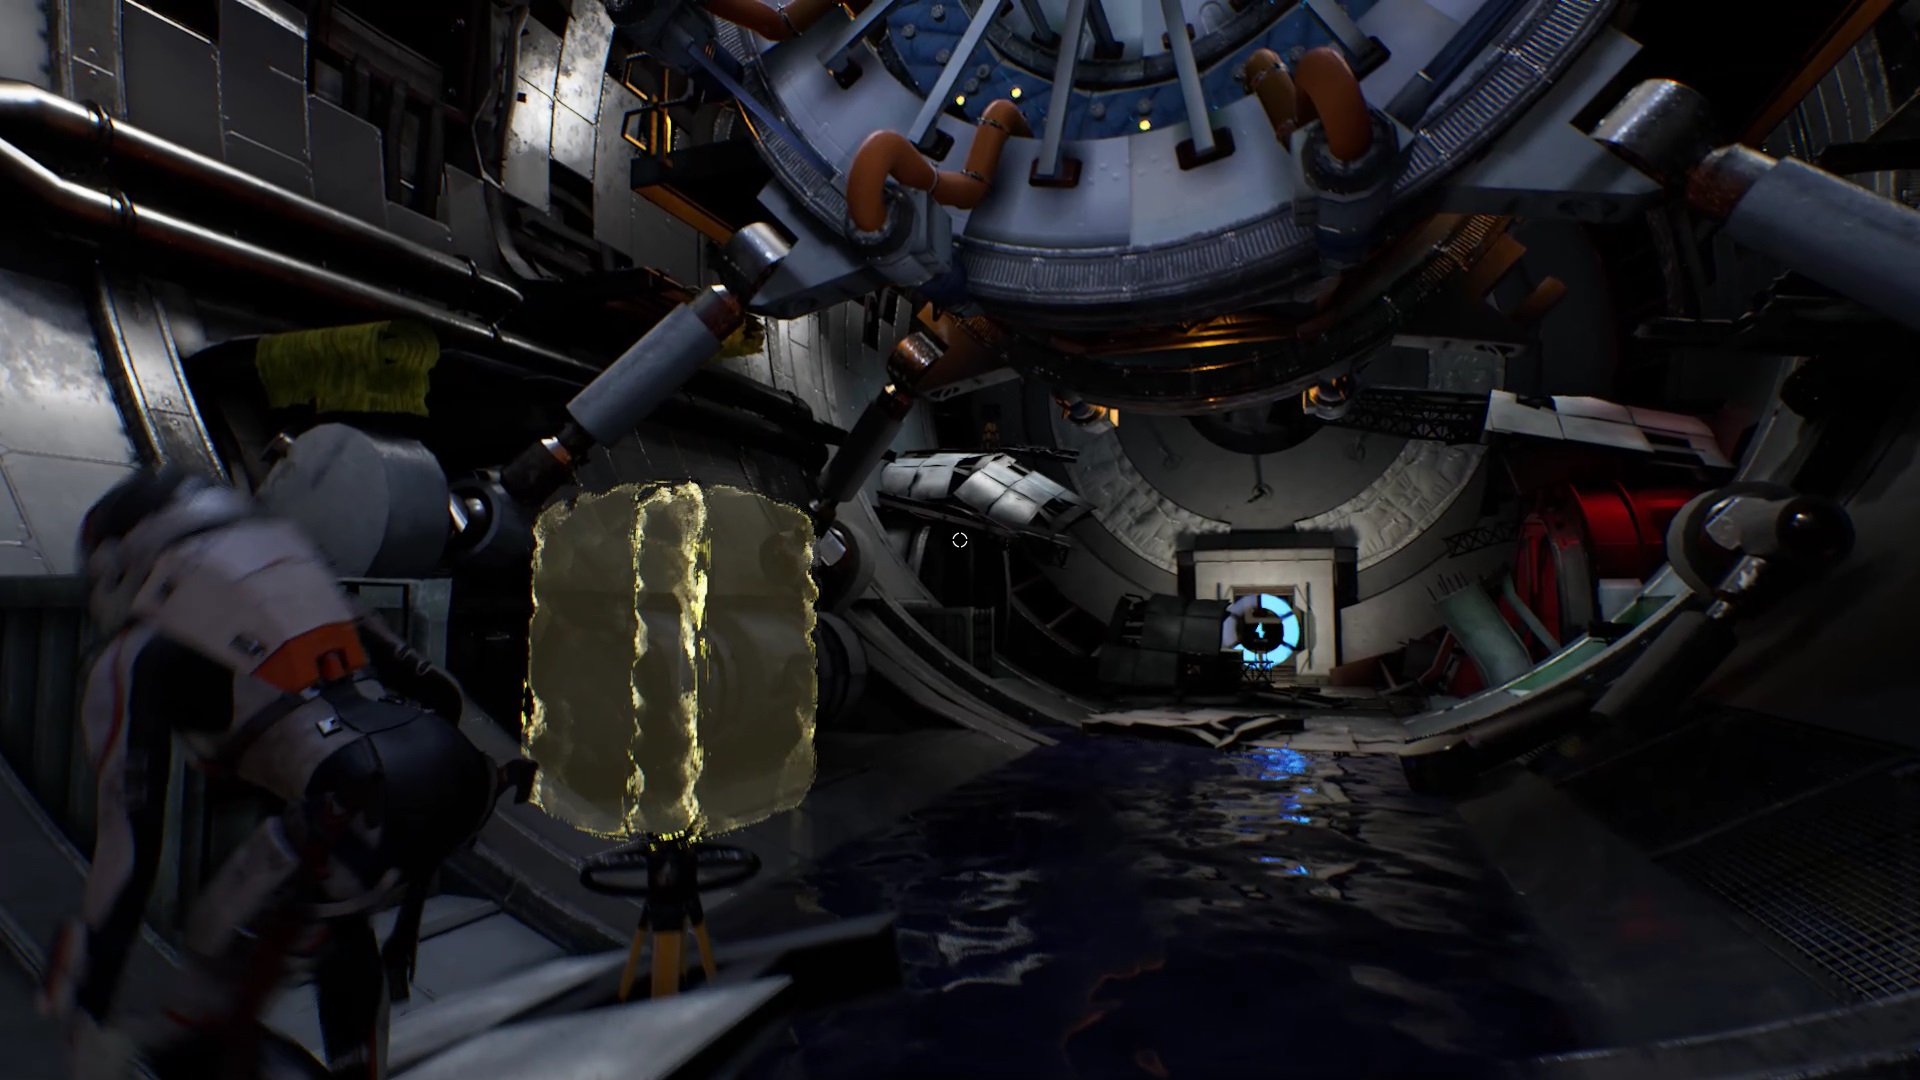
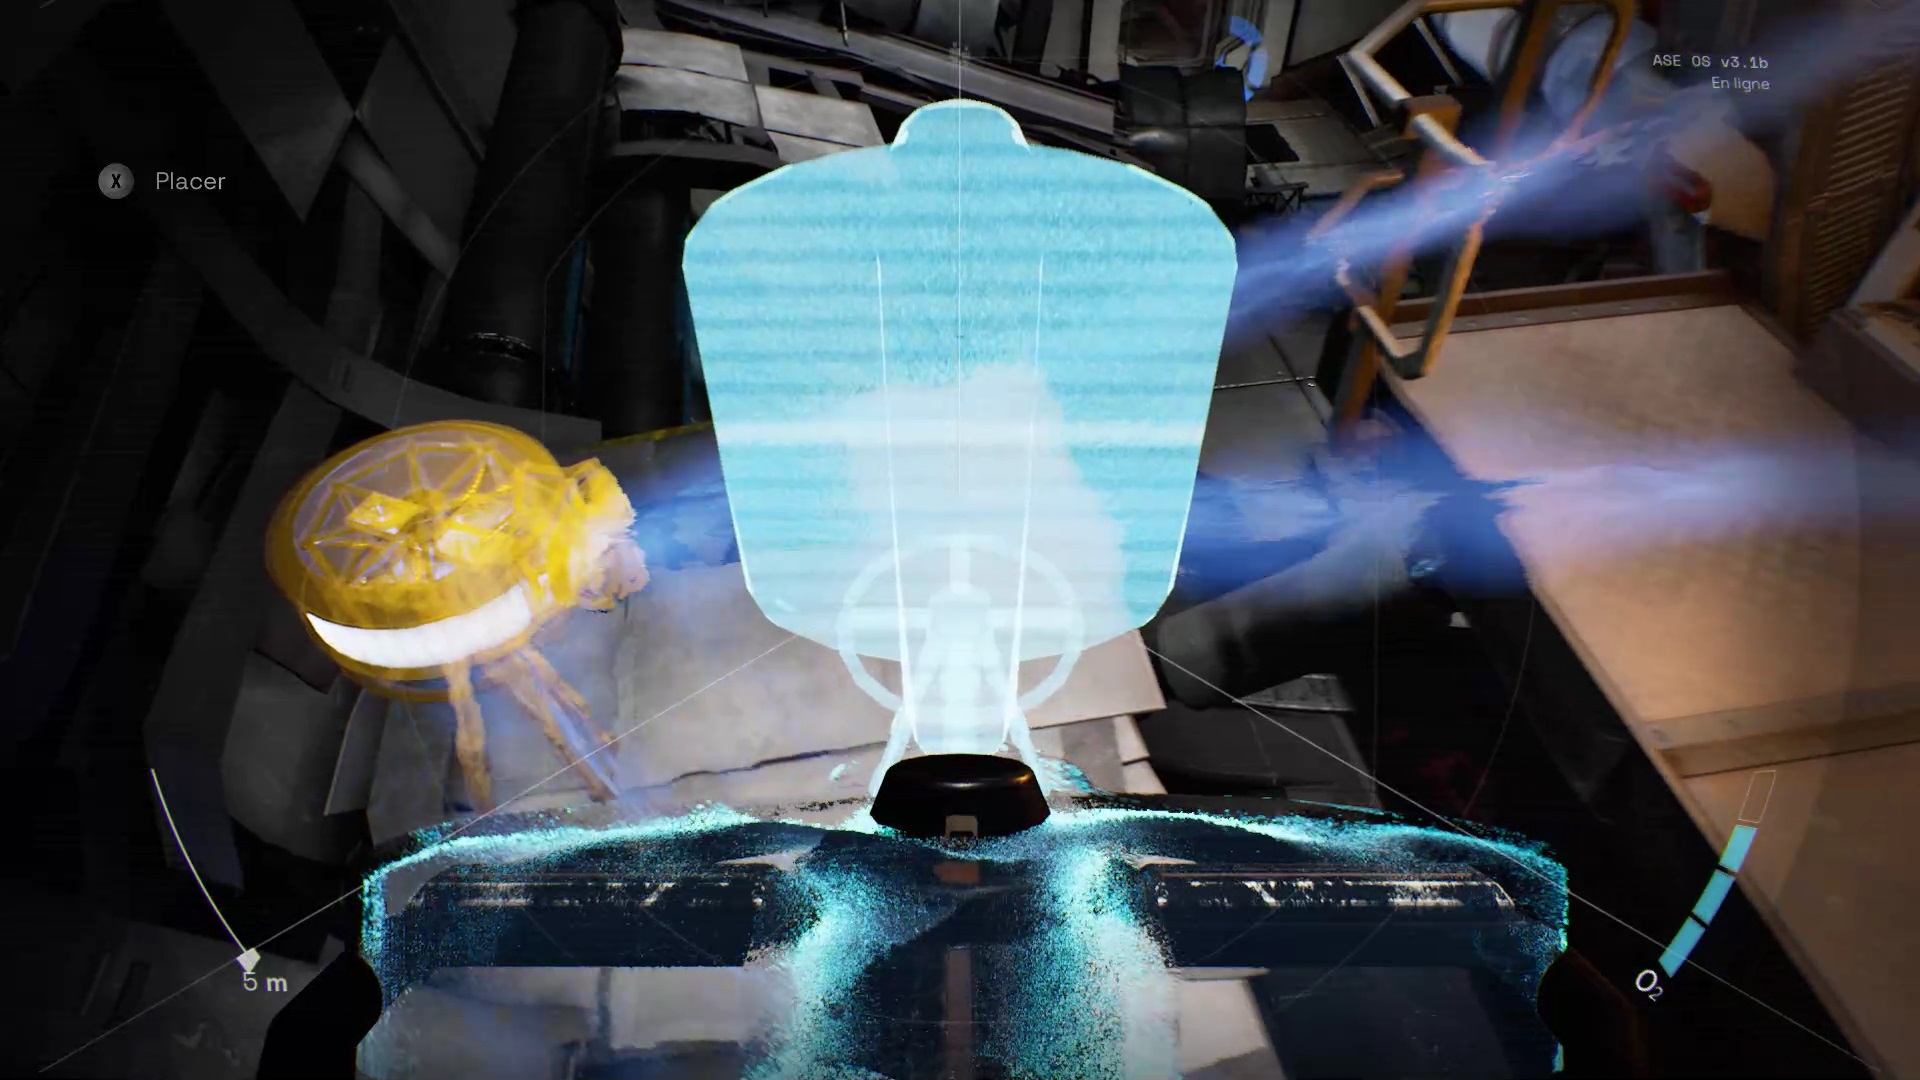
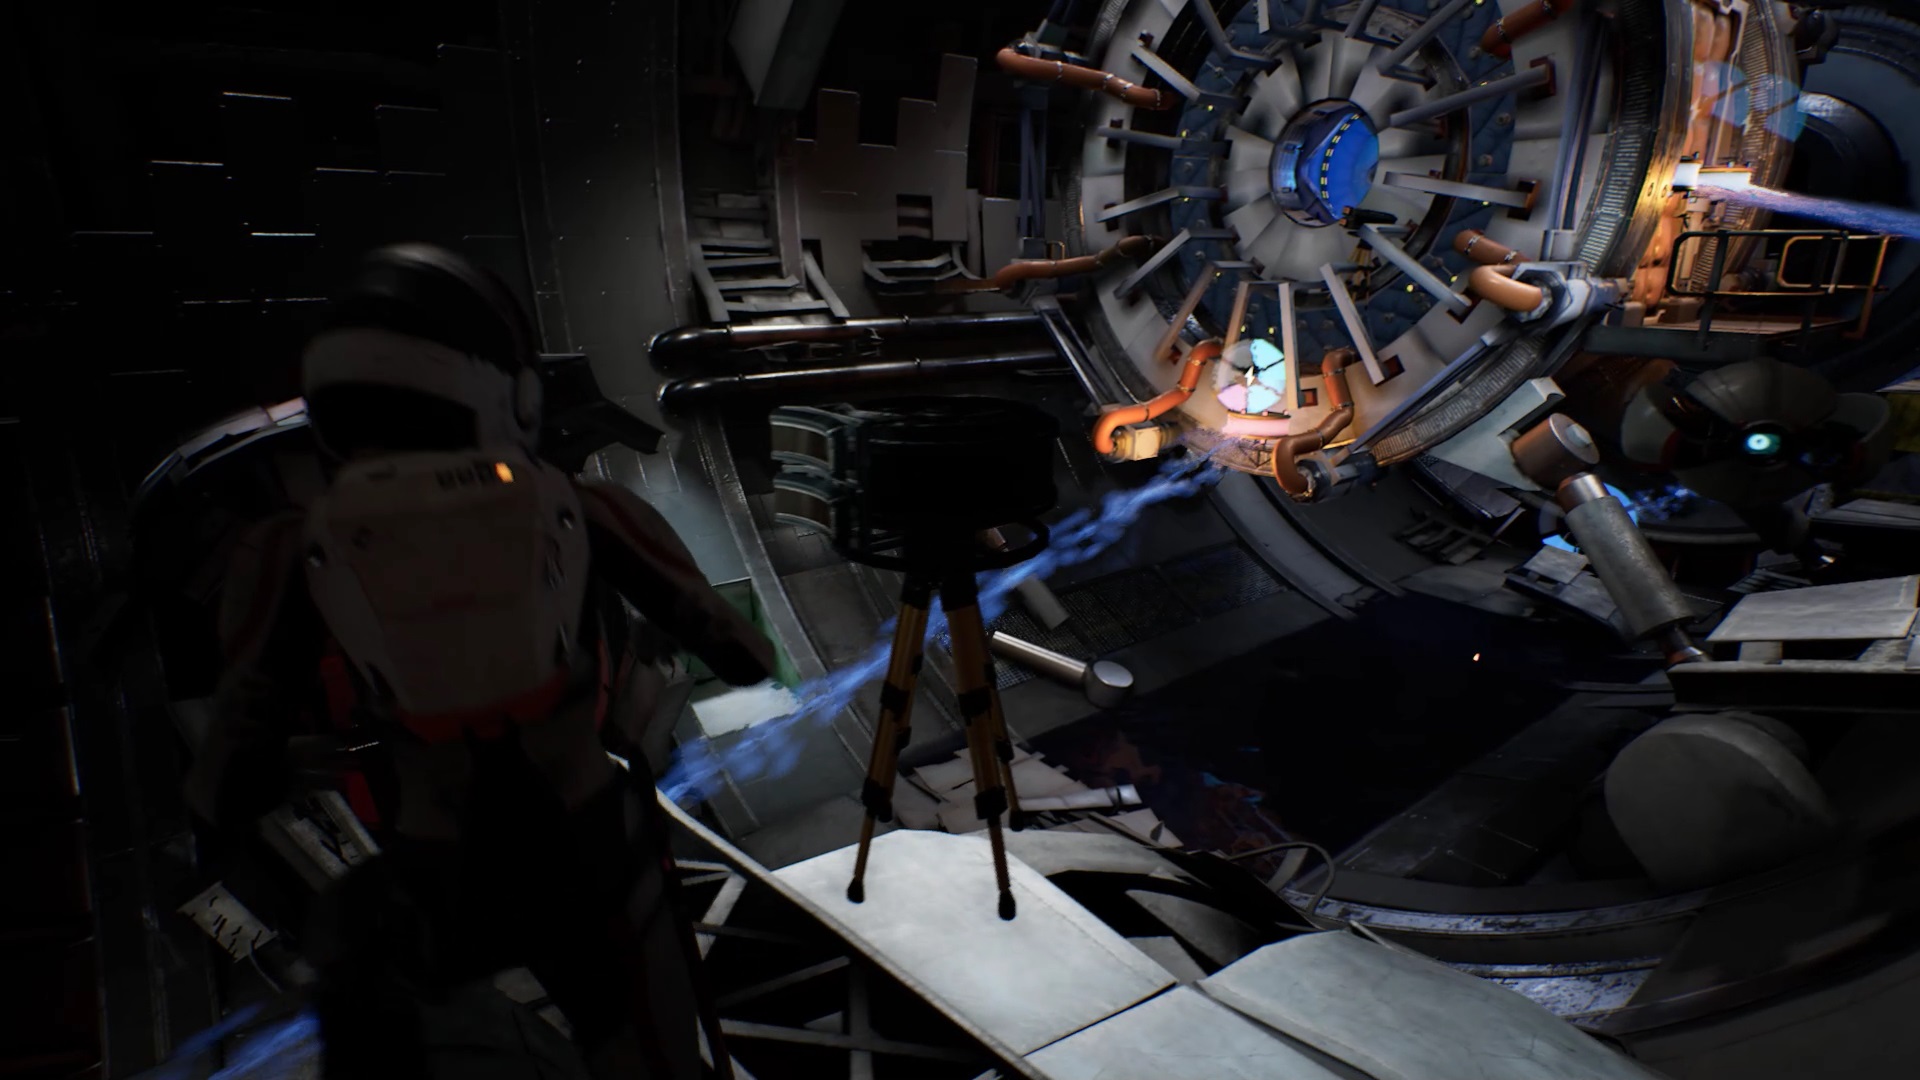
Recover the shelf separator in the back of the room. Place the divider in front of the spoke you unlocked. Connect one of the spokes of the splitter to the streame point on the wall of your room. Connect the second ray of the splitter to the streame point on the far left of the area on Sarah’s side. Connect the beam you unlock to the splitter to supply energy to the two beams of the splitter.
You have unlocked a door in your room. Use Ayla to go under the half-unlocked door. Pick up the divider with Ayla and bring it back to your room. Position the two dividers in front of each of the streame points that unlocks the door to the room where Sarah is.
Connect the left splitter to the left stream point near the exit door. The second beam of the separator can be positioned in the void. The right splitter should be connected to the right stream point near Sarah. The second ray of this splitter should be connected to the left splitter. . Connect the right receiver through the spoke in the center of the room. You have now fed the two streame points.
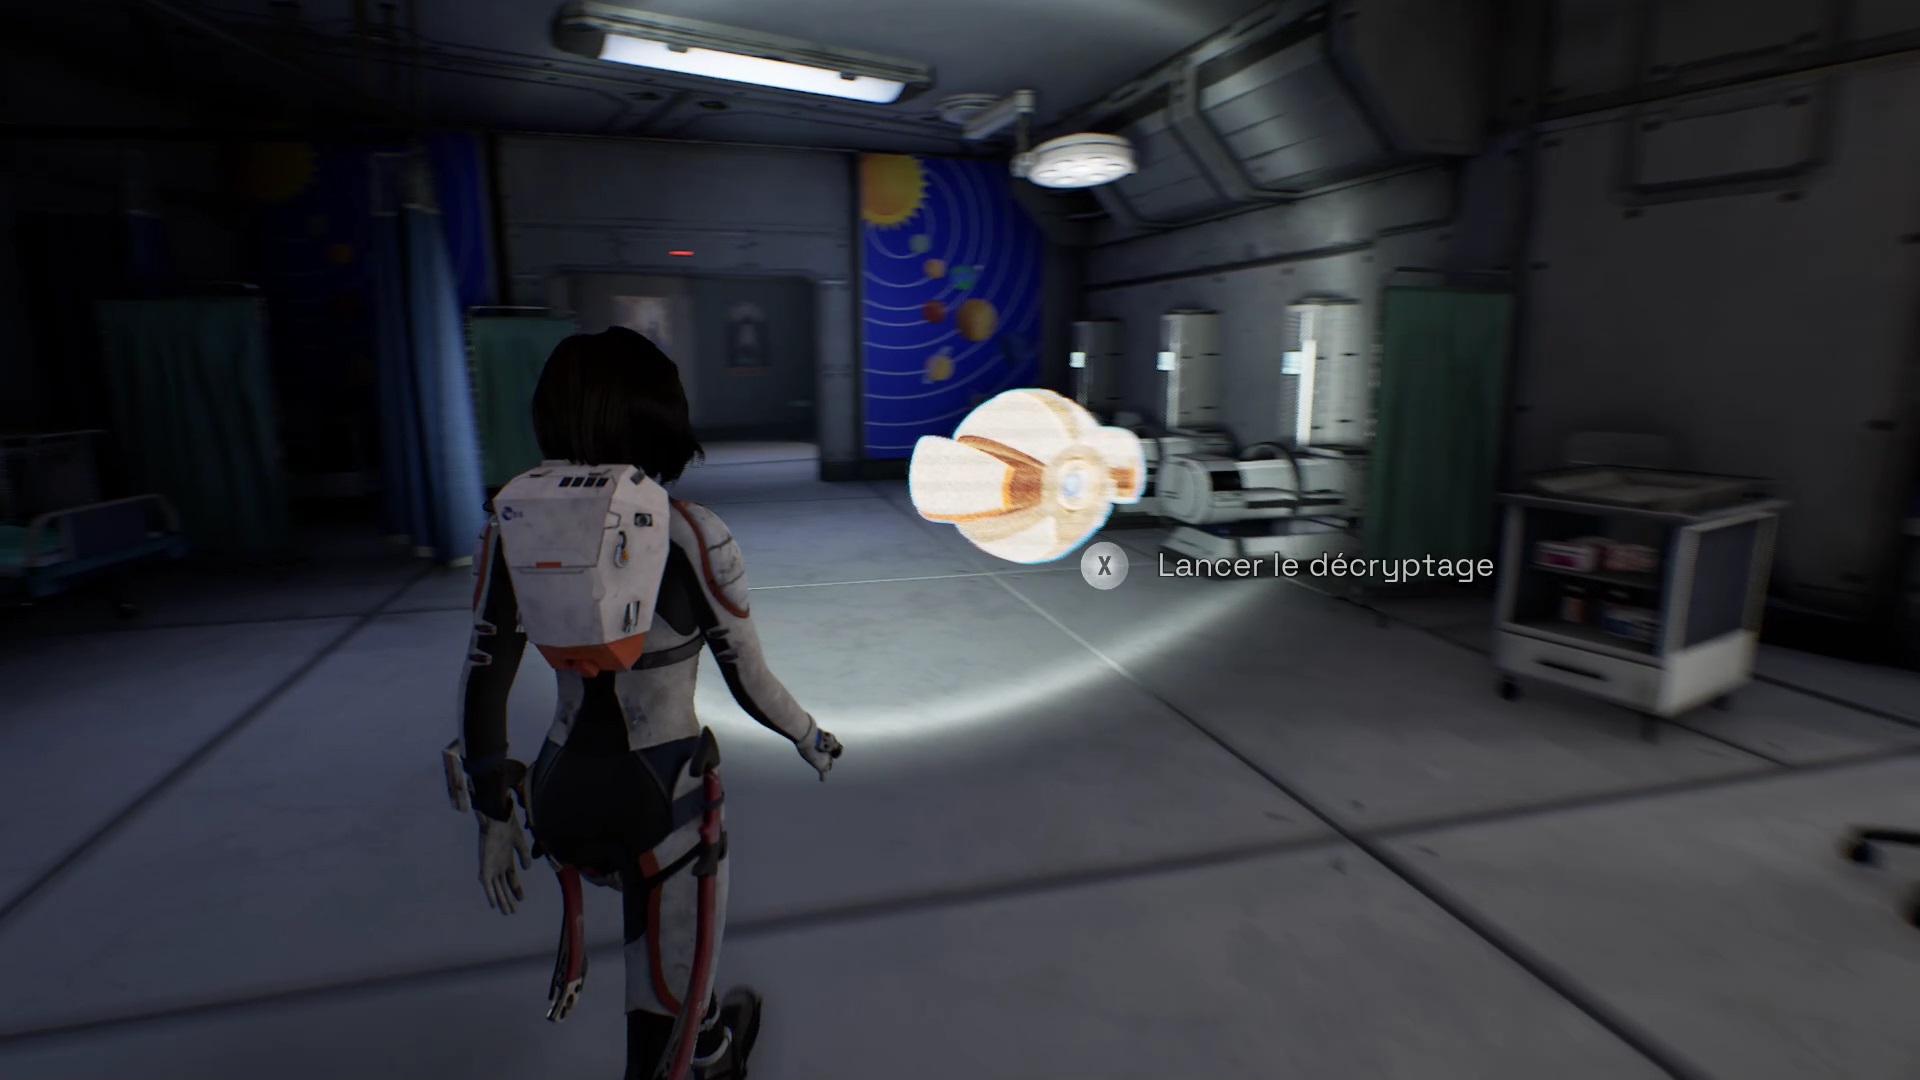
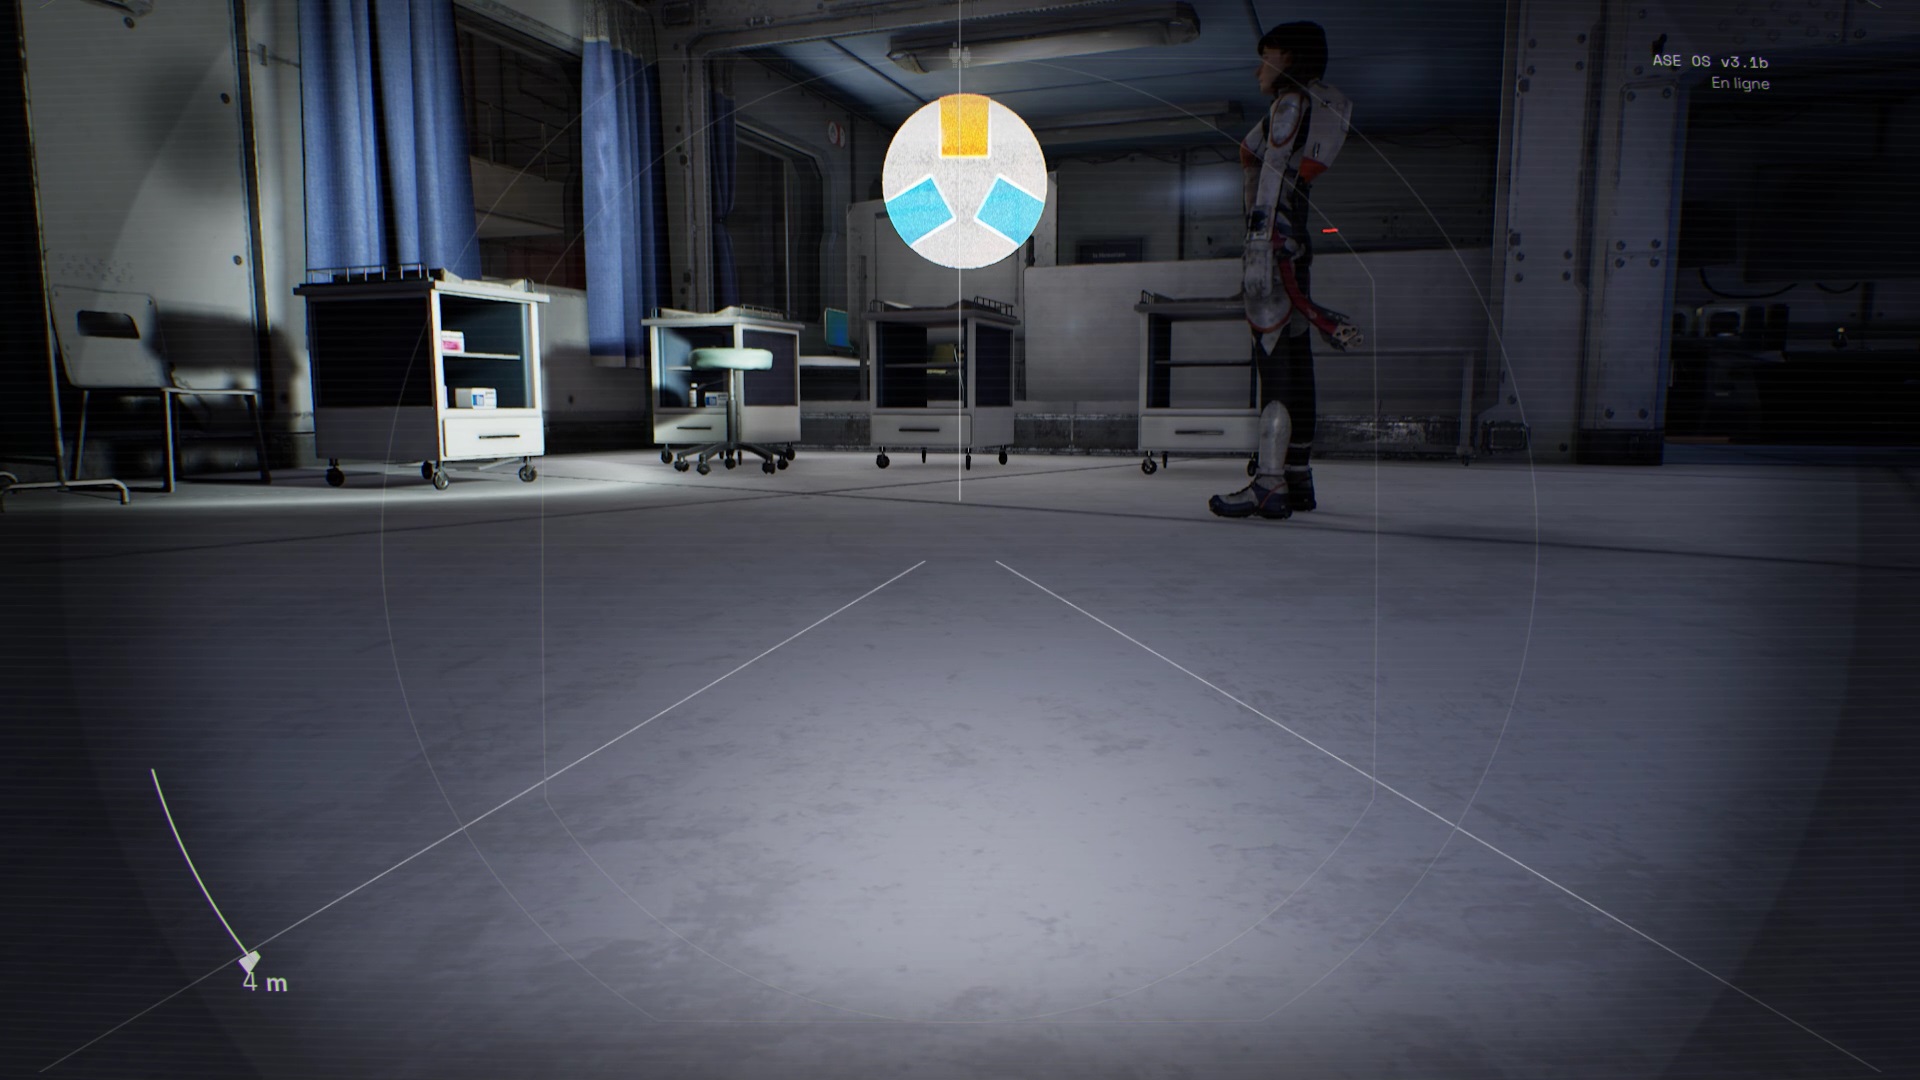
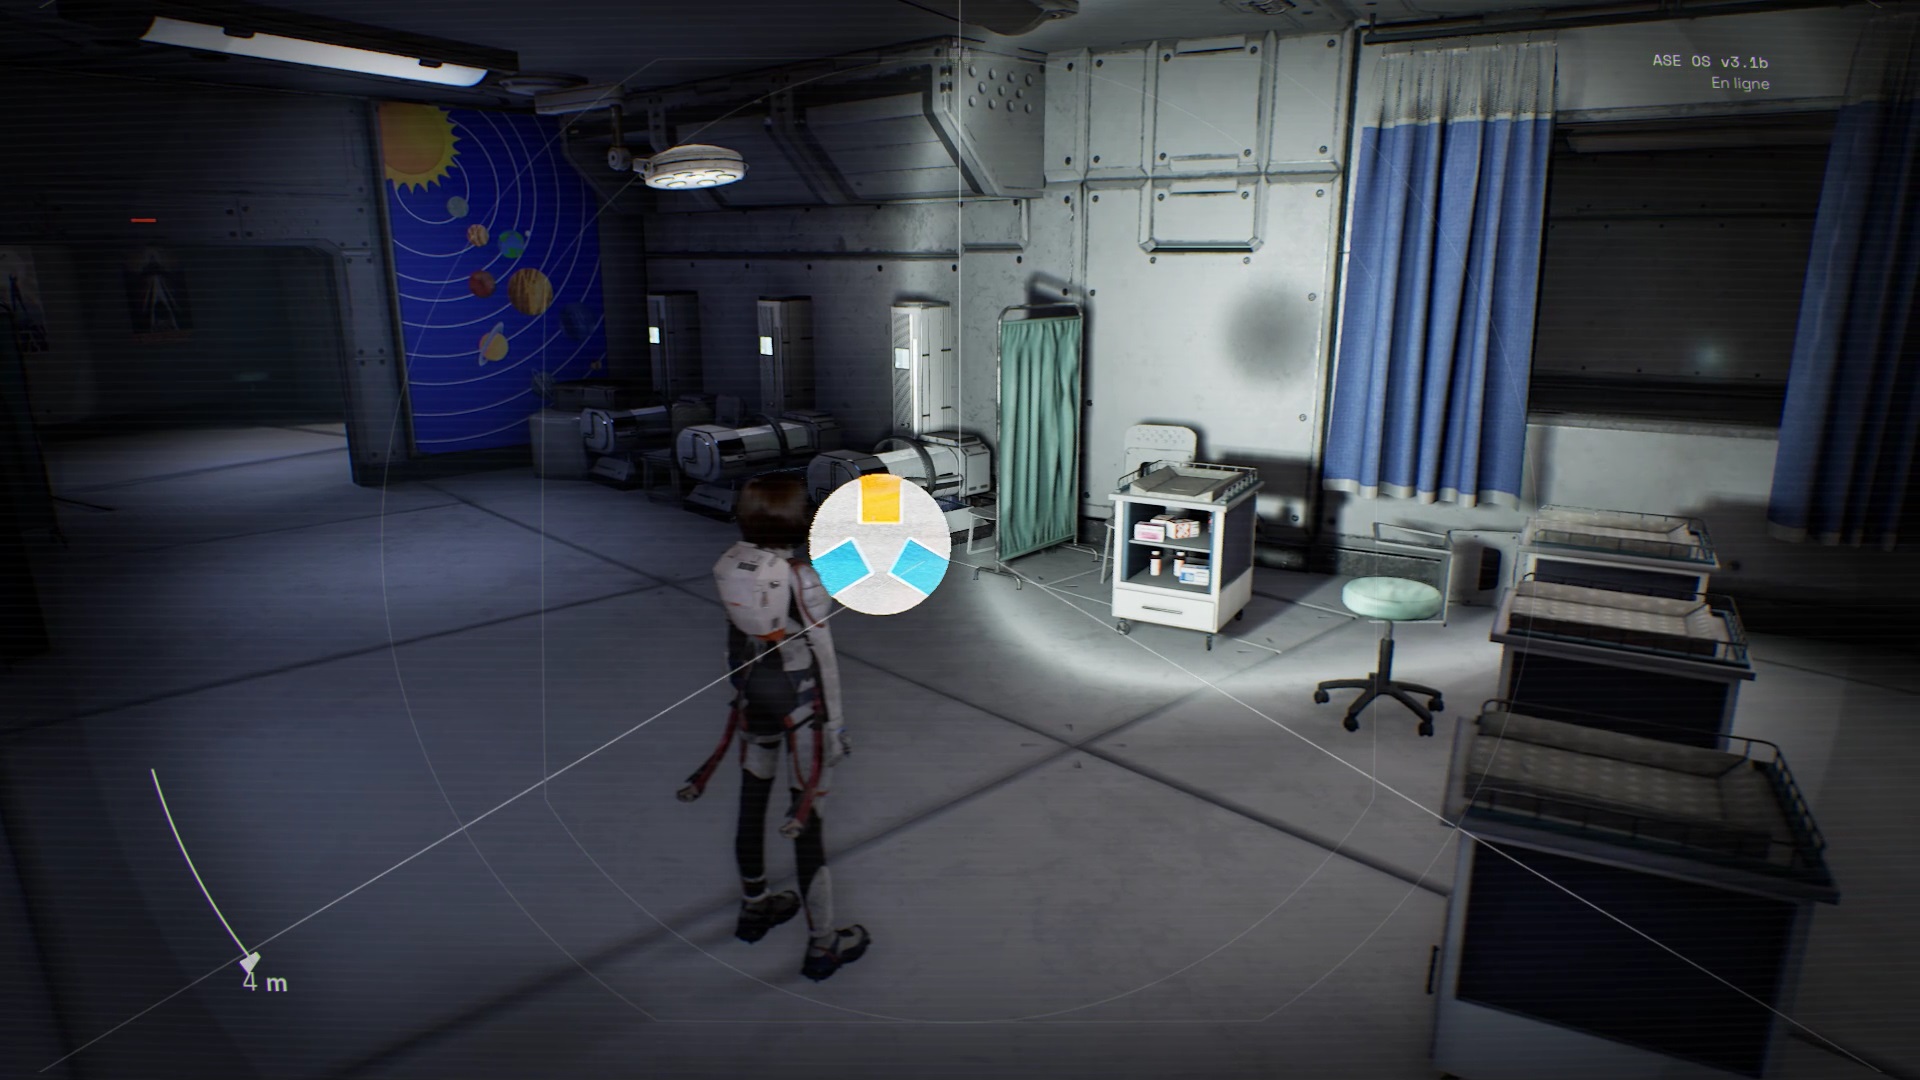
Exit the room and go through the door fed by the streame points. Go up the stairs to start a cutscene. You need to find medicine for Sarah. Explore the station, move forward to find a hologram in a treatment room. To decrypt the hologram, align the ends by placing yourself as in the images above.
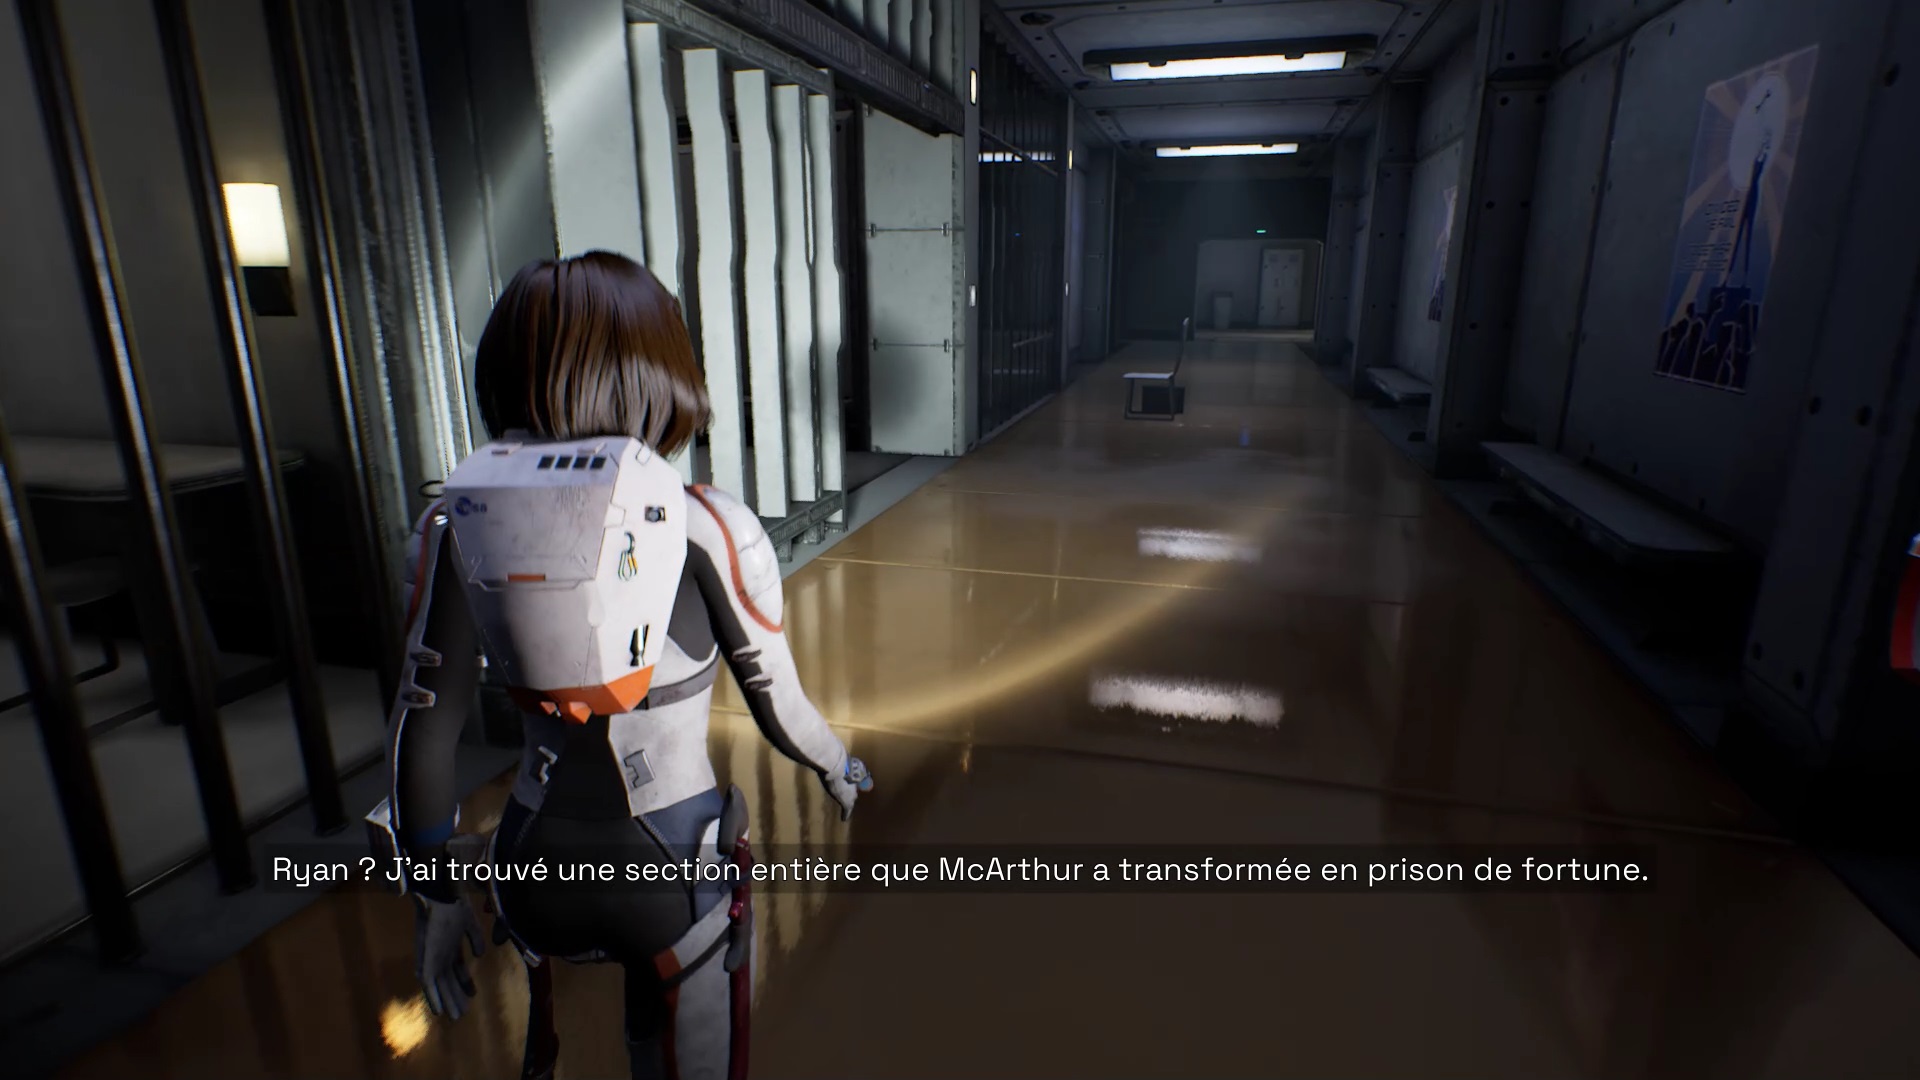
Exit the room and keep exploring to find a prison. Go to the end of the prison and climb the stairs to reach the infirmary. In the infirmary, you find streame points. To the right of the storage door, use Ayla to enter the conduit. Proceed through the conduits to reach a room. Unlock the door with the mechanism.
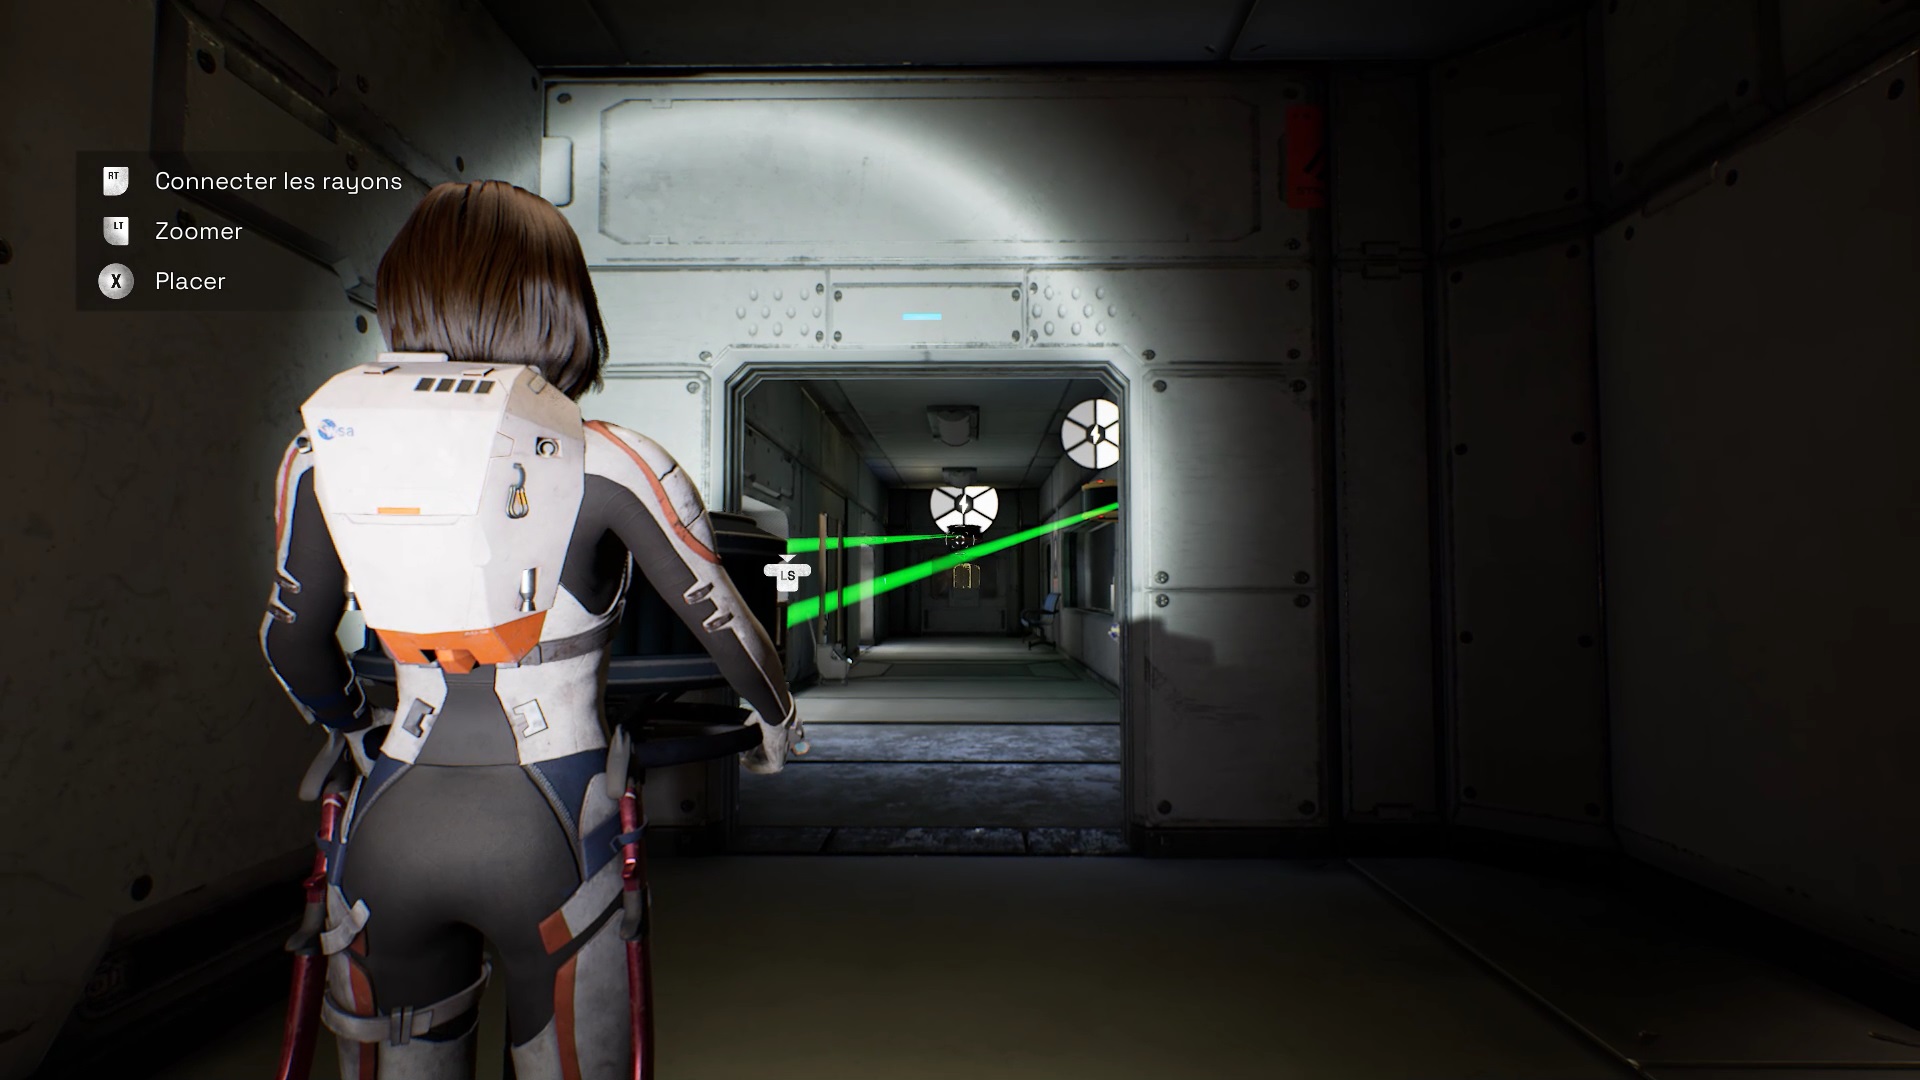
Go to the room you unlocked. Use your laser on the ground plate to unlock a beam. Retrieve the room divider and place it in the hallway facing the beam mechanism. Connect one of the spokes of the splitter to the streame point of the storage room on the right. Connect the second ray to the streame point of the exit door at the end of the corridor. Connect the spoke to the receiver to power the two stream points.
At the end of the corridor, go through the door you opened and retrieve a reduction field. Position the field at the radius that feeds the storage room’s stream point. Now use Ayla to unlock the storage room door and trigger a cutscene.

To go to the other side of the floor, you need to power up the exit door. Near the exit door, go into the room on the left to find a second divider. Position the divider facing the exit door.
Go back to the first separator. Connect the first ray to the splitter near the exit door. The second ray must be connected to the streame point of the door leading to the exit. Go to the level of the second divider near the exit door. Connect the splitter ray to the streame point of the exit gate. Position the reduction field in line with the separator radius to open the exit door.
As you move forward, you find a hologram. To decrypt the hologram, align the ends by placing yourself as in the images above.
Exit the room and climb the wall with your spikes. At the top of the wall, move forward by jumping over the pipes to climb higher. You reach two elevators. Climb on the elevator on the right and jump on the second in front of you. Climb up the heat shield using your spikes.
At the top of the wall, go left. Jump on the platform at the top of a pipe then jump on the platform on the right. Keep moving forward until you reach a chasm. Jump on the platform in front of you and continue to climb through the pipes. You reach a locked exit door. Use your laser on the ground plate to get a beam. Connect the ray to the stream point on the left in height.
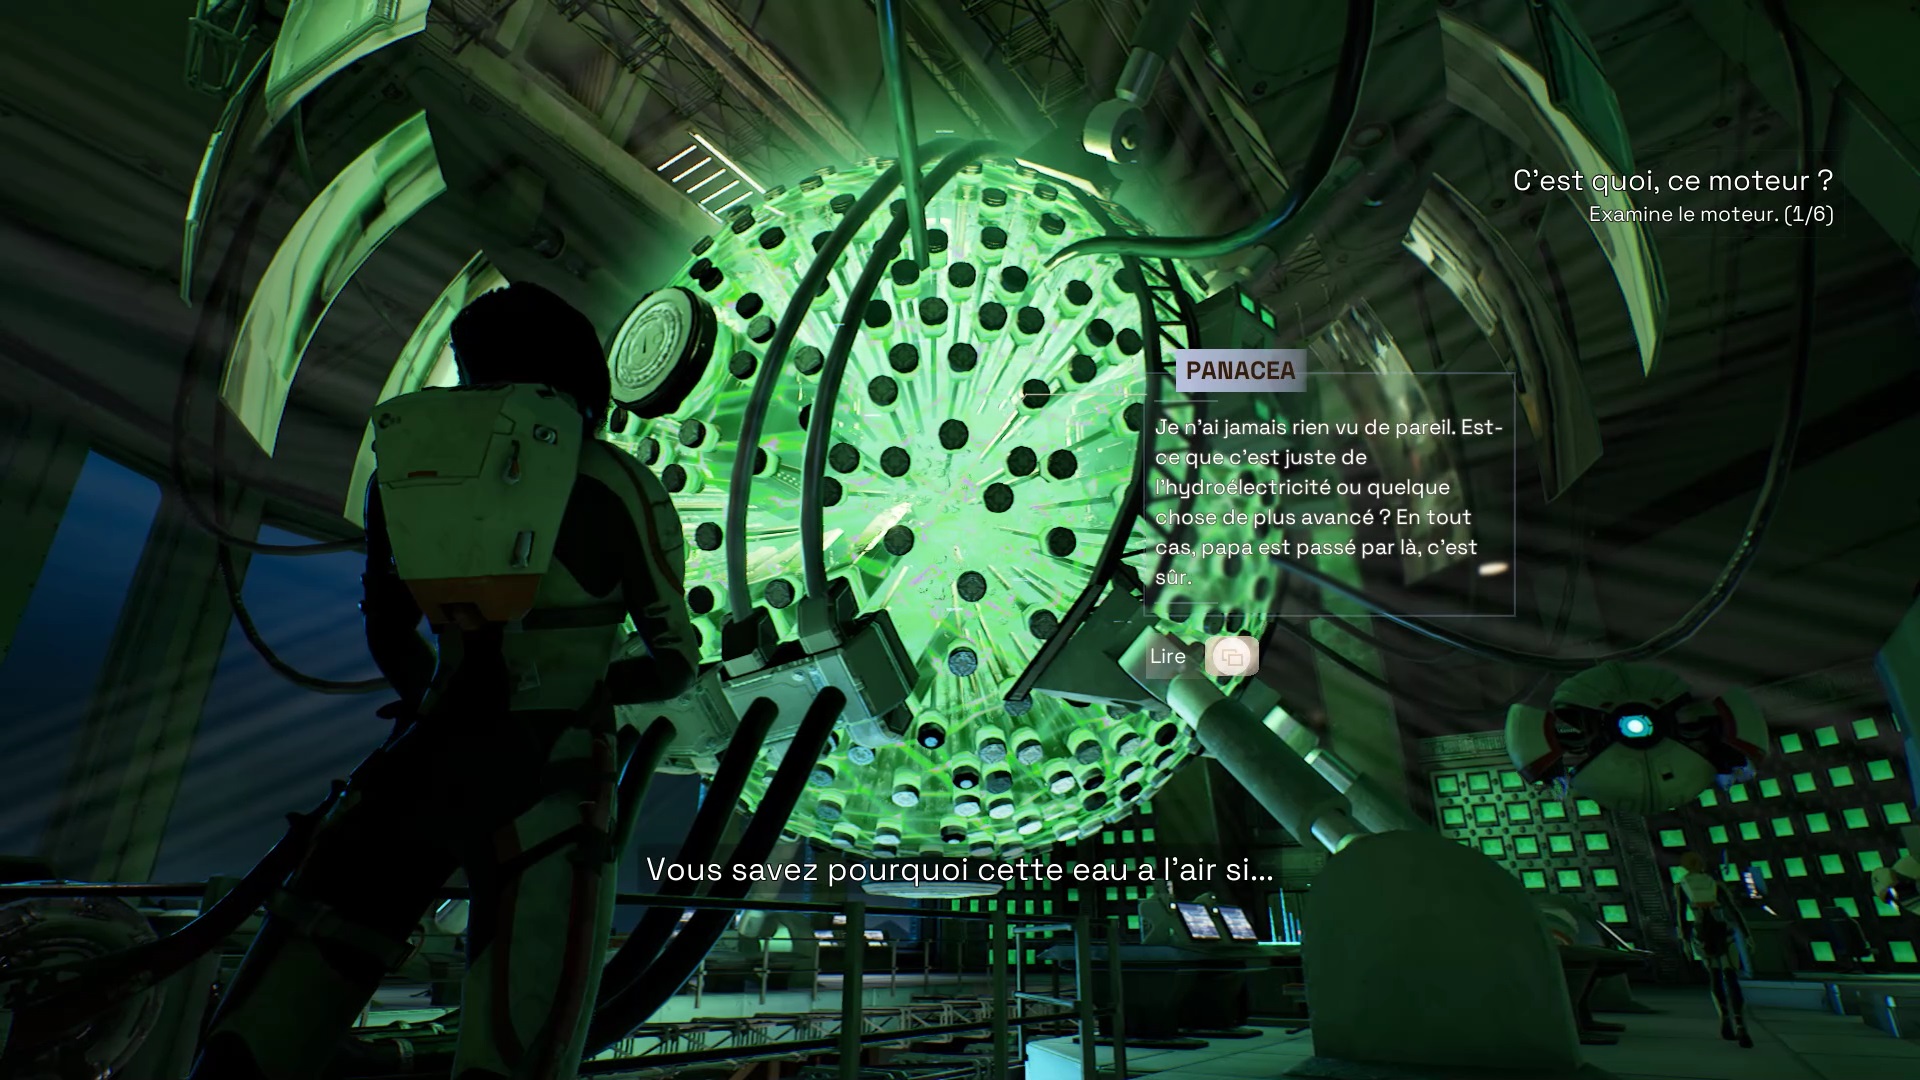
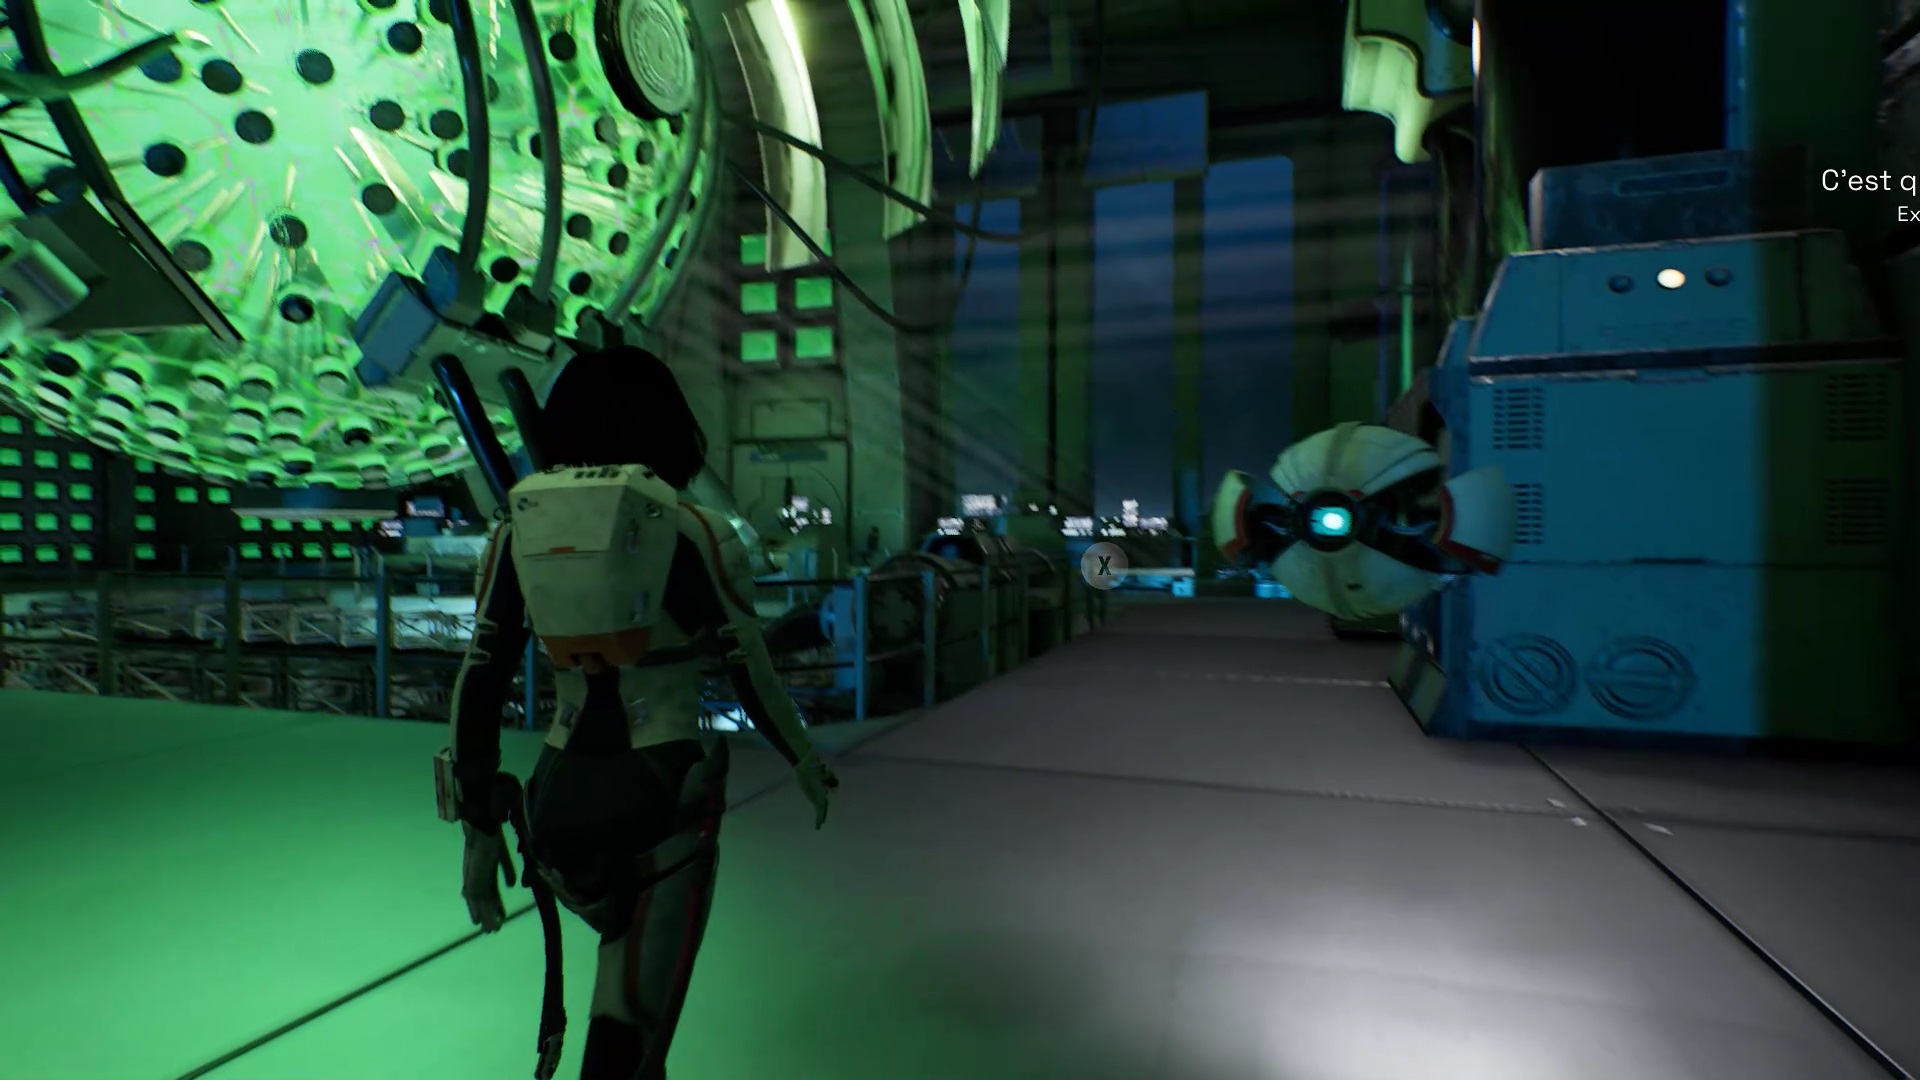
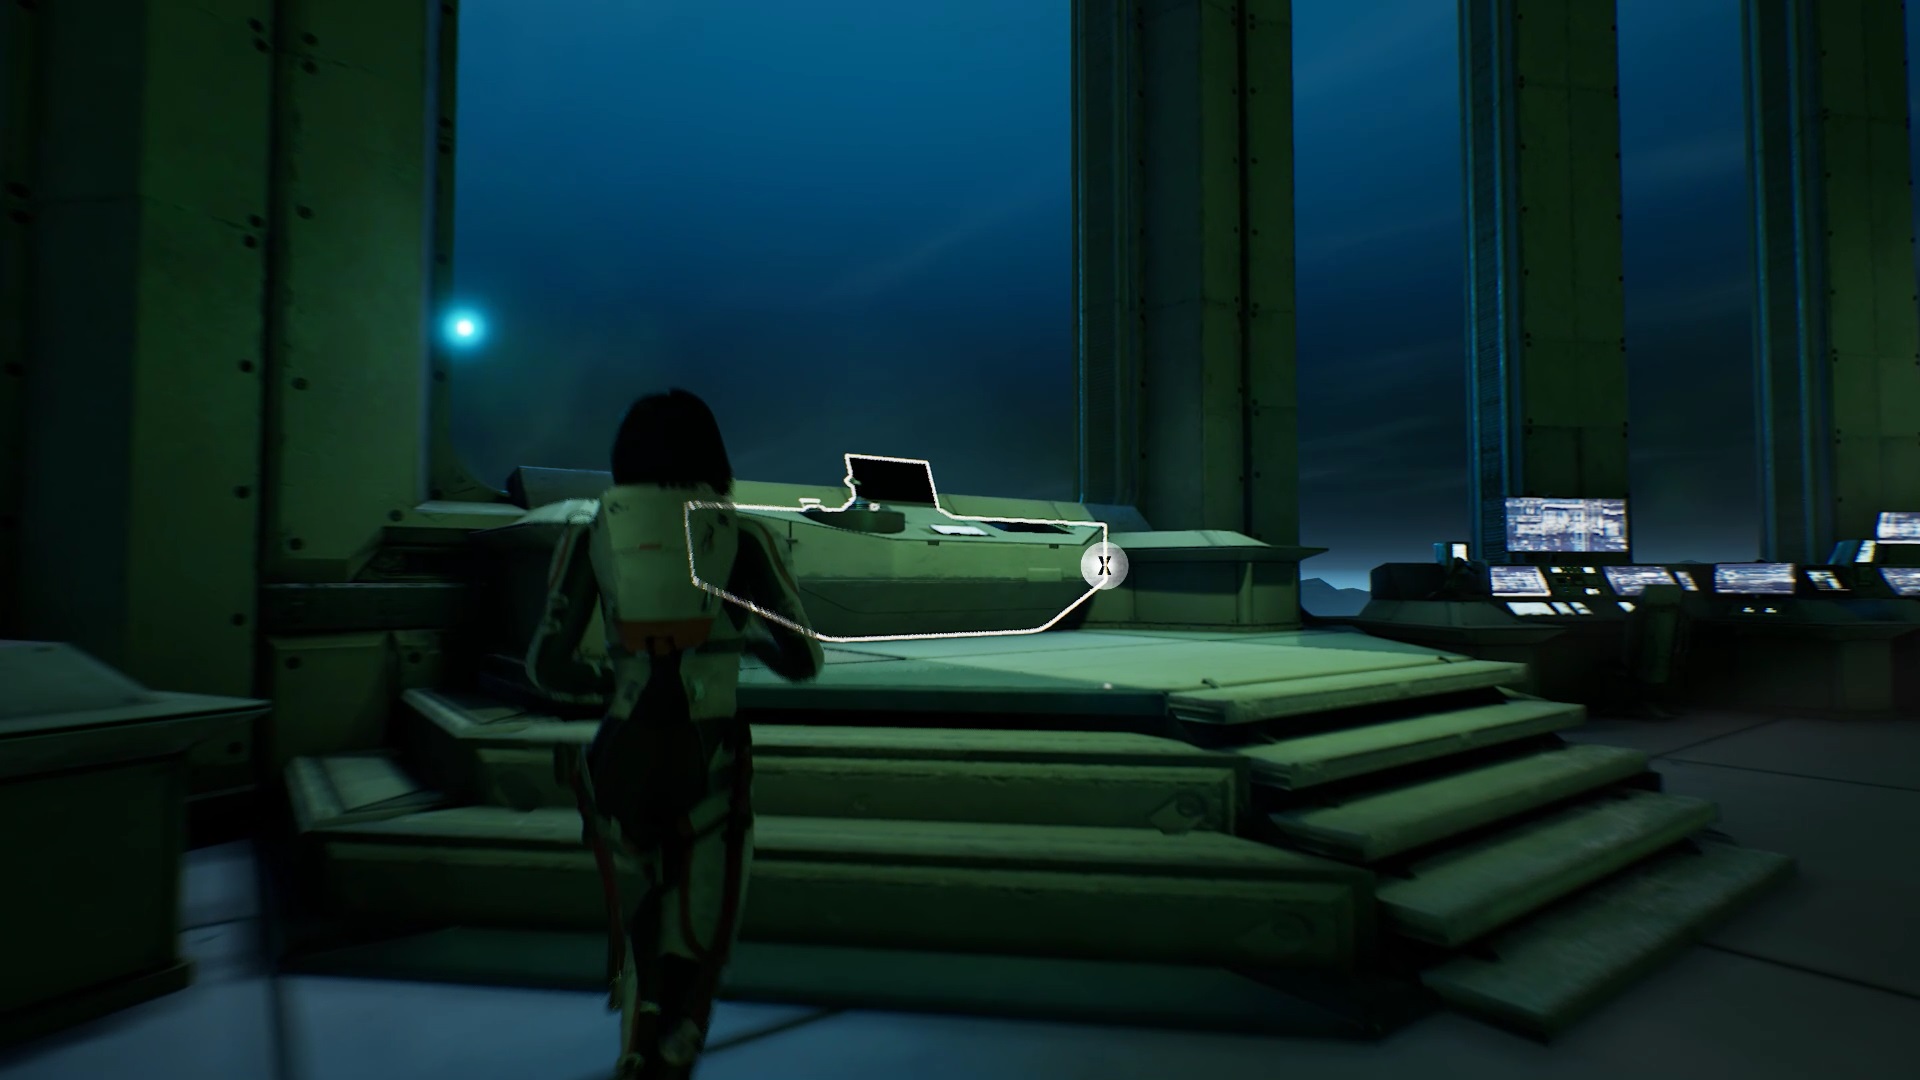
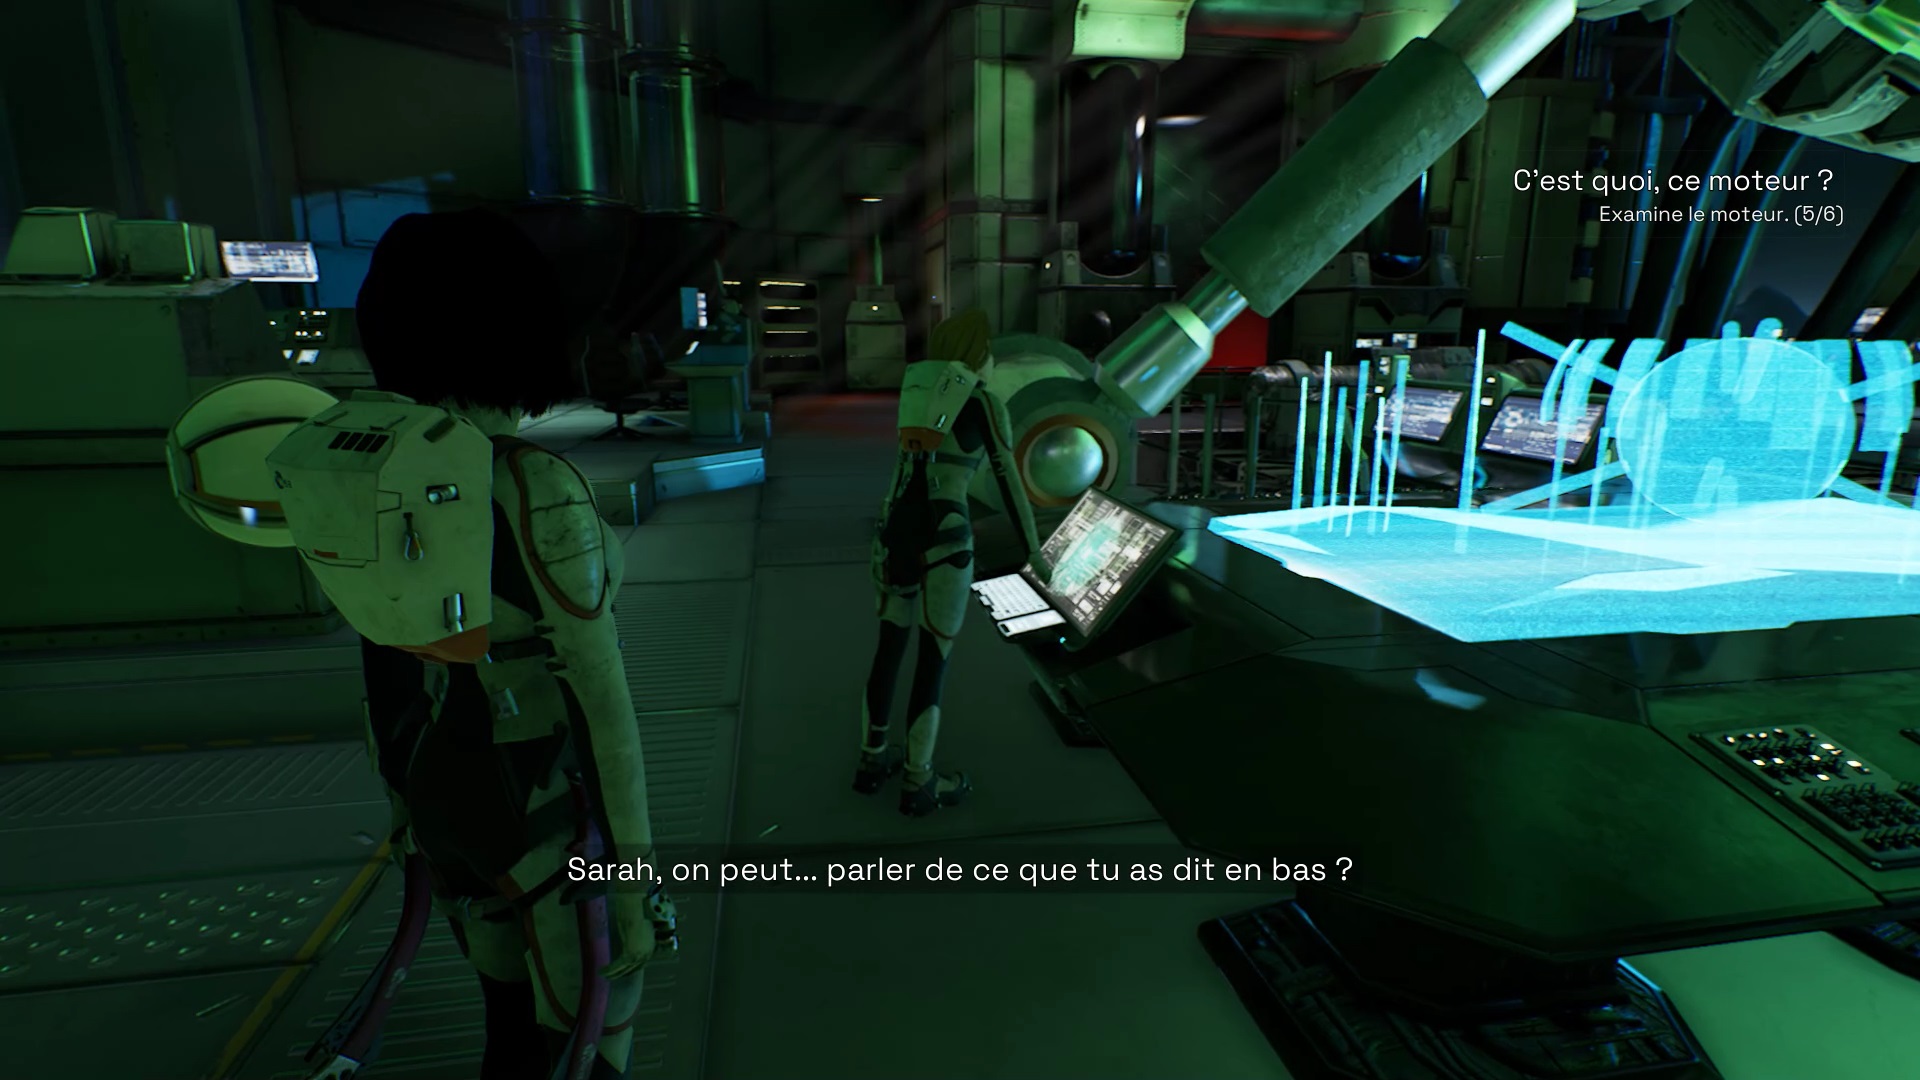
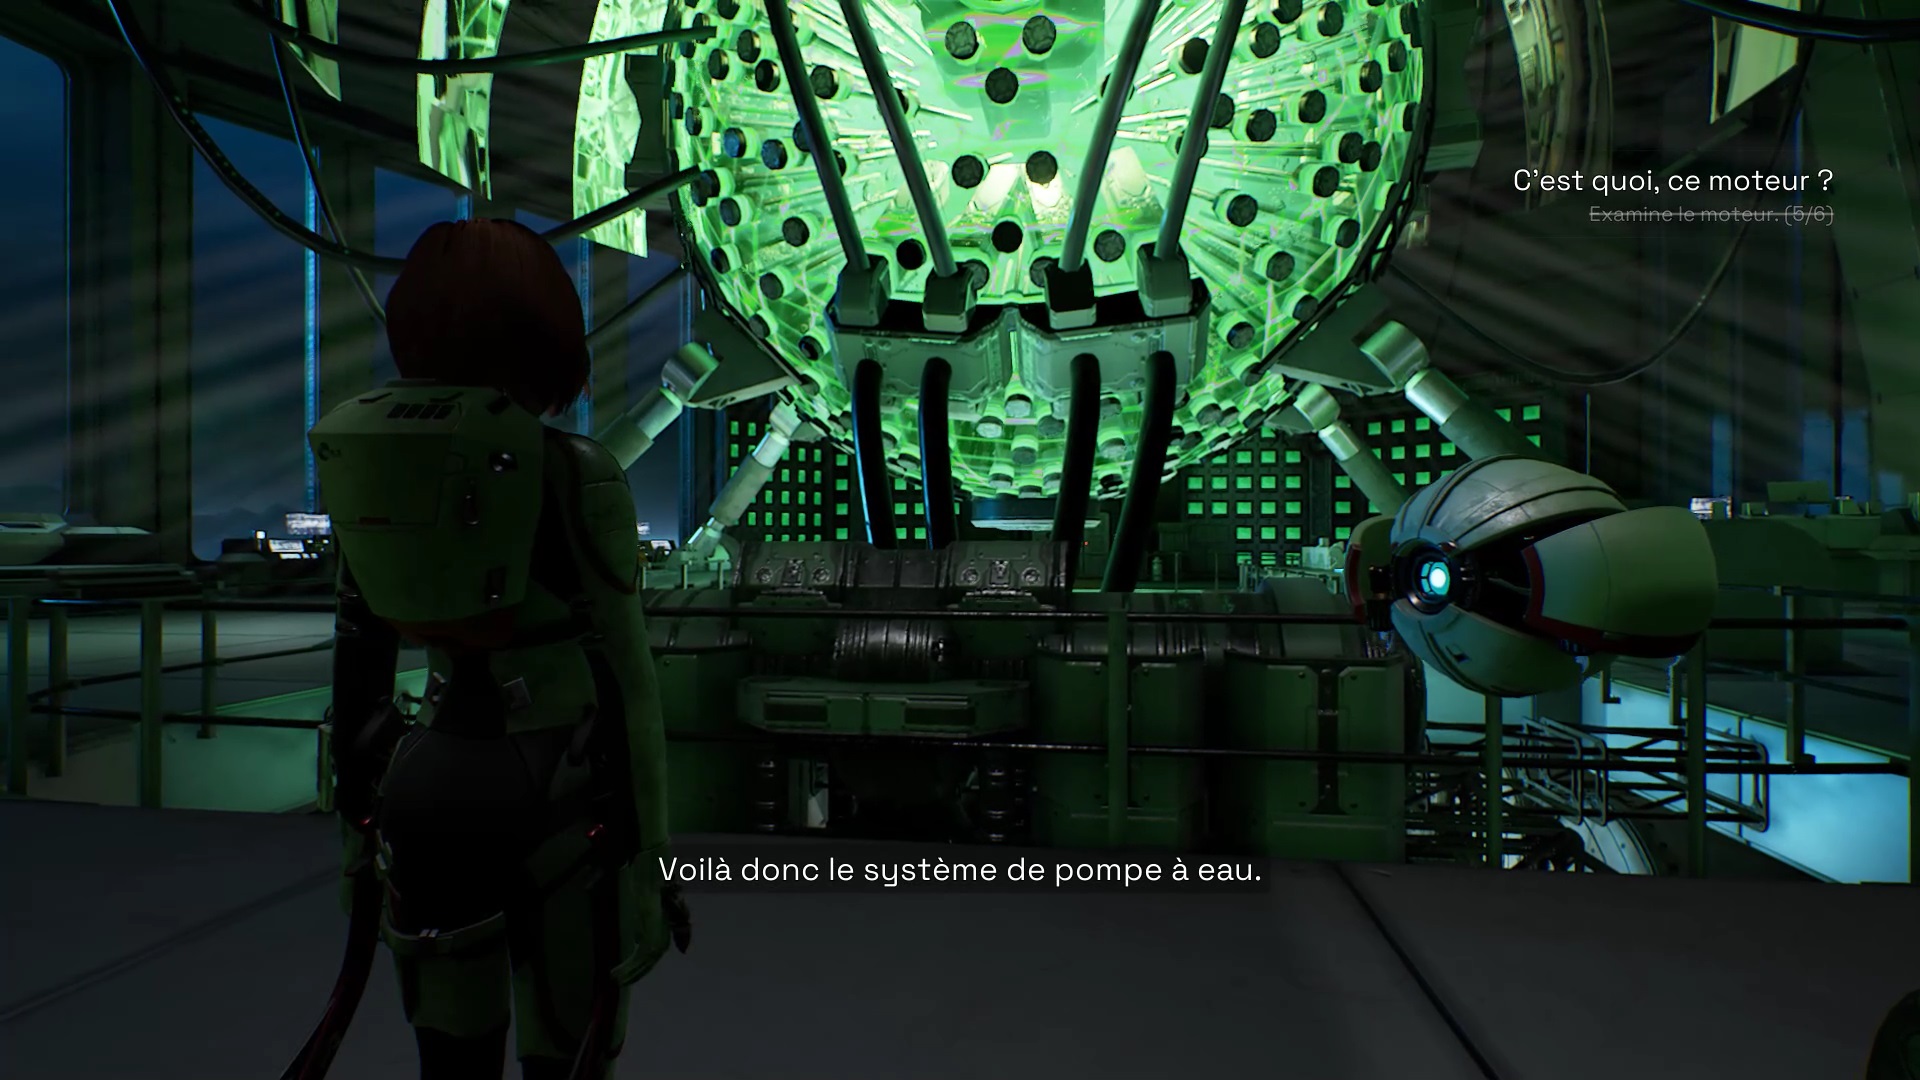
After the cutscene, you need to examine the engine. Start by looking at the engine, then at the mirrors that revolve around the engine. On the left of the room, analyze the MPT control panel. Analyze the freight elevator near Ryan. Go, talk to Sarah then analyze the engine water pump system near the entrance.
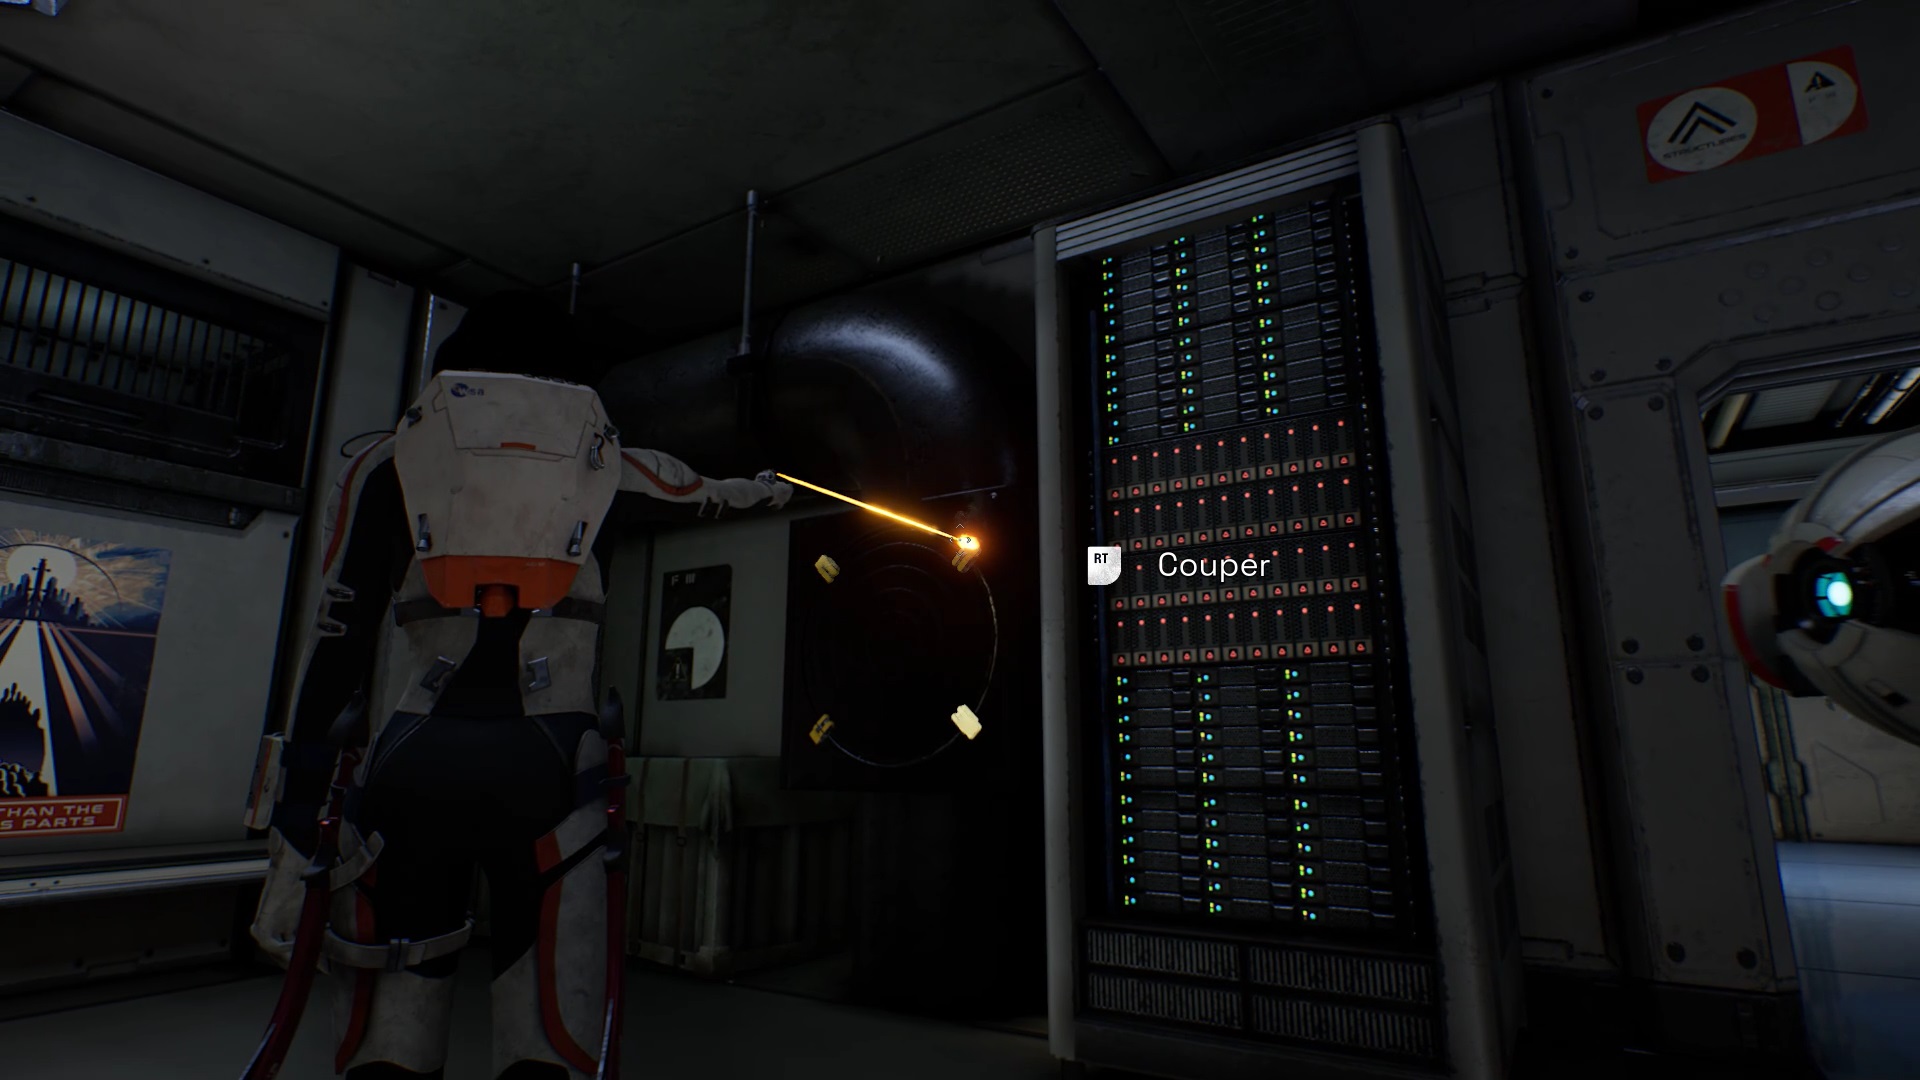

After the cutscene, you have to spy on Sarah and Ryan’s discussion. Proceed down the hall to find a ventilation system. Use your laser to cut out the vent plate. Use Ayla to sneak through the vents to spy on the chat and complete the chapter.
Chapter 6
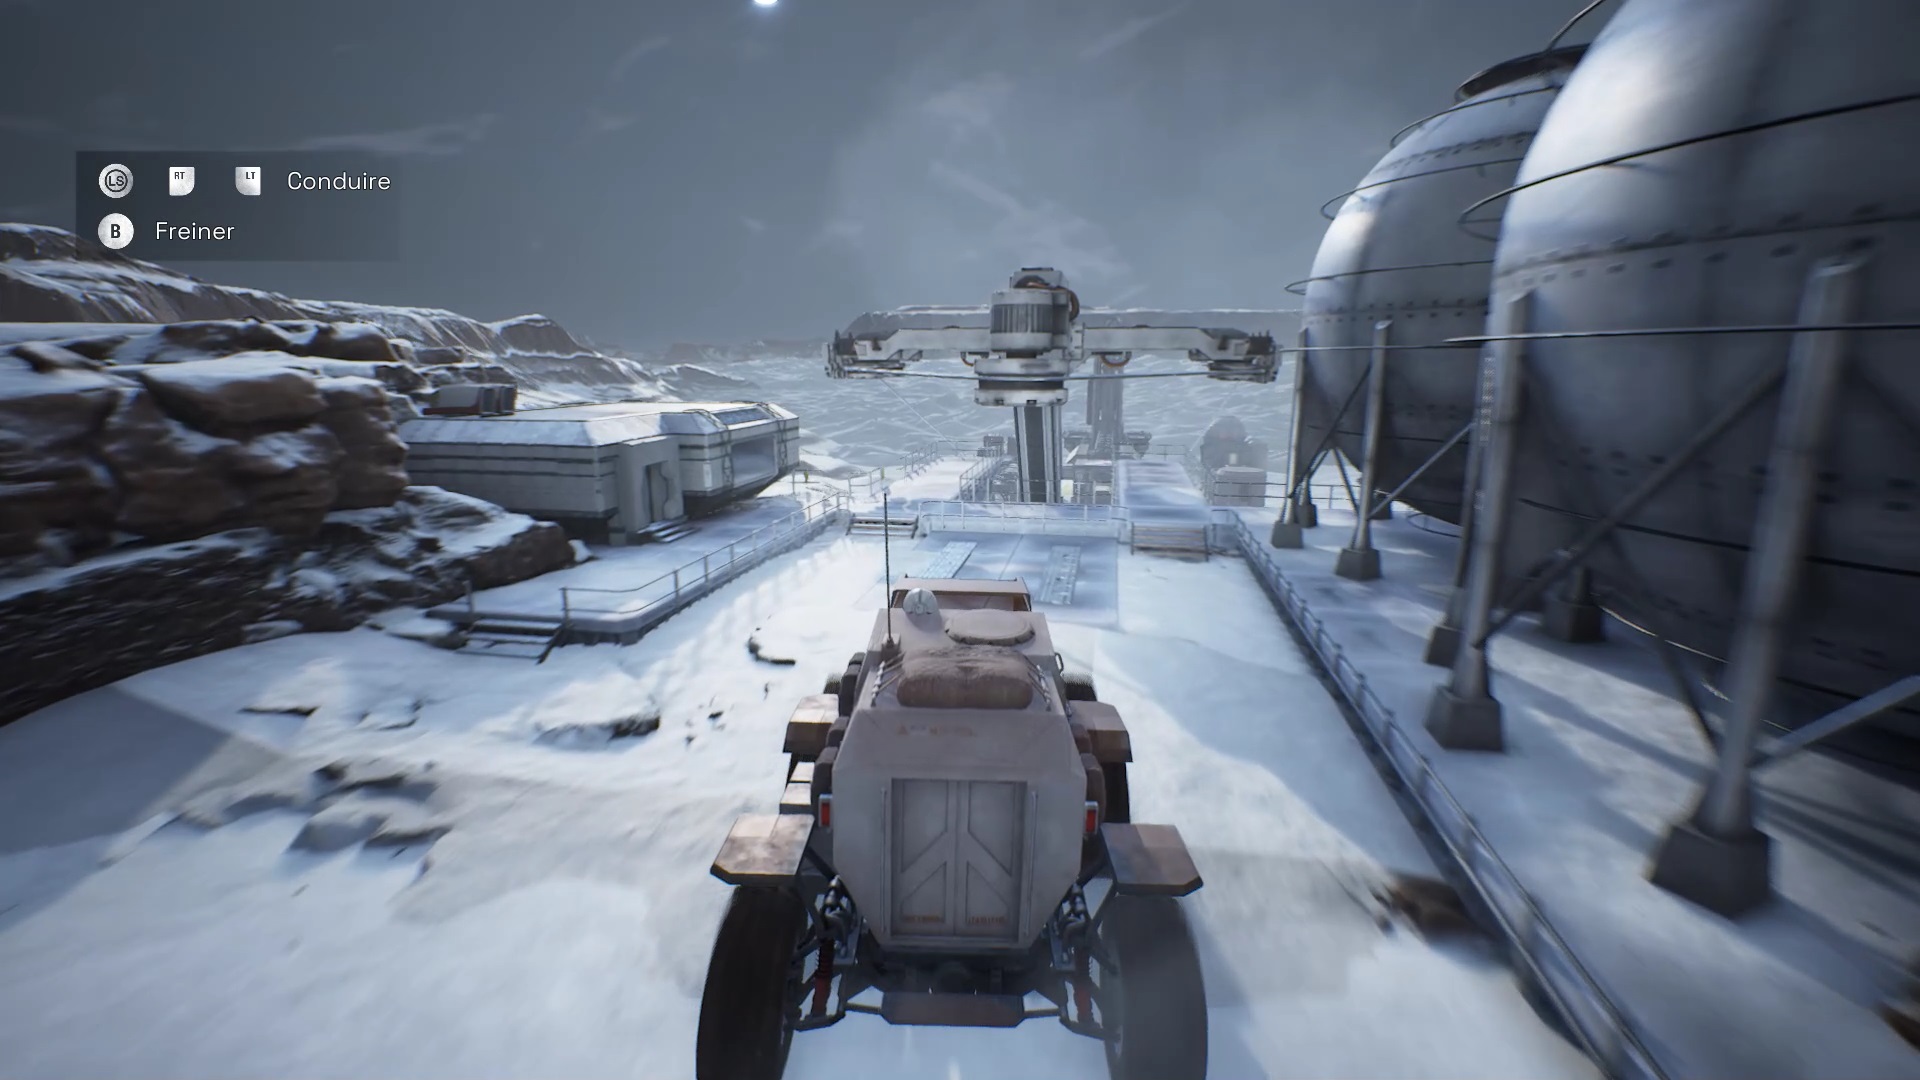
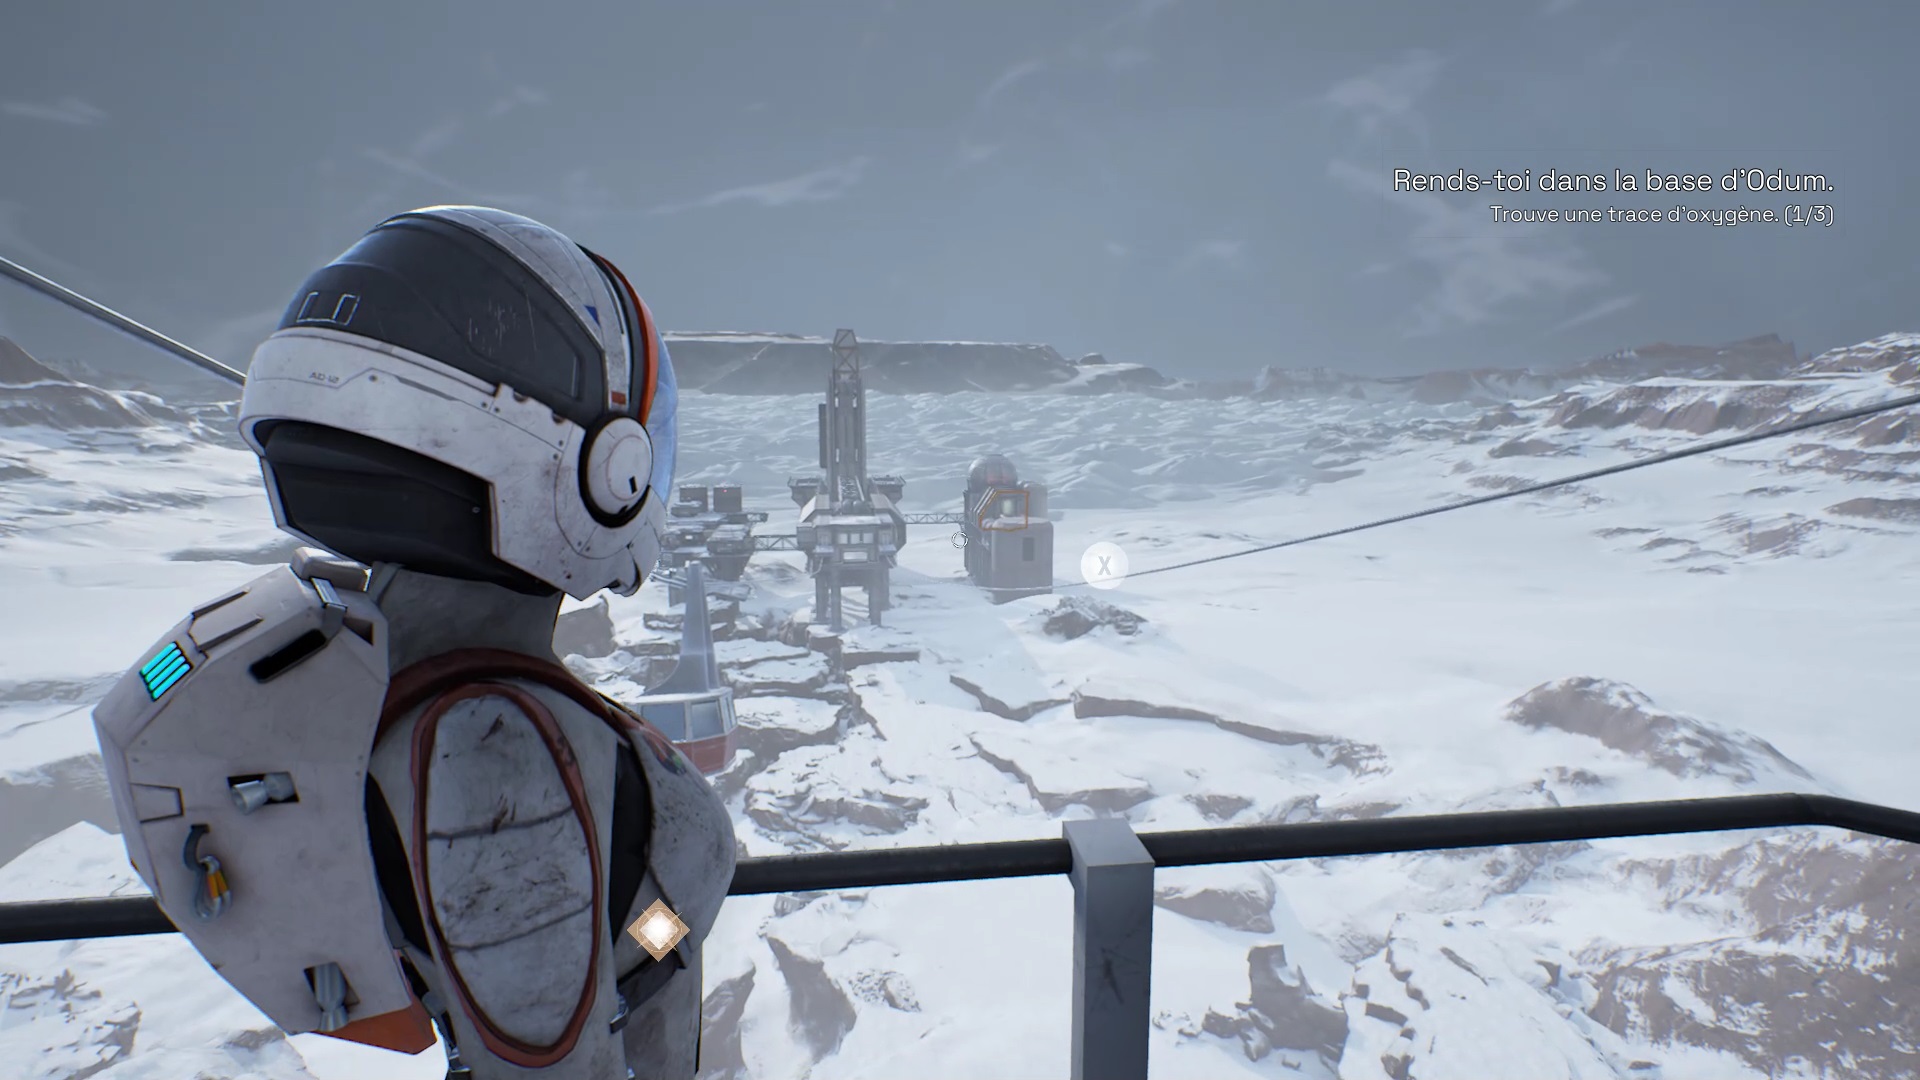
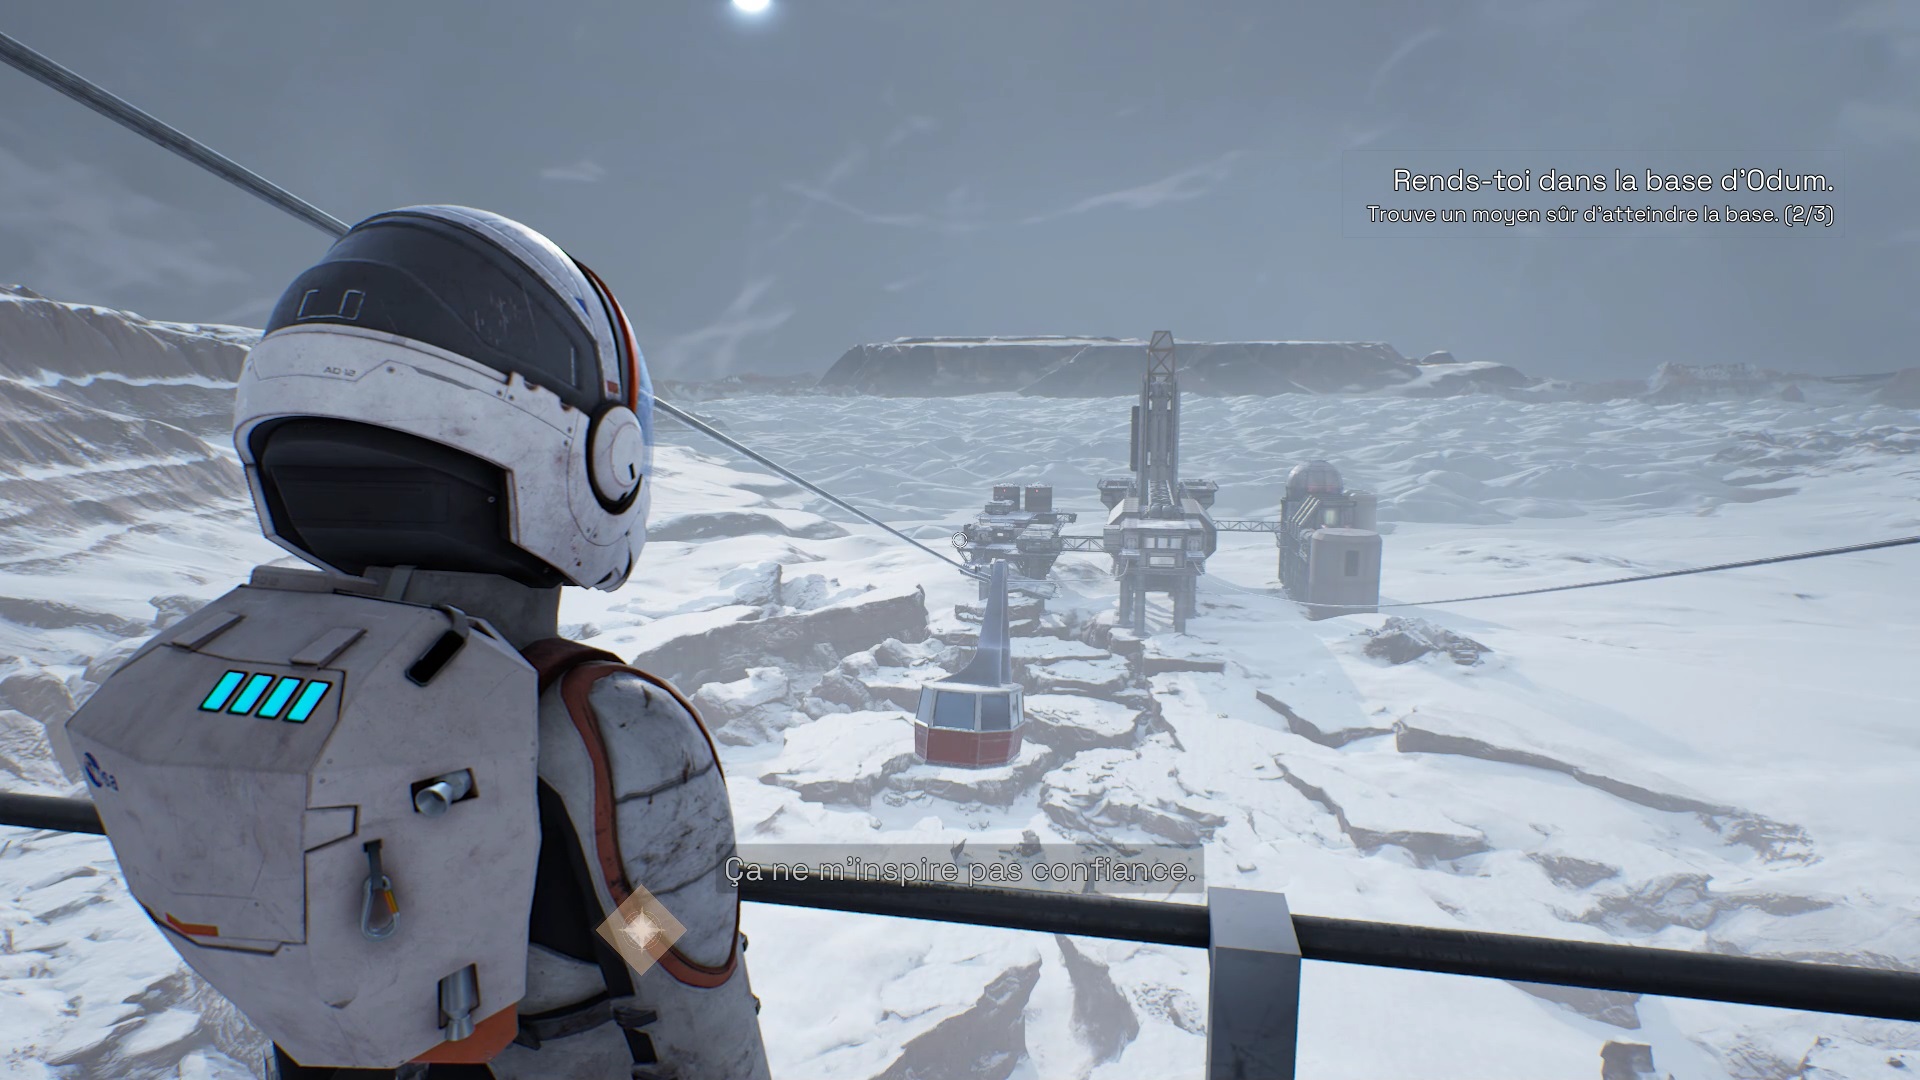
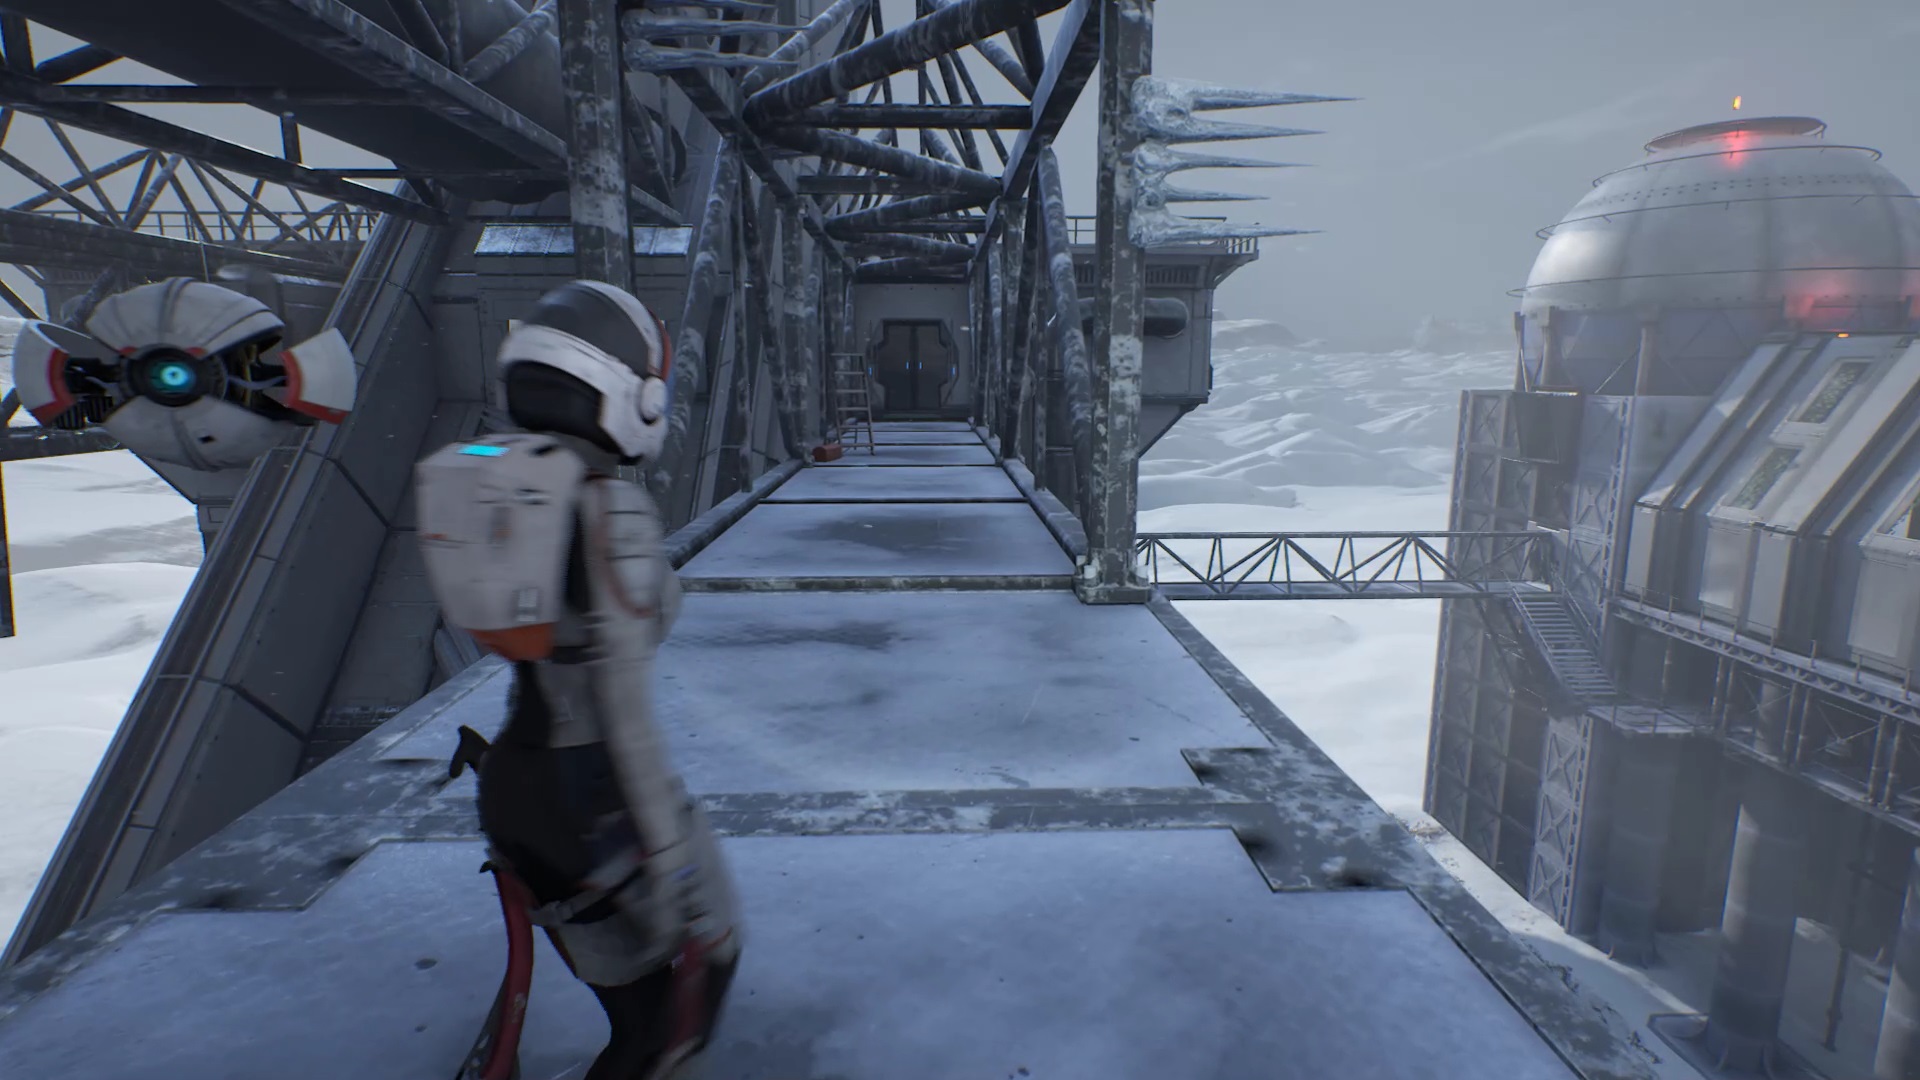
In the rover, follow the objective to reach a chairlift station. Get out of the car to trigger a cutscene. While talking to Sarah, analyze a chairlift. To find other traces of oxygen, interact with the complex on the right at the exit of the chairlifts. Finally, look at the chairlifts.

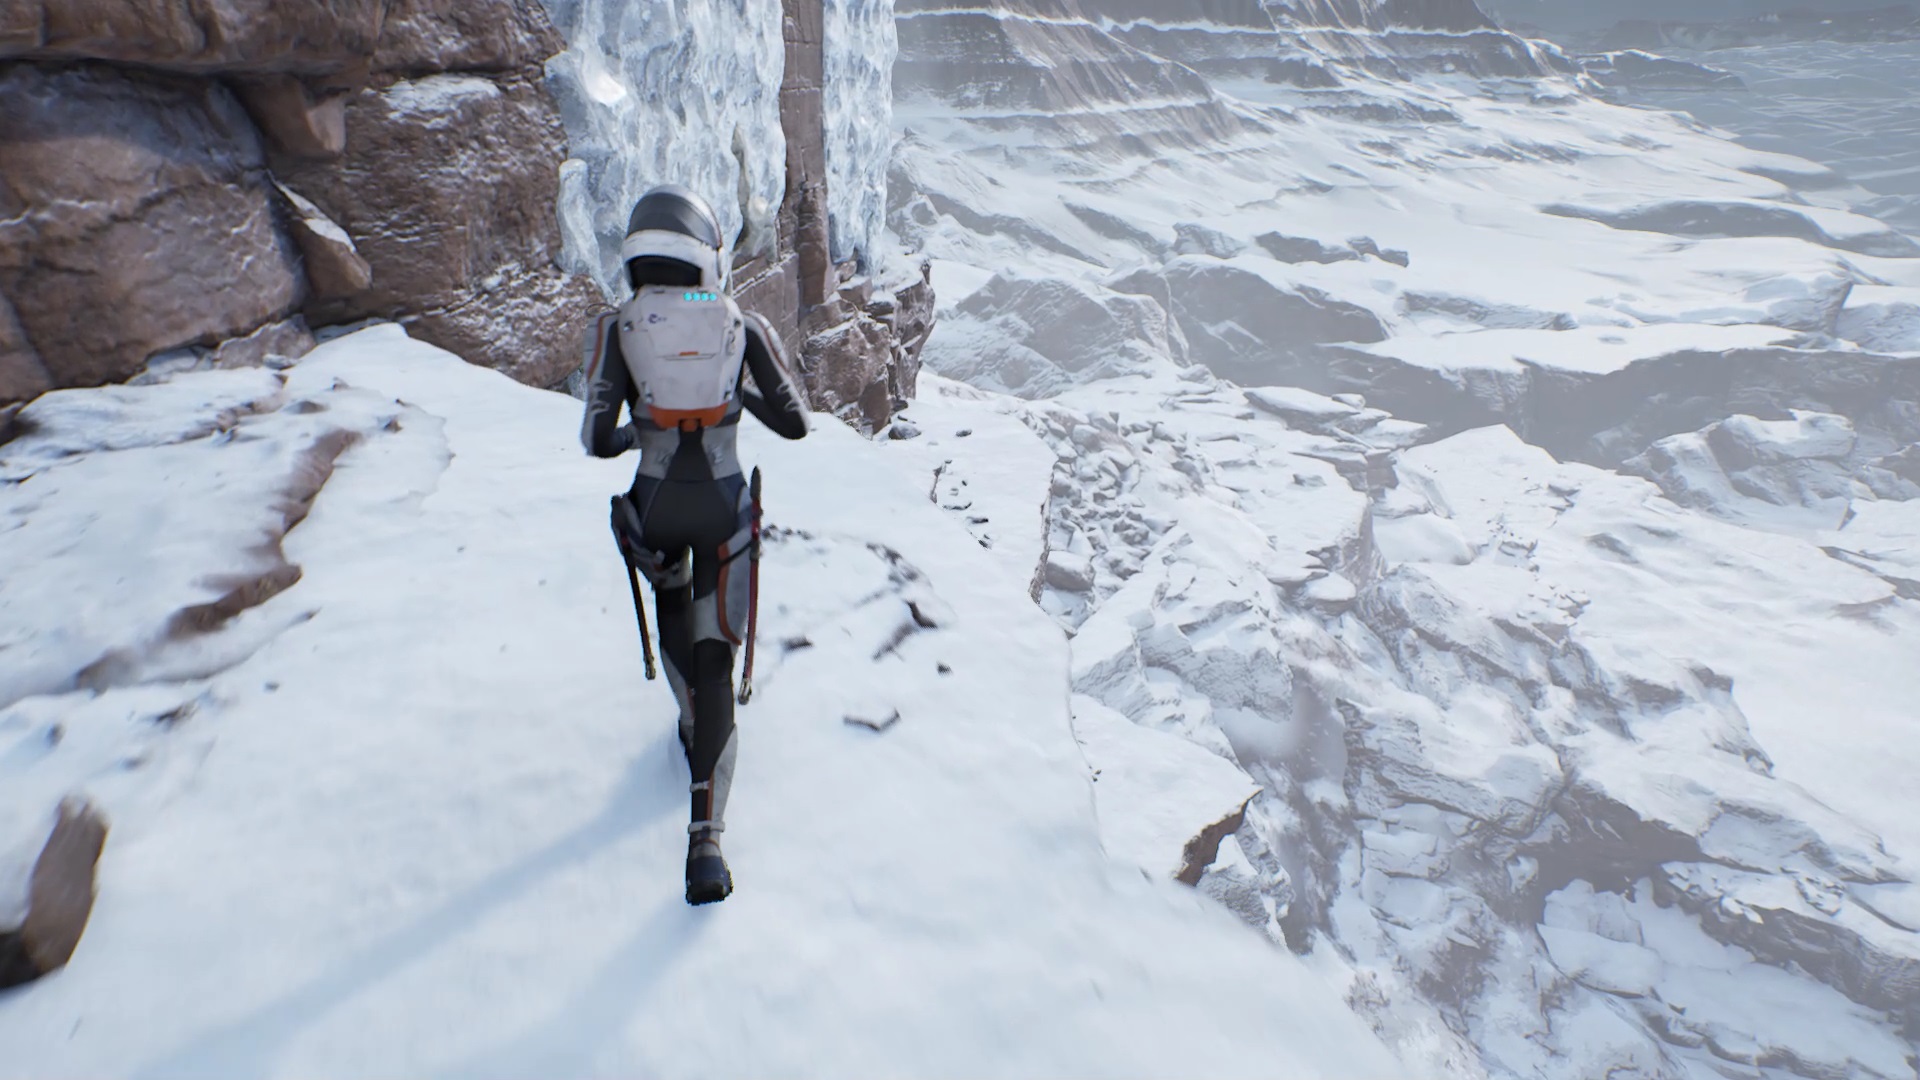

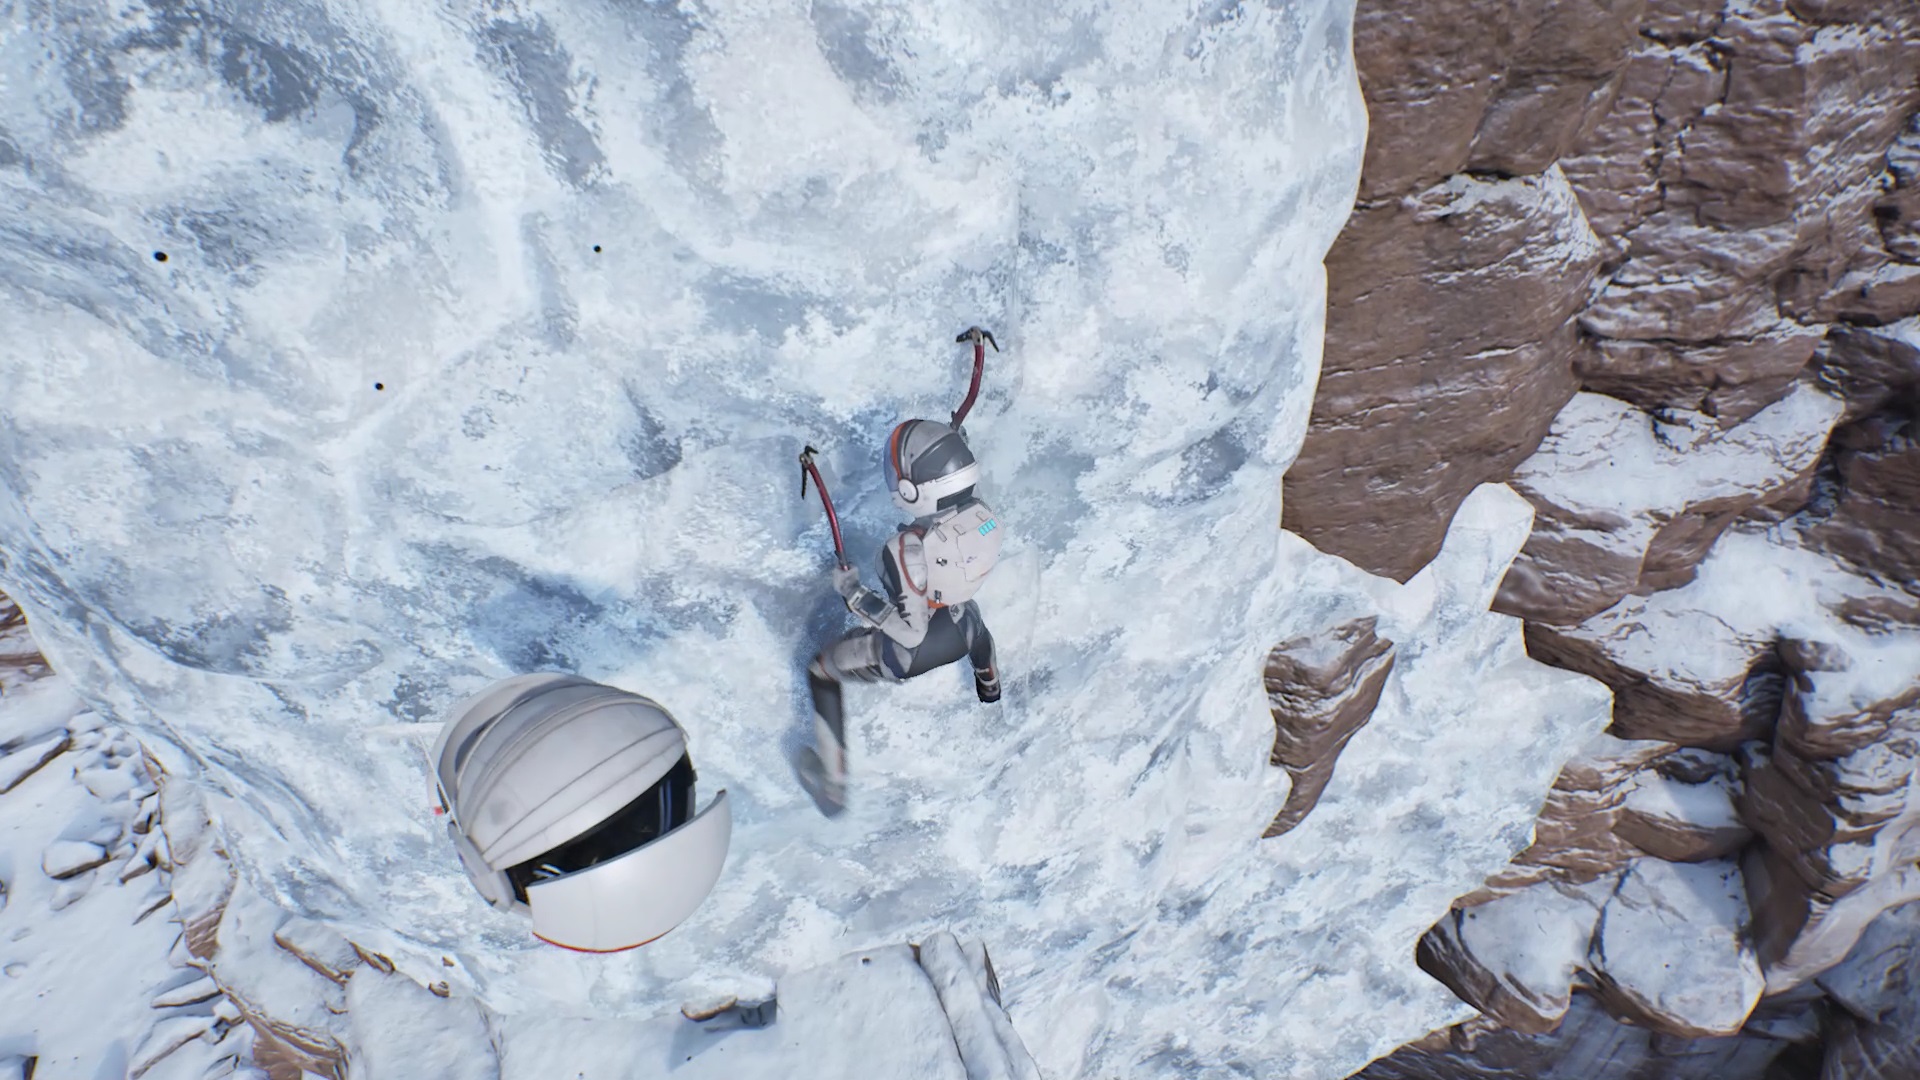
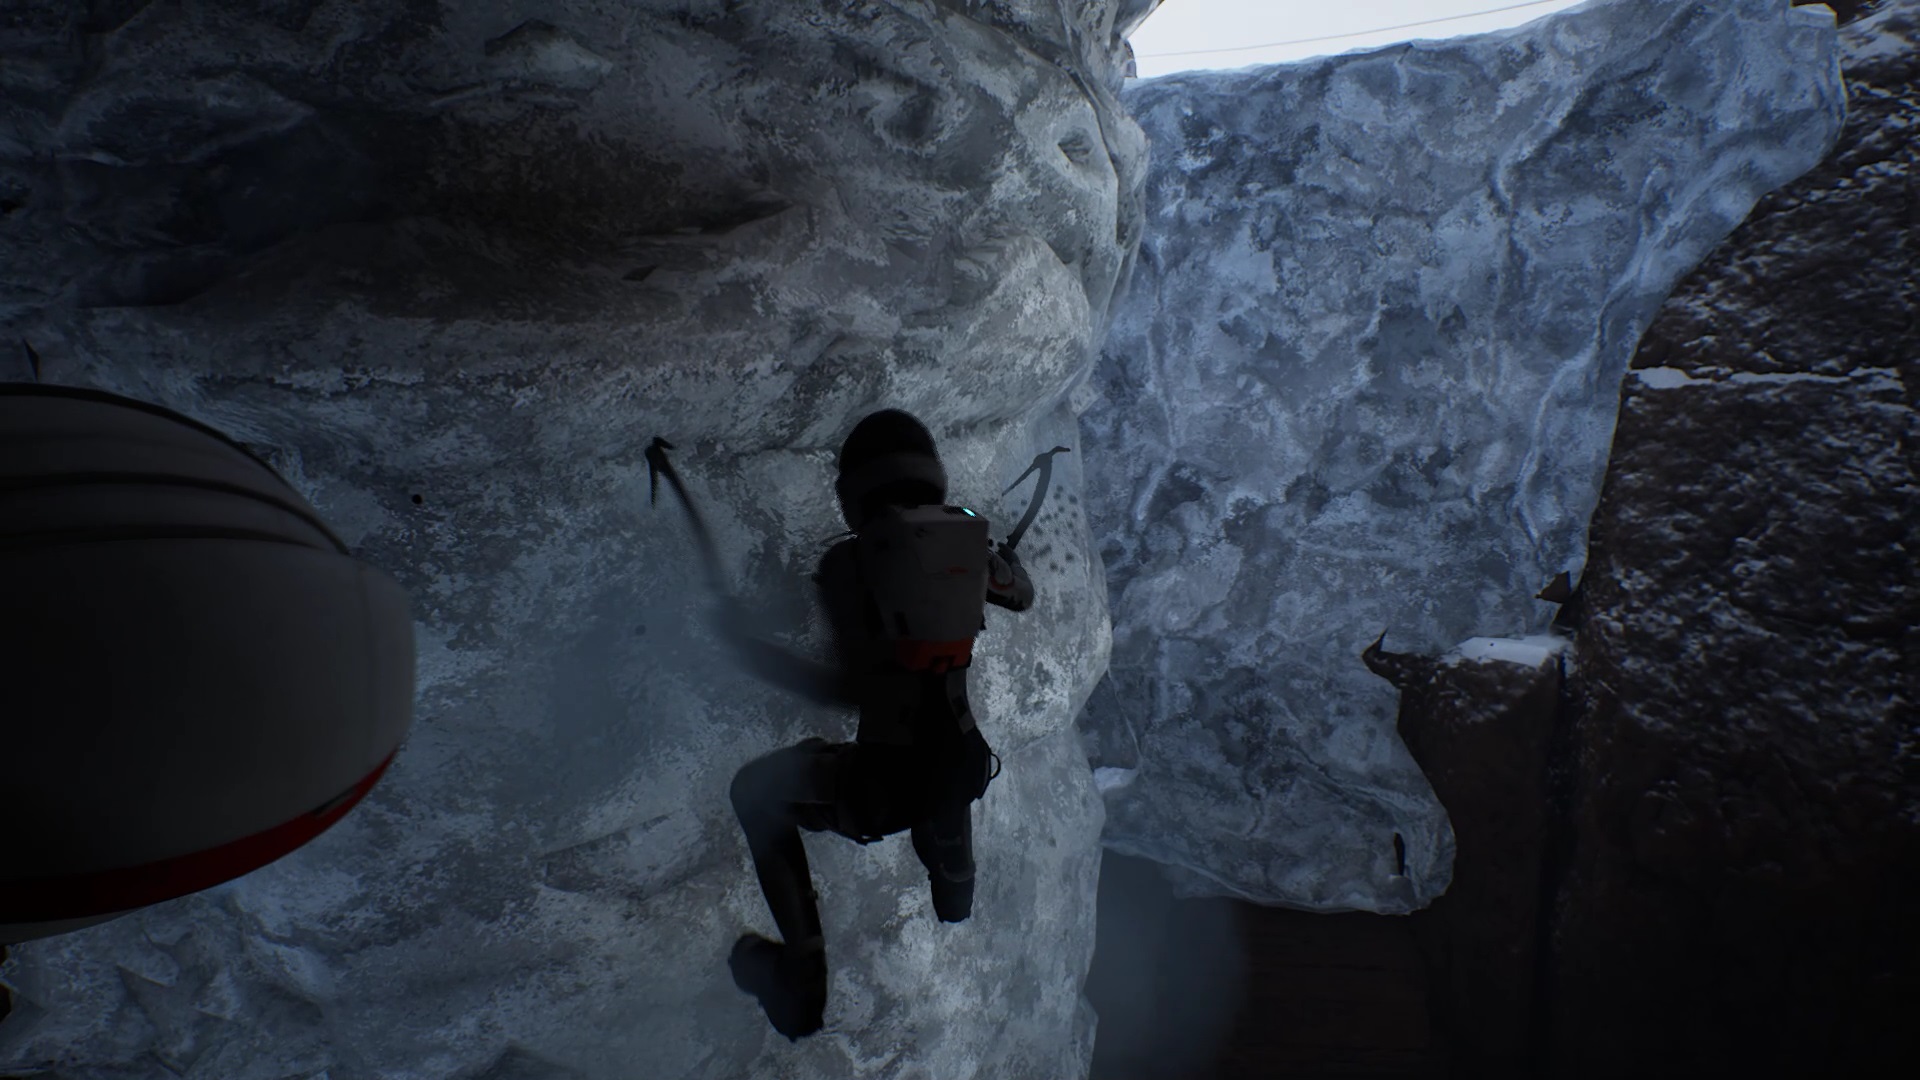
To reach the base of Odum go down through the hole in the barrier near a danger sign. Move forward and plant your spikes in the ice to climb. To access the ice wall on the right side, jump from one ice wall to another. Continue your advance and climb down to reach the bottom of the area.

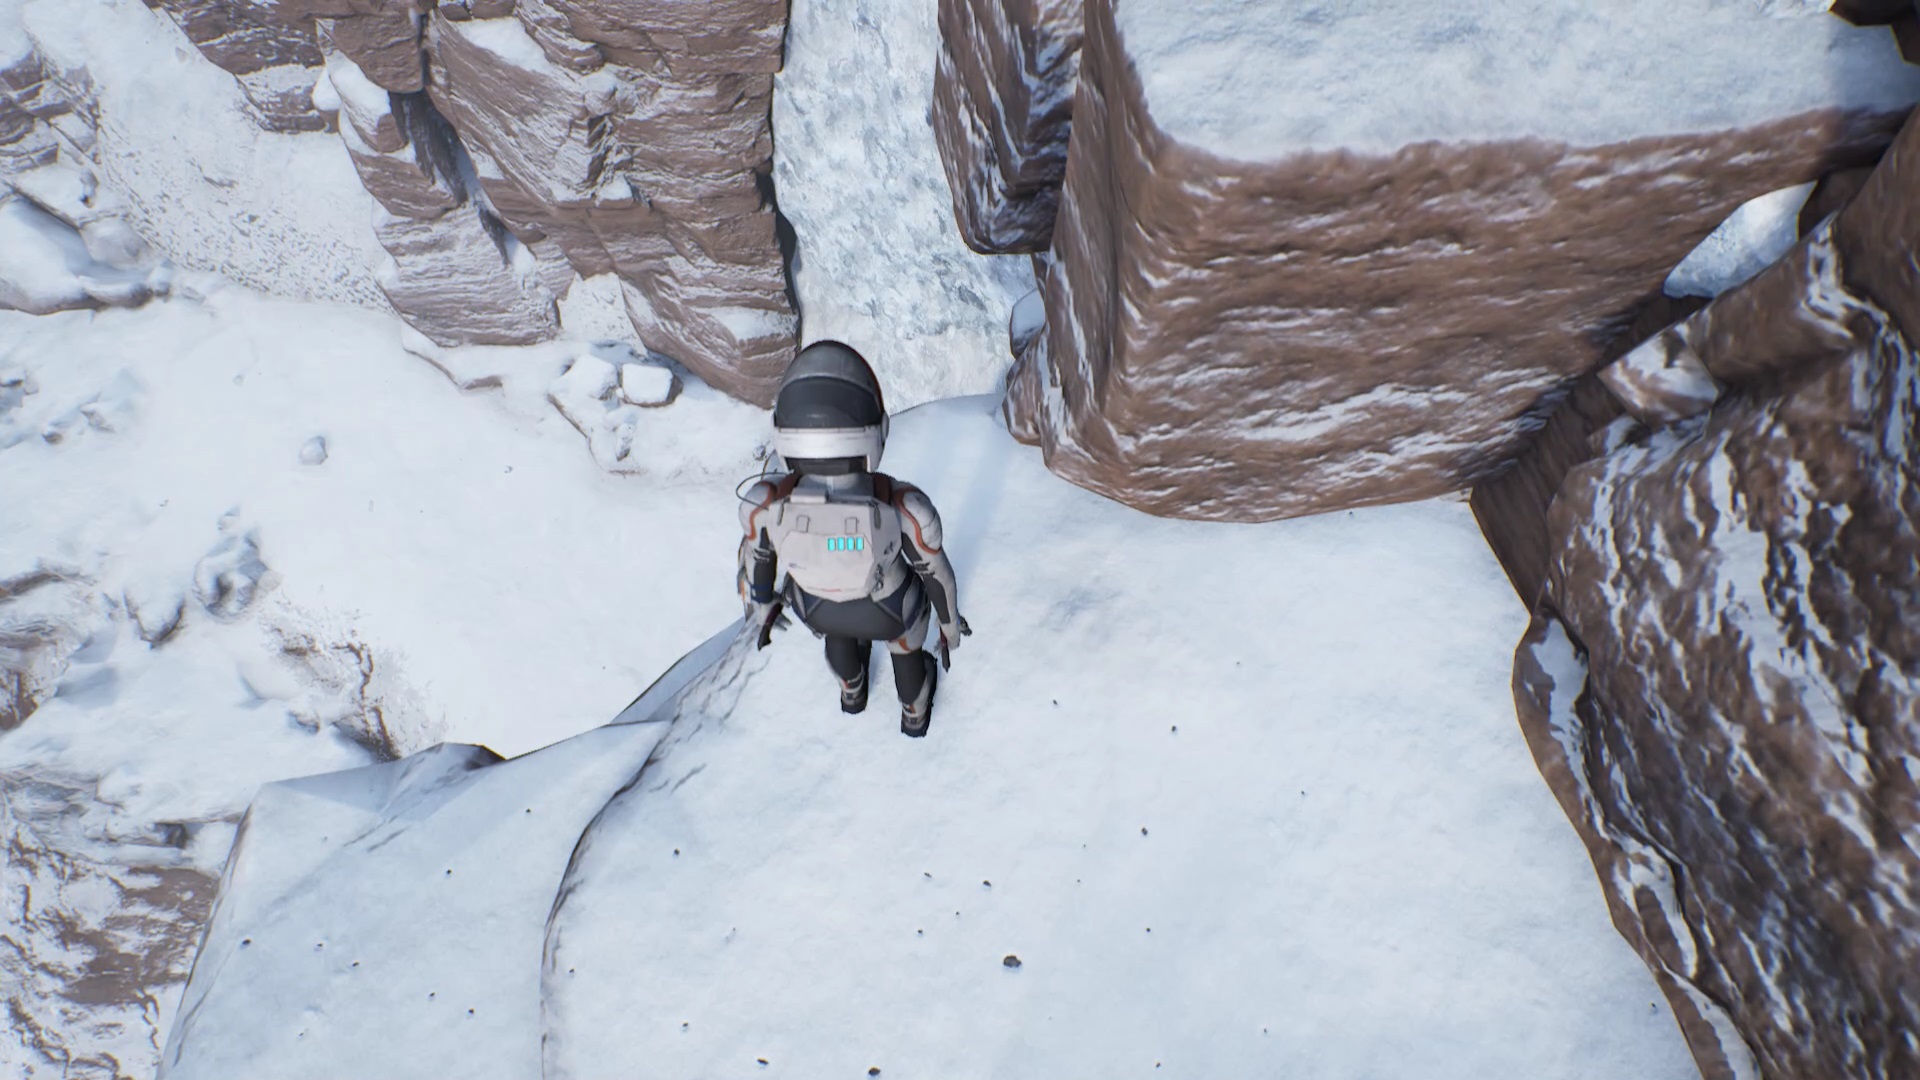
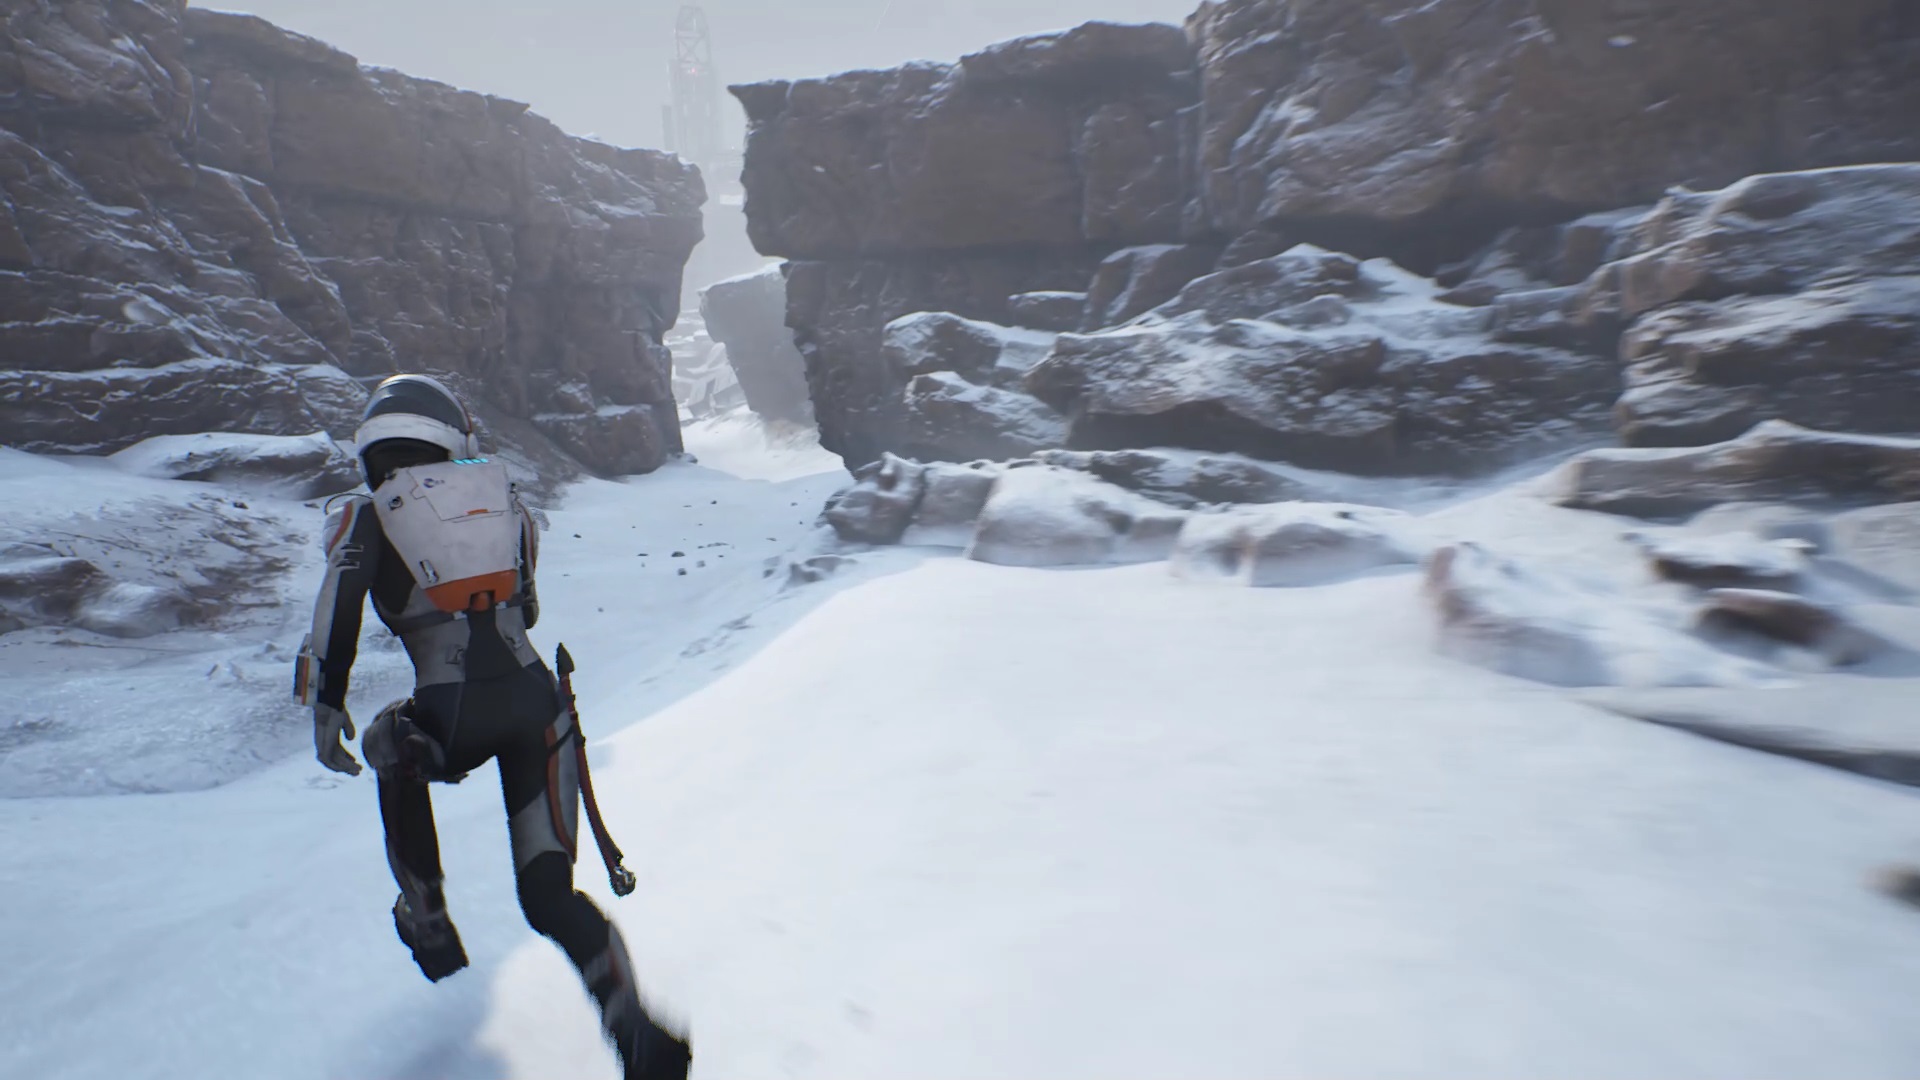
Descend from rock to rock. Again, take out your spikes and scale the ice wall down to reach the bottom of the area. Once on dry land, walk towards the Odum complex.
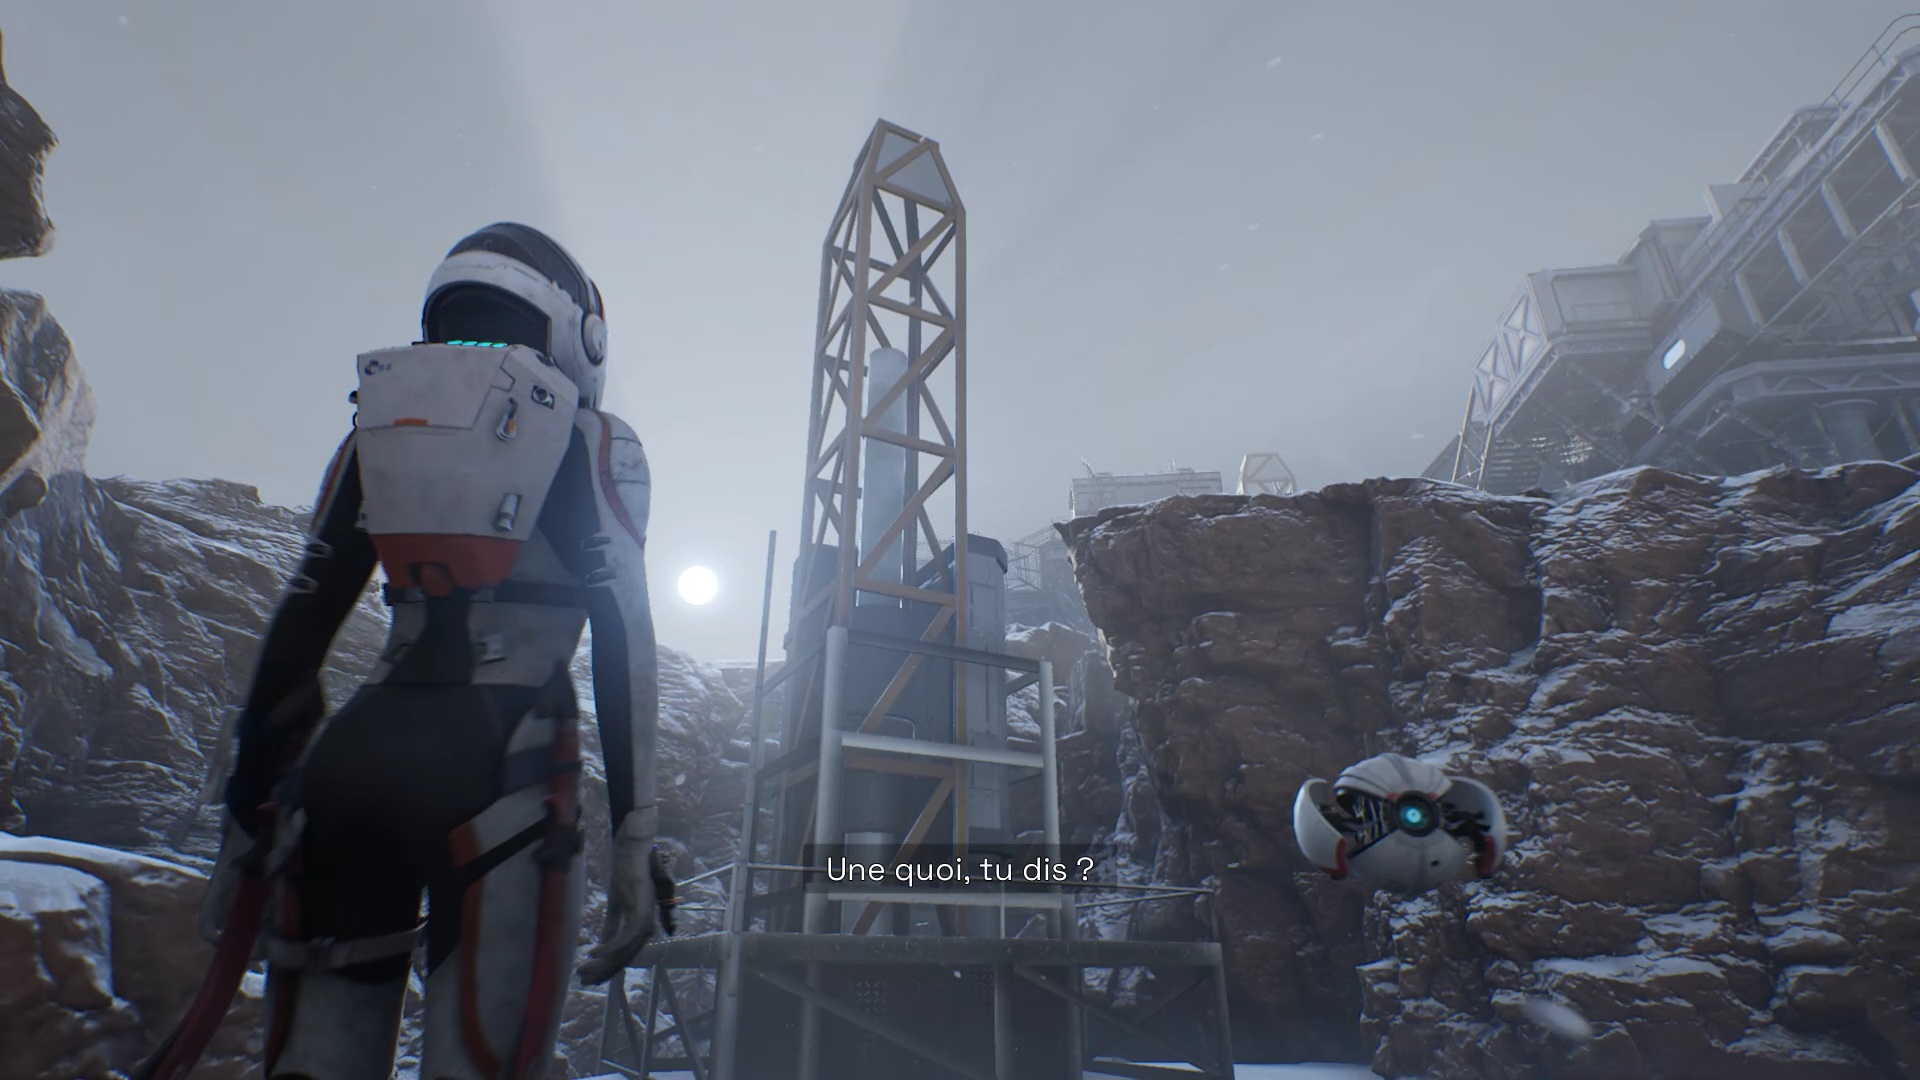
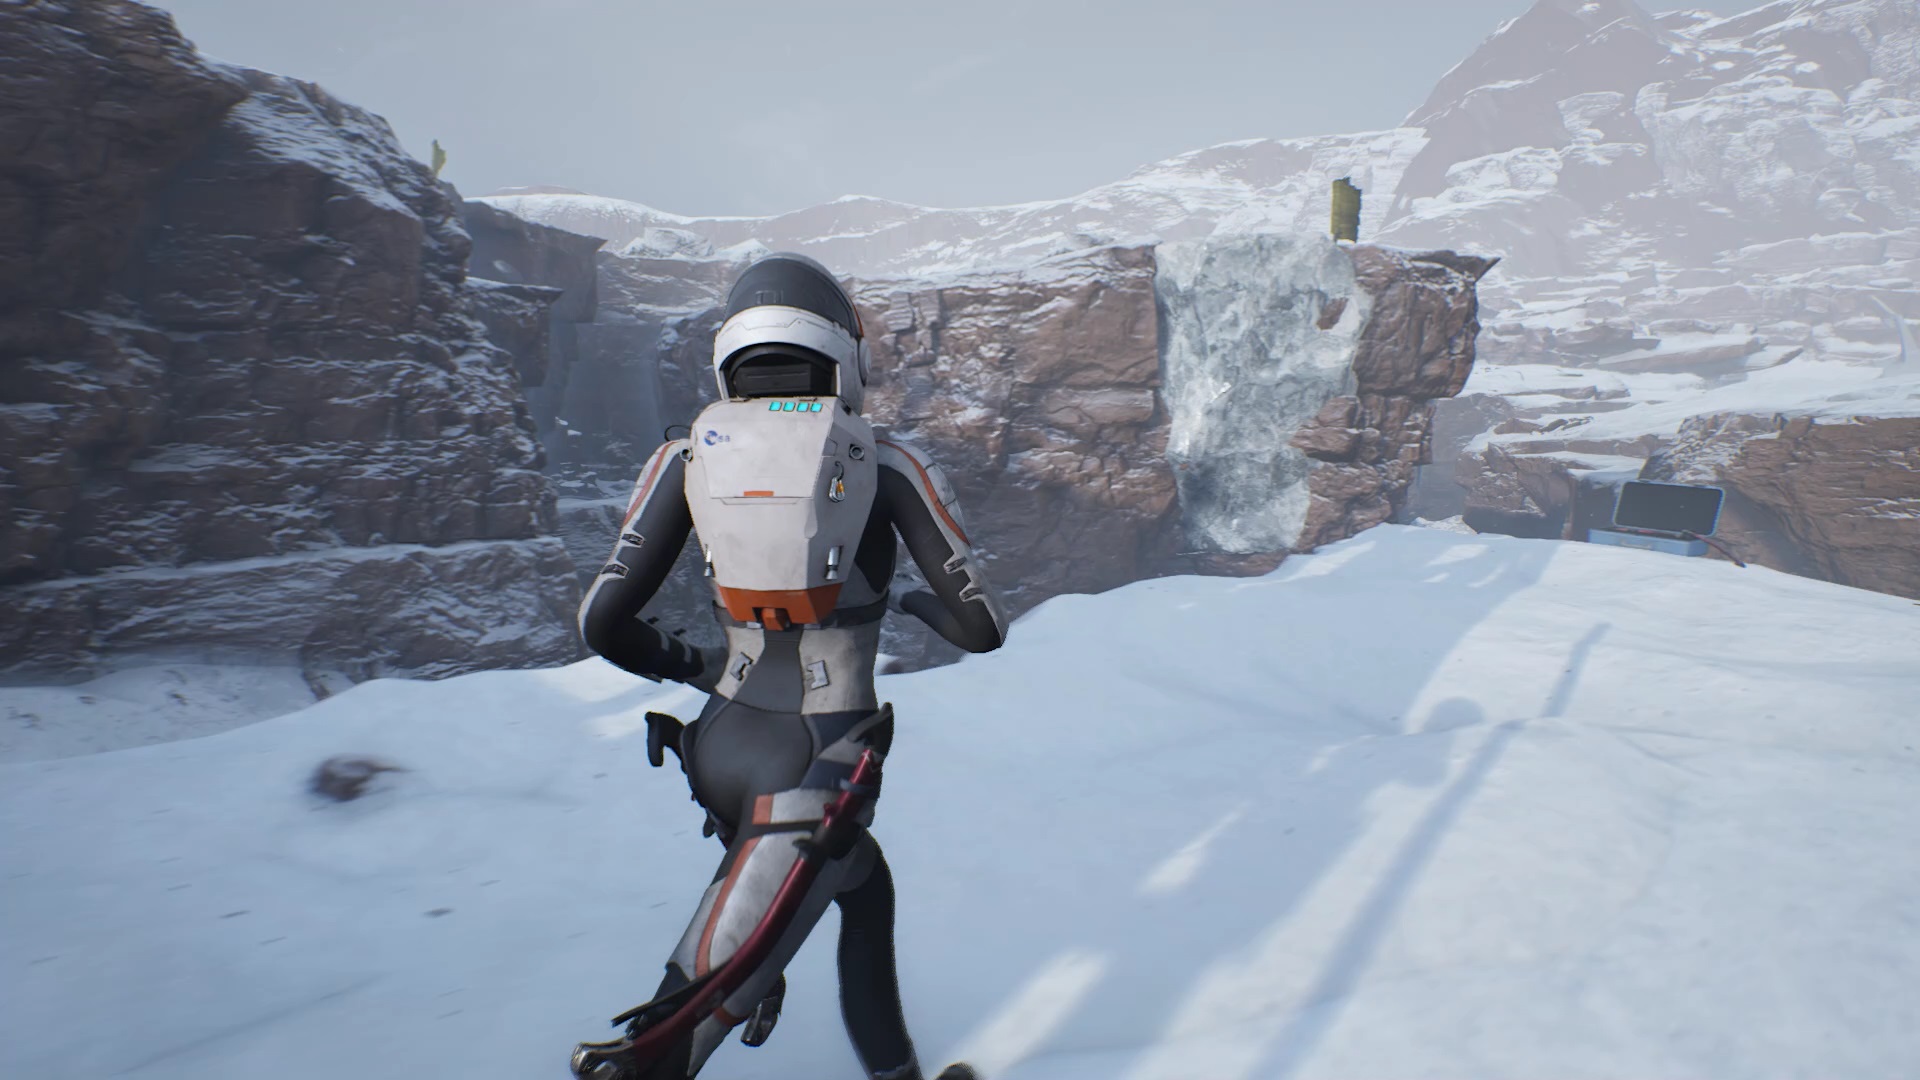
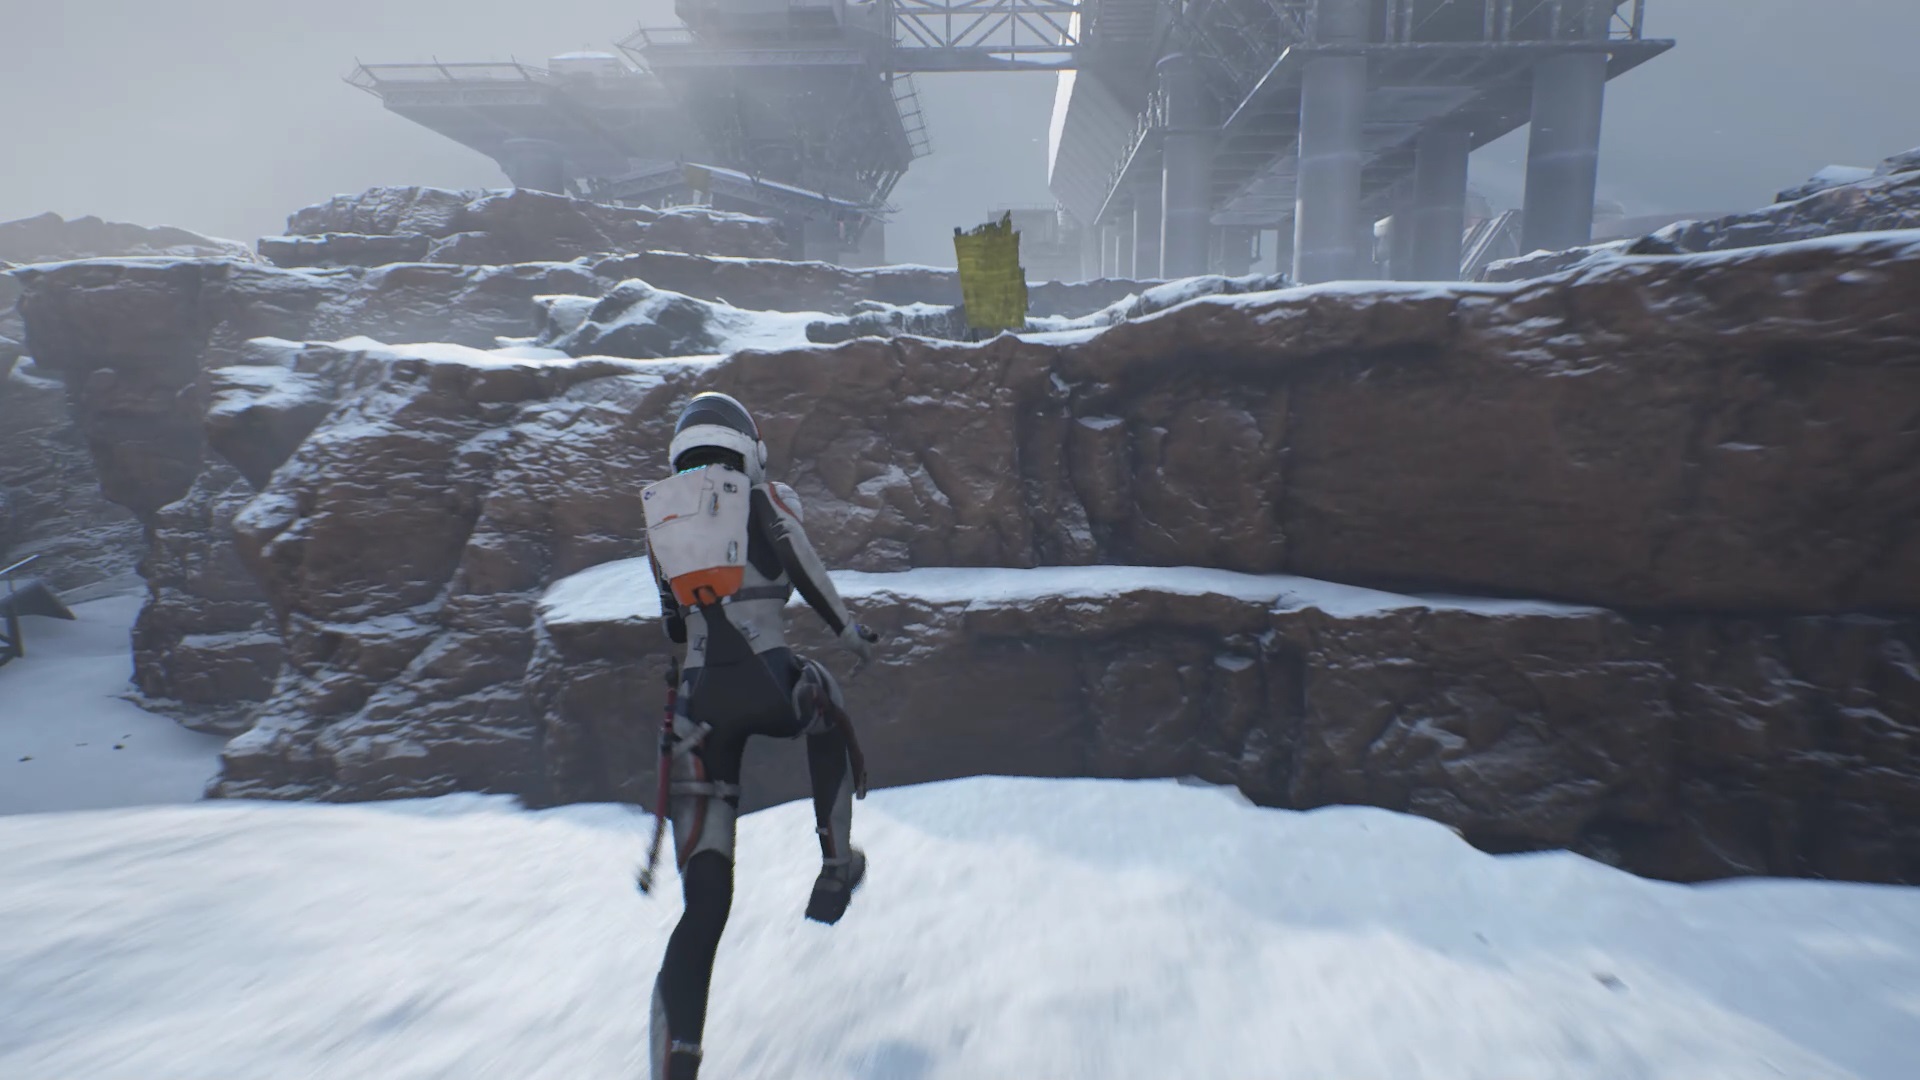
On the way, you find a large tower. Facing the tower is an empty crate. Near the crate, you can jump onto the rock in front of you and grab on with your pickaxes. Climb the rock and jump on the rocks on the left, near the yellow flag.


At the bottom of the complex, keep following the path with yellow flags. Climb the collapsed platforms following the flags. Then climb the stairs and enter the airlock to discover the complex.
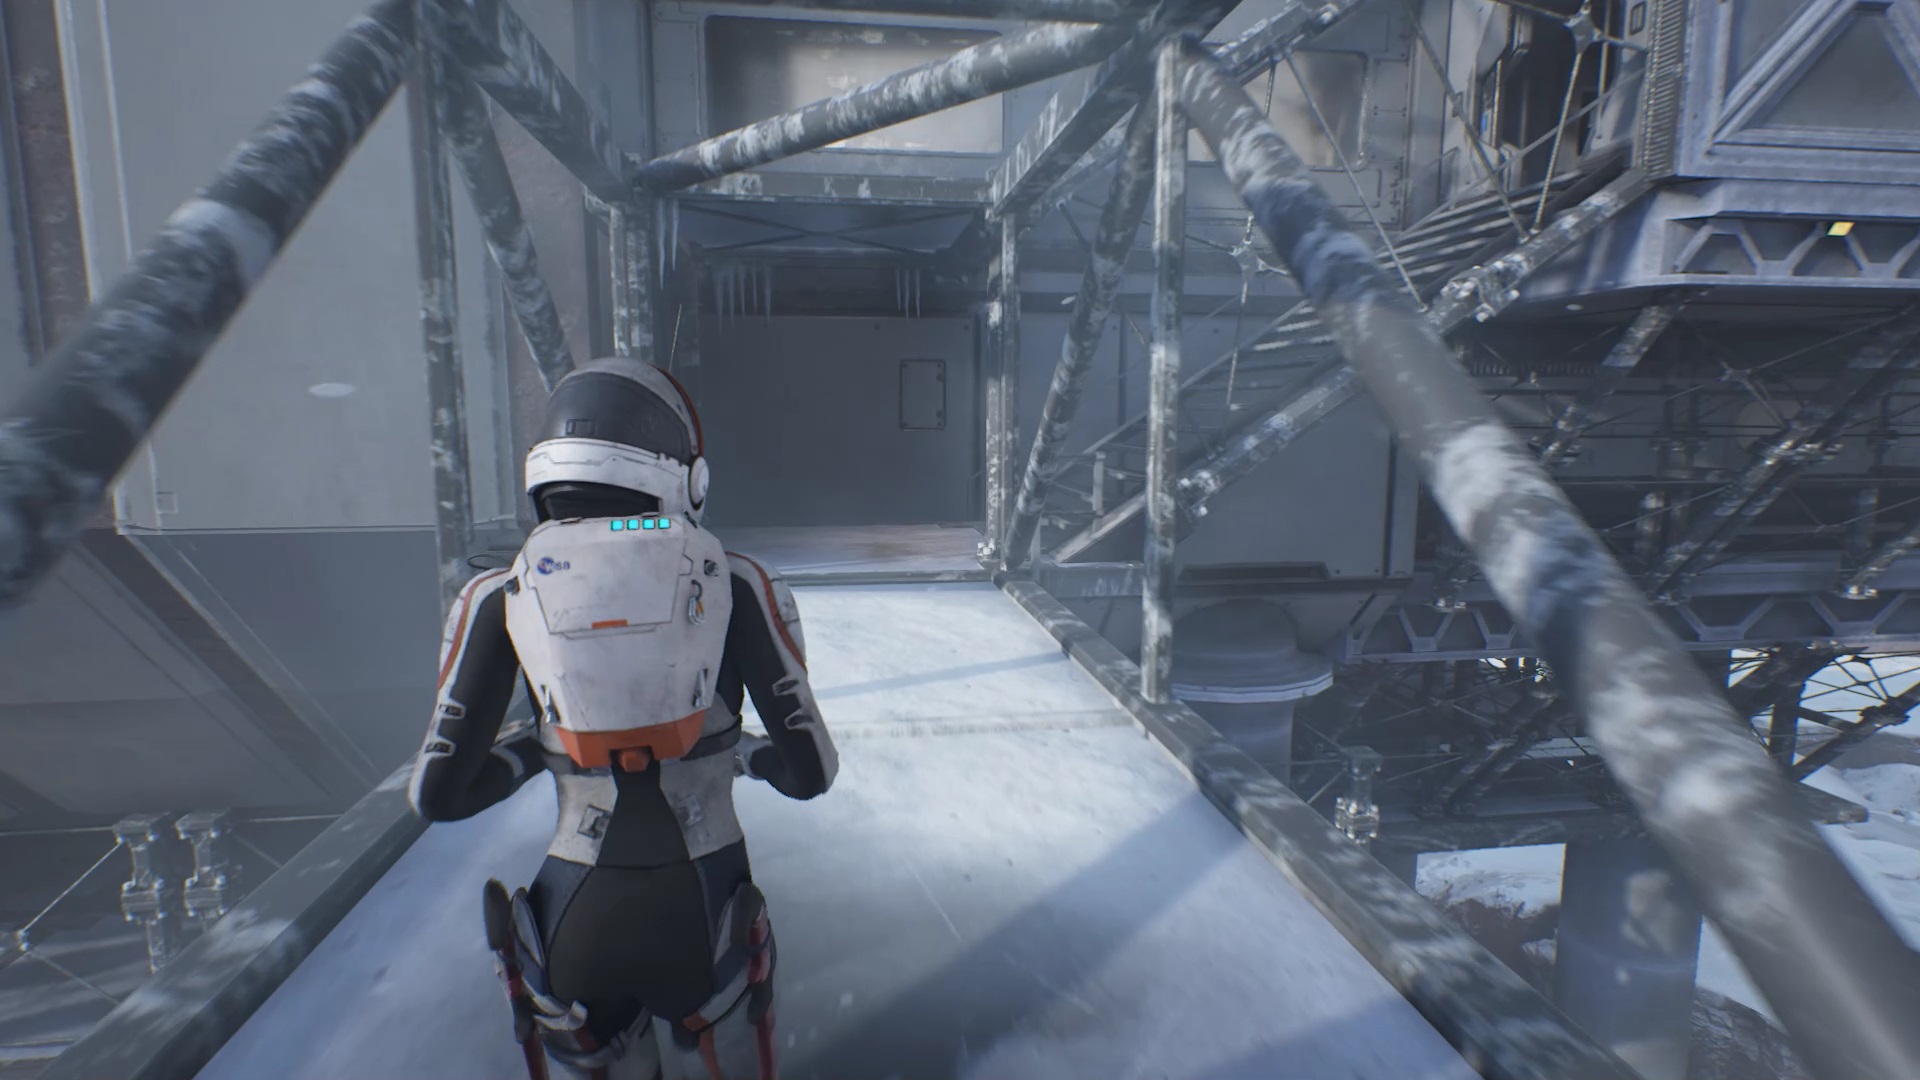
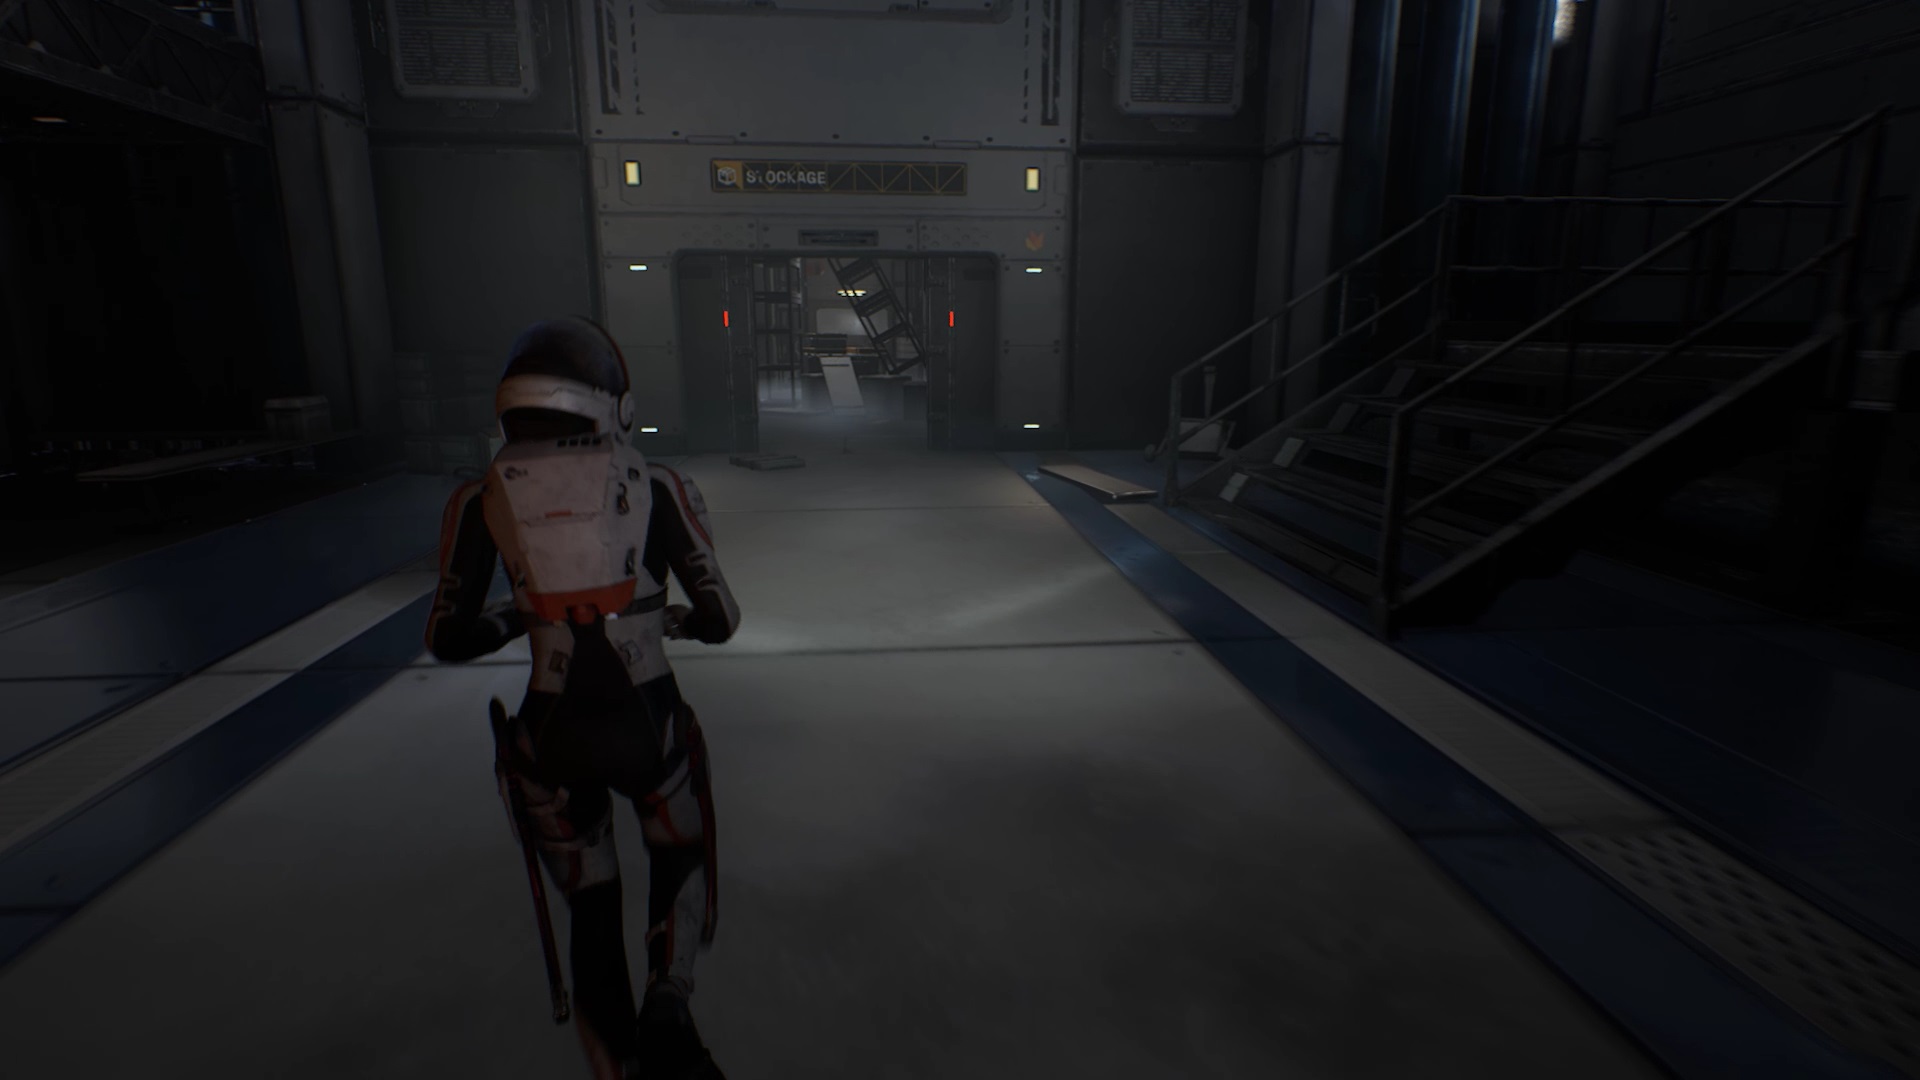
Go ahead and come out on the other side through a second airlock. Climb the stairs and enter the airlock. In the Odum complex, you find a hologram model of the station. Keep moving forward to find stairs that go down and move towards the storage room.
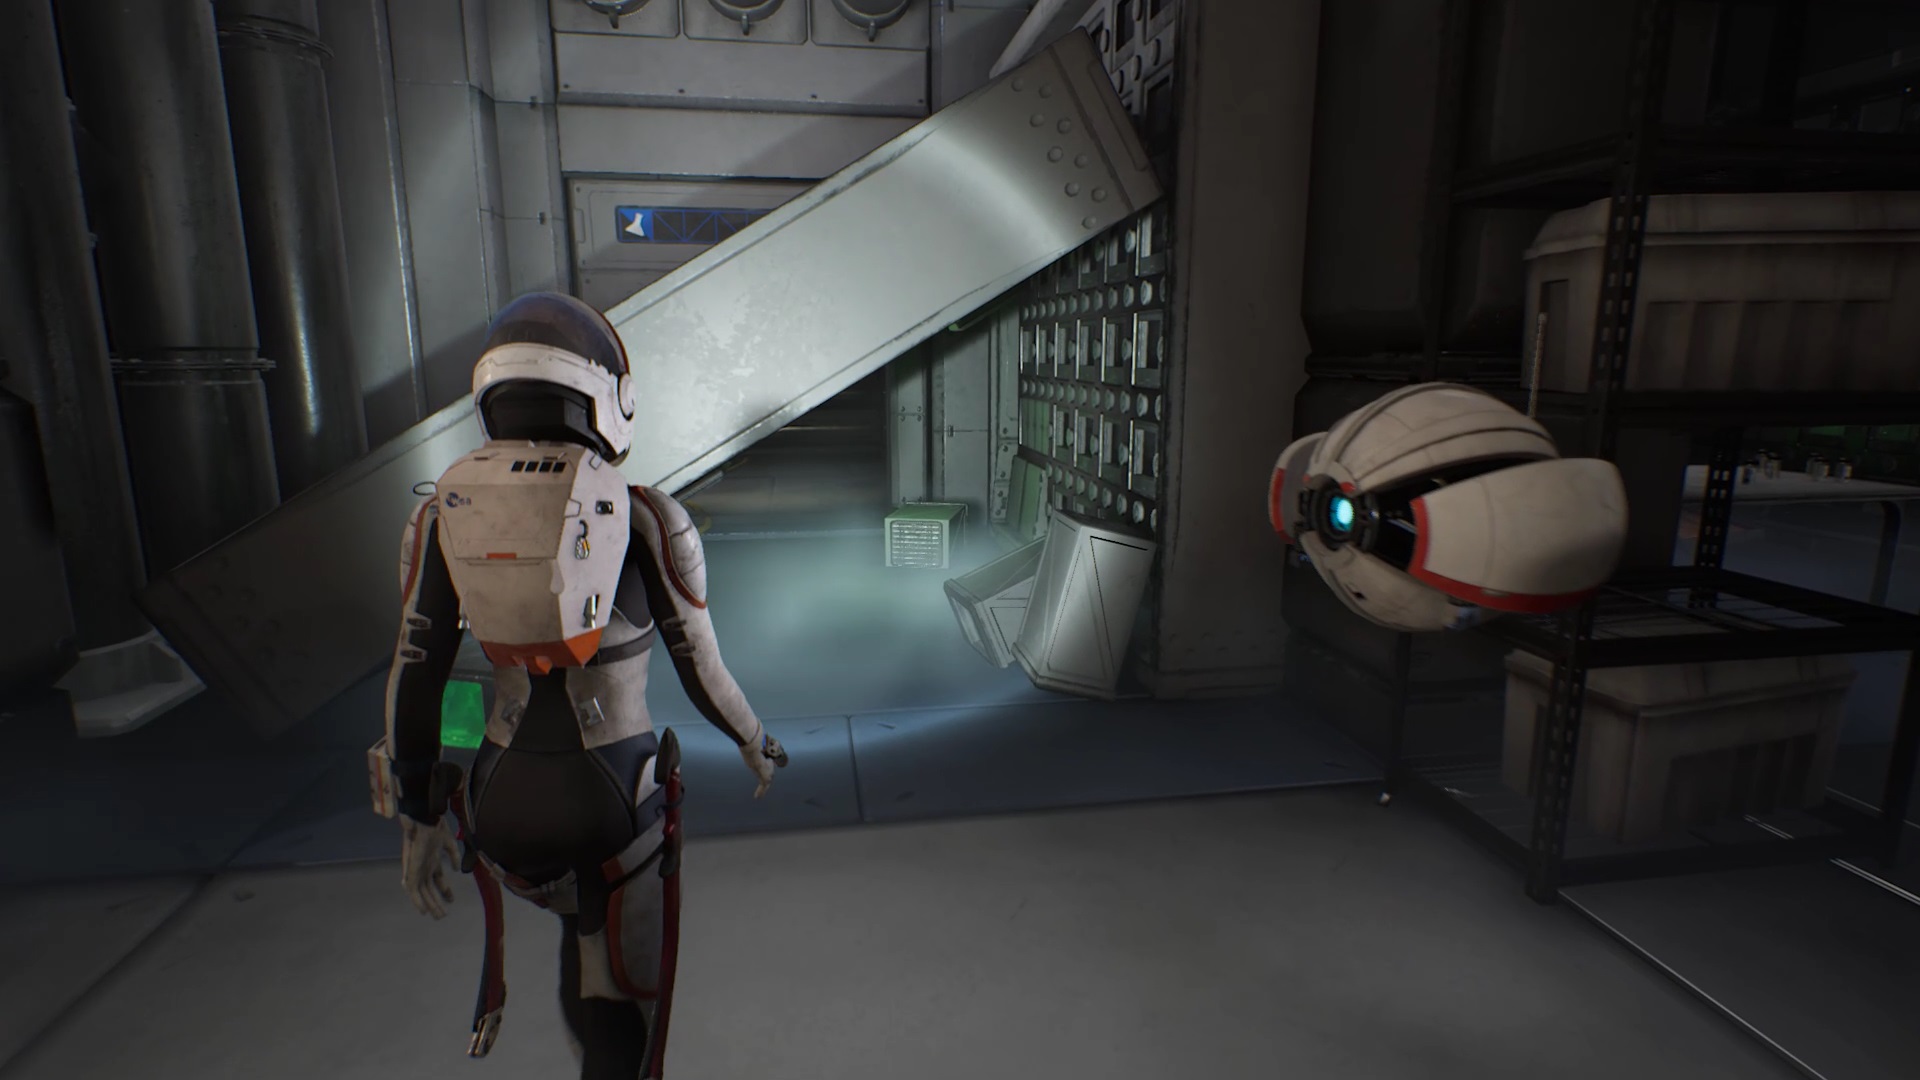
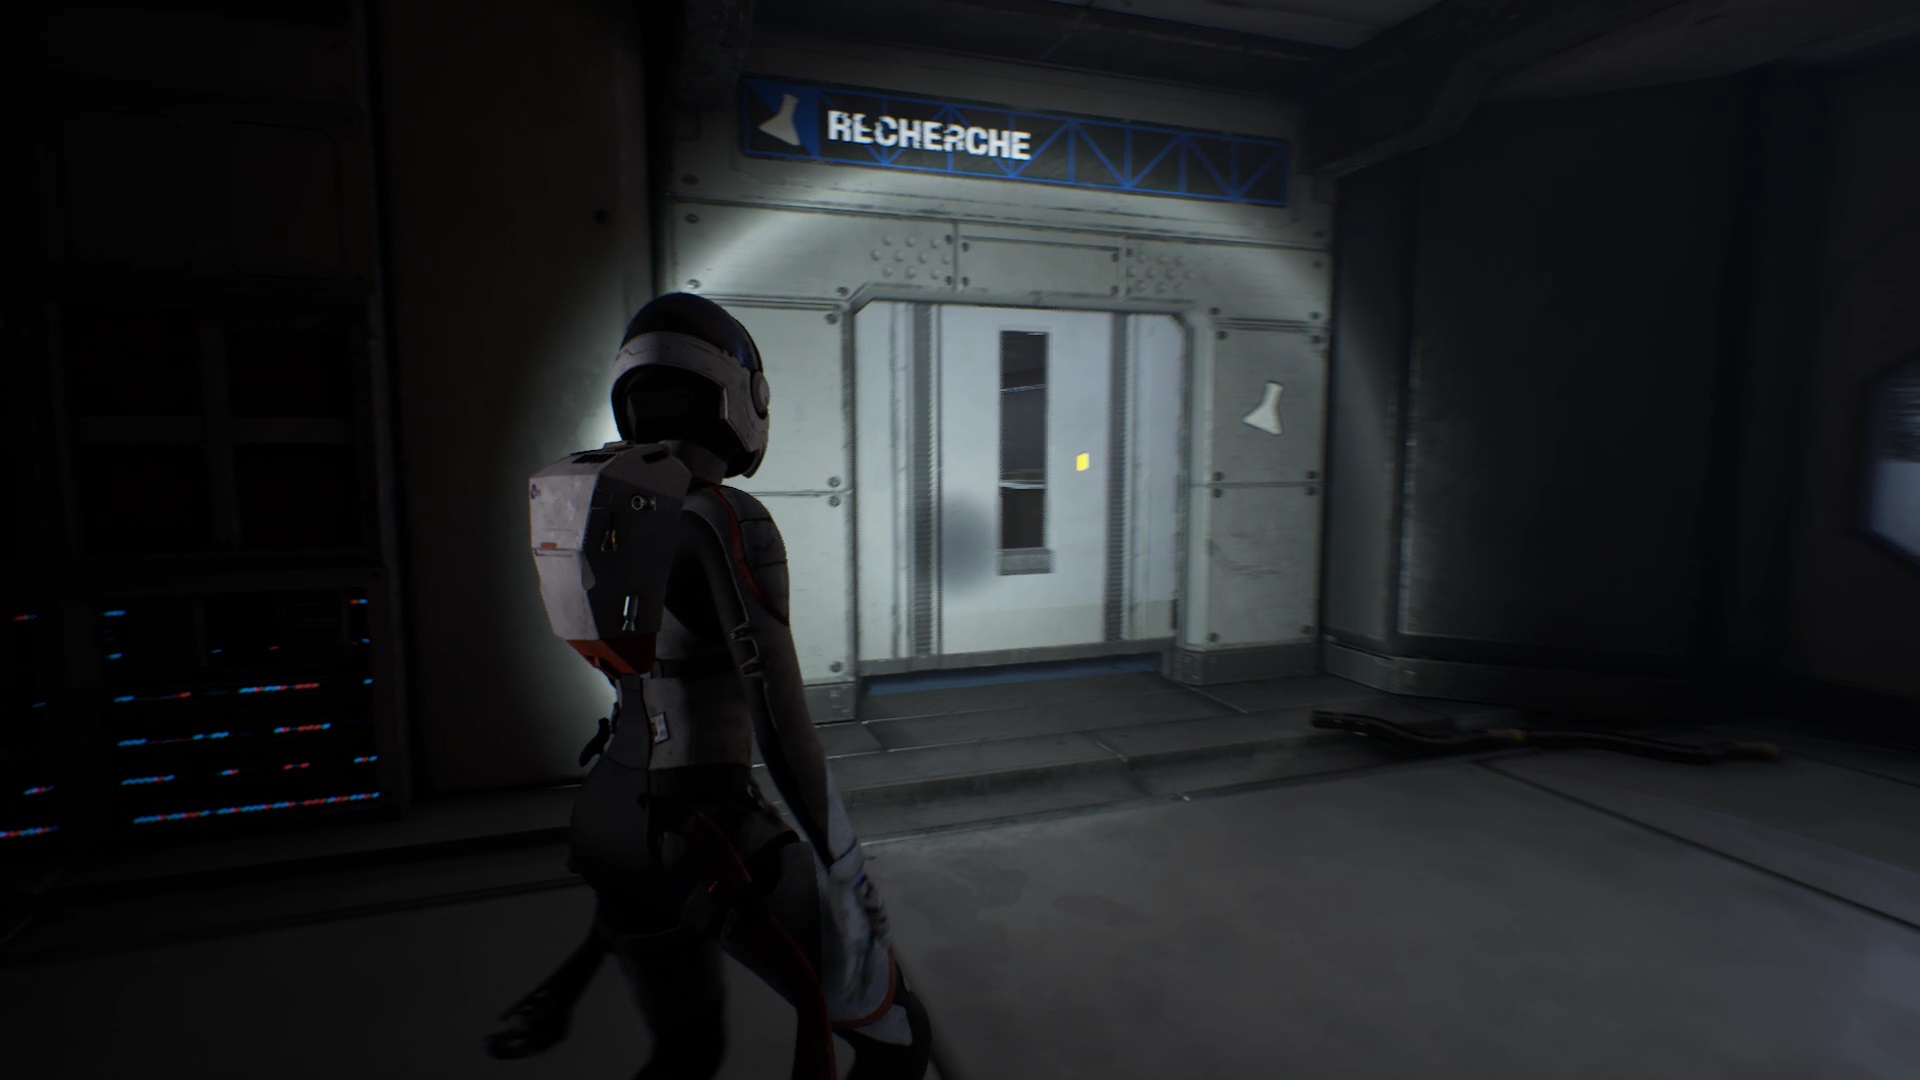
Proceed through the room to reach the door with a vial symbol. A piece of furniture is blocking your access. Crouch to reach this door. Go forward and up the stairs to reach the research room.
To decrypt the hologram, align the ends by placing yourself as in the images above. Watch the cutscene before continuing.
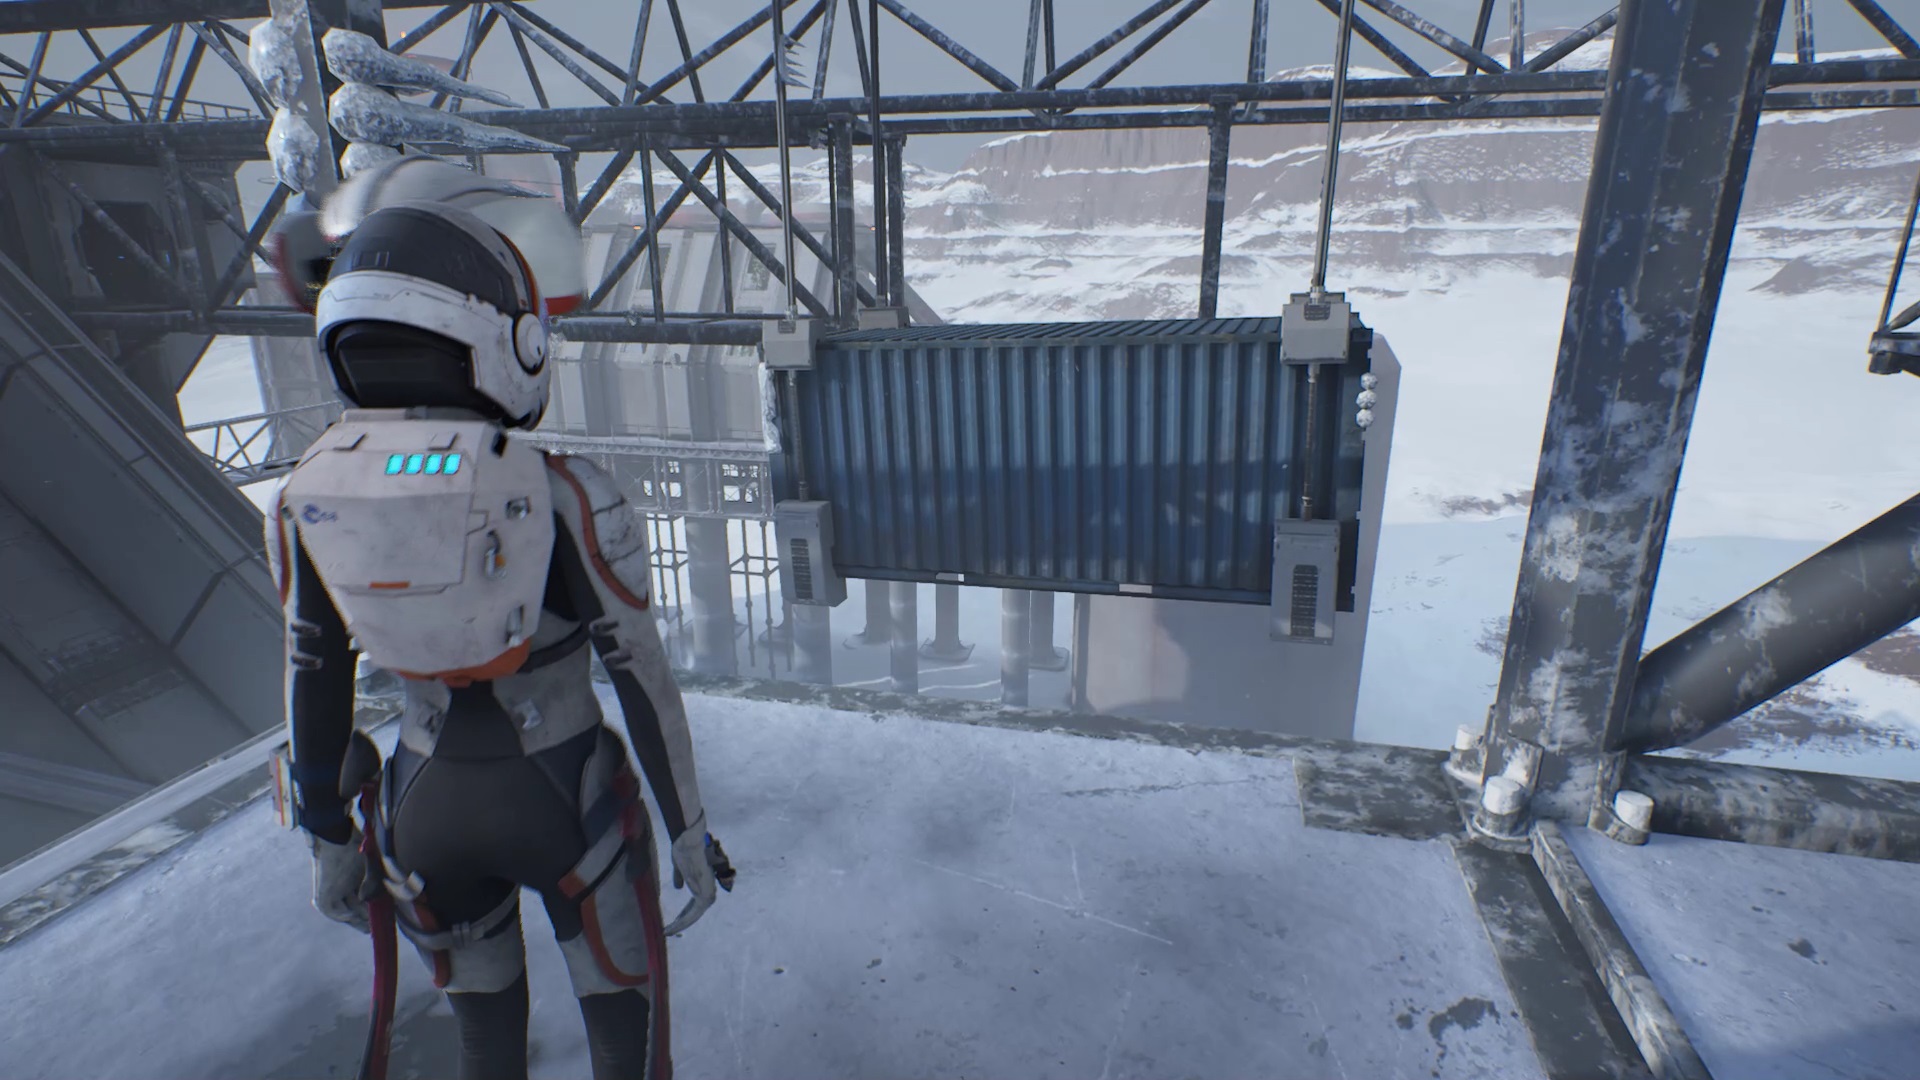
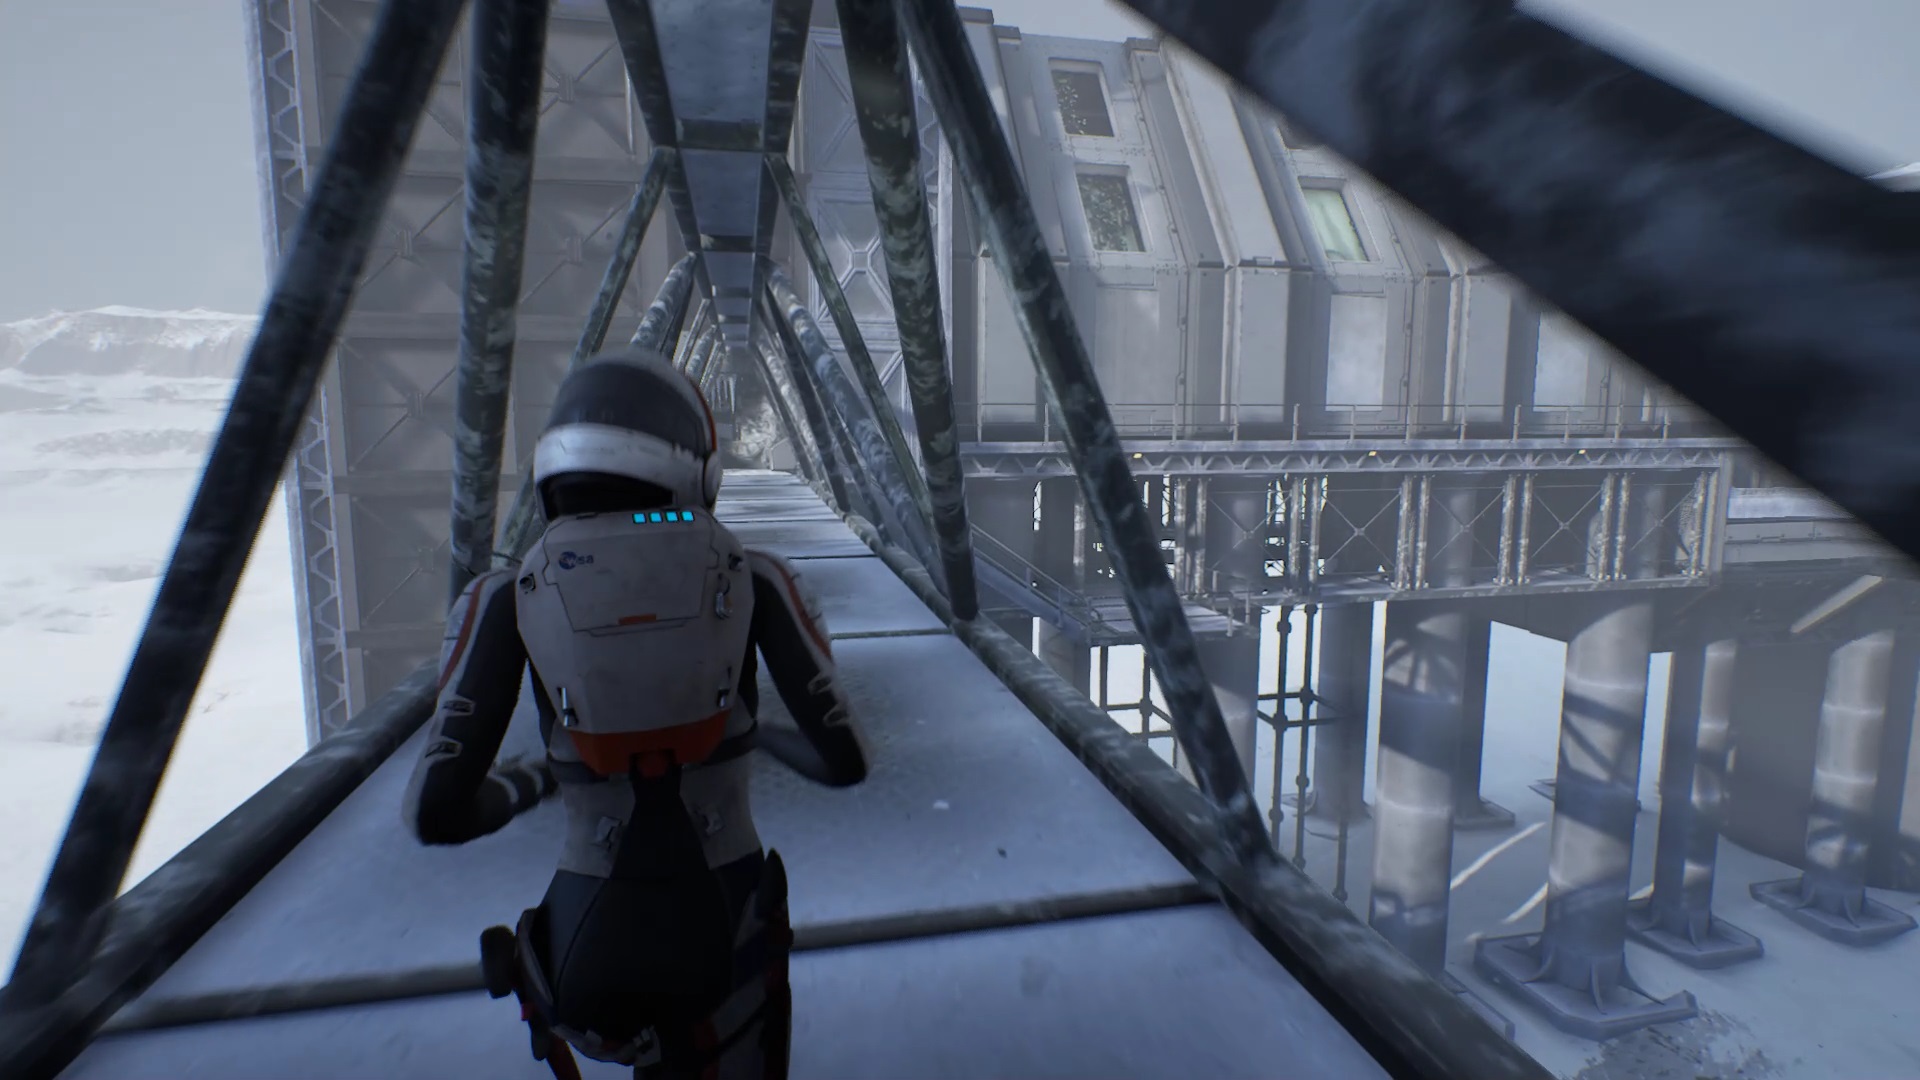
Move towards the door facing the hologram and go through the airlock. Move to the end of the bridge, to reach a chasm. Jump on the high container and jump on the platform in front of you. Go to the end of the bridge to enter an airlock.
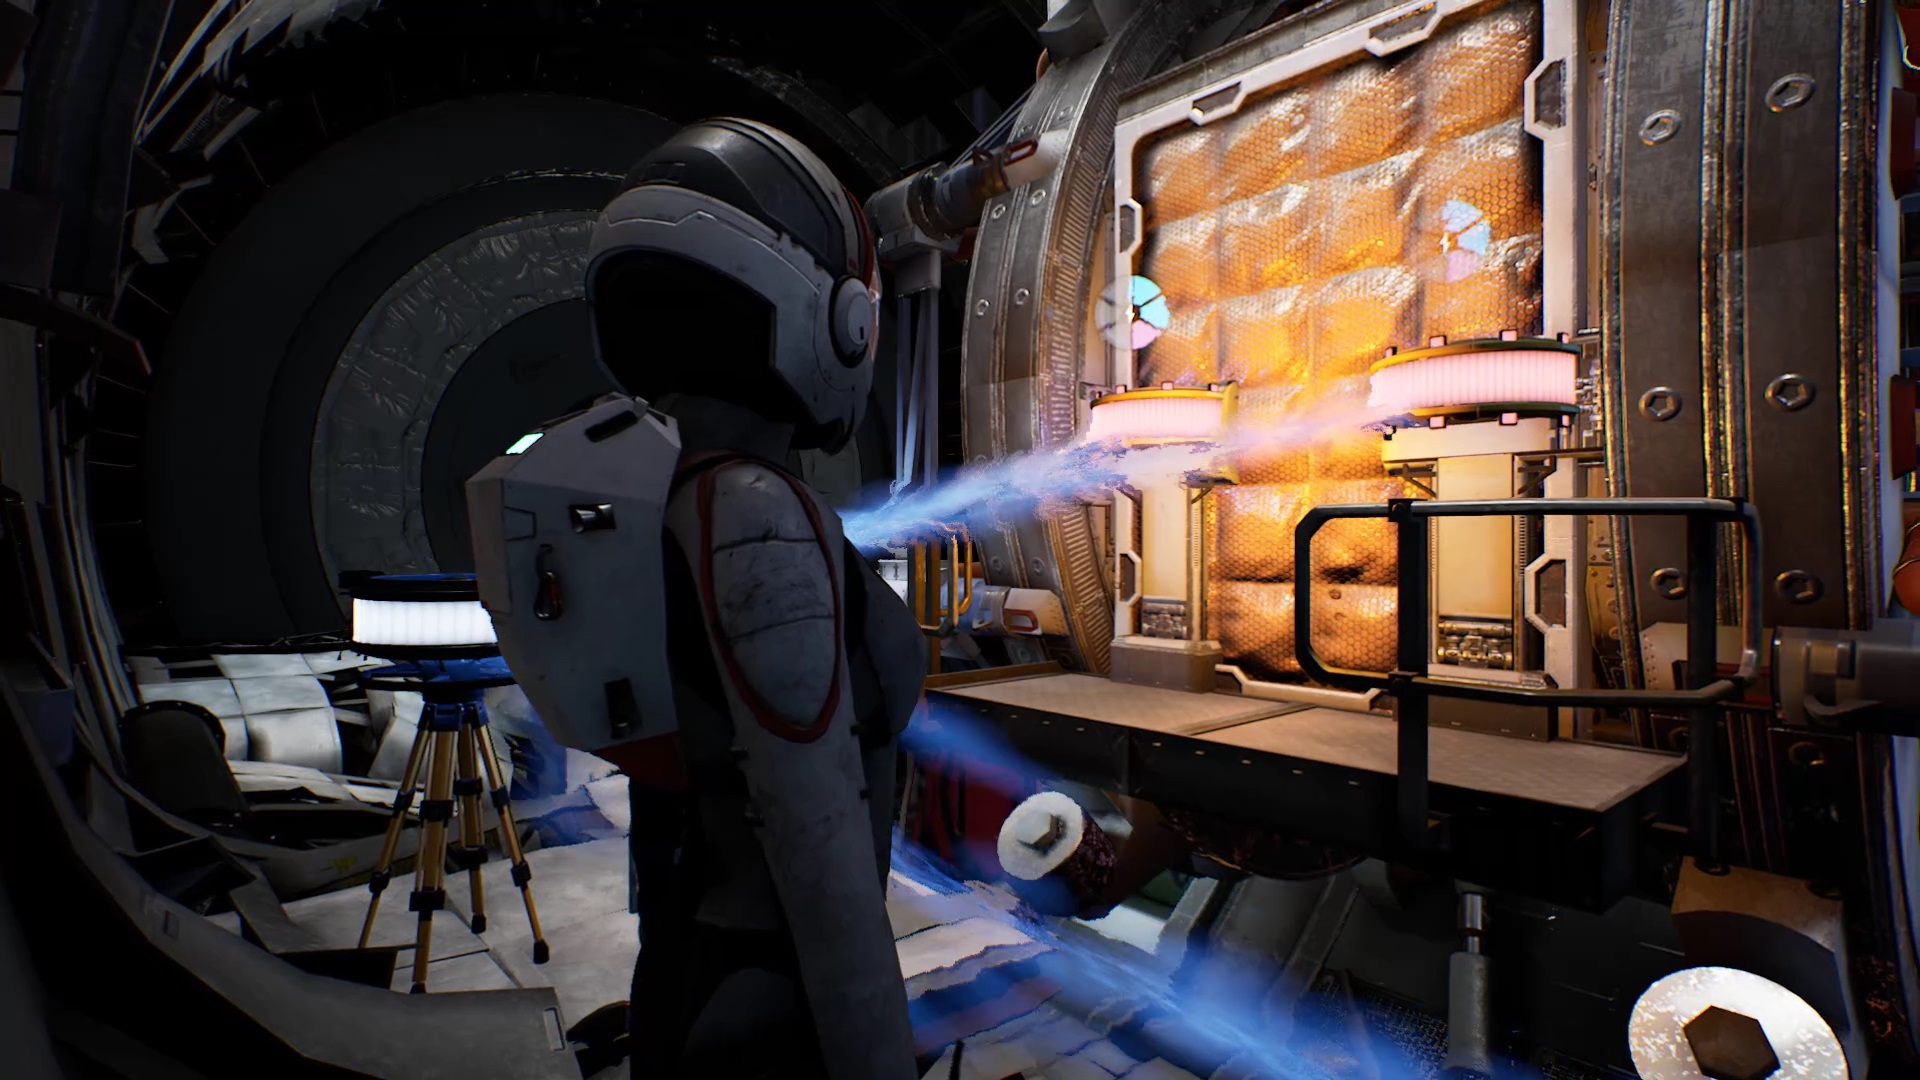
Explore the area, you find a hologram in a room with heating coils. To decrypt the hologram, align the ends by placing yourself as in the images above.
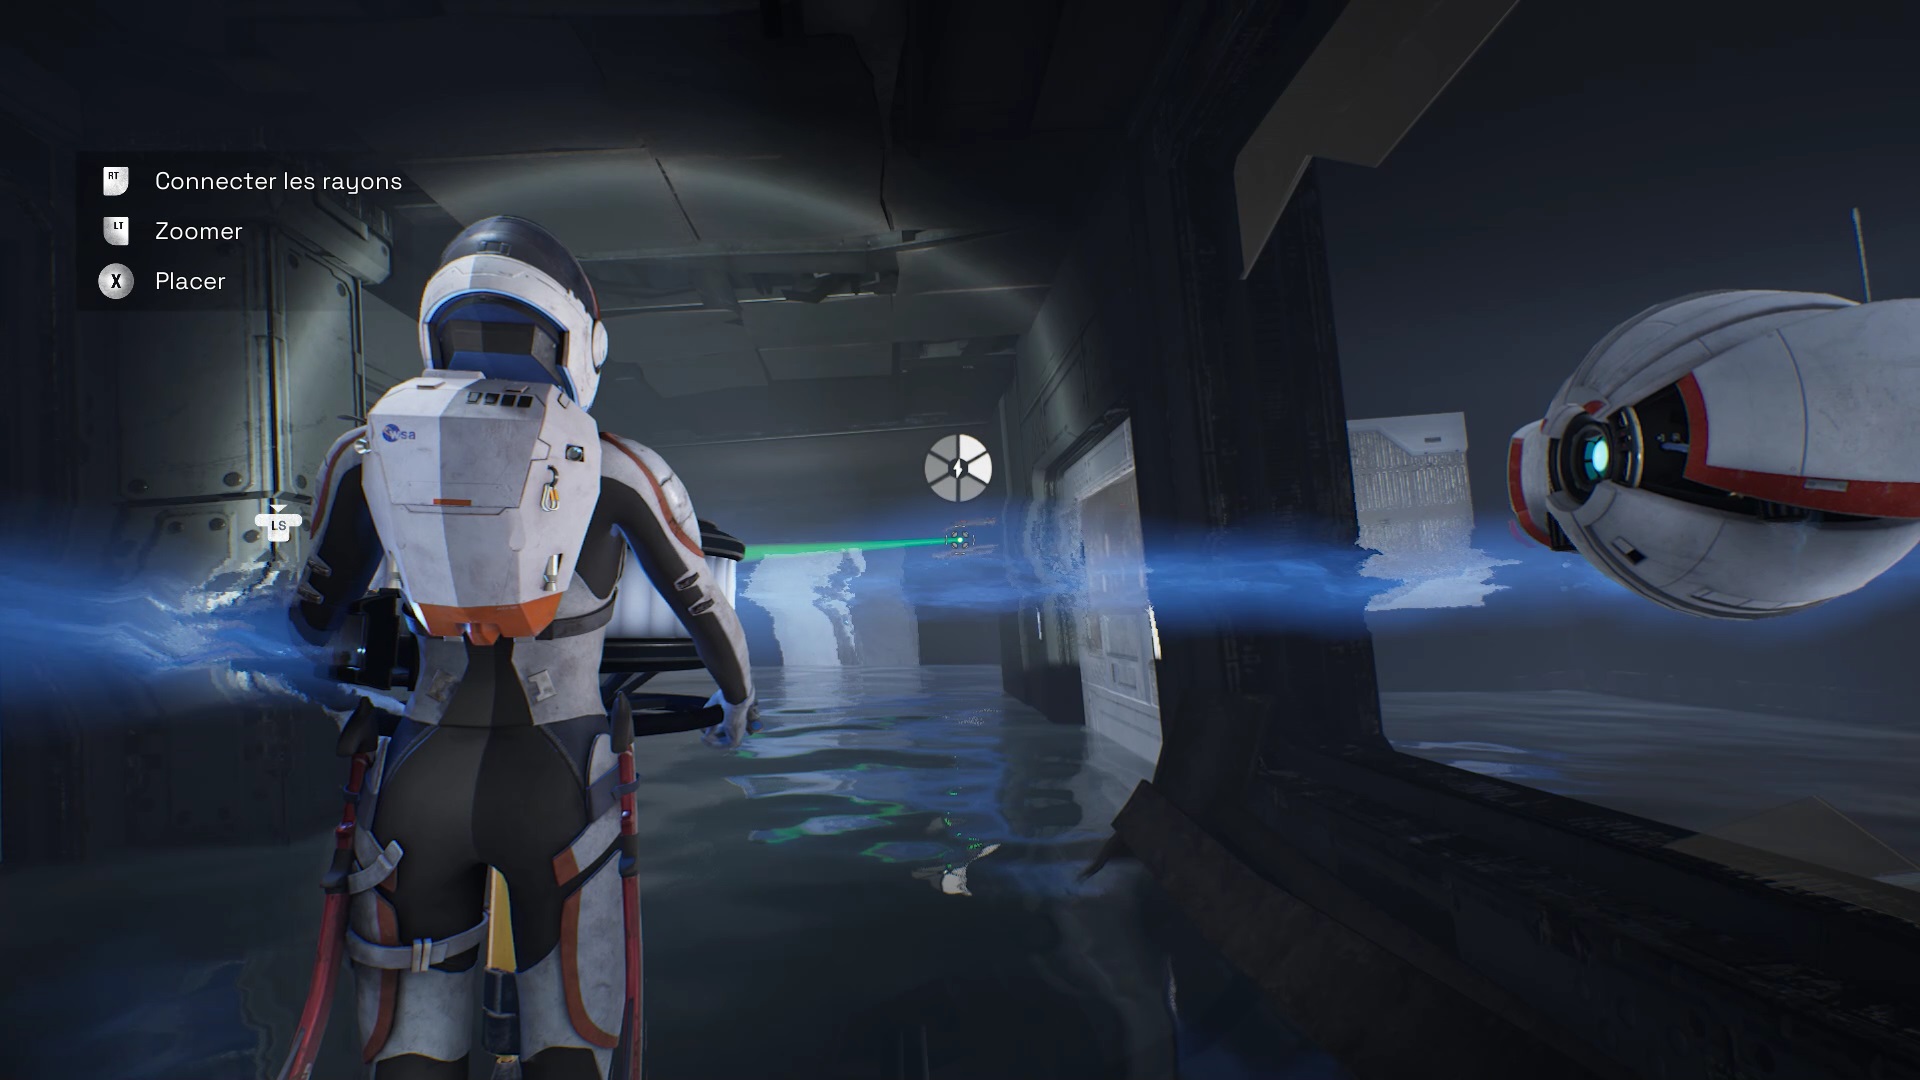
Continue your exploration, you enter an area filled with water. Stream points are present to allow you to open the door to the area. In the room on the left, use your laser on the plate on the ground to get a beam. At the end of the area, retrieve a separator.
Position the divider in the room to the right of the entrance. The window of this room is broken and allows you to enter. Lay the divider behind the spoke mechanism. Connect a beam to the streame point of the room door on the right. Connect the second ray to the streame point near the entrance on the left. Use the center ray to power the splitter and its two streame points.
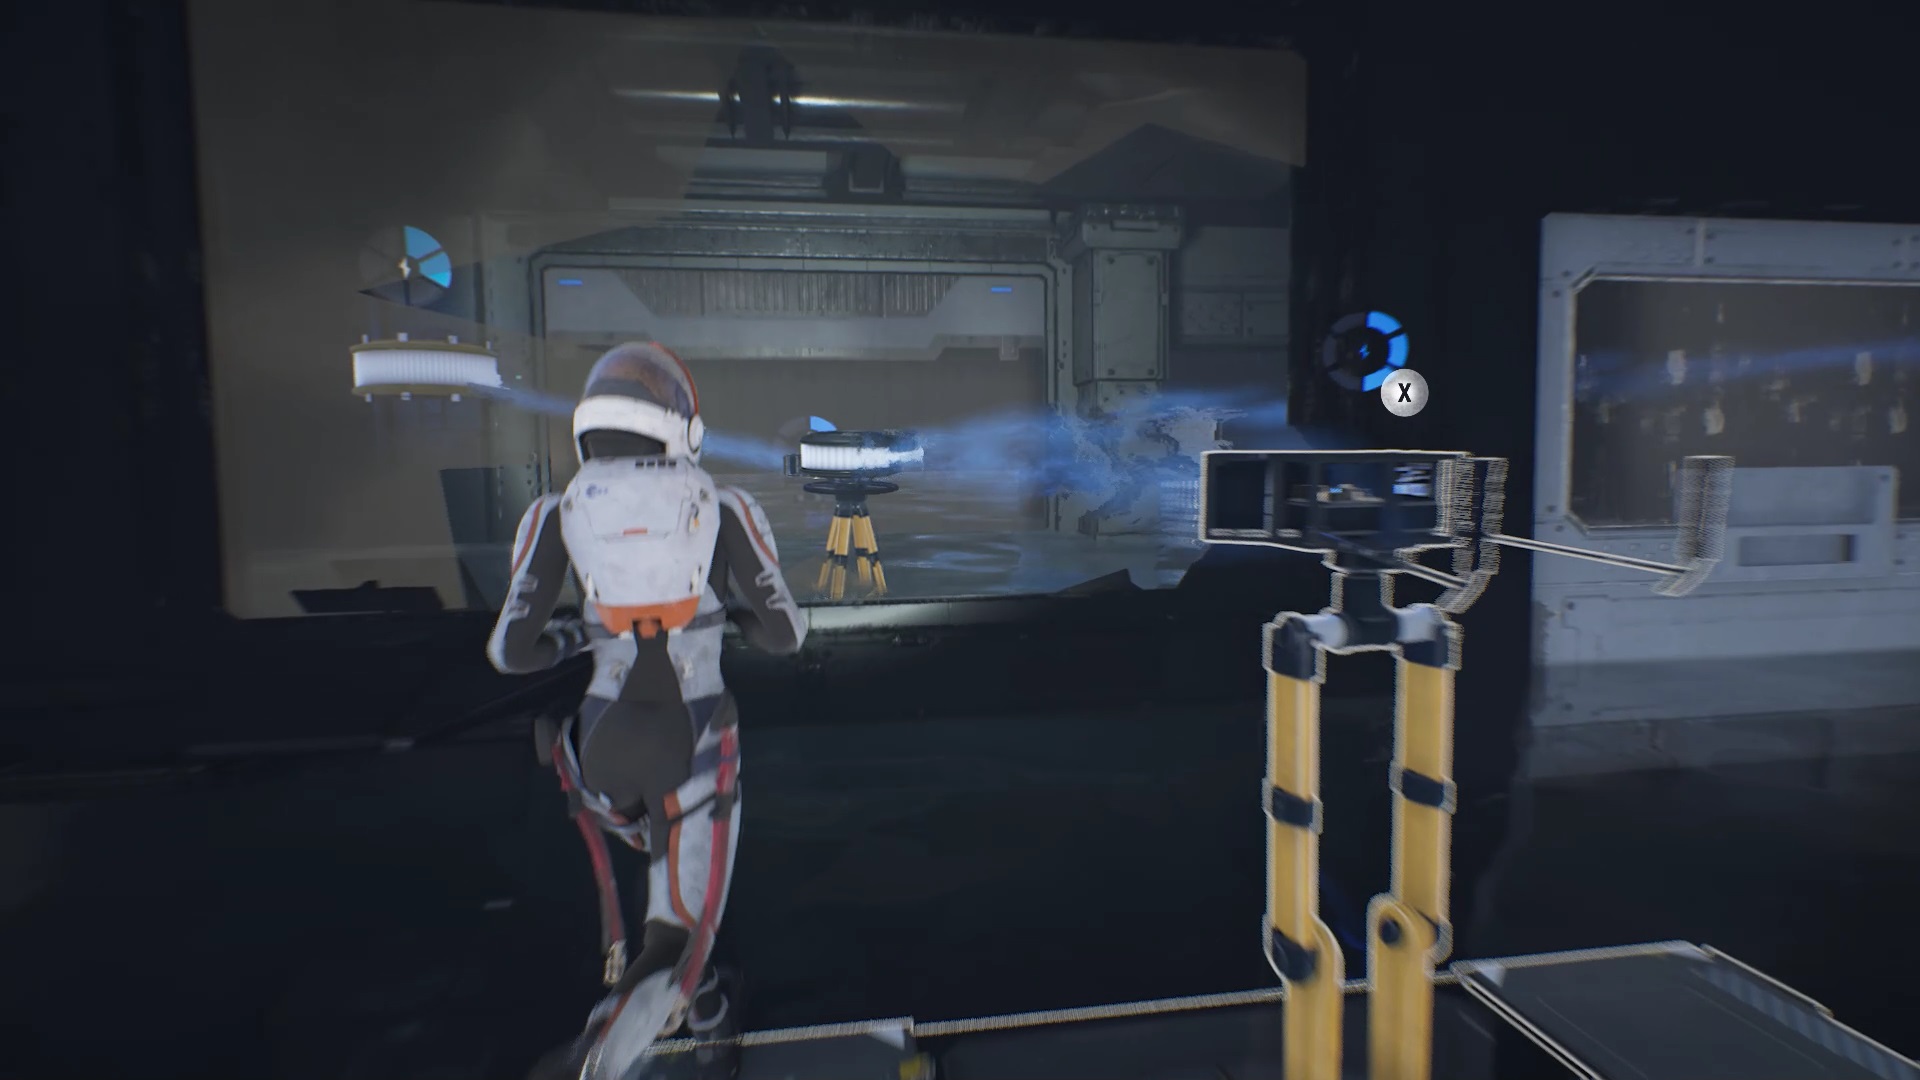
You moved the crate from the room. Collect the separator and go to position it in the main hallway in front of the beam mechanisms. Connect a ray to the streame point near the broken glass. Connect the second ray to the streame point to the left of the entrance, it raises the curtain of the left room.

Go into the room to the left of the entrance. Connect the beam to the receiver in the center of the corridor. You have thus supplied the curtain of your room and the curtain of the right room. Return to the room on the right and connect the beam to the streame point of the exit door.
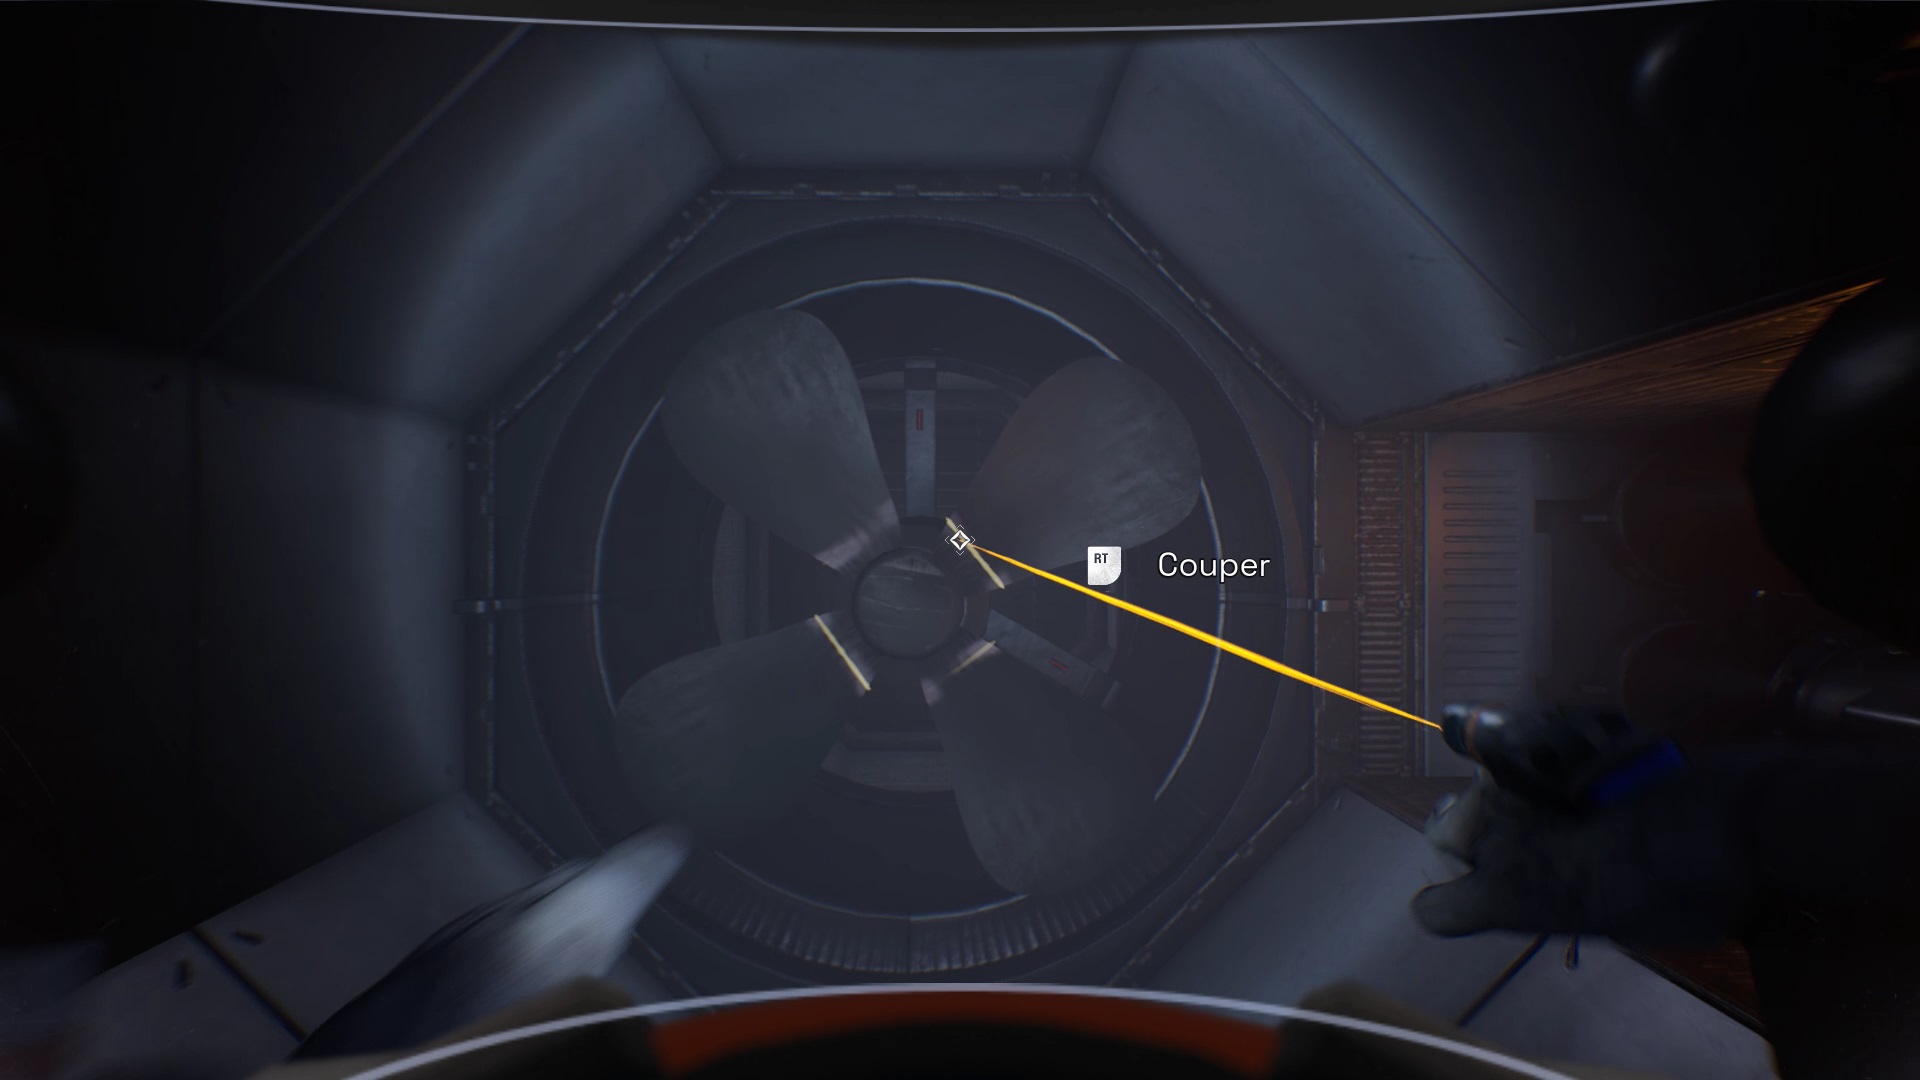
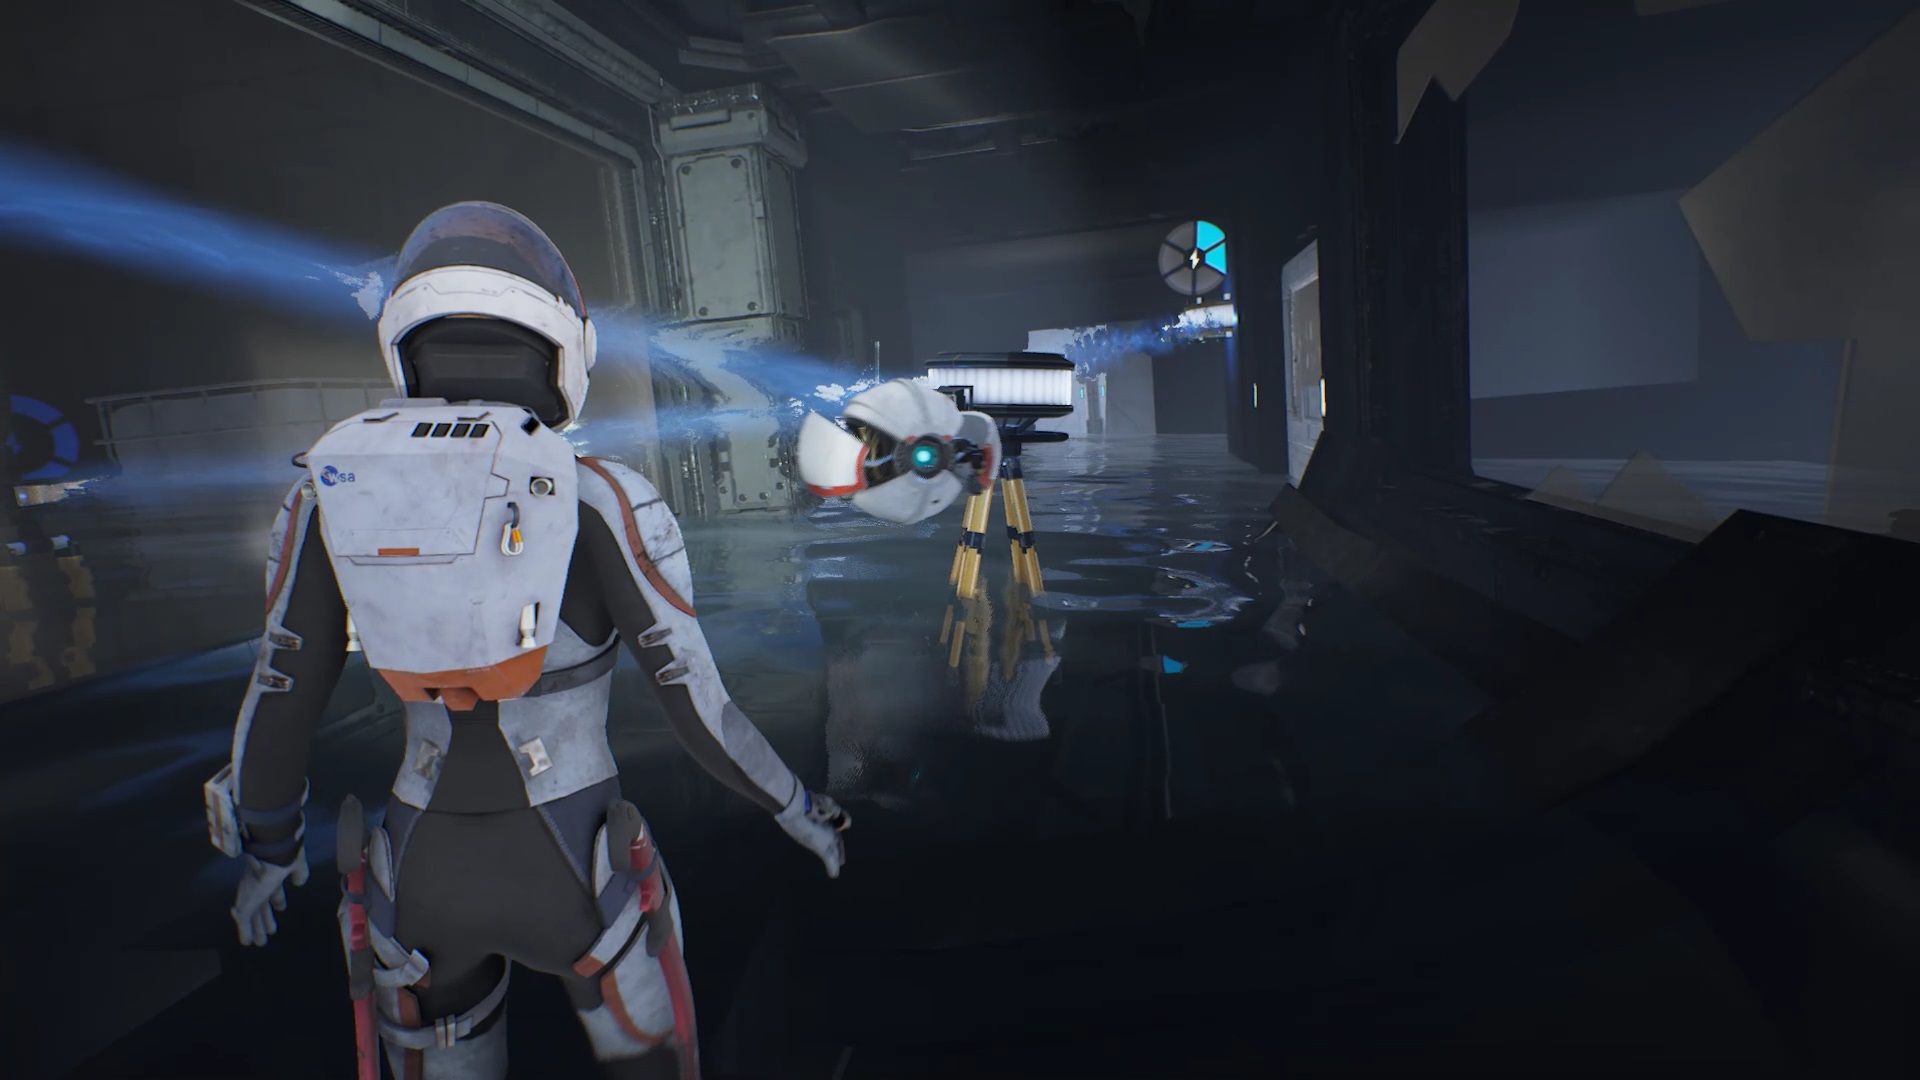
Exit the area and continue your exploration. In the water, use your laser to unblock the passage. You arrive in an area with a propeller. Wait for the propeller to be turned off to advance to the left side of the area. When the propeller turns off again, exit and walk towards the propeller. Cut its blades with your laser.
Continue forward behind the propeller. Get out of the water and up the stairs at the bottom of the freight elevator. At the top of the stairs, jump on the high platforms to reach an airlock. Go forward and cross the outer walkway leading to another part of the complex.
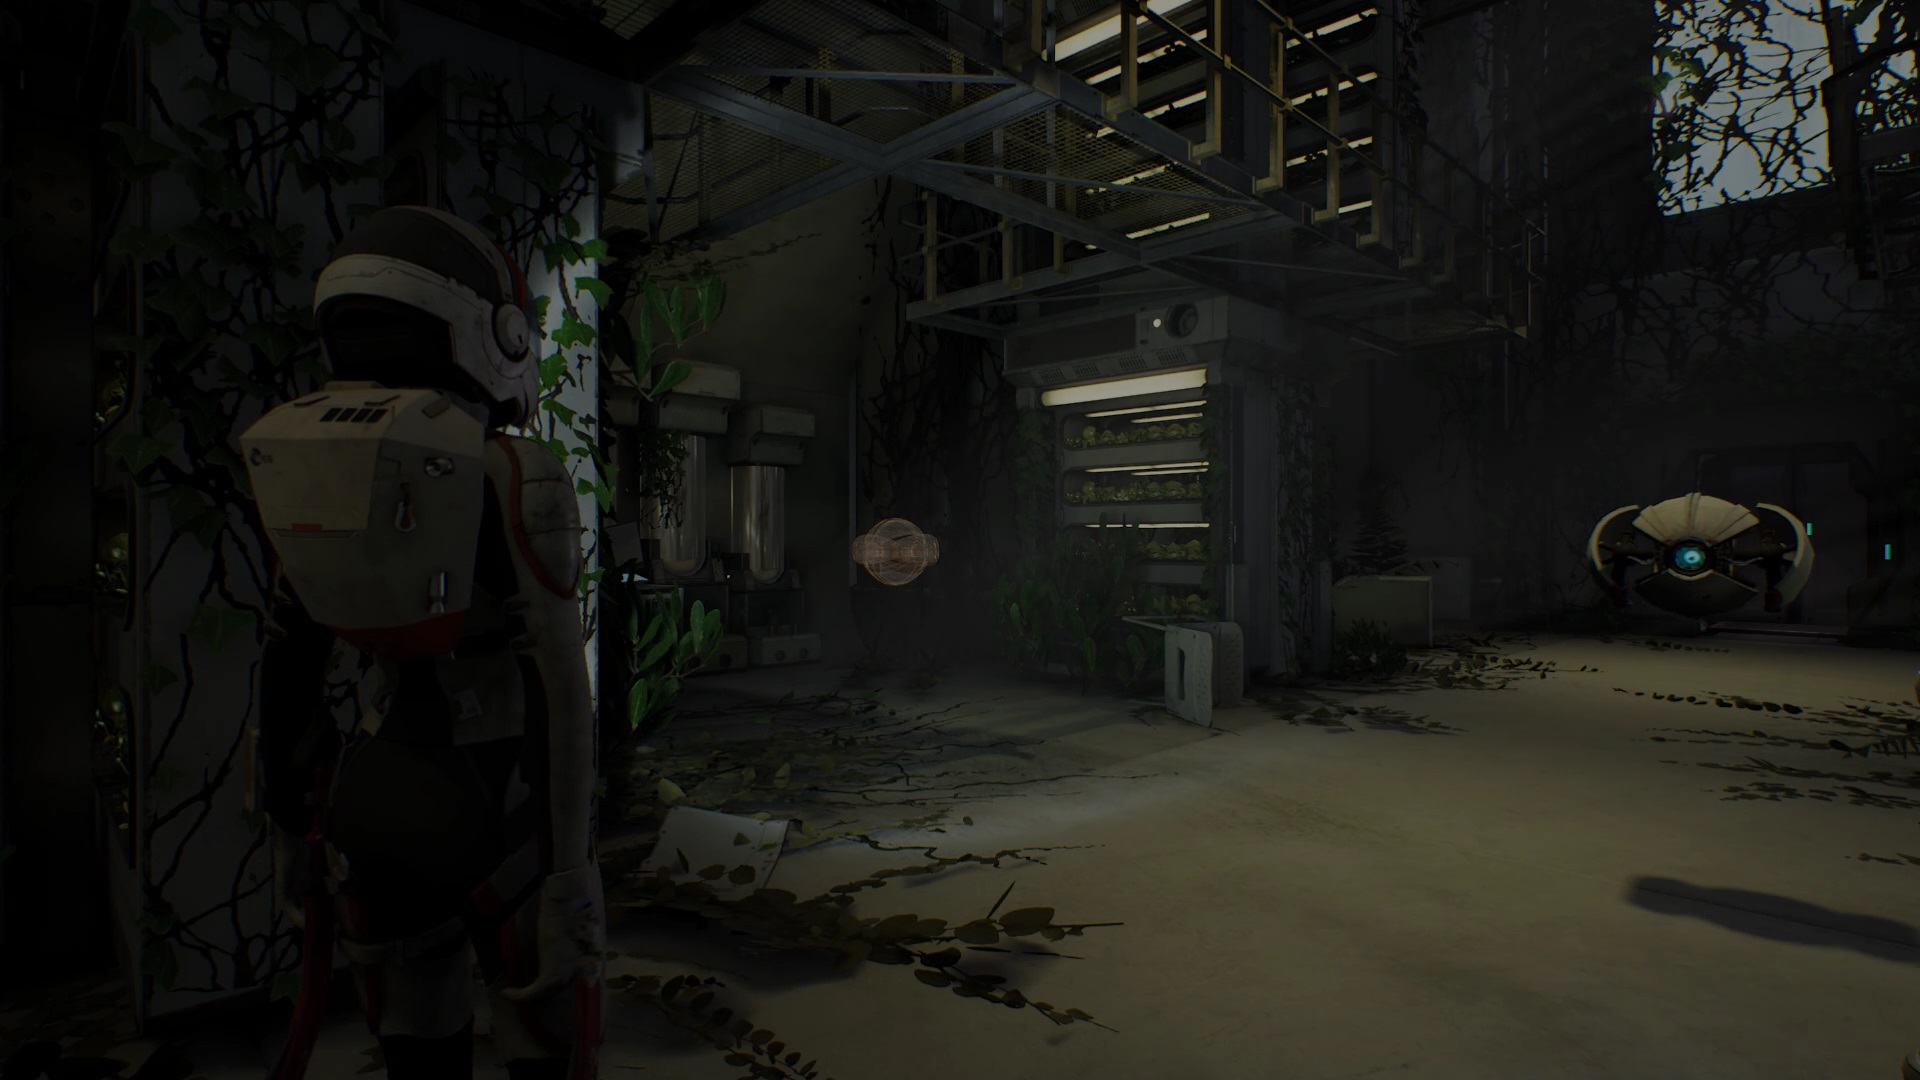
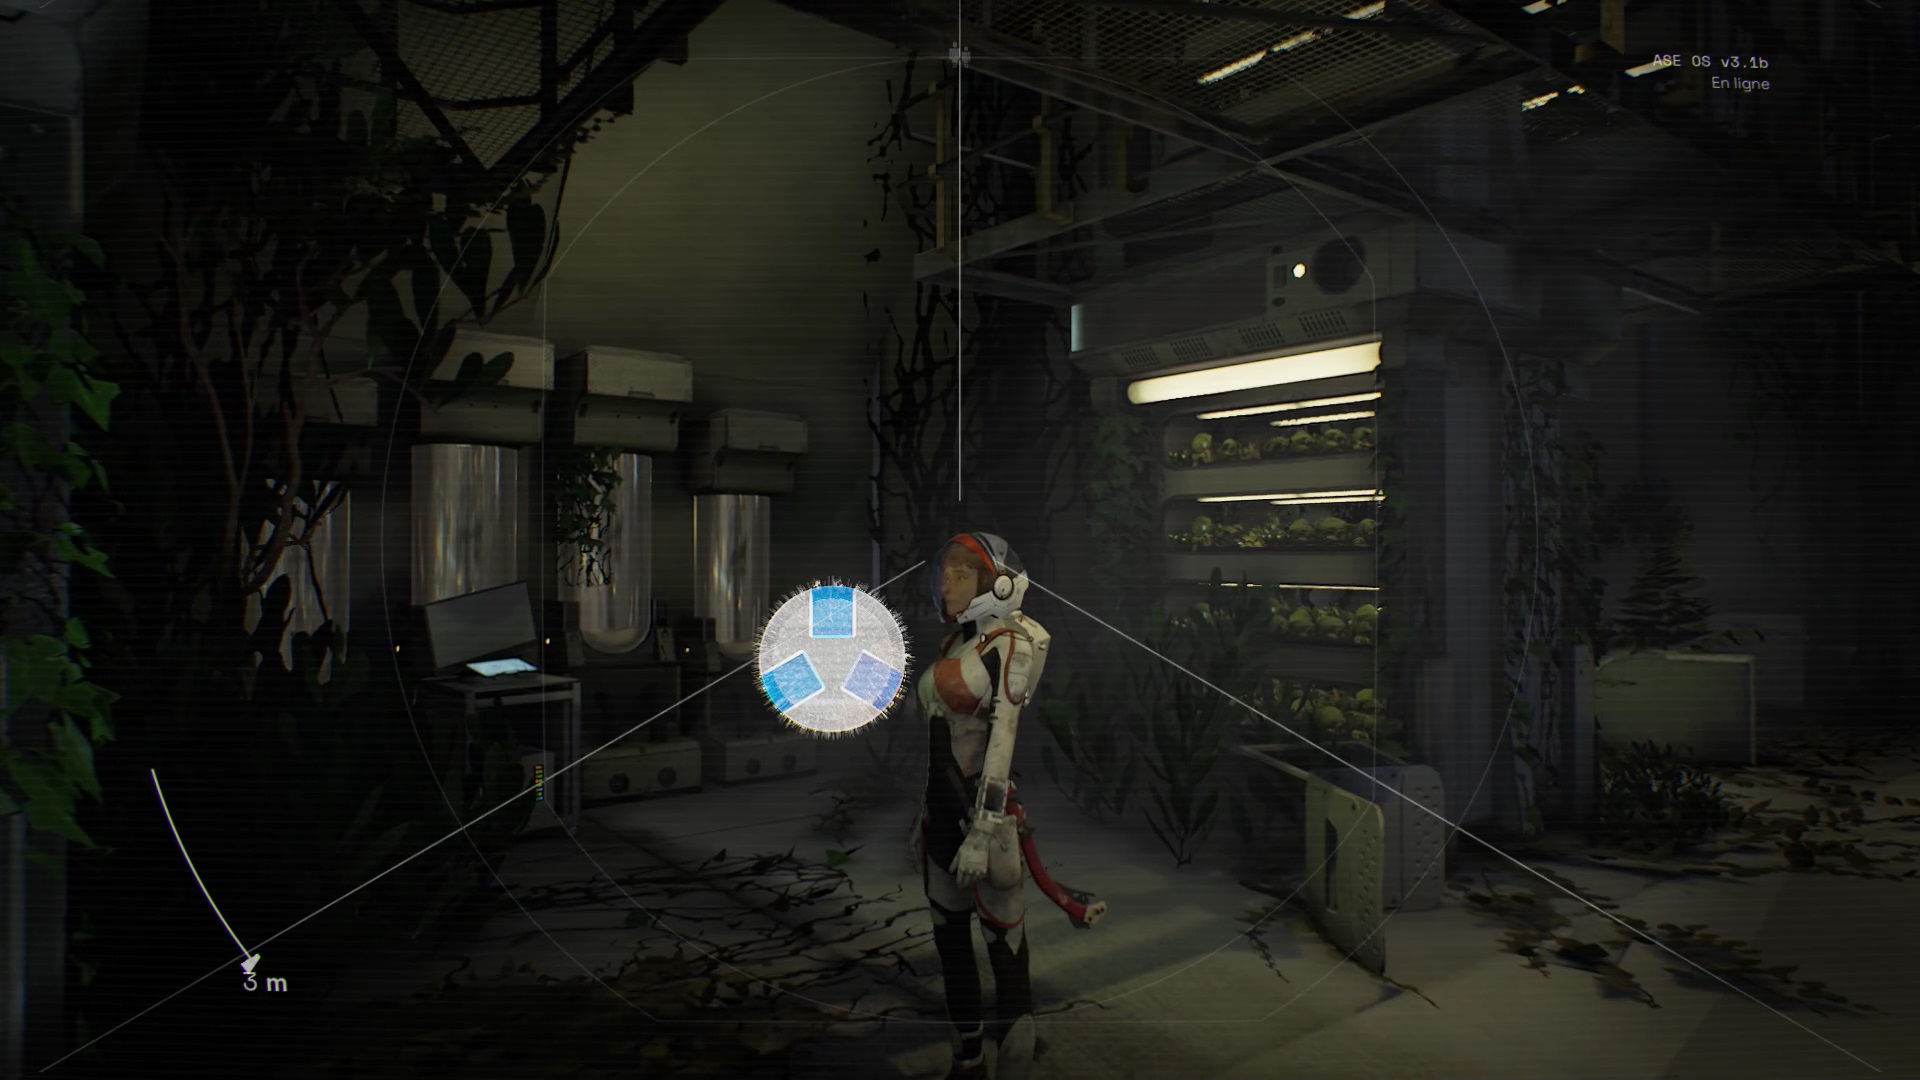
Proceed on the bridges to reach an airlock. Explore the complex, to discover a cultivation area. Move forward to trigger a cutscene. You find a hologram in the cultivation area. To decrypt the hologram, align the ends by placing yourself as in the images above.
After the cutscene, turn around to be immersed in a memory. In the house, go down to the living room to listen to the conversations. Follow the different characters then exit the memory through an airlock in the kitchen. Take the opposite path to exit the complex.
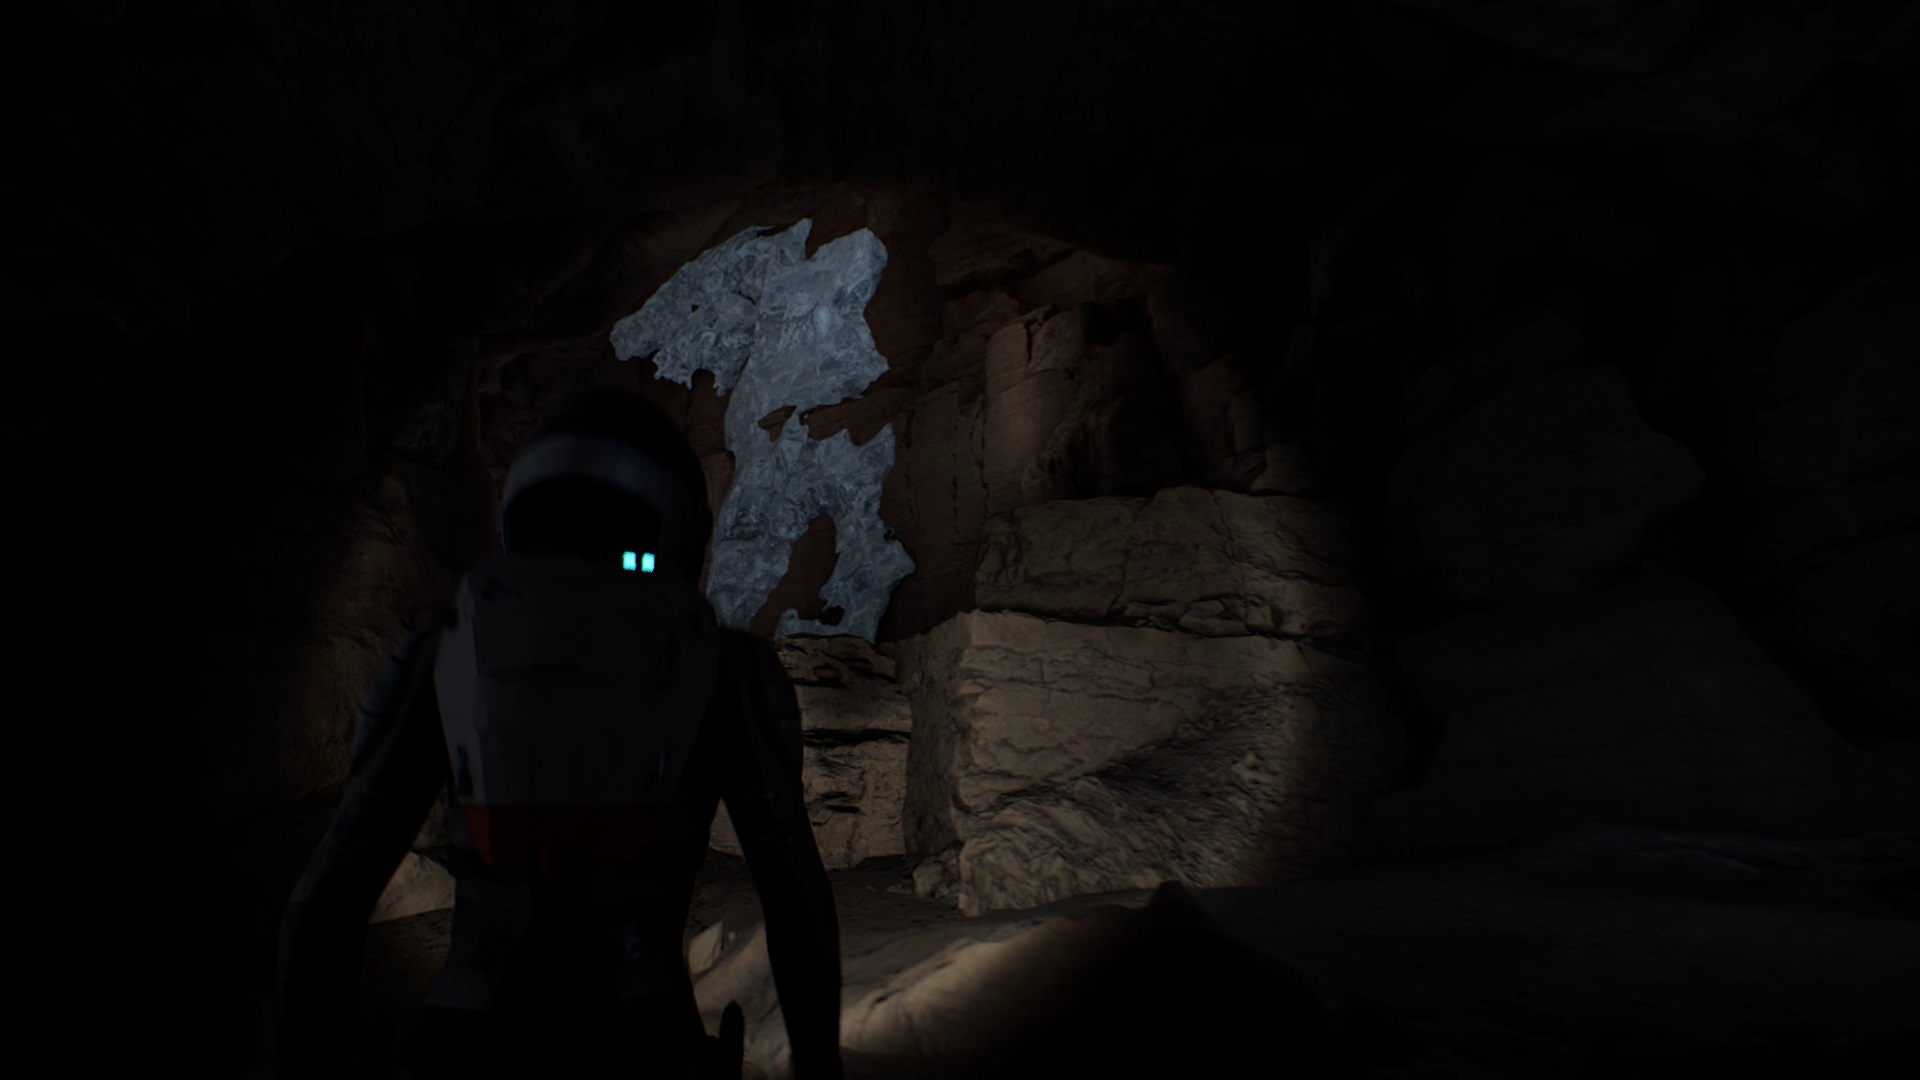
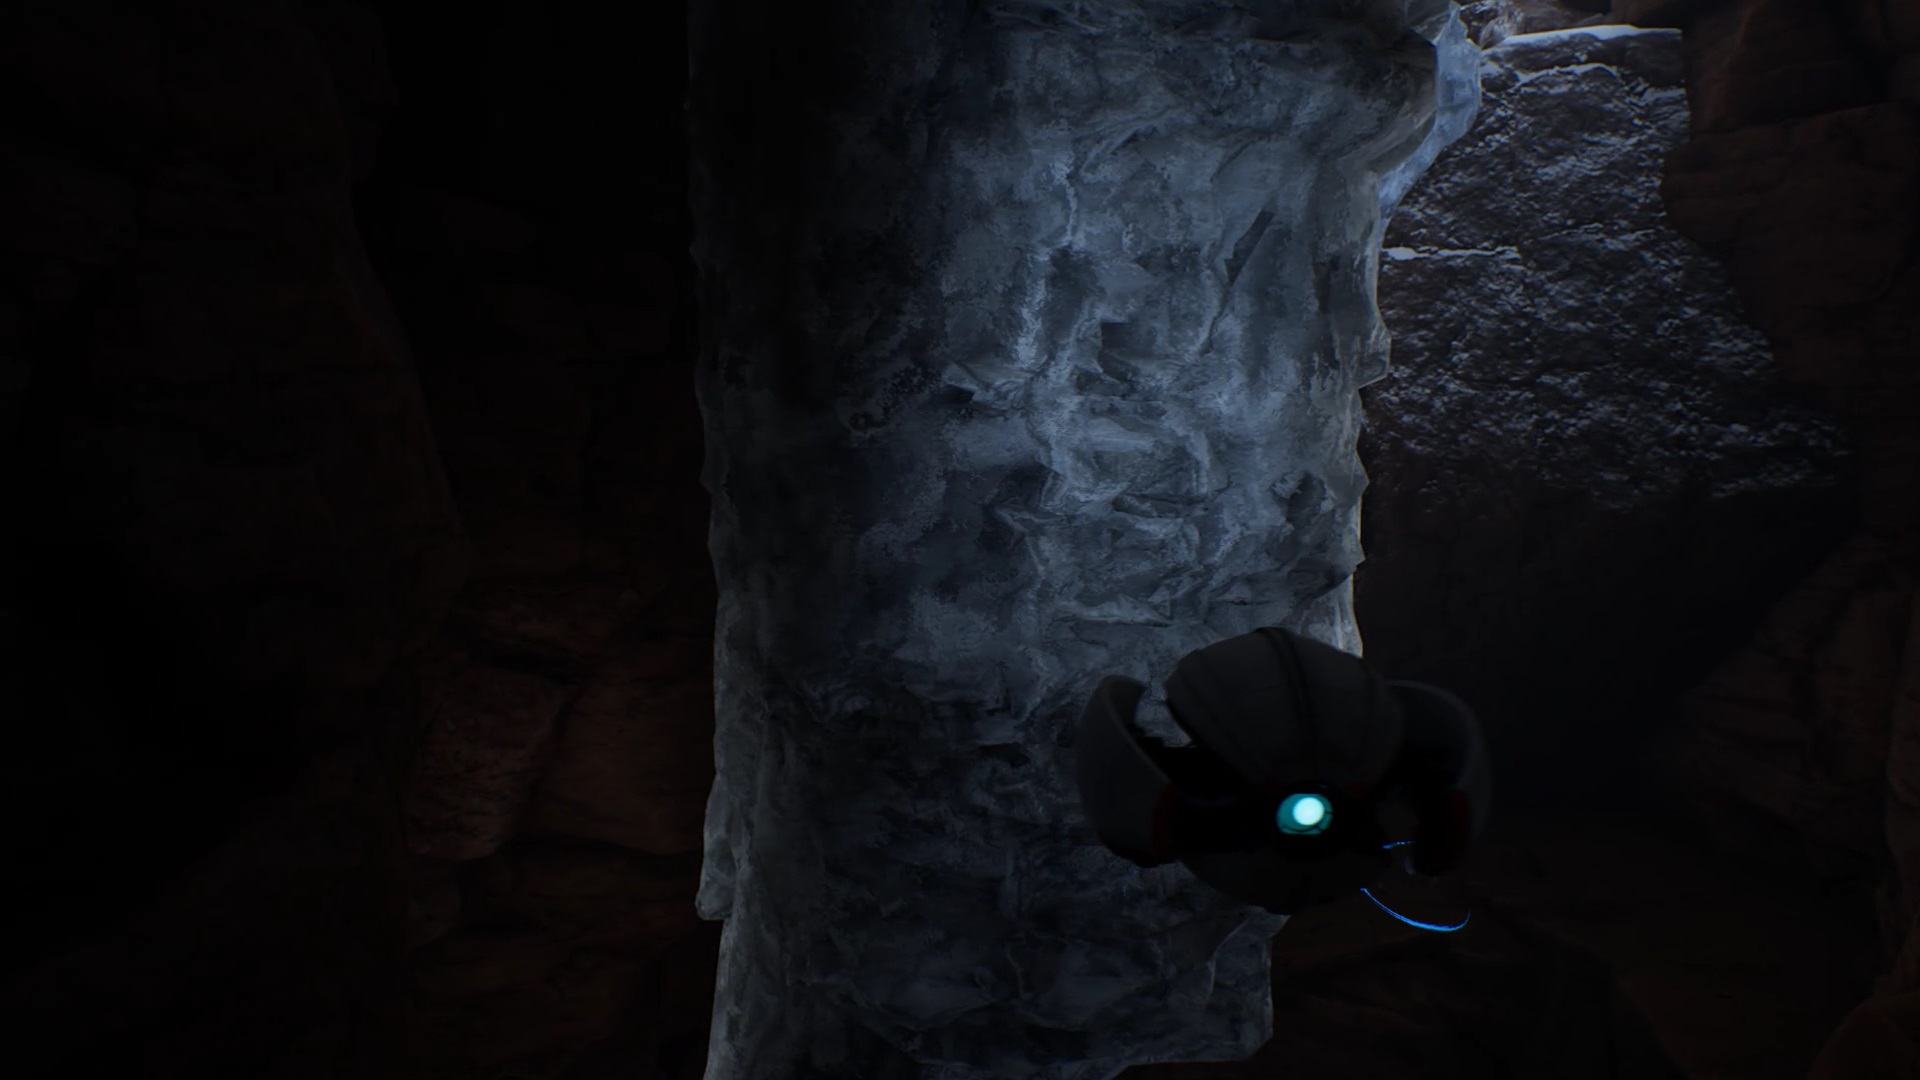
By jumping in the freight elevator it collapses. In the water, cut the blades of the propellers to be able to move forward. Go forward in the water and in the cave. Go to the illuminated places. When you come to a wall of ice, use your spikes to climb. Climb from ice wall to wall and jump from wall to wall to reach the top of the cave and complete the chapter.
Chapter 7
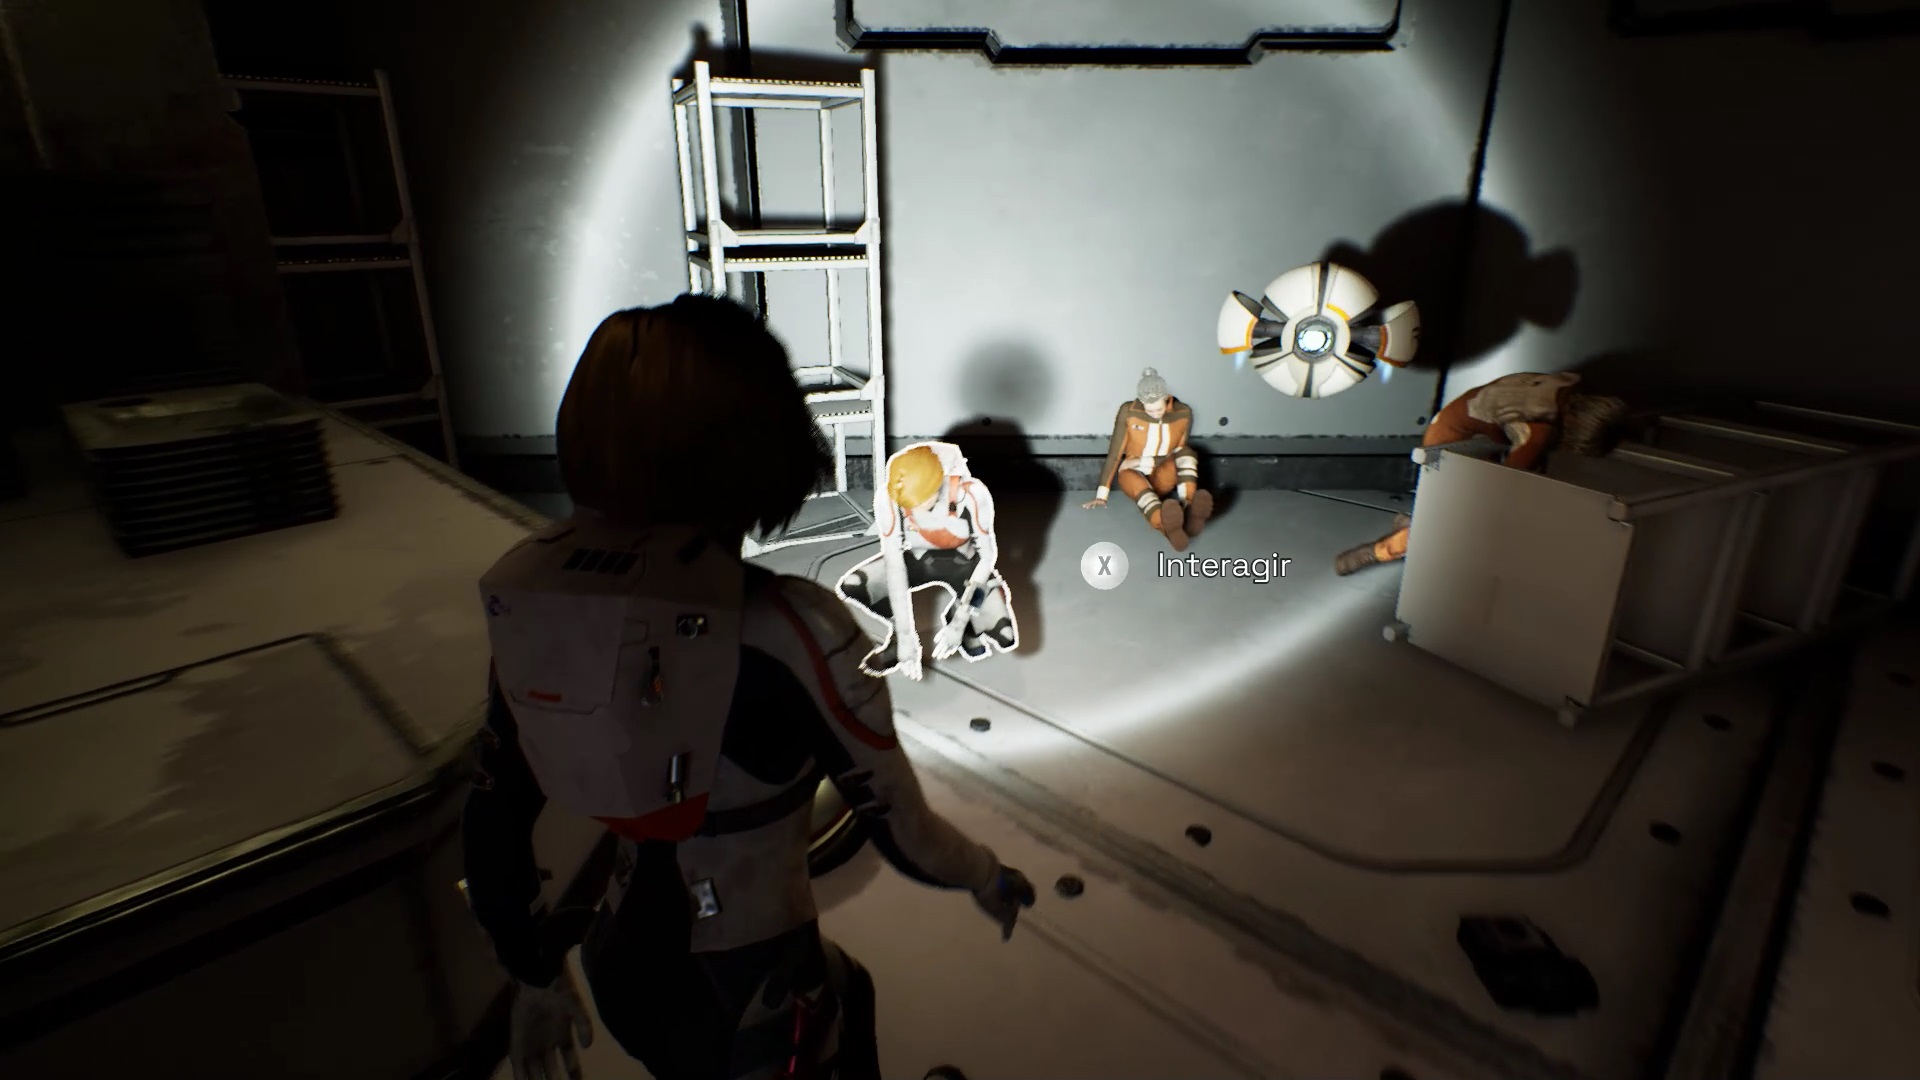
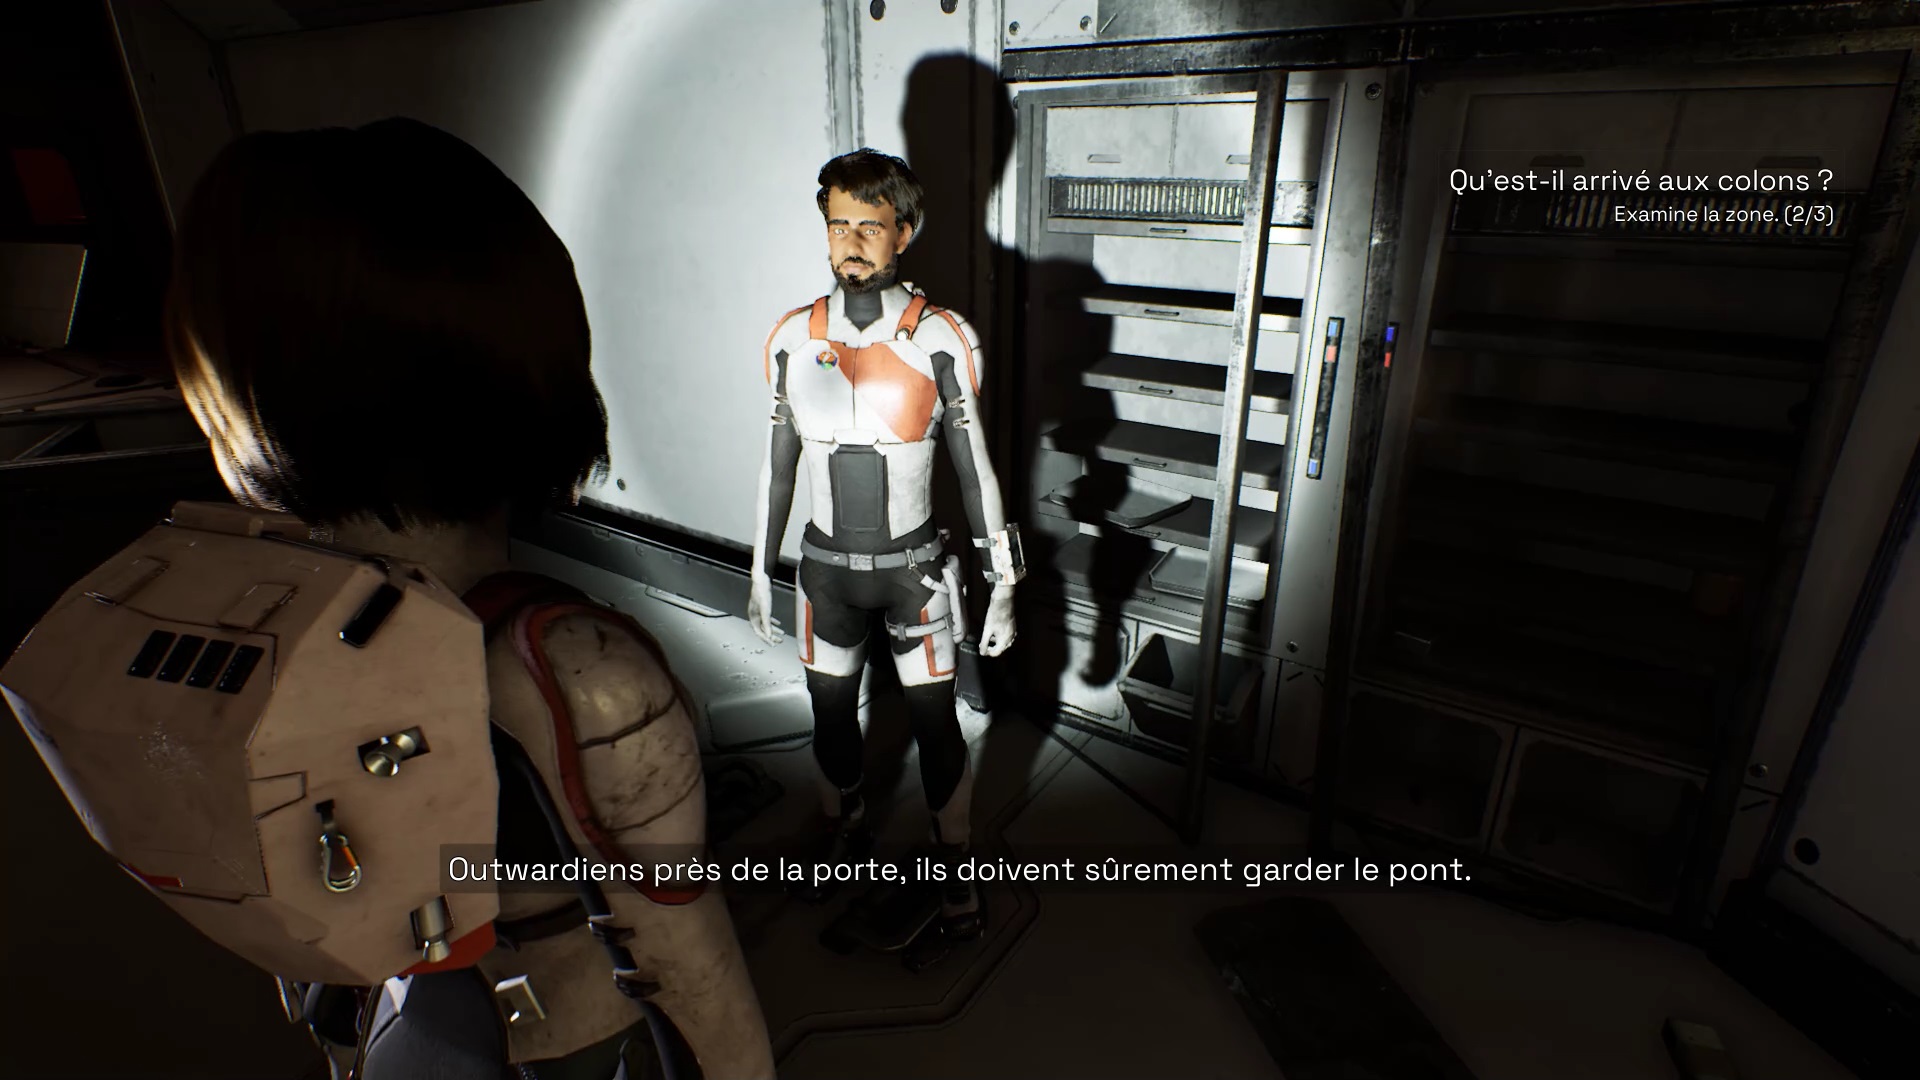
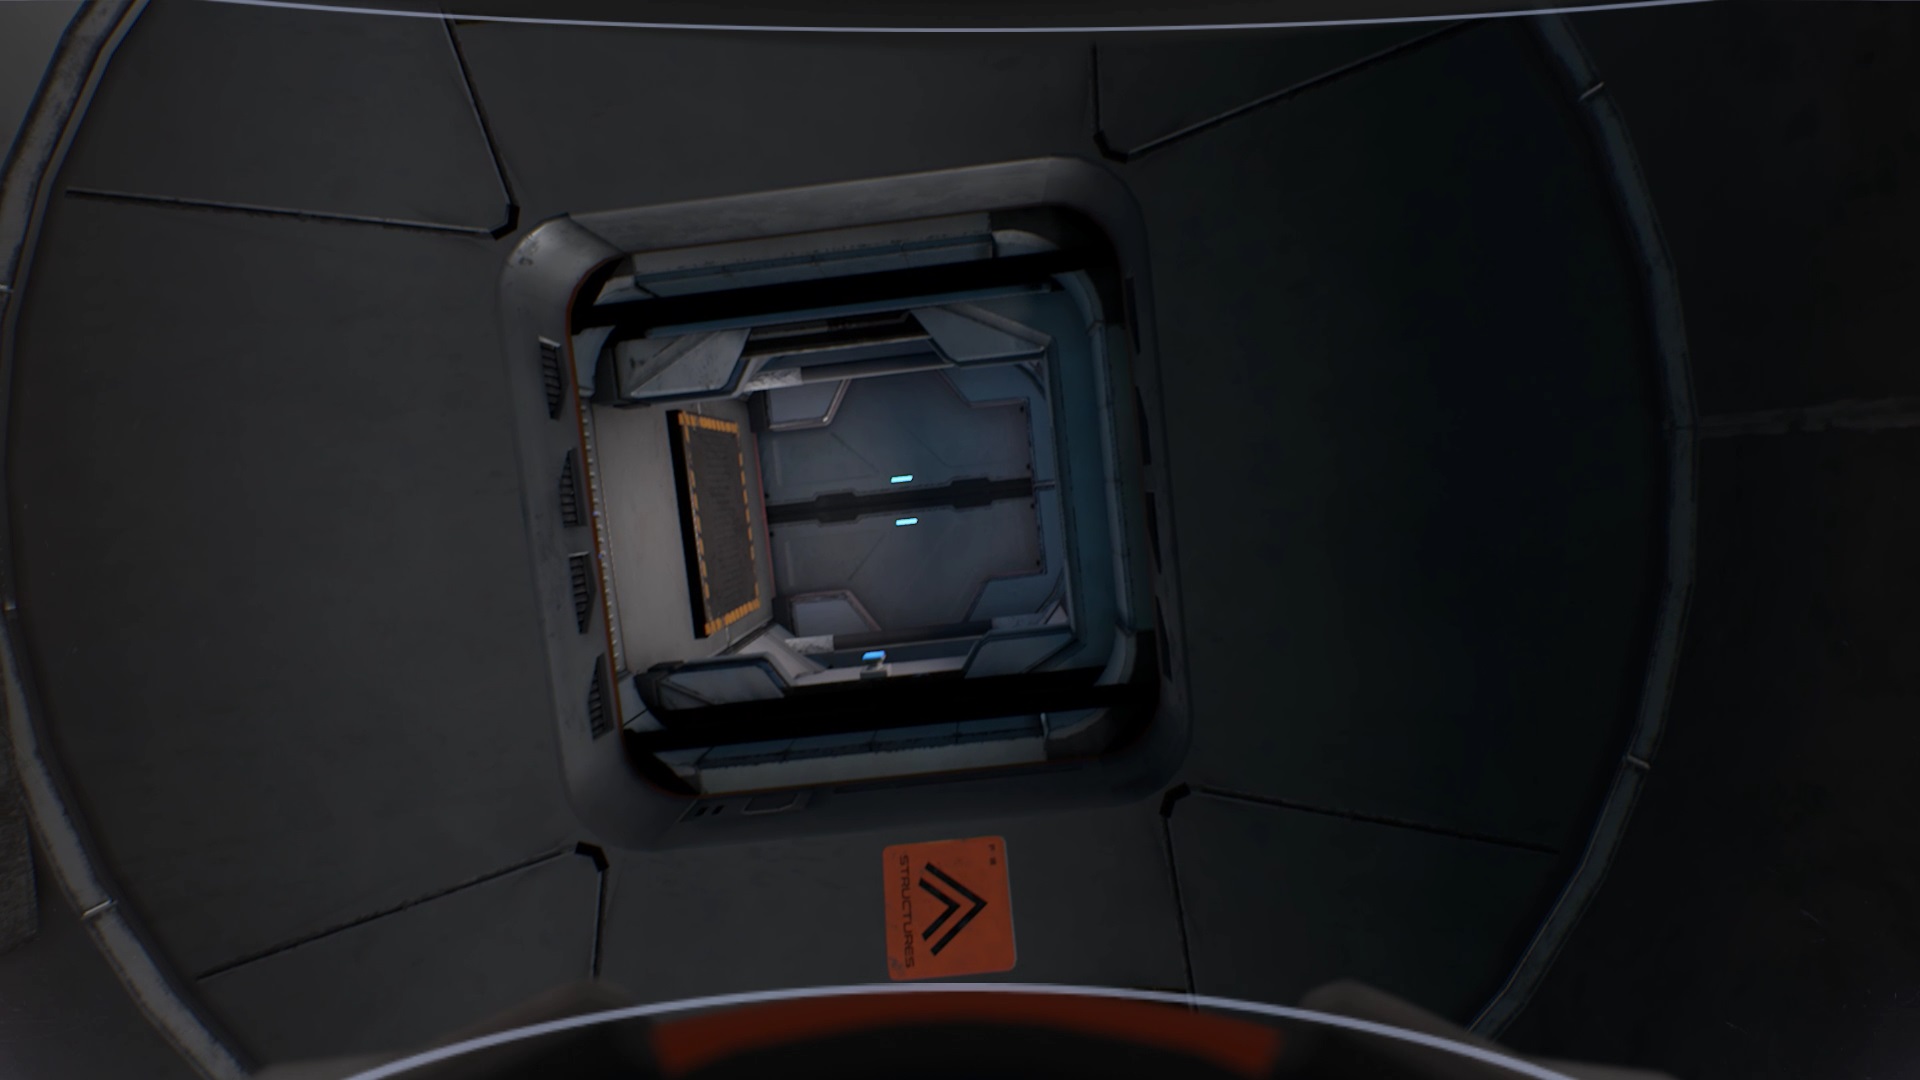
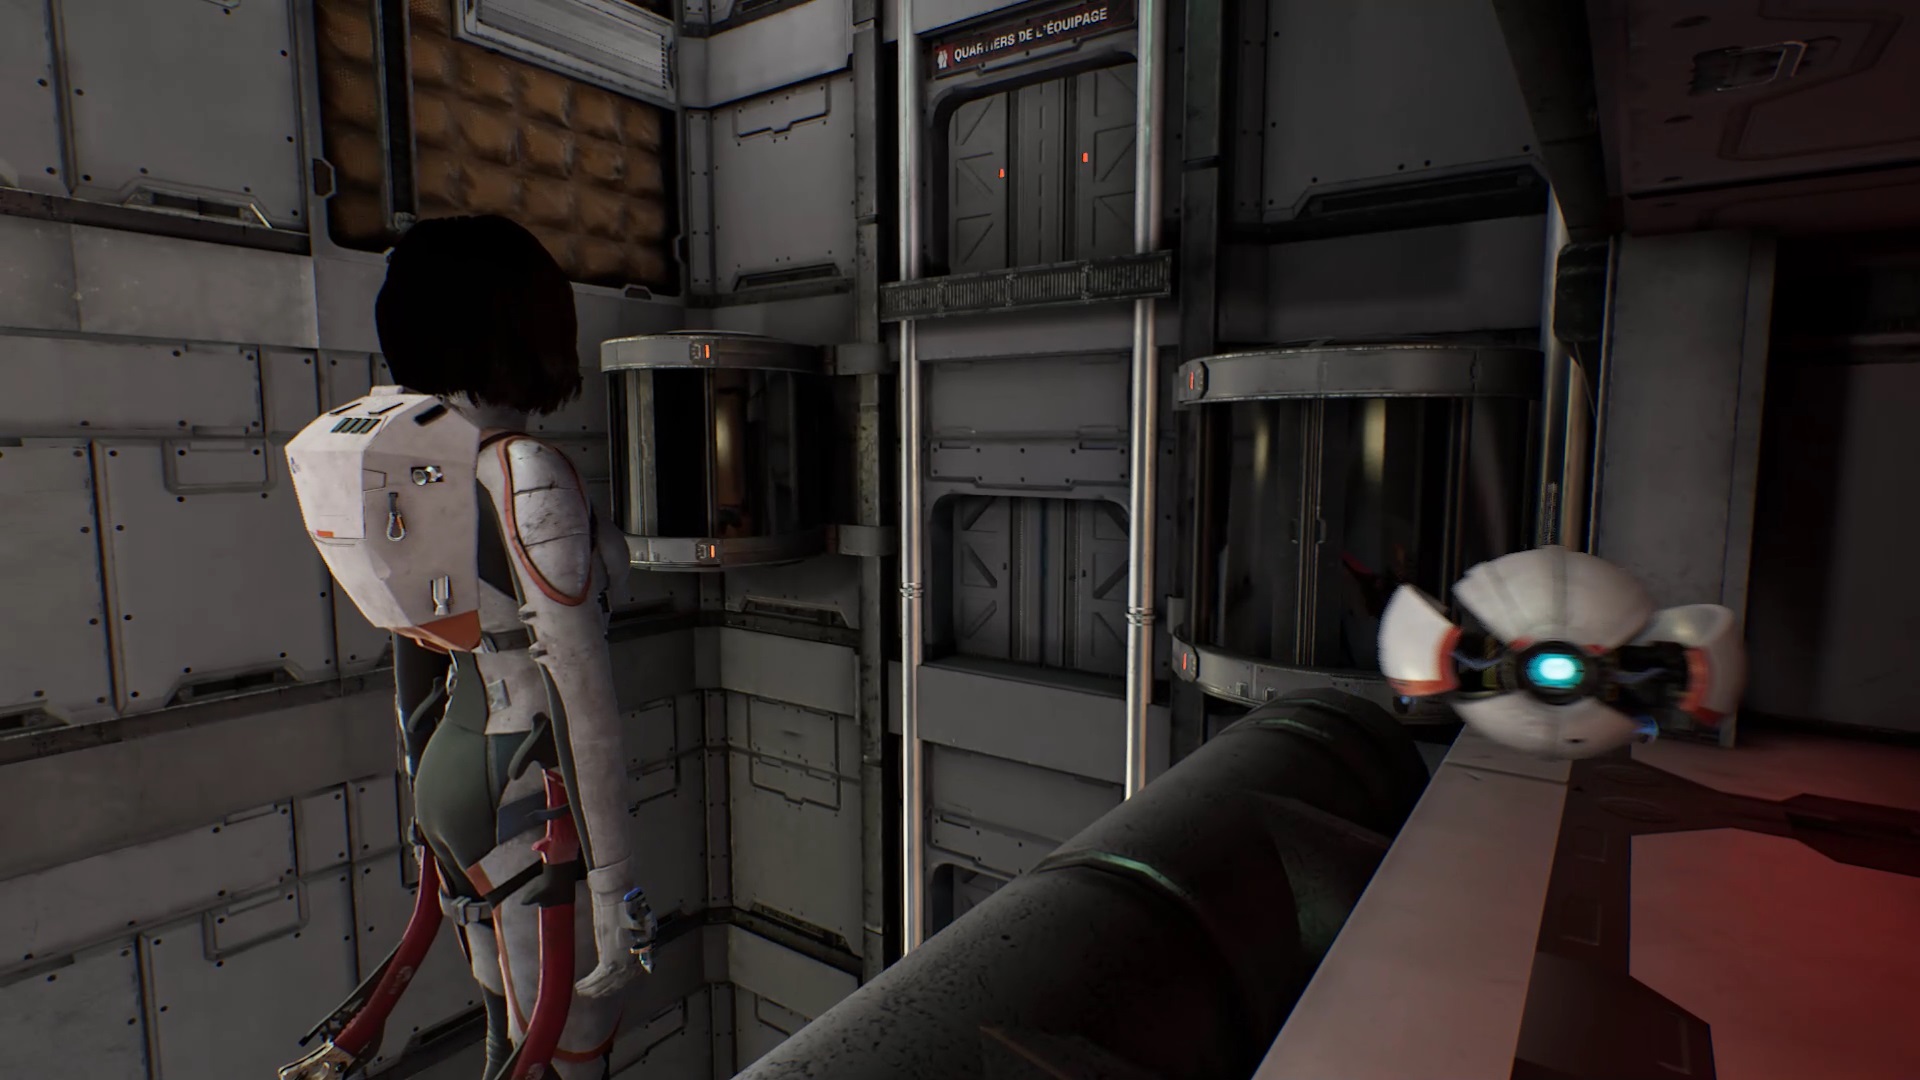
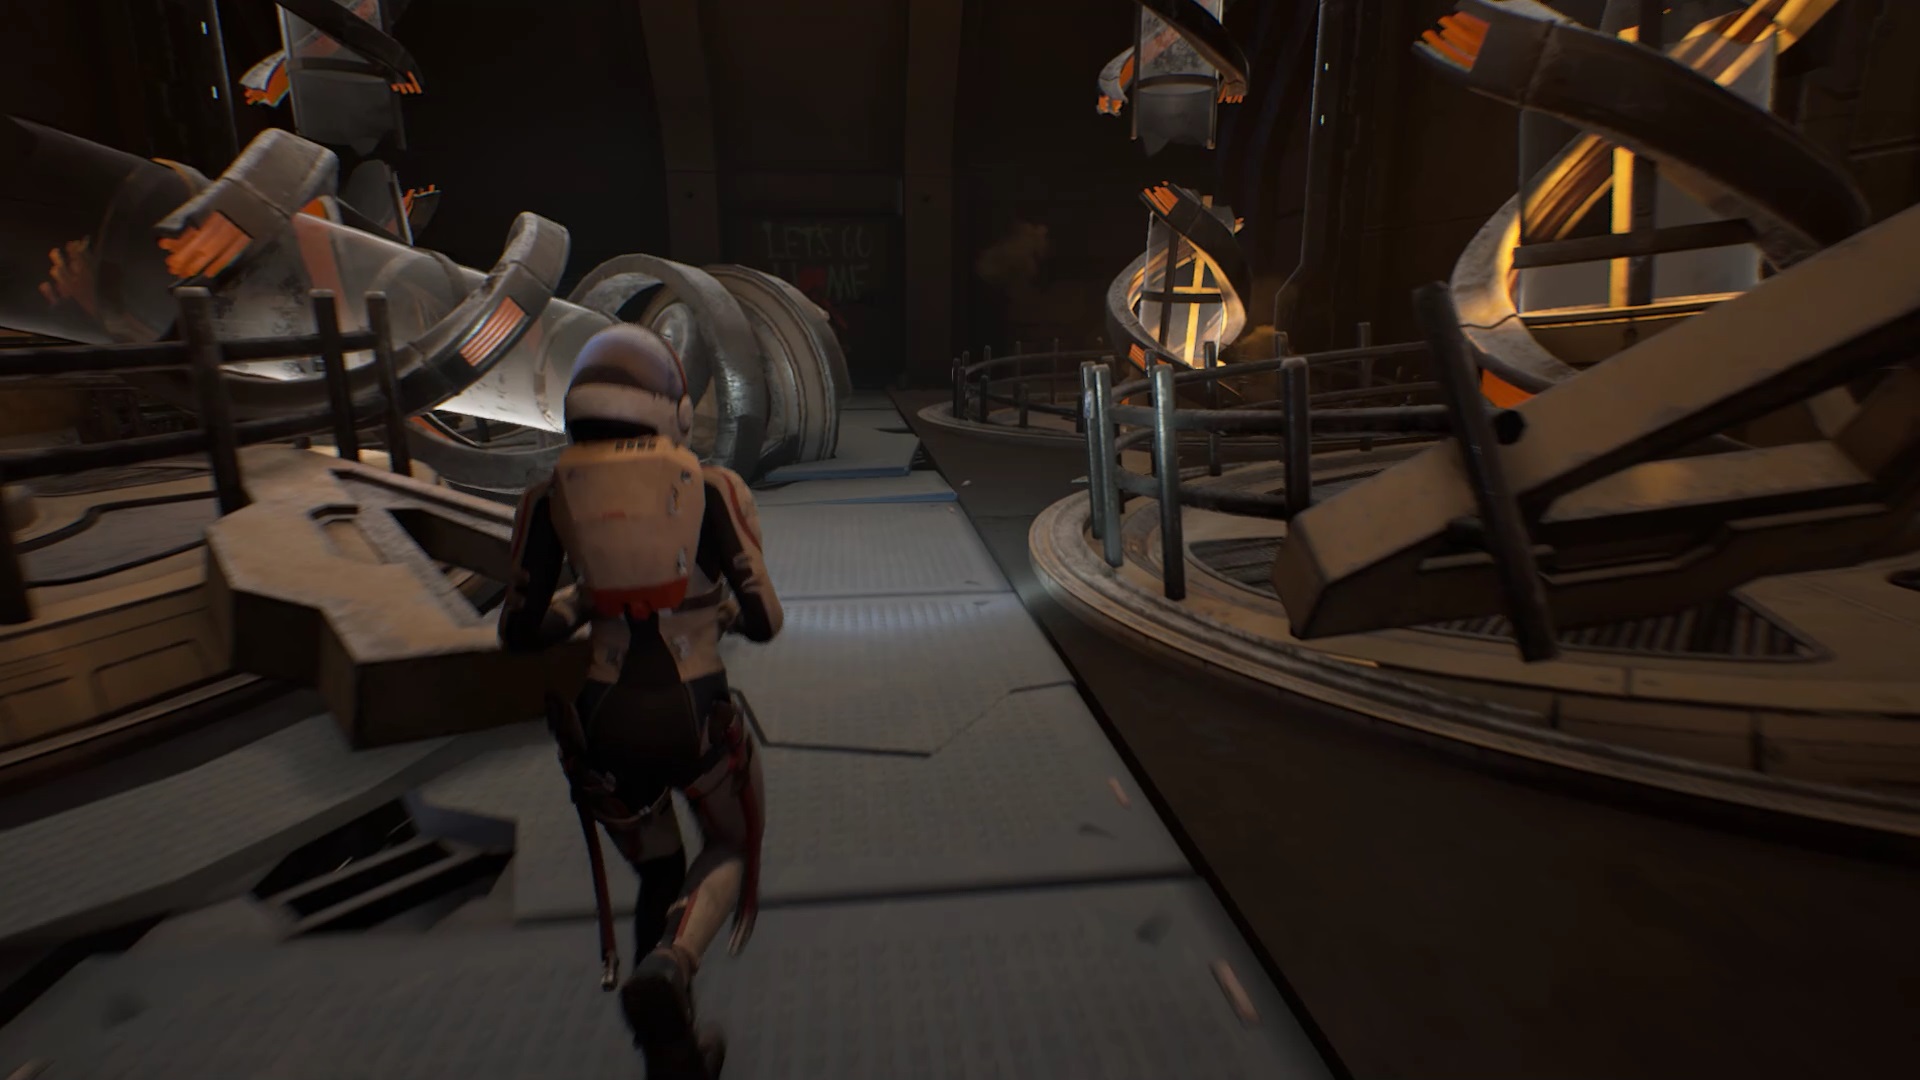
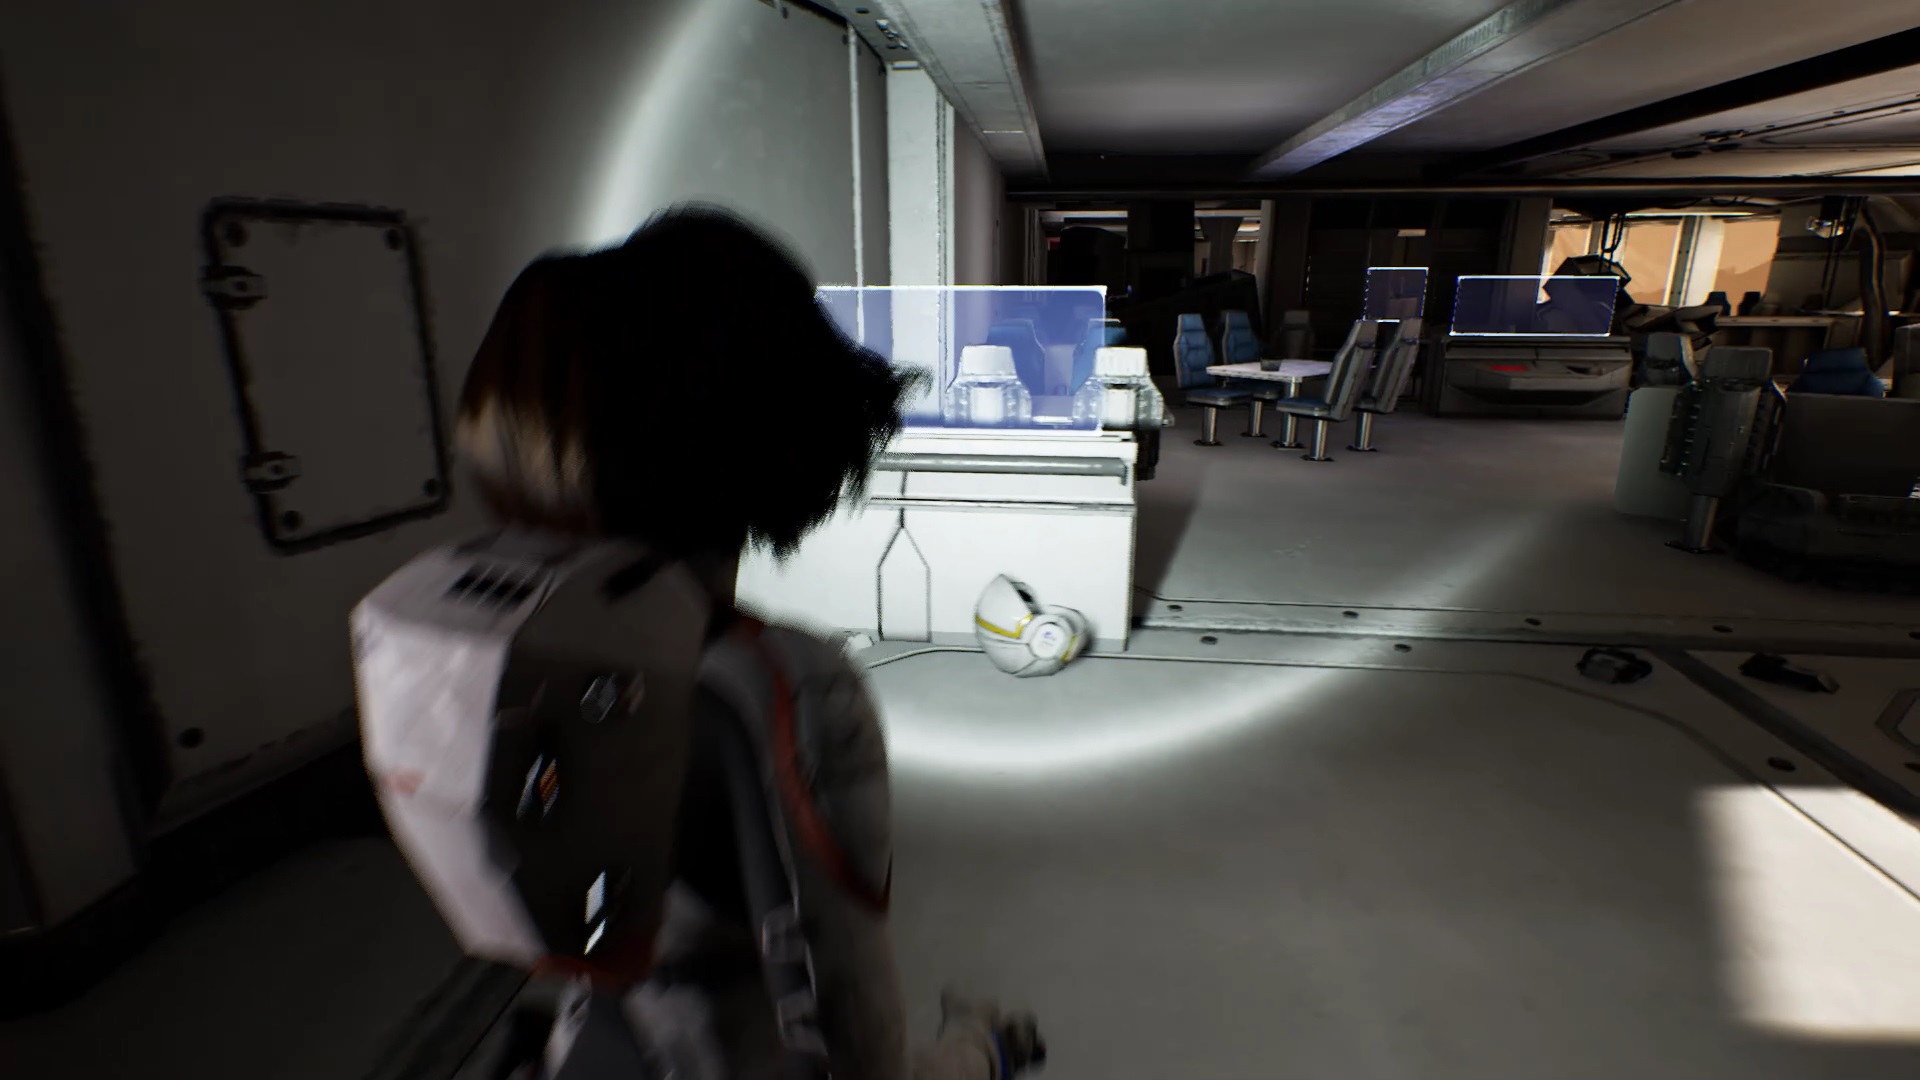
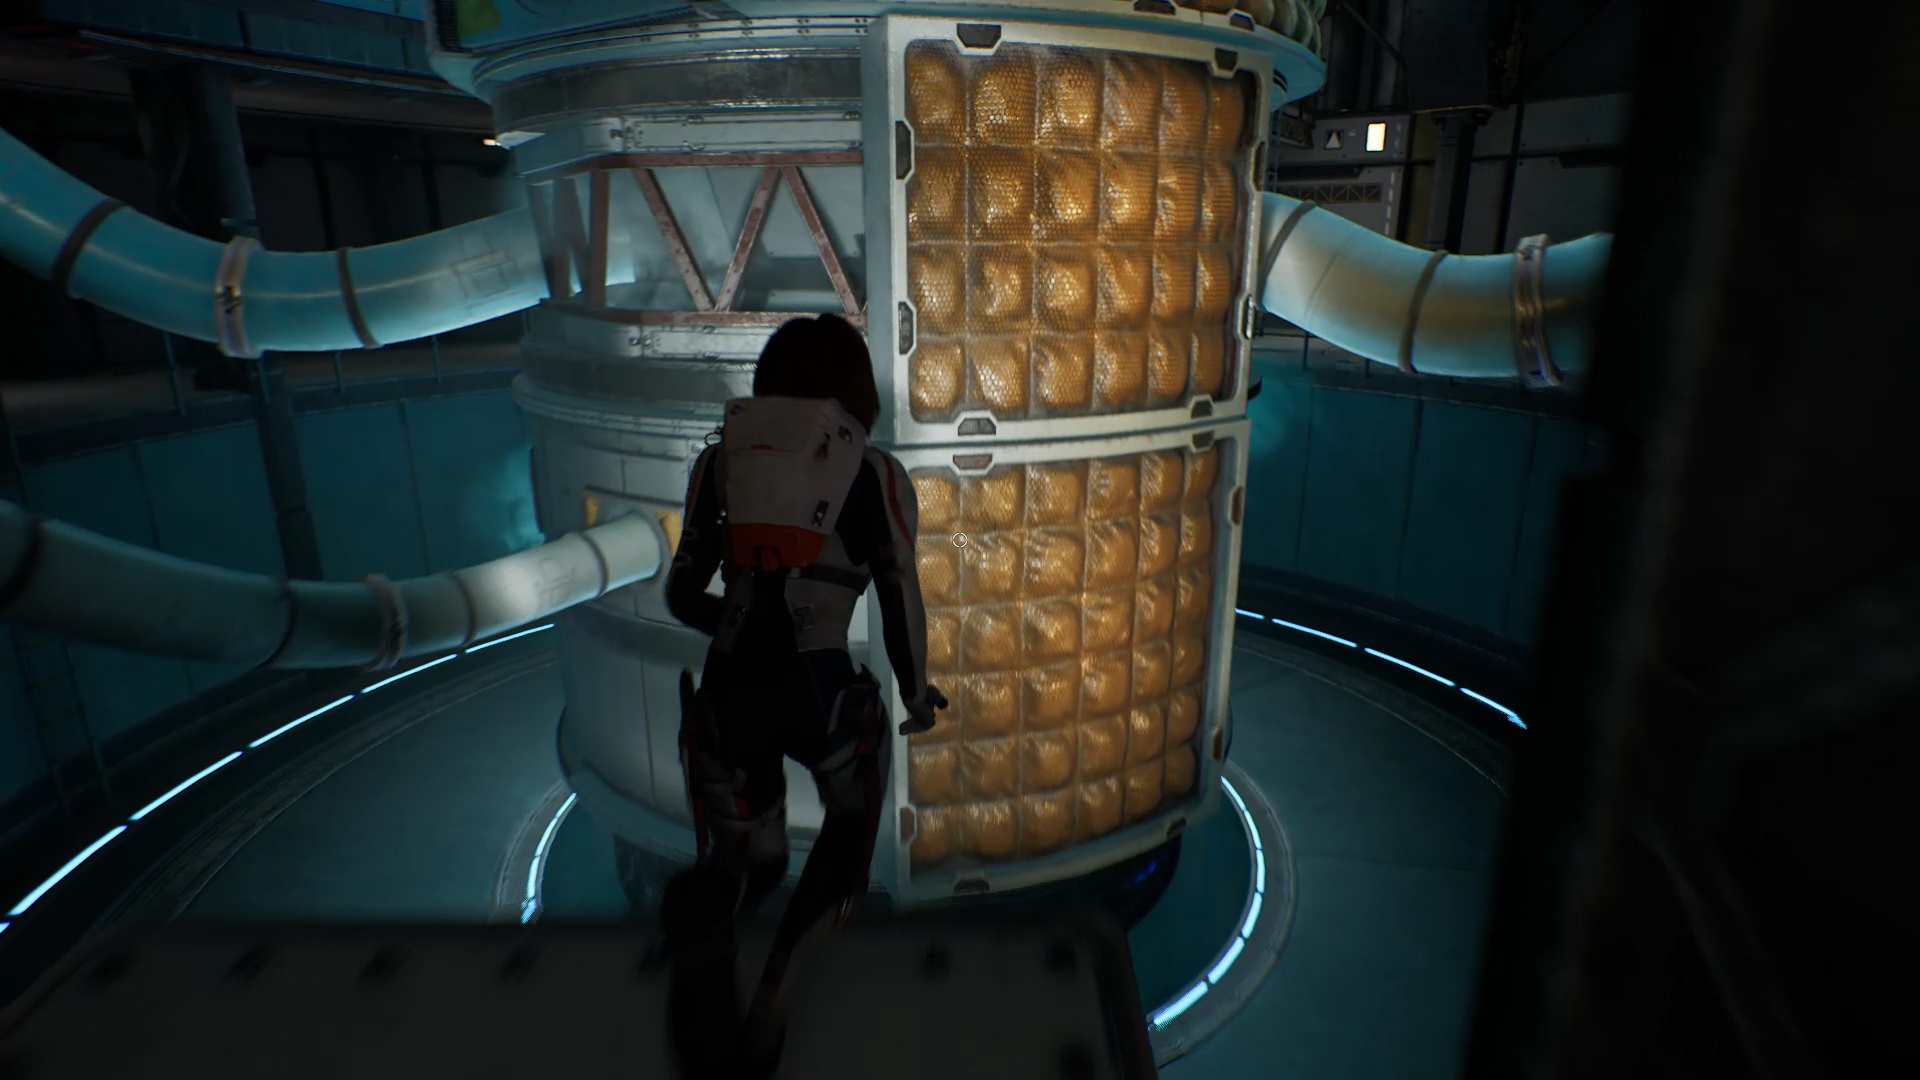
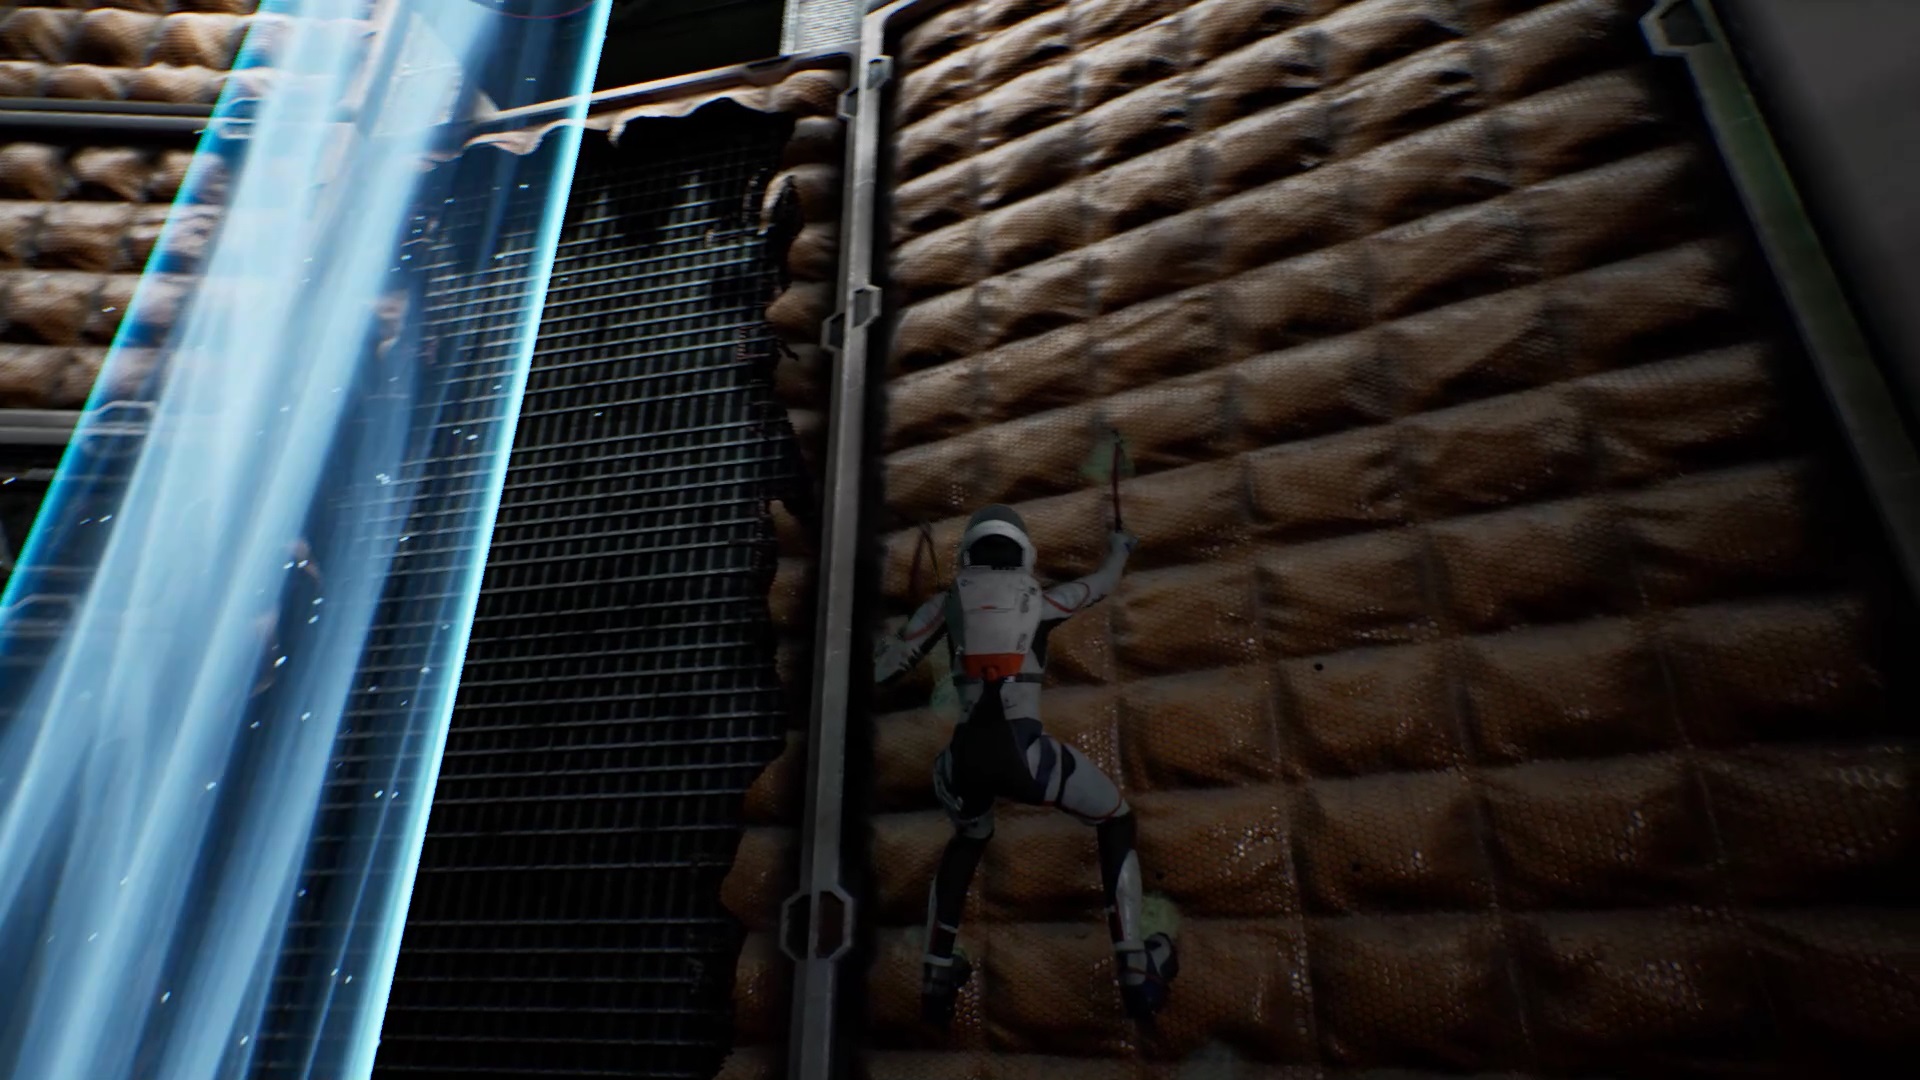
Back in the Ark, get on the freight elevator and activate it. Enter the crew quarters to find Ryan and Sarah. To understand what happened to the settlers, speak with Sarah and then Ryan. Finally, analyze the bodies under the rubble facing Ryan.
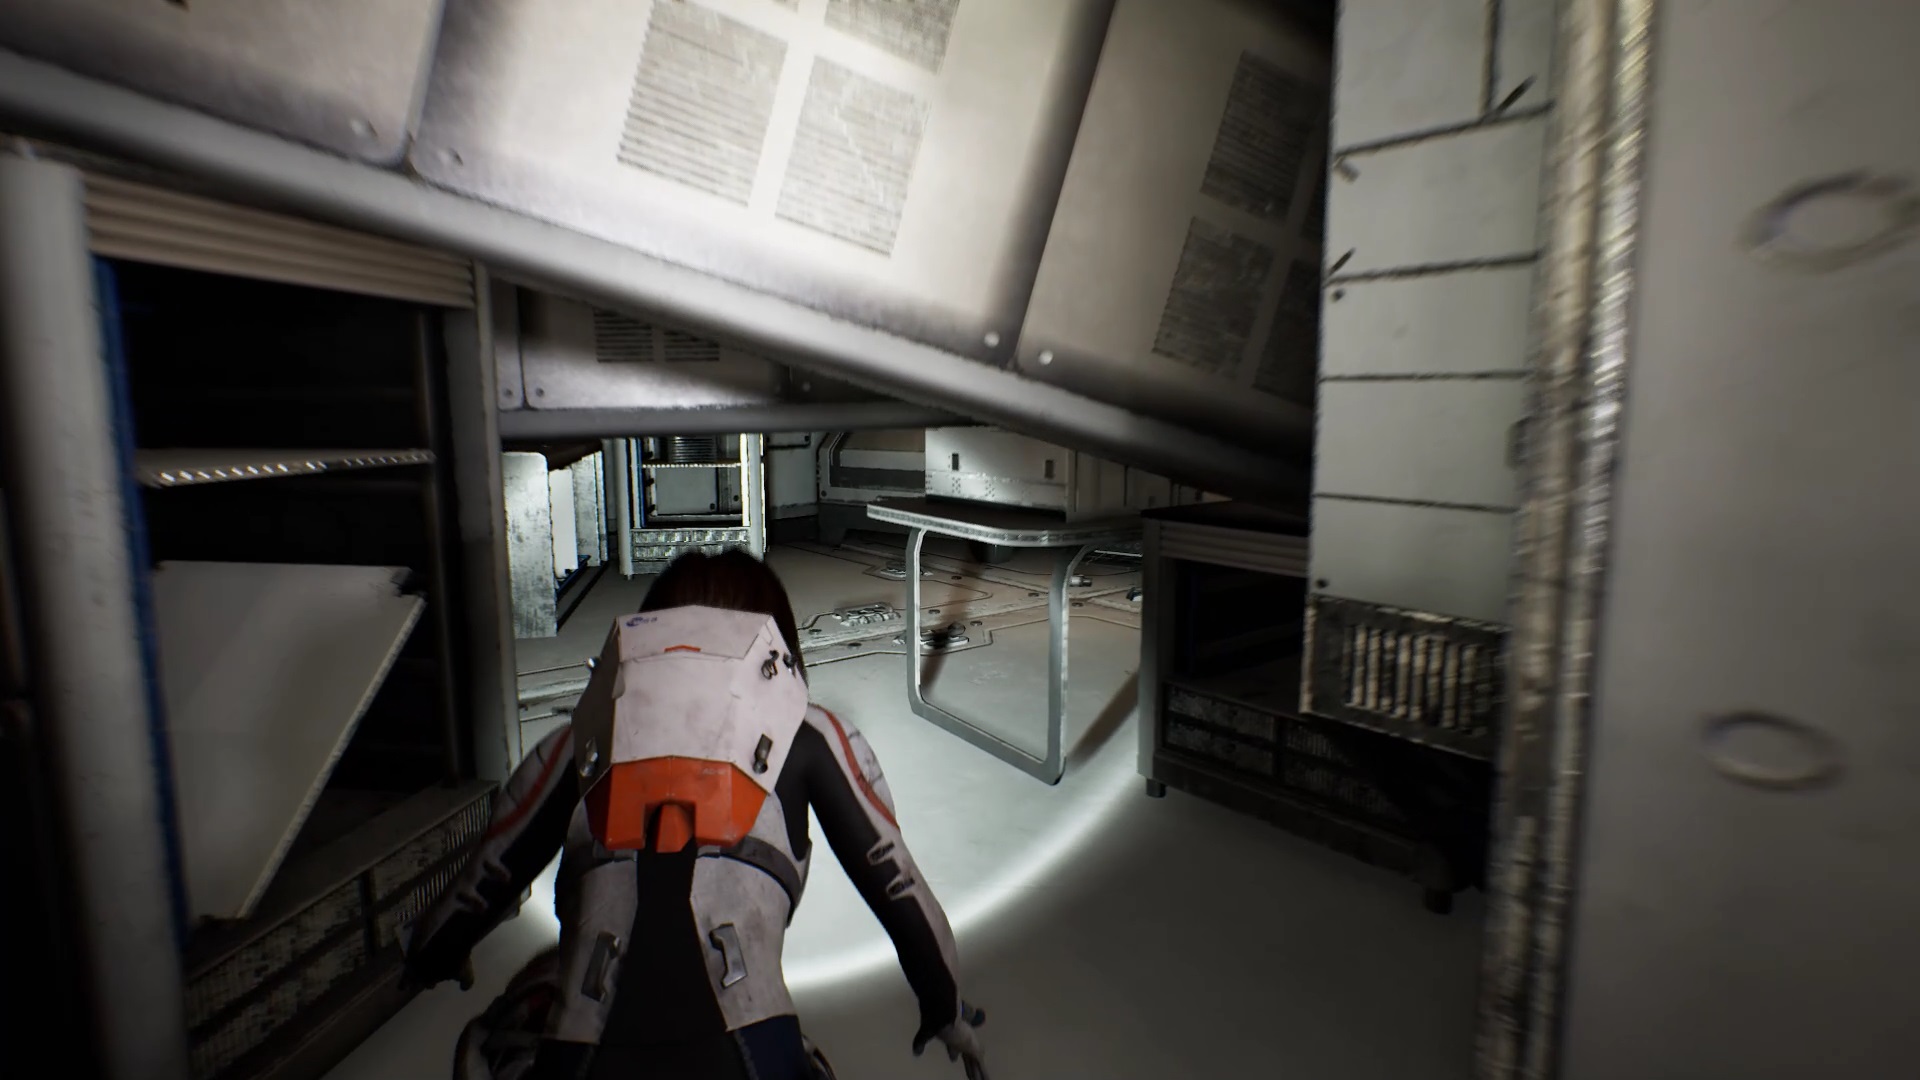
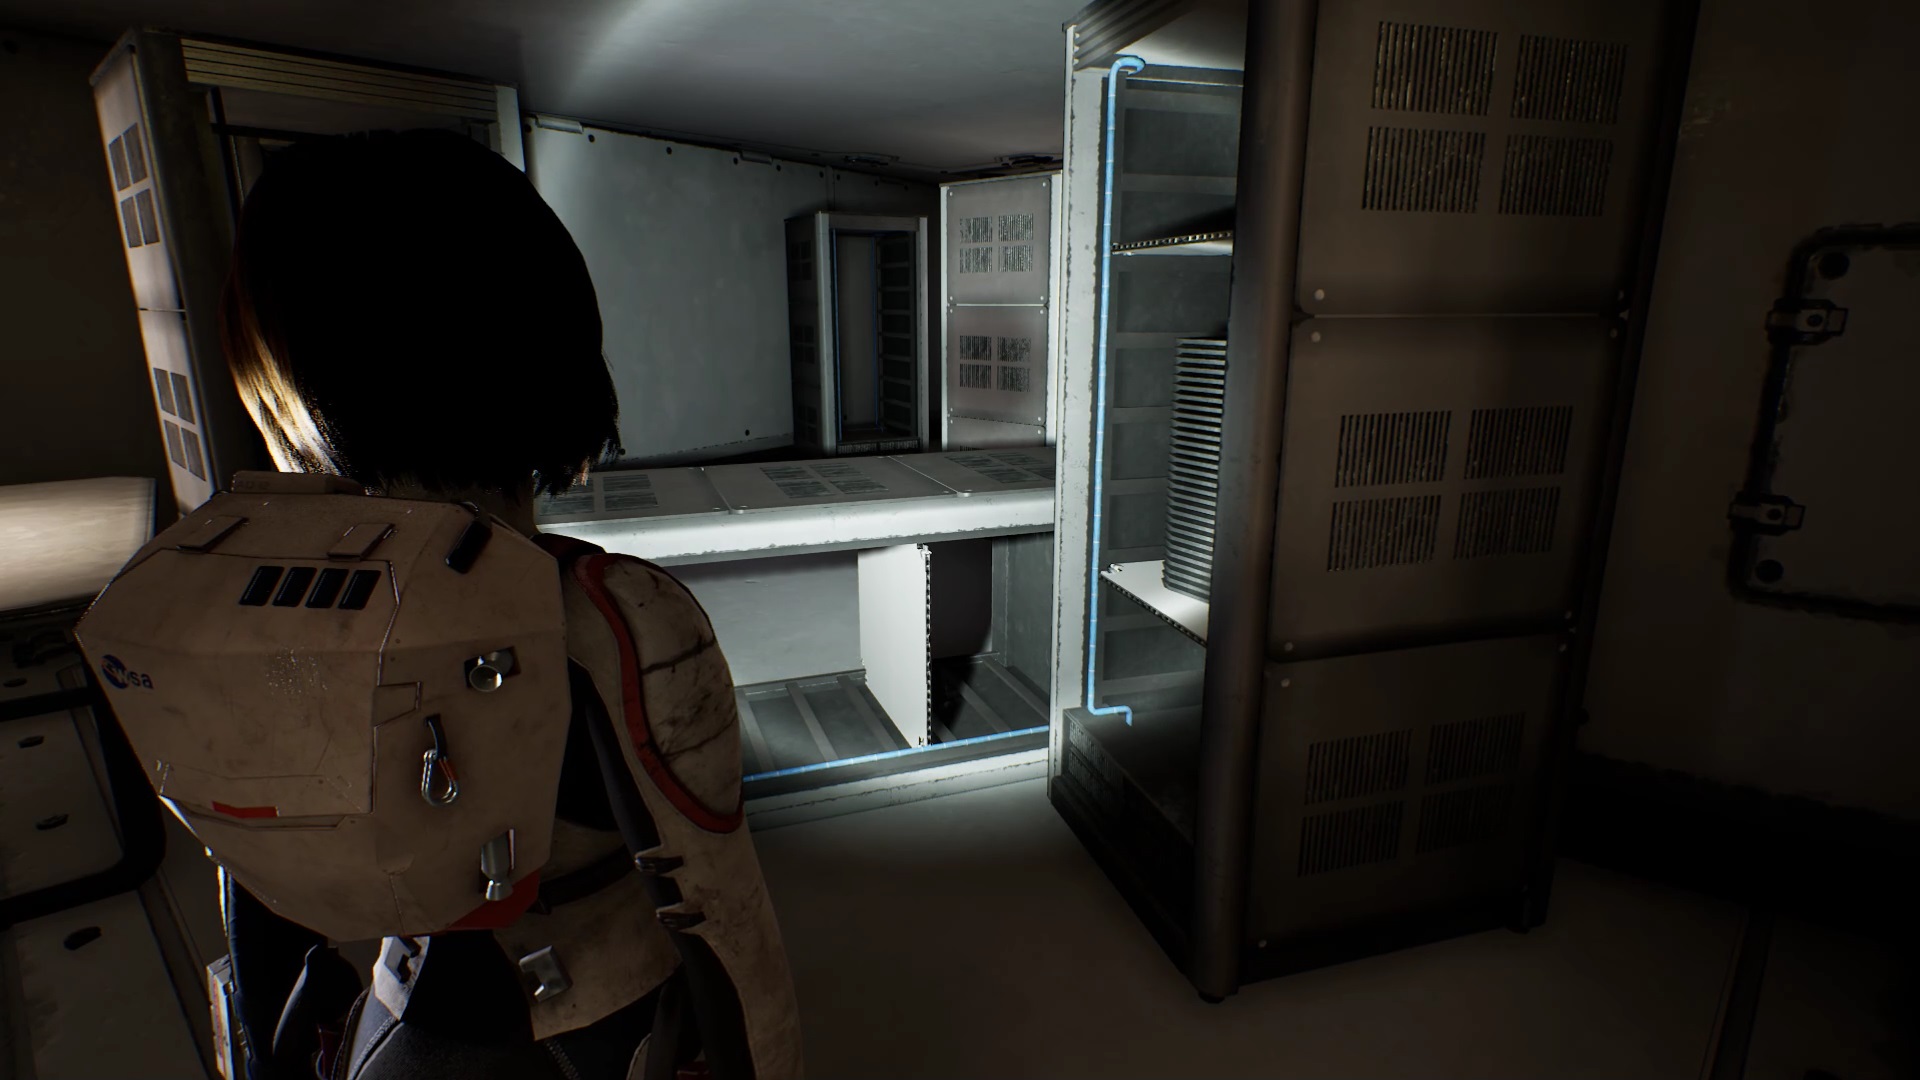
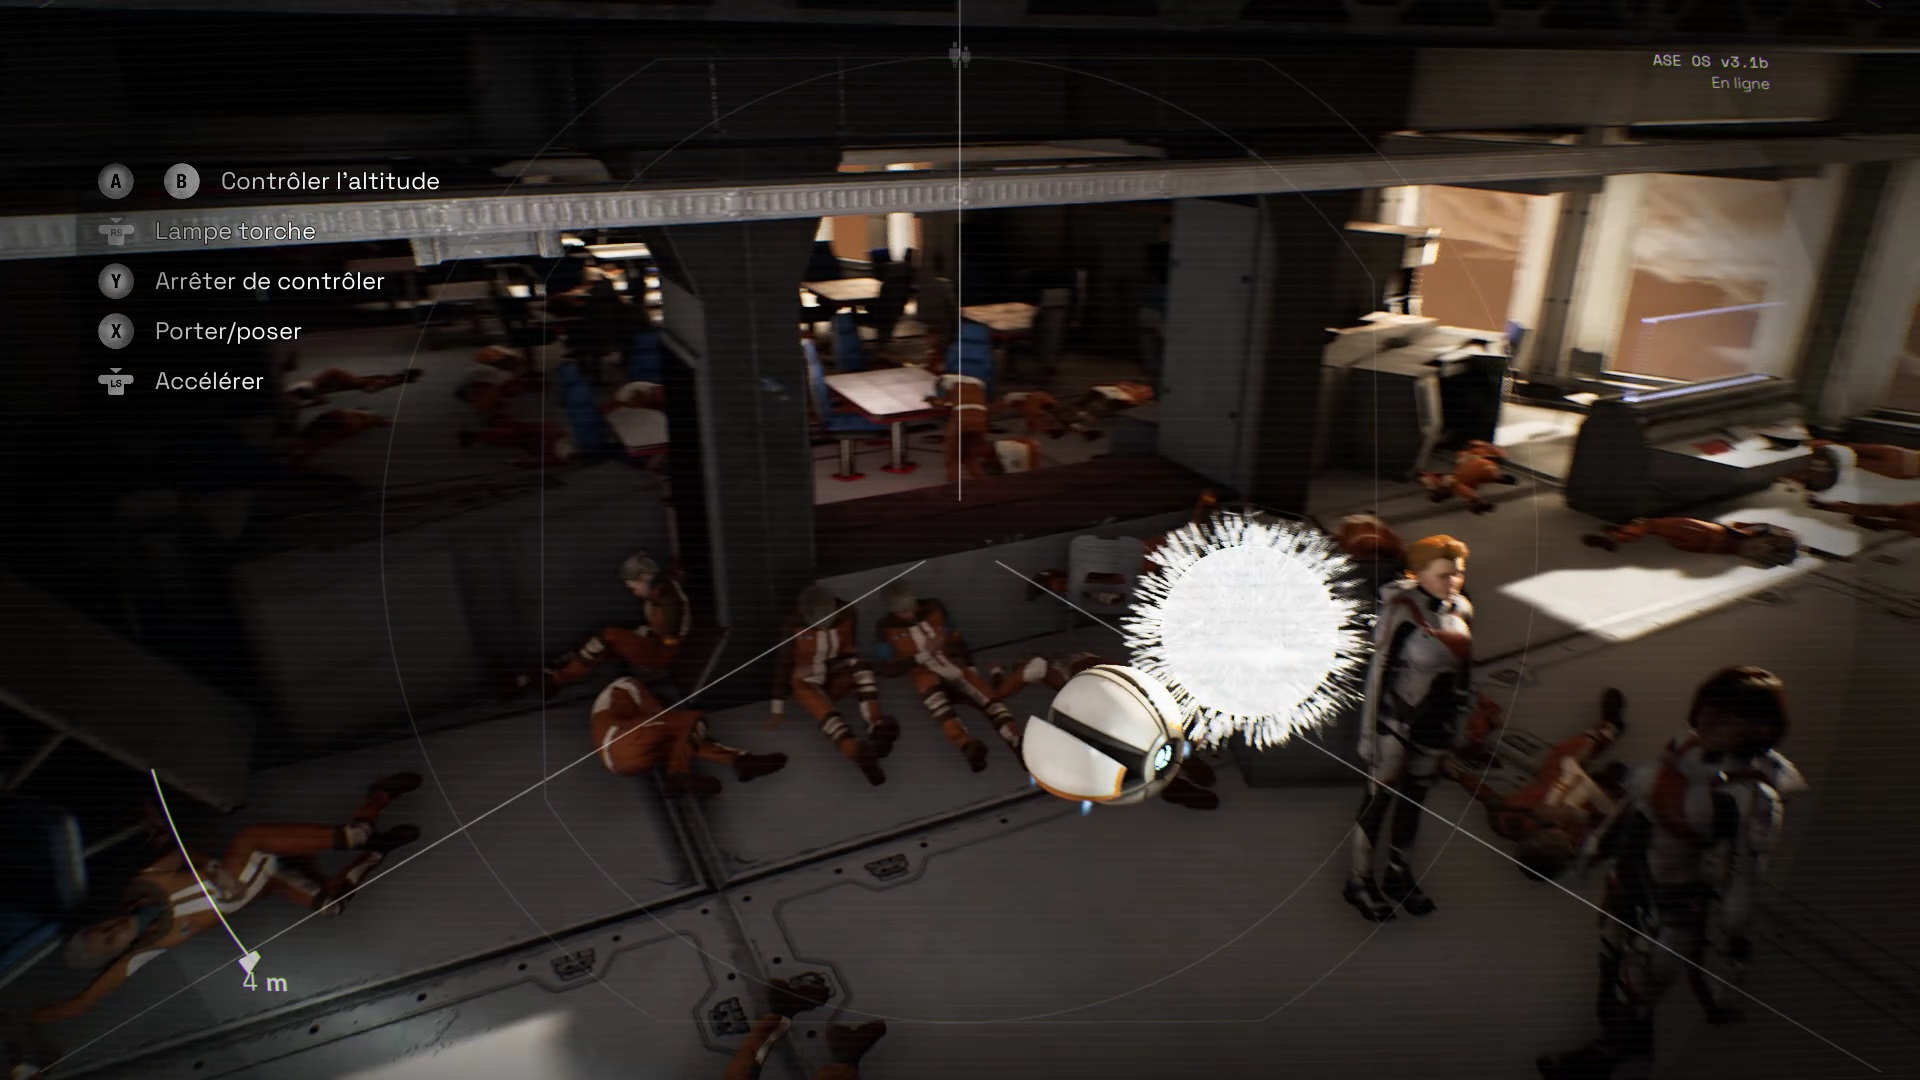
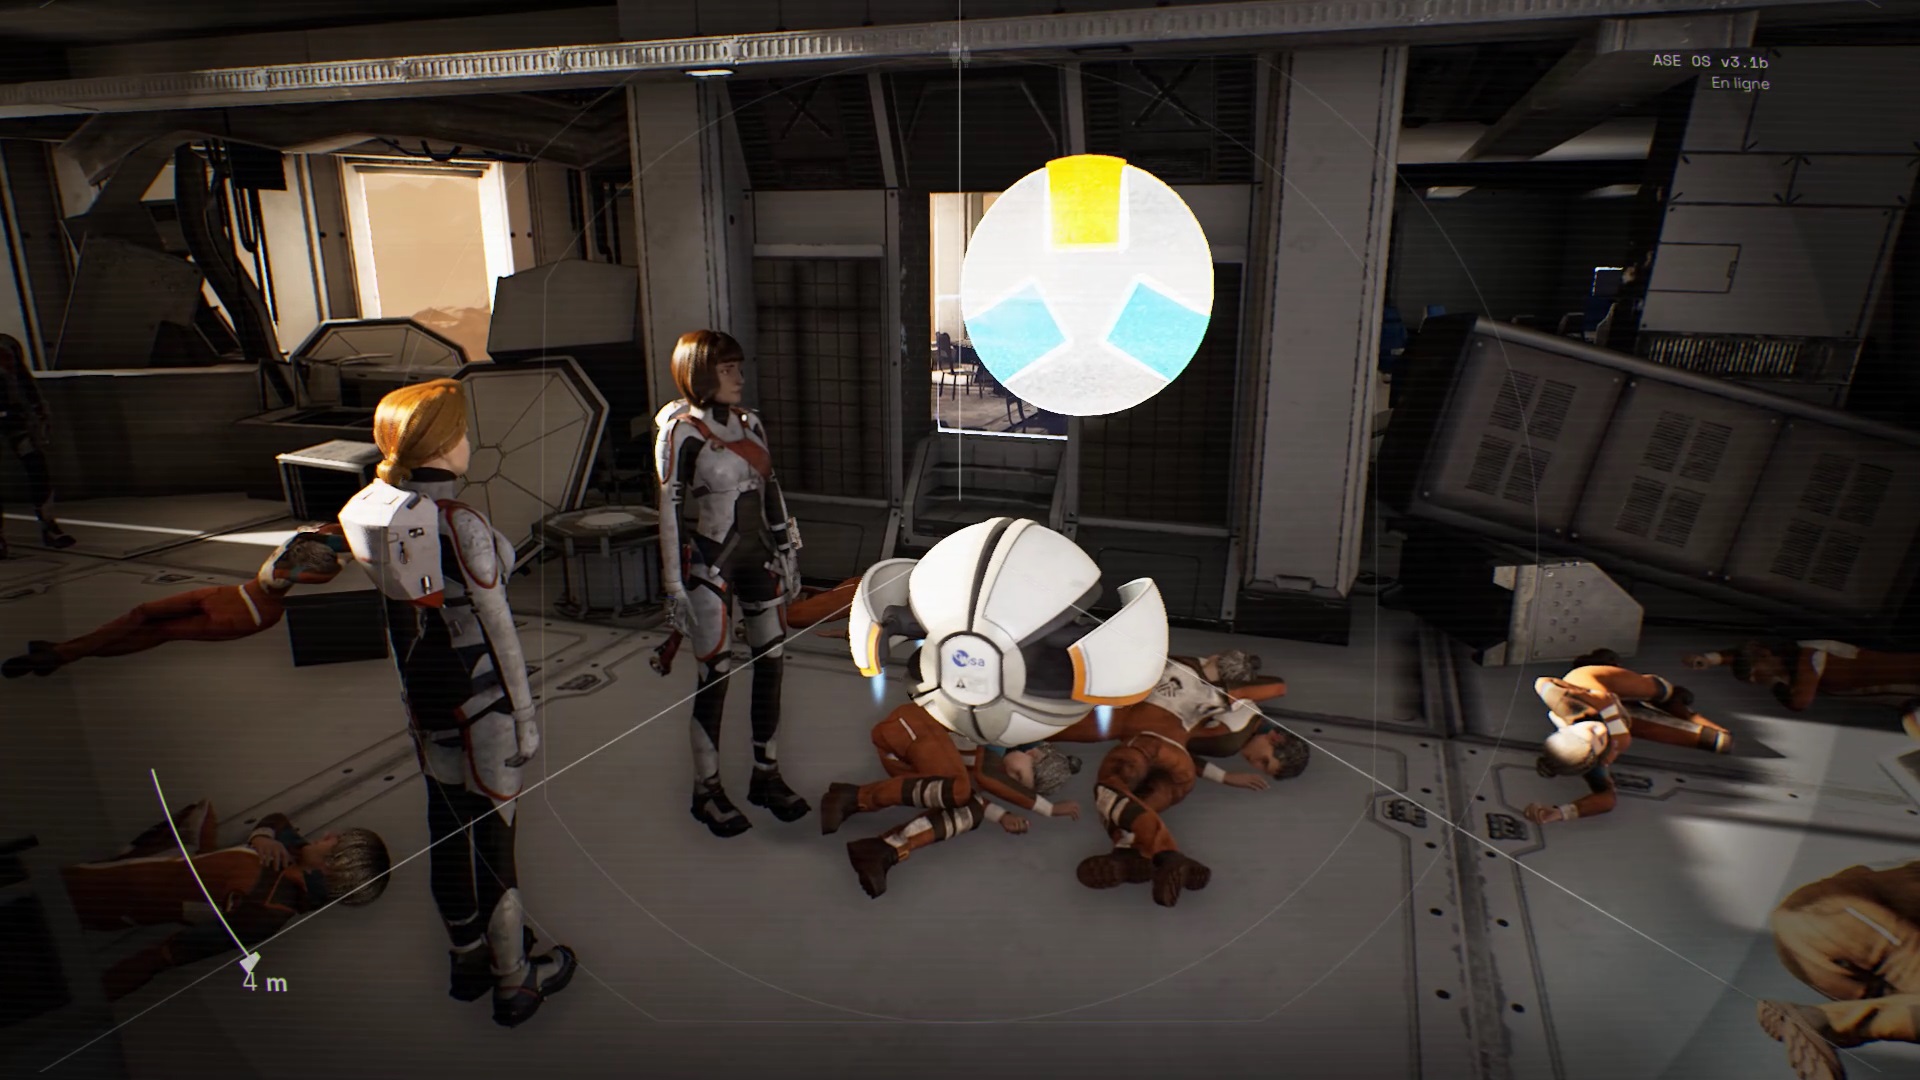
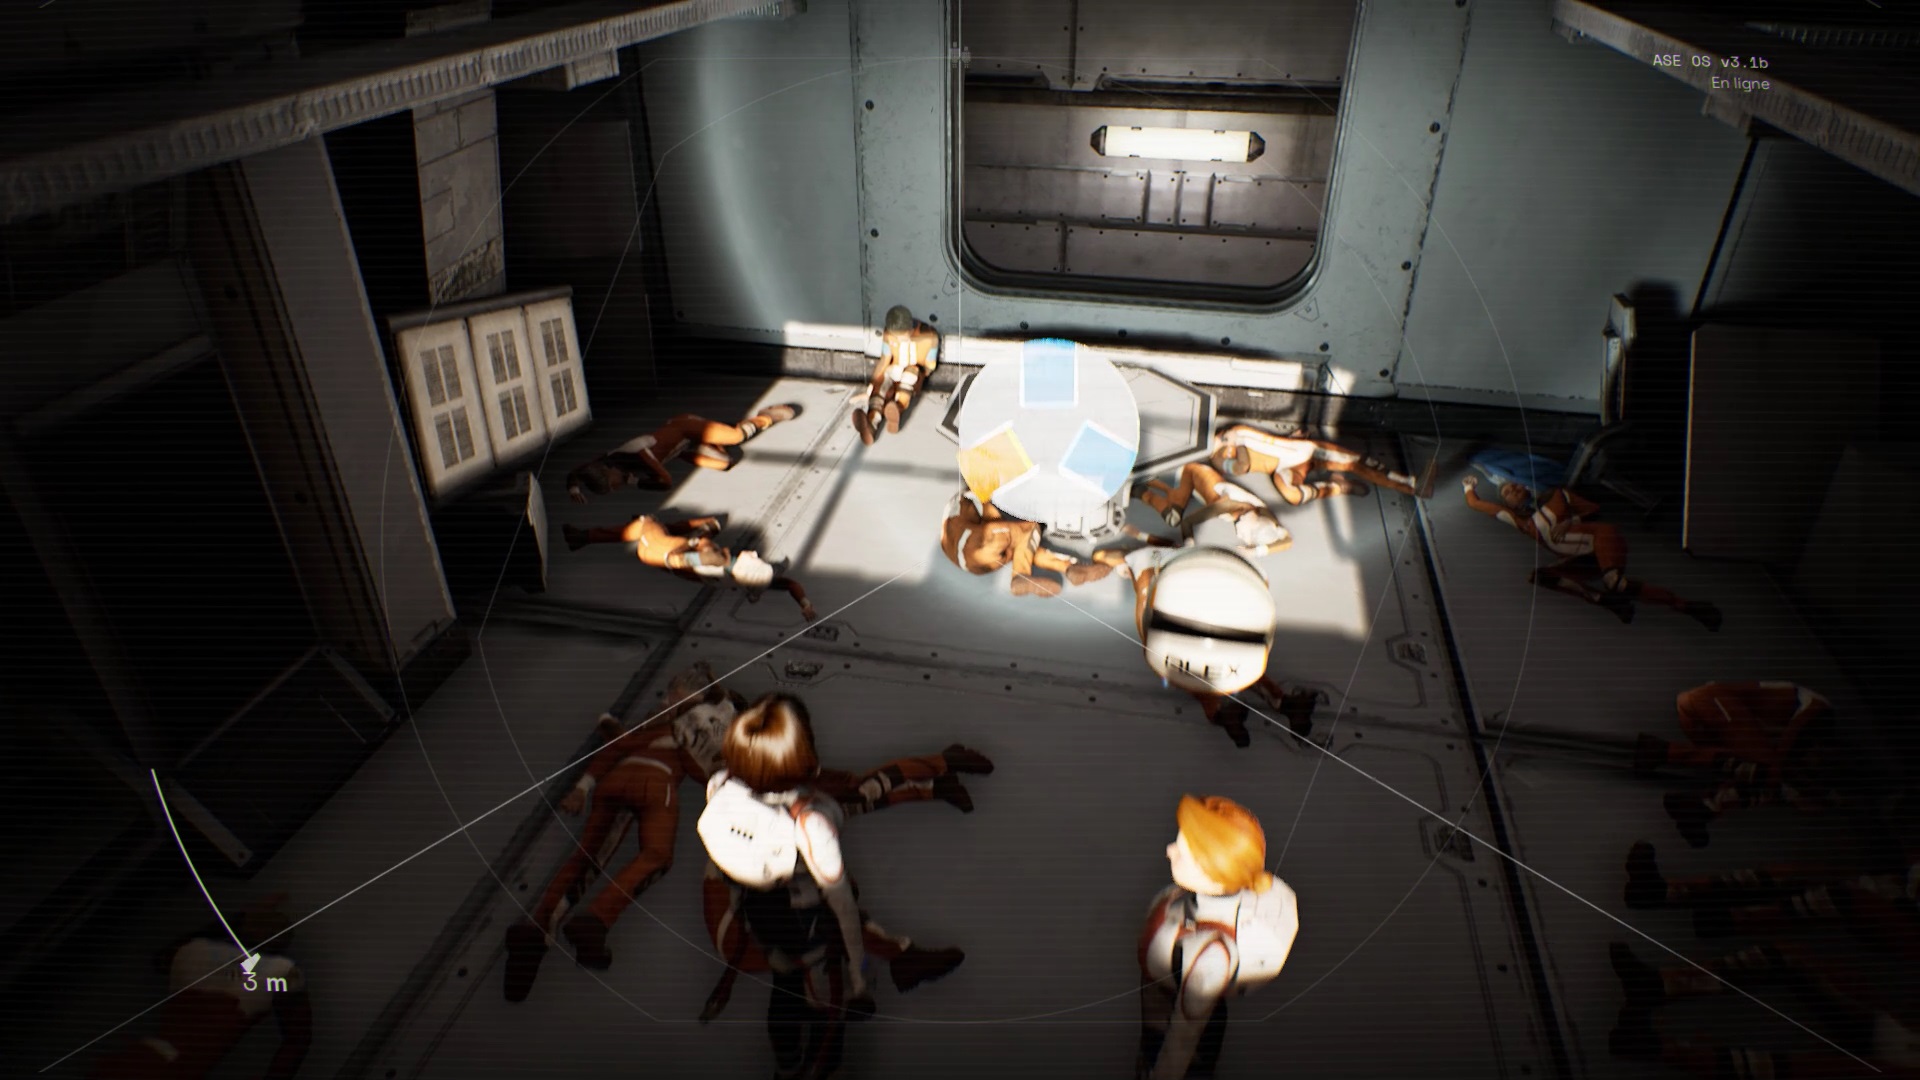
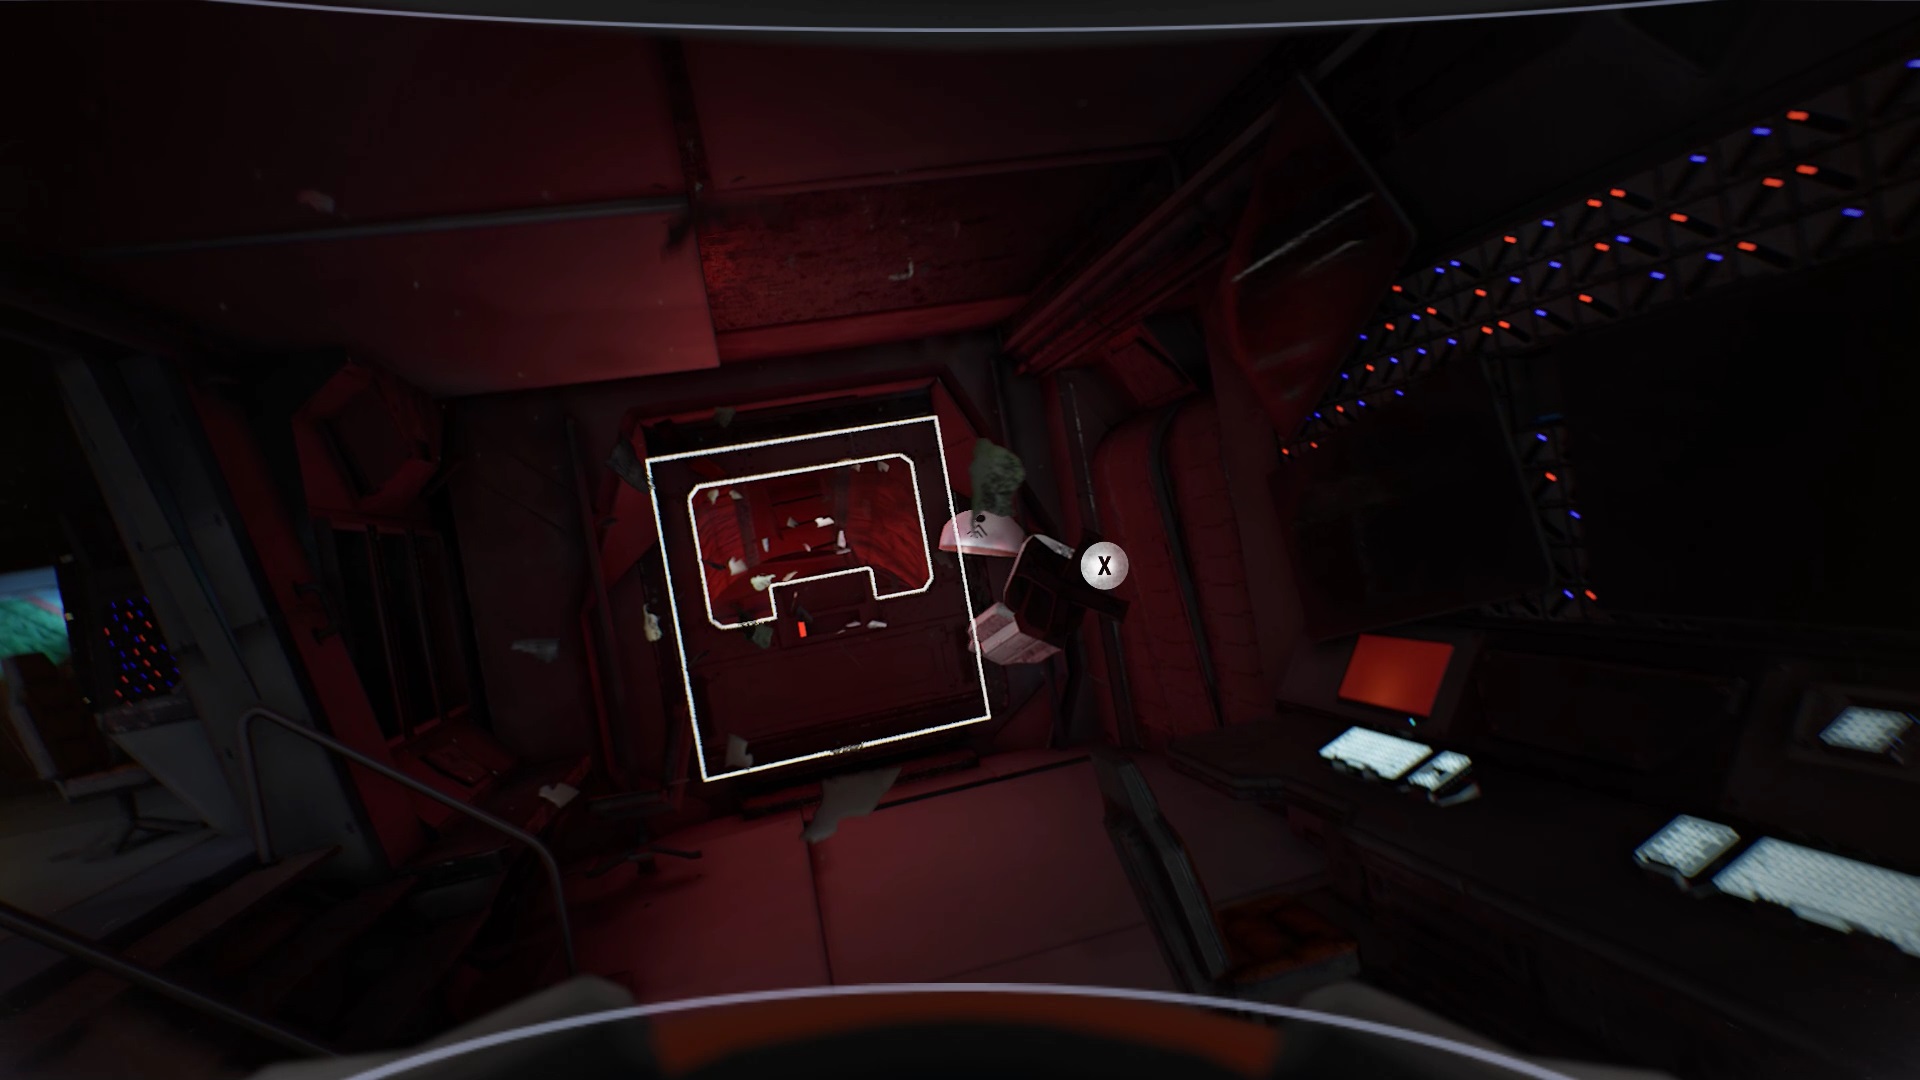
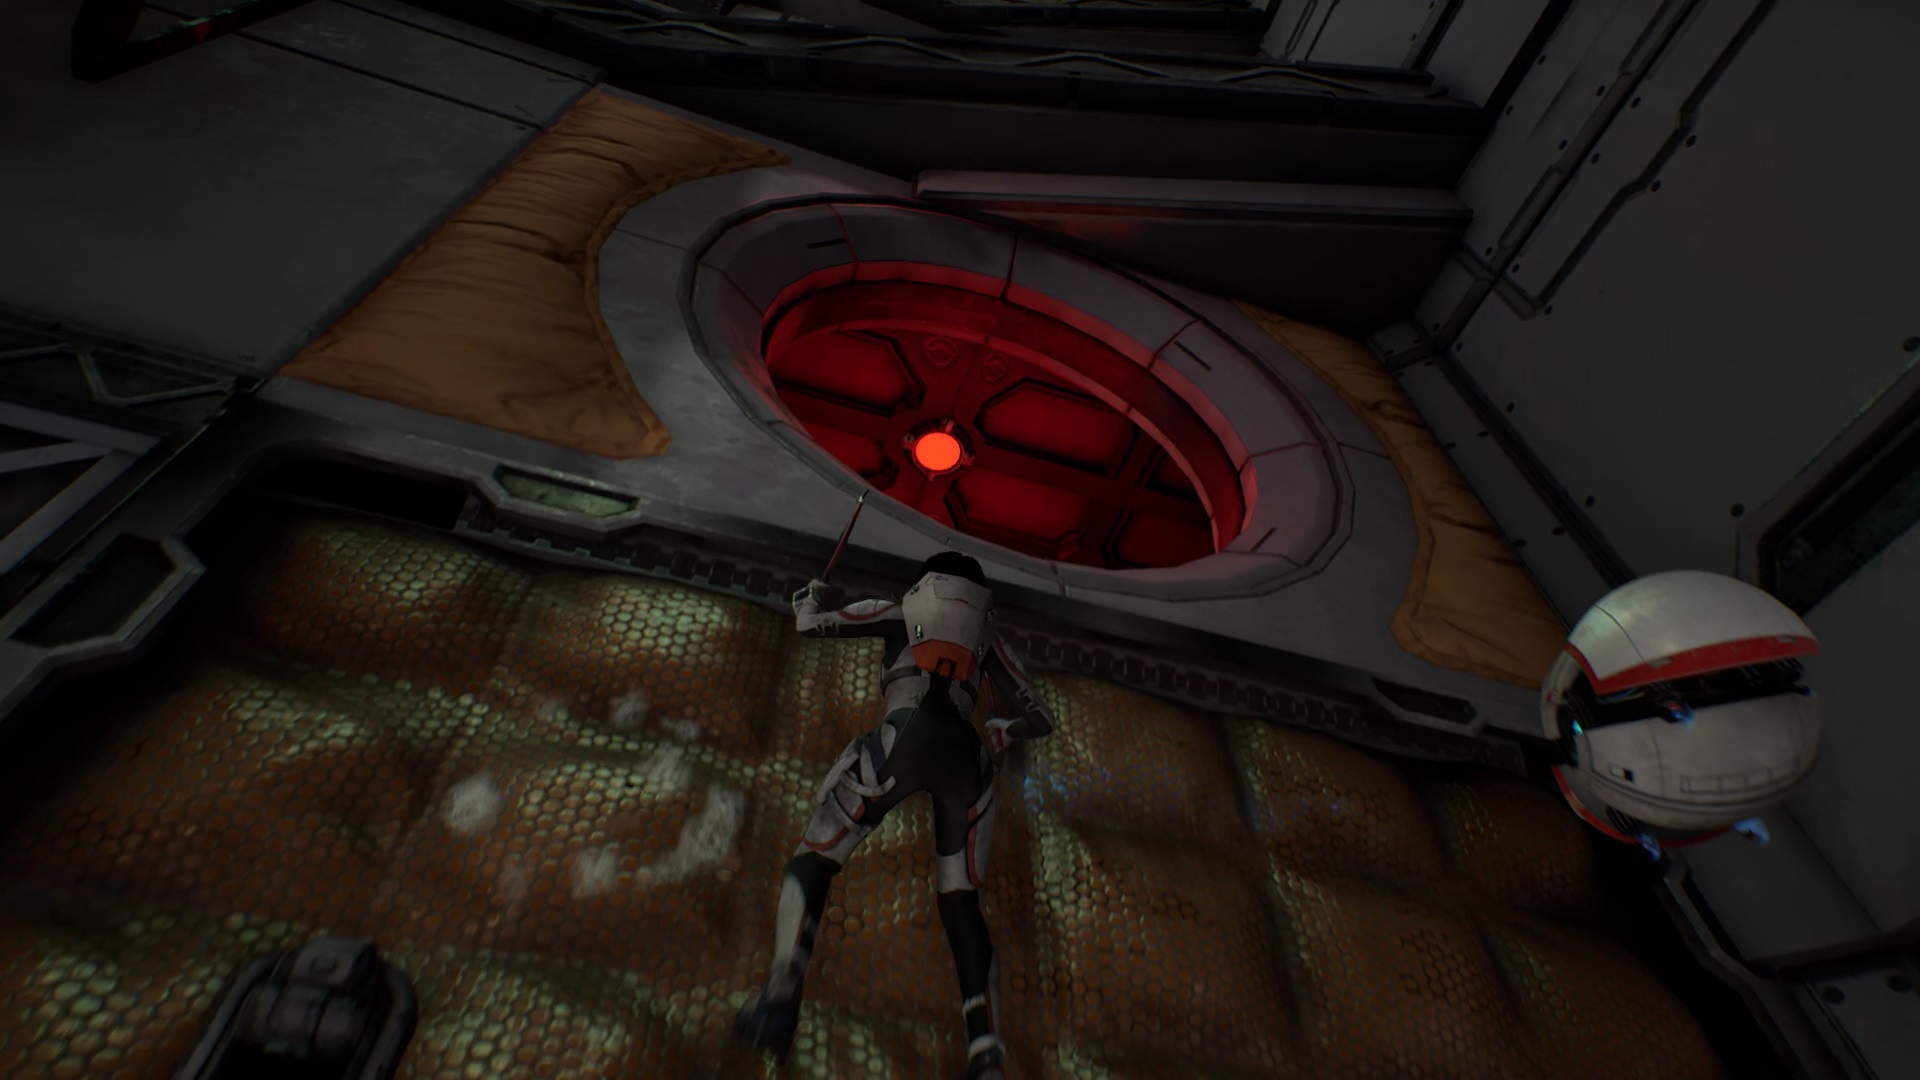
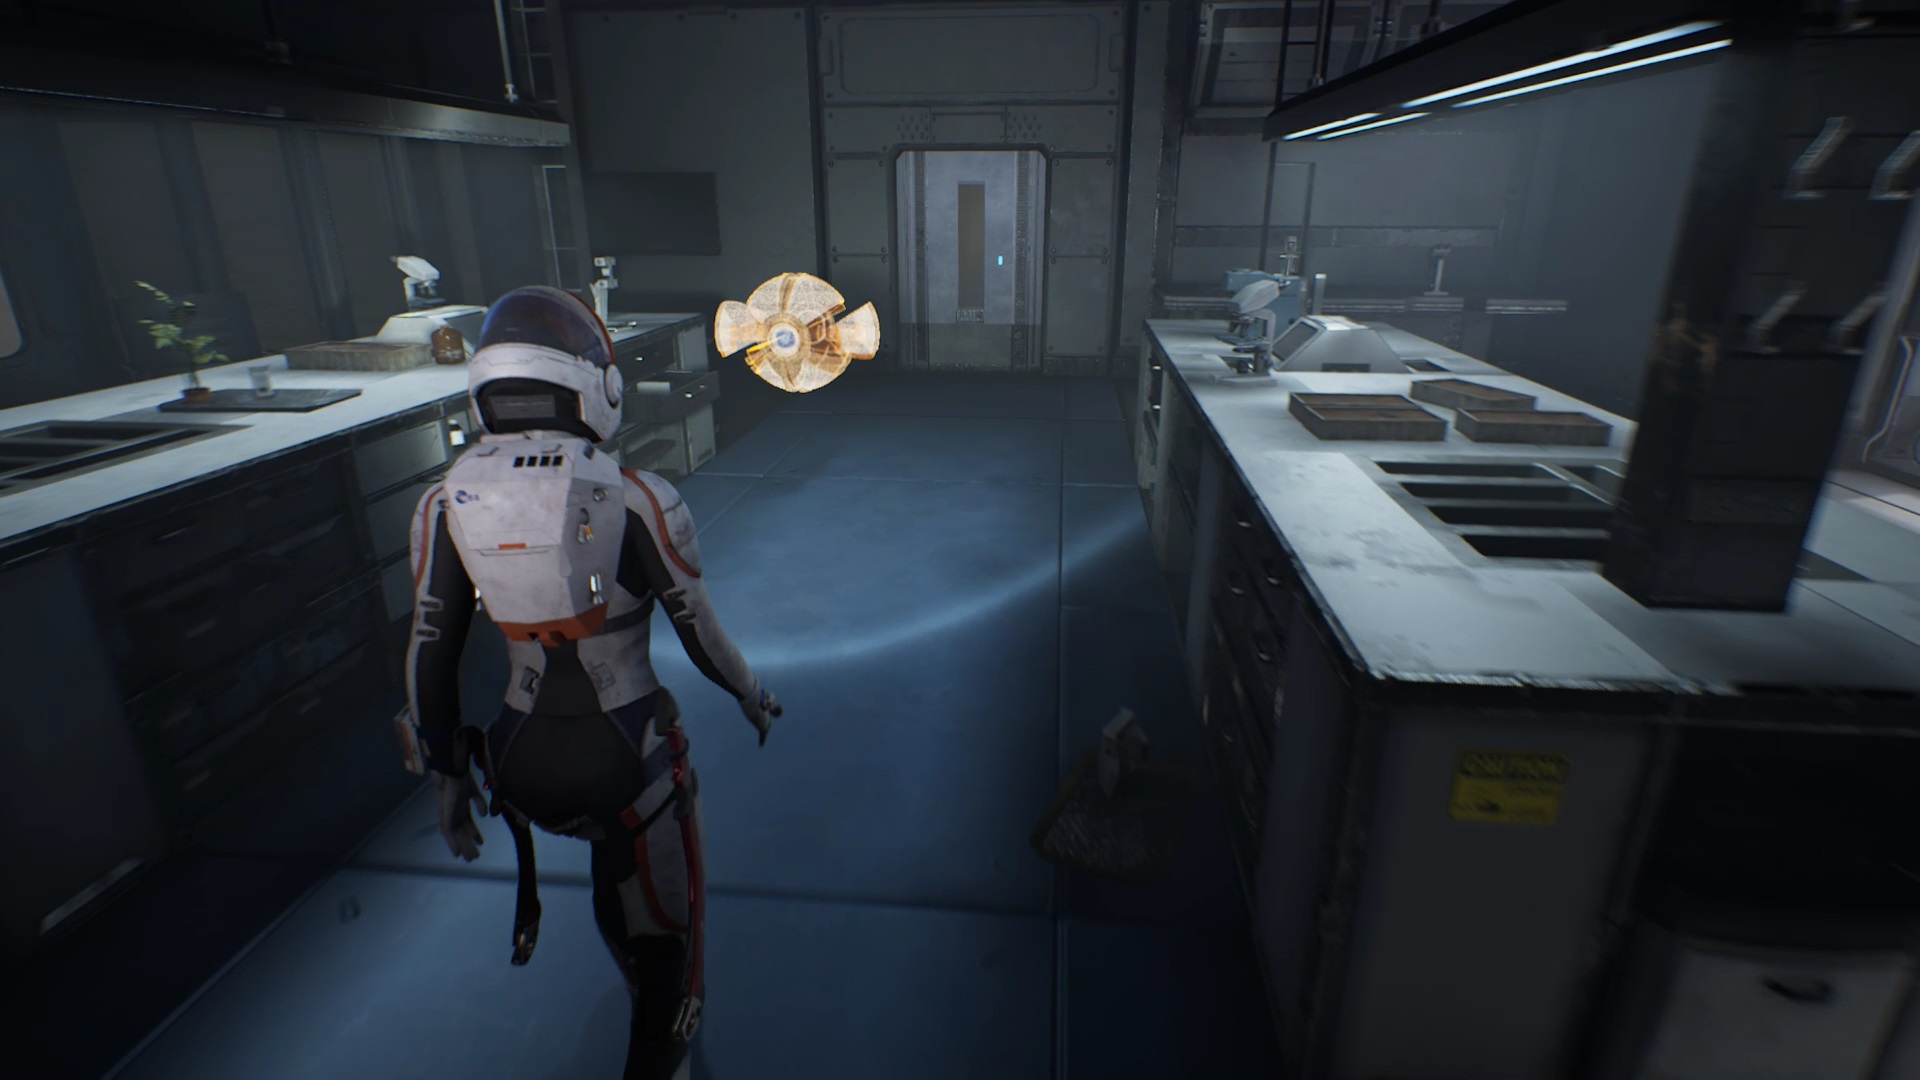
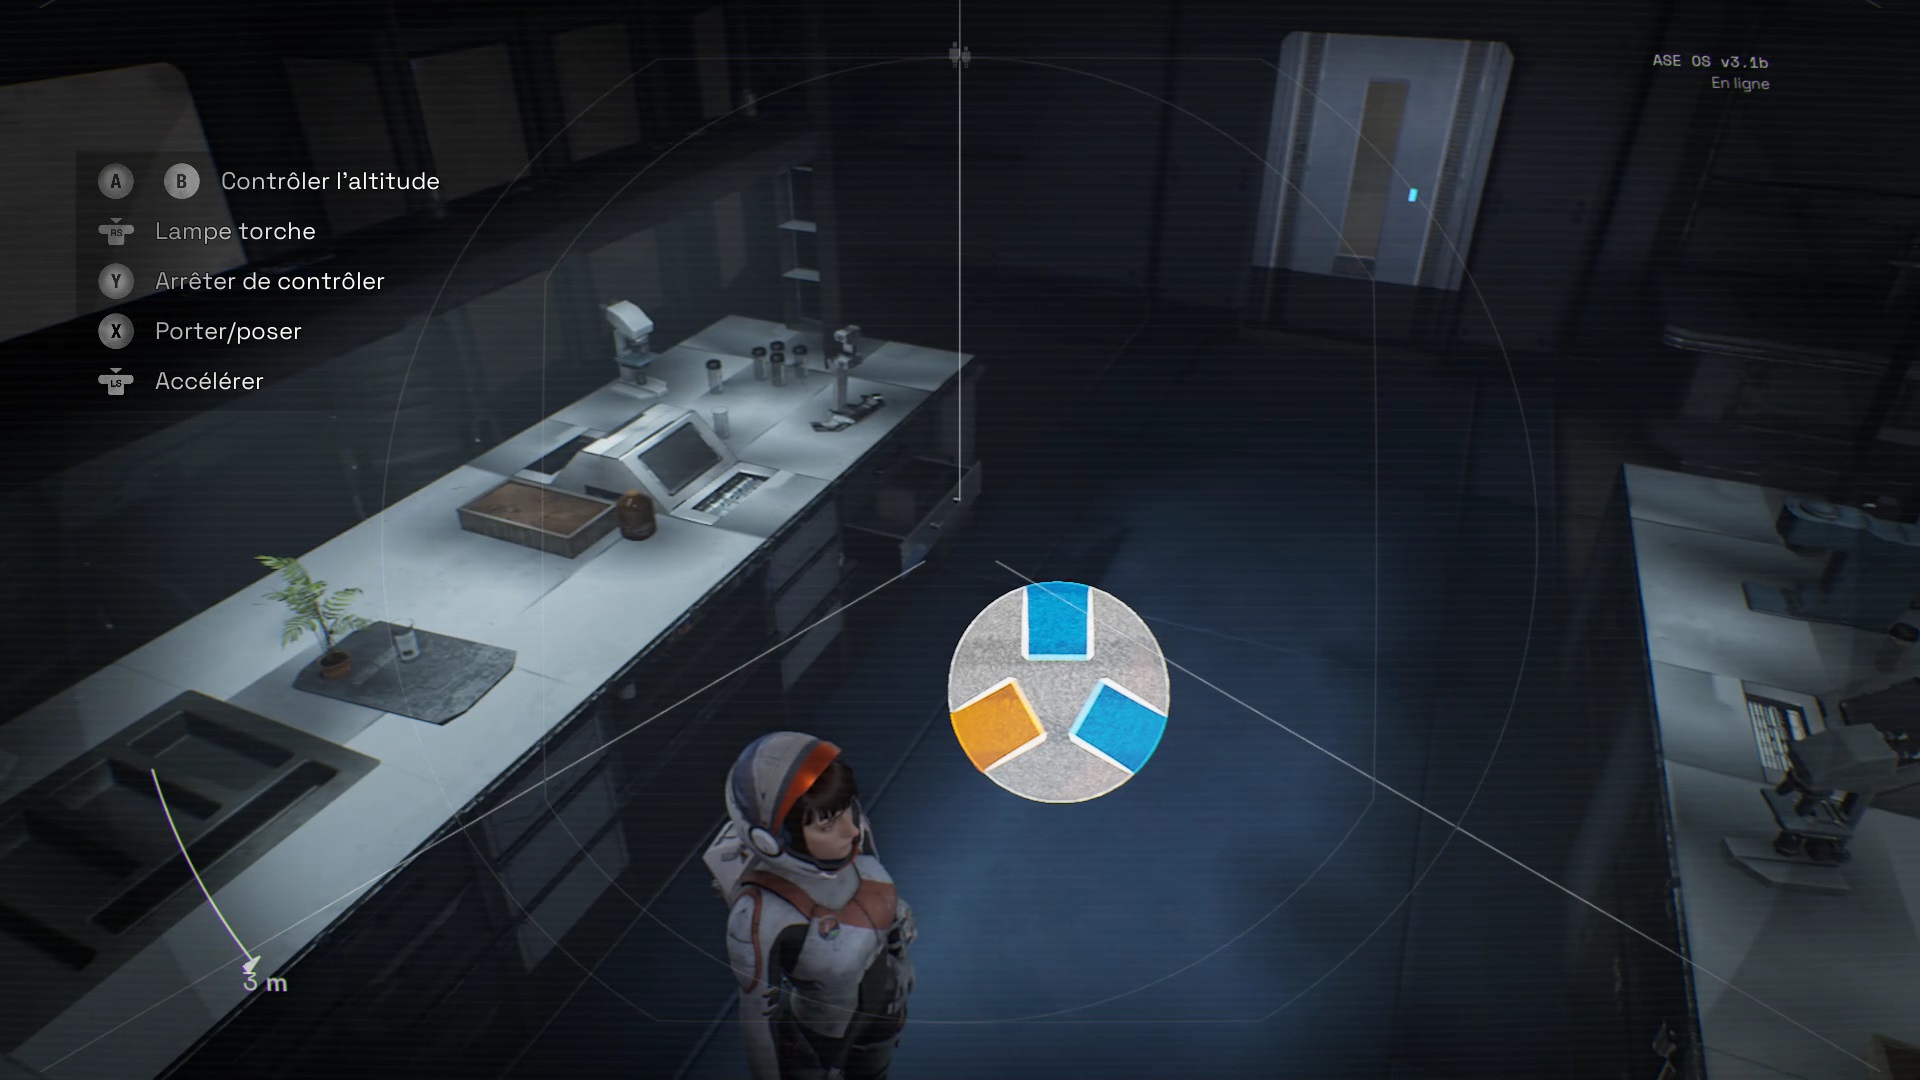
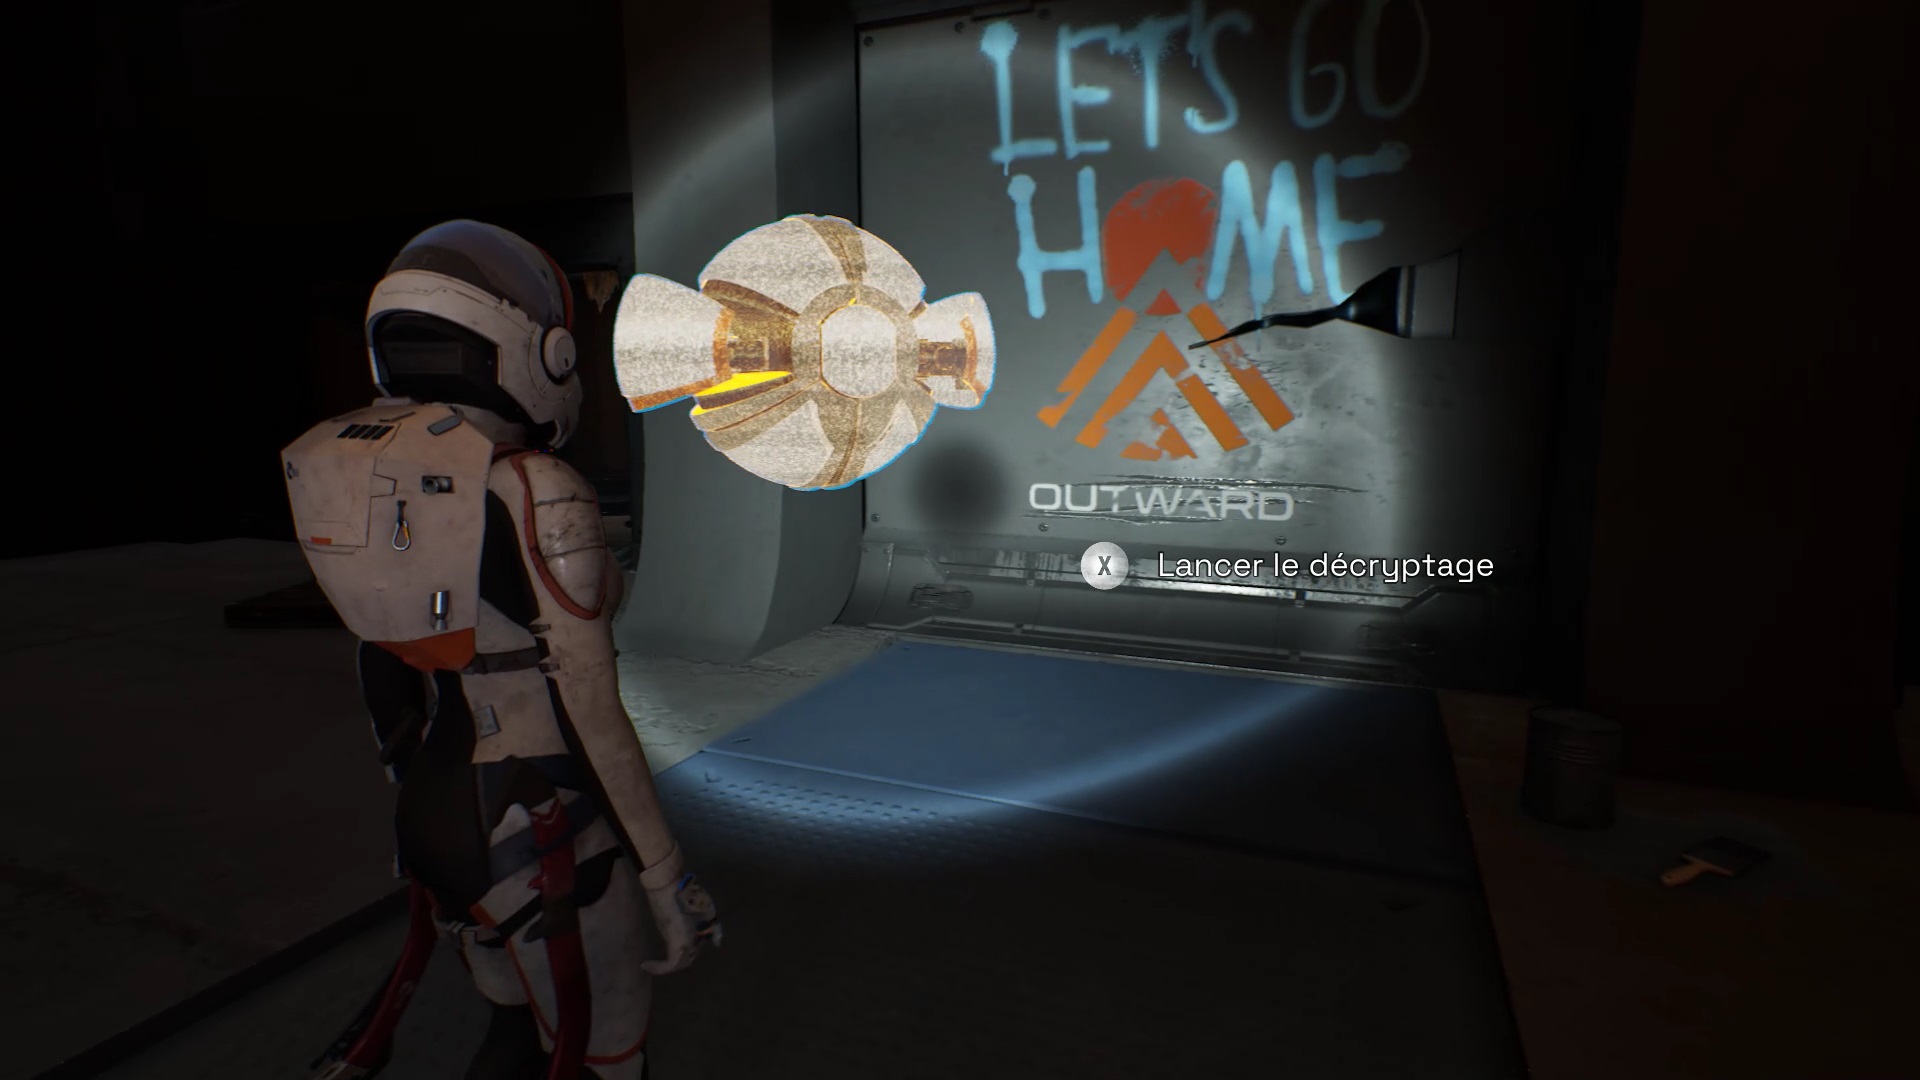
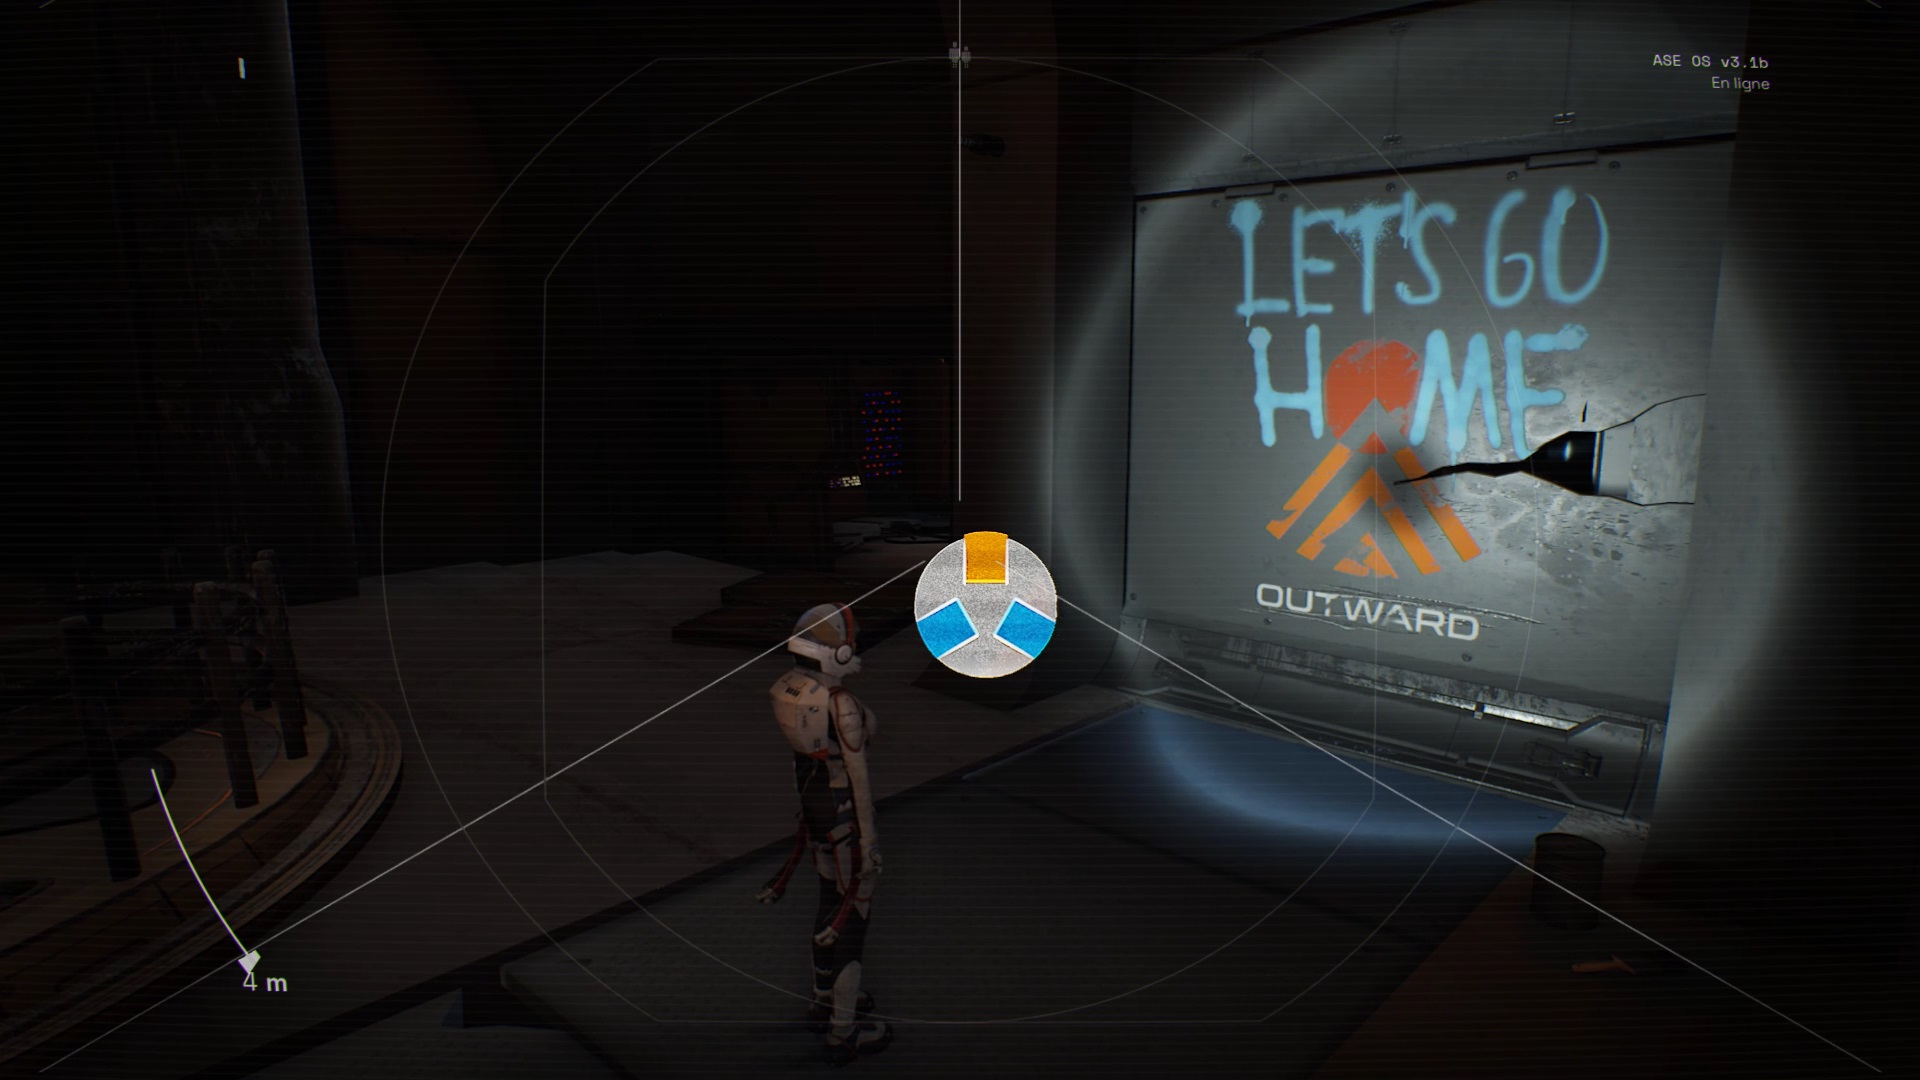
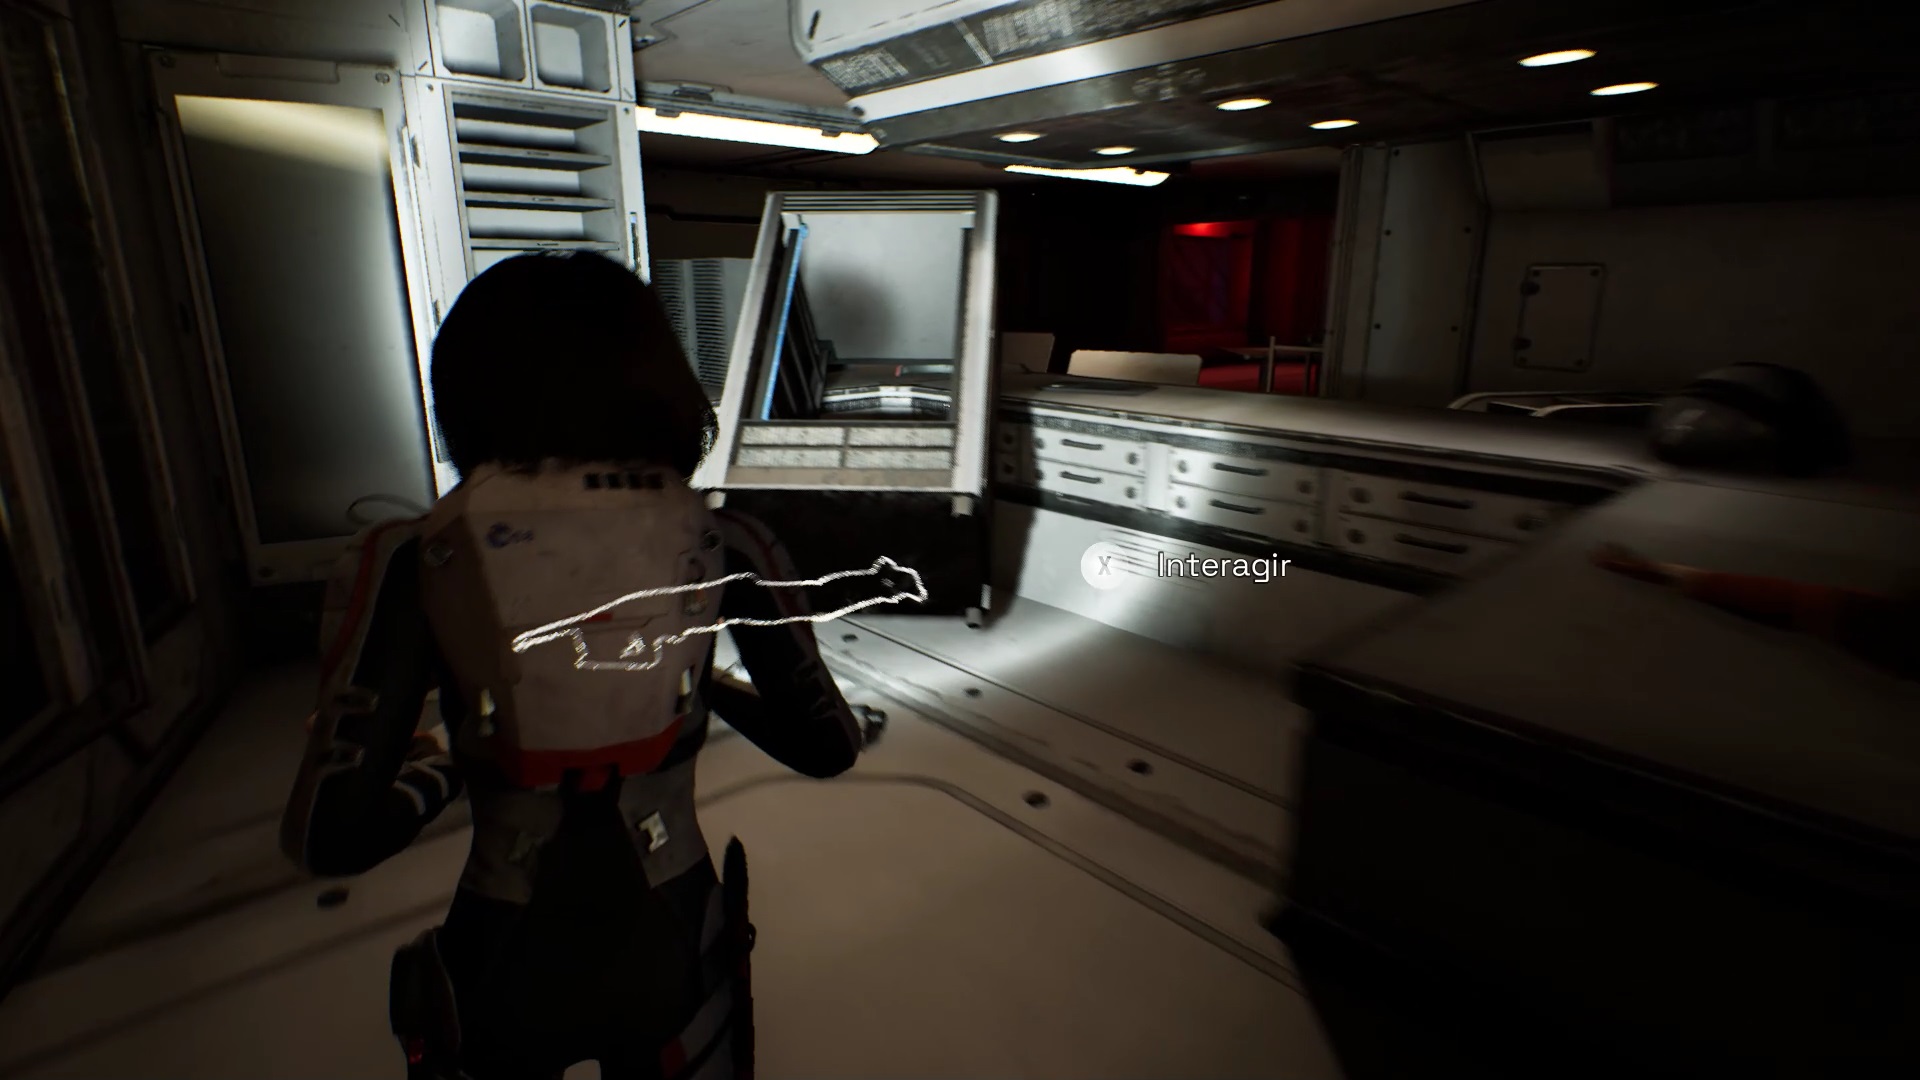
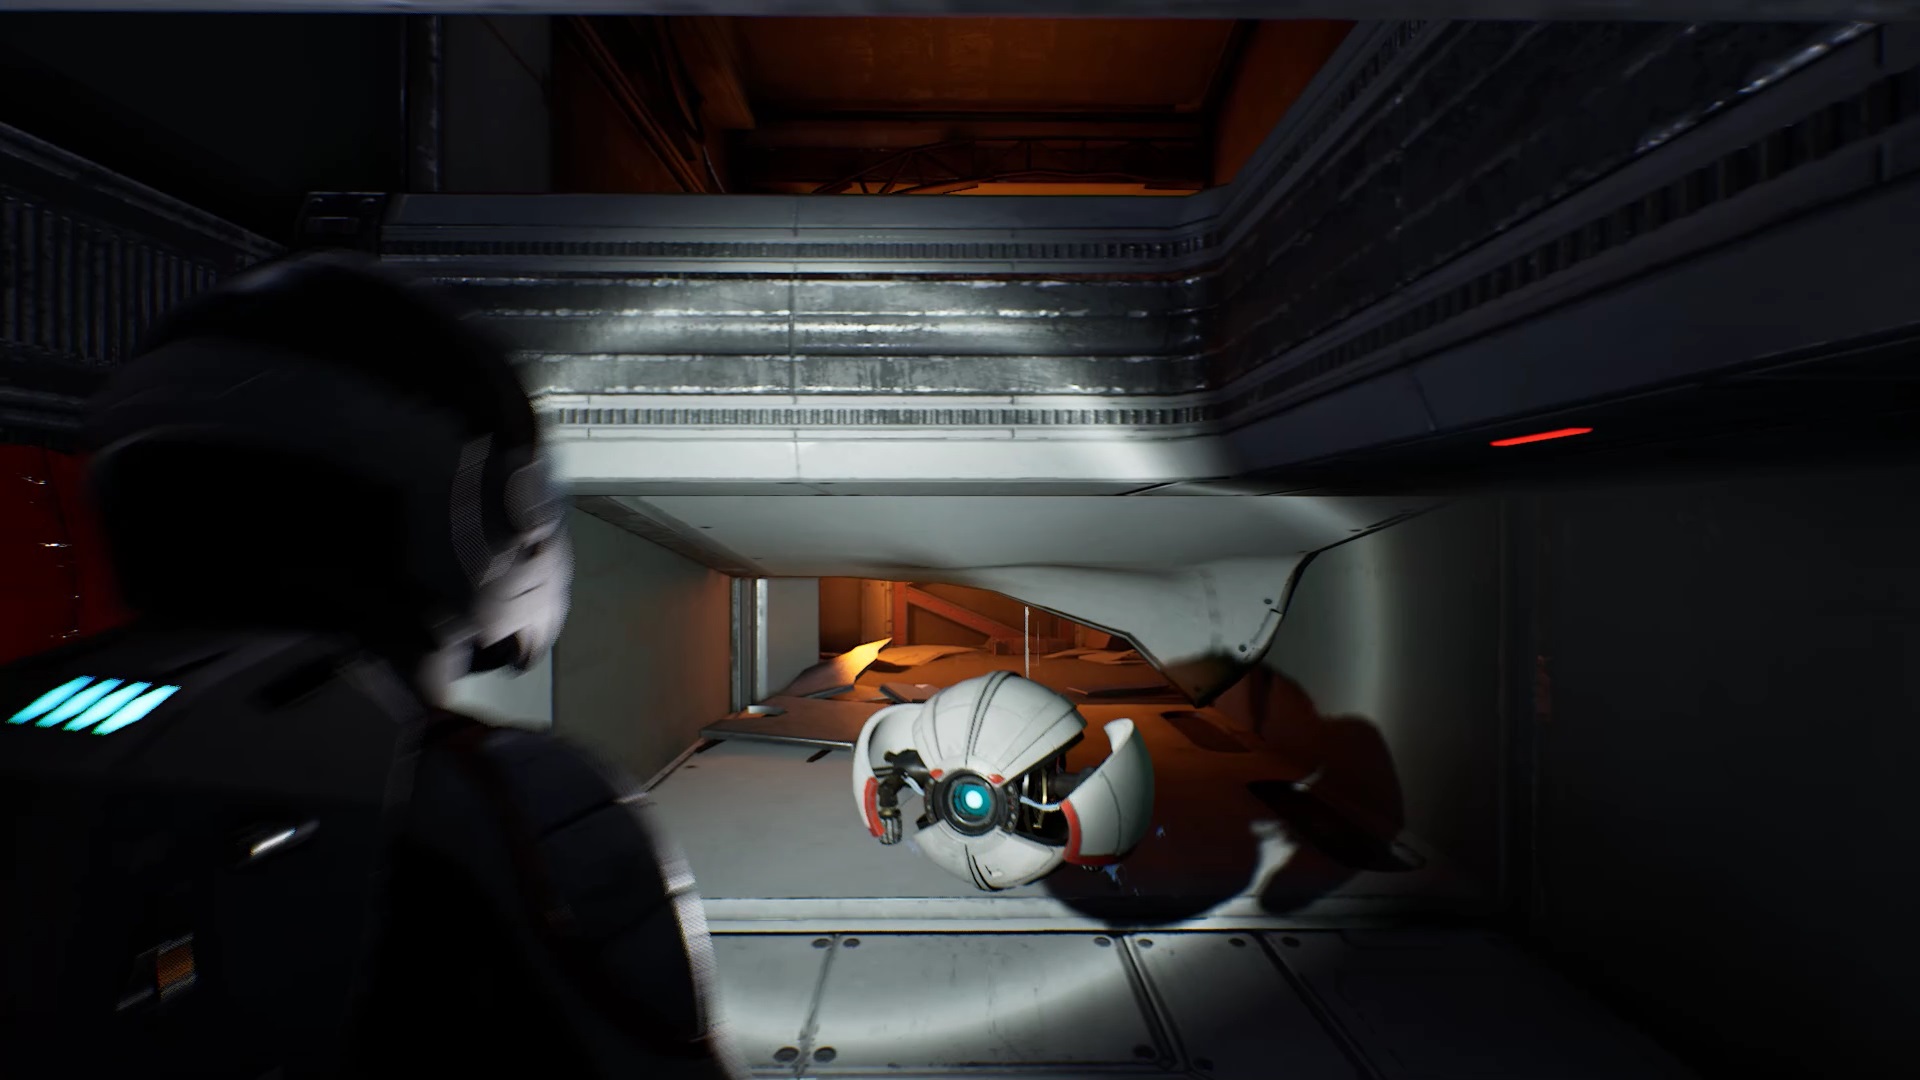
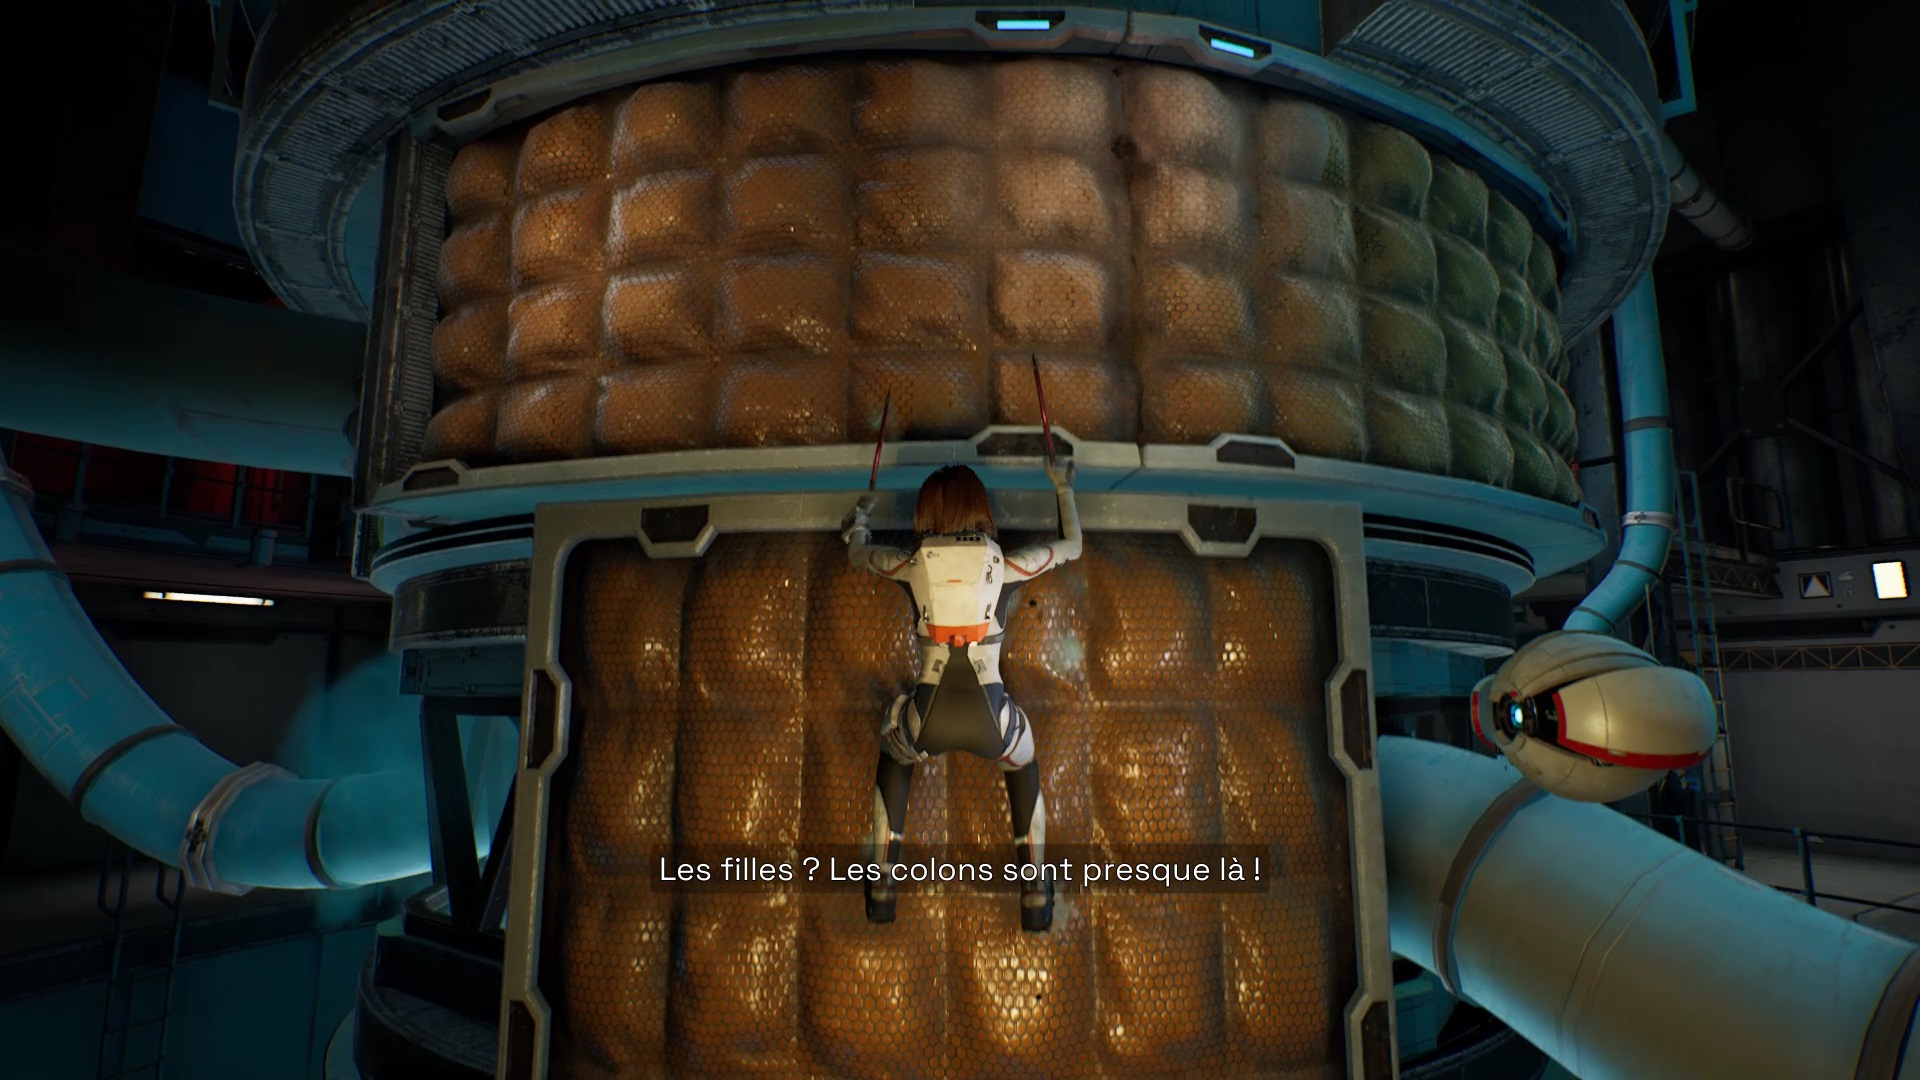
Keep exploring the area. Get down and go under the furniture. You hear the sound of Ase, a robot. Jump over cabinets to follow the robot and trigger a cutscene. Sarah asks you to decrypt the hologram. Align the ends by positioning yourself as in the images above.
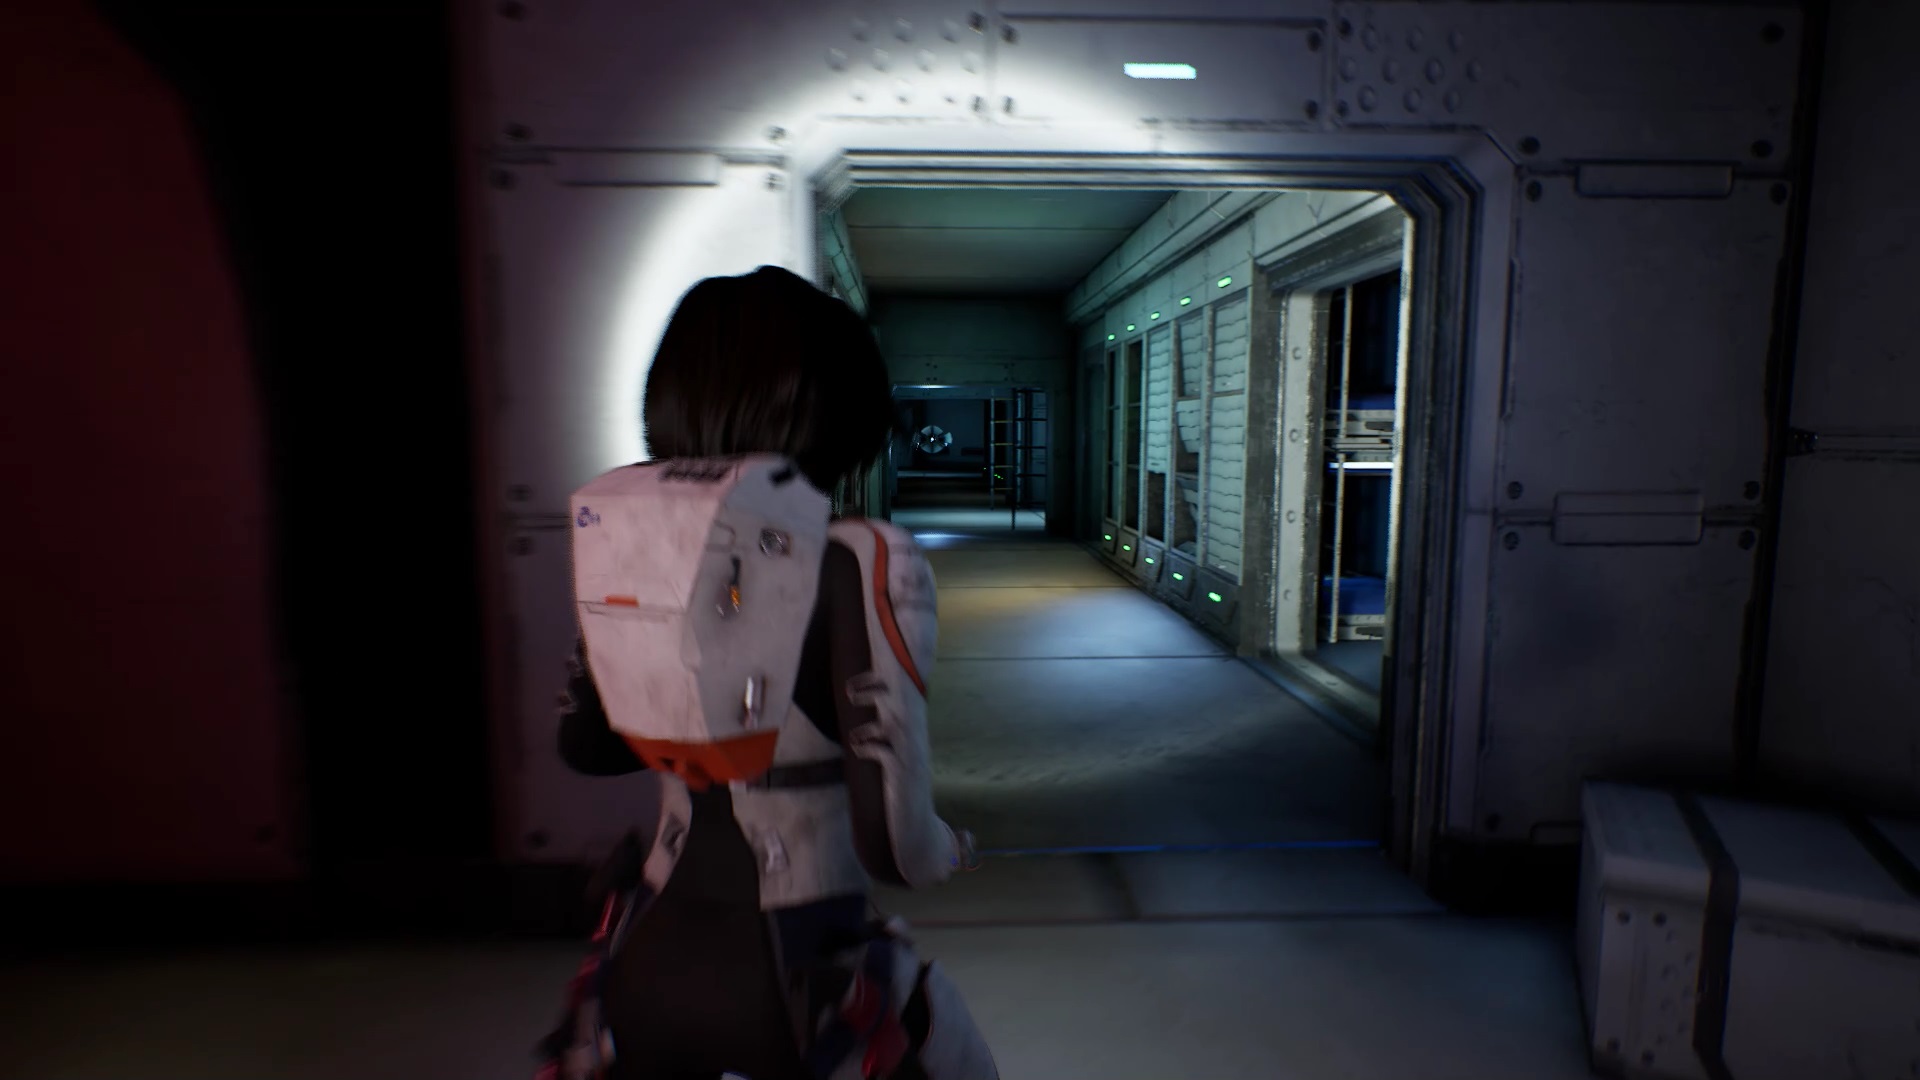
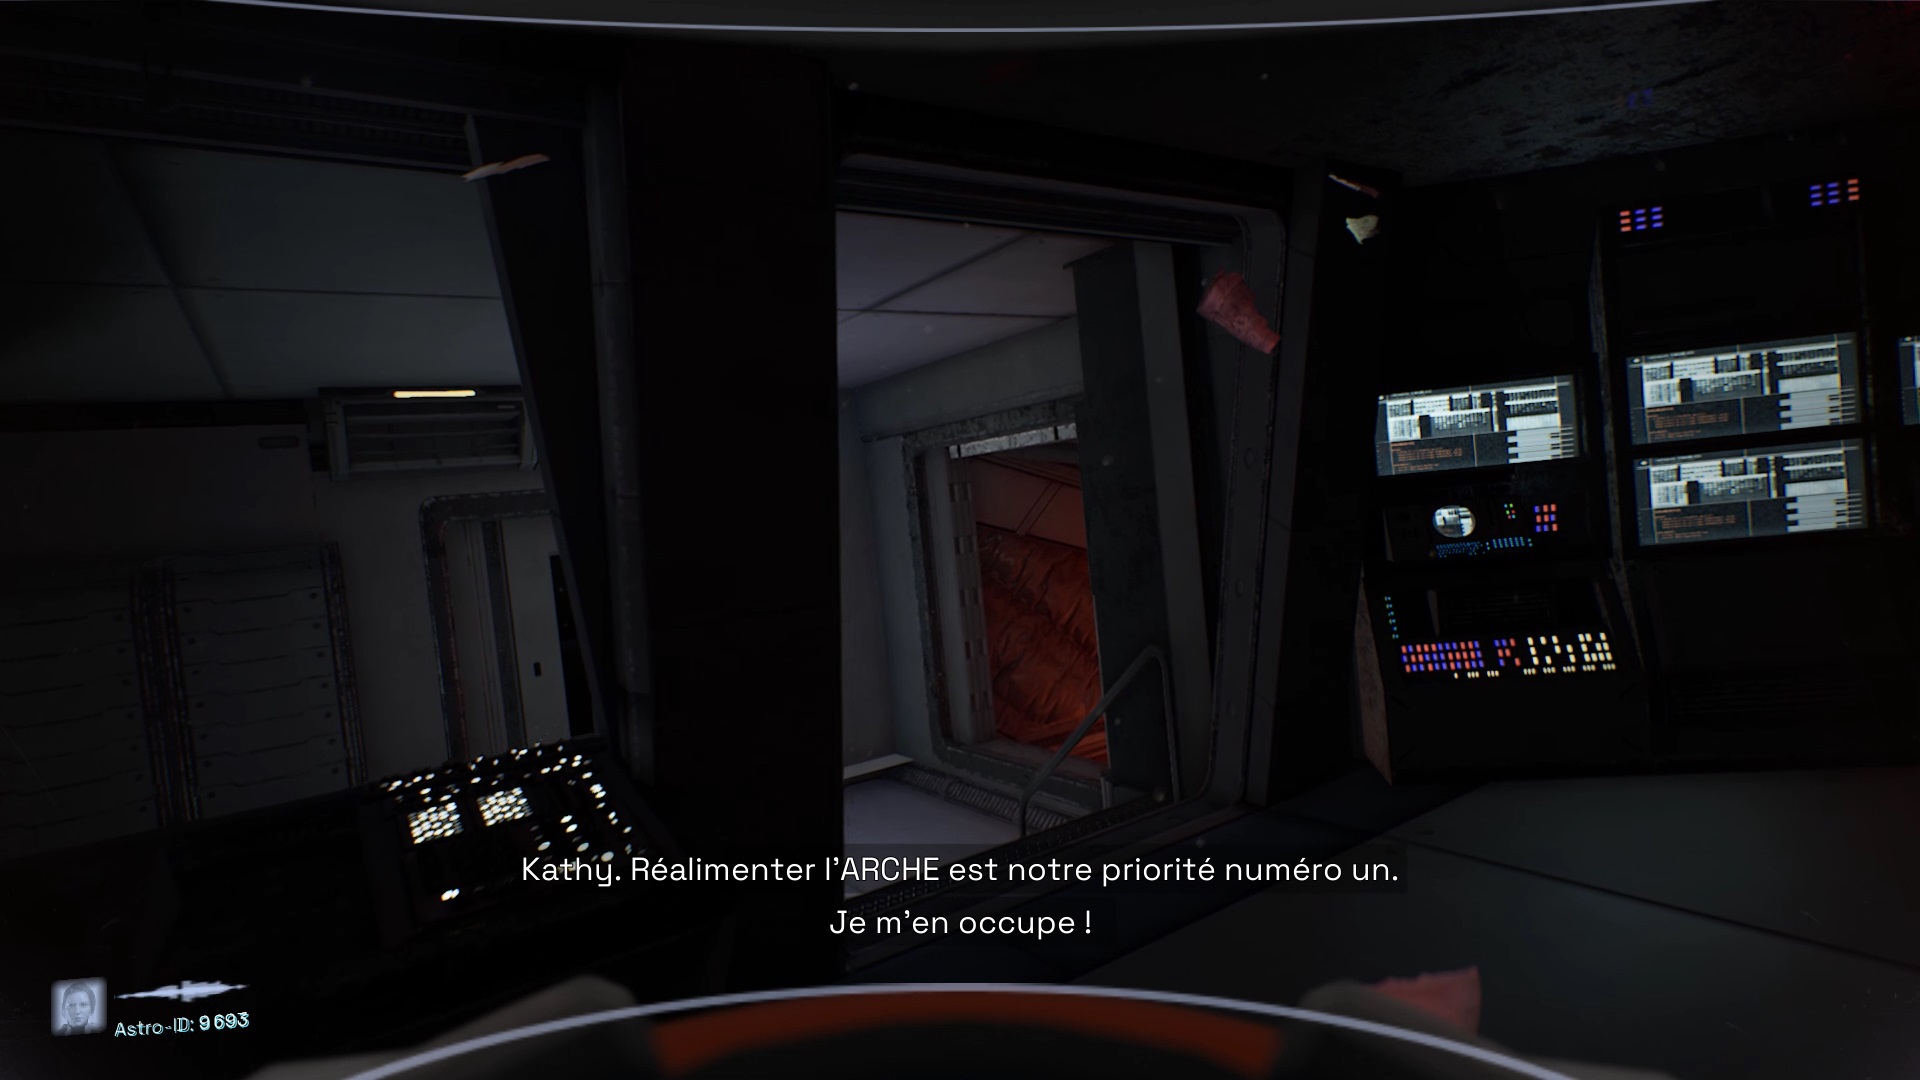
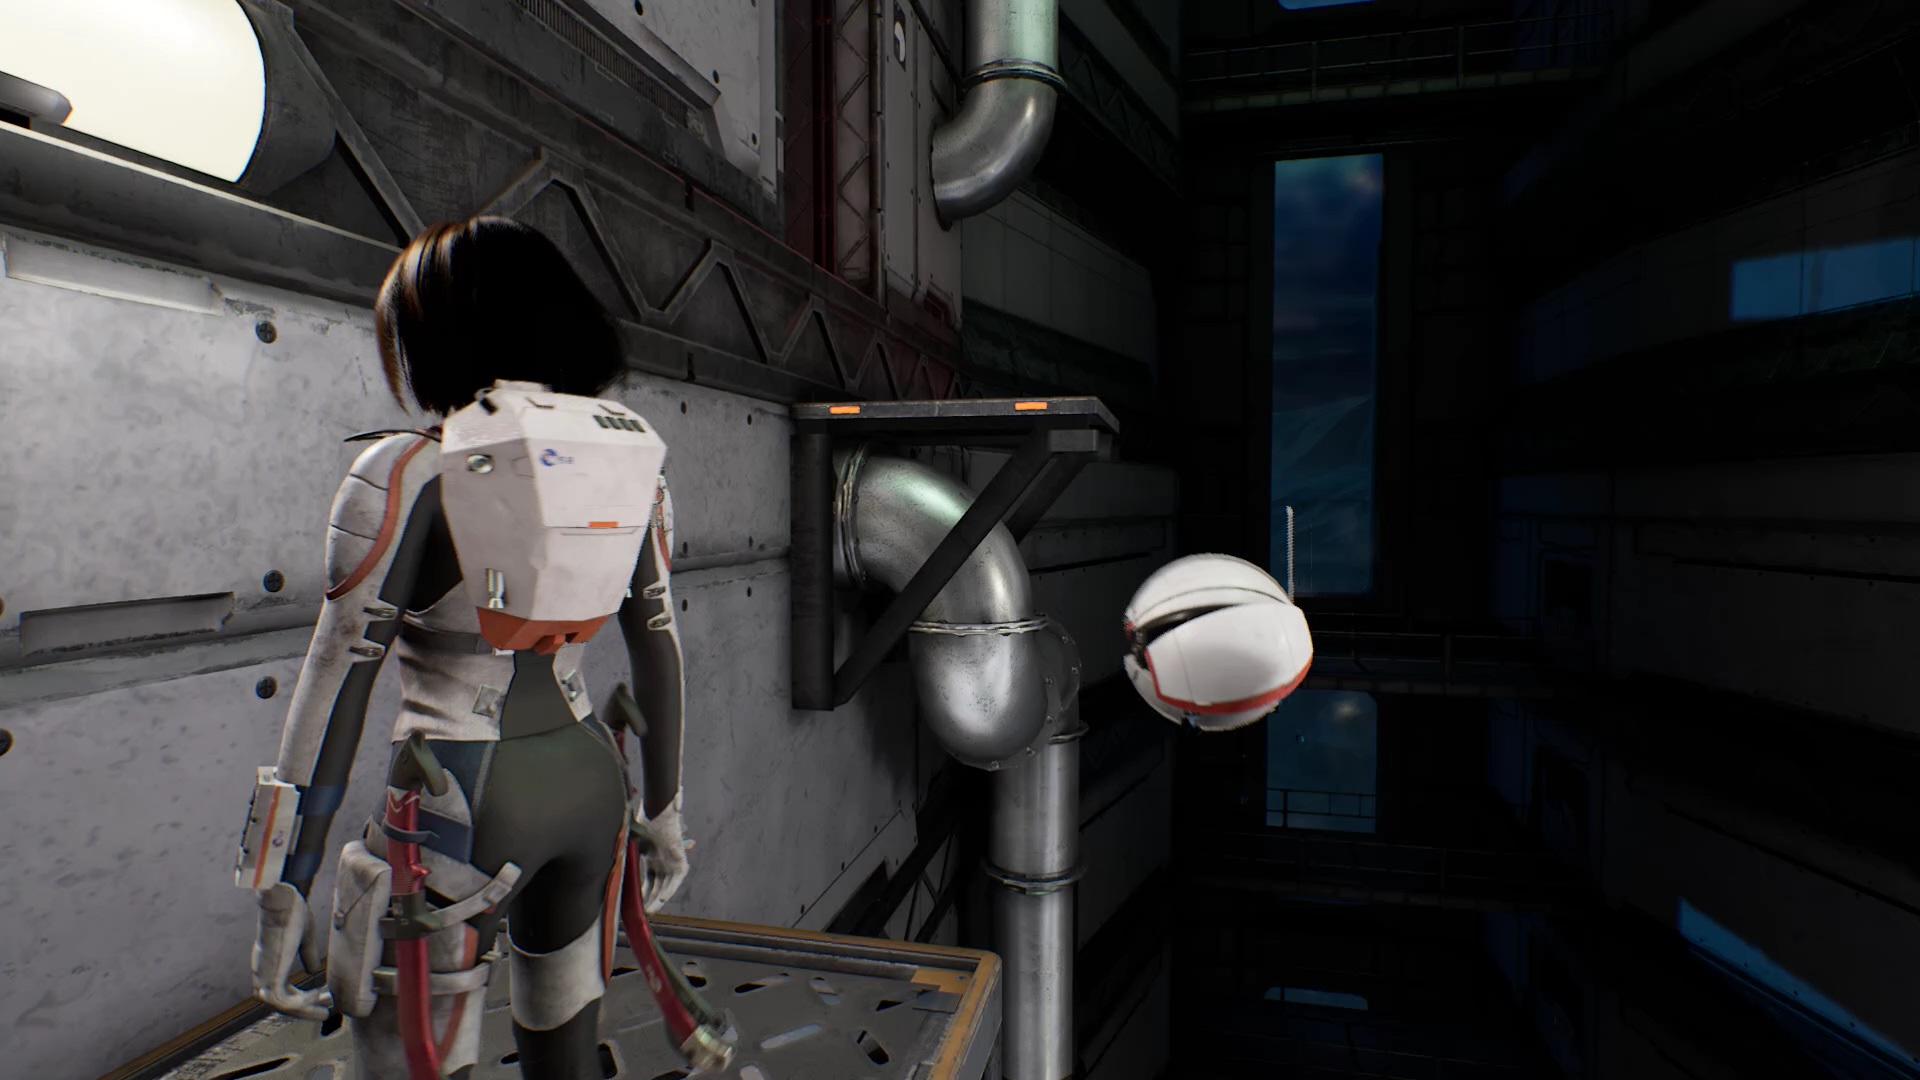
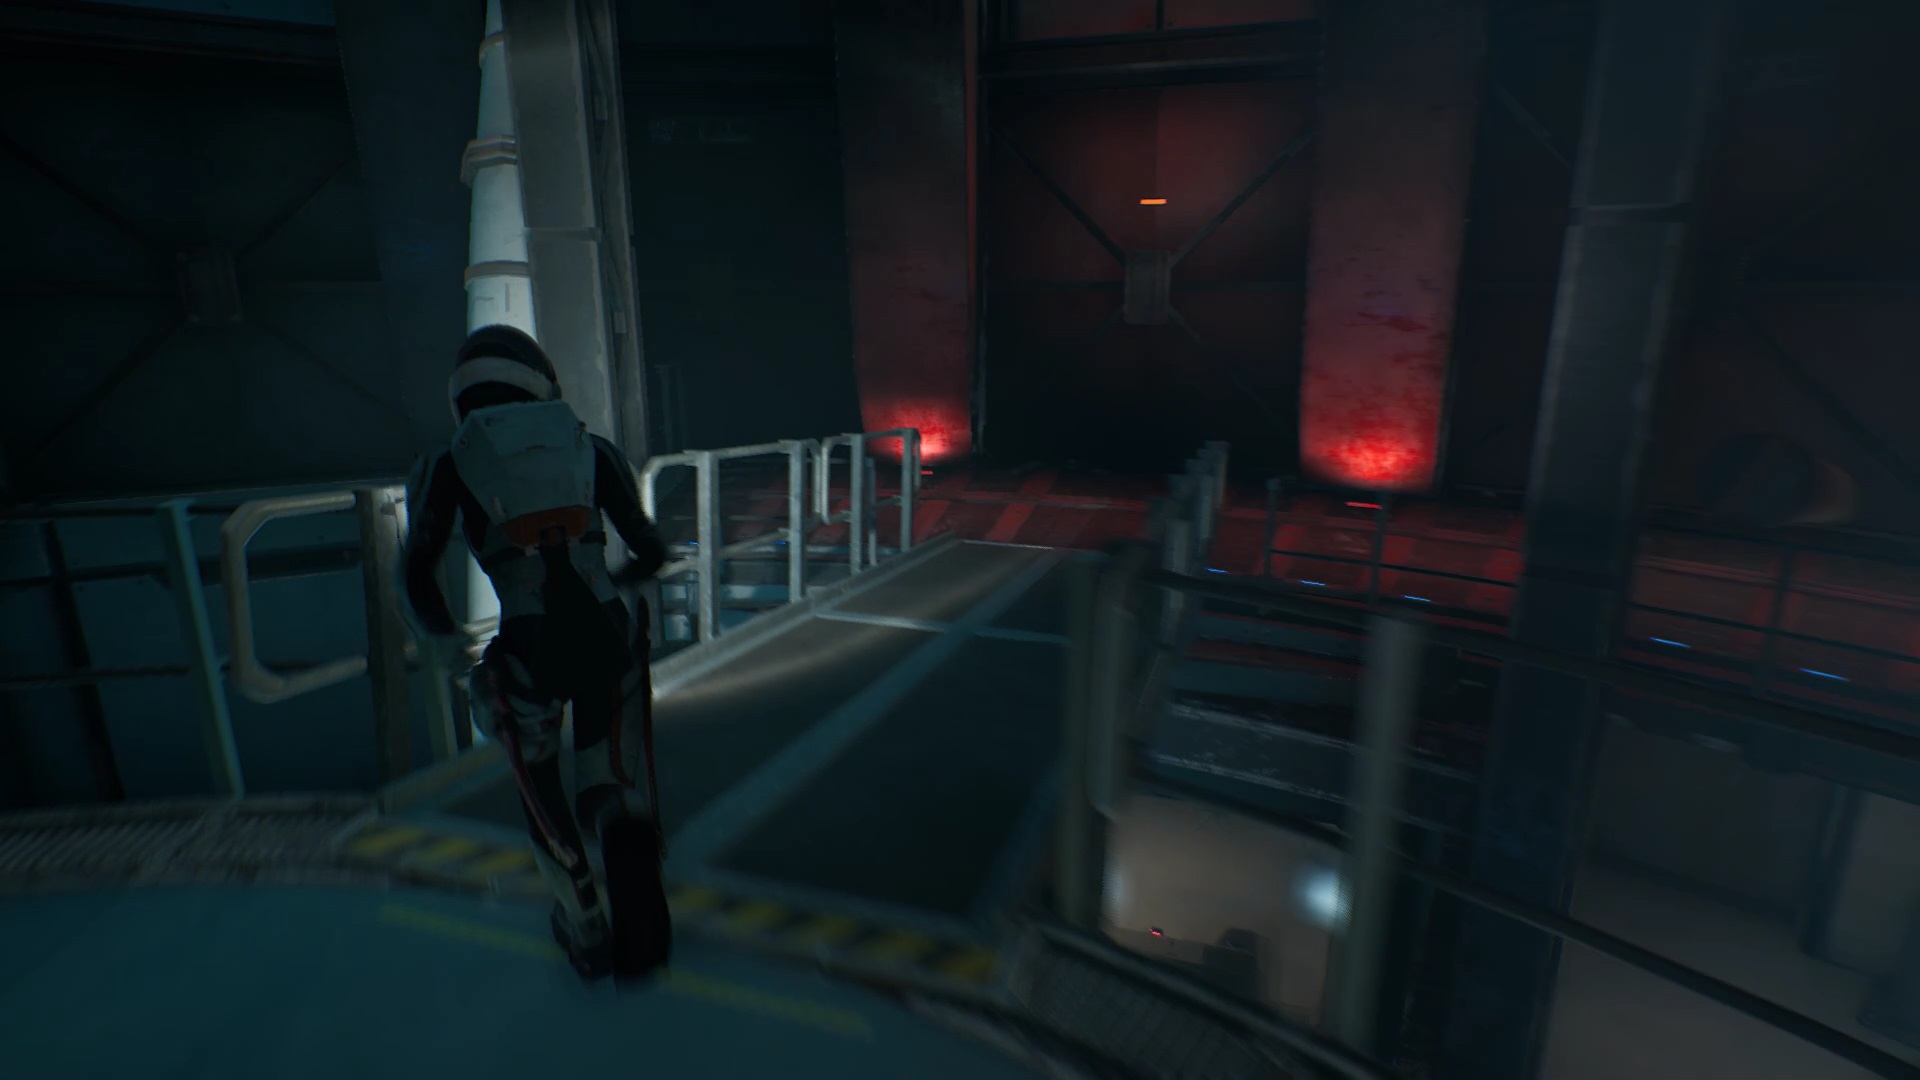
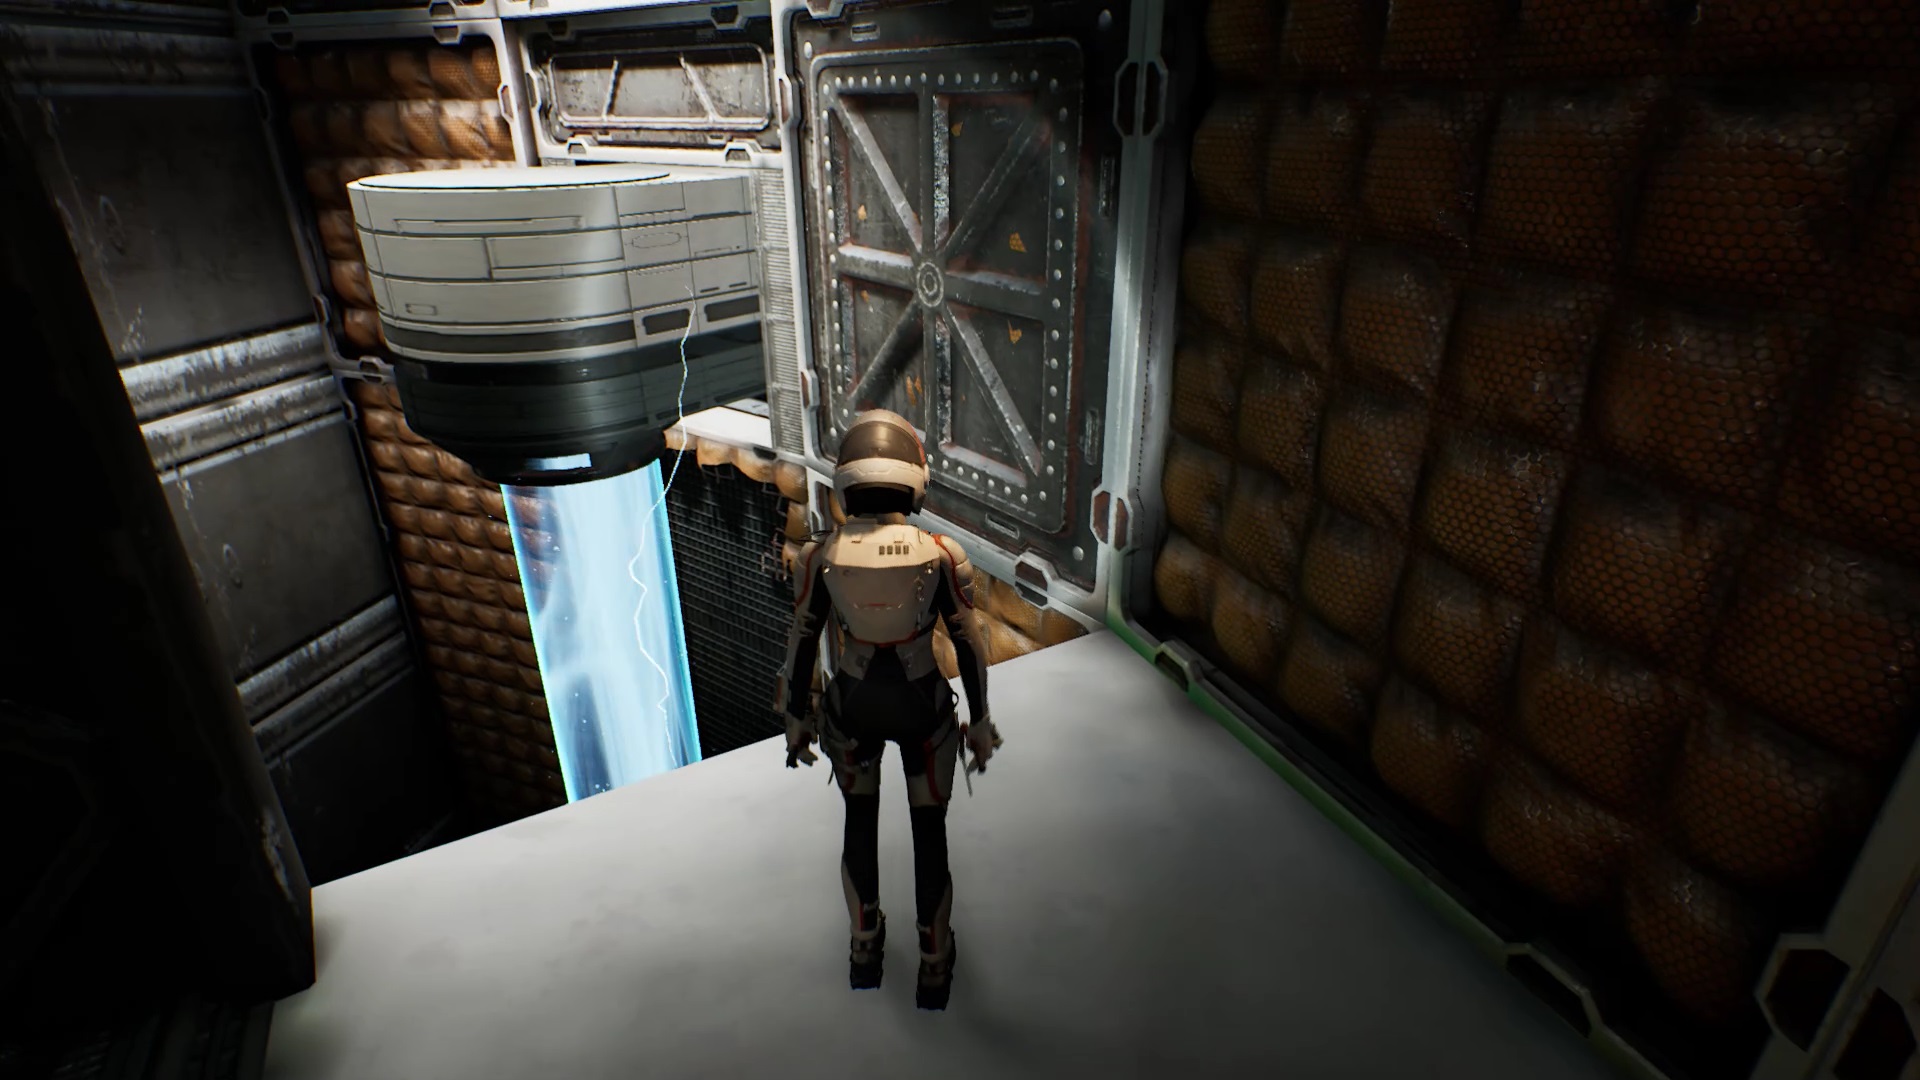
Escape from Ryan and Sarah. Climb the stairs, and continue to follow Ase. Unfortunately, Ase leaves you behind a door. You need to enable Streame Points to follow it.
Retrace your steps and head left, towards a half-open door. Get down and go through the door to reach a locked door. Used Ayla to unlock the door and found a hologram. To decrypt the hologram, align the ends by placing yourself as in the images above.

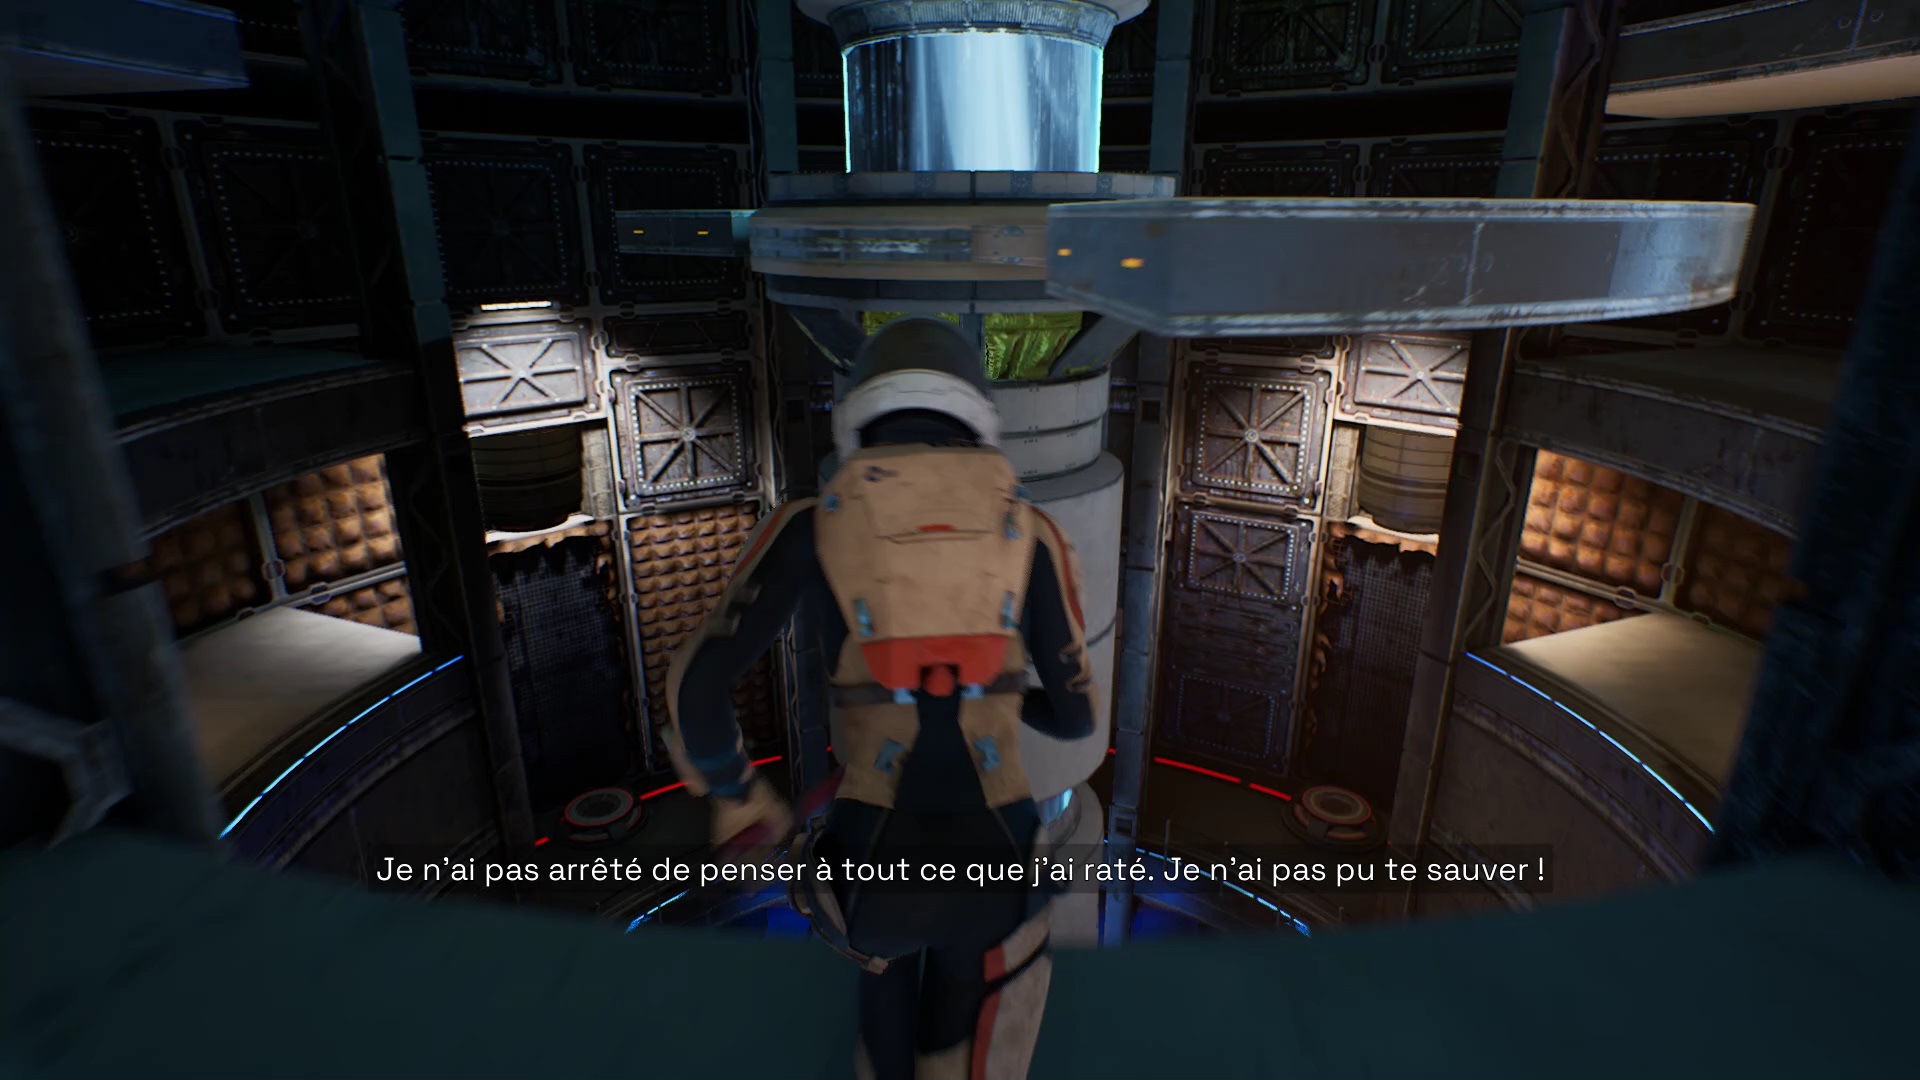
In the room, use Ayla to unlock the door. In the hologram room, use your laser on the floor plate to get a beam. Return to the entrance to the area near the two ladders. Use Ayla to enter the room with the divider through the mechanism. Pick up the splitter and position it so that the right ray touches the Stream point without touching the reduction field.

Return to the room with the hologram. Connect the spoke to the splitter you just moved. You opened the door to the room where the reduction field is near the divider. Collect the reduction field and place it in the hologram room in the axis of the beam. Connect the ray to the streame point at the top of the splitter room.

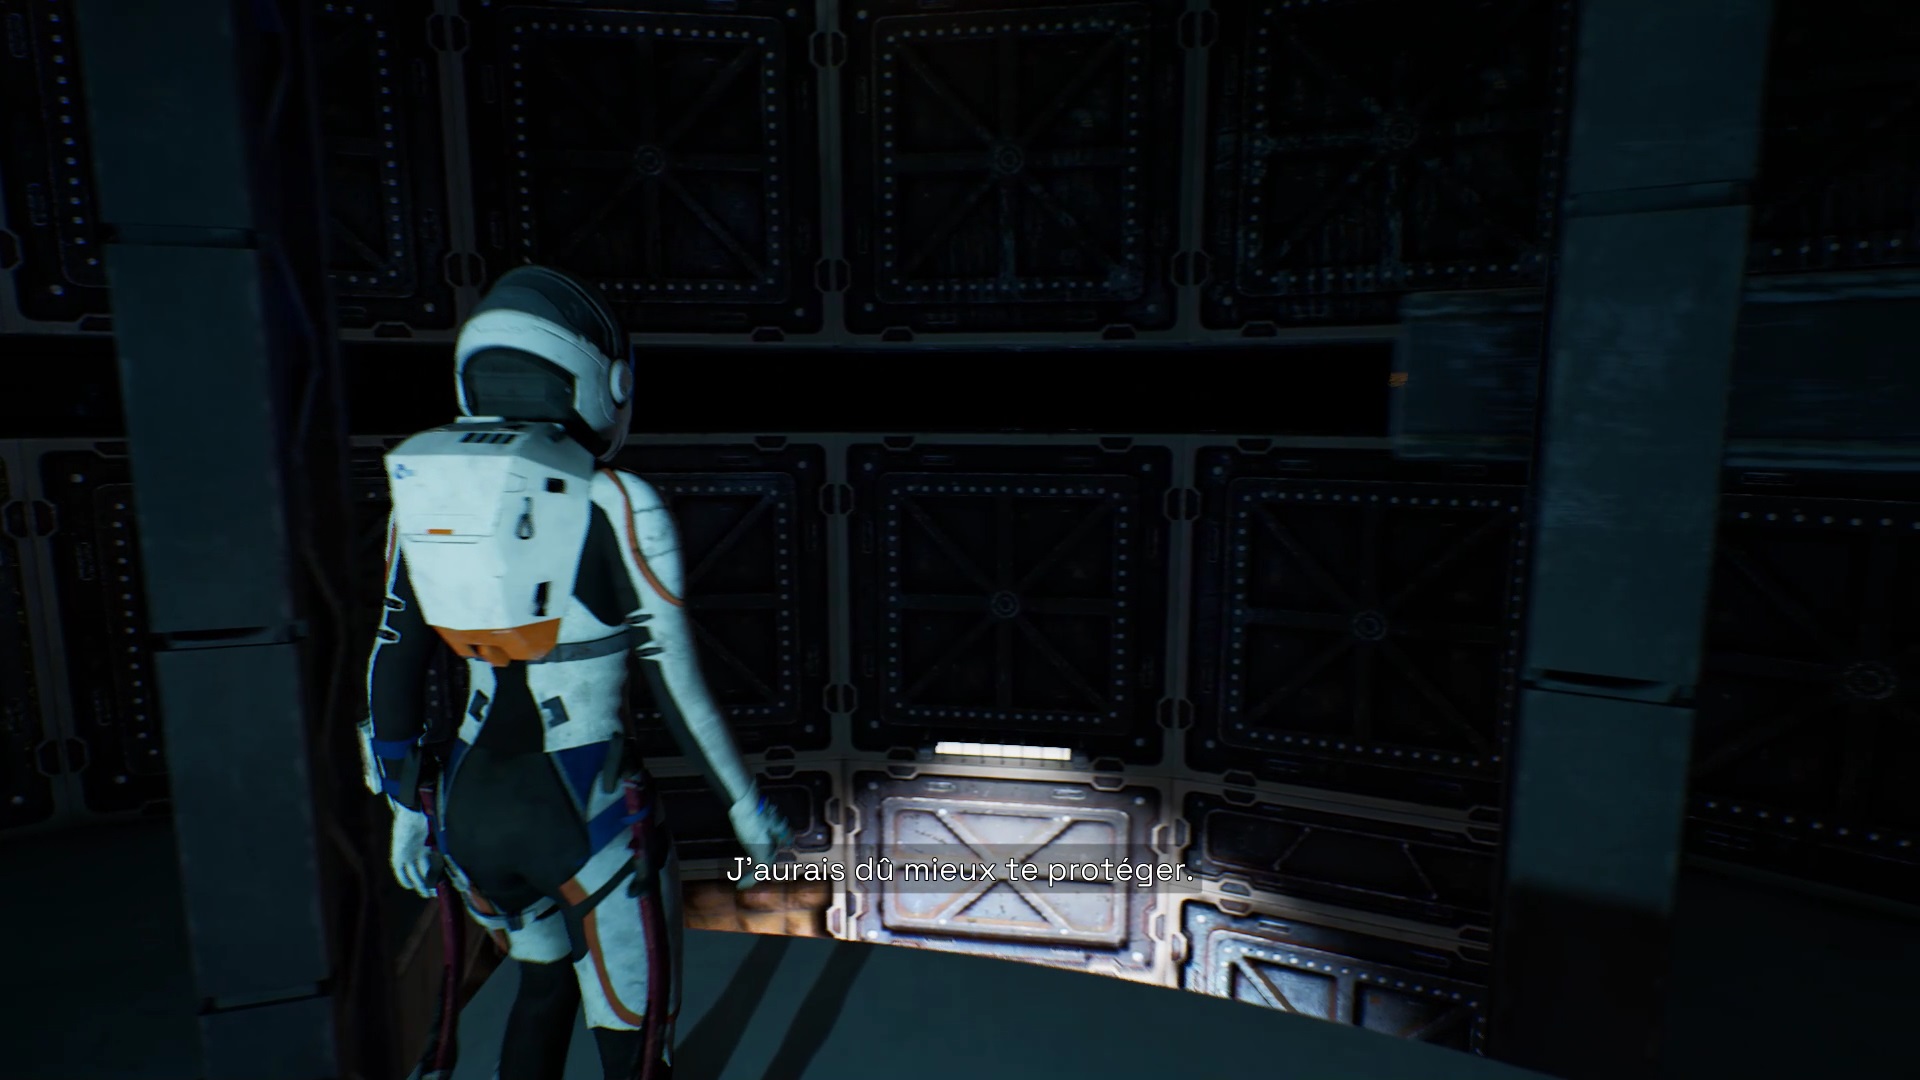
Return to the entrance to the area and climb the ladder. Upstairs, use Ayla to enter the mechanism and reach a room. Pick up the reduction field and take it down. Always with Ayla, position the field in the axis of the ray which touches the streame point of the exit door (where Ase left.). With Kathy, go to the level of the ray and connect it to the streame point of the splitter to unlock the exit door.
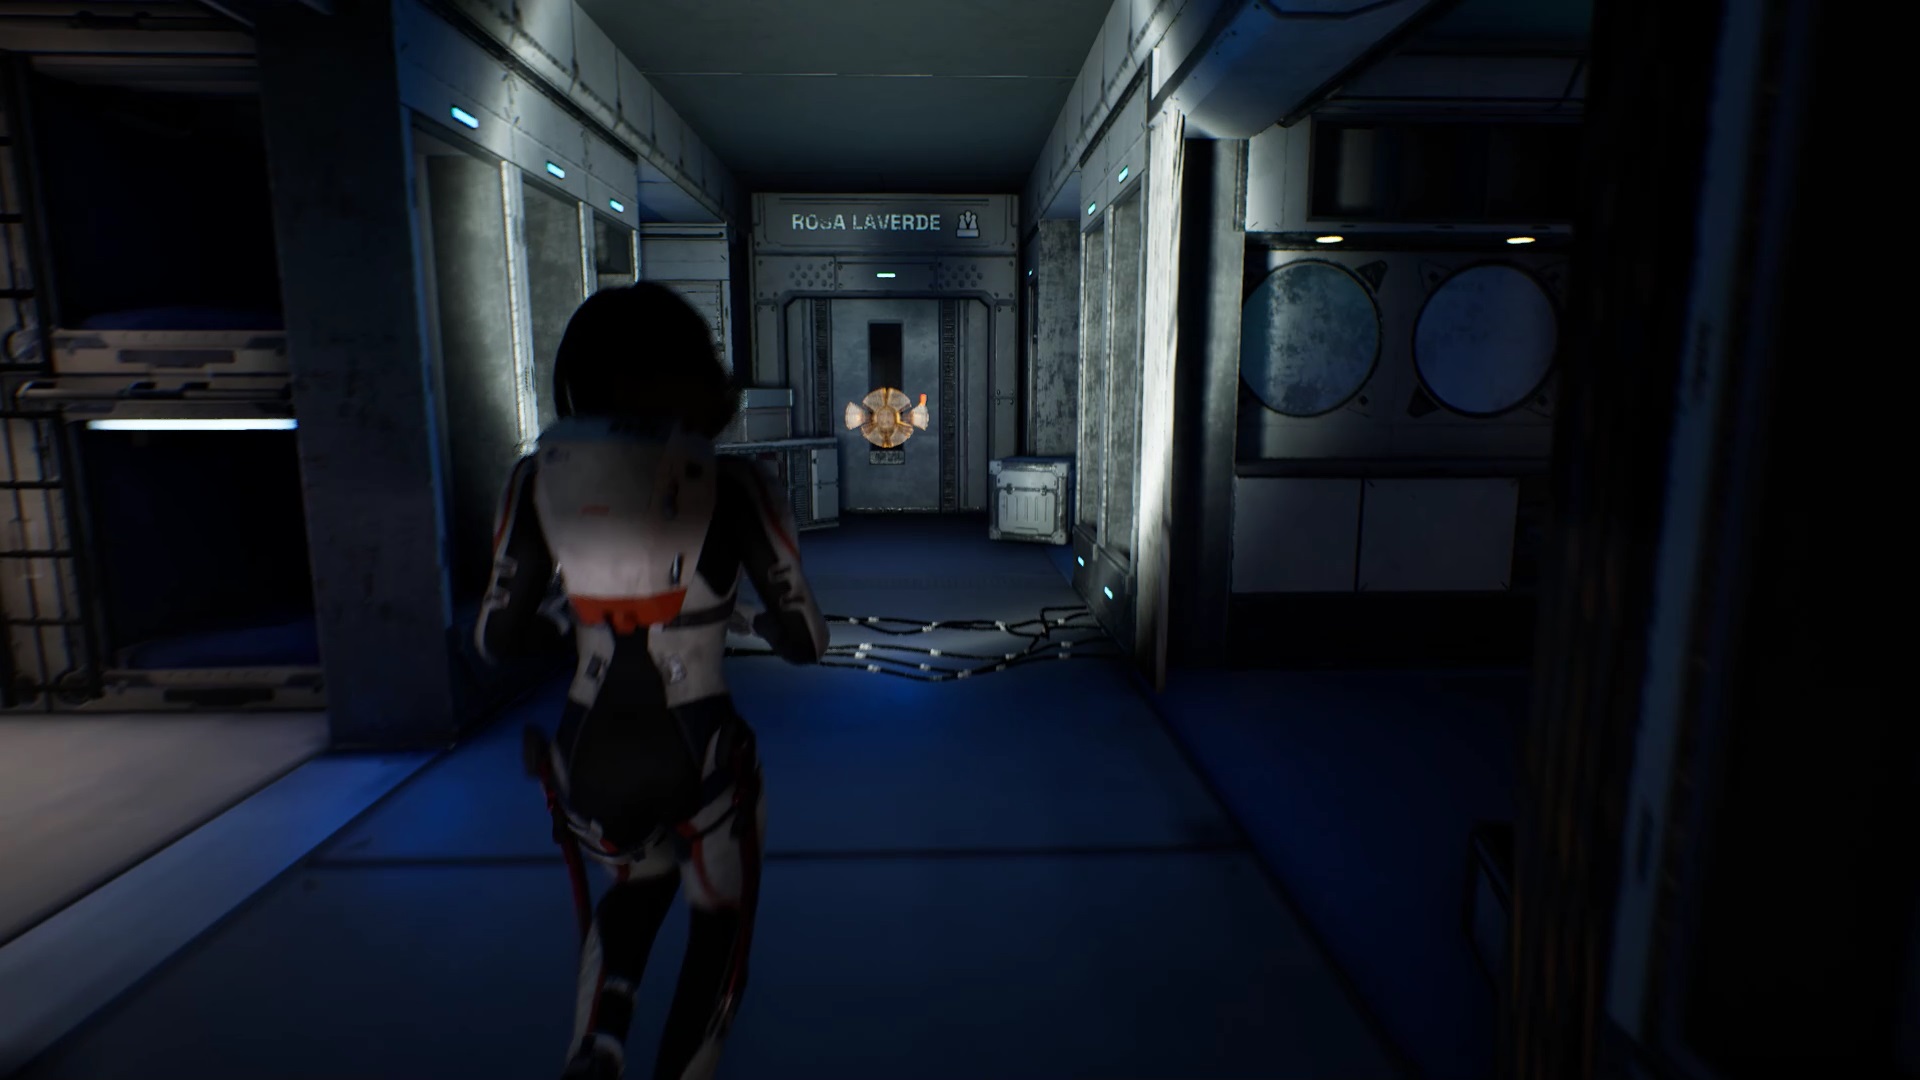
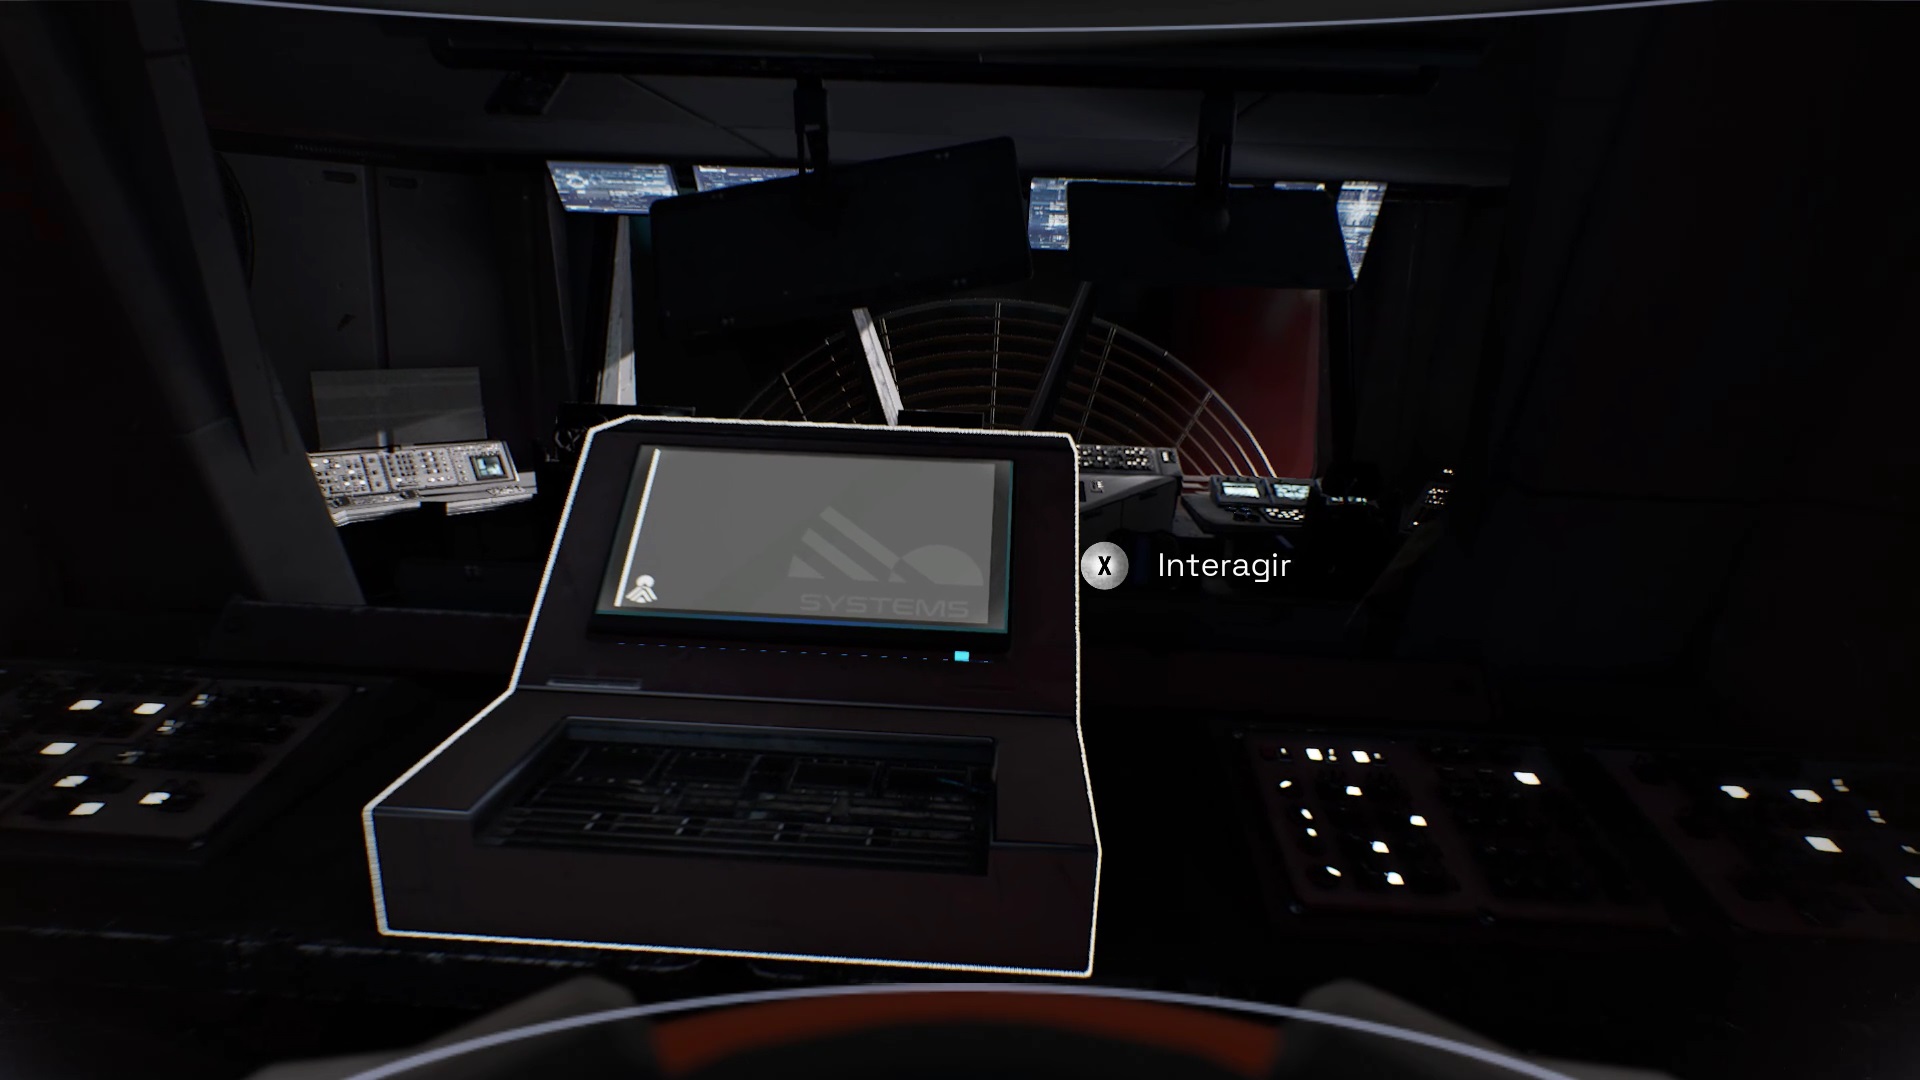
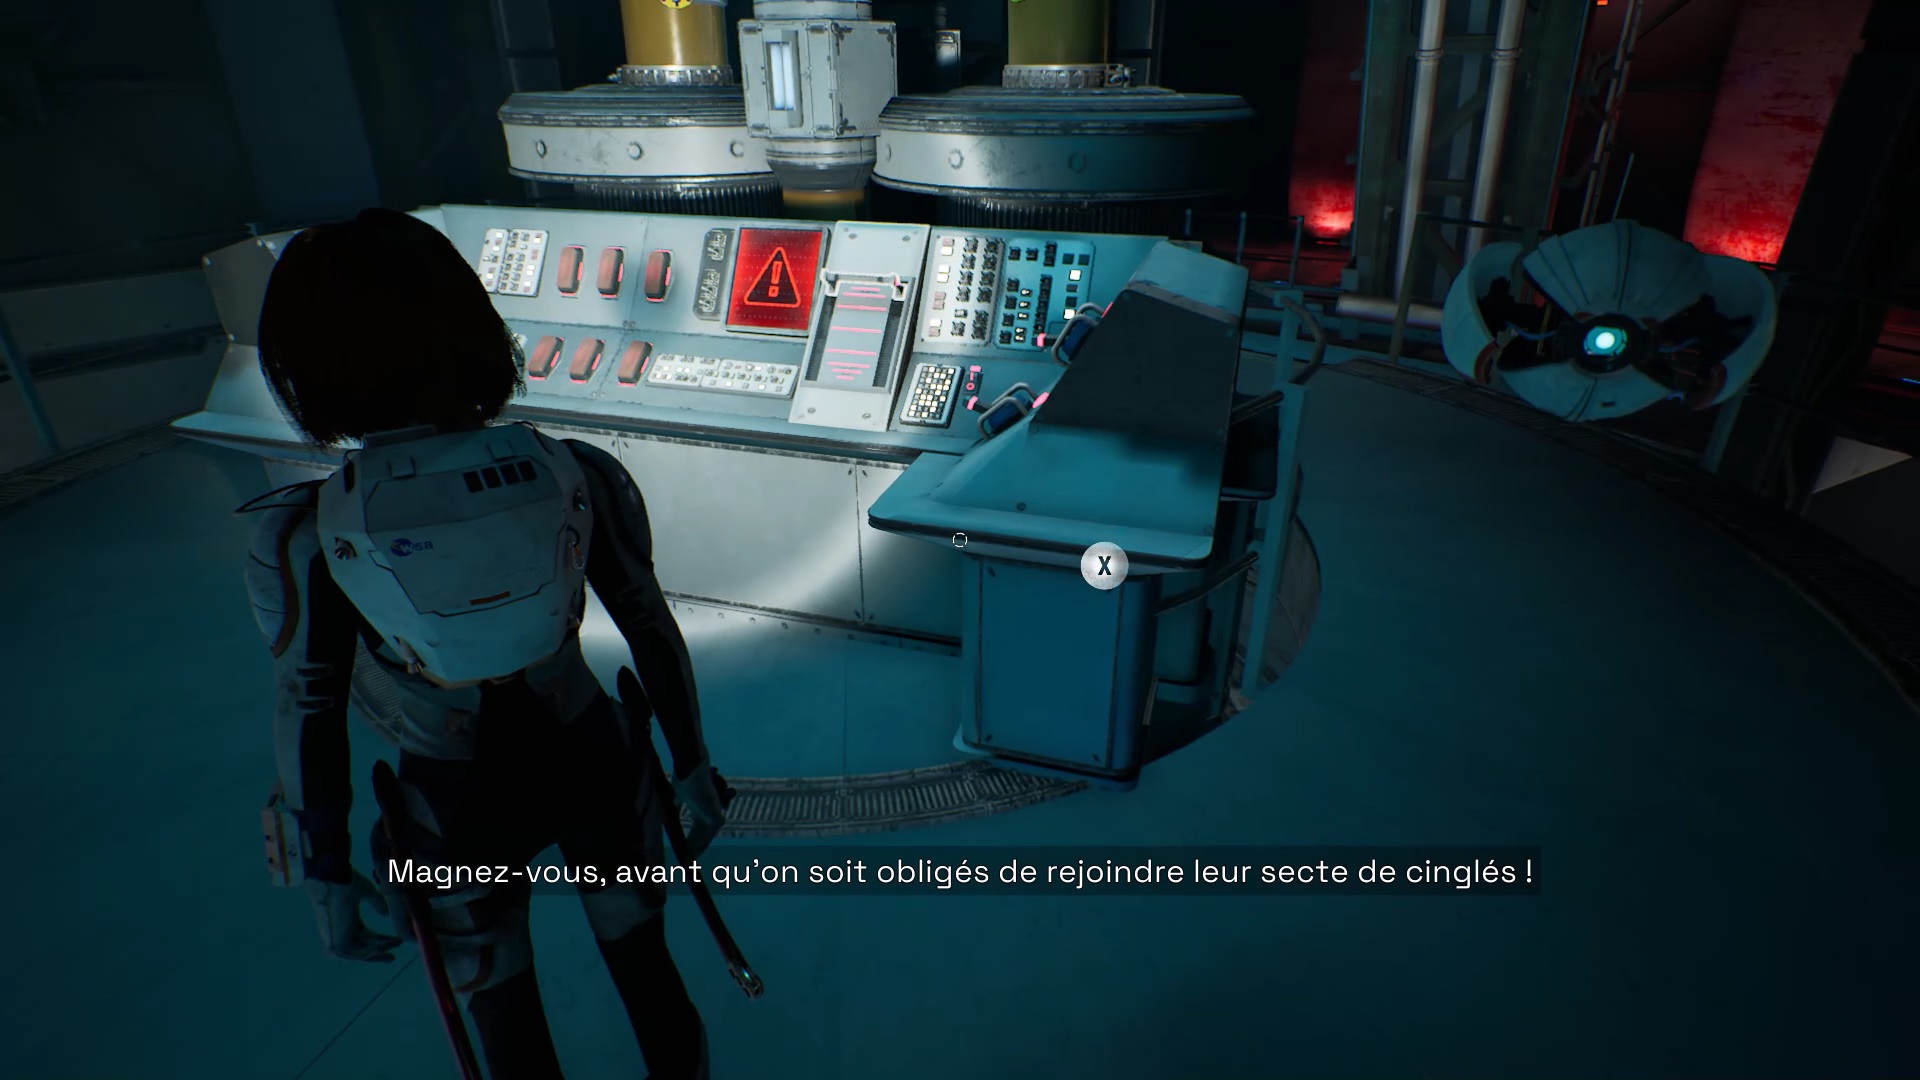
Take the door that just opened. You reach a hologram in front of Rosa’s room. To decrypt the hologram, align the ends by placing yourself as in the images above. After the cutscene, use the control panel to activate the MPT and complete the chapter.
Chapter 8
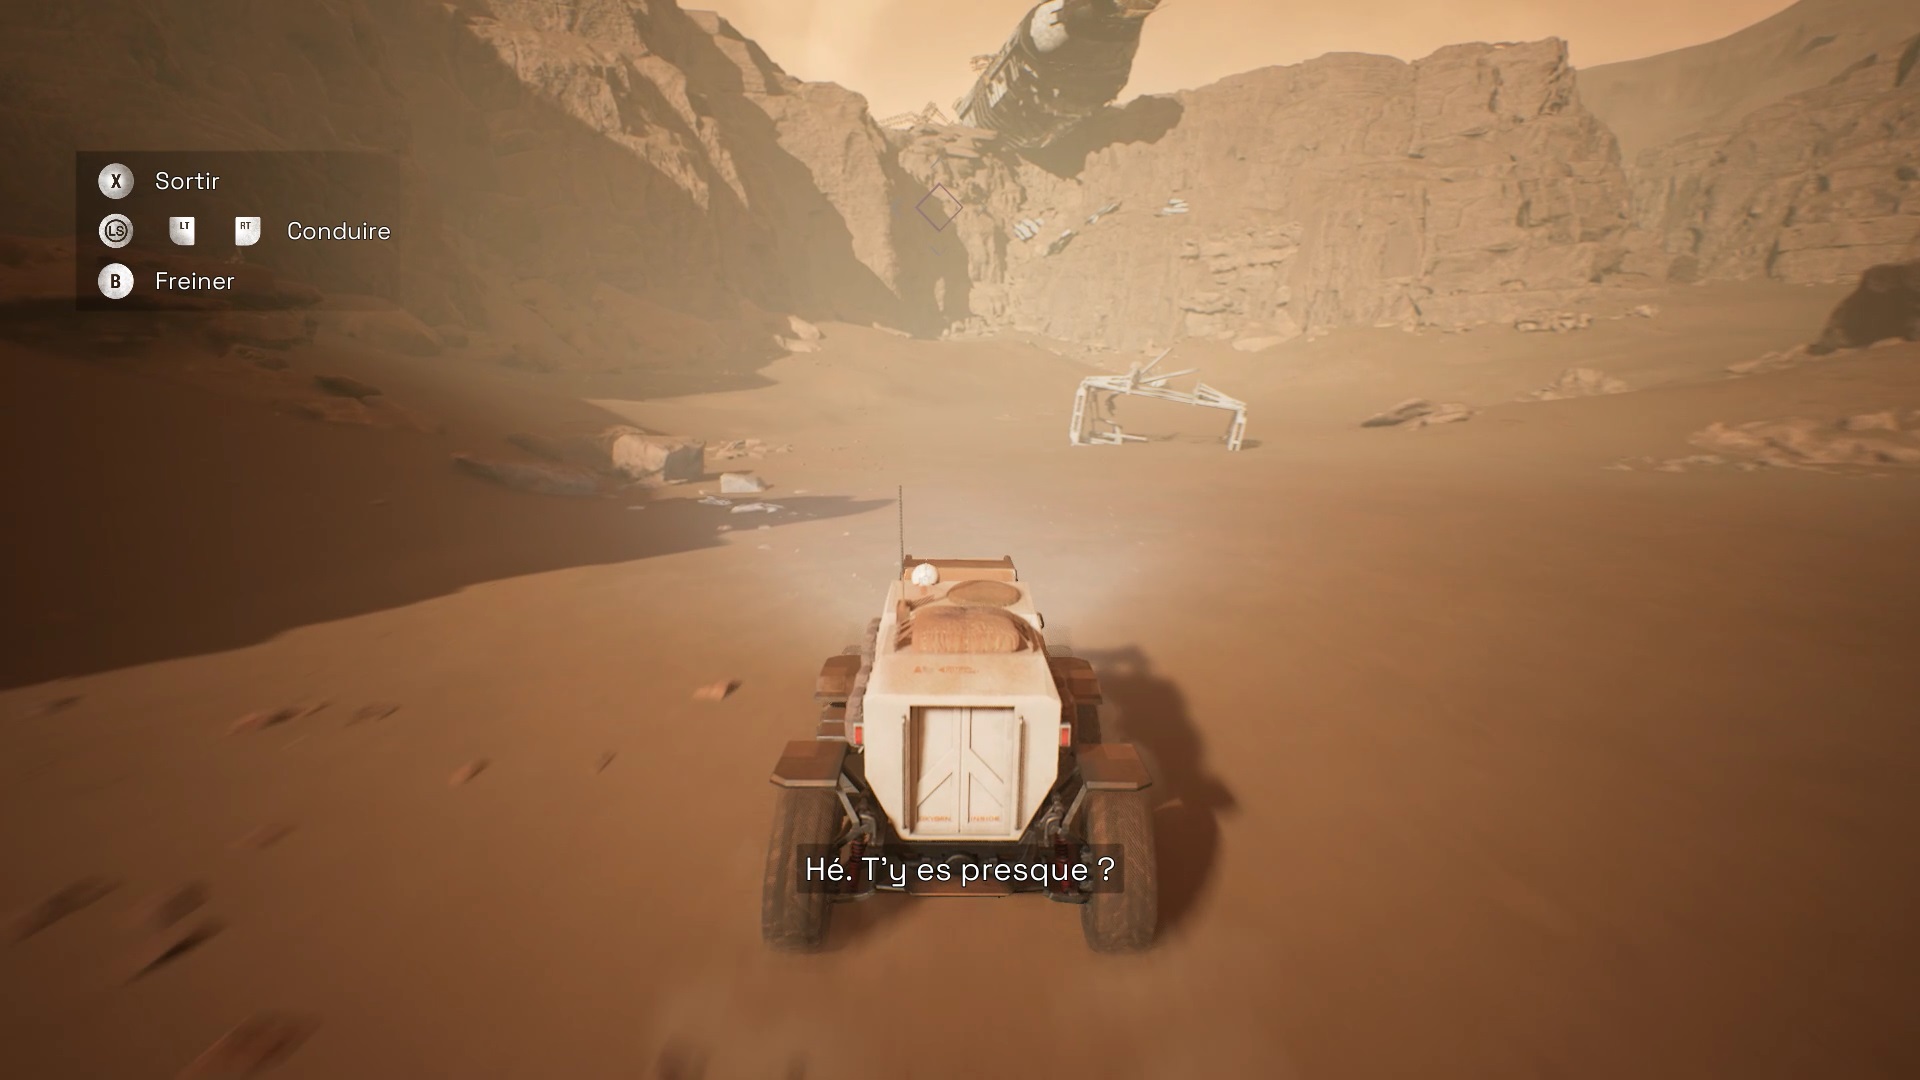
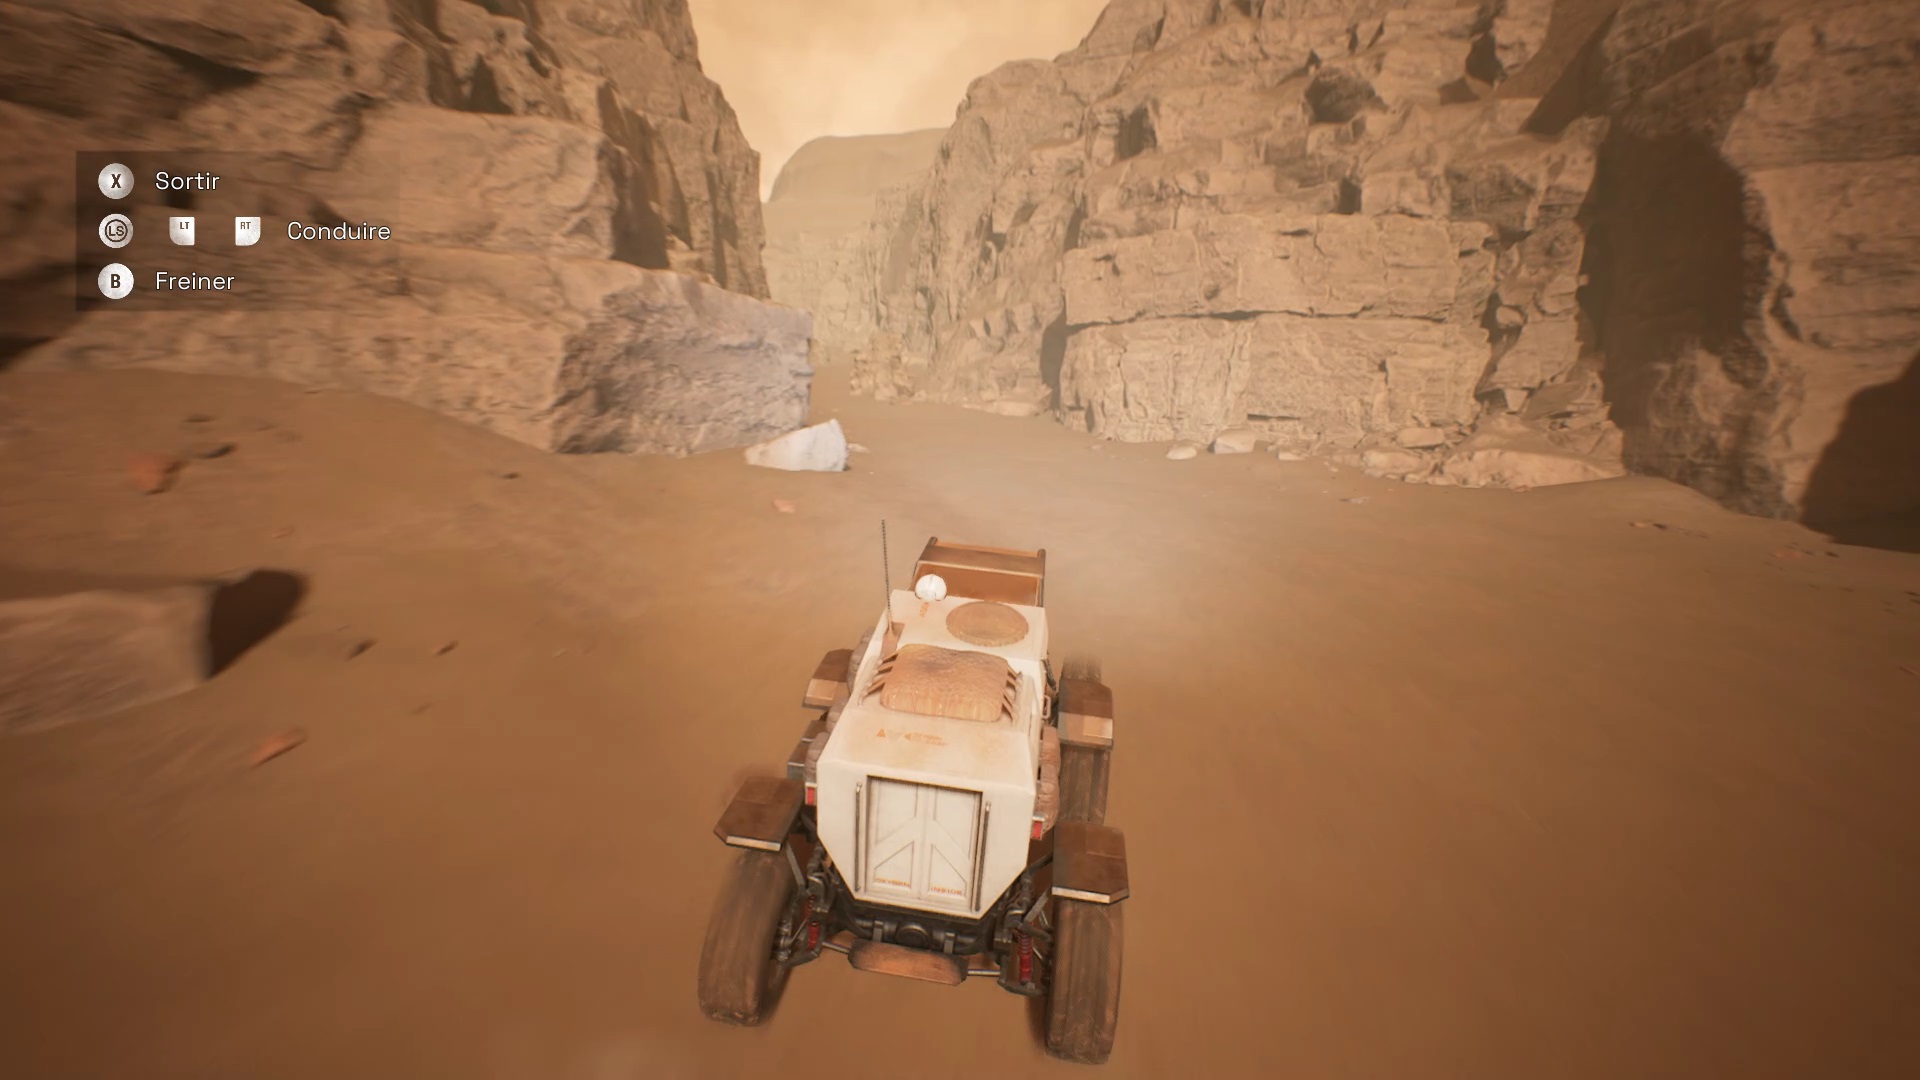


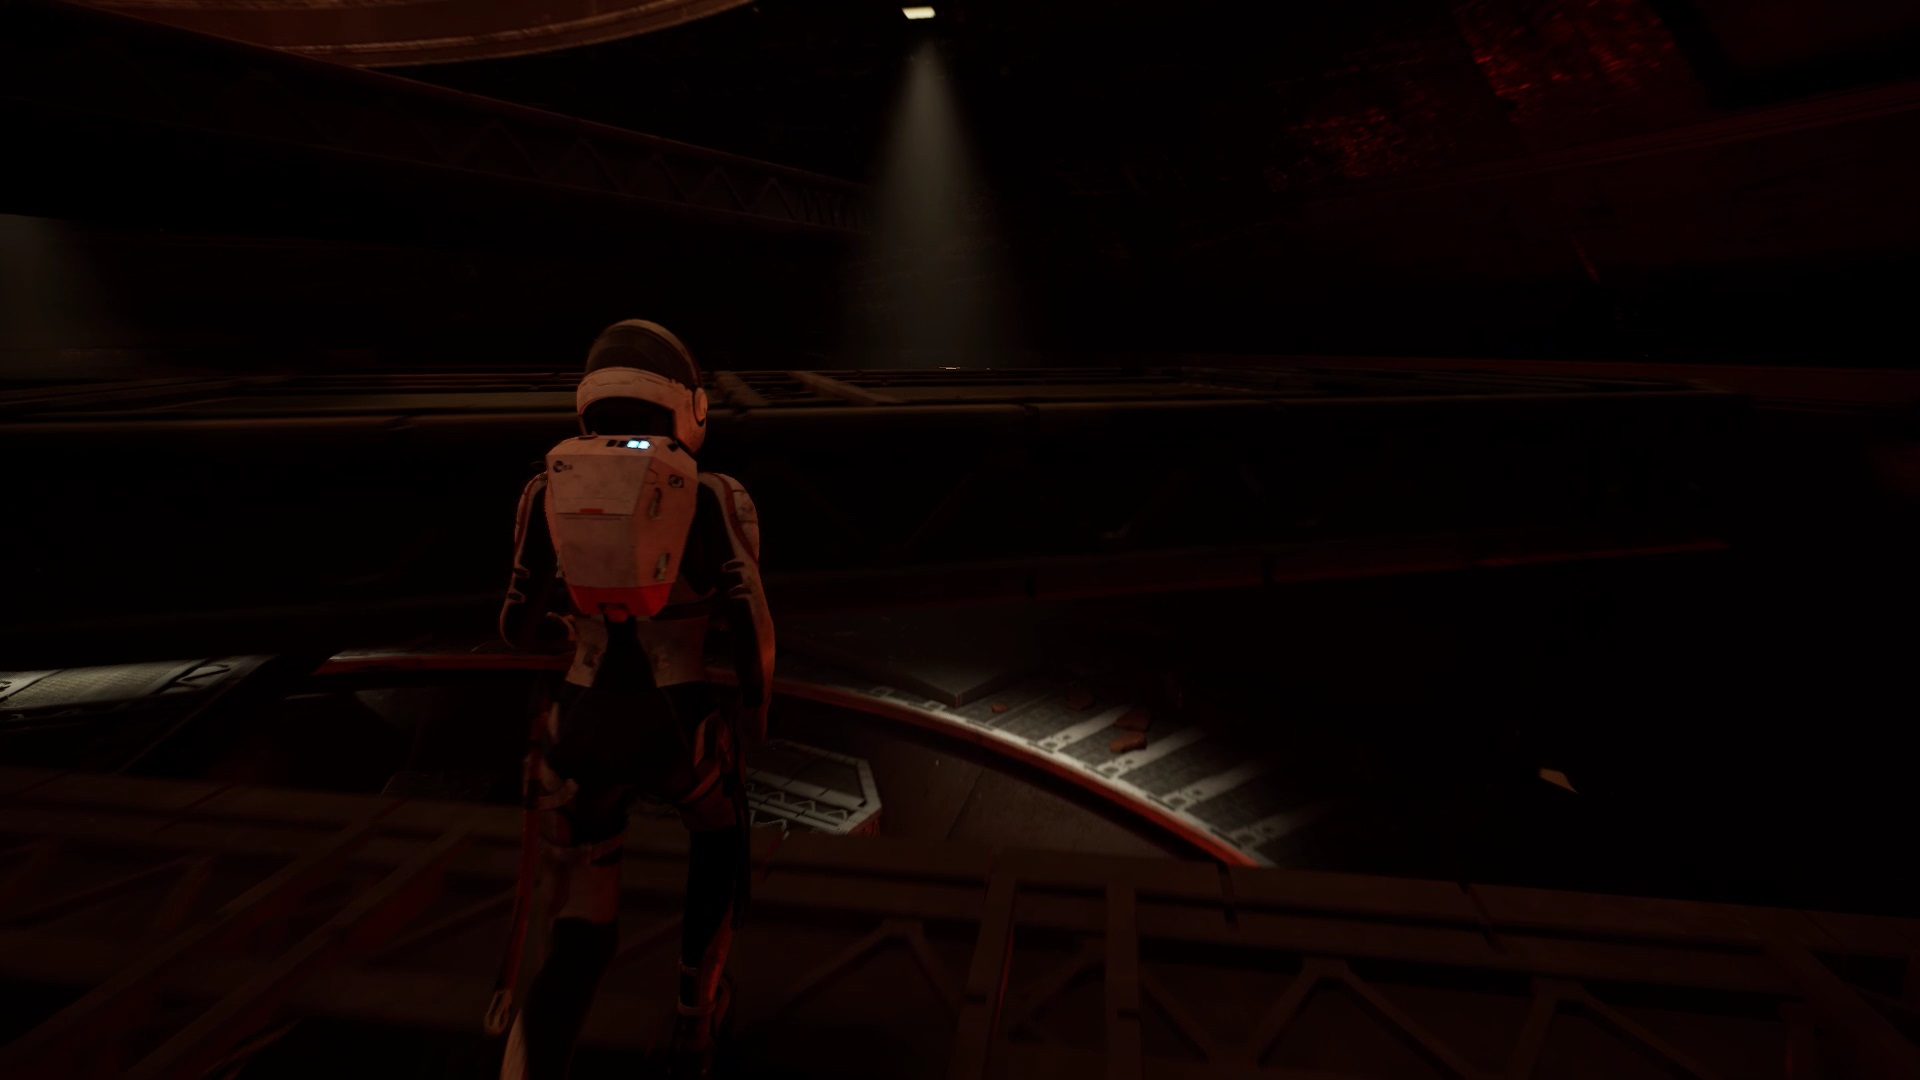
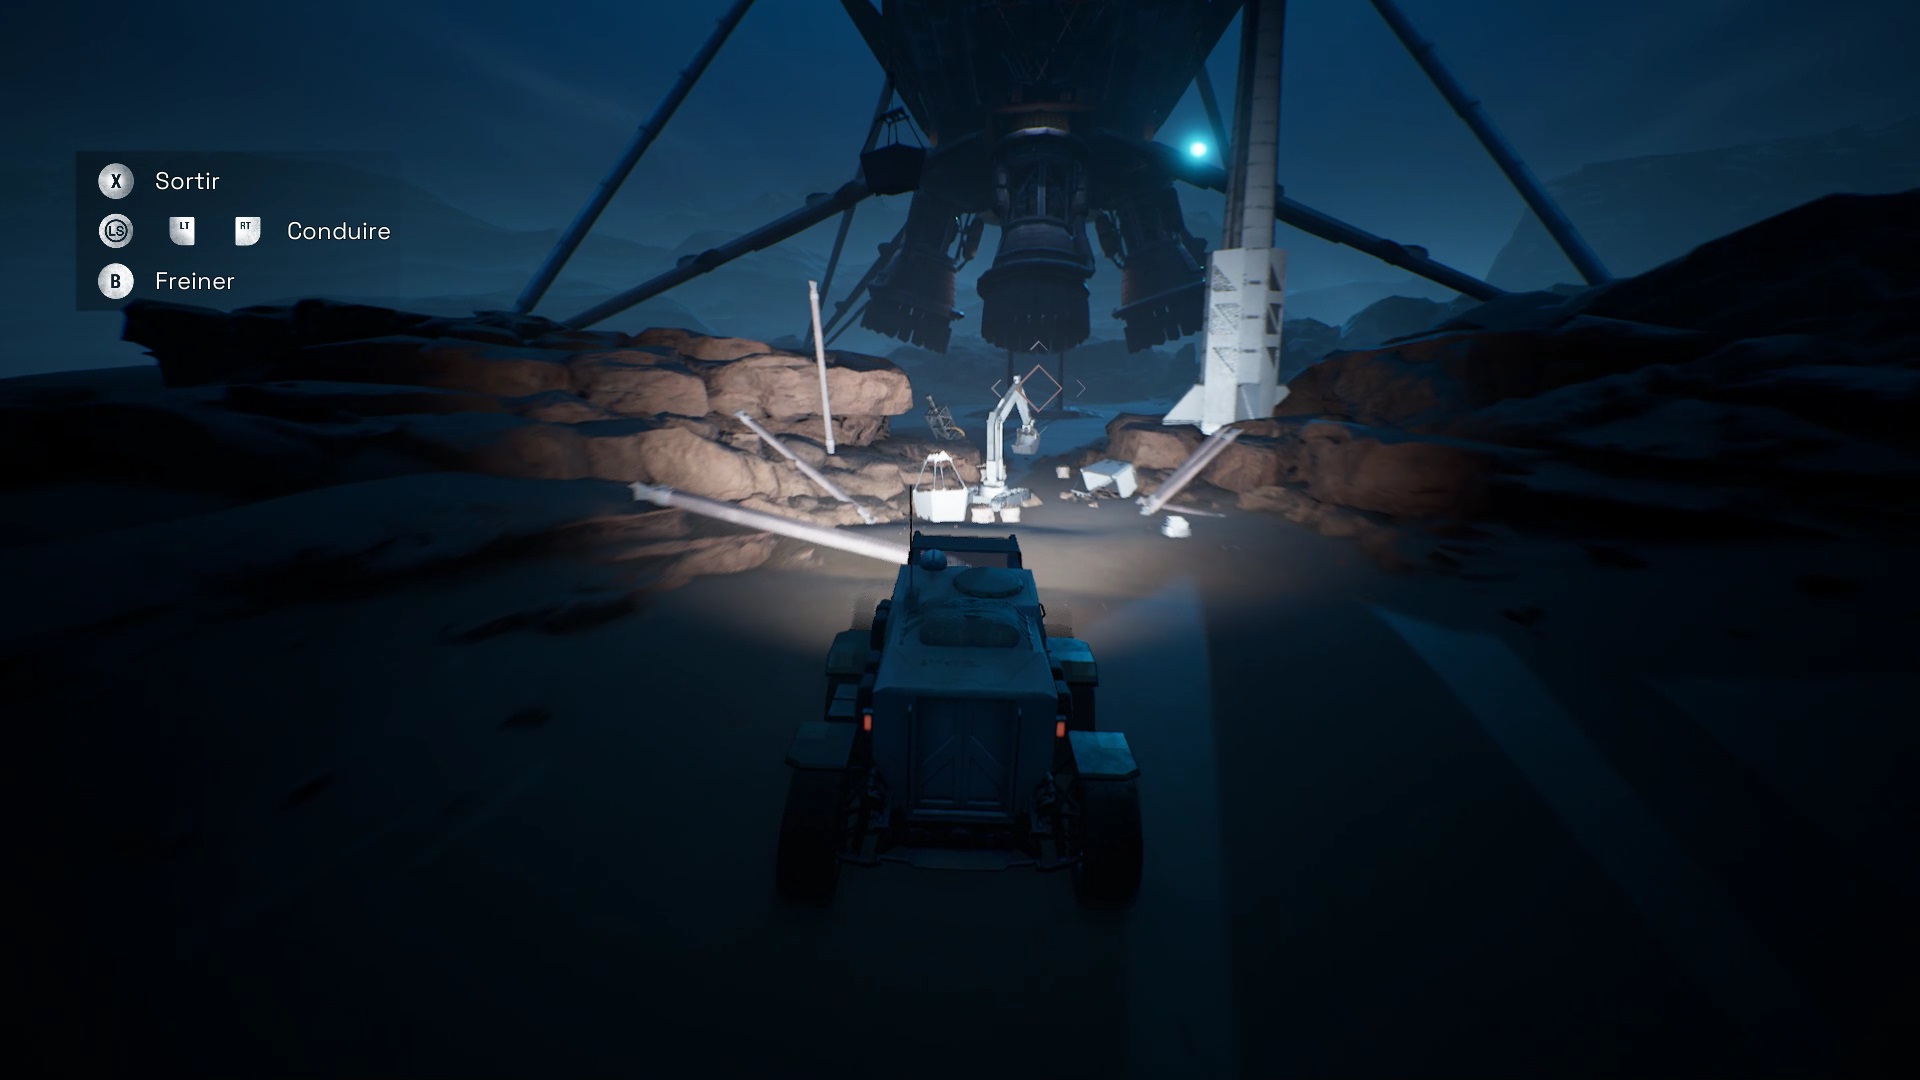
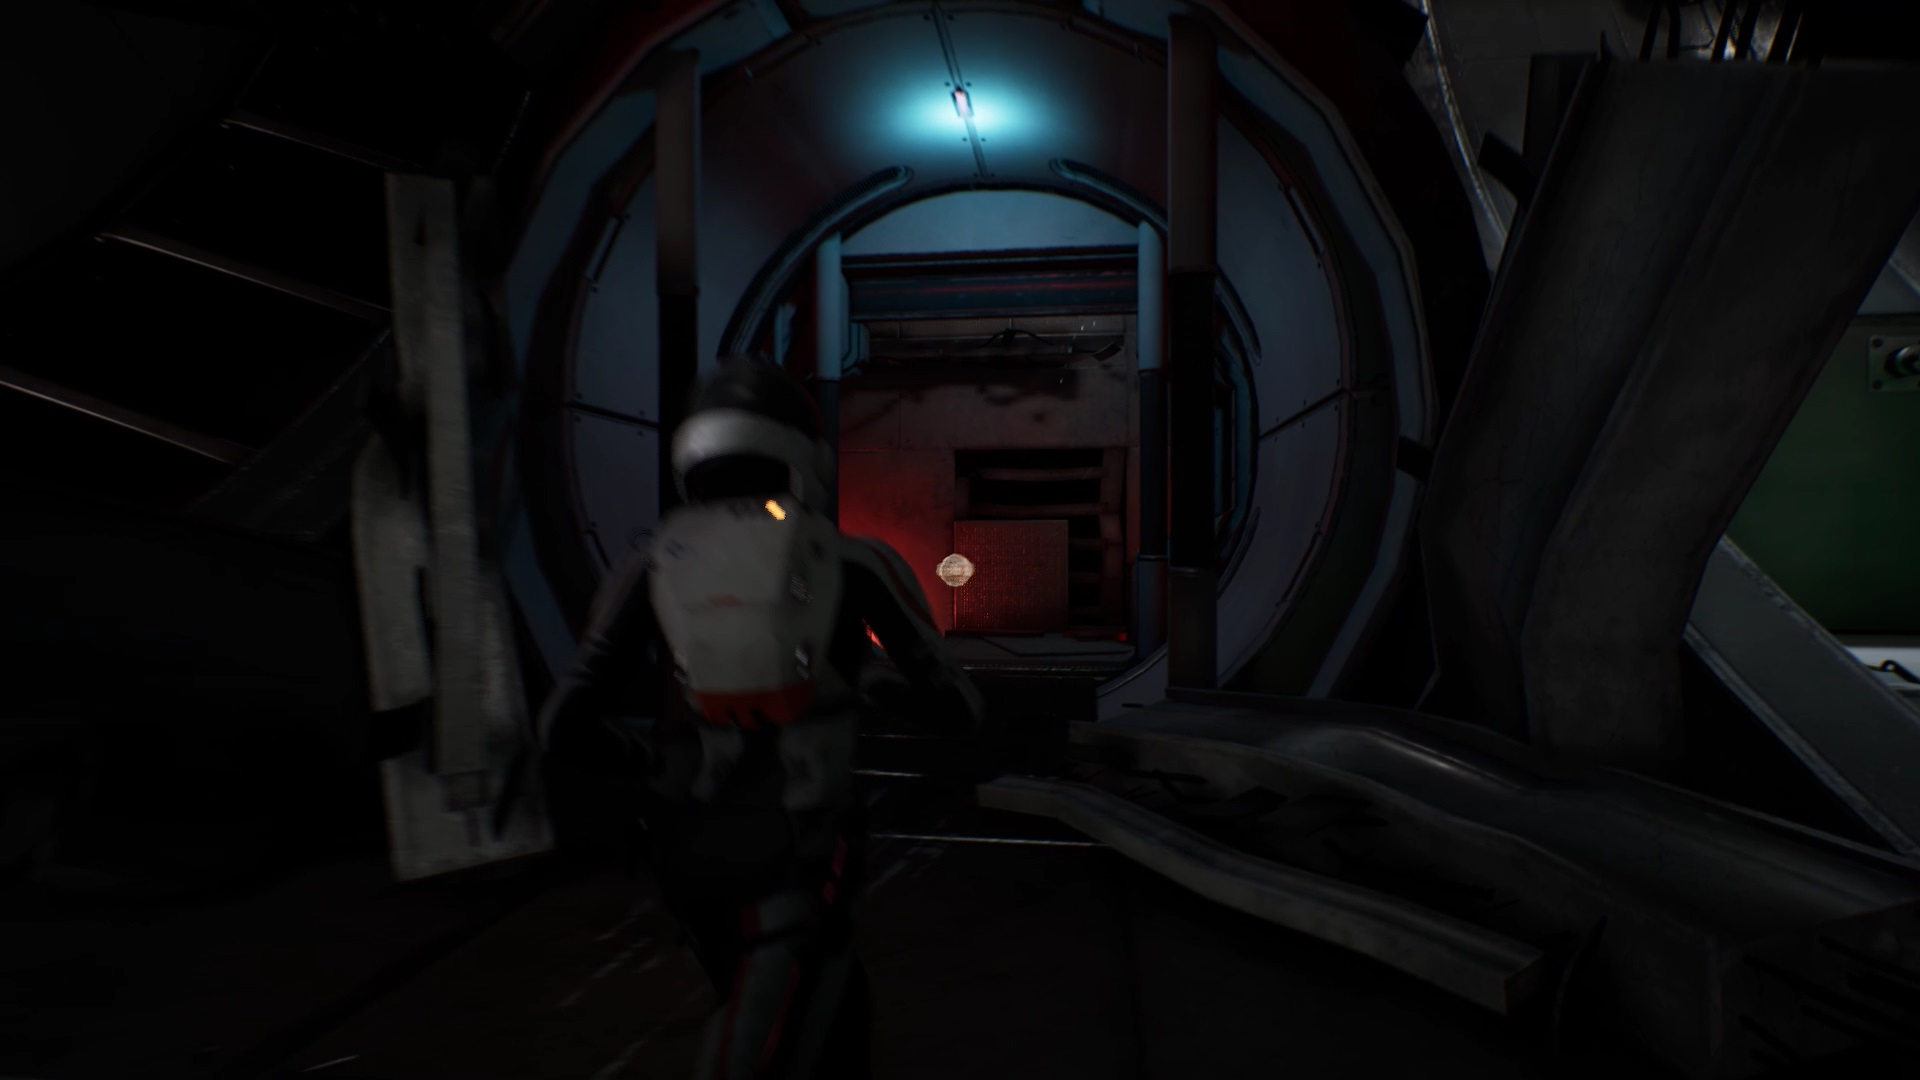
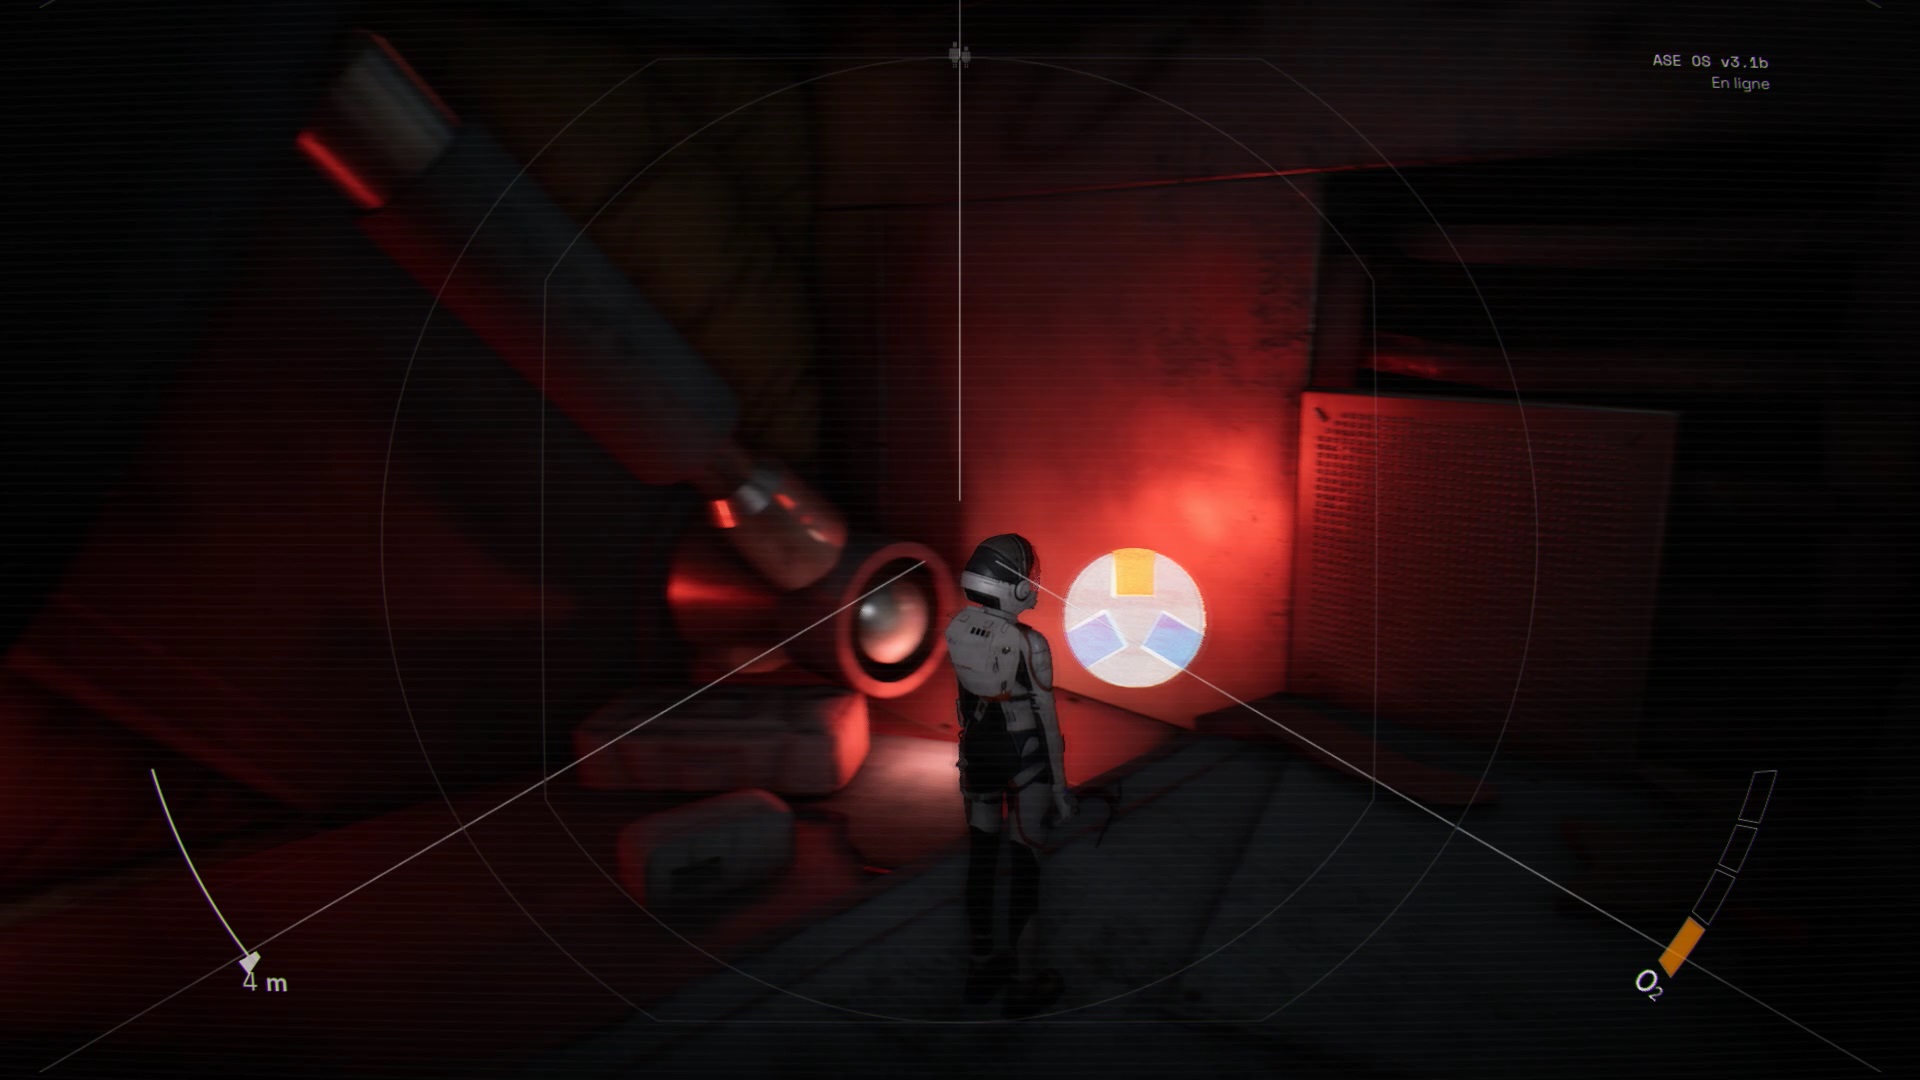
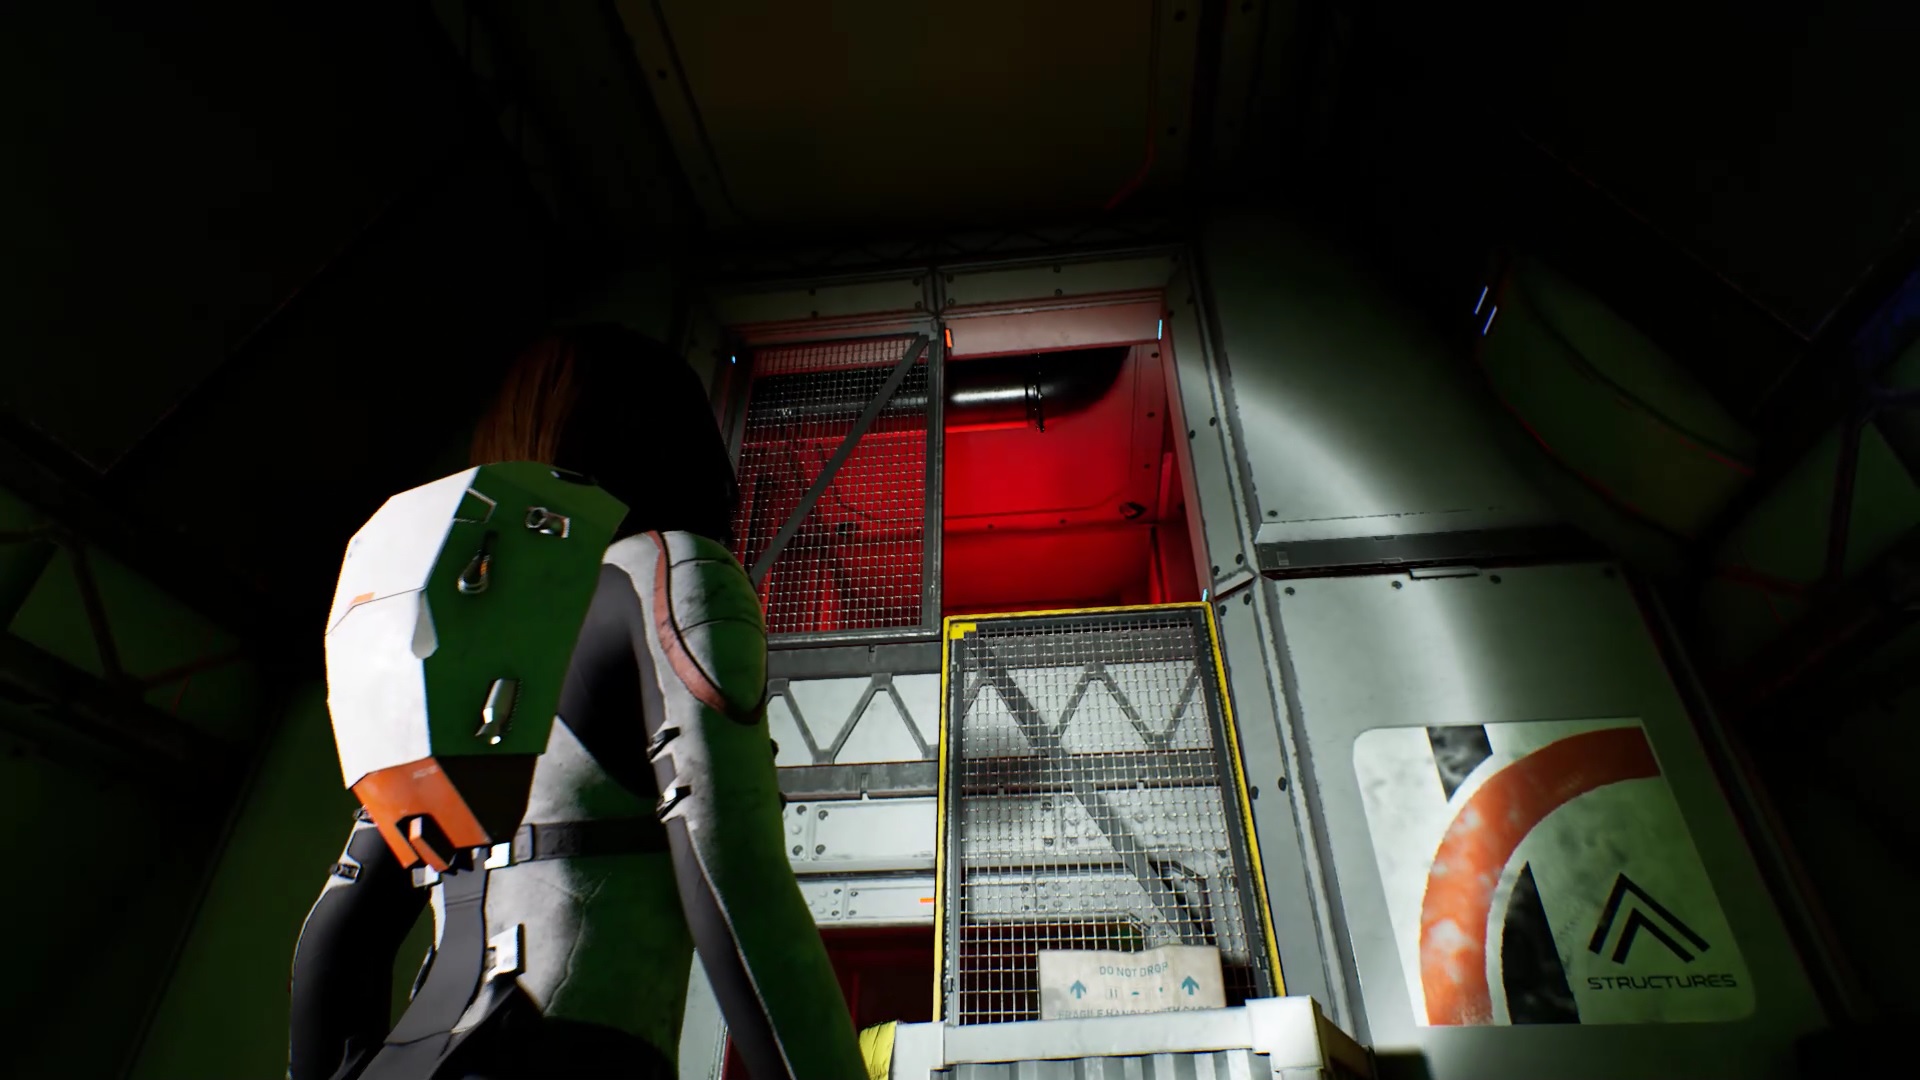
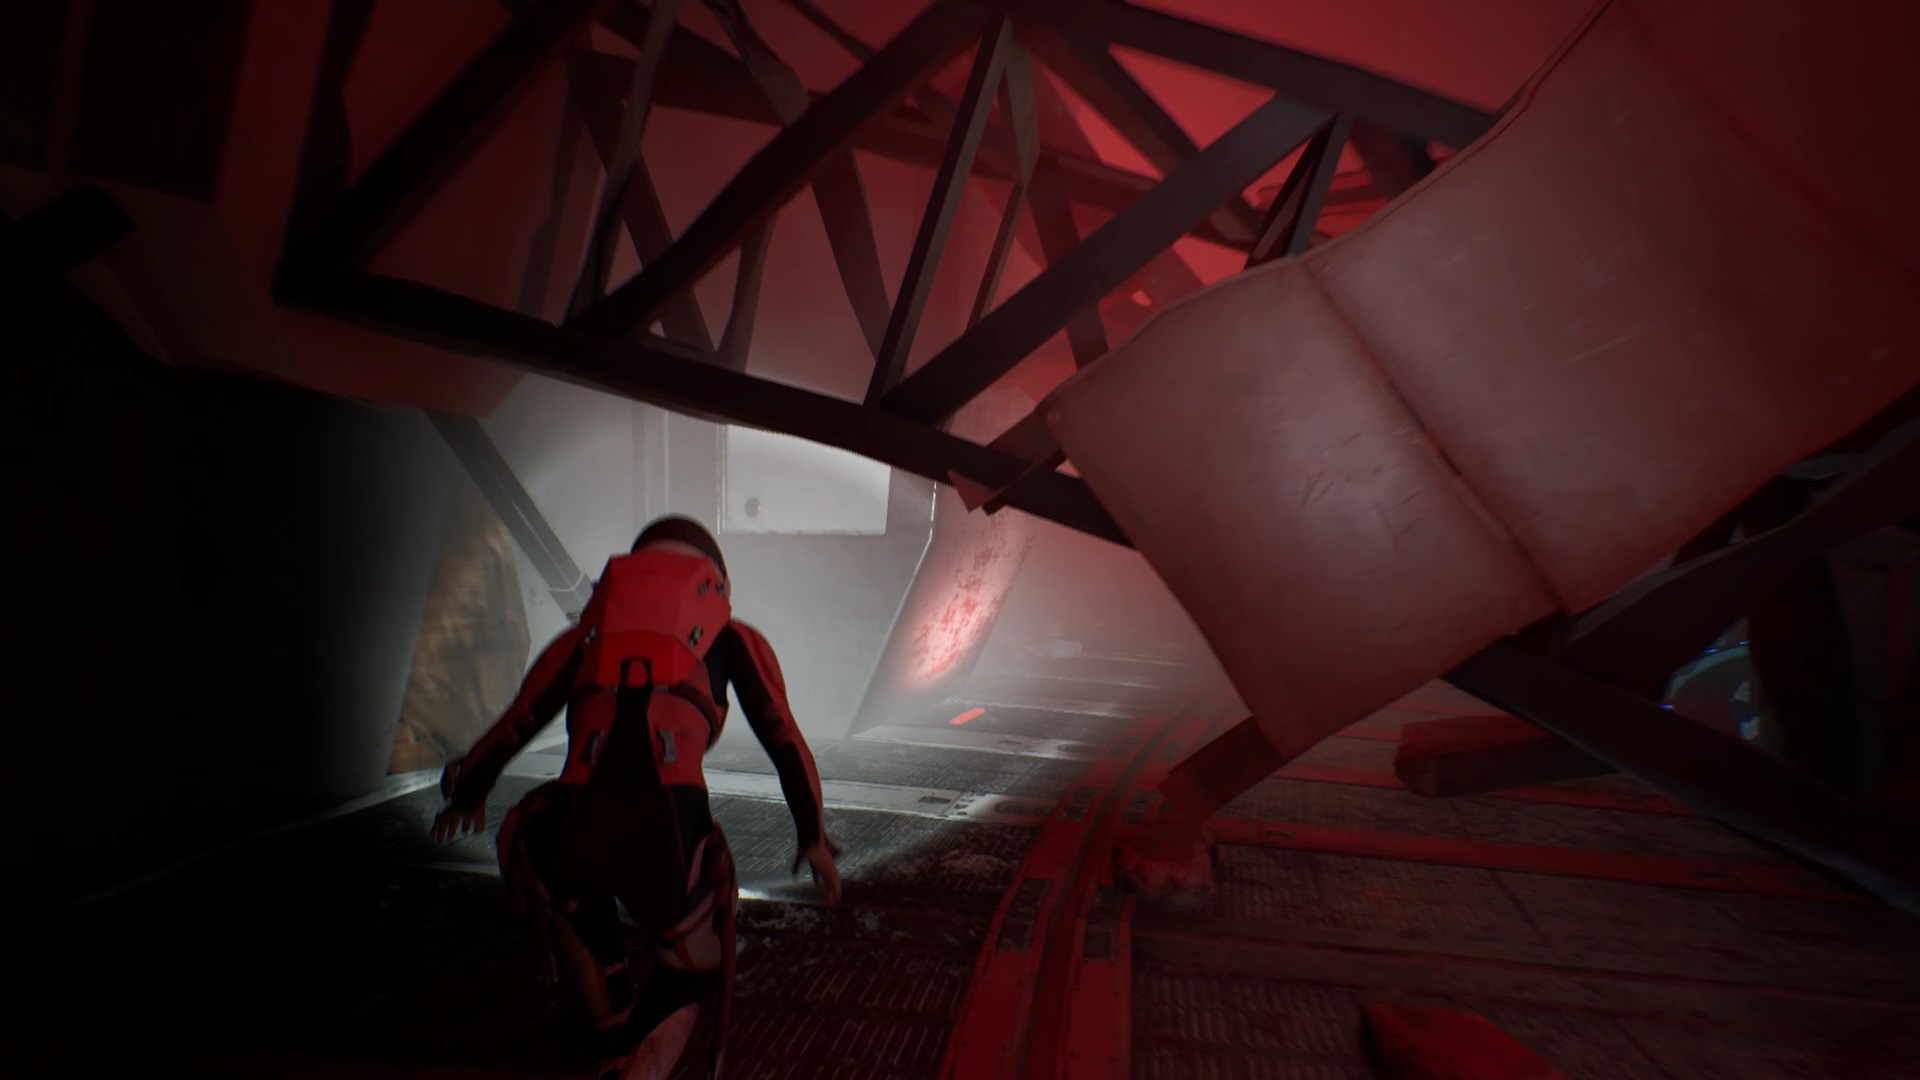
In the rover, follow the objective towards the dish. Pass between the mountains on the right when you see the dish for the first time. At the foot of the dish, get out of the vehicle. Explore the debris and move towards a red light.
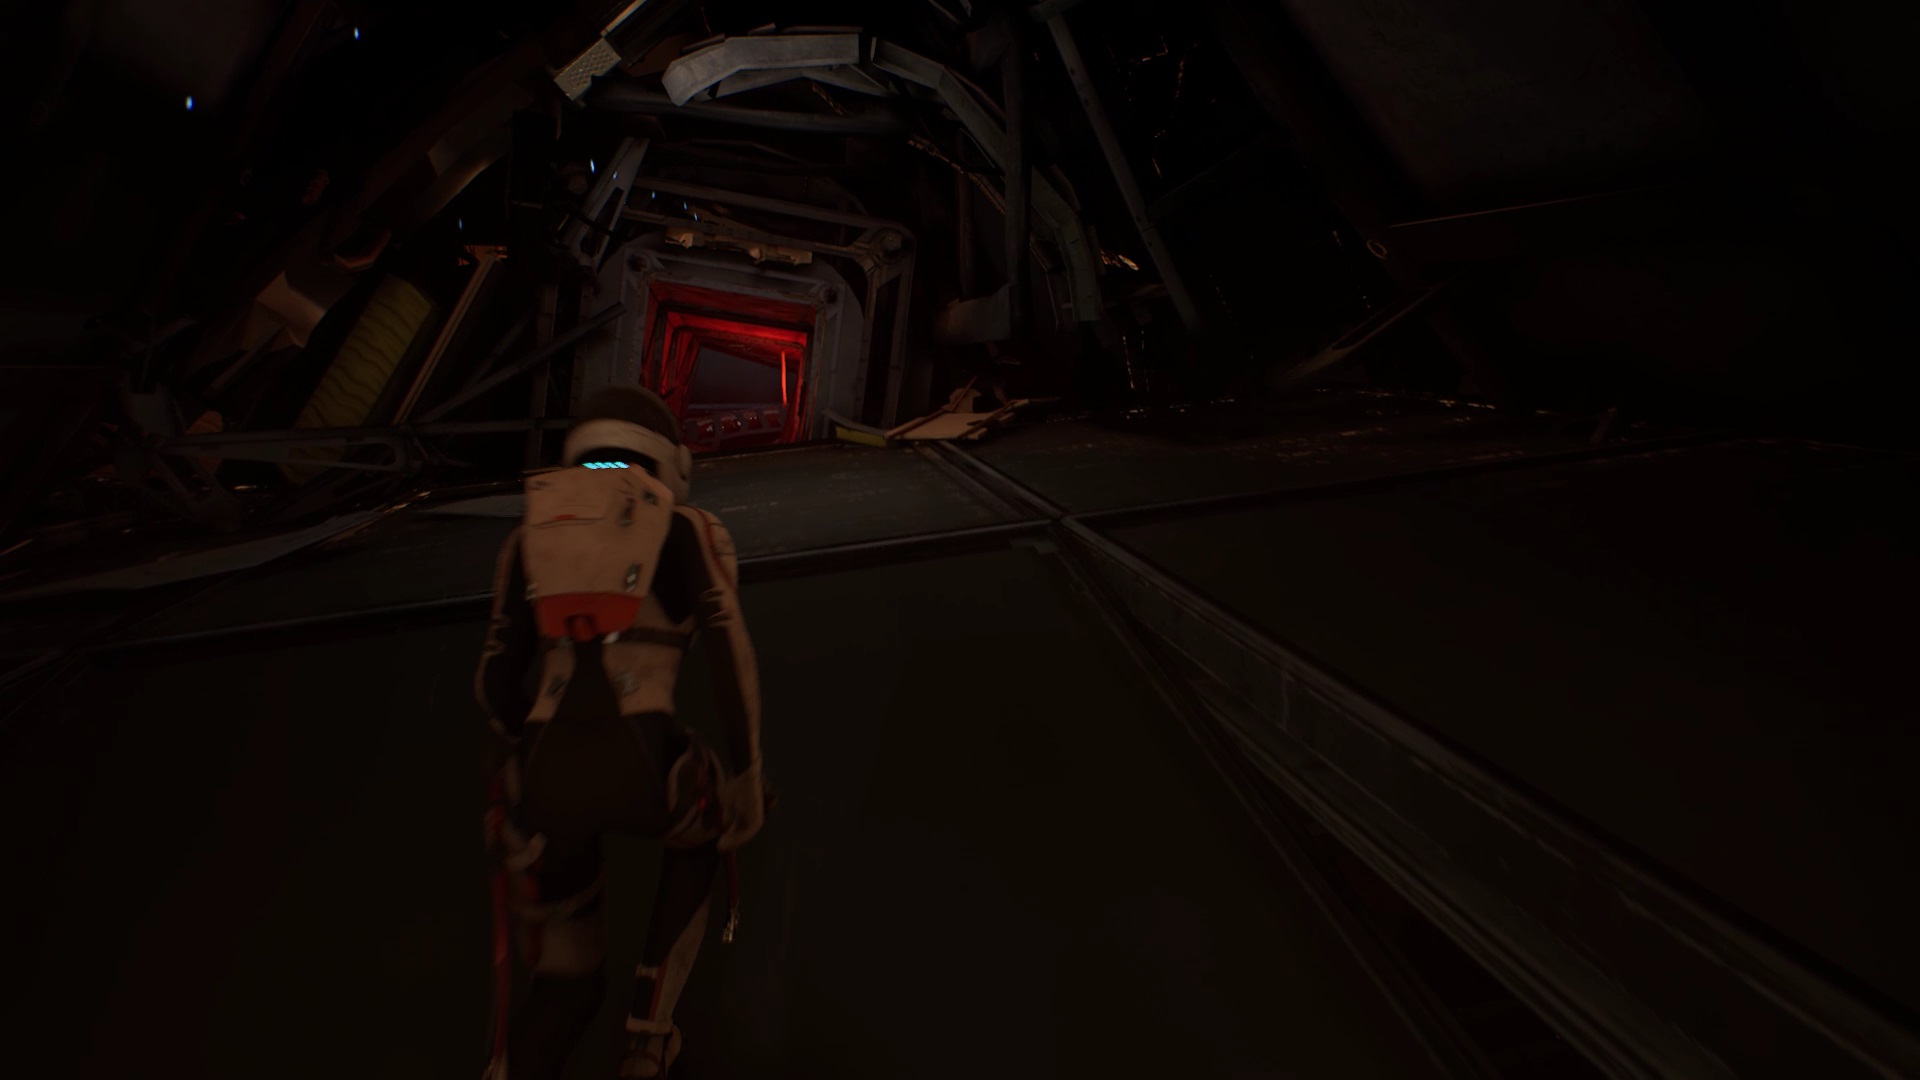
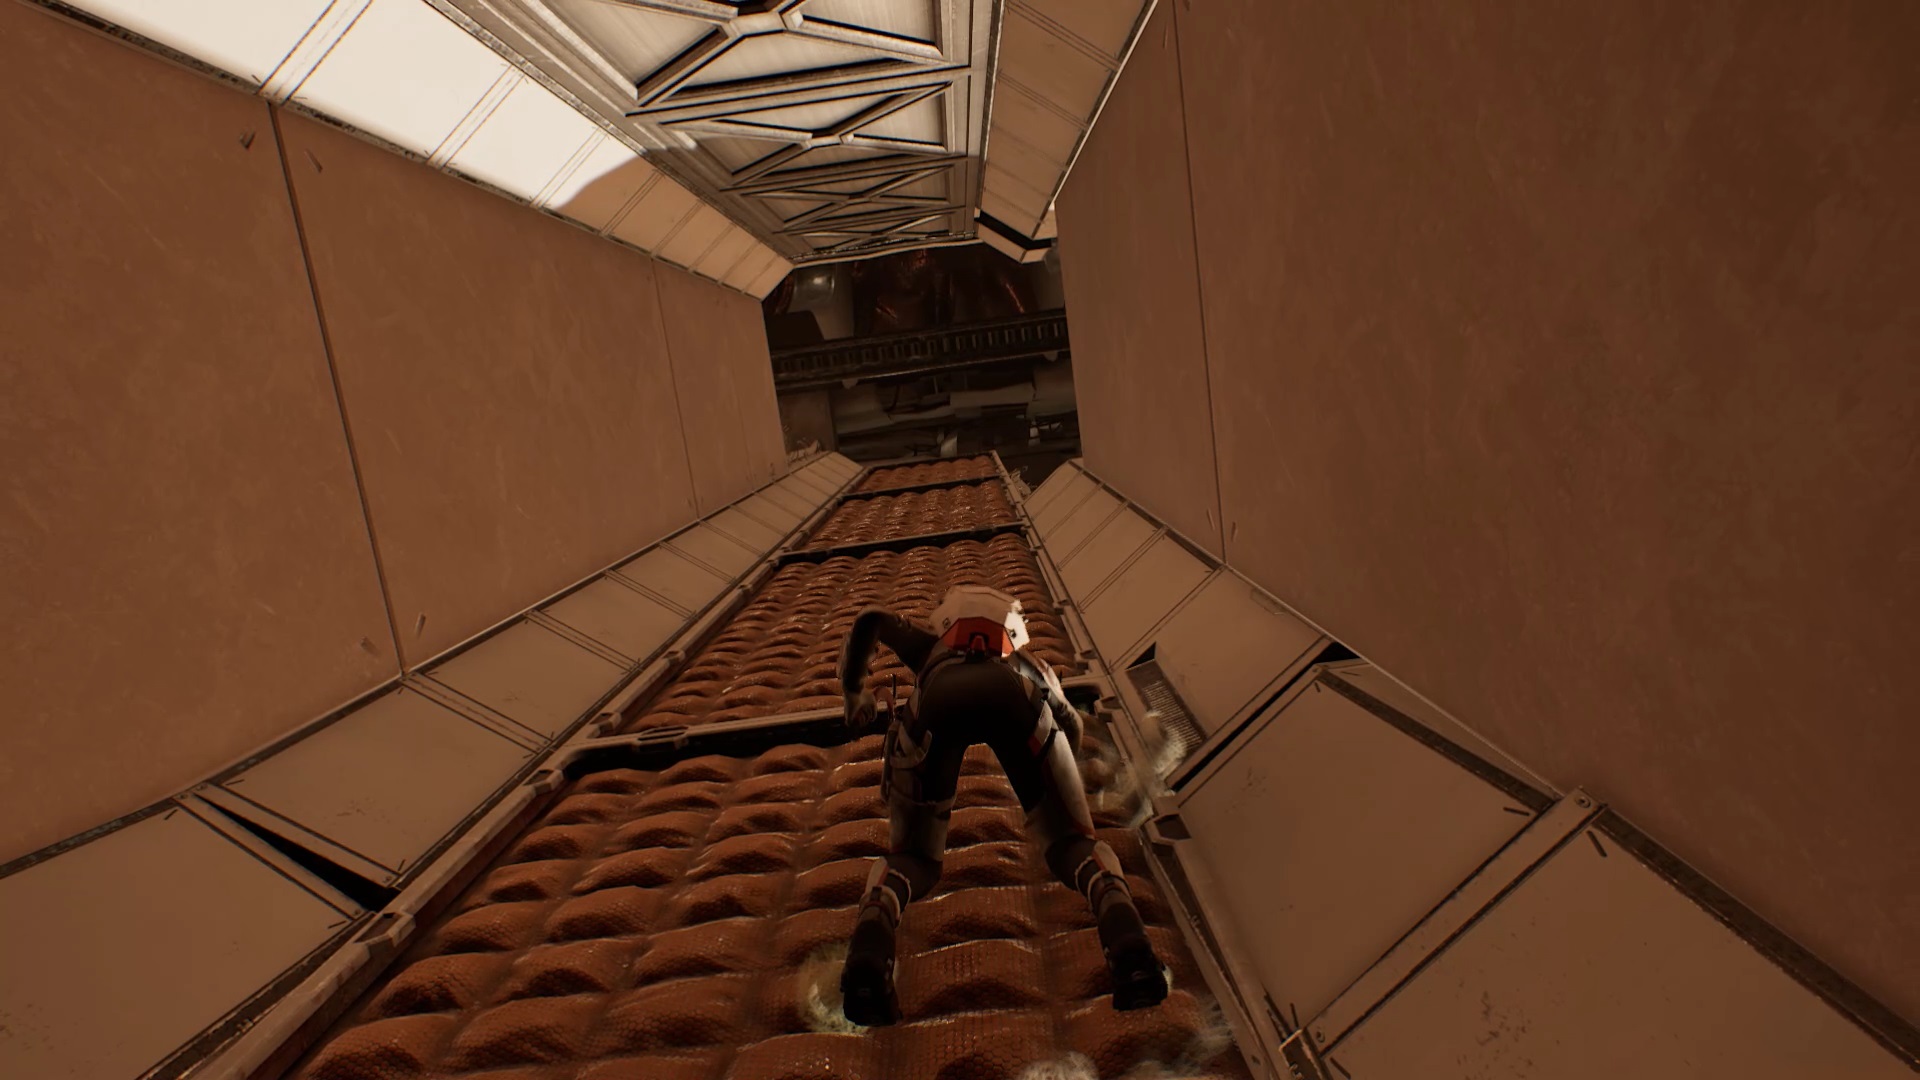
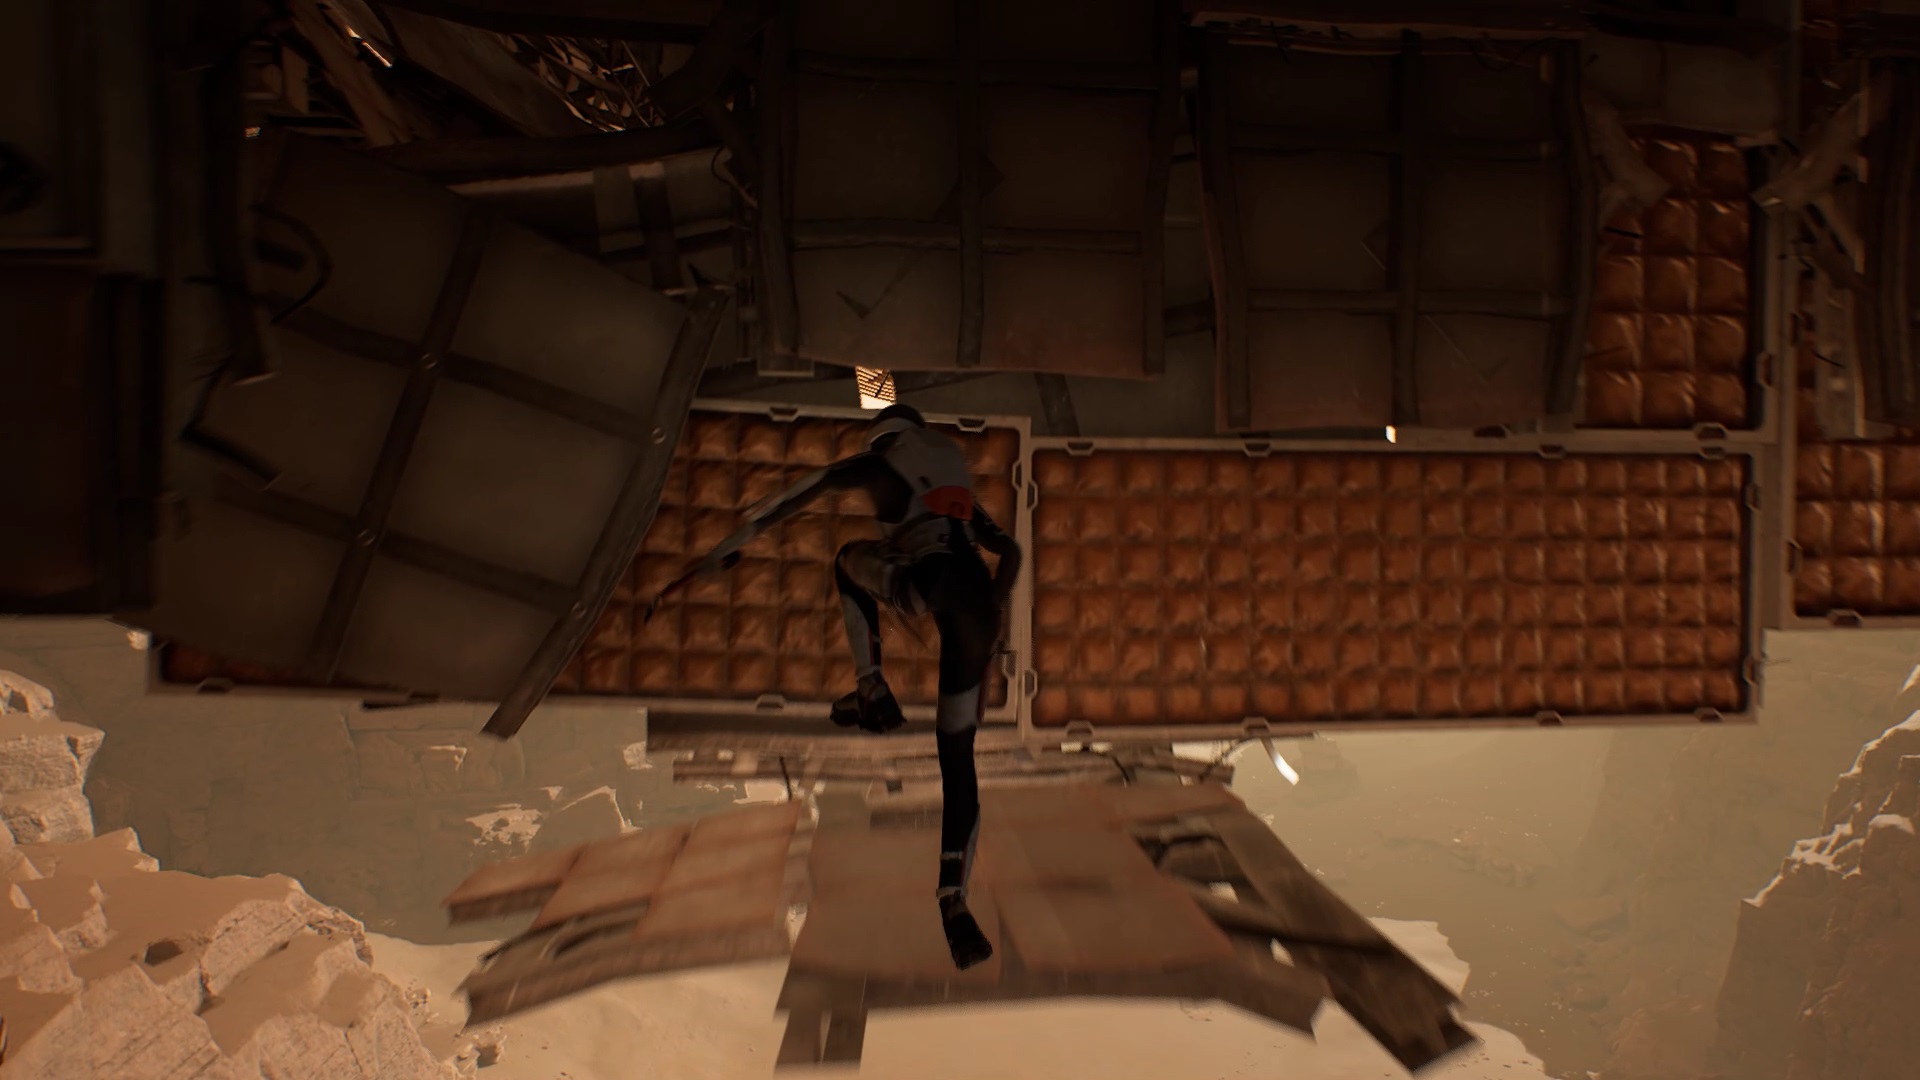
At the red light, duck to enter the structure. Jump on the high platform to reach a heat shield to climb. Climb the shield to reach the first level. From there, jump on the wall in front of you to climb it.
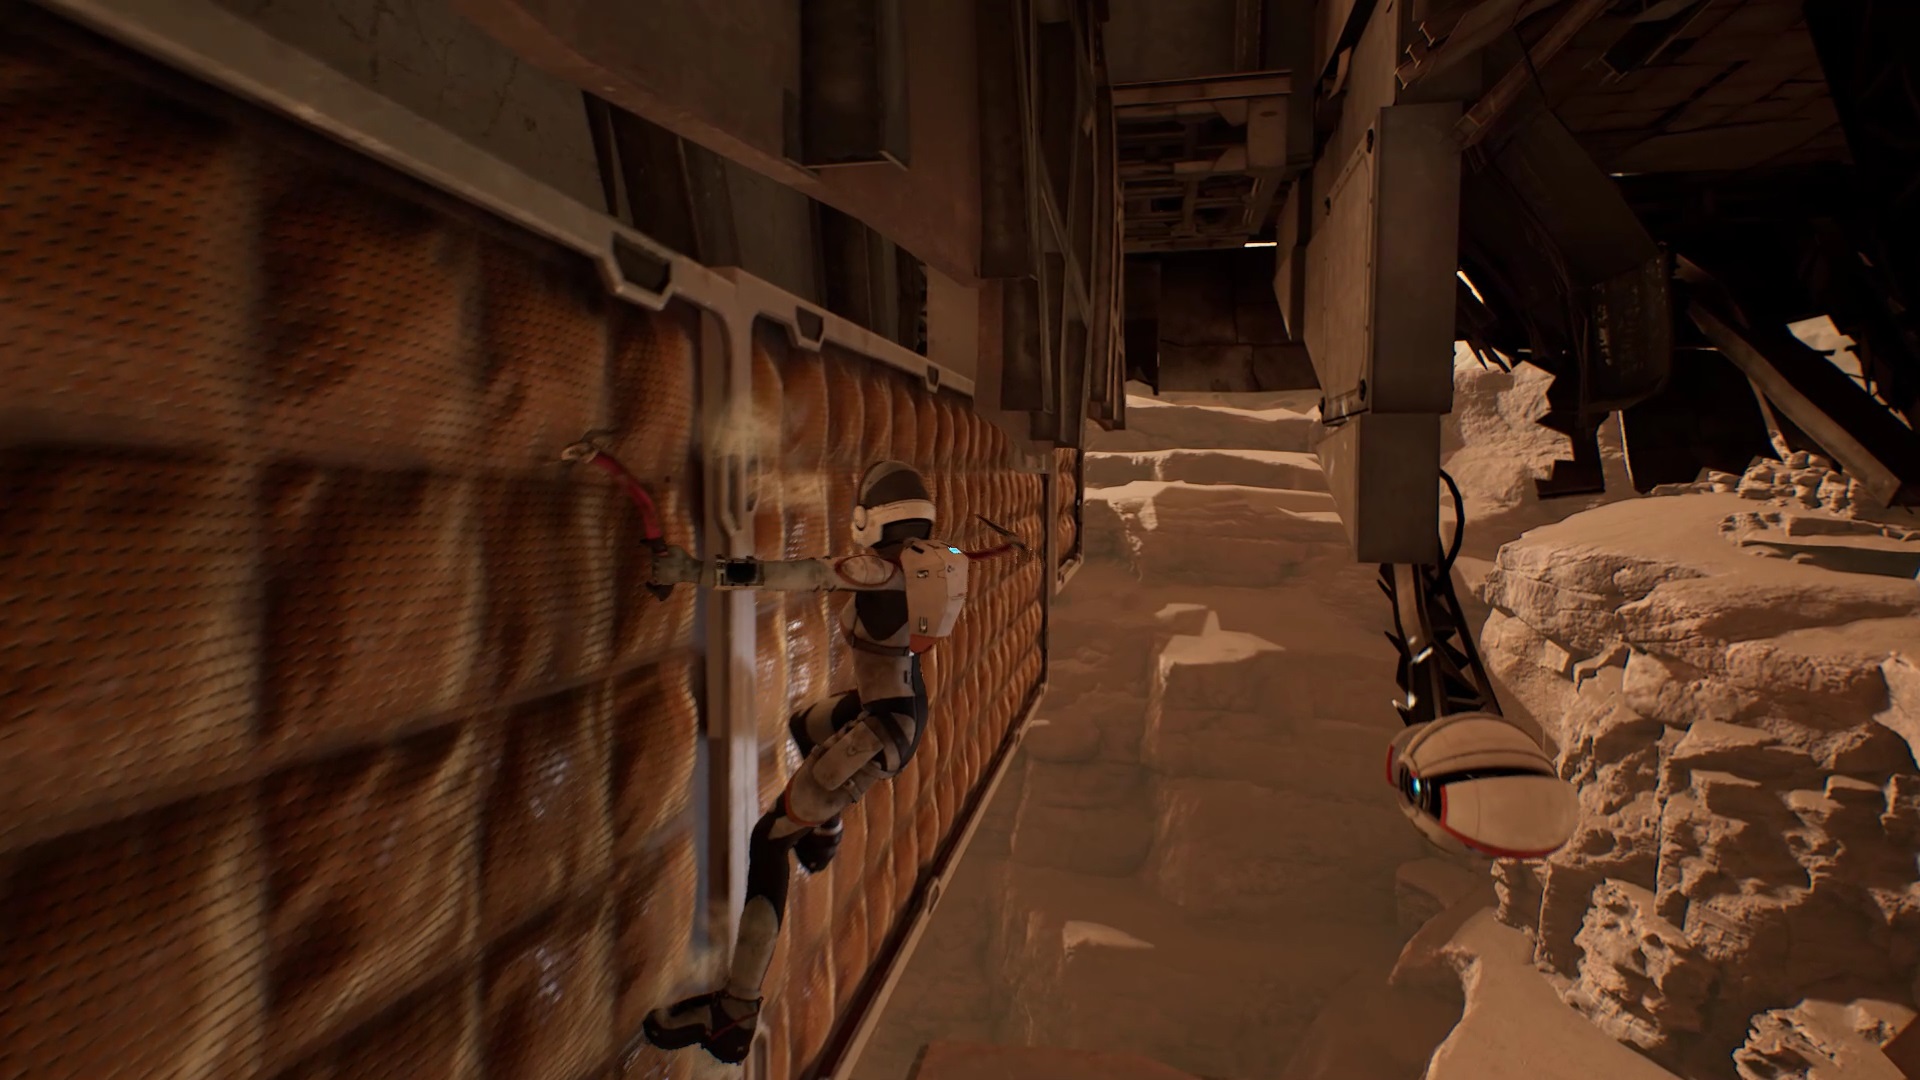
Go ahead and use your laser on the plates blocking your way. Go down the path you opened with the second plate. Continue by jumping over the chasms. In the next area, use your climbing gear to go along the heat shield on the left.
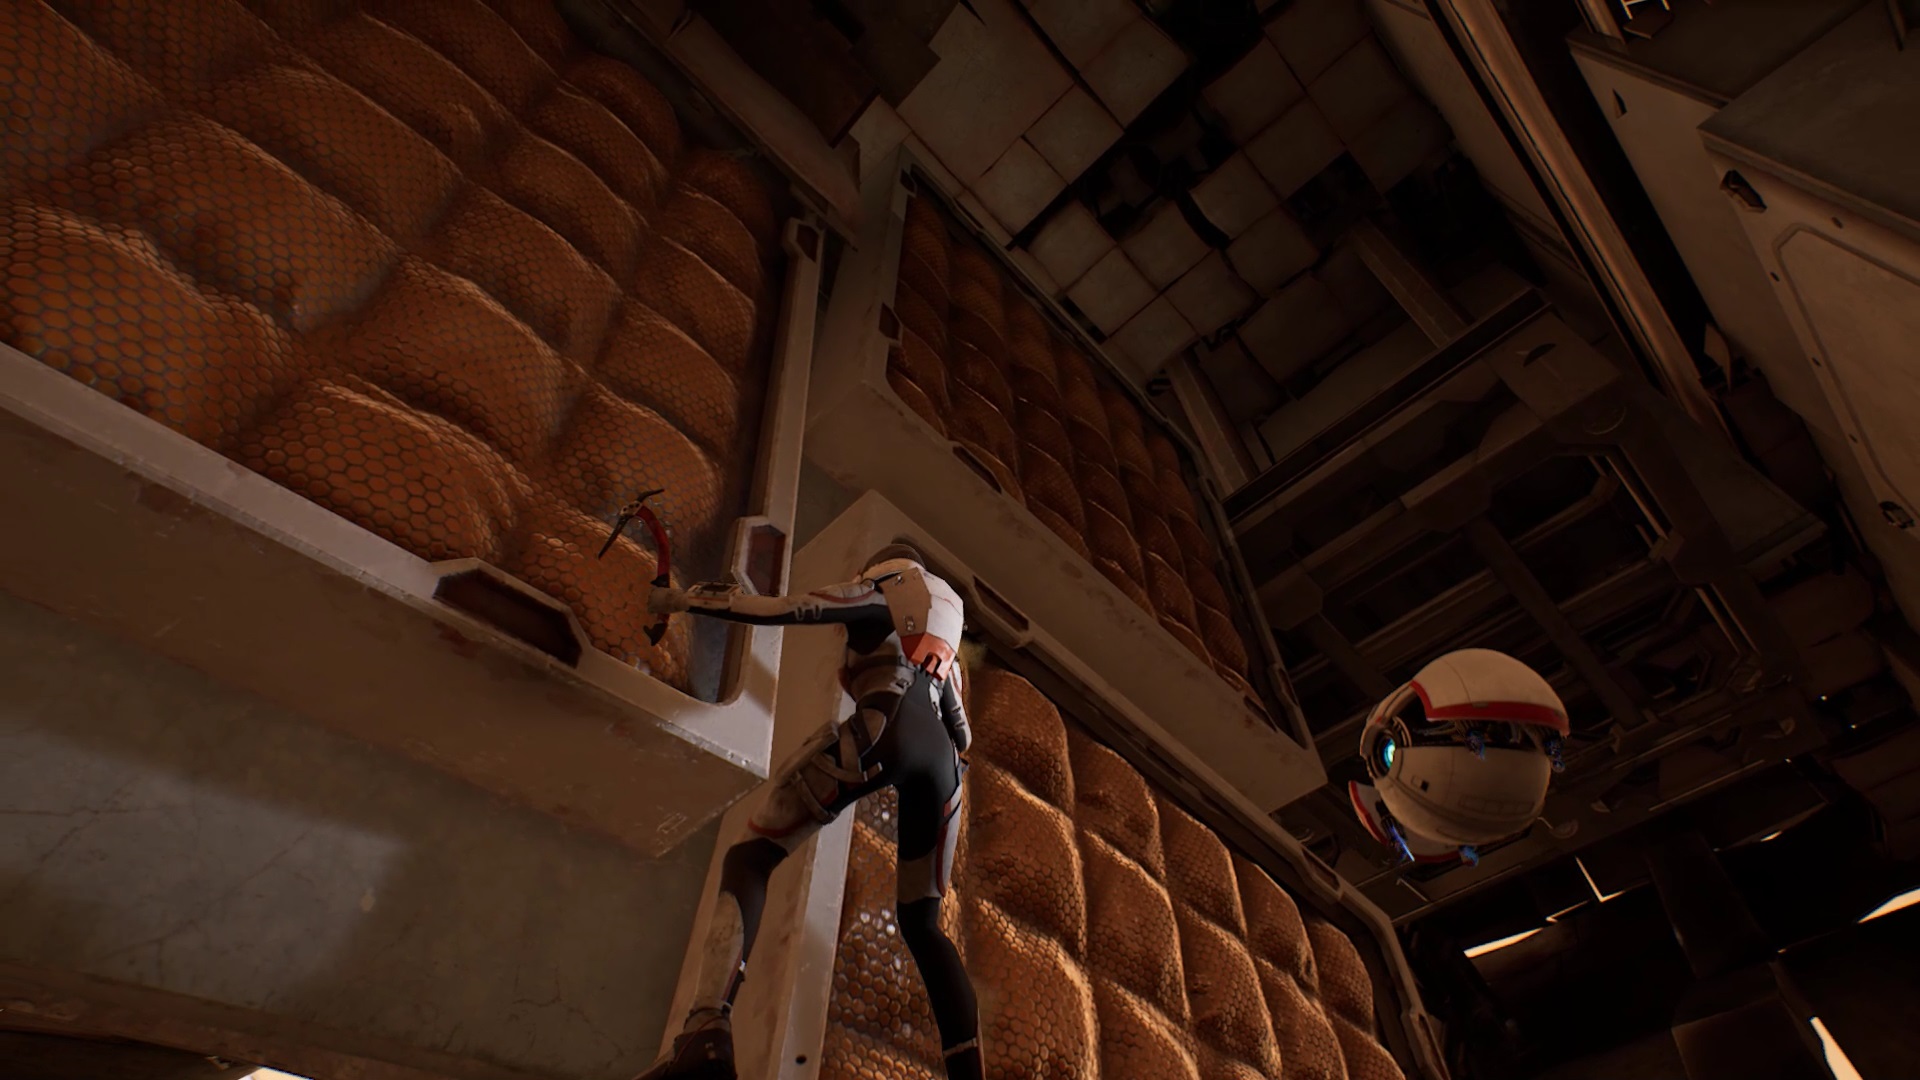
Move forward to reach the motors of the dish. In this area you find many streame points and rays. Use your laser on the floor plate of the entrance to get a beam. On the left of the area, there is a divider in a recess in the structure.
On both sides of the motor are streame points. Climb onto the platform at the top right of the area where there is a yellow sheet. Use Ayla to position the divider on your platform. Connect the splitter to the two streame points facing you.
At the bottom of the area, there is a ground plate. Use your laser on the plate to get a beam. Connect the spoke to the receiver you just placed.
There is too much current in the spokes. Collect a reduction field in the back of the room near the radius. Using Ayla, place the field at the intersection of the two axes of the splitter radius. You fed this side.
You find another high divider near the front door. At the entrance on the right, climb the platforms to find a separator. With Ayla, position the splitter facing the streame points on the left side of the engine.
A final separator is located in the center of the engine. Use Ayla to retrieve it. Place the divider facing the front door shelf. Connect one of the splitter spokes to the streame point in the center of the engine. Connect the second spoke to the splitter on the left of the engine.
Join the platform on the left side to reach the separator. You can reach it by climbing the structure from the right side of the engine. Connect the splitter spokes to the two streame points facing you. You fueled the engine.
To the left of the entrance a door has just opened. It leads onto a hologram. To decrypt the hologram, align the ends by placing yourself as in the images above.
Use your spikes to scale the heat shield. Jump on the right shield and keep climbing to reach the high area. Keep moving forward and jump on the shield, holding on with your spikes. Get off and continue on your way.
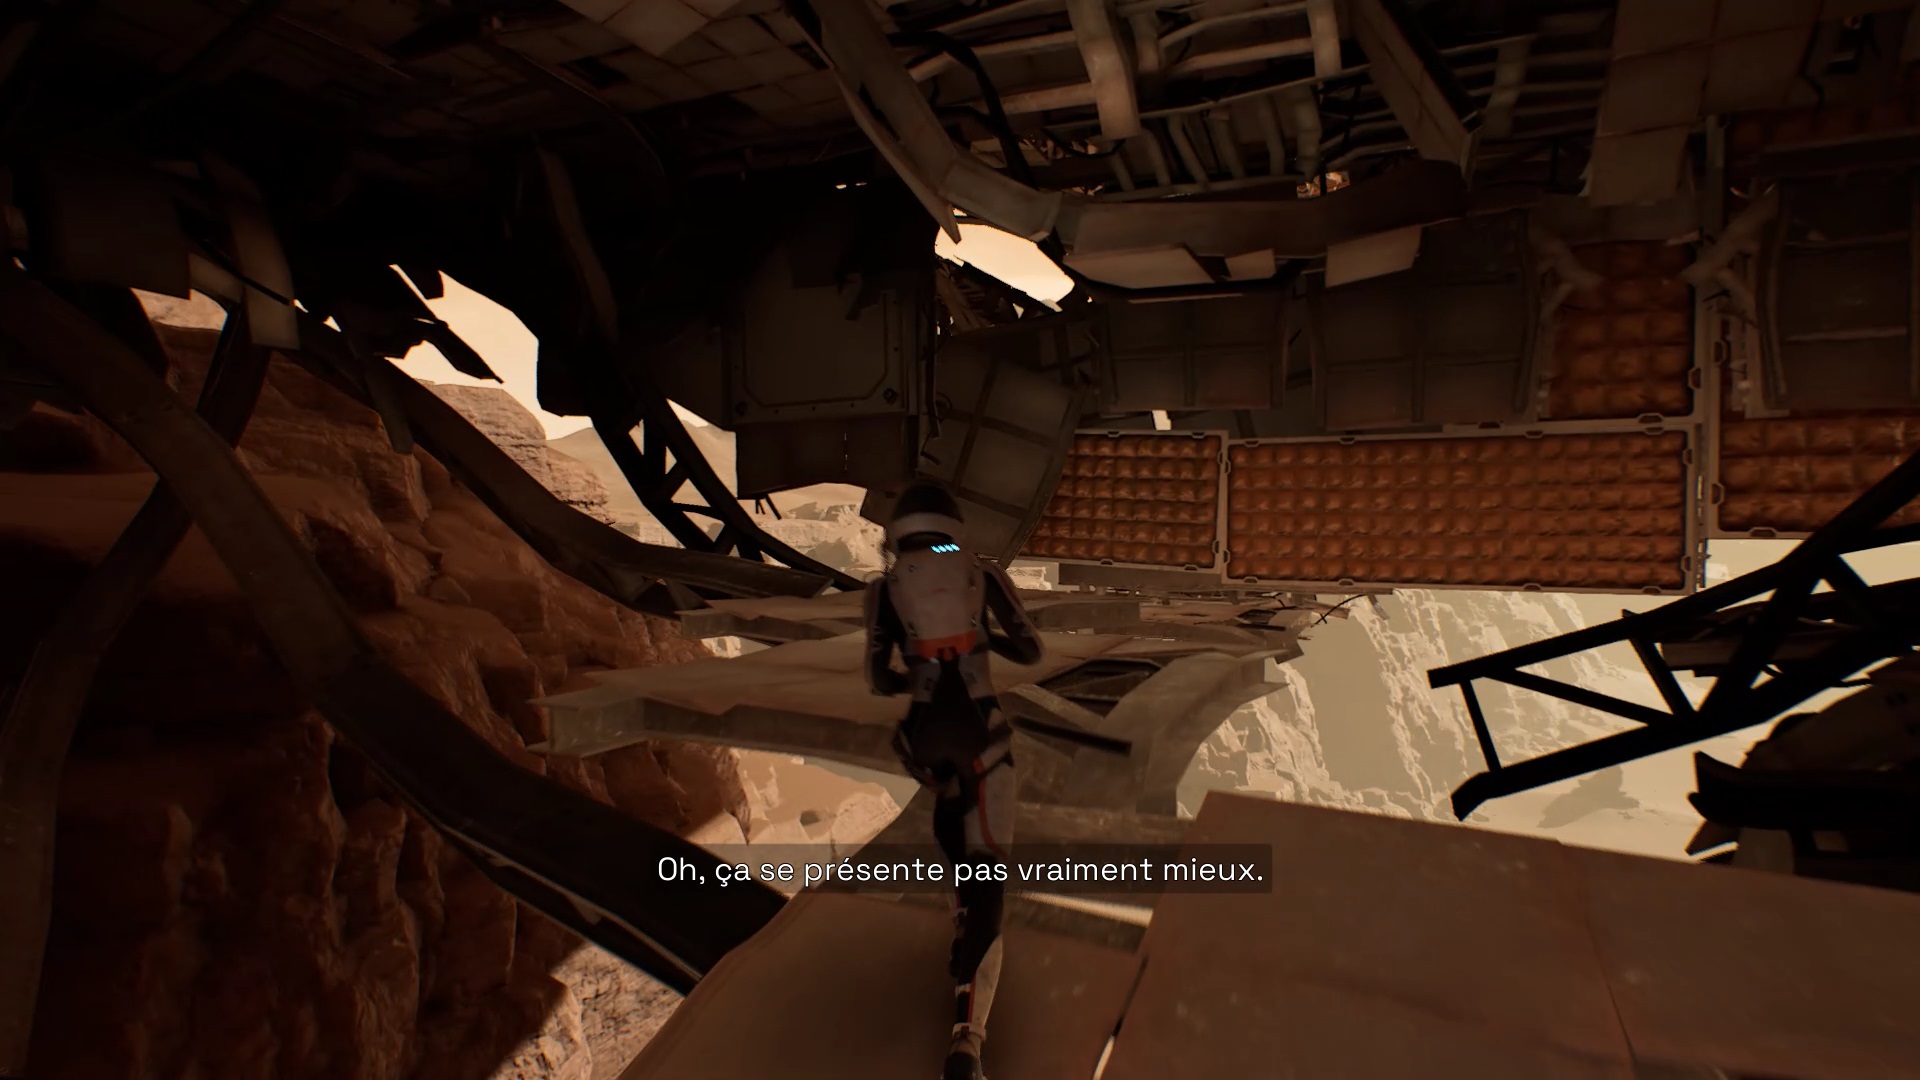
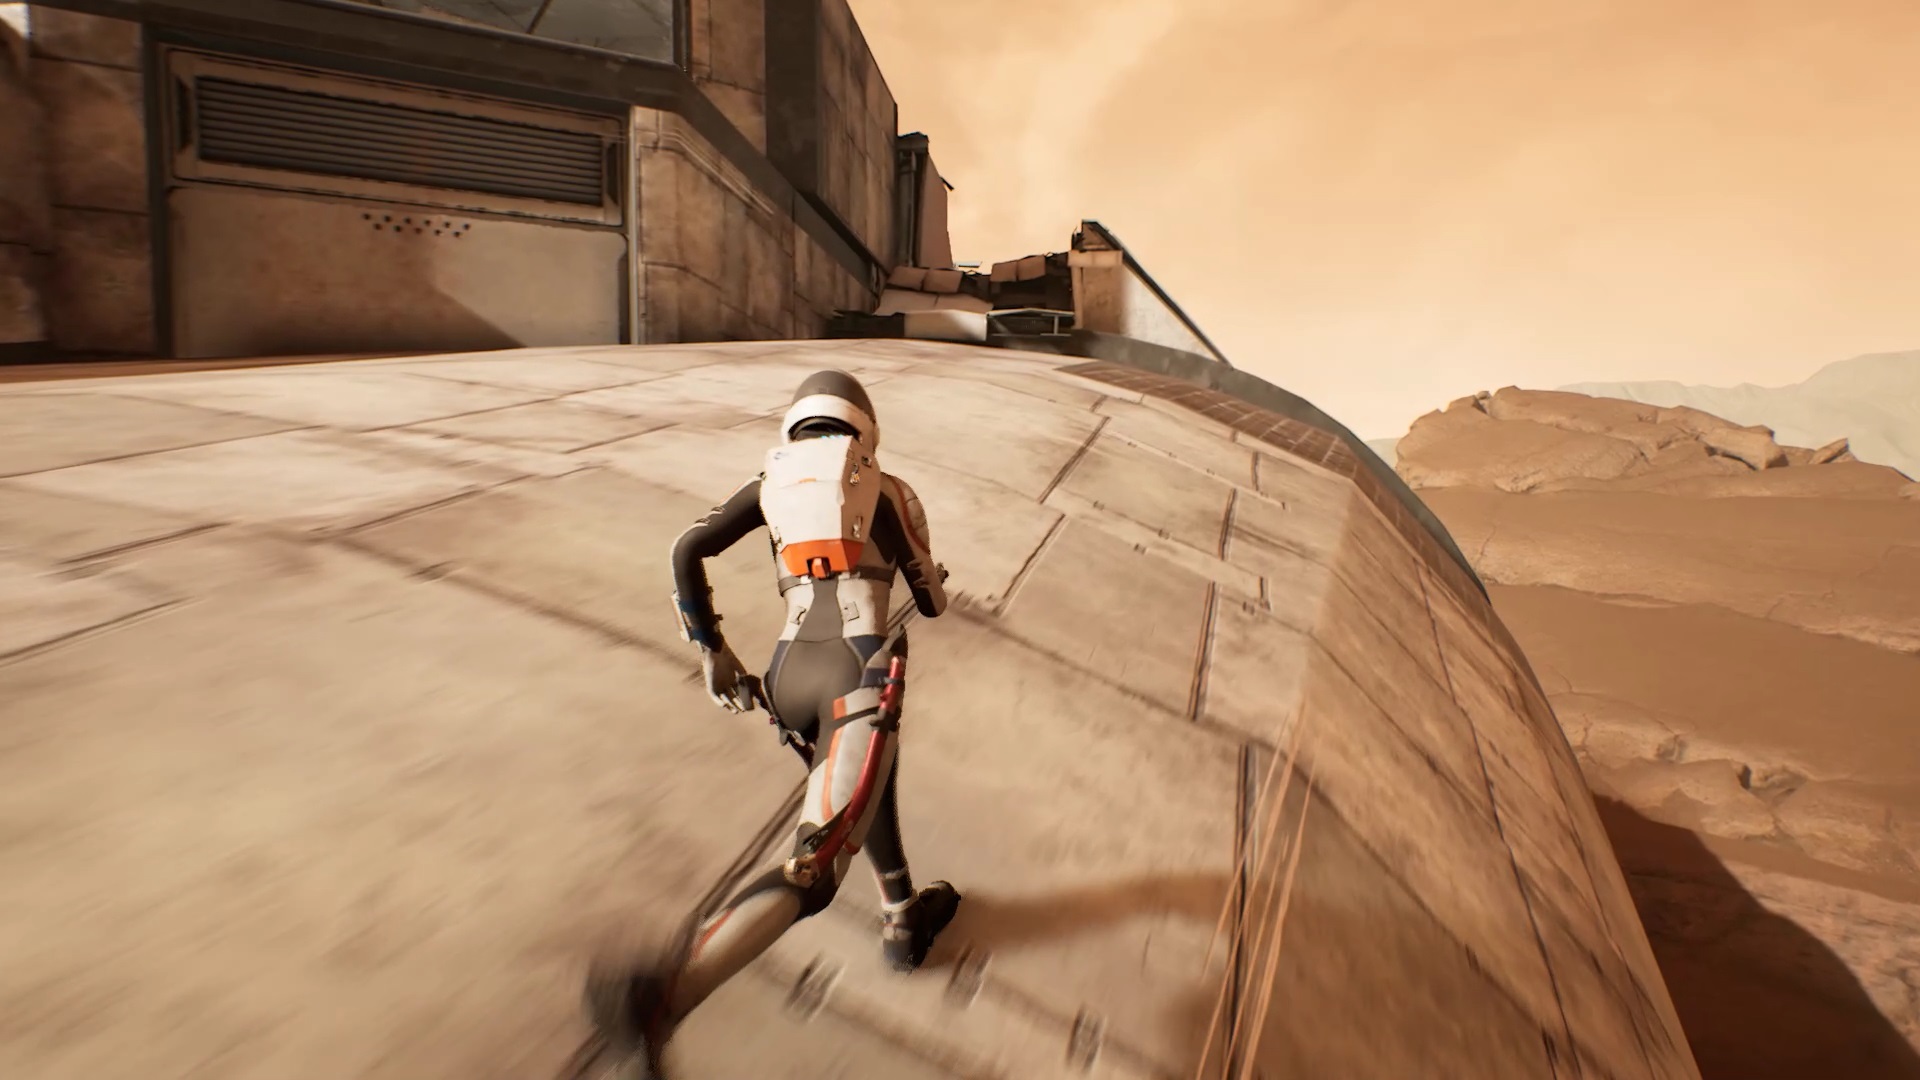
Outside, walk down the path in front of you. When the structure starts to crumble, grab onto the shield with your pickaxes. When the structure is stabilized, climb the shield. Continue your way by jumping from metal plate to plate. You reach the shield to climb at the bottom of the area. Climb the heat shield going along on the right then go up to reach the top of the area.
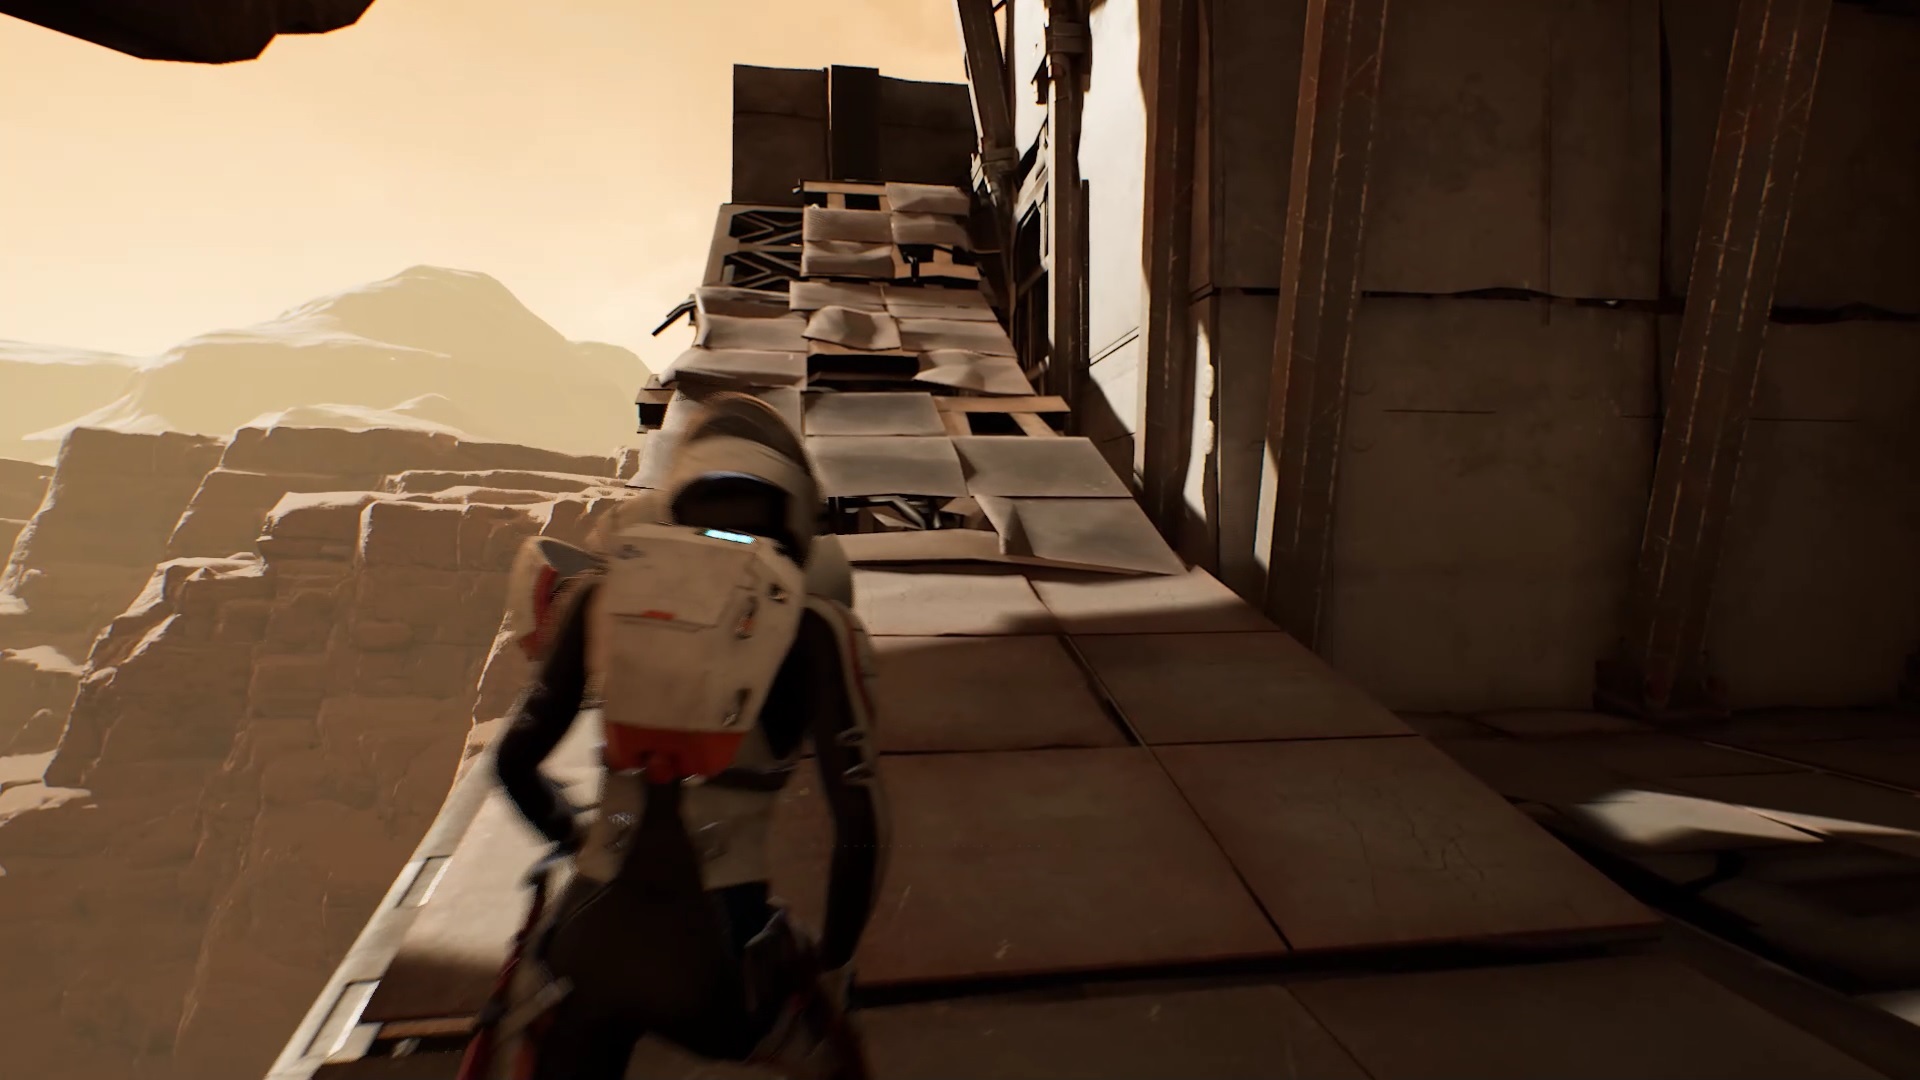
Continue following the path on the right. Move forward by alternating climbing and platforming phases. Once at the very top of the structure, enter the structure and head towards the airlock on the right.
In the control room, go to the level of the panel of the MPT. Interact with it to activate the MPT. Rubble blocks the satellite dish. Exit through the airlock to the right of the room to reach the outside.
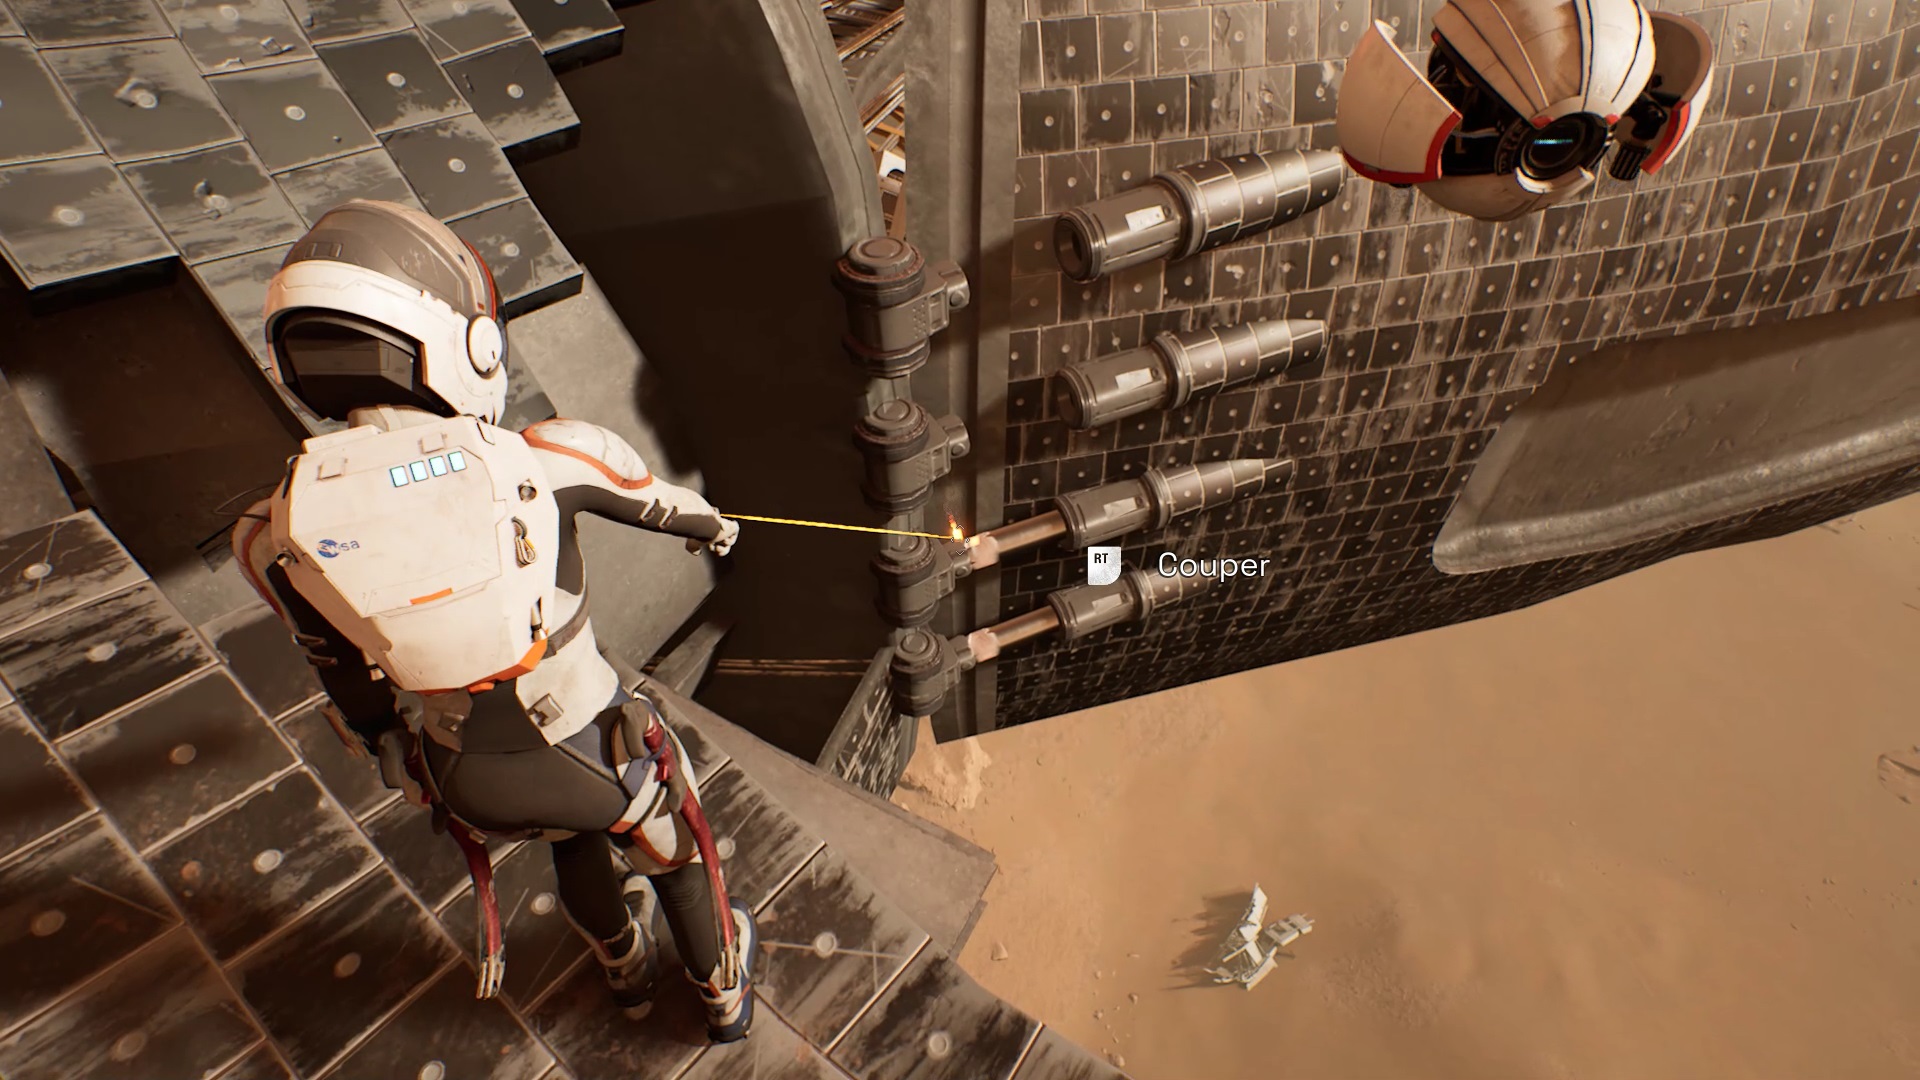
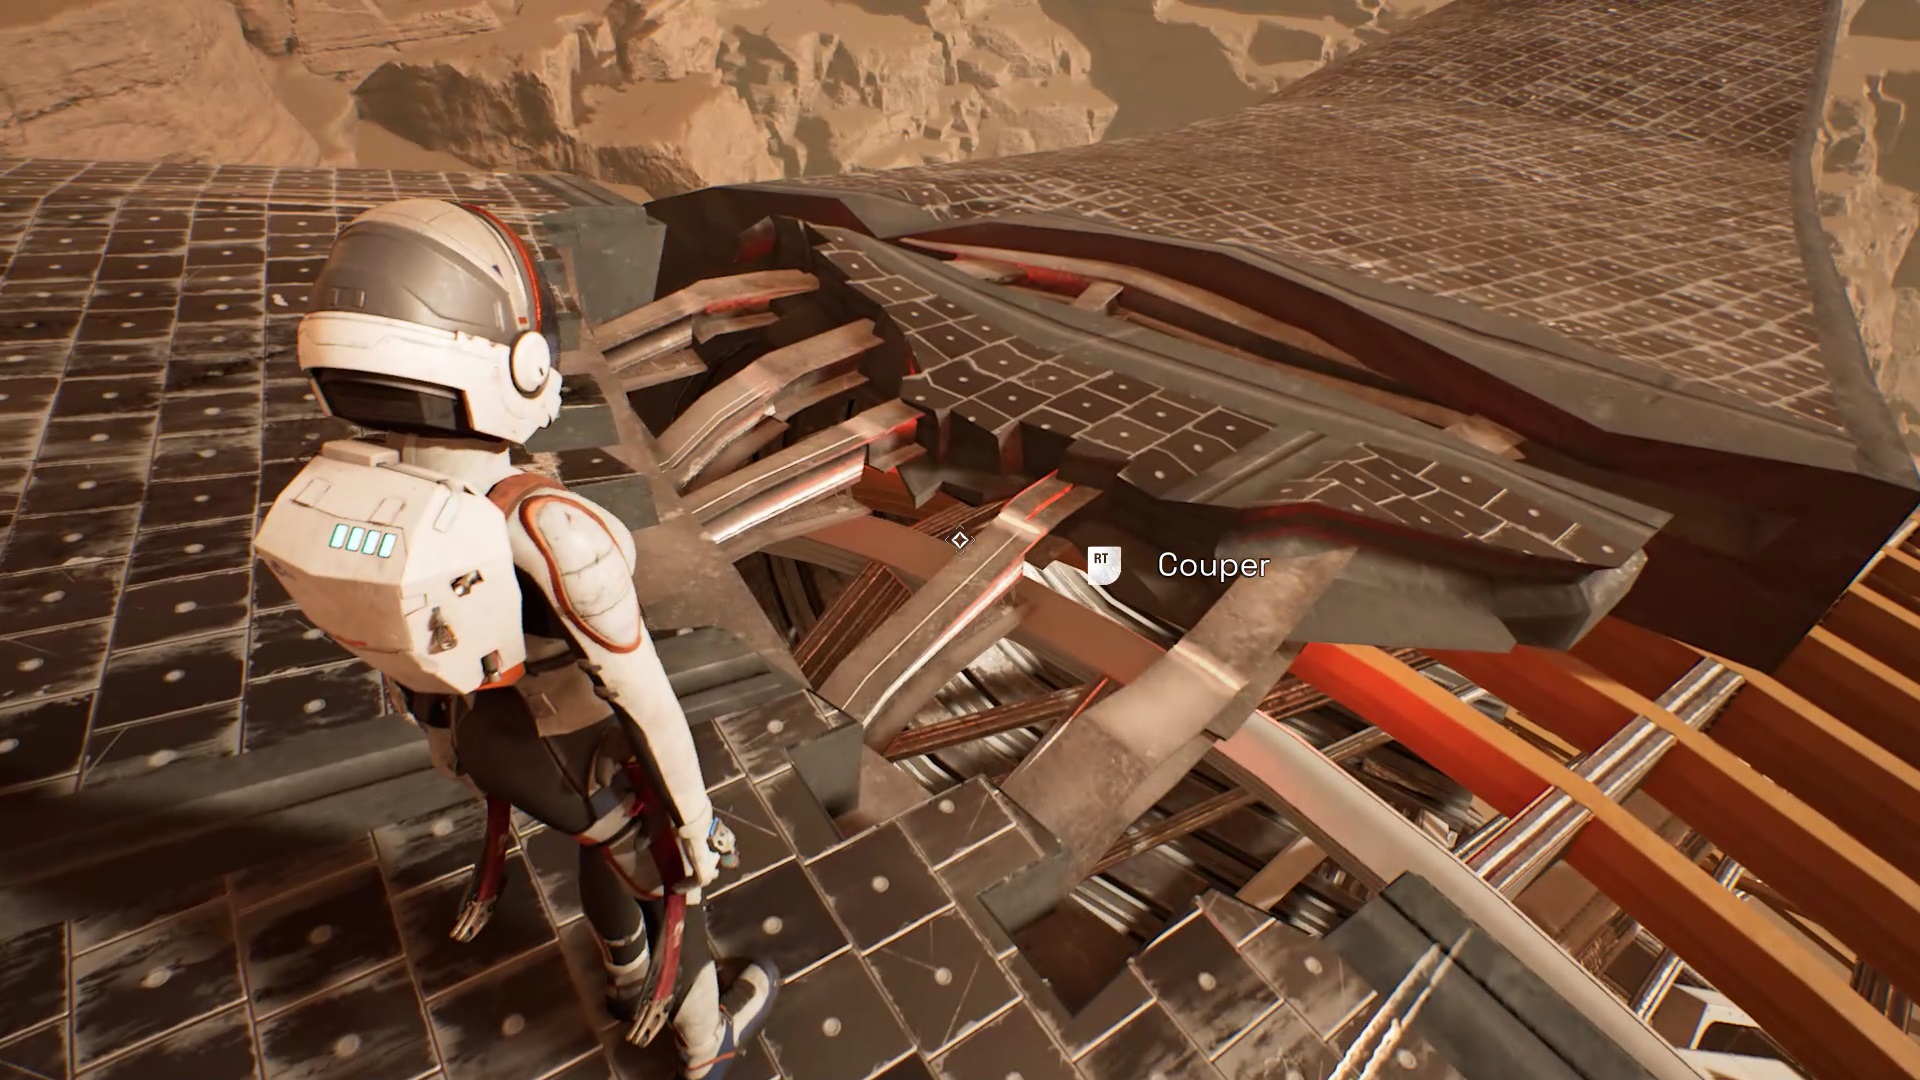
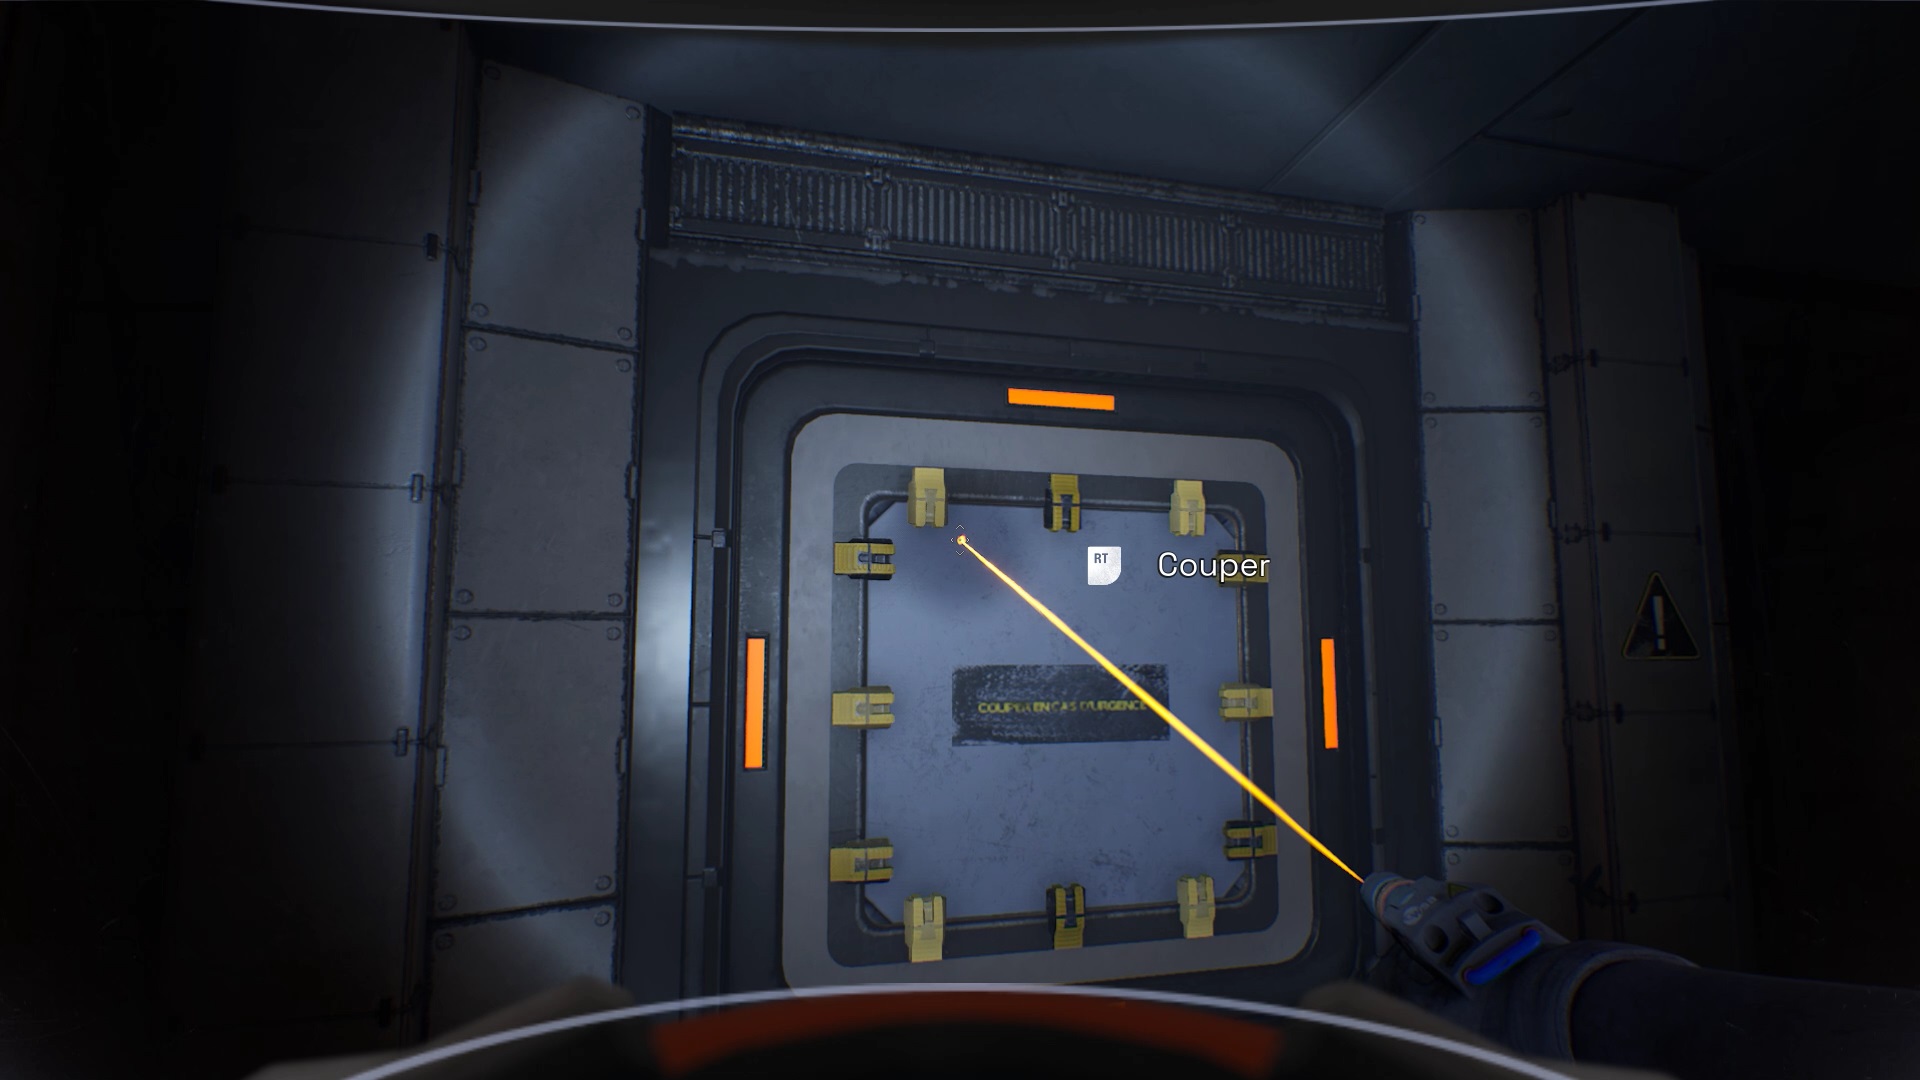
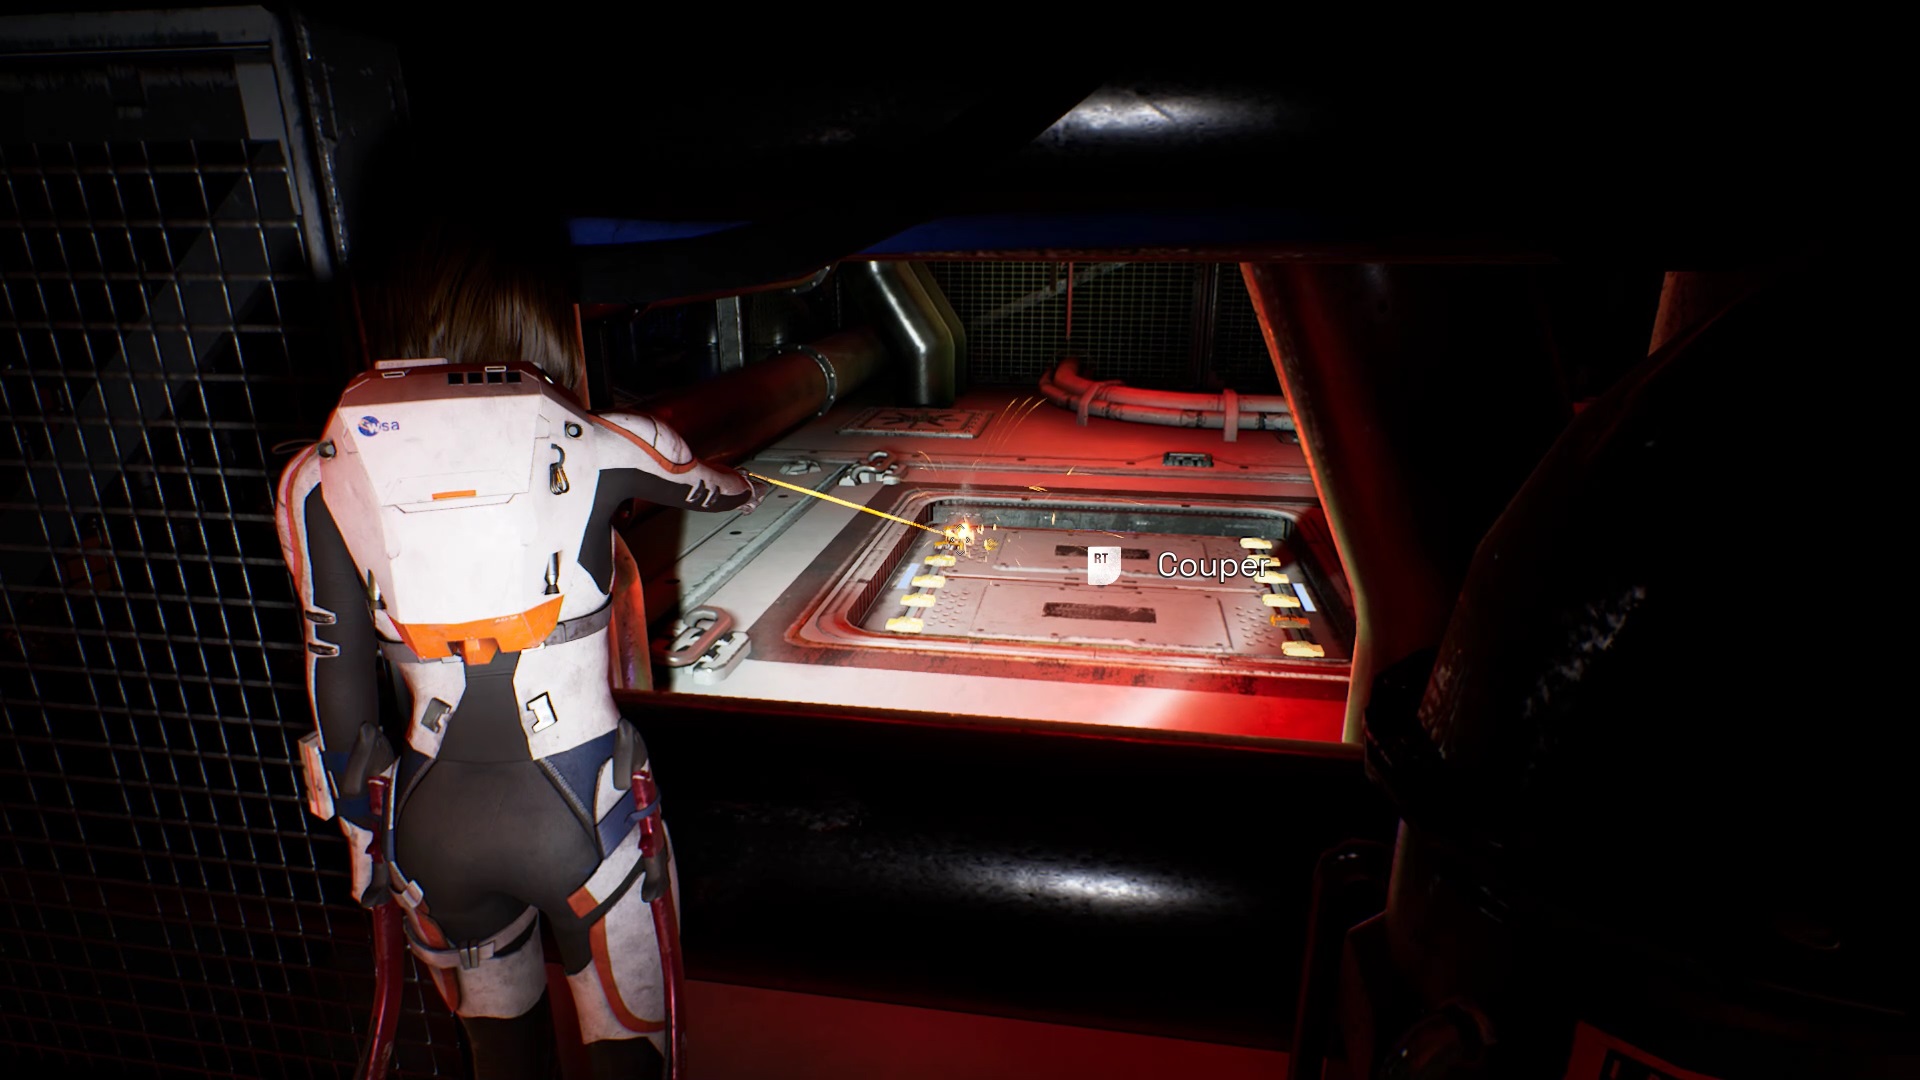
To reach the satellite dish, go down to the right, at the level of the yellow fabric. Use your laser on the mechanisms that hold the structure of the dish. Go back up and go to the center of the structure. Use your laser again to separate the metal structure in the center of the dish.
Go left to return to the control room. Do not go back the same way. You find a hologram along the way. To decrypt the hologram, align the ends by placing yourself as in the images above.

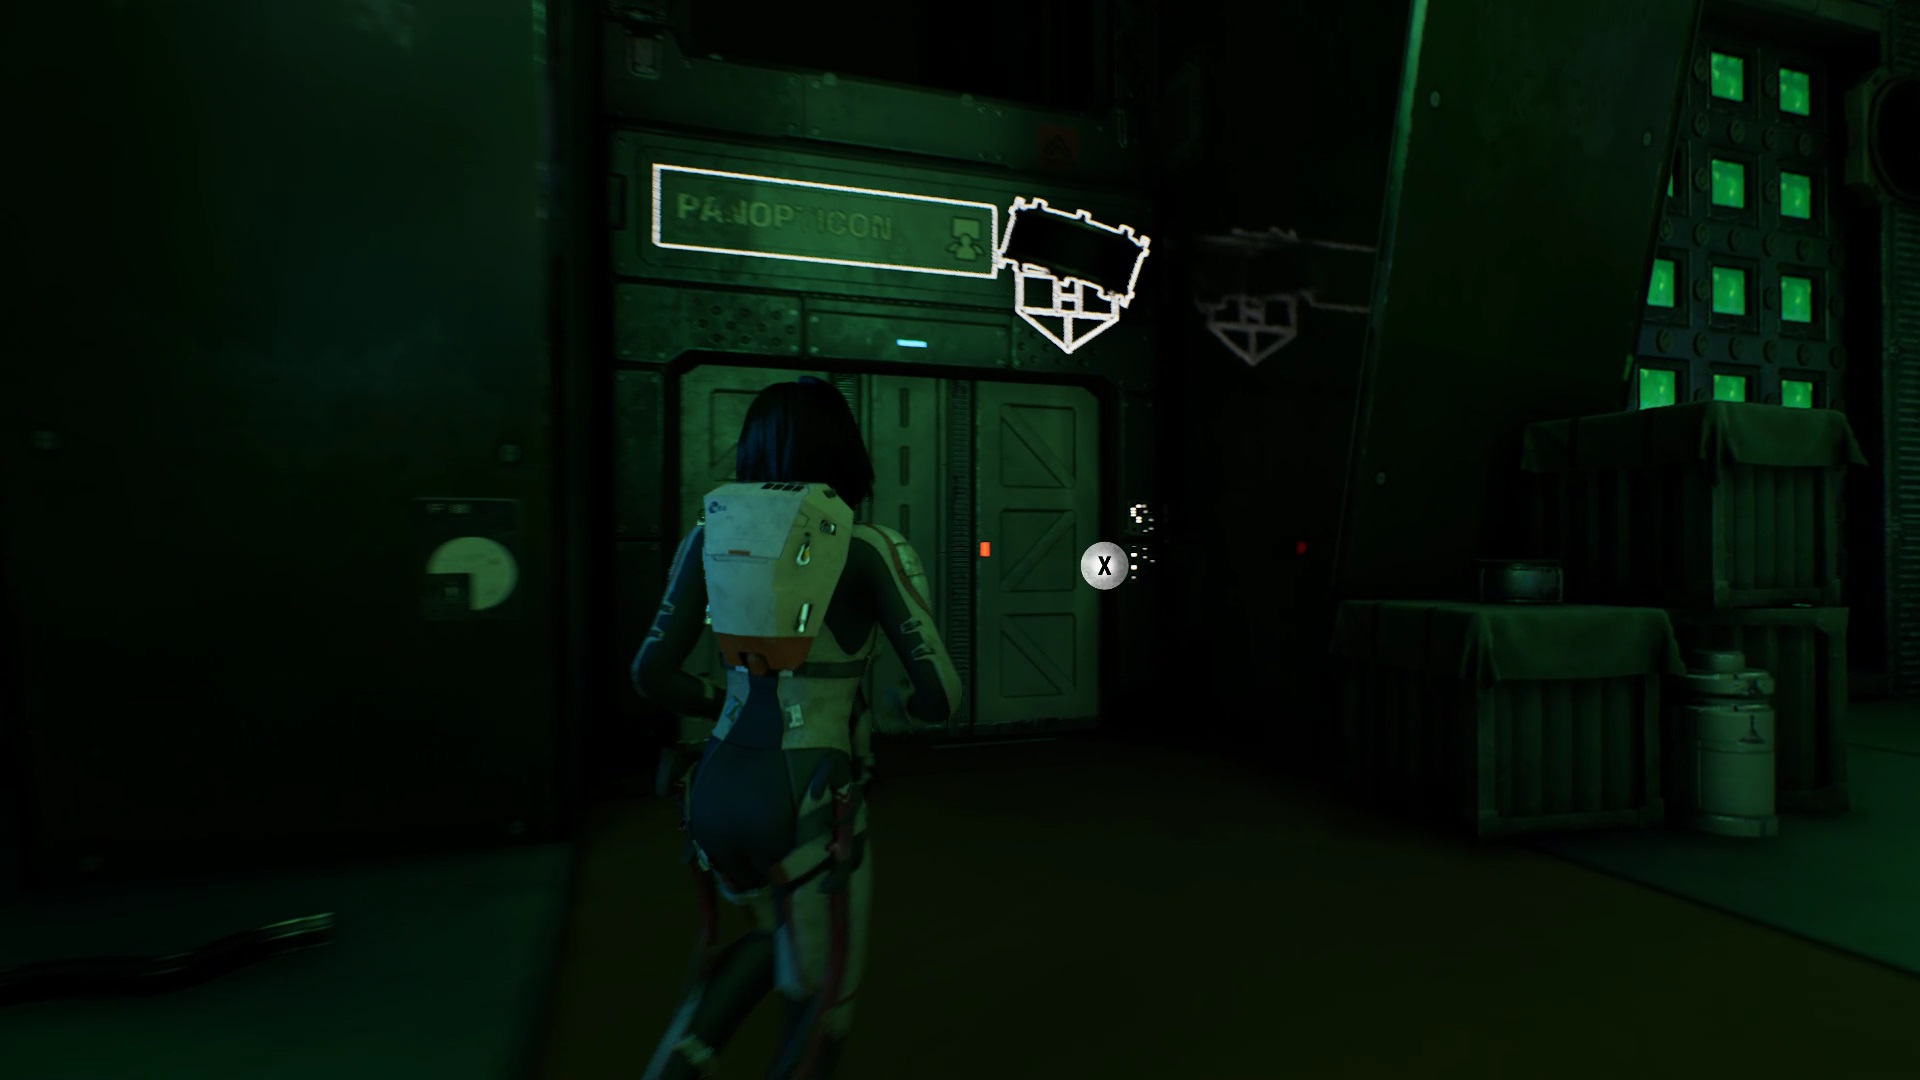
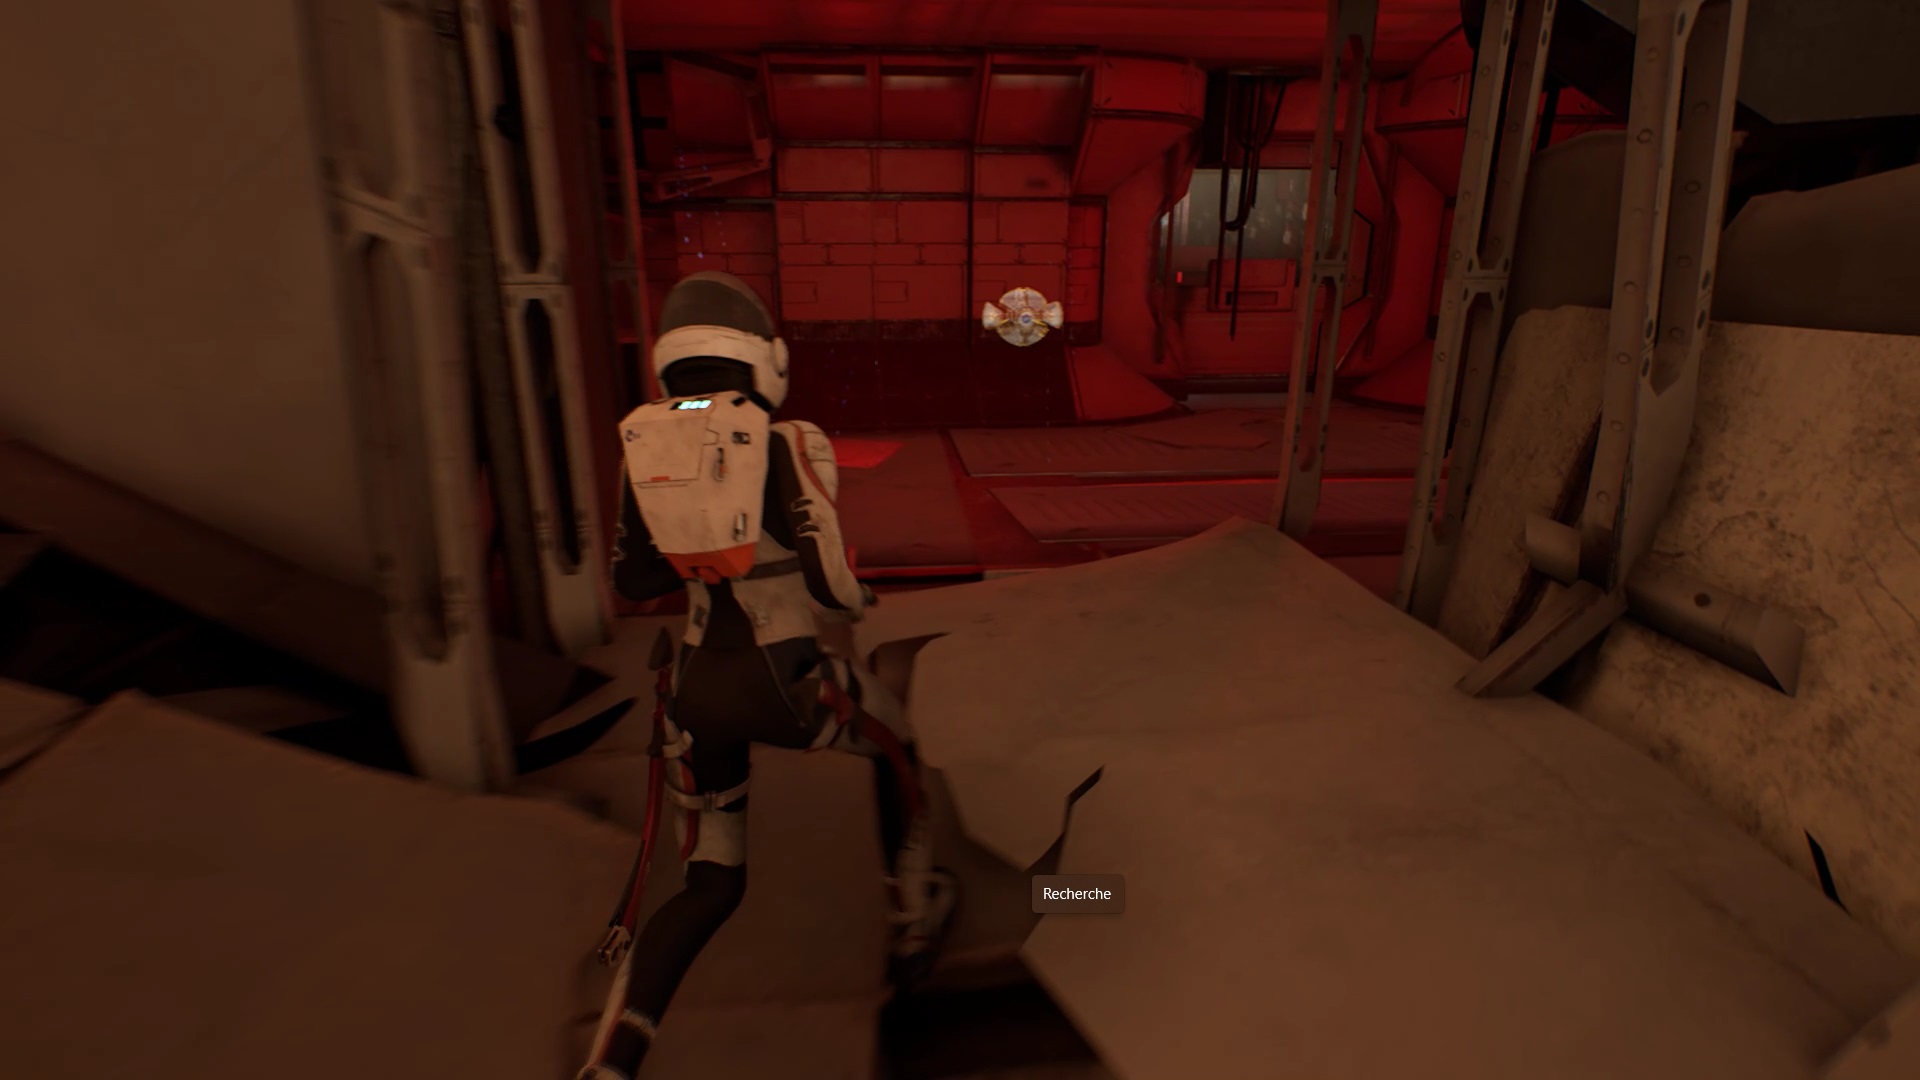
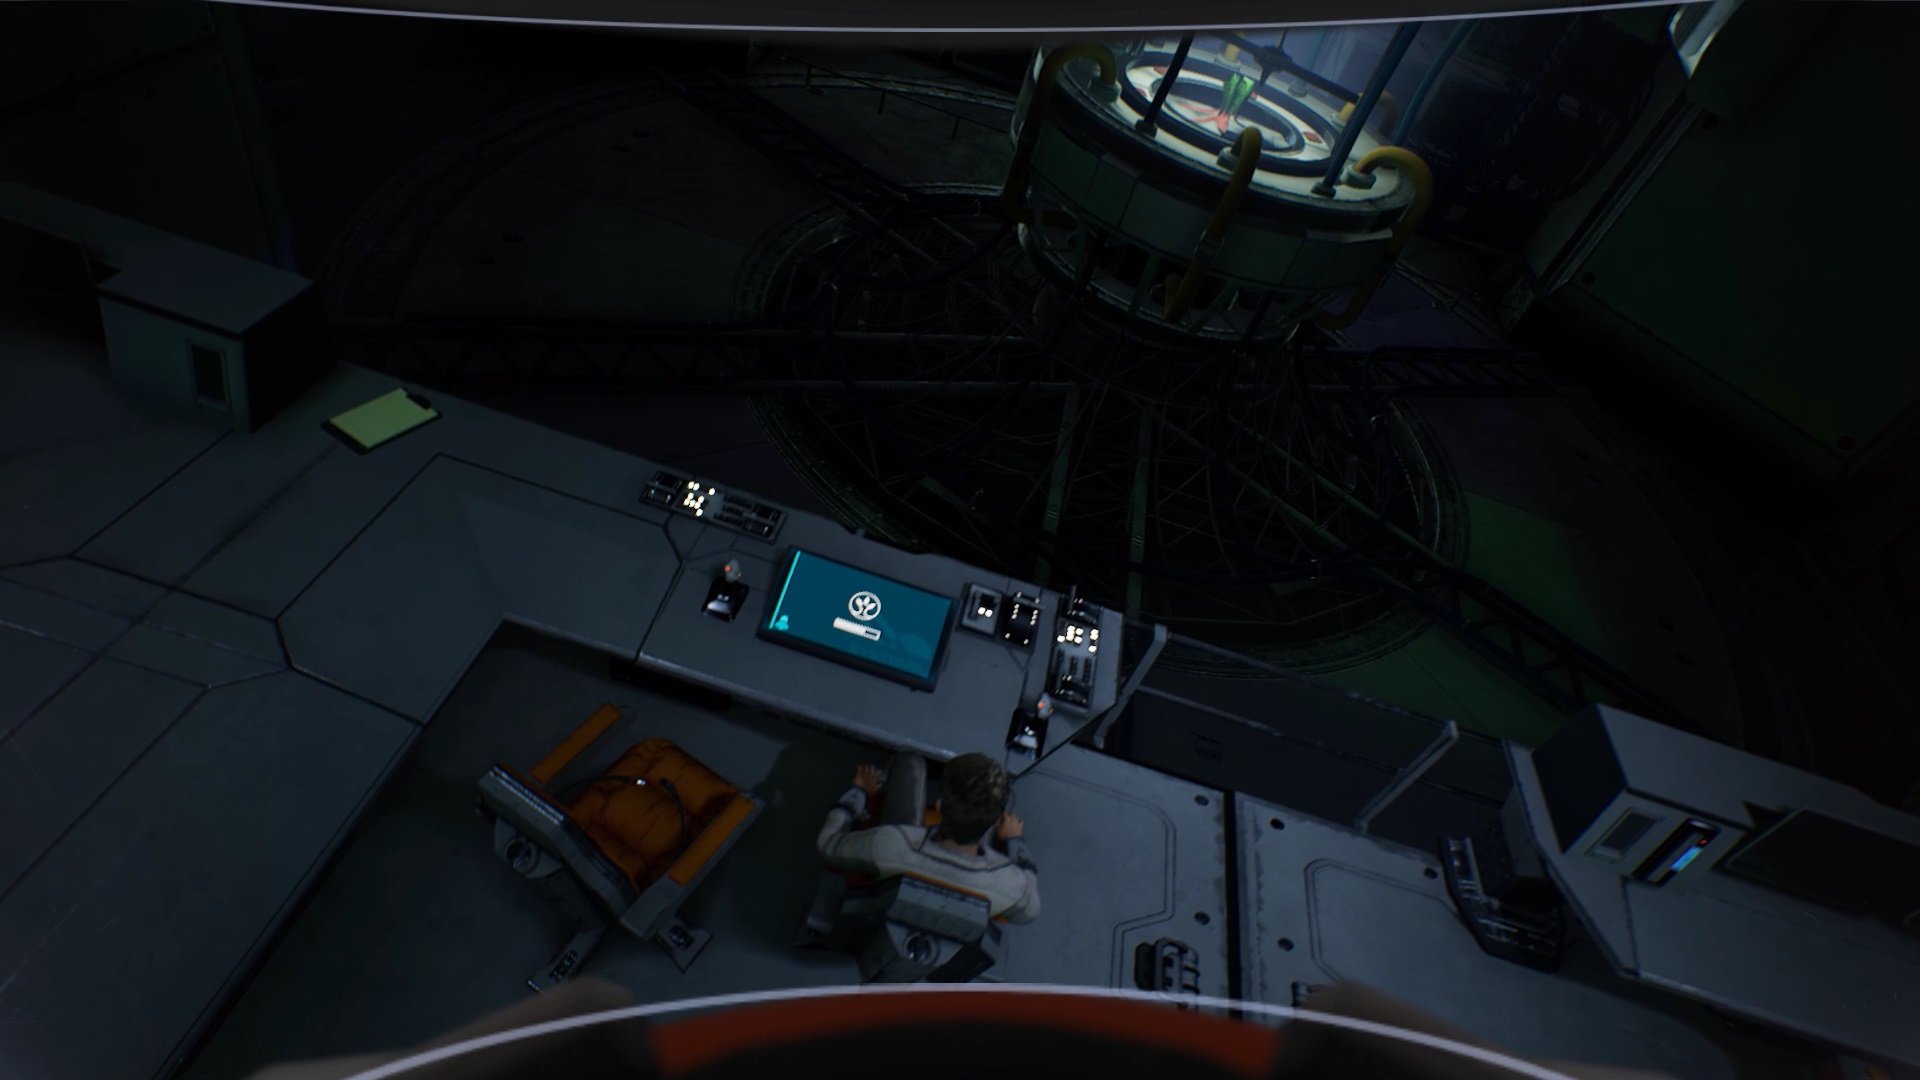
Return to the control room and activate the MPT. Back in the Ark, enter and activate the elevator leading to the Panopticon. It is located at the back of the room. When exiting the elevator, continue to the left to discover a corpse. Interact with the hologram to learn what happened. To decrypt the hologram, align the ends by placing yourself as in the images above.
Take the path facing the hologram. You find yourself blocked by a locked door. Turn around, climb on the crate on the right which leads to the air duct. Move forward to reach a plate to be cut with your laser.
Pass Ayla through the path you opened. In the room, use Ayla to unlock the door. Turn around and enter the room. You find a hologram. To decrypt the hologram, align the ends by placing yourself as in the images above.

When exiting the elevator, head to the right to descend the stairs. Move forward to reach a room with streame points. Enter the airlock on the left to continue. Move forward to reach a second airlock that leads you to the freight elevator to exit the Ark.


Activate the freight elevator and climb into the rover. Drive towards the objective to complete the chapter.
Chapter 9
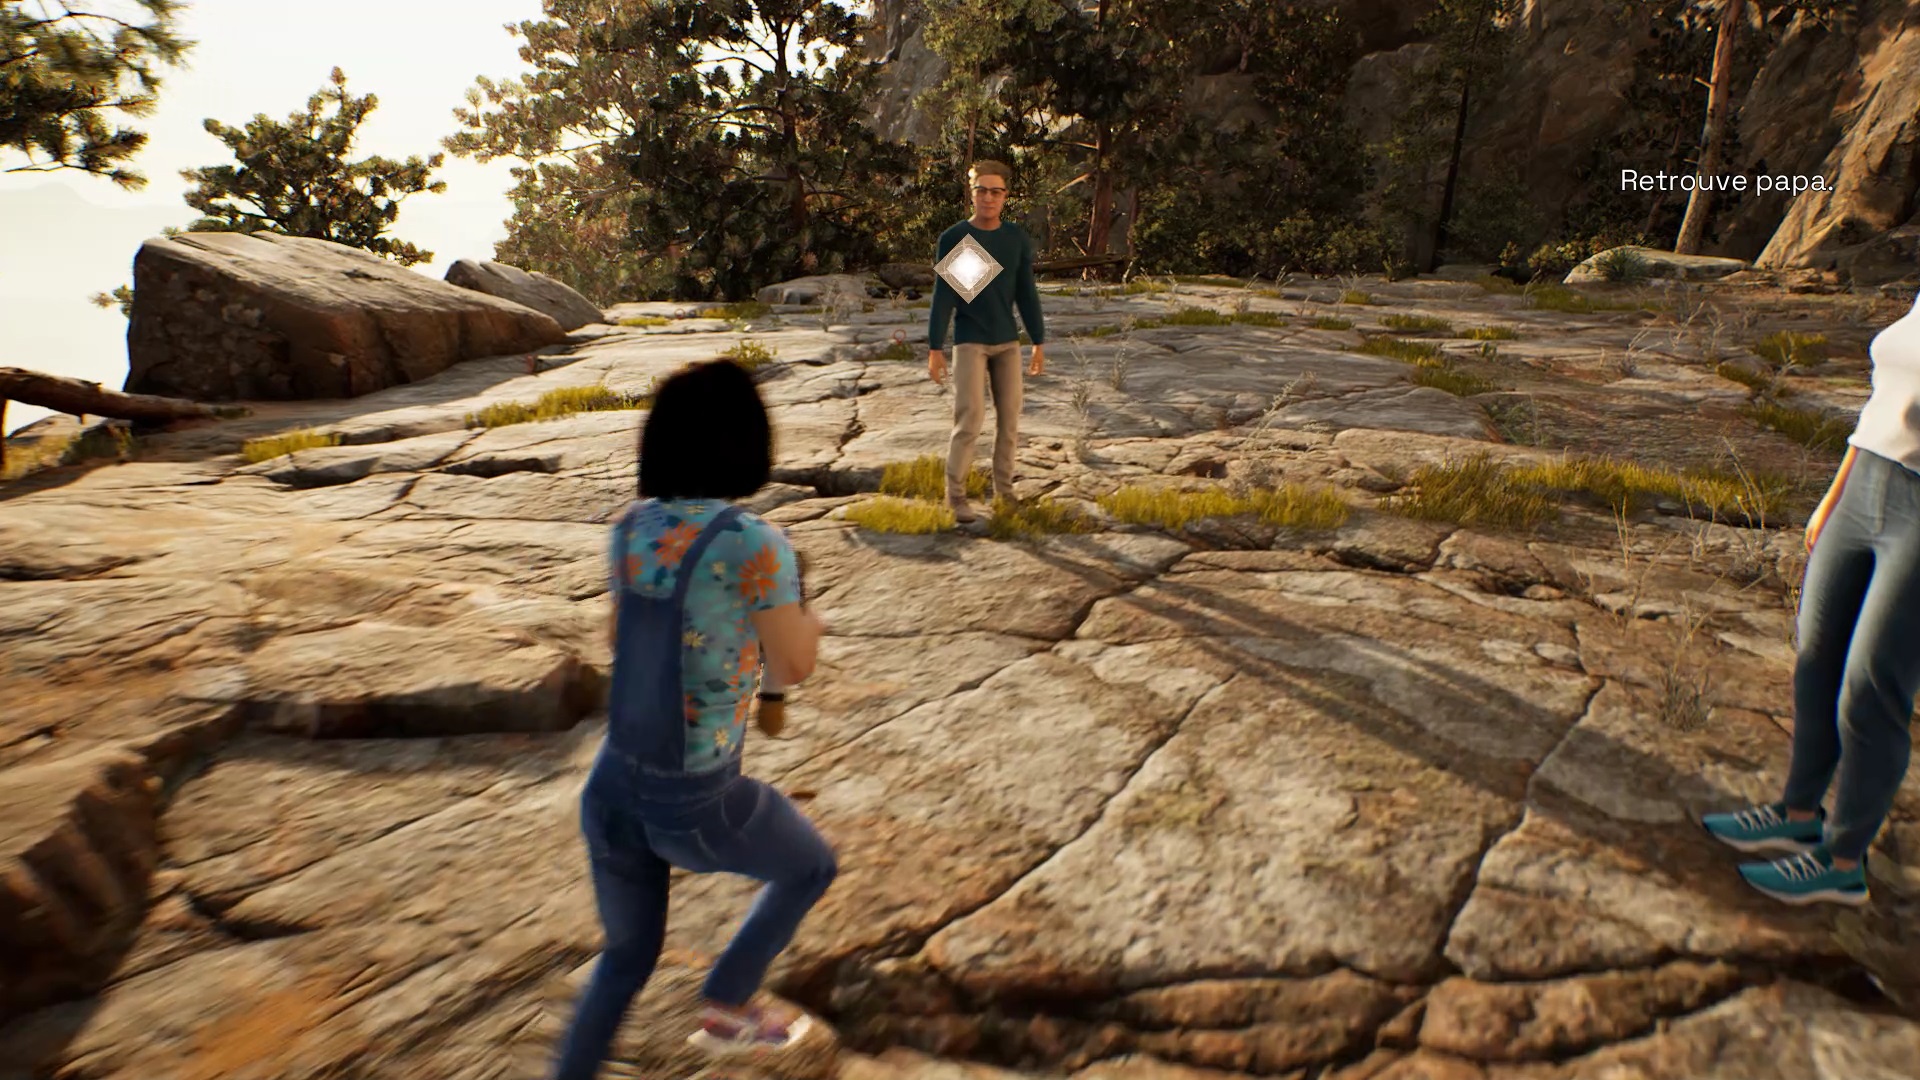
In the forest, take the paths on the right to reach your father. Once inside the house, follow Claire to hide. After the cutscene, you end up in the rover. Drive towards the objective to reach the Vita Ark.
Enter through the airlock and move forward to reach a locked door. Use Ayla to unlock the door and enter the Ark. Explore and continue on your way to find your father during a cutscene.

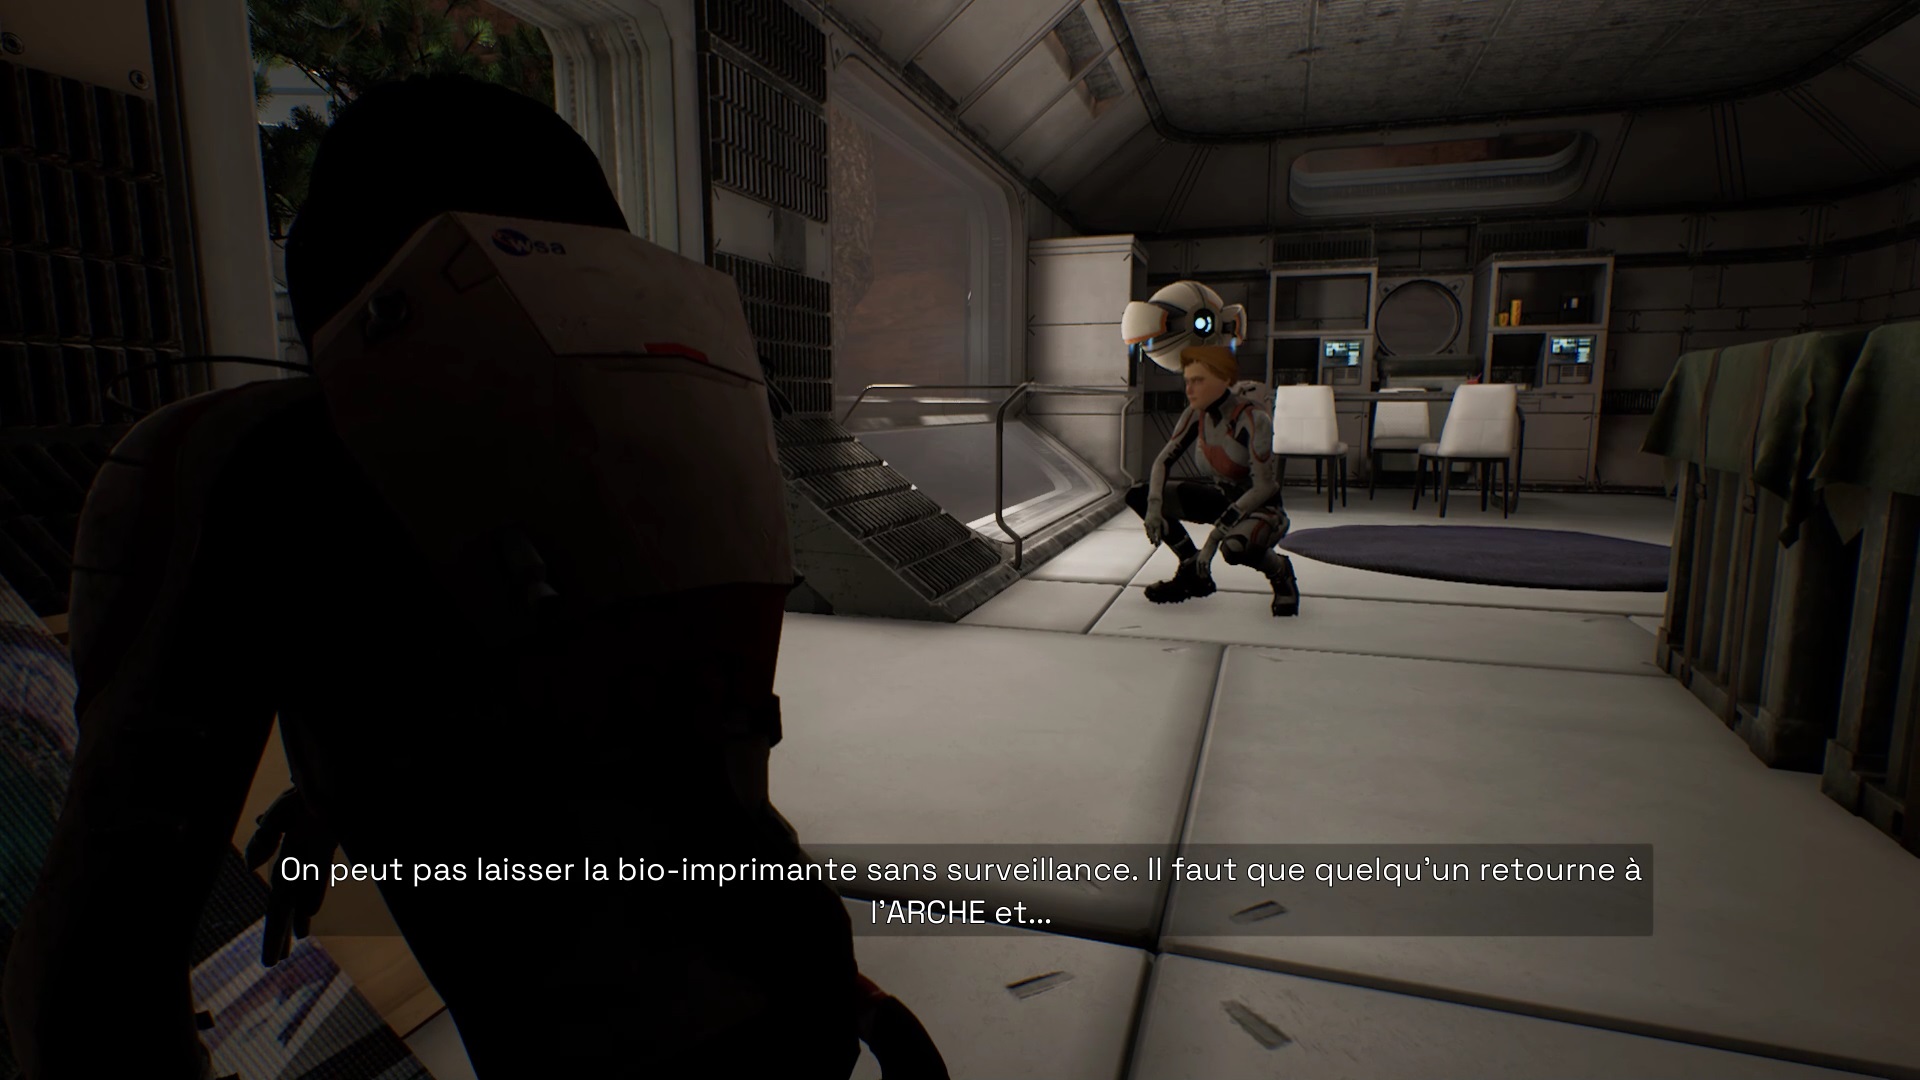
Follow your father to learn about the story. Sarah has joined you in the house. To hide, go to the closet in the living room. Once outside the house, follow Sarah.

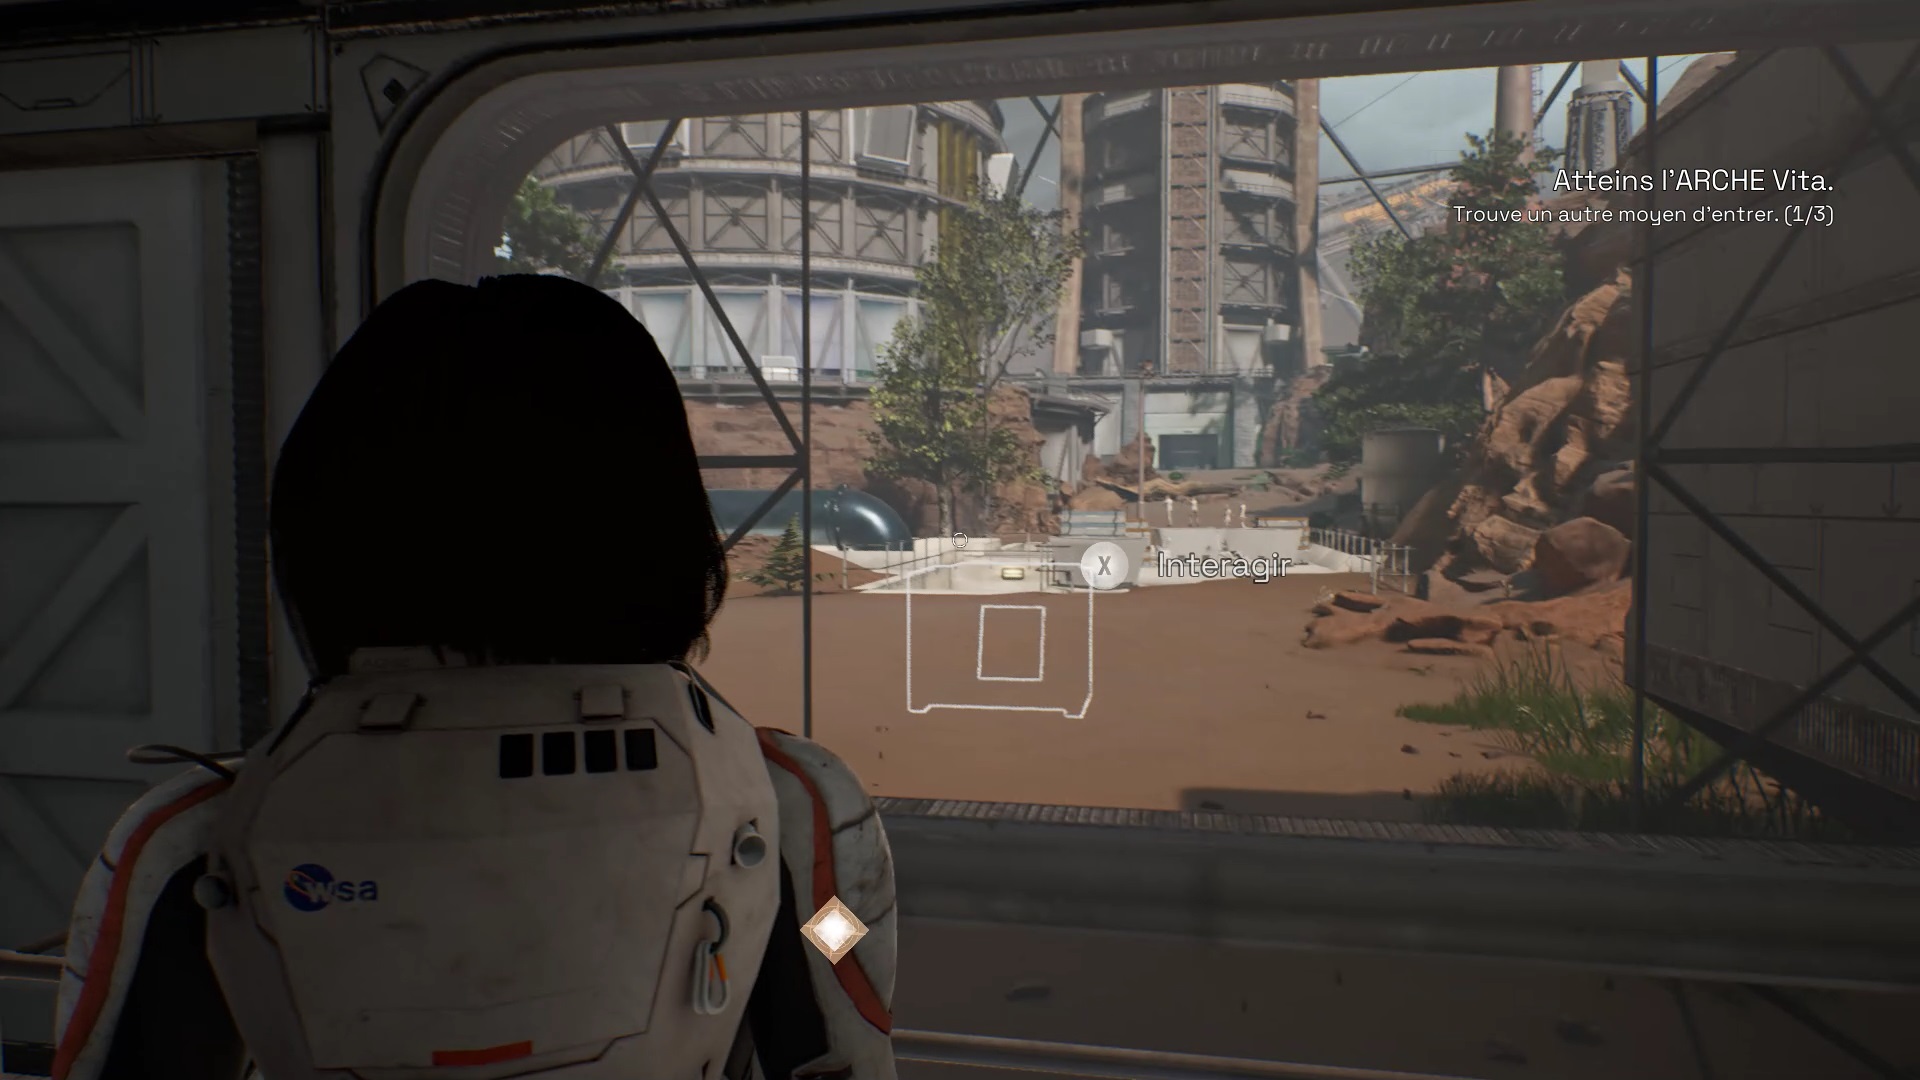
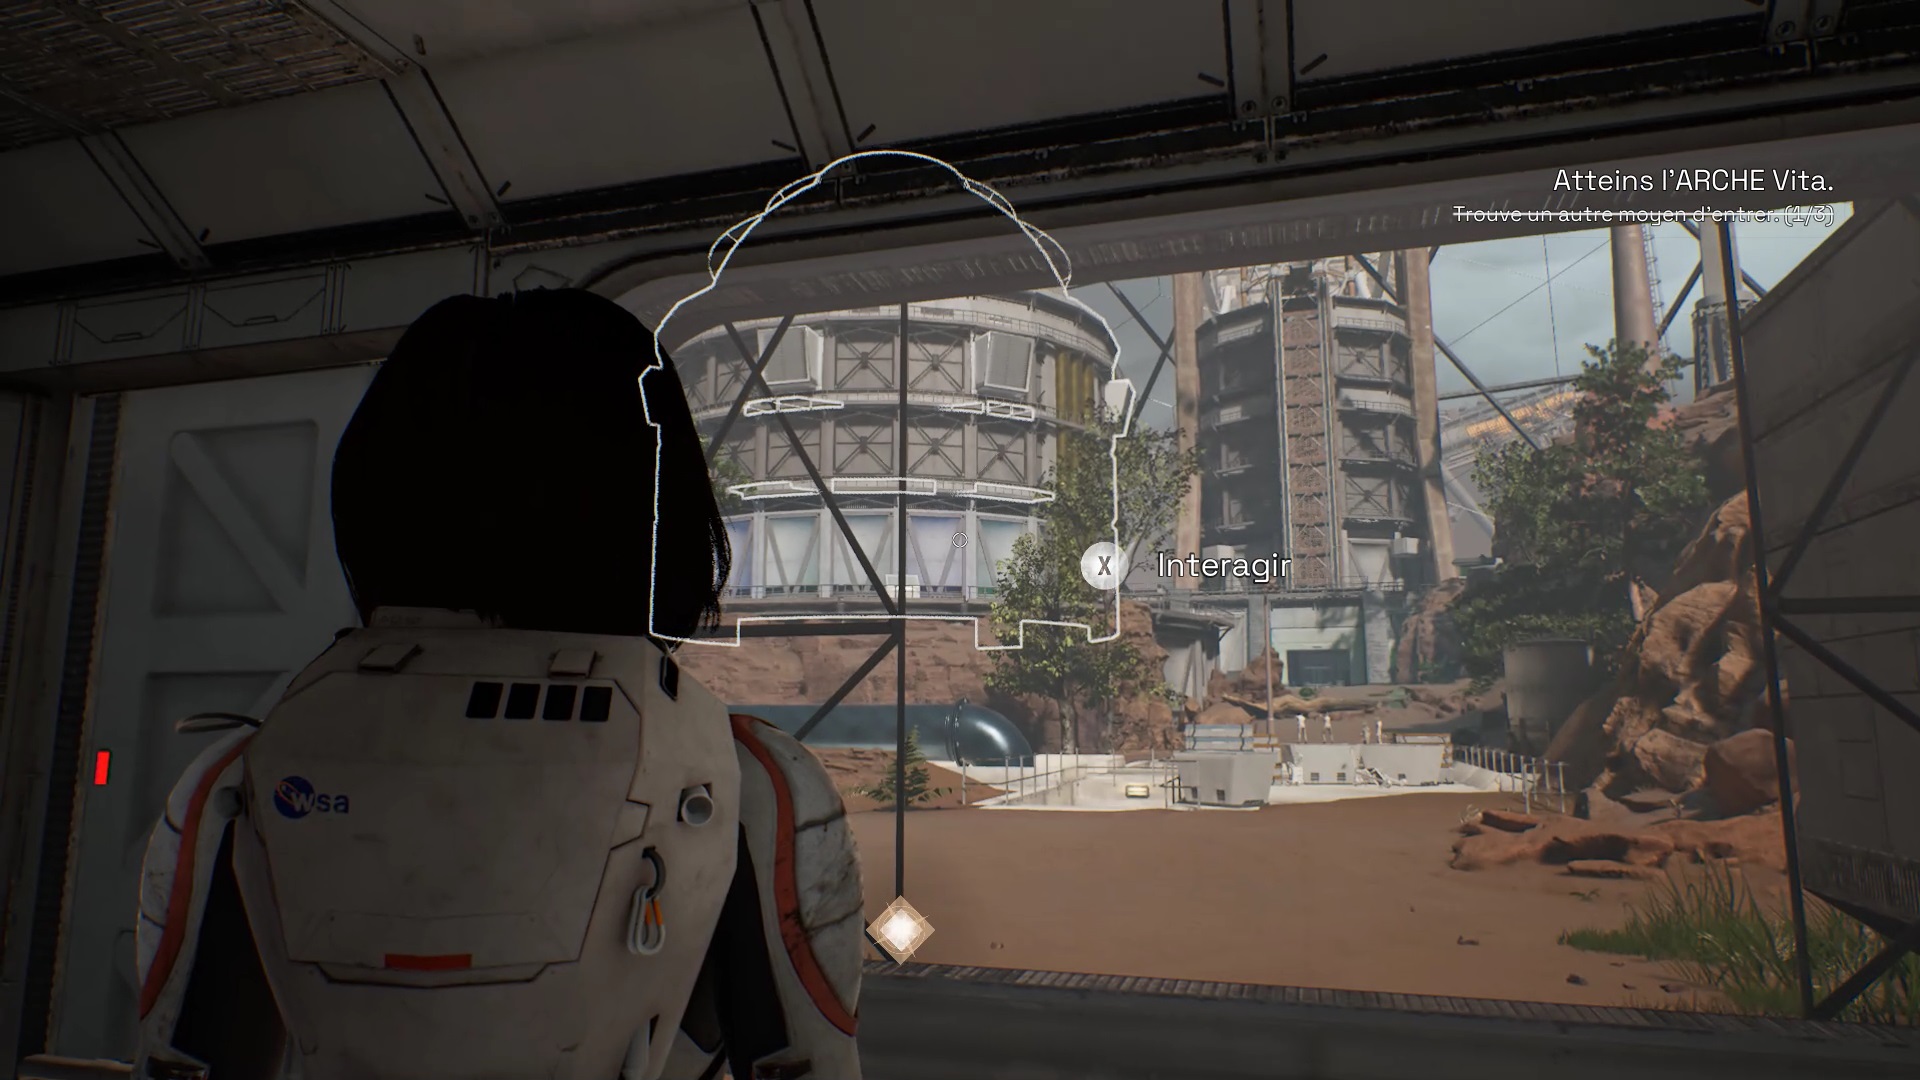
In front of the Ark, estimate your chances of entering the structure by analyzing the different points: the employees in front of you, the pipes at the bottom of the employees and the white building on the left.
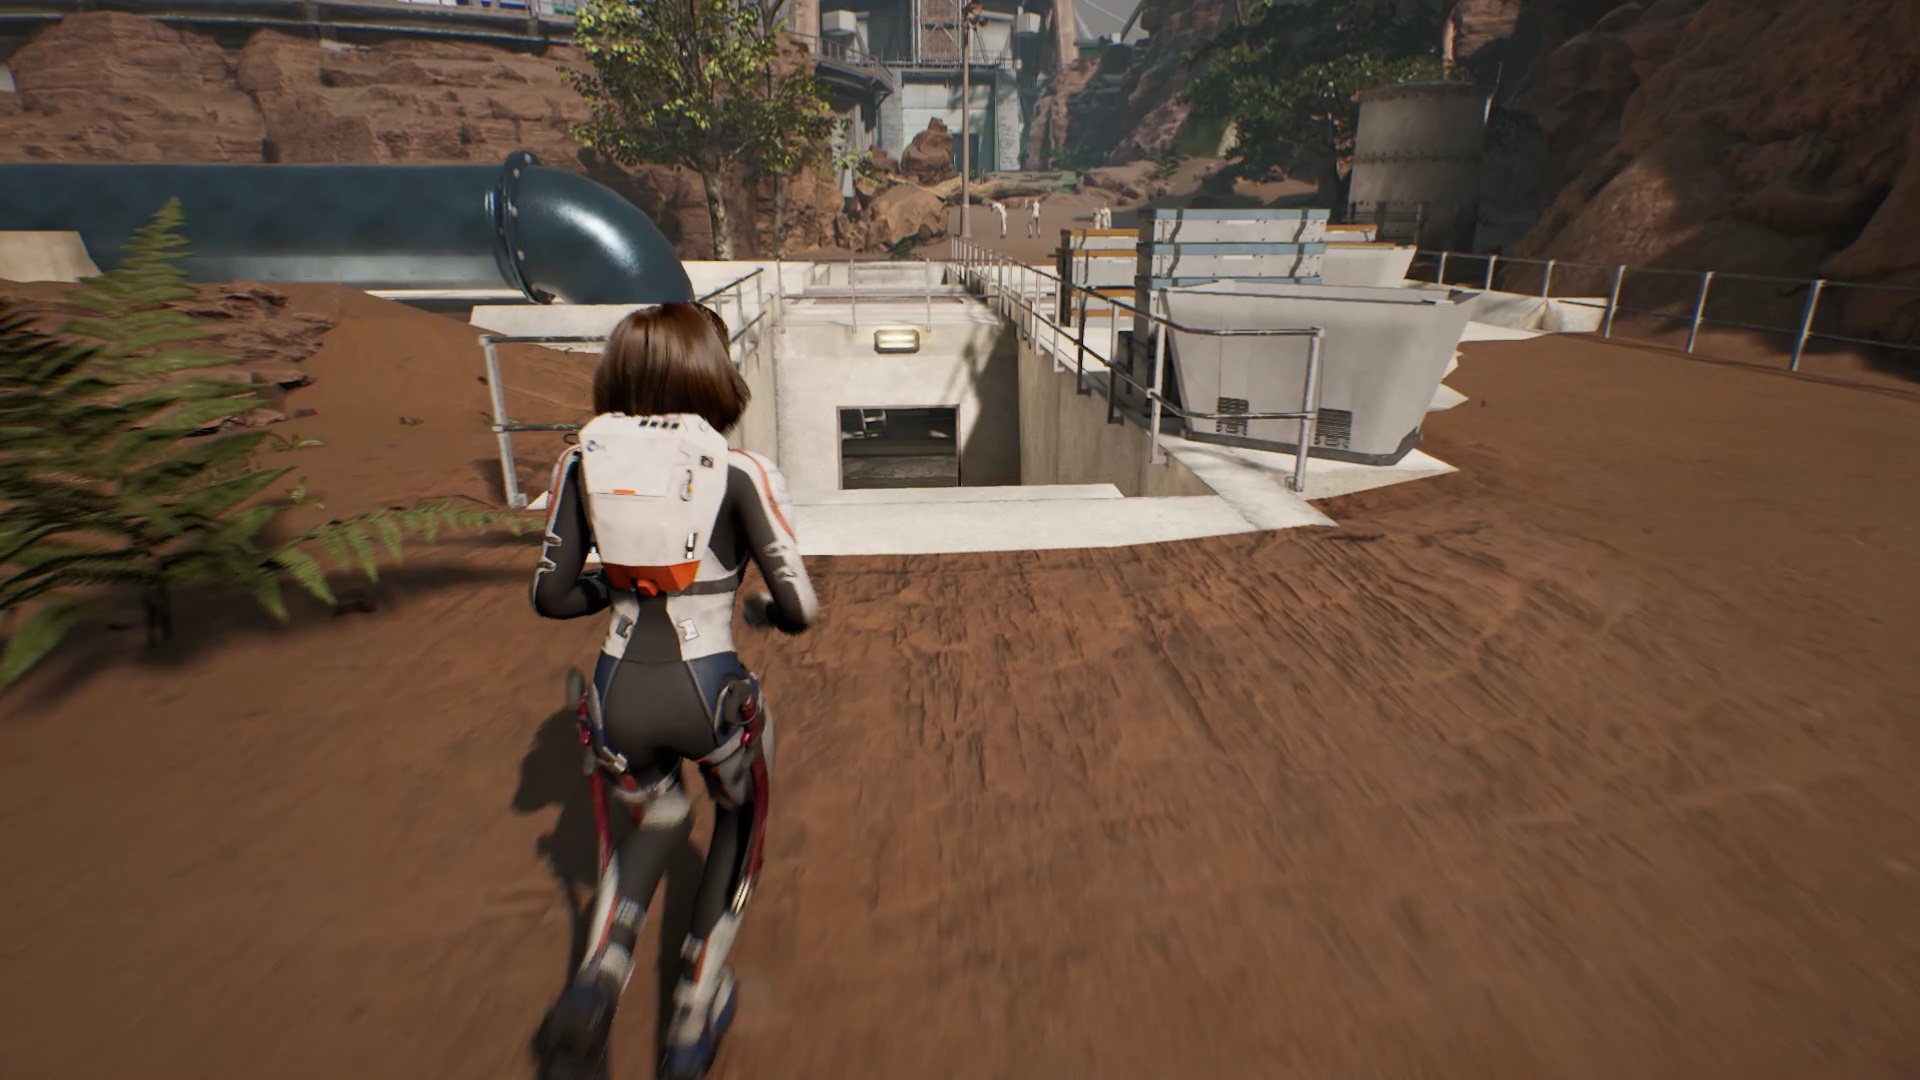
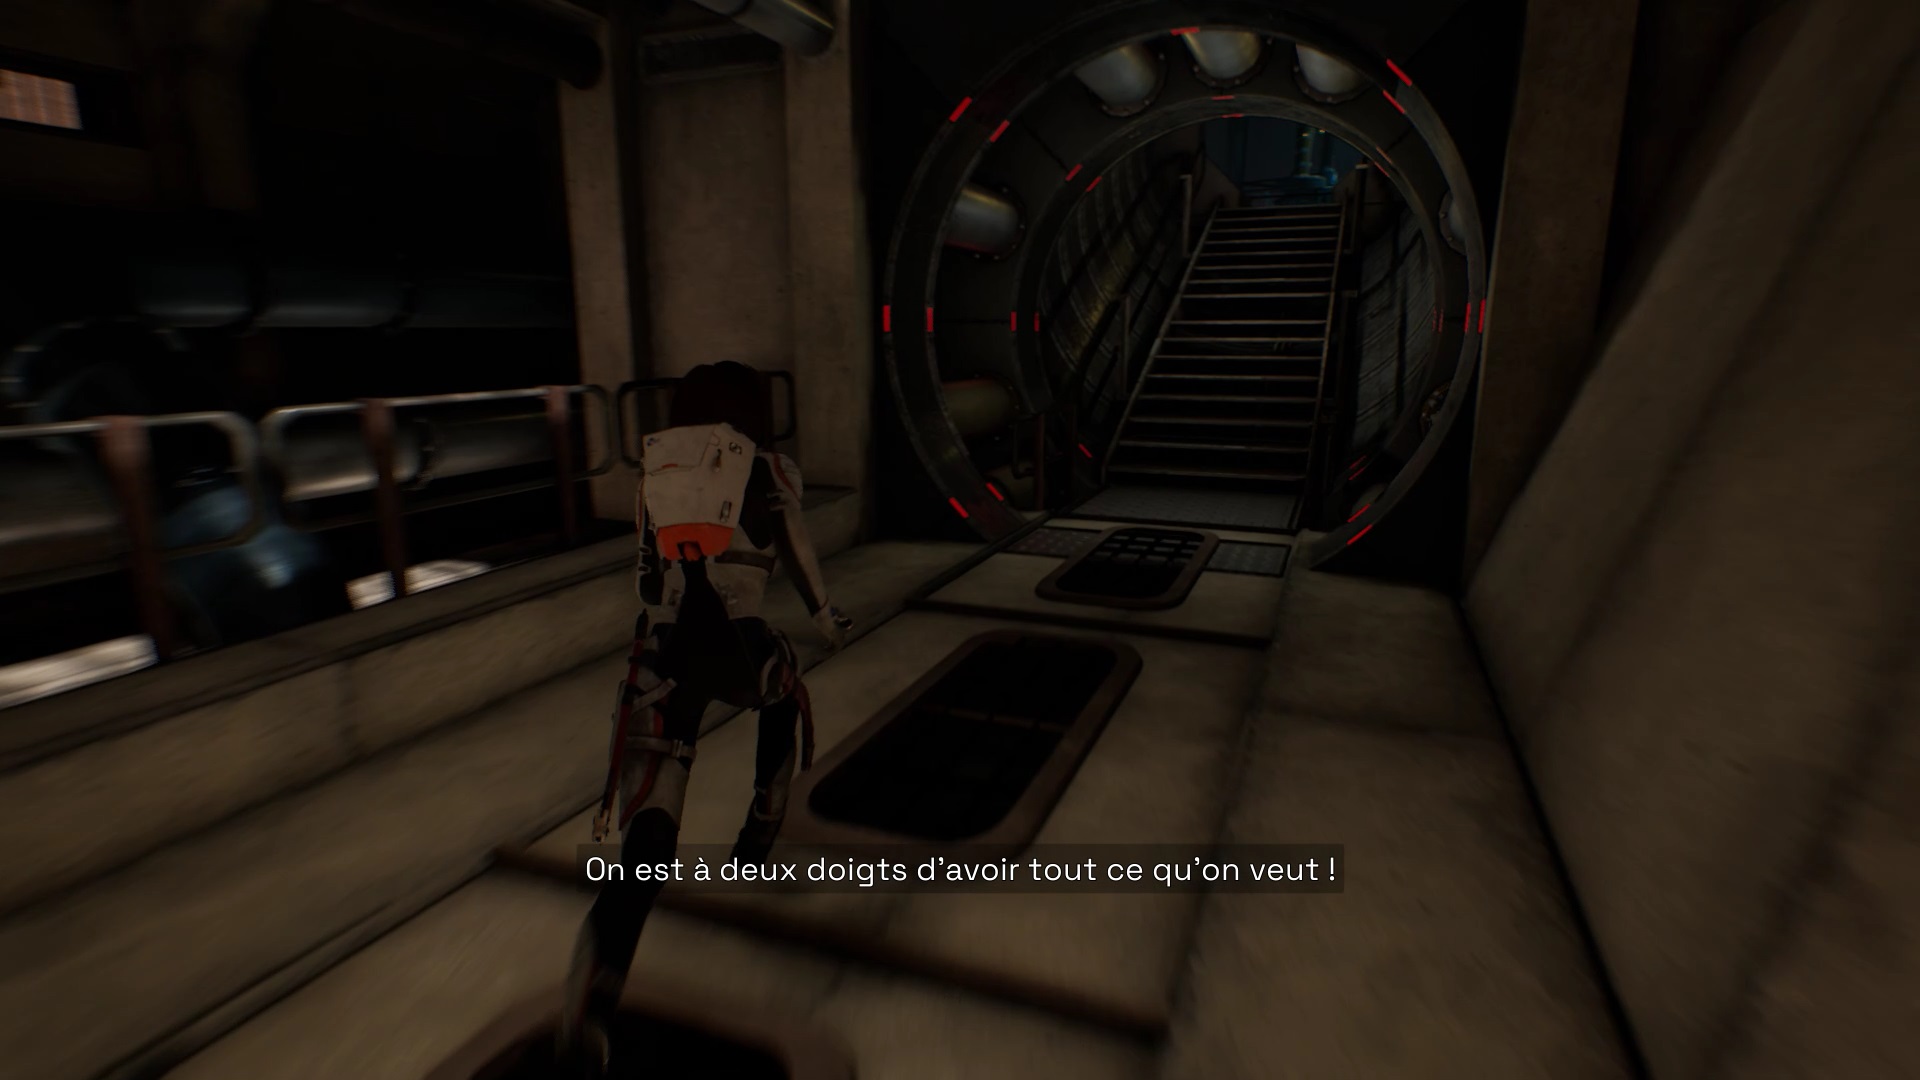
Exit the room and go down the stairs in front of you. Move to the left of the pipes and continue on your way. Go up the stairs to find the regulating pump.
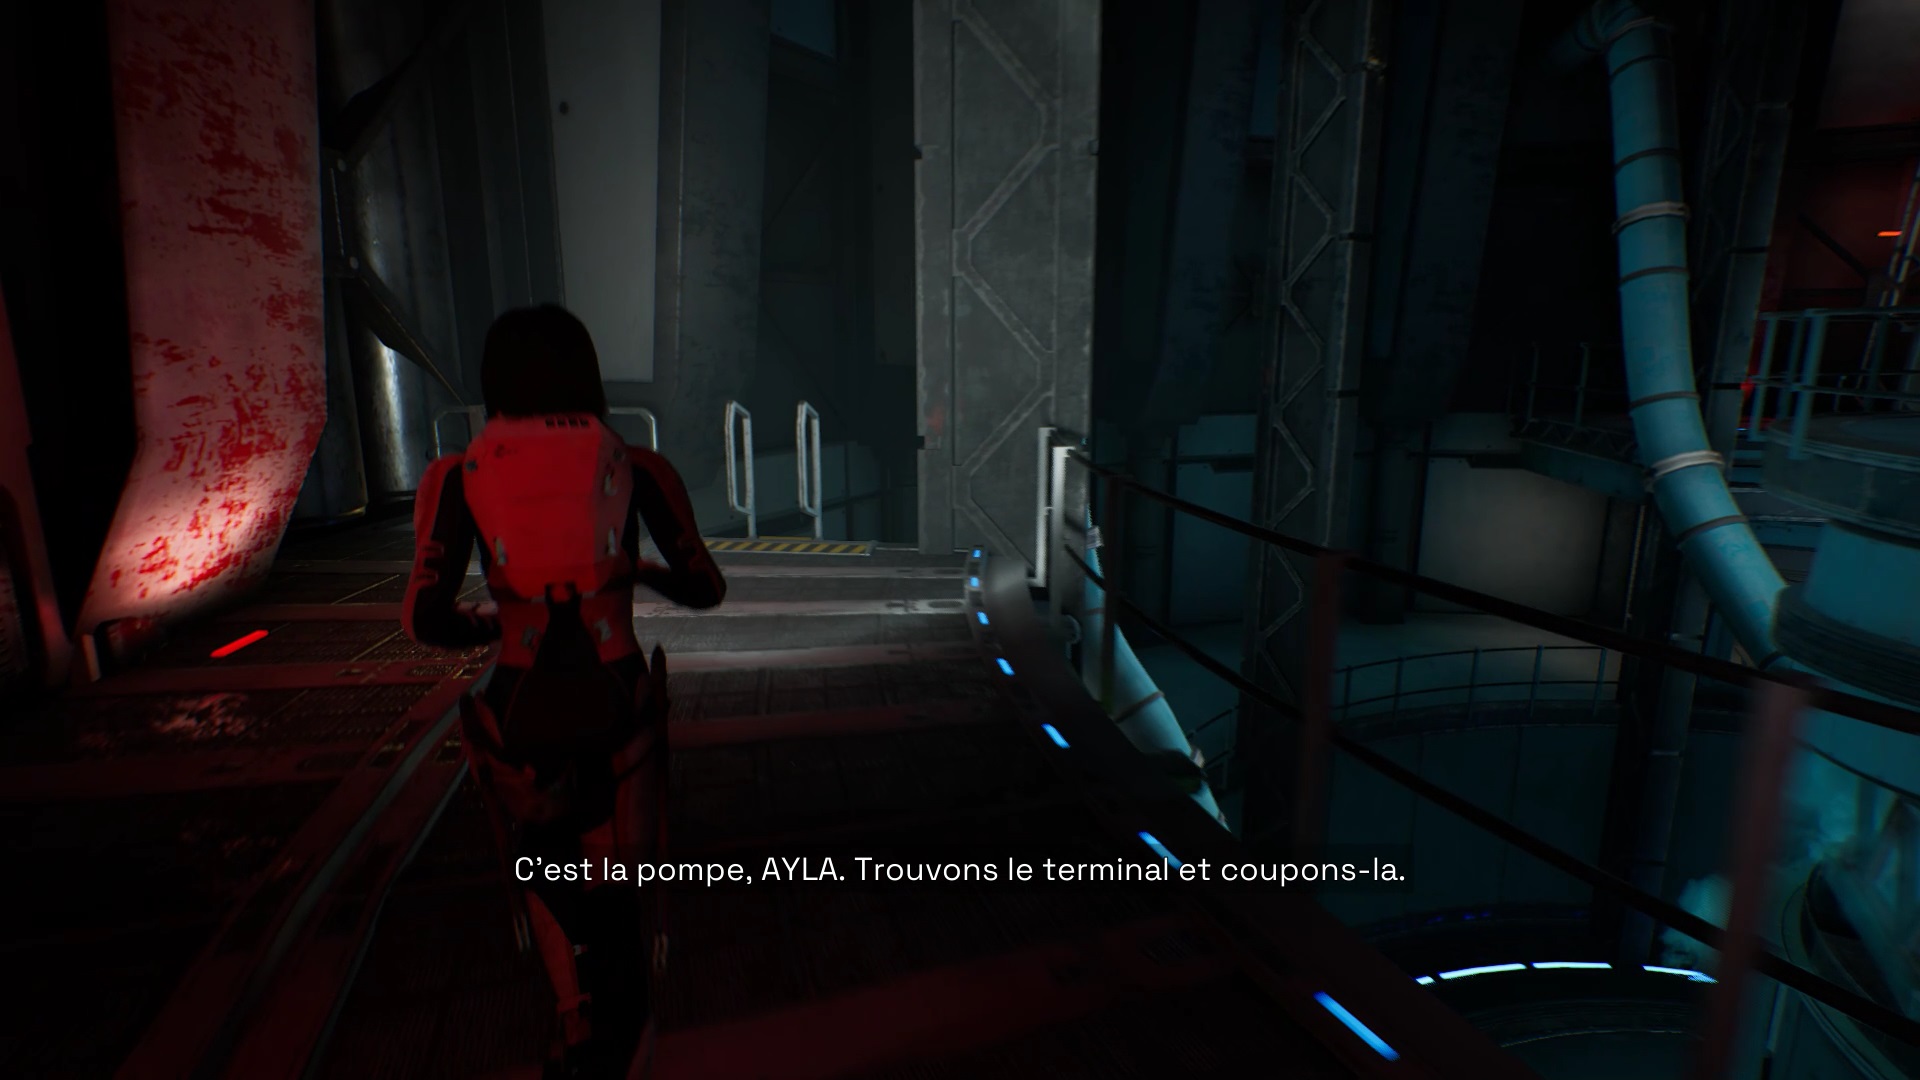
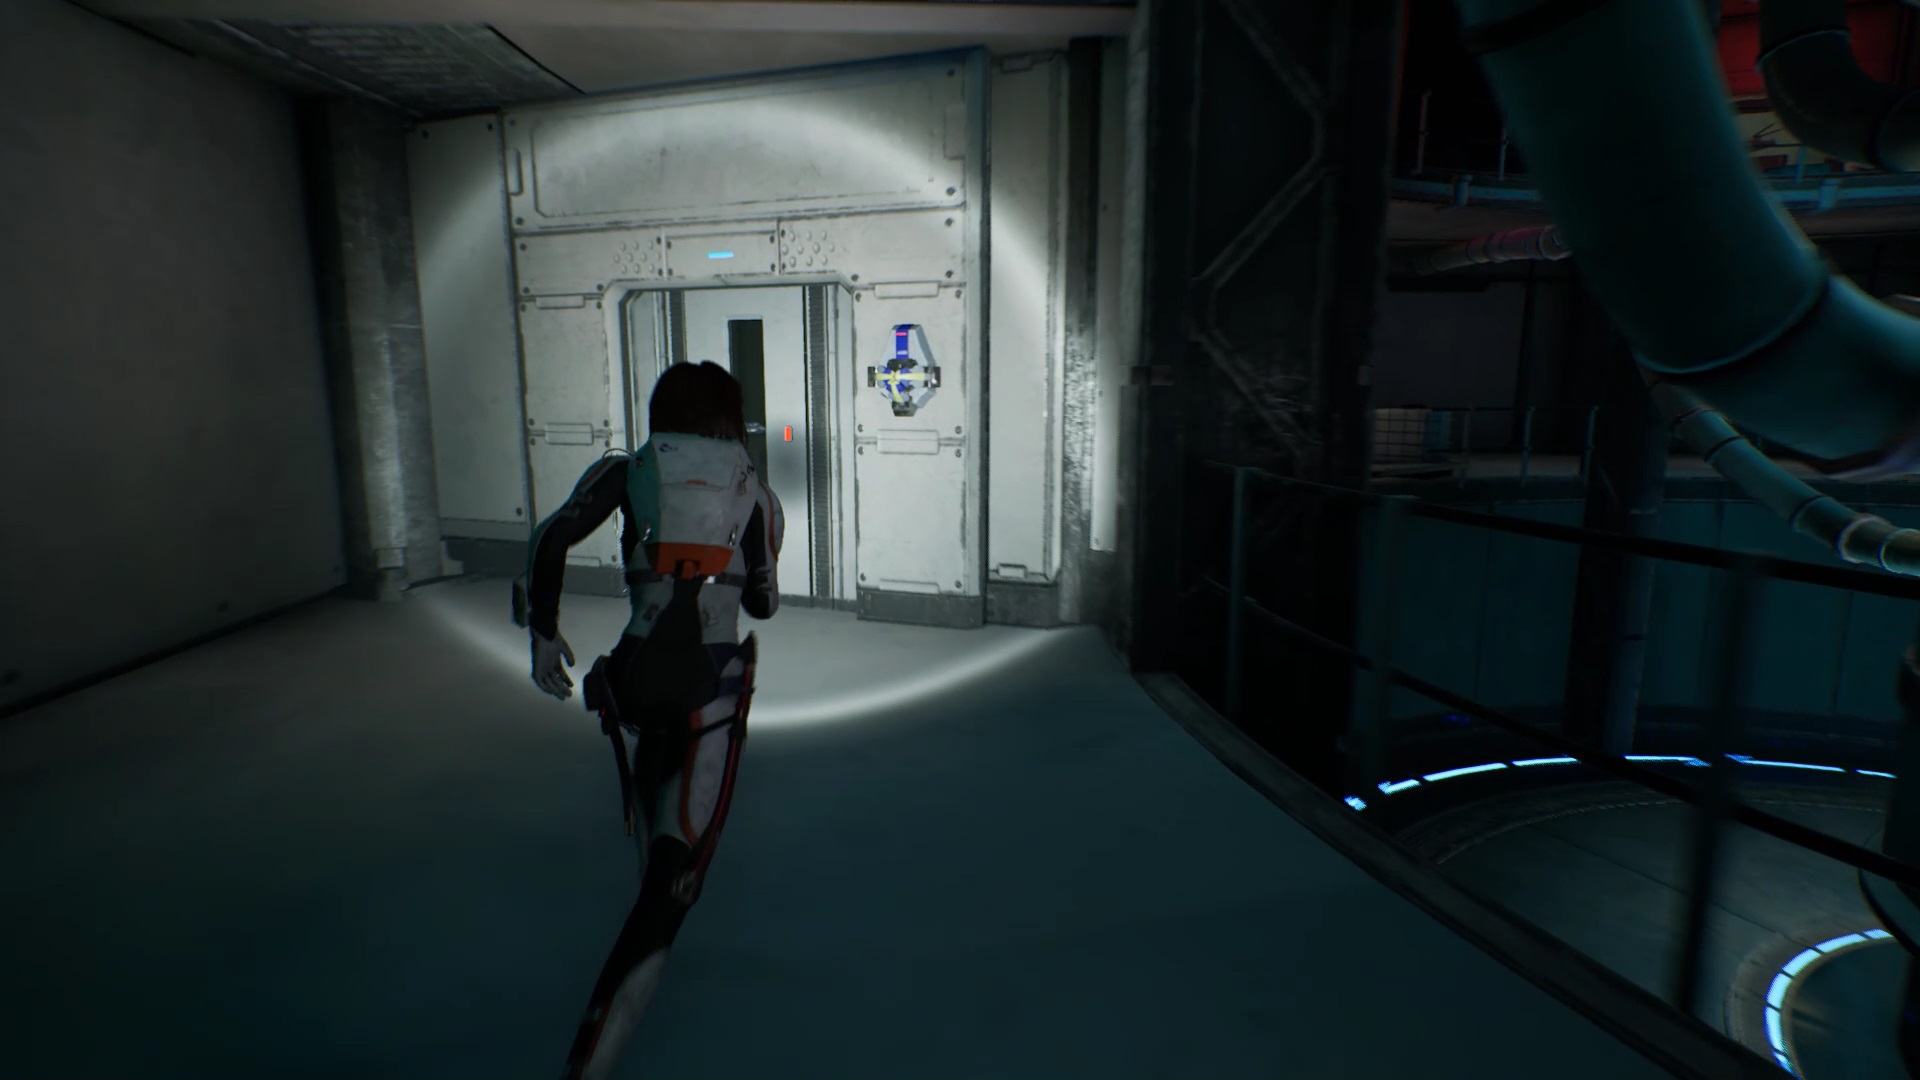
Go down the ladder on the left. Go forward and use Ayla to unlock the door. In the control room, you can move the heat shields. Move the shields so as to create a path to climb as in our image.

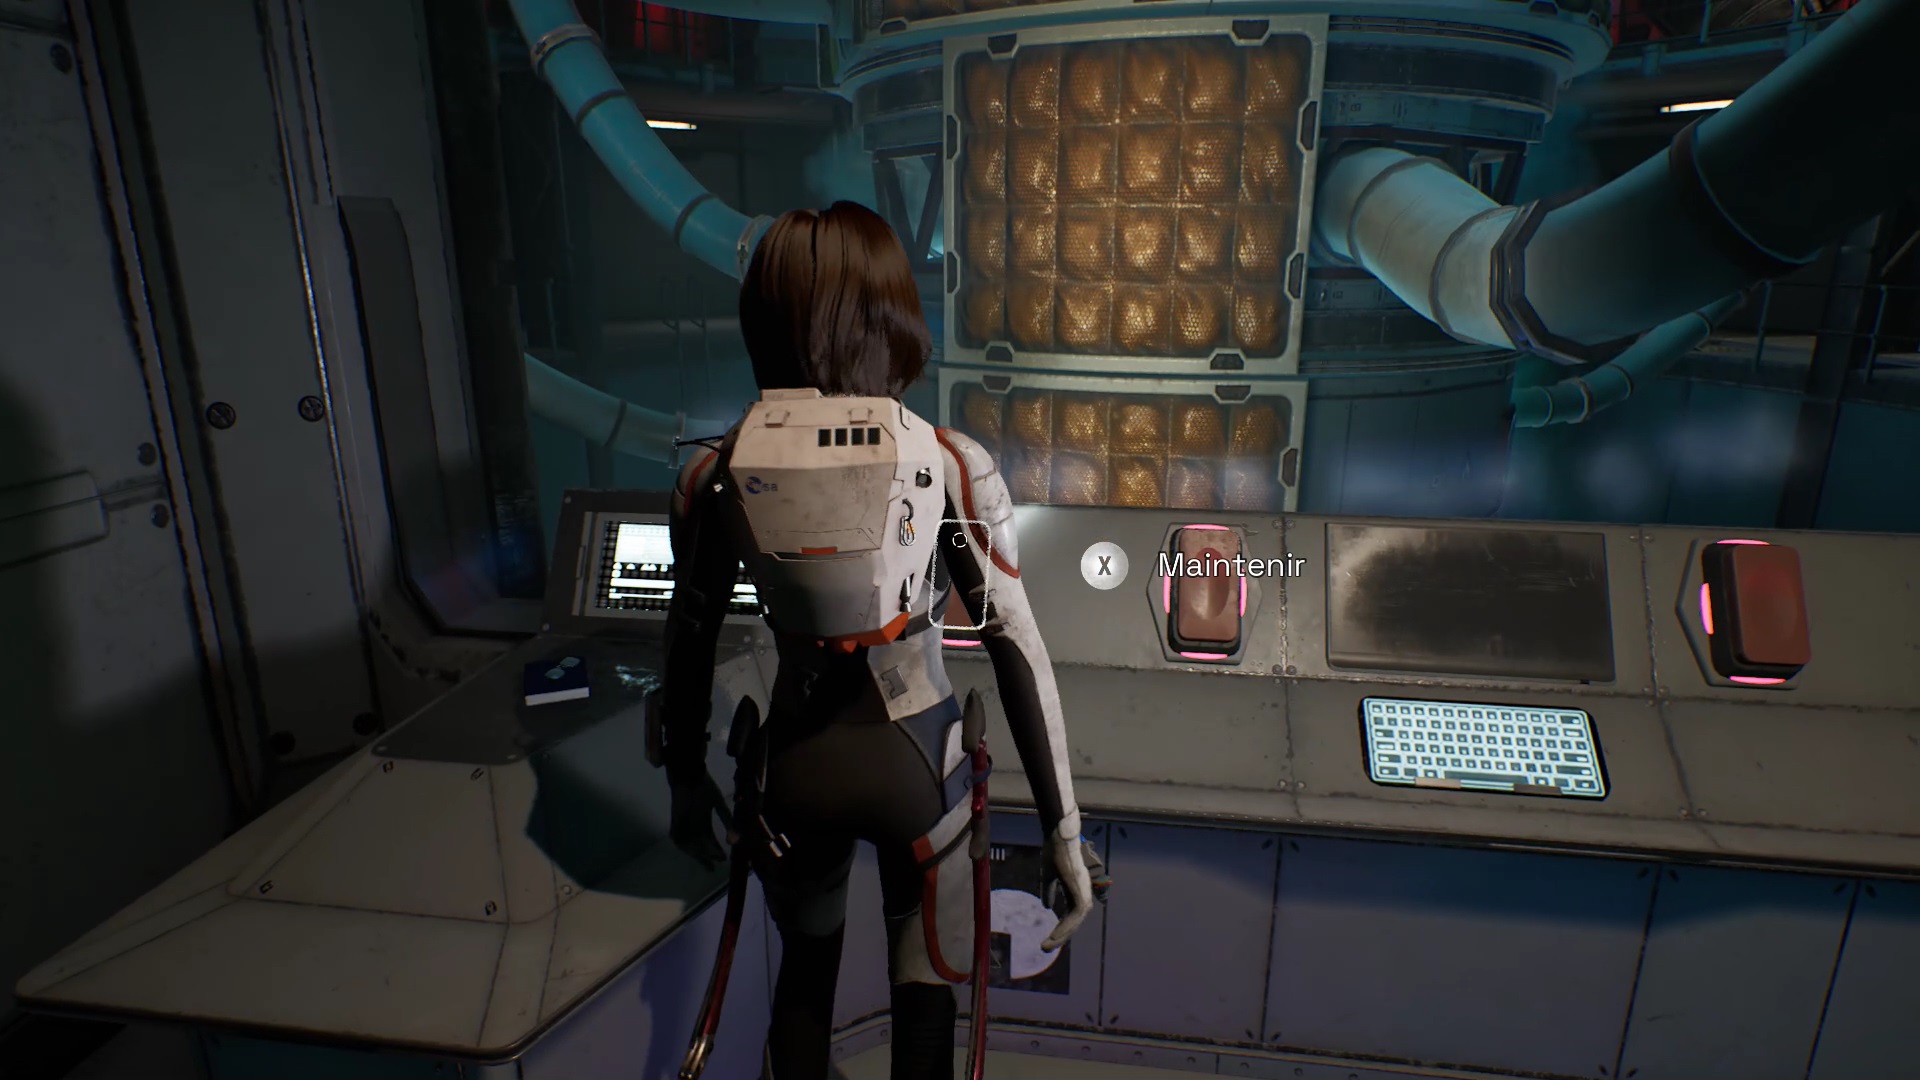
Exit the room and jump on the shields to climb. Climb up to reach the pump controls. Unfortunately, nothing works when you interact with the buttons. Use your laser on the pump pipe bolts to create a breach.
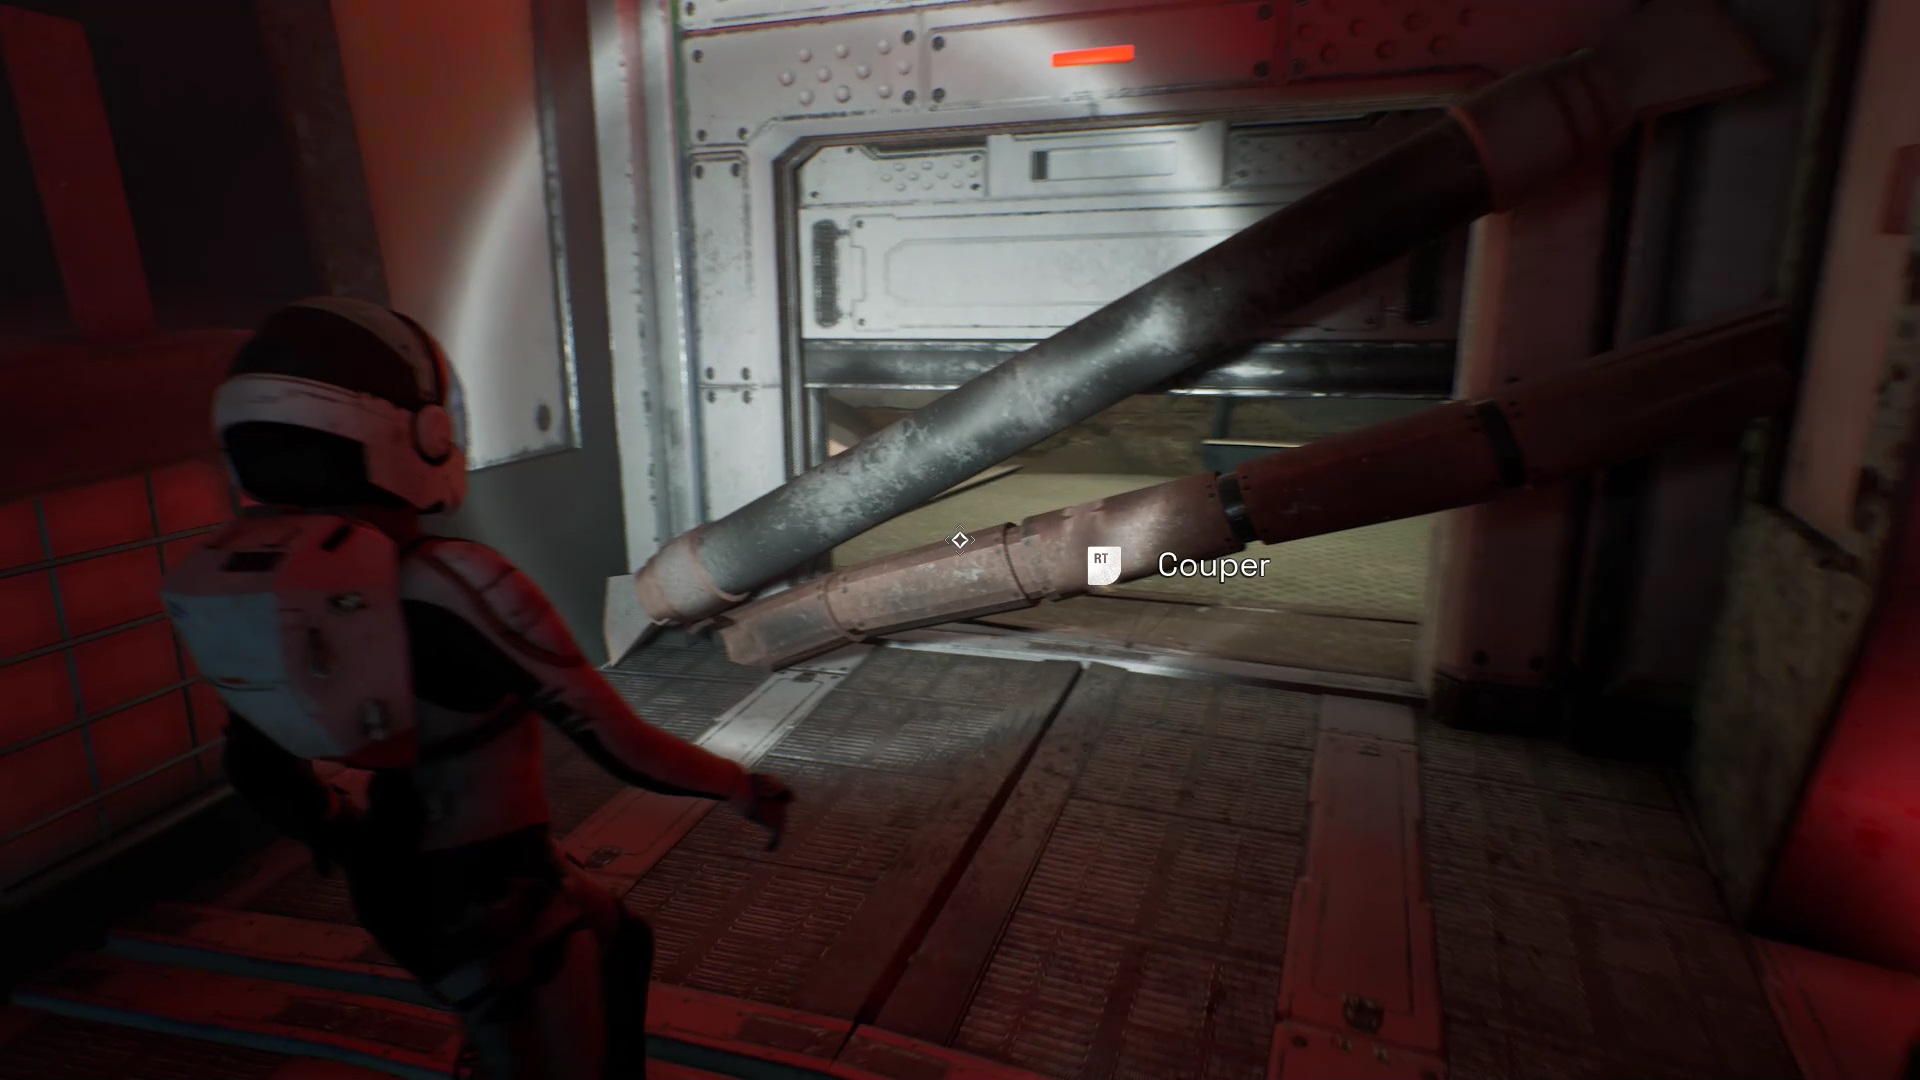
To get out of the area, head towards the red lights. Sneak through the debris. Move forward to reach an airlock door blocked by pipes. Use your laser to clear the pipes. Get out of the pipes and join Sarah.
Talk to your father through the door. To reach Sarah, use your laser on the air duct plate in the room. Sneak through the conduits. At the end of the conduits, jump on the high platforms to reach a ladder.
Again, use your laser on the plate to unlock a path. Near the energy beam, climb on the heat shield. Climb as high as possible and jump on the parallel wall as soon as the beam is not active. Keep climbing to reach the upper platform.

In height, wait for the ray to be active and jump on its structure. Jump onto the platform in front of you. From the platform, look towards the propellers. Jump on the propeller when it passes in front of you.
From the propeller, jump onto the rotating platform in front of you. Wait for the platform to pass a heat shield and climb on it. Climb the shield to reach the top of the facility.
You have to climb on the heat shield. Be careful this one spins. Climb in the opposite direction to the rotation of the shield. Jump onto the high platform when you’ve climbed high enough. Continue your way towards the control room to join Sarah. If you go in the opposite direction to the control room, you will be caught up by your father.
After the cutscene, go back to help Sarah. Take her inside the ark to trigger a cutscene.

Once at the controls, complete the final adjustments. To initiate sealing, press the red buttons facing you. You need to move the black slider into the blue area. Then press the switch with the inscription verification.
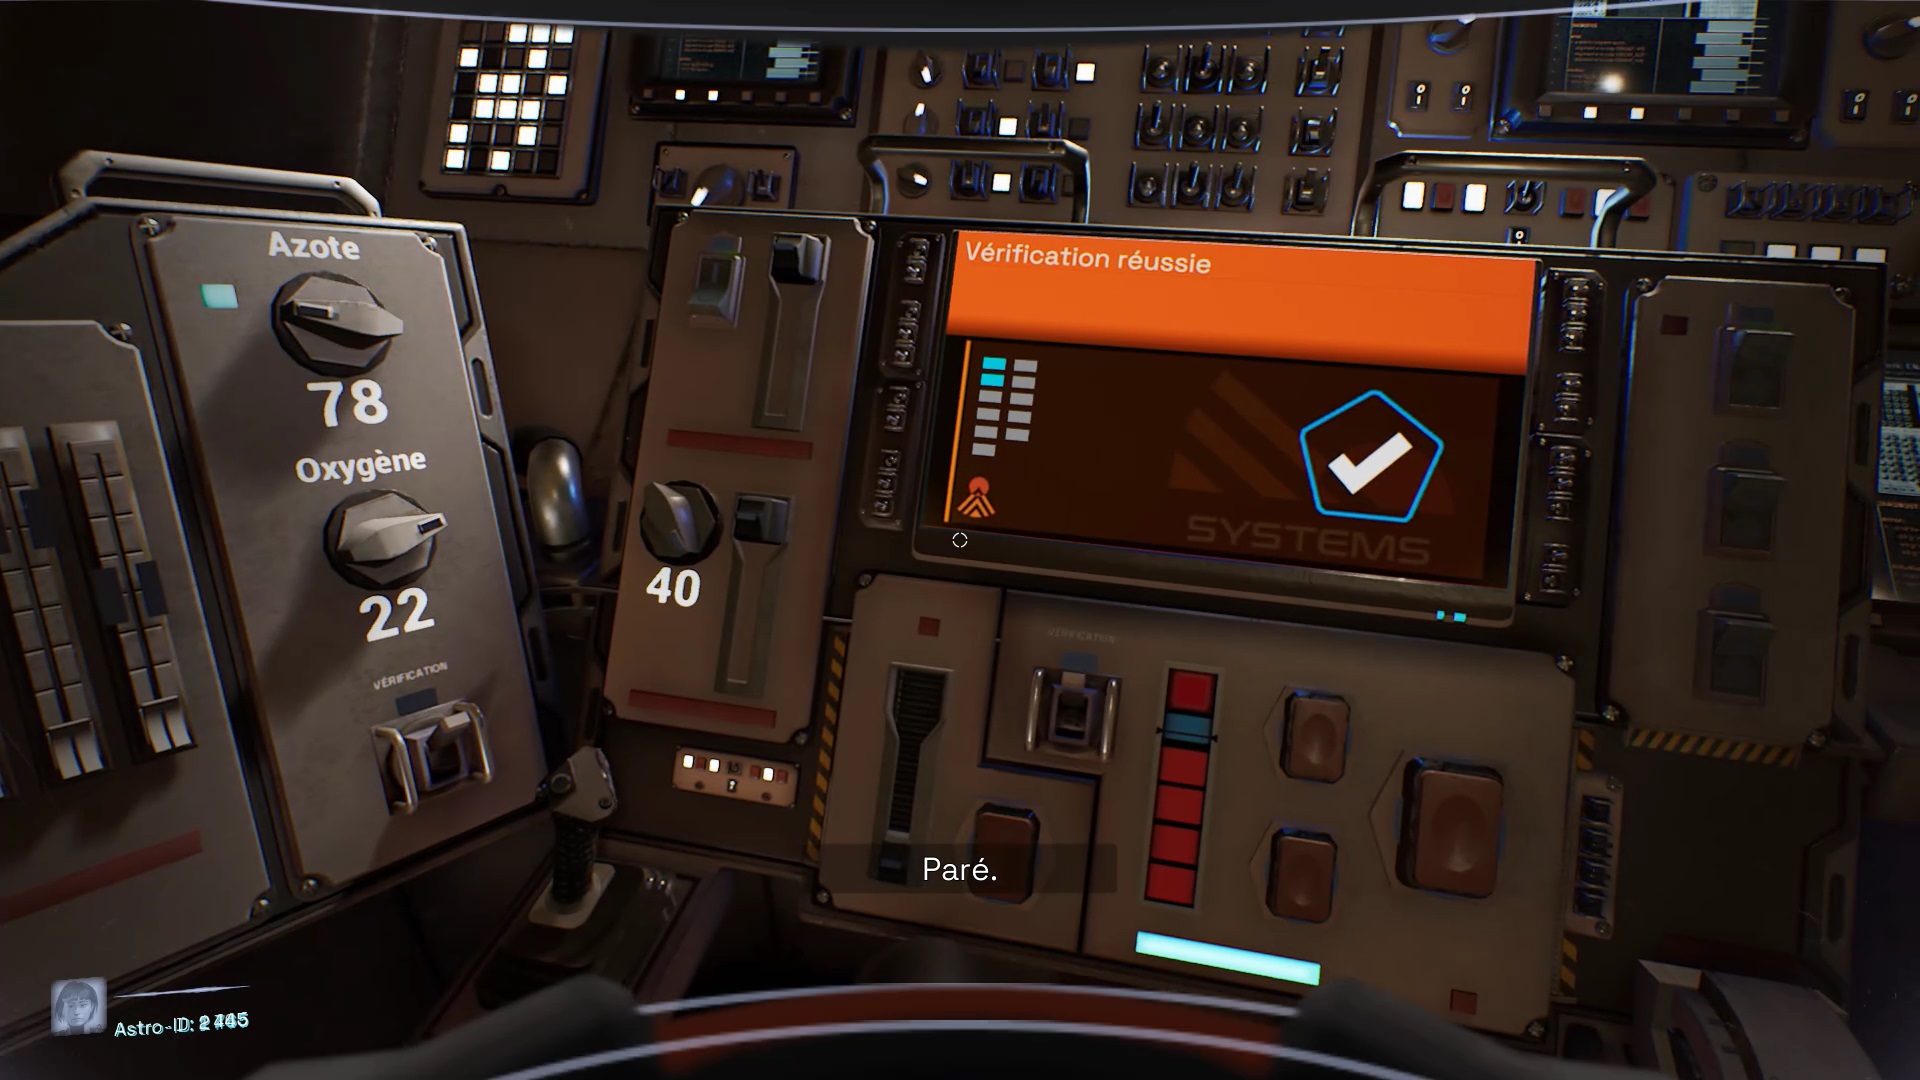
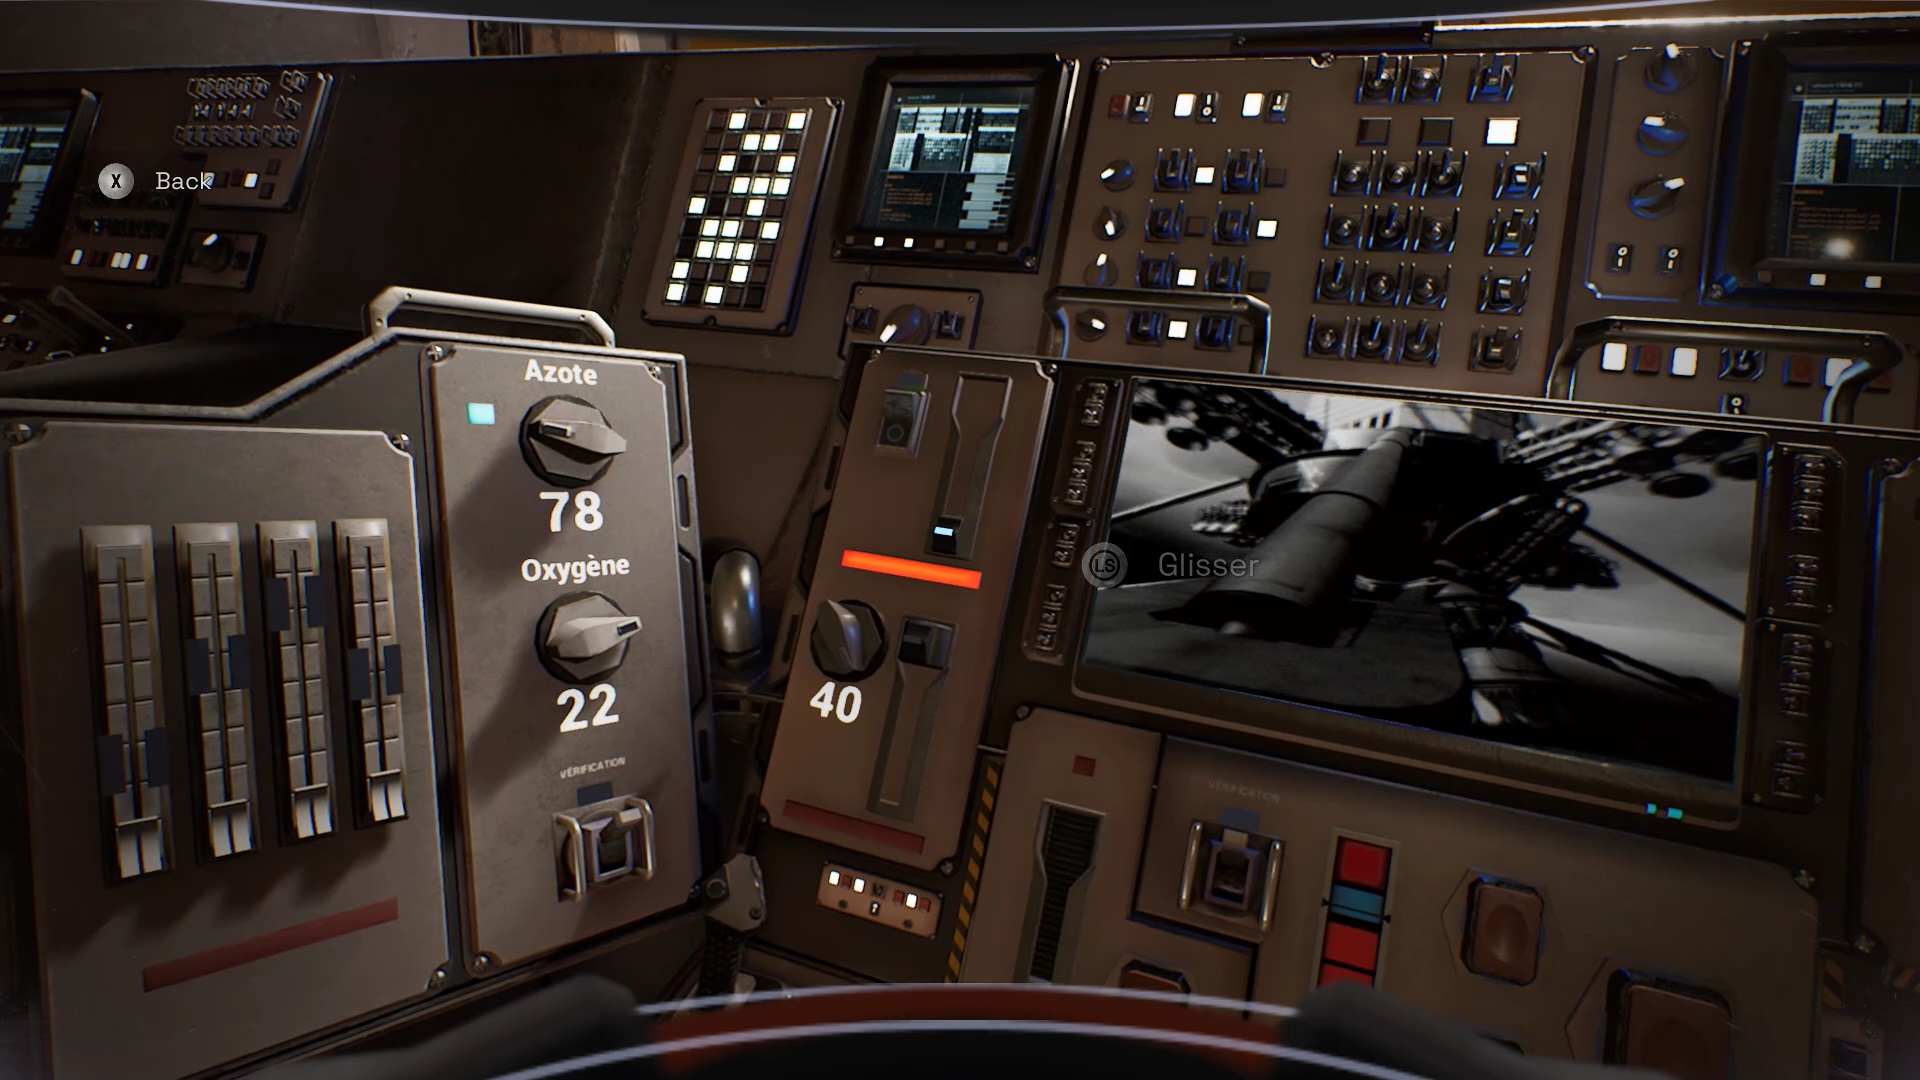
To check the composition of the air, position the buttons on the left according to the figures displayed on the screen. Then press the switch with the inscription verification. For active adductor correction, press the switch to the left of the control panel. Then drag the switch slider down.
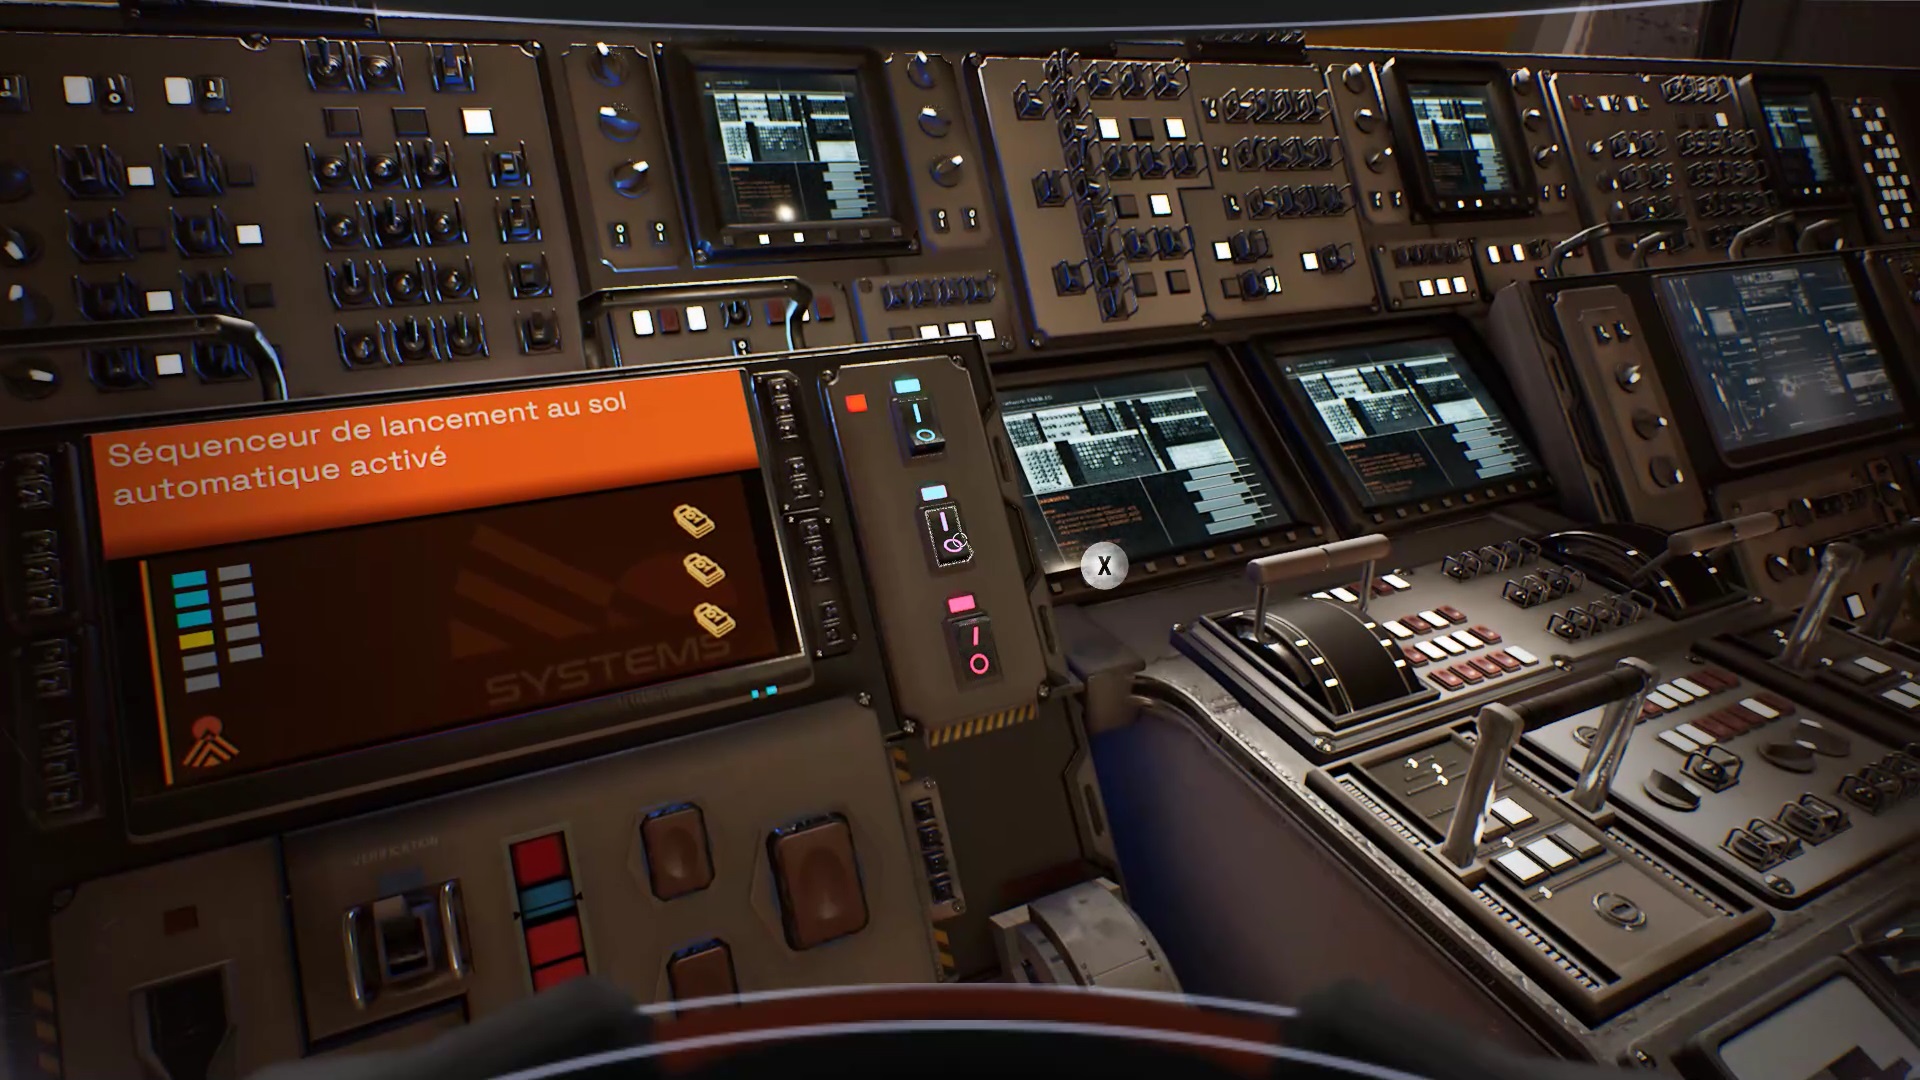
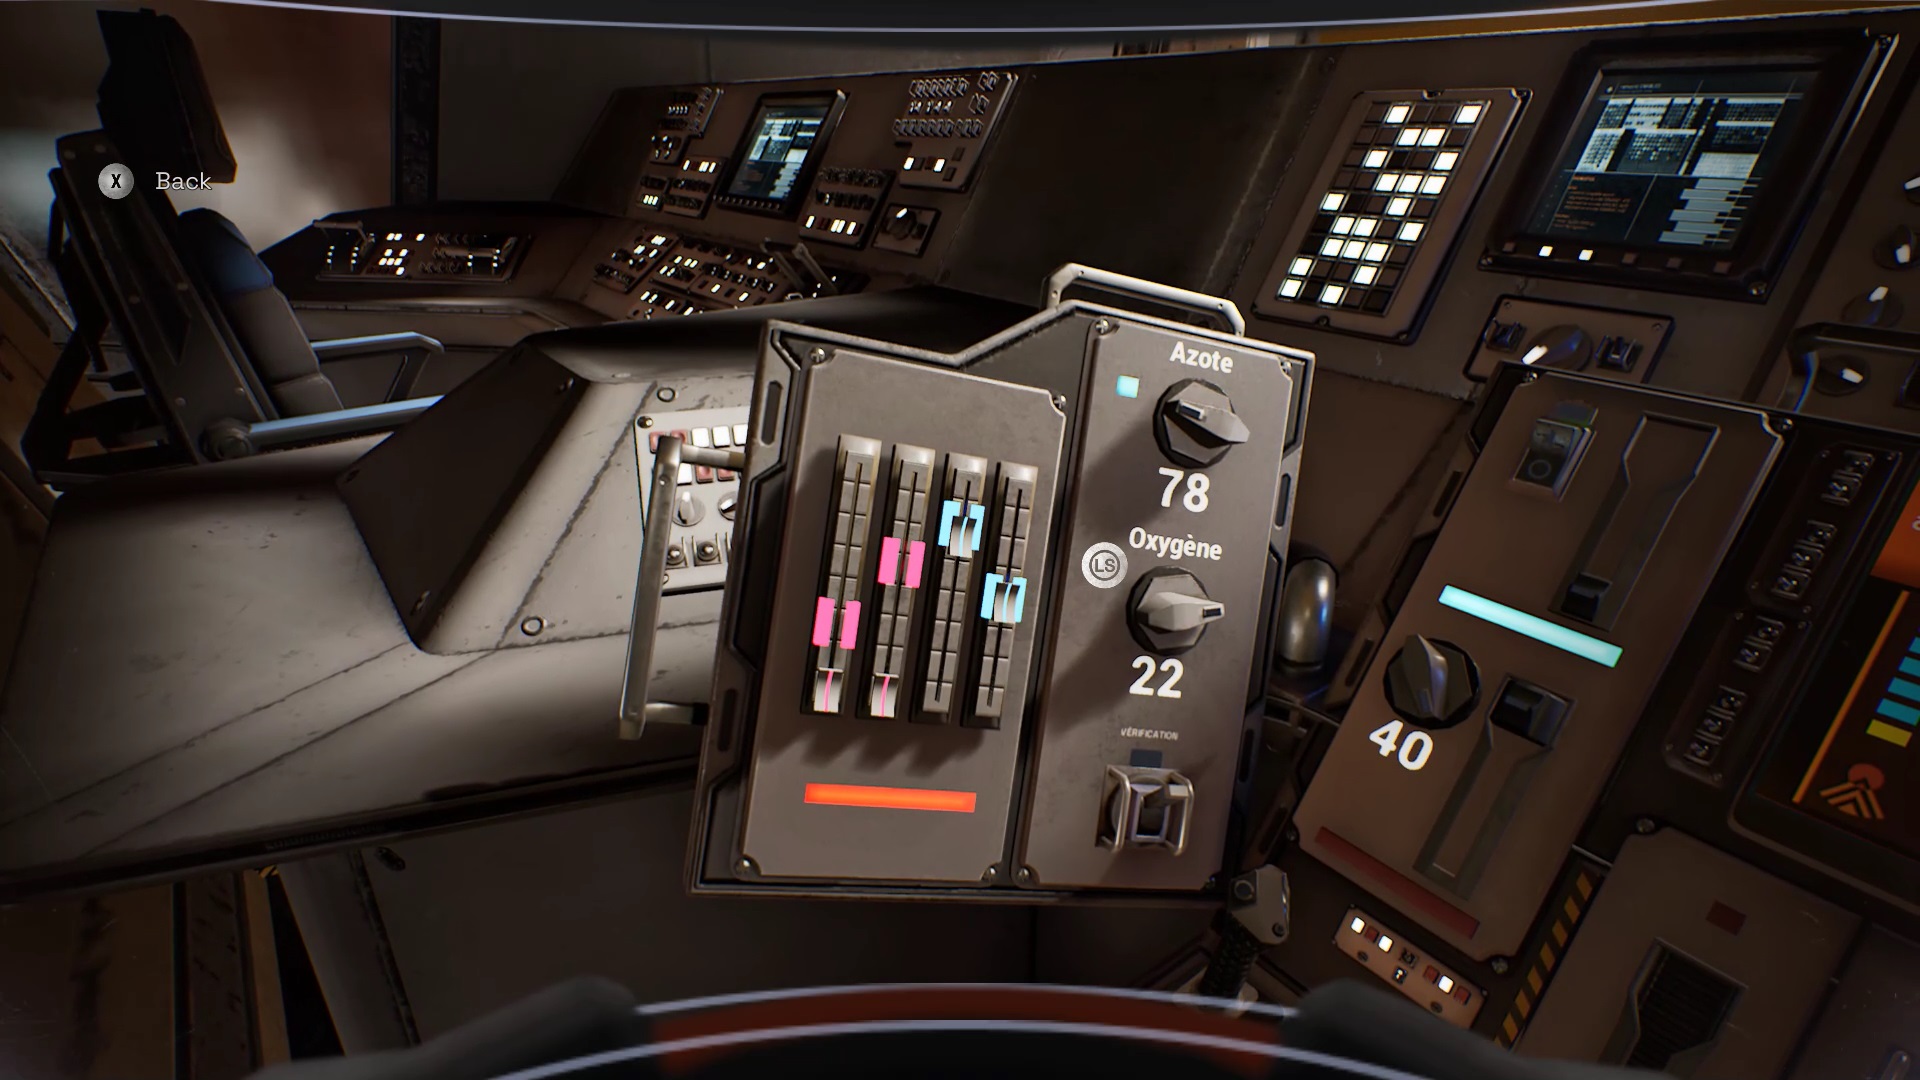
For the ground launch sequencer, tap the three red switches to the right of the screen. To retract the arm of the orbiter, position the sliders on the left on the red notches.
Continue by positioning the button at the bottom left of the panel on the number 0. Lower the notch next to the button and interact with the joystick.
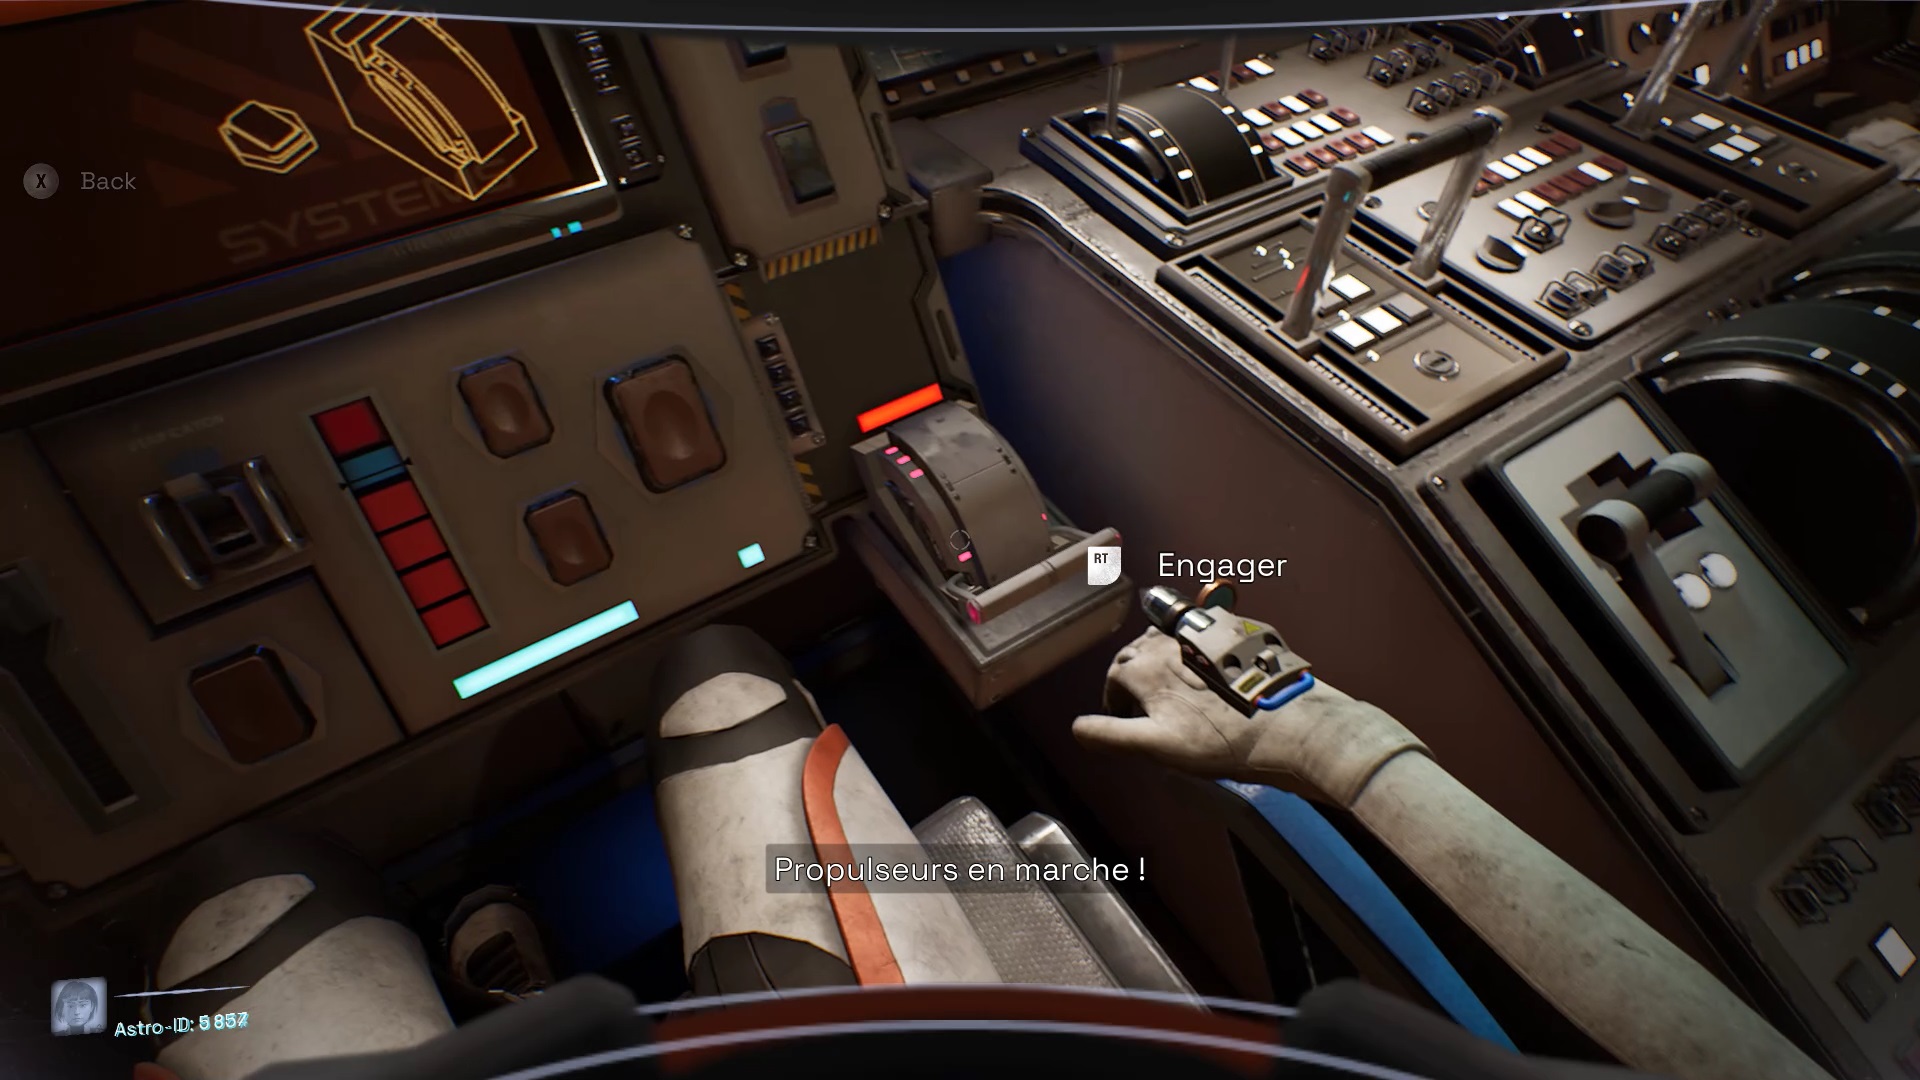
For the power transfer, go up the notch at the bottom left of the panel. Press the red button in front of you to complete the settings. Near the thrusters, press the red button and fire up the gas to complete the chapter.
Epilogue
Proceed to the control room to speak with Sarah. At the end of your discussion, the door to the room opens. Move forward to join your father and complete the game.

Journaliste gameactuality.com