[Guide] Daymare 1994 Sandcastle : Complete Walkthrough [EN]
Complete walkthrough for Daymare 1994: Sandcastle. Follow our guide to complete all levels, riddles, puzzles. Daymare 1994: Sandcastle is a third-person narrative horror and survival game, a prologue to the hit game Daymare: 1998. Our walkthrough is non-exhaustive and focuses on the key points of the adventure. We advise you to examine the areas to find the resources necessary to recharge your equipment.
Summary :
- Entrance to Area 51
- Laboratory & Hangar
- The pumping station
- Area 51 Exterior
- Underground levels
- Detention area
- Medical sector
- Neighborhood Housing
- Stasis and elimination
- Castle
- Evacuation area
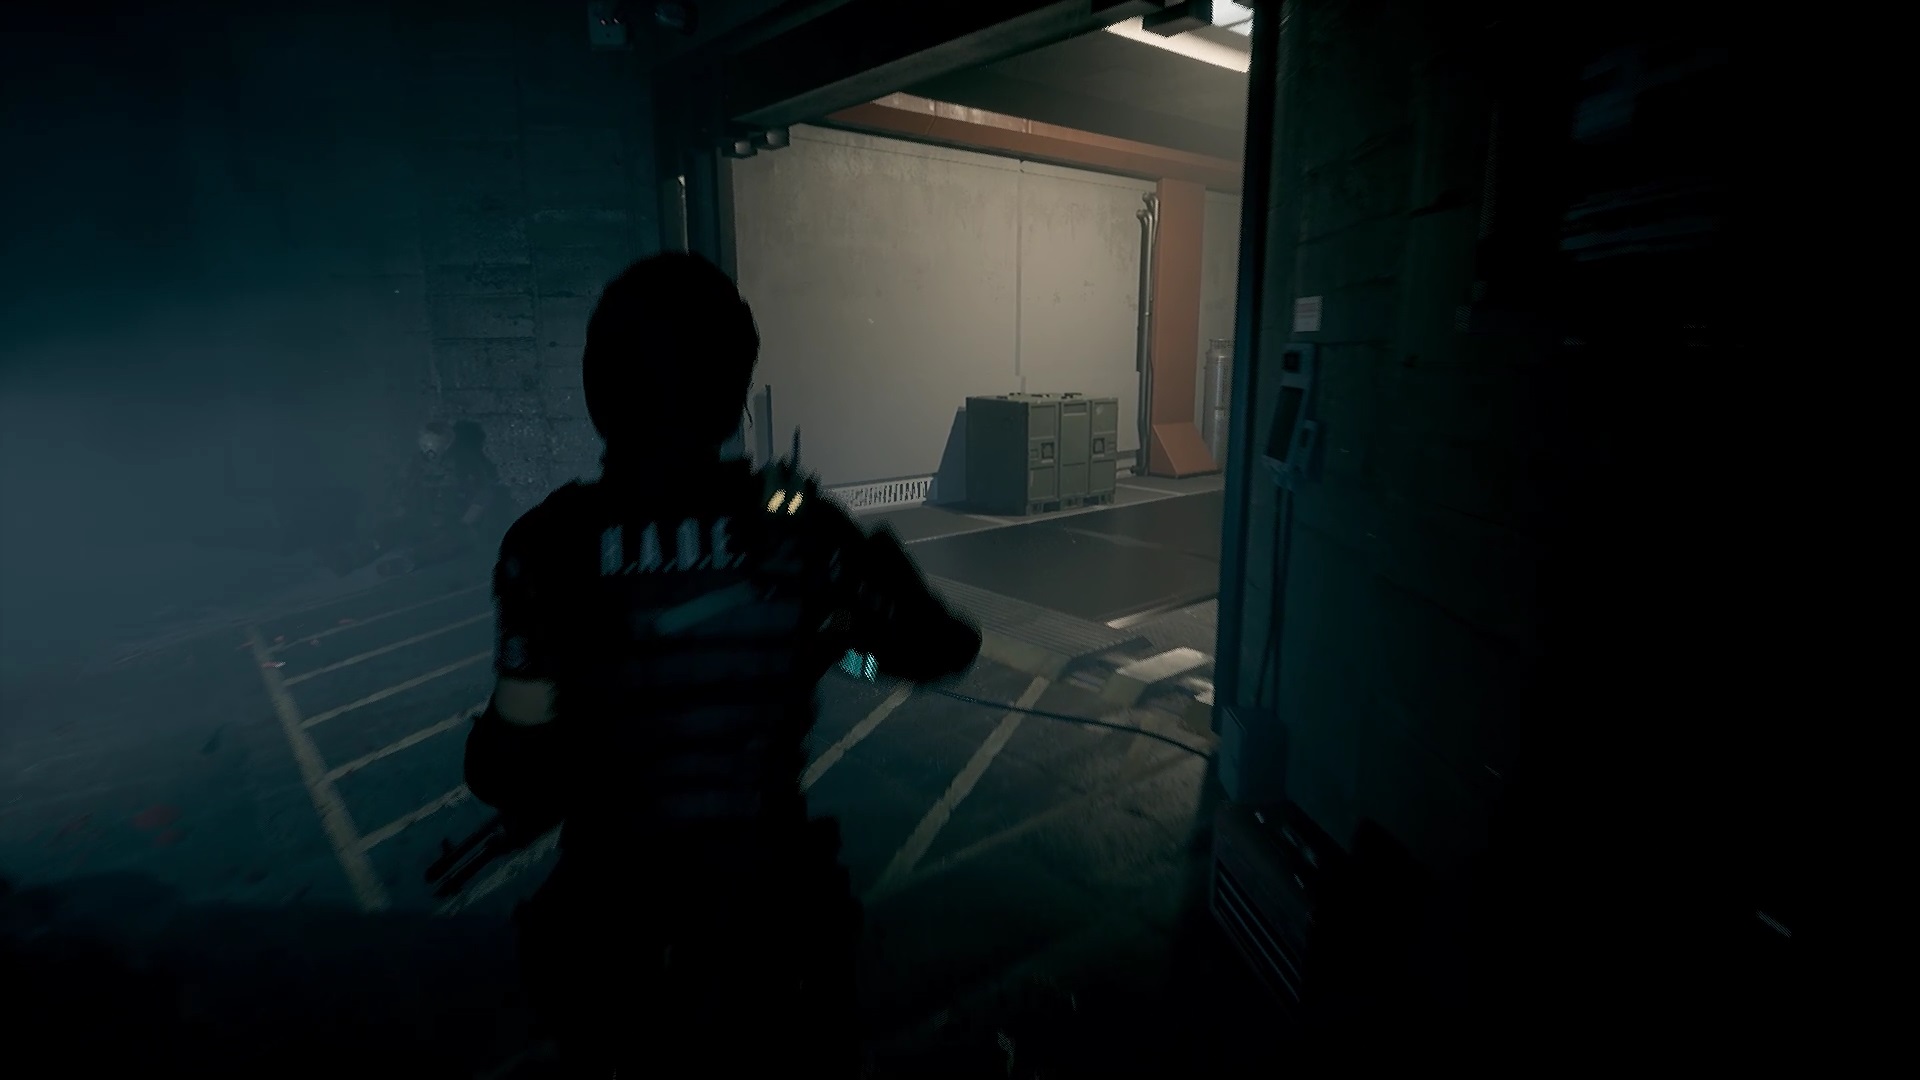
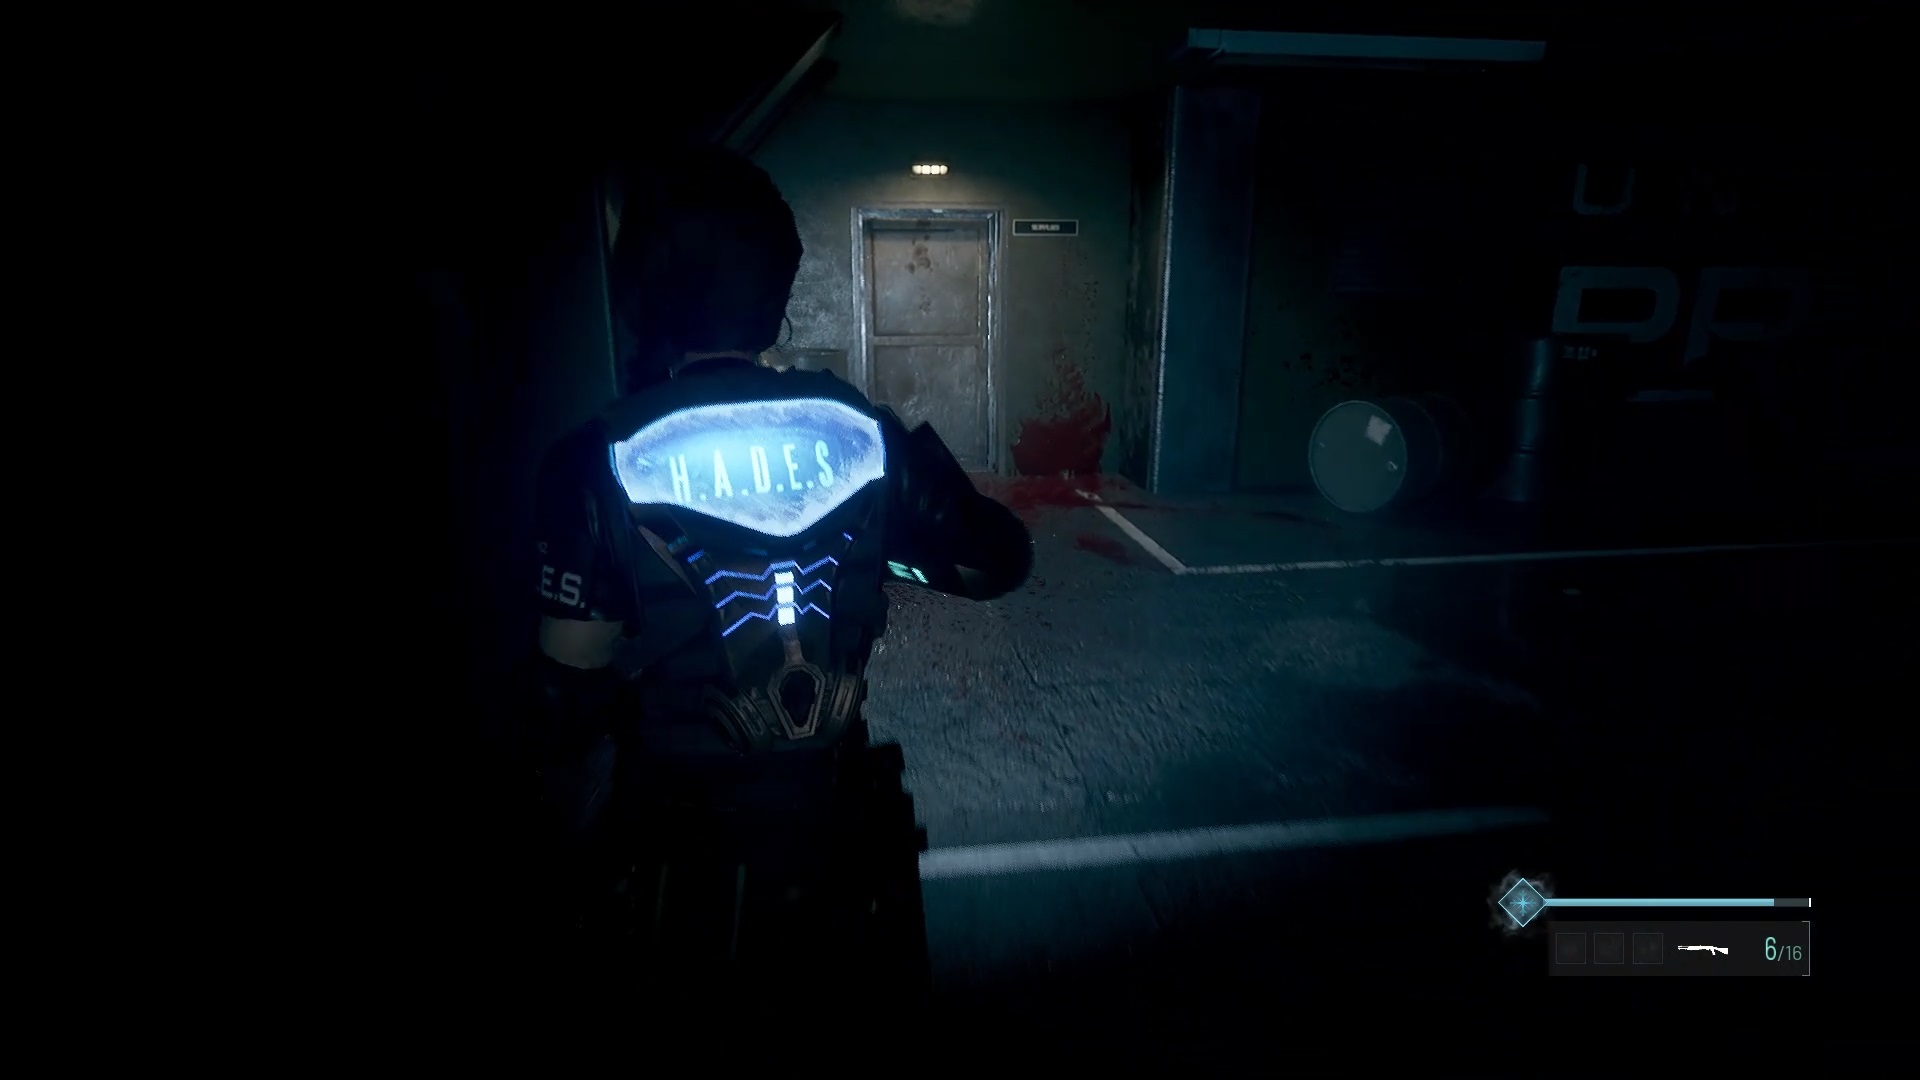
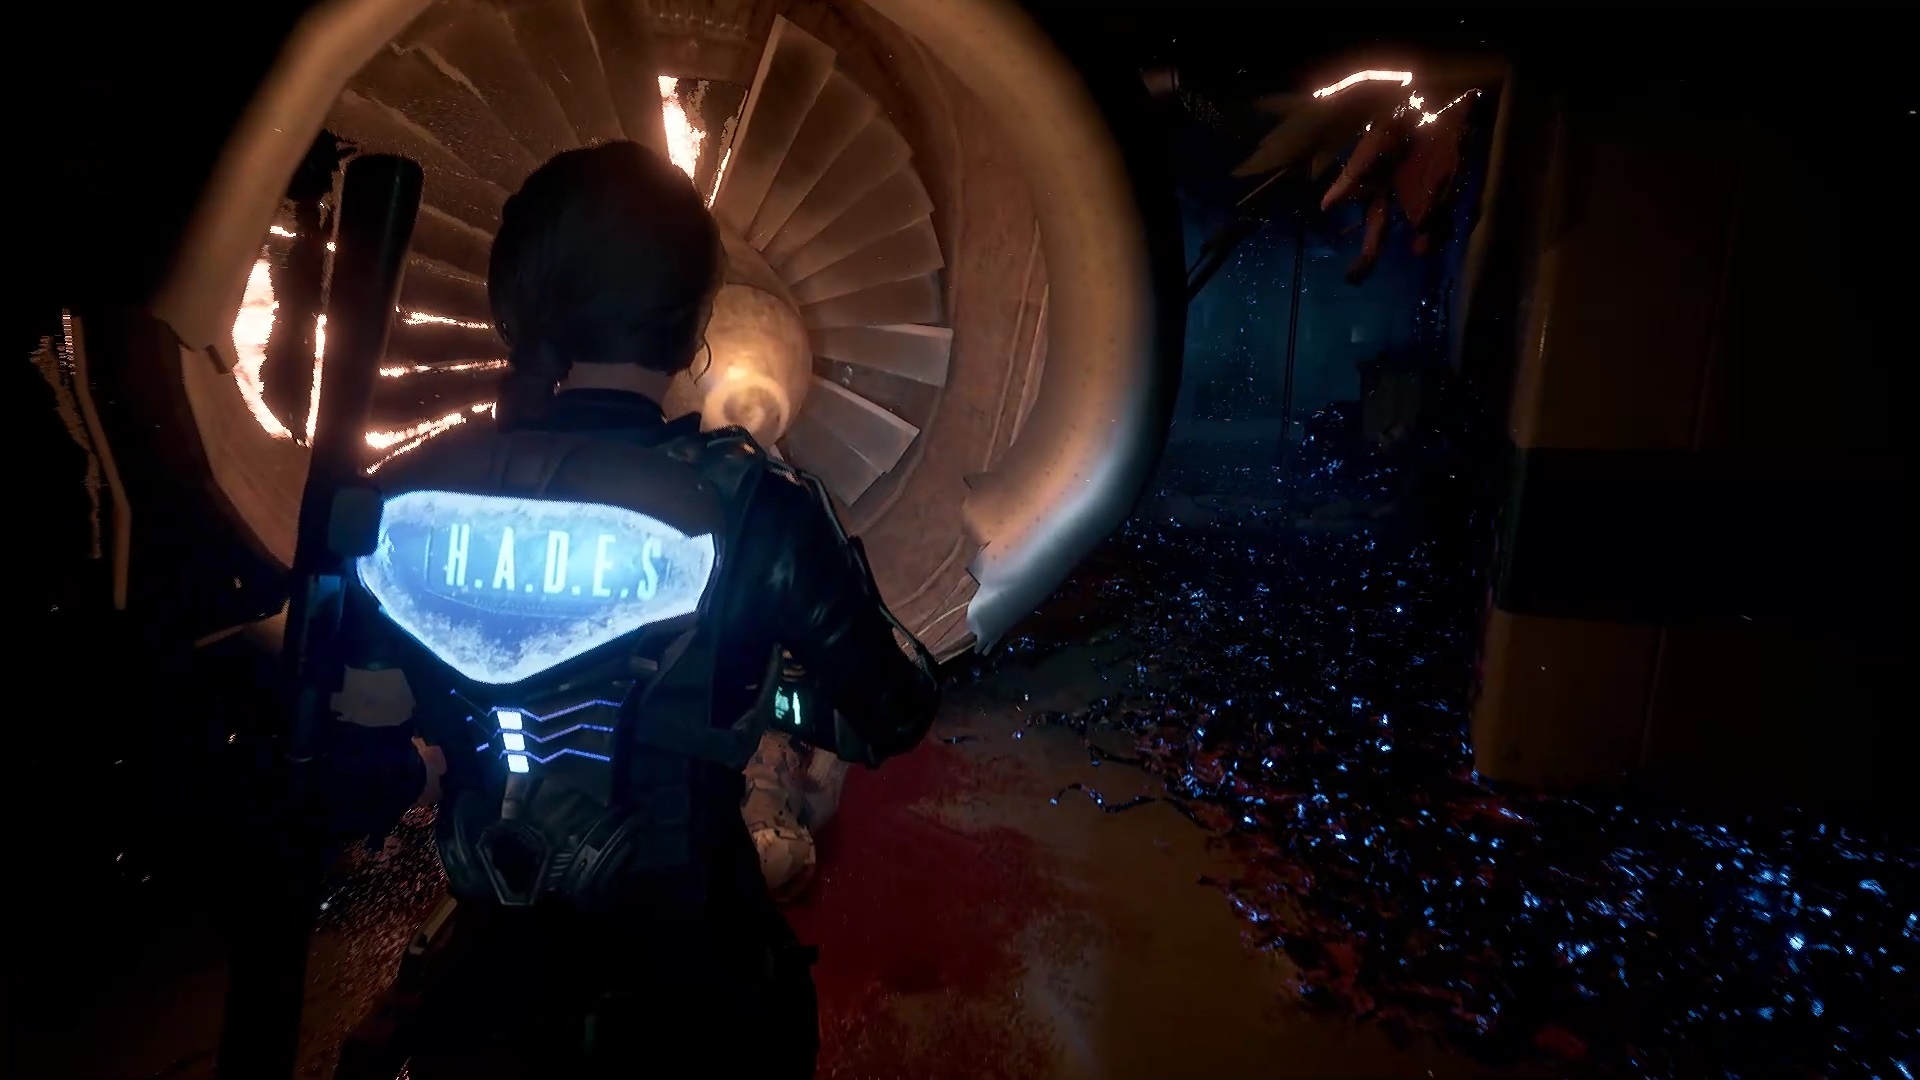
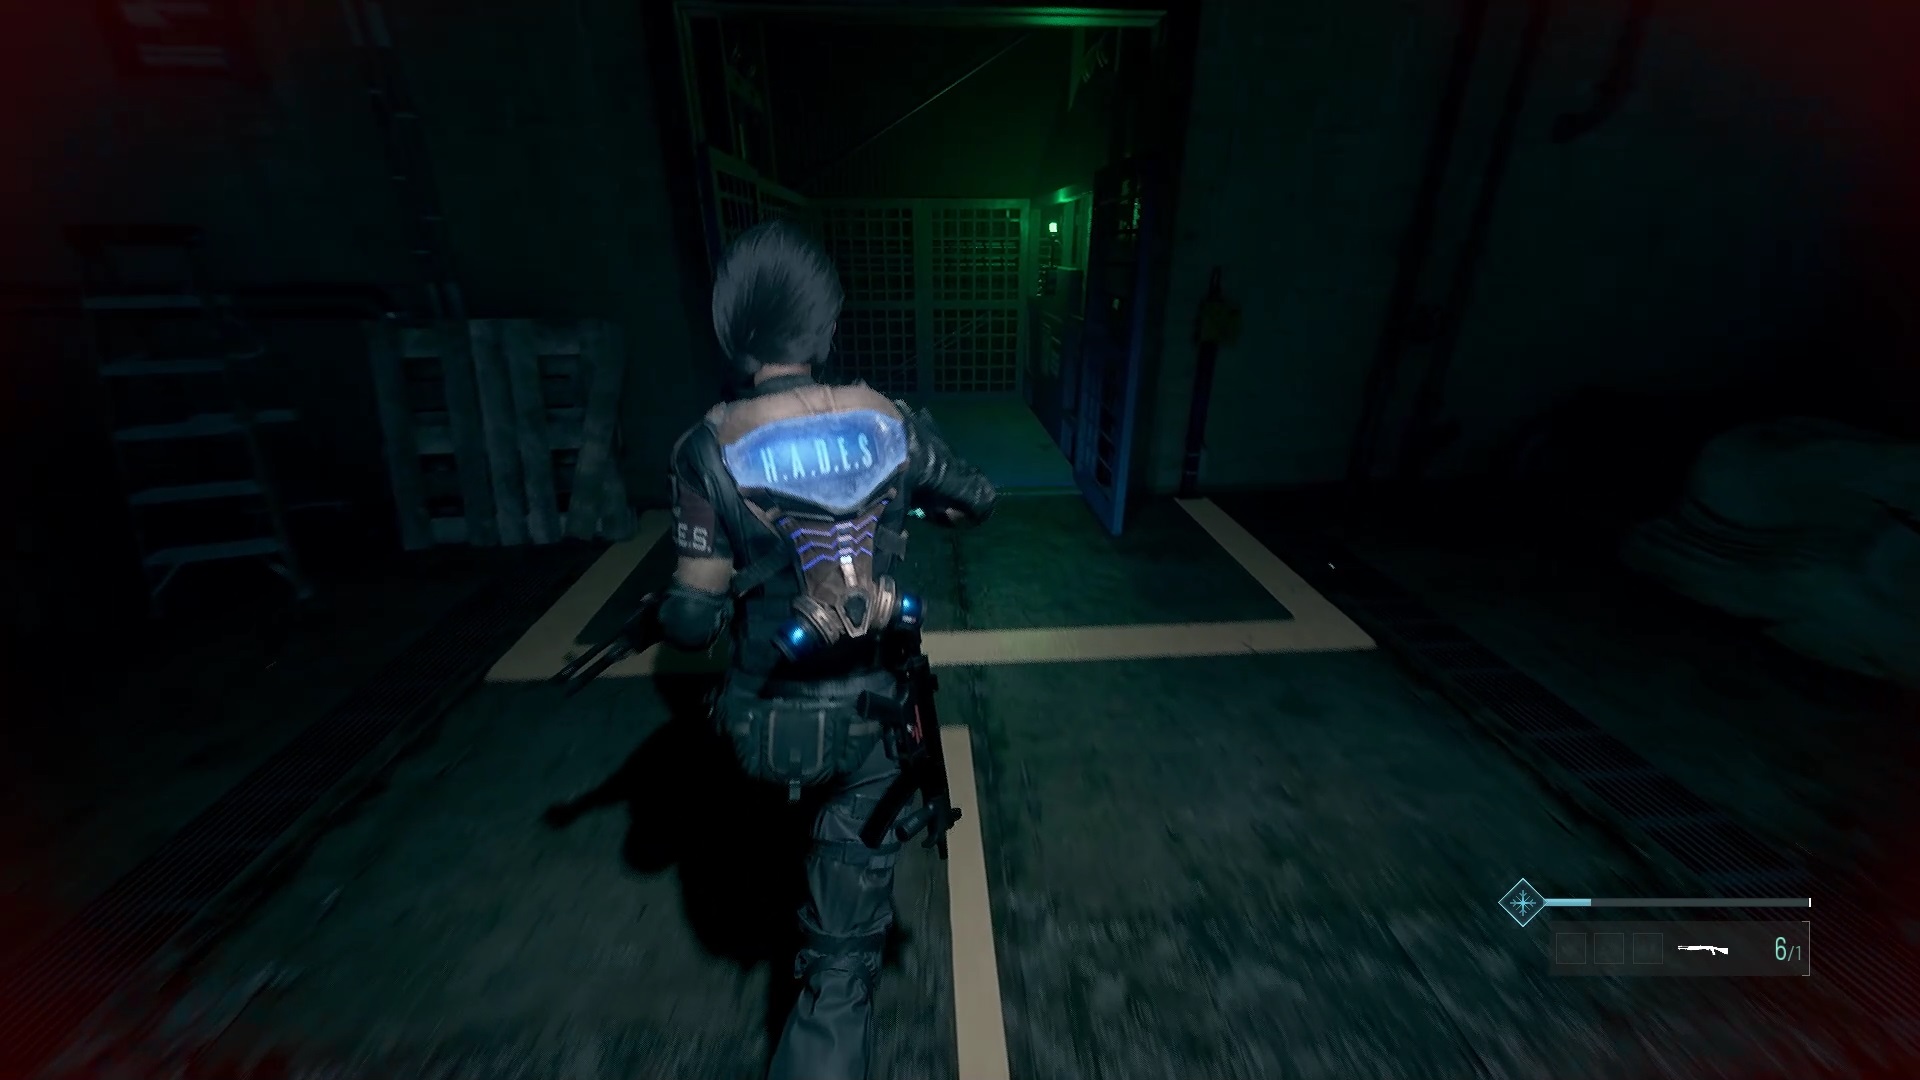
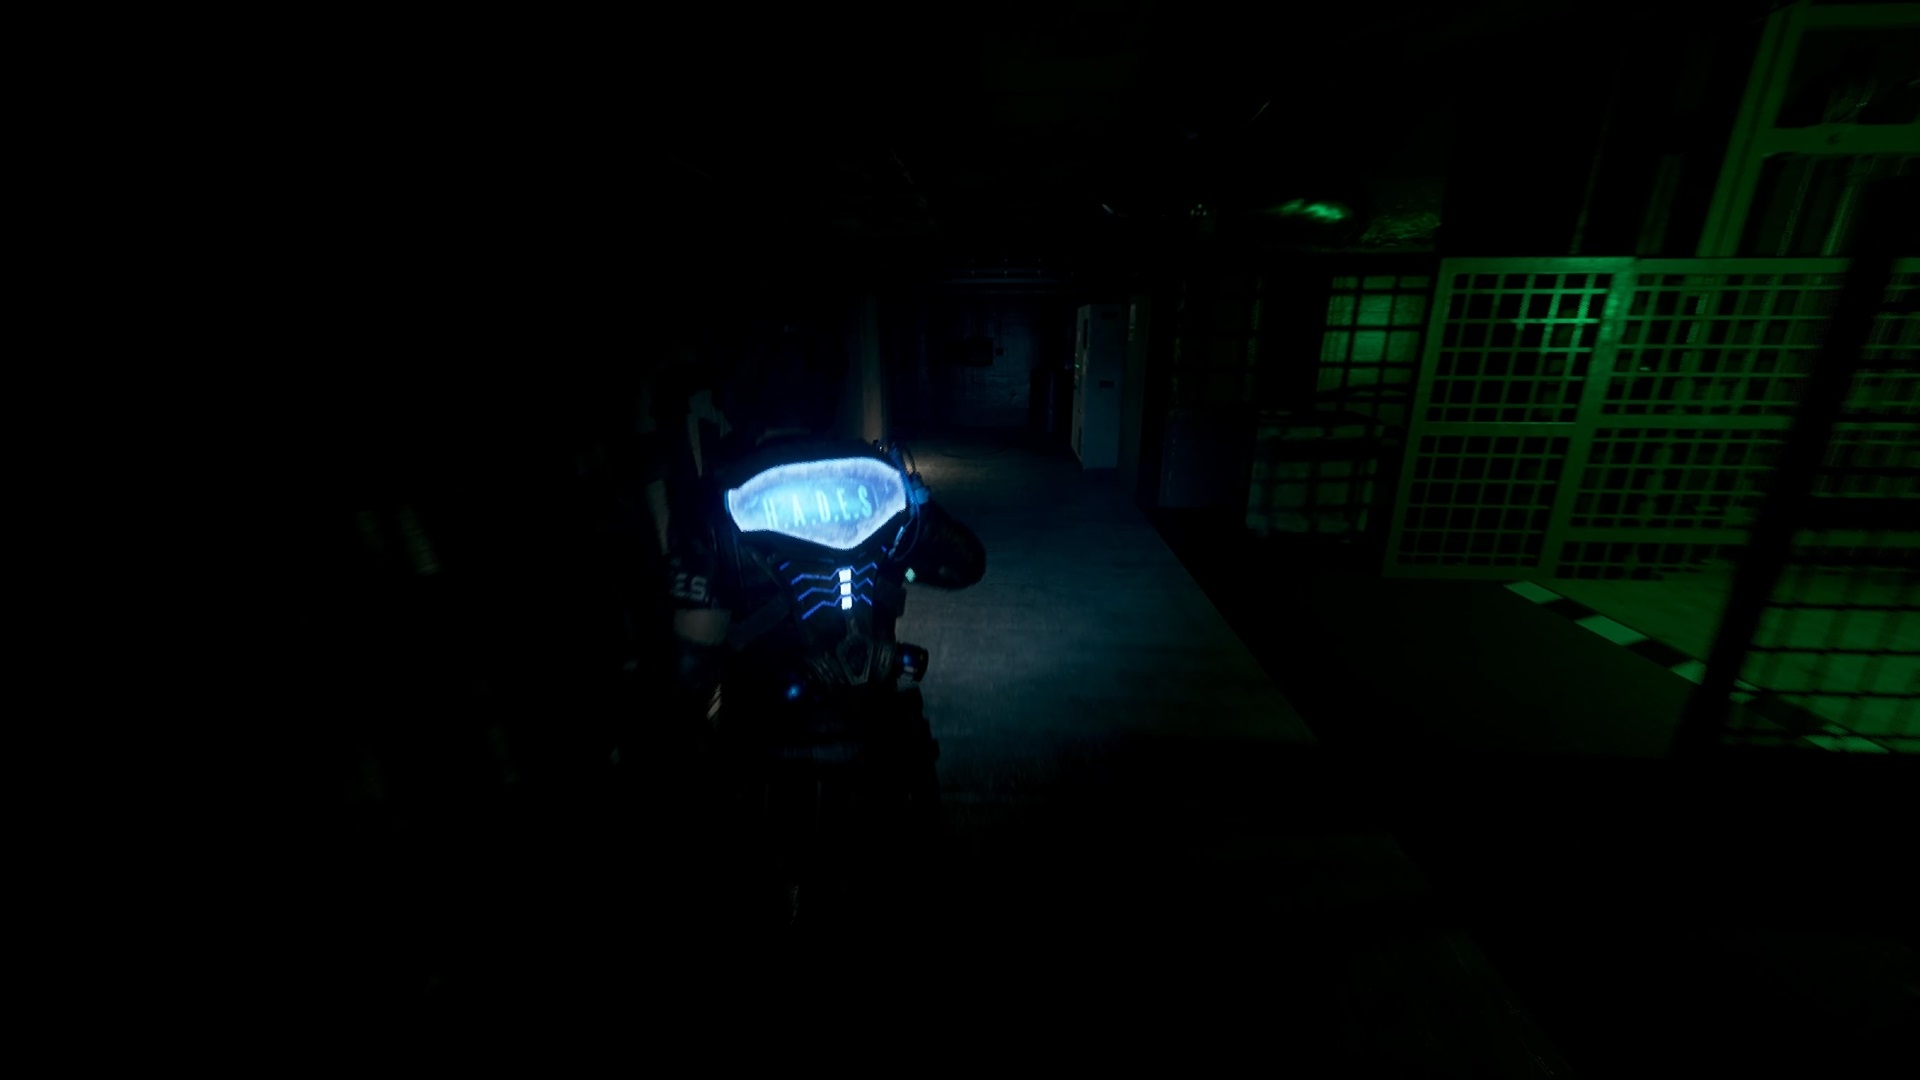
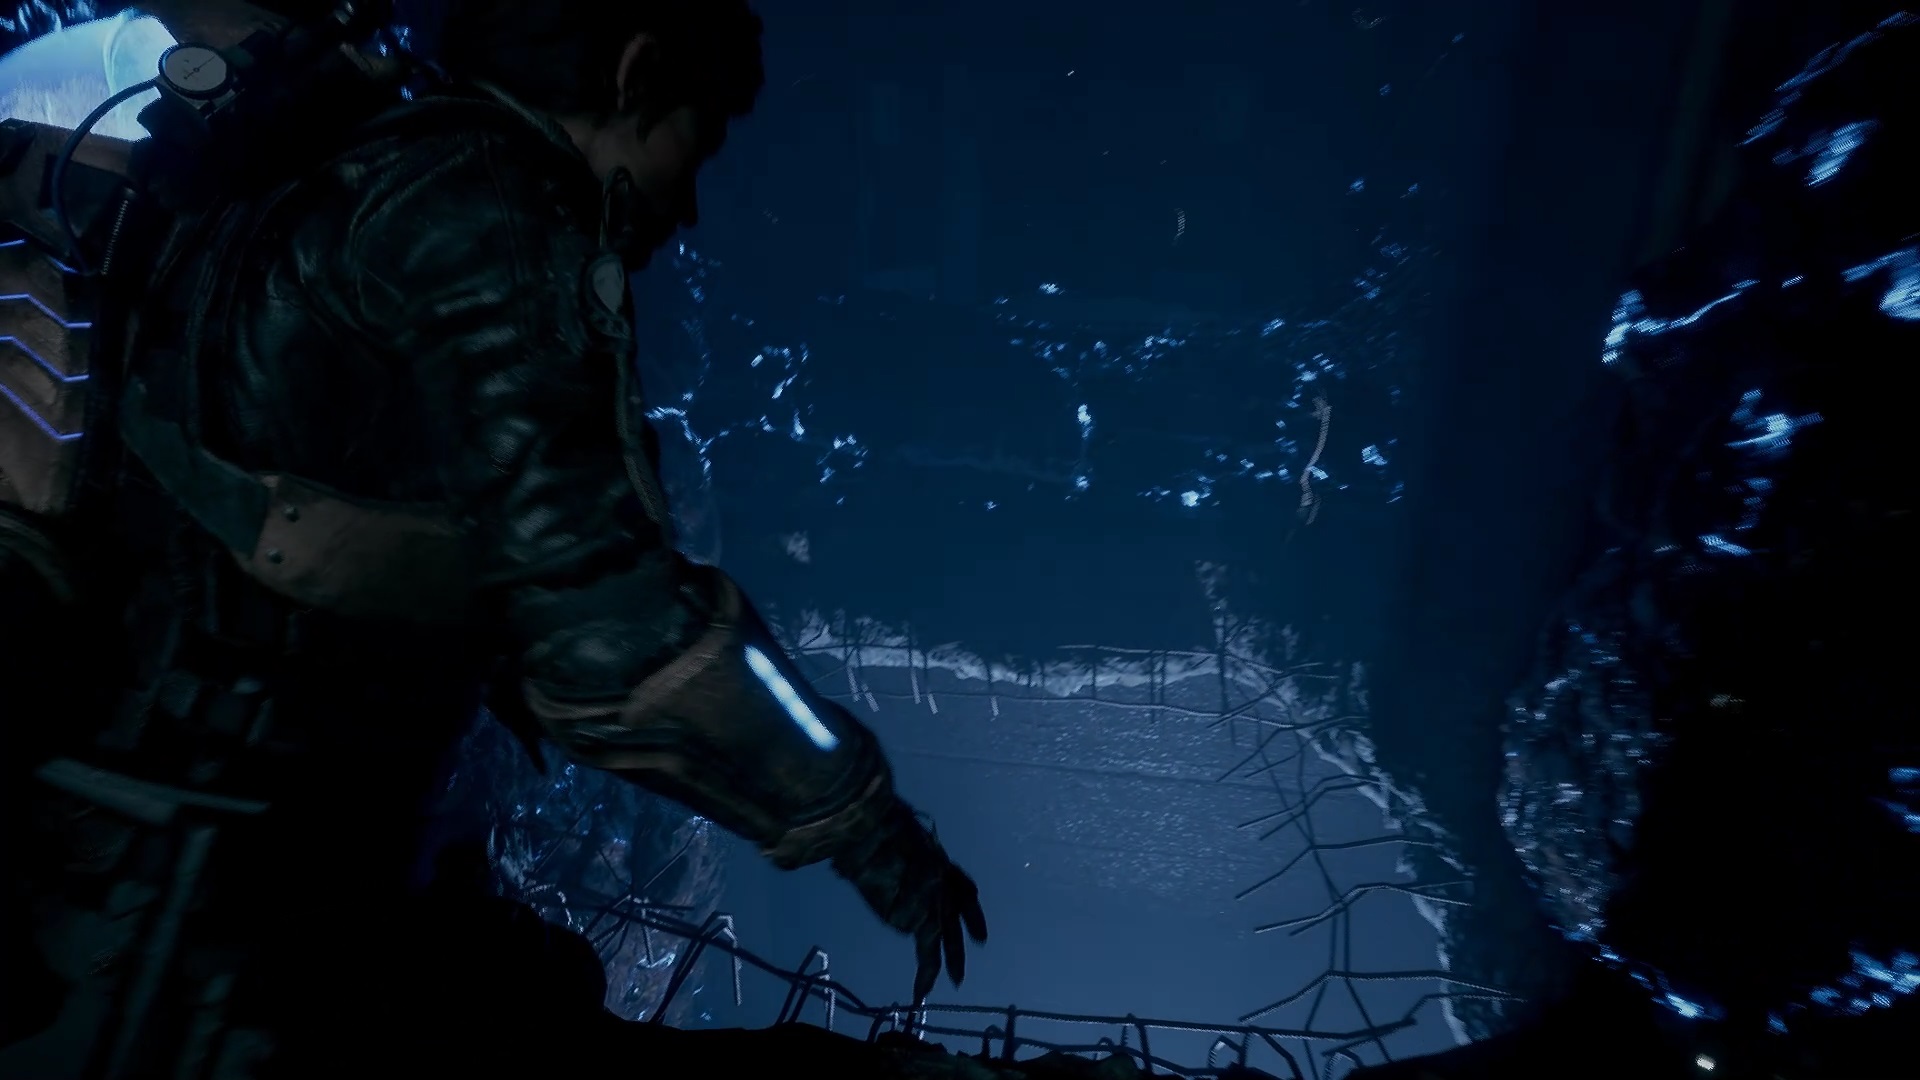
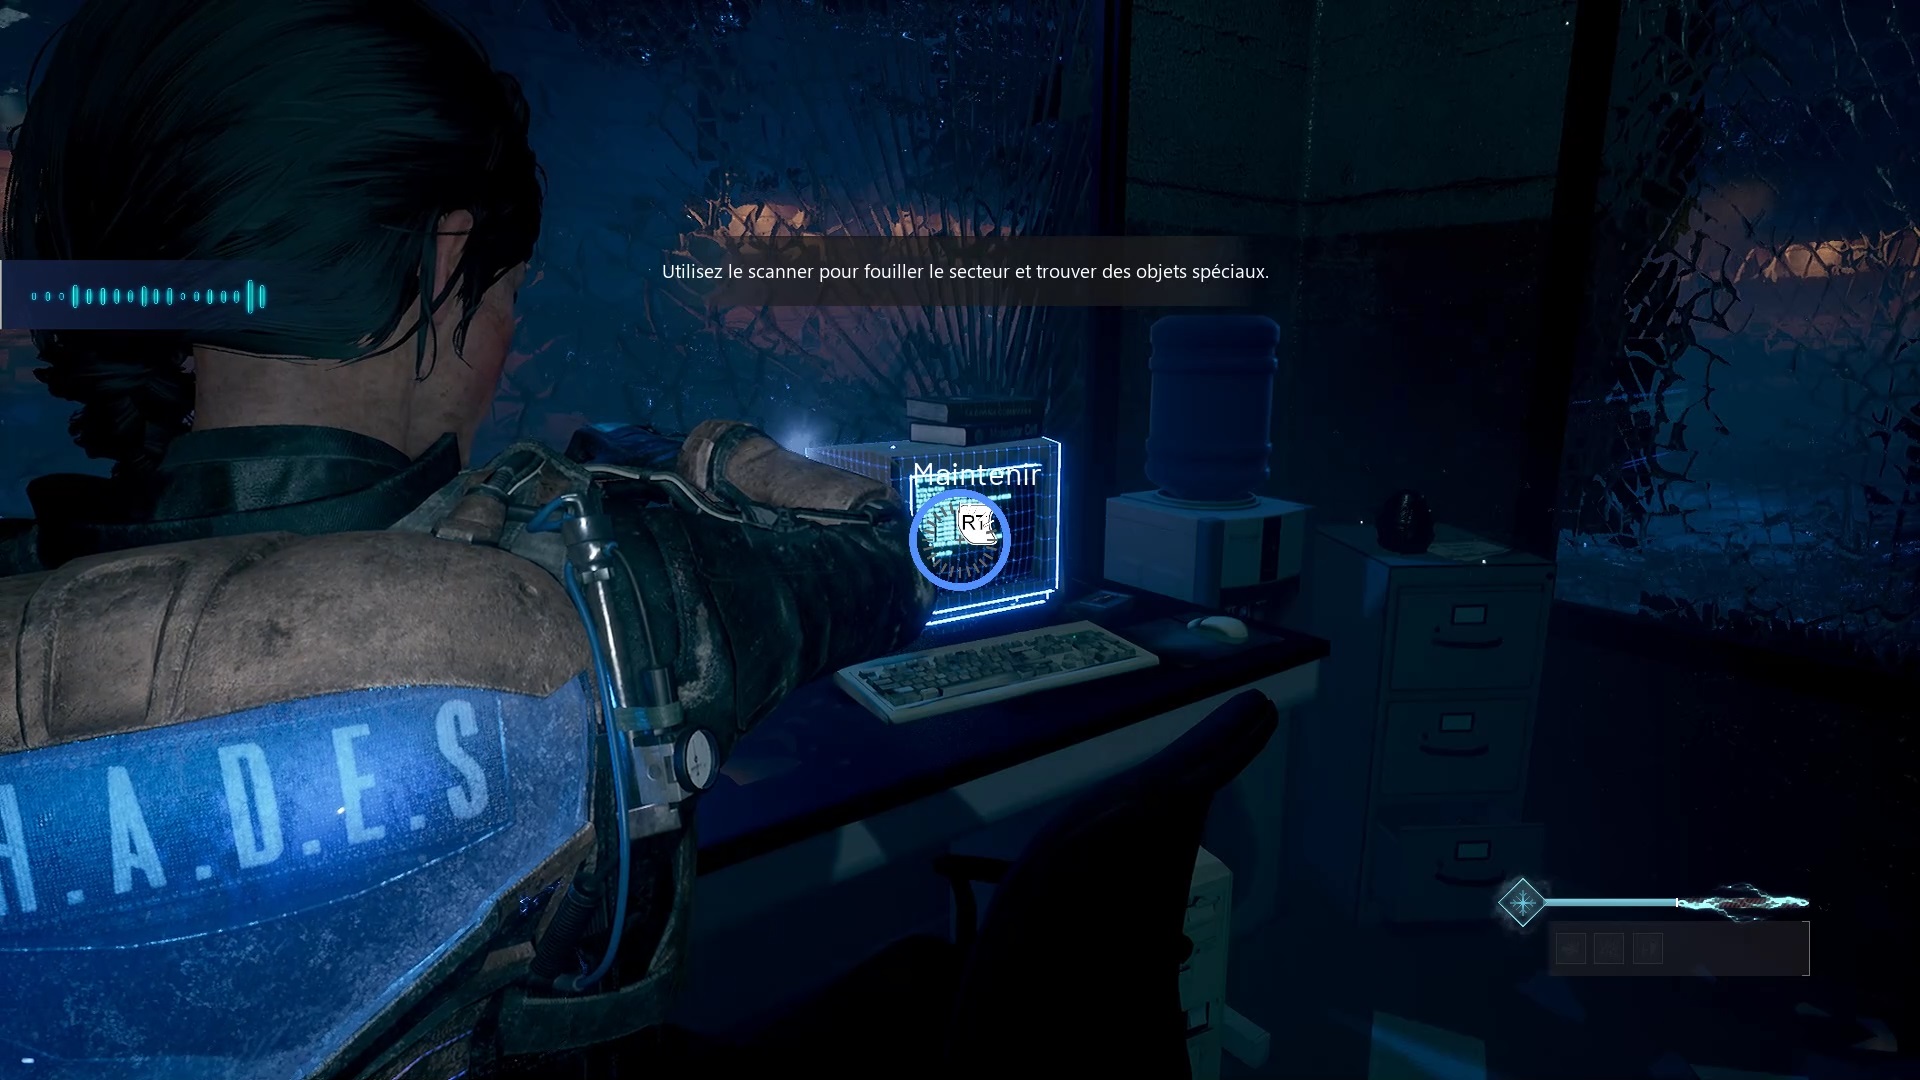
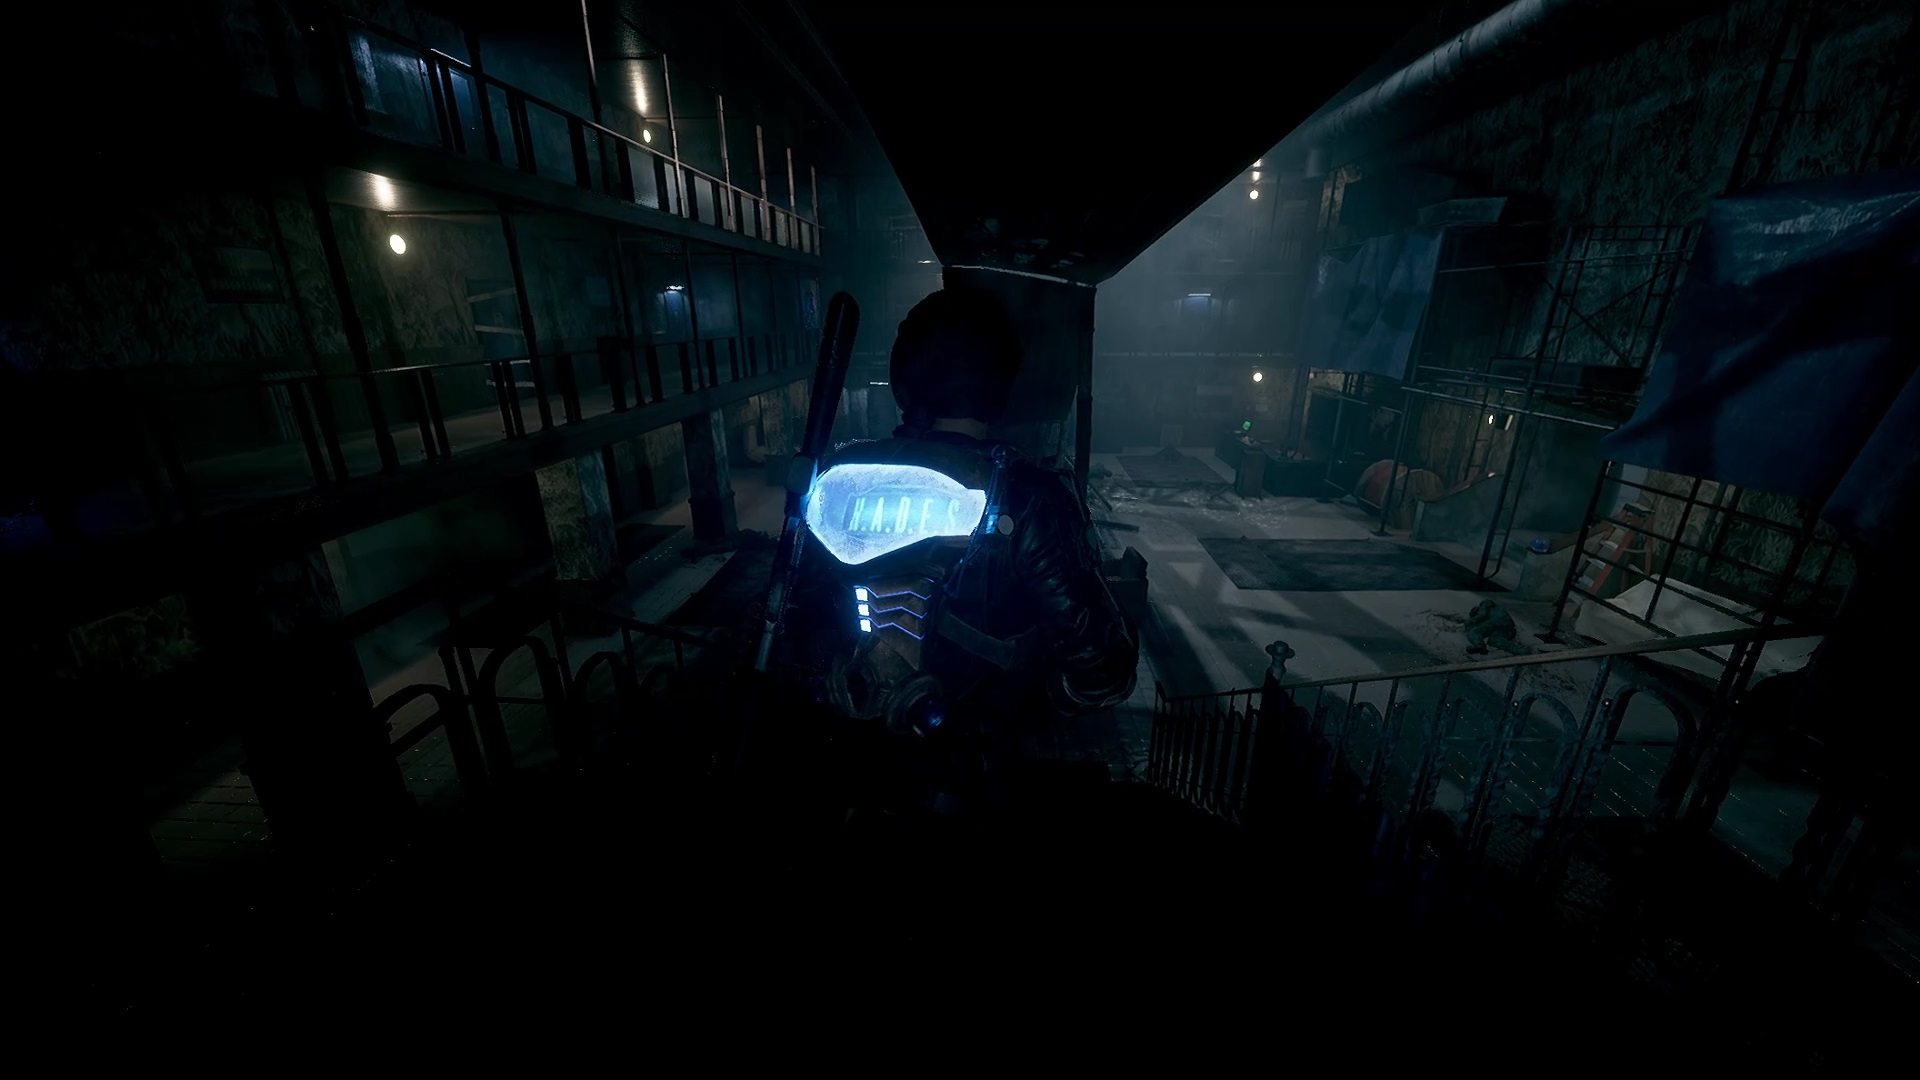
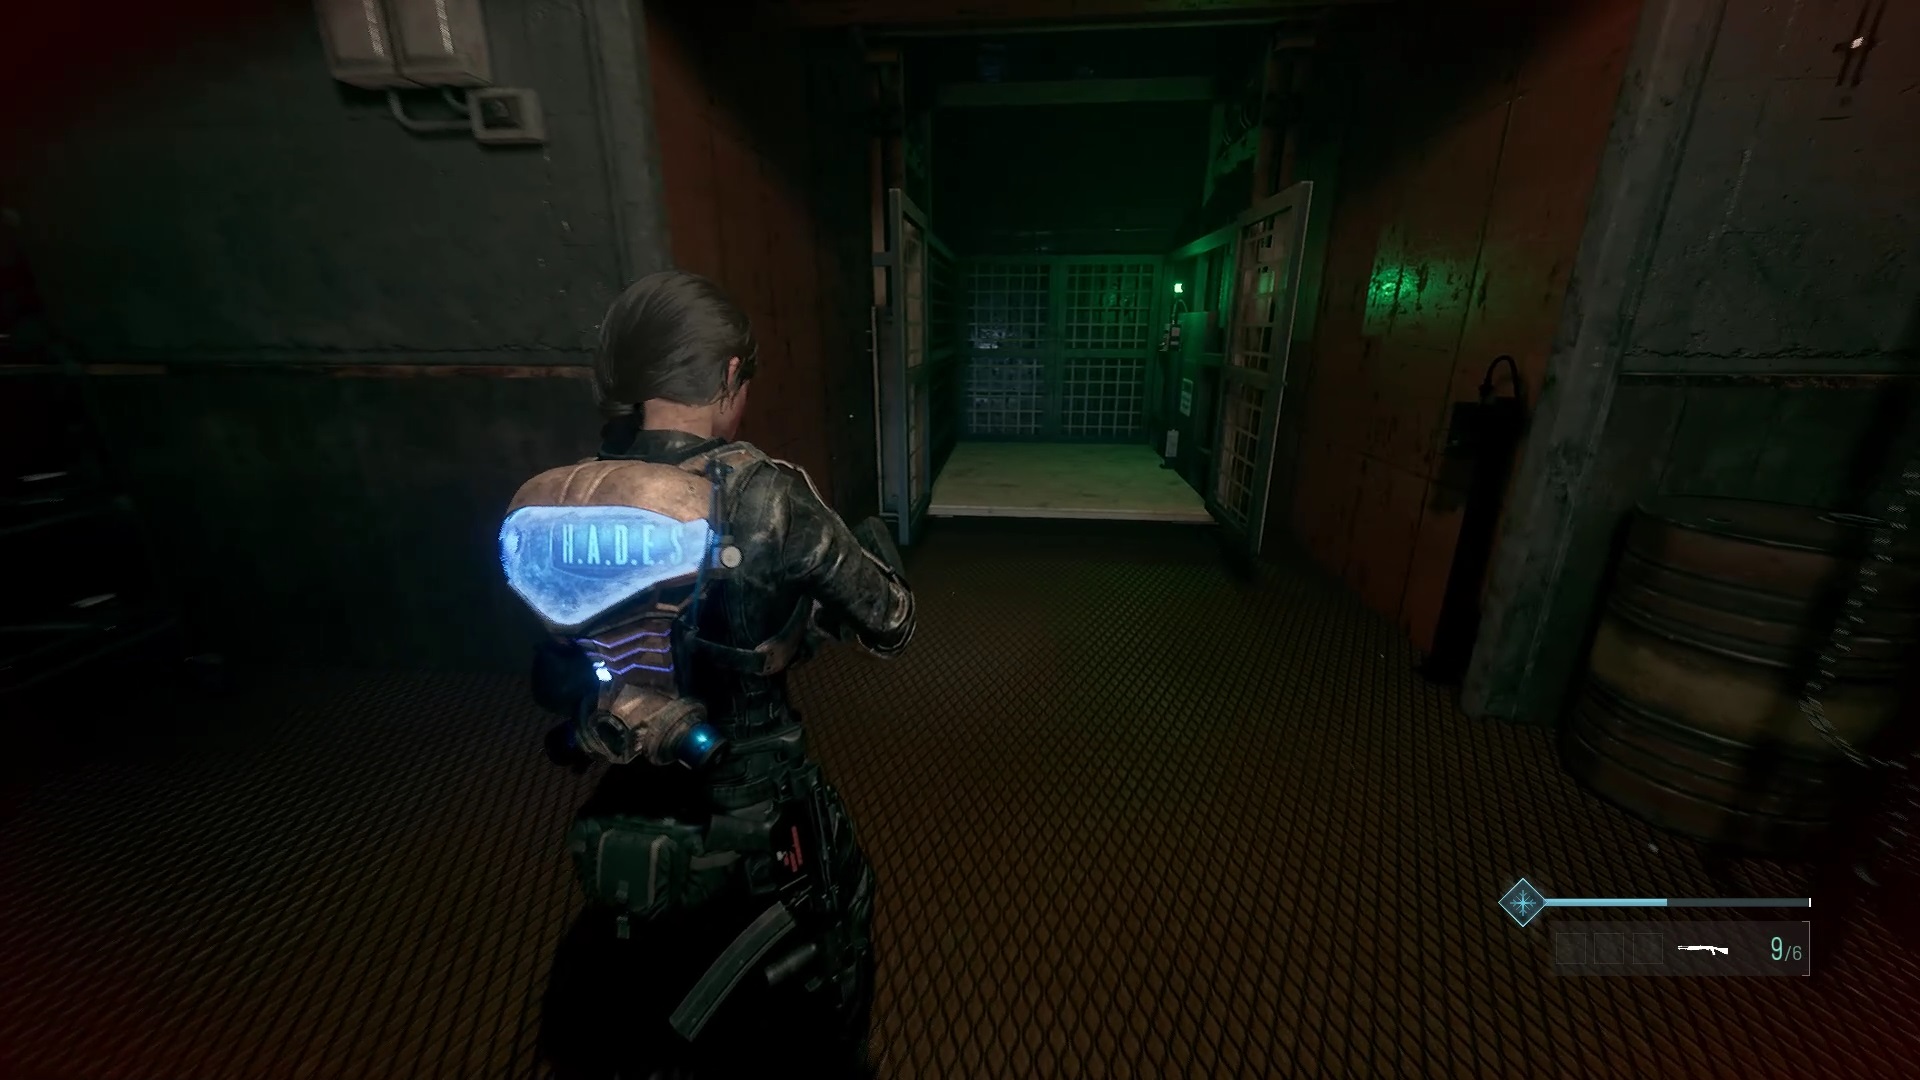
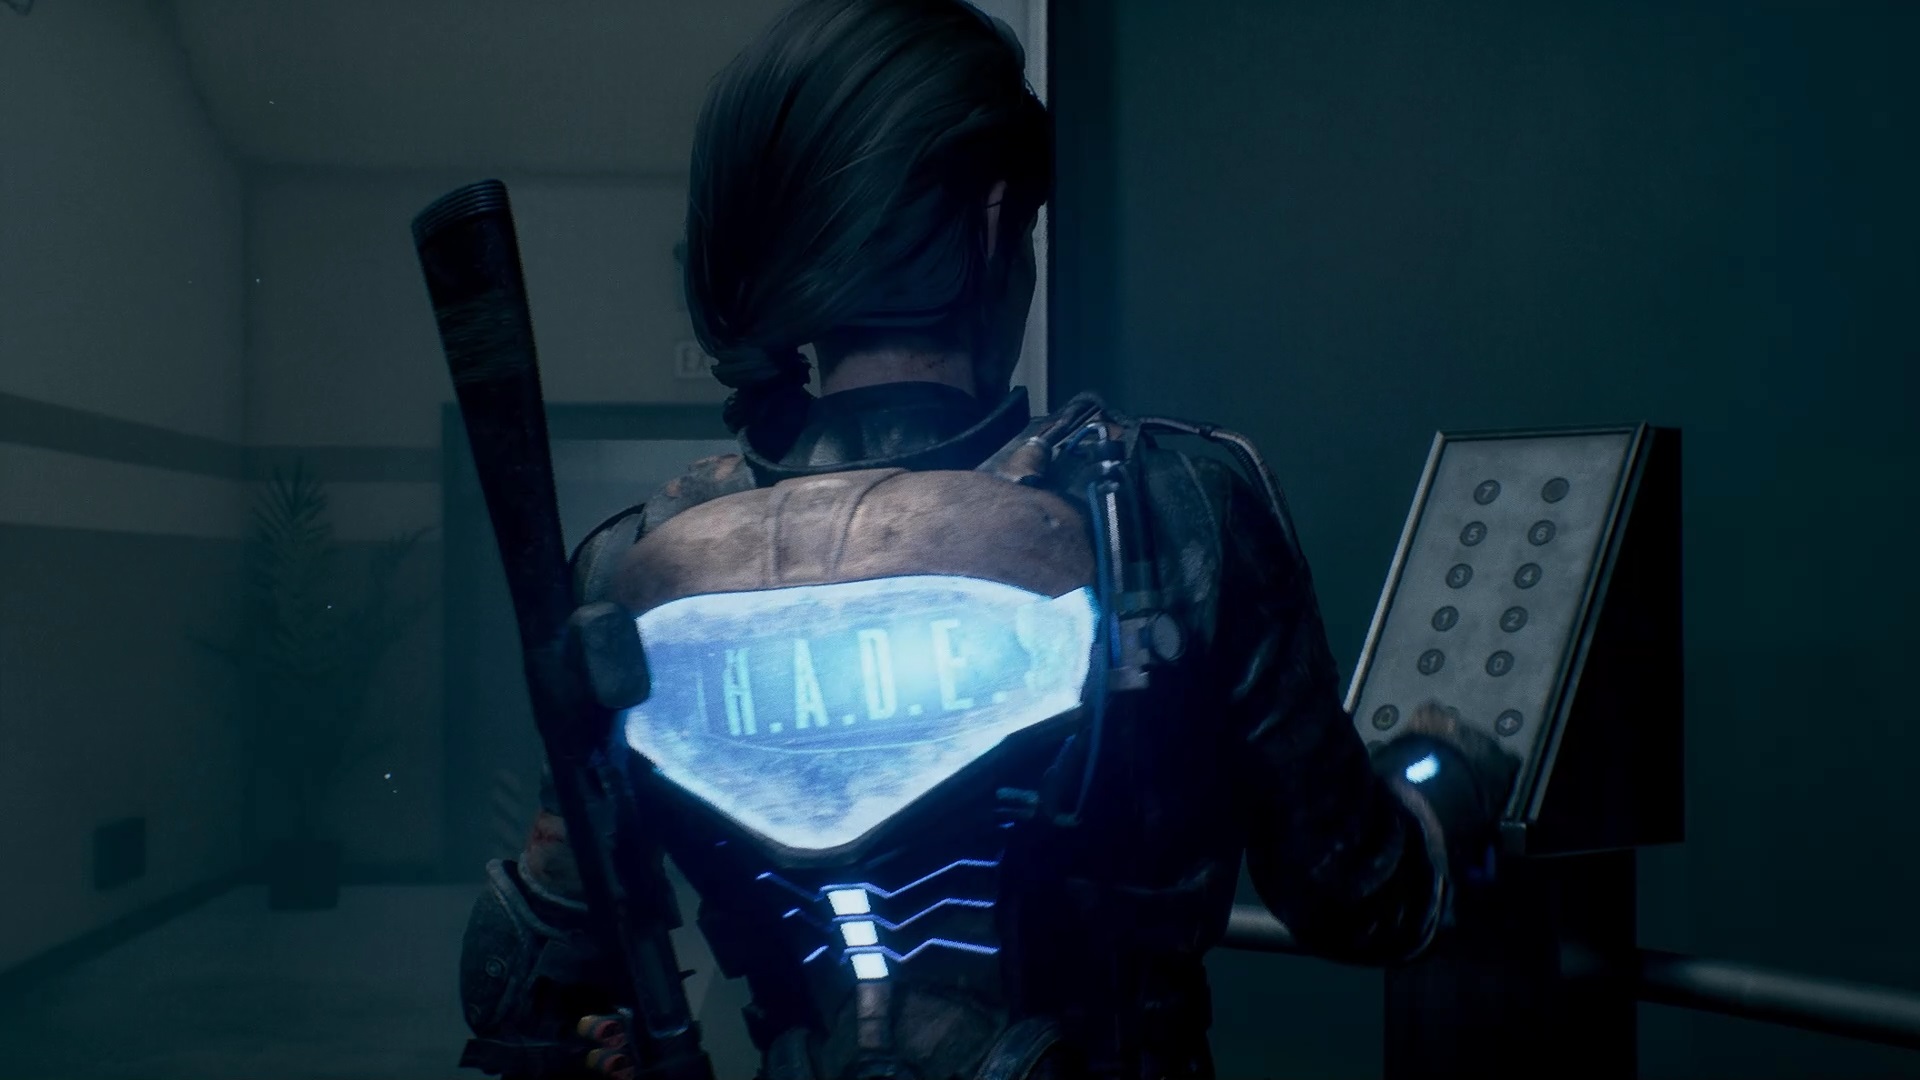
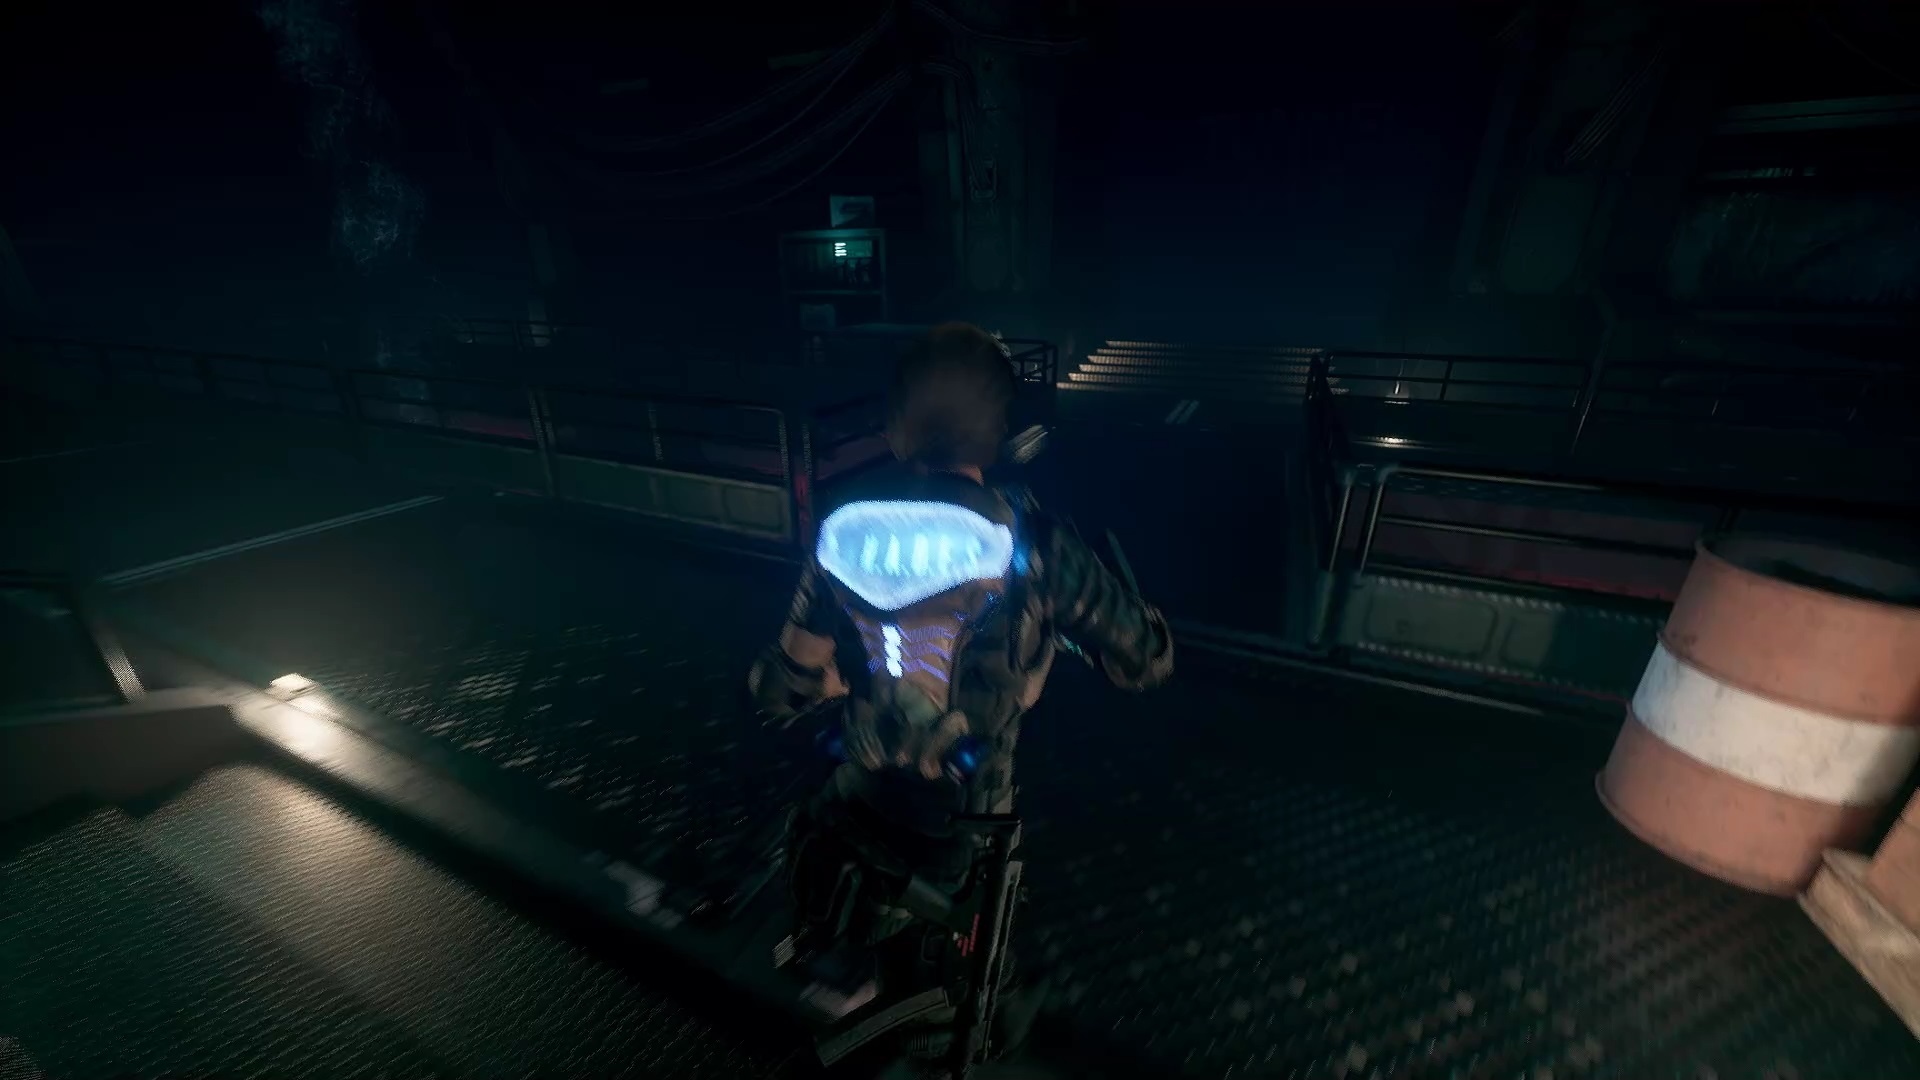
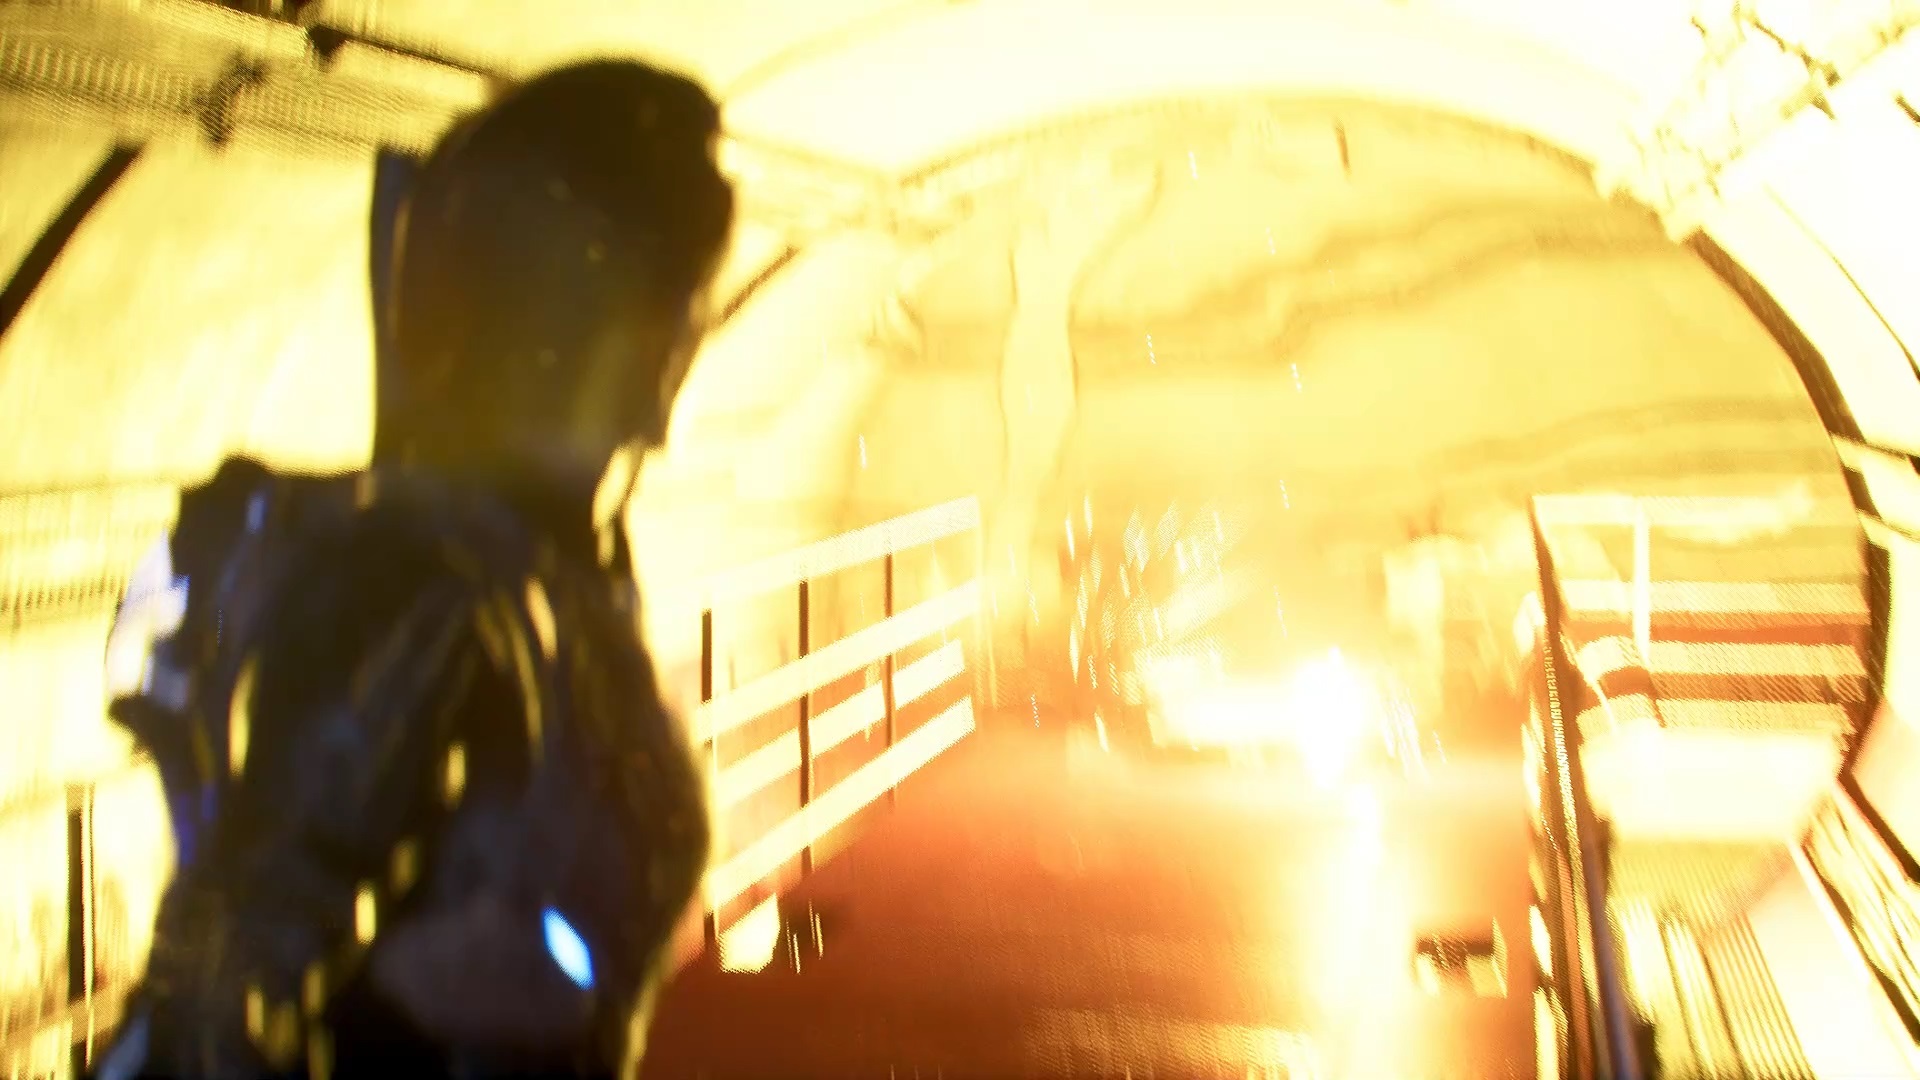
Entrance to Area 51
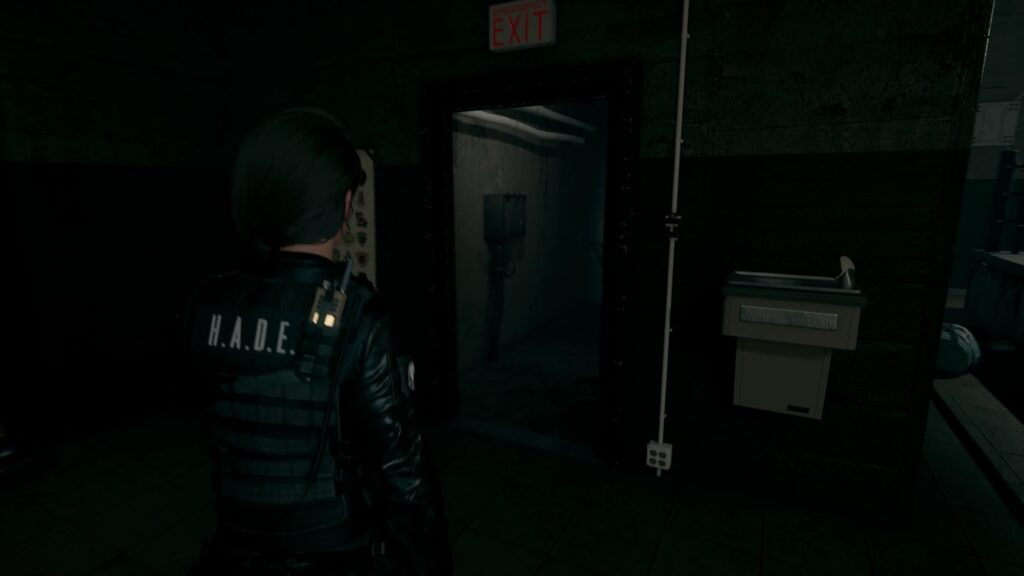
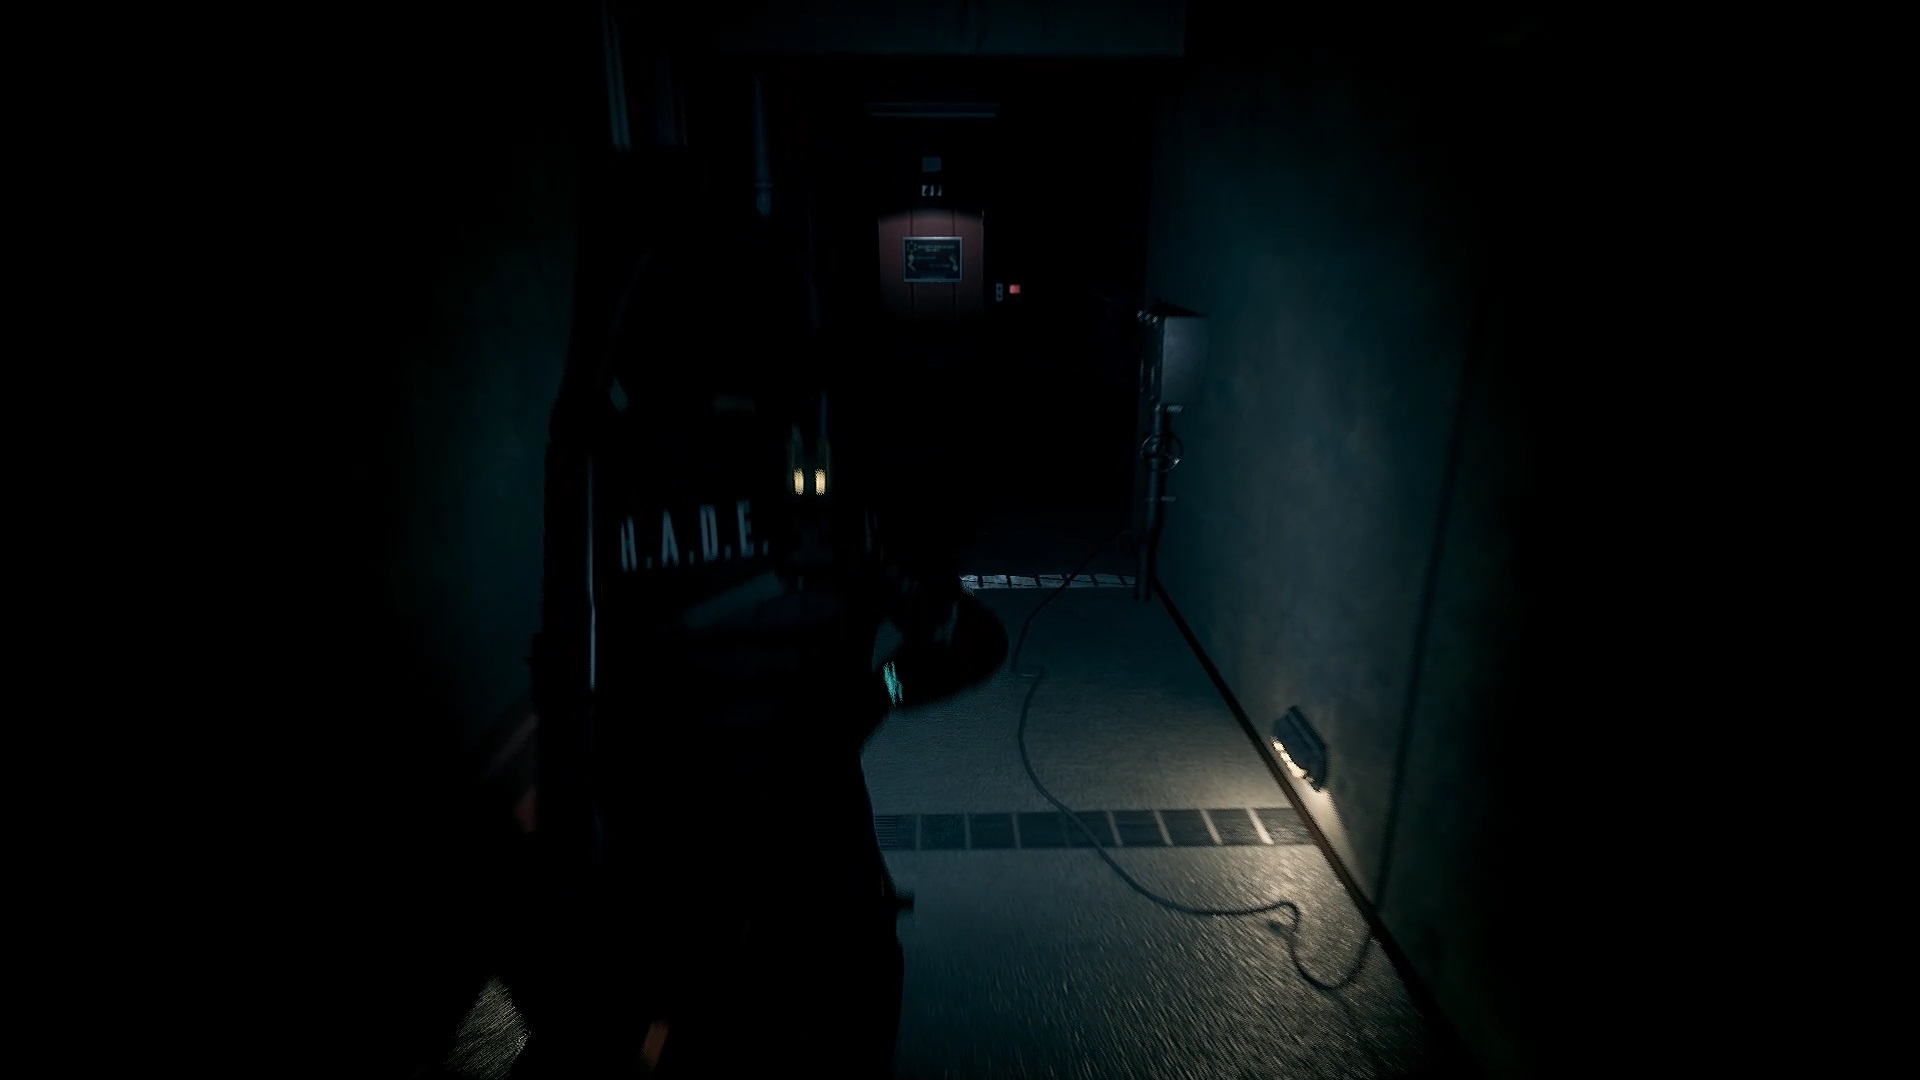
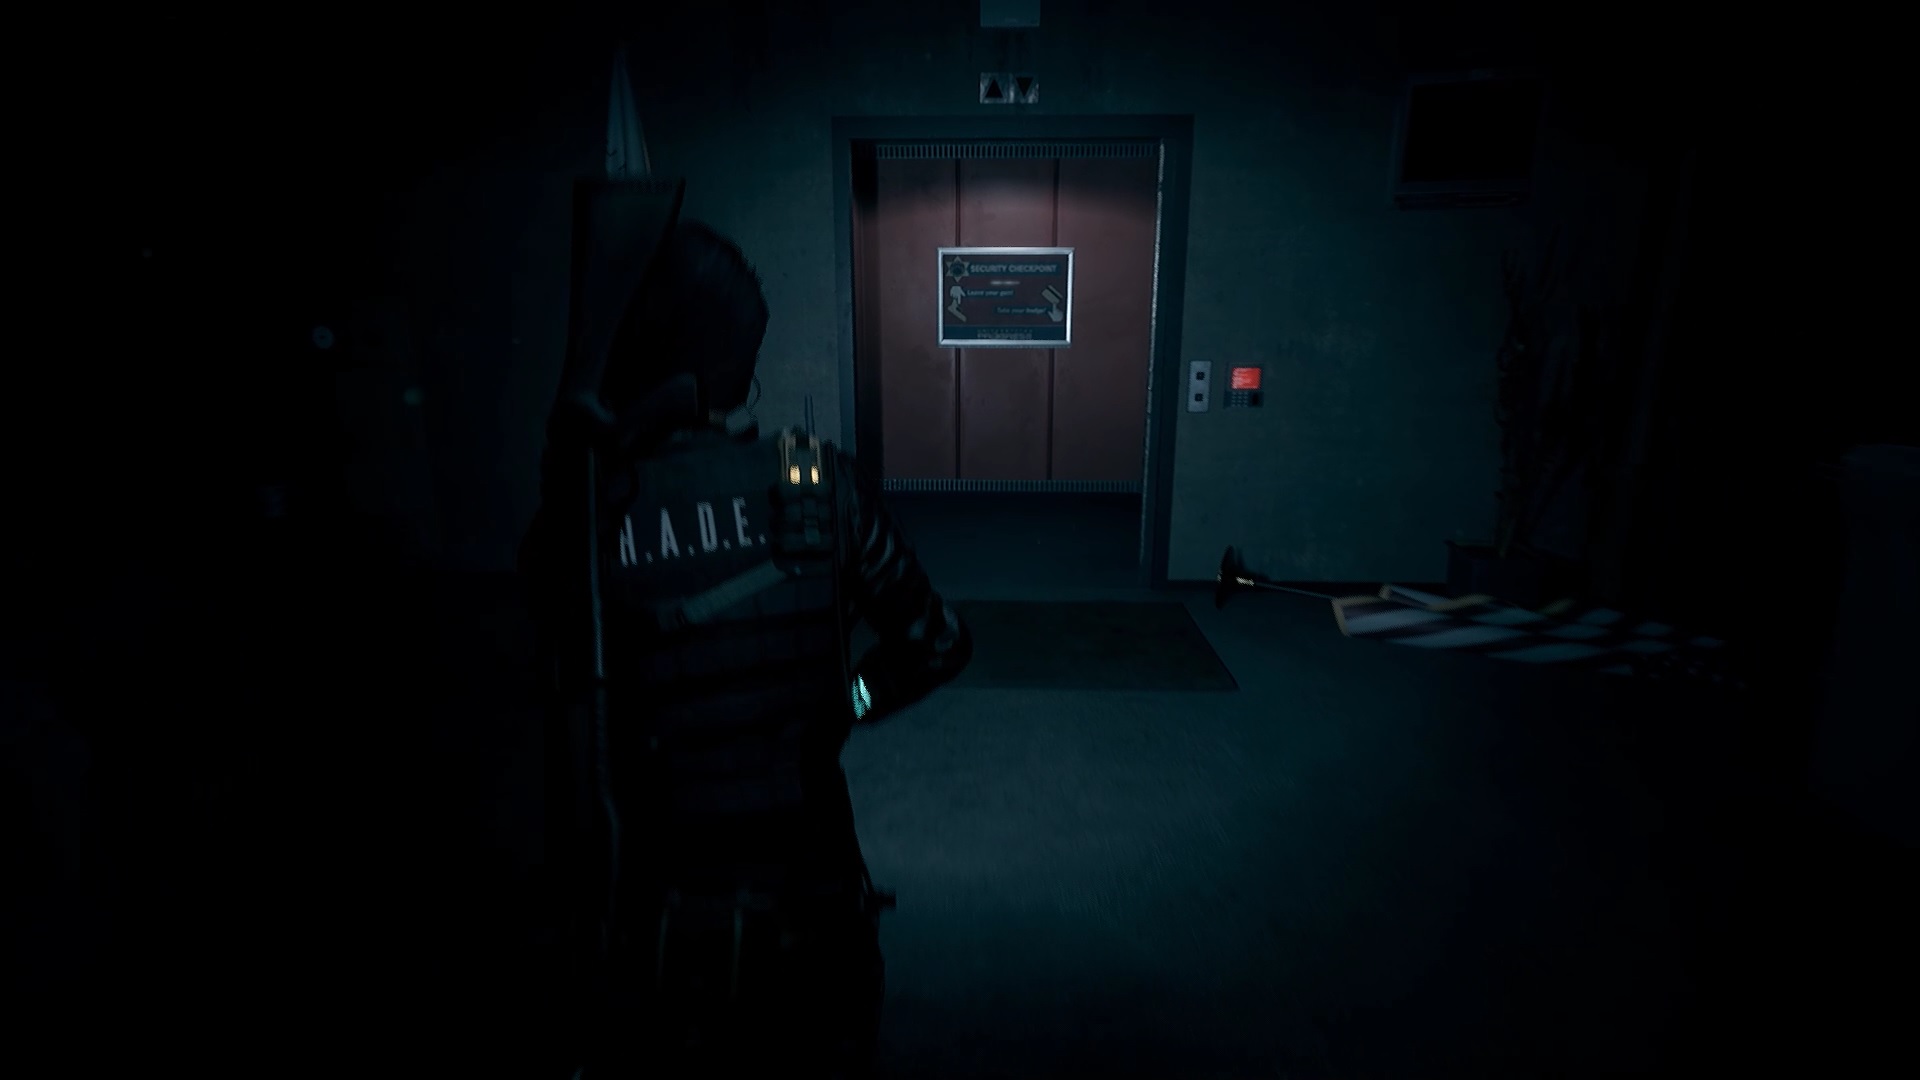
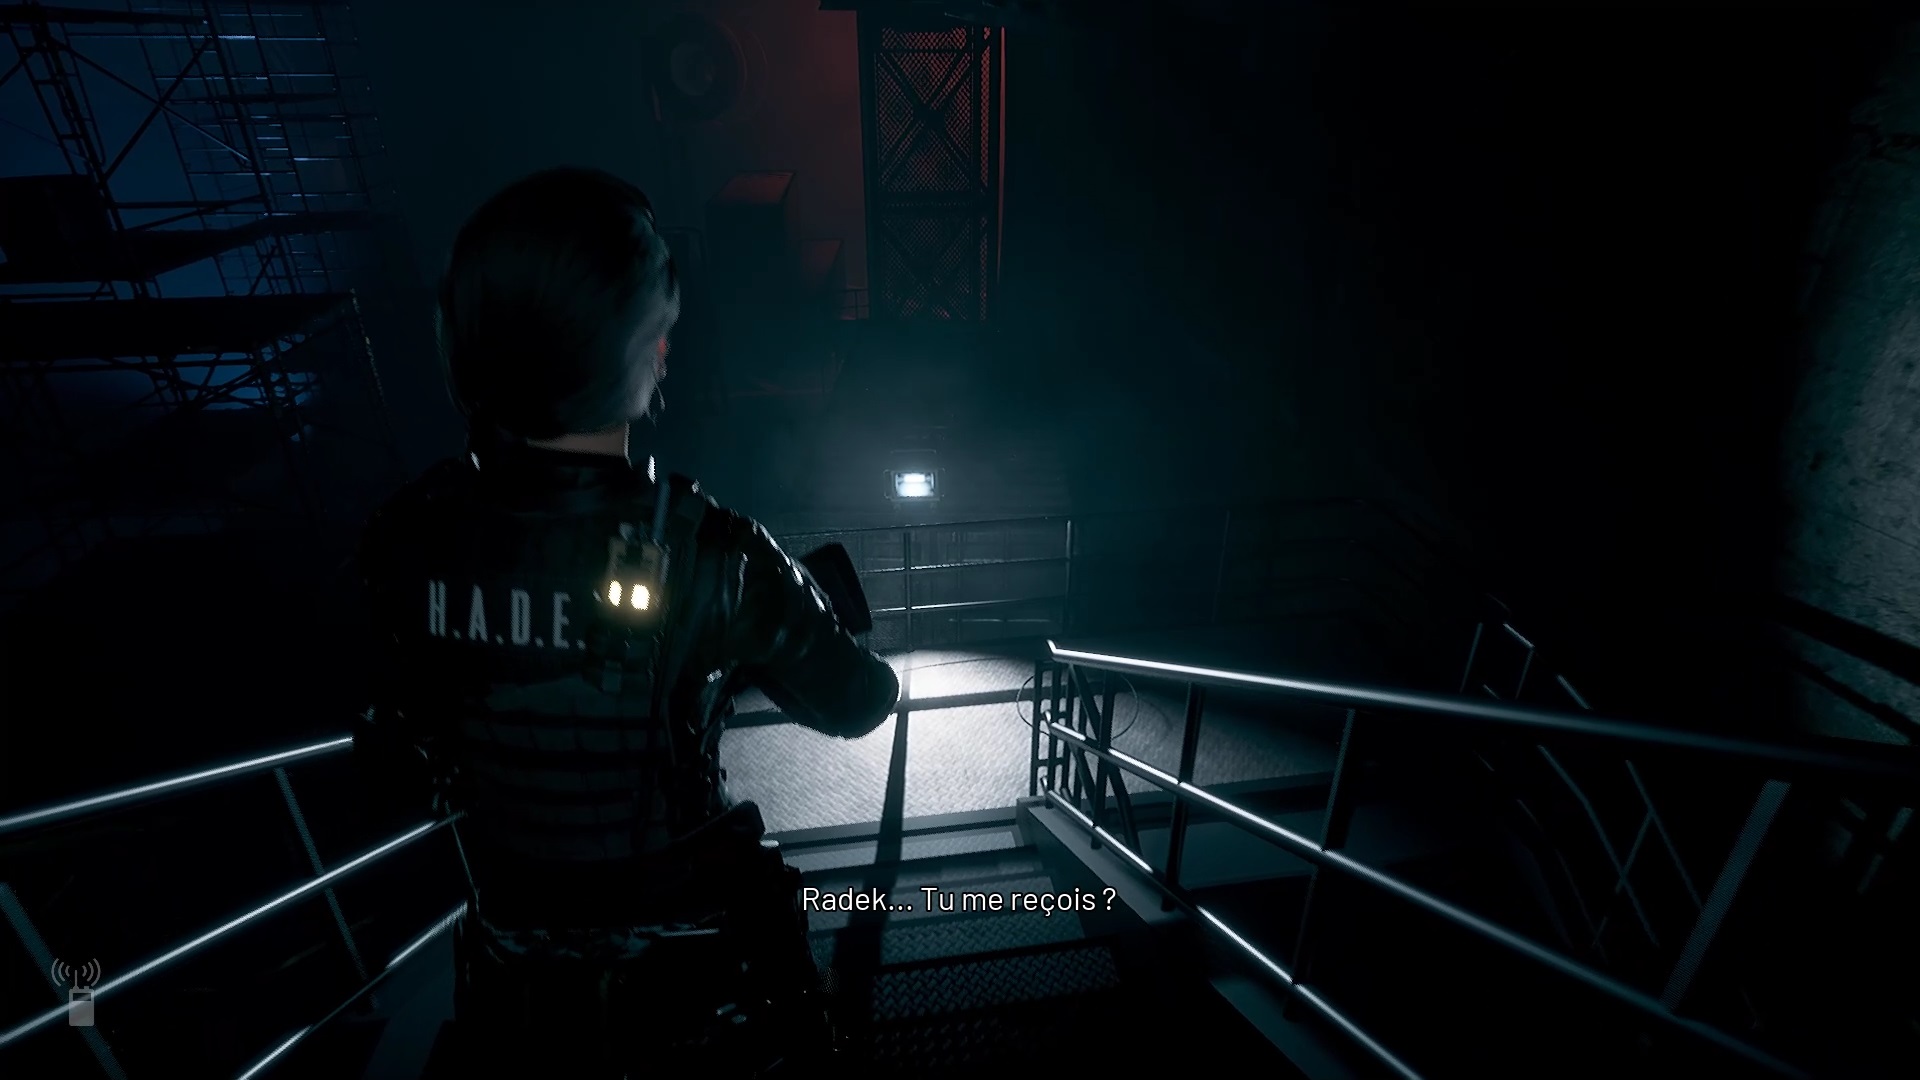
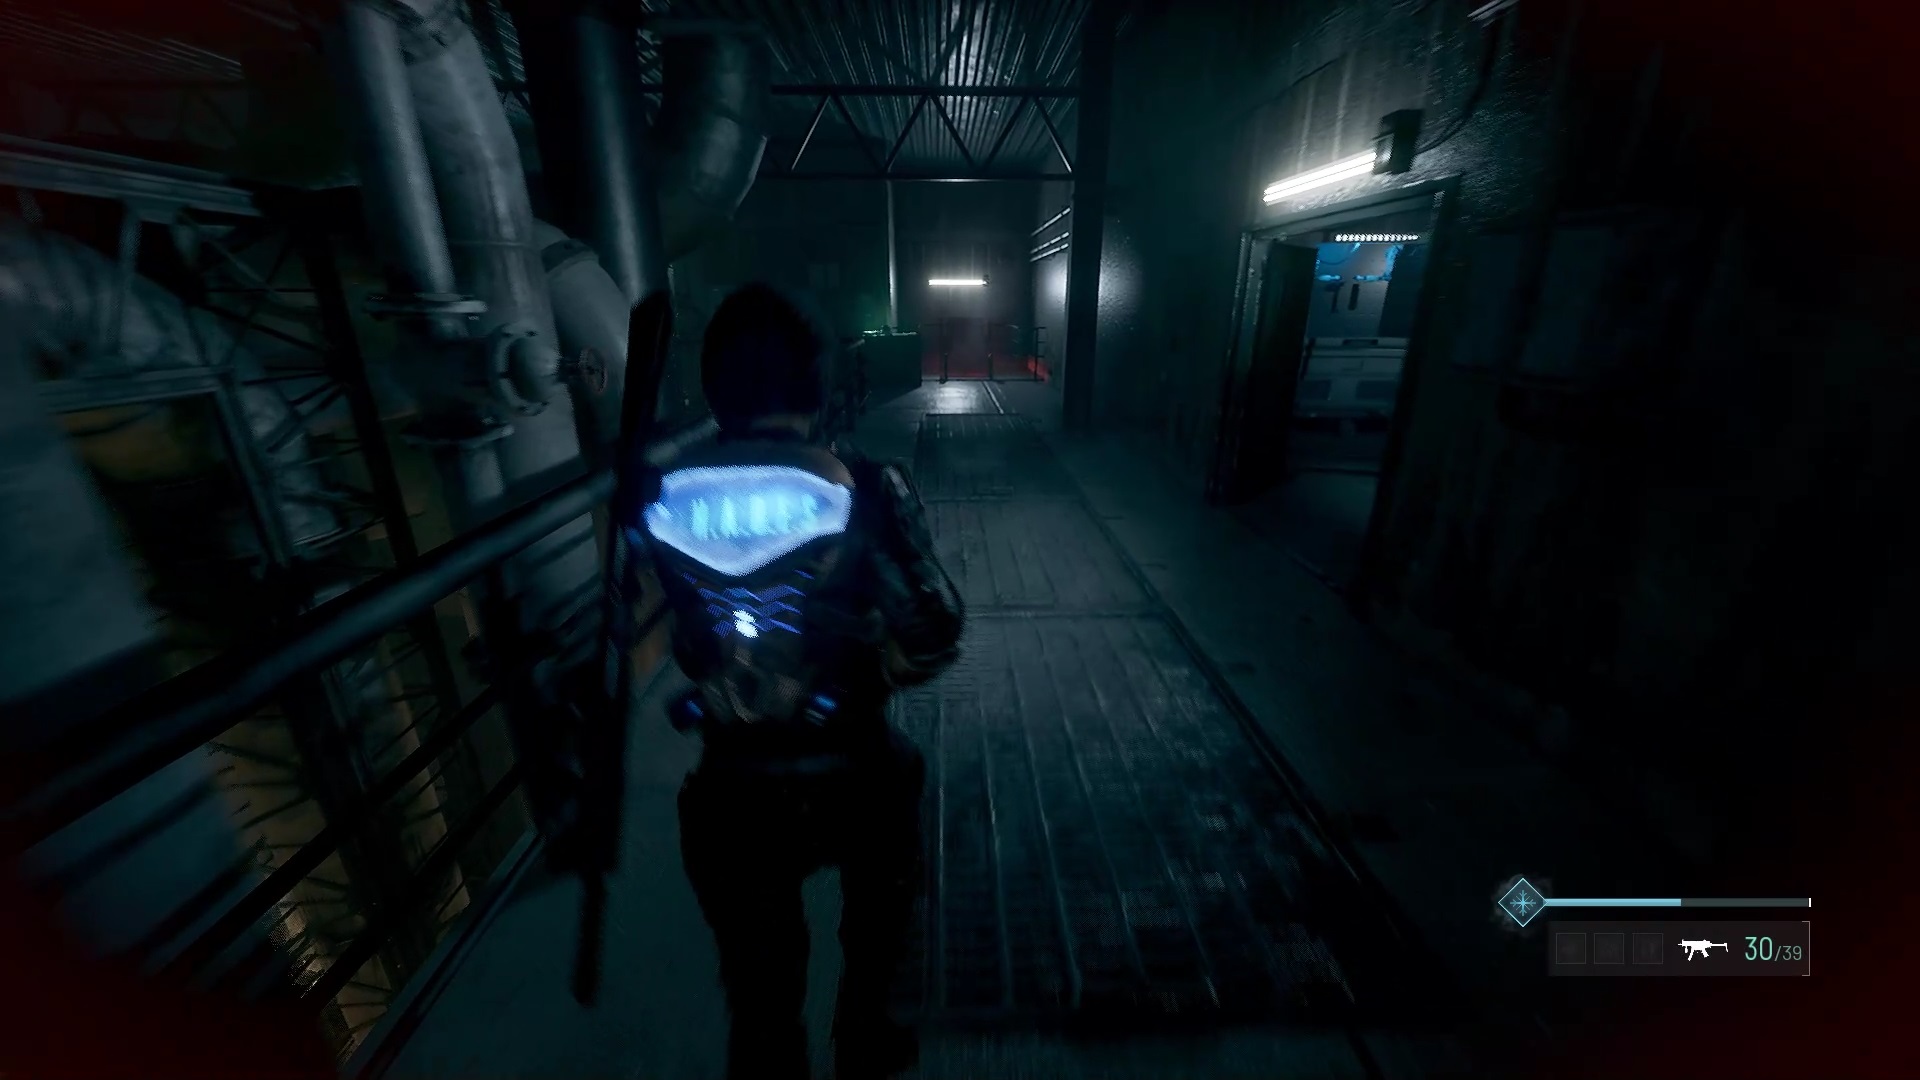
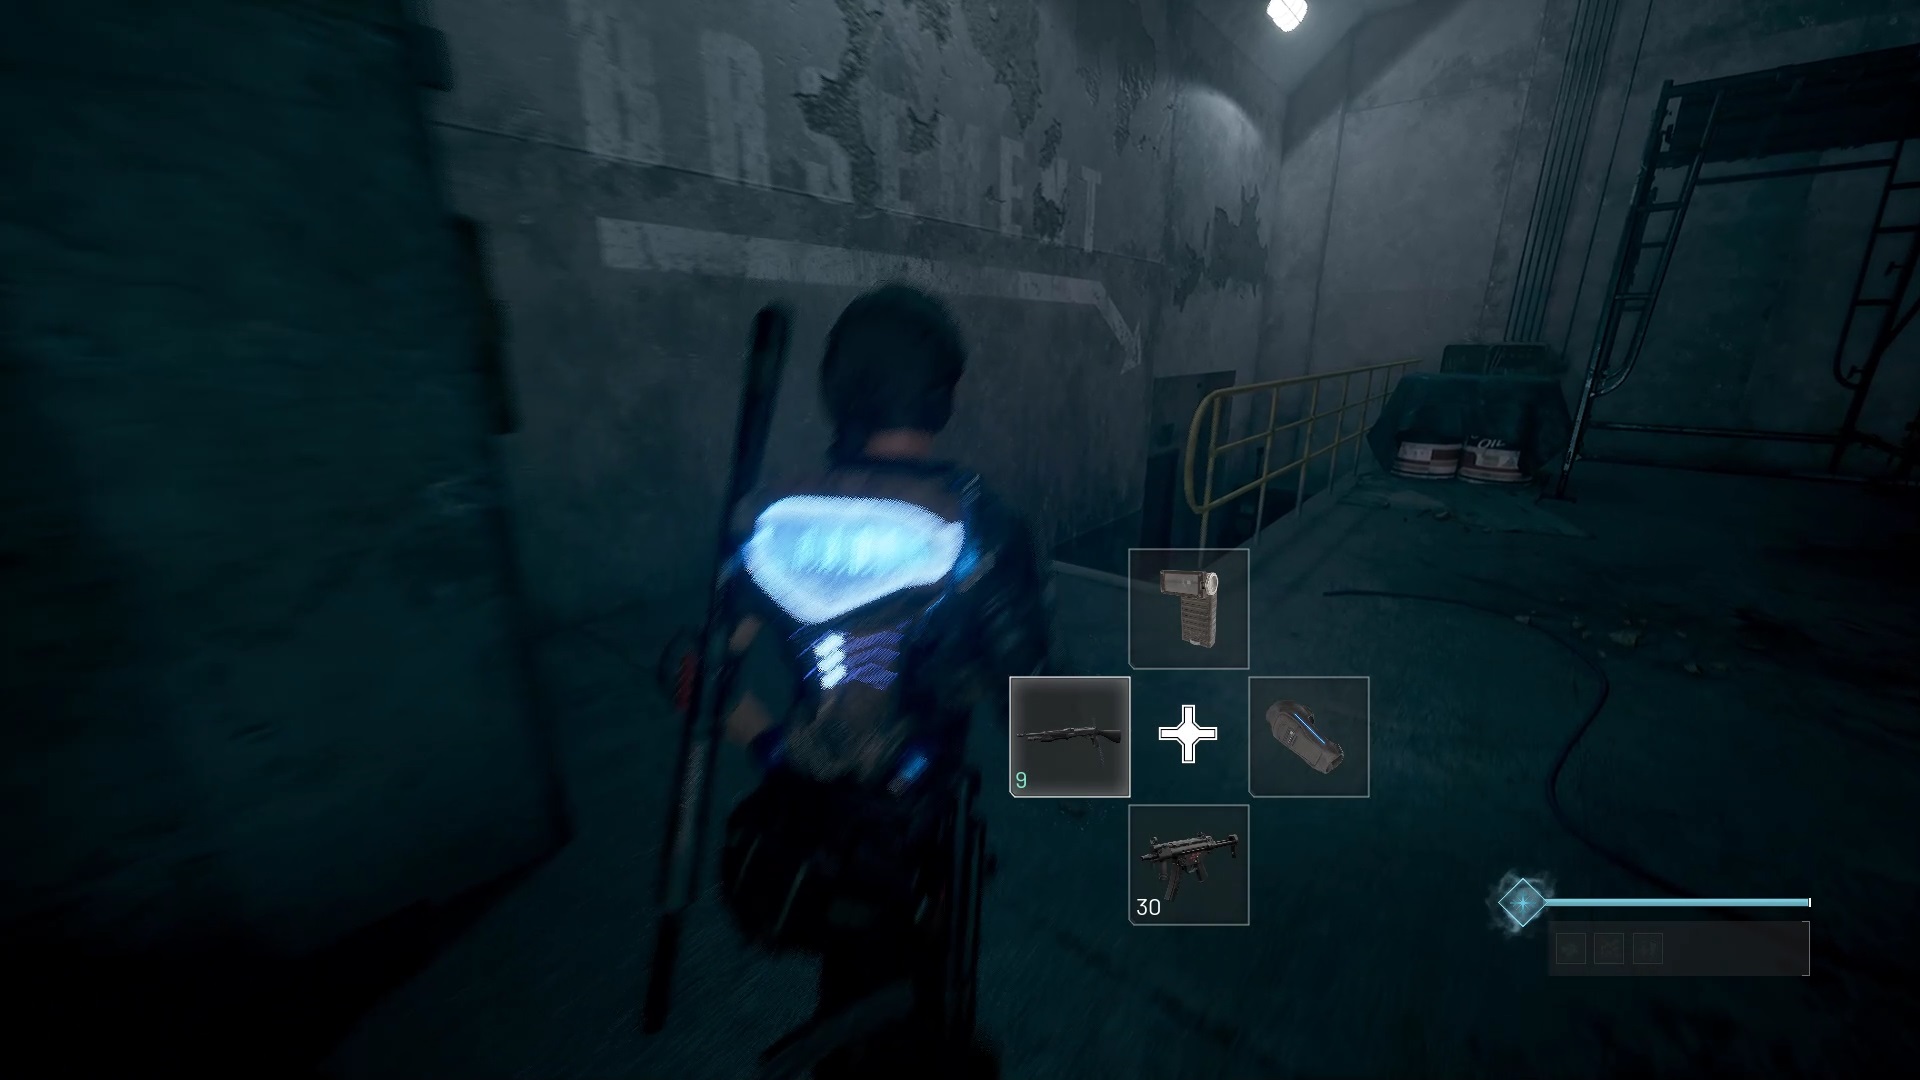
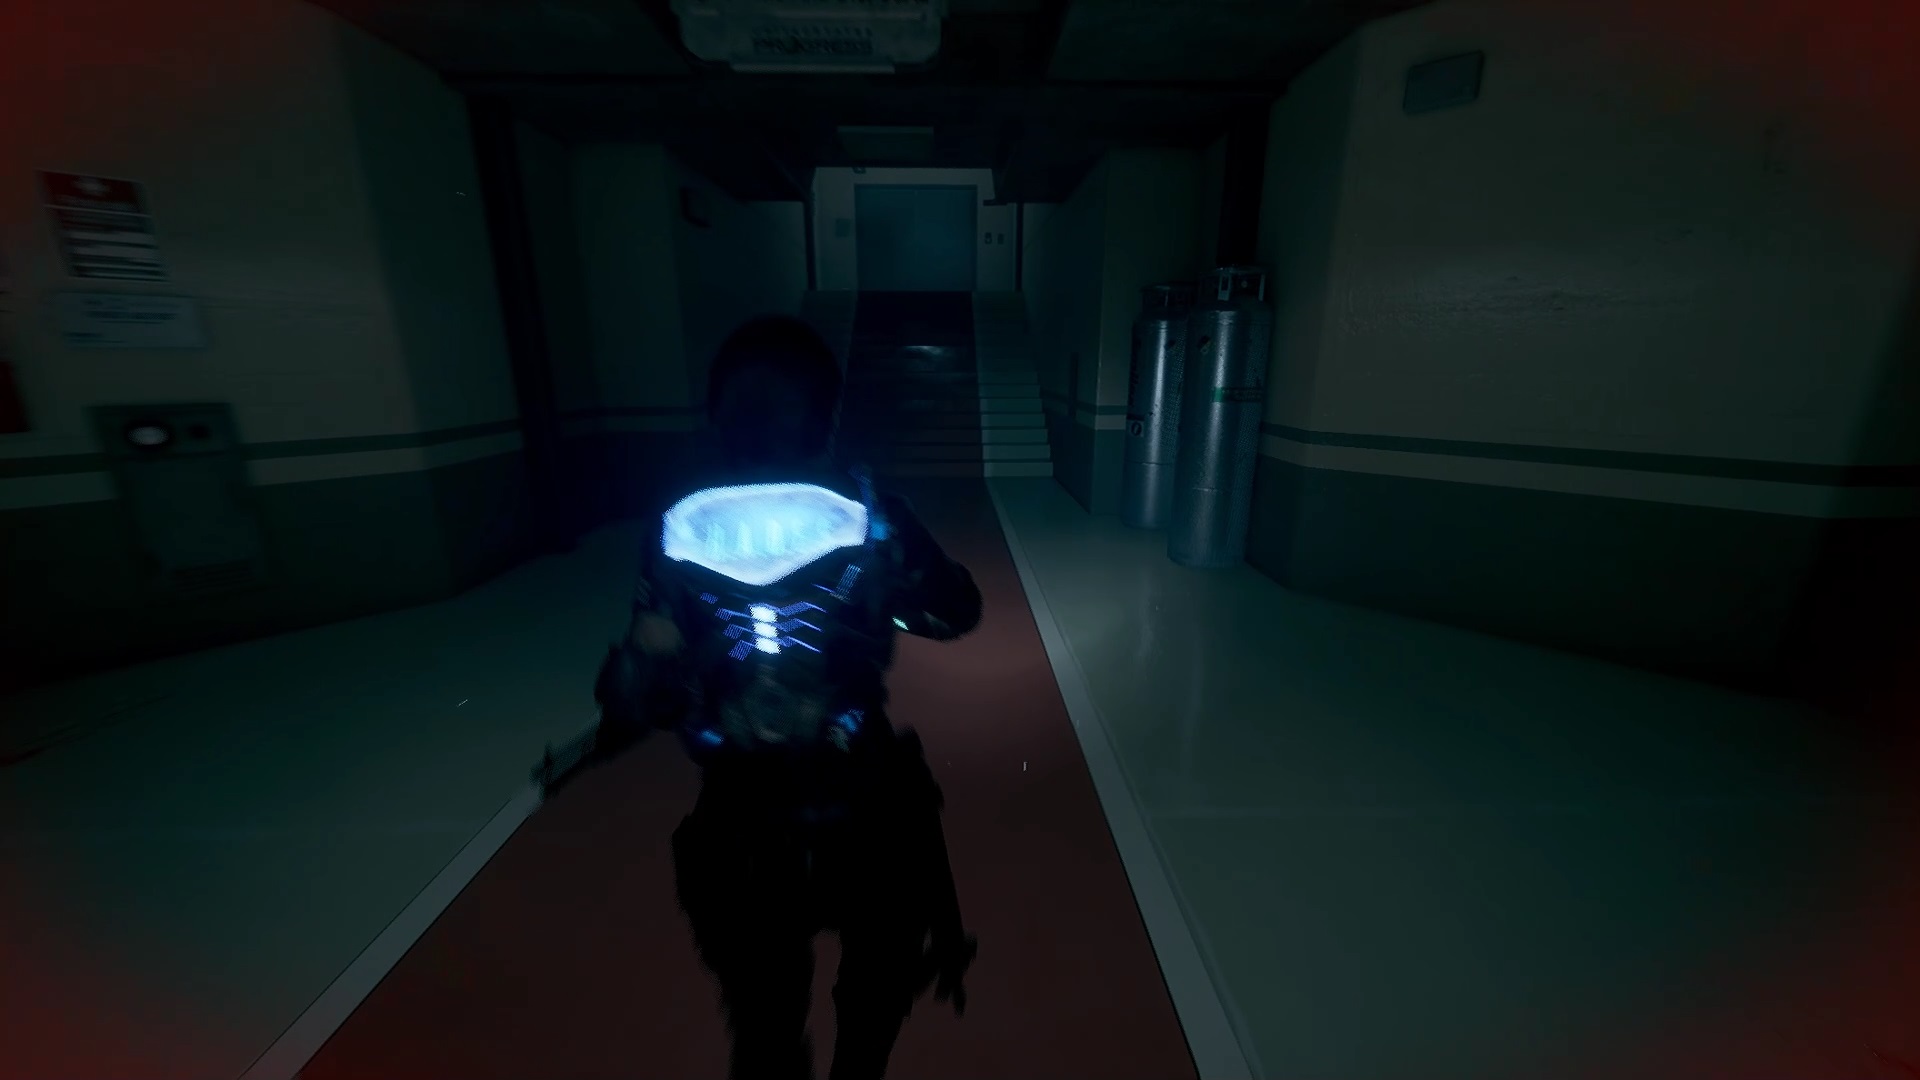
At the start of Daymare 1994: Sandcastle, walk forward to the desk in the bedroom to trigger a cutscene. Then follow the lights to find the exit and reach an elevator at the end of the hall. Then go down the stairs to reach a locker room and exit into the hallway.
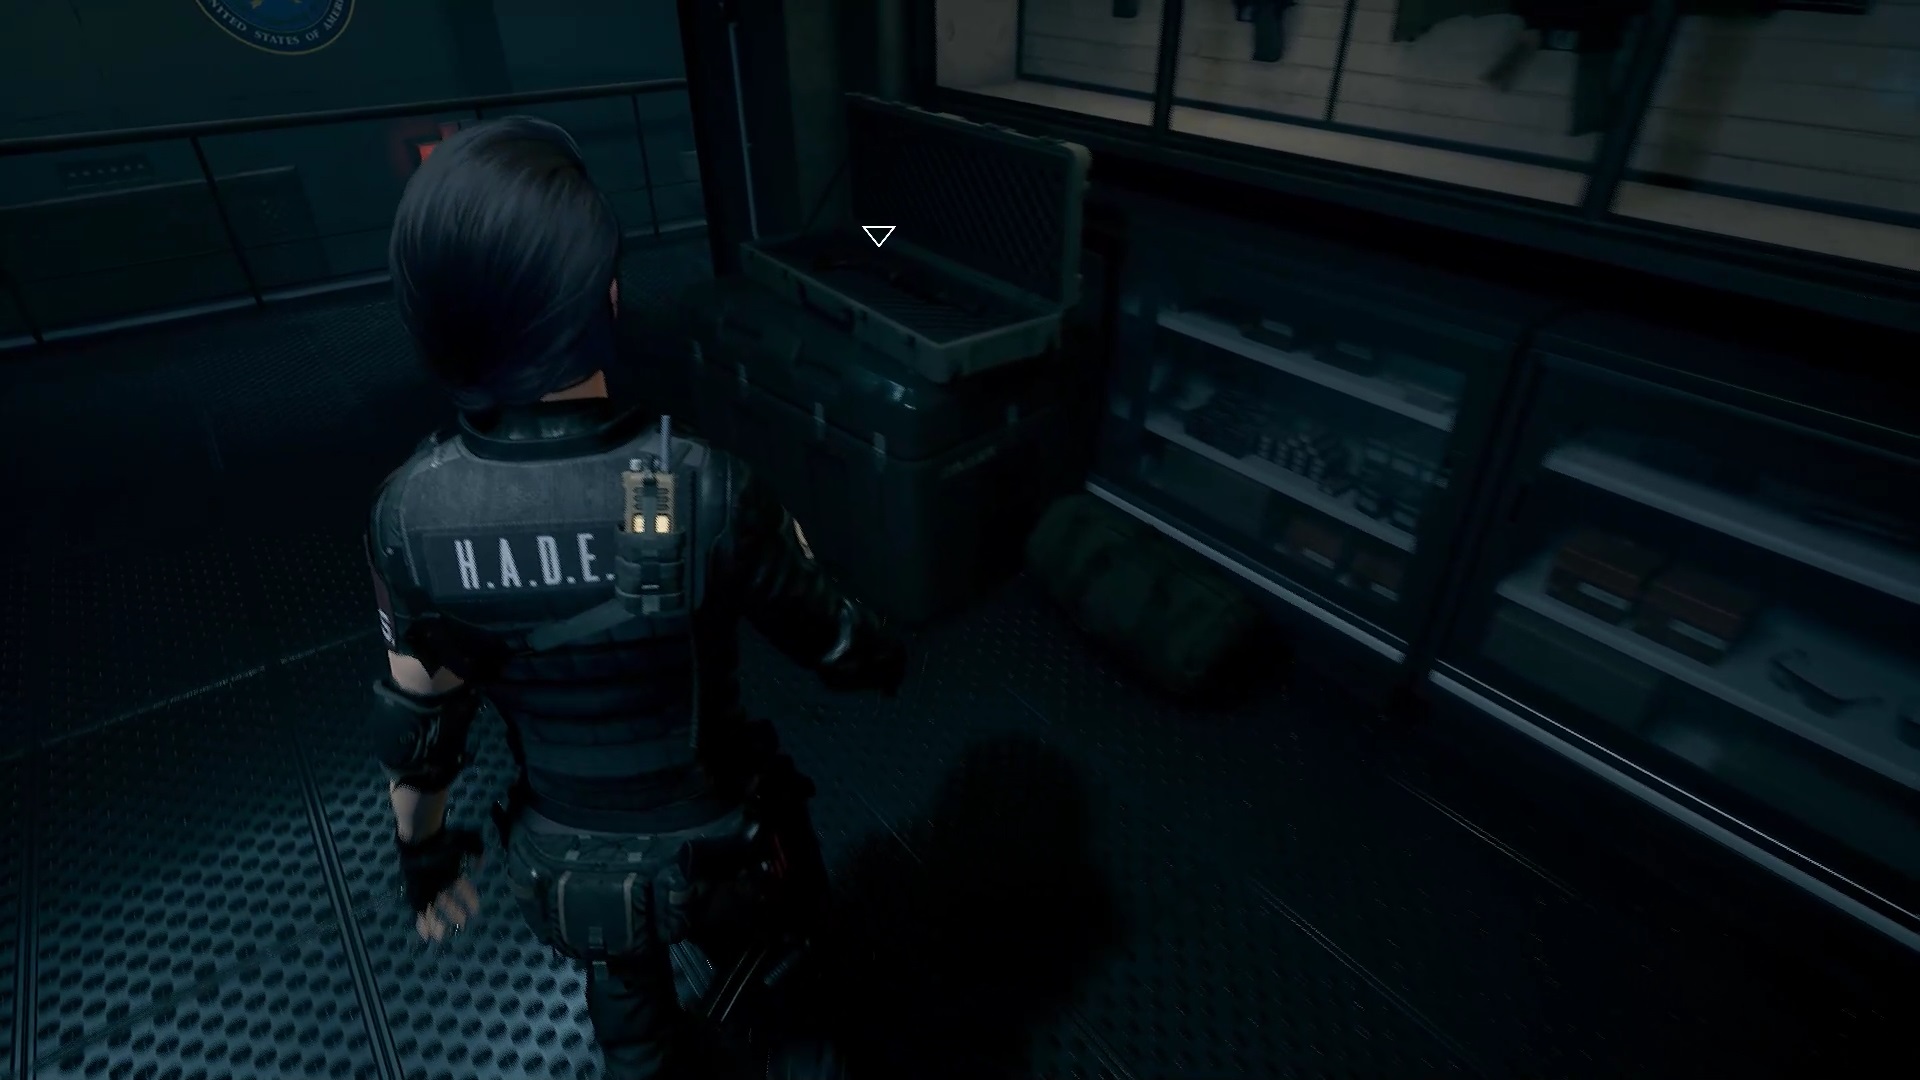
You will reach the armory. Collect the two weapons near the counter to unlock the door and join the helicopter.
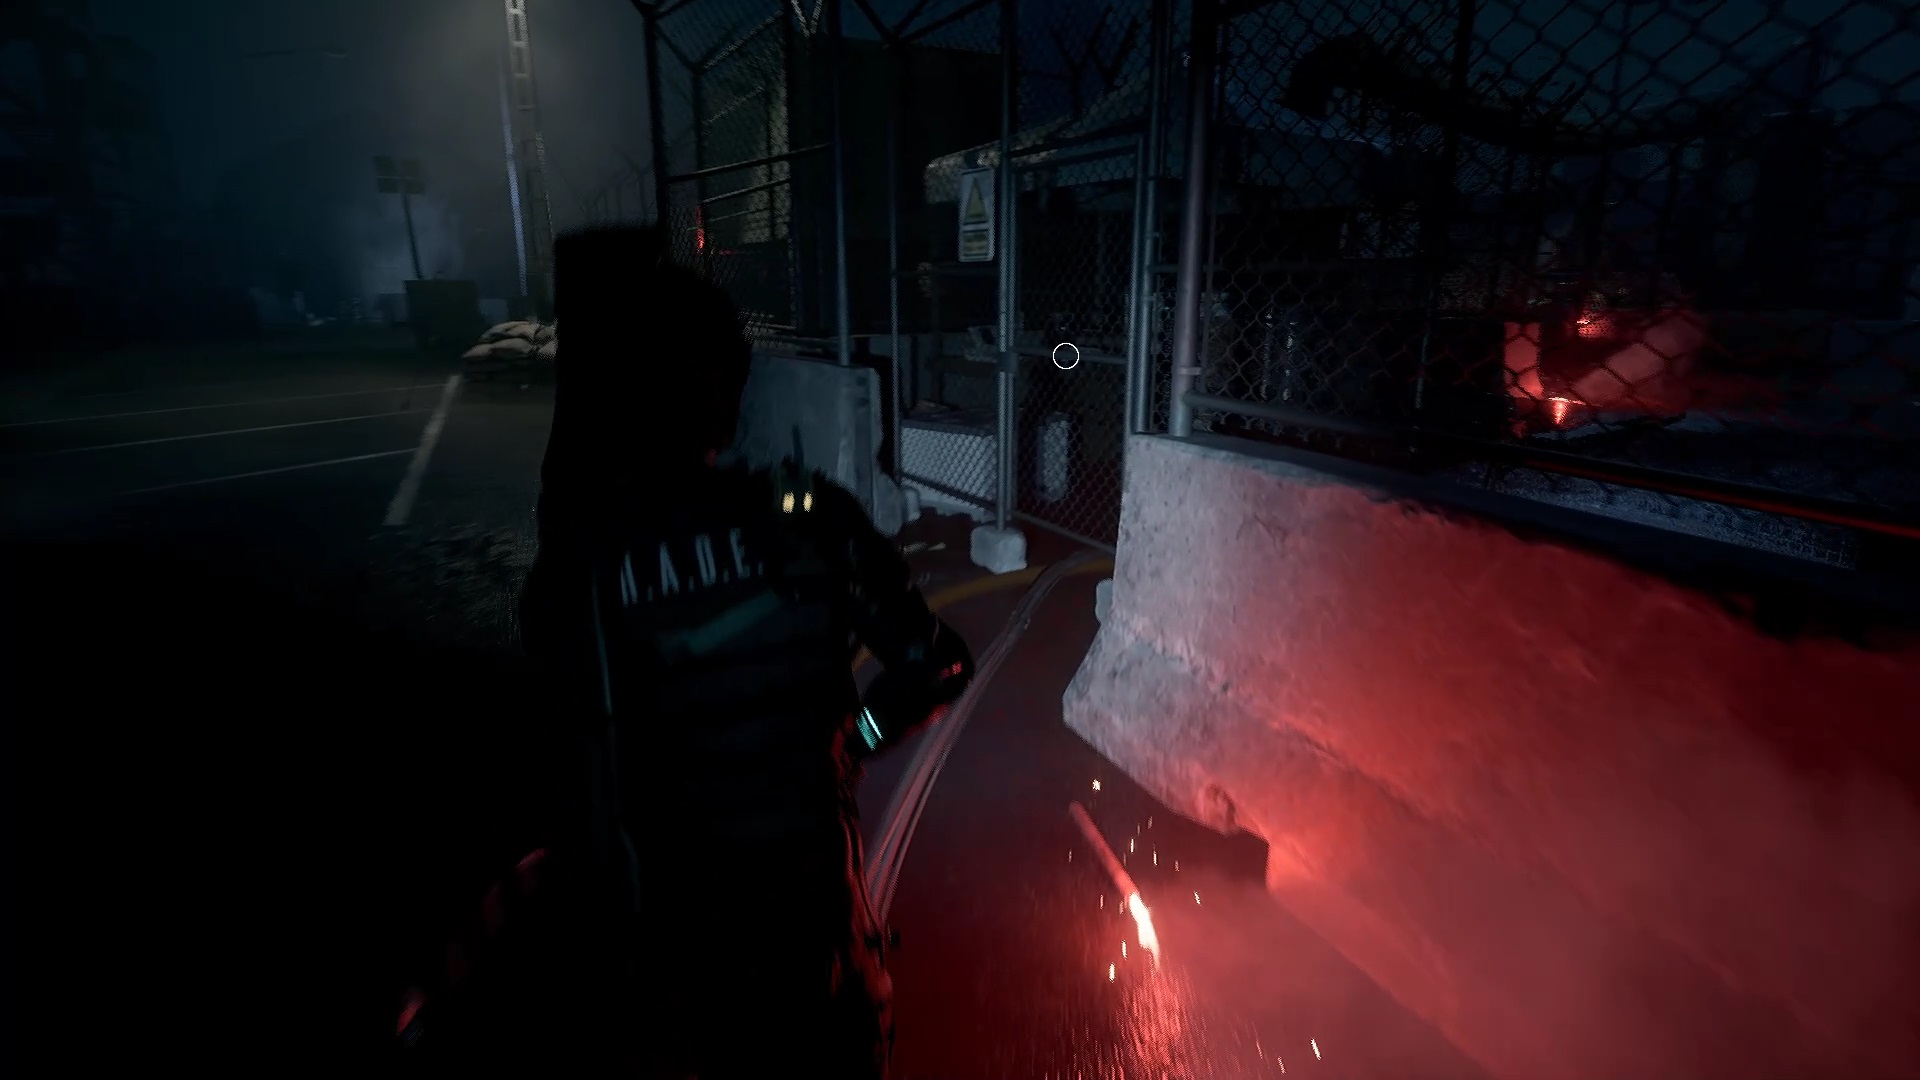
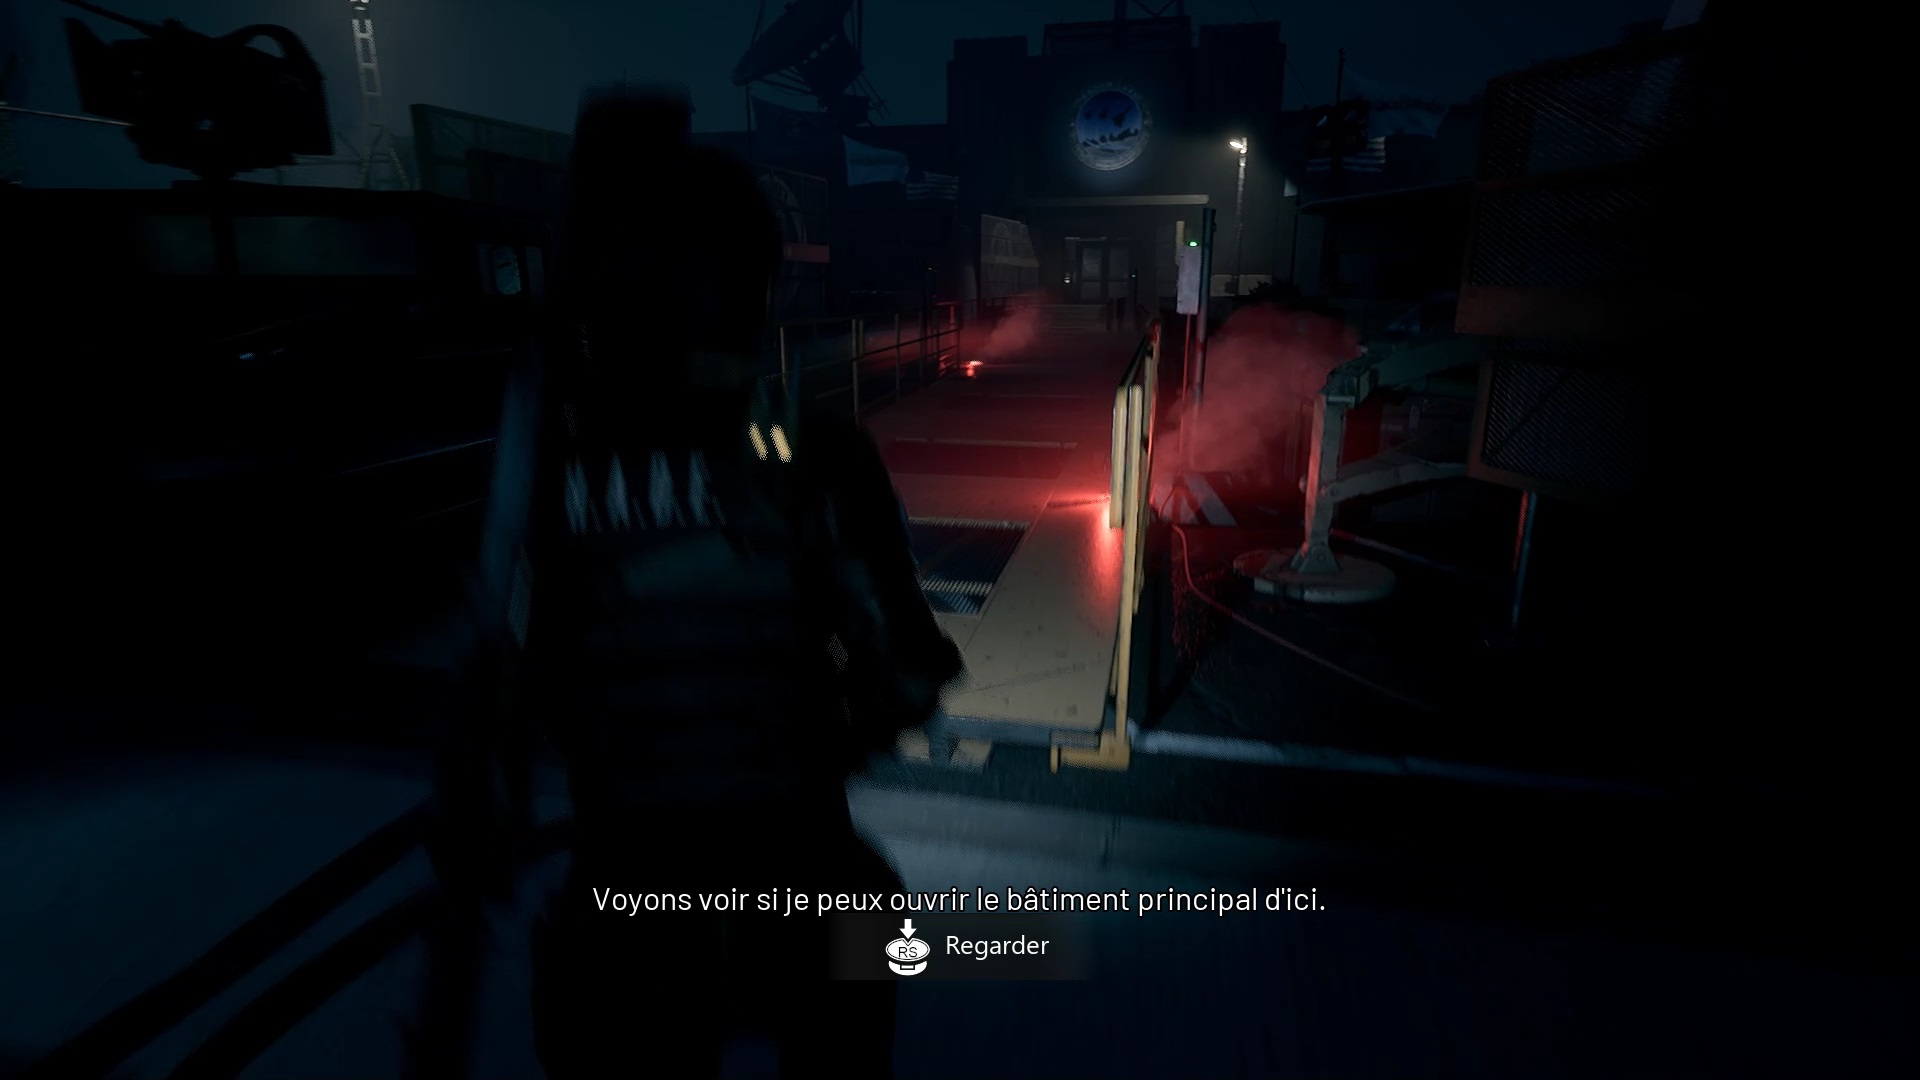
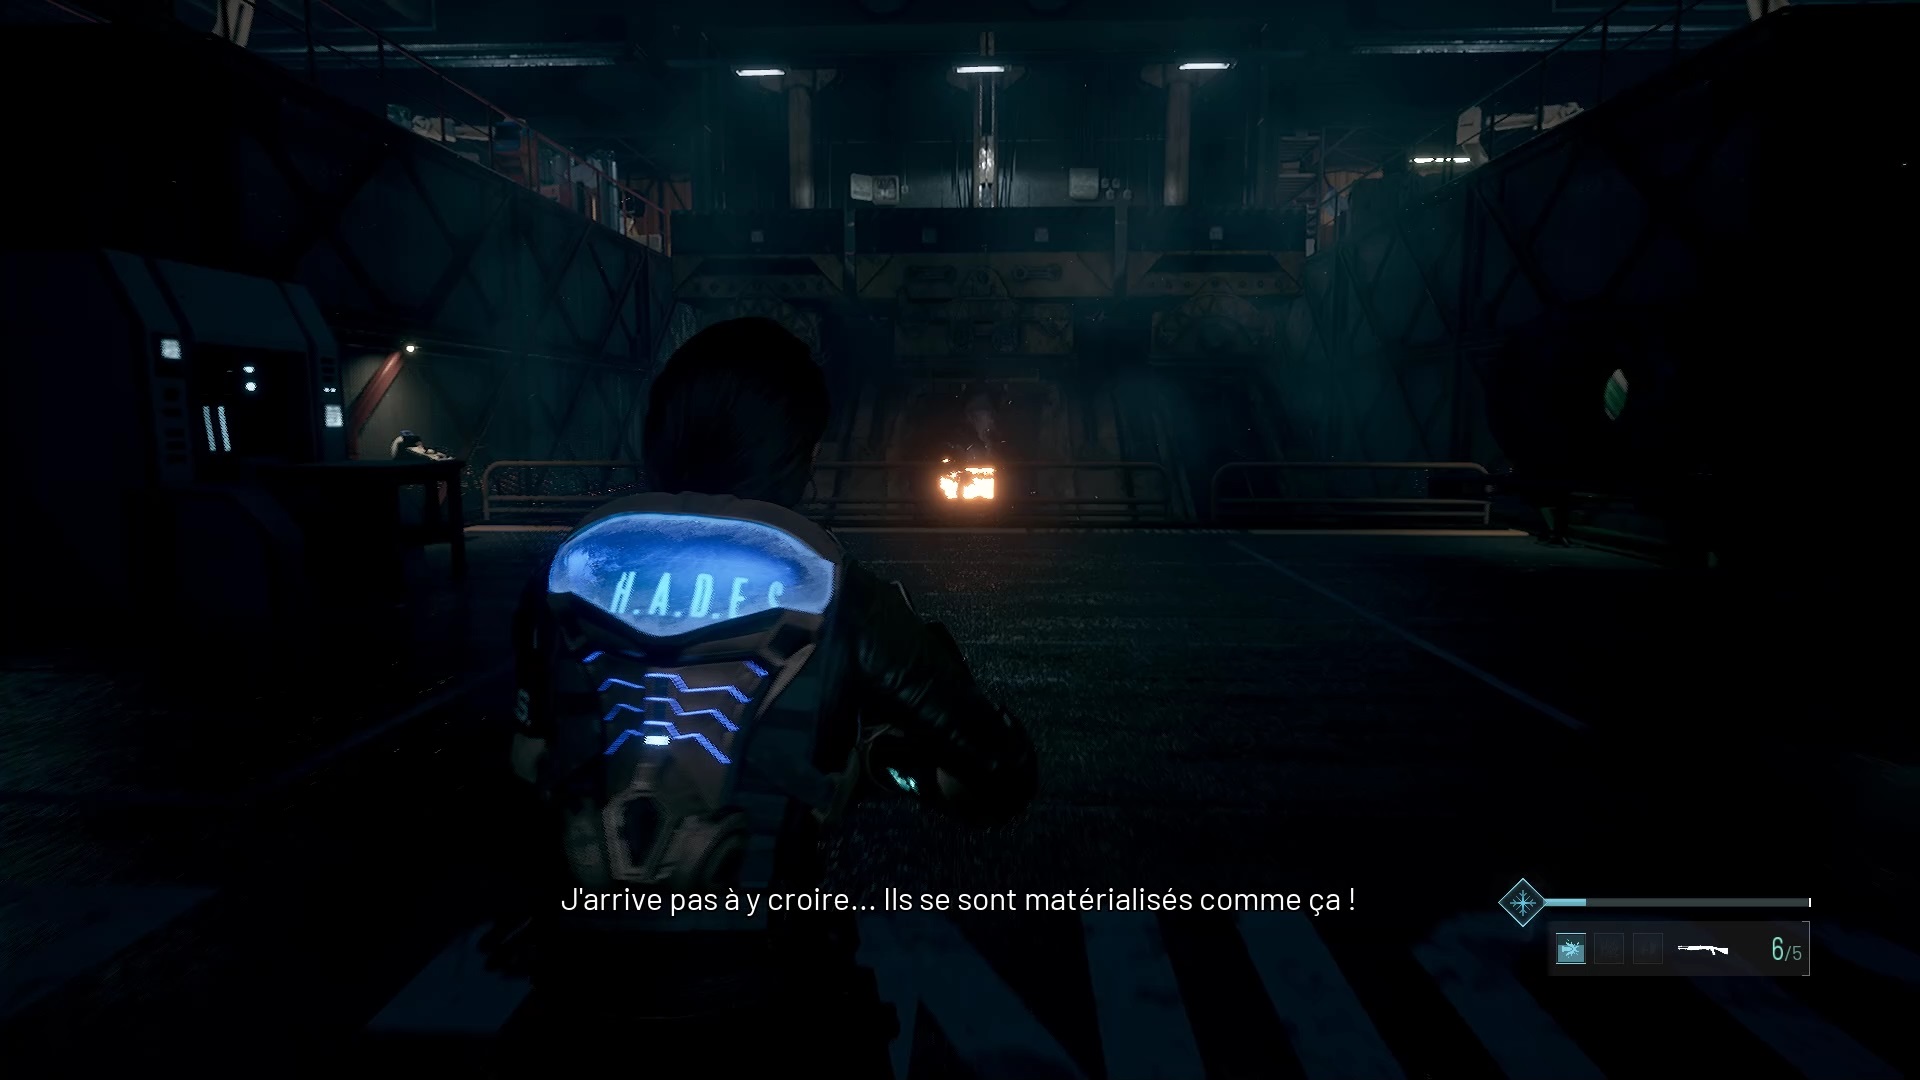
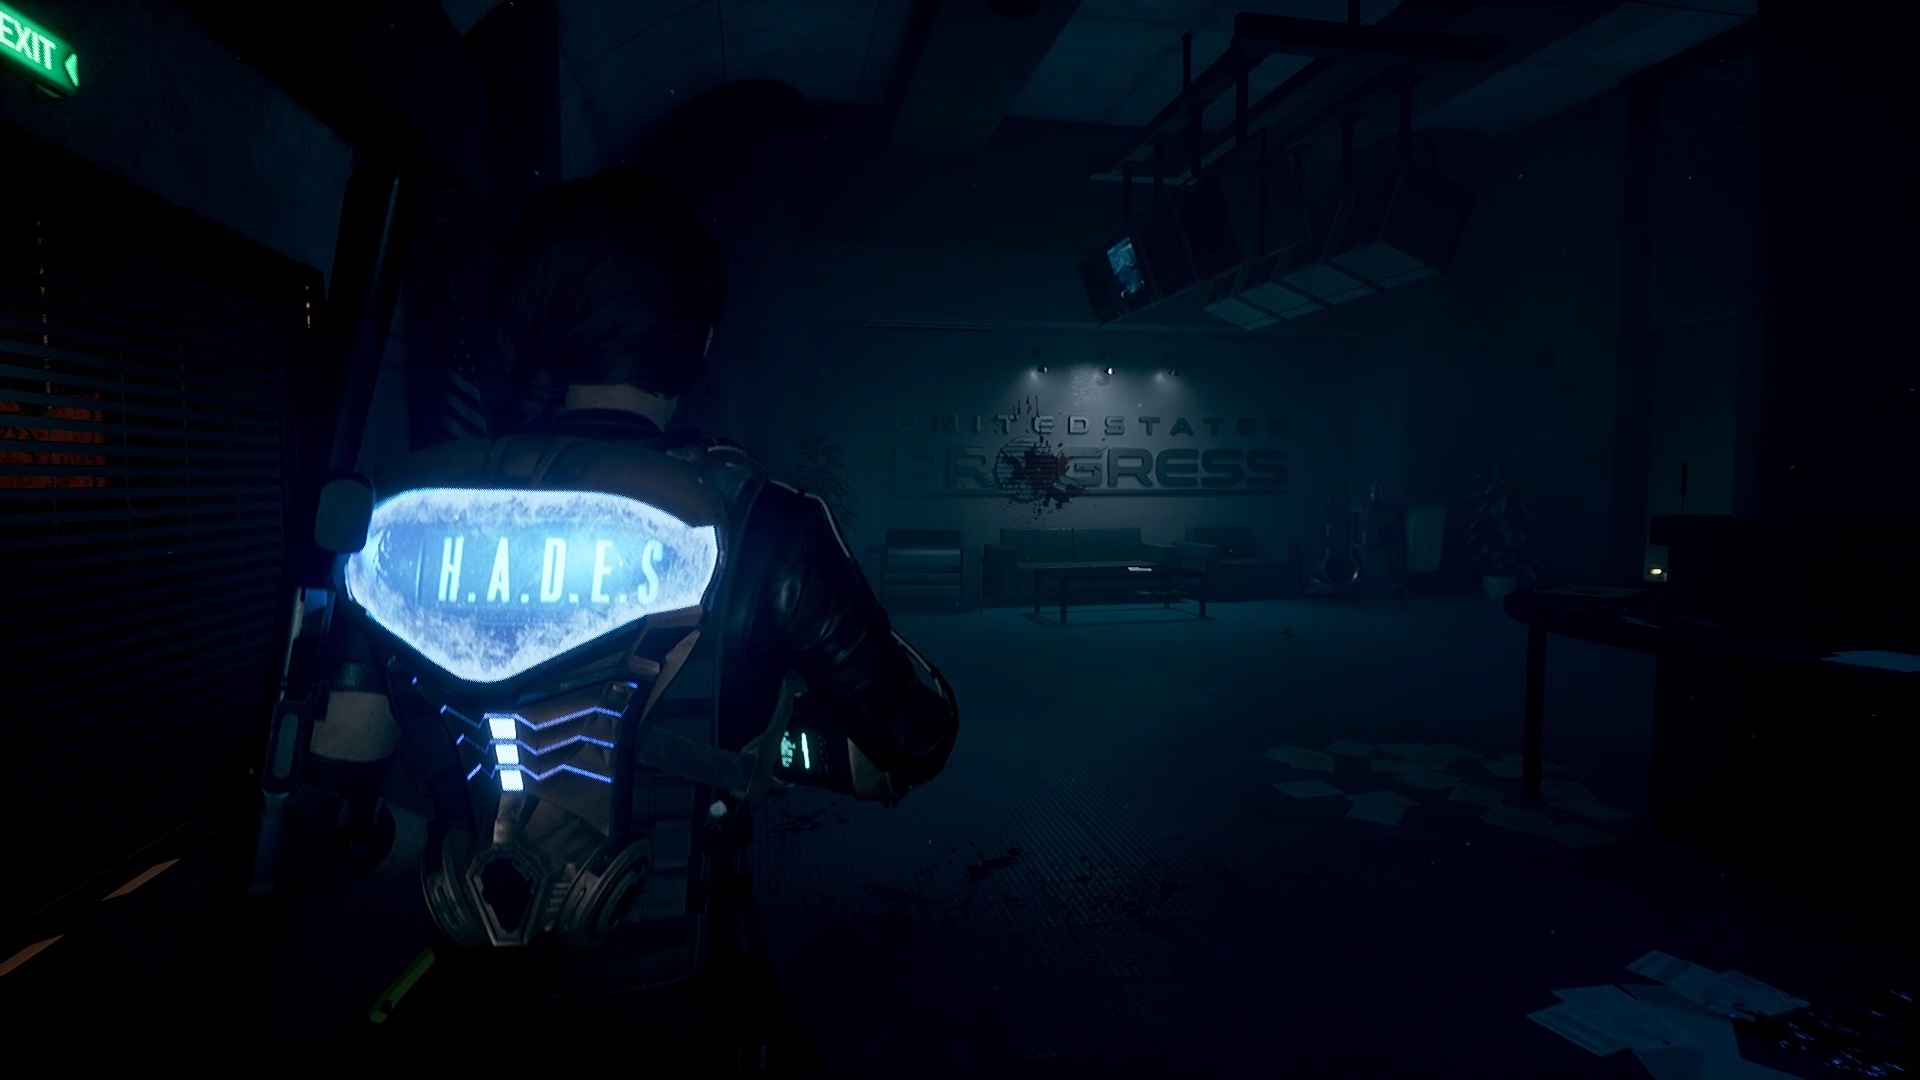
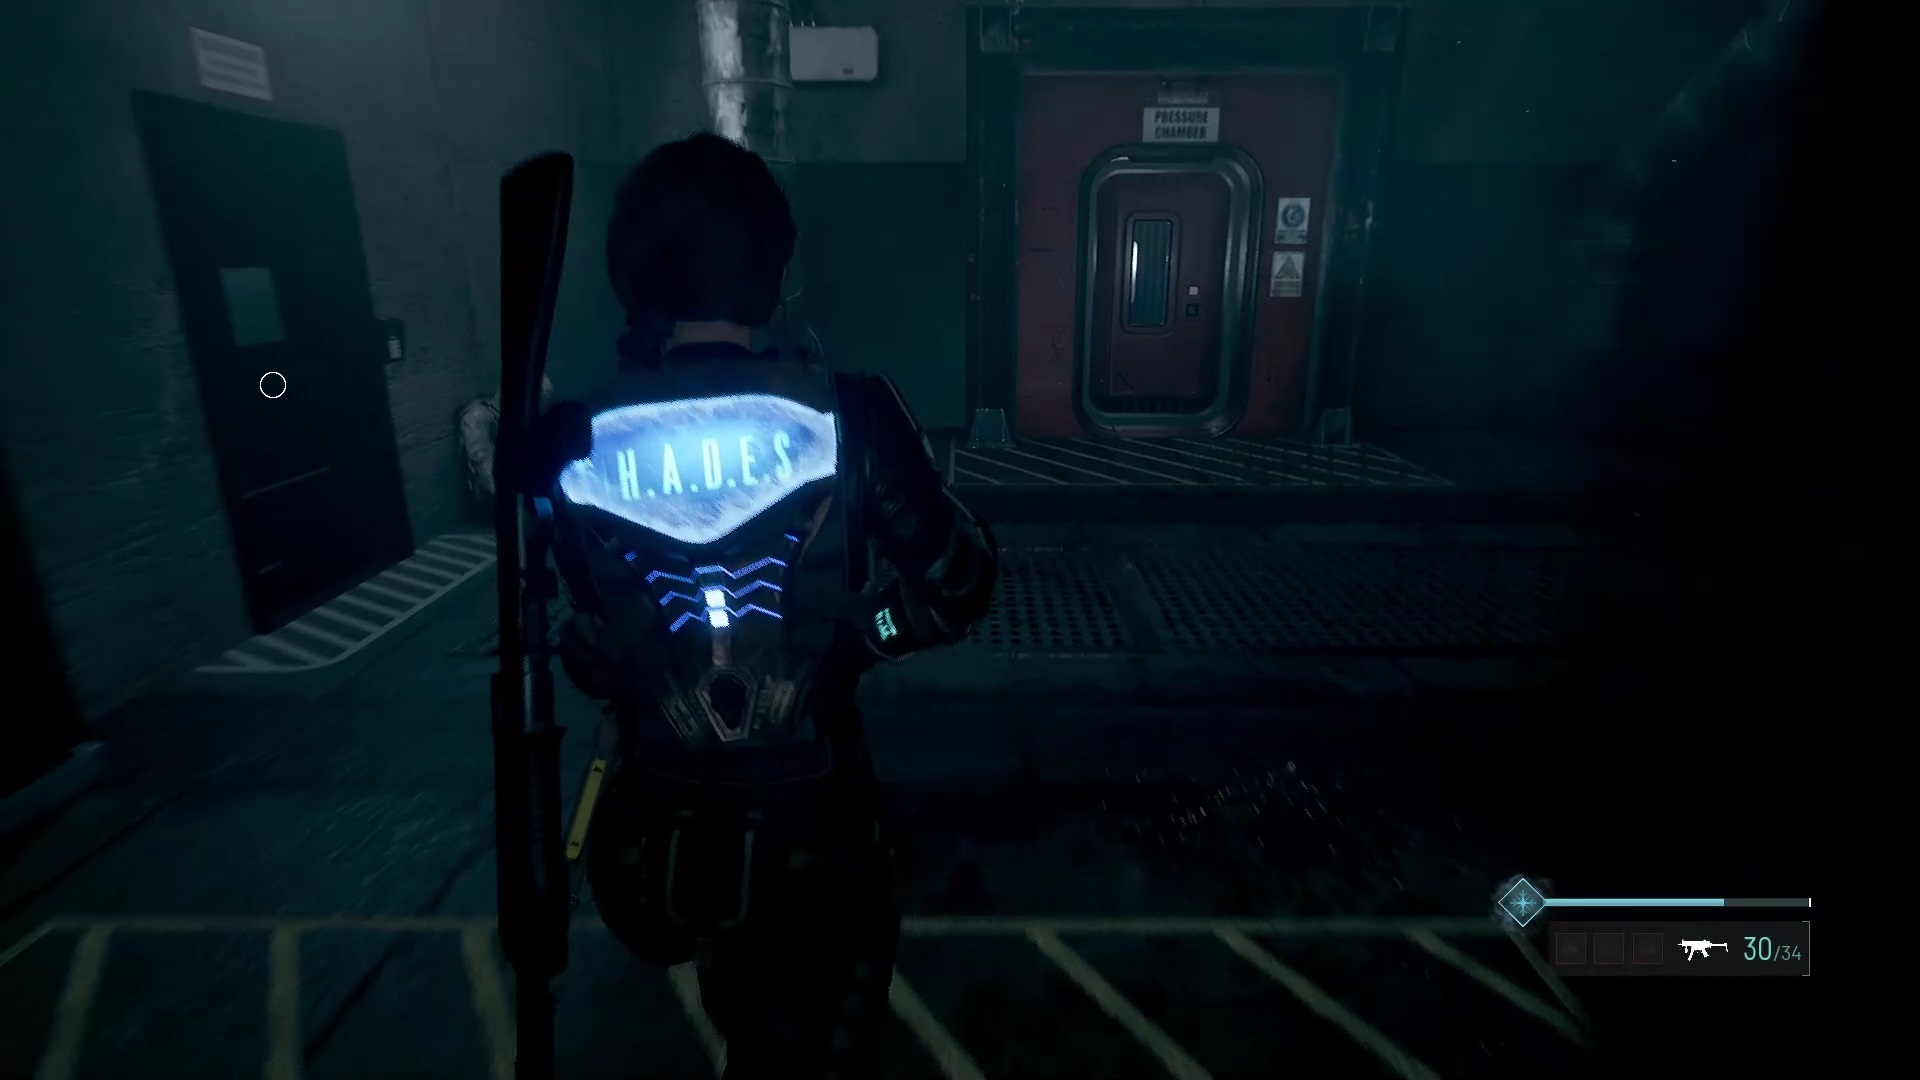
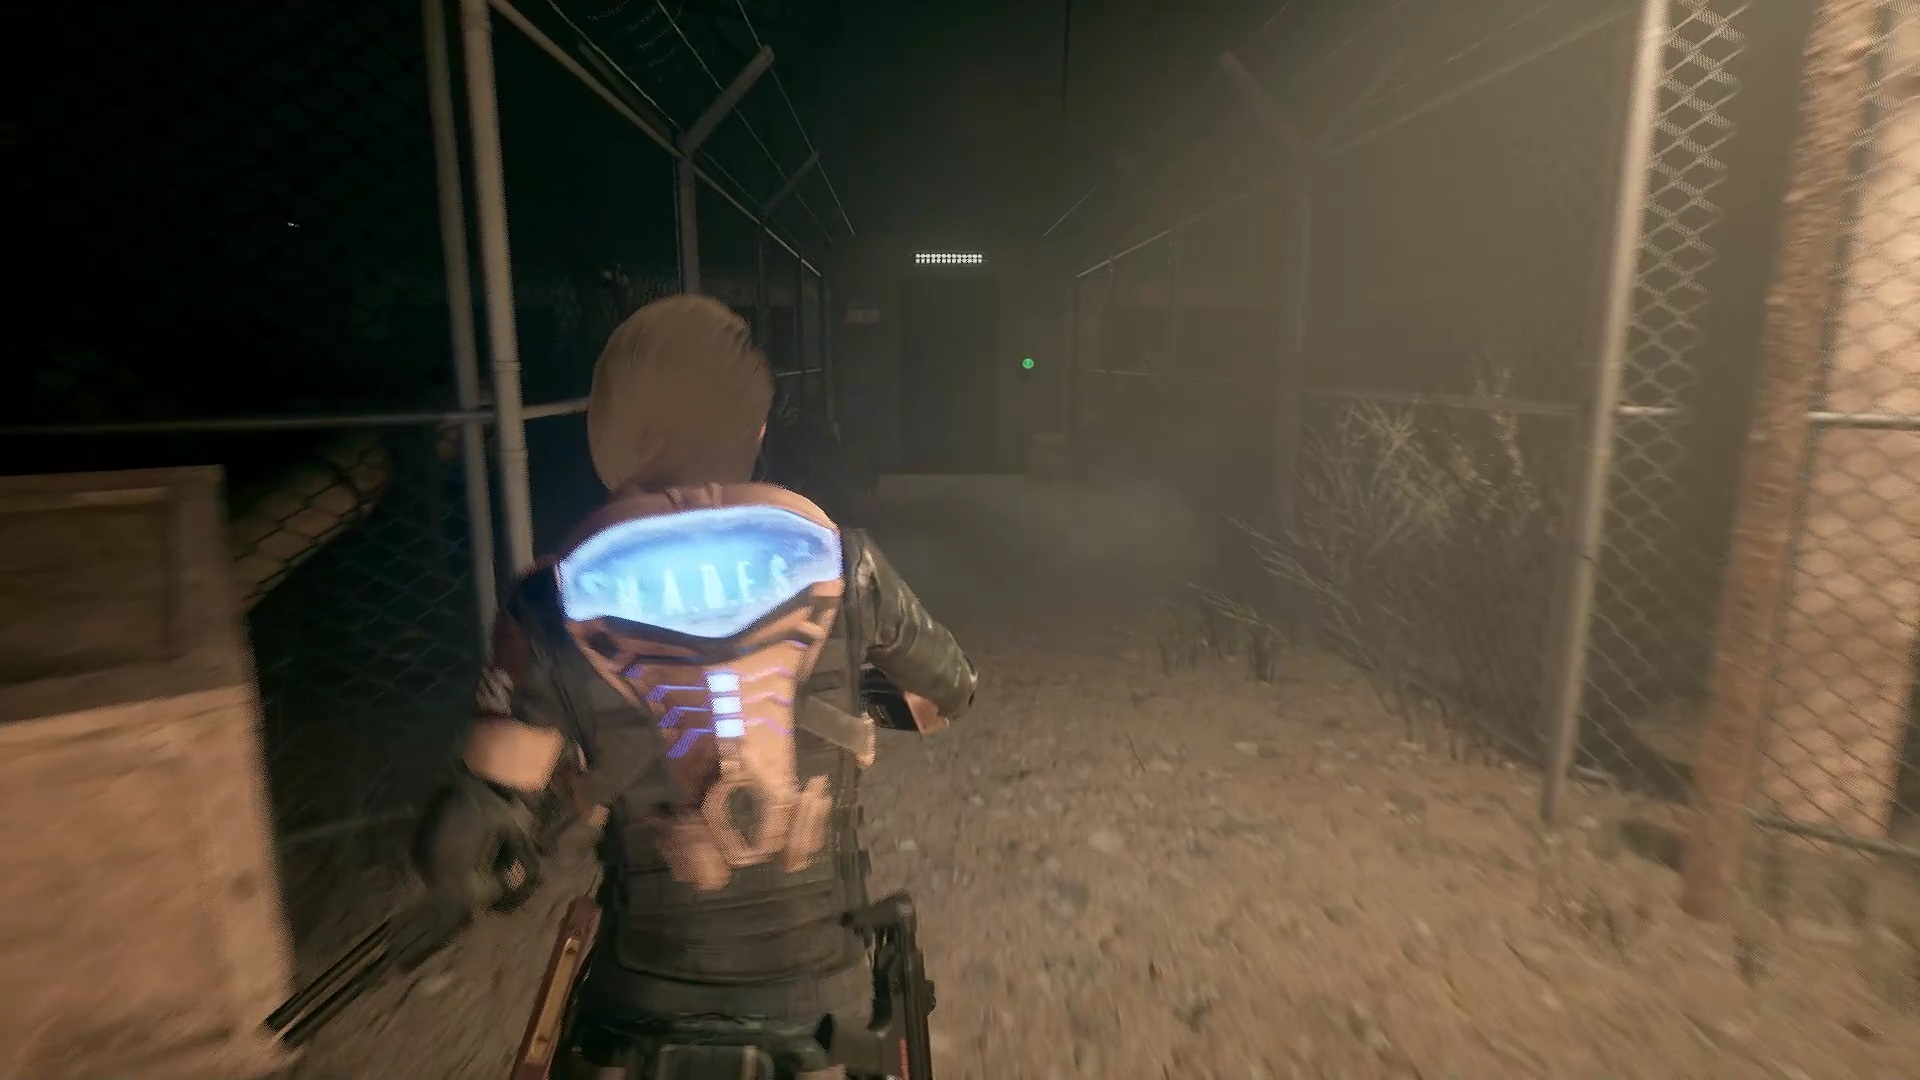
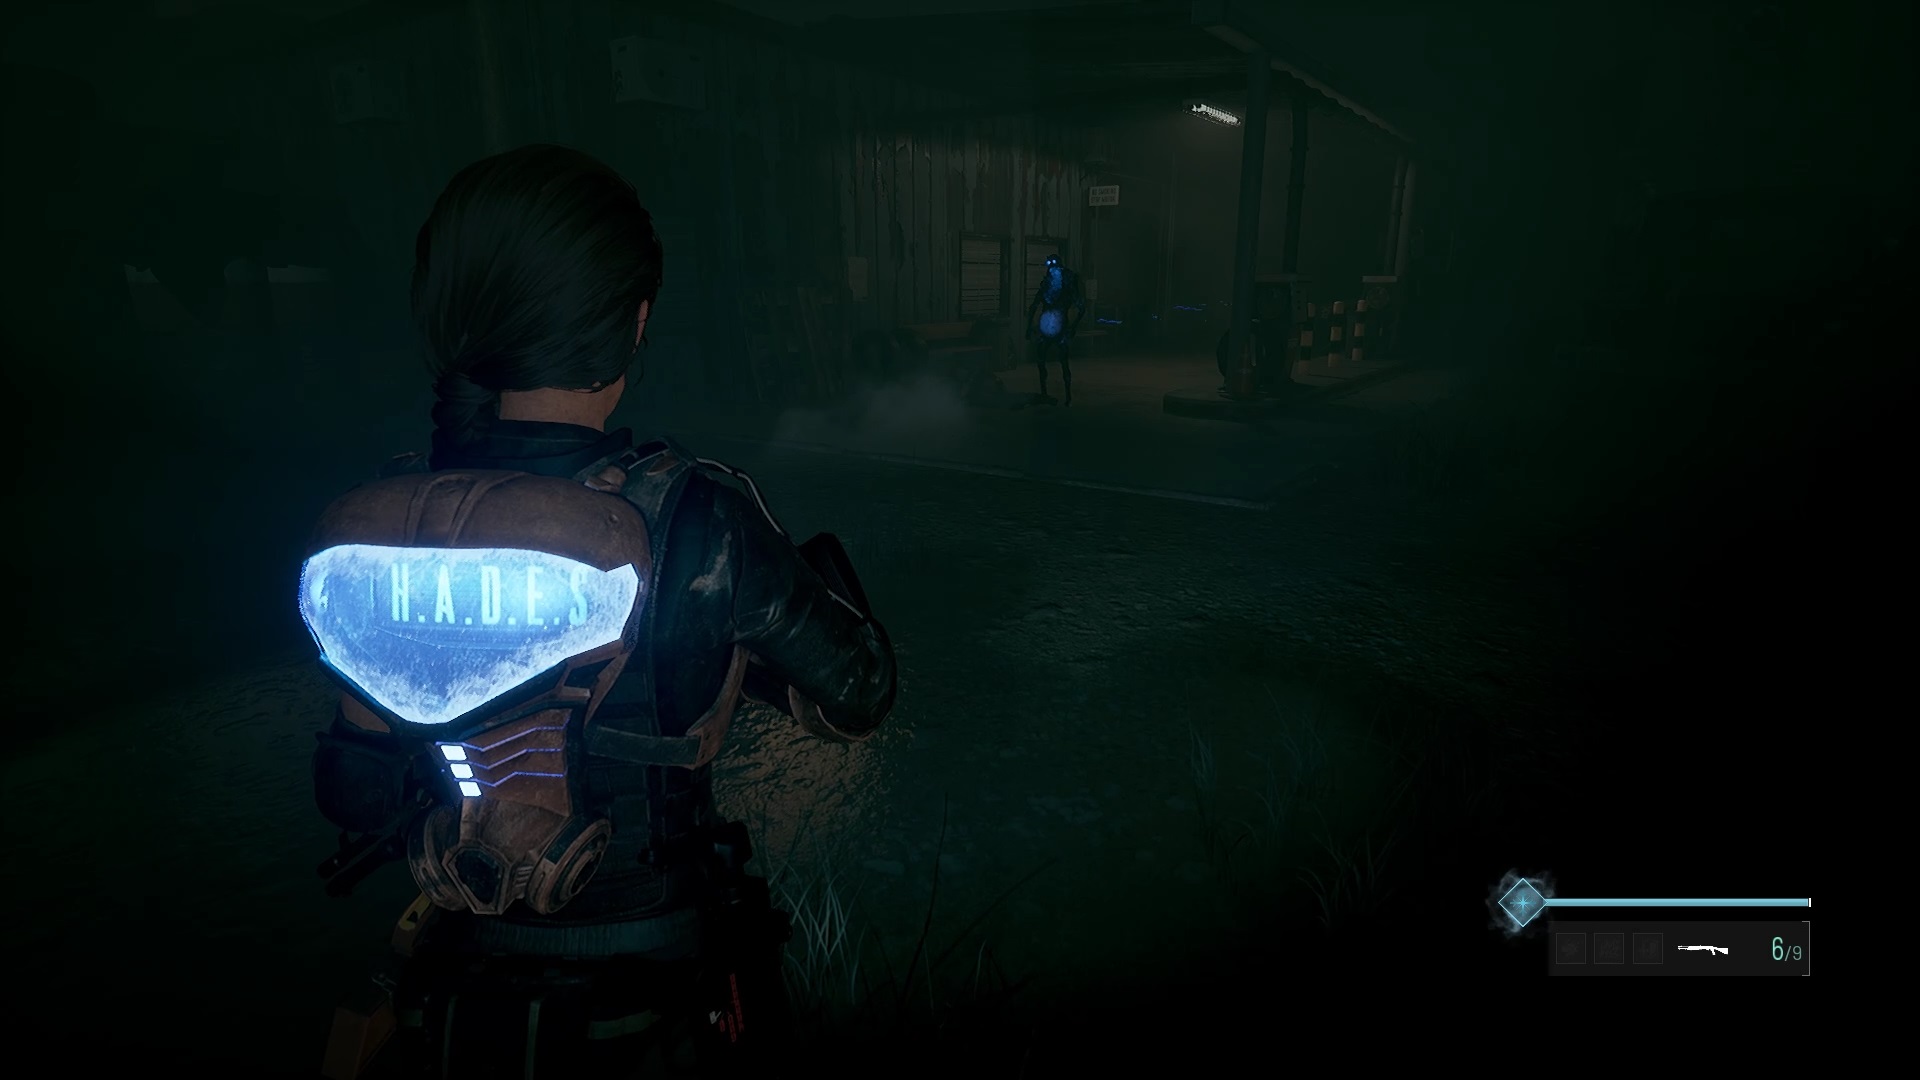
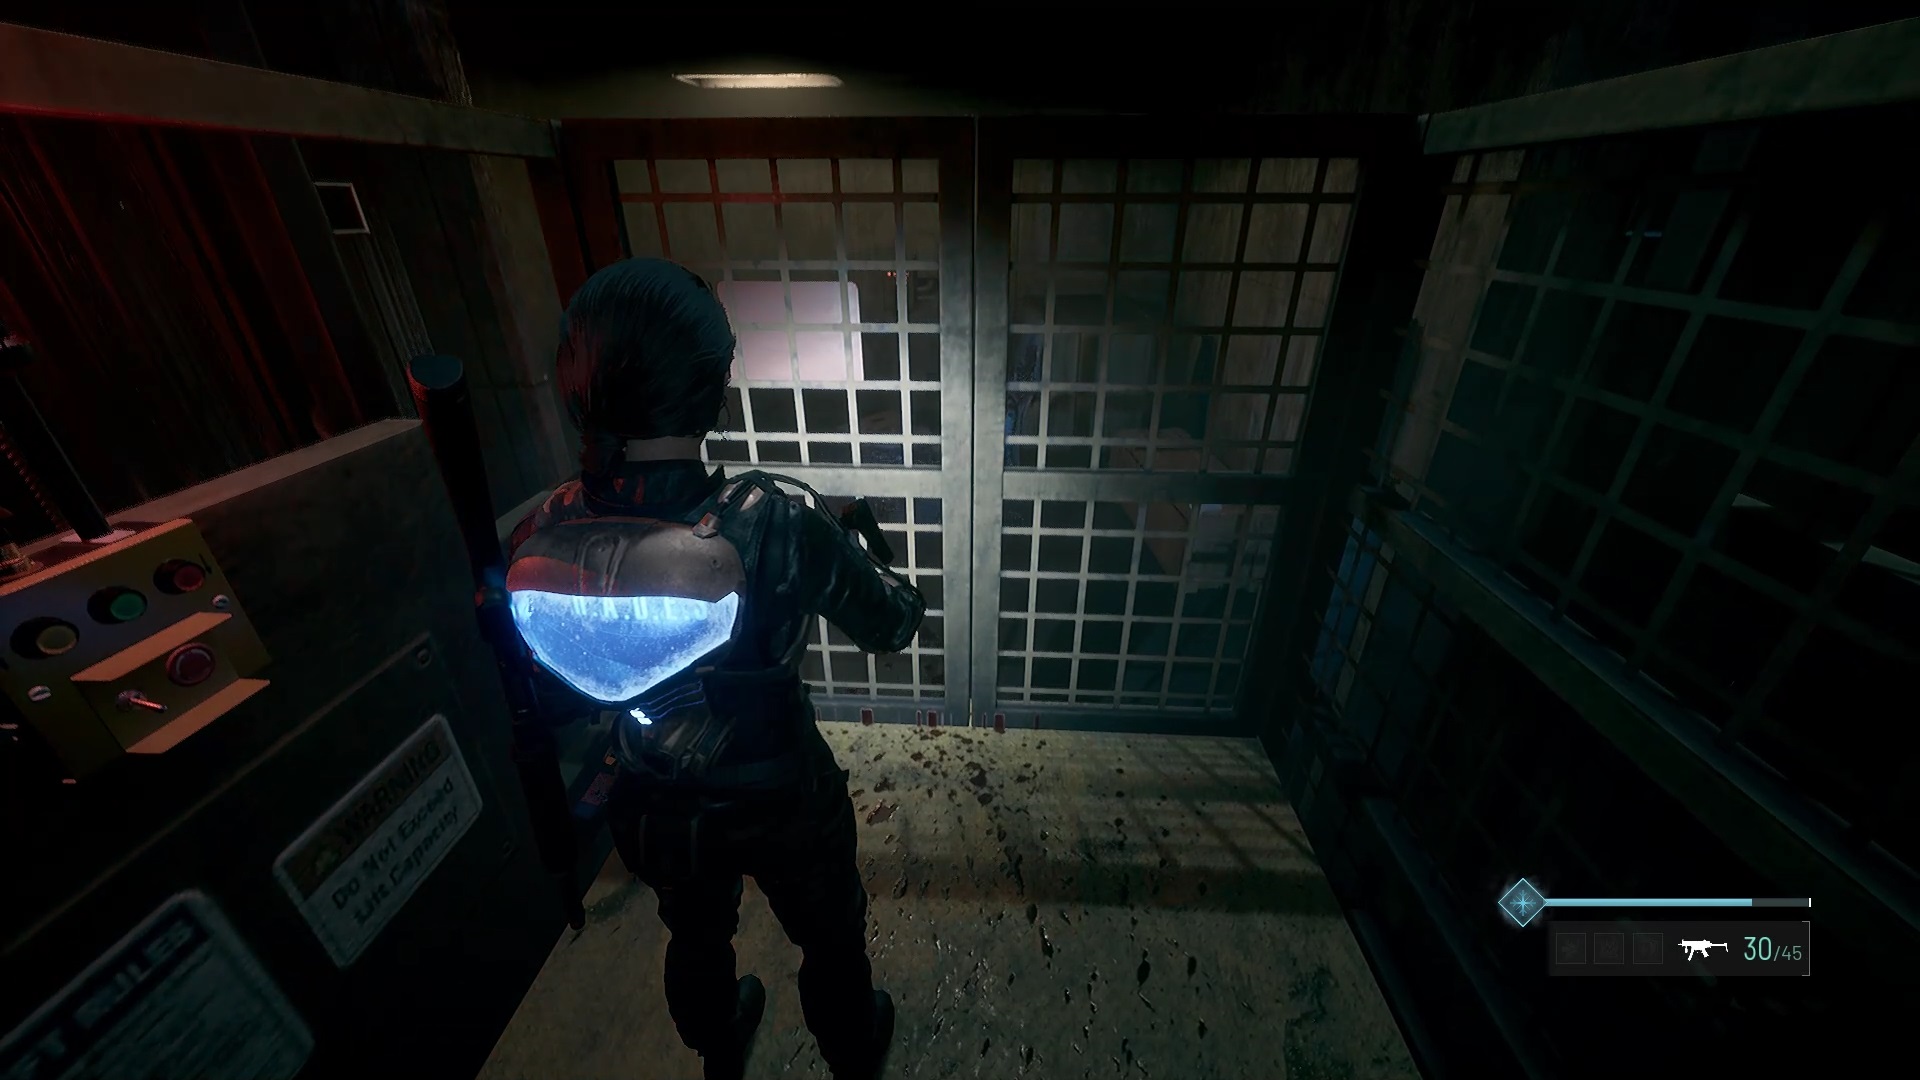
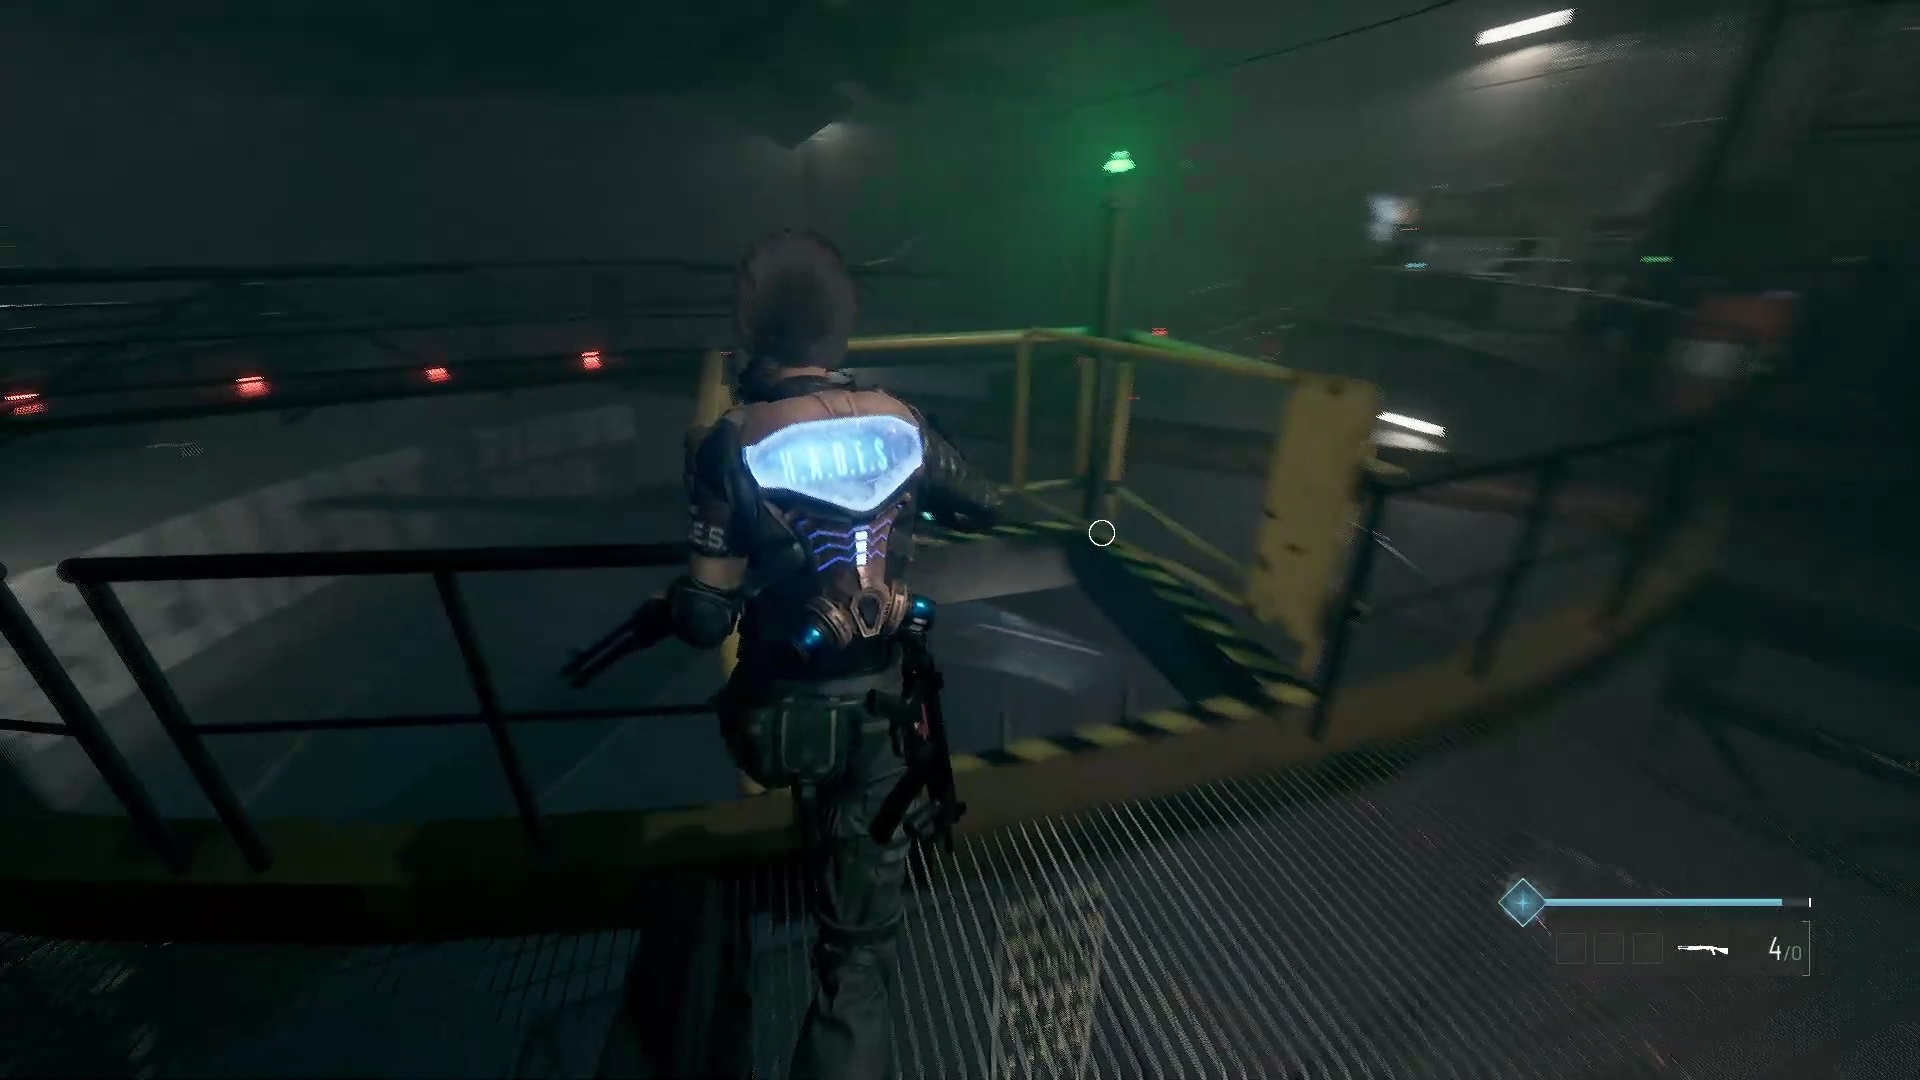
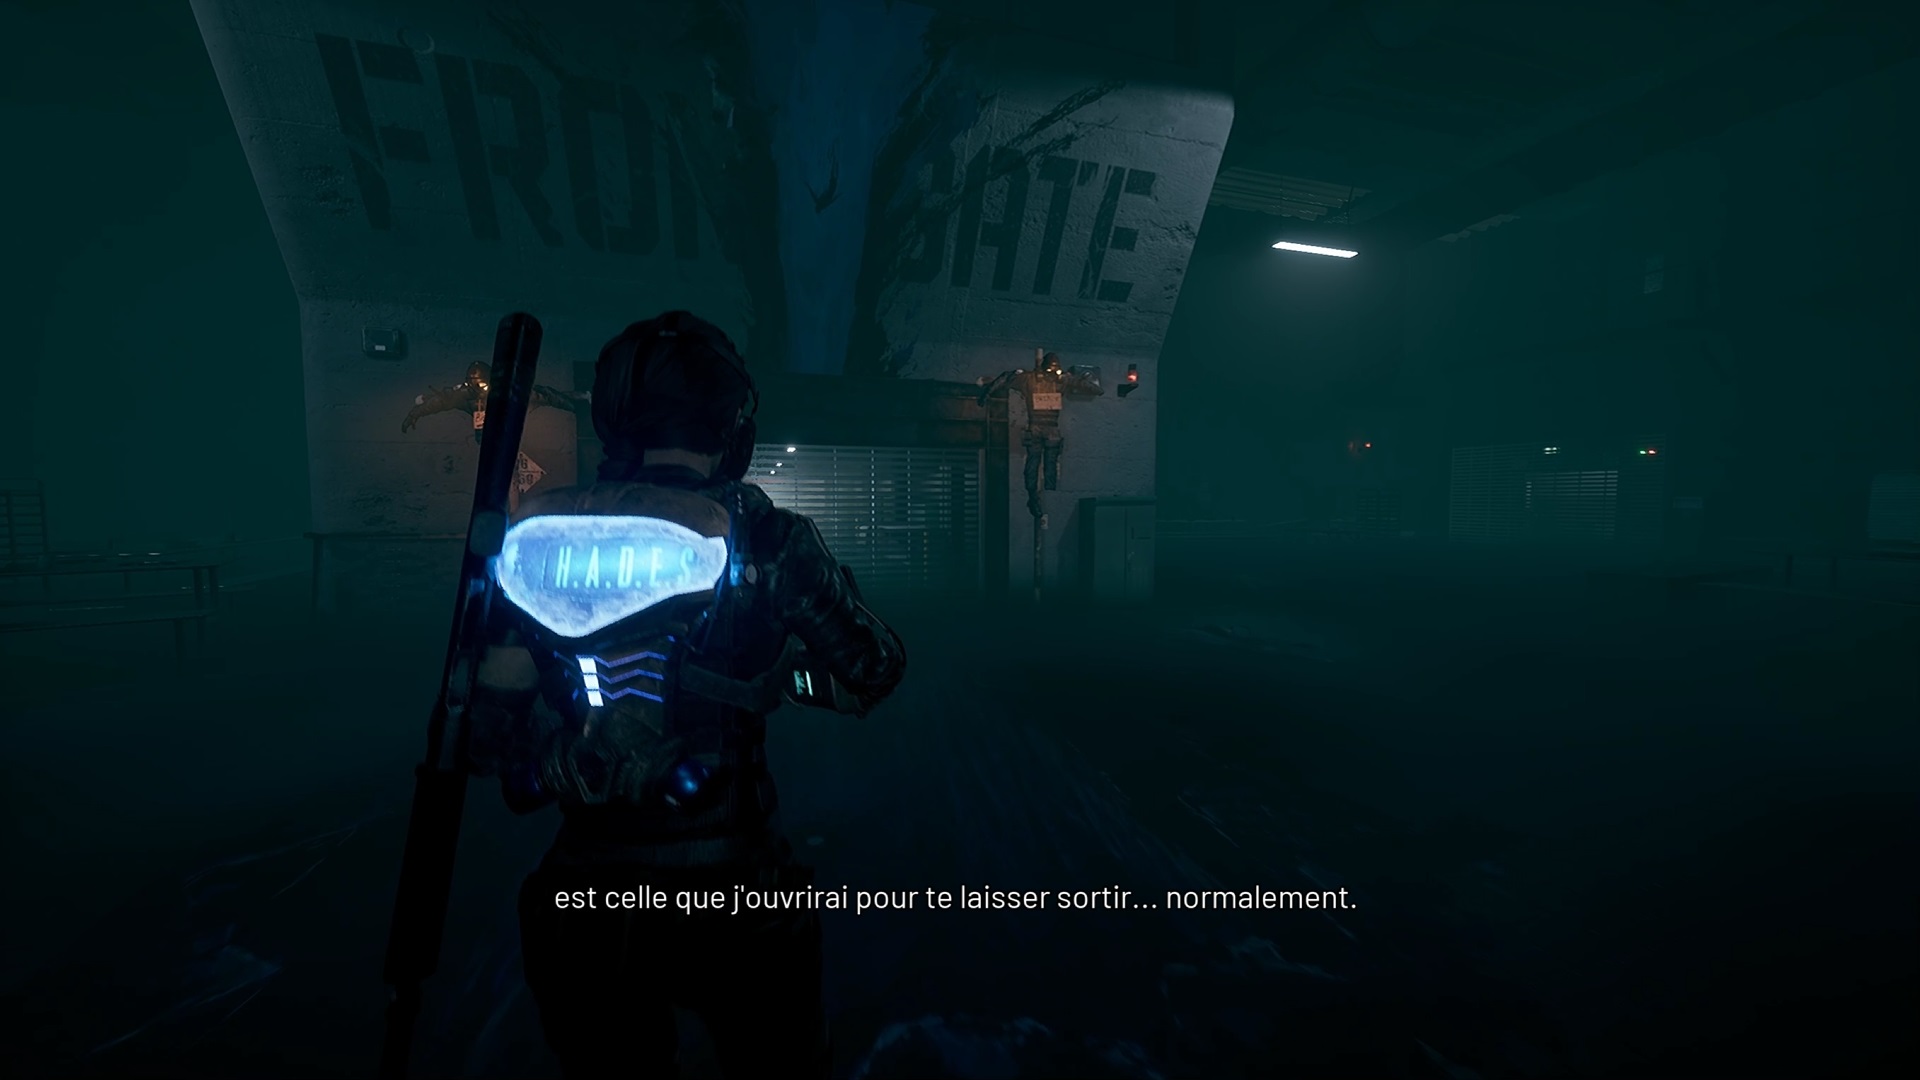
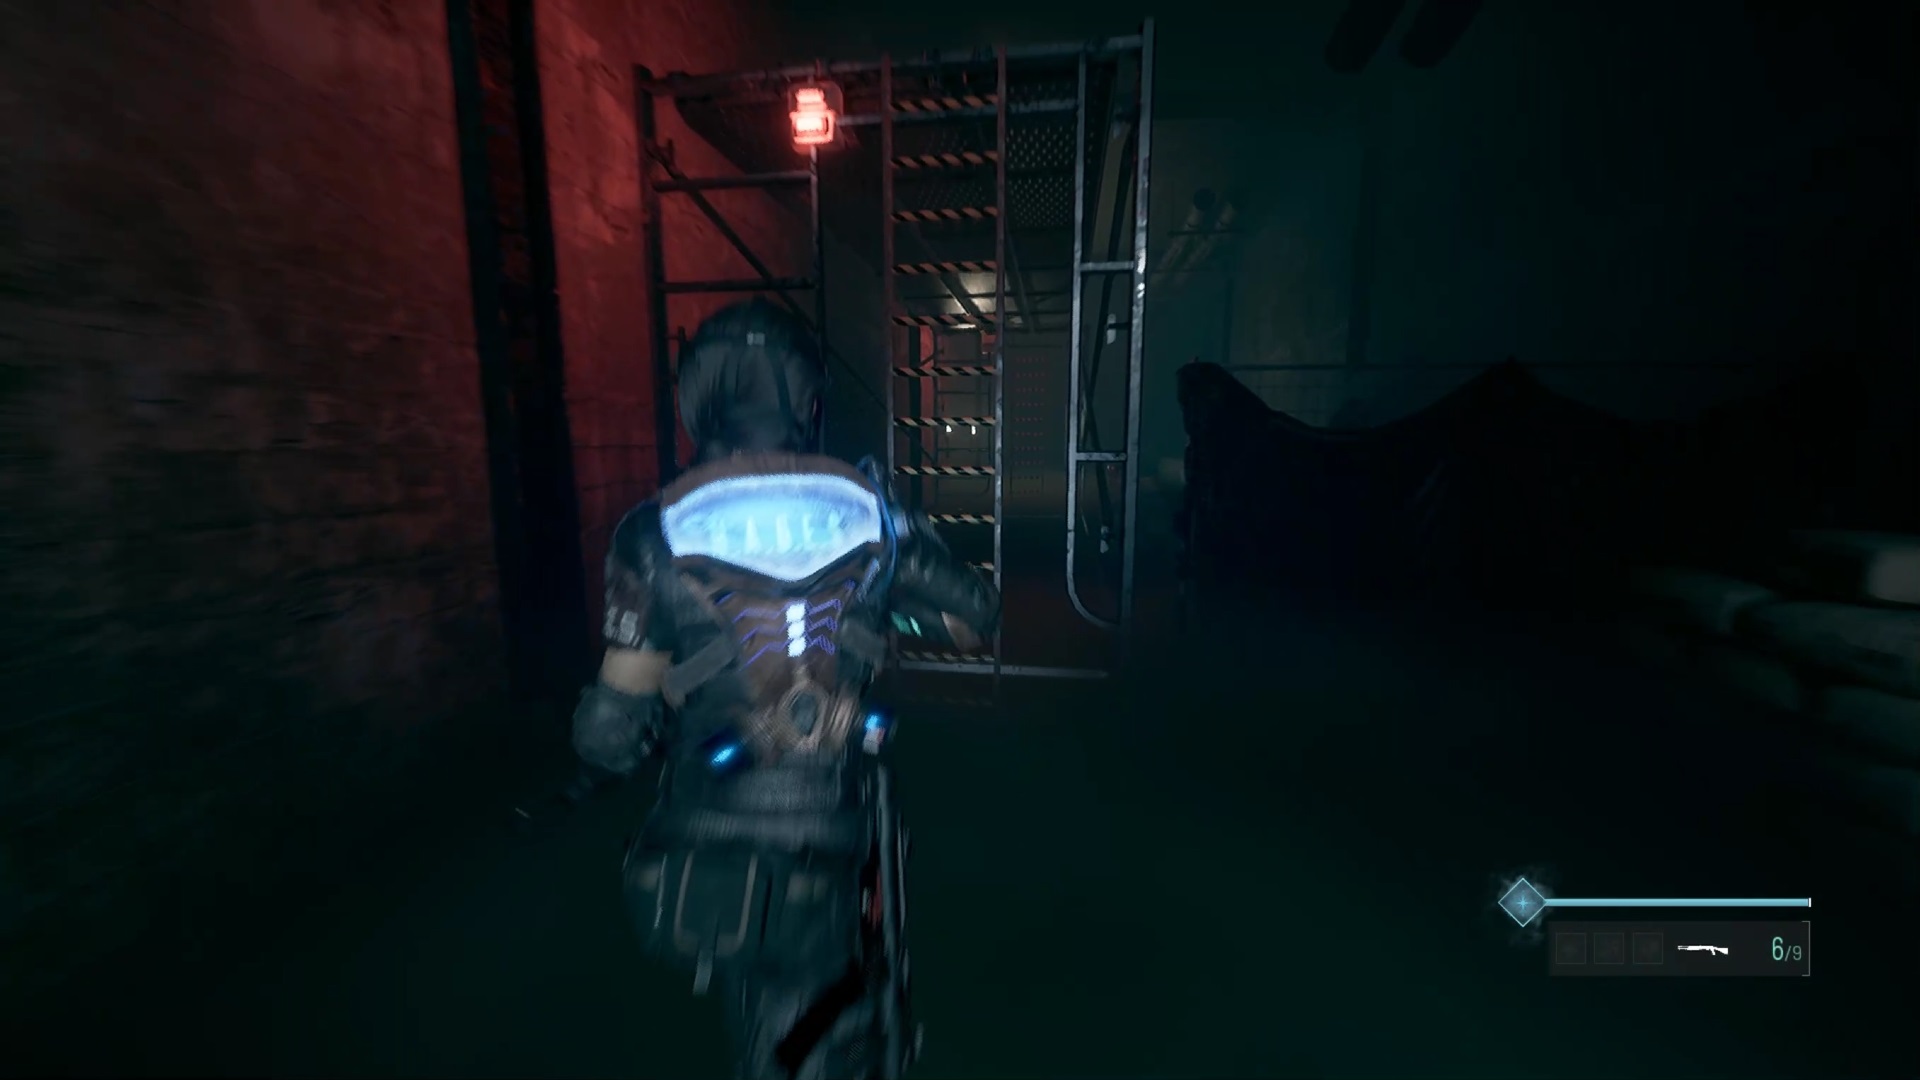
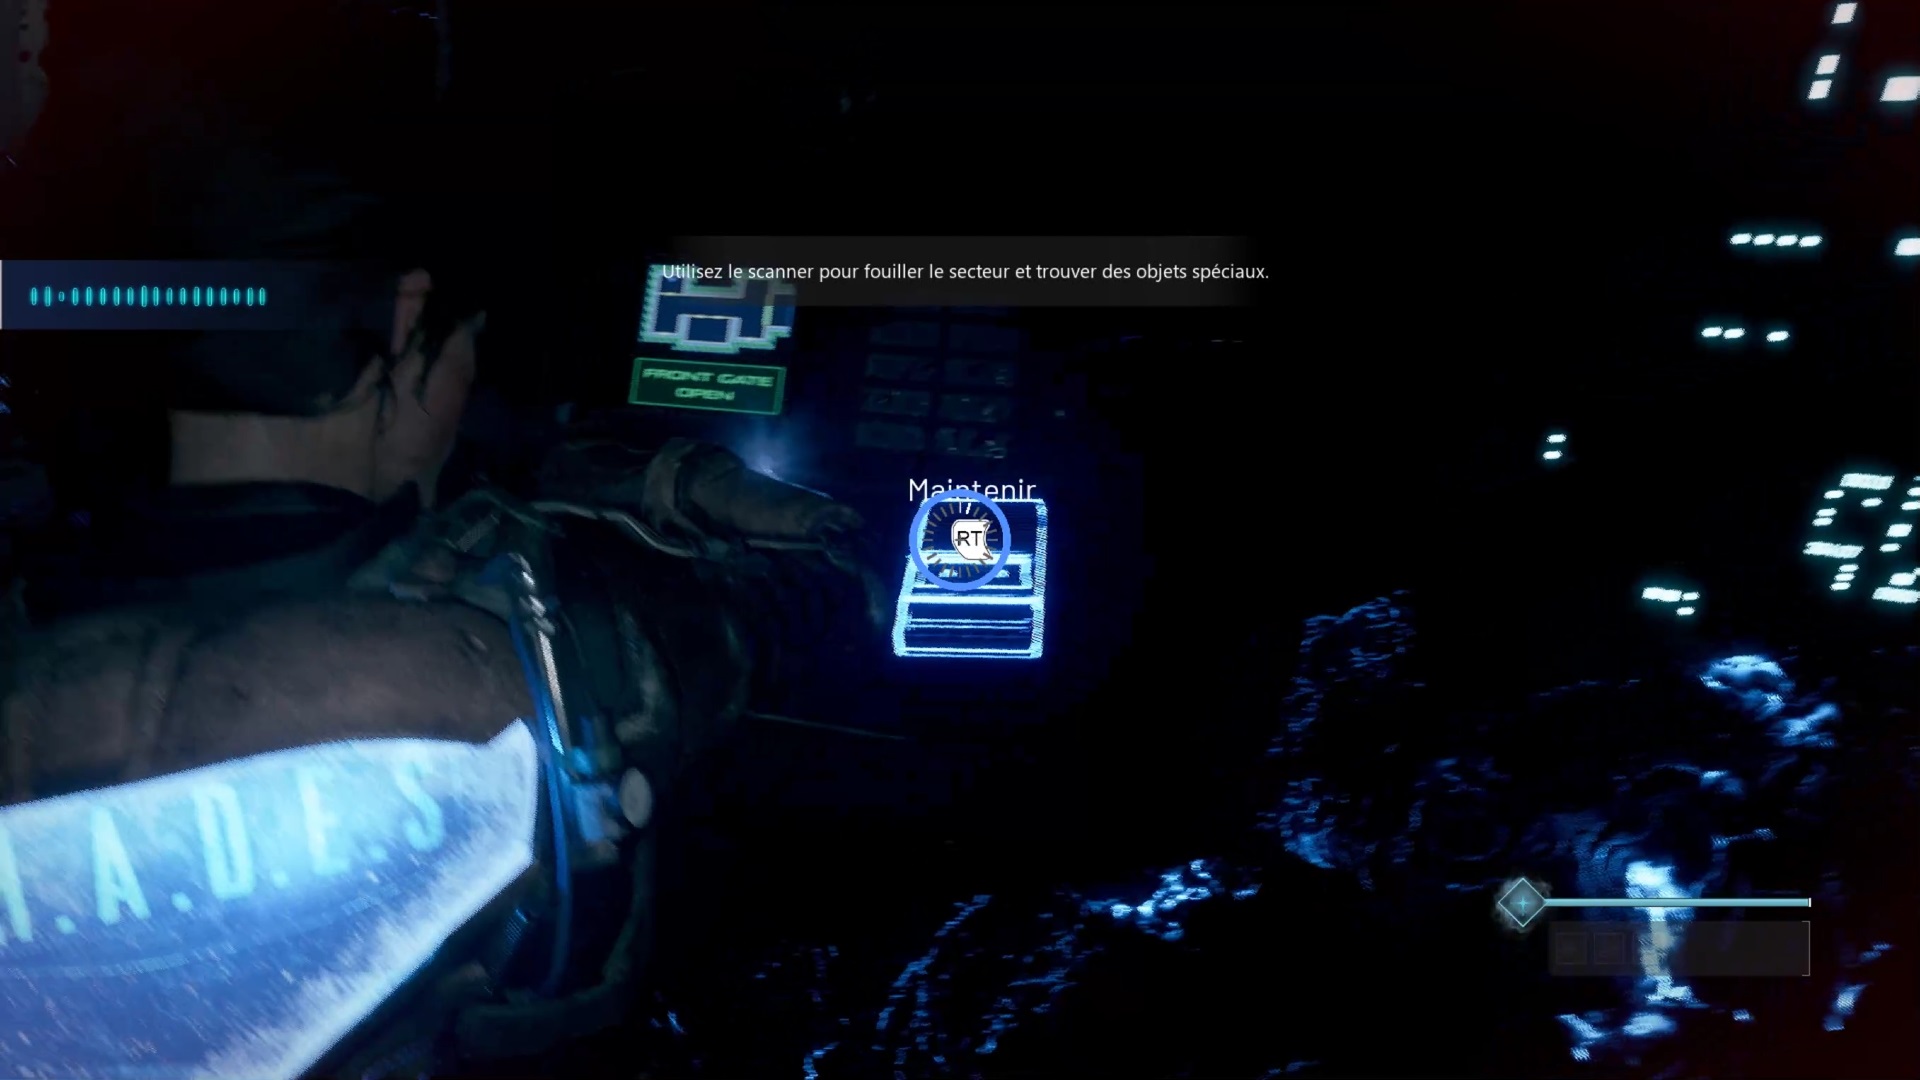
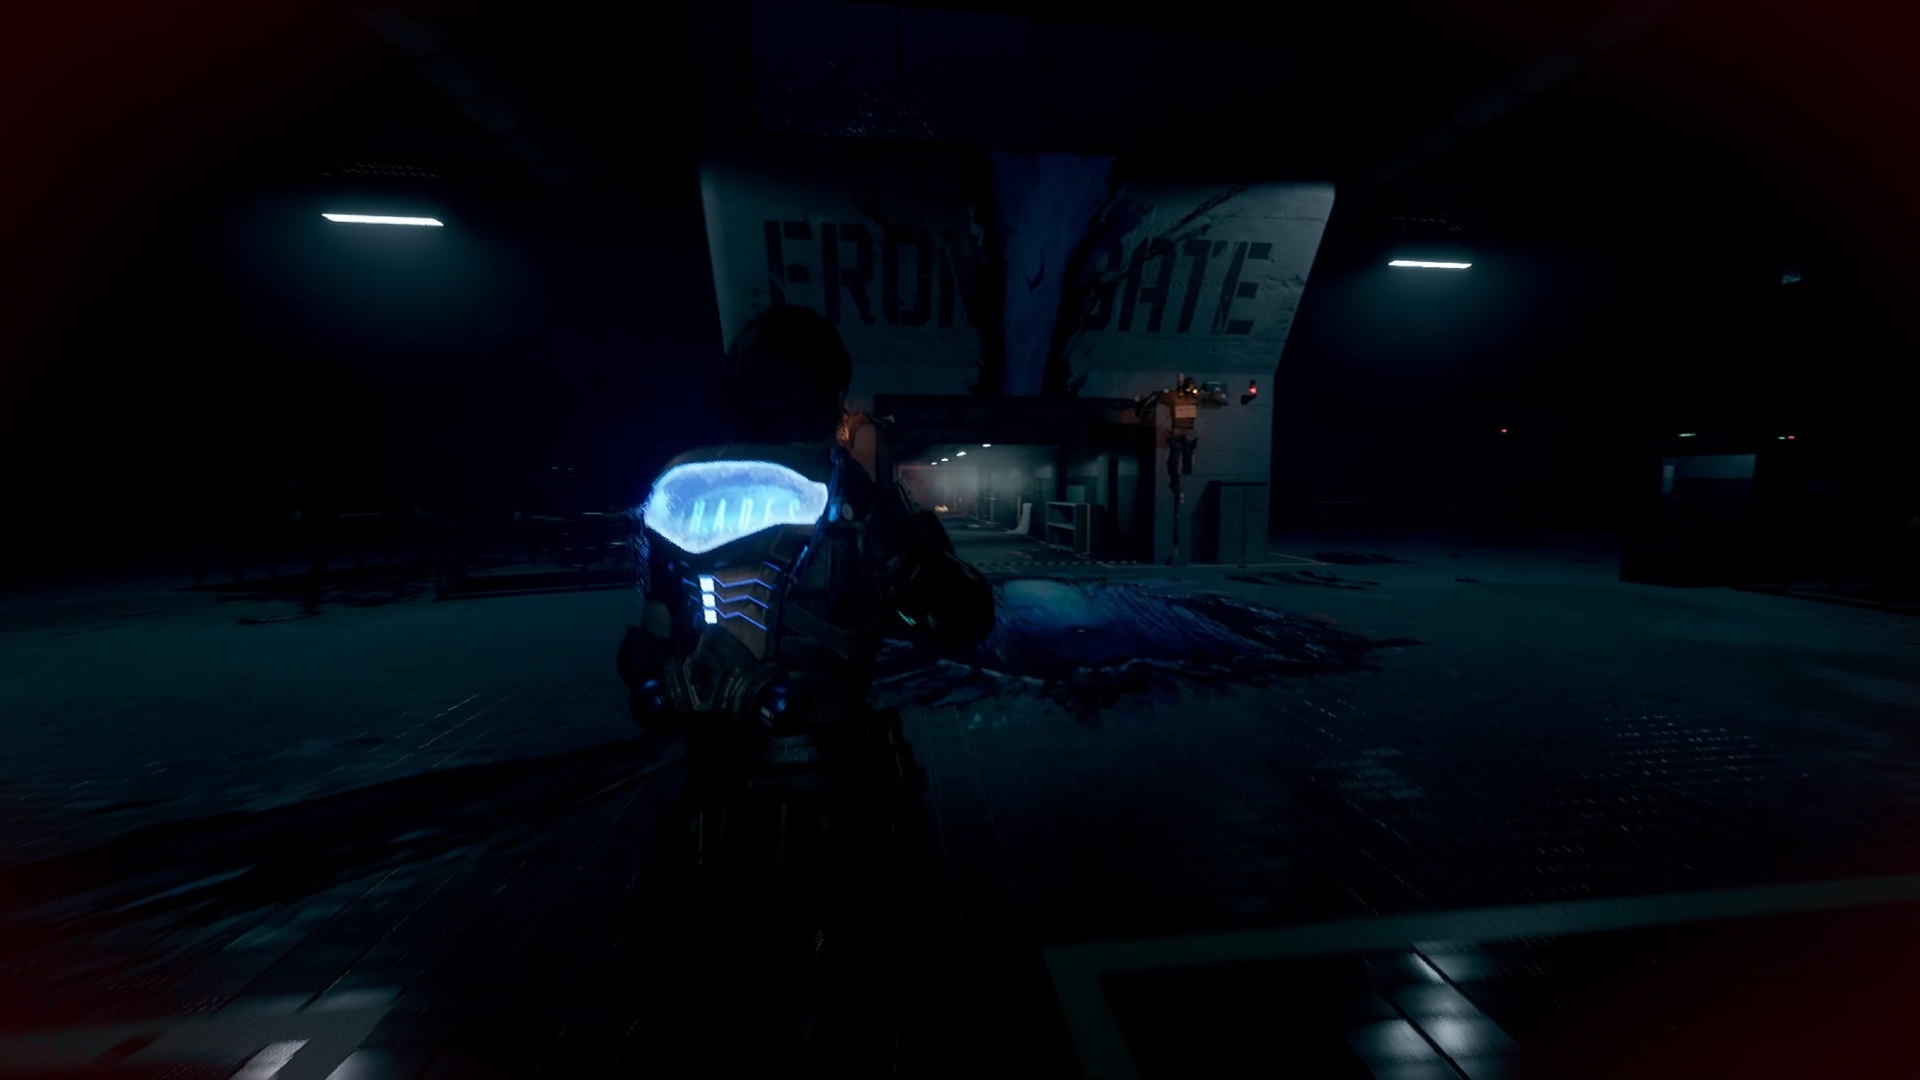
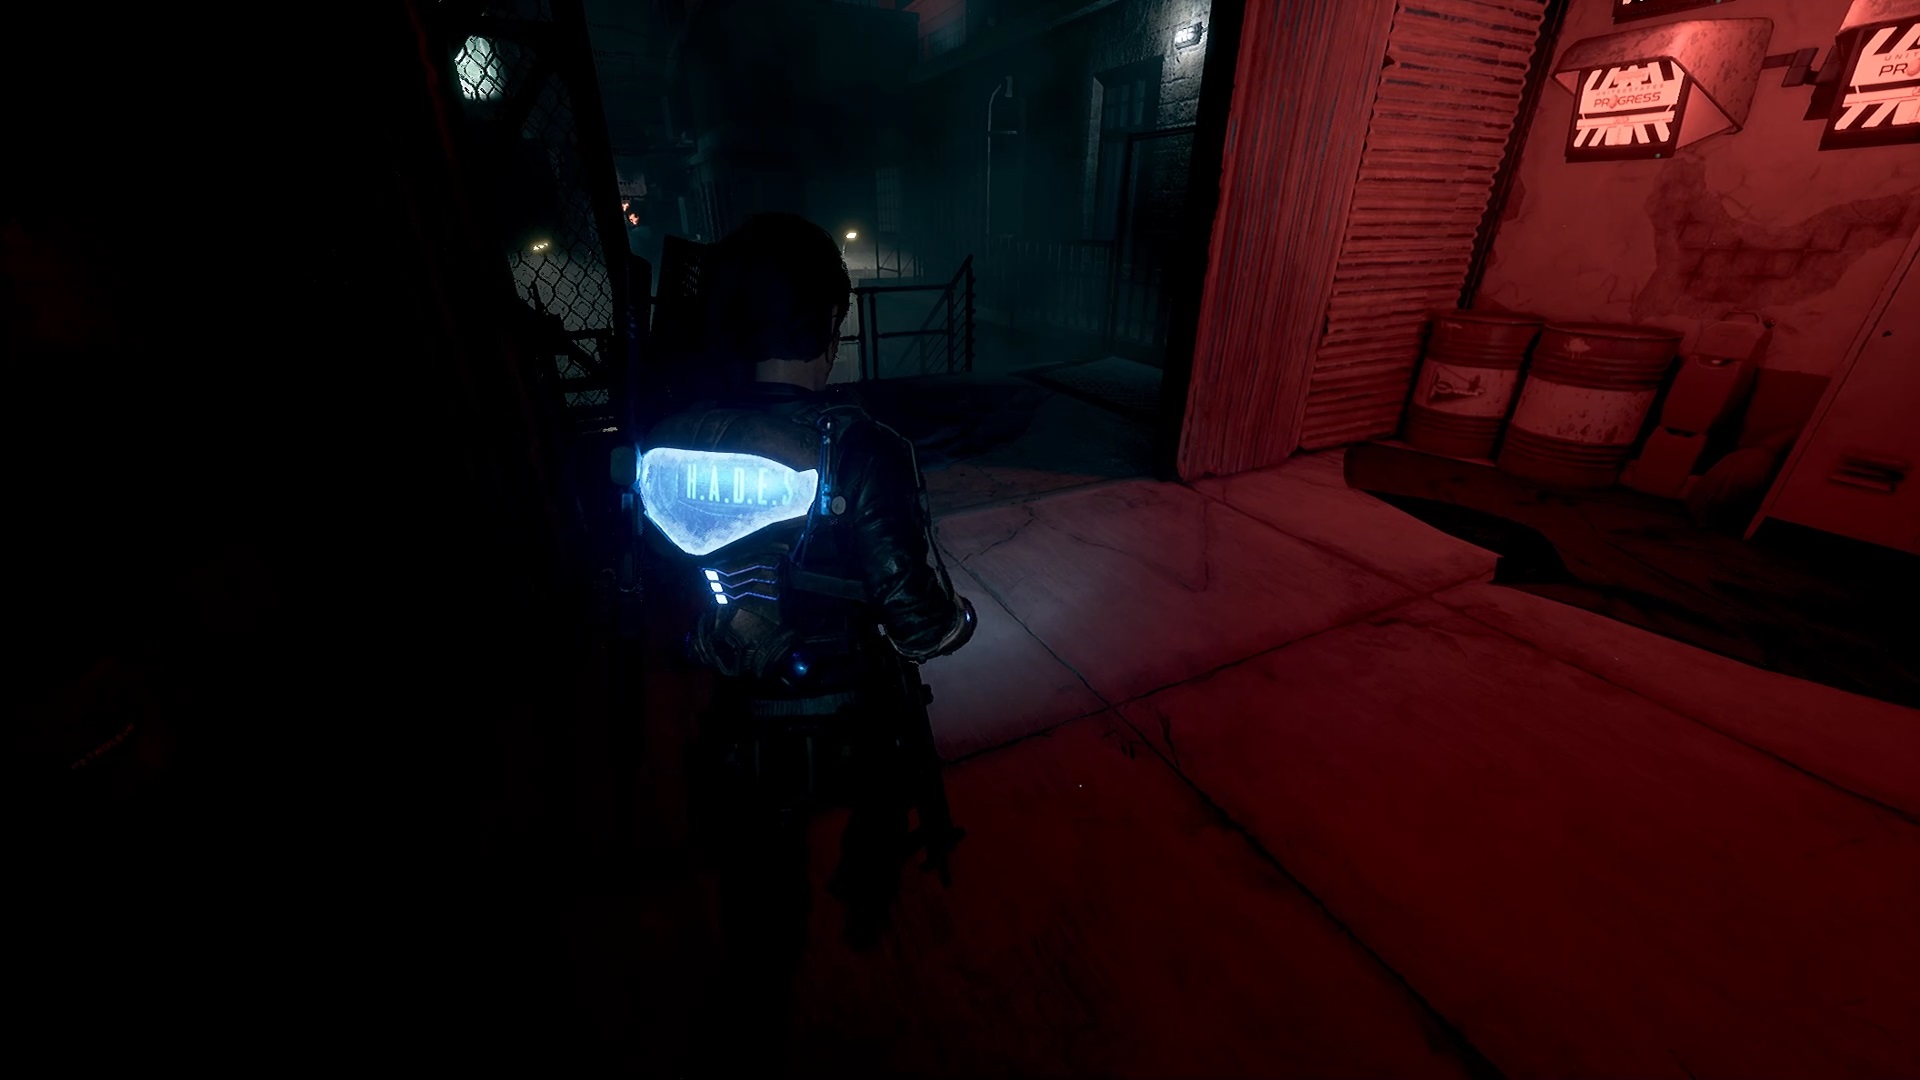
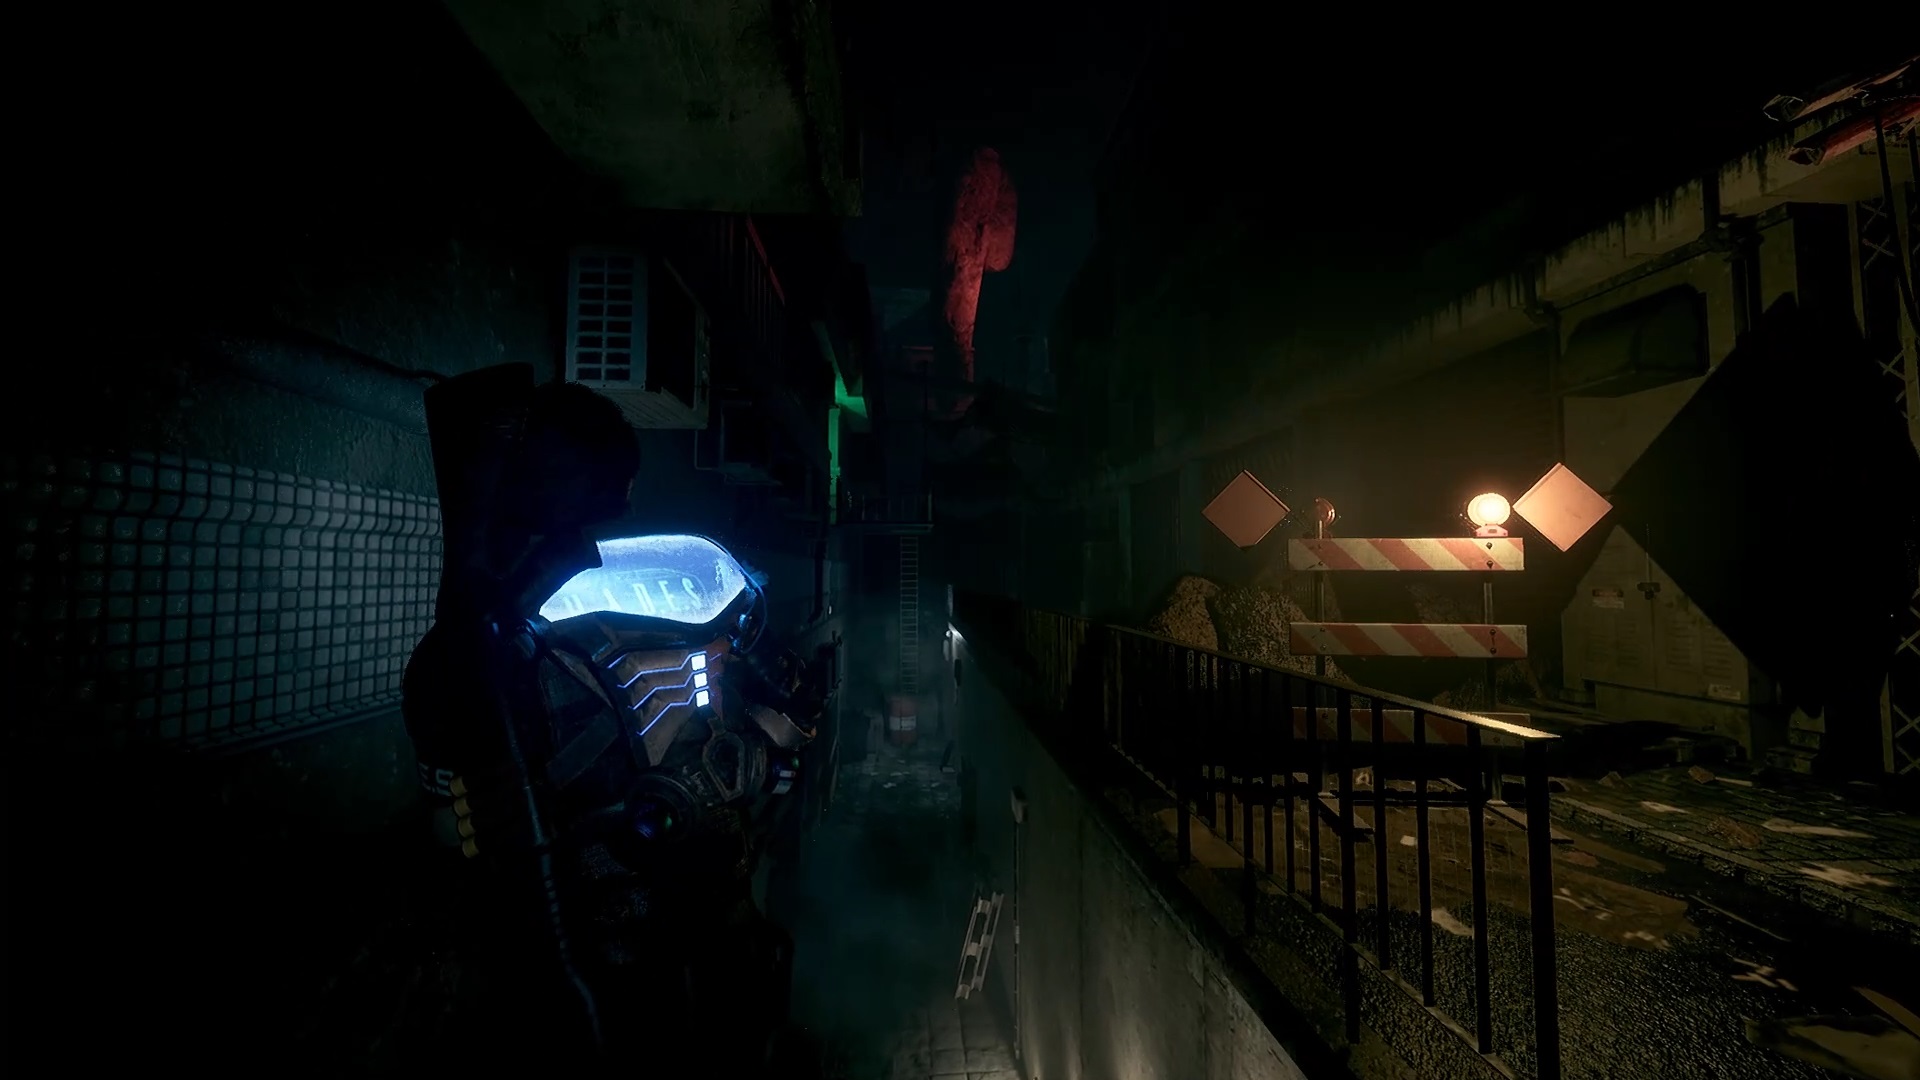
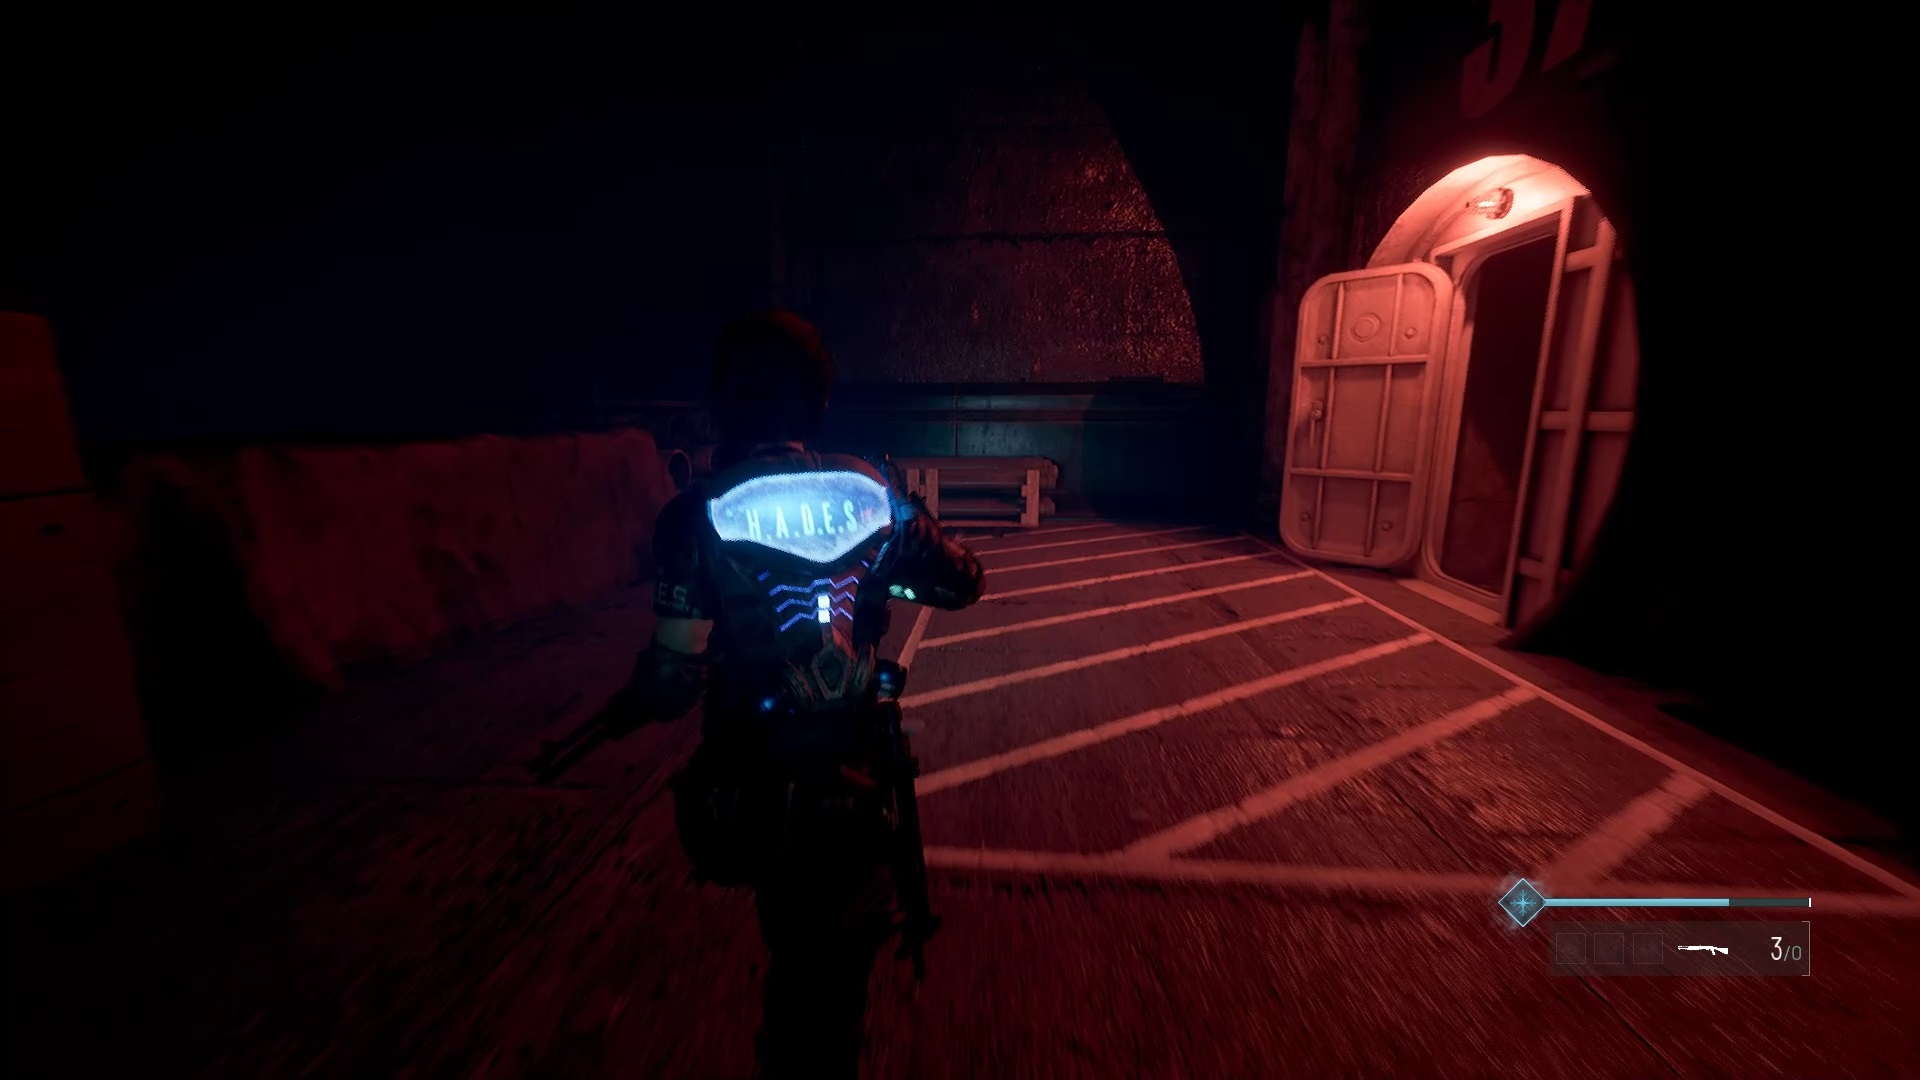
In the base camp, move towards the front door of the building to trigger a cutscene. You can find your way by the flares on the ground. After the cutscene, pass the nearby fence and move forward to another entrance. The key to pass is missing.
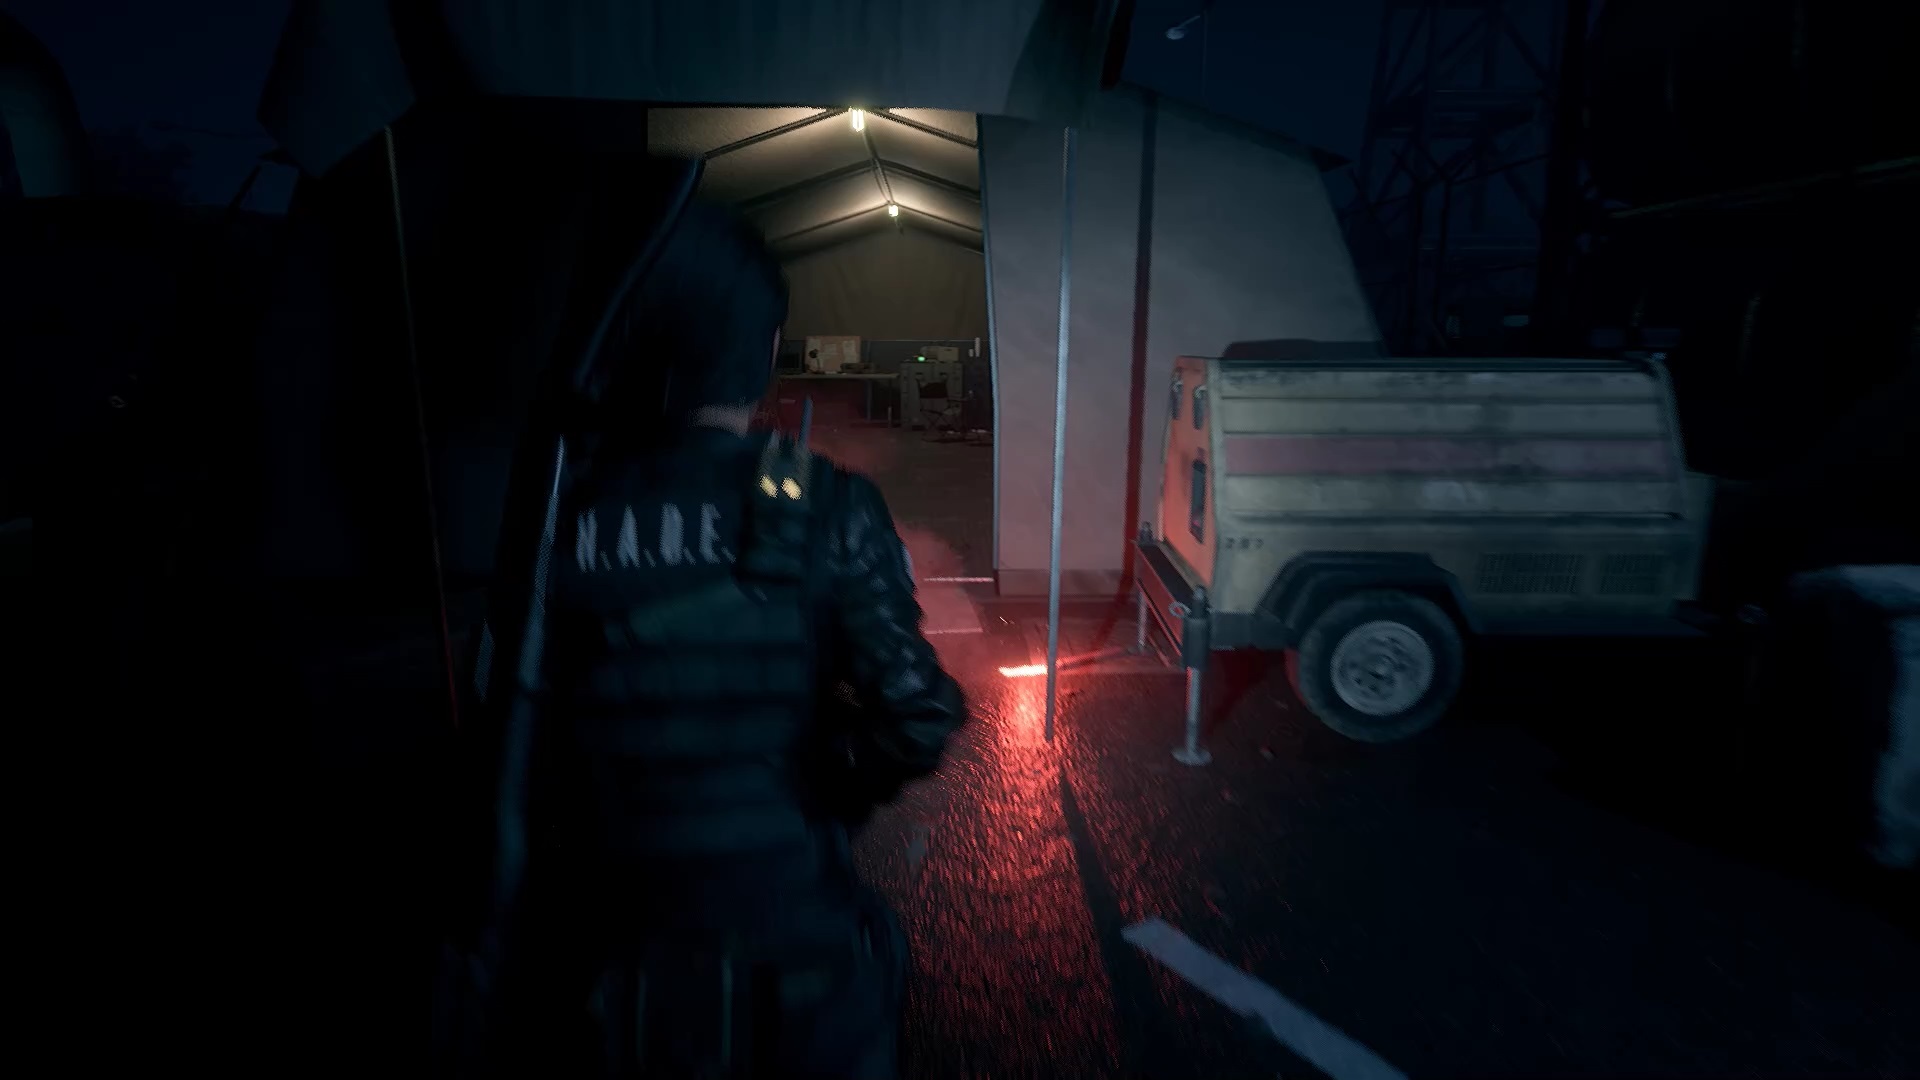
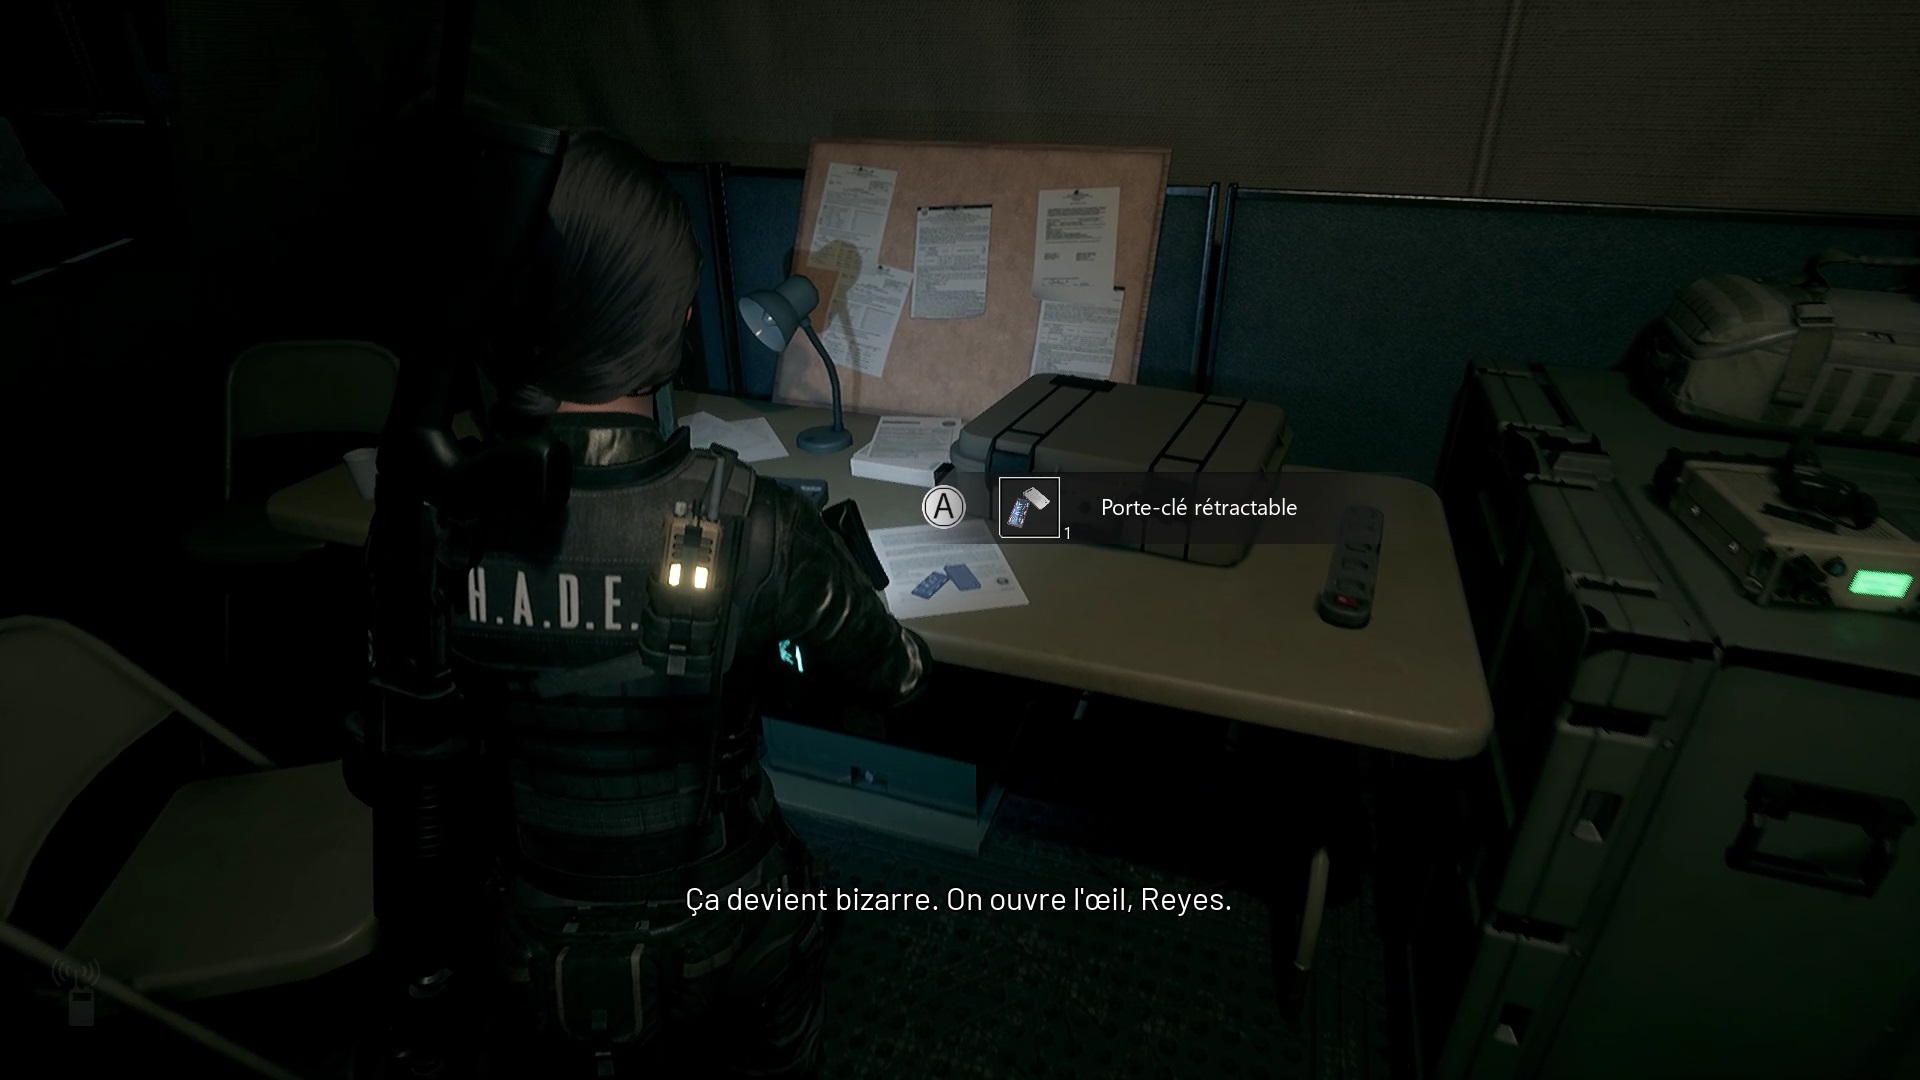
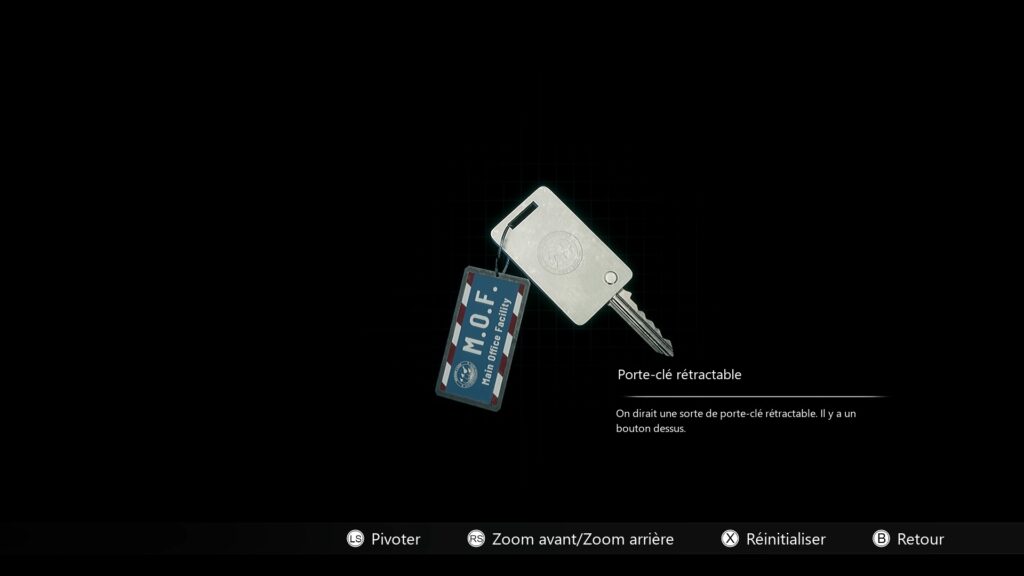
Turn around to find a tent. Go inside and search the table for the key to the door. Examine the key in your inventory to deploy the key. Now insert the key in the previous door to pass.
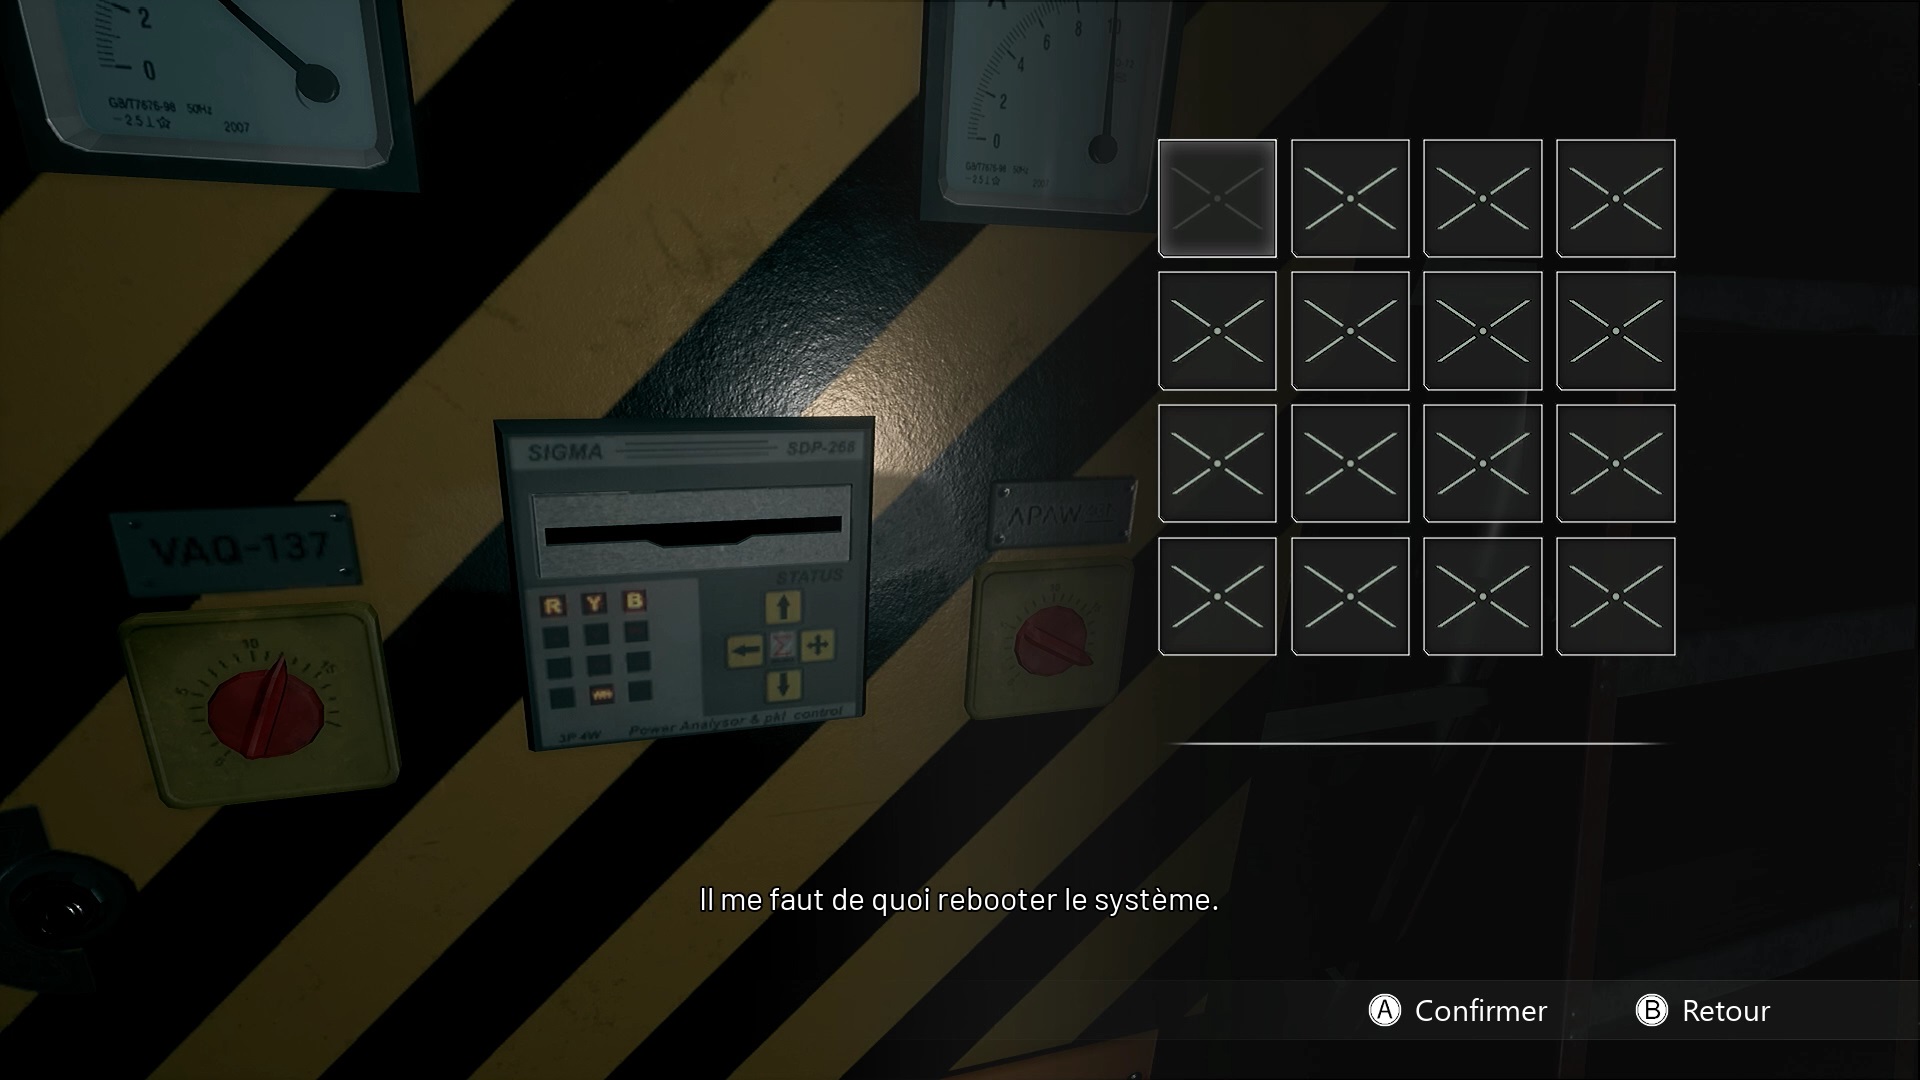
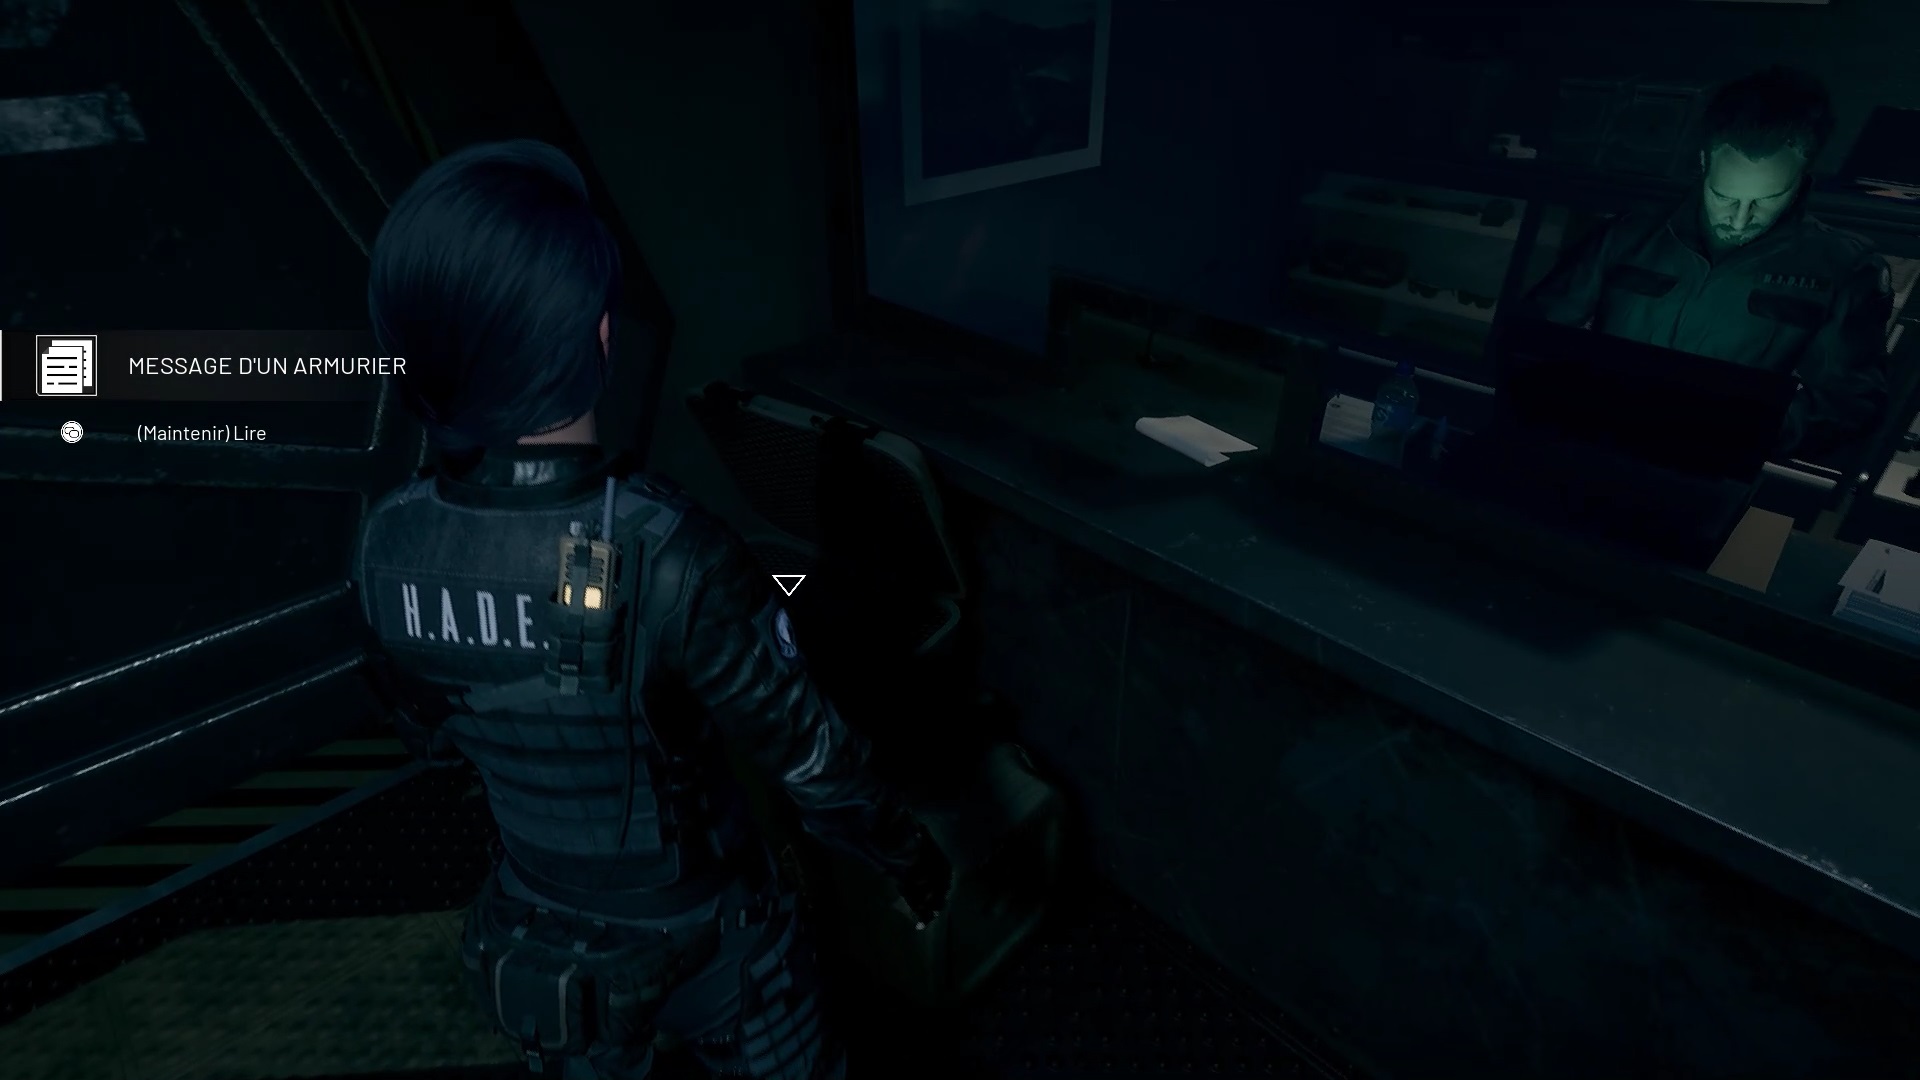
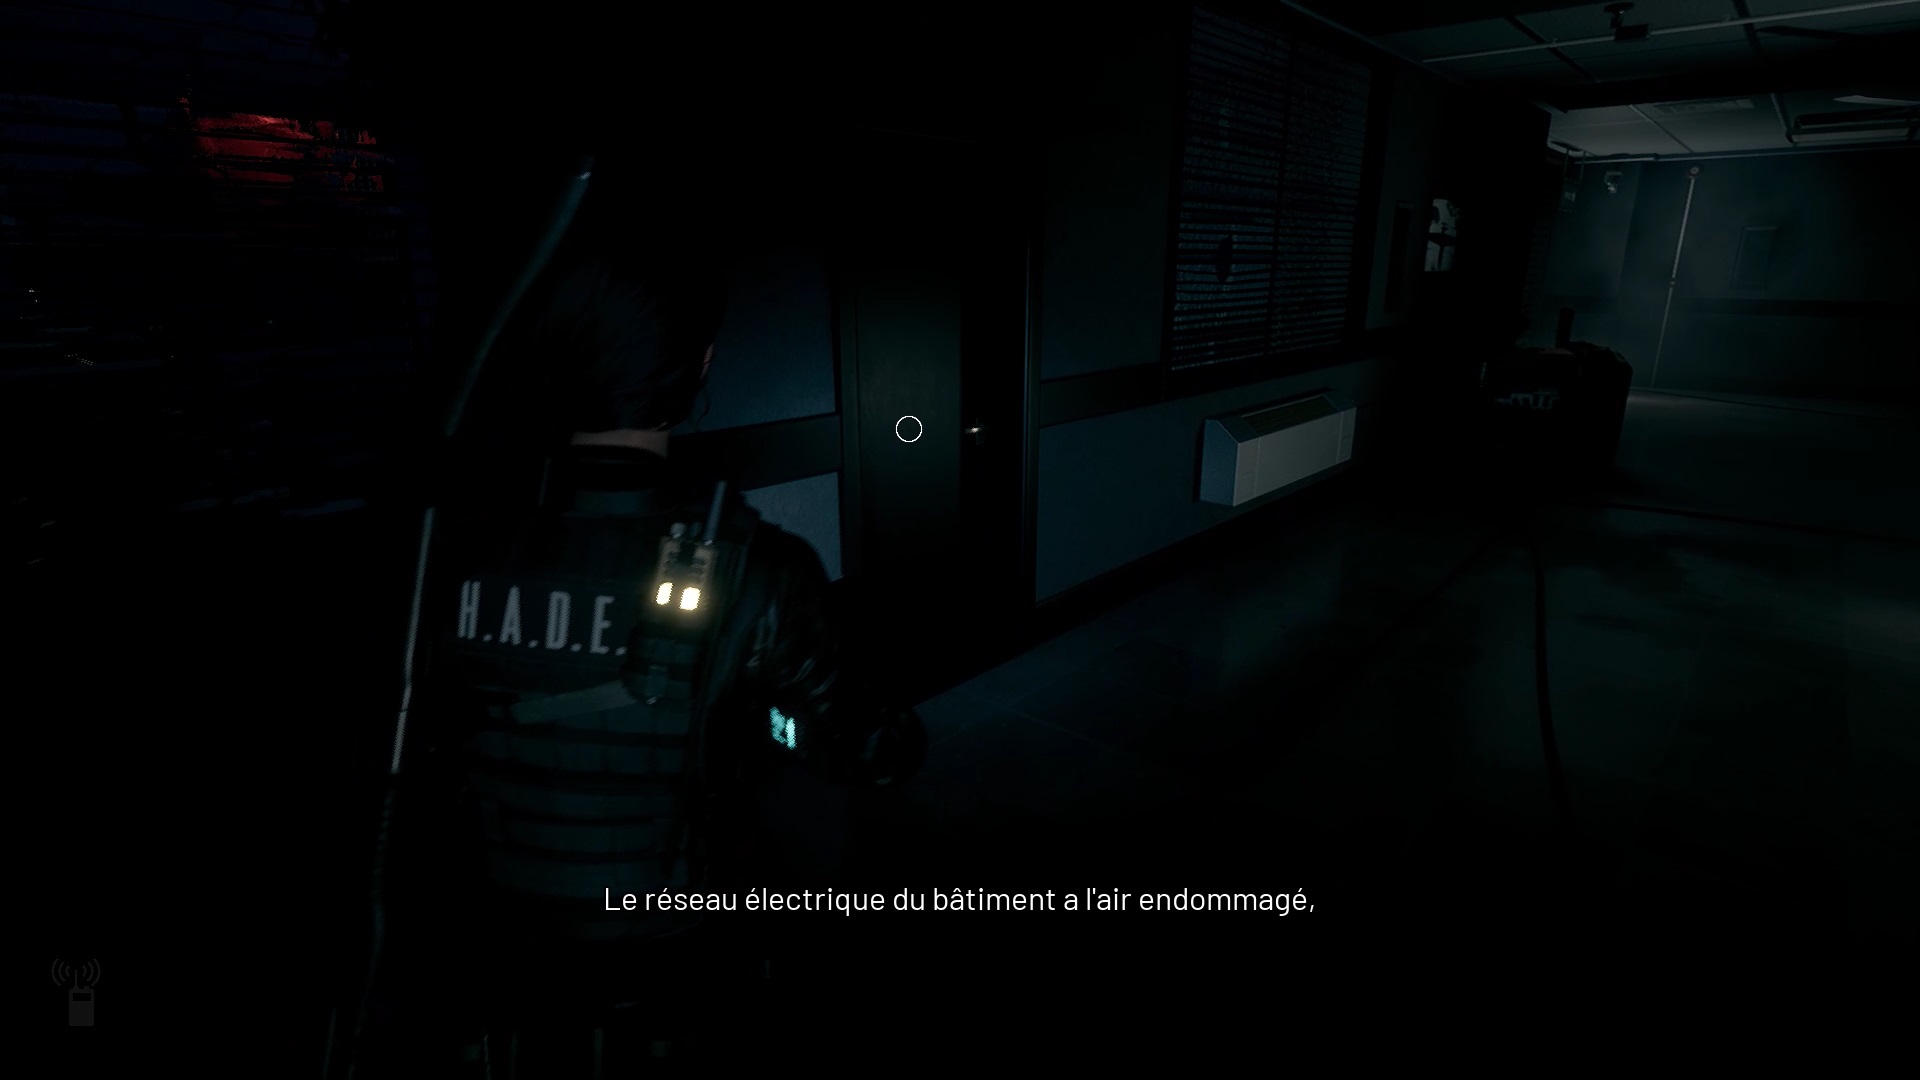
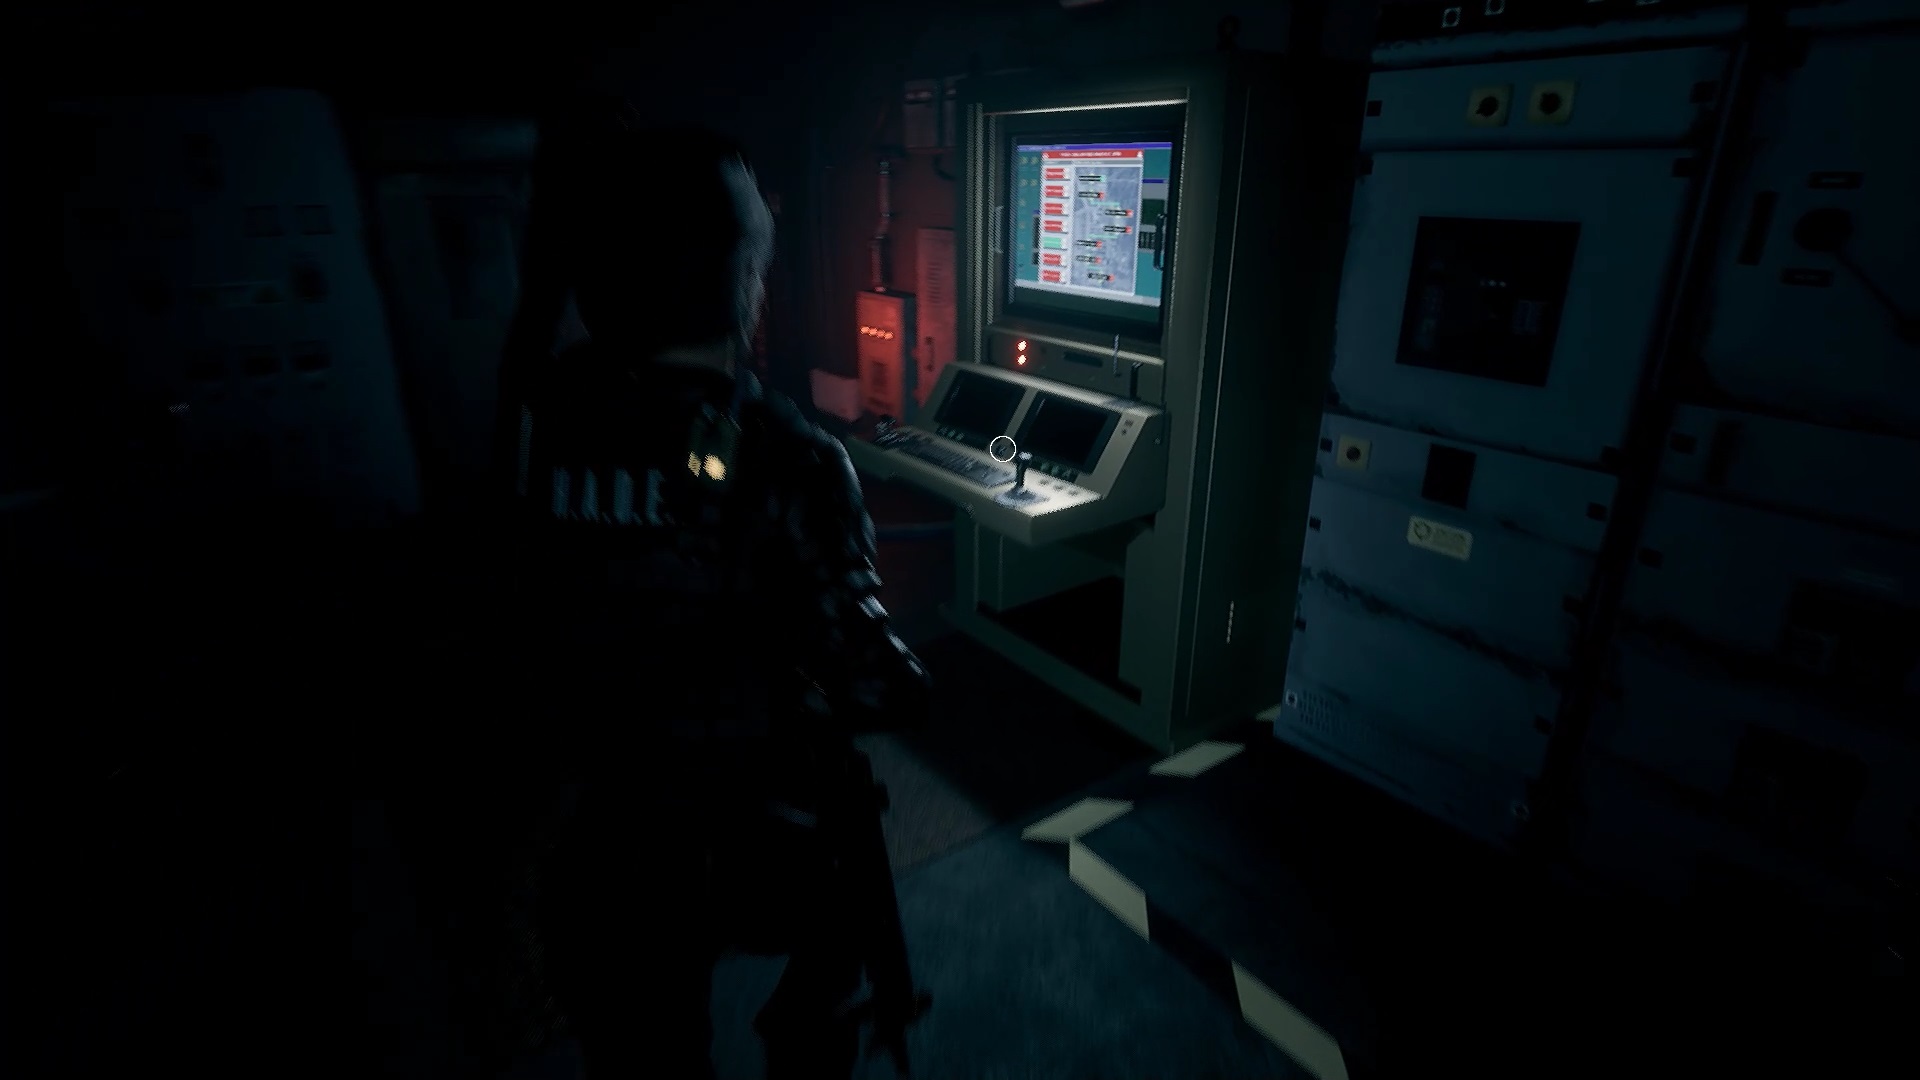
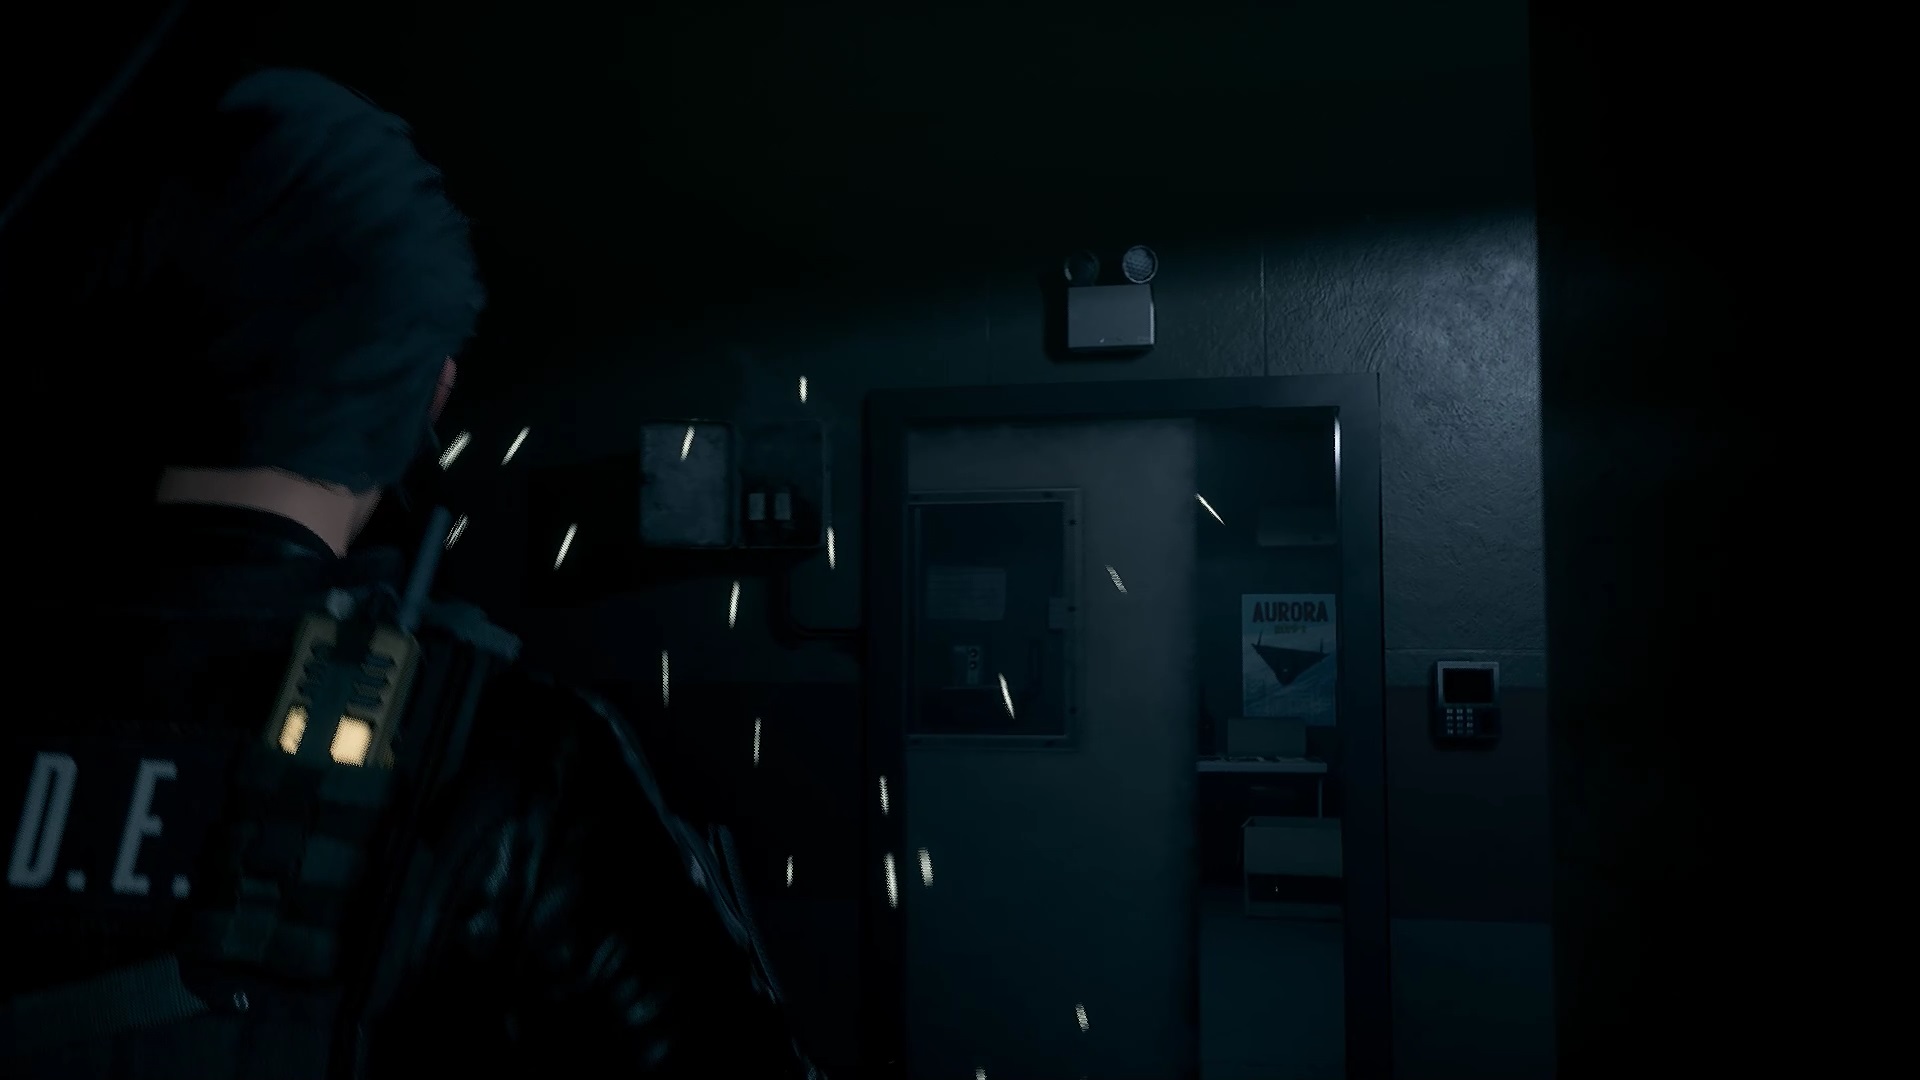
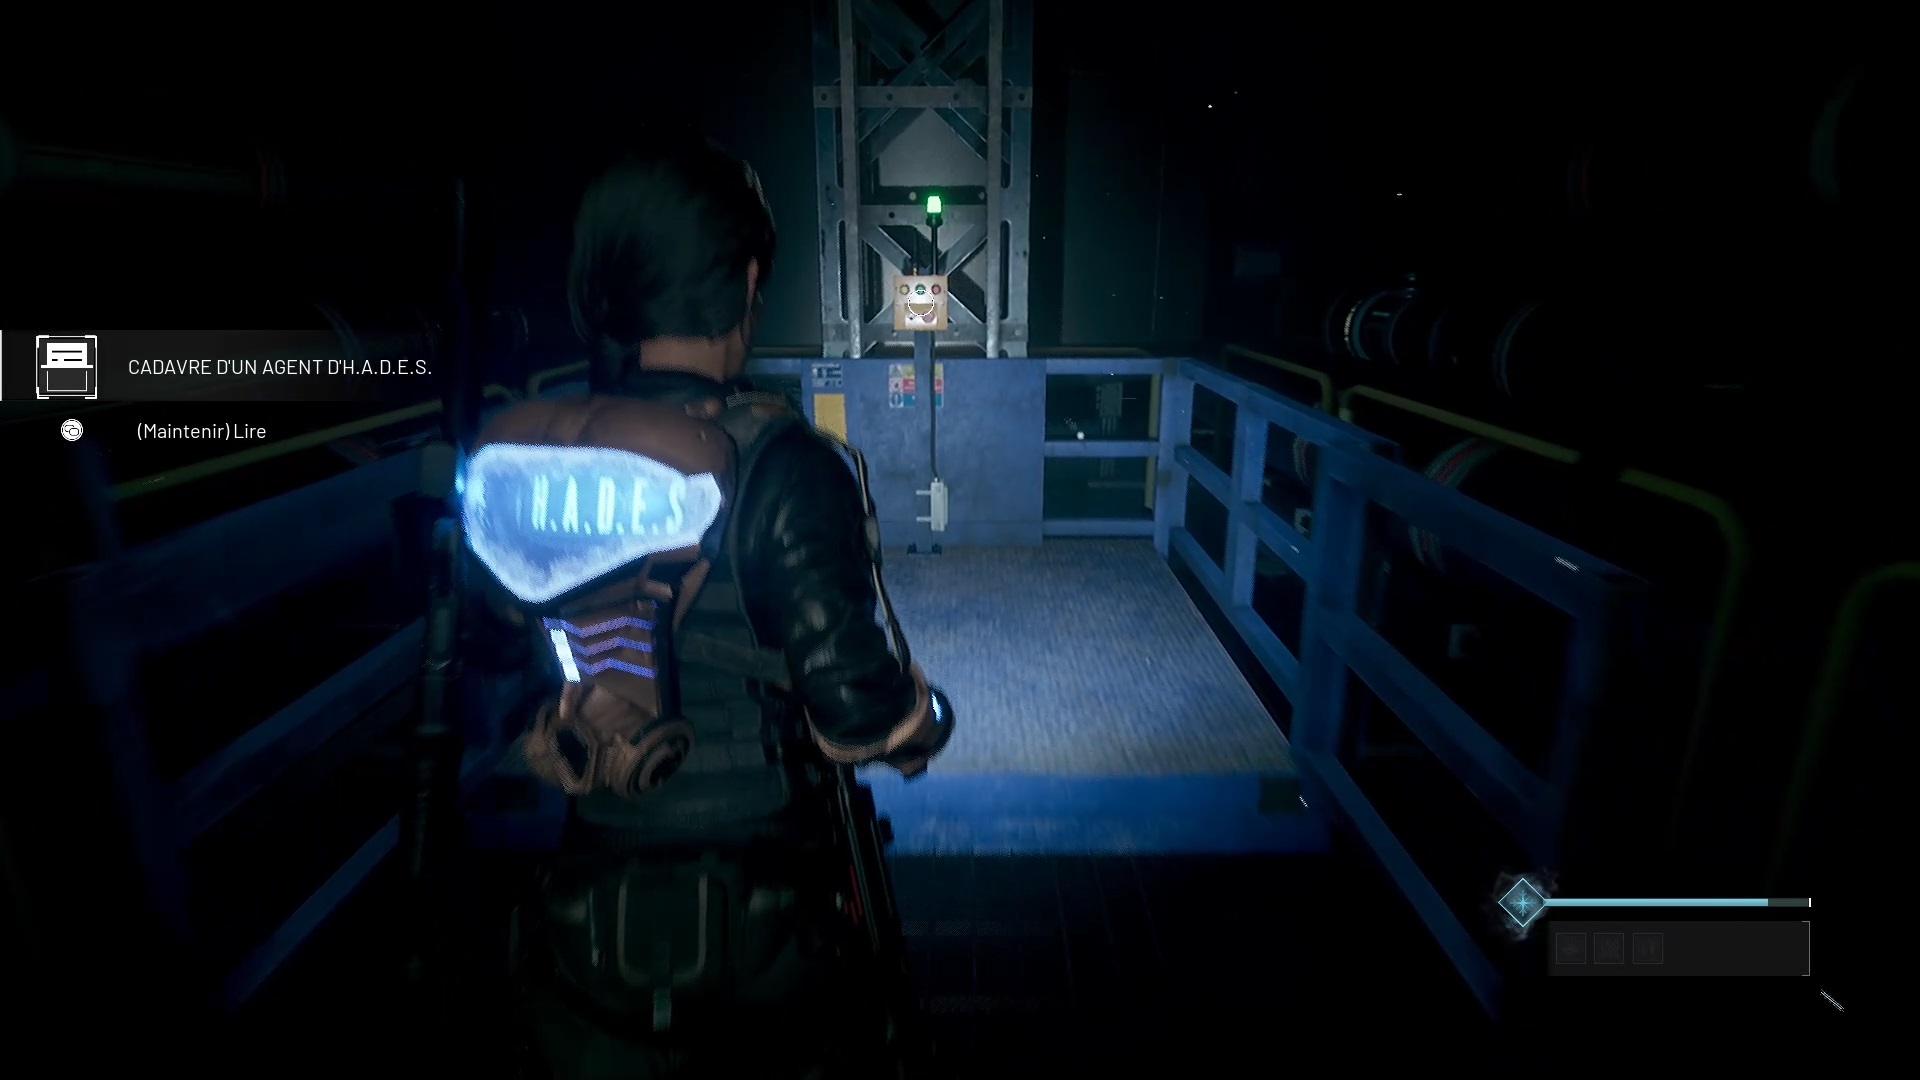
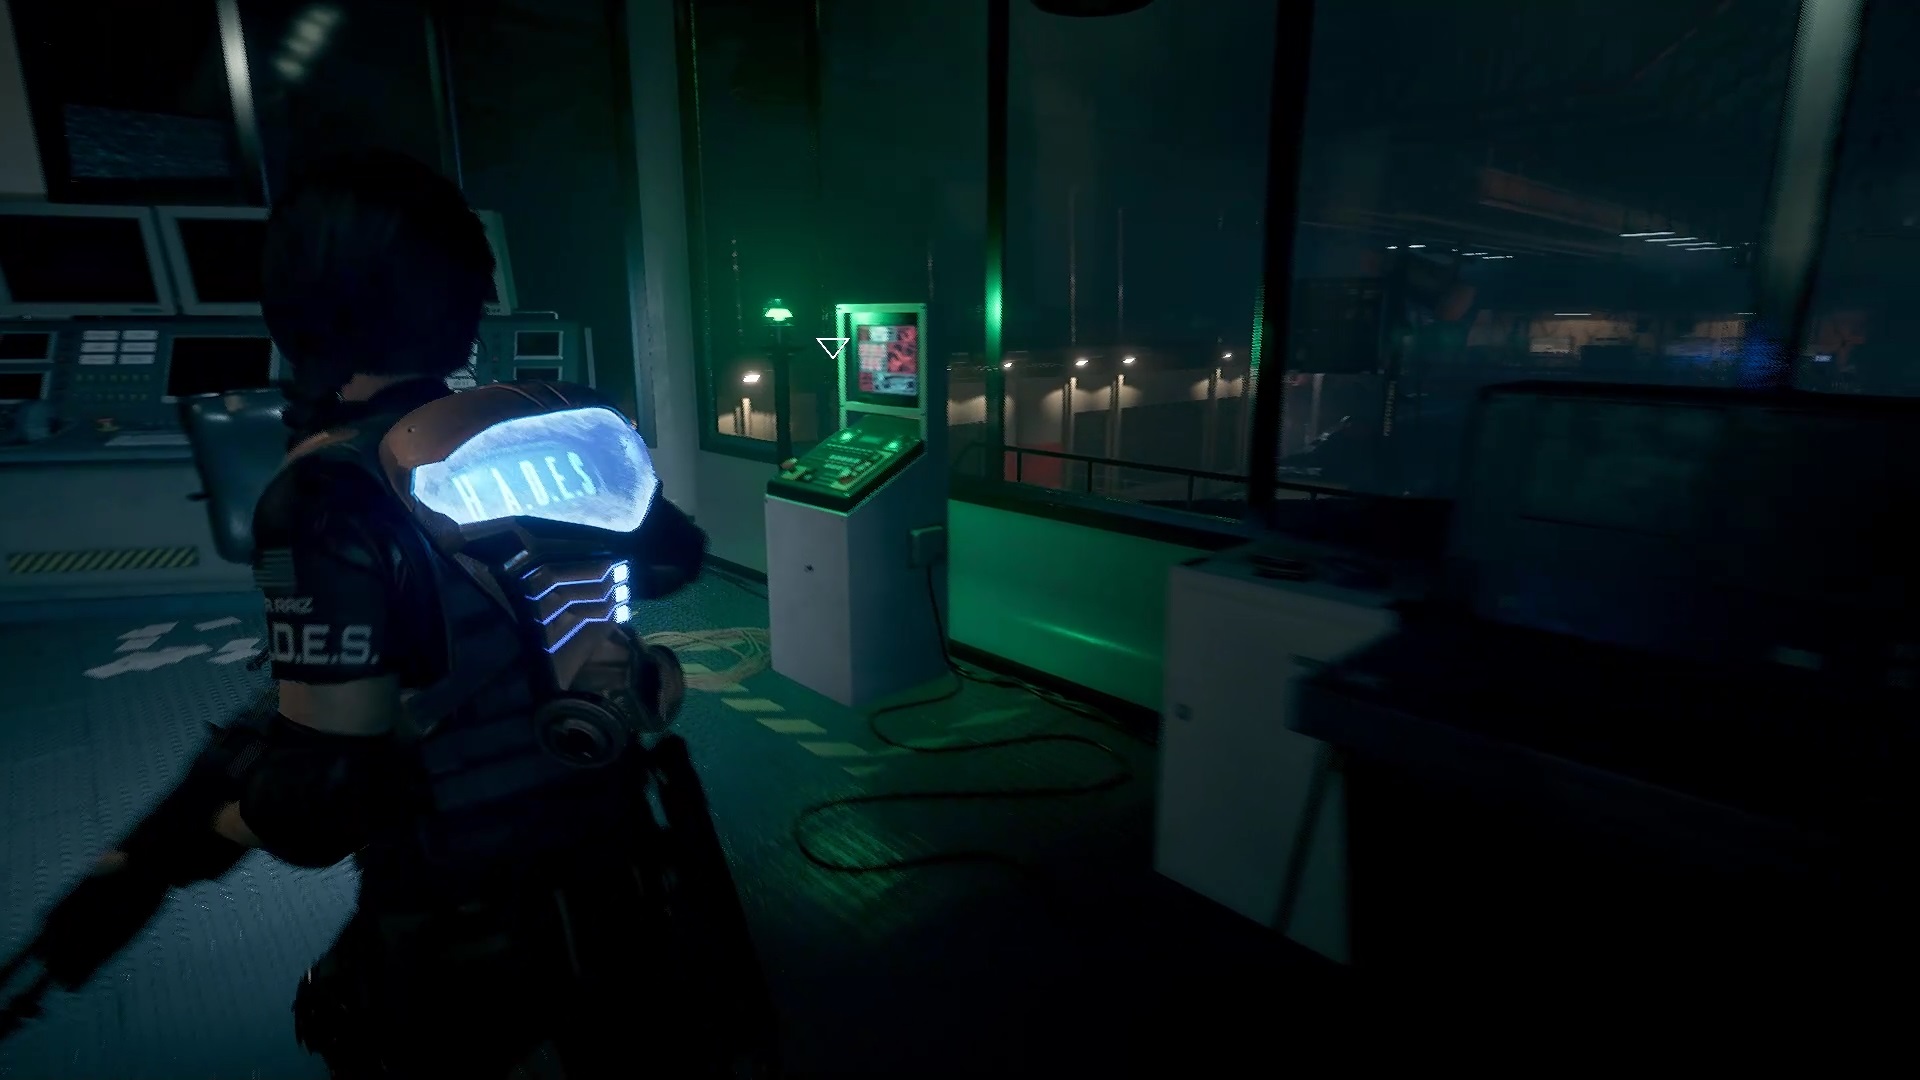
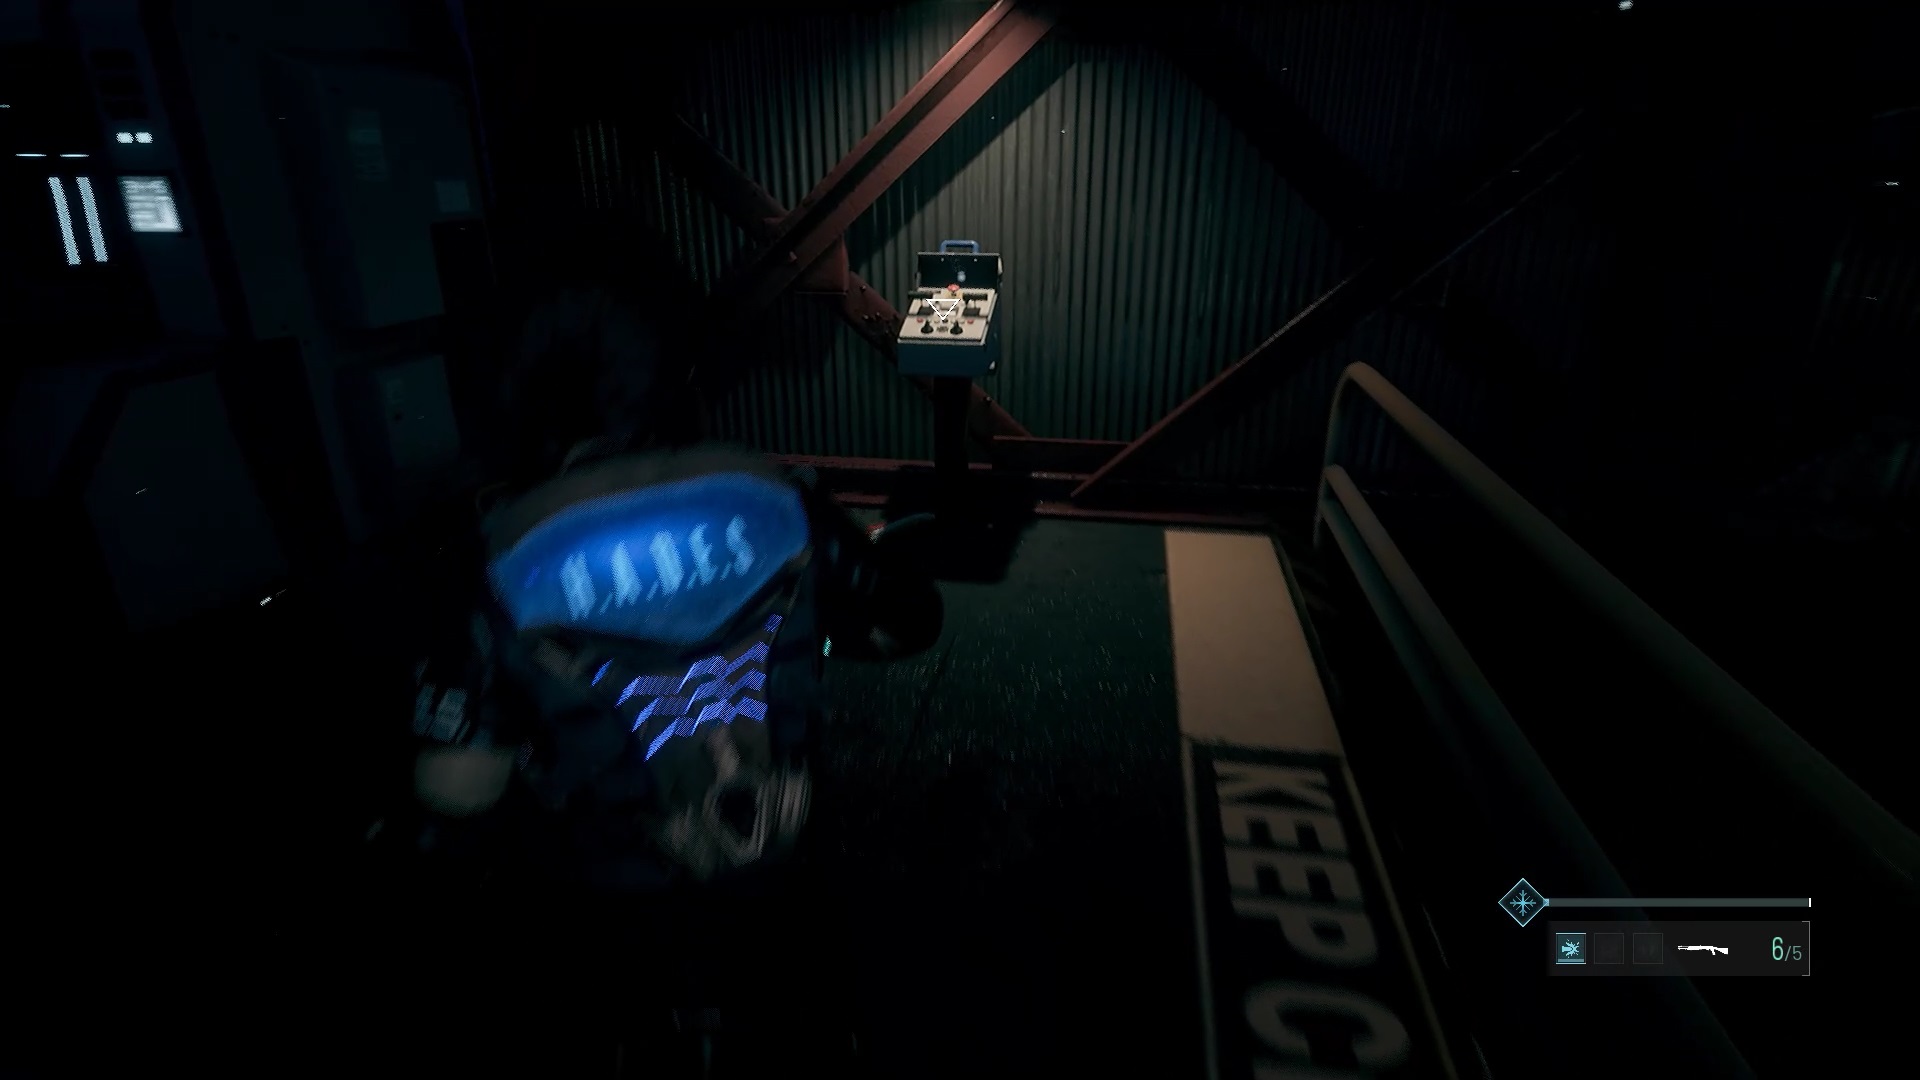
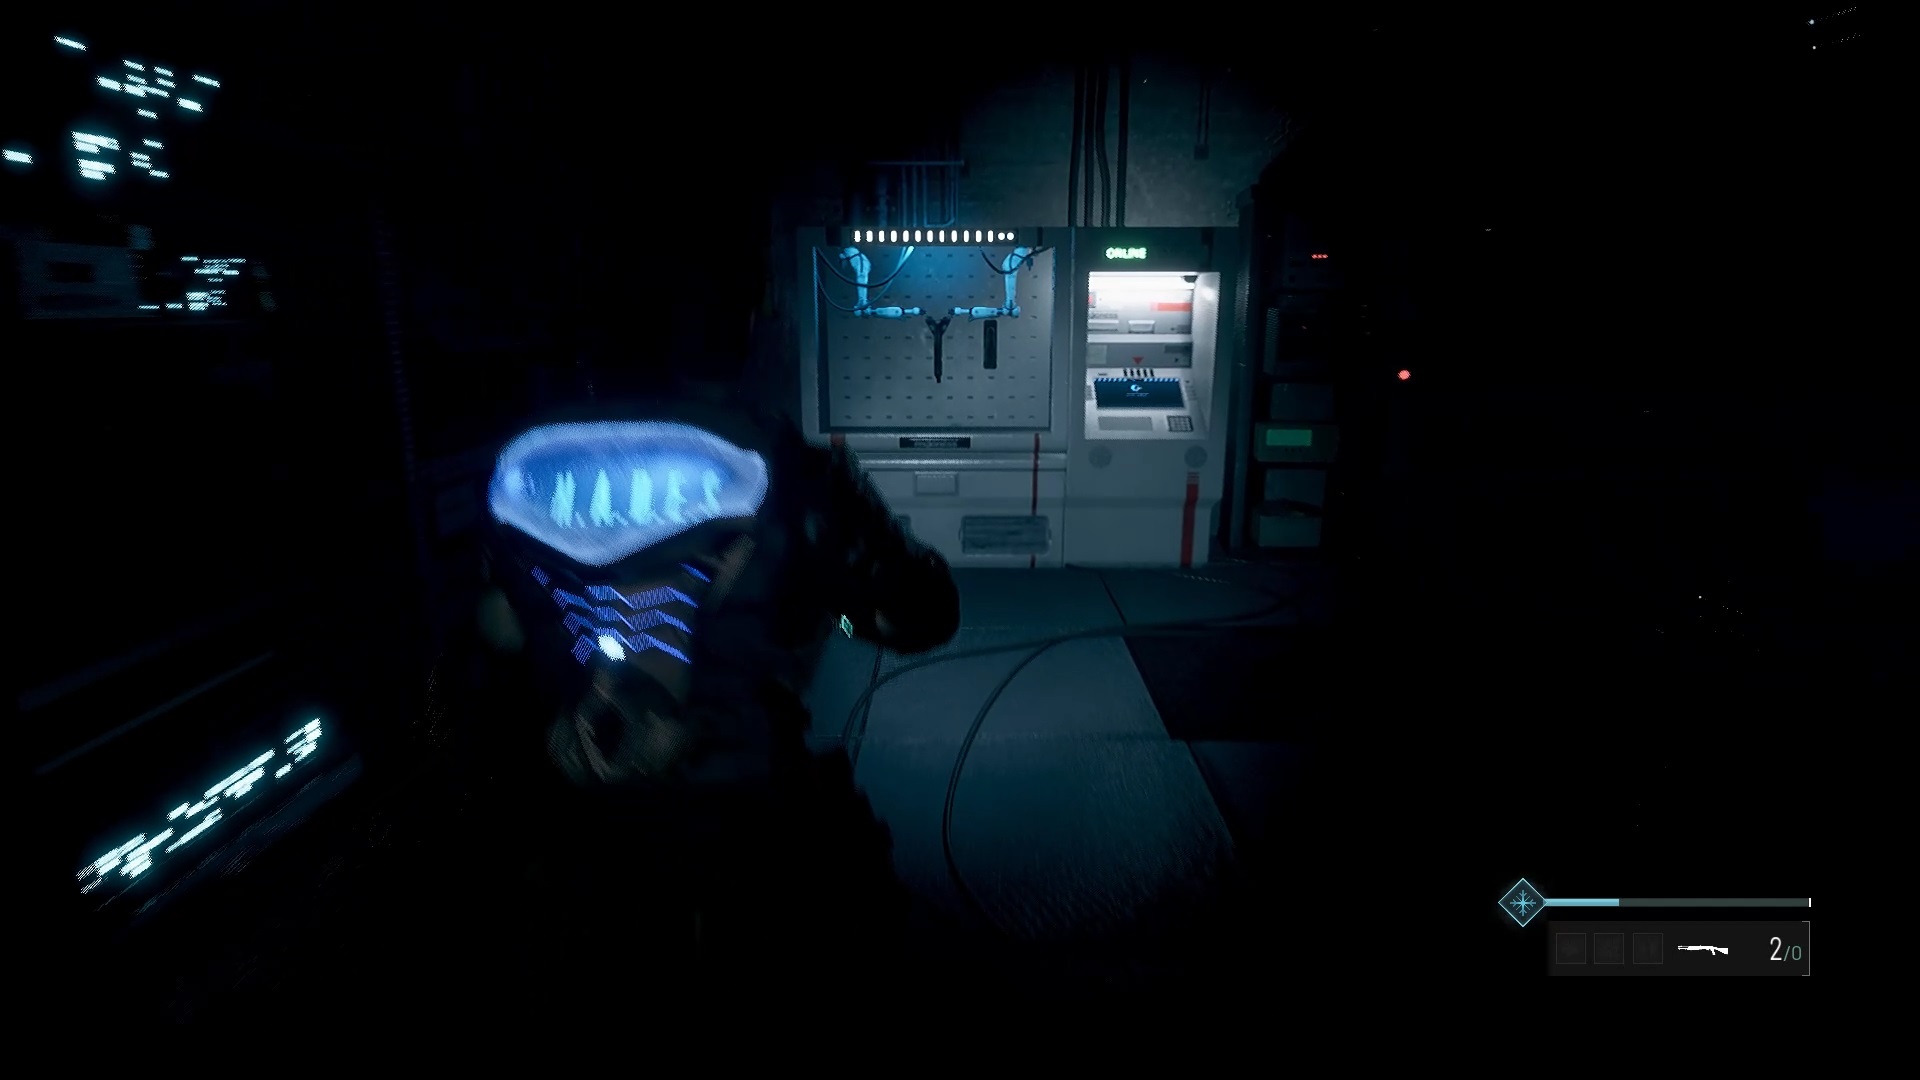
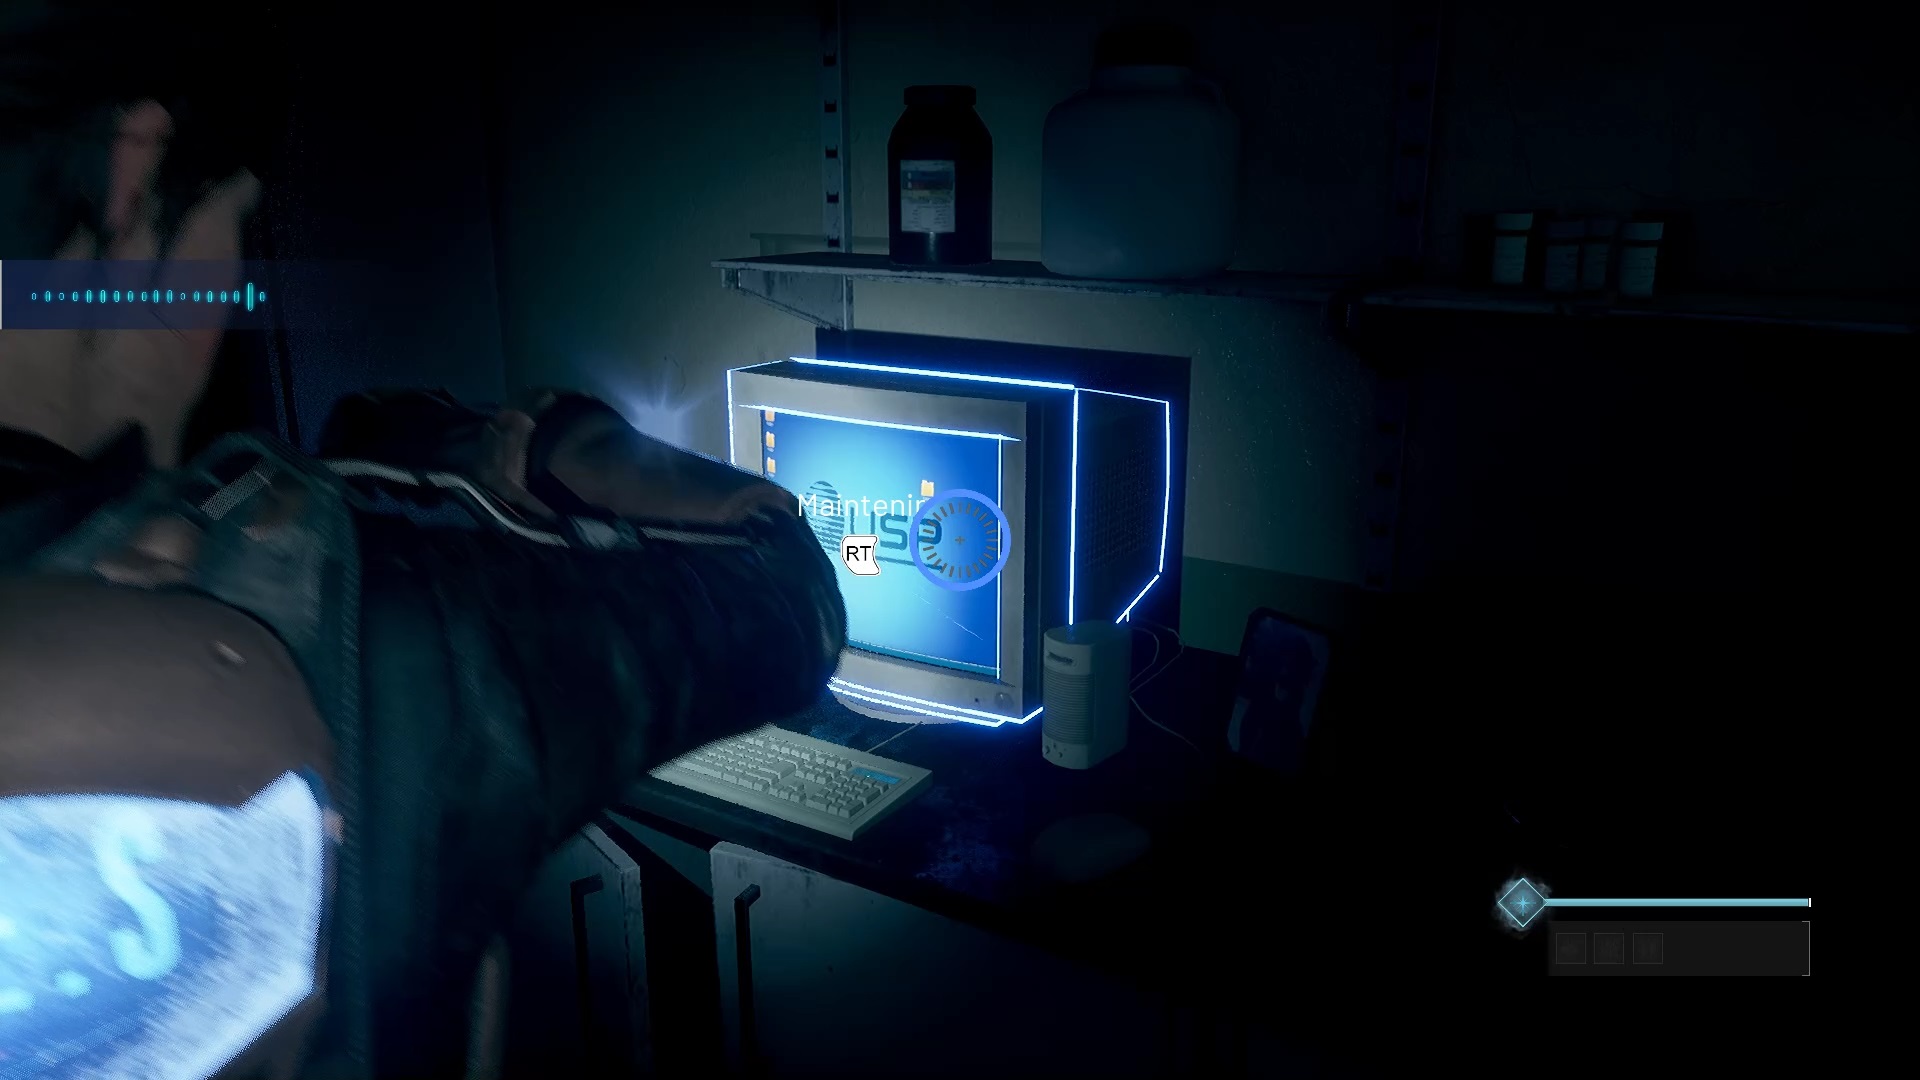
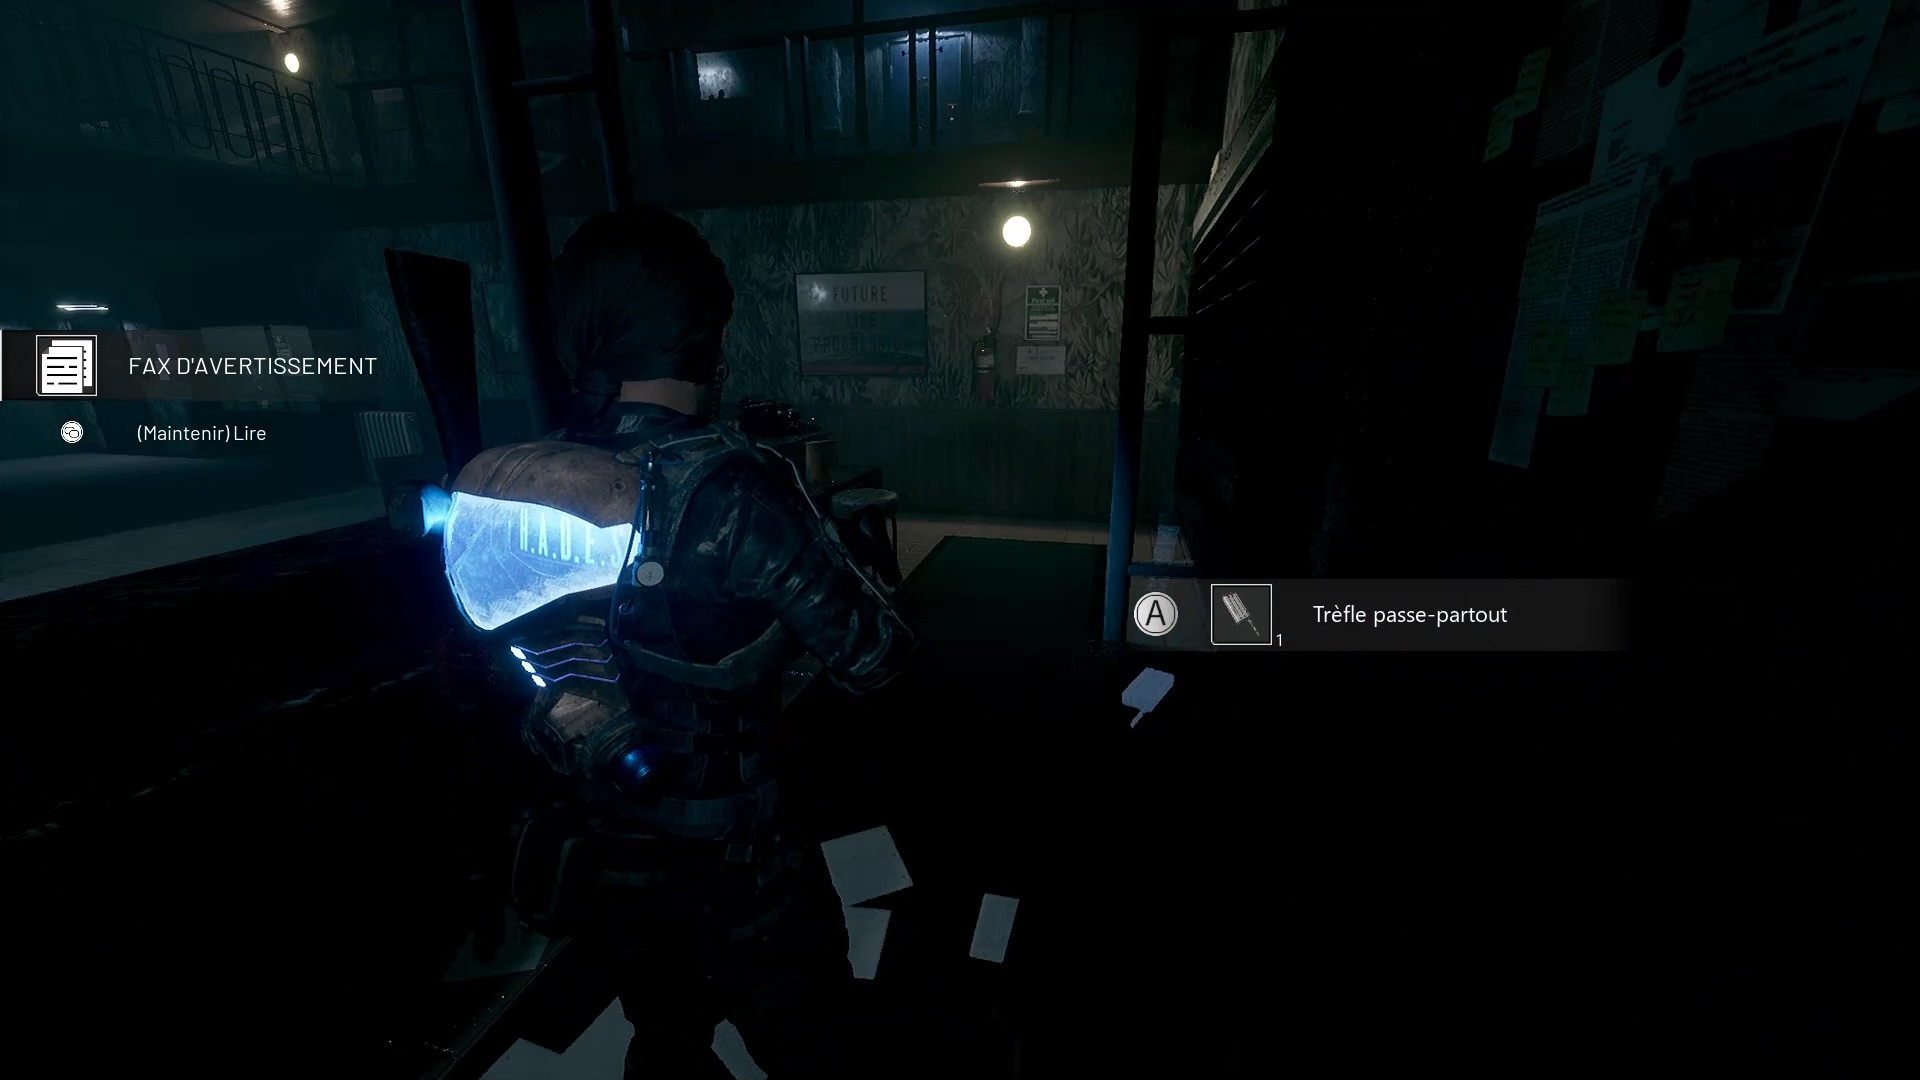
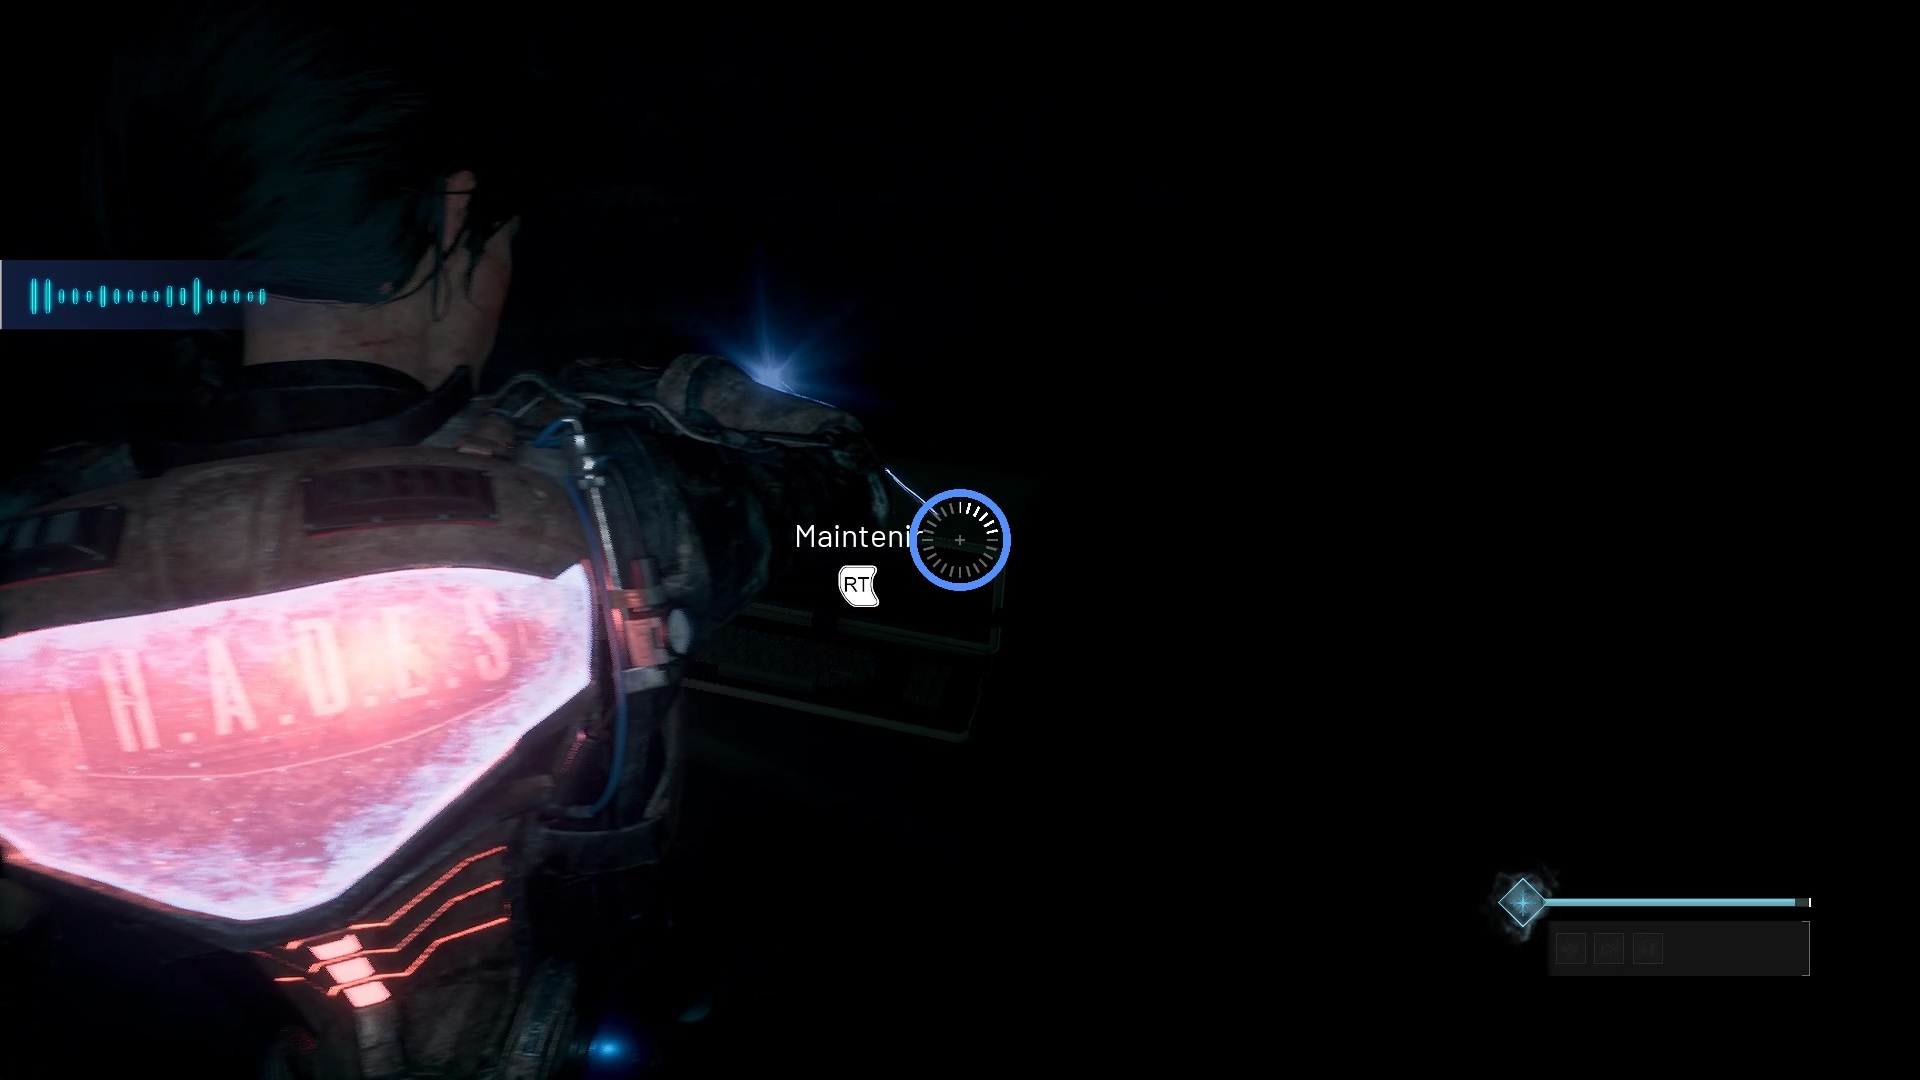
Go deeper into the building to find a door to the left of the elevator. Go inside and retrieve the document on the table. Nearby you will find a generator with a missing floppy disk.
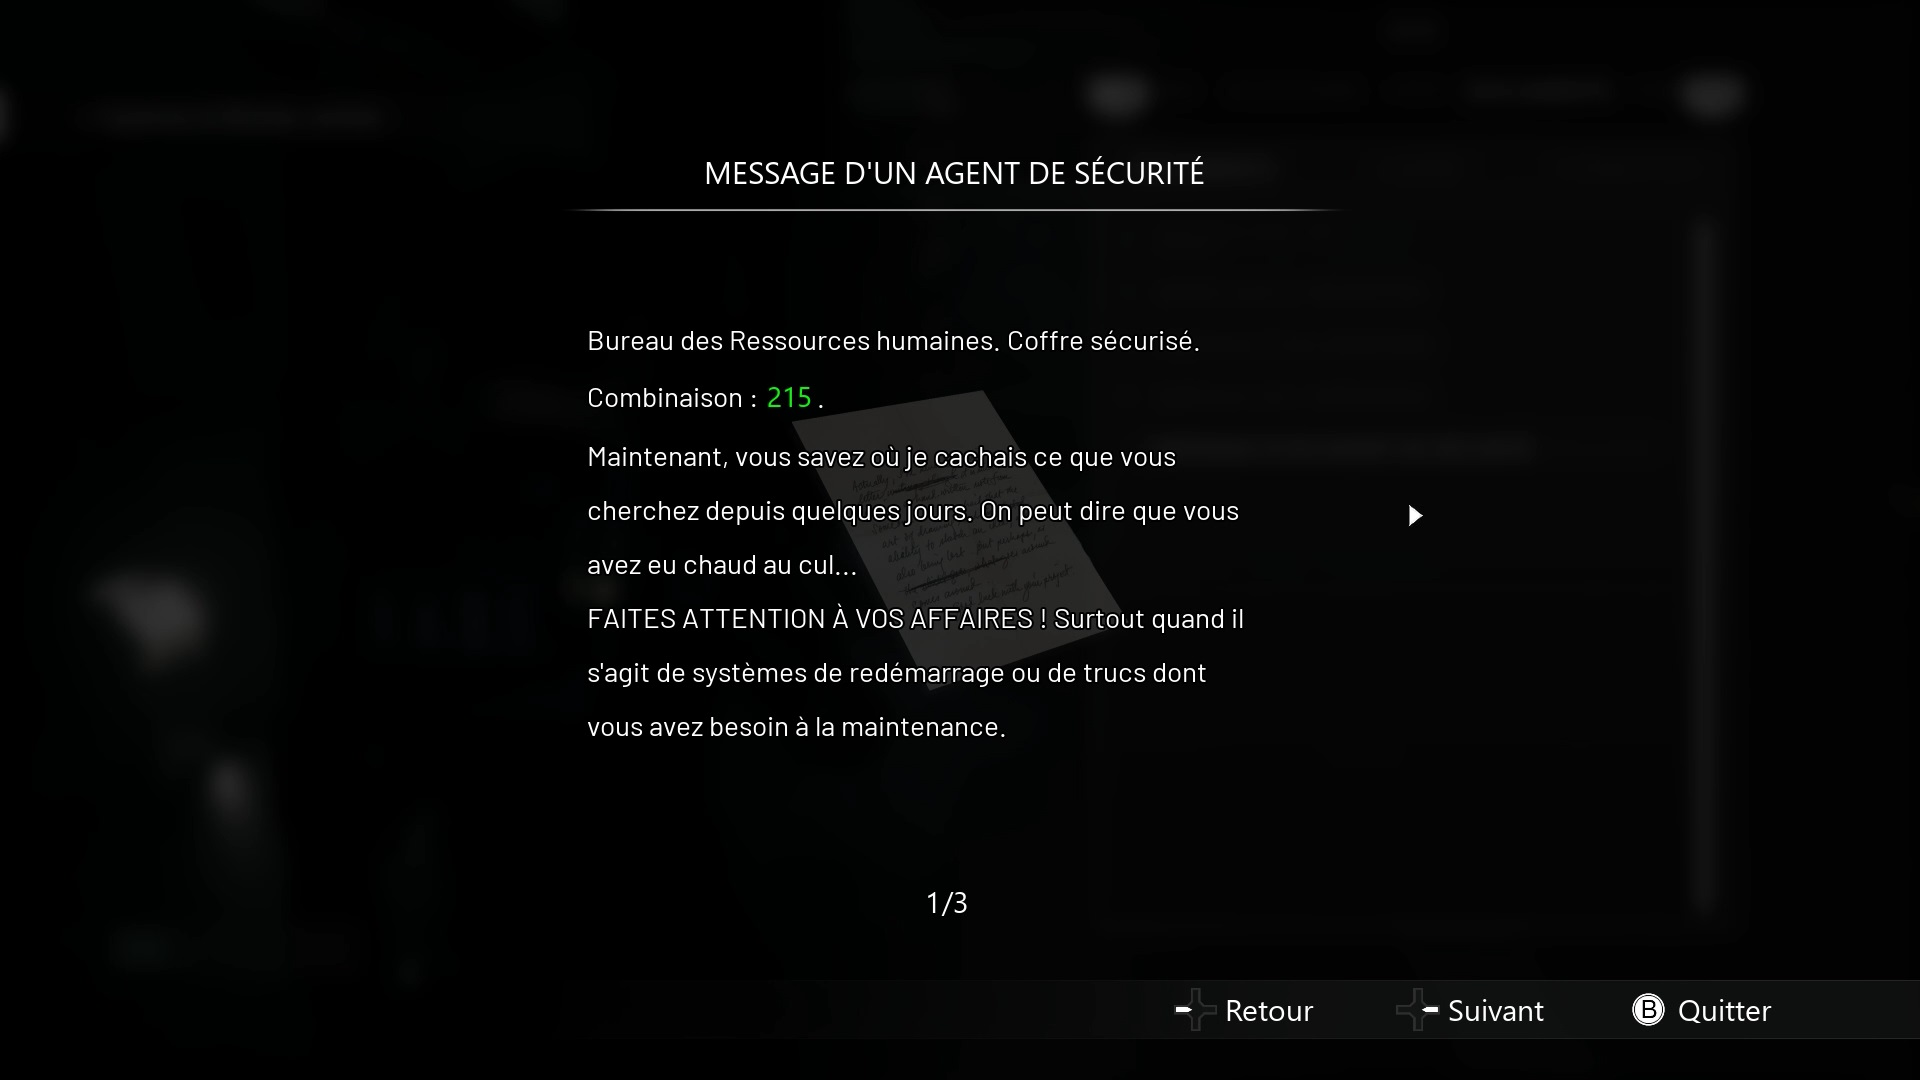
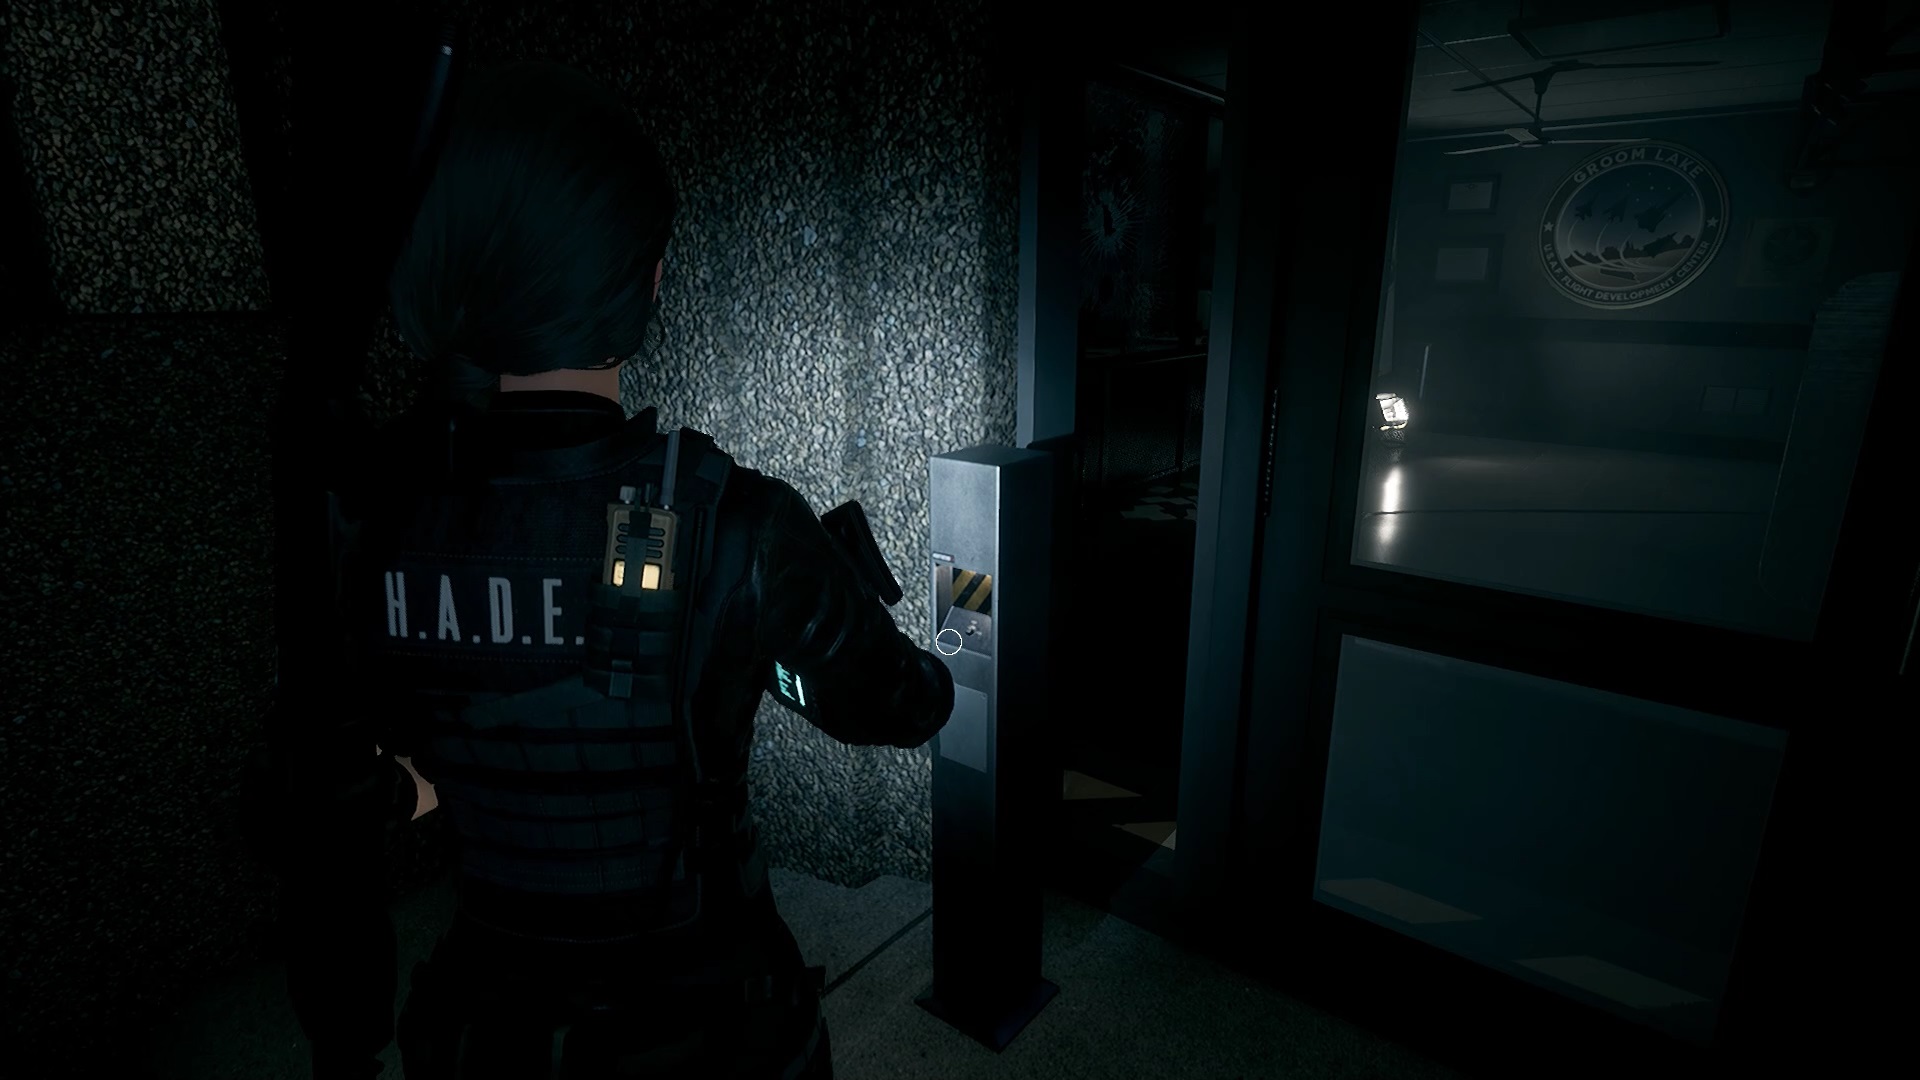
Go through the door into the hallway opposite a ladder. In this room you will find a locker and a little gray man. You can shoot the little man to get a bonus in the extra menu. Use the document retrieved previously to open the locker with the code either in our part: 215.
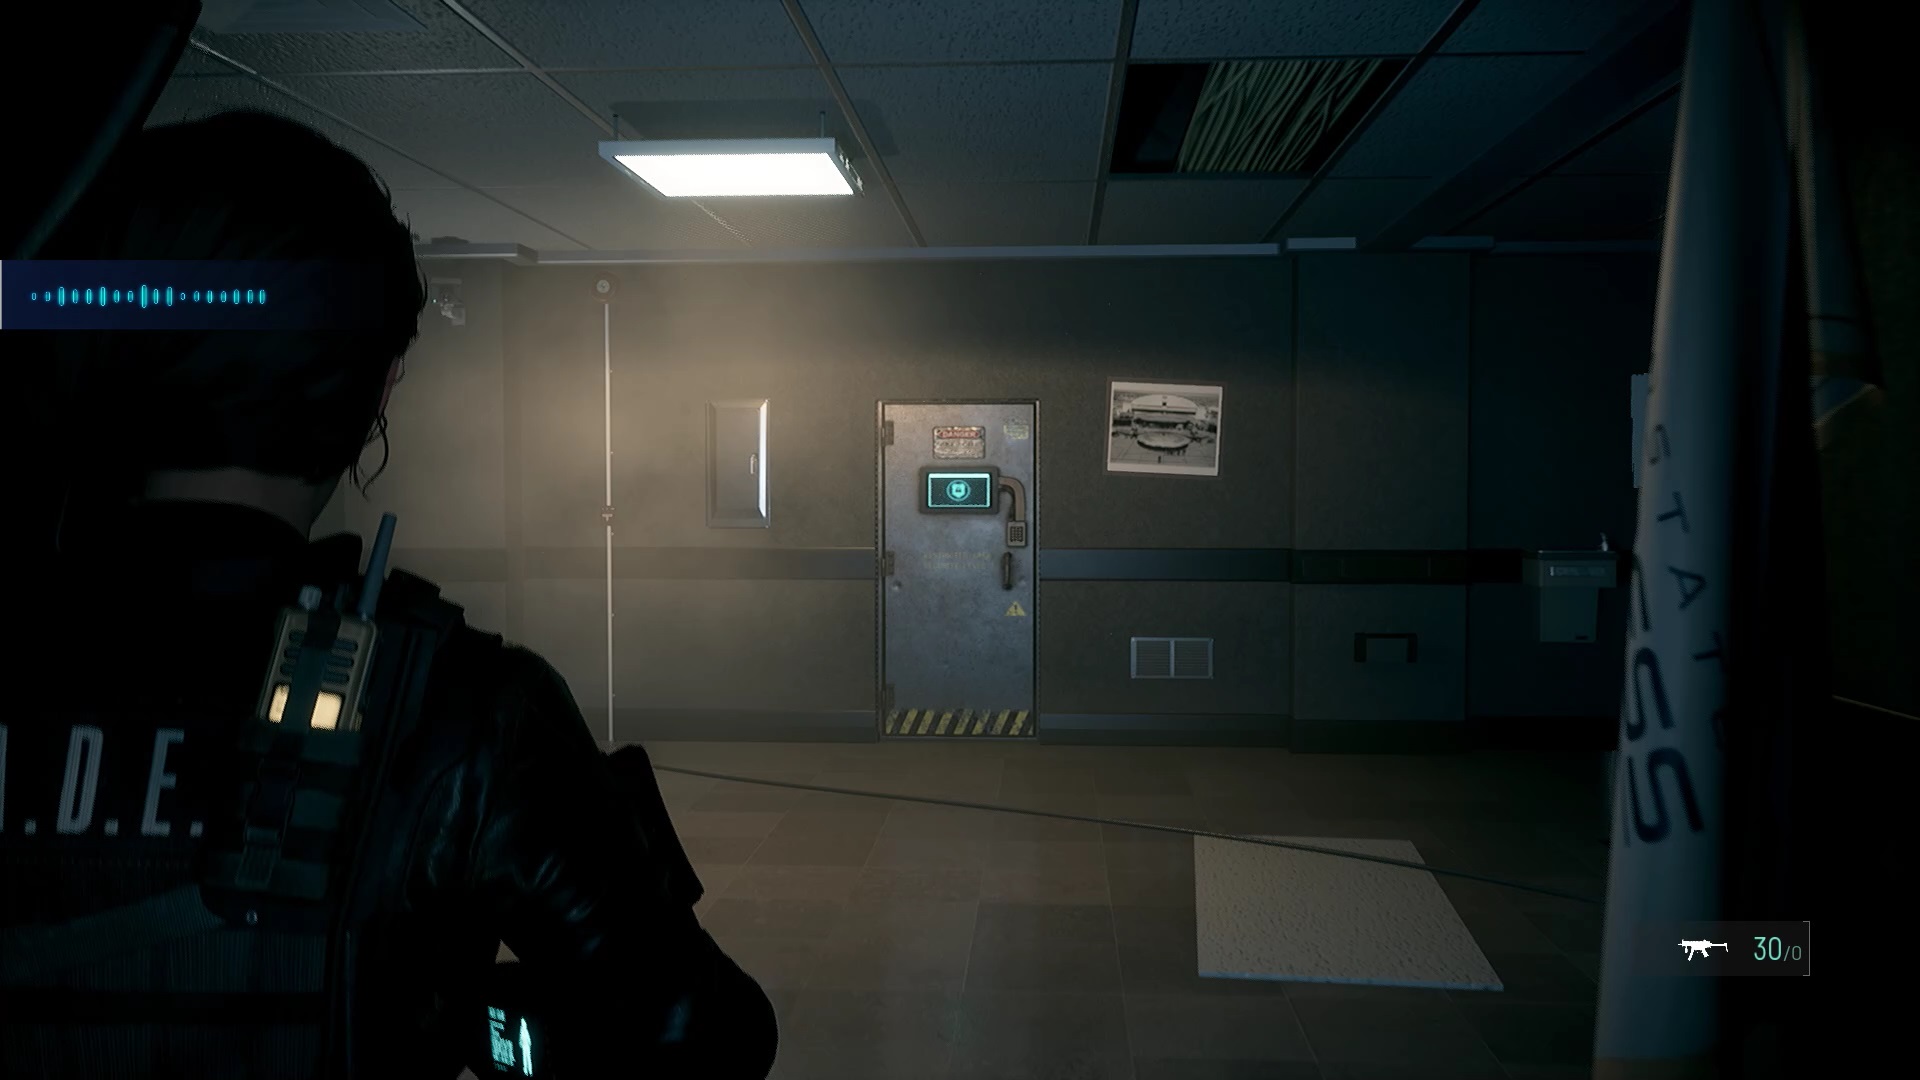
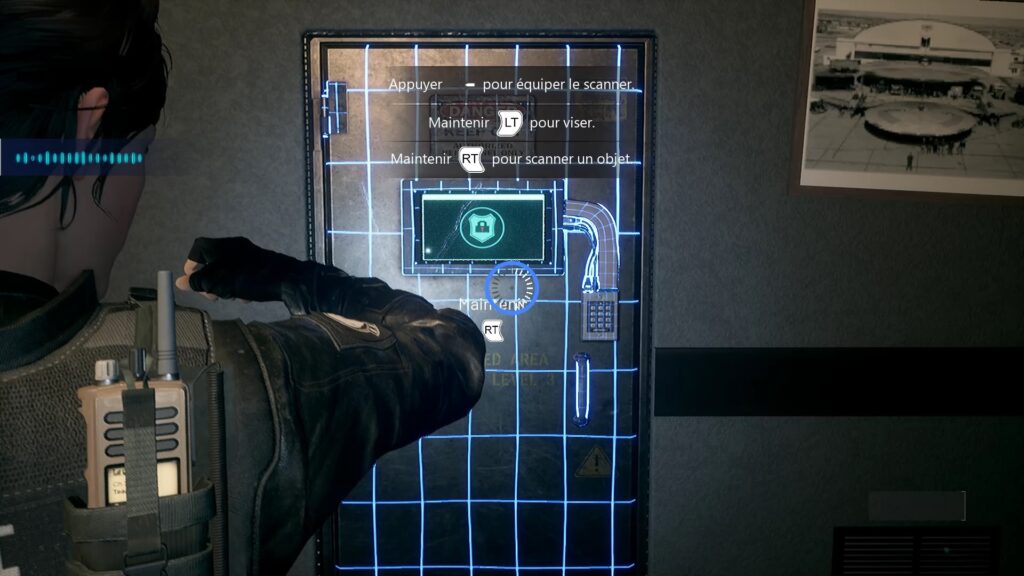
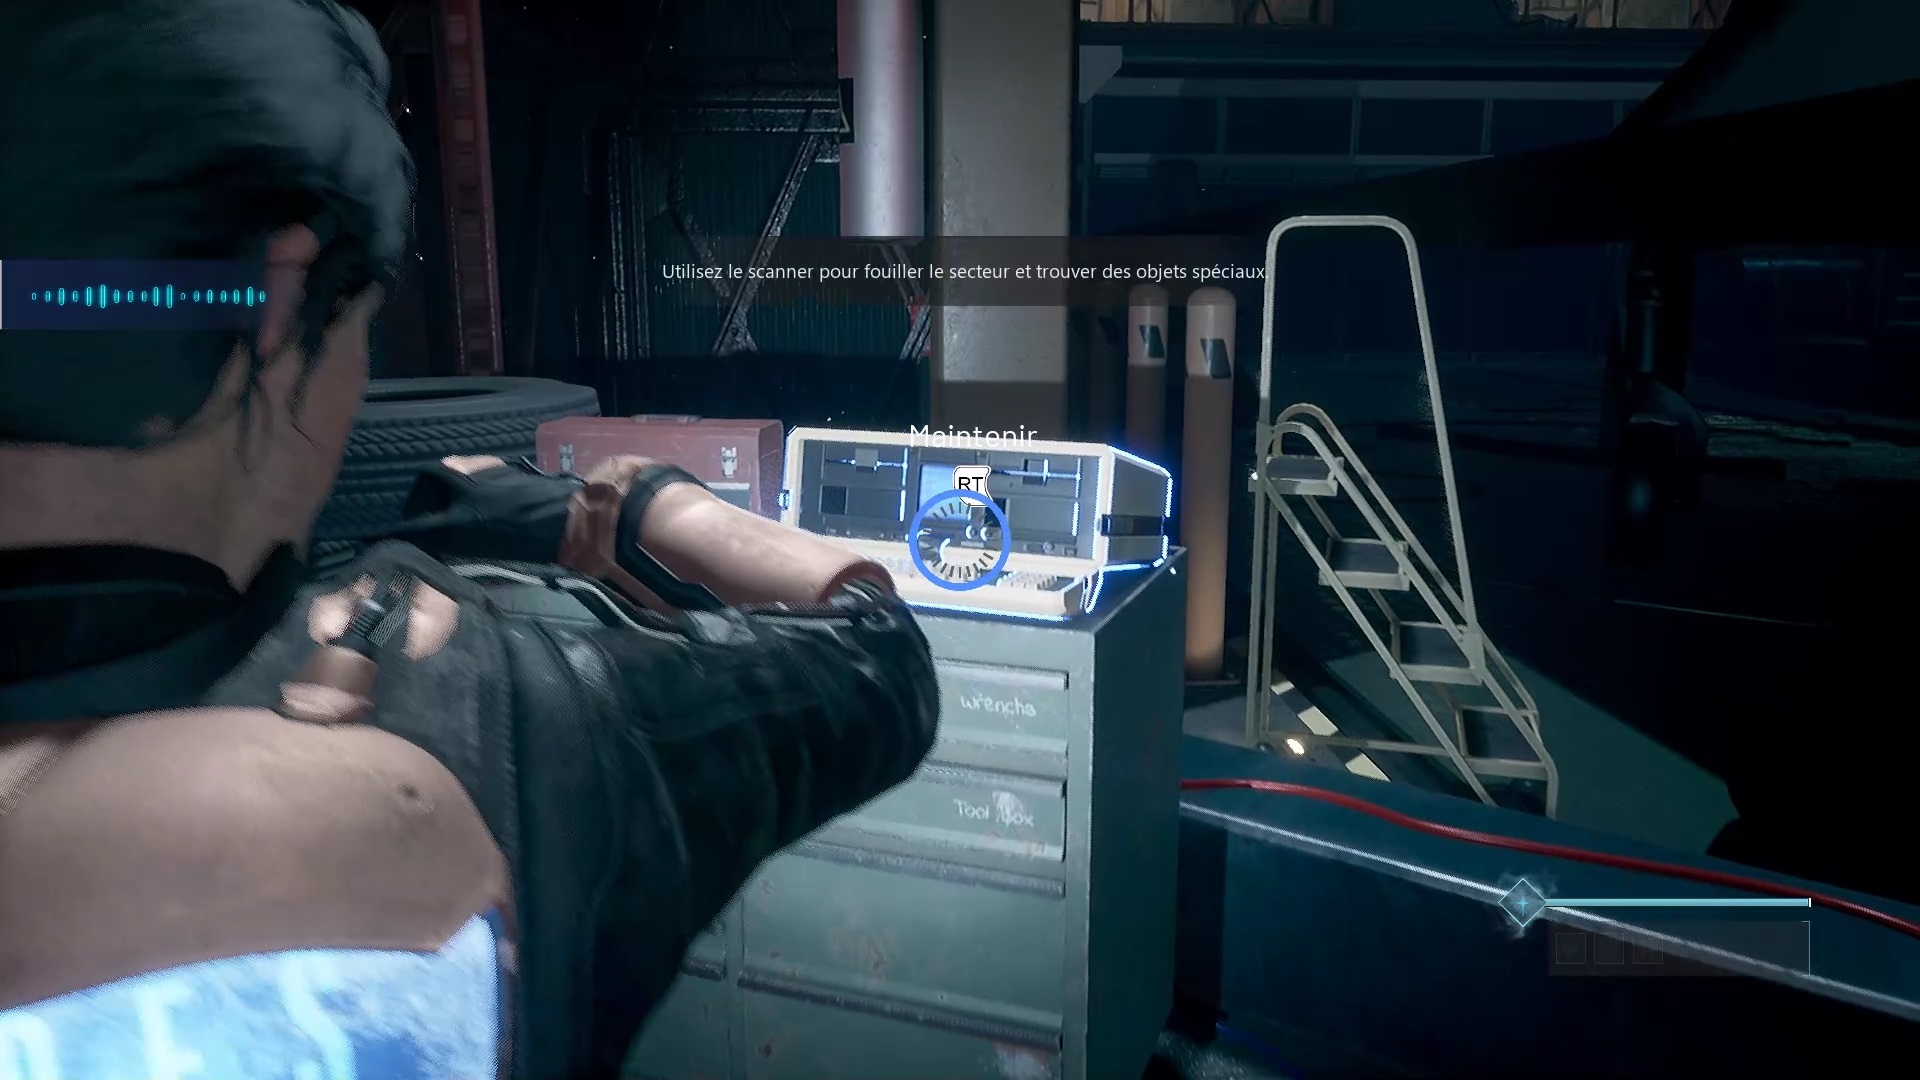
Insert the floppy disk in the room near the elevator to reveal an armored door in the hallway. Scan the armored door to get a bonus document. Then take the stairs to the left of the door.
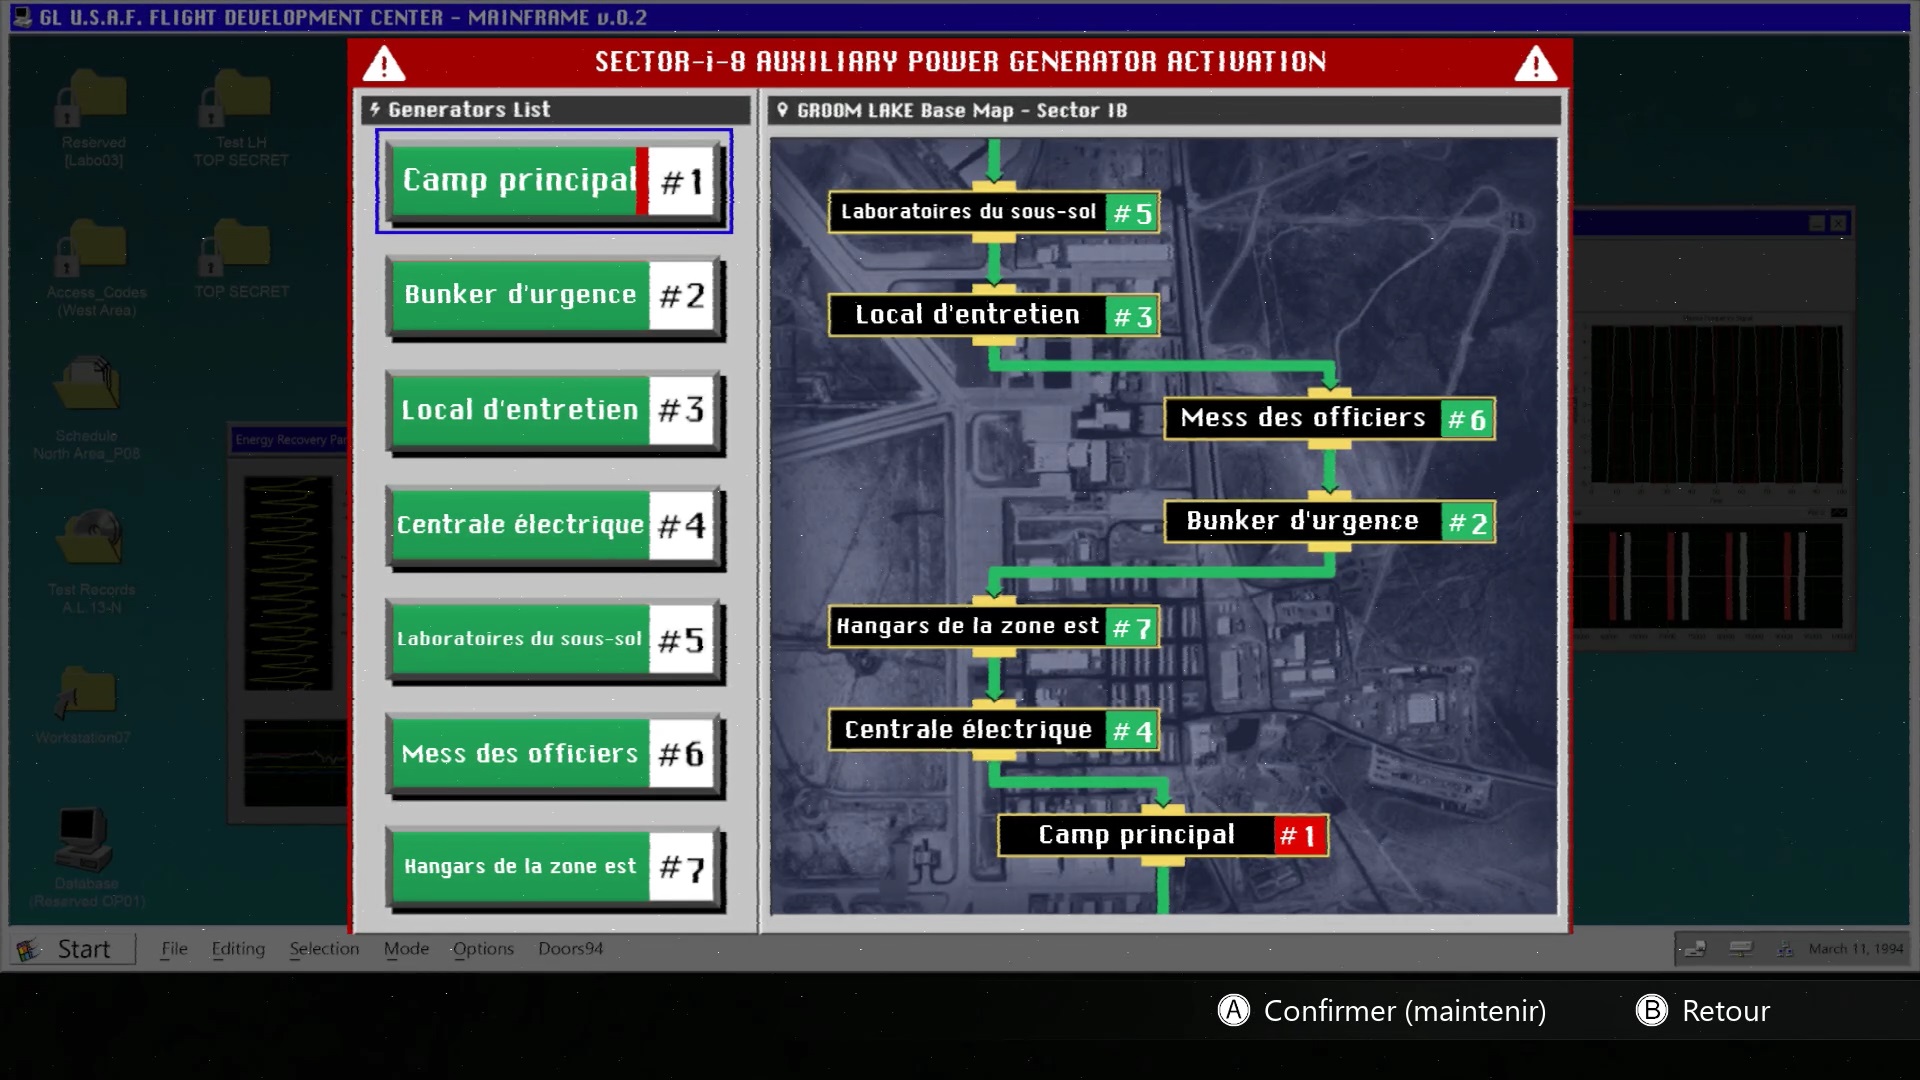
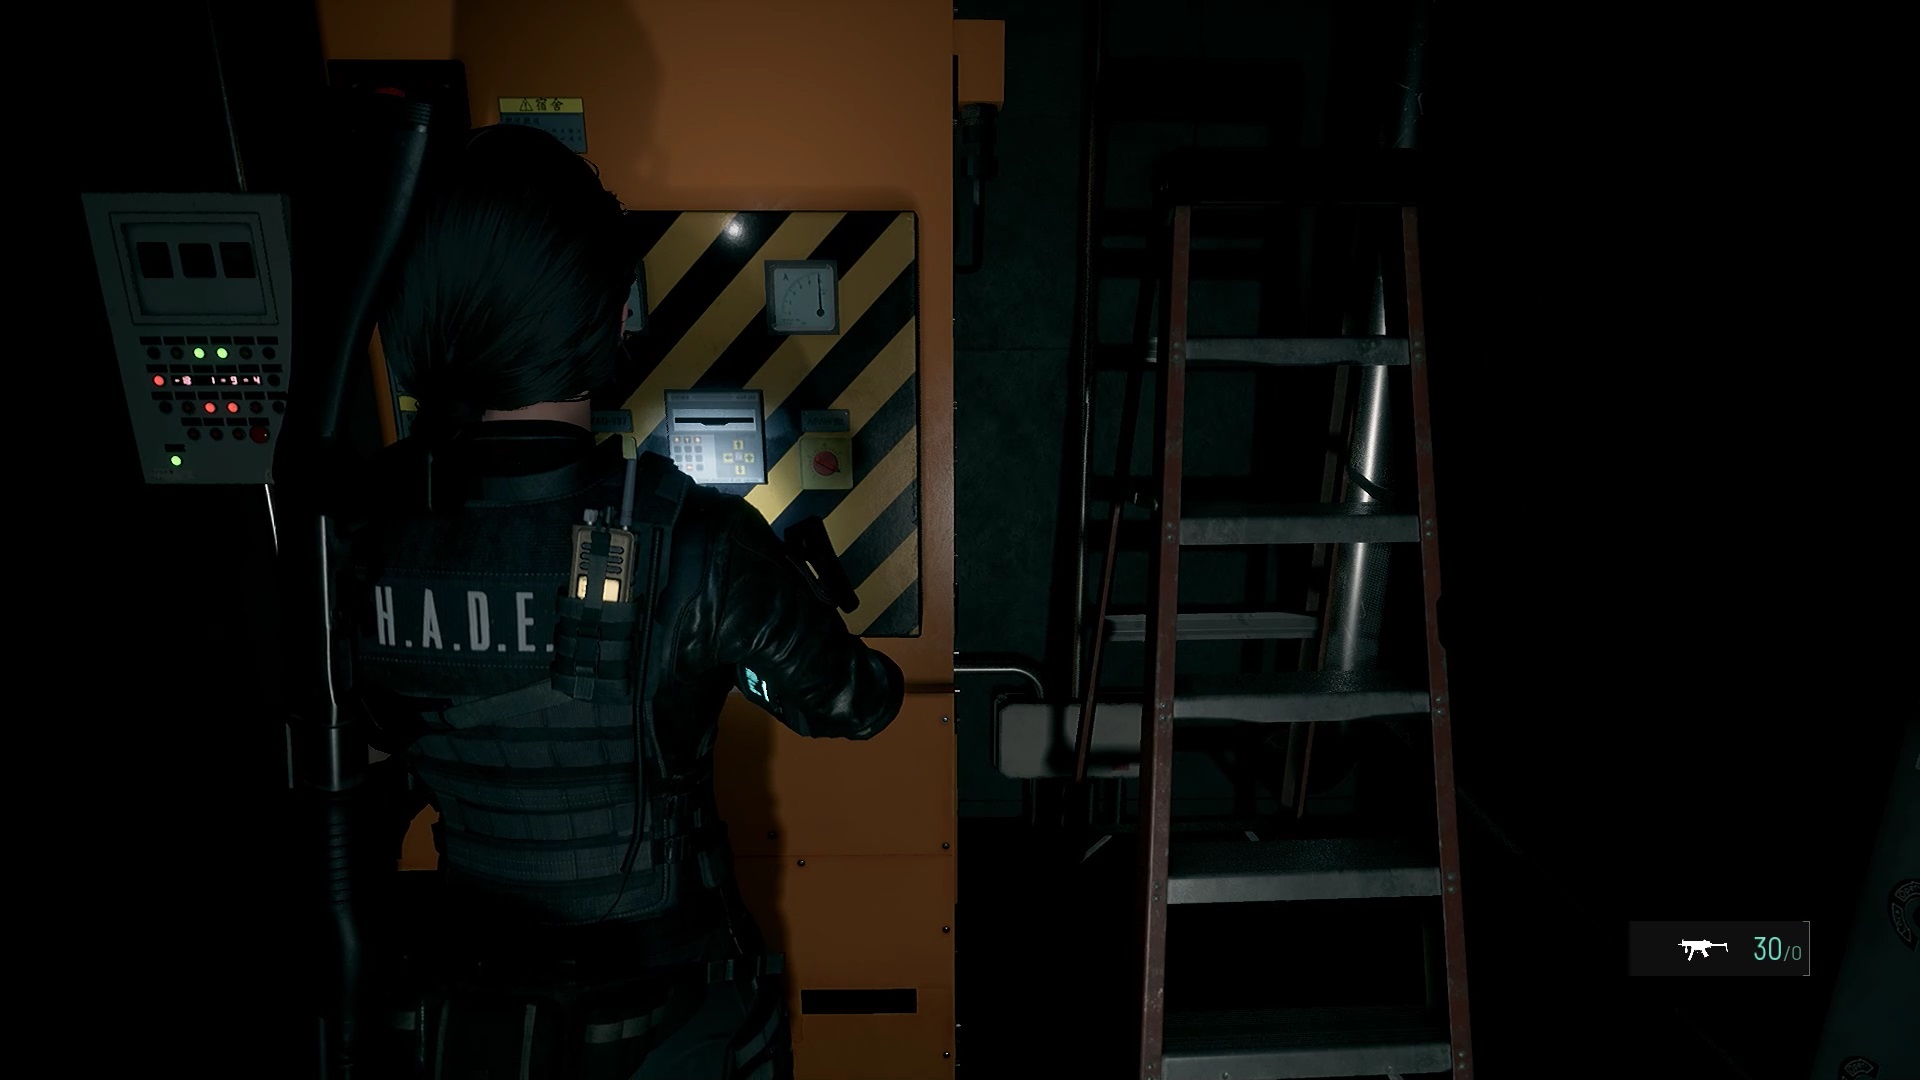
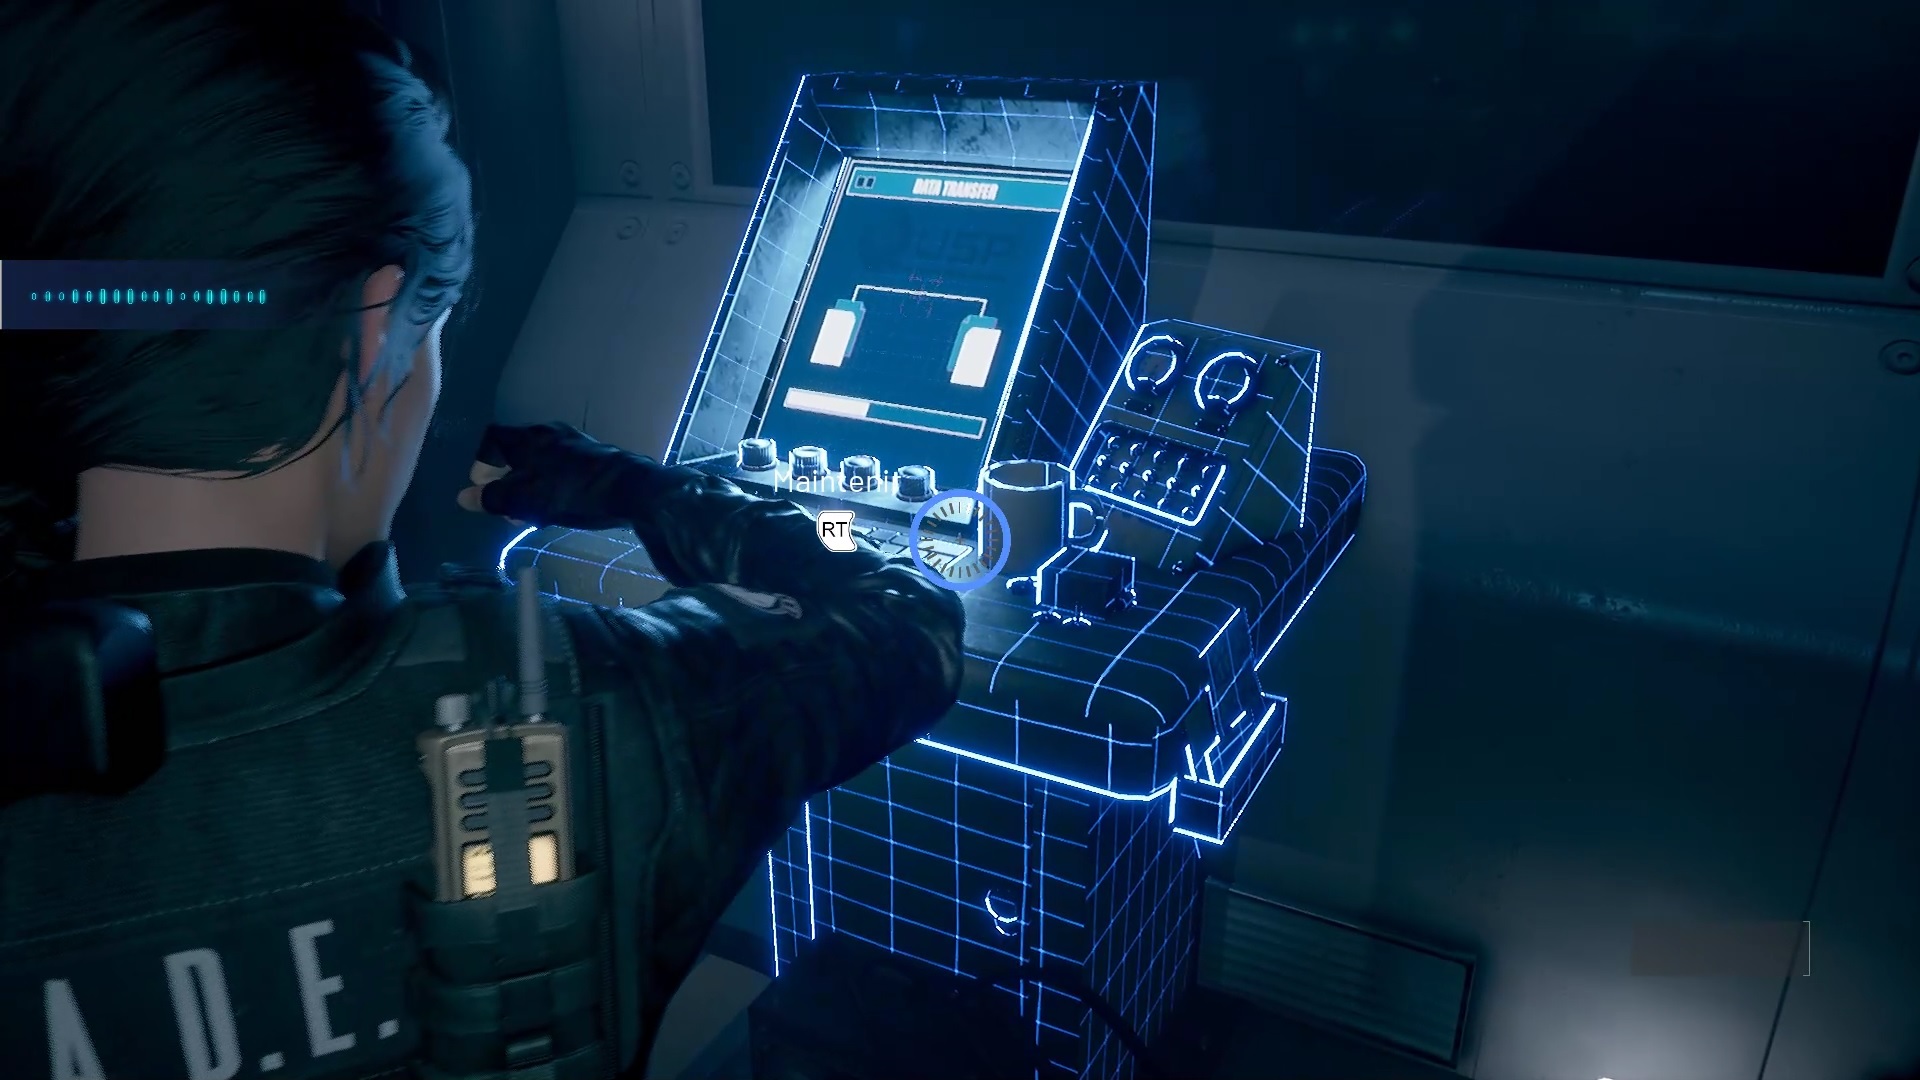
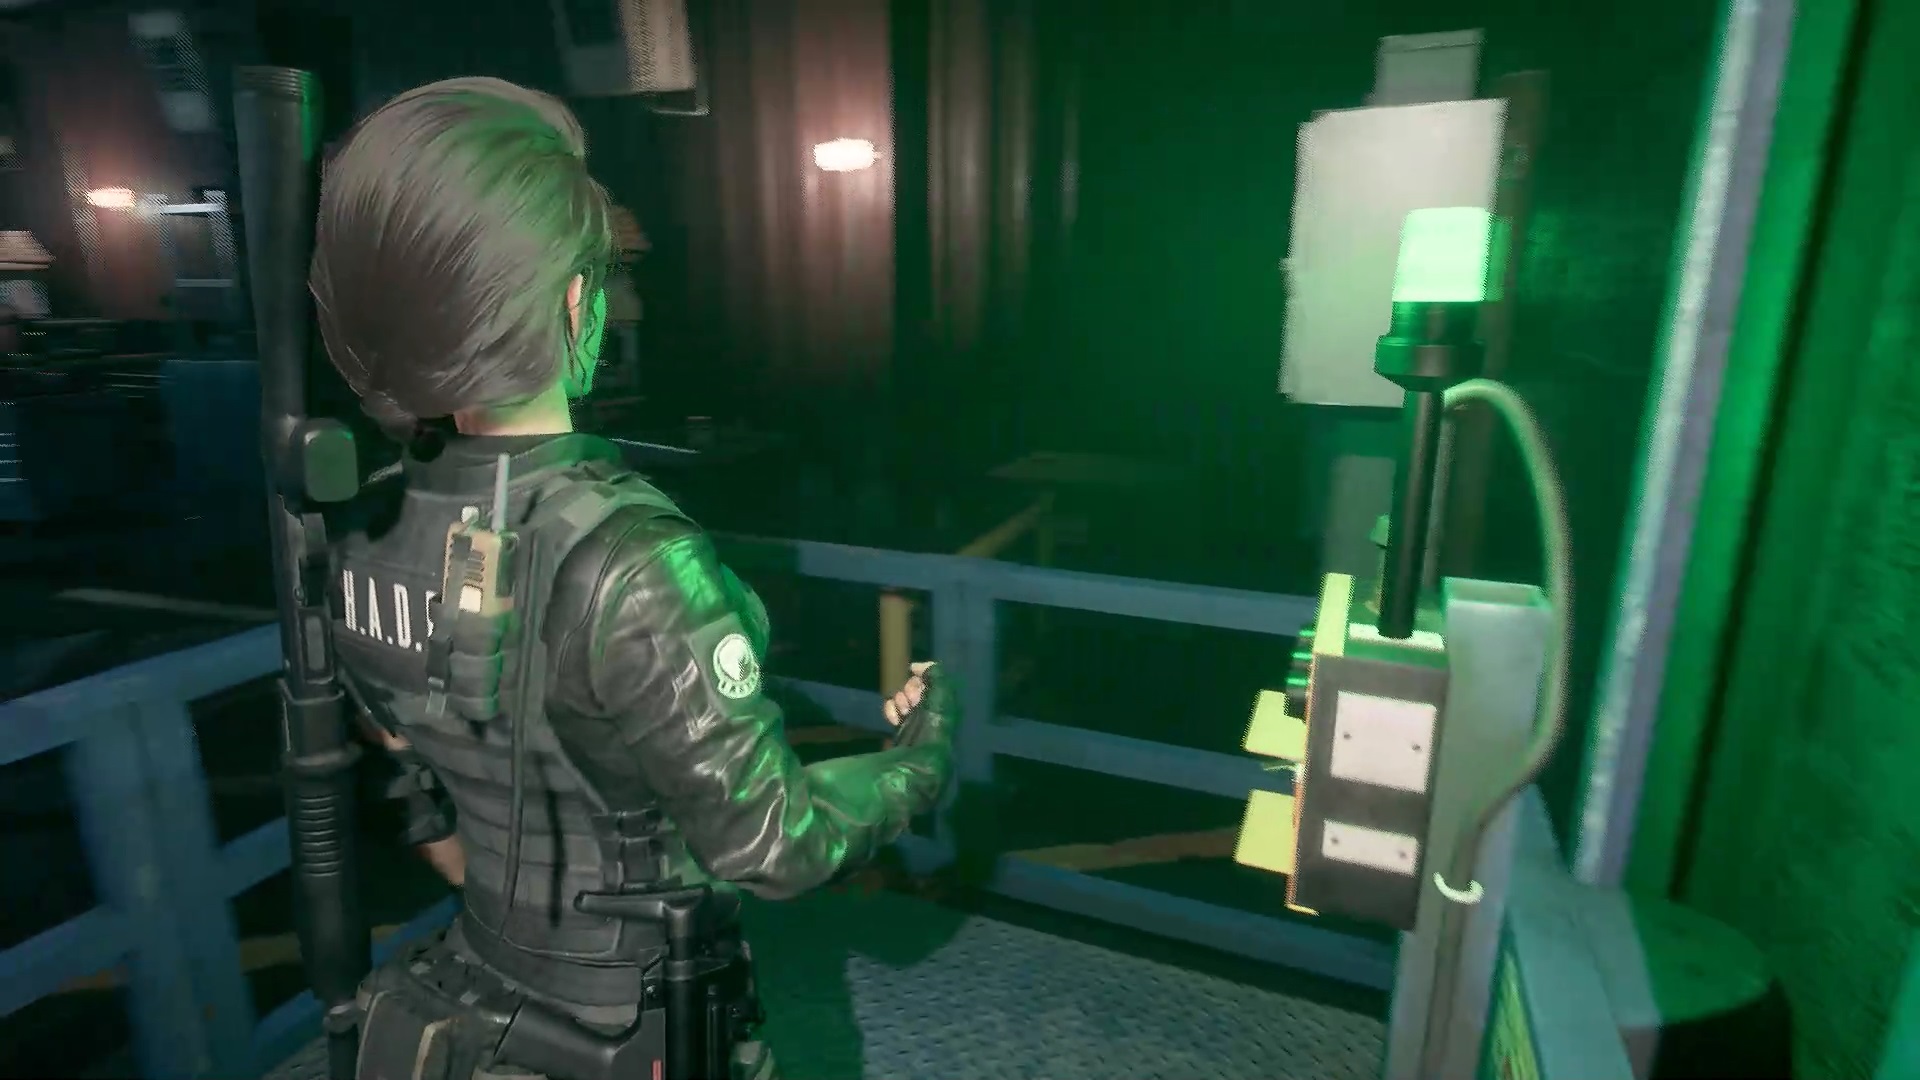
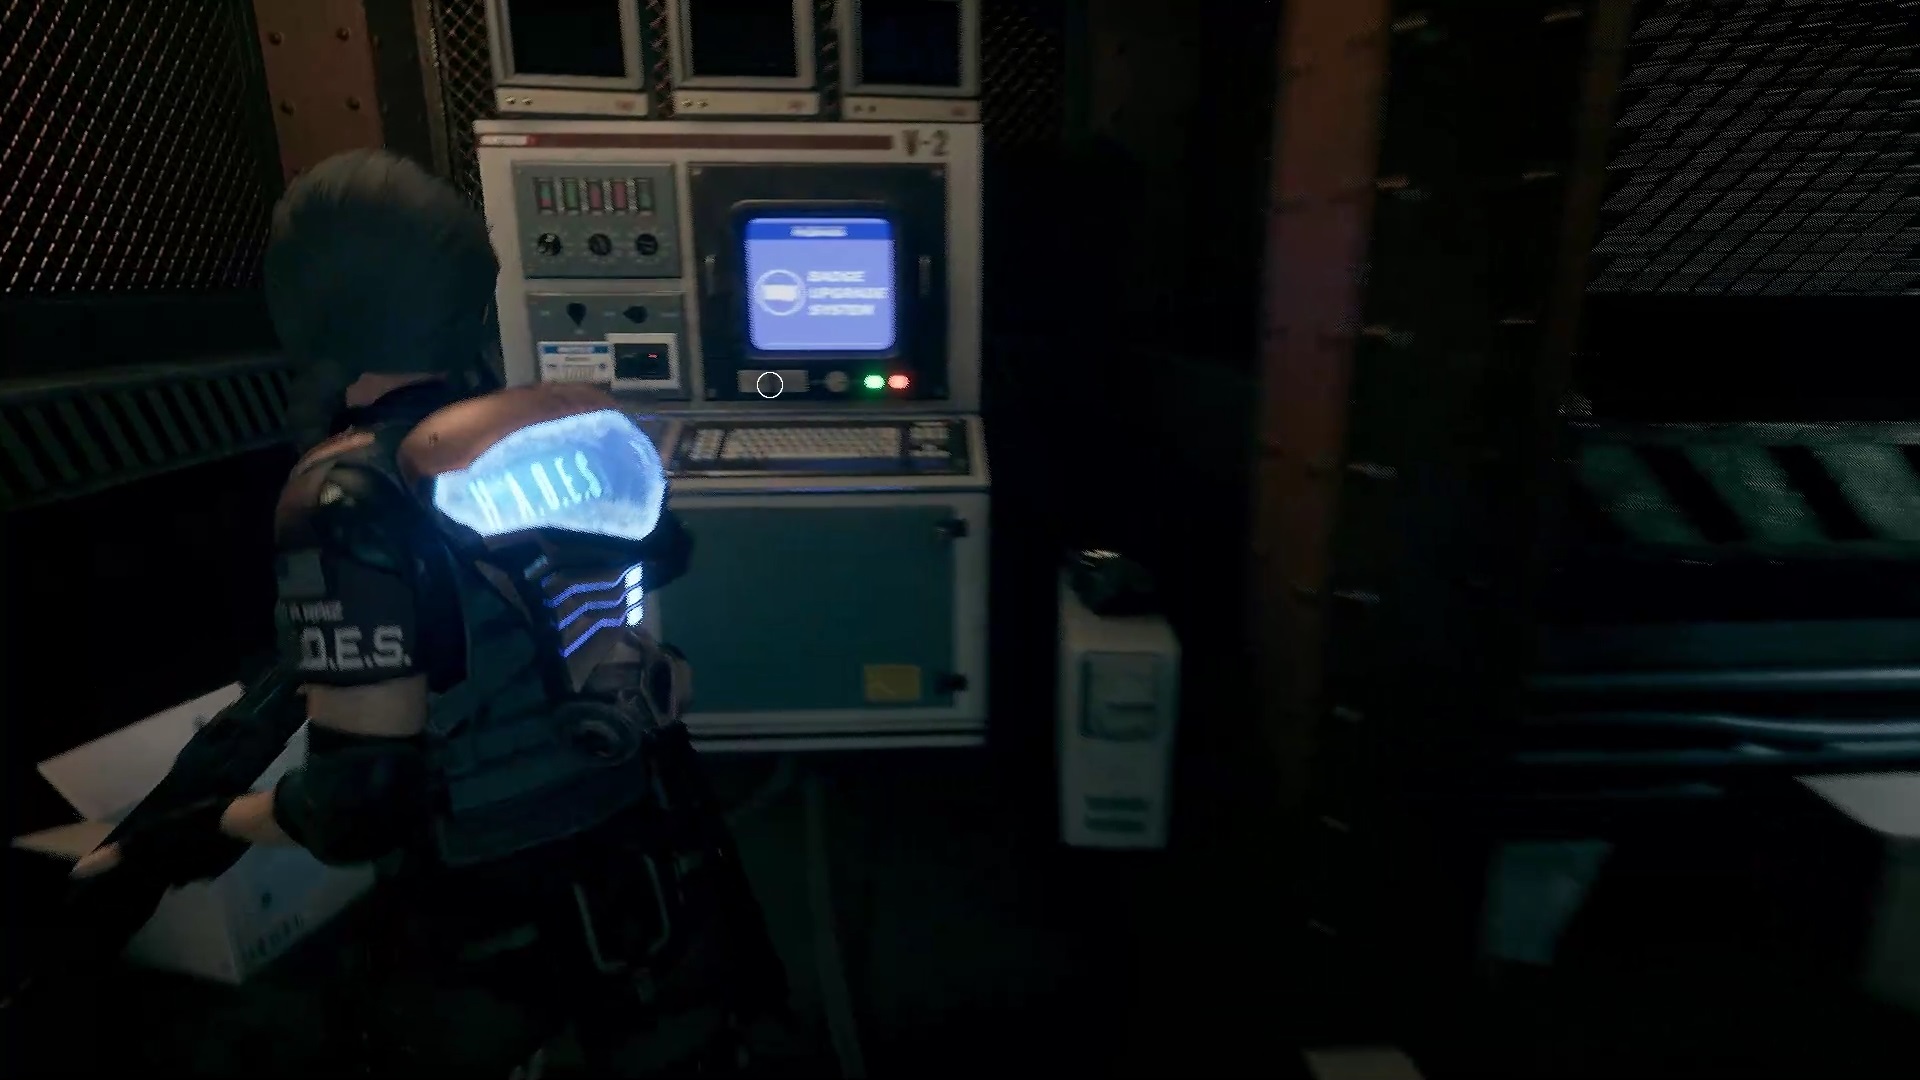
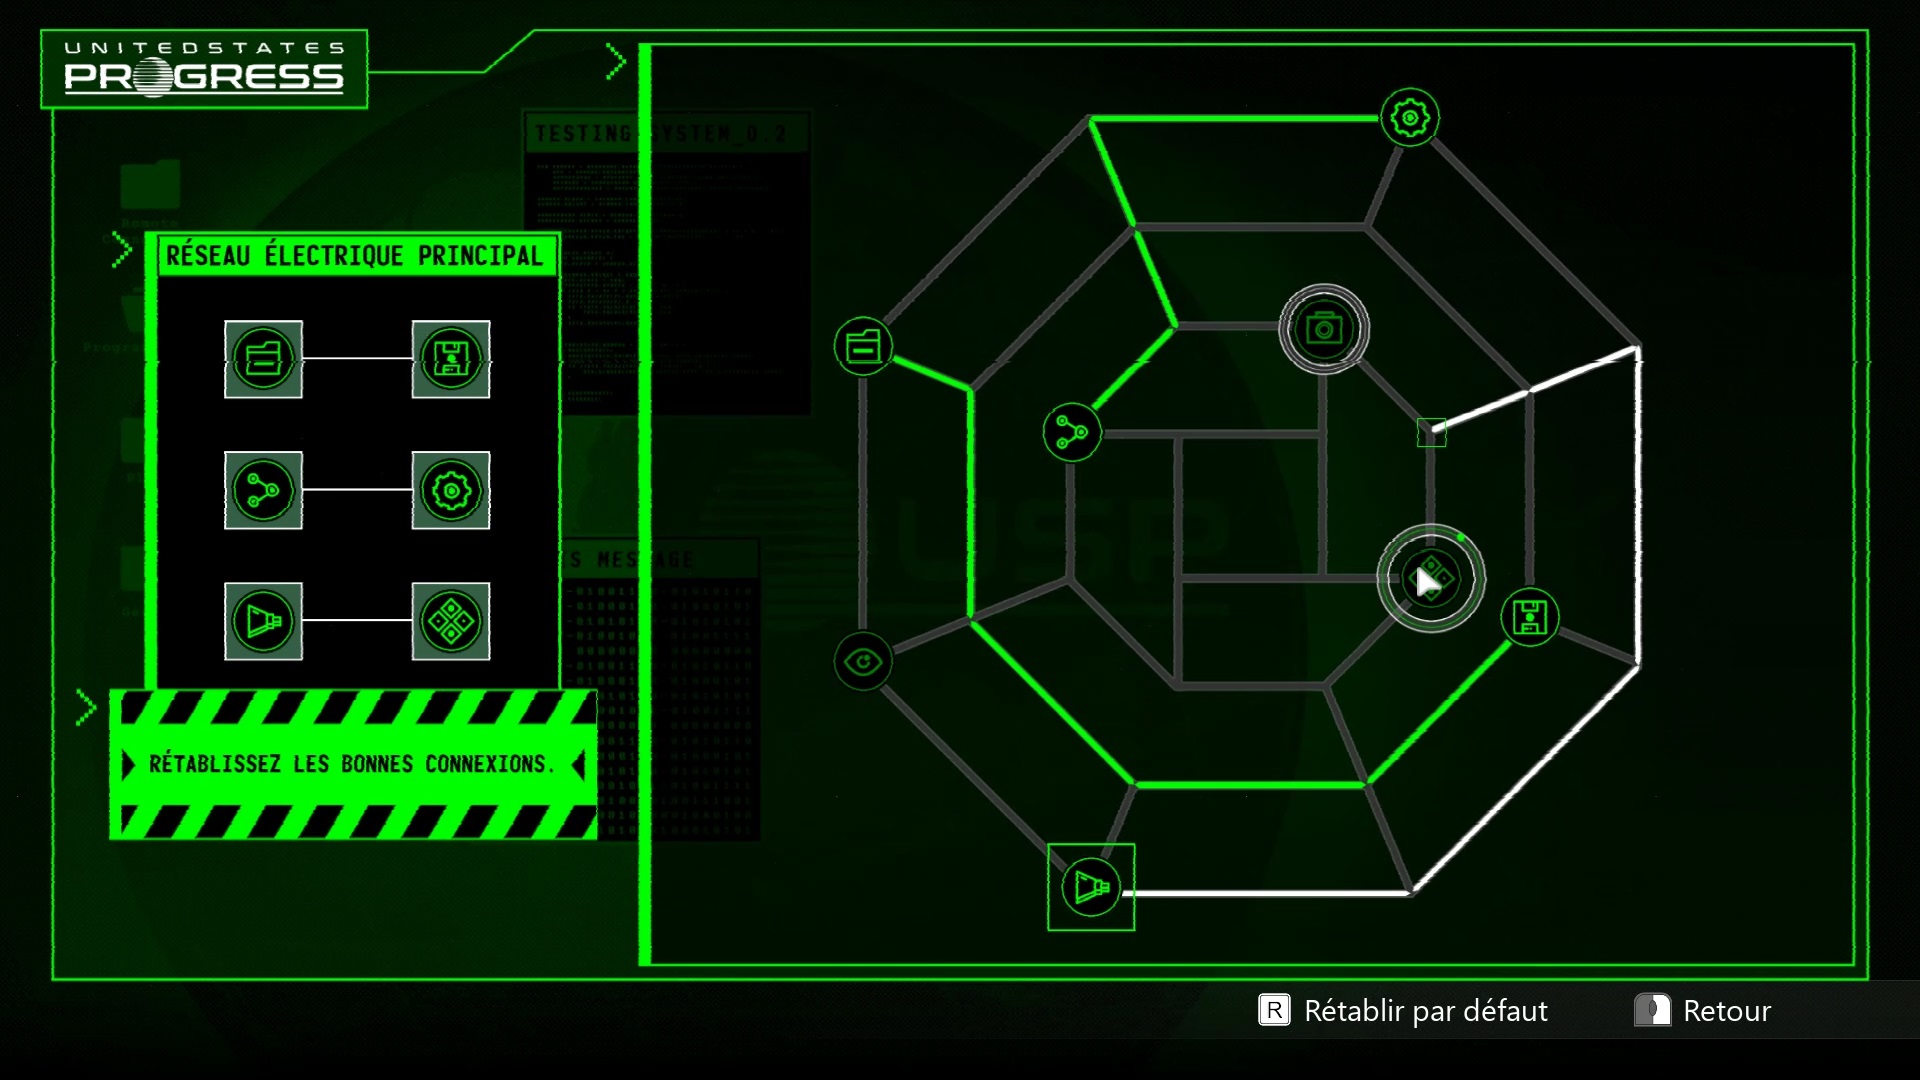
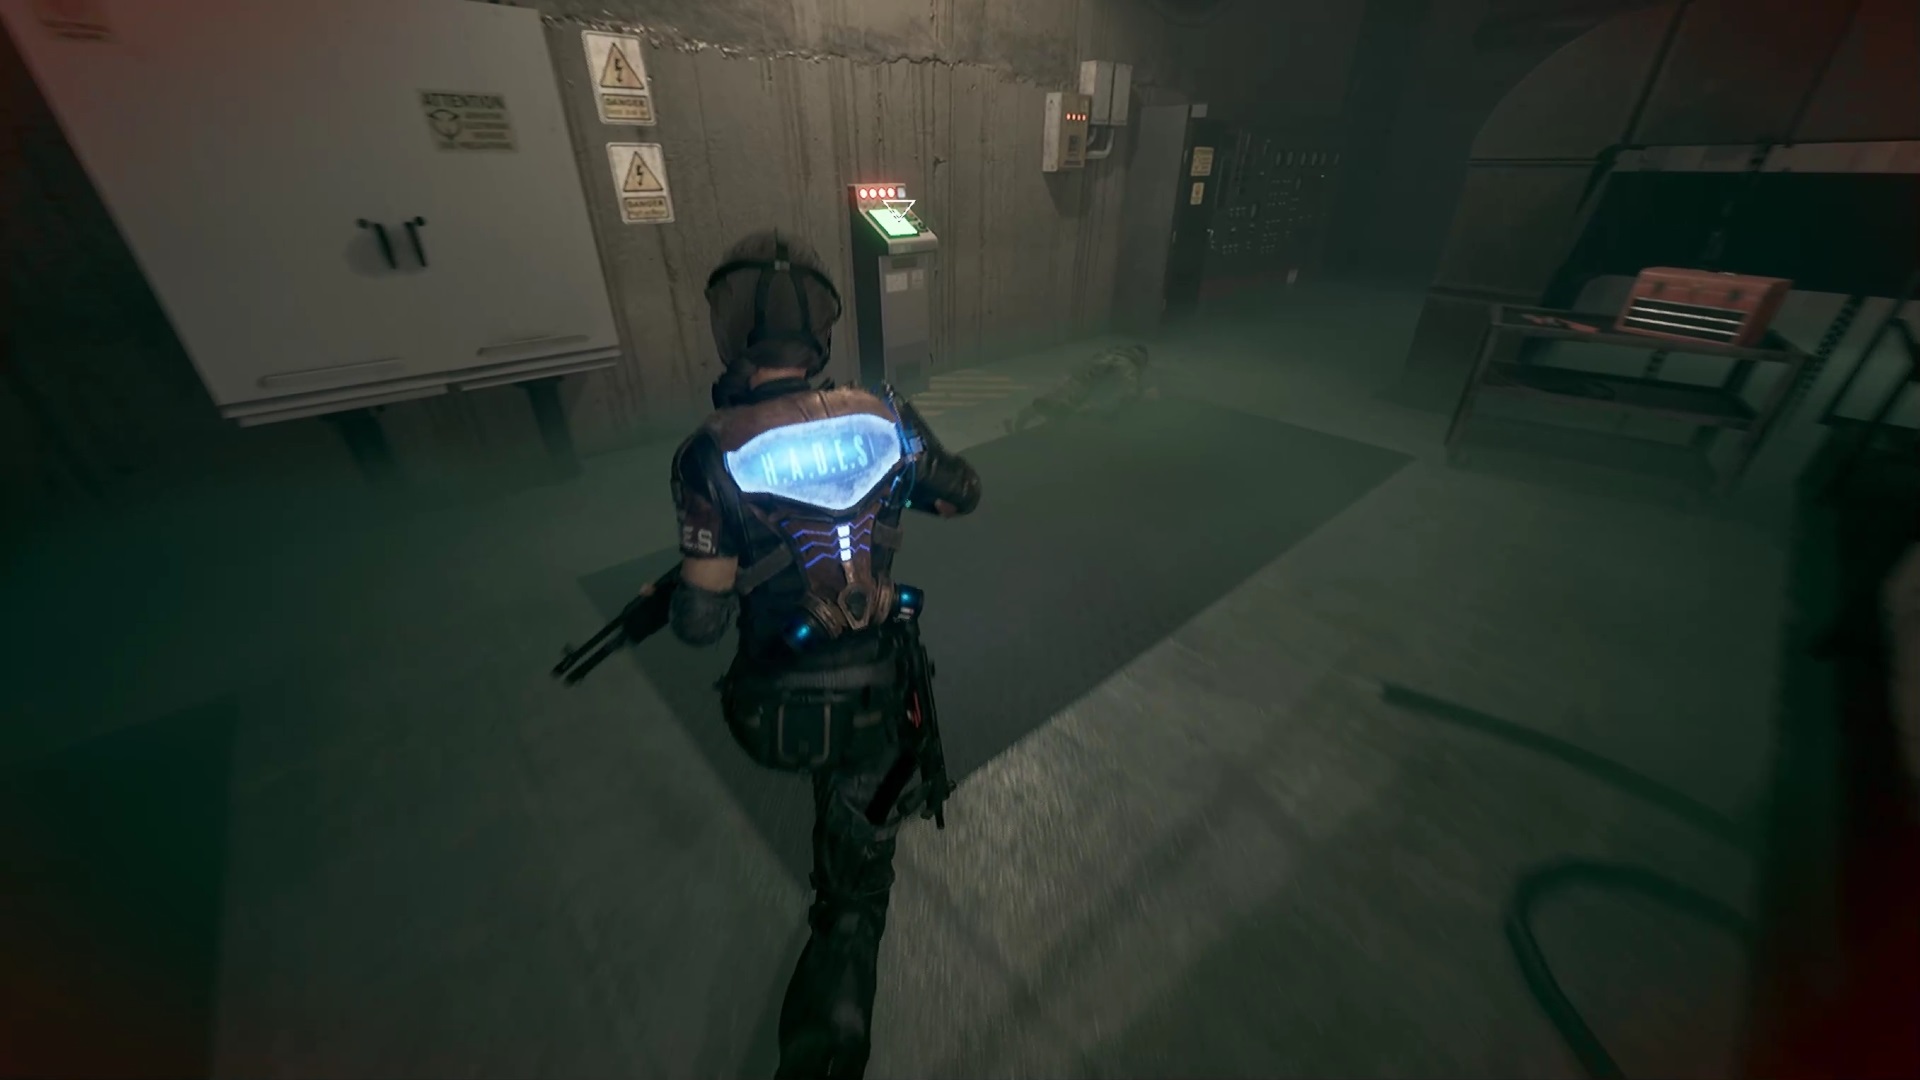
Go through the orange door and use the console to turn the power back on in the building. You have to light the pieces from top to bottom either in our part pieces #5, #3, #6, #2, #7, #4, #1.
Then exit the room to reach a new room behind a damaged door. Enter this room to retrieve a bypass cable from a box.
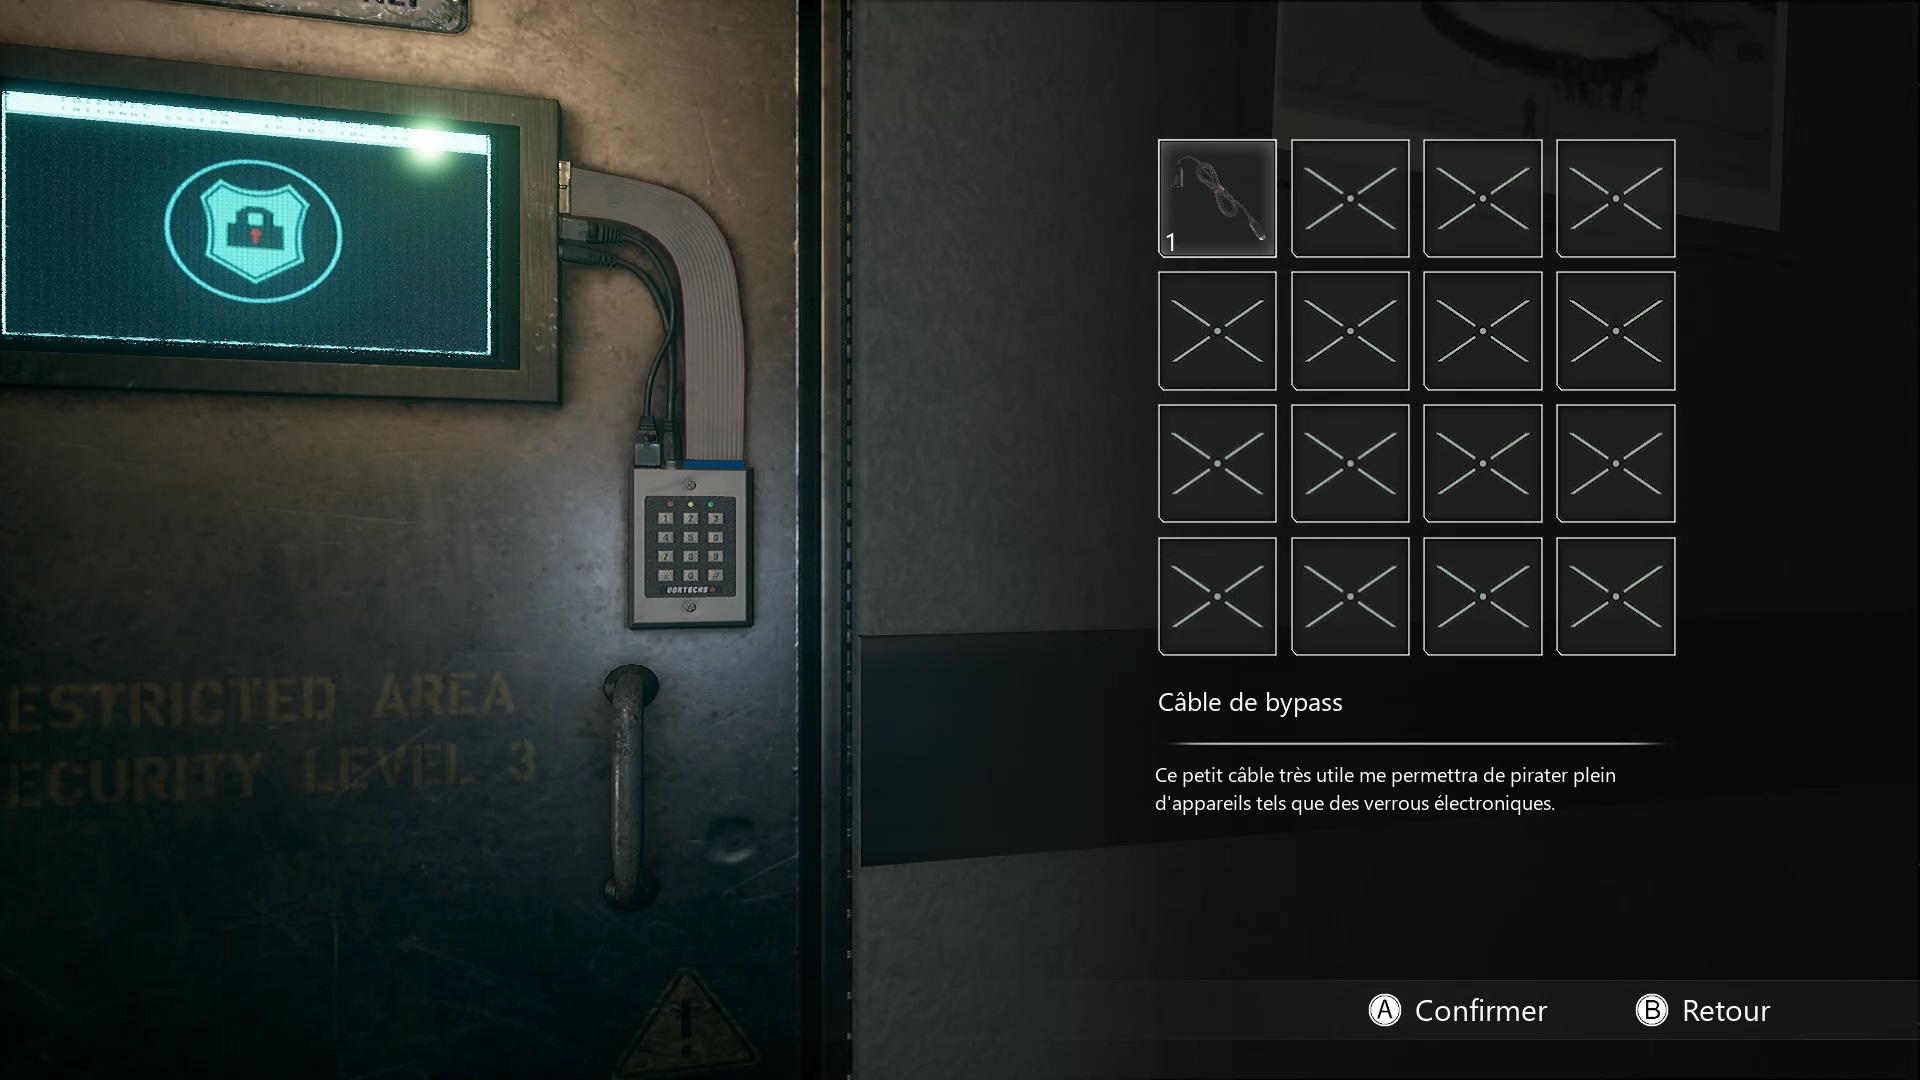
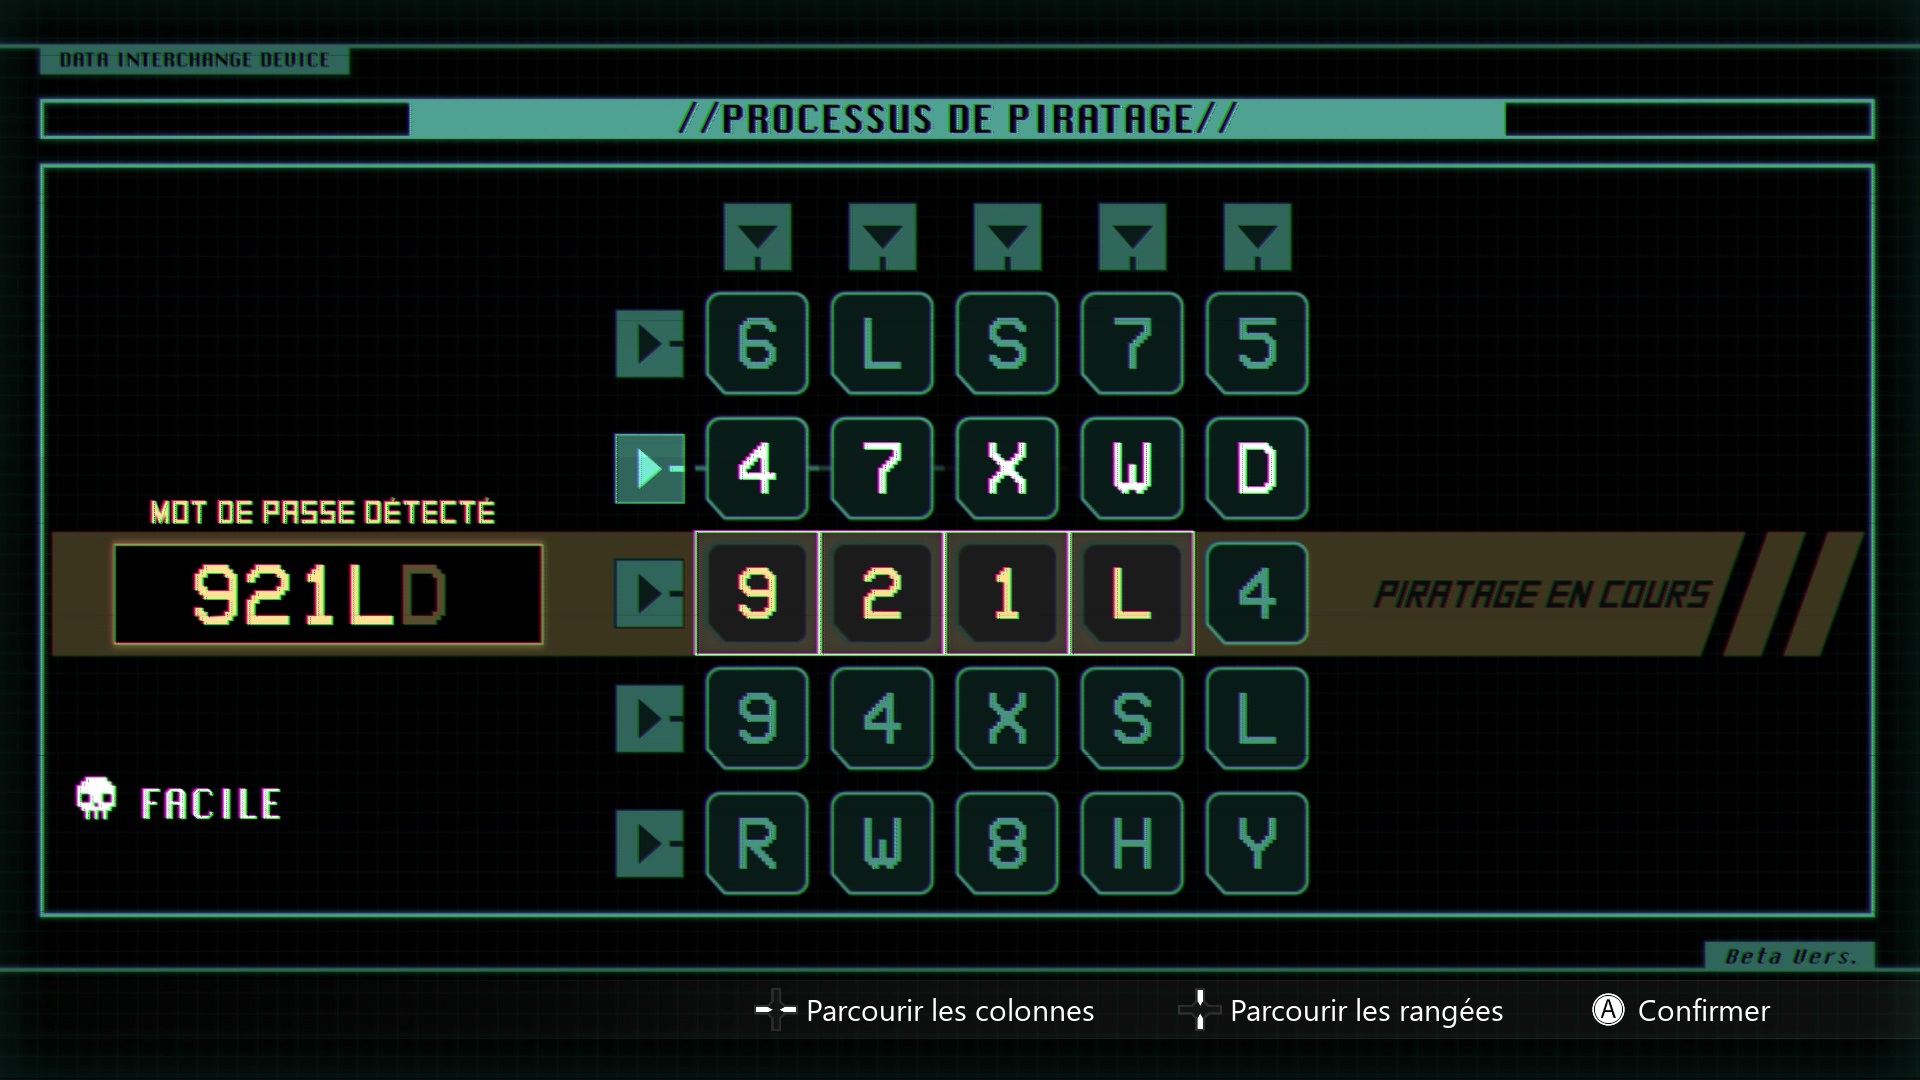
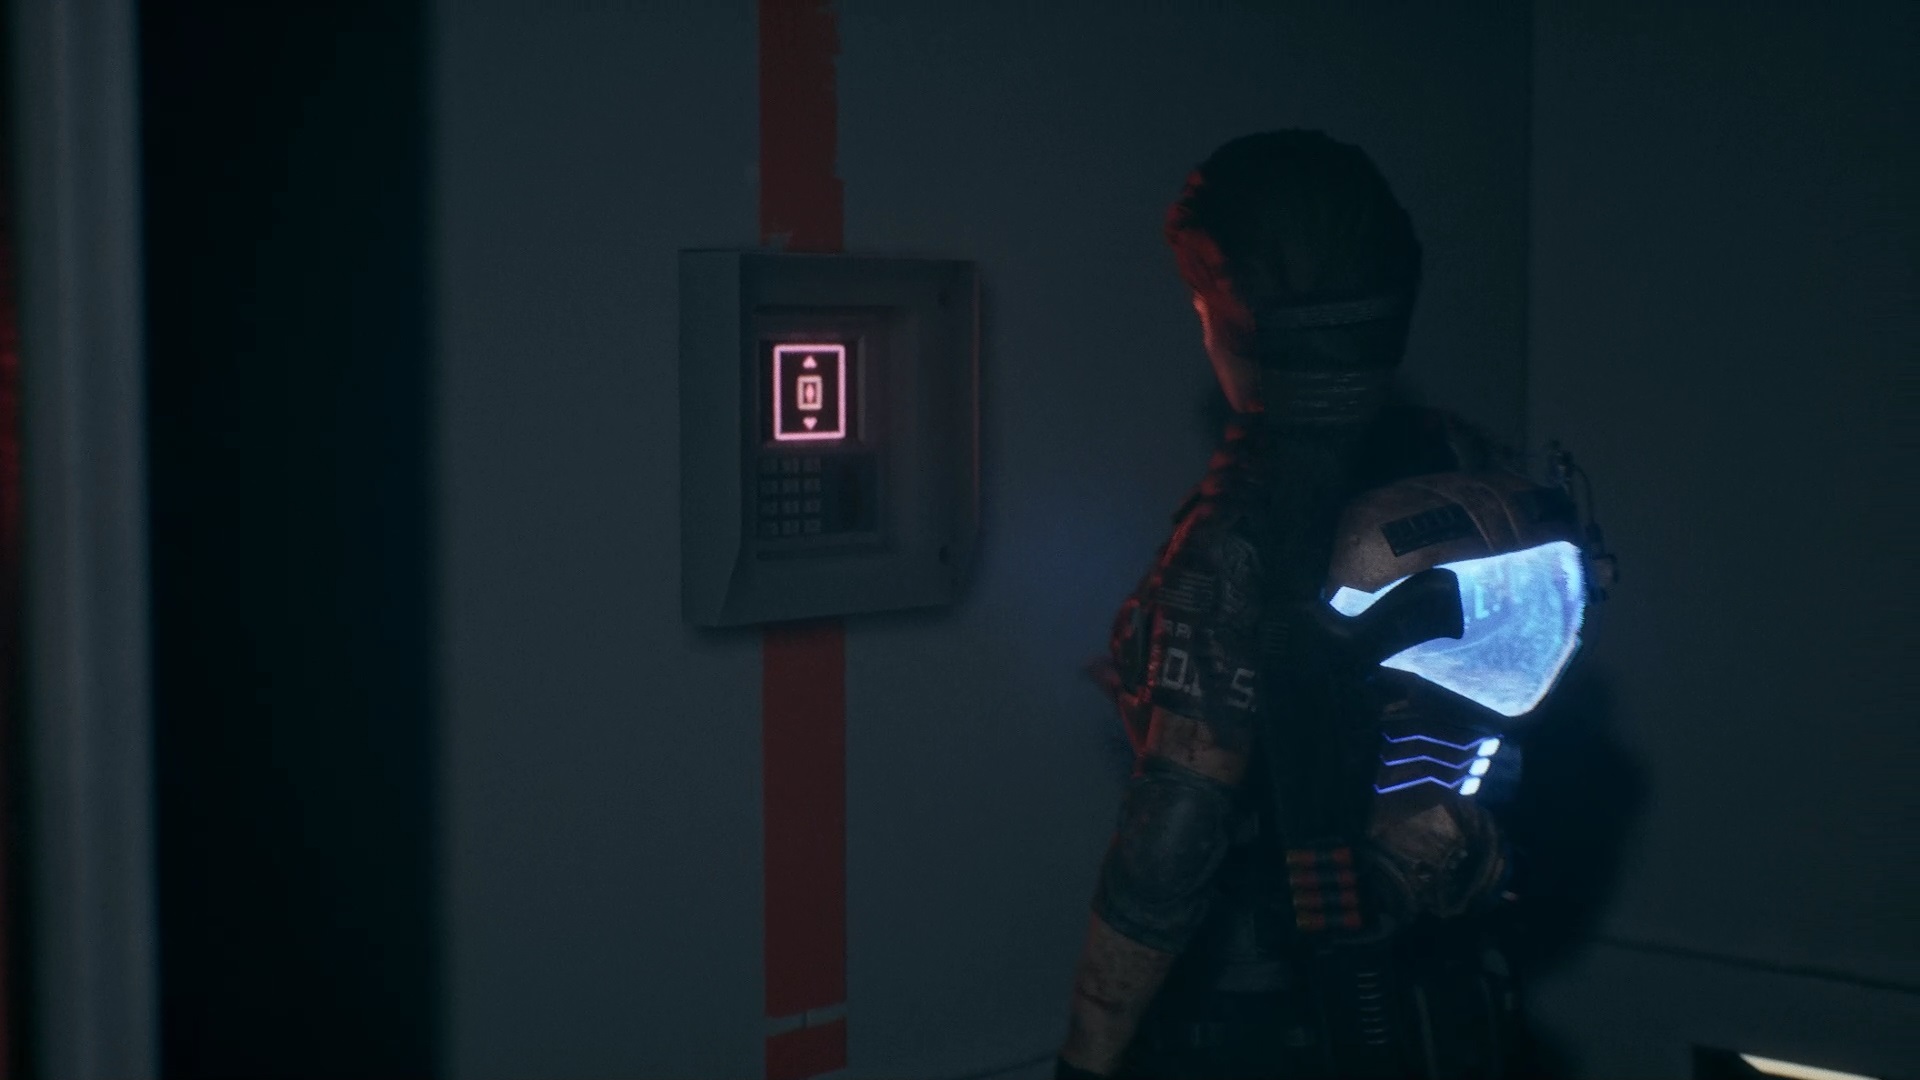
Go back upstairs and use the cable with the armored door to trigger a puzzle. You must align the numbers and letters of the password displayed on the left in the middle row in yellow. Once the door unlocked, sink into an elevator to the next level.
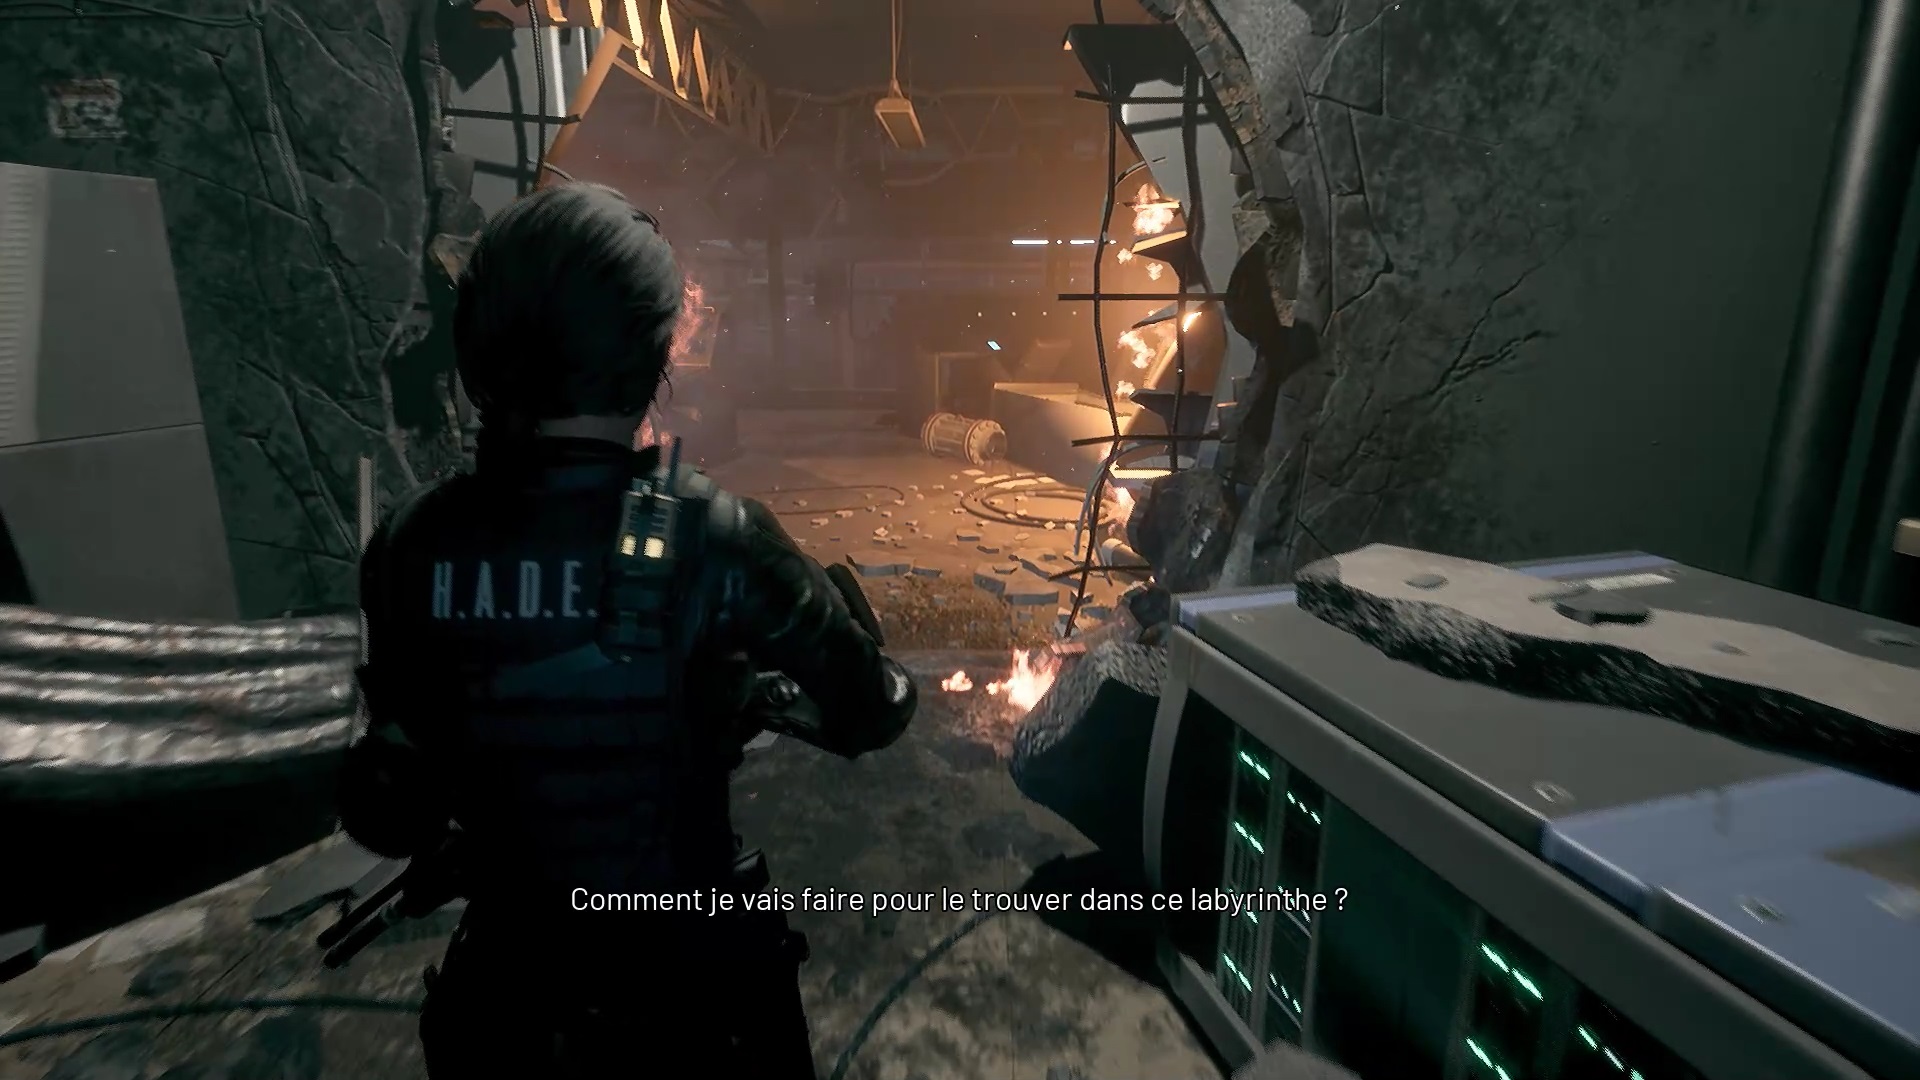
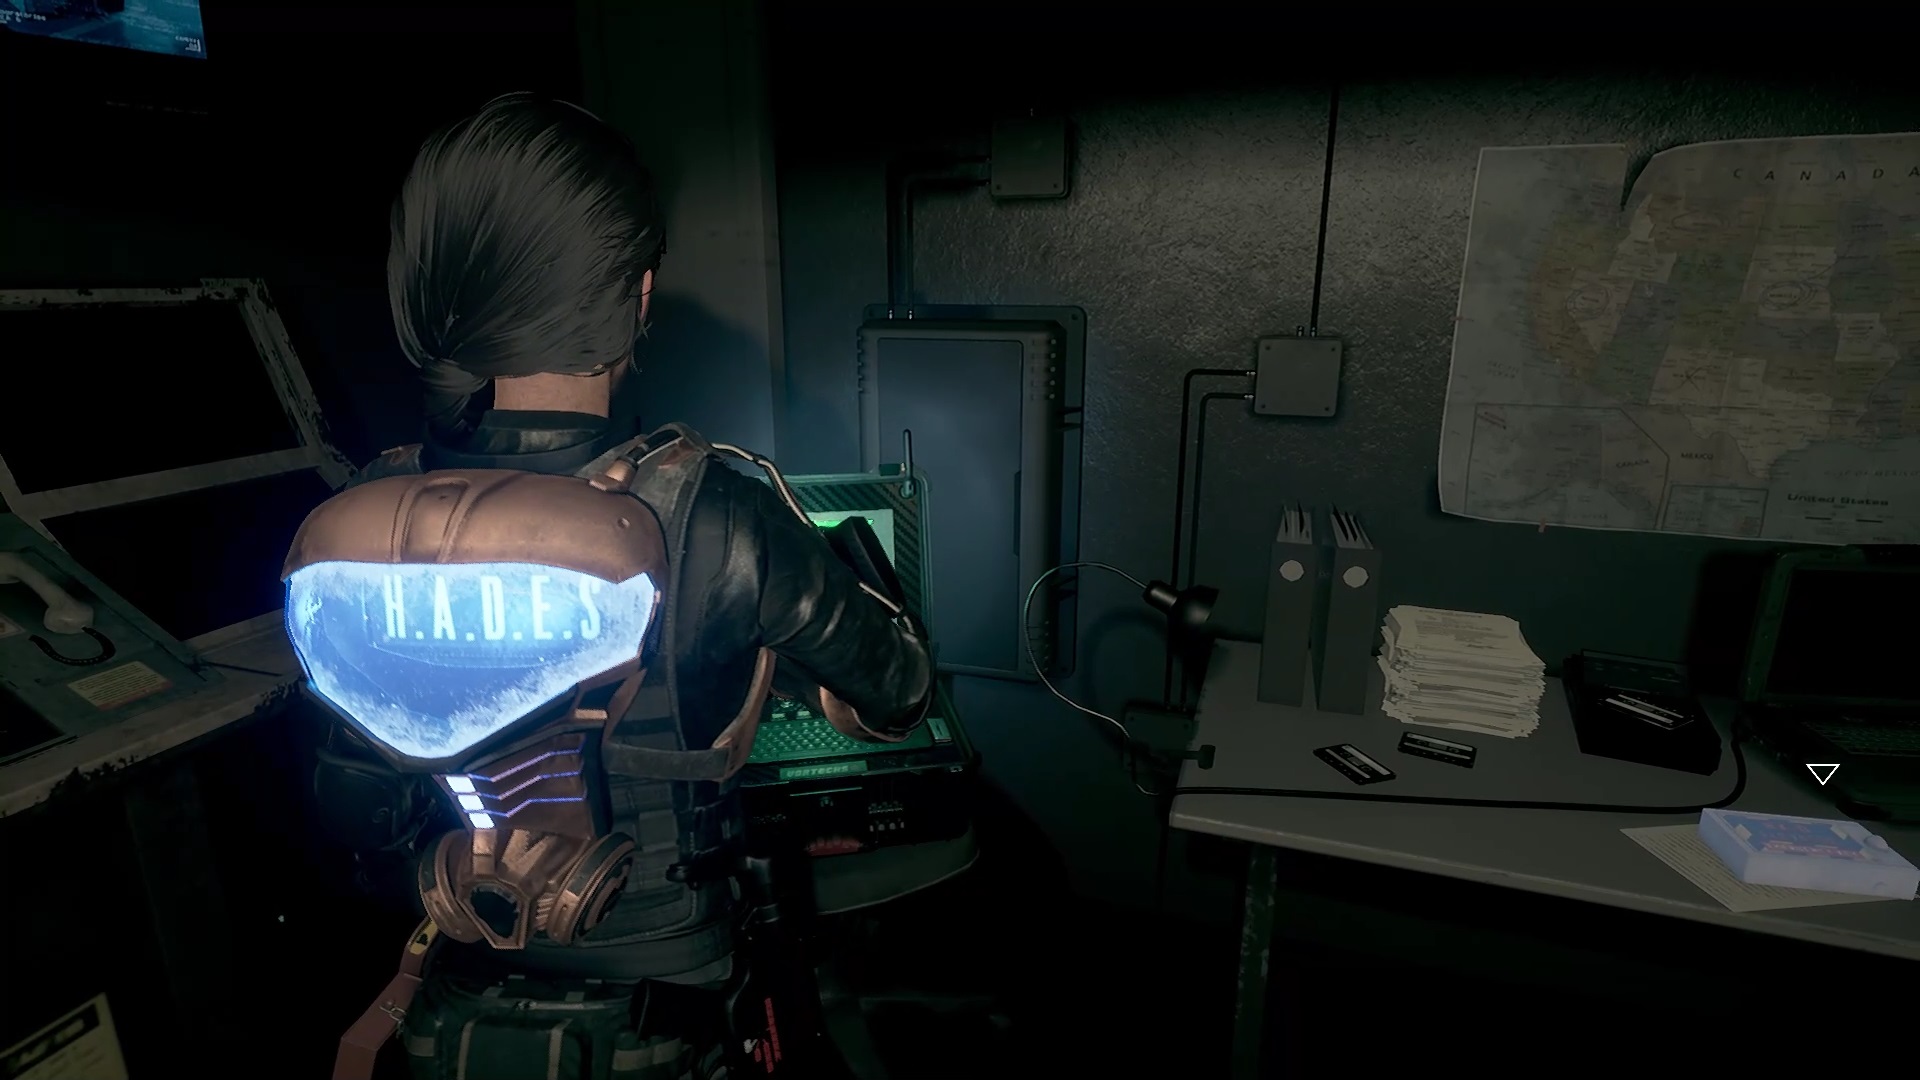
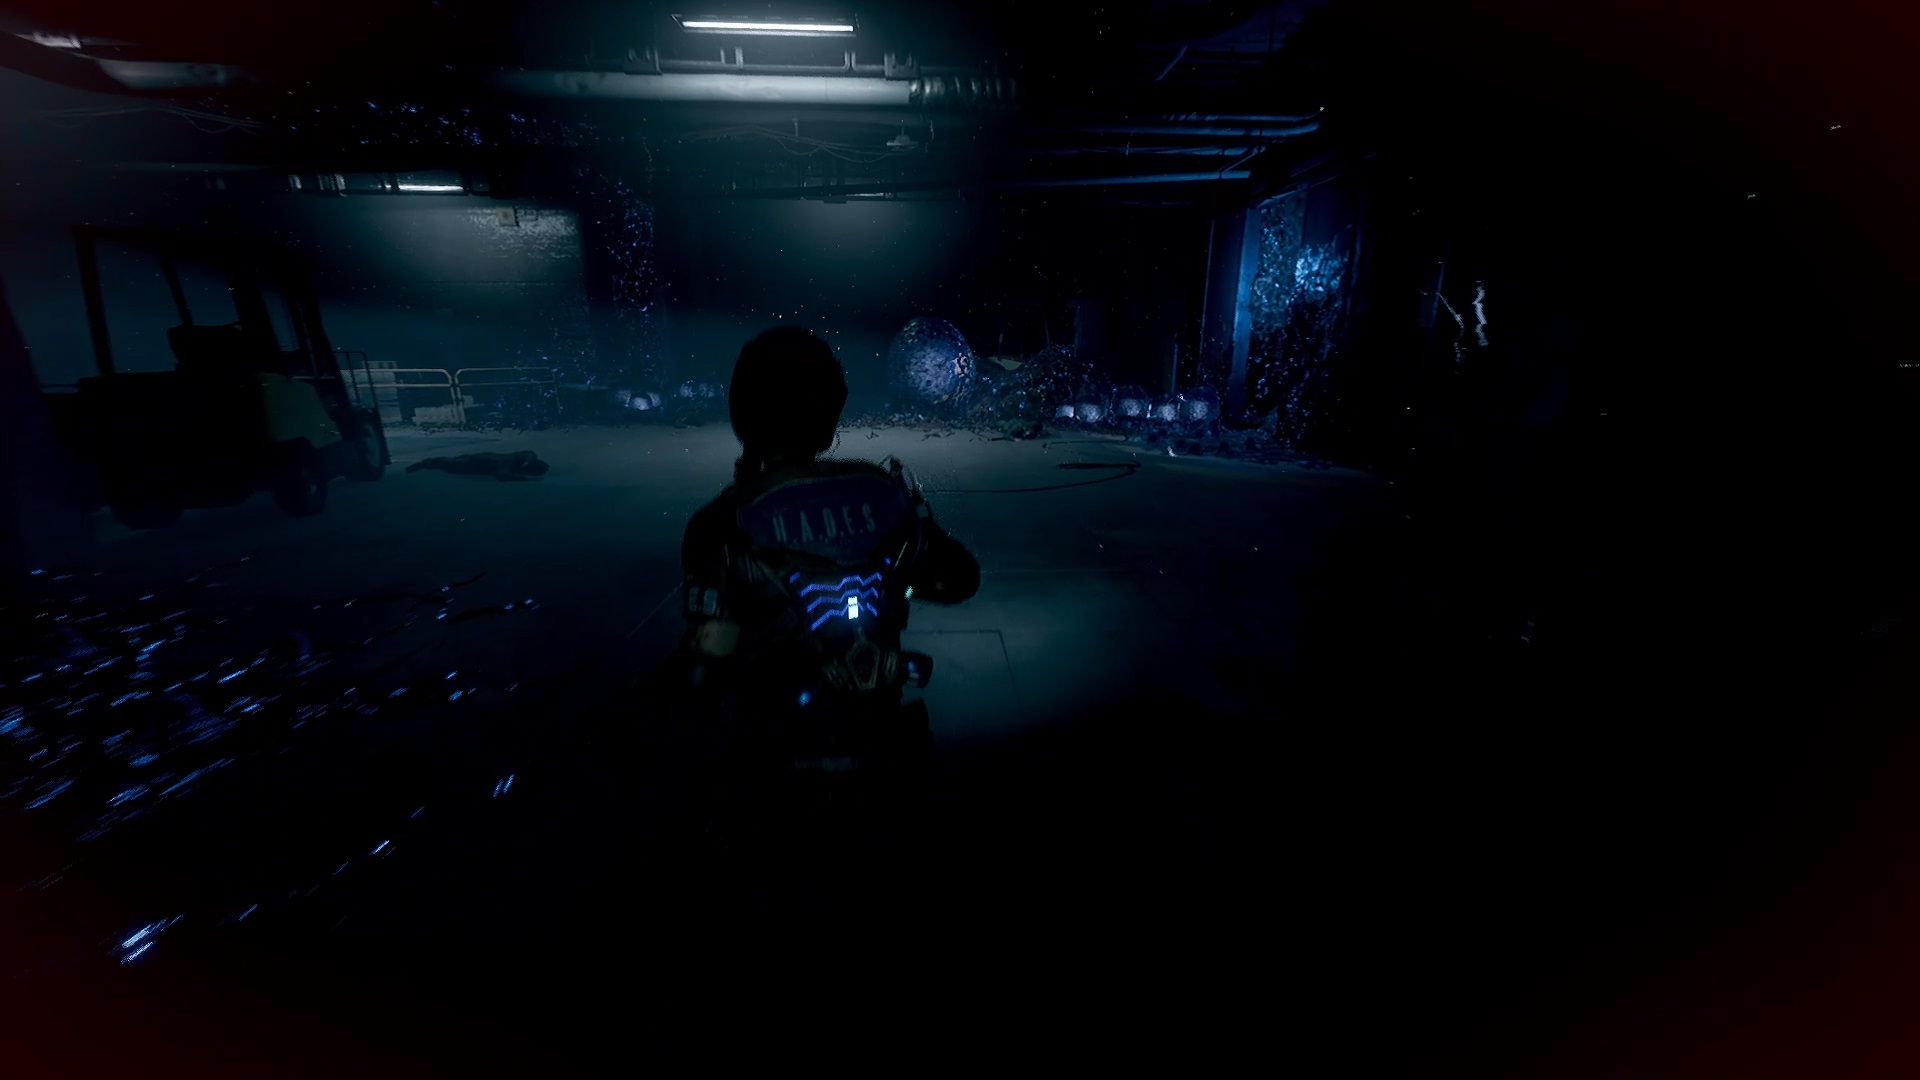
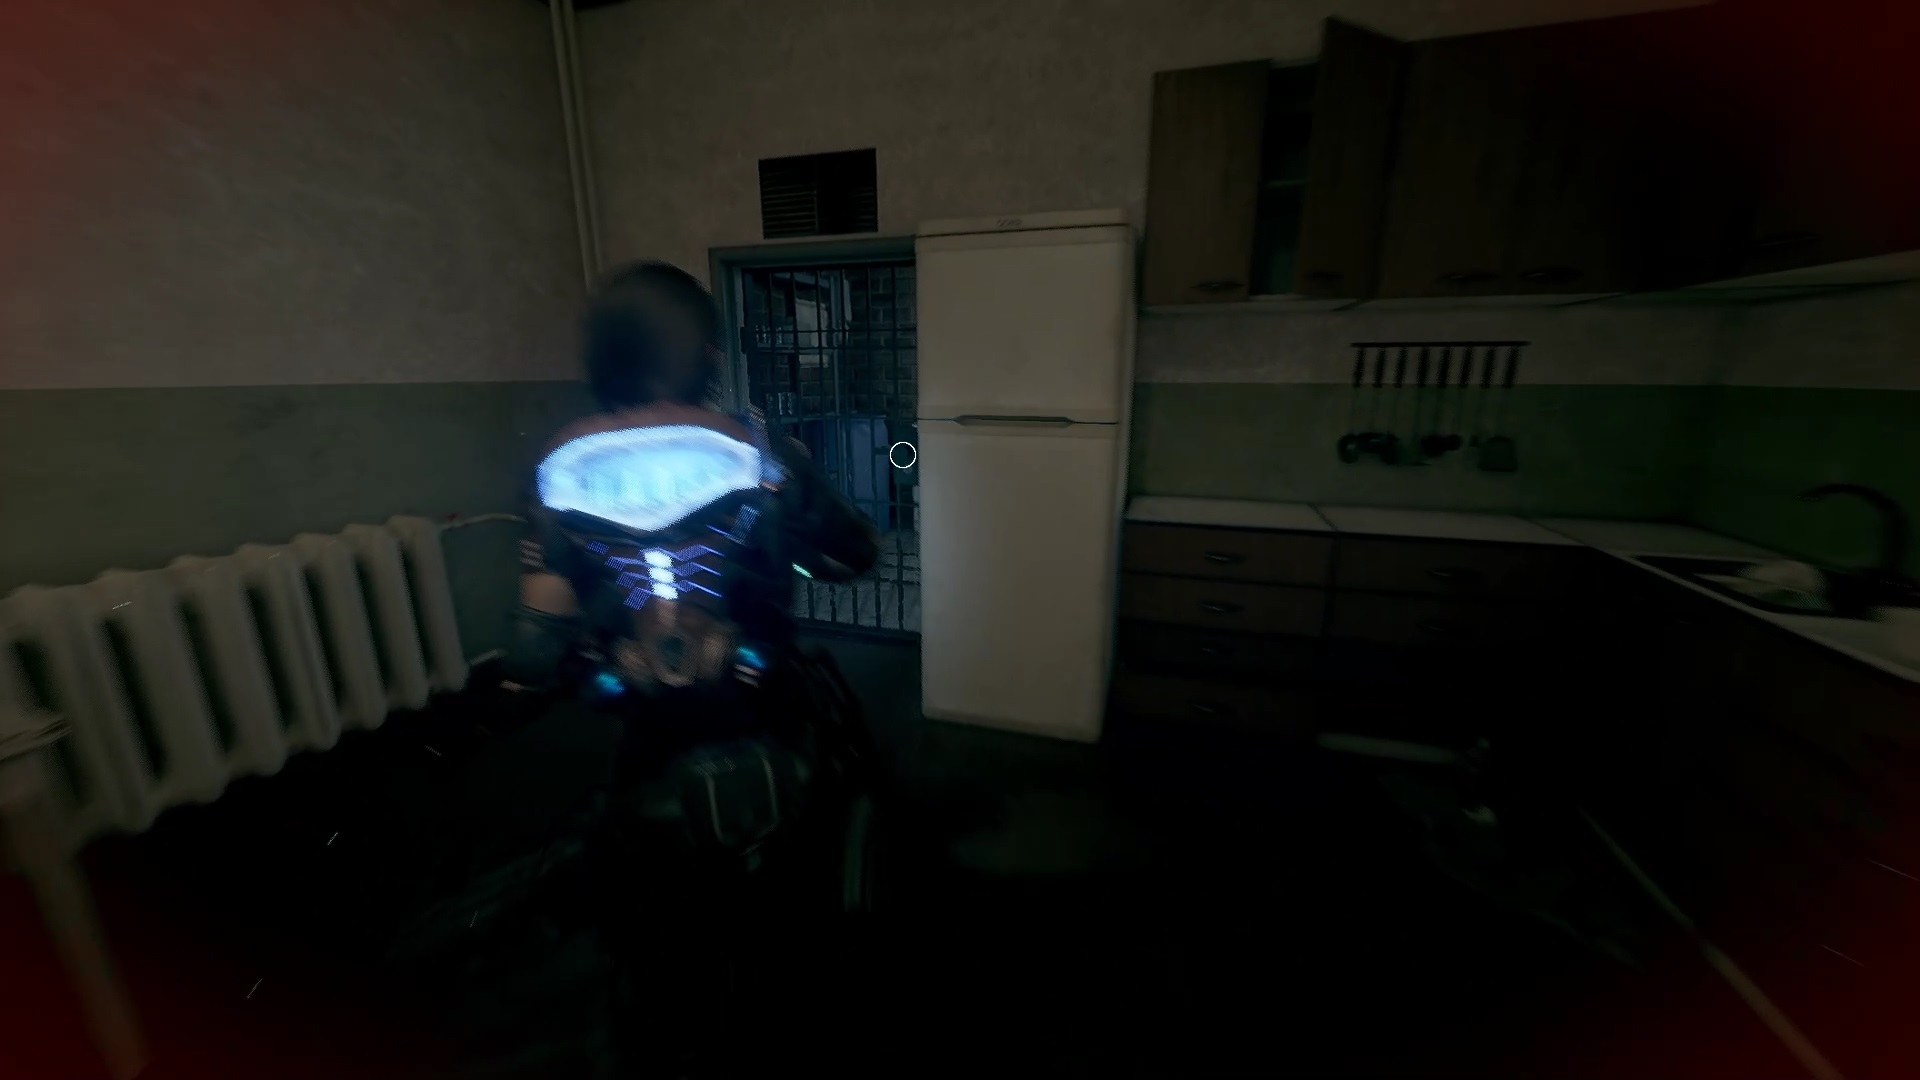
Laboratory & Hangar
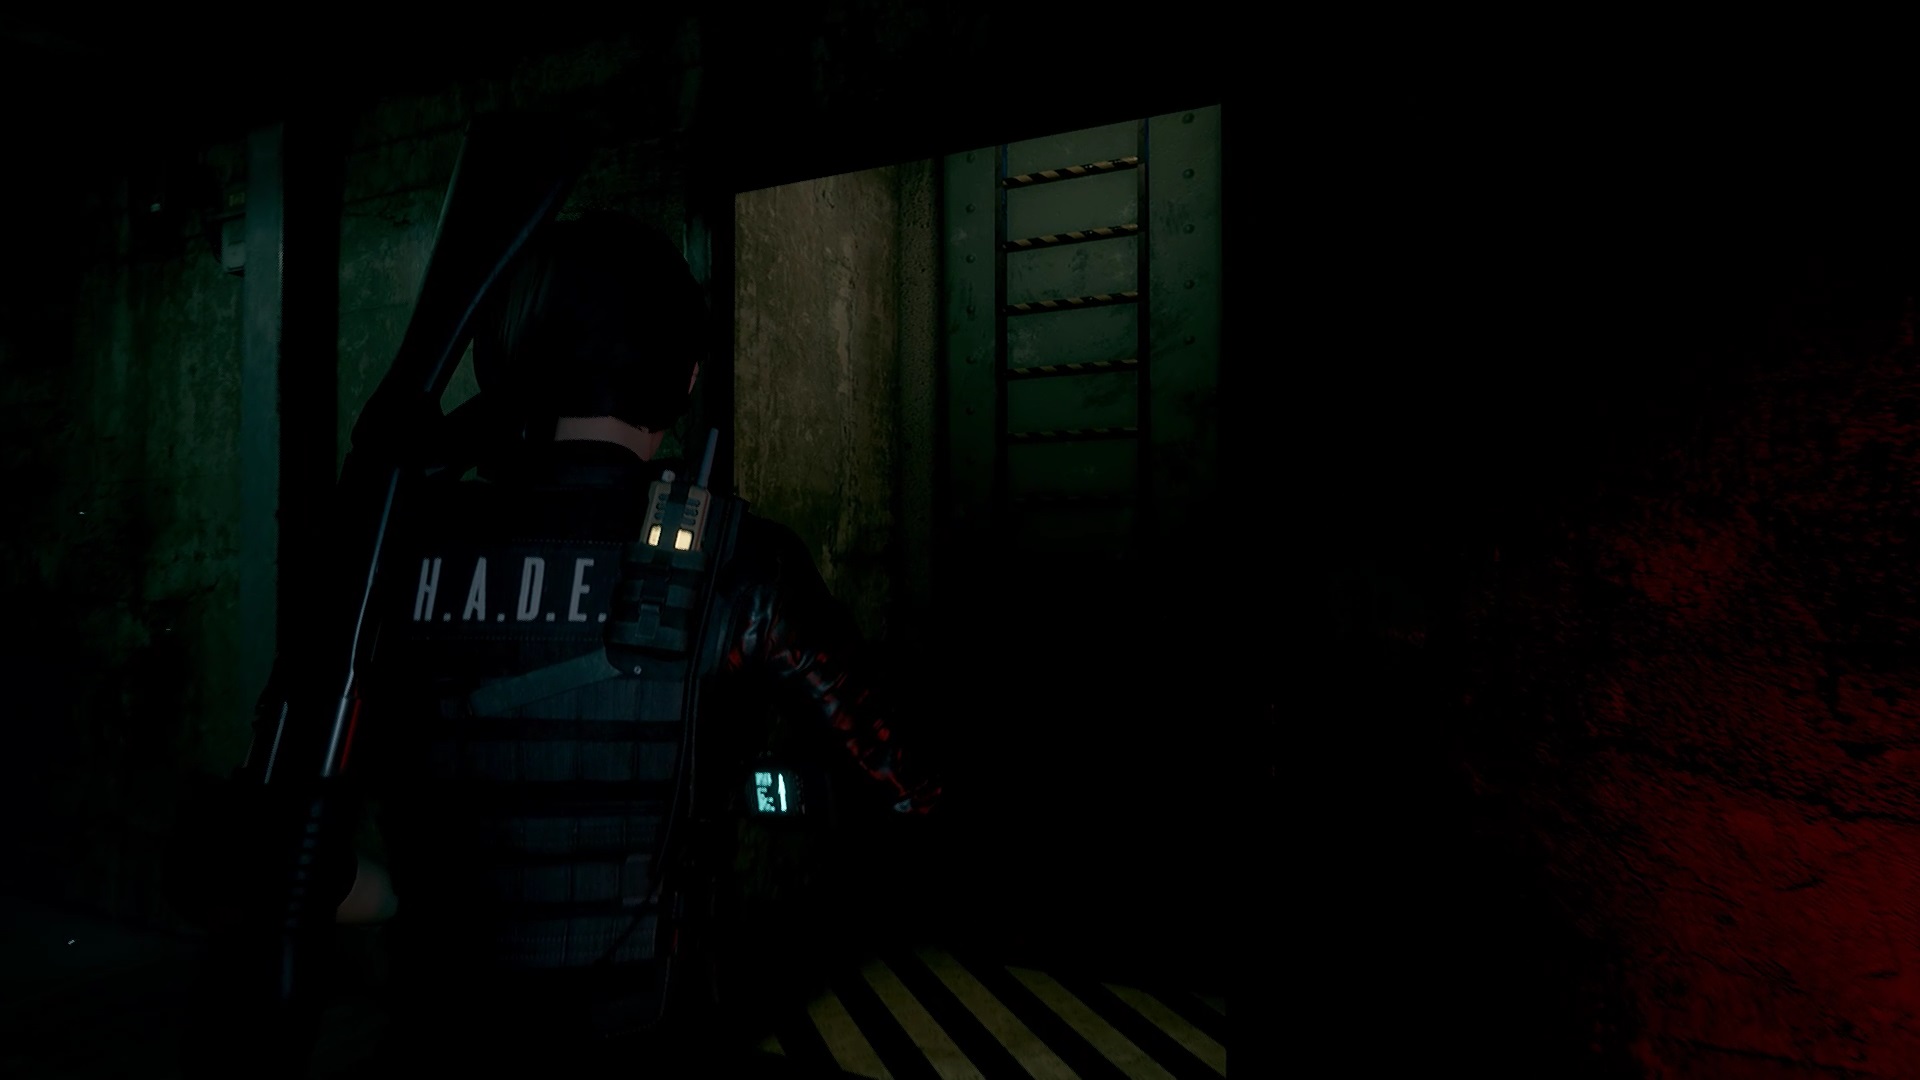

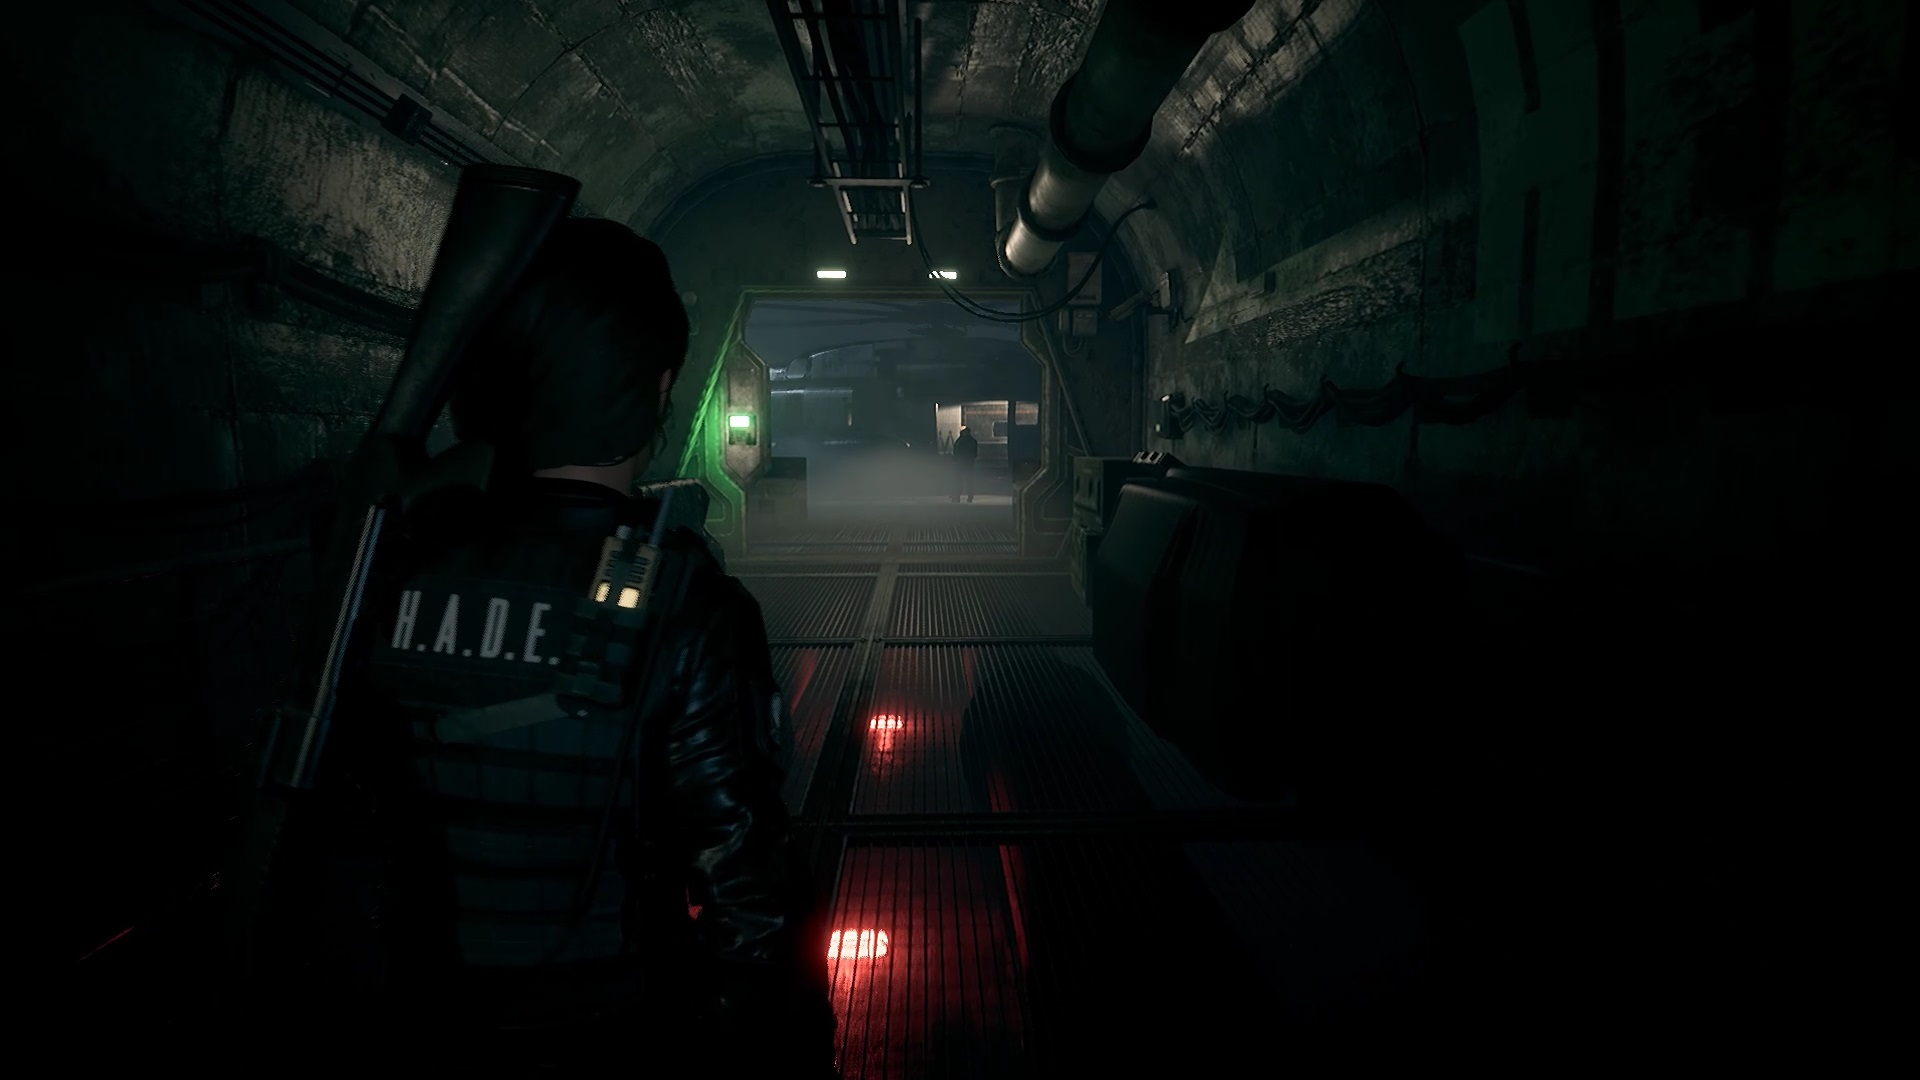
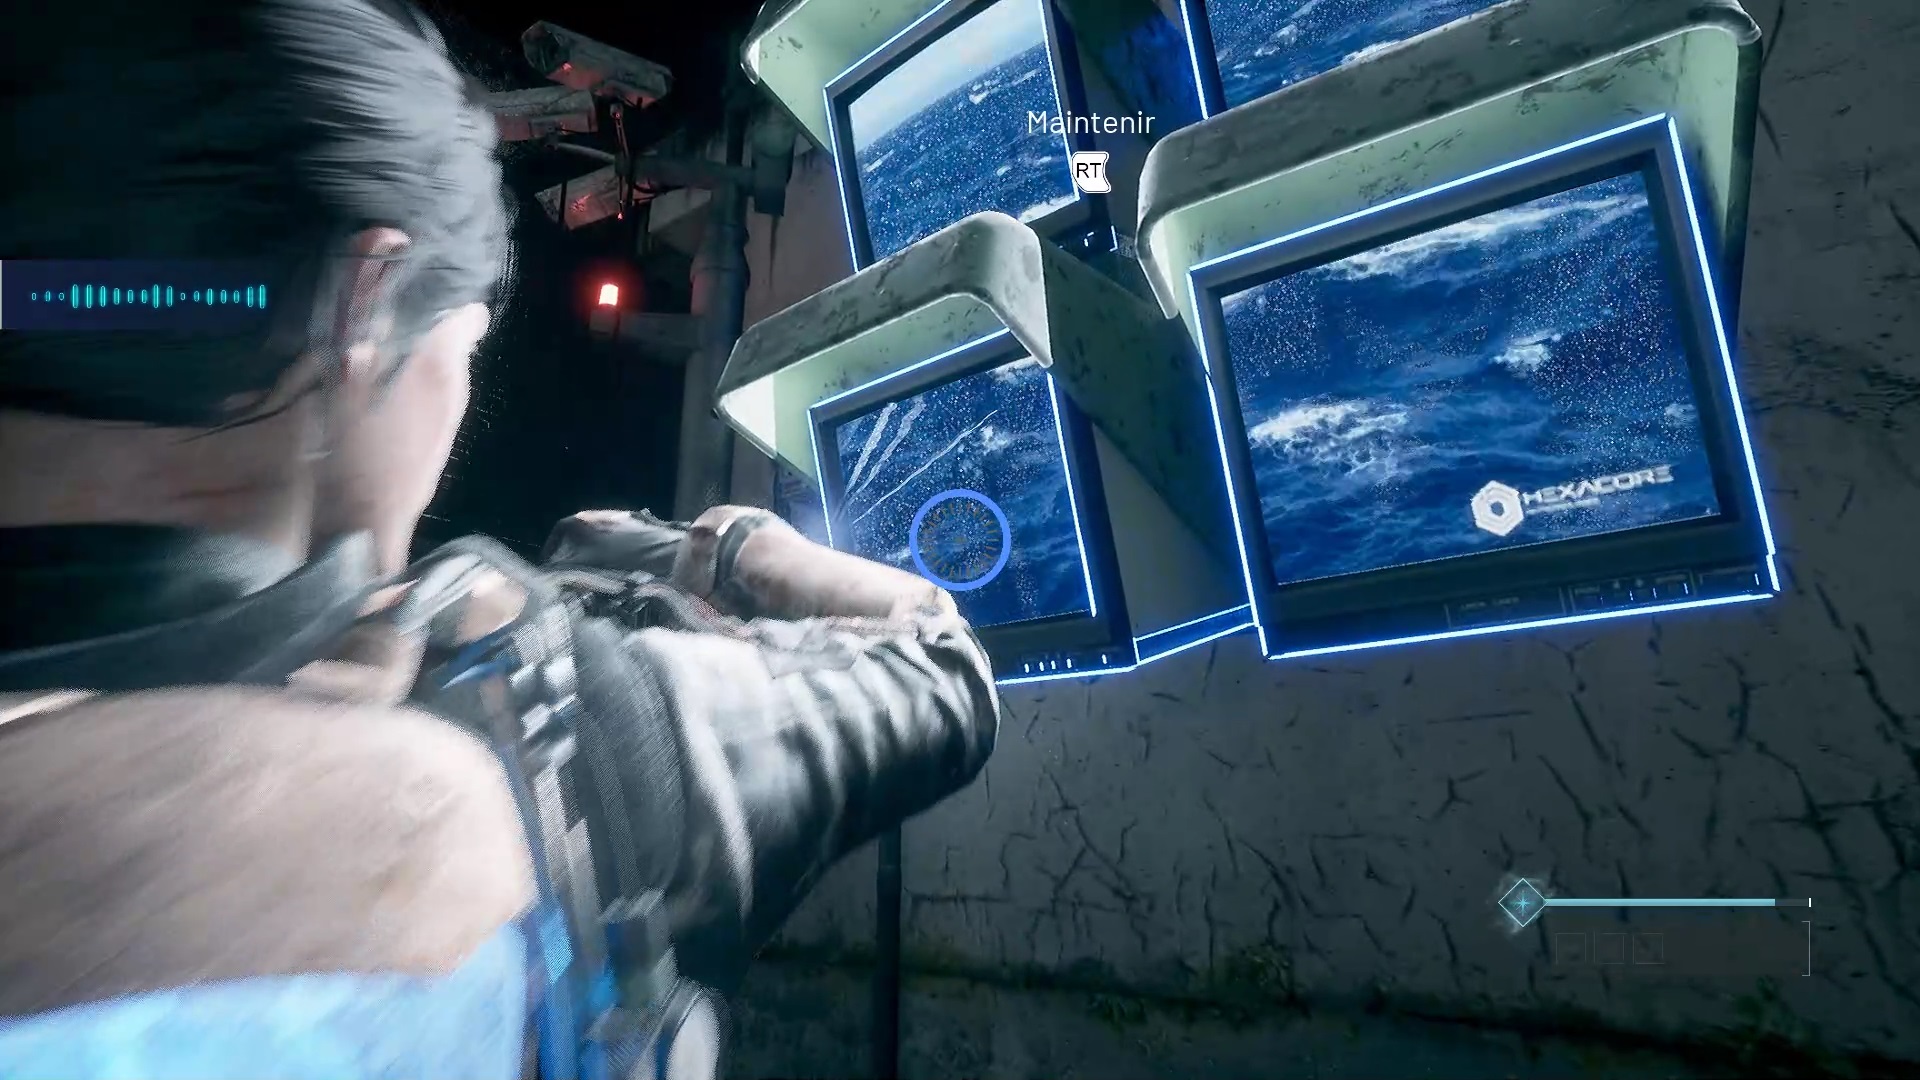
Once at the bottom, go down the hall to find a ladder in the depression on the left. Climb the ladder and turn right down the hall to find an elevator. You arrive in a circular laboratory. You can scan the device to the left of the tank to get a bonus document. Then go around the room to find a monitor in an office.
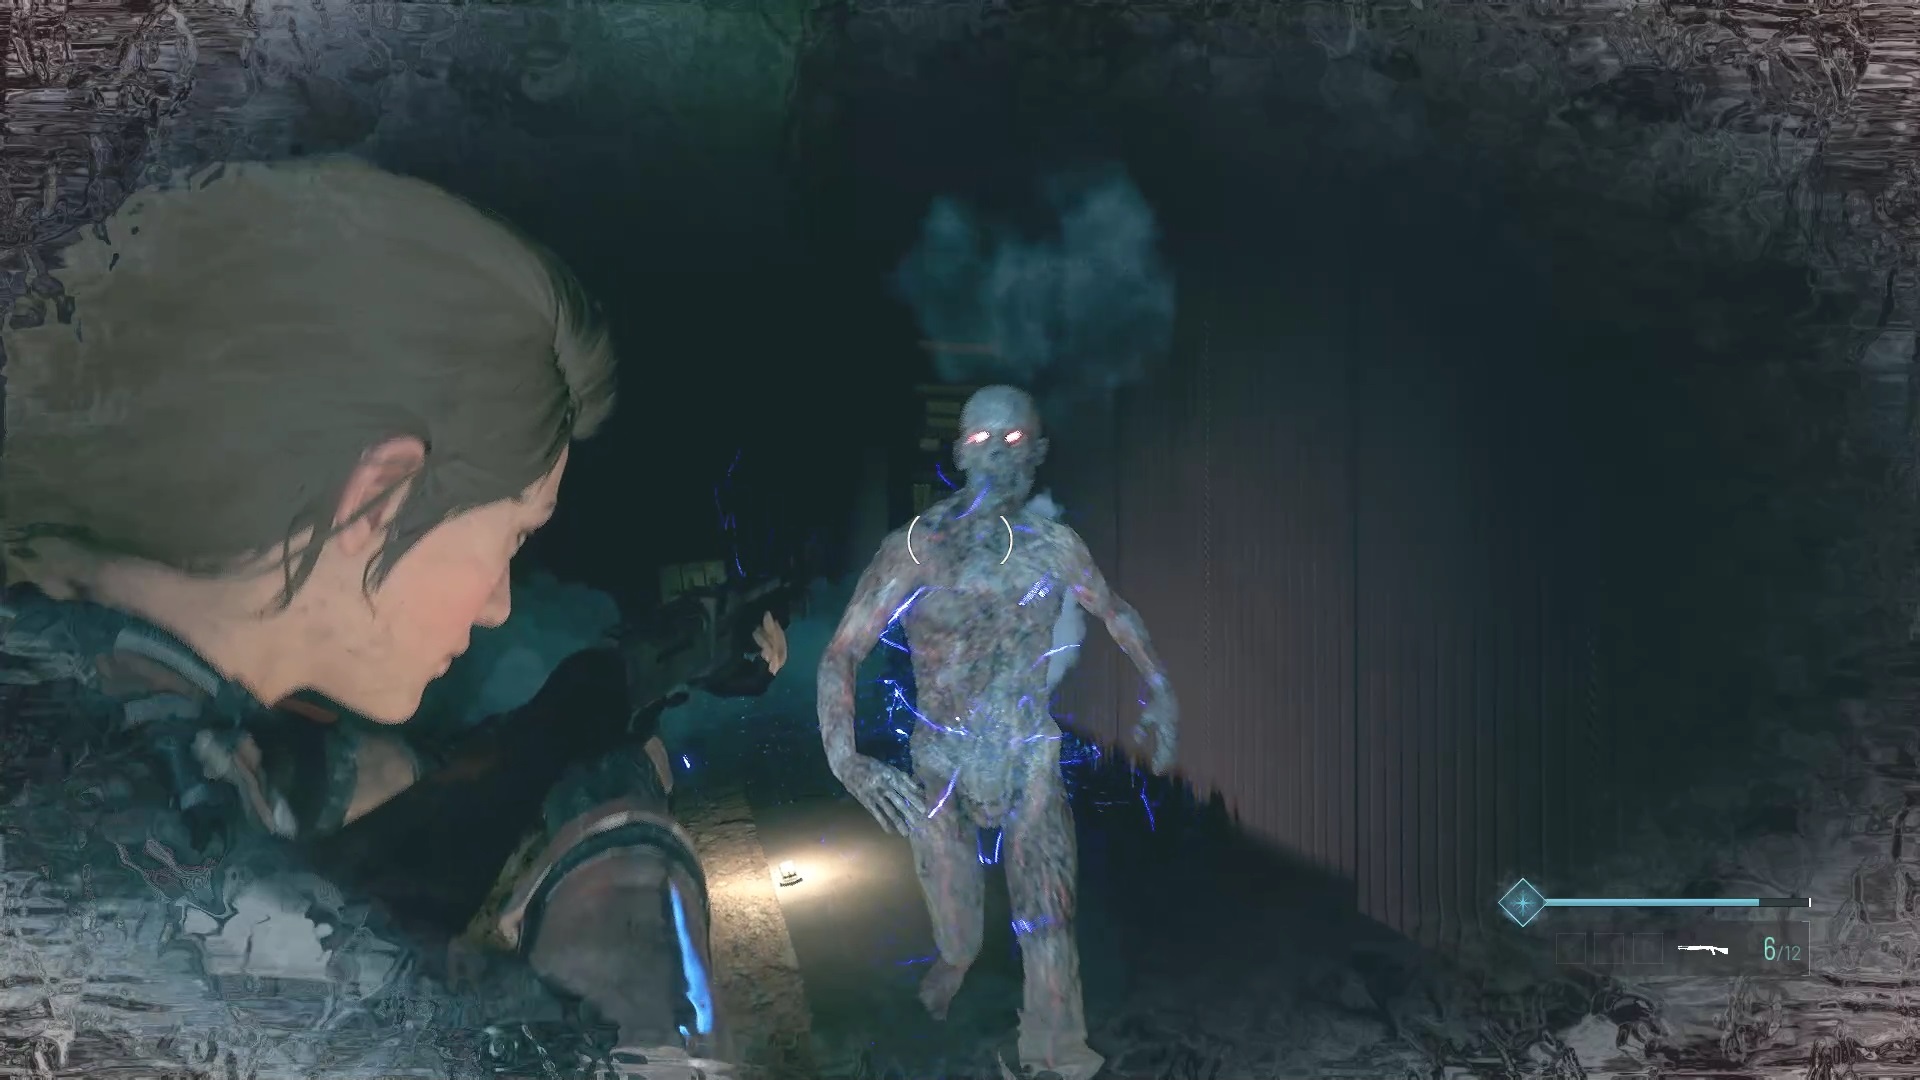
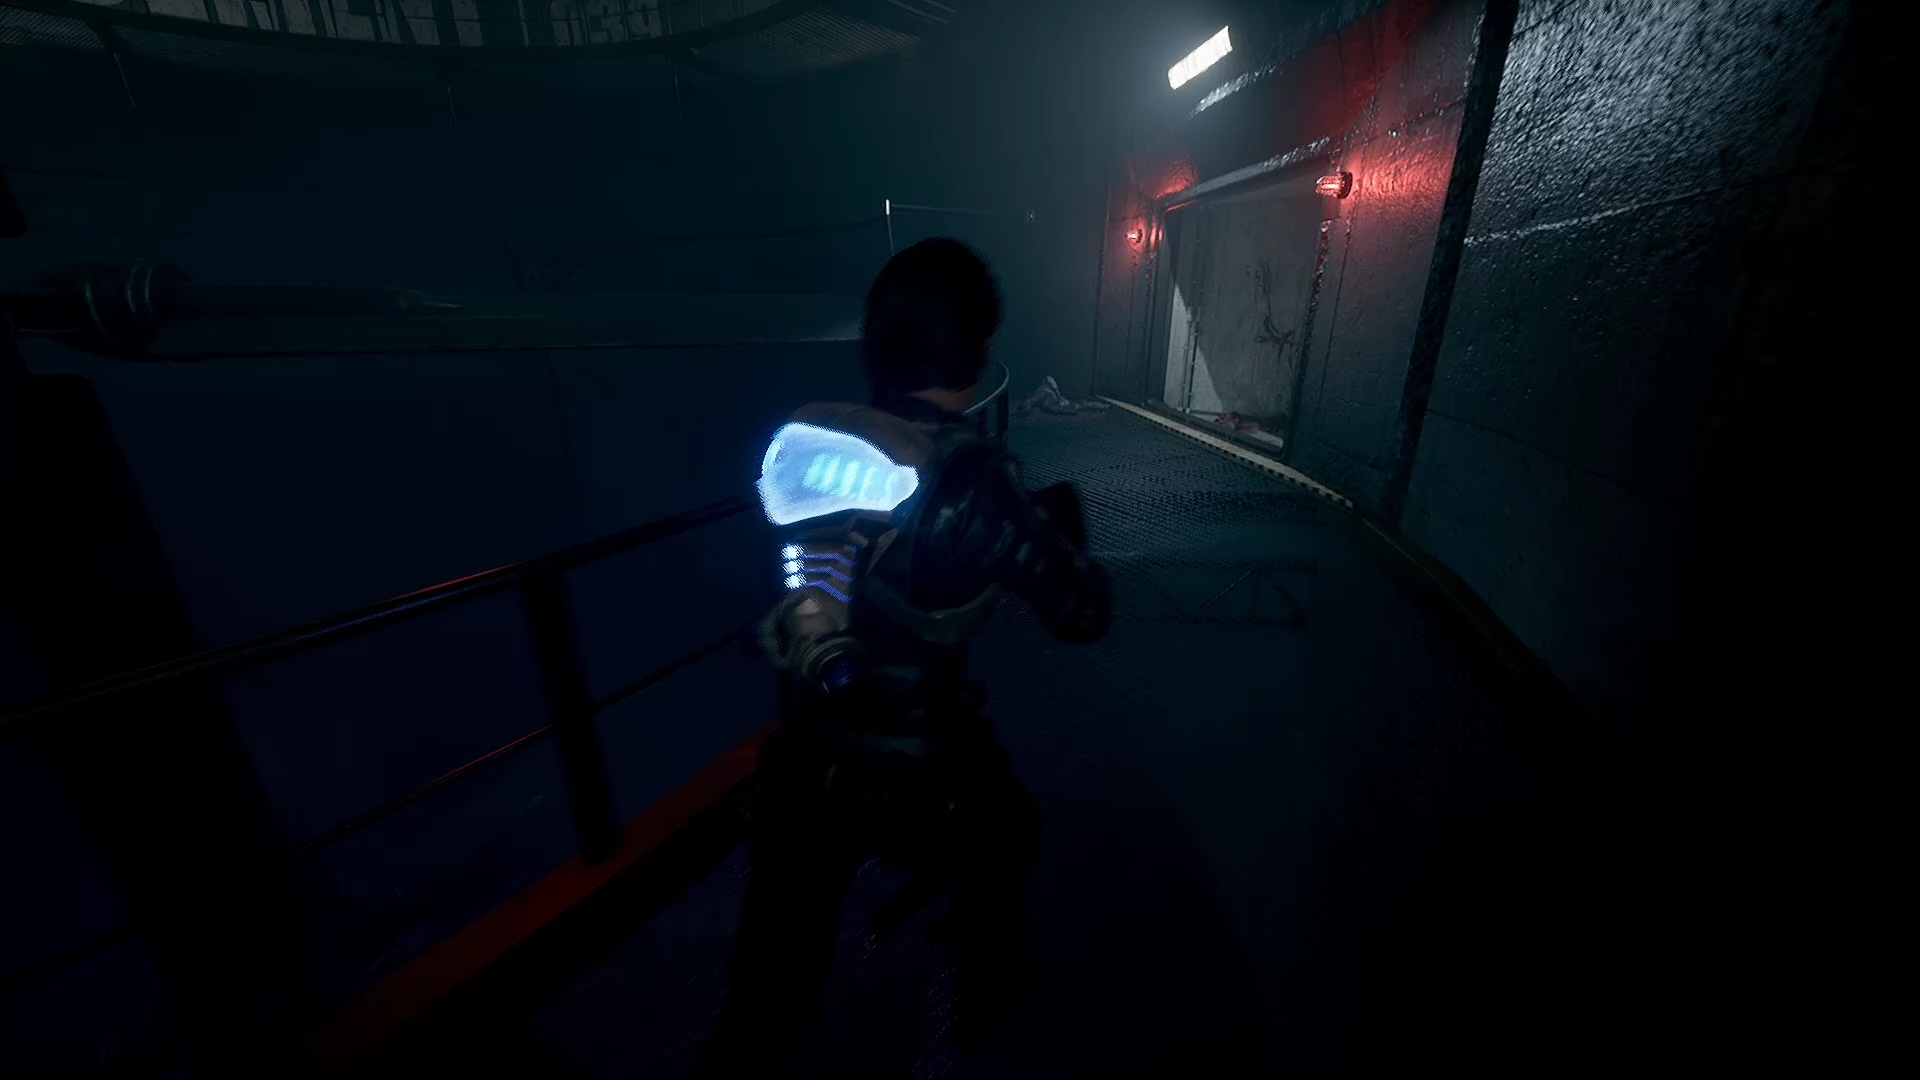
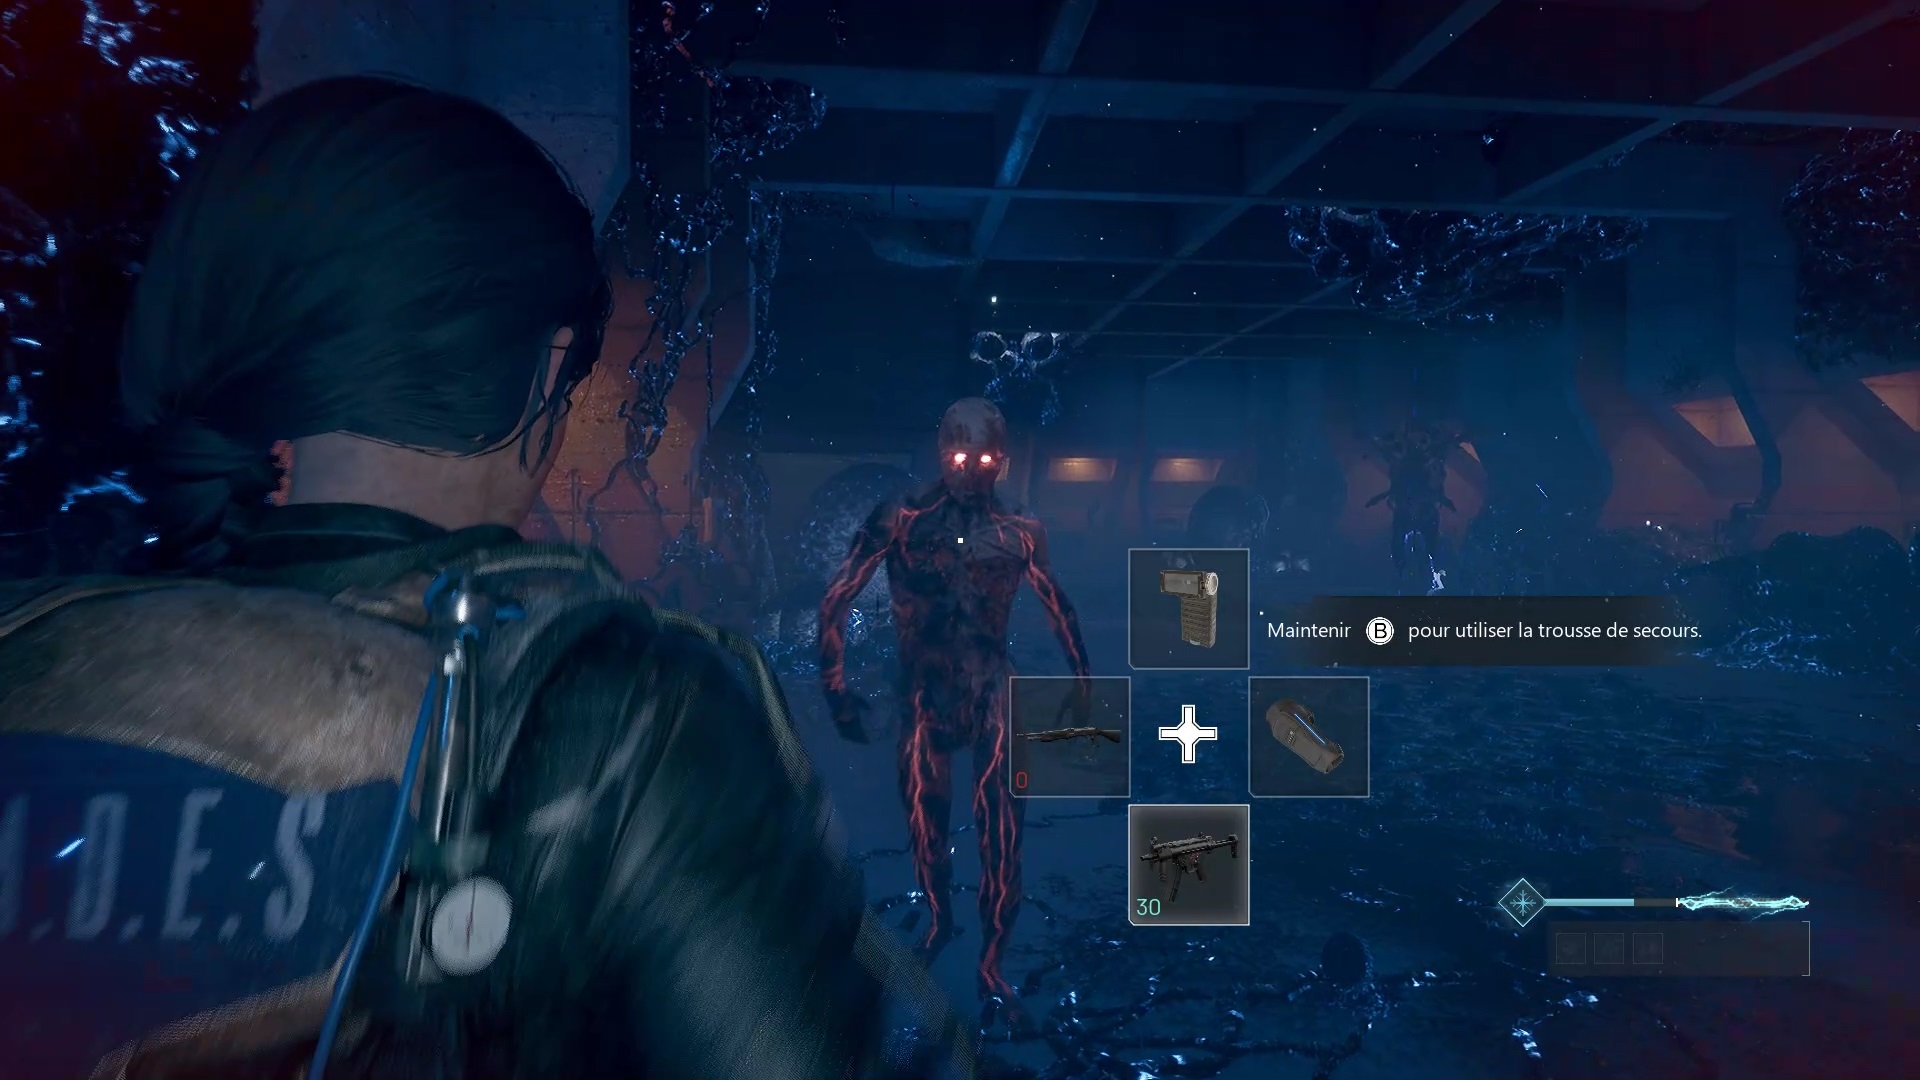
After the cutscene, access the door that has just unlocked. You can spot it thanks to the red screens. A cutscene is triggered. Take down the threats and go through the double doors. You join the previous corridor. Go back up the ladder and go down the hall to find that the corpses have disappeared.
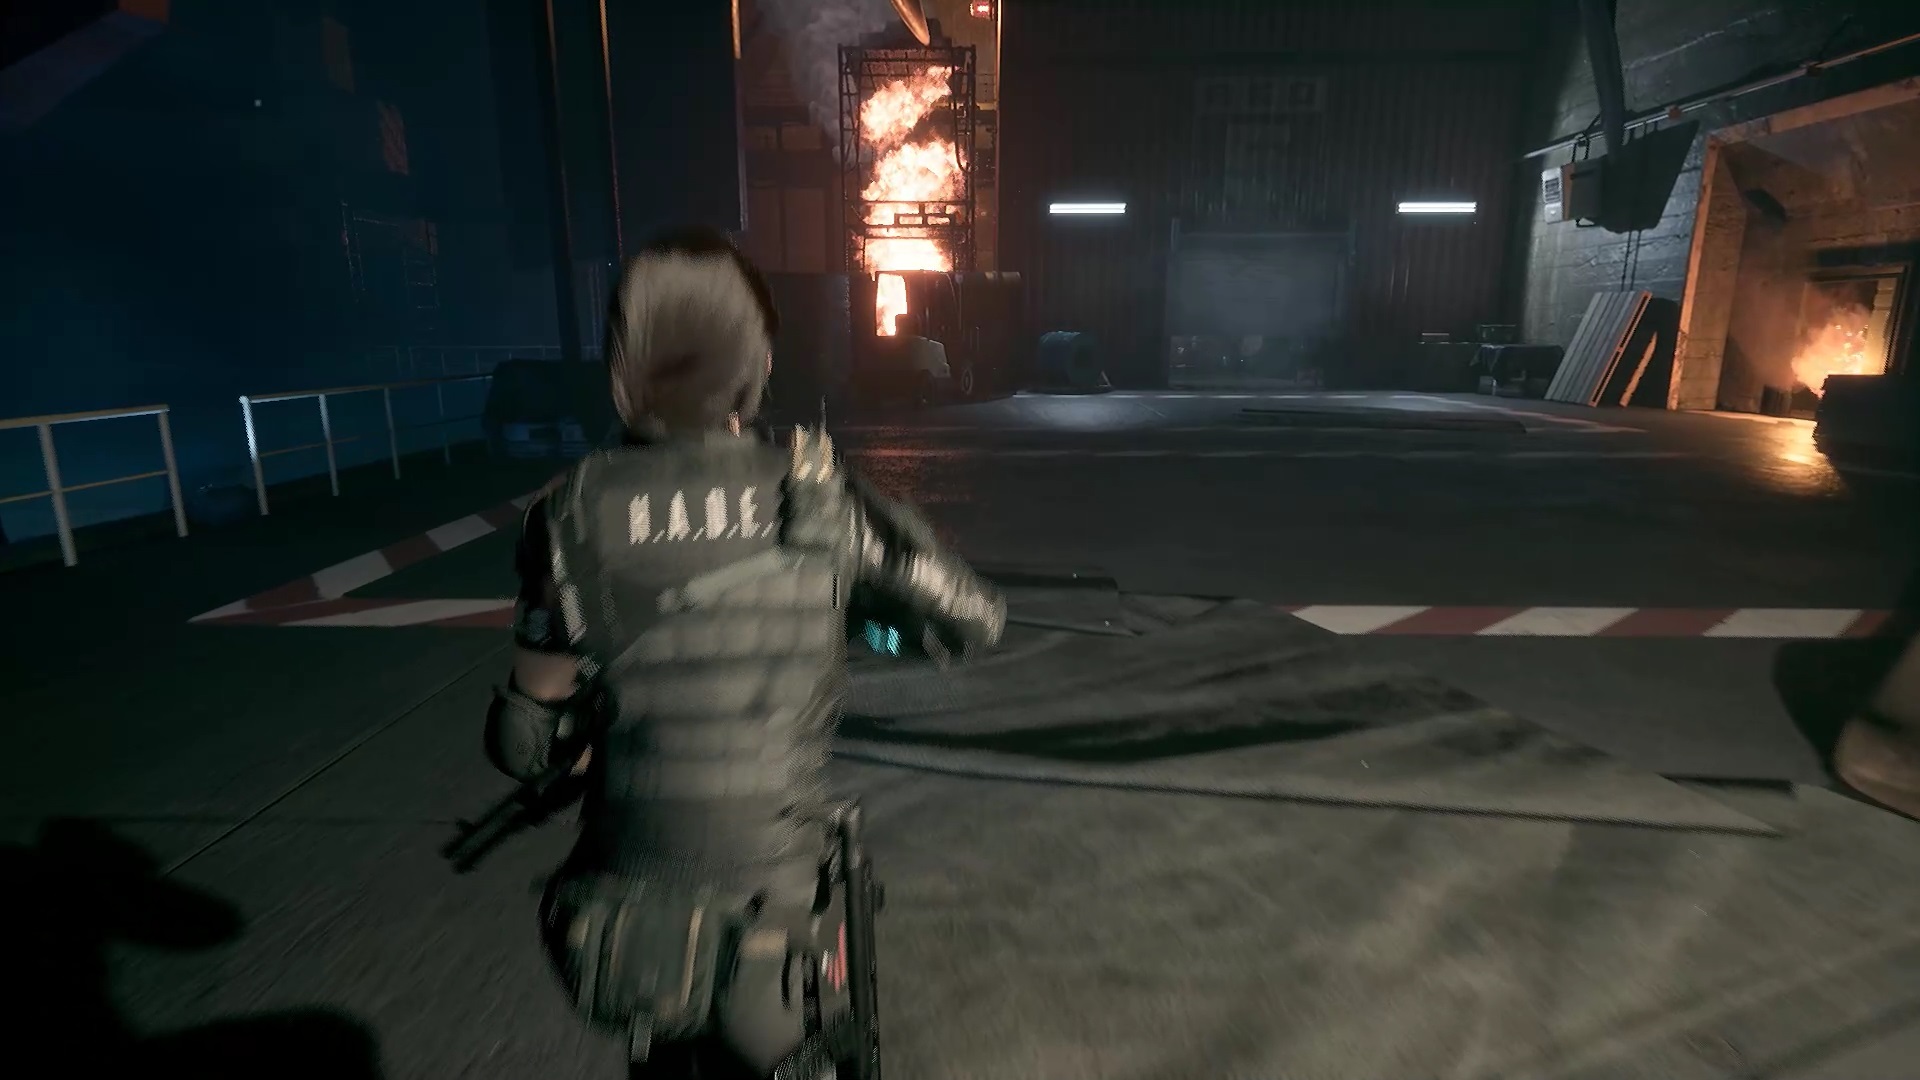
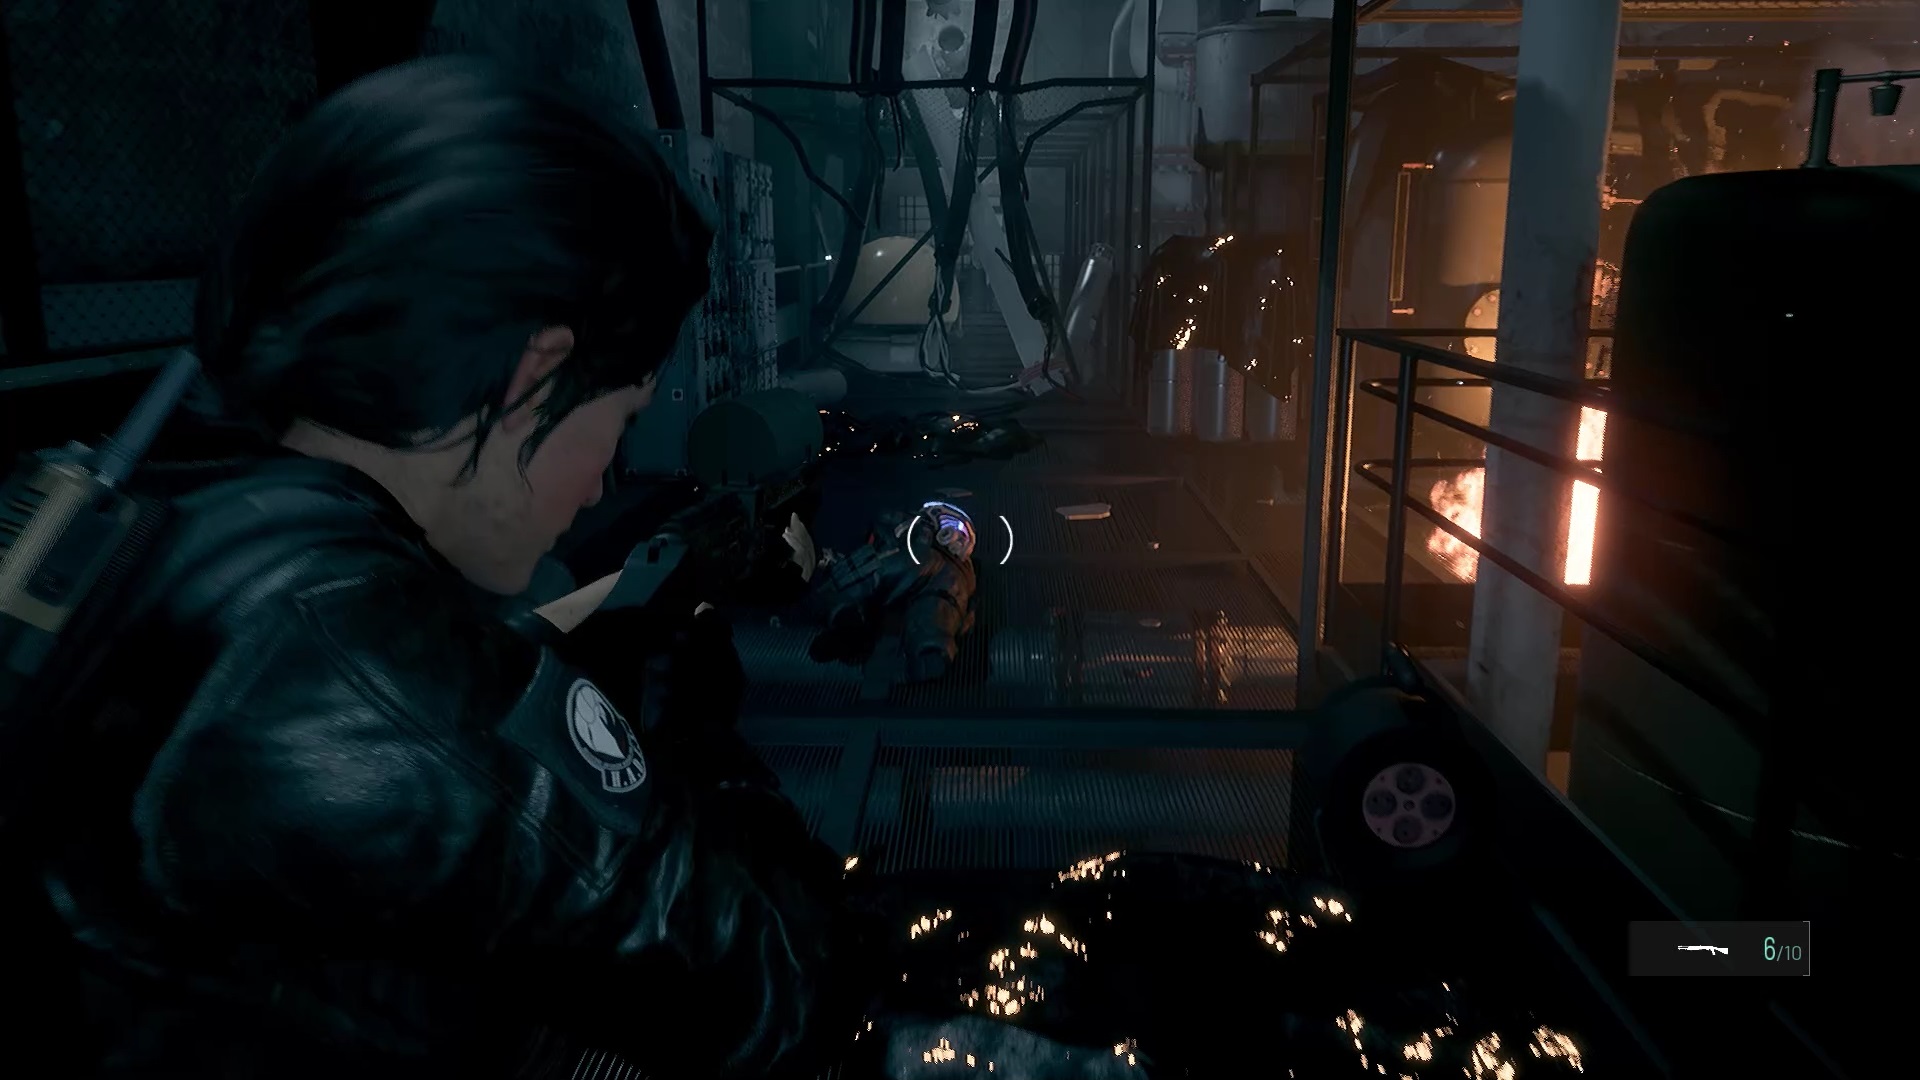
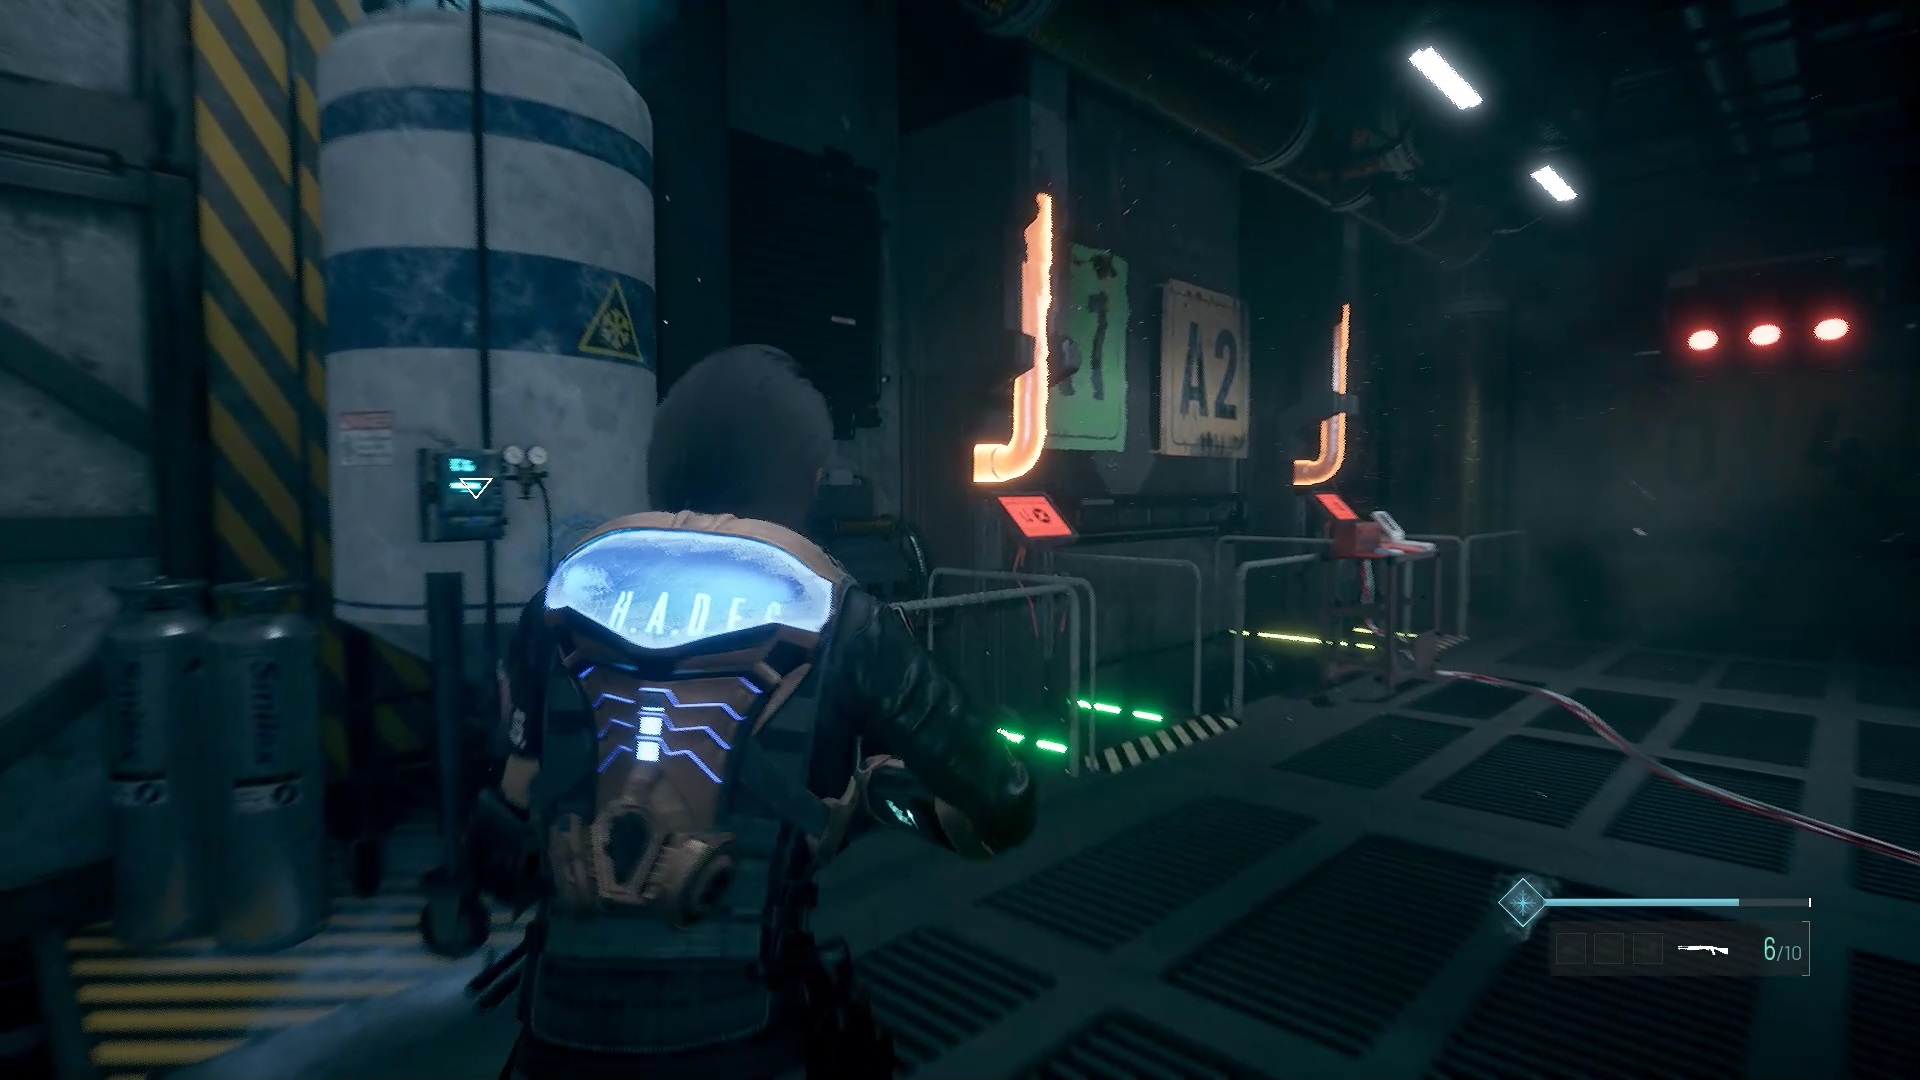
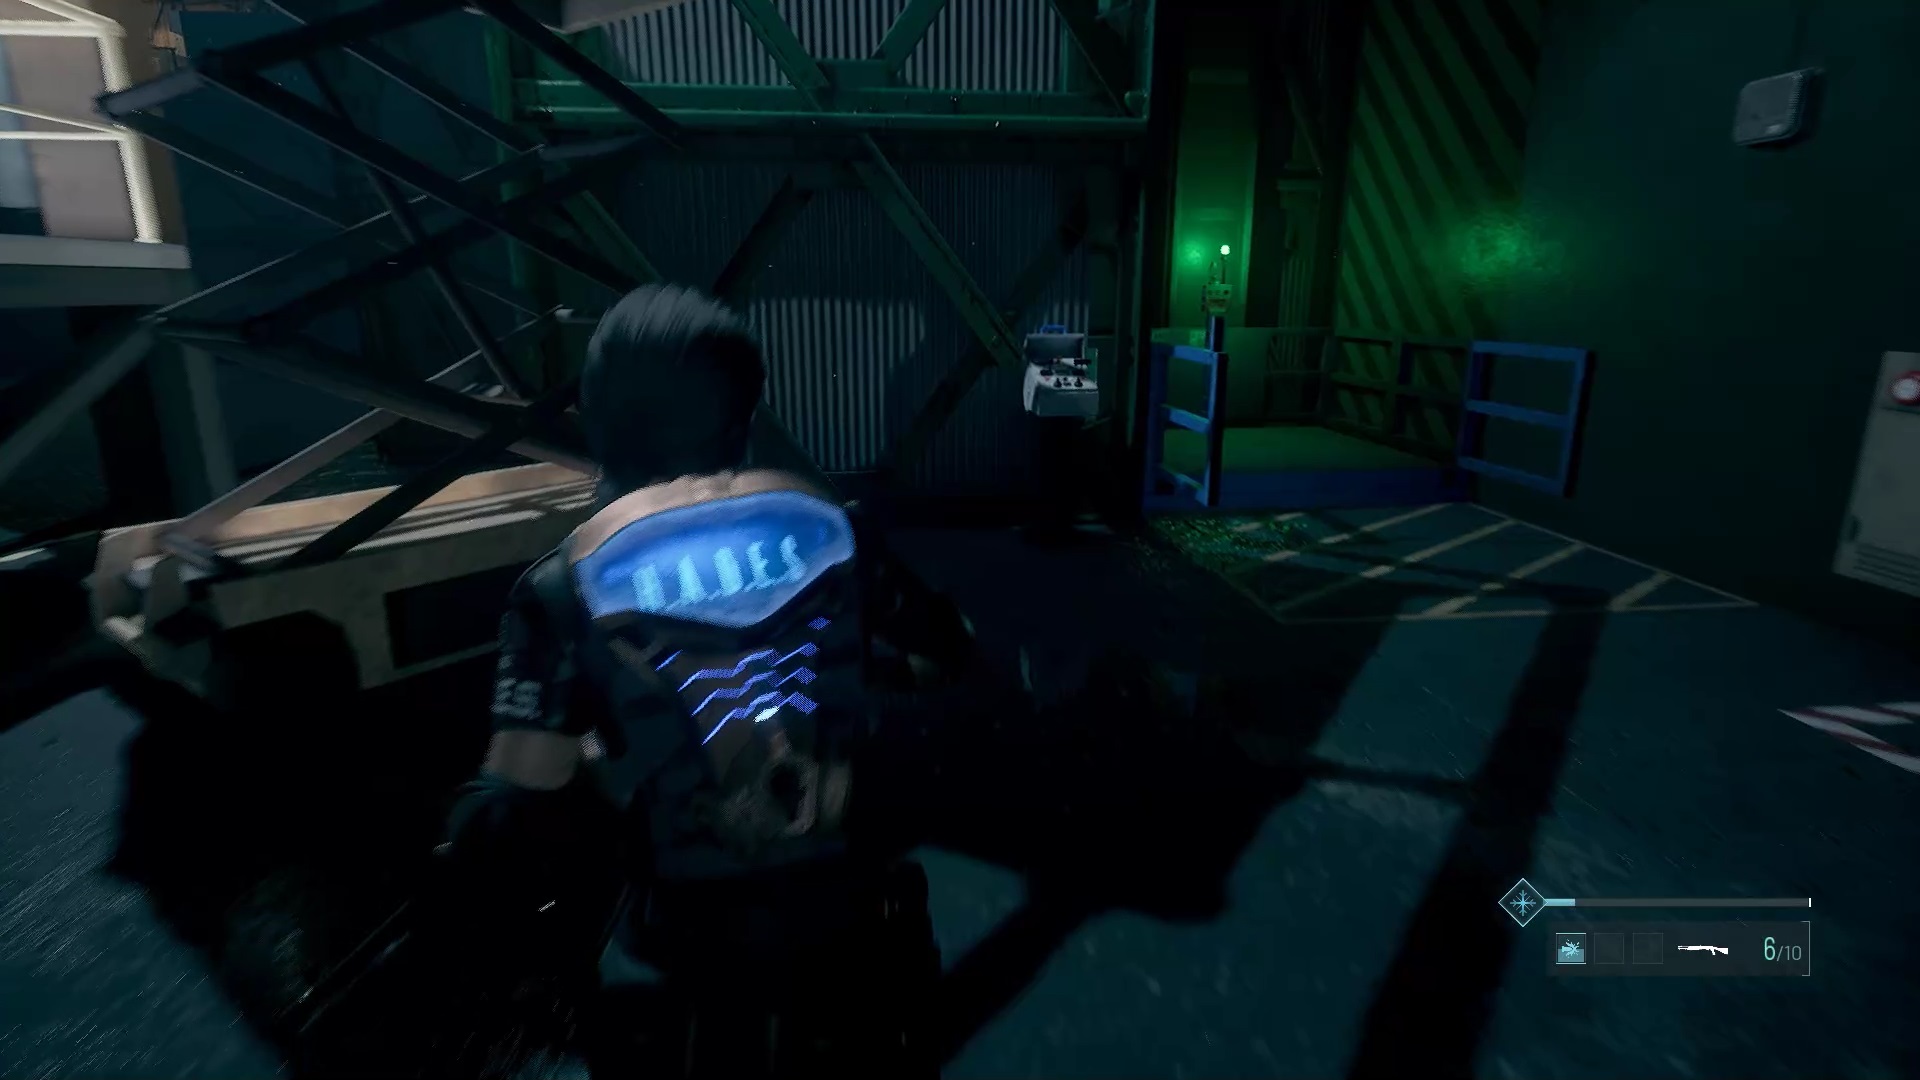
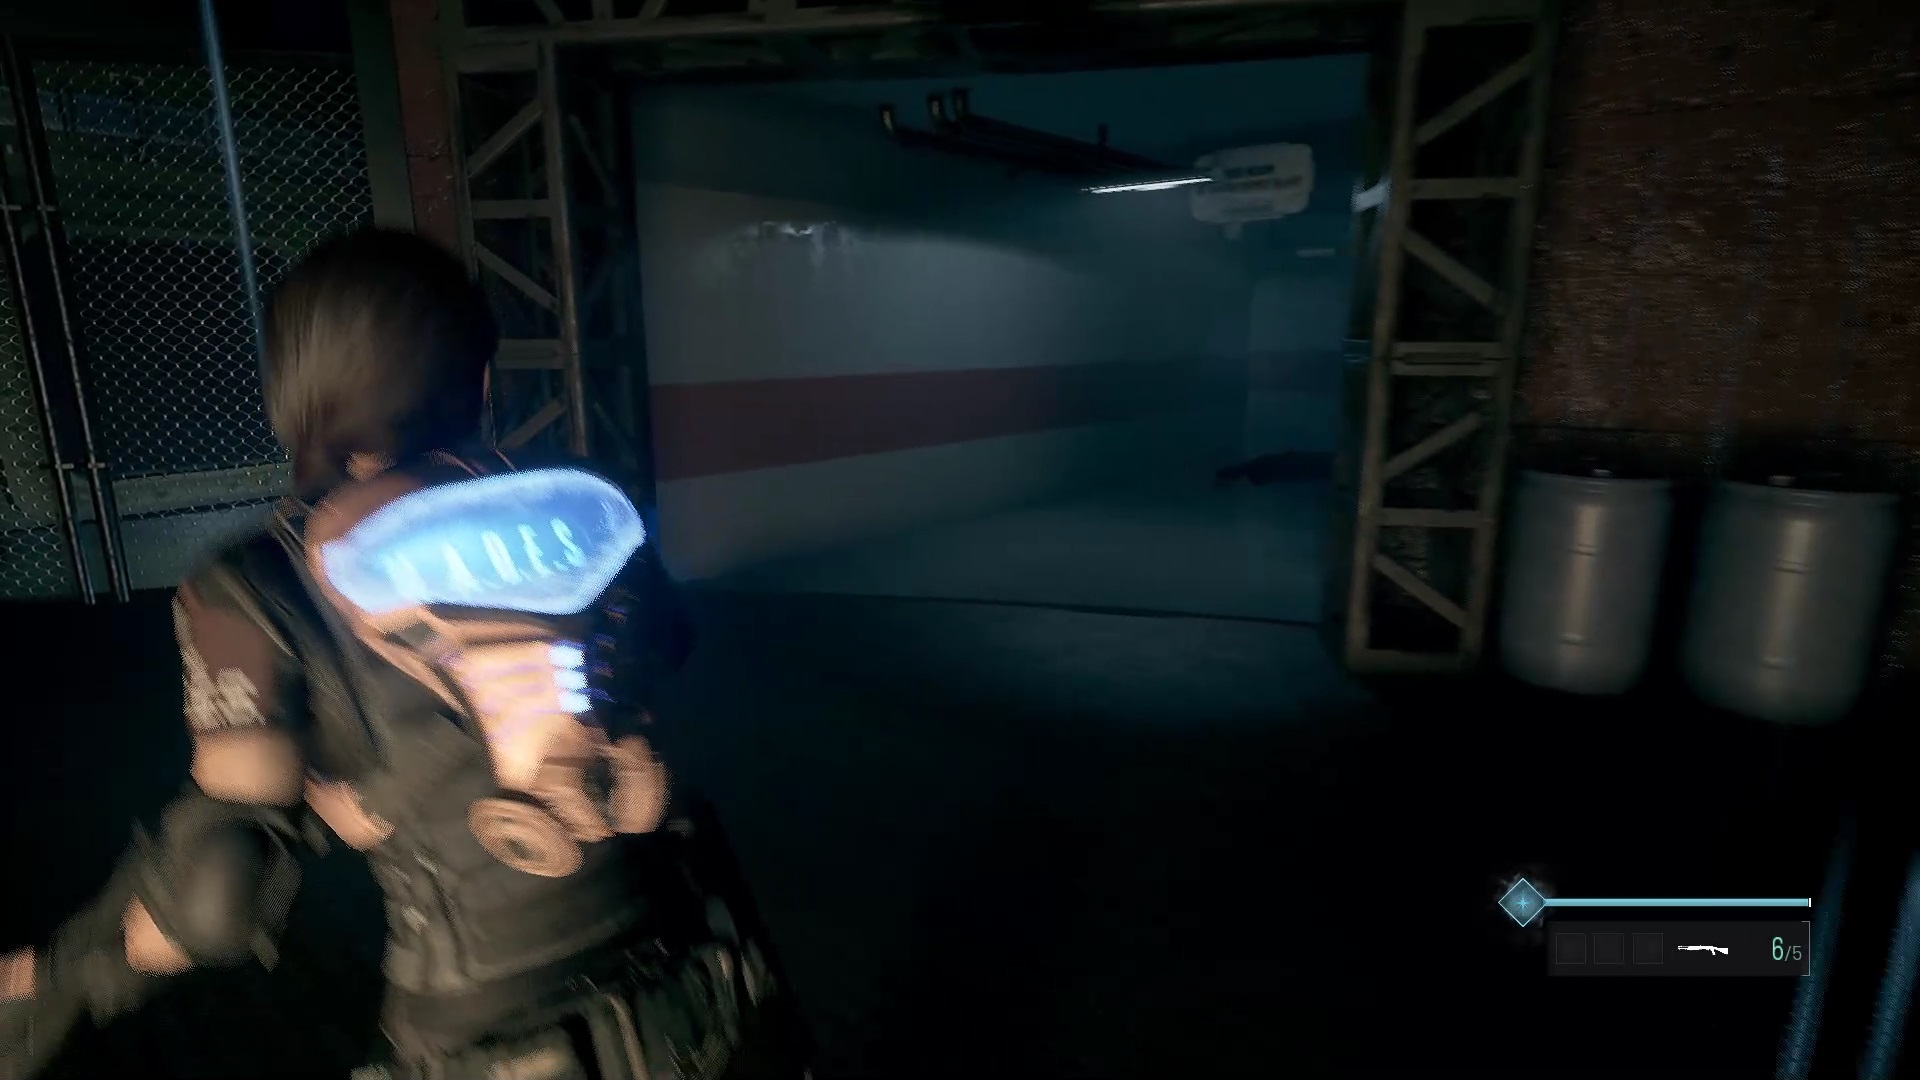
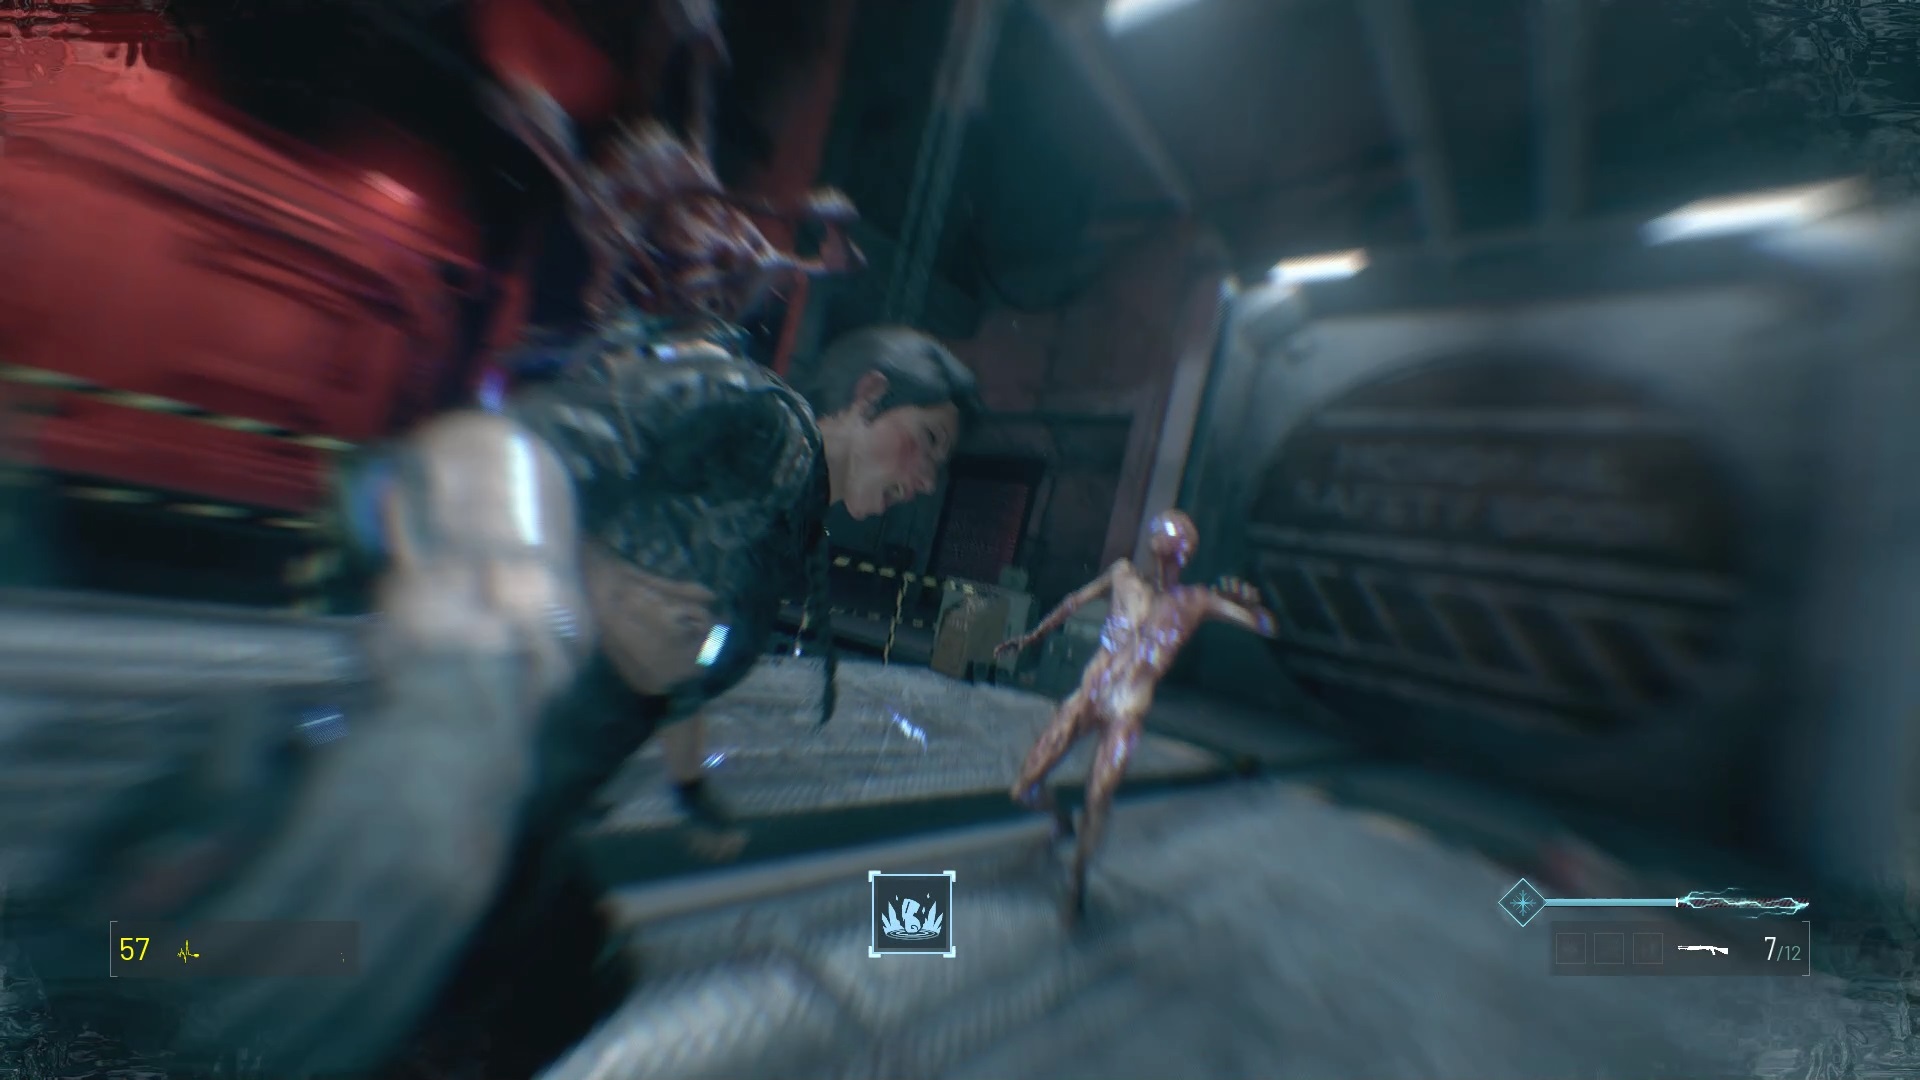
Continue through the unlocked store to trigger a cutscene. Eliminate threats to sink into a pipe. Be careful, a new threat awaits you at the end. Move forward to reach an automatic door and reach a hangar.
Go down the stairs from the catwalk and go around the vehicle to find an elevator behind it. Once at the top, move forward to climb the ladder and reach the boat. Beware of enemies are inside. Follow the outside lights to find an exit. Then go down to the lower level and move forward to trigger a cutscene. Here you are facing red Decoys. Don’t waste your resources, go under the blind to take shelter.
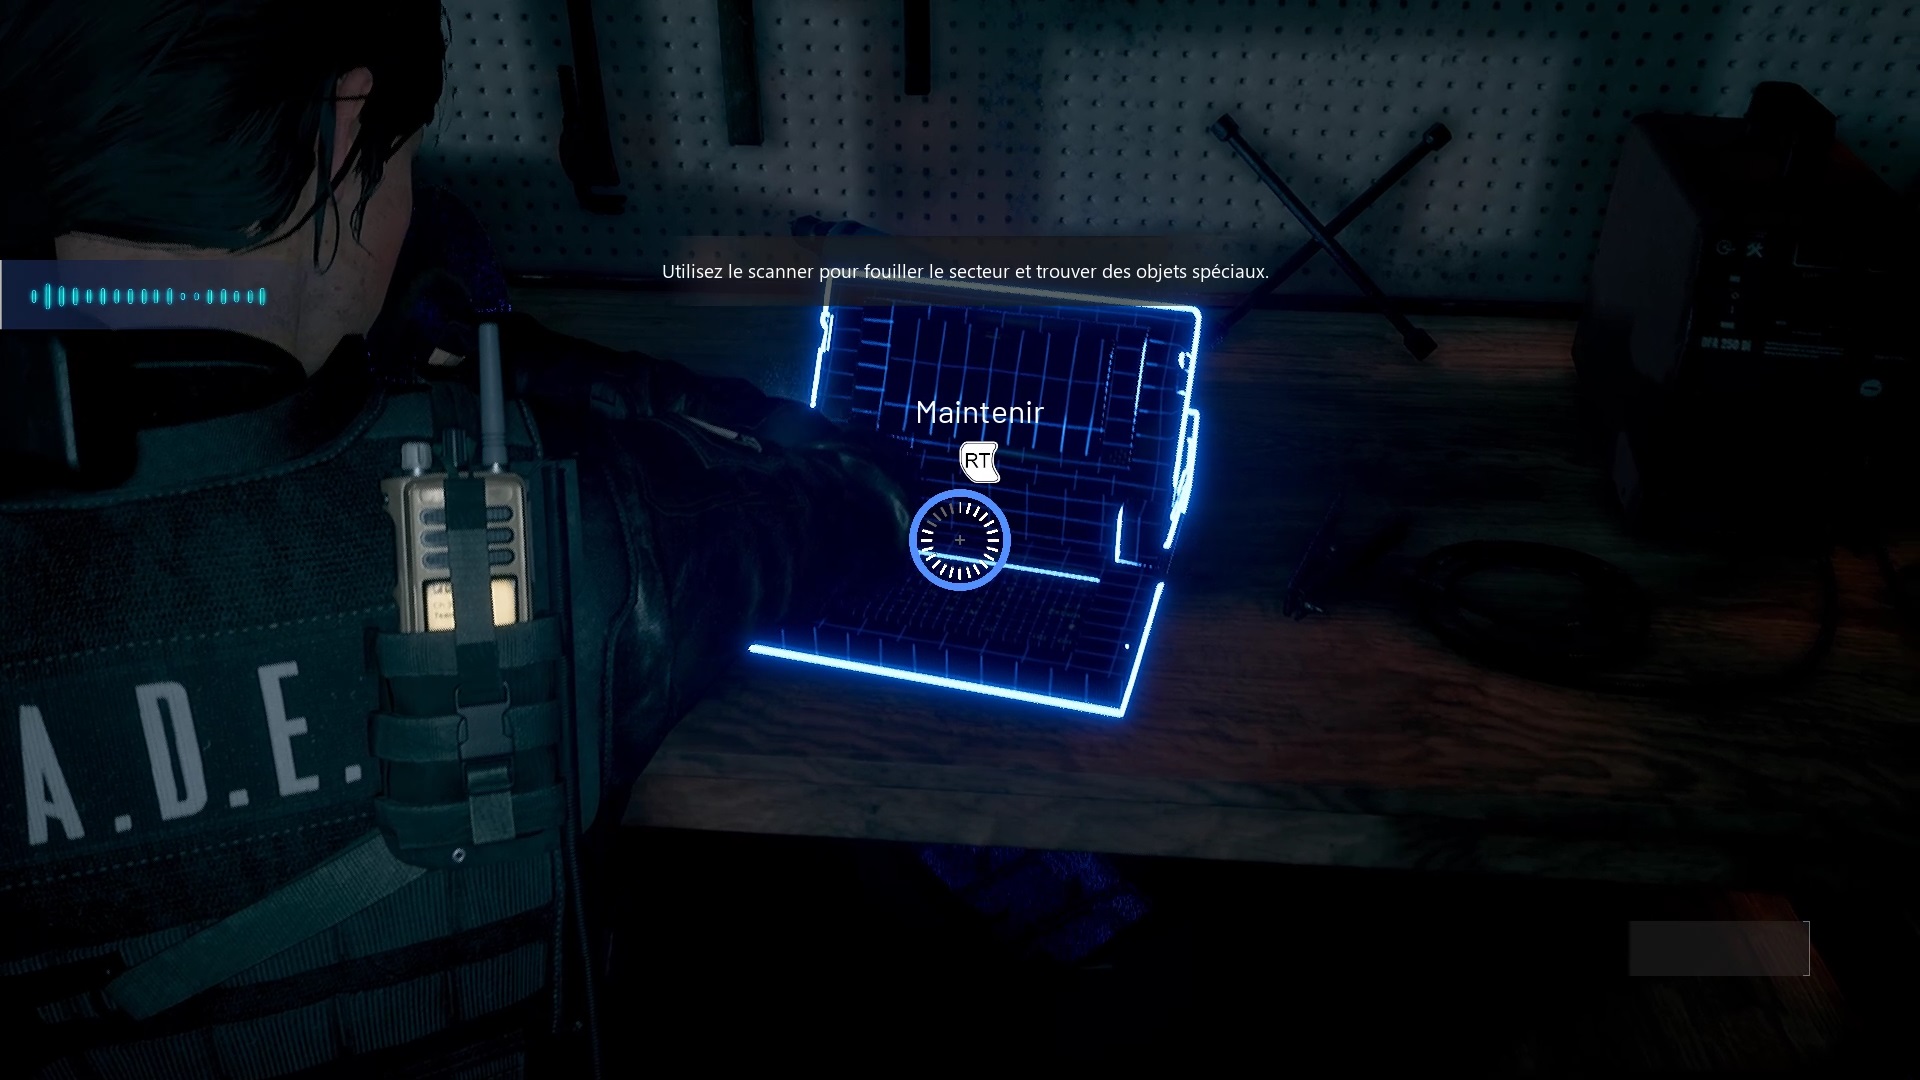
On the other side, use your scanner on the device near the workshop to get a bonus document. Then take the elevator to reach the upper level. Proceed through the hallways to trigger a cutscene. Then continue to sink into a gap to get the Frost Grip.
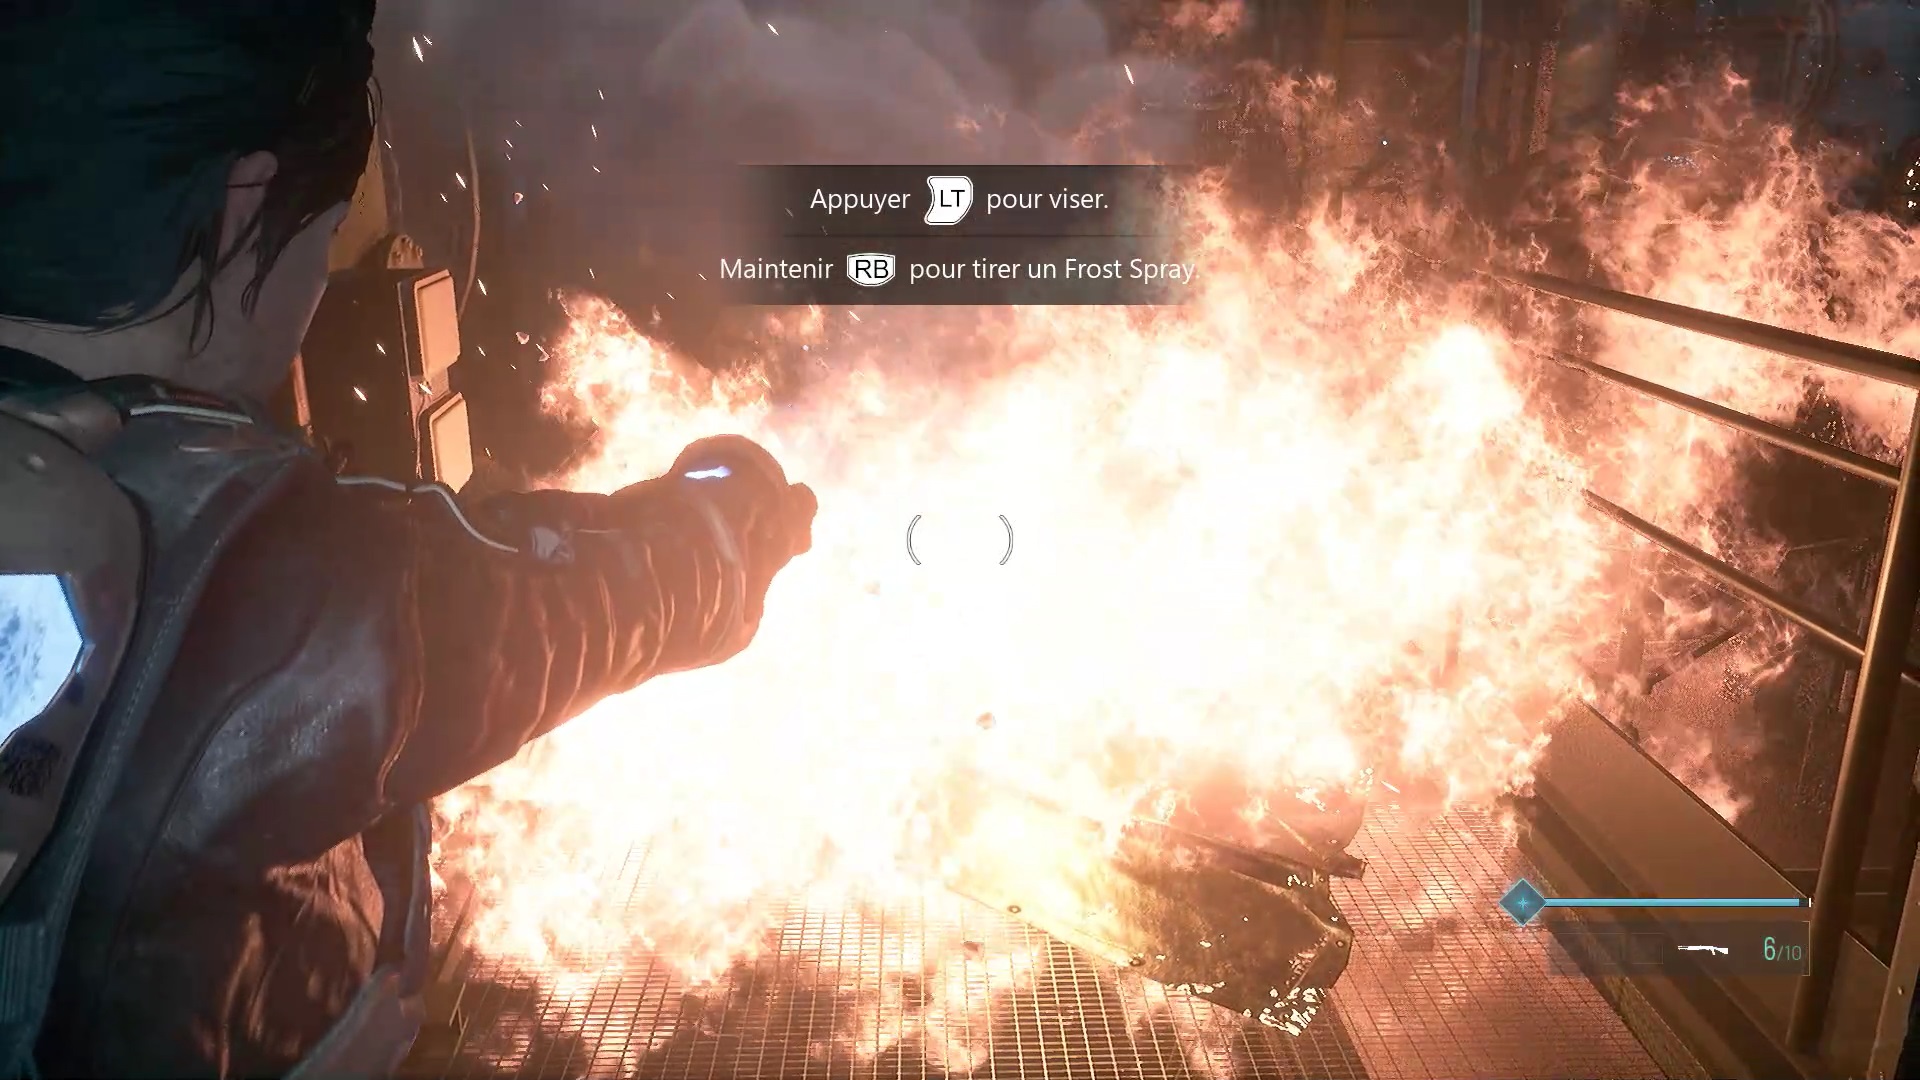
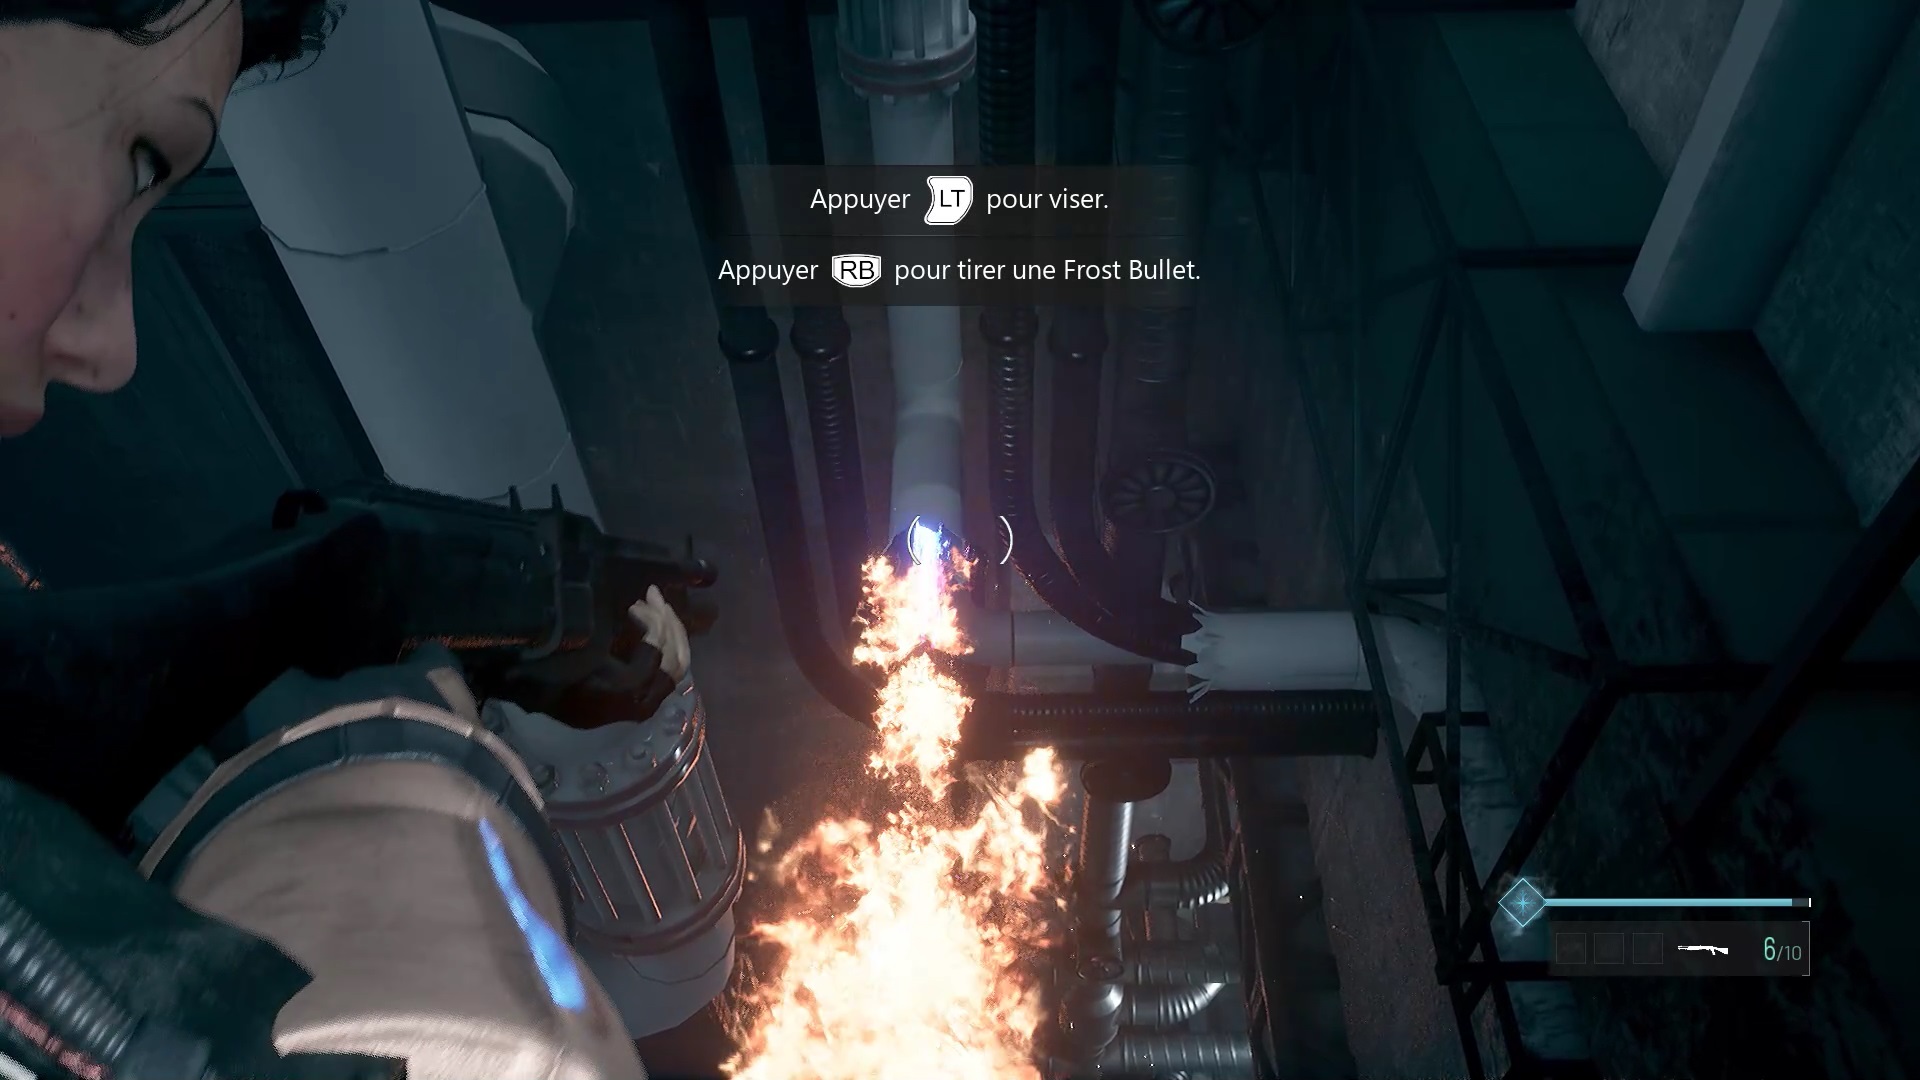
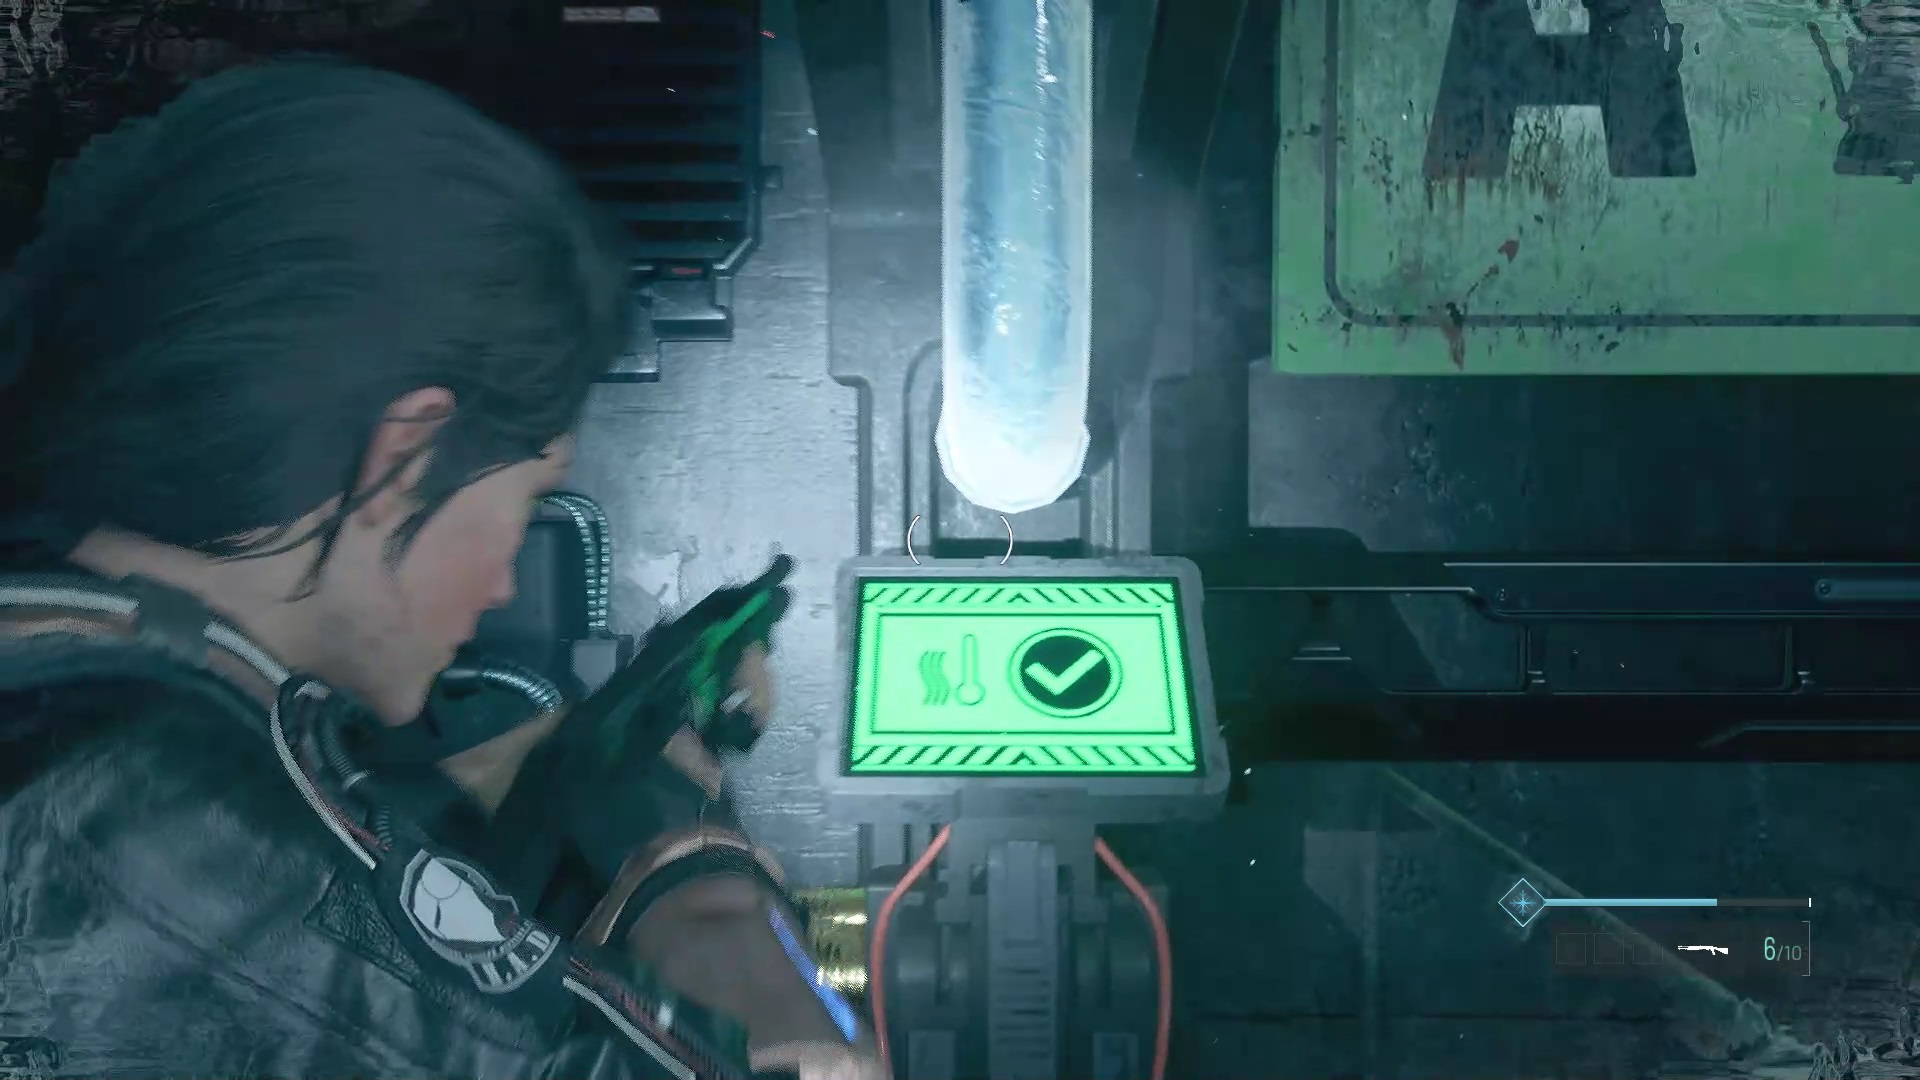
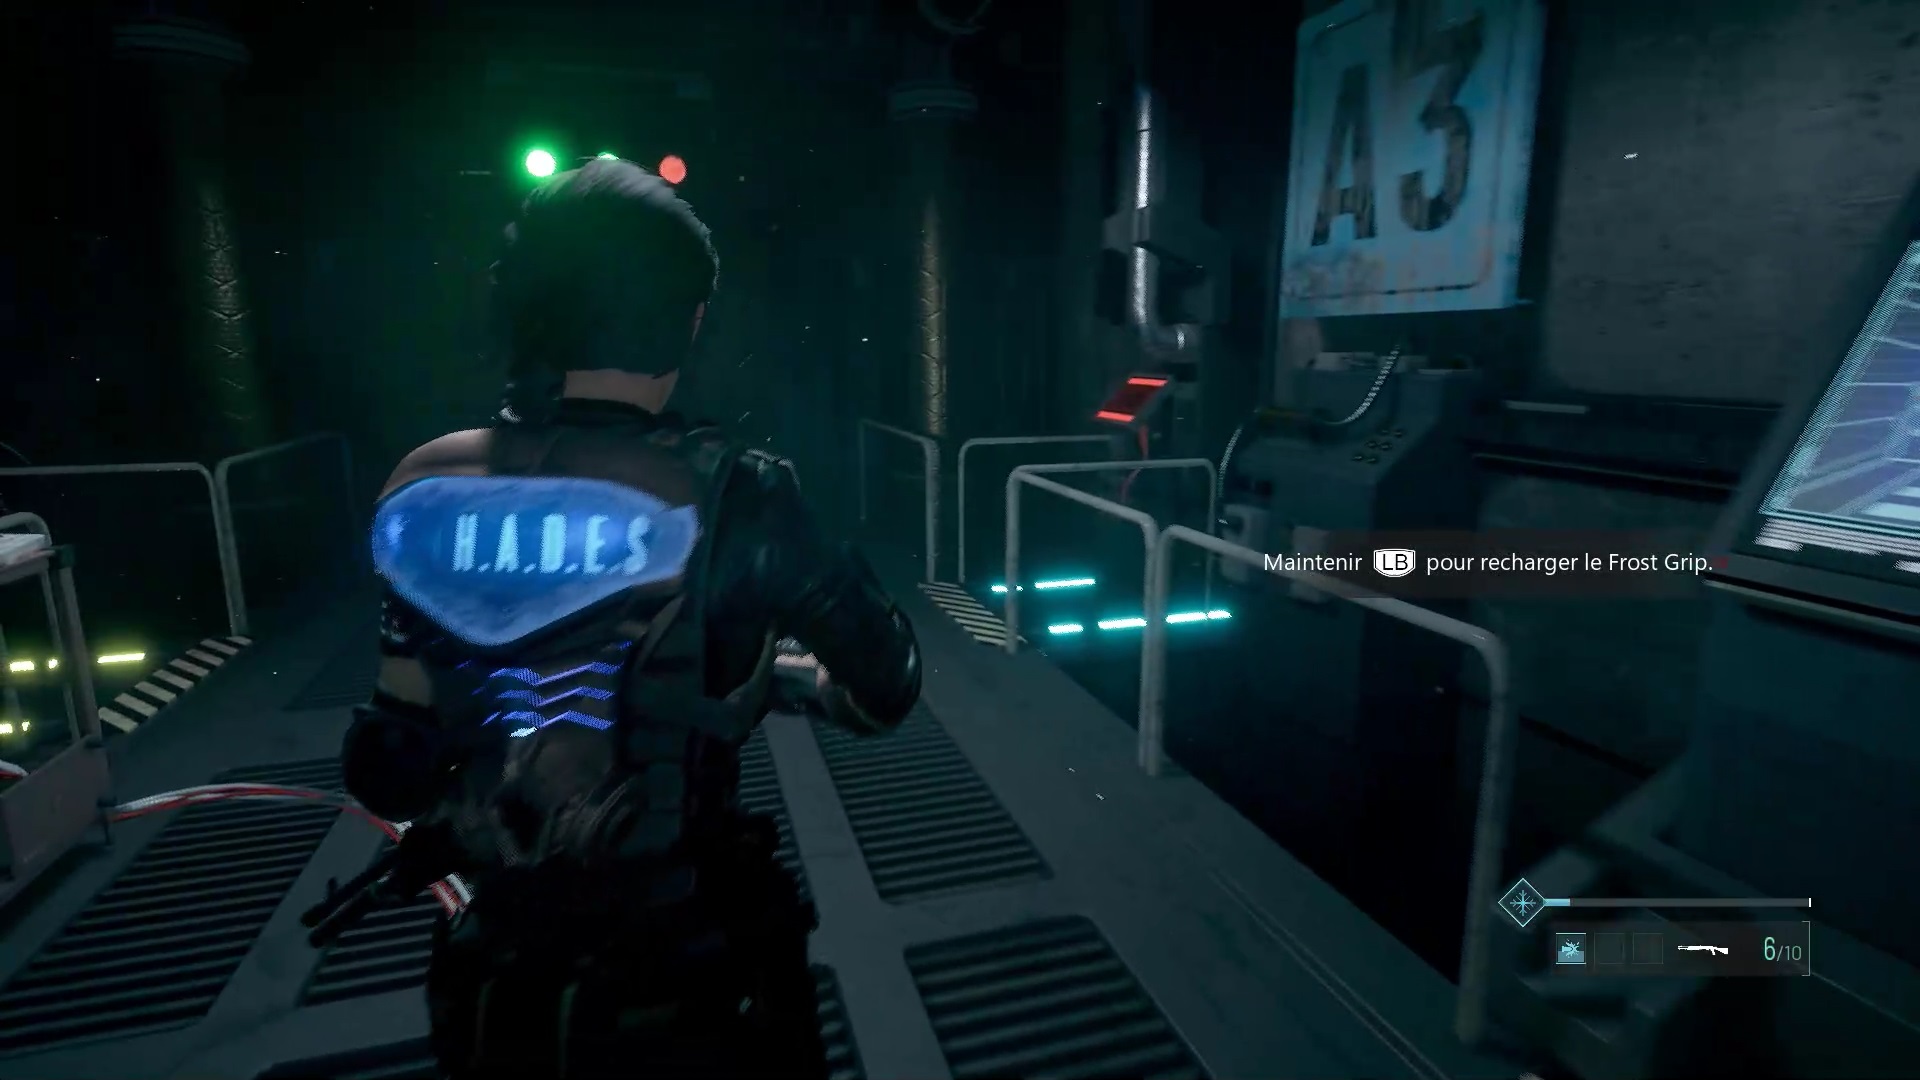
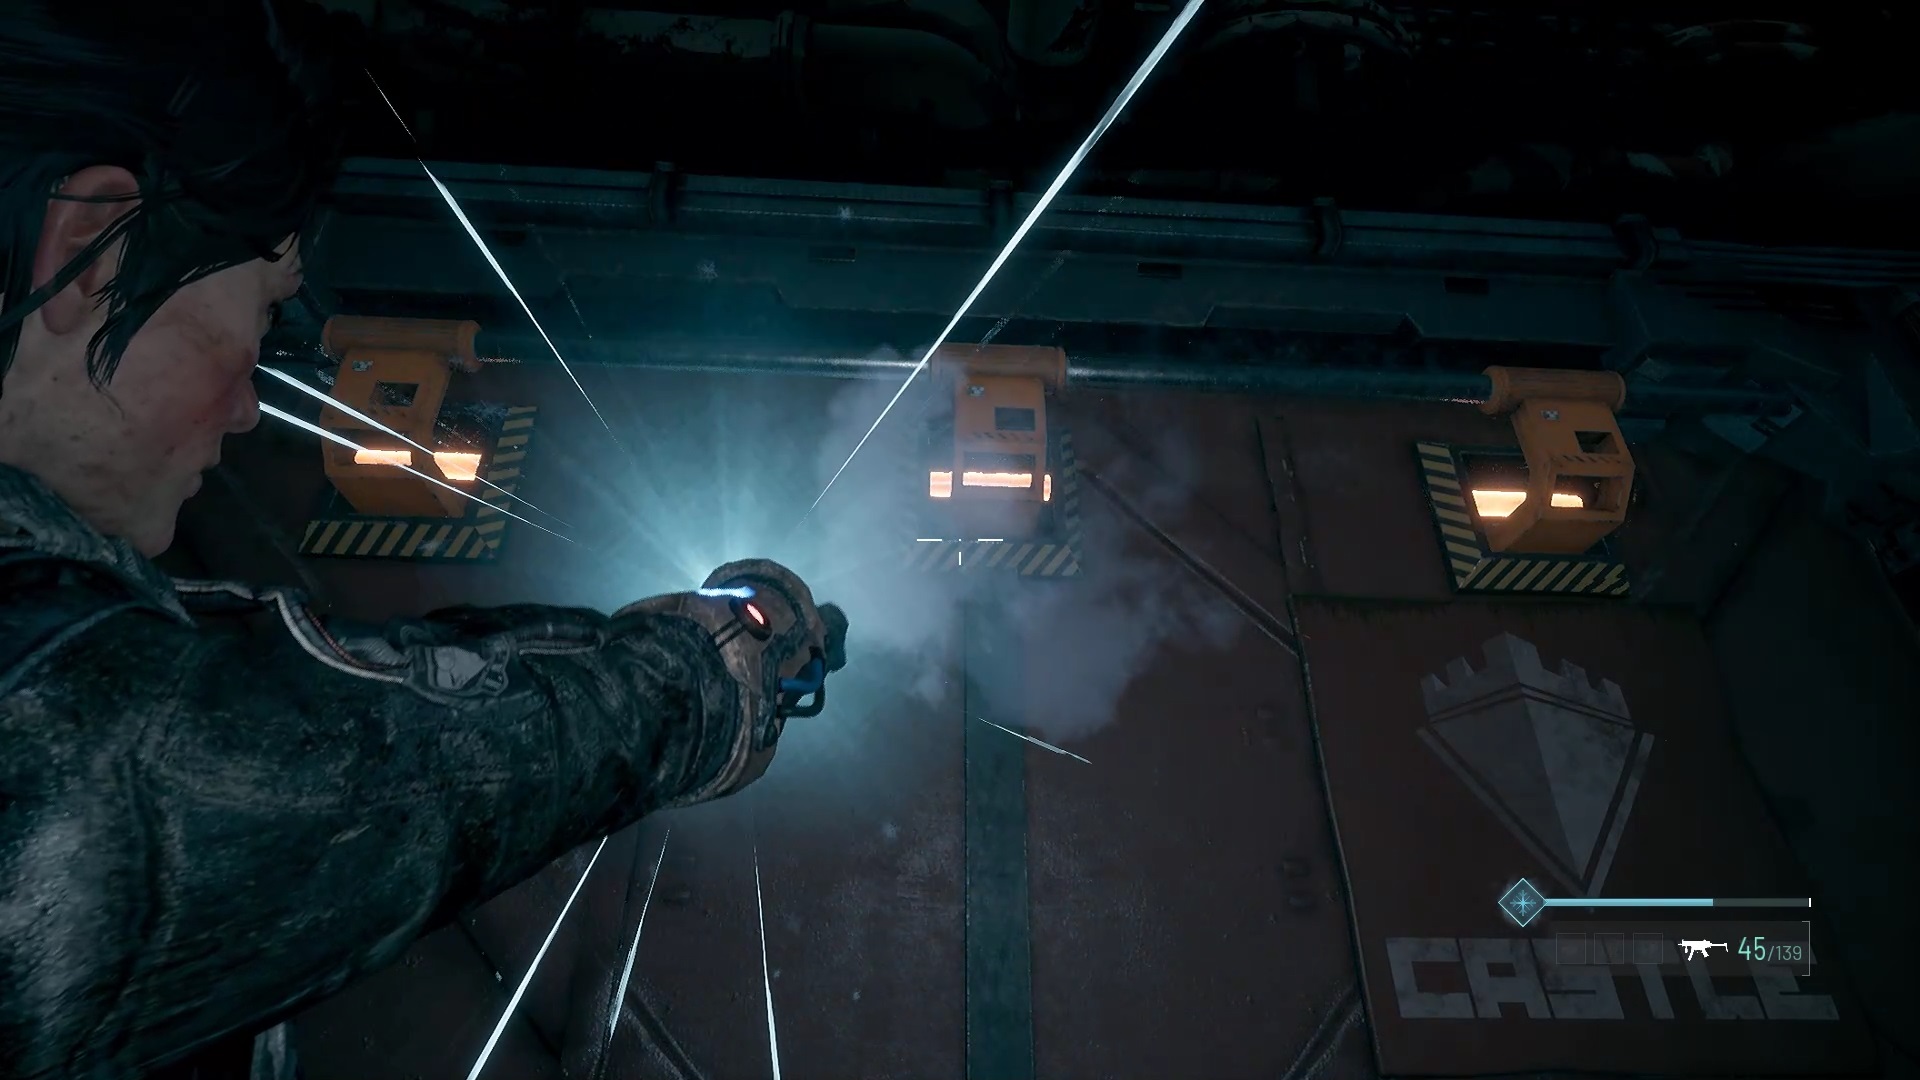
Use the Frost Grip to clear the way and put out the flames. Then familiarize yourself with the Frost Bullet to shoot the pipe with precision. On the other side, you will have to cool the three pipes quickly to unlock the door. The screen in front of the pipe turns green when it is properly cooled. If you need to refill the Frost Grip, use the nearby tank. Then go through the door.
Use the scanner in the hallway to examine the body on the right. Then take the elevator at the bottom to go up. Then go through the frozen bodies to reach an elevator. Once at the top join a platform to descend into the aircraft hangar.
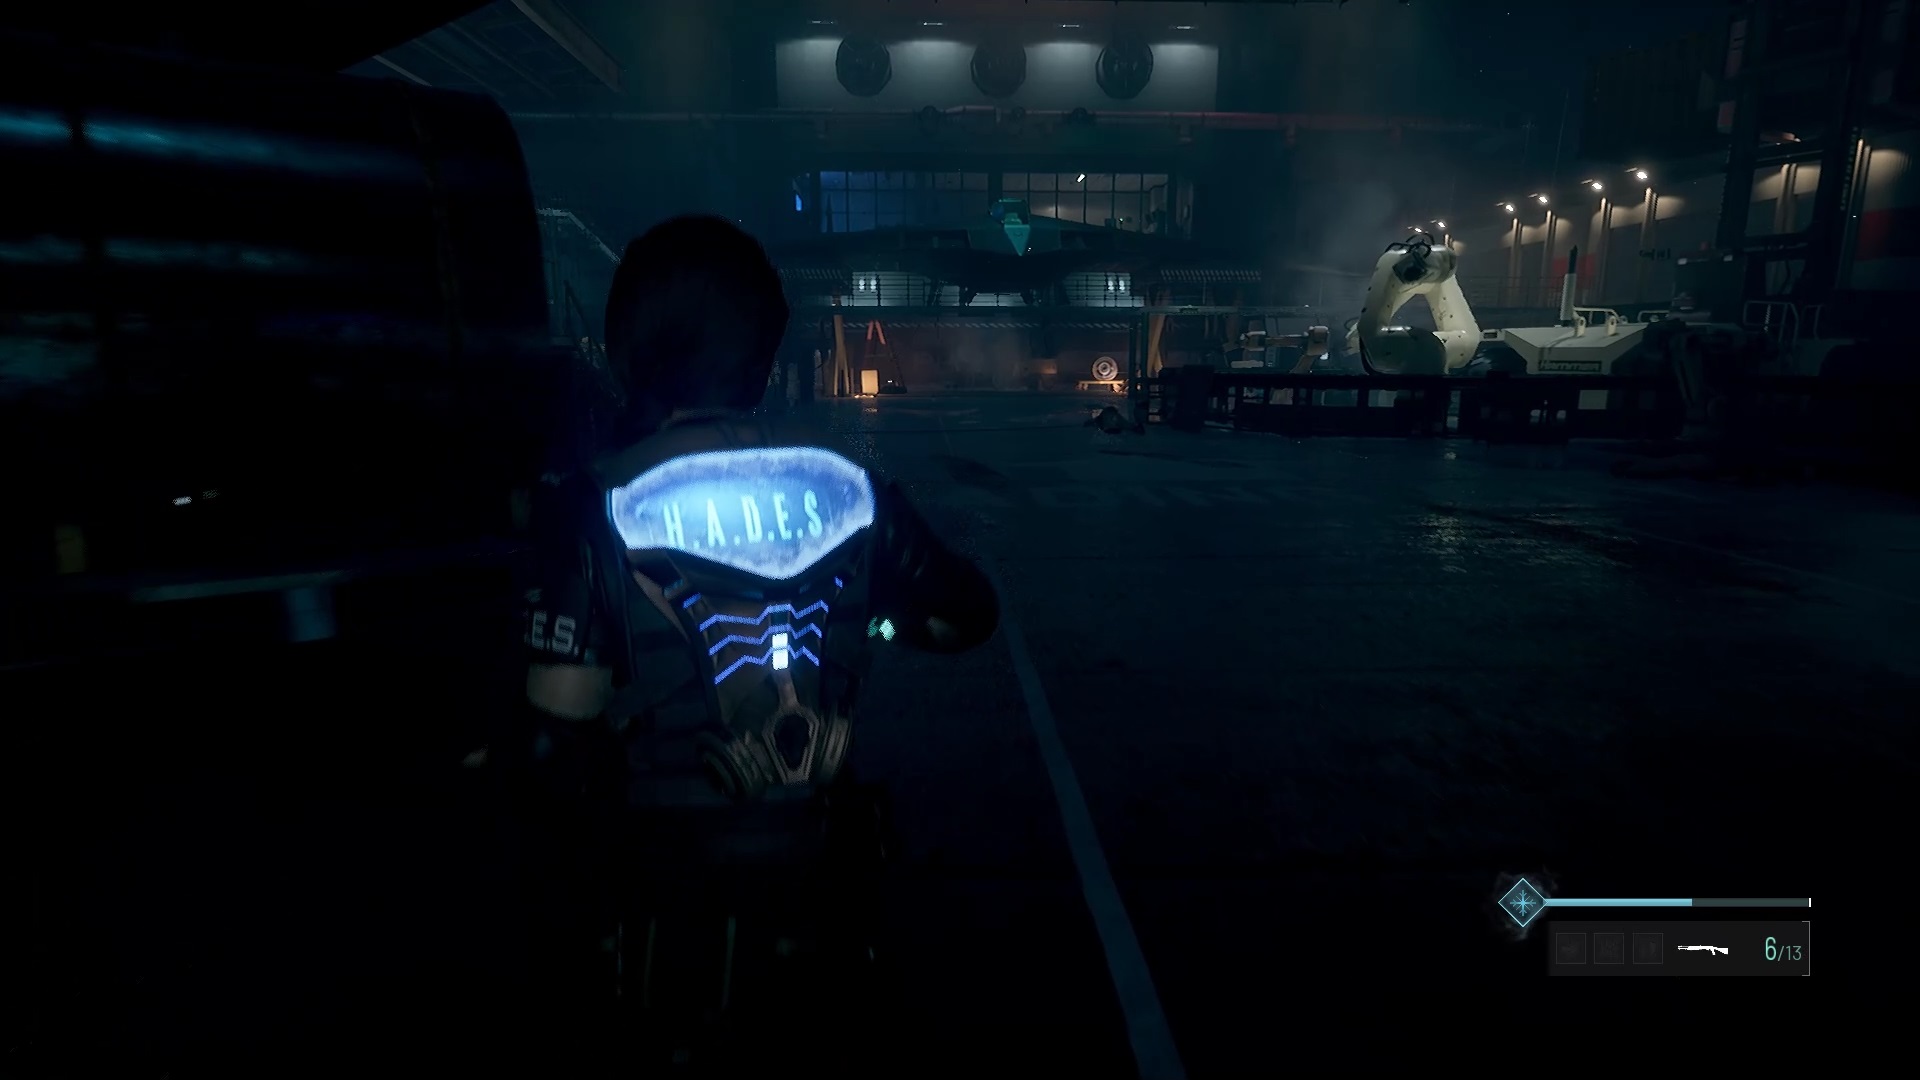
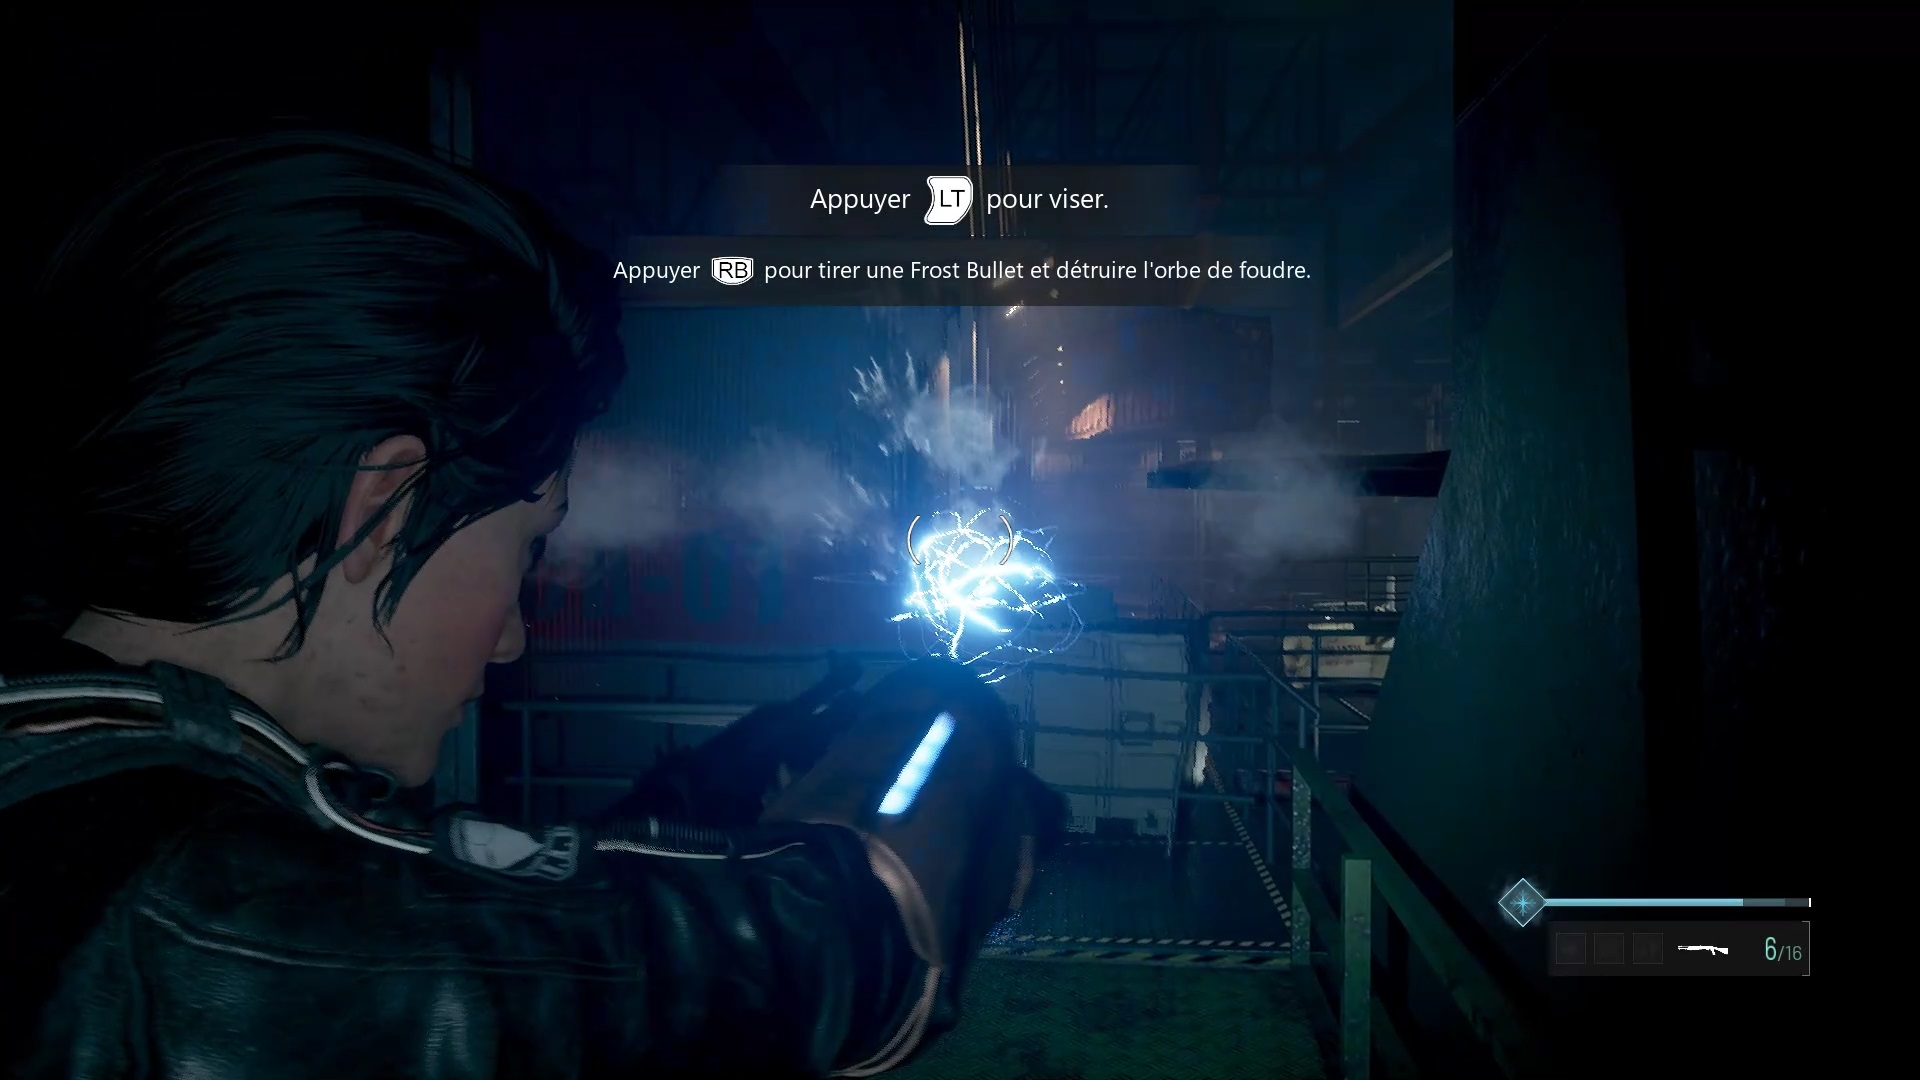
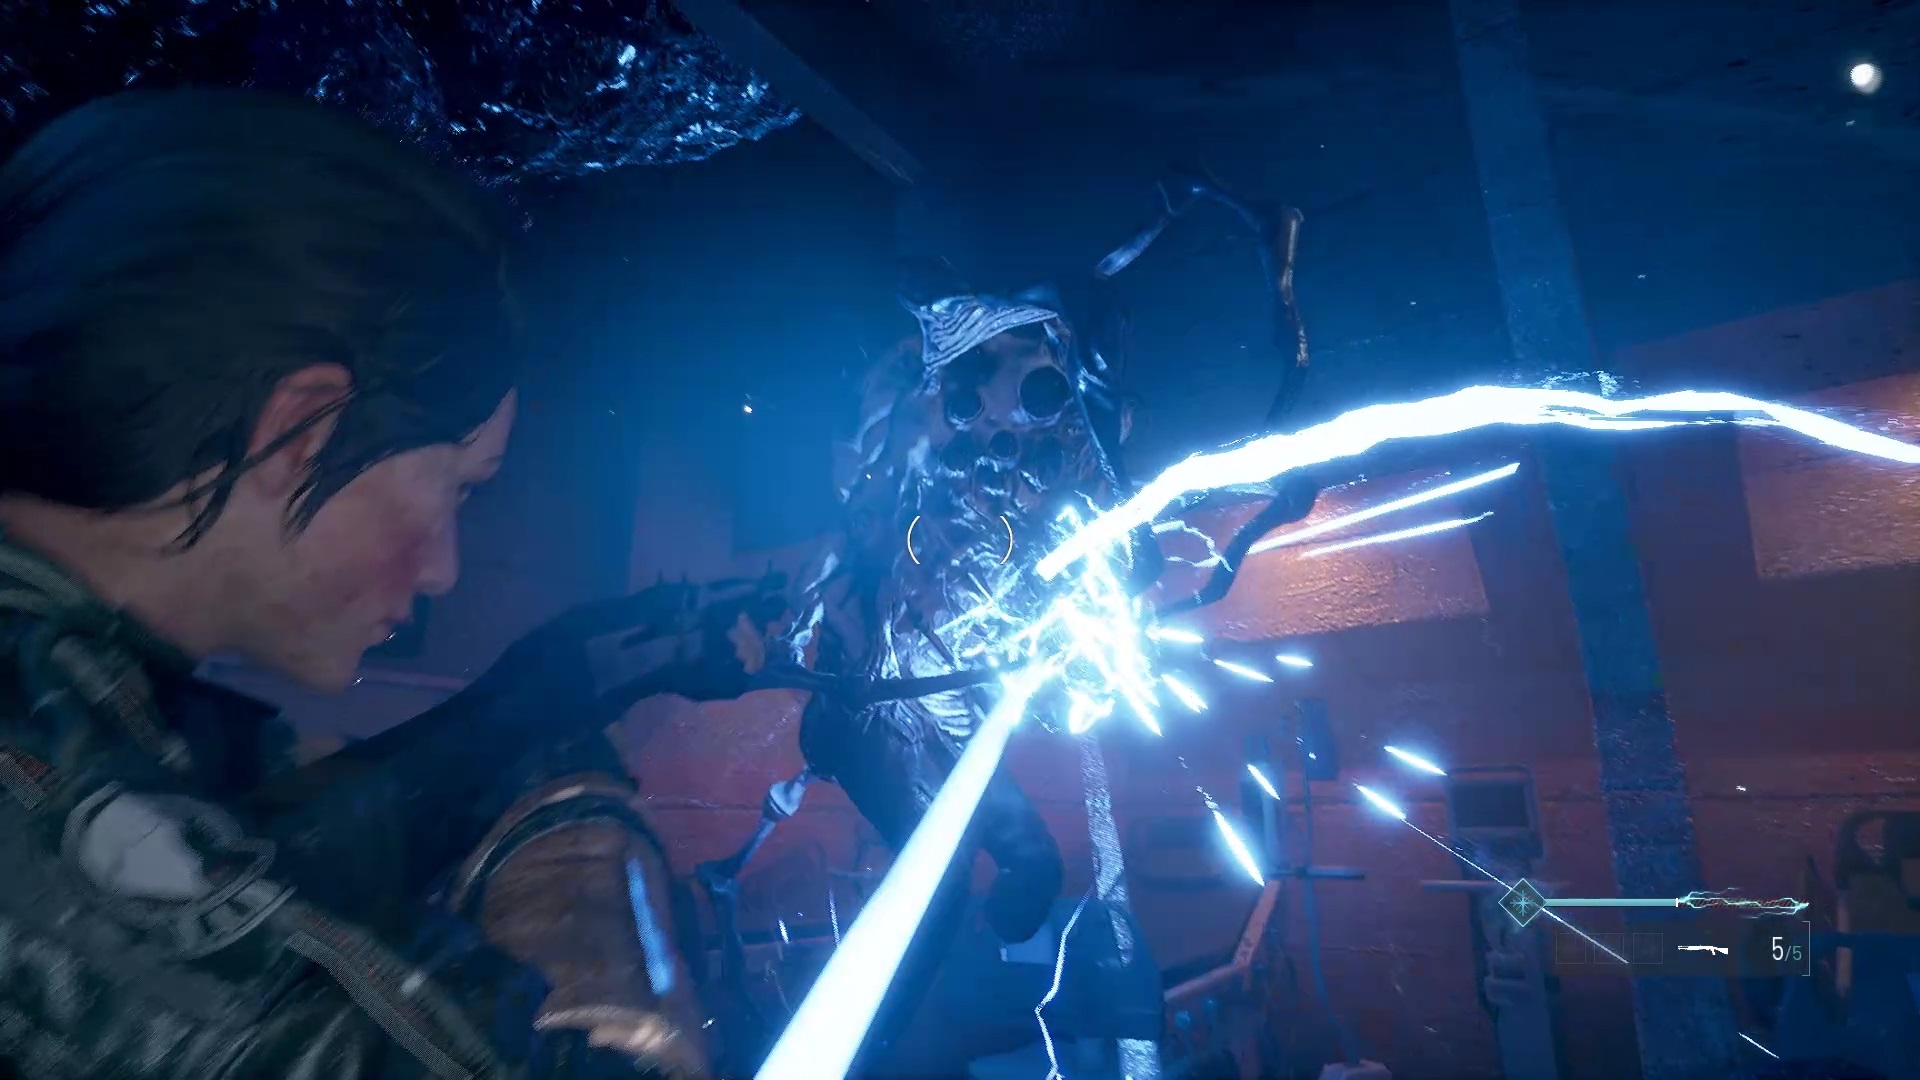
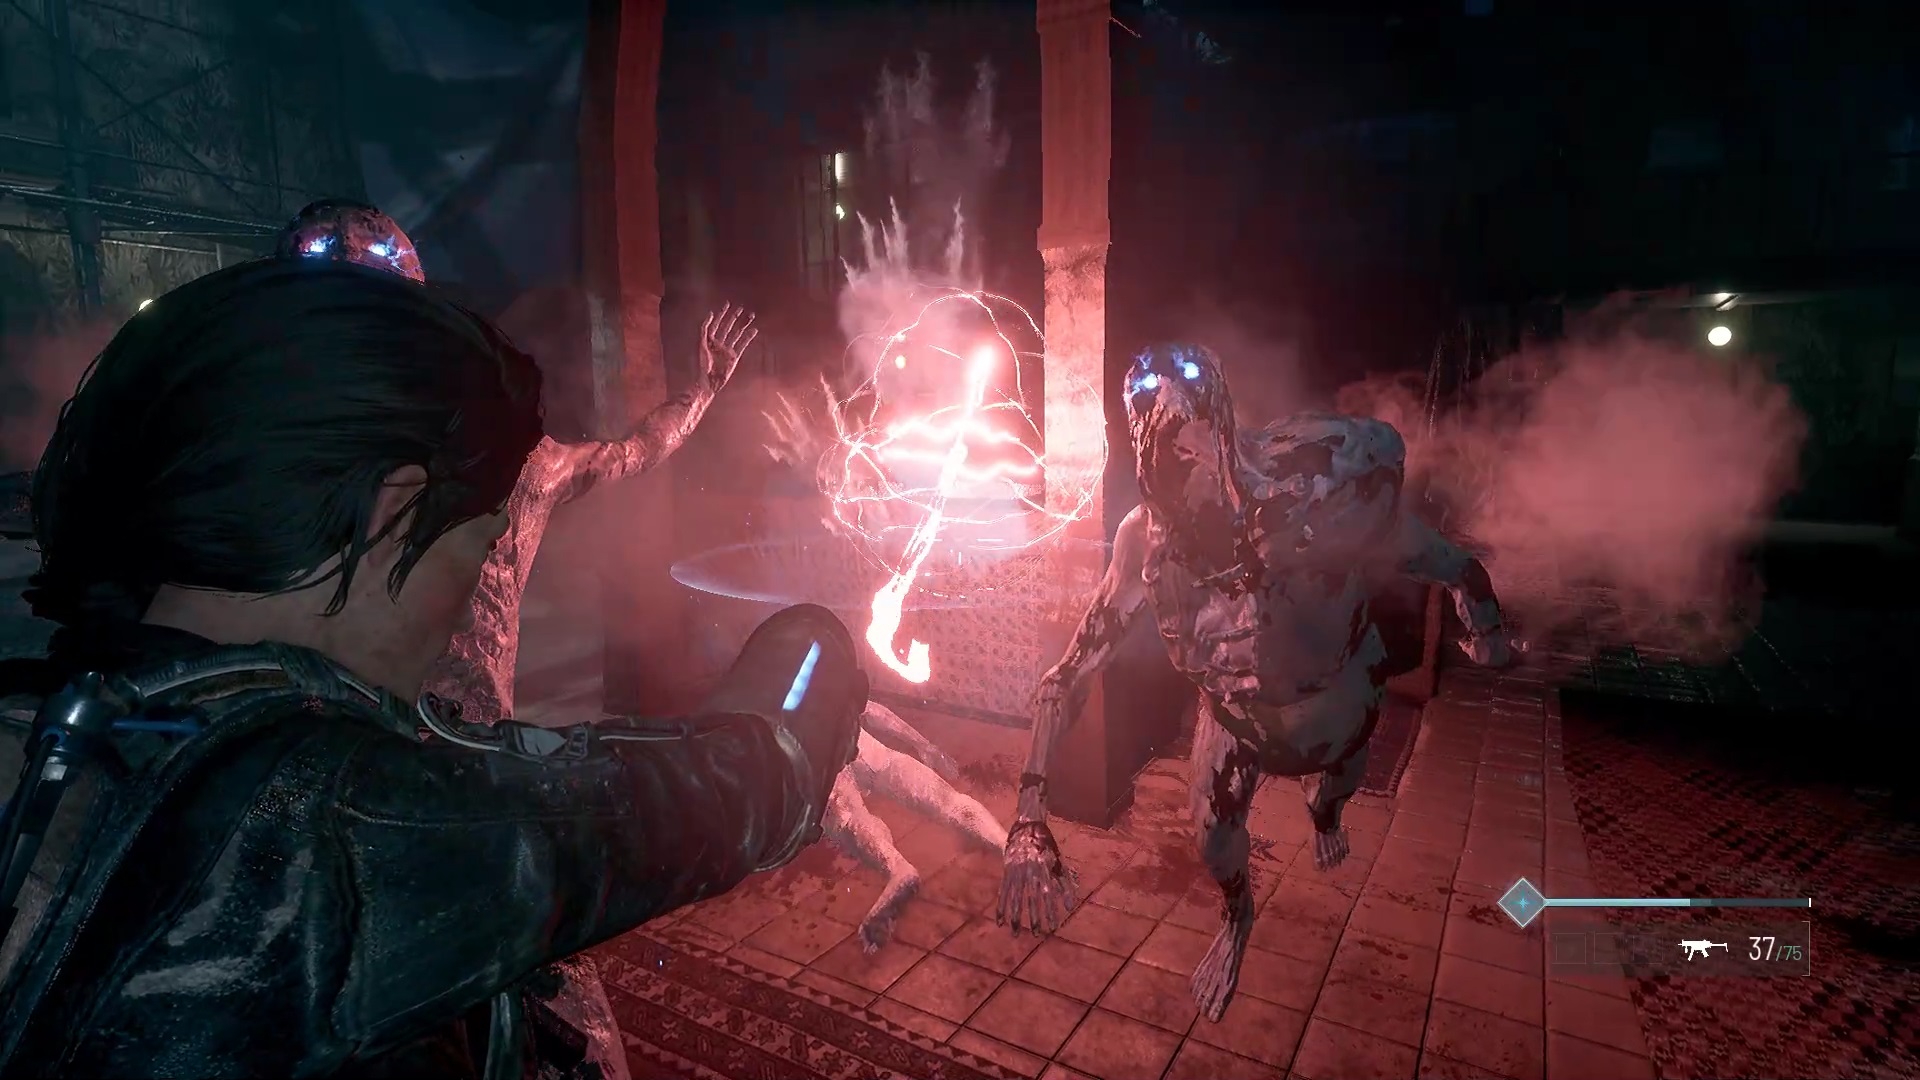
Direction the control room to pass a bloody door. Climb the stairs to activate a first platform with the console lit green. Go out the exit to go down a staircase. You’ll be confronted downstairs with a lightning orb. Use the Frost Bullet to eliminate it.

At the bottom, use the scanner with the device near the plane to get a bonus document. Go up in the elevator to reach the platform. Use the console to start a puzzle. You must align the signs displayed on the screen to complete the puzzle. Simply position the same symbols with a space in between to align them.

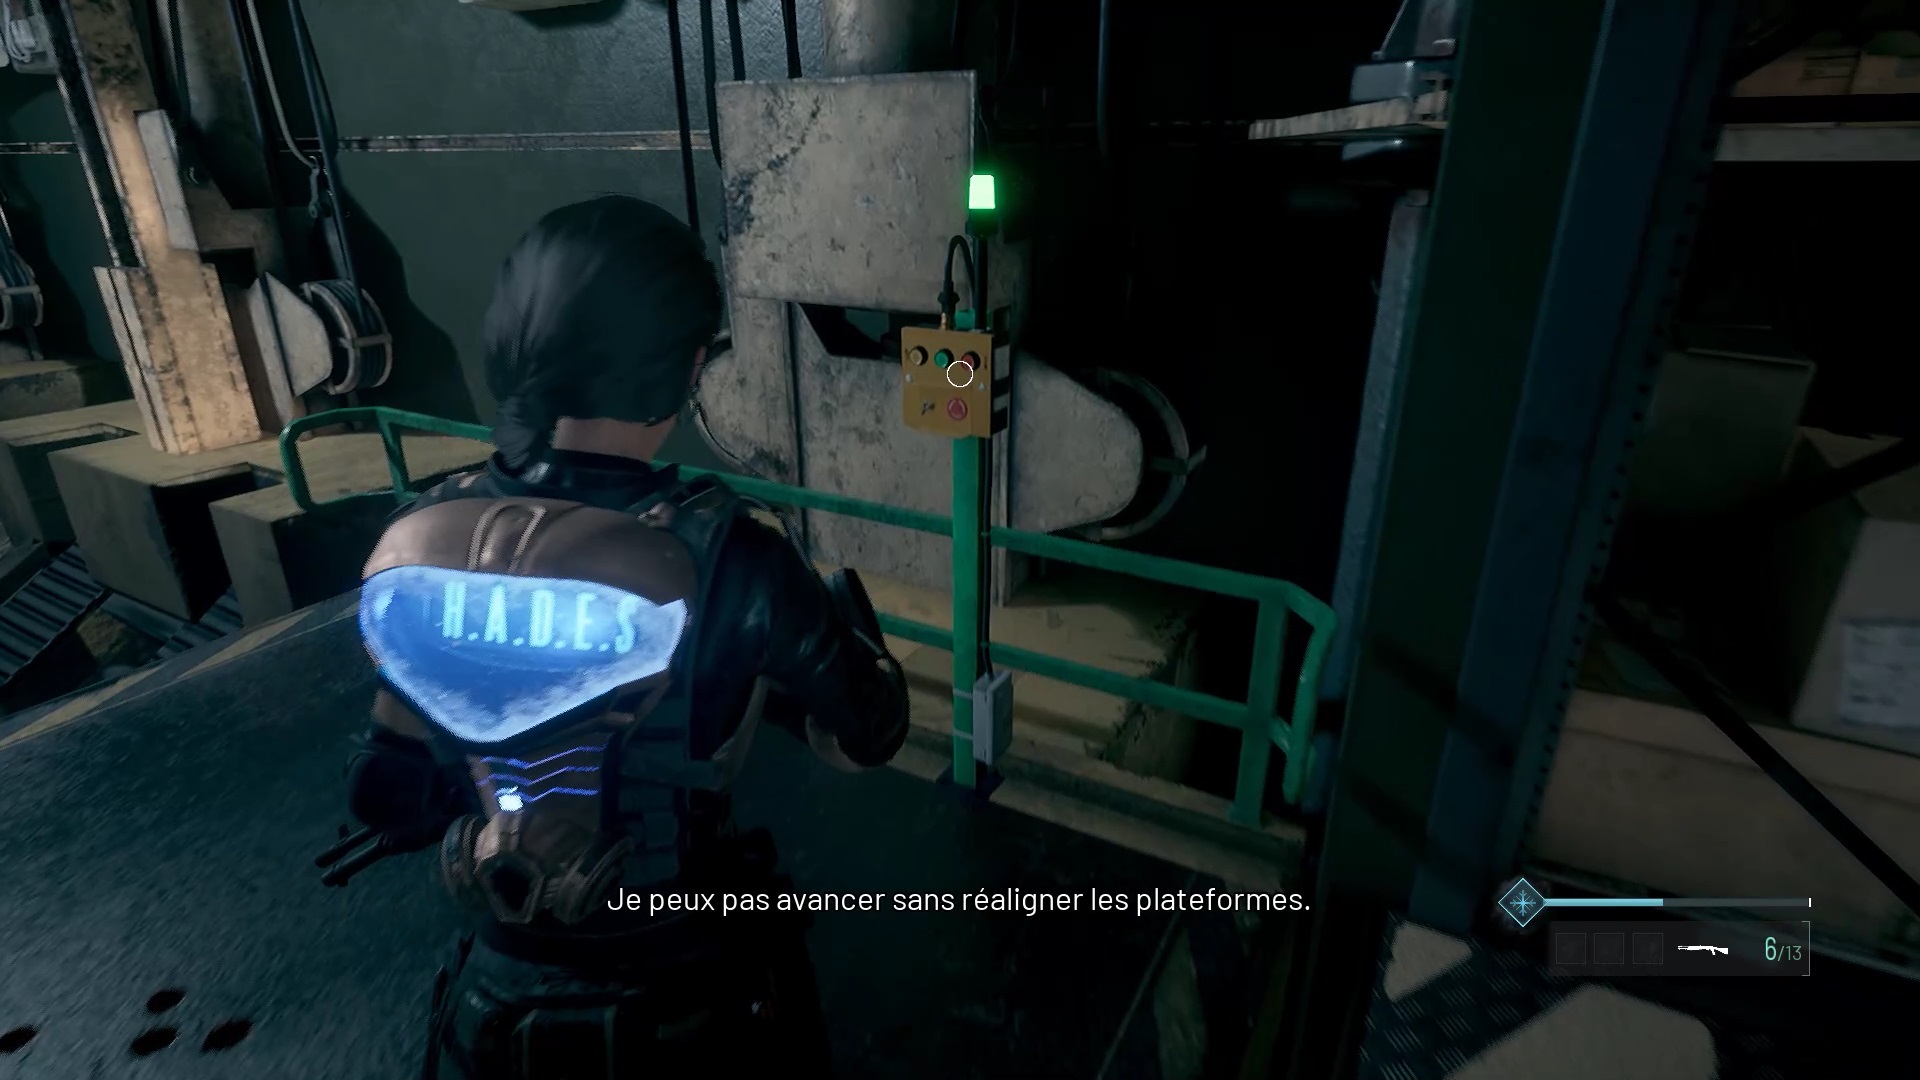
Once the puzzle has been successfully completed, the platform is positioned. Retrace your steps to reach the control room. An invincible enemy awaits you. Use the Frost Grip to freeze him and make him vulnerable. Then pulverize his body to destroy it. Eliminate all threats and reach the starting platform. Cool the pump with the Frost Grip and use the console on the right to lower the platform. Go up and join the other side of the bridge to reach an opening. Dive inside to reach the next level.
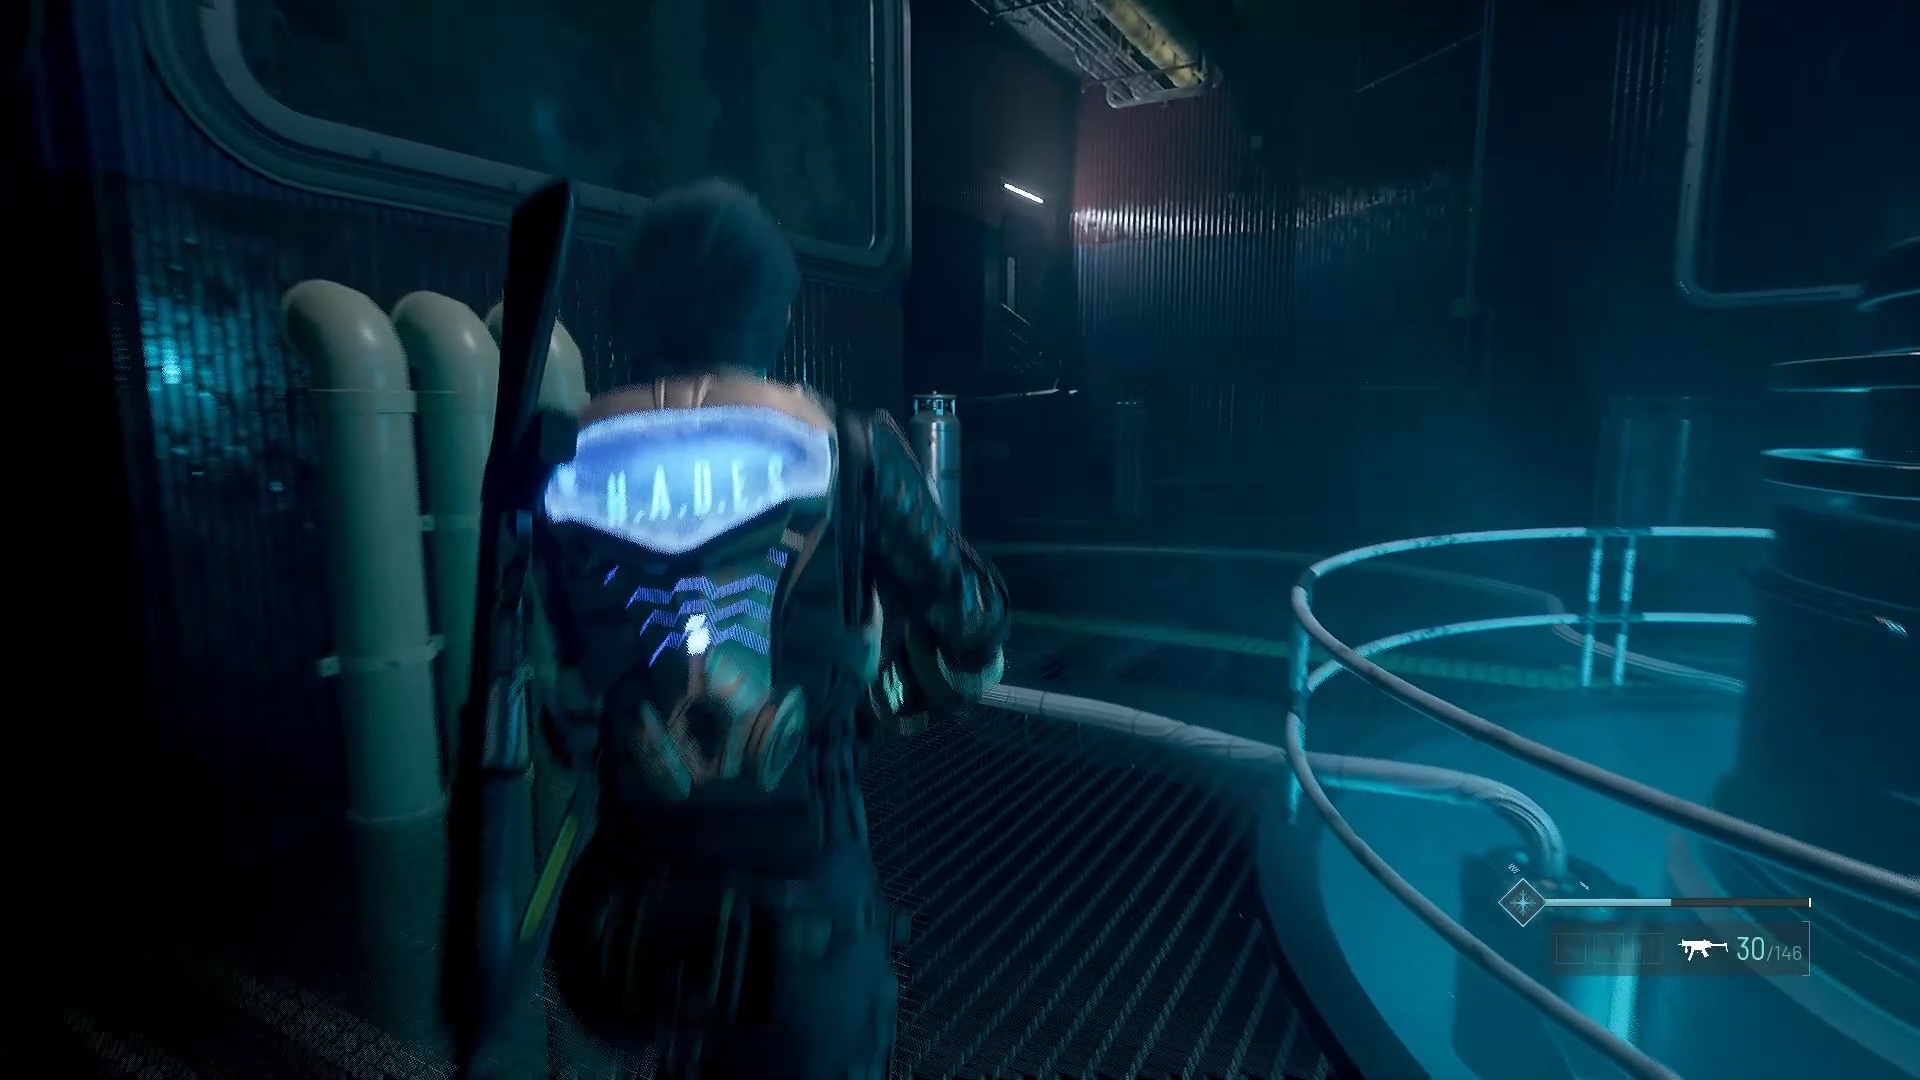
The pumping station
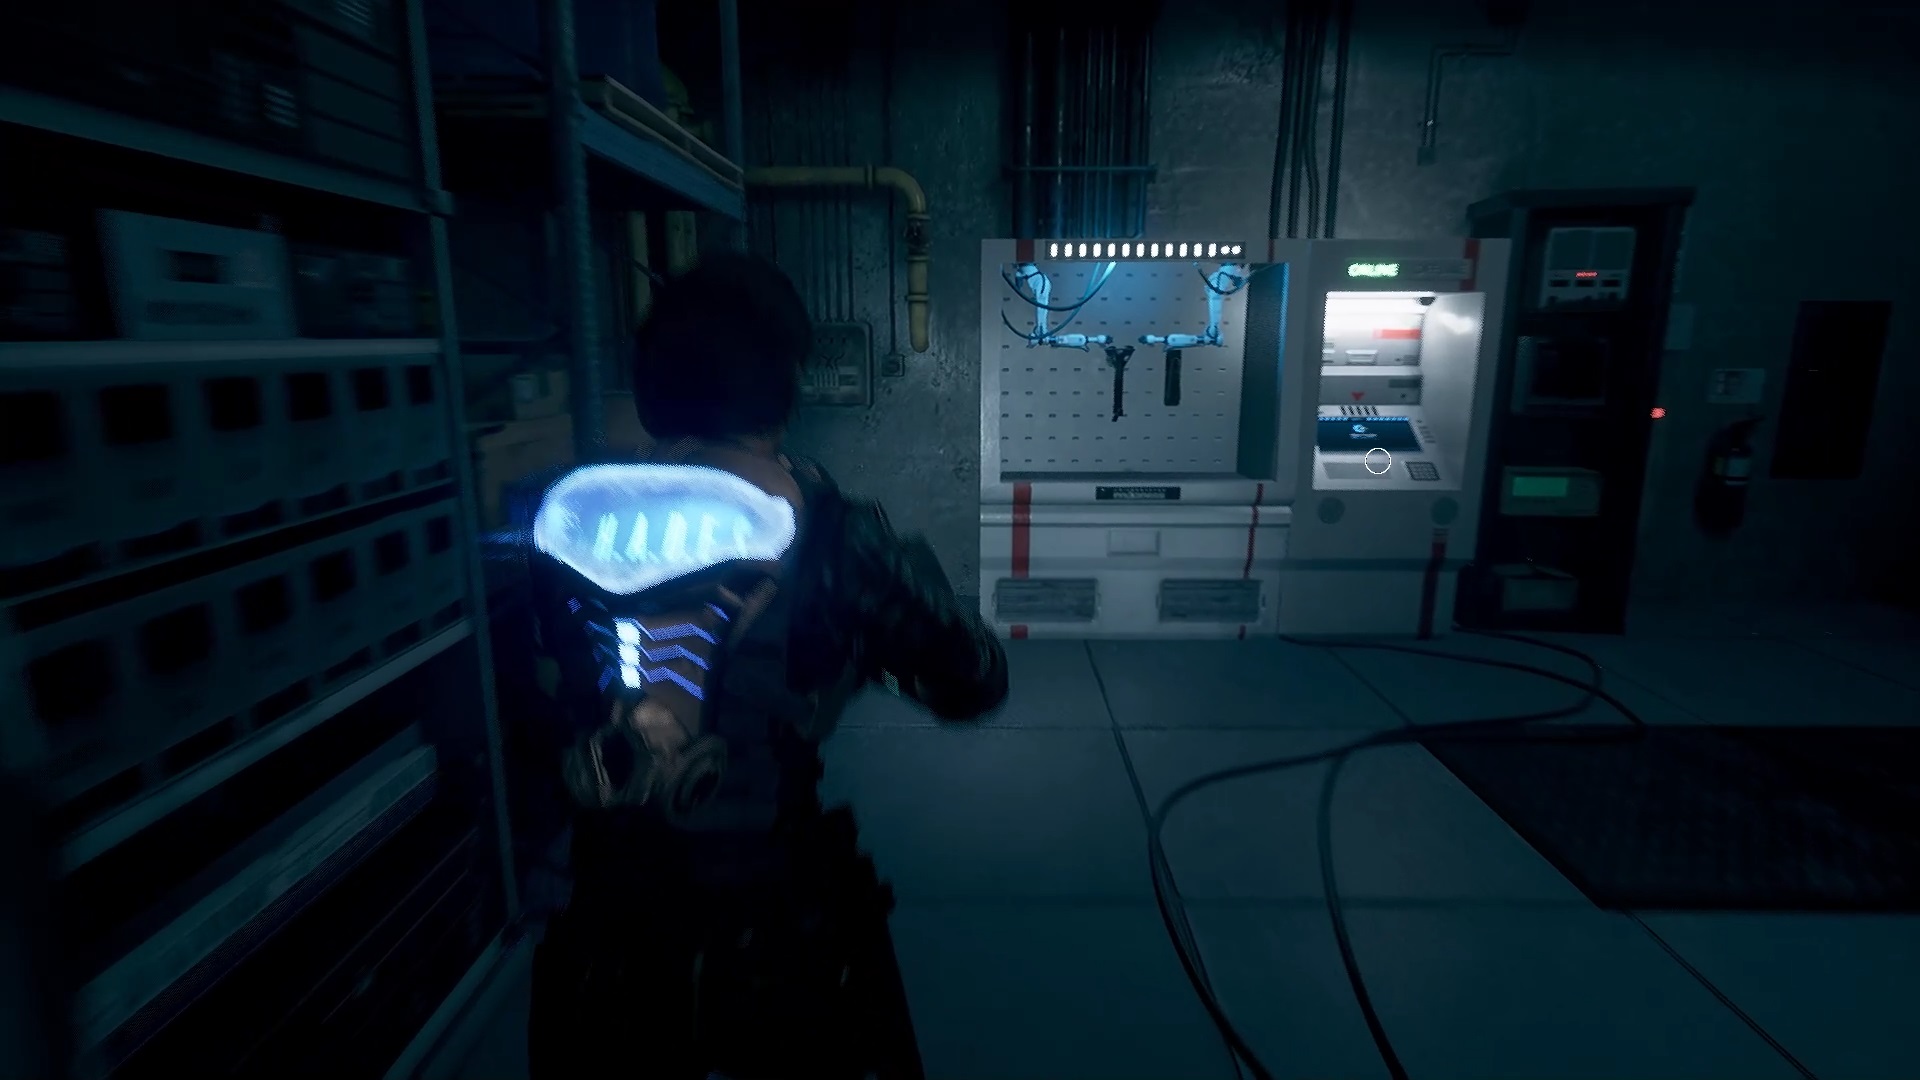
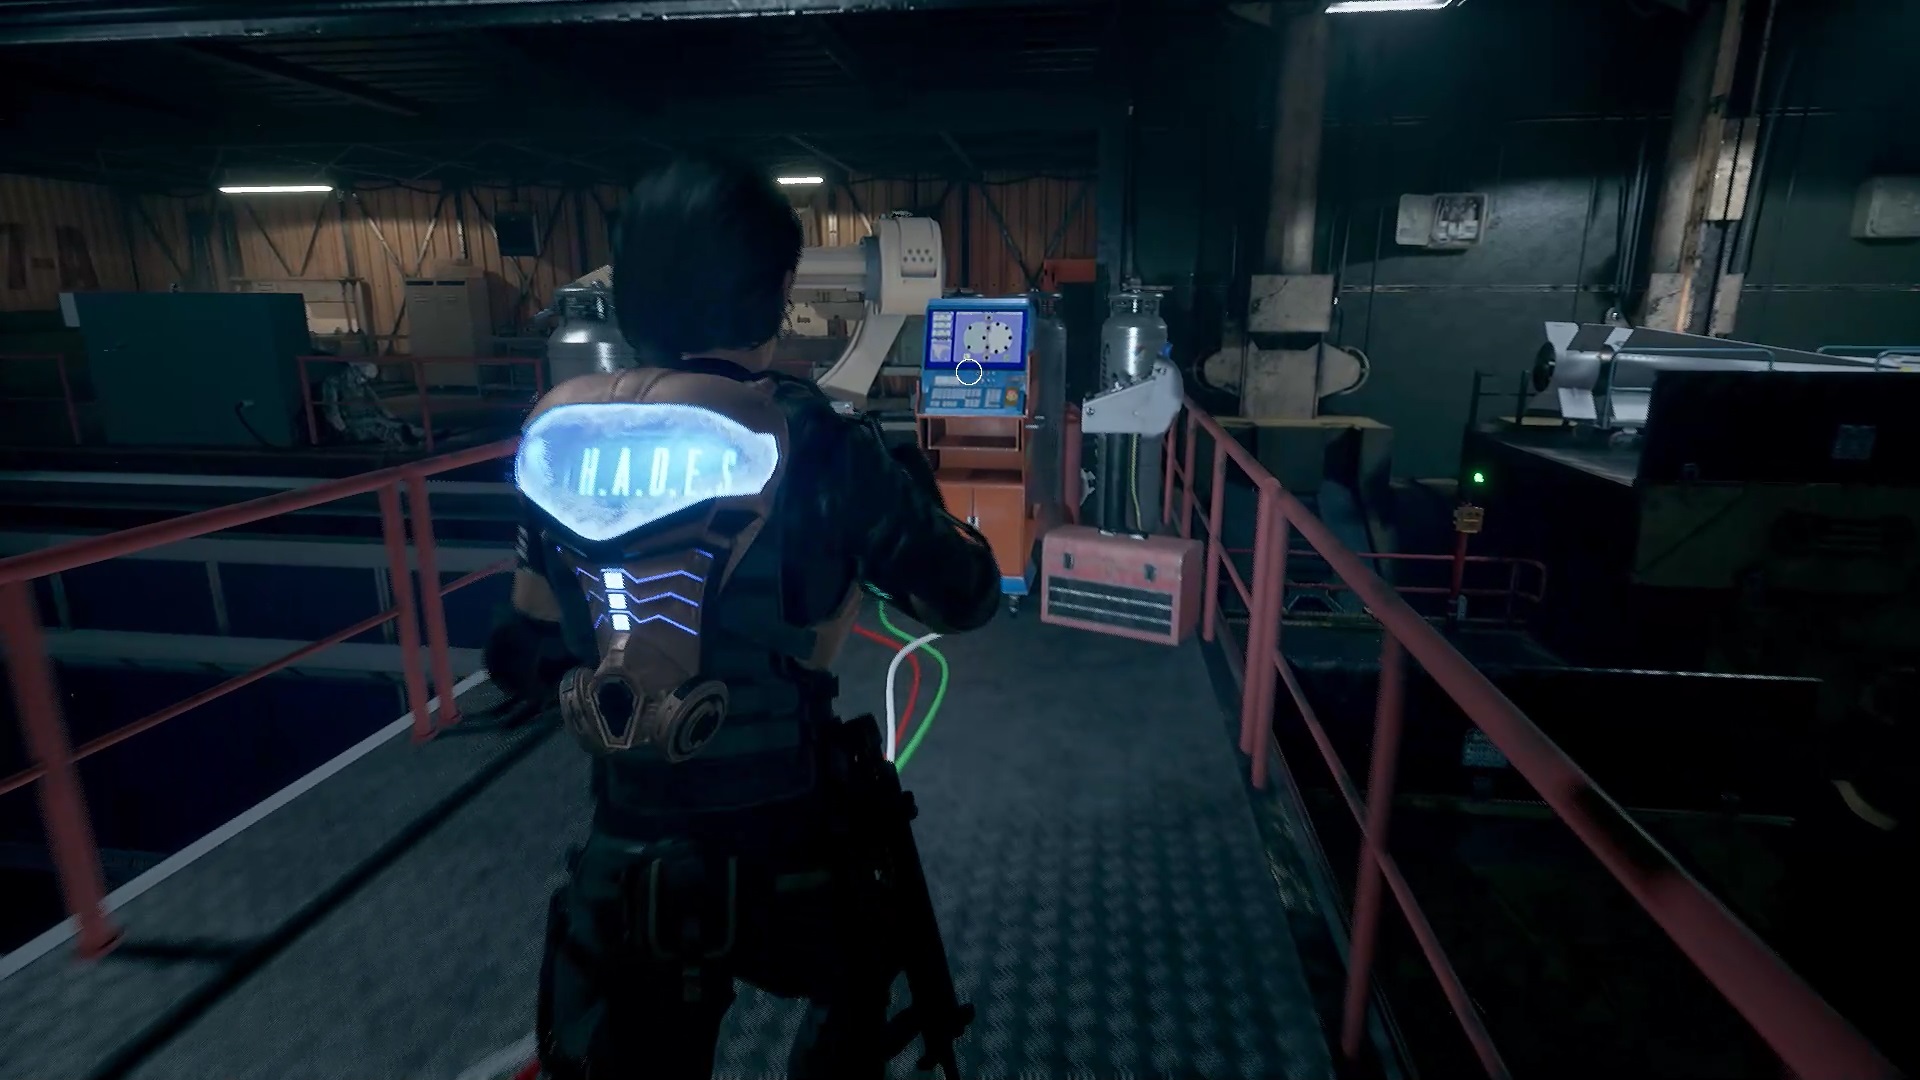
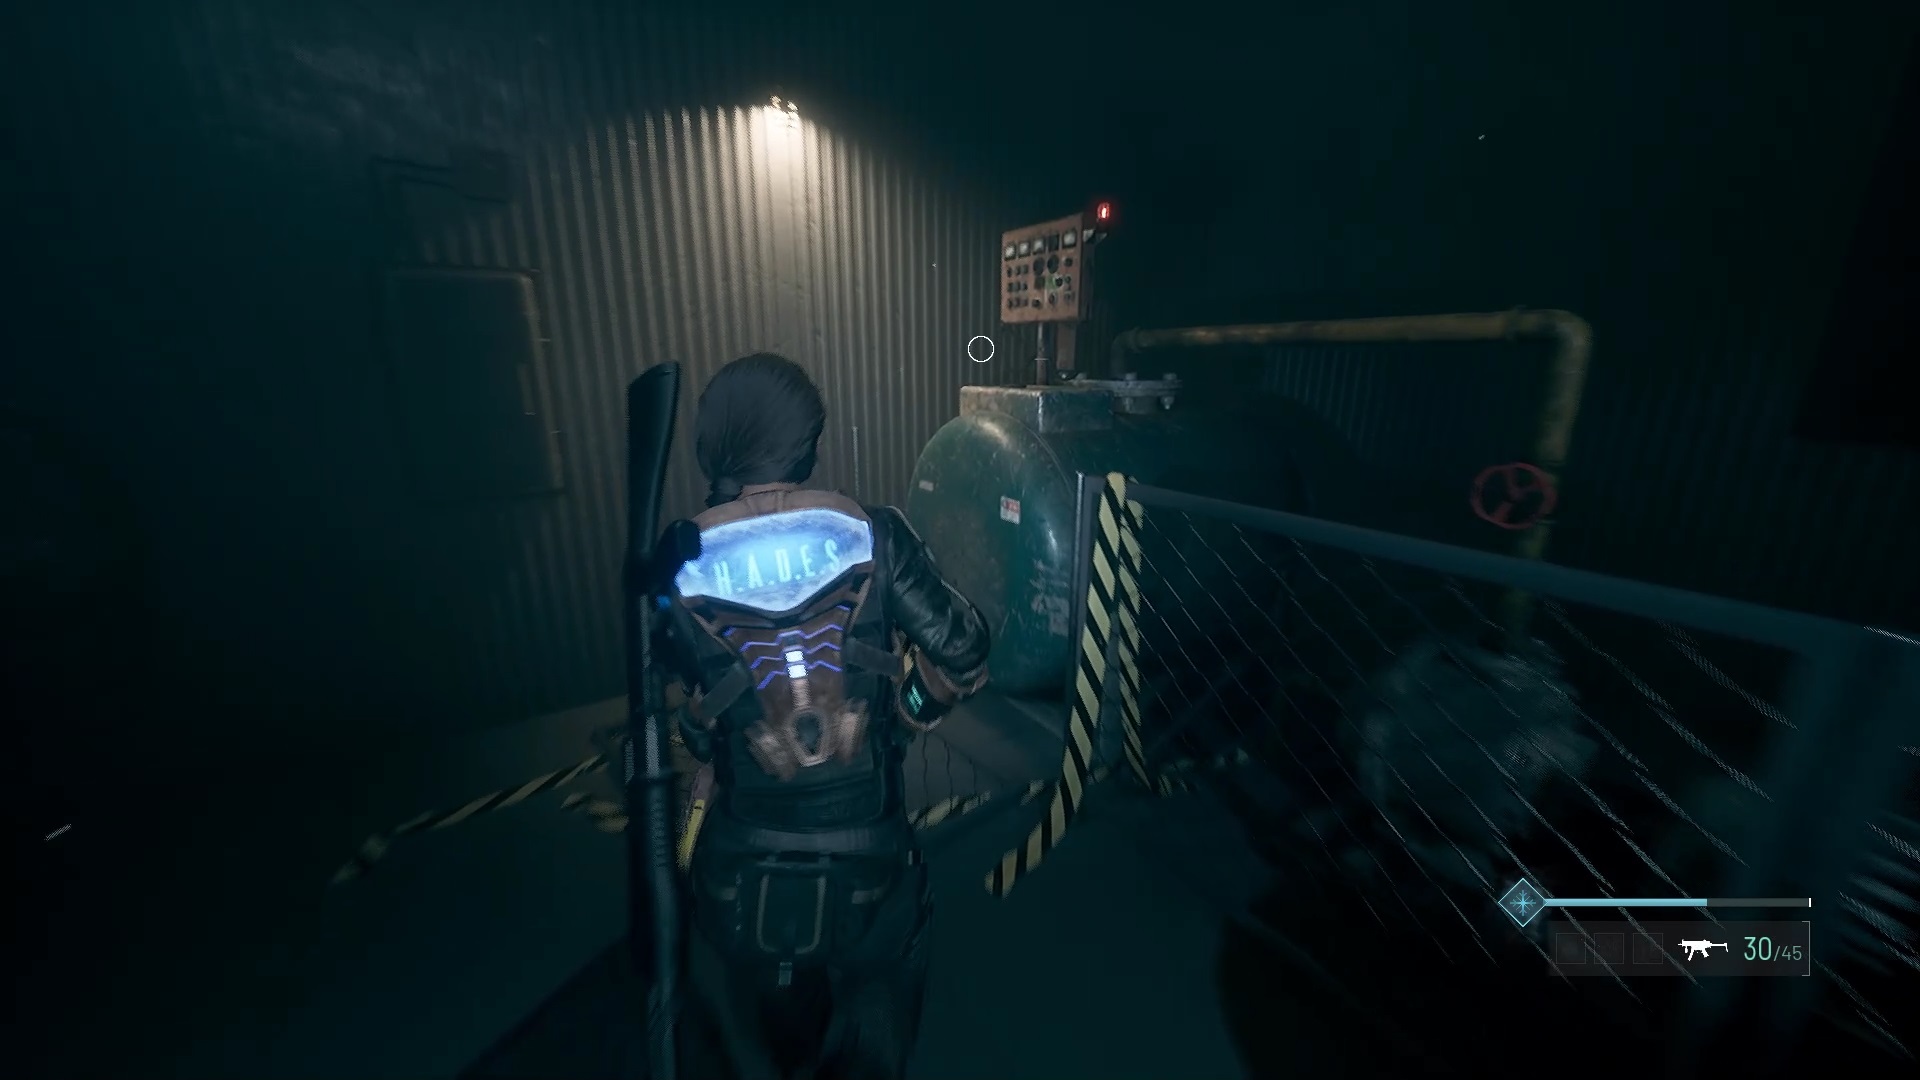
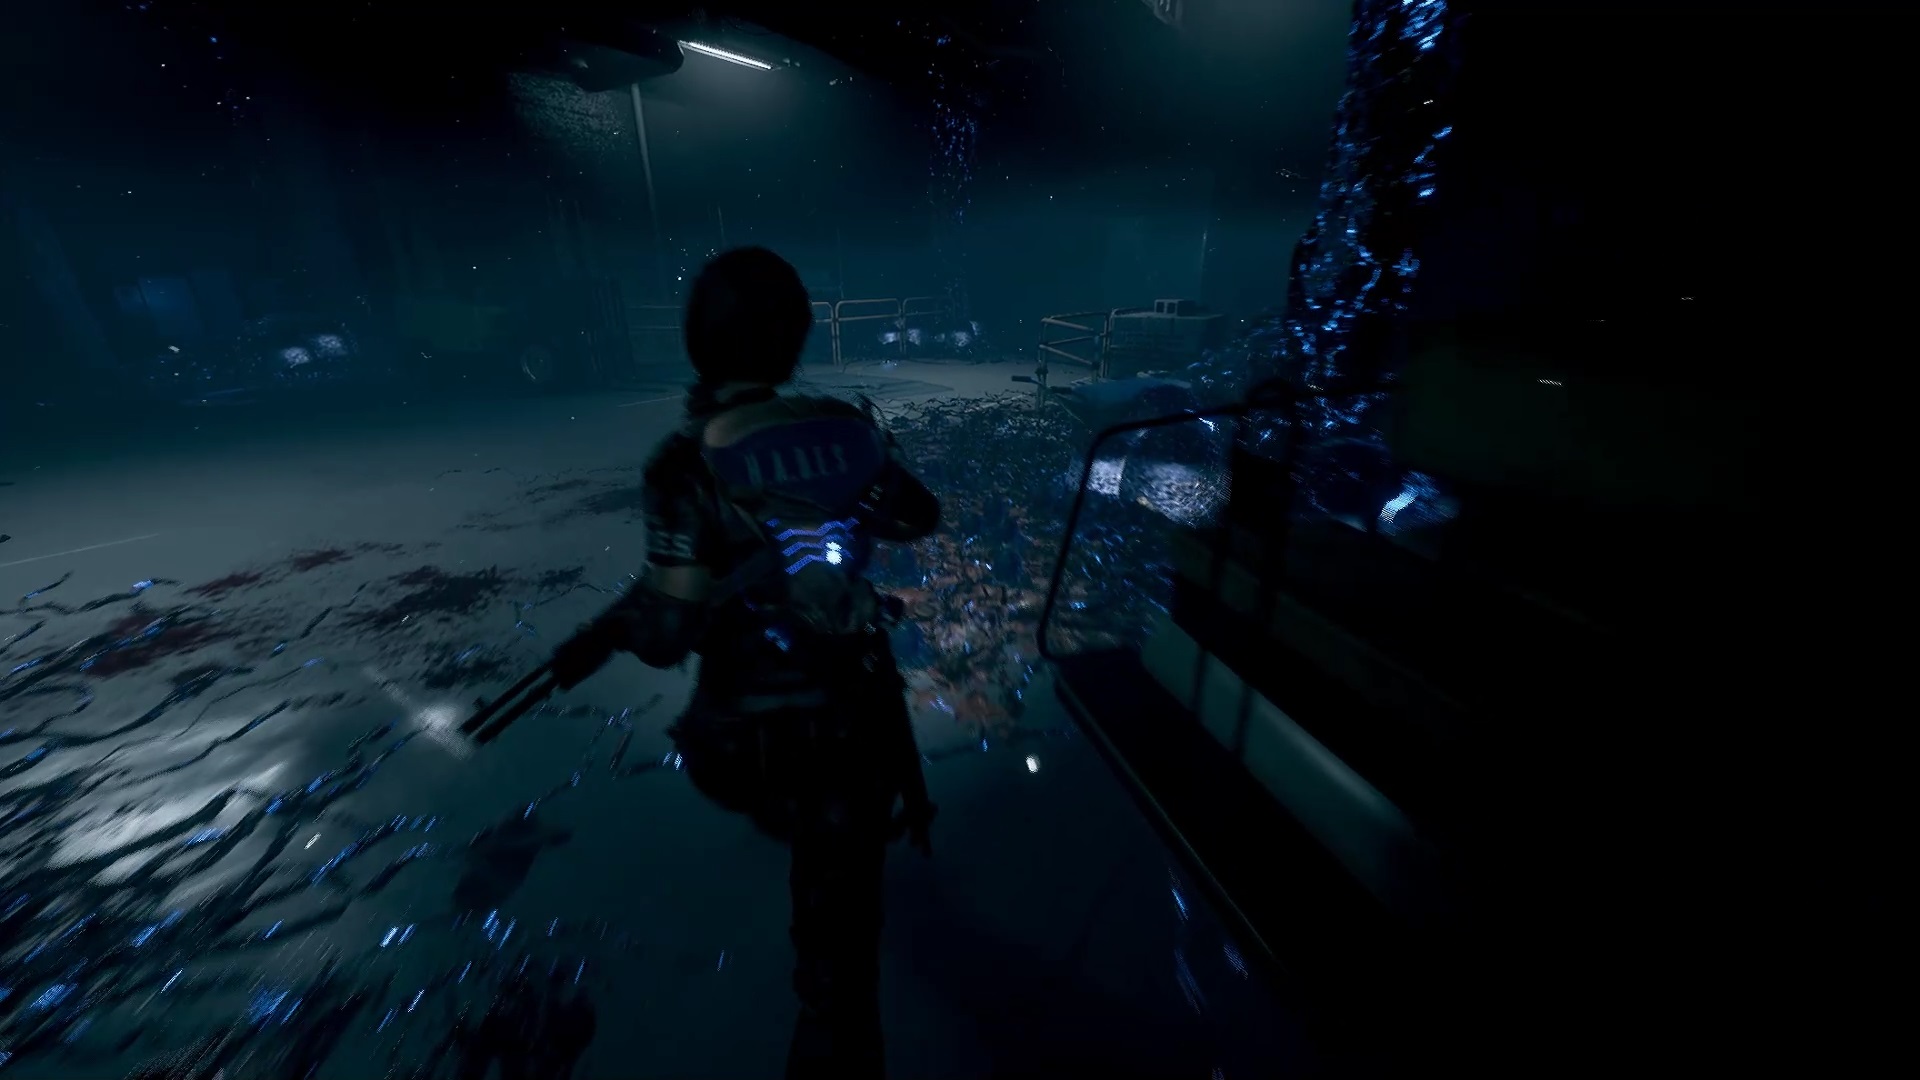
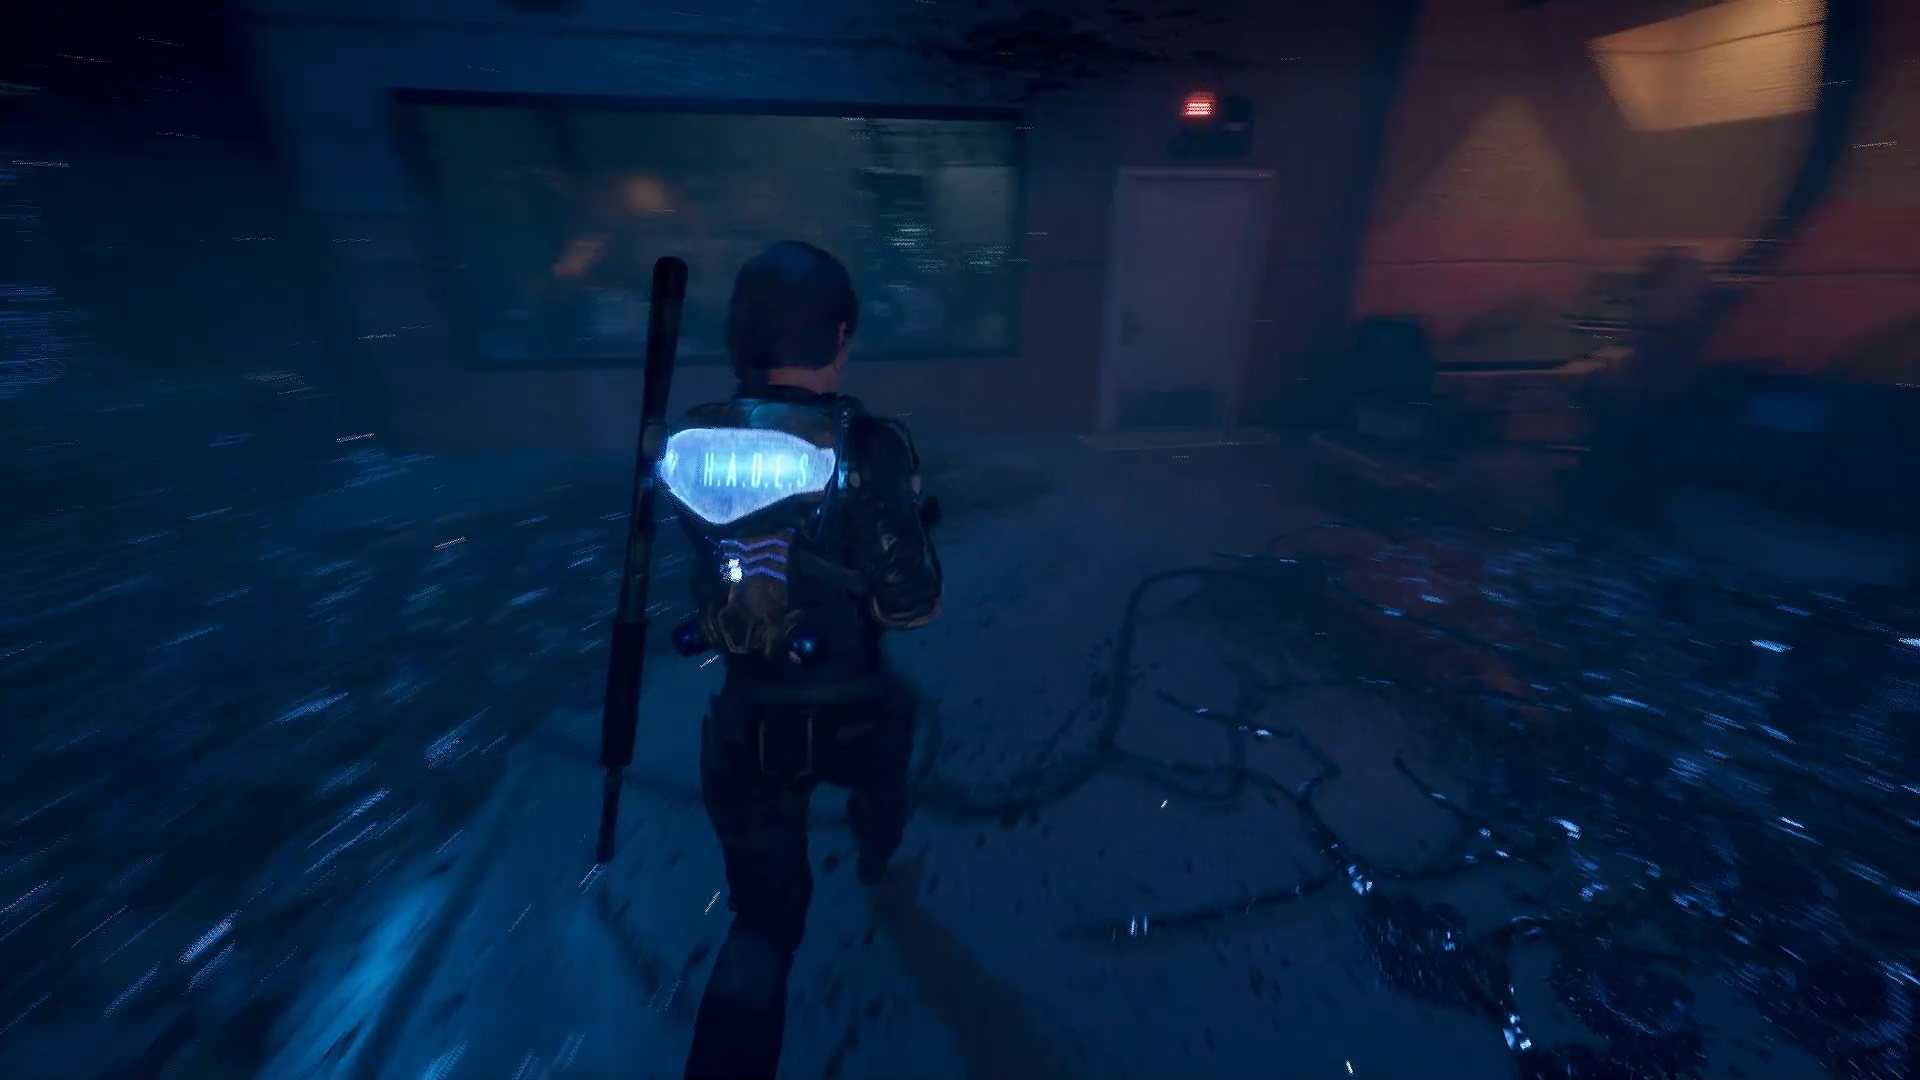
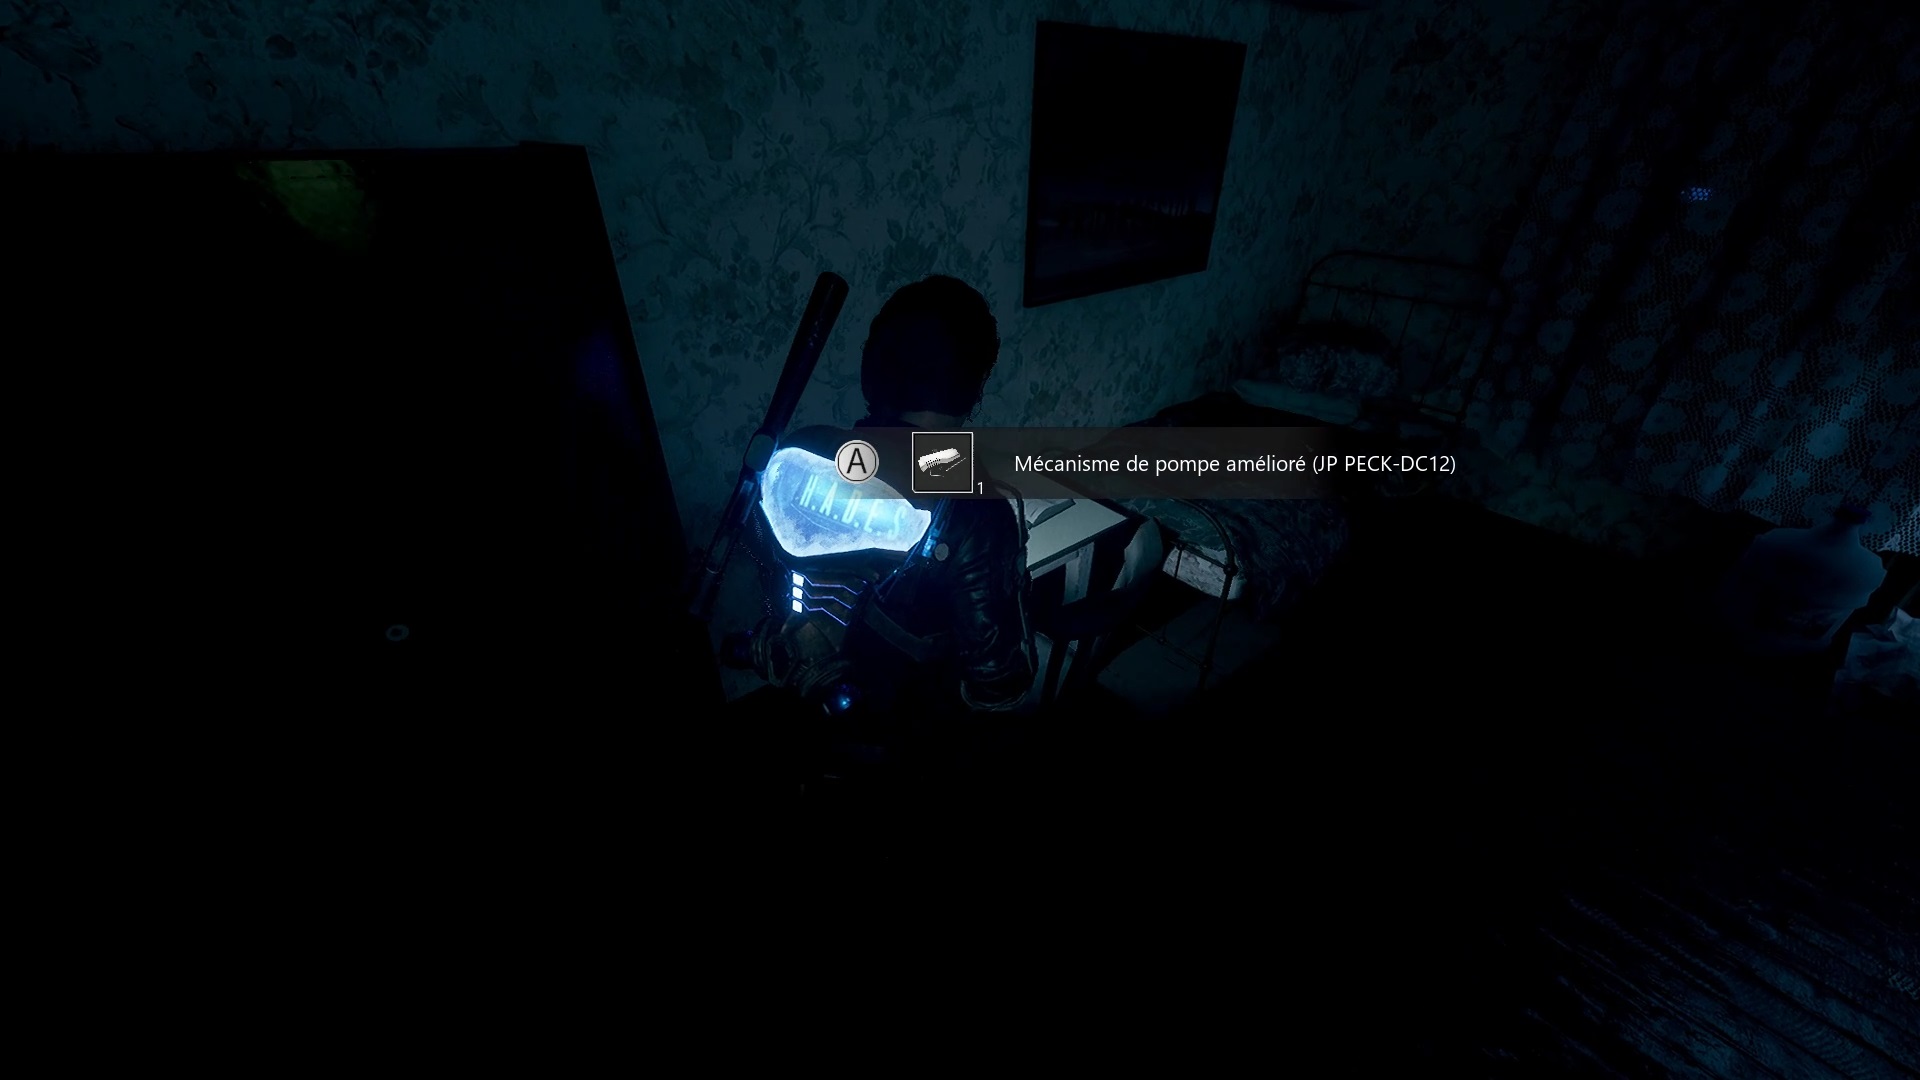
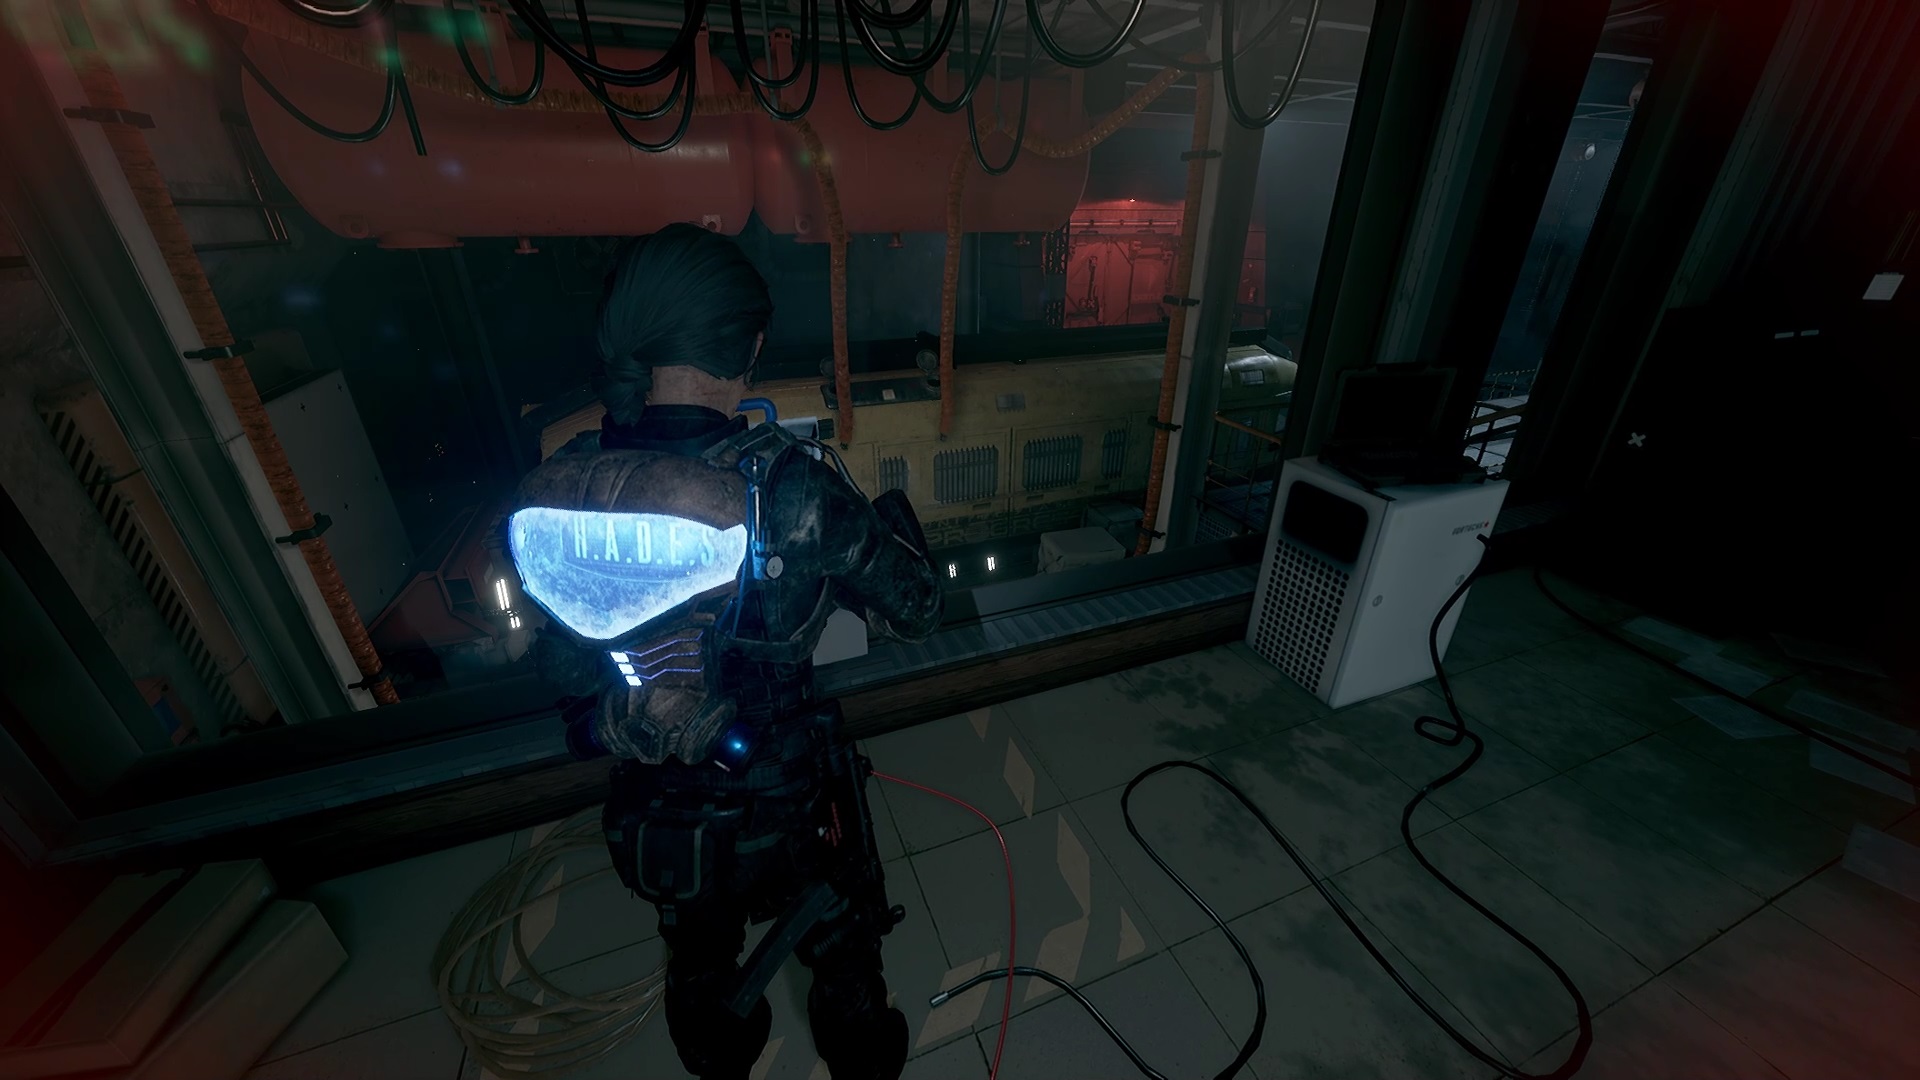
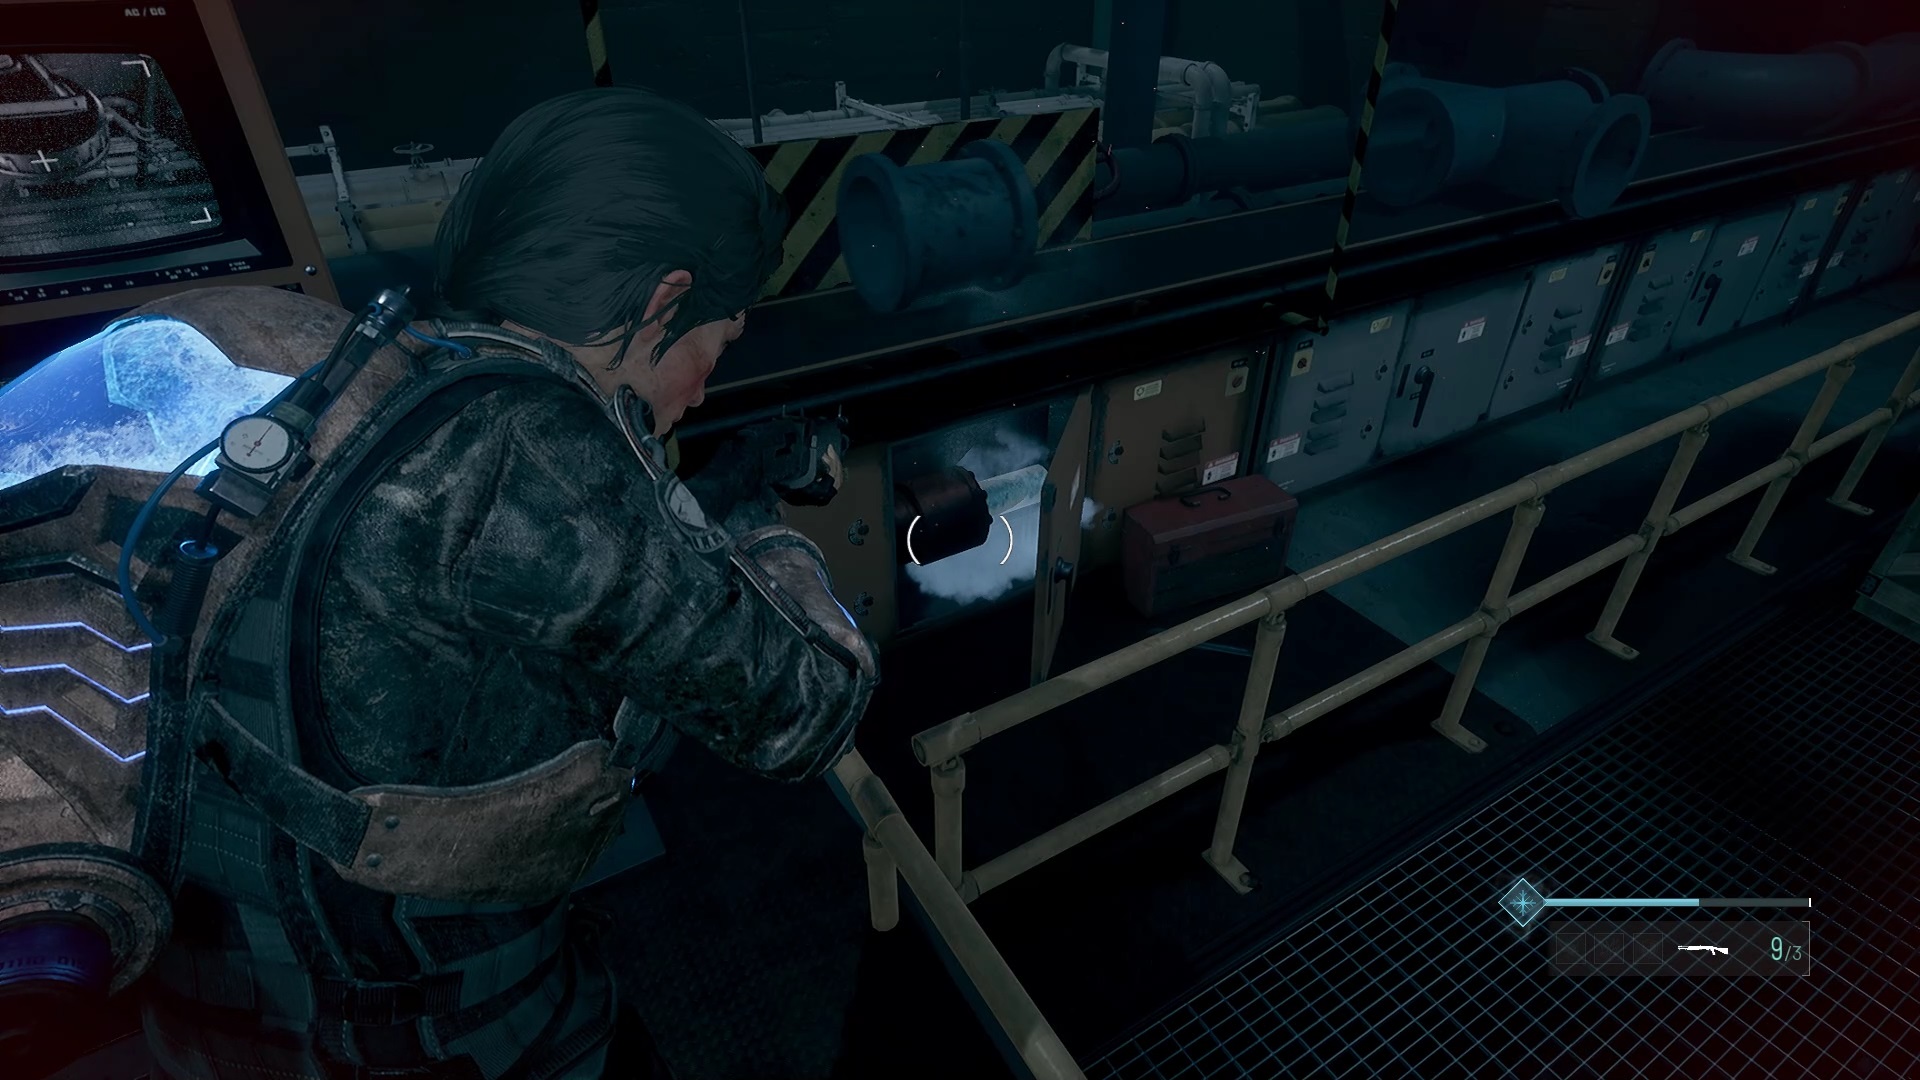
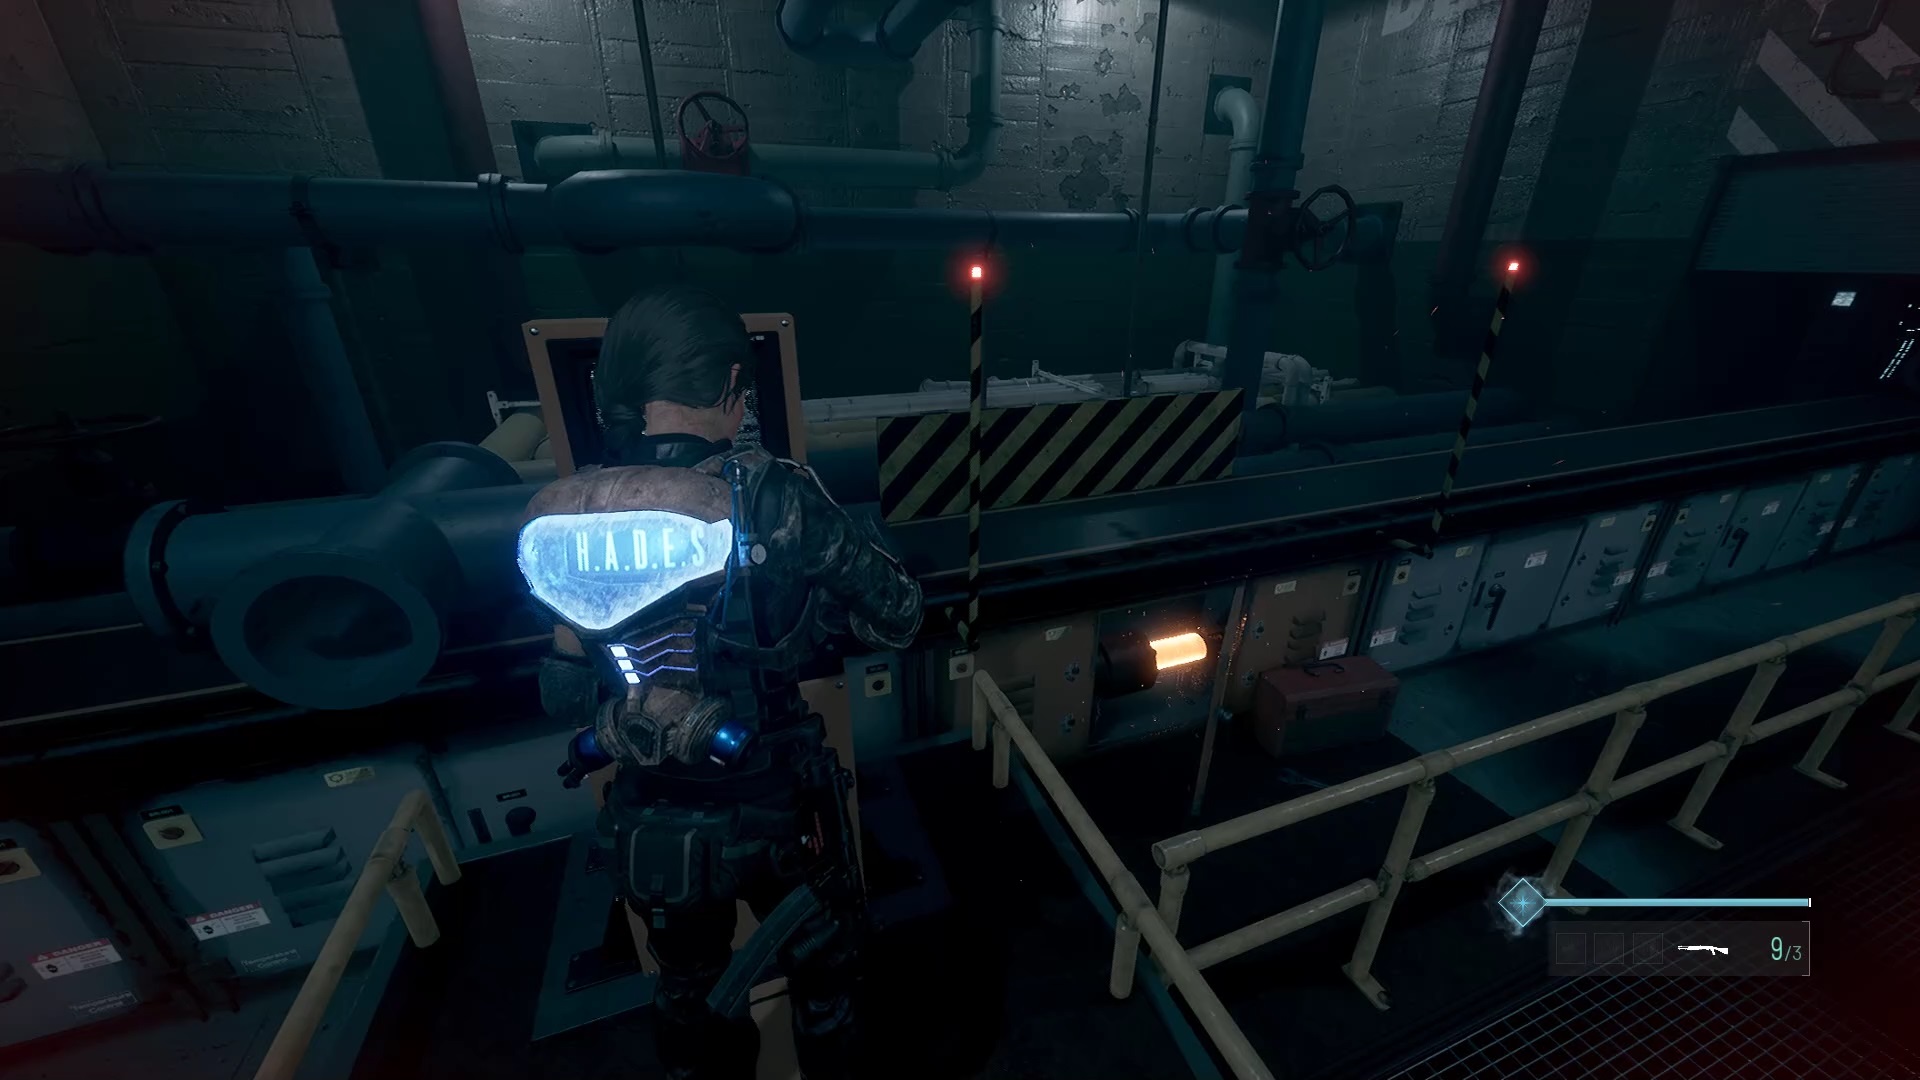
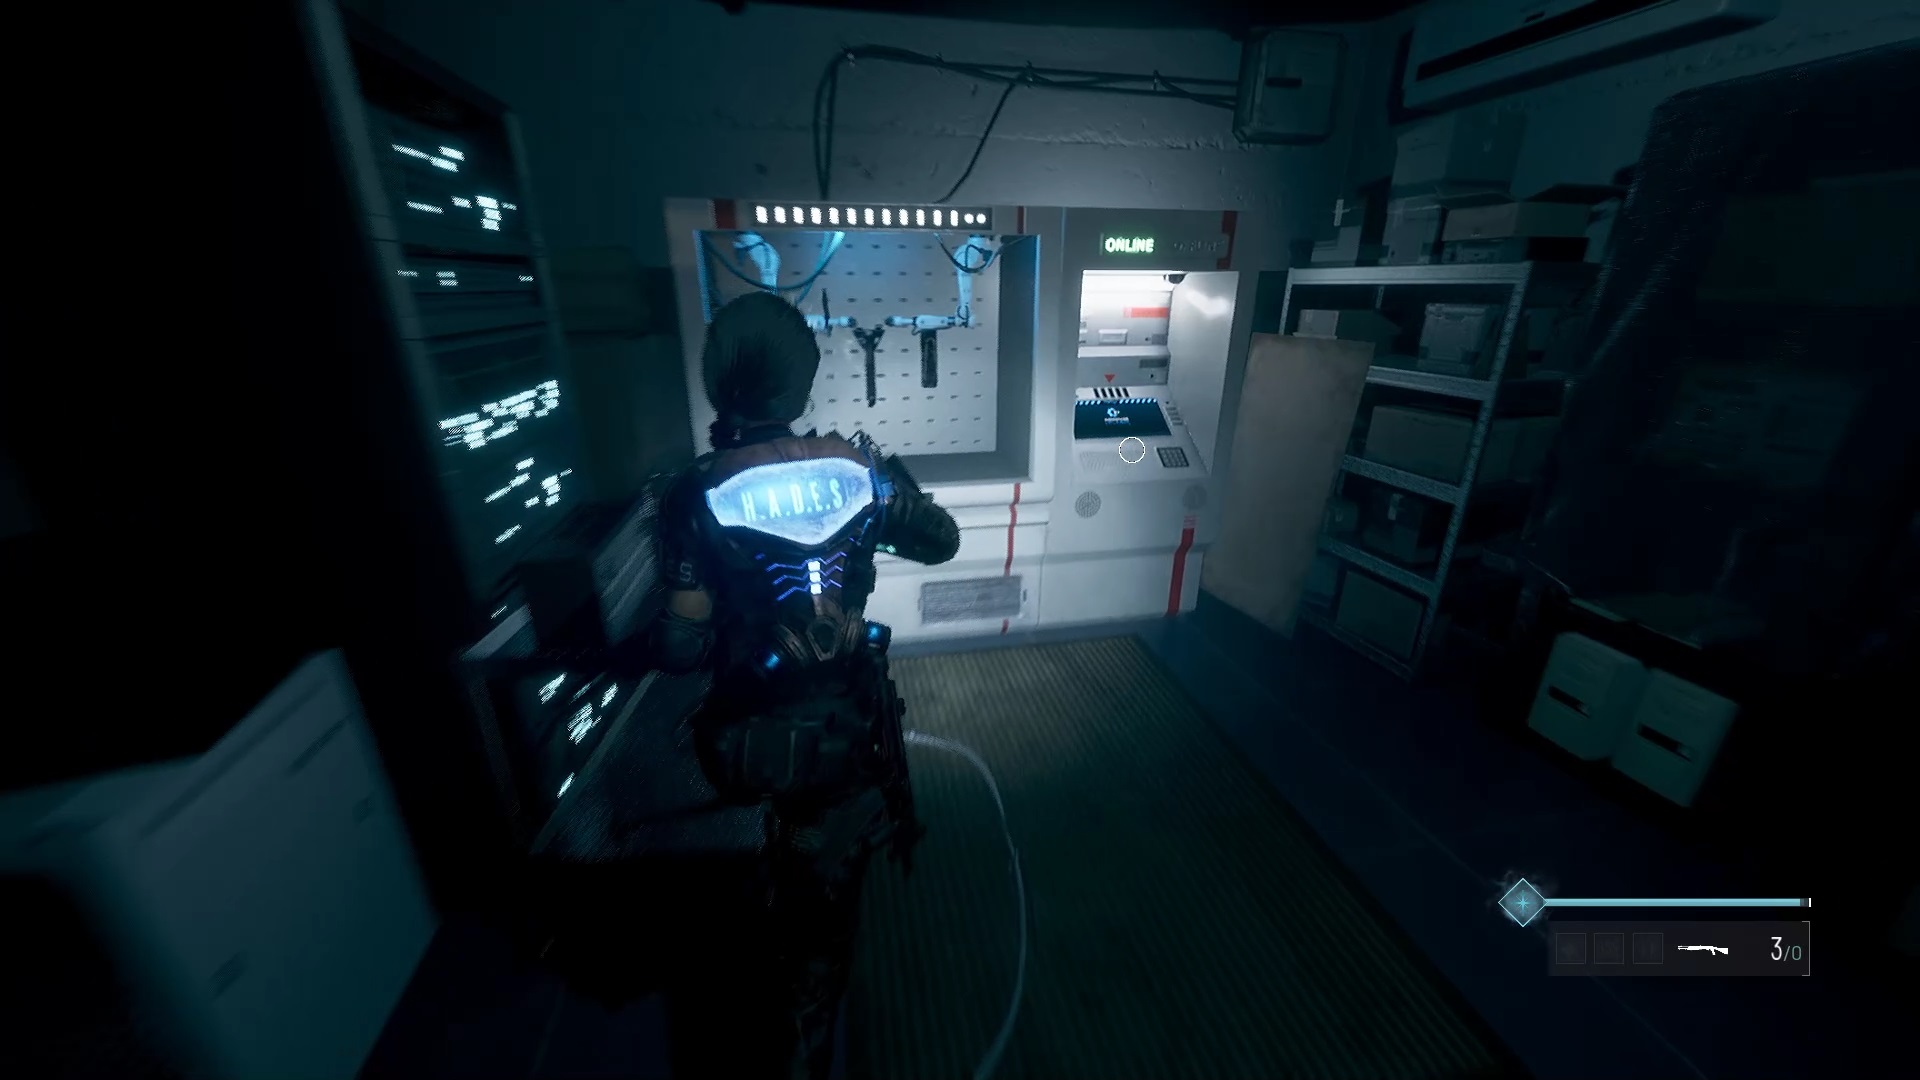
At the start of the level, use the scanner to examine the wing of the plane. Then enter a corridor and go through the red door to reach a machine to improve the Frost Grip. Then search the office nearby to retrieve a badge from the maintenance room.
Use the badge on the door opposite to open it. Go from office to office following the traces of blood to reach a machine to improve a badge. Now you need a badge. Follow the blood marks to climb a ladder.
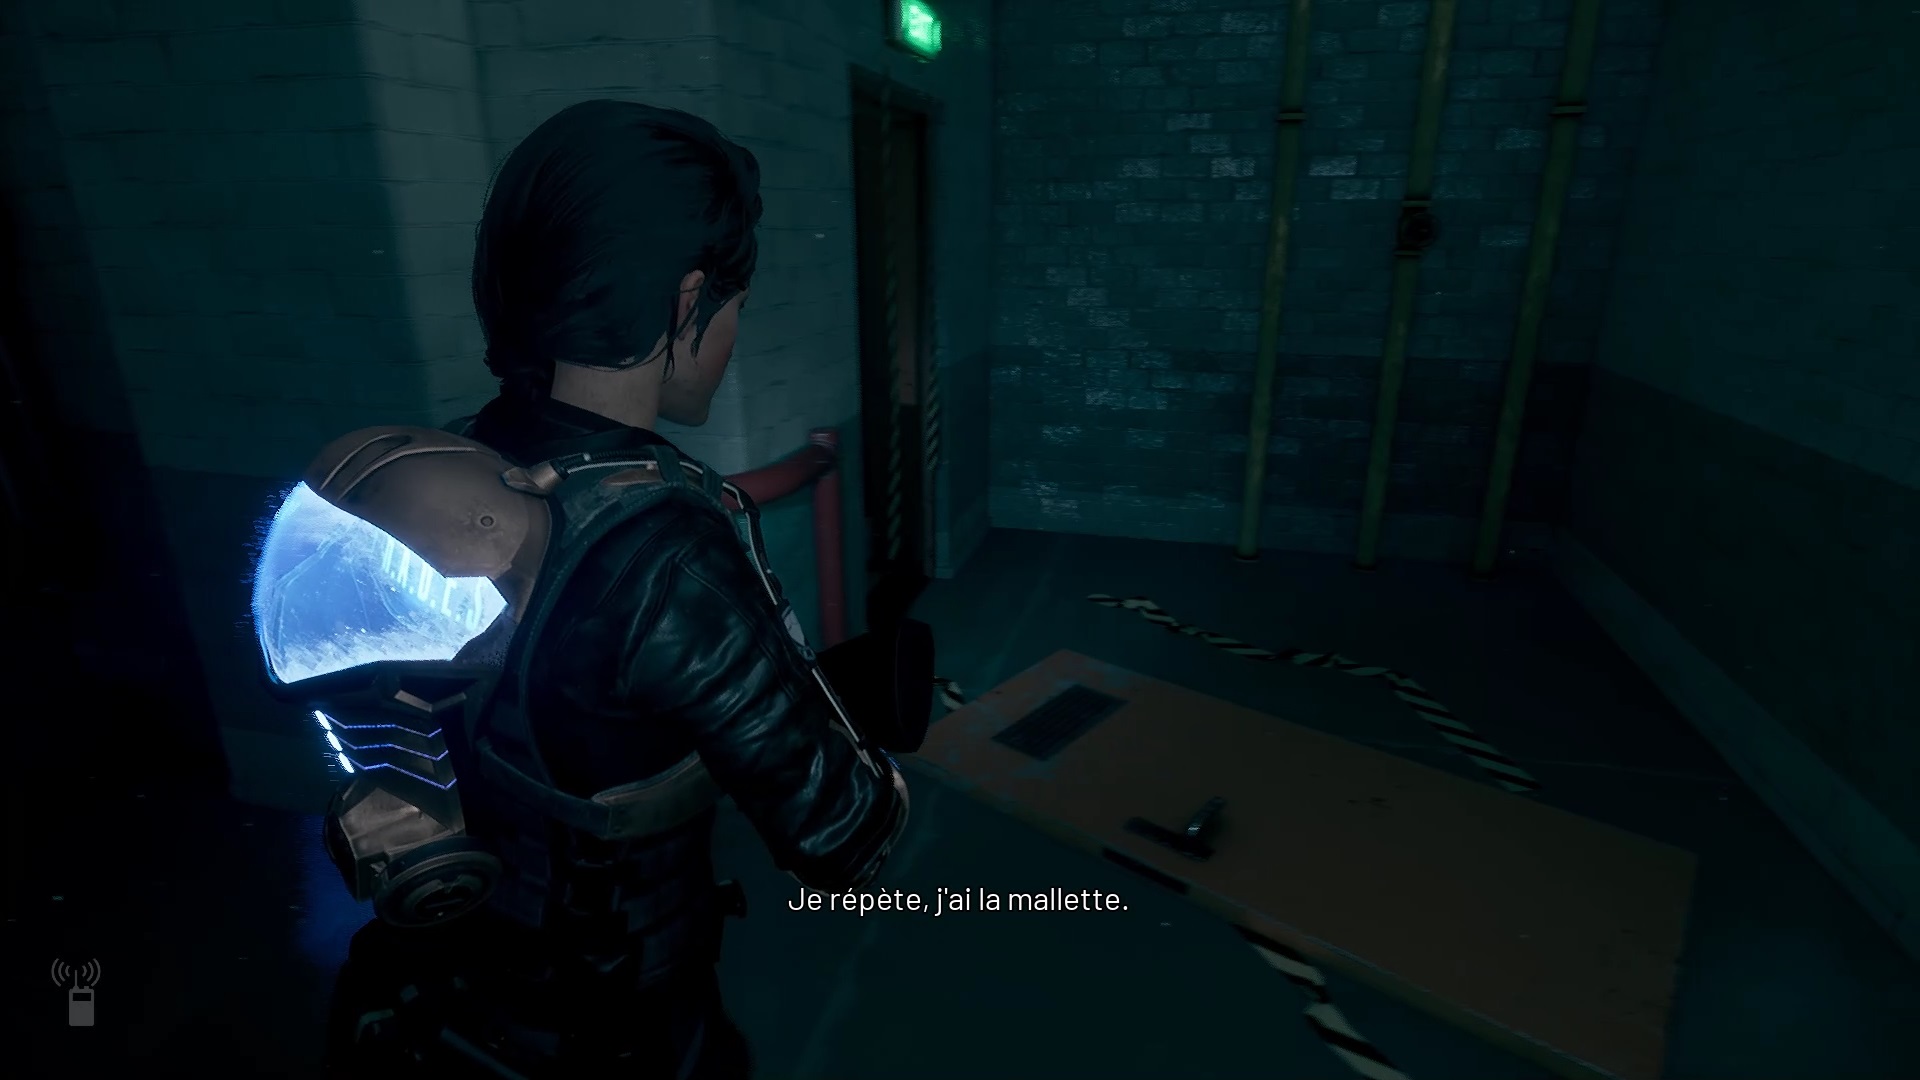

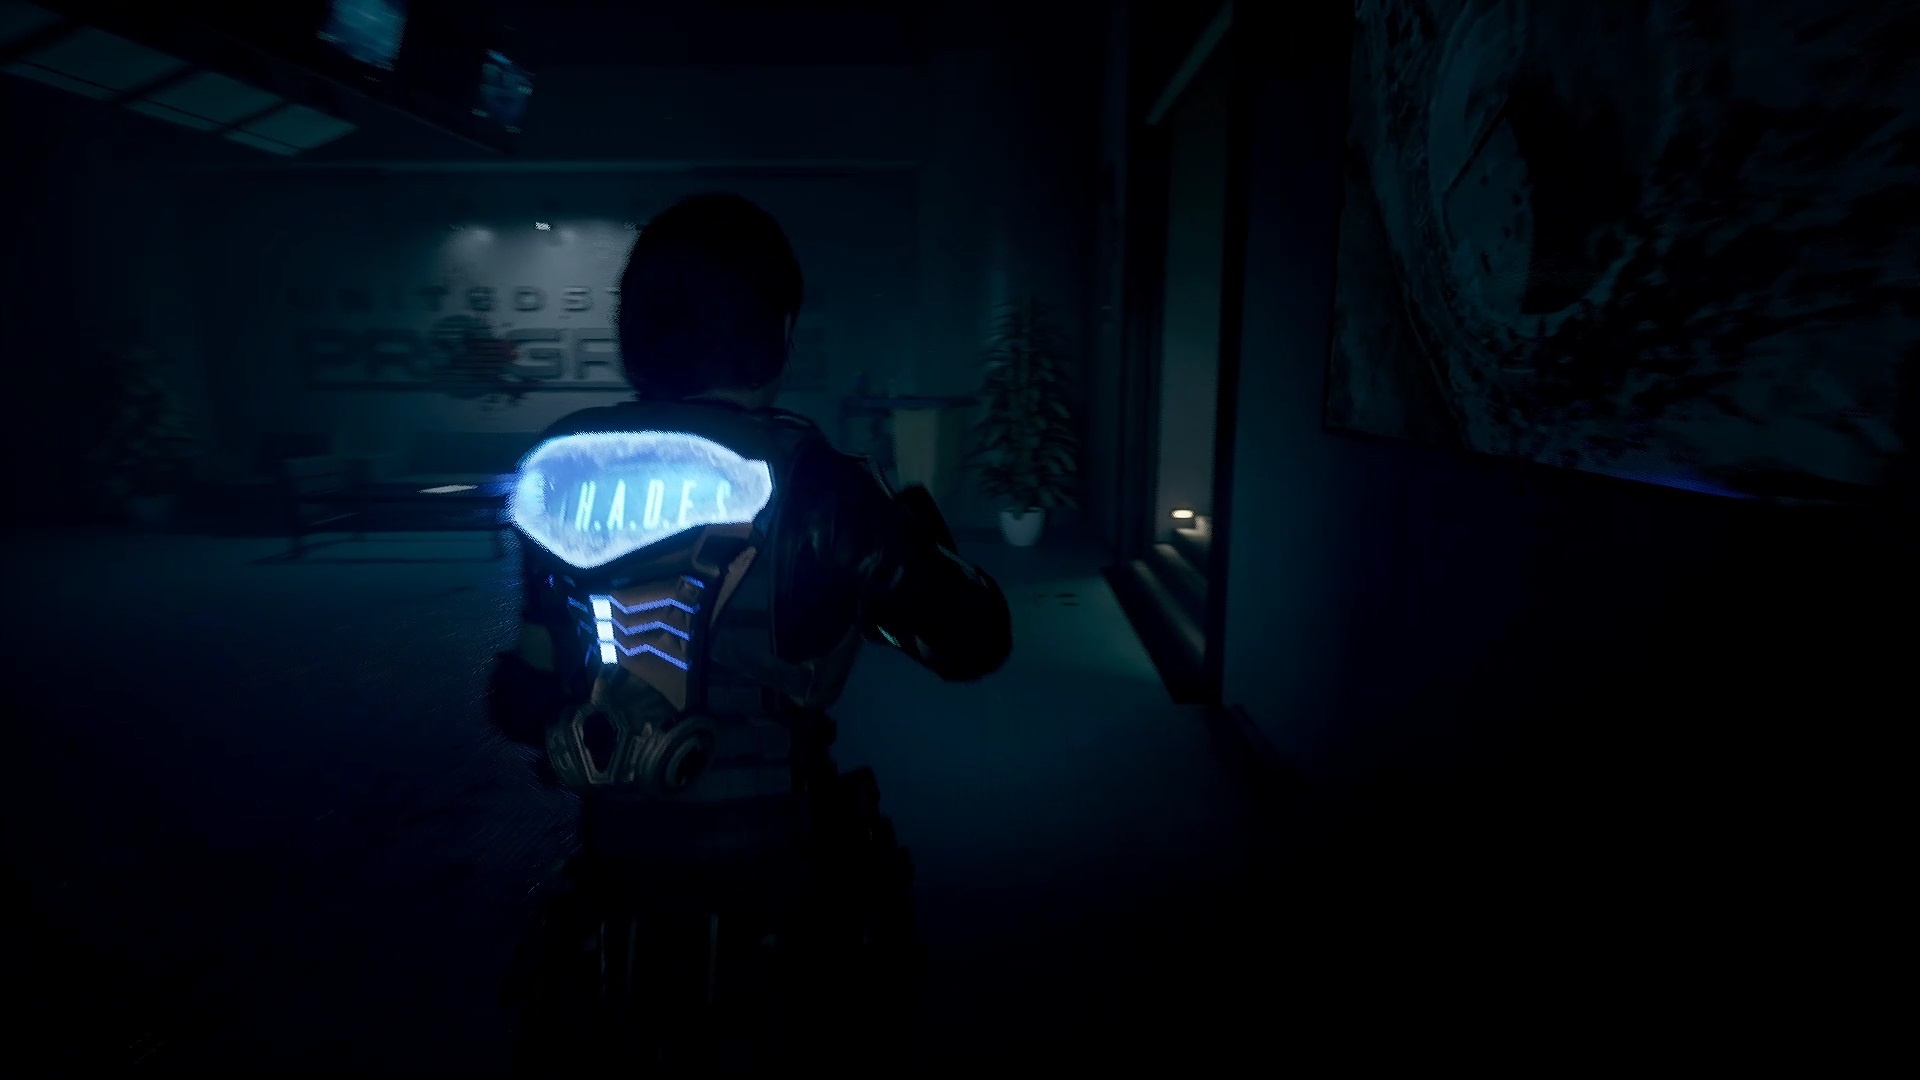
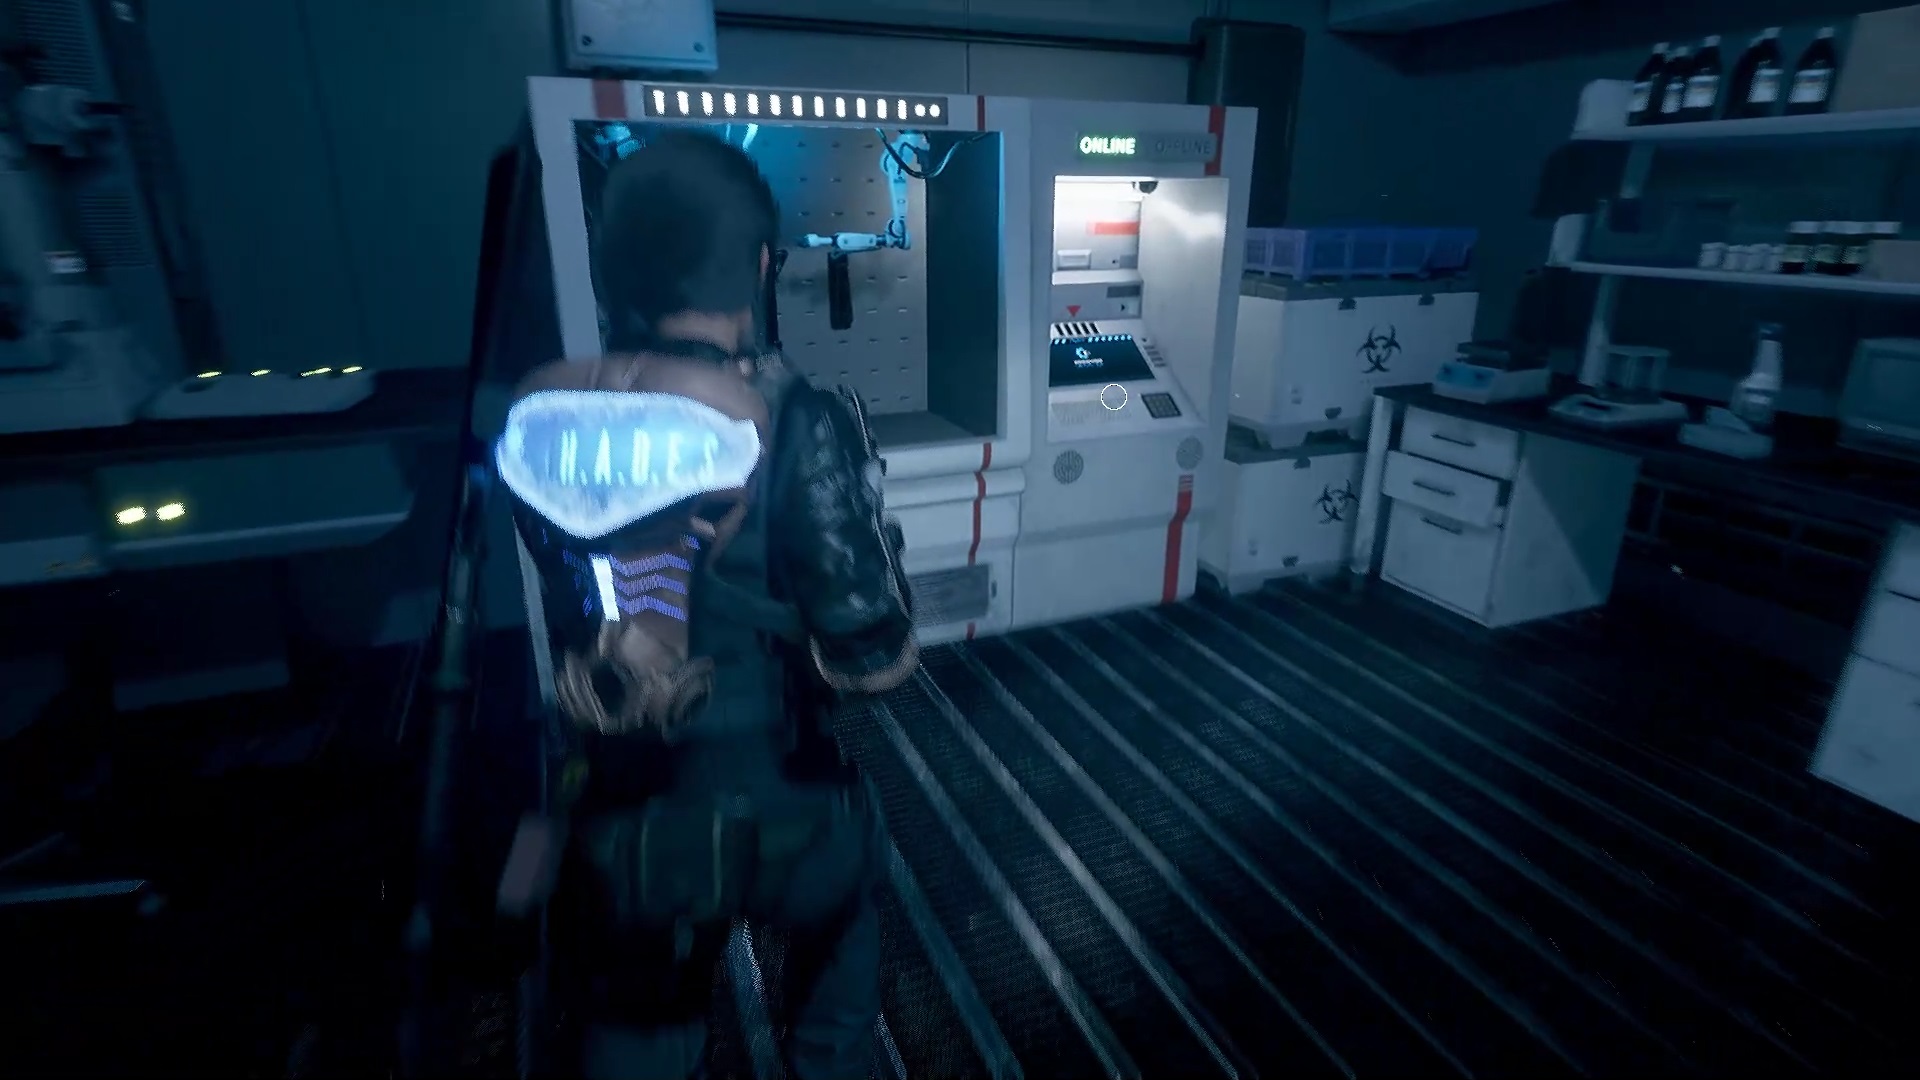
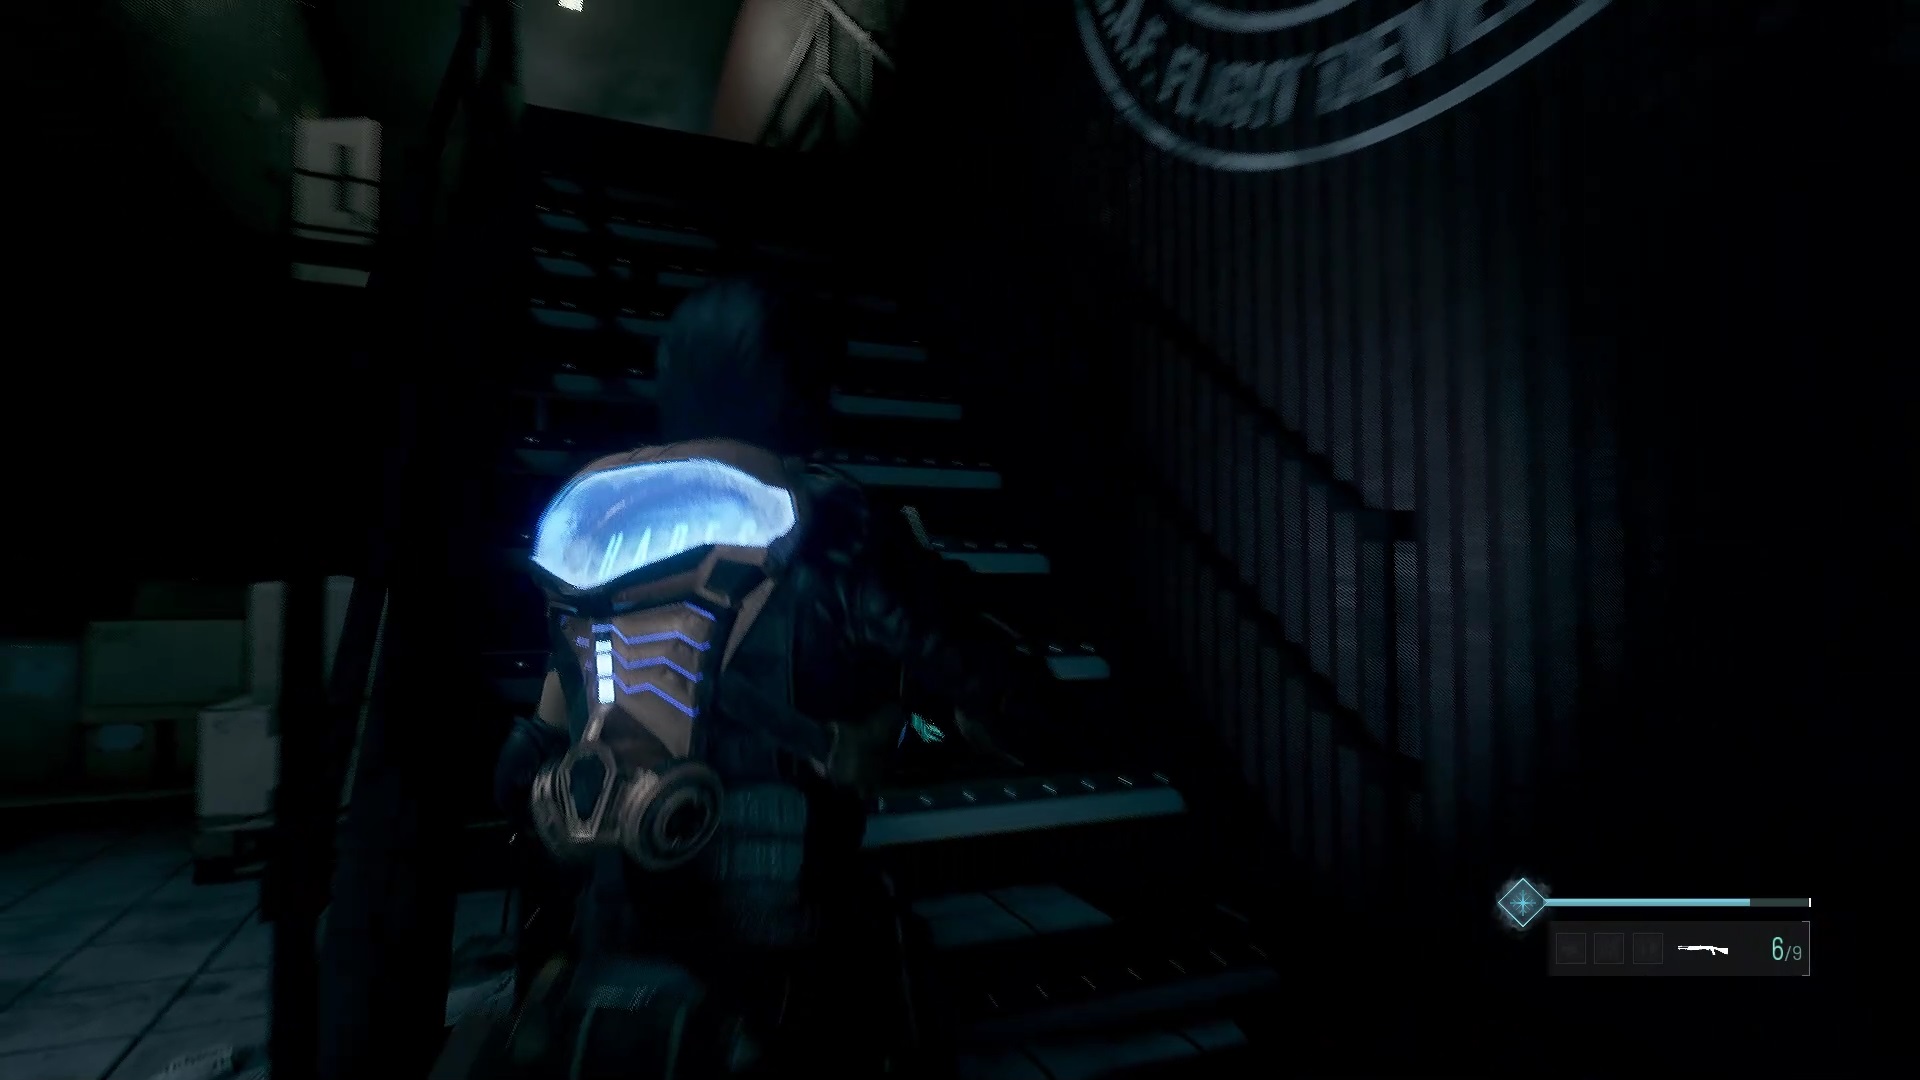
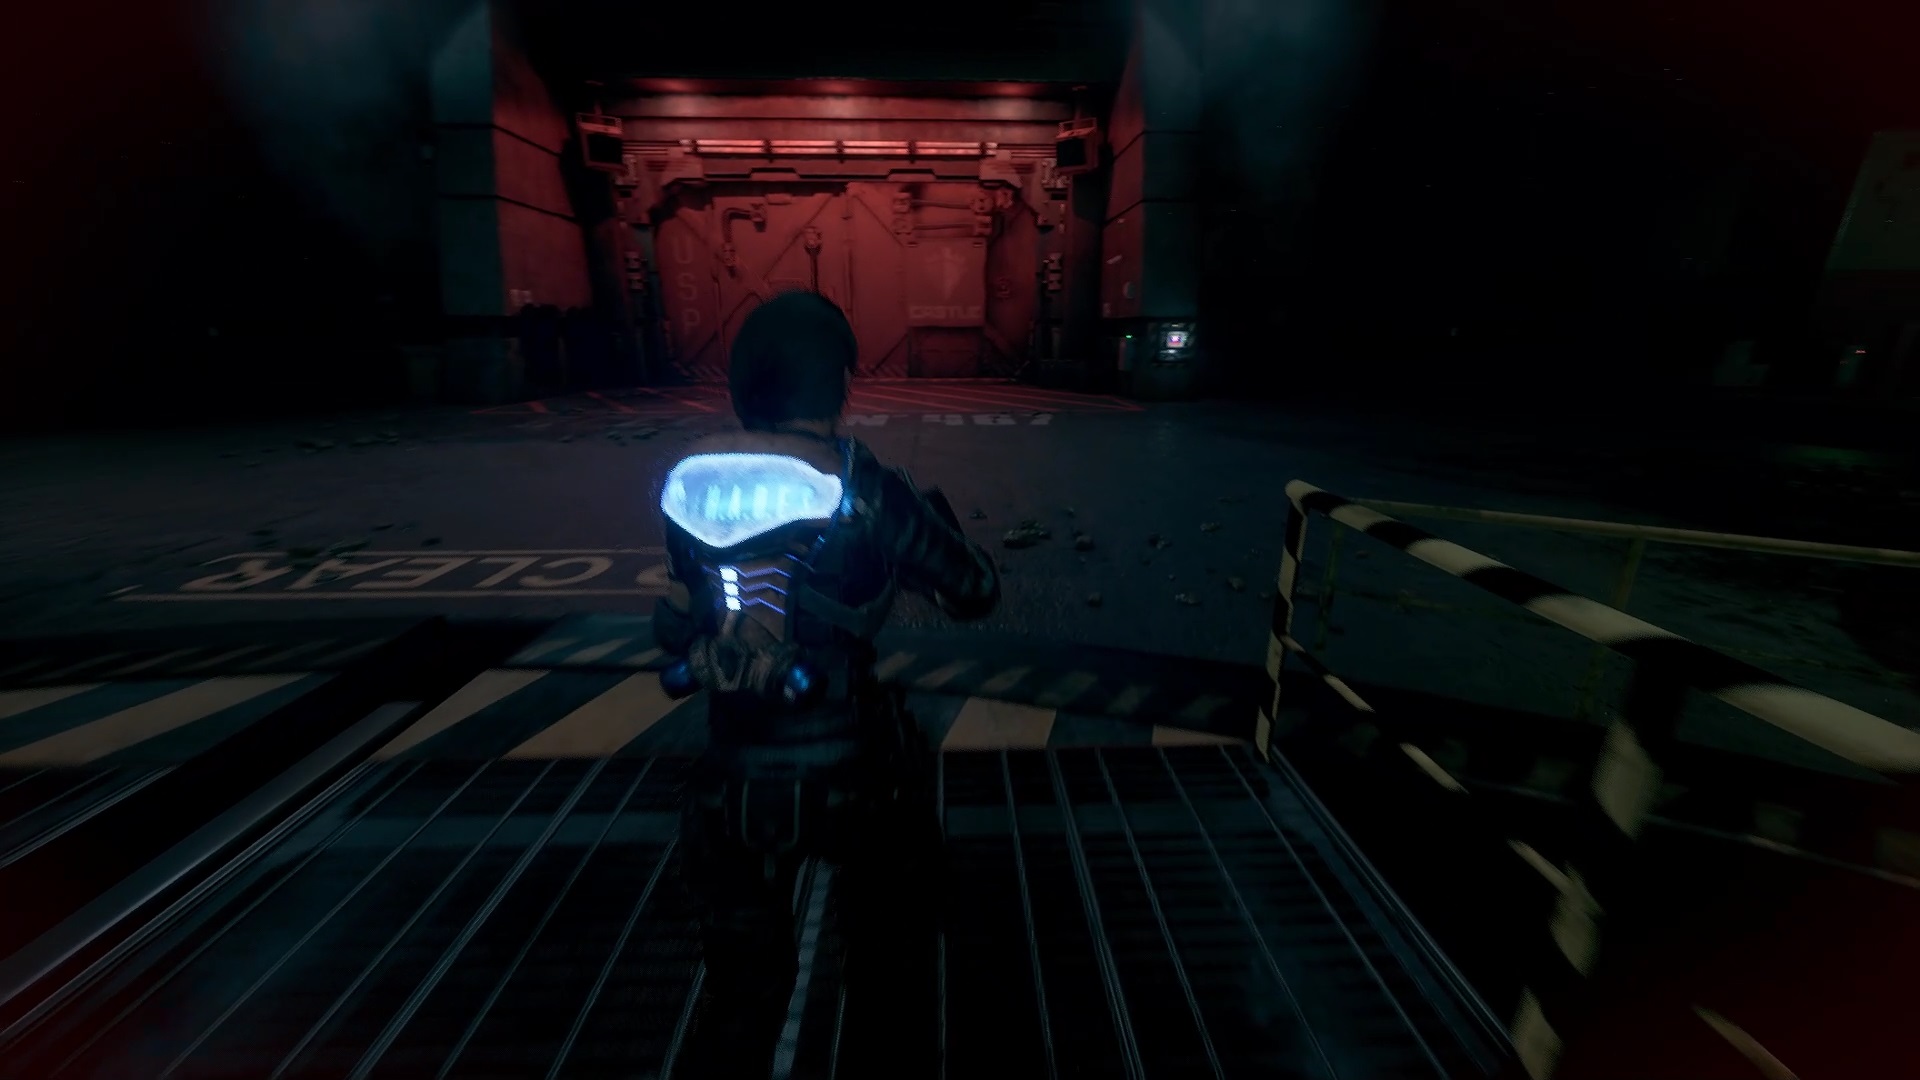
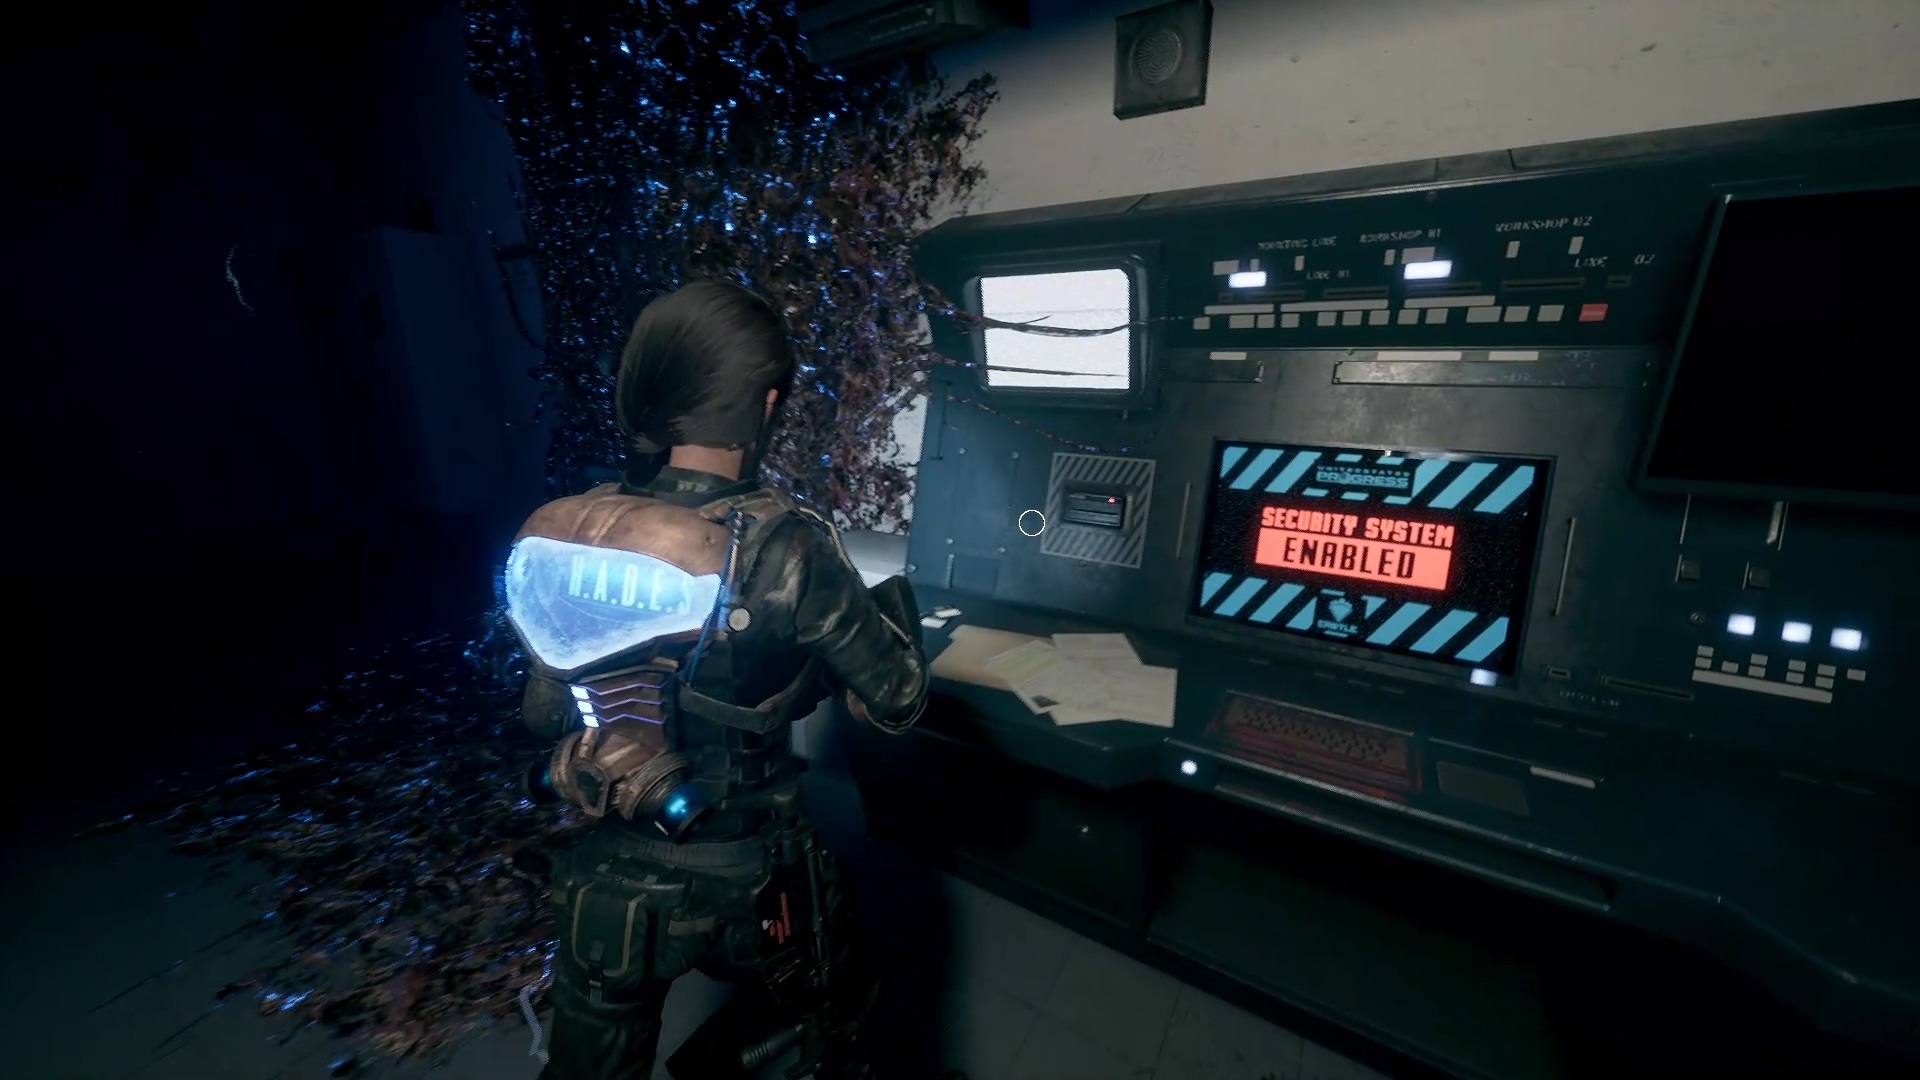
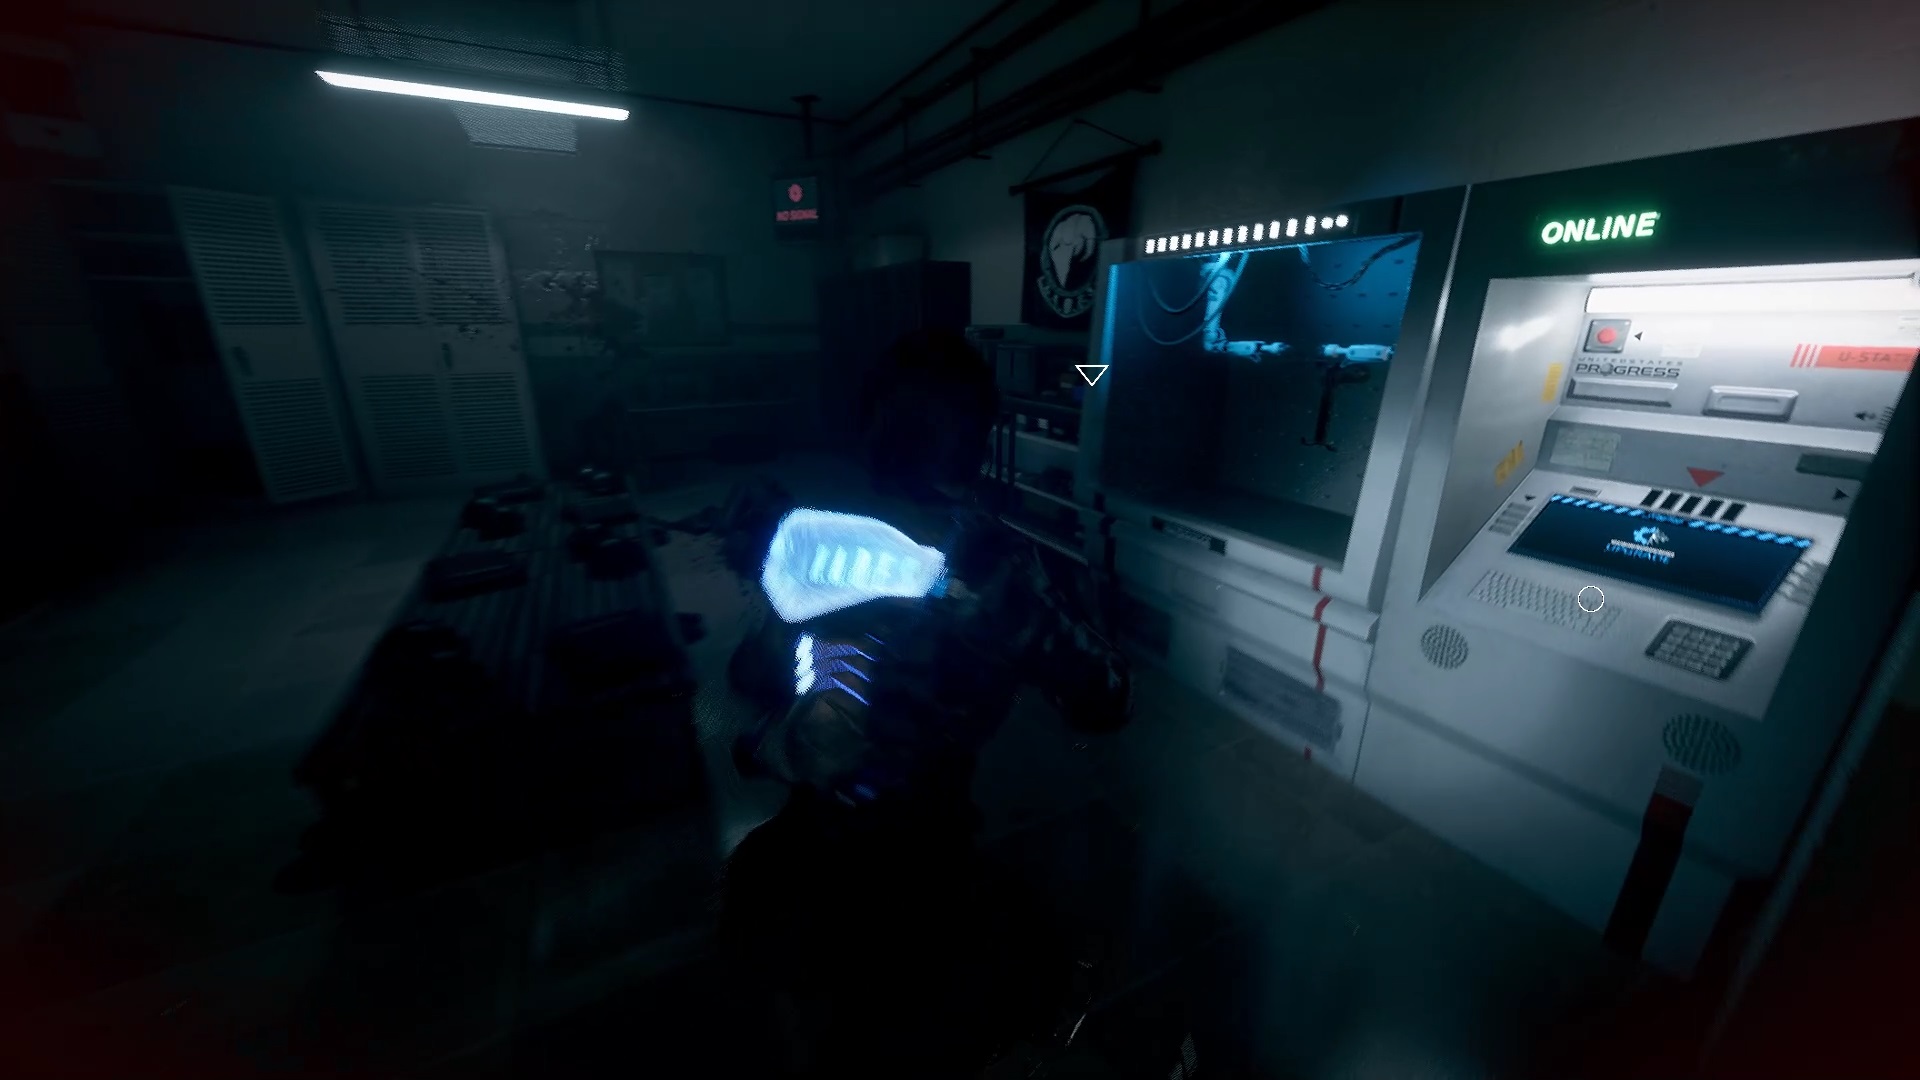
Always follow the blood marks to trigger a cutscene. You are now in possession of the briefcase. Then continue forward to find a depression on the left with an entrance. Move forward to reach a laboratory. Enter the entrance on the left to reach the United States Progress. Climb the stairs to reach the floor and sink to the bottom to enter the save room. On the table is a key box.
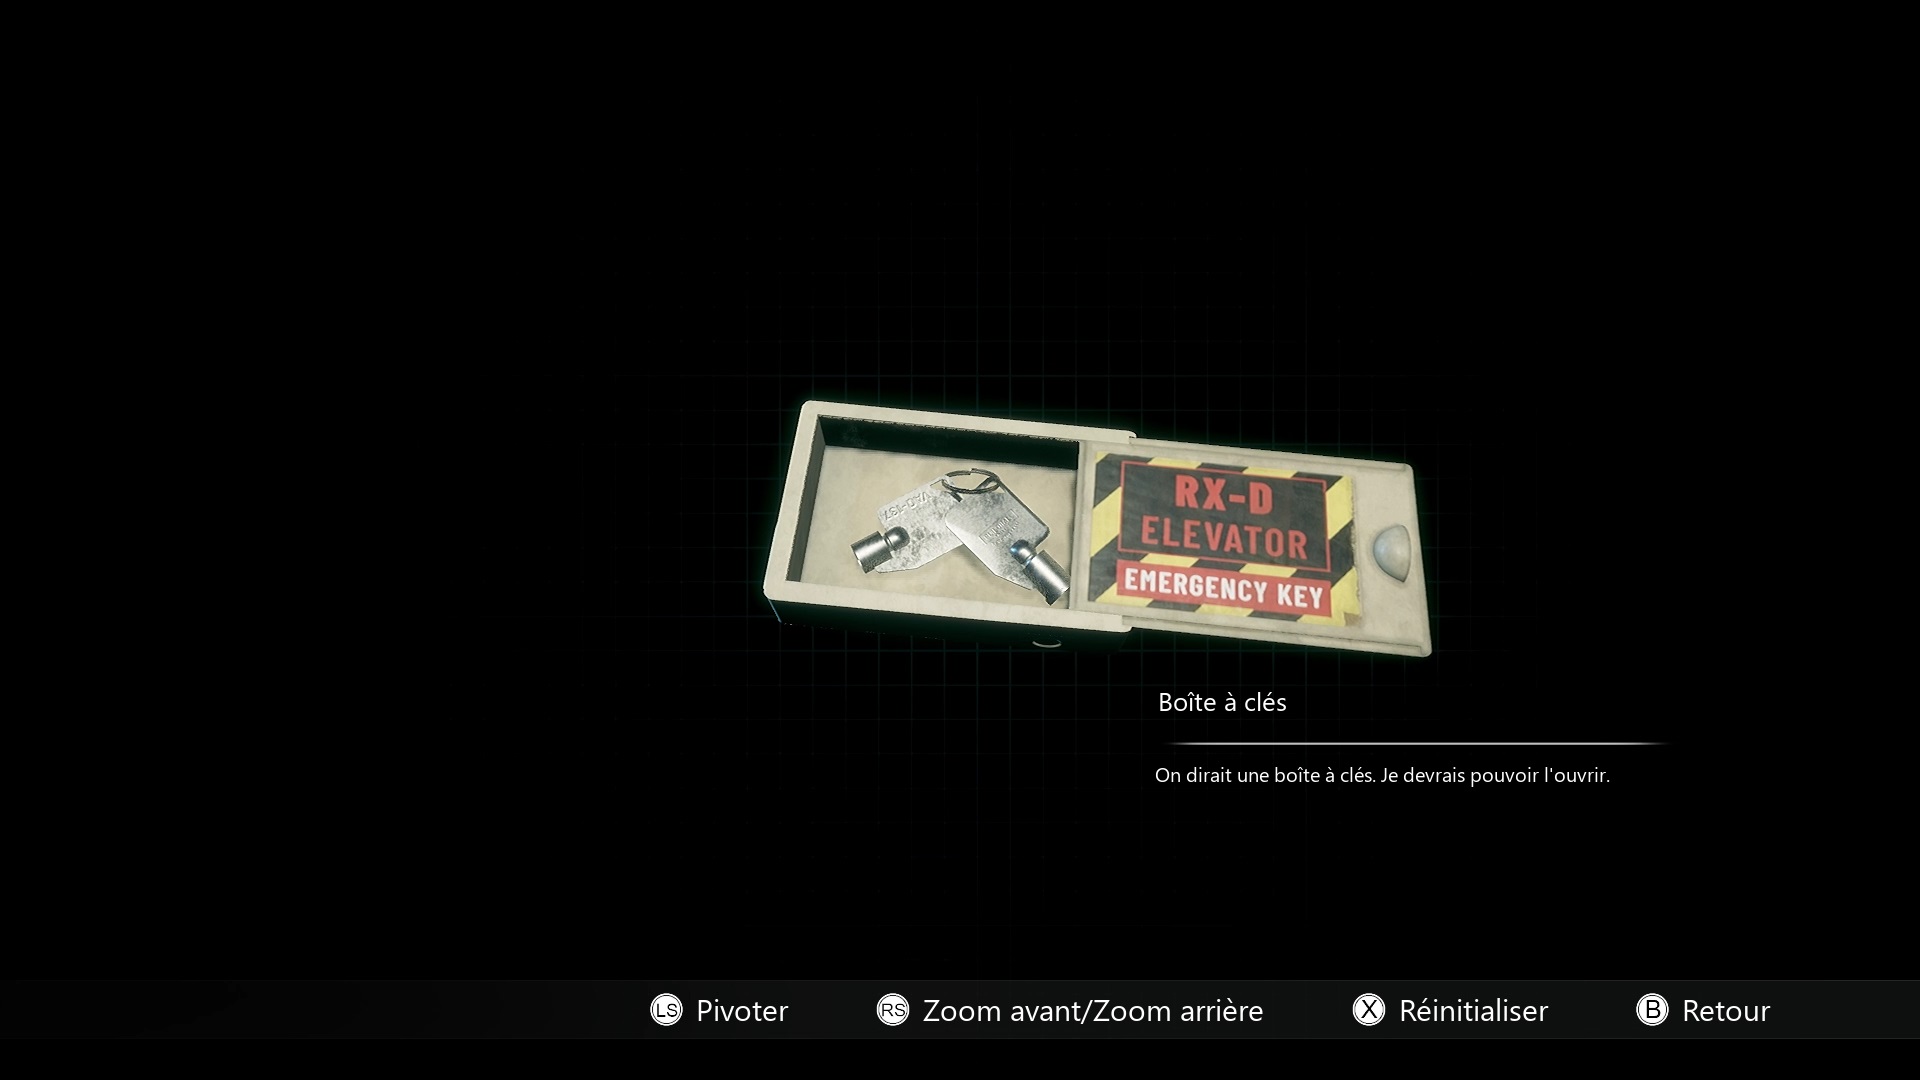
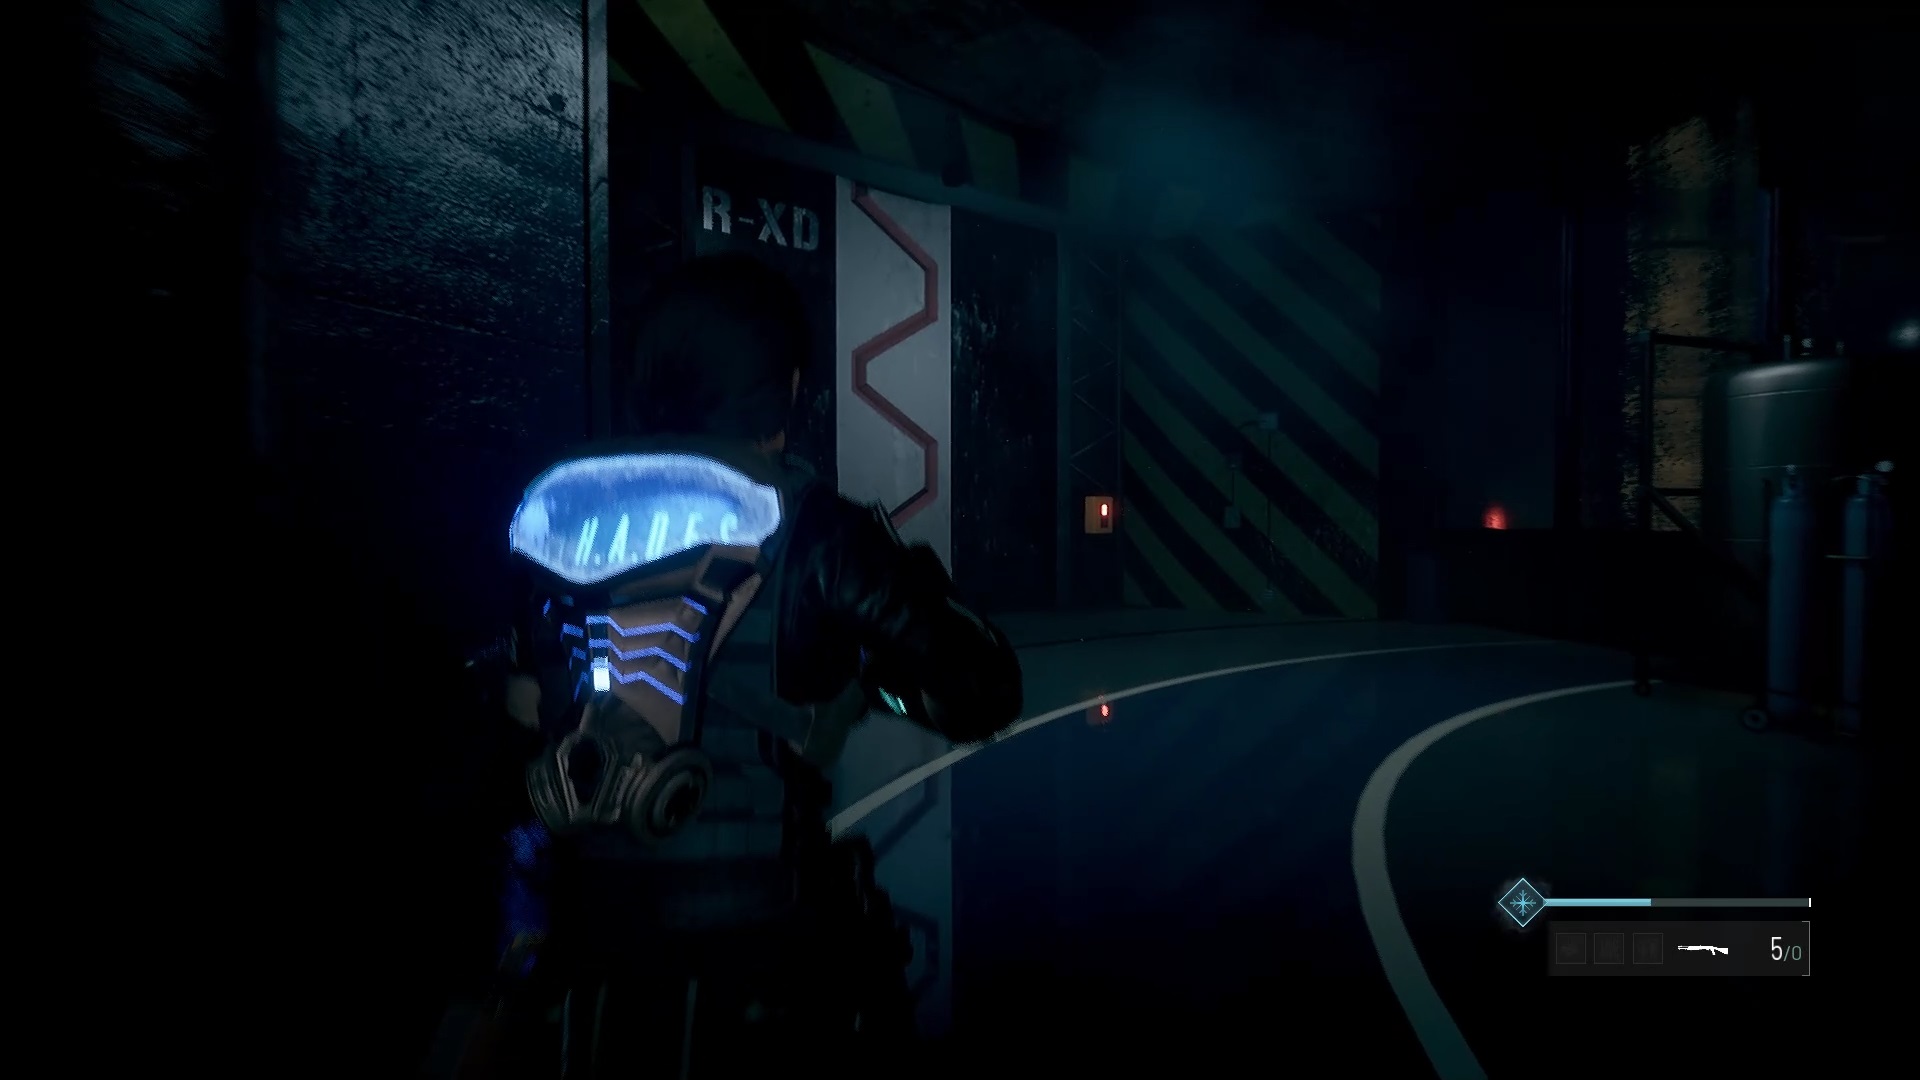
Examine the box to retrieve an emergency release key. Retrace your steps to reach the previous laboratory. Beware of enemies waiting for you on the way. In the laboratory, use the key against the large door to unlock an elevator. Climb to level B1.

Above, behind an engine, you will find a dark passage to explore. Try to pass the double door at the bottom to trigger a fight.

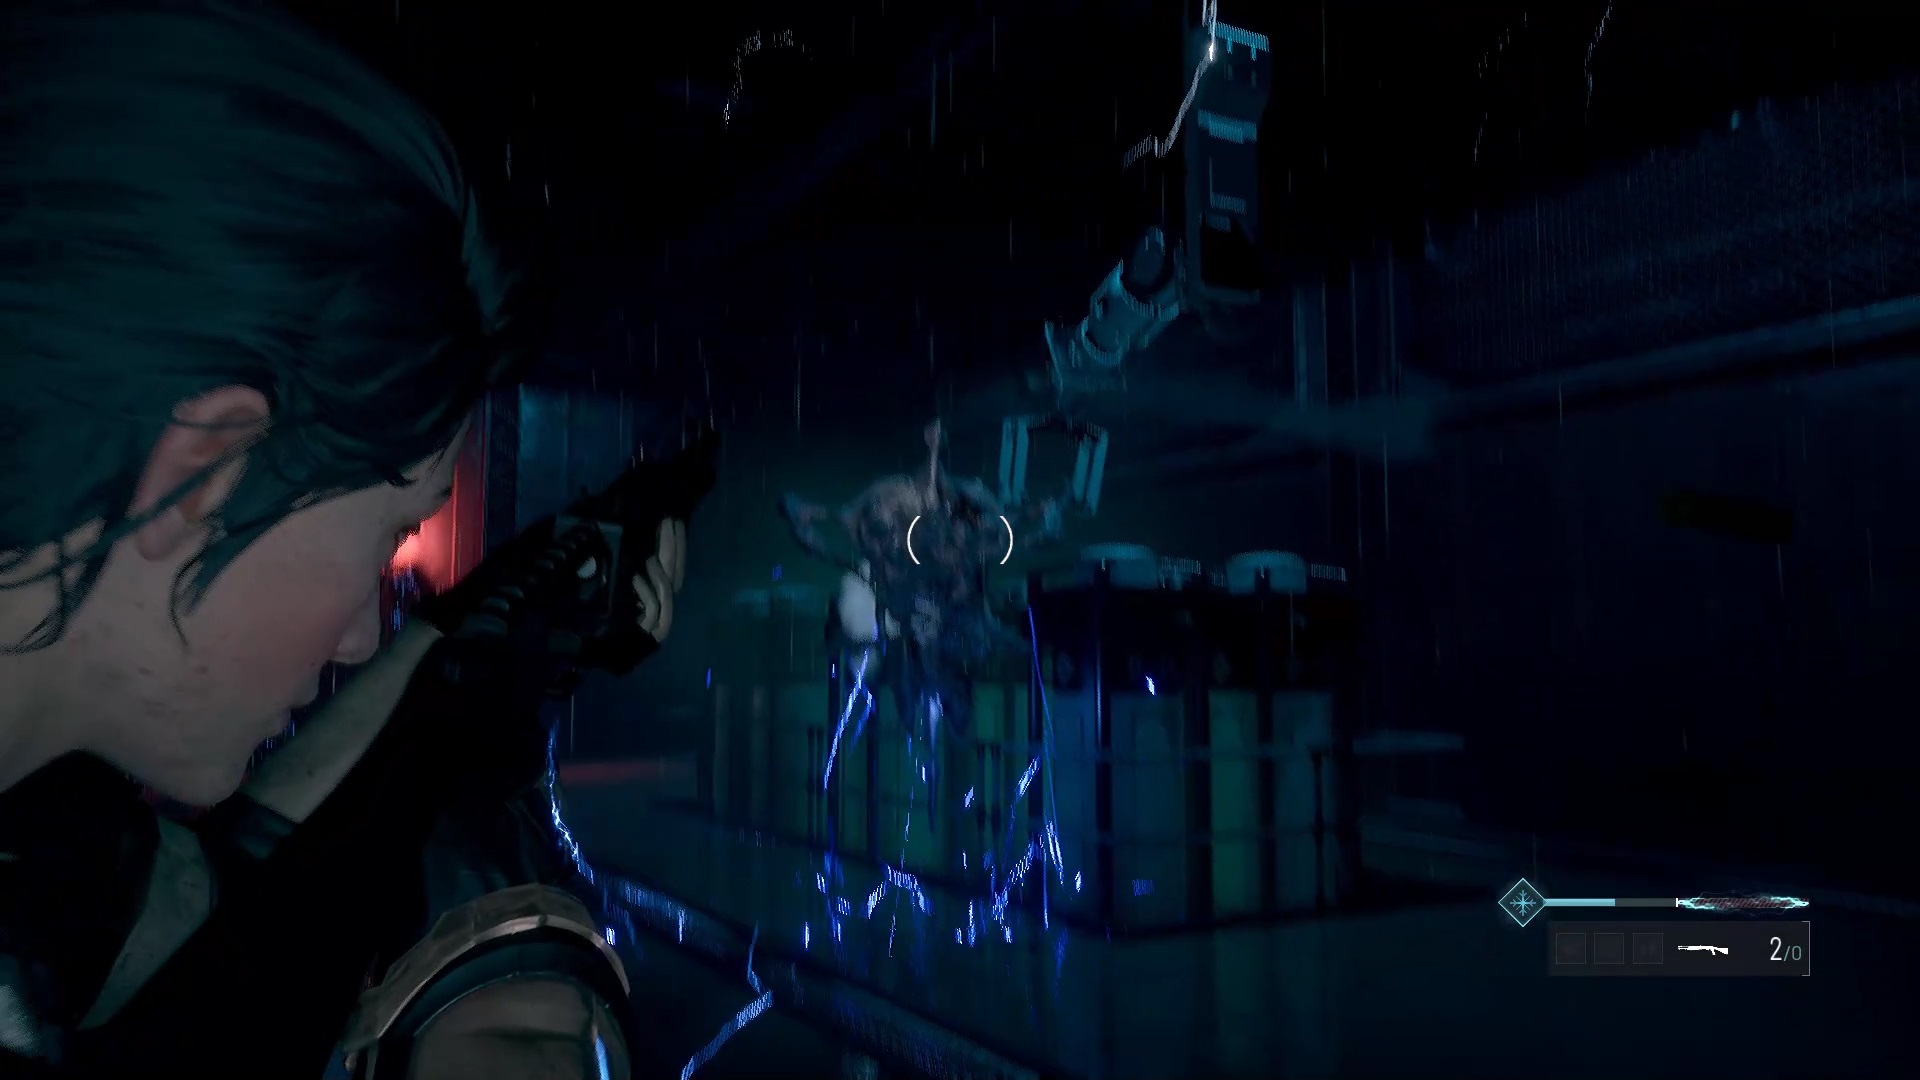
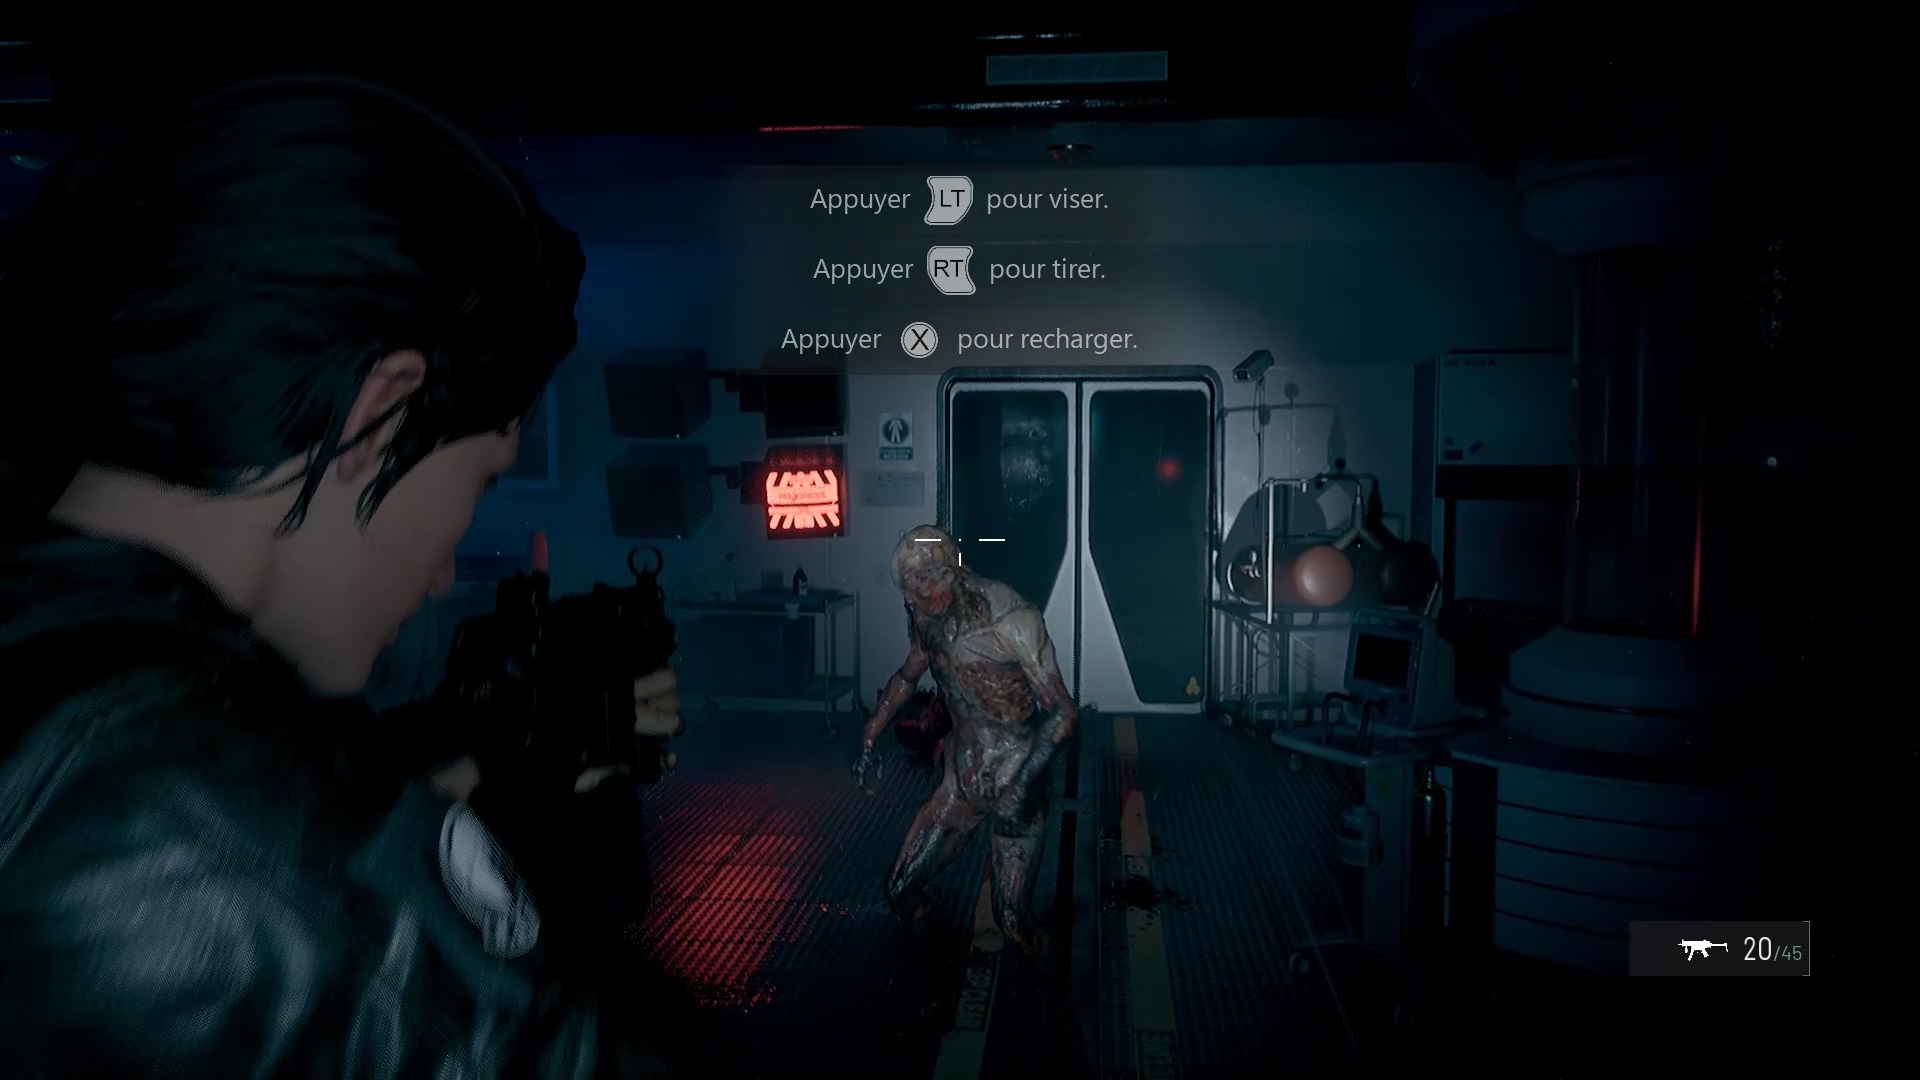
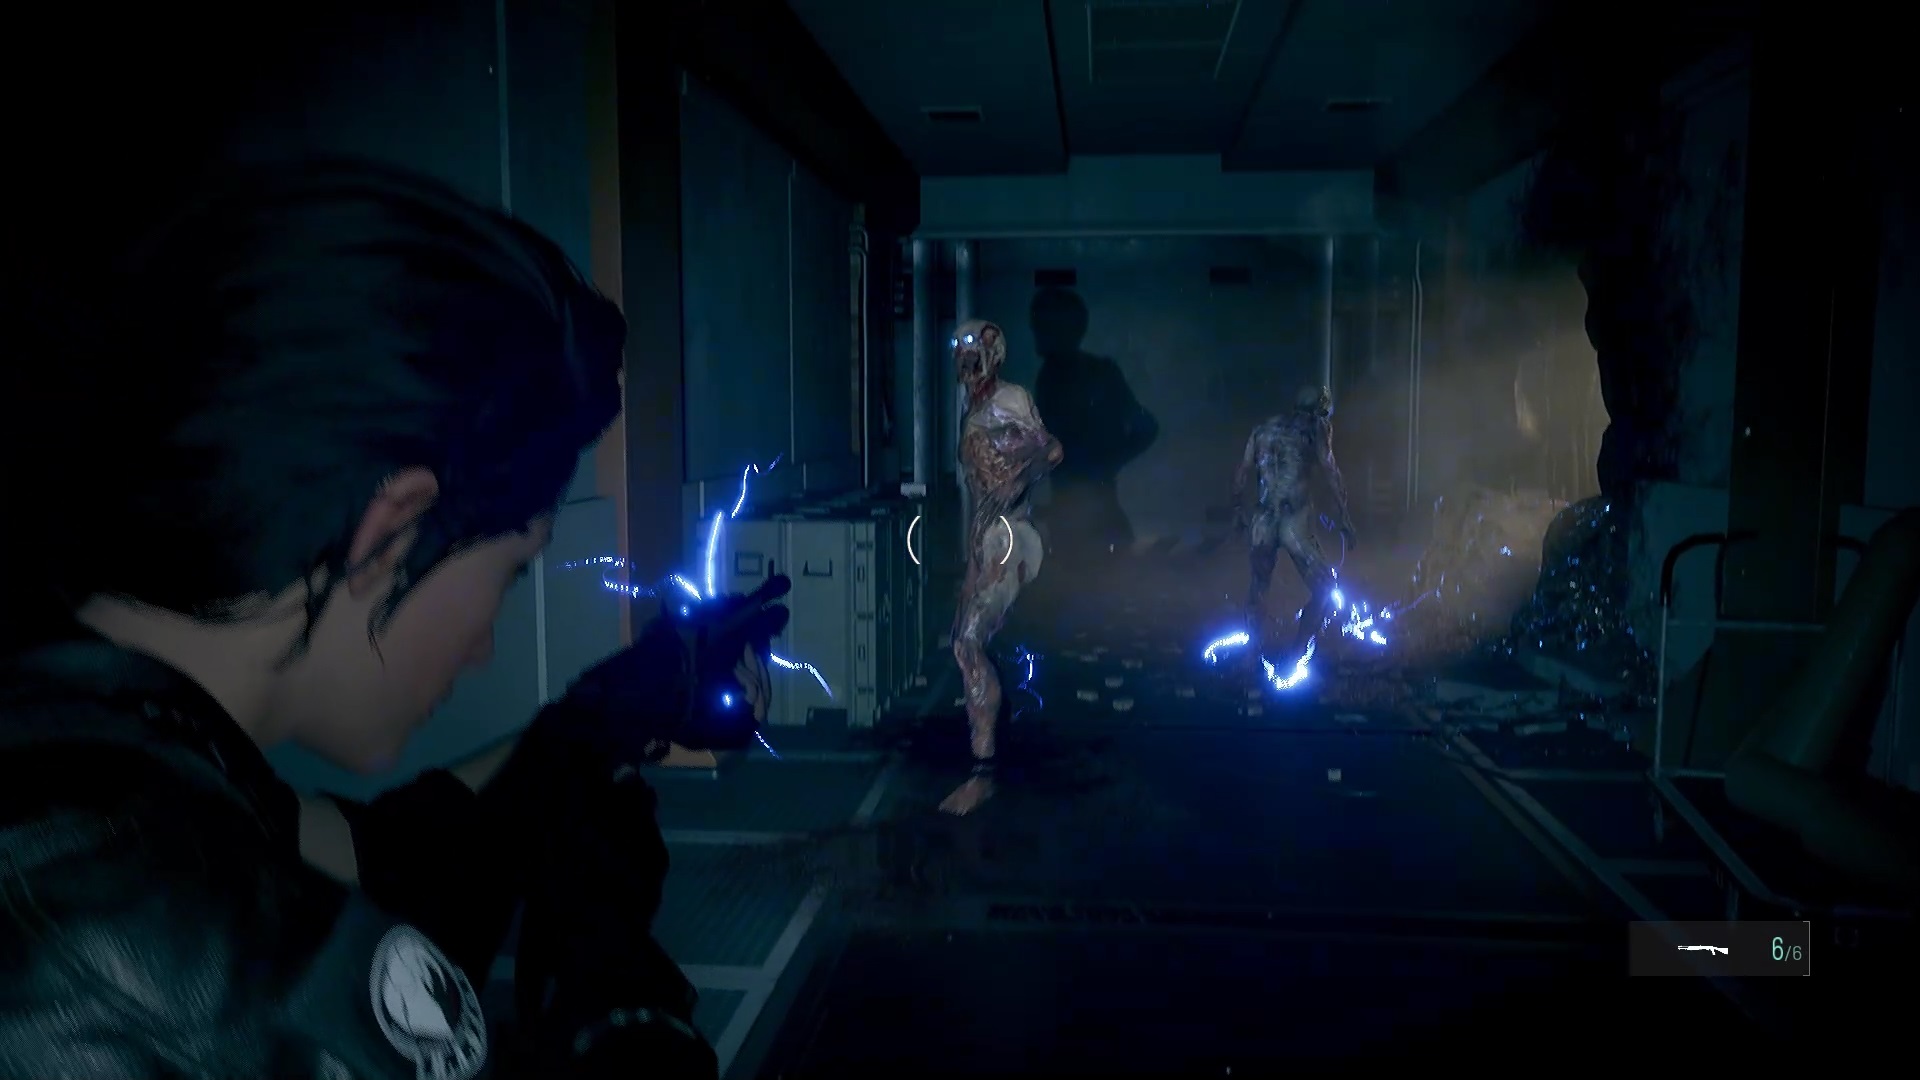
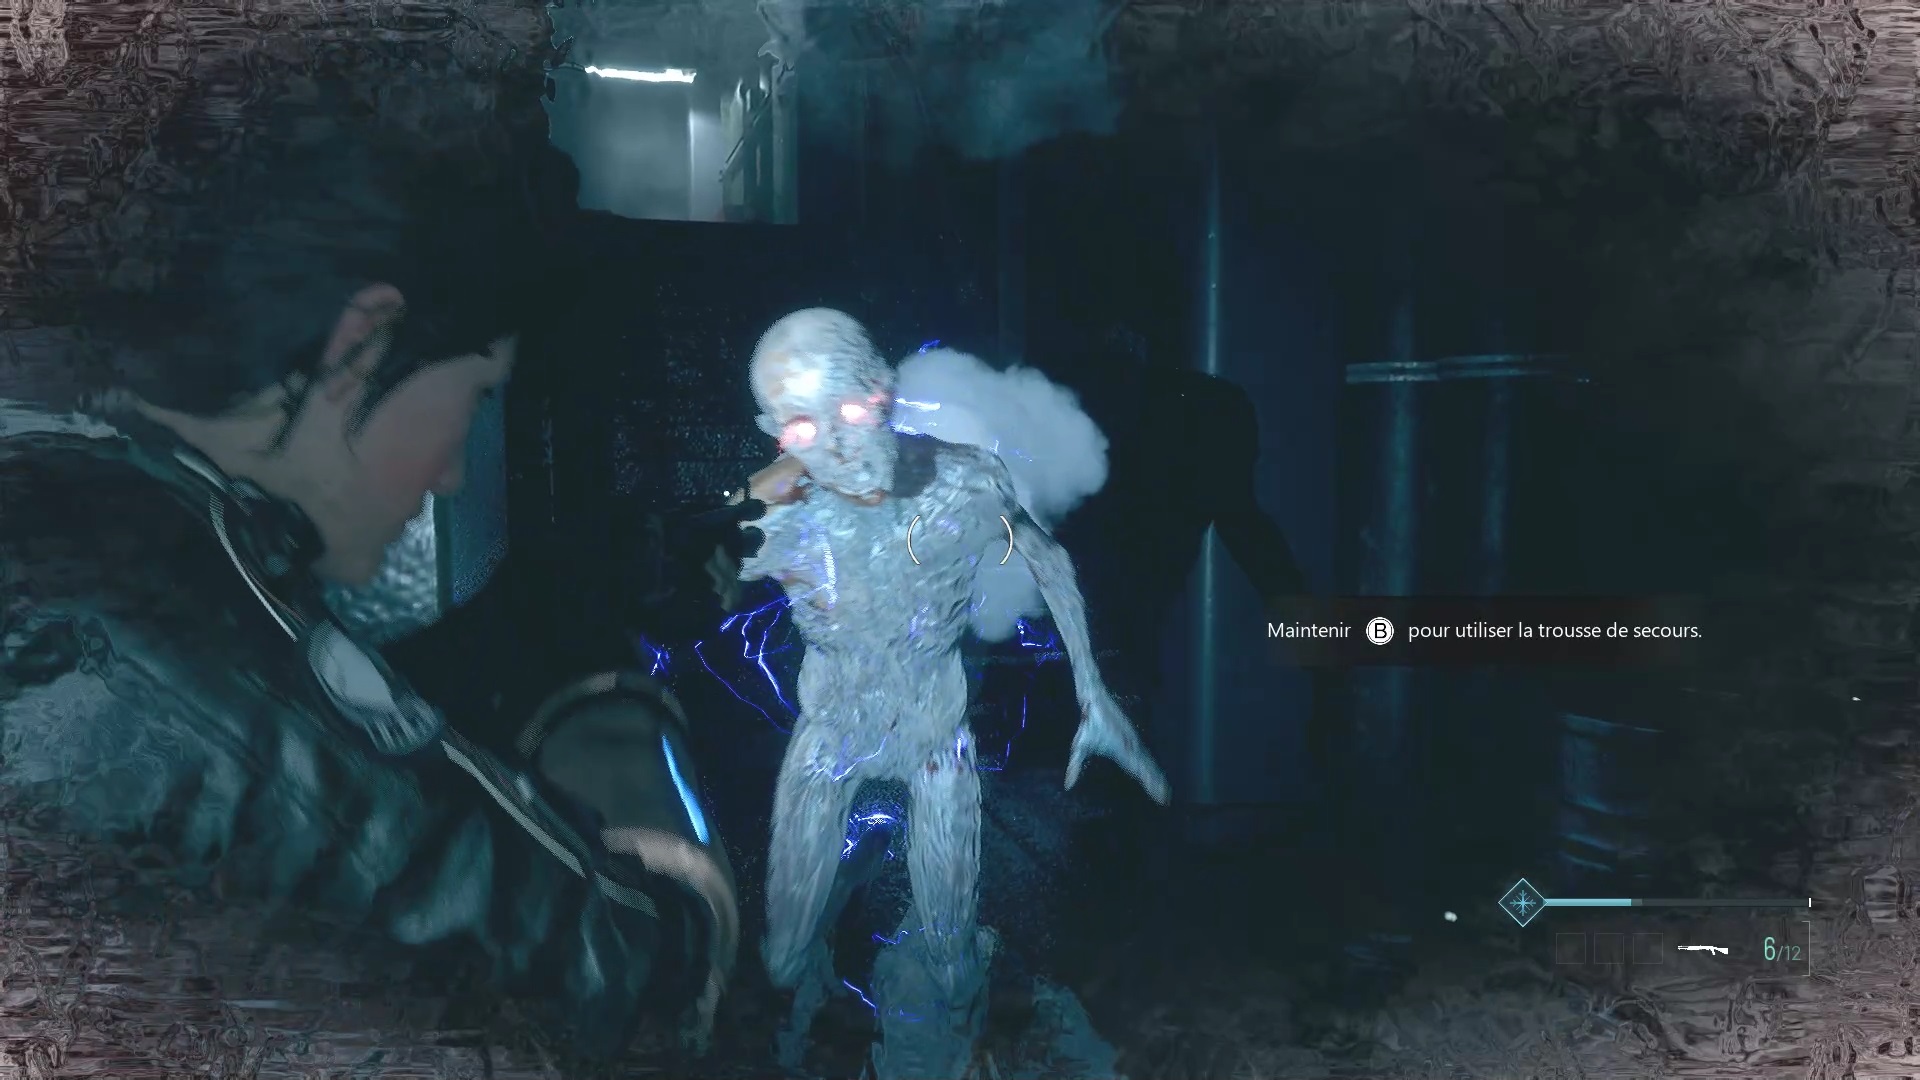
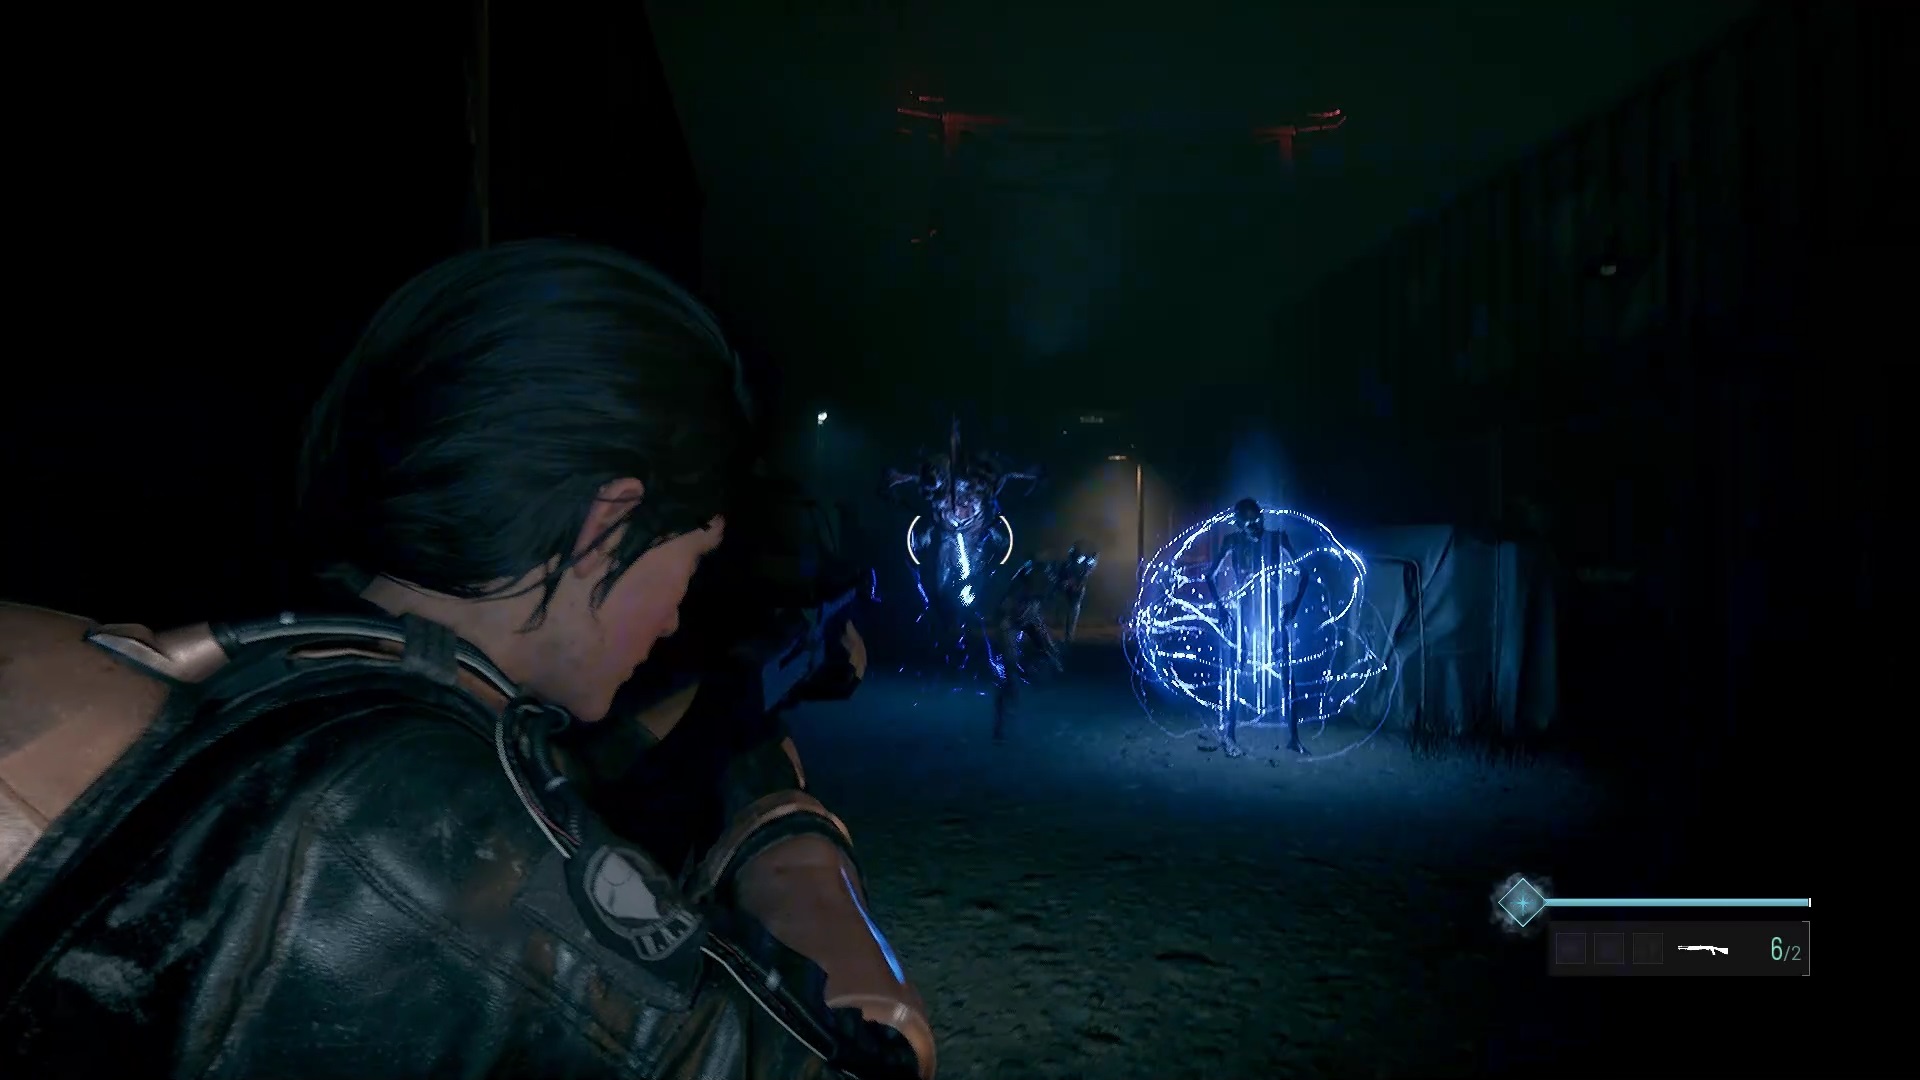
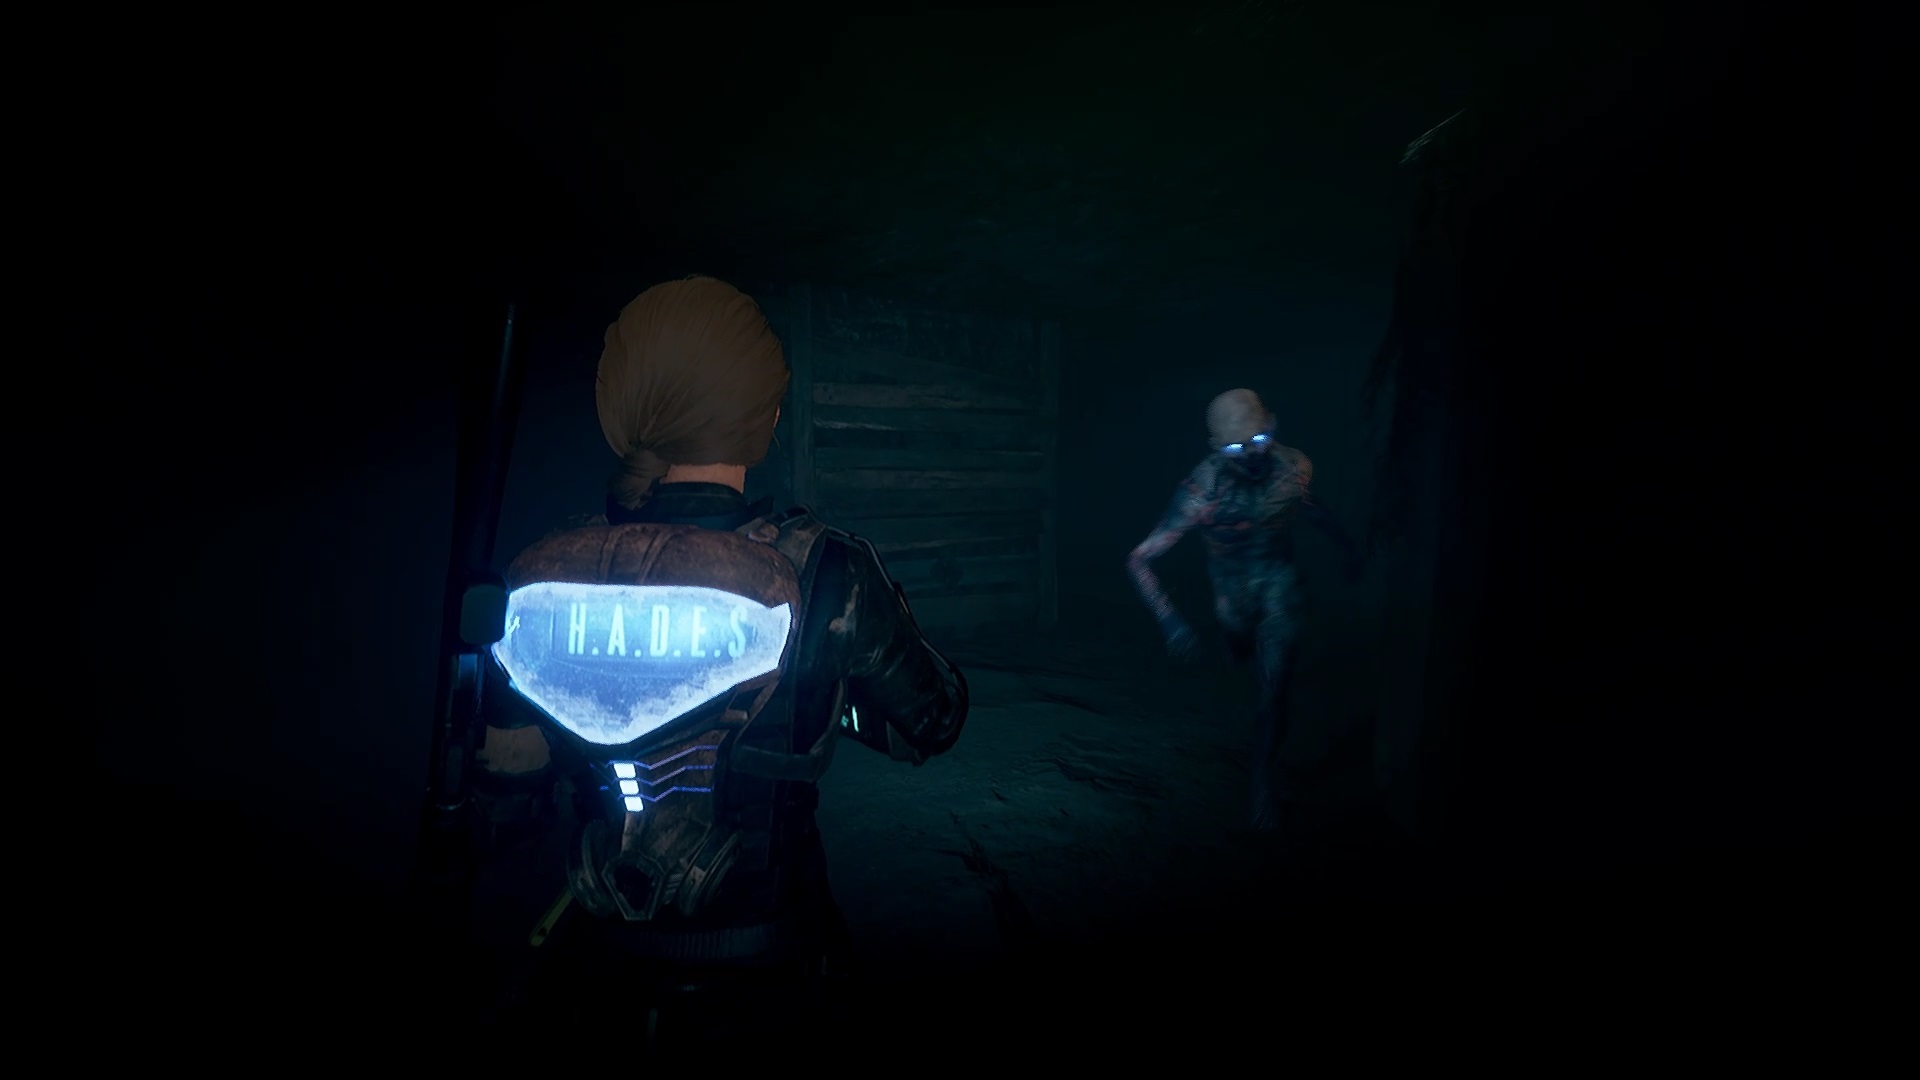
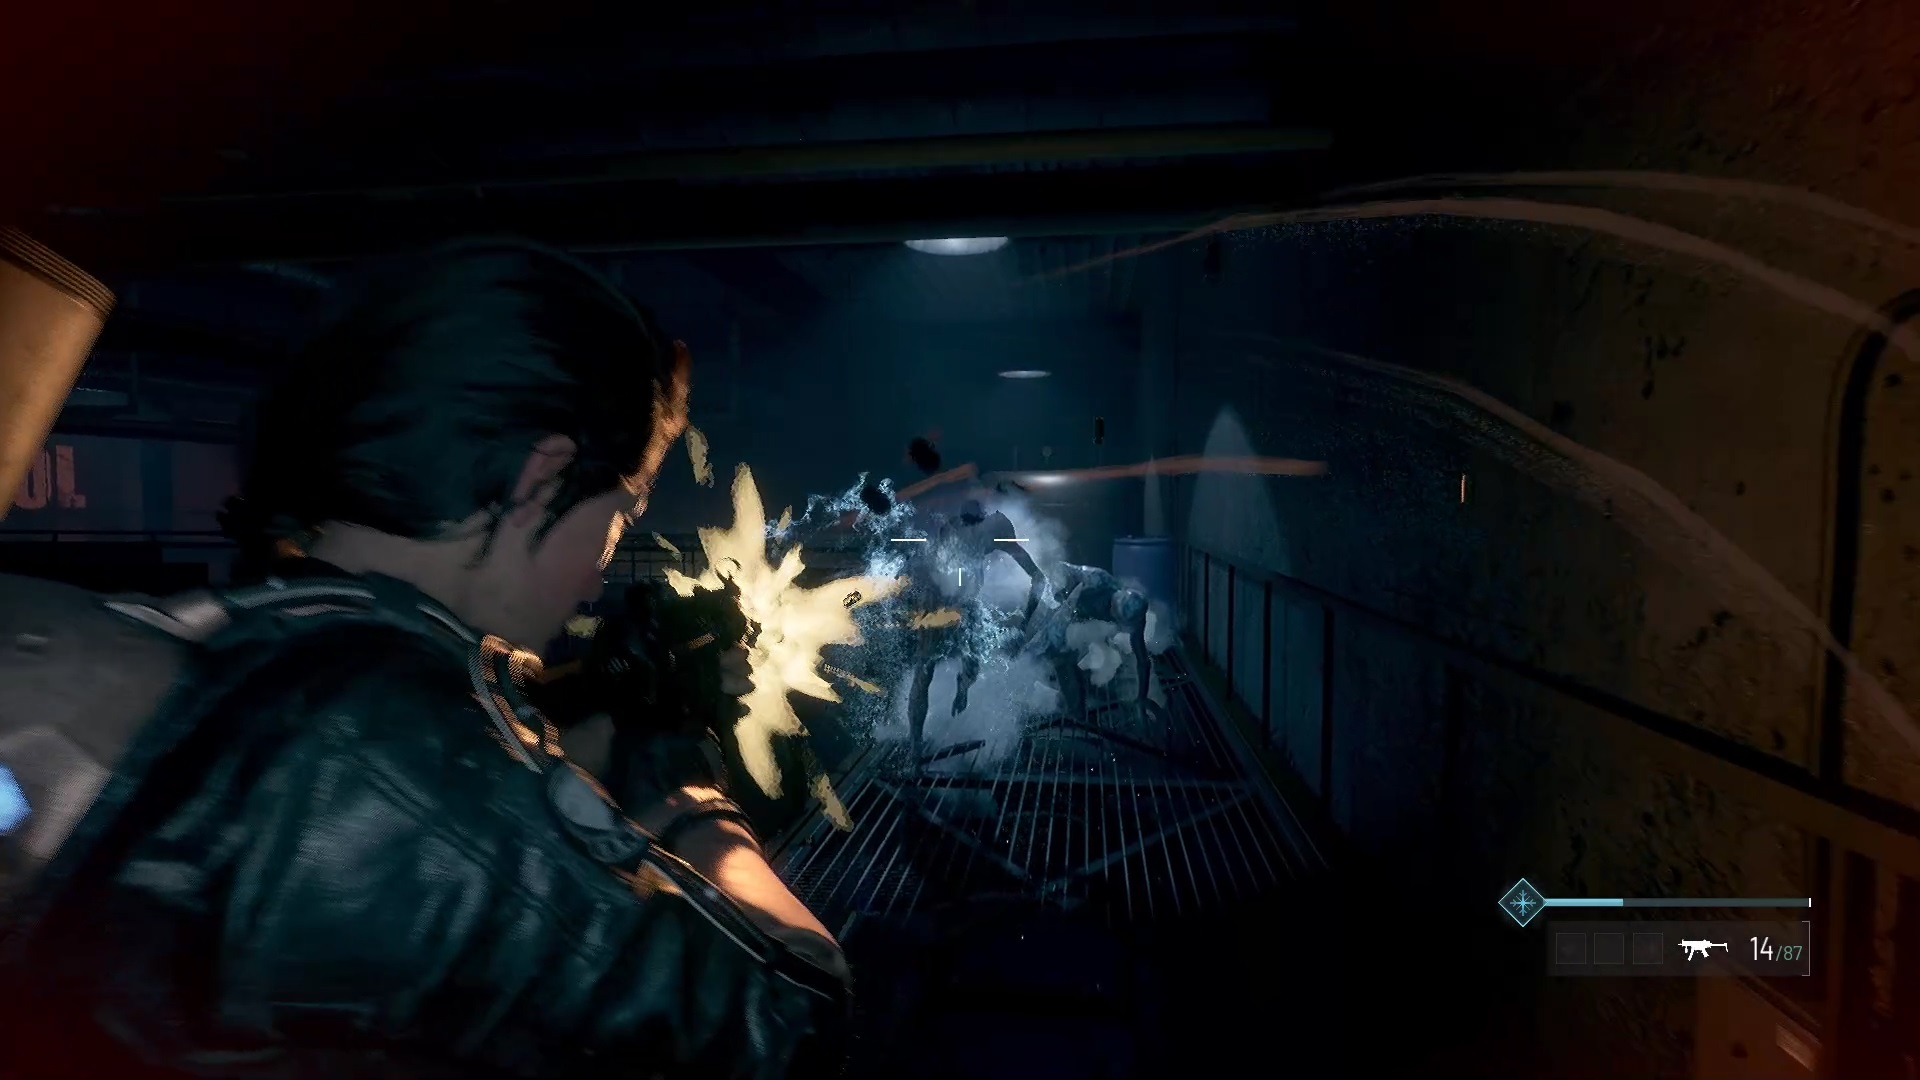
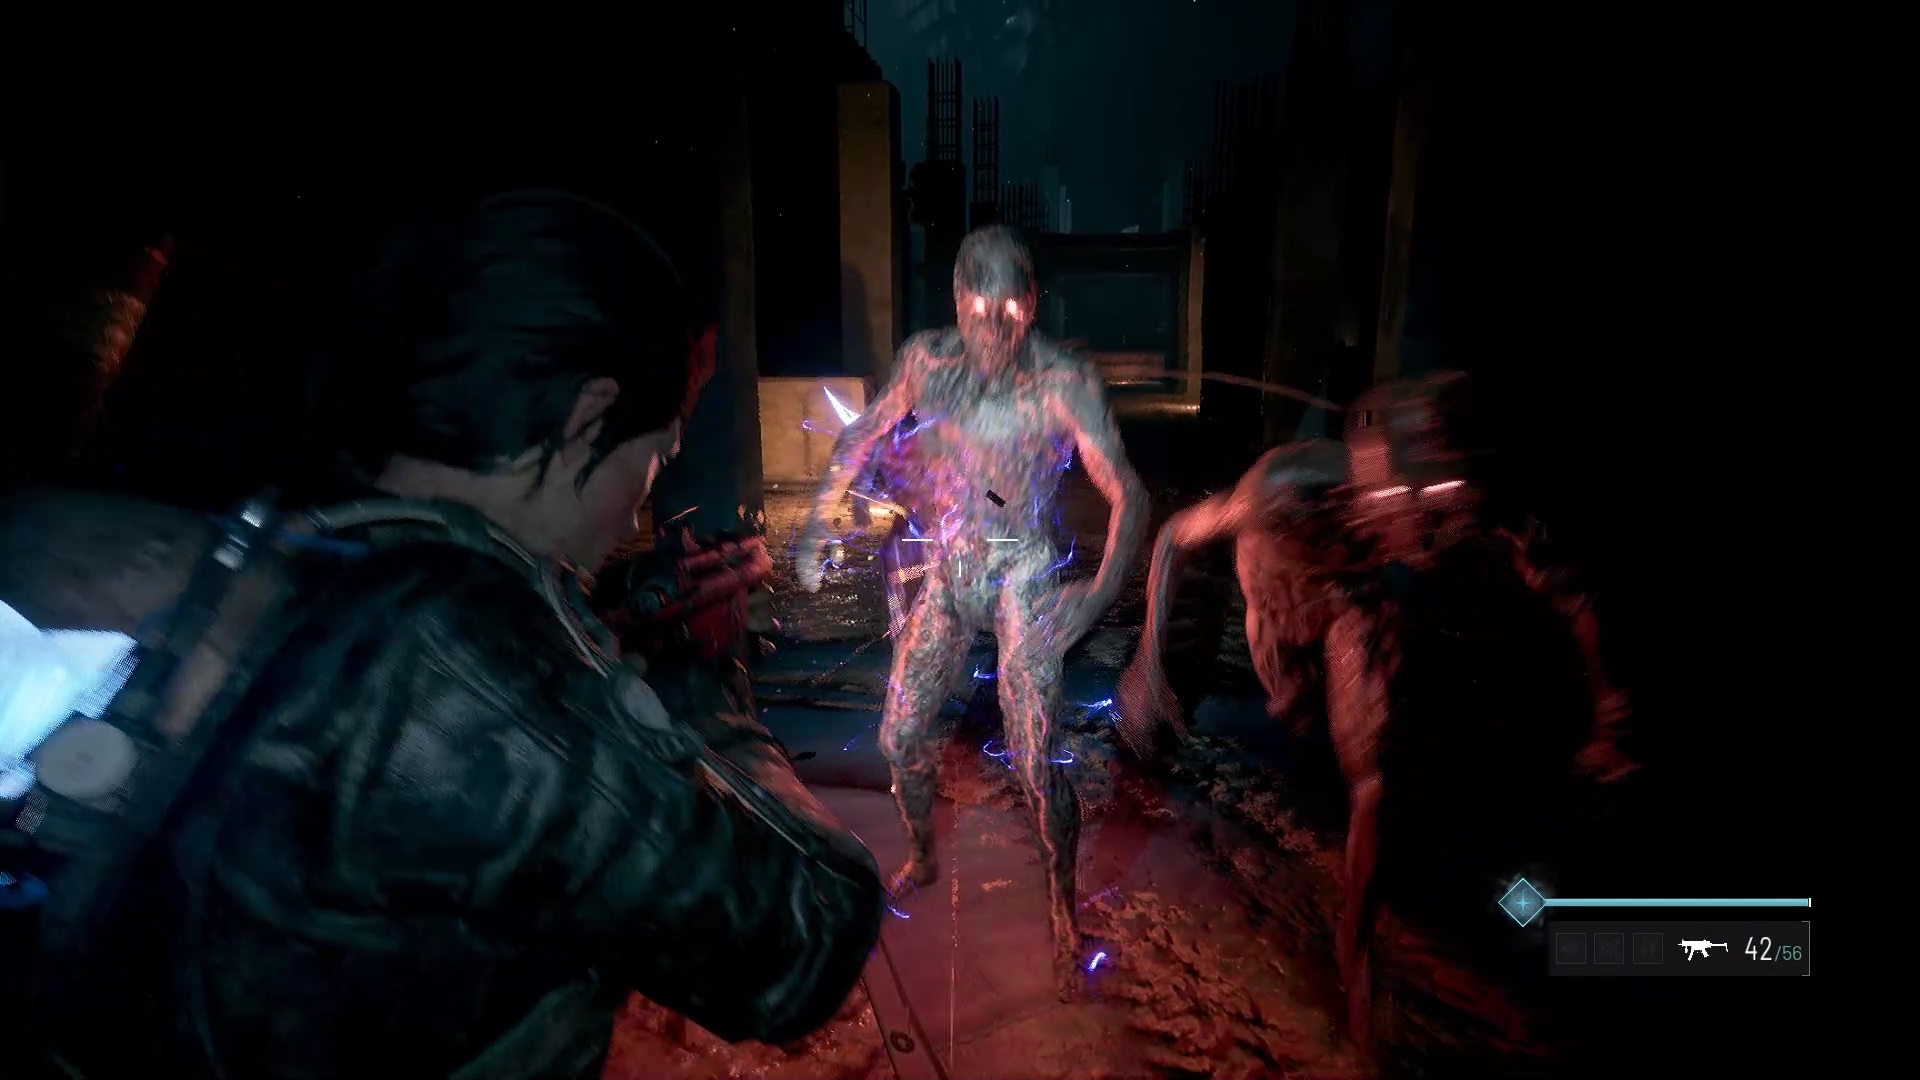
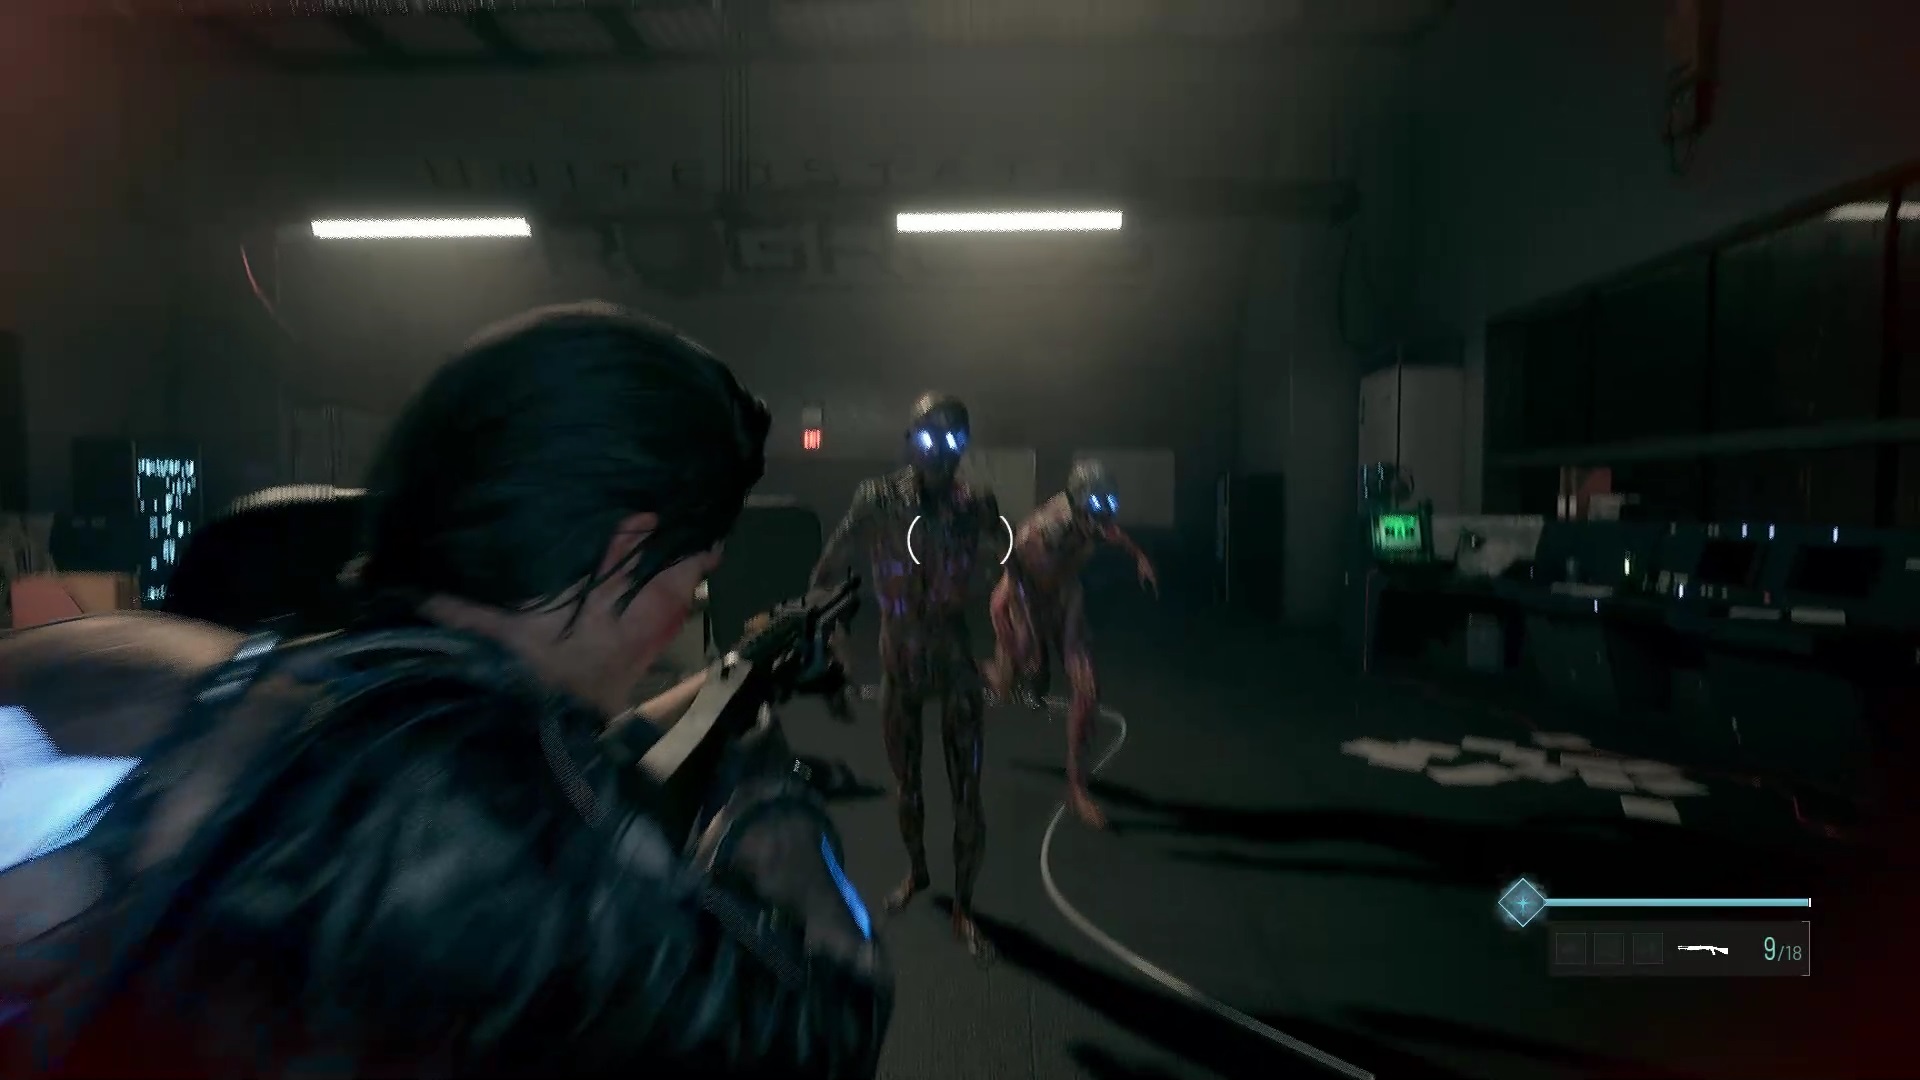
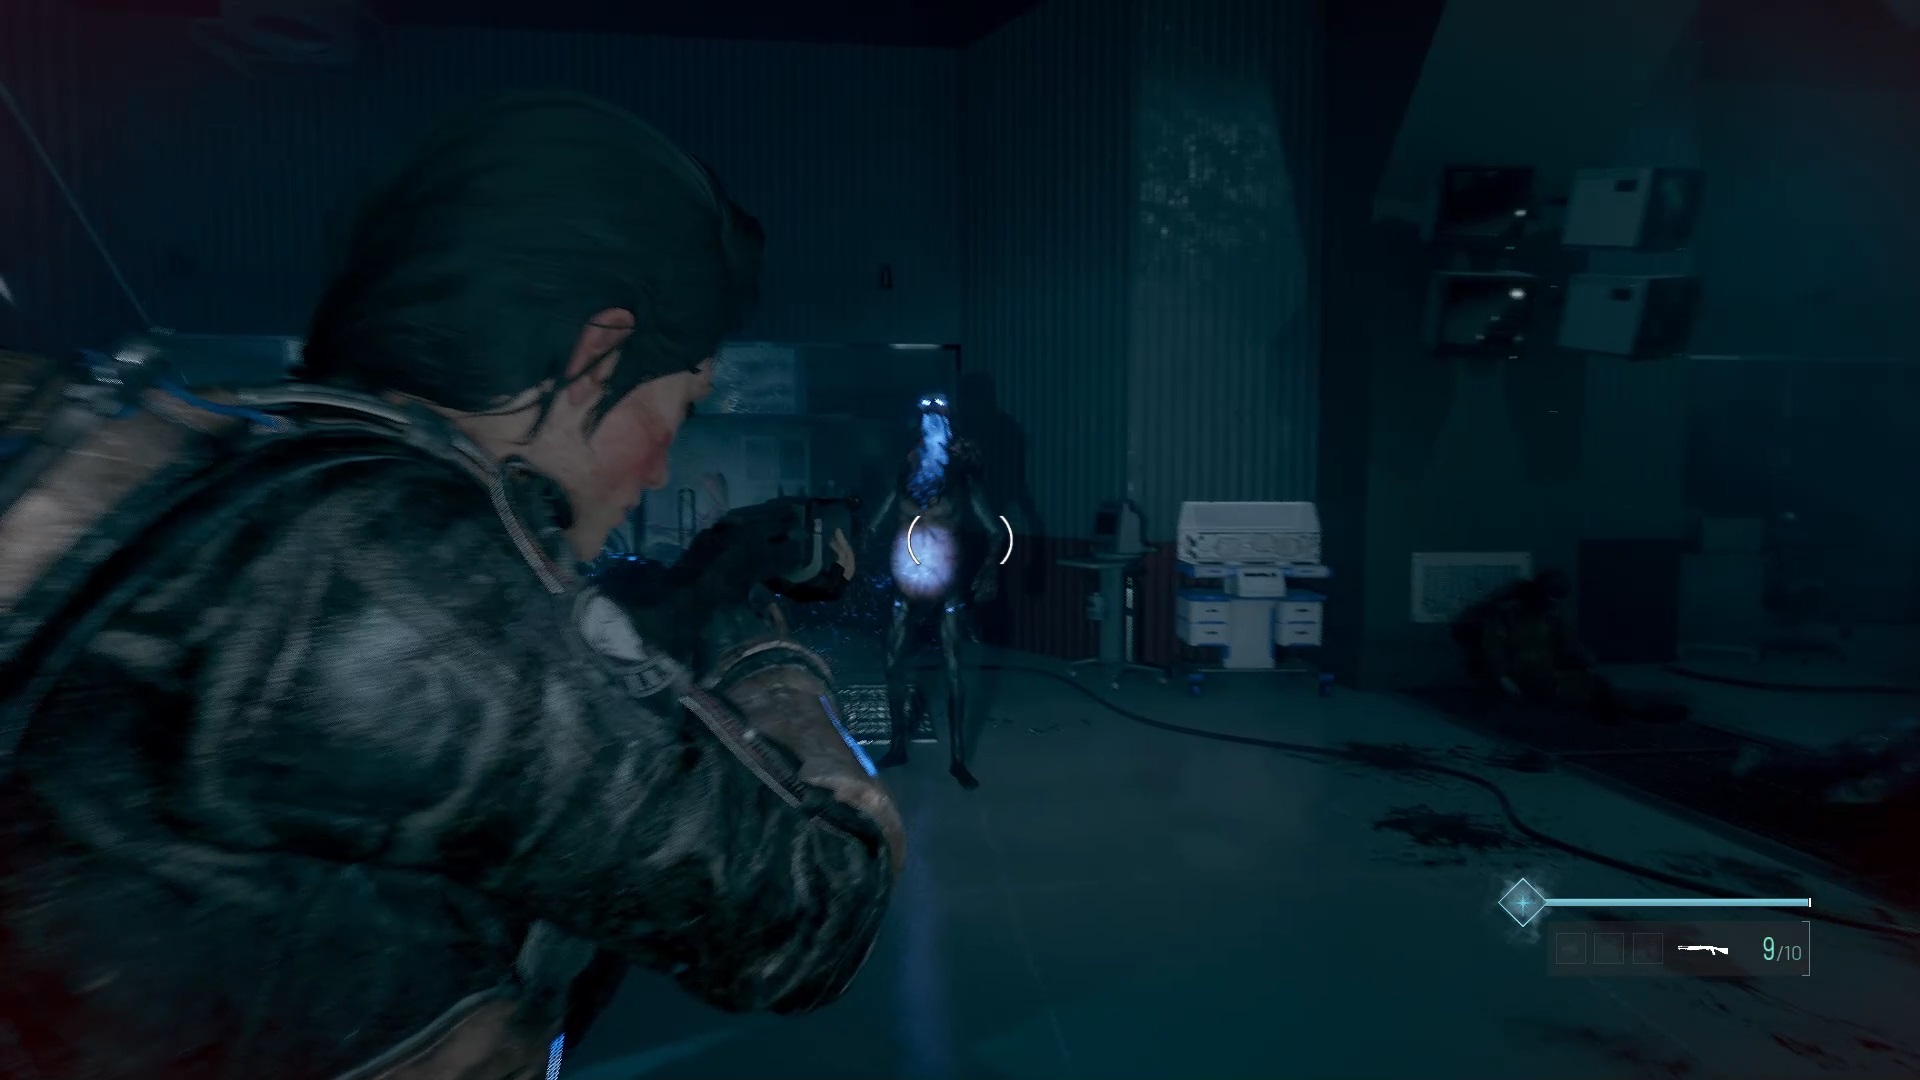
During combat, prioritize dealing with humanoid enemies. Place a good shotgun blast on each monster to lay them down on the ground. Then focus on the flying monster while keeping a good distance so you don’t get caught. Use the Frost Bullet to slow the beast down if needed. A few shotgun shots are enough to eliminate it.
Go through the double doors to reach a hallway. Enter the red door on the right to reach a laboratory. Climb the stairs and go down the hall to reach an elevator. Collect the badge near the elevator.
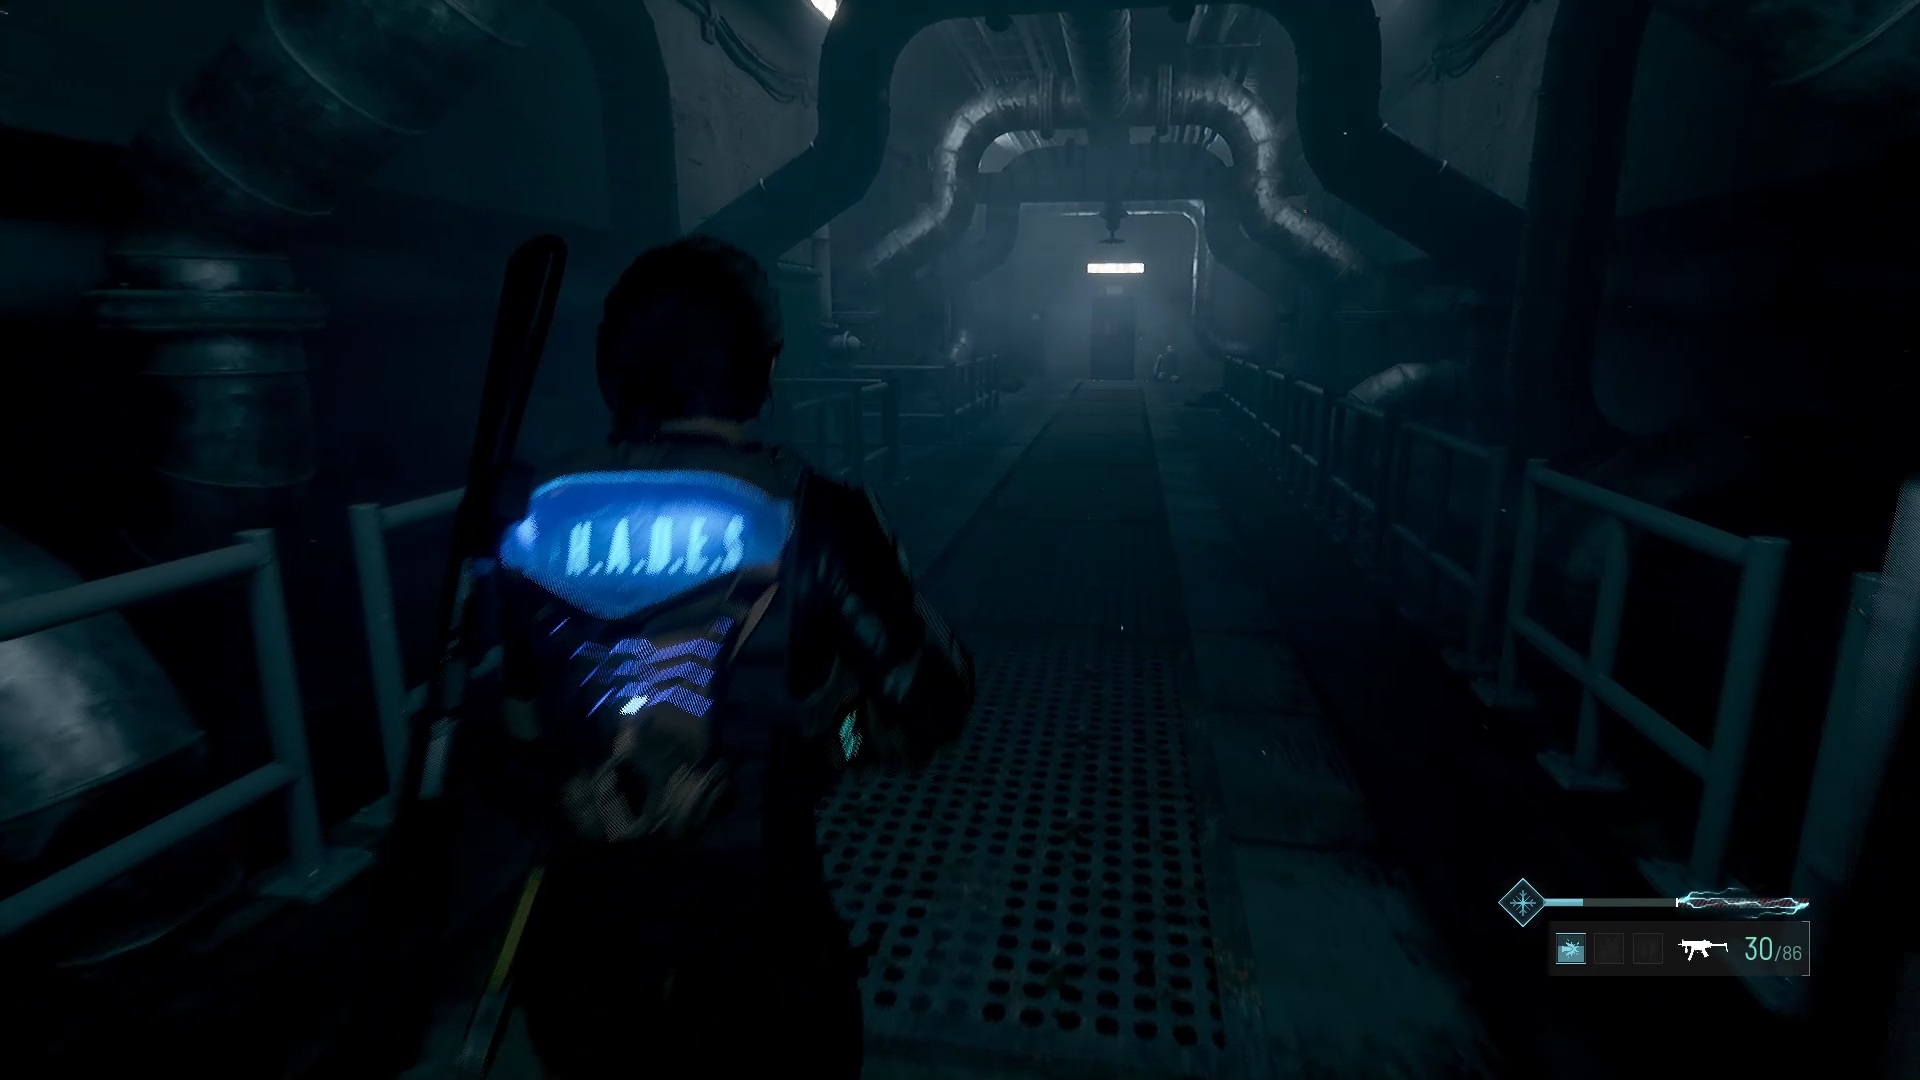
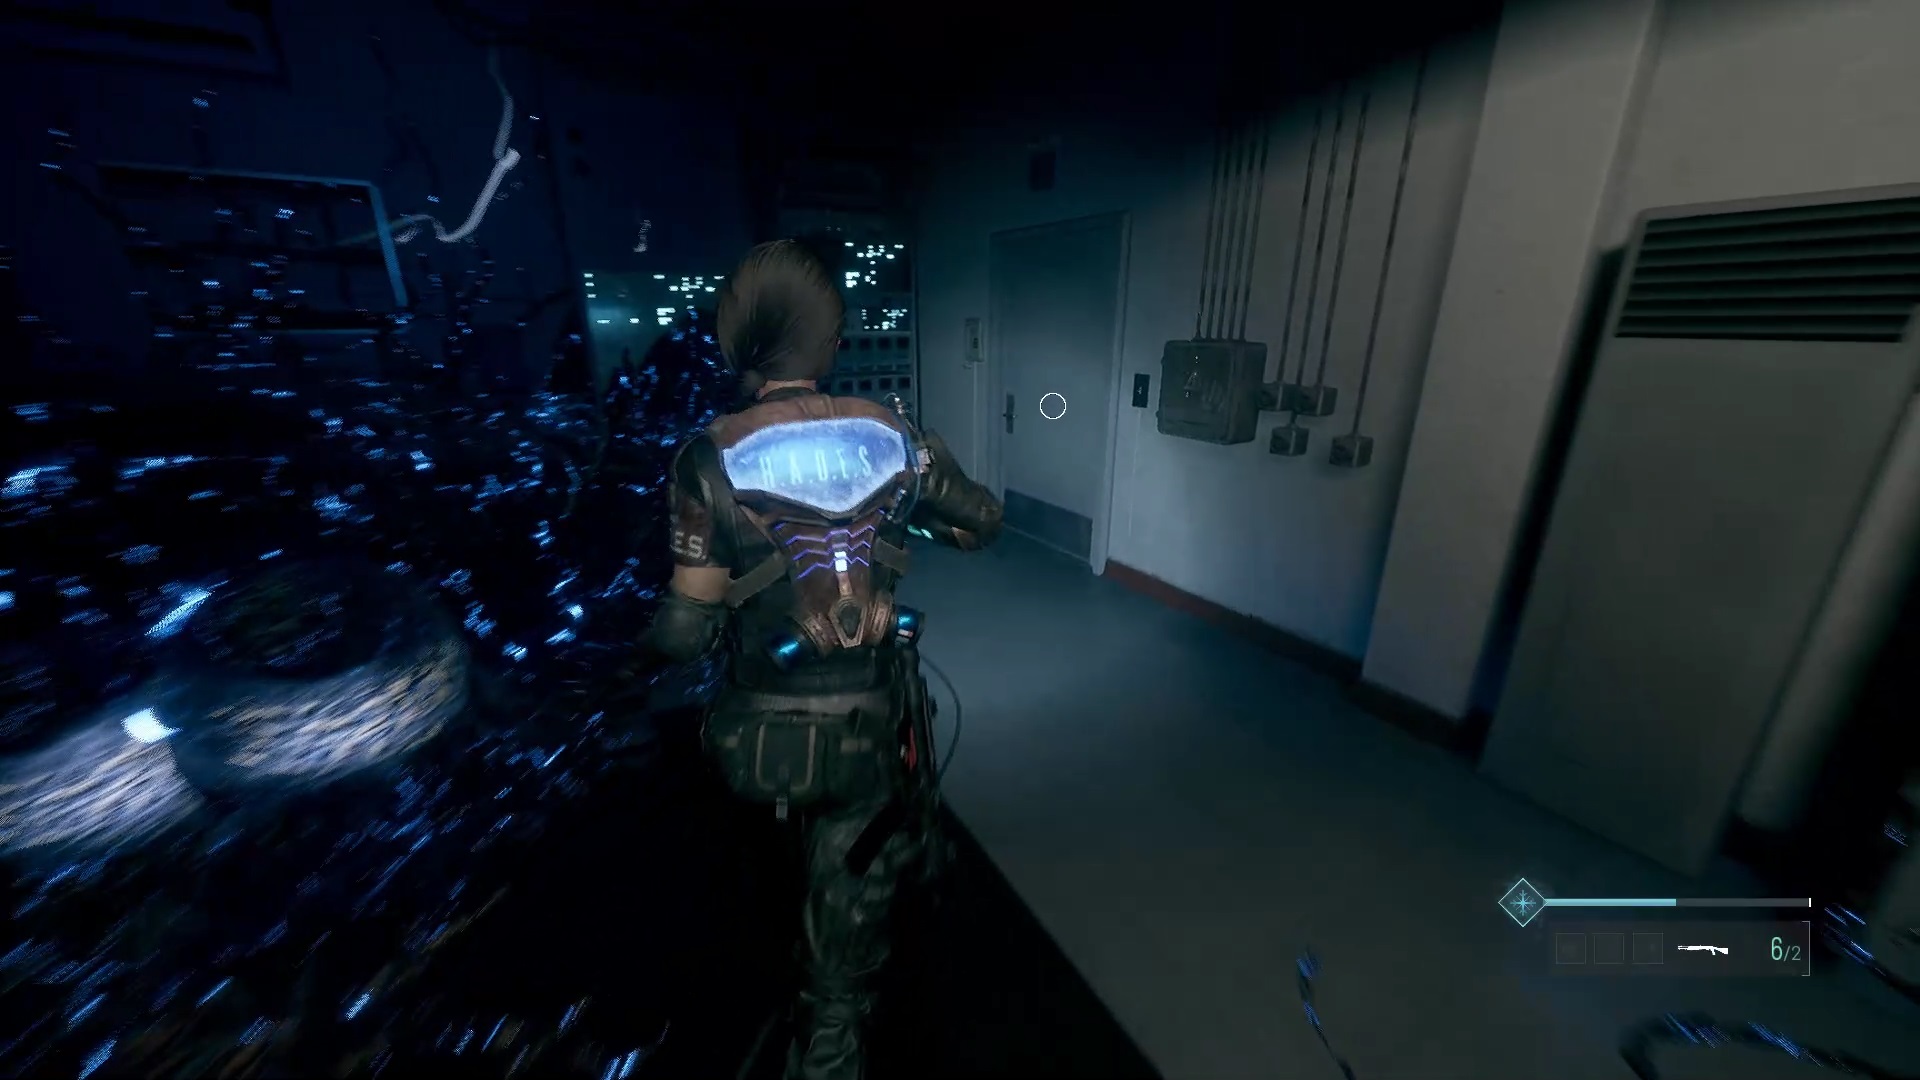
Retrace your steps through the combat room and the plane to reach the elevator again. Eliminate enemies along the way and drop down to level B2. The elevator suddenly stops. Upon arrival, other enemies await you. Then head down the Electric Corridor and through the red door to find a machine to upgrade the Frost Grip. Then go straight ahead into the server room.

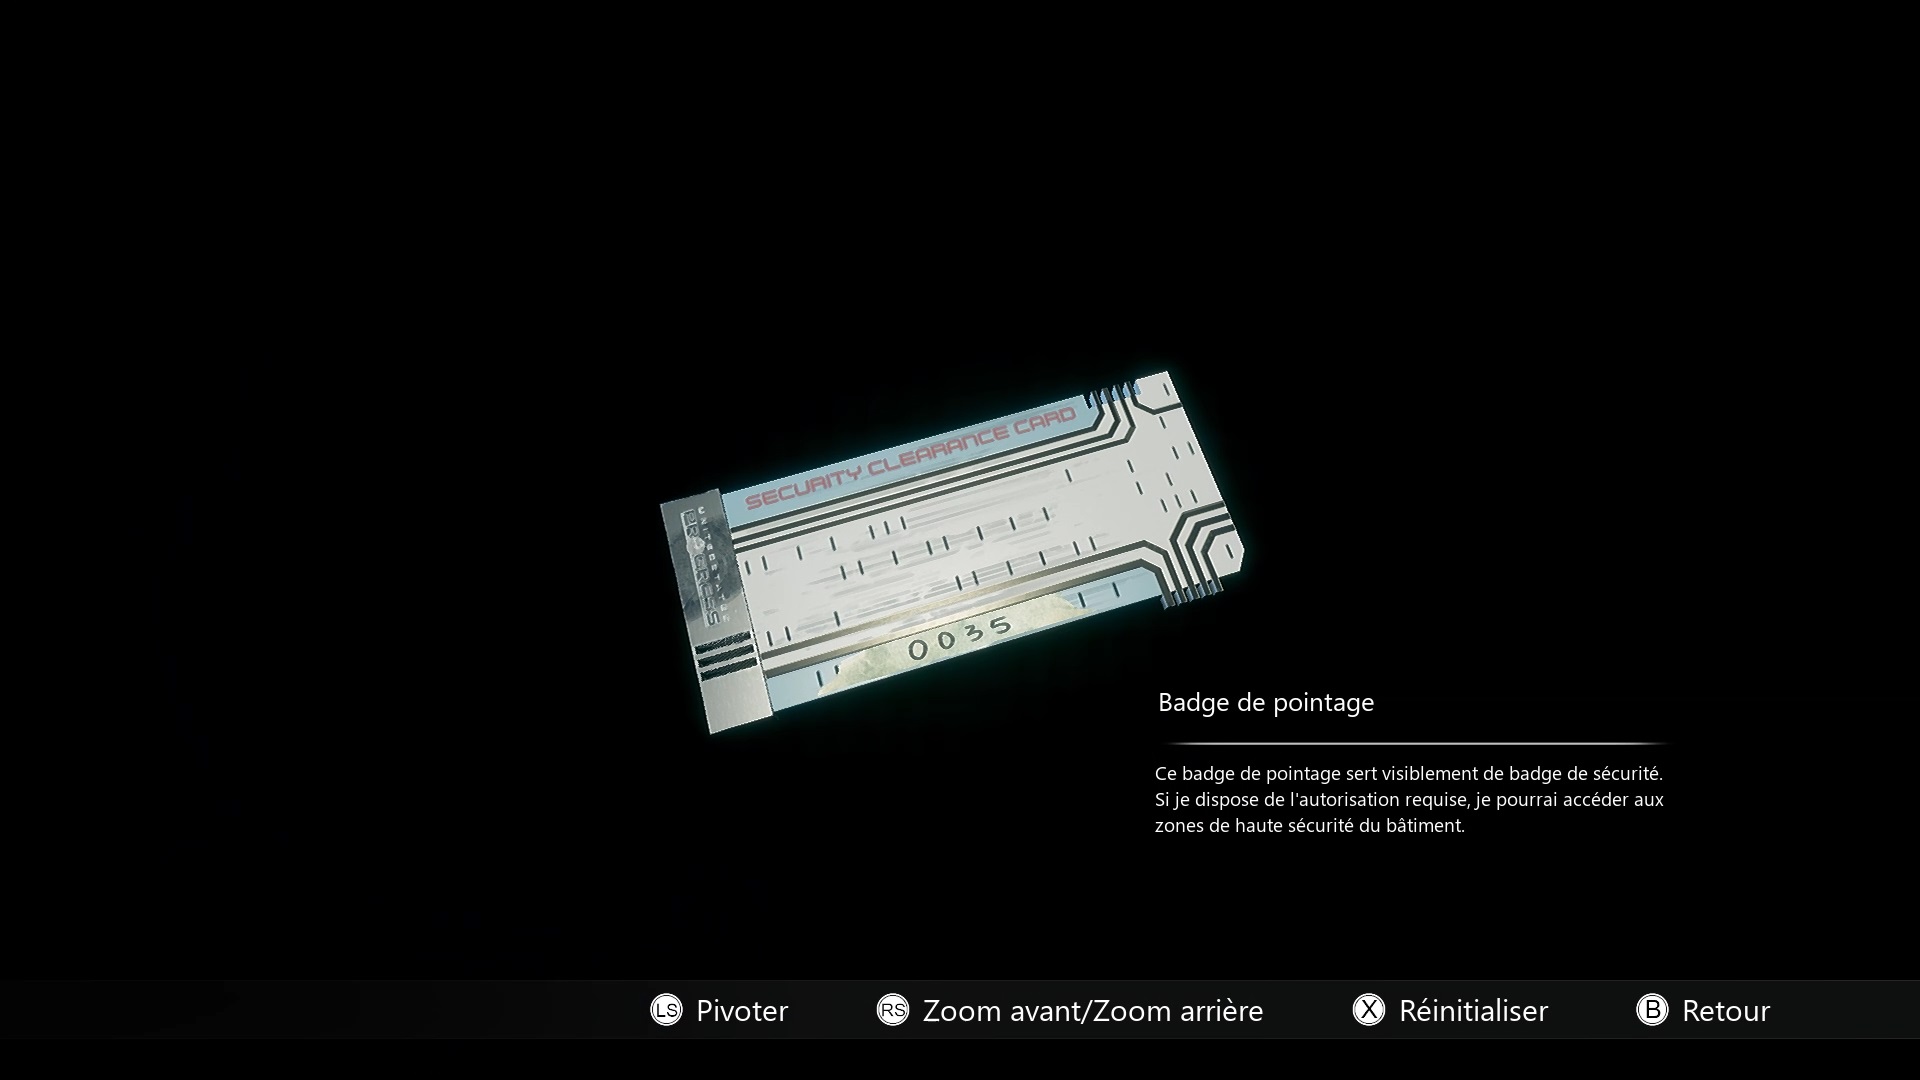
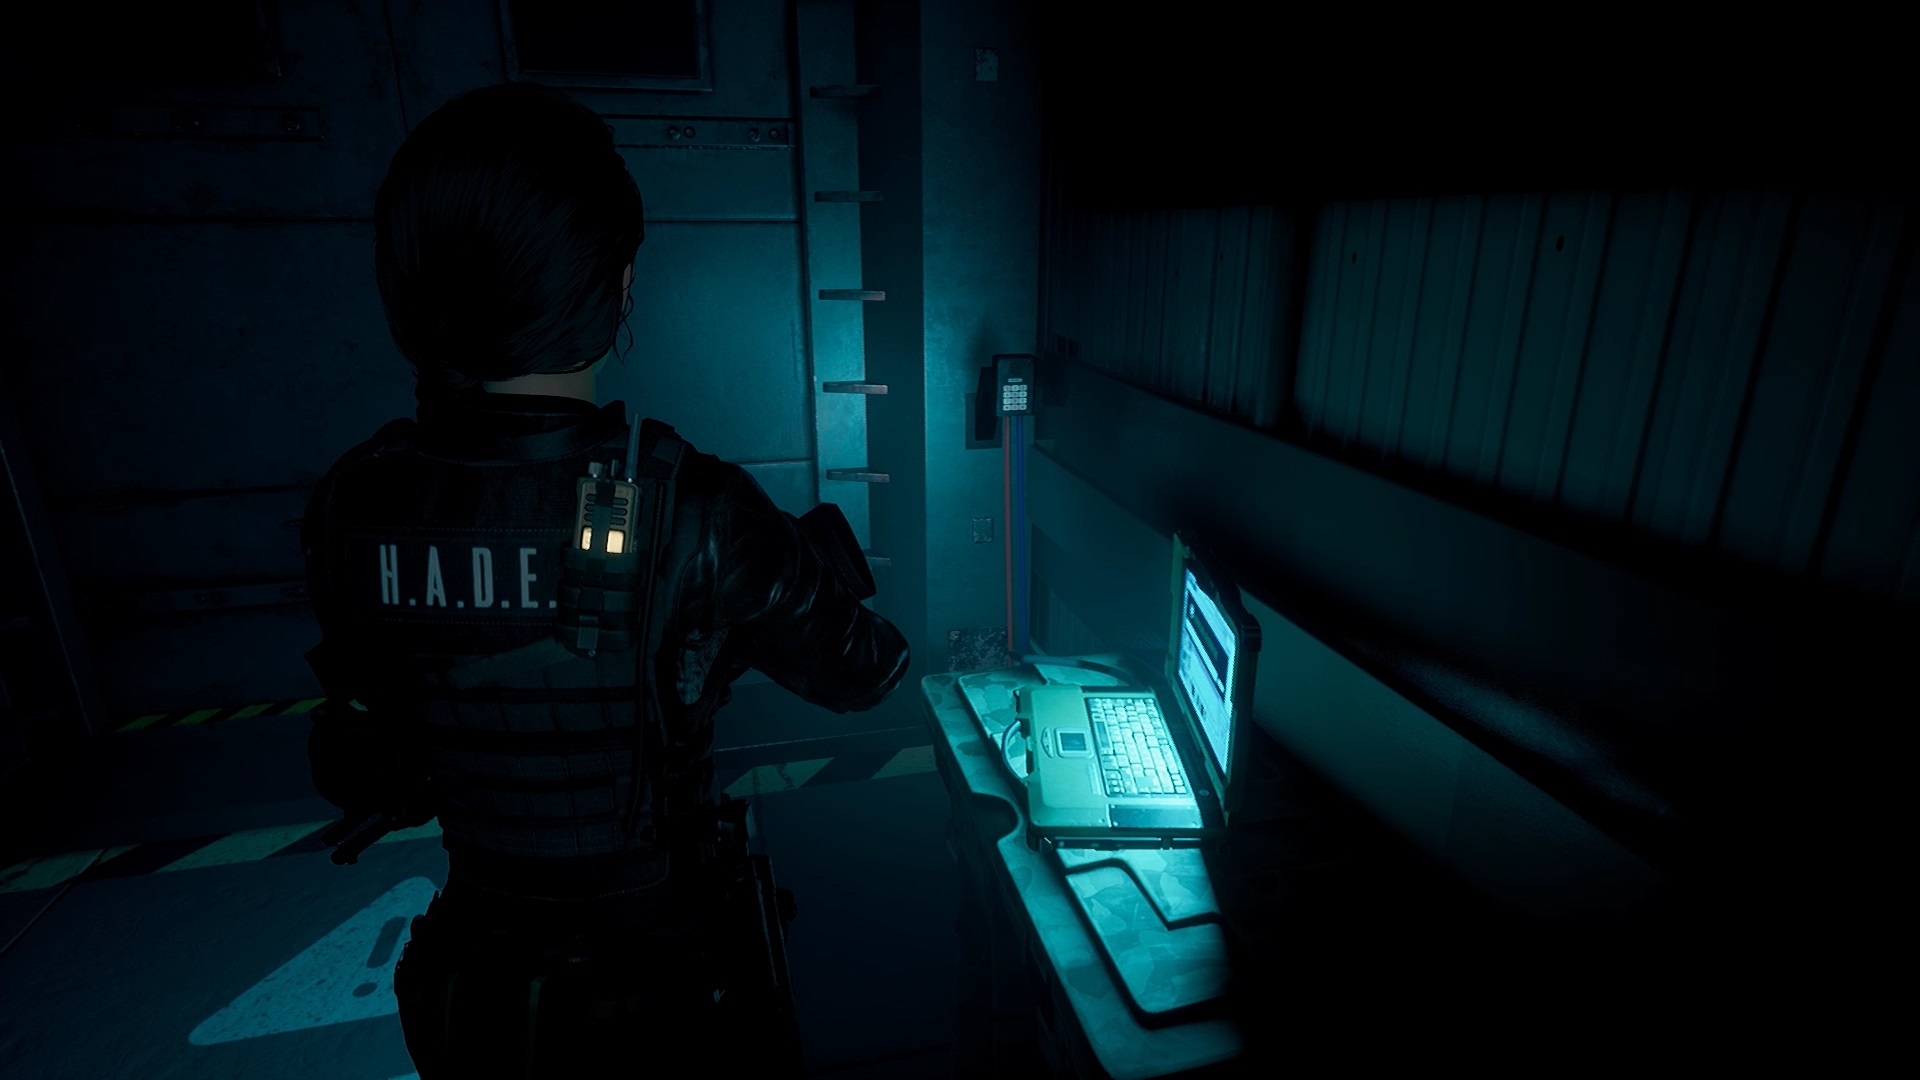
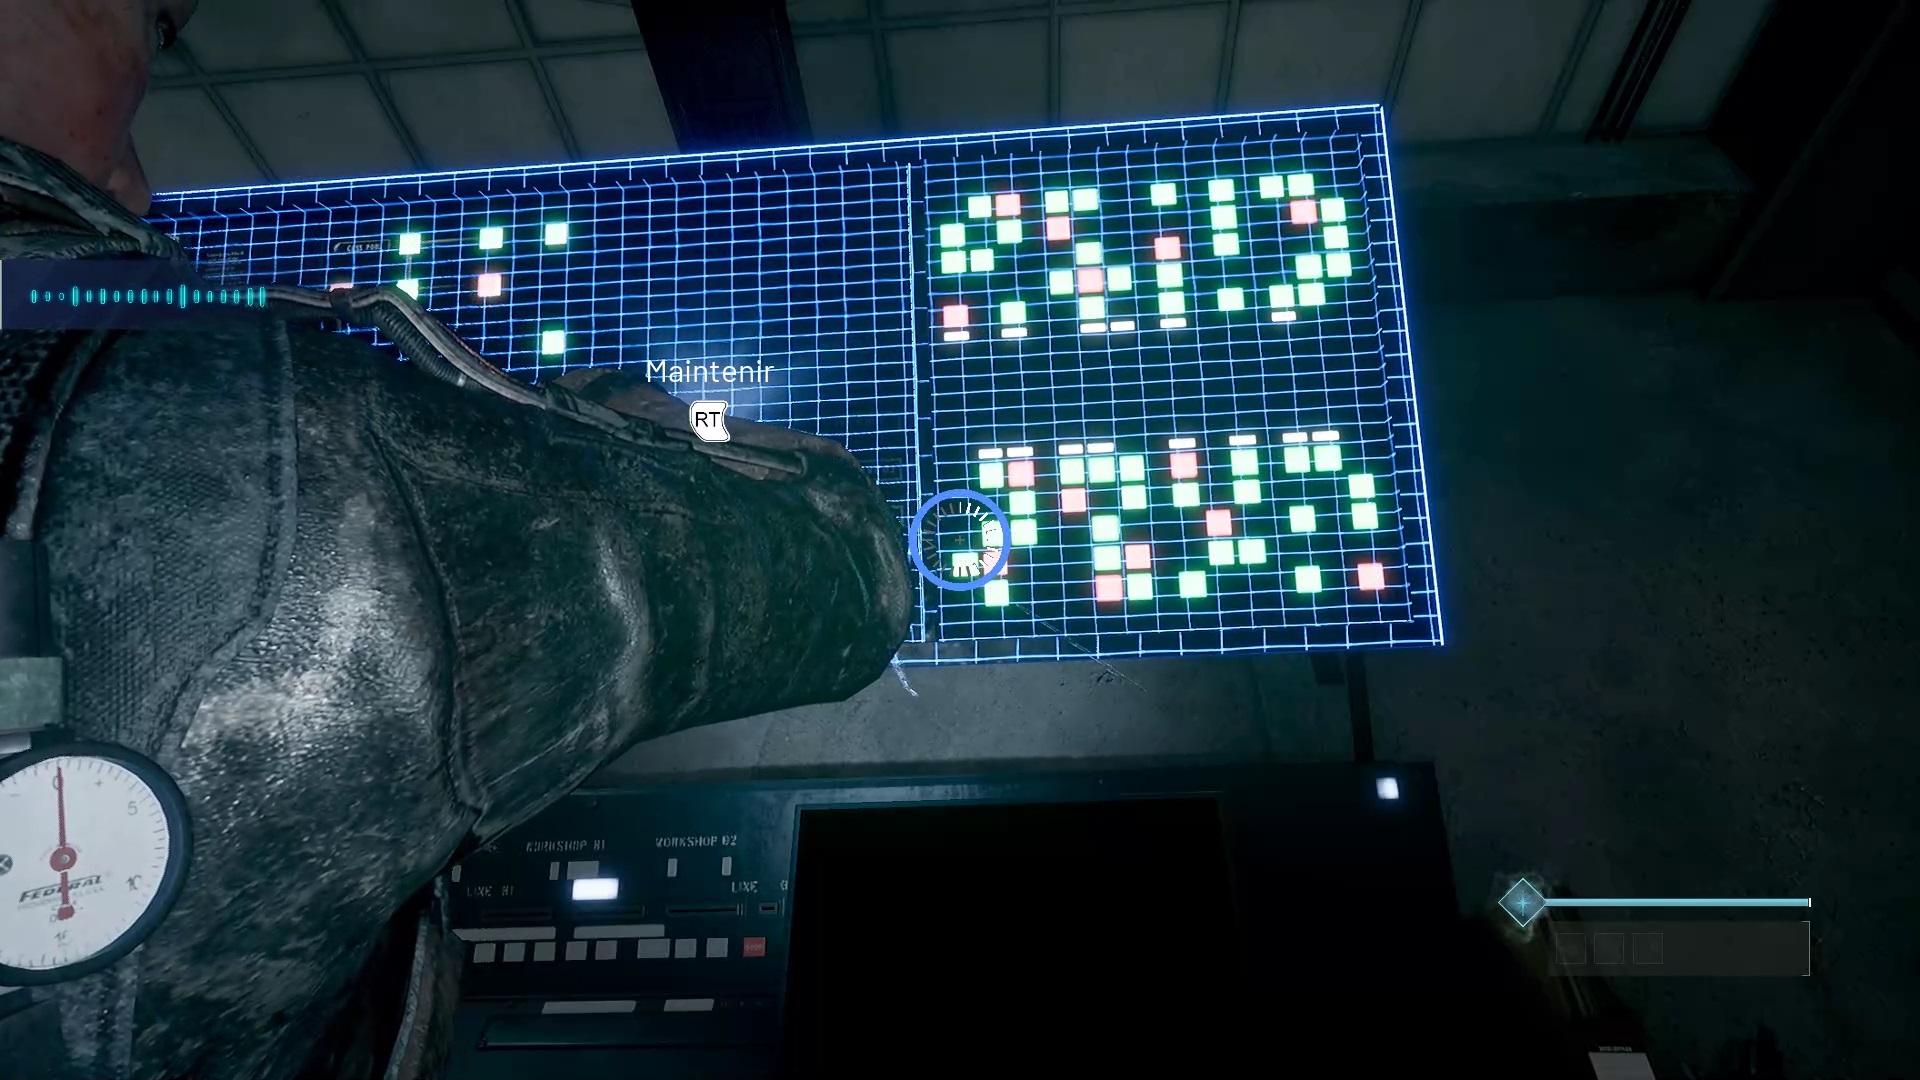
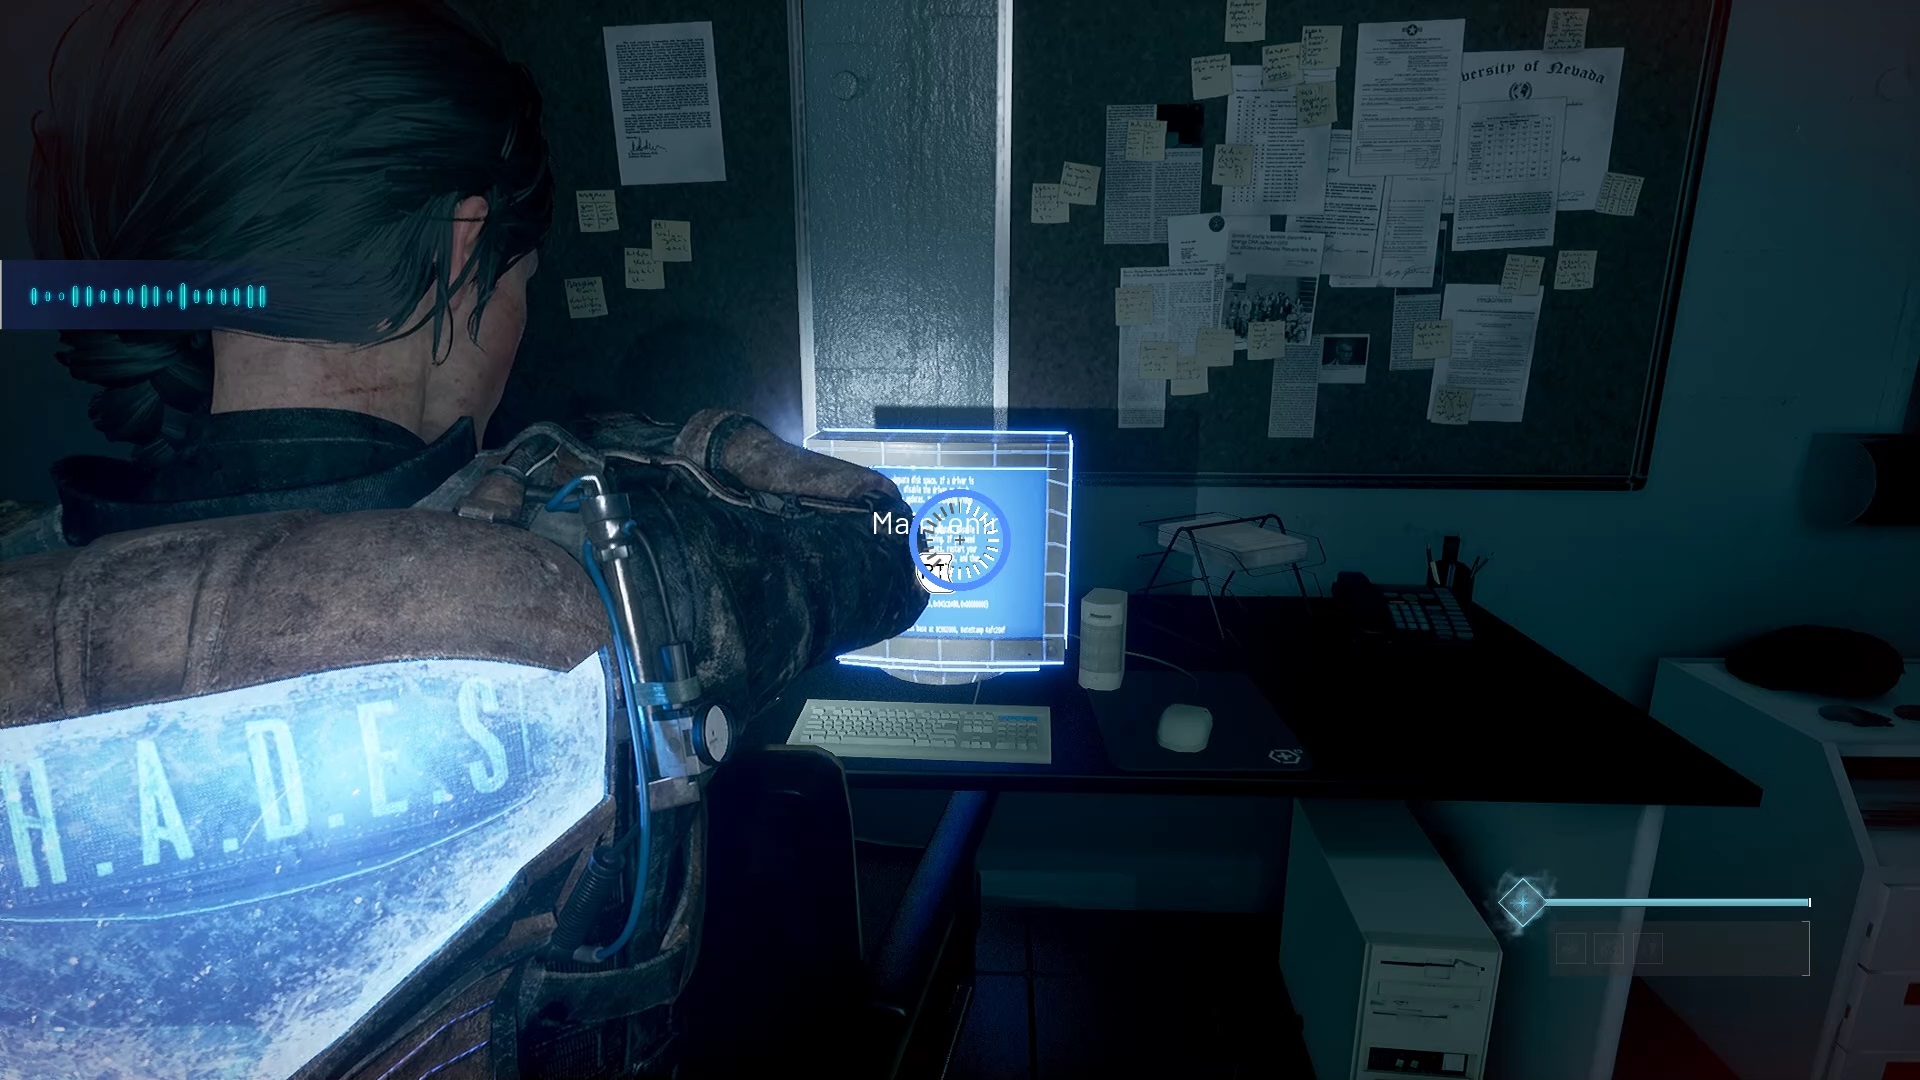
Enemies spawn, after settling their account follow the red light to find a save room. Continue and go from office to office with the flashlight to join the machine again to improve the badge. Insert the badge inside to get the maximum level. To get the password, simply examine the badge in your inventory. In our game, the code was 0035.
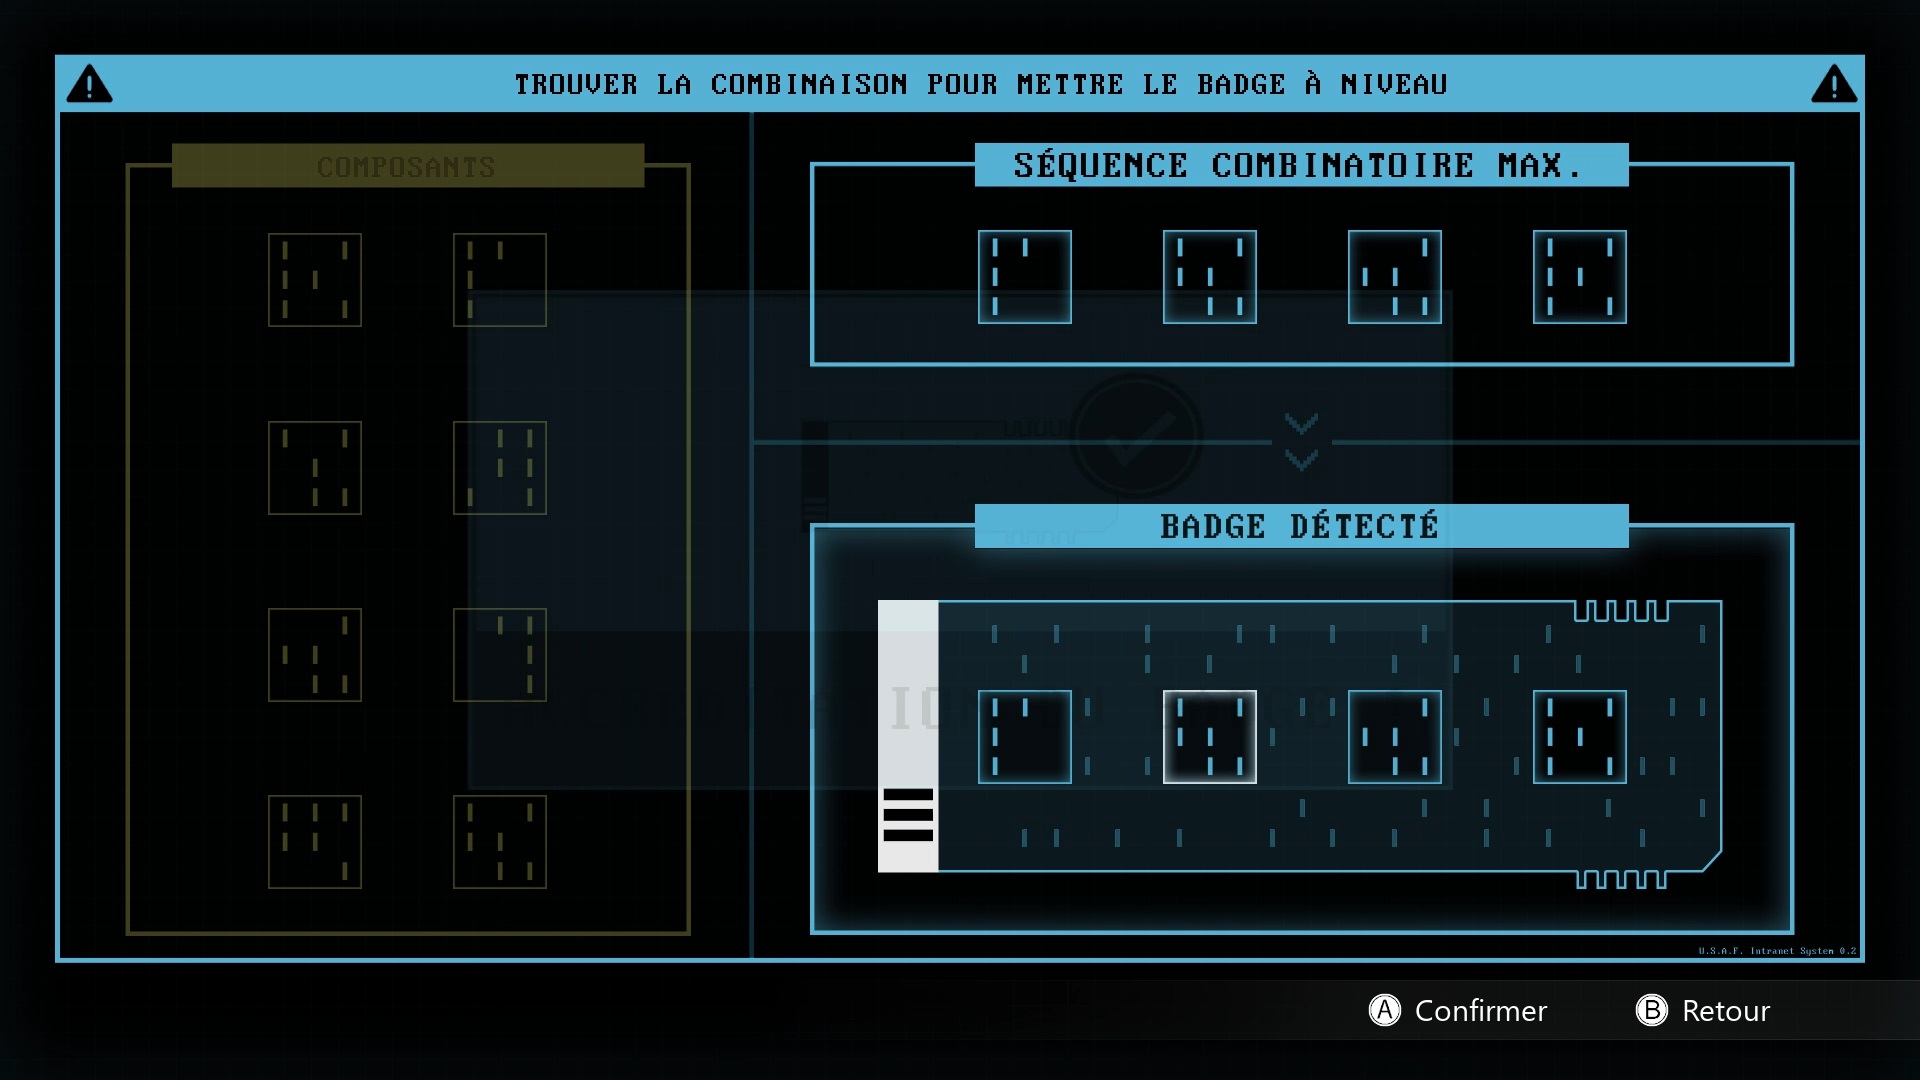
A puzzle is triggered. You must reproduce the same symbols above on the diagram below. Then climb up the ladder to the right of the machine. Eliminate the threats above and retrace your steps through the door located in the recess near the basin. Arrive in the United States Progress hall, use the badge against the exit gate to unlock it.
Take the elevator and eliminate the monster above. Take advantage of the room to upgrade the Frost Grip and scan one of the monitors. Then use the badge against the green door to pass. Go forward and go through the red door in the large hallway after the combat room. After the cutscene, go up the stairs to reach the elevator again and finish the level.
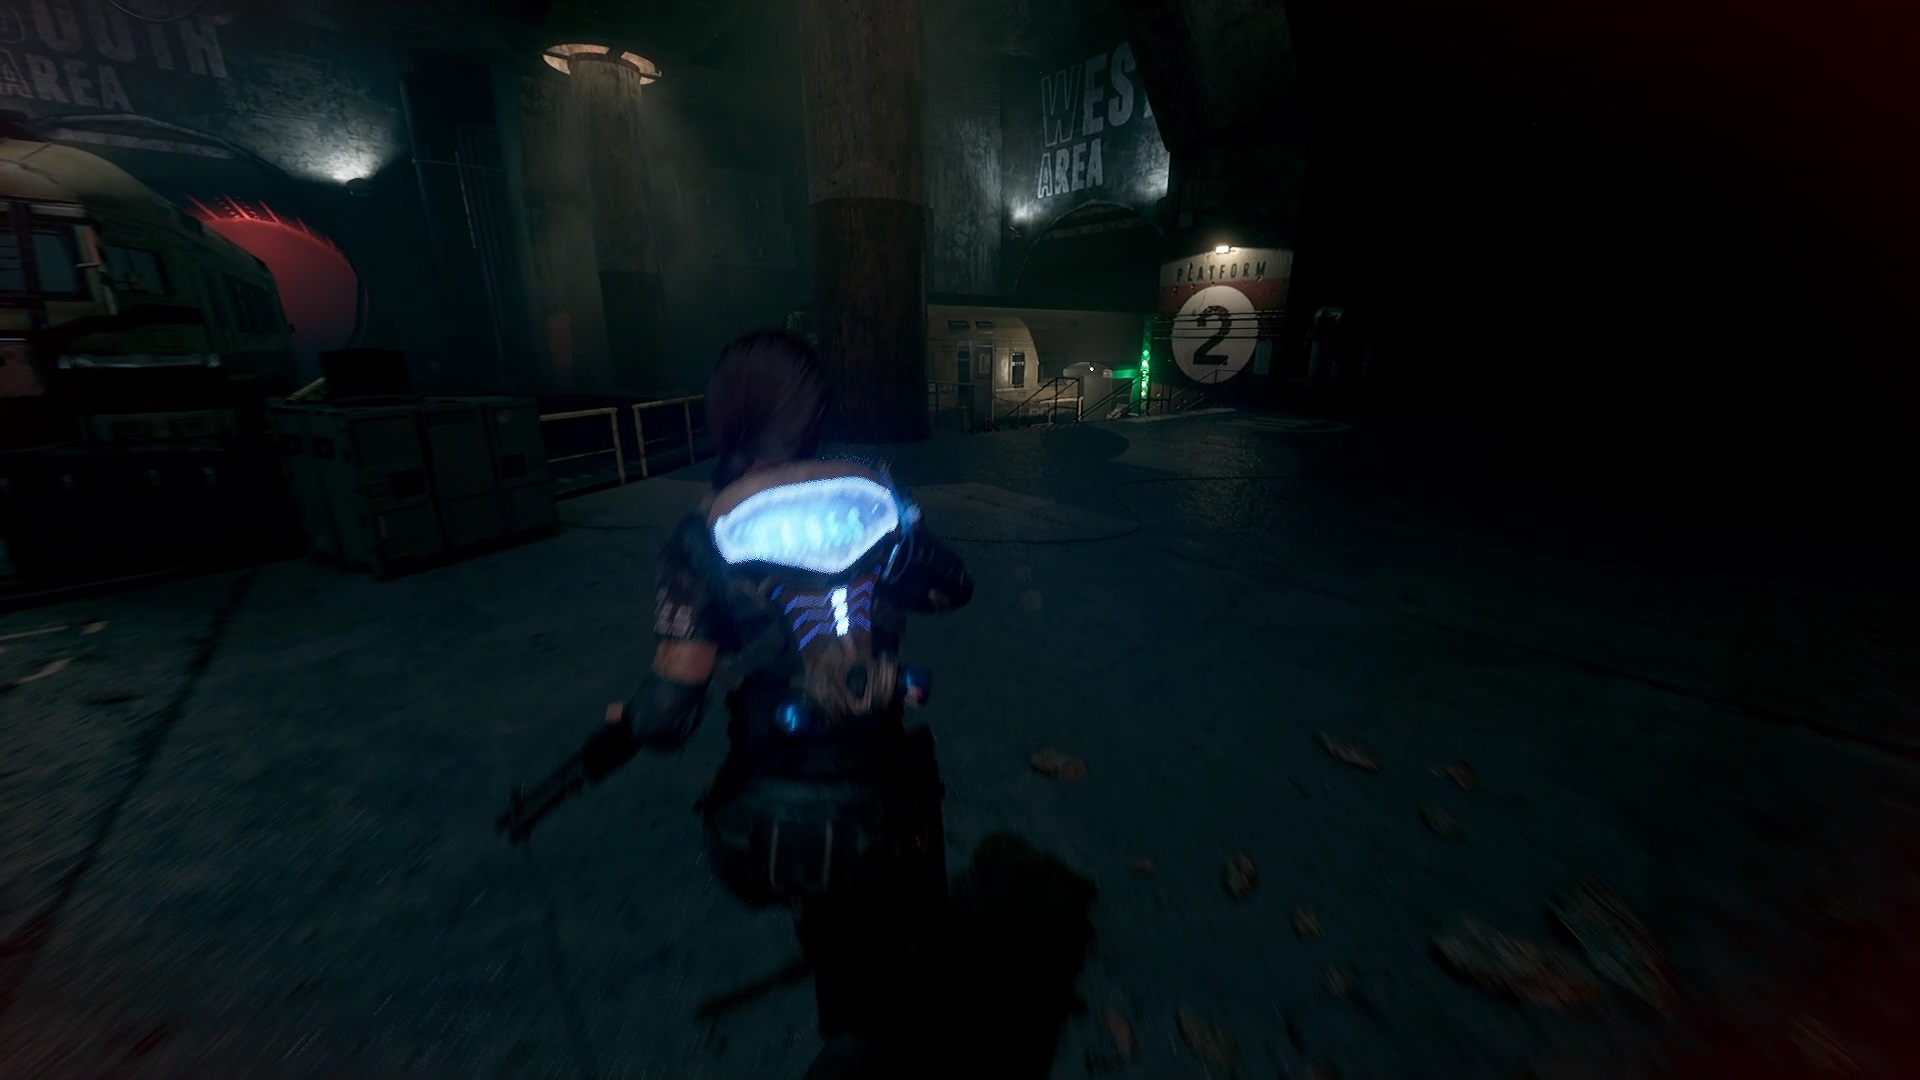
Area 51 exterior

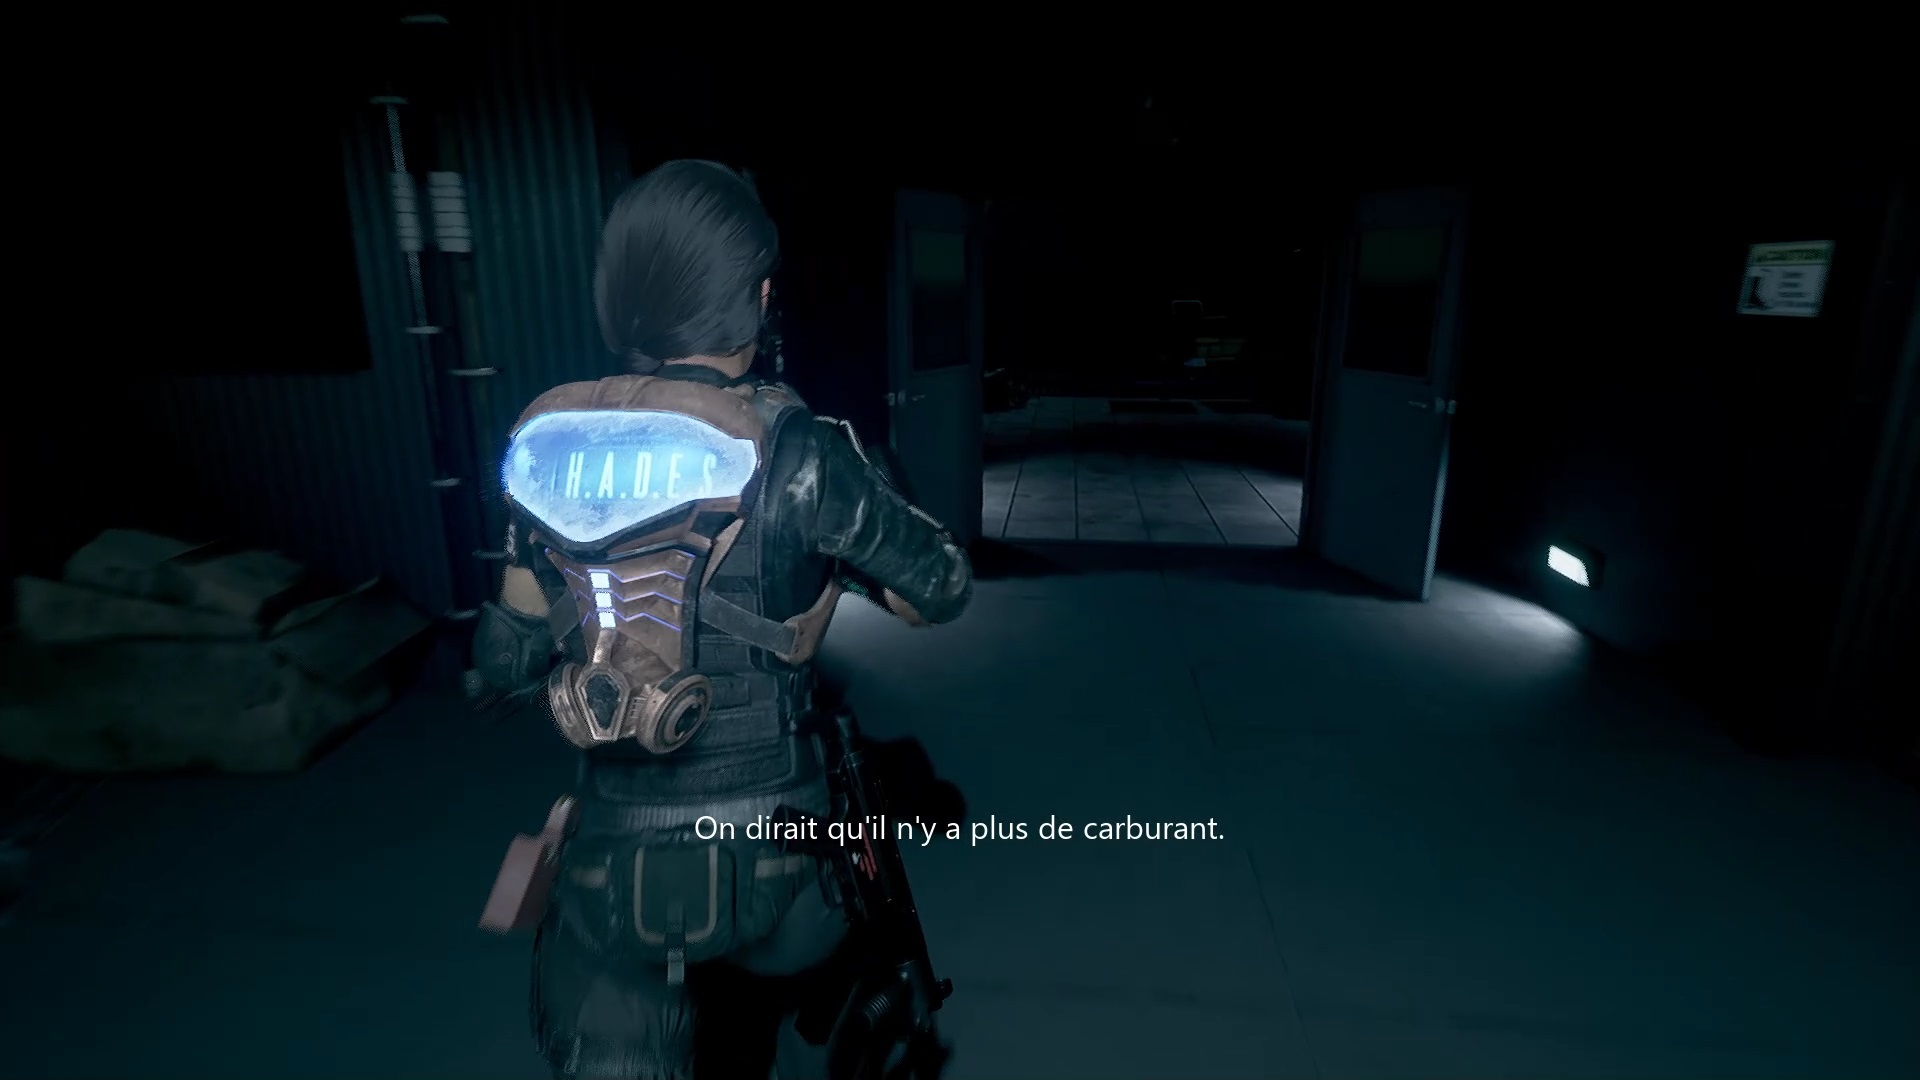
In the level, start by climbing the stairs to reach a footbridge. Go down the stairs to reach a vacant lot. Continue towards the “Power Facility”. Then follow the lights to reach a shed. Fuel is missing to operate the elevator. Go into the next room still inside. Take care of the monsters and climb the stairs against the wall.

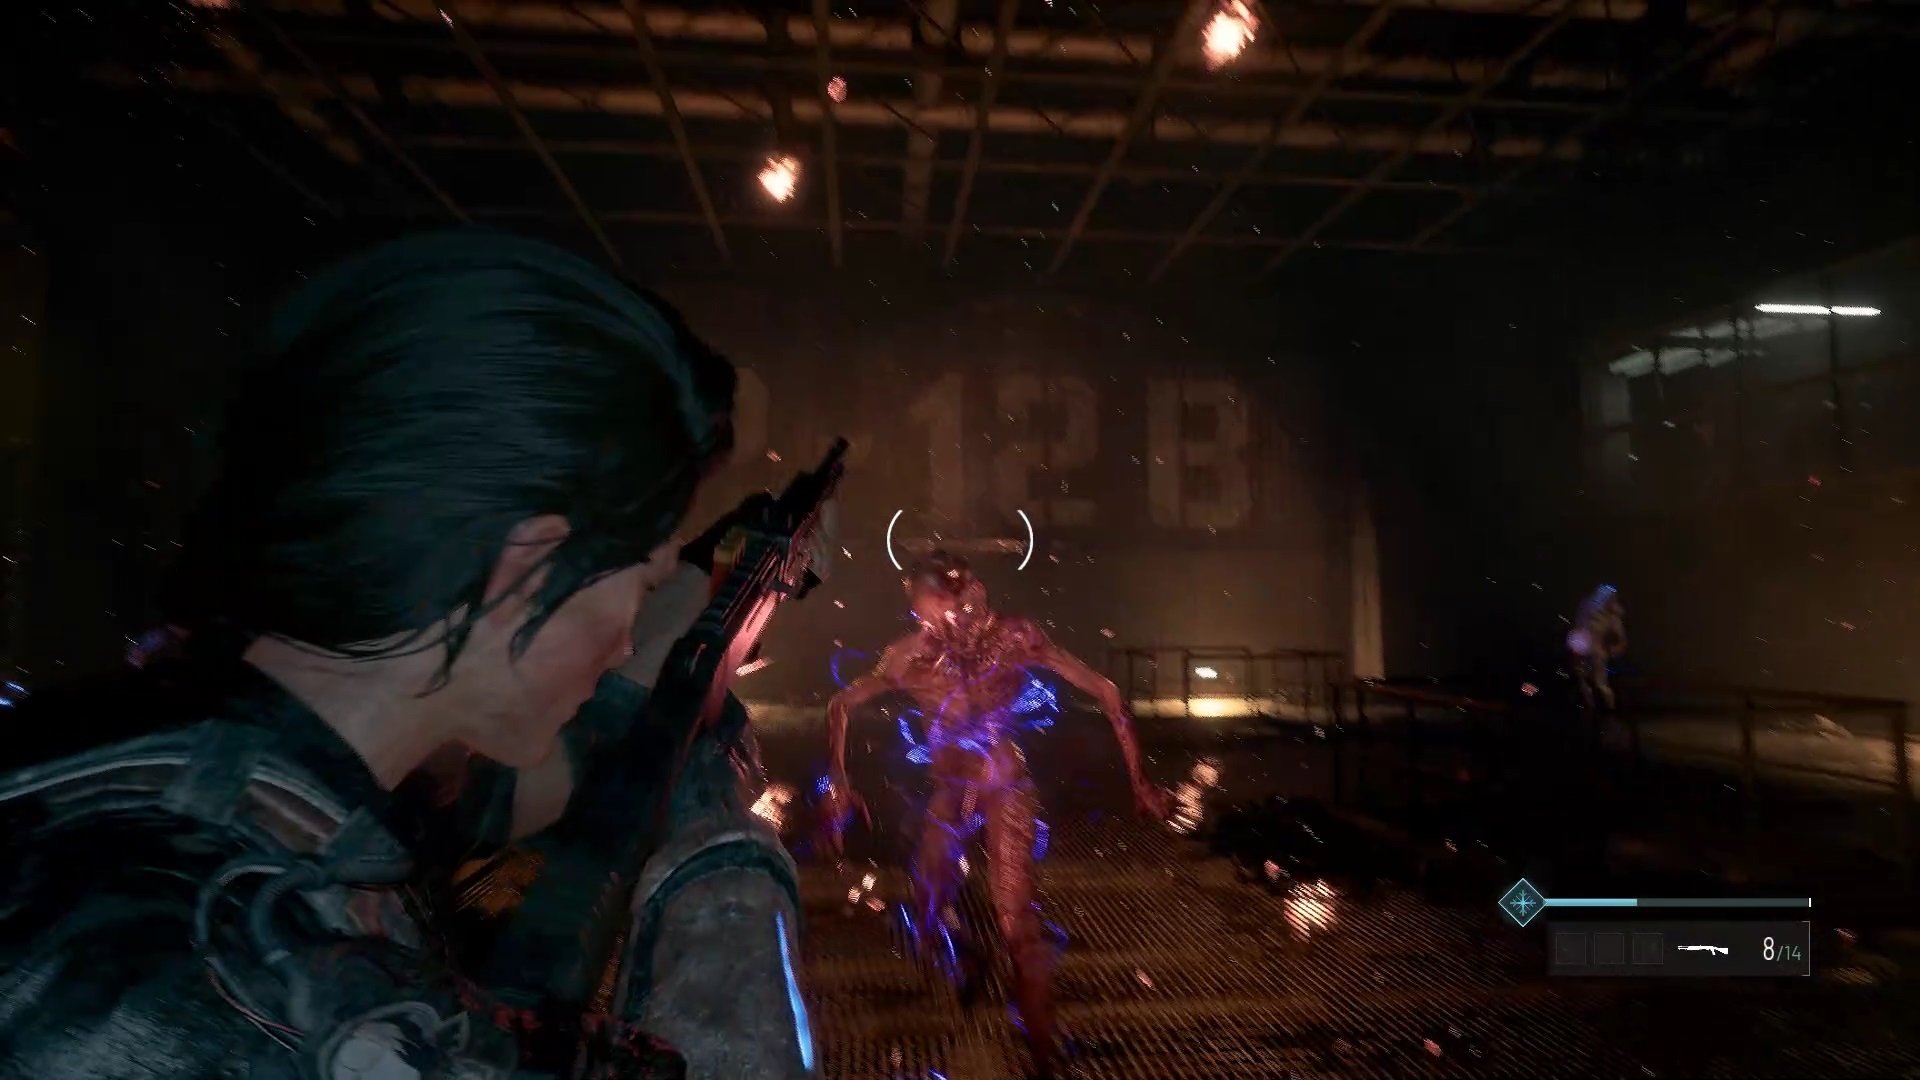
Interact with the console in the room to start a puzzle. The objective is simply to match the symbols with its respective pair shown on the left. Then return to the vacant lot to reach the gas station. A new enemy awaits you on the other side. Be careful, this one teleports, slow down its movements thanks to the ice and shoot it to eliminate it.
Then go inside the station to recover on a barrel, a jerrycan. Retrace your steps to the « Power Facility » to be confronted by a group of monsters. Take care of the humanoids first, then take care of the flying monster. Keep your distance and use the shotgun to finish them off quickly. Then power up the station next to the elevator and then climb inside.

Below, sink into the tunnels while eliminating the monsters hidden in the dark. Follow the lights to find an upgrade station. Then get out of the room to find a path to the right. You will find at the bottom an elevator and also some monsters.

Above, you come to a shed. Go around the room to go outside again. A fight breaks out. You know the formula, we take care of the little guys running and then the bigger one. Then go forward to climb a staircase. A cutscene starts. Go down the ladder to finish the level.
Underground levels
Below, a propeller keeps you from descending further down the walkway. Go to the end of the bridge of the footbridge to find a switch and quickly run towards the scale to be able to use it. Do the same for the following ladders to reach the exit at the bottom.


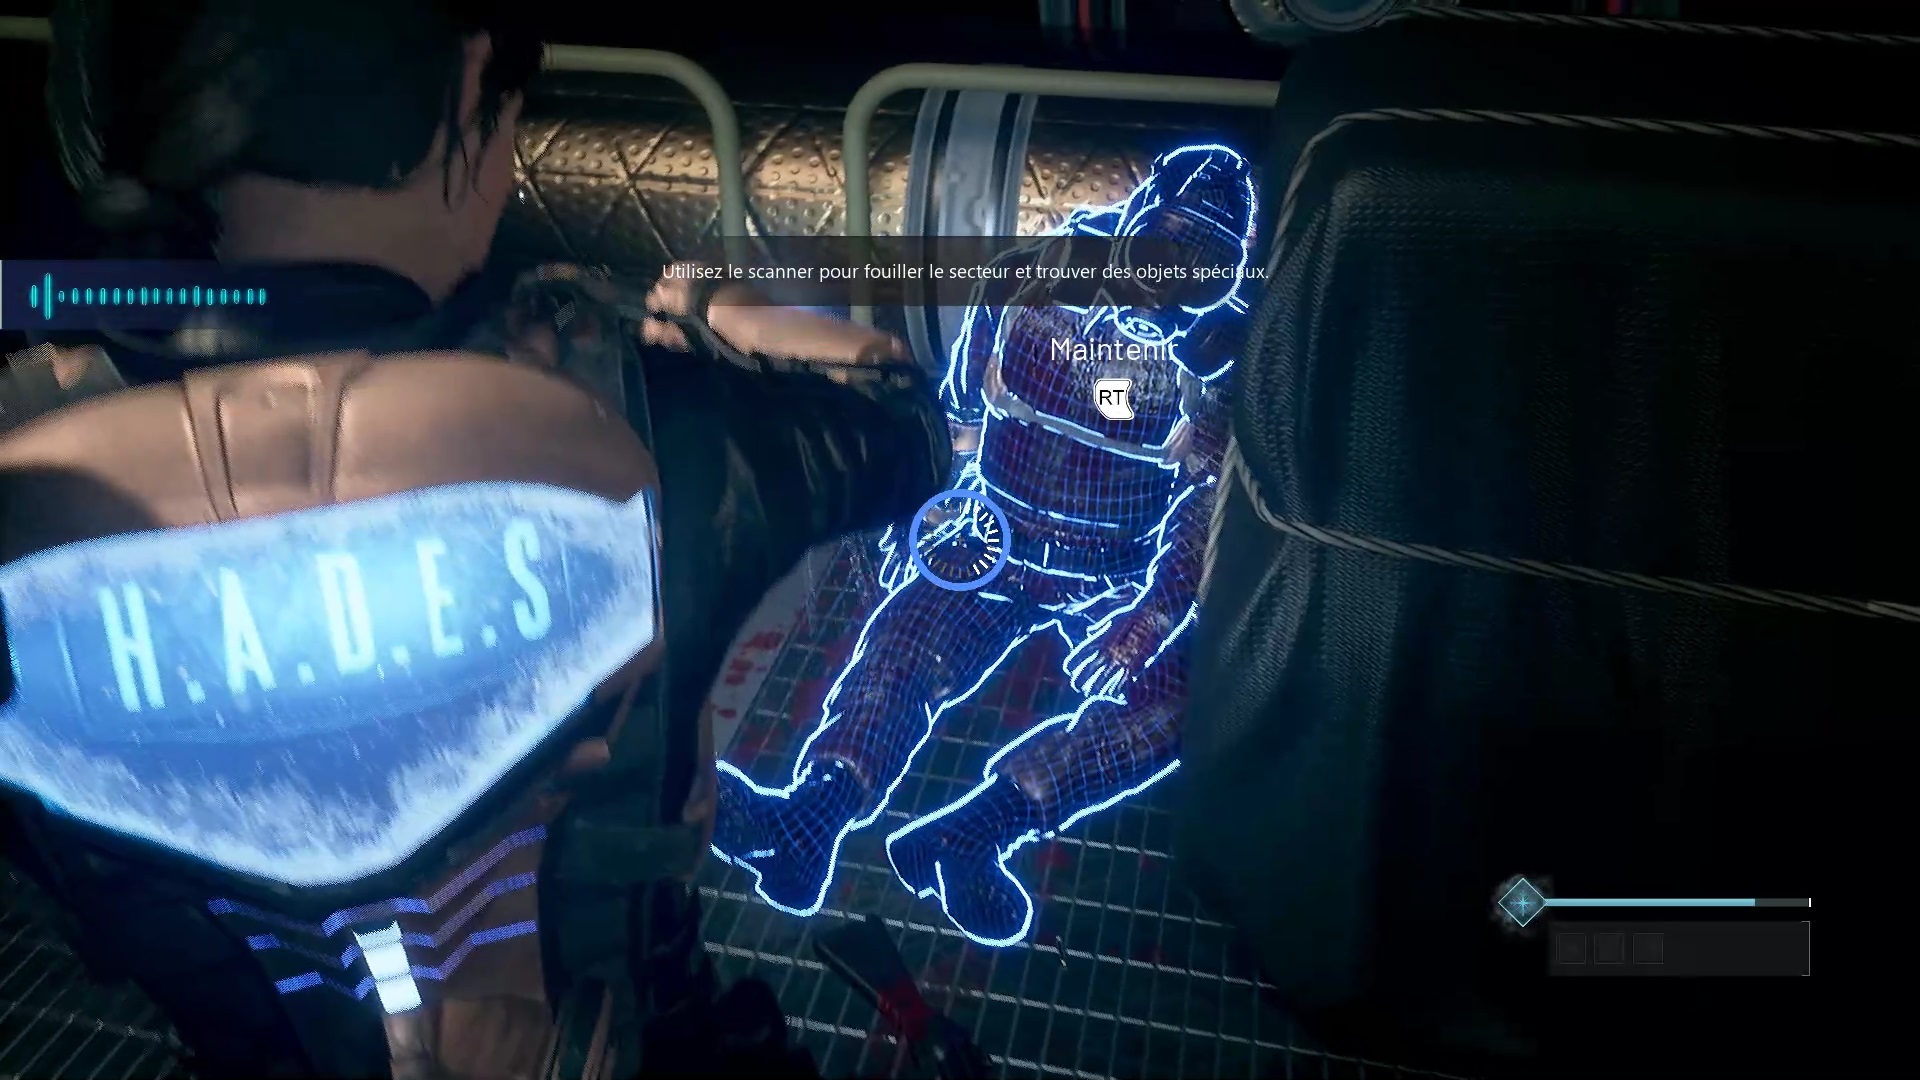
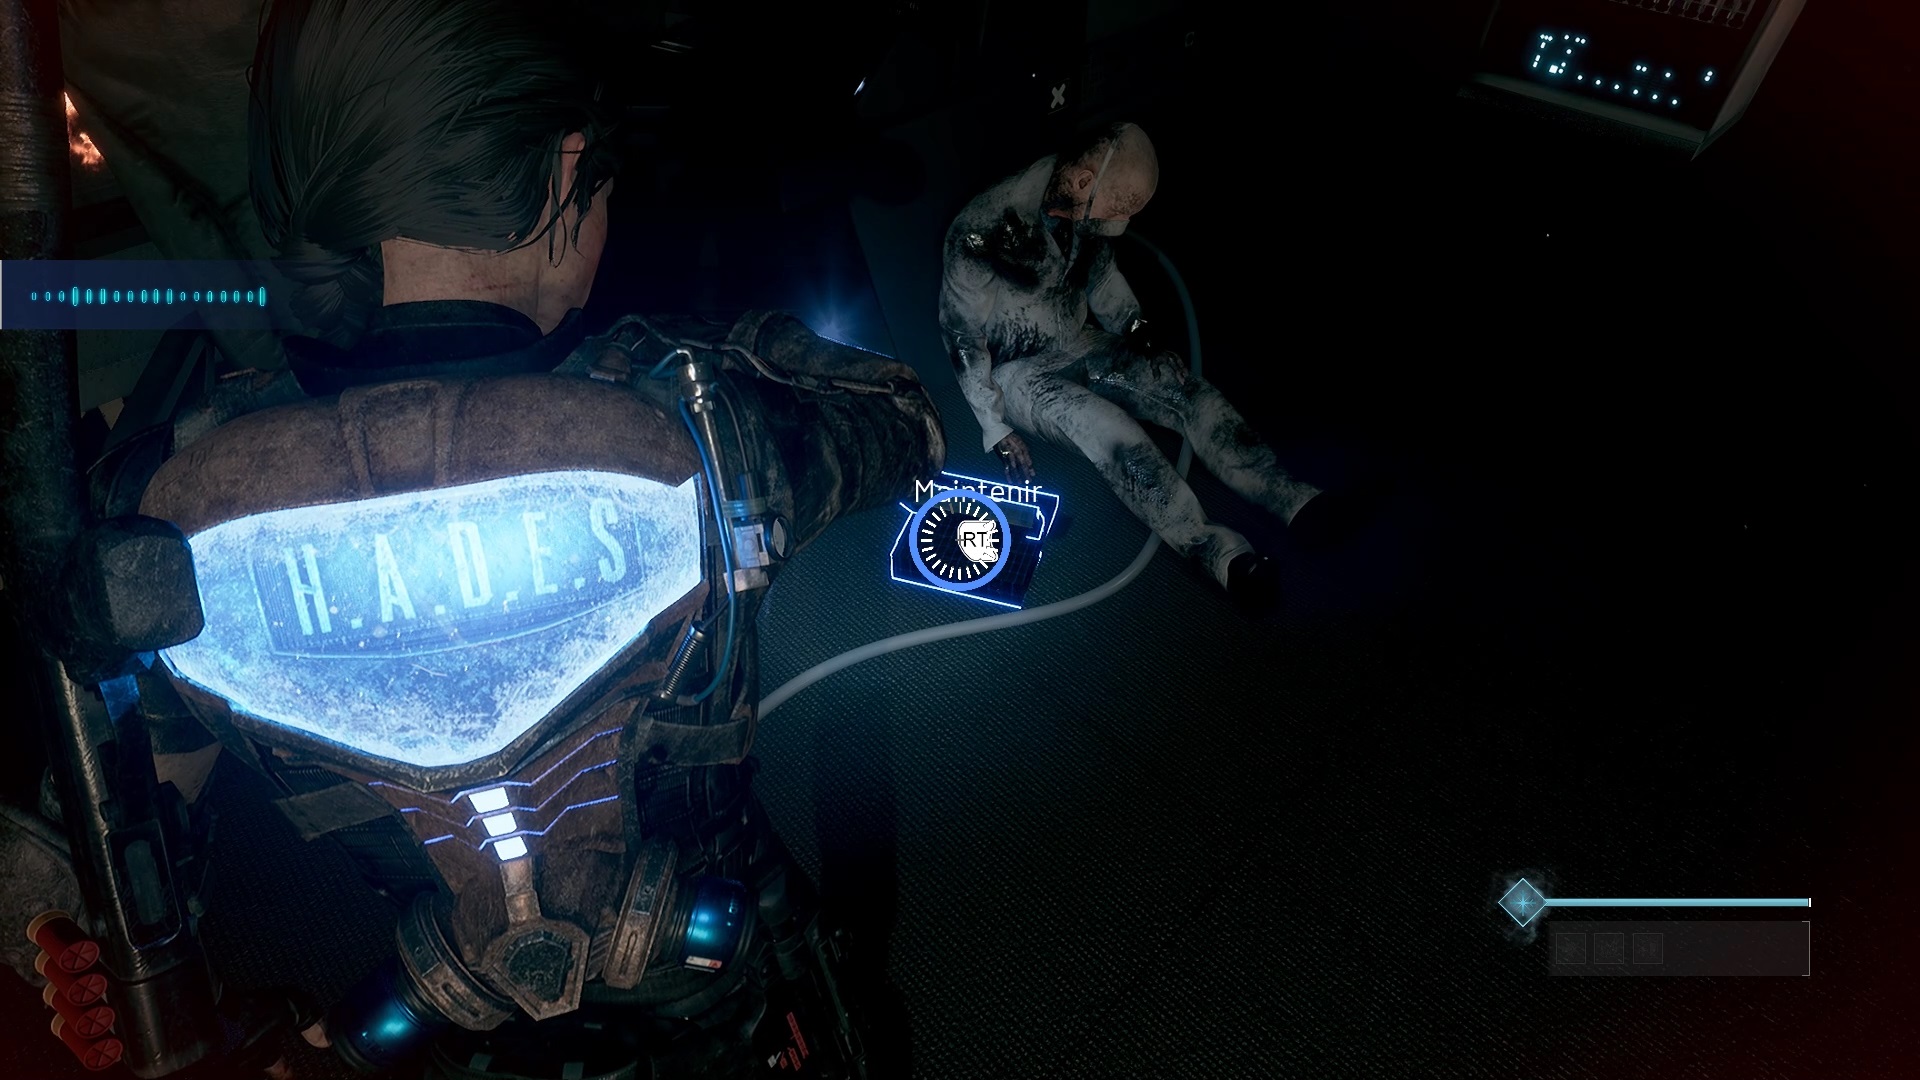
After the cutscene, head down the hall to trigger a fight. You can shoot down the monsters or rush to the elevator at the end of the path. You will find a body to scan in the showers near the save room if you are interested in the bonus documents.

Above, go through the door to the left of the elevator to trigger a new fight. Use your shotgun to eliminate threats. You can arm yourself with your submachine gun to slow down fast enemies and freeze them to the ground if necessary to finish it off. Climb the stairs to reach a footbridge. Defeat the enemies to reach the end of the area. An upgrade station and a gas mask on a crate await you. Go down the ladder when you’re ready. Go through the corridors to finish the level.
Detention area
In the level, go down the hall to find the steps leading to the exit. Stand in the center of the cells to trigger a cutscene. After the cutscene, go through the gate to the right of the screens. Go through the corridors to reach the kitchen. Arrive in the canteen, go through the opening near the counter. Continue to reach a large door. Note its location for later.
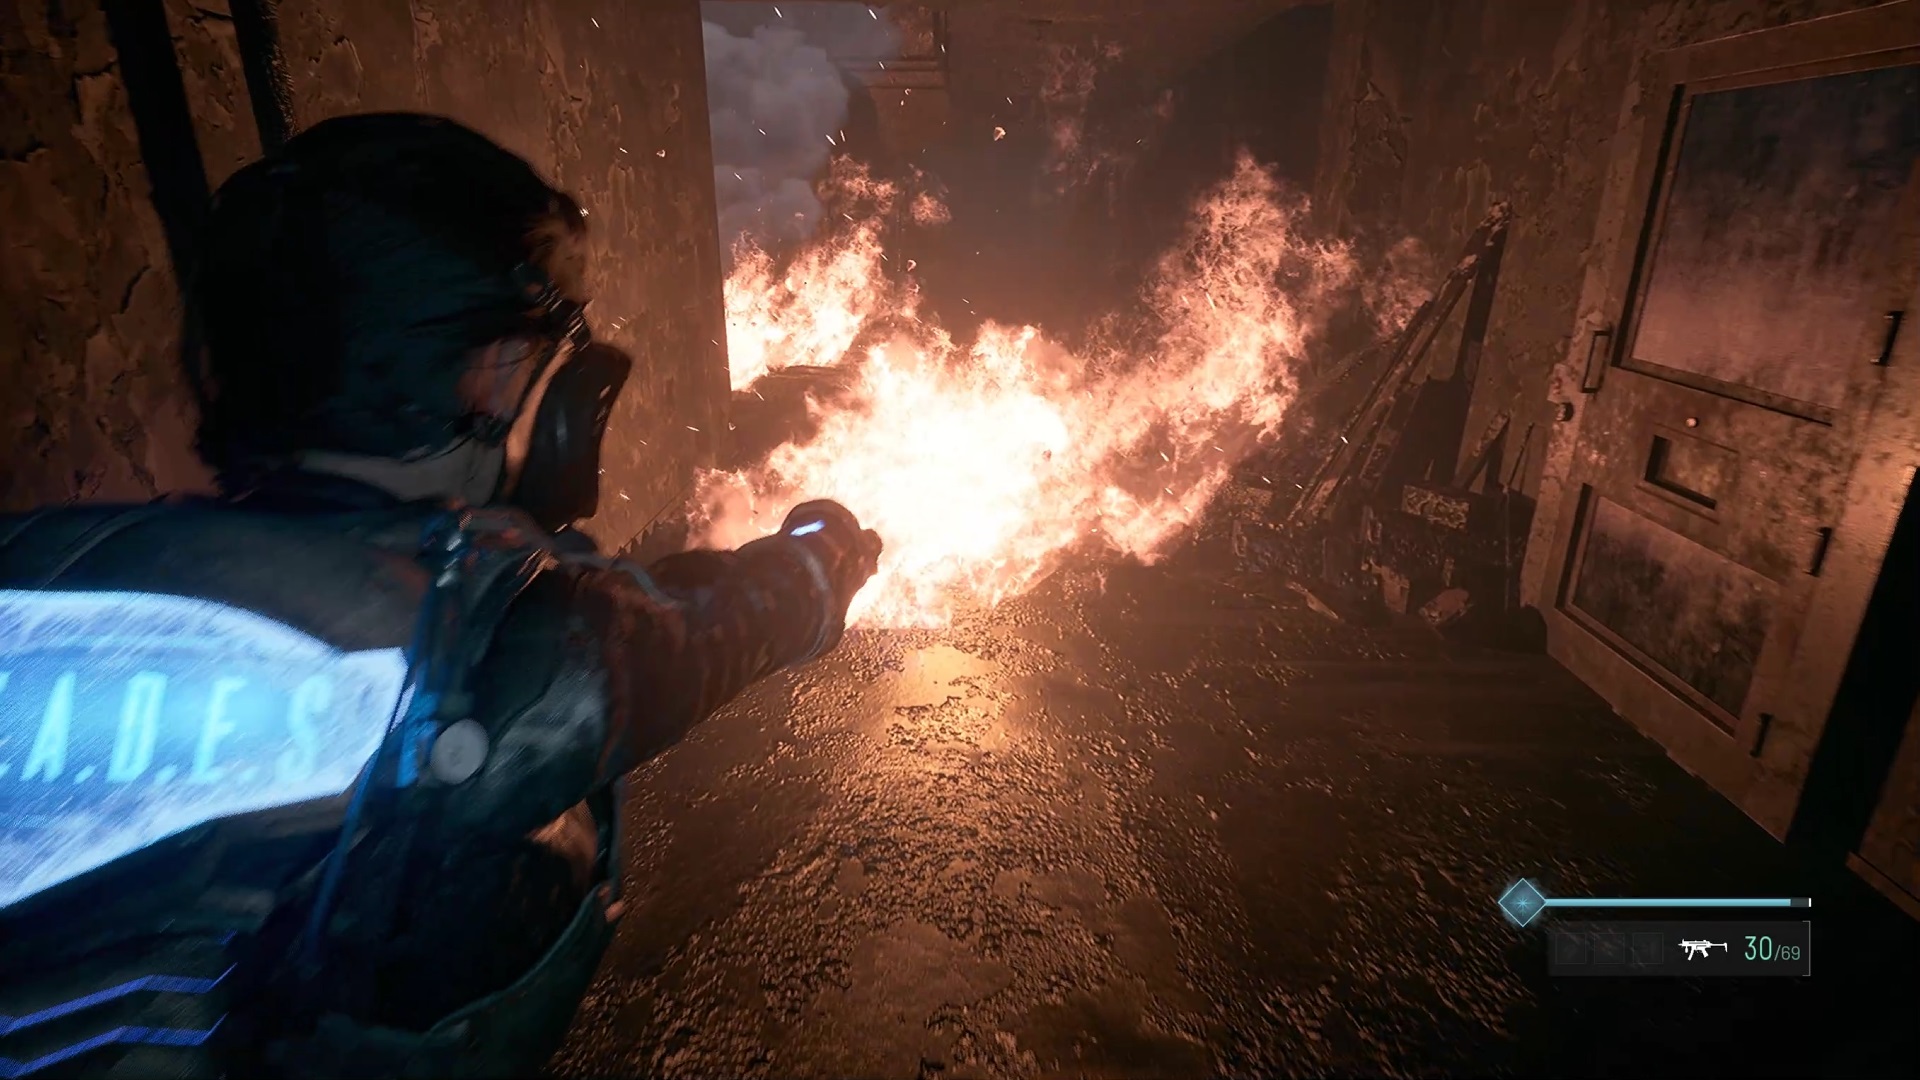
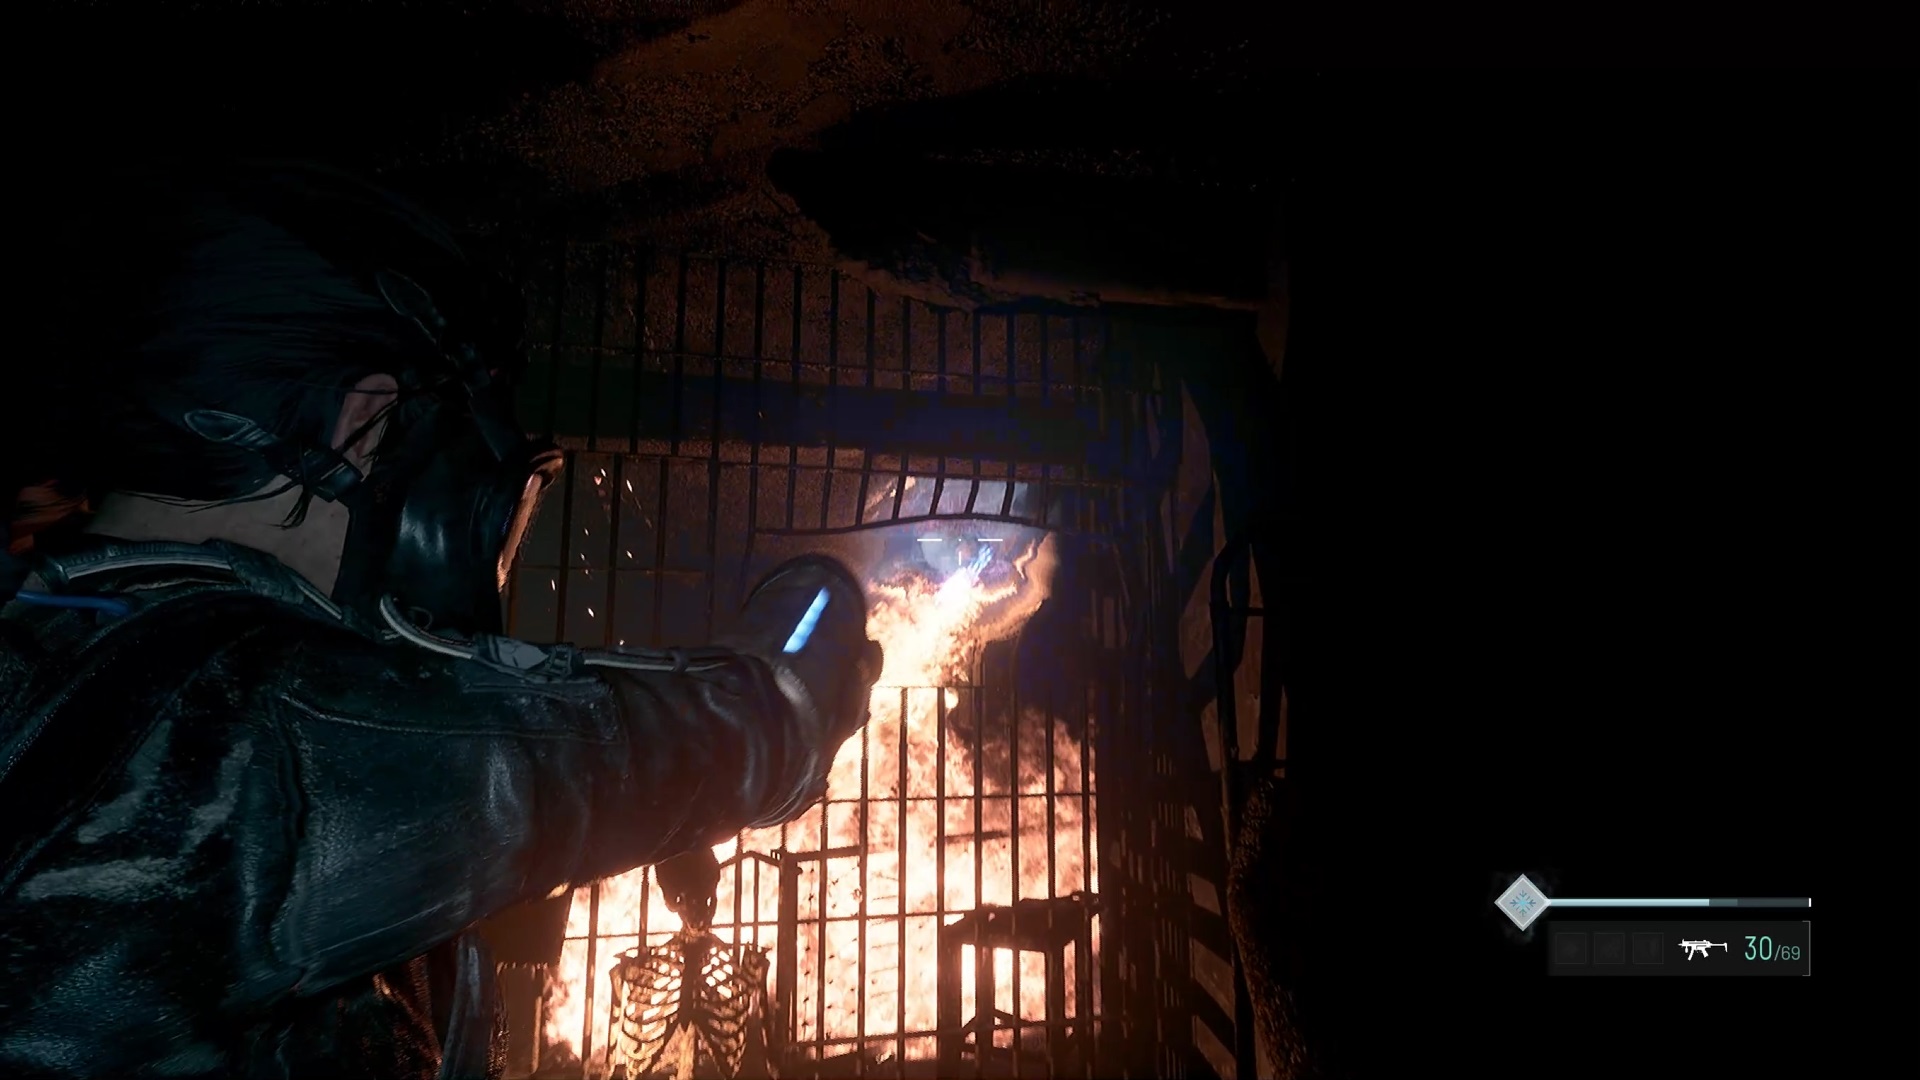
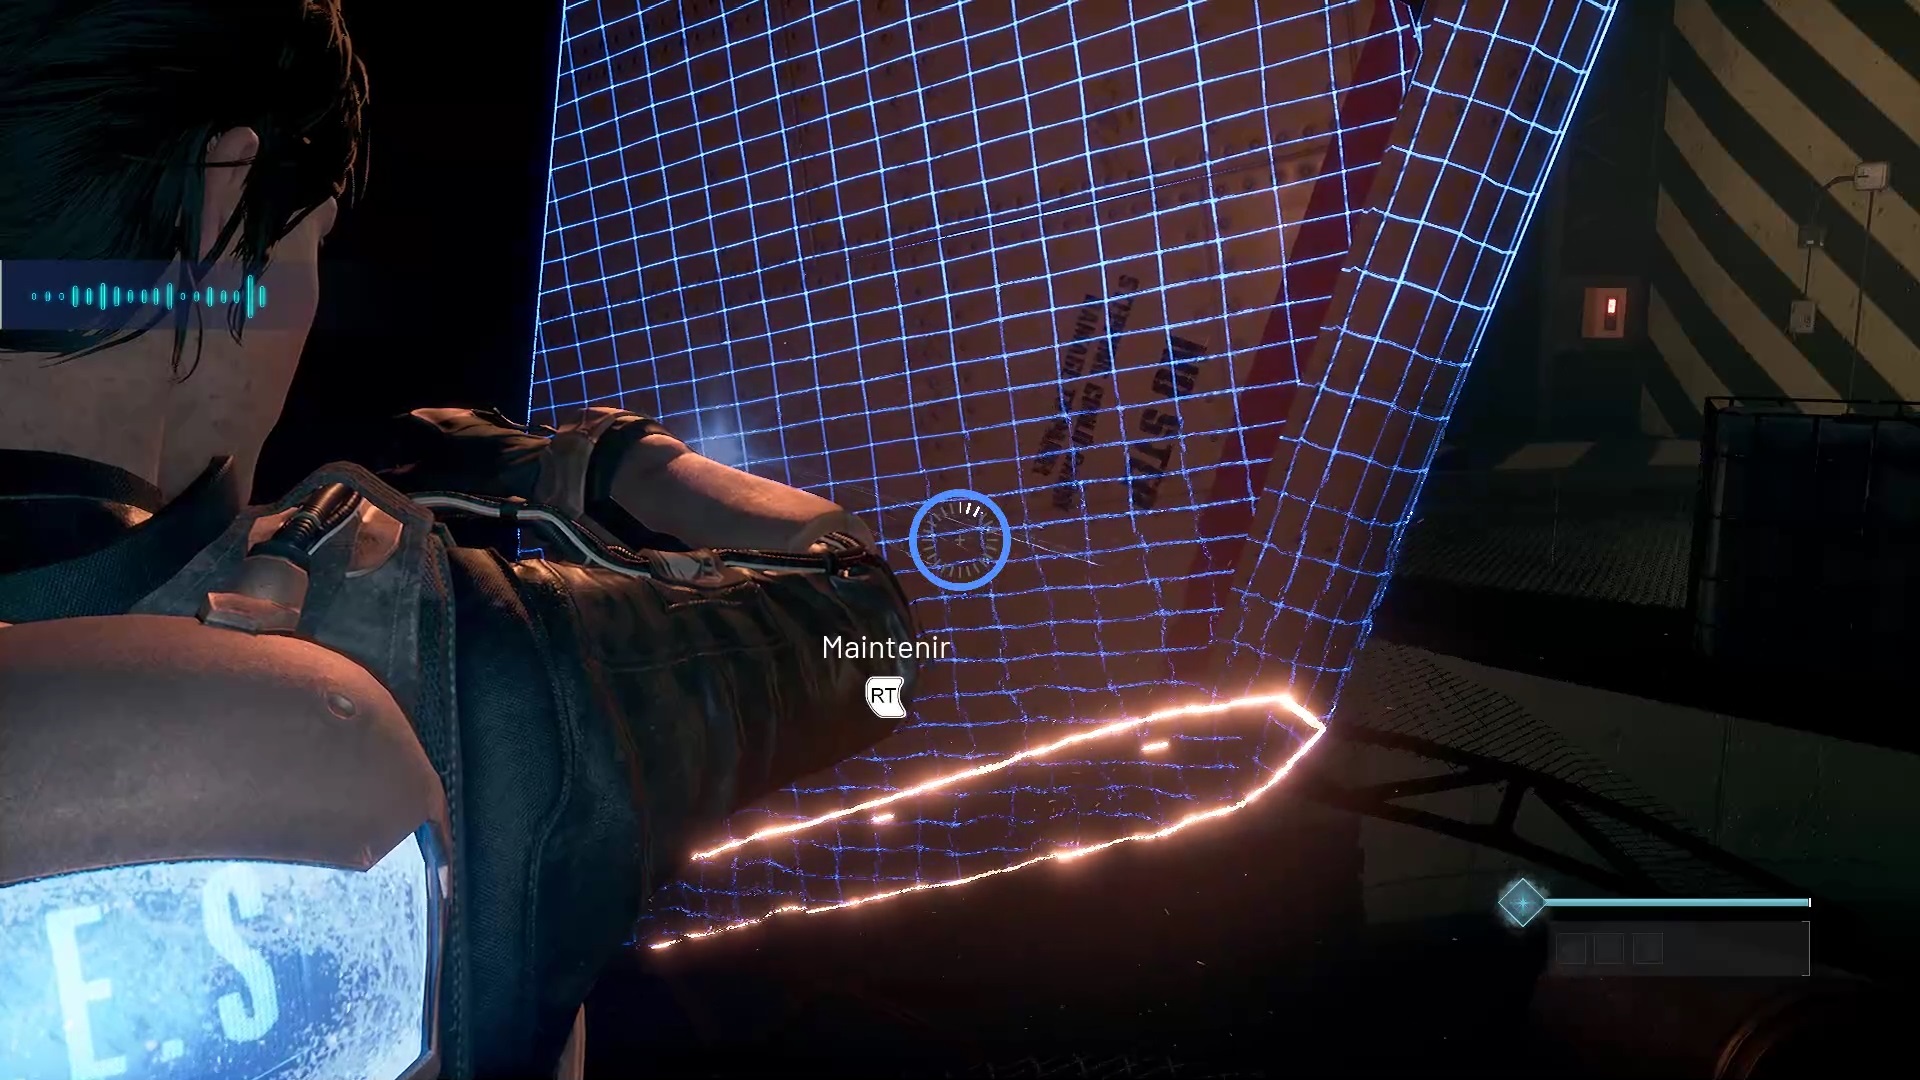
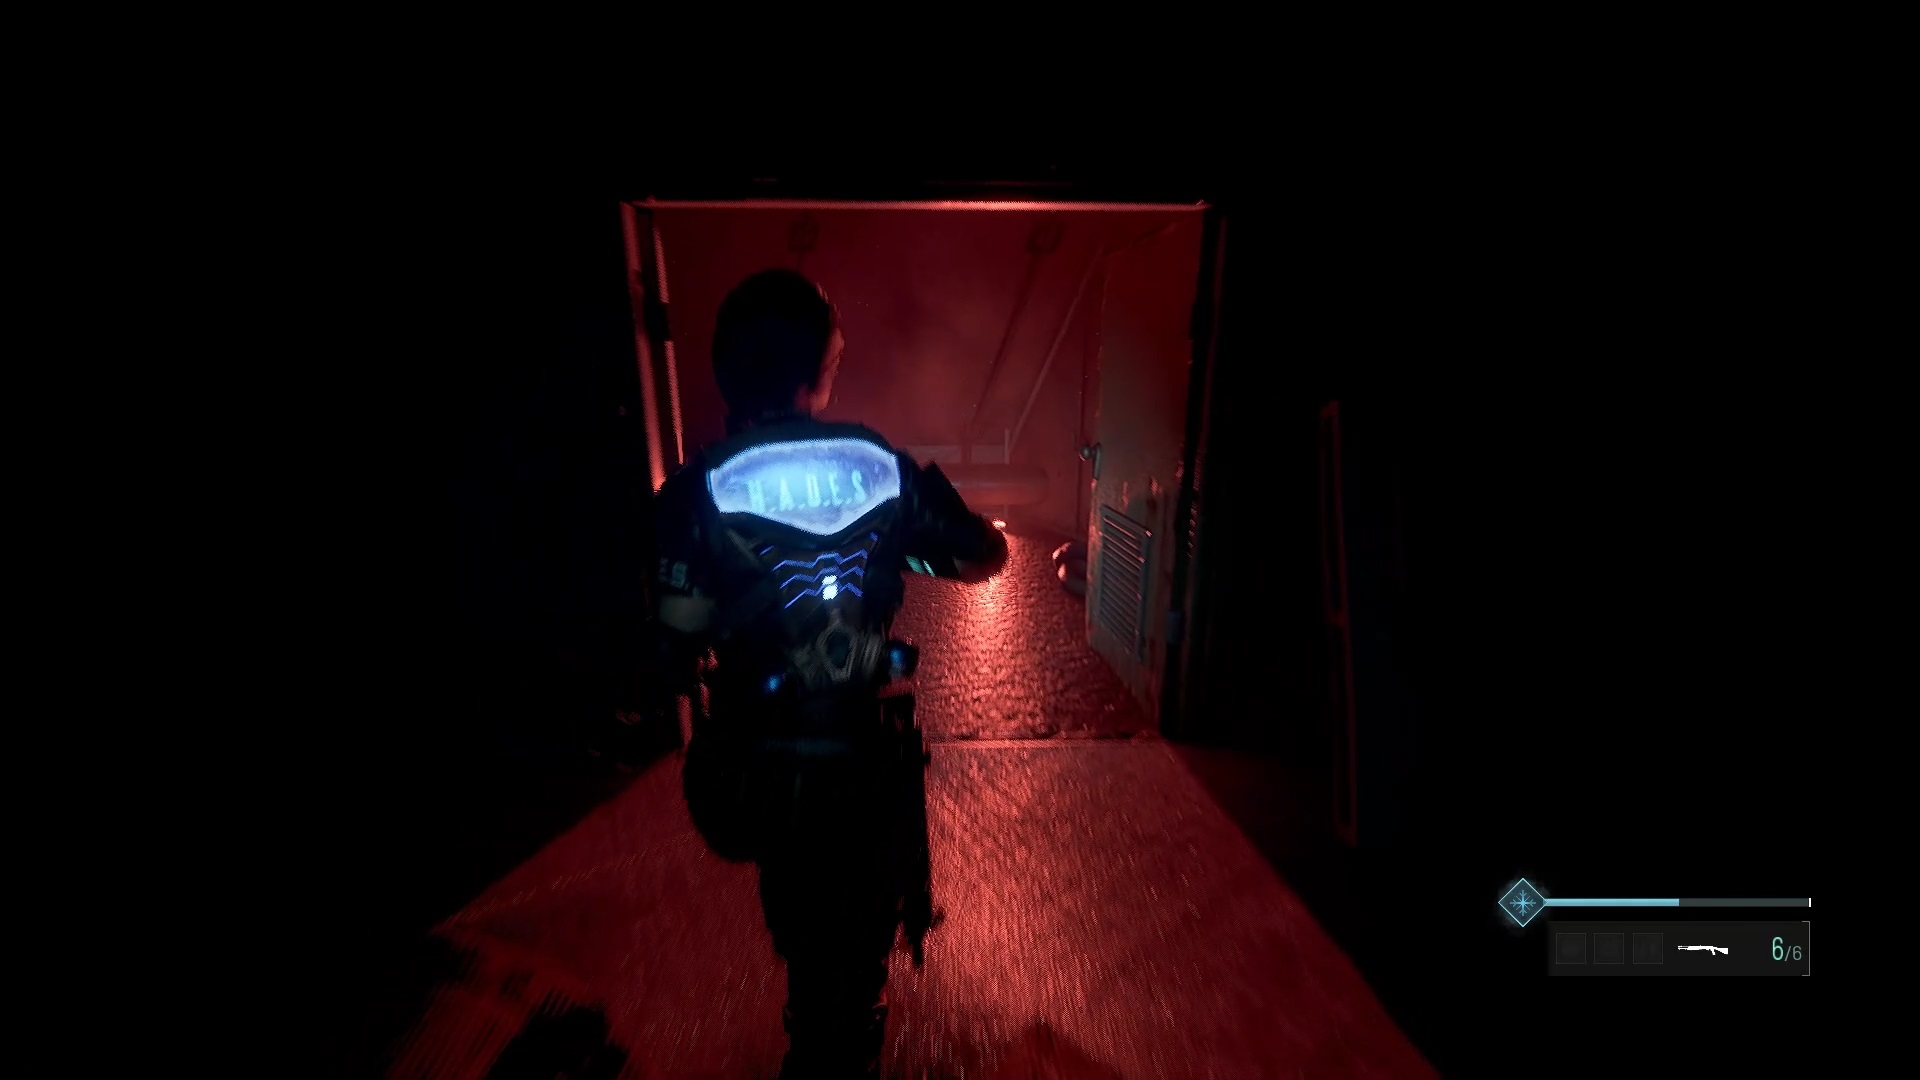
Then go to the men’s room near the large door. Step into the breach to find a fiery hallway. Use the Frost Grip to clear your way. Continue with the Frost Bullet to stop the pipe further. Keep clearing the way. Use the Frost Bullet through a grate to clear the way.
Eliminate the monsters that come your way and follow the flames to find an exit in a breach. Then go down the ladder into the save room. Below, climb the platform to go to the other side. Take care of the threats and go up a platform to reach an elevator.
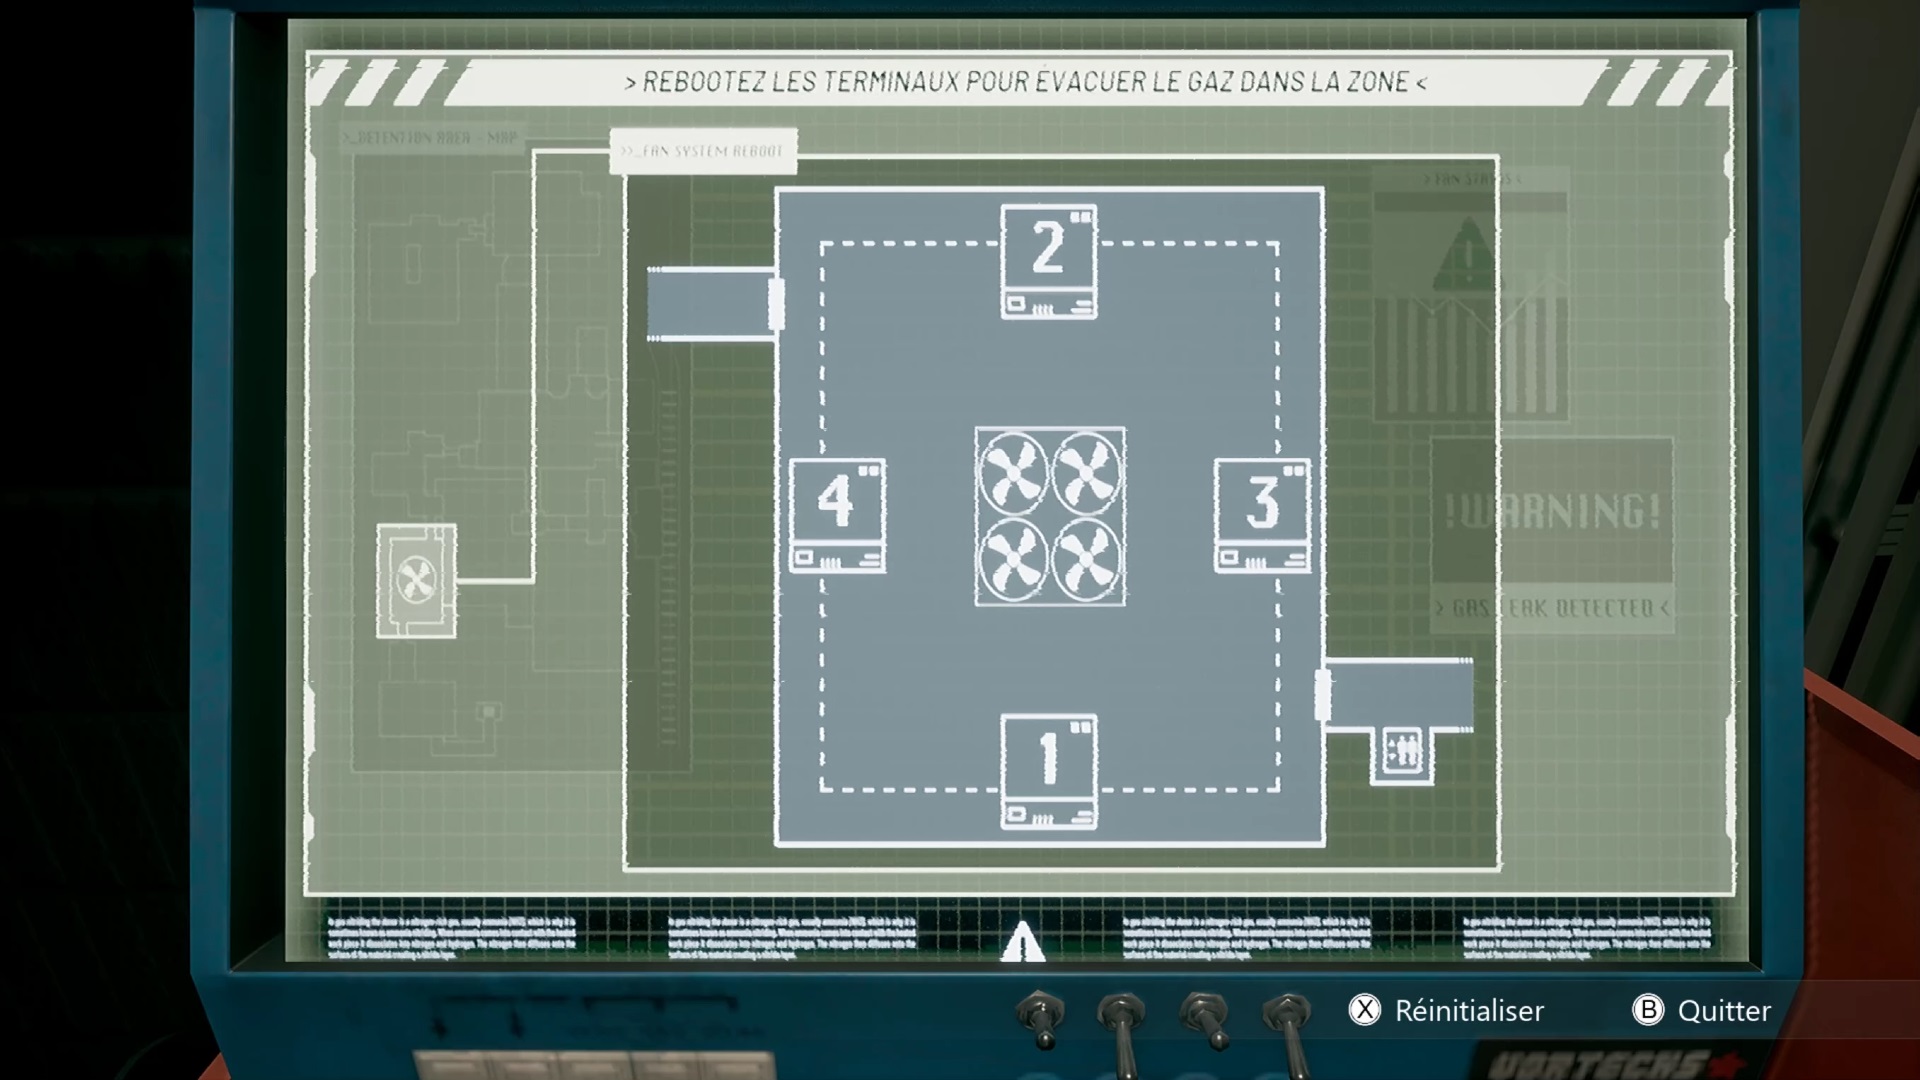
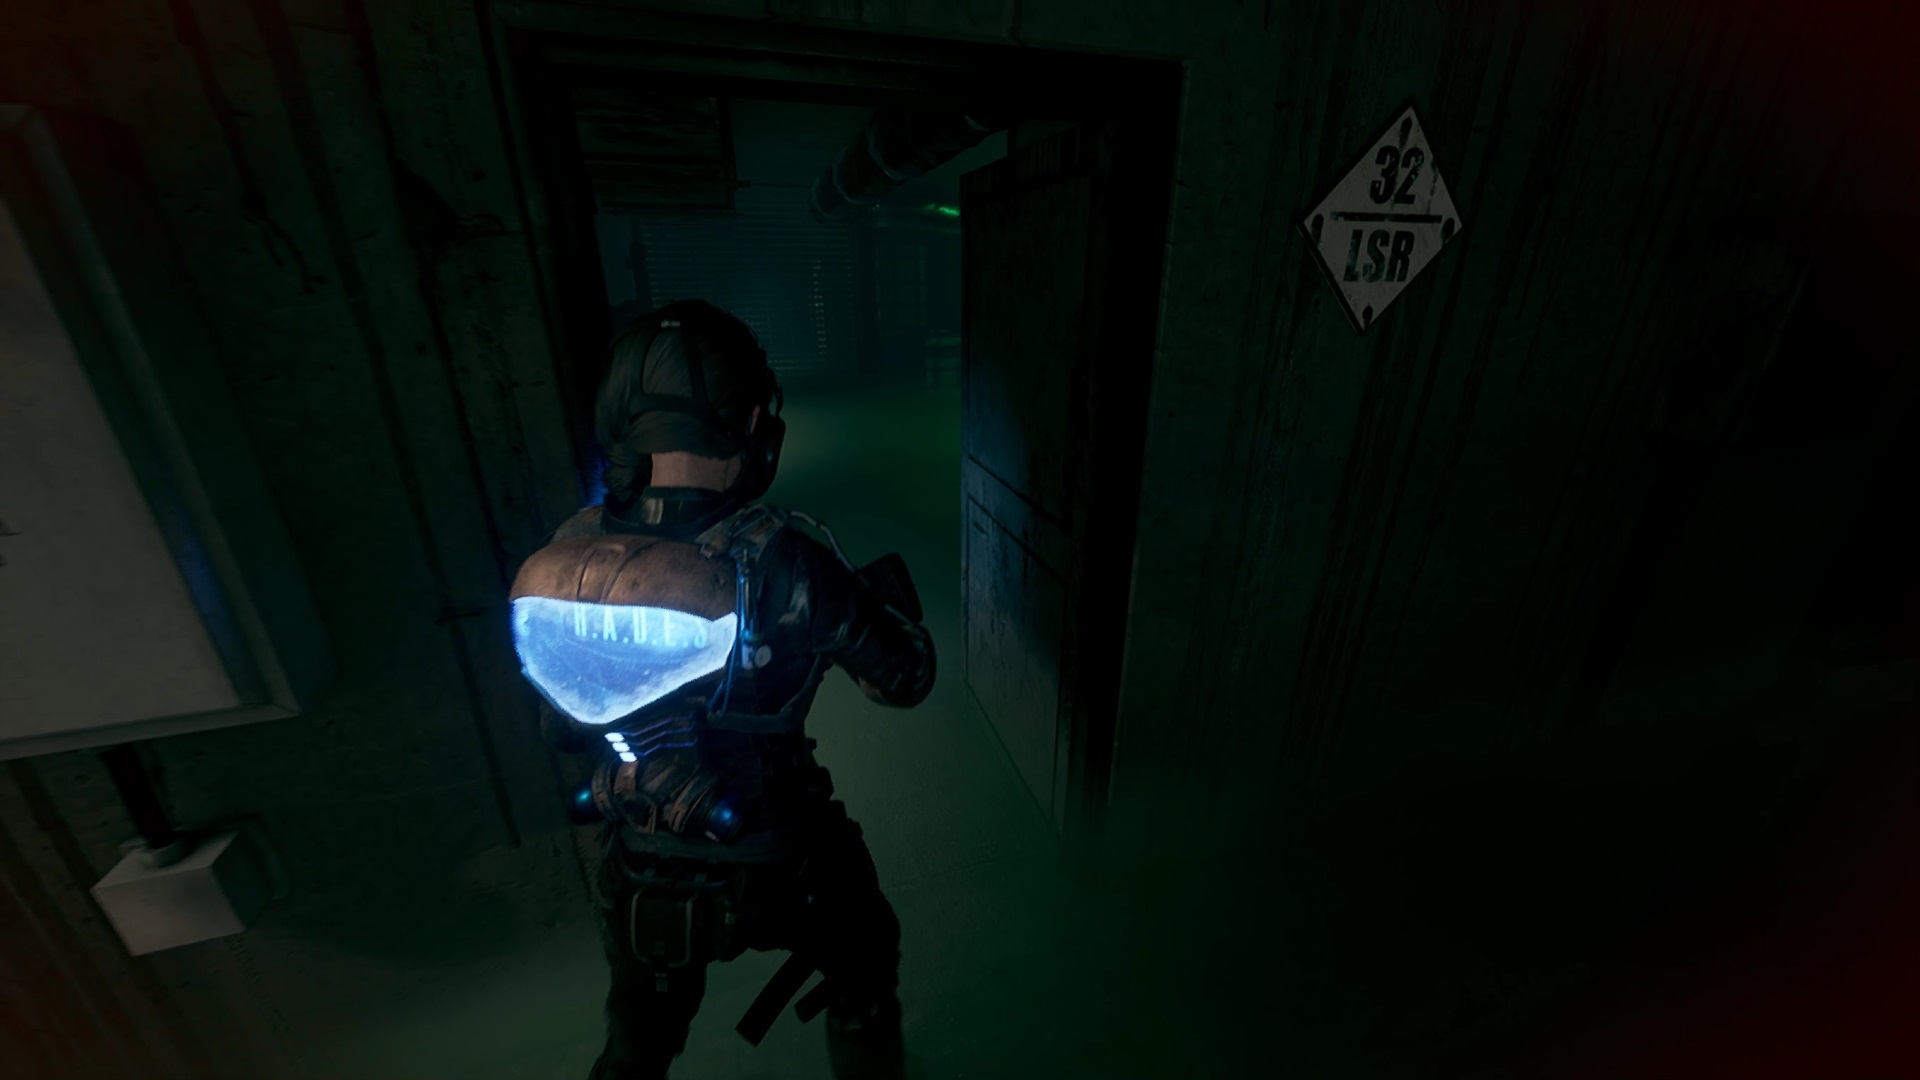
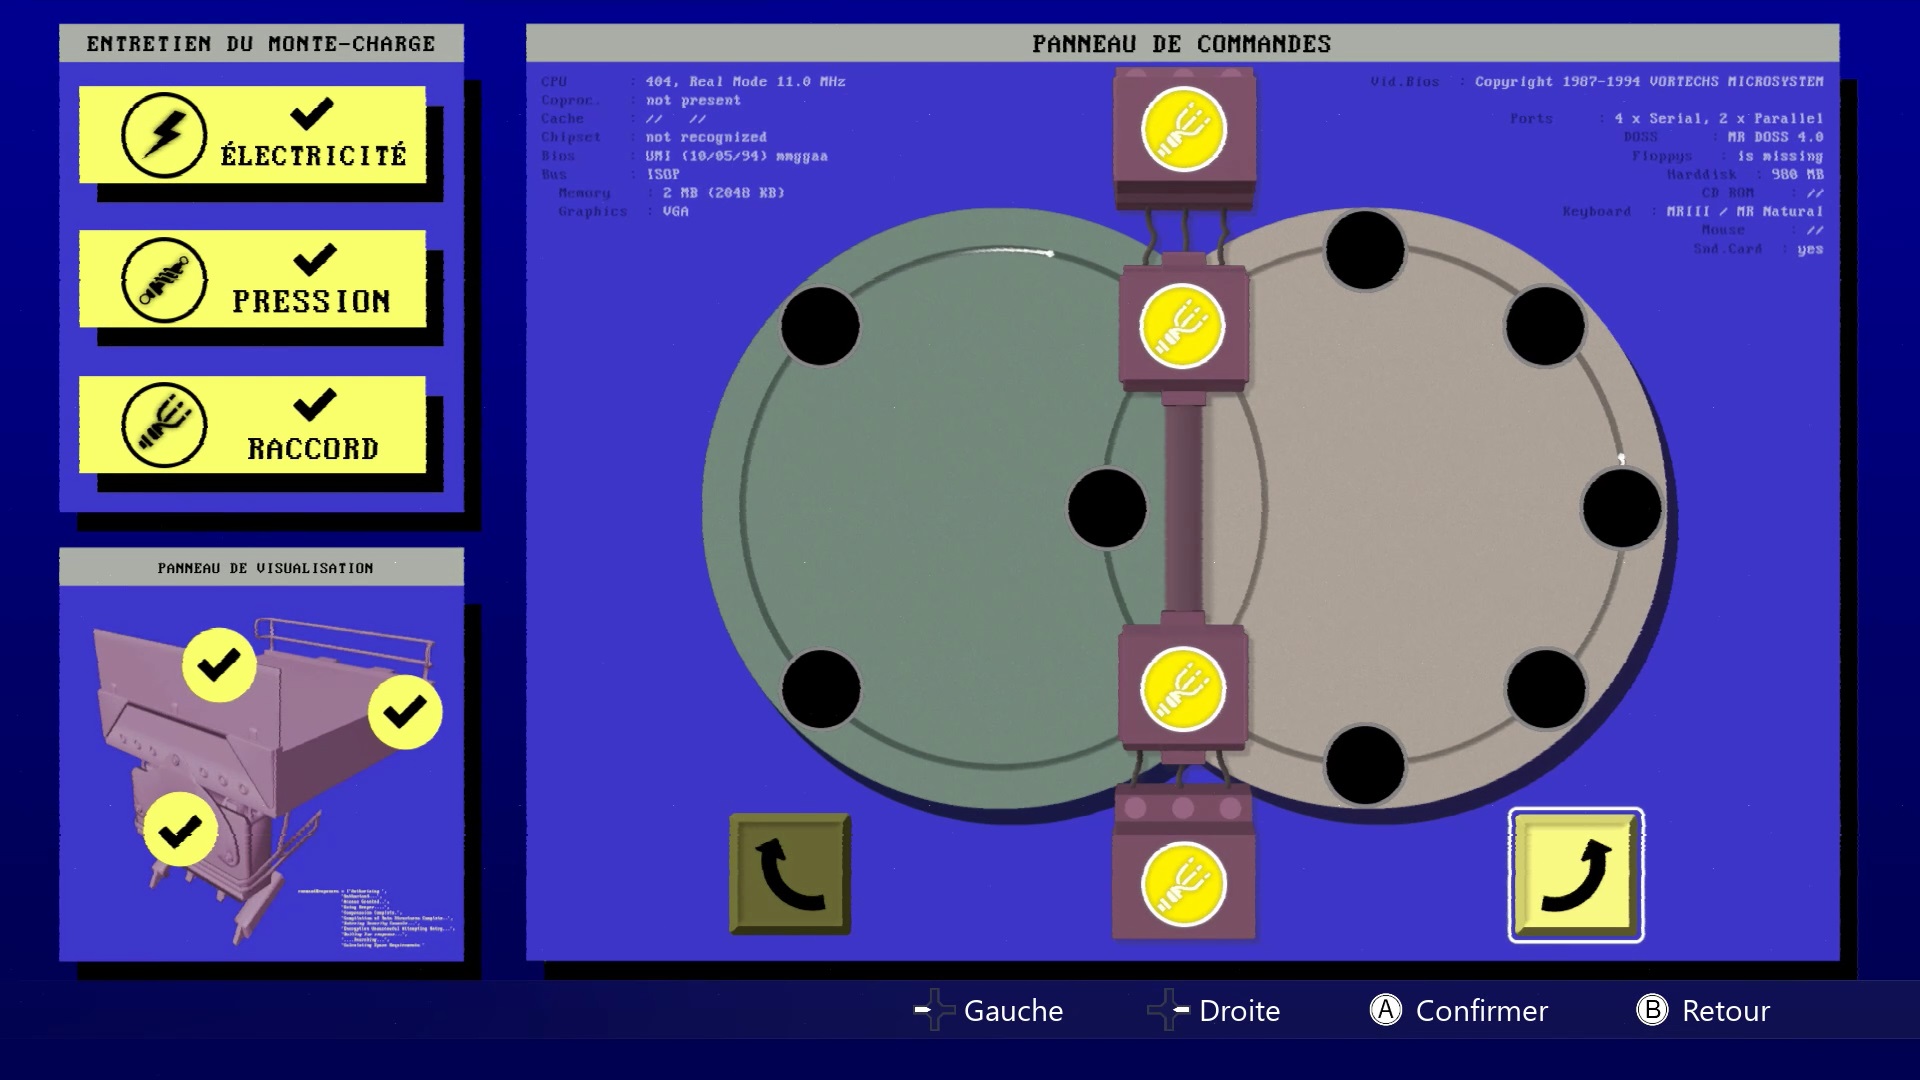
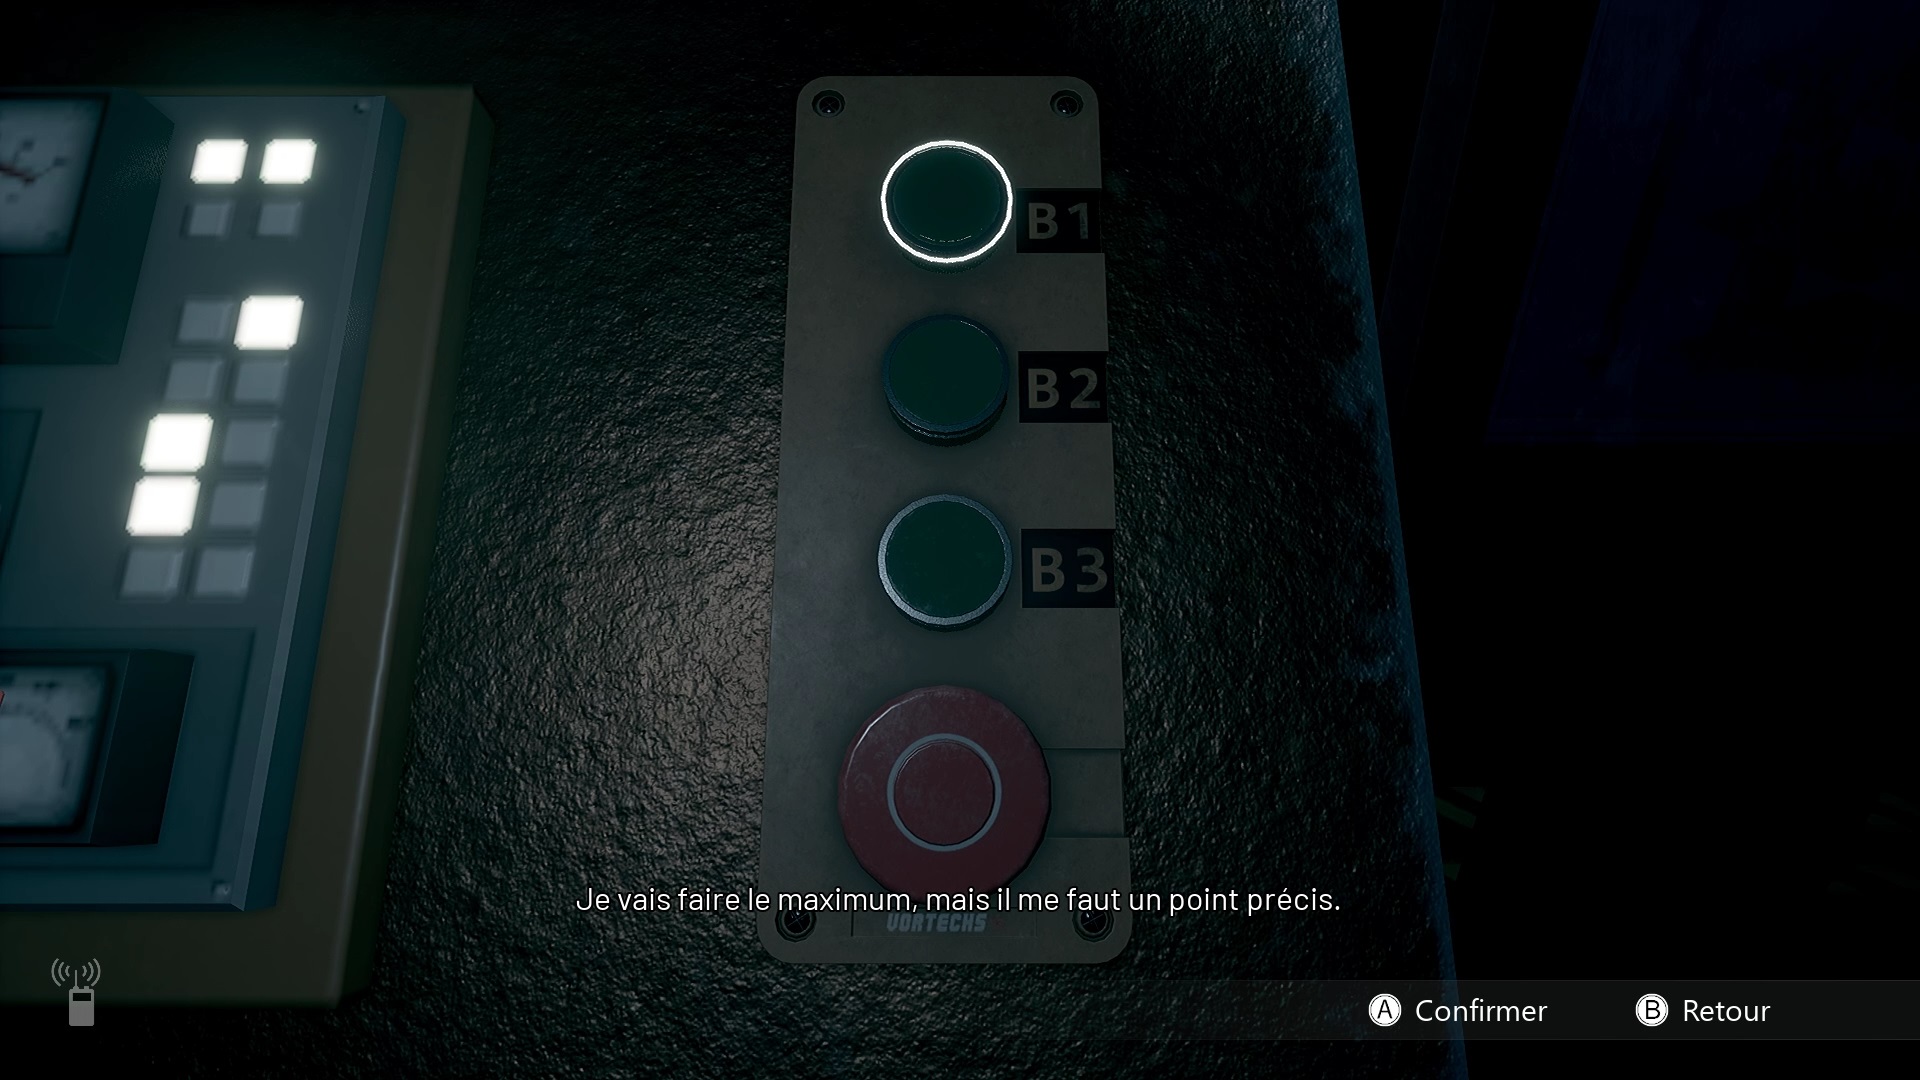
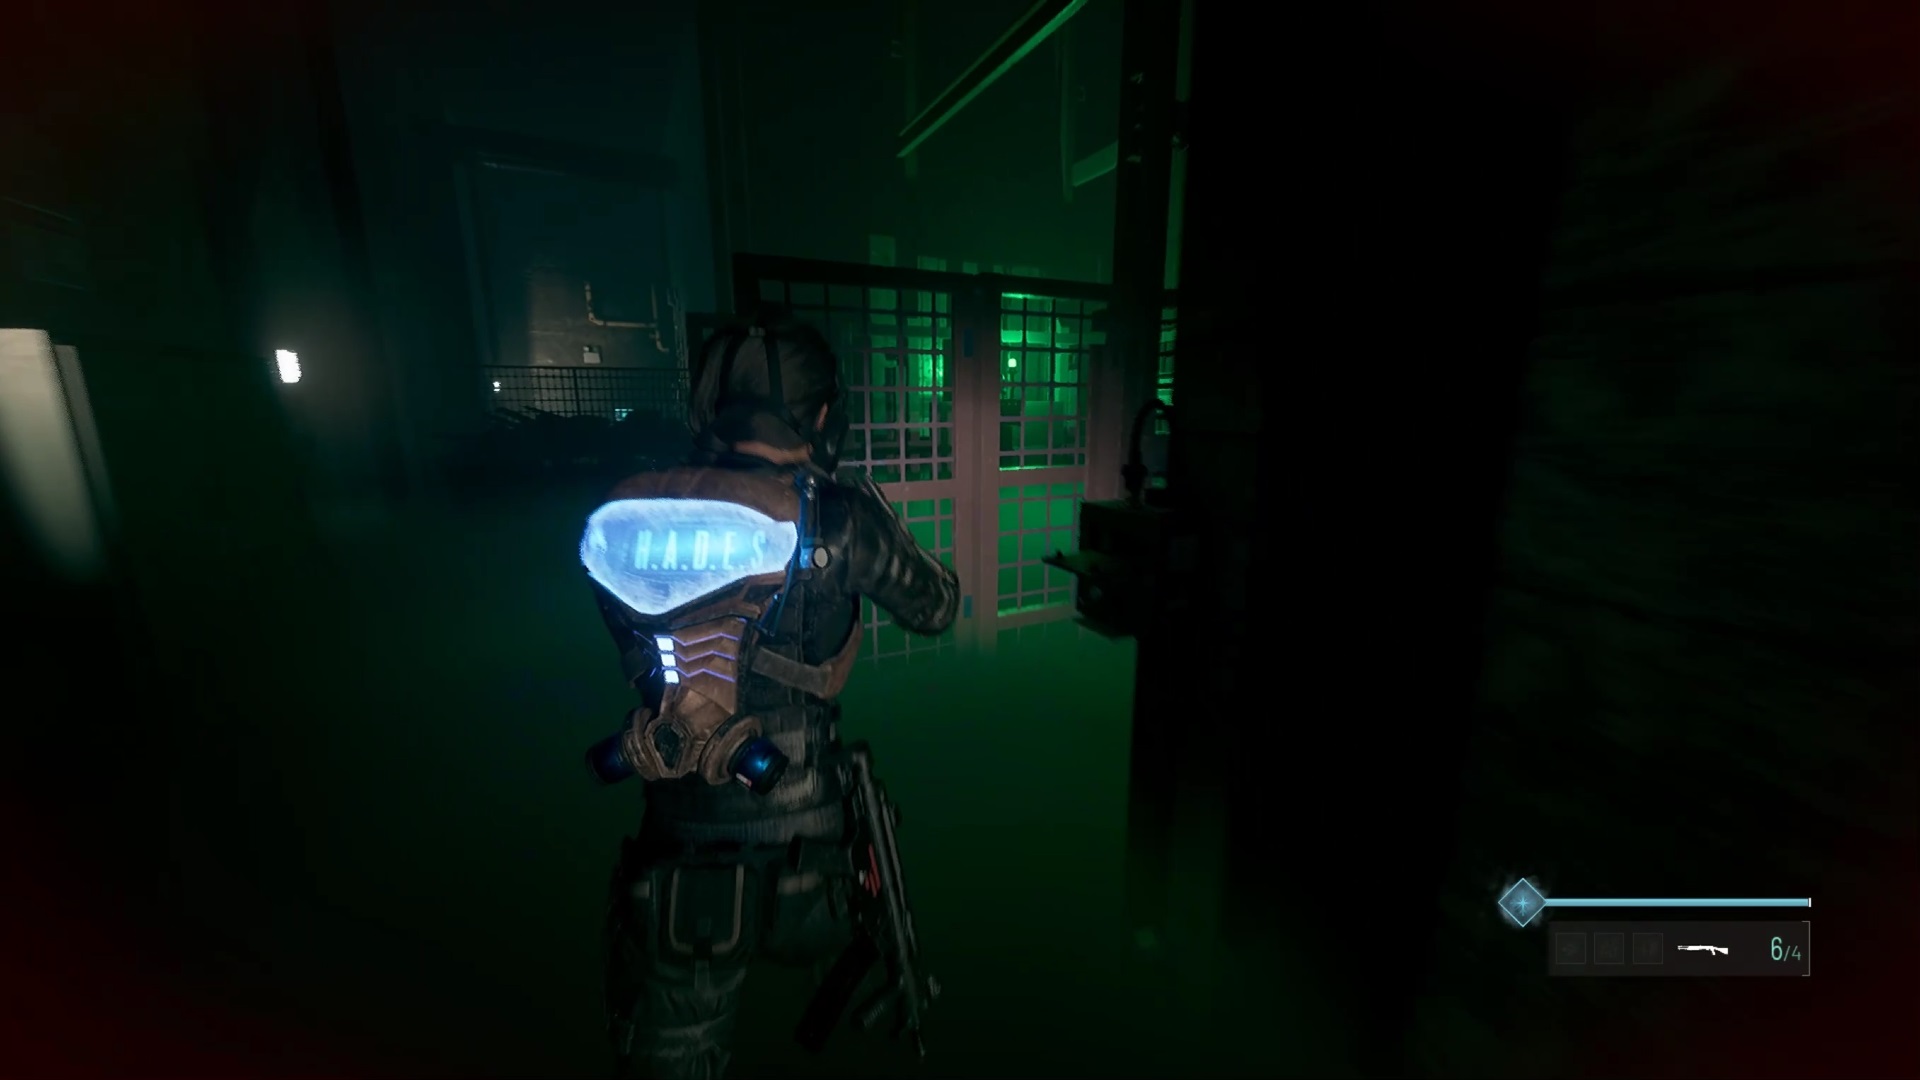
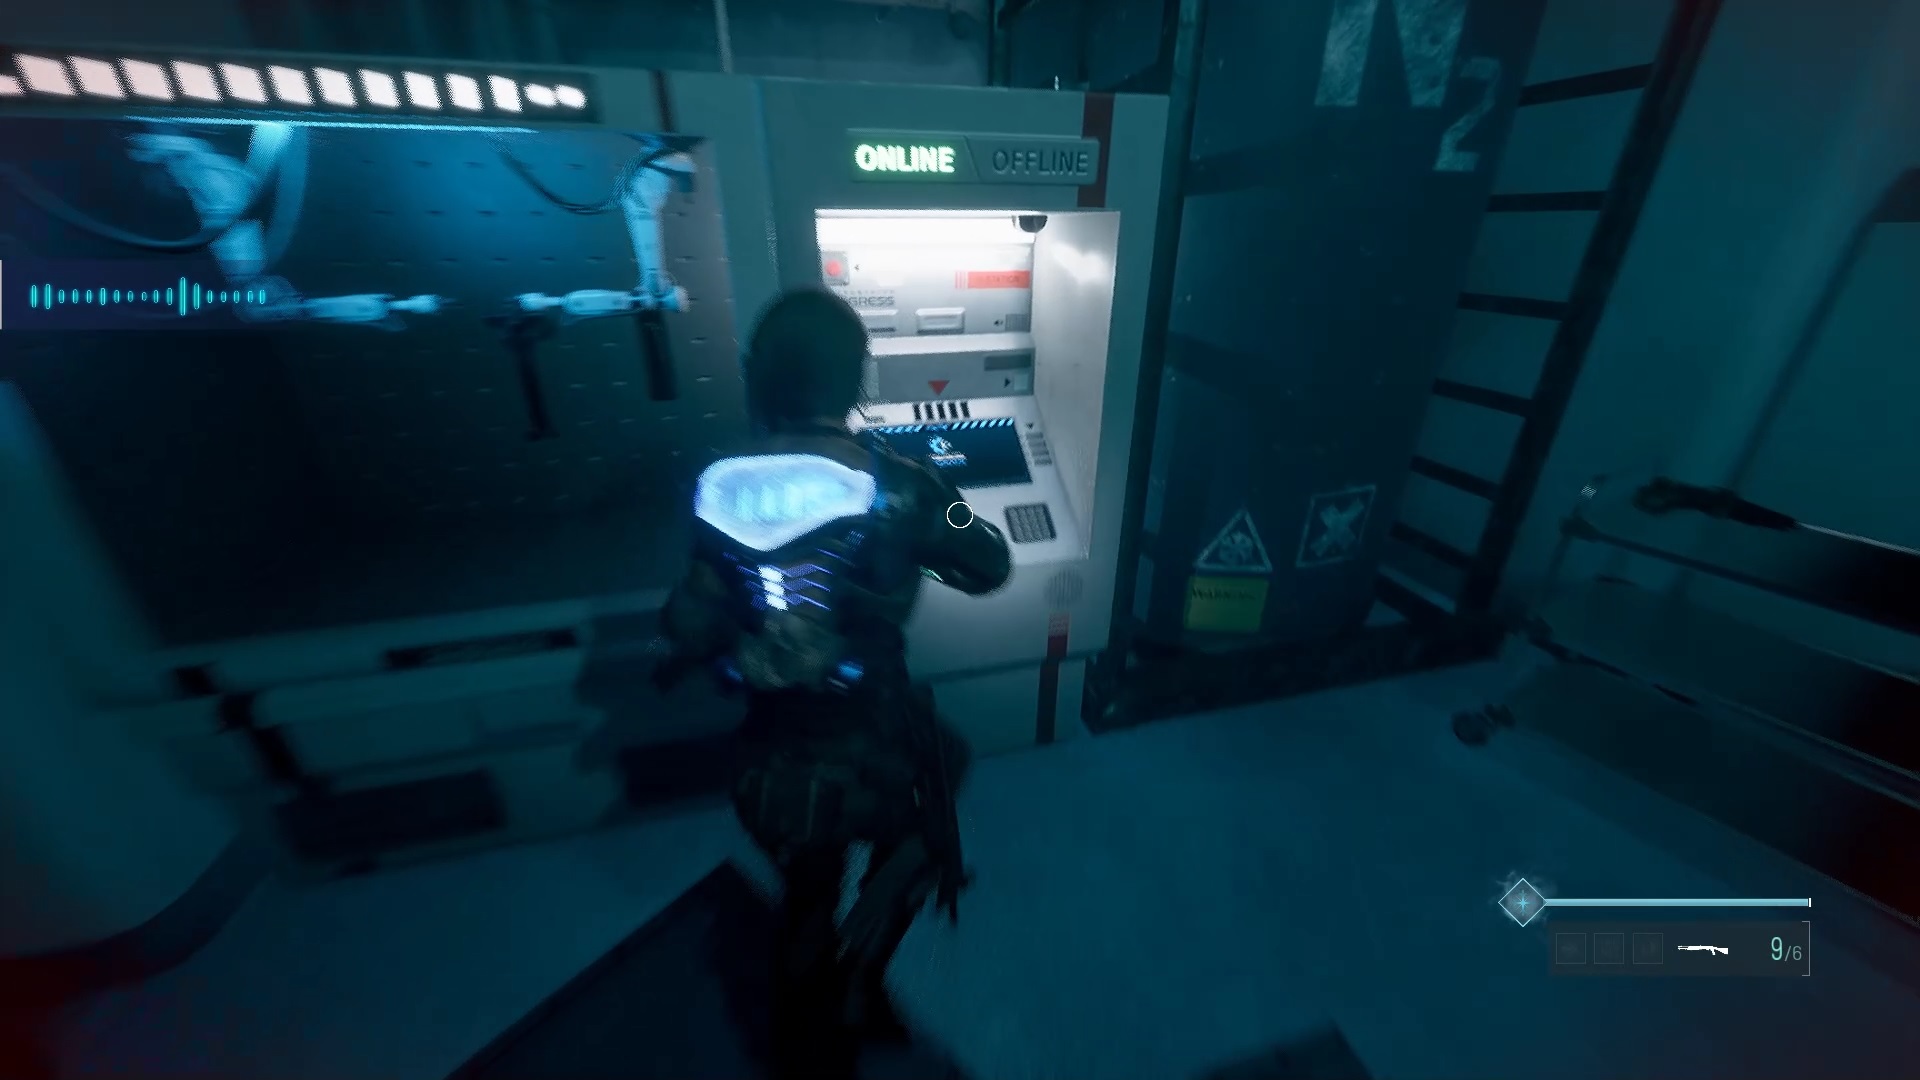
Above, a puzzle awaits you. You must operate the consoles on the sides according to the order indicated on the console in the center. Start by identifying the elevator, the door listed with the mention 32 LSR and activate the consoles. The first is the one next to a toolbox. The second is opposite. The third next to a fire extinguisher and activate the only idle console.
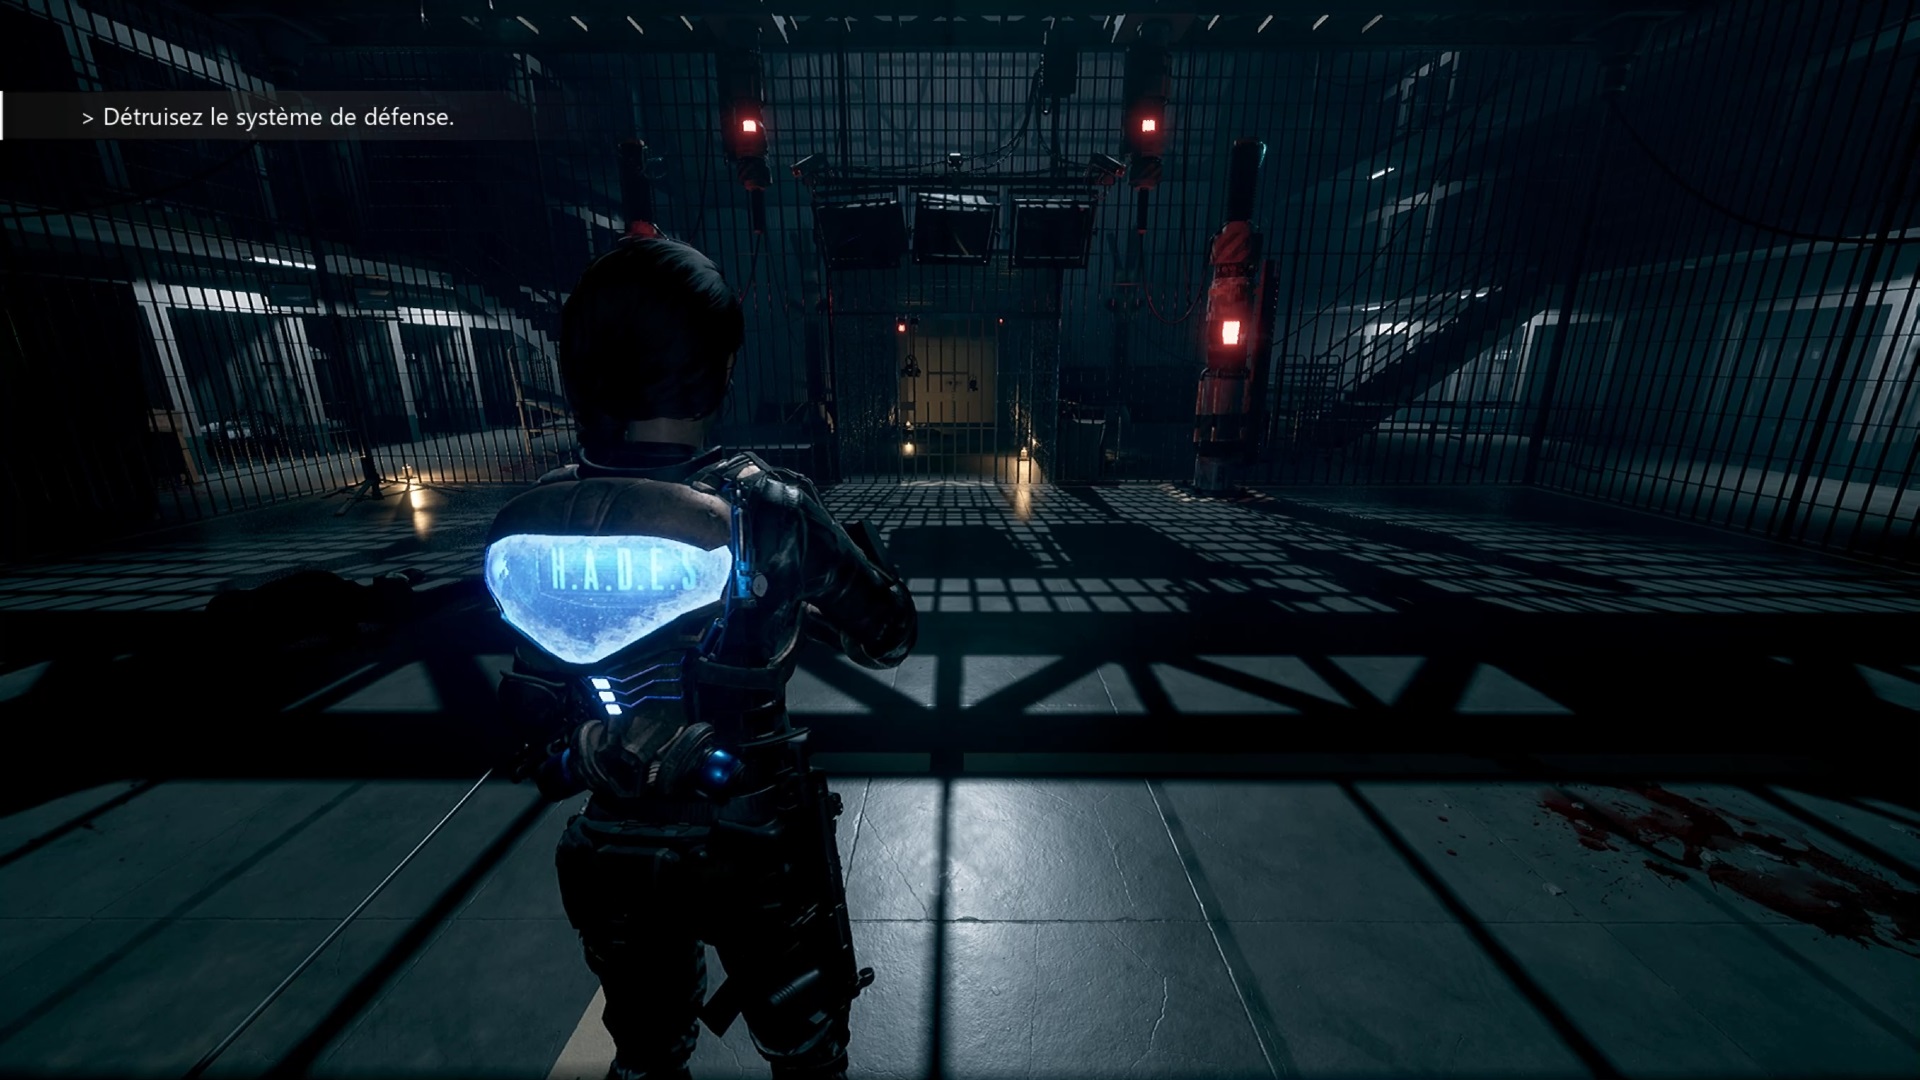
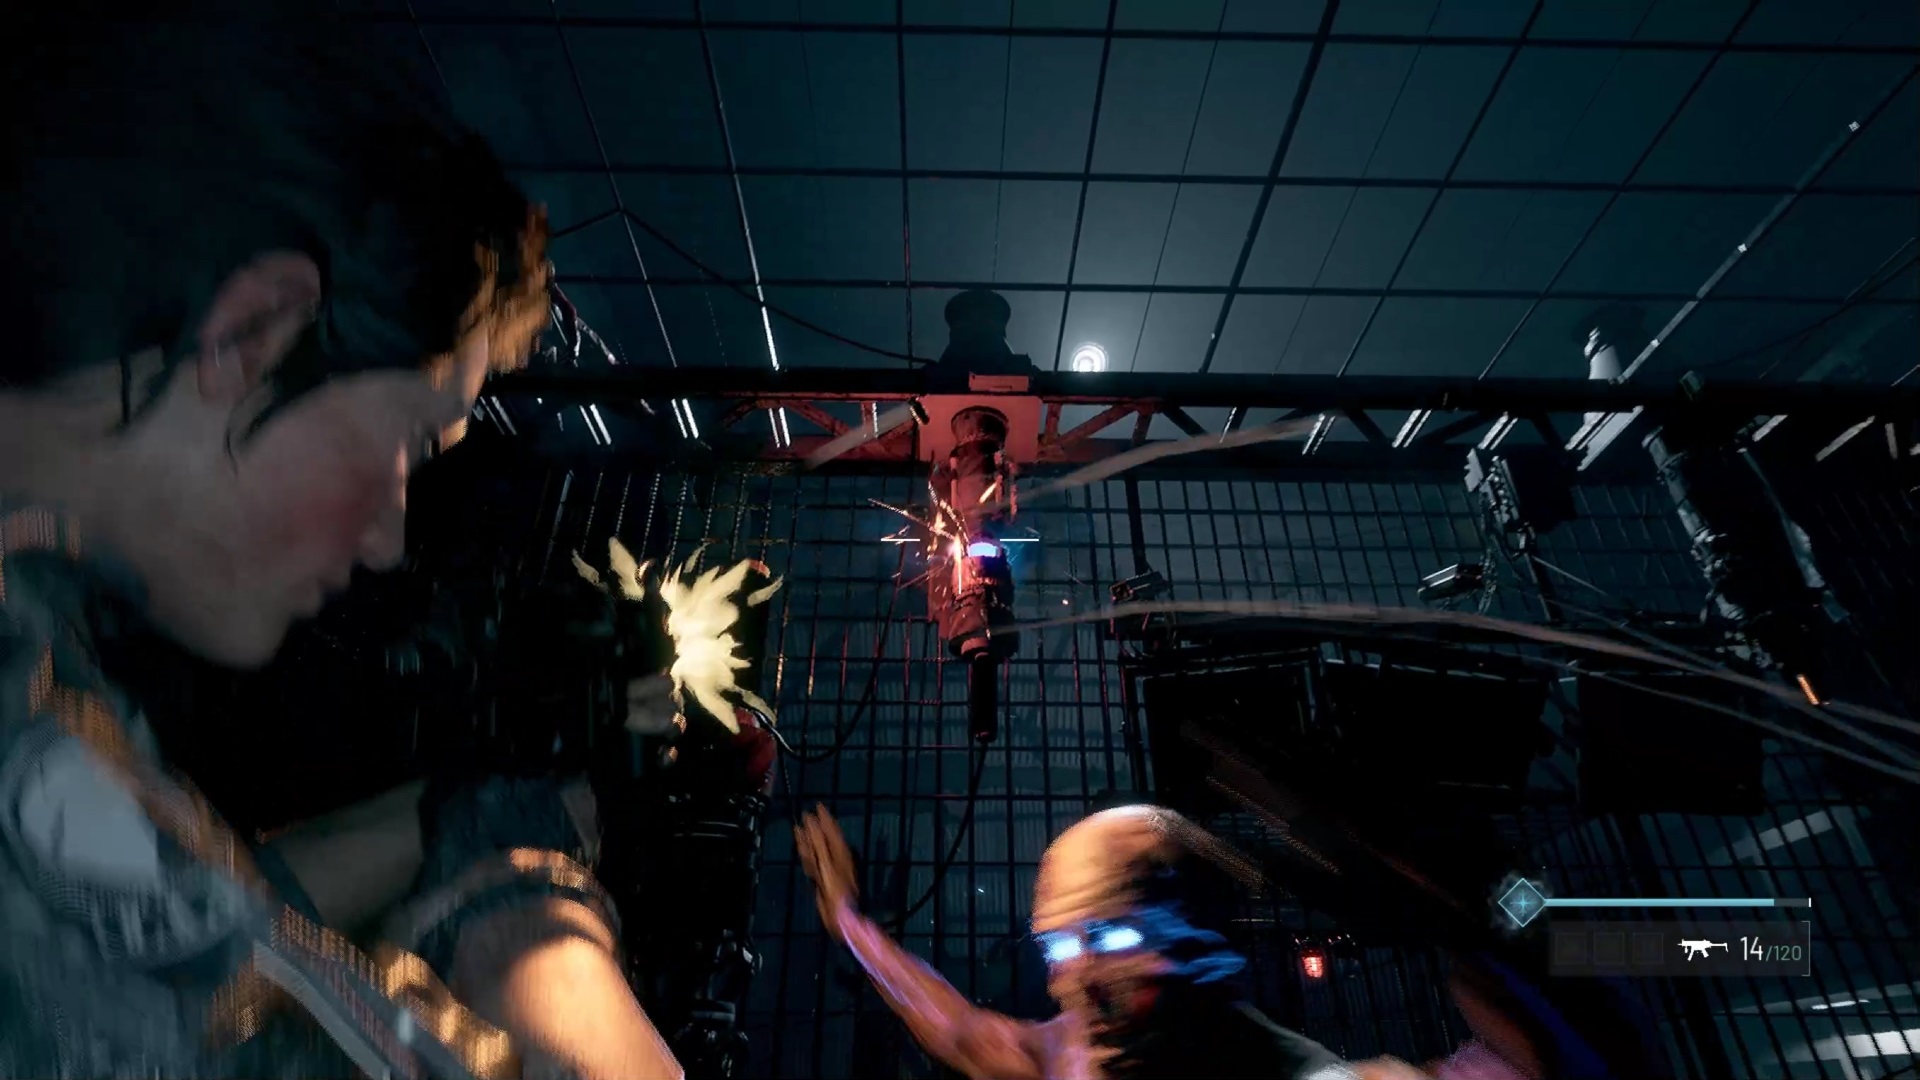
Go through the elevator corridor to retrace your steps. Beware of enemies waiting for you in front of the big door. Then continue to the cells through the kitchens. A fight starts after the cutscene. If necessary, resources can be found on the periphery of the arena. Shoot the defense system lights to break the containment. Then climb into the control room to unlock the large door.
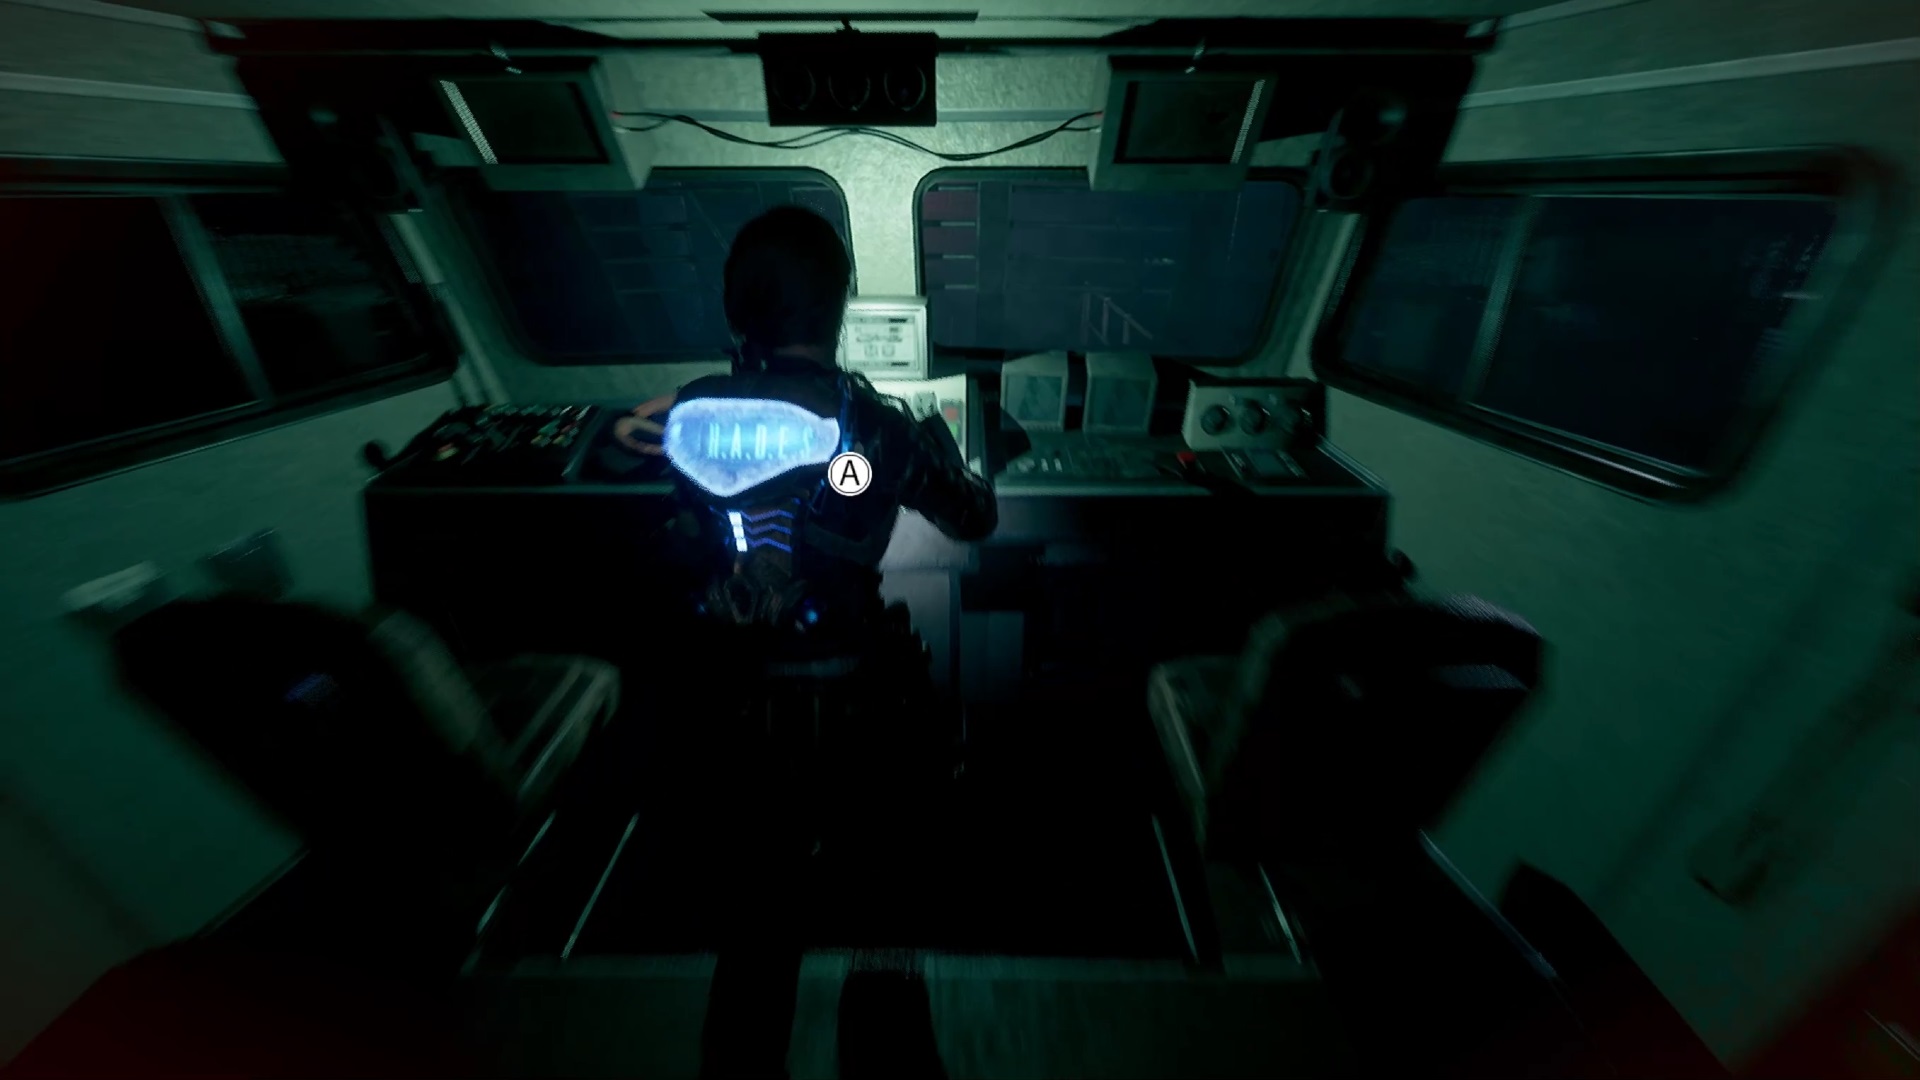
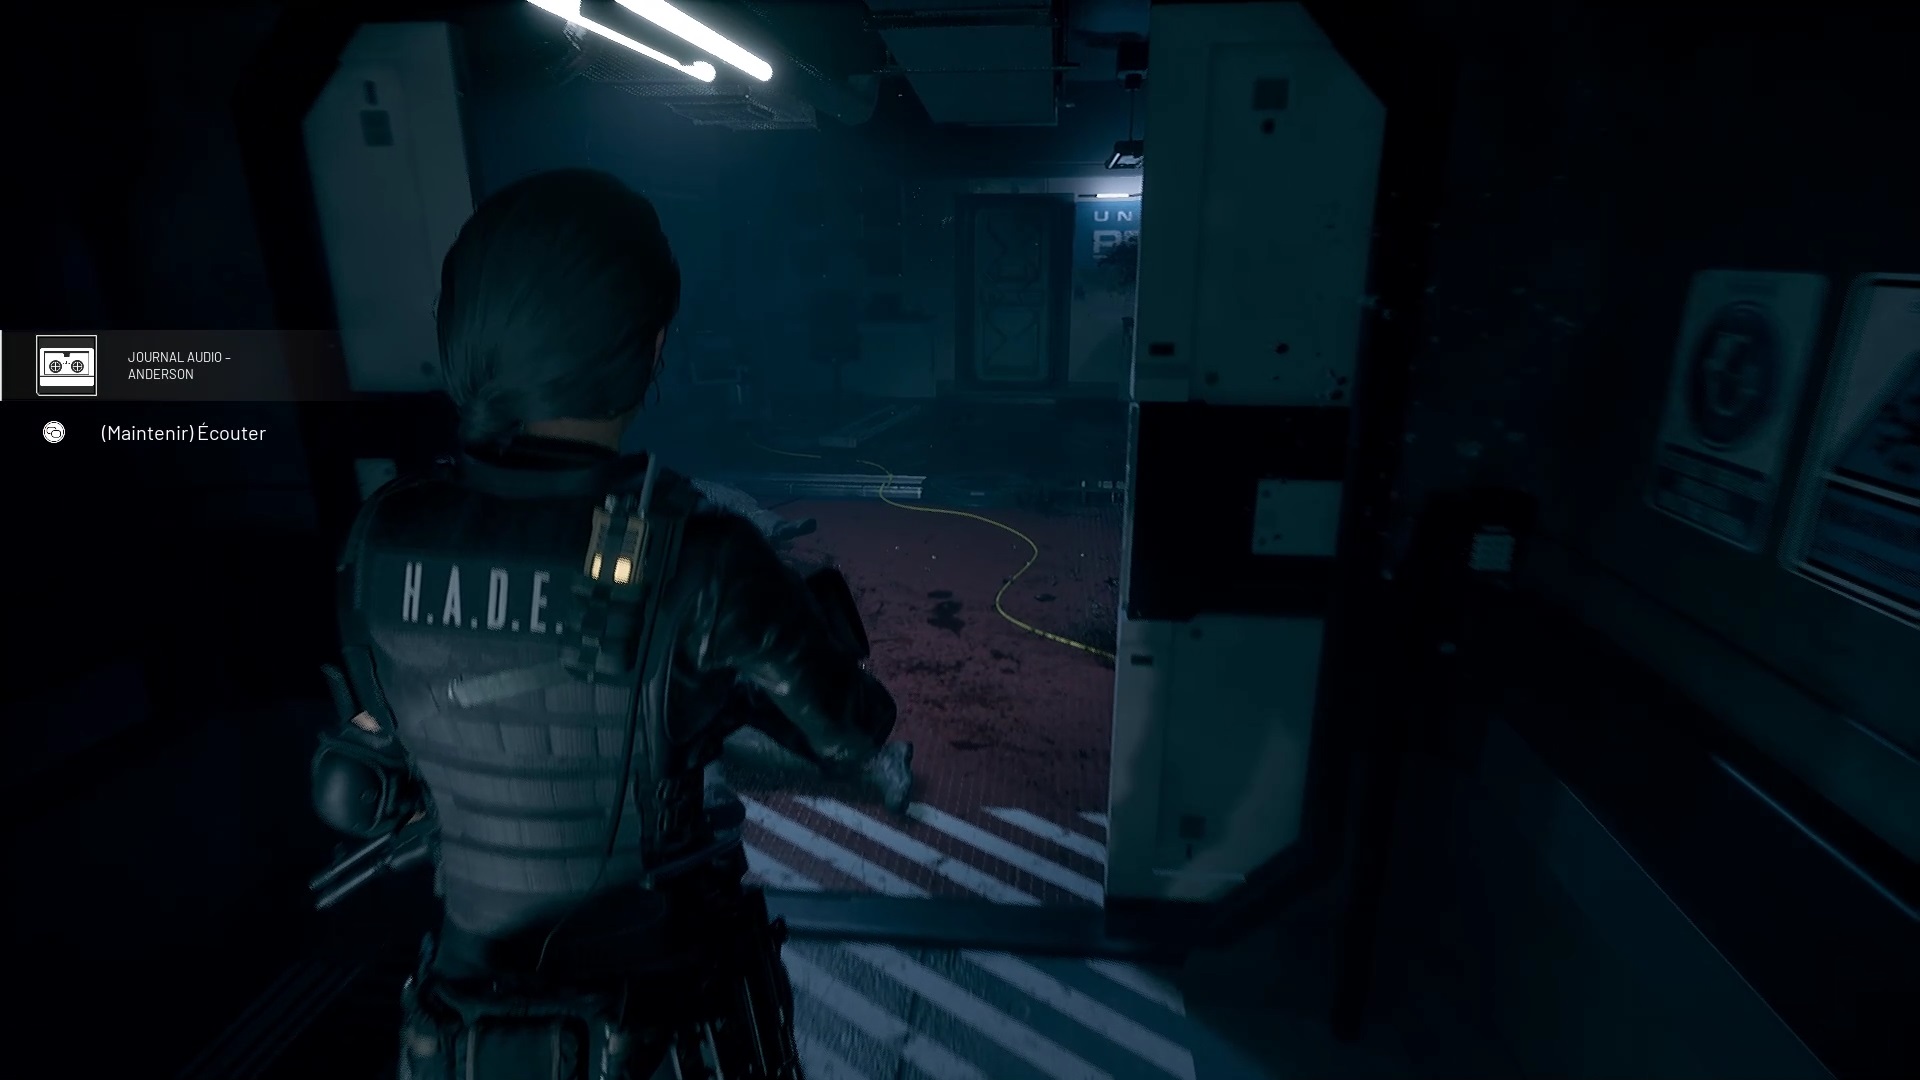
Scan the tape recorder on the desk and head towards the big door. Use the vehicle to finish the level.
Medical sector
At the start of the level, exit the platform to trigger a cutscene. Then go down to platform n°2 to go to the medical wing. Upon arrival, follow the traces of corruption to find a doorway.
Go through the corridors to reach a new door. Move forward to find a giant egg. A flying monster electrocutes the egg to make one of its companions spring up. Freeze monsters if necessary to eliminate them more easily. Then go through the passage to find a staircase. Upstairs, go through the door to trigger a cutscene. You land in a save room with a checkpoint that requires an access code.
Then go through the door at the back to find a cavity in the hallway. Drop down to trigger a fight. From the start of the fight try to stop the flying monster from waking up his brothers. Take care of the flying monsters first and then the others to quickly end the fight without pain.
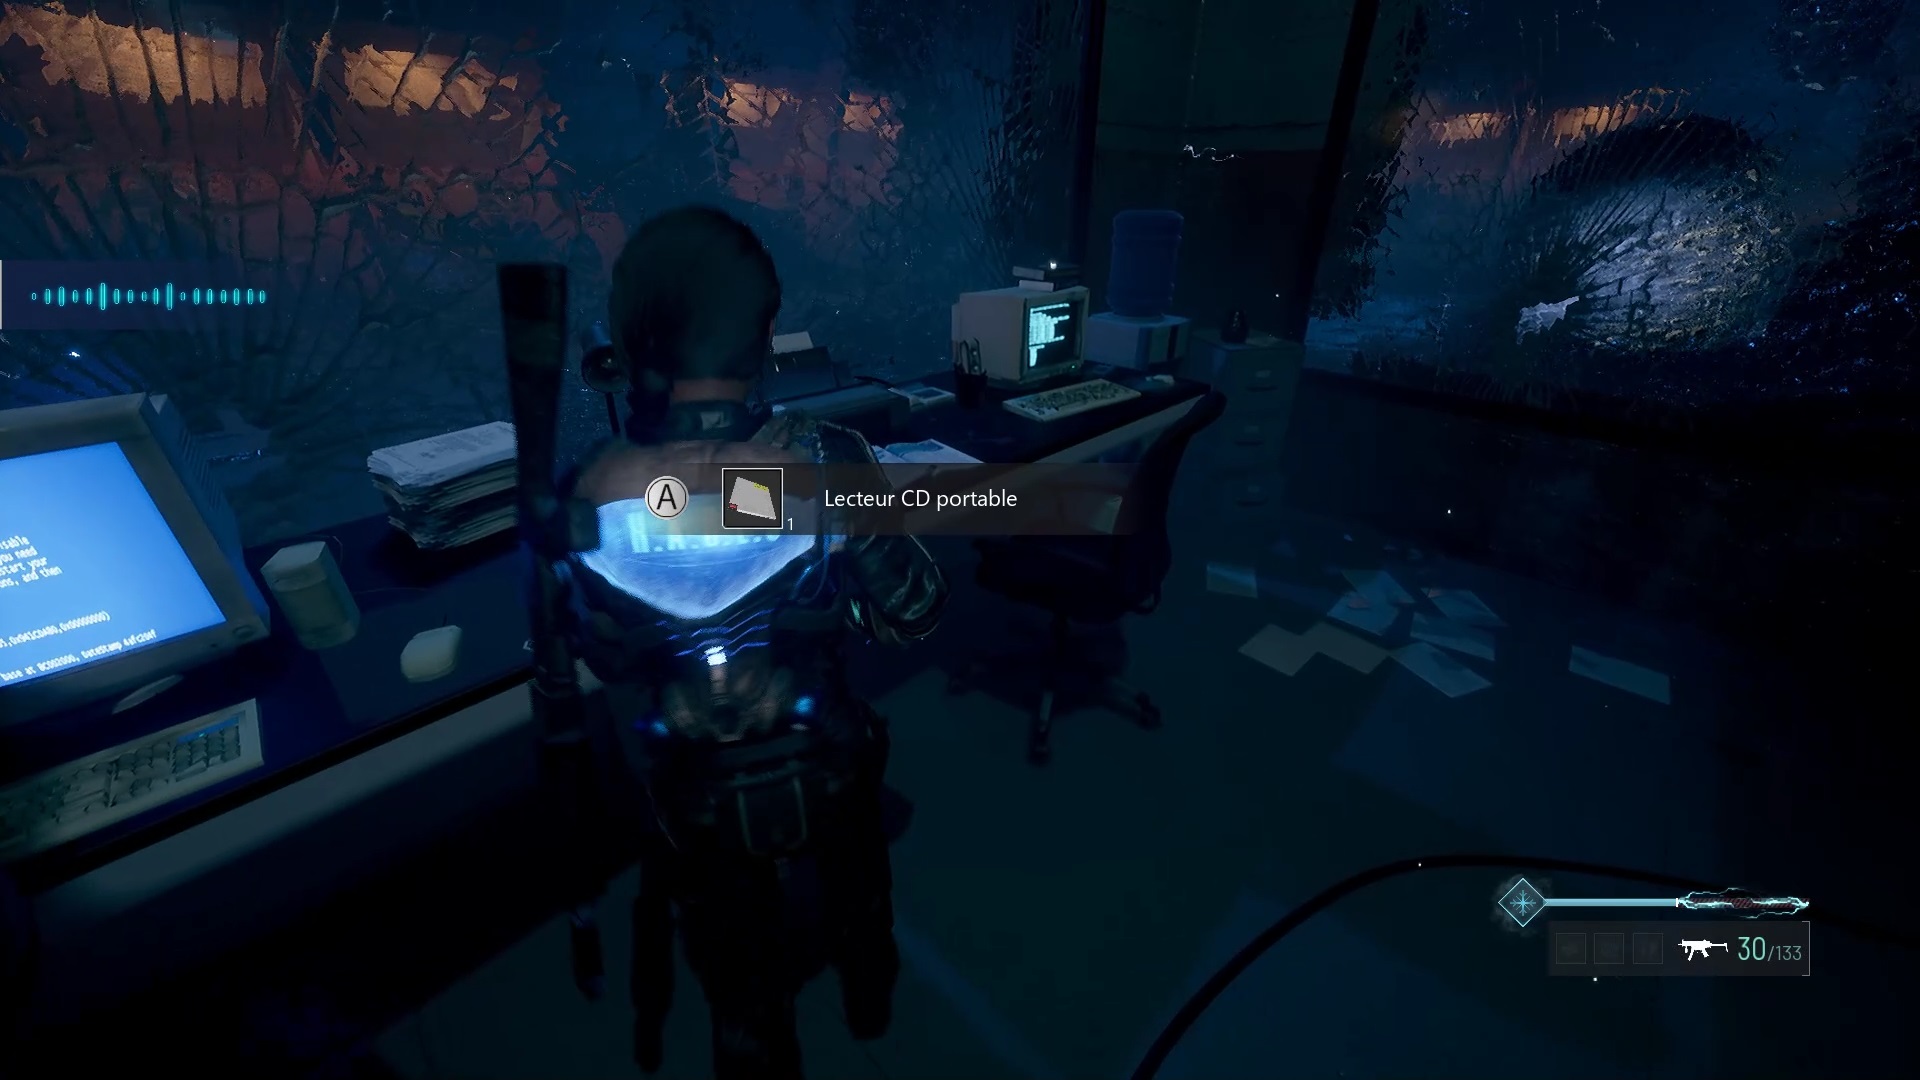

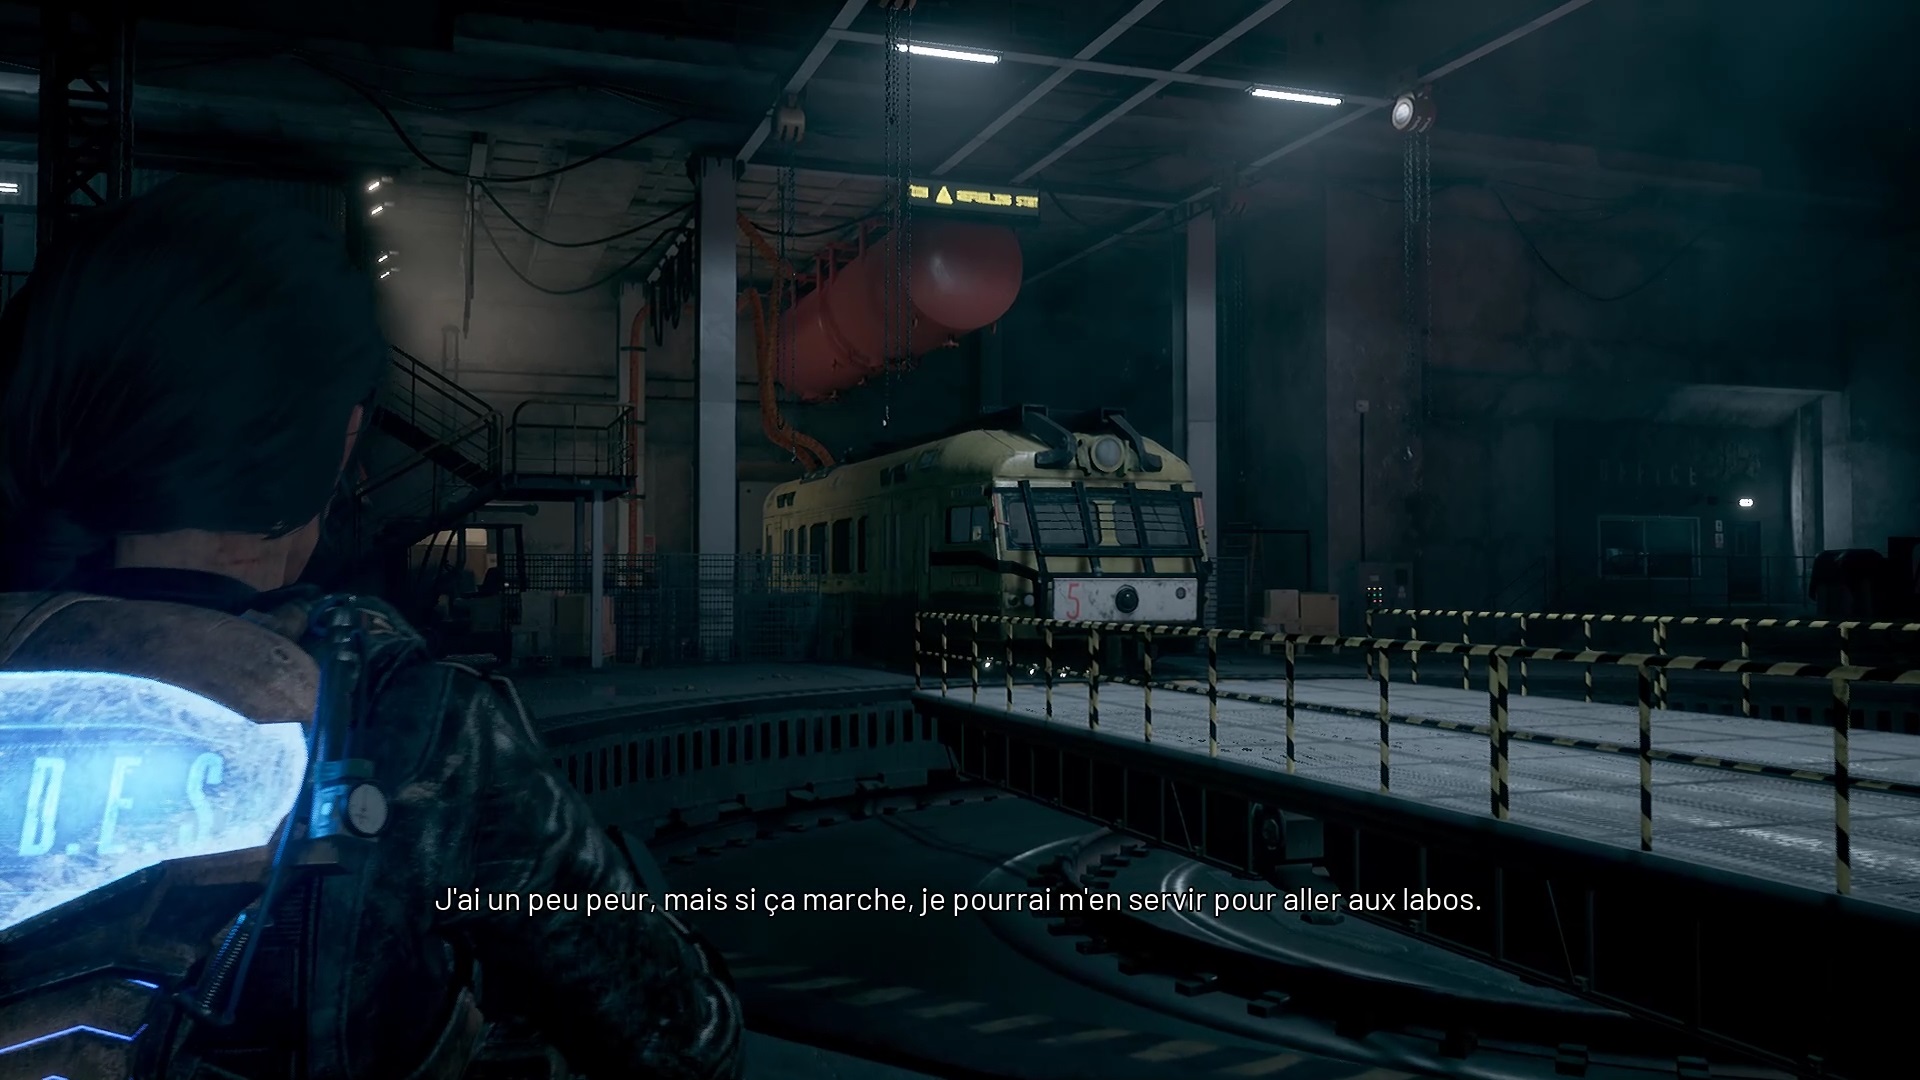
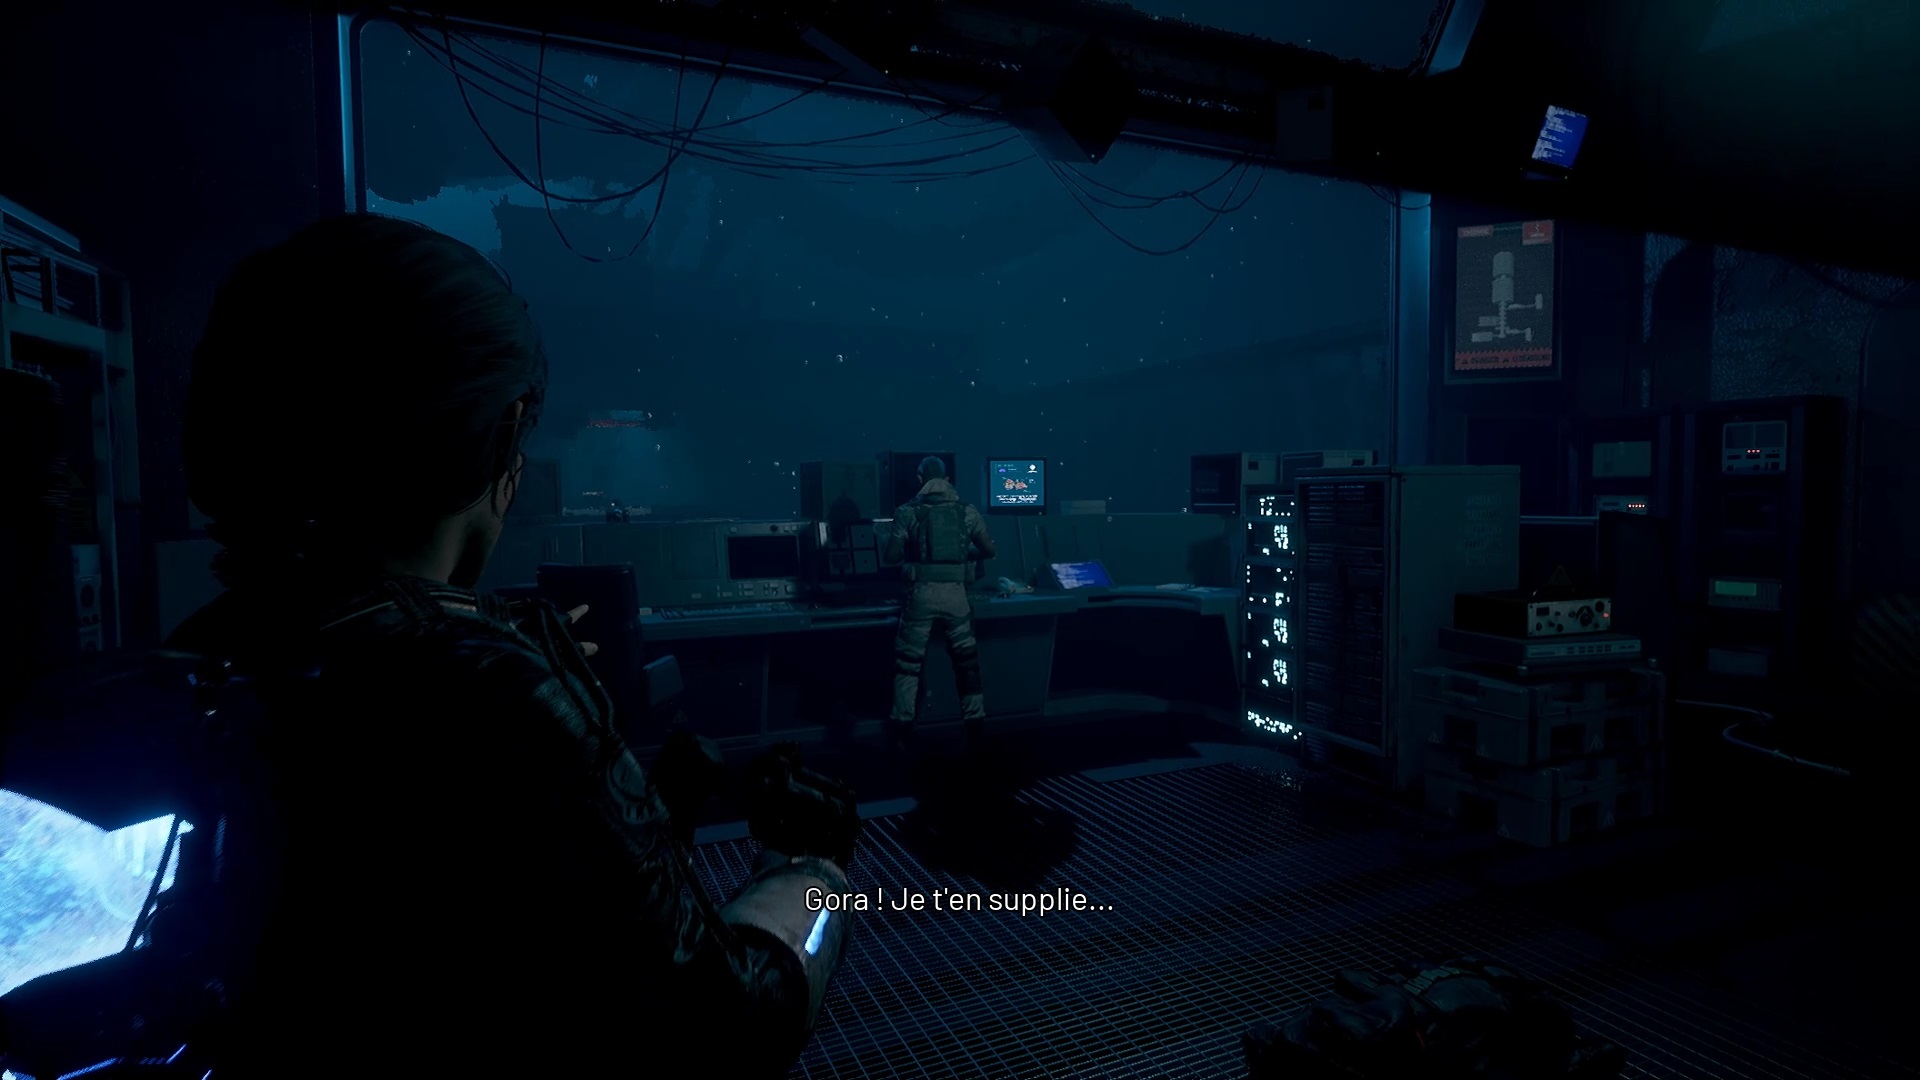
Then enter the cabin to scan a monitor and retrieve a CD player. Go through the double doors inside to reach the previous room. Examine the CD player for an access code CD. Use the CD on the console to receive a call from Gora. Retrace your steps to take the train and this time take the train towards the residences. Beware of enemies will try to block your way.
Neighborhood Housing

In the residential area, move towards the red screens to find access. Go down the street and scan the stamp dispenser to get a bonus document. Eliminate the threats in the street and climb the ladder at the back to pass a door. Strange, a loadout triggers after going through the door.
Well, there’s an air of deja vu. Go around the floor to find a maintenance door. Go down the ladder to reach the bottom floor. Eliminate the threats and use the stairs to reach the ground floor. Search the counter near the save station for a master key. When you are ready try to reach the exit to start a fight.
Lots of enemies ambushing you. Take some distance for better readability and destroy them. You can slow down their movements with freezing or shots. After the fight, use the master key to unlock the residence doors. You will find in the heart door a squared apartment key. It allows you to visit a room filled with easter-egg. One of the clover chambers has an upgrade for the shotgun.

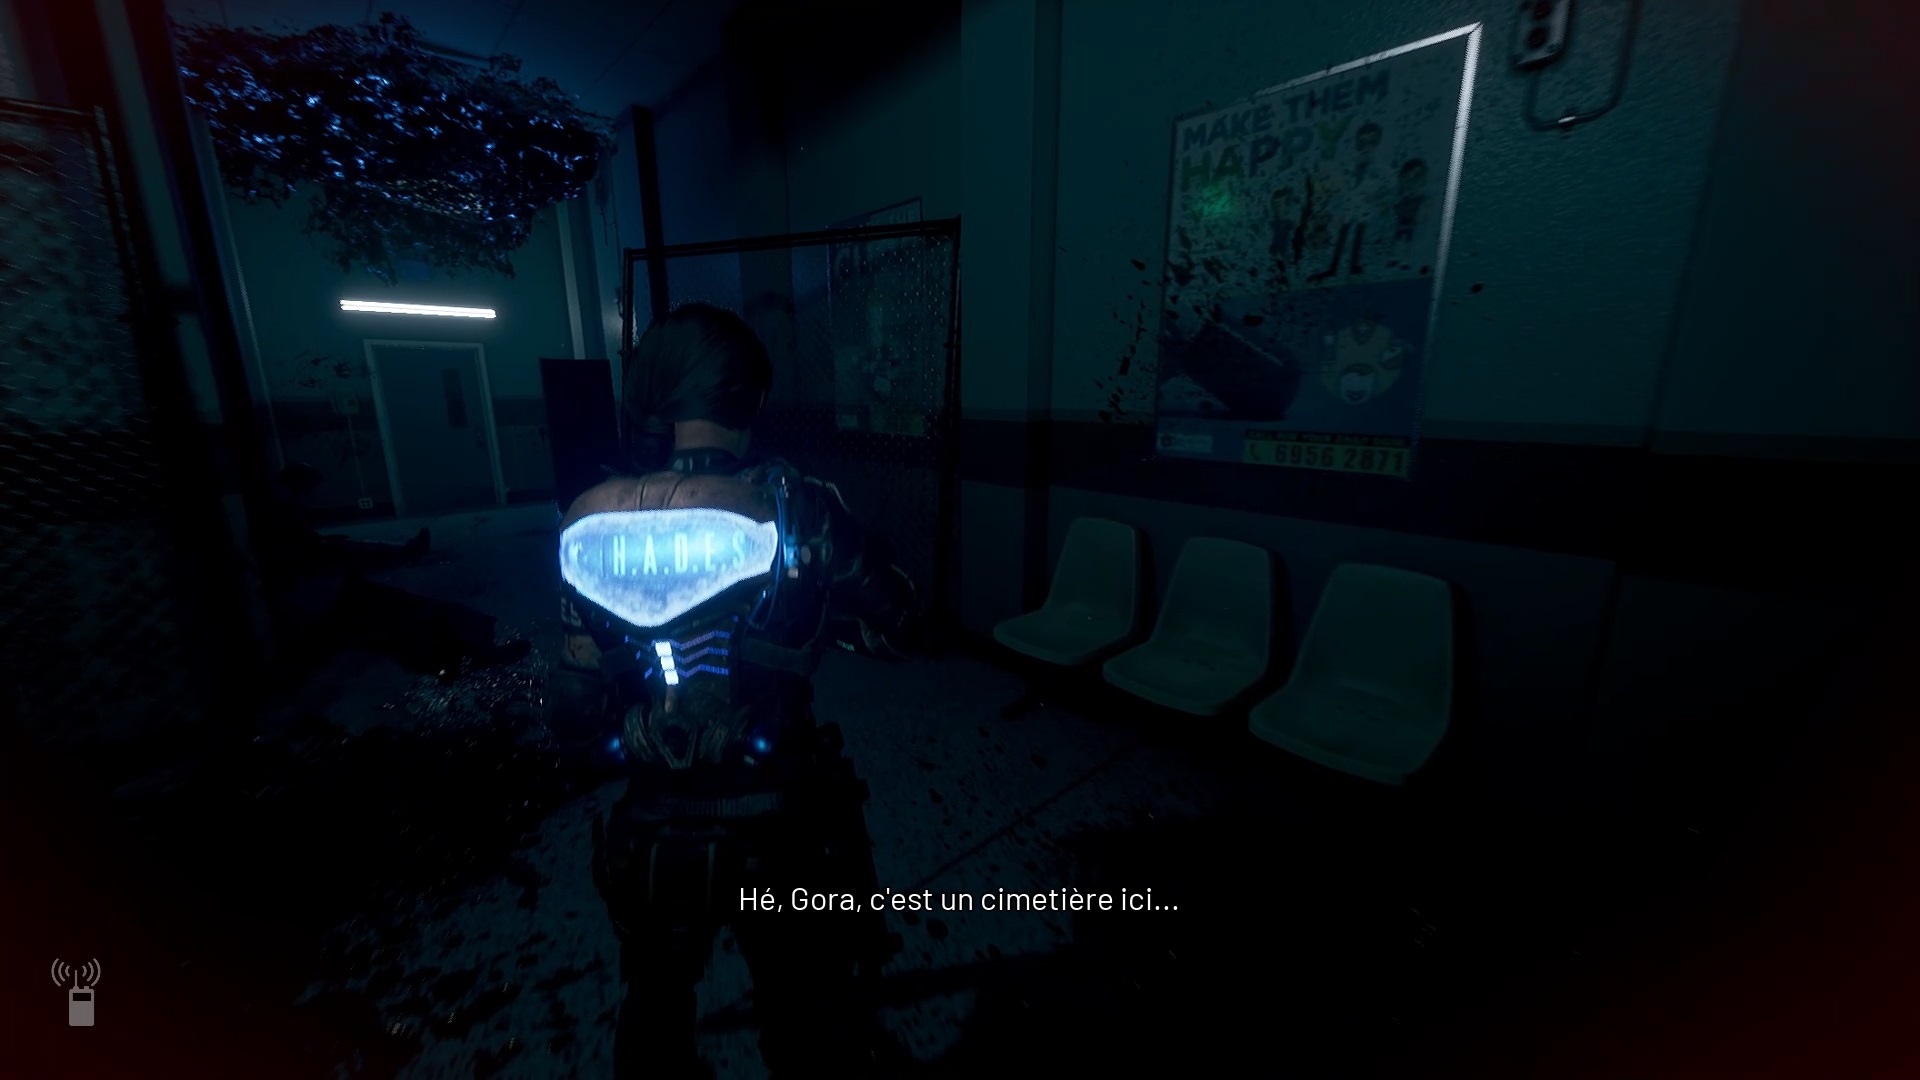
Once ready, go into the exit corridor to find a staircase in the dark. Go up and follow the street to reach a square. A fight breaks out. Eliminate the monsters to enter the school. Head deeper into the building to find Gora in the basement. Then follow Gora to trigger a new cutscene.

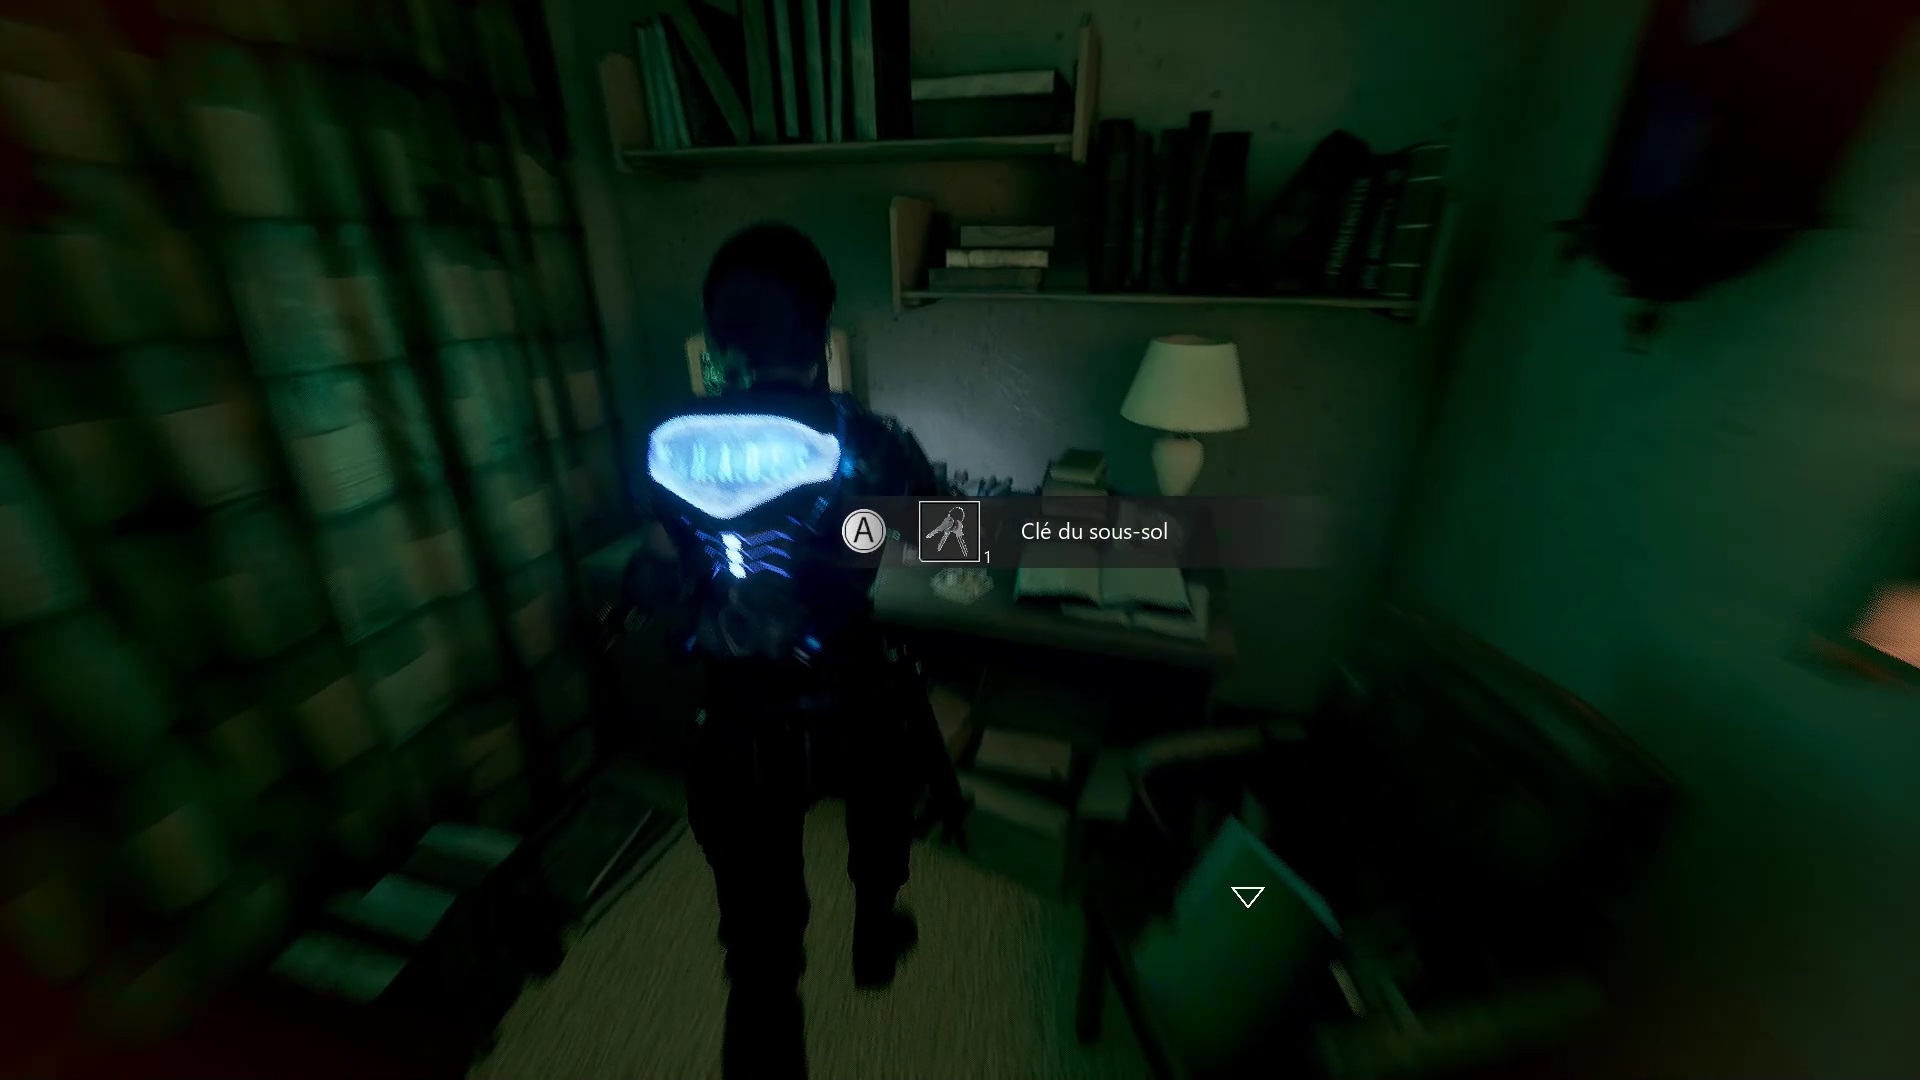
Then follow the new path to reach a construction site. Eliminate the monsters on your way to get back to the residential streets. Scan the screens to get a bonus document. Further on, enter a residence. Head upstairs to find the basement keys in the bedroom on a desk.
Then go into the kitchen to unlock the basement gate. Go underground to find an upgrade station and a train station. Climb into the control cabin on the left to scan the screens and obtain a bonus document. Get the technician’s note on the way.

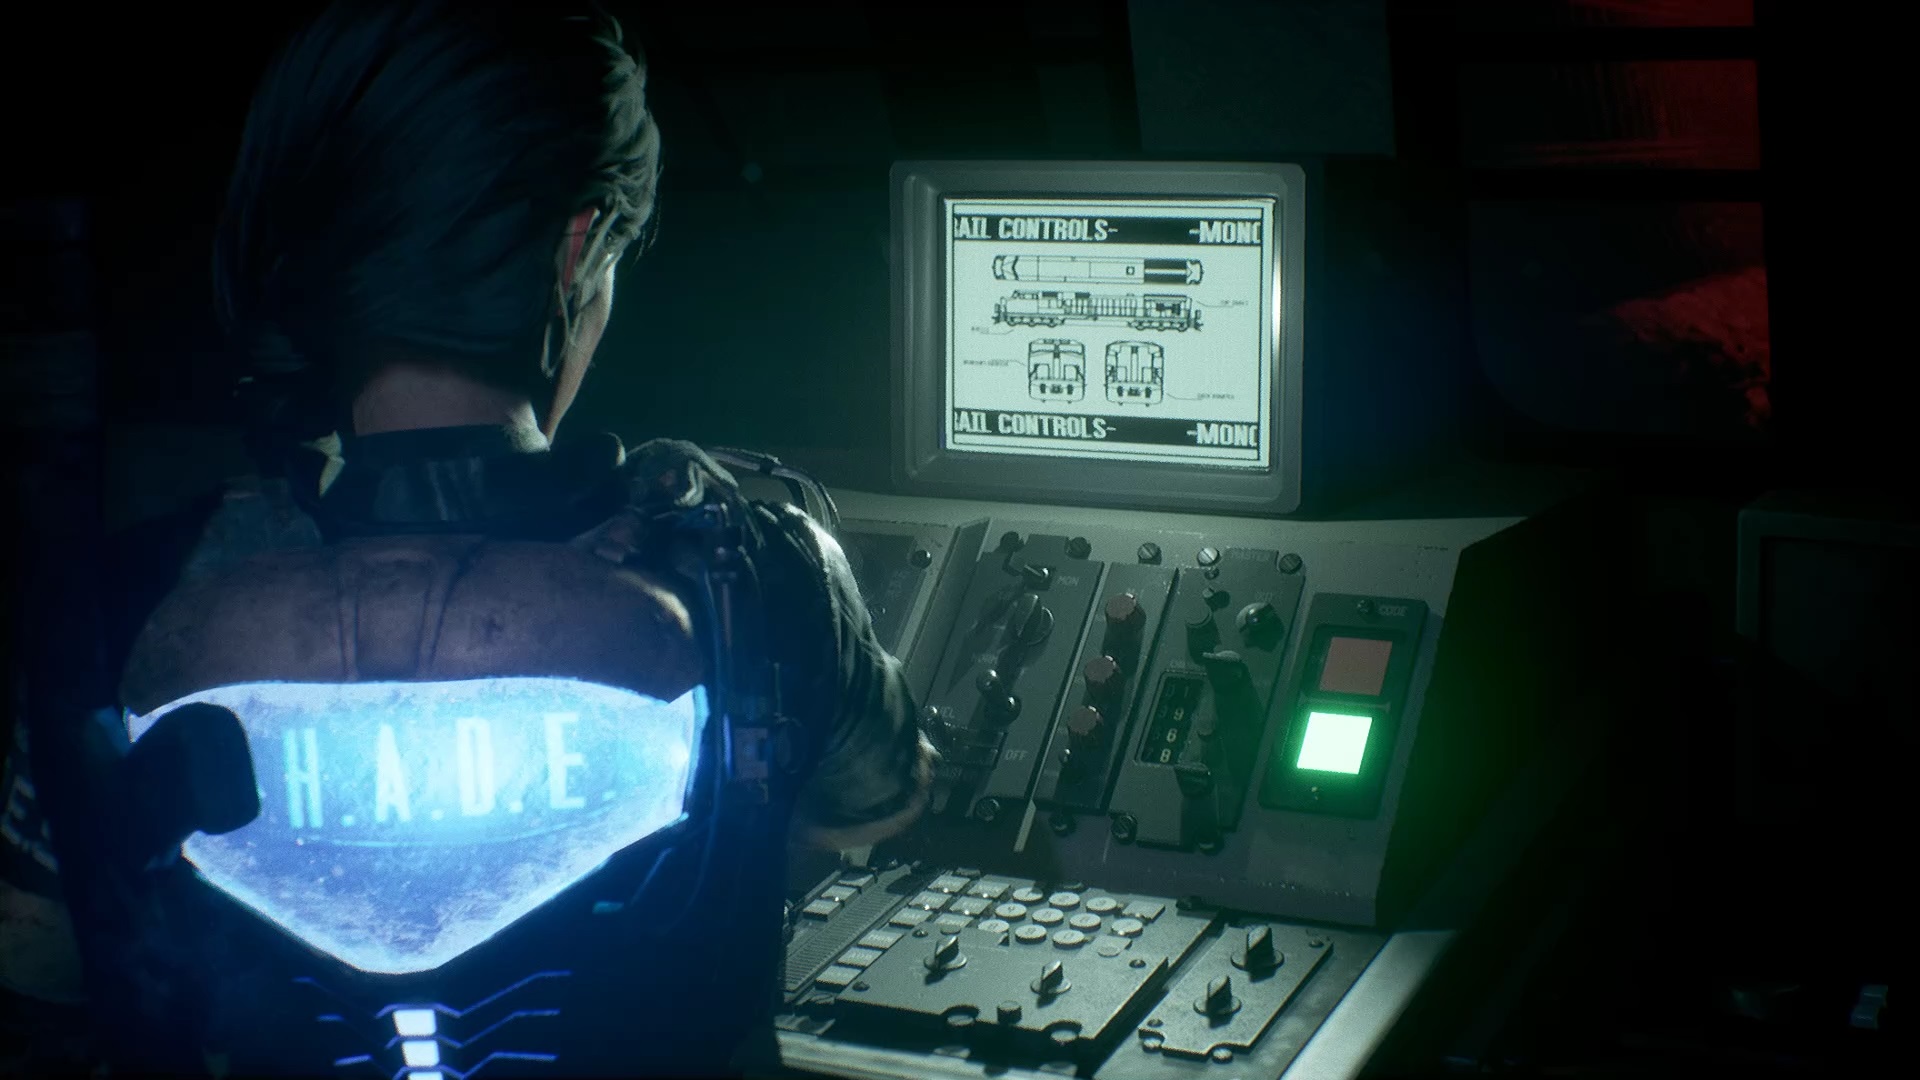
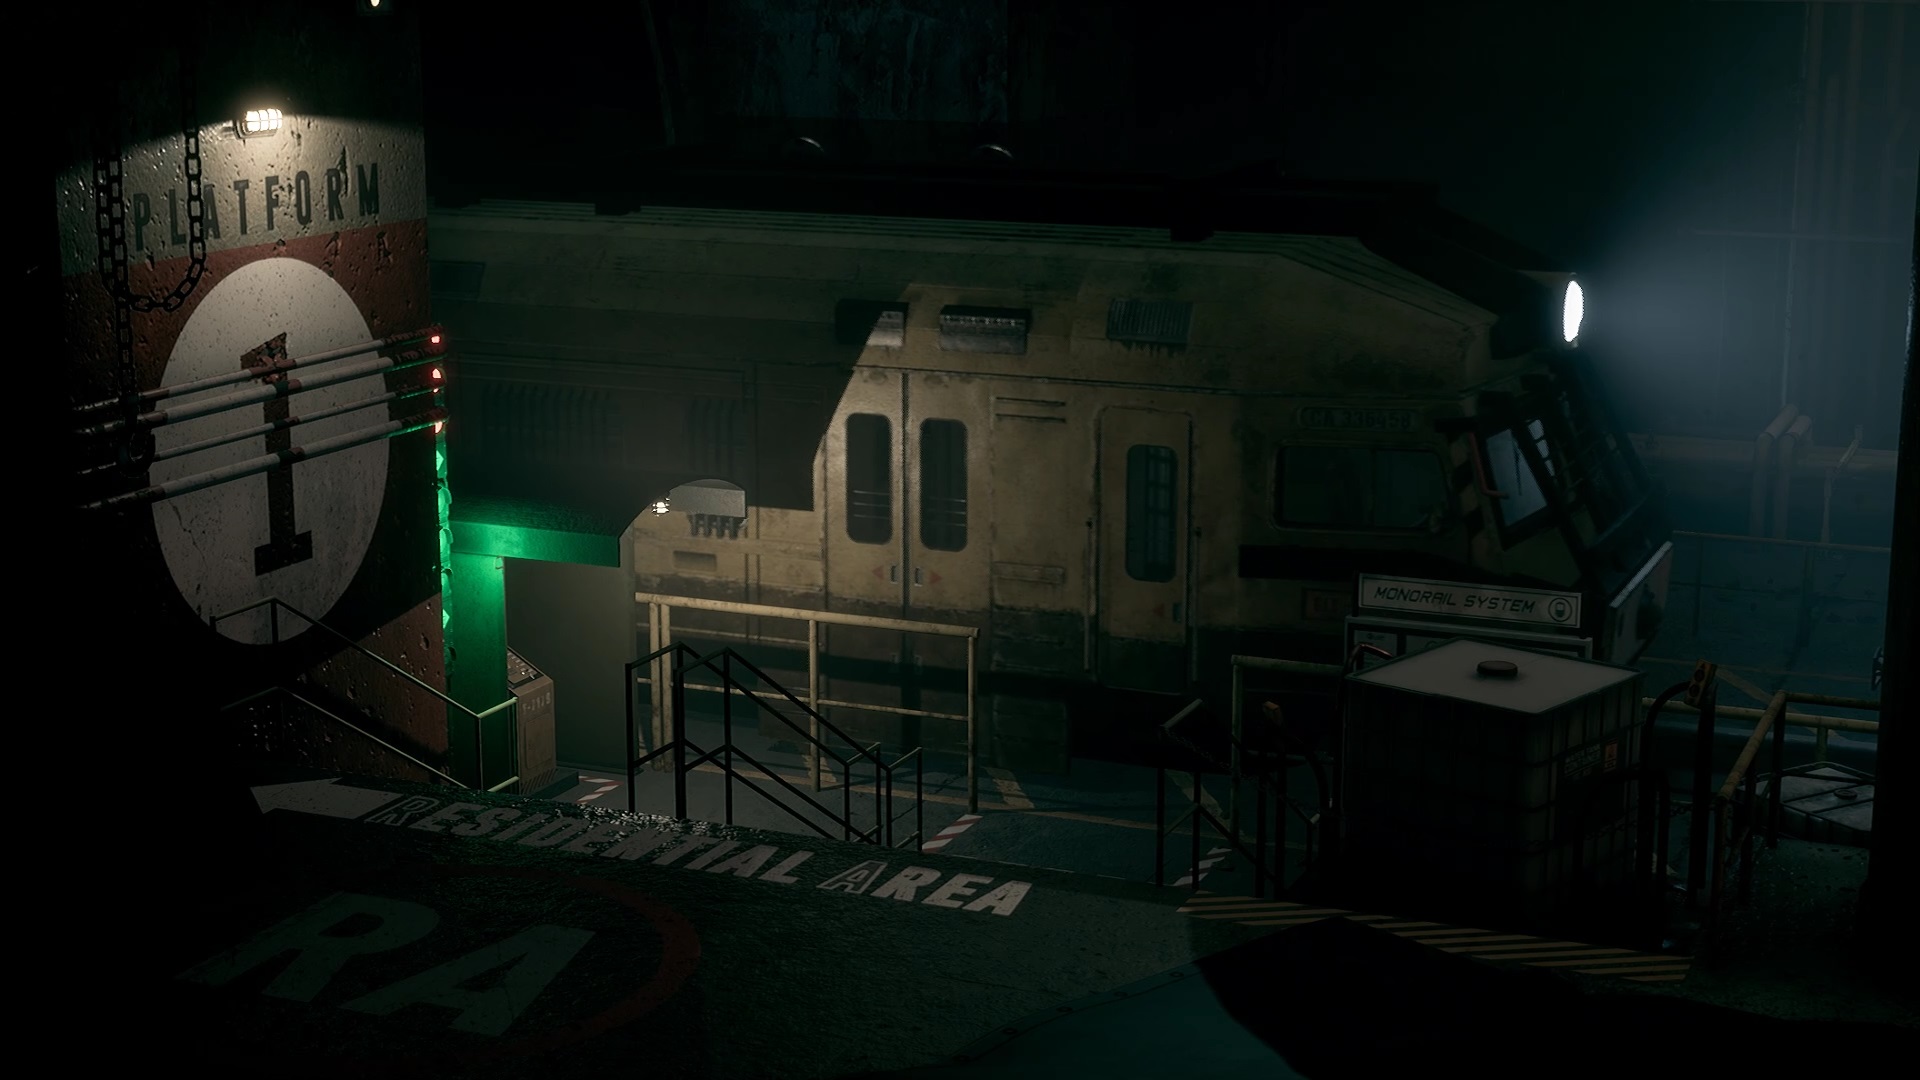
Go back down and then take the stairs to the basement. Continue through the hallways to reach a locker behind a red door. Use code 425 from the technician note. Still in the corridor, join the generator room. Examine the fuse box to discover the fuse. Place the fuse in the generator. Then go back to the train station to start a fight.
After the fight, climb into the cabin to remove the cables and board the train heading to the next level.
Stasis and elimination


Once you arrive in the laboratory, move forward to find an improvement station. Use the nearby scanner with the monitor to get a bonus document. Then go through the double doors to continue. Go through the corridors to reach a staircase. Behind the doors, scan the box near a body to get a second document. Then interact with the console near the window to extinguish the flames. Warning threats appear as soon as you press the button.
After eliminating the threats, go down the stairs and turn right to pass the gate that has just been unlocked. Other threats await you. After the fight go to the bottom to find an elevator. Once at the top, another fight begins. Then climb the stairs to reach offices. Scan the monitor for a new document. Enter the elevator once ready to finish the level.
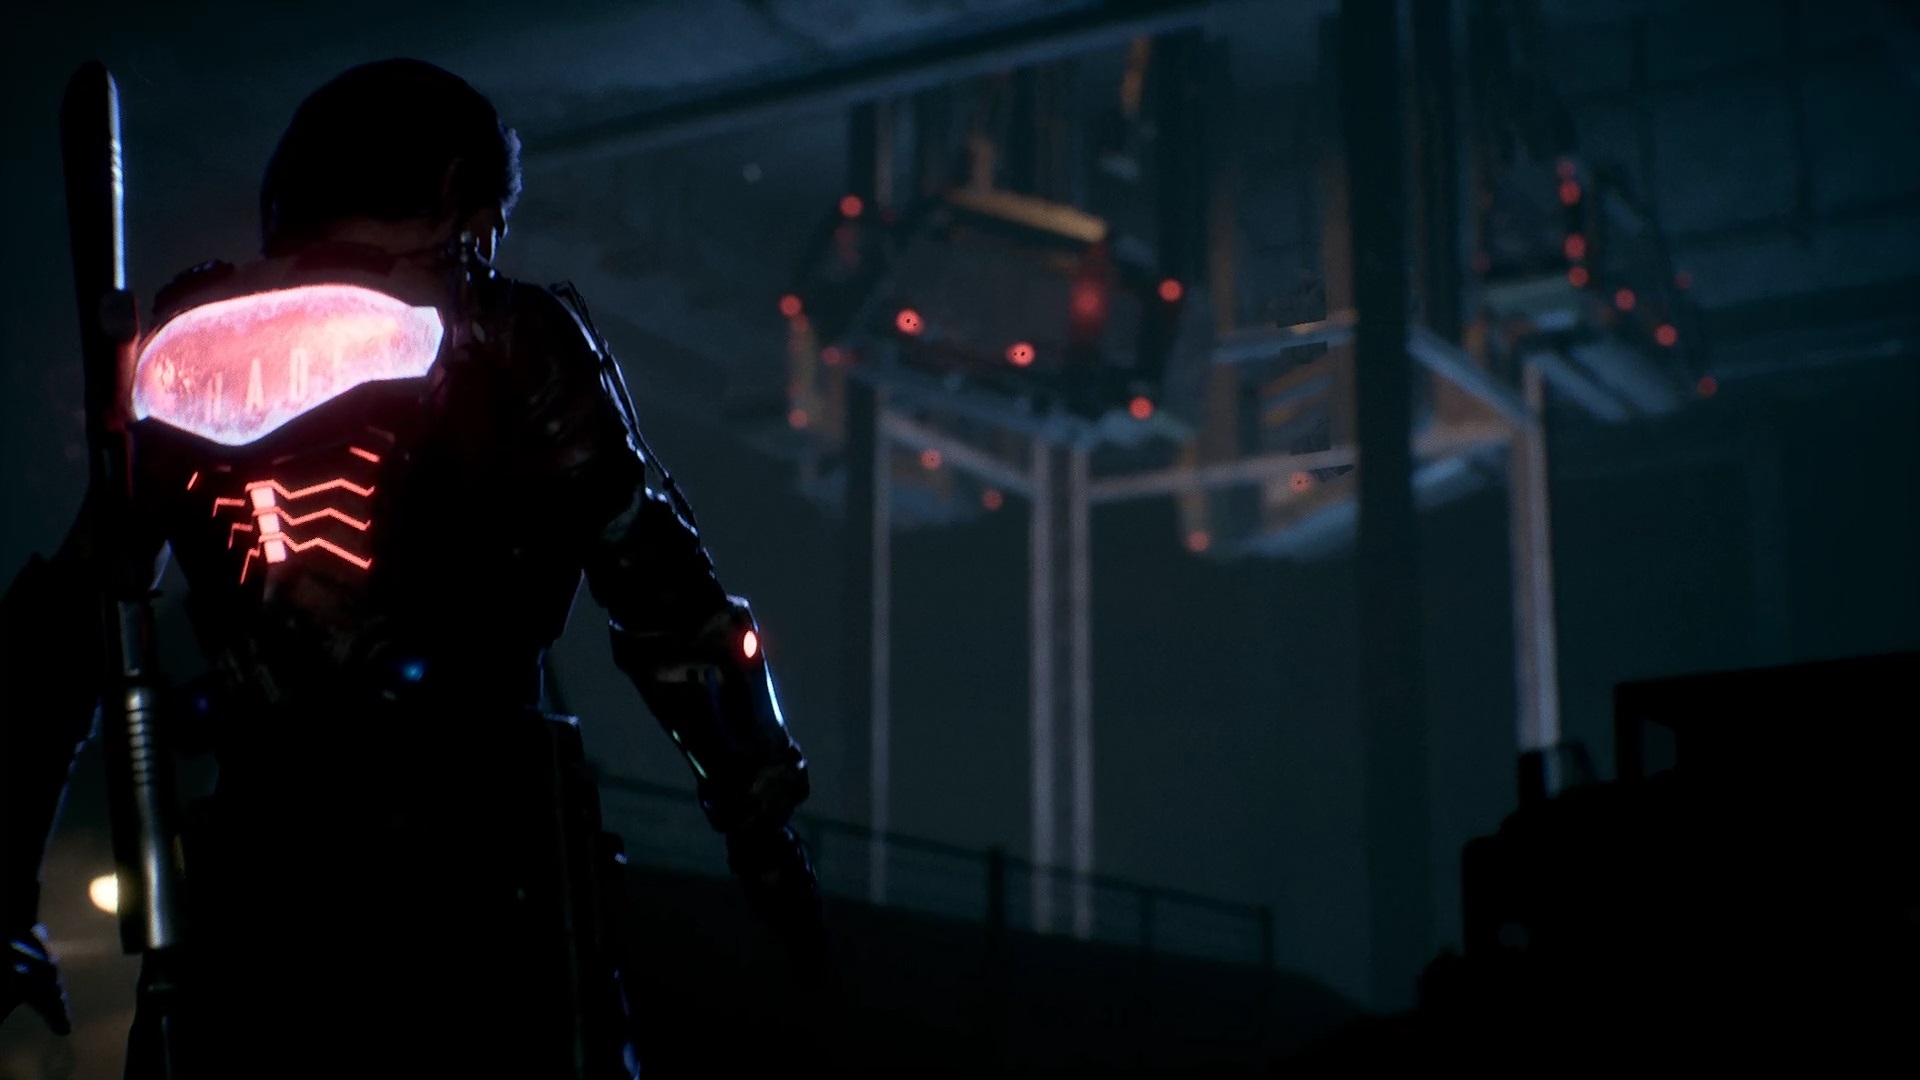
Castle
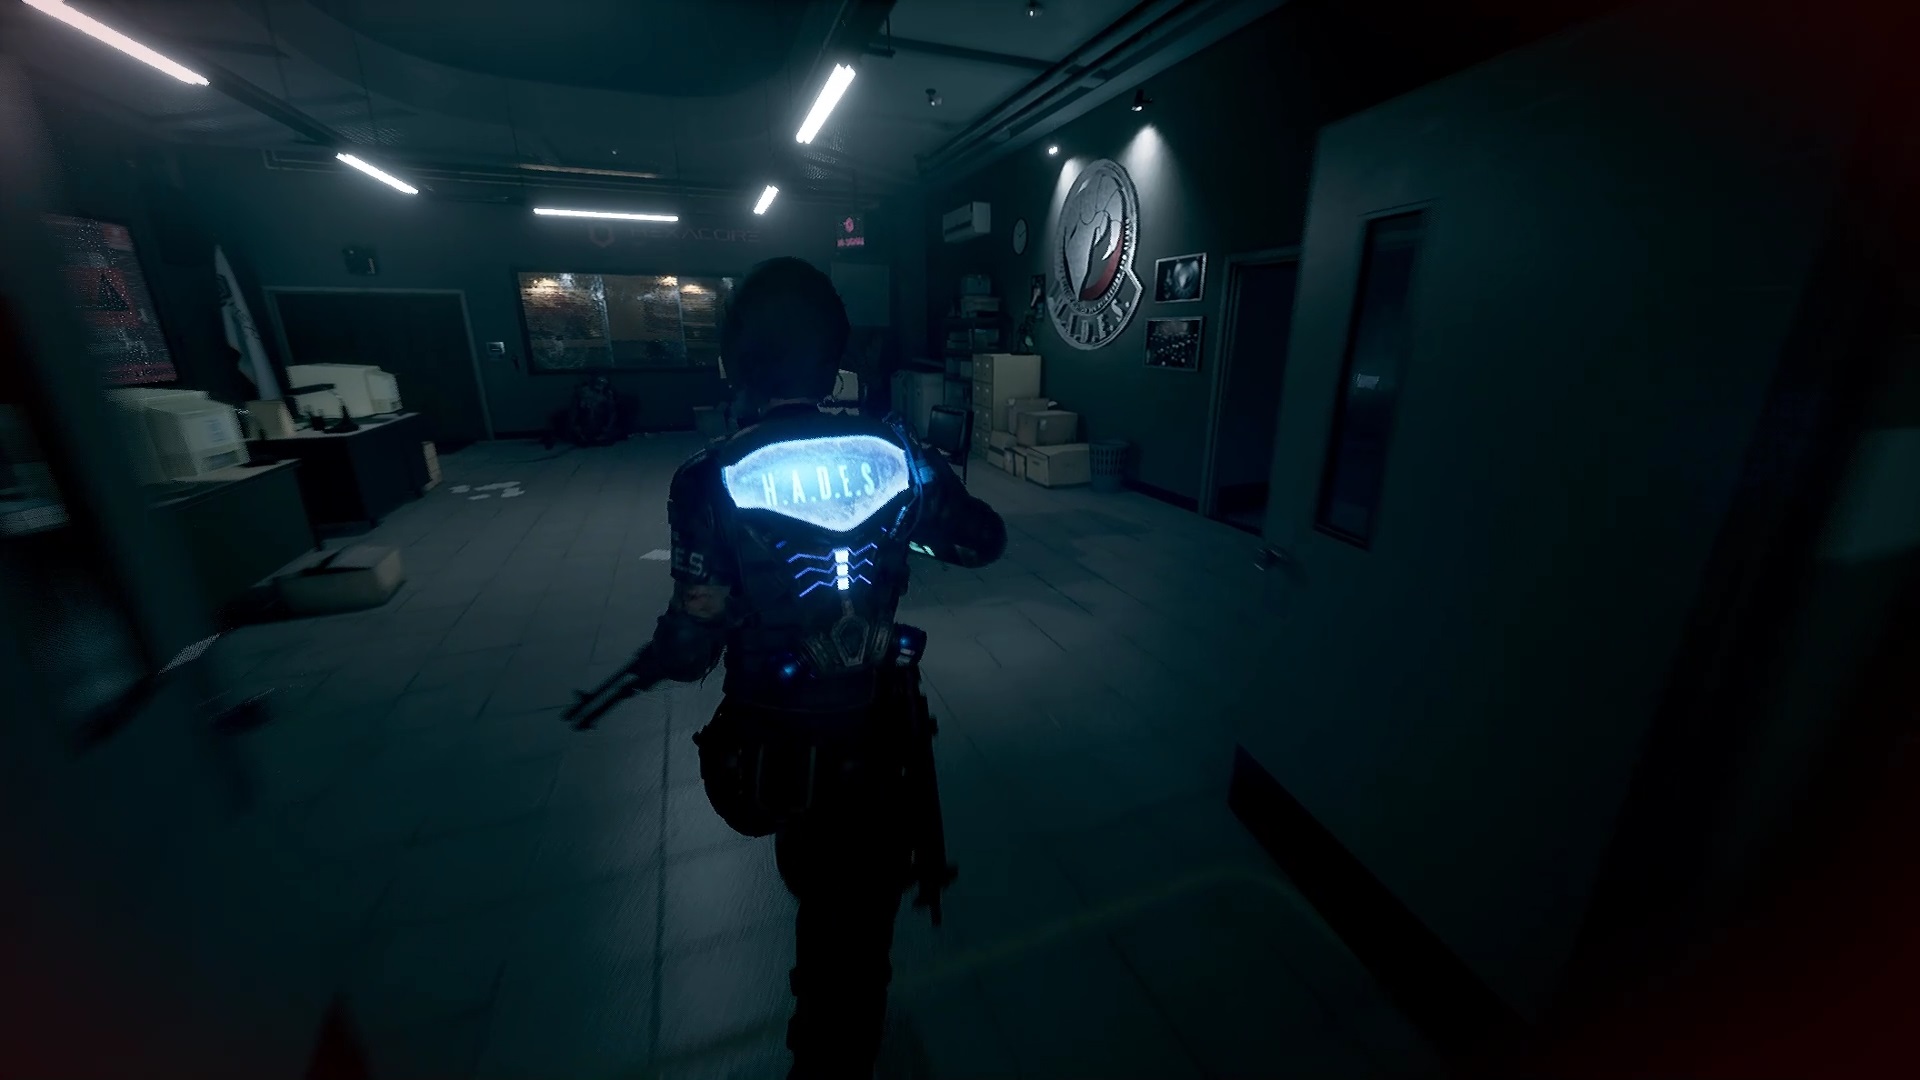
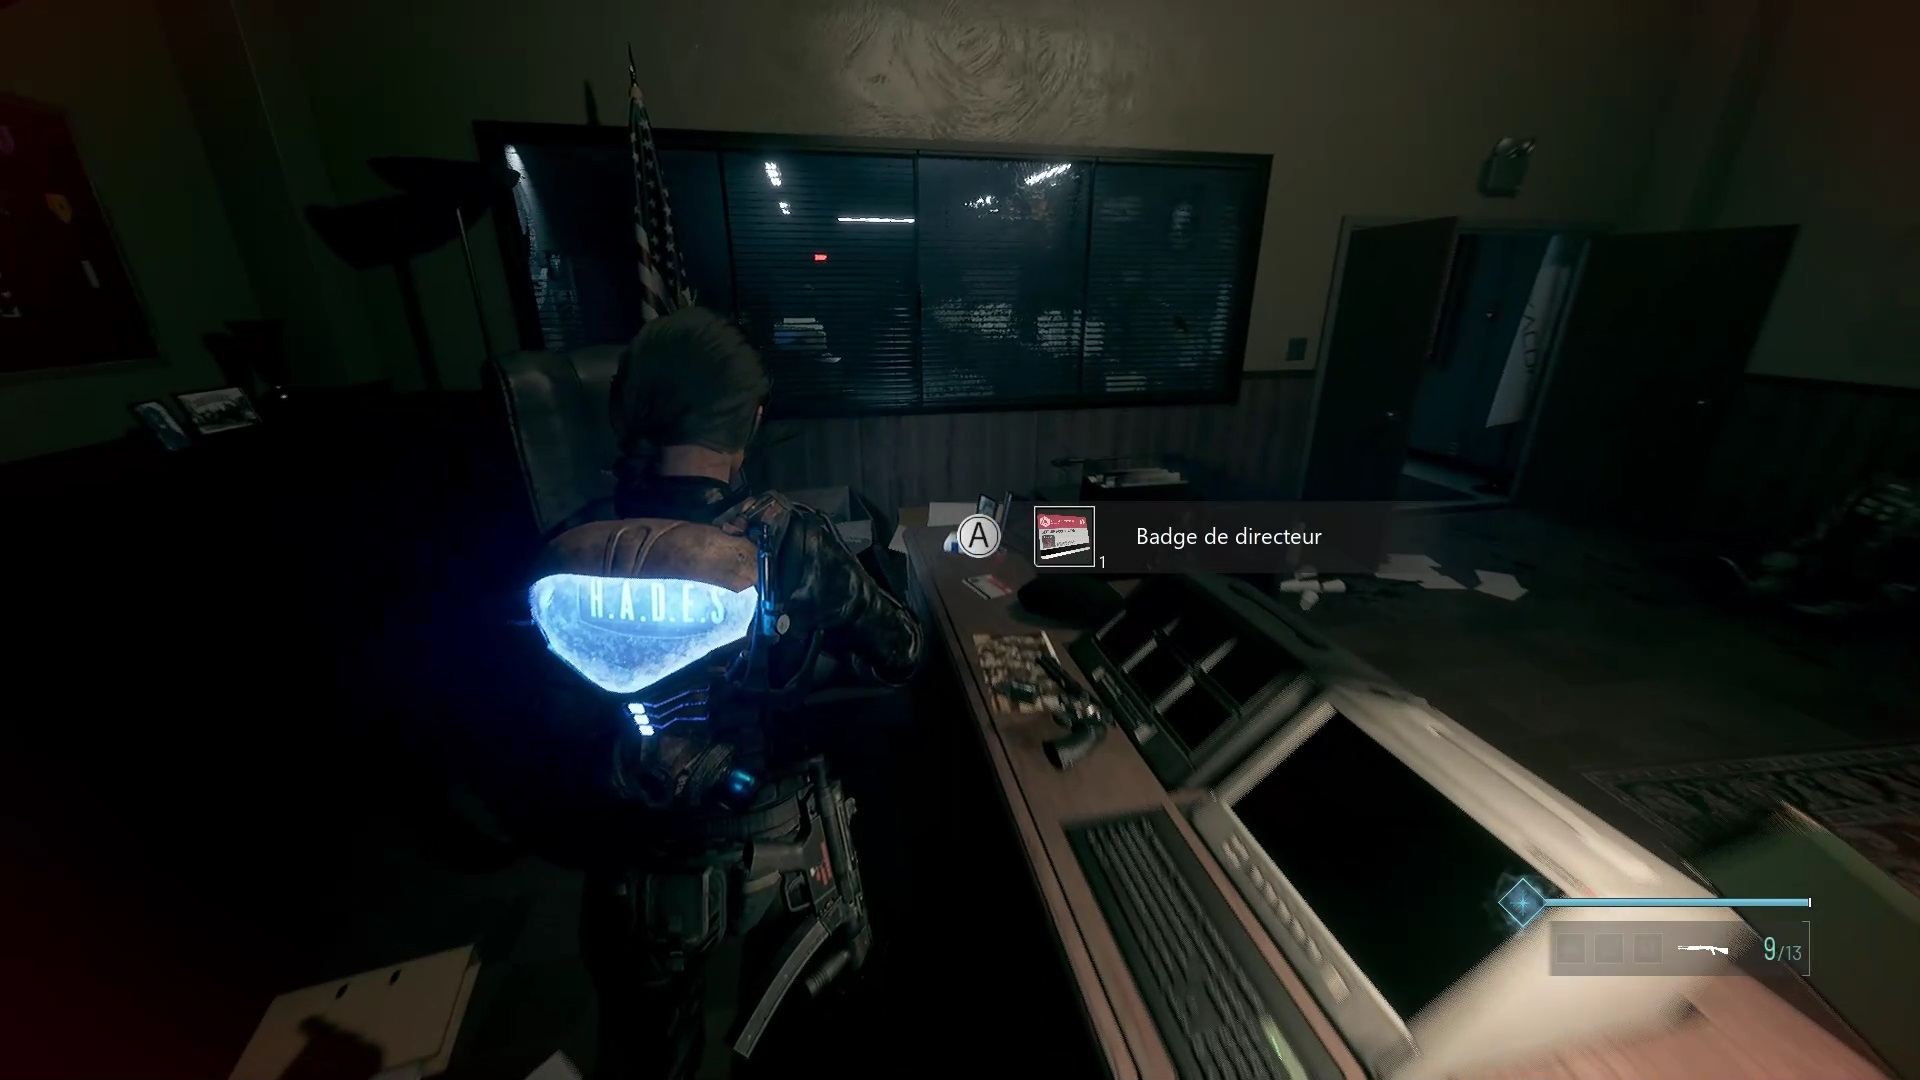
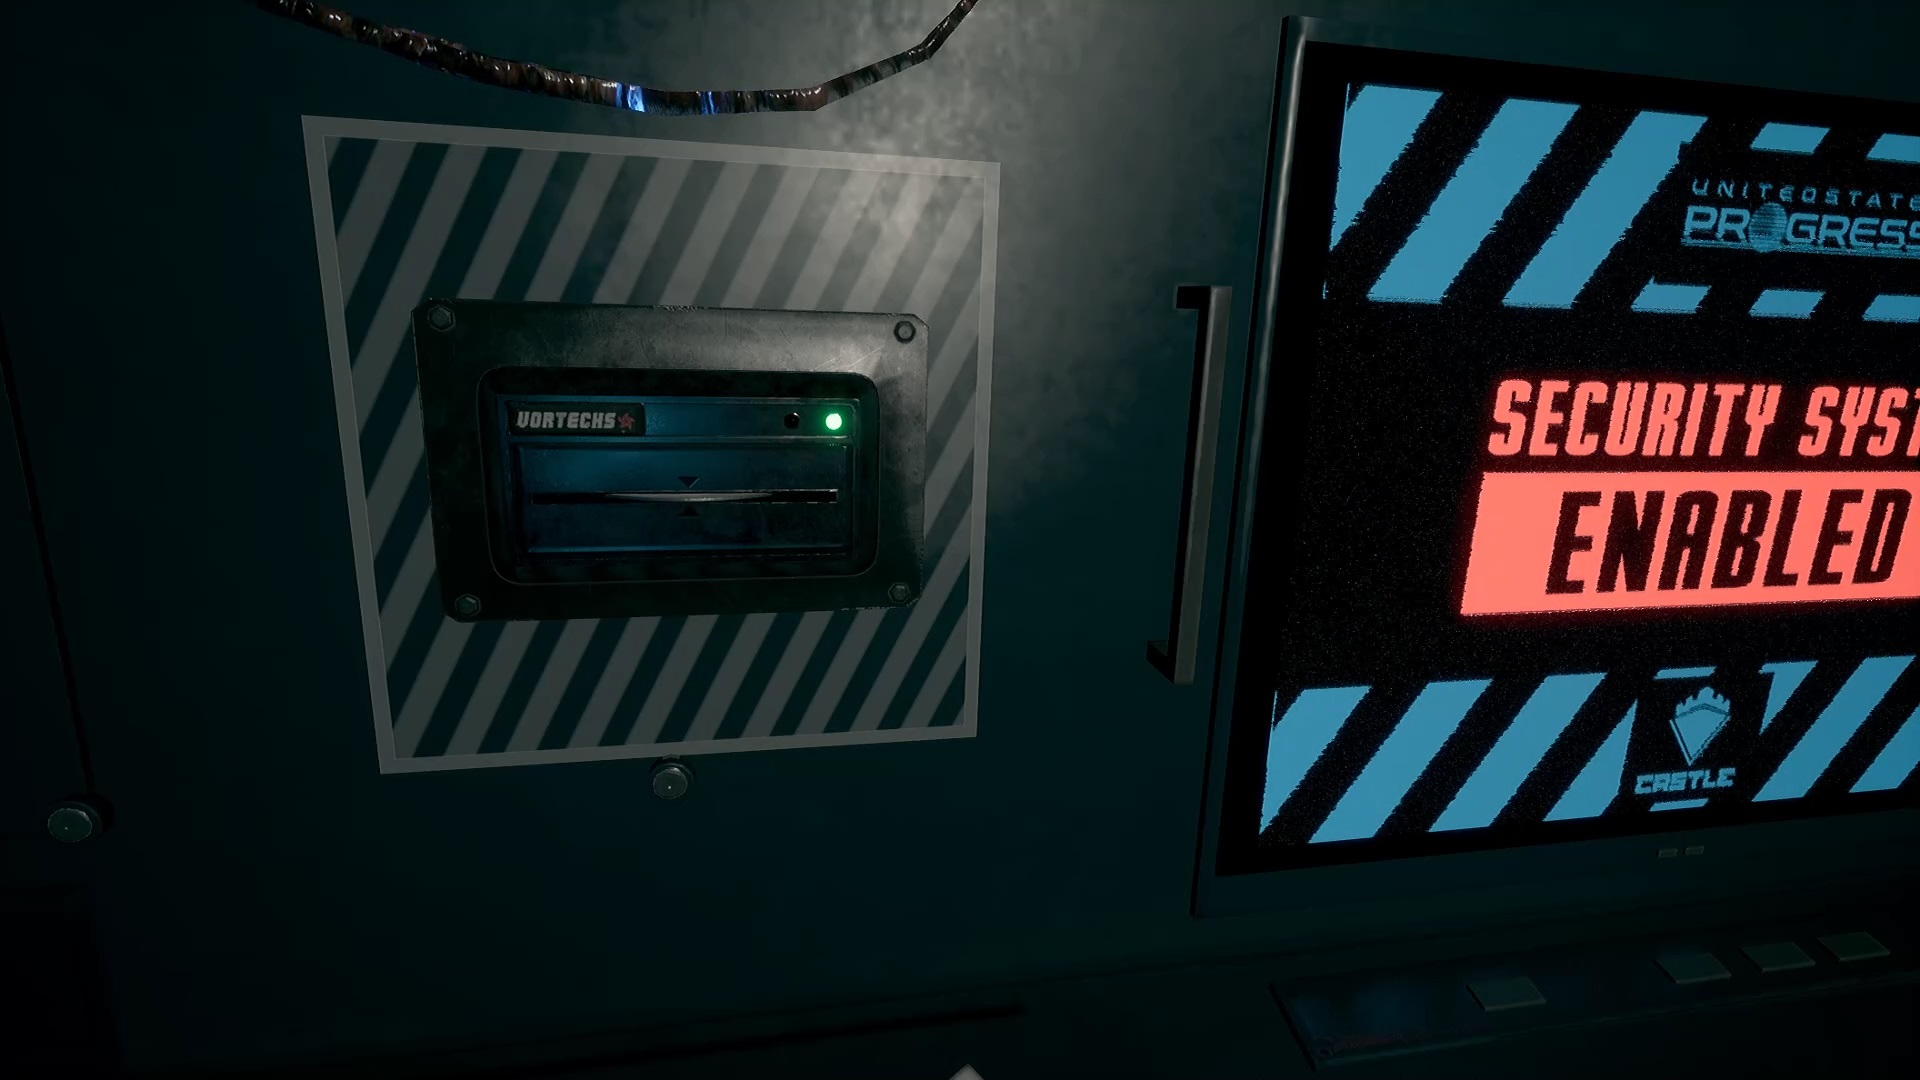
In the level, go down the hall to find an improvement station. Go ahead and pass the double doors opposite to find offices. Collect the documents from the desks and use the code against the bloody number pad. In our game, the code was 2244. Then take the director’s badge from the desk.
Retrace your steps and use the badge against the locked door near the upgrade station. Proceed to the save station and follow the blood trail. Eliminate the enemies and go down to the hangar. Scan the box near the submarine to collect a bonus document. Near the basin, if you try to operate a drainage console, it does not work. Move towards the hallway to start a fight.
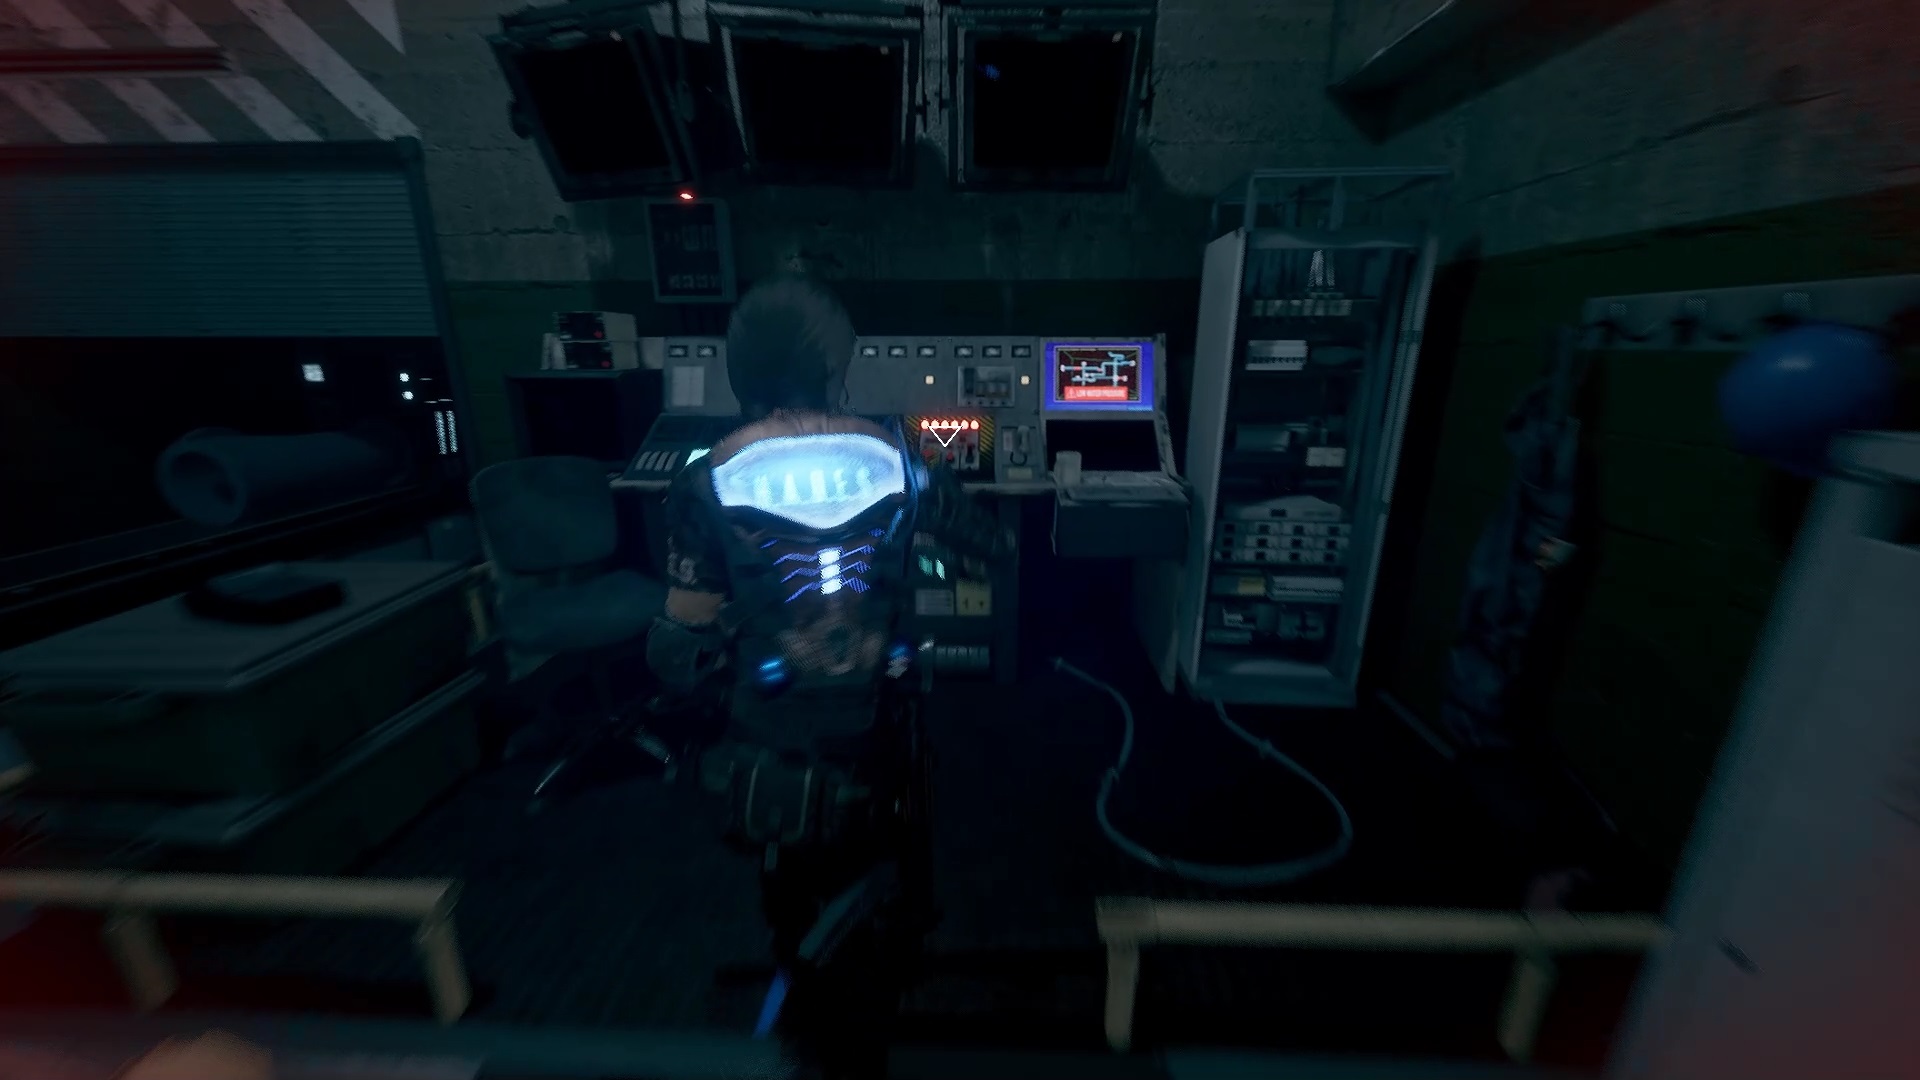
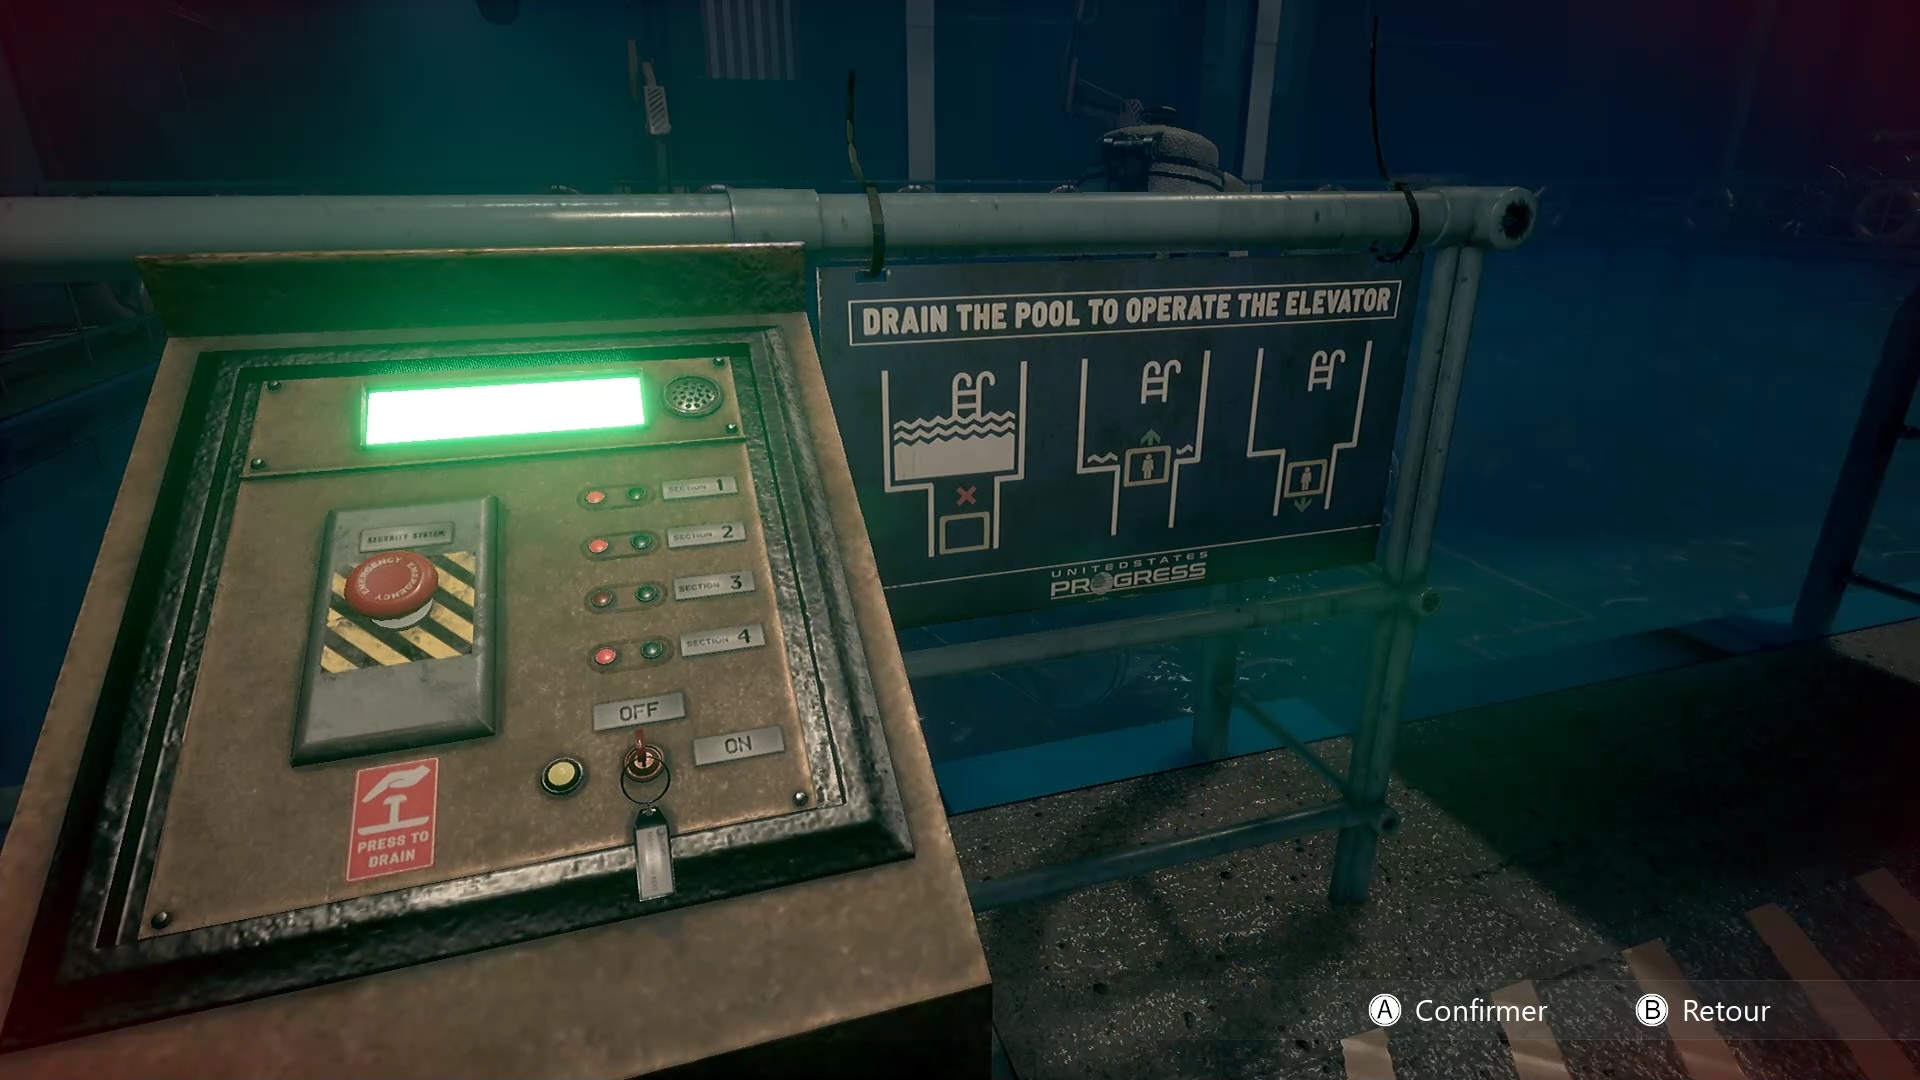
After the fight then go down the stairs. Use the control panel to squirt water. A puzzle is triggered. Your objective is to retrieve the right piece at the right time to repair the pipes in front of you. To stop the device, freeze the pump located below. Use the console near the carpet to retrieve the coin and place it. Once completed, go up above to drain the water from the pool.
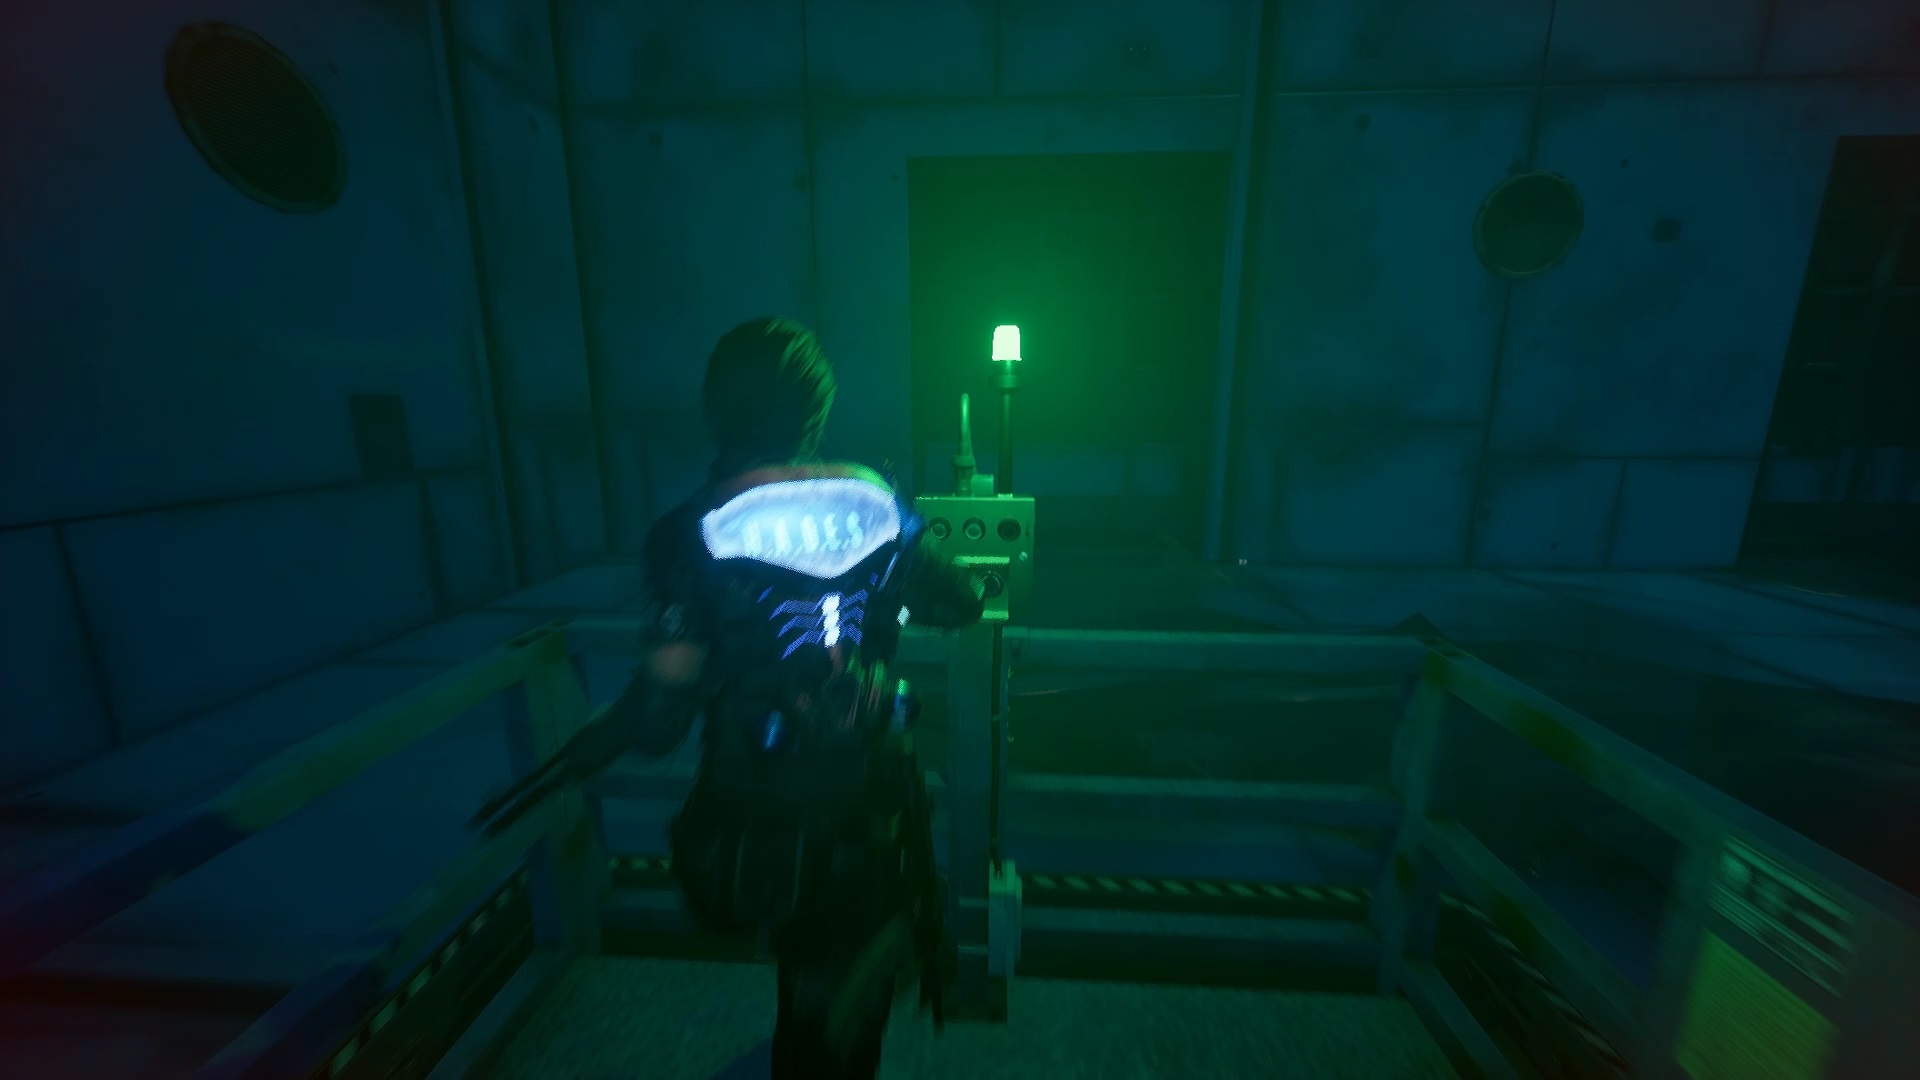
Take the elevator to reach tunnels in the dark. Go forward and turn then take a staircase on the left to avoid getting lost. Climb a ladder to reach the level above. Then follow the light near a body to reach the exit.
From this point, the adventure becomes linear. Recover the improvement in the station and just move towards an elevator. Continue through the tunnels to trigger a cutscene where you’ll have to shoot Gora to continue. Then run to the exit without worrying about threats to finish the level.
Evacuation area

On the other side, scan a box near a vehicle to get a bonus document. Then use your new weapon by holding down the key to break the locks. In this area, your objective is to reach the elevators. Unfortunately, Helen stops you. Don’t stay close to her and use your new weapon to keep her away. If you get hit it will move you to the periphery and you will have to start the path again. Unlock the locks to reach the elevator and finish the game. A post-credit scene awaits you just after.

Fan de jeux Nintendo, Xbox, PlayStation, PC et de l’univers gaming
Je vous partage ma passion à travers mes articles sur les nouveautés jeux vidéo
Journaliste gameactuality.com