[Guide] Crow Country : Complete Walkthrough [EN]
Discover our complete guide to the Crow country walkthrough. Our solution will guide you through the entire game, with tips for solving puzzles and defeating enemies. Walk through our detailed step-by-step walkthrough with pictures to help you solve each puzzle.
Tip: Search all the rooms to collect all the necessary resources. Dodge all the enemies that come in your way. Save the heavy weapons for the bosses.
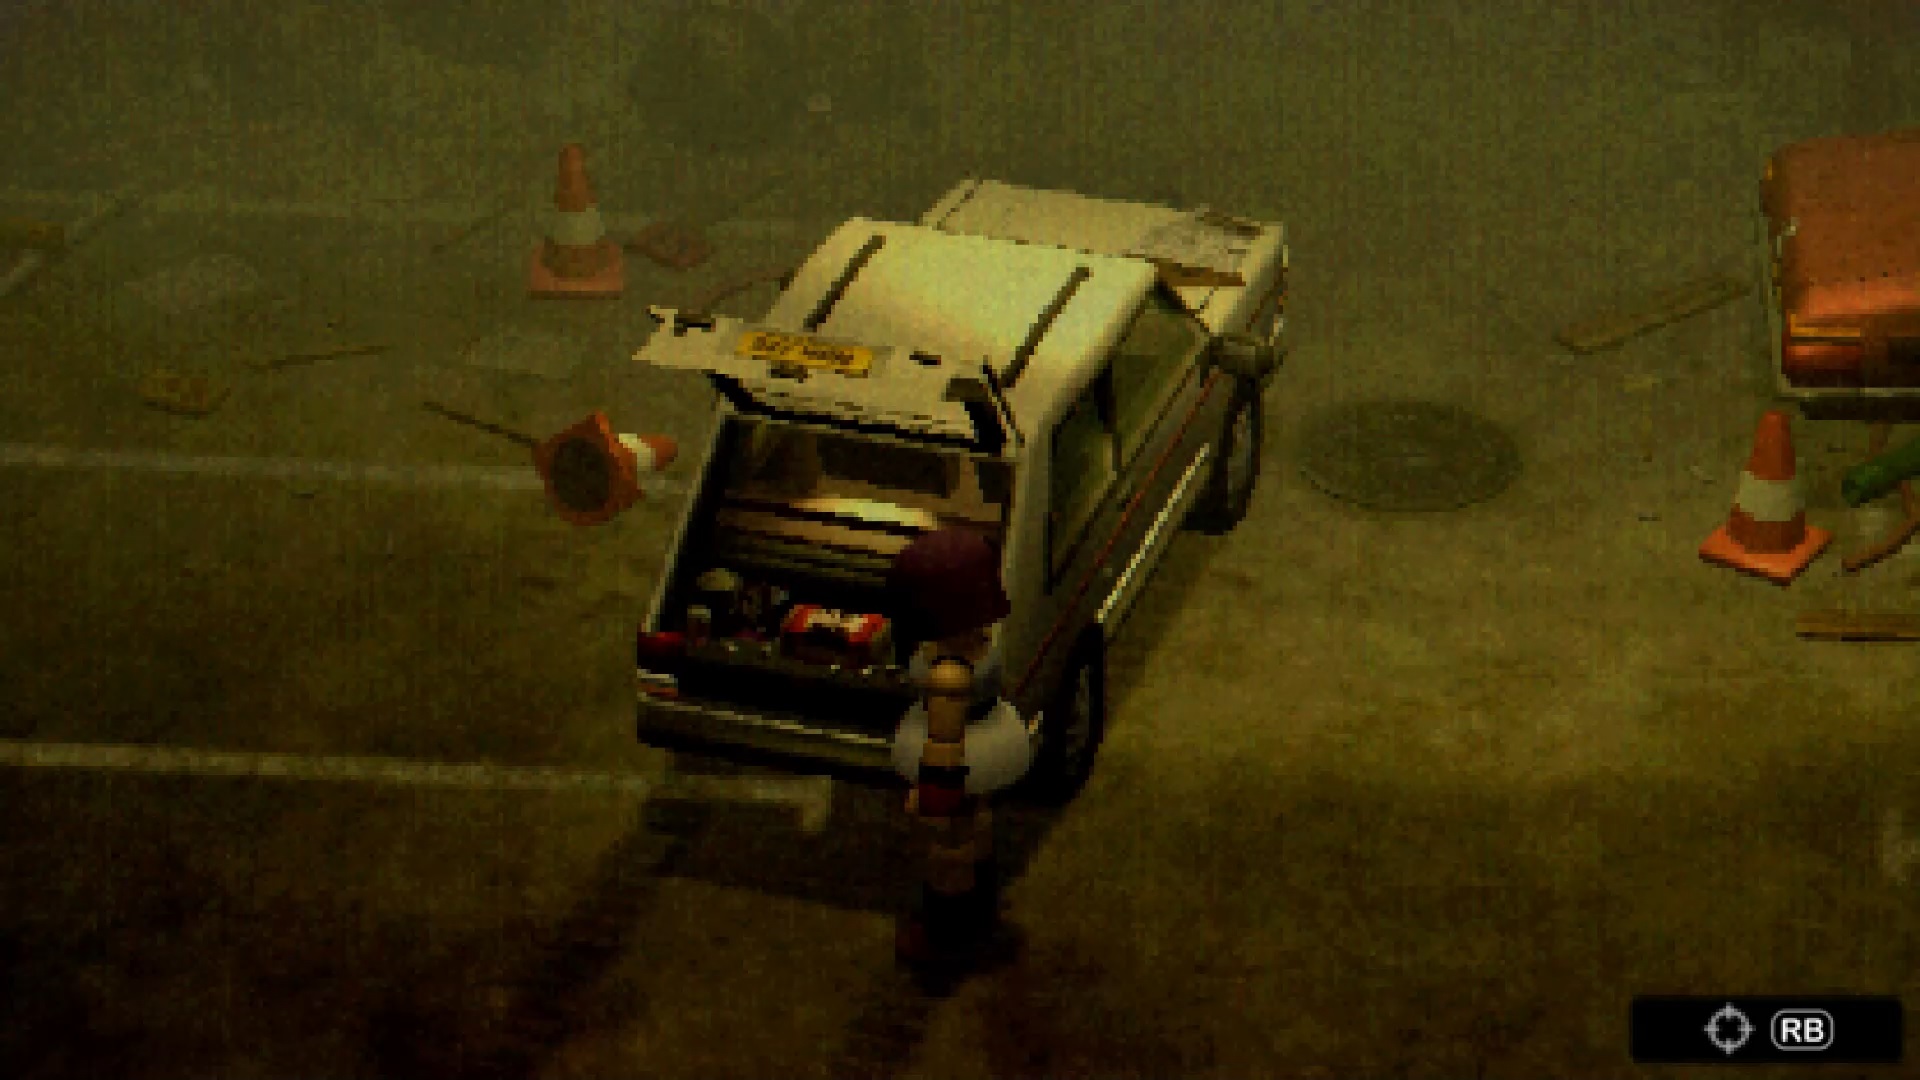
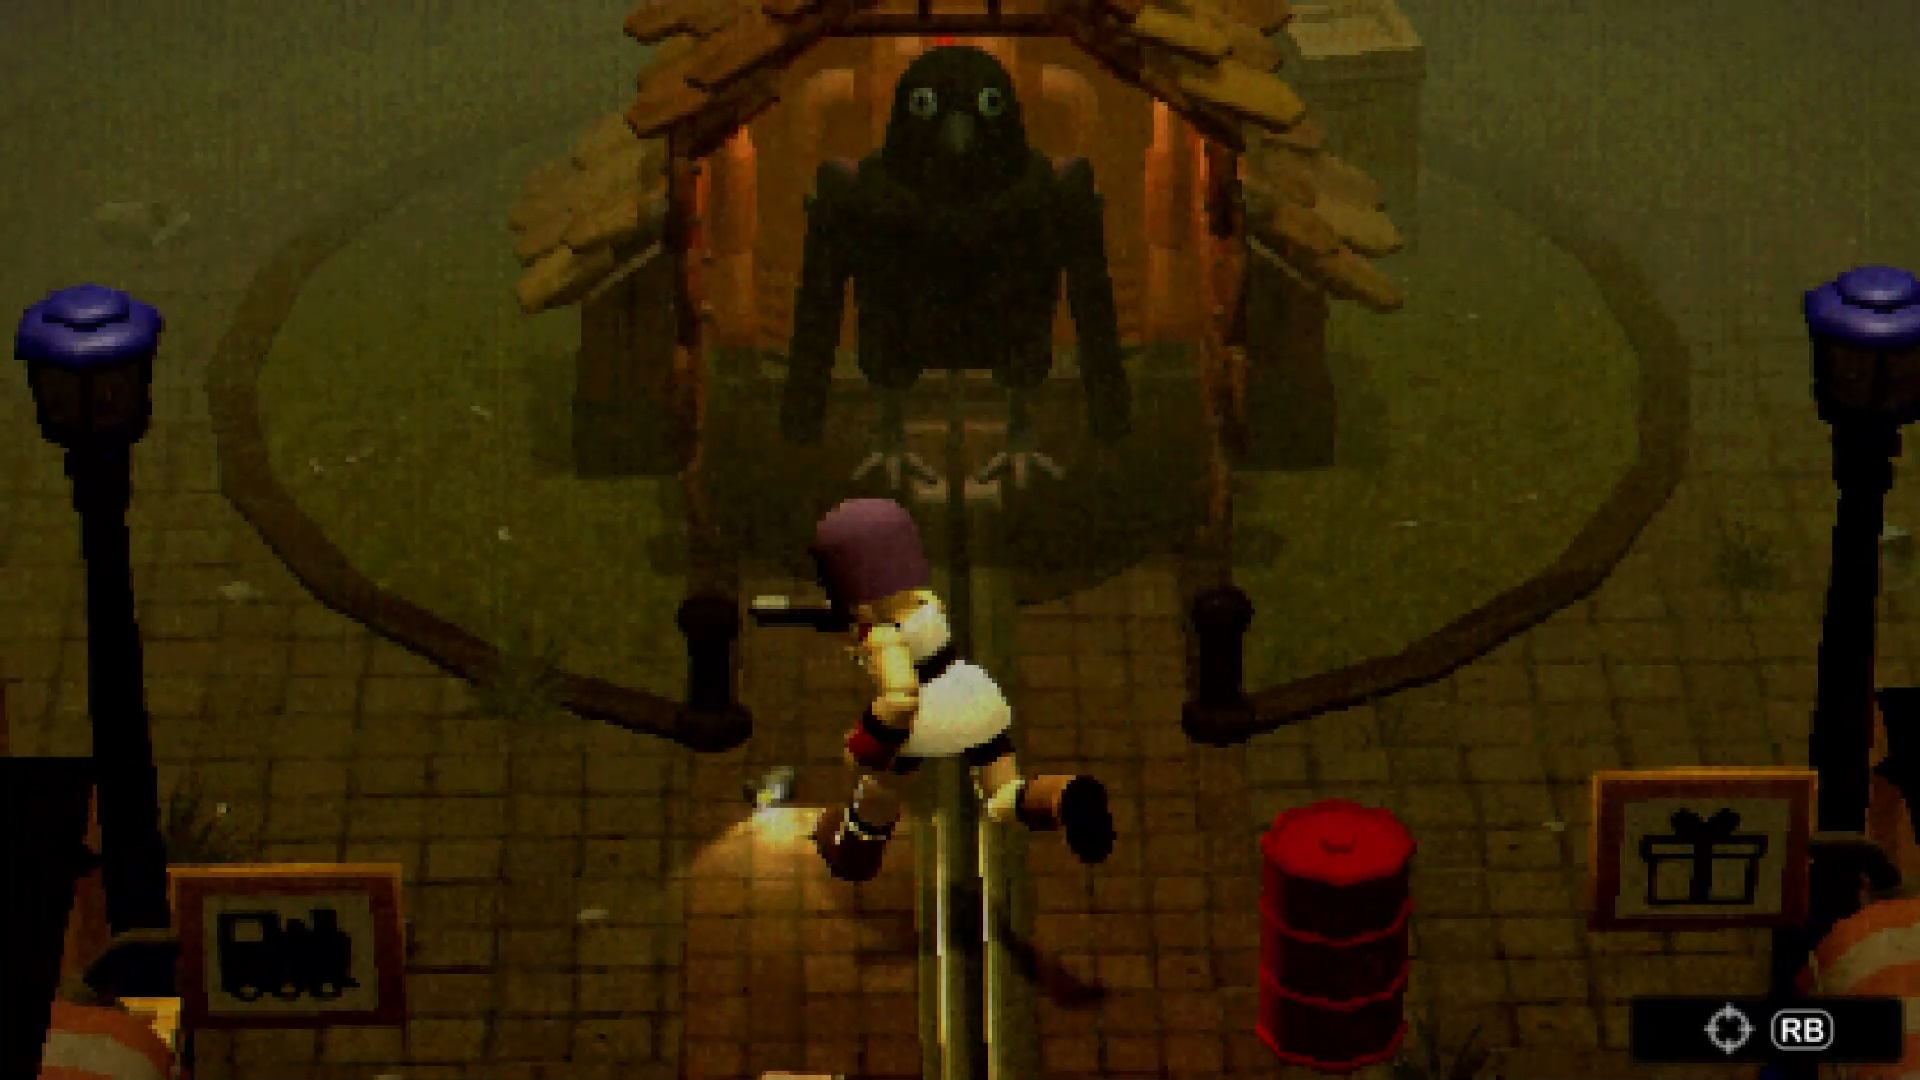
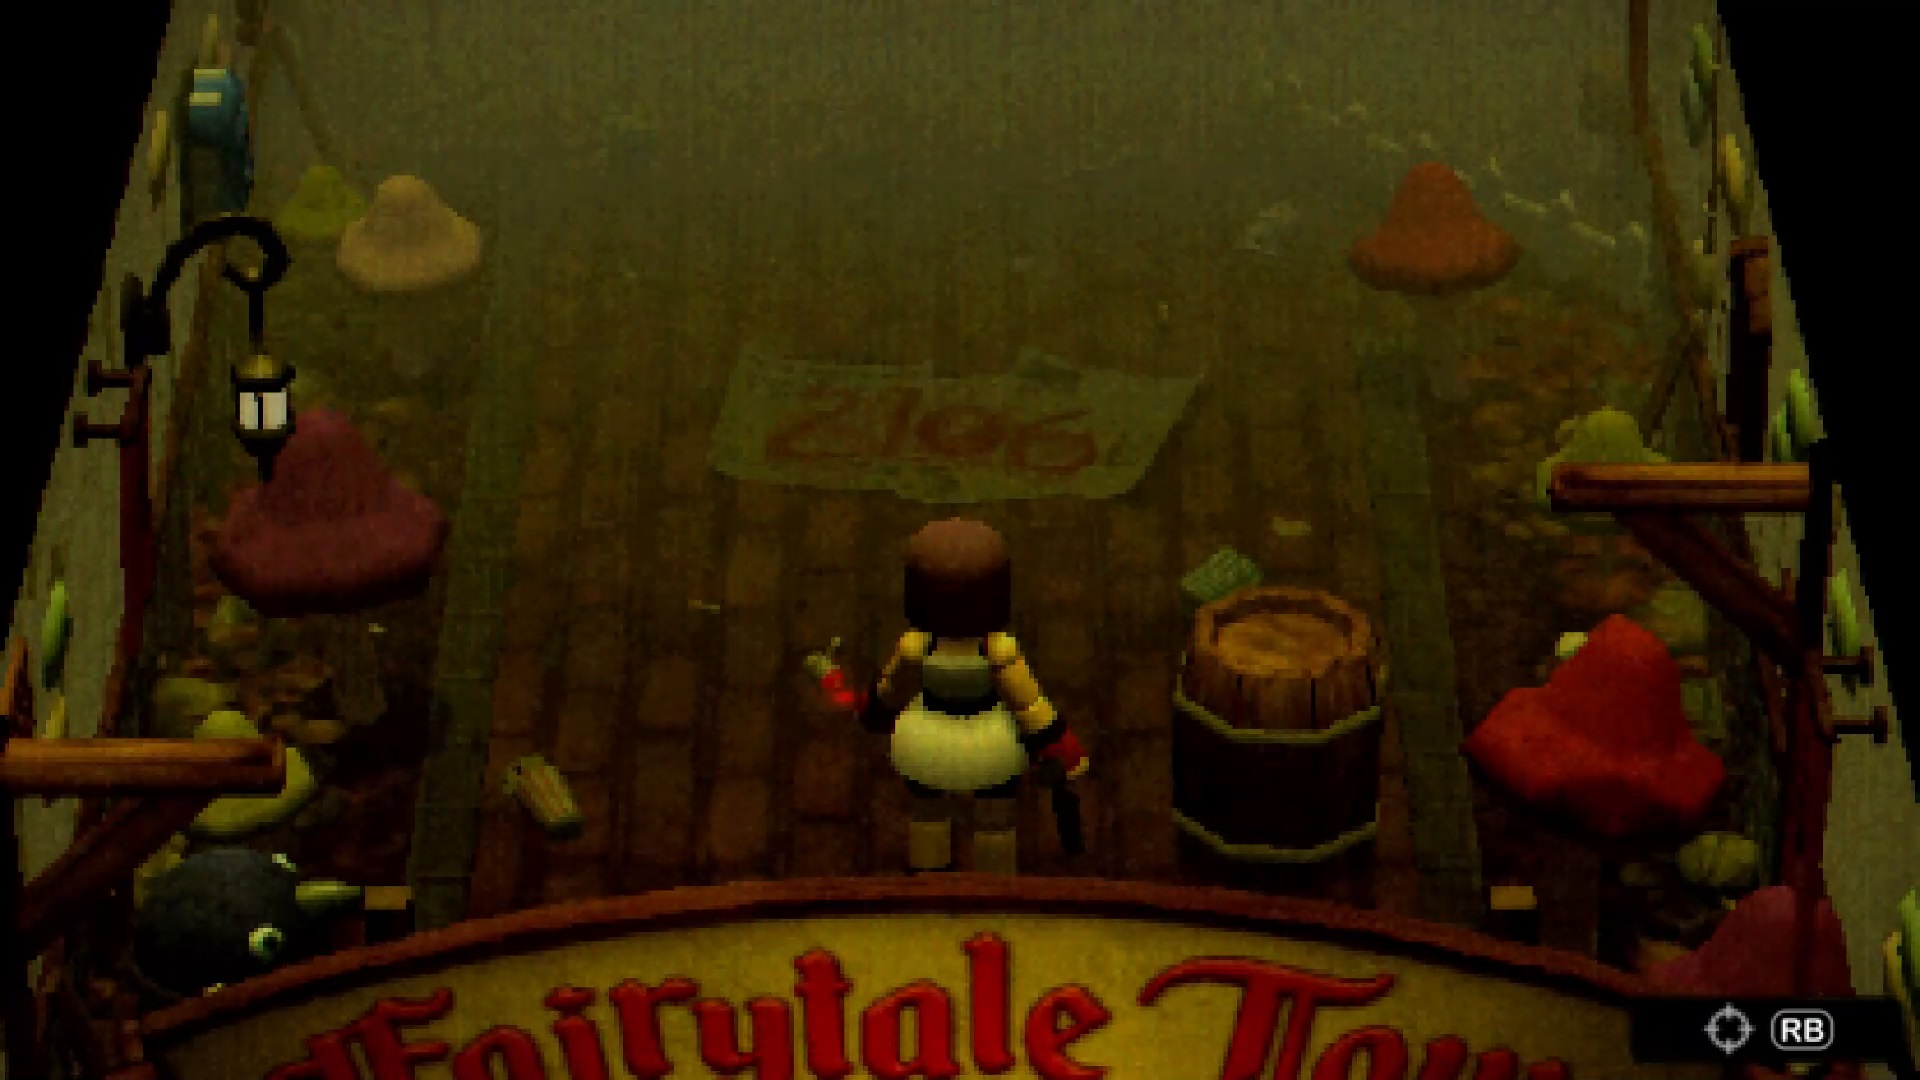
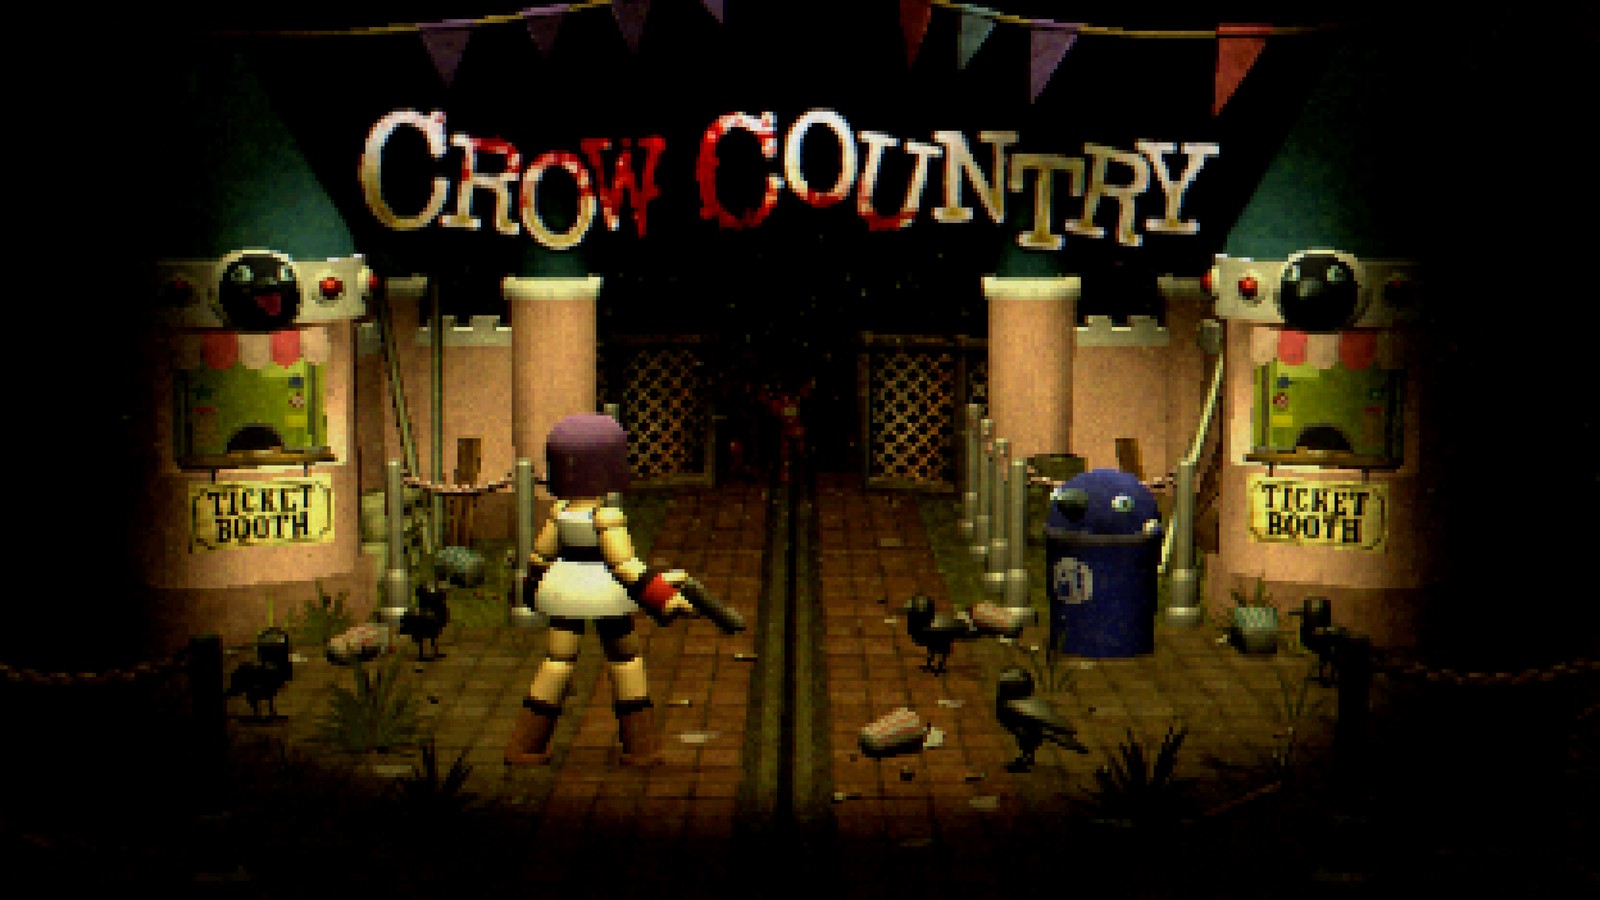
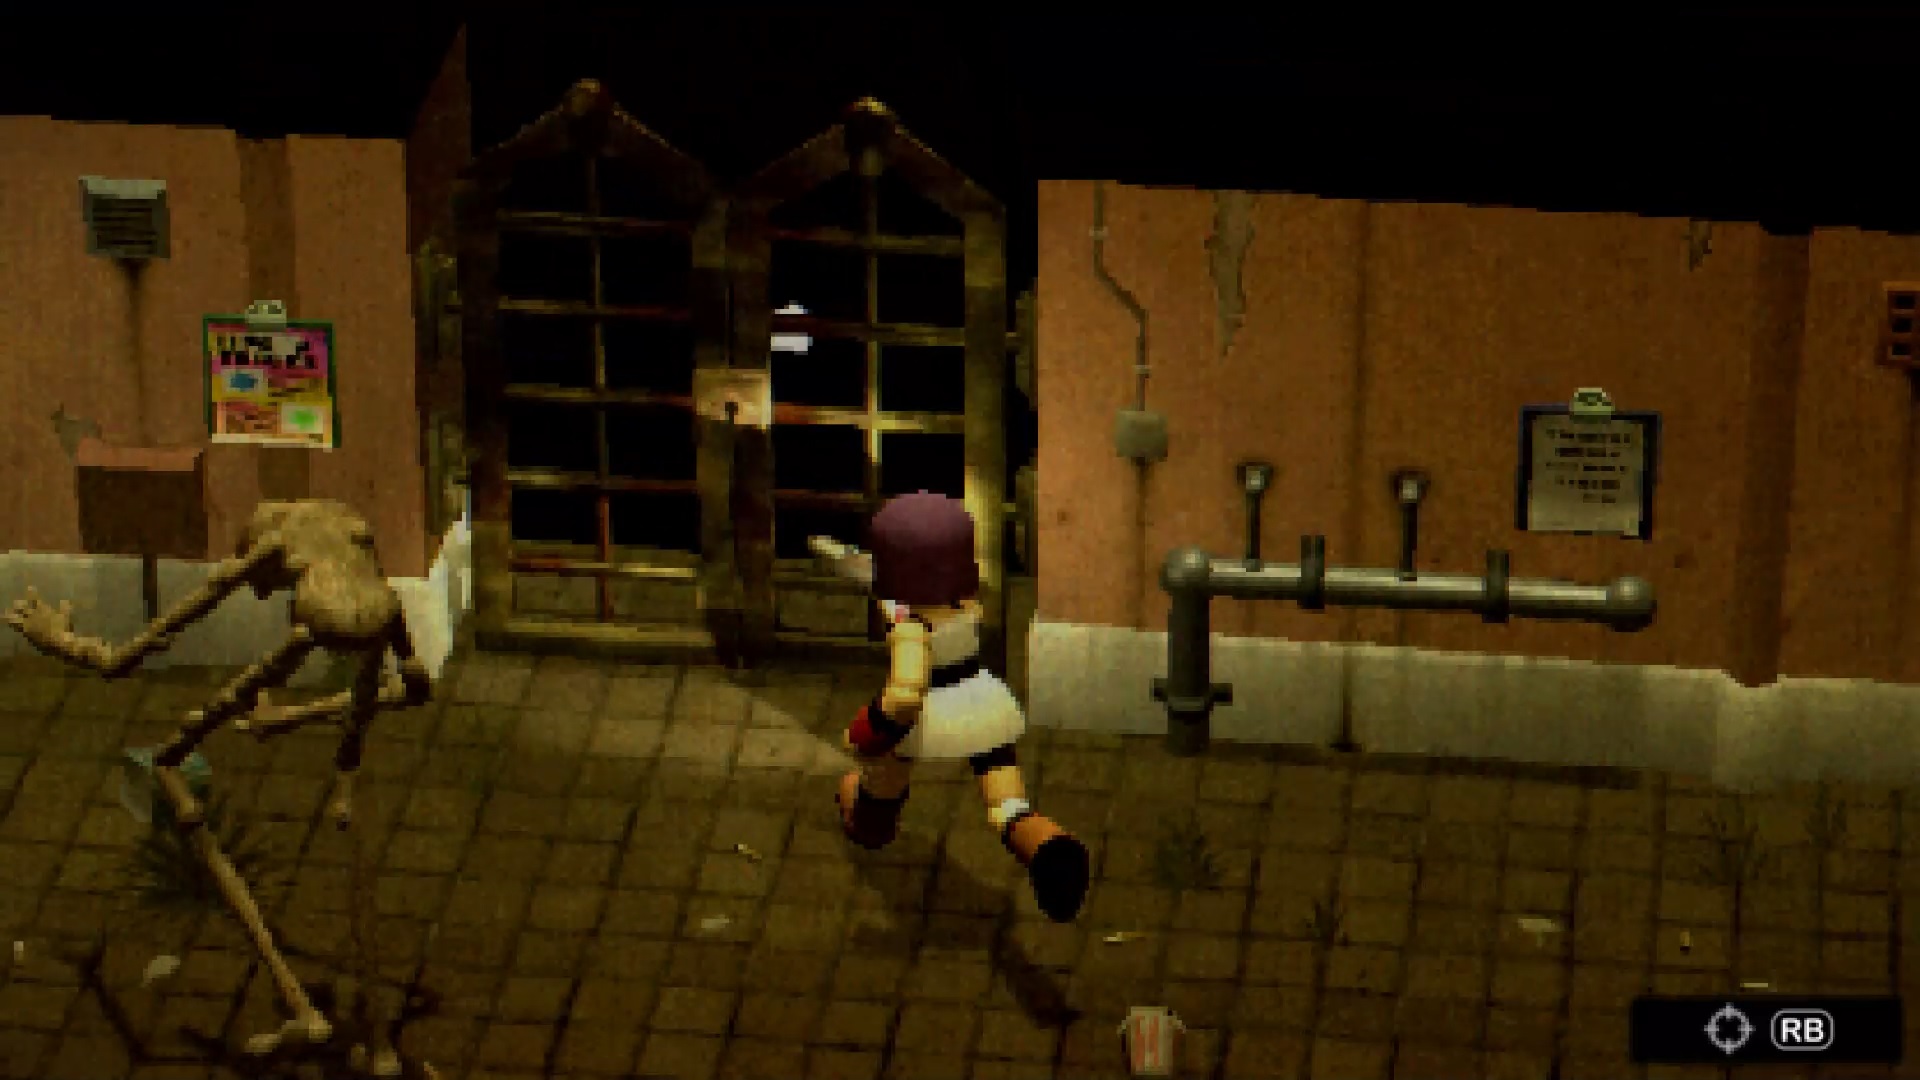
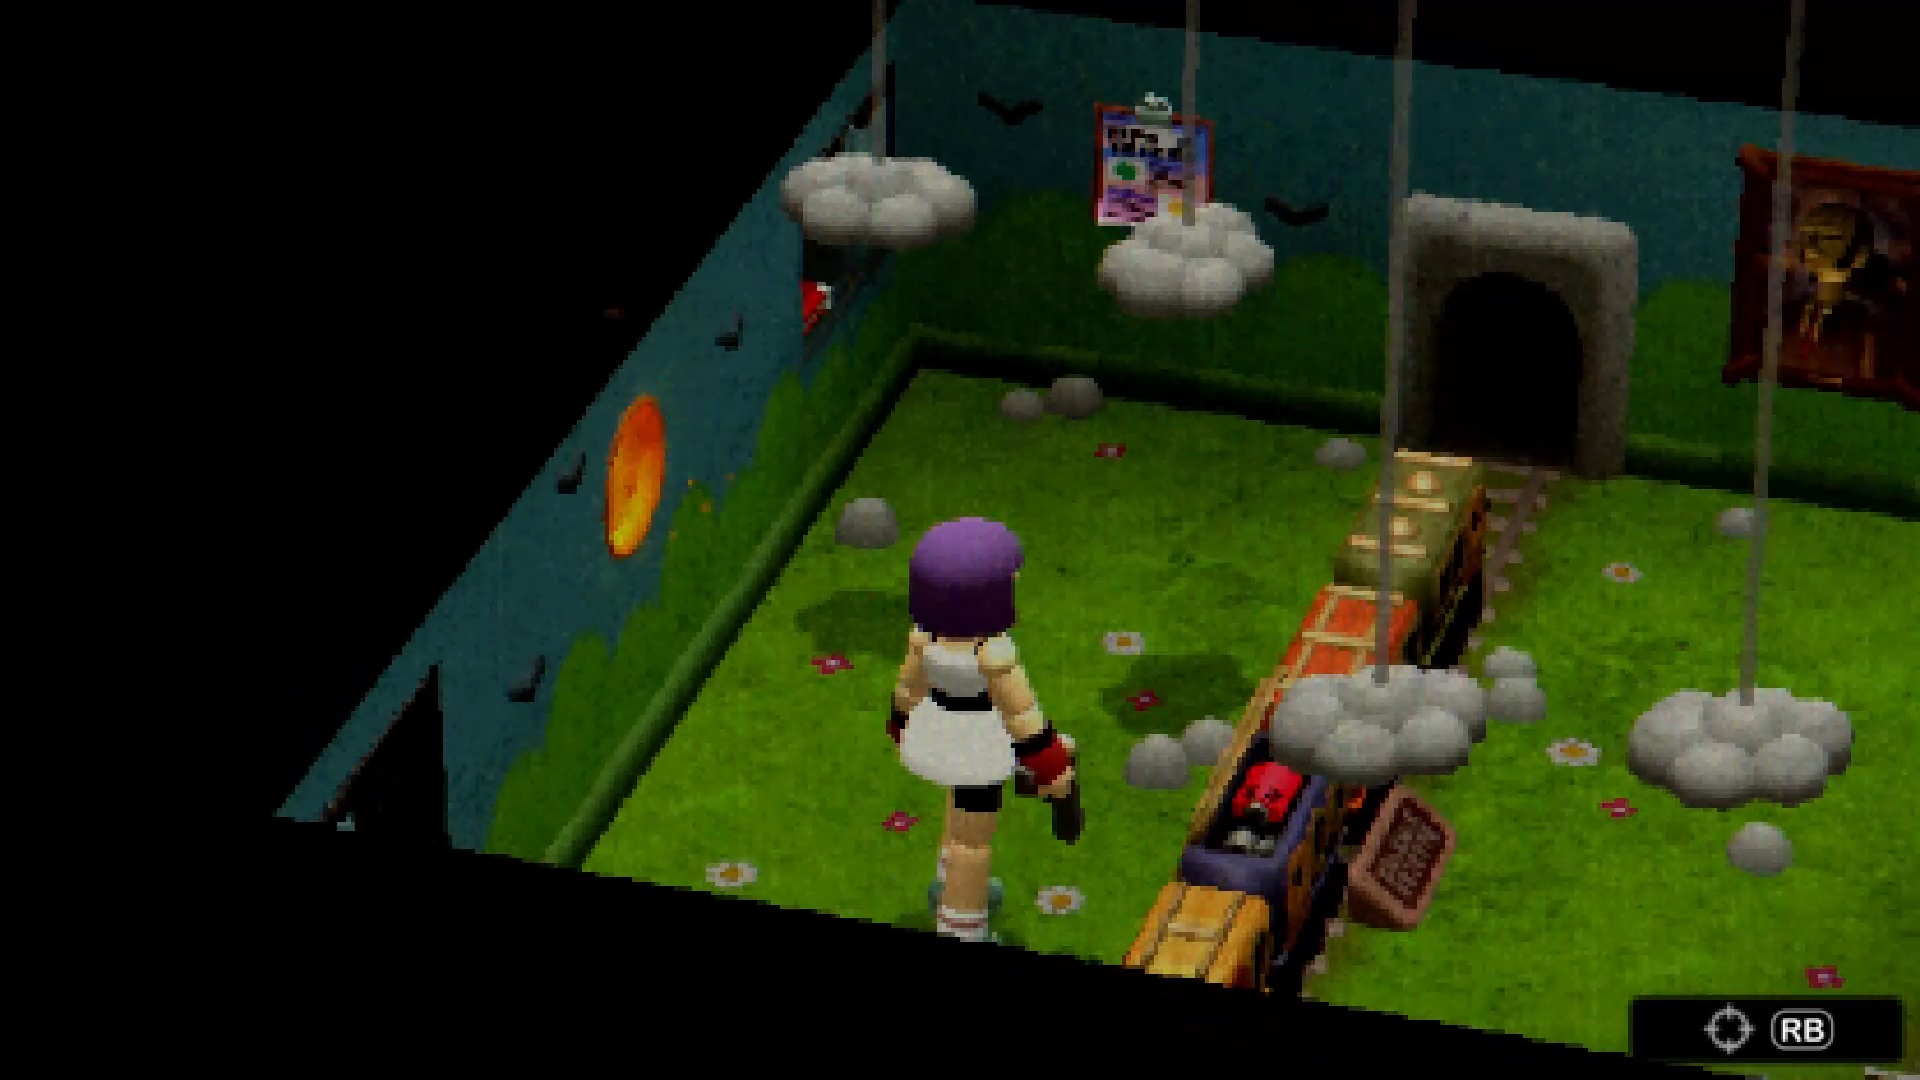
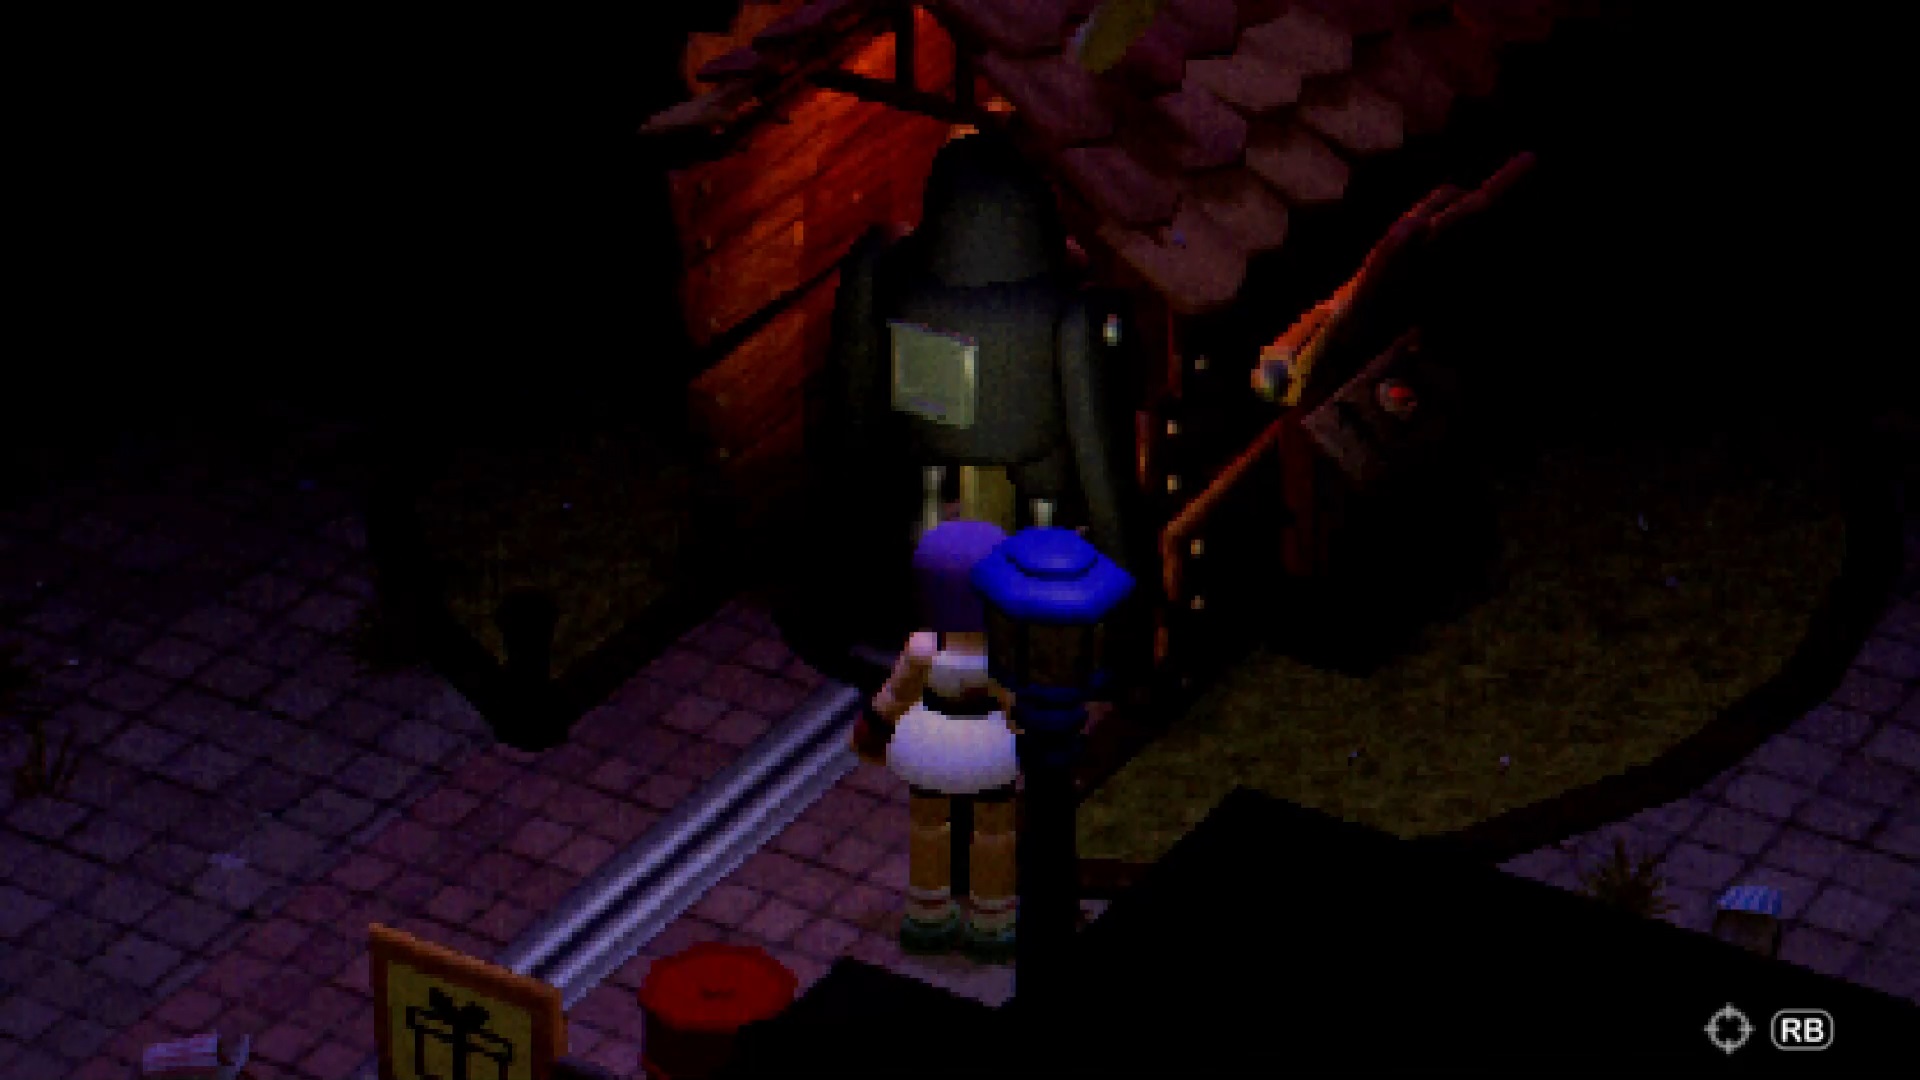
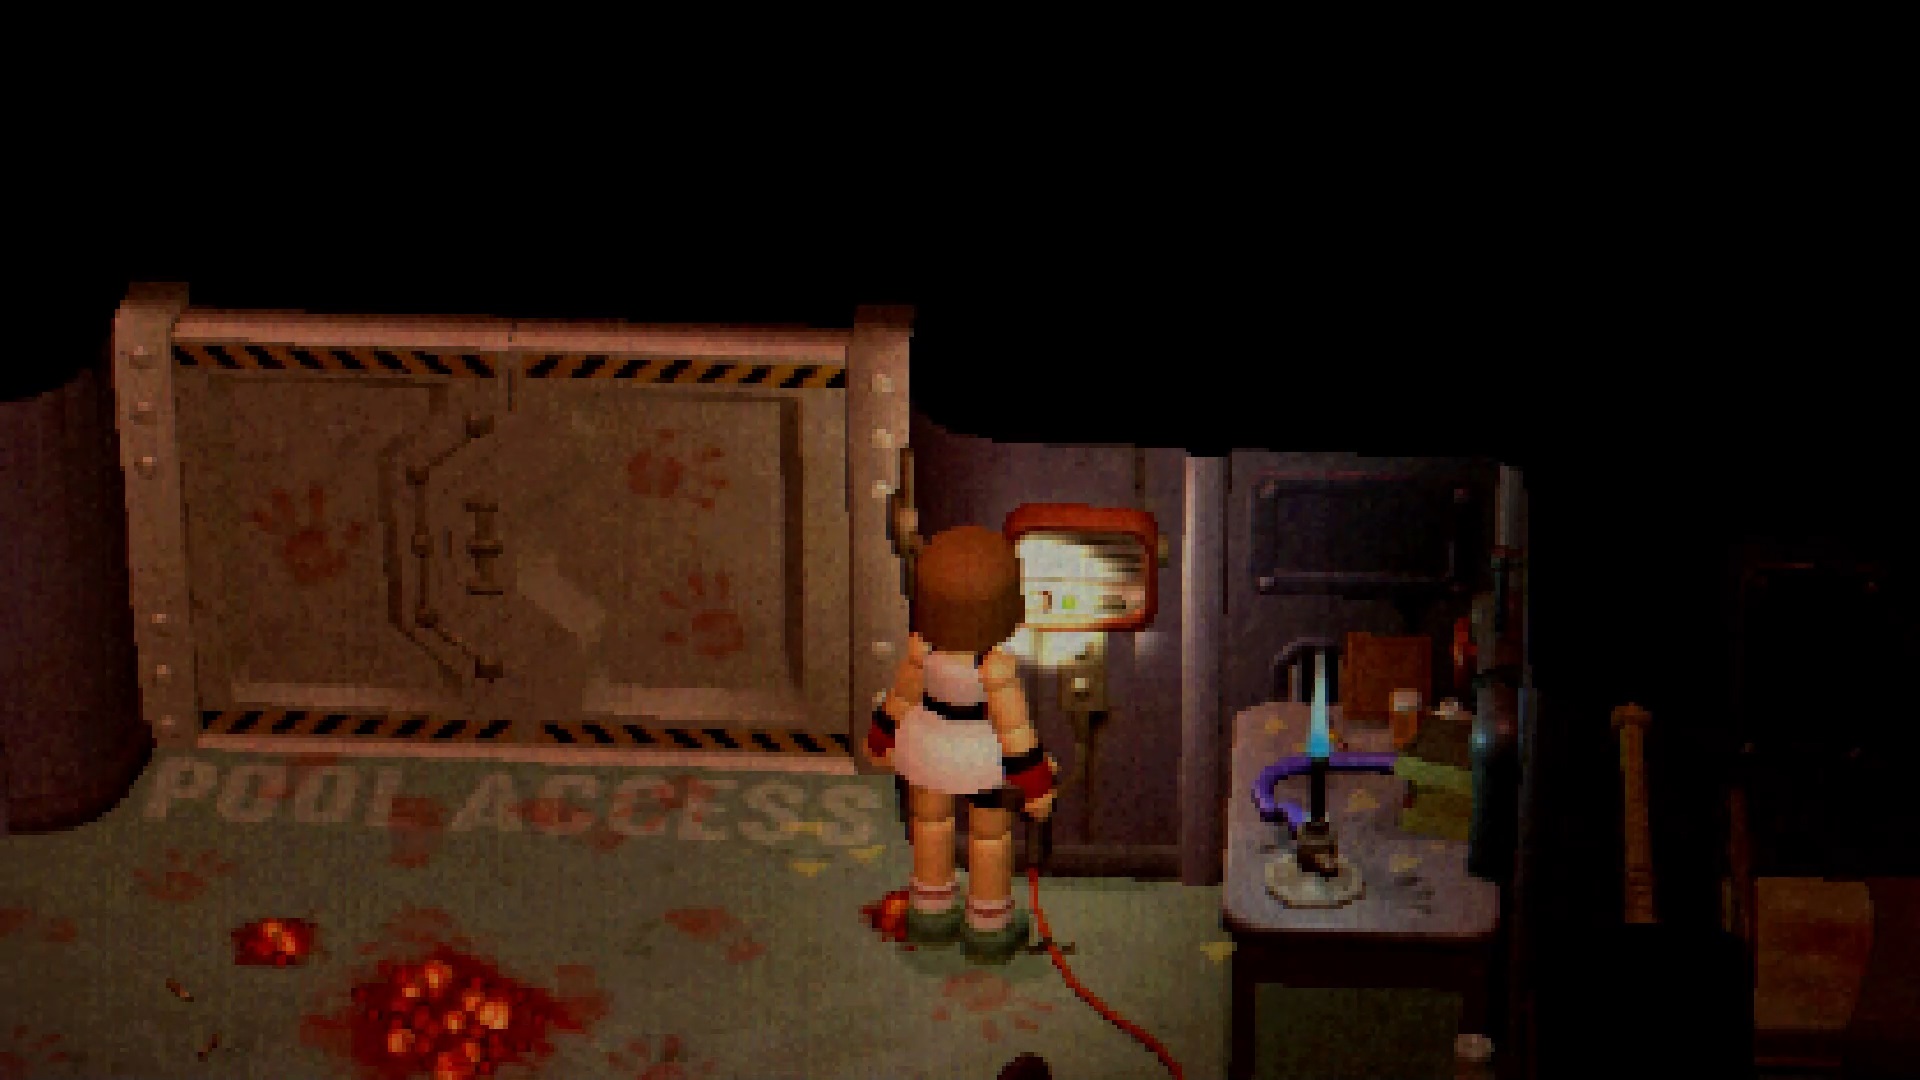
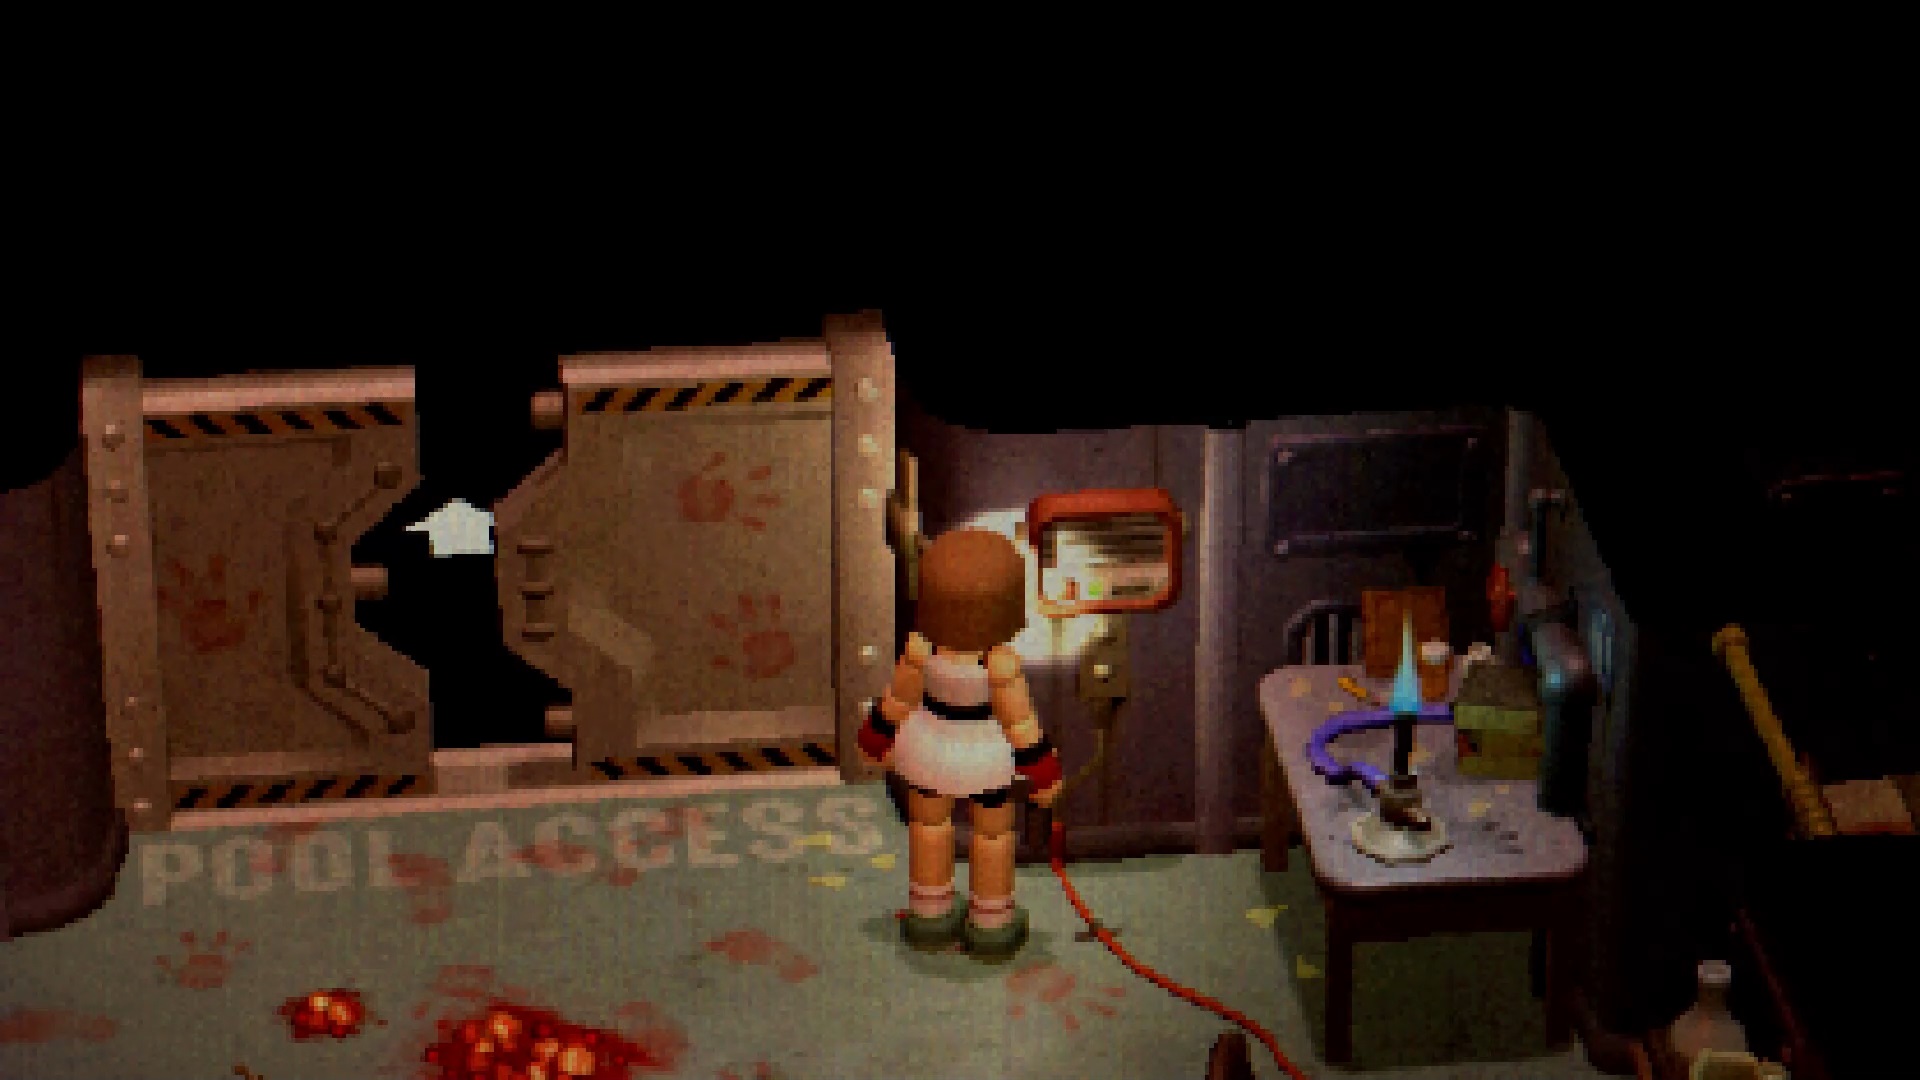
At the start of the game, head to the trunk of the car to collect some ammo. Use your weapon to break the lock on the gate in front of you. Move forward to reach Crow Country’s main square with a crow statue. Look on the ground to find a flashlight. Continue north to reach Fairytale Town. Recover a laser sight near a banner.
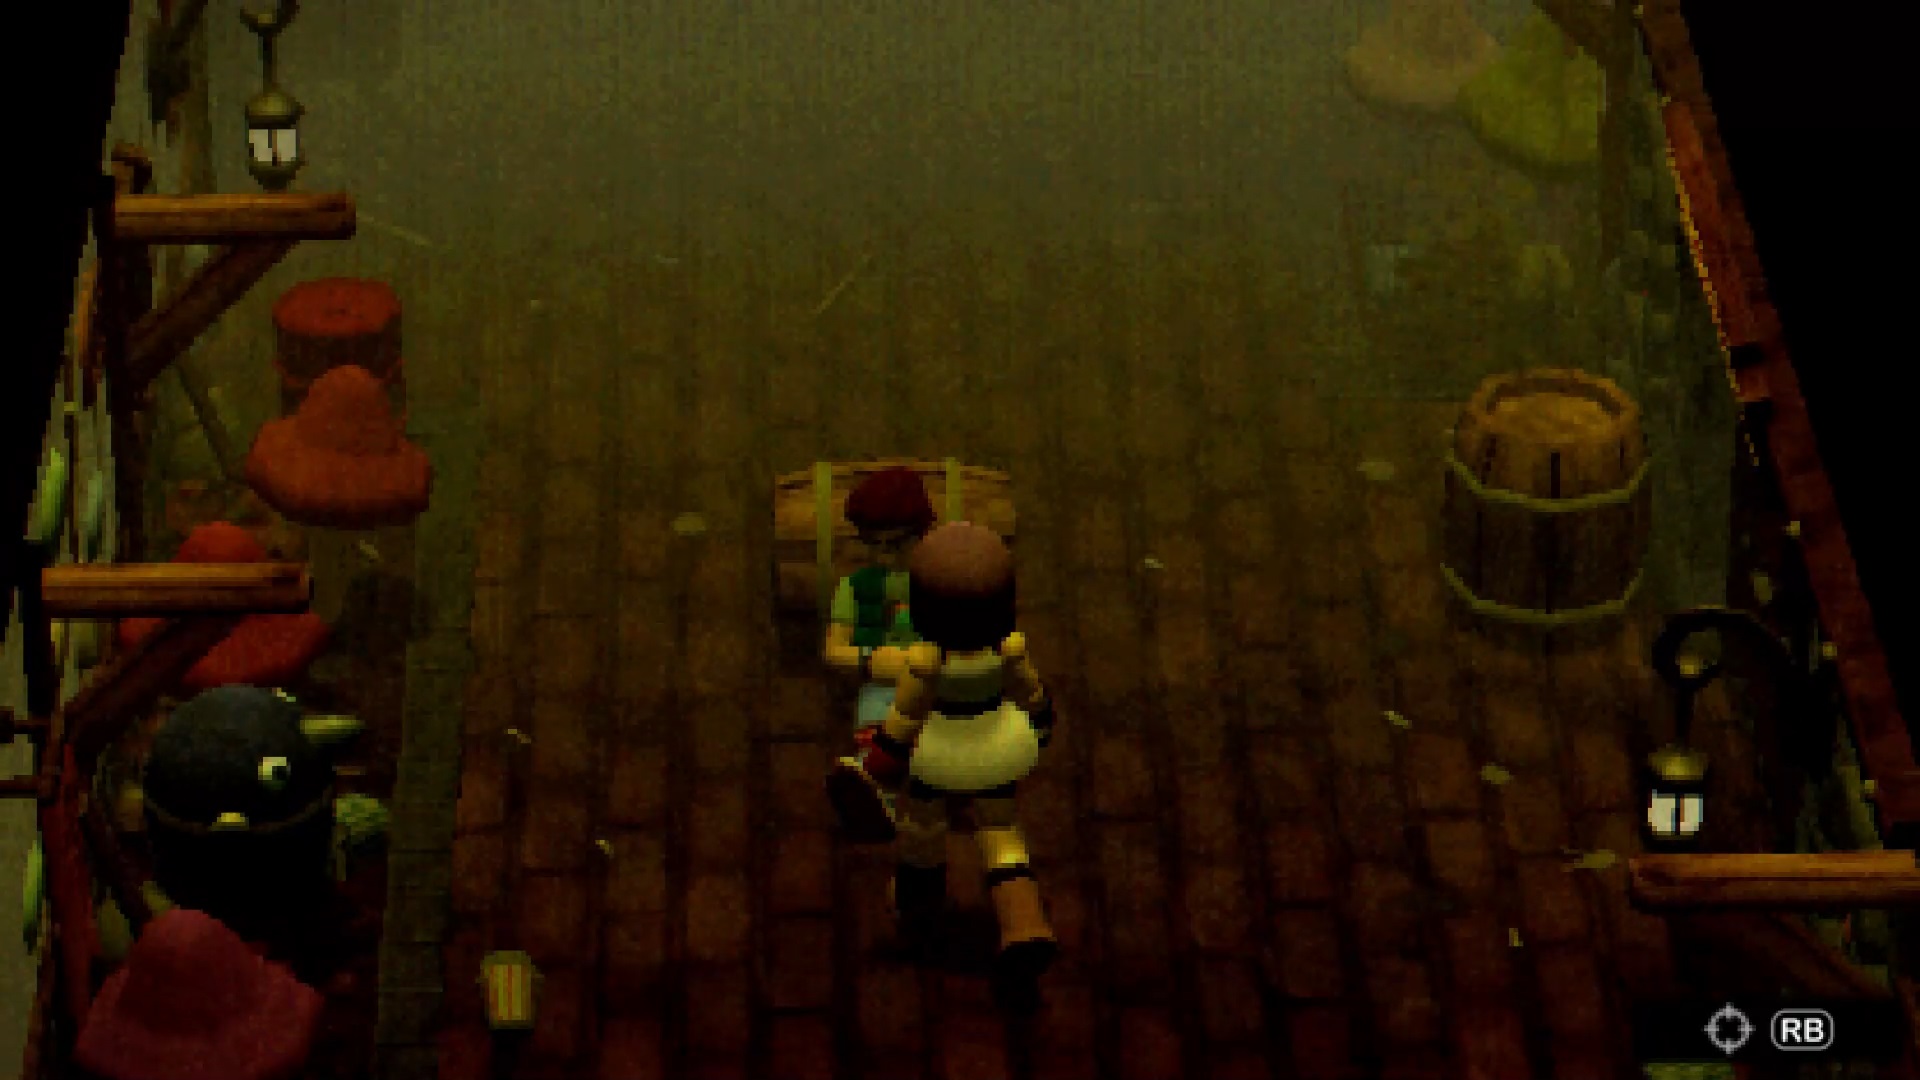
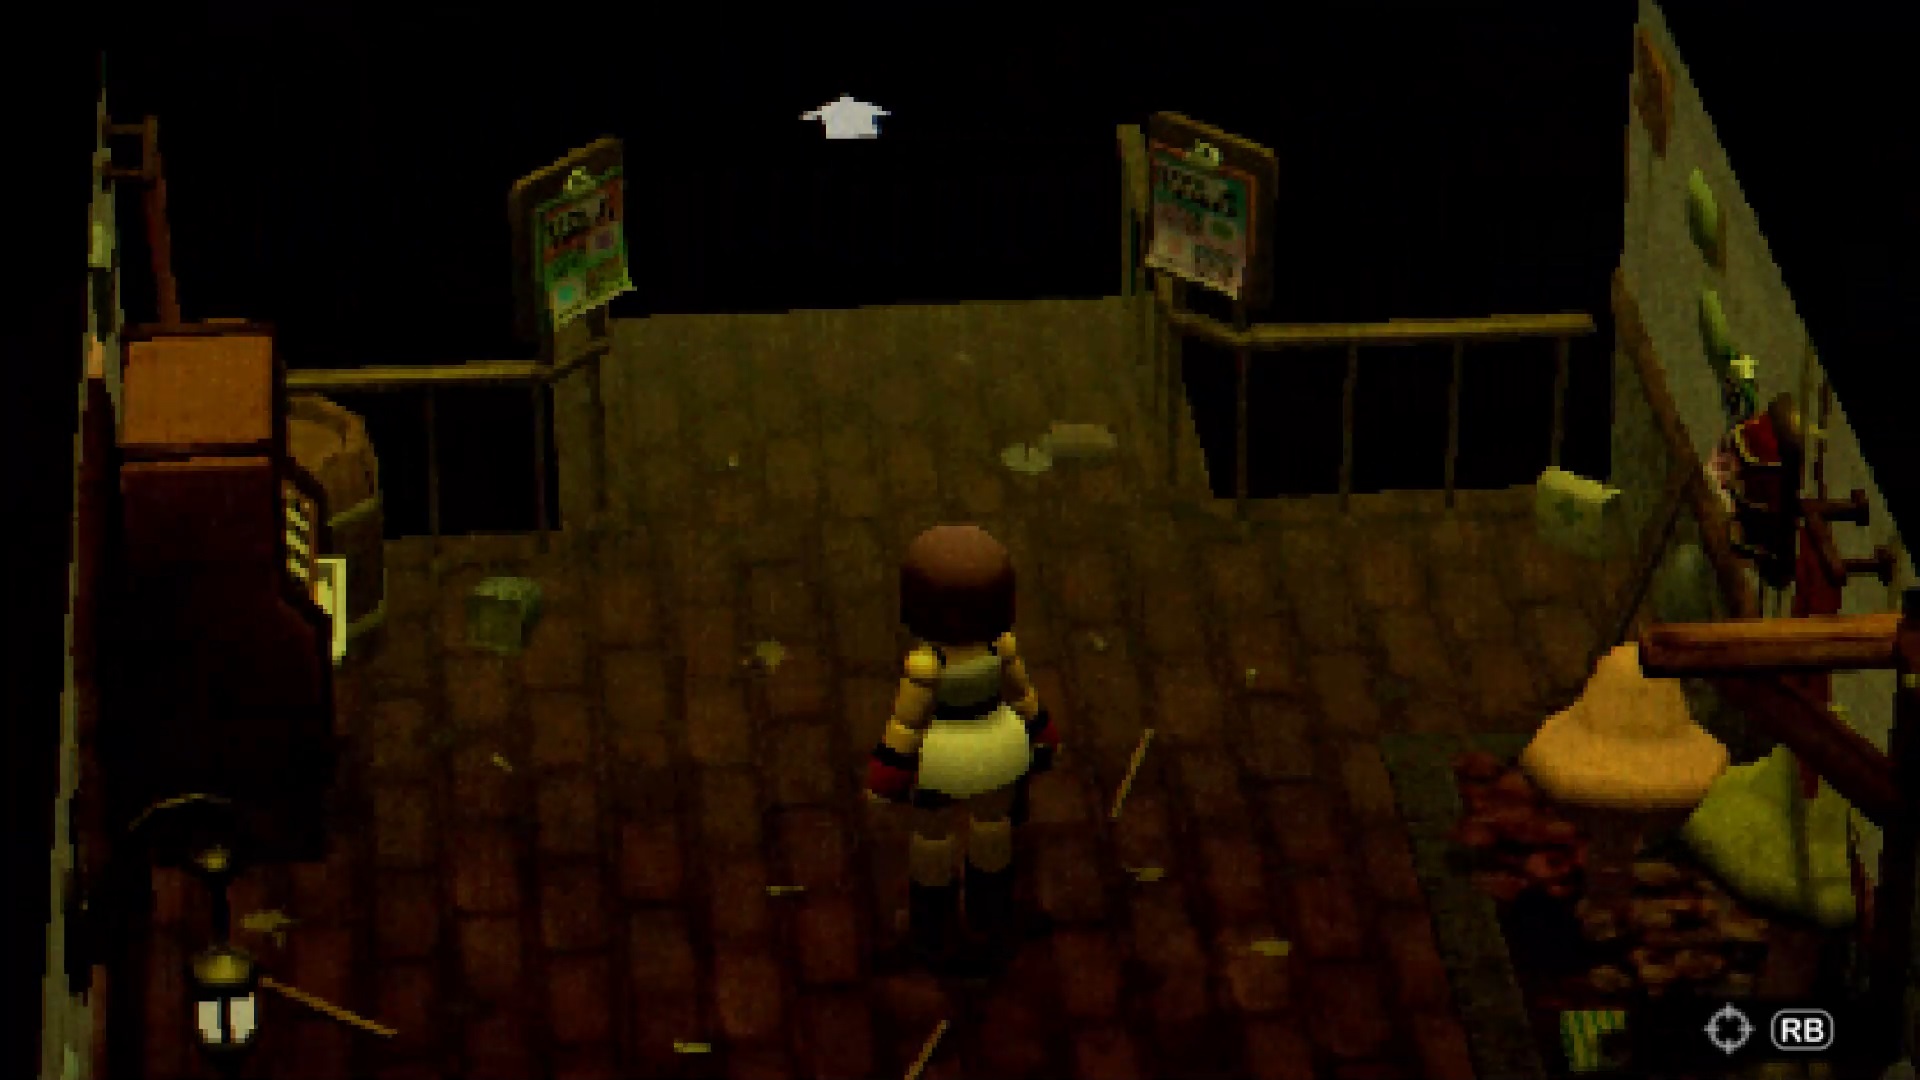
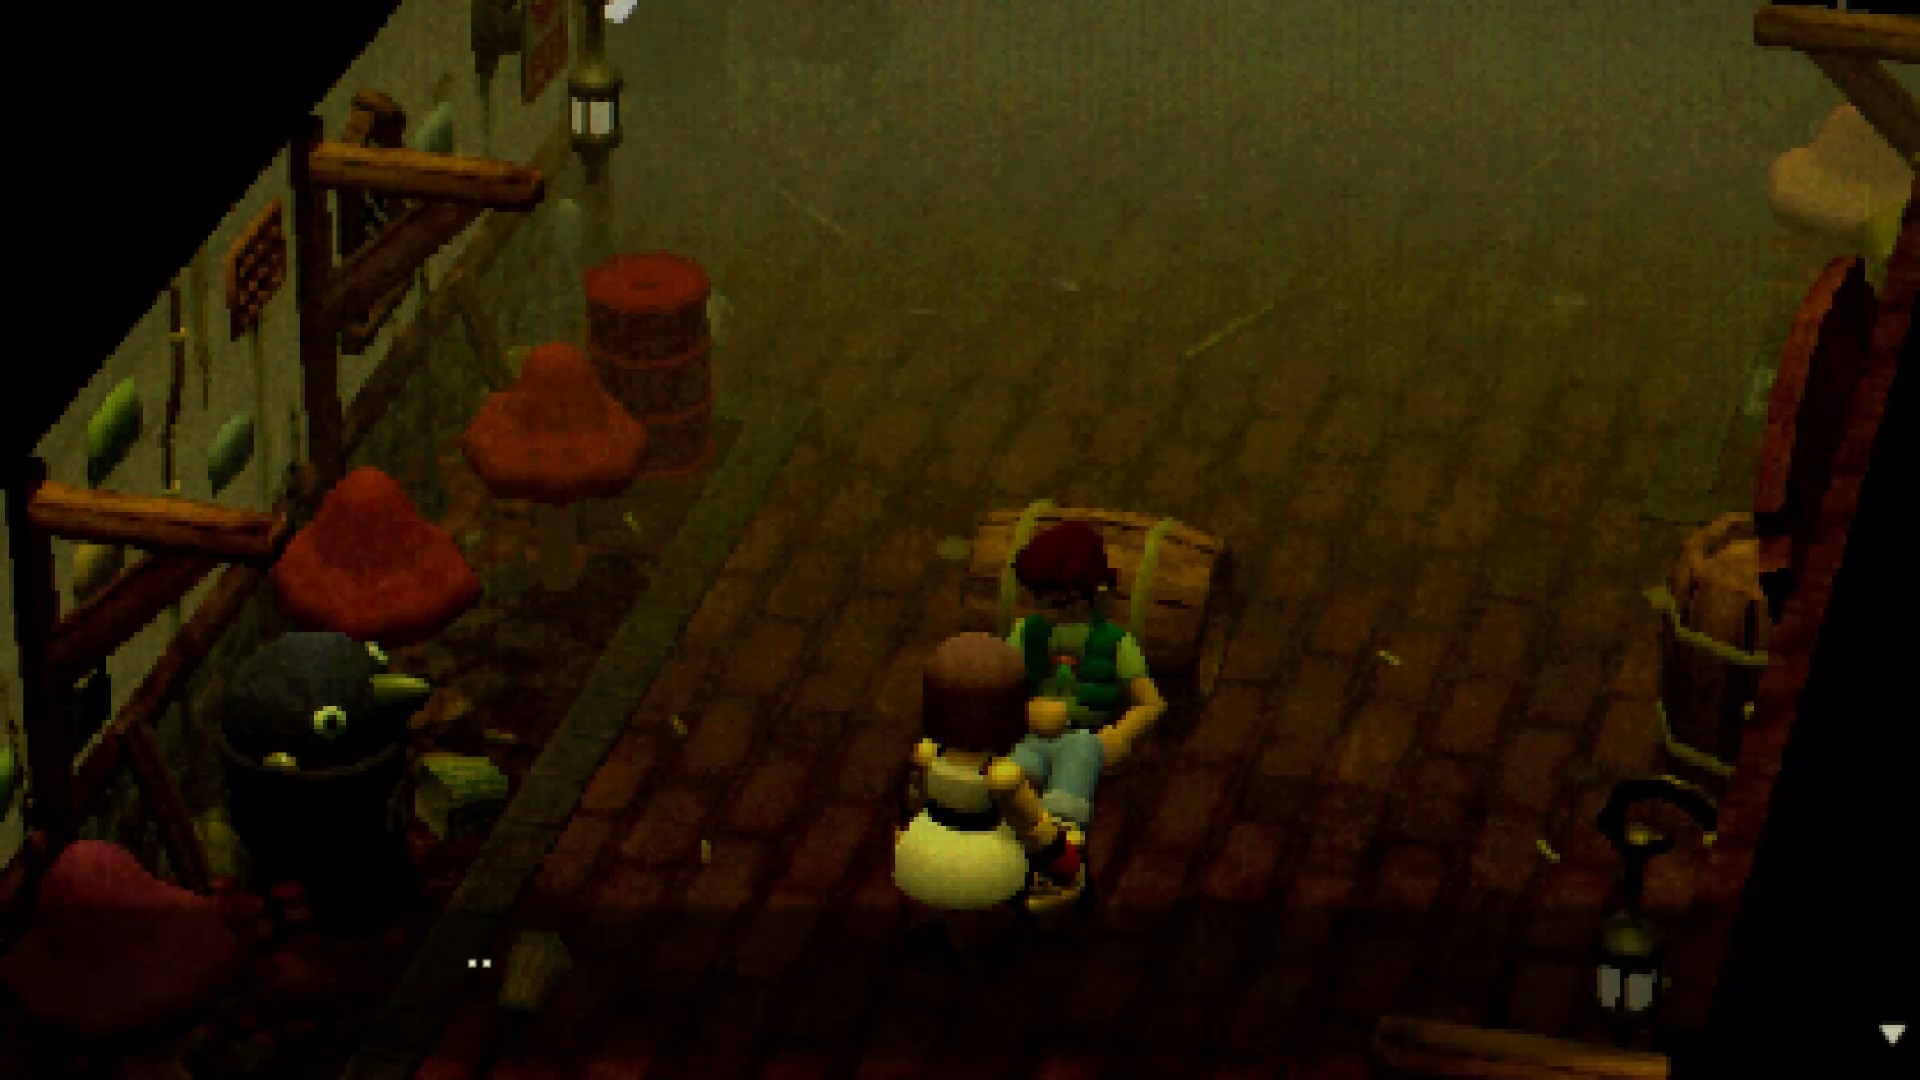
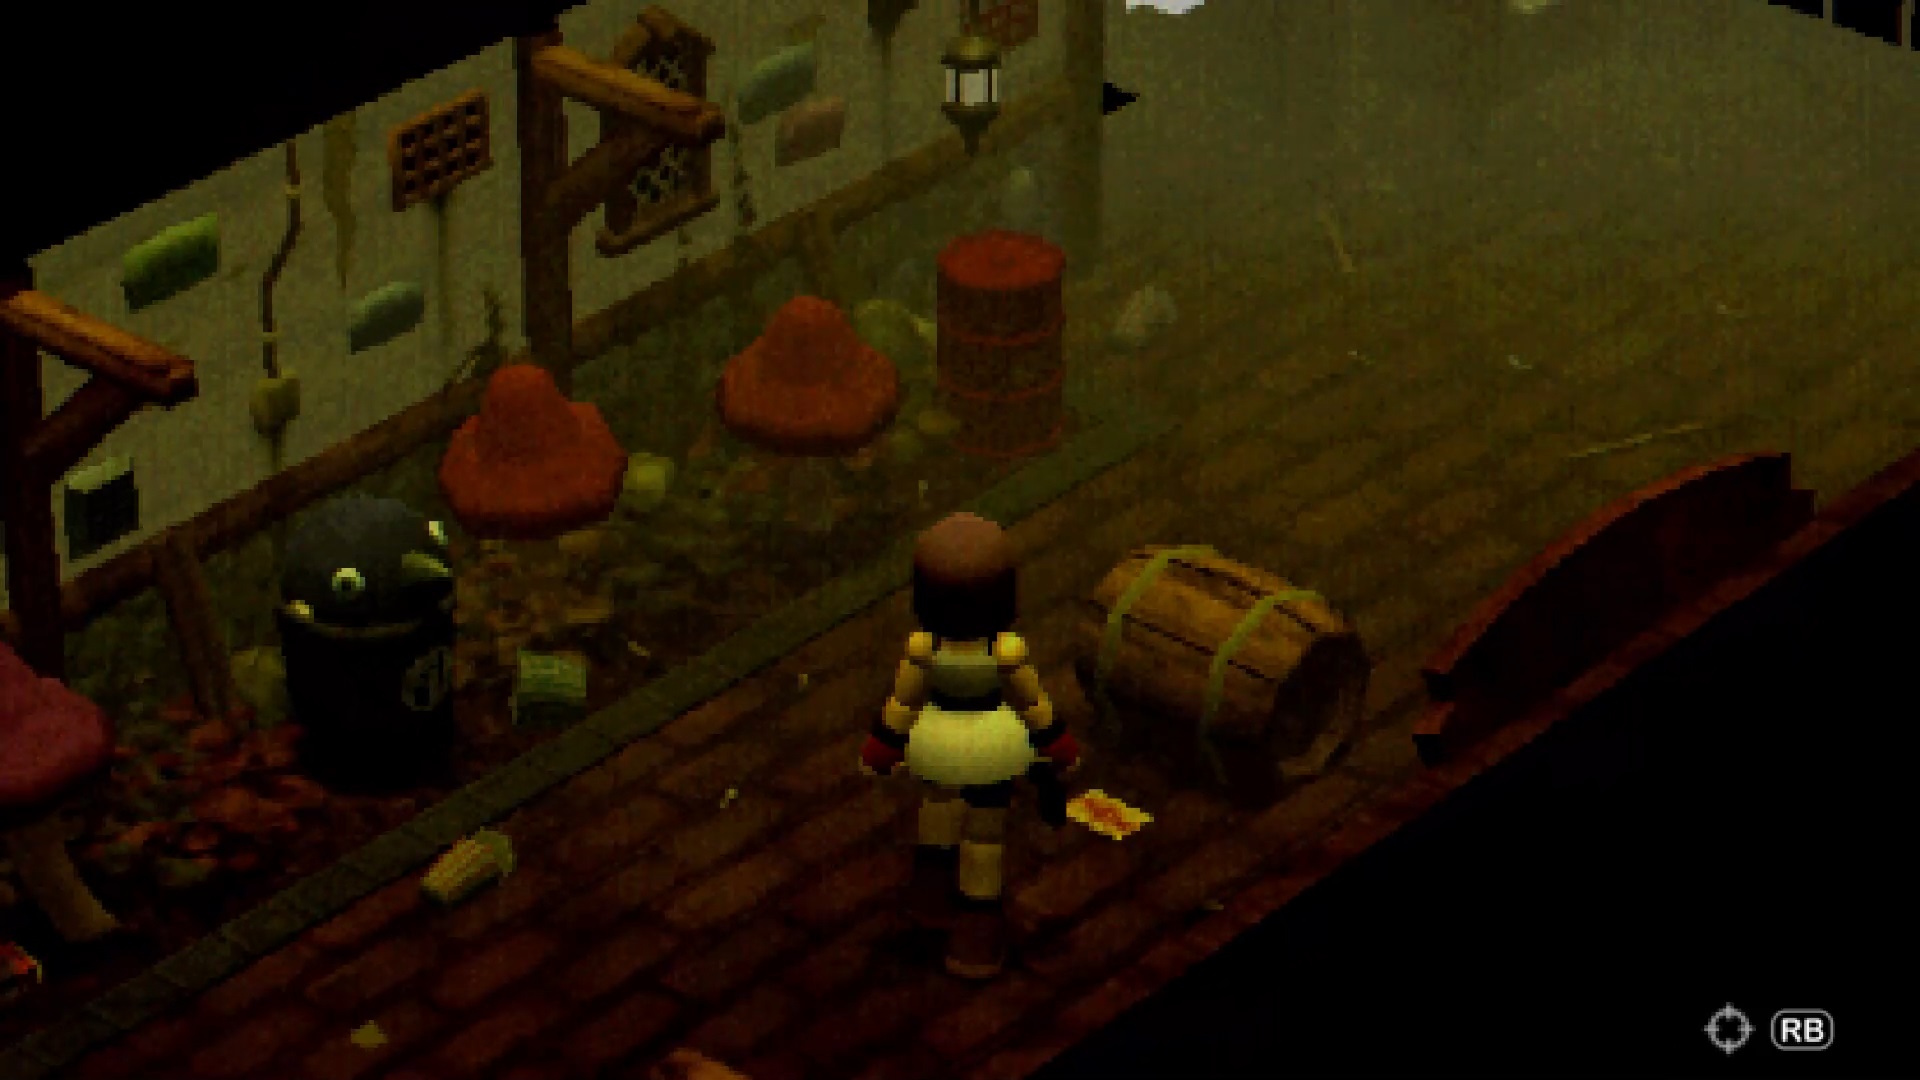
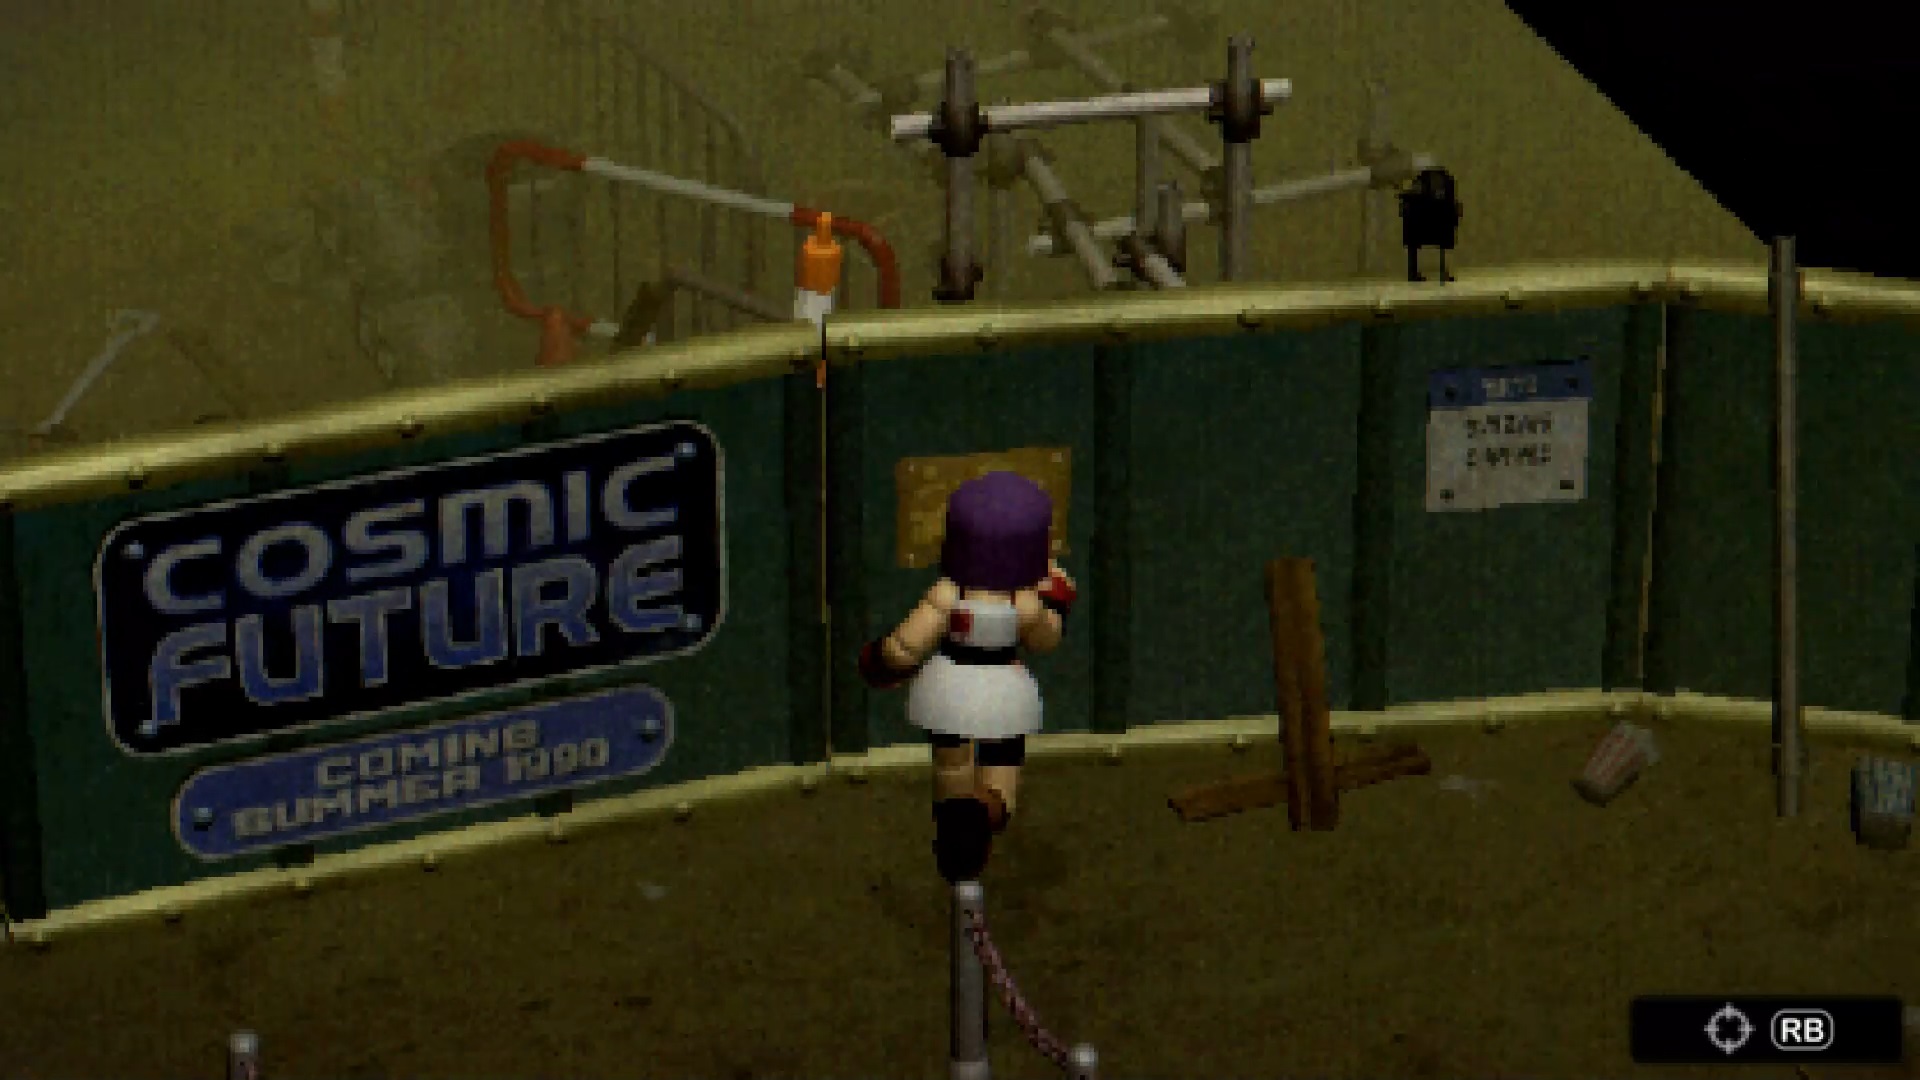
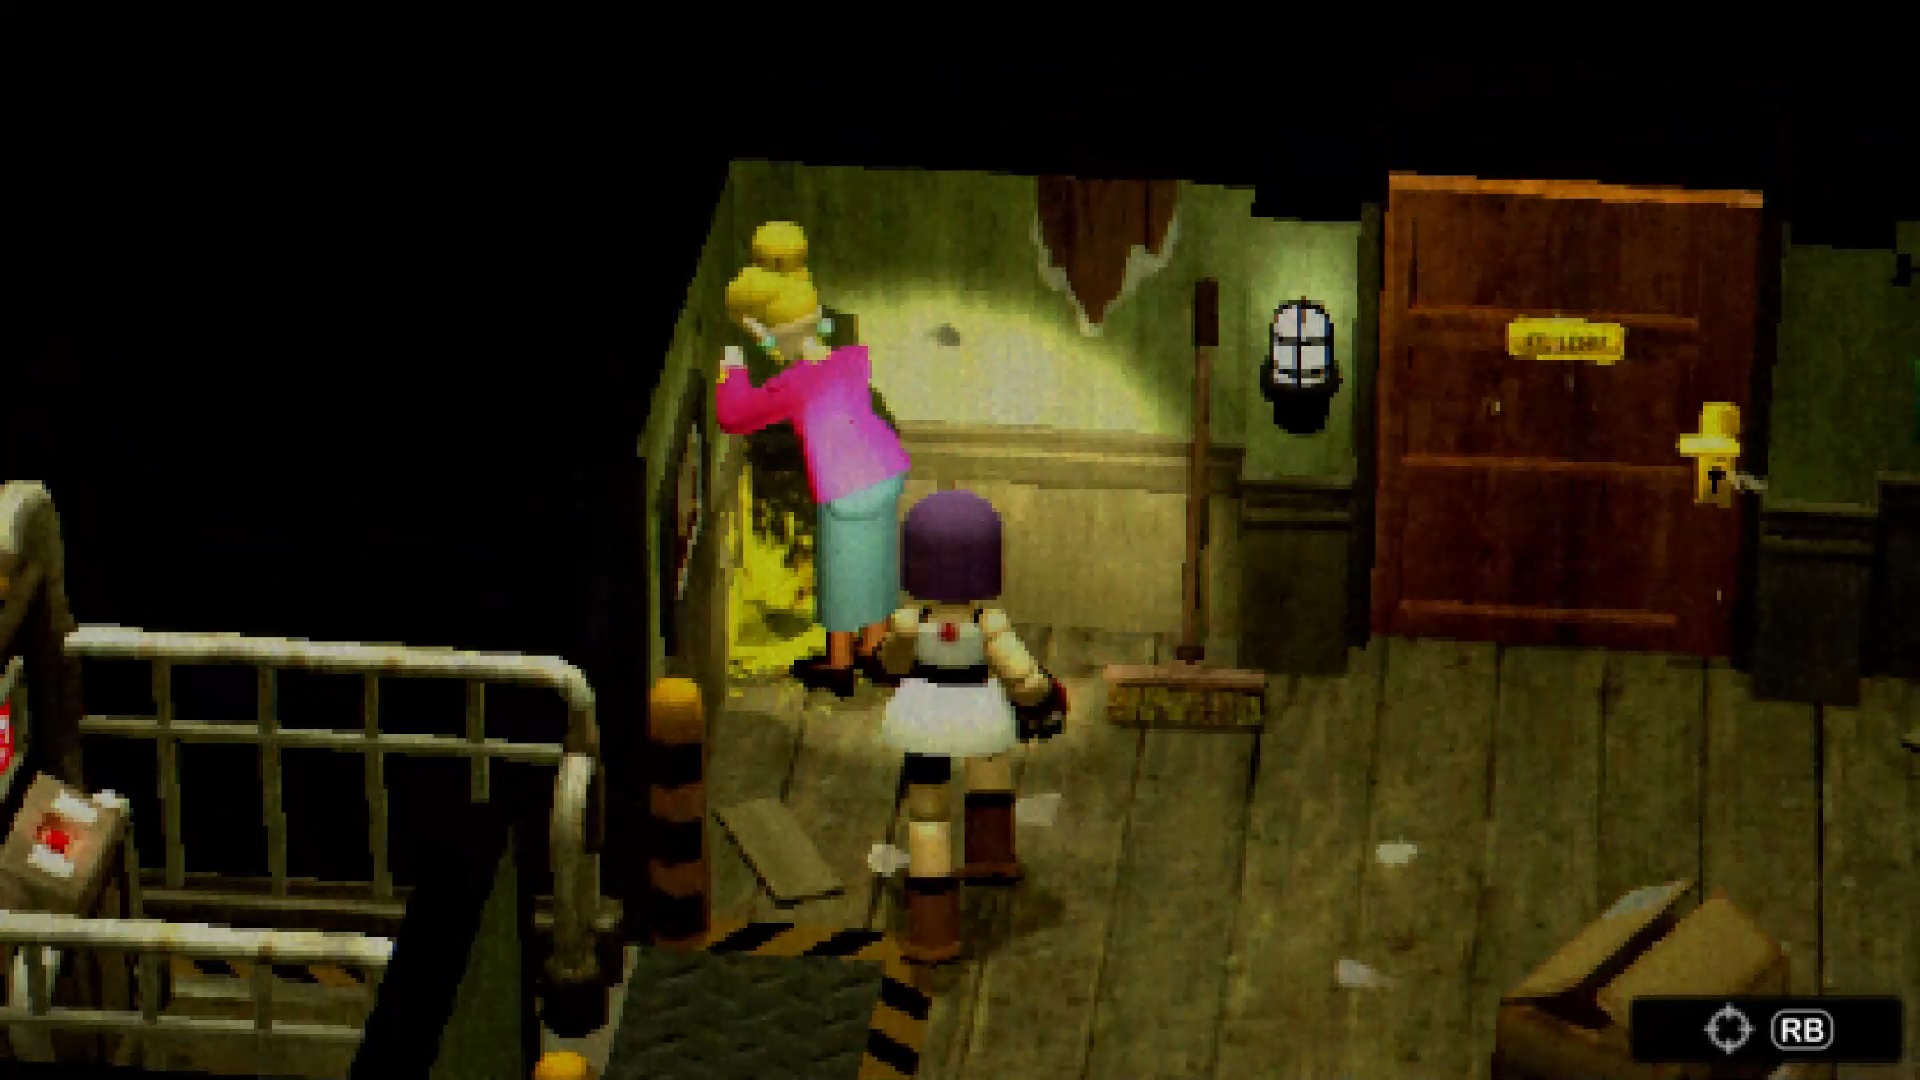
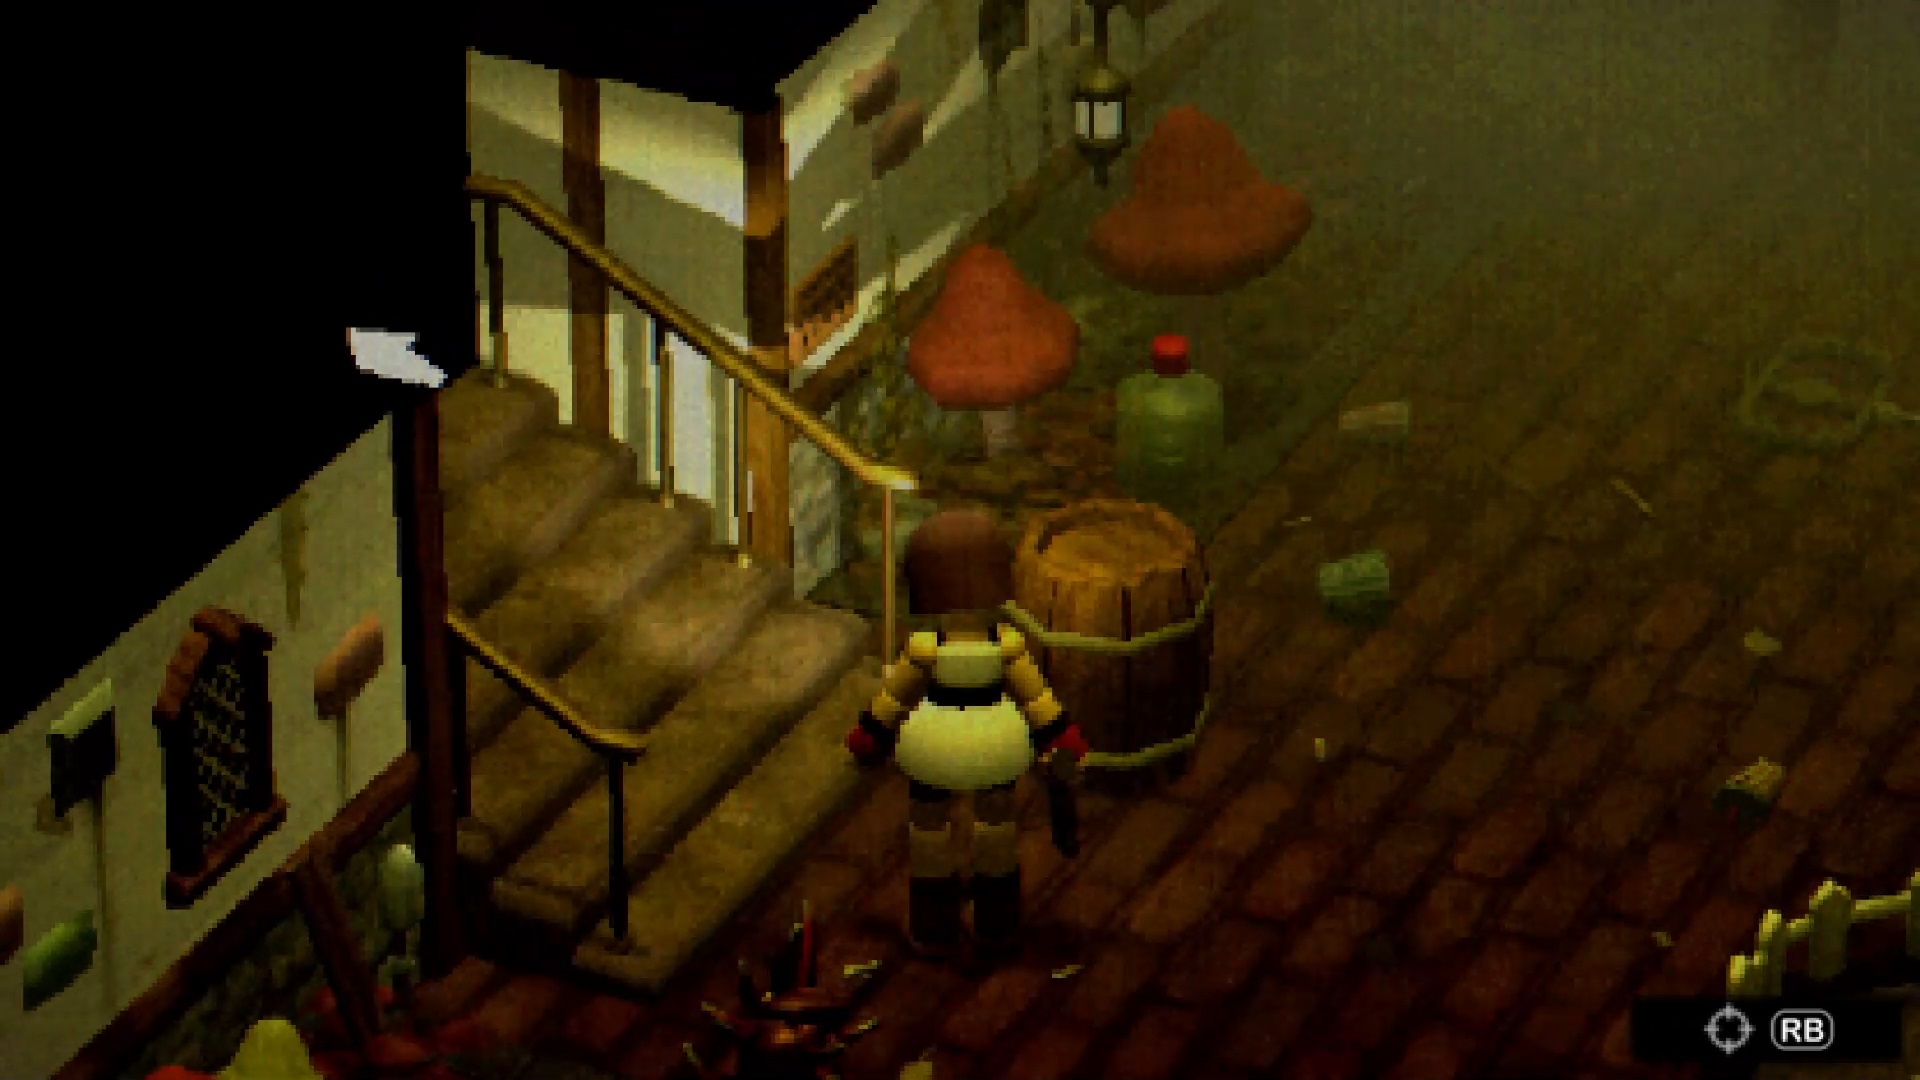
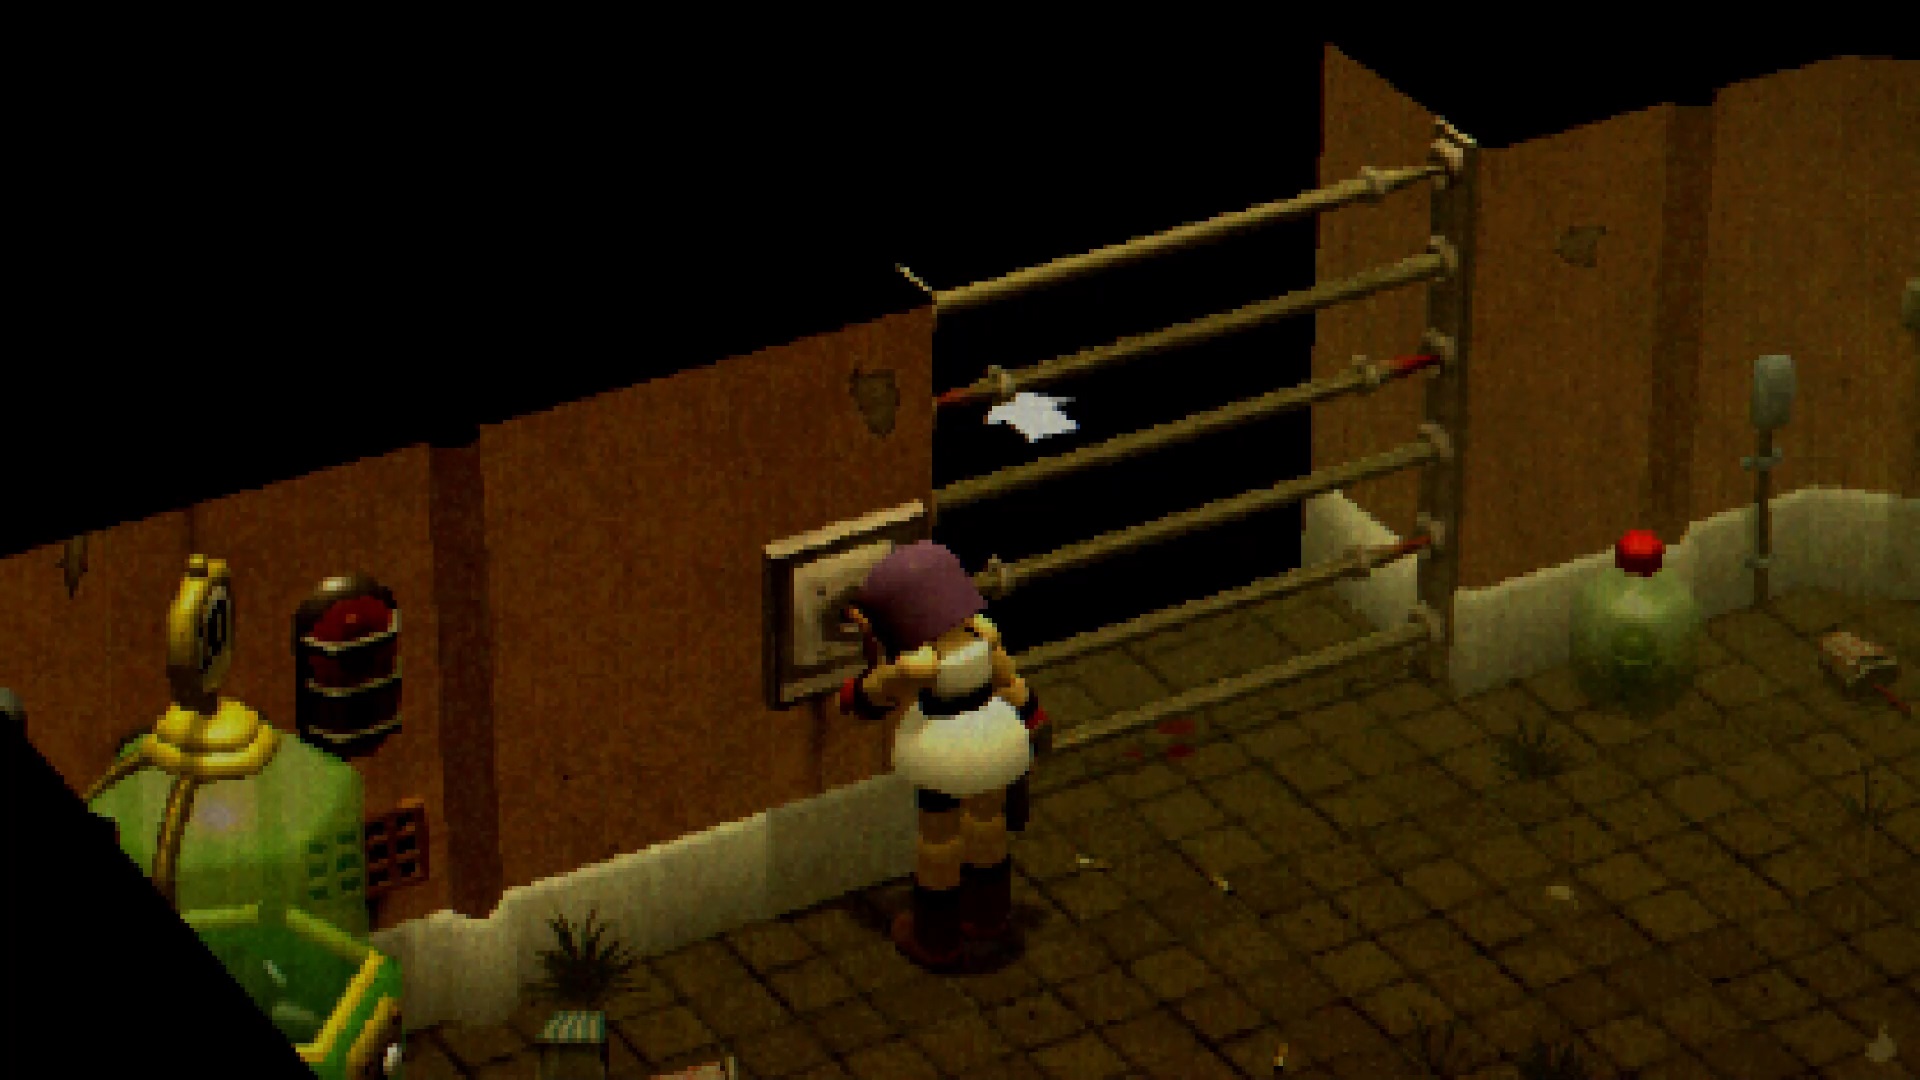
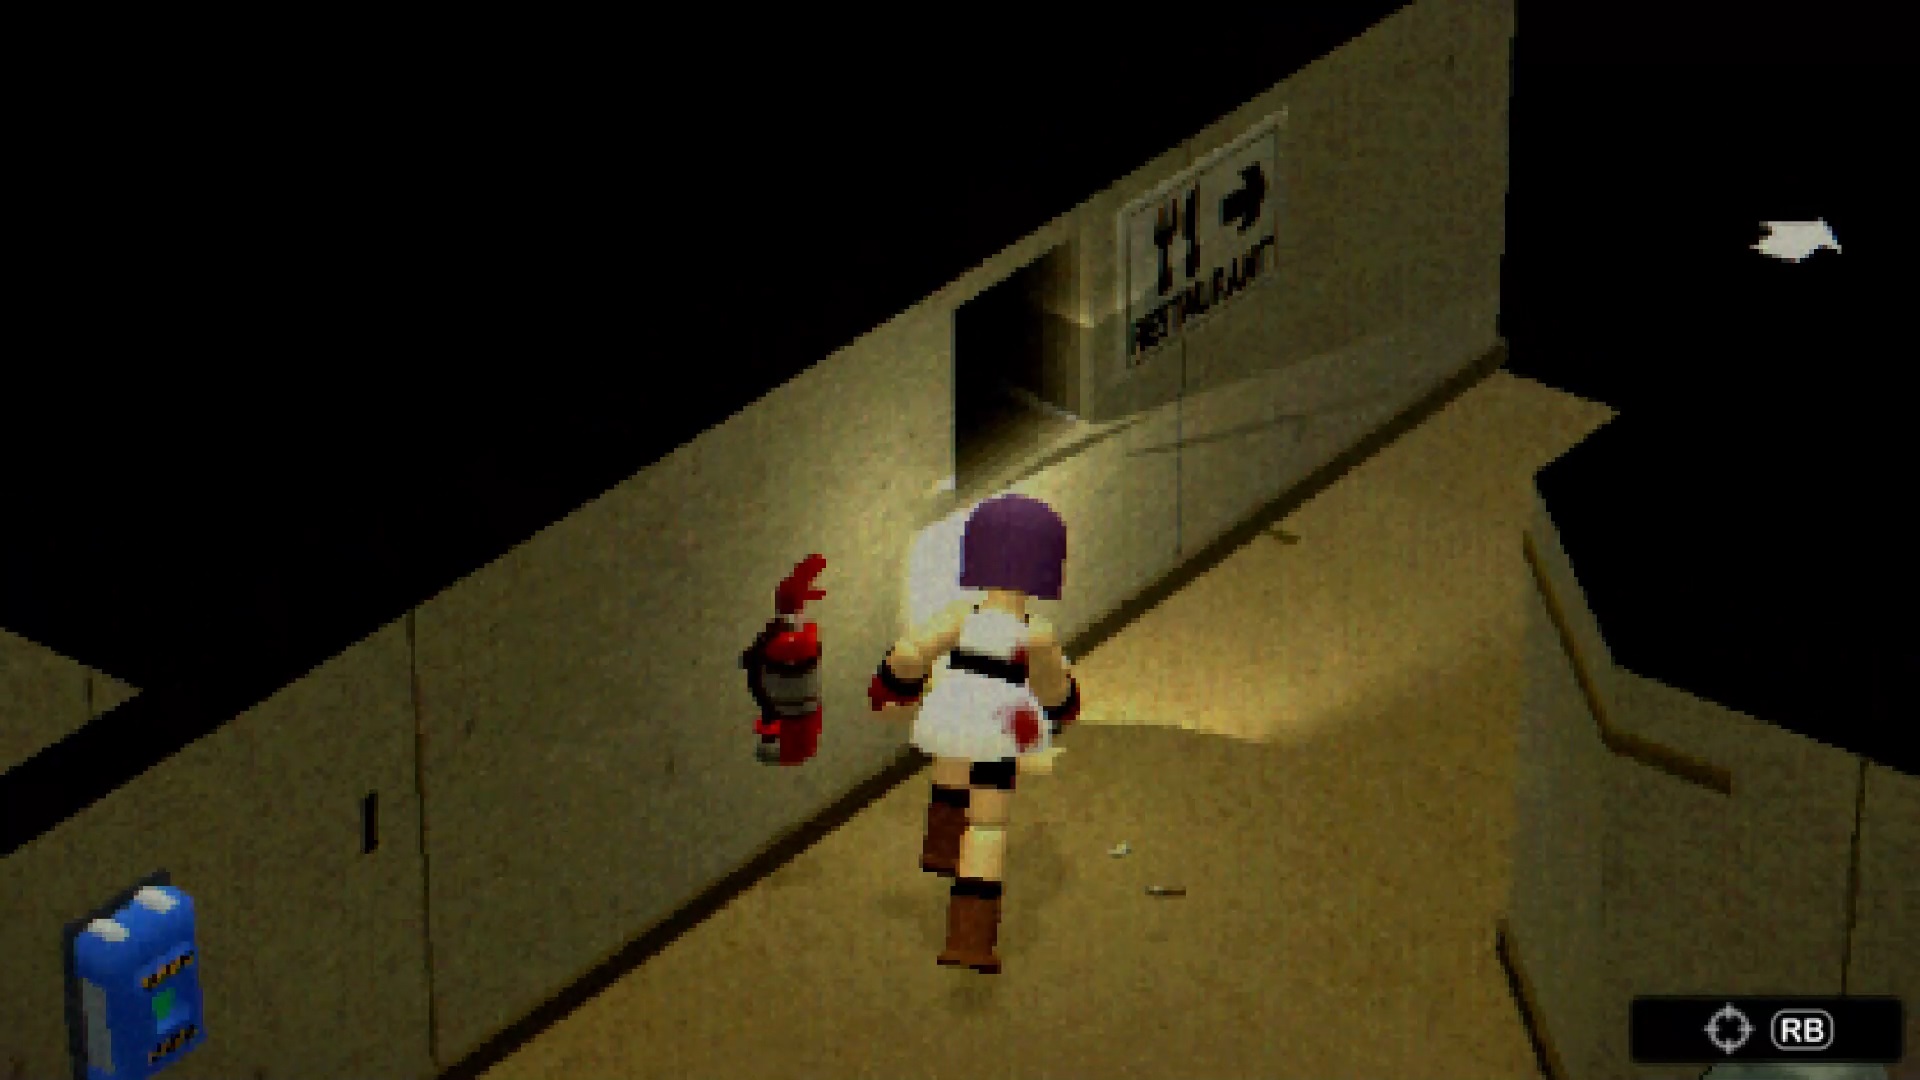
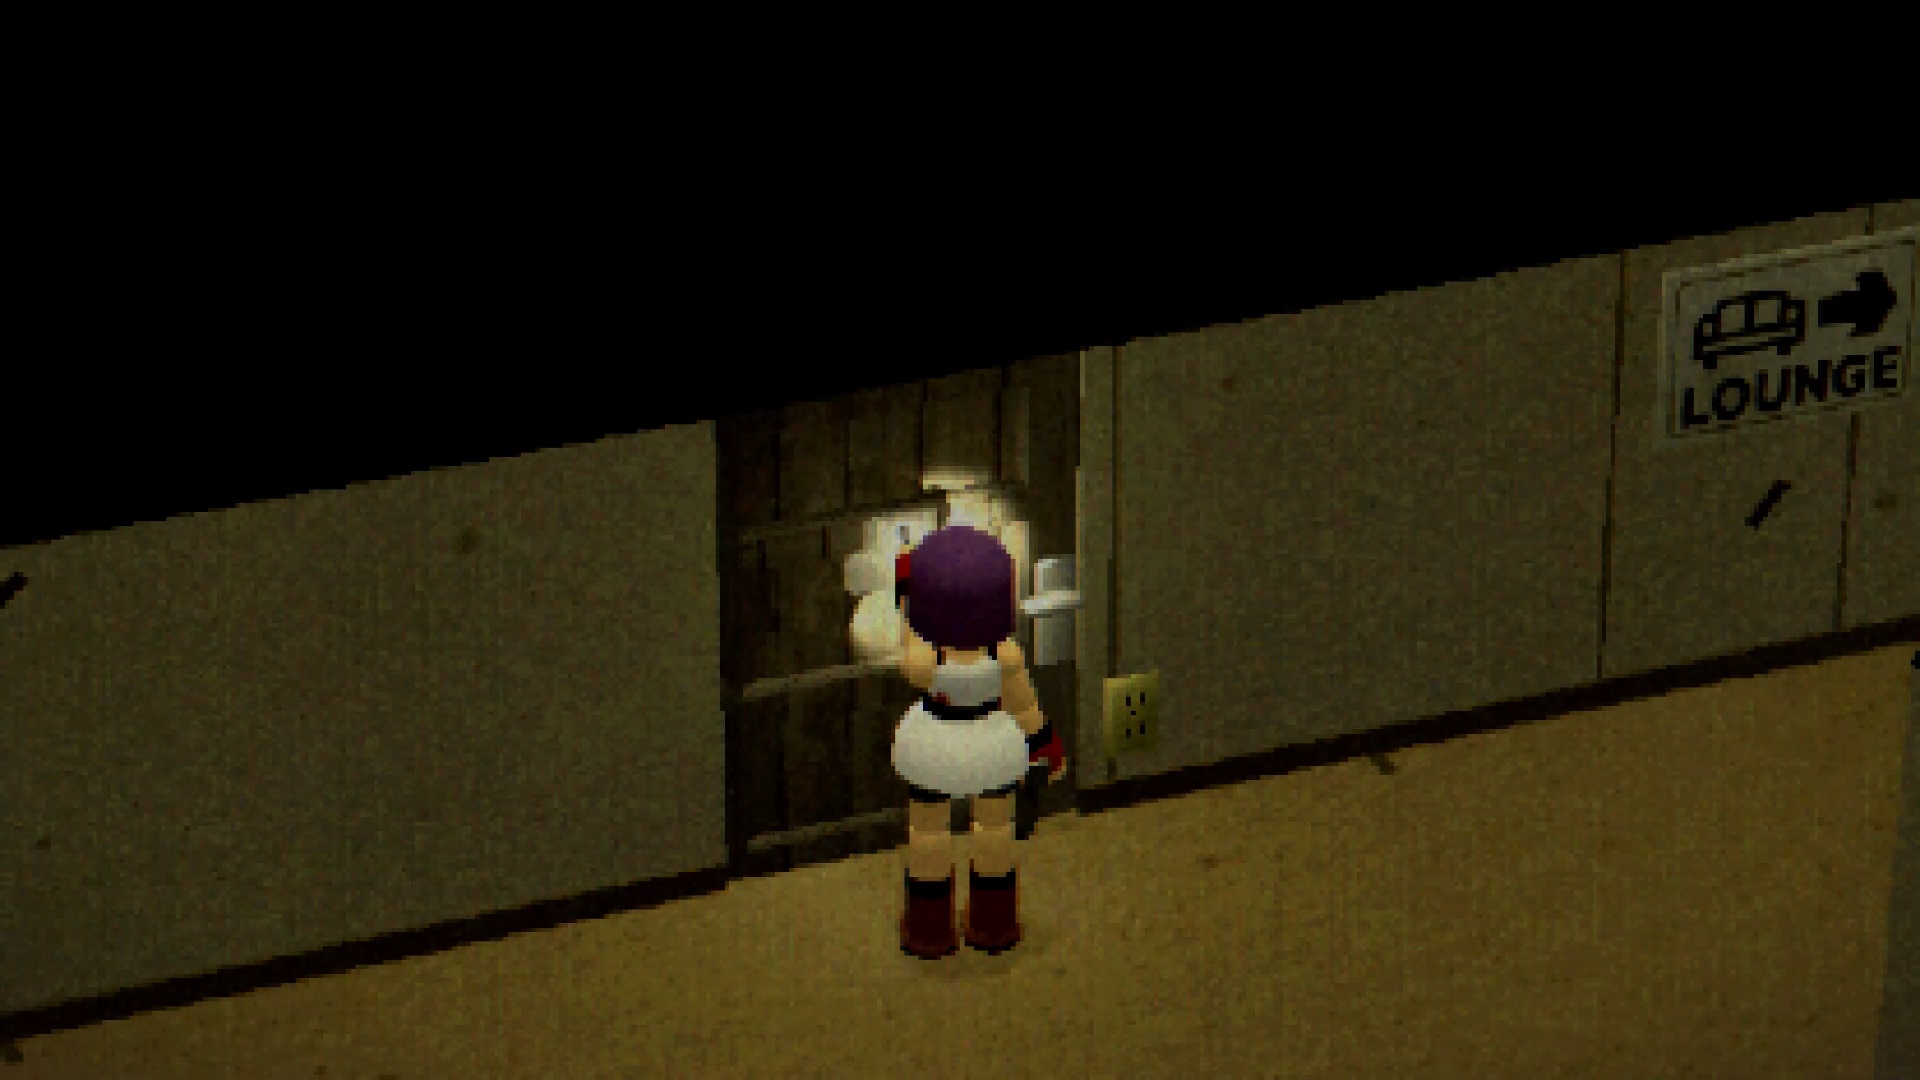
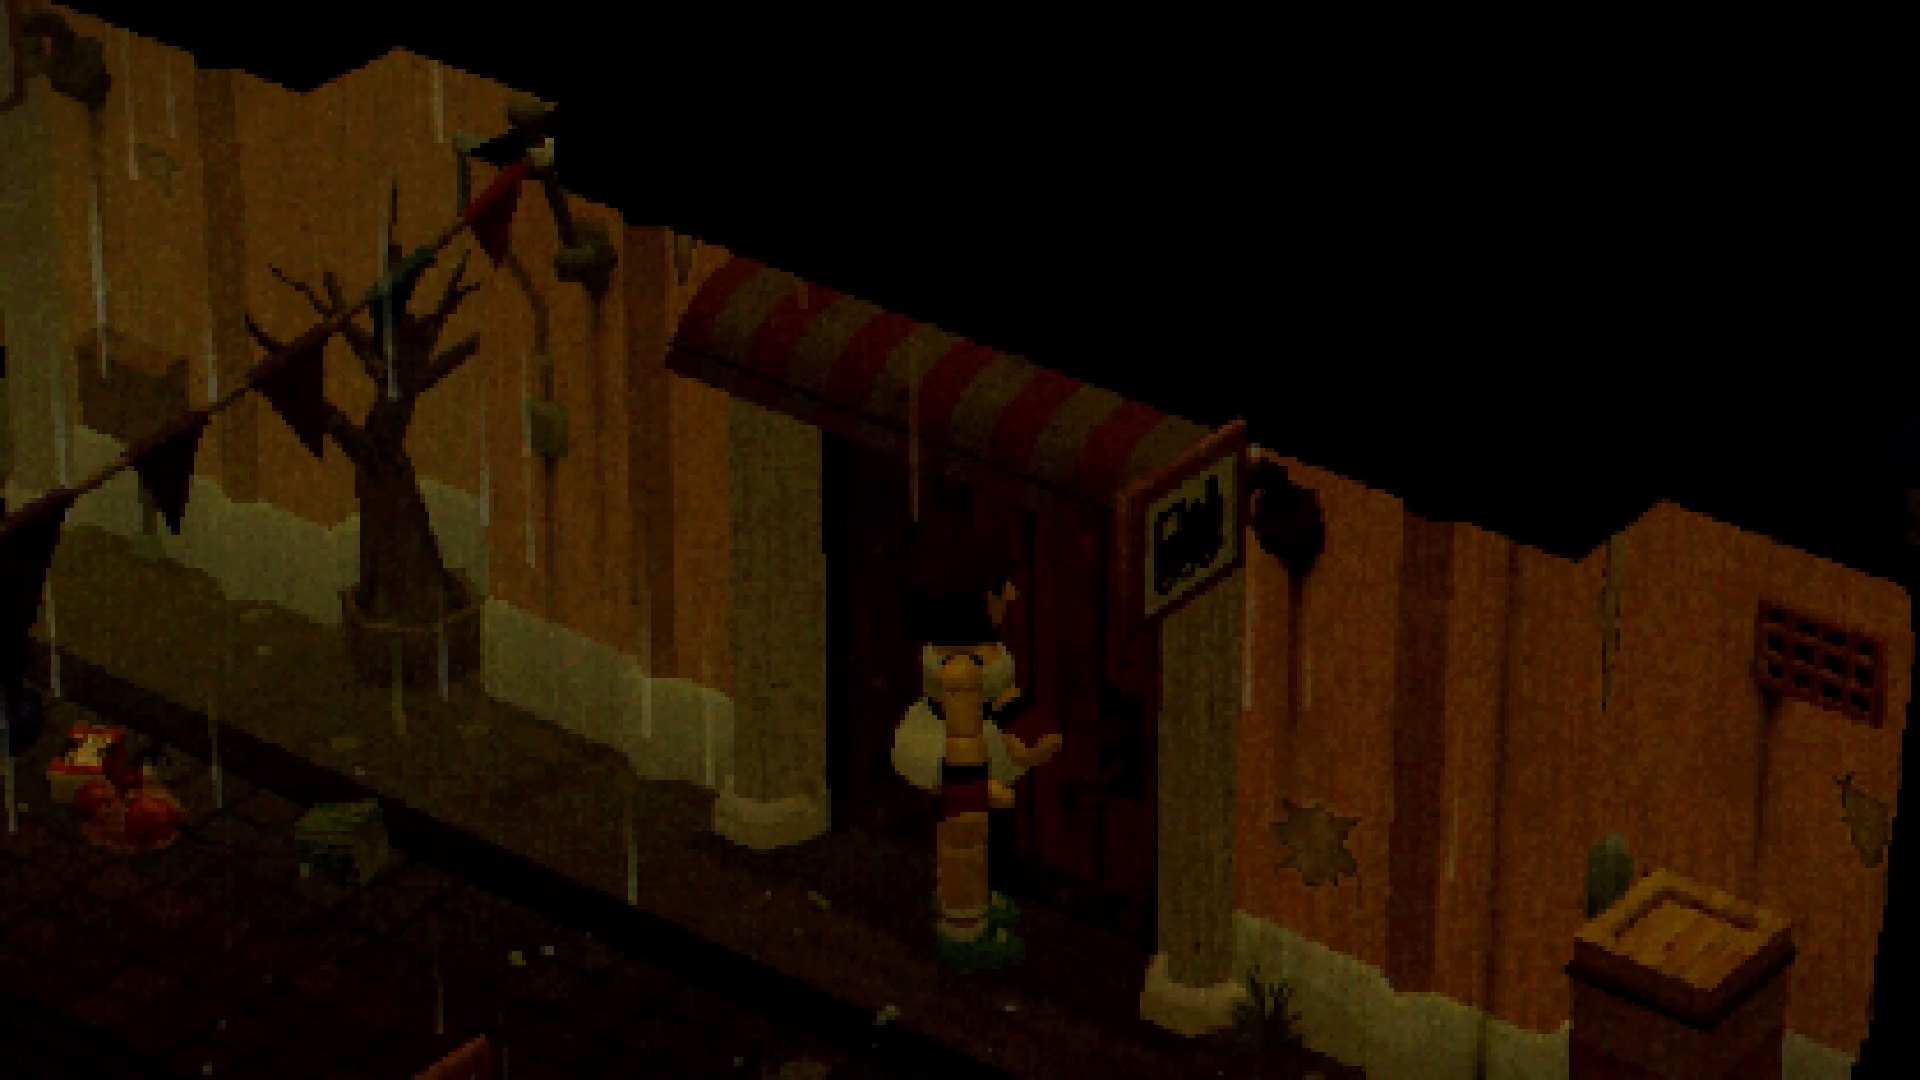
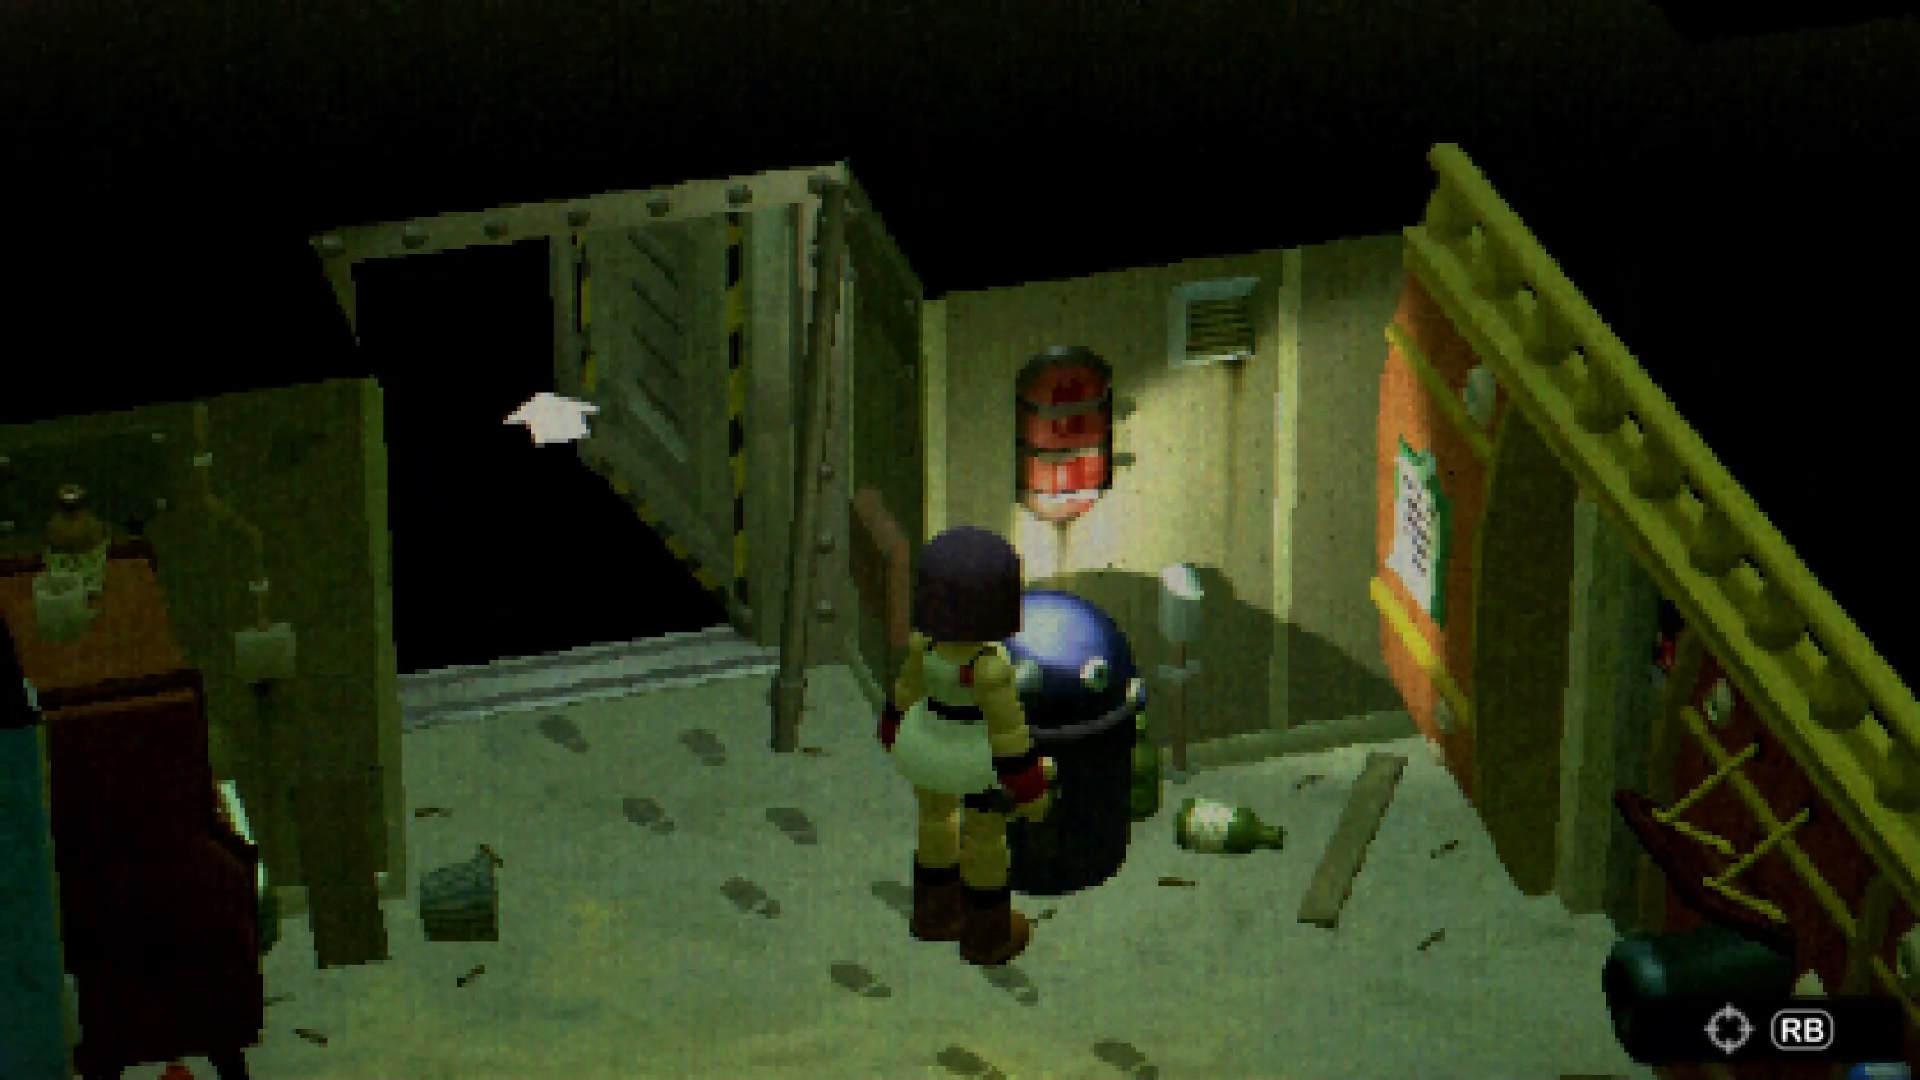
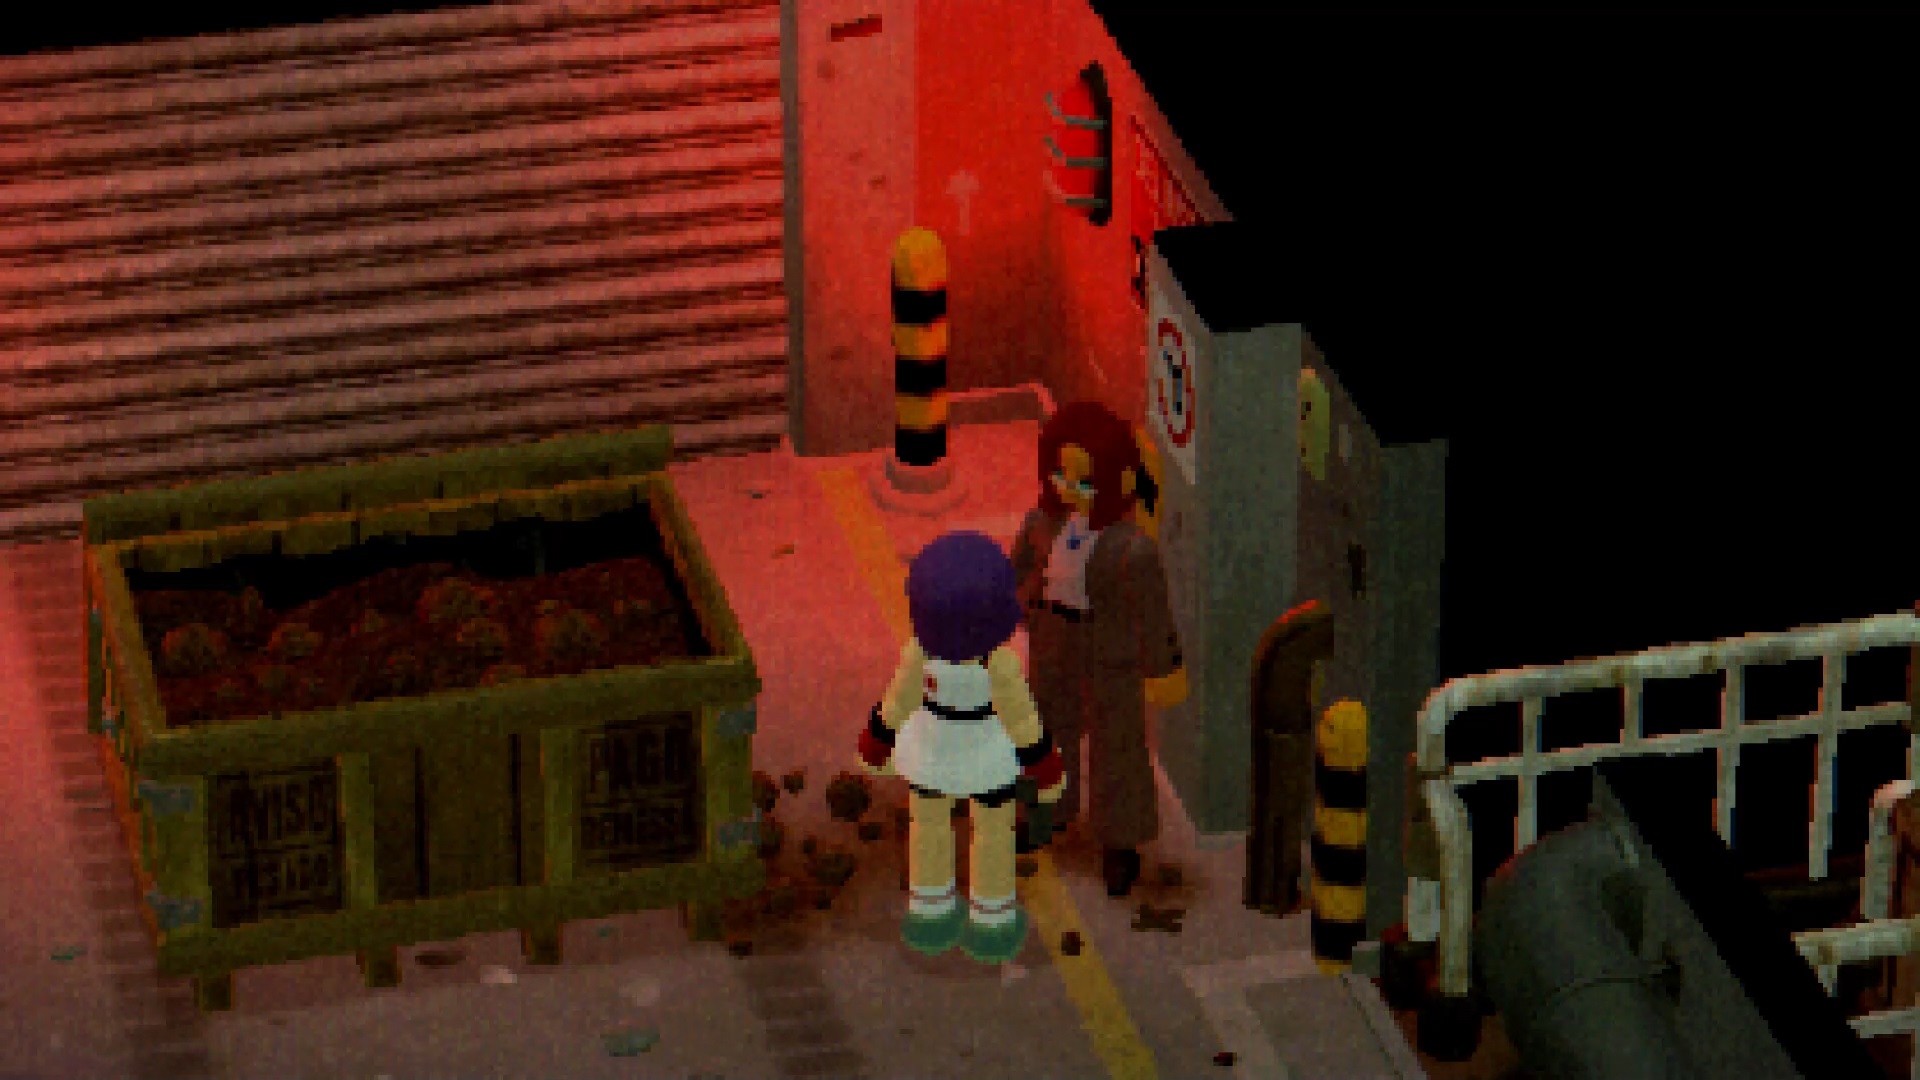
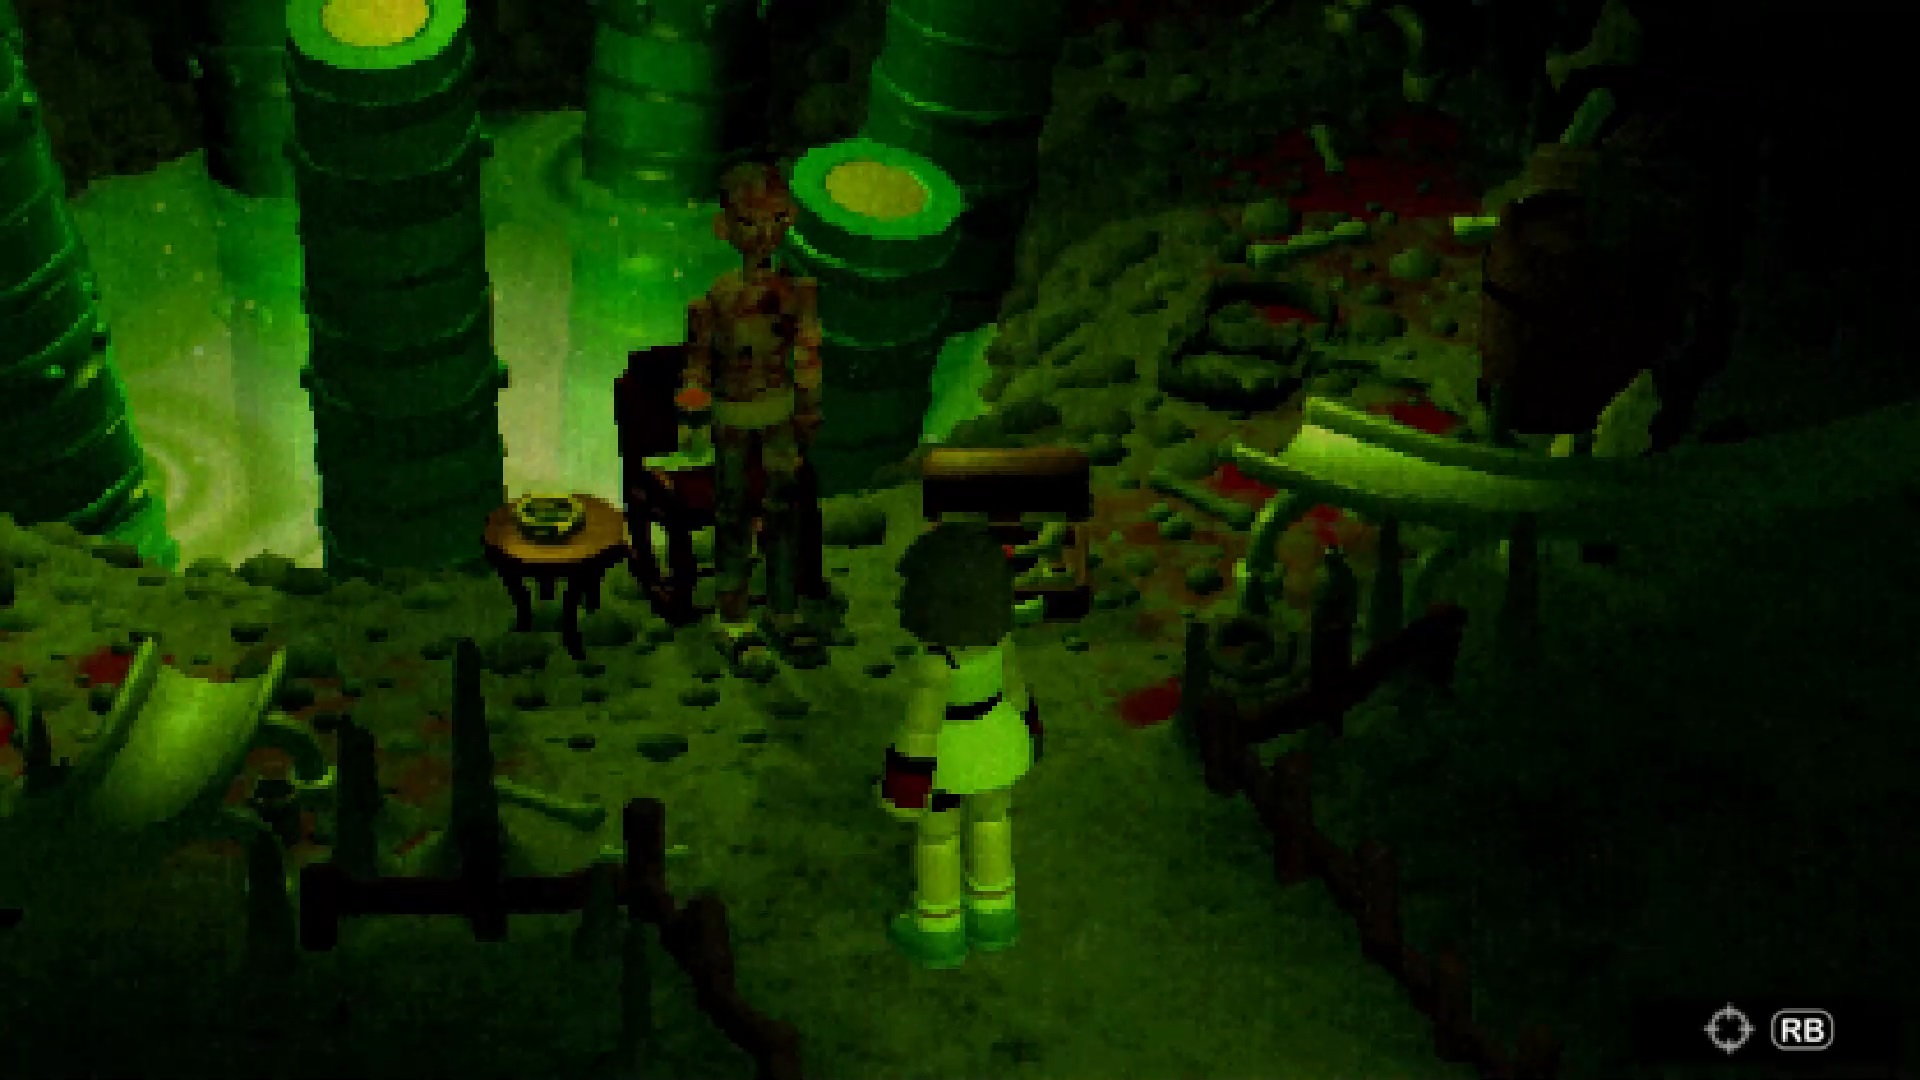
Then talk to the man lying on the ground. You need to find a treatment kit to restore him. You’ll find one northeast of the alley, in the corner. Use the kit to treat the man’s wounds. Continue talking to him to move him into your vehicle. Back in the alley, search the area where the injured man was sitting near the barrel to find a code. The code was in our part: 3184. Save it for later. Then continue north. Collect the card against the wall of Cosmic Future on the right. Then retrace your steps.
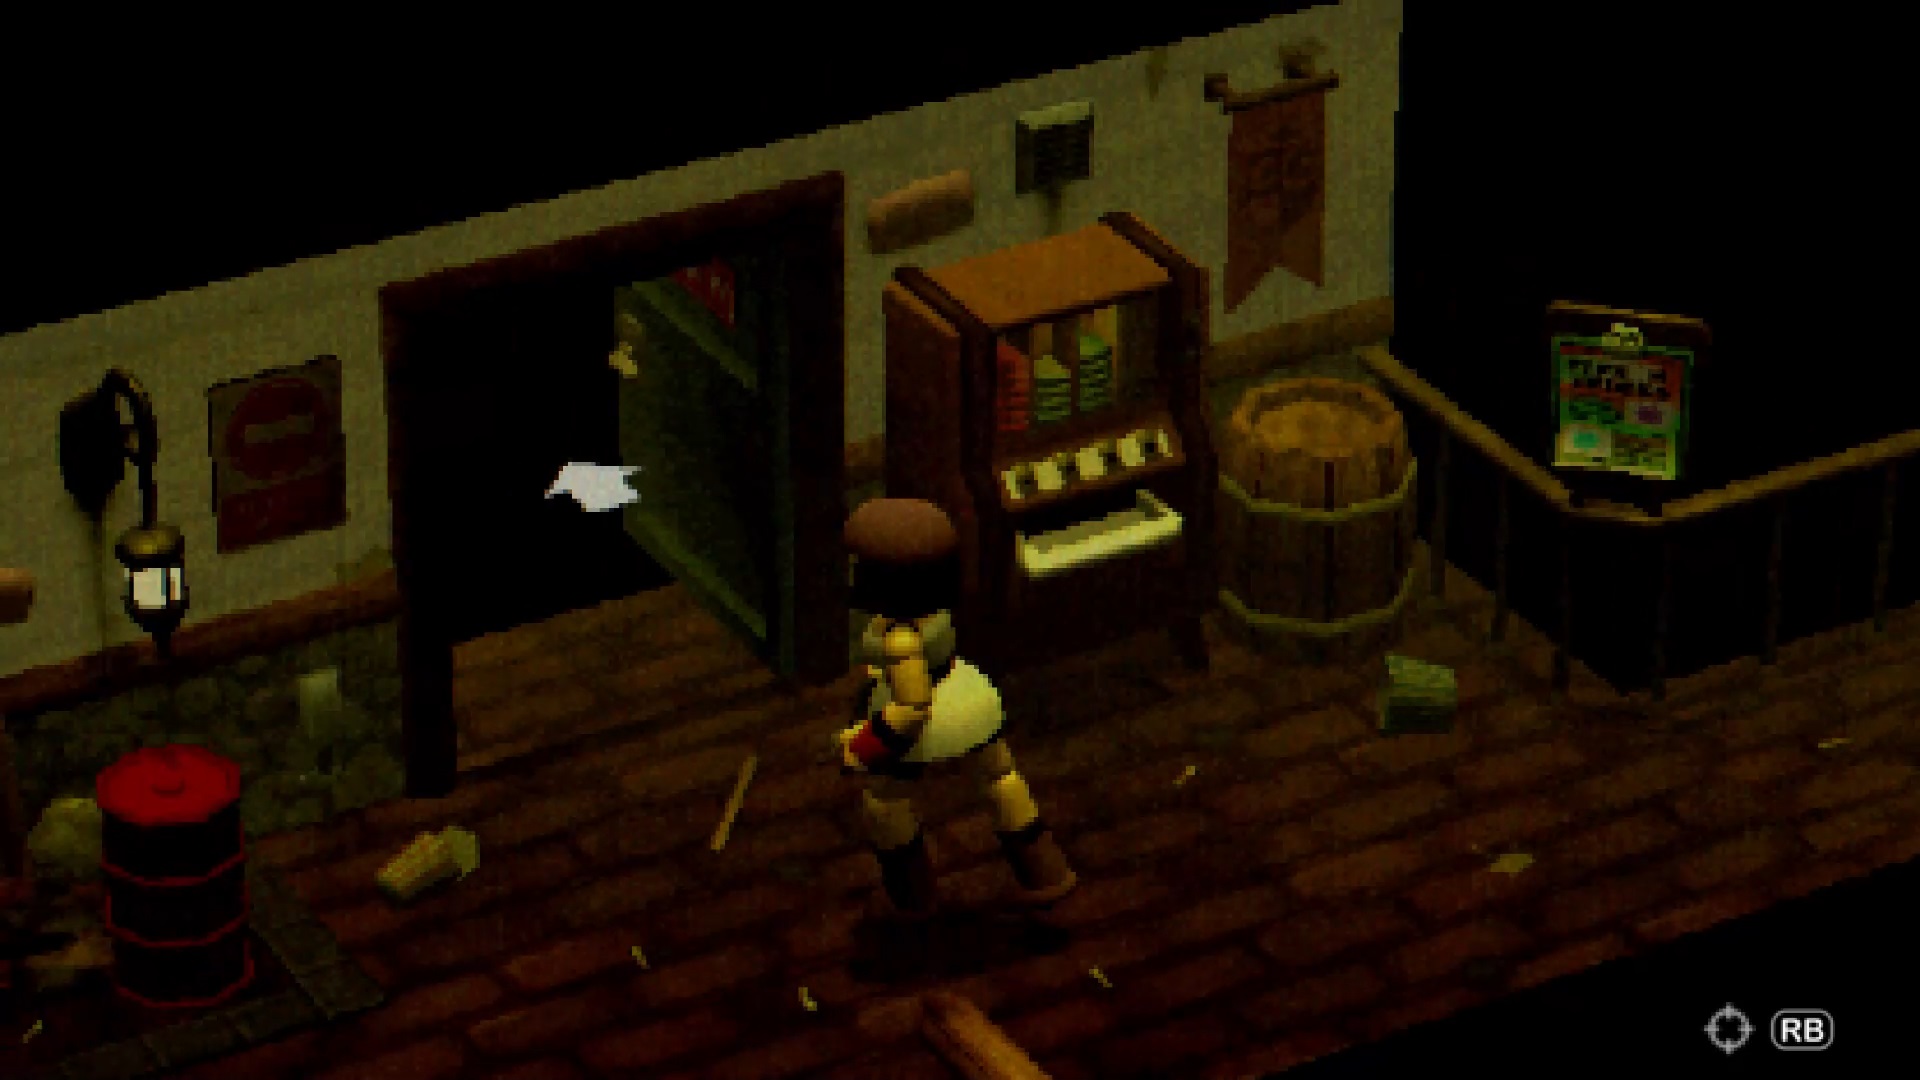
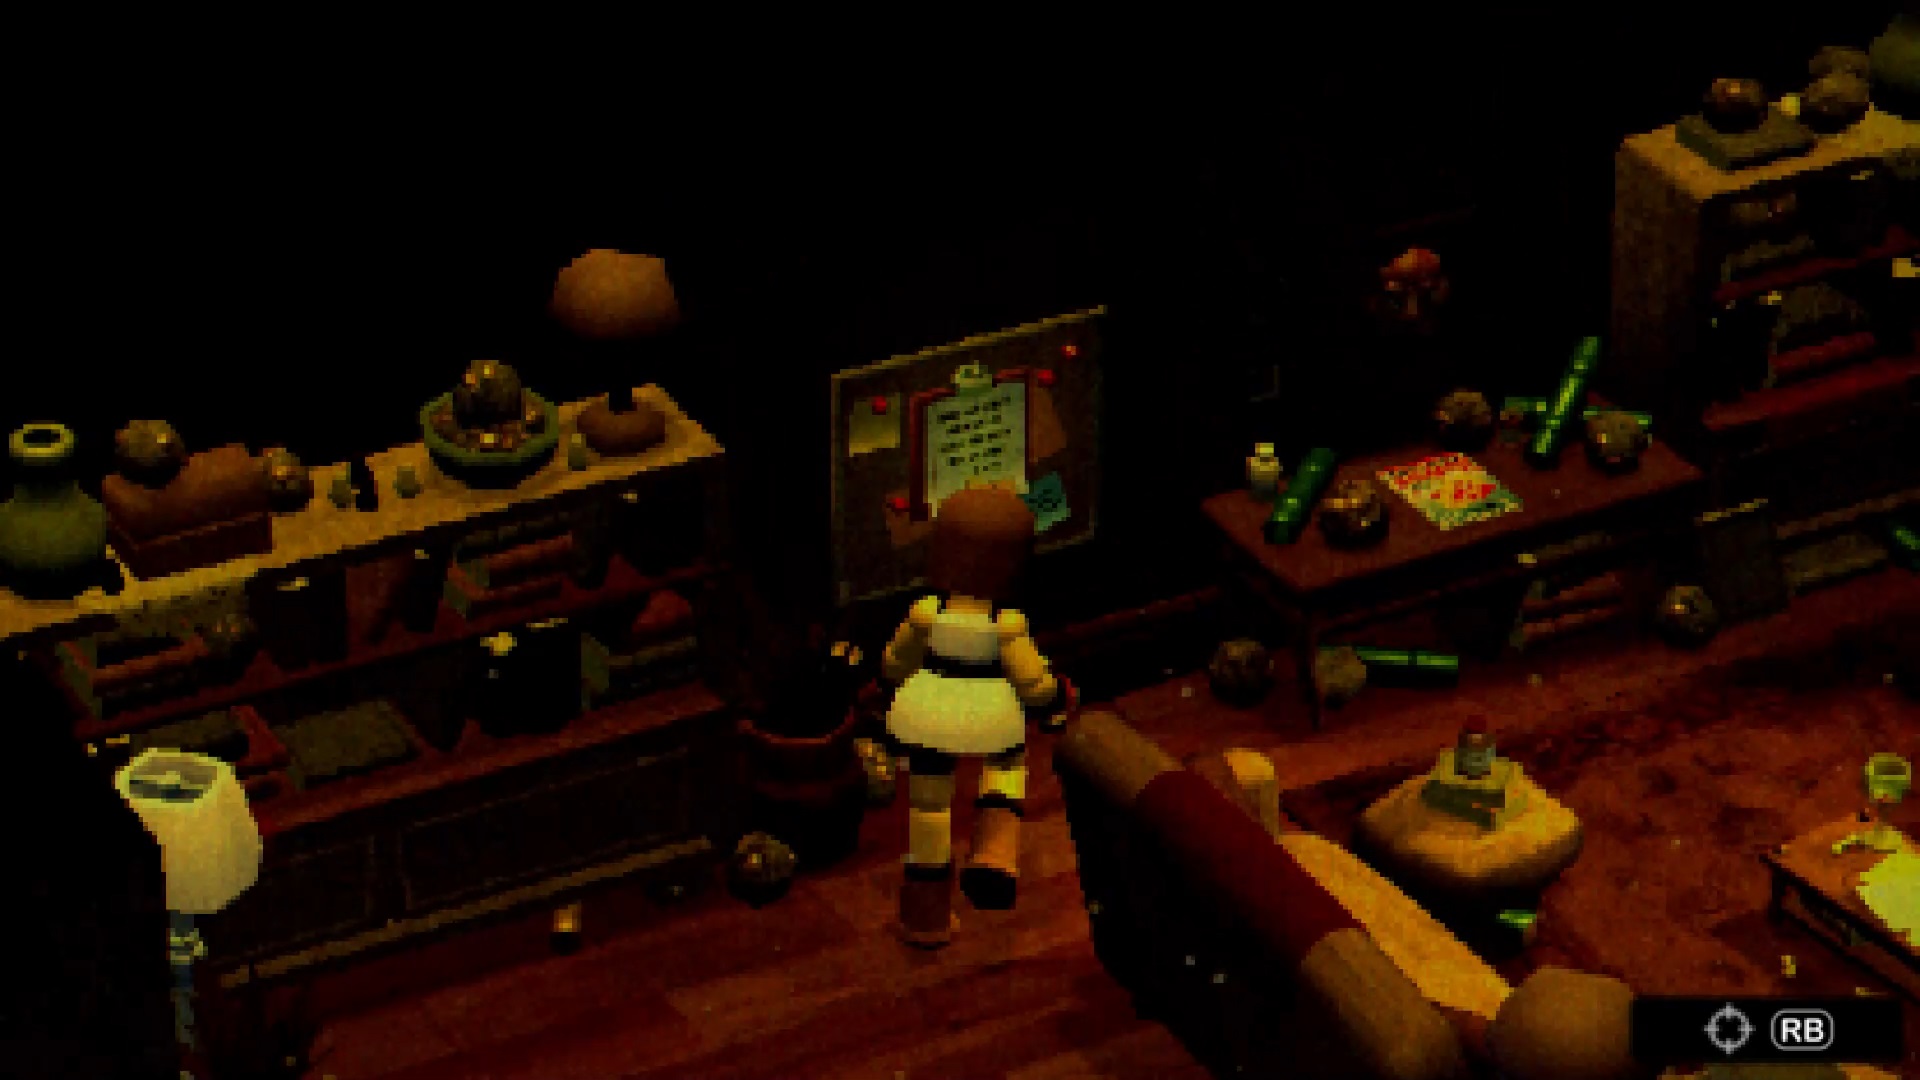
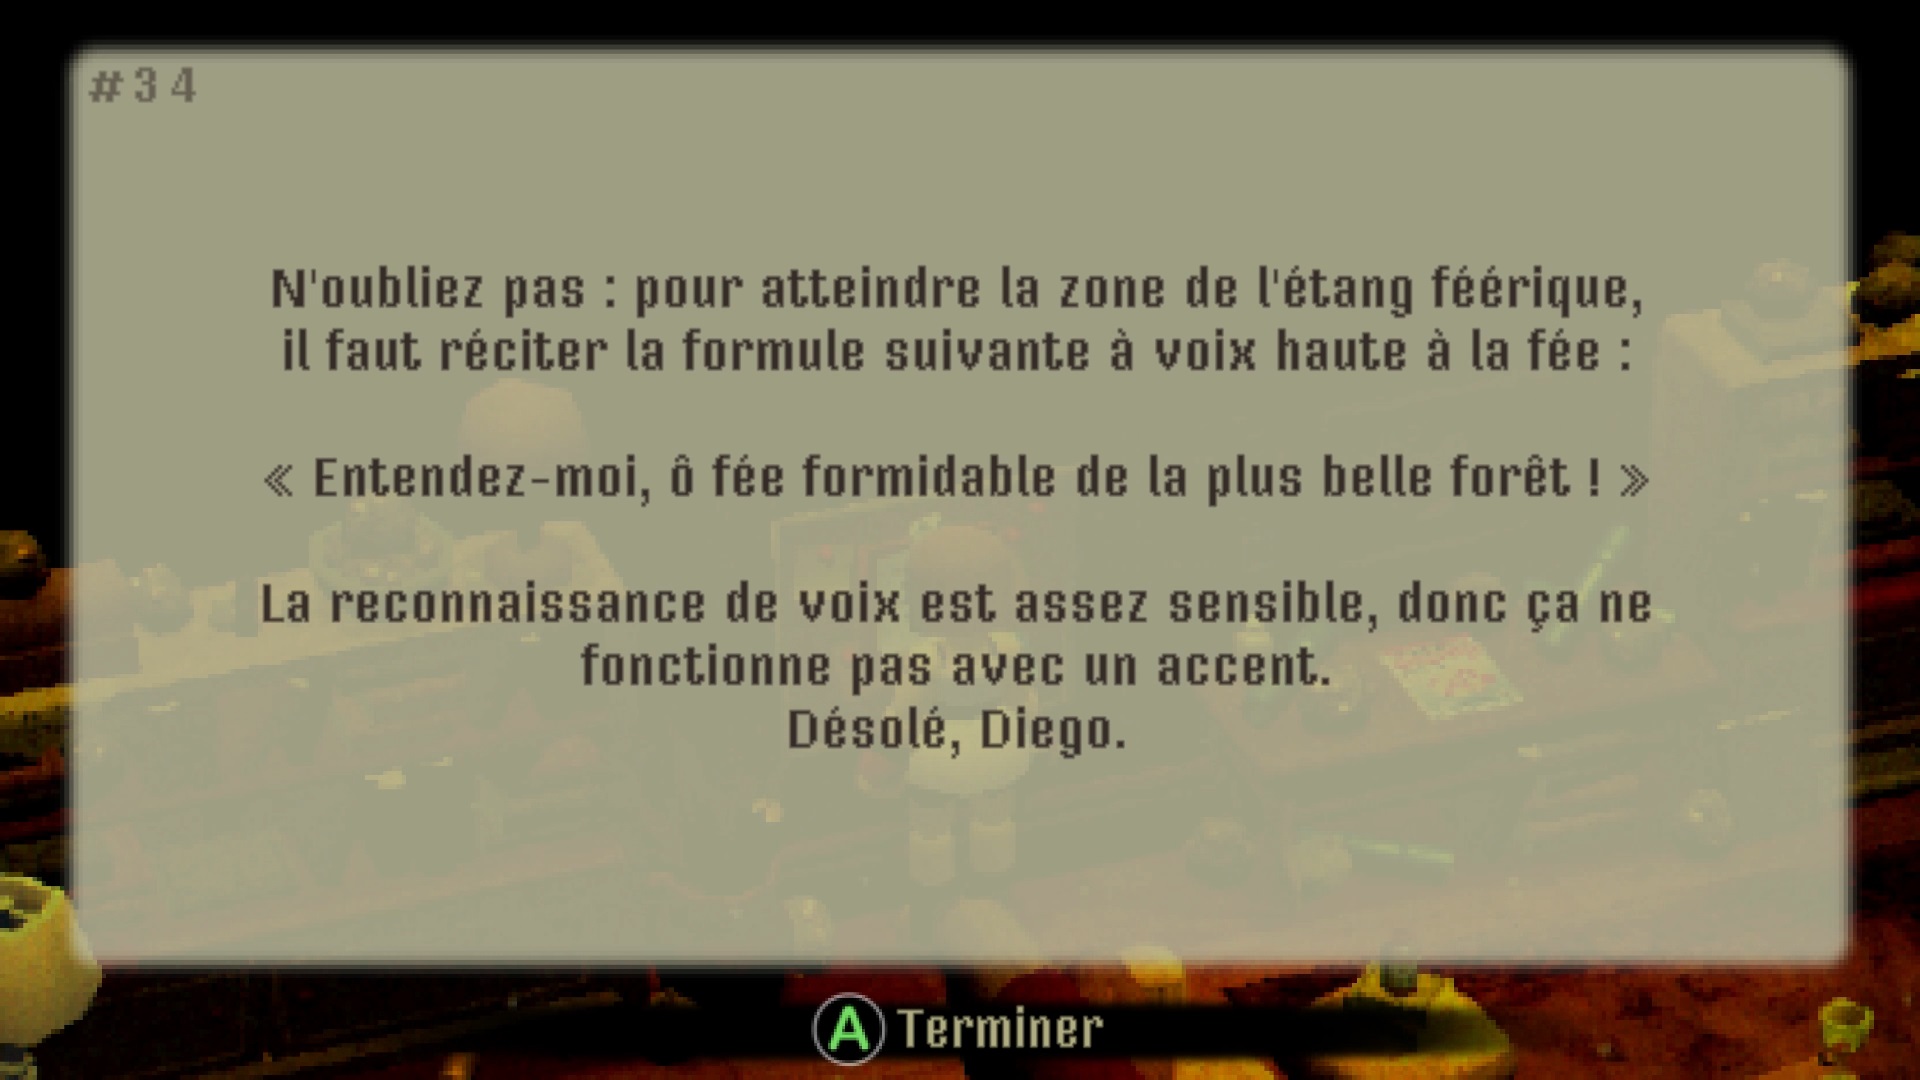
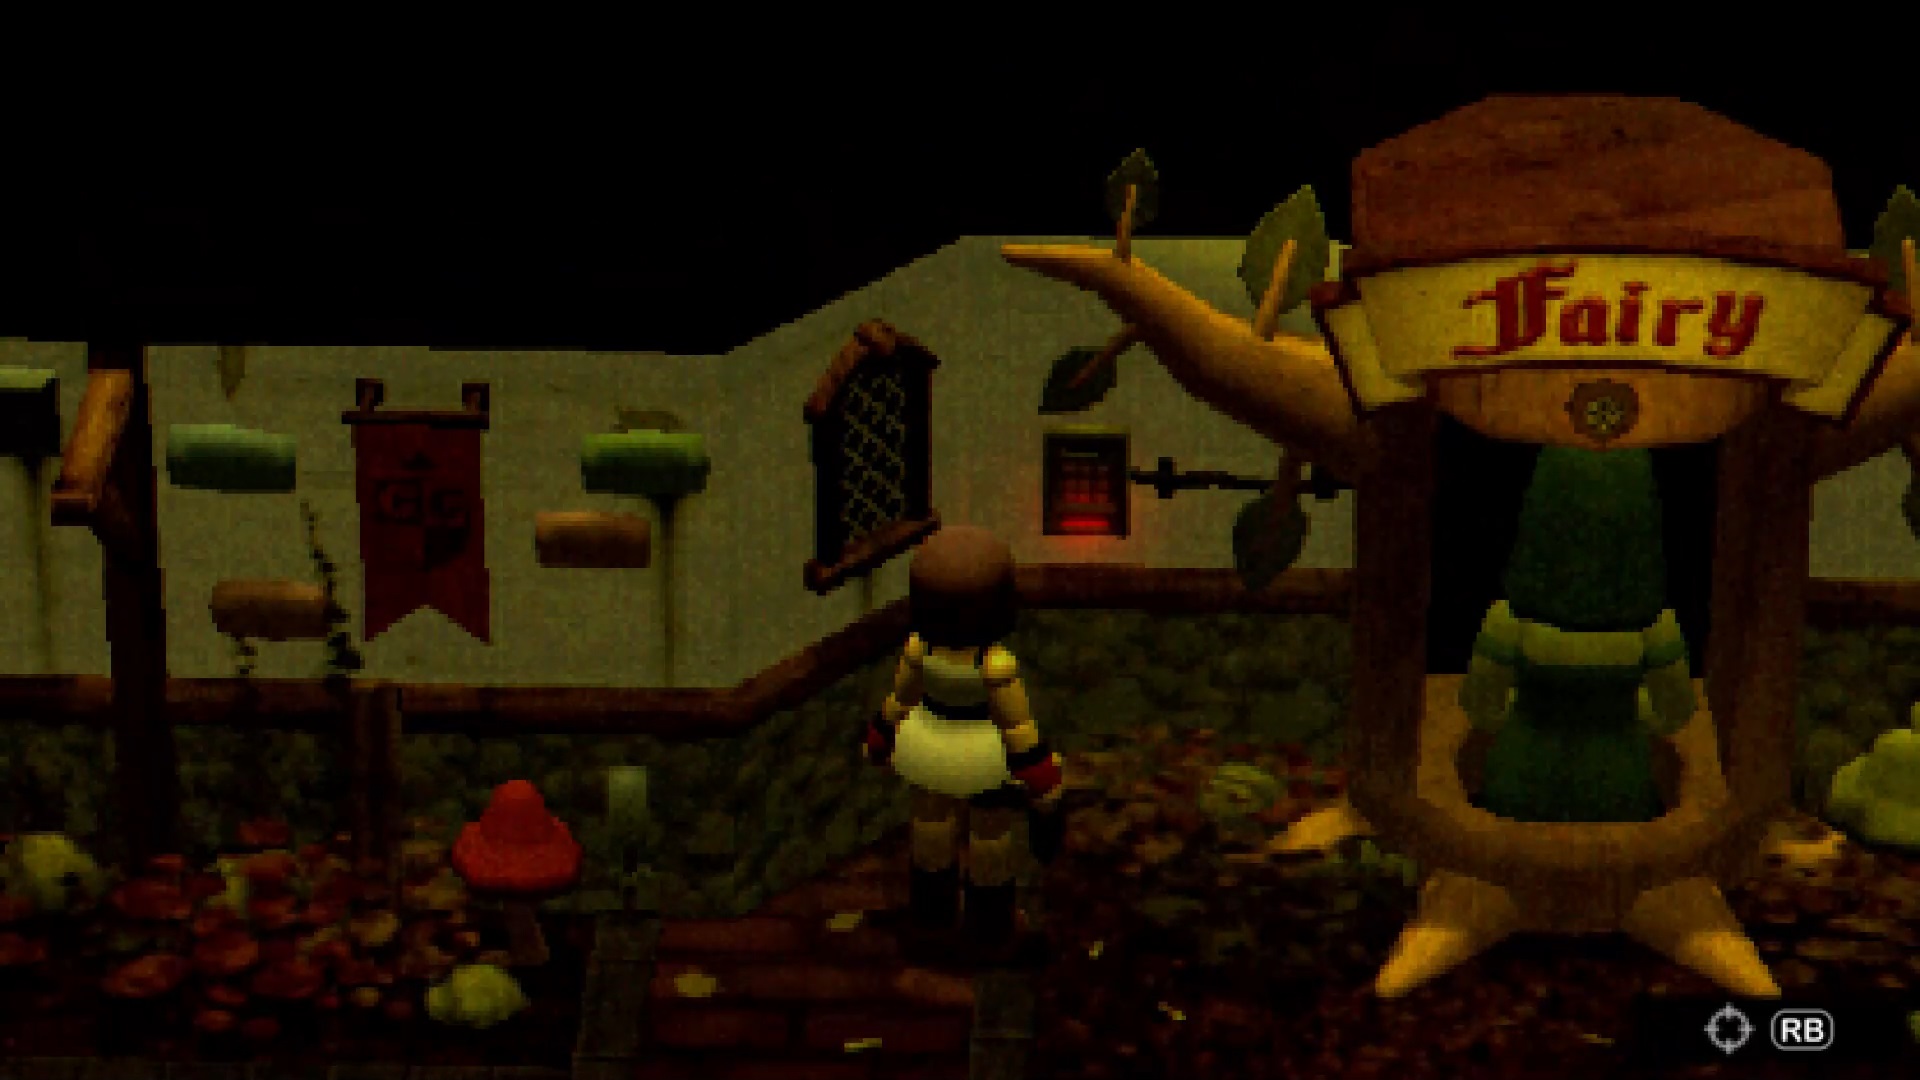
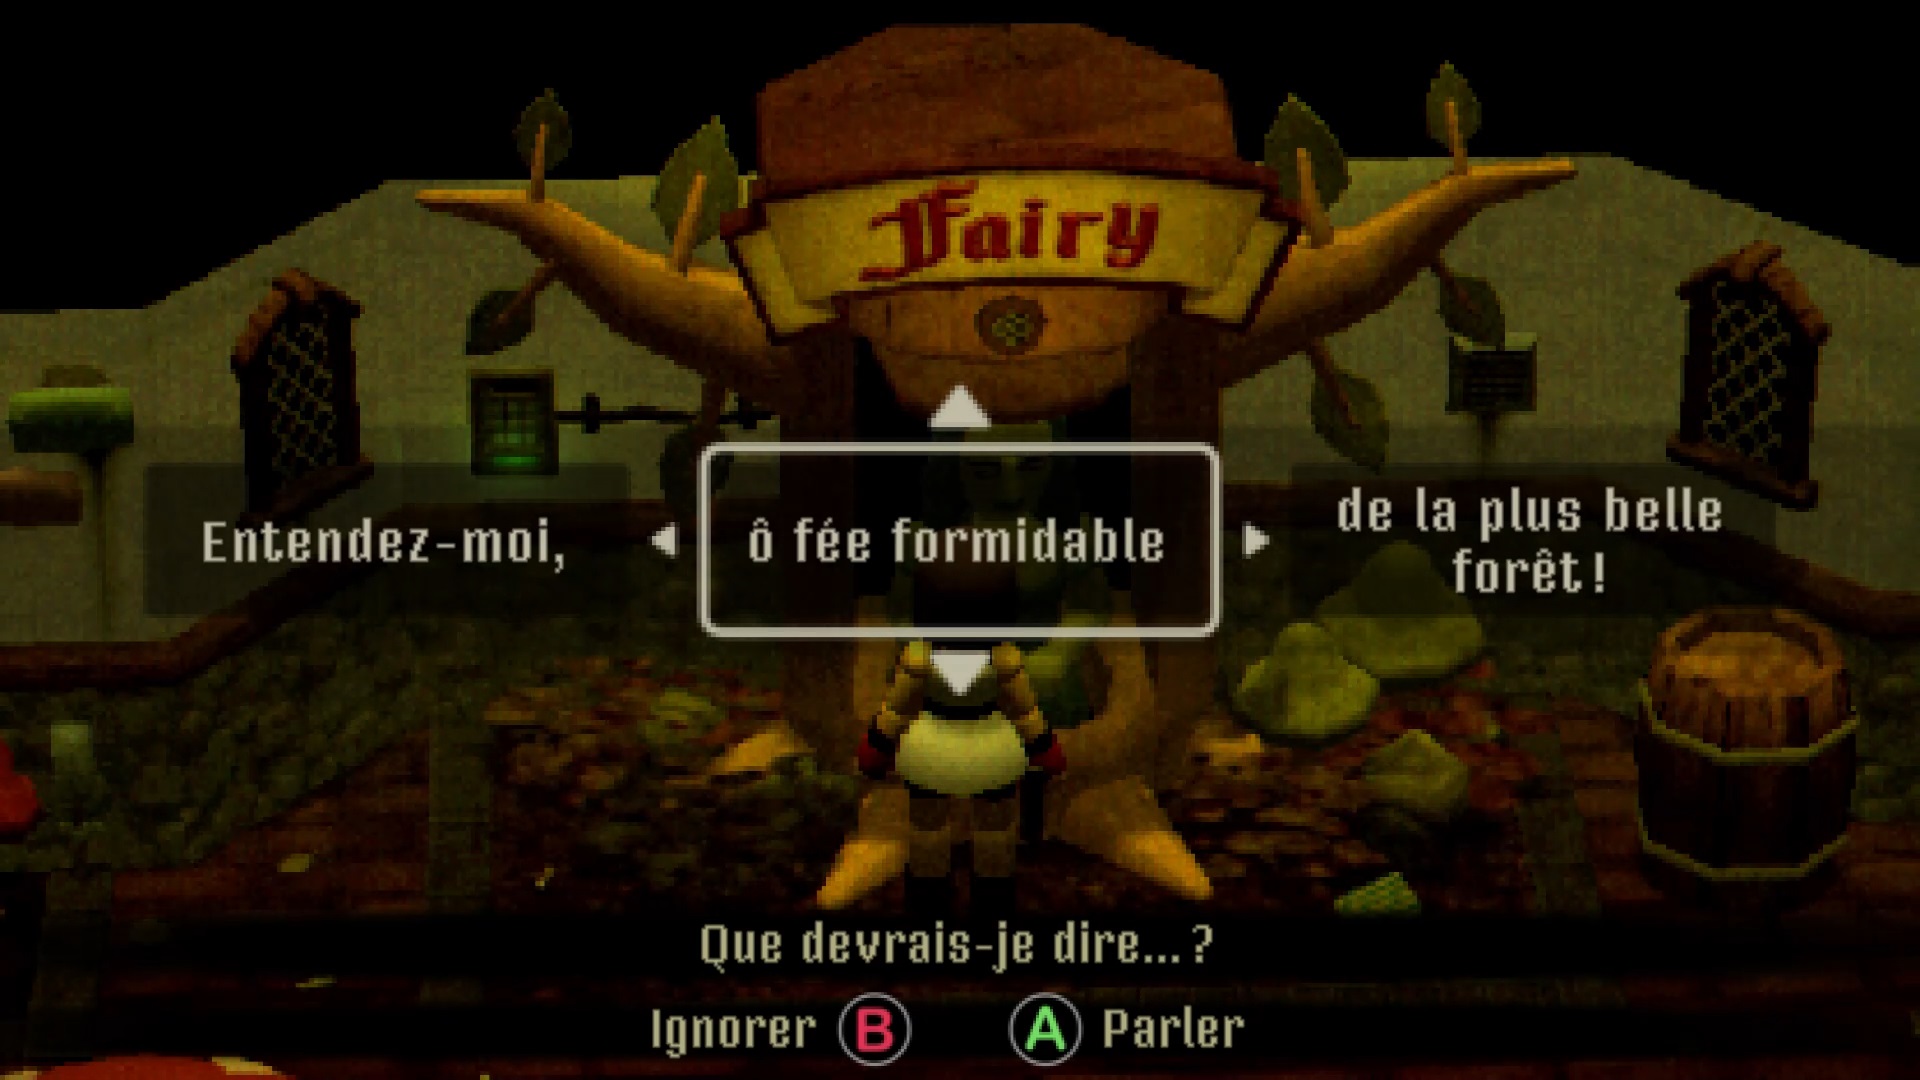
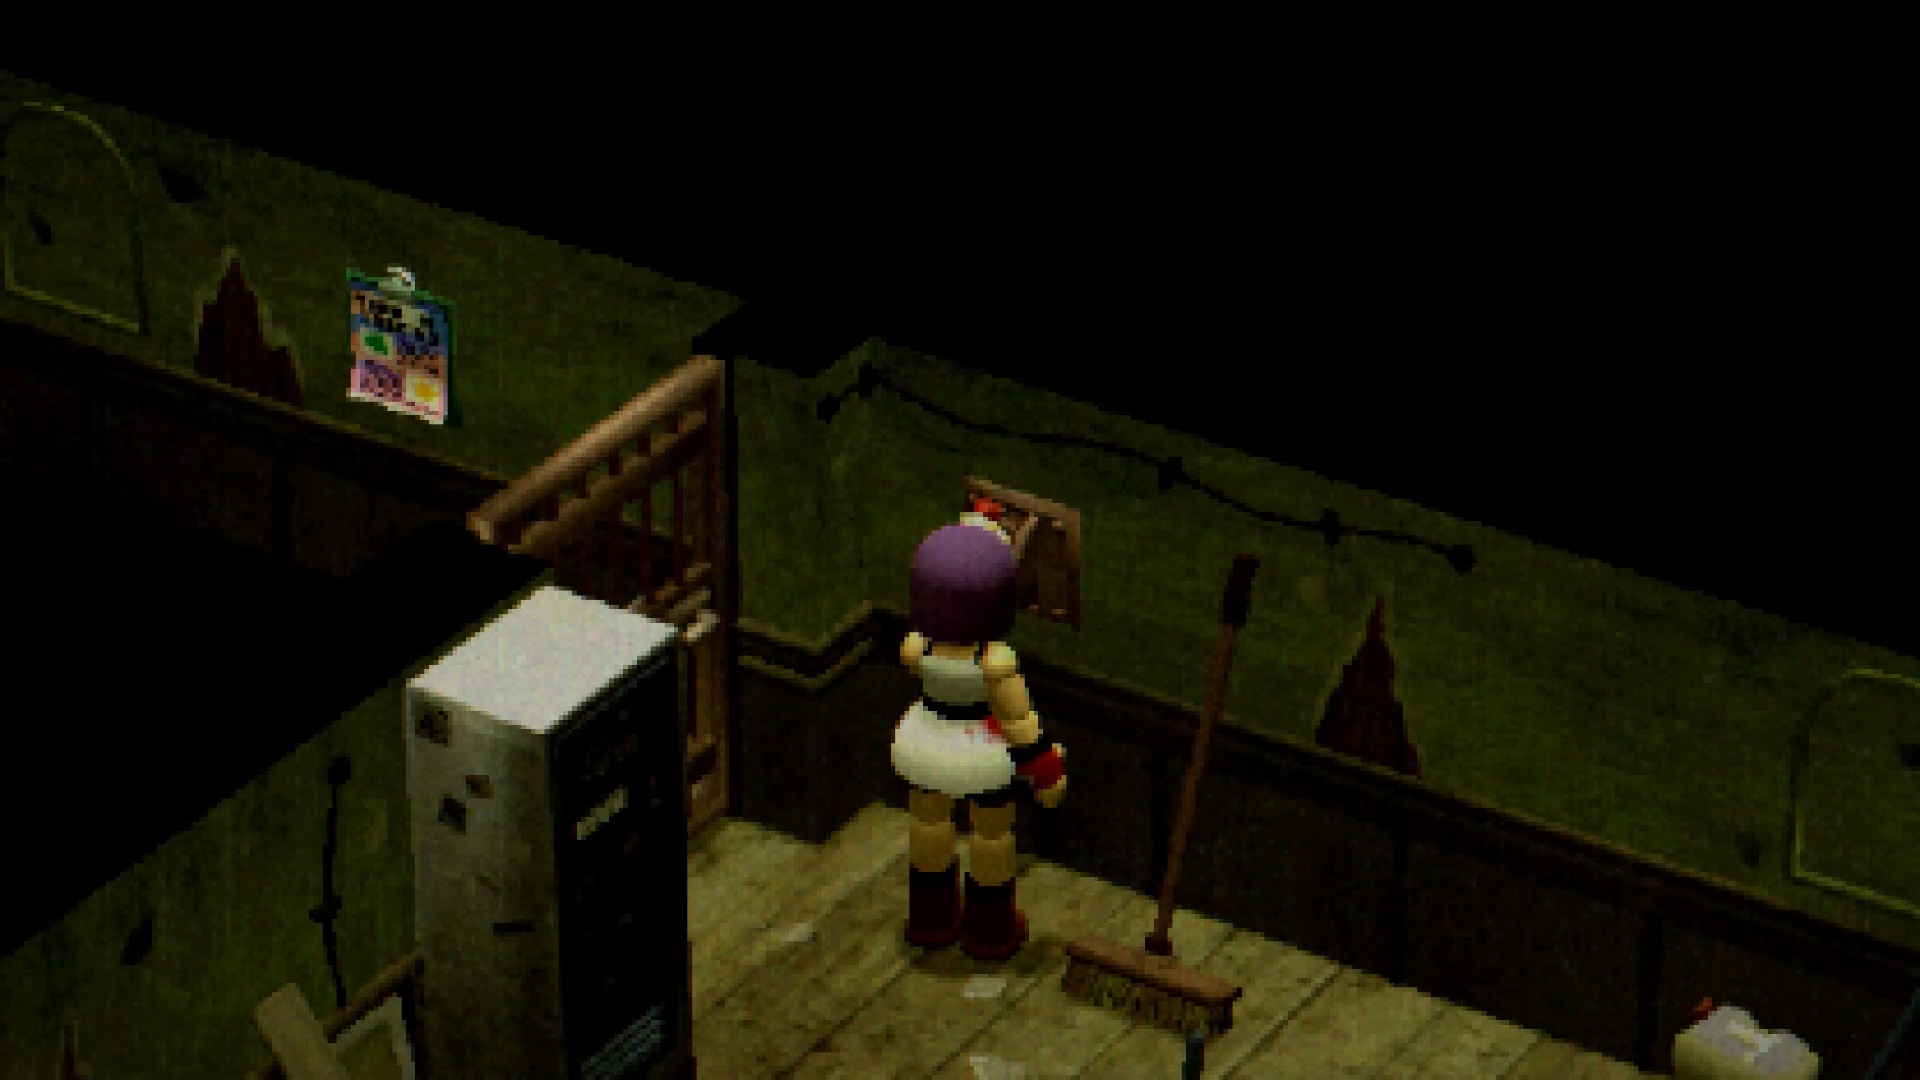
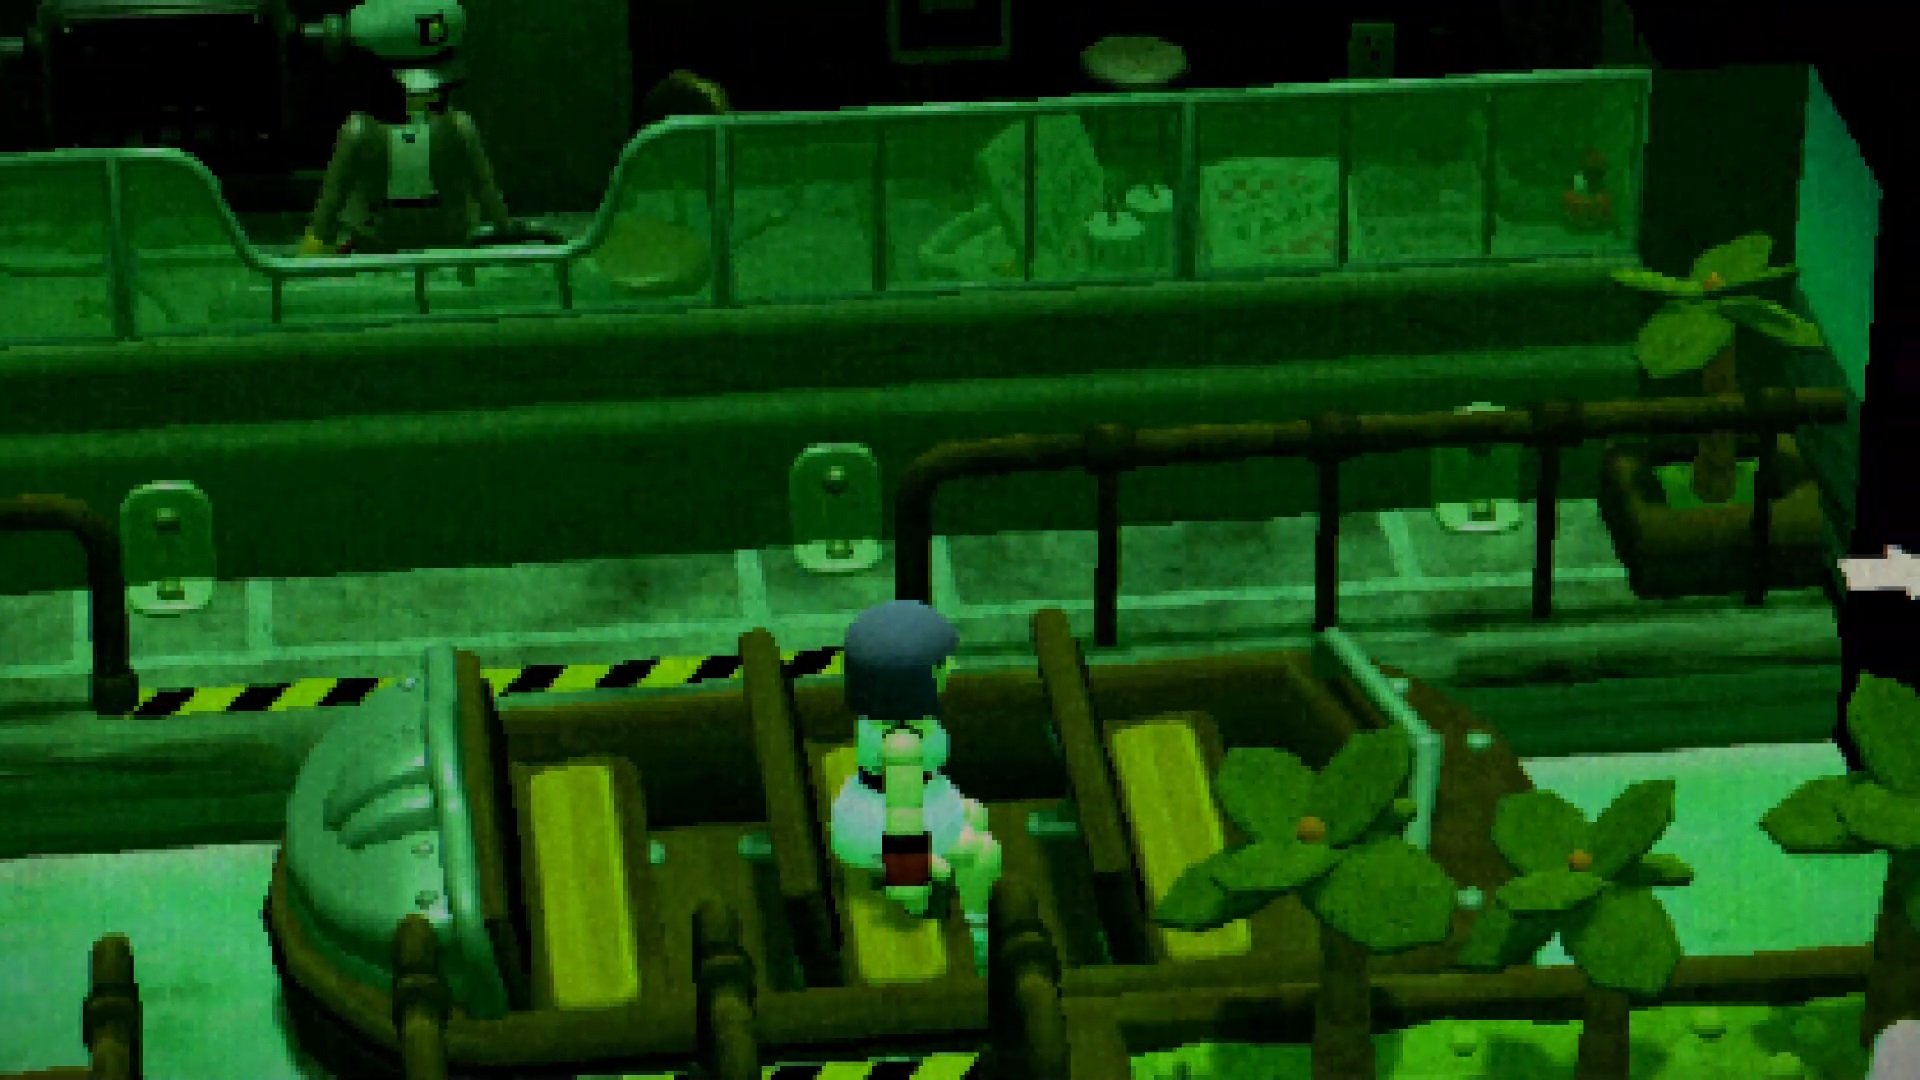
Back in Fairytale Town, go through the door directly next to it to enter the Tech Gallery. Avoid the monsters to reach your first save room. Examine the sign against the wall to find a formula: “Hear me, O wonderful fairy of the most beautiful forest! « . Head into Fairytale Town once again to find the fairy in a tree. Use the code found previously against the barrel on the digicode. Then talk to the fairy to give her the formula found in the save room.

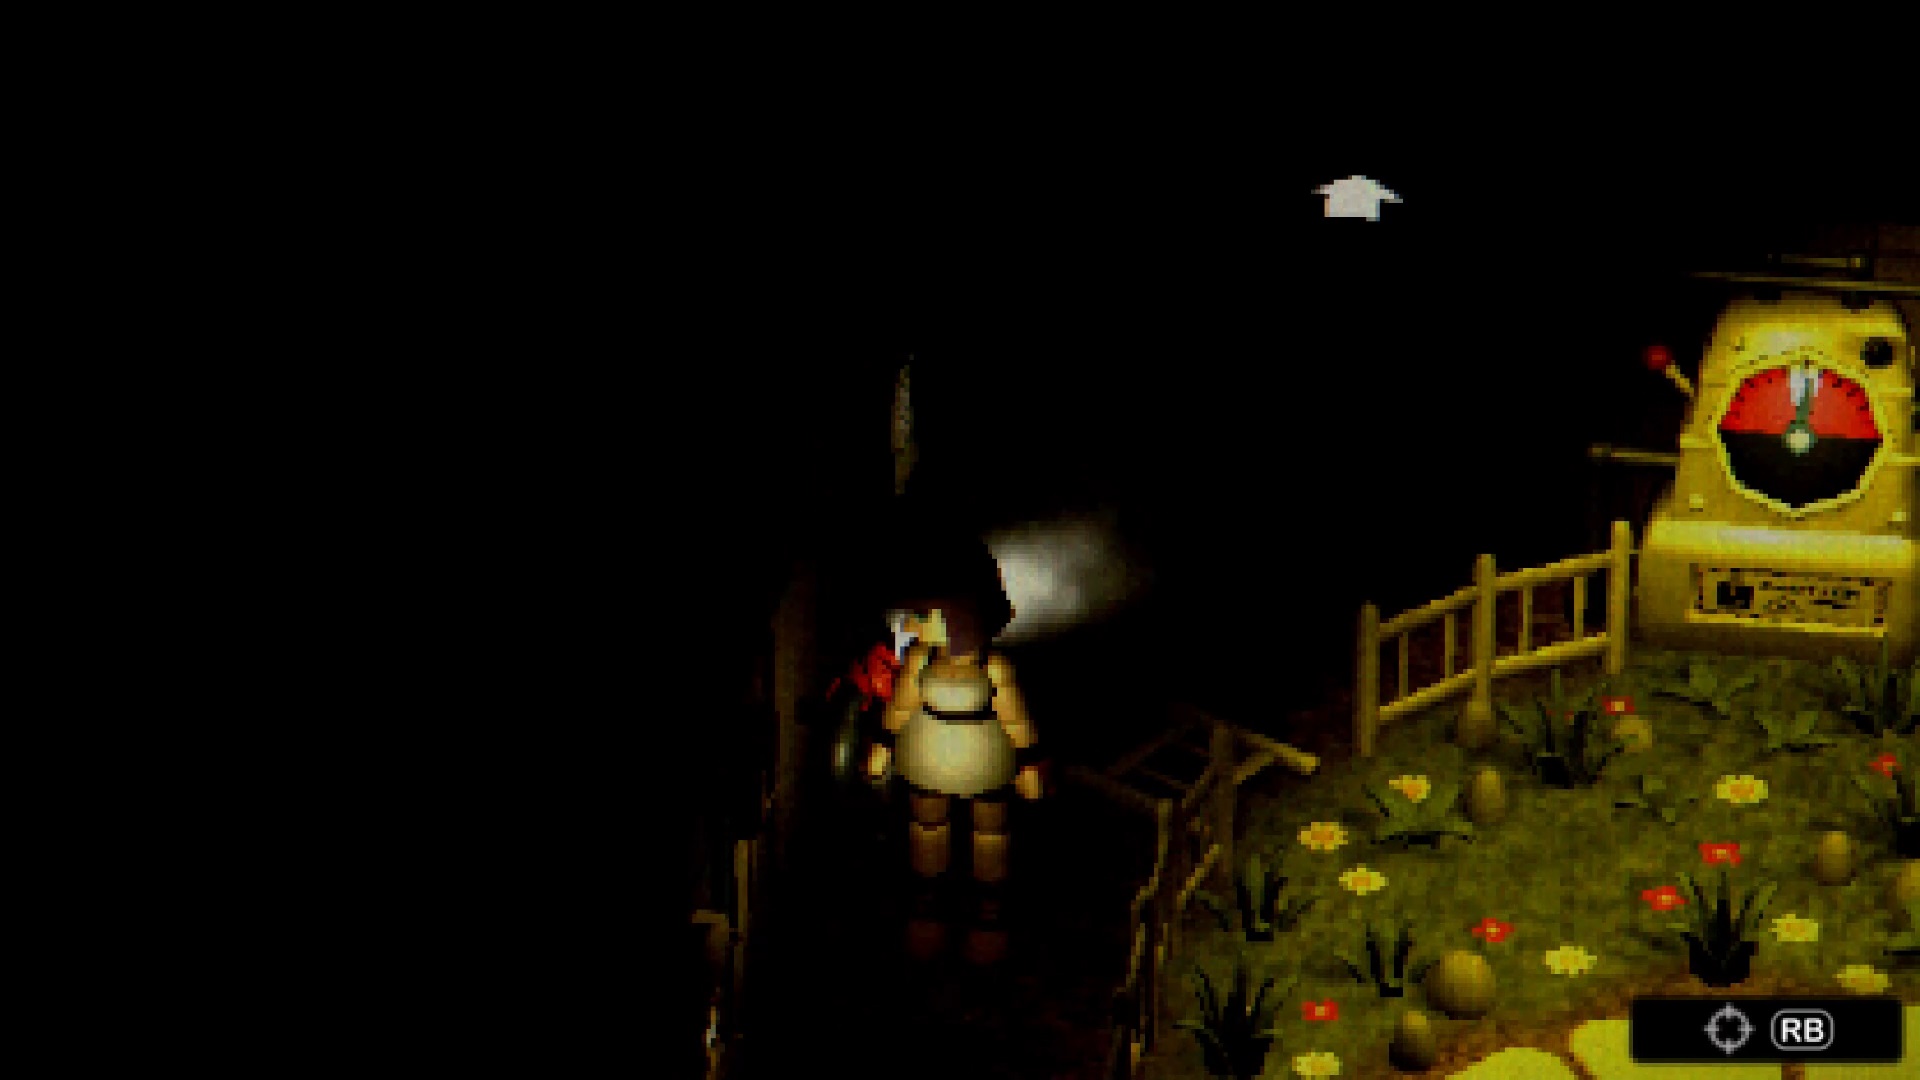
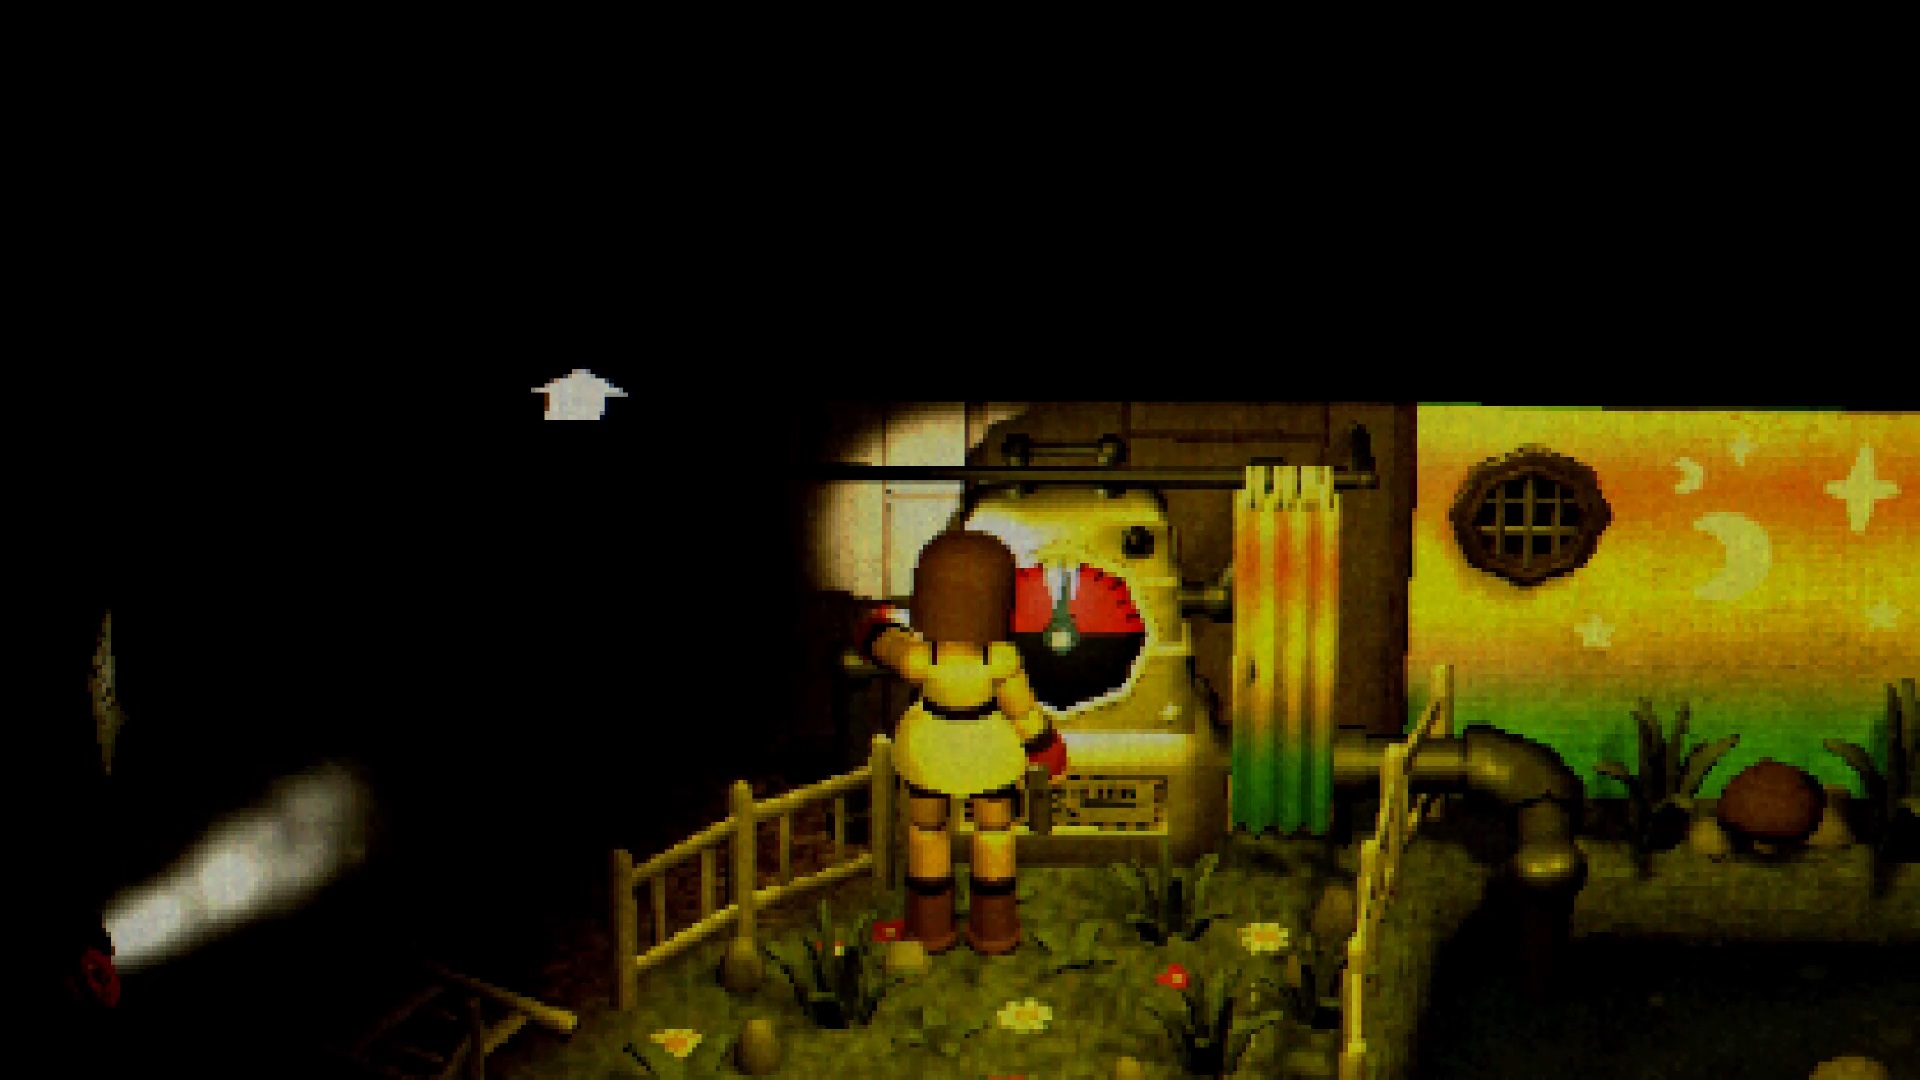
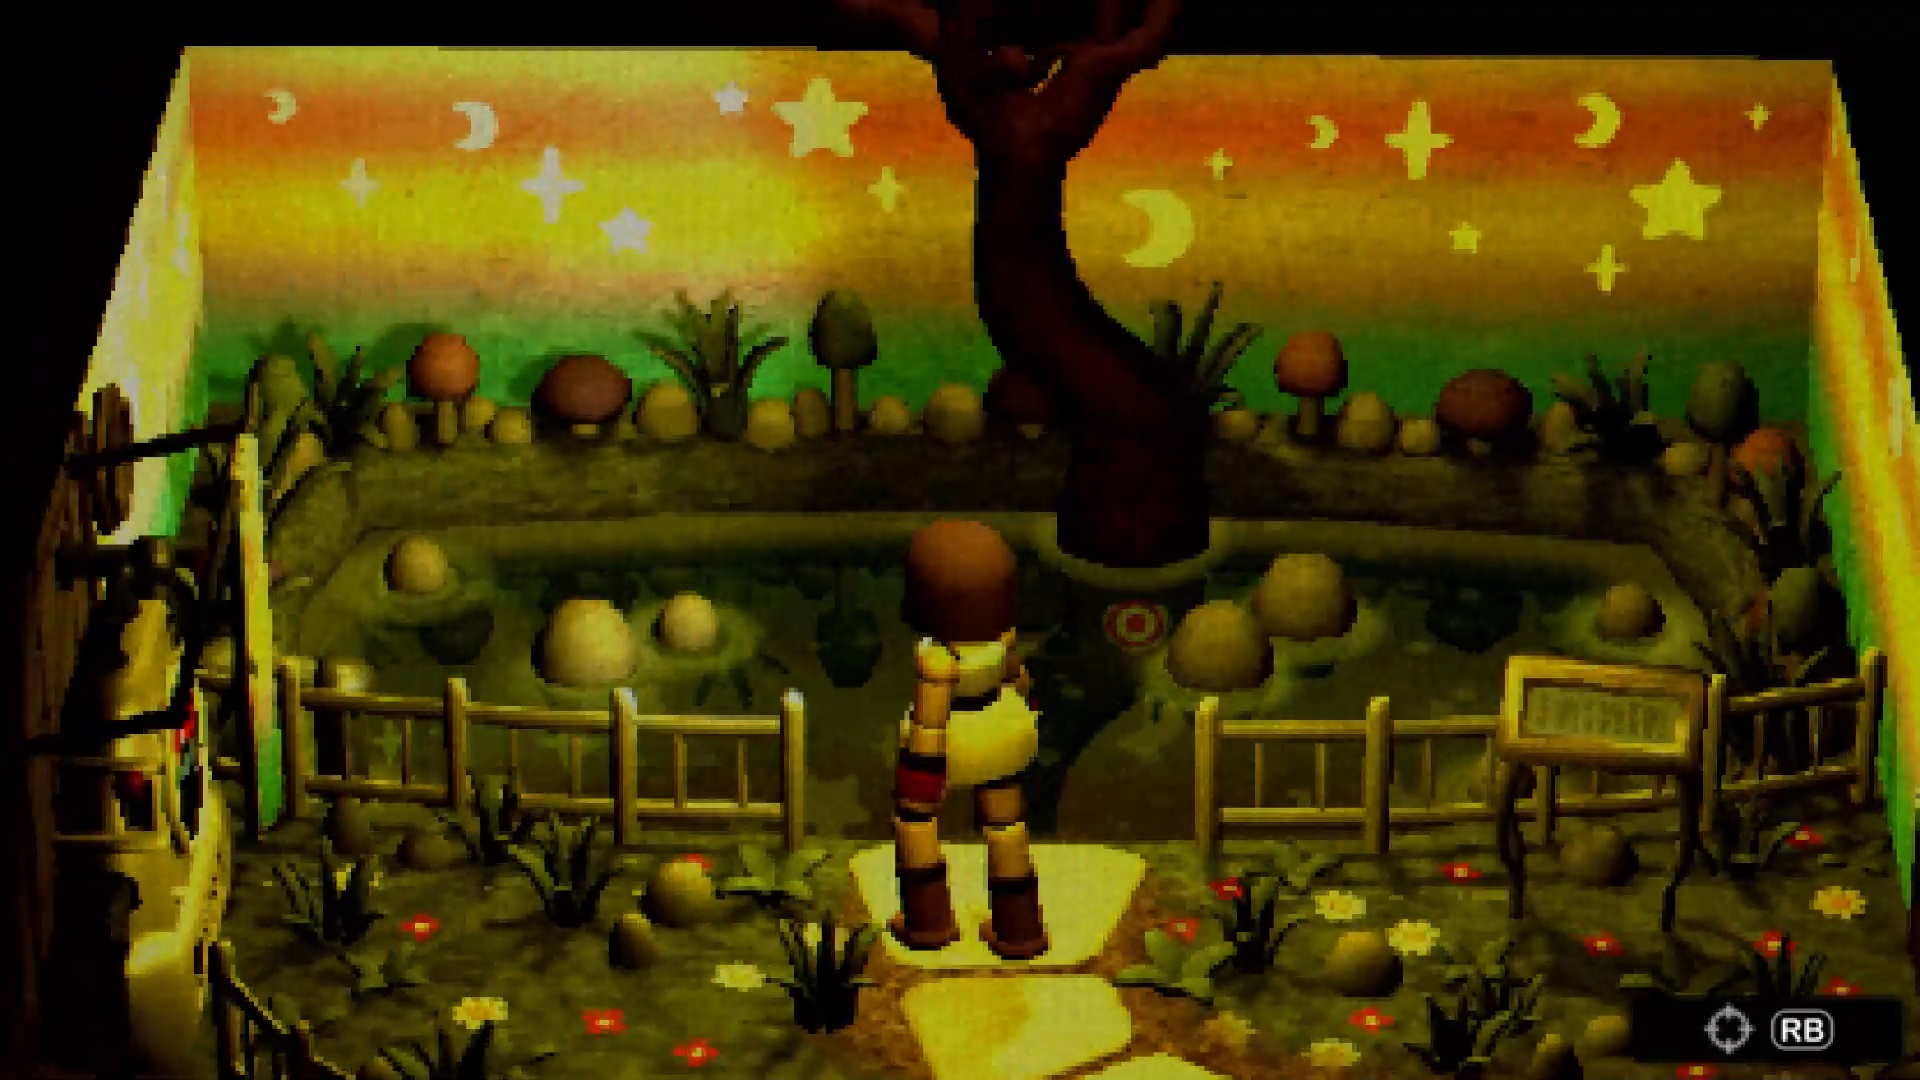

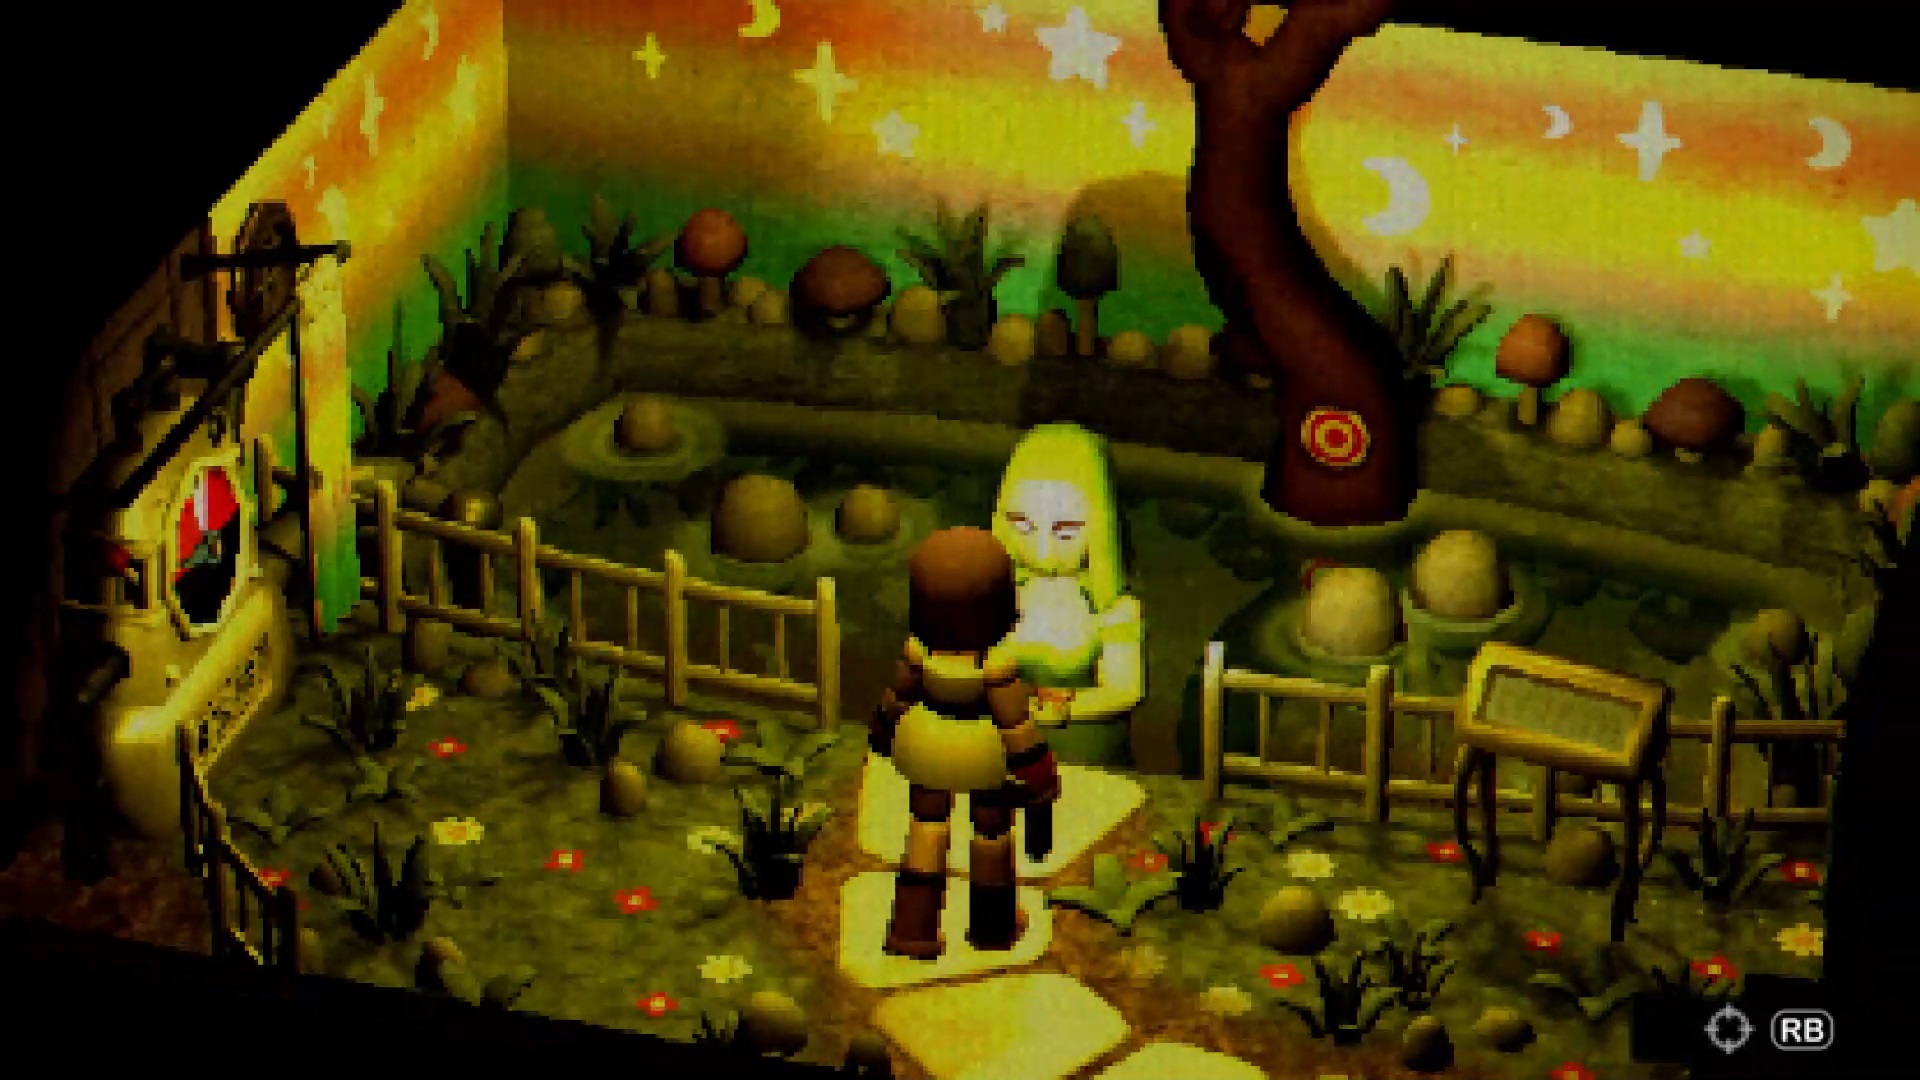
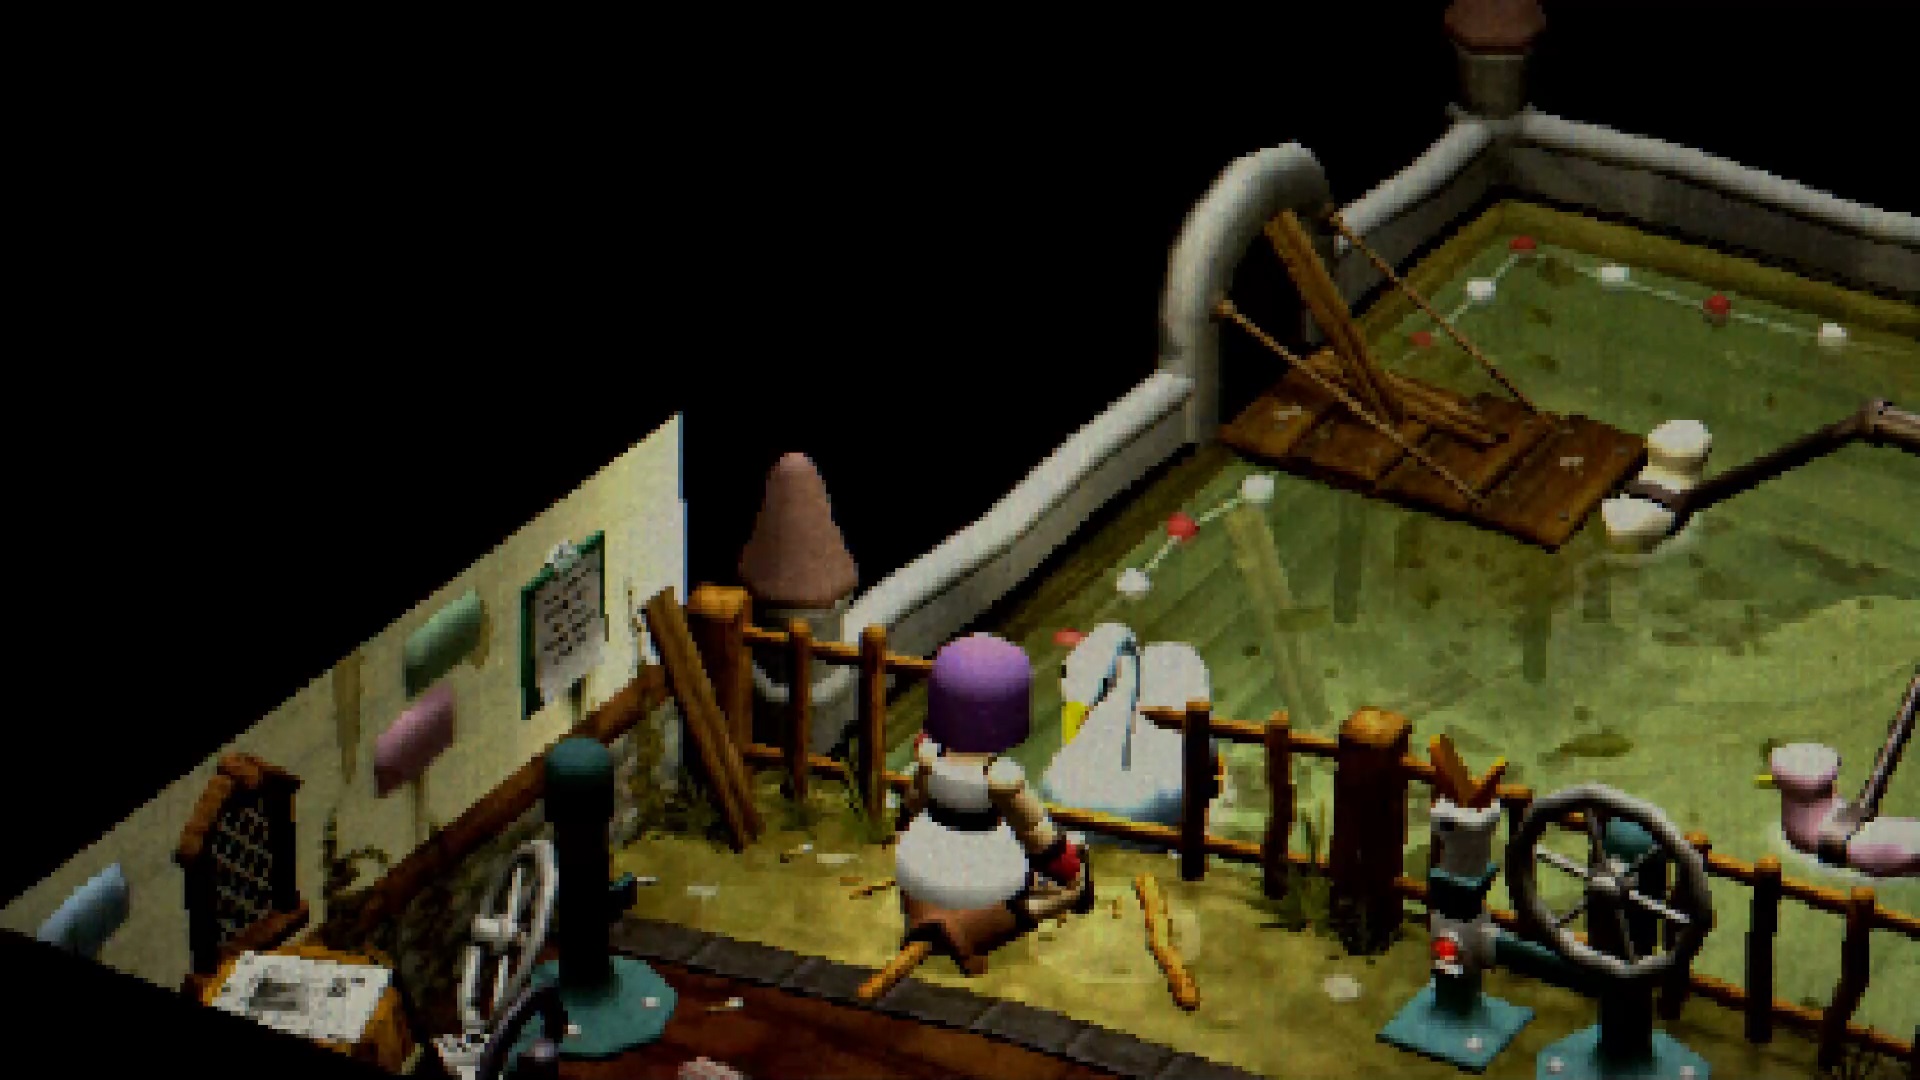
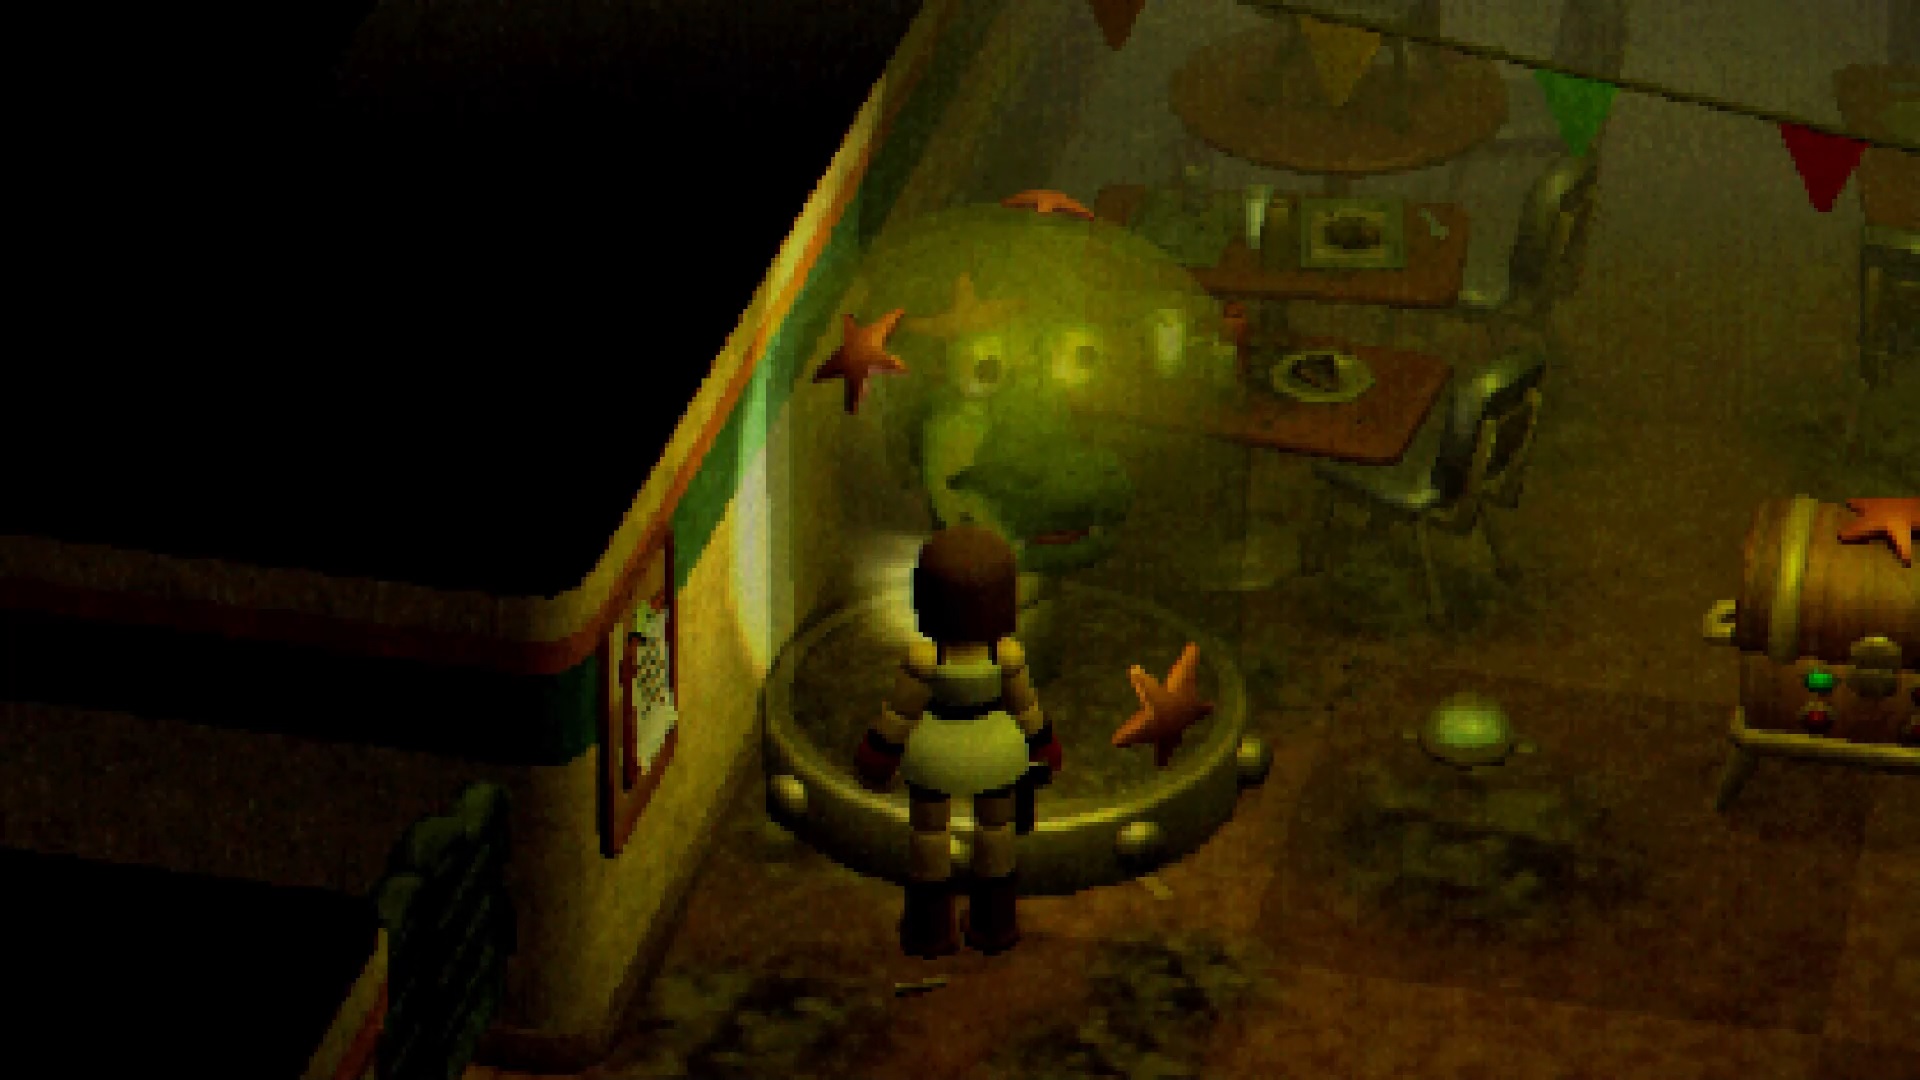
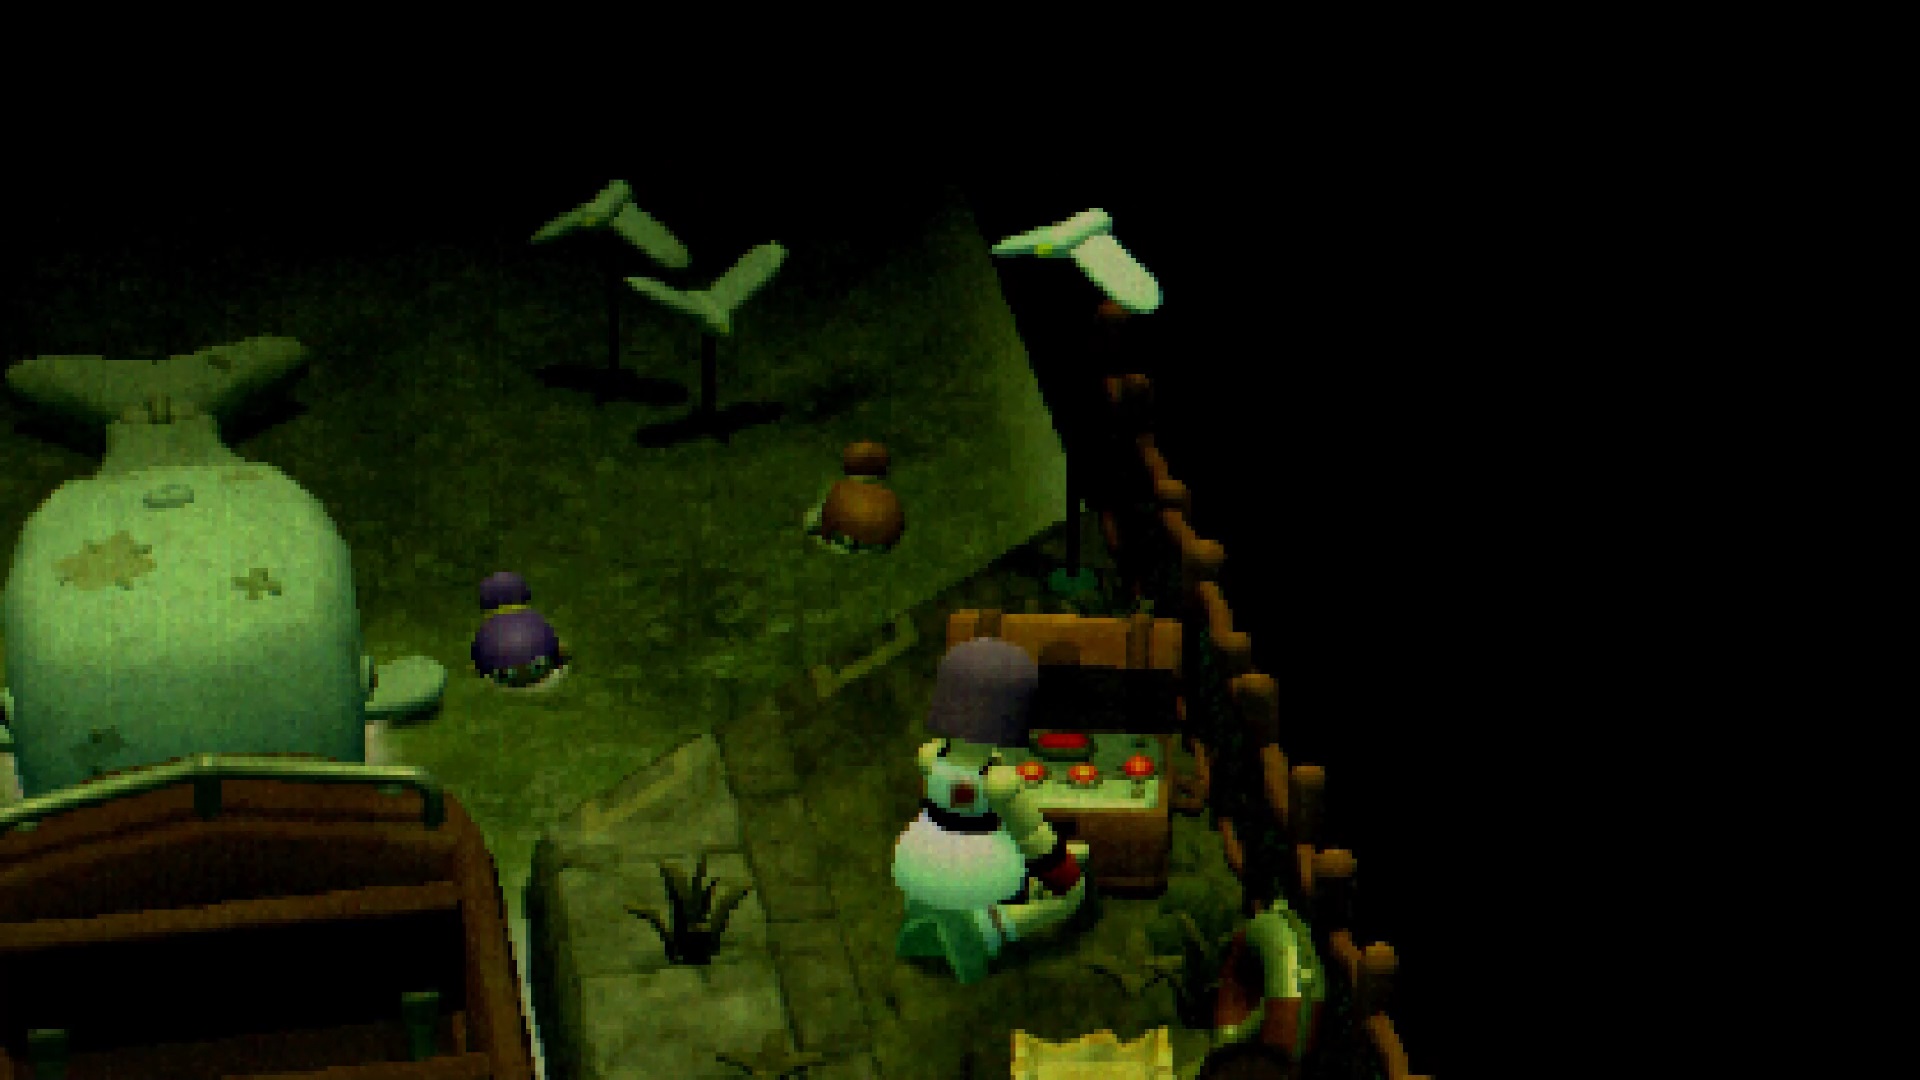
In the Fairy Pool, you will find a dirty pool that you need to clean. Start by removing the curtain to reveal a pump. Using the nearby valve, move the needle to the white part of the pump. As soon as she is on it, interact with the pump to clean the pool. Once done, look at the pool to see a target in the tree in front of you. Shoot the target to bring out the fairy and a bronze key.
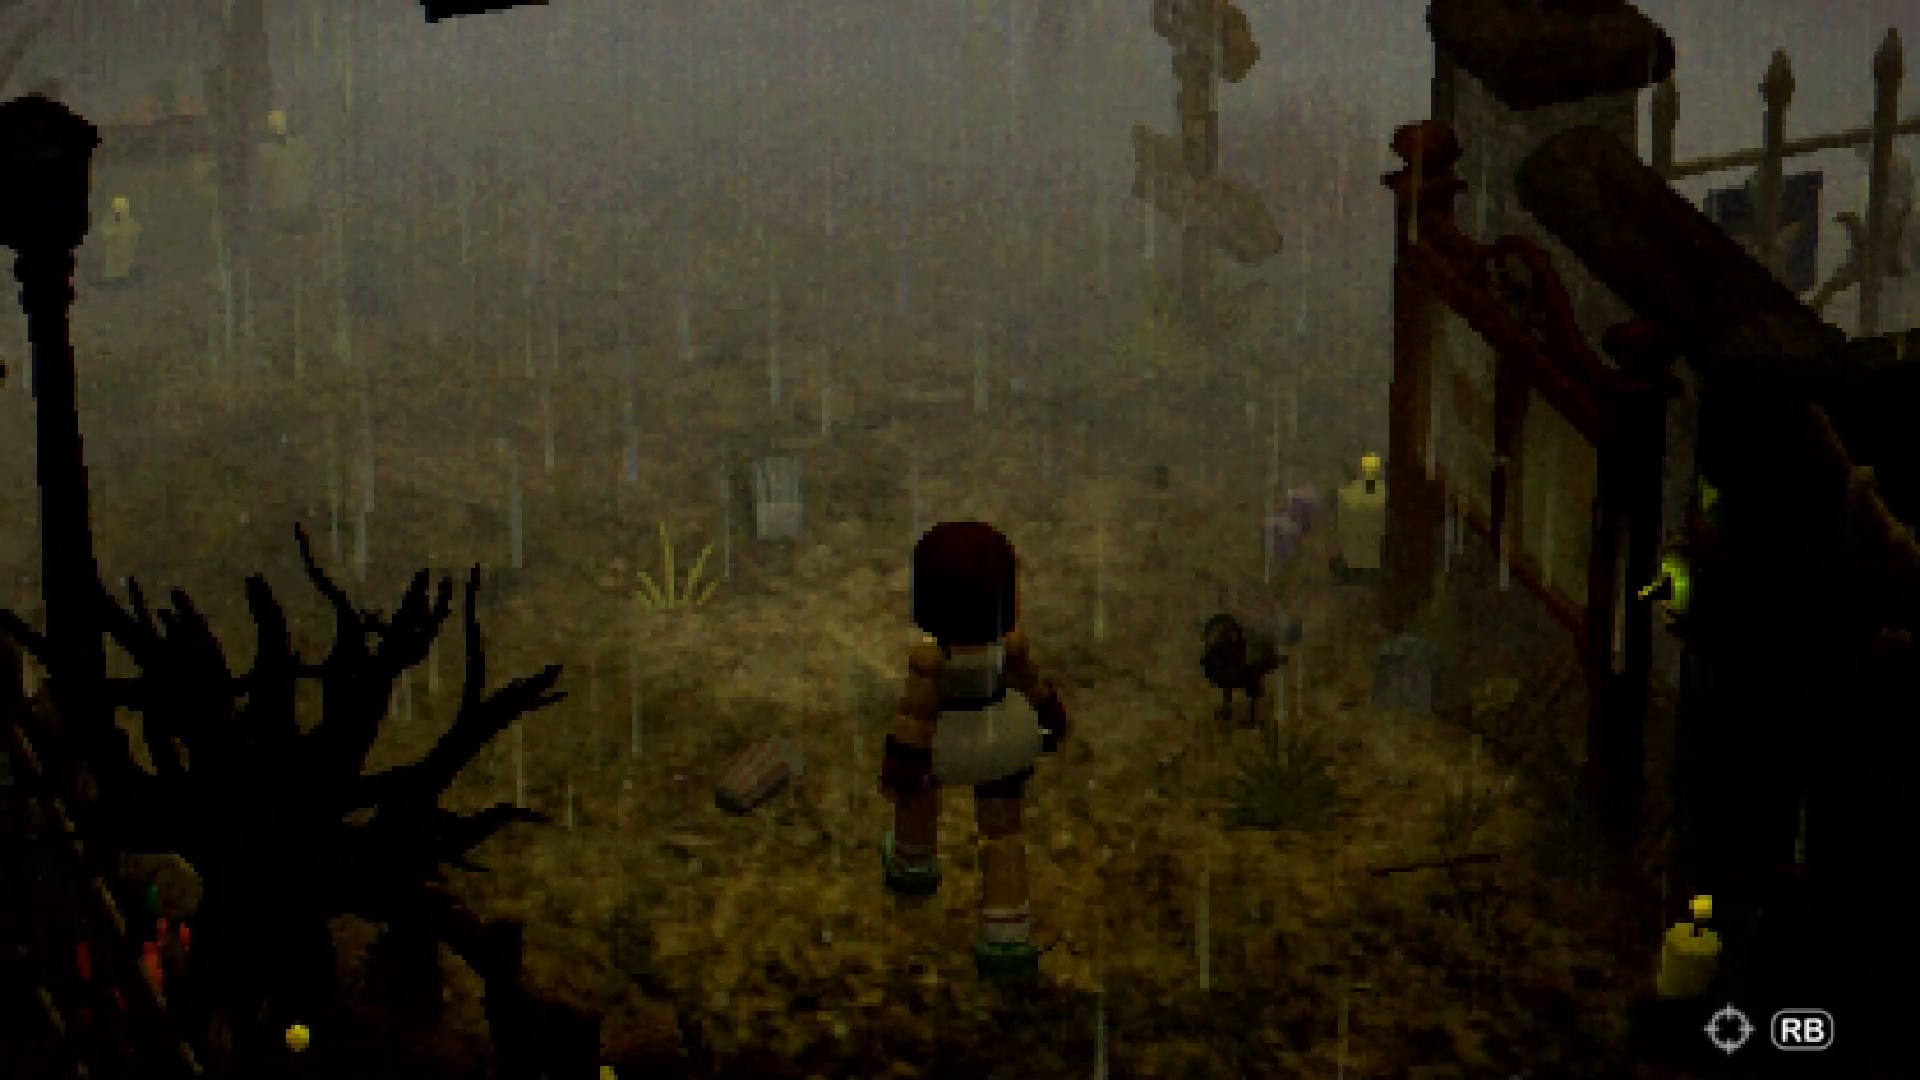
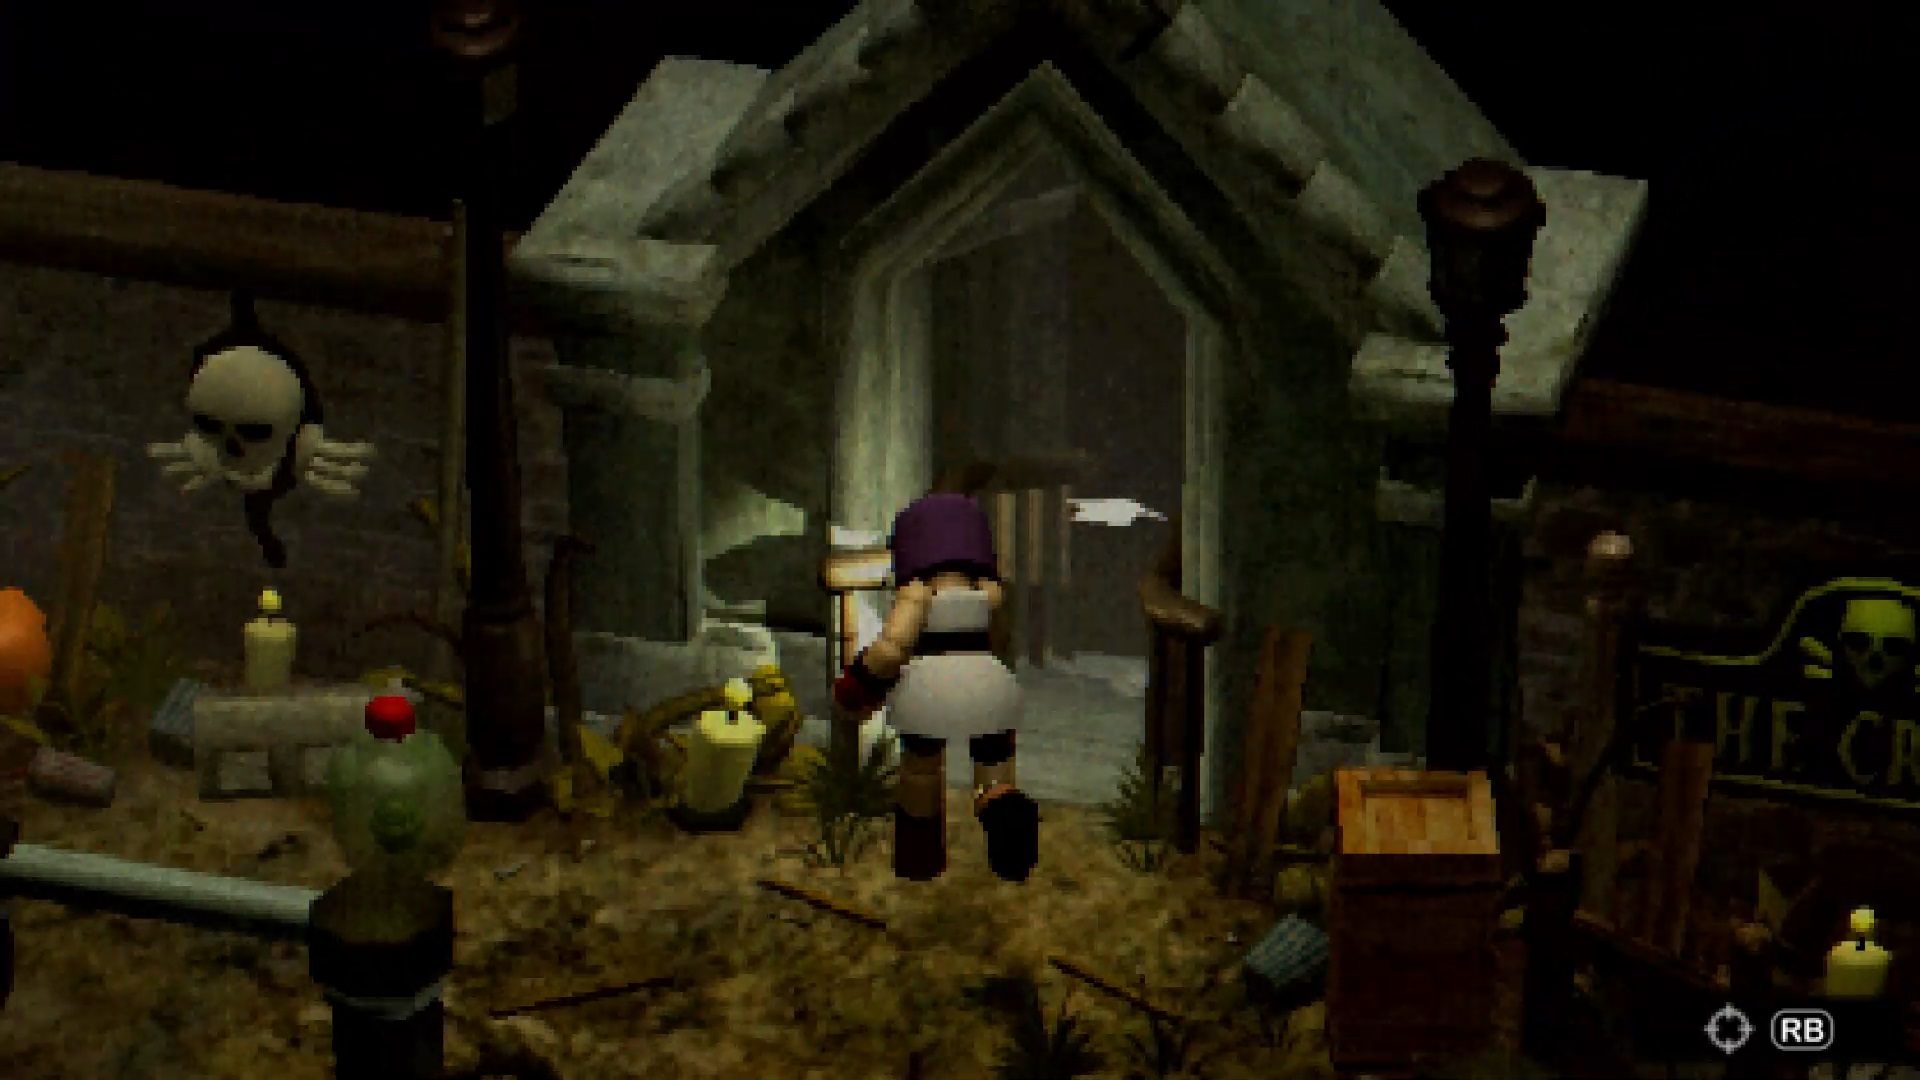
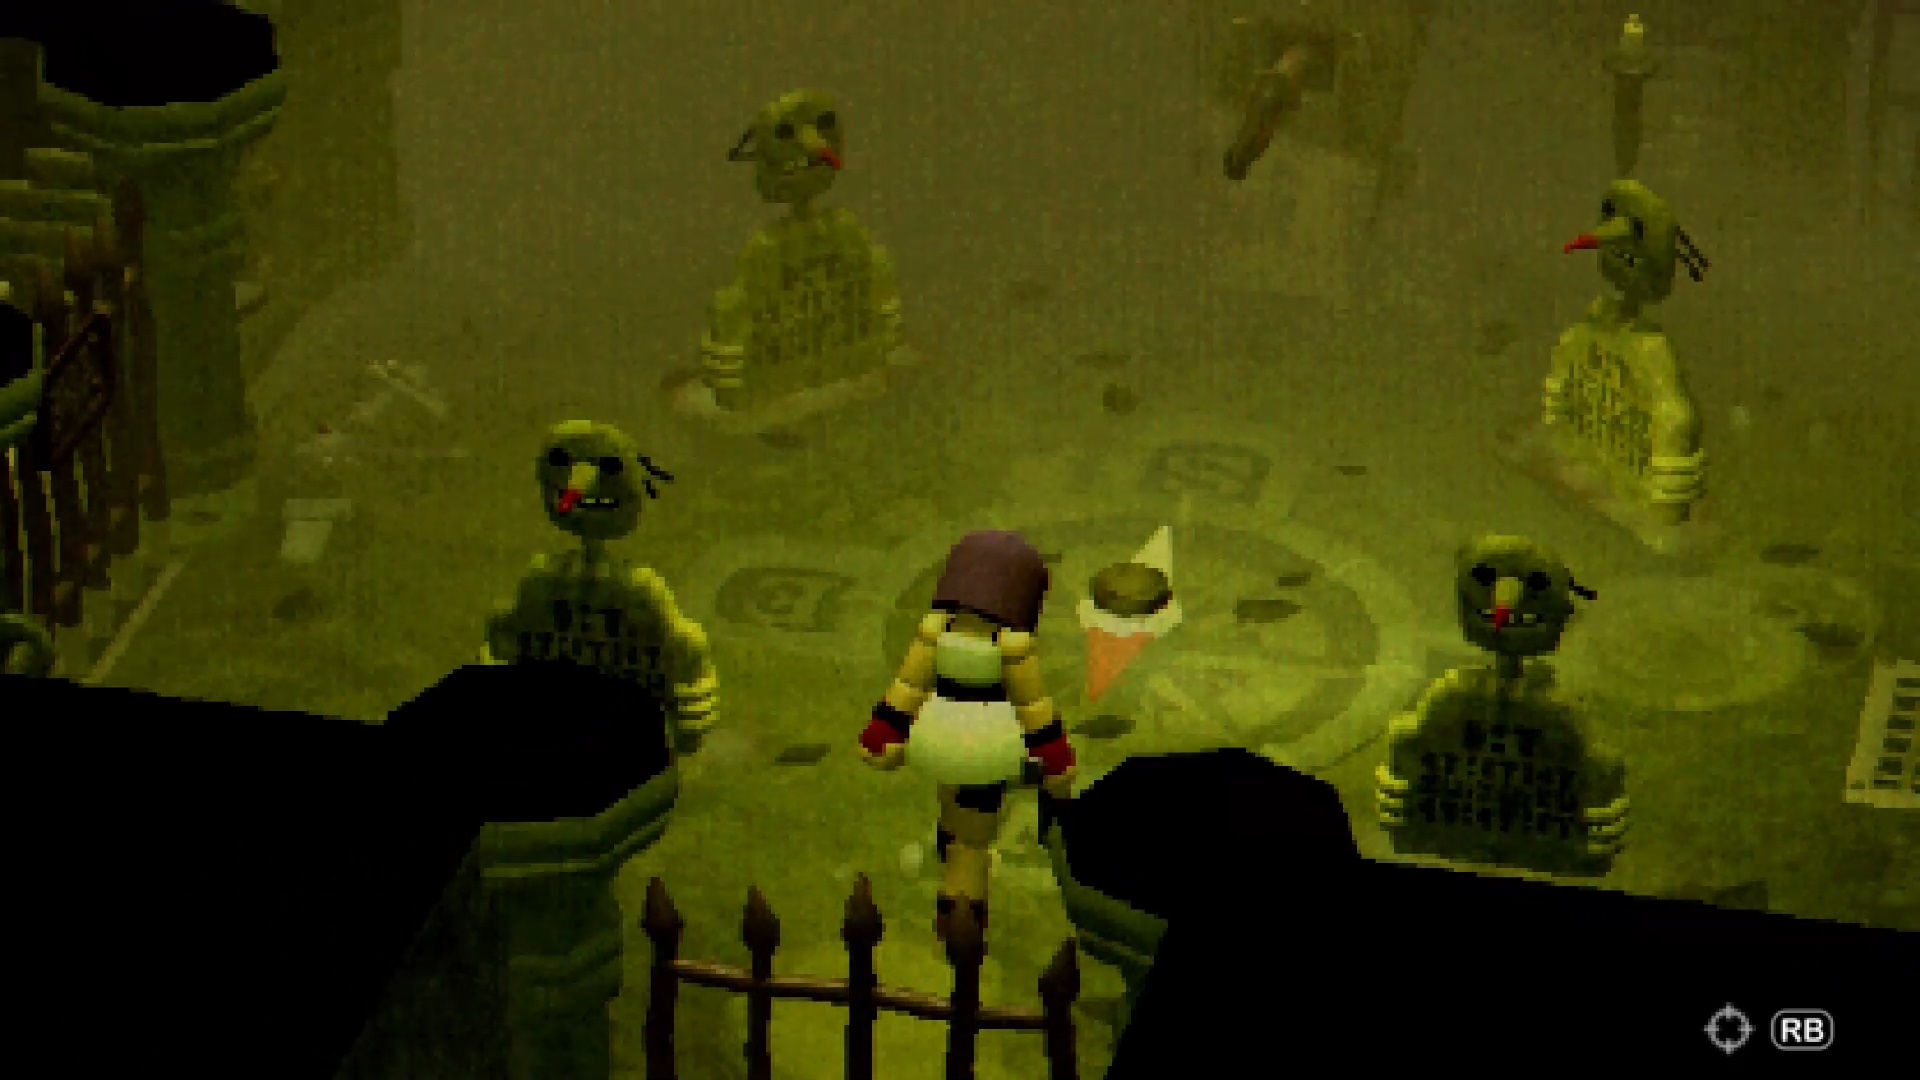
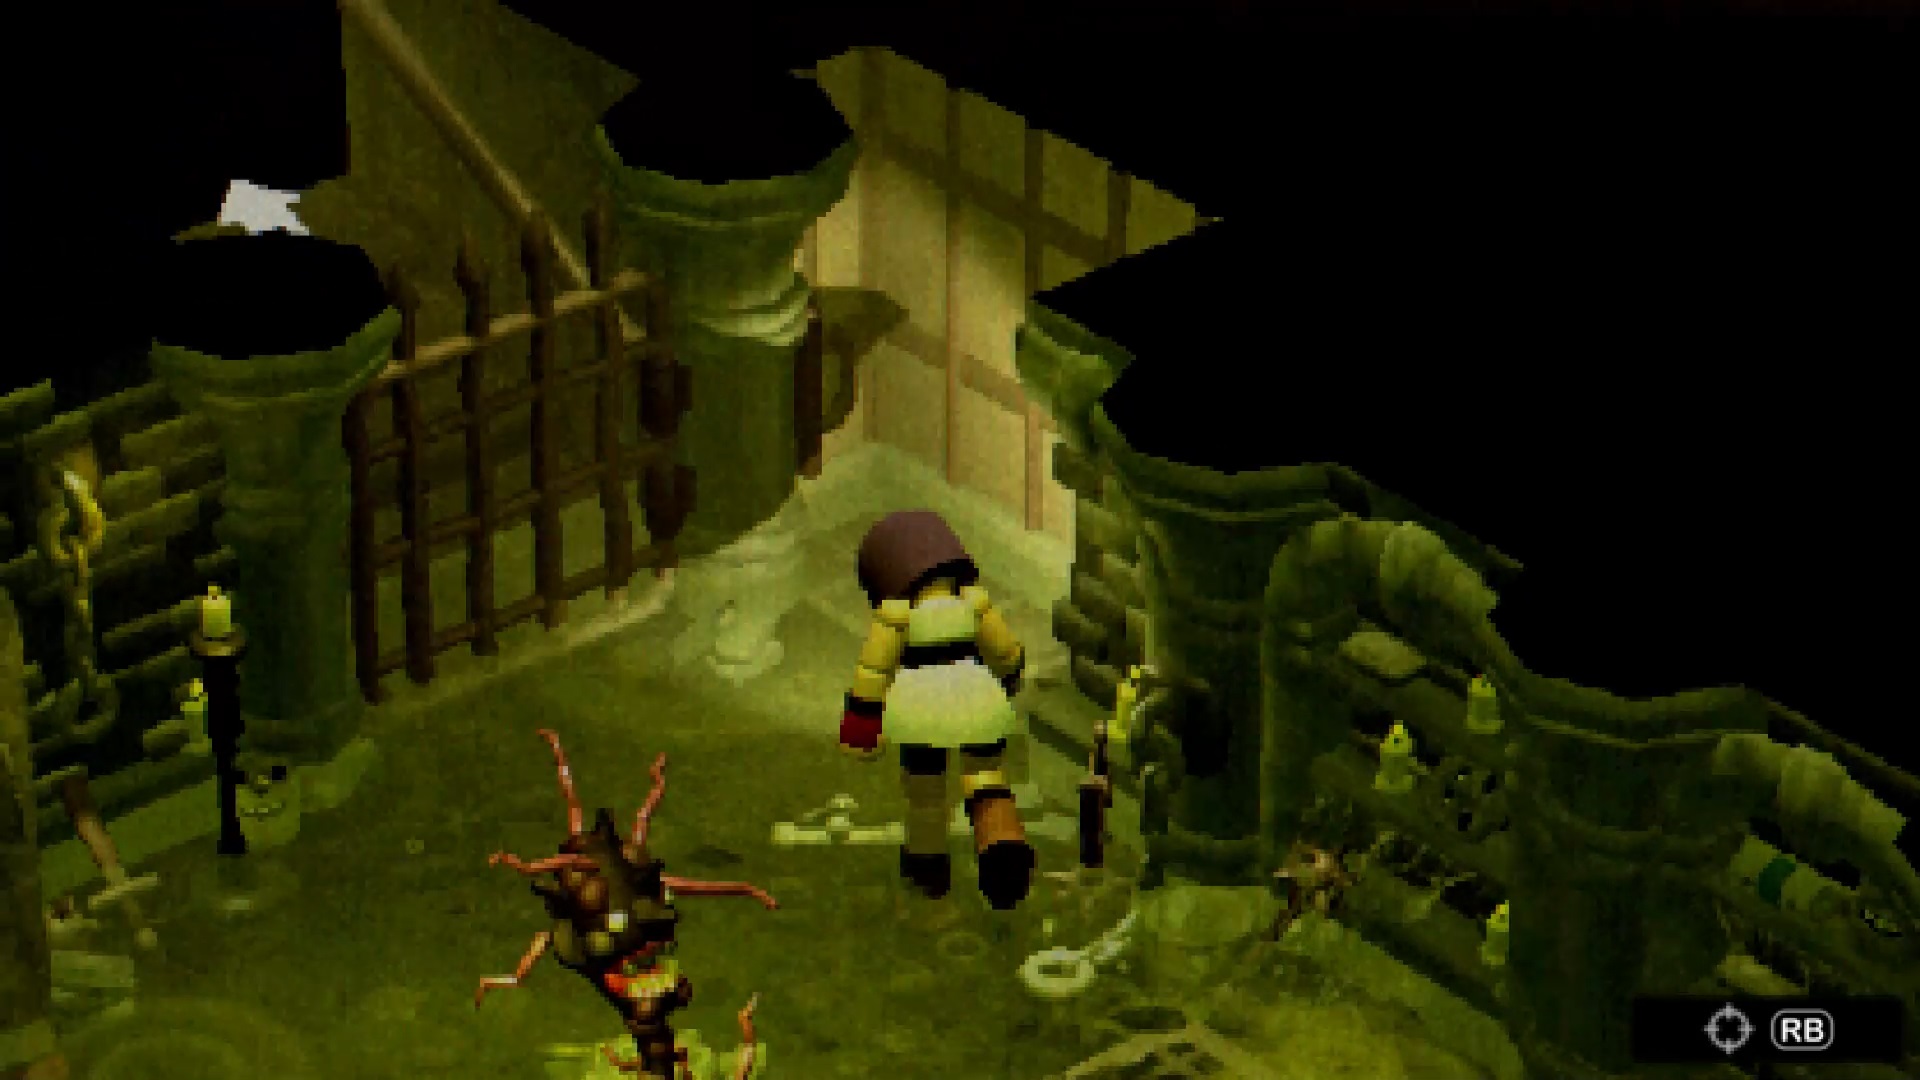
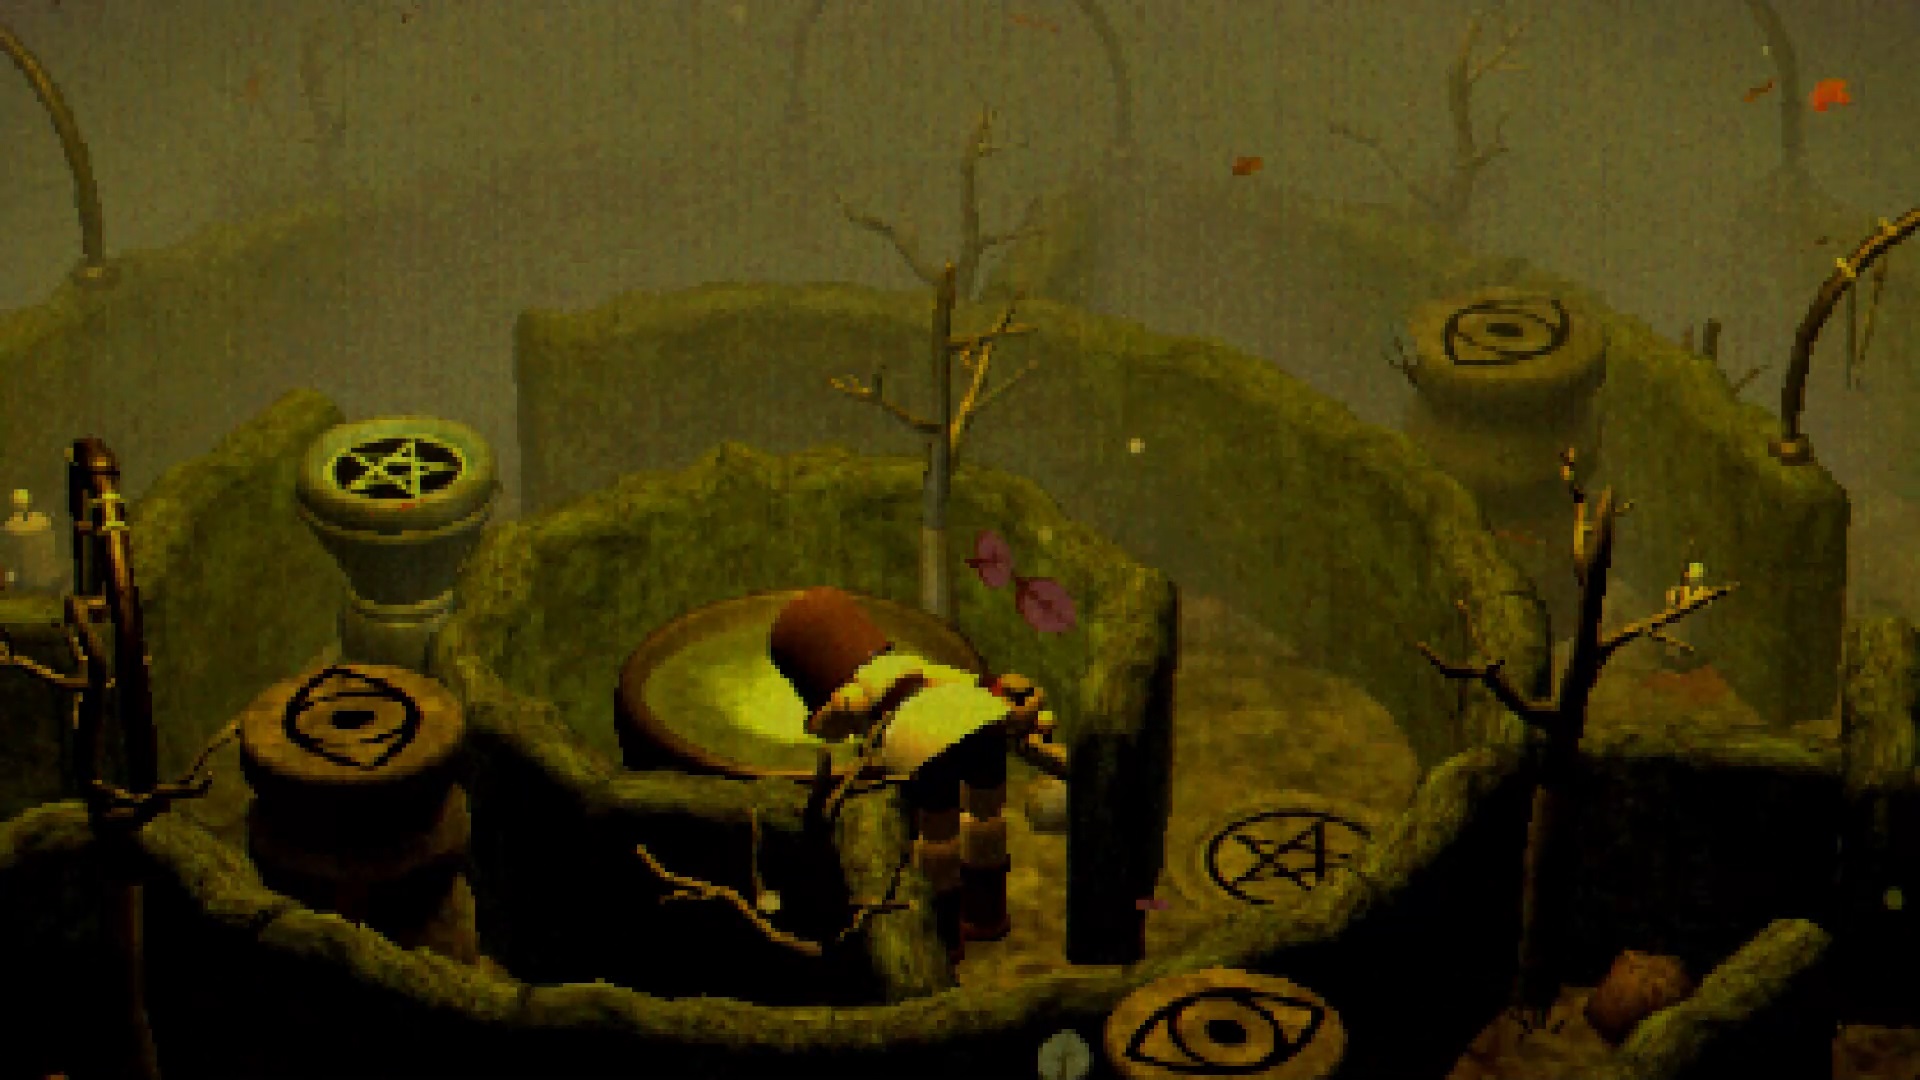
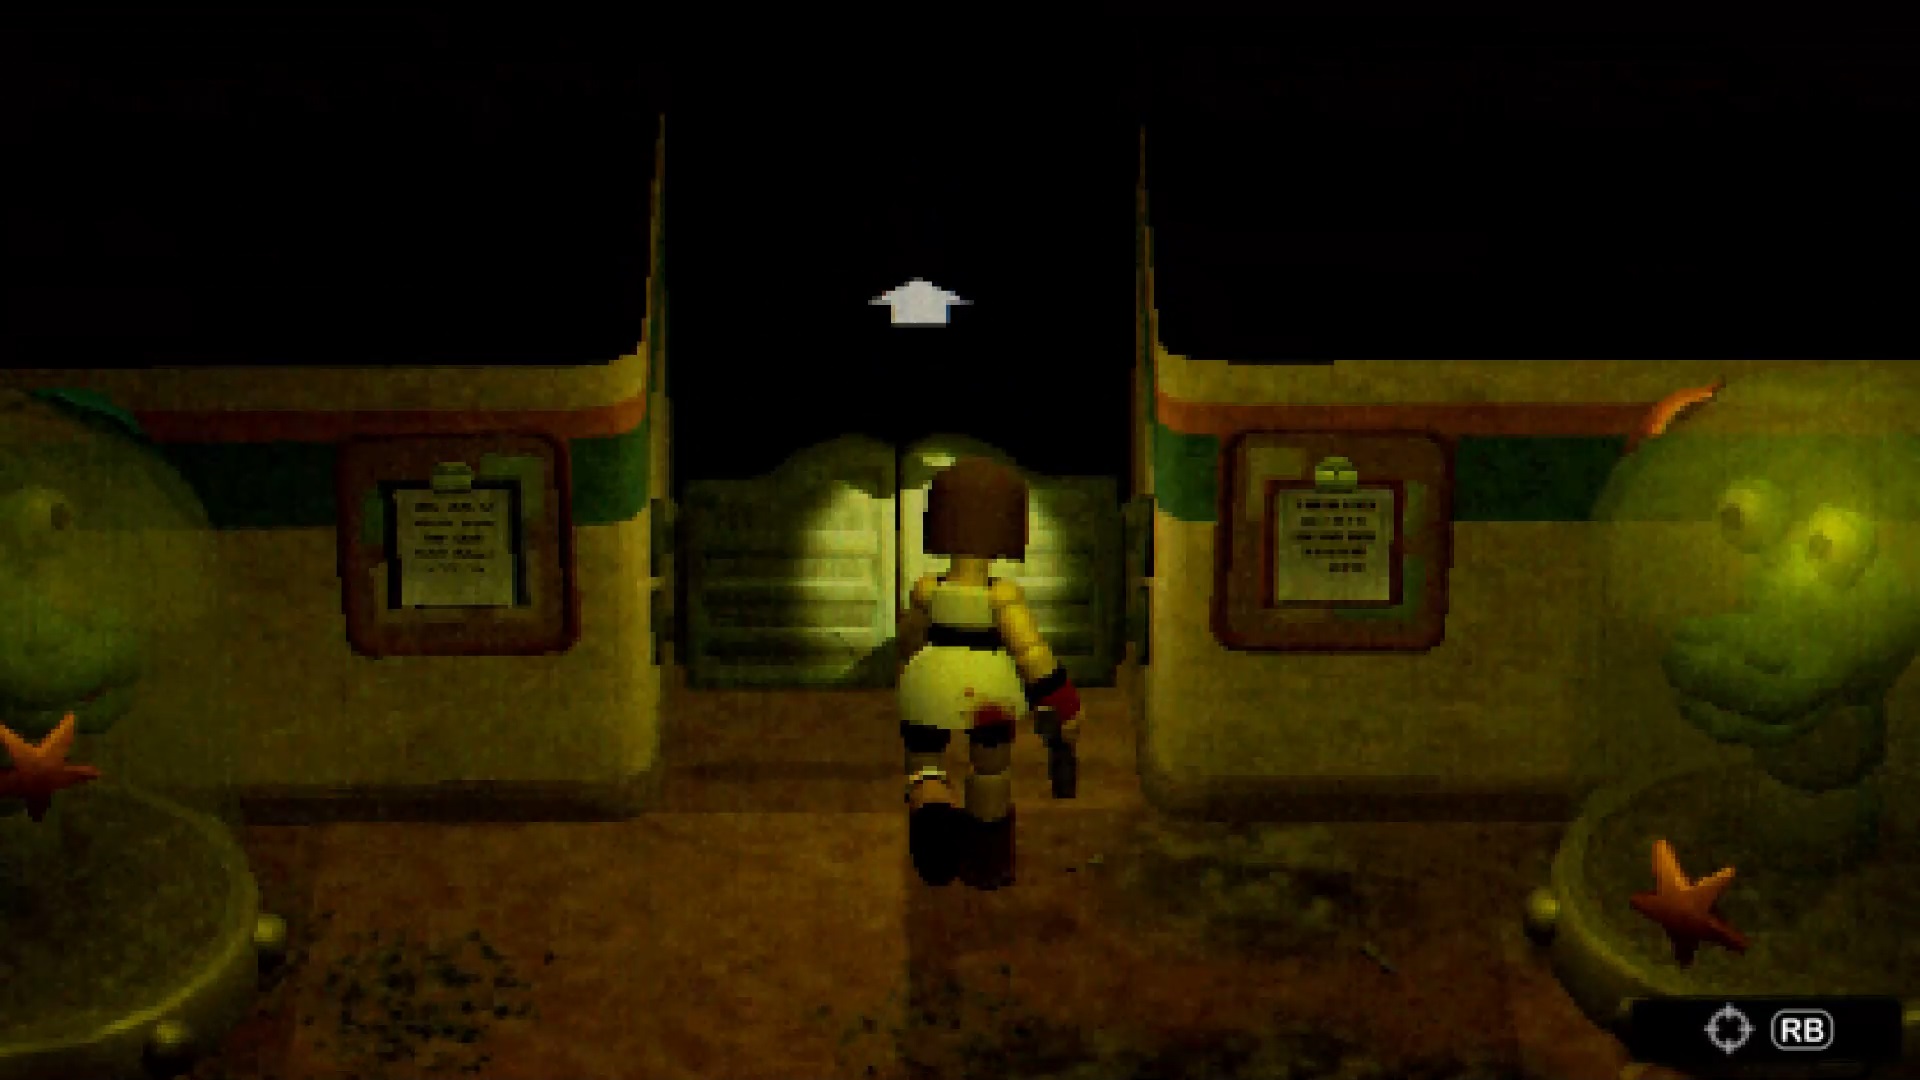
Go to Crow Country to use the bronze key on the fence to the east. You arrive at Haunted HillTop. Use the sign to guide you and collect the map from the information panel. Start by rushing into the crypt to fall into a trap. To survive the trap, examine all the tombstones and position the masks according to their name and the compass on the ground: Estelle in the East, Solomon Weselby in the Southwest, Soulina in the South and Norbert Easley in the Northeast. Save Soulina’s death date for later, then a monster appears. Enter the gap in the wall to pull a mechanism and exit.
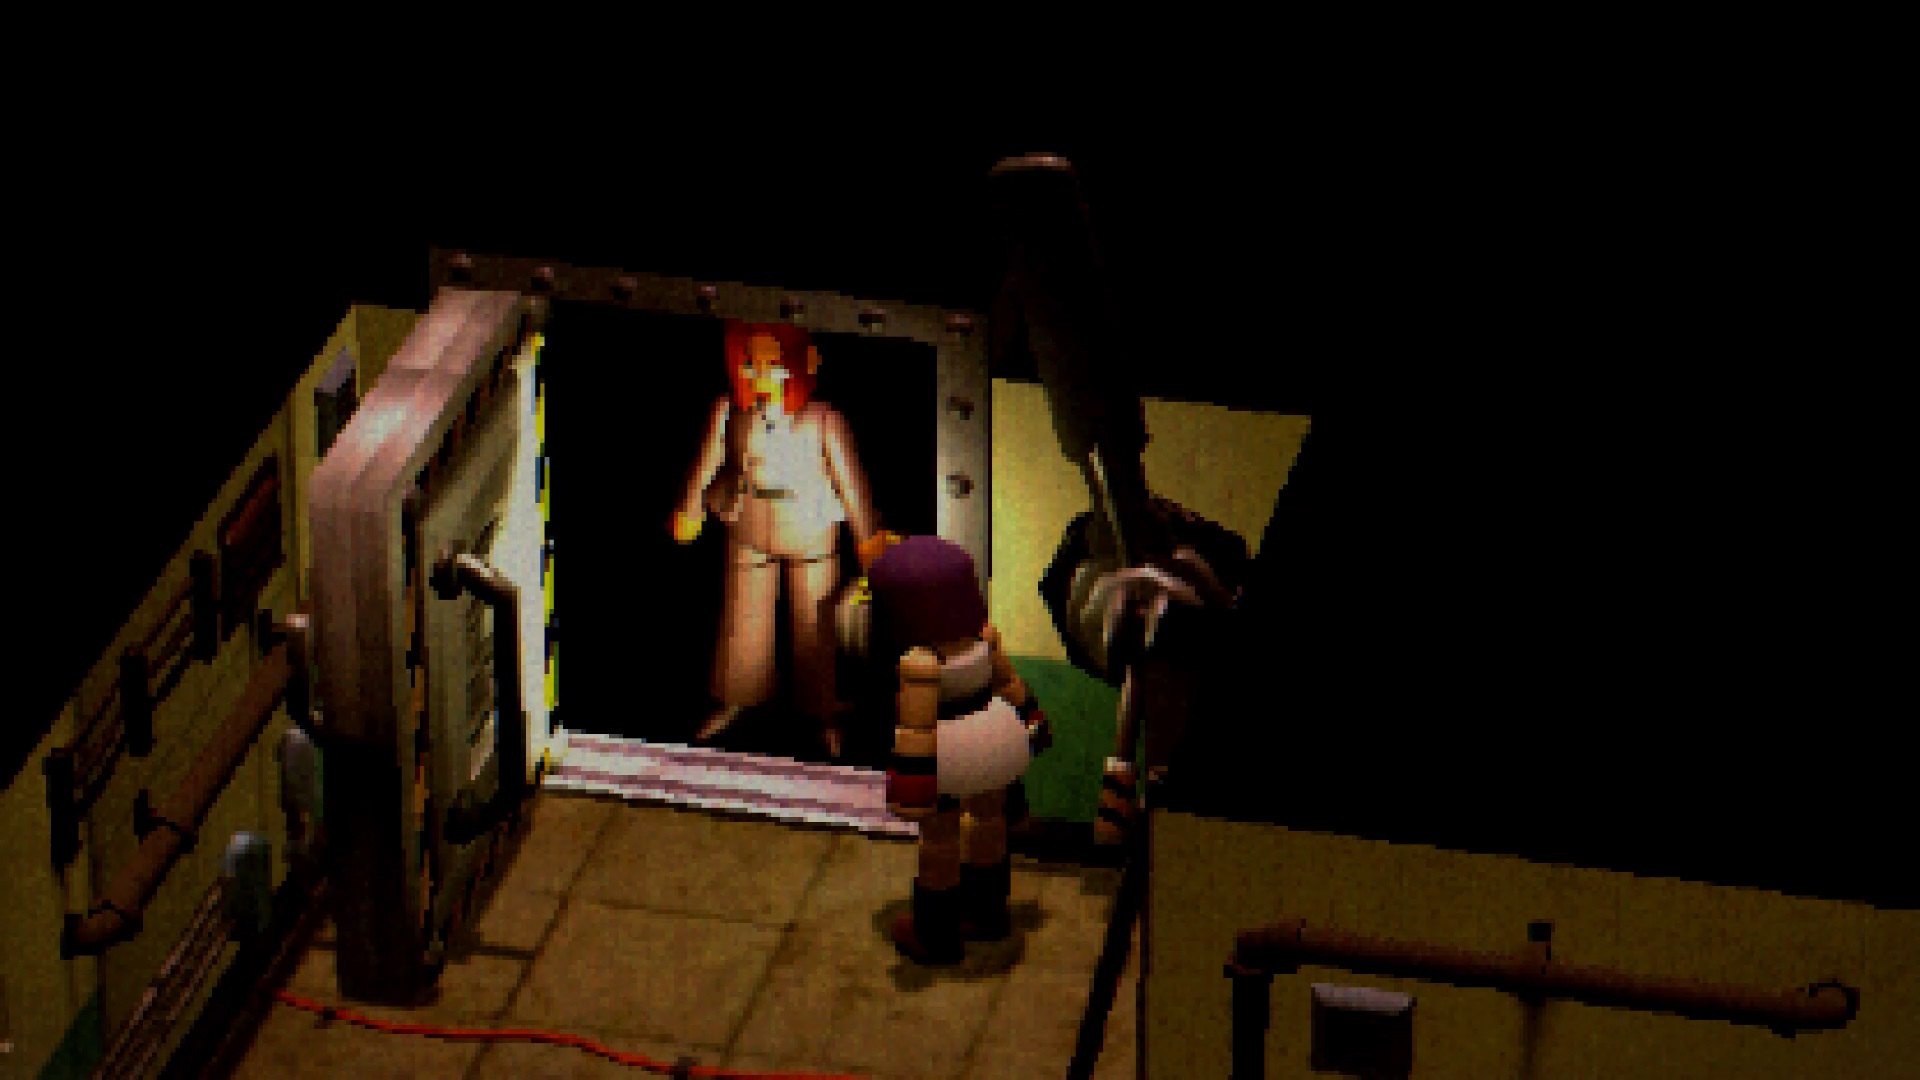
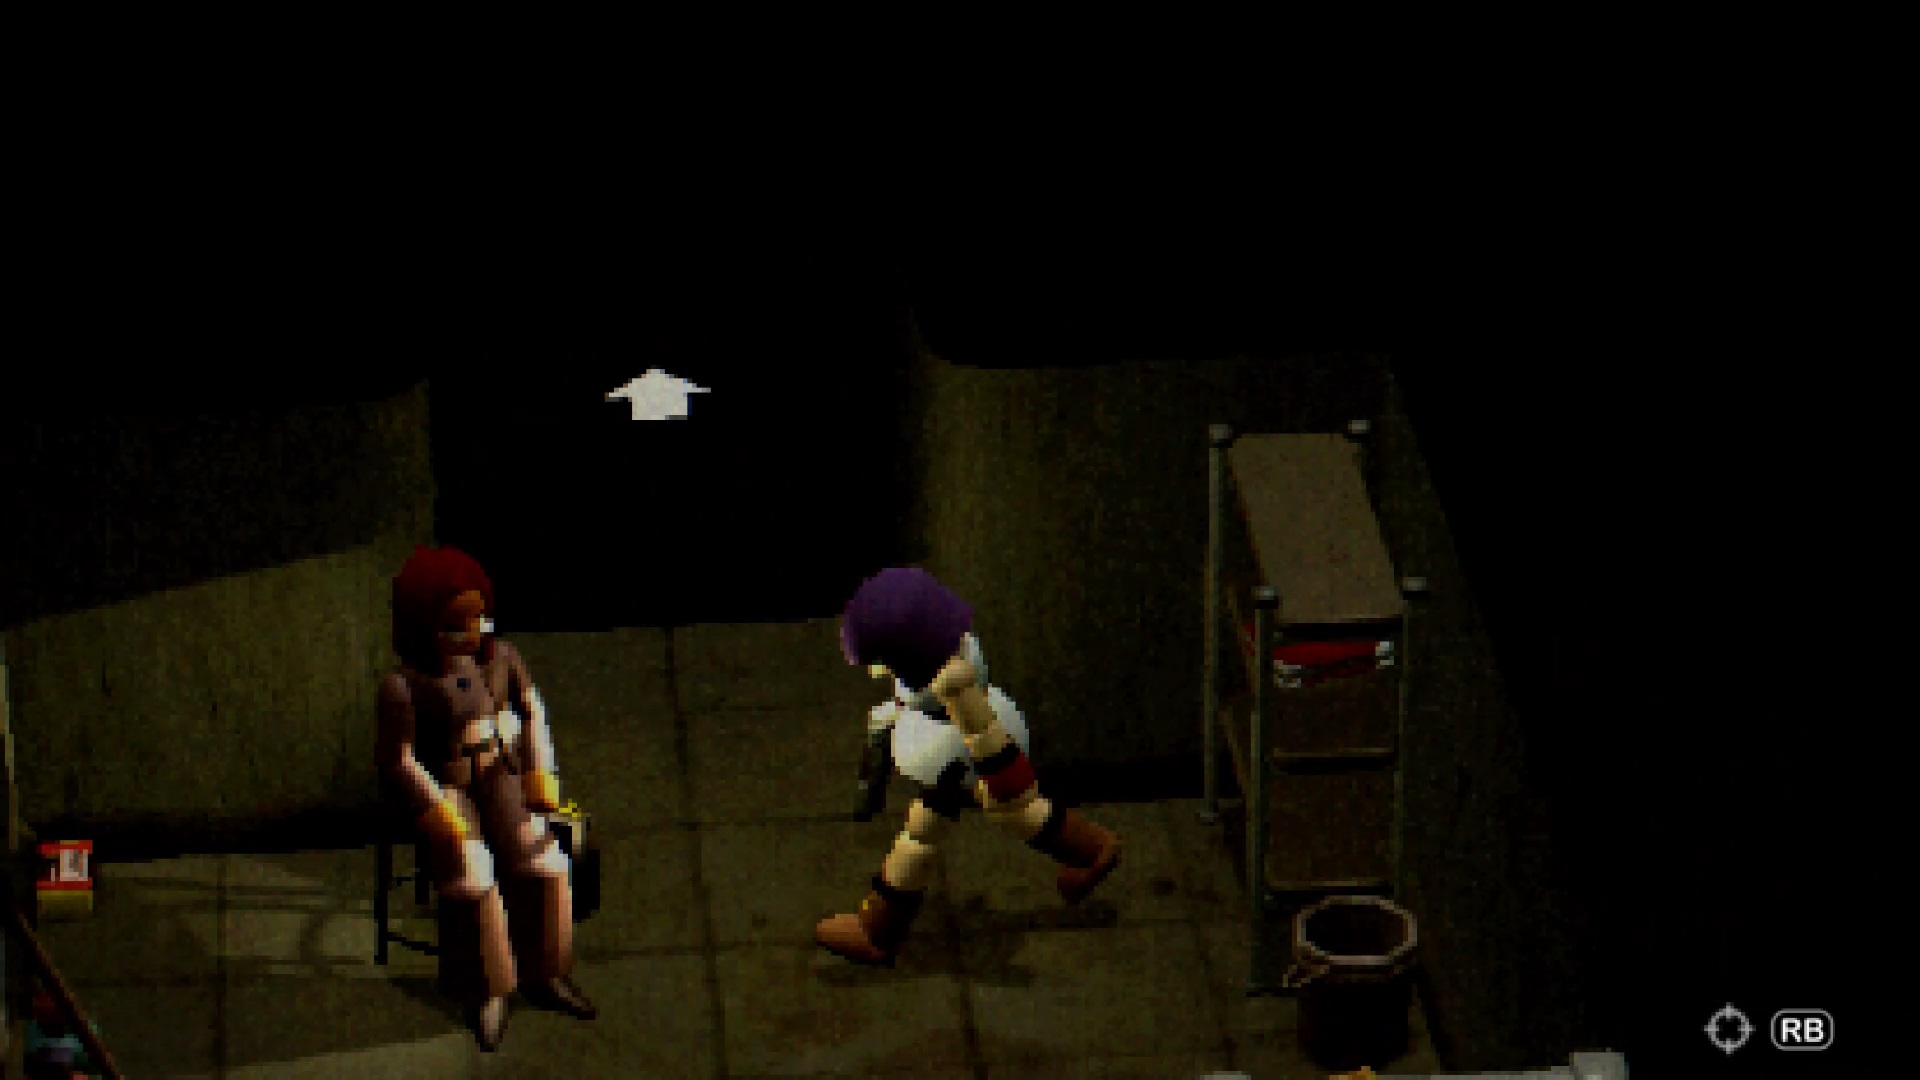

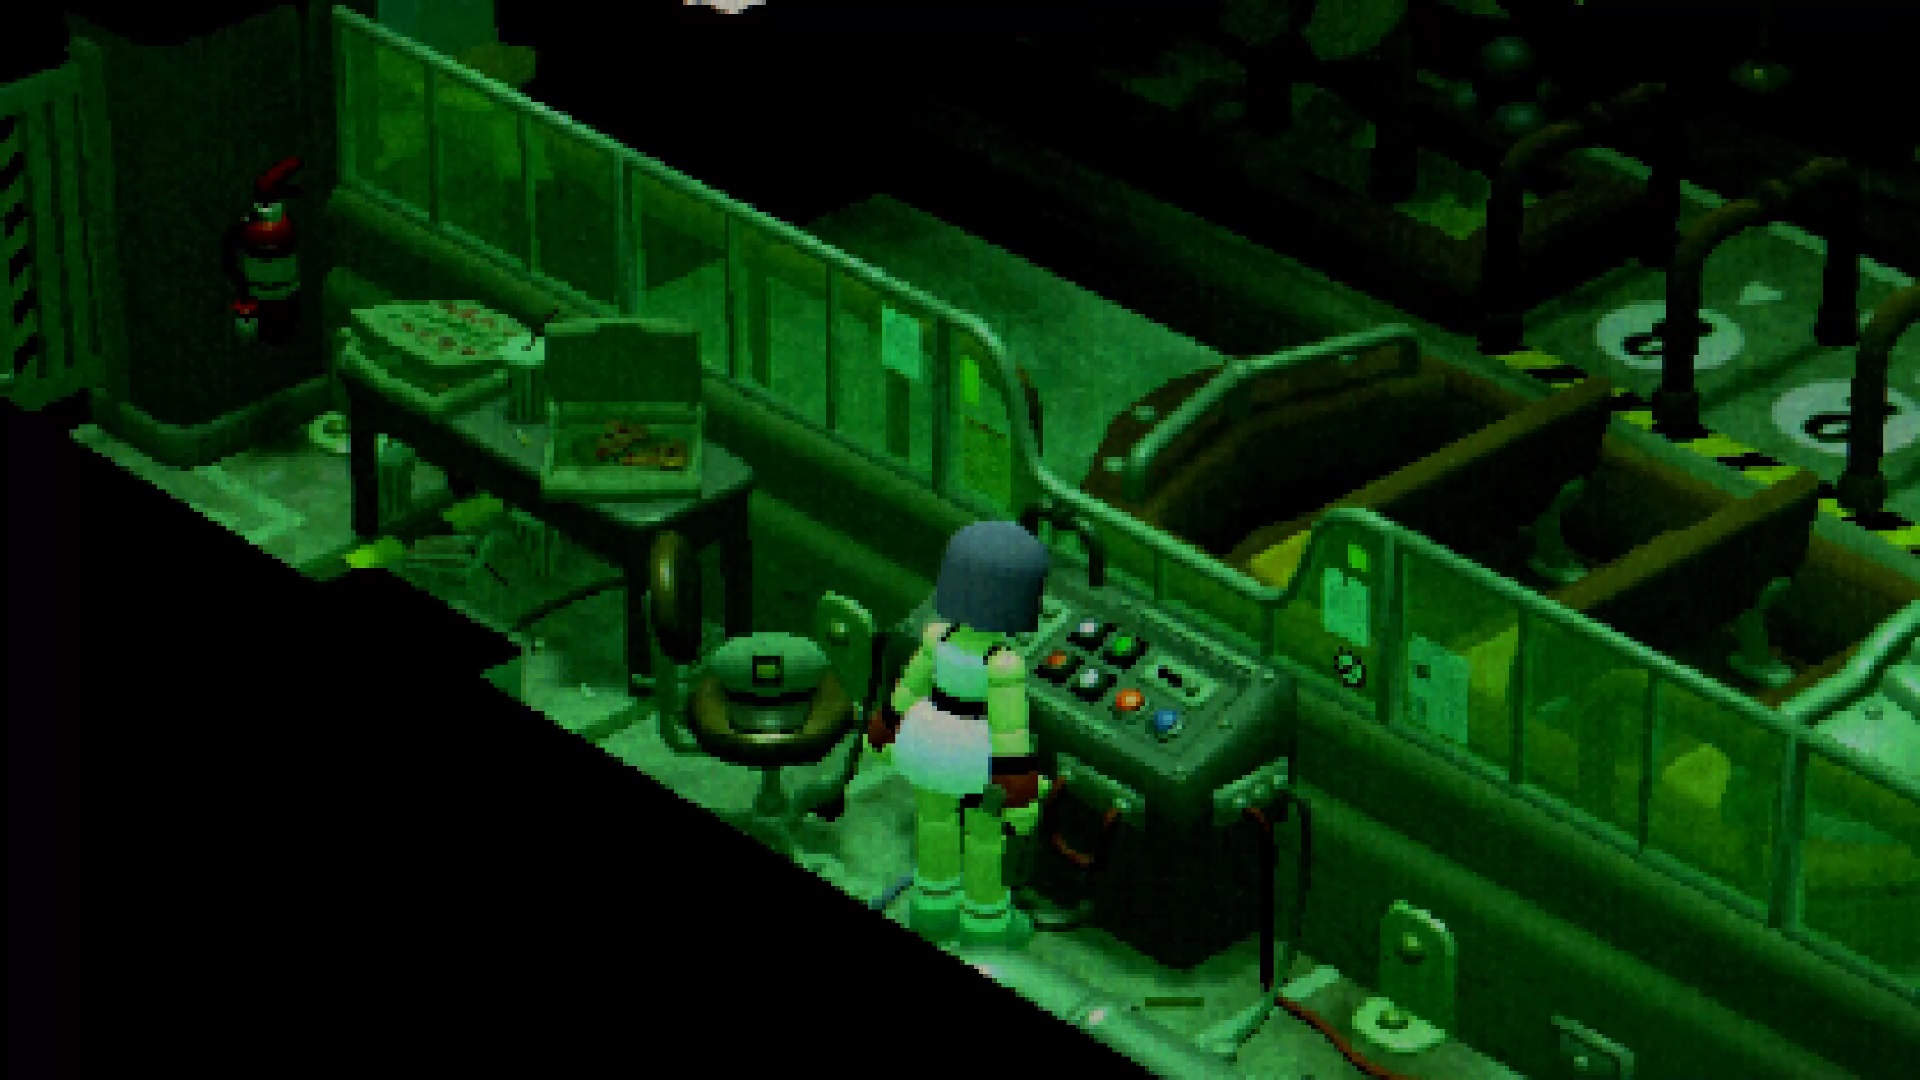
In the save room, use Soulina’s death date (1872) to open the safe and get a crank. Then open the metal door to trigger a dialogue with Julie. After the dialogue, head to the cells to get more information. Before exiting, go into the engine room to collect some gasoline on the ground.
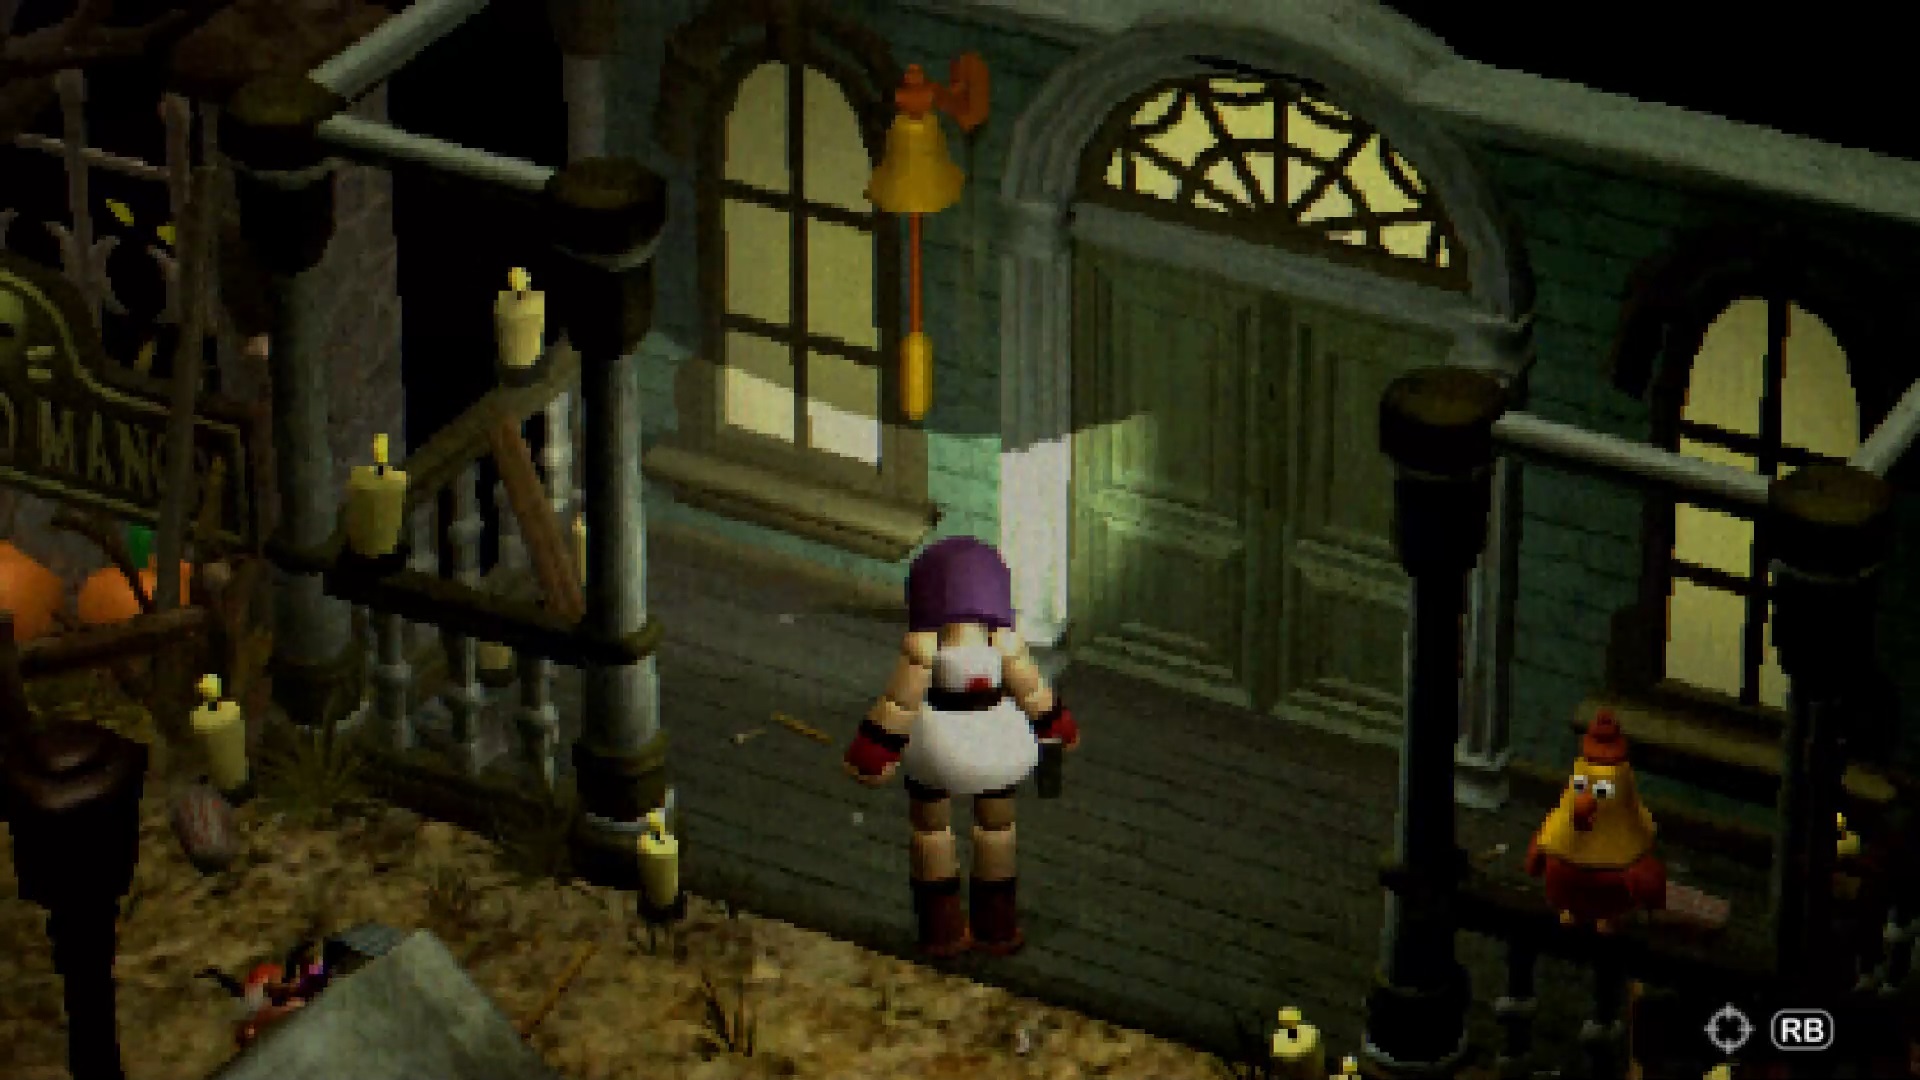
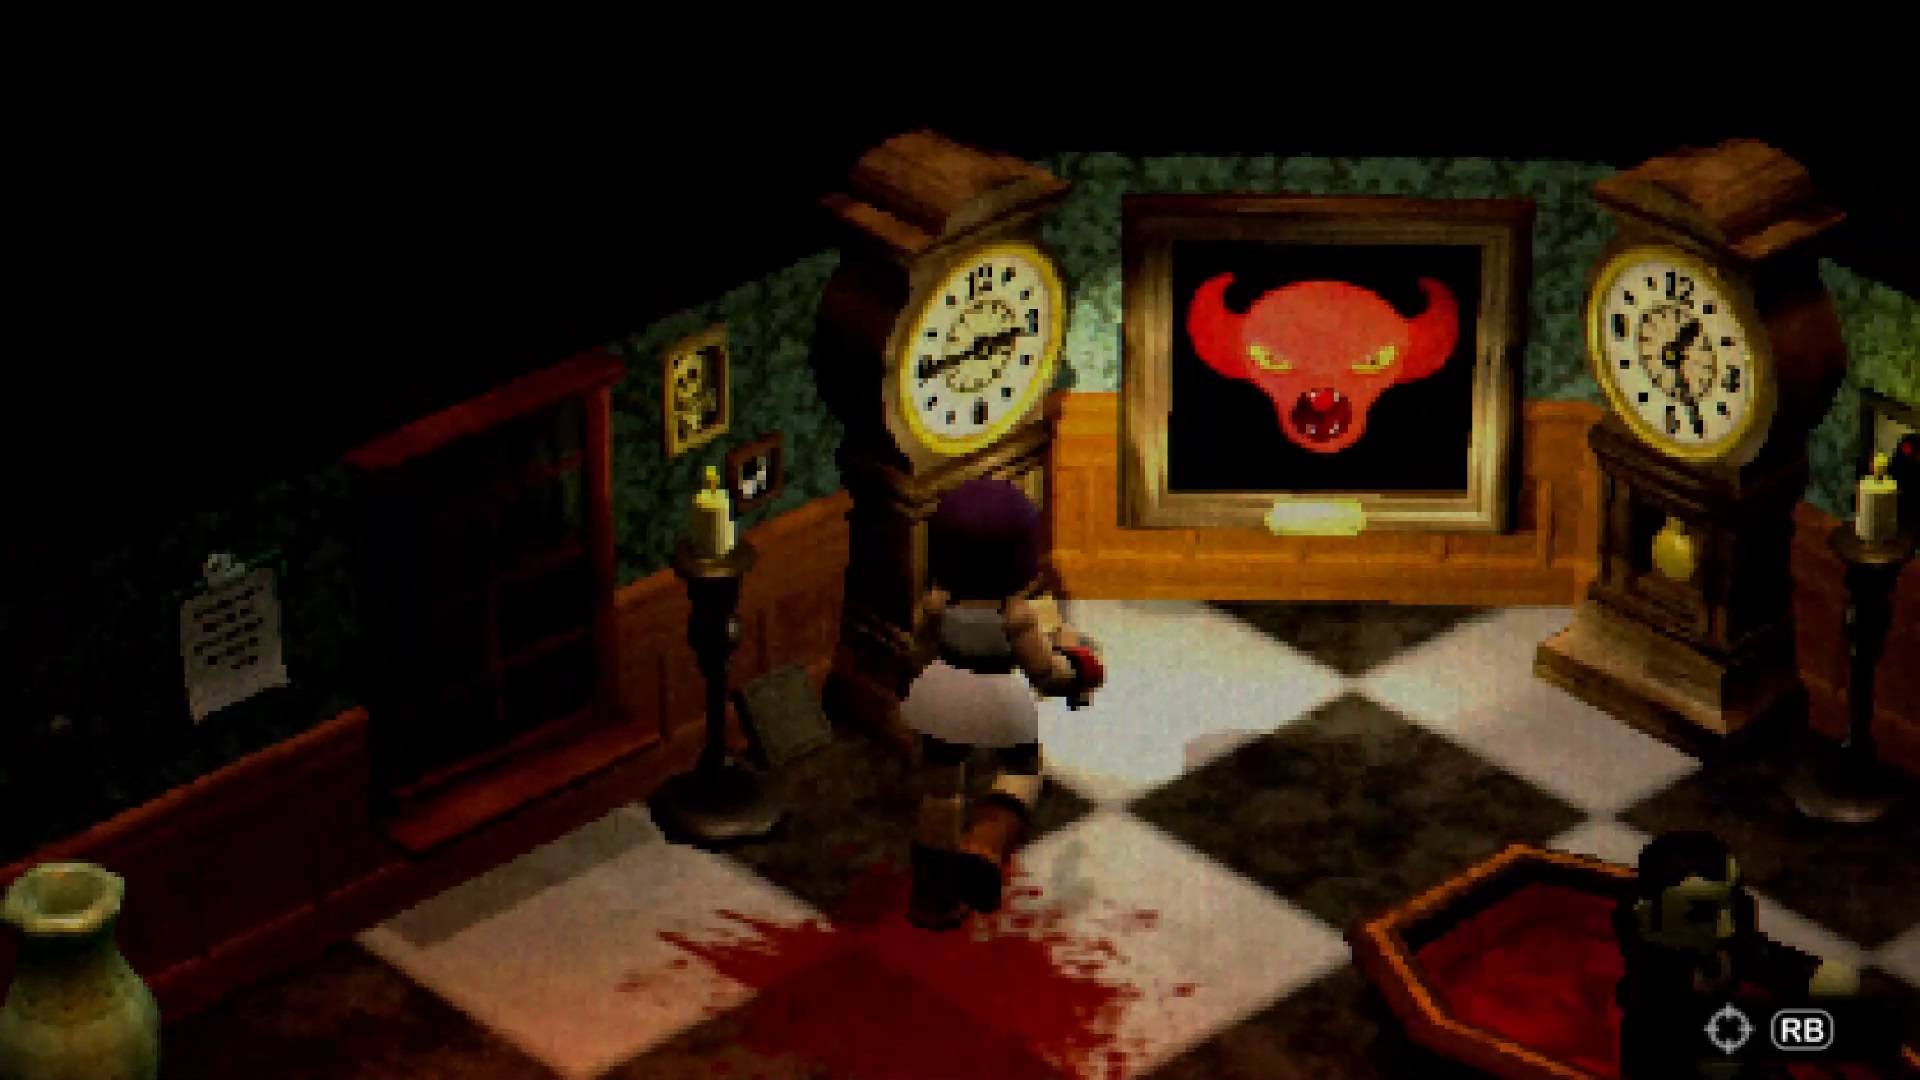
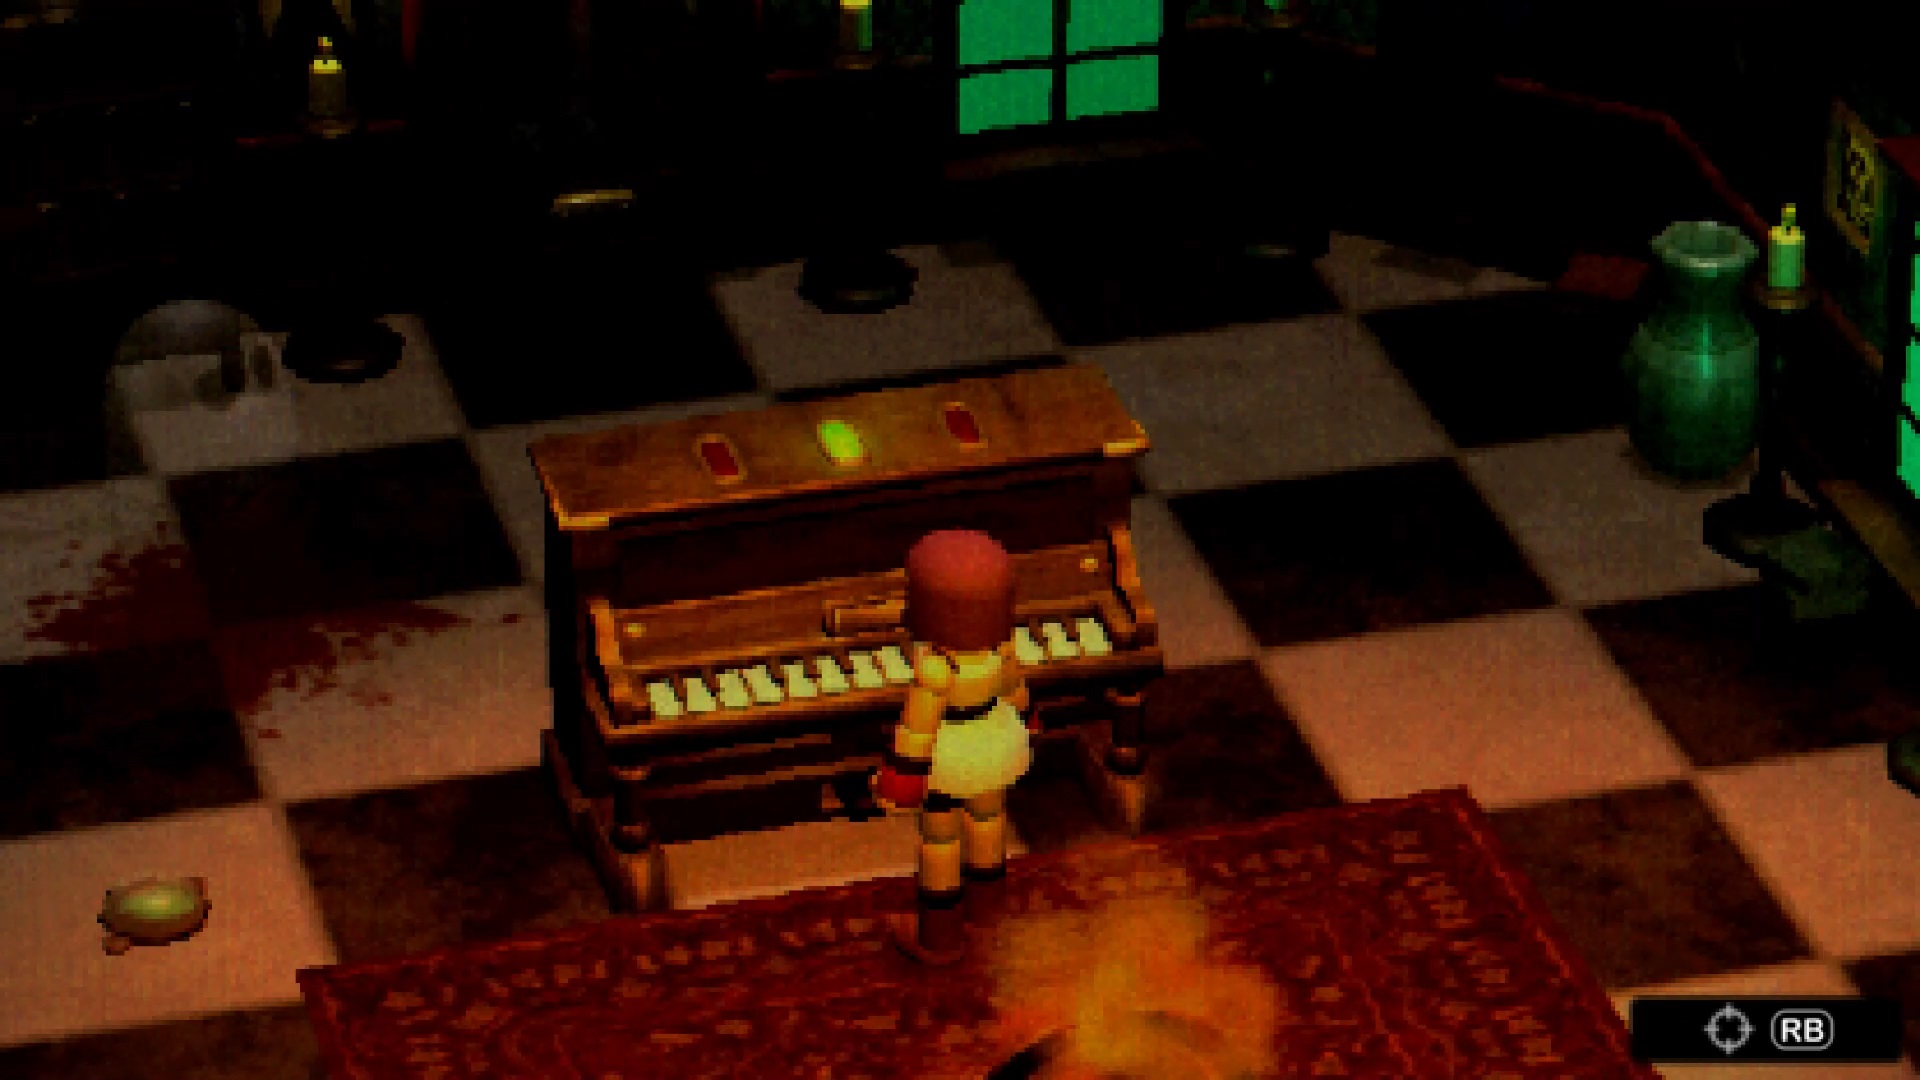
Then return to Haunted Hilltop to reach the Haunted House. Use the bell to open the door and enter. Go to the devil’s board to find two clues: 1020 and 1115. Use the crank on the clocks to set them to 10:20 and 11:15. Collect the ruby inside the devil, then examine the other paintings to get the words: FADE, DEATH, CAGE. Use the word DEAD with the piano to open a passage on one of the paintings. Head into the staff corridor to unlock a passage to the first save room by pulling a lever. Continue down the halls to talk to Nathalie Crow in a corner.


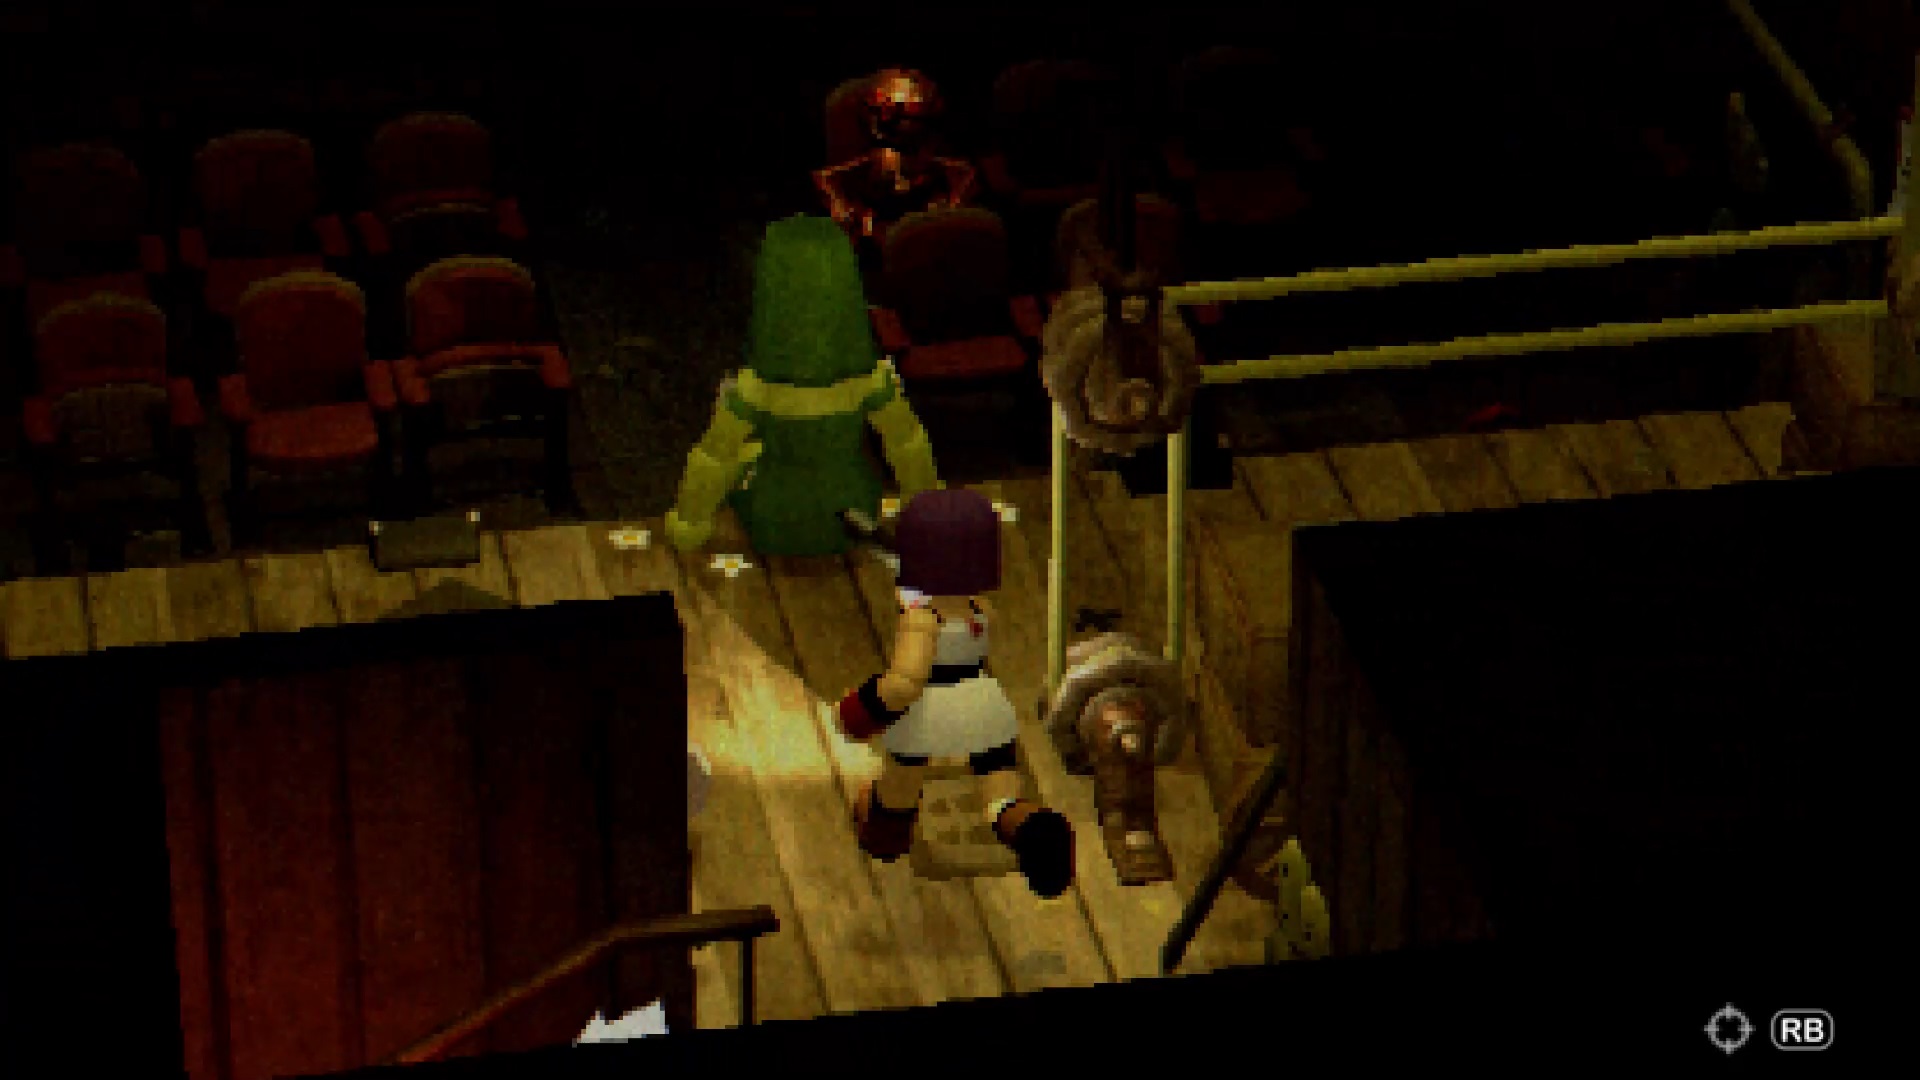
After the dialogue, take advantage of your visit to pay a quick visit to Mr. Pike’s office after the blue door. Collect the clues, then return to the staff corridor to exit via a staircase. On stage, use the pulley to pull the curtain. Exit through the big door of the theater to once again reach Fairytale Town.
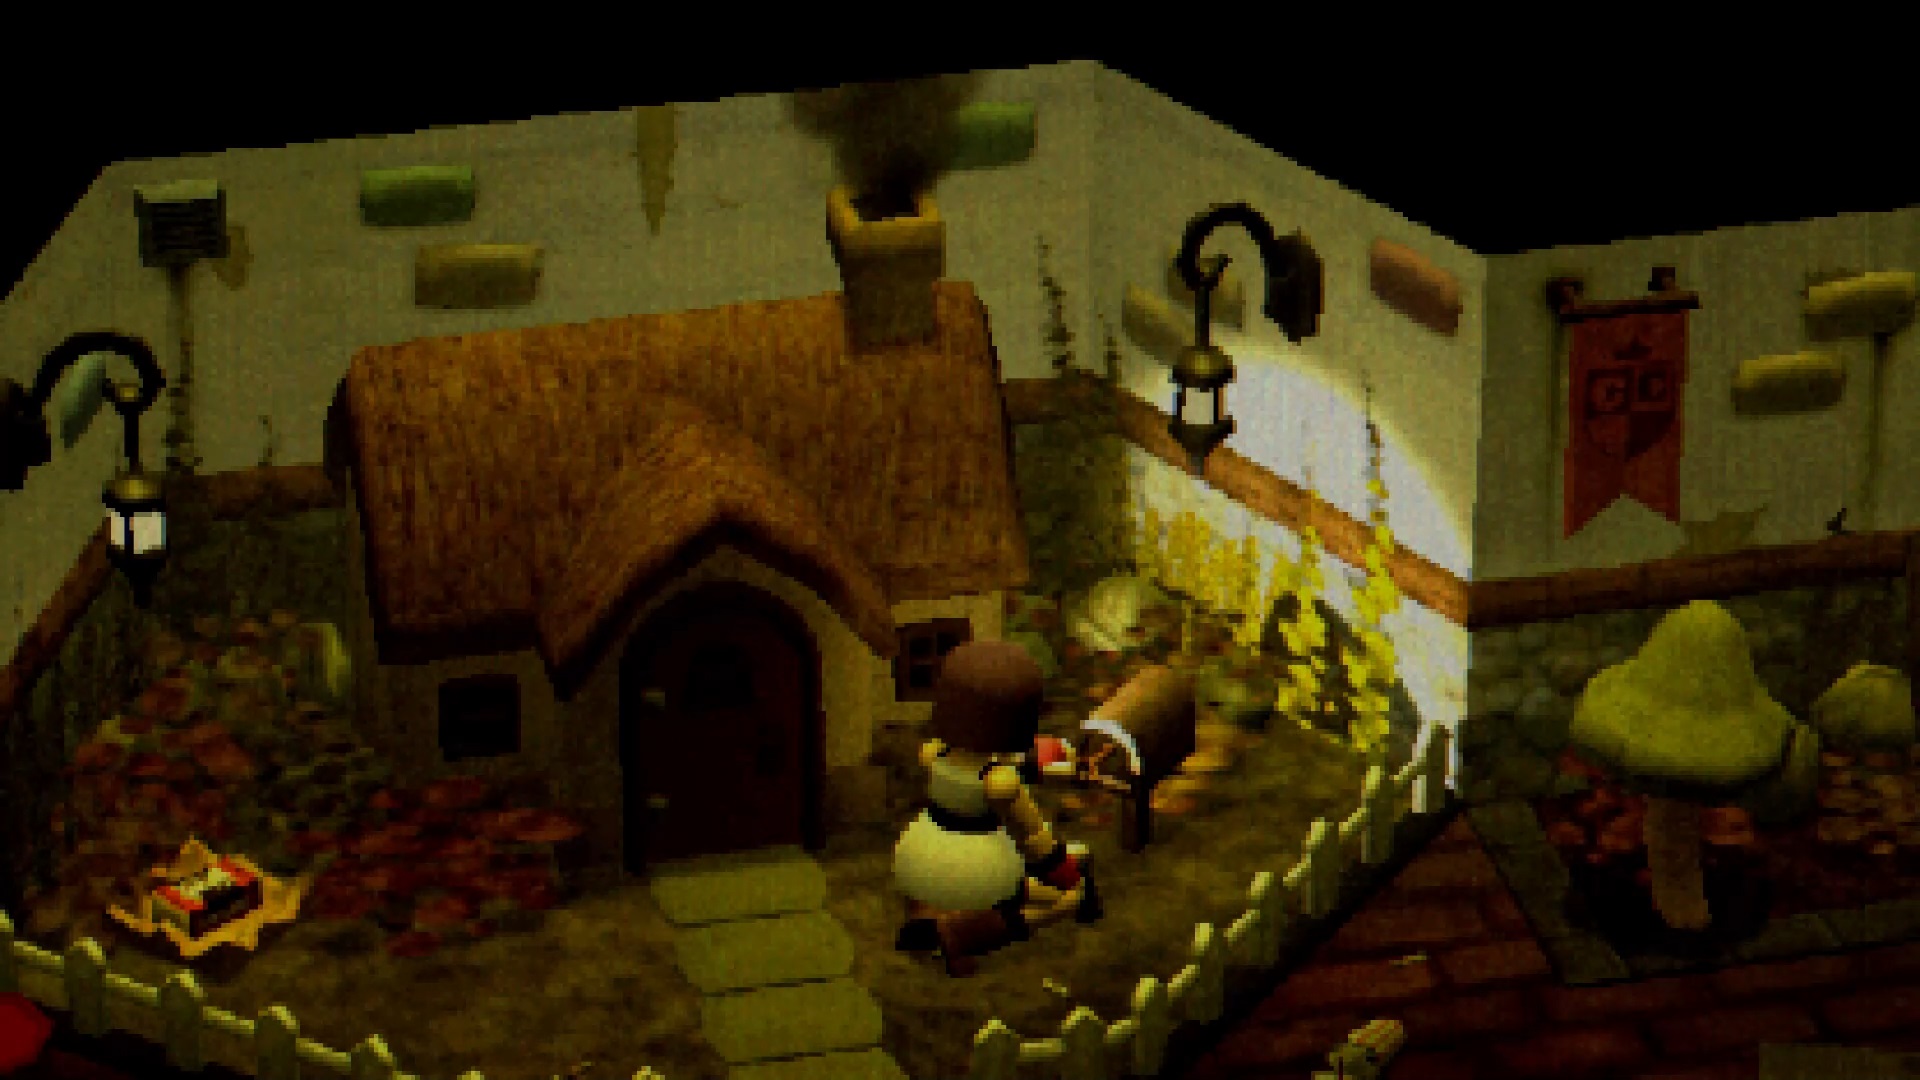
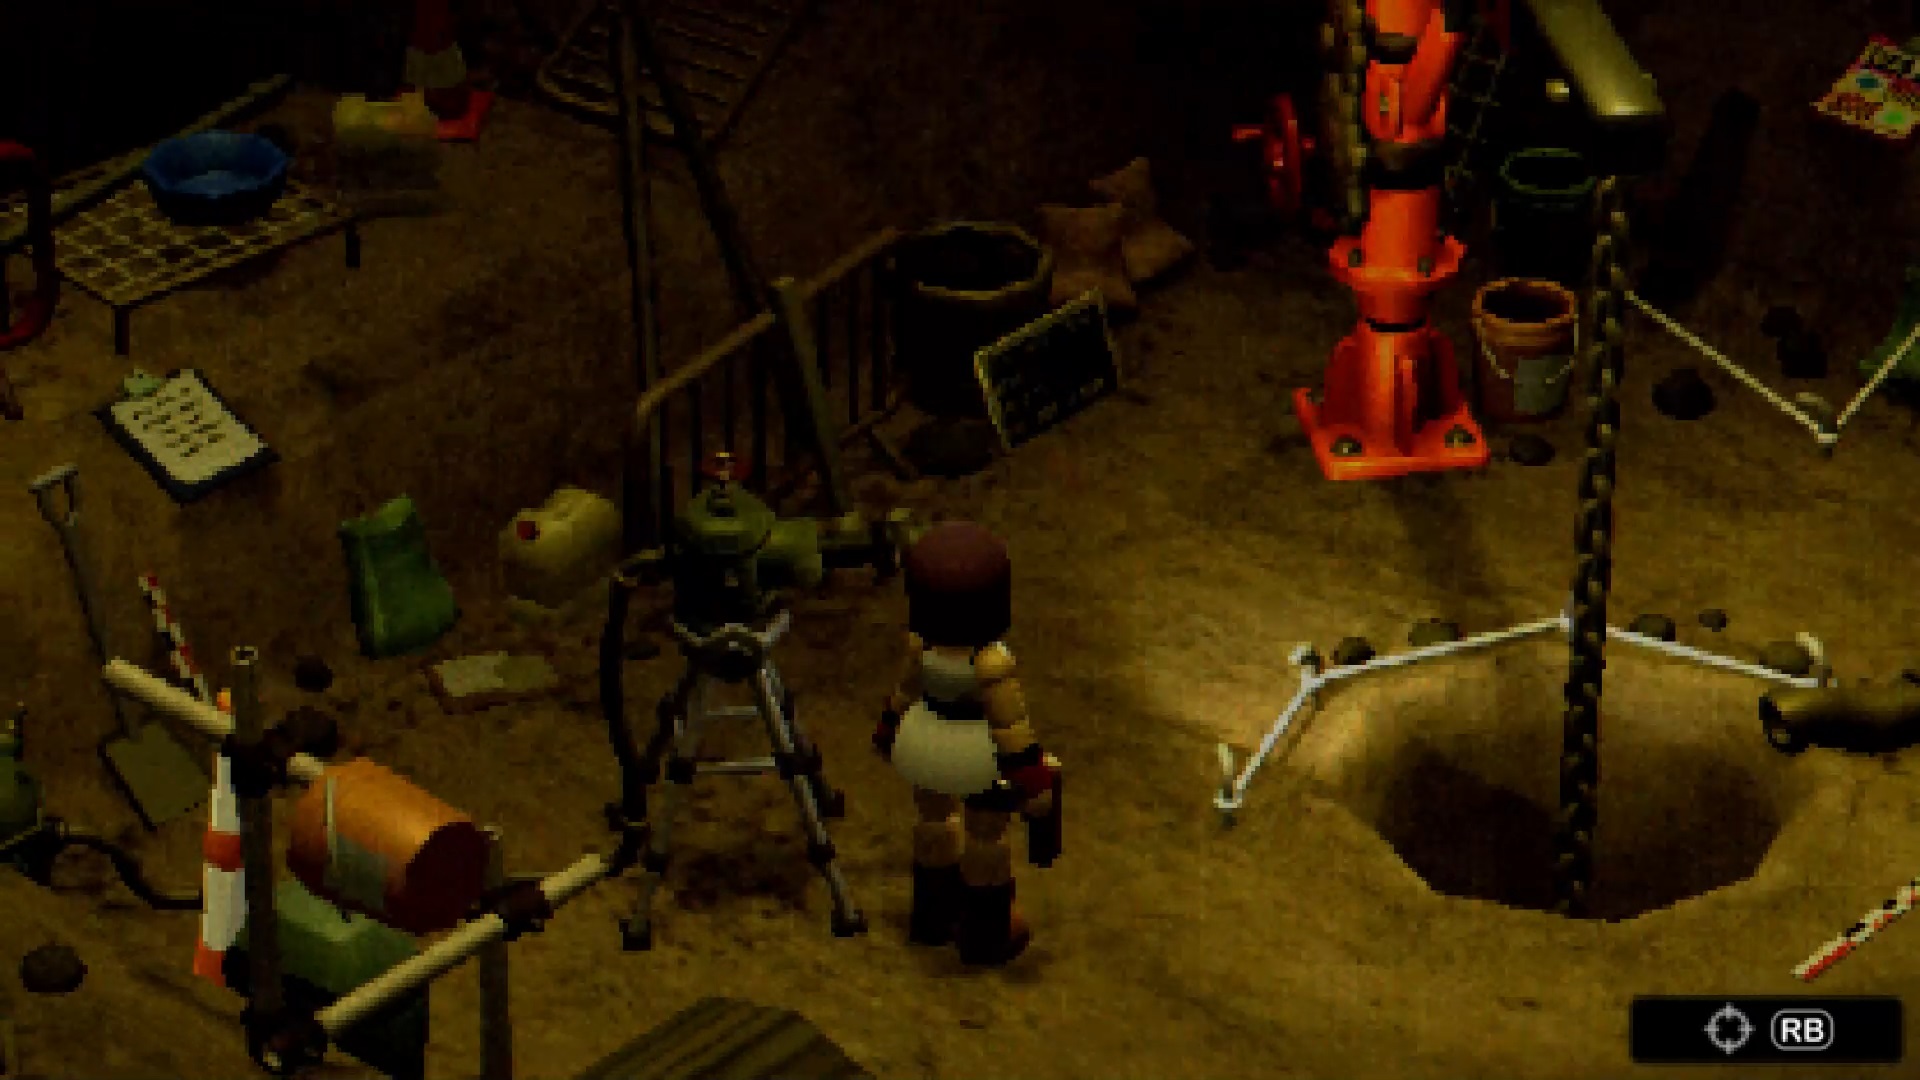
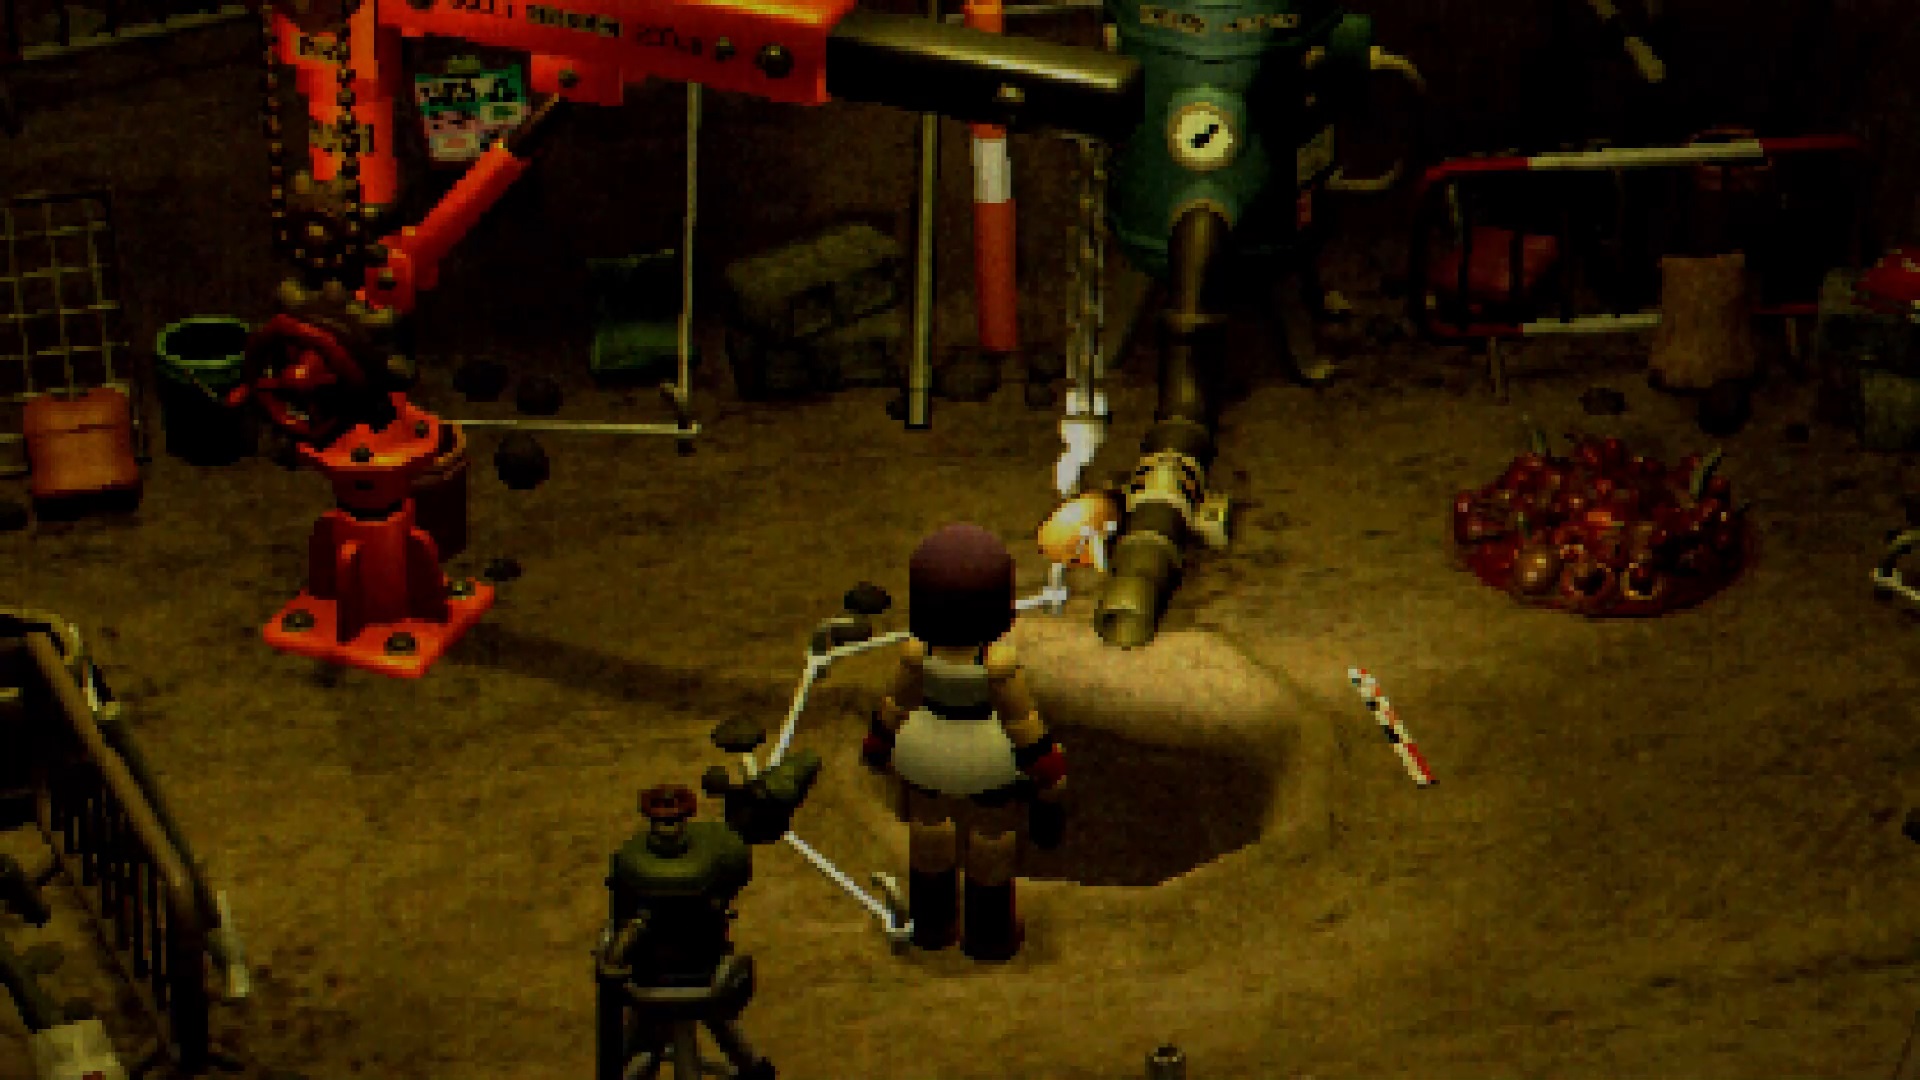
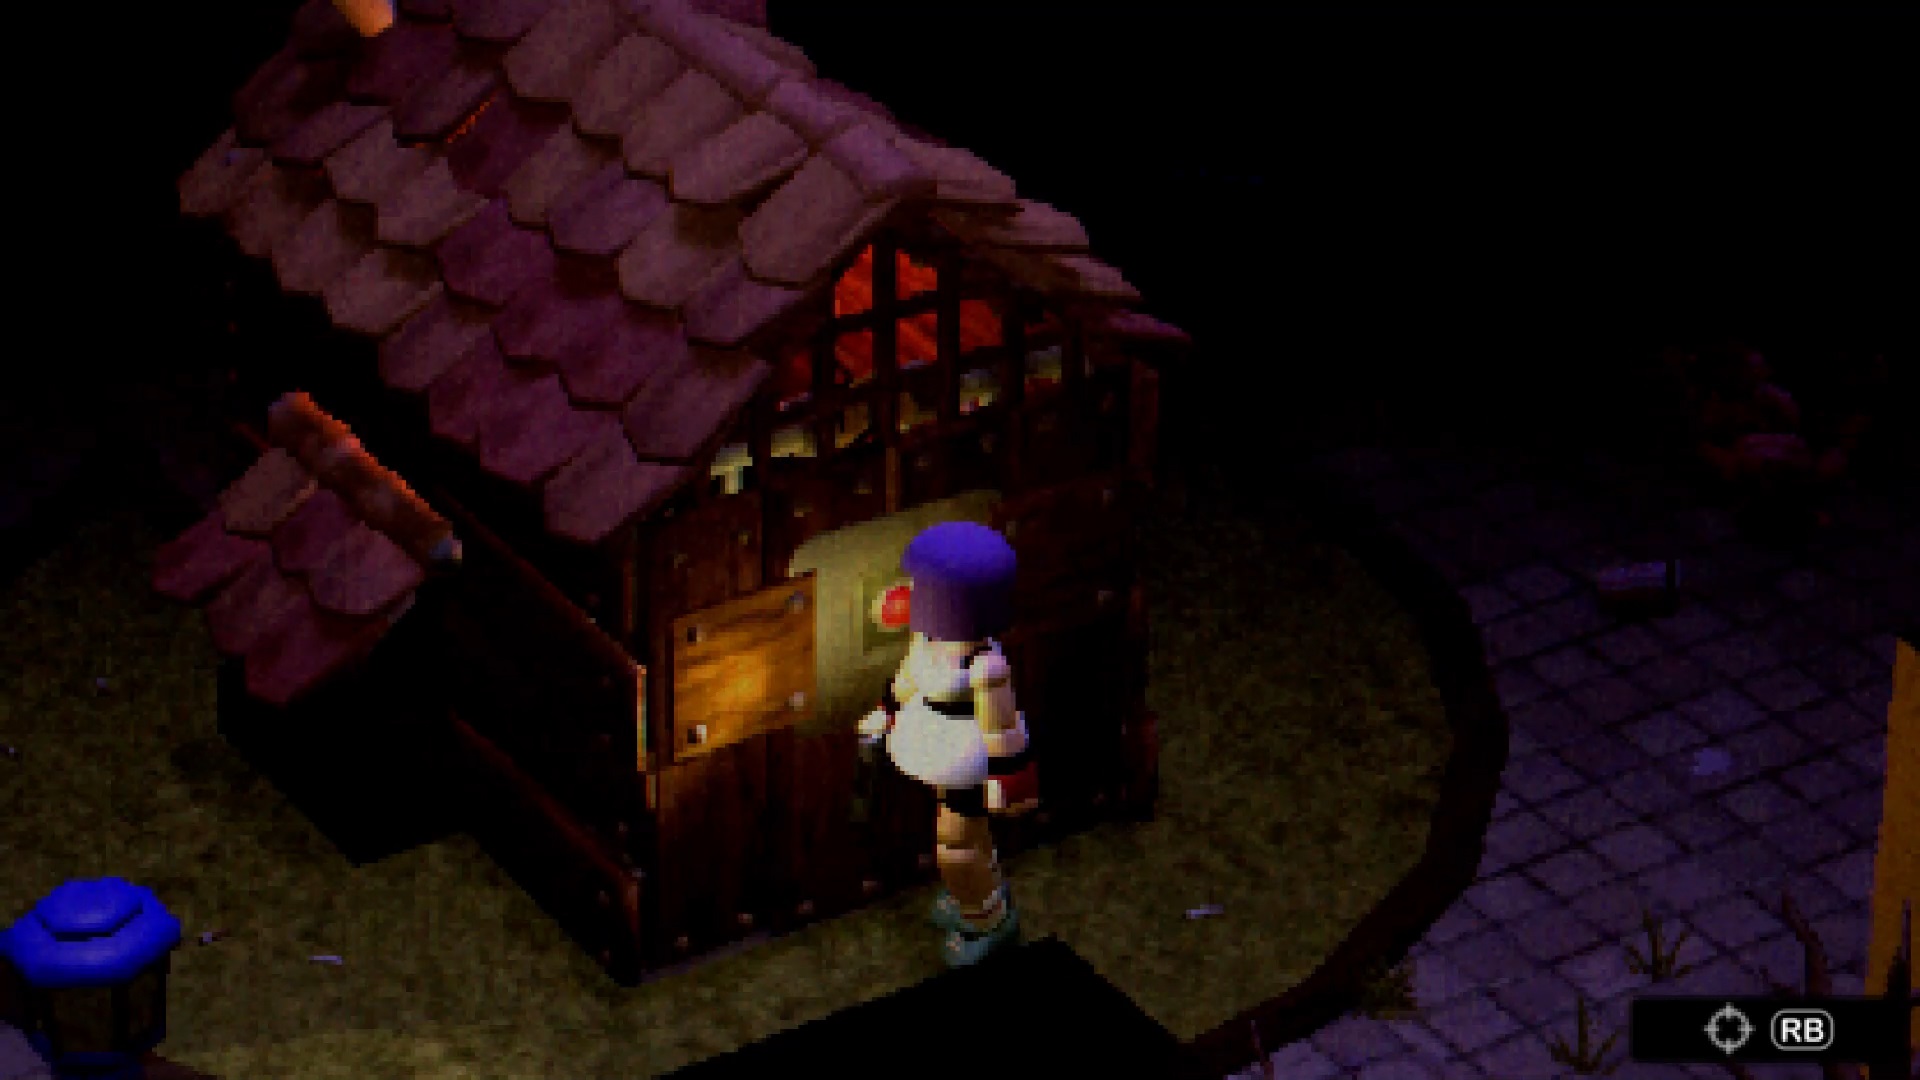
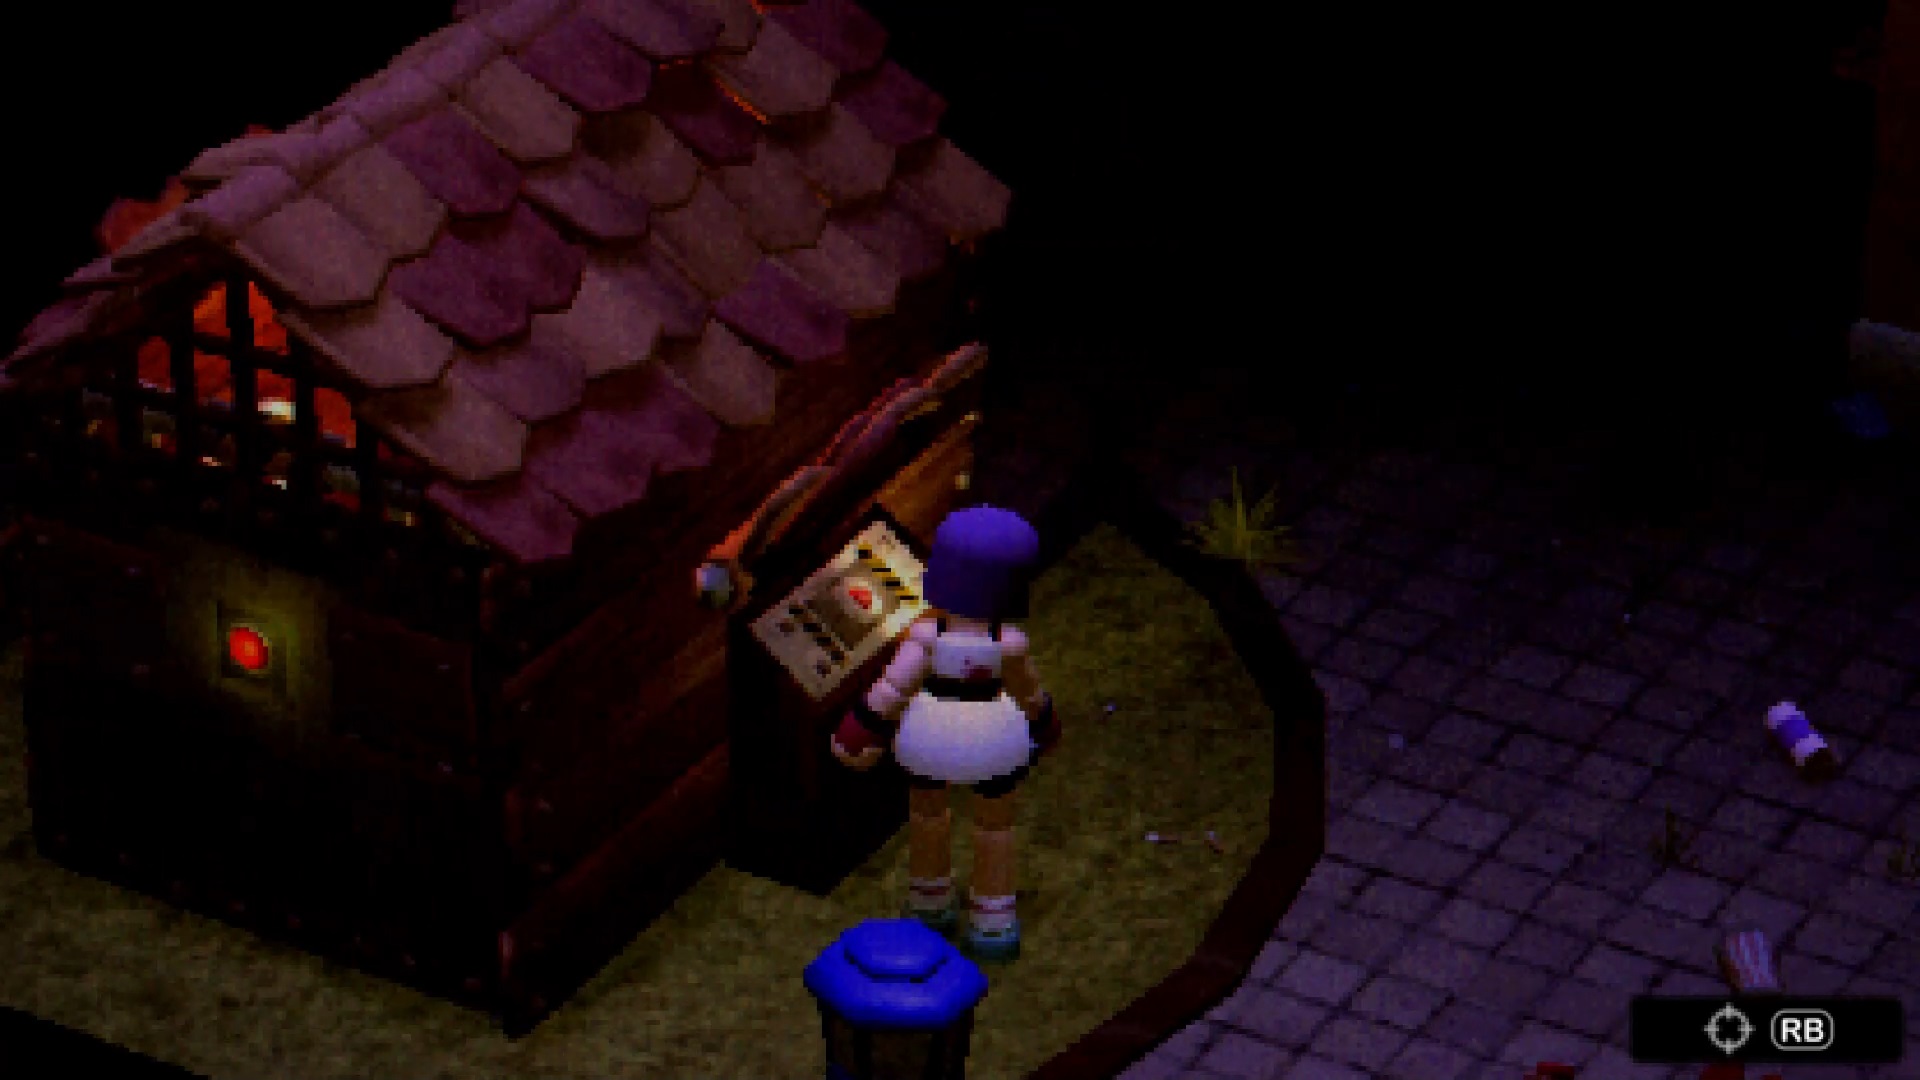
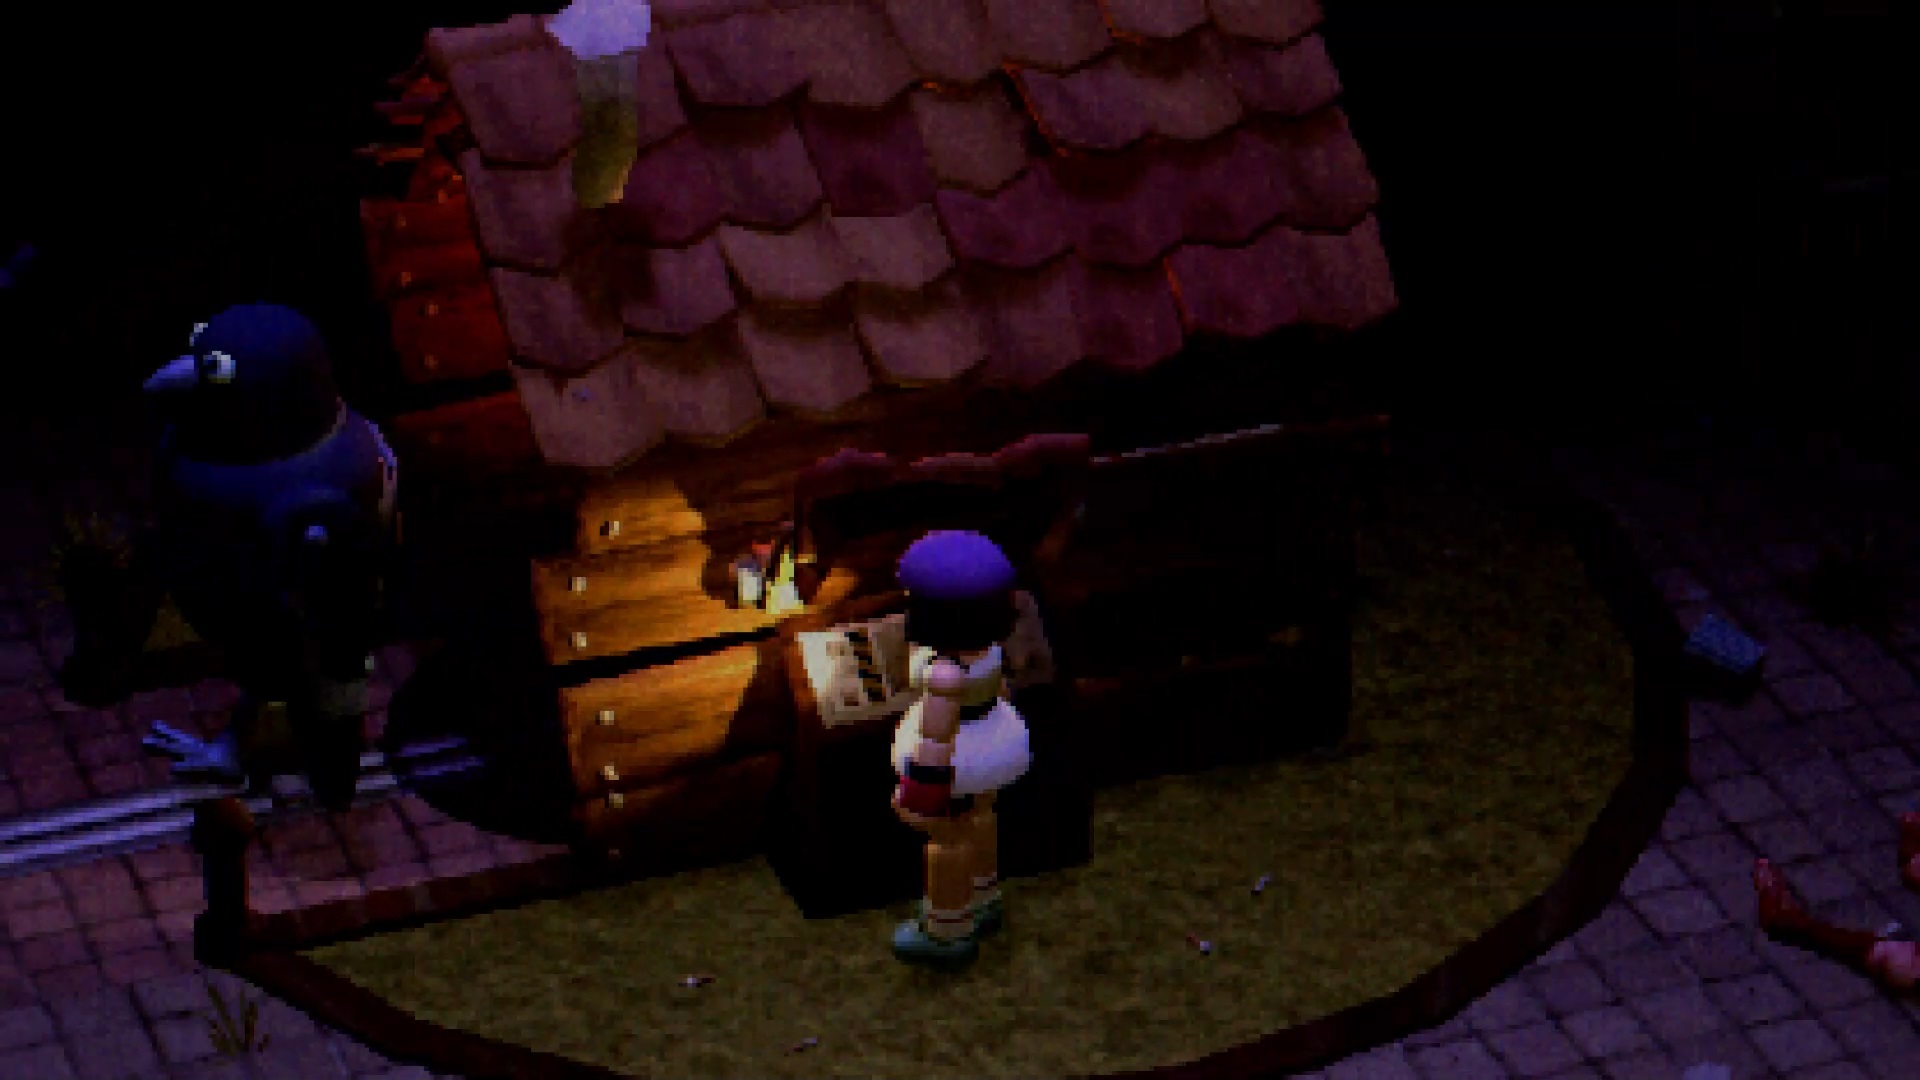
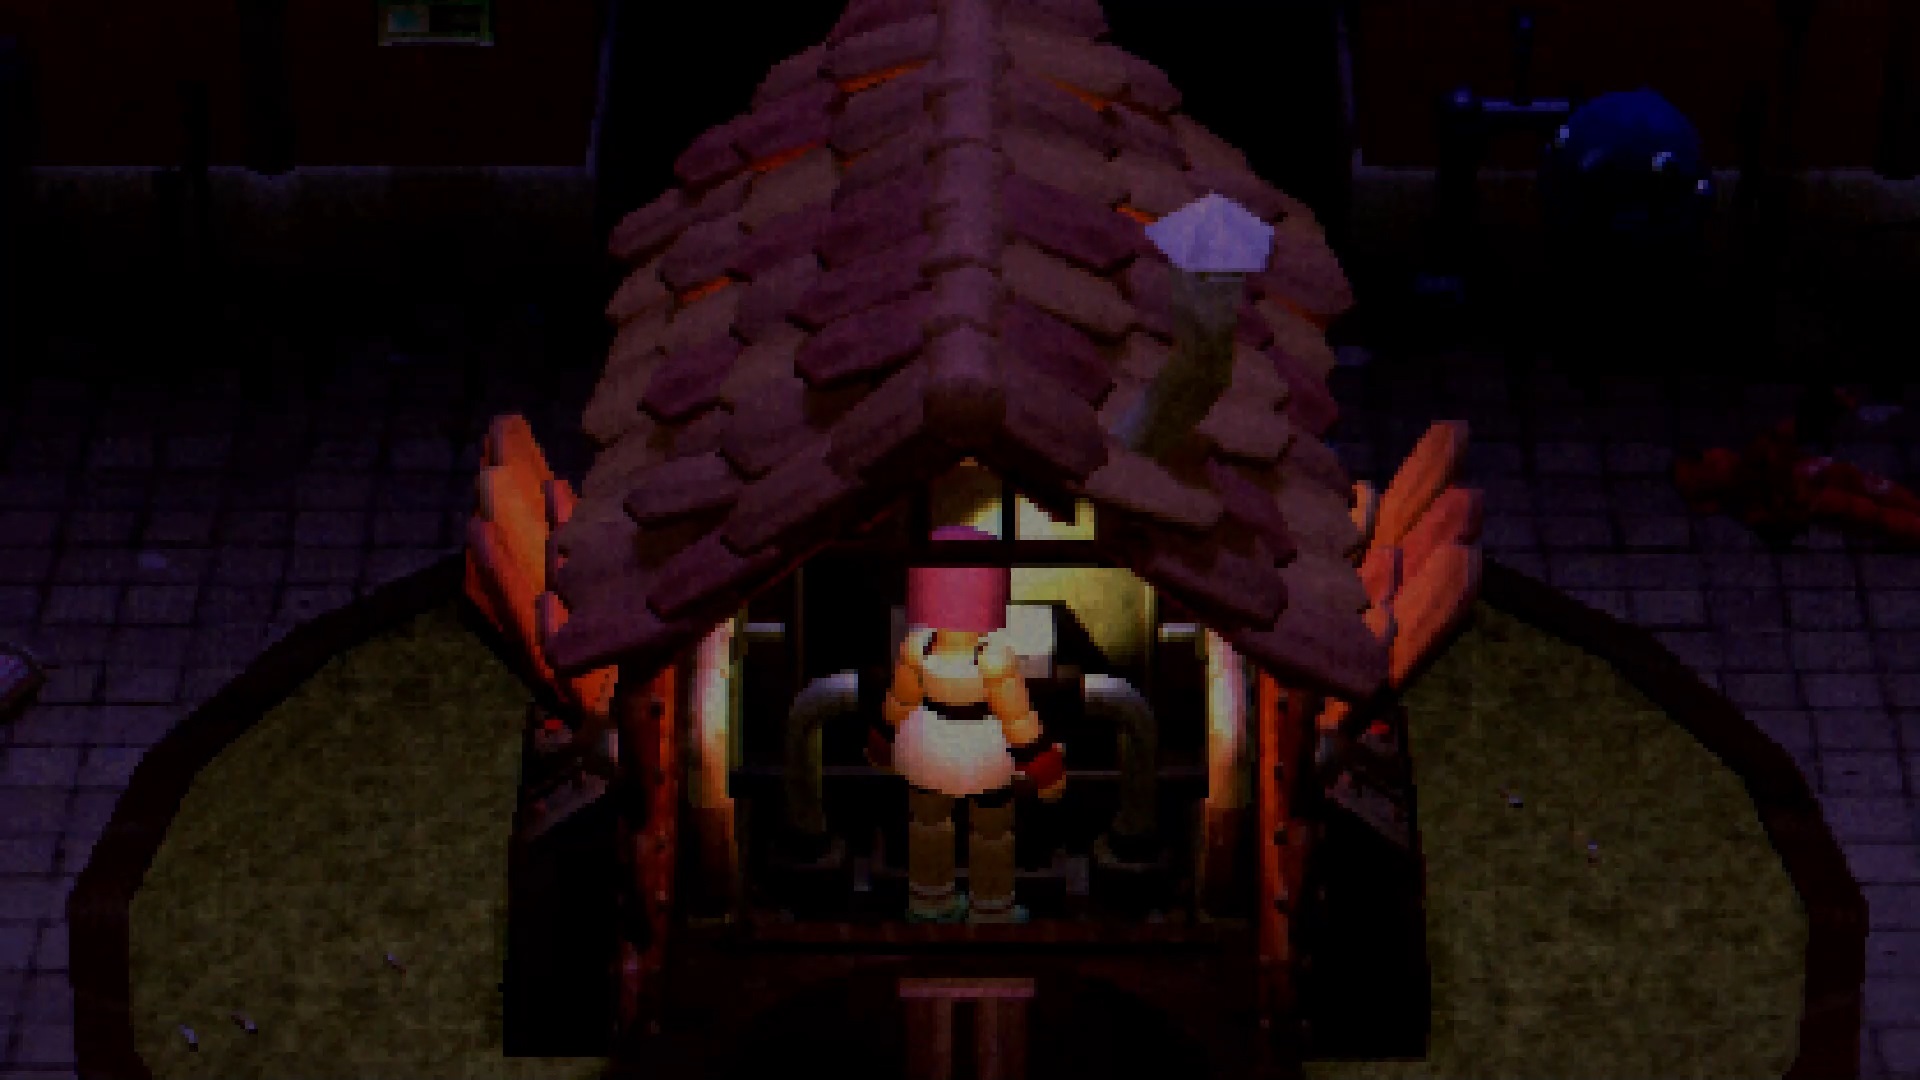
Enter the Swan Boat room, located to the west next to the Fairy Pond. Inside, place the ruby in the duck’s beak to be able to move the Swan with the wheel. Park the vehicle close to you so you can collect a chain from it. Exit into the alley in Fairytale Town to use the bronze key in the mailbox near a small house. Enter the small house to find the dig site inside. Place the chain on the crane and the gasoline in the flamethrower. Bring up a mask with resin, then burn it with the flamethrower. Collect the mask.
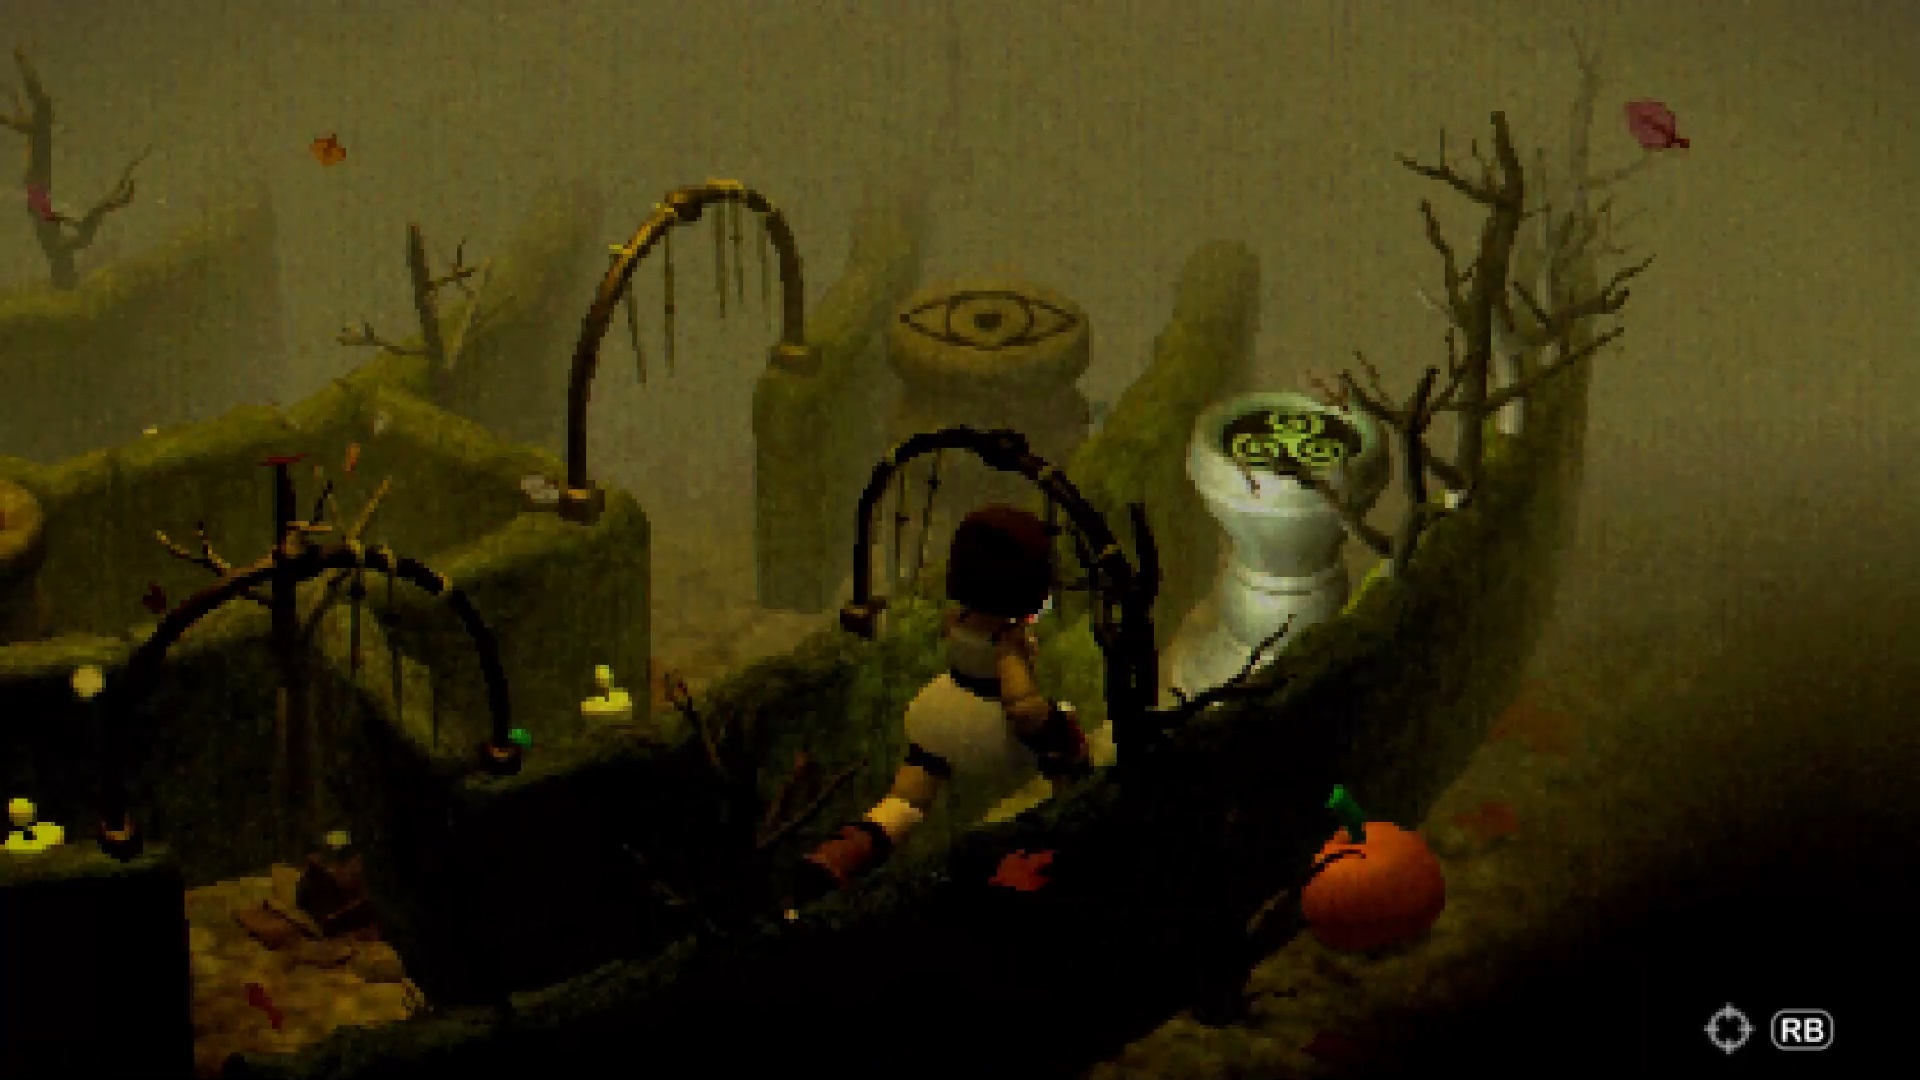
Leave for Haunted HillTop and go to the WitchWood portal. Place the mask in the red hole to unblock the entrance. In the maze, go right to interact with a pillar bearing the whirlwind symbol. If you hit it again, the symbol changes and the surrounding pillars go down. Make your way to the center of the maze, lowering the pillars in your way. Once at your destination, dip your hands inside the cauldron to retrieve a trident.
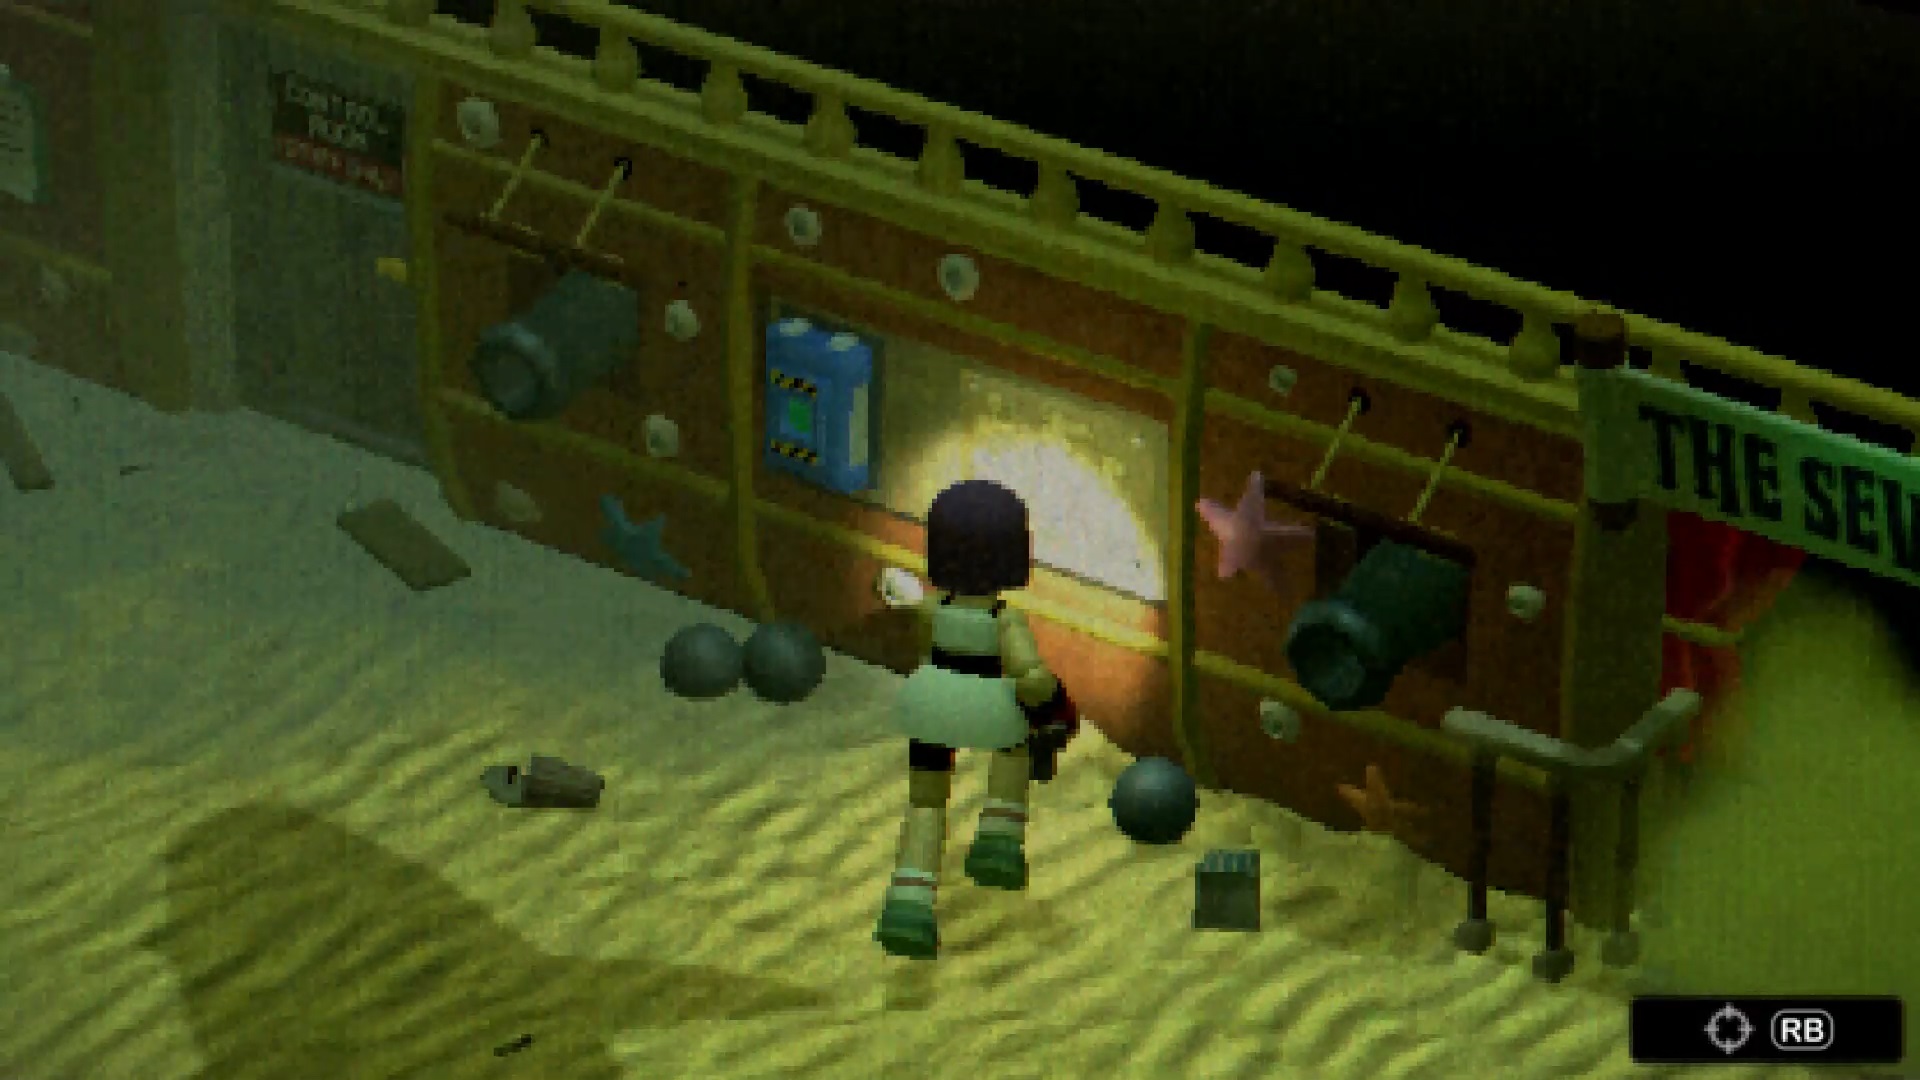
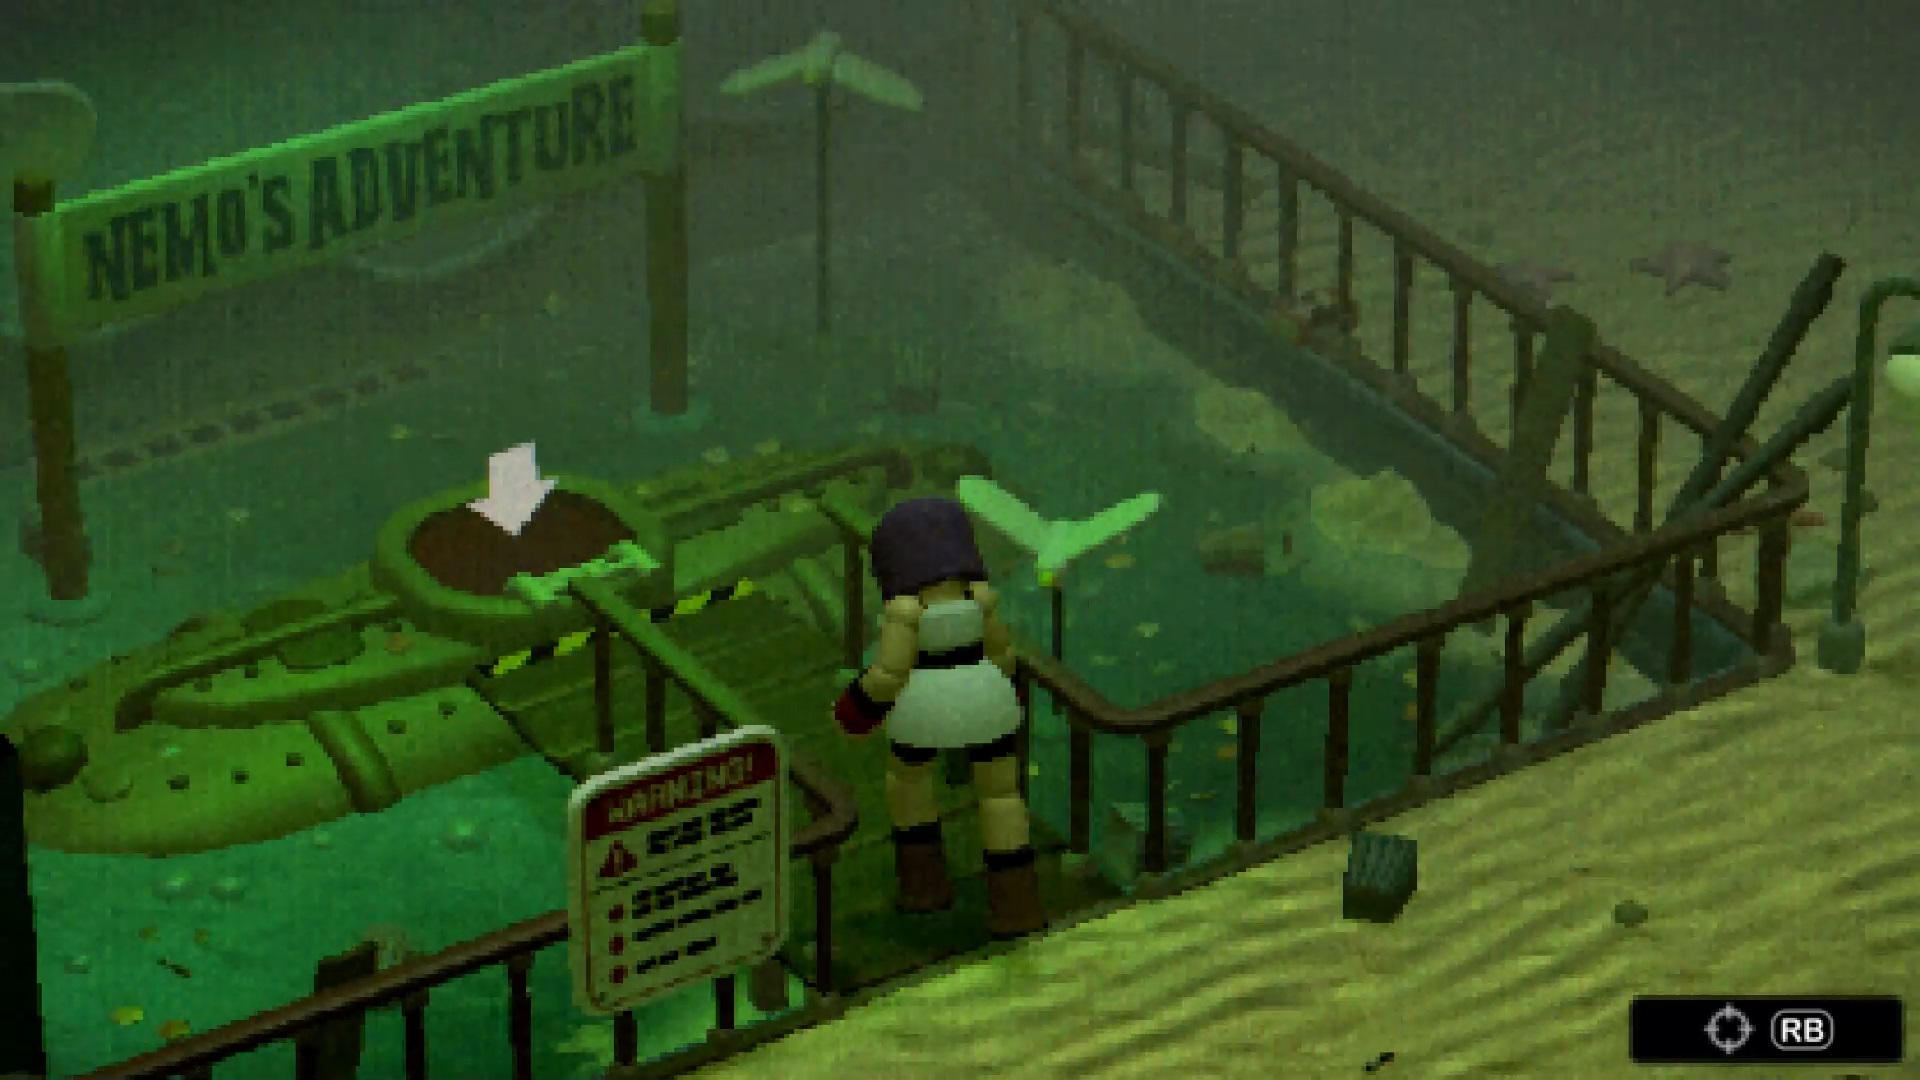
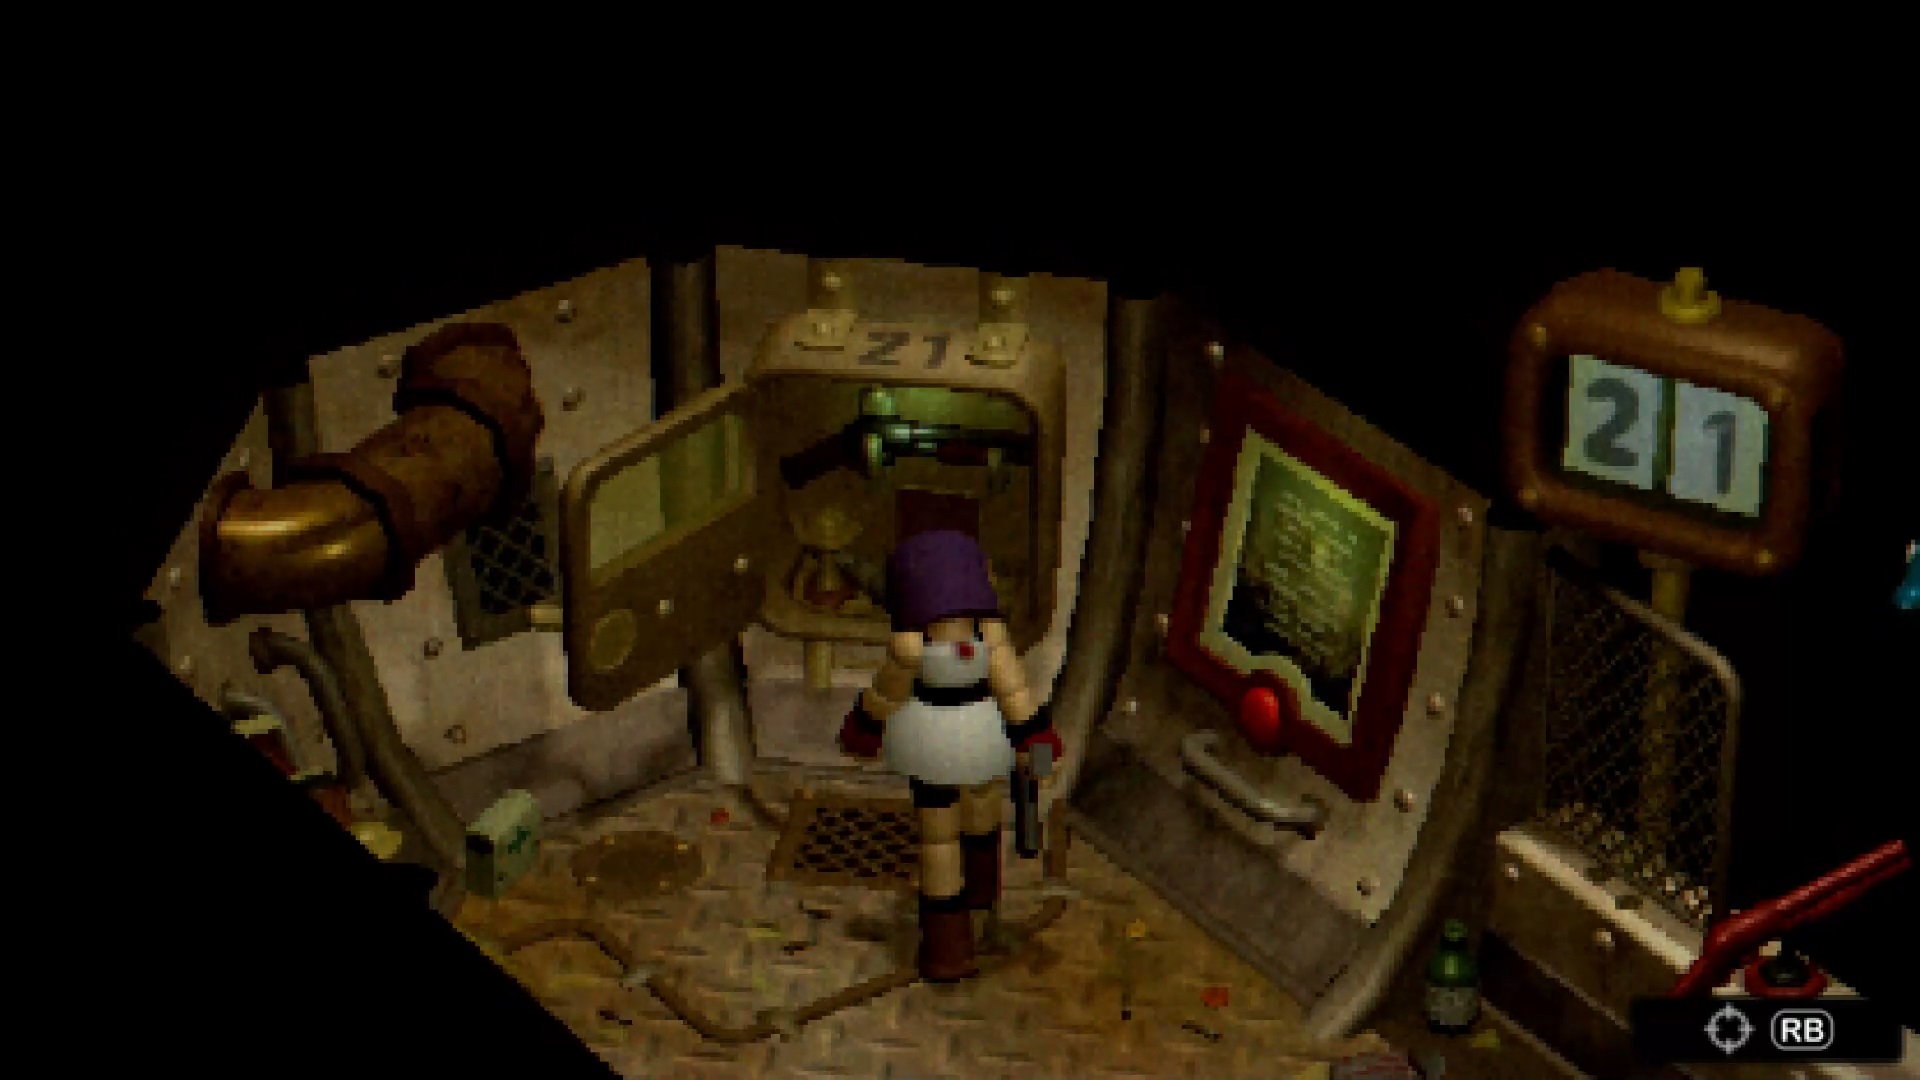
Return to Crow Country Square and this time unlock the gate to the west with your crank. You have arrived at the Ocean Kingdom. Collect the map near the Seven Seas portal against the wall. Head to the submarine to find a new save room. Take advantage of your visit to play the shooting mini-game by shooting the shark four times and the dolphin once. By making a score of 21, a cabinet opens and you get the shotgun.
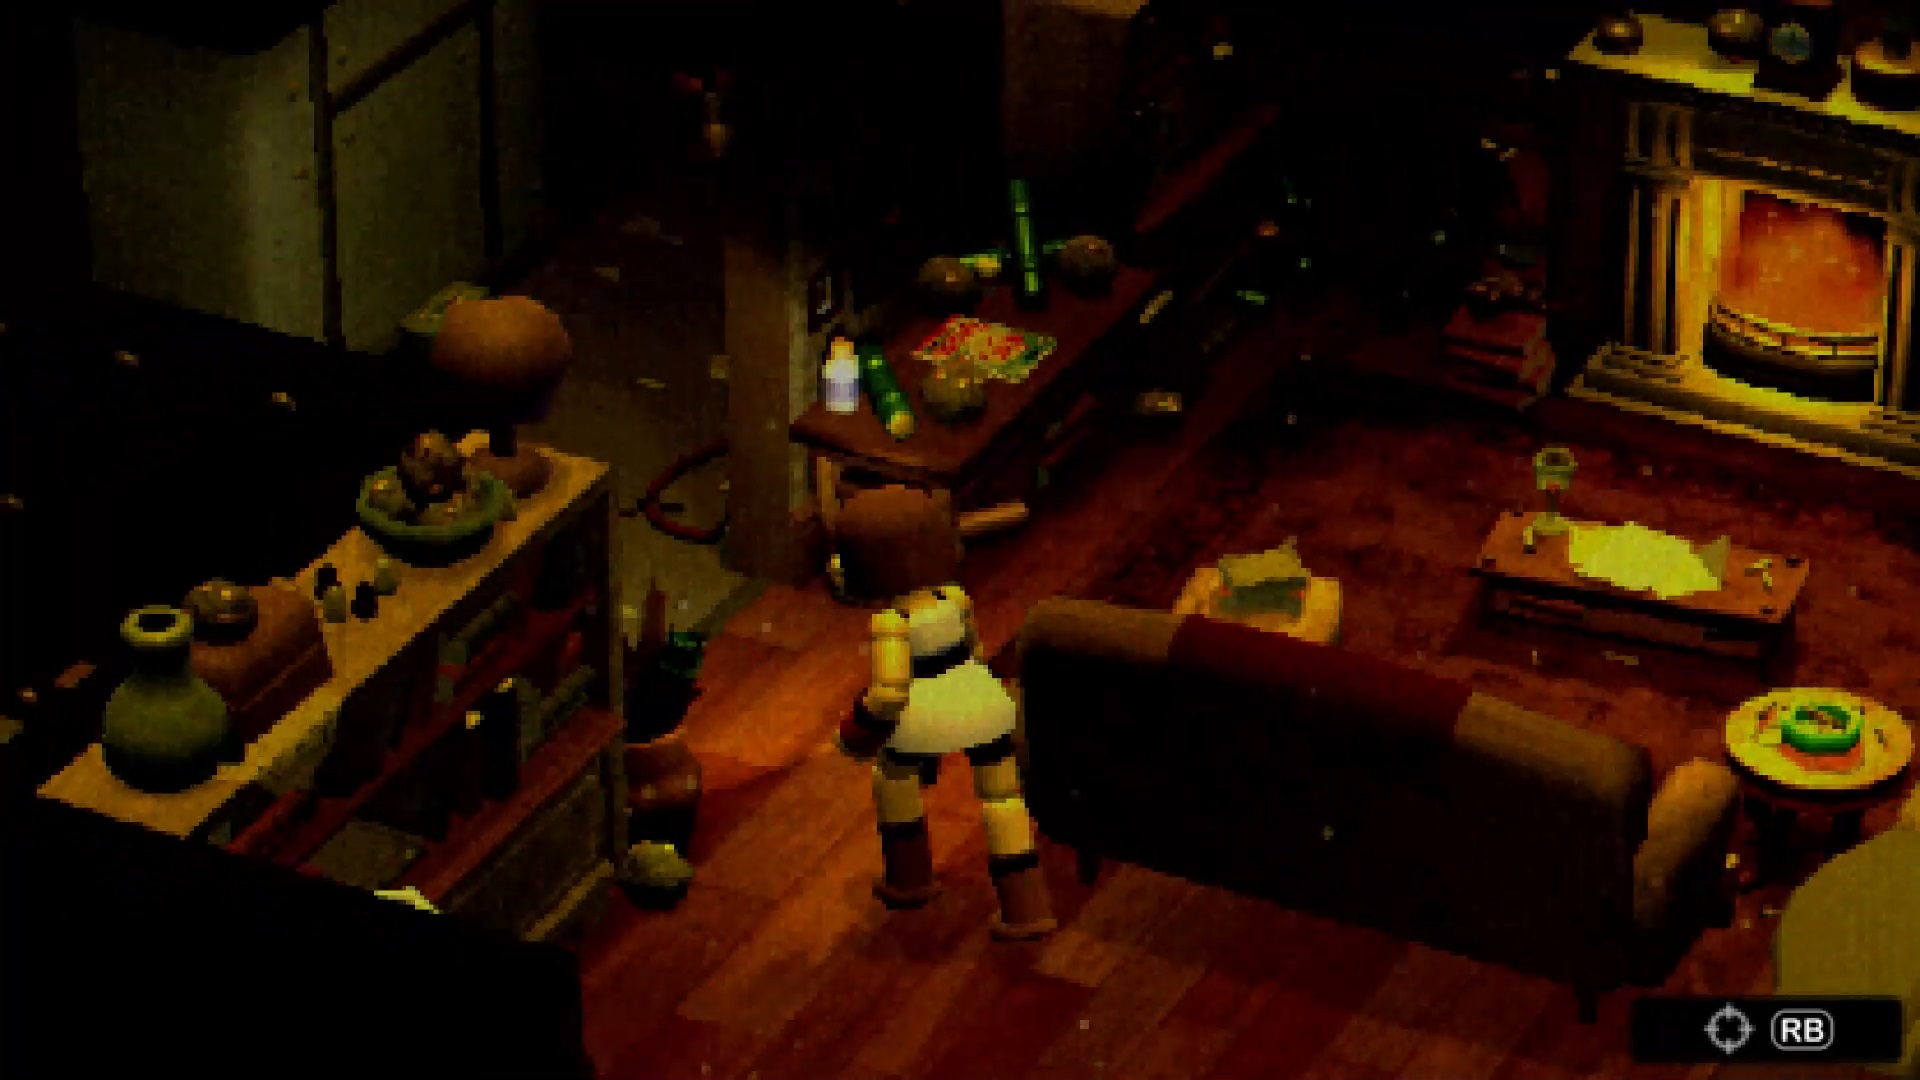
Then take a detour into Crow’s Lounge to reach the staff corridor via the previously opened passage. In the corridor, reach the Ocean Kingdom restaurant: Neptune’s Palace.
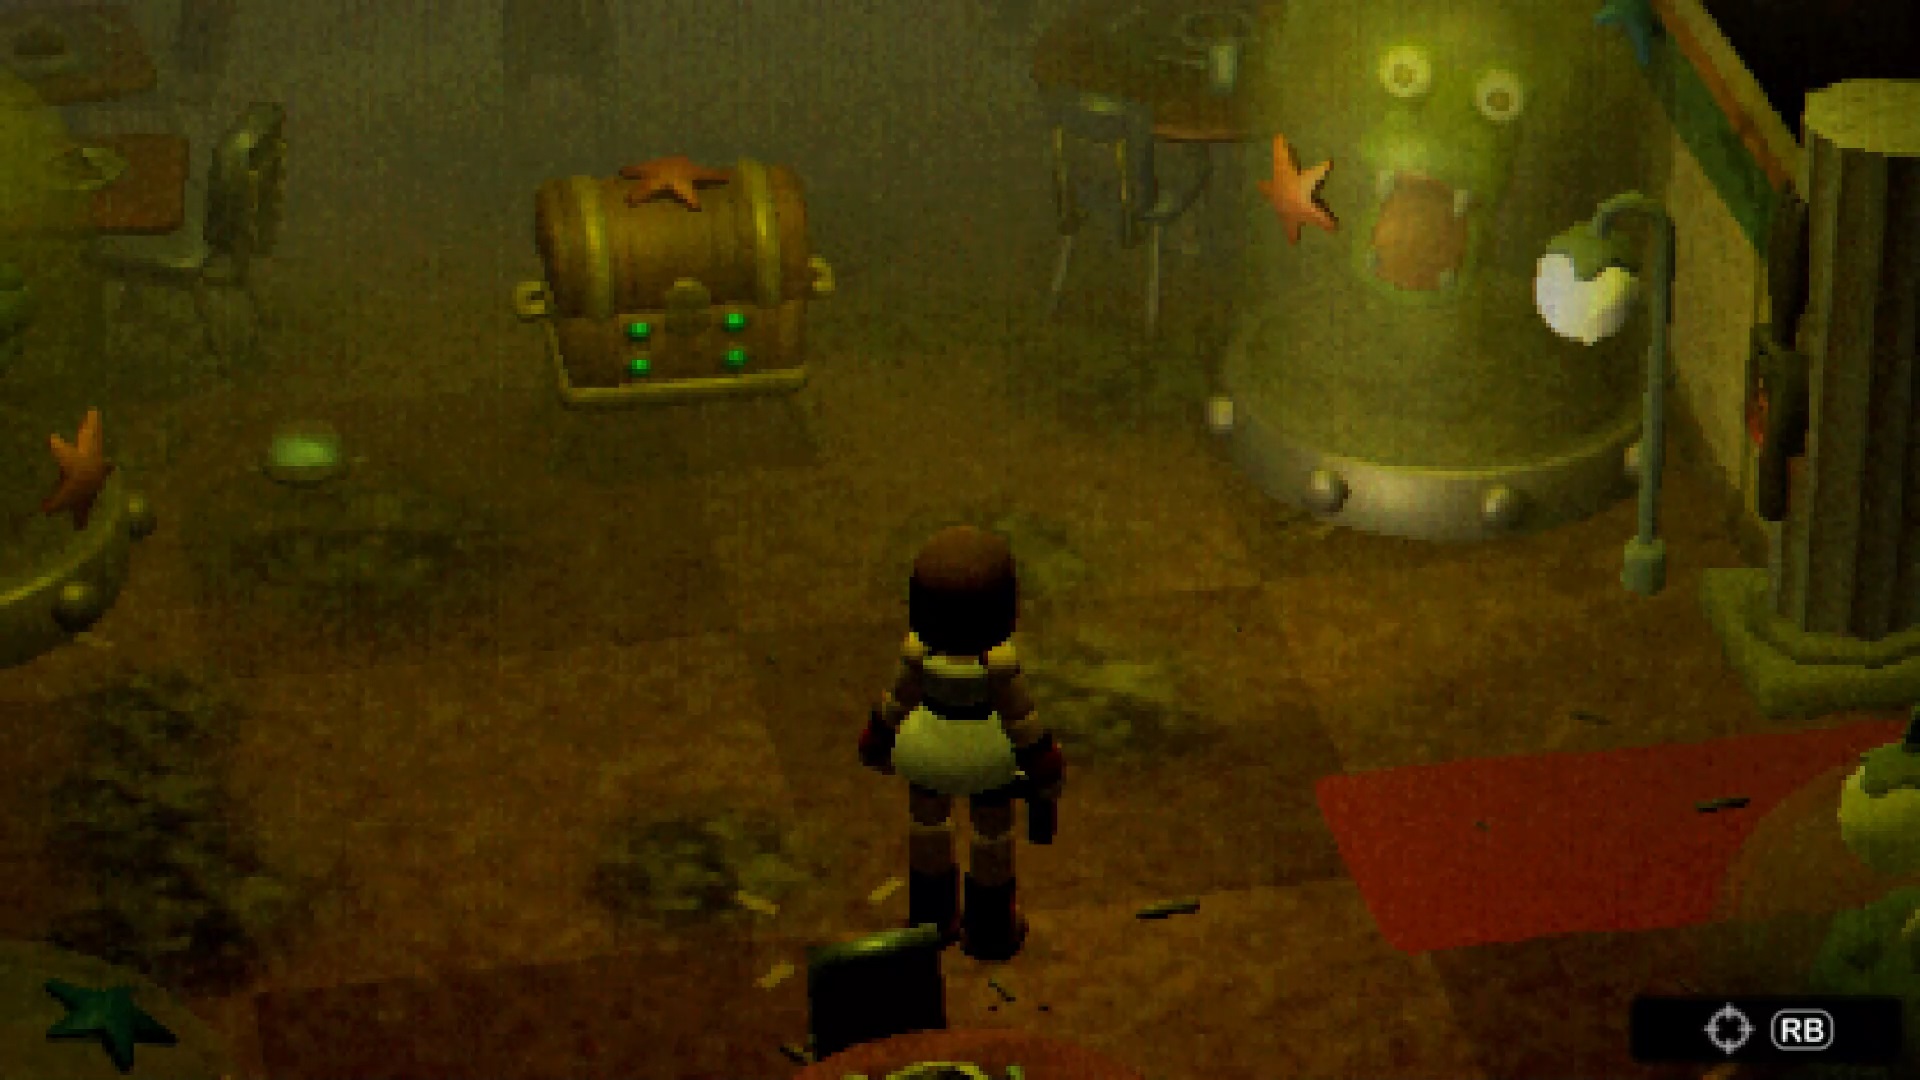
Inside, your objective is to direct the monsters towards the center in front of the chest. Place yourself in the center of the monsters equipped with your trident to unlock the contents of the chest. You get the silver key. Unblock the exit to the Ocean Kingdom and exit through the staff exit to reach the staff corridor. Here, go to the wooden door and interact with it to unlock it with the silver key.
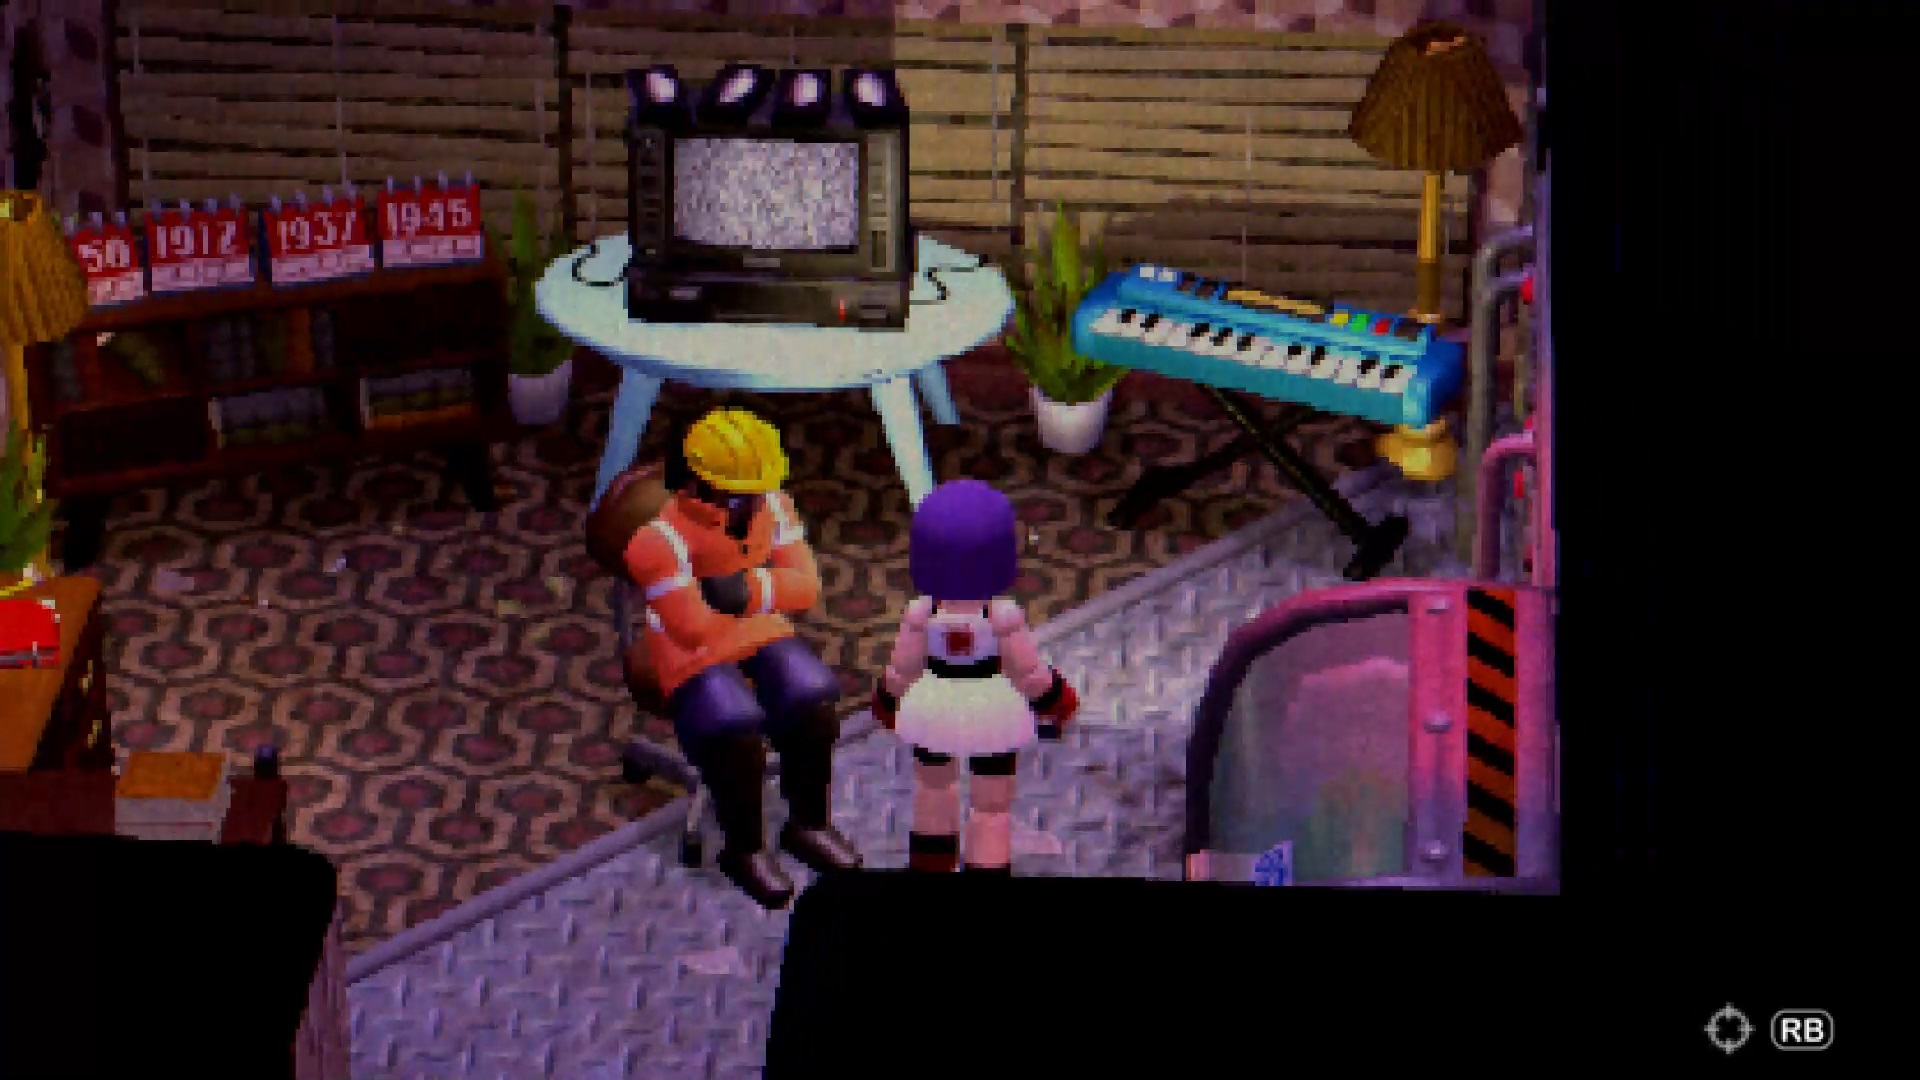
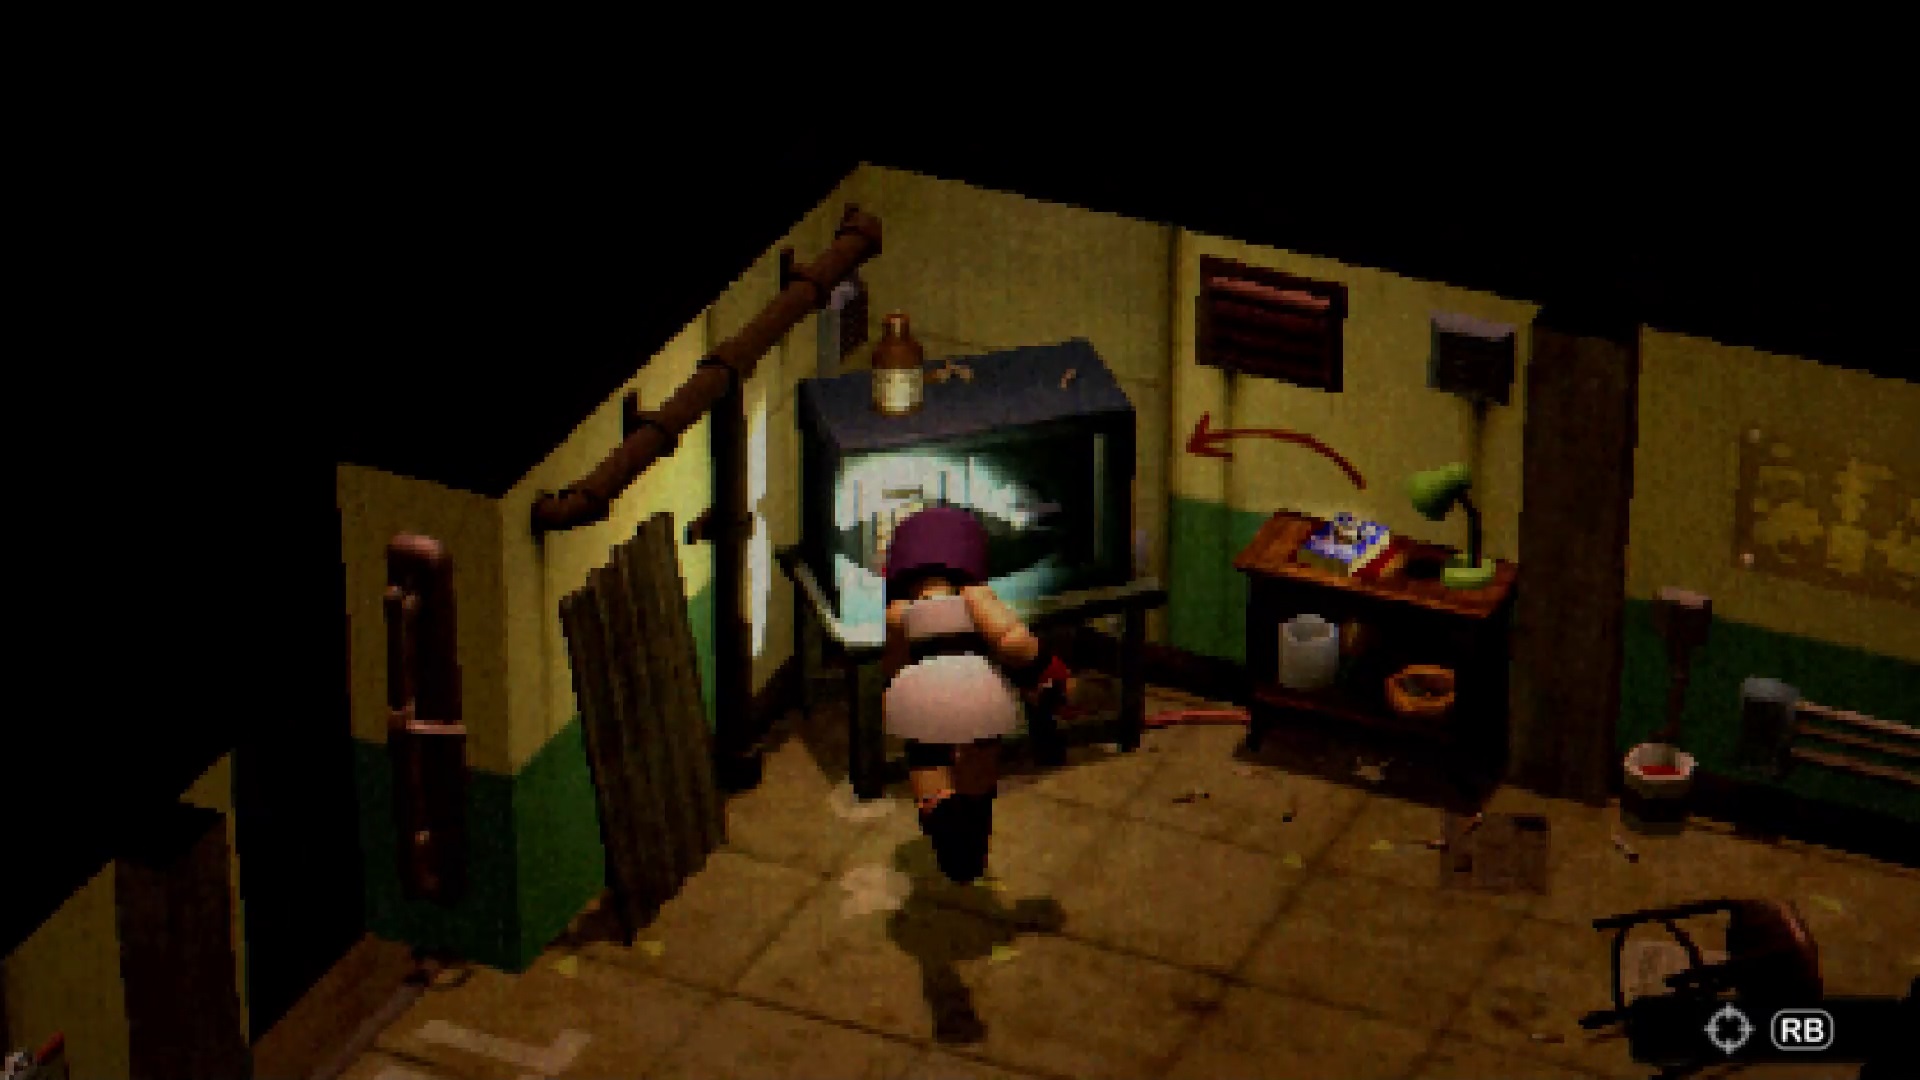
In the office, talk to Tolman and try to solve his riddle. To do this, watch the videos corresponding to the date on the side to find the FACE code. Play the FACE code on the piano to unlock access to a lever. Pull the lever to unlock the elevators leading to the underground passages. You can access it via the staff corridor in the previous room.
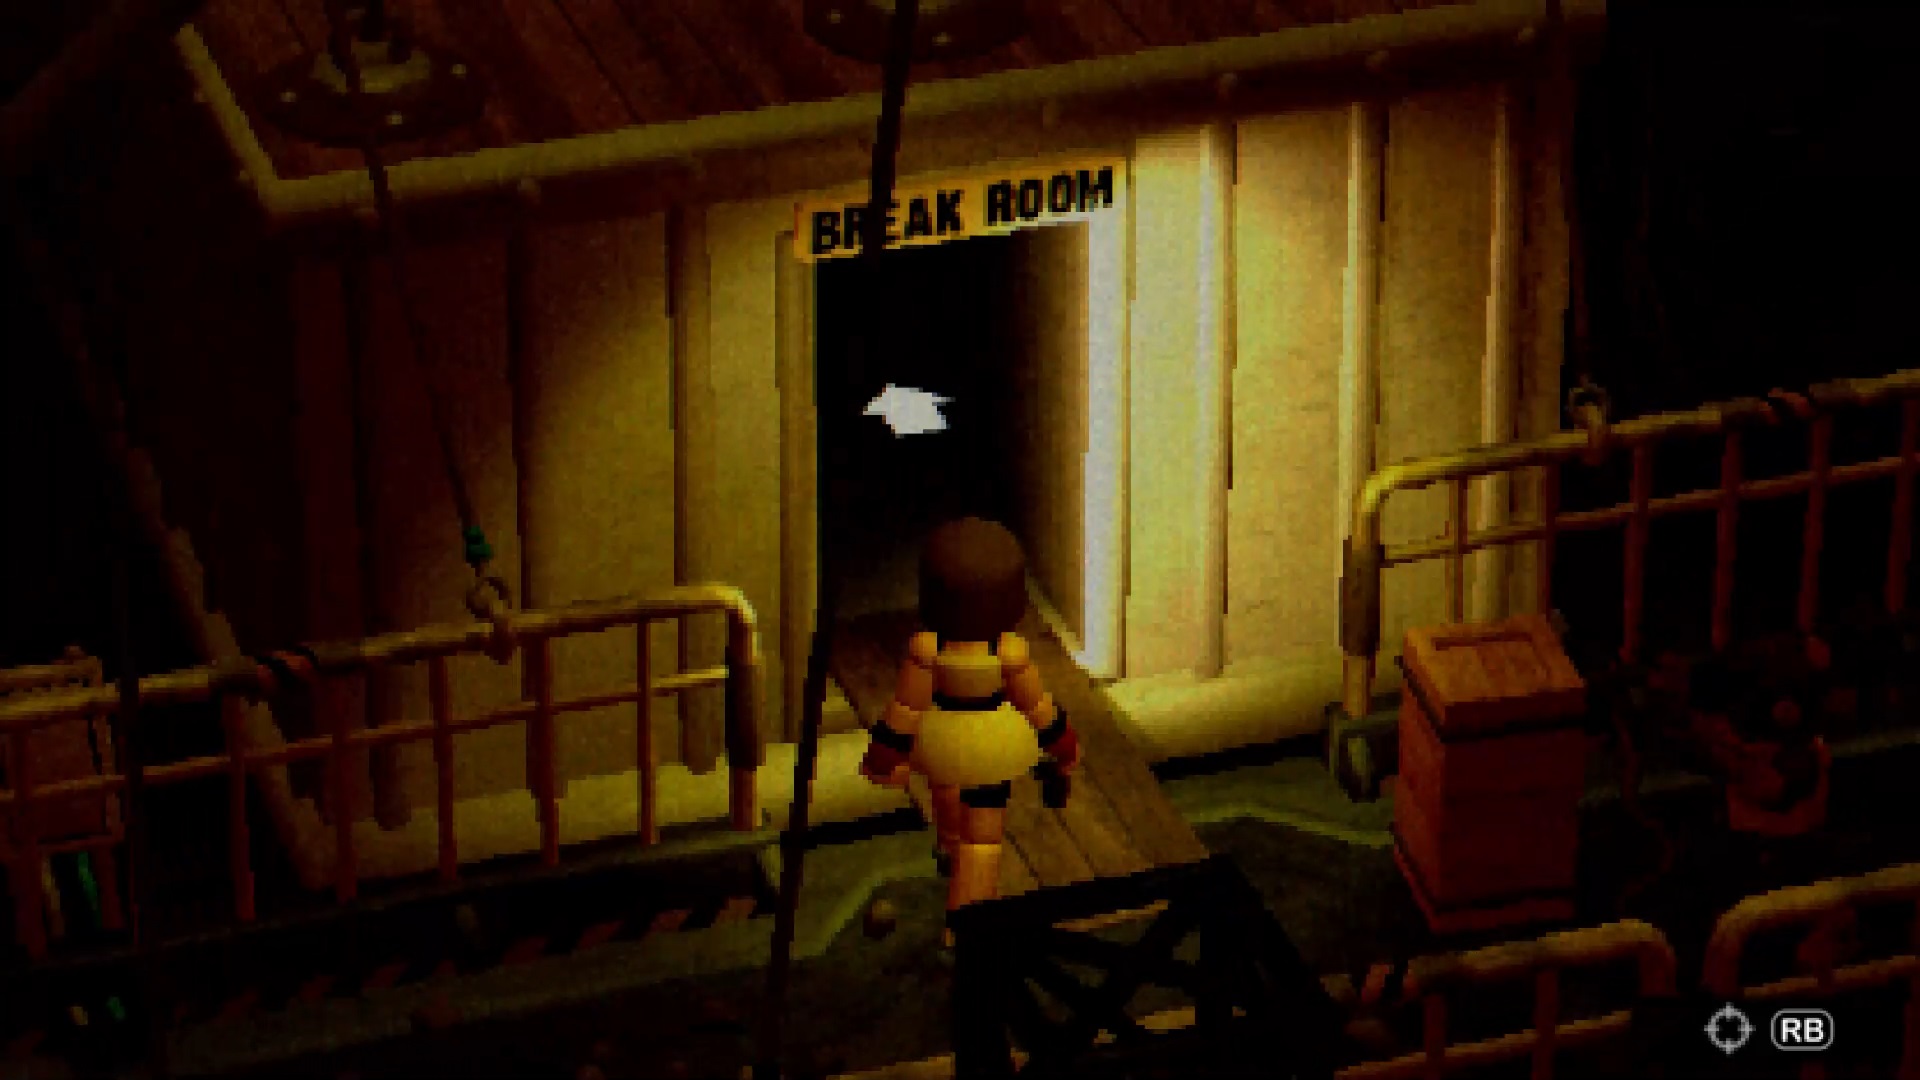
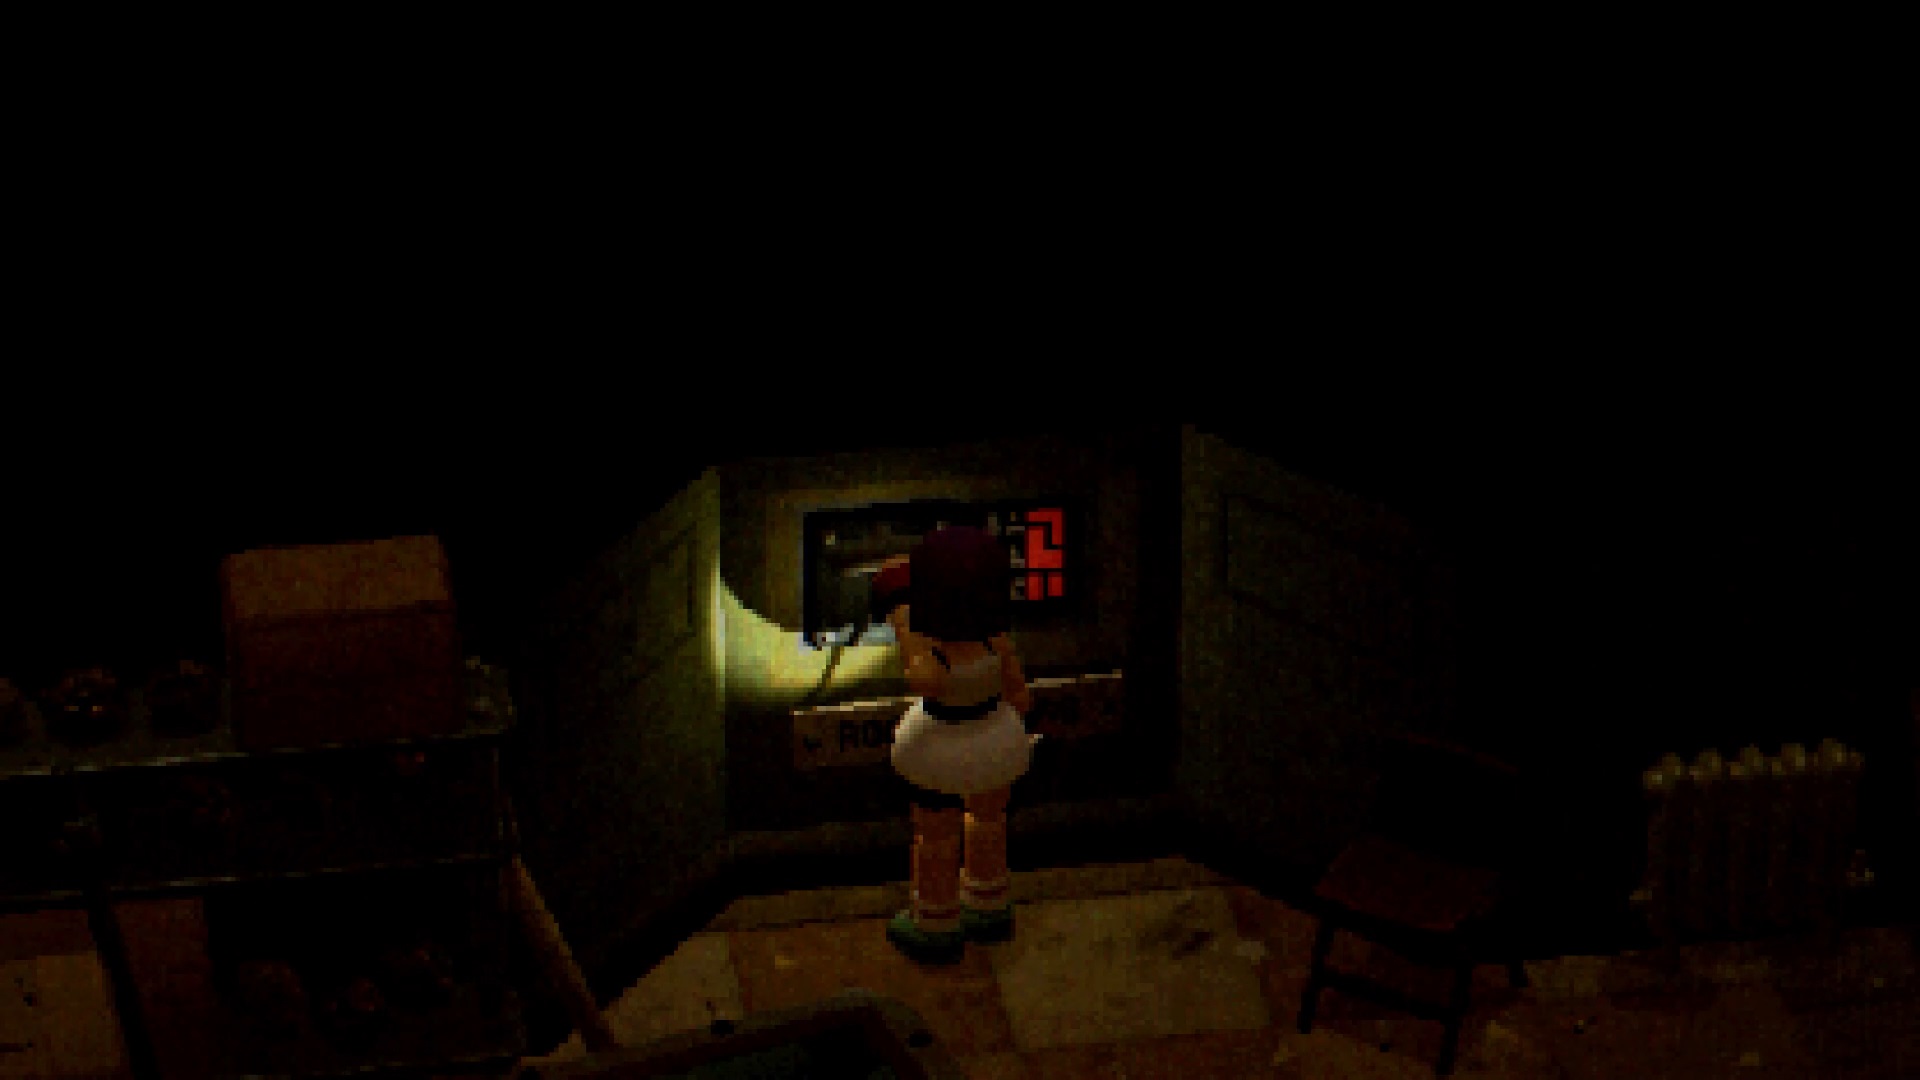
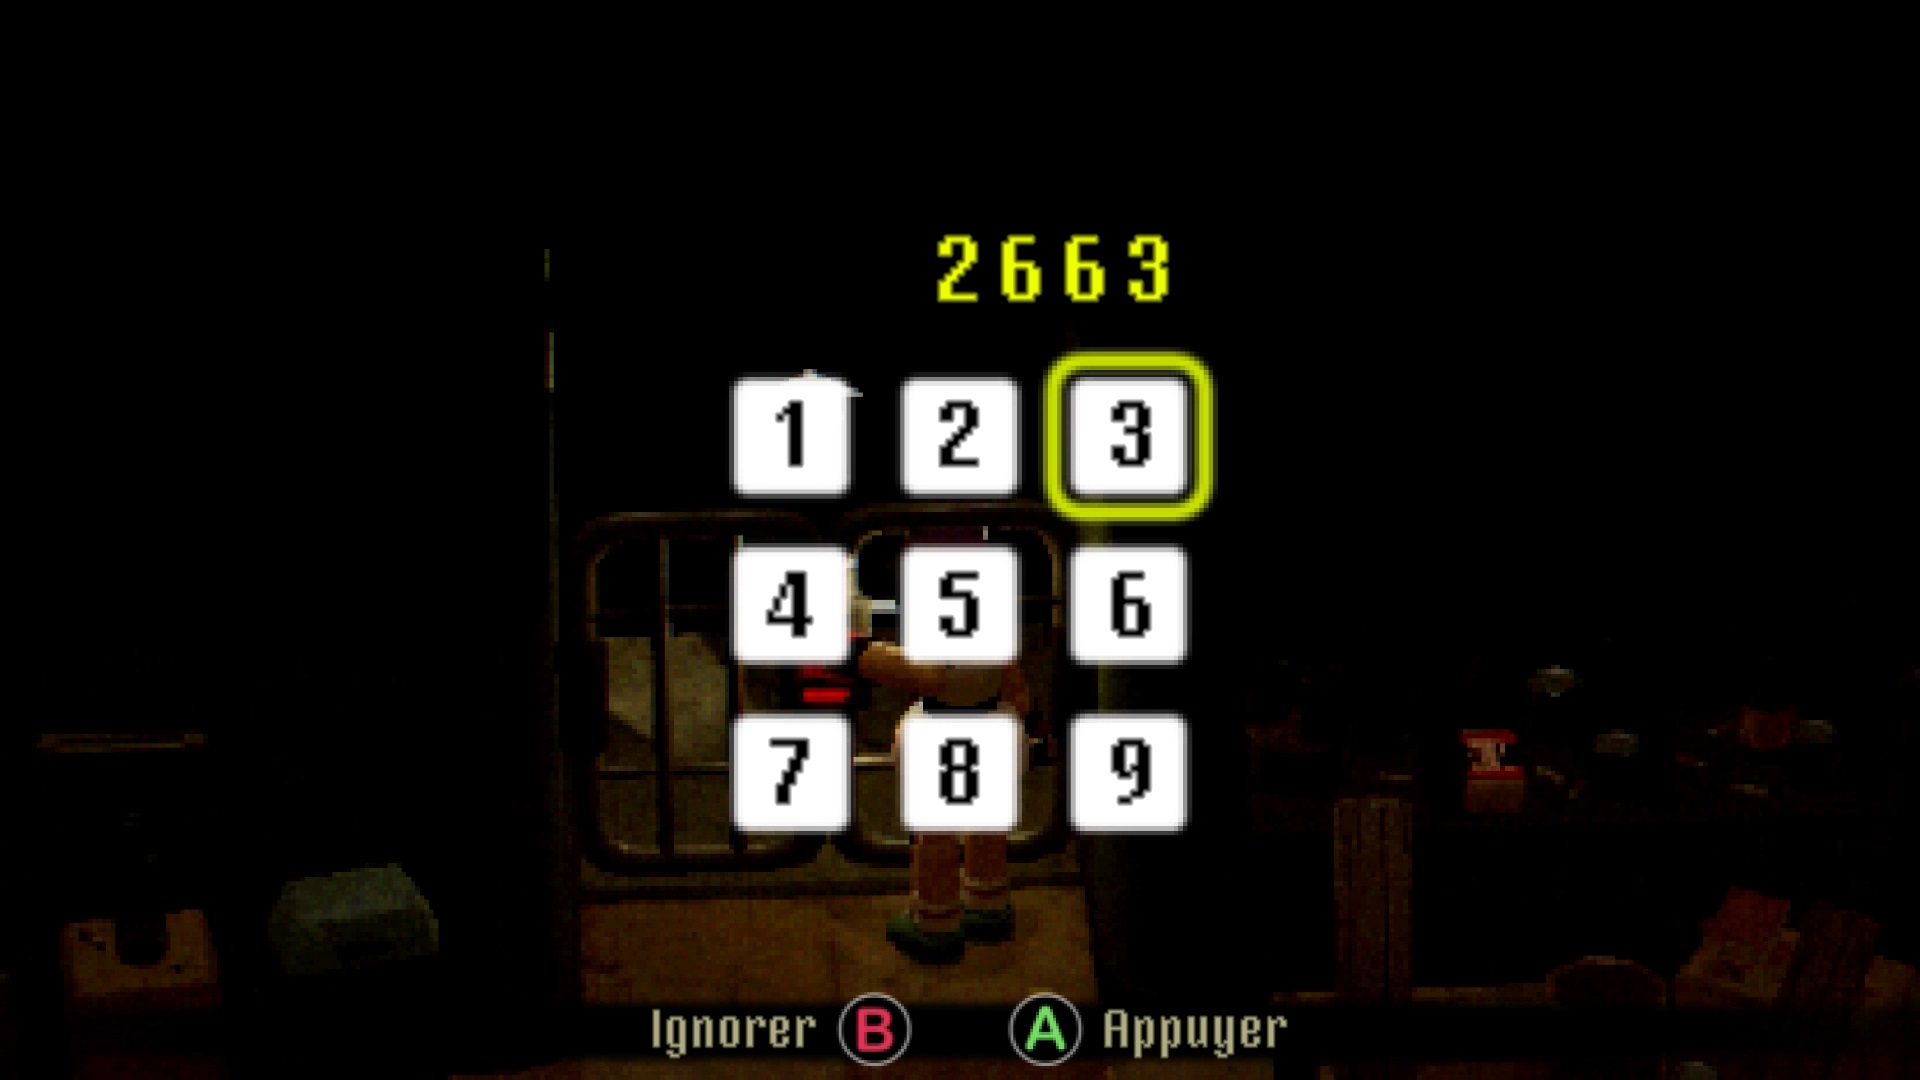
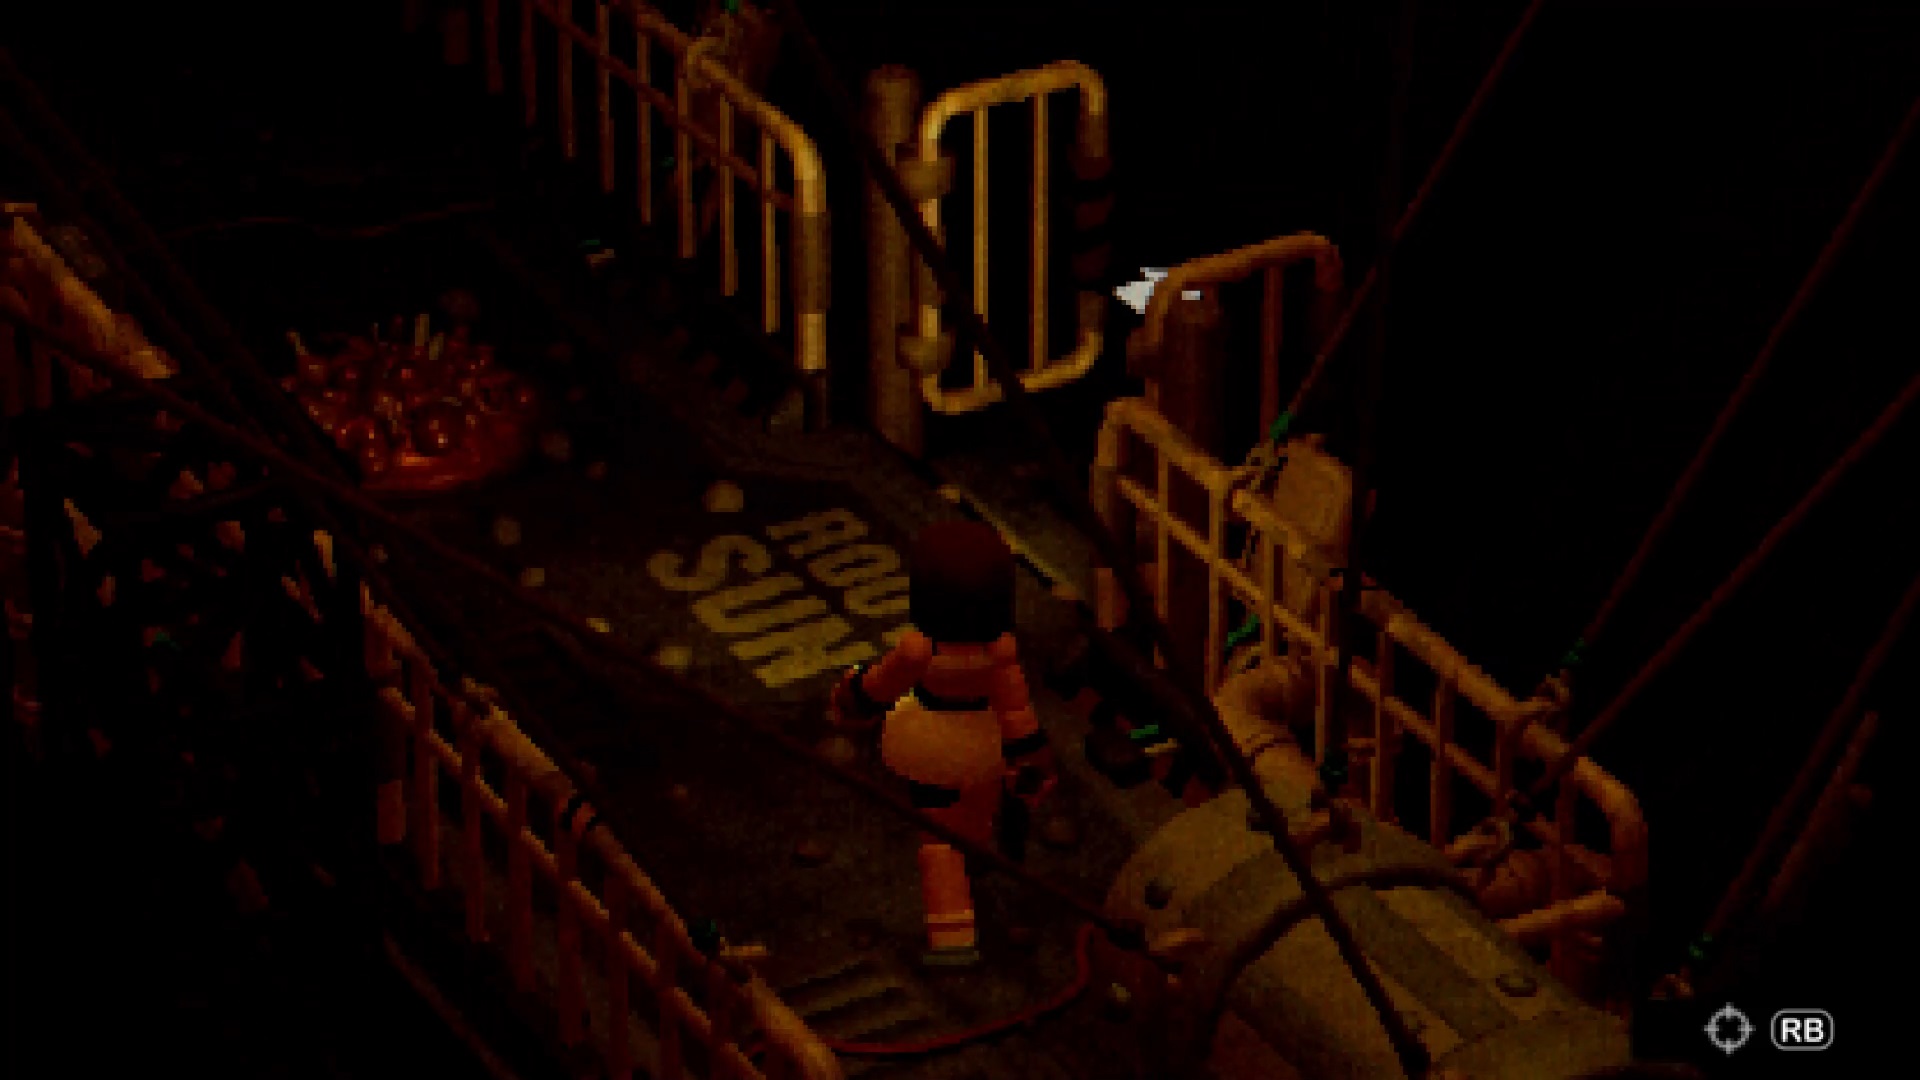
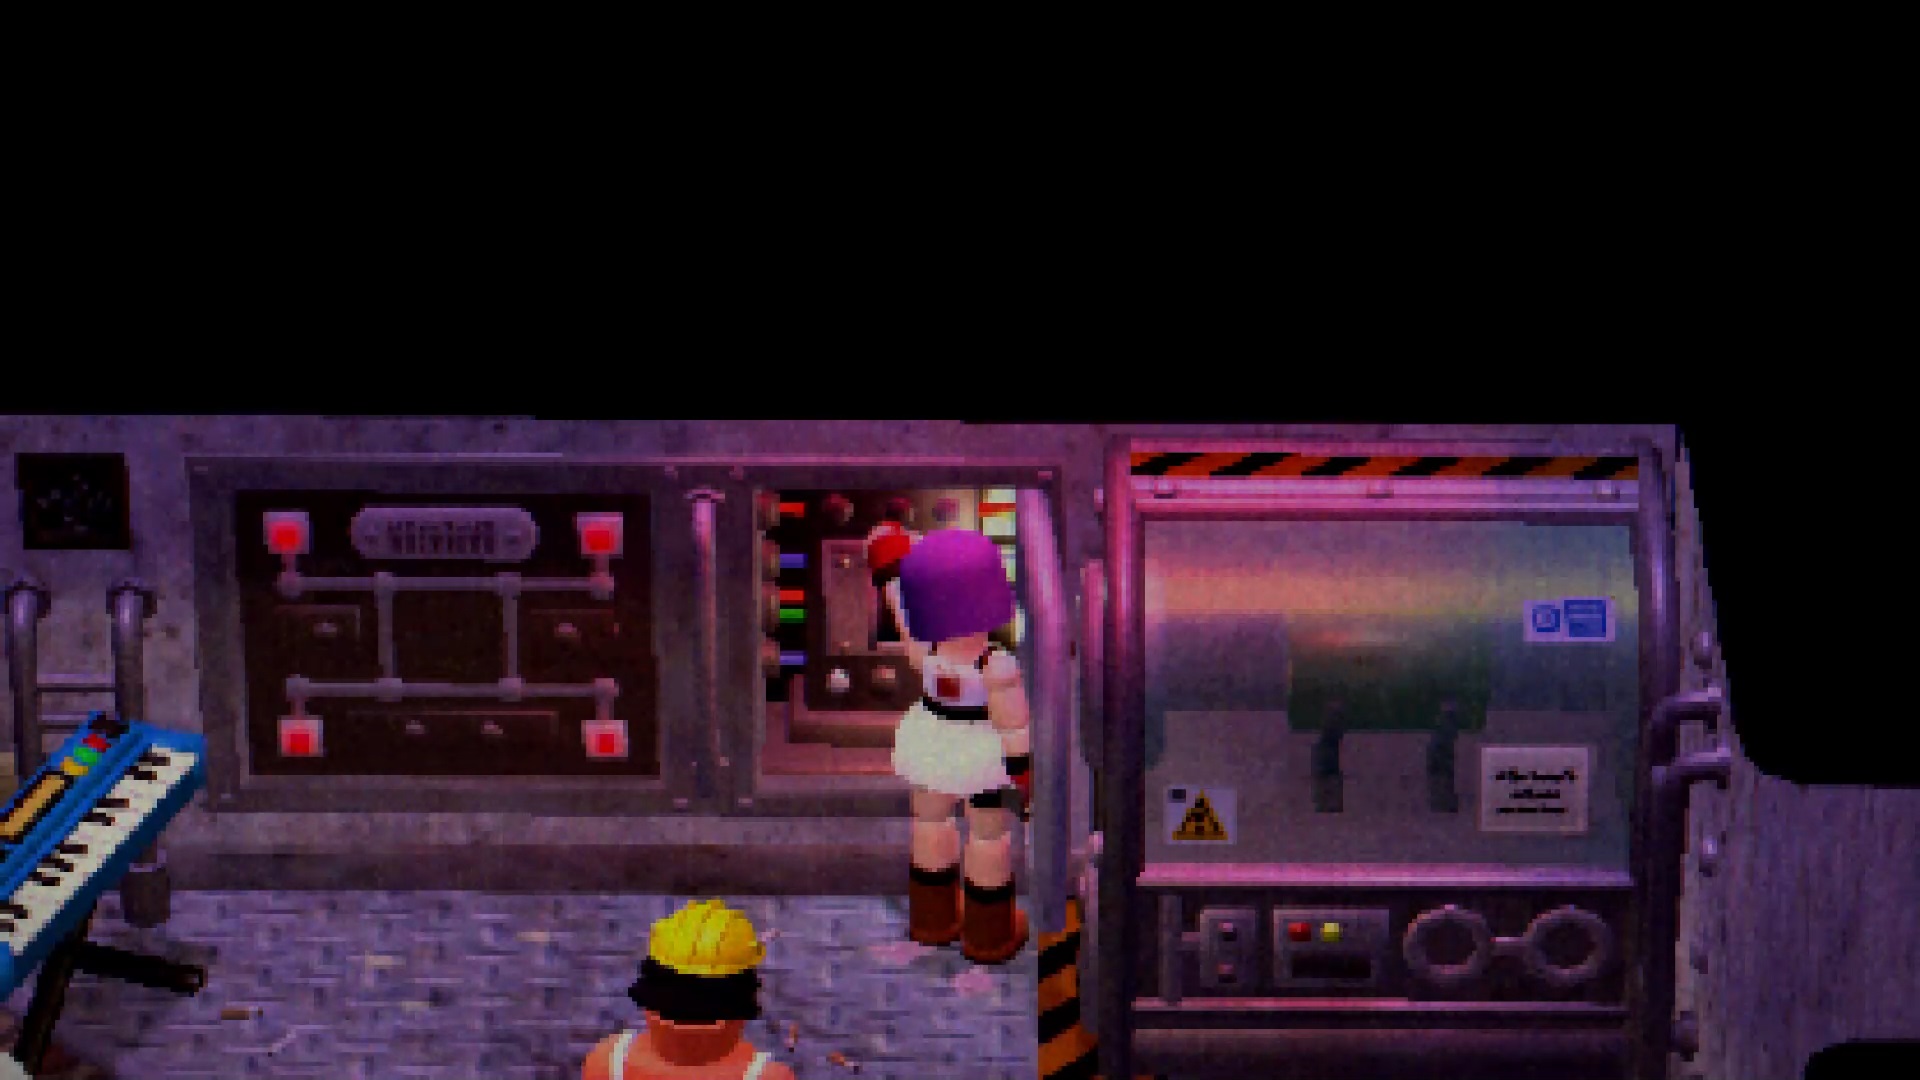
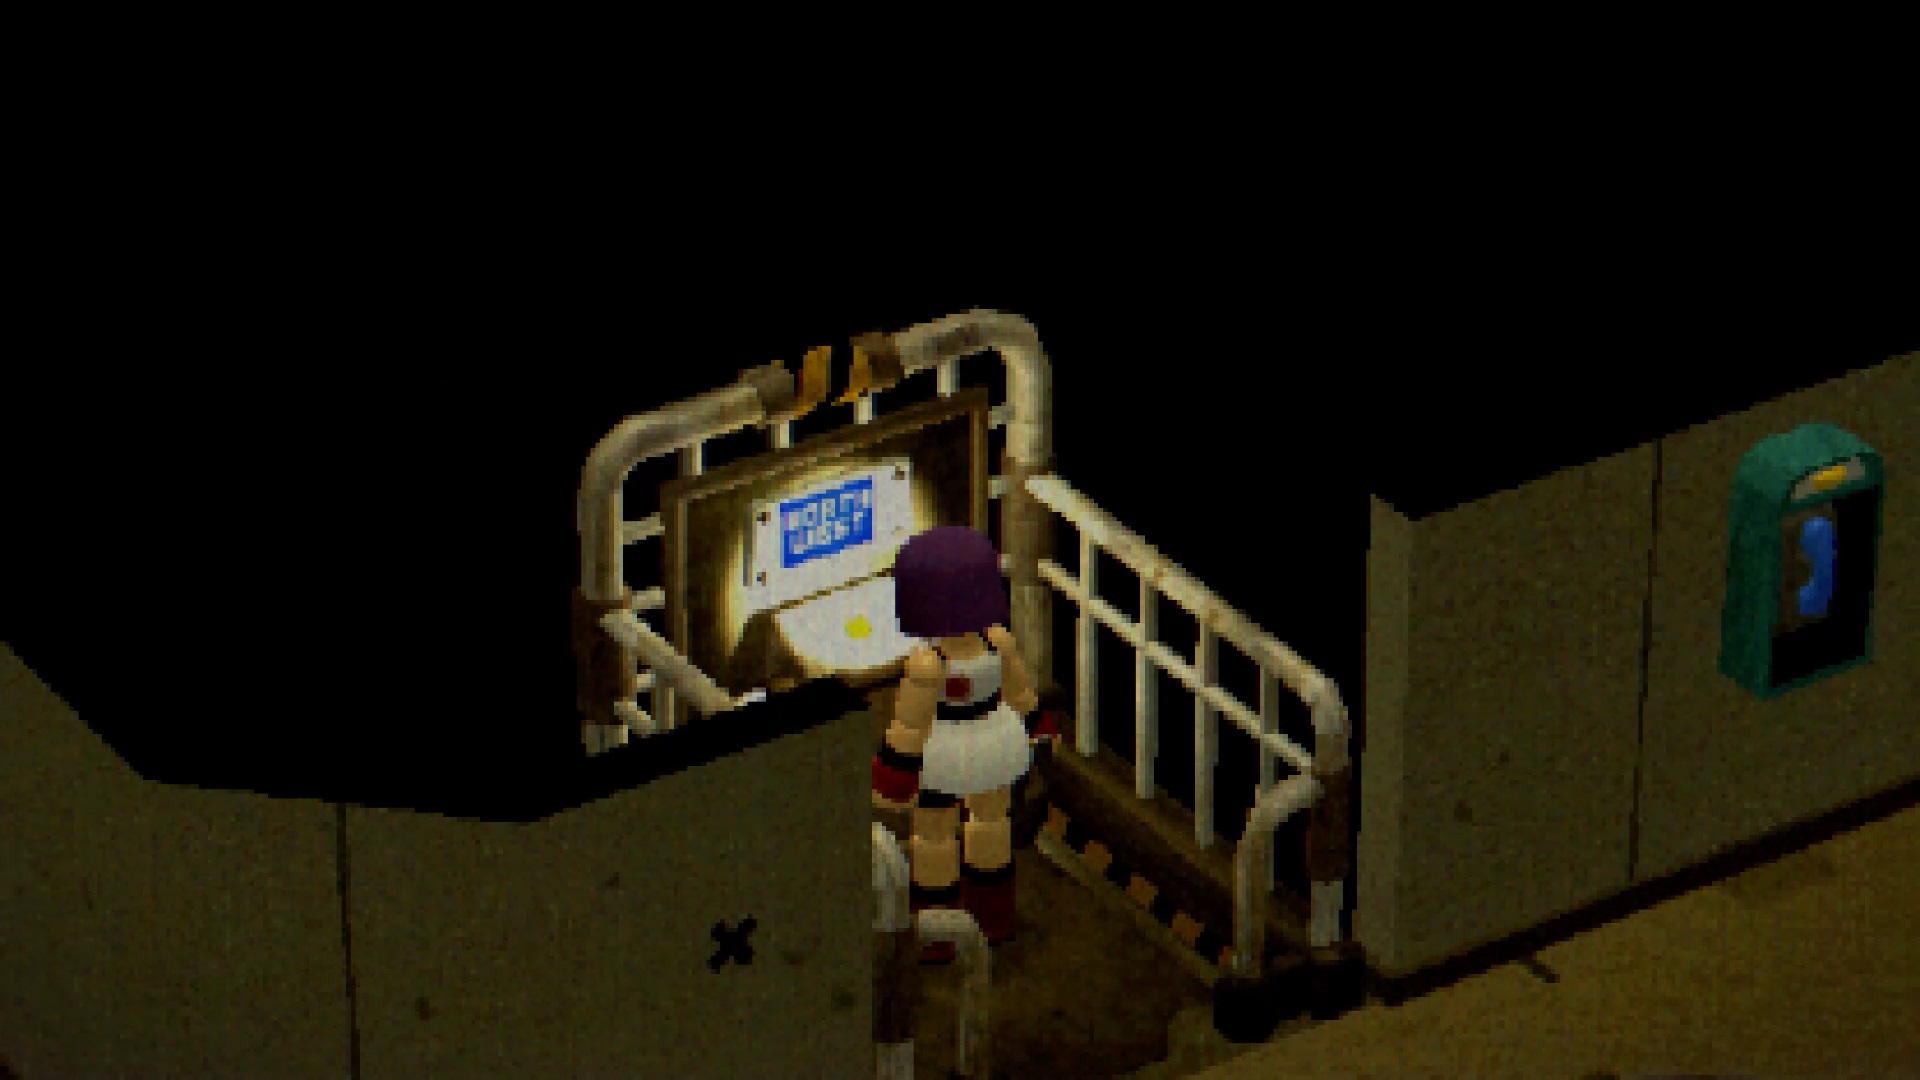
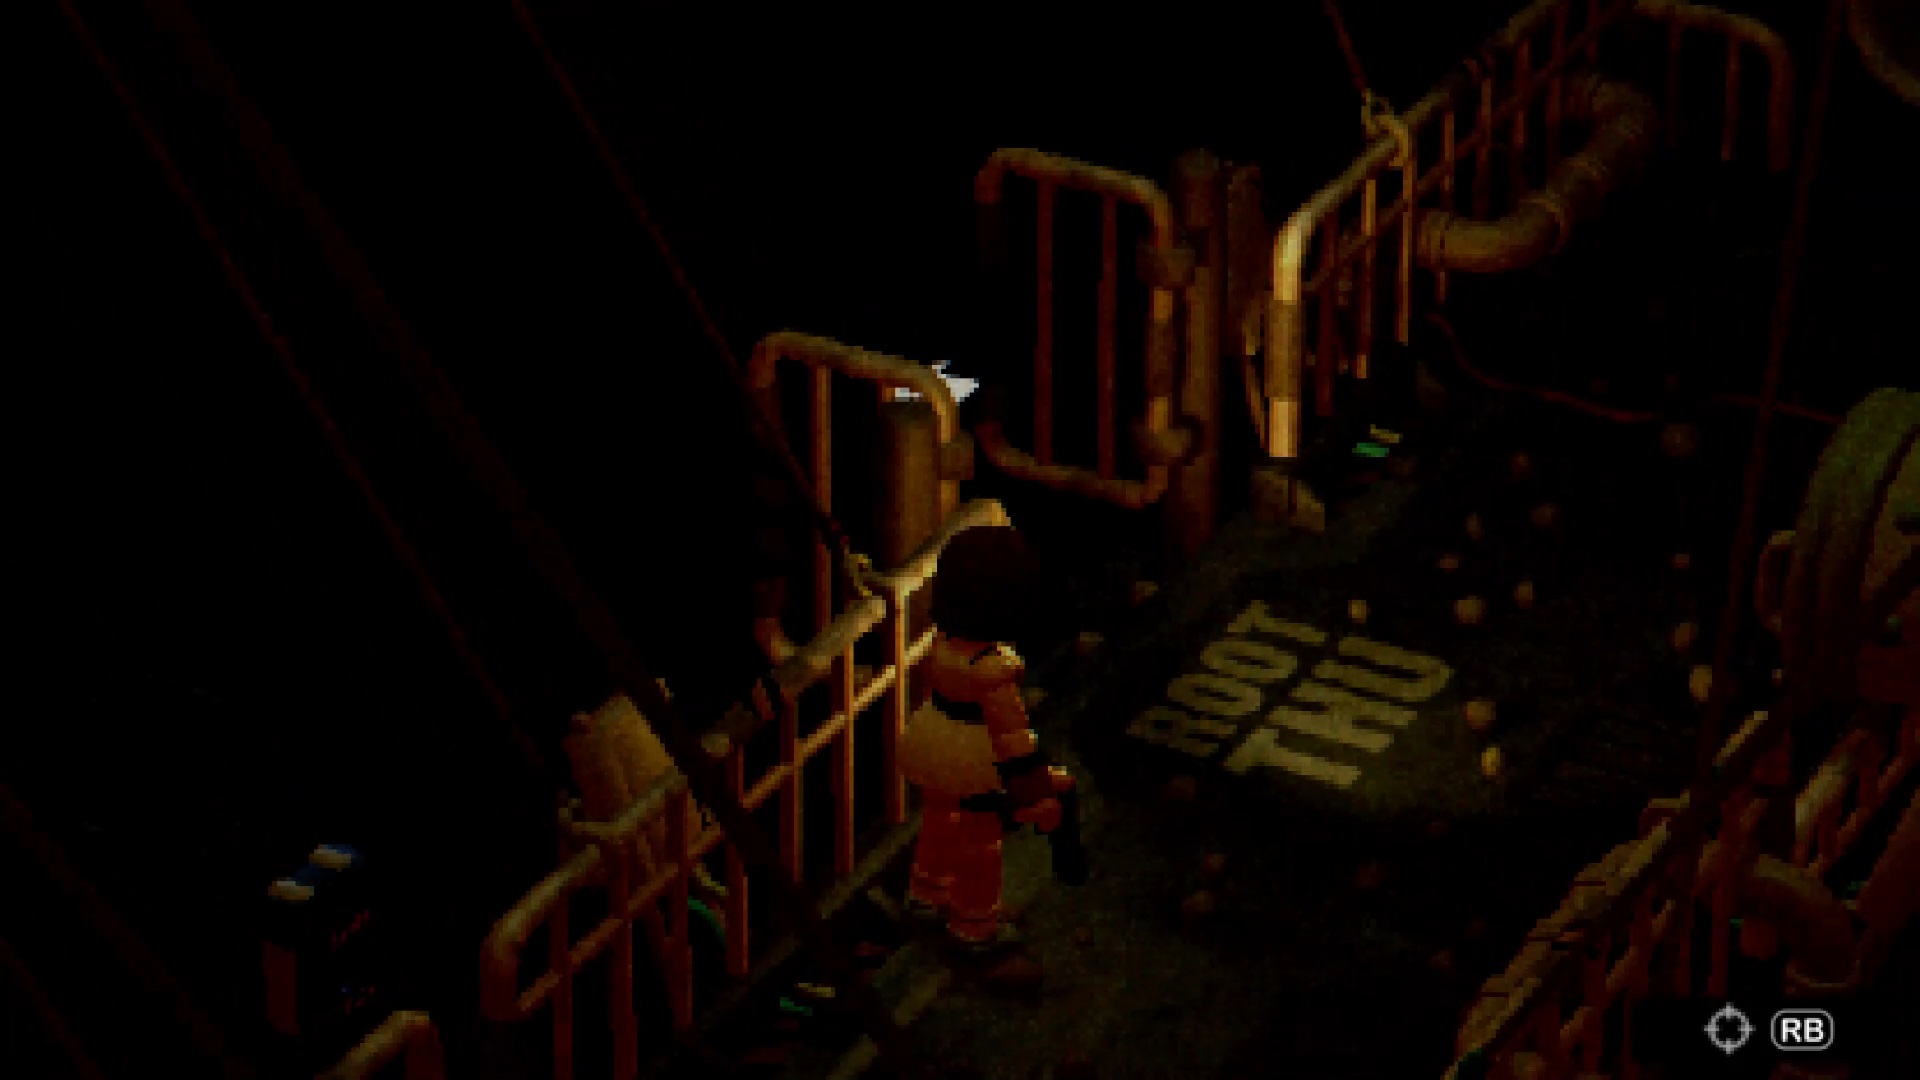
Underground, look for the elevator leading to the northwest wing to find the Break Room nearby. Go inside to pull a lever and activate the root feed. A monster appears. Use code 2663 to exit the break room. Then head into the root of Sunday to find a generator. Shoot it to power the rooms above. Collect the map nearby and then go back to the surface.
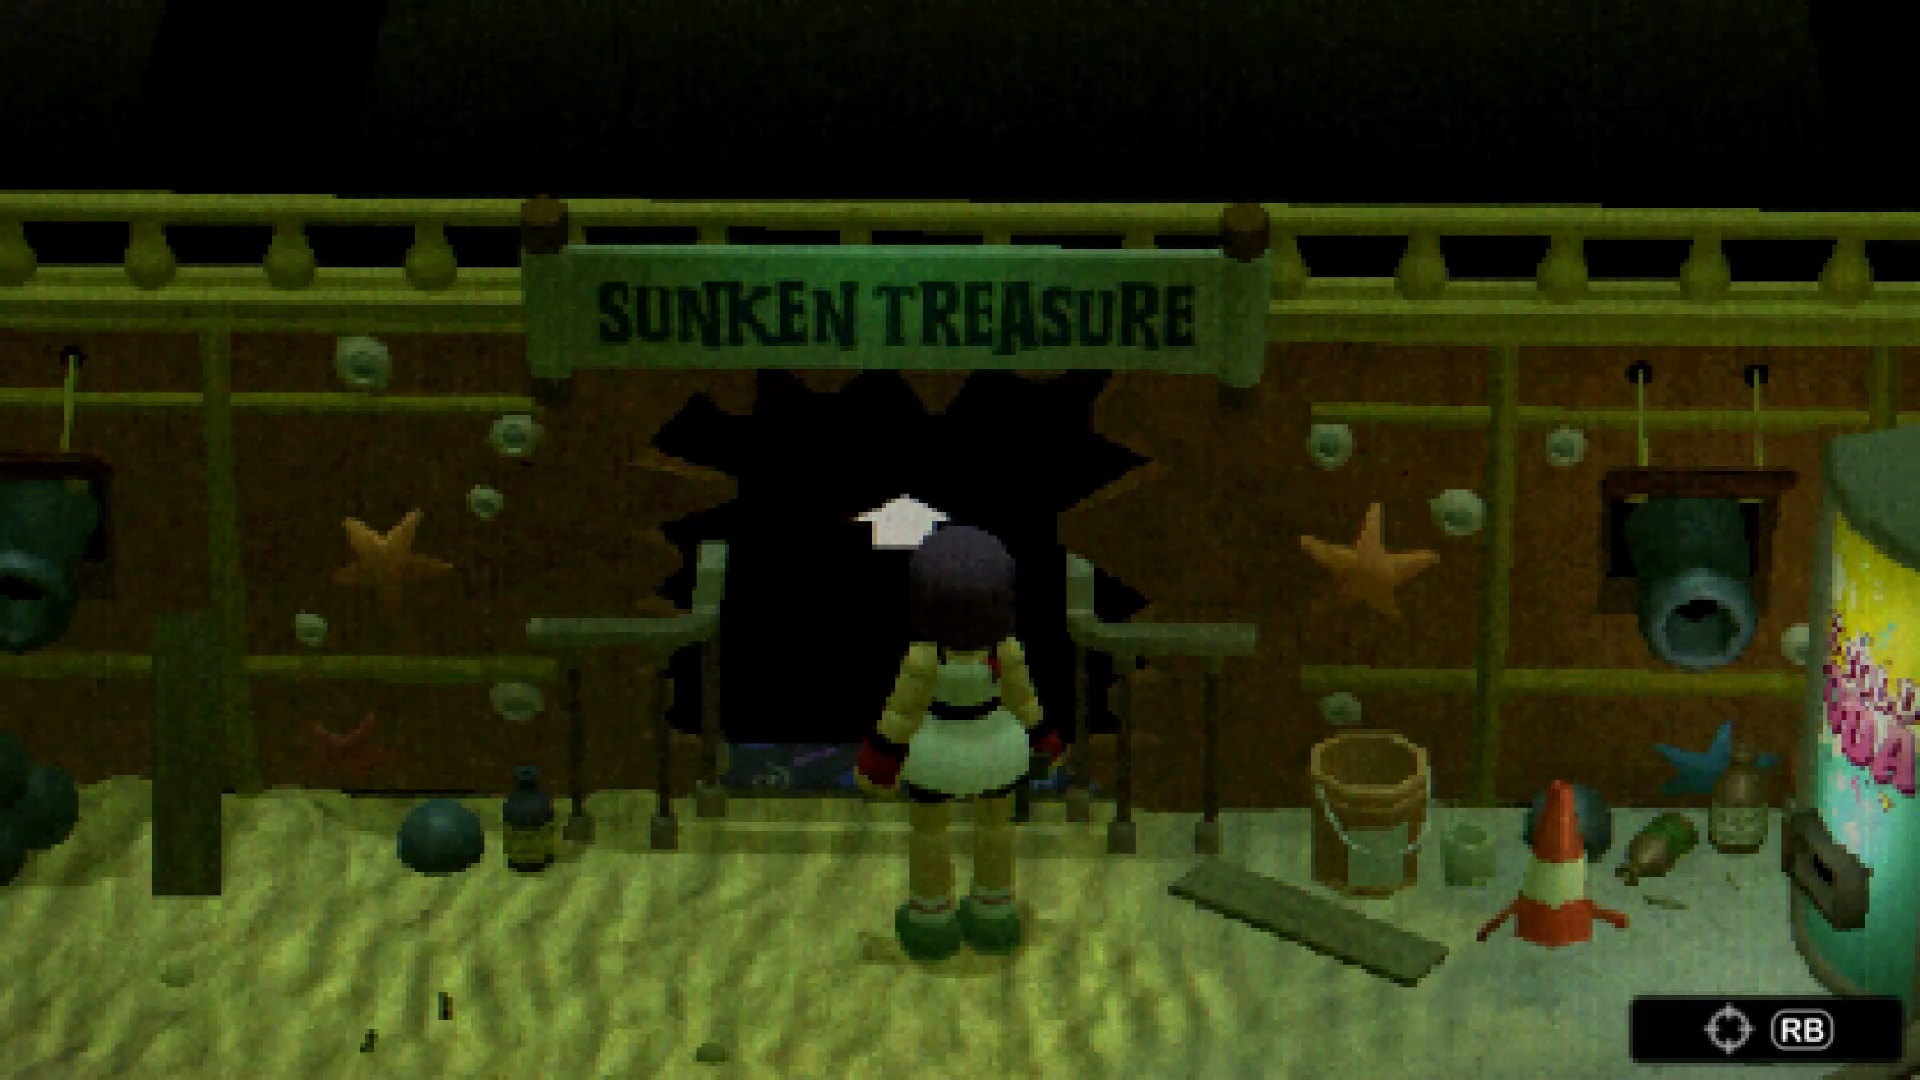
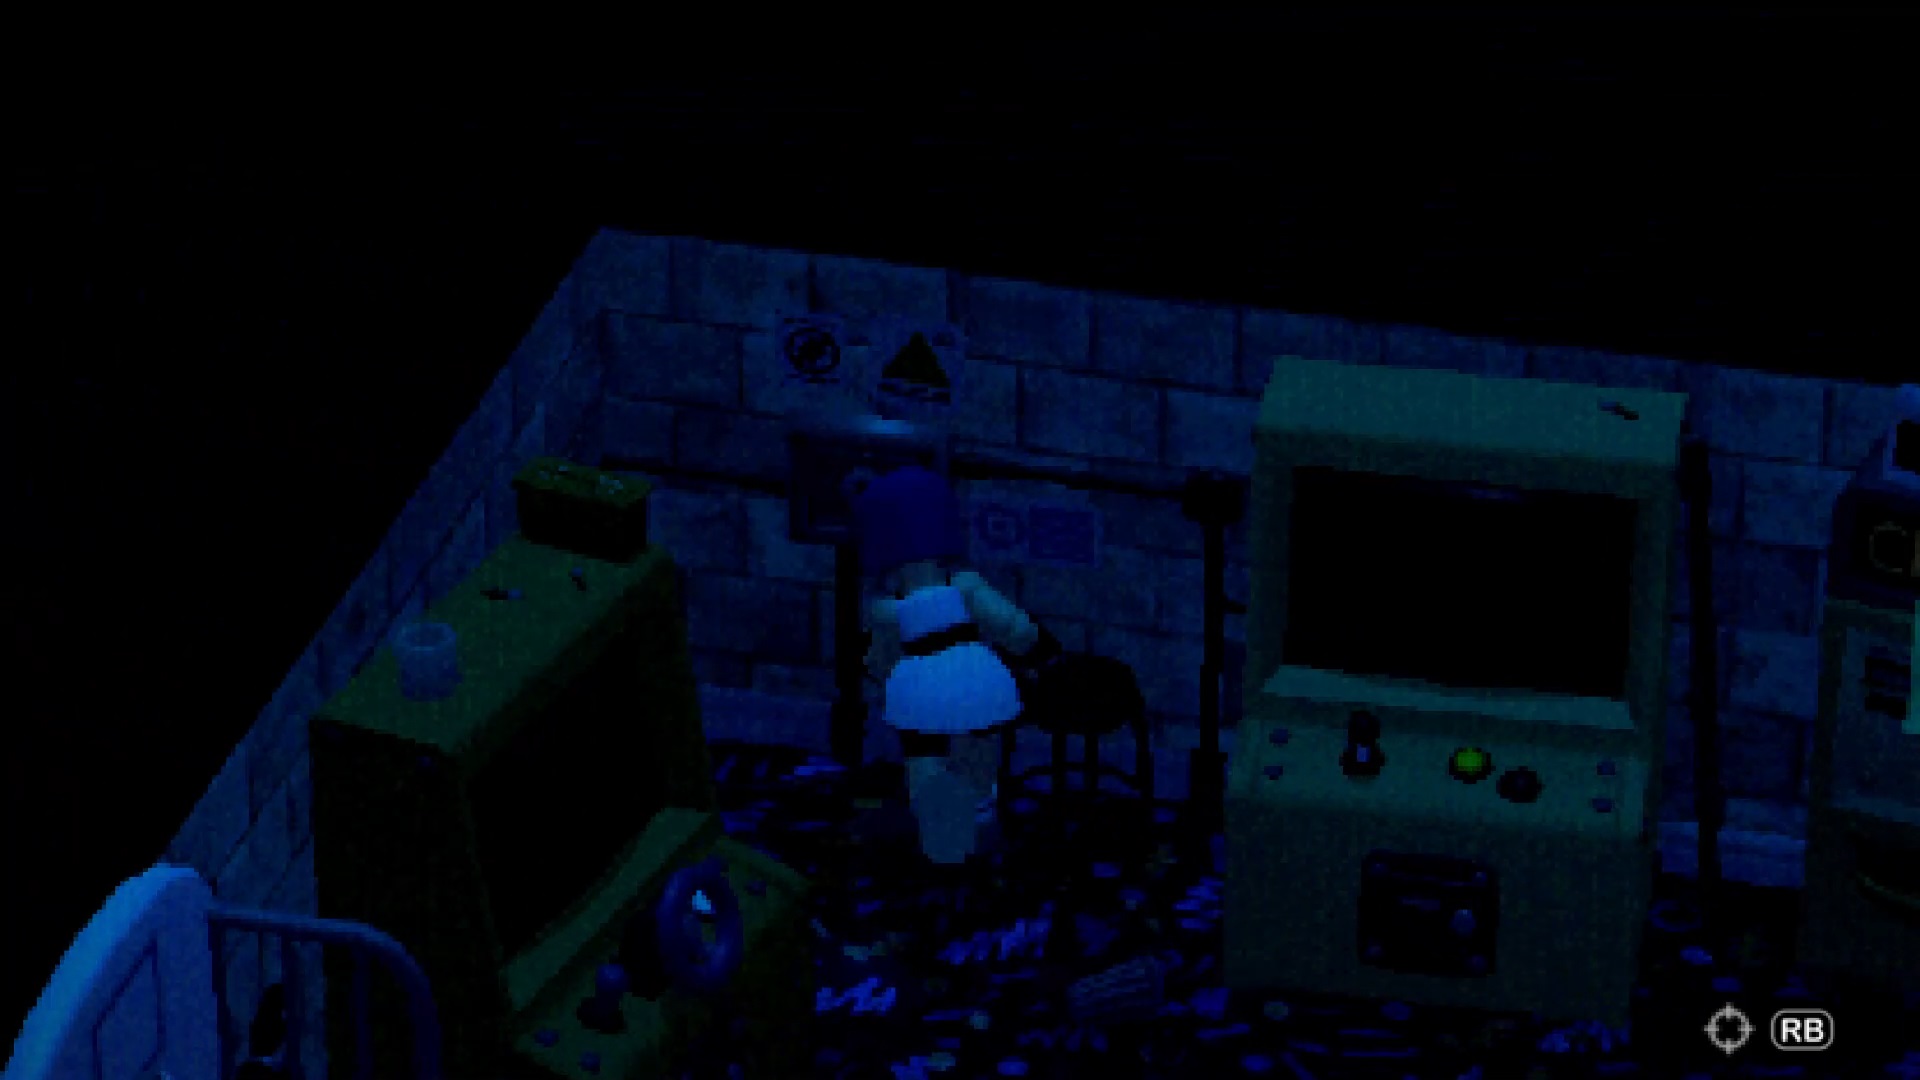
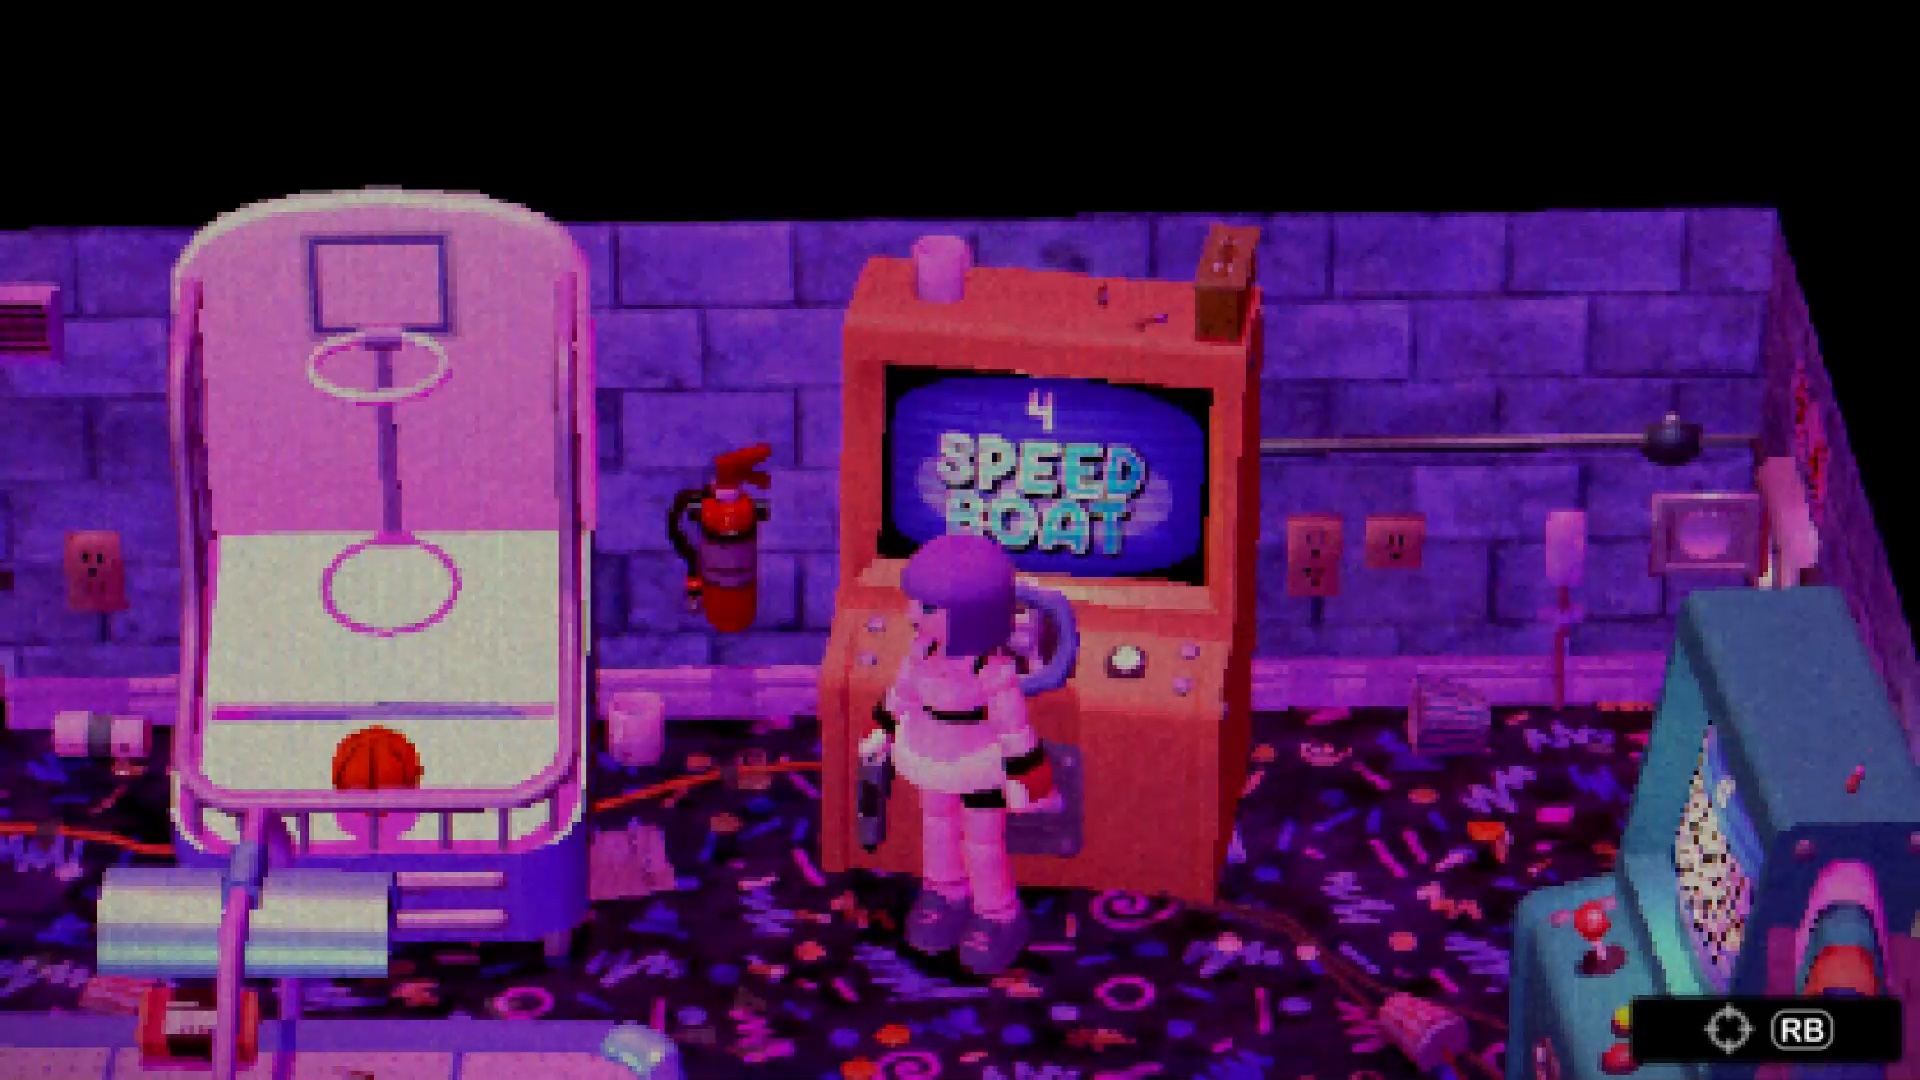
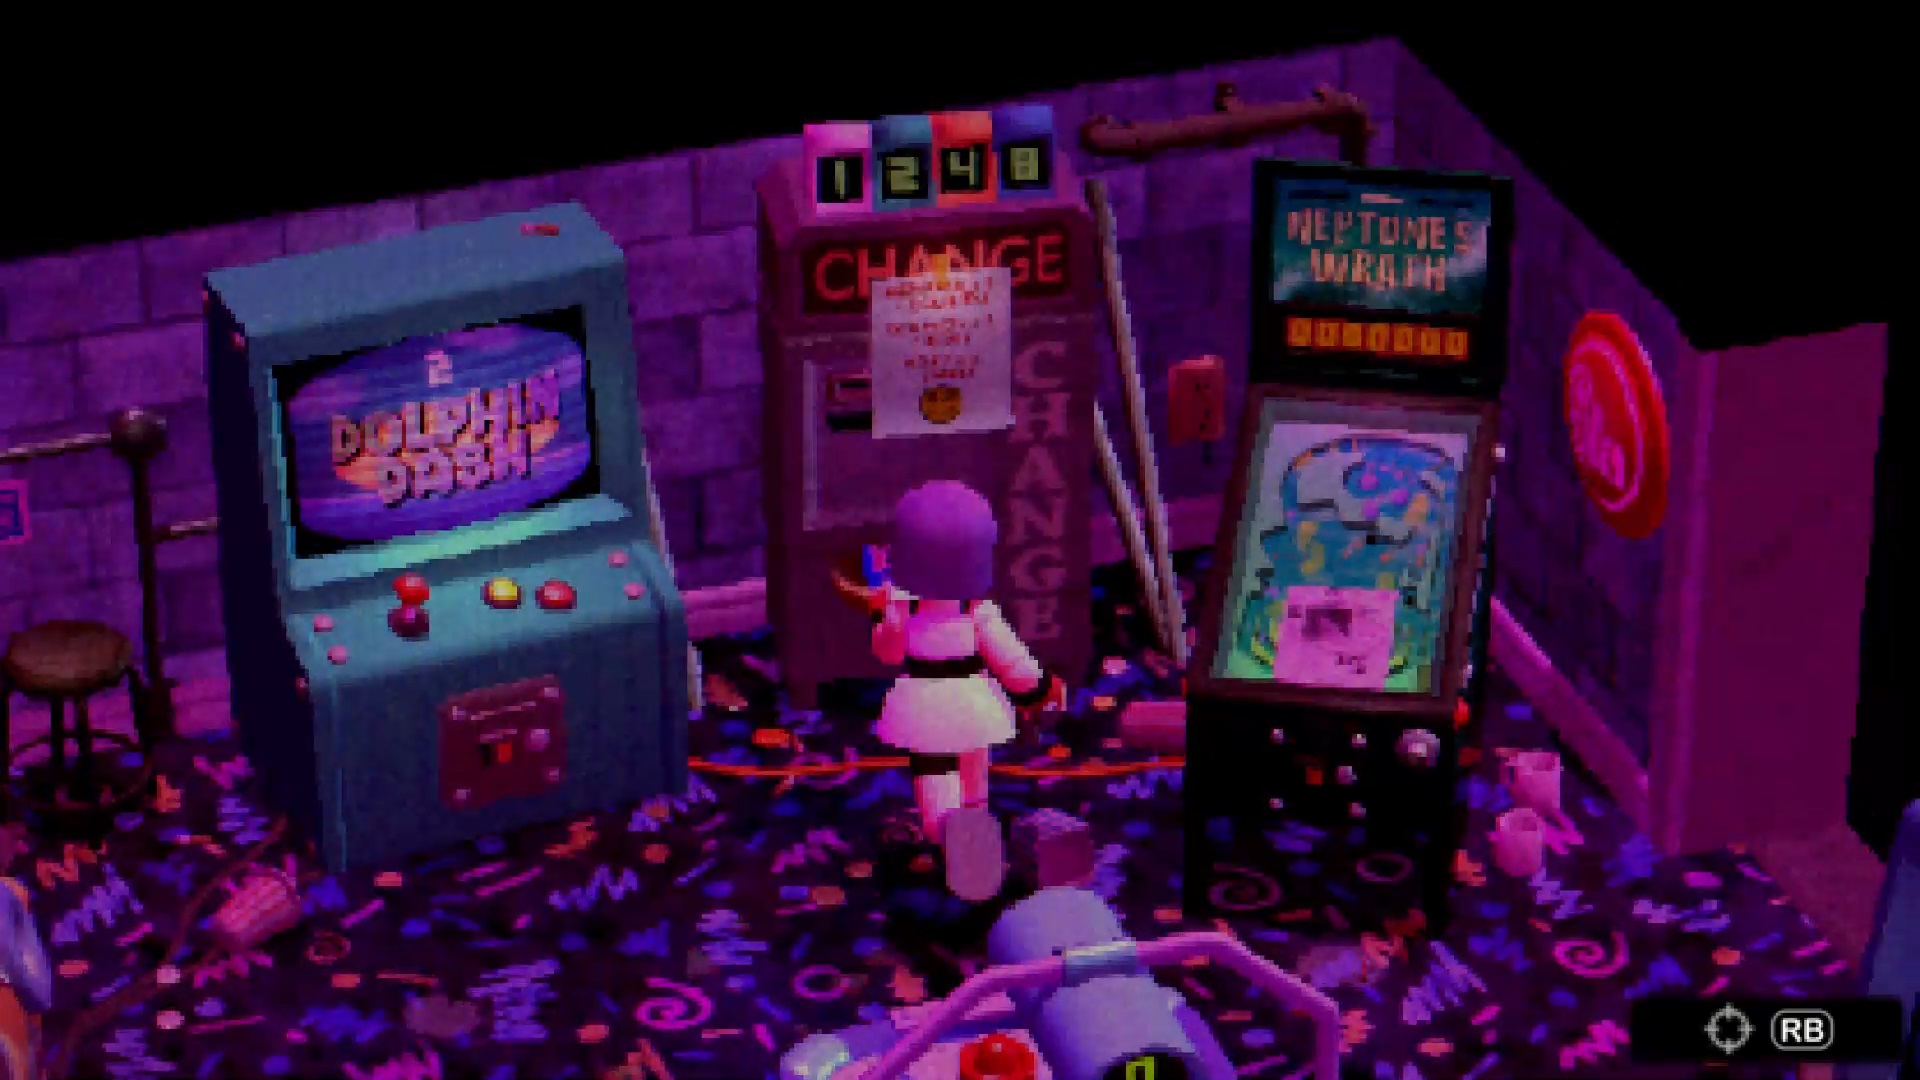
Return to the surface to reach the Sunken Treasure Arcade Room in the Ocean Kingdom. Inside, turn on the arcade via the control panel at the back. To solve the puzzle in this room, first score 1 on the Mermaid Quiz, score 2 on Dolphin Dash, score 4 on Speed Boat, and finally 8 on Shark Shooter. You get a data disk in the slot machine.

Then return to Fairytale Town to unlock the train room with the bronze key. Pull the curtain at the bottom left to insert the disc. Use the code BDAC to unlock the flamethrower in one of the wagons.
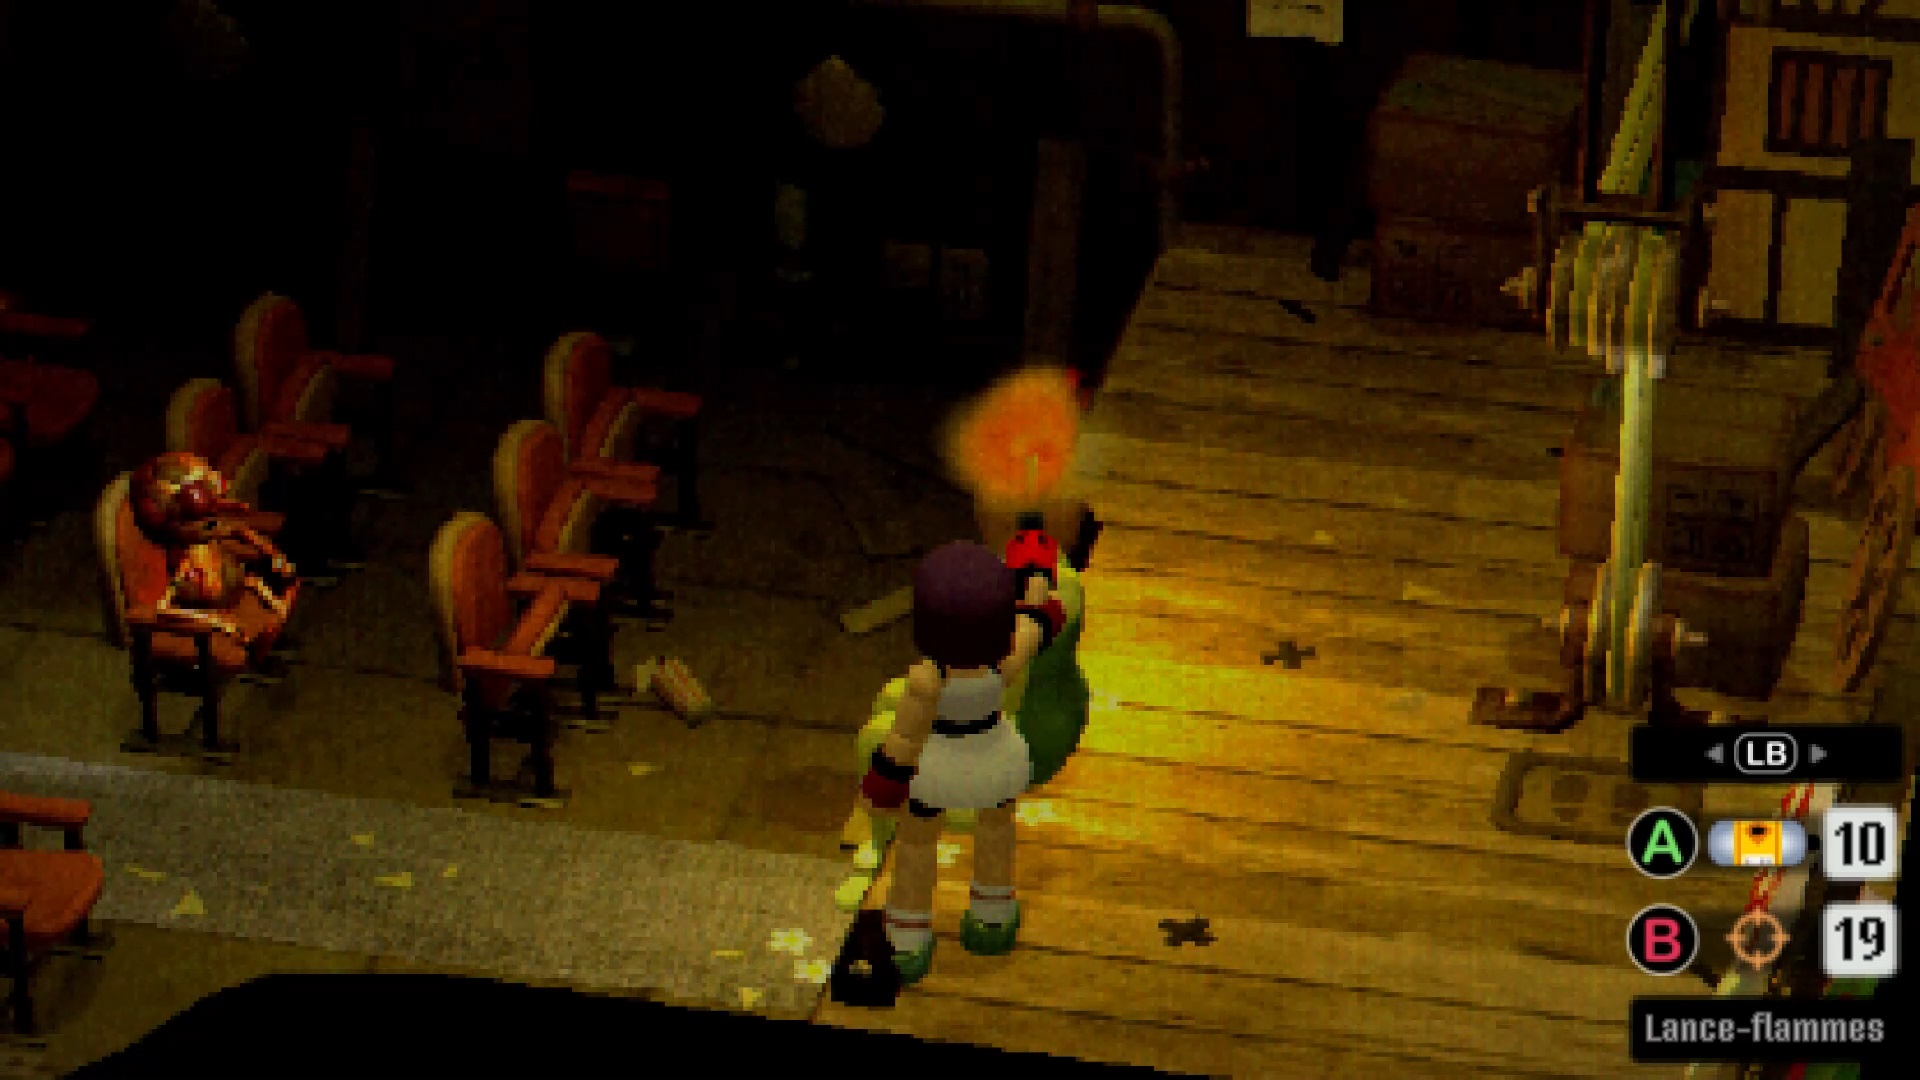

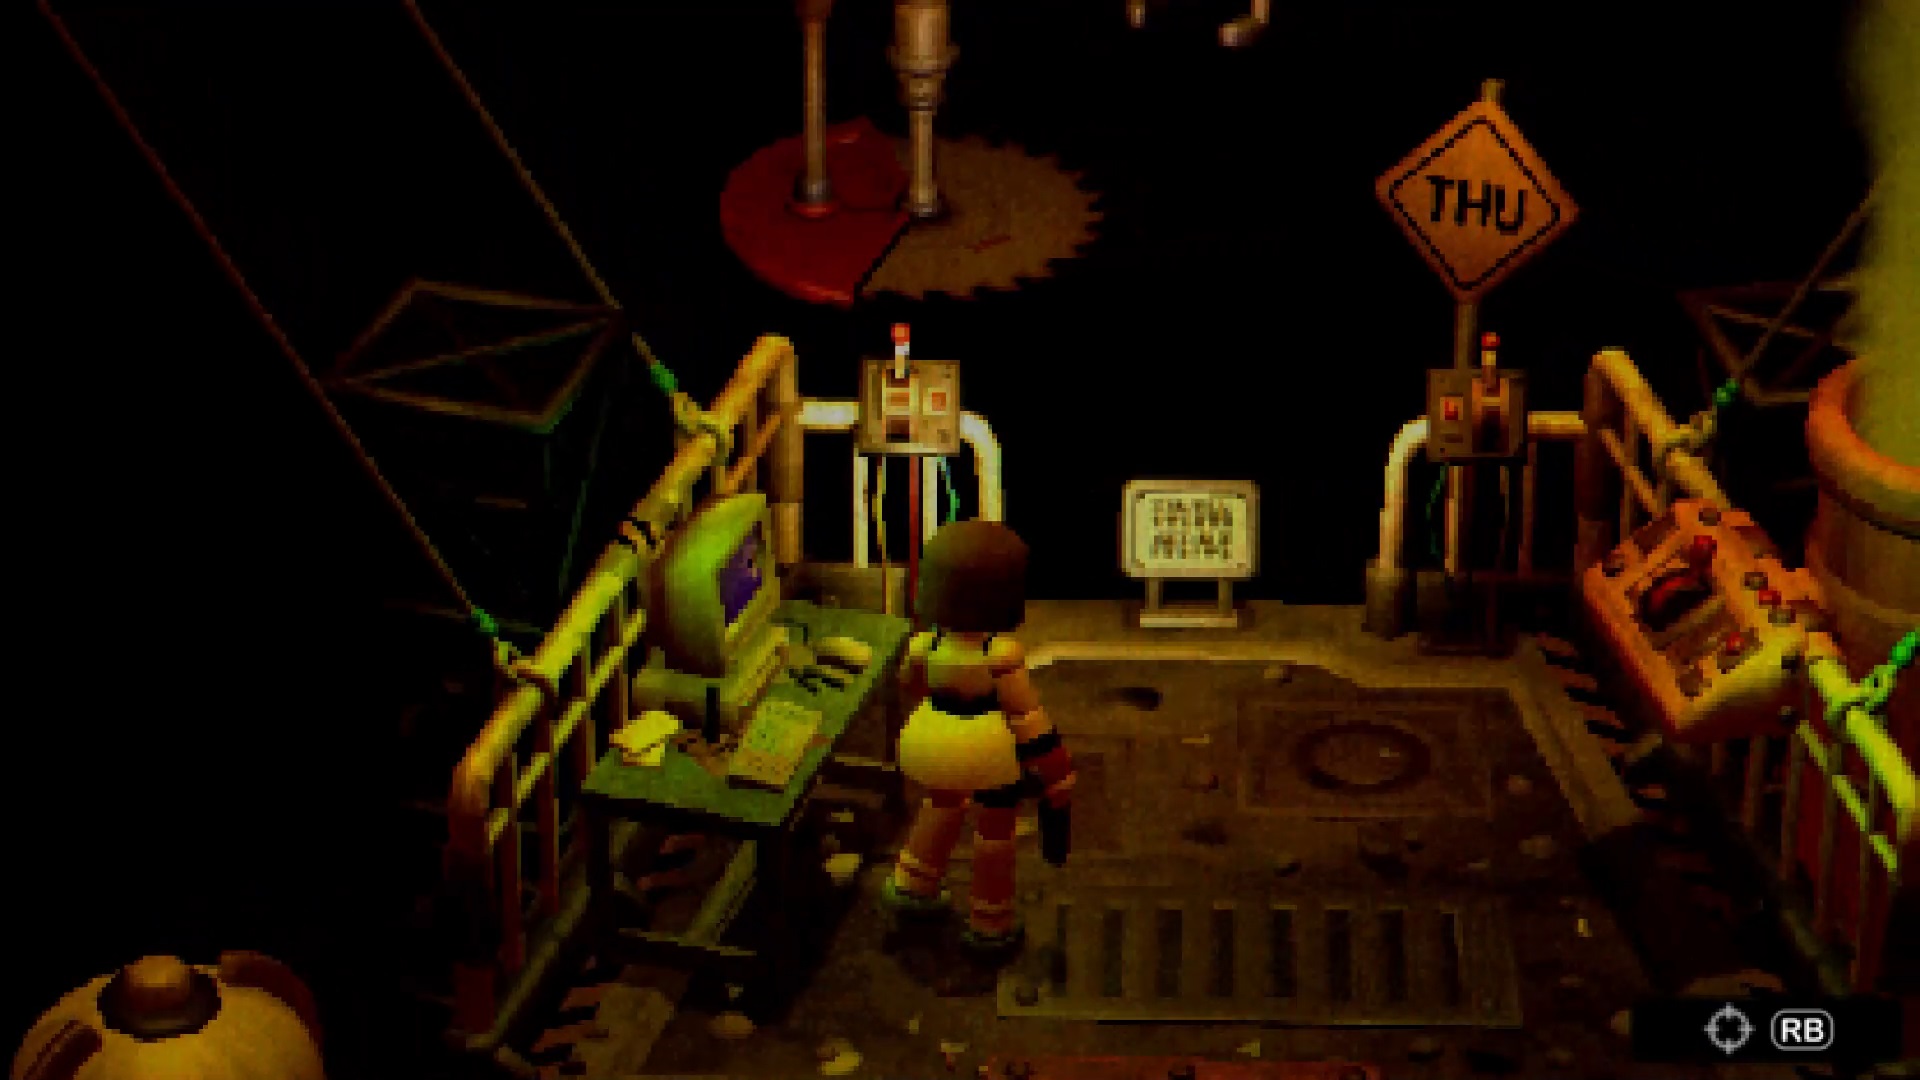

Then go into the theater and use your gun to smash the head of the fairy on stage. Then use the flamethrower to melt the resin and collect the golden key. Go back down into the underground to reach the root of Thursday. Use your floppy disk with the computer to solve a puzzle. You will need to use all the values to get the number 50. Push this number: 5, 10, 15, 20. Then pull the nearby lever to unlock an entrance. Go back towards the Ocean Kingdom to reach the much sought-after room: The Seven Seas.

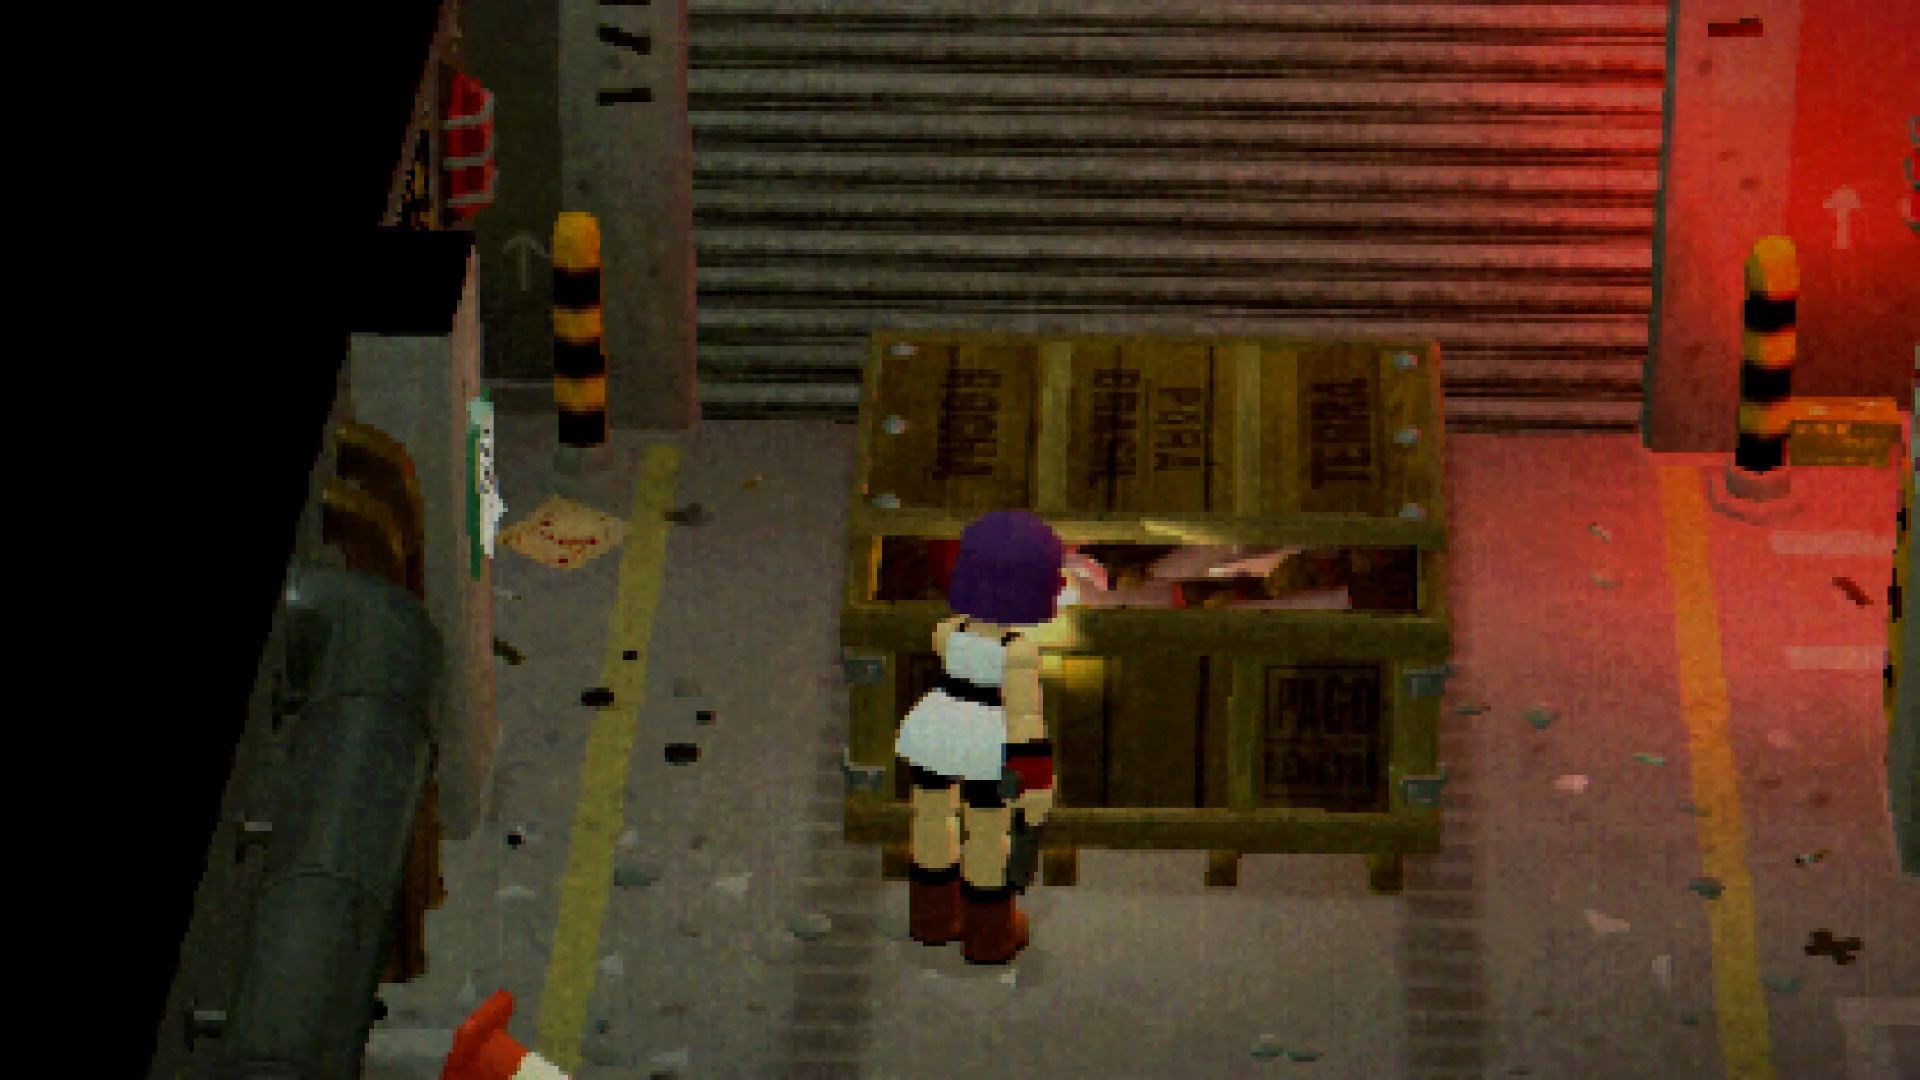
Go through the nearby control room using the gold key. Try to start the attraction, but you need help. Retrace your steps to reach the nearby Delivery Garage. Then search the transport crate and talk to Julie to ask for her help.

Board the attraction in the middle row to advance. A whale is blocking you. Two control boxes advance and raise the sirens in front of you. Bring the purple siren closer and wind it up to remove its battery. Then walk back to the Ocean Kingdom.
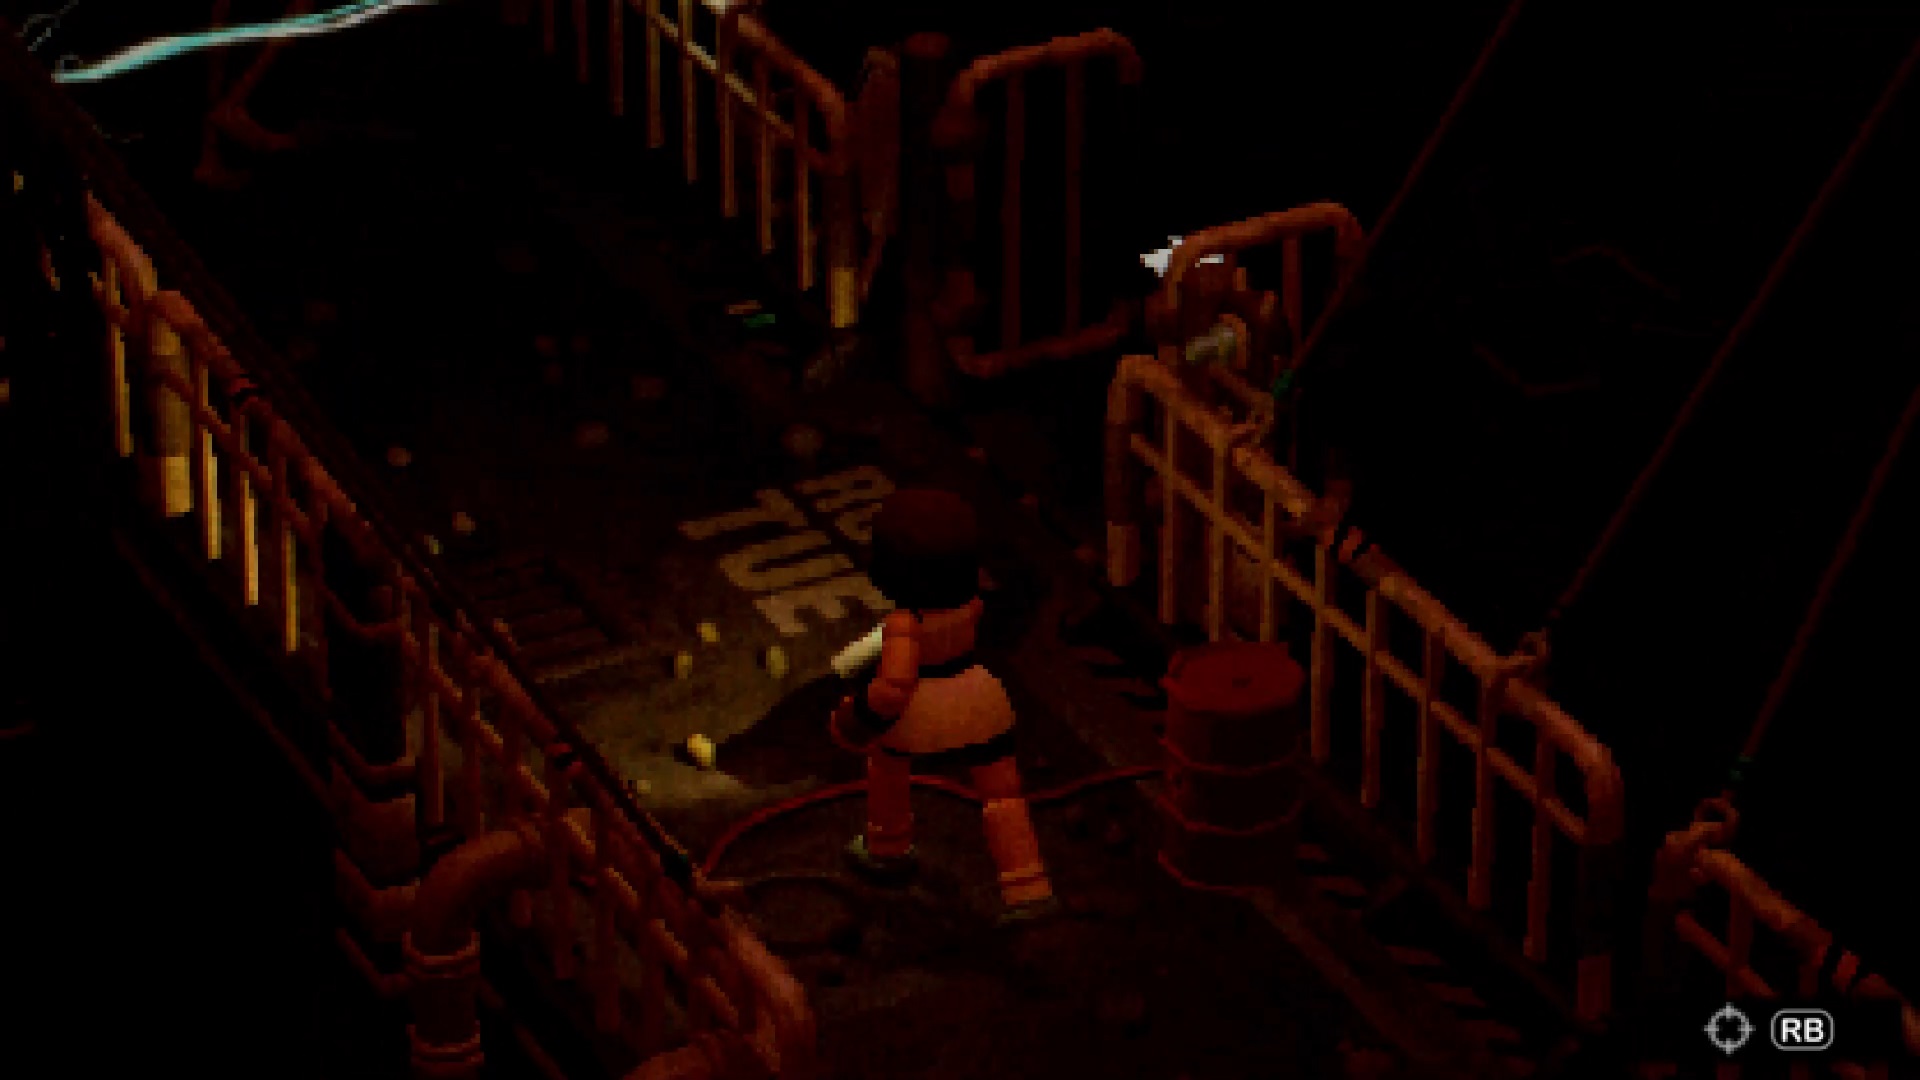
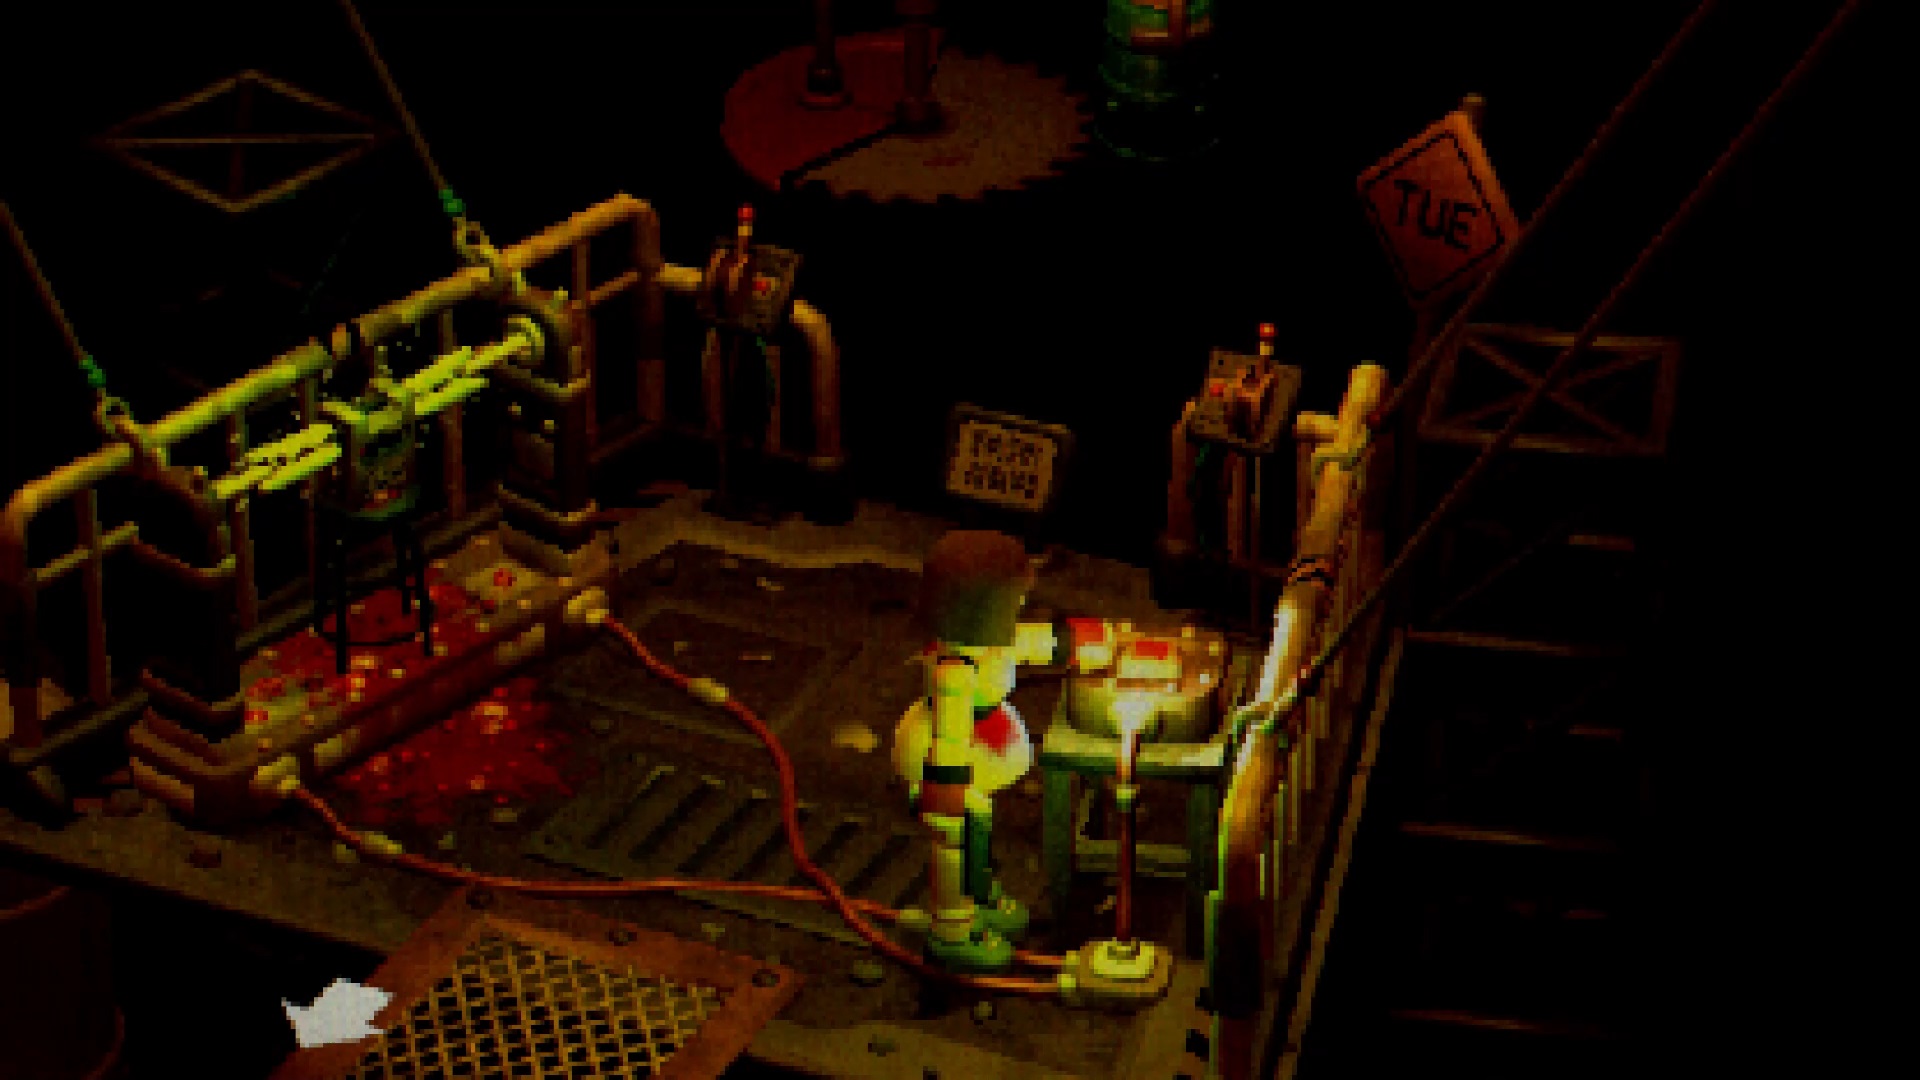
Then return to Ocean Kingdom to reach the Delivery Garage and reach the underground passages. Access the Tuesday root to power the battery on a pedestal. Hold the button to fully charge it. Once done, return to the entrance to Crow’s Office via the Theater Staff Corridor. The door is now unlocked. Use the gold key to enter. Interact with the portrait inside to unlock a new save room. Then go into the back room.
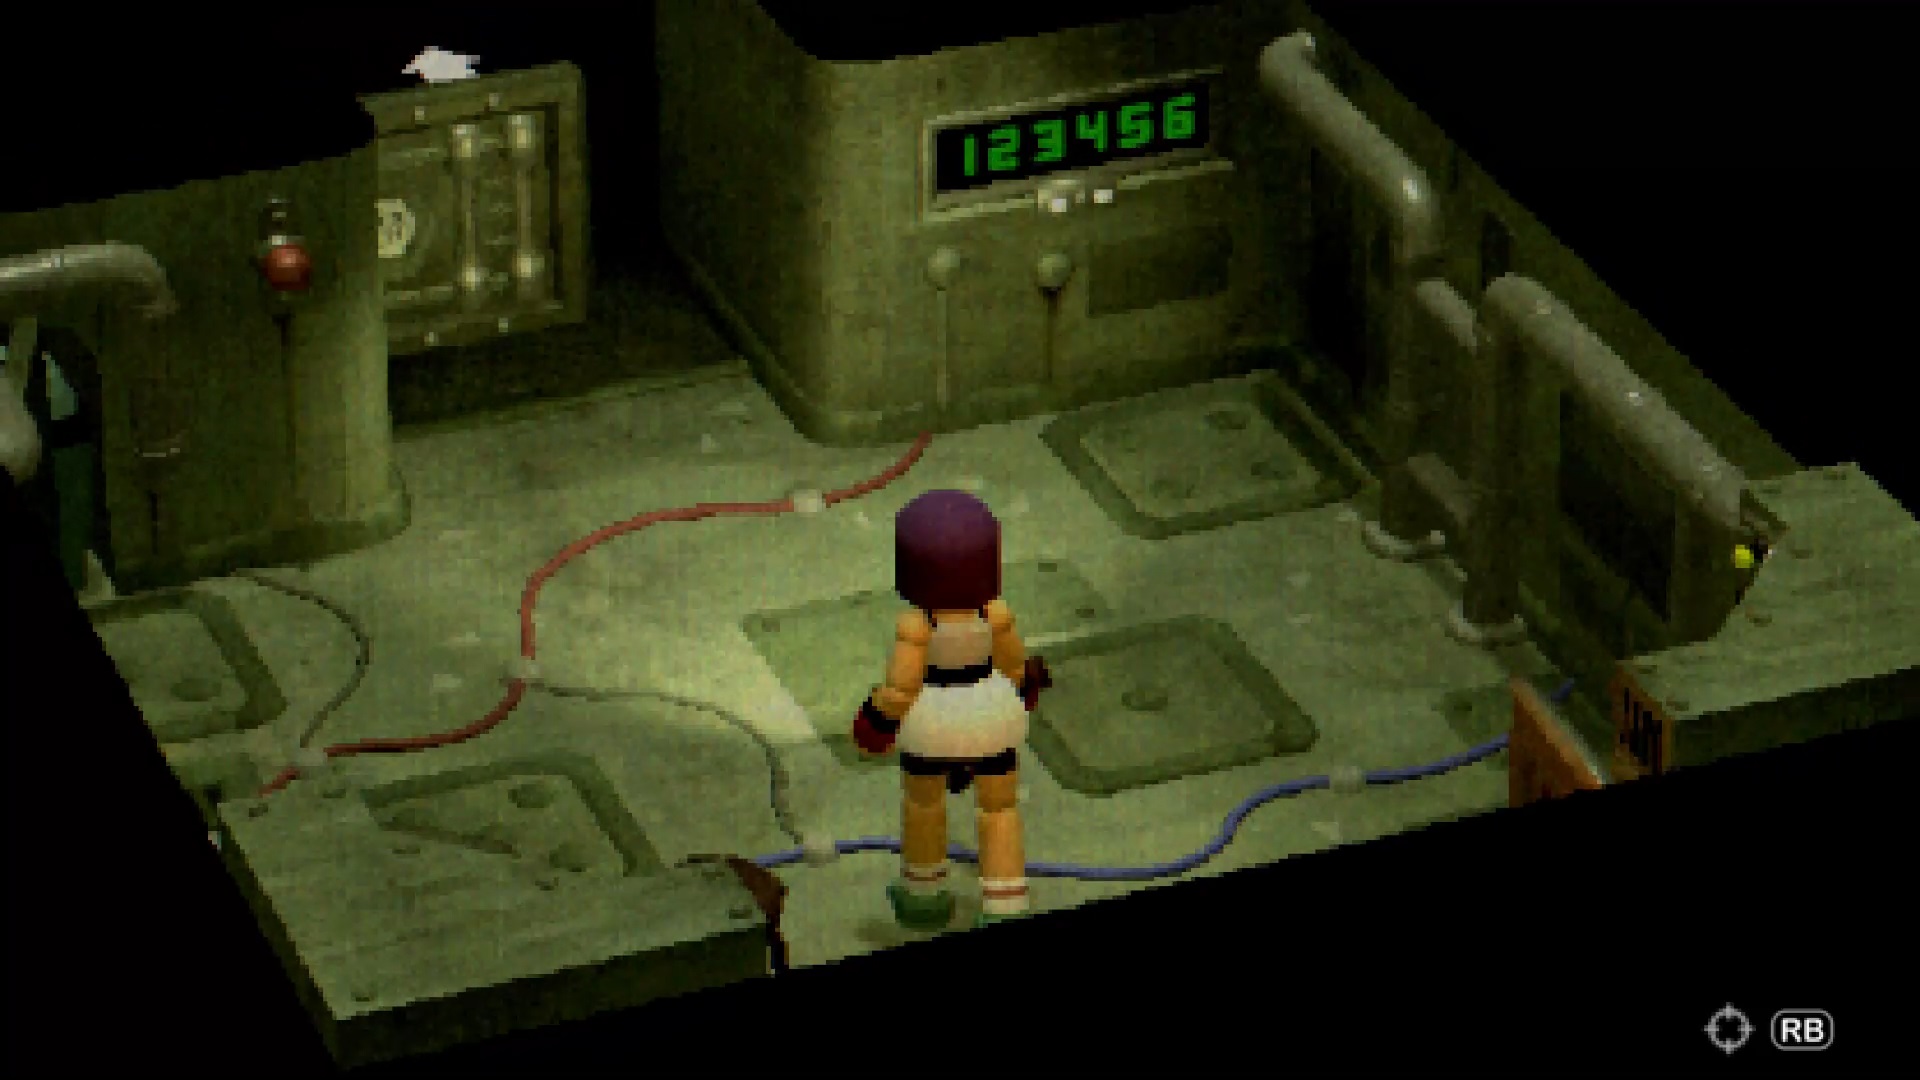
To solve the puzzle in this room, you need to examine the monster specimens in the slides in the previous room to get the code: 9218. A monster shows up. You must enter a code via the platforms on the ground to exit. We recommend that you eliminate the monster to complete the code quietly.
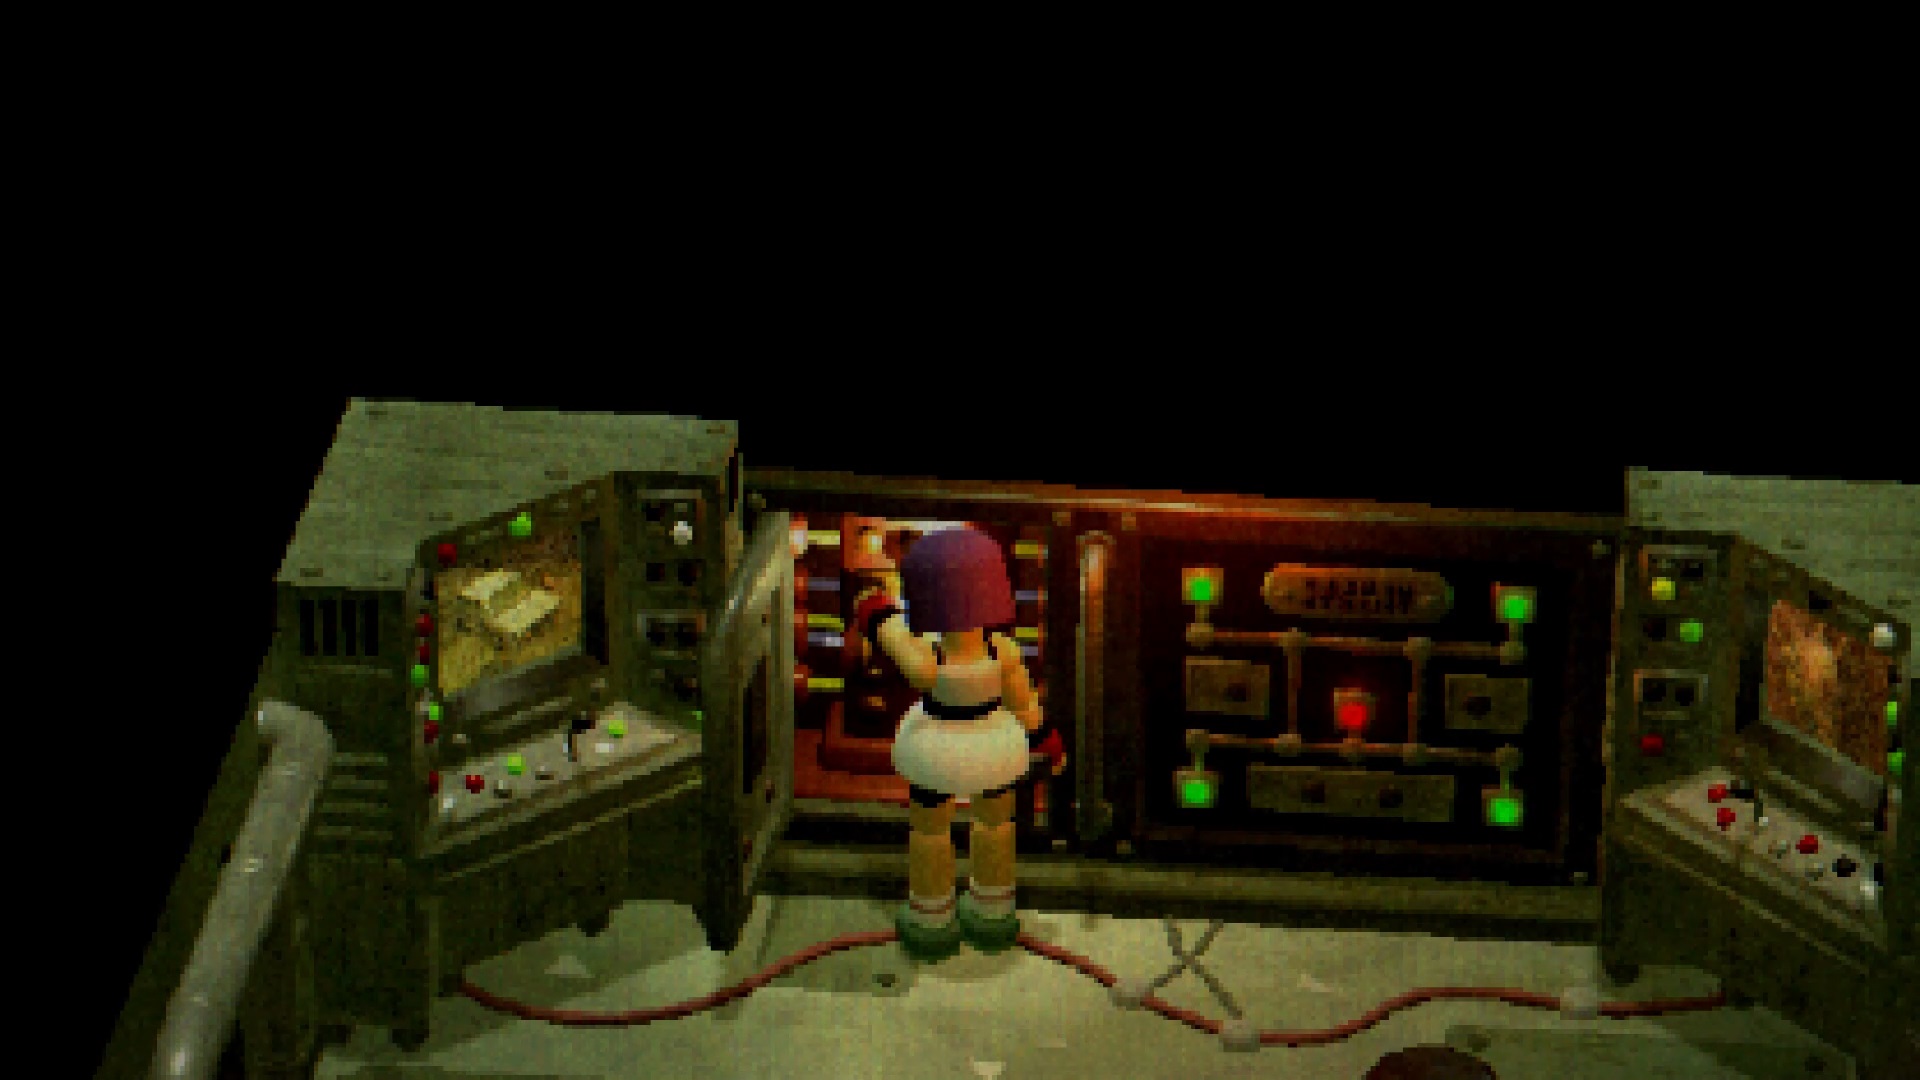
When you’re ready, head to Crow Country Square. Press the button behind the square to open access to the controls. Flip the raven statue over to access its battery compartment. Place the battery inside, then use the other control panel to move the statue. Press the elevator button inside to go down.
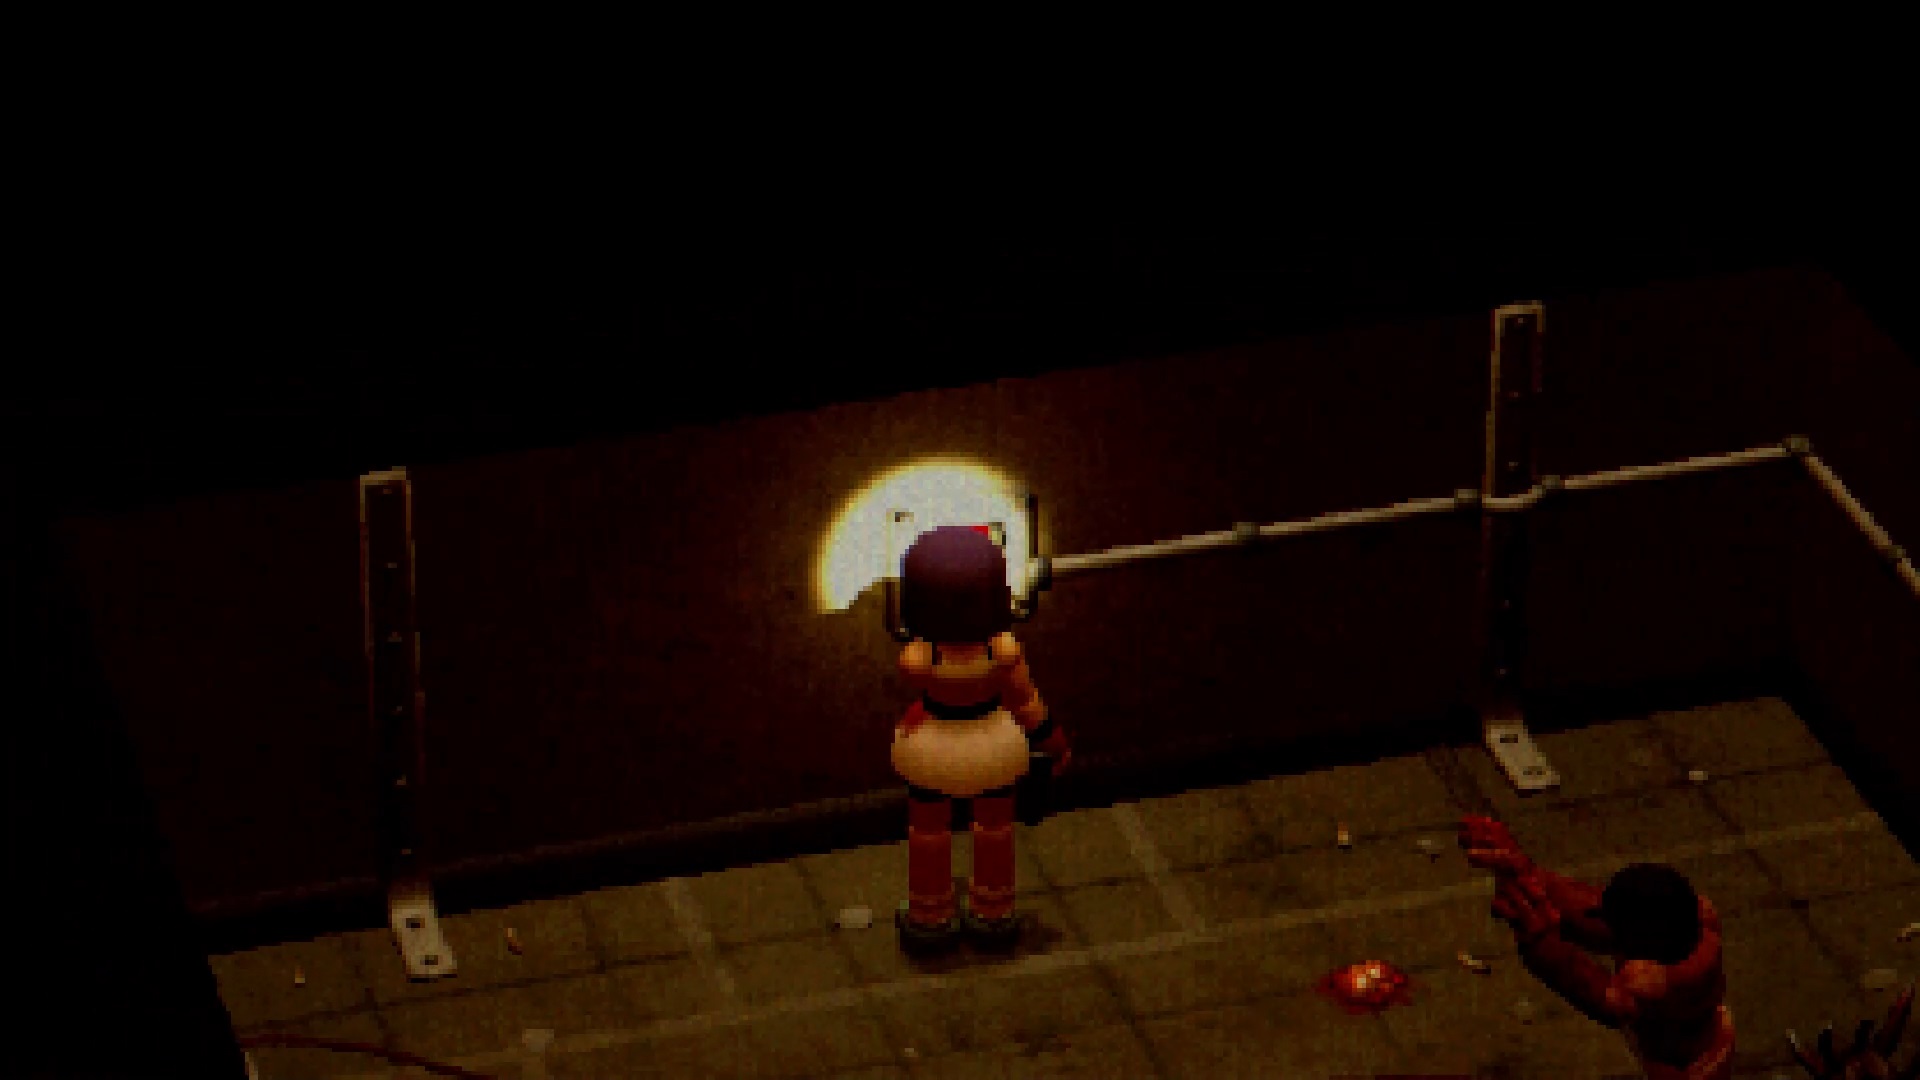
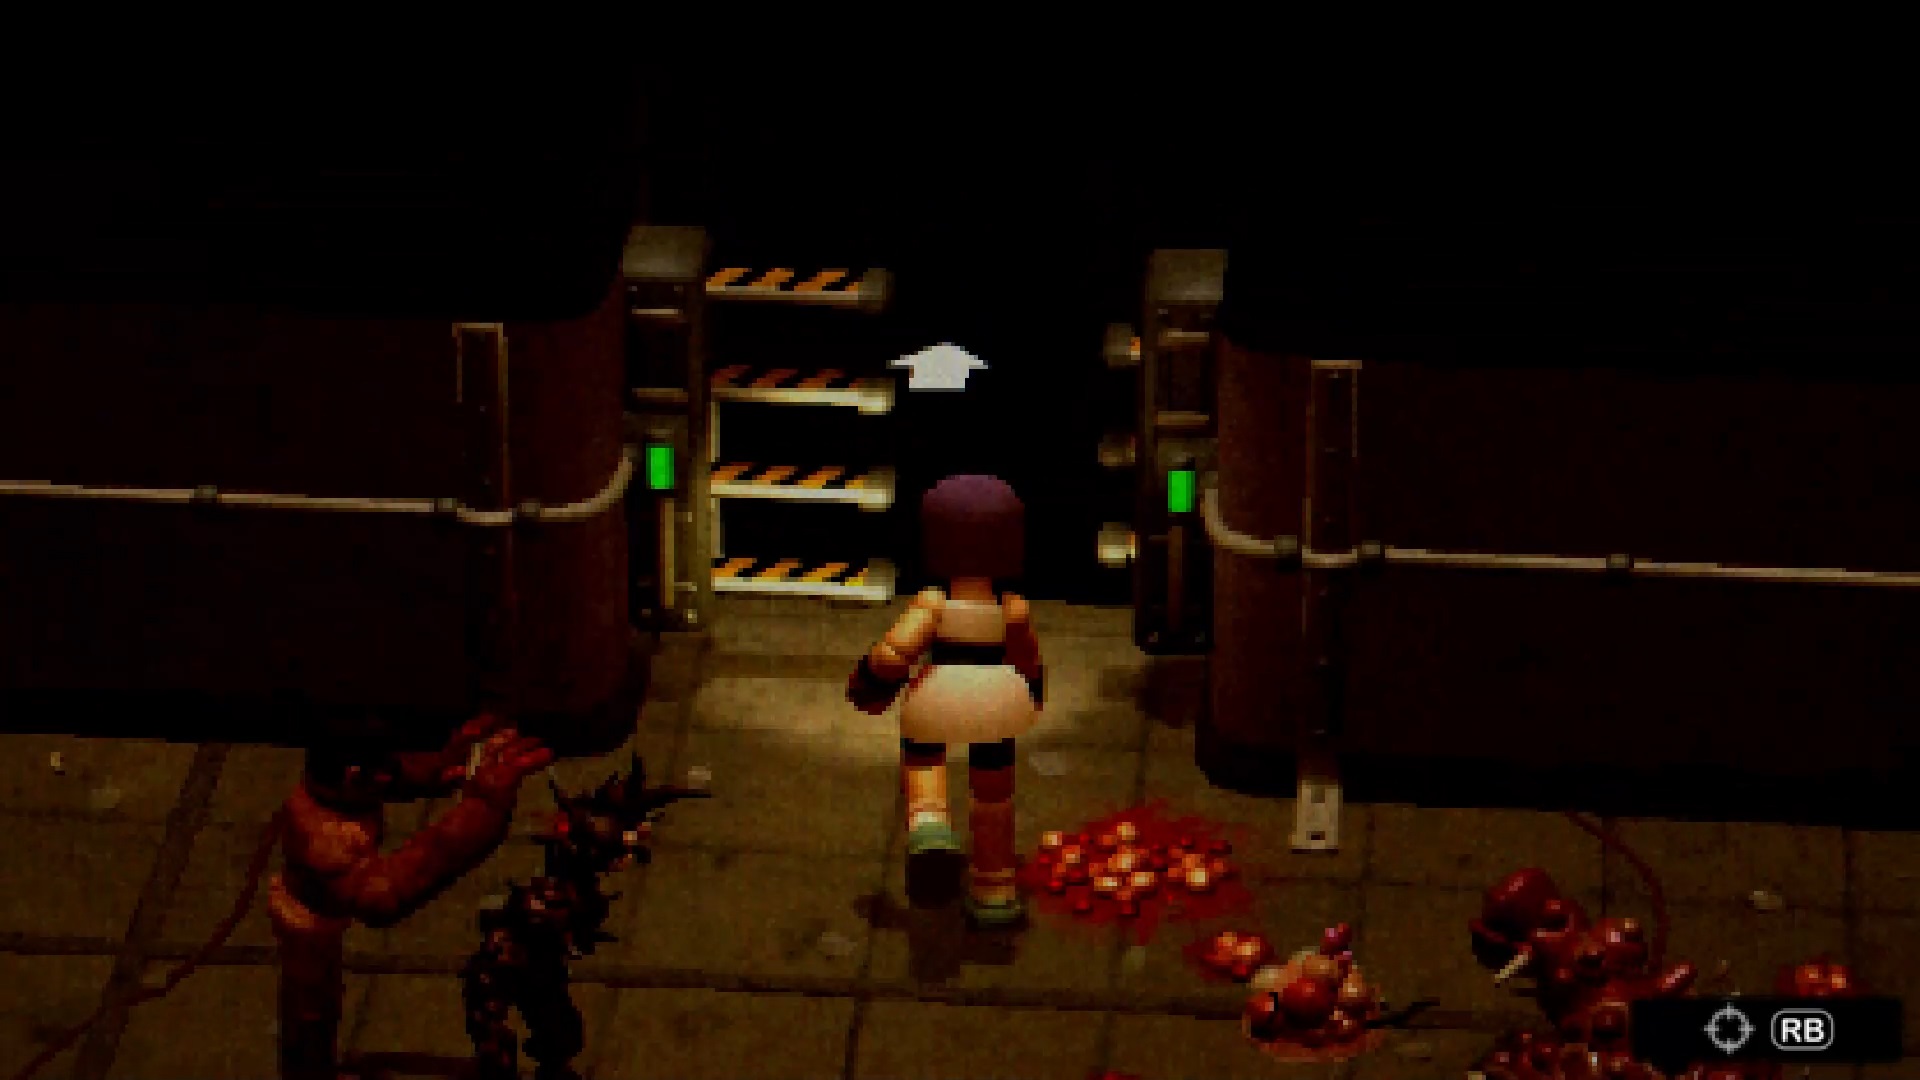
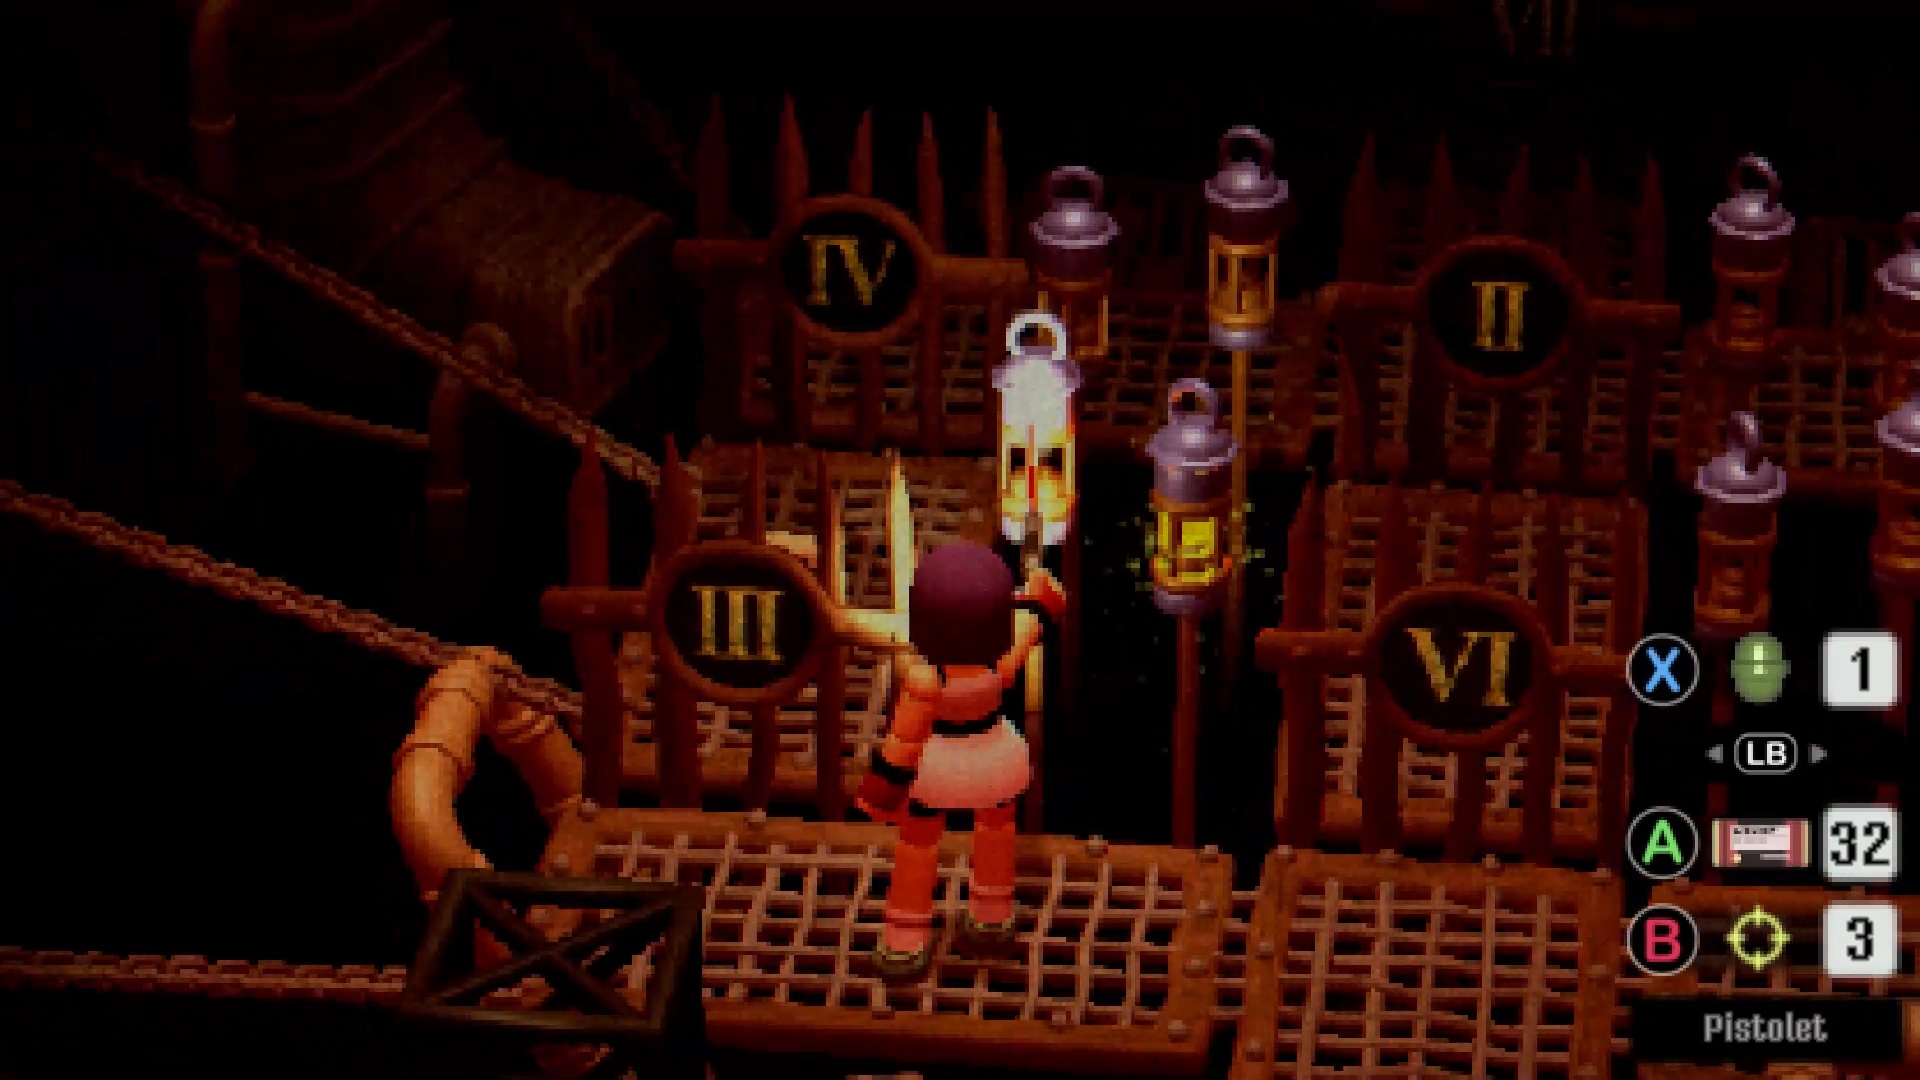
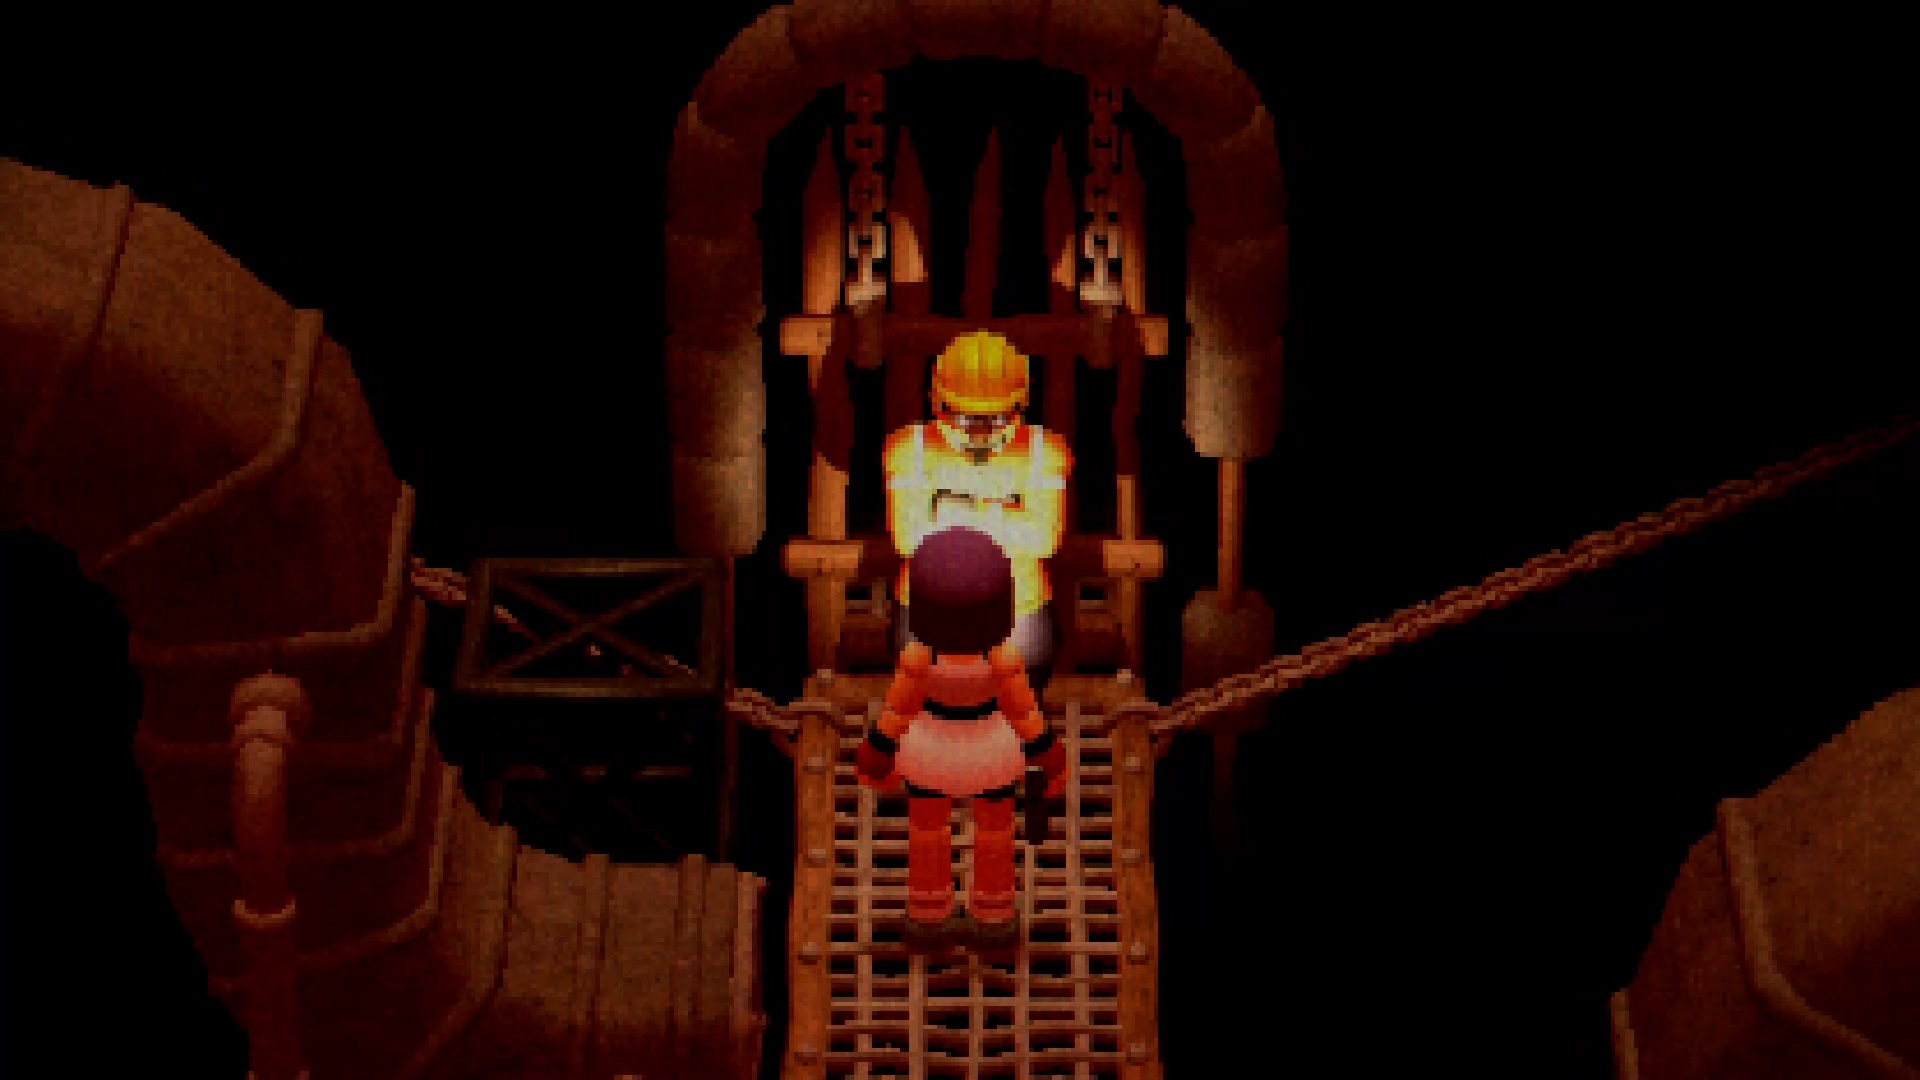
Below, press the side switches to unlock the grill. Continue to sink into the depths to reach the grates. You must light the lanterns with your weapon to open the gates corresponding to the number of lit lanterns. Put out the lanterns the same way if you get stuck. Once on the other side, talk to Tolman to go down.
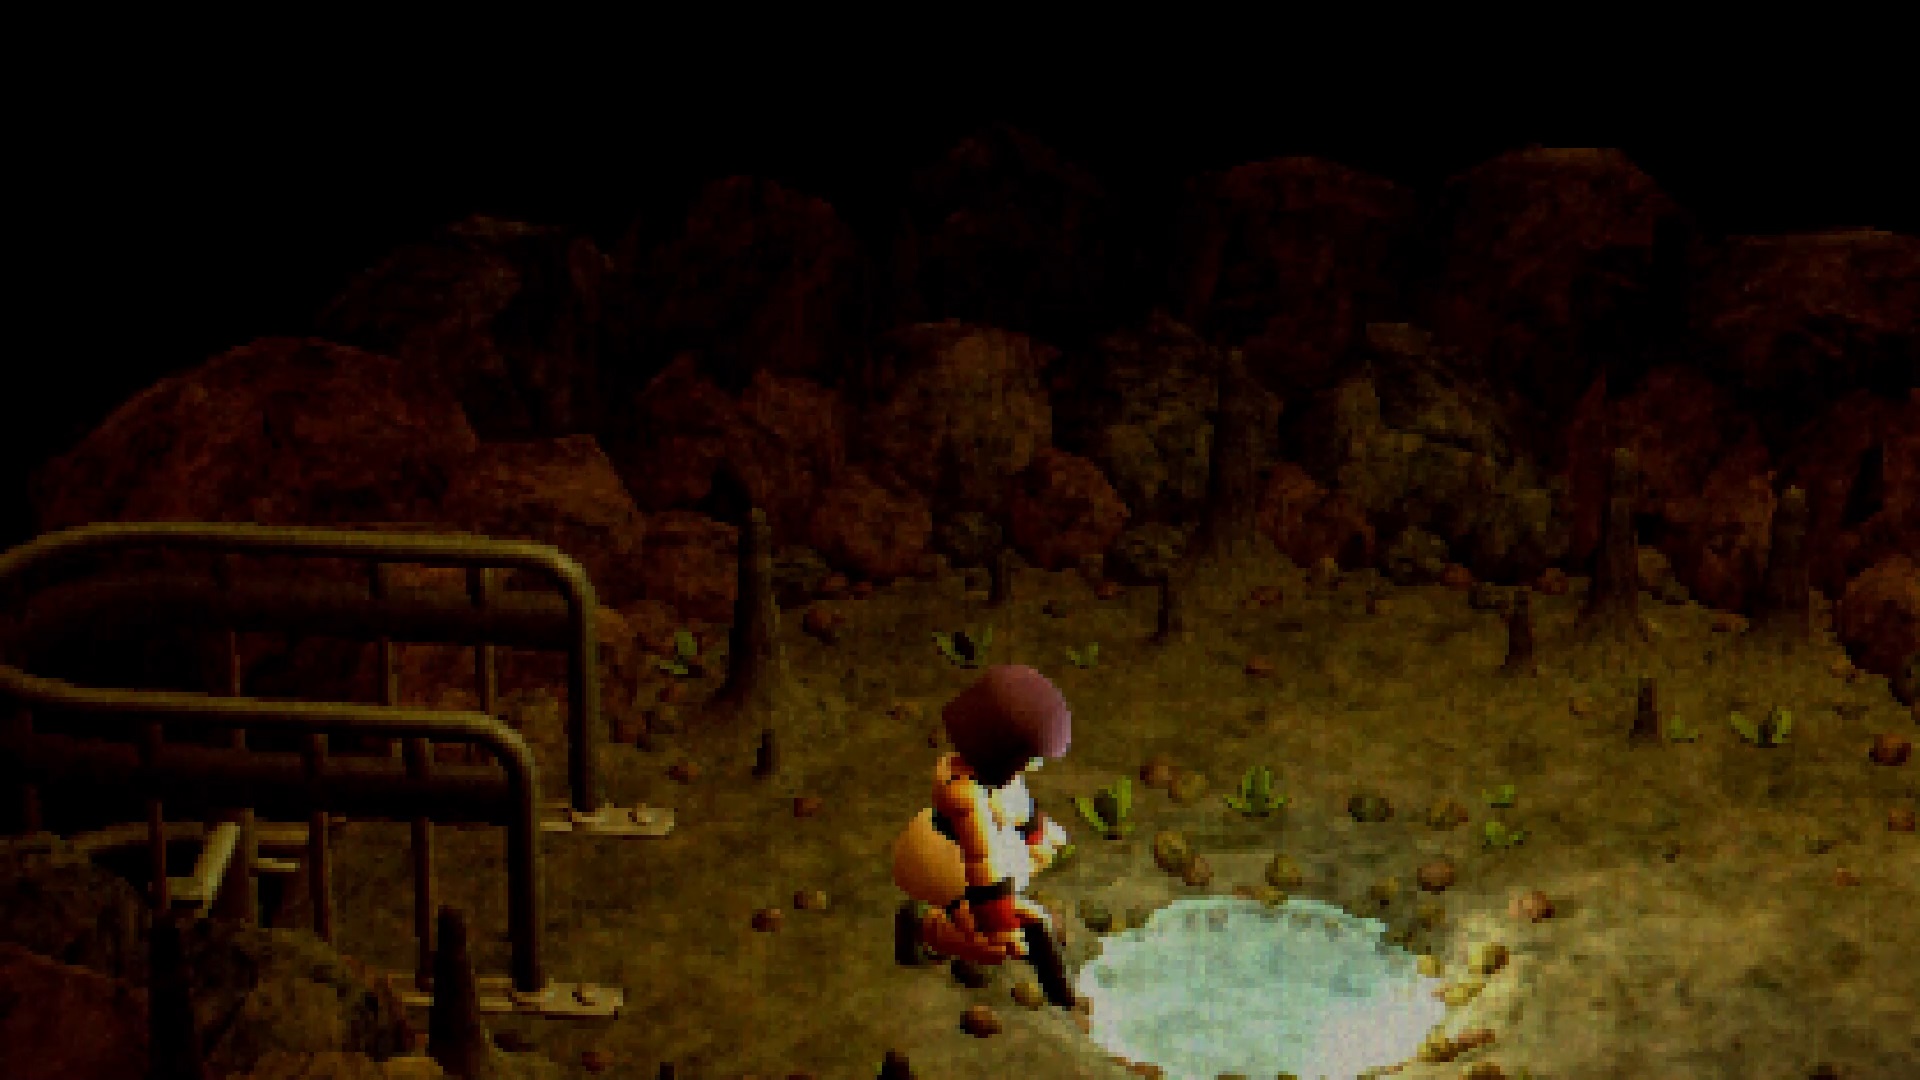
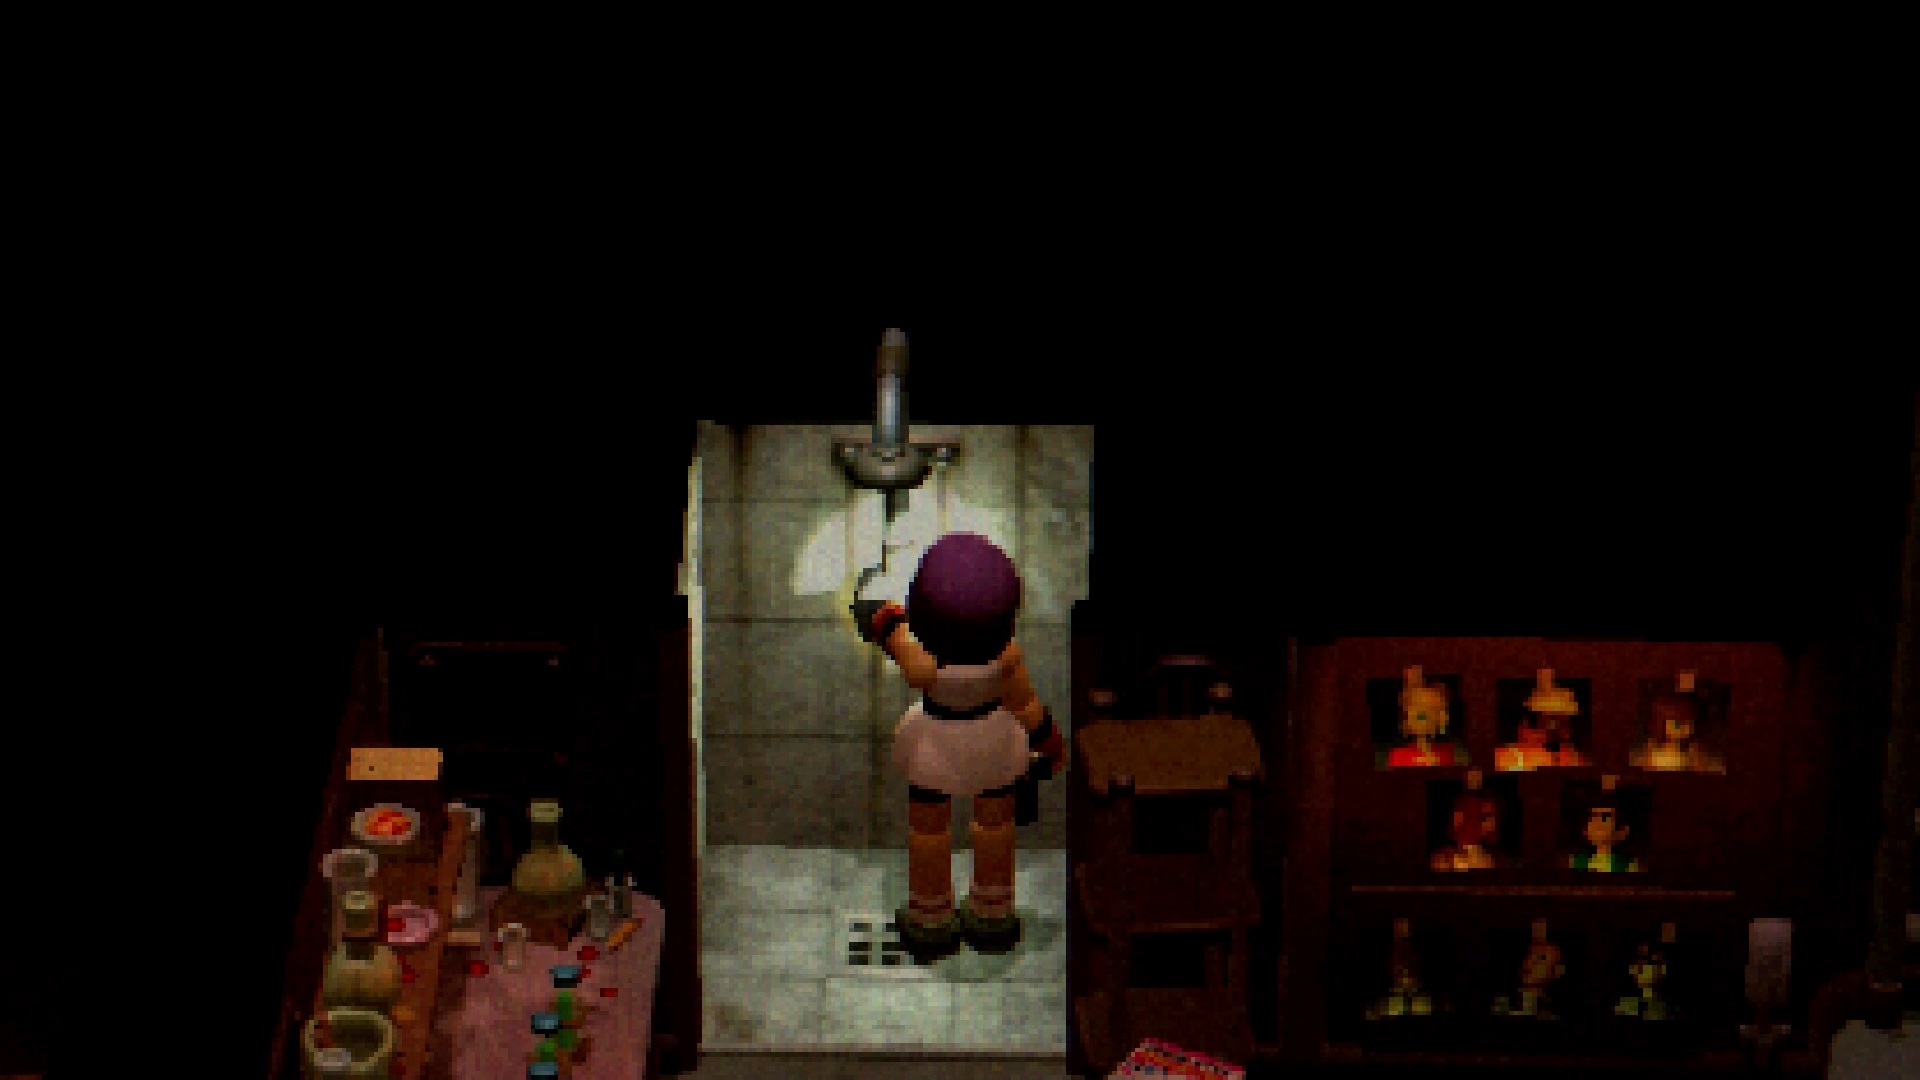
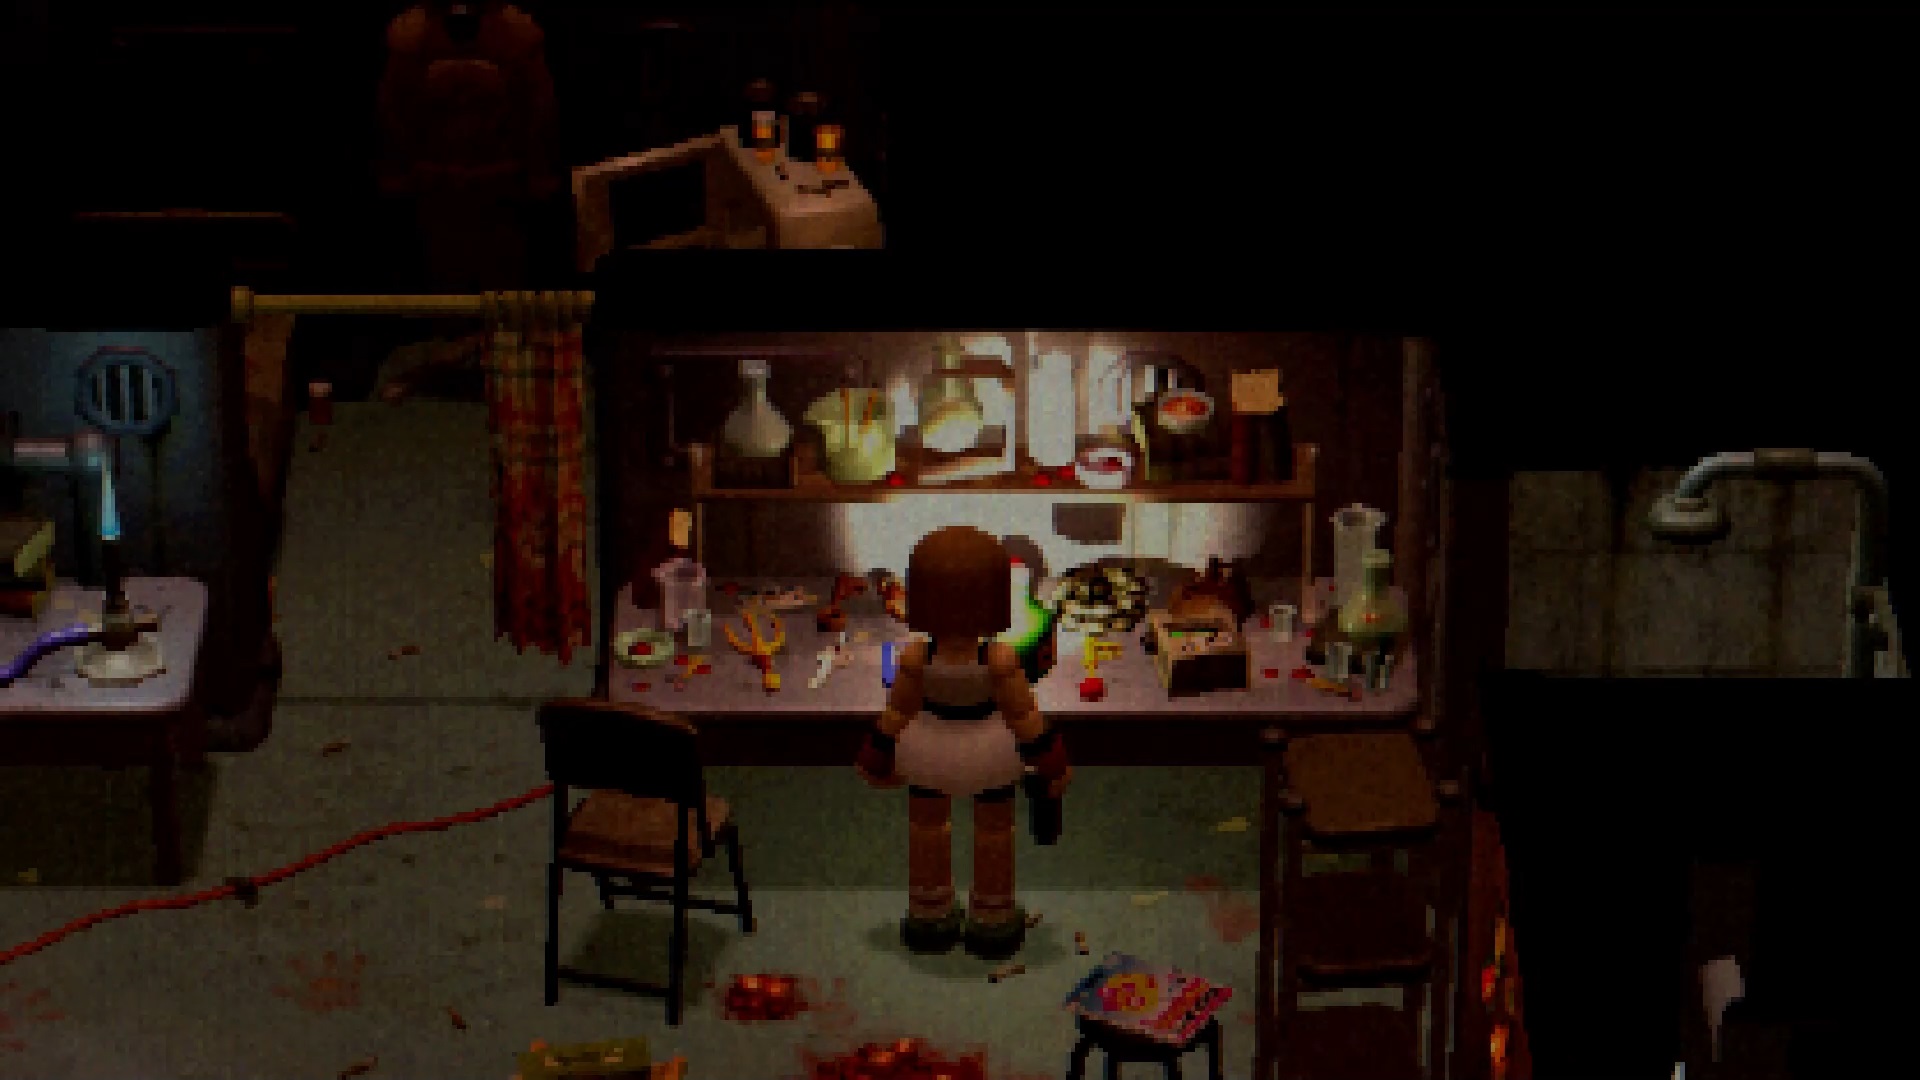
Lower down, clean your face with the basin. Go down to the next room to take a shower. Then speak into the speaker and collect the vials from the table. Speak into the speaker again to open the portal.
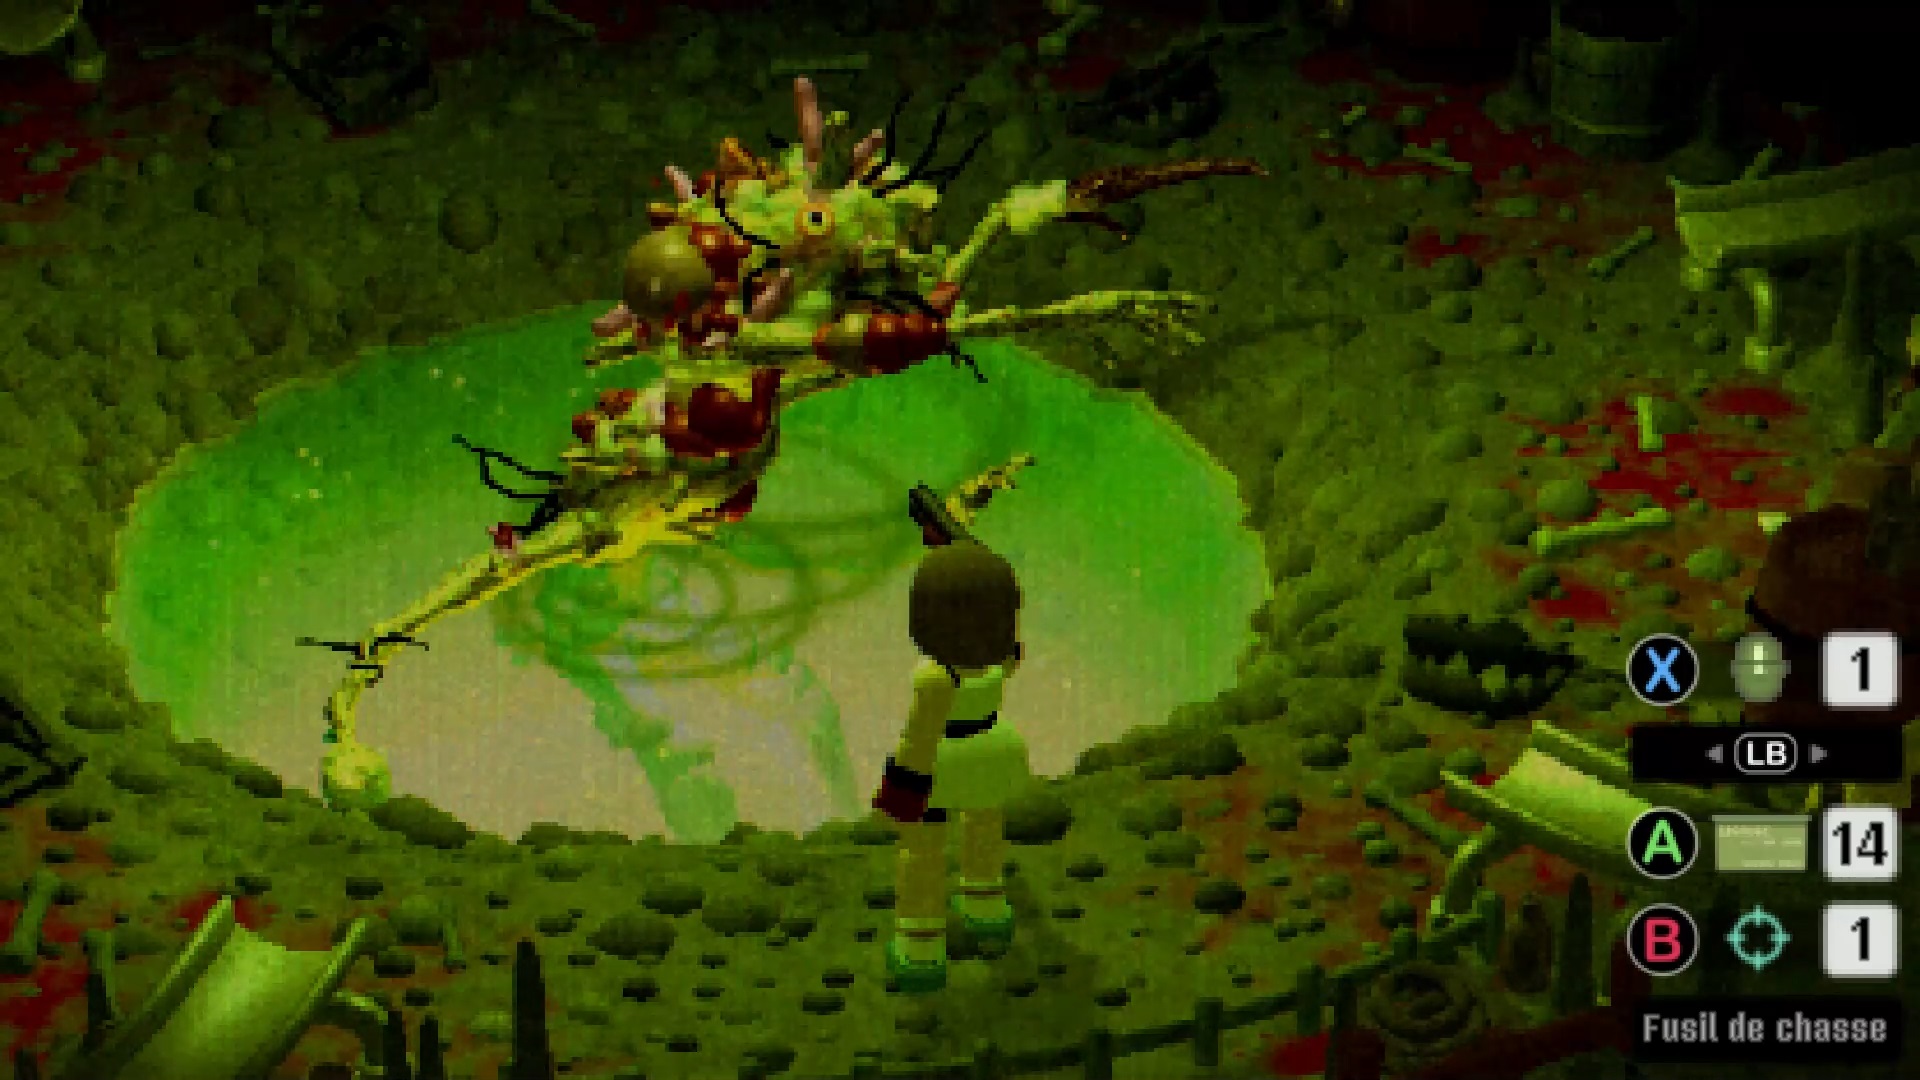
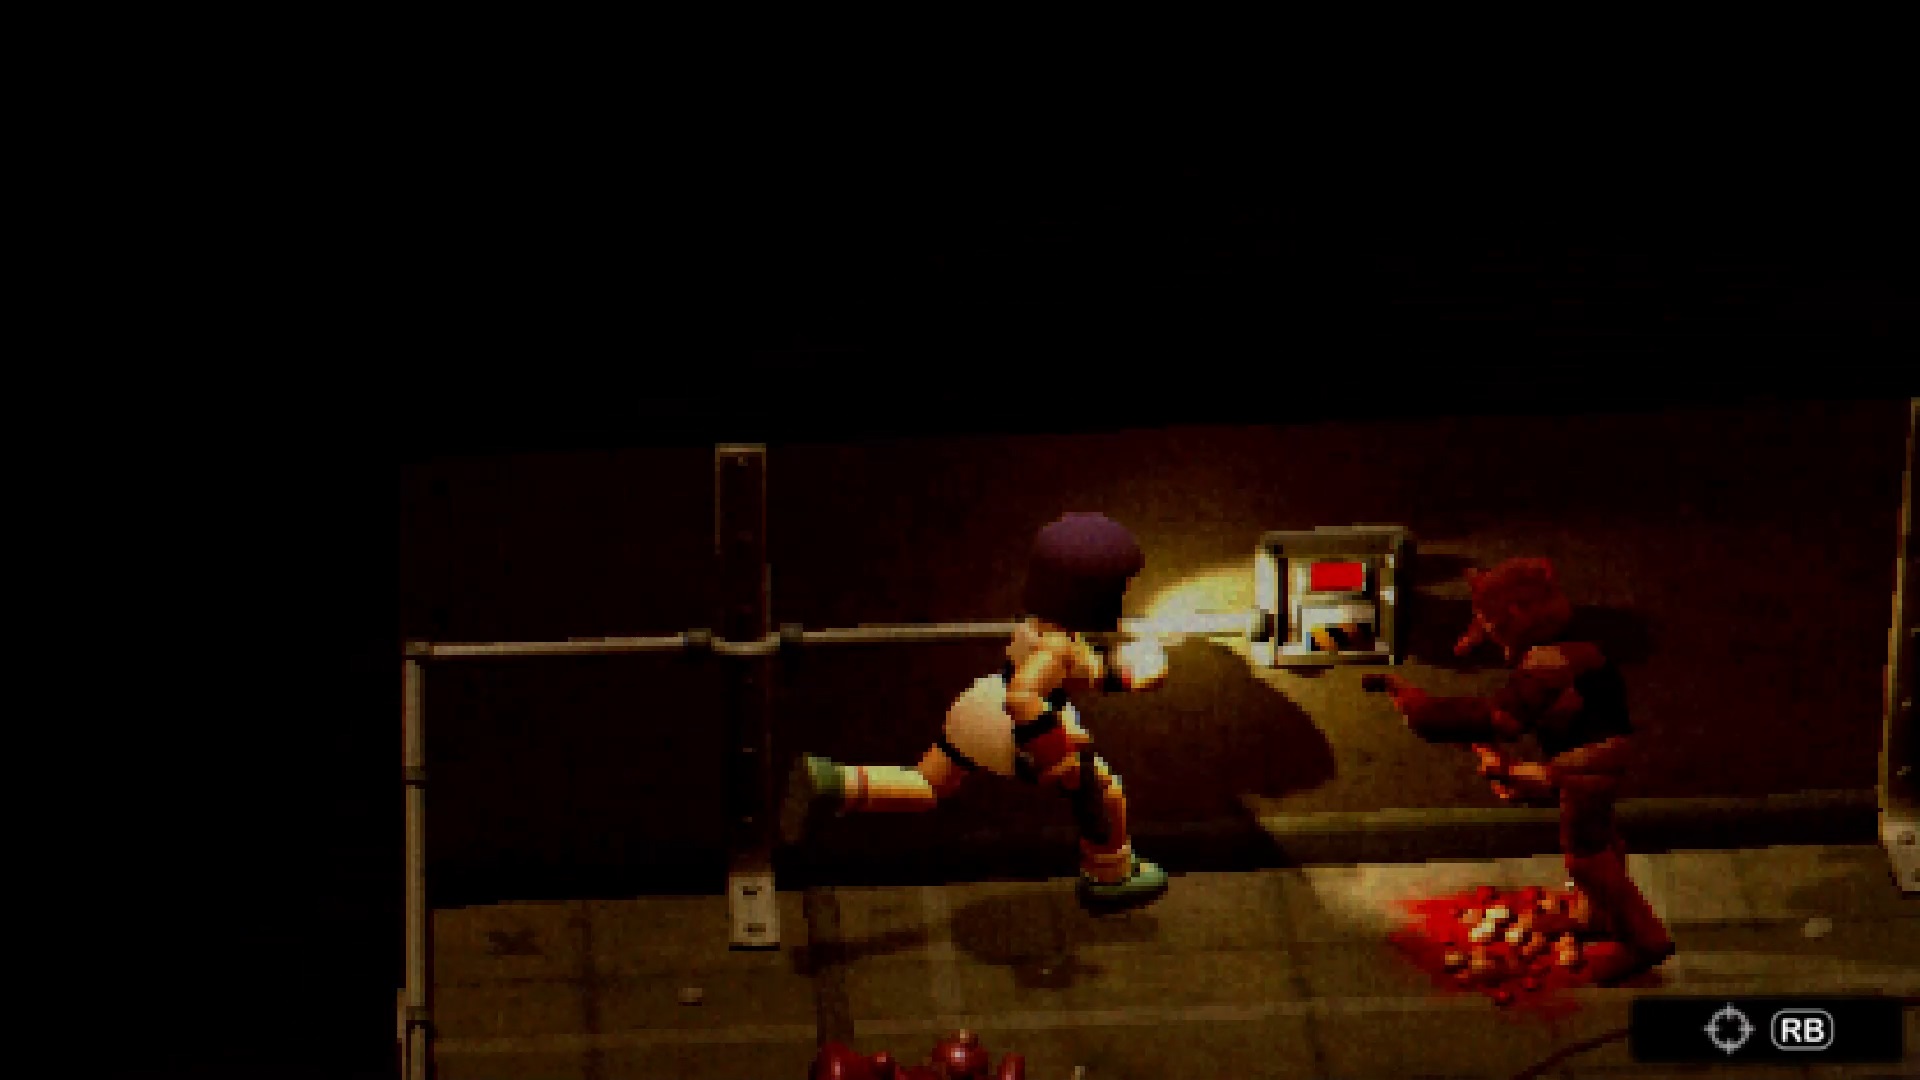
On the other side, talk to Mr. Crow to trigger the final fight. Before he returns, shoot the wolf traps to clear the arena. Use your weapons to destroy Mister Crow and end the adventure

Fan de jeux Nintendo, Xbox, PlayStation, PC et de l’univers gaming
Je vous partage ma passion à travers mes articles sur les nouveautés jeux vidéo
Journaliste gameactuality.com