
[Guide] Bendy and The Dark Revival: Complete Walkthrough [EN]
Bendy and The Dark Revival walkthrough available on PlayStation 4, Xbox One and PC. Bendy and The Dark Revival is a survival horror very inspired by Bioshock . Check out our guide to the path and all the puzzles and puzzles in the game.
Summary
Chapter 1
At the beginning of the chapter, follow the markers on the screen to find and complete the first objectives.
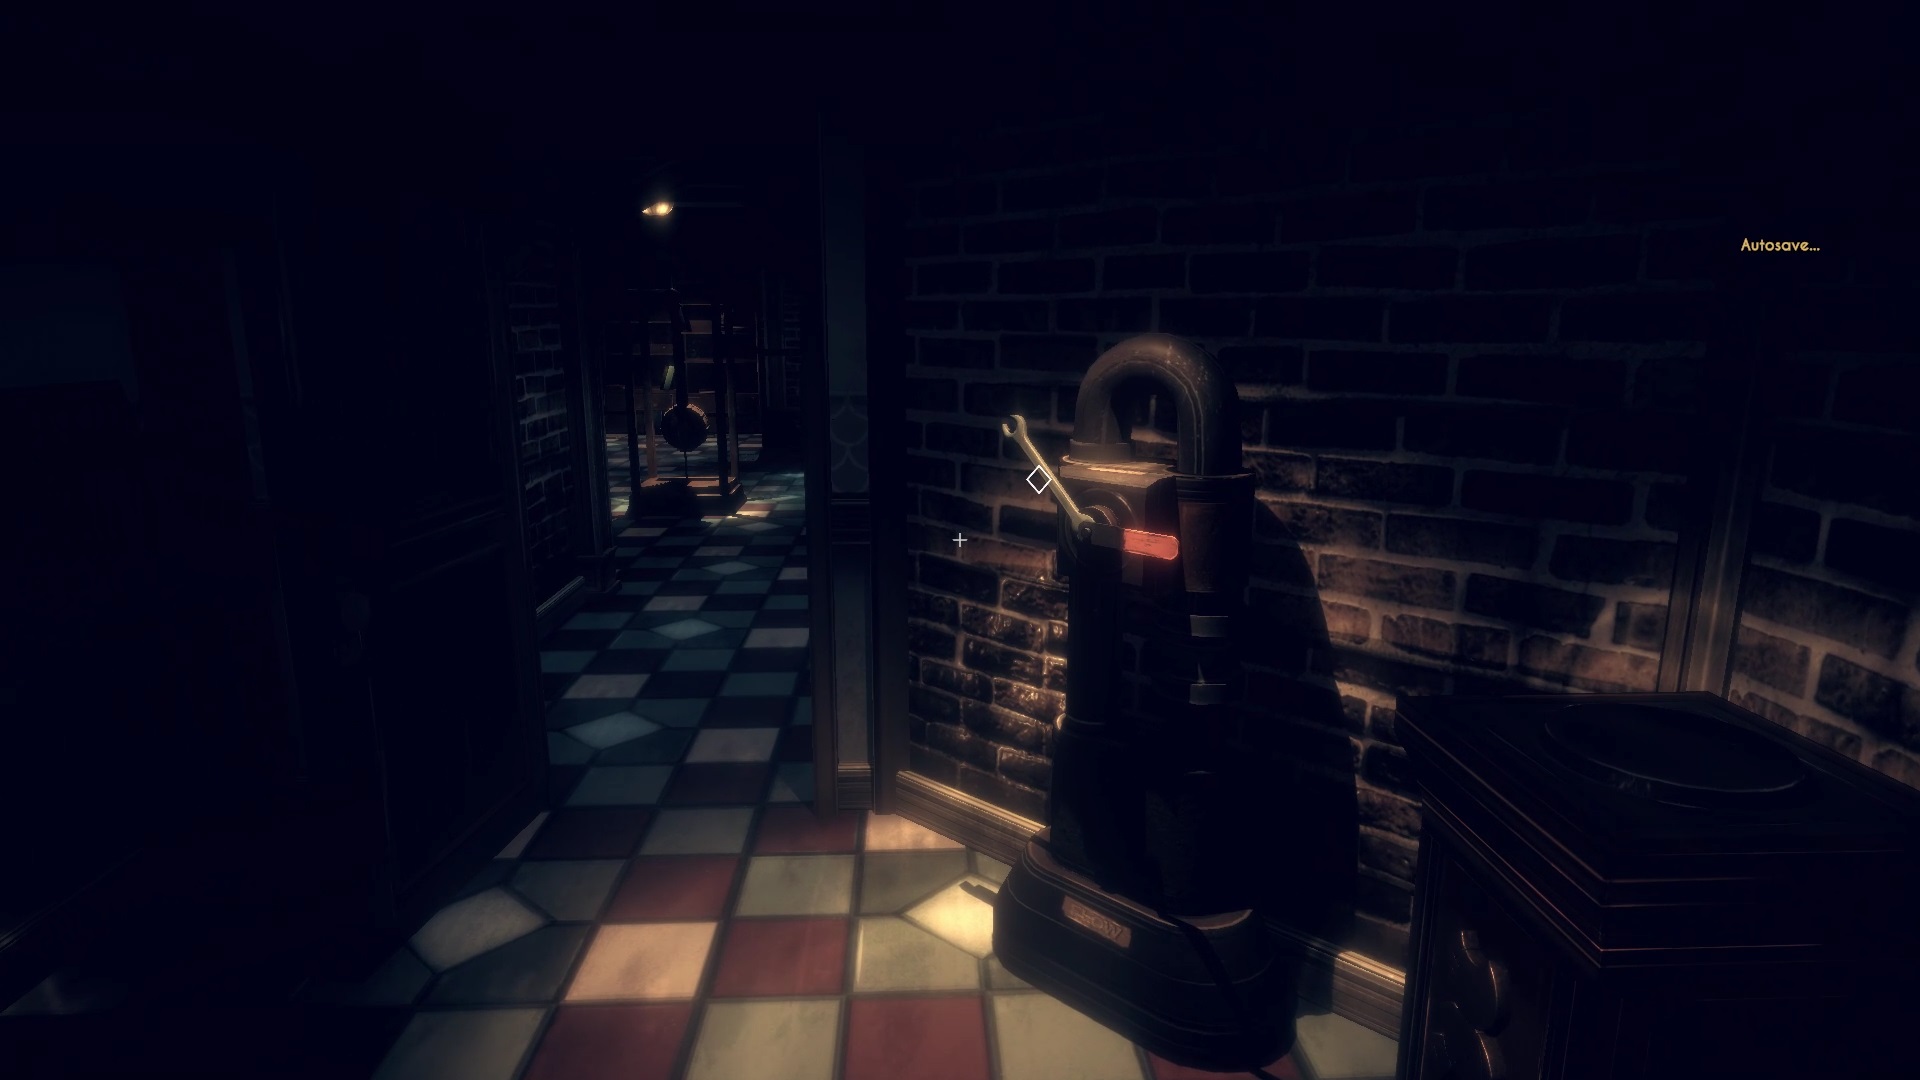
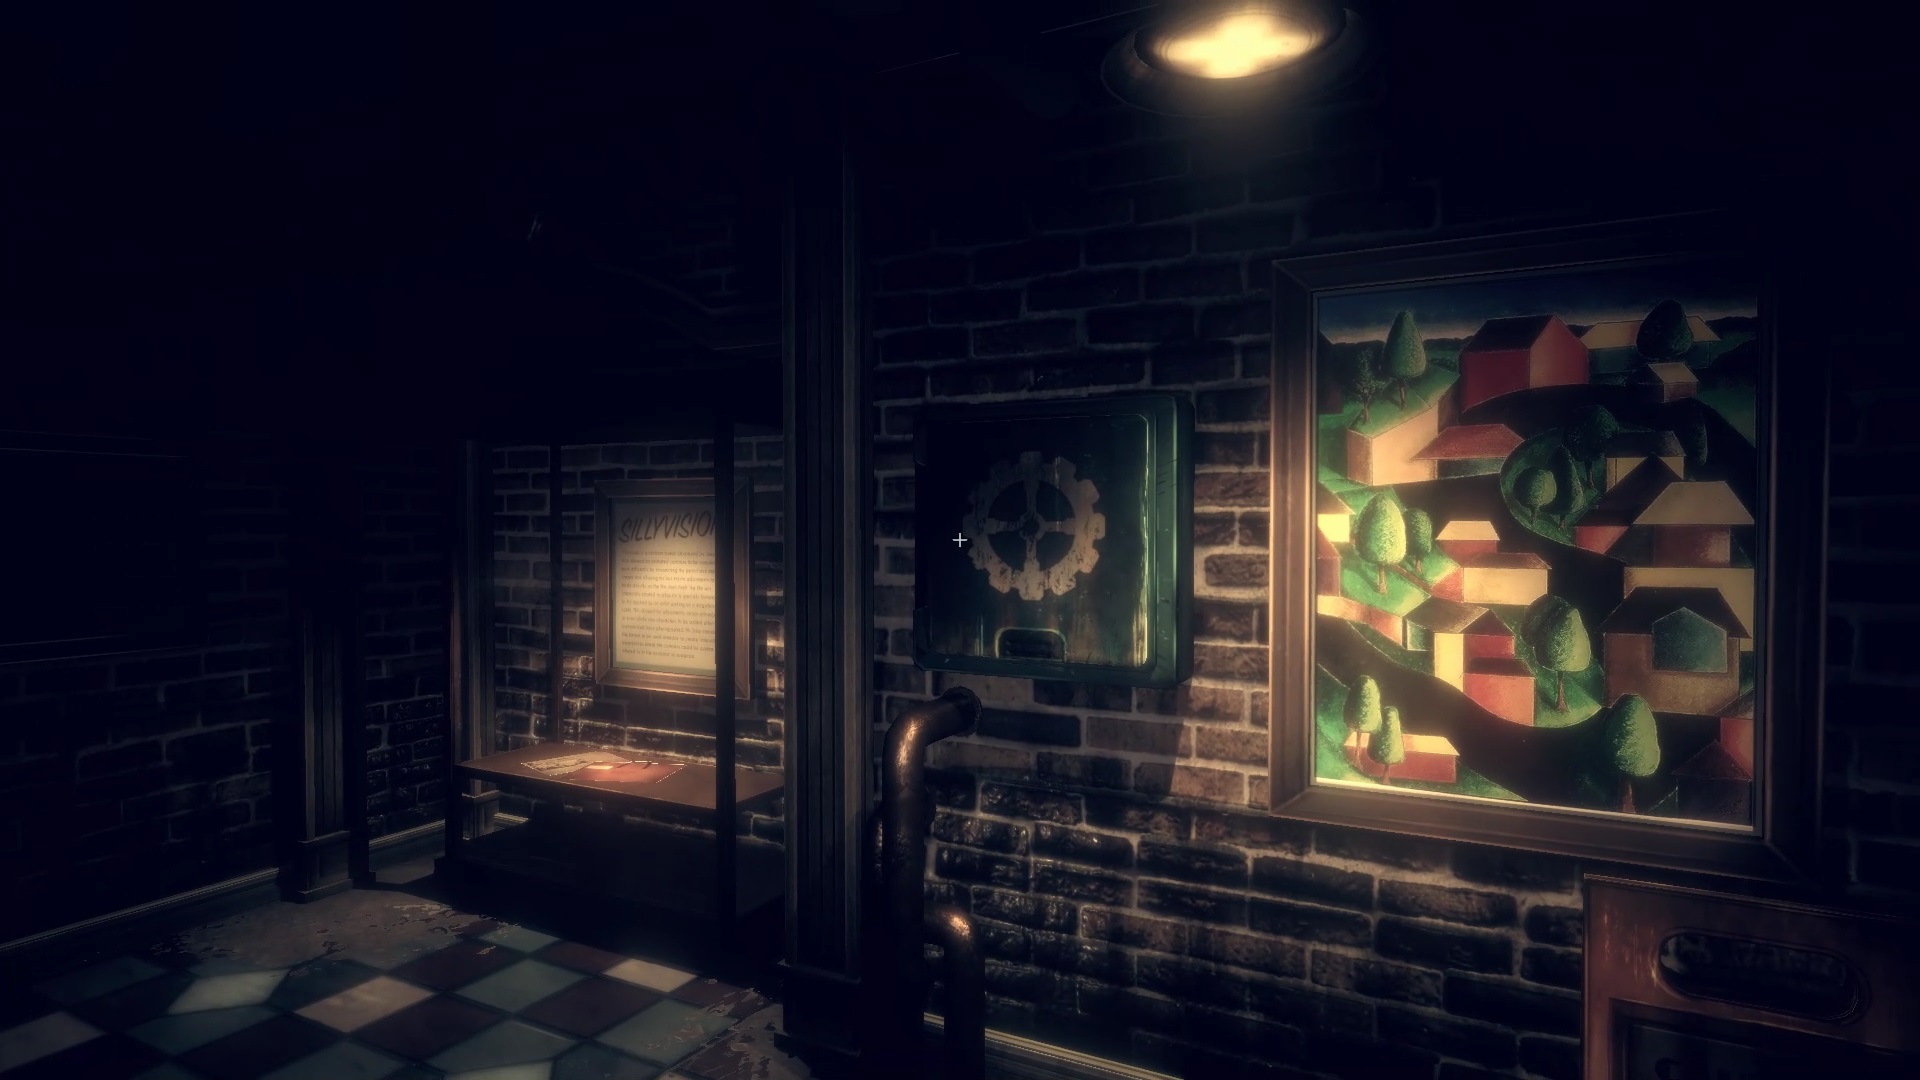
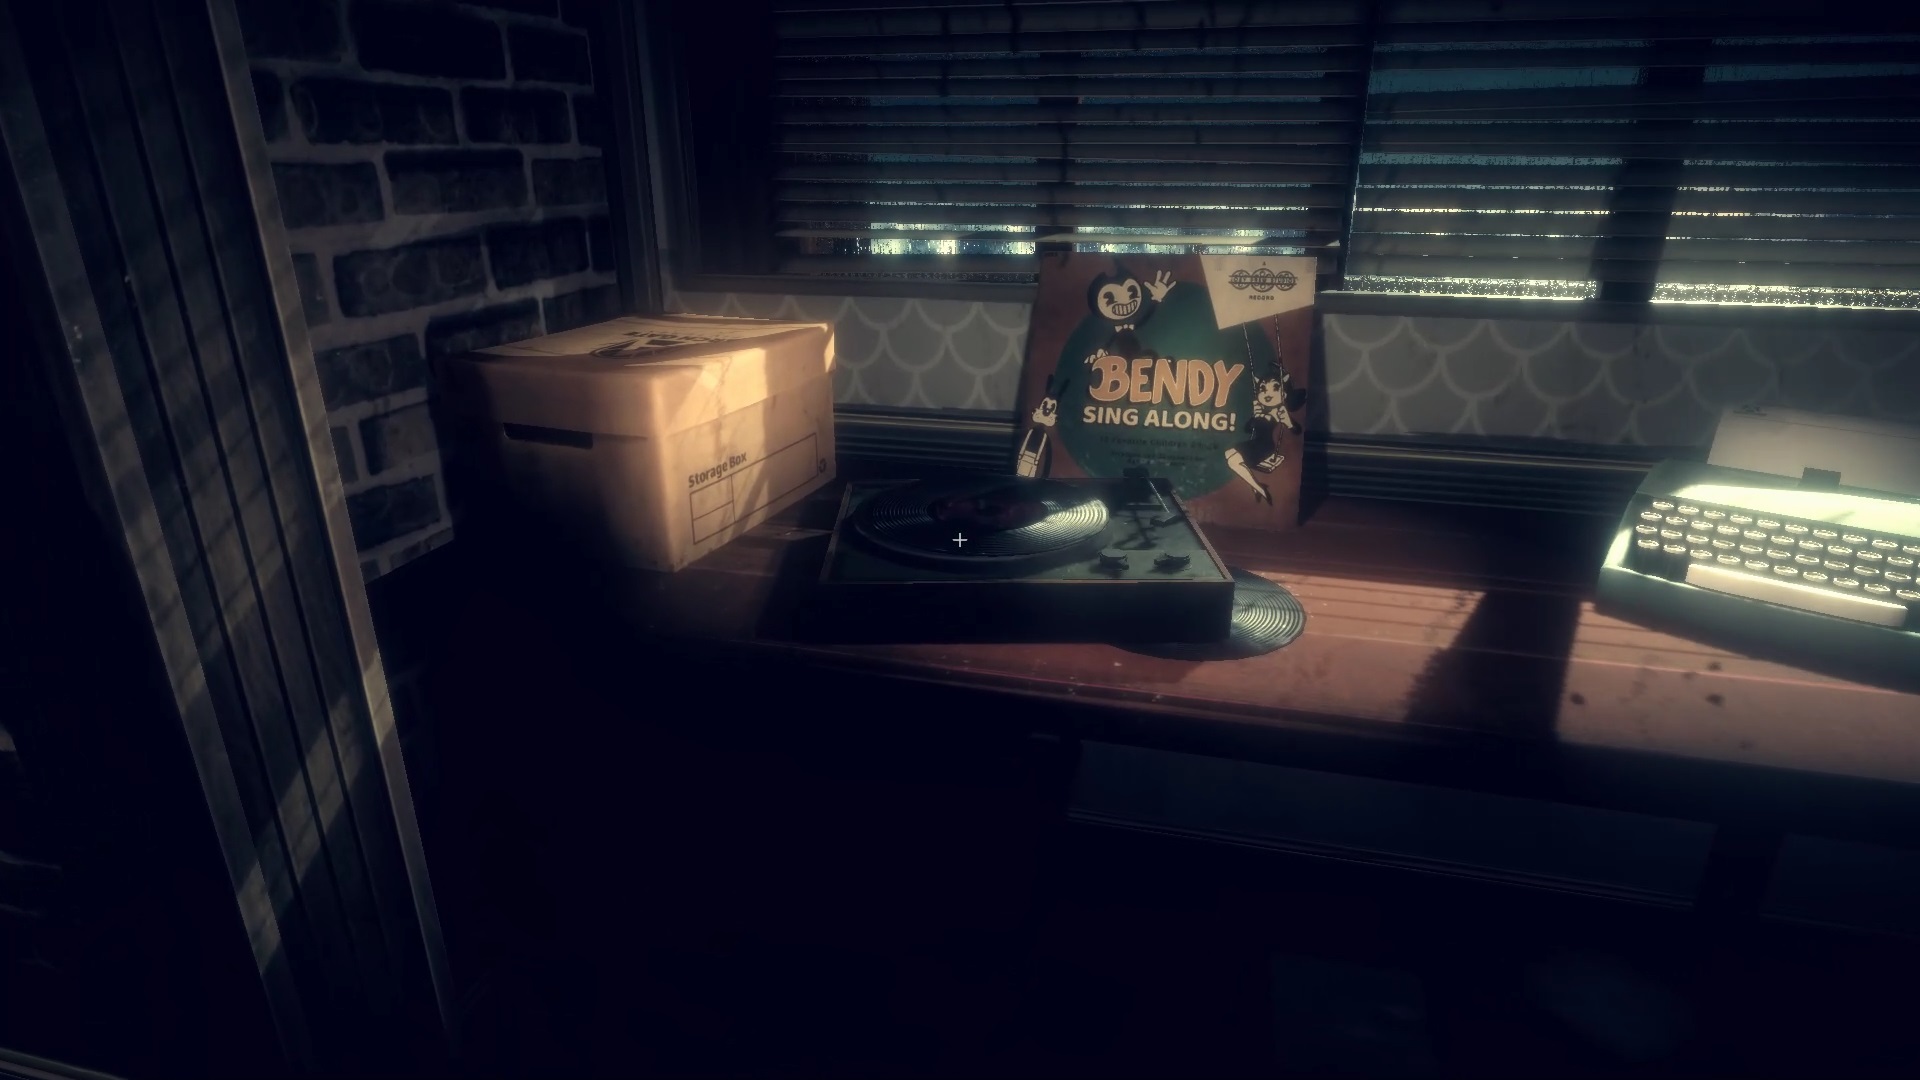
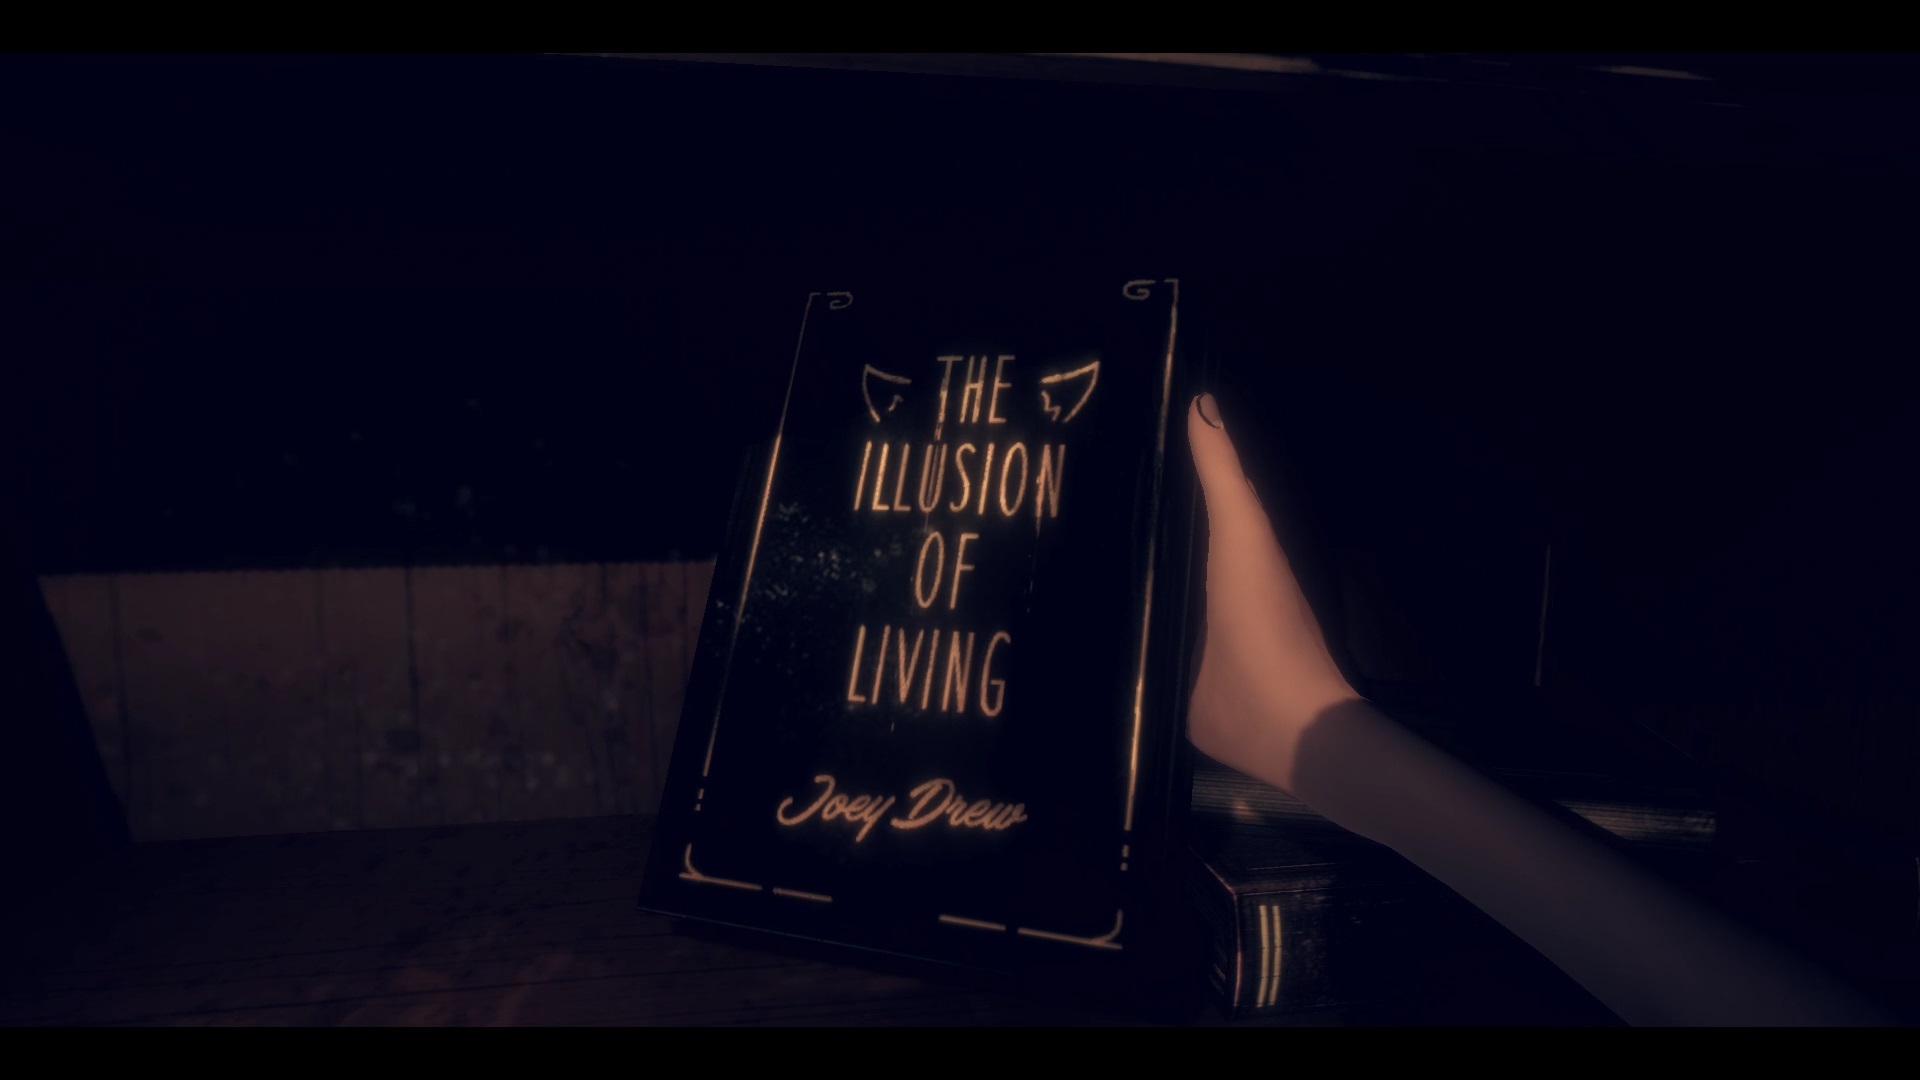
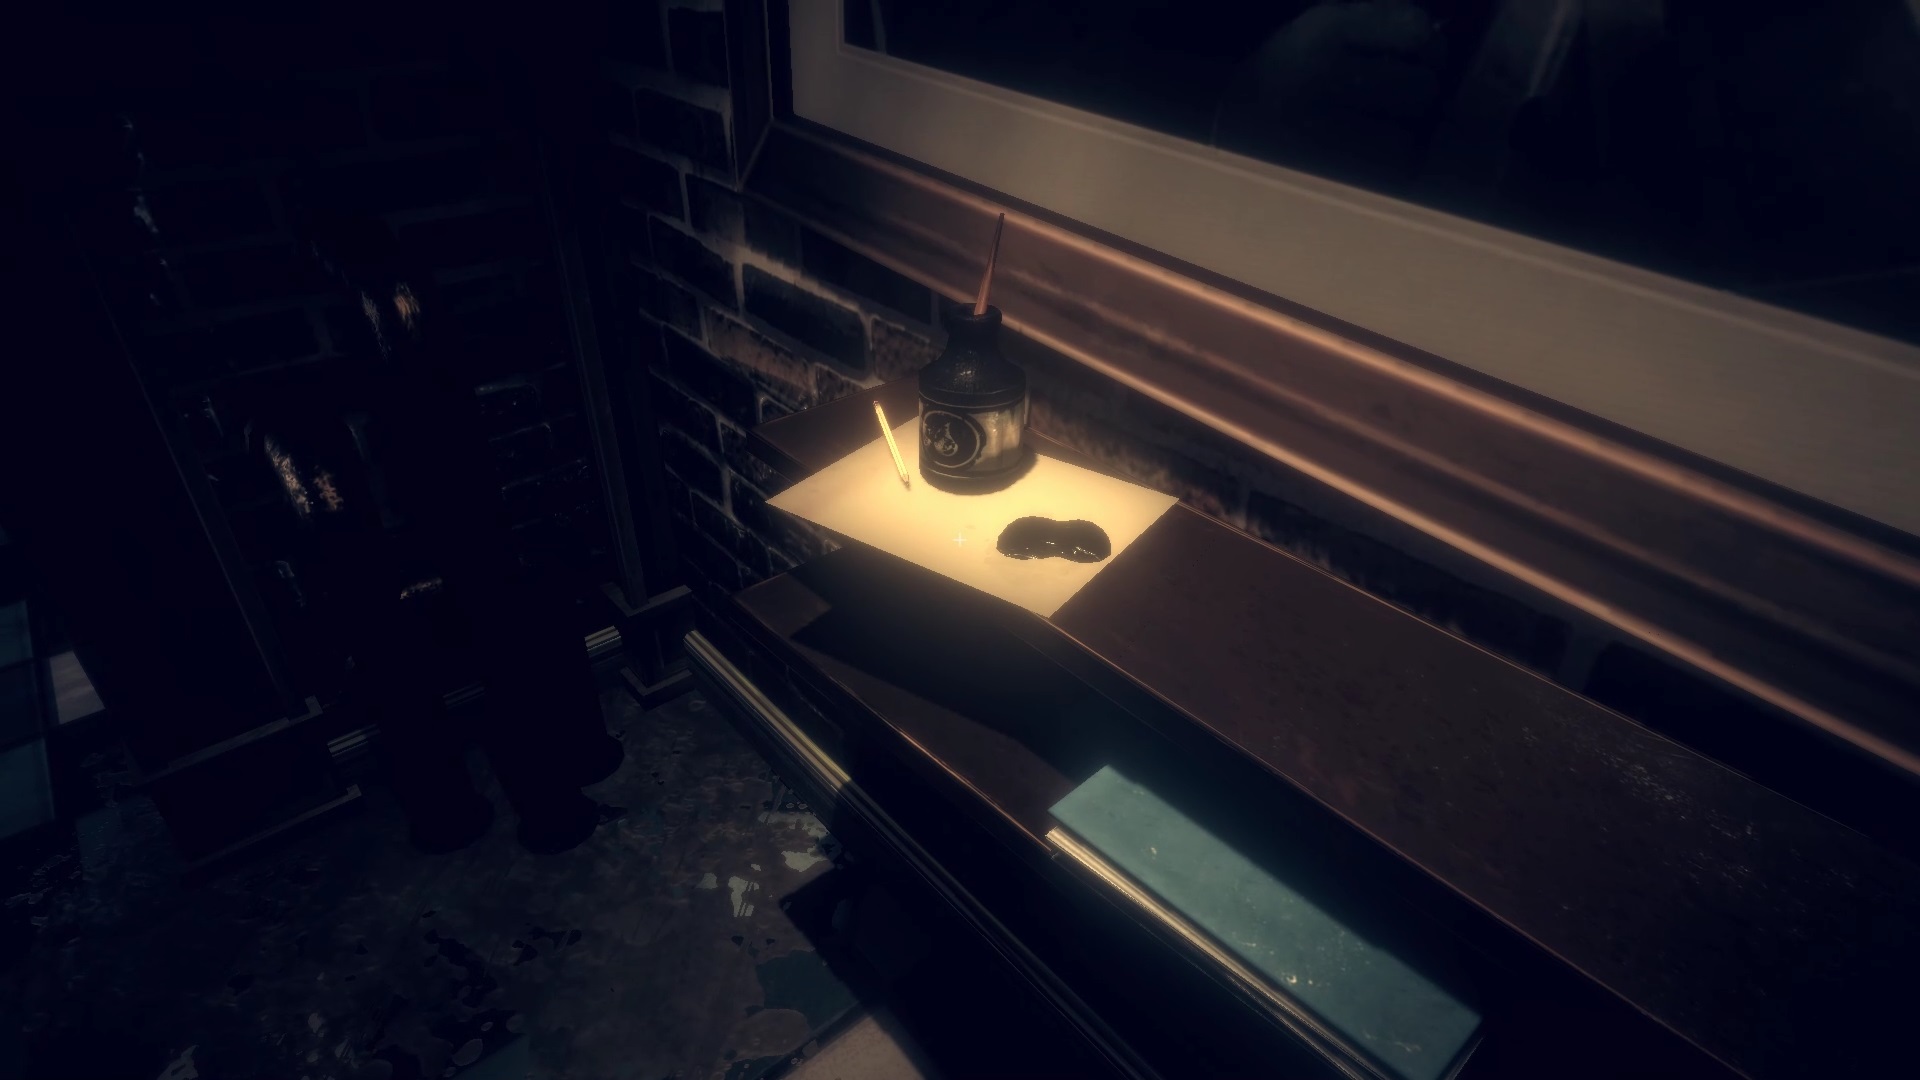
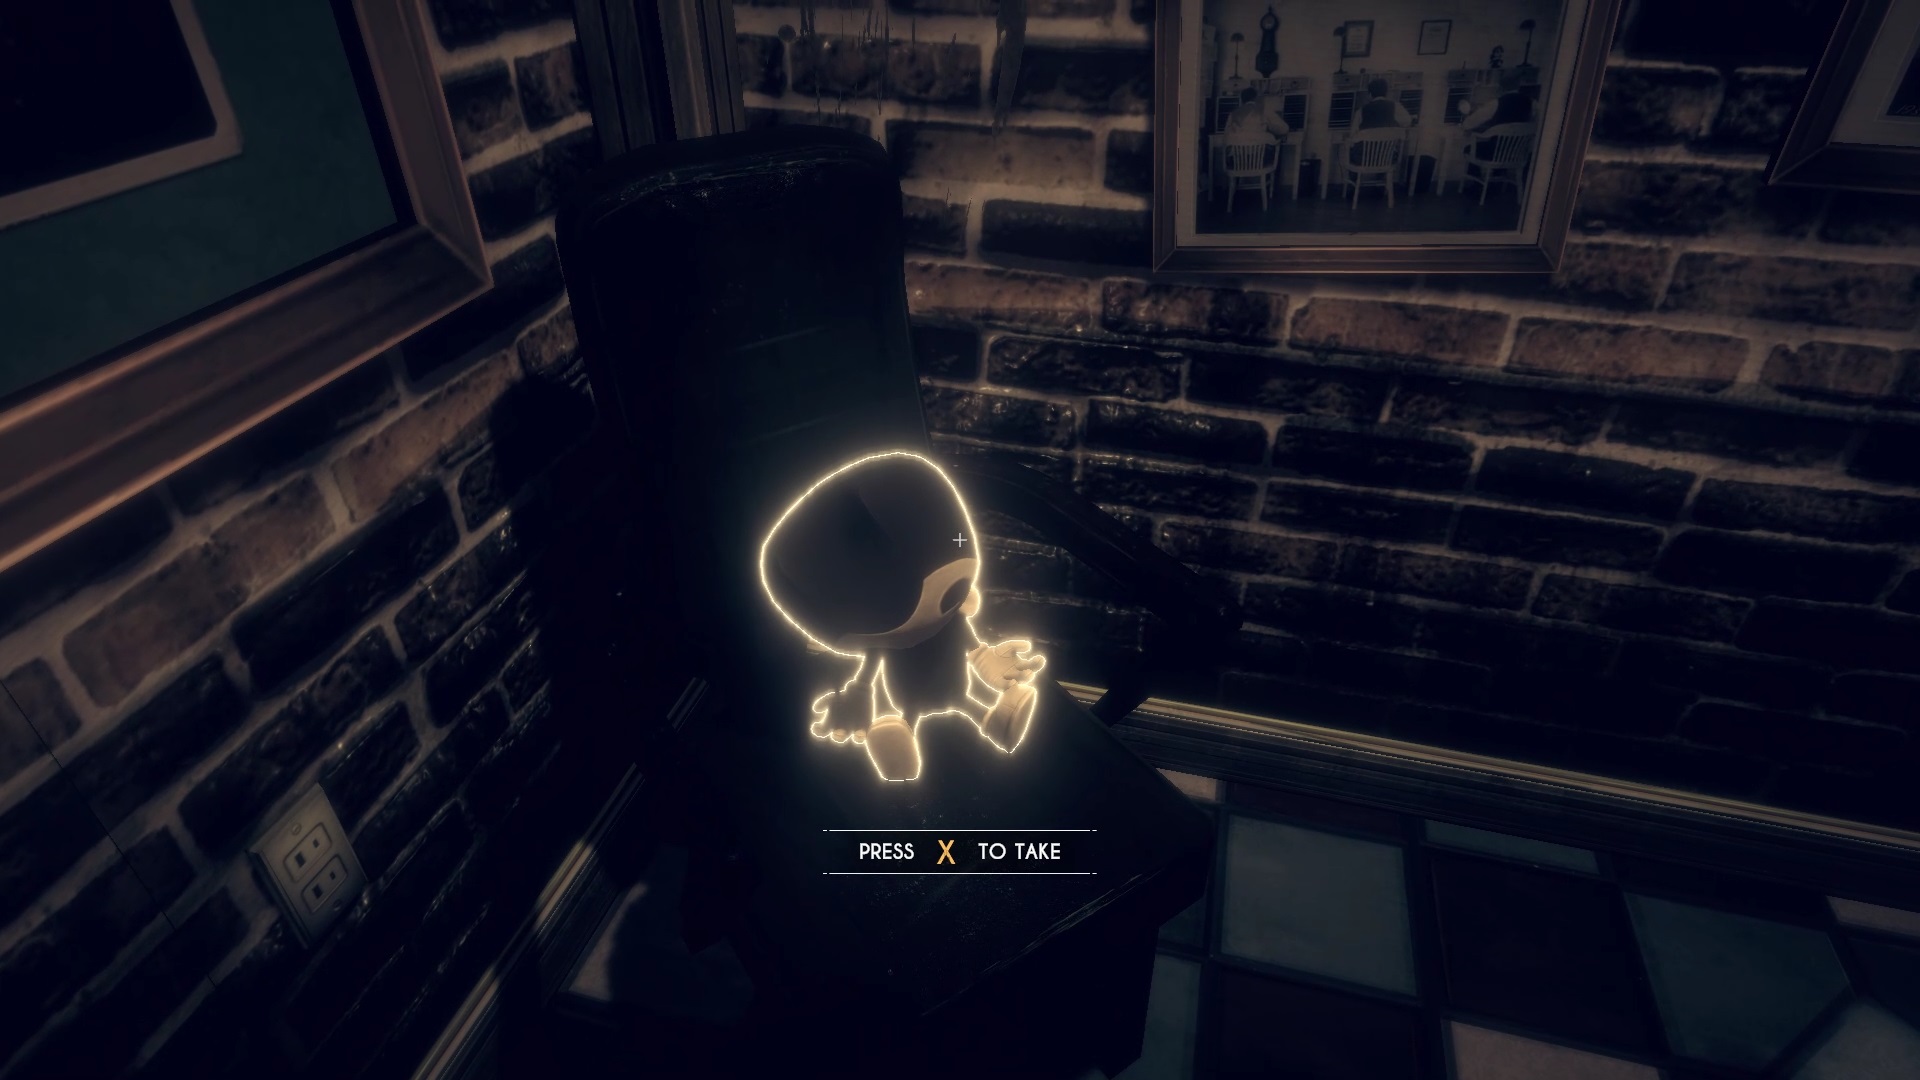
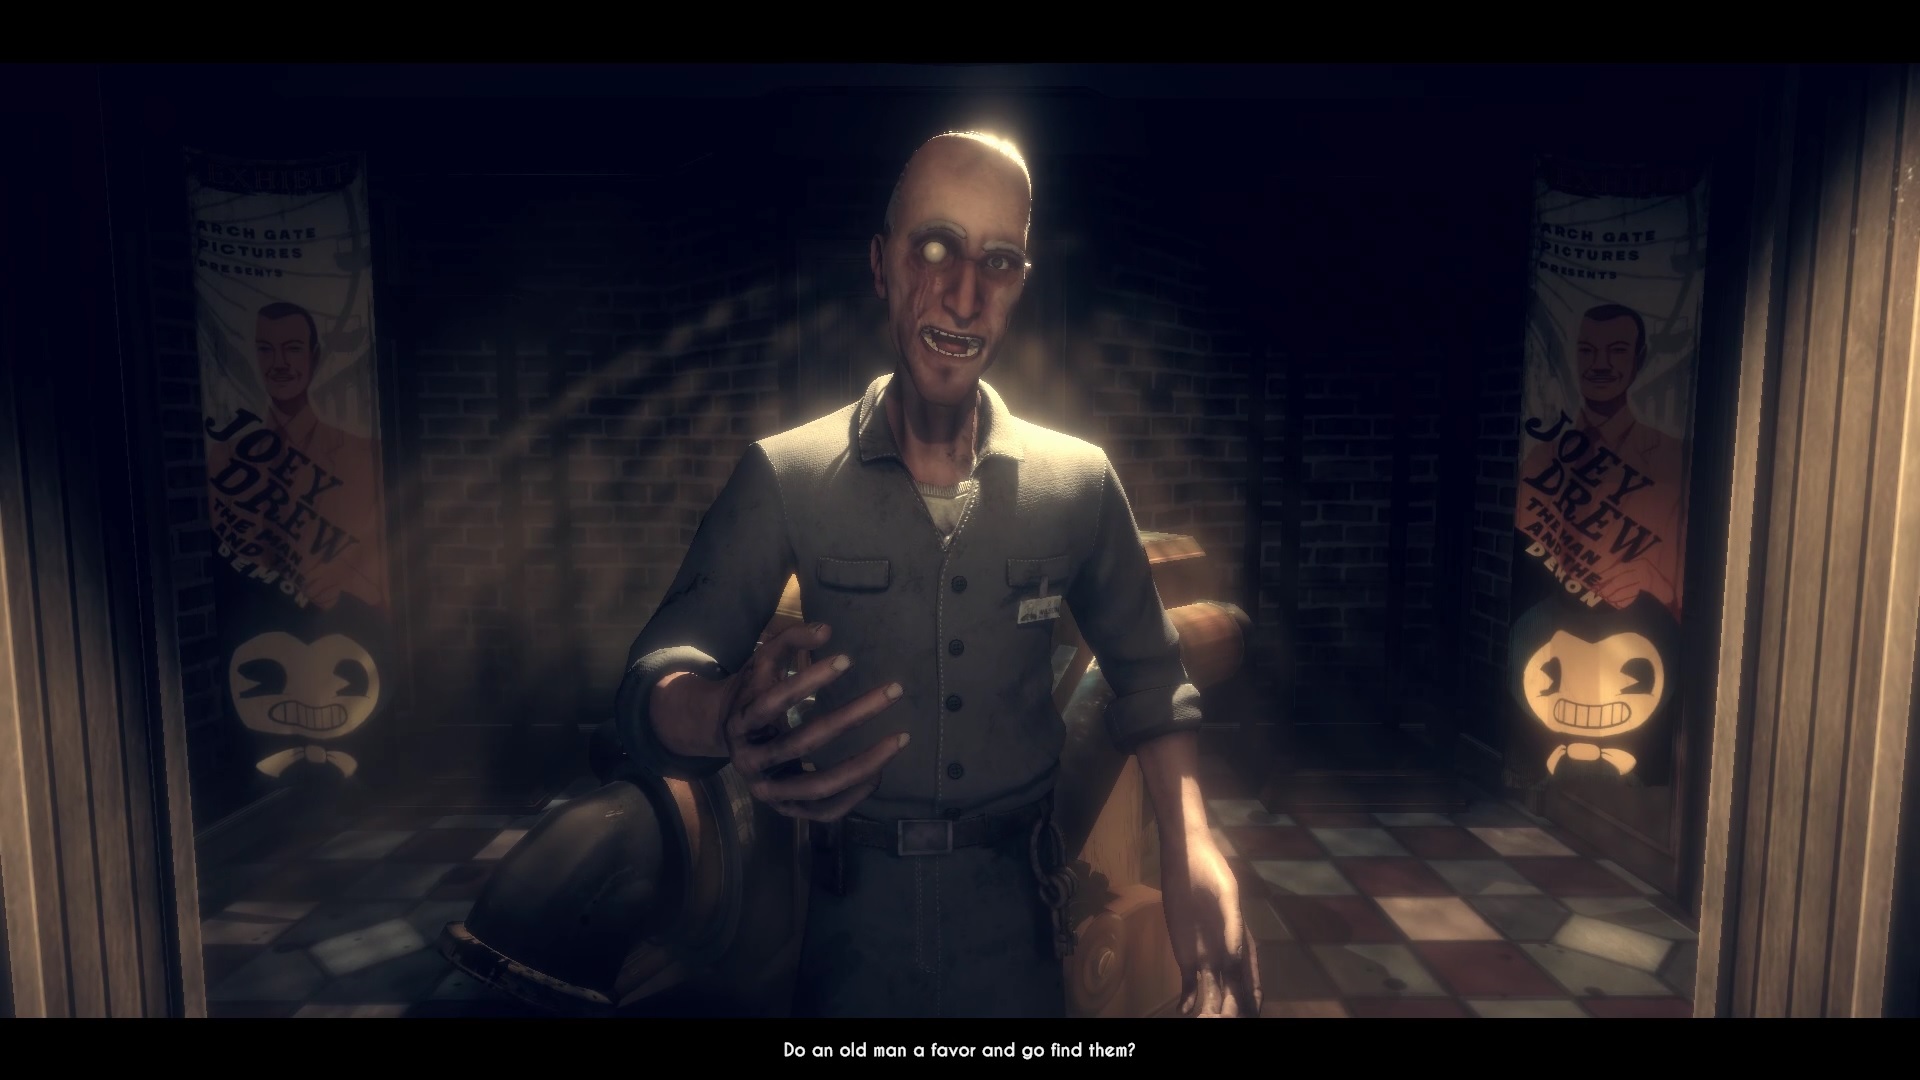
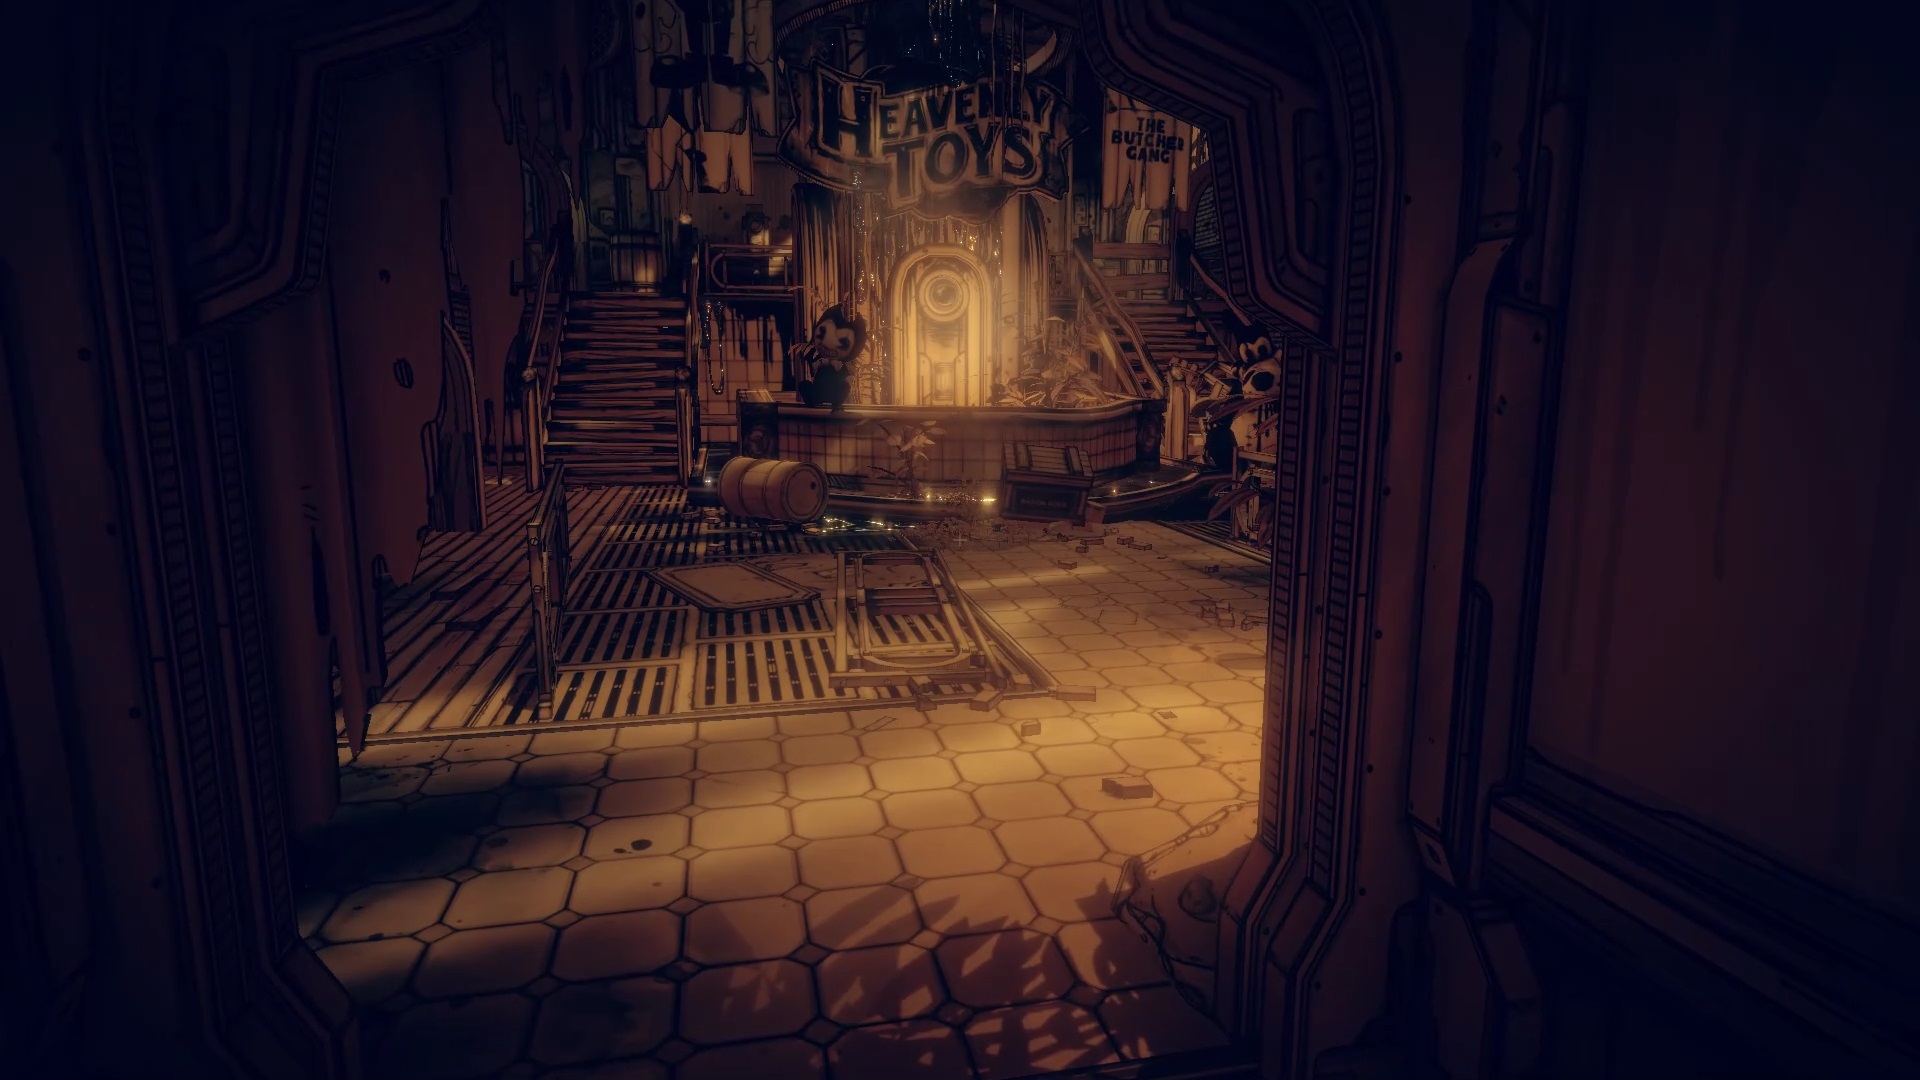
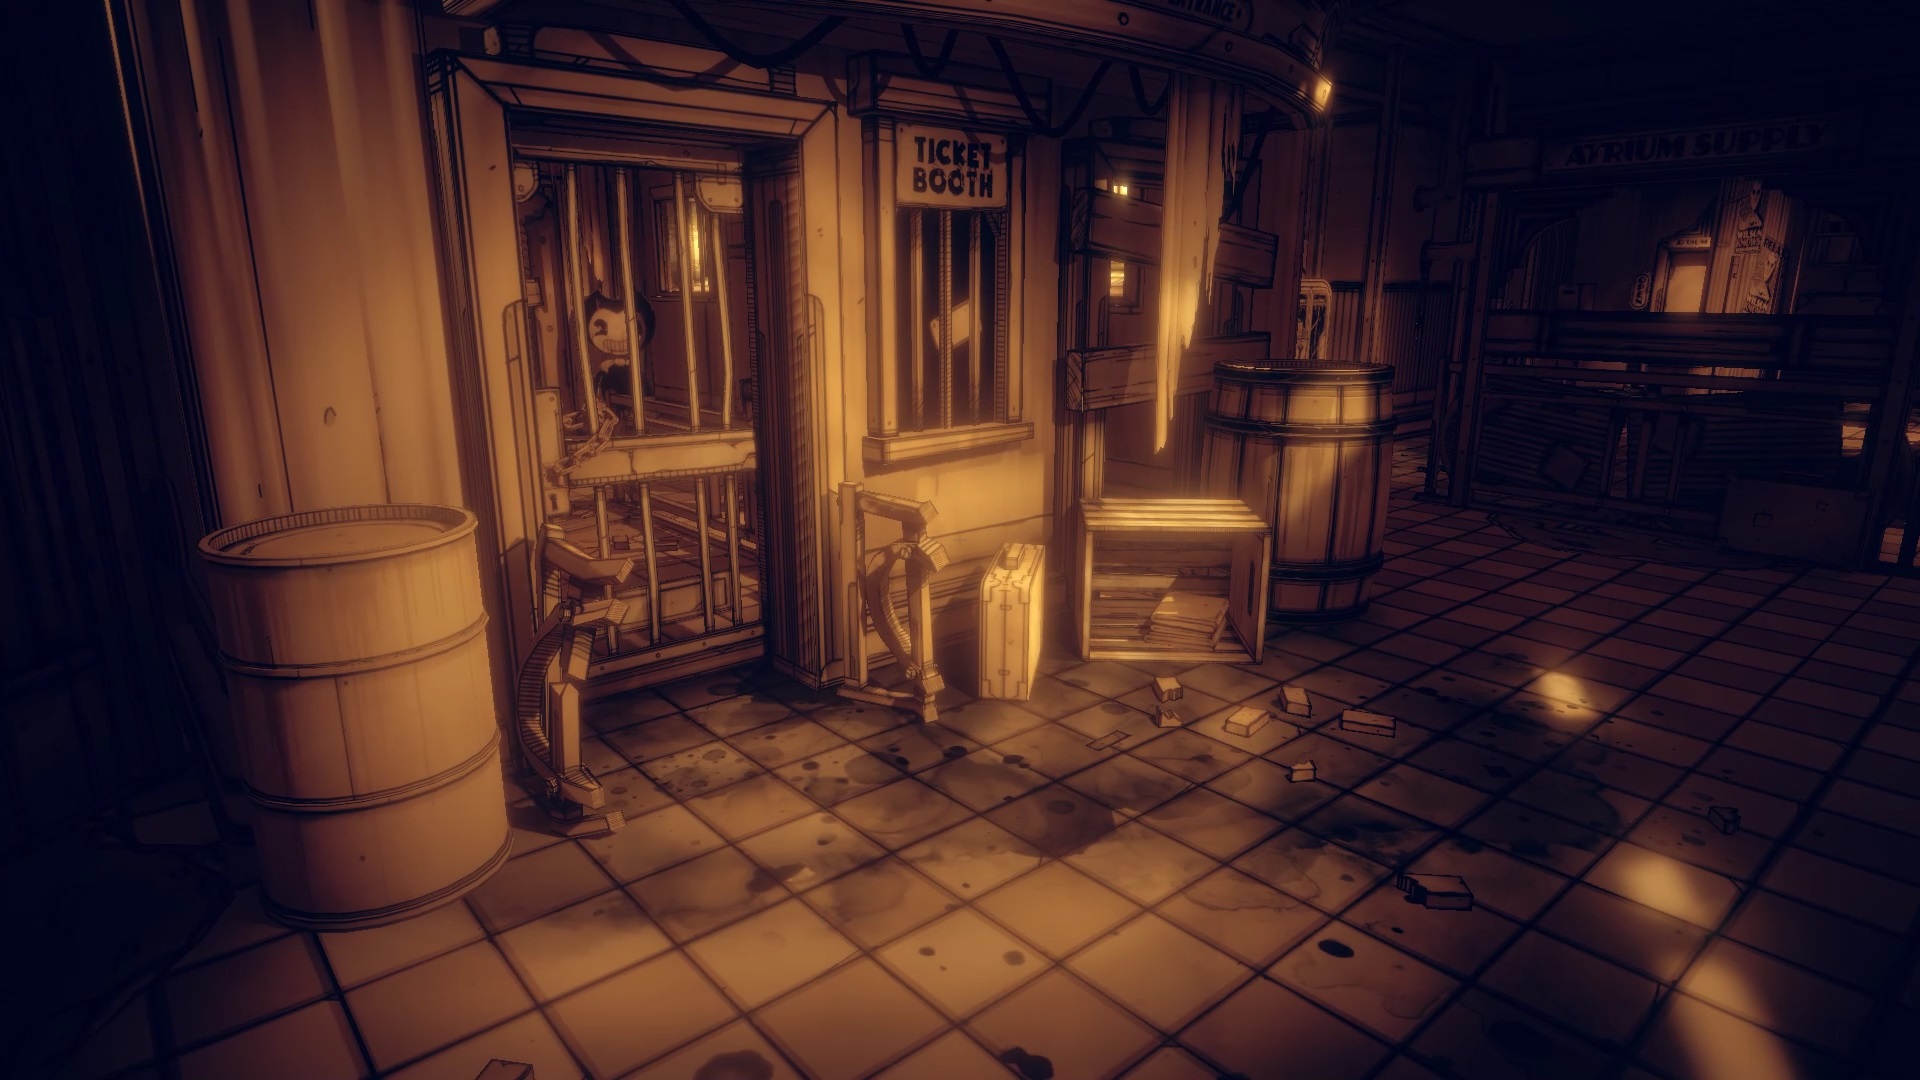
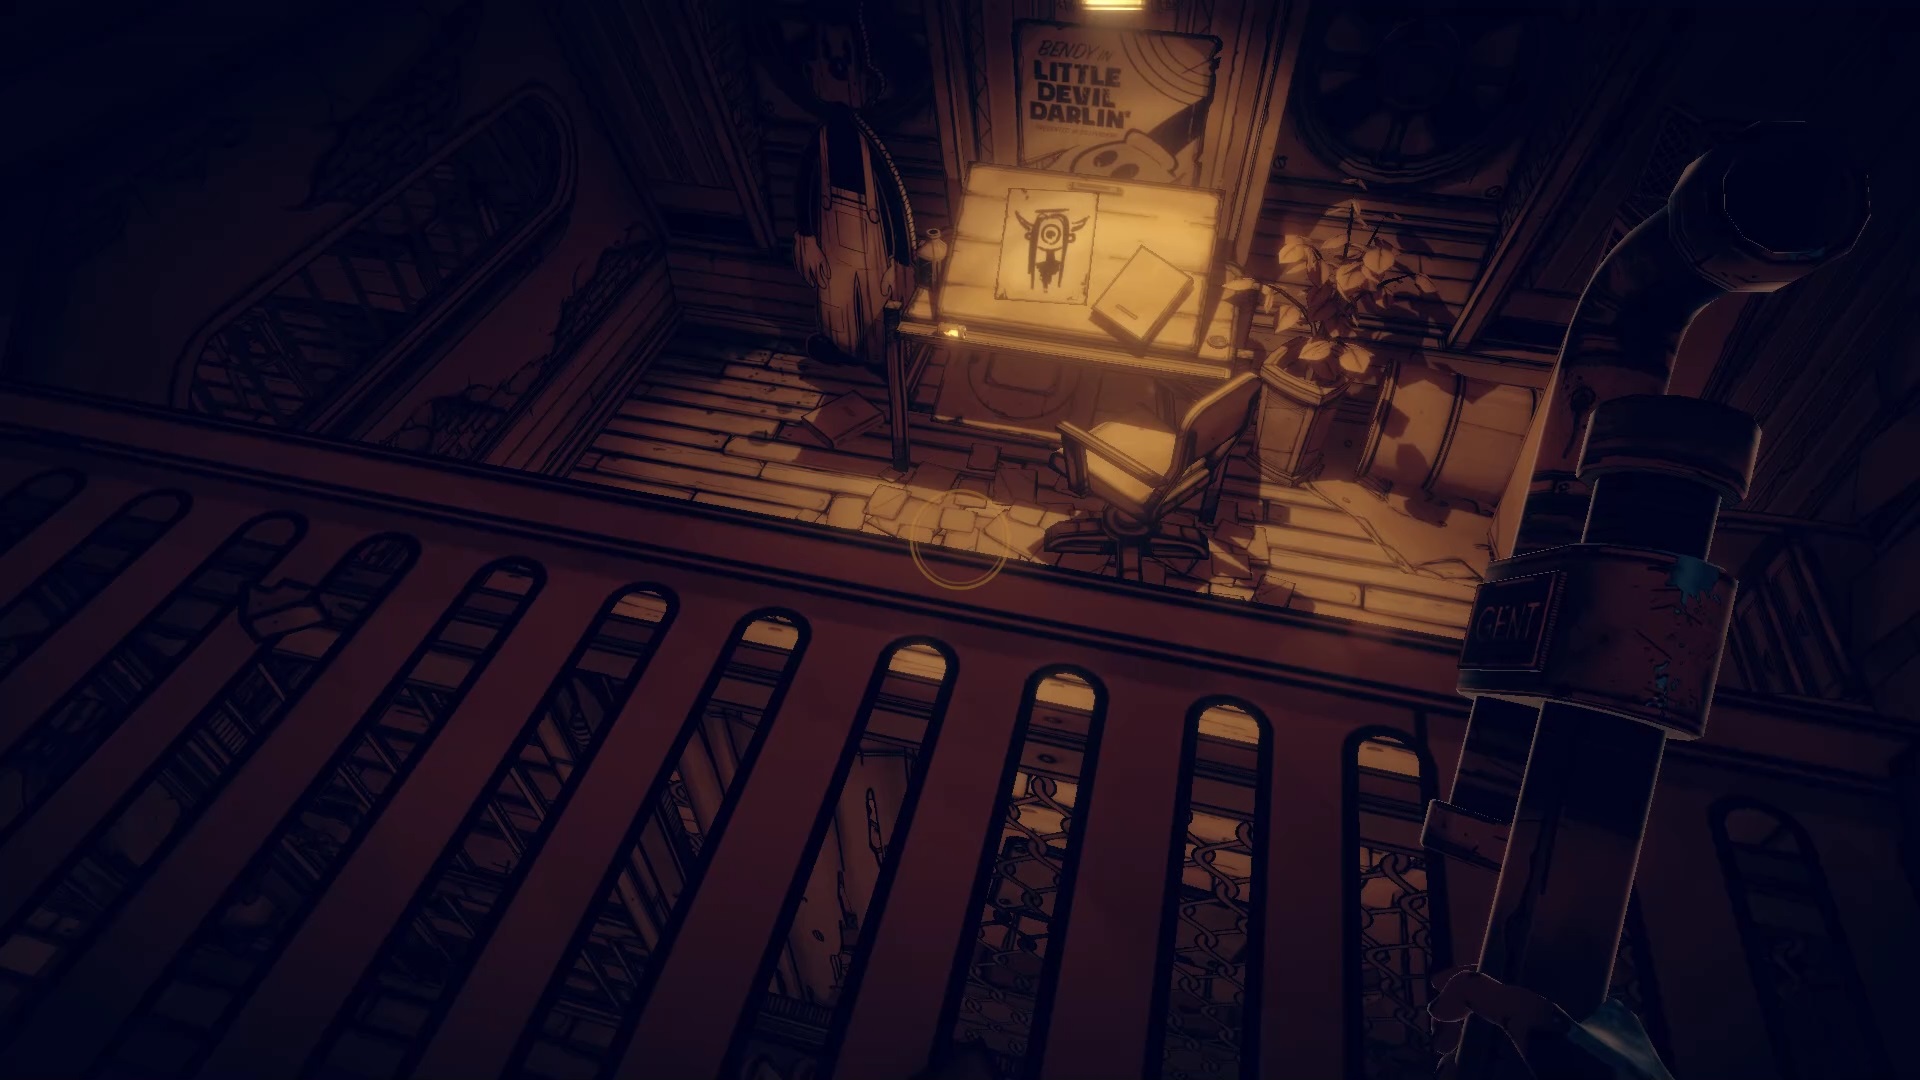
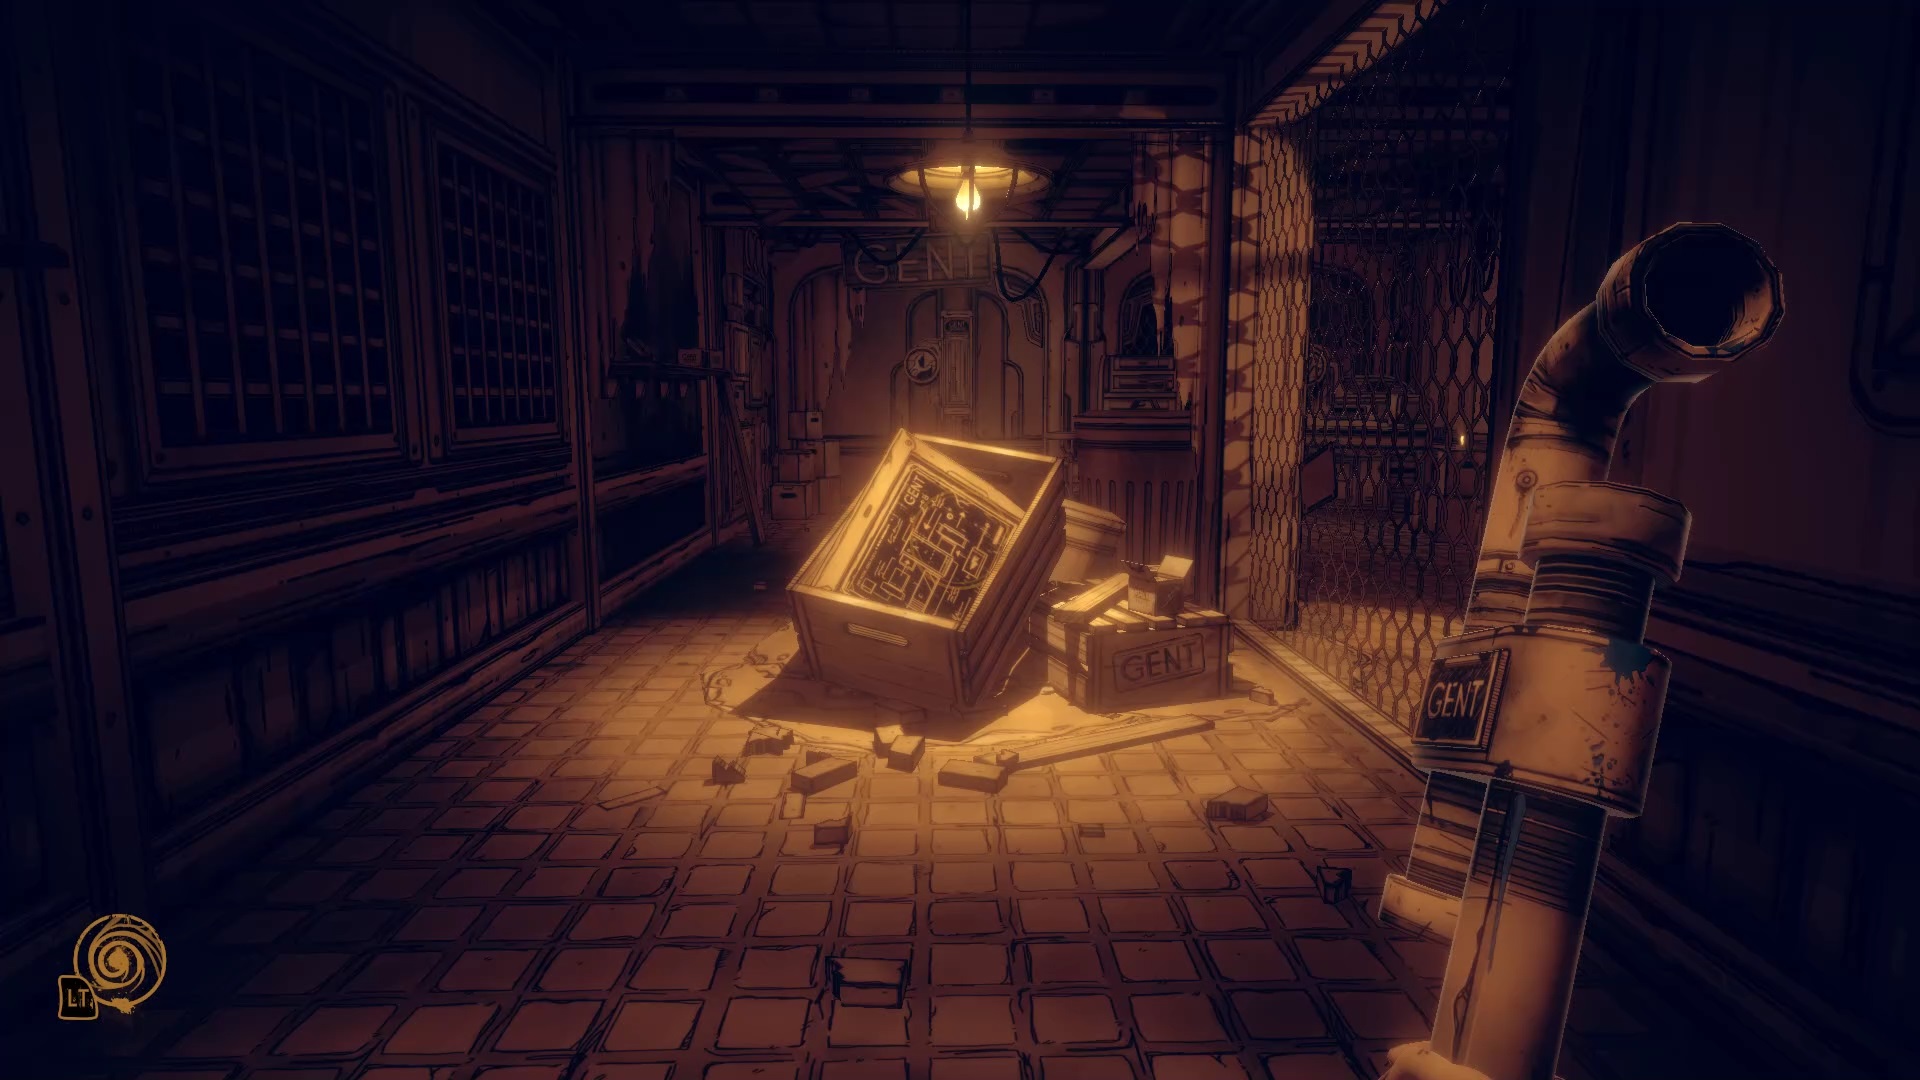
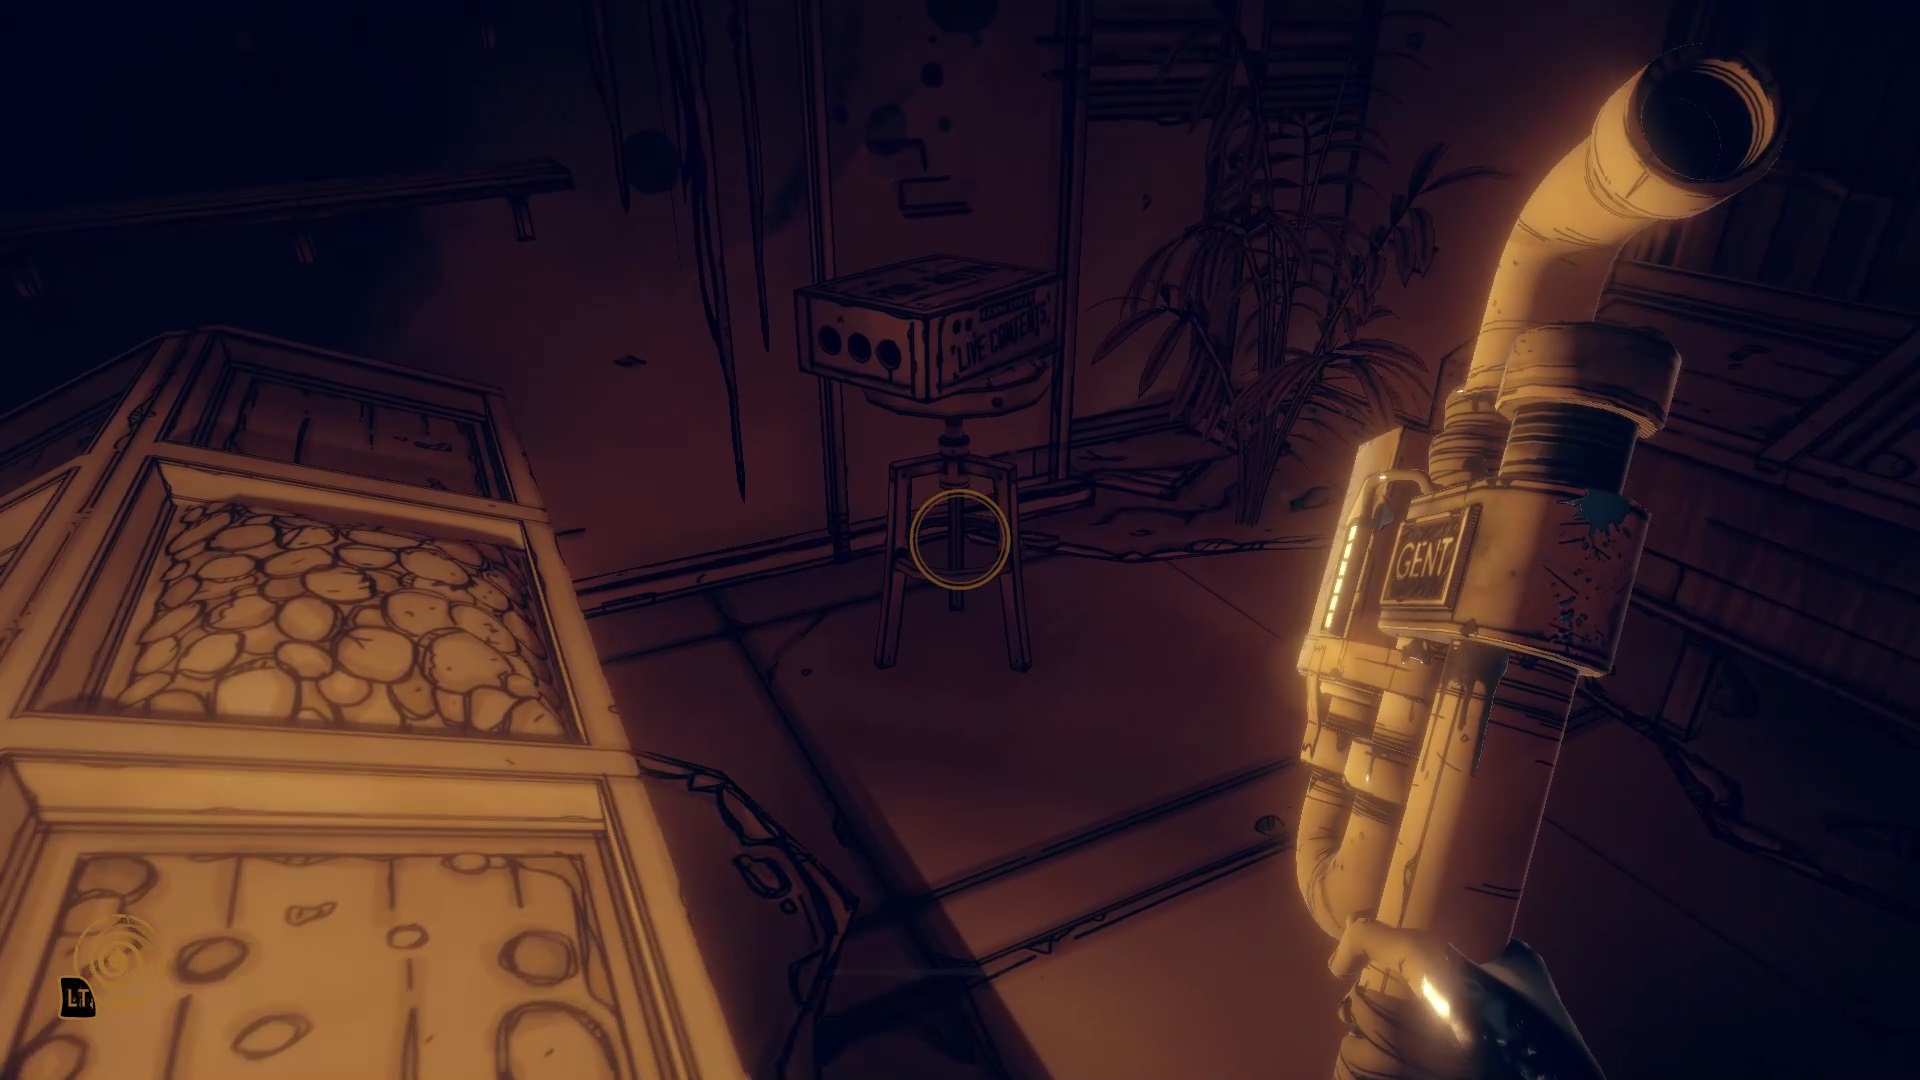
Once you get on the elevator, follow Wilson to get a mission where you need to return six lost items from the exhibit. The tool wrench is in front of Wilson. Return to the exhibit to find the cog in a box against the wall. Pick up the disc near Bendy’s sign. Collect the book from the shelf and anchor it near Joey Drew’s painting. Let’s finish with the centerpiece, the Bendy plush sitting on a seat in the corner.
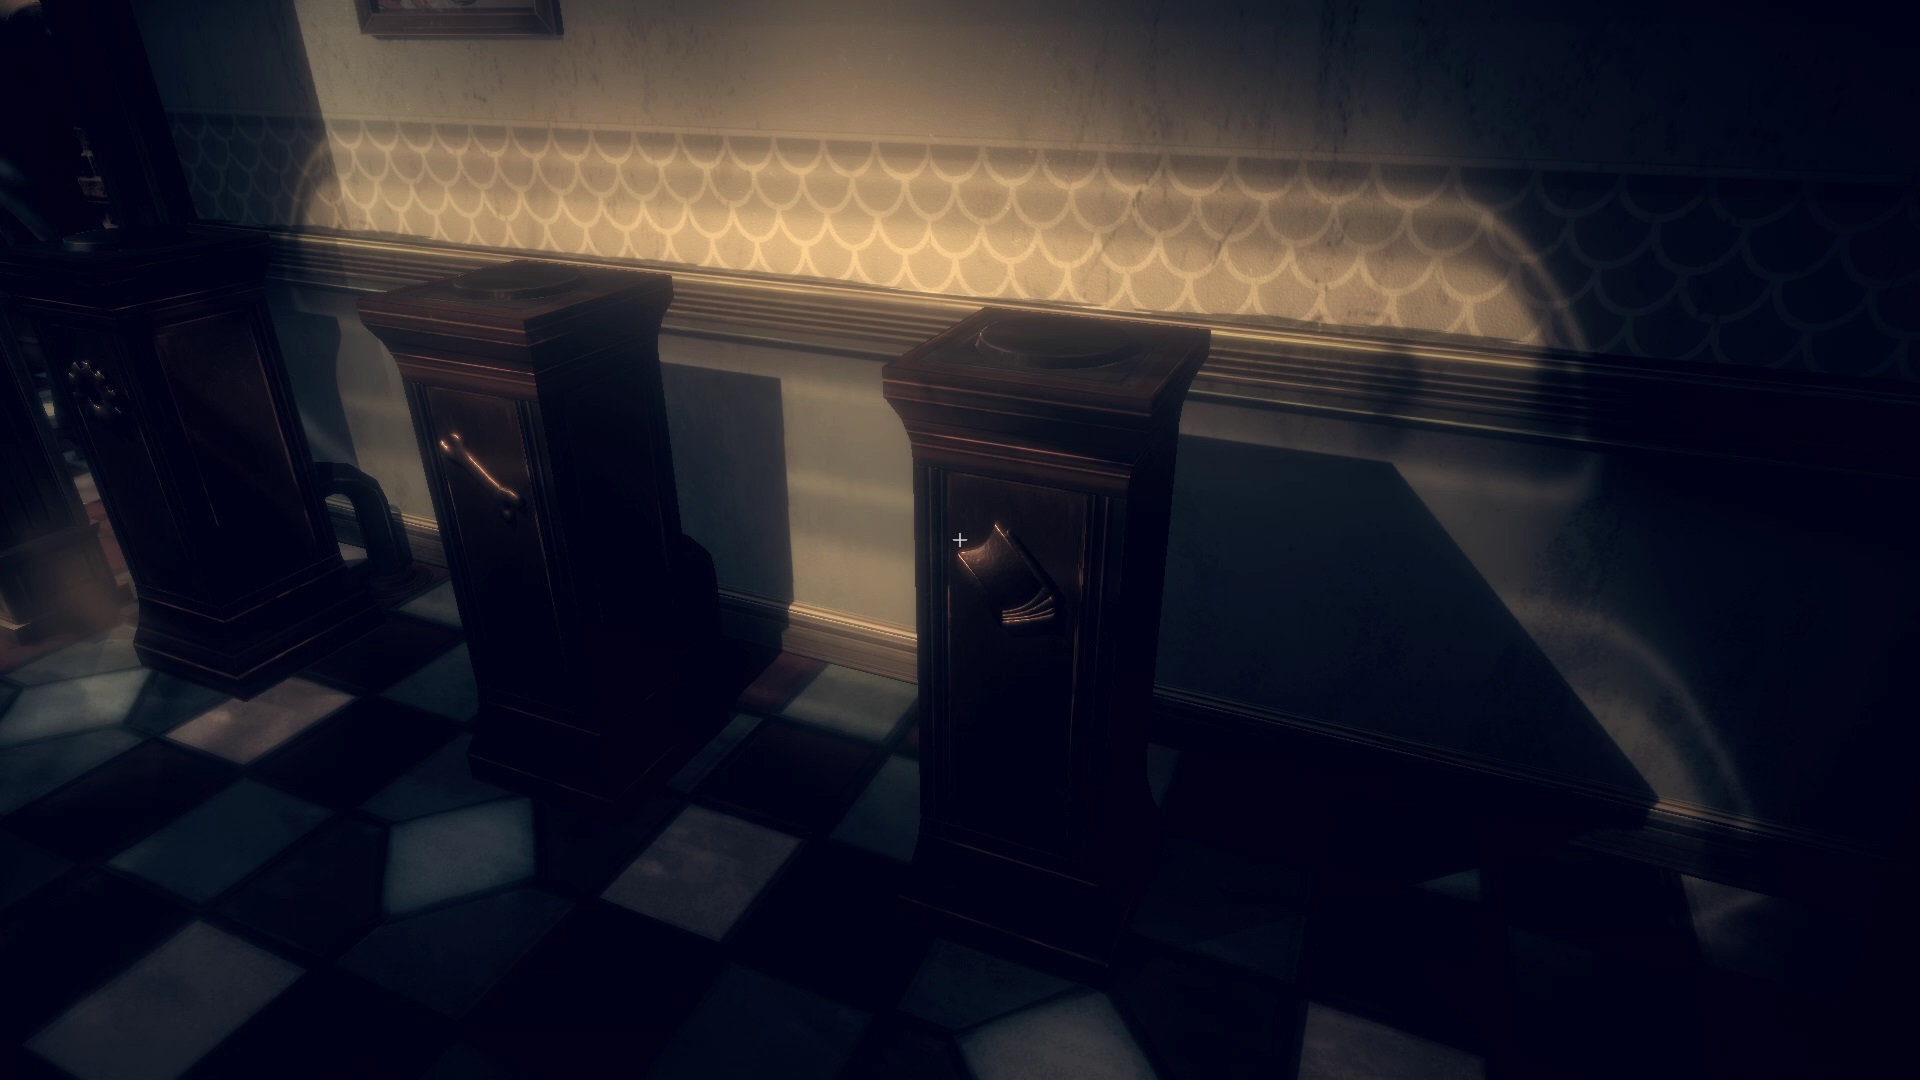
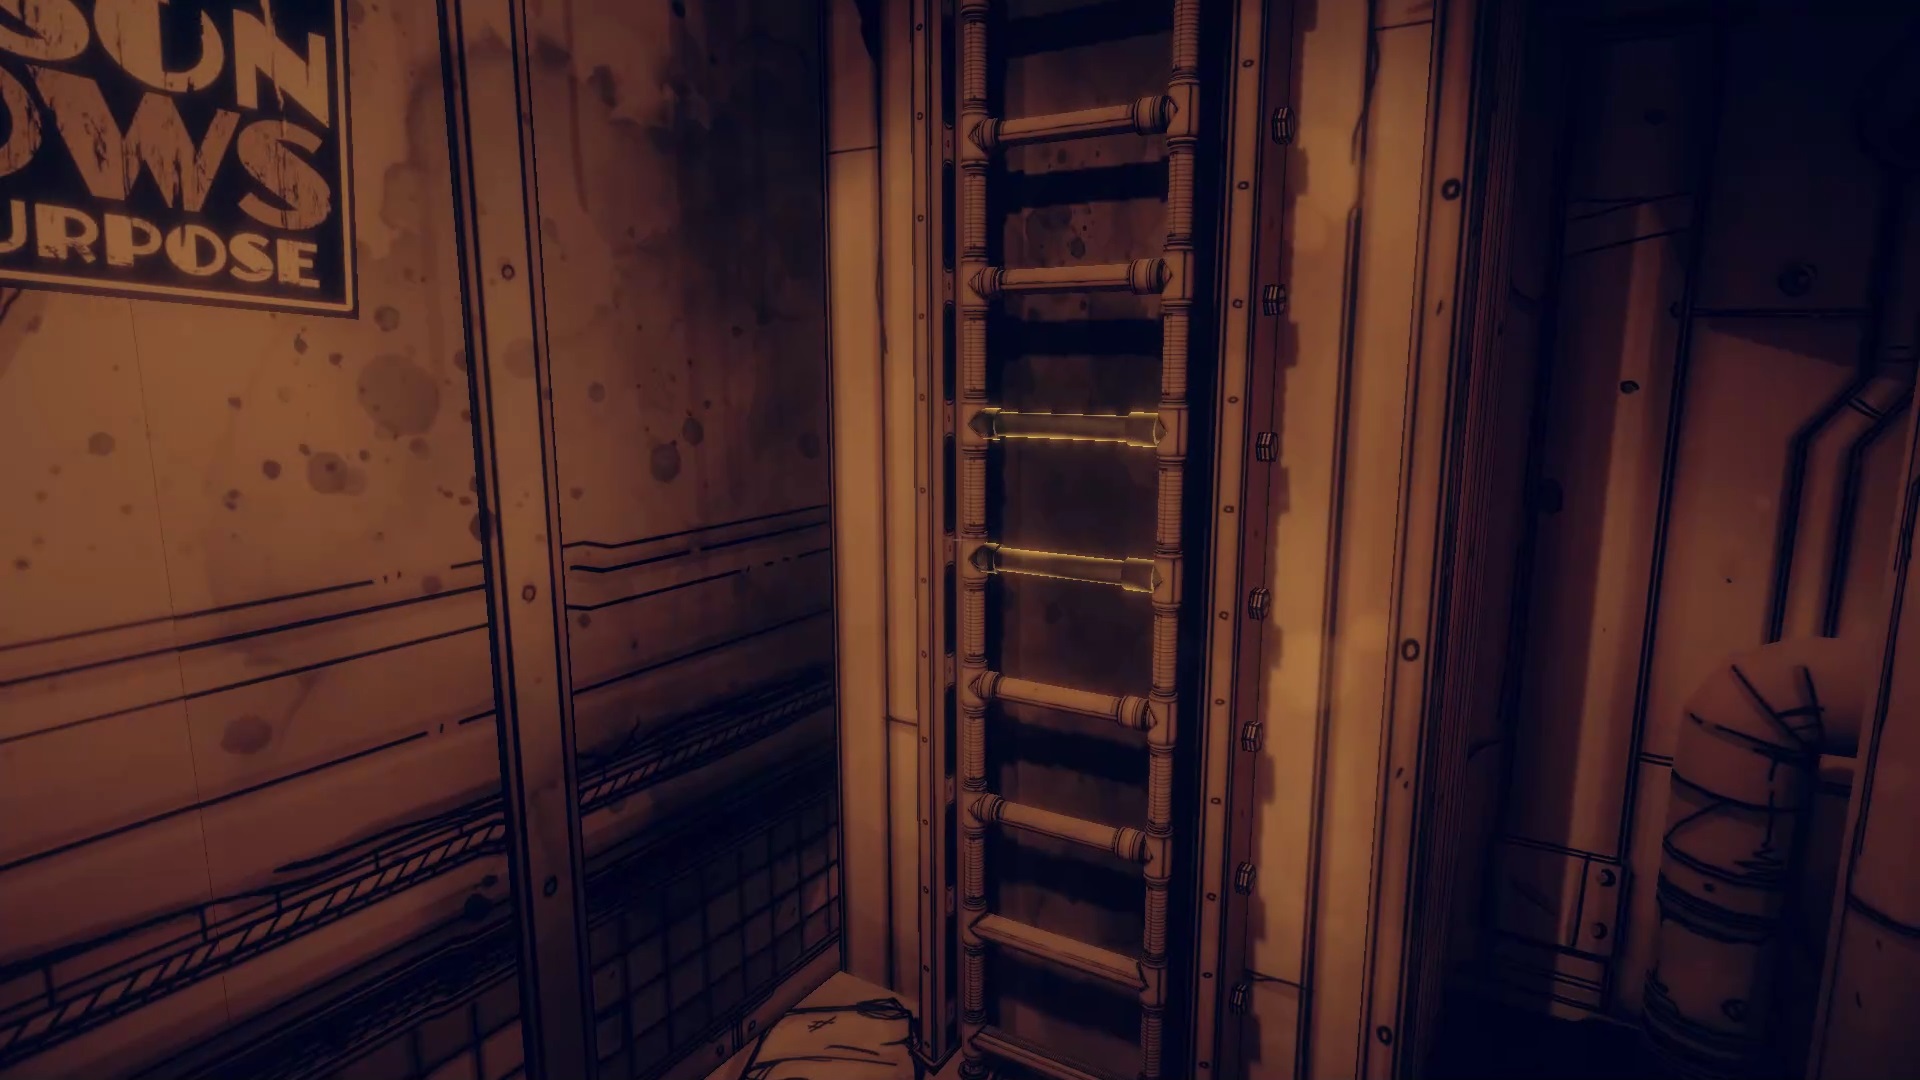
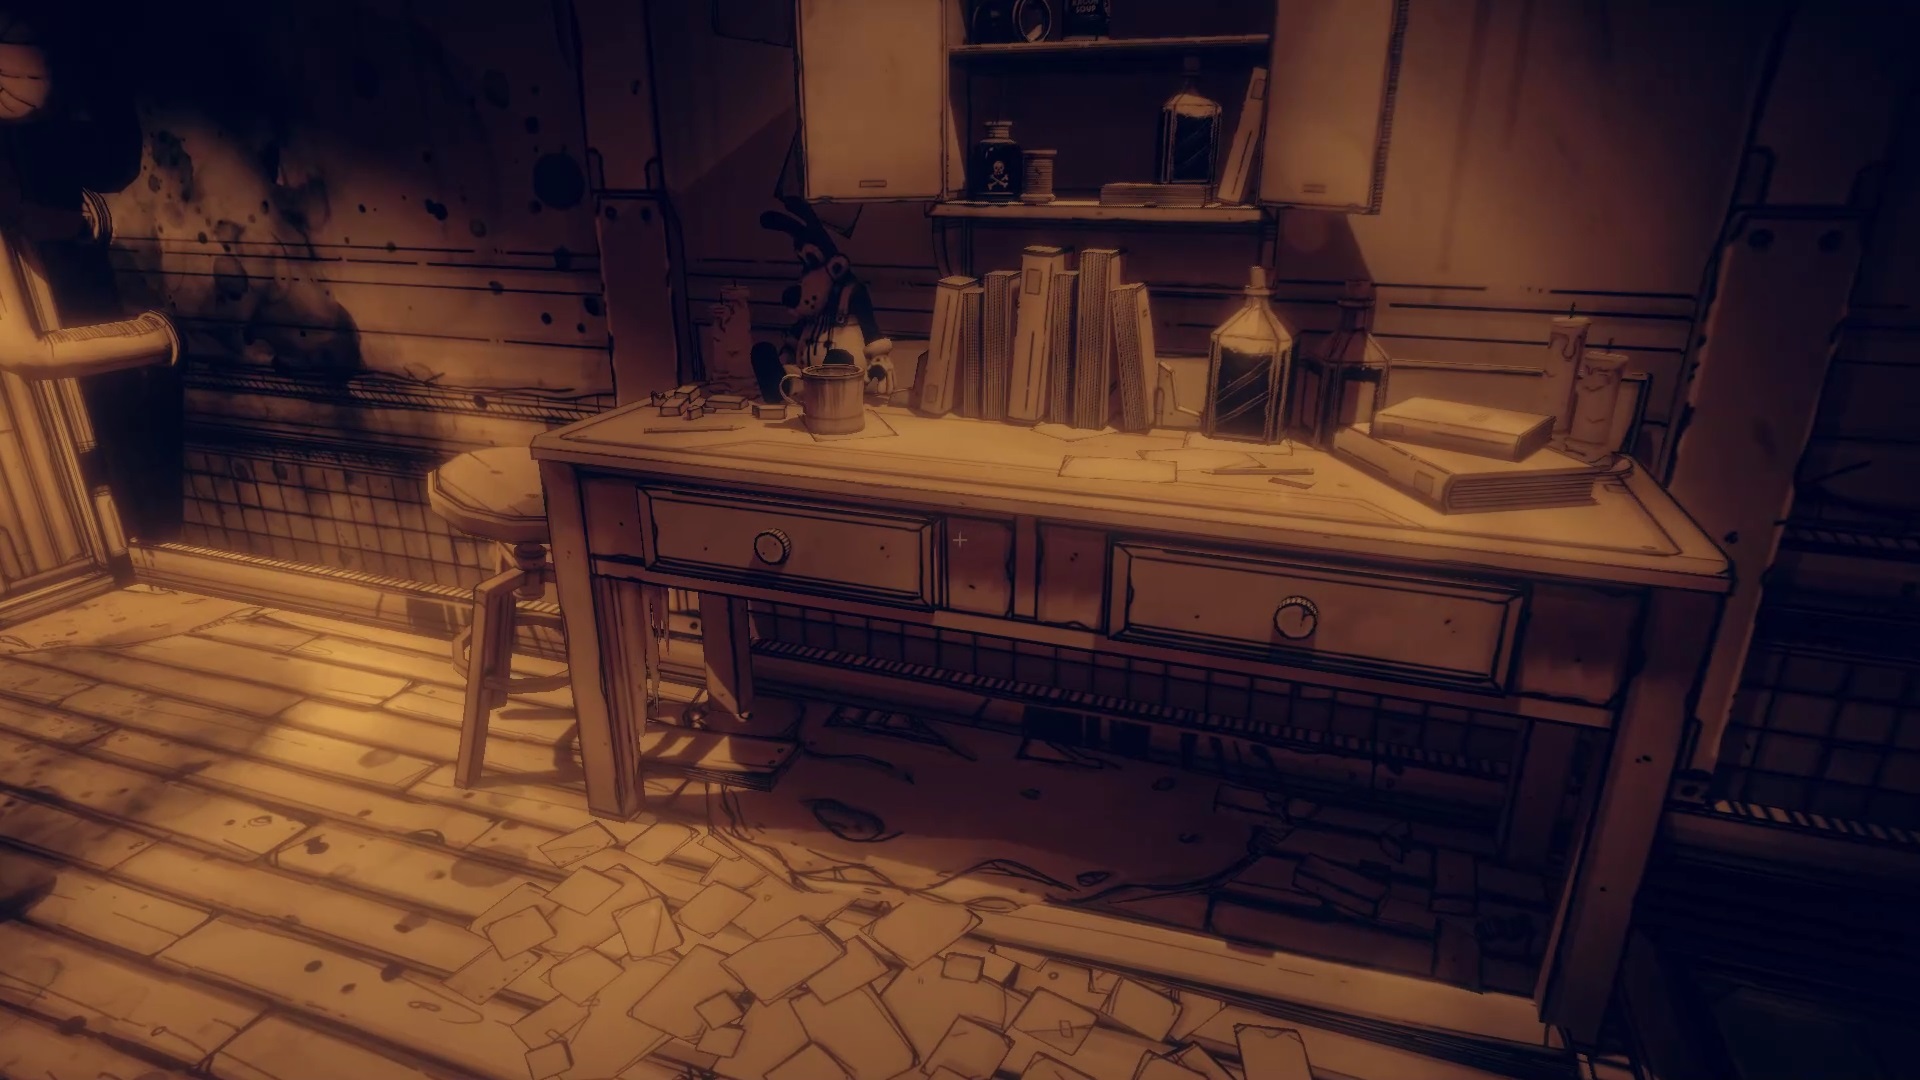

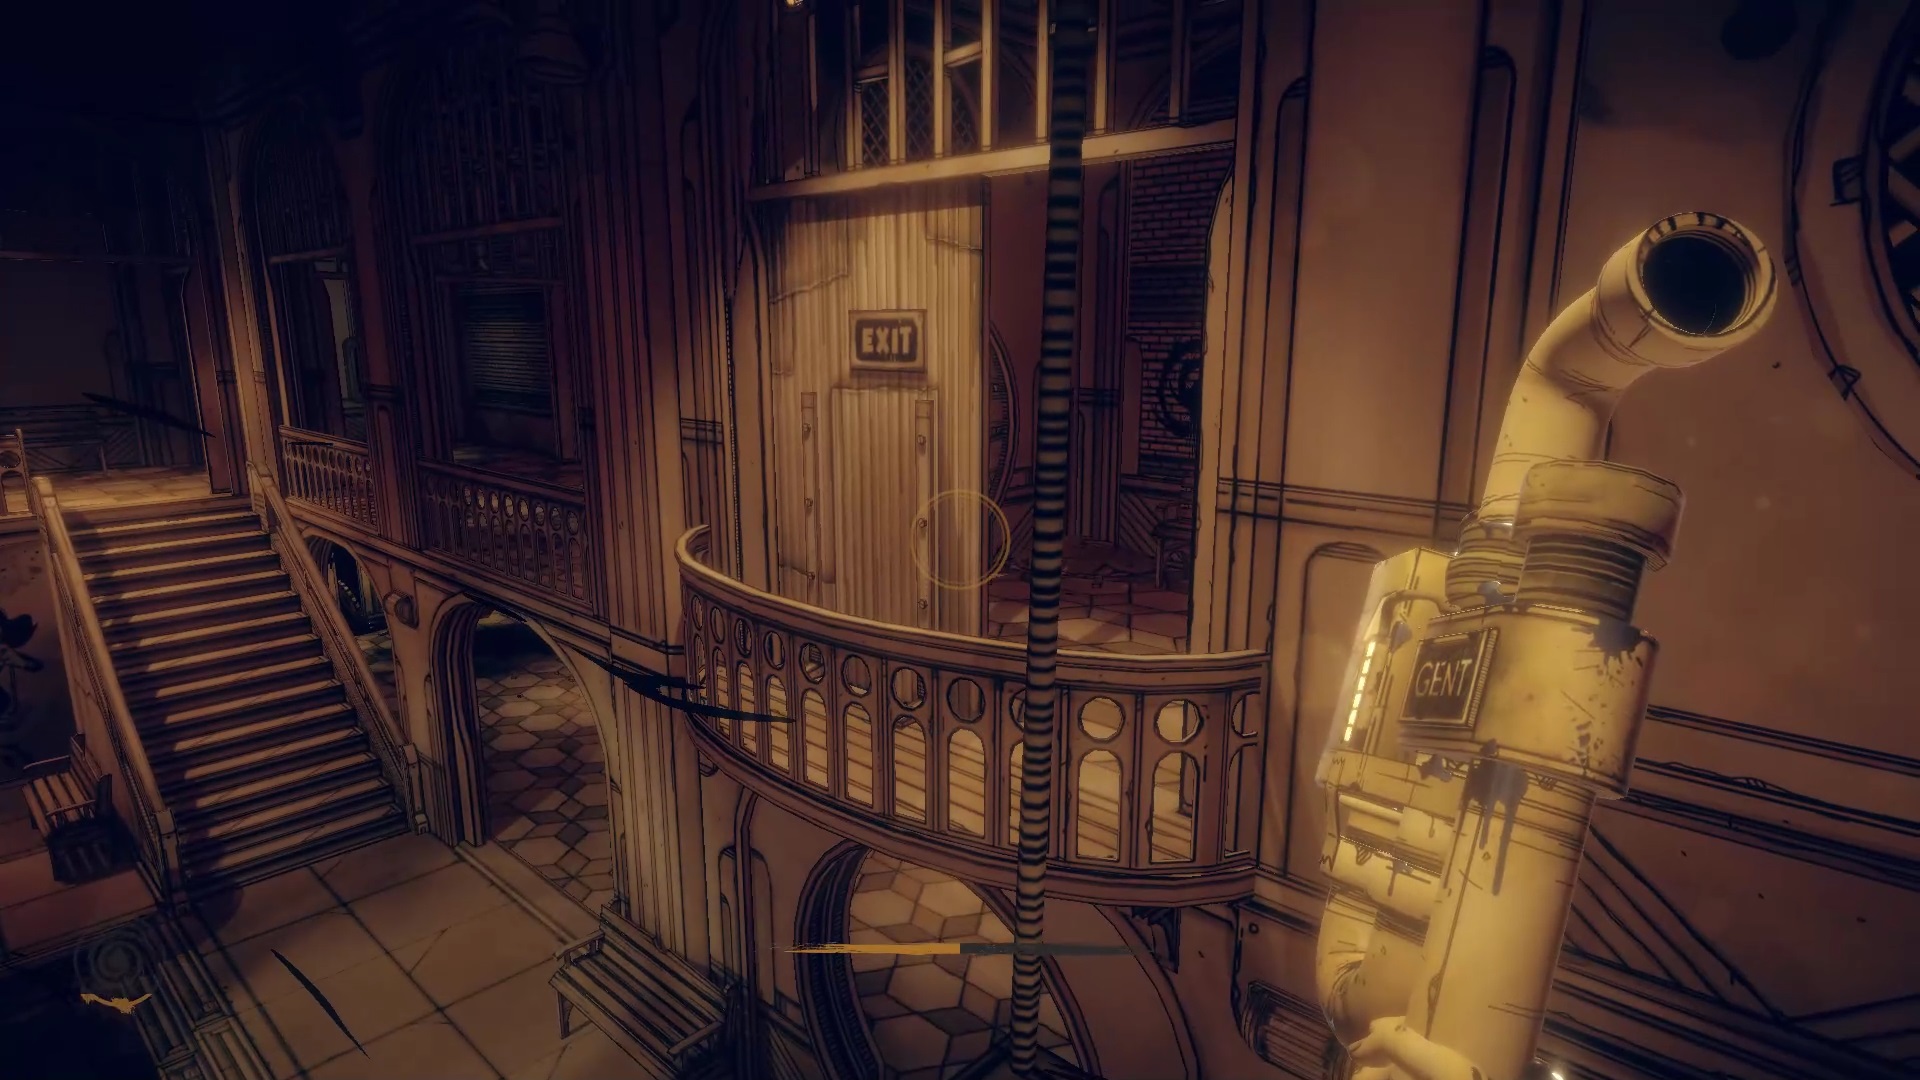
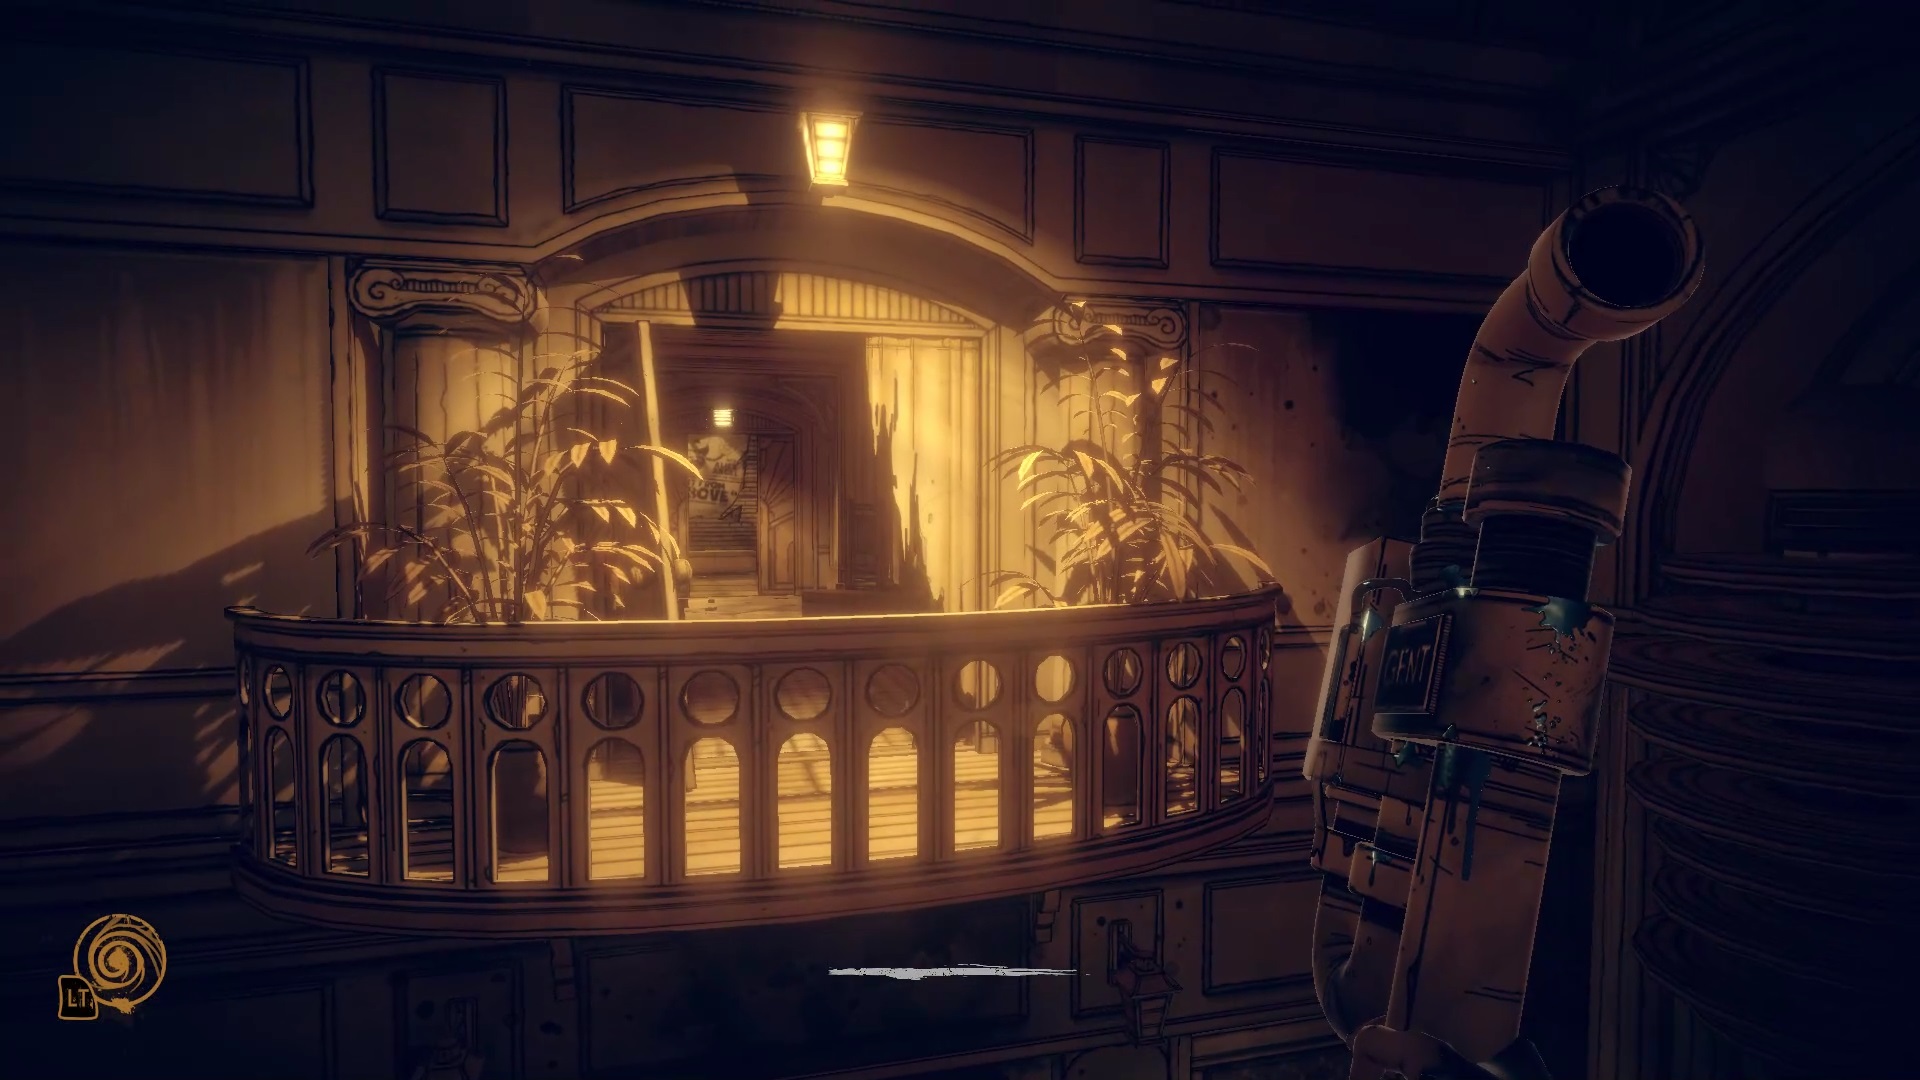
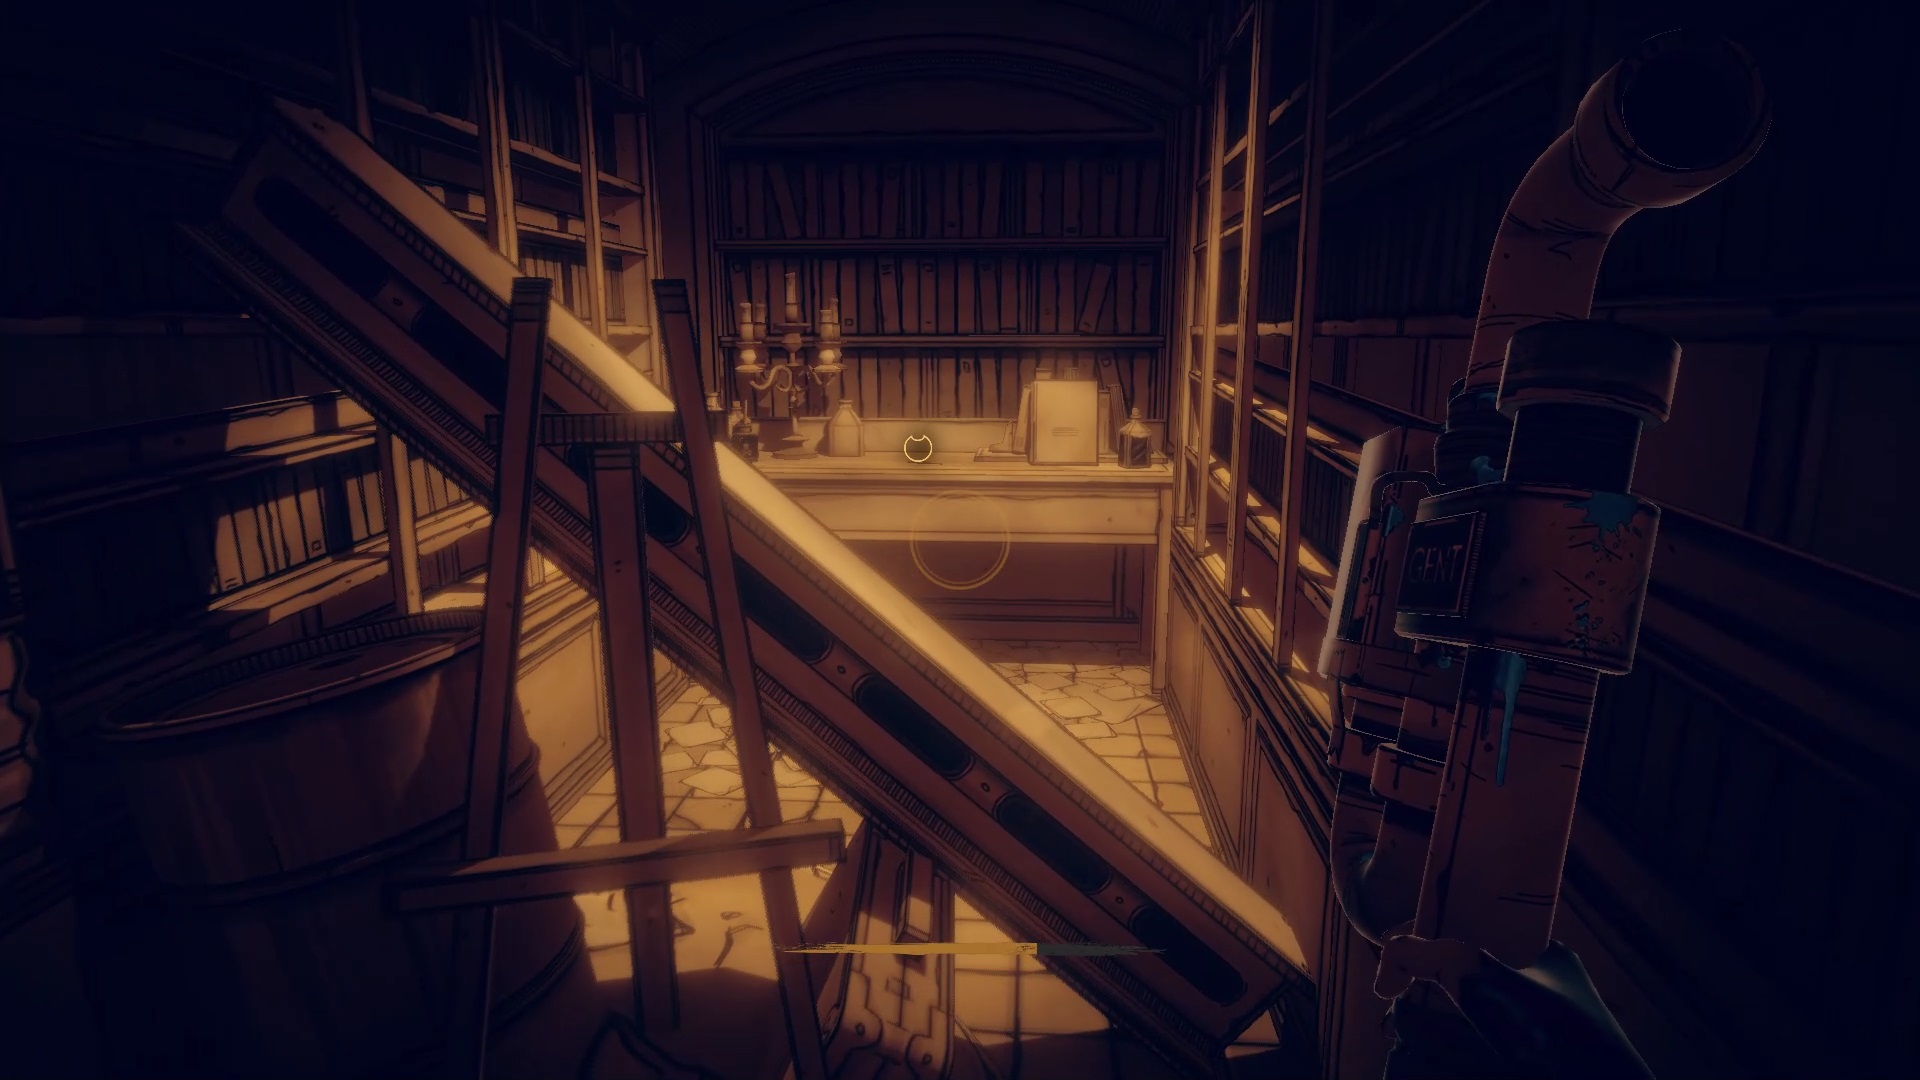
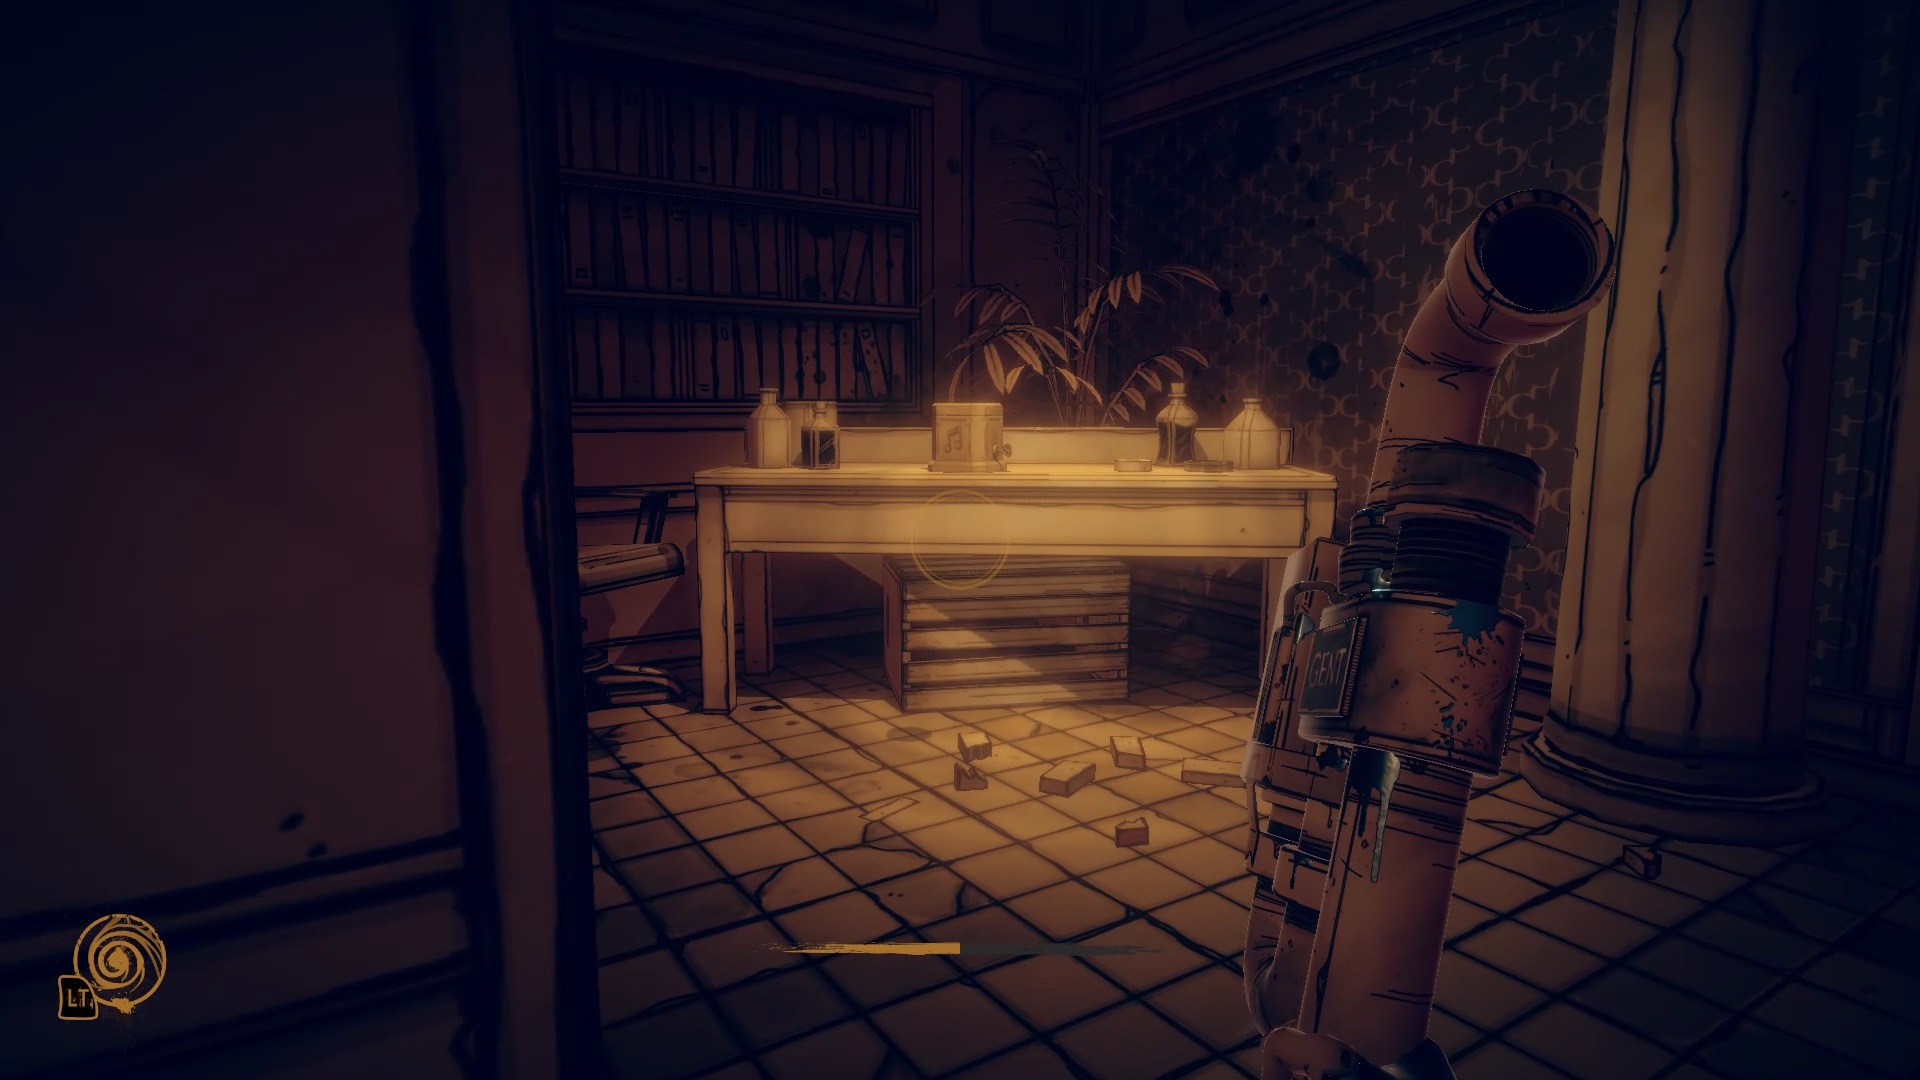
Place each object on its pedestal to continue the adventure alongside Wilson. After carrying out his orders you find yourself alone in another world. You will quickly notice that there are steps missing from a ladder. Search the desk drawers in the hall to find the steps. Now use the ladder to climb up and follow the objective. Once you get to the balcony, pull the lever above the ladder to open the passage to Heavenly Toys.
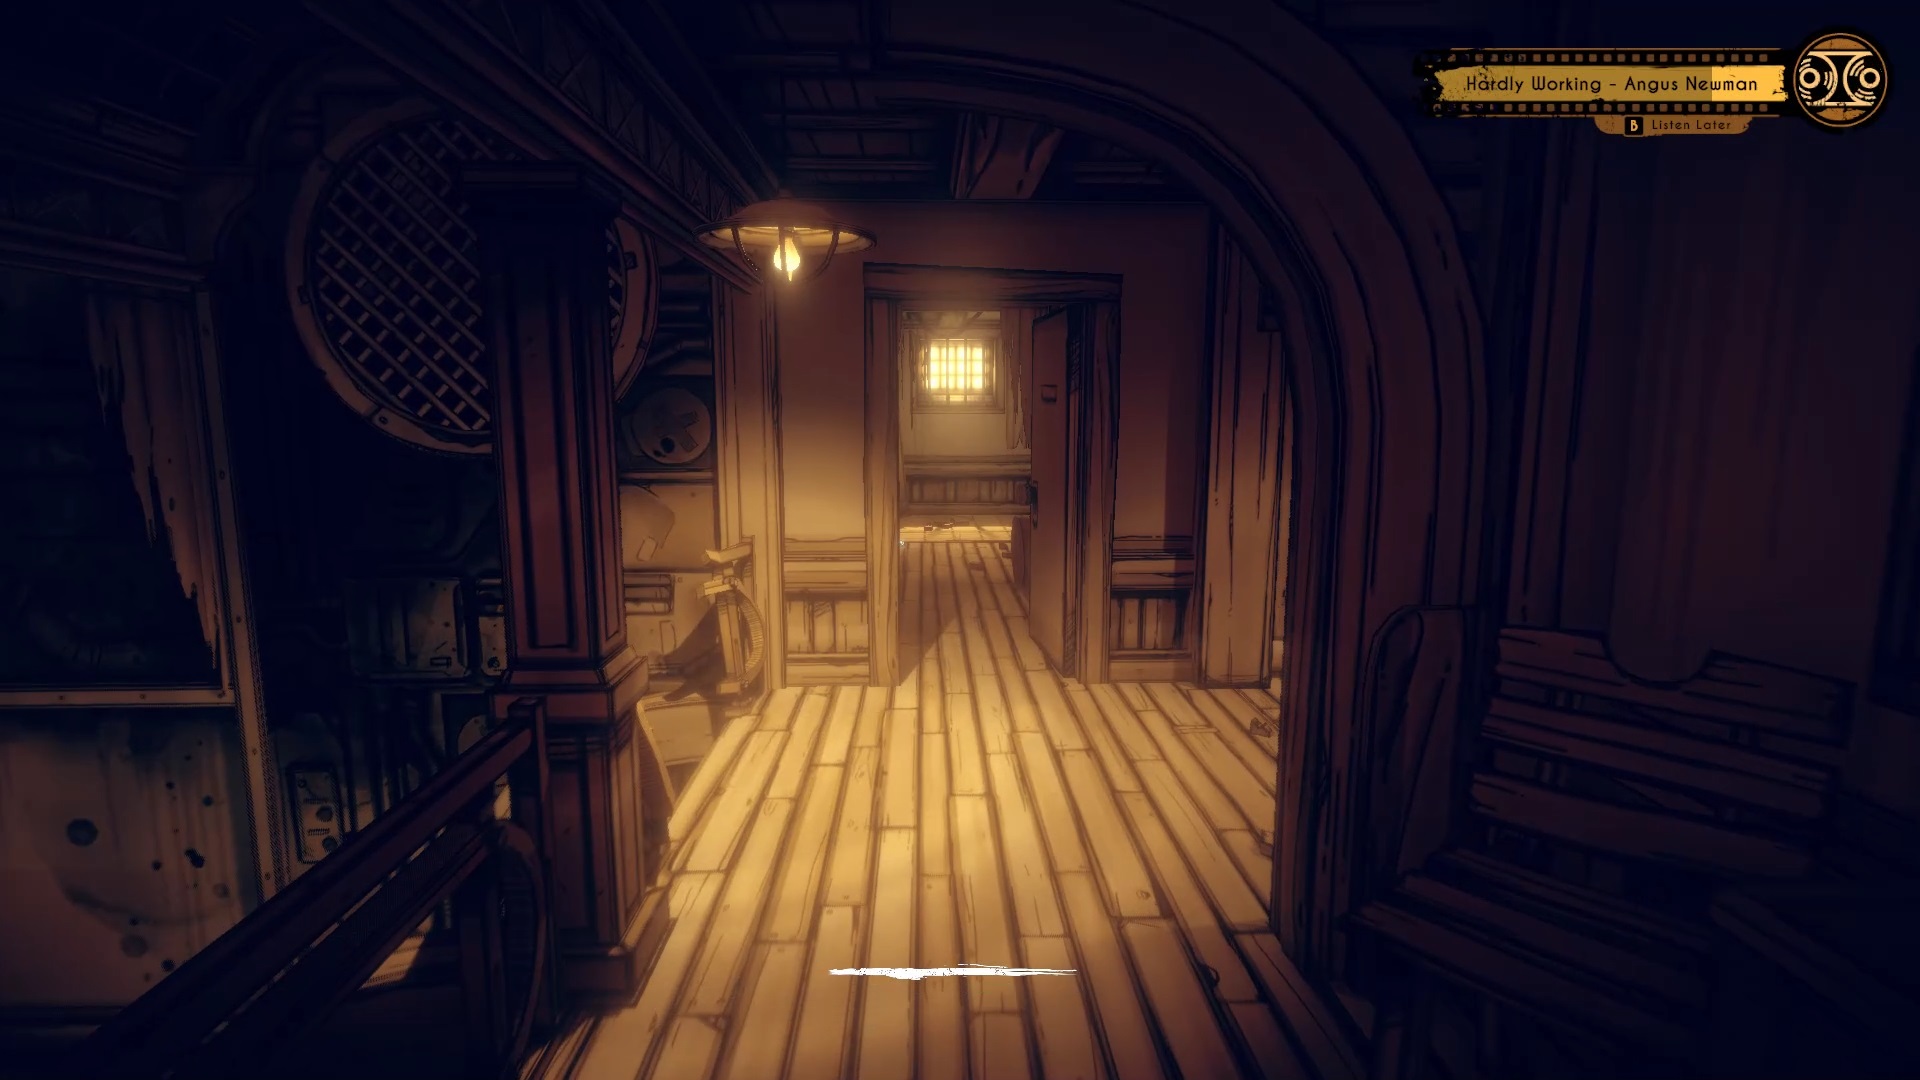
Climb up and then follow the objectives to learn the escape and health boost mechanics. Then go up the balcony to find a corridor on the left.
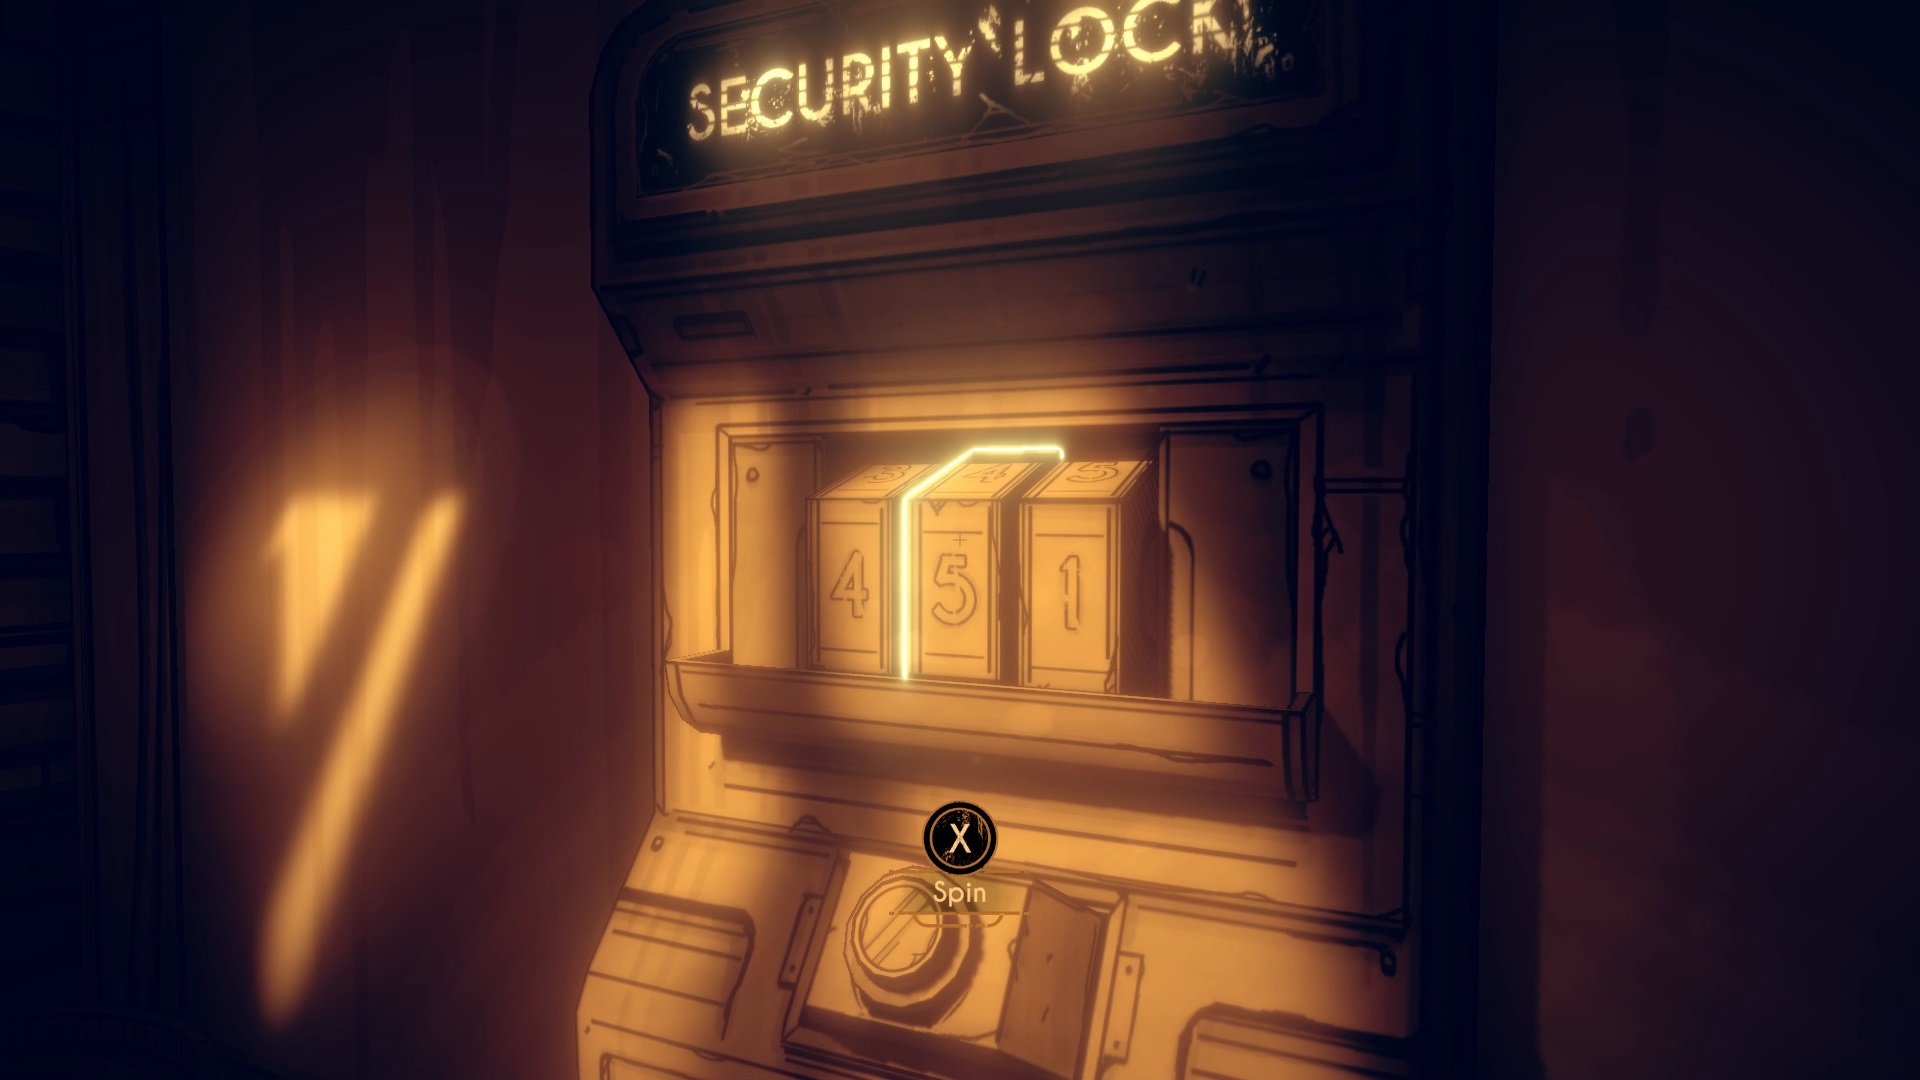
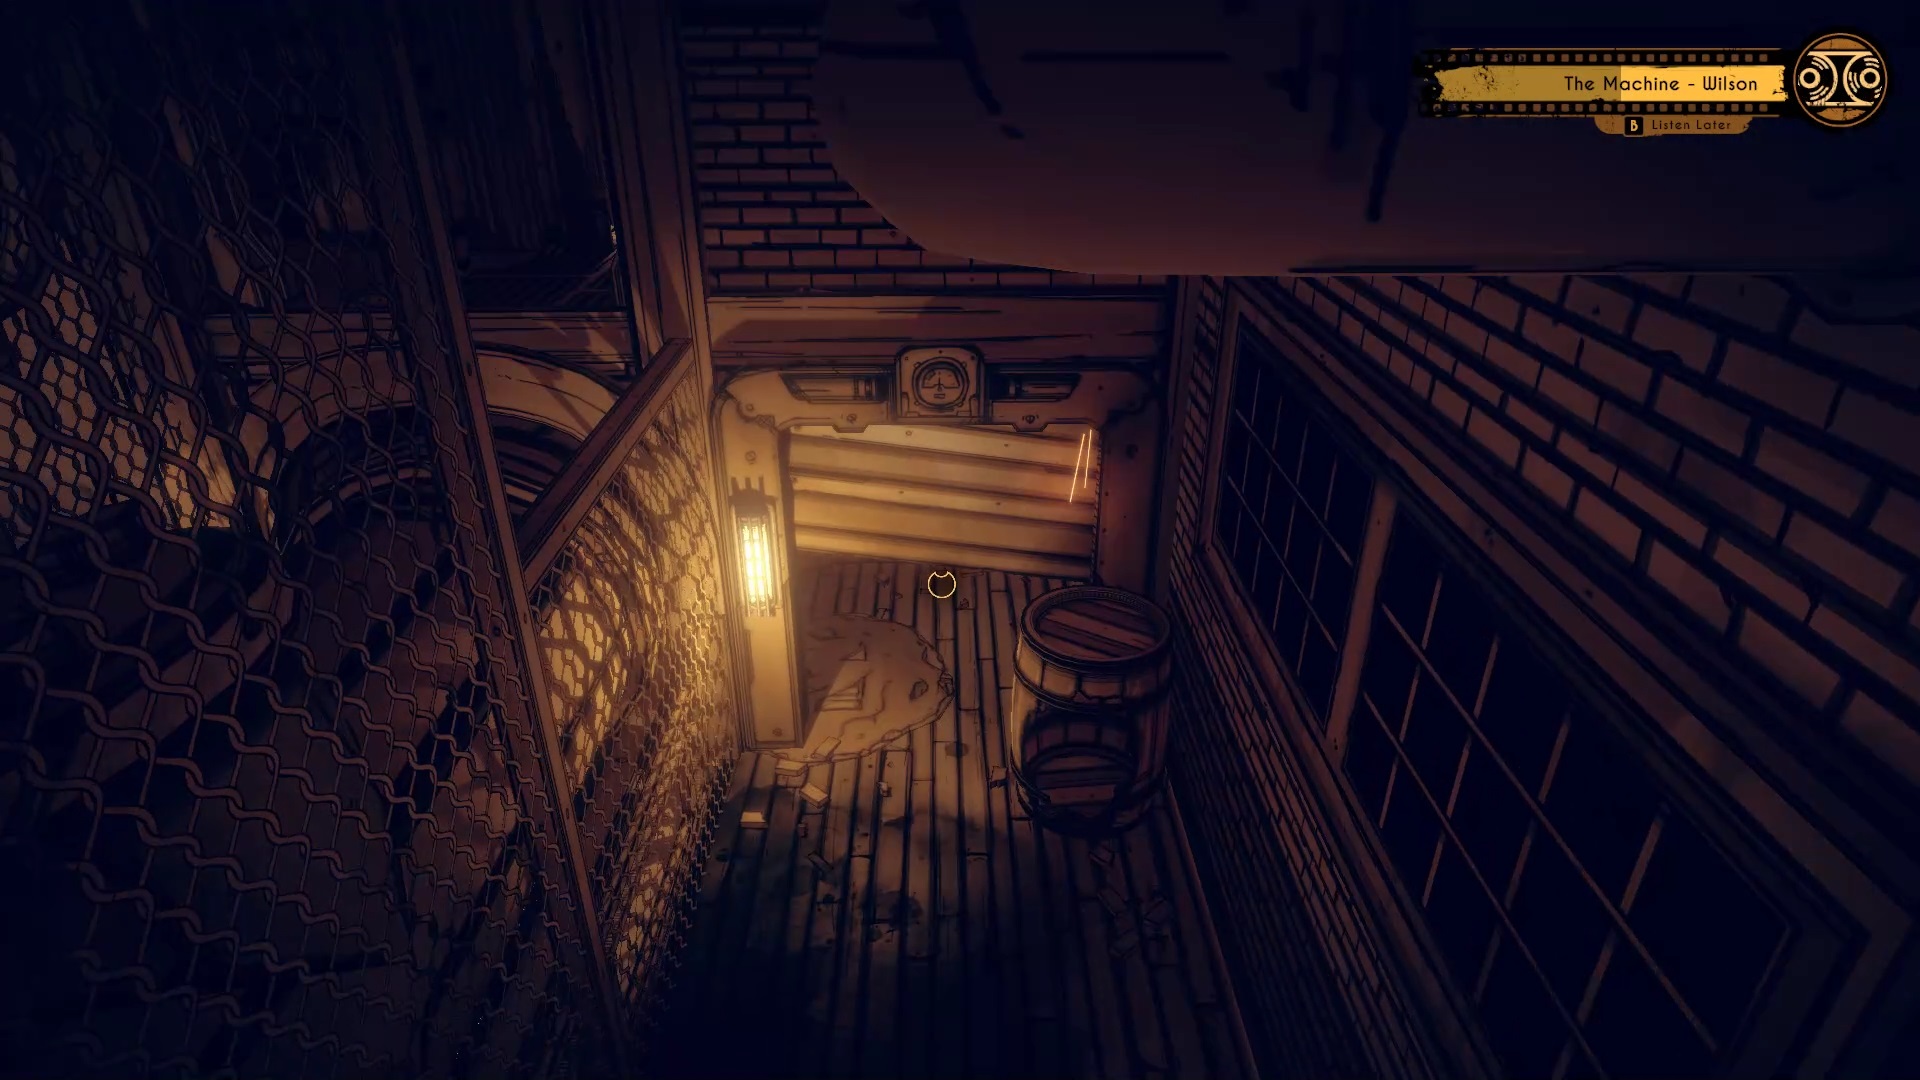
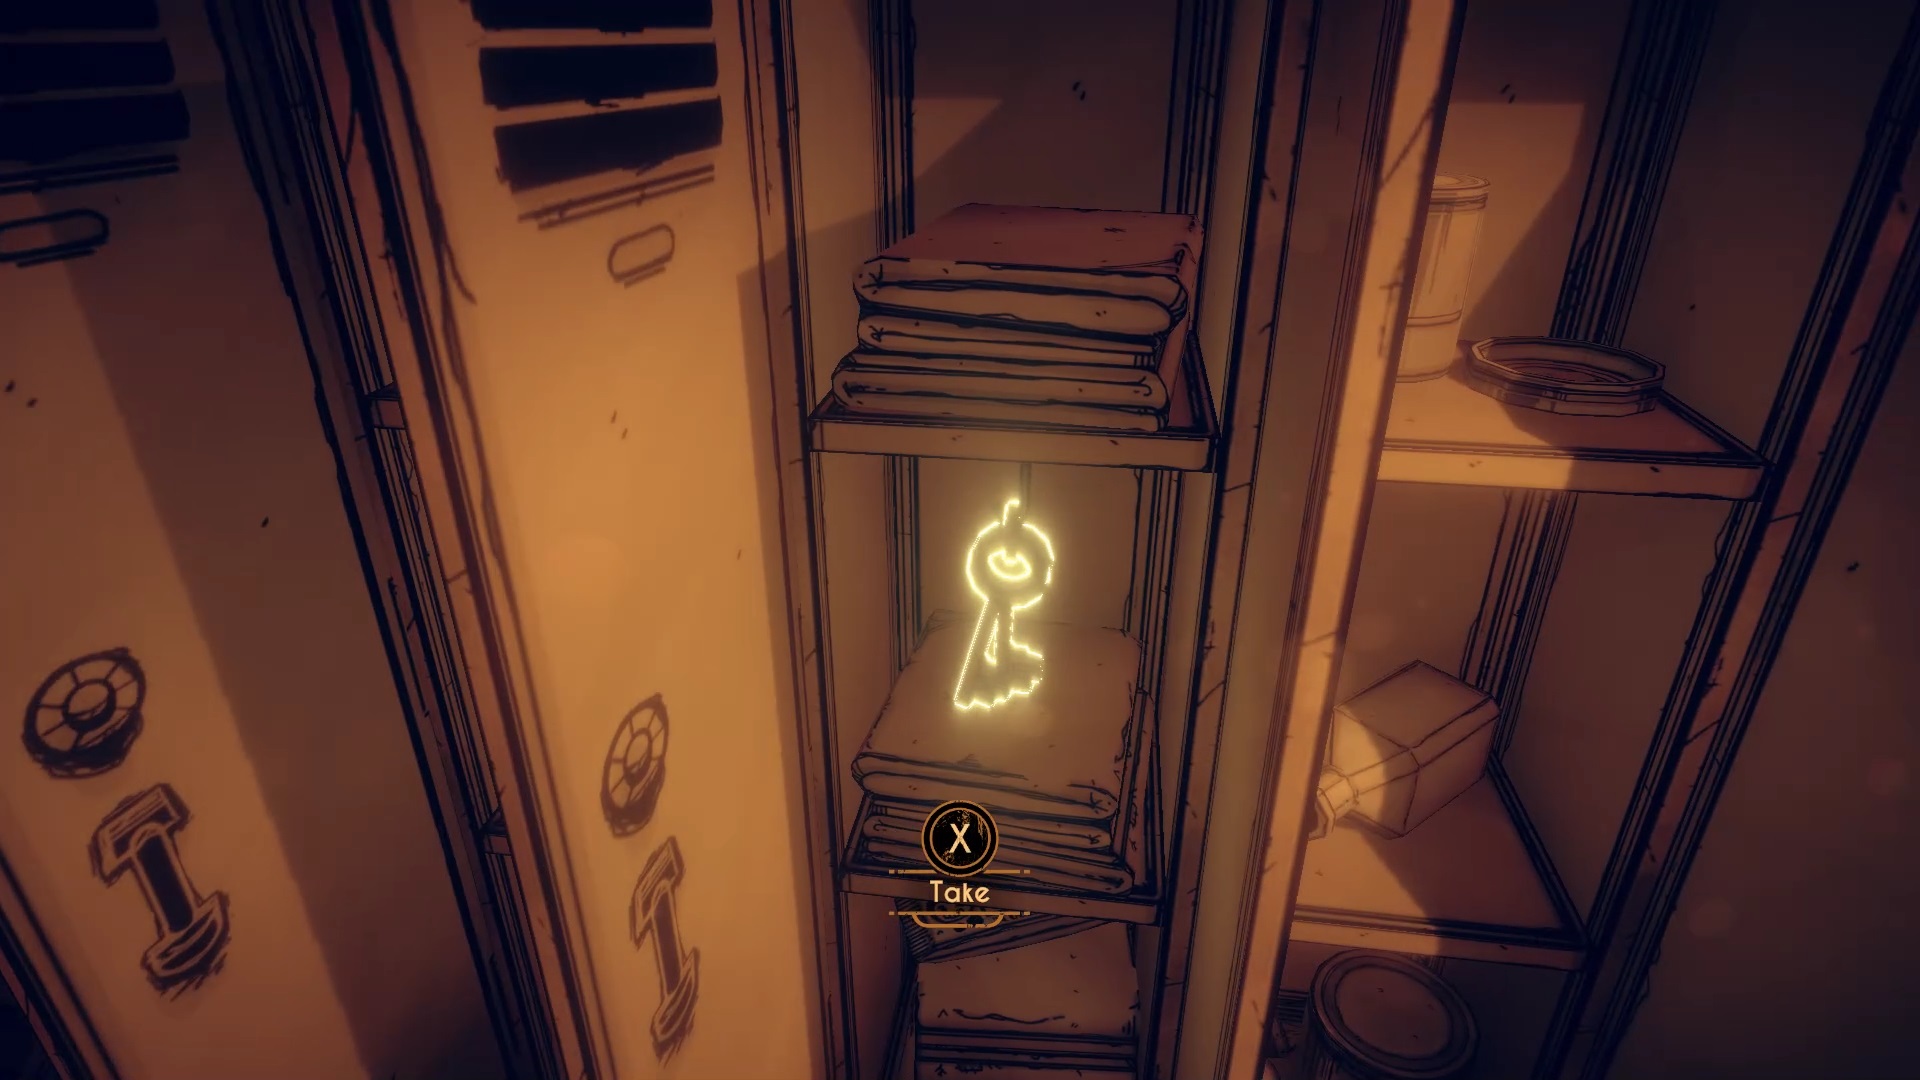
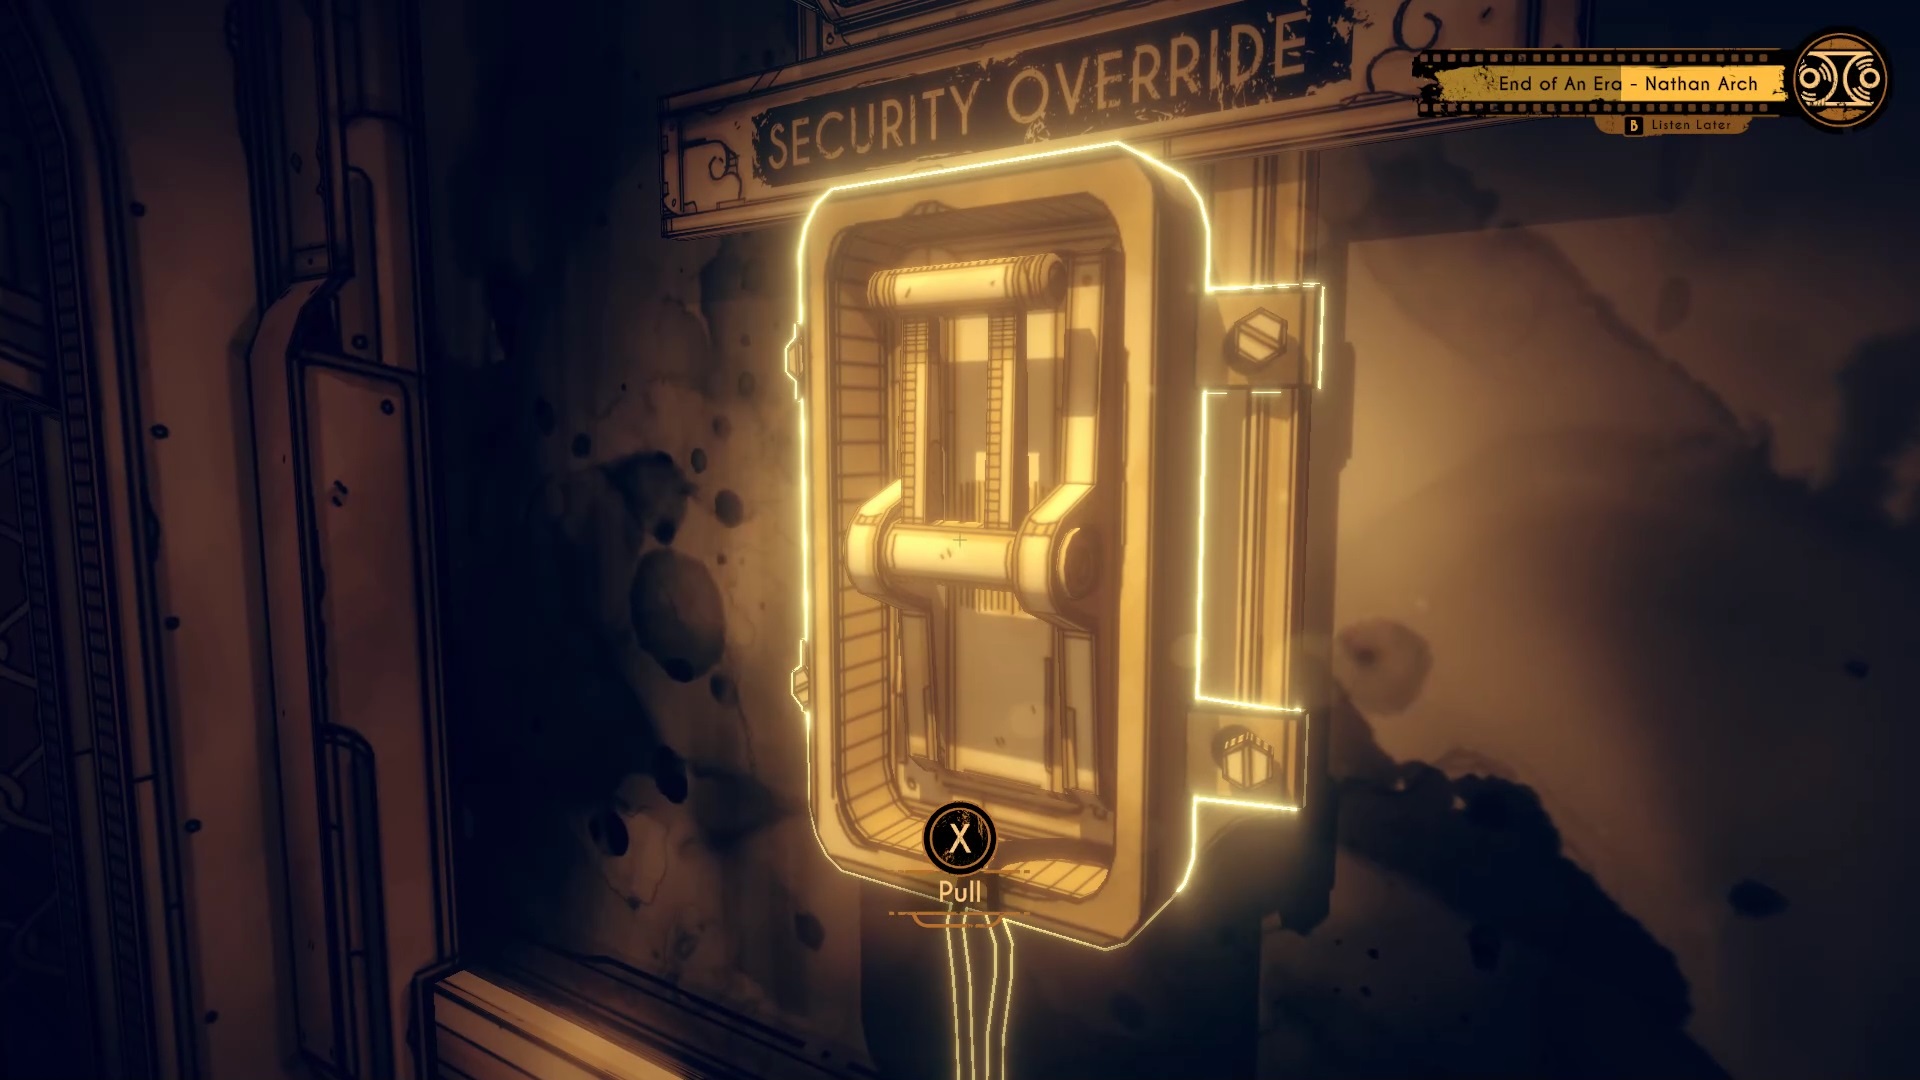
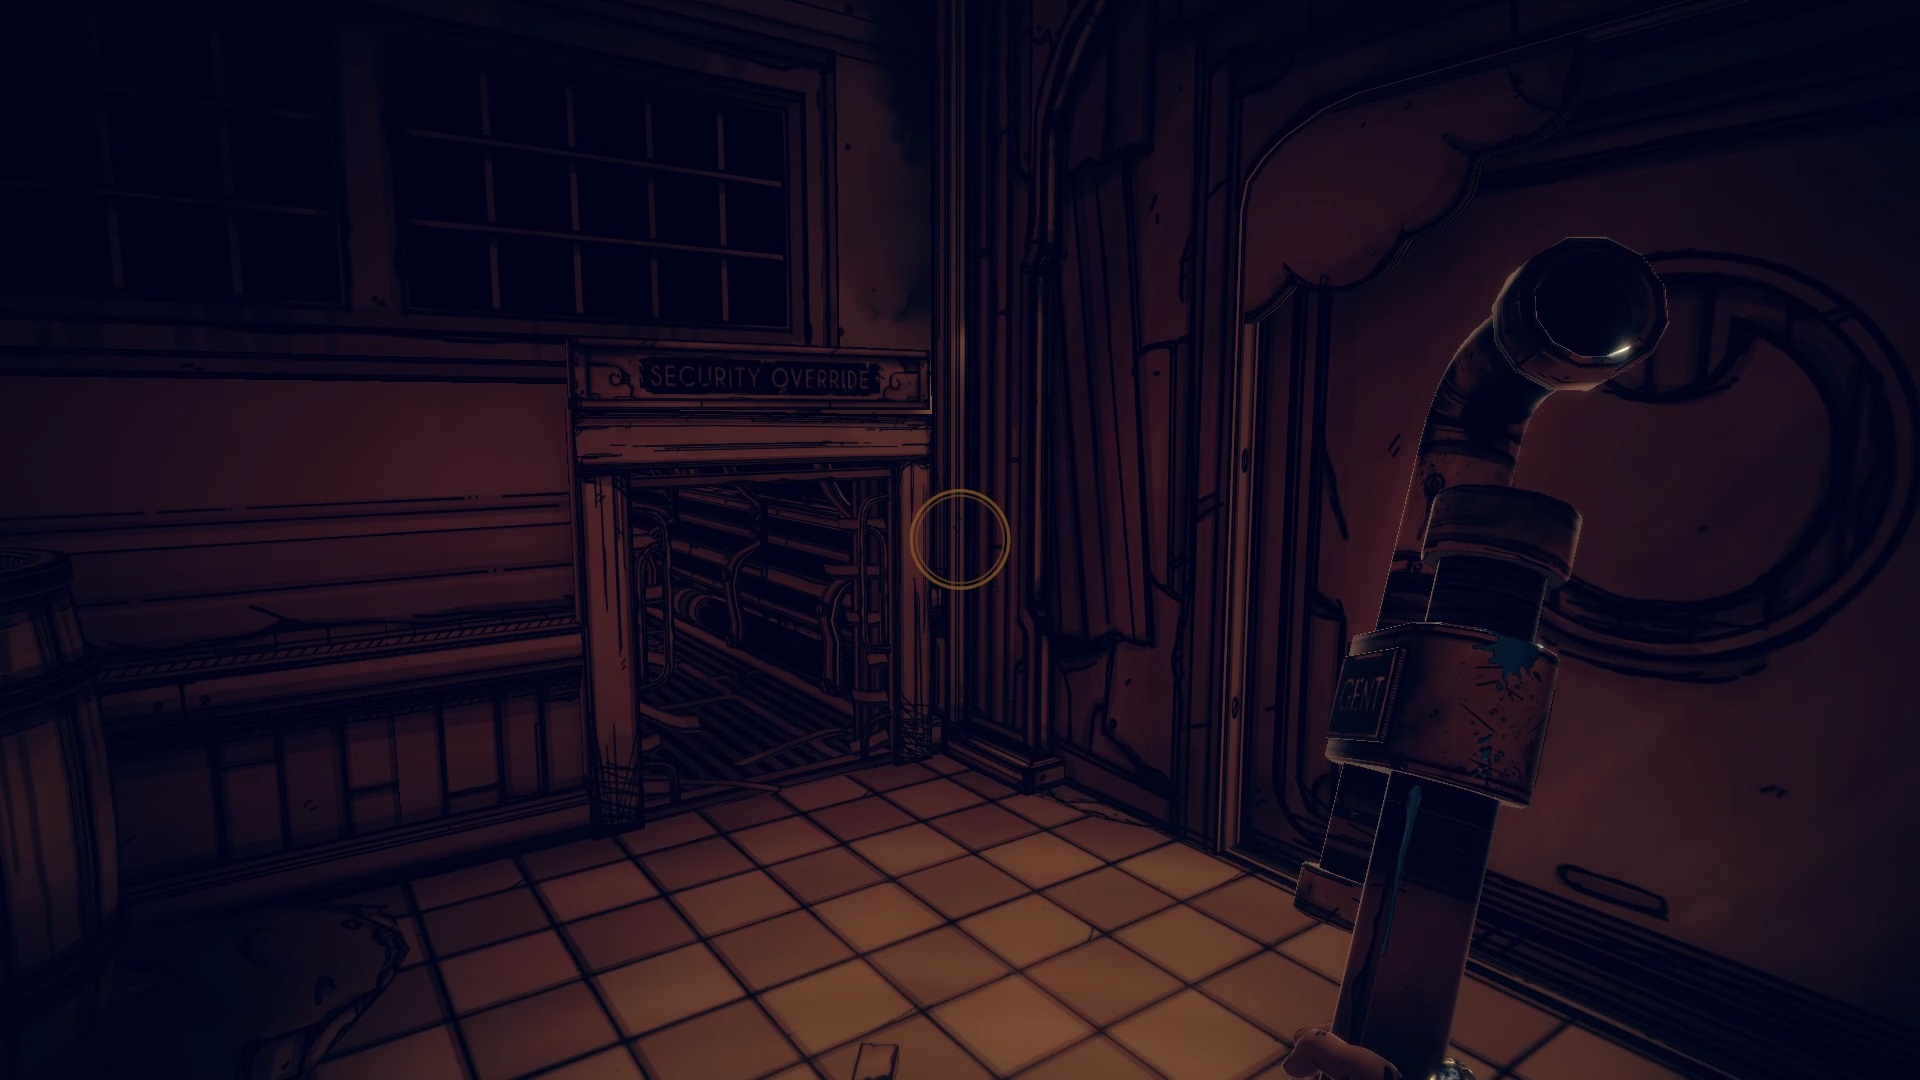
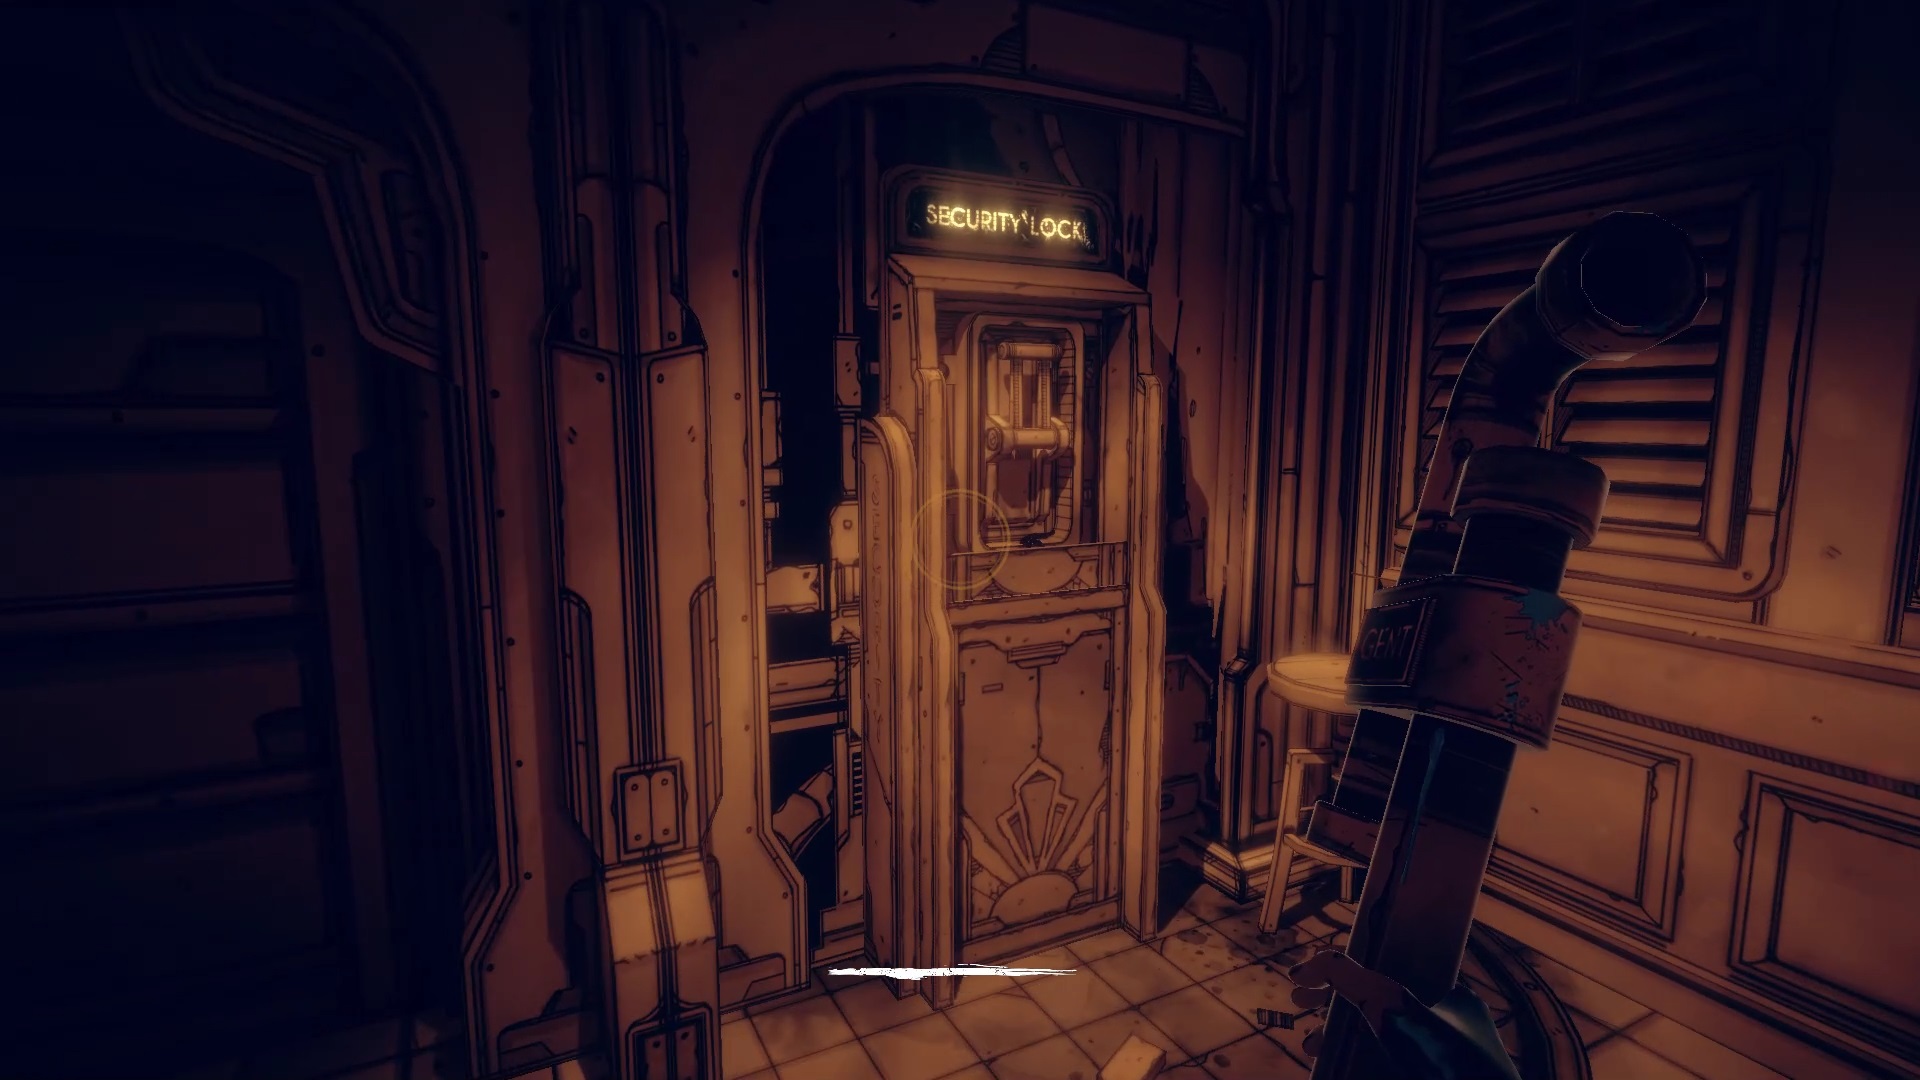
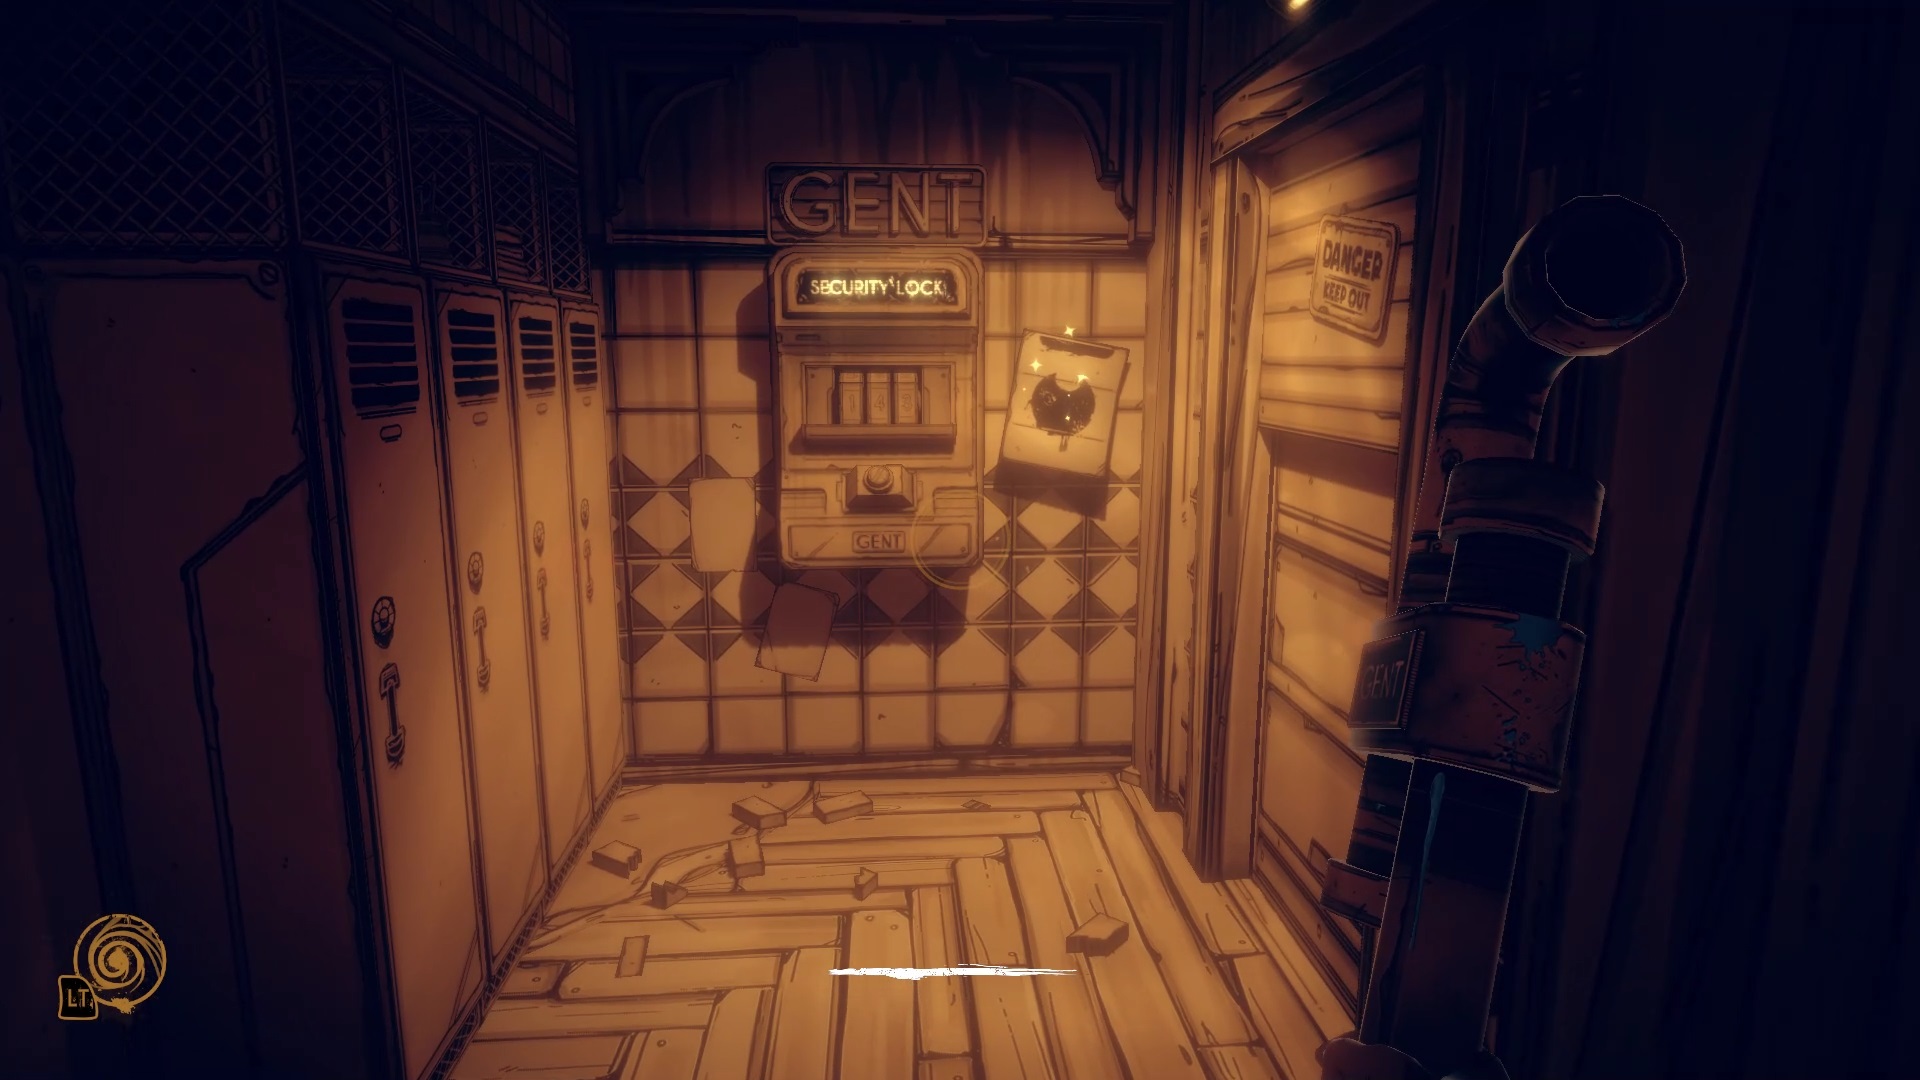
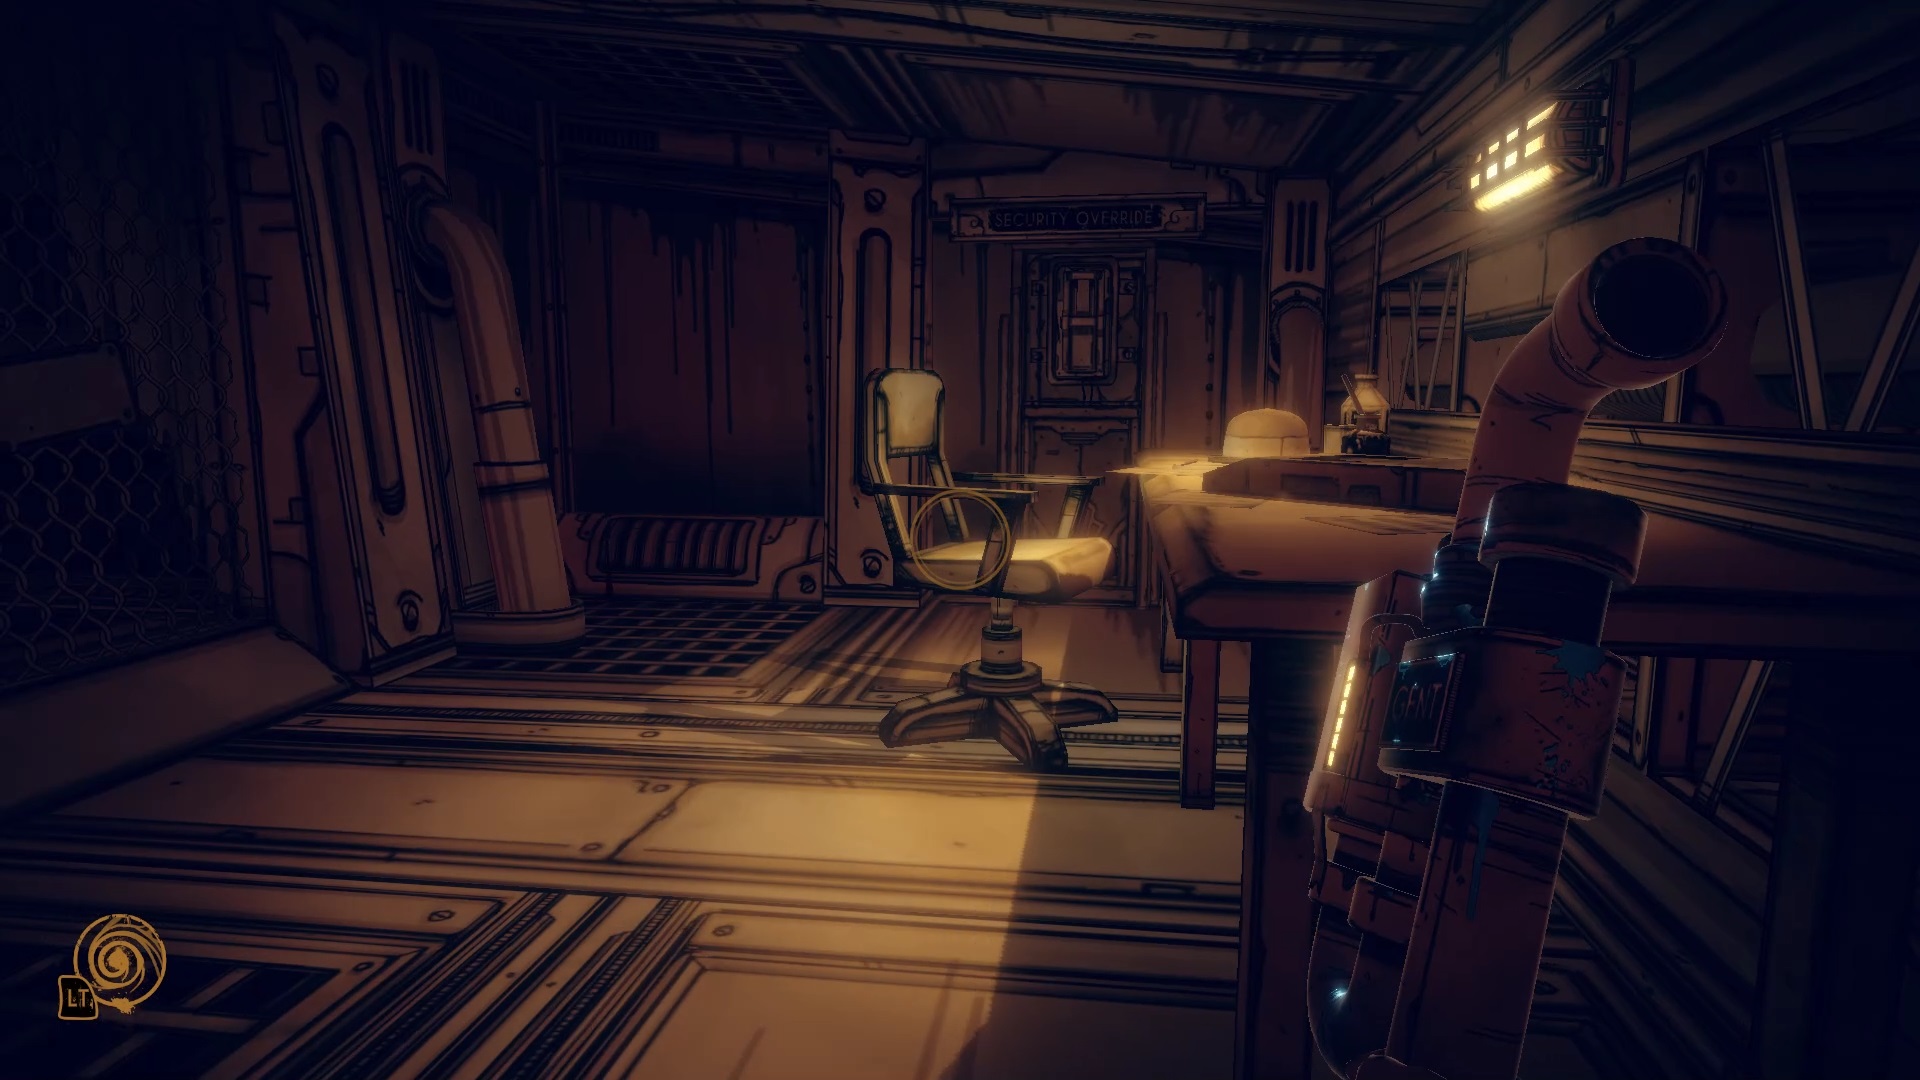
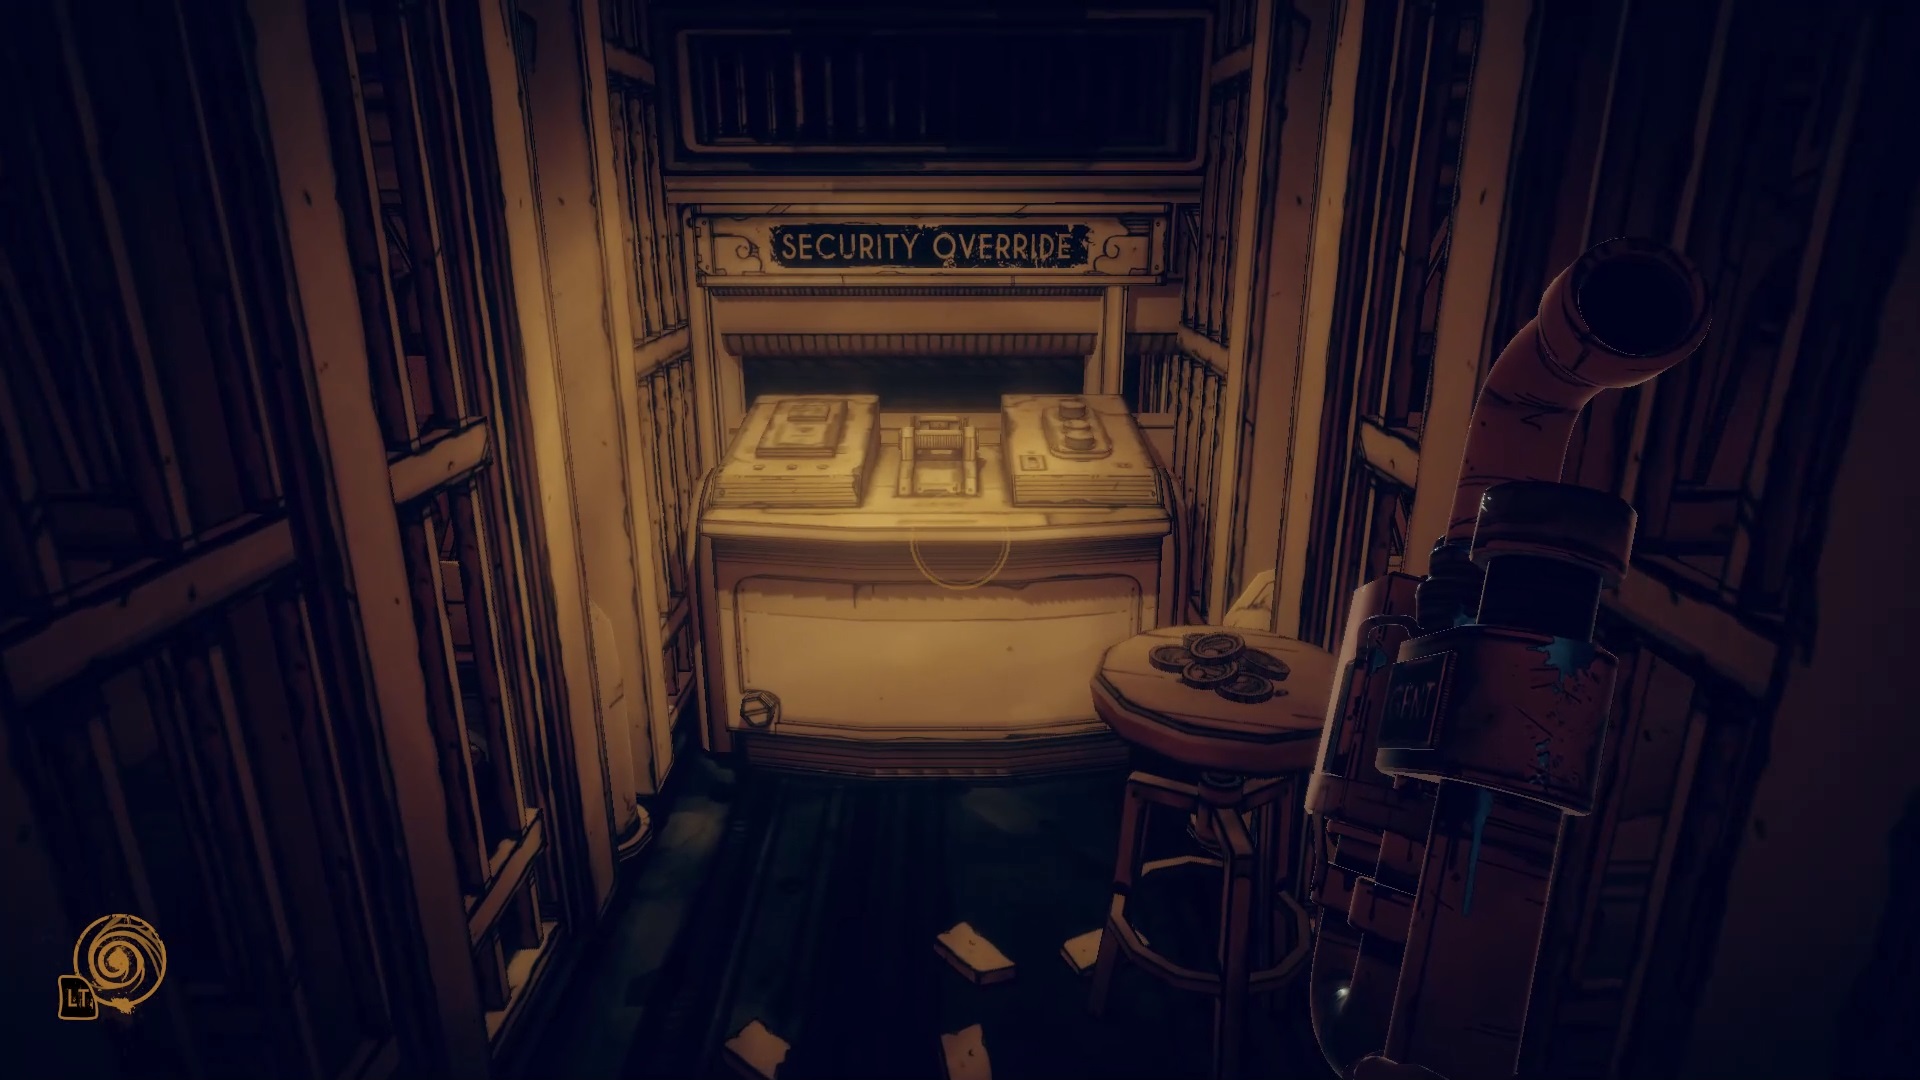
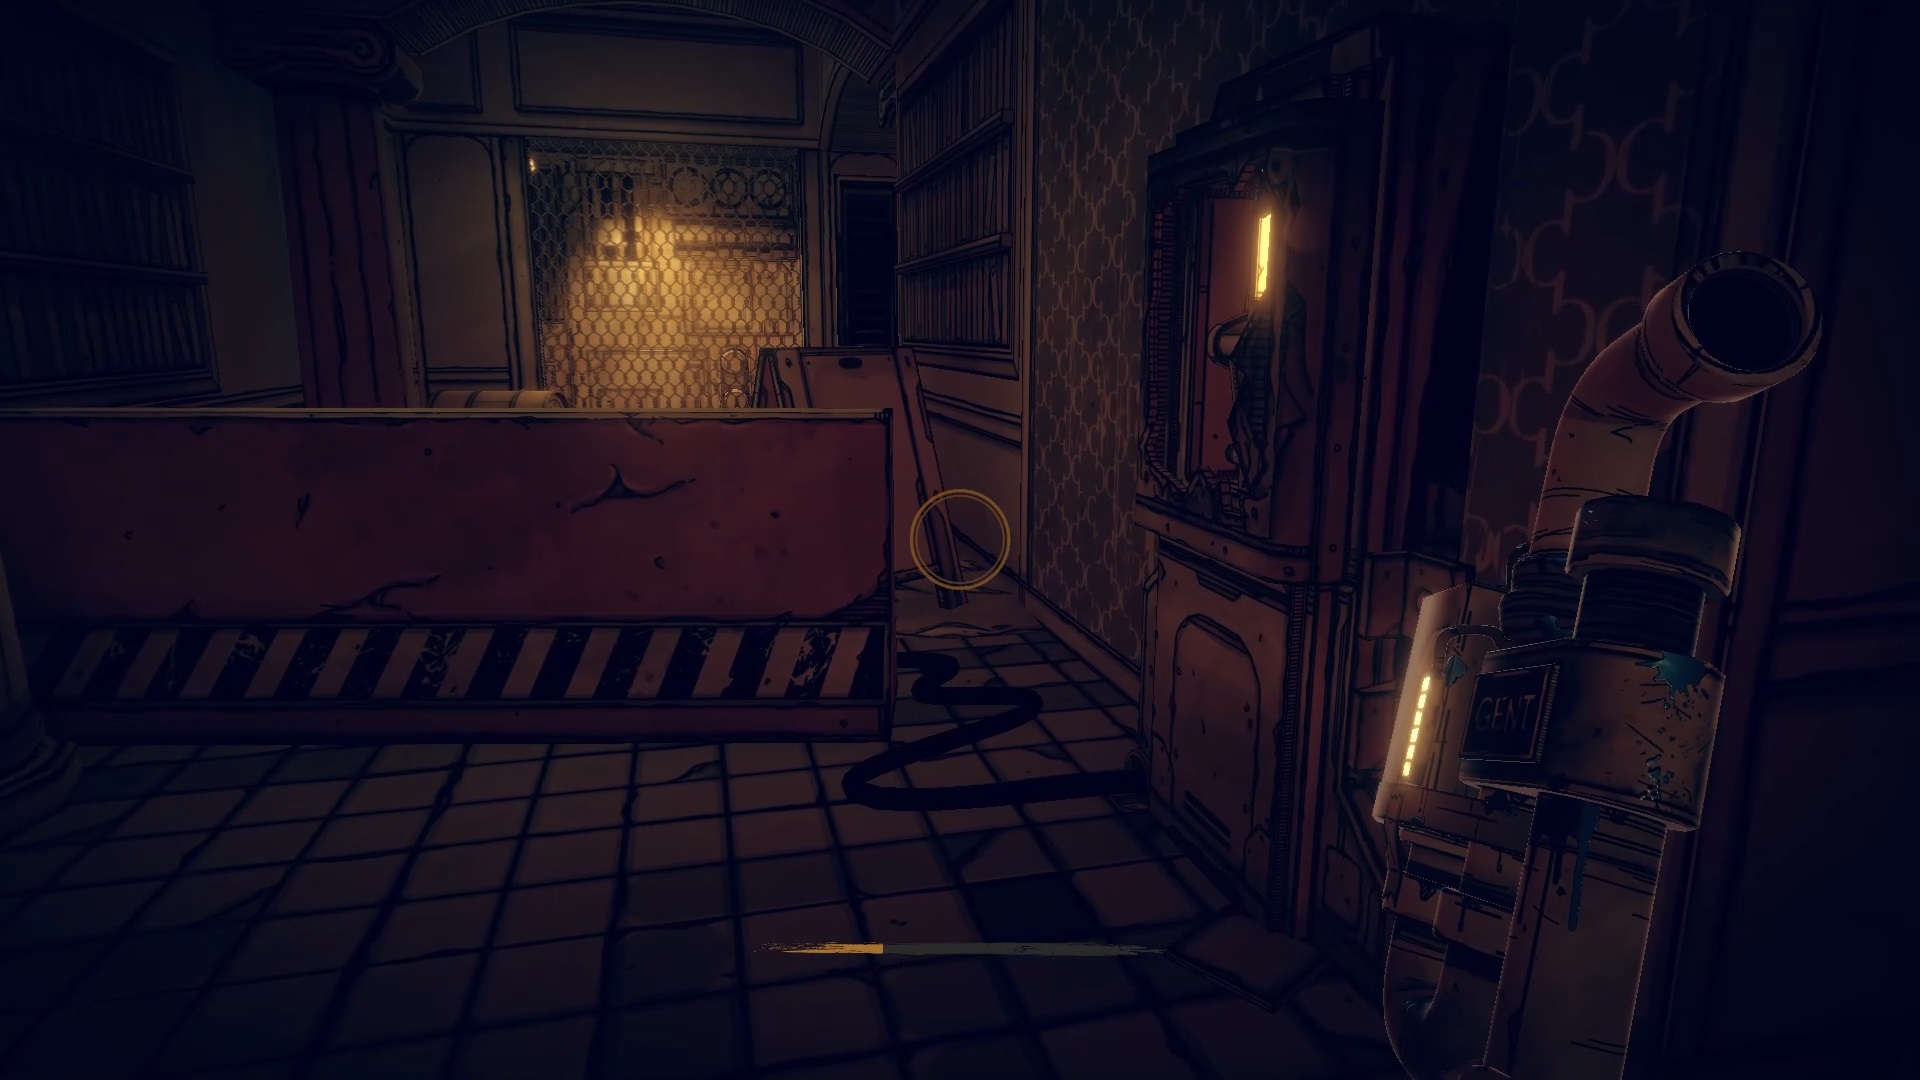
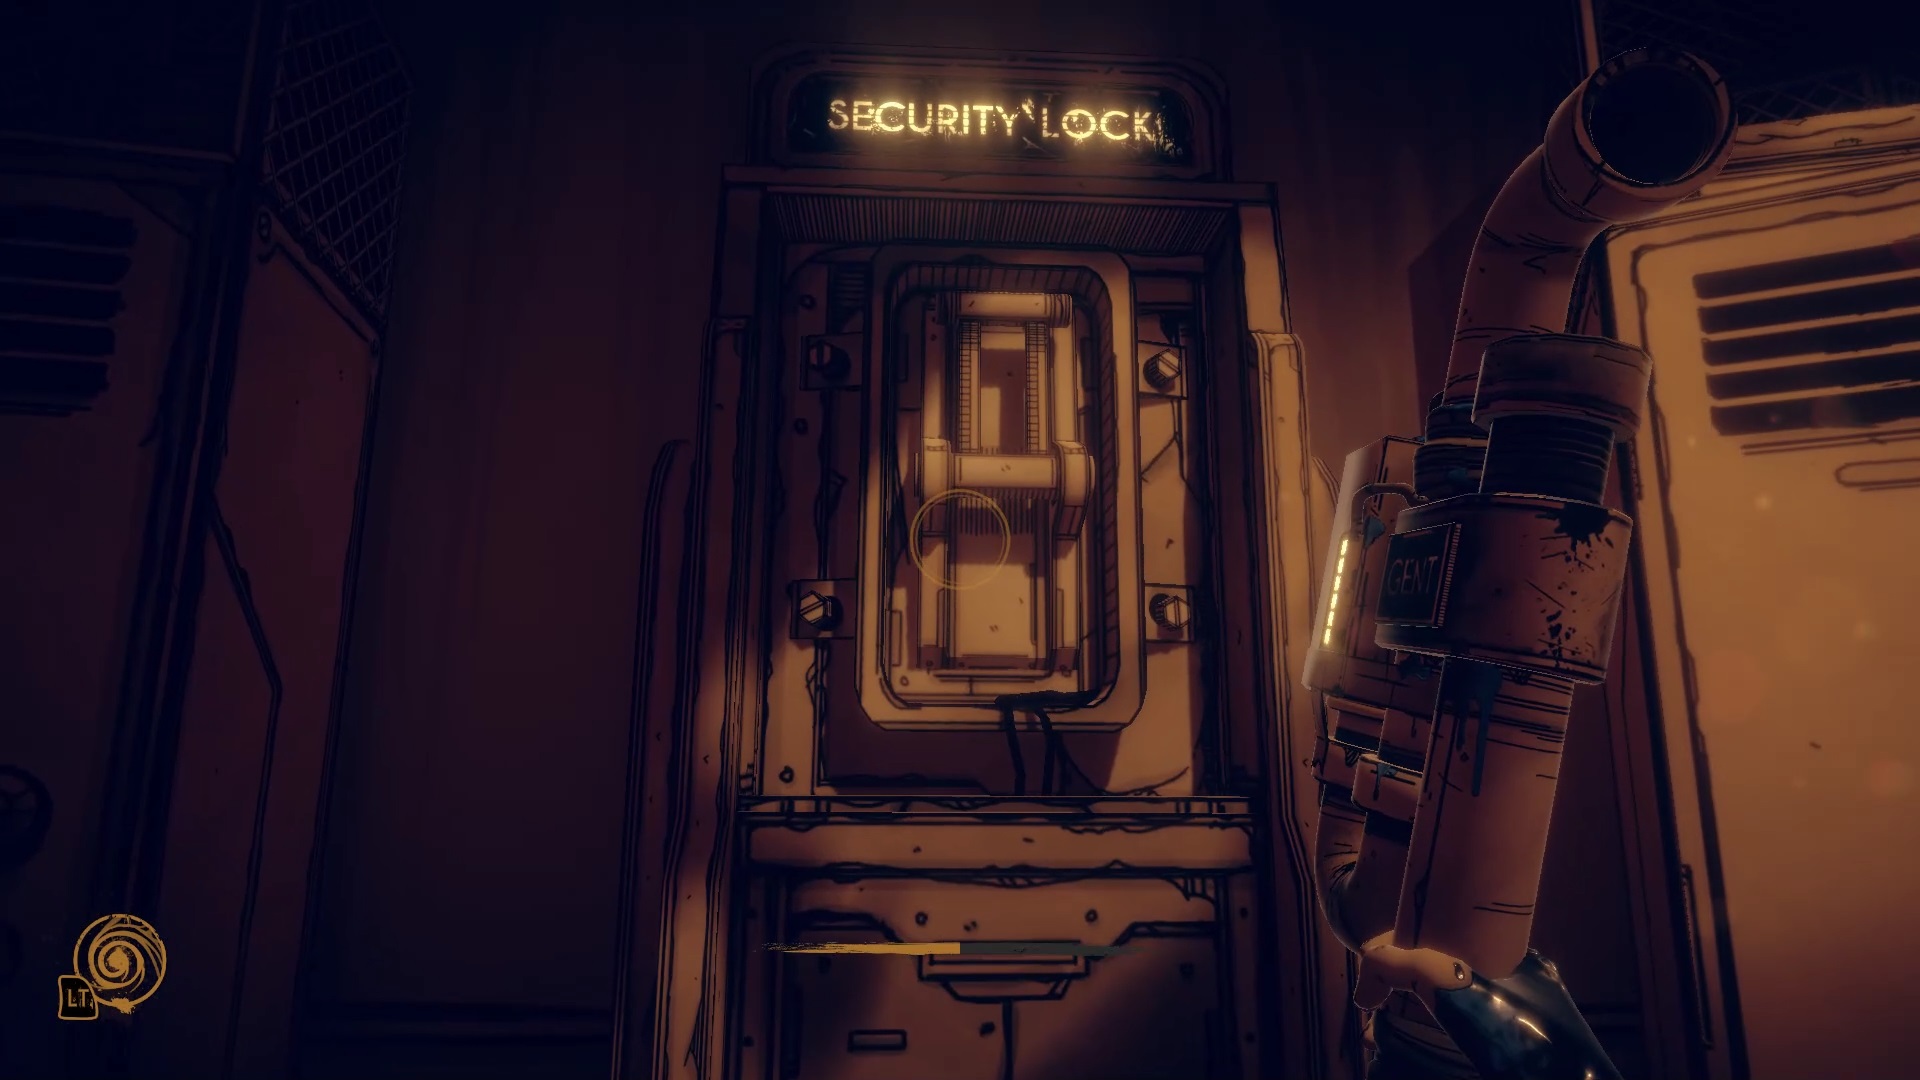
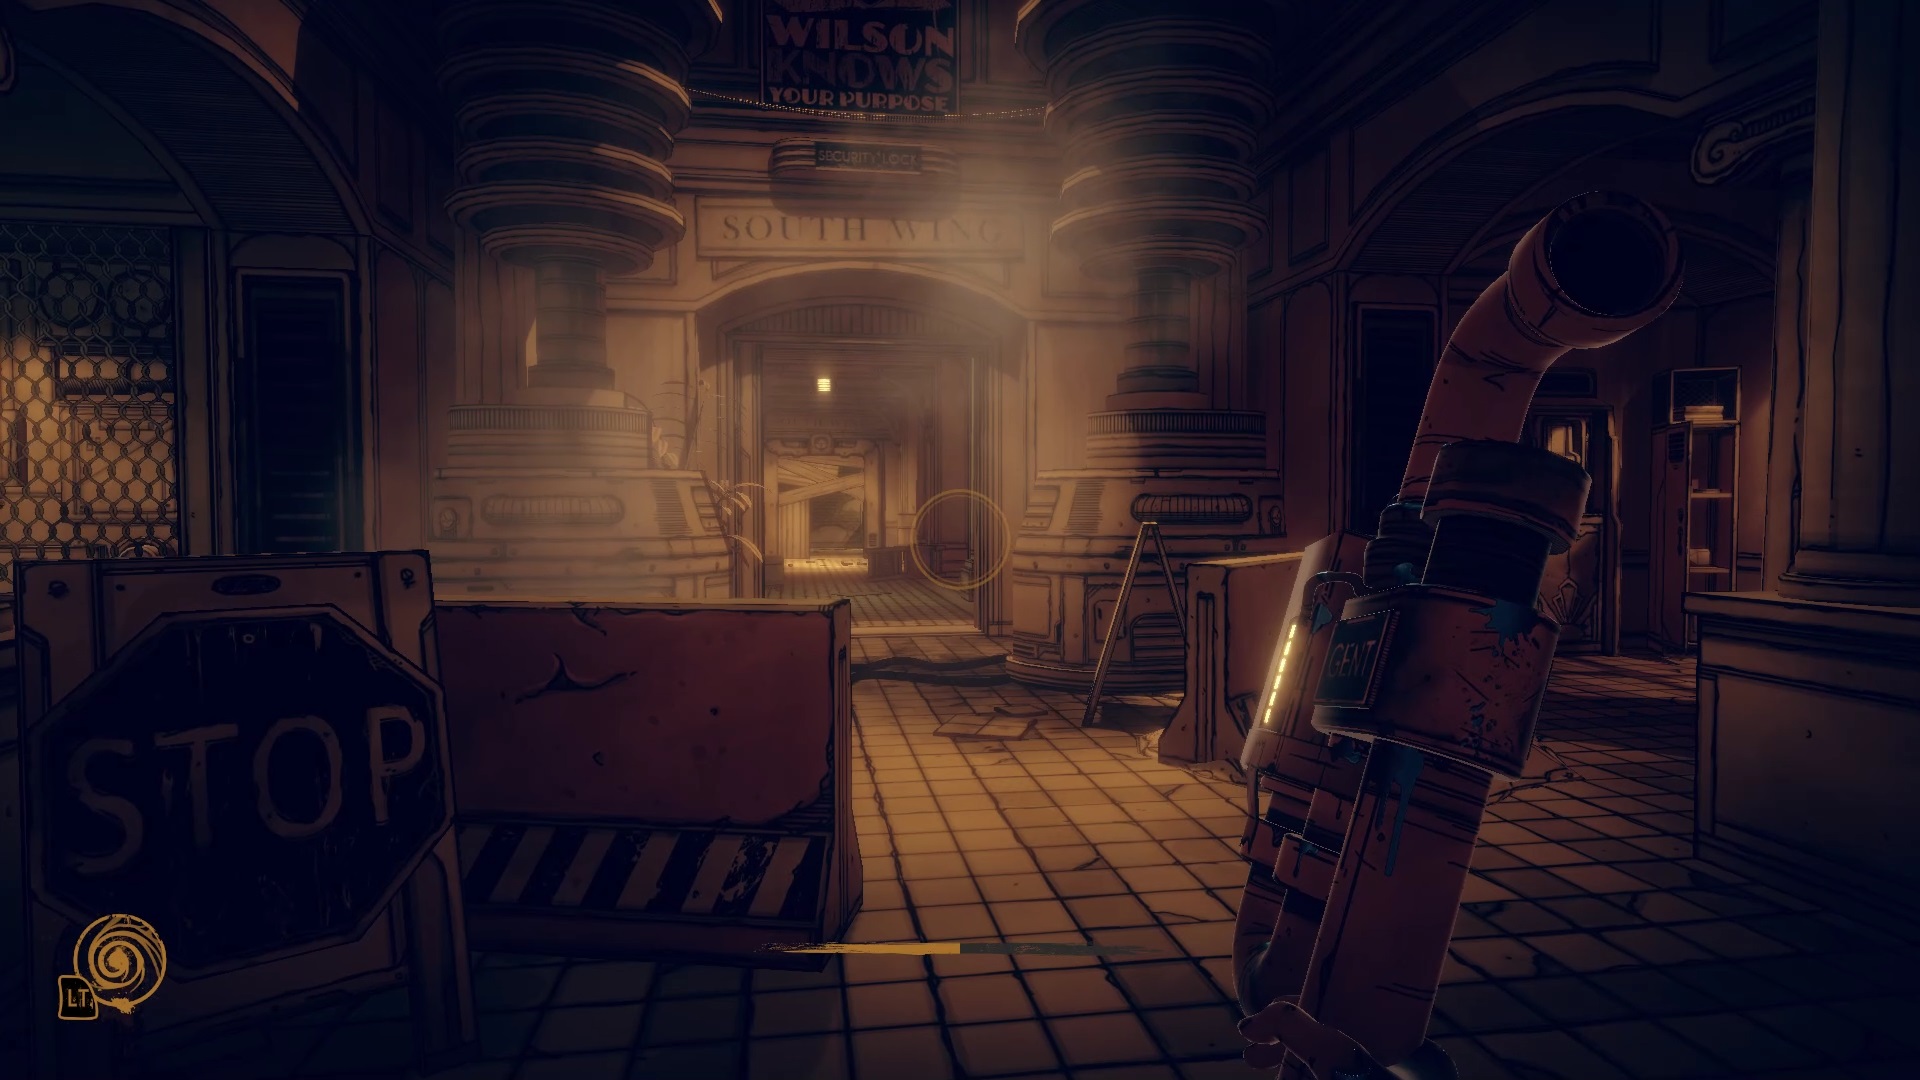
Head down the hallway to trigger a cutscene. You will find a security lock at the end. Use code 451 (reference to System Shock) to open the iron curtain in front. Then go up the wall at the bottom of the stairs. Follow the objective marker to find a lever to pull behind a broken curtain. Go back up to find a room with lockers. Open the lockers to find a key inside. Move the crate and use the key to exit.

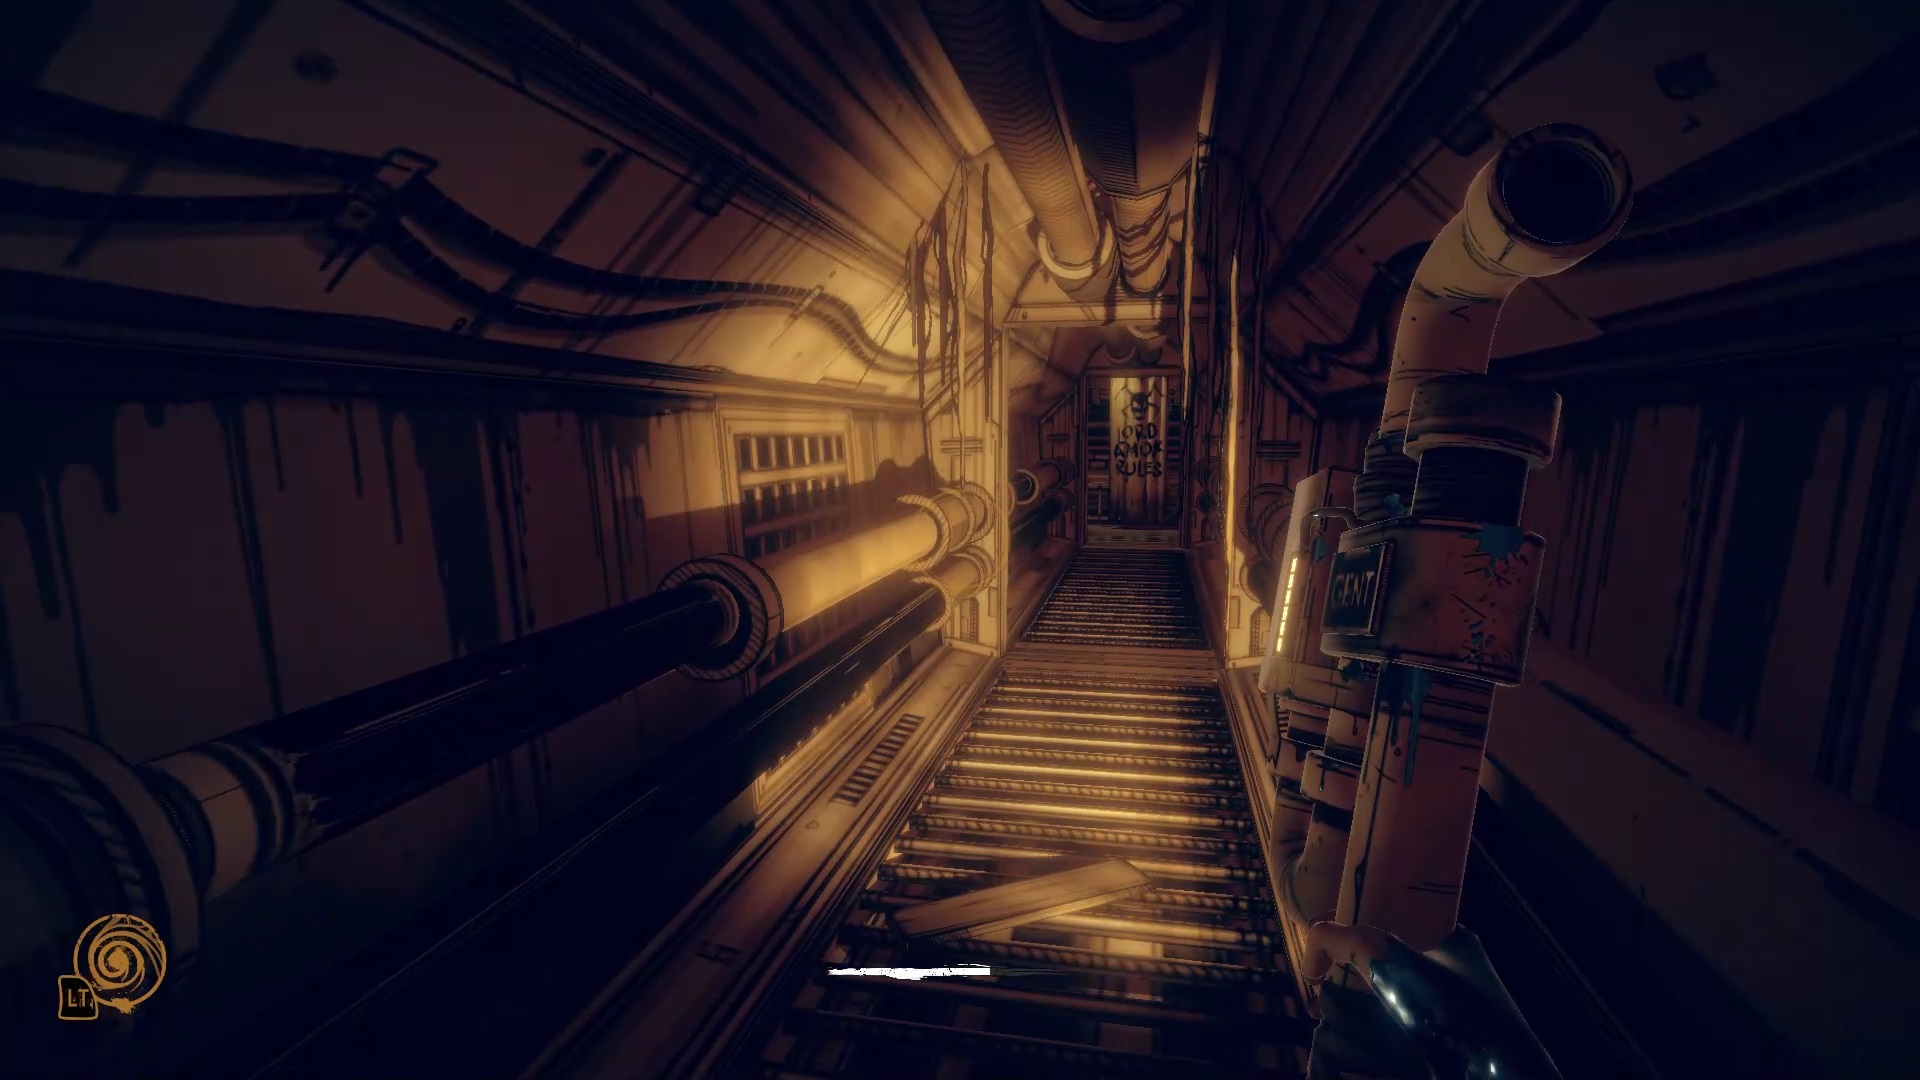
Sneak through the tunnels to find a gate and open it. Go to the animation department to find a second grid. Go through the gate to find a new gate, but closed. Then turn left to answer a call from Alice.
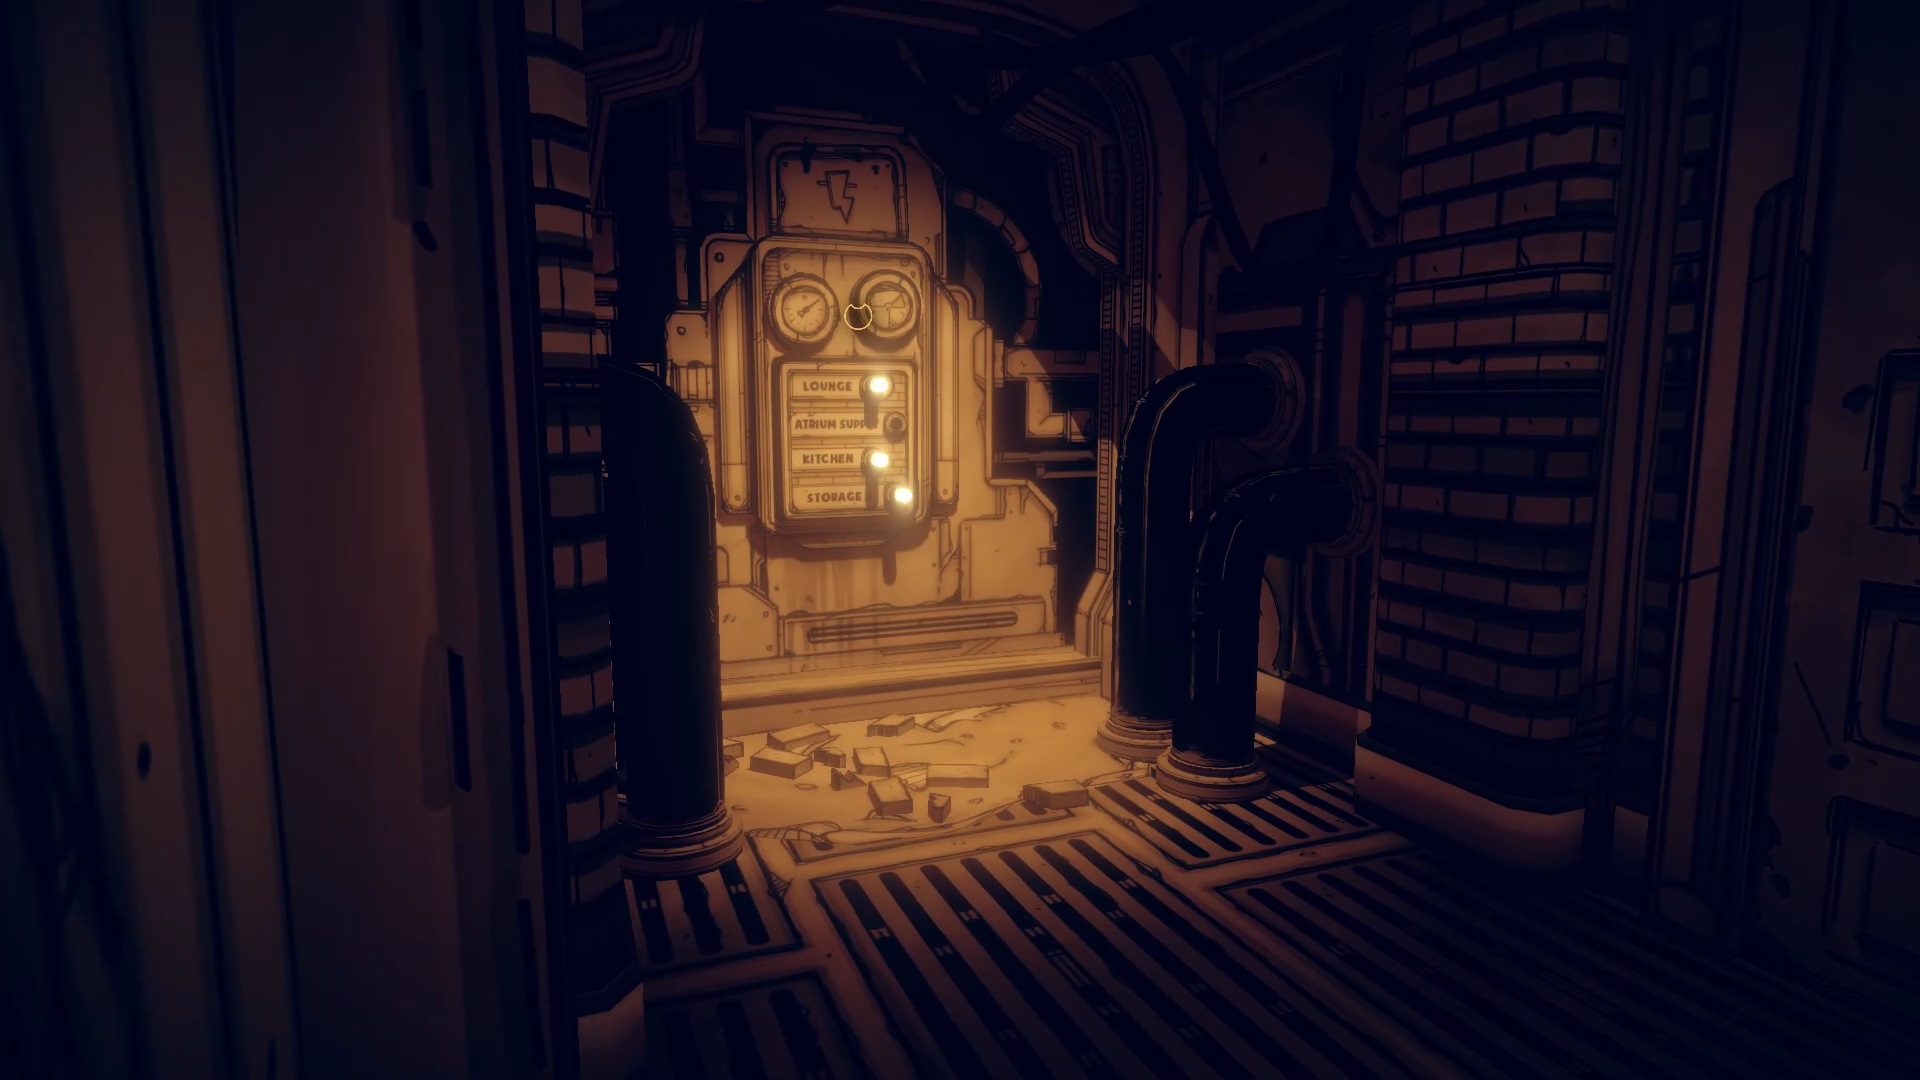
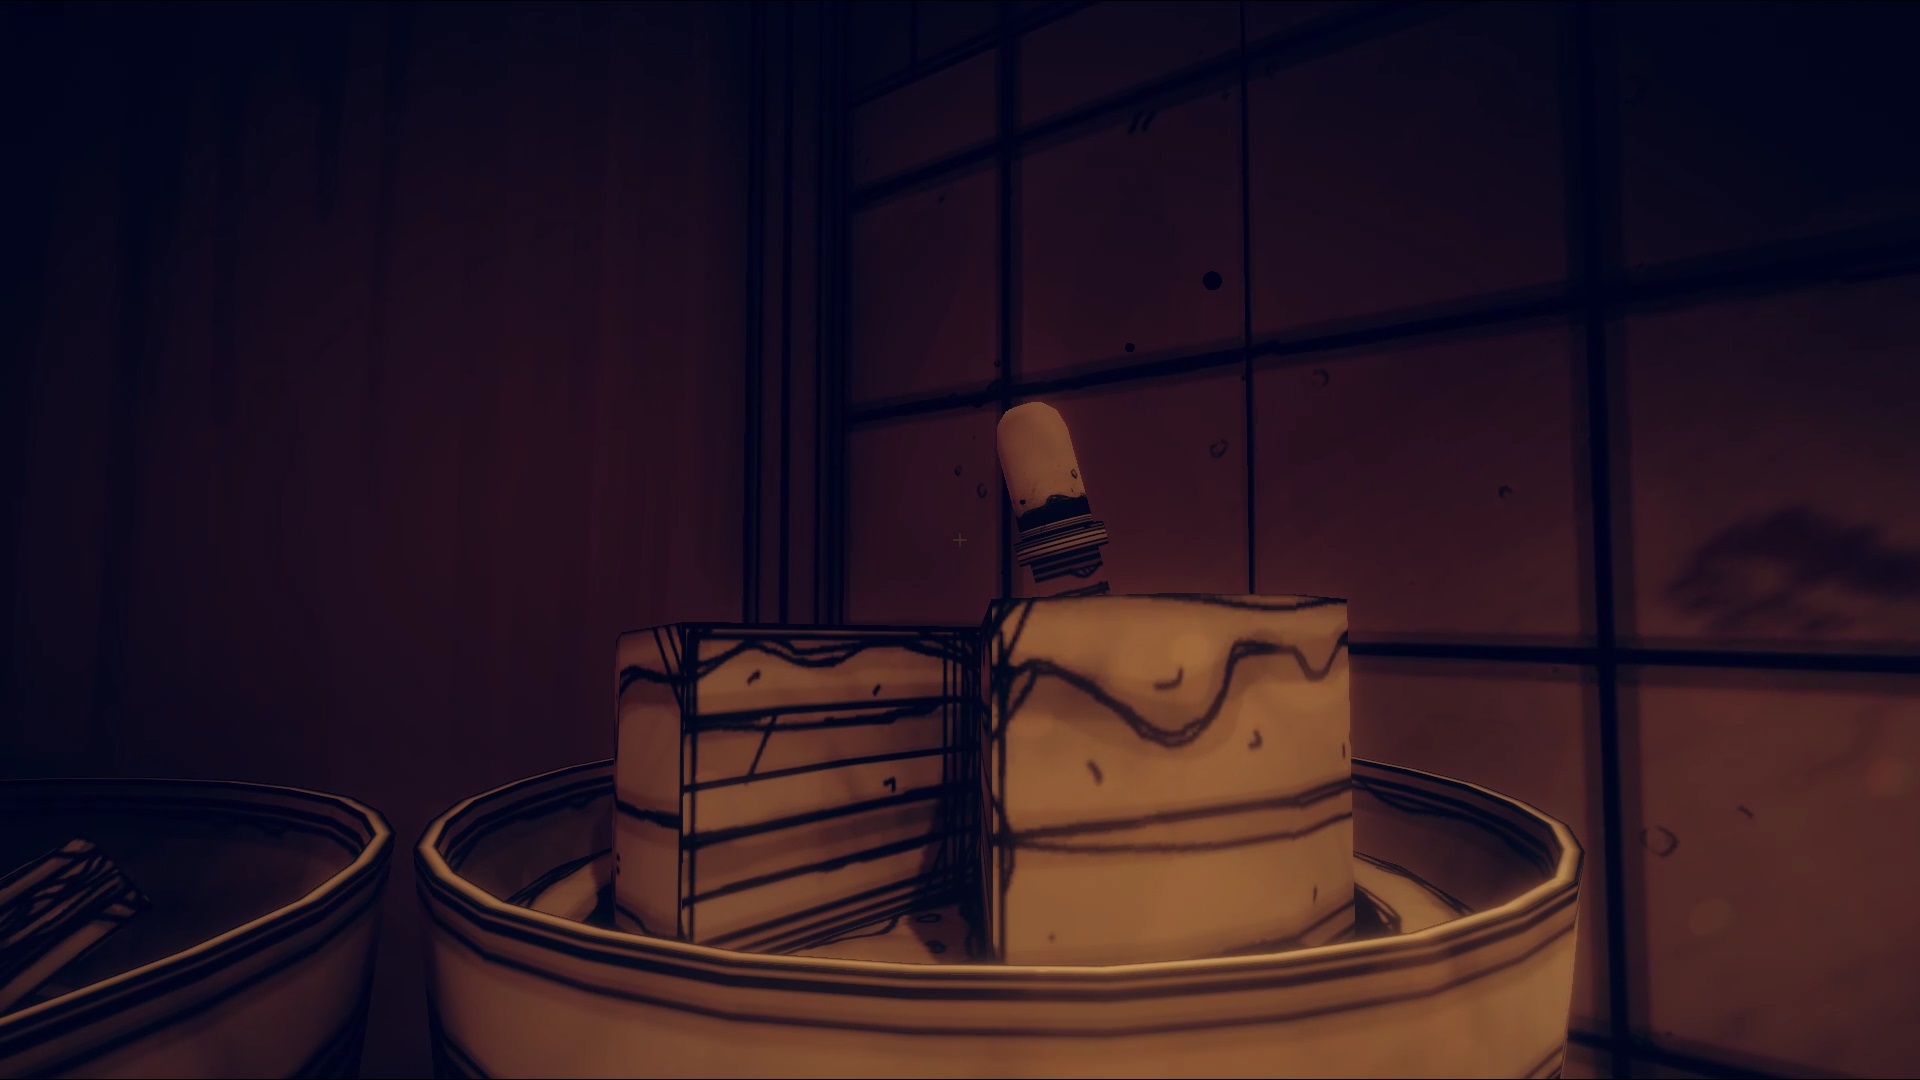
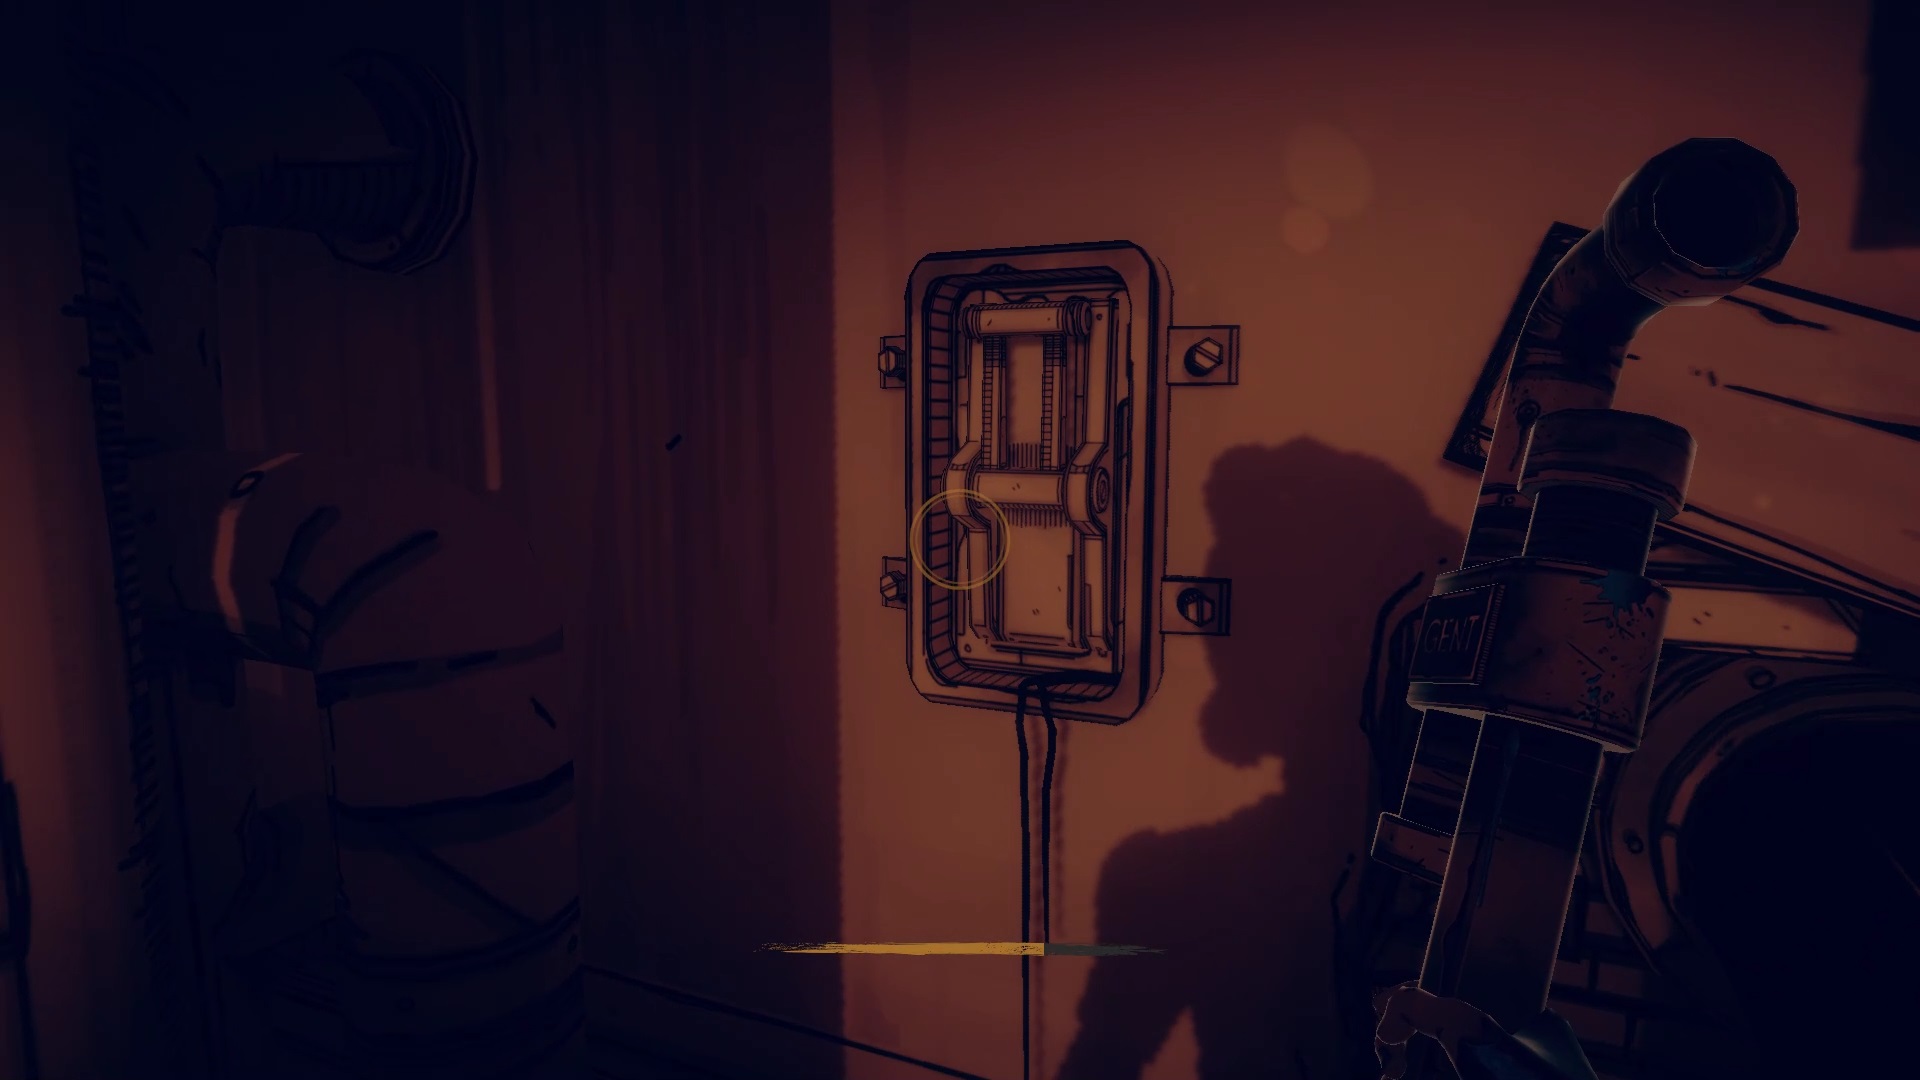
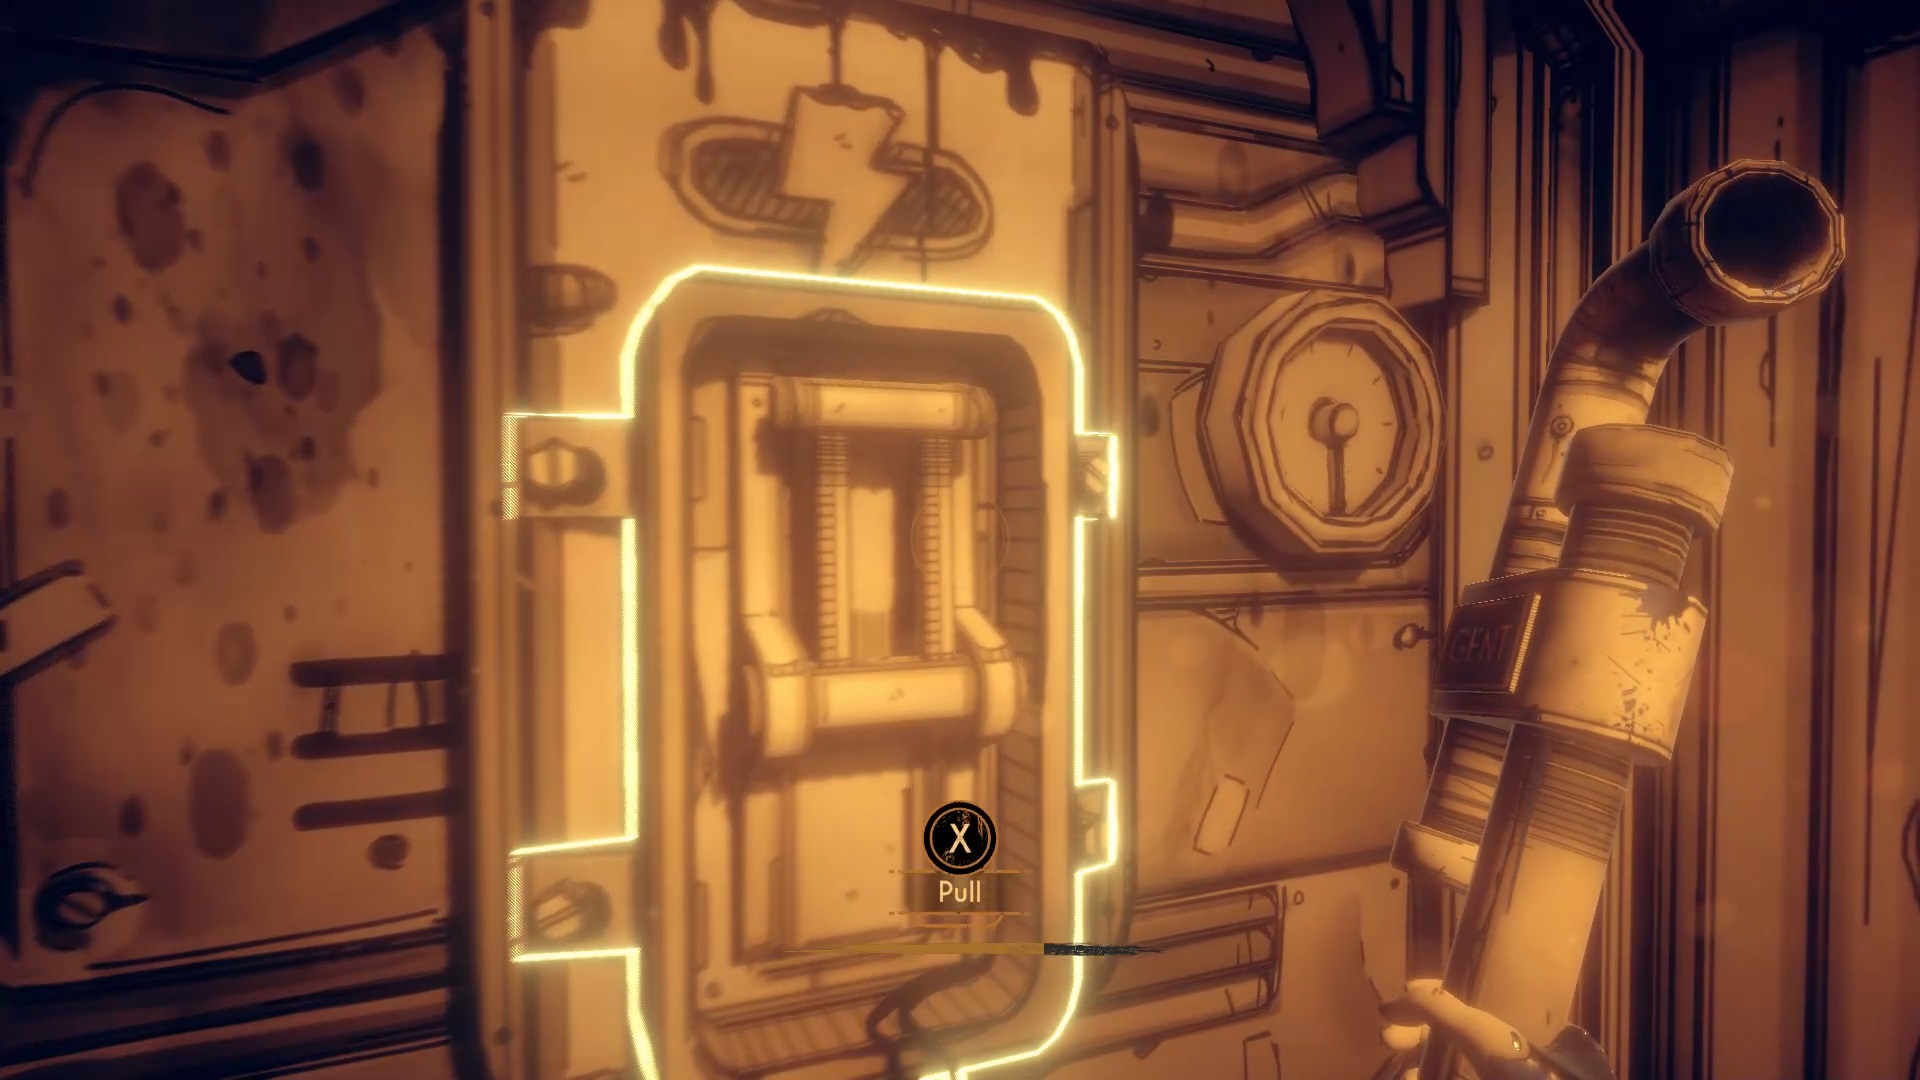
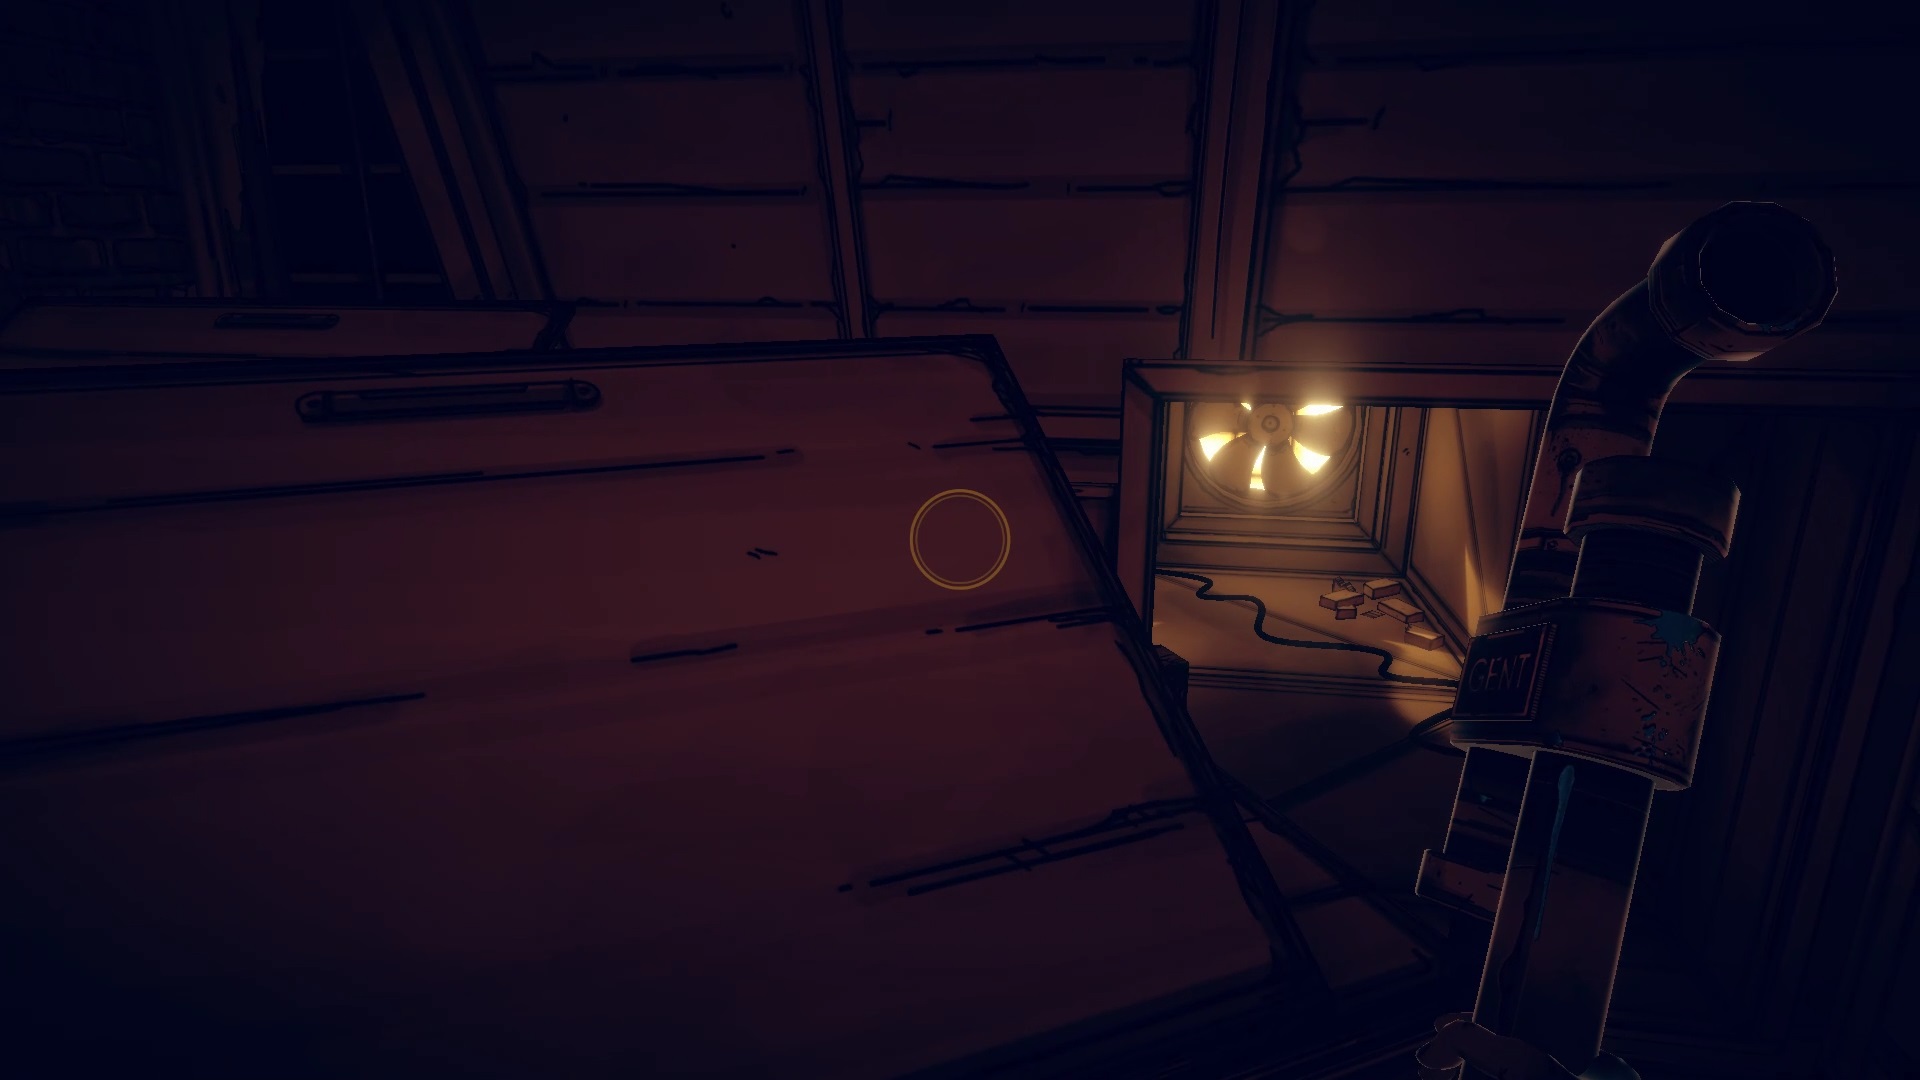
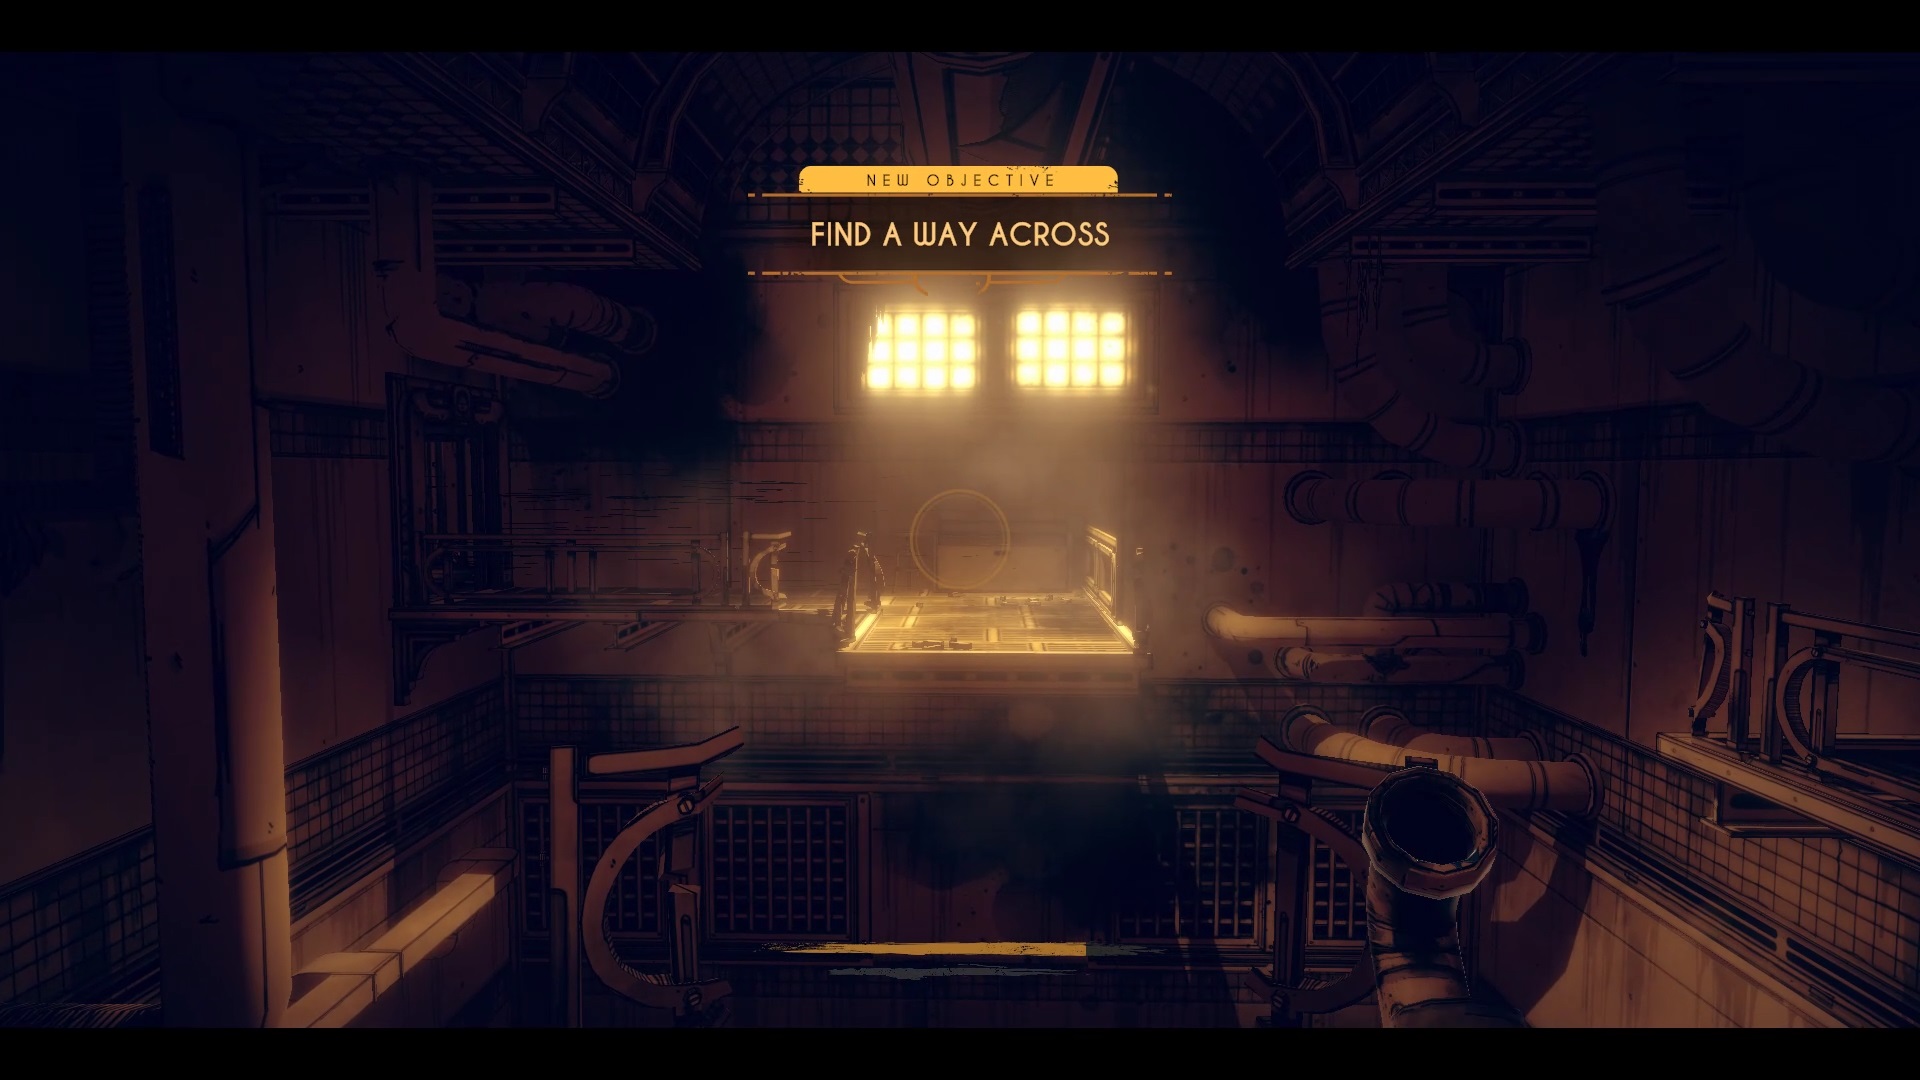
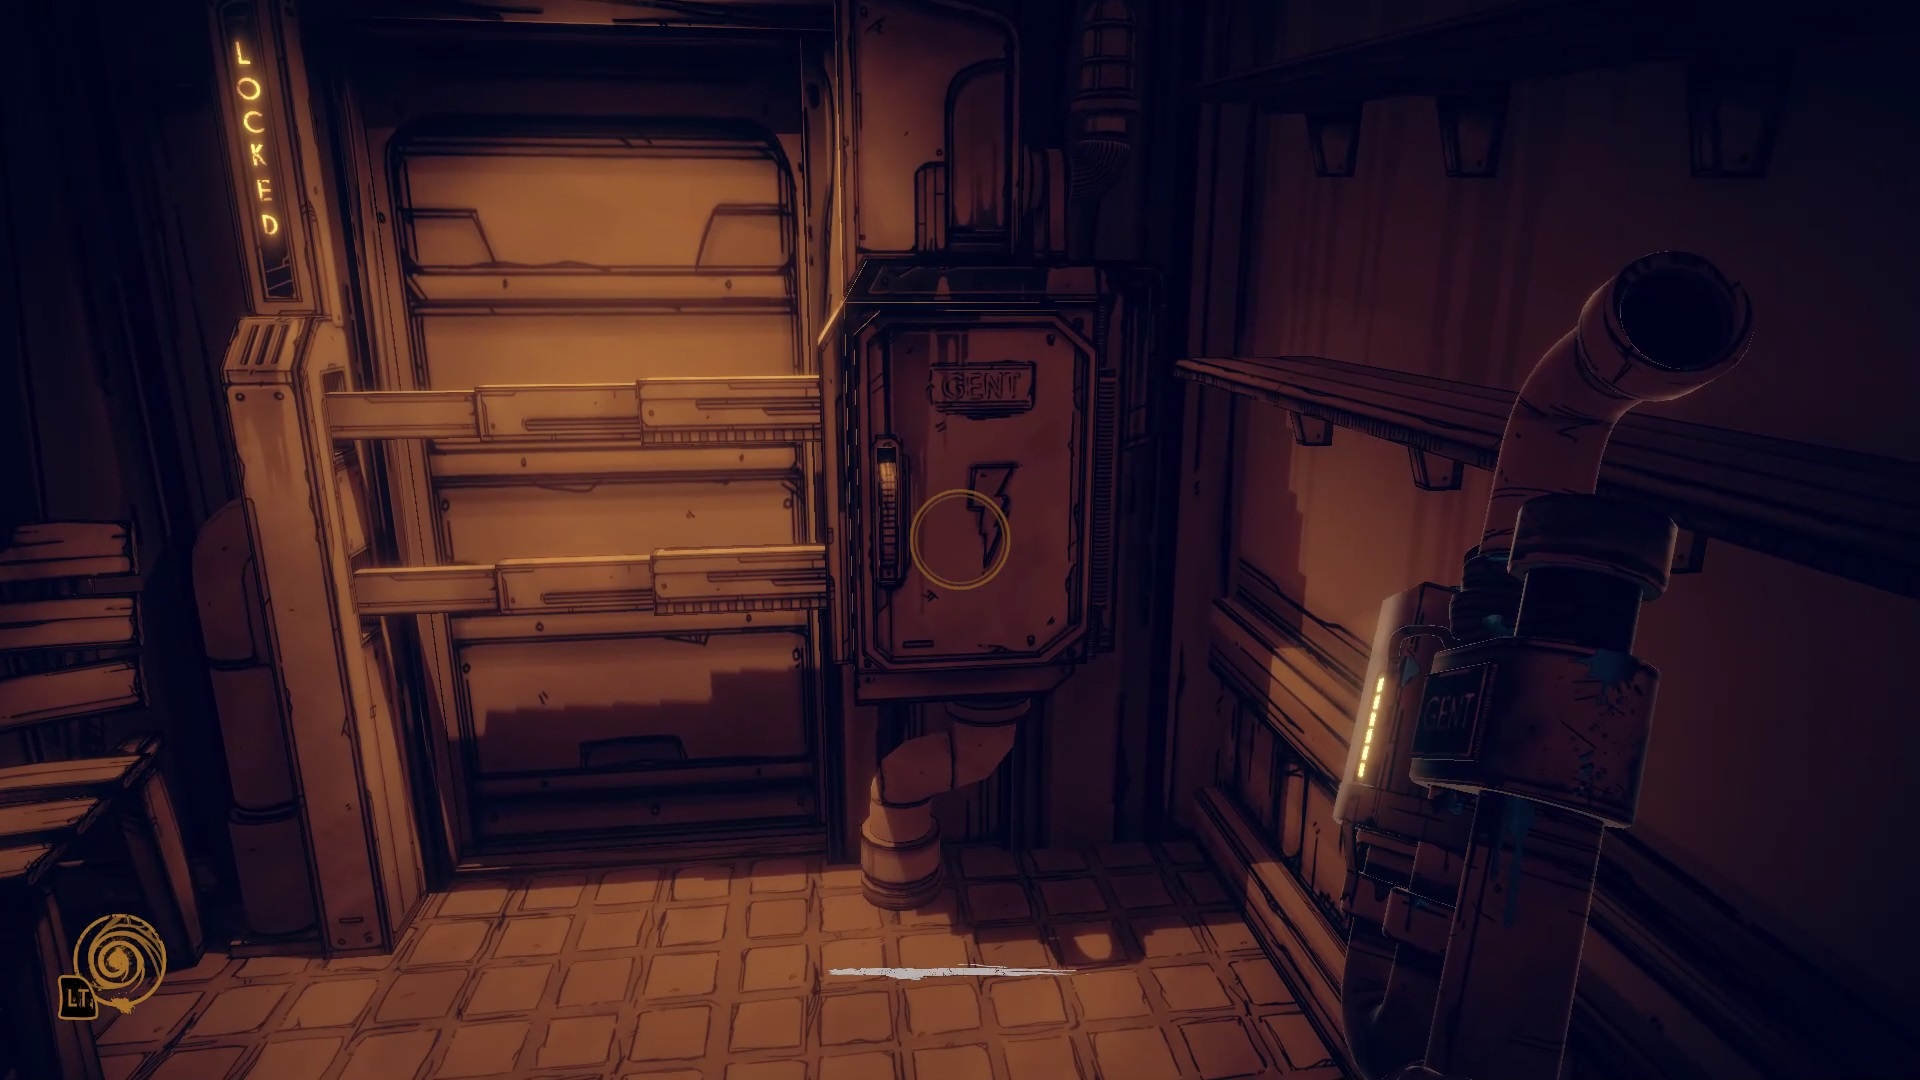
Go to the other side to find the pipe behind a grate. You need to power up the door to get to the other side. Enemies appear. Sneak around and follow the on-screen objective to find a power panel. A new location appears on the screen in the employee lounge. Sneak into the kitchen to find the fuse on a cake. Go back to the panel to power the door near the pipe.
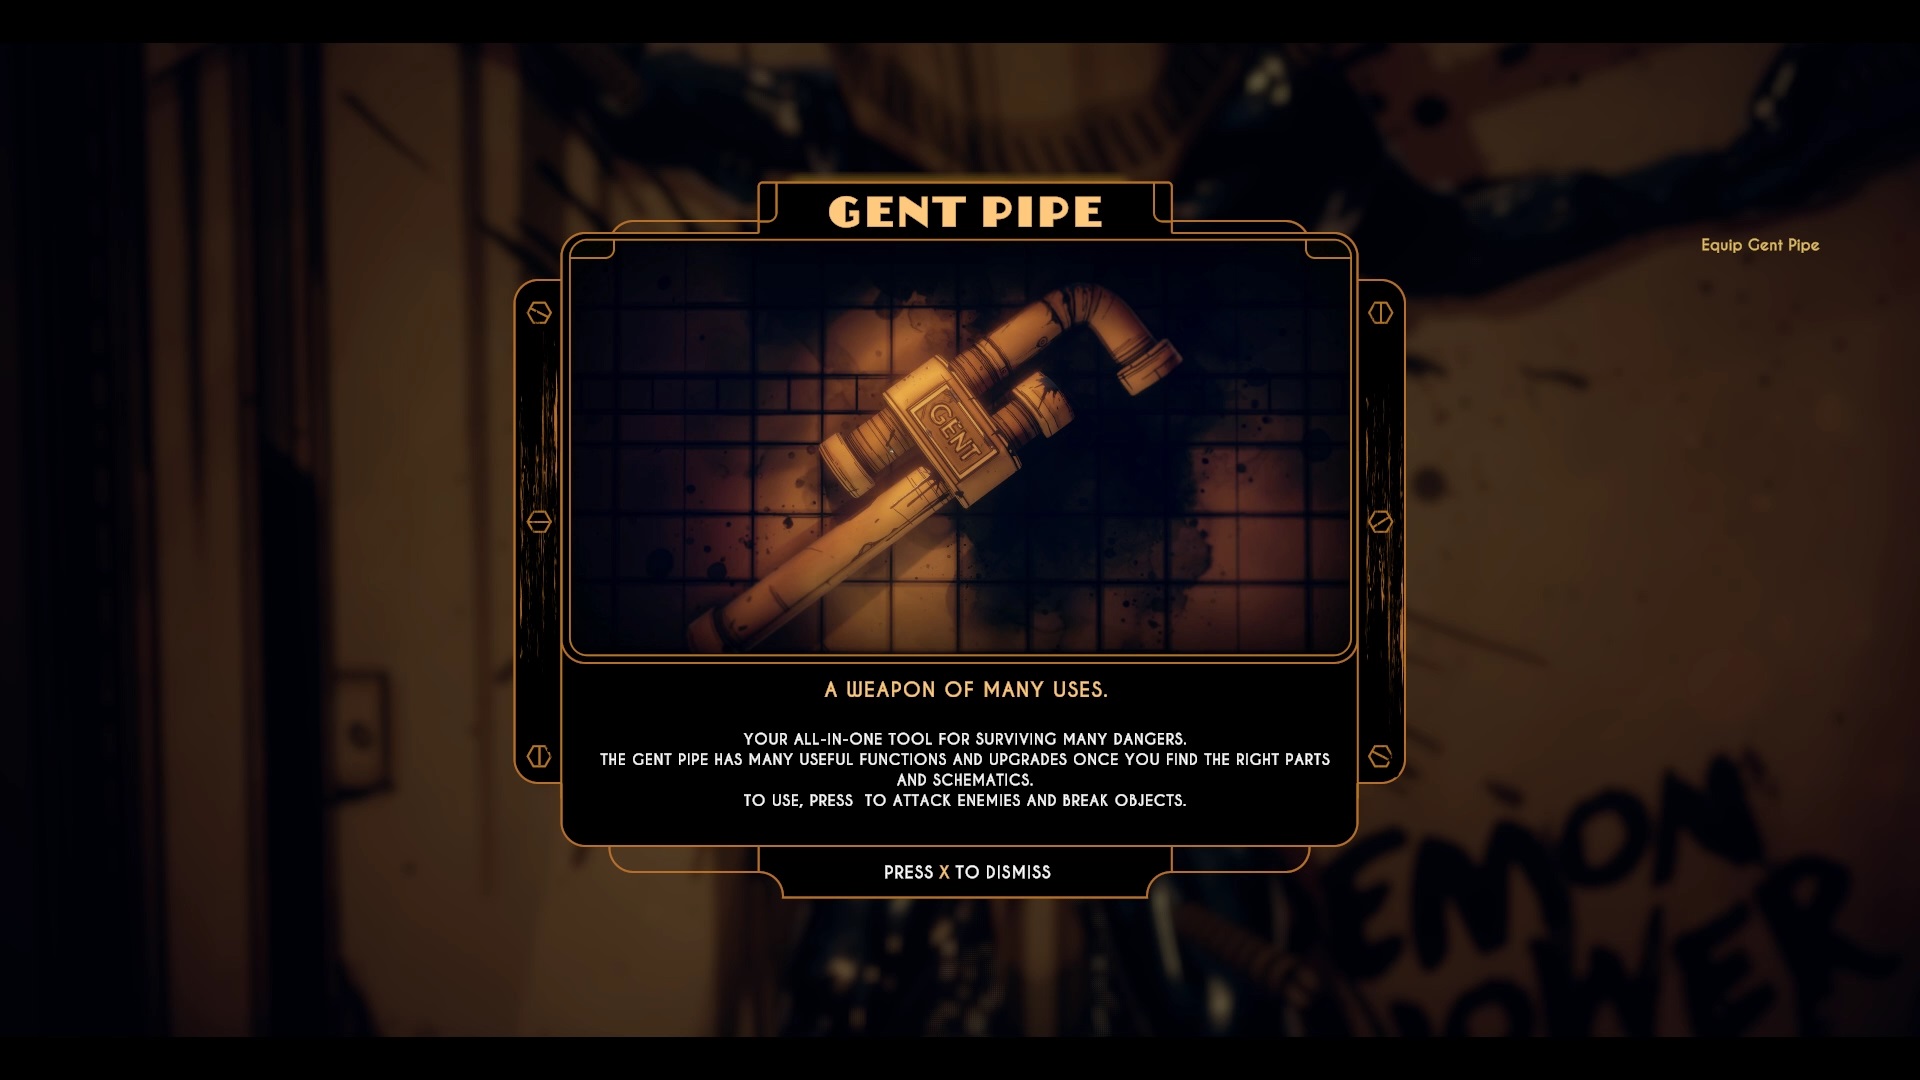
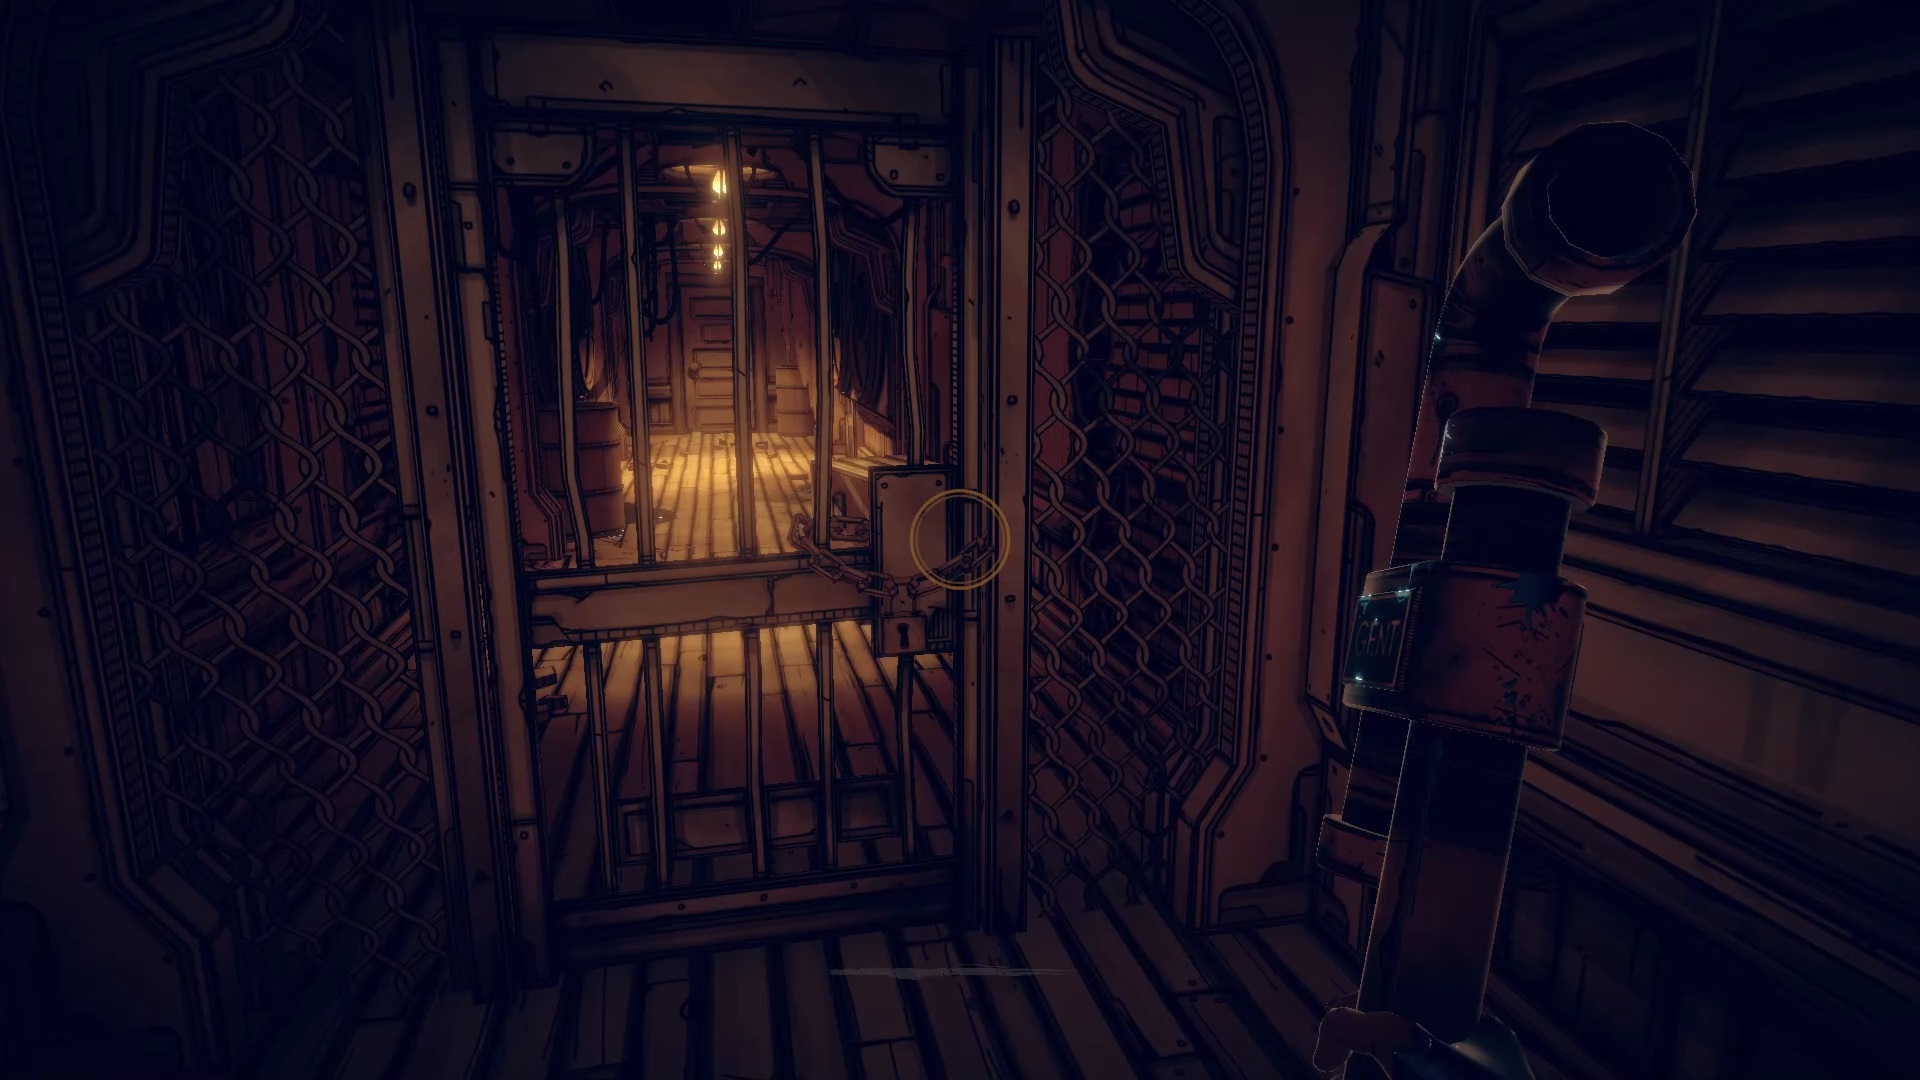
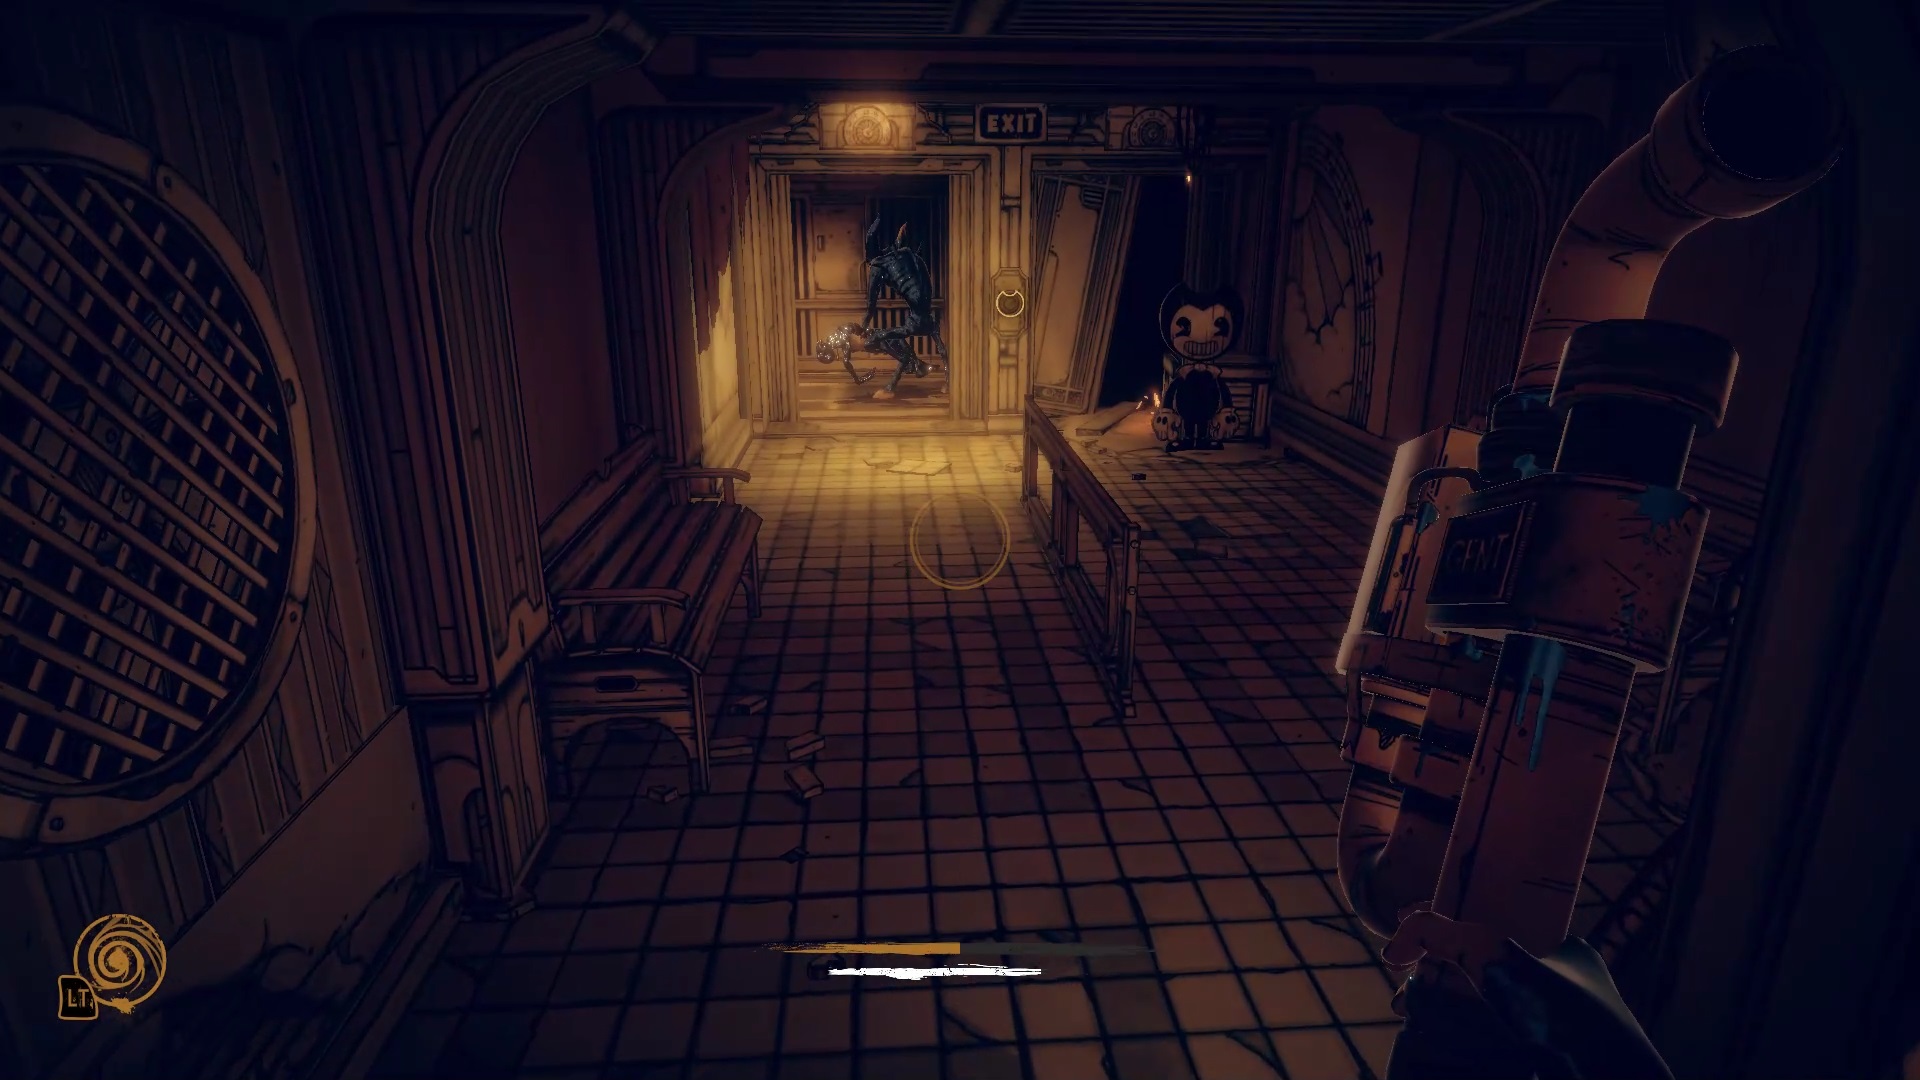
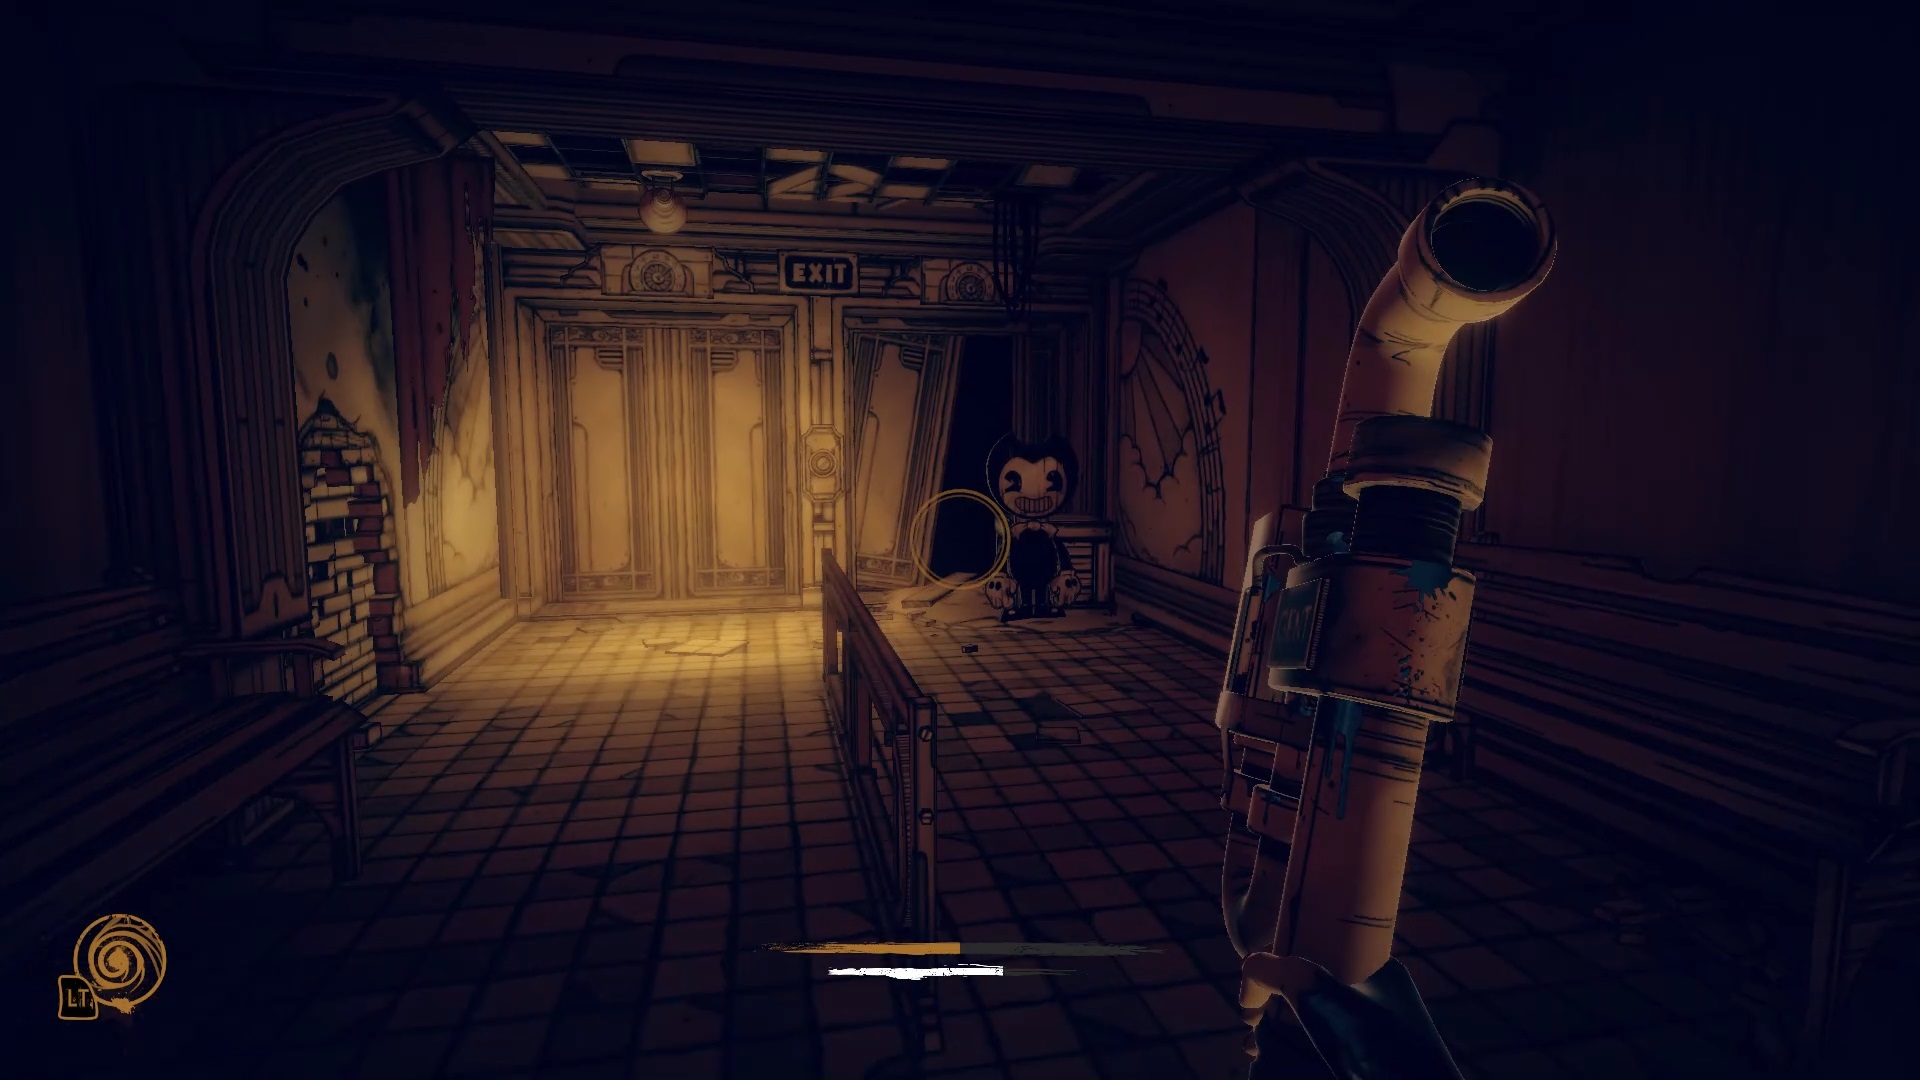
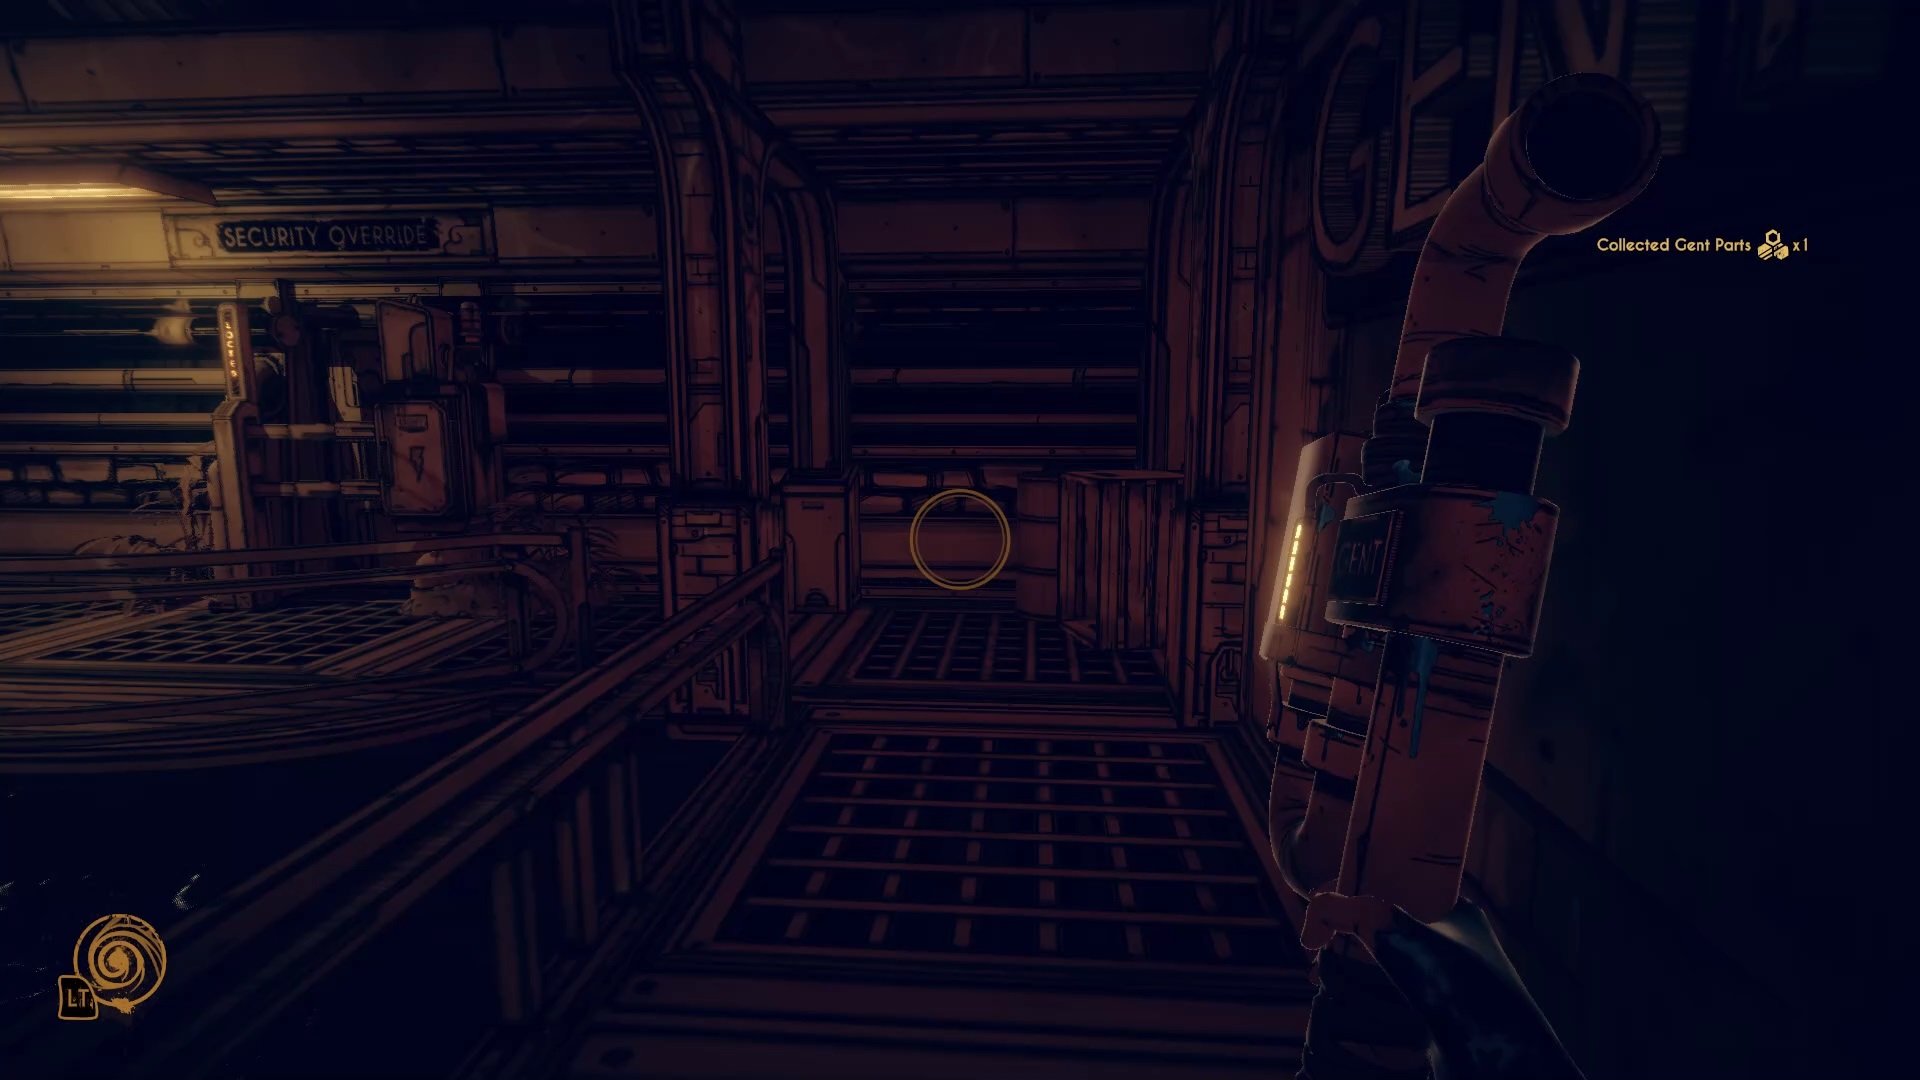
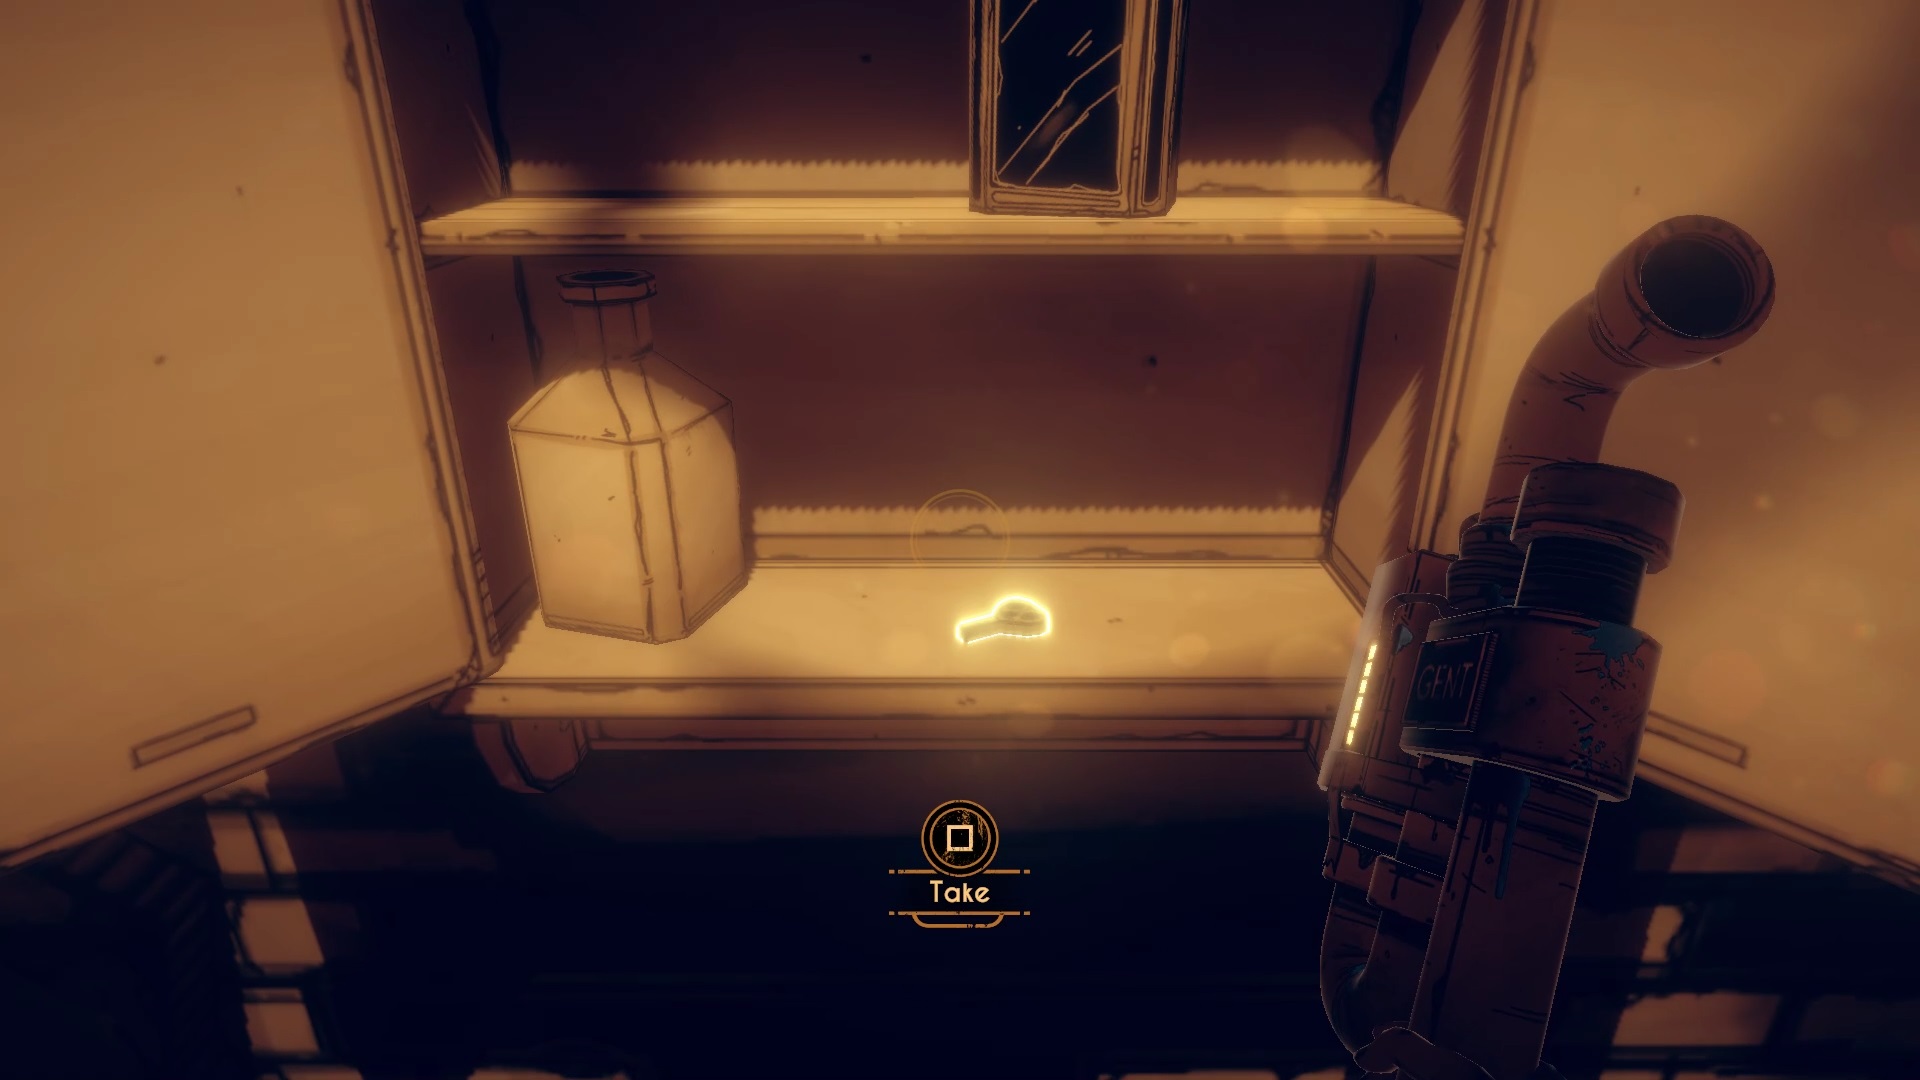
Go through the door and collect the Gent Pipe from the body. Eliminate the enemies around and break the padlock of the previous grid. Pull the lever on the other side and go through the passage below. Keep moving forward to get started with elimination from behind.
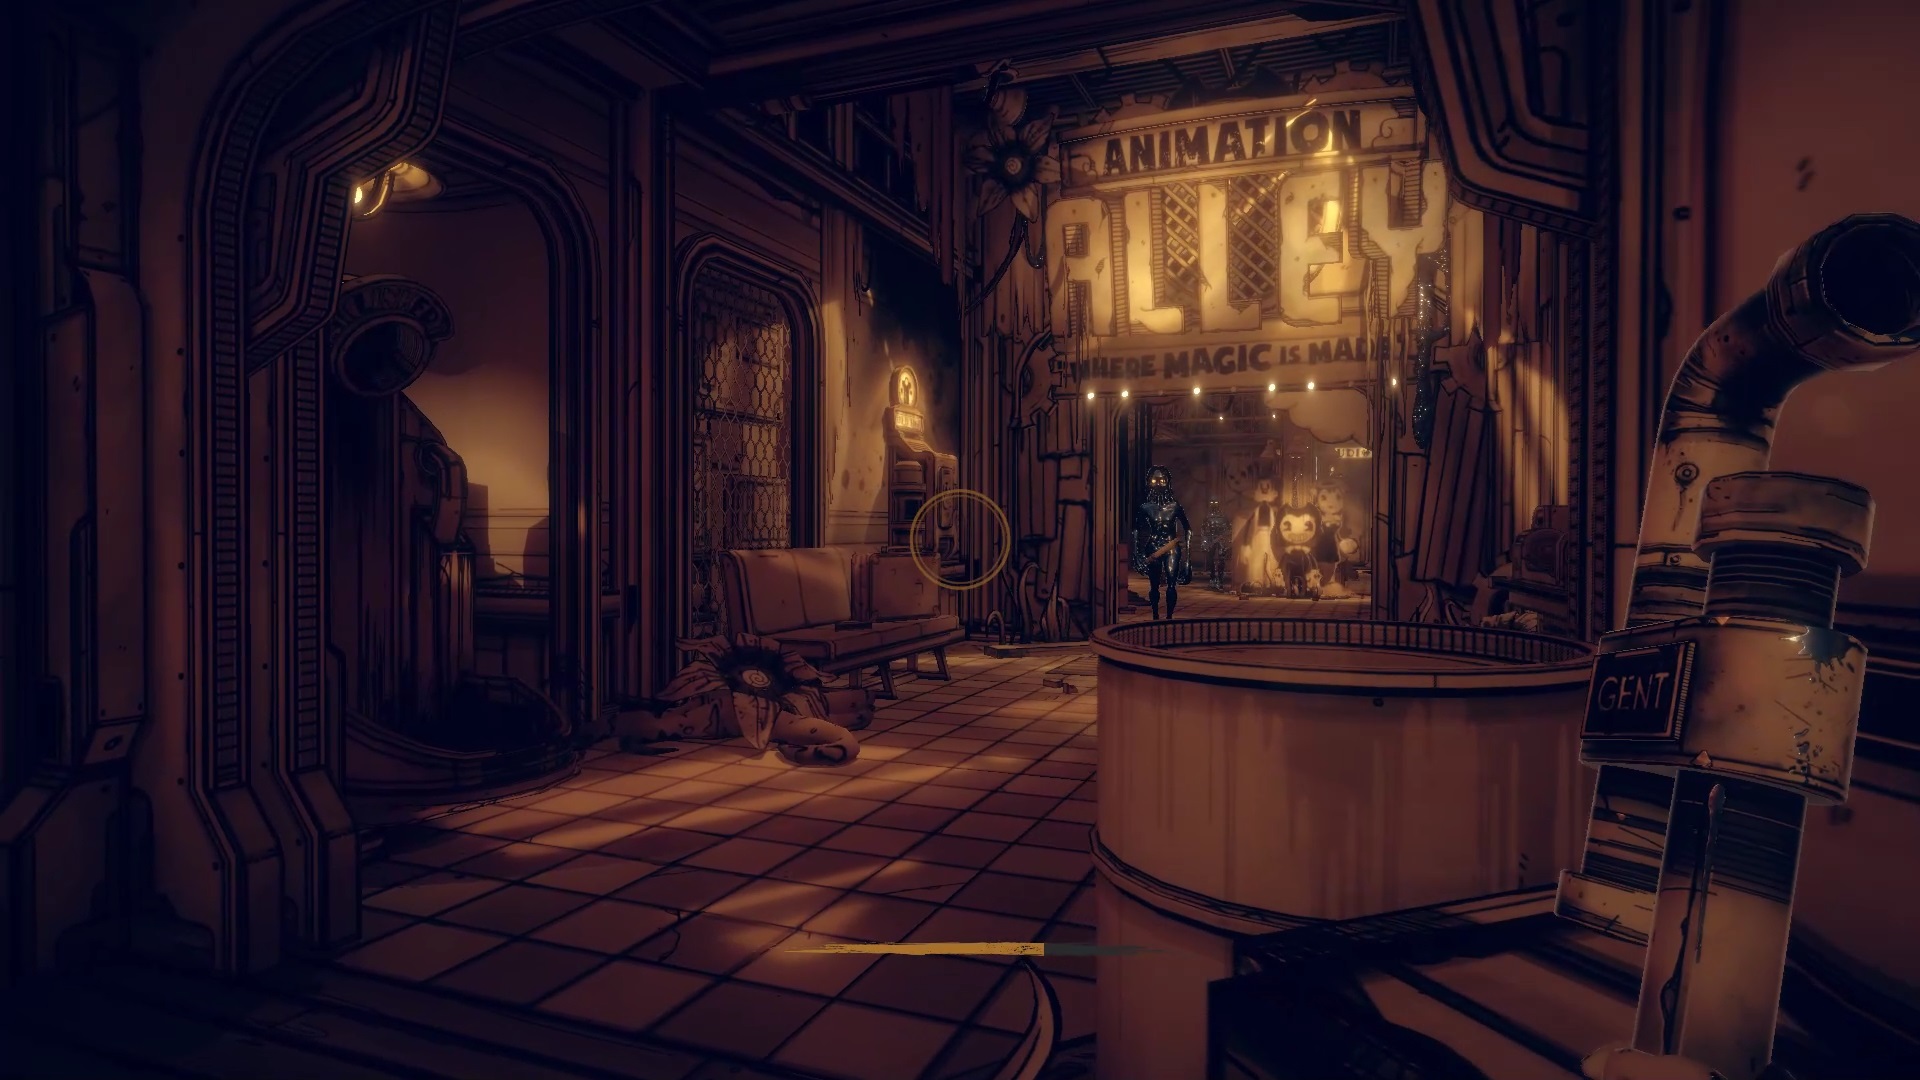
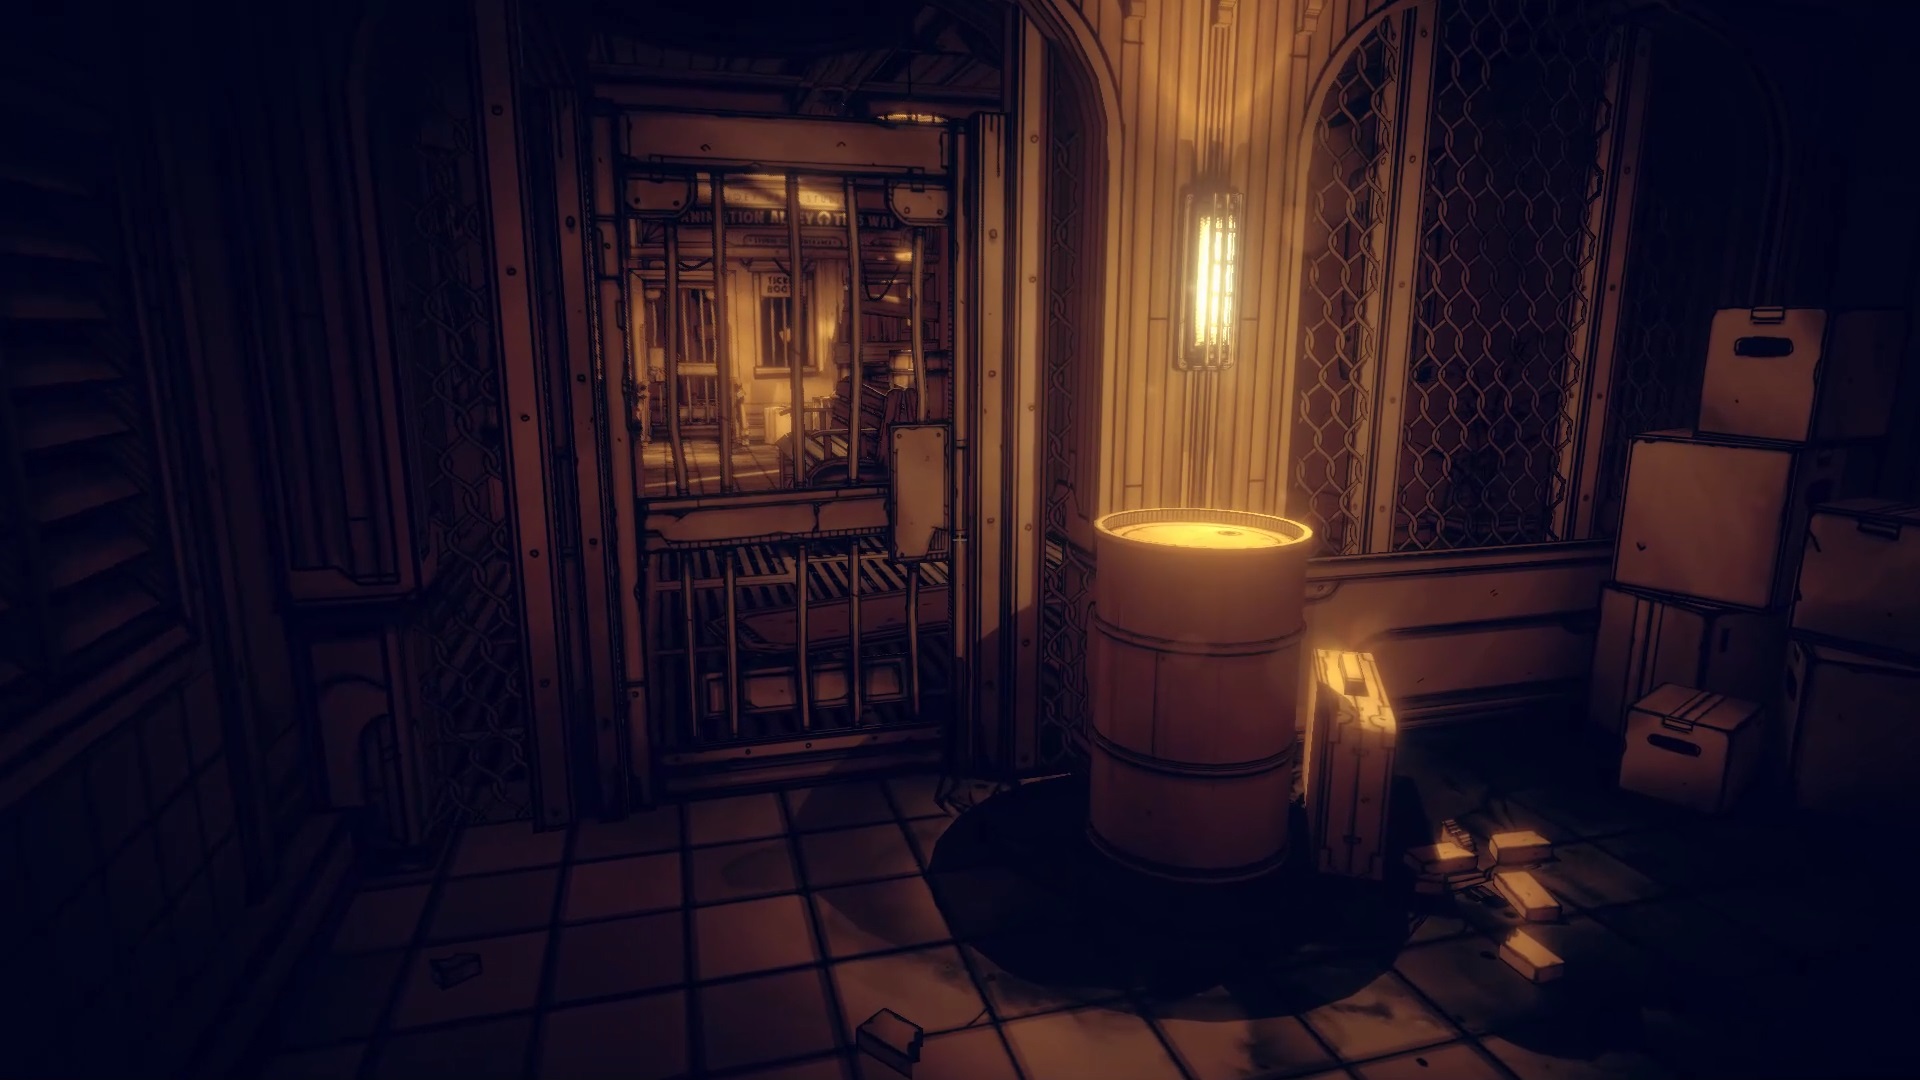
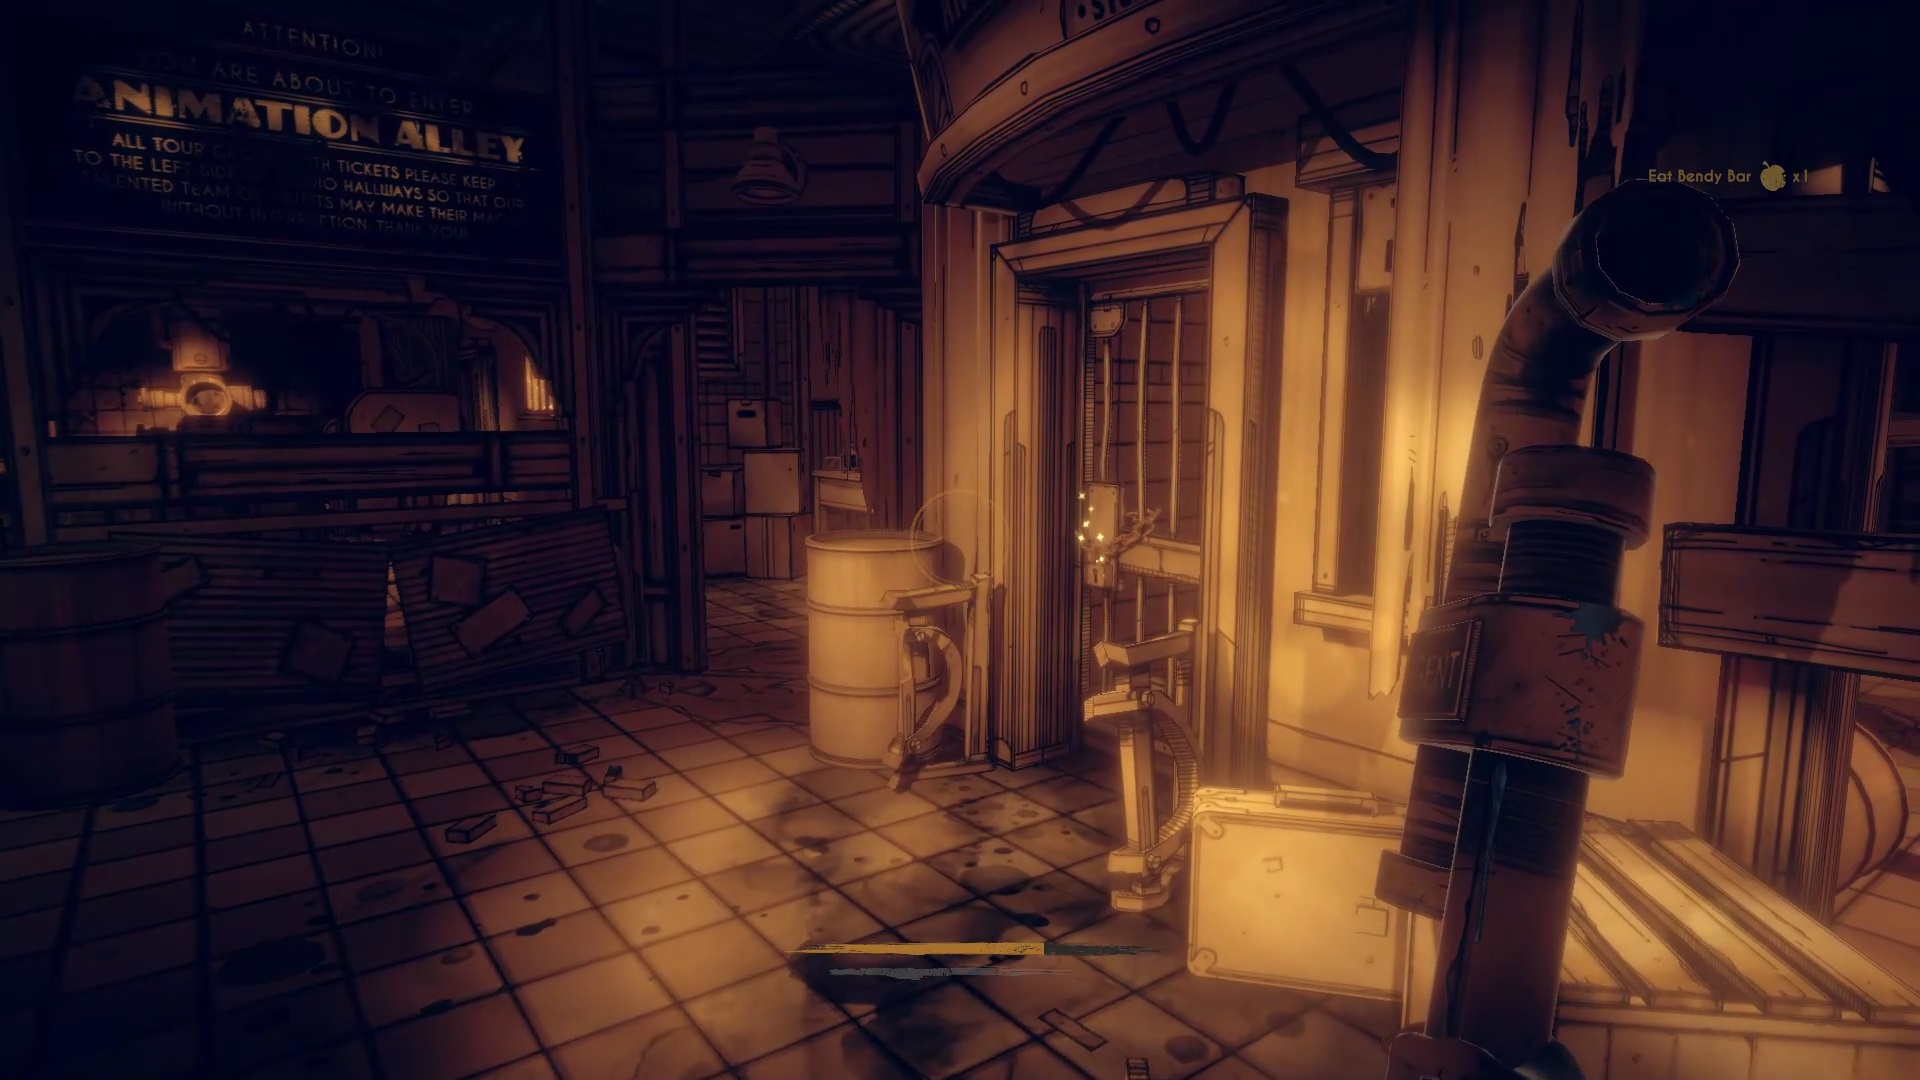
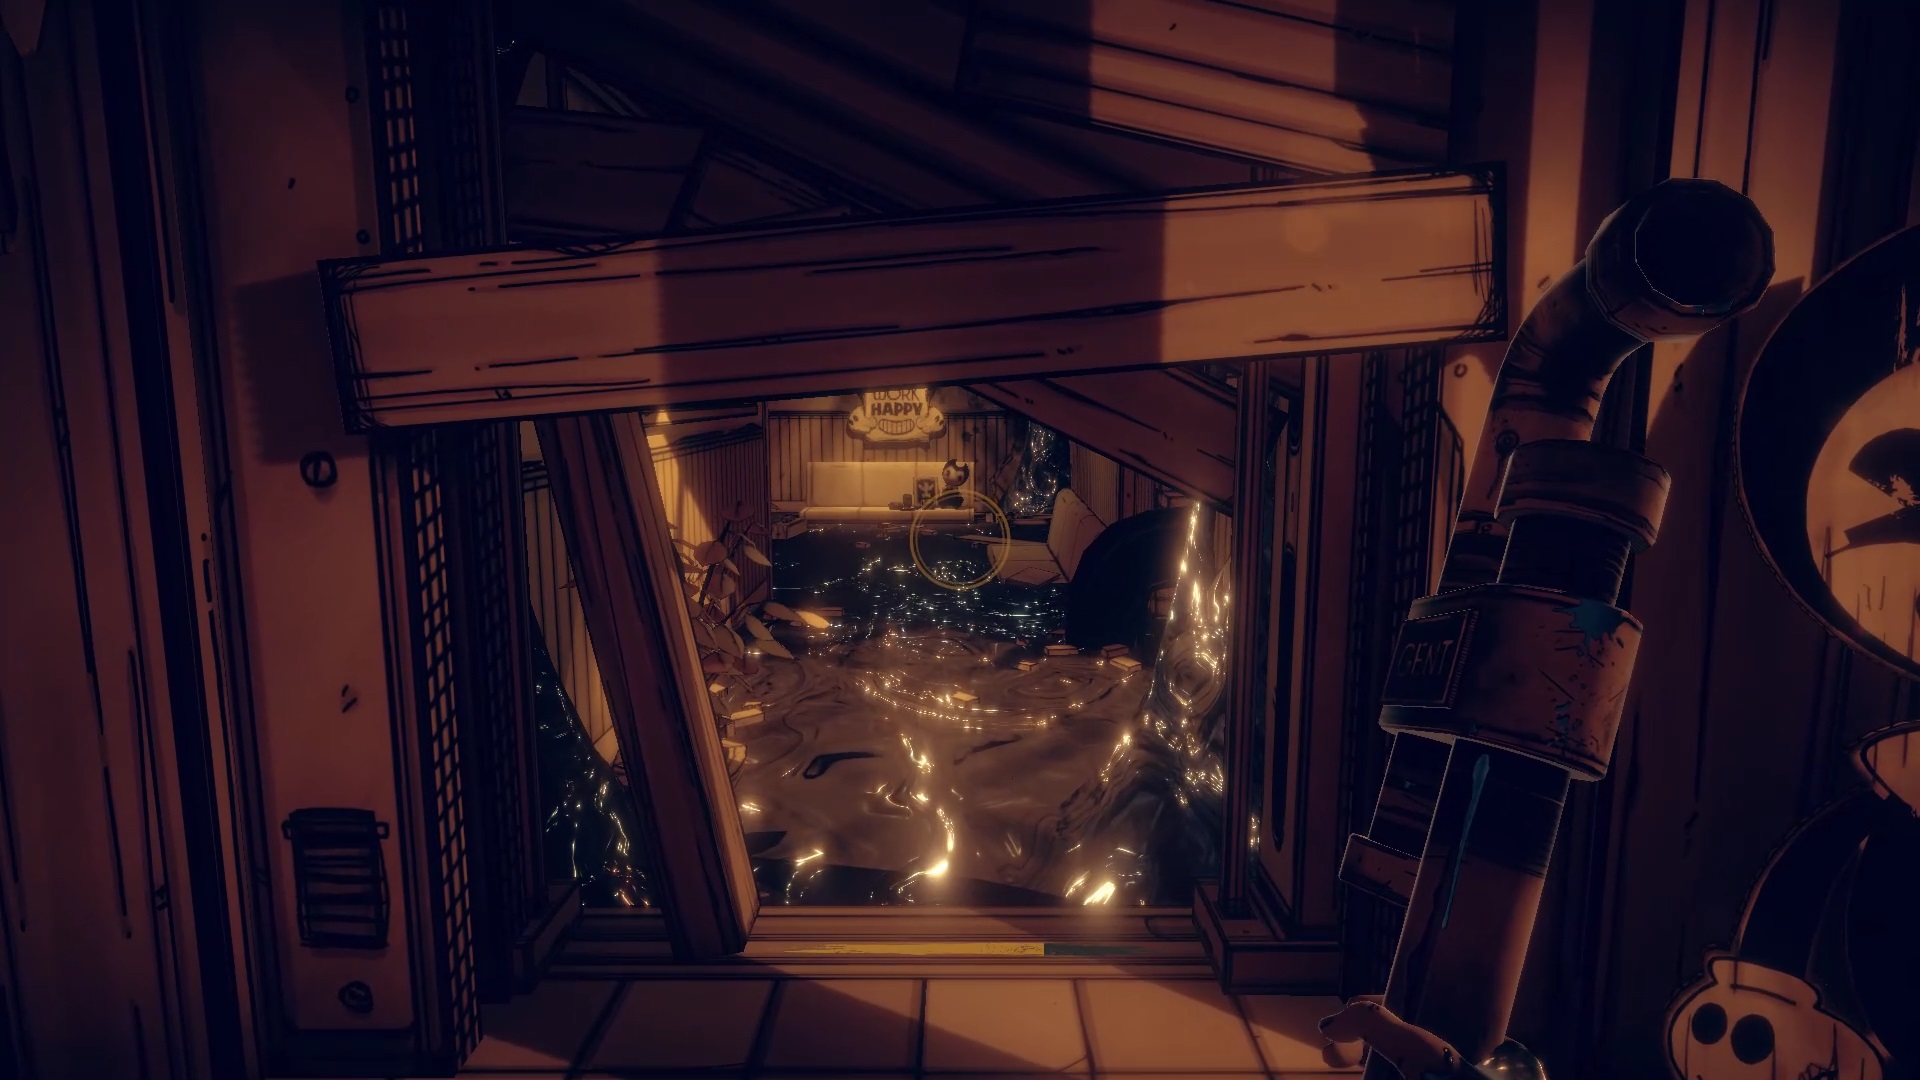
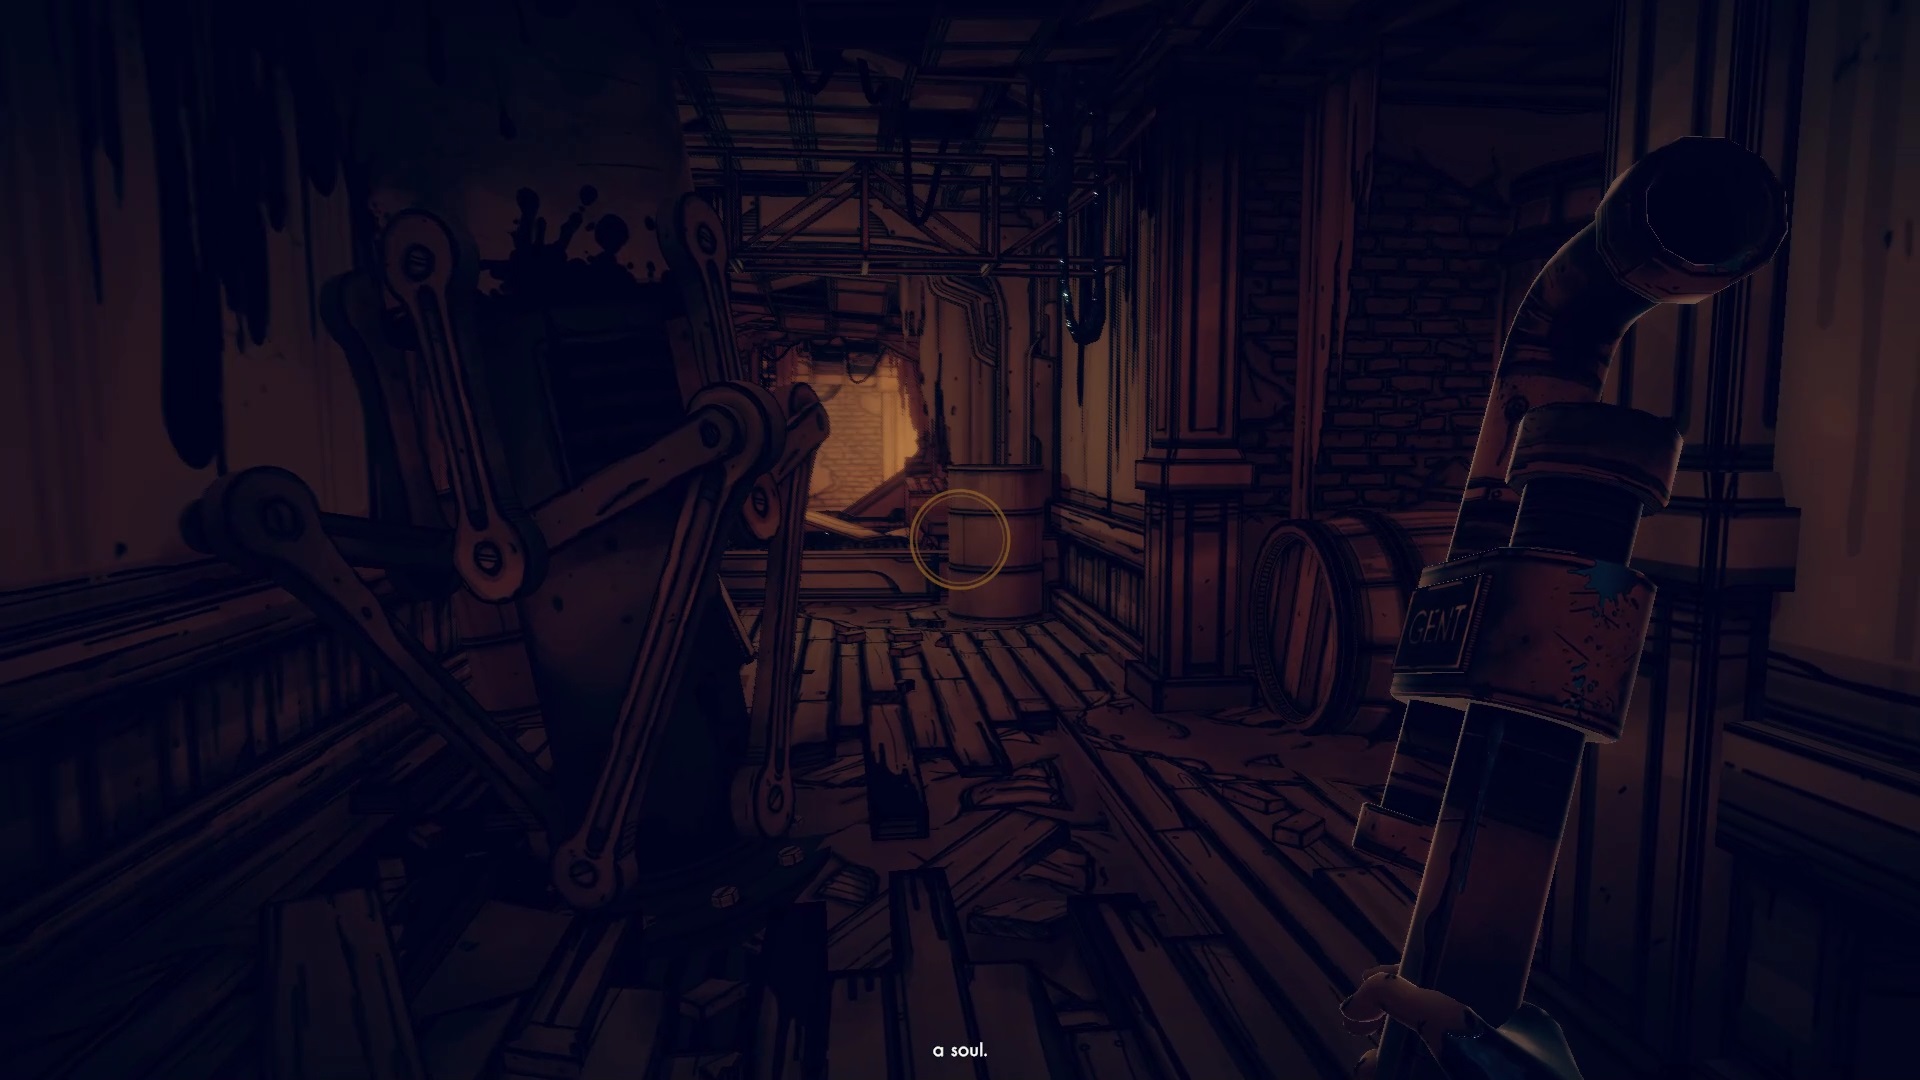
Break the padlock of the gate to find a precipice. Push the crate near a gate to open a passage. Behind the passage, pull the lever to open the way to the alley of animation. Eliminate threats and enter.
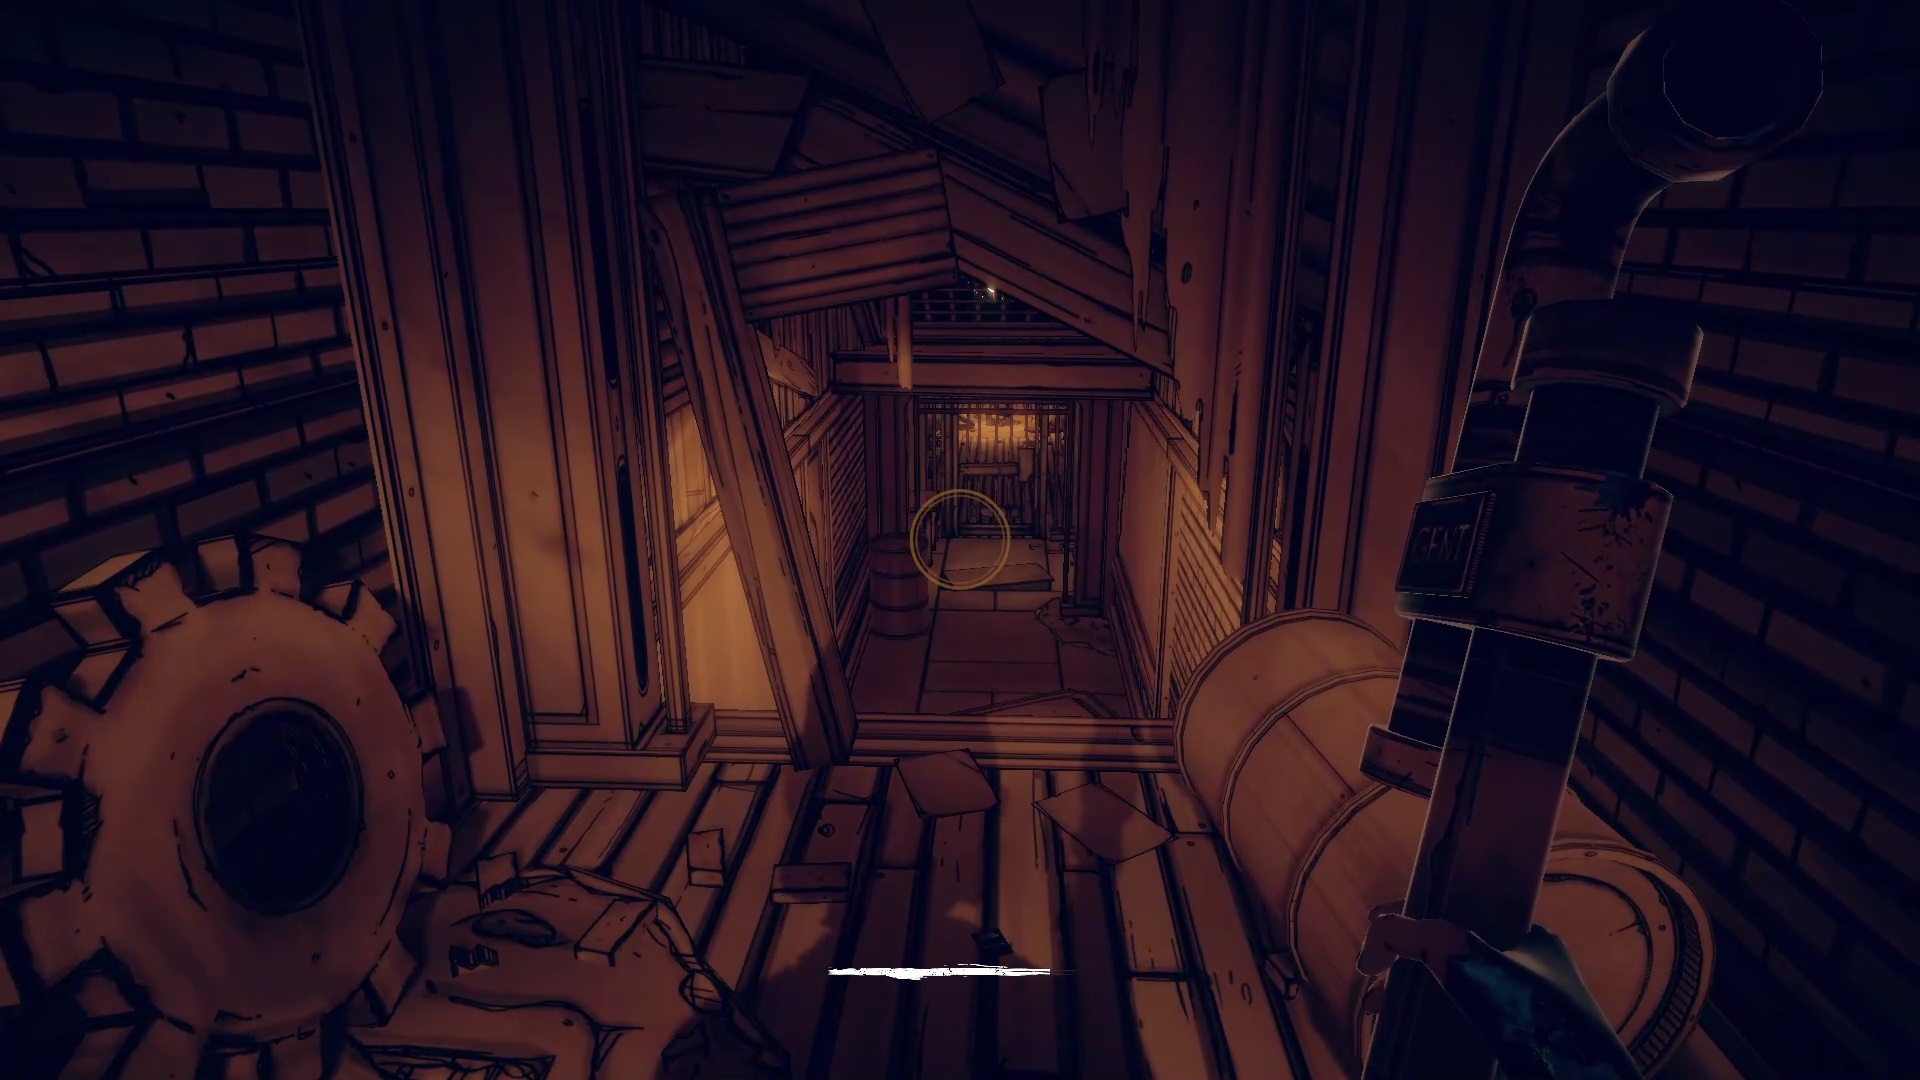
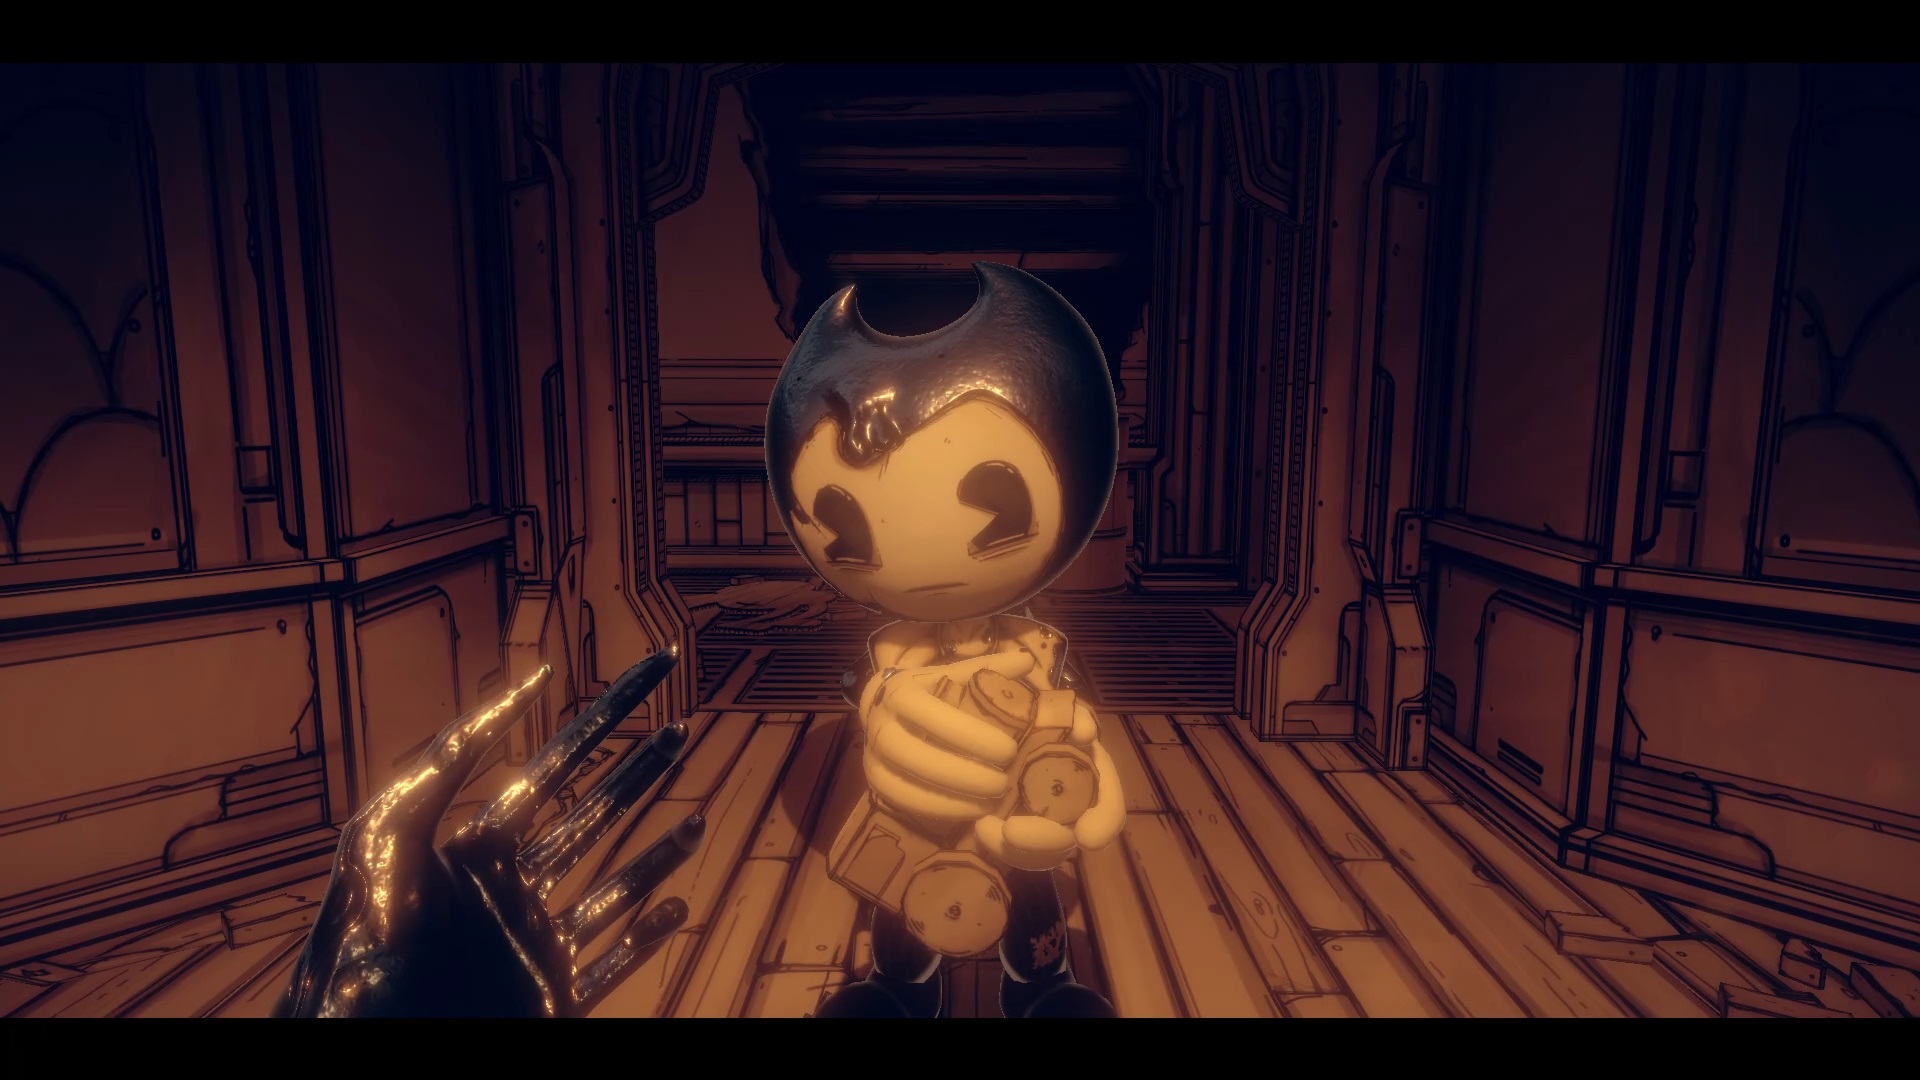
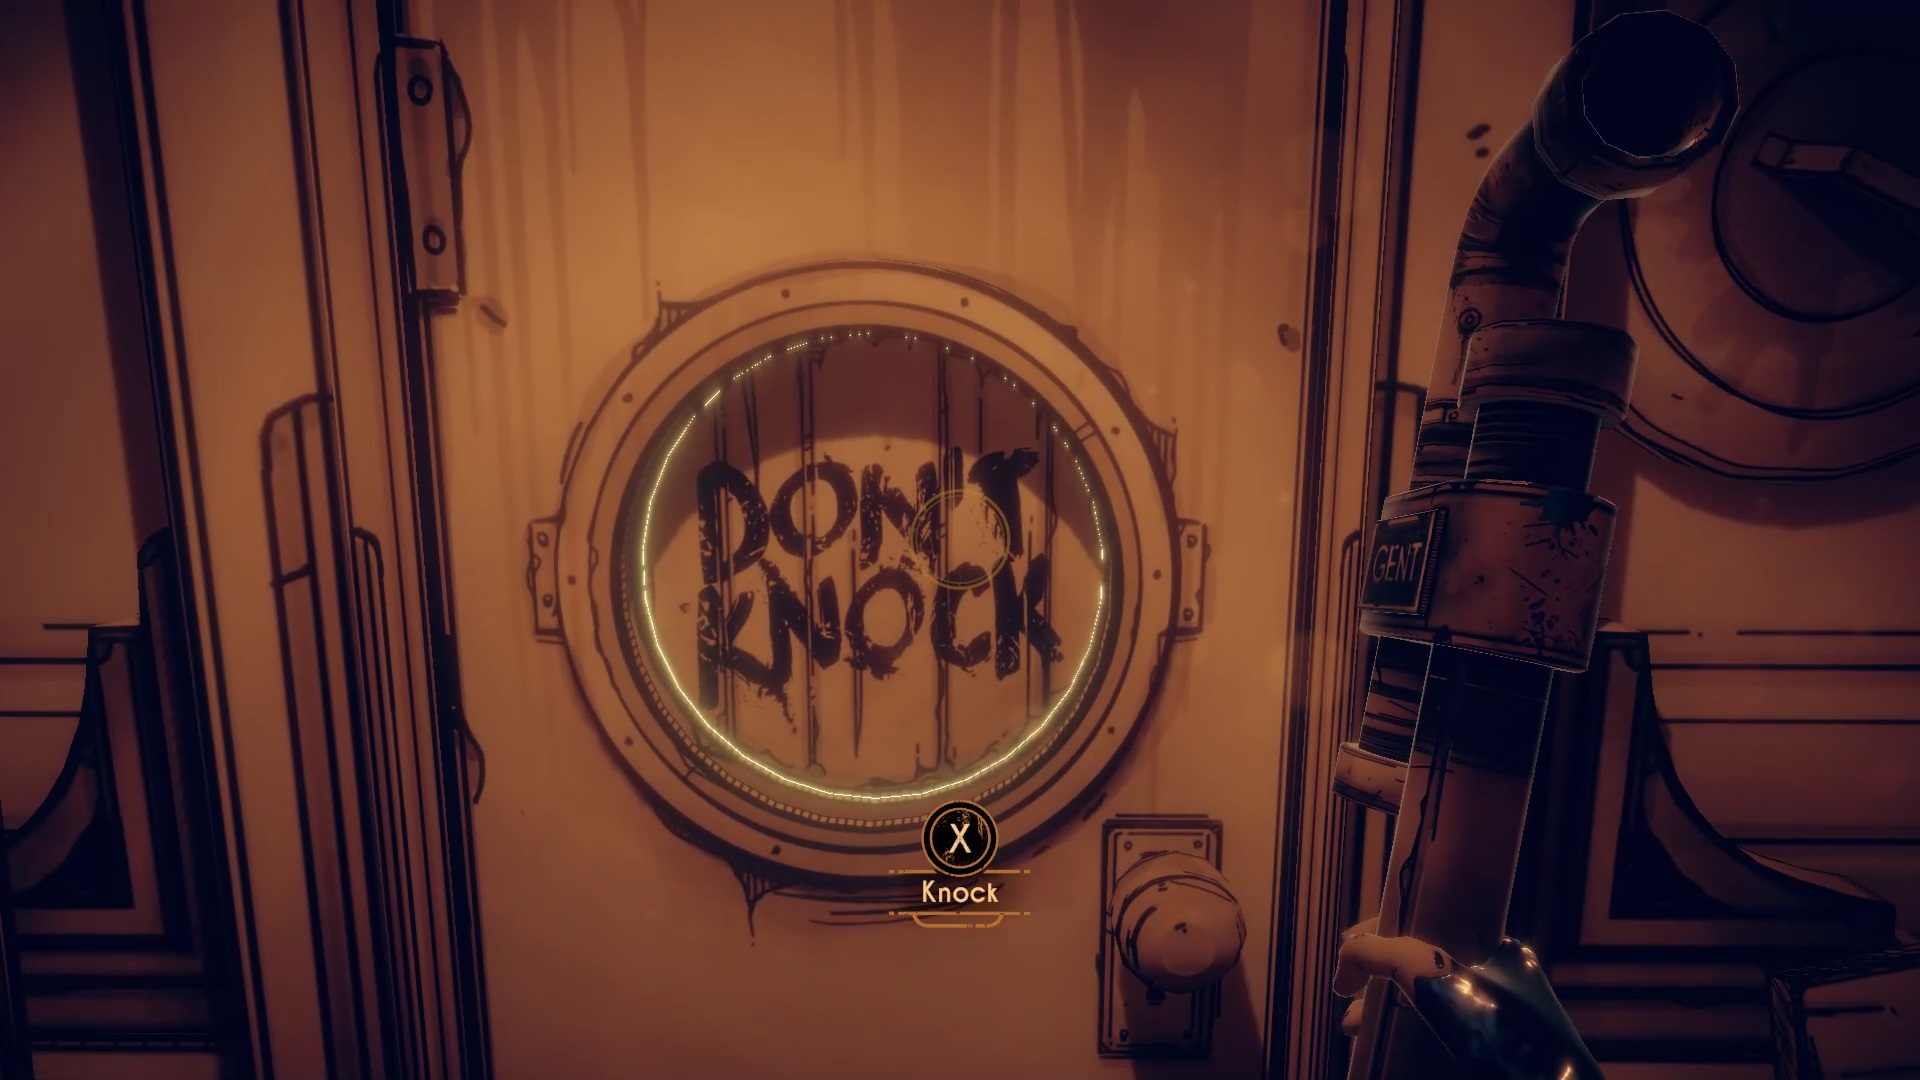
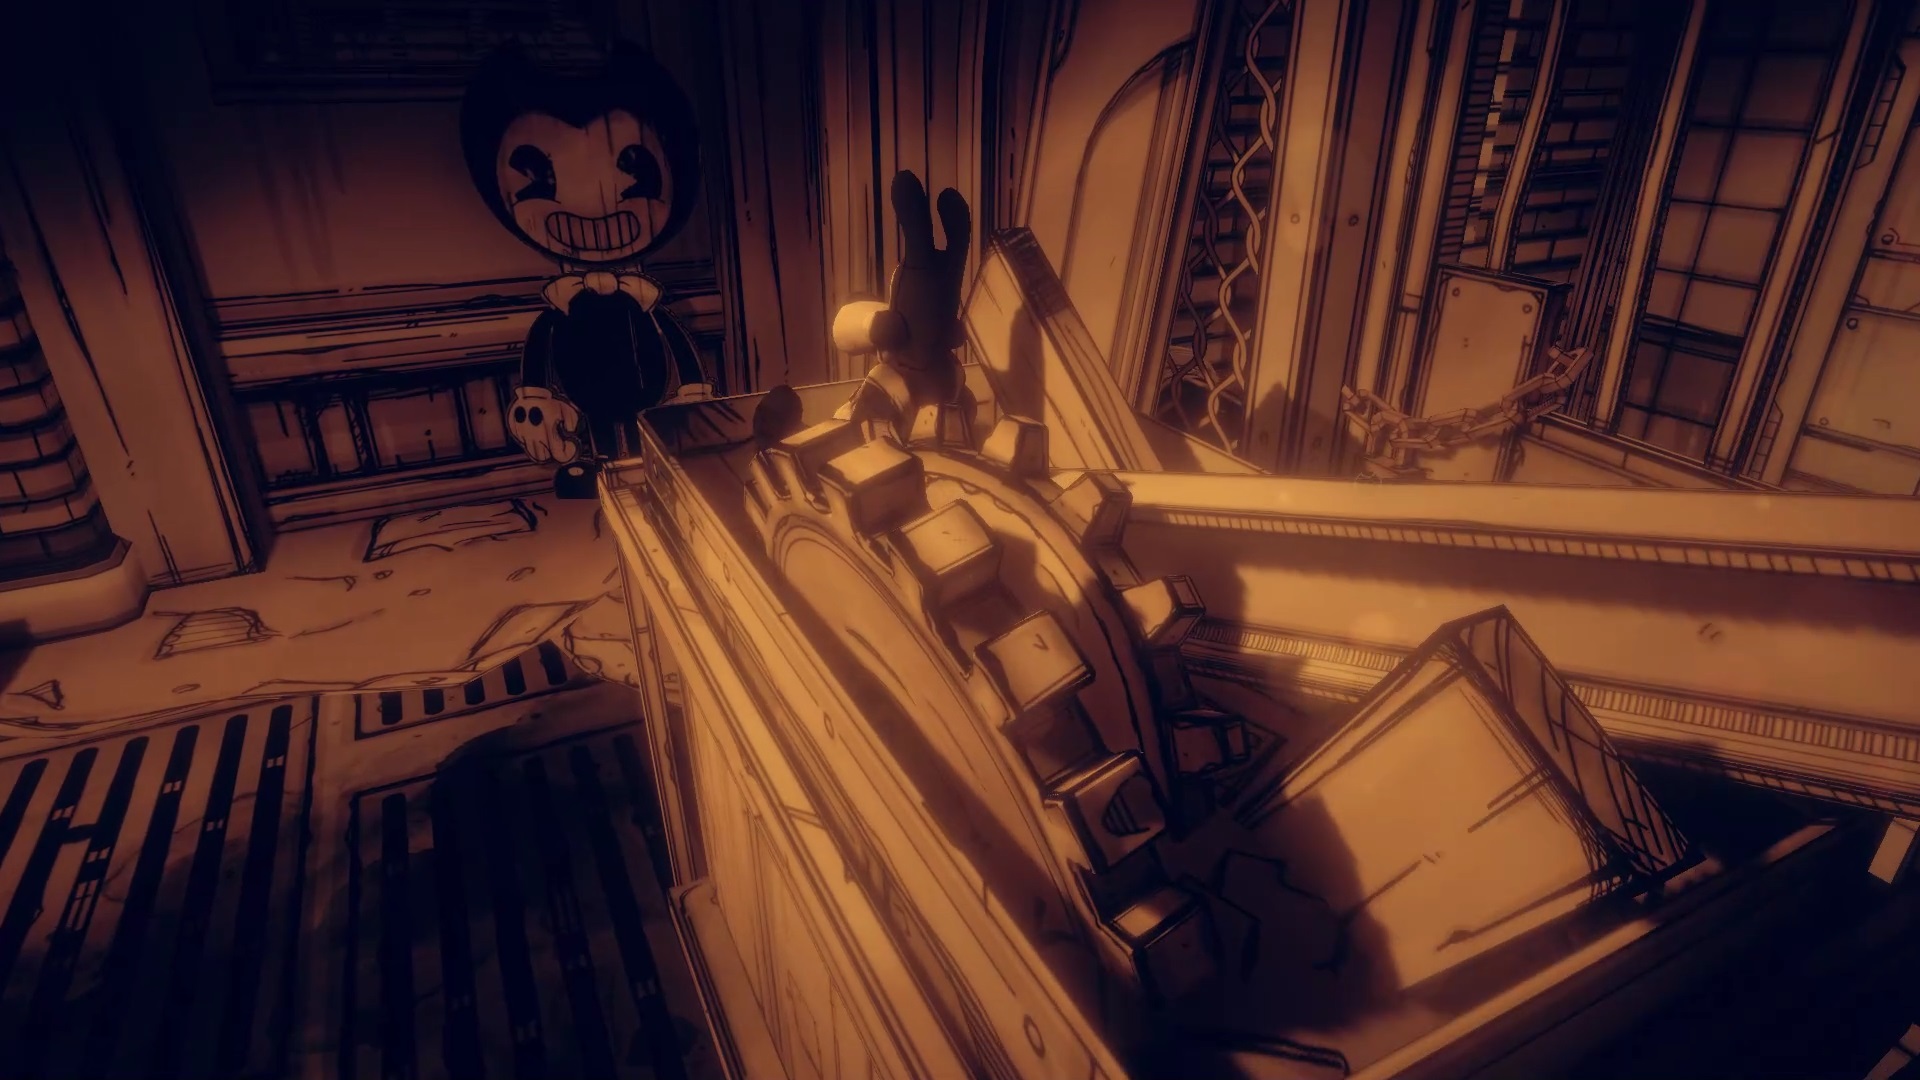
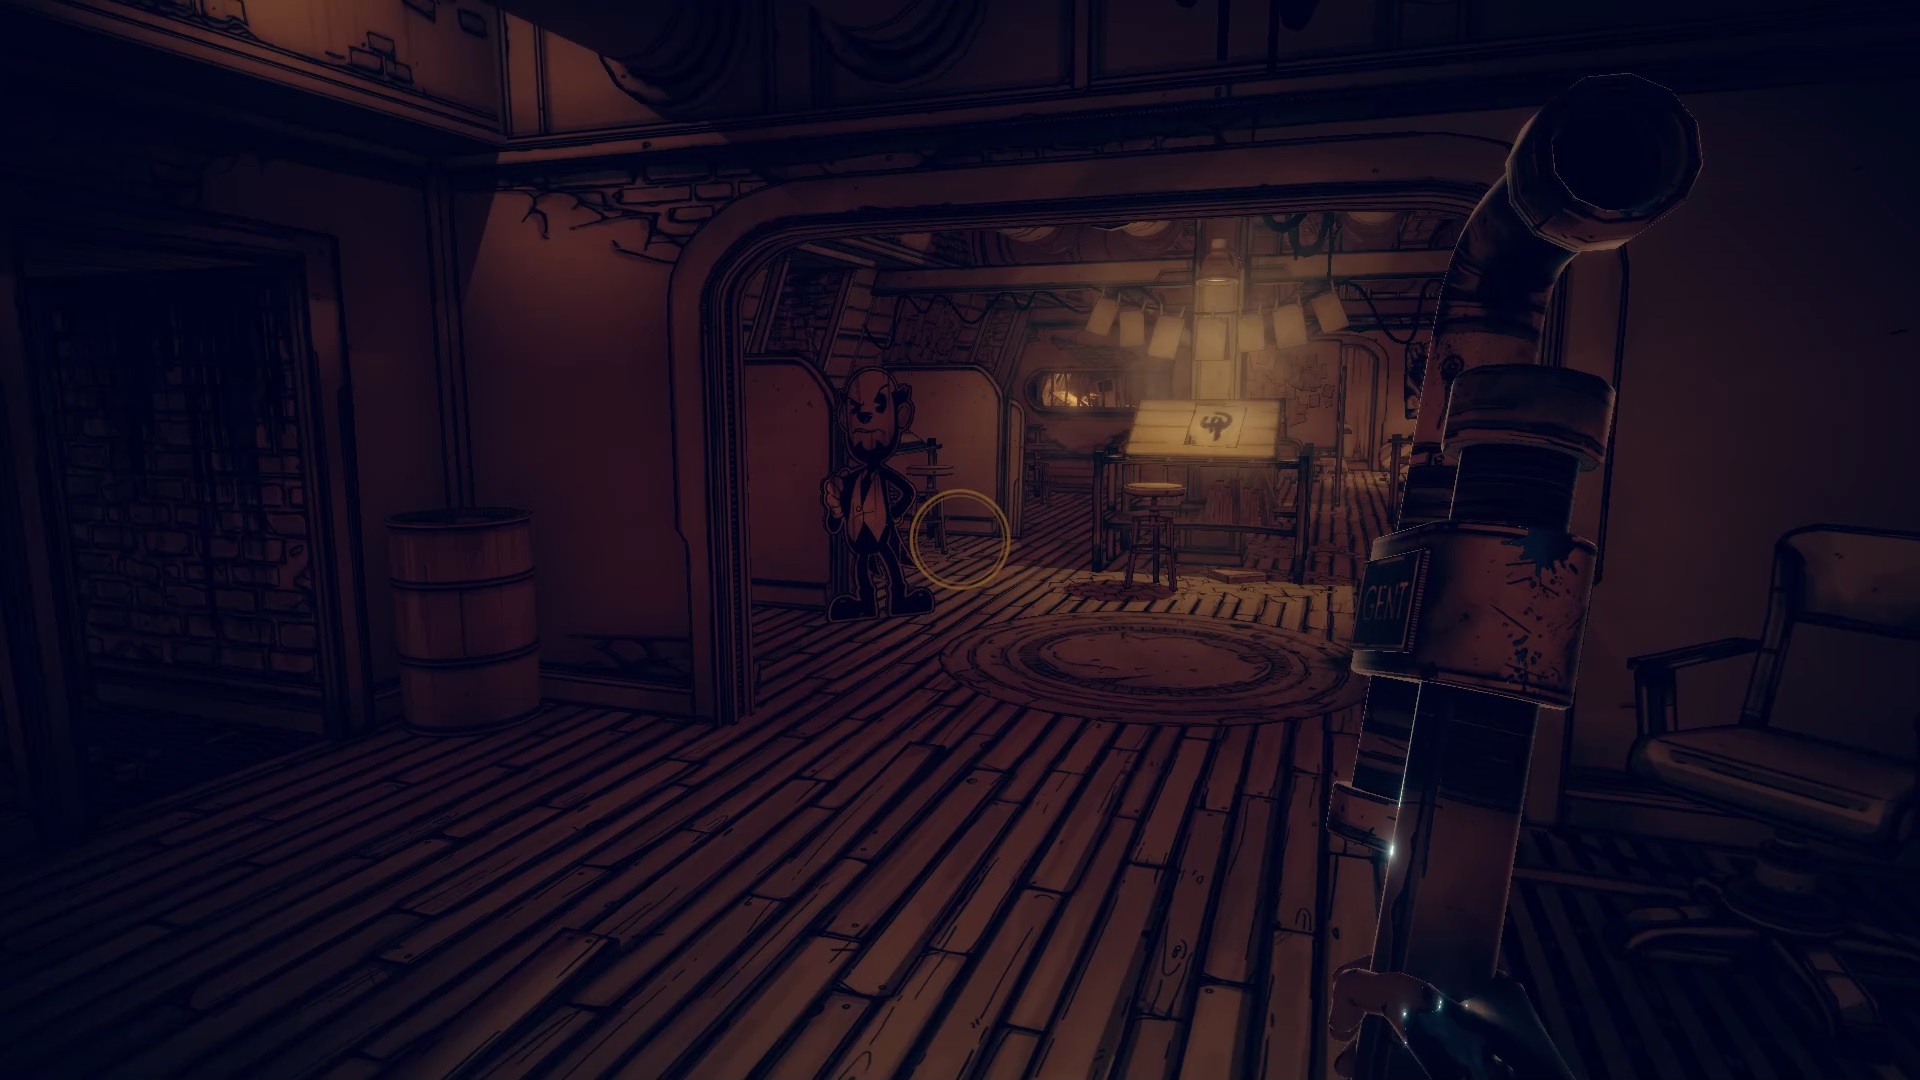
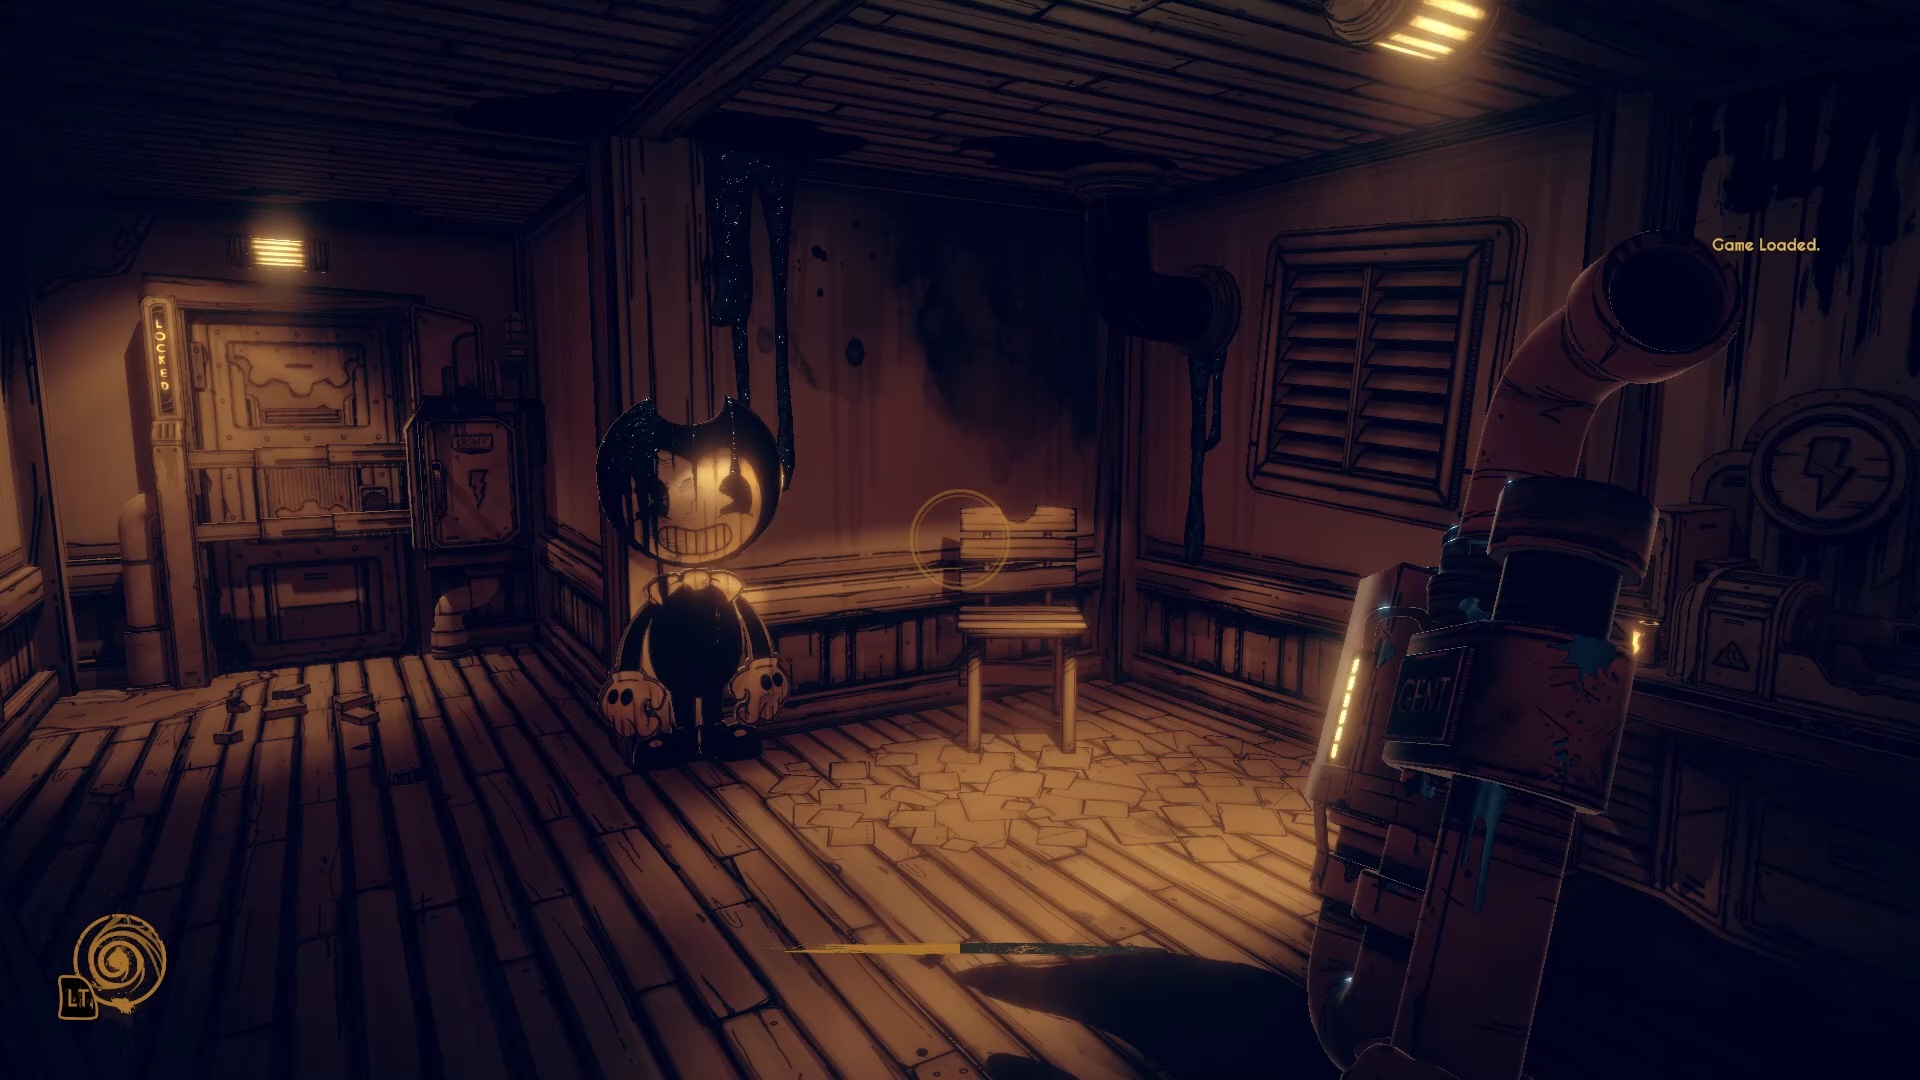
Inside, you’ll find an air duct near the entrance. Go inside to pull a new lever. Enter the passage you just opened to find Bendy. Then move forward to find a door to knock on.
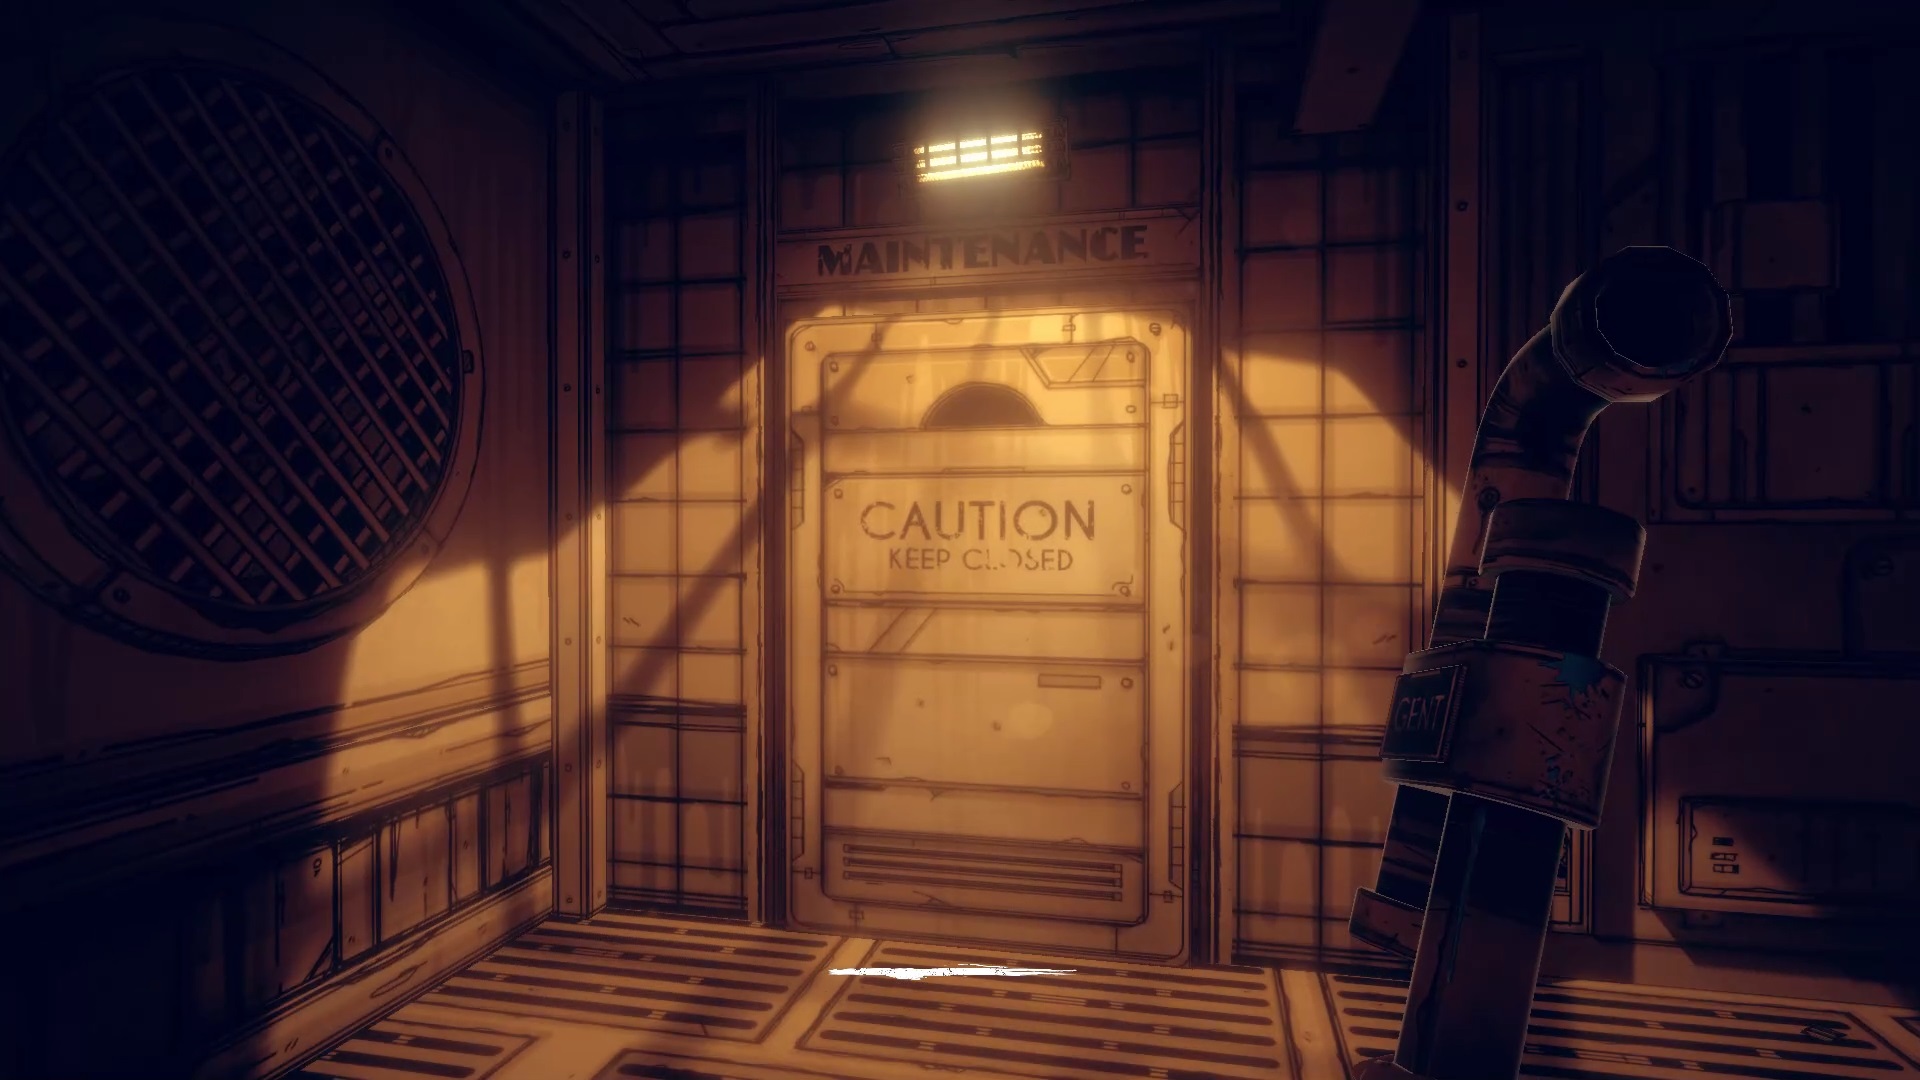

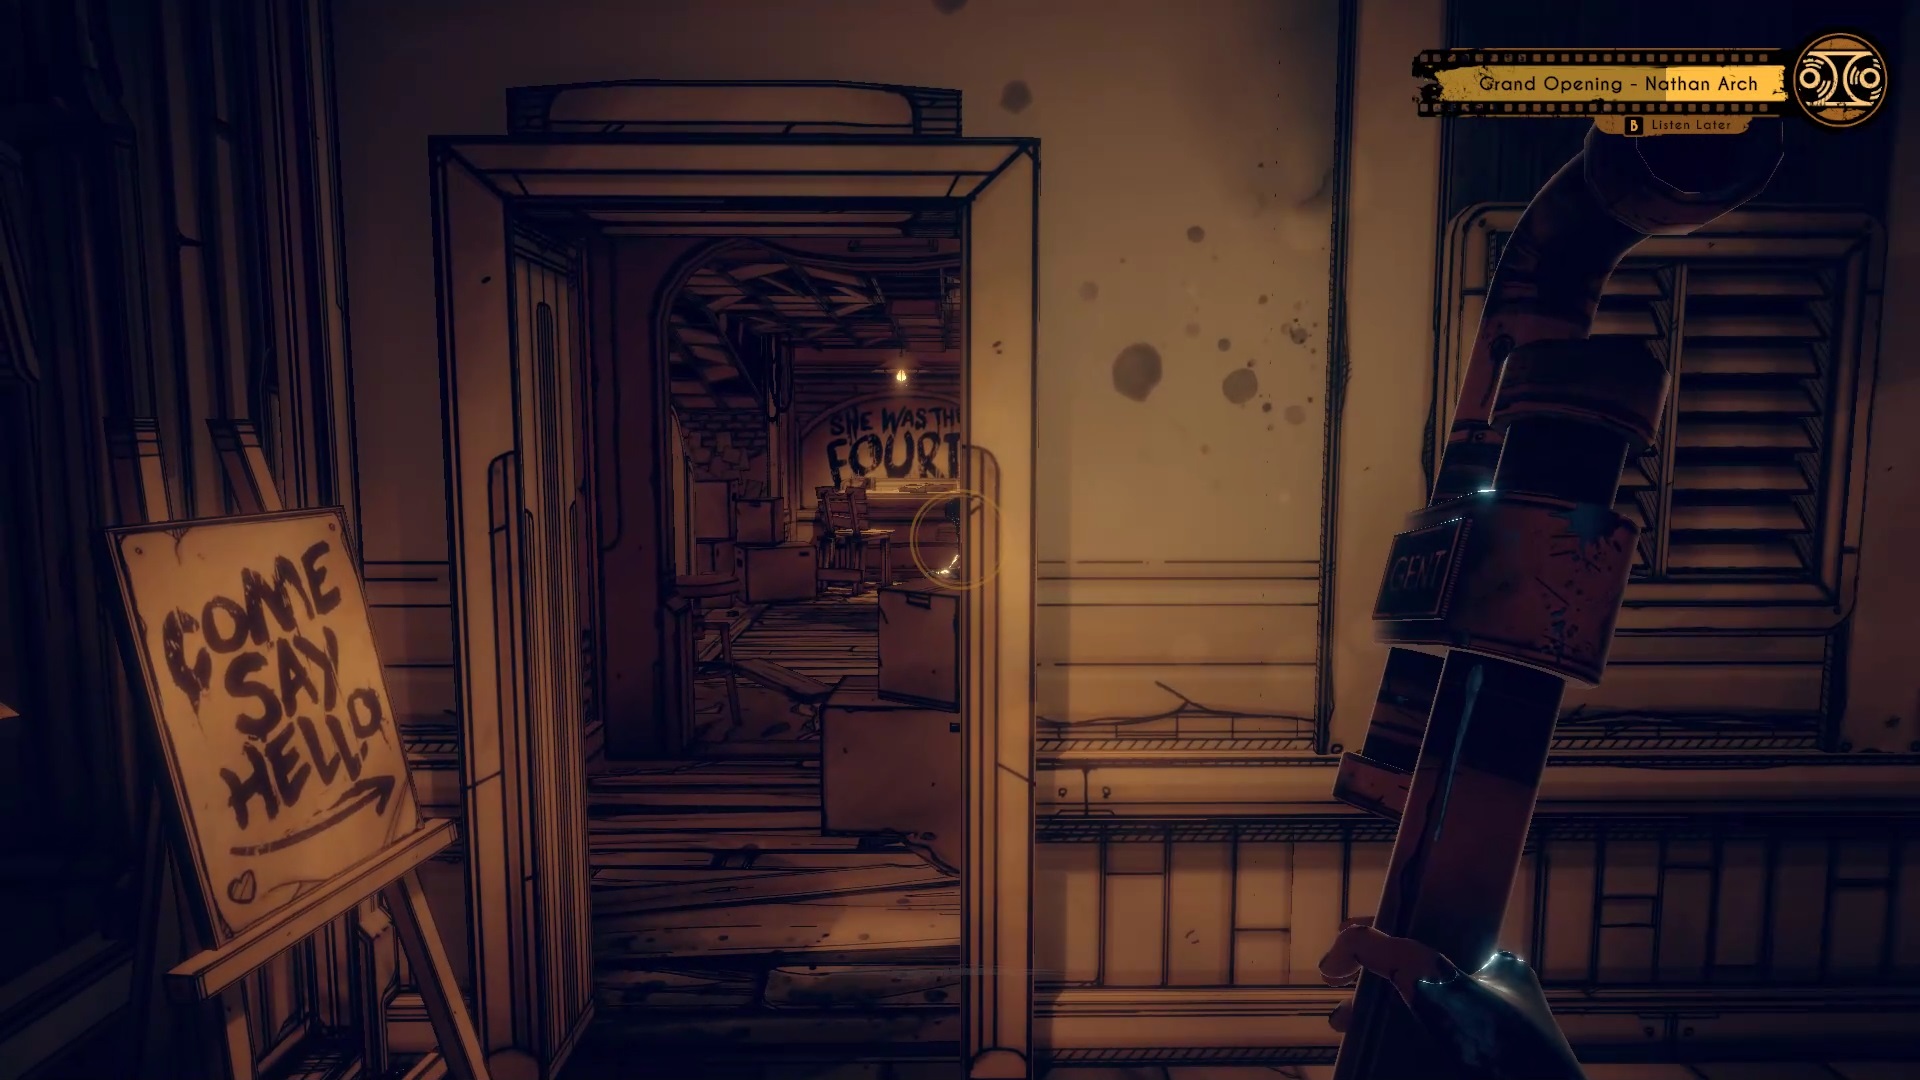
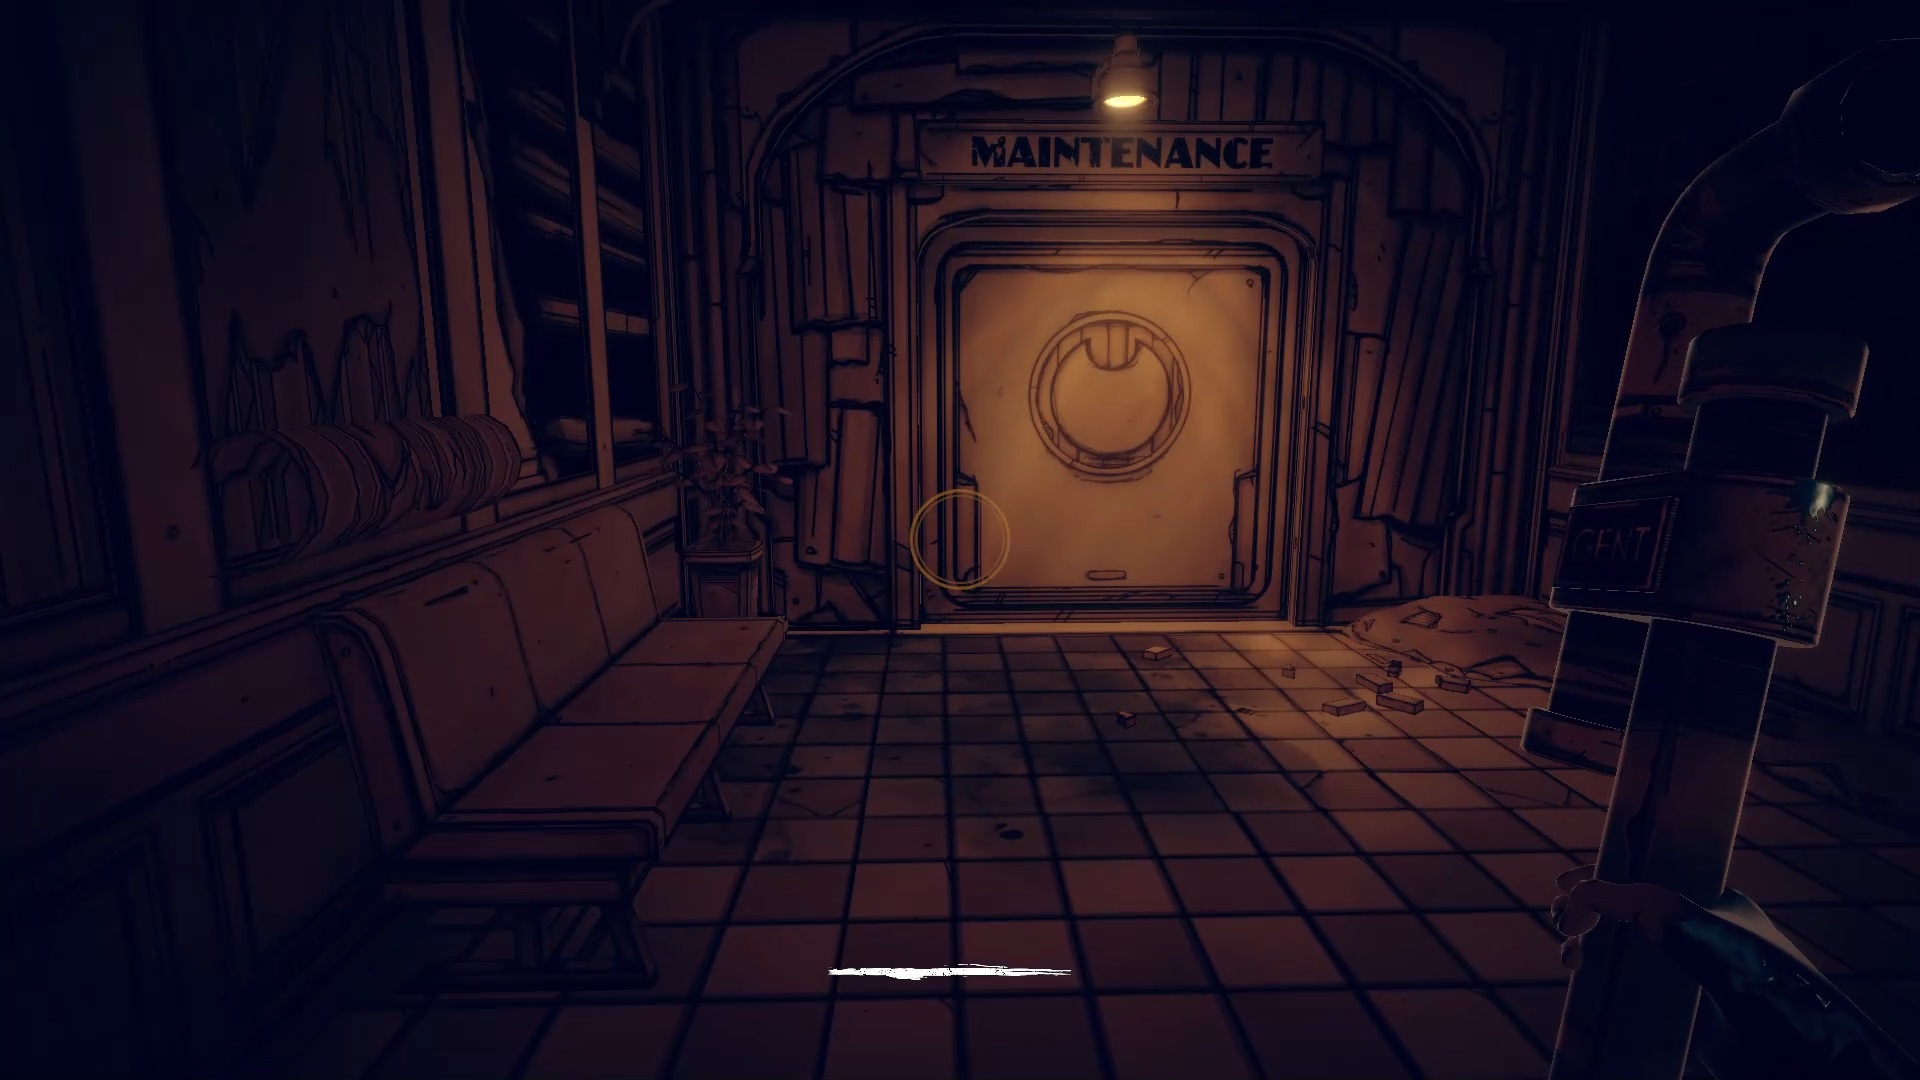
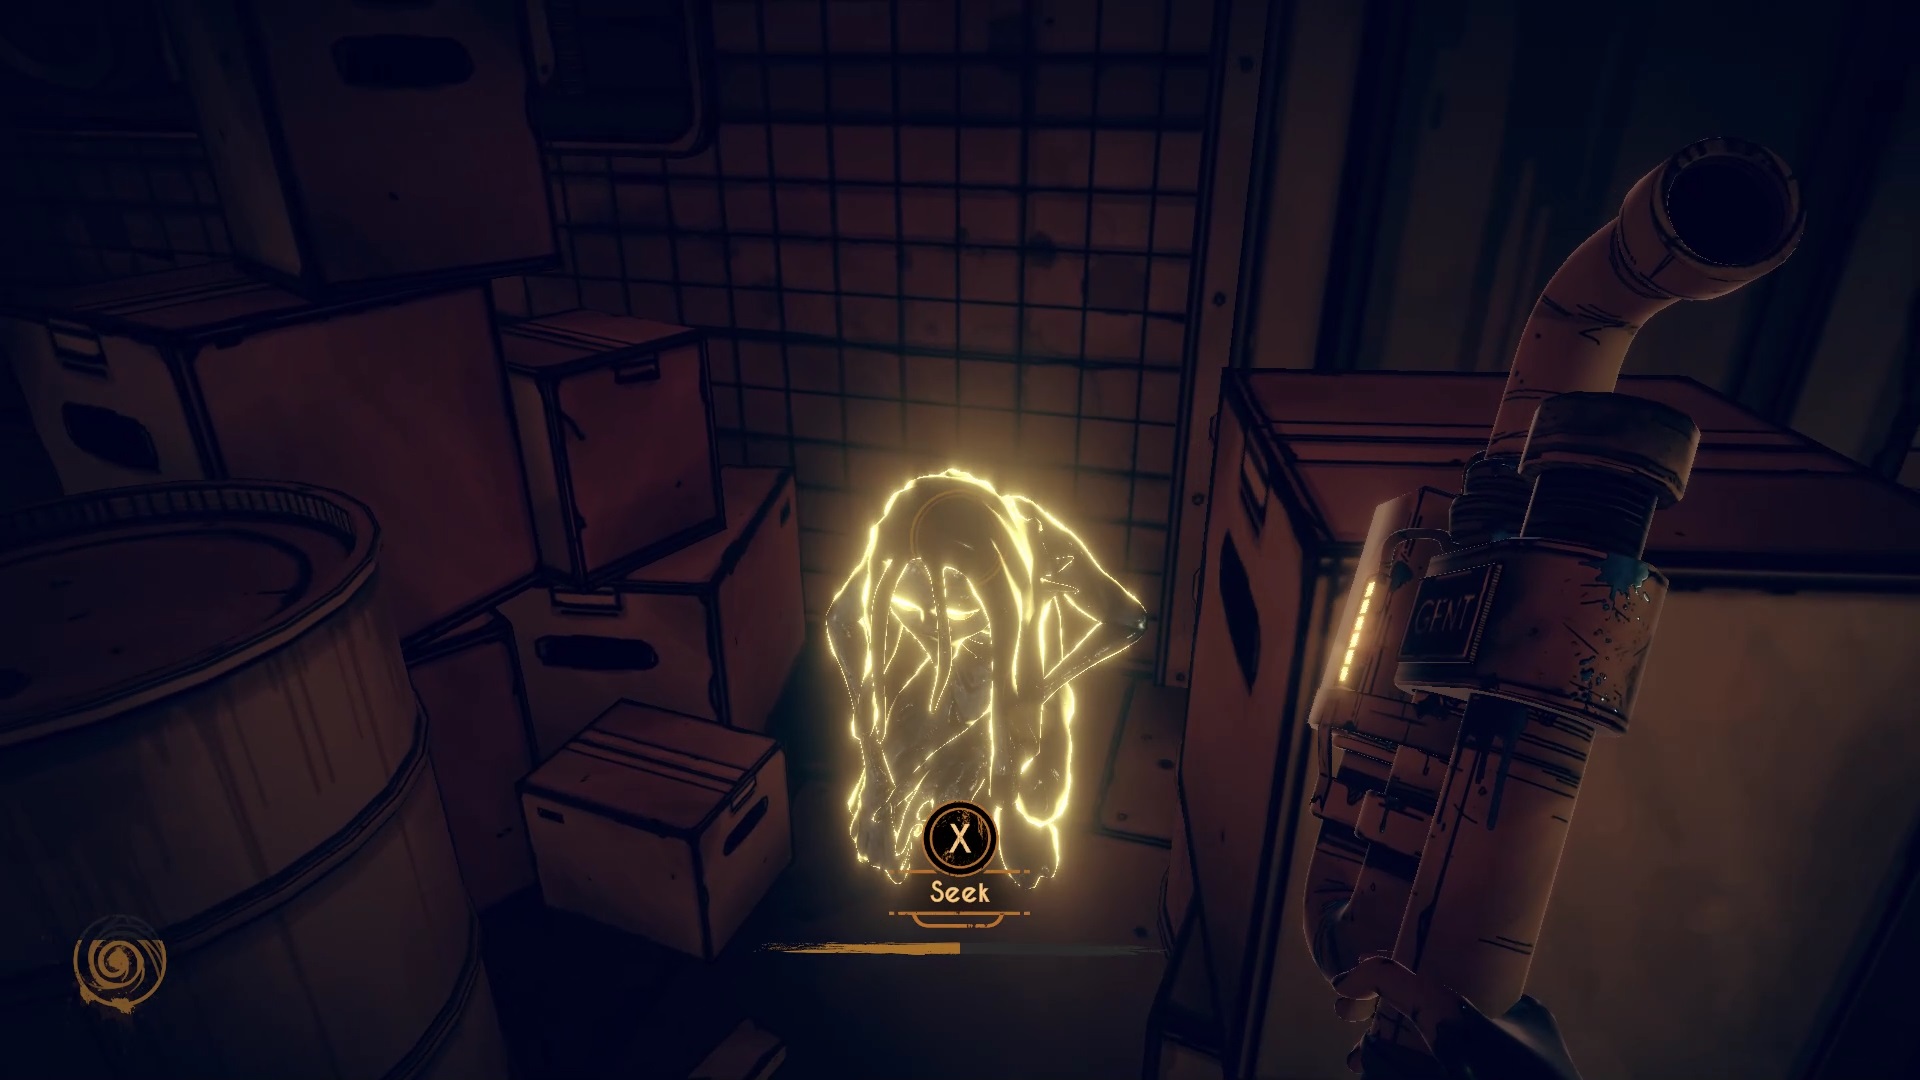
Then climb the small staircase on the left to pass the maintenance door. Pass the door and engulf you in a new conduit. On the other side, break the gate and follow the strange silhouette that whispers to you. Continue the path to pull a lever and trigger a cutscene that takes you to the second chapter.
Chapter 2

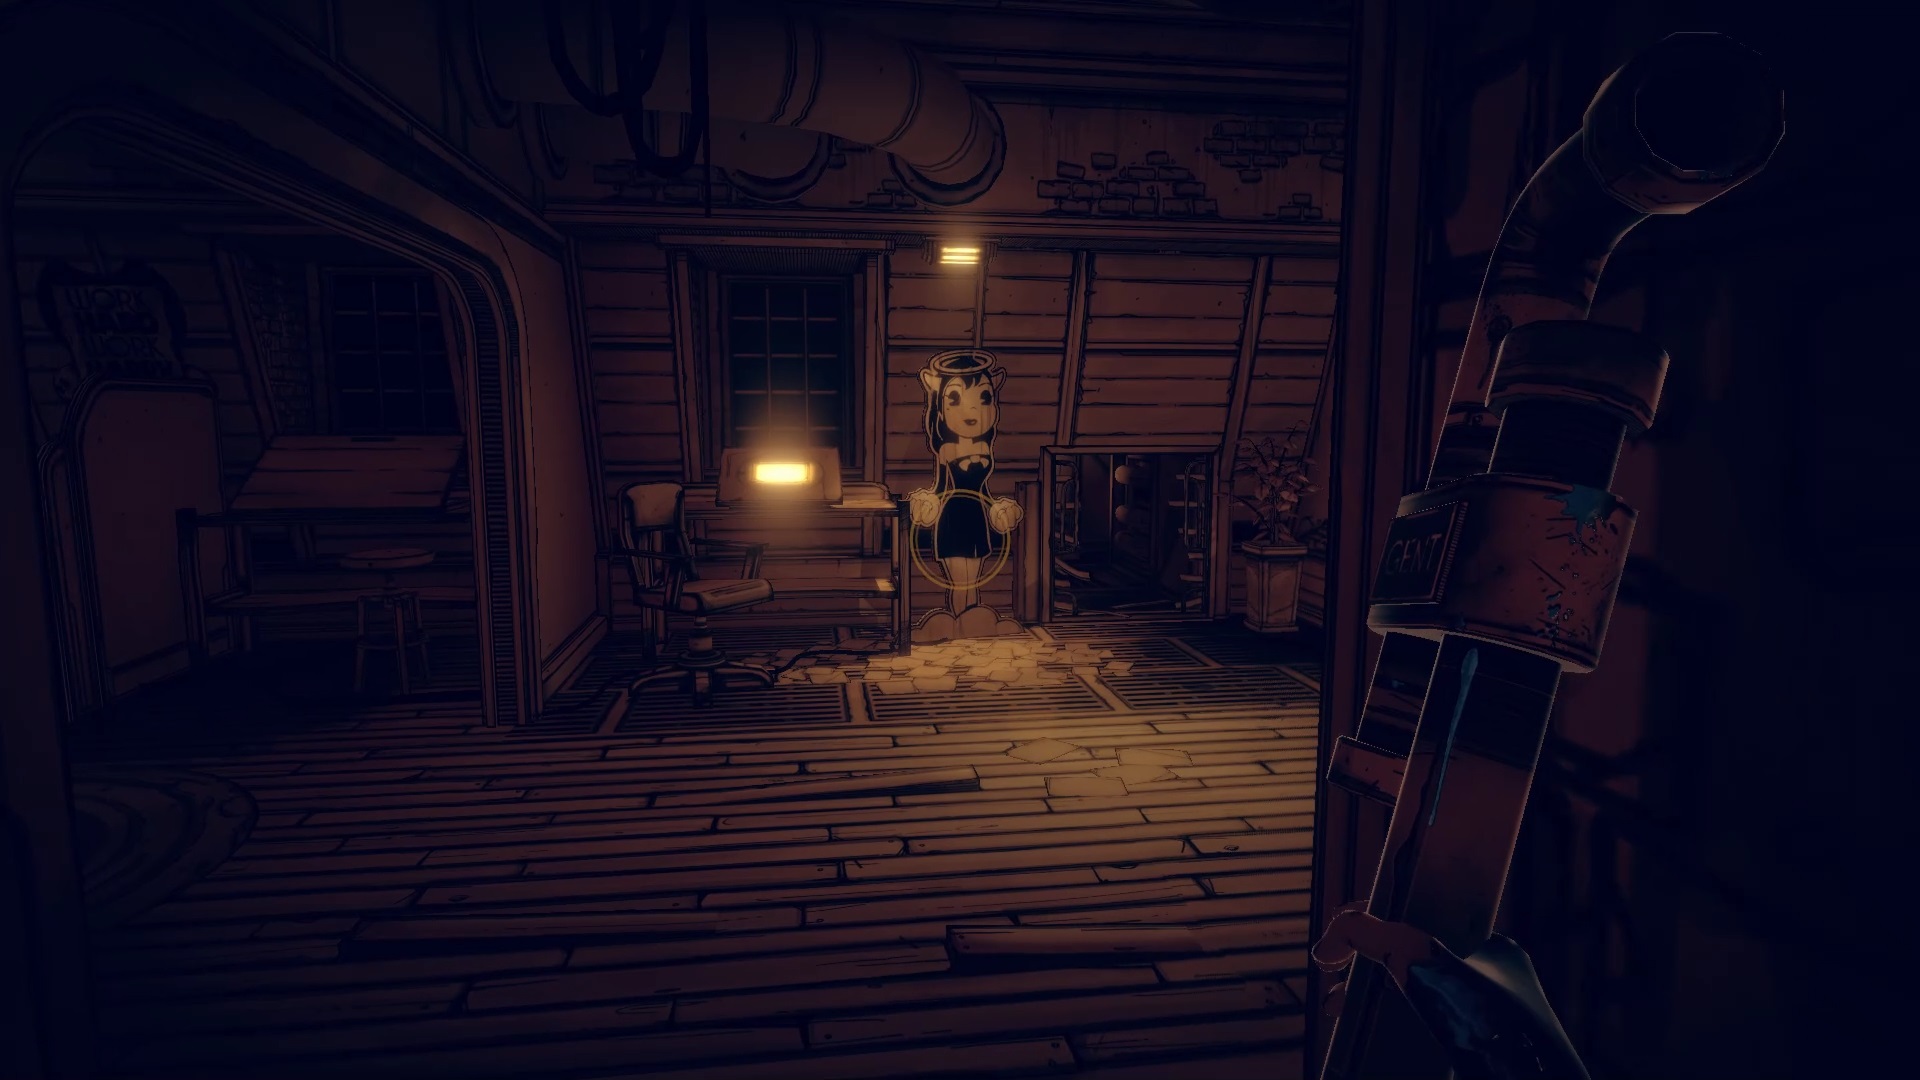
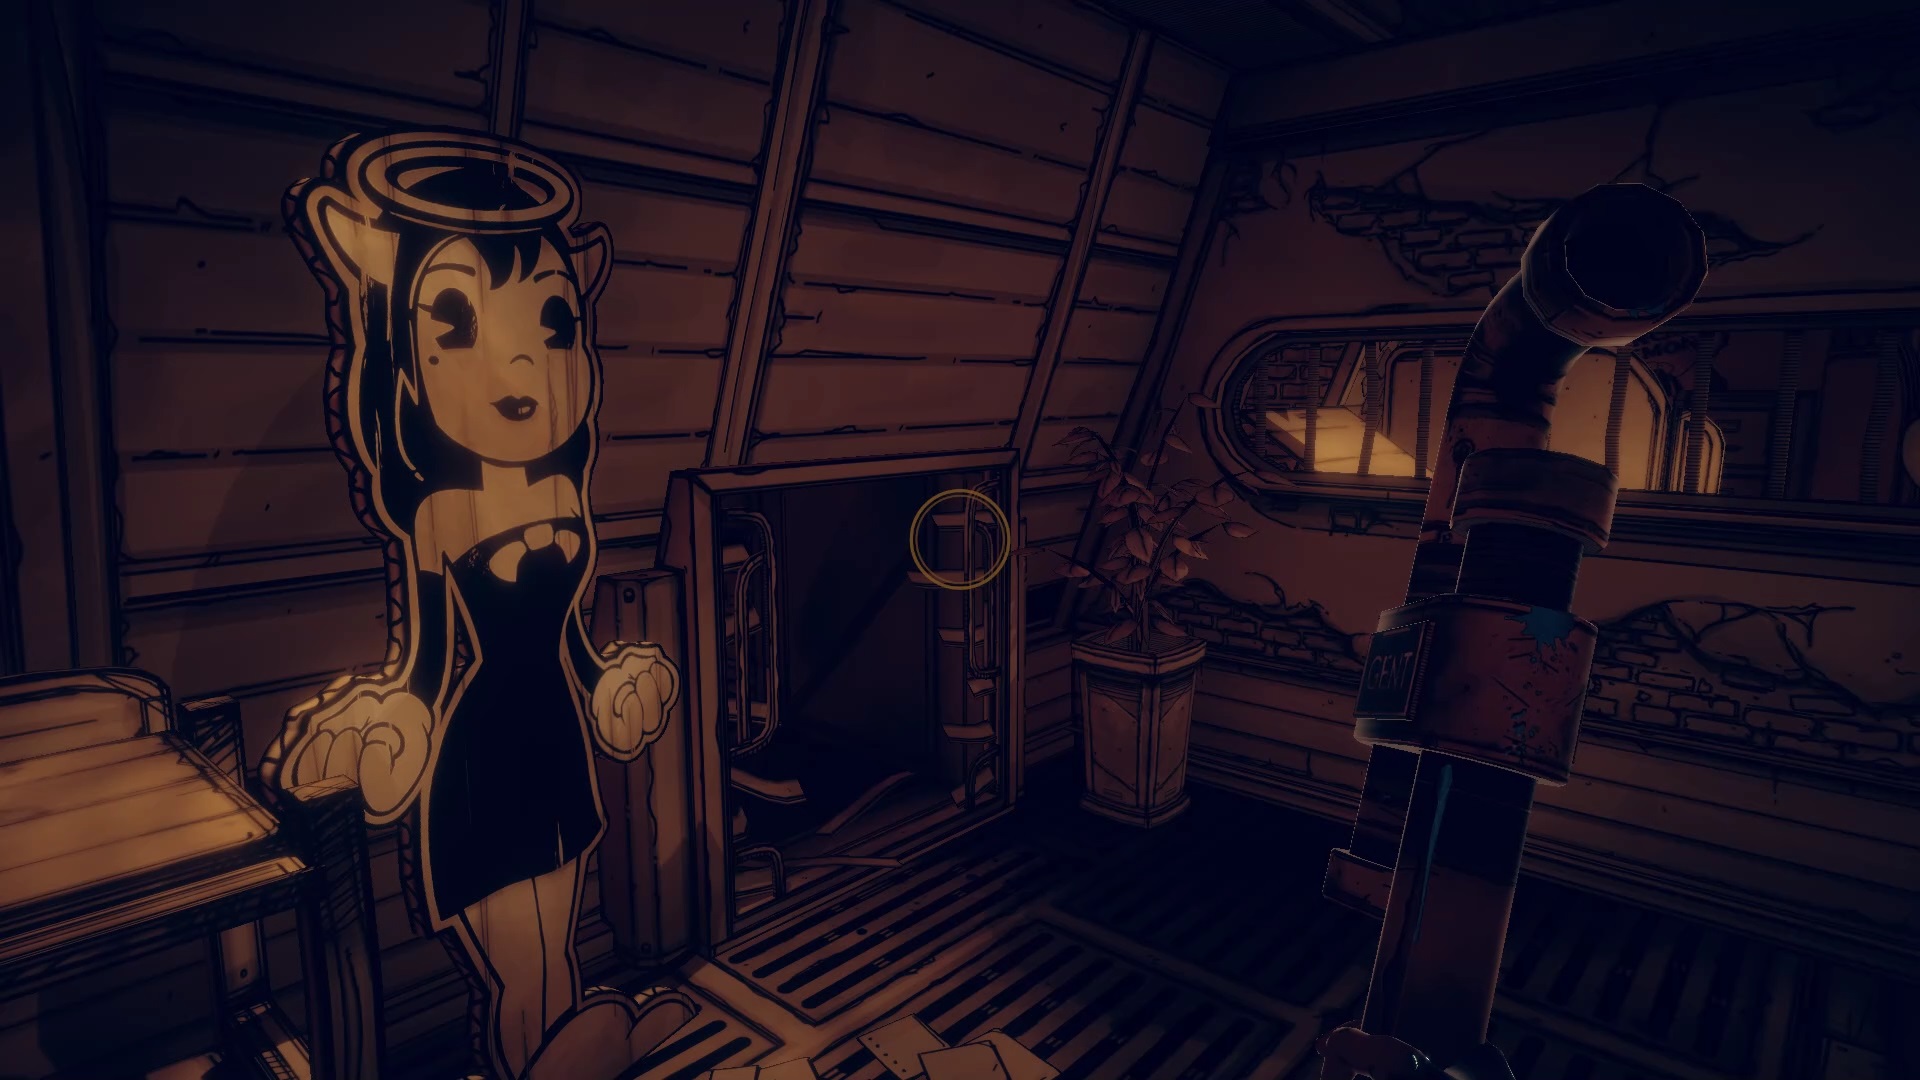
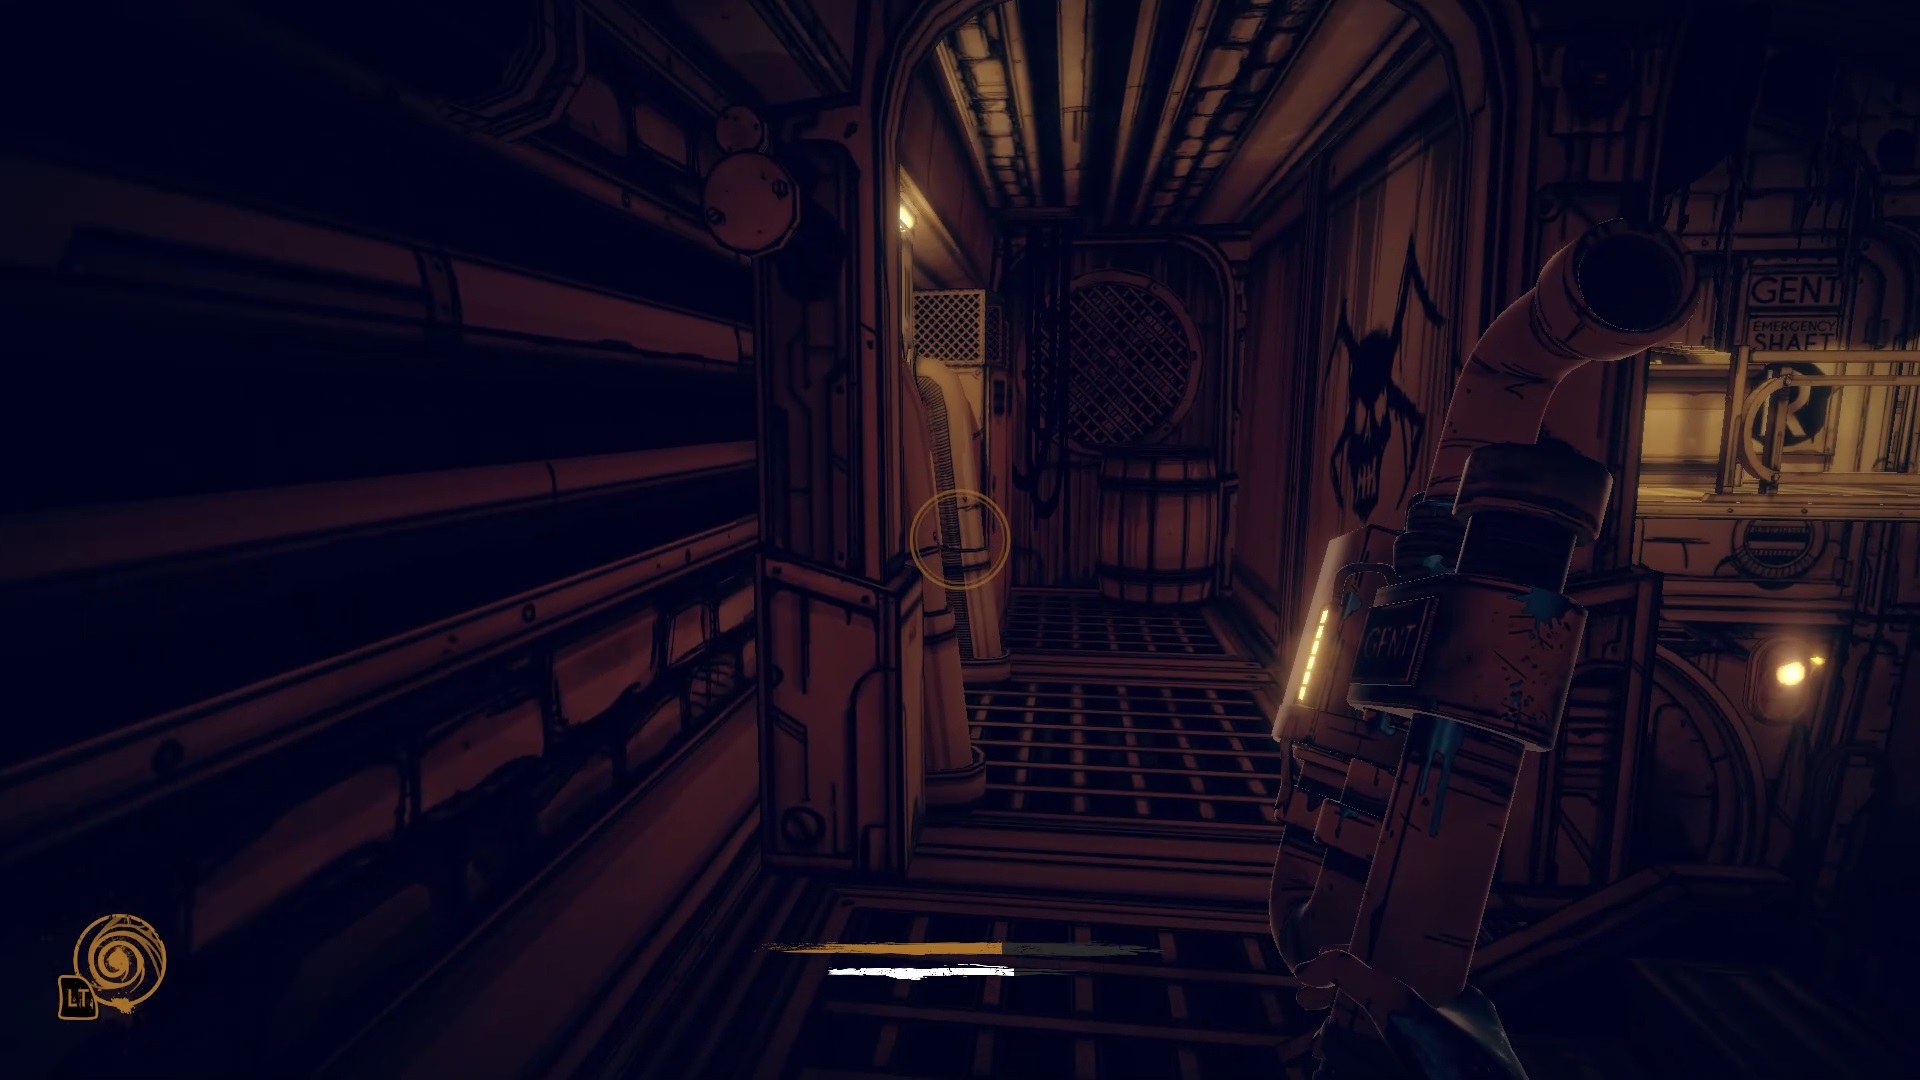
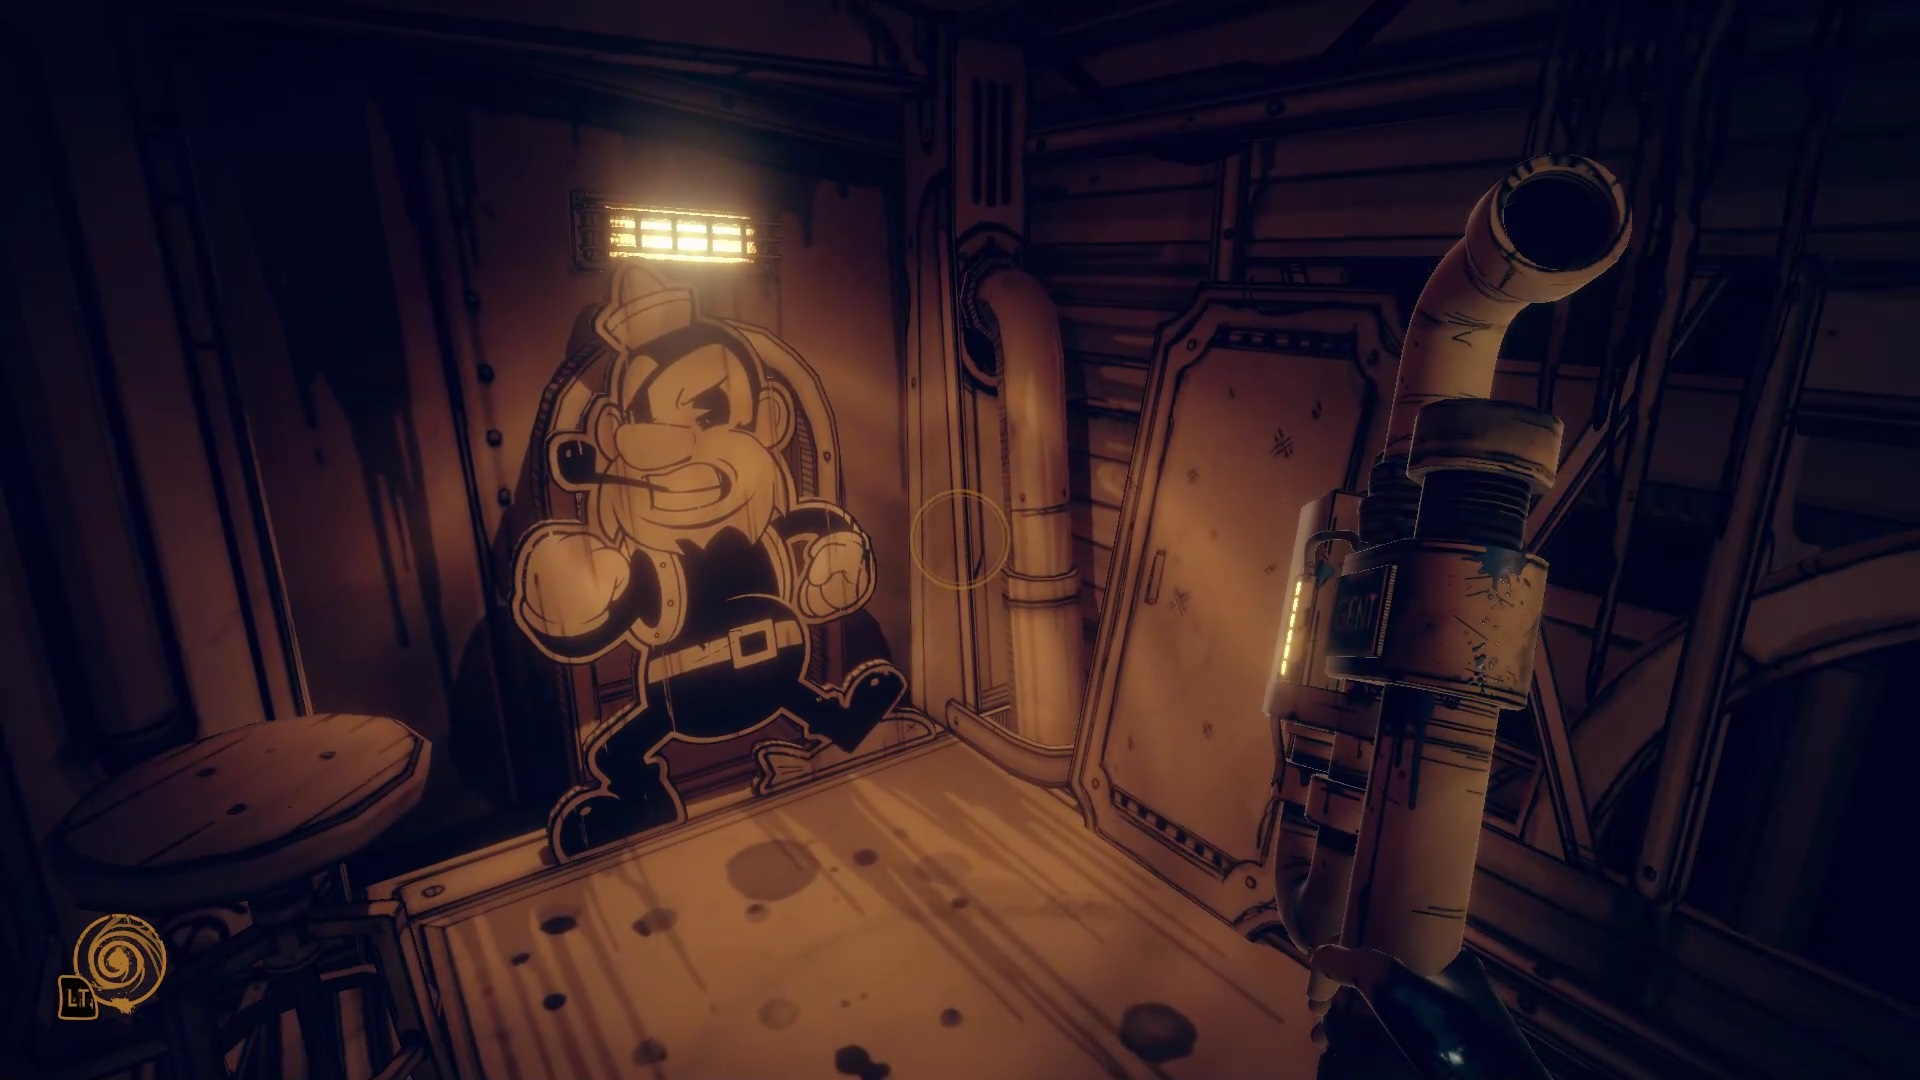
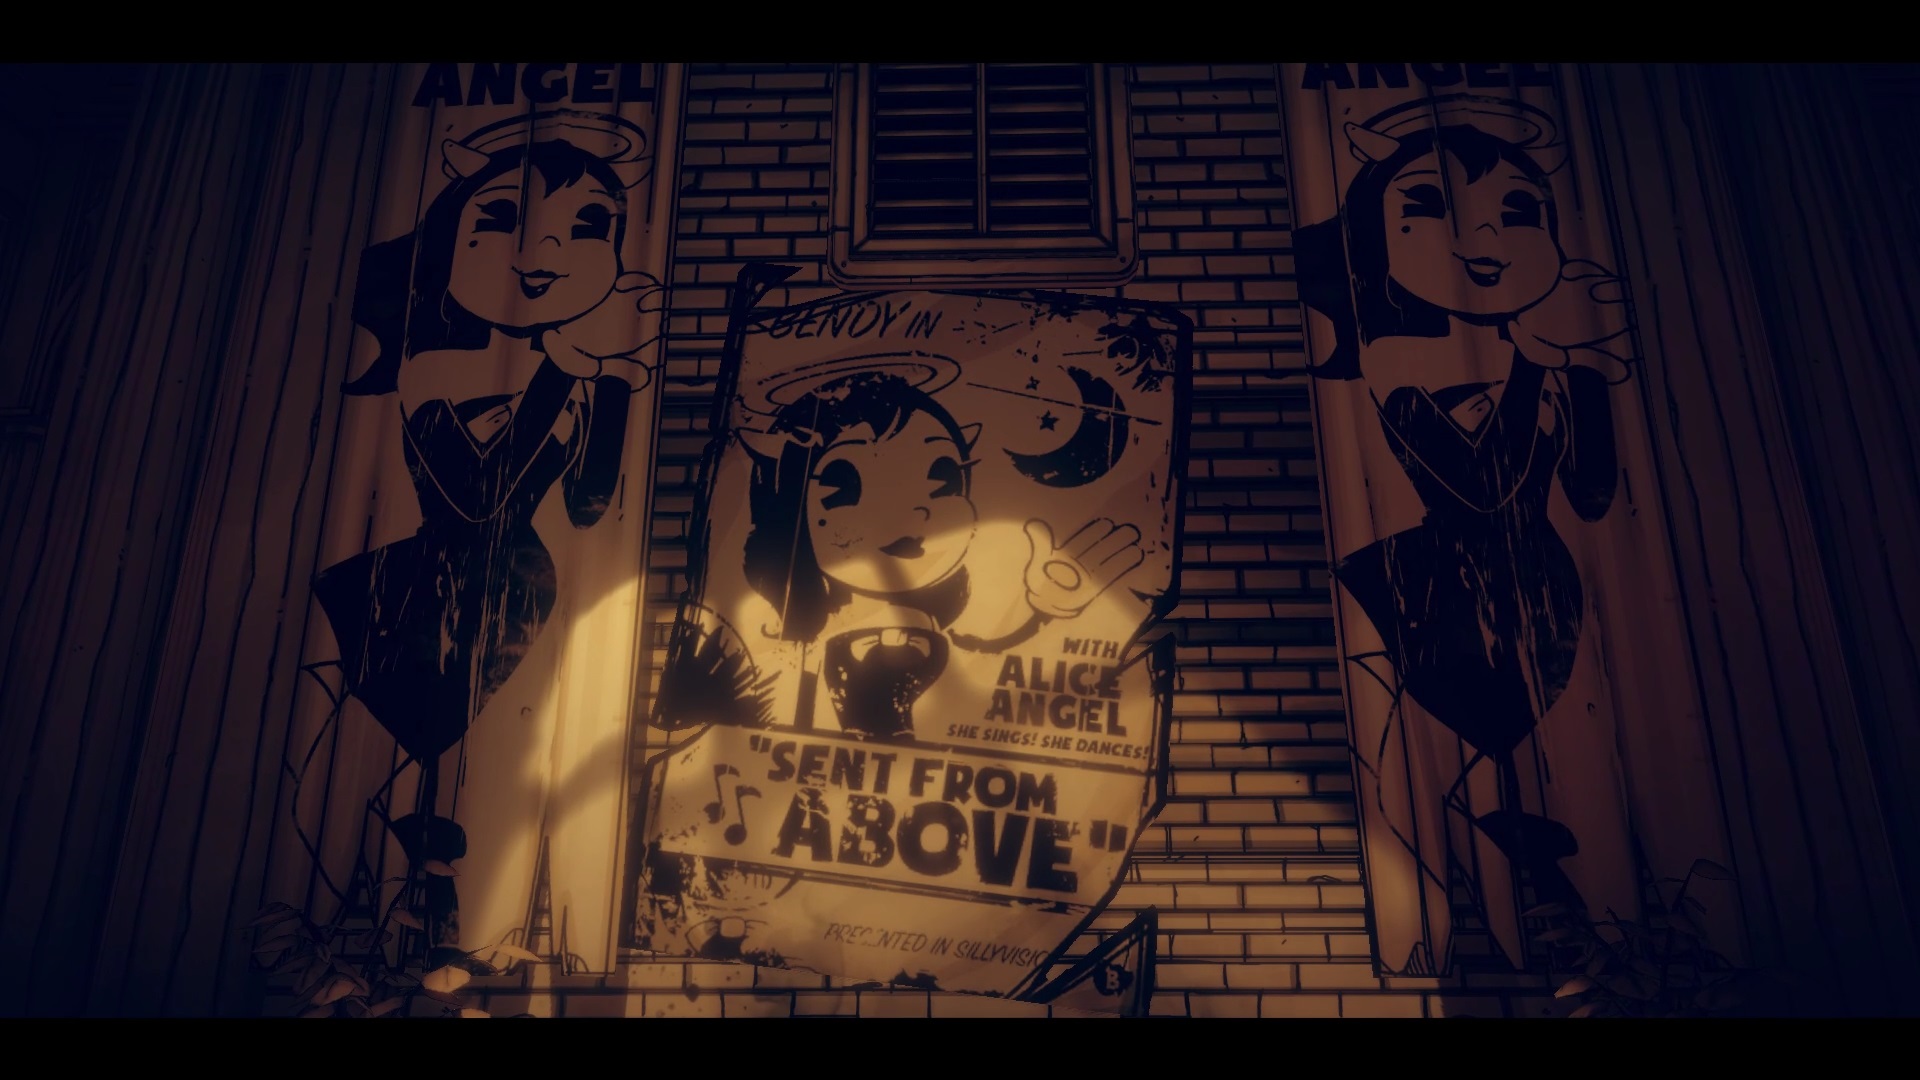
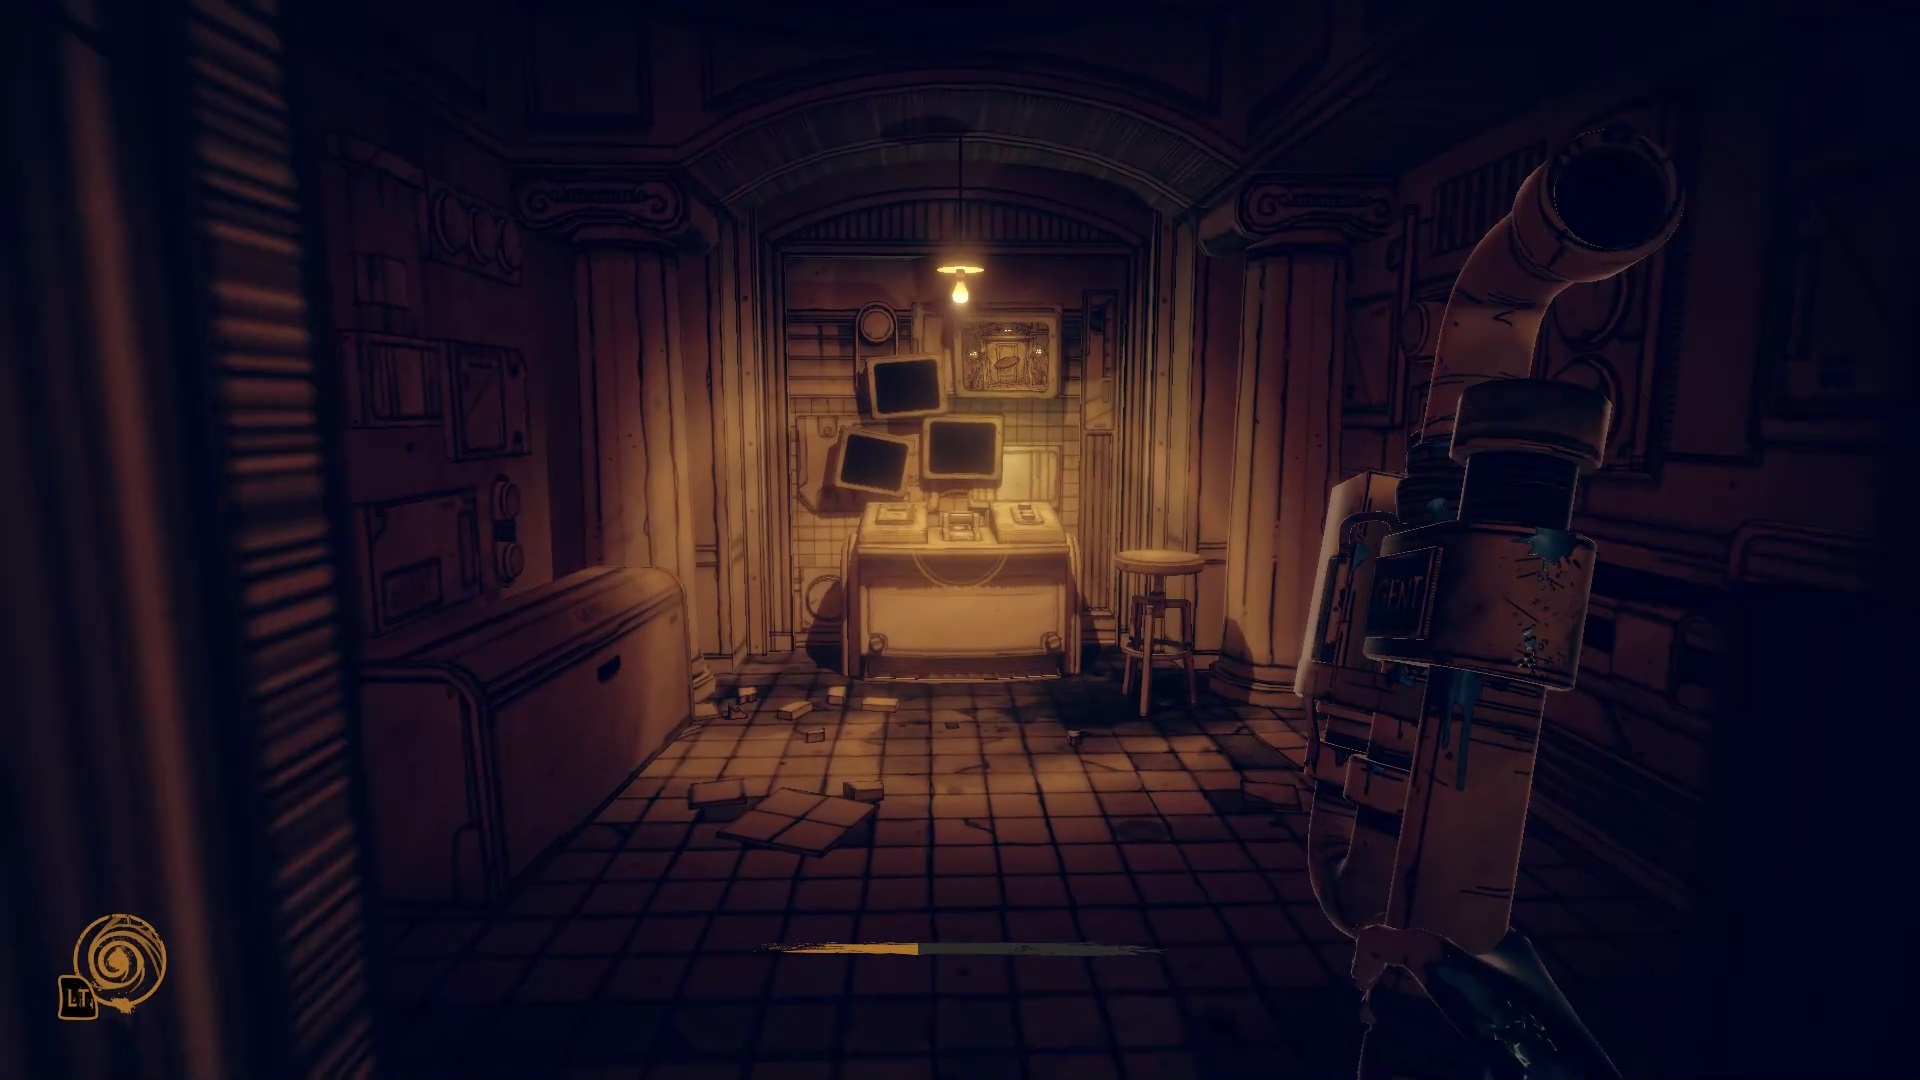
Go through the grid and collect the first image in front of you. Continue forward by turning in the passage to the left to find a new room. Search the room to find a second image. Be careful, the demon appears when you have taken it. Quickly flee to the air duct near Angel’s sign to take cover.
Then get out in the room in front of the sign to find a passage near a barrel. Enter the duct and turn left at the fork. Leaving the pipe, get a picture in the room. Then enter the passage on the left to find a new image. Hide in nearby hideouts if the demon appears.

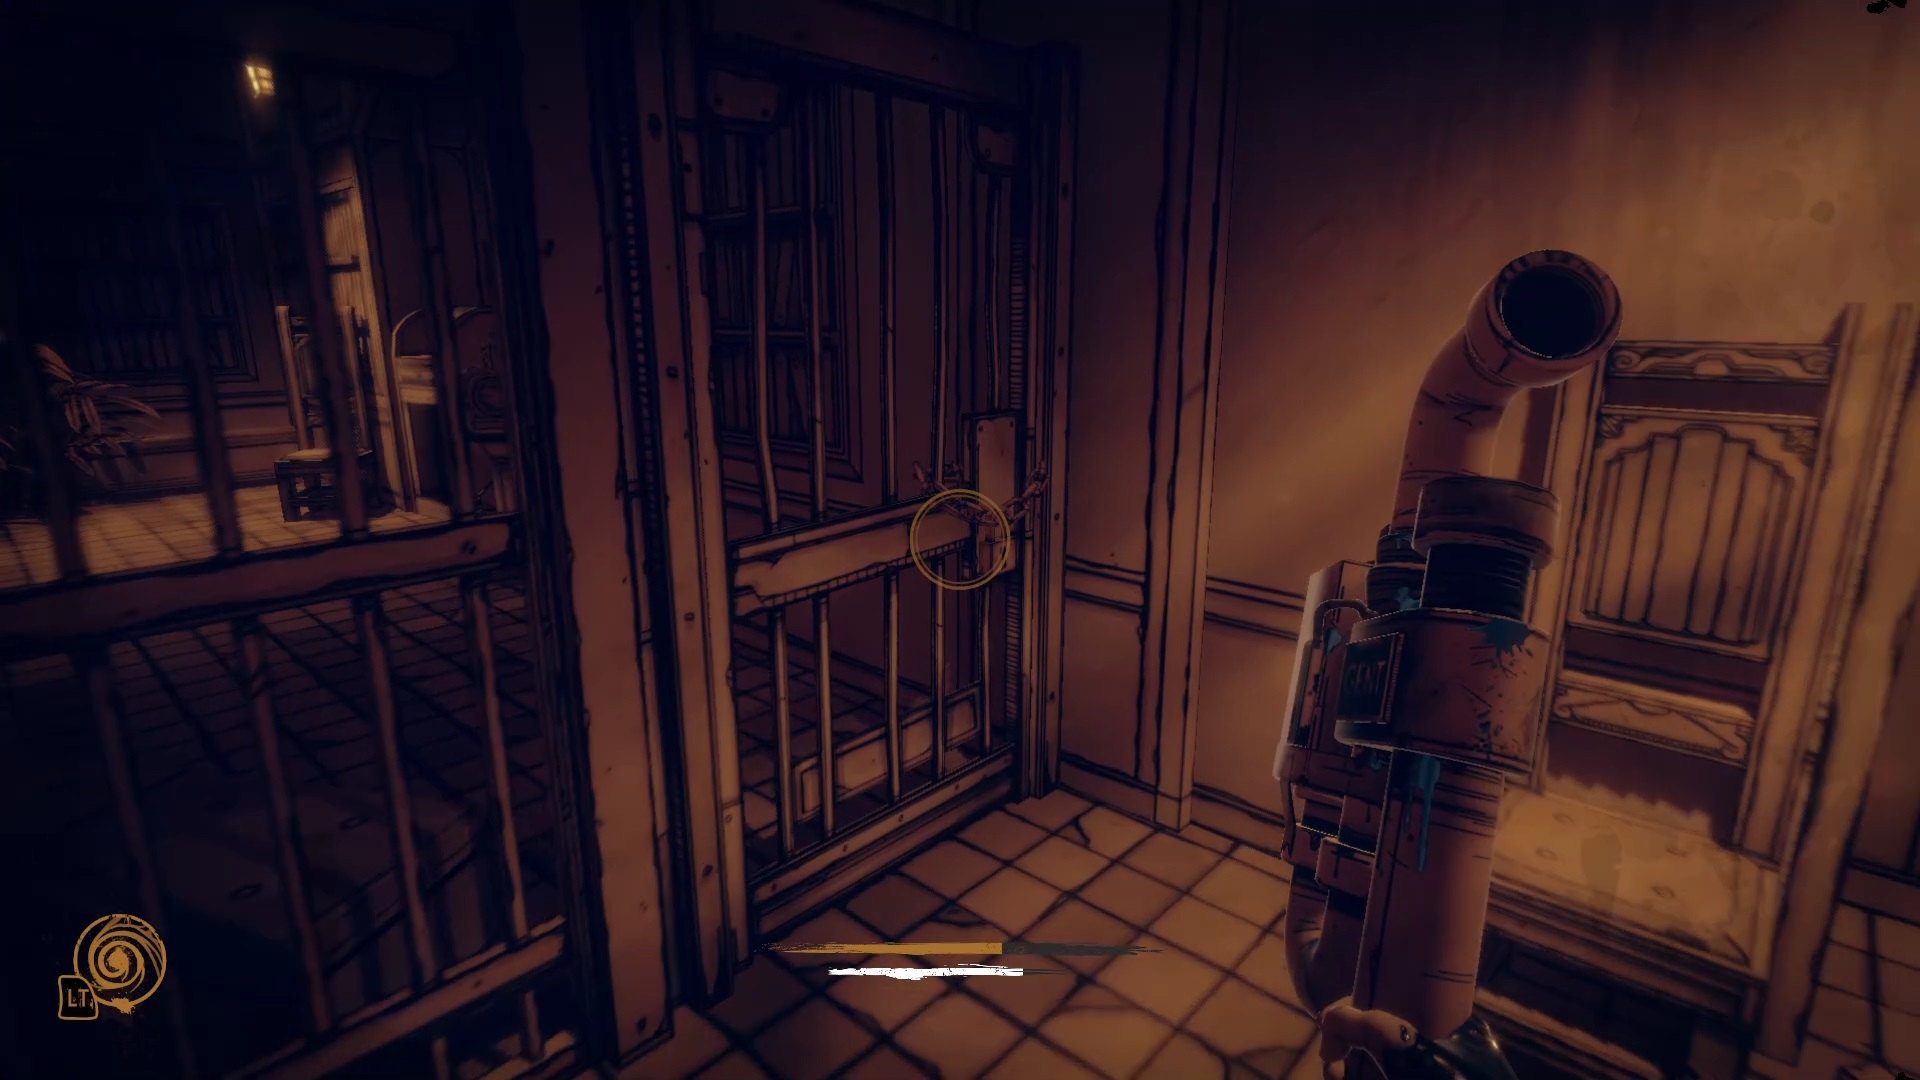
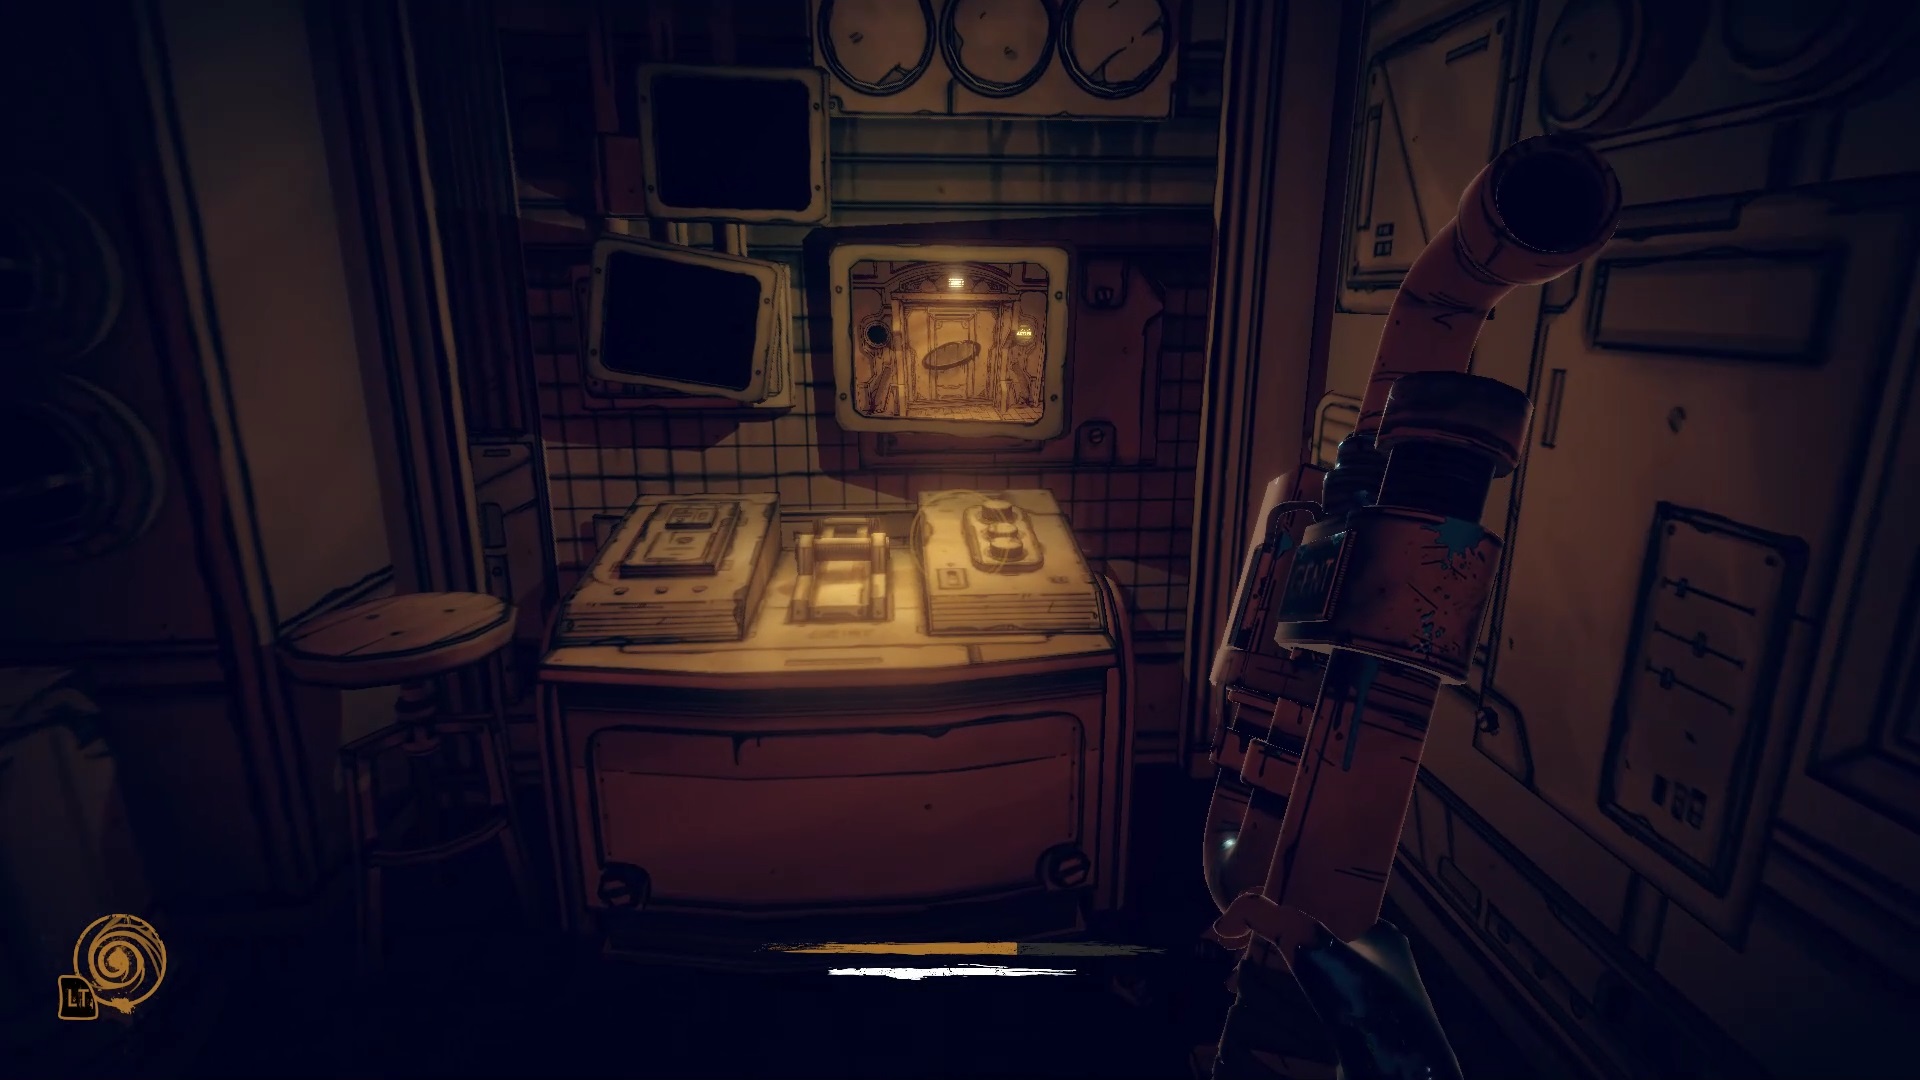
Return to the second picture room to find the last picture behind the bars. Use the conduit in front of the room to join it and take the last image. Use the conduit near the angel sign to reach the door to knock on previously.
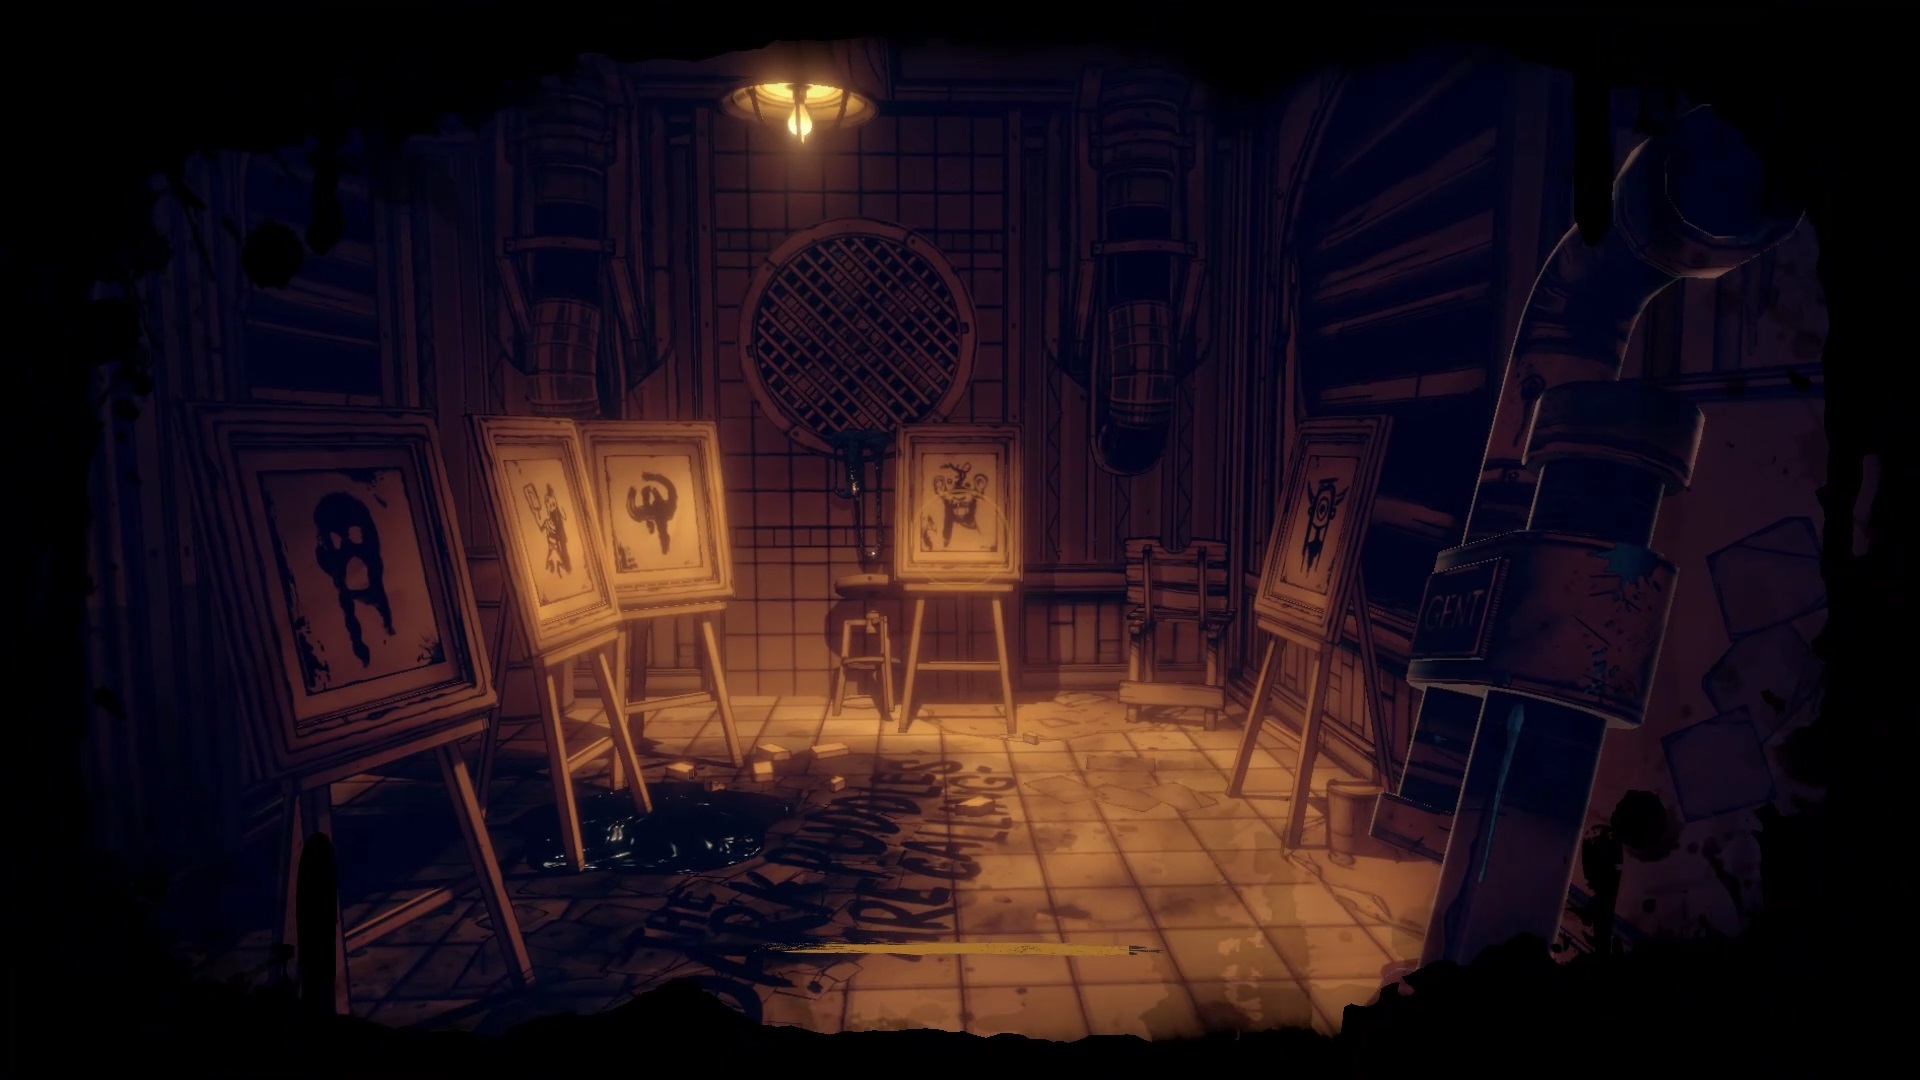
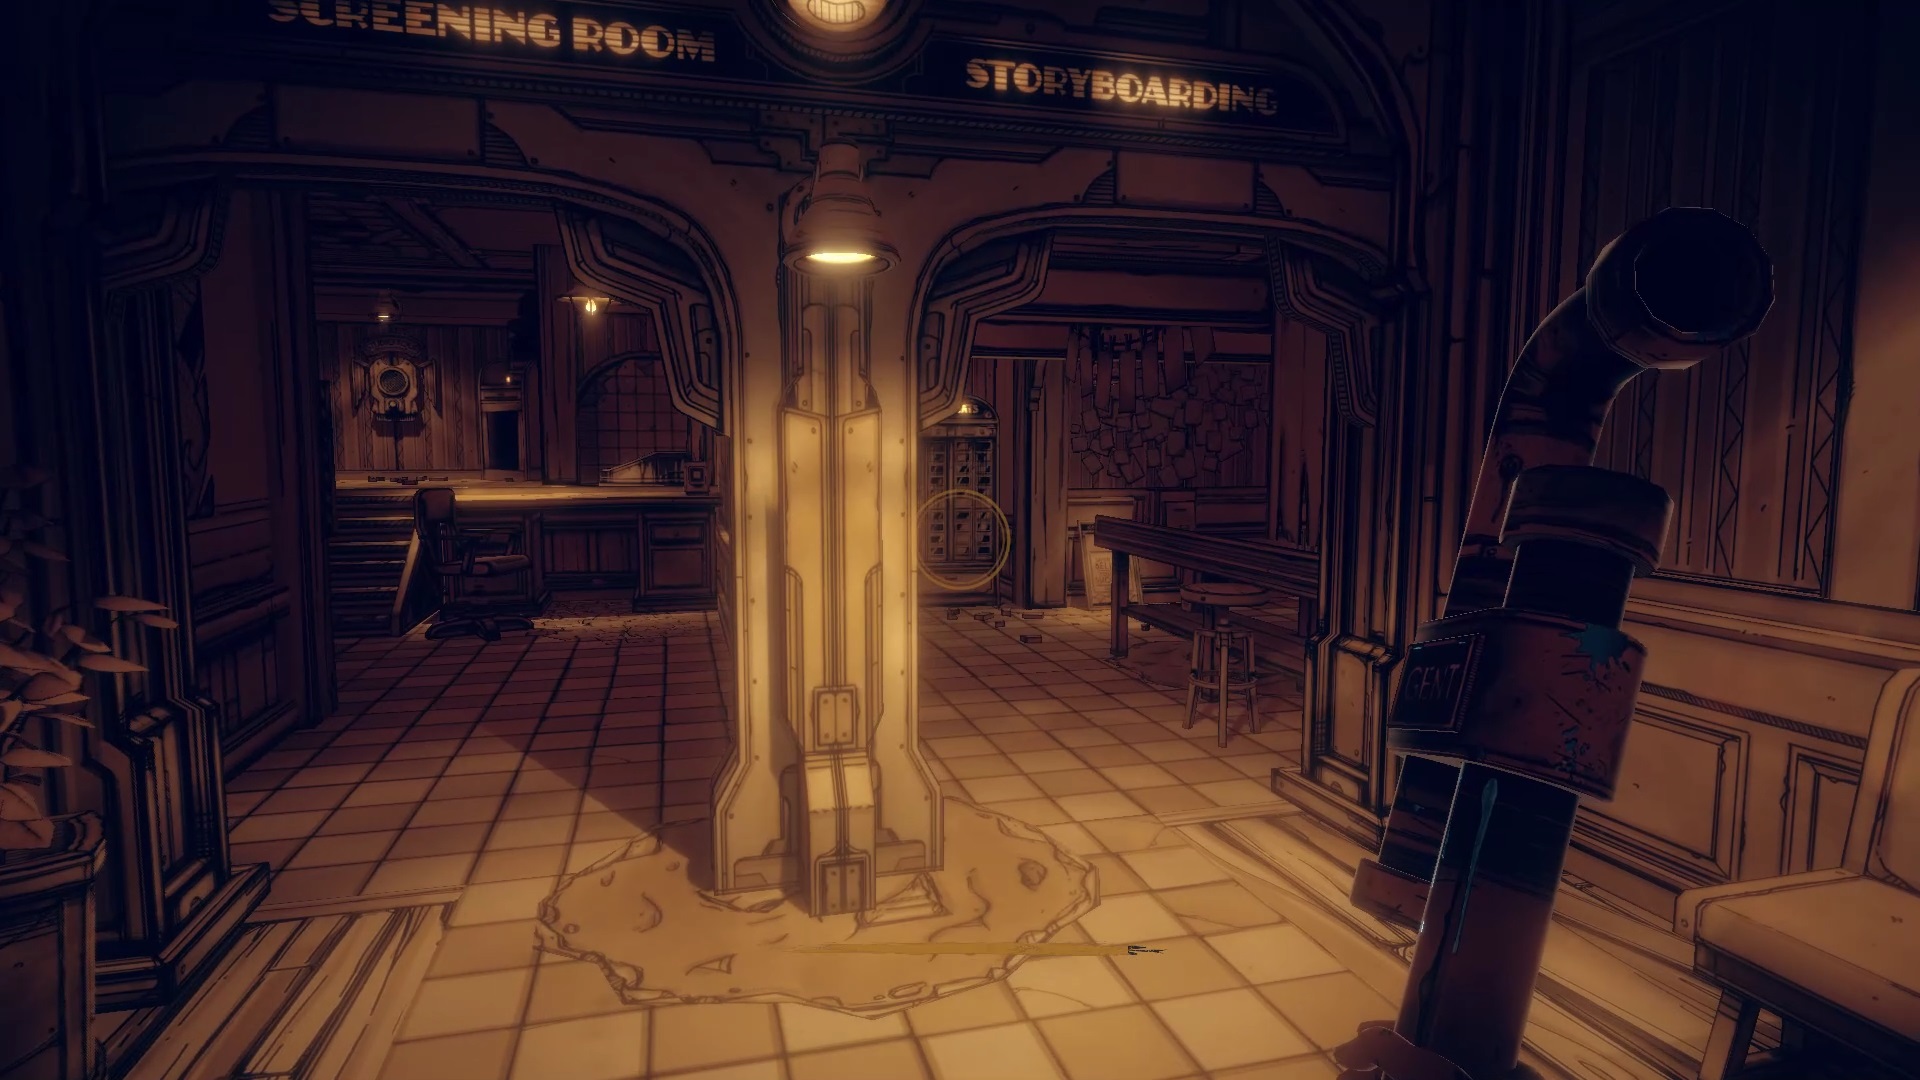
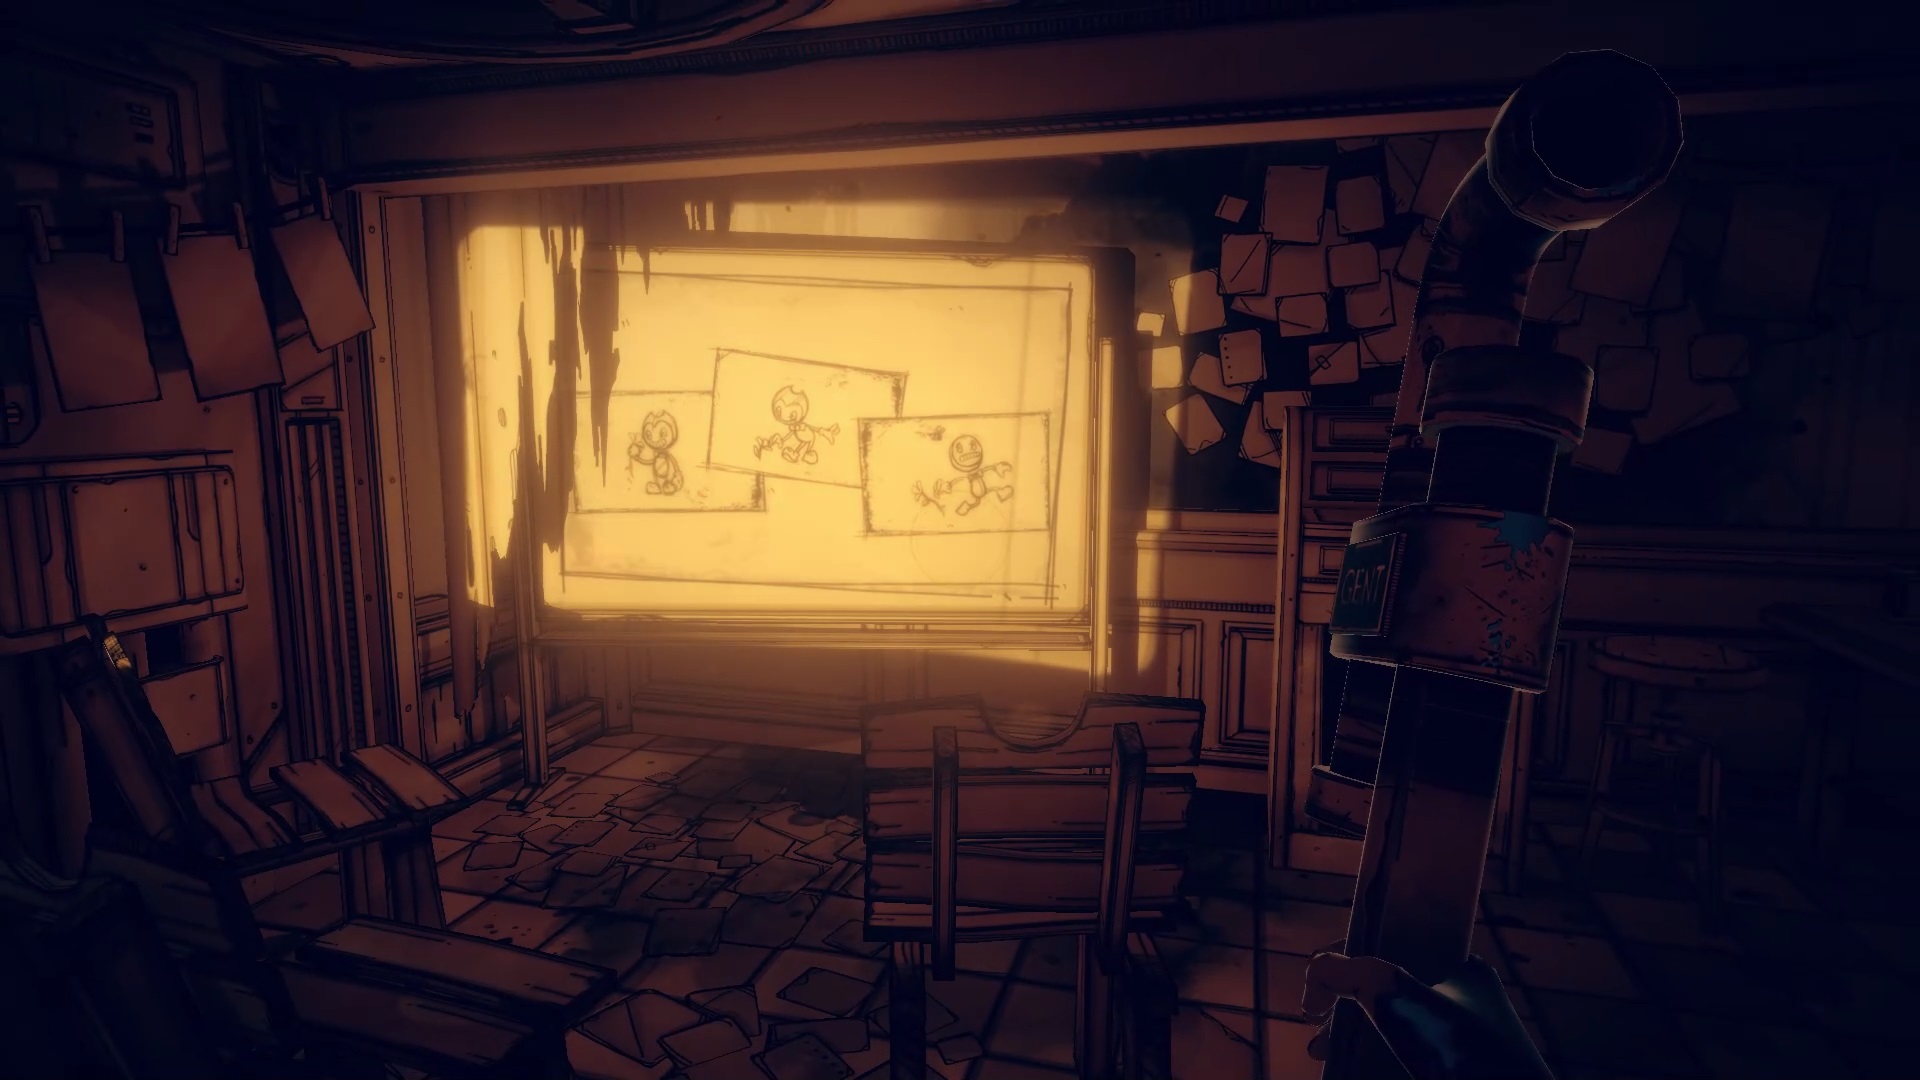
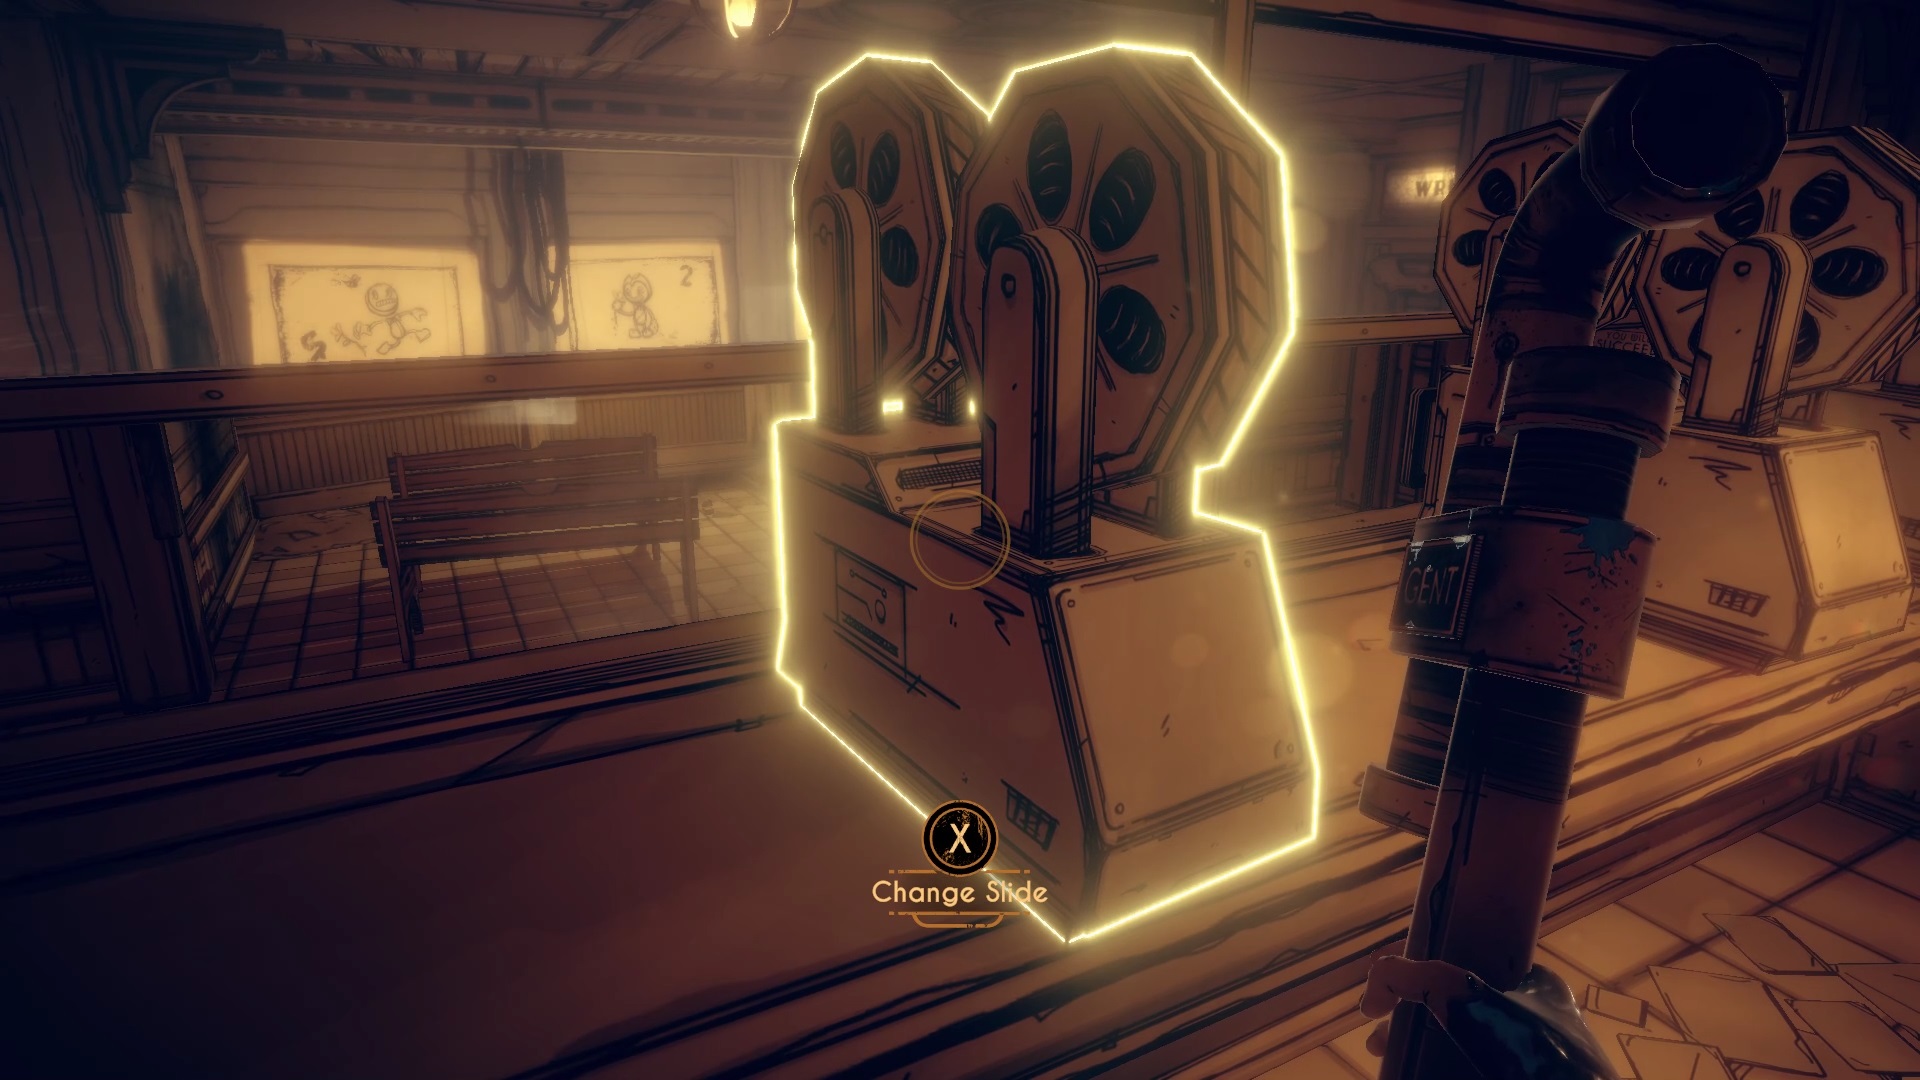
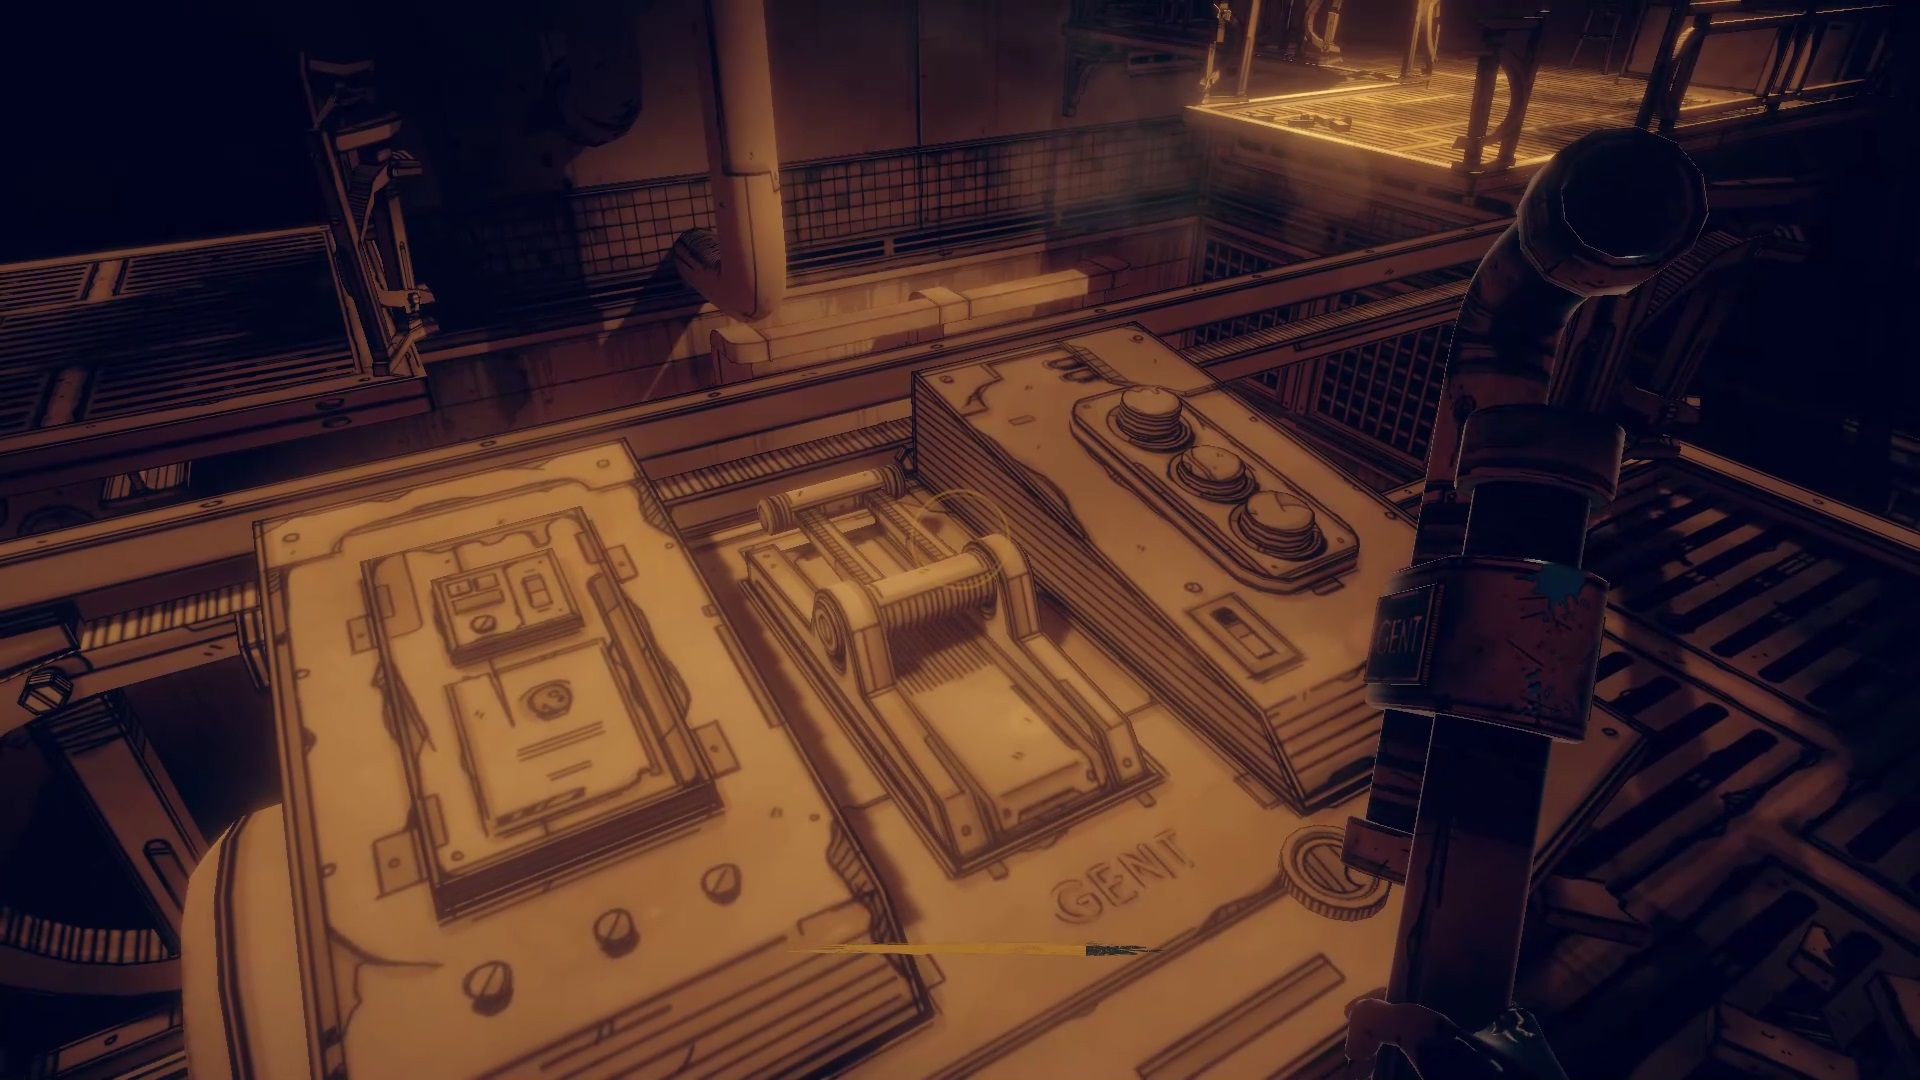
Place all the pictures on nearby easels to open the door. After bringing him back his images, the evil mannered attacks you, eliminate him. Enter through the door to find a fork. First turn right towards Storyboarding. Turn on the projector to see a series of sketches. Head to the Screening room. Climb the stage to find a conduit that leads you to other spotlights. You find the previous images with an associated number.
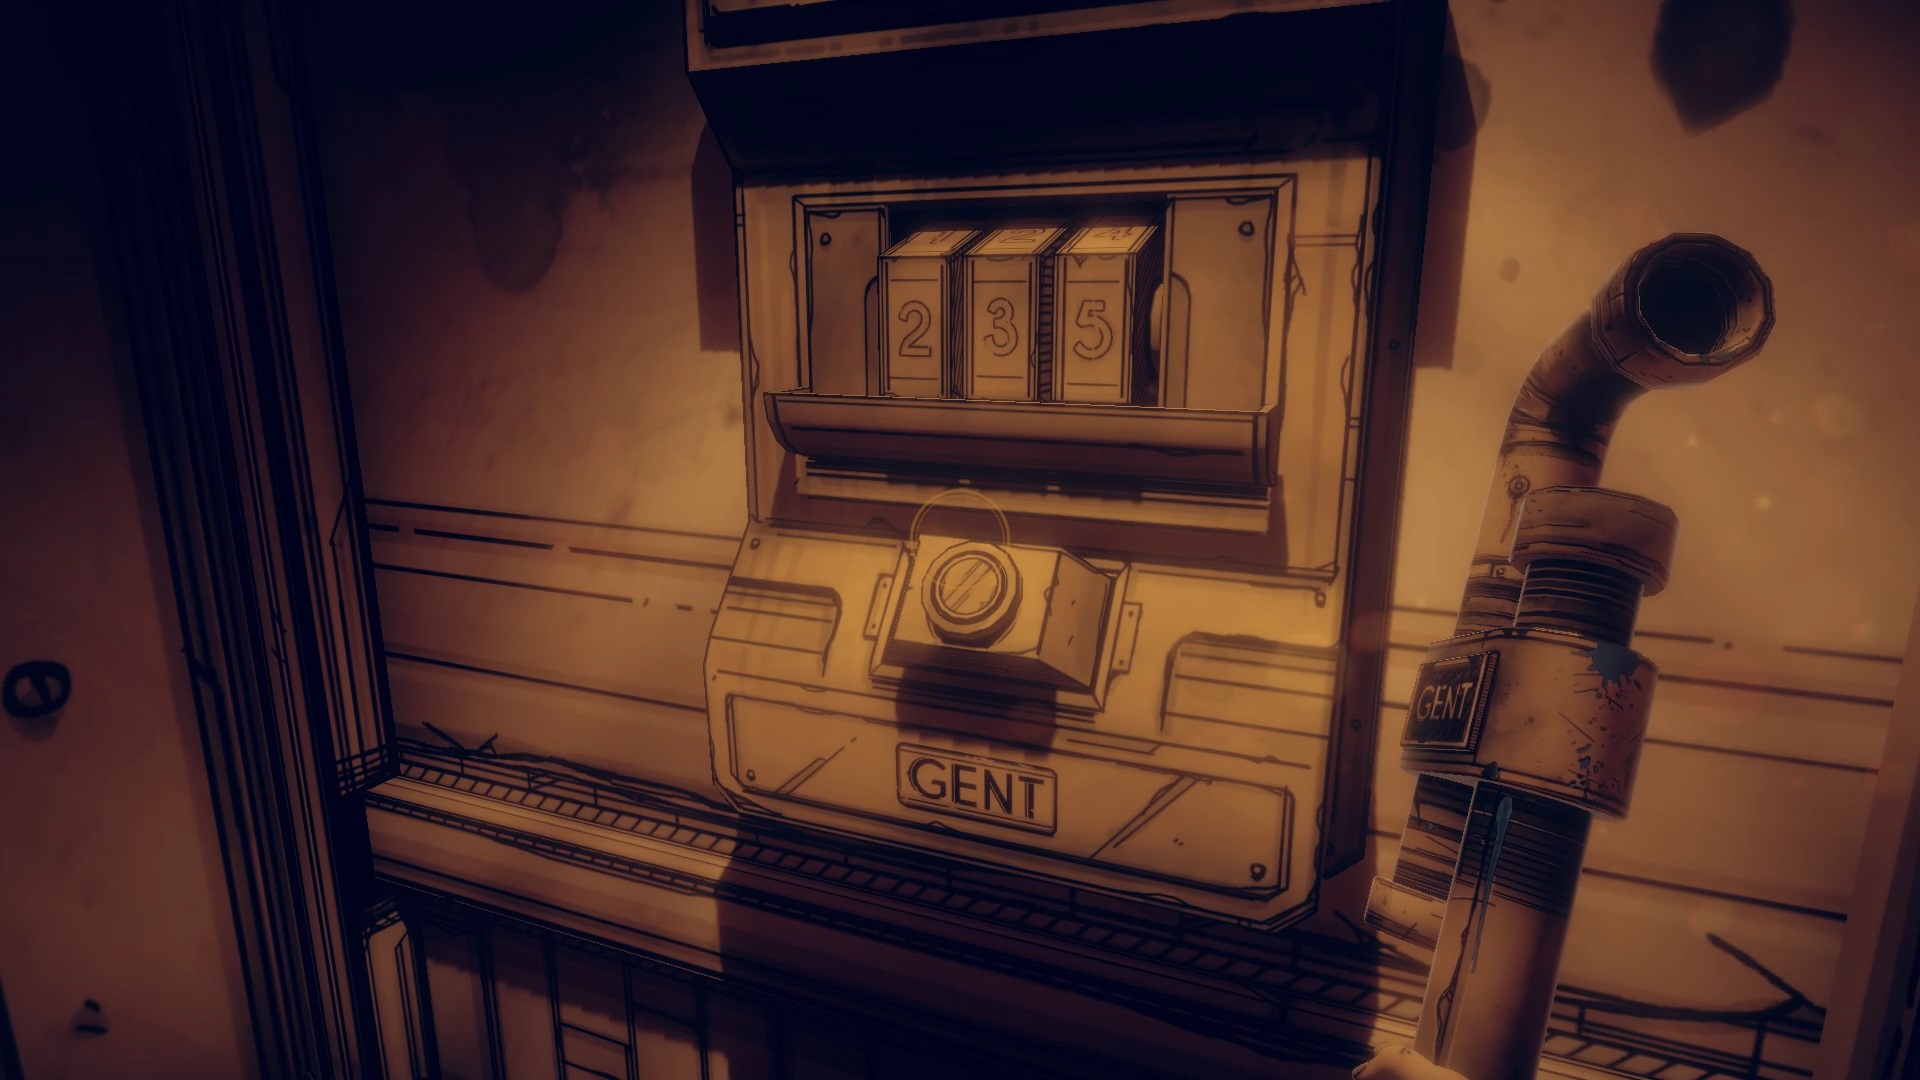
Go to the bottom right of the screen to find a safe lock near the writing room. Thanks to the previous sketches you can deduce that the code to enter is the following: 235. In the corridor which has just opened you can greet a new enemy in a box which will kindly jump on you from now on. To dodge it, dodge it to avoid taking damage. Proceed to maintenance. If it is closed by the appearance of the monster, you will find a lever at the entrance to the writing room.

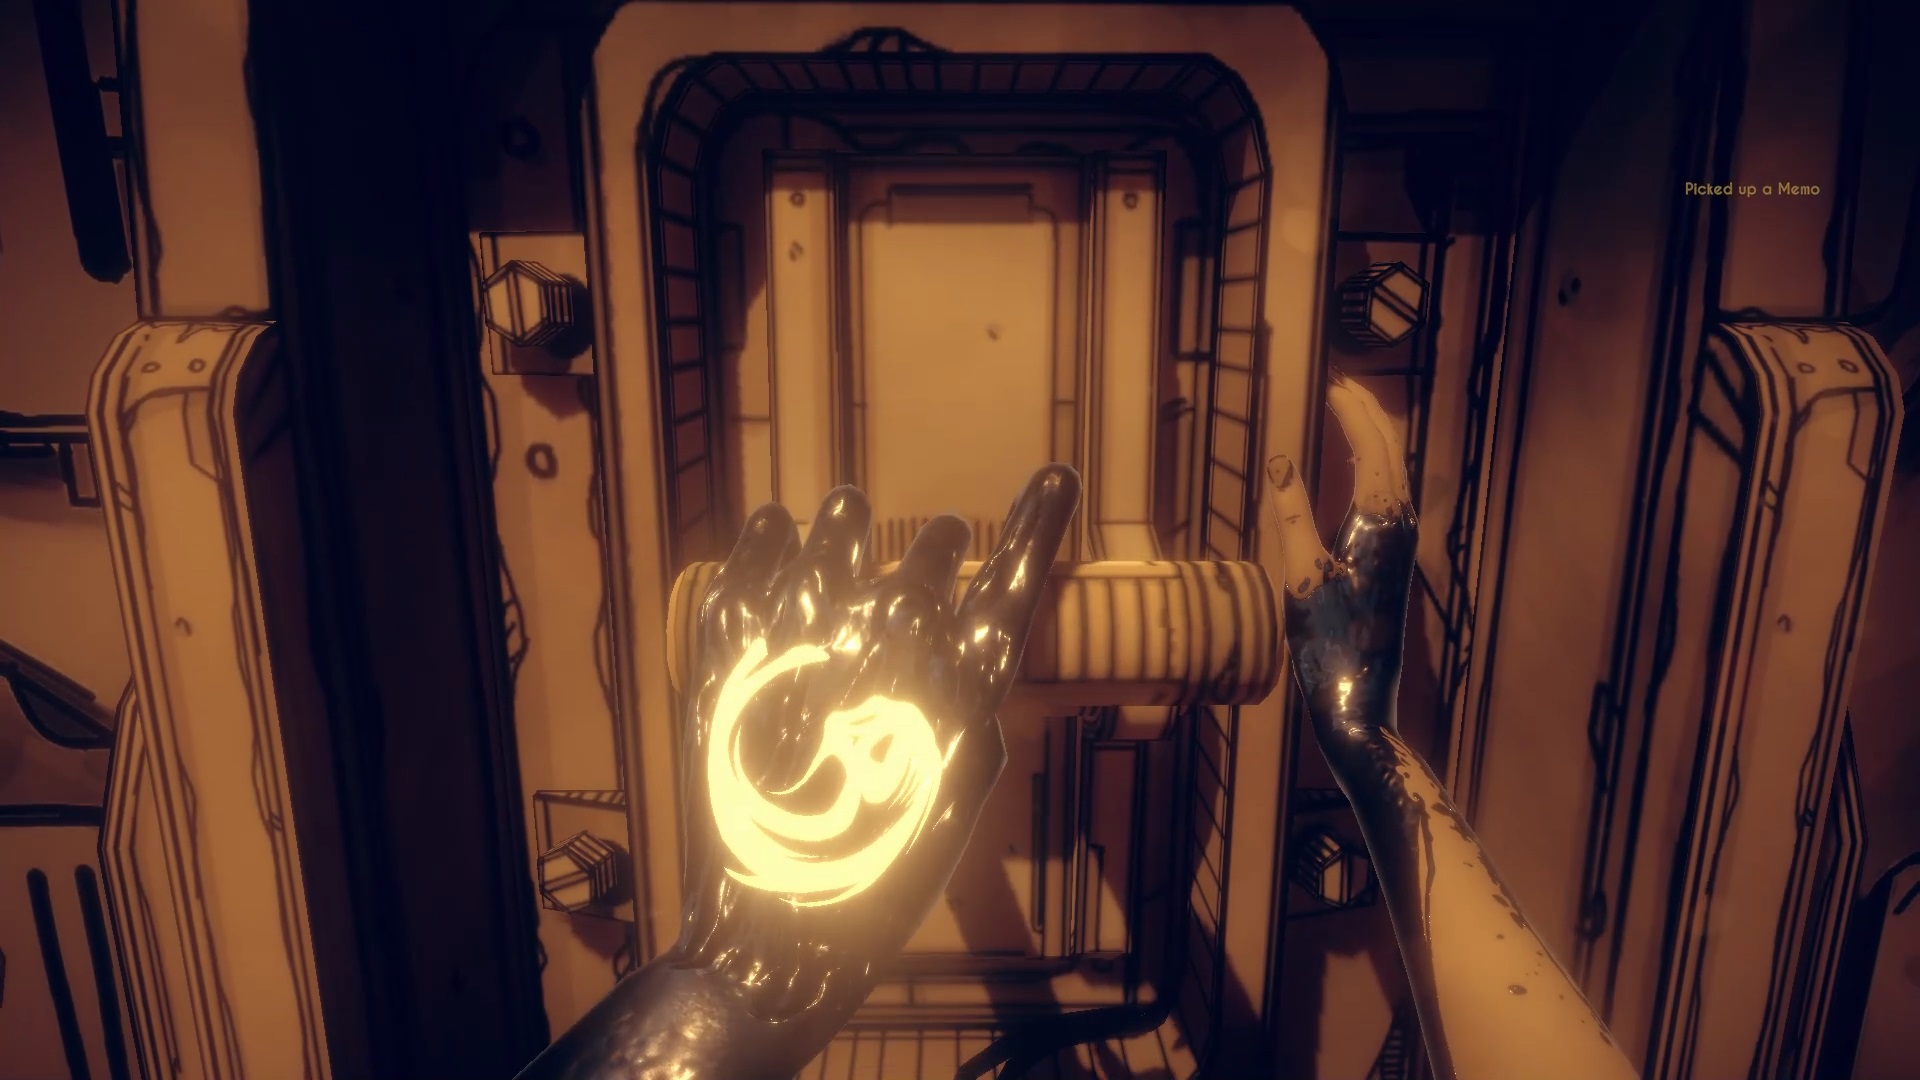
Continue forward until you reach a precipice. Use the lever on the right side to lower a pipe. Then join Porter and interact with him to unstuck him. Follow him below for him to reward you with a new power.

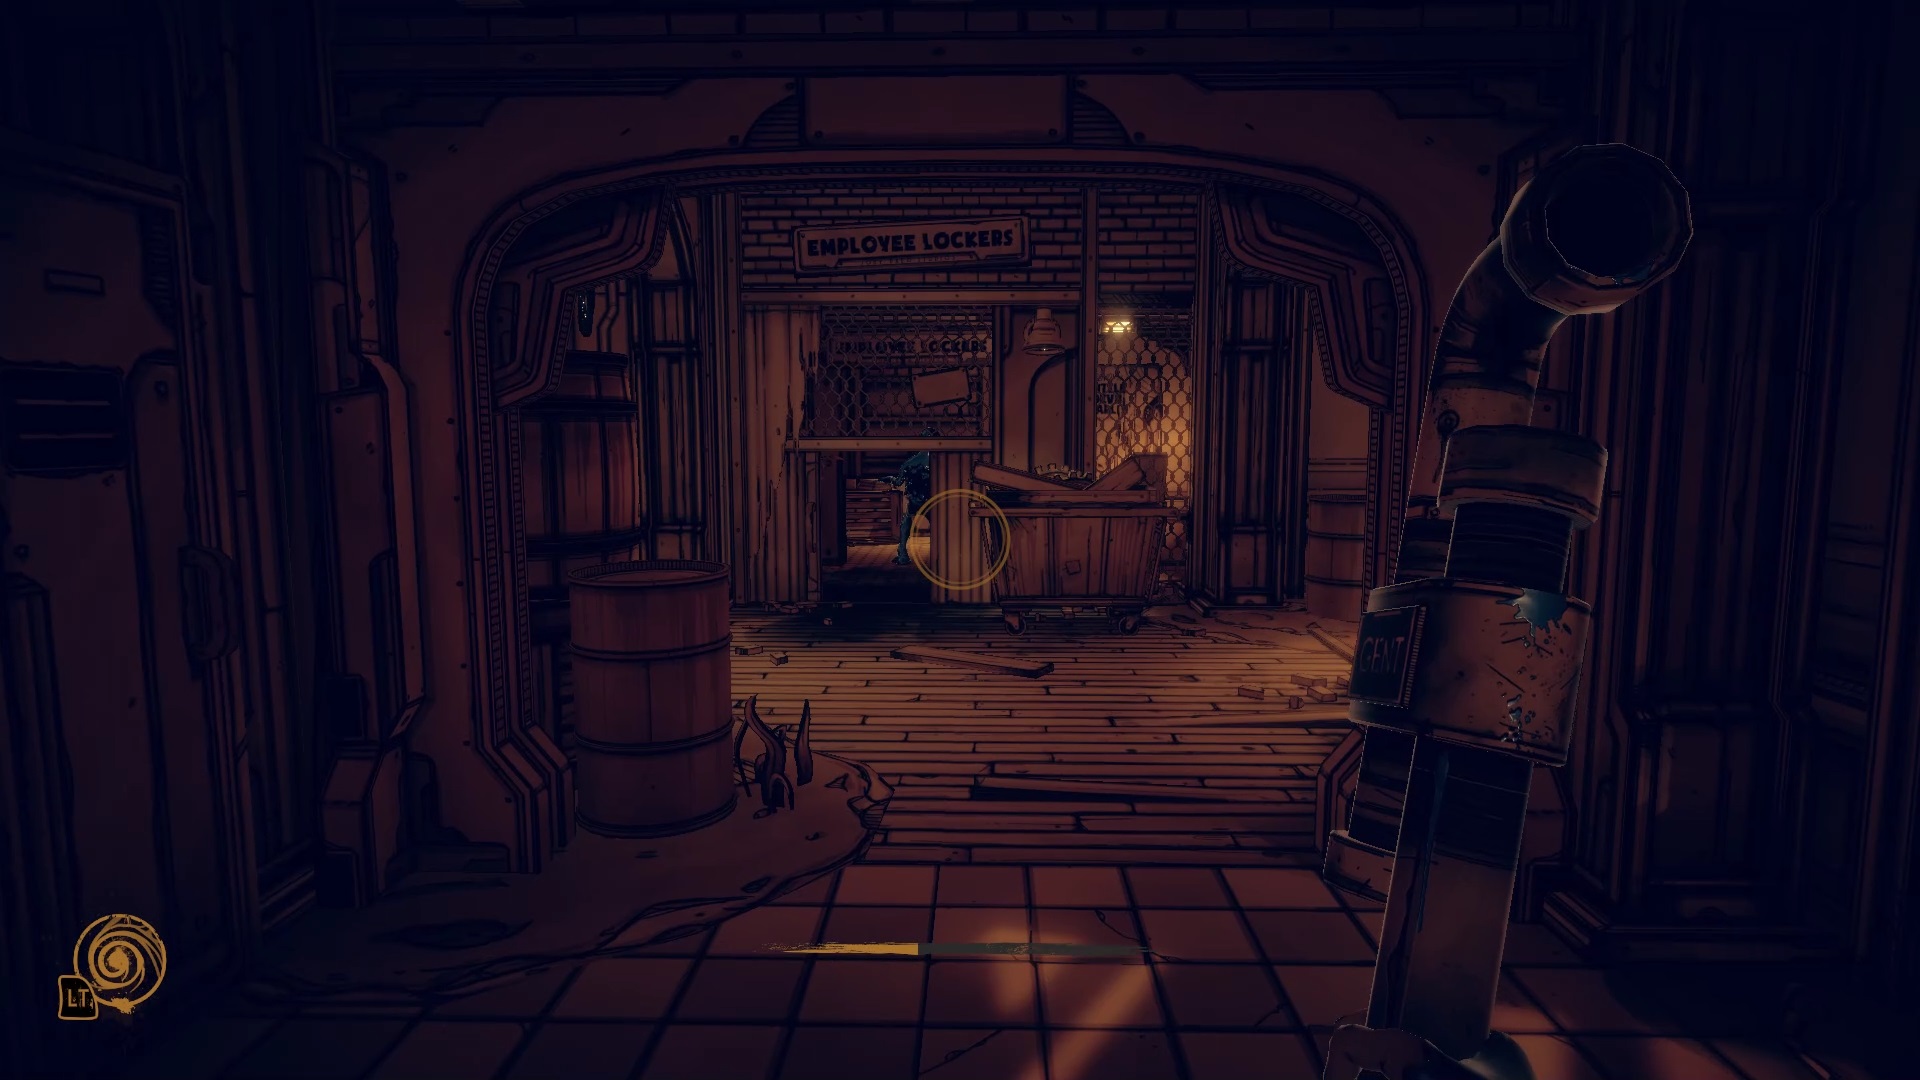
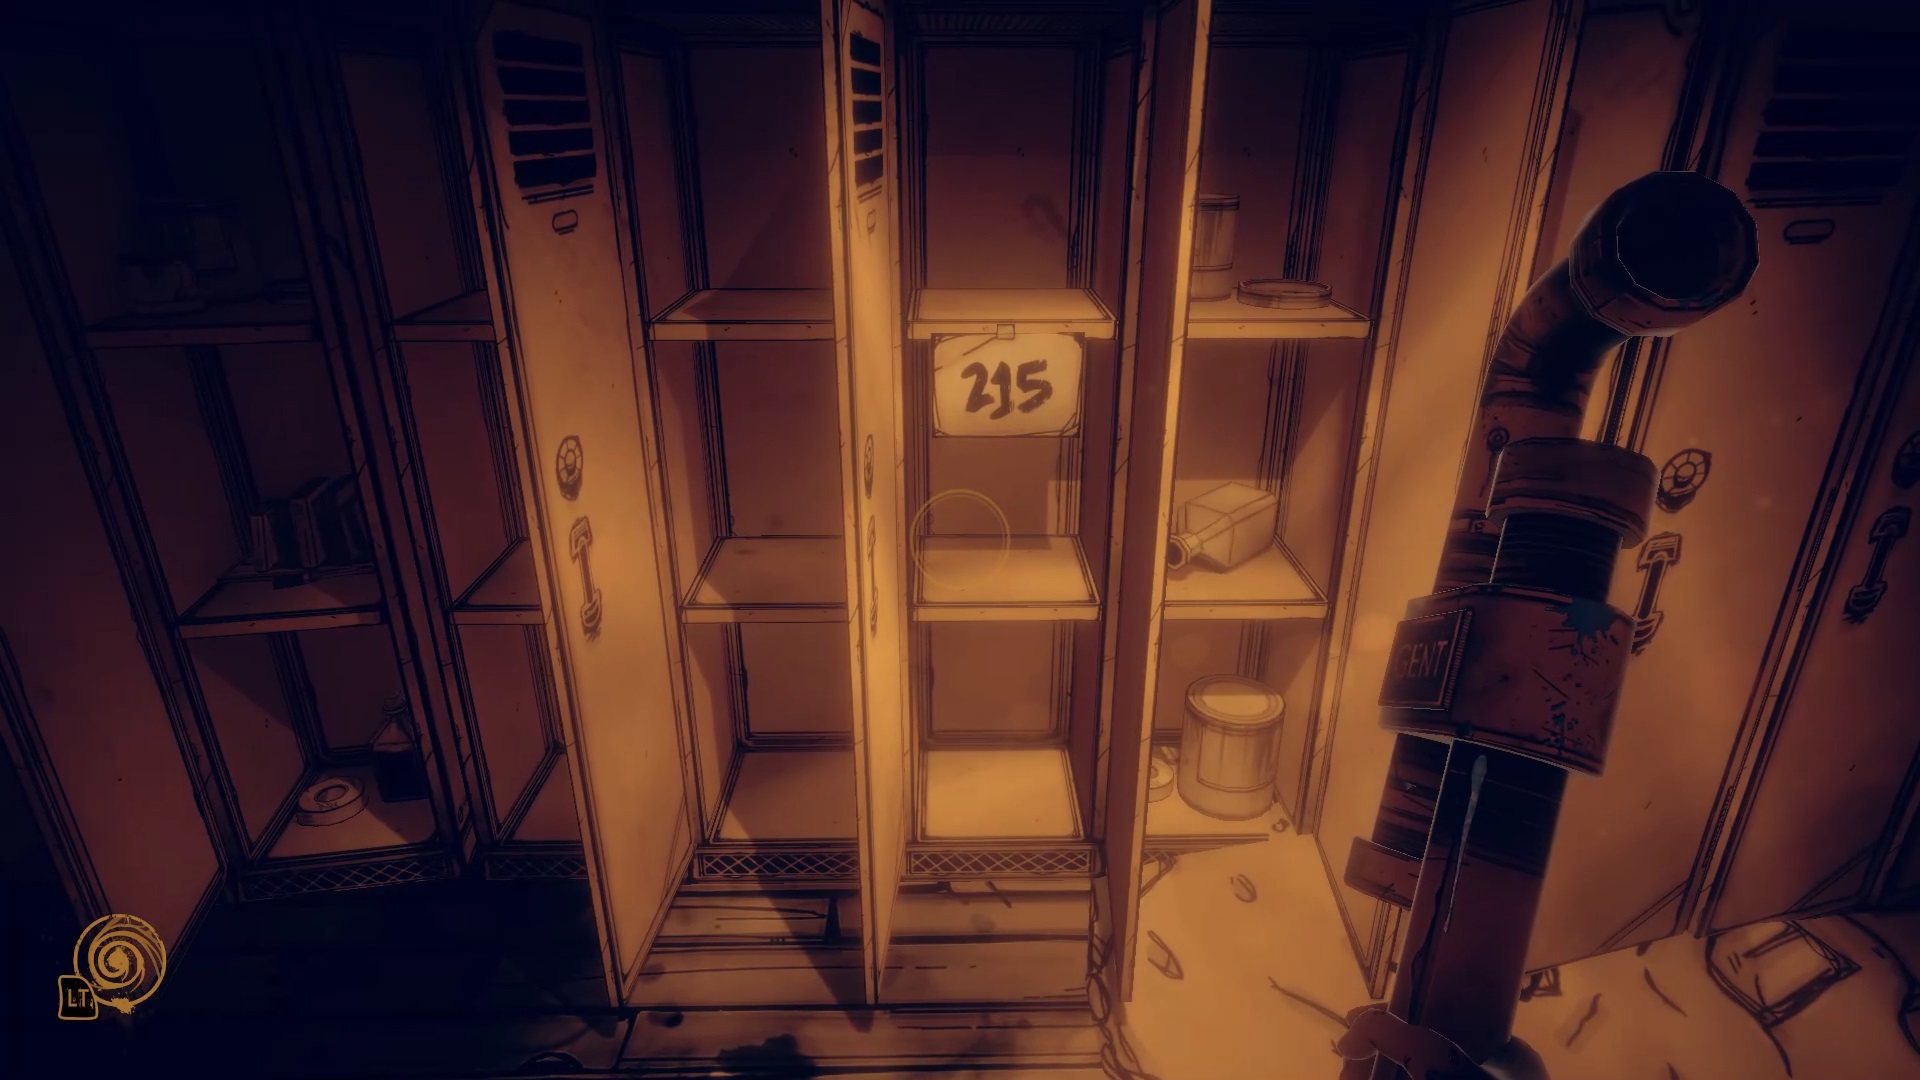
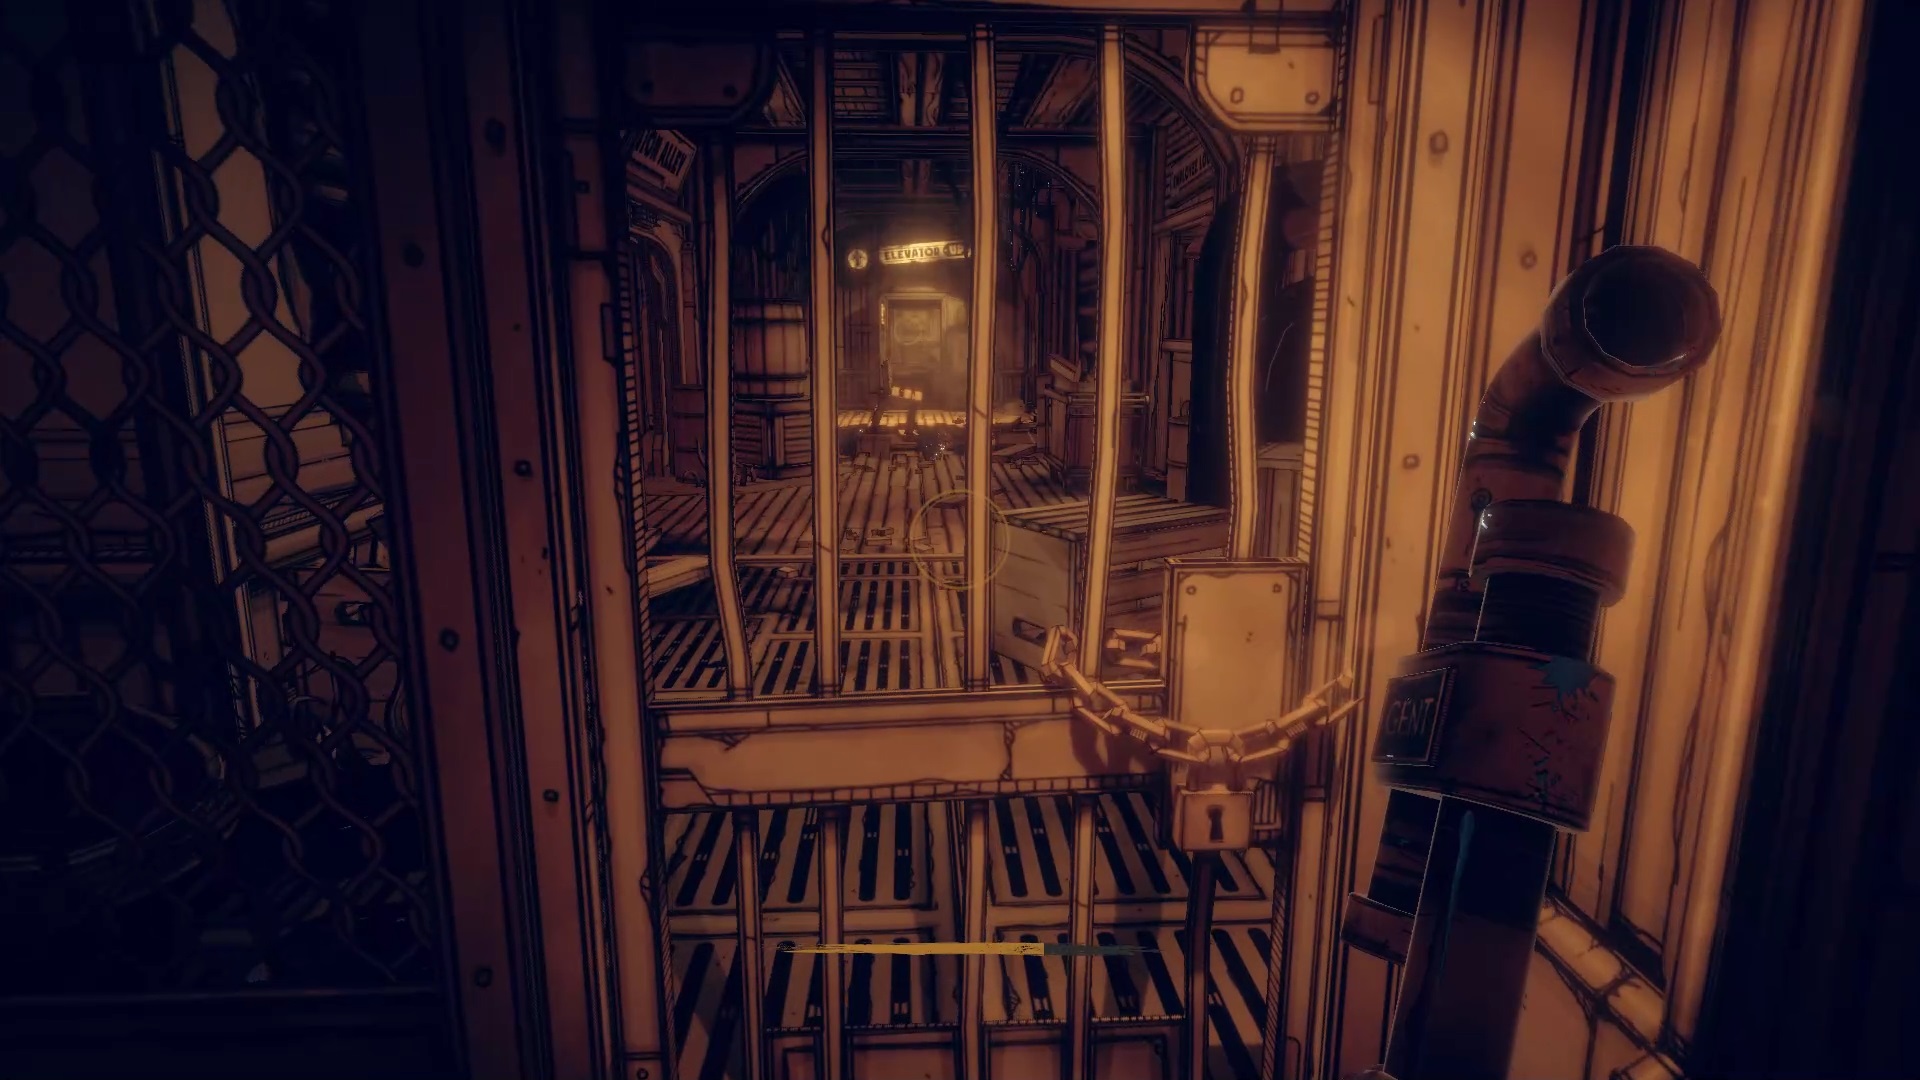
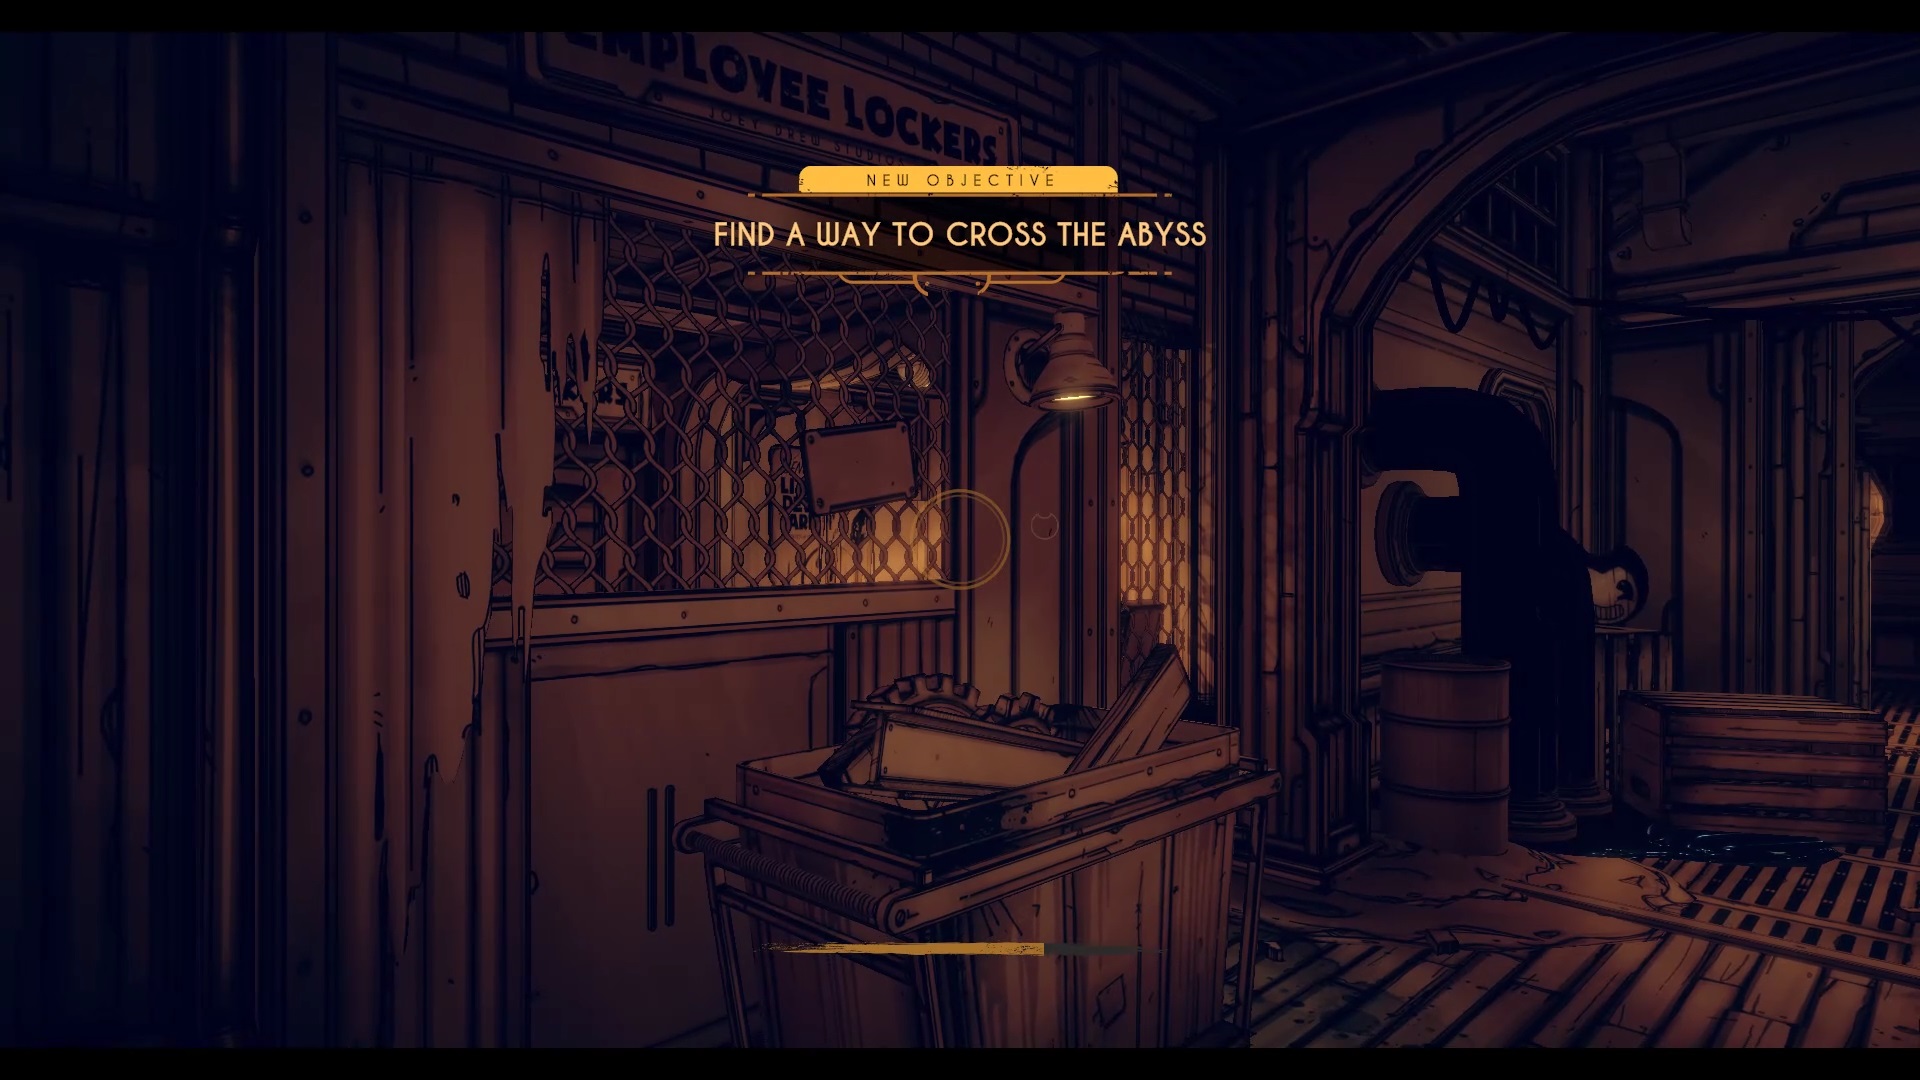
Back in the animation alley, use the power flow to pass the chasm. Retrace your steps to go to the Precipice Room before Animation Alley in the first chapter. You moved a crate to pull a lever. Returning to the scene, you will see an enemy, opening a passage to the employee lockers. Take the passage and search the area. You will find a code 215 in a locker and several batteries.
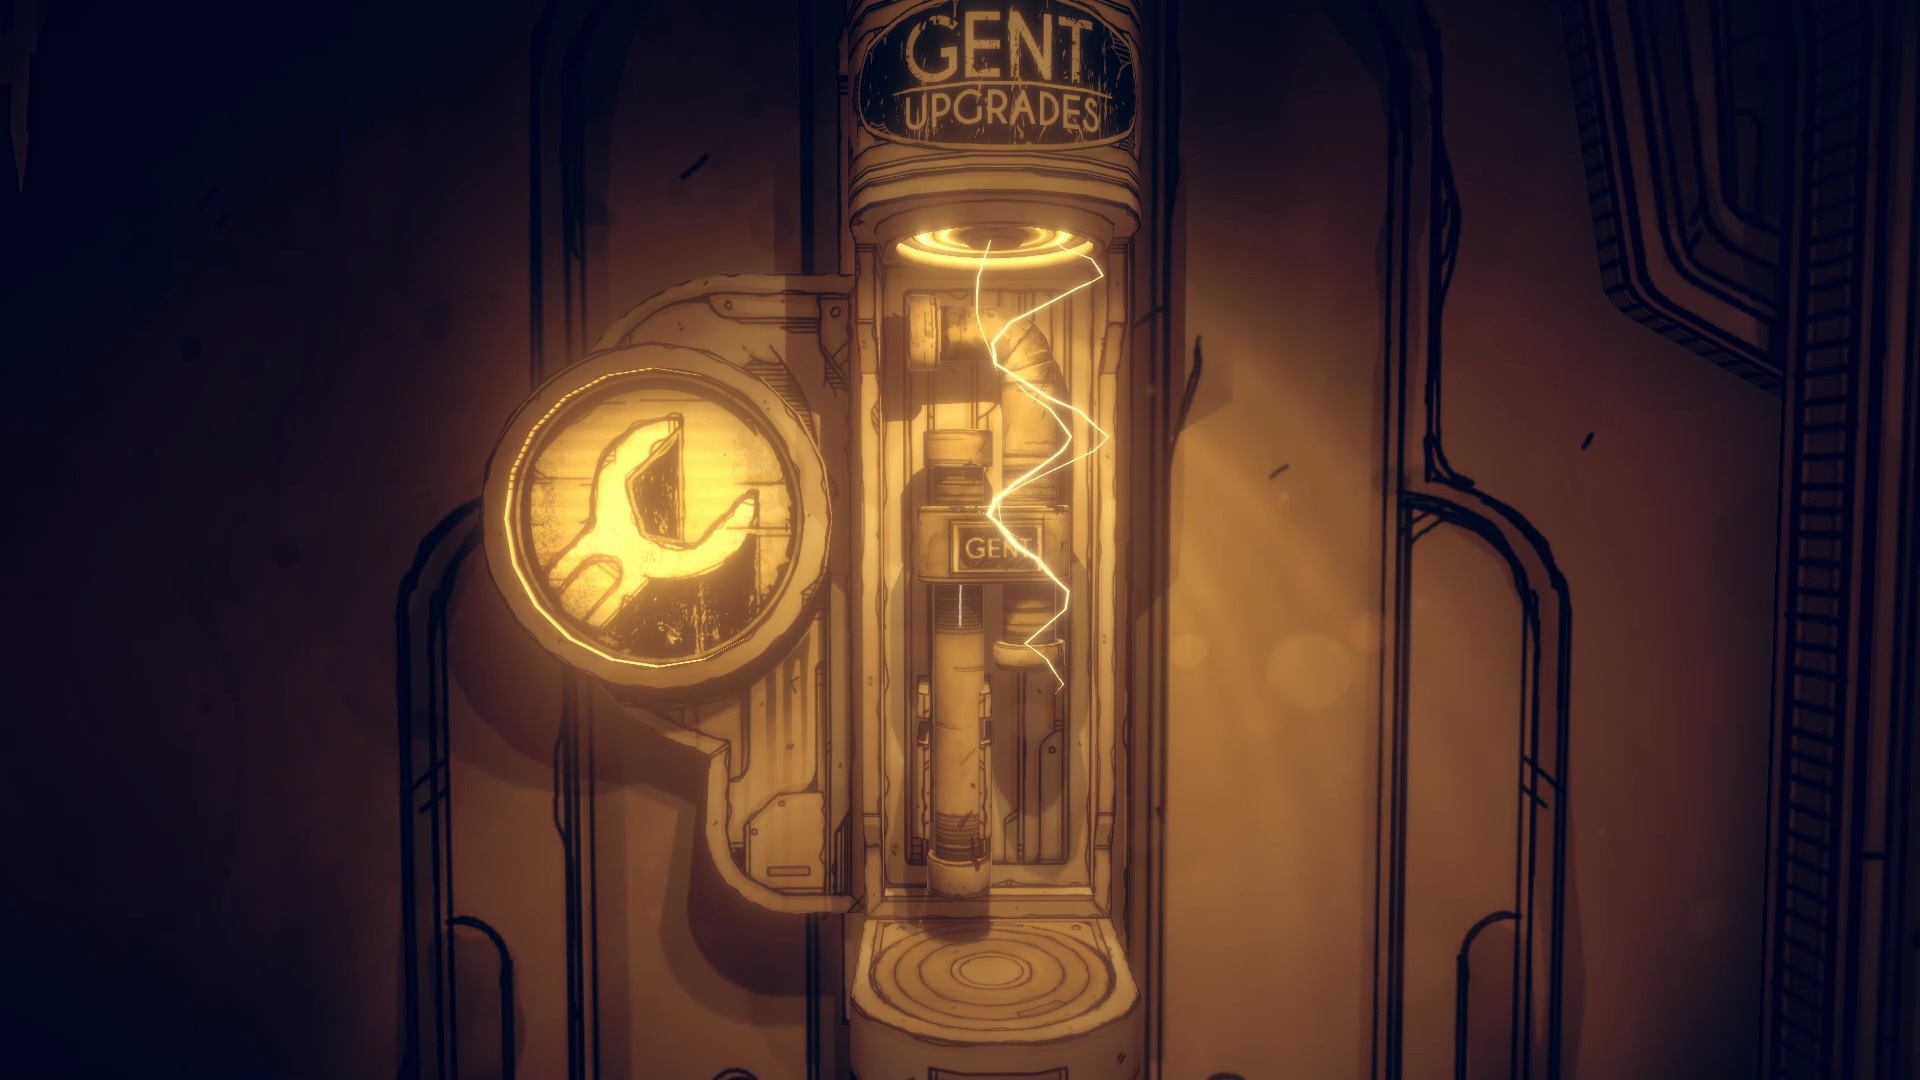
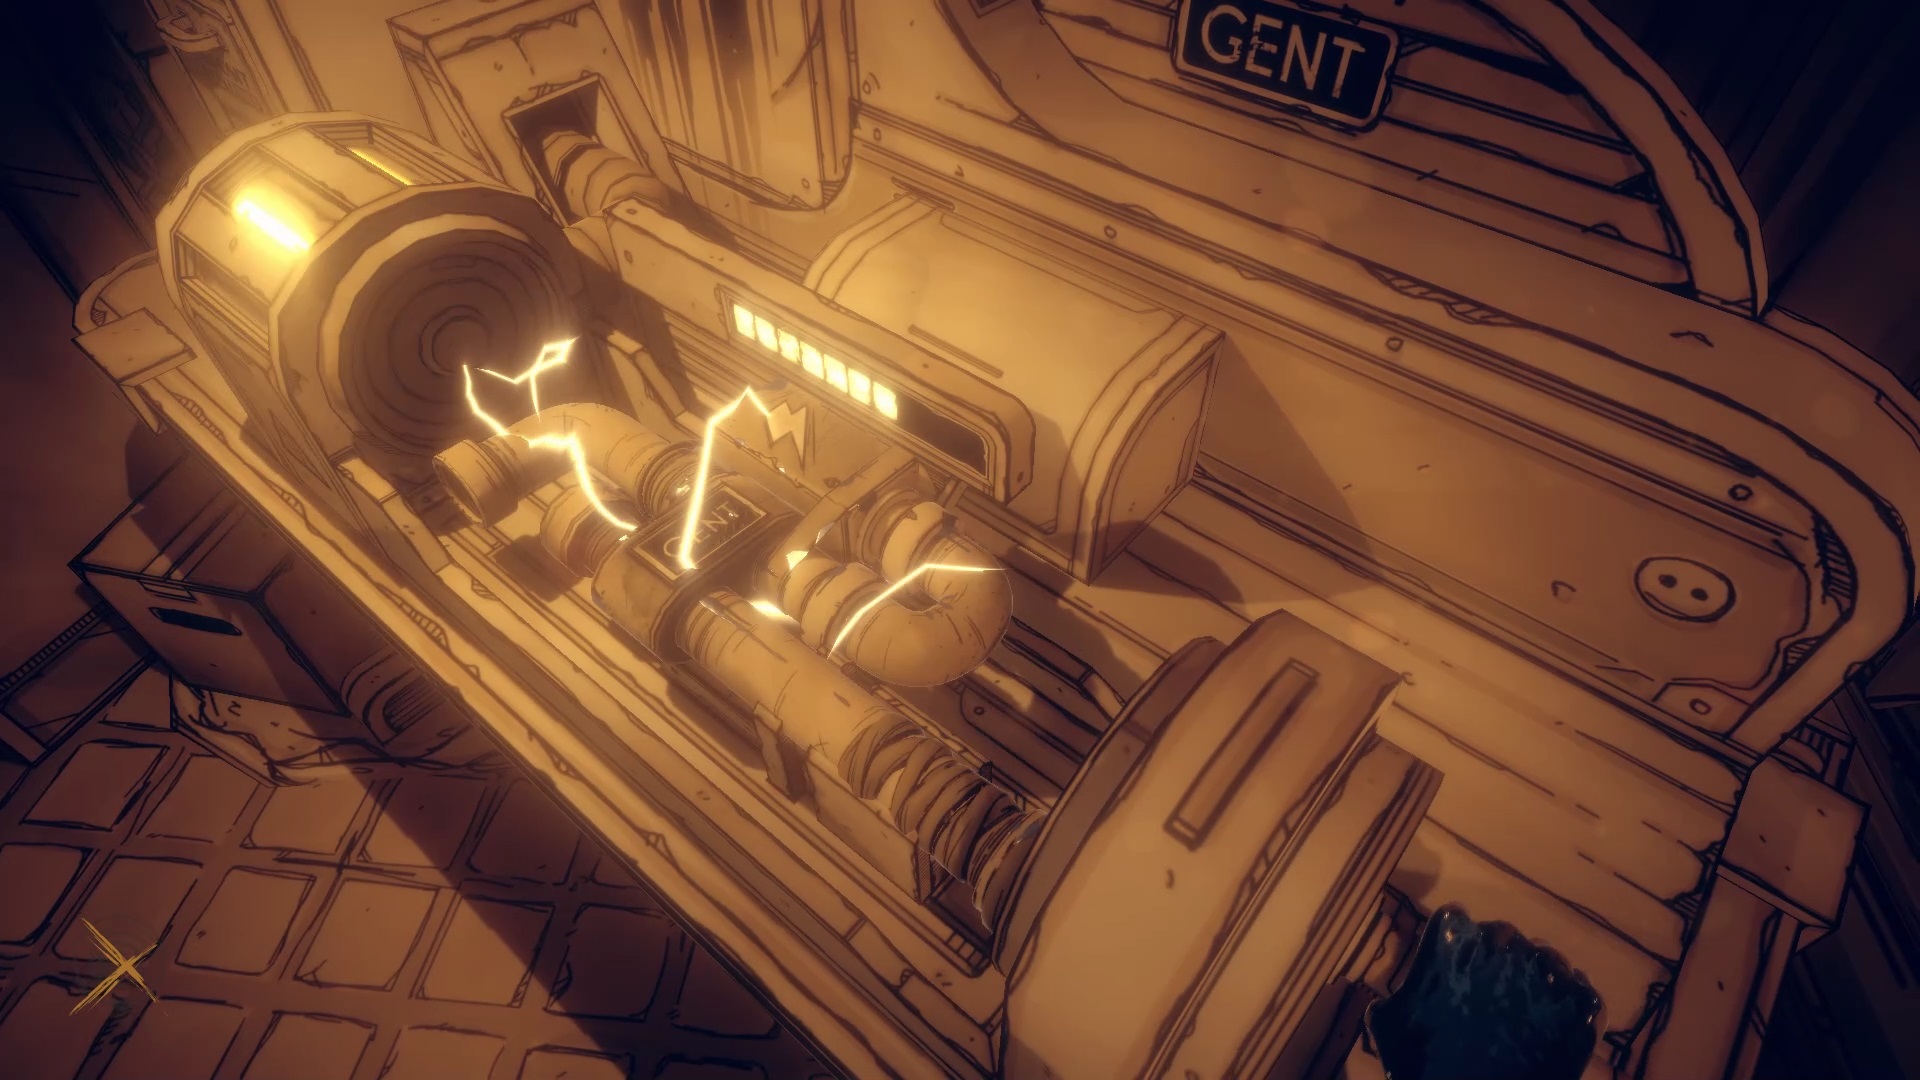
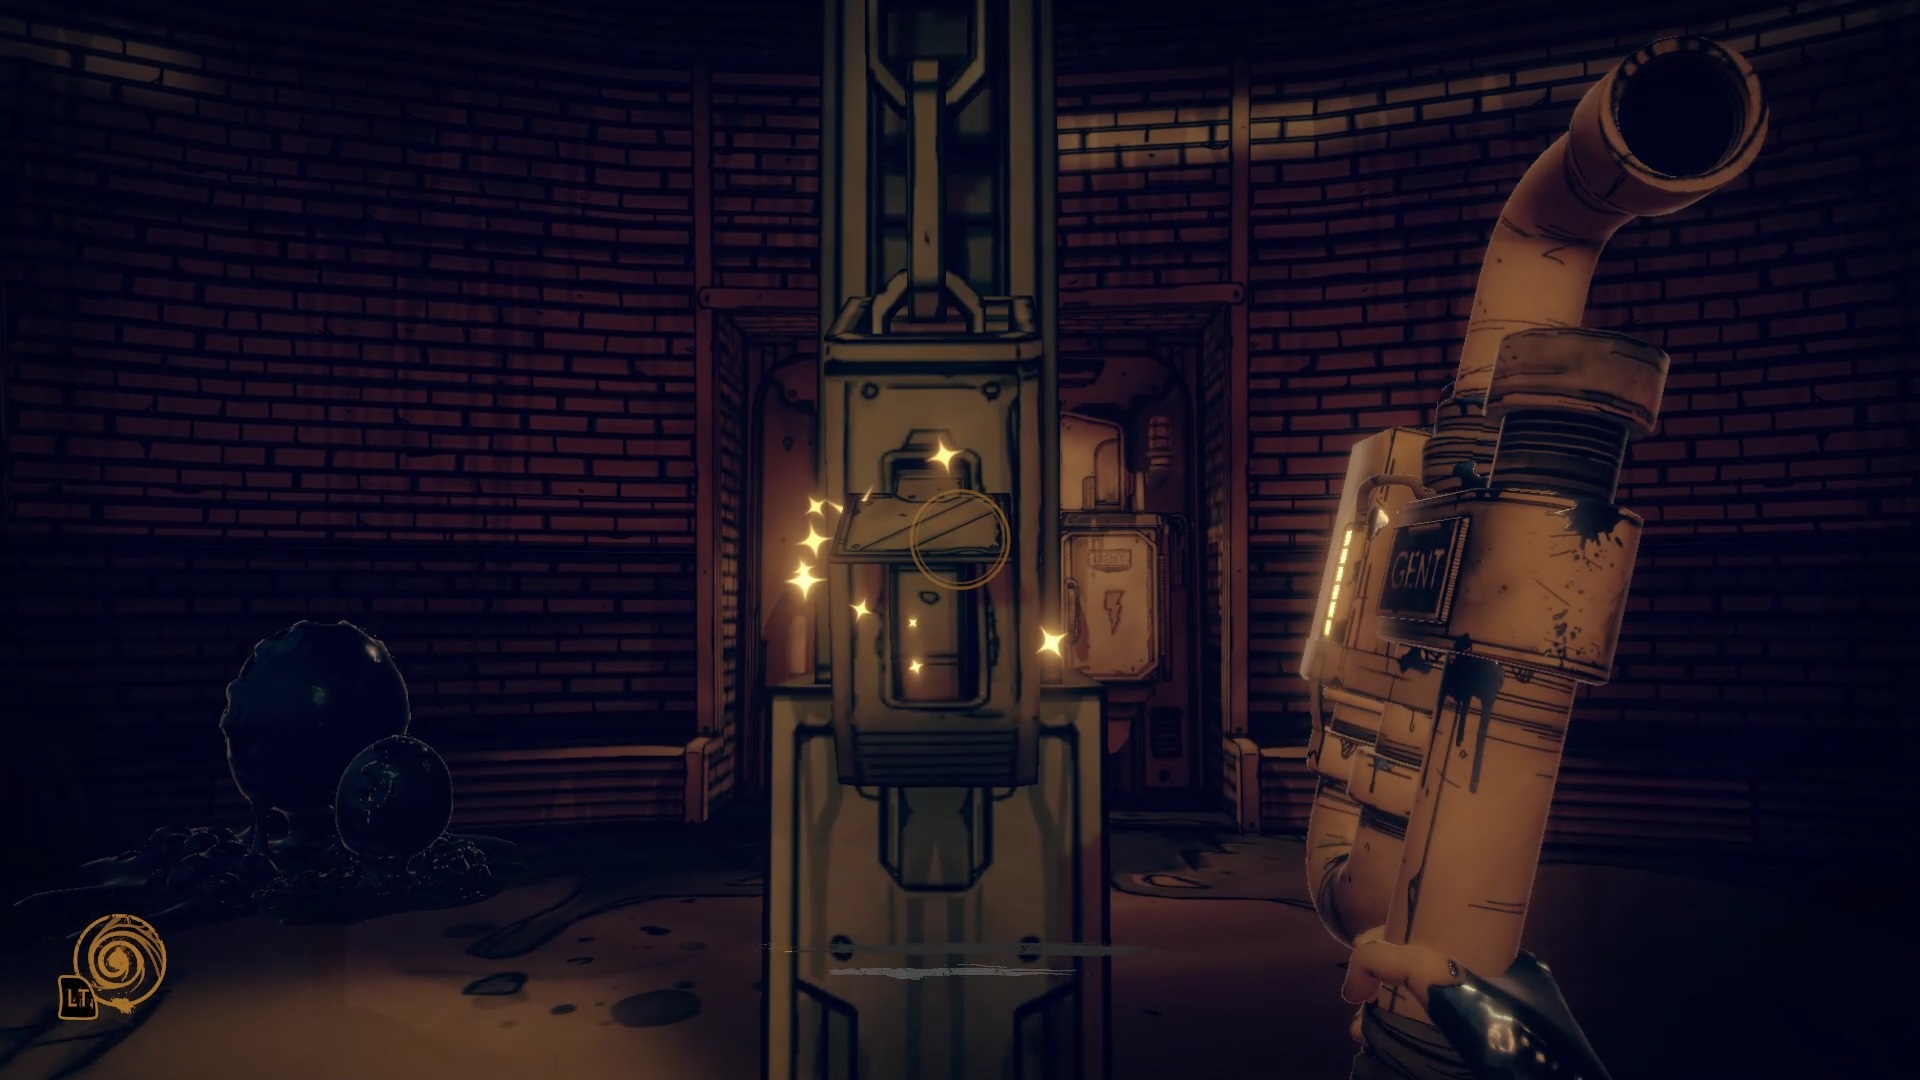
At the back of the room, use the code 215 on the security lock. Go to the next room to join a workshop. Collect the objects around to improve your pipe. Then use your batteries to power the energy pipe. Unlock the door with your pipe and refill the pipe before leaving. Make a habit of scavenging areas for drums for later.

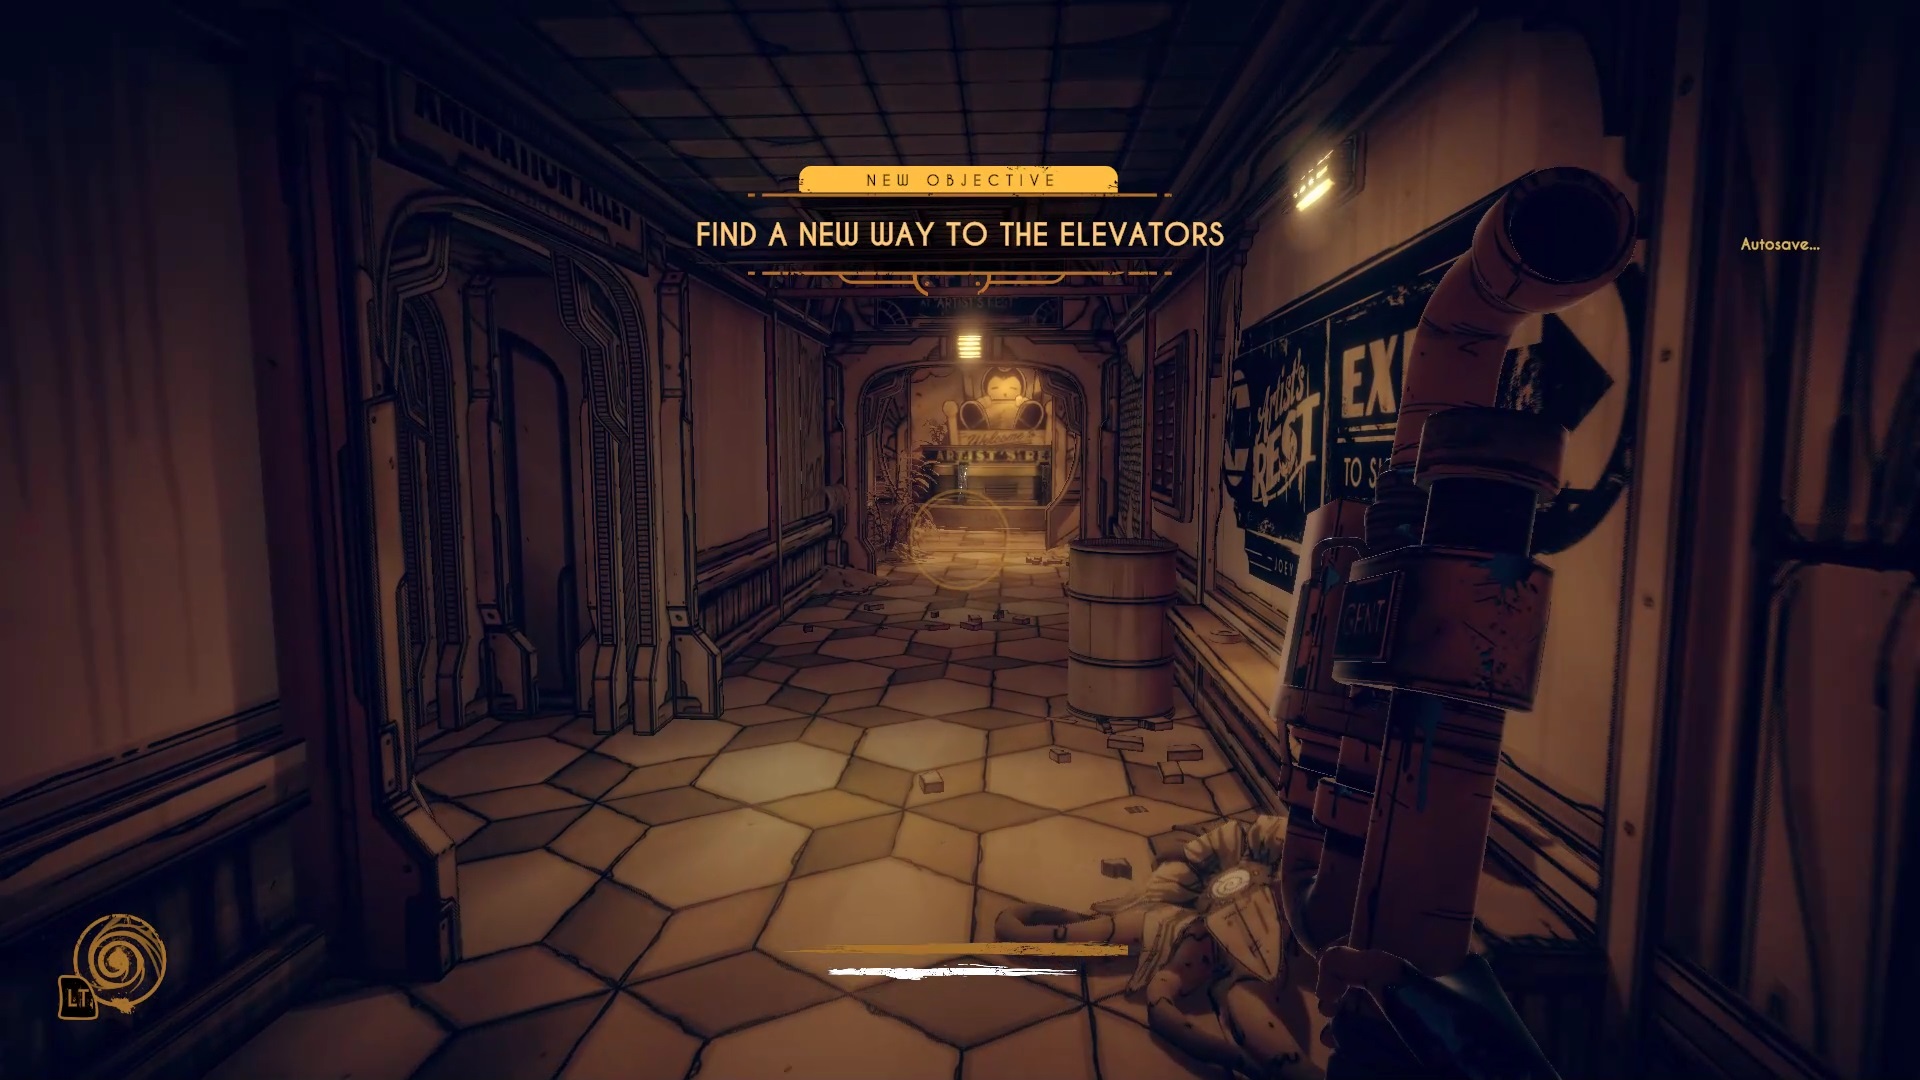
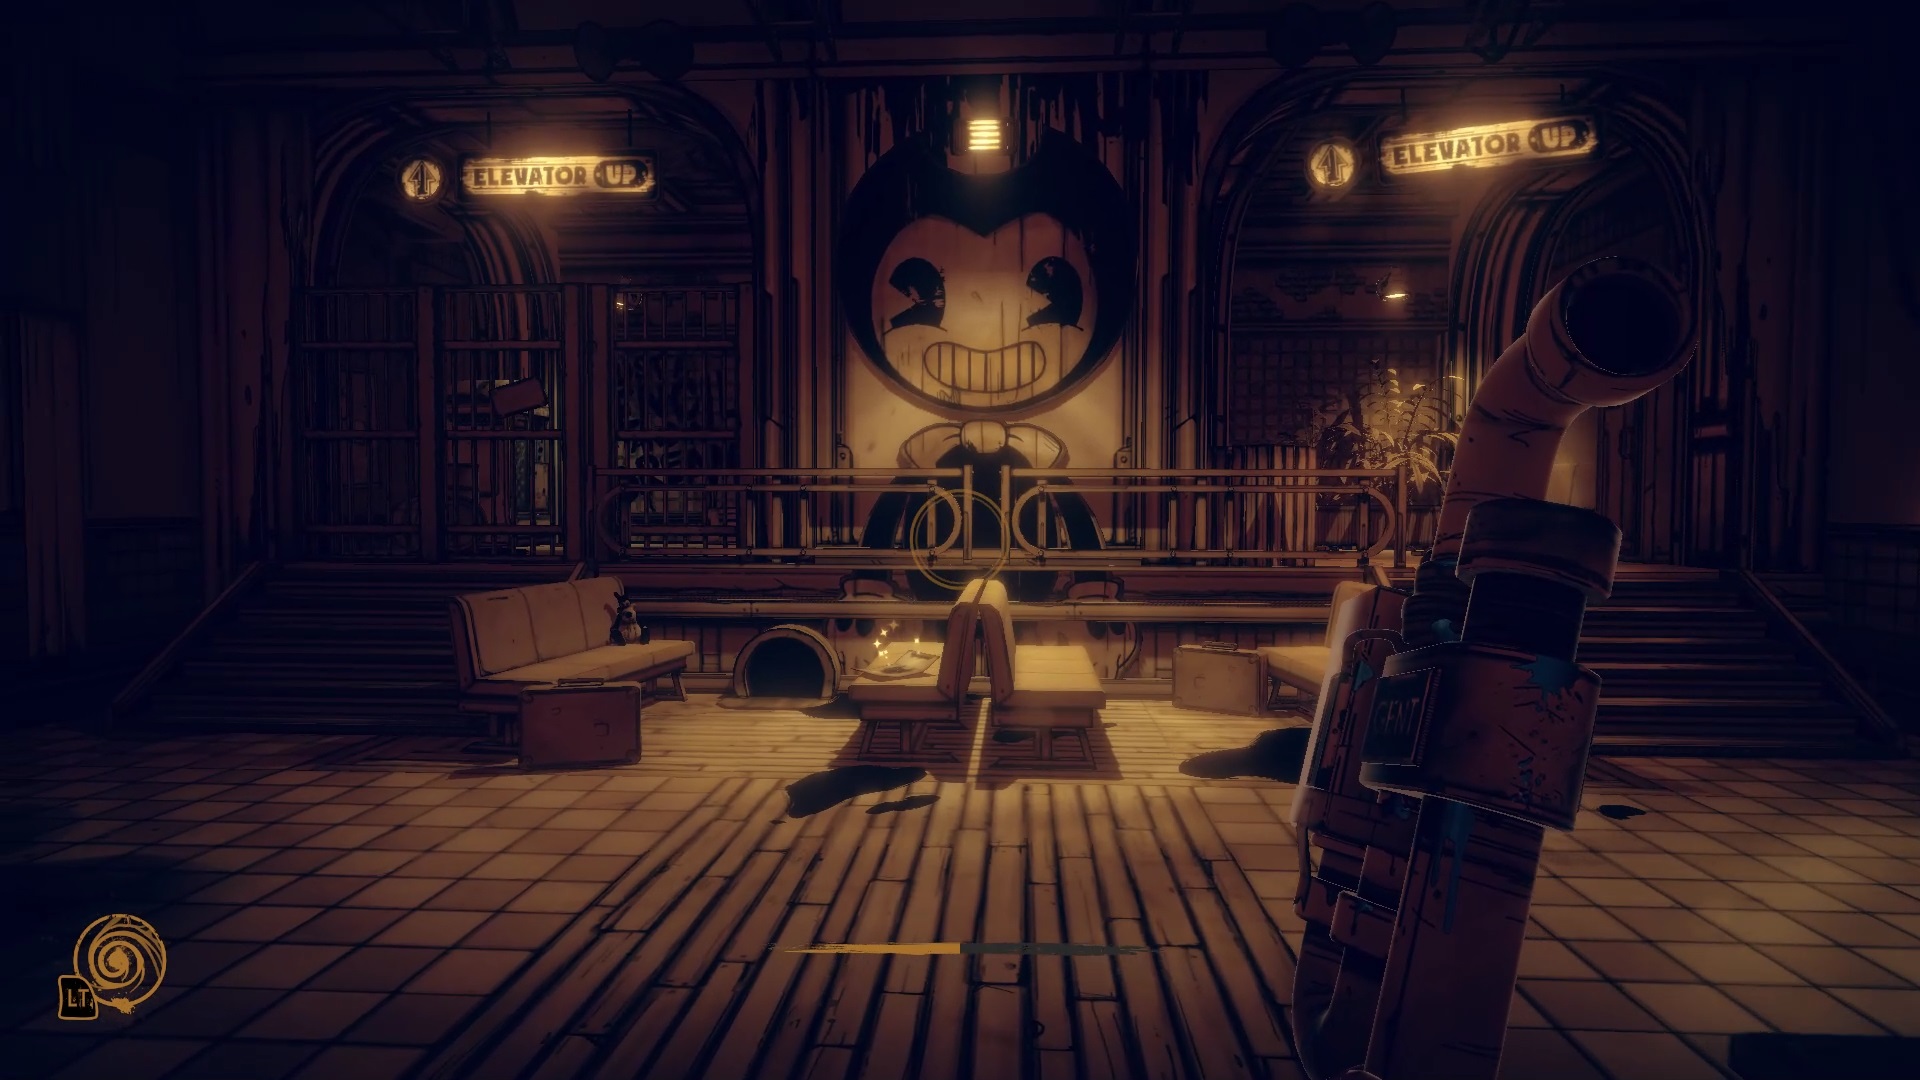
Now unlock the door to the precipice with your power and the charged pipe. Then follow the path to the elevator. The path closes, move towards the artists’ rest room.
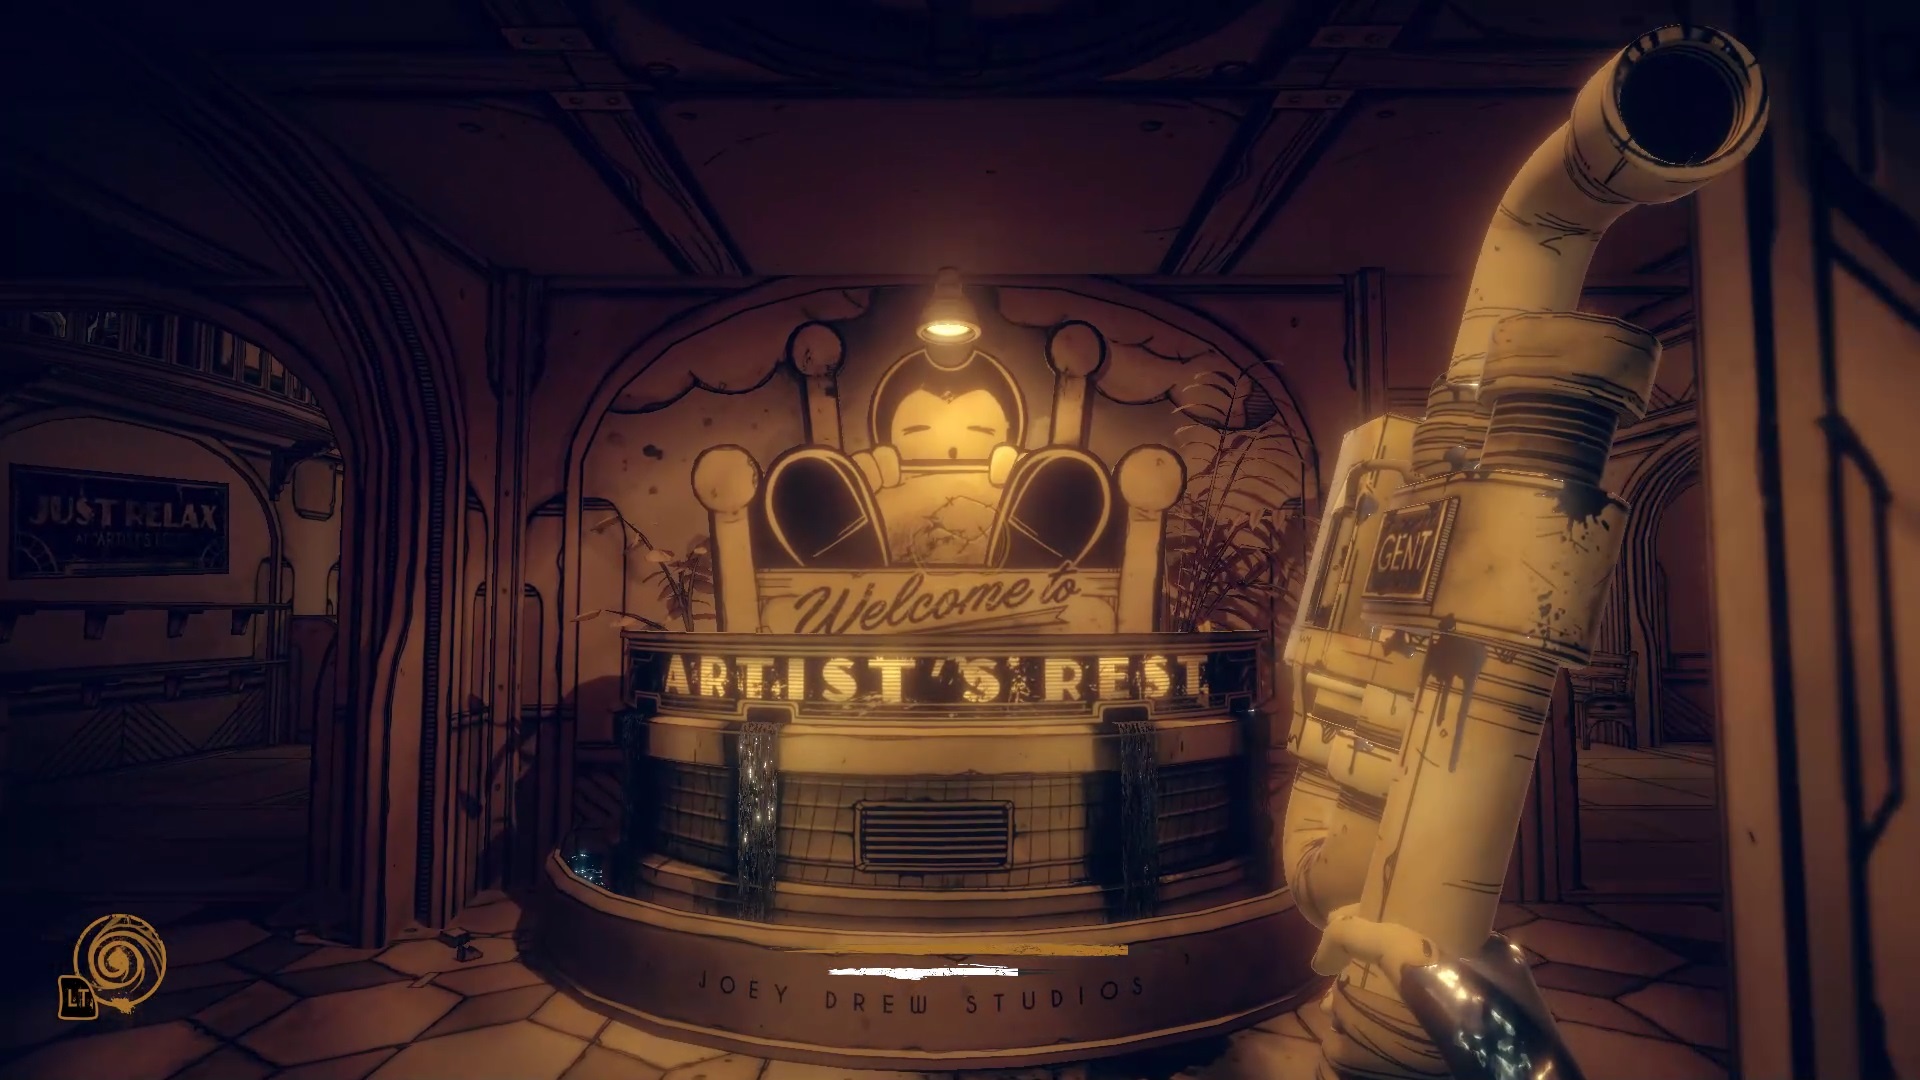
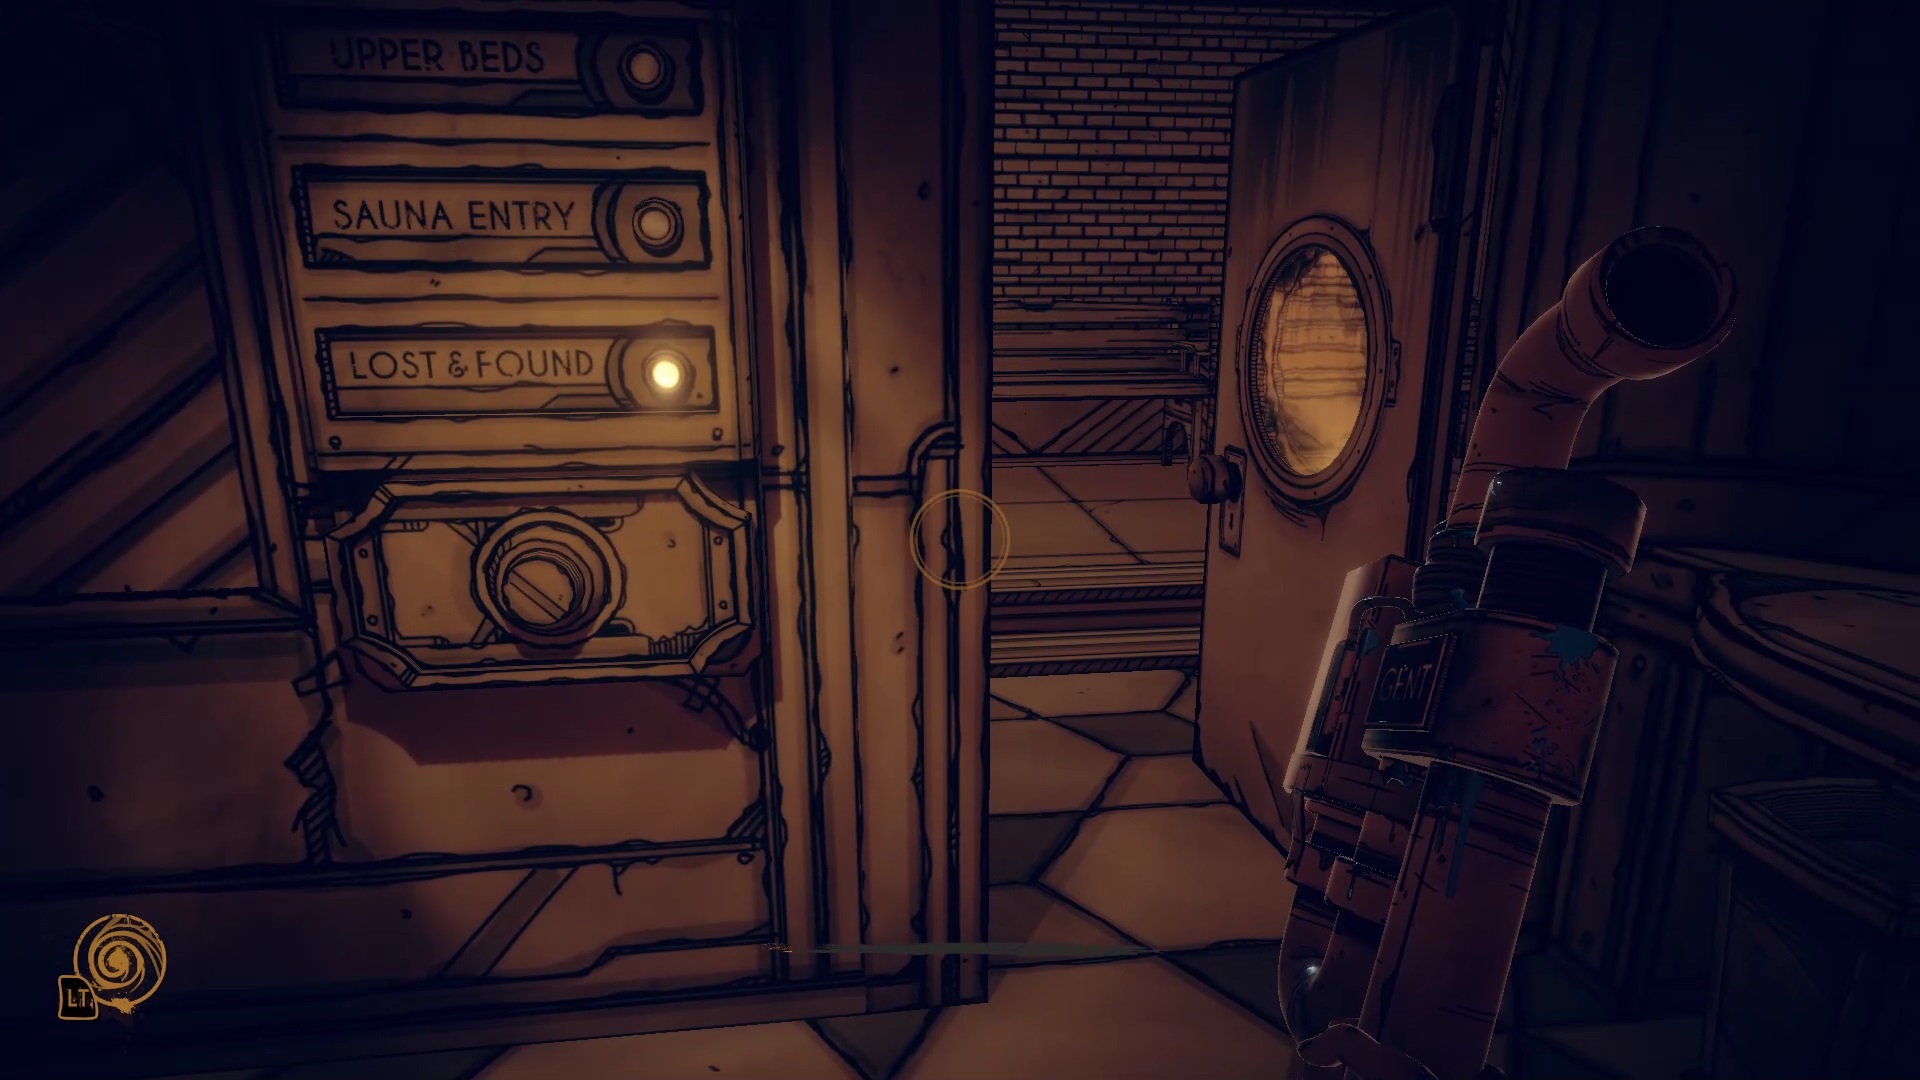
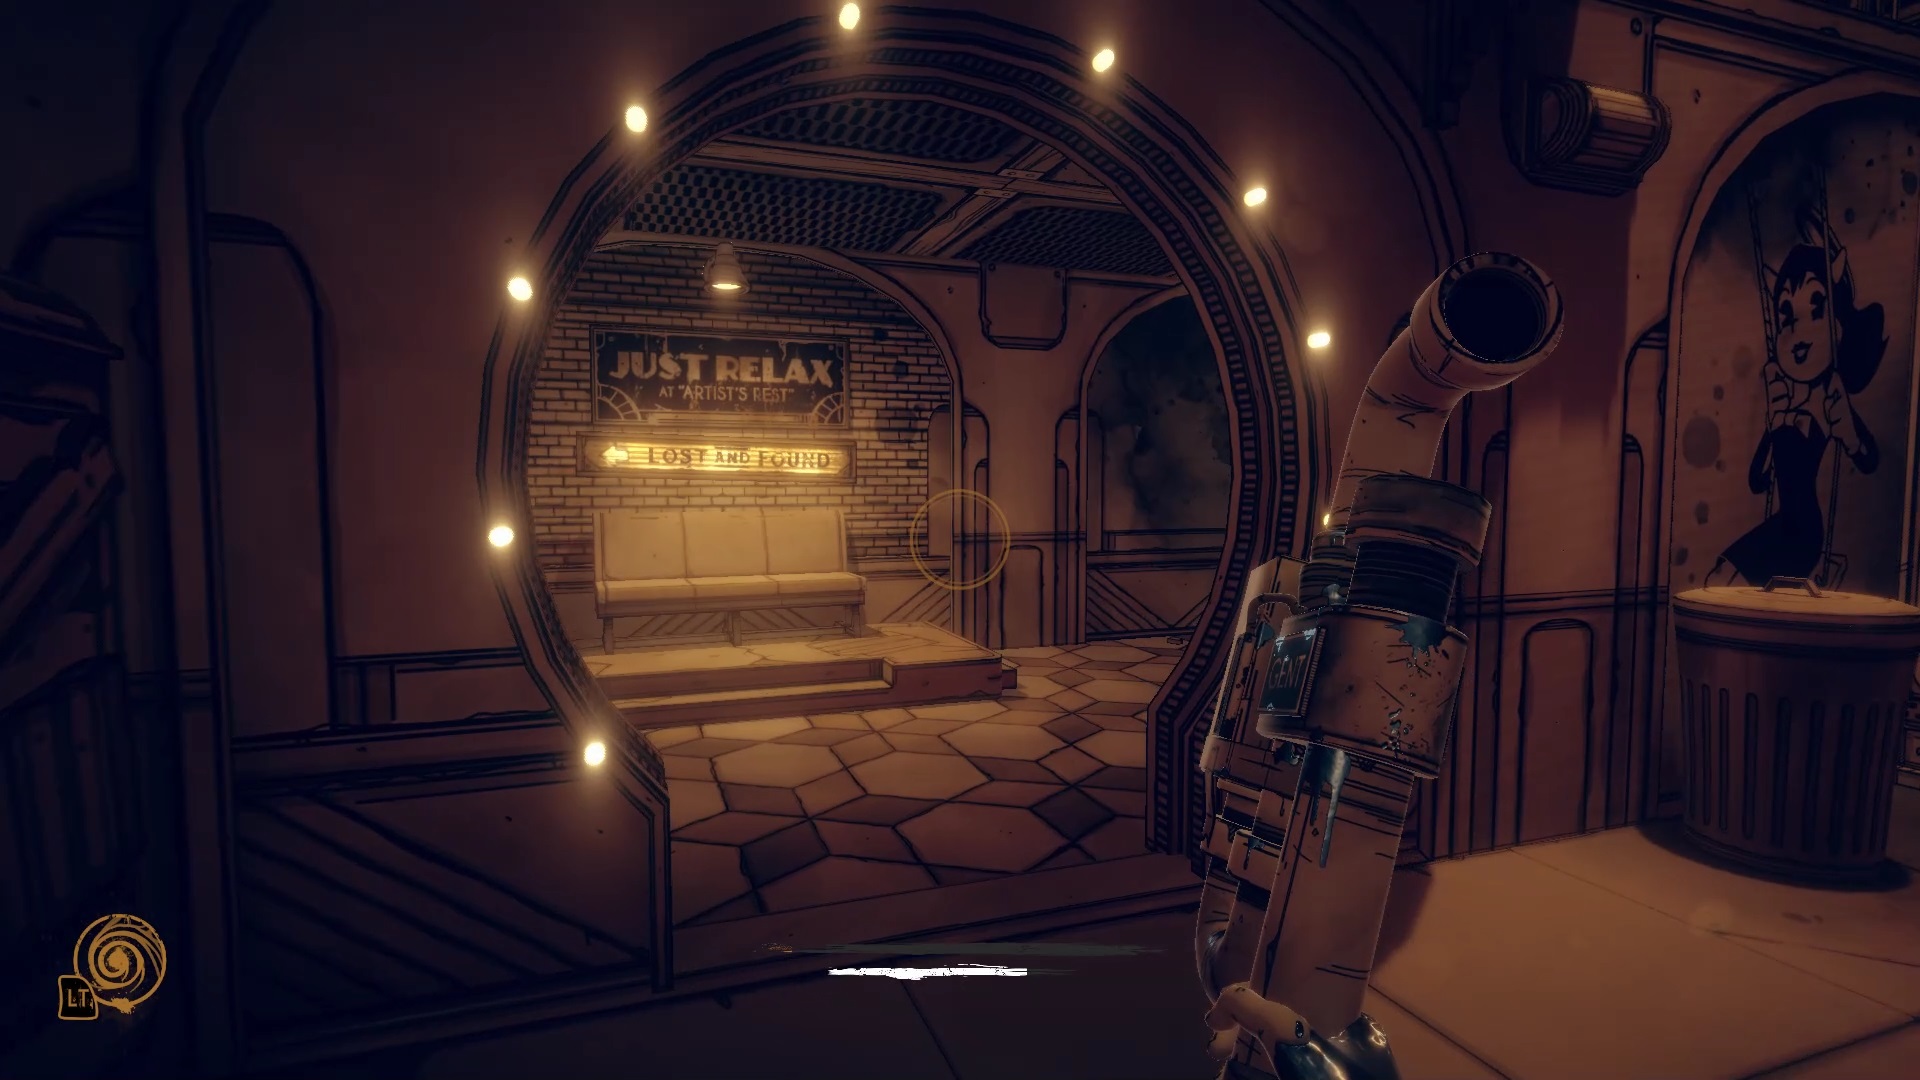
Go to the reception in the lobby and activate the panel for the lost and found room. You will find the room on the ground floor at the end of an alcove. In the room, use the power flow on the counter to go to the other side.
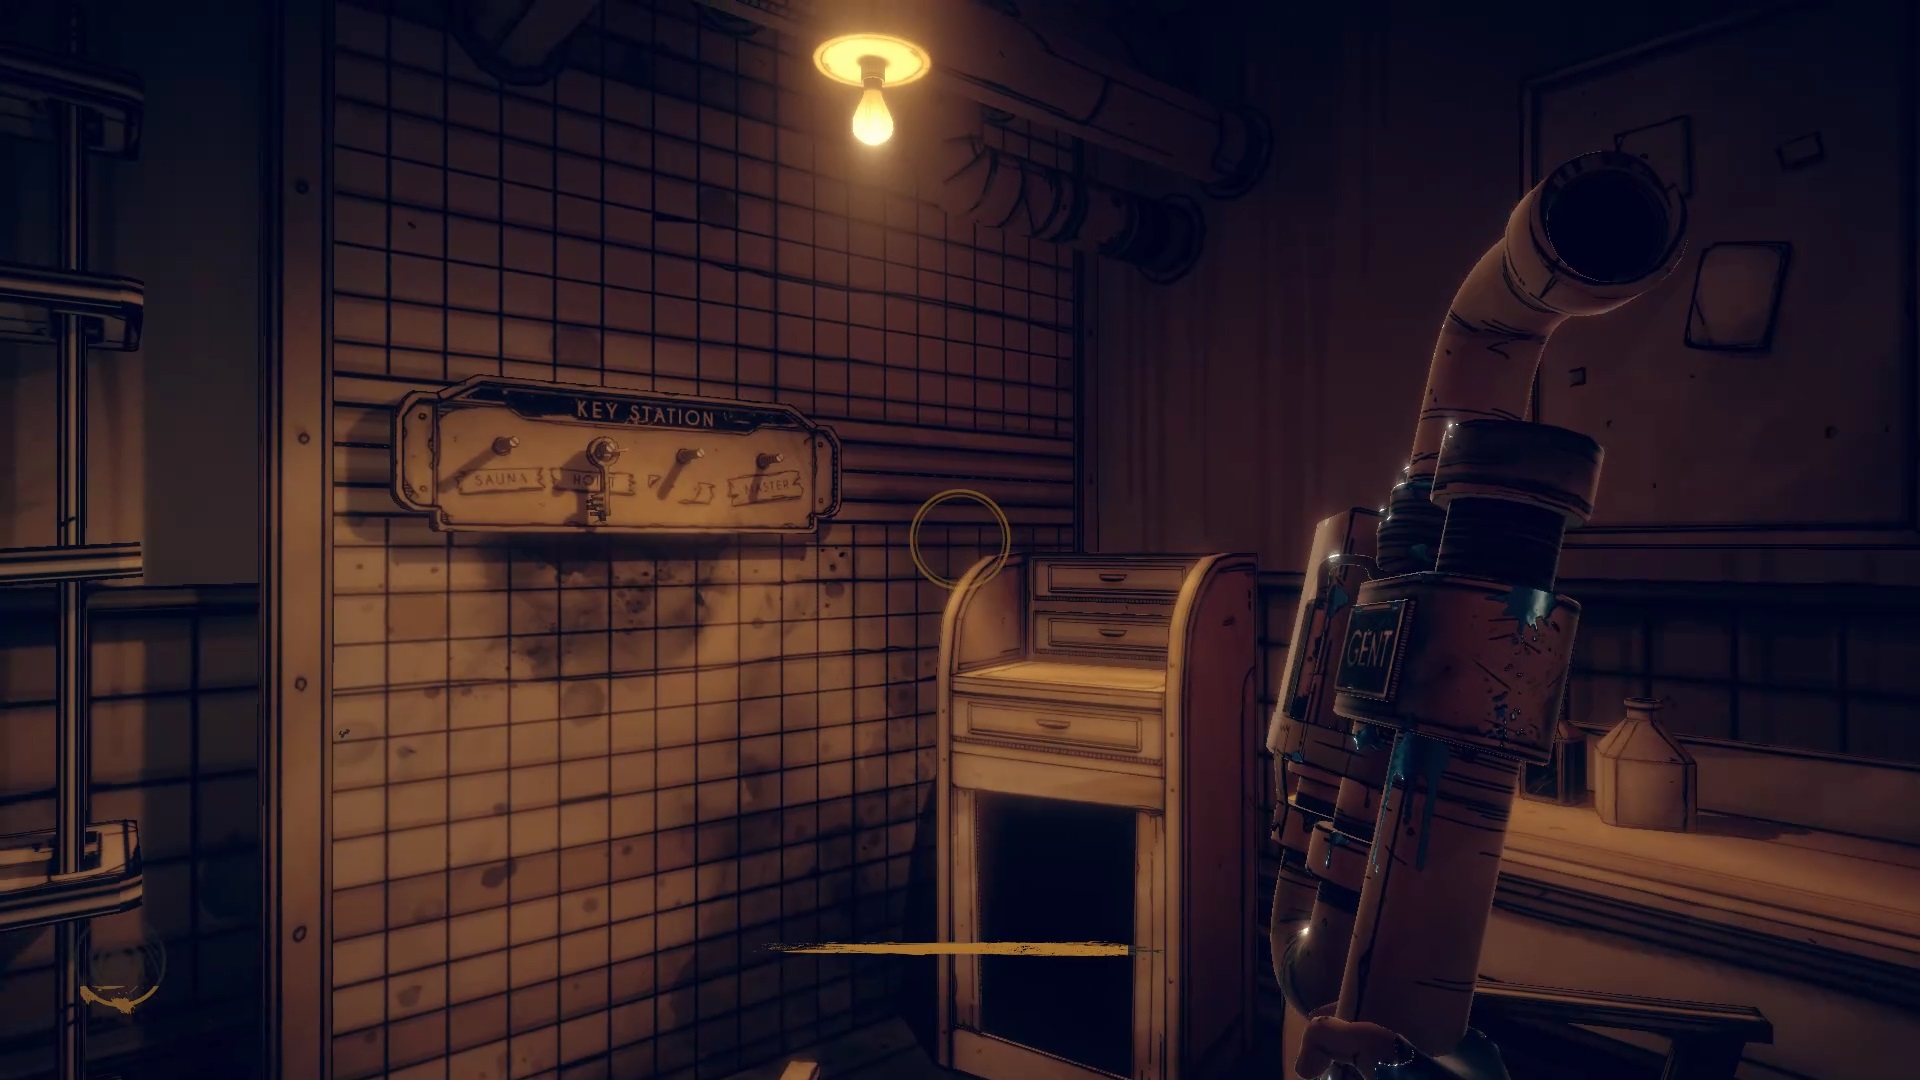
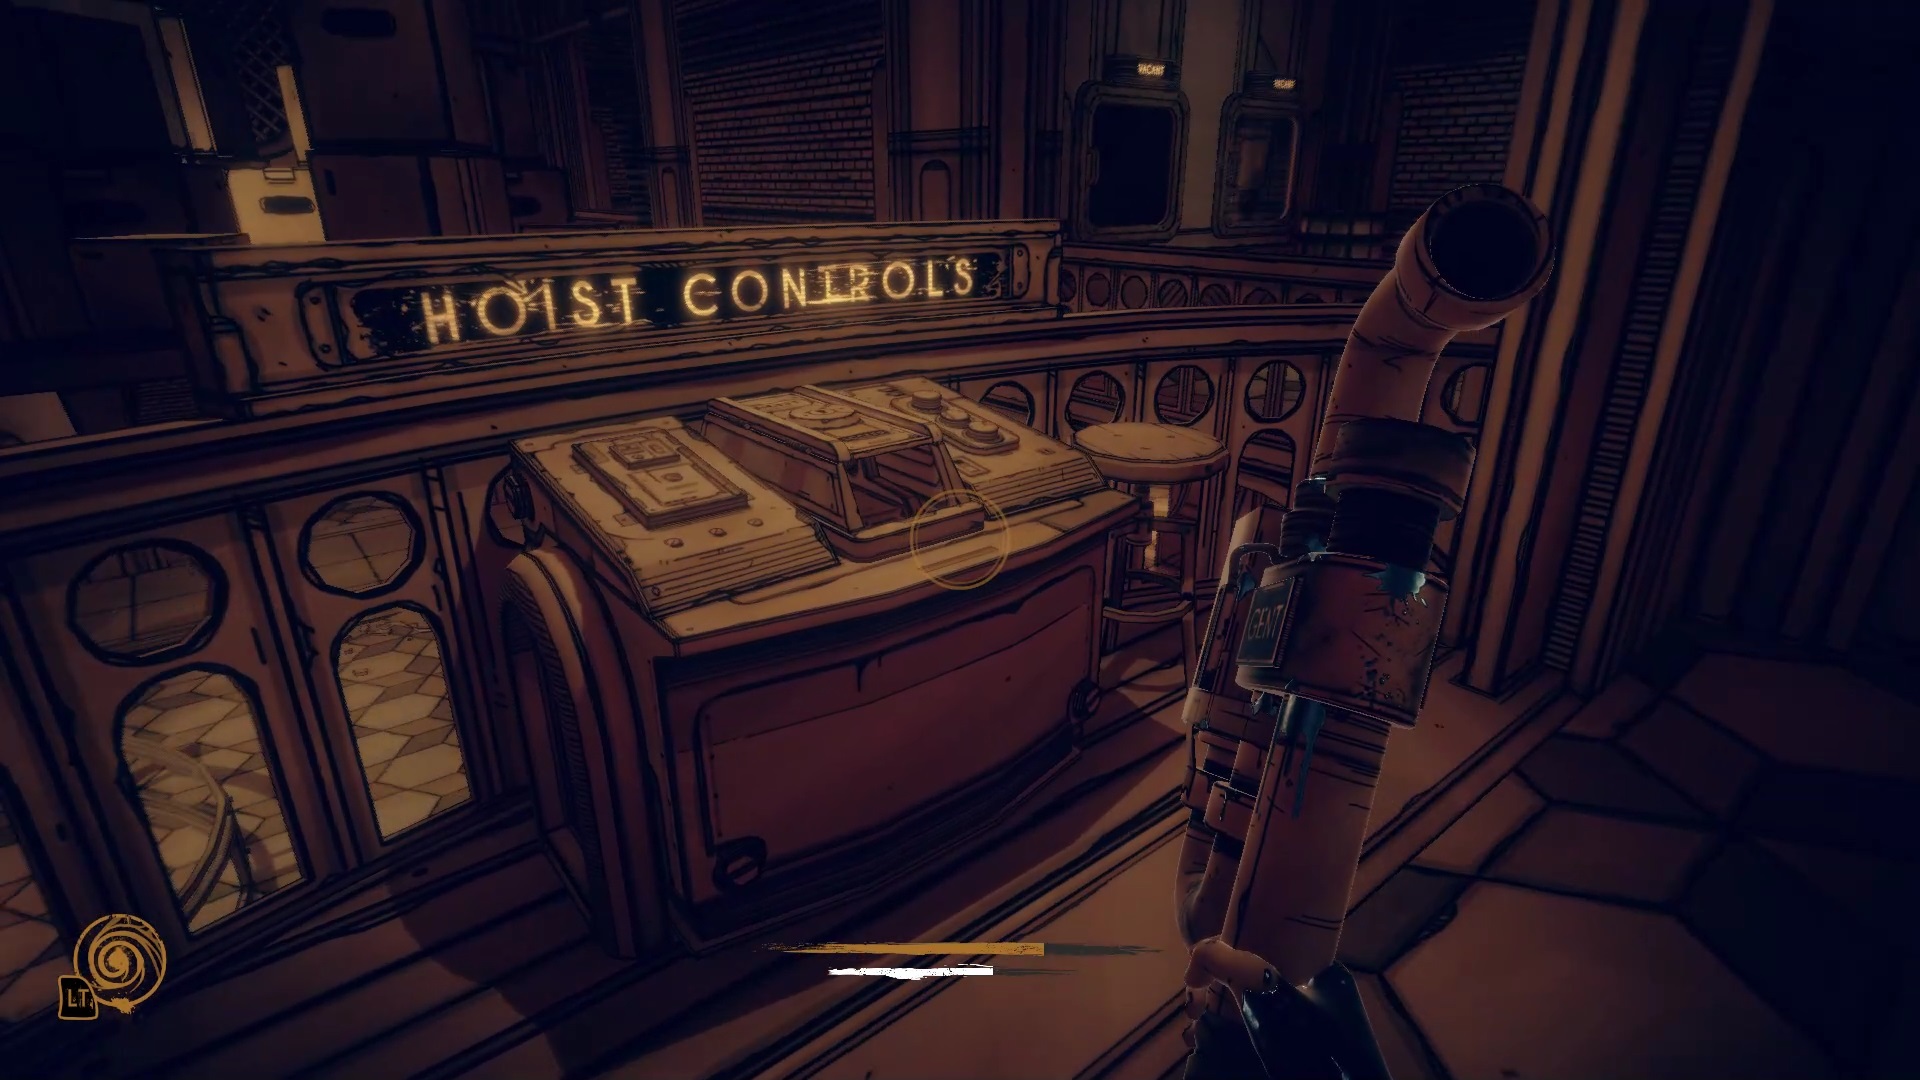
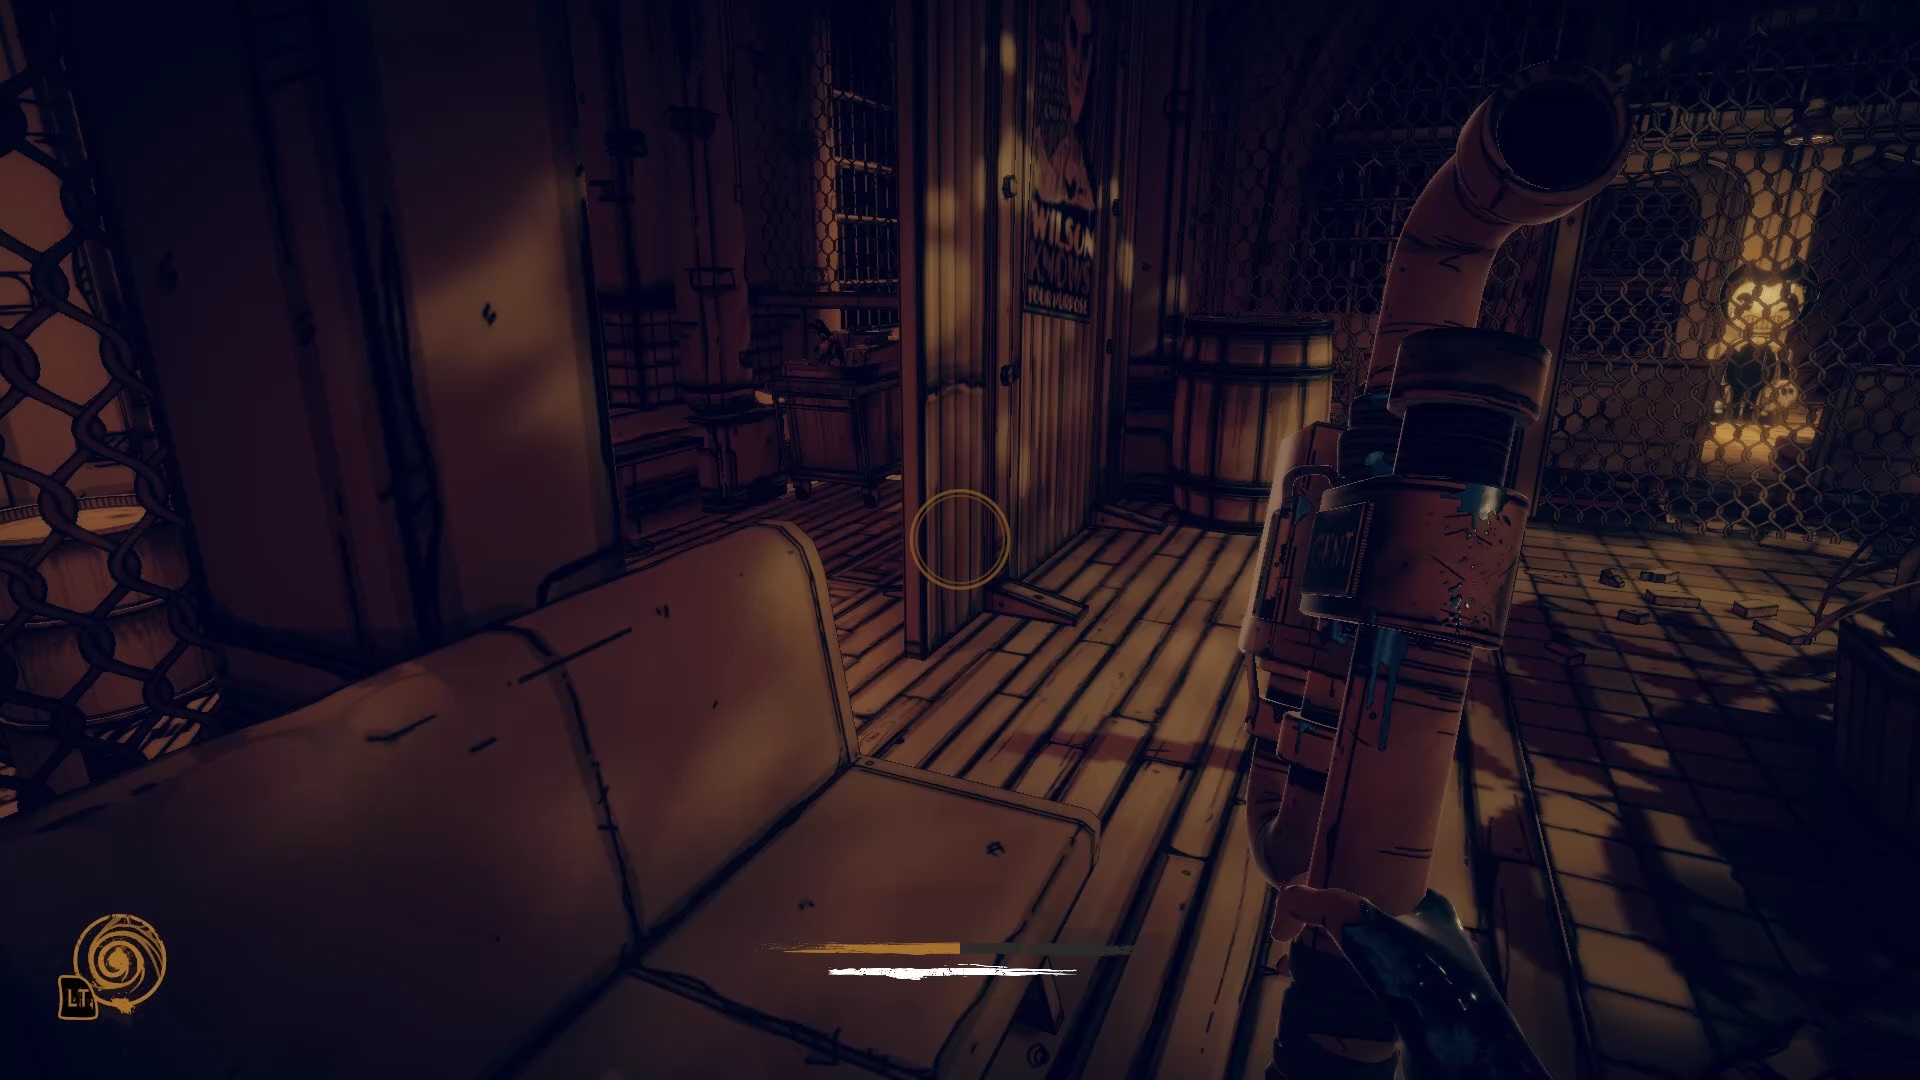
Take the key and go back to the hall. When the demon reappears, hide behind the counter. Go to the first floor in the lobby and use the key on the Hoist Controls machine. Then use the balcony ledge with the power flow to reach the roof of the reception. Use the power flow and the suspended platform to reach the elevator access. Use the workshop and the collected batteries to unlock the door in front.
Chapter 3
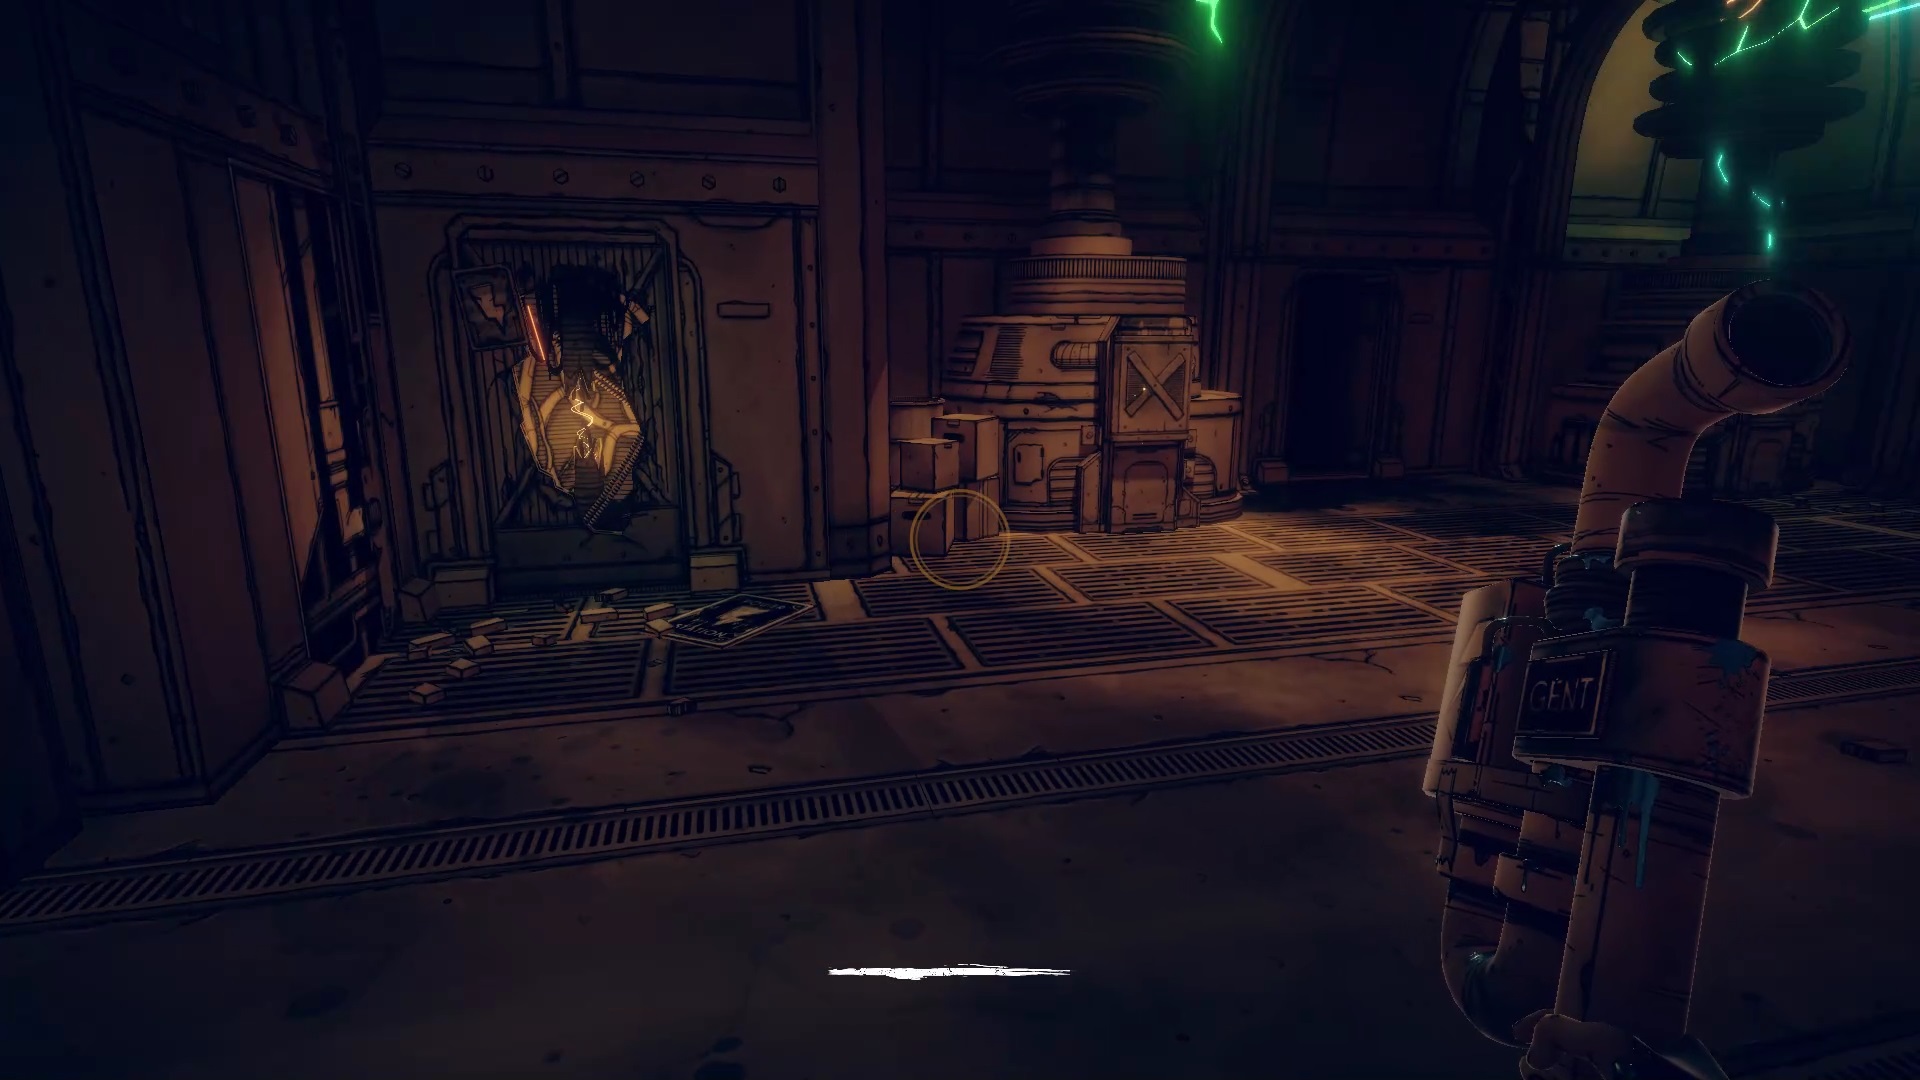
At the start of the chapter, head for the elevator. After a gate, you will find a passage on the left. Move the box to free an entry and borrow it. Locate the hiding place just in front of the entrance then go down the stairs. Hi, the demon is back, run quickly to the previous hiding place to take shelter. Once rid of the beast, go back down the stairs to take the elevator.
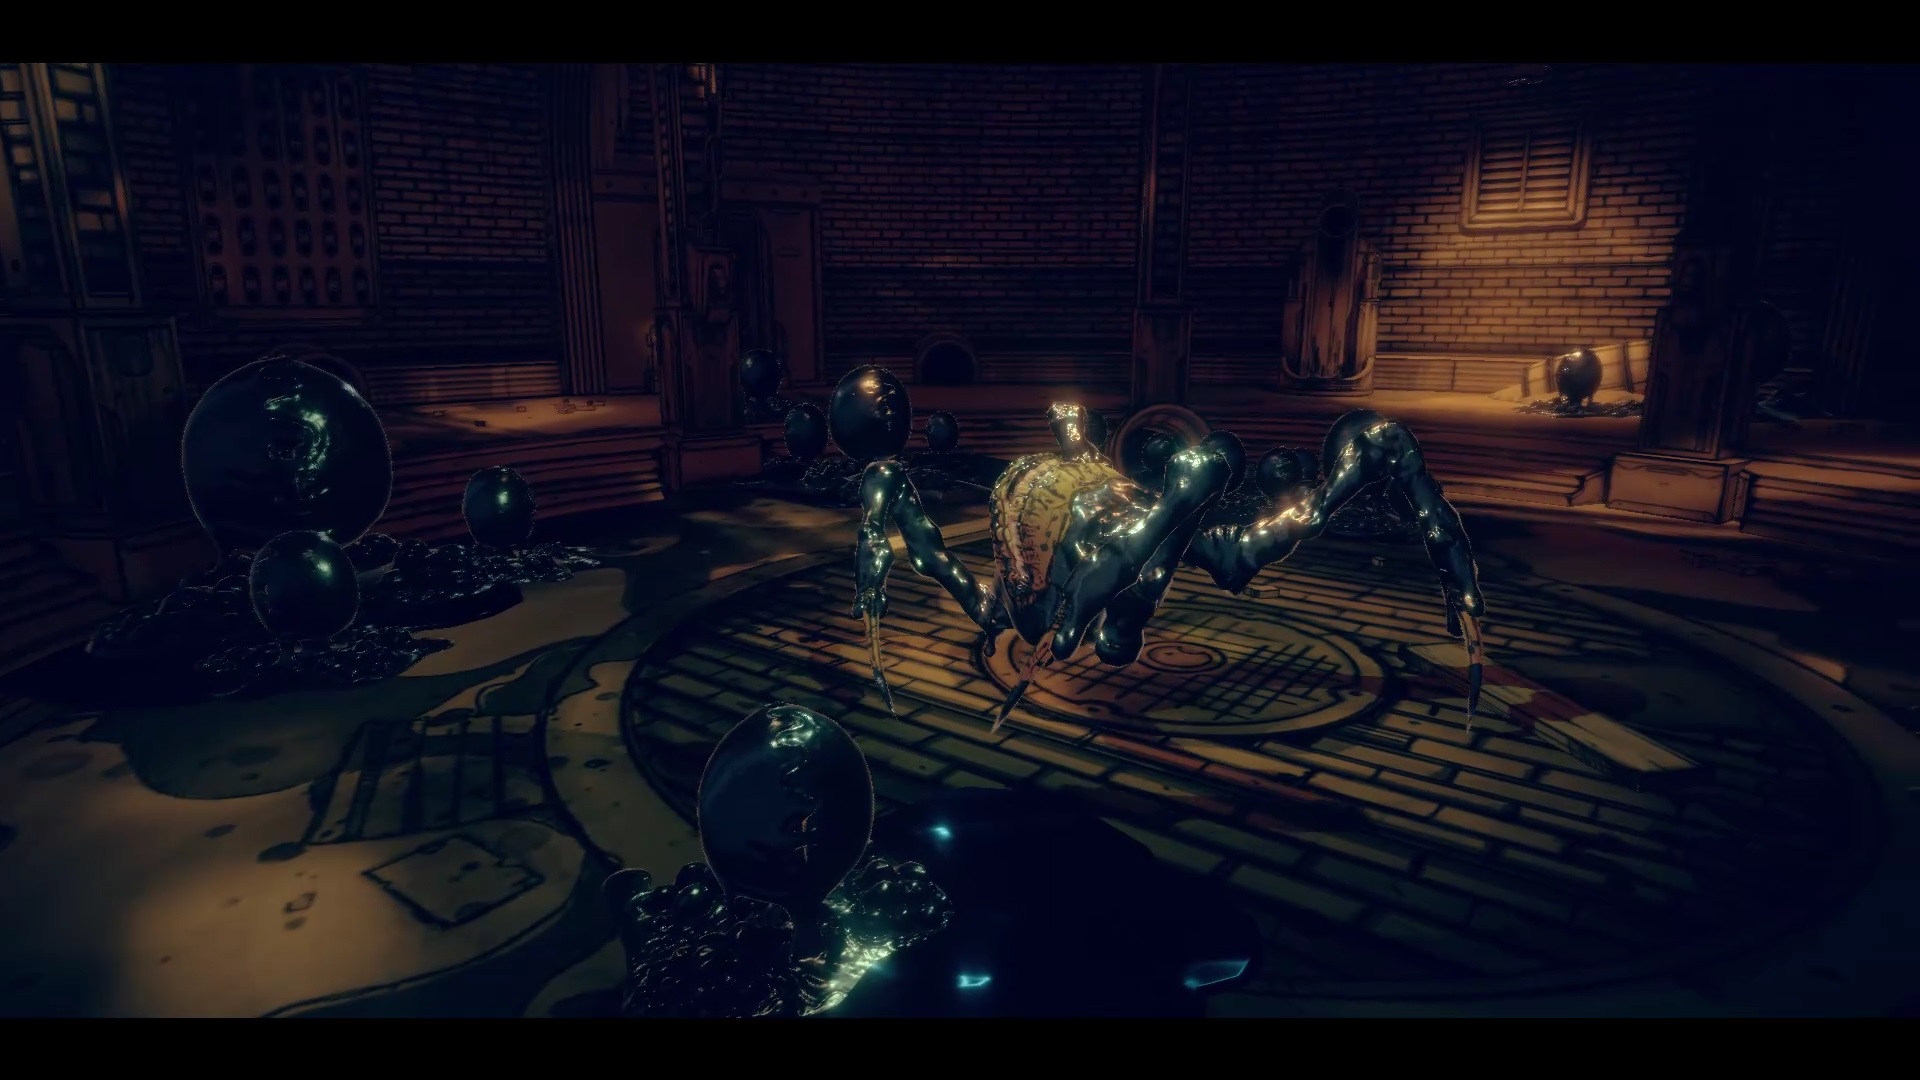
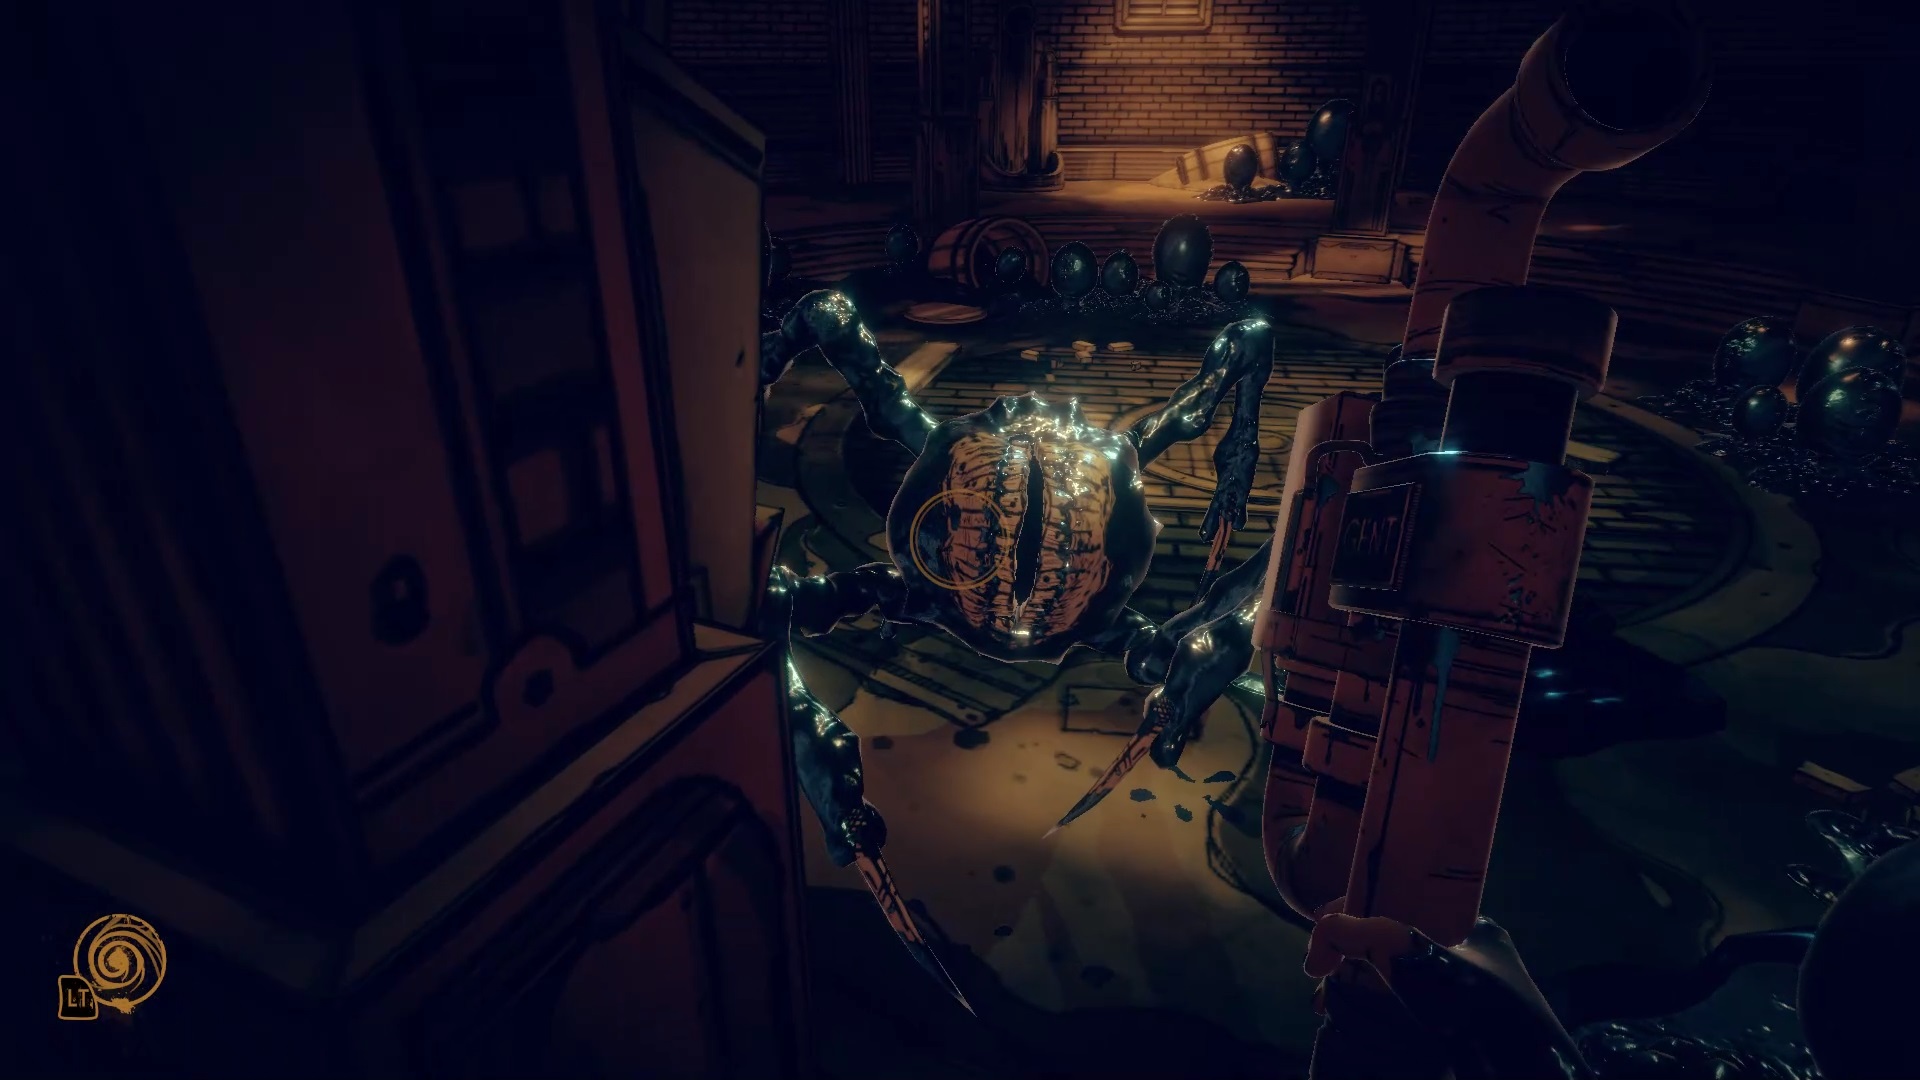
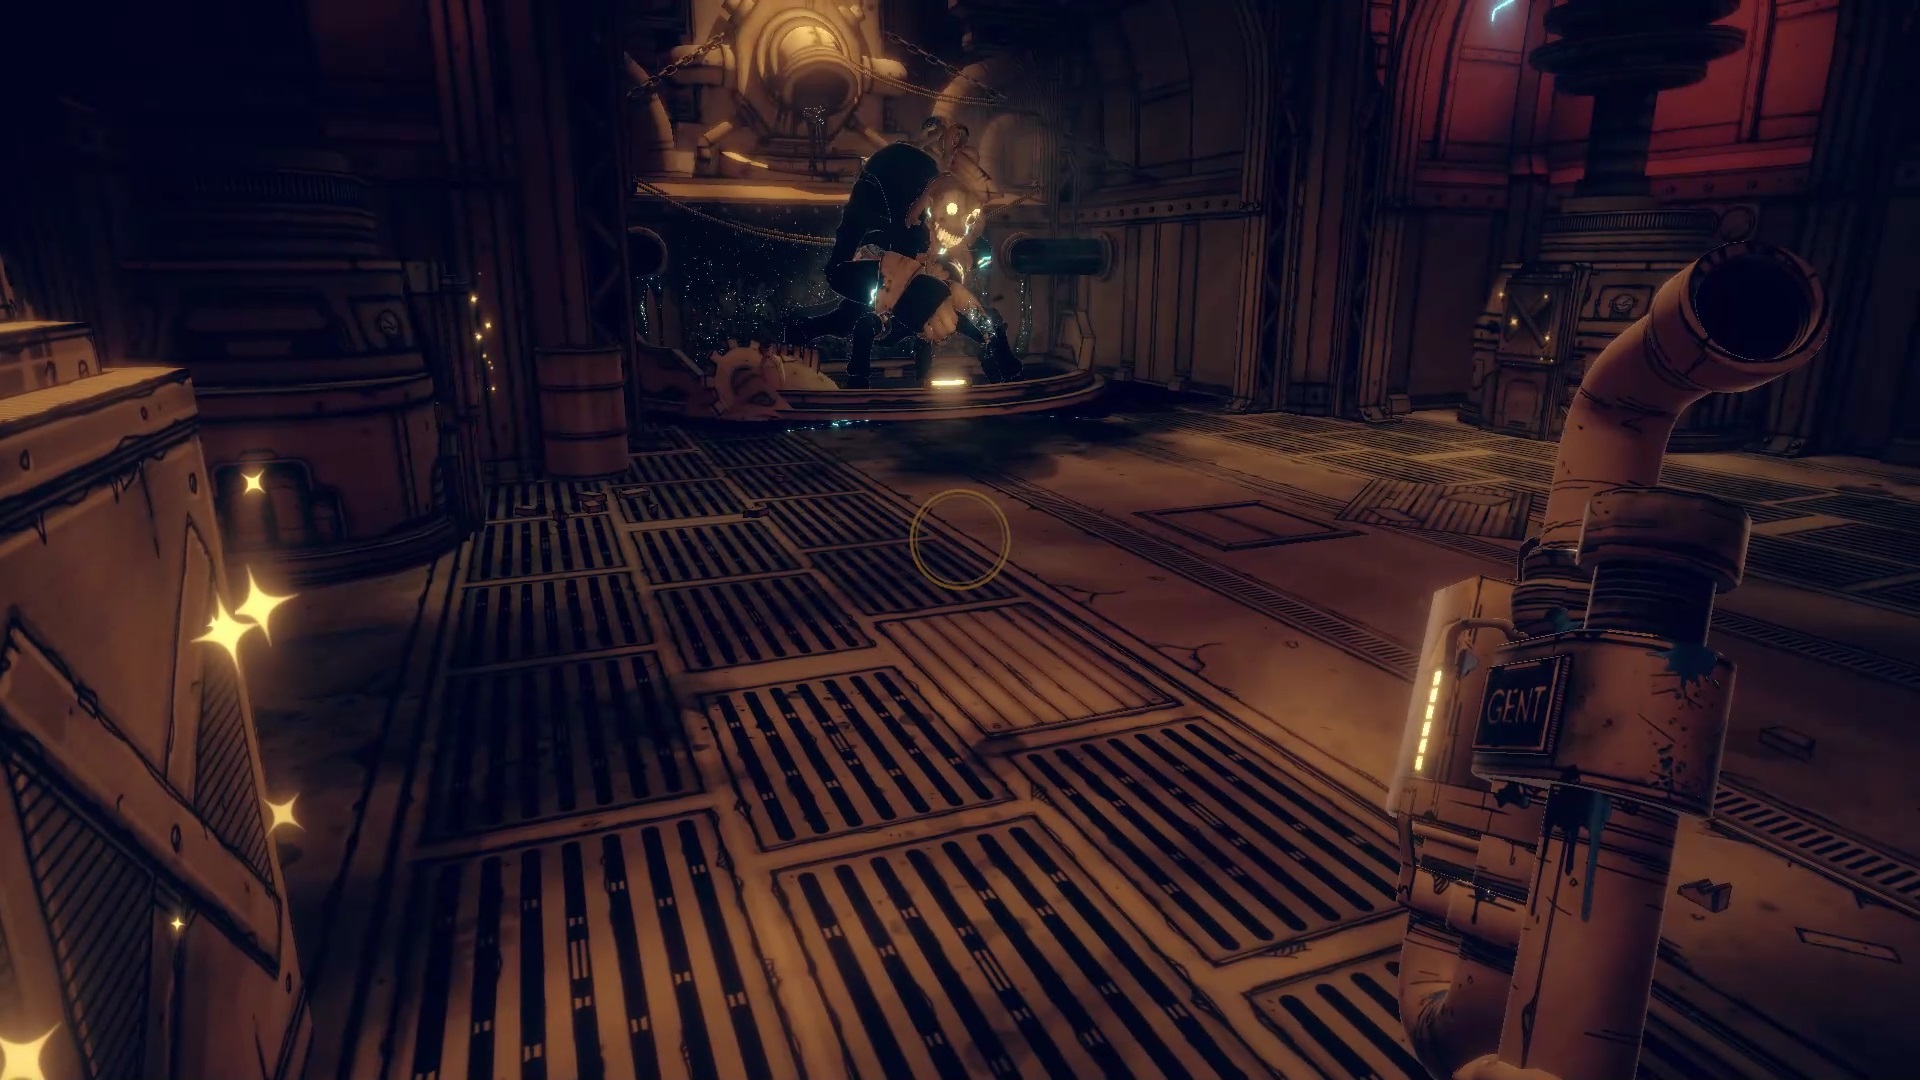
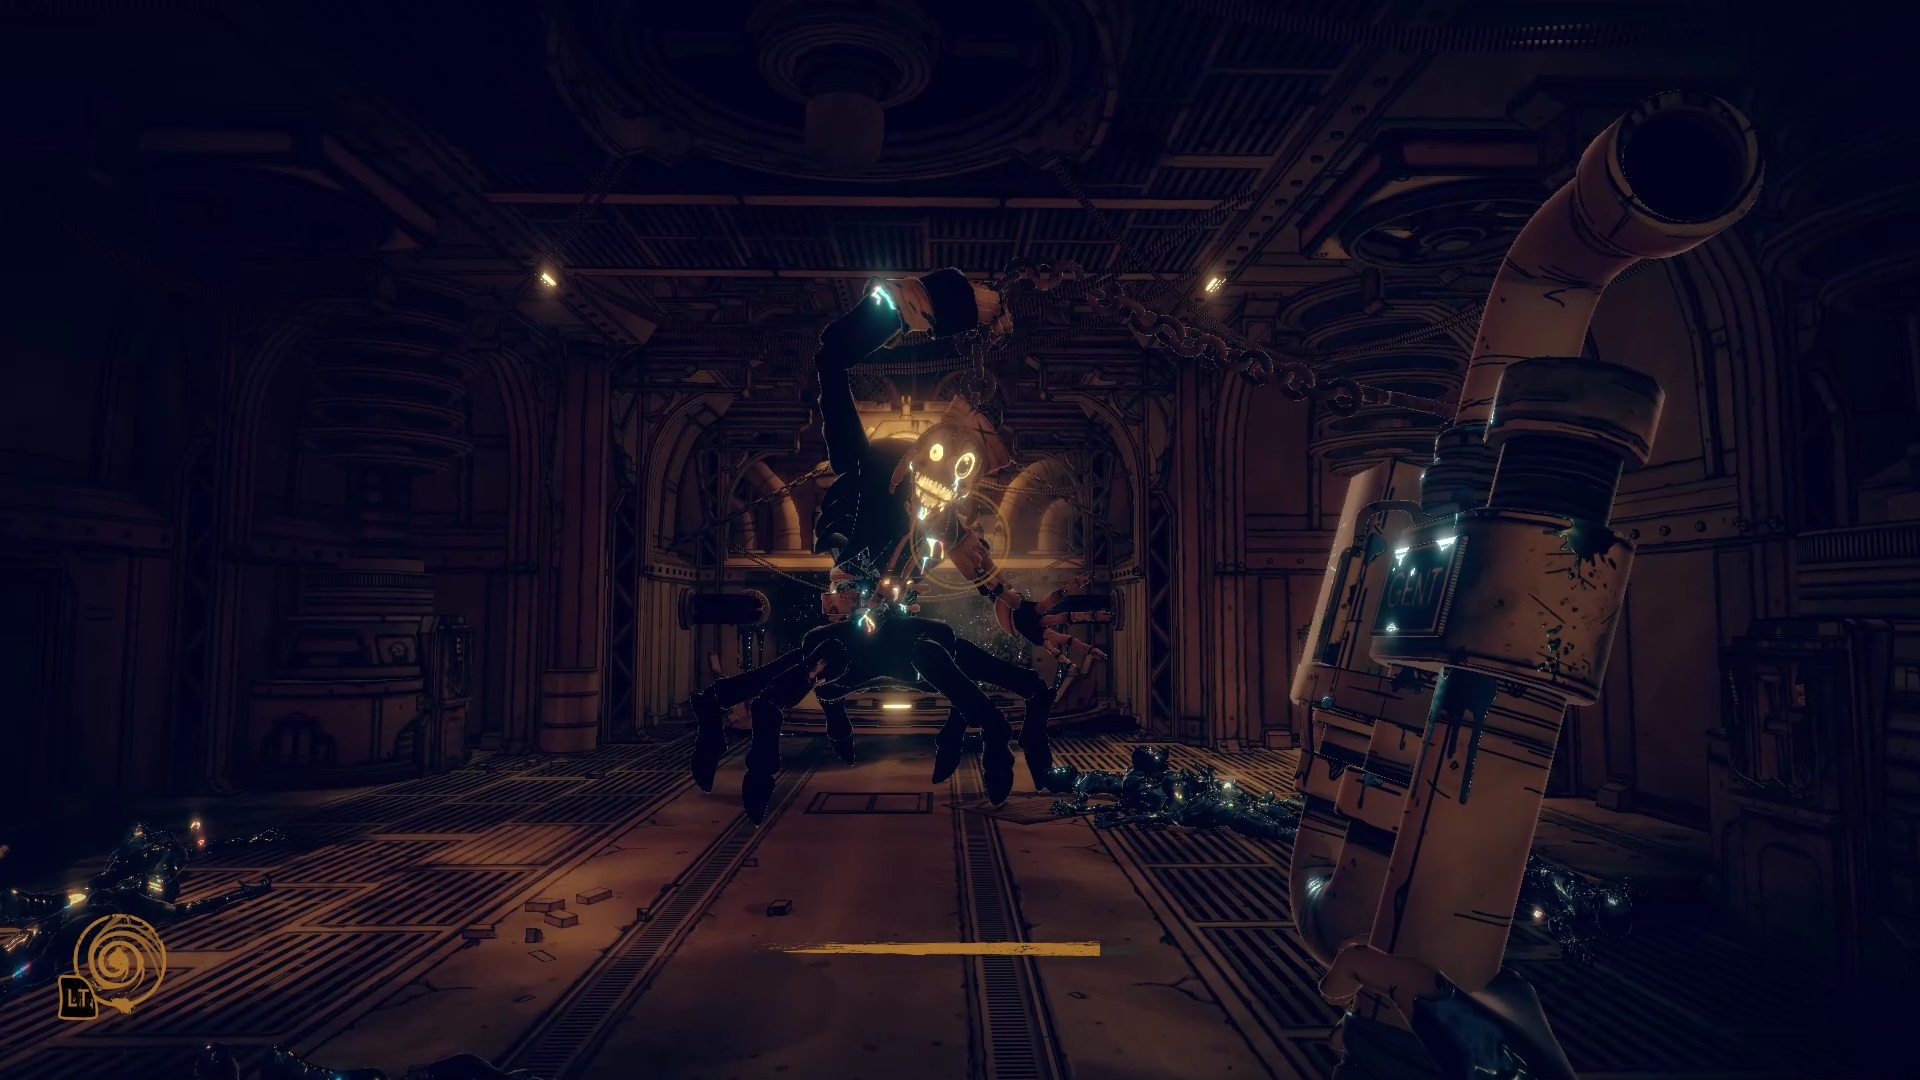
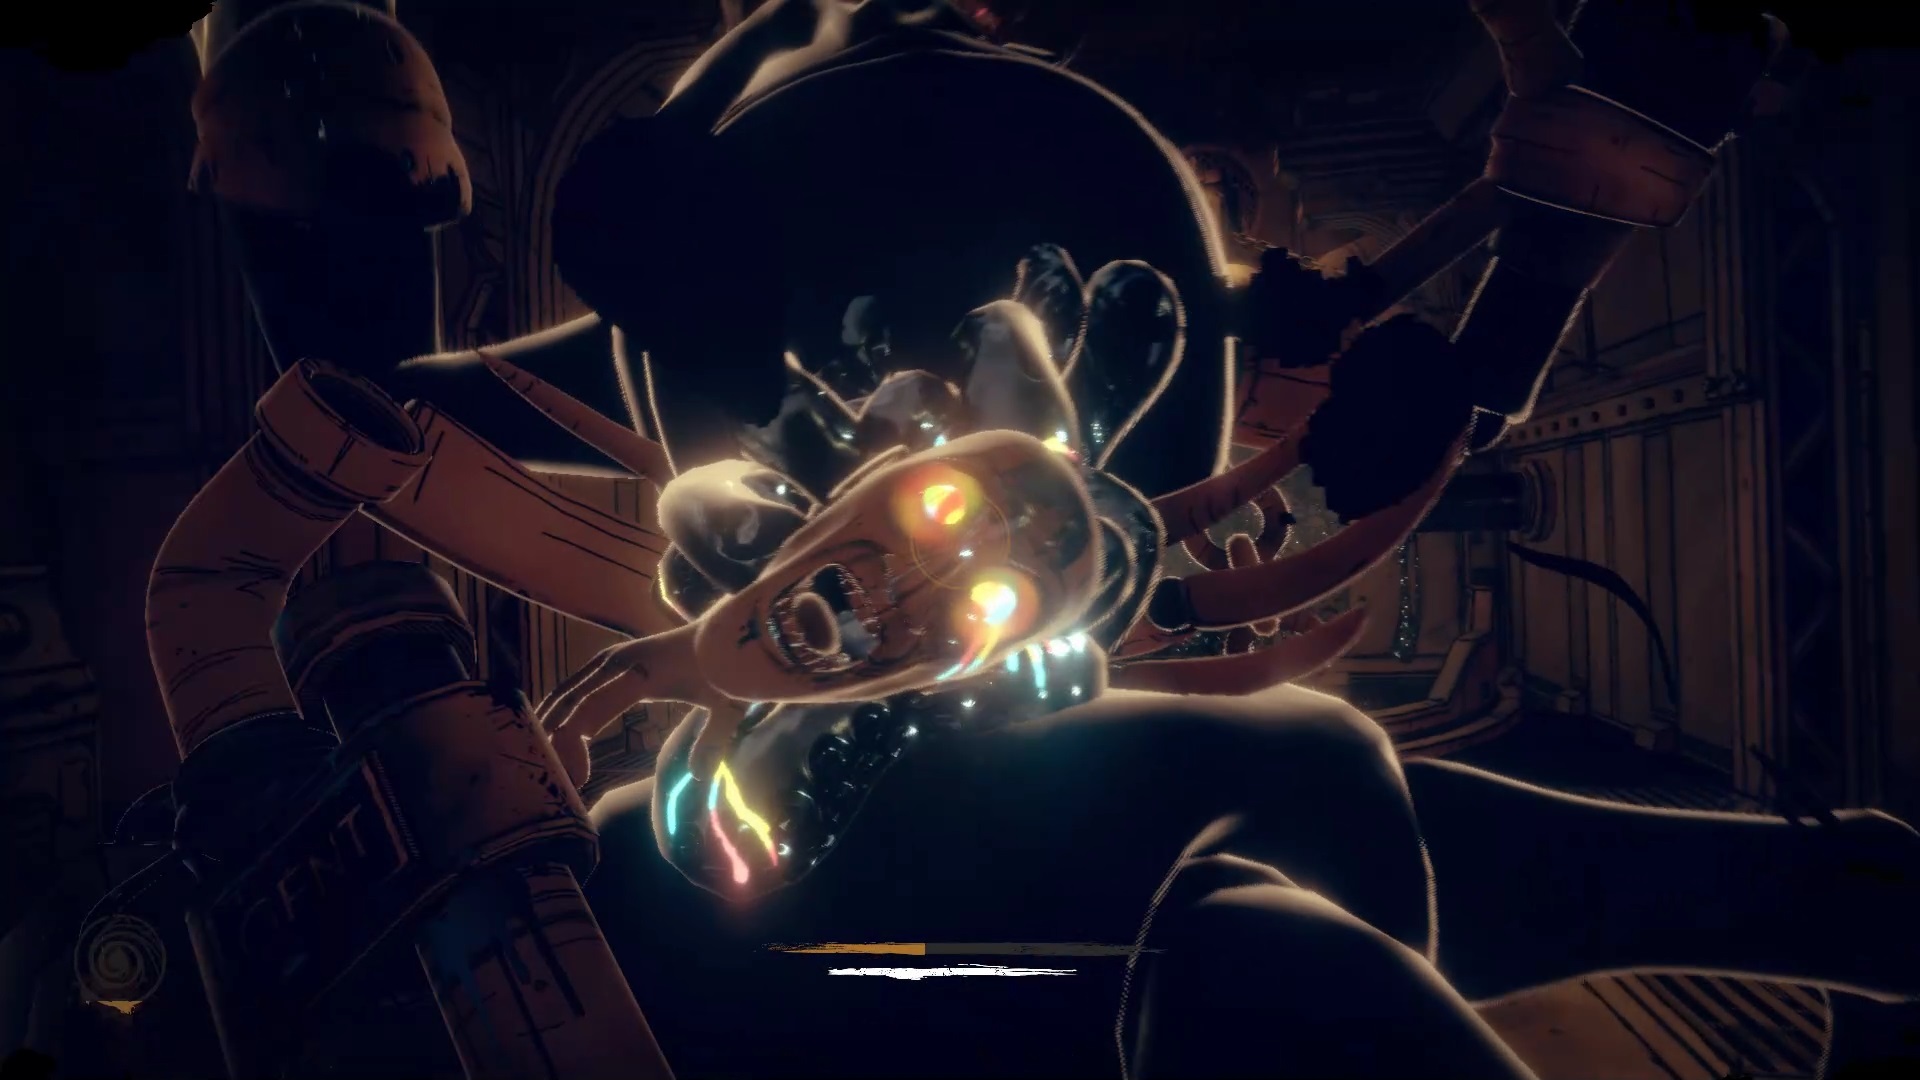
A trap is set for you below. Quickly use your pipe on the switches around the arena to stop the attack of the spiders. Once all the switches are down, the little spiders get replaced by a bigger one. Use one of the pillars to take cover and calmly hit the boss. When the spider retreats, watch out for waves of small spiders. Hit the boss enough to end the fight.
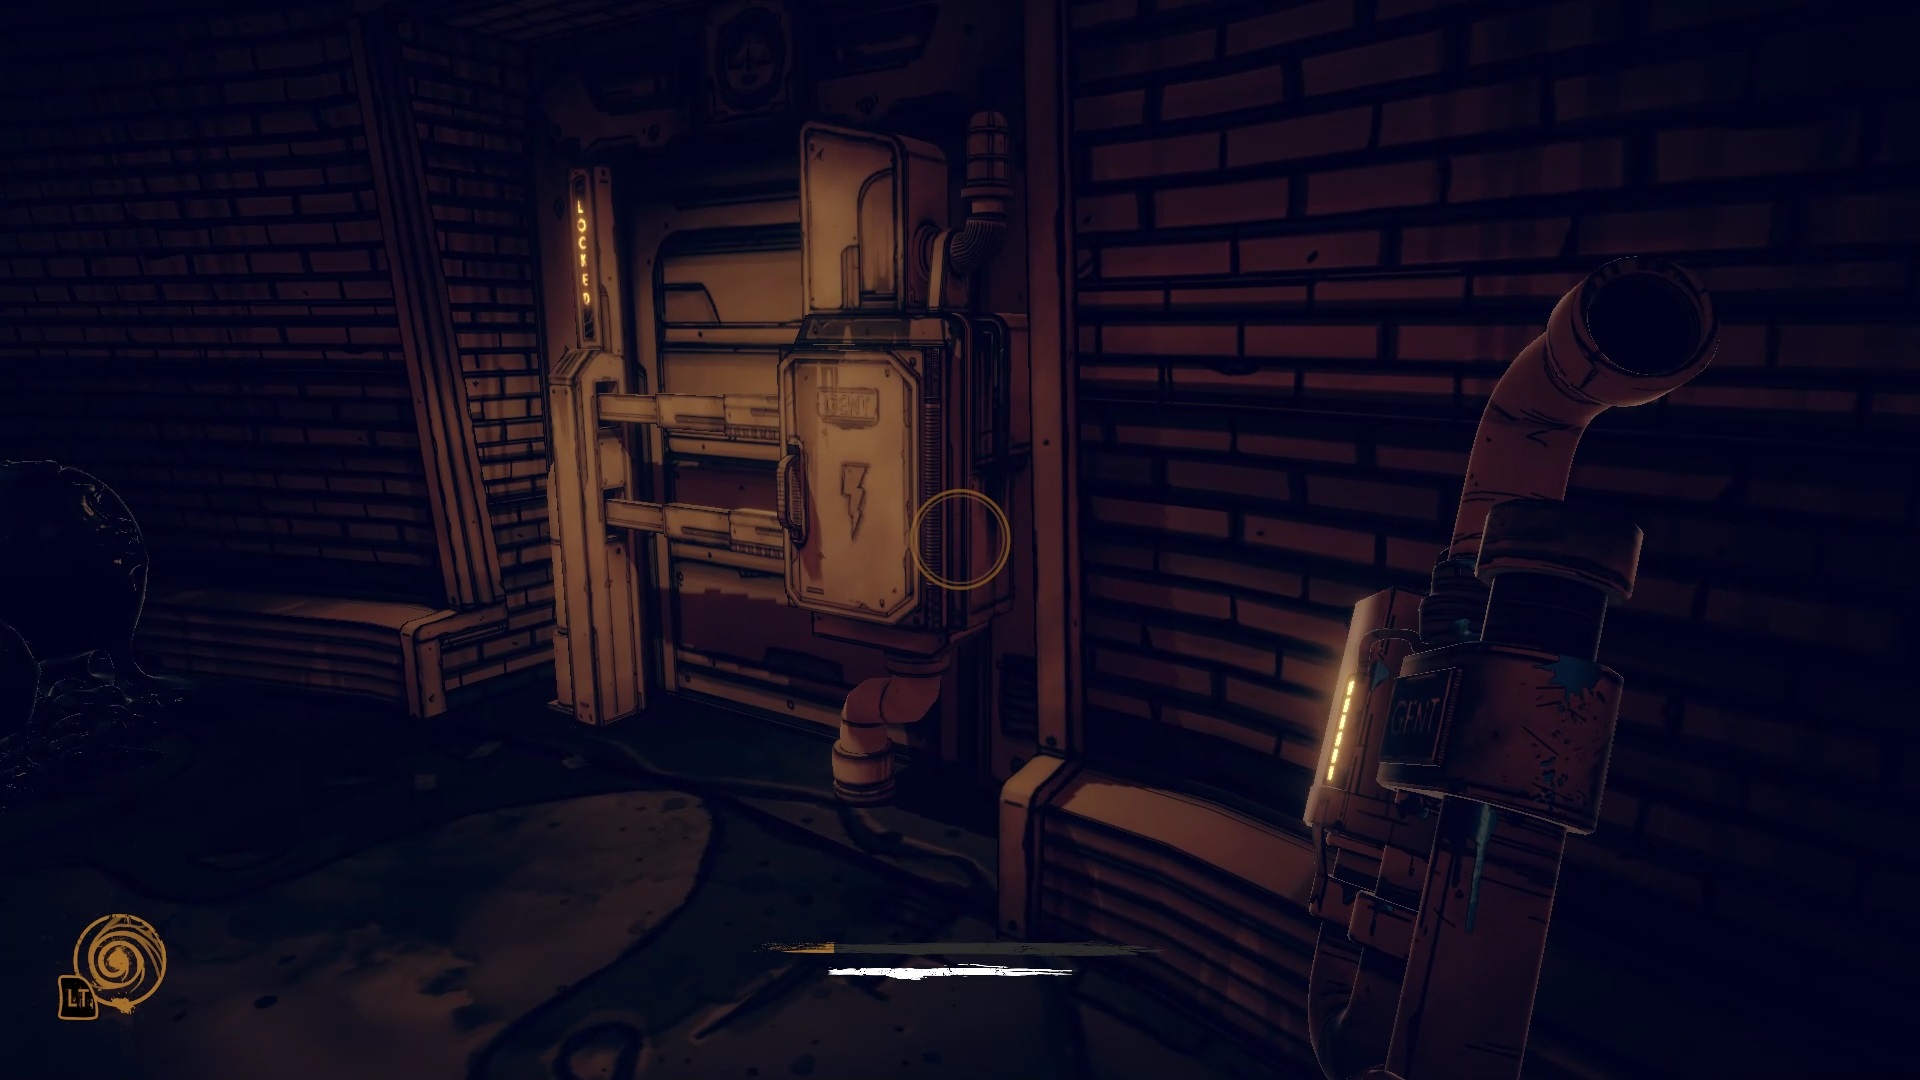
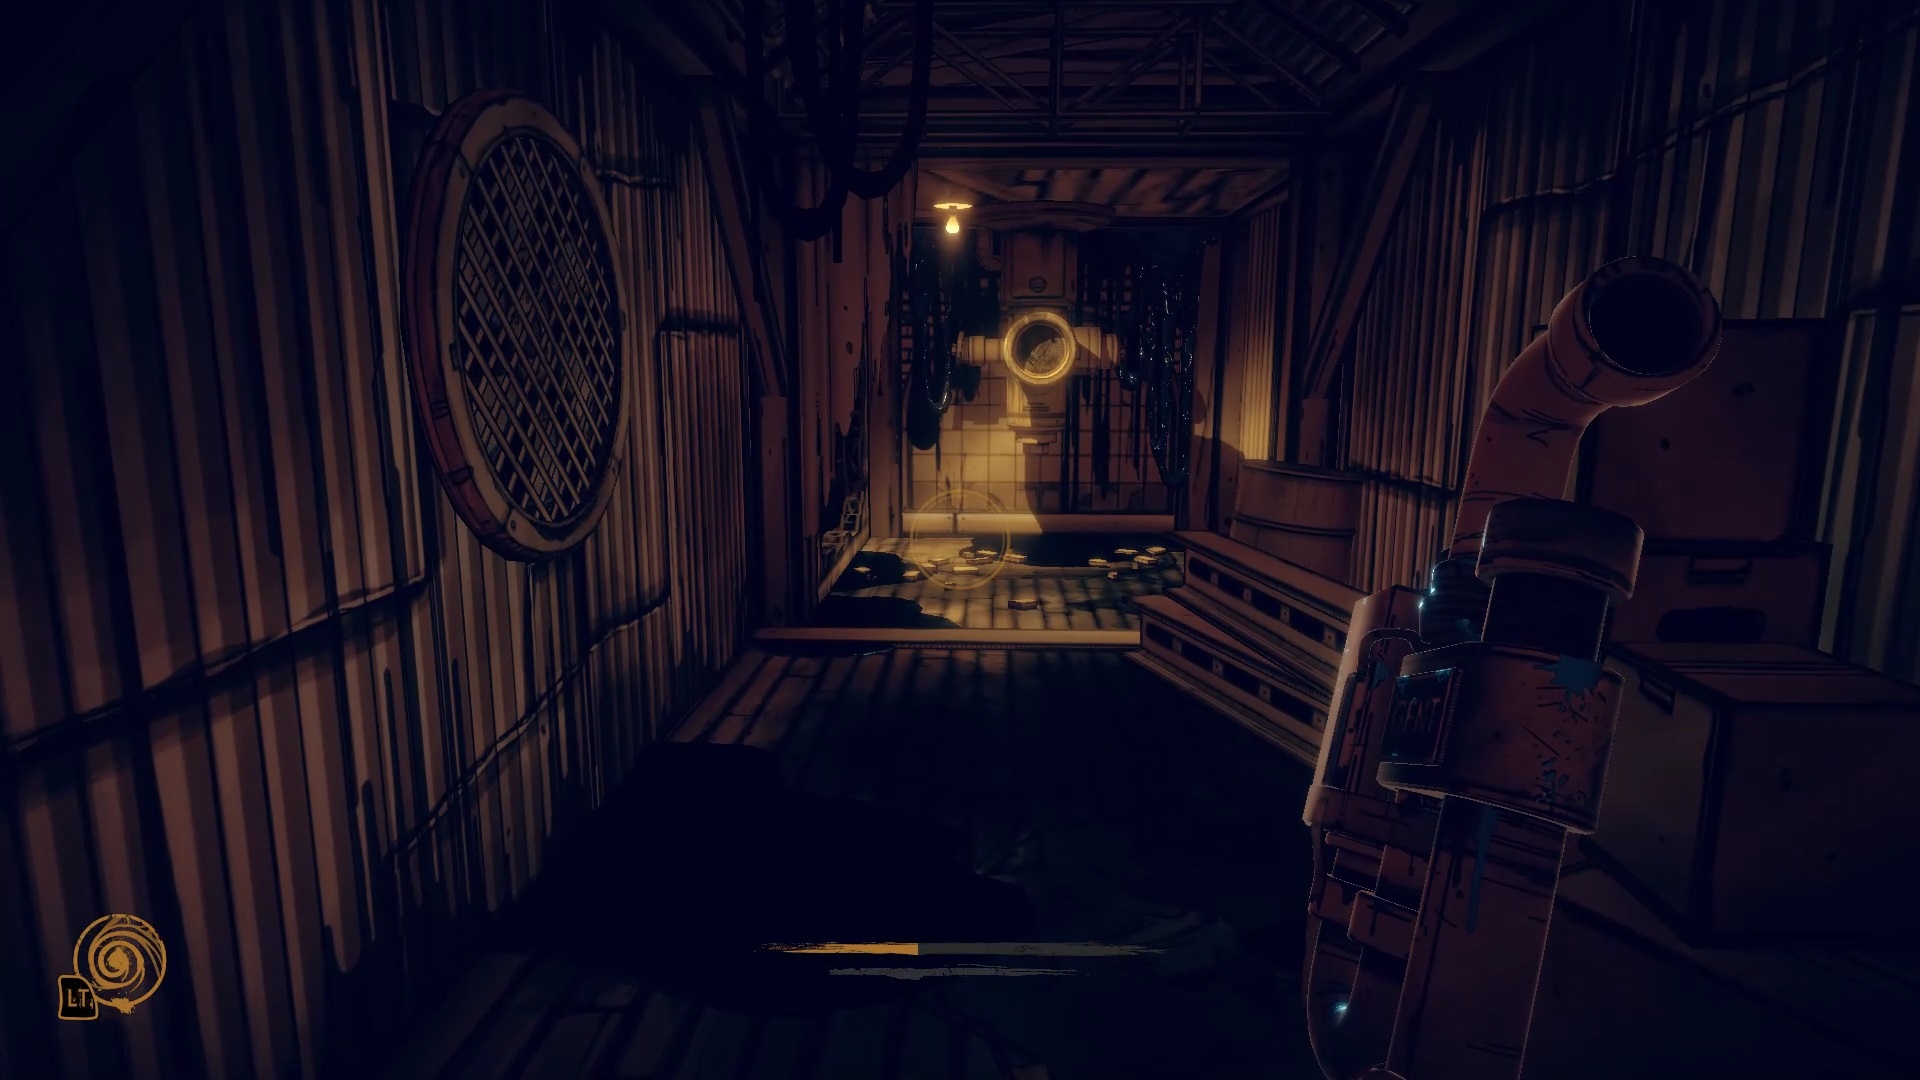
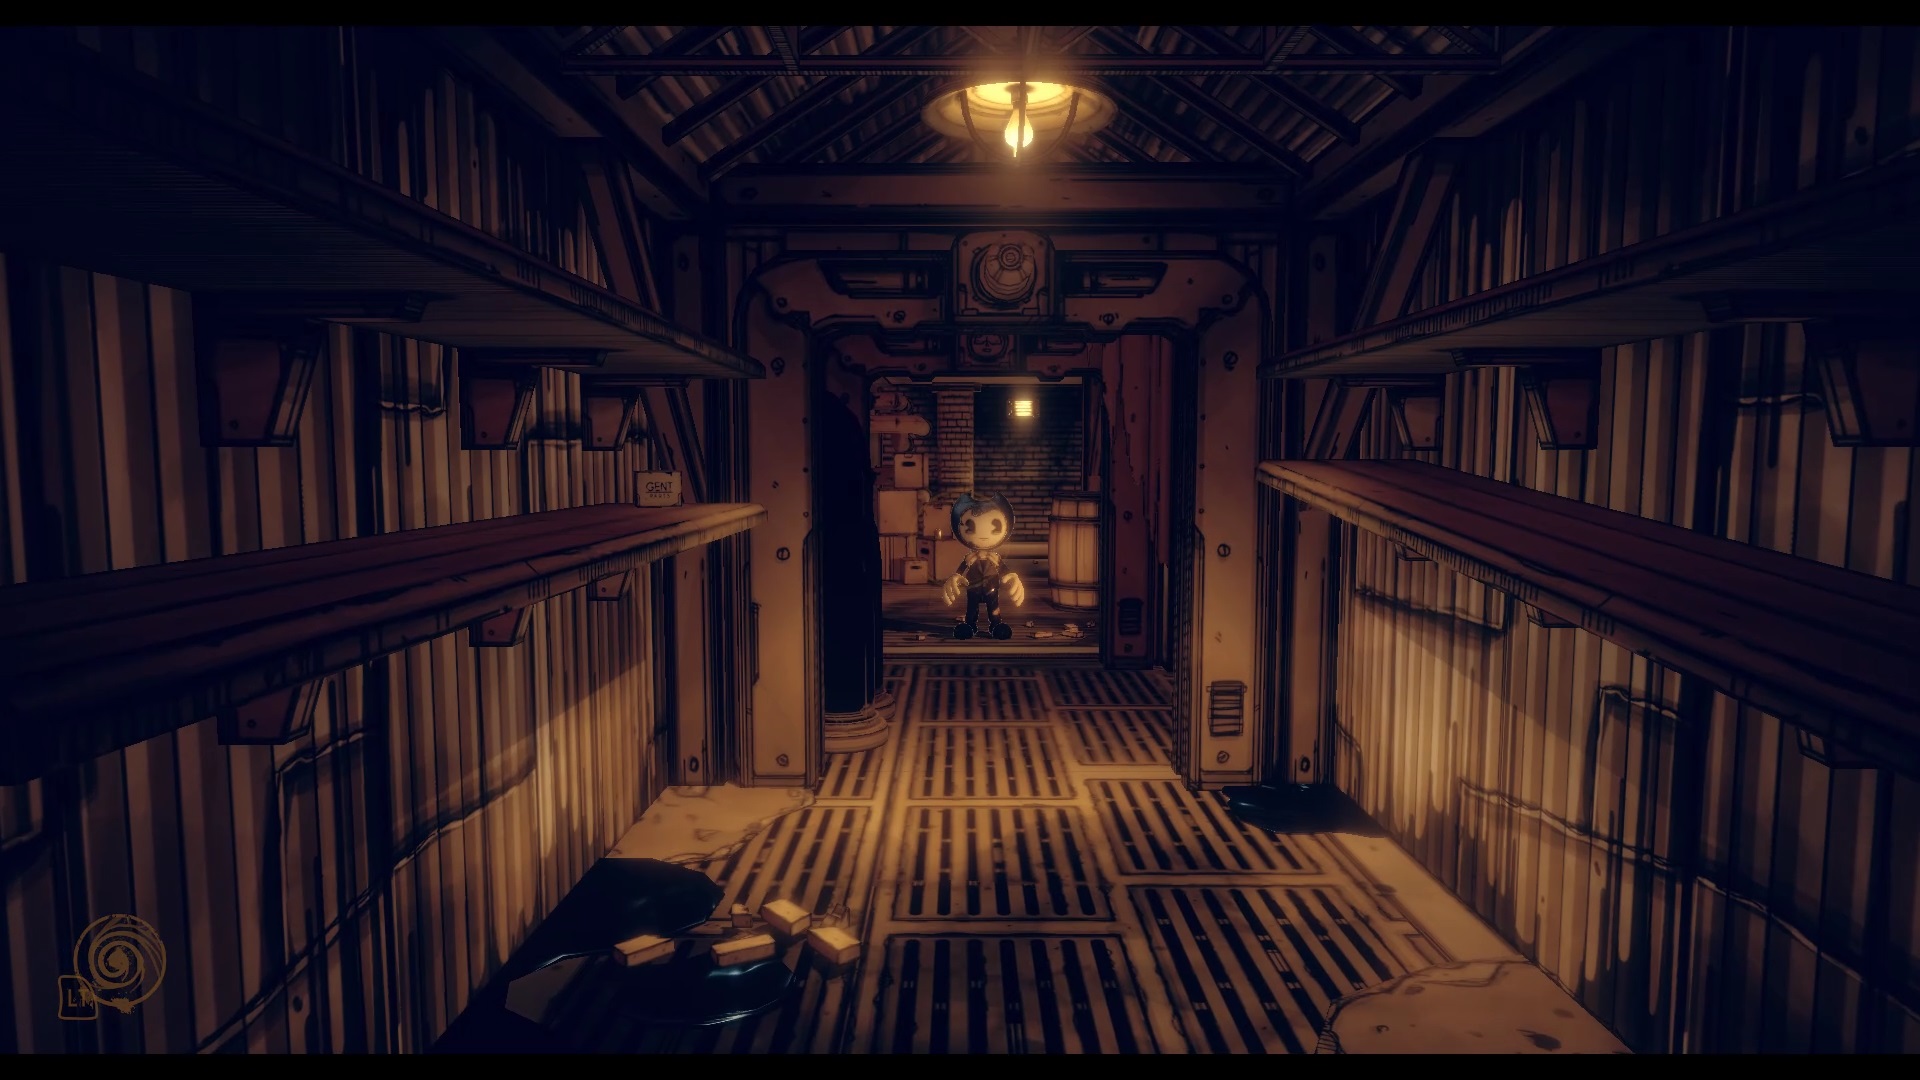
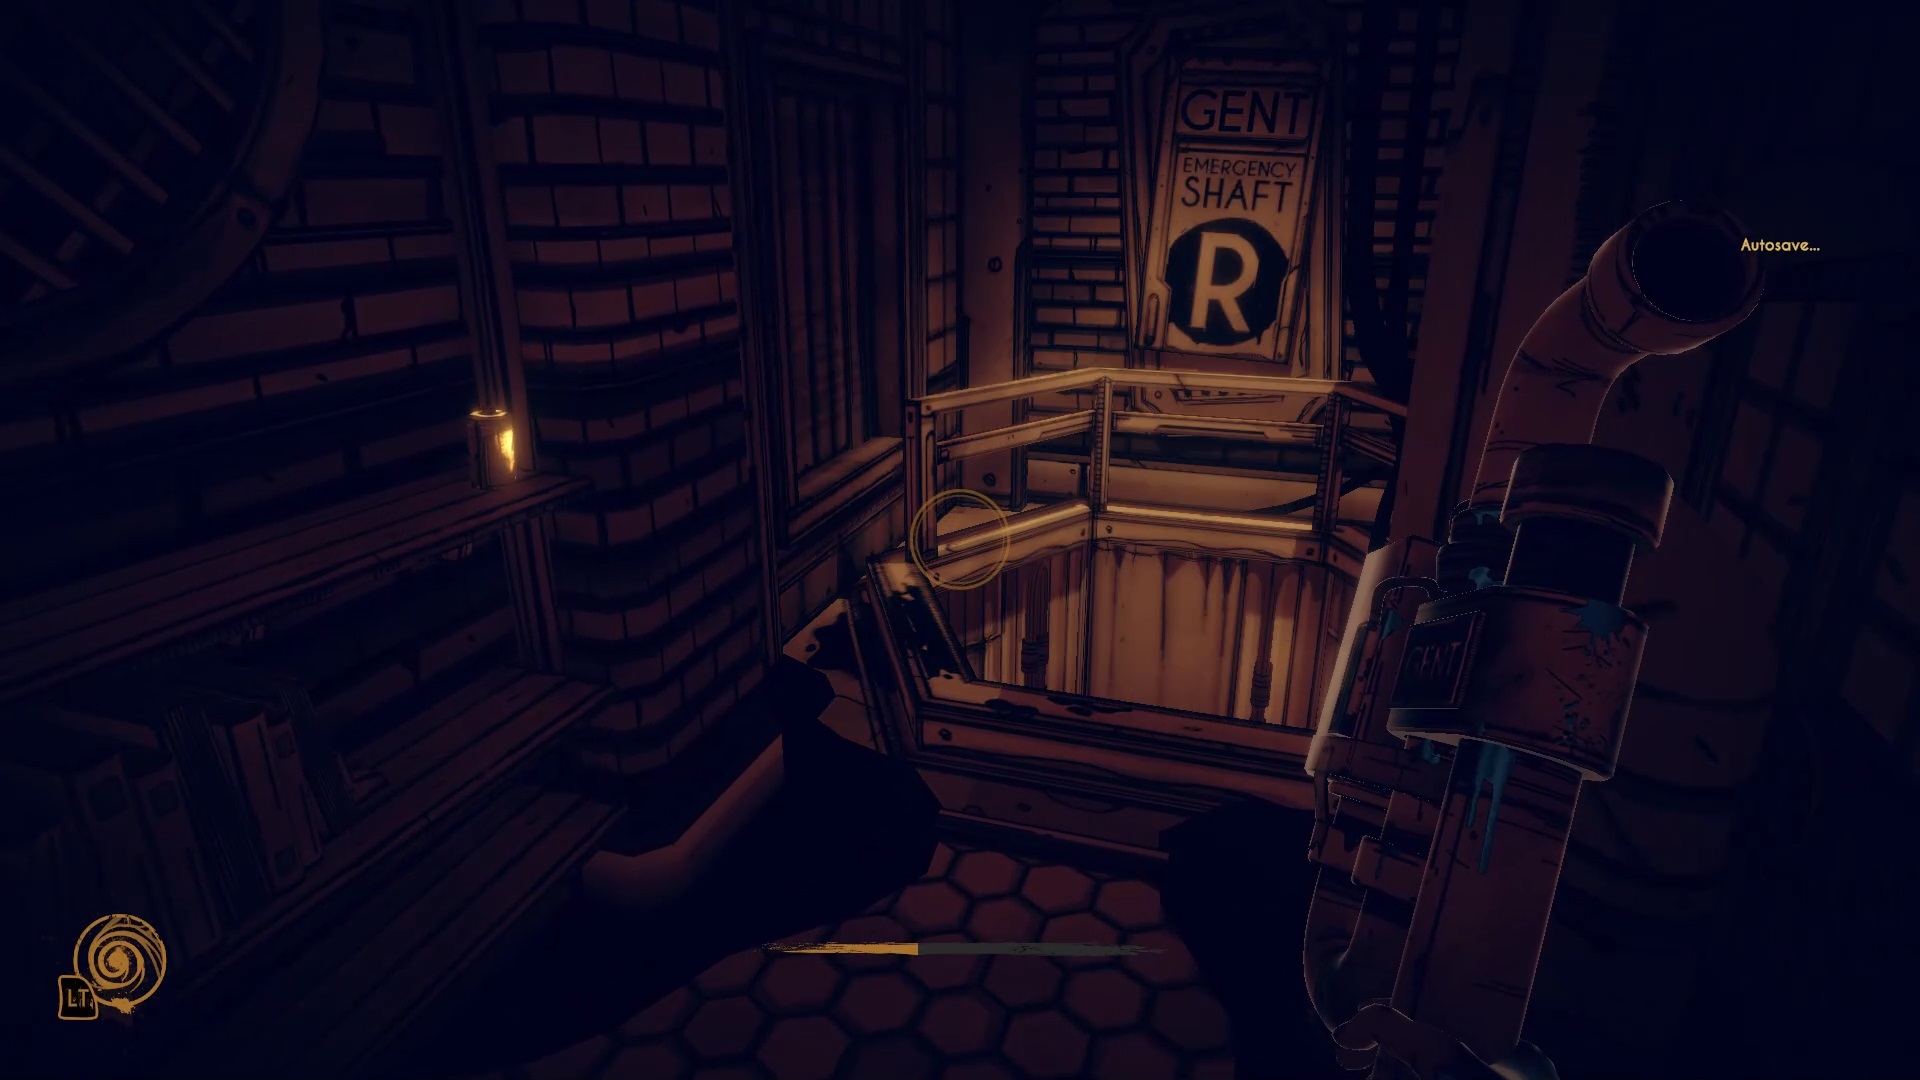
Then use your loaded pipe to exit through the exit. Use the pipe to make your way to the mic at the end of the hall. After the cutscene, Bendy is waiting for you on the other side. Follow him and break the chains blocking your way to find access to the sewers. Go down the ladder to trigger a cutscene.
You have to make your way to the end of the canal. Start with the first ladder, go up to the left to reach the heights. Follow Joey to find his grave. Go through the door to the left of his grave. Go down the hall to find Bendy. Going towards it, you will find a lock control panel. Pull the lever. You can use the nearby workshop to reload your pipe. Once ready, go down the ladder and go to the end of the canal.
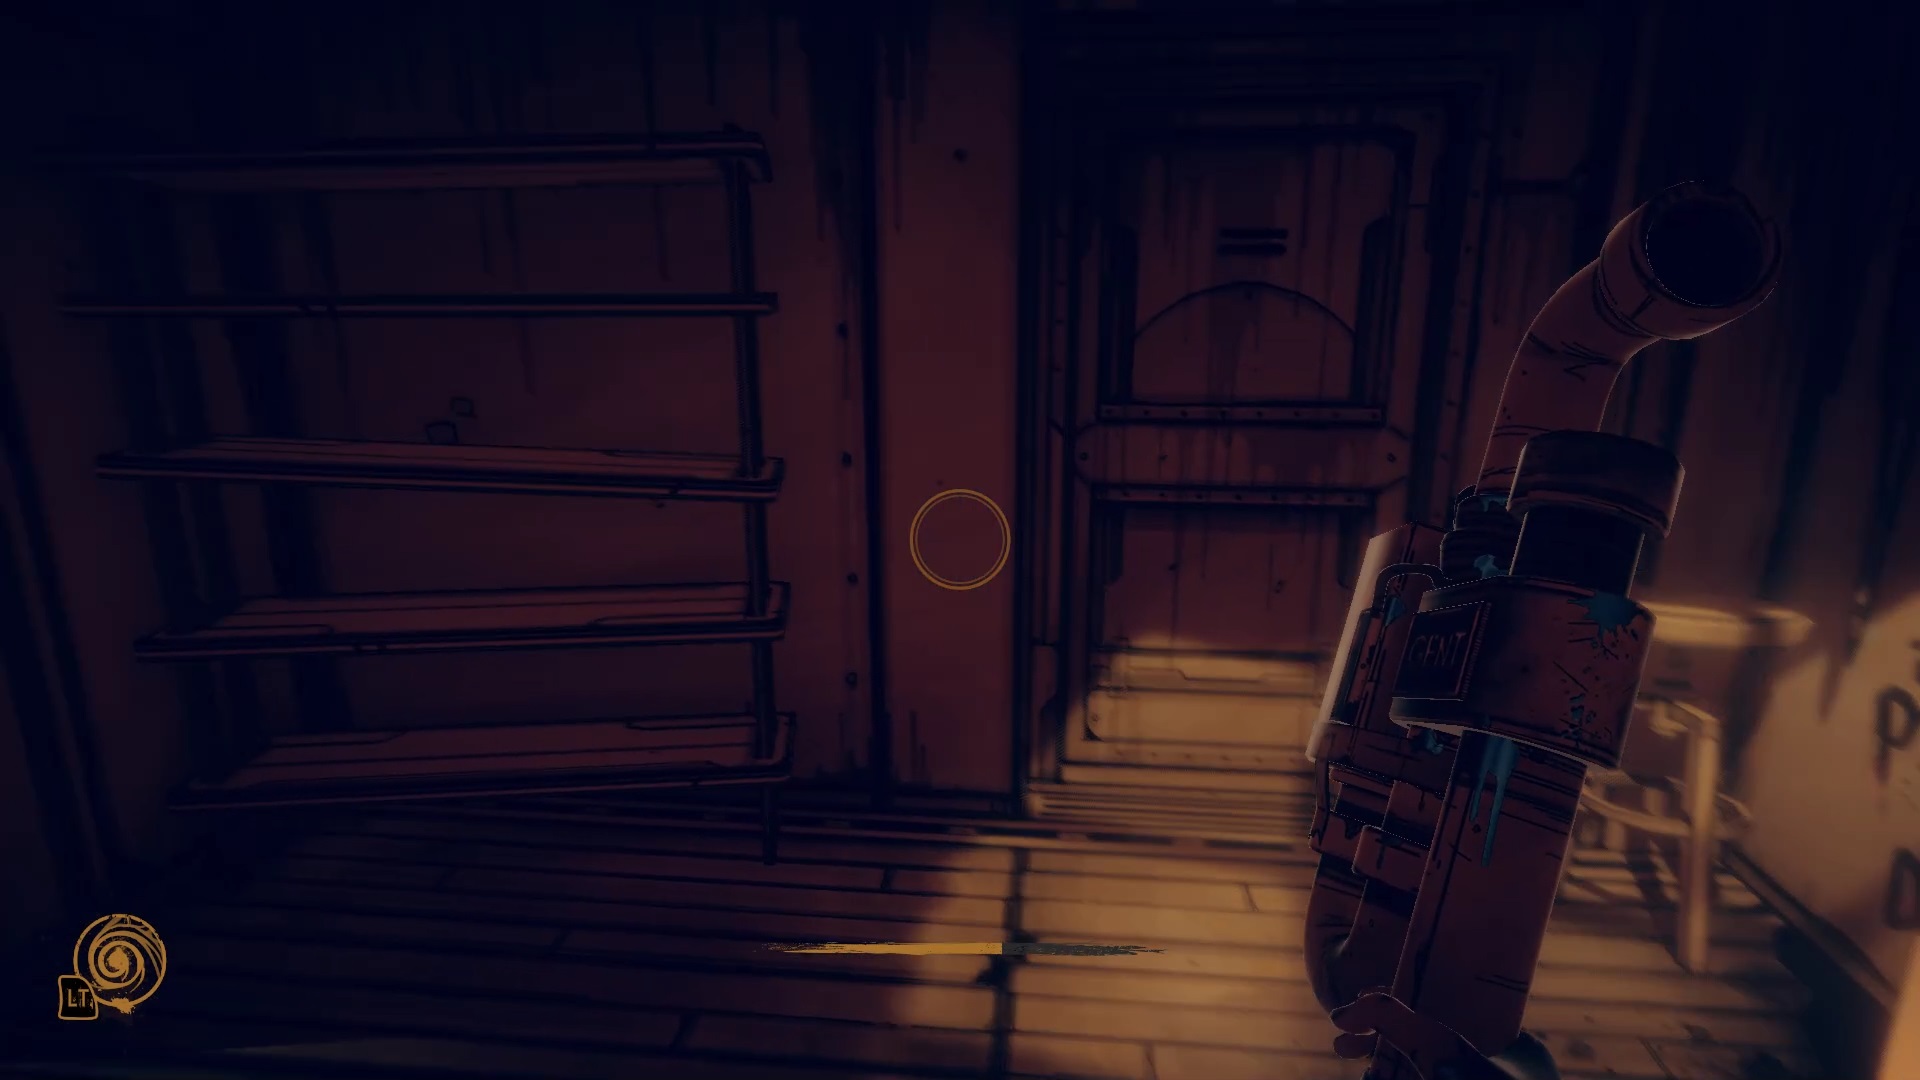
Climb the ladder on the other side and go towards the hallway near a skull. Go through the door at the end and break the sign inside to free an entrance. Pull the lever behind to open the maintenance corridor. Return to the previous basin to pass the maintenance corridor.
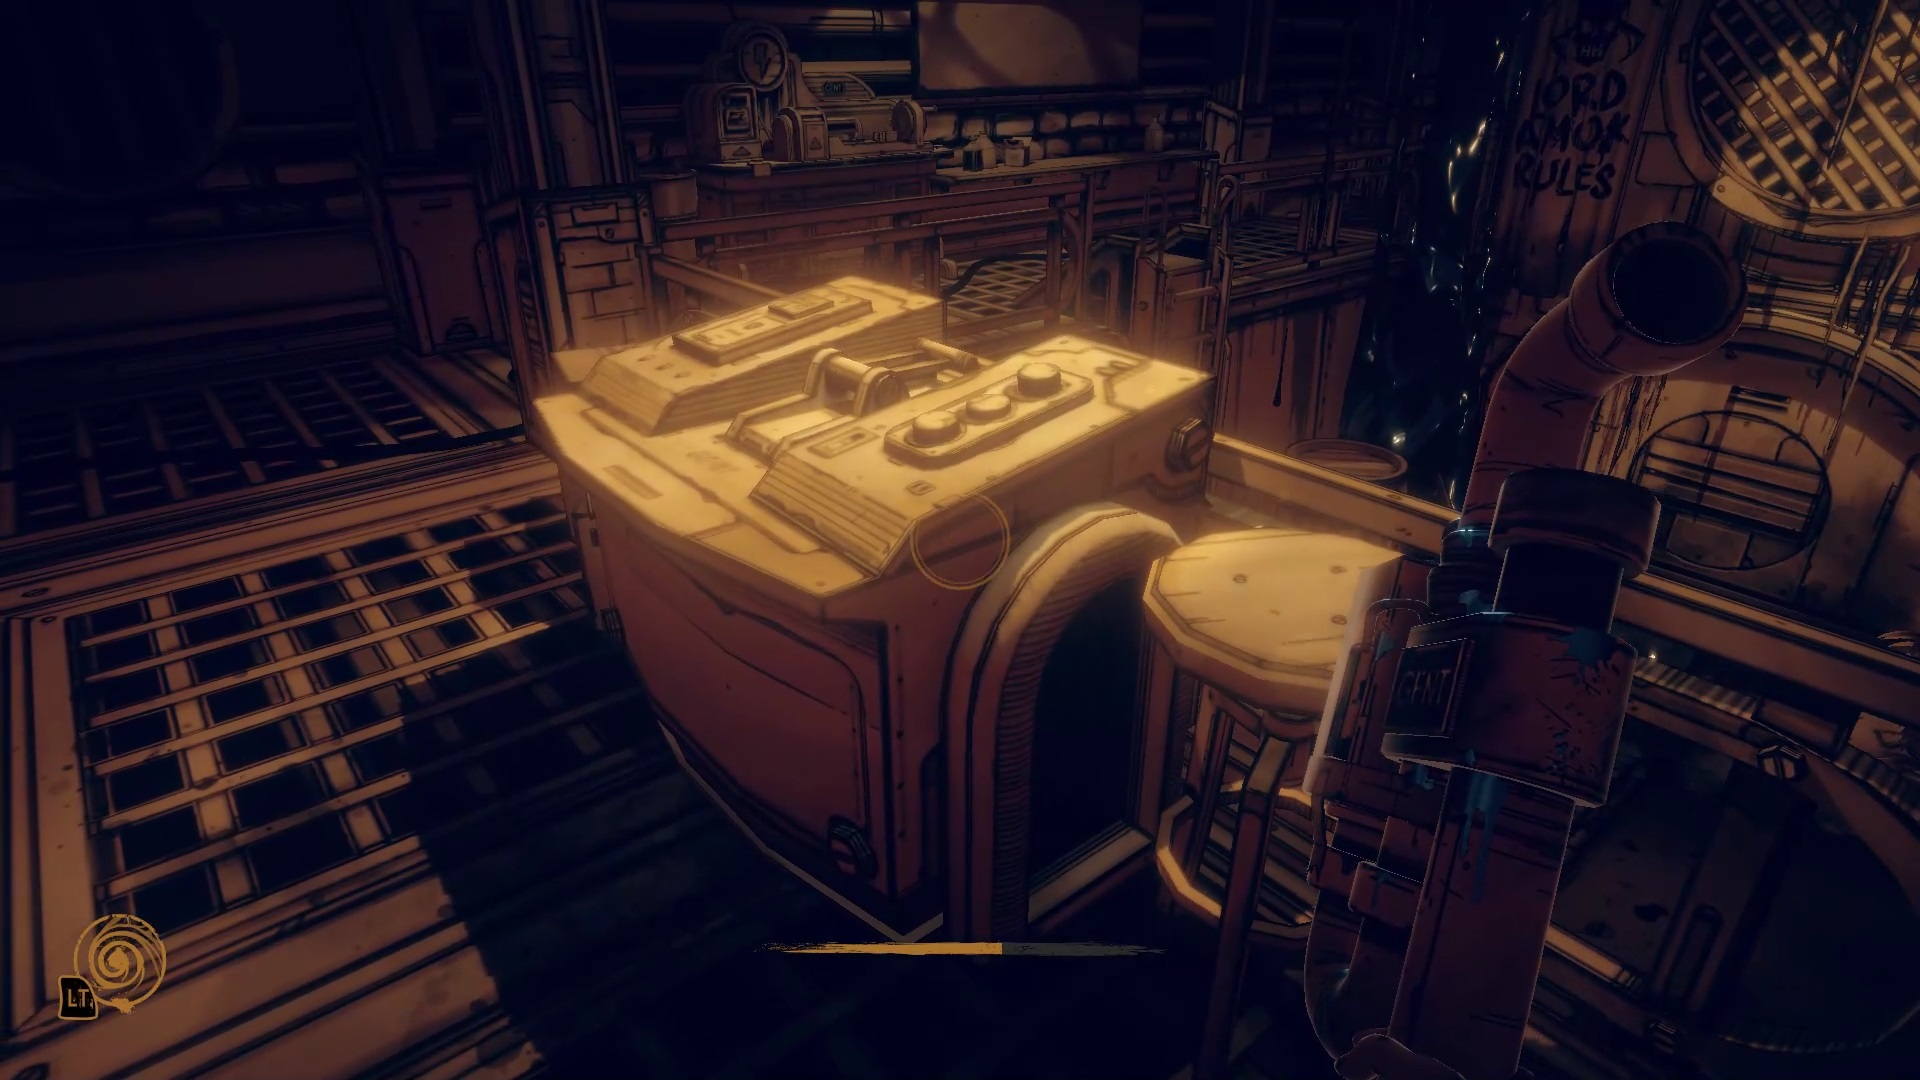
In the maintenance room, use the charged pipe to unlock the security door. Pull the lever inside to fill the basin behind you. A switch is on near the maintenance basin. Use your pipe on the grid chain to join it. Press the switch. Go to the maintenance basin and open the shiny hatch. Press the switch again to fill both pools. Now go back to the main basin. Beware of enemies waiting for you on the way.
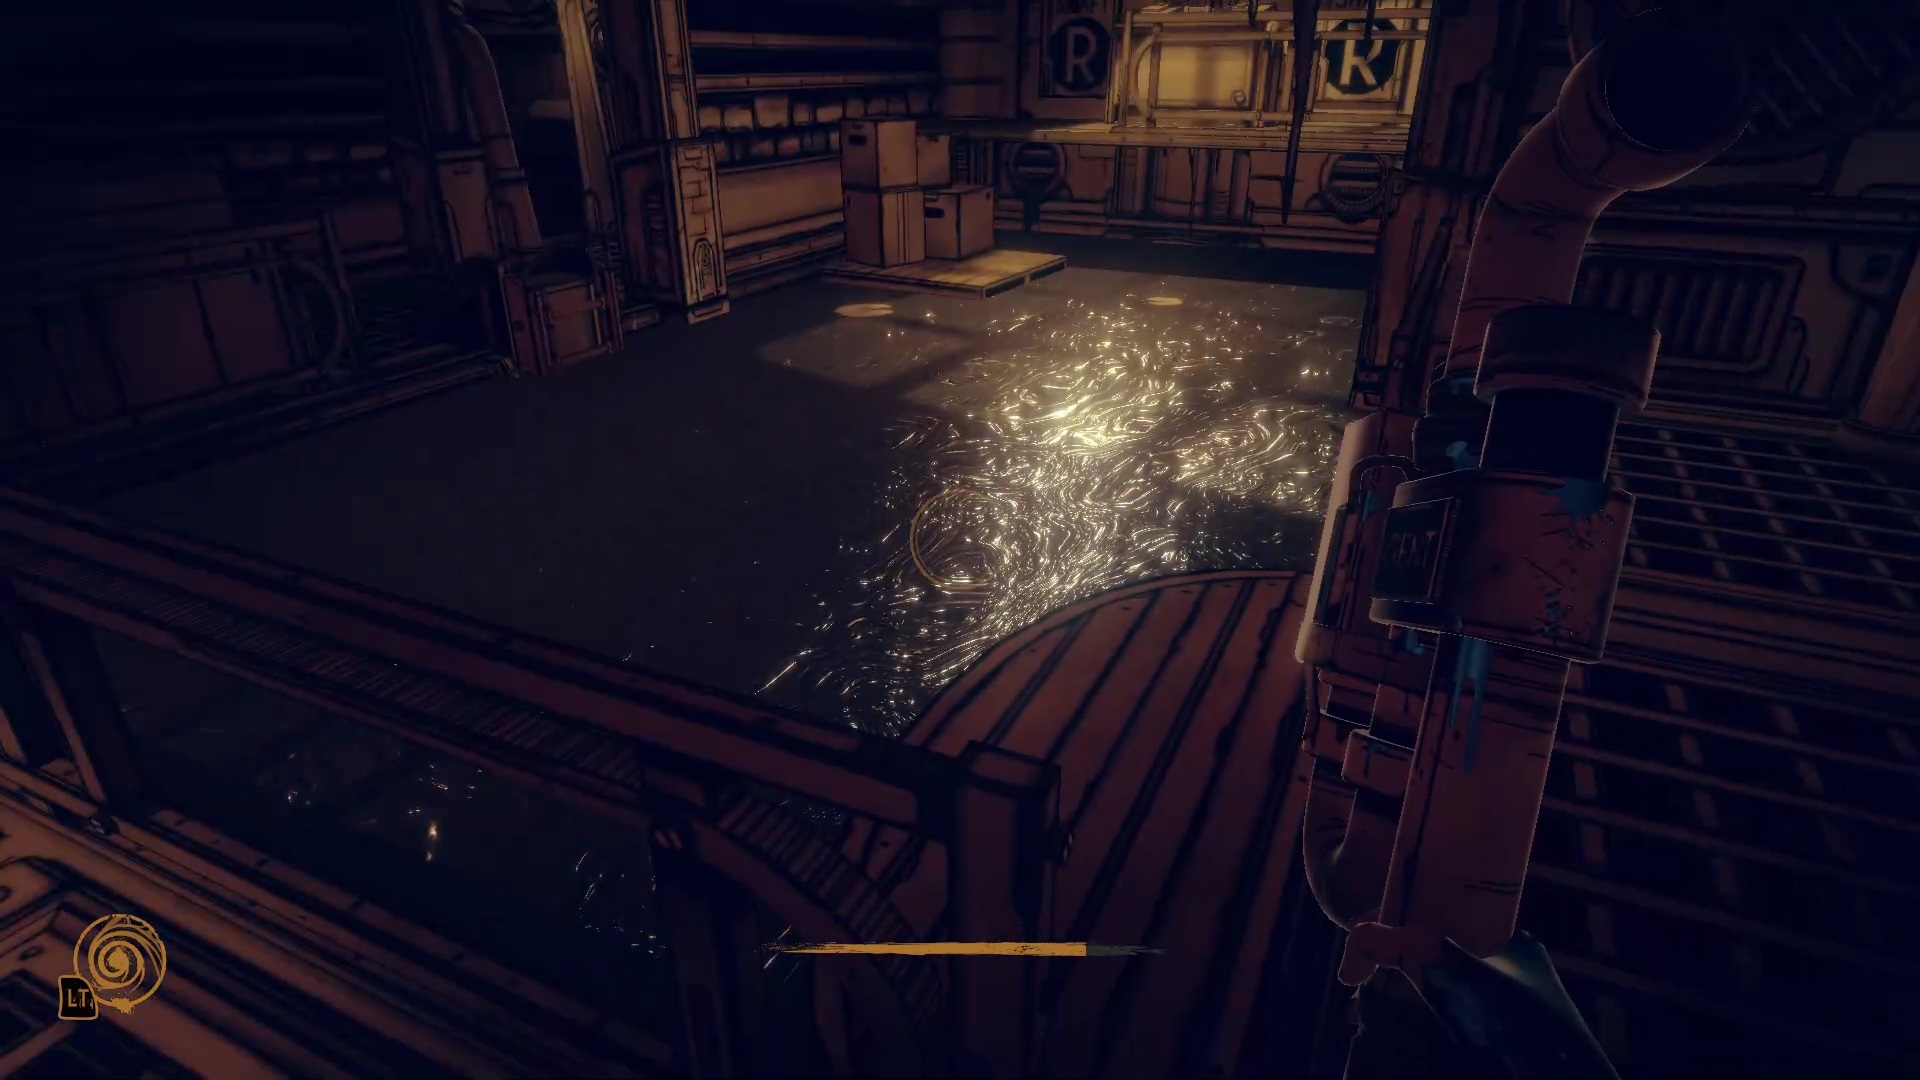


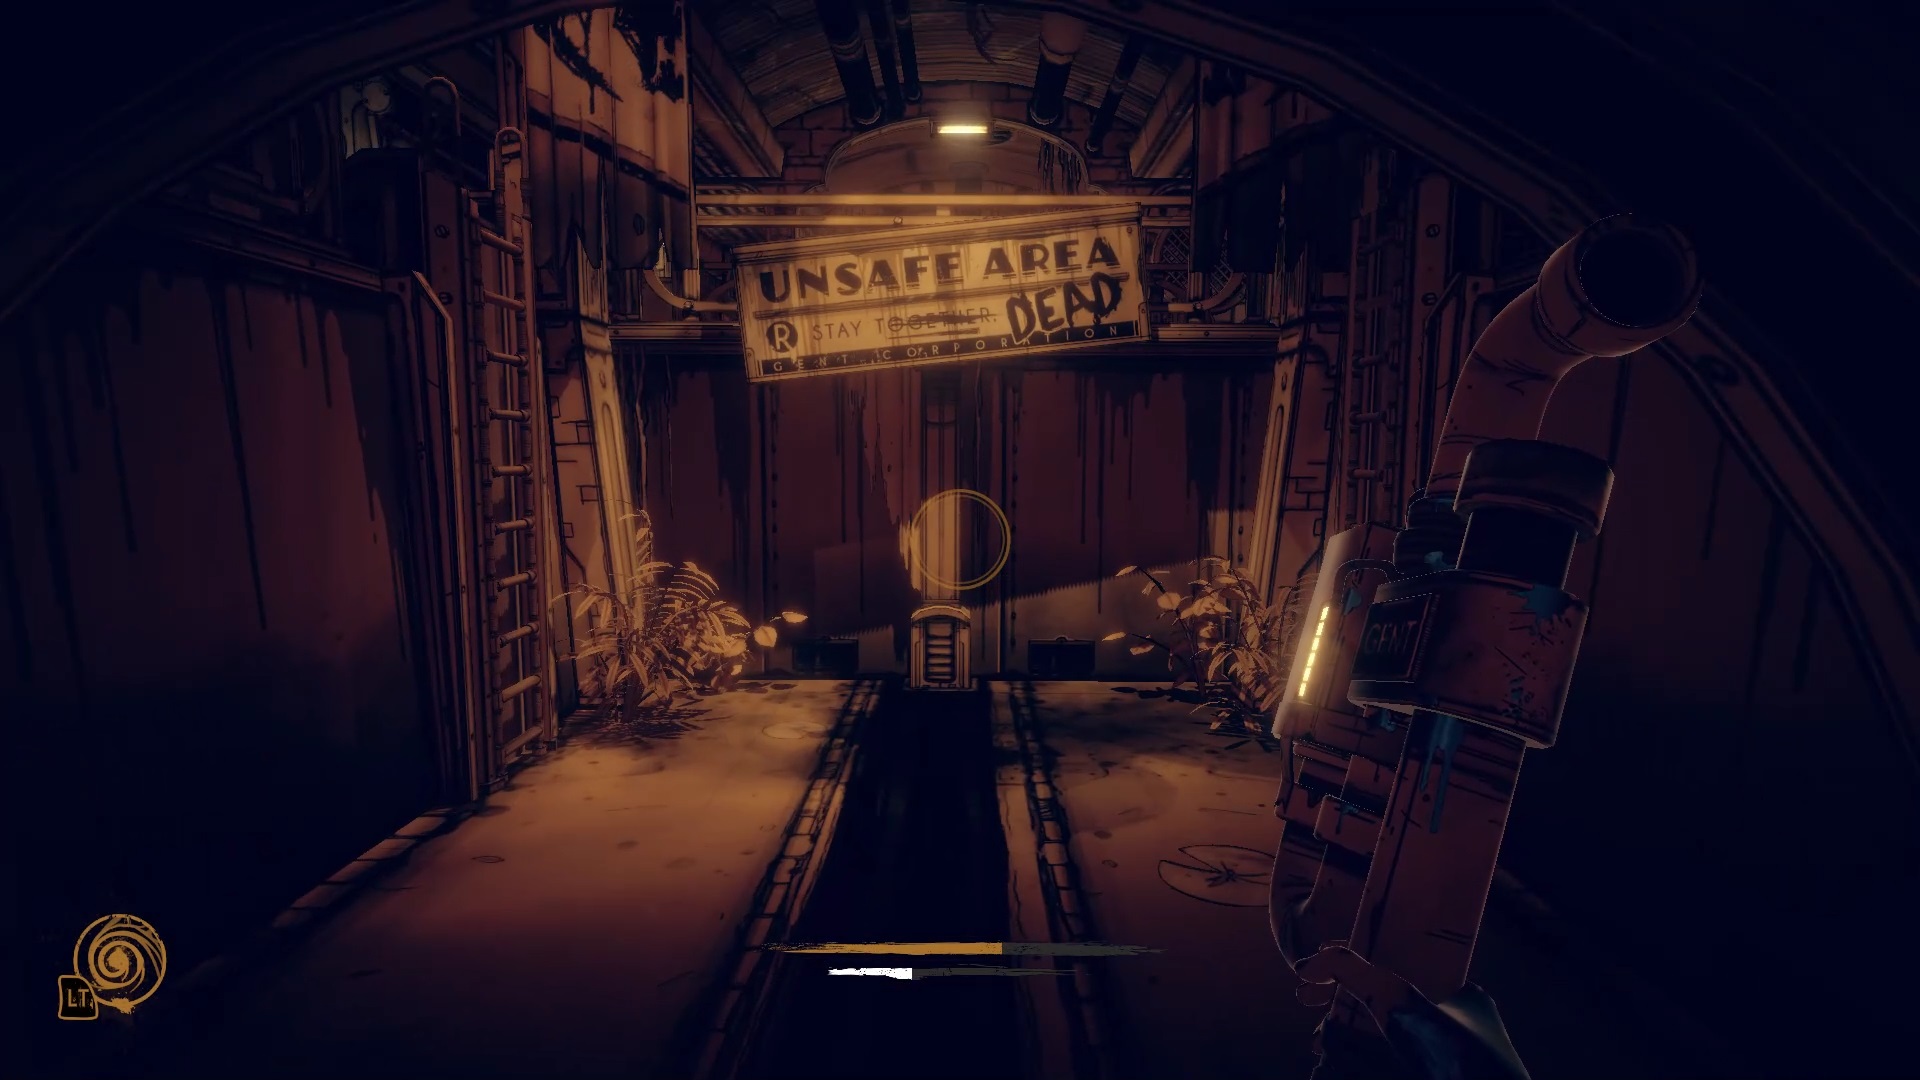
In the main pool now filled, use the power of flow to reach the pallet and the suspended platform. On the platform, pull the lever to raise the lock underwater. Leave again press the switch in the maintenance room. Enemies await you along the way. Pass the channel into the now empty main basin.
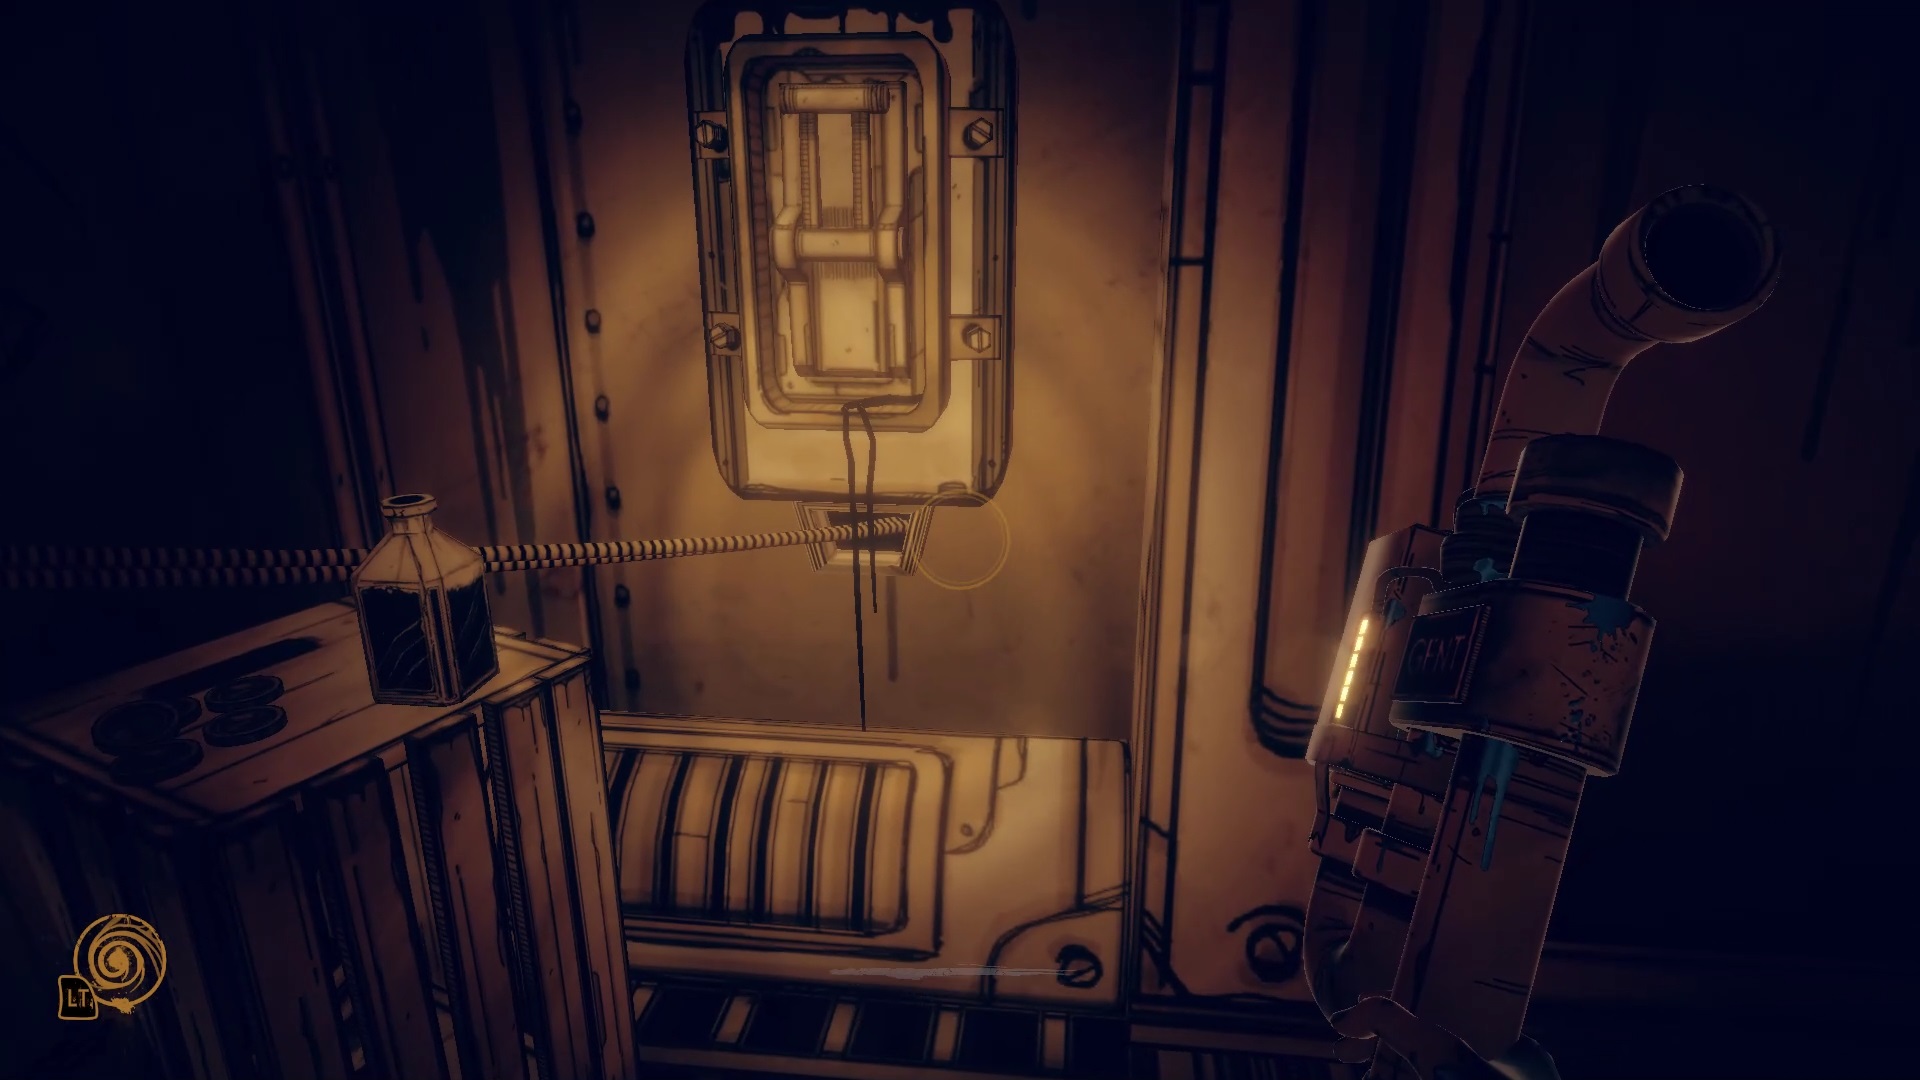
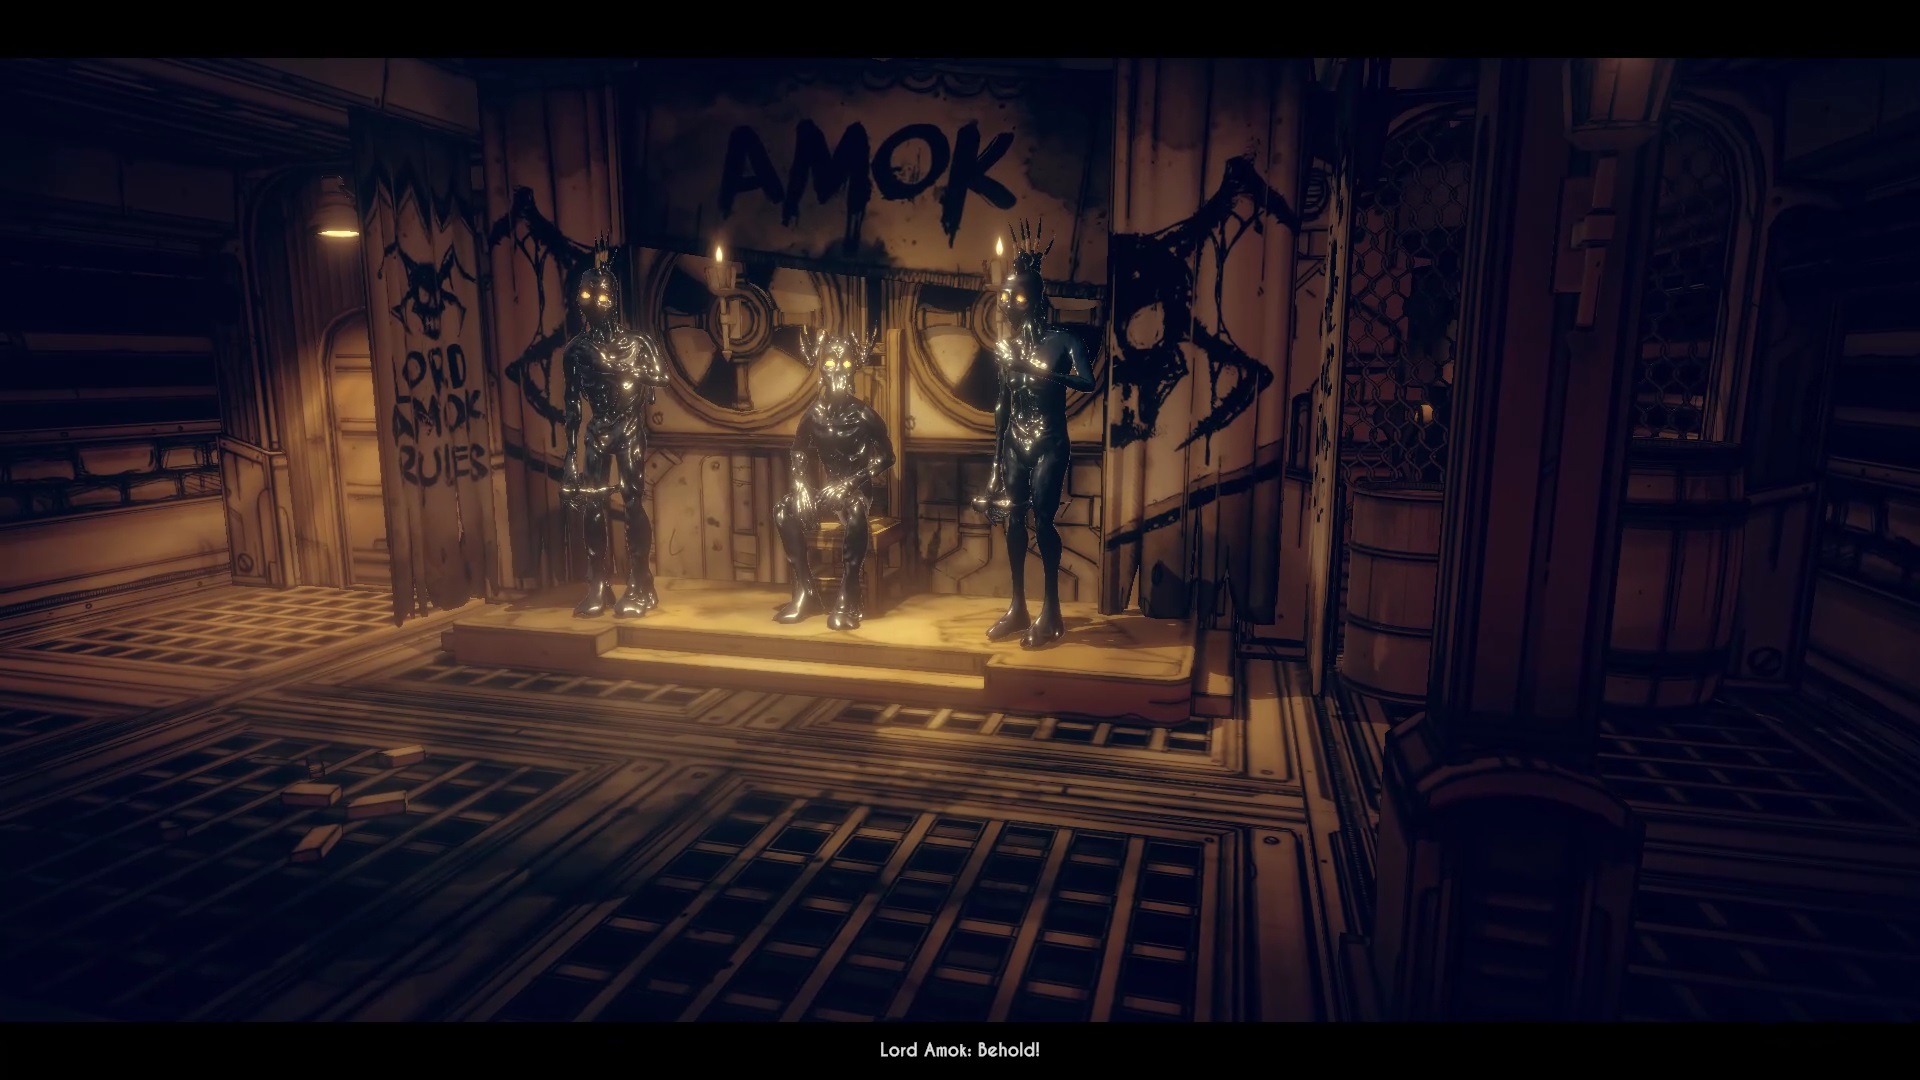
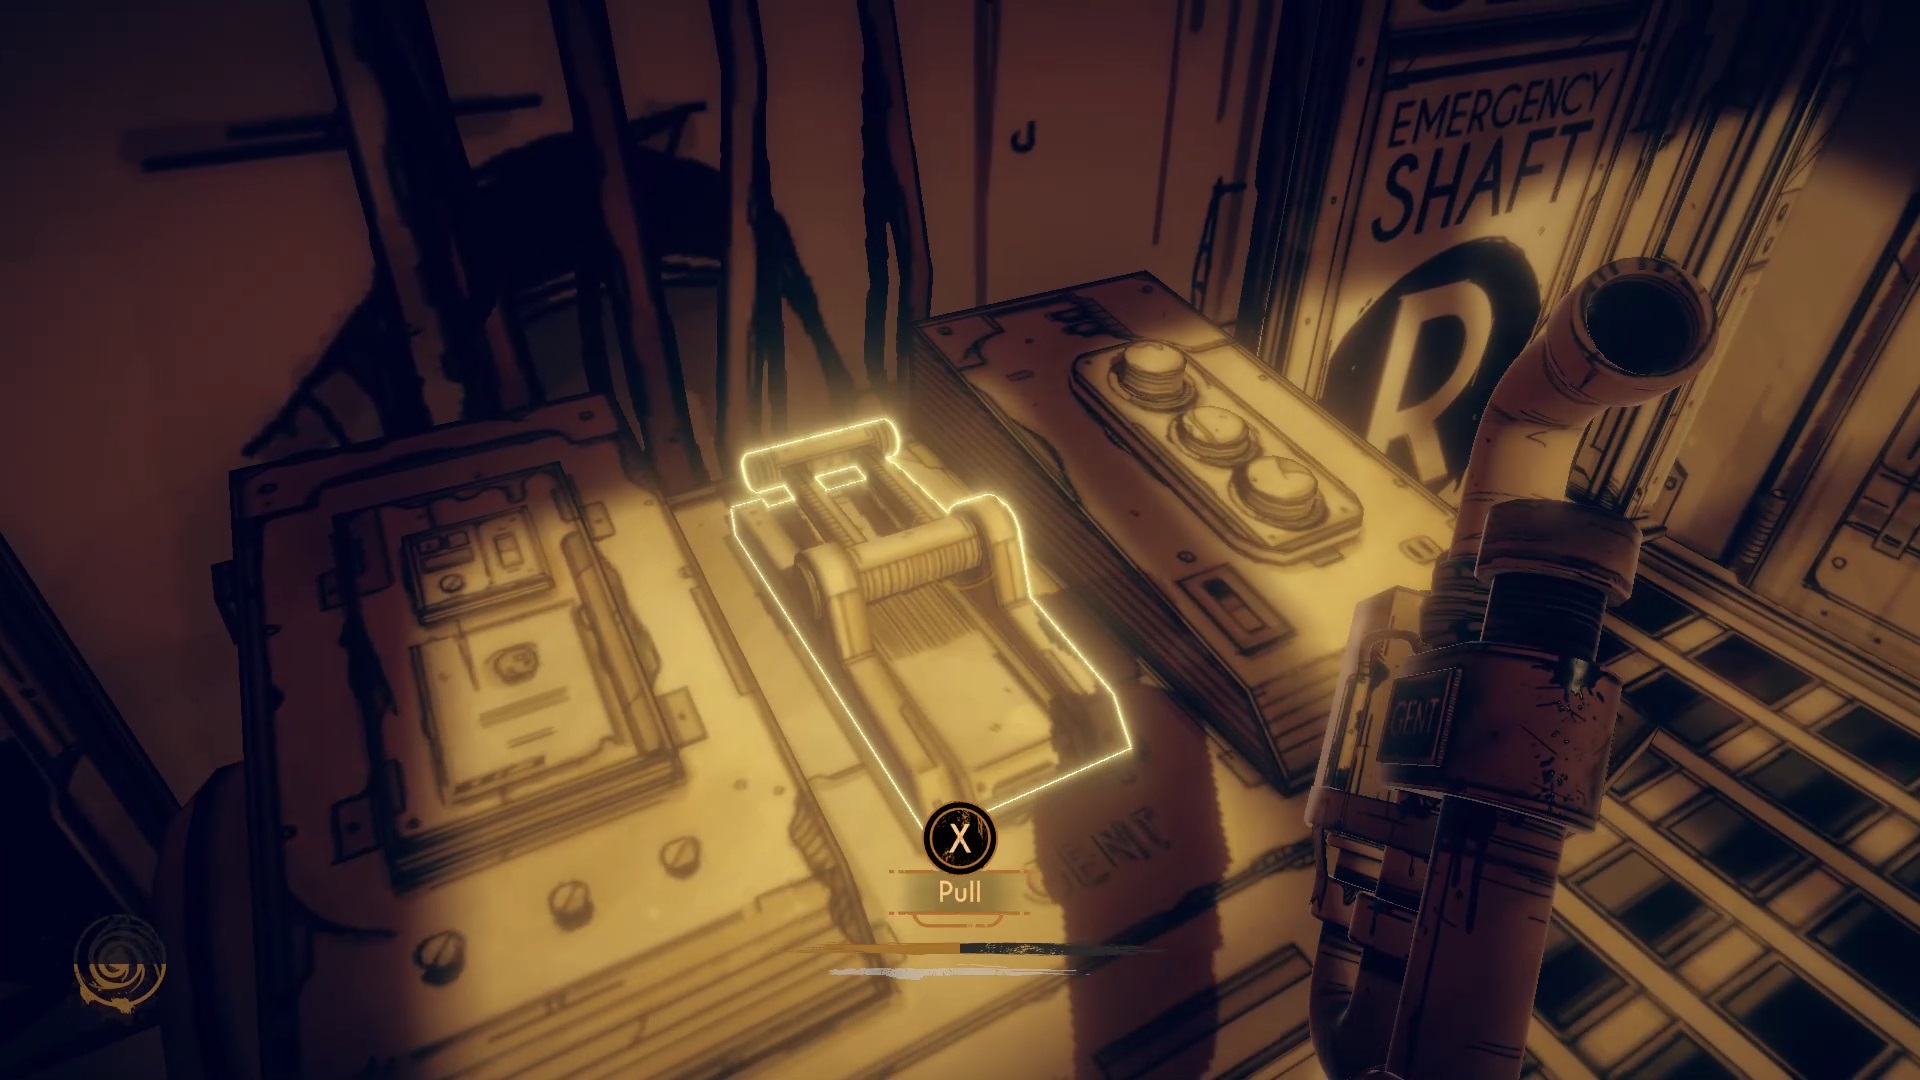
On the other side of the canal, climb the ladder on the right to find a lever to pull. The lever opens a passage to the left where you meet Lord Amok. Kill Amok and his followers to take his throne. Search behind the throne to find a lever on the left to lift the last lock. Return to the main channel to find the exit. Meet Bendy at the station to advance to the next chapter.
Chapter 4
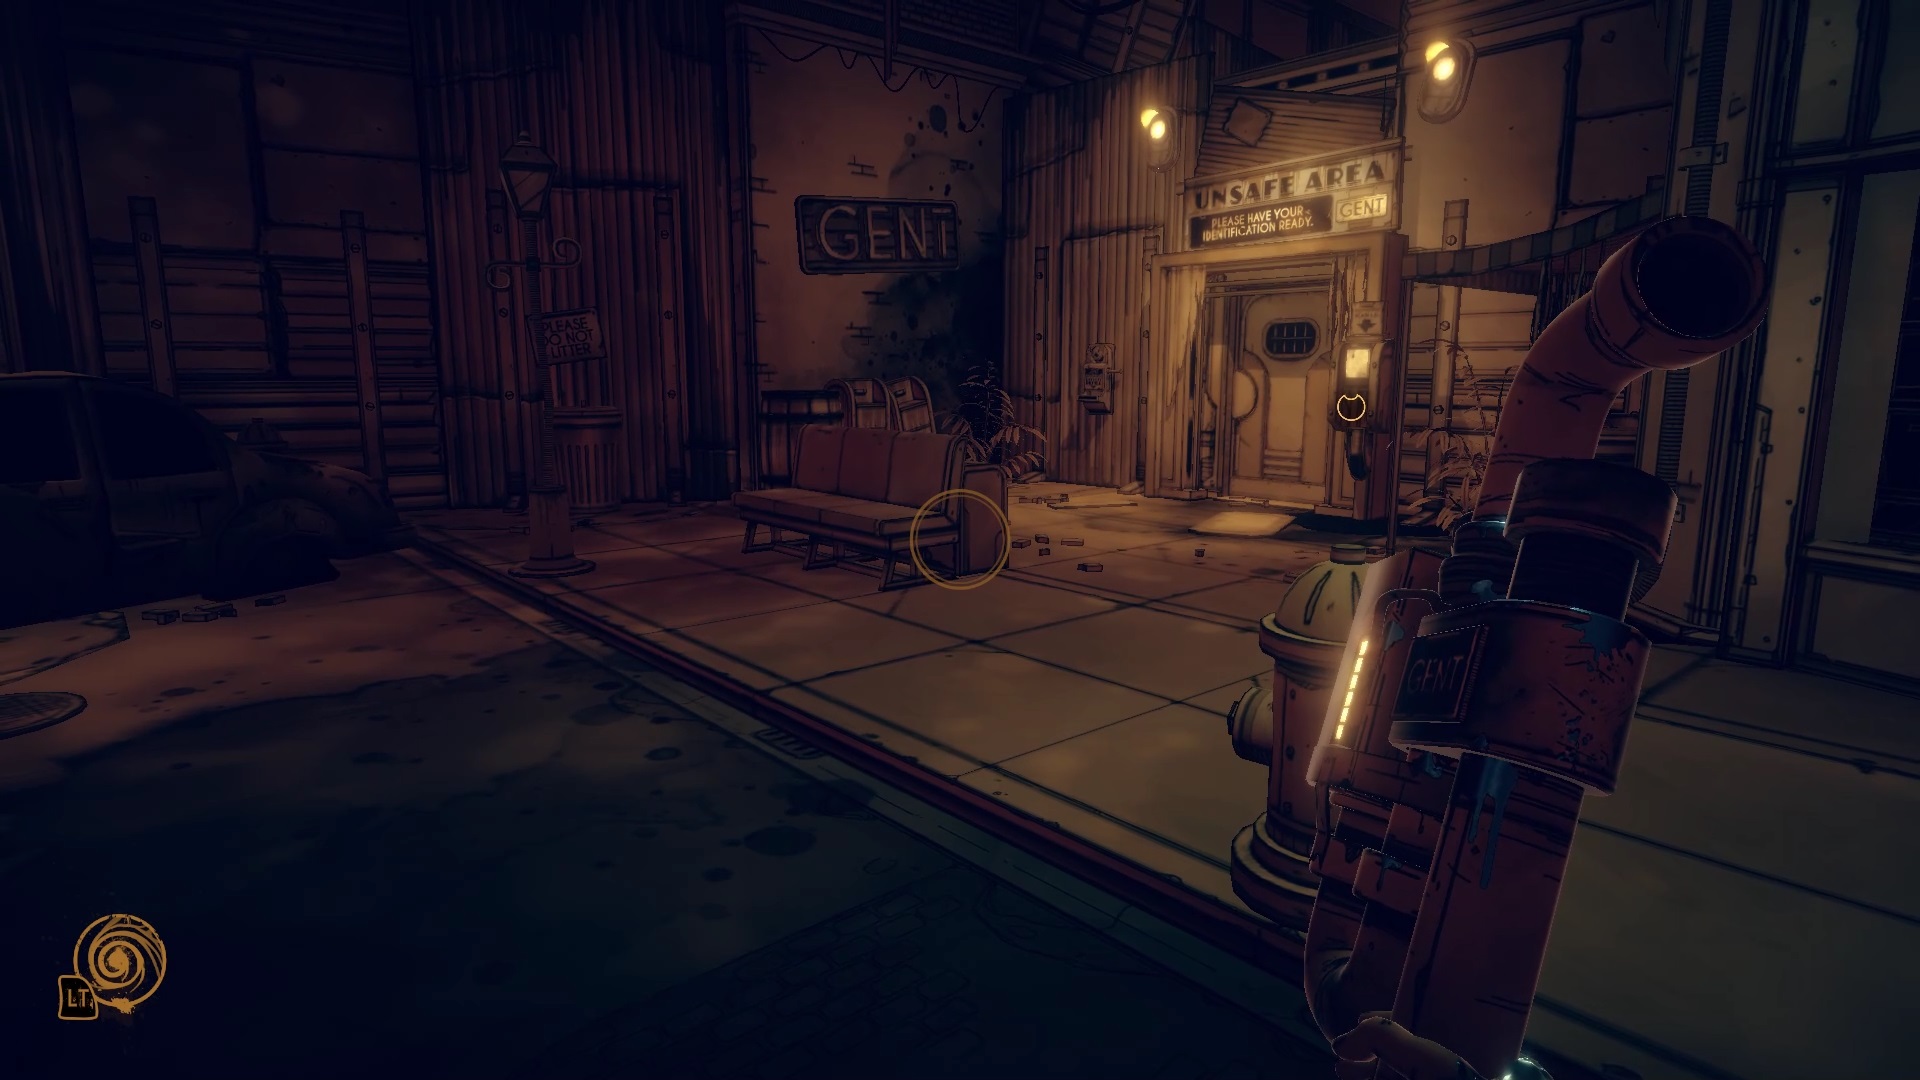
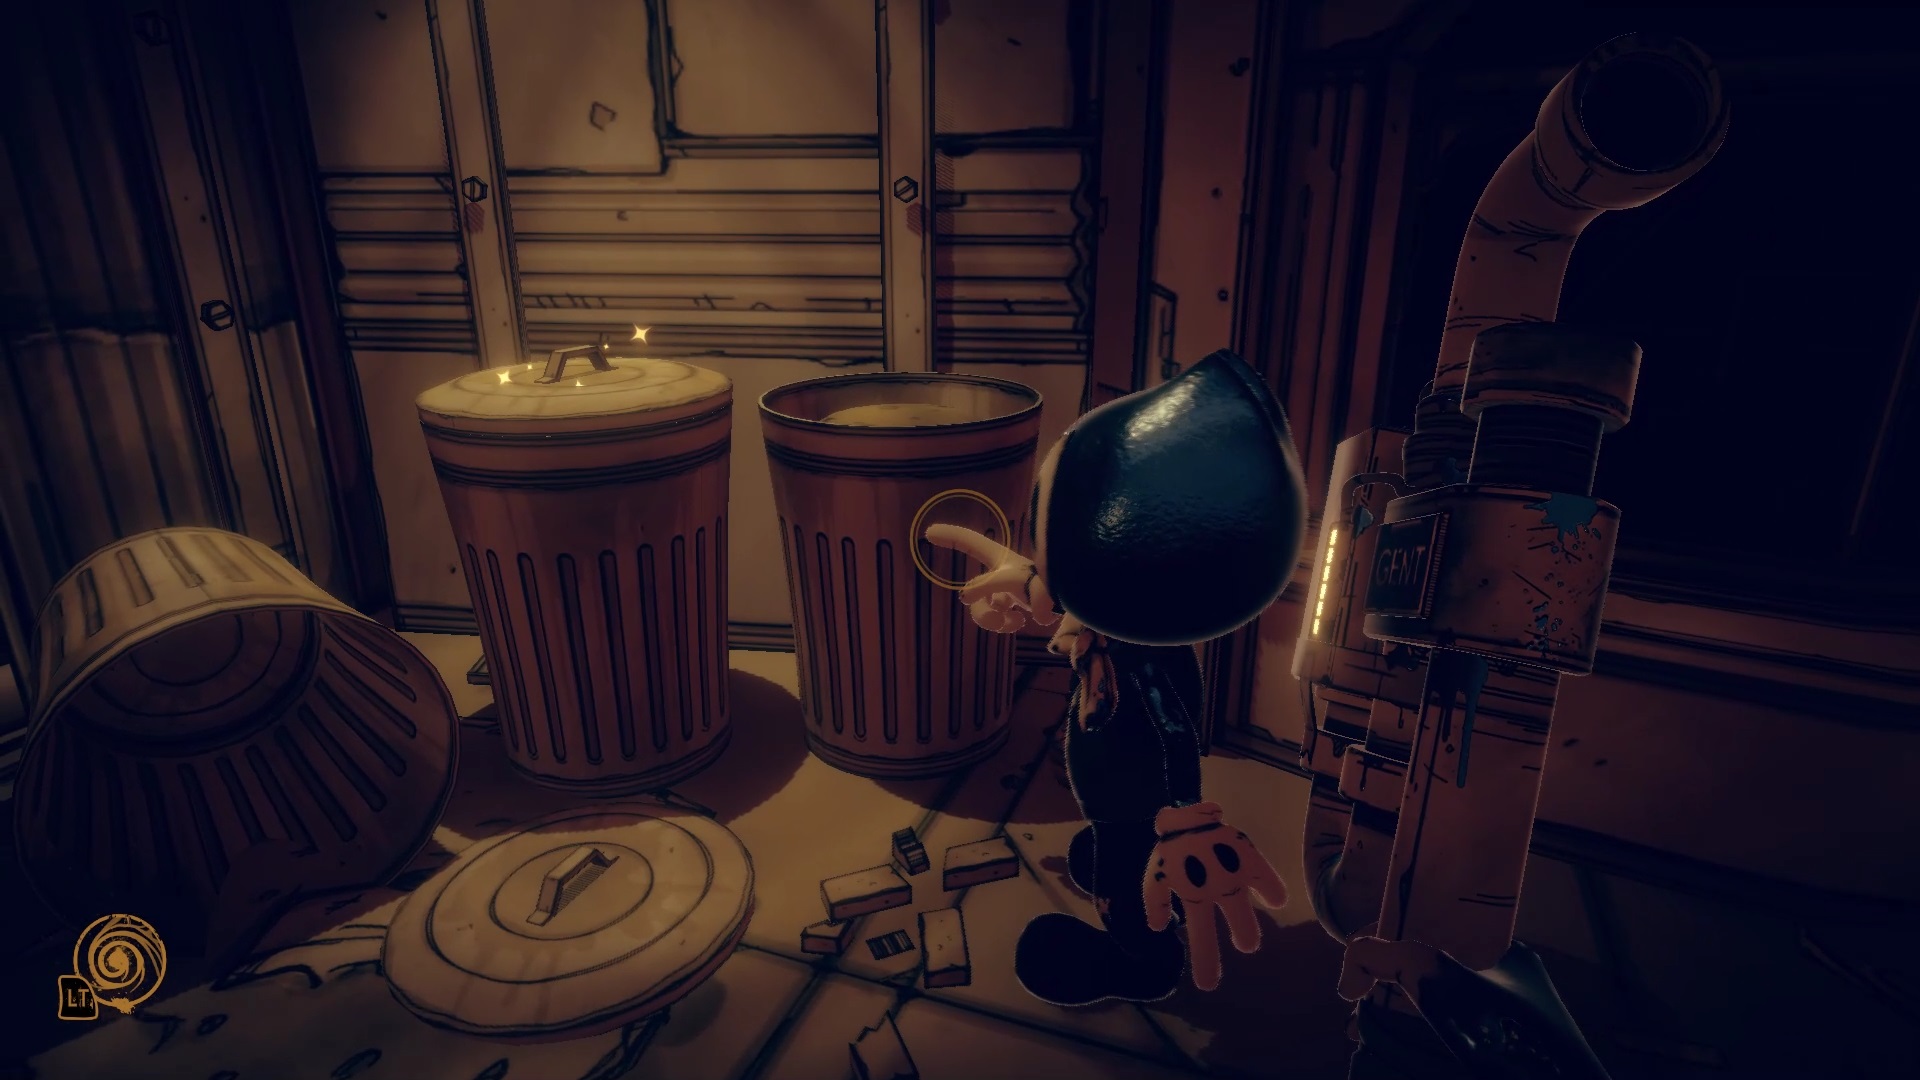
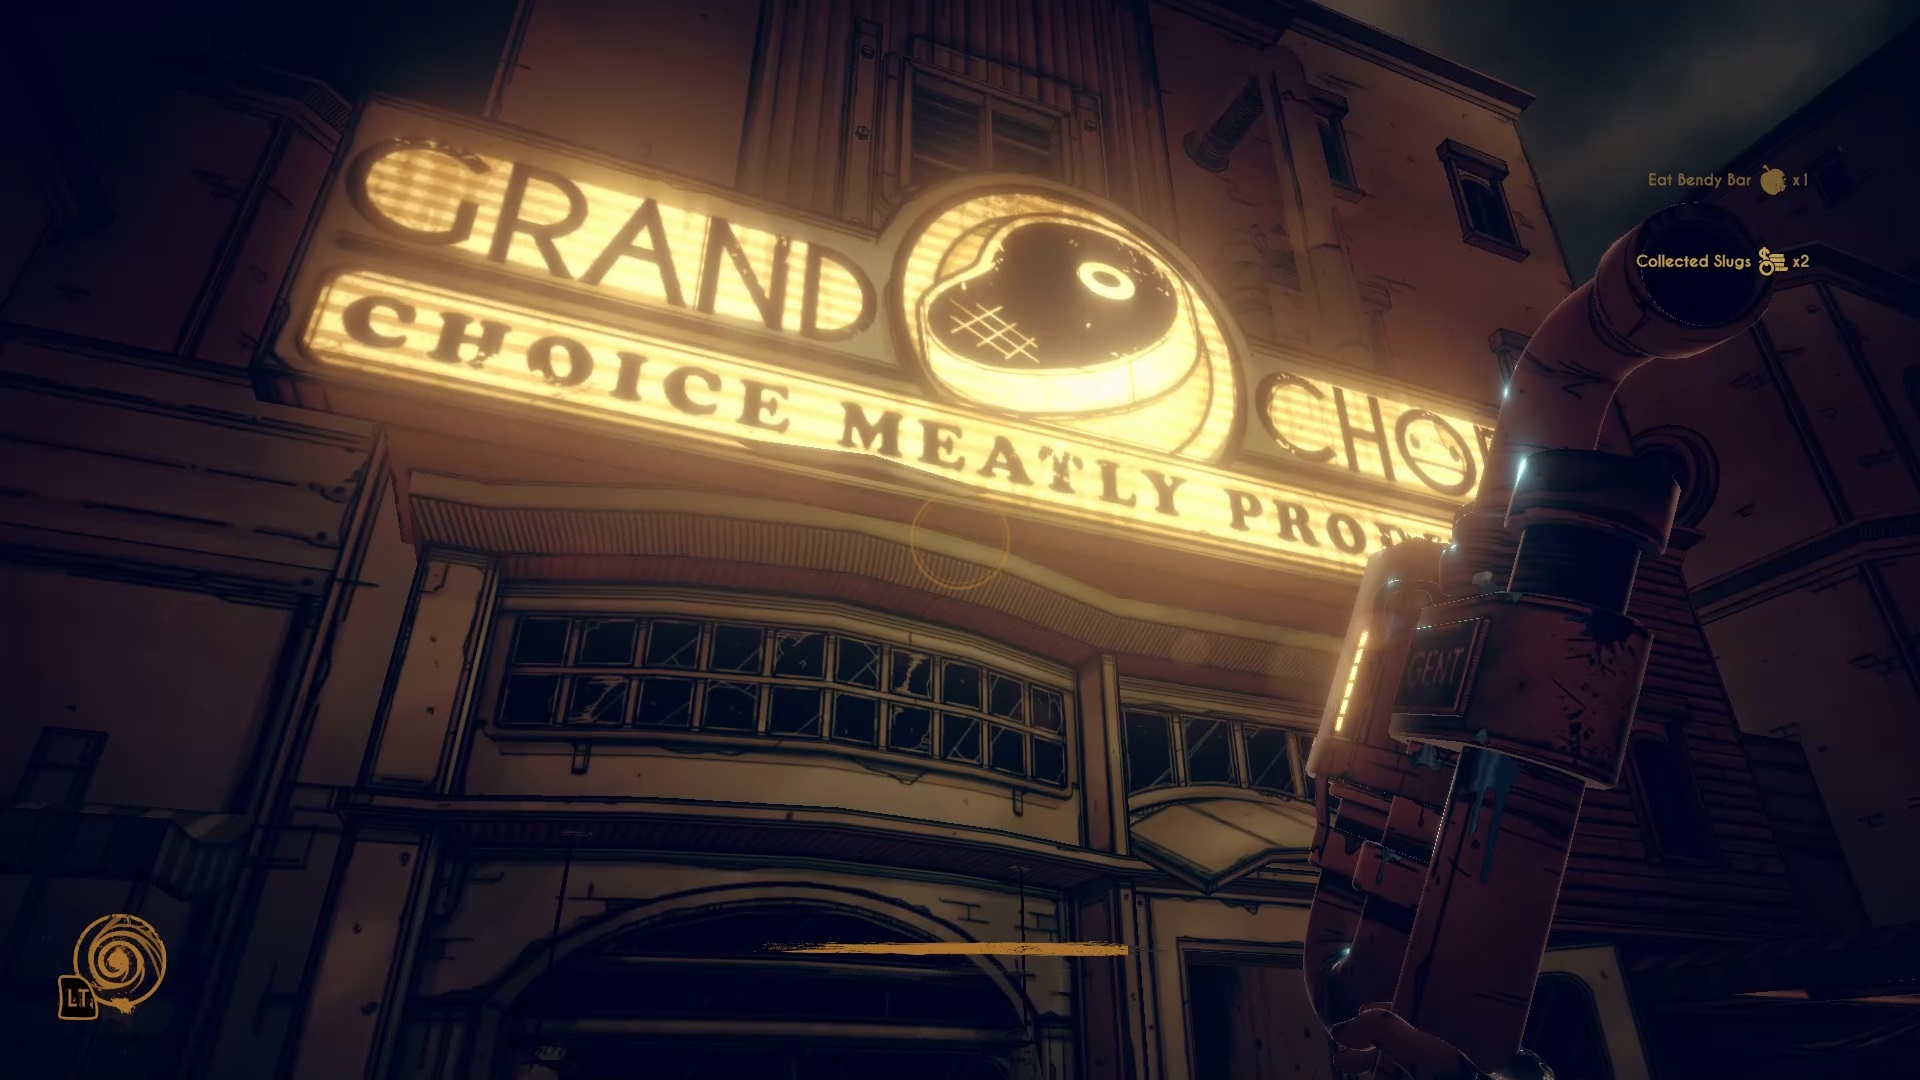
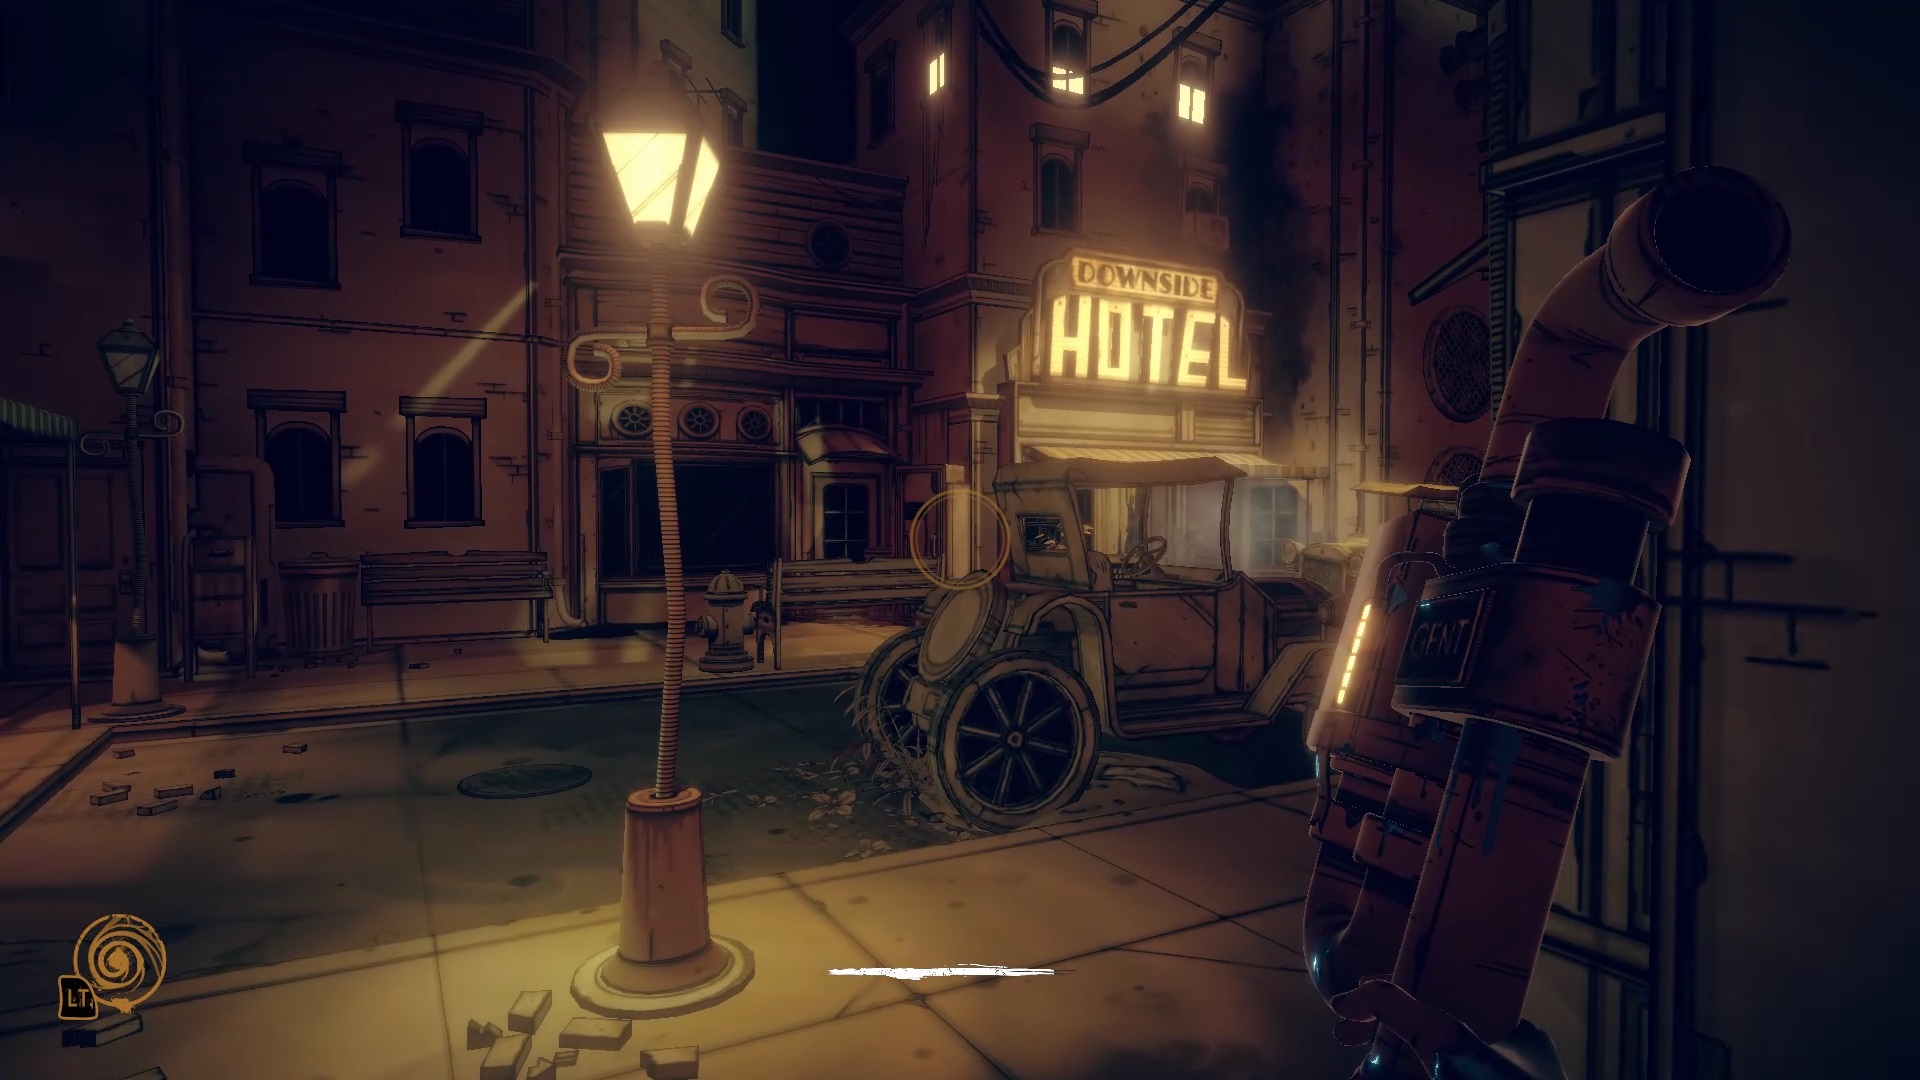
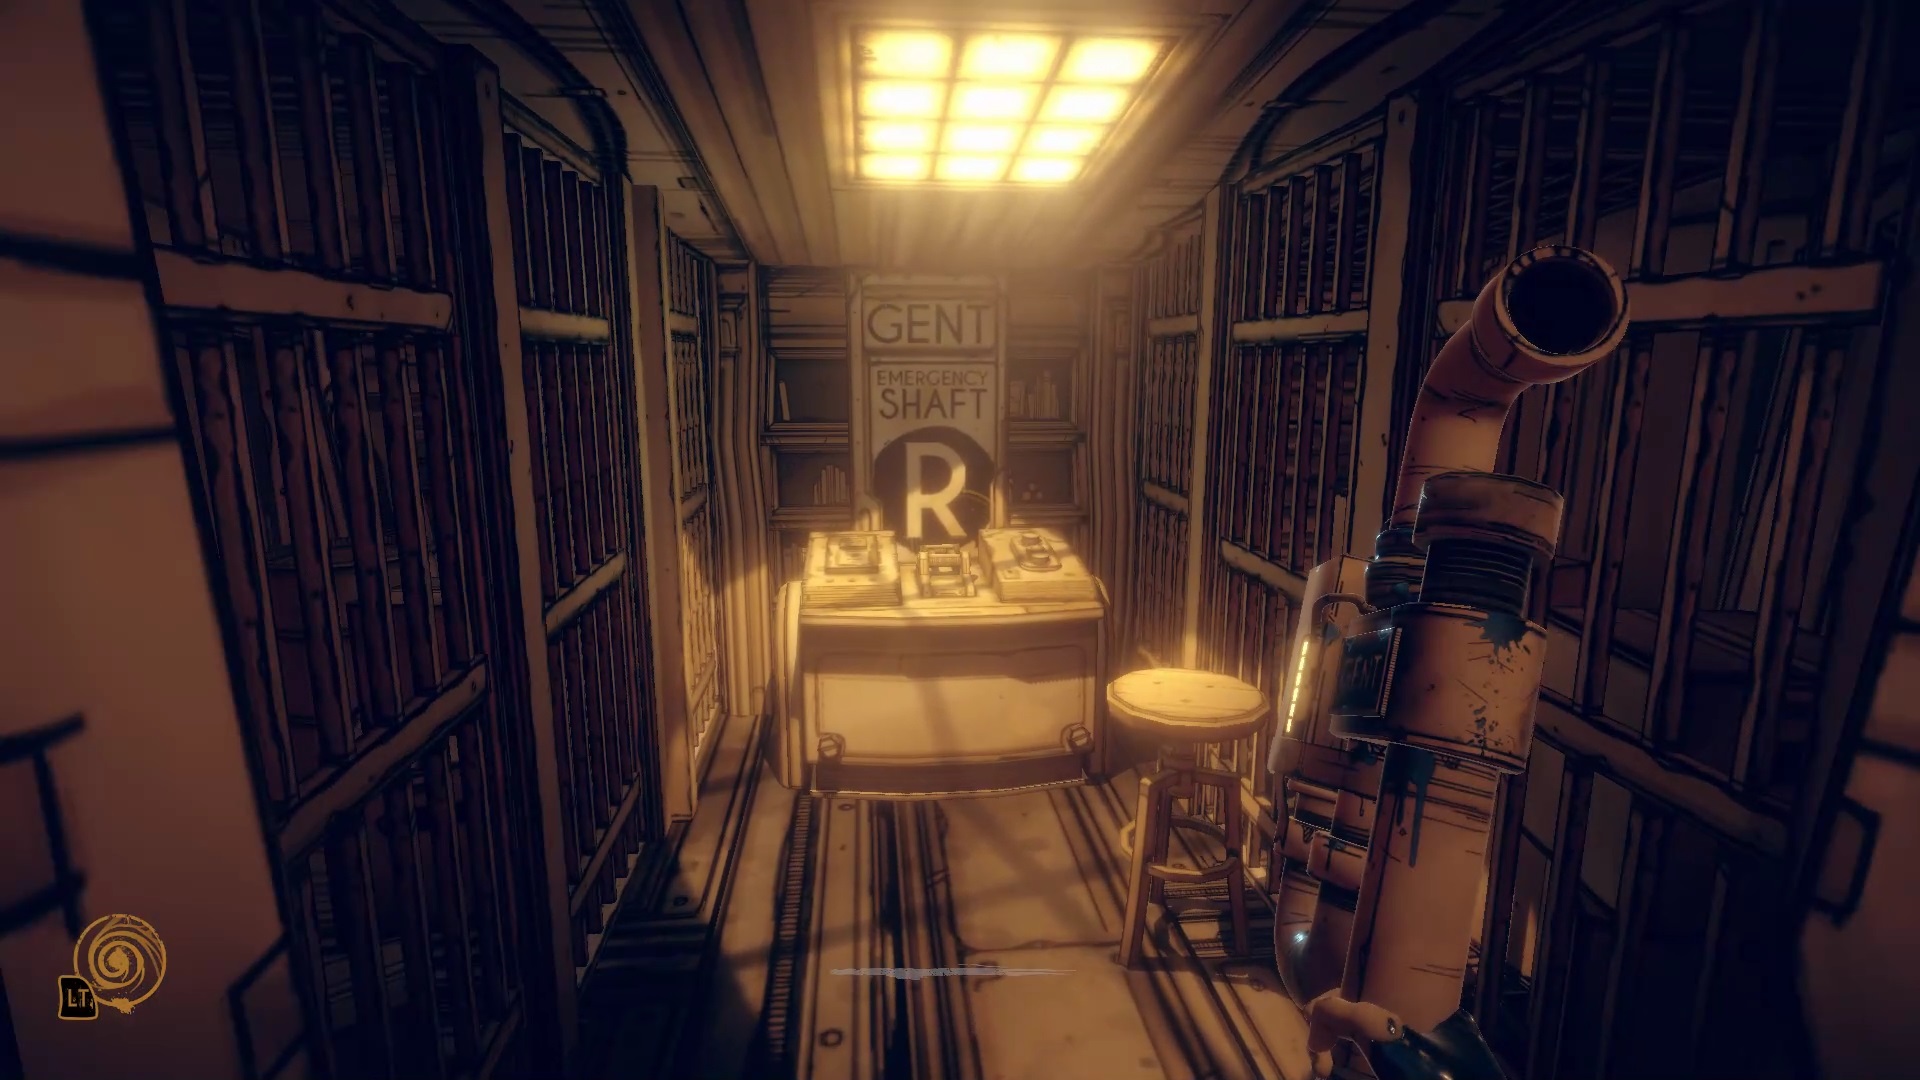
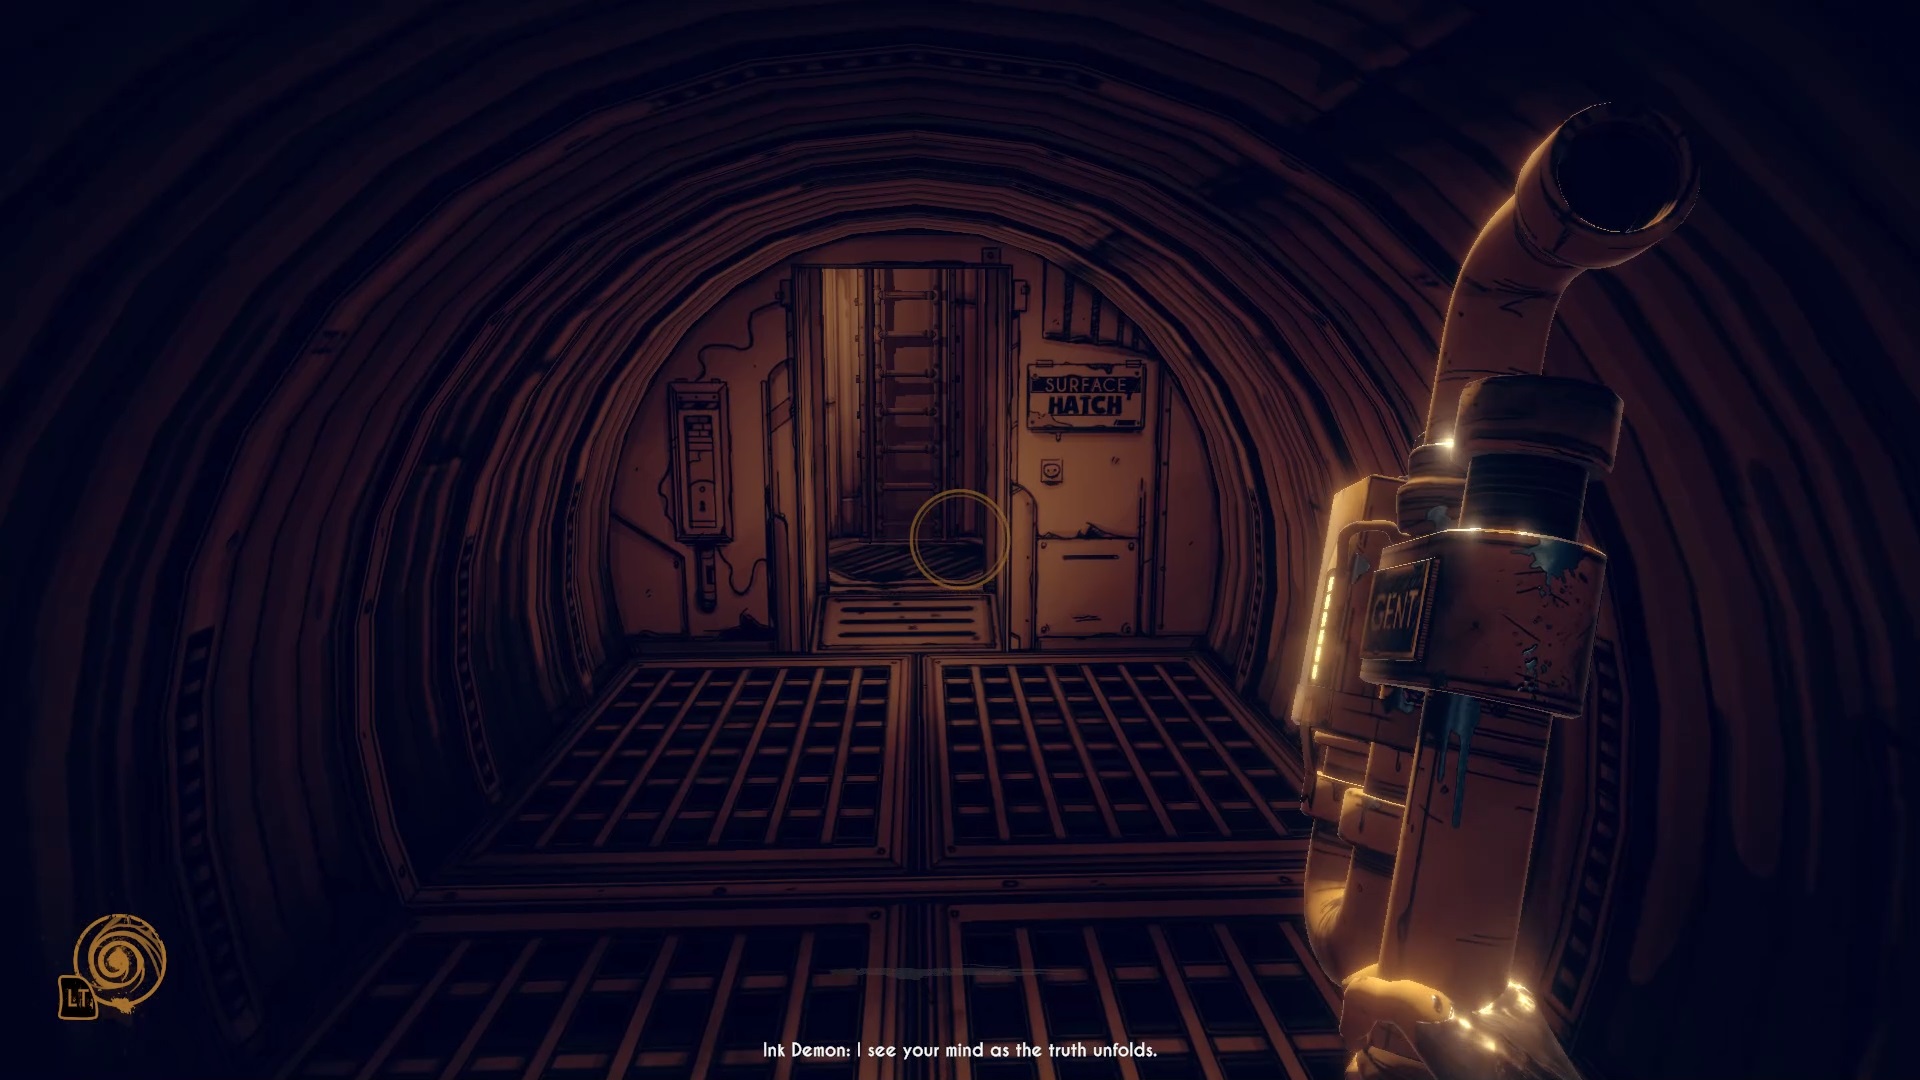
At the beginning of the chapter, exit the station and follow the objective marker. Then follow Bendy to try to find the ID card. At the end of an alley Bendy tells you a trash can, collect its contents to find a clue on the map. Take the direction of the Grand Chop, pass through the building to reach another street. On the other side, access the Downside Hotel.
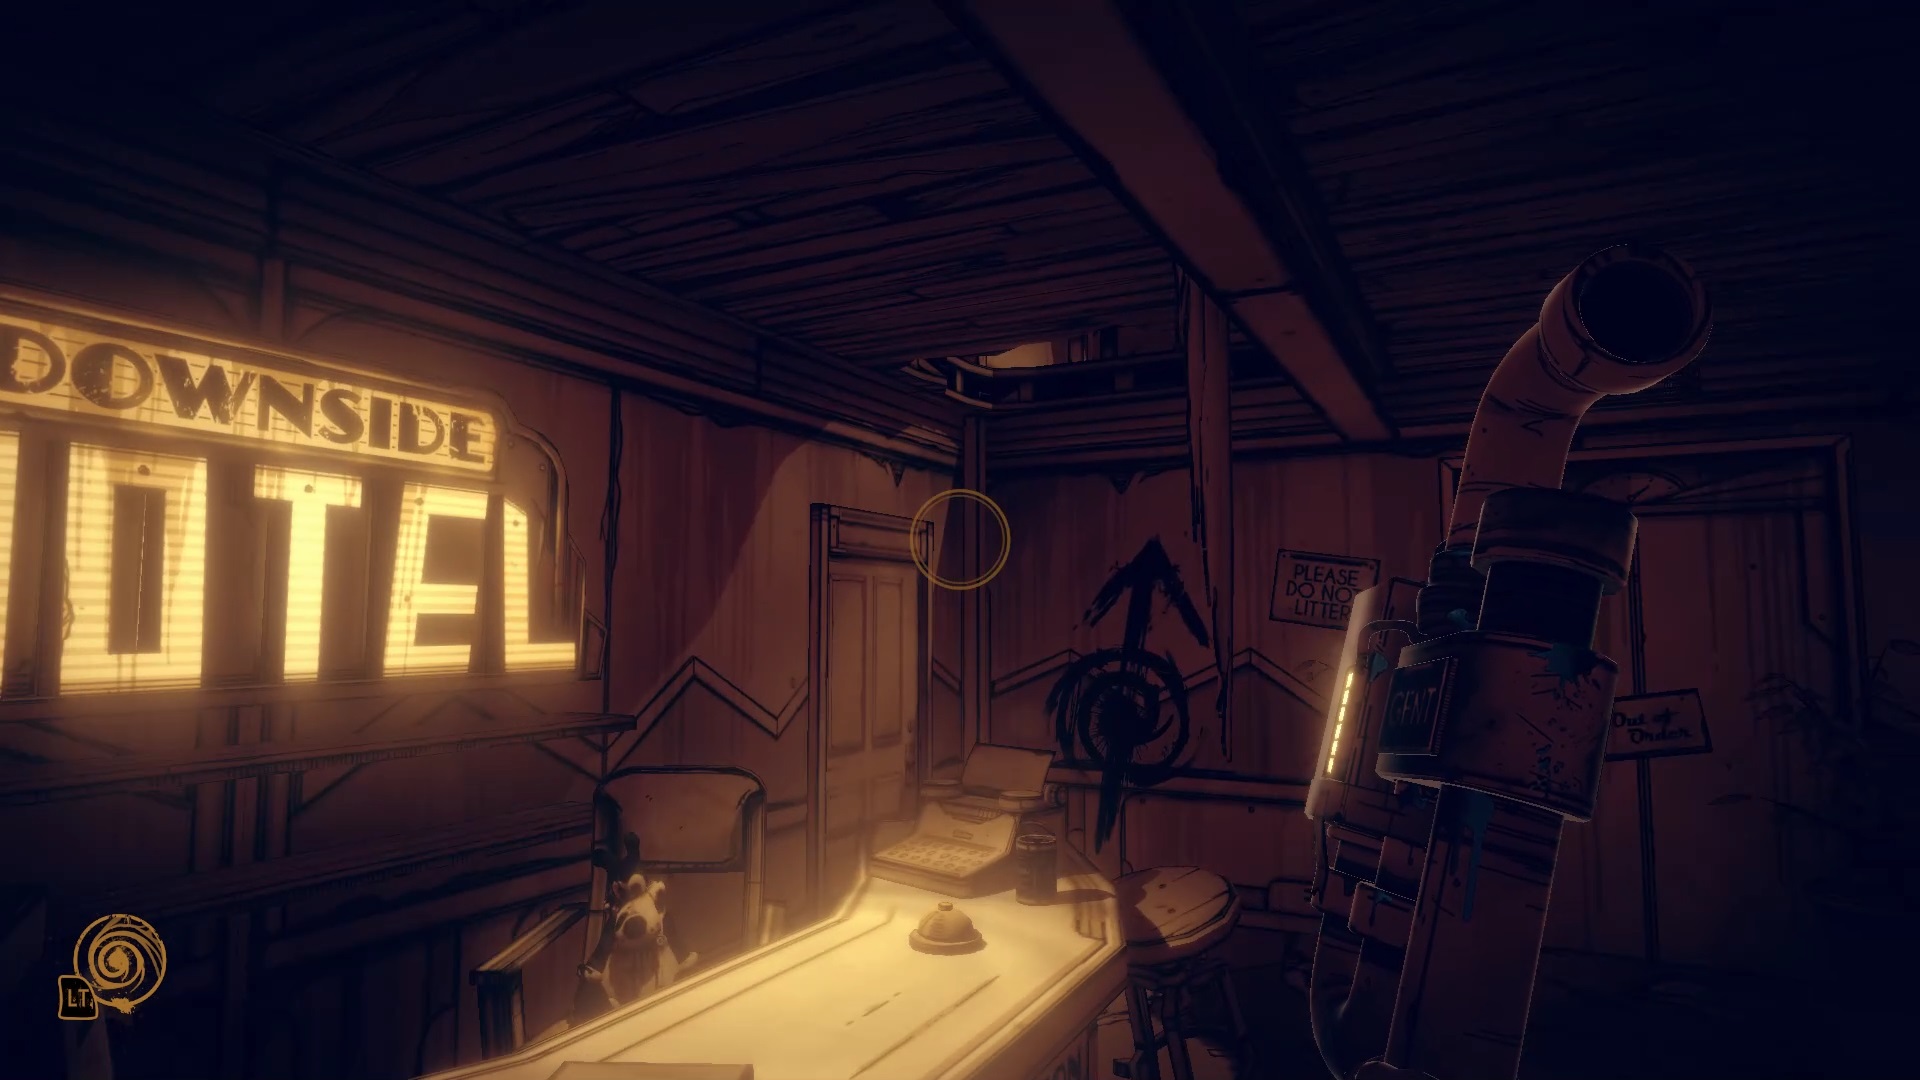
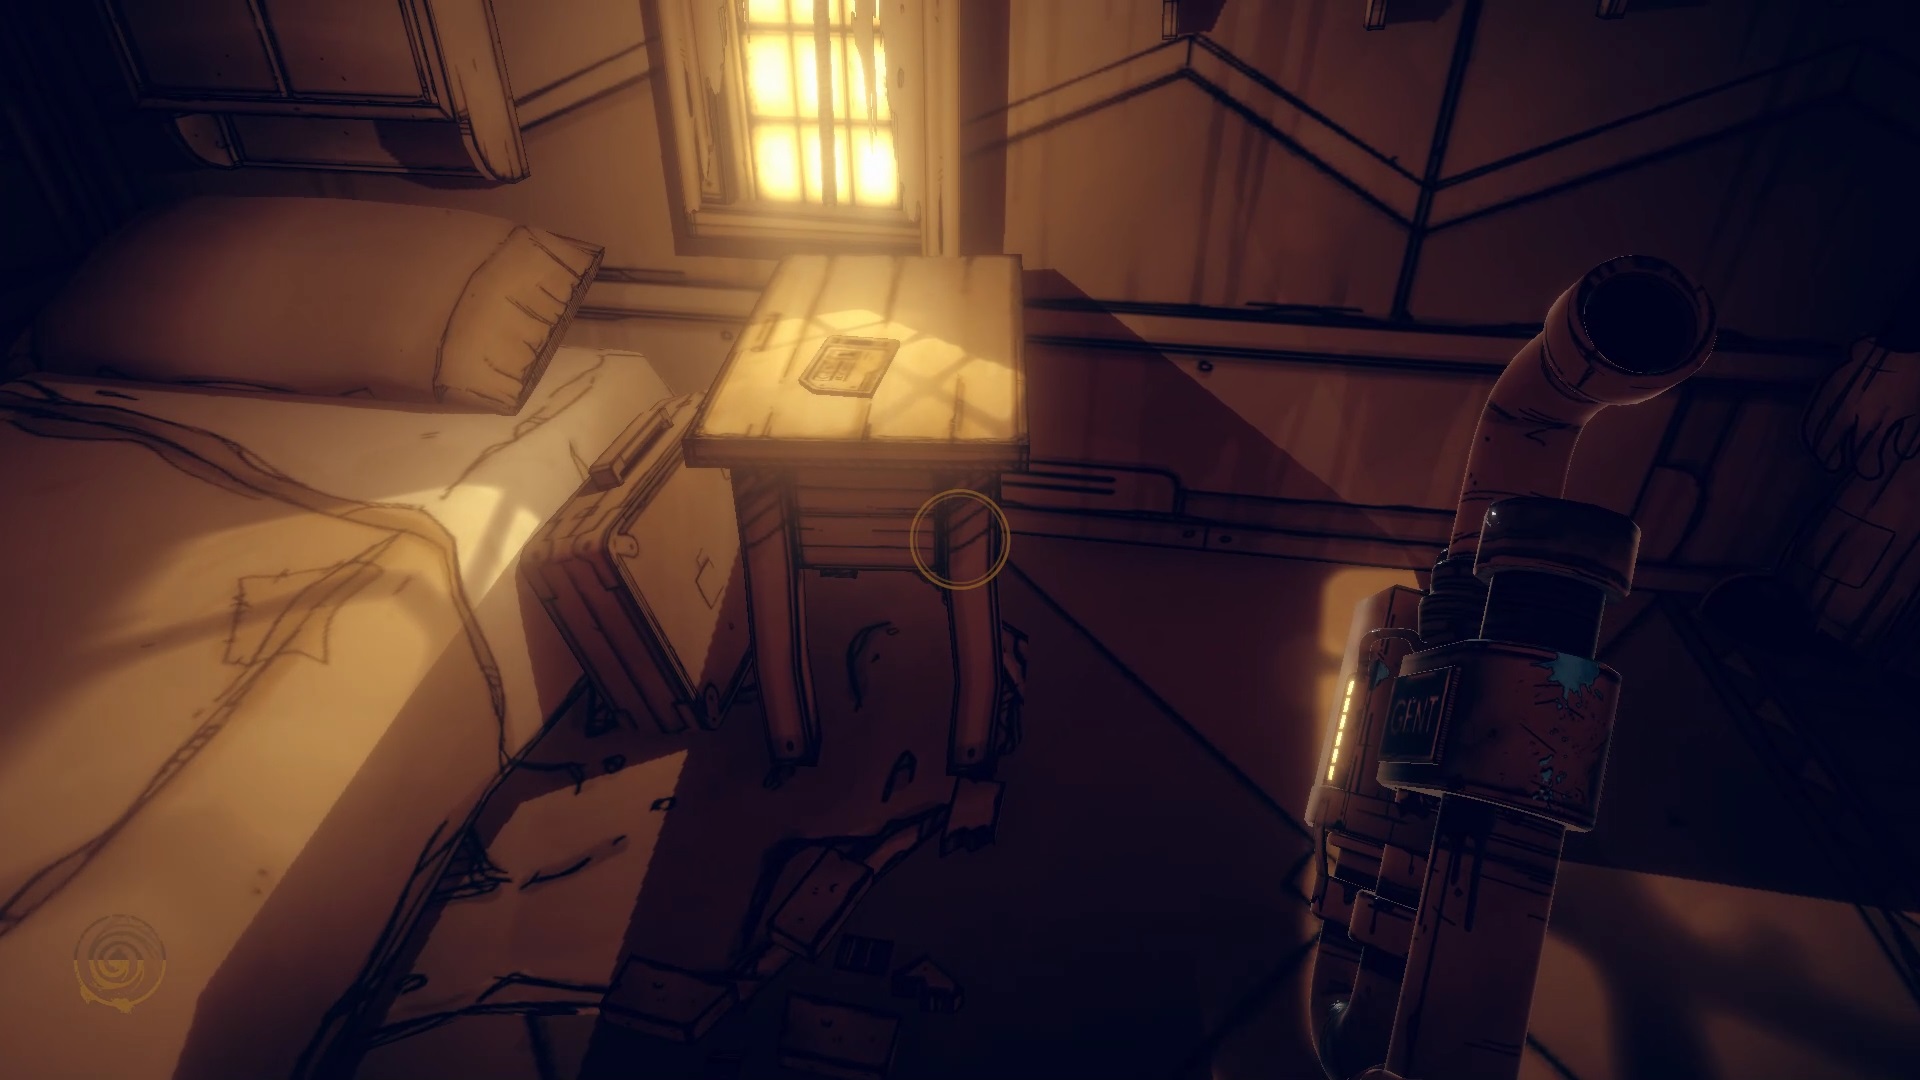
Inside the hotel, examine the ceiling and use your flow to go up. Go up two floors to find the map on the third floor. After the cutscene go to the security door. Use the card to unlock the security door. After passing the door enter the Gent building.
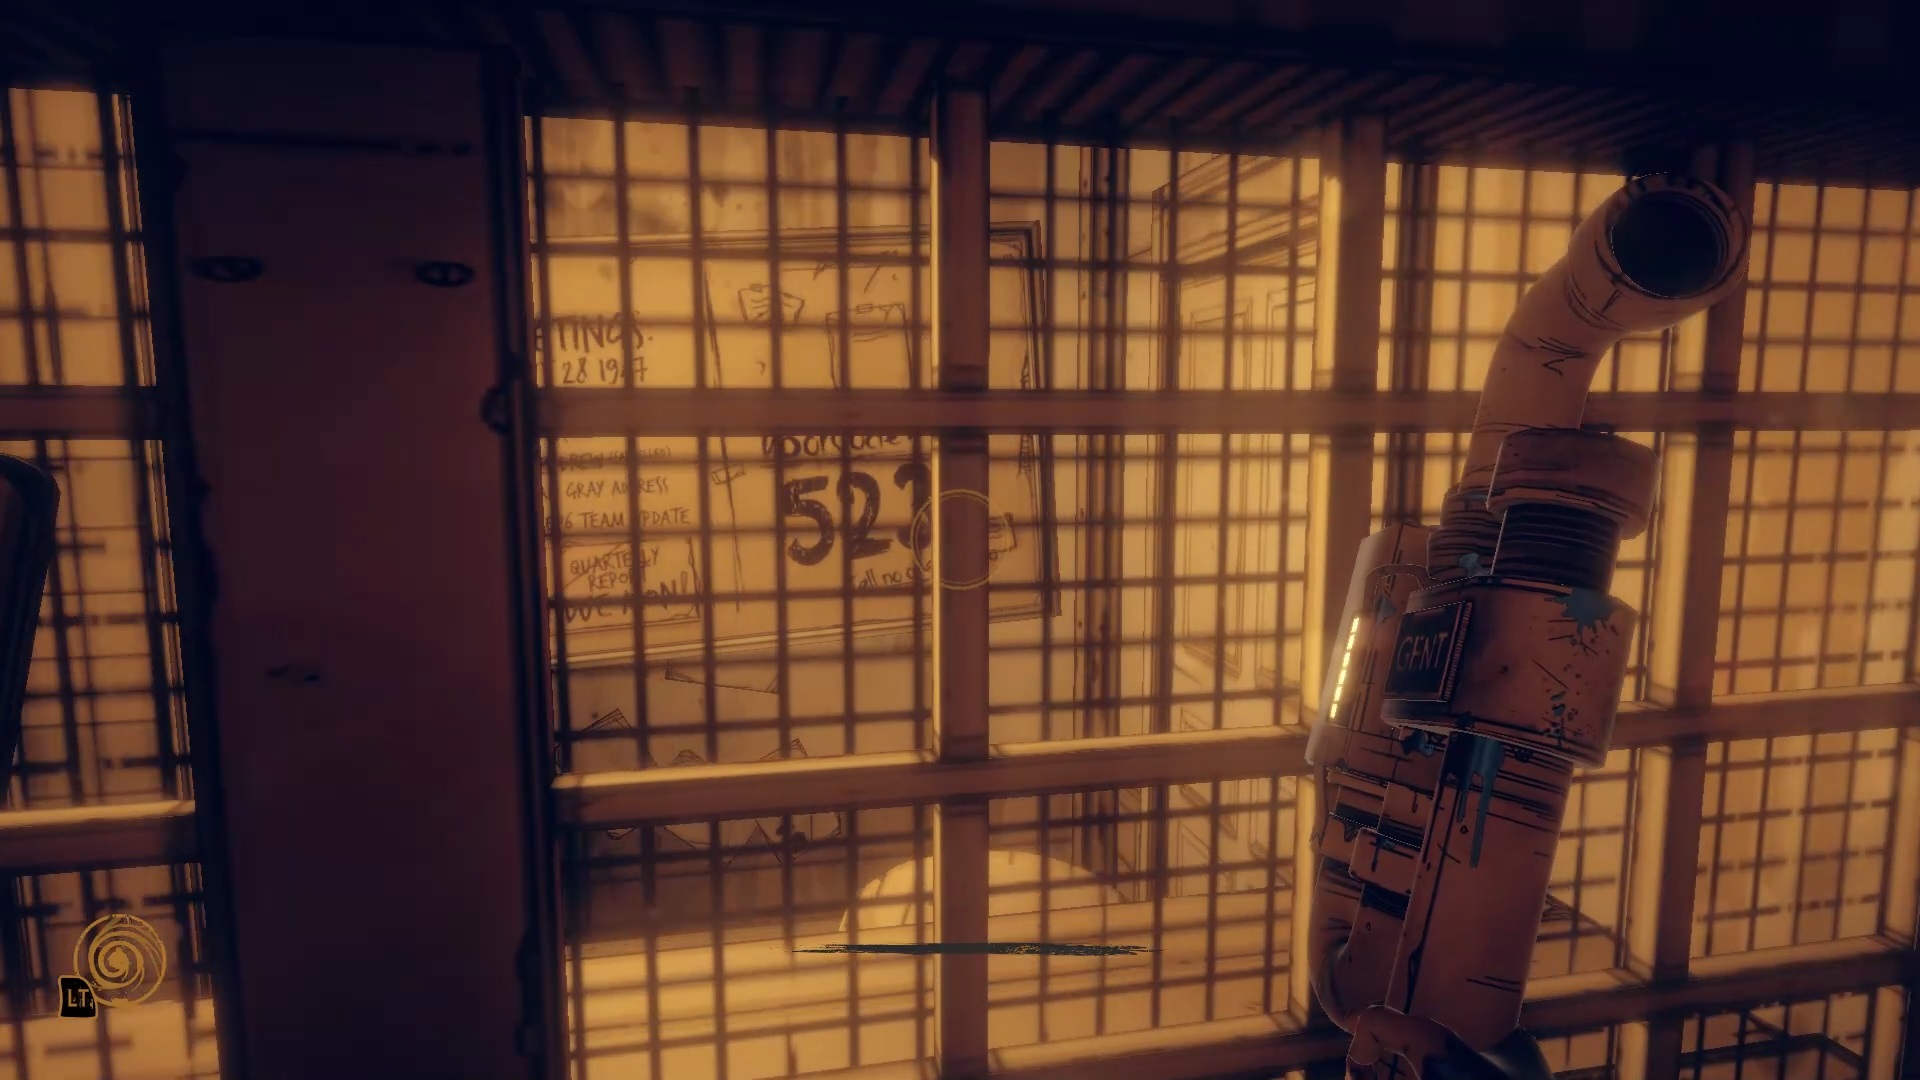
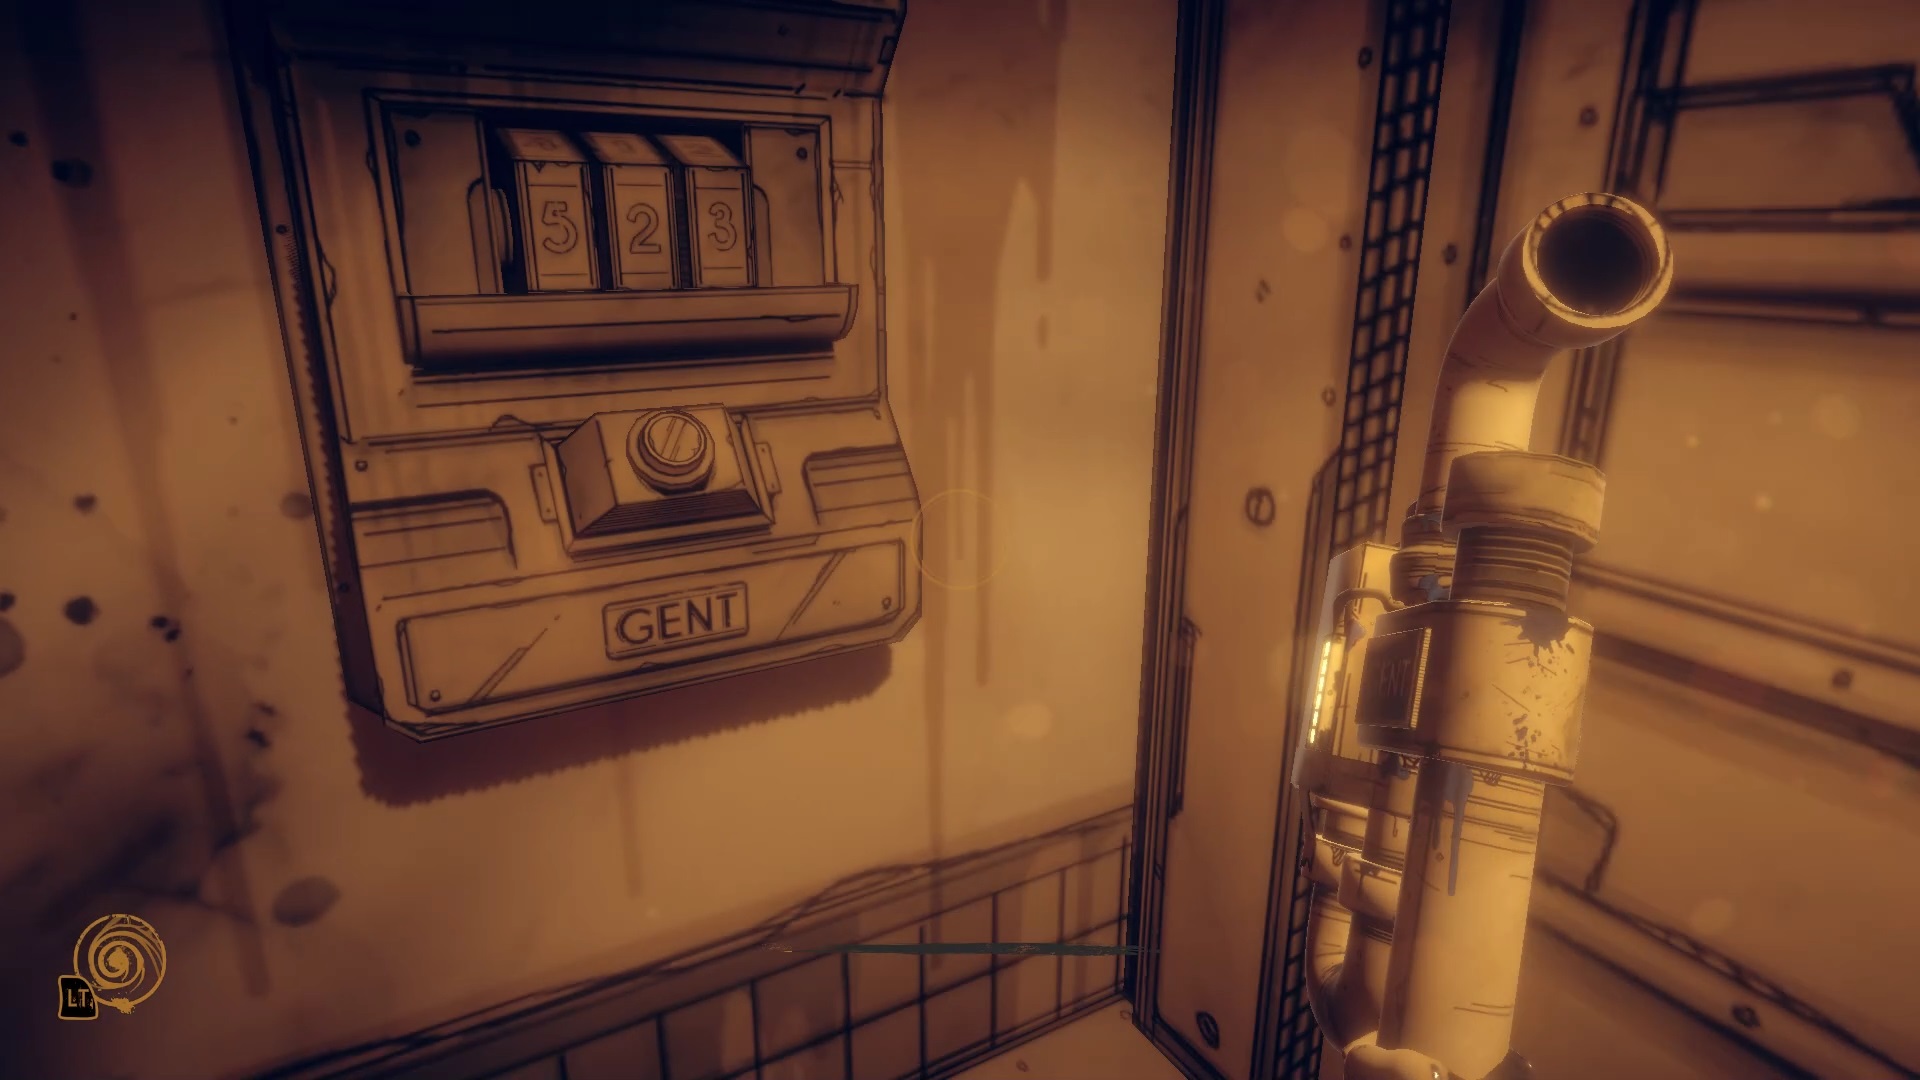
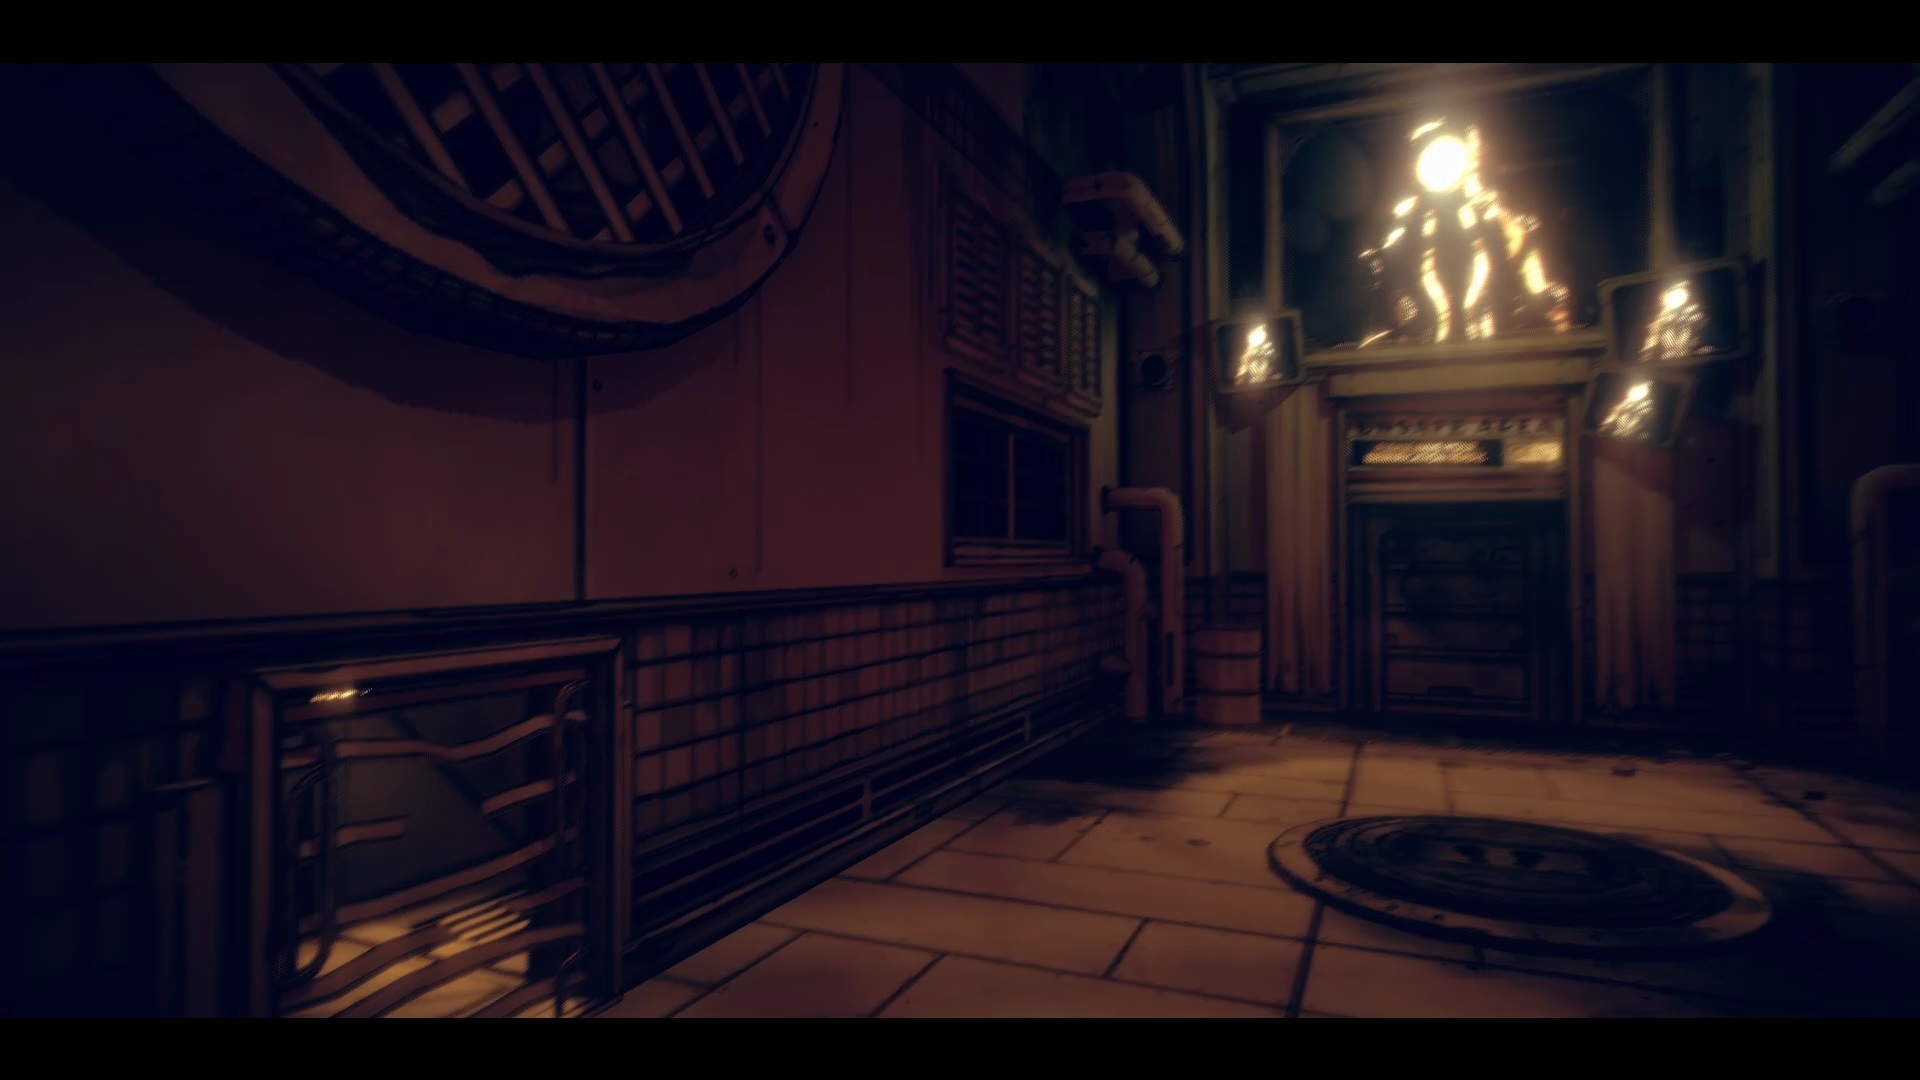
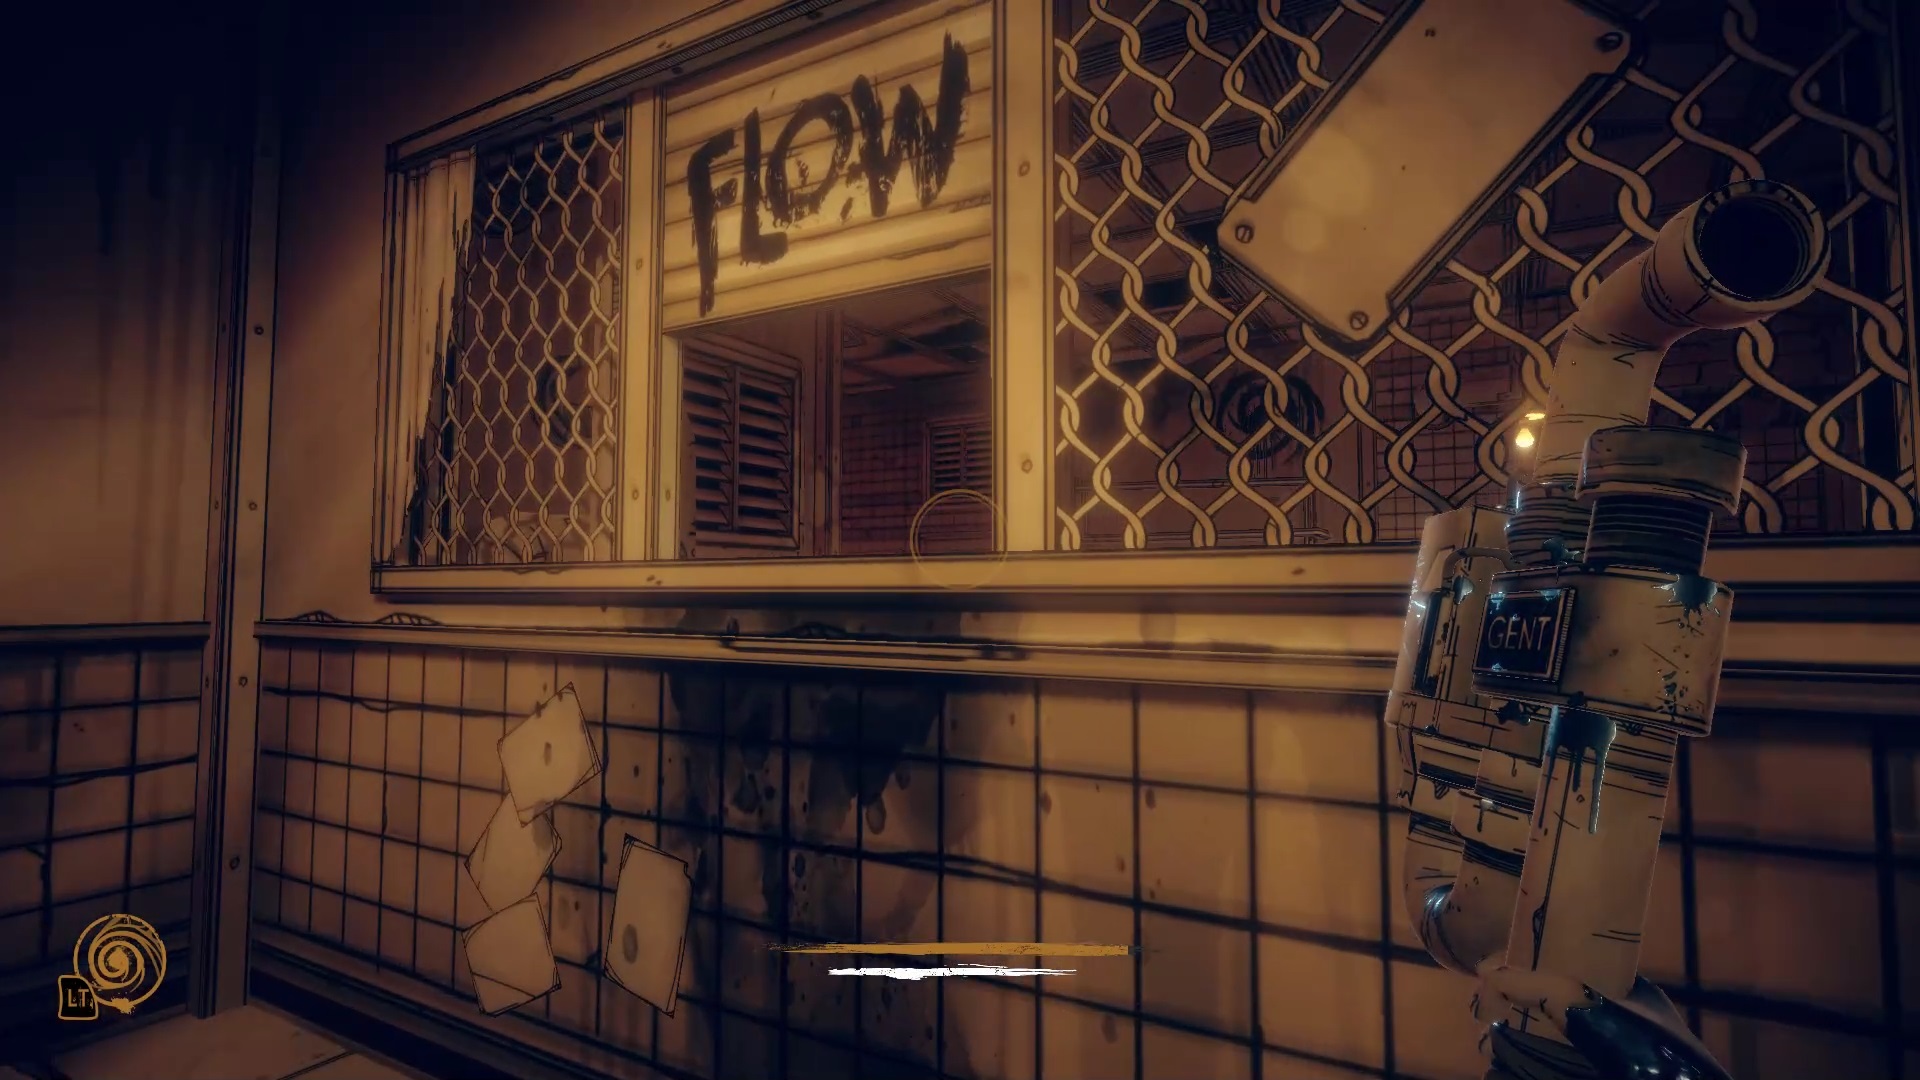
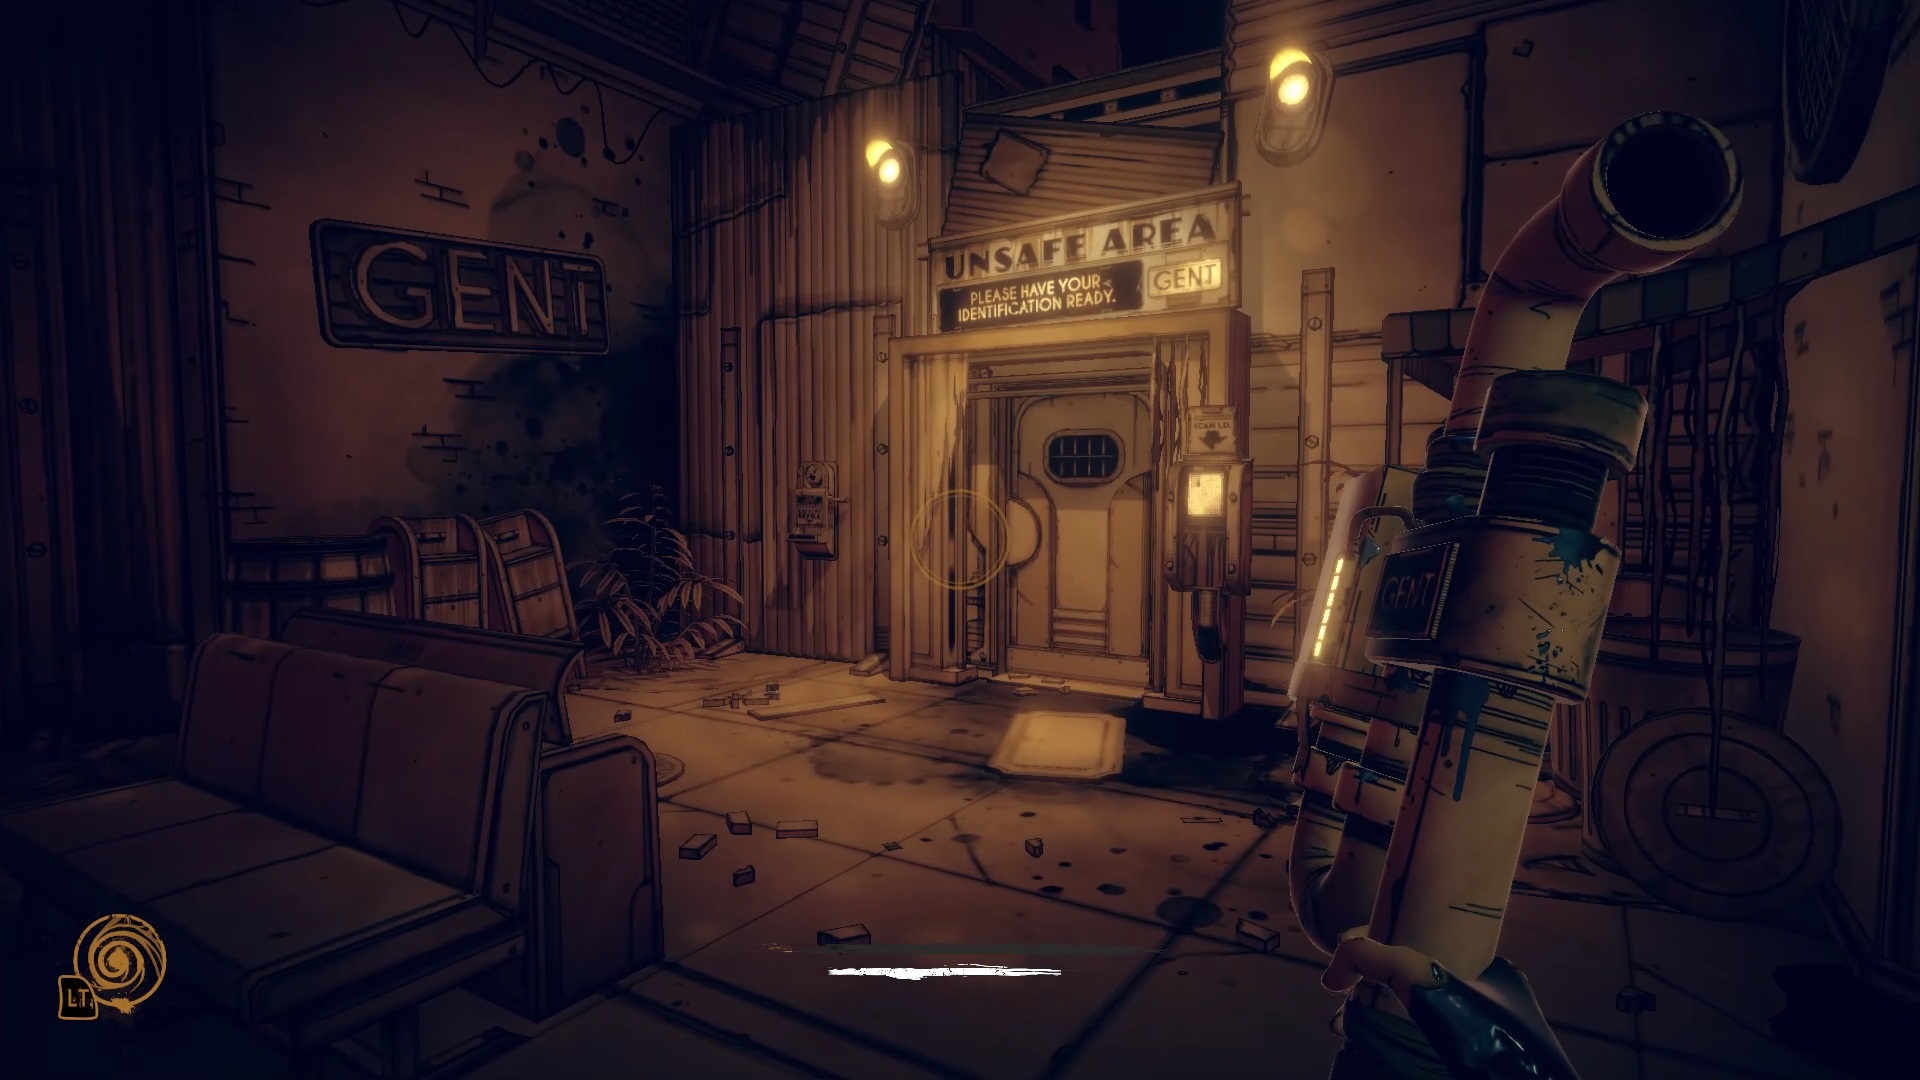
At the entrance, a security lock blocks your access. Search behind the reception counter to find the code behind a grid. Use the code on the lock to unlock it. In the lobby, use your pipe to access the conduit. You arrive at the factory. Use the conduits to sneak in and reach the end of the room.
Enter the passage at the back and pull the lever inside. The lever opens a path to the left. On the other side, go up the stairs to find a closed door.
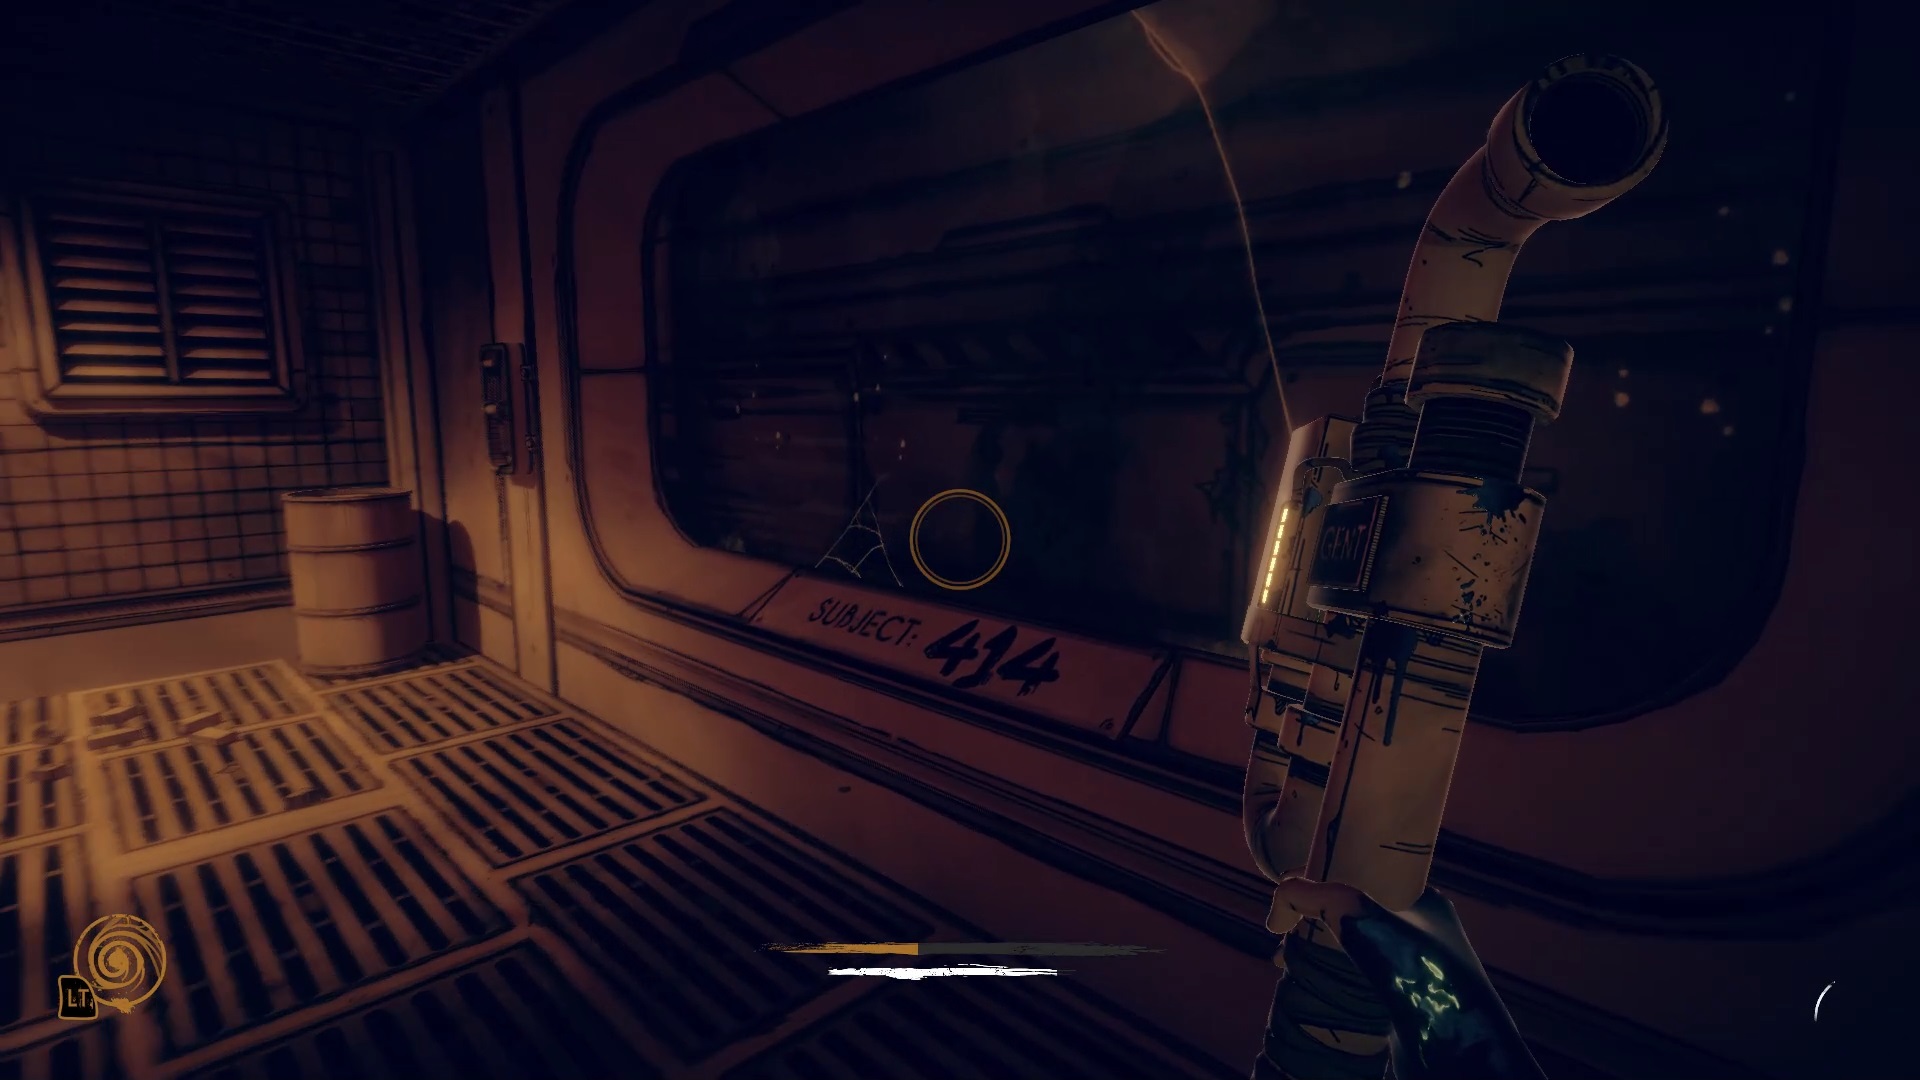
Try to interact with the lever to make Heidi appear. She challenges you. If you manage to find her, she opens the door for you. Get captured by a Keeper to find yourself in front of his hiding place. She is still in the same room hidden on the first floor behind boxes. Now go through the unlocked door. In the room, you will find Subject 414 near a ladder. Use the nearby lever to interact with the subject.
Then go up to the first floor towards the well. Activate the door behind to trigger a cutscene.
Chapter 5
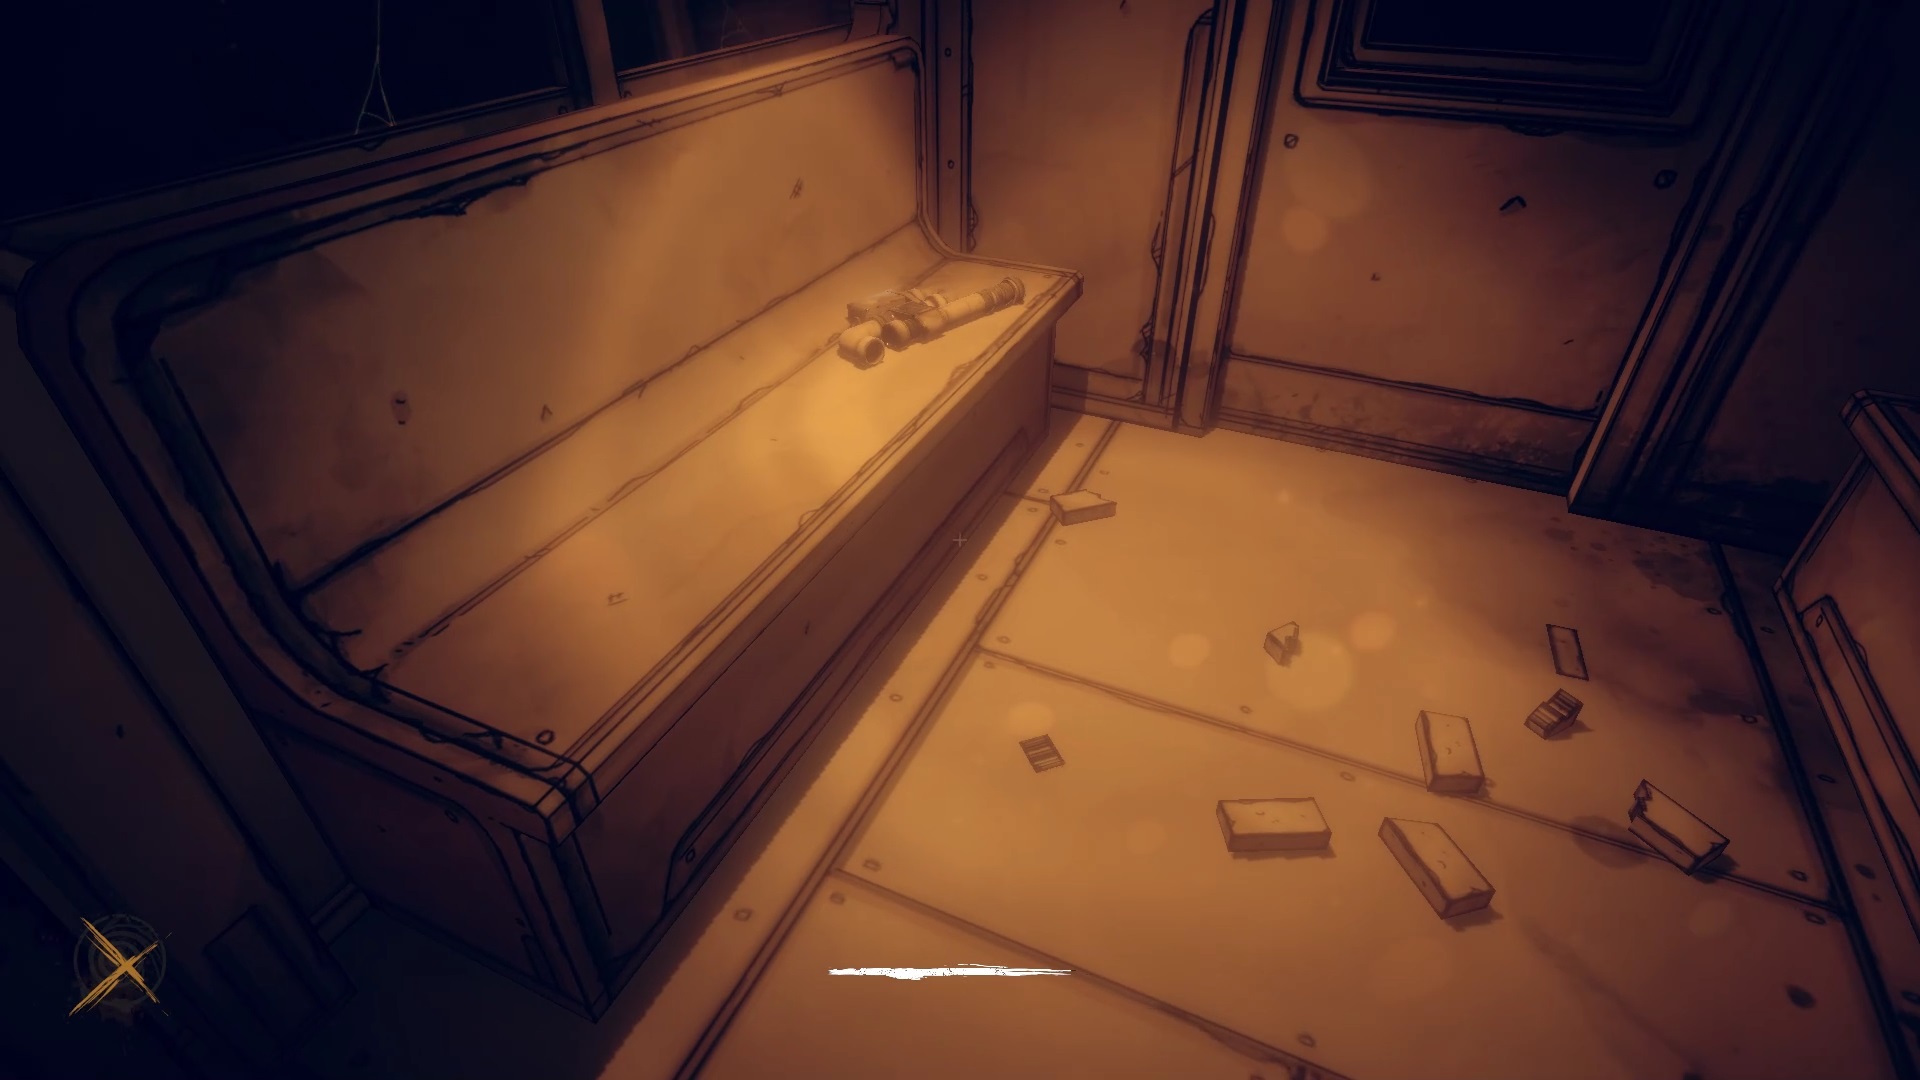
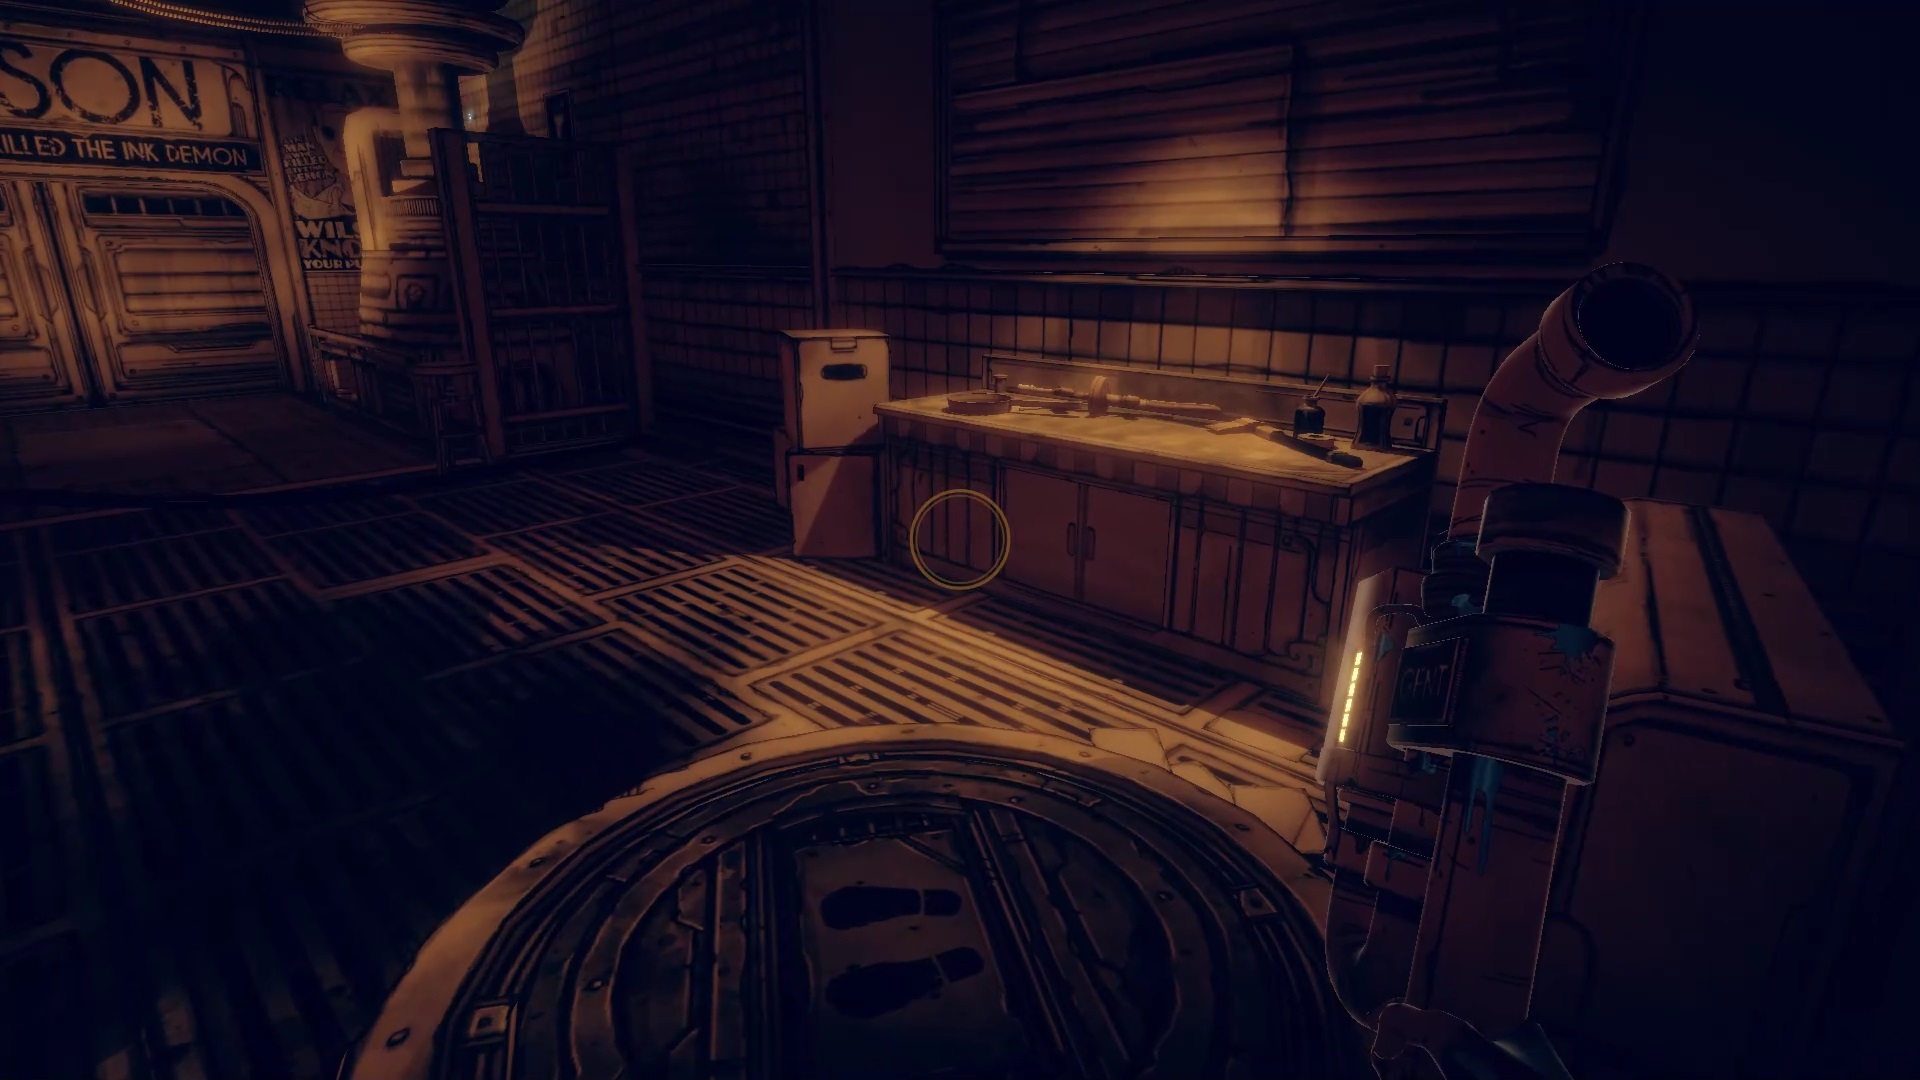
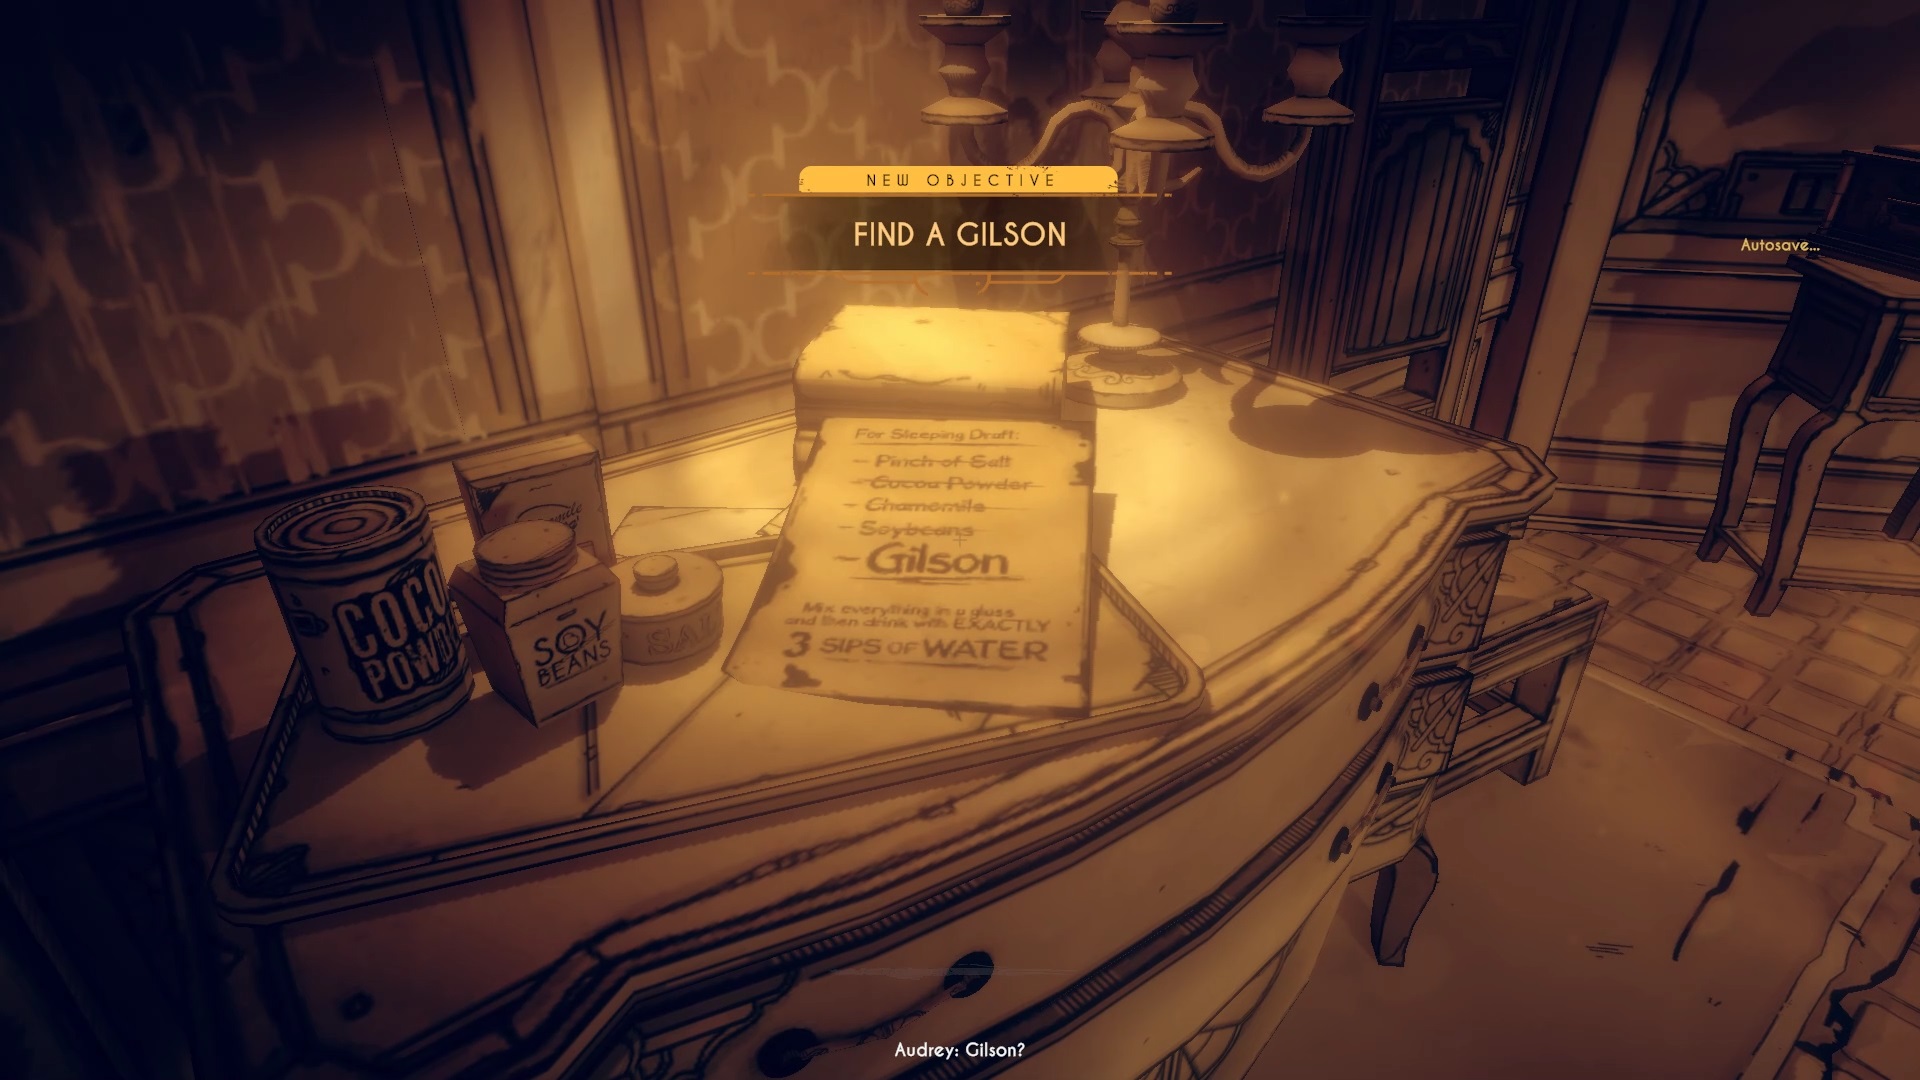
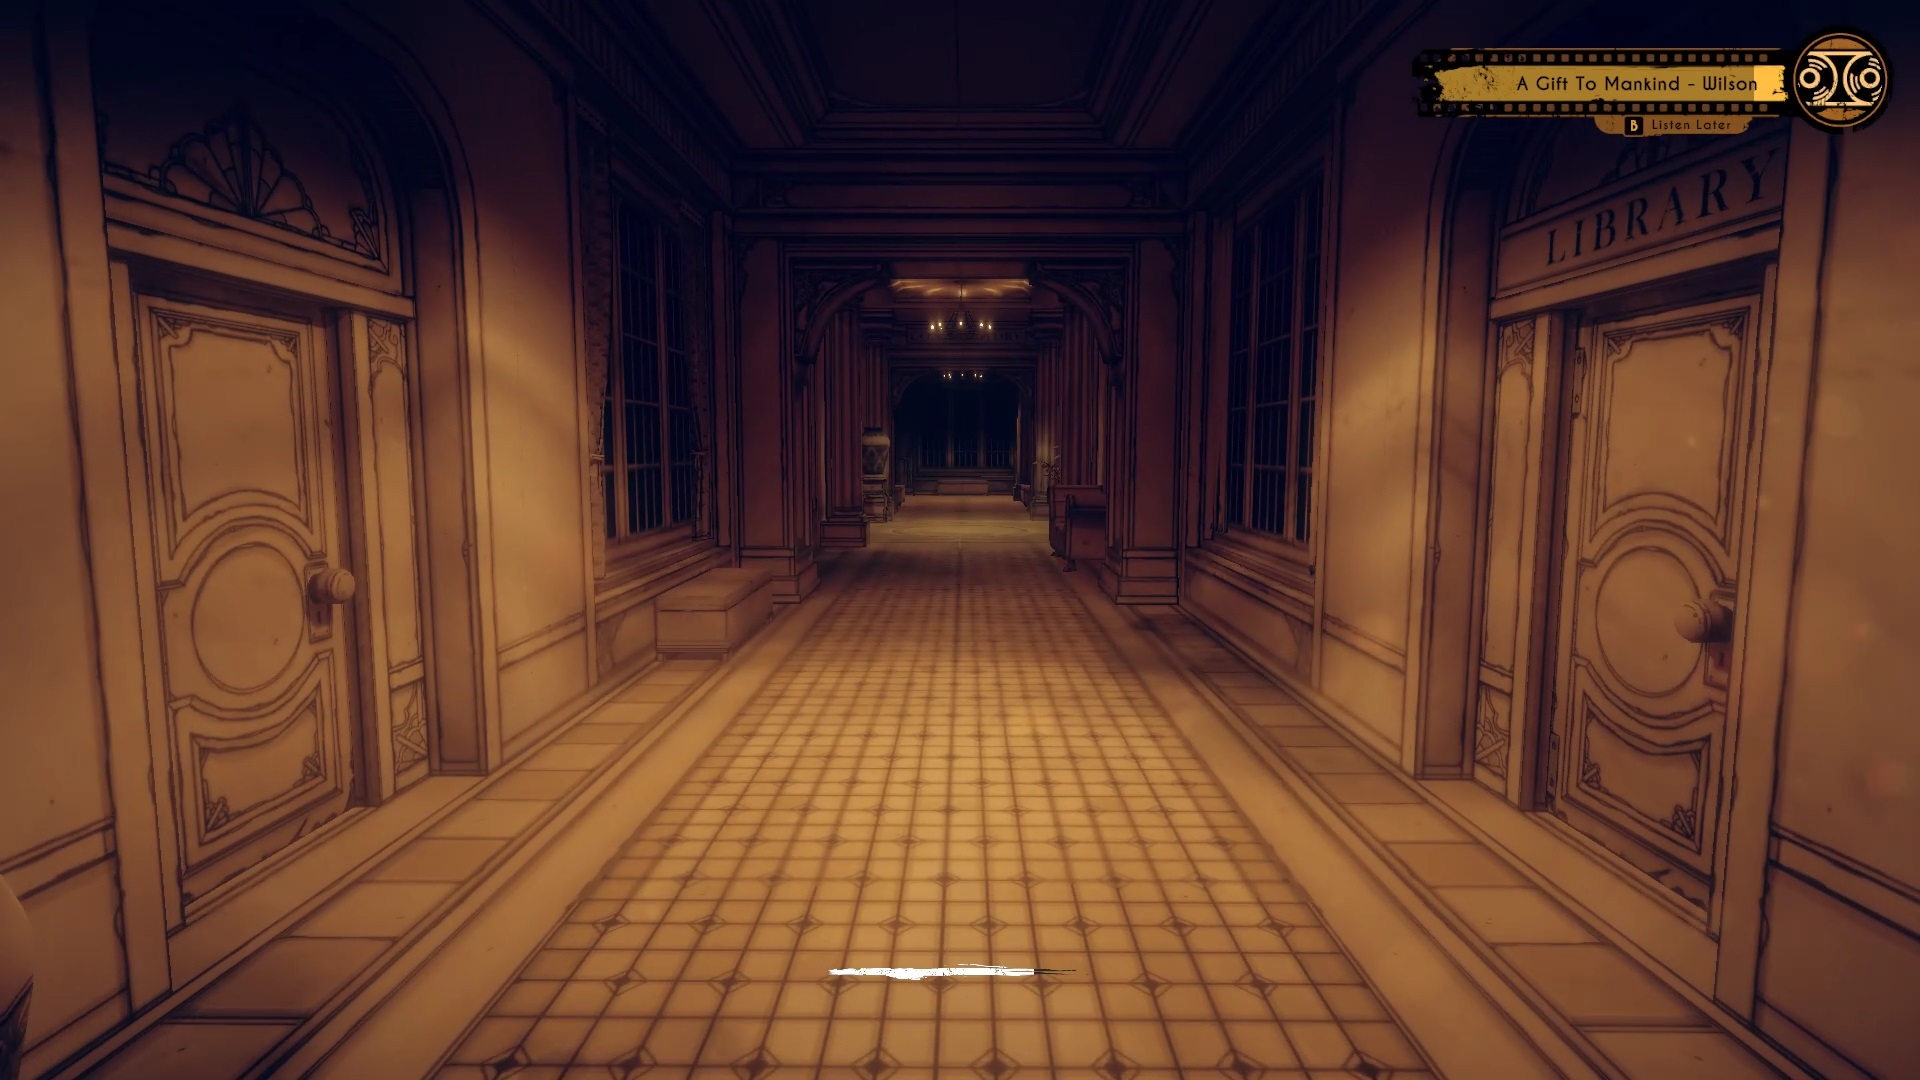
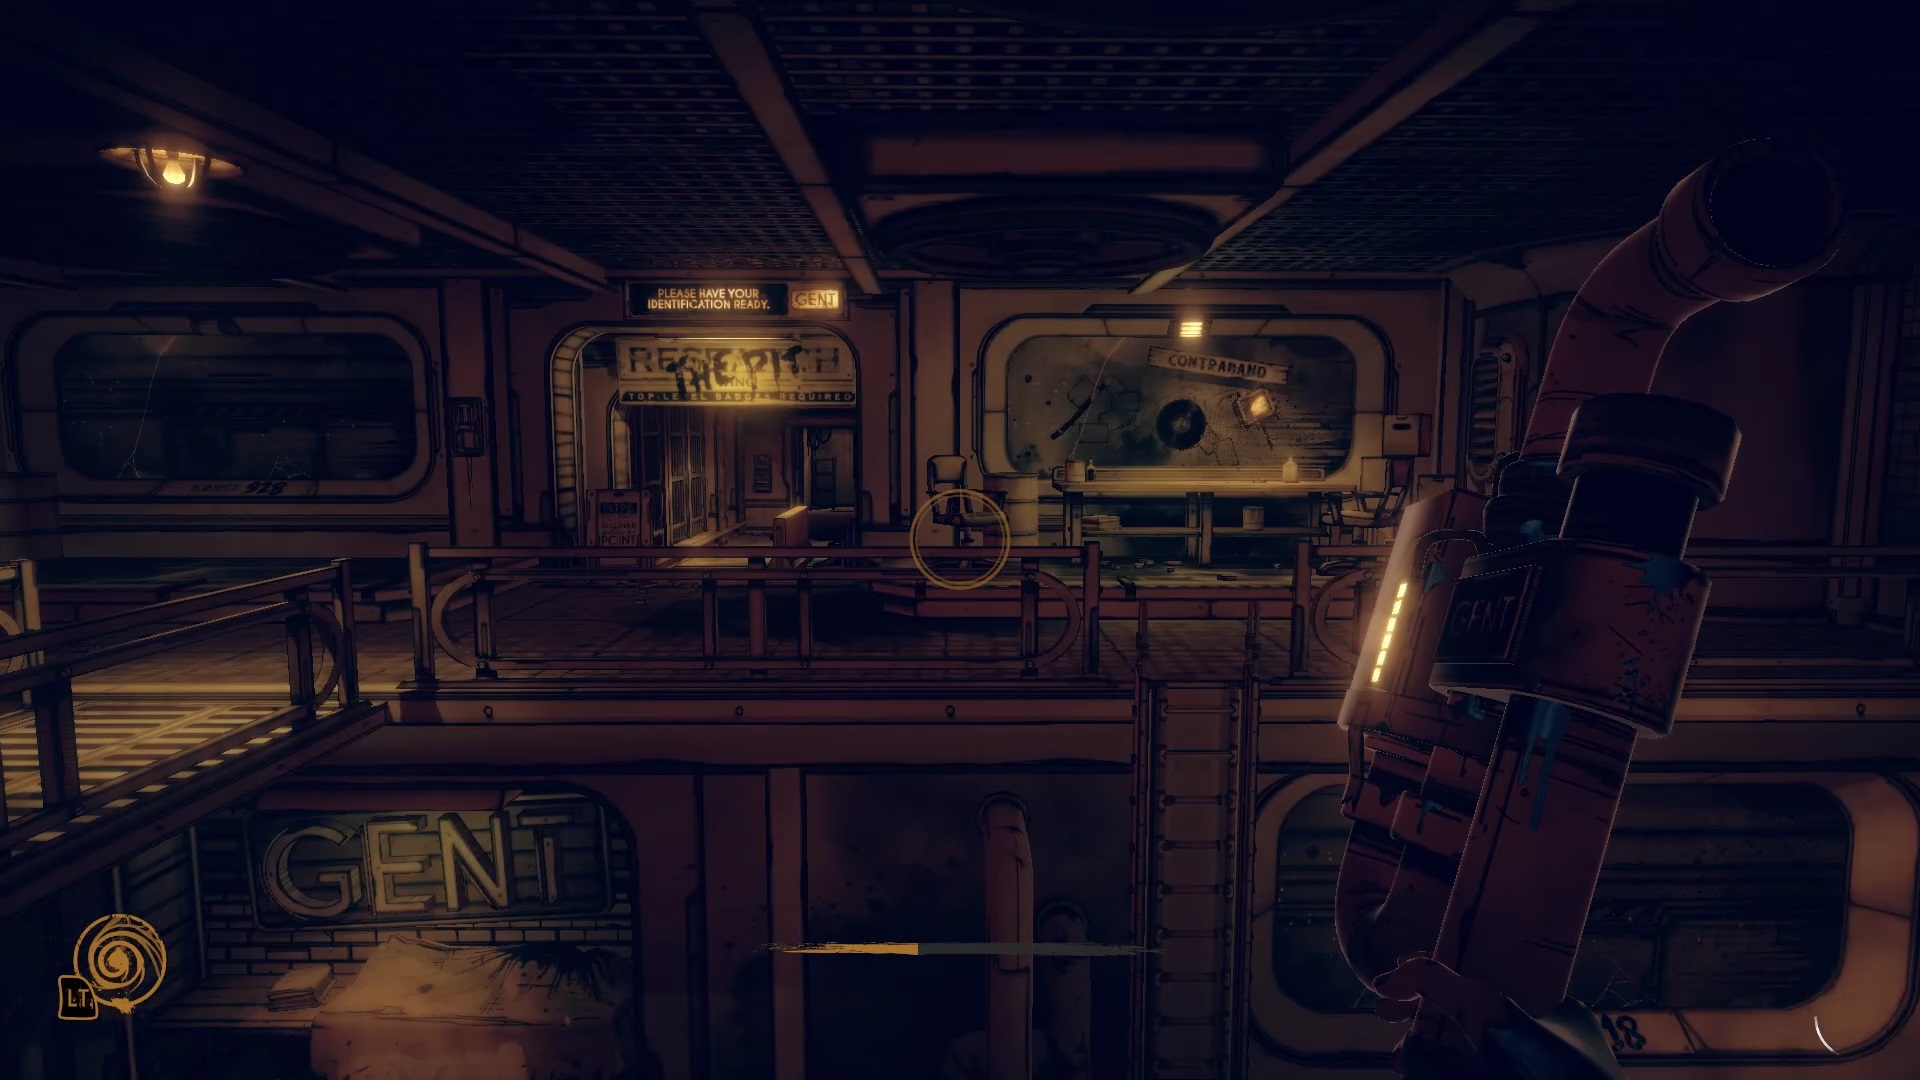
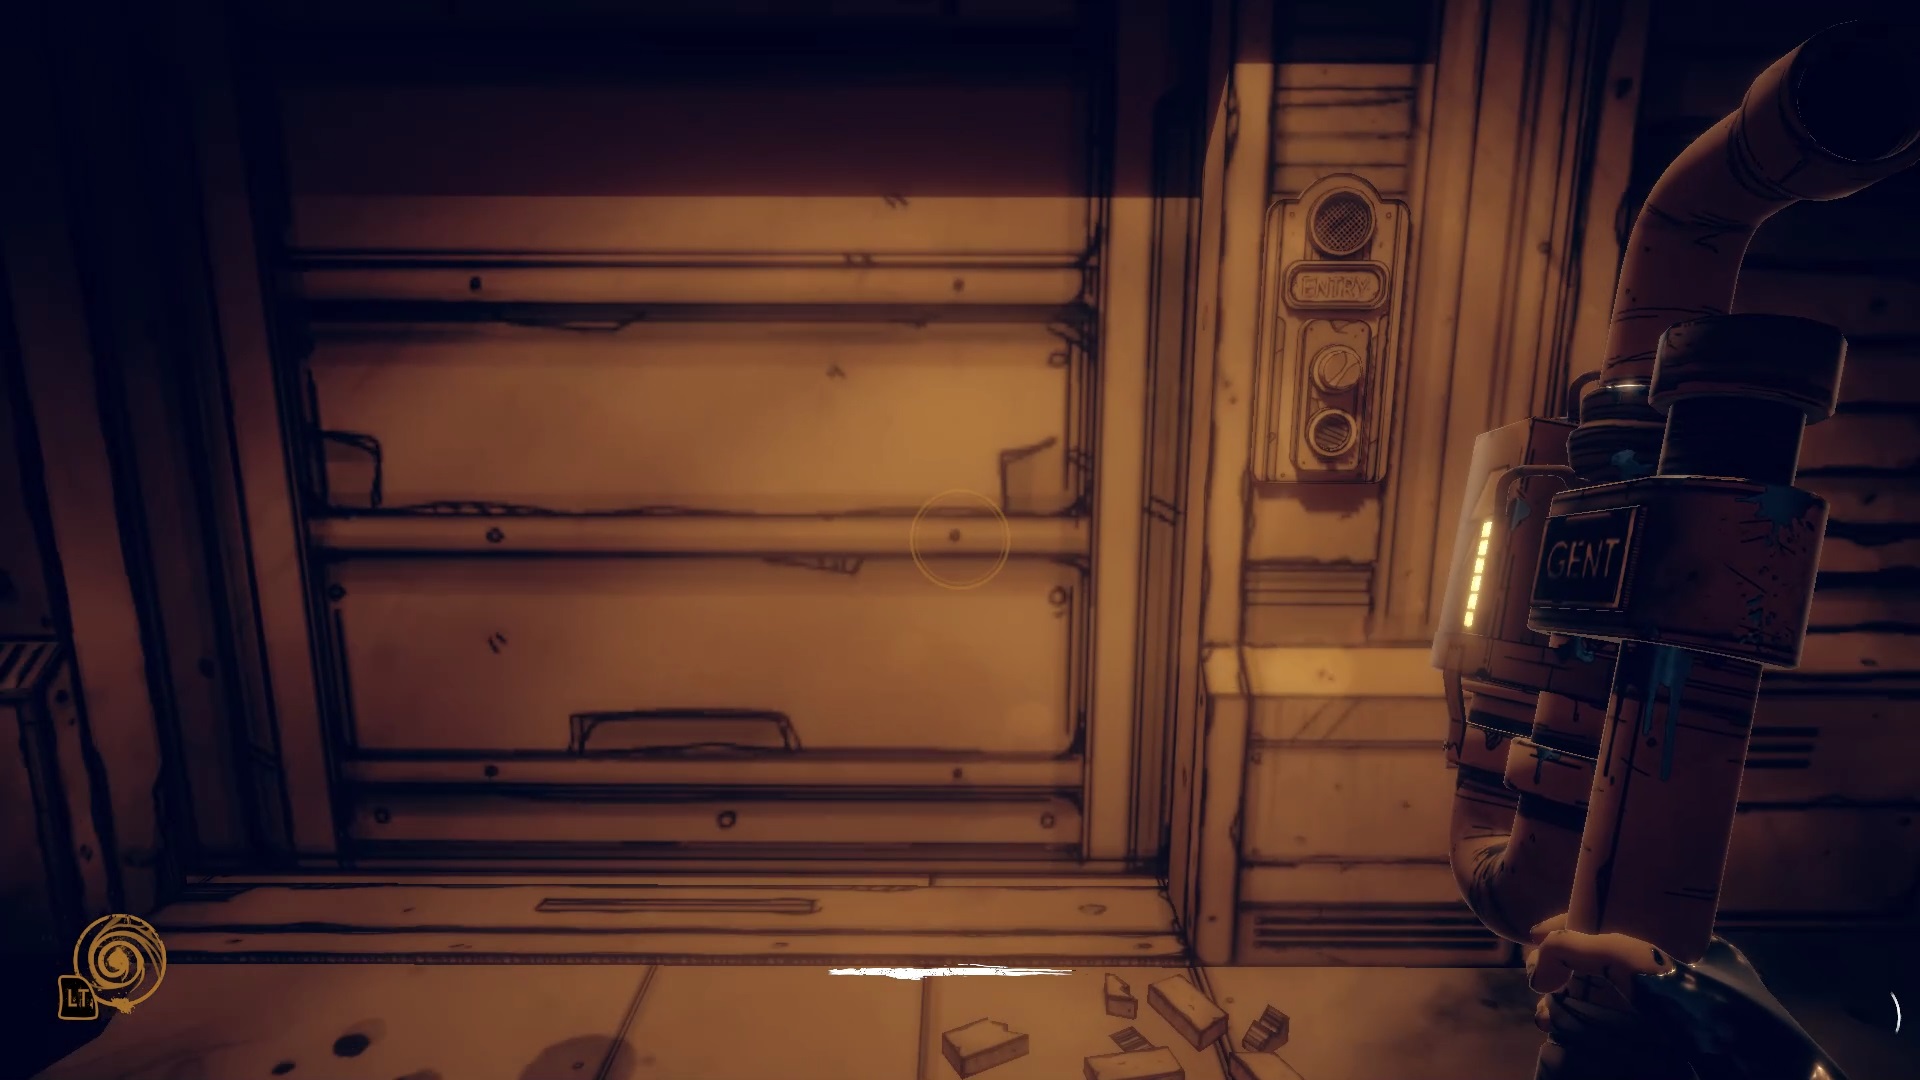
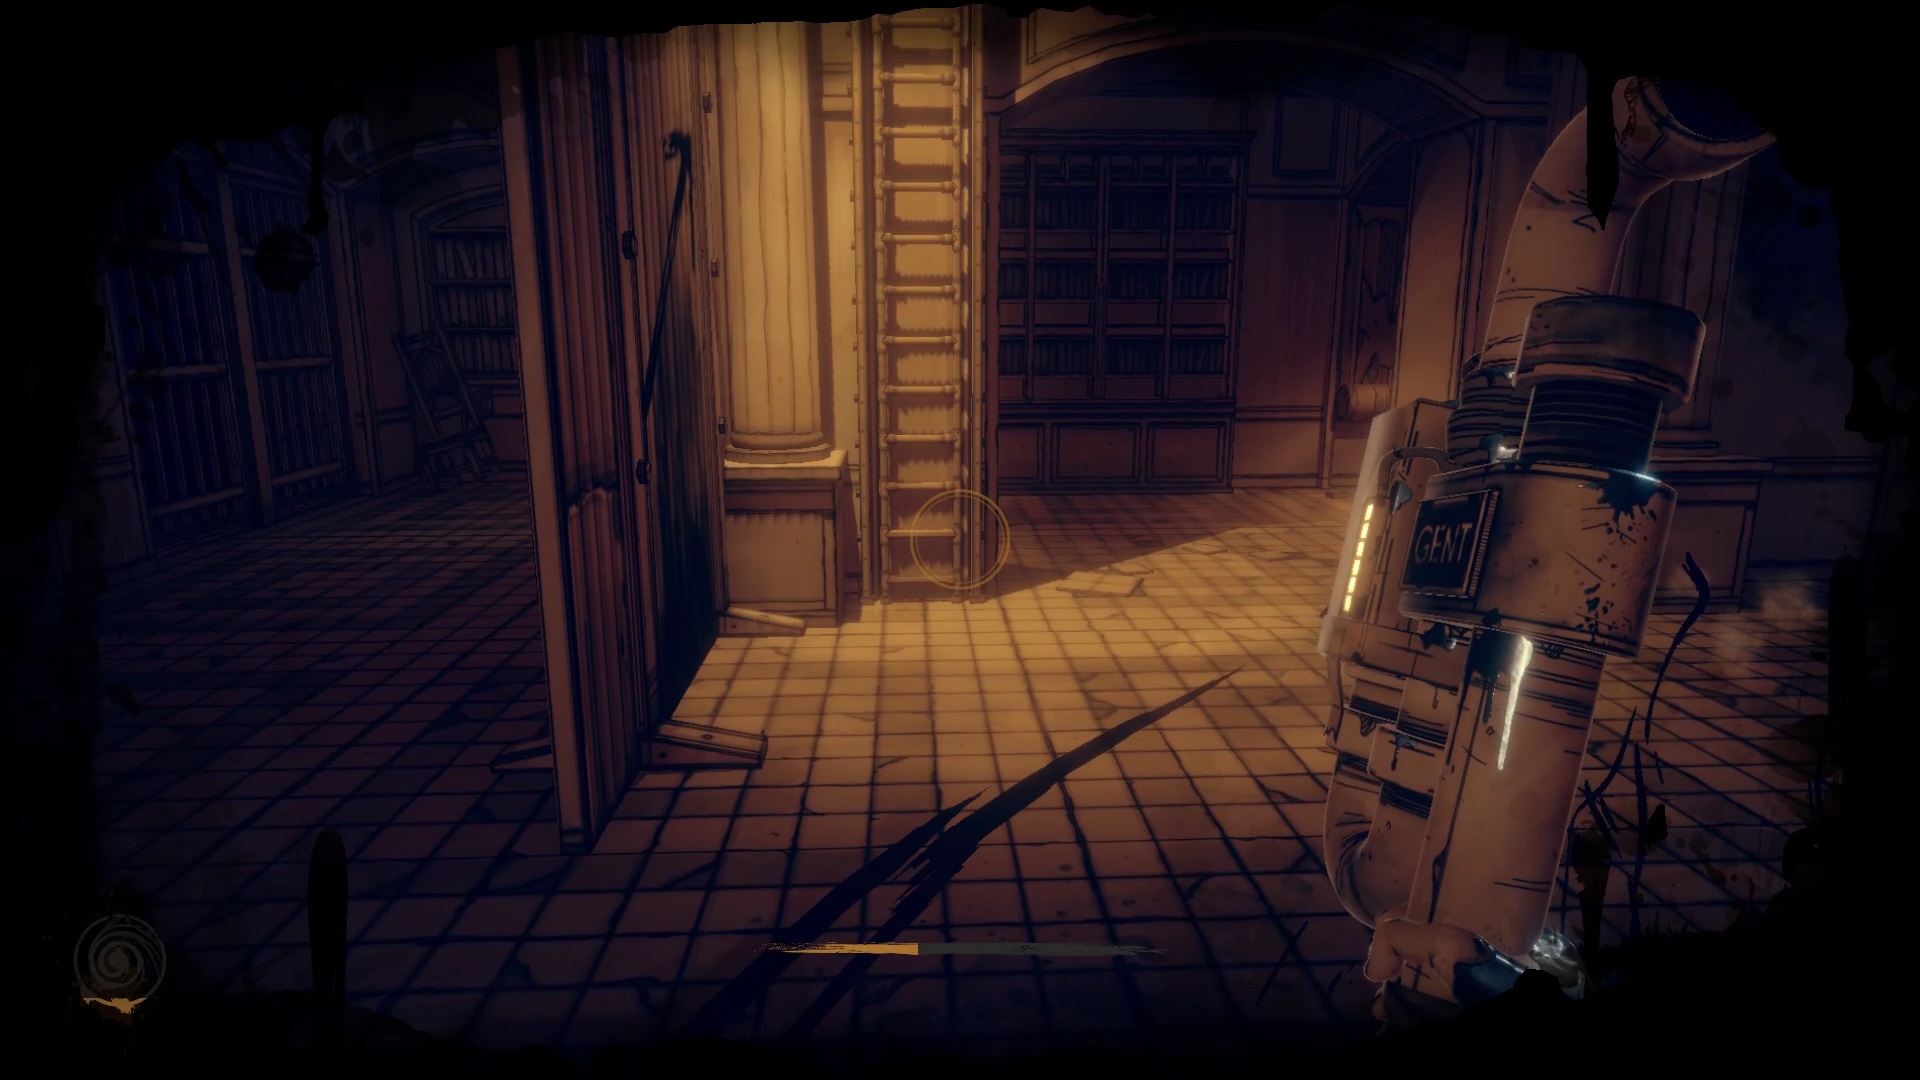
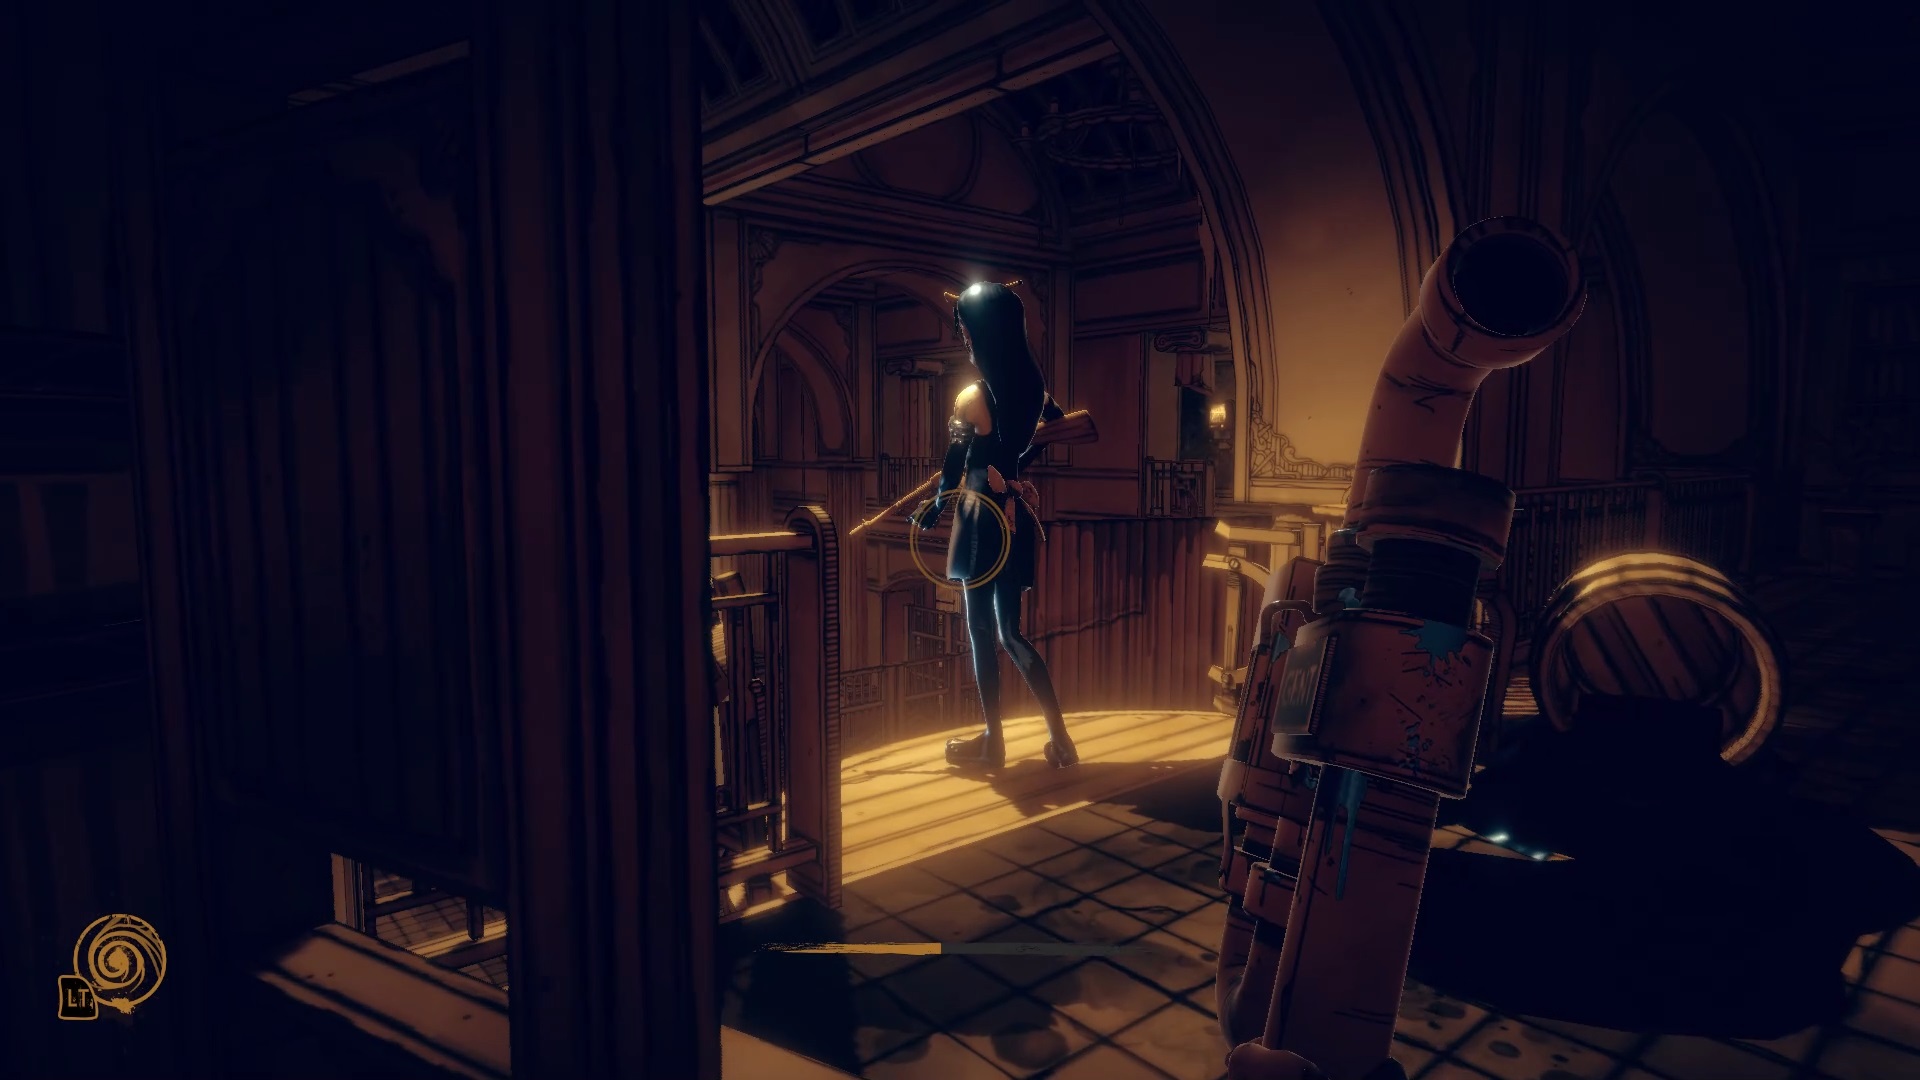
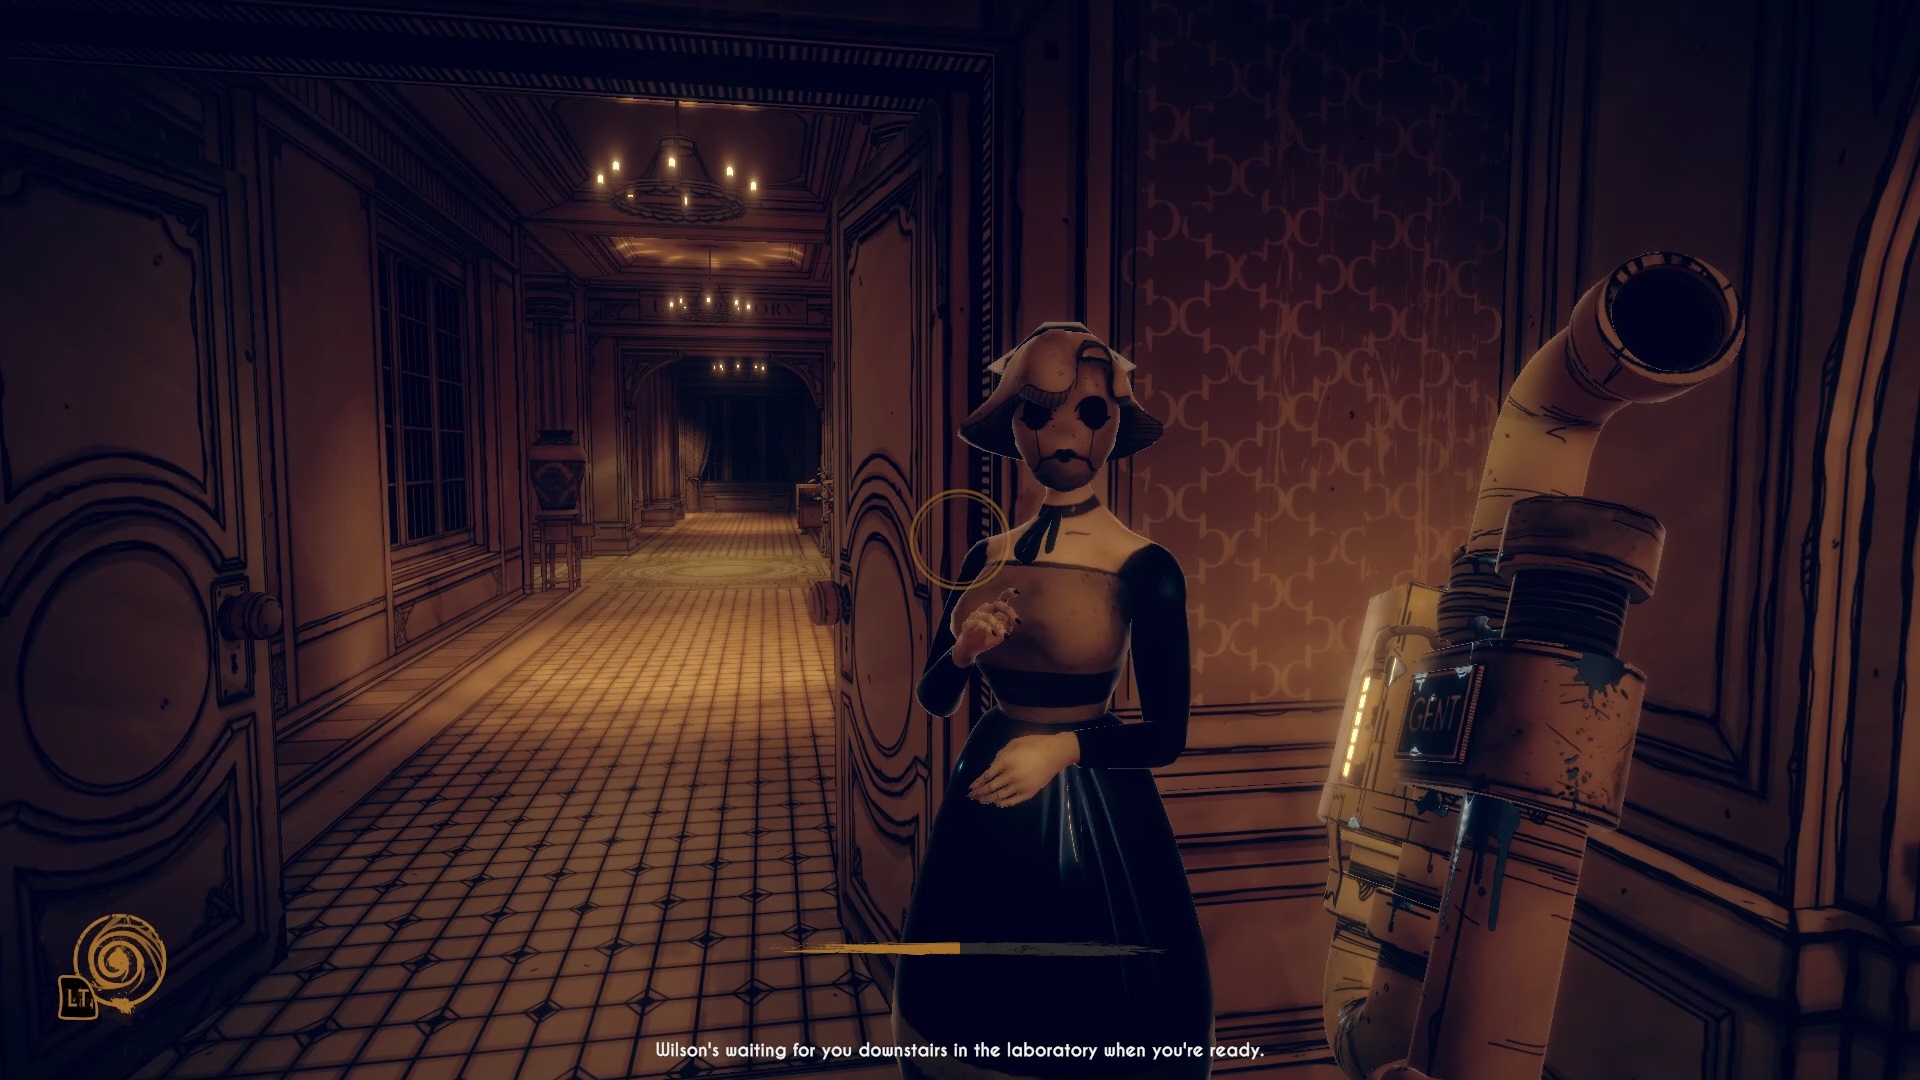
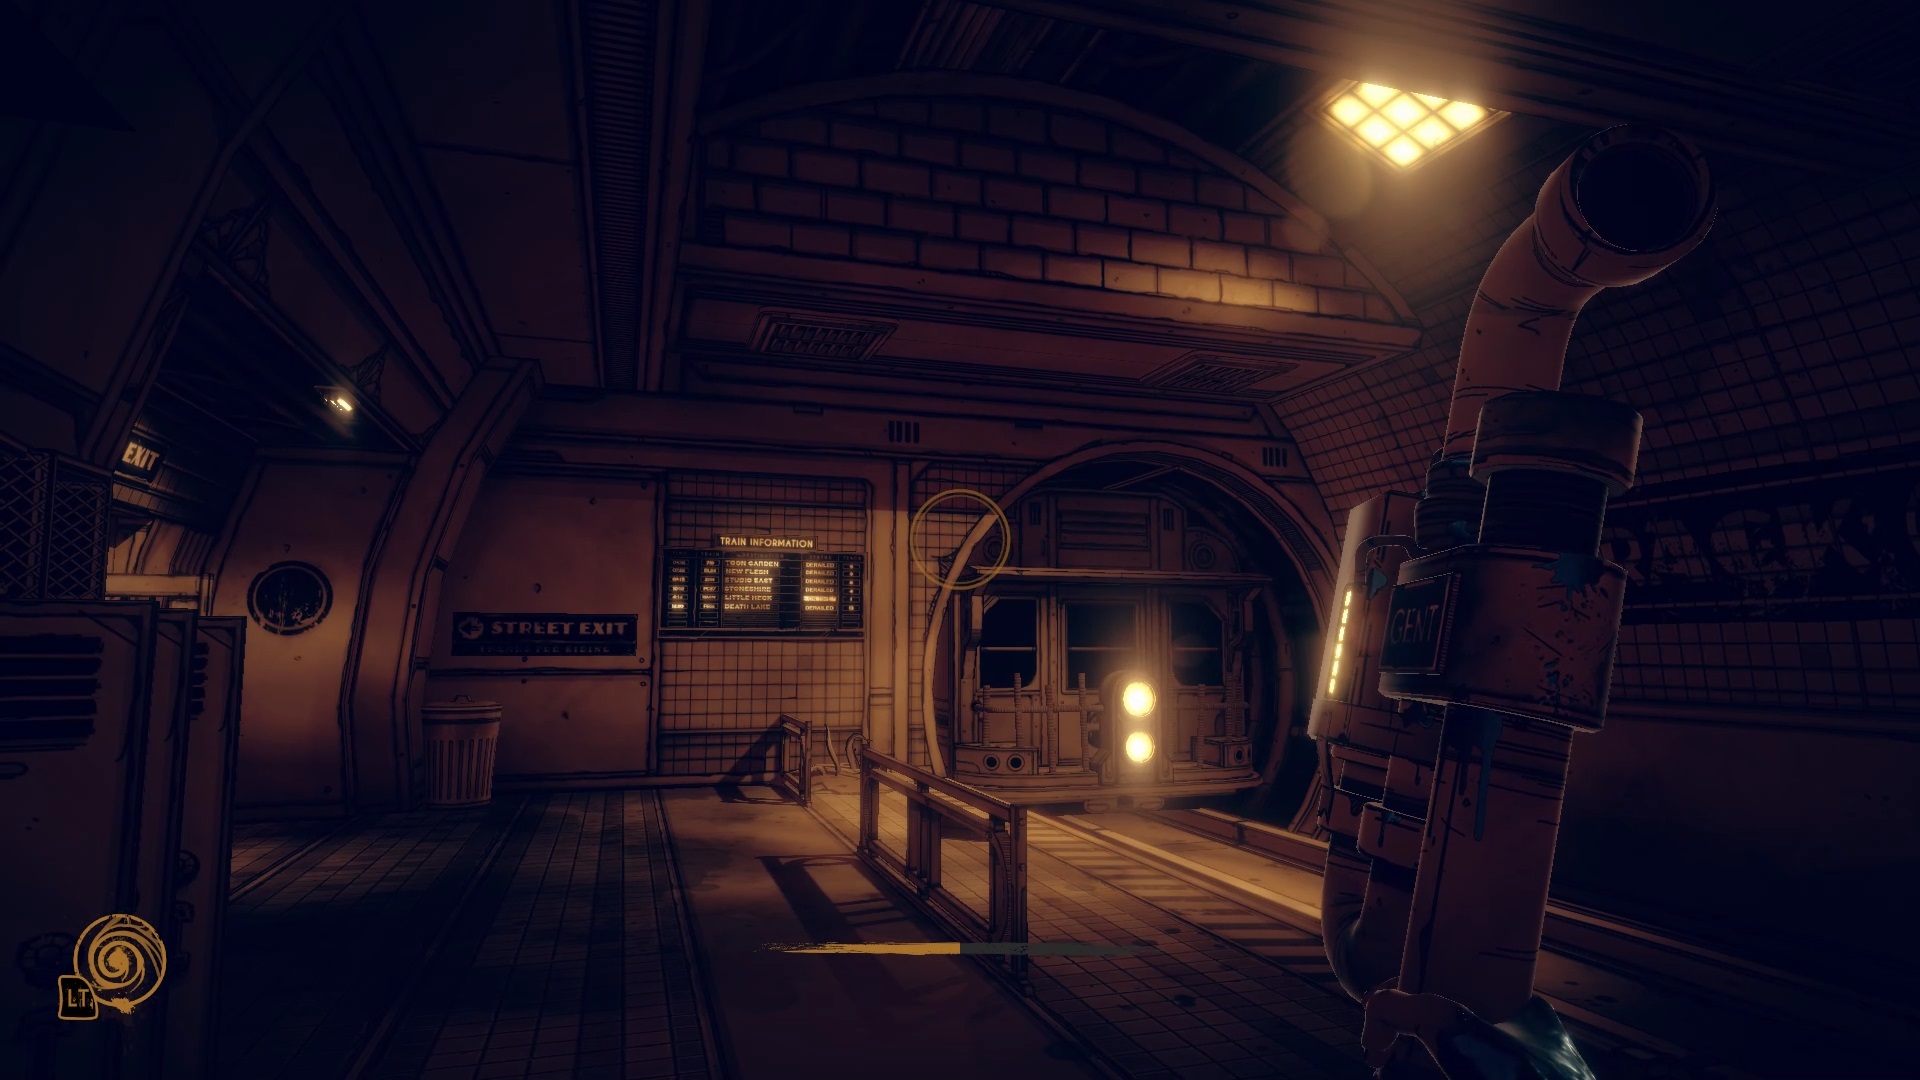
In the subway, get your weapon on the seat at the bottom to trigger the opening of the doors. Then follow Wilson up the stairs. At the top of the stairs, stand on the location to get an instruction from the Keeper. Drop your weapon on the nearby workshop. Then join Wilson in his mansion. After the cutscene, follow Betty to your room. Inside, examine the list on the dresser. Then go out into the hallway to reach the library.
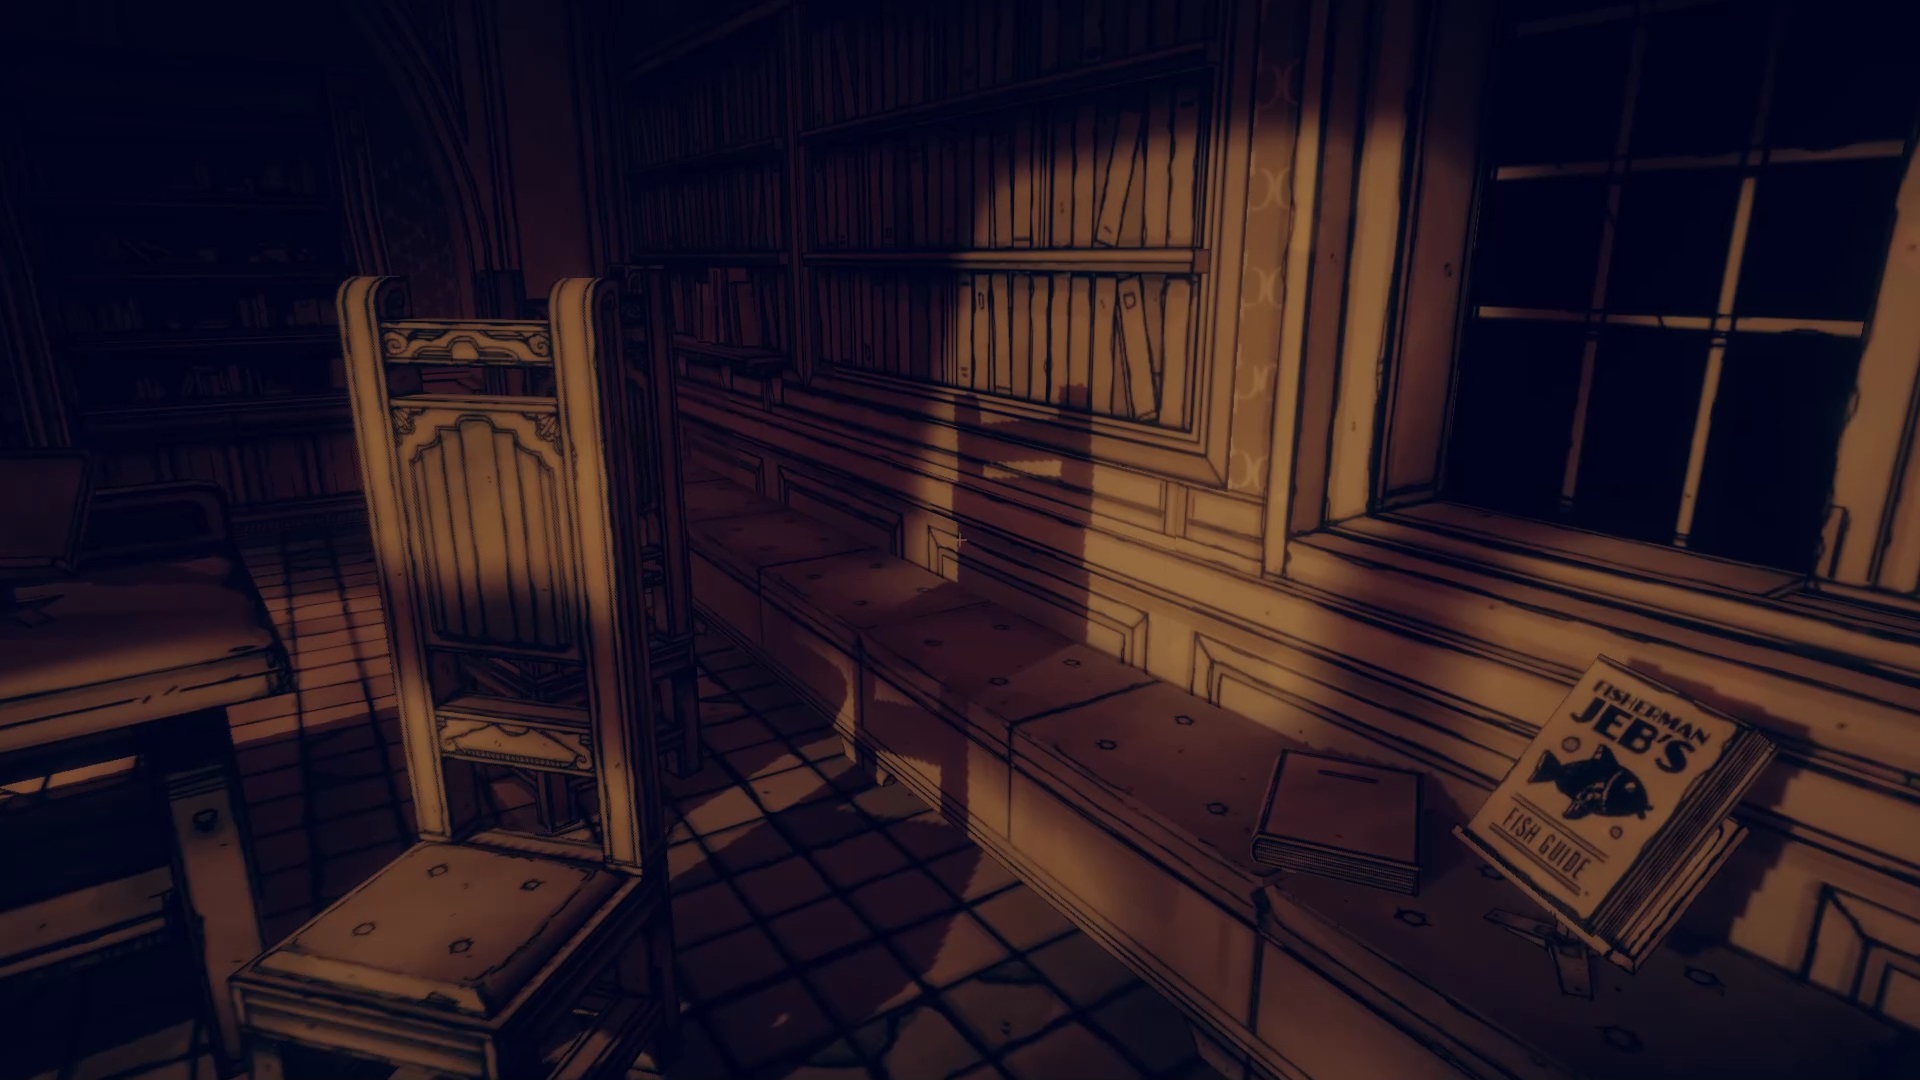
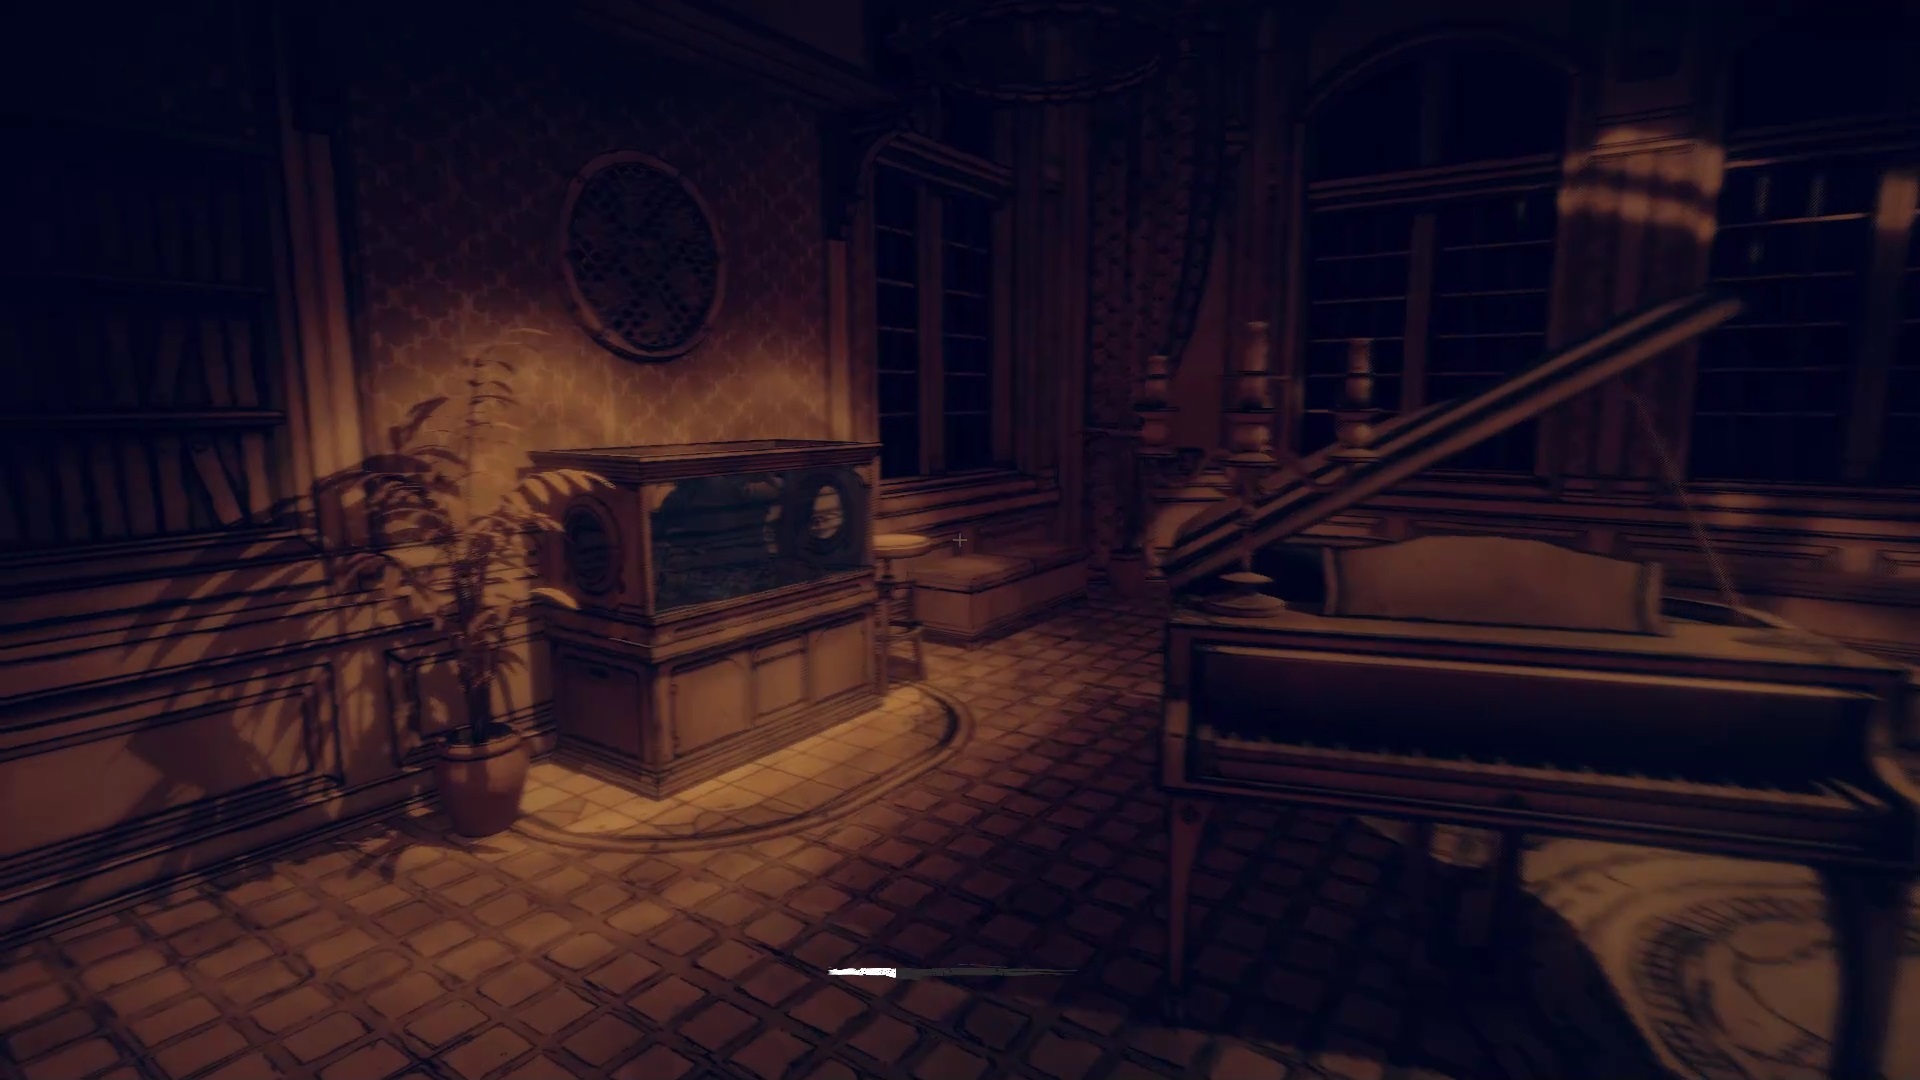
Examine the fish book to get a new objective. Go to the conservatory down the hall. Move the piano to the side to bring it closer to the fish. Play a key to charm the fish and capture it in the aquarium. Then follow the objective marker for drinking glasses in your bathroom.
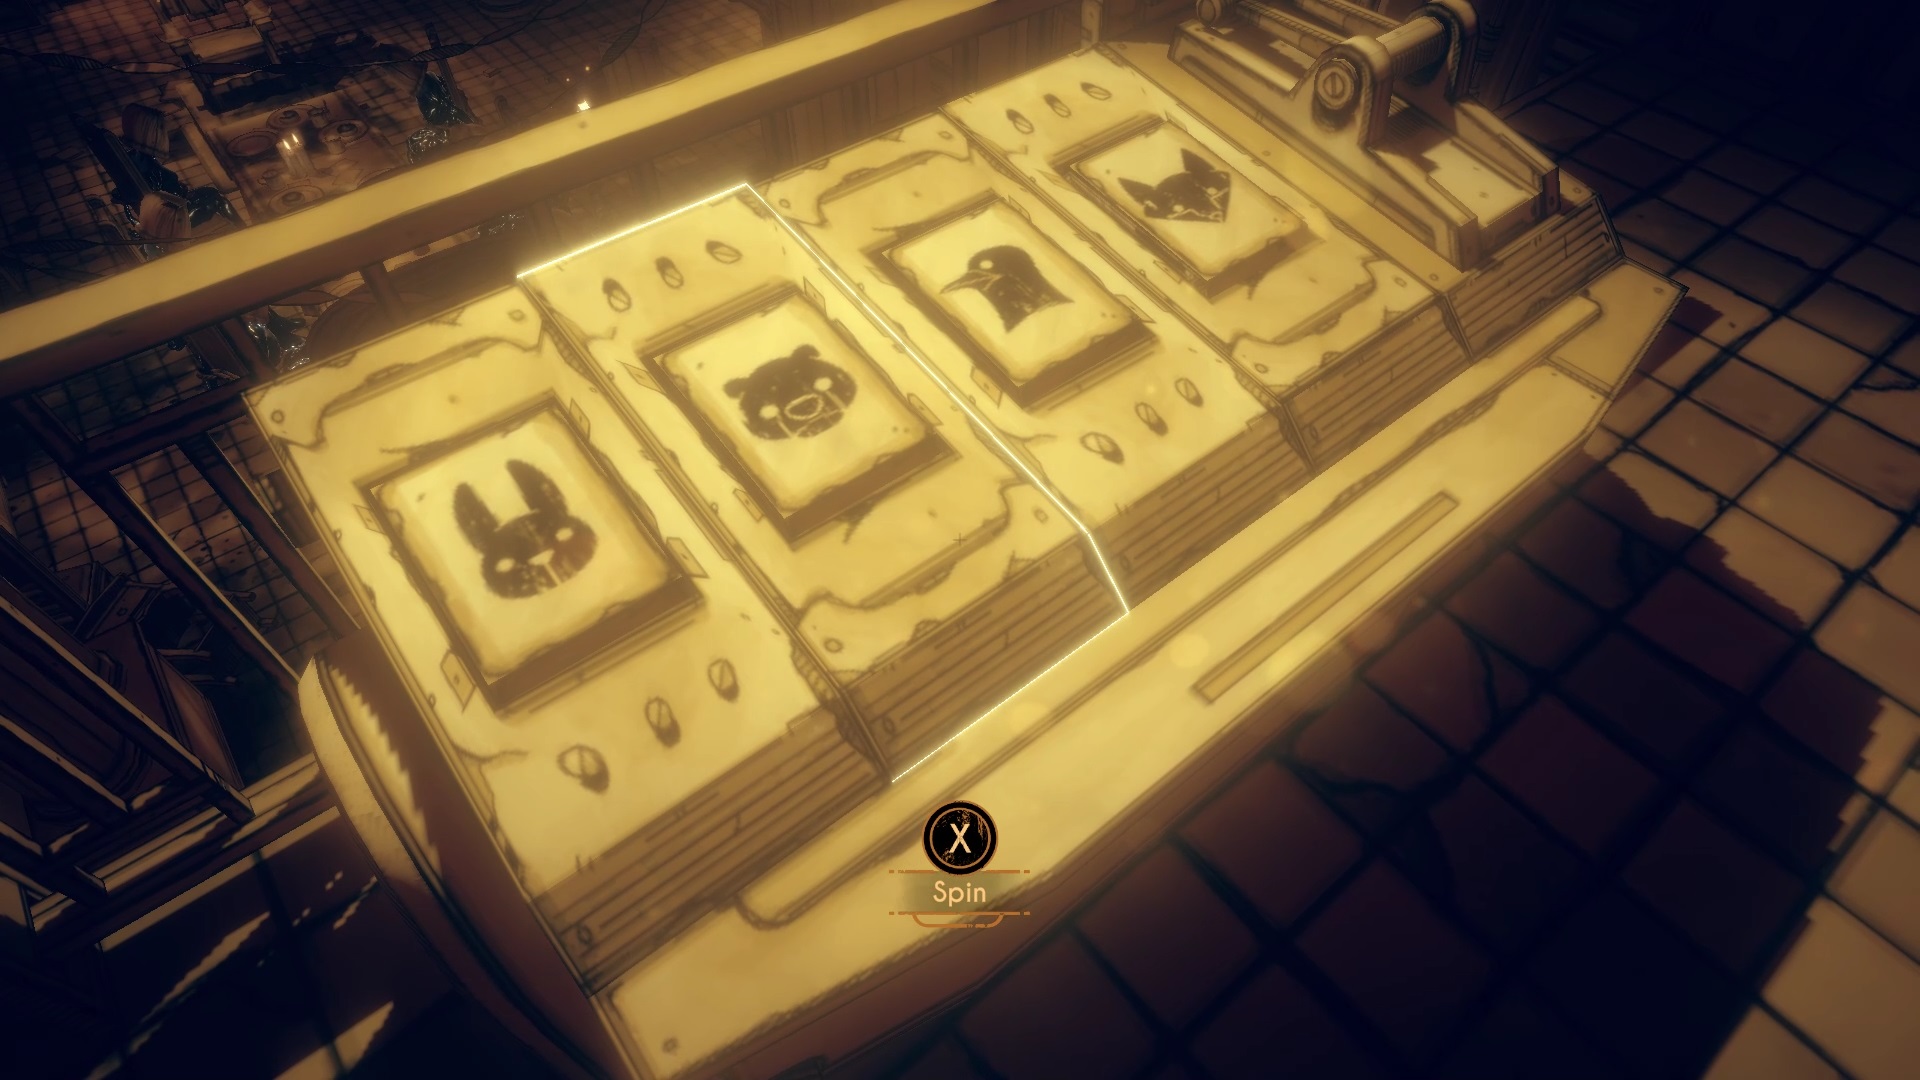
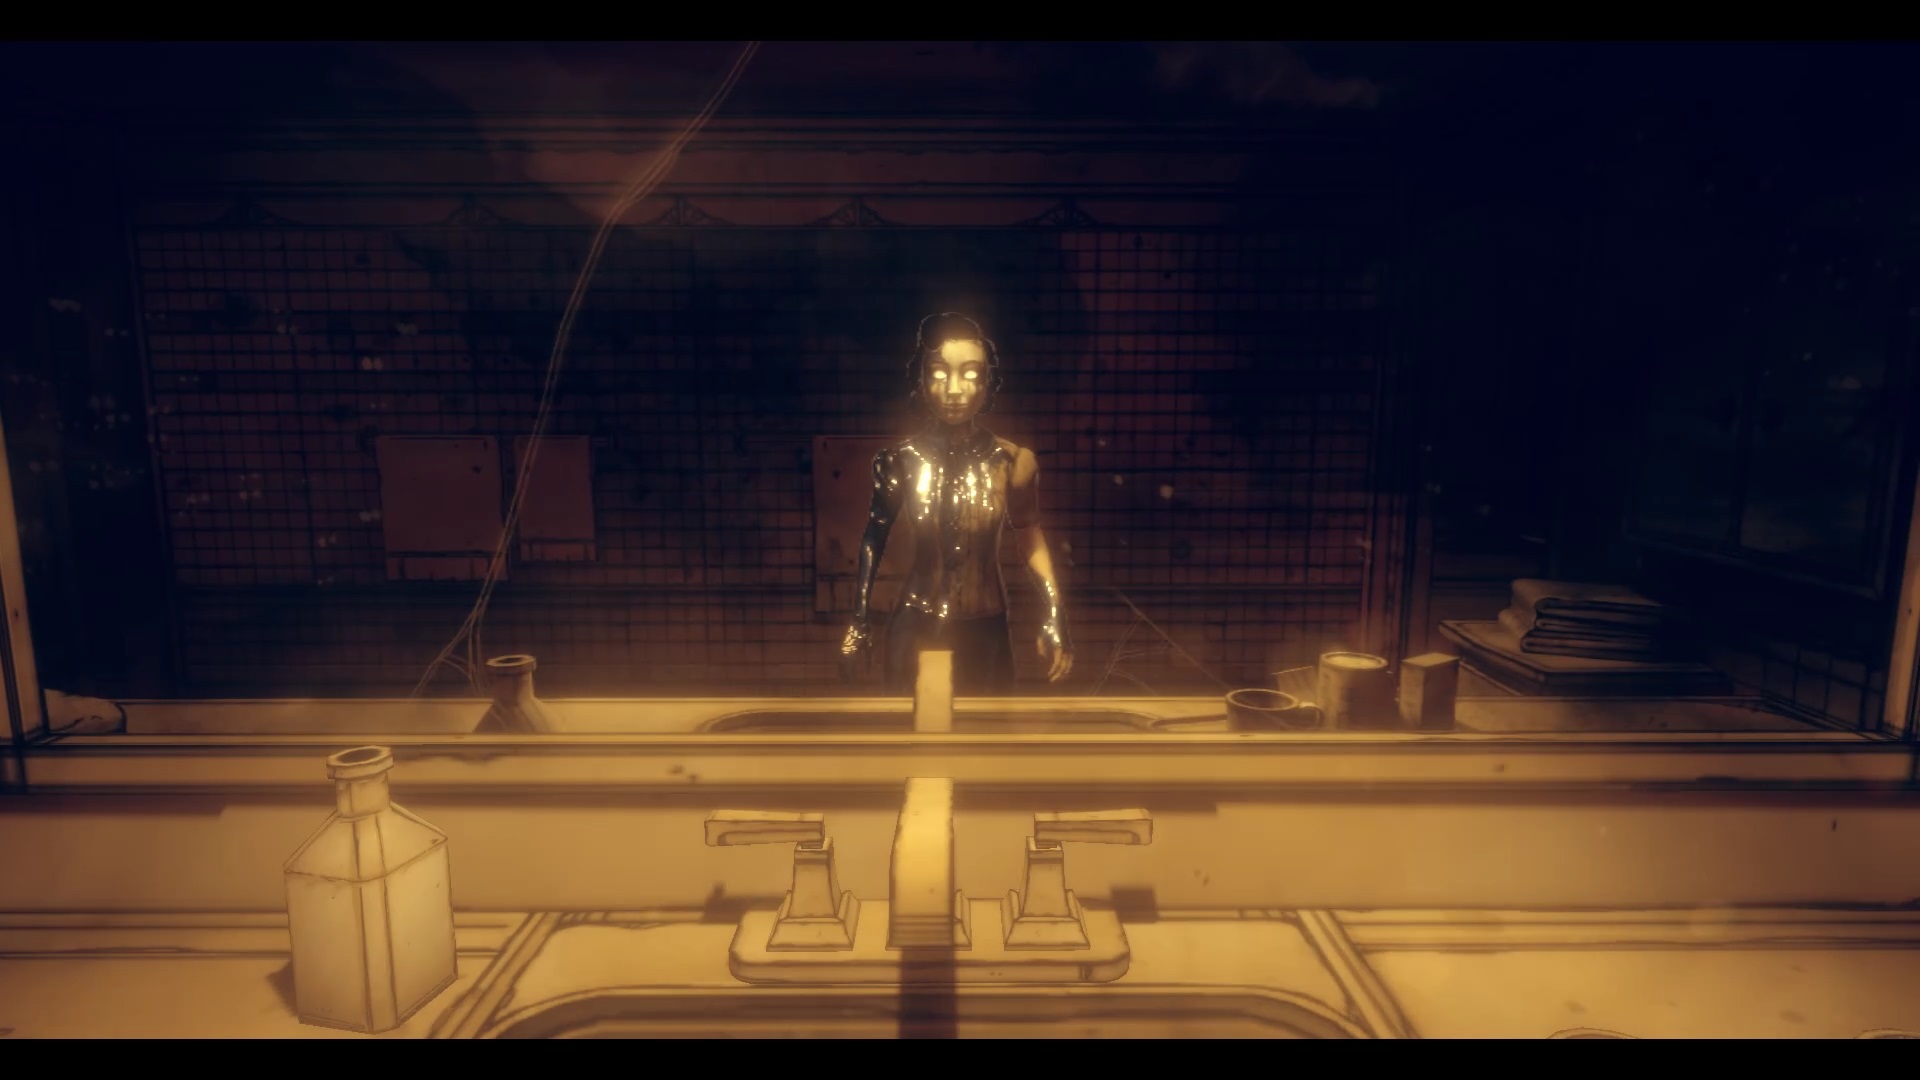
You wake up in a trapped room. You will have to solve a puzzle to survive. Climb onto the platform behind Angel and place the animals in the following order: rabbit, bear, bird, fox. Pull the lever and go back to your seat to solve the puzzle. Join the exit and recover your pipe on a workshop. Beware of enemies rising to get you. After getting rid of it, charge your energy pipe. Use your pipe on the lightning rod to disable it. Climb the ladder to access the heights. Use the power flow to reach the balcony opposite.
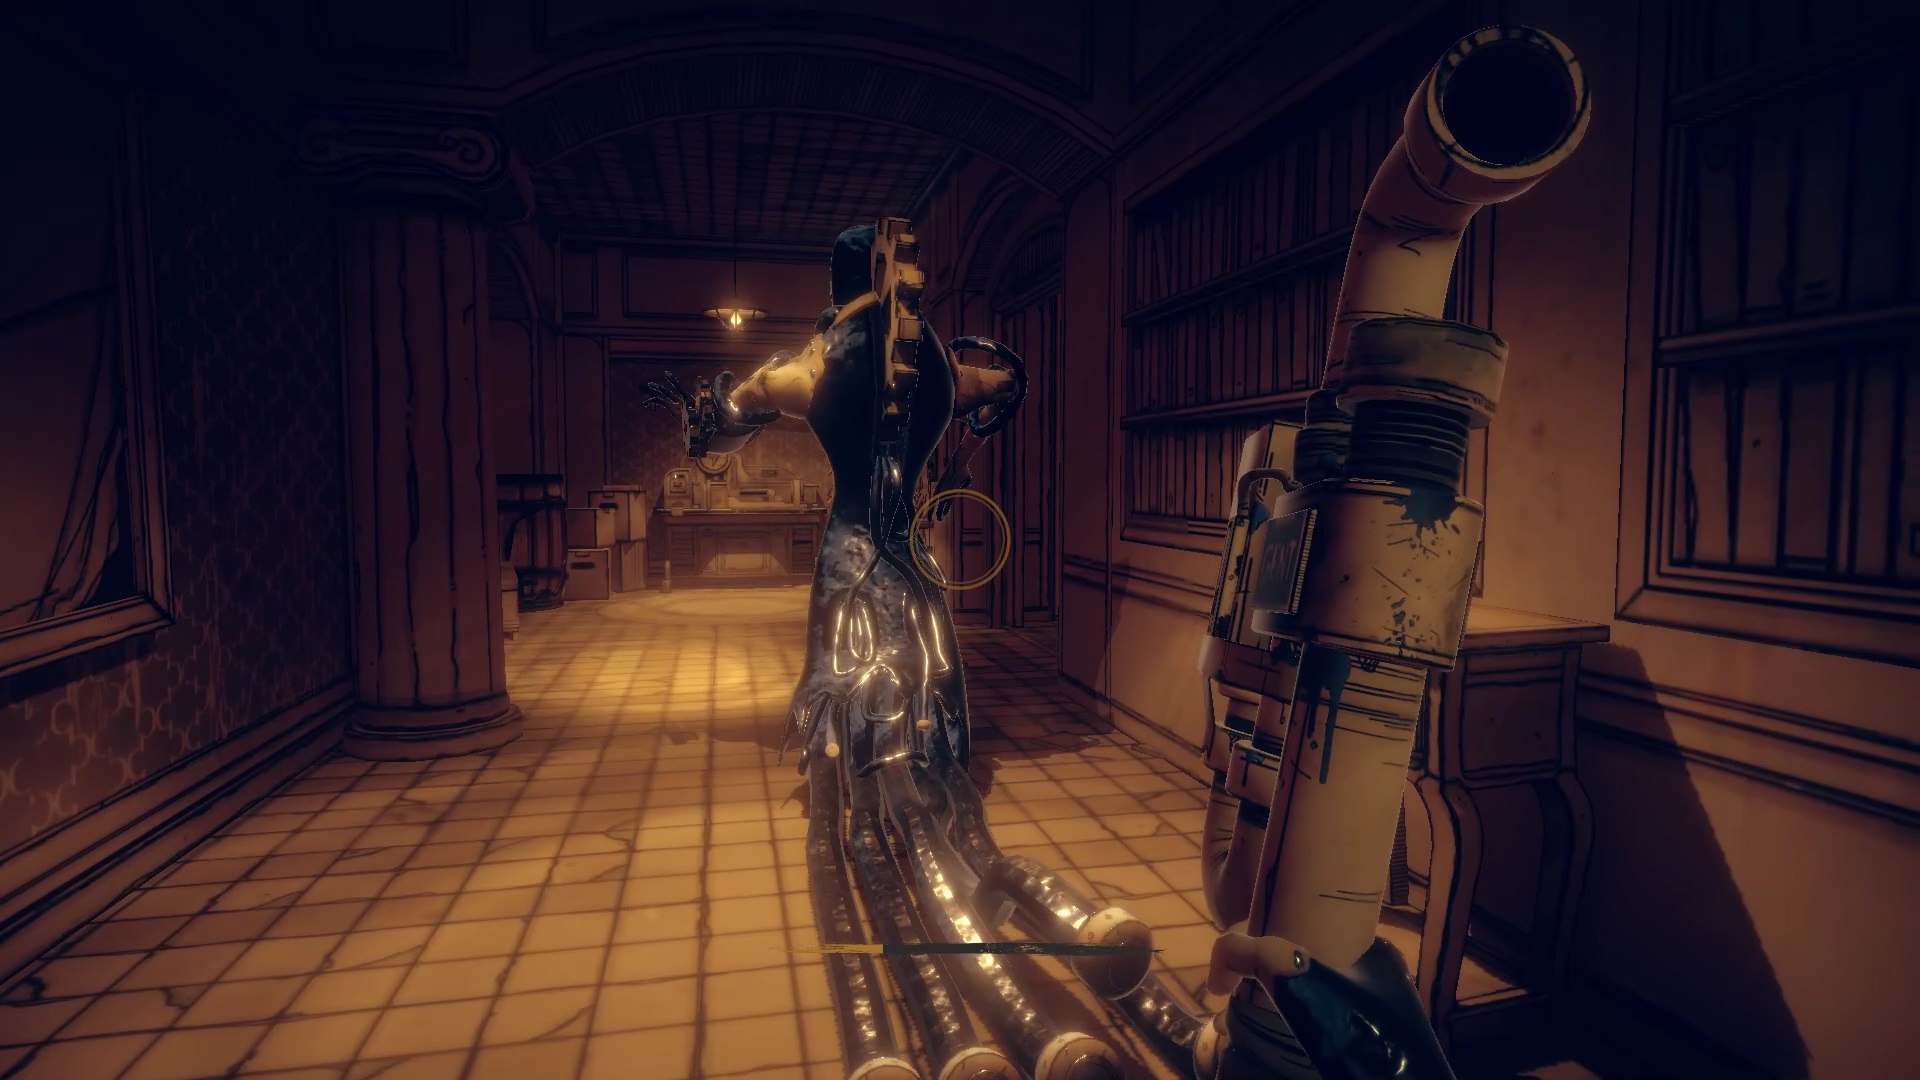
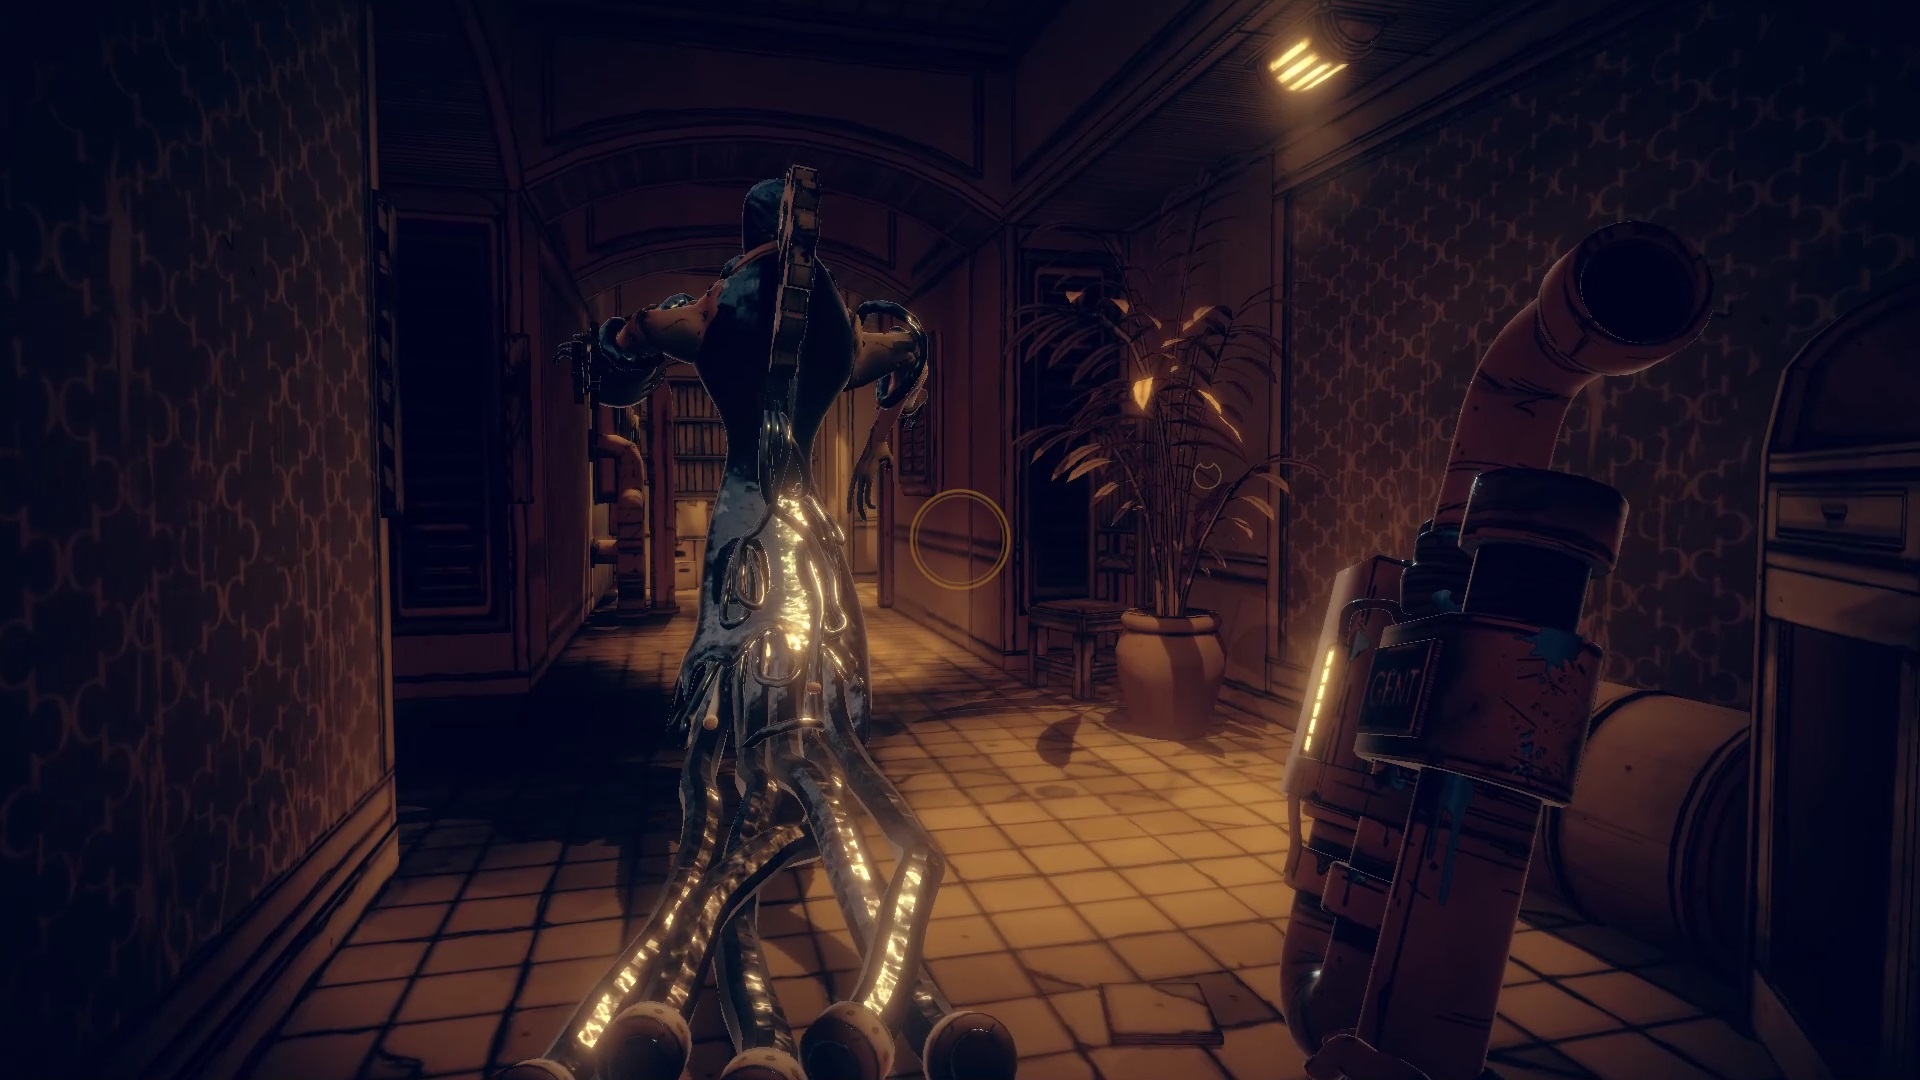
Advancing Angel challenges you to a duel. Watch out for bullets and move after volleys. Use the power of flow to make your moves easier. Start by exploring the hallway to the left of the hall. You will find a gate giving access to a workshop. Use the workshop to charge your energy pipe. Then climb the ladder on the right side of the hall. Use the pipe to unlock the secure door and pull a lever behind it.
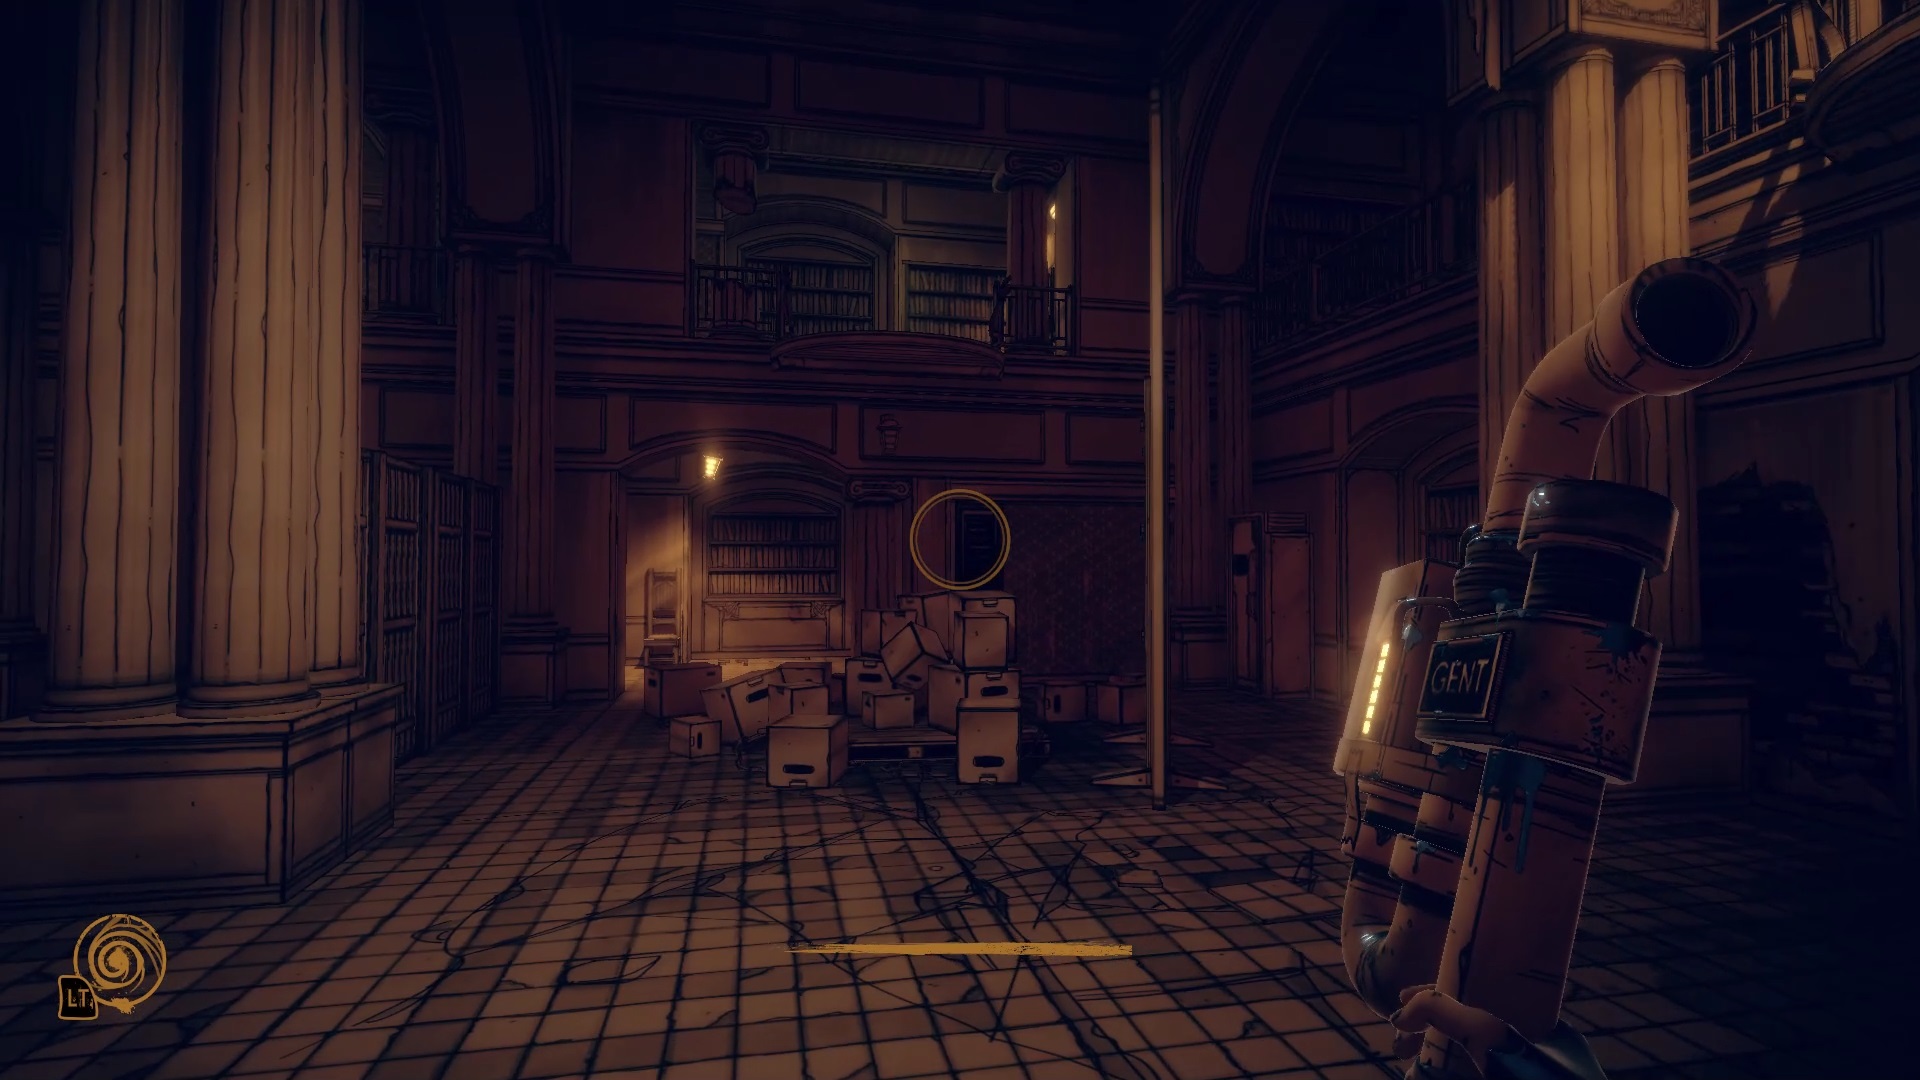
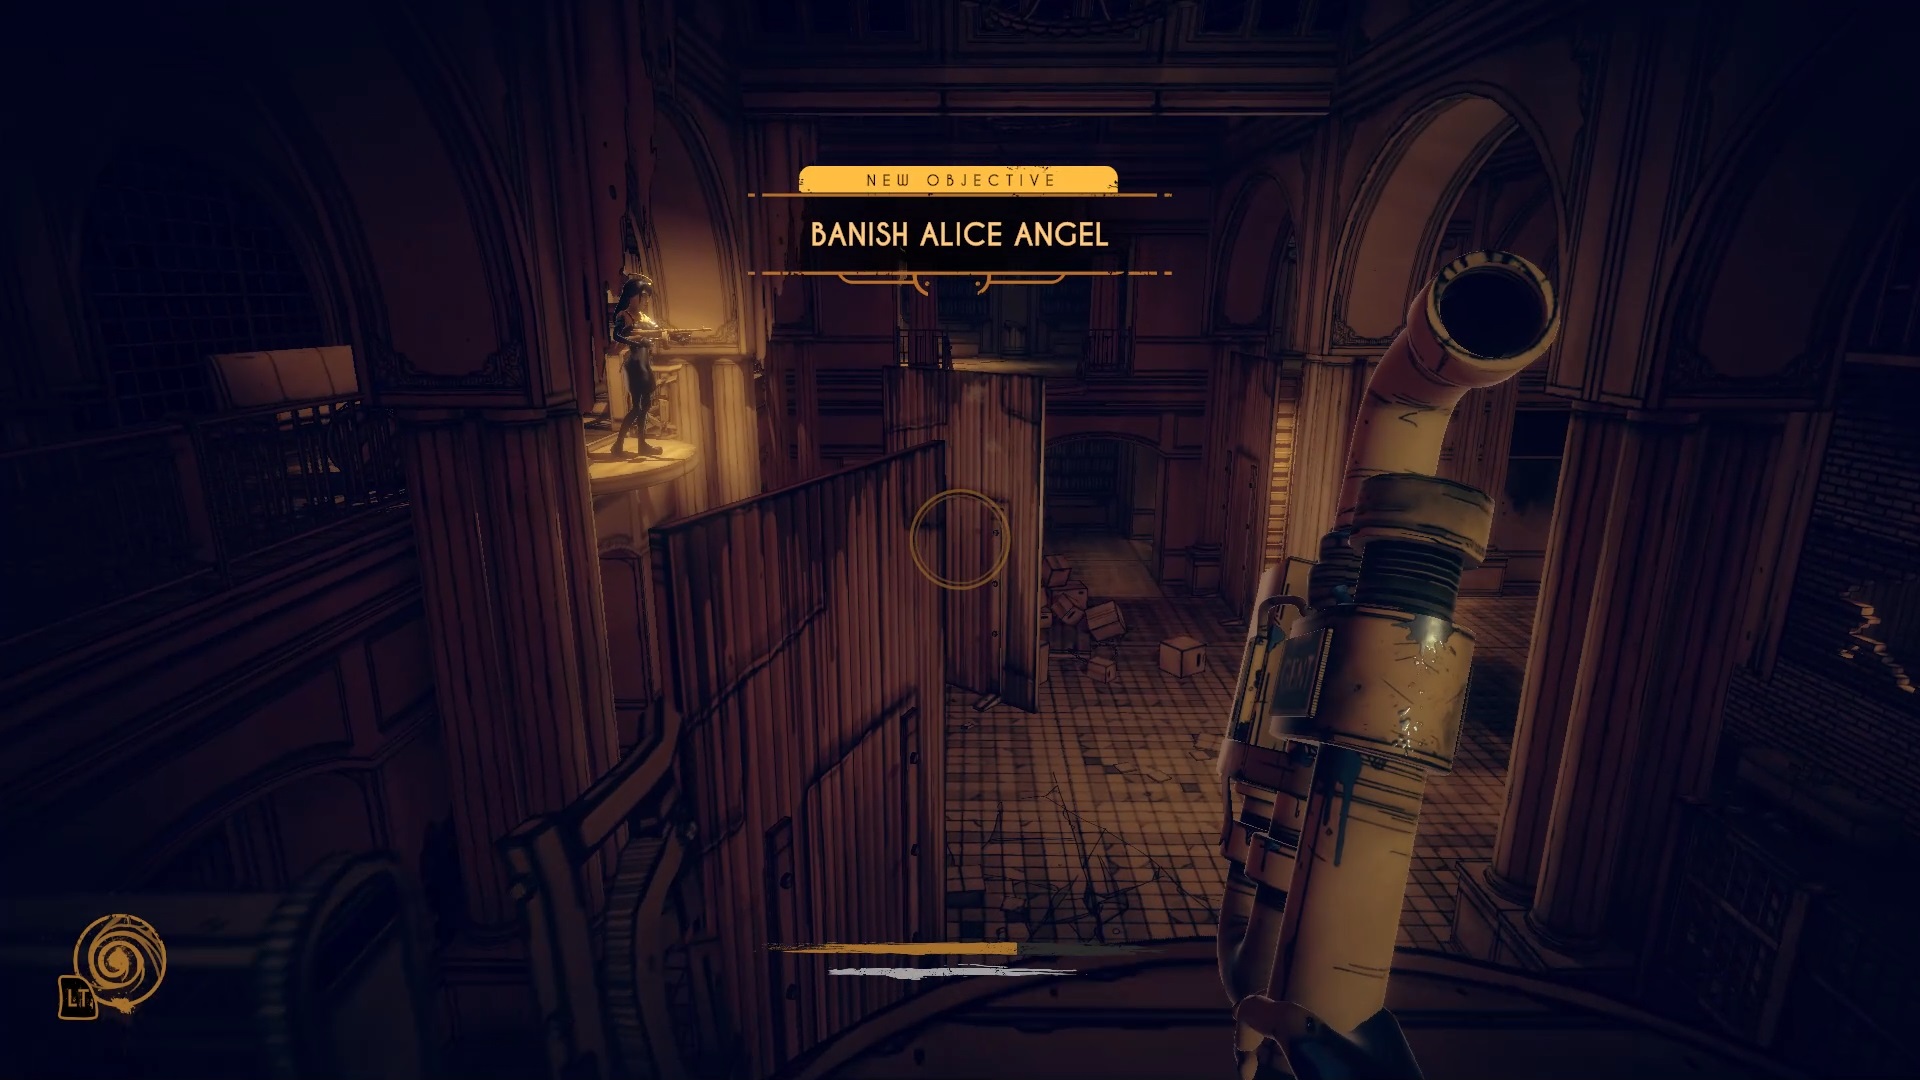
Go back down and reload your pipe. Then climb on the pile of cardboard to access the opposite heights with the power flow. Unlock the secure door and pull the second lever. New boxes fell in the hall. Climb the stack to reach Alice’s balcony and banish her. Continue forward after the fight to fall on the Keepers.
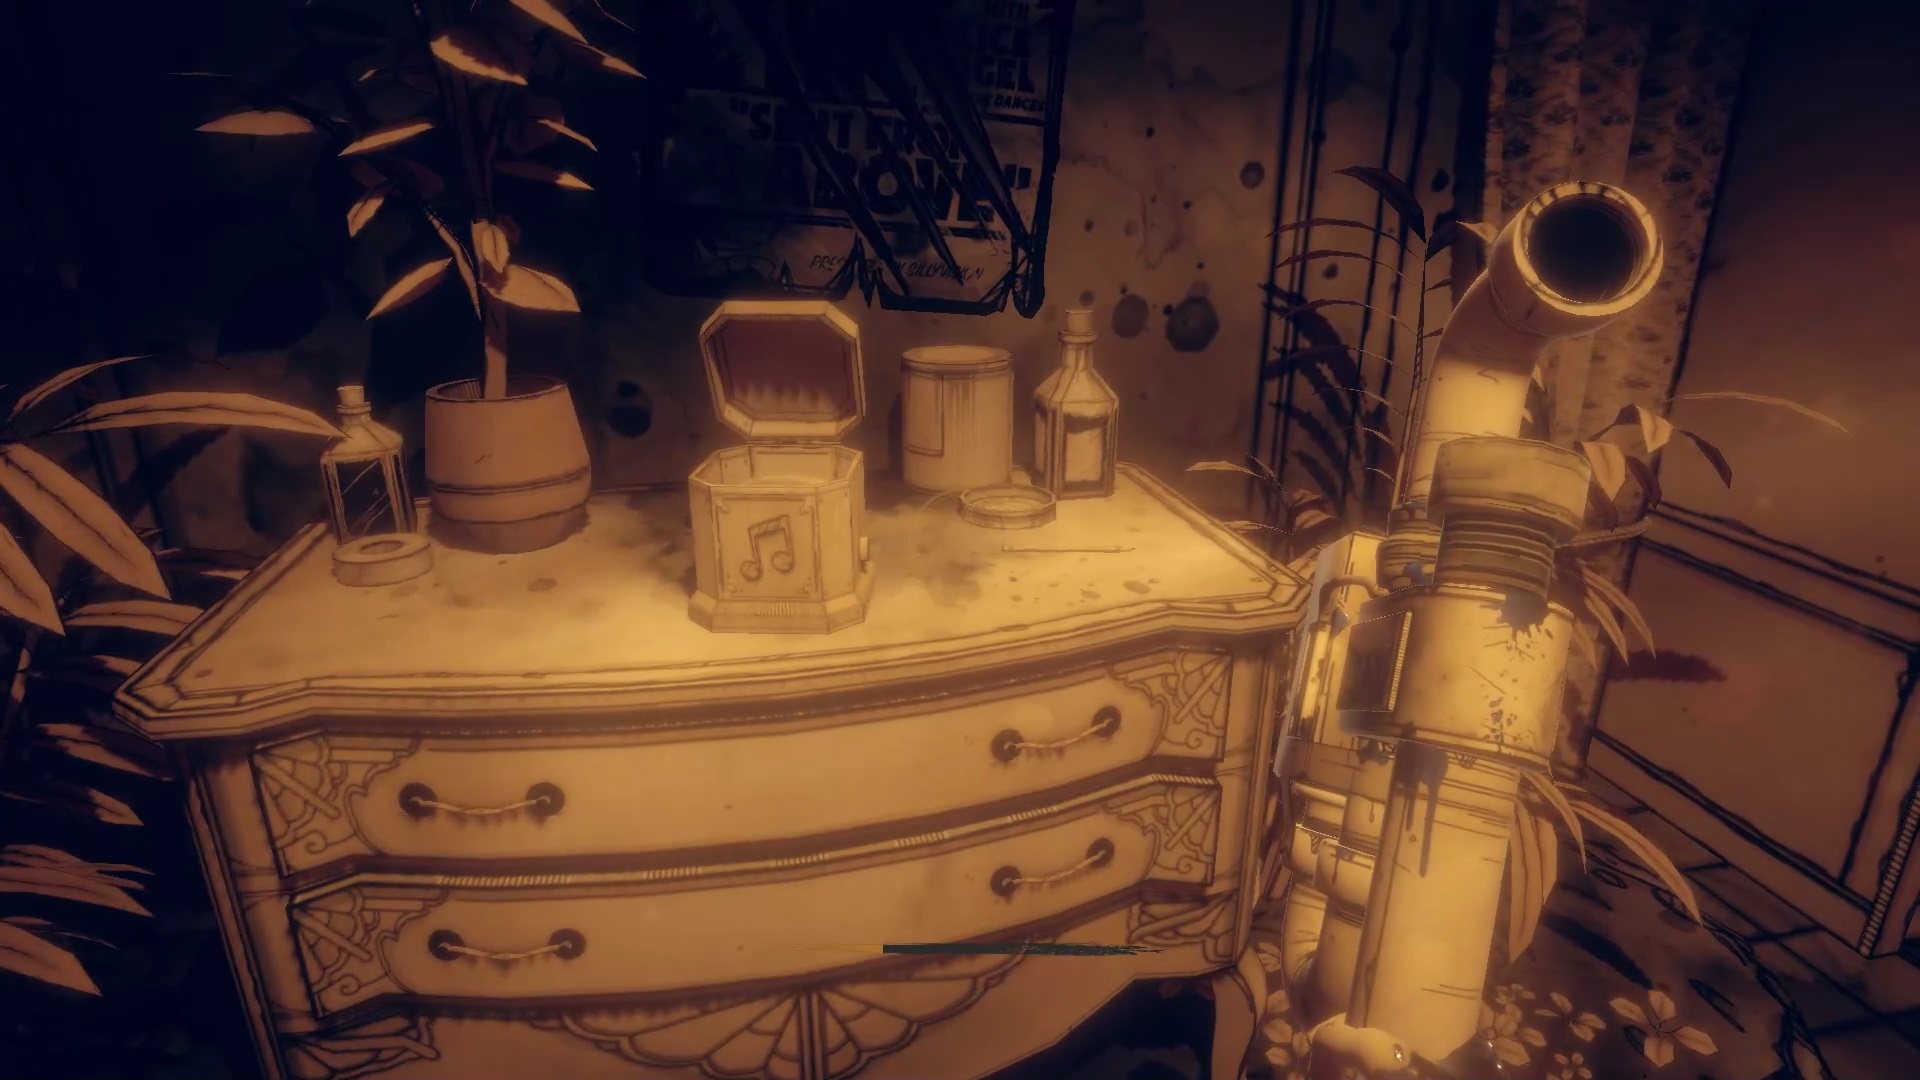
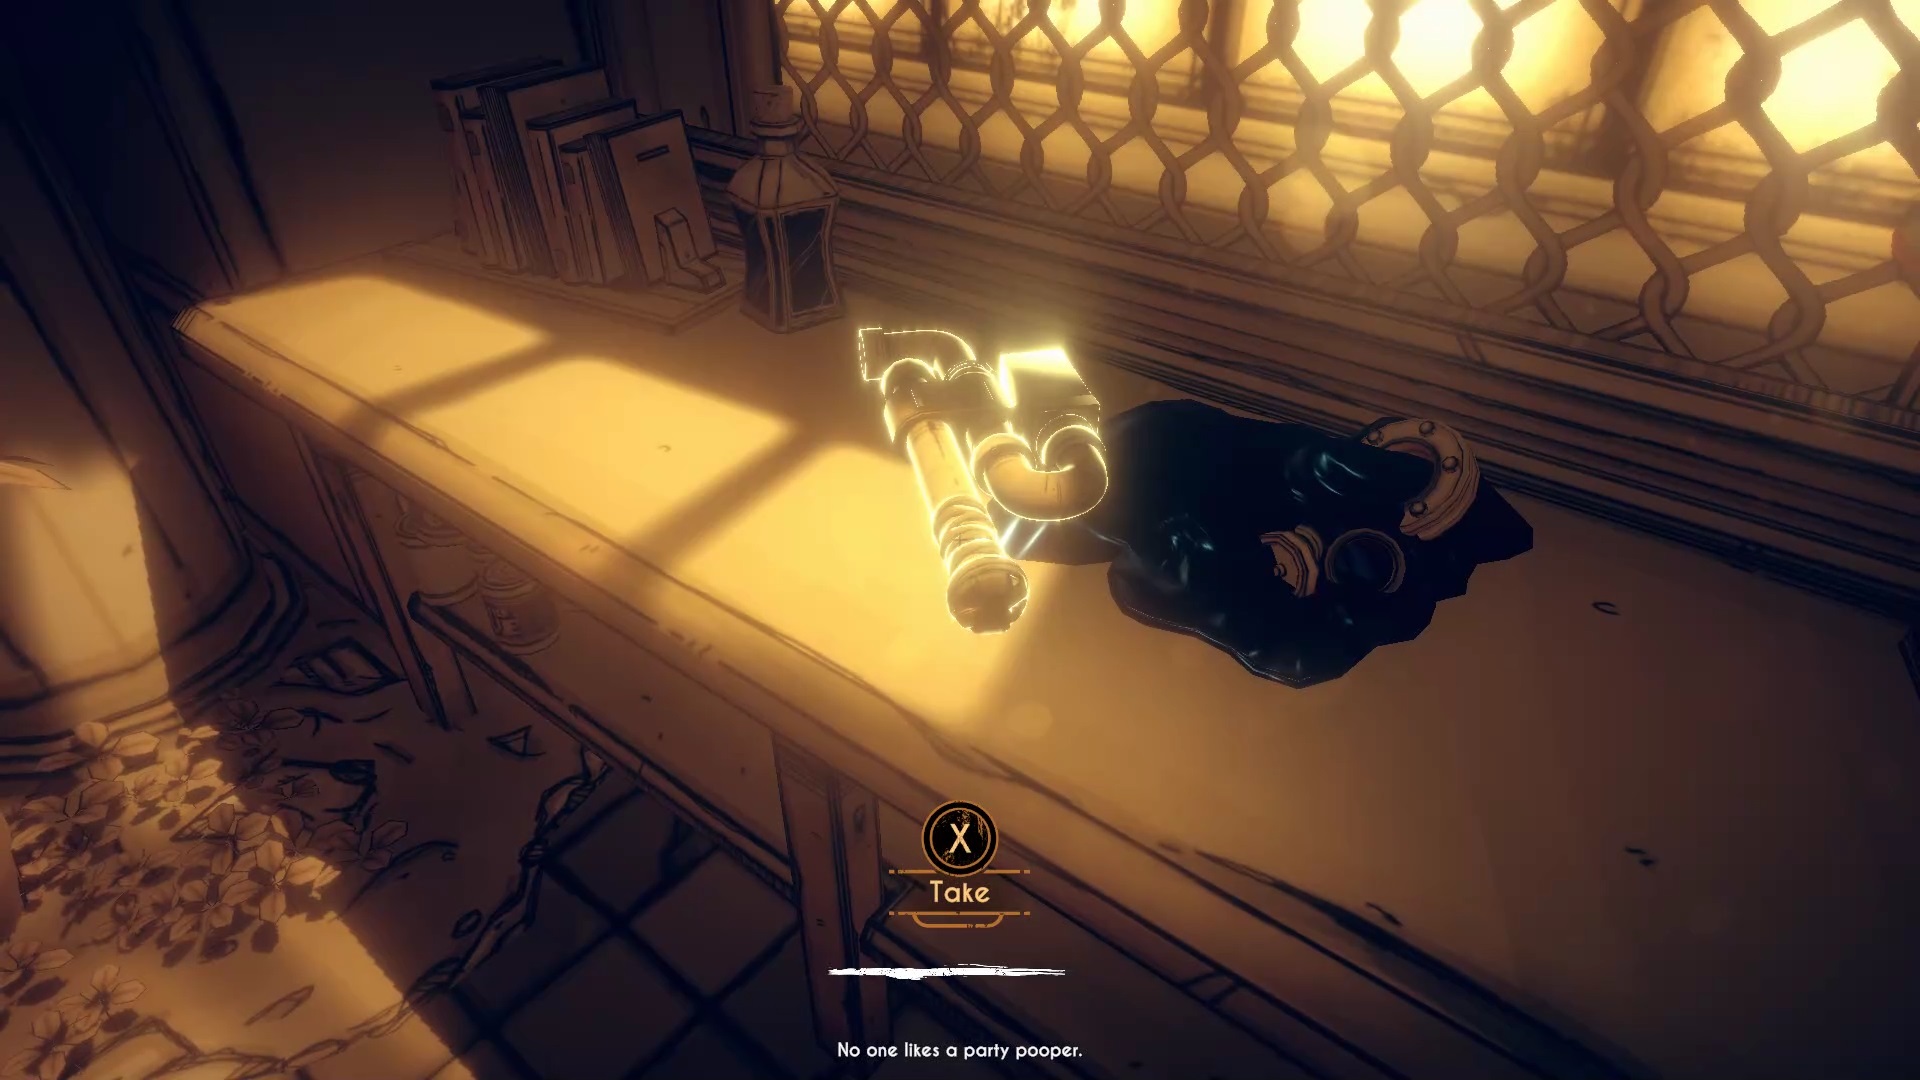
Sneak quietly behind him to pass through a passage to the right in the hallway. In the room, get the music box on the dresser. Take advantage of the nearby workshop to charge your pipe when the Keeper is away. Then climb the nearby ladder to find an objective marker. Join the objective with the same technique to find a part of the music box in a cupboard.
Then go back above the room where the box was to pass a footbridge. On the other side, turn left to access a new room. Go down to find a security door. Use the pipe to unlock it. Discreetly search the room to find the last piece in the box indicated by a marker.
Leave the room to place the music box on a table. The box is a diversion, take the opportunity to pass behind the two Keepers. Then go in the left corridor to deactivate the lightning rods. Join the corridor to the right of the exit to lift the security gate. Sneak out behind the Keepers.
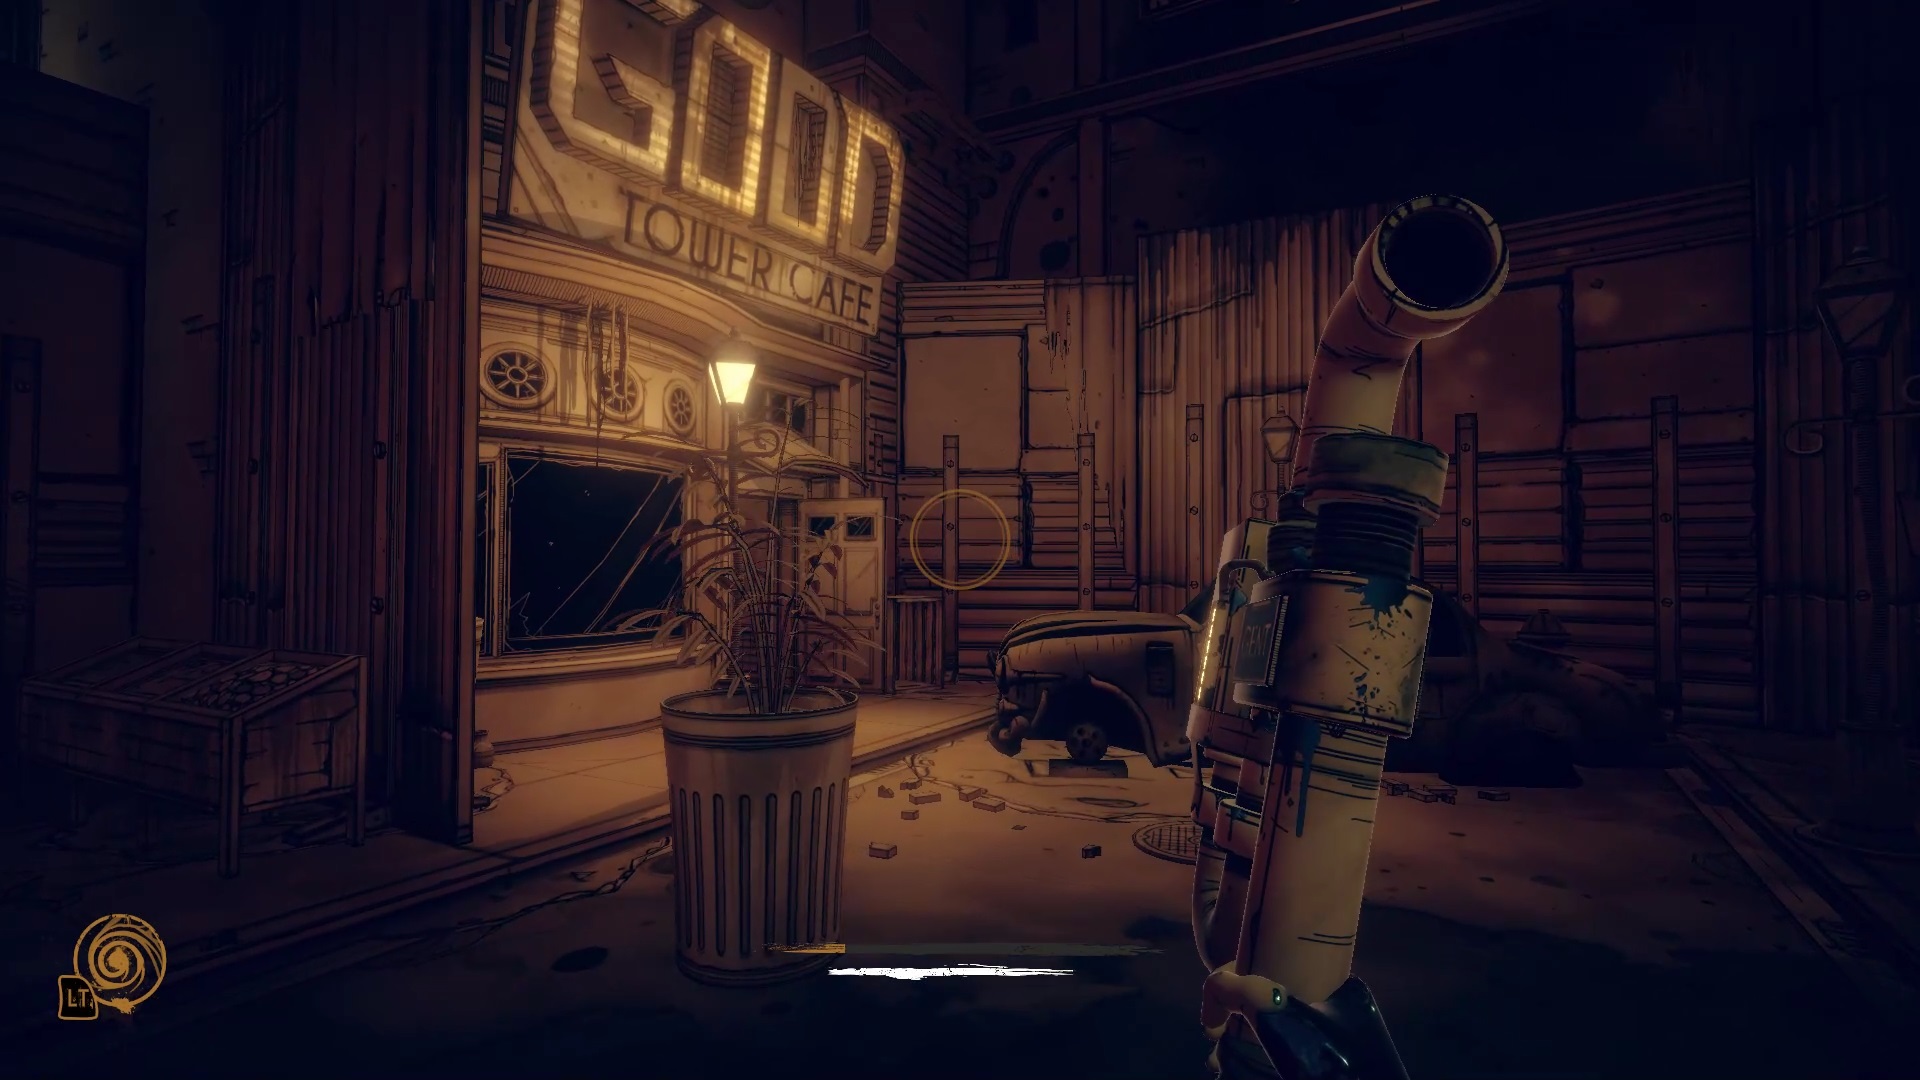
Return to the mansion to speak to Betty. She gives you a mission to complete in town. You can return to the city with the metro at the station. You will find the ingredients in stalls near the Good Tower Café.
Back at the mansion, go see Wilson in the lab. After the dialogue join the arena and pull the lever in the middle. Dudley came to life with Wilson’s features.
At the start of the fight, load up your pipe and place it inside the open machine. Then recharge your pipe at the bottom of the arena with electricity. Then stand near one of the three remaining lightning rods for Dudley to attack you. Dodge the attack for Dudley’s anchor to open the machine. Use your pipe again to deactivate the lightning rod. Repeat the operation to deactivate all lightning rods. Between the phases, enemies appear, use your pipe to eliminate them.
In the second phase, simply dodge Dudley’s attacks. Wait for him to throw his anchor to dodge it with your power flow. After he’s set his anchor, it’s time to hit Wilson’s head on his hip. Repeat the technique to make Bendy appear. After the Bendy cutscene and your character, become one. Break all the obstacles to reach the end reel and finish the game.

Fan de jeux Nintendo, Xbox, PlayStation, PC et de l’univers gaming
Je vous partage ma passion à travers mes articles sur les nouveautés jeux vidéo
Journaliste gameactuality.com