[Guide] Assassin’s creed Valhalla : Tombs of the Fallen
Our guide tells you how to trigger the Tombs of the fallen quest. You must find all the Tombs of the Fallen and their secret key to complete the quest. Assassin’s Creed Valhalla is an action-adventure, role-playing video game, developed by Ubisoft Montreal and published by Ubisoft.
Sommaire
- How to start the Tombs of the fallen quest
- Tomb and secret key of Boudicca
- Tomb and secret key of Venutios
- Tomb and secret key of Cassivellaunos
- Verica’s tomb and secret key
- Tomb and secret key of Togodomnus
- Eden Ring Post
The Tombs of teh fallen has been coming to Assassin’s Creed Valhalla since the last update. The side mission invites you to solve the puzzles of mysterious shrines. The puzzles are simple and their solutions are always nearby, use your eagle vision to help you solve the puzzles.
How to start the Tombs of the fallen quest
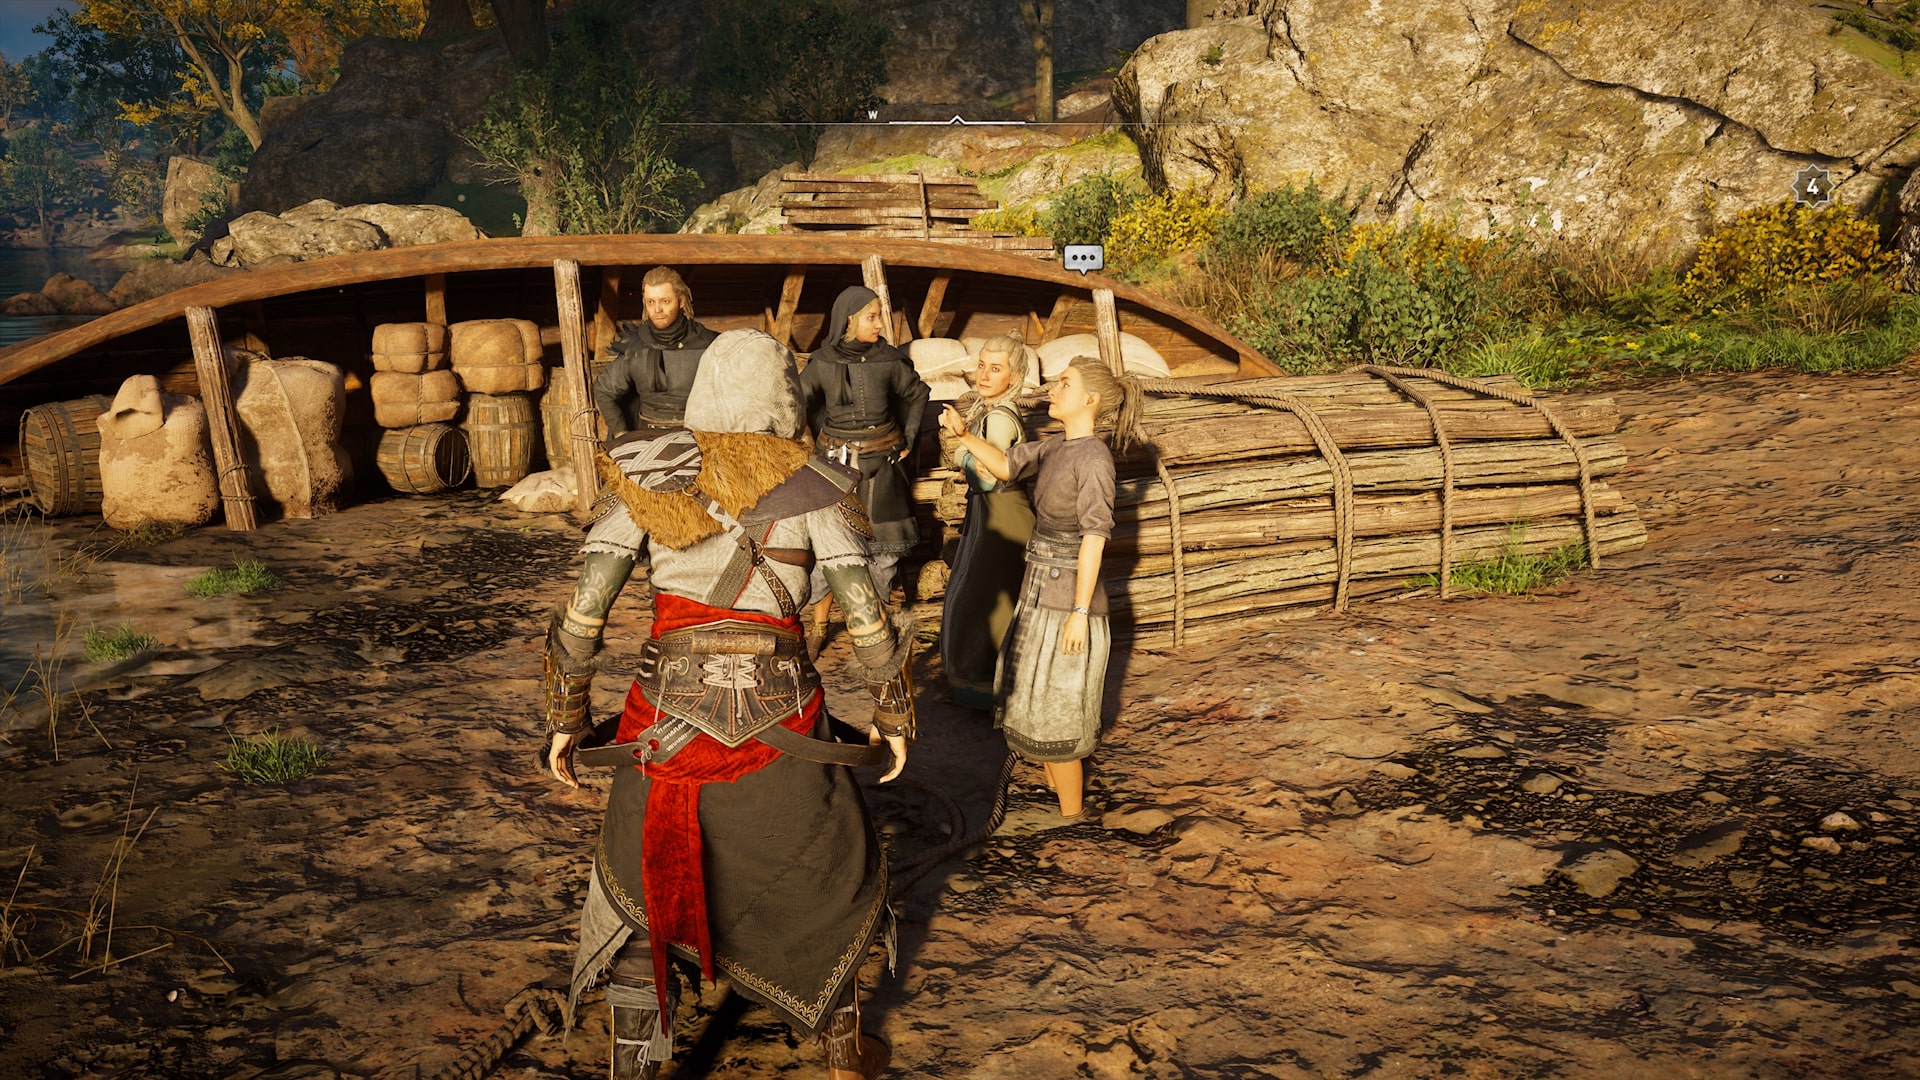
Triggering a side quest in Assassin’s Creed Valhalla isn’t always easy. No location point sometimes specifies where a mission added via an update takes place. Tombs of the Departed are among this hard-to-locate list of quests. To trigger the mission go to Ravensthorpe near the wharf to the west to meet a group of villagers. Talk to the group to trigger the mission and locate a shrine.
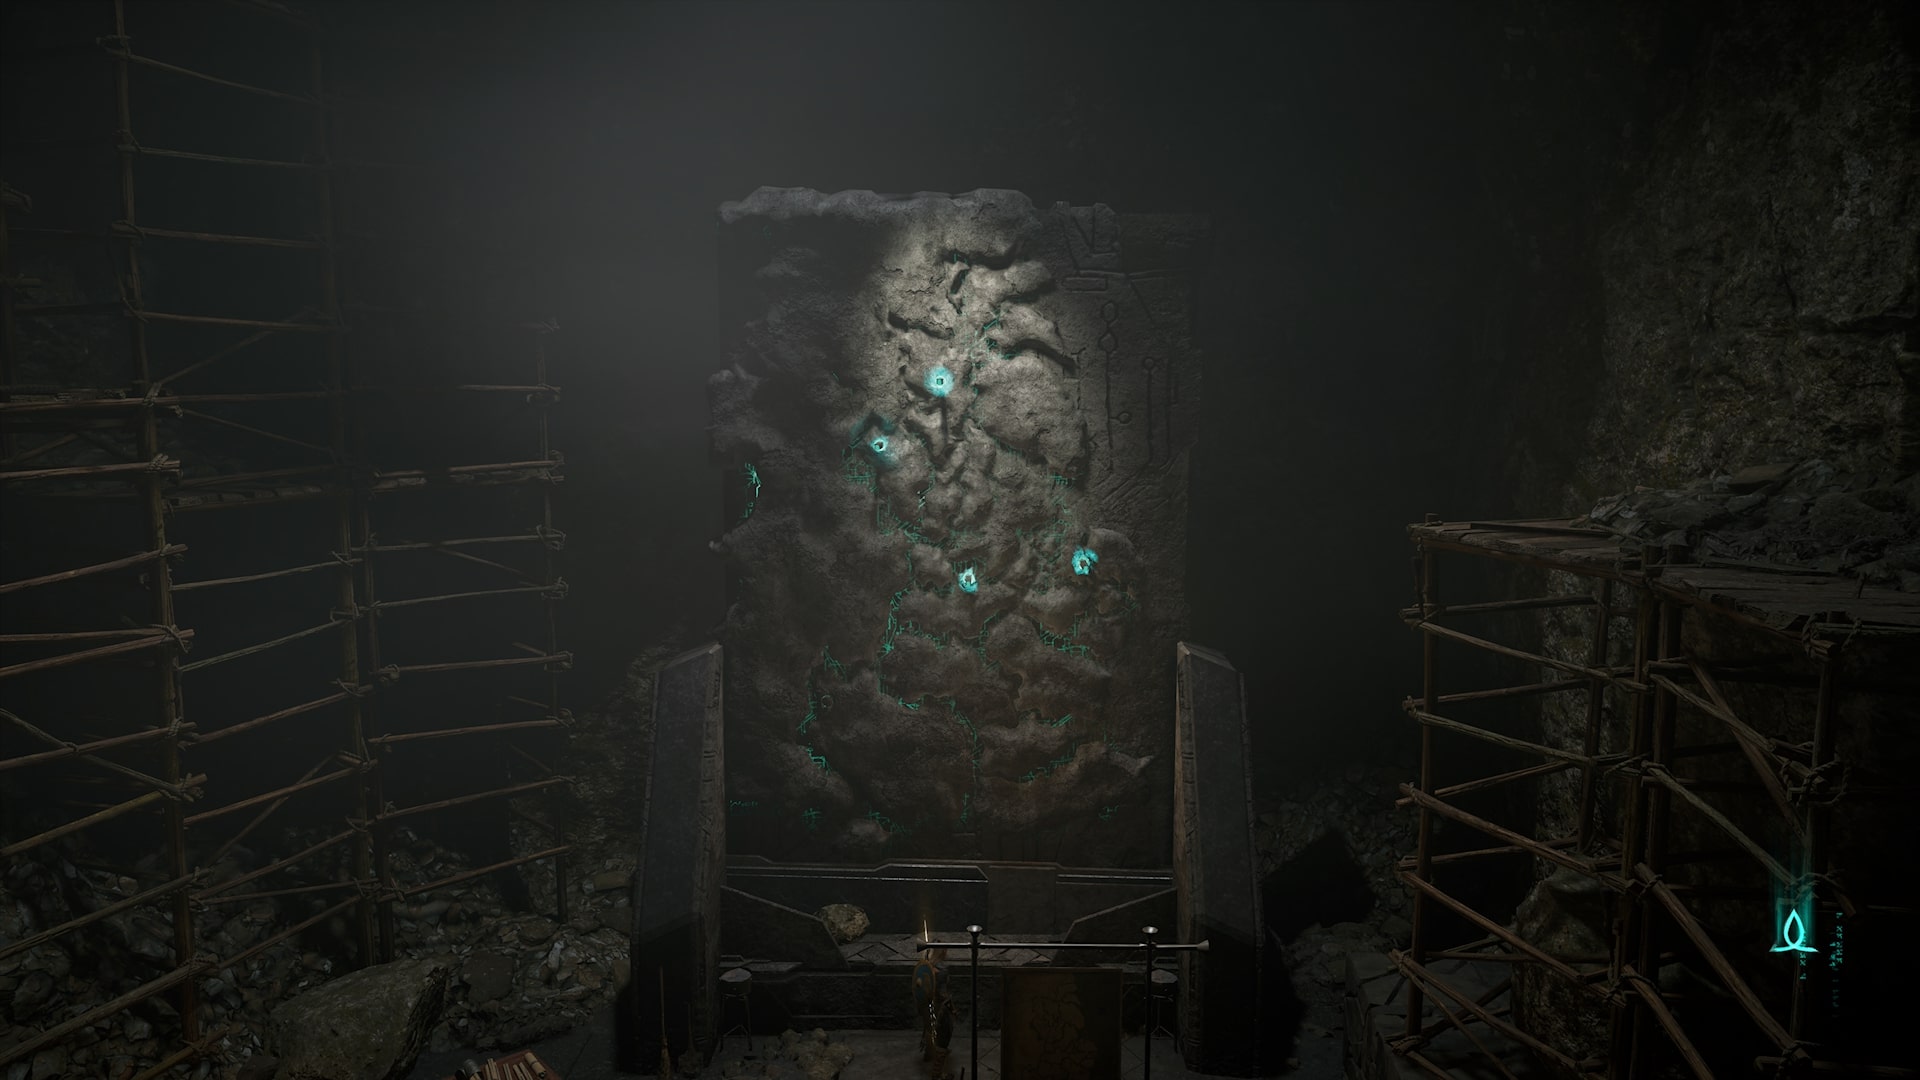
Interact with the symbol to clear the way to the Sanctuary of Manius. Go inside by solving a puzzle. You will find a map of England marked with light locations. As you may have understood, an enigma resembling the library of Assassin’s Creed Revelations is taking shape in front of you. You will have to raid the sanctuaries to complete the mission.
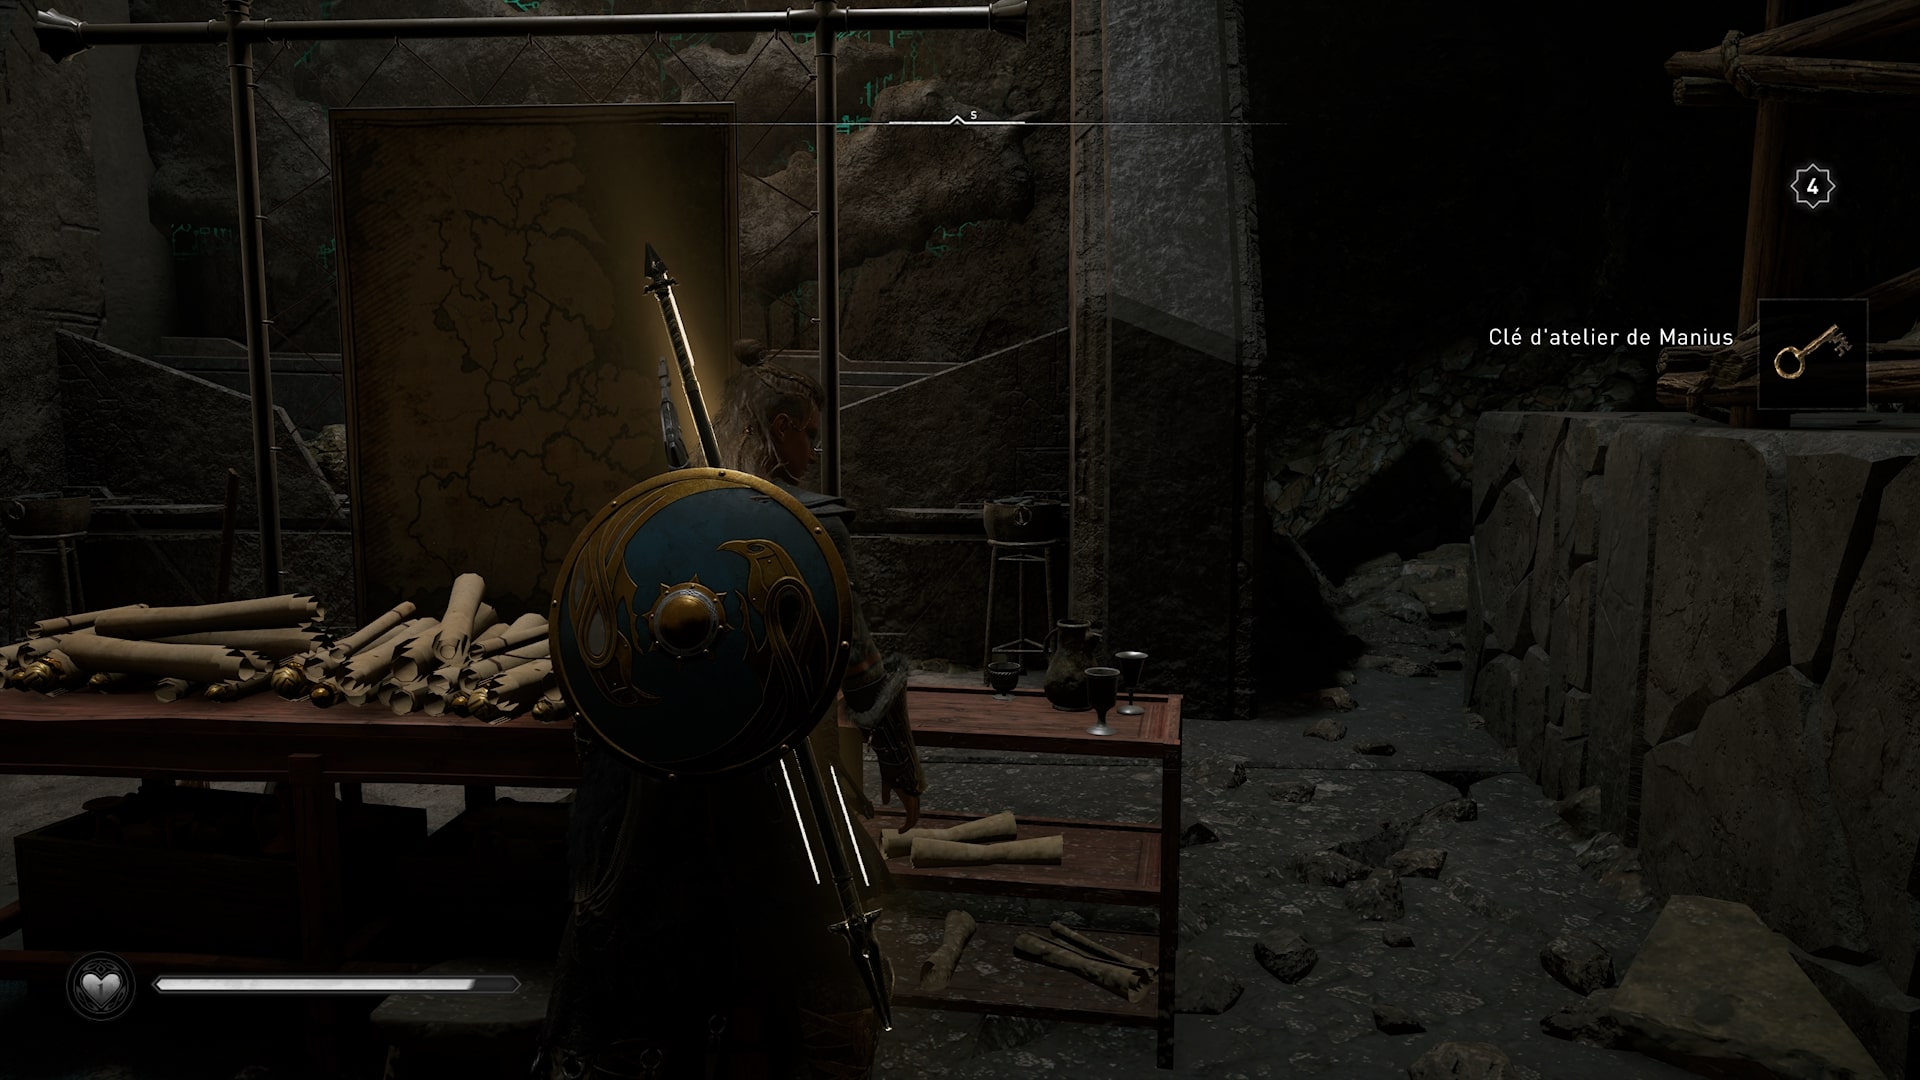
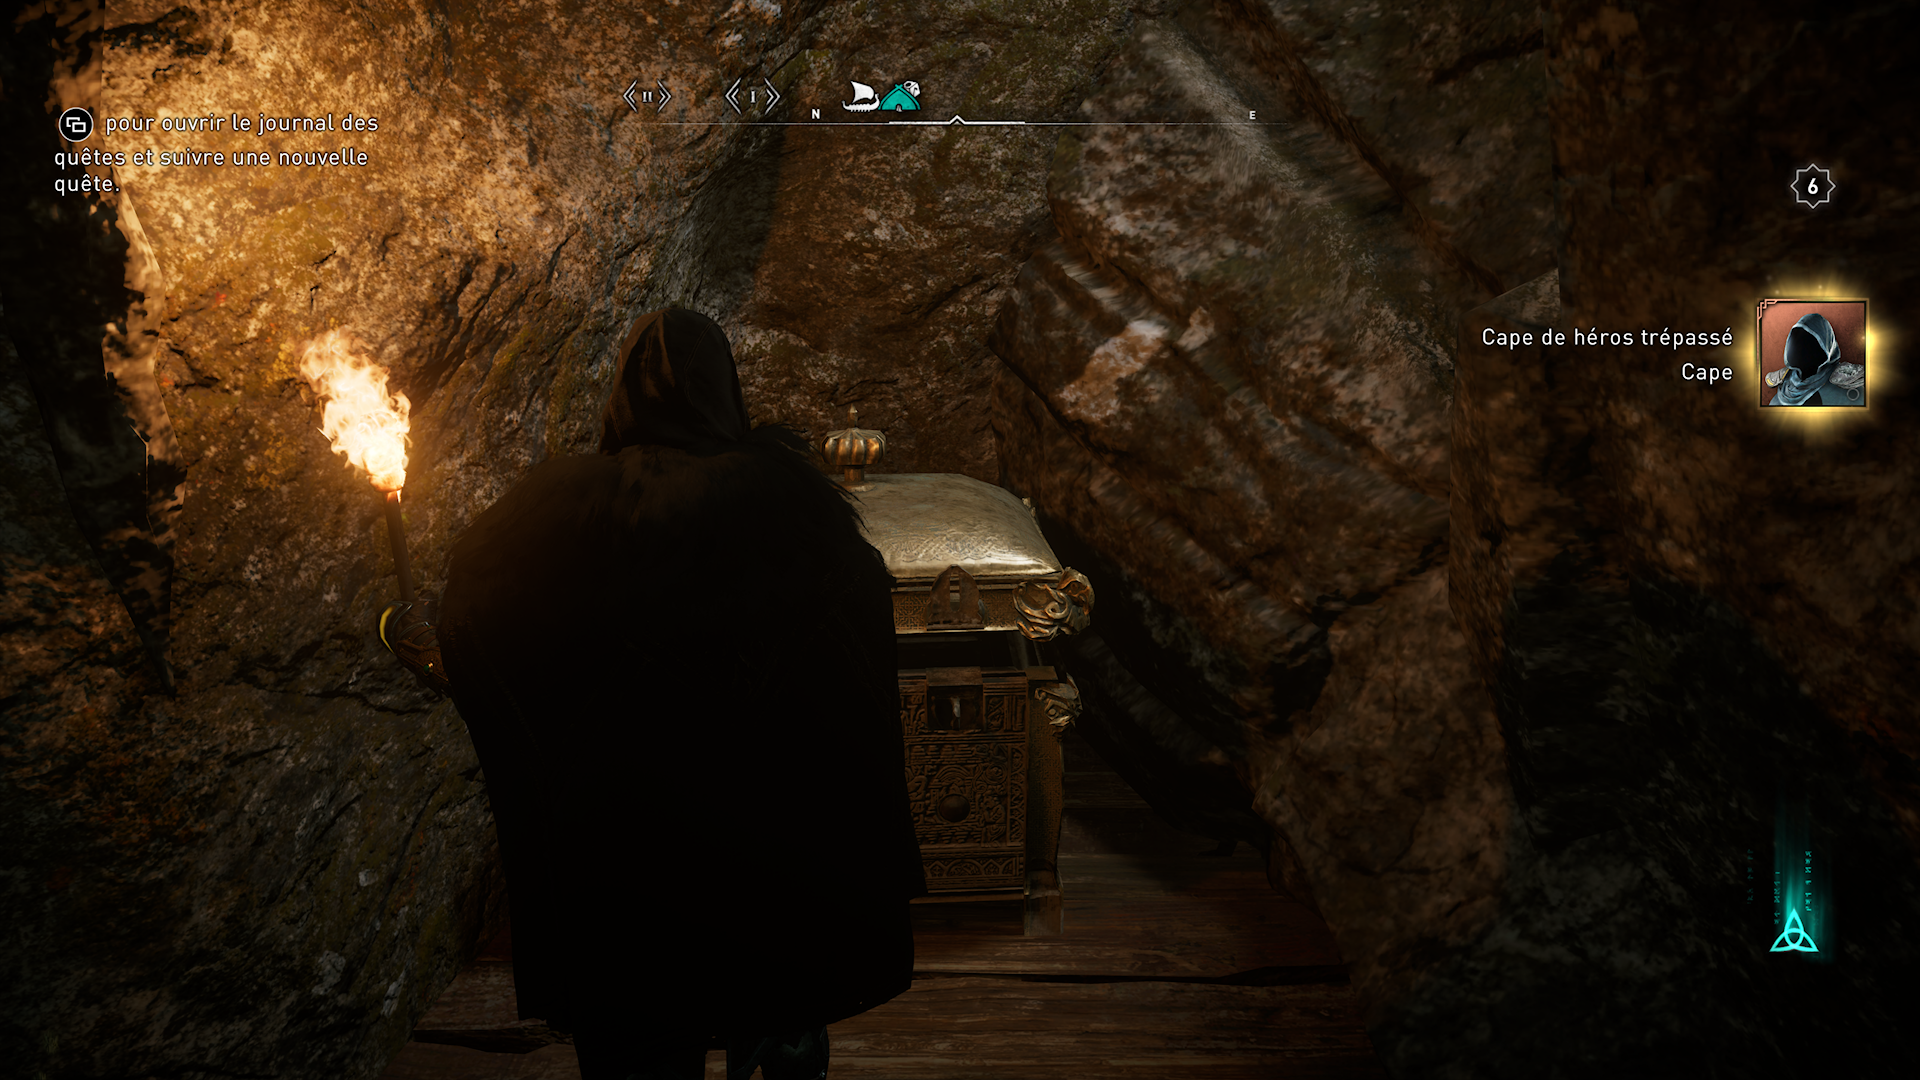
Before leaving unlock the room to the east with the key on the desk to find the fallen hero’s cape.
Location of the Tombs of the fallen
Boudicca Tomb
The first tomb is to the east in East Anglia. You’ll find it west of Wensum and northeast of Brisleah Farm

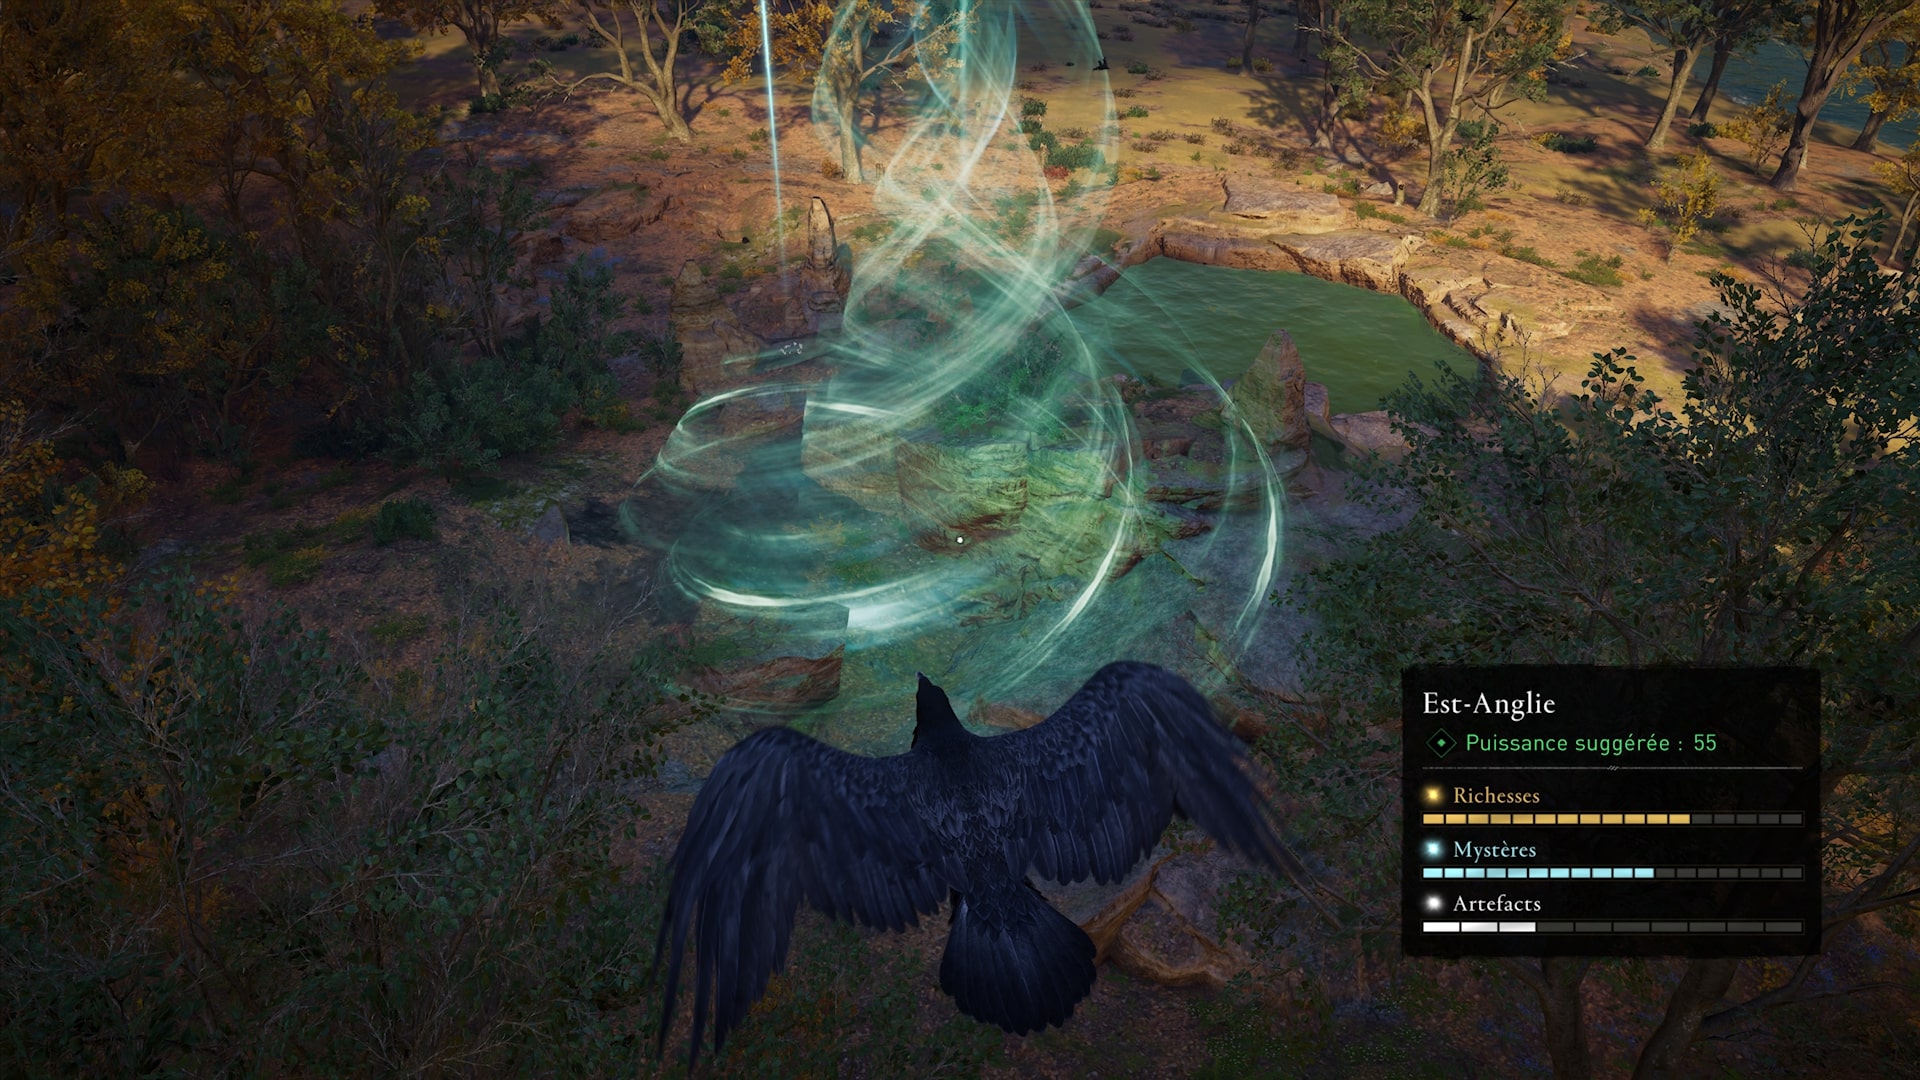
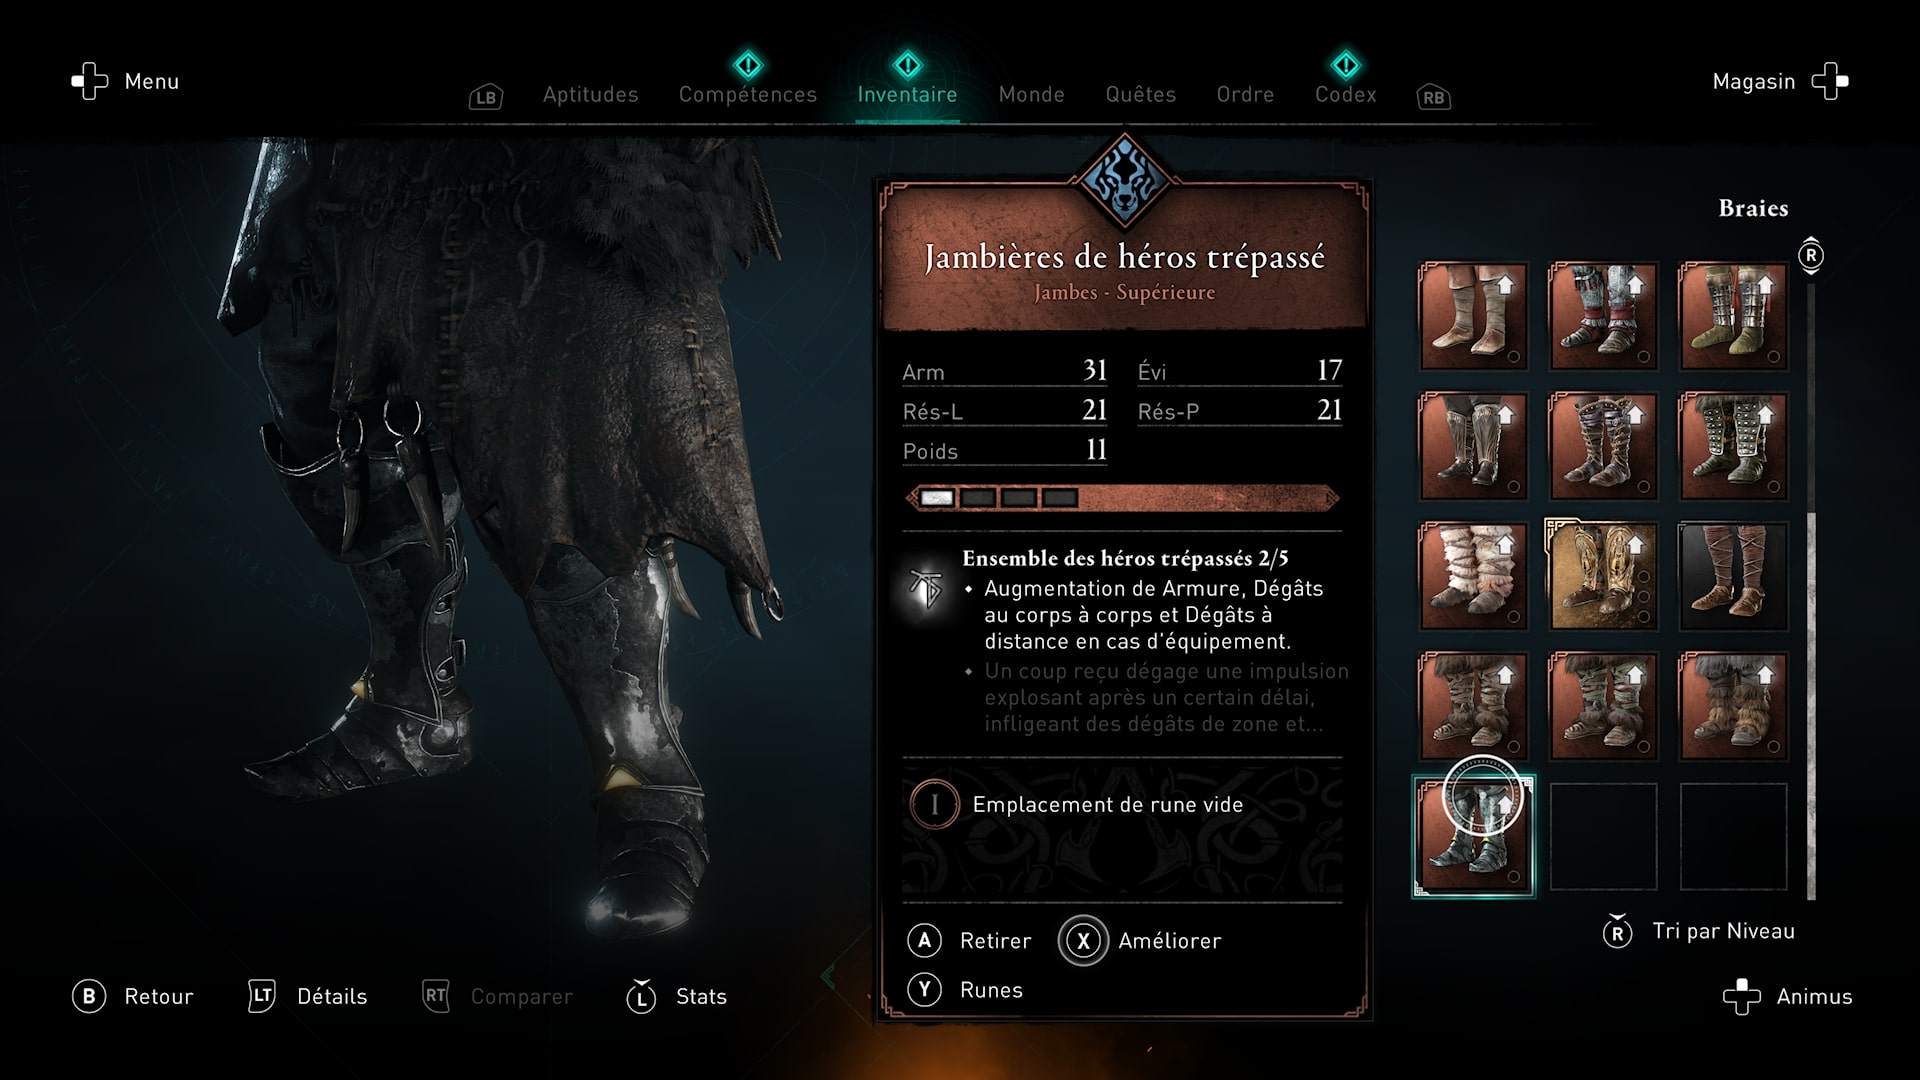
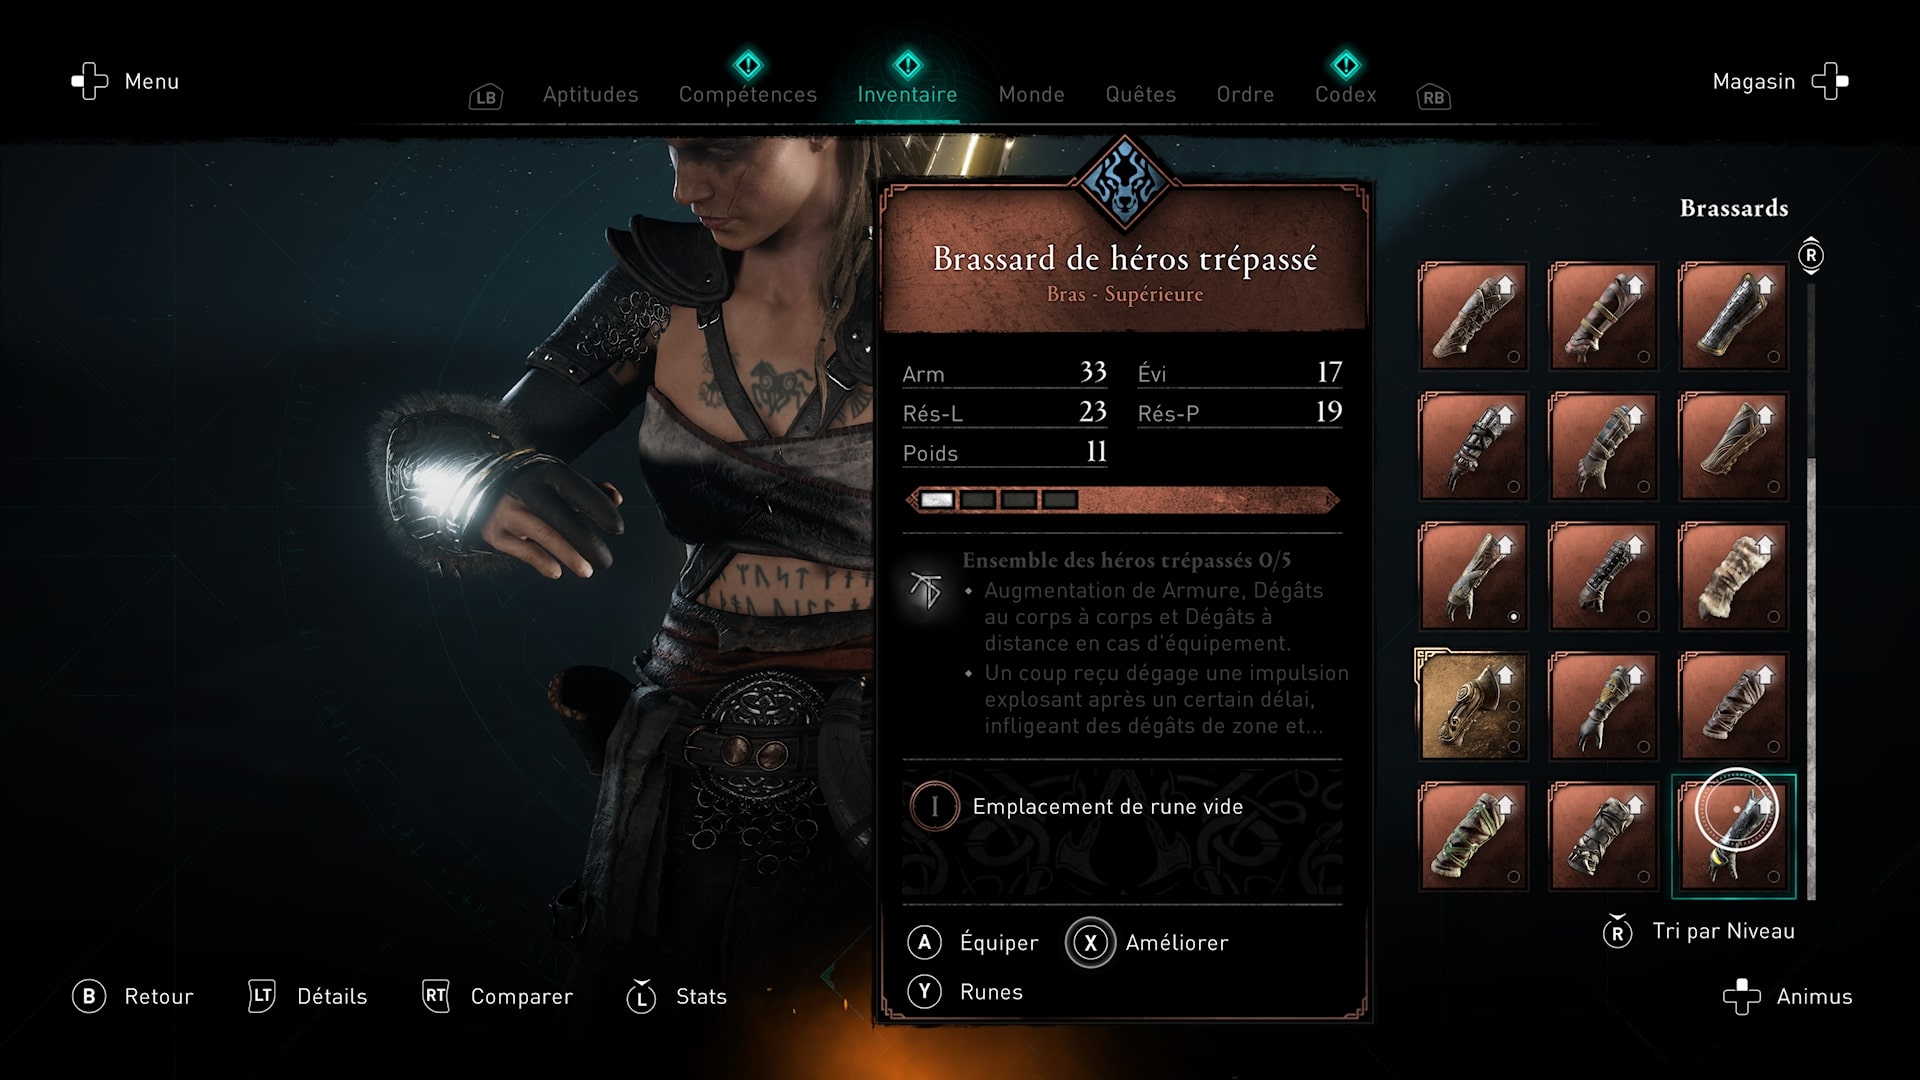
At the end of the tomb you will find the Fallen Hero’s Leggings and the Fallen Hero’s Bracer.
Boudicca’s secret key

In Boudicca’s tomb you will find wooden boxes. Break the crates to find the secret key behind a passage.
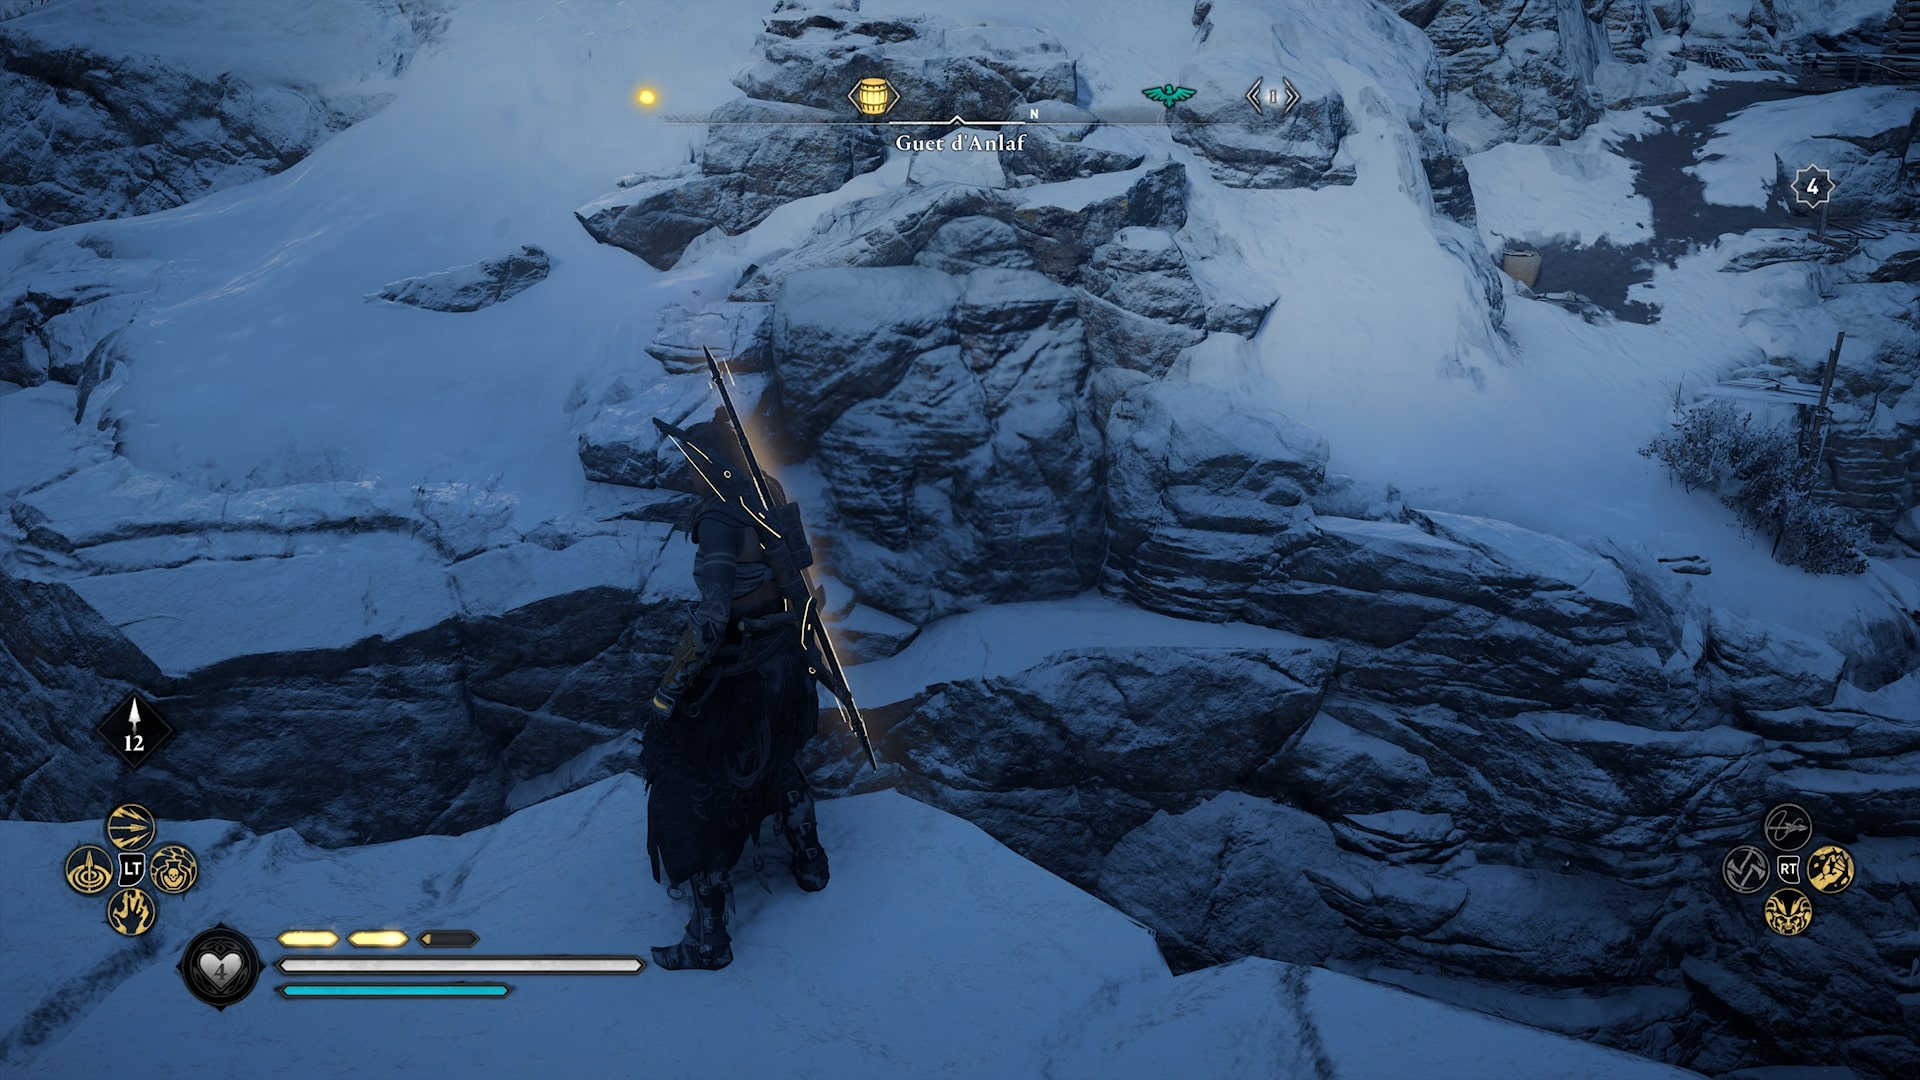
Venutios Tomb
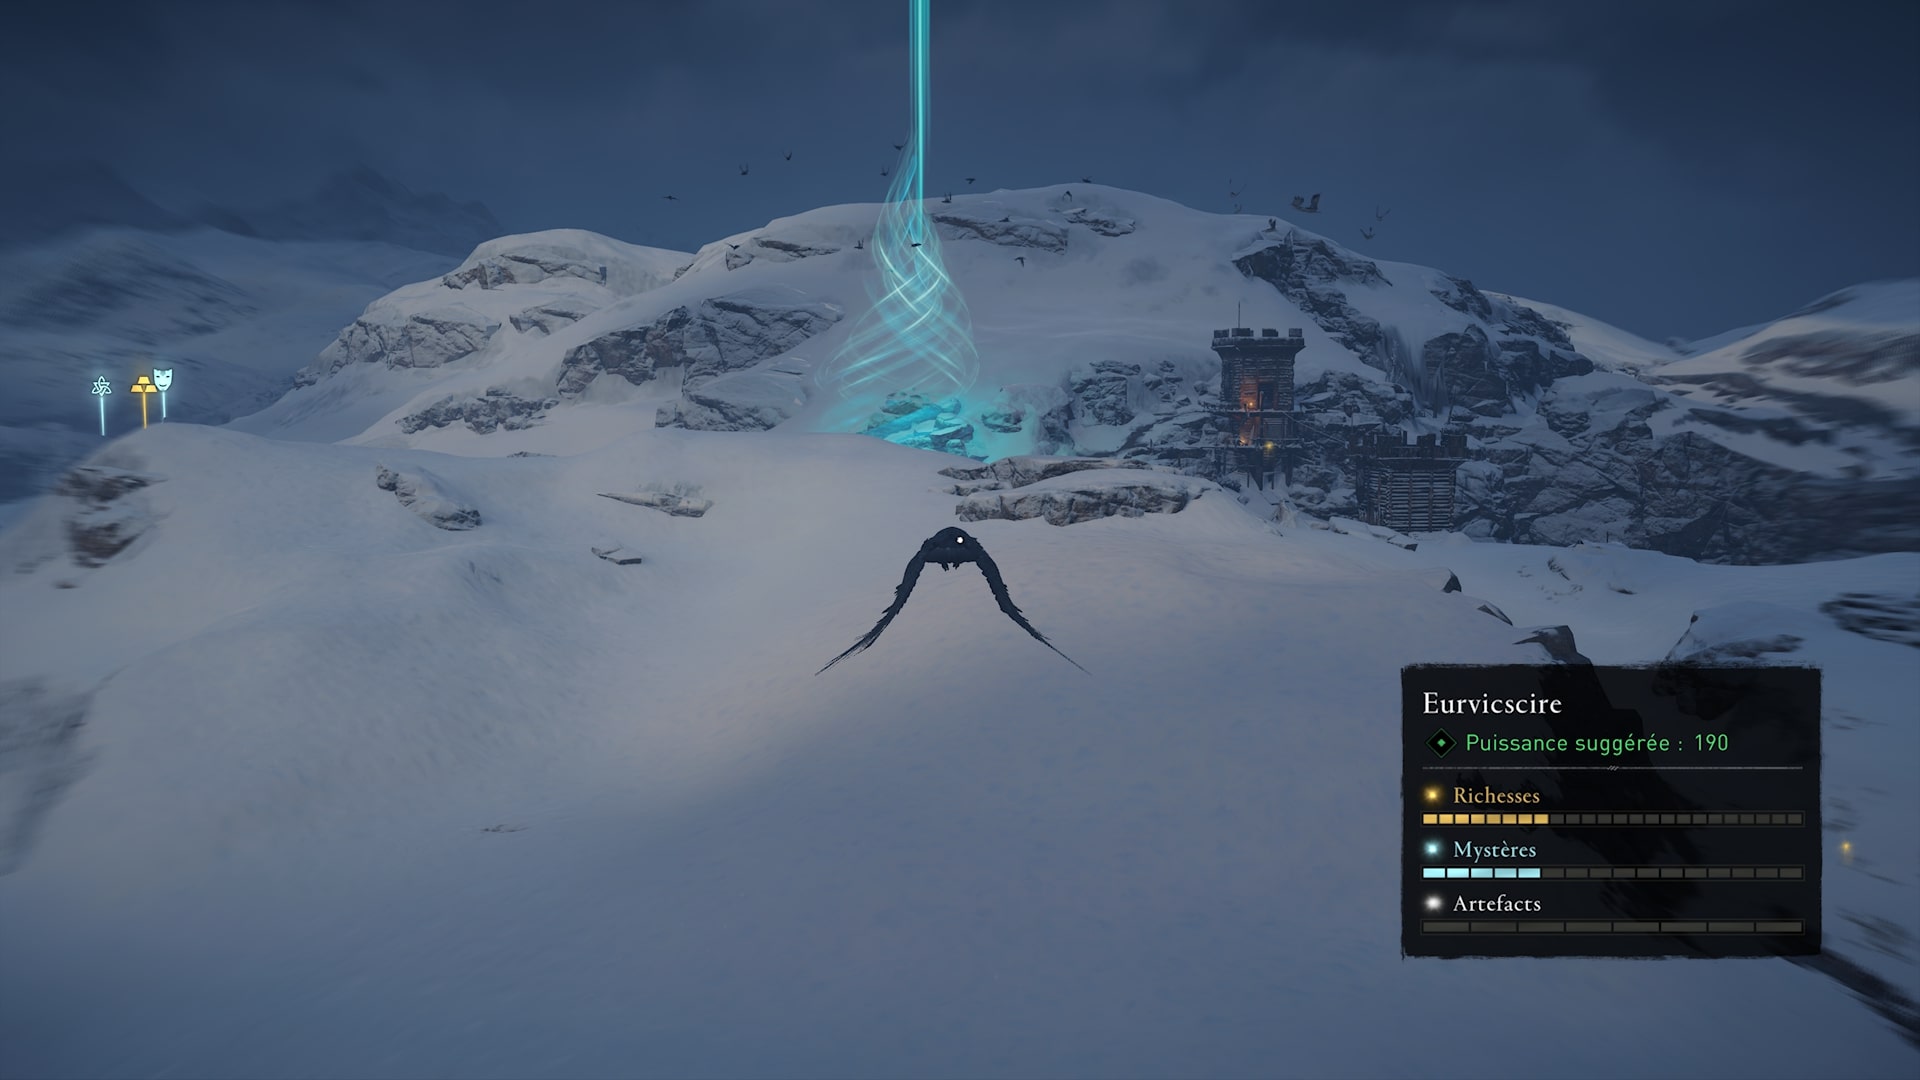
The second tomb is in Eurvicscire near a synchronization point.
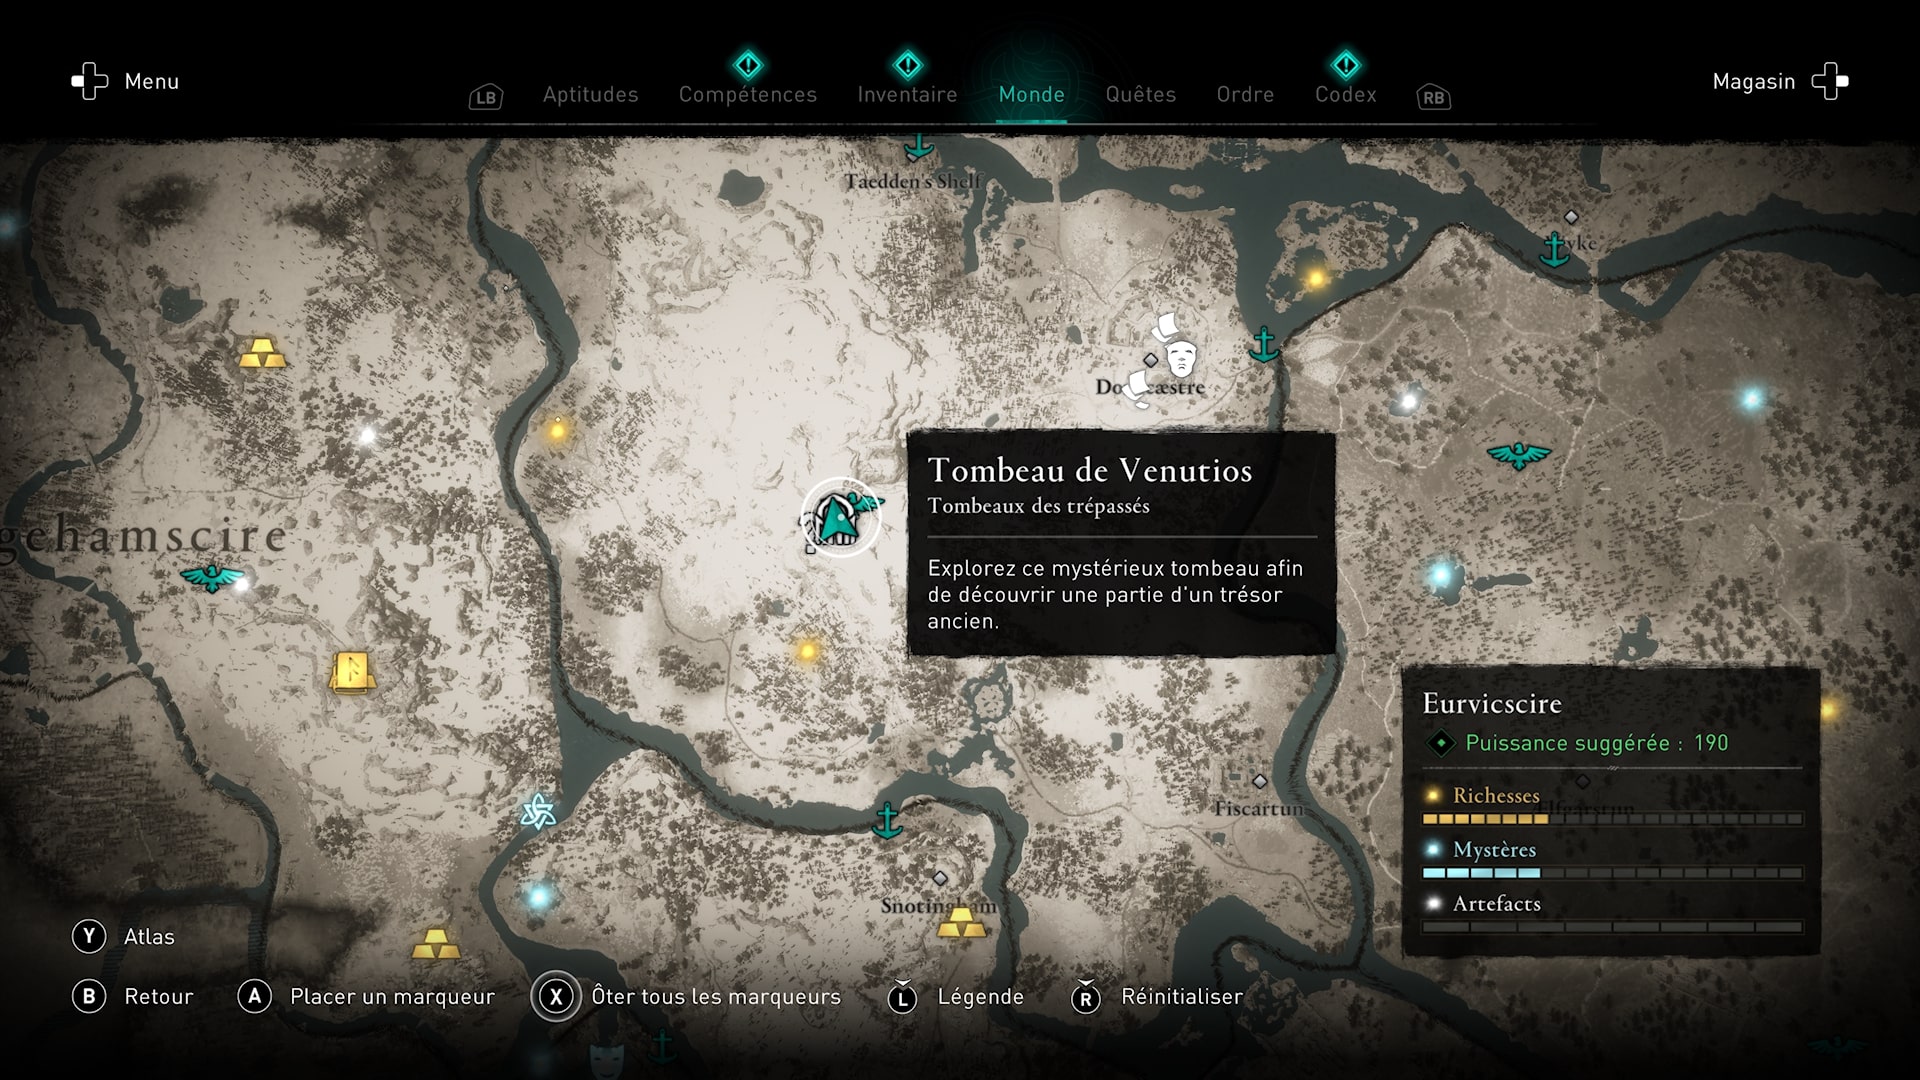
You will find at the end of the tomb the helmet of fallen hero.
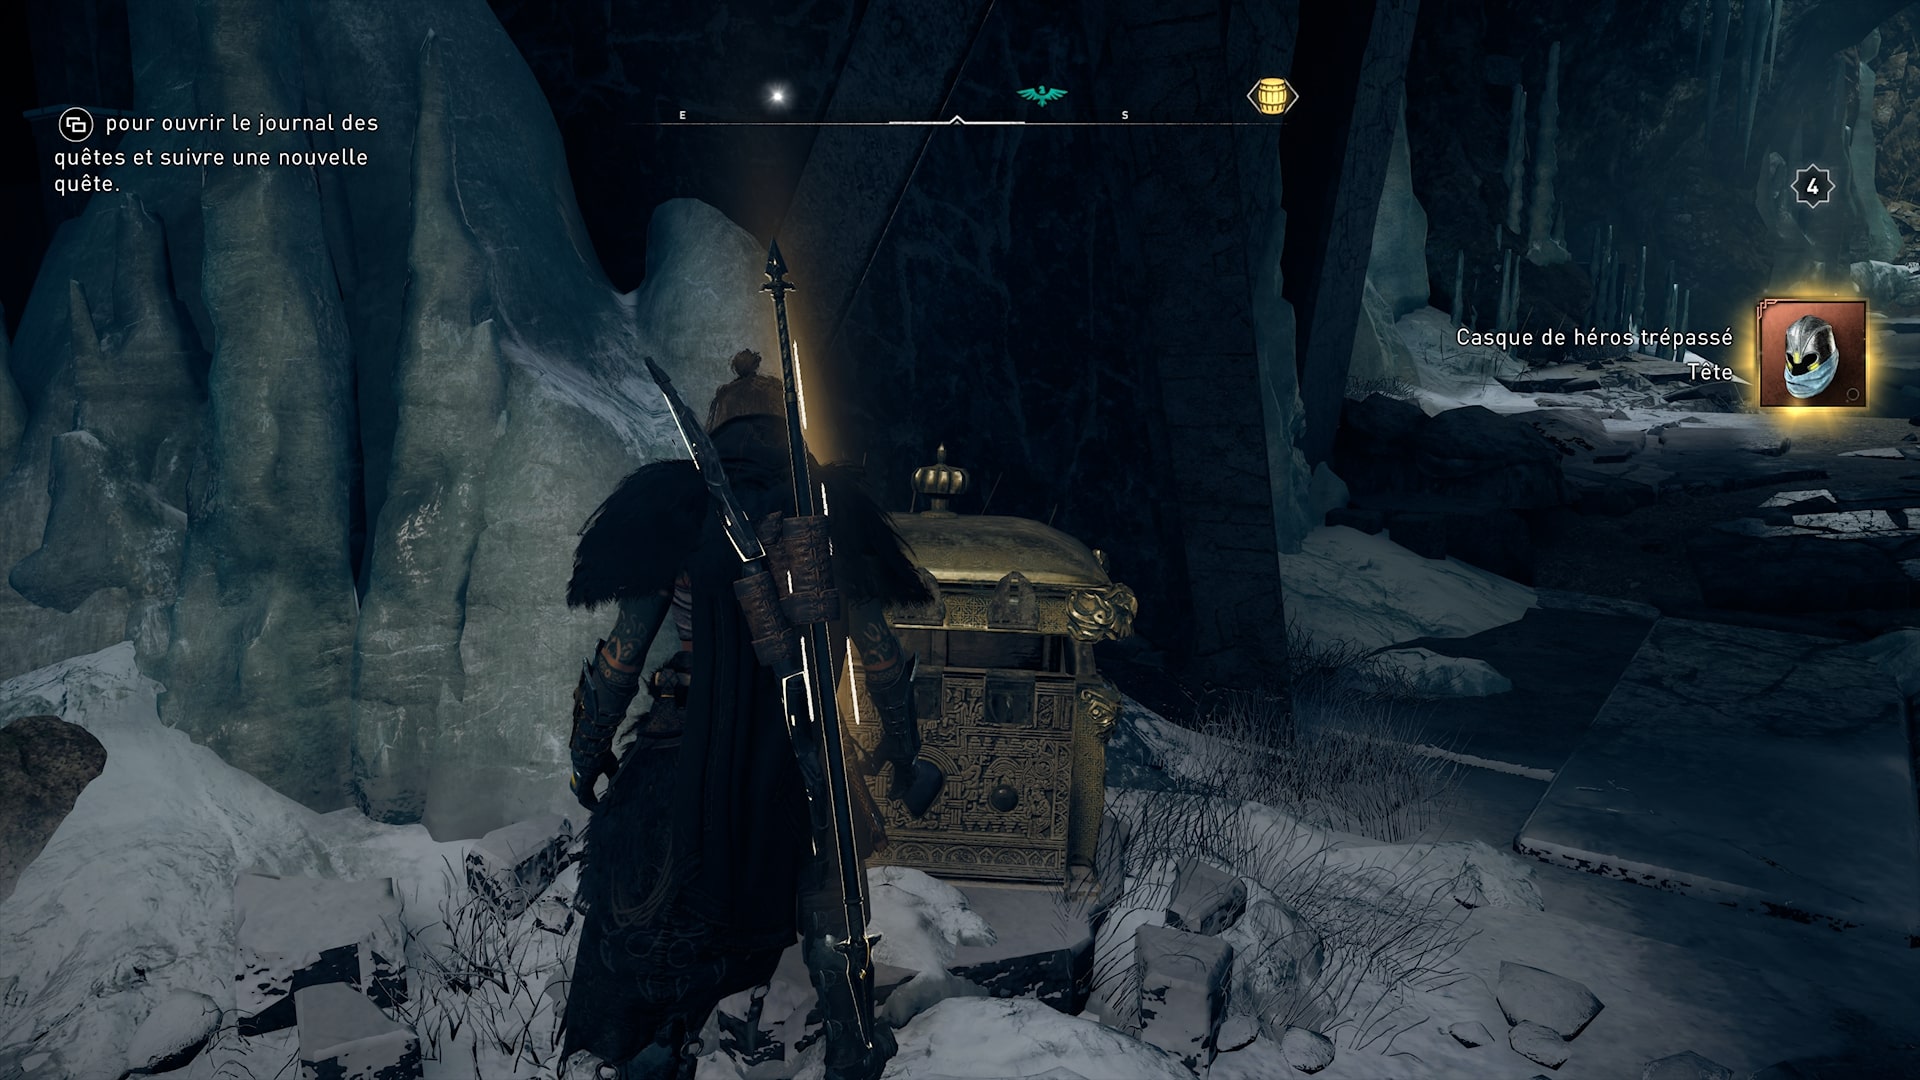
Venutios’ Secret Key
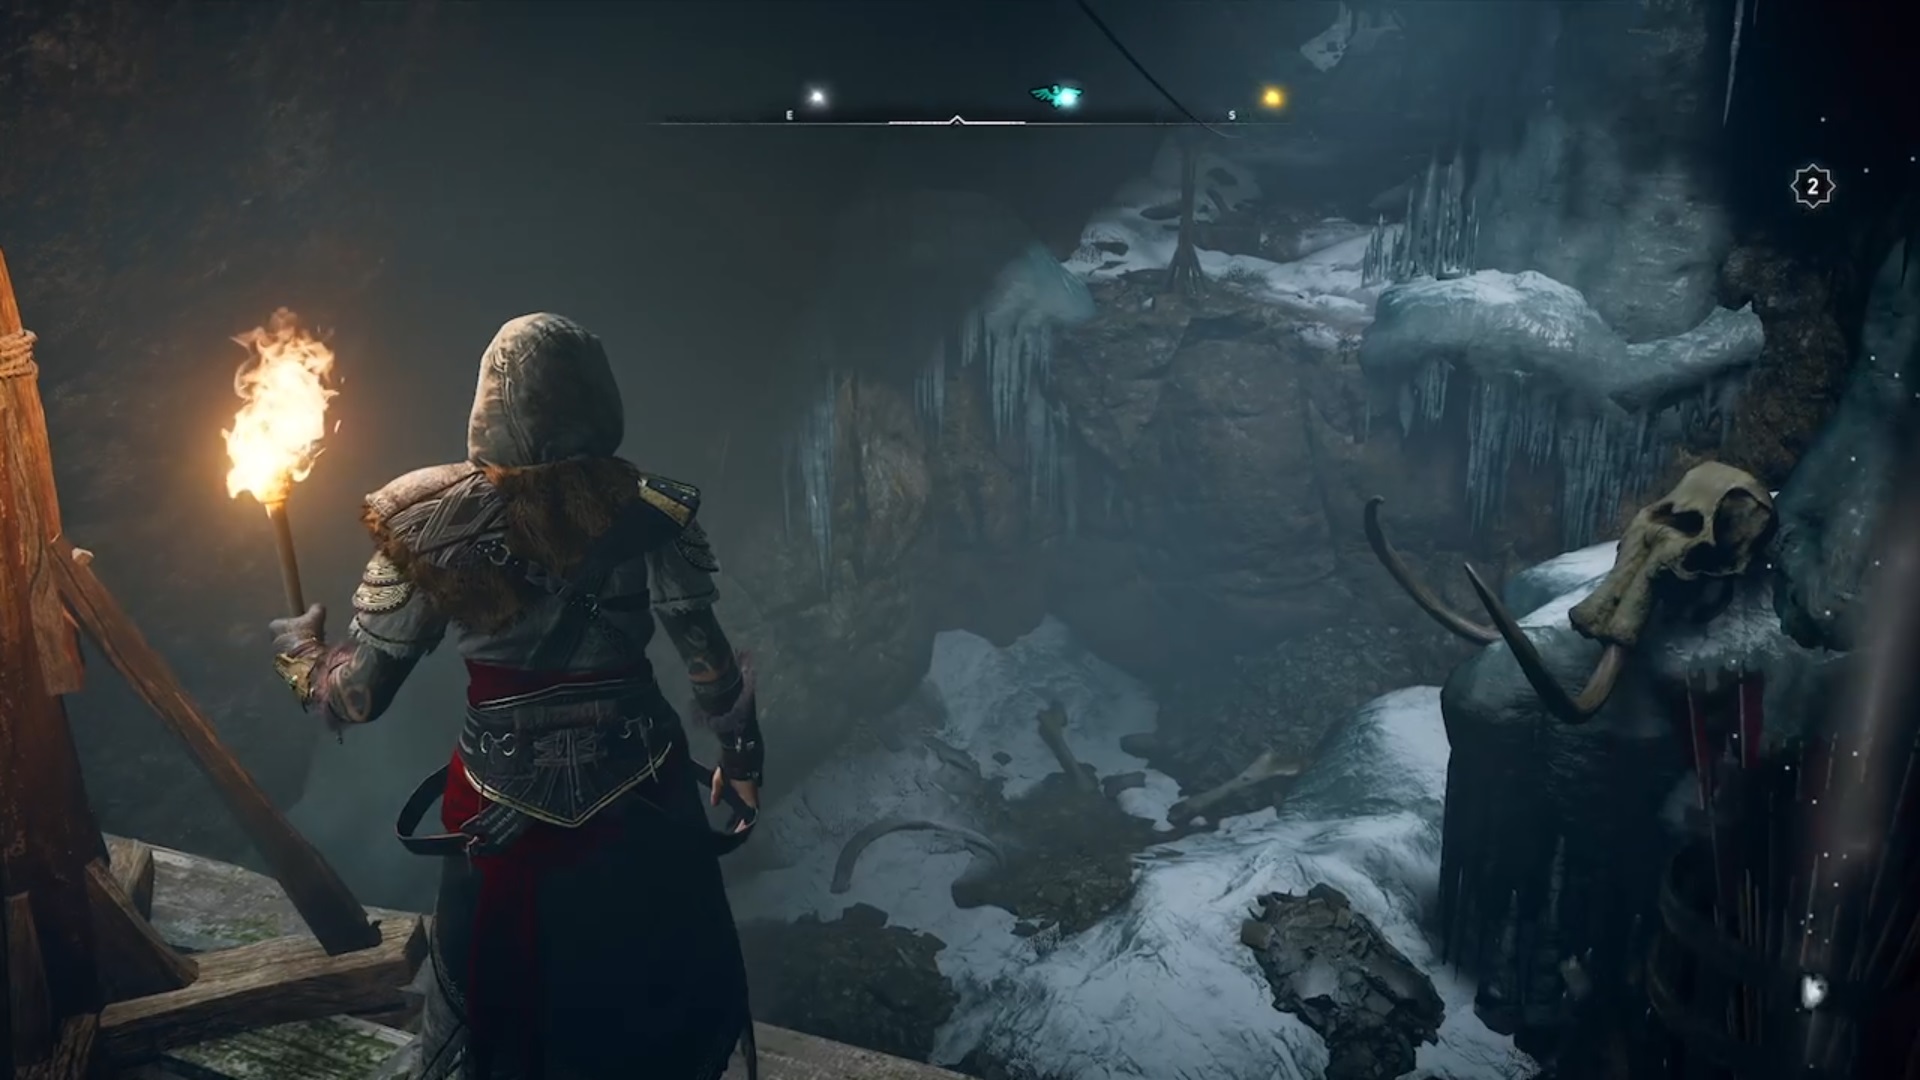
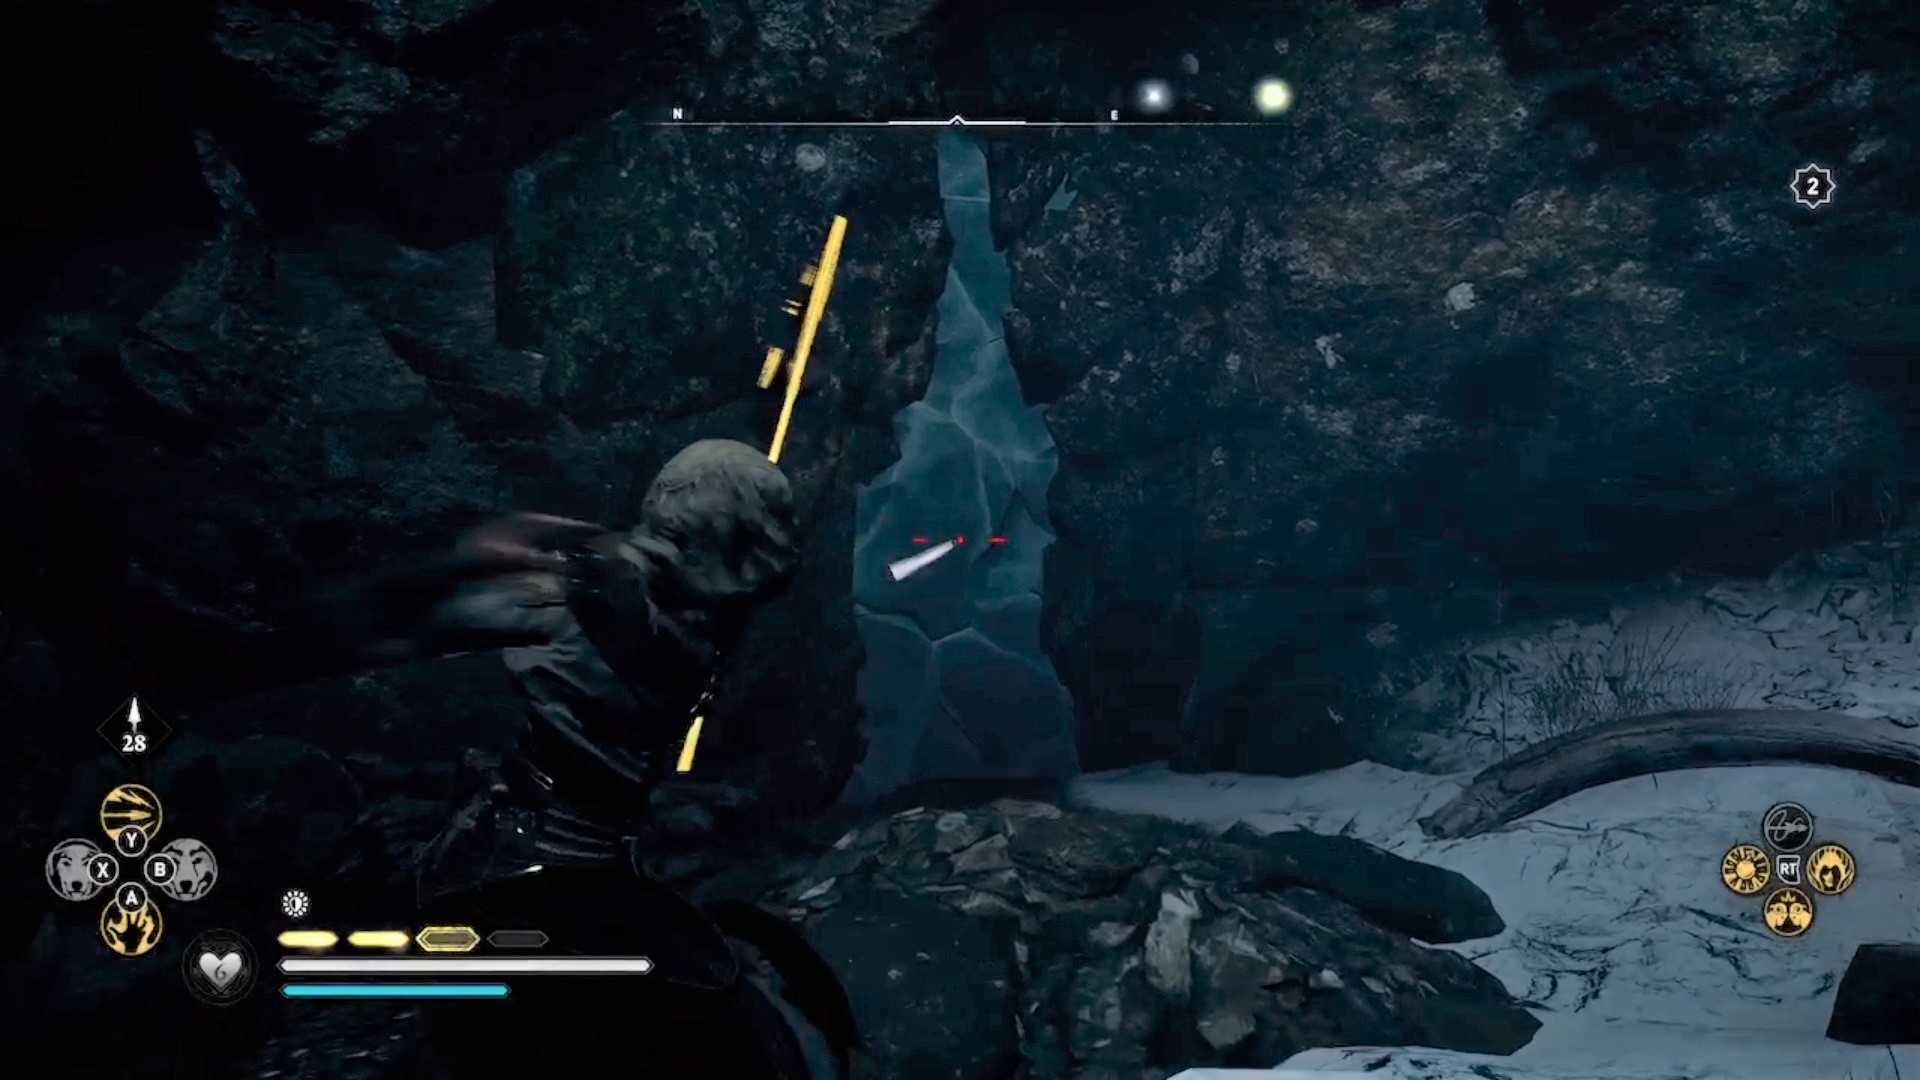
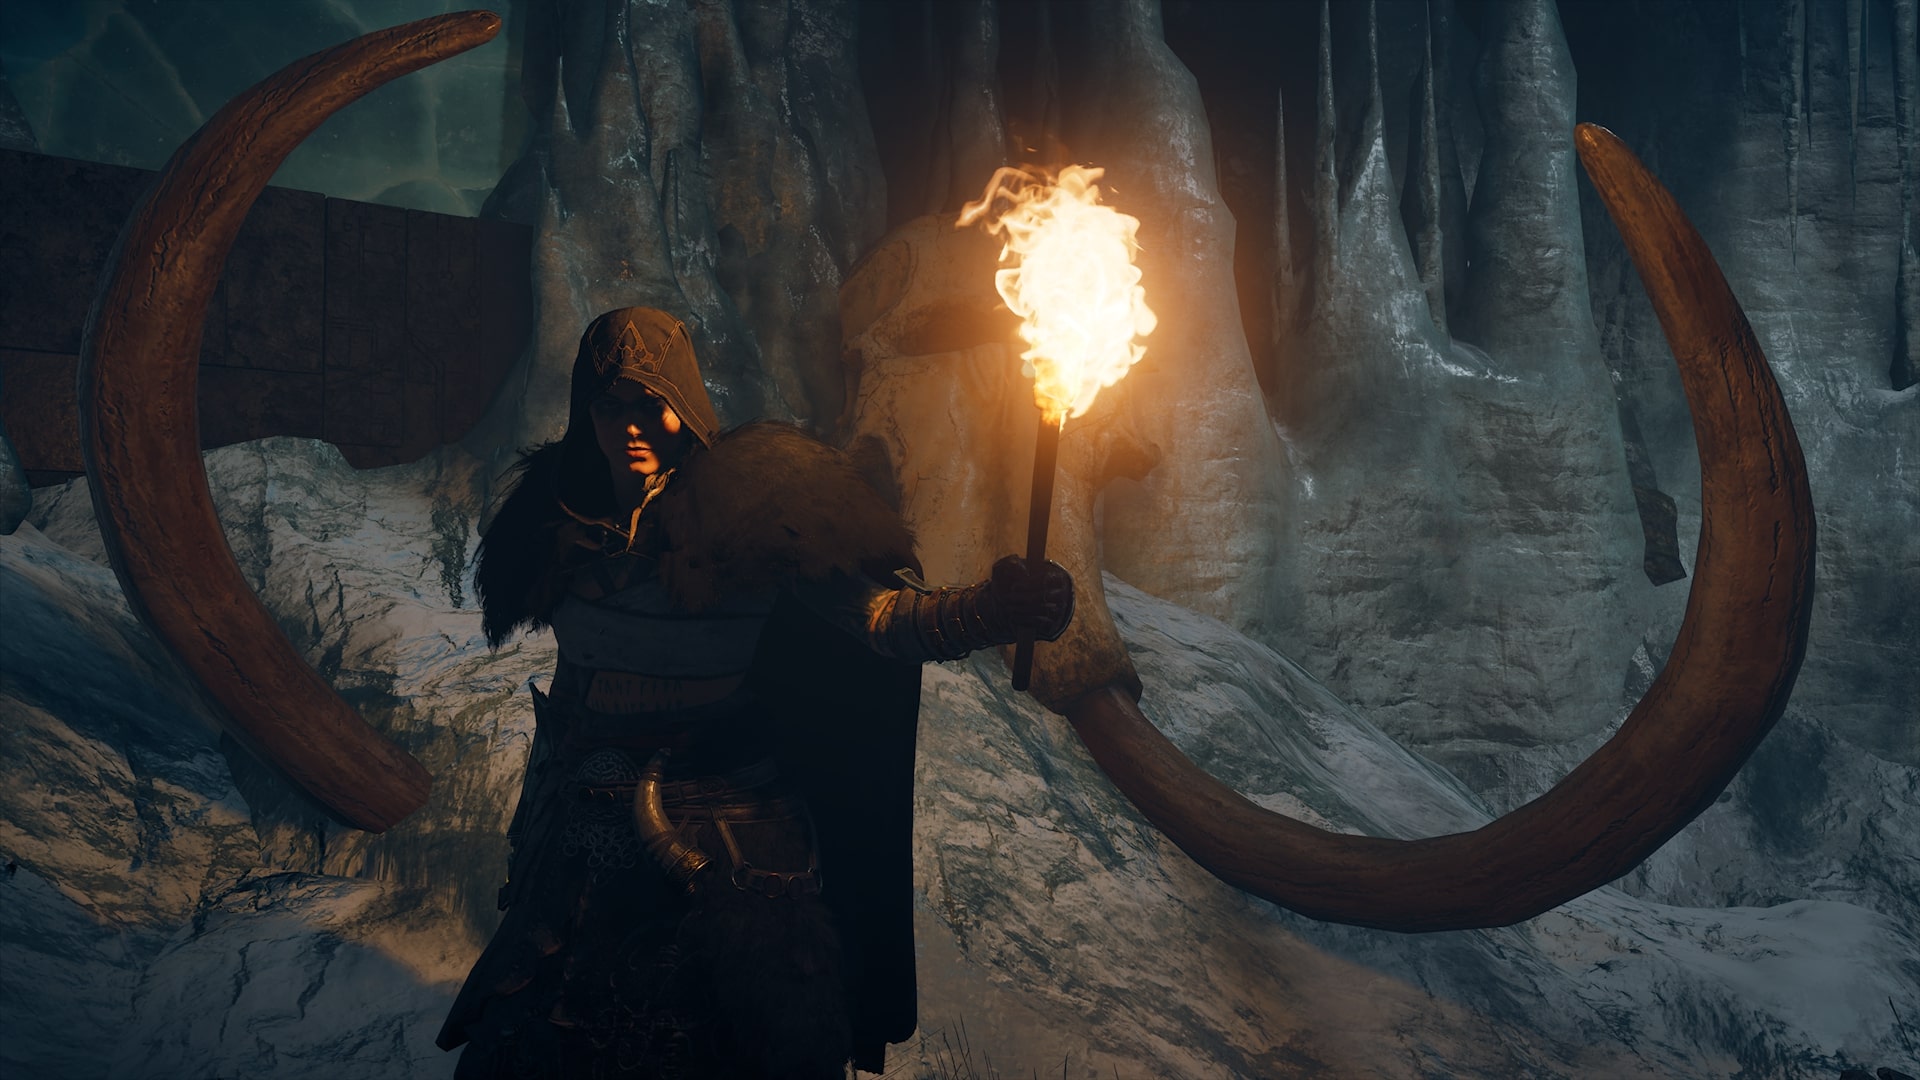
Venutios’ secret key is on the way out after finding the tomb. You will find a hole under a zipline. Explore the hole to find a frozen rift near a mammoth skull. Go inside to find the key.
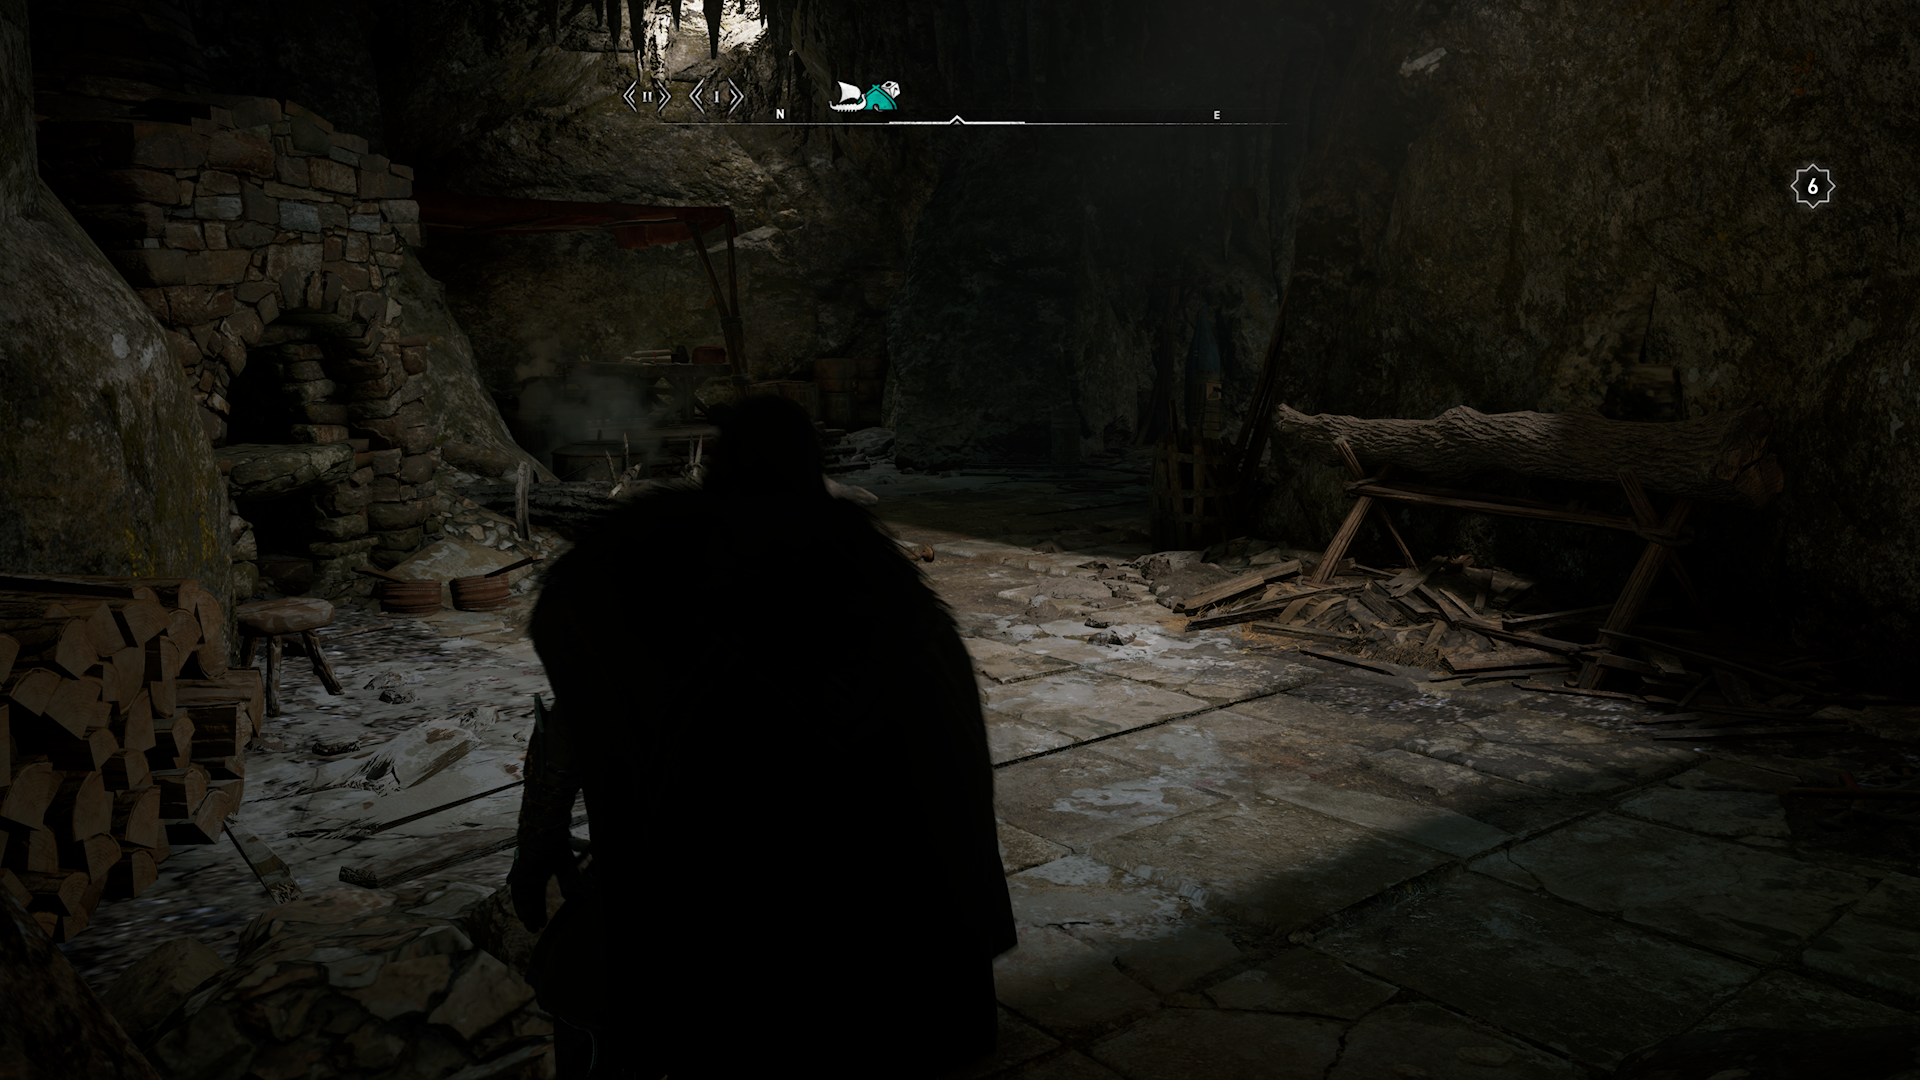
Tomb of Cassivellaunos
The third tomb is in Scriropescire between Afon Hafren and the Trent.
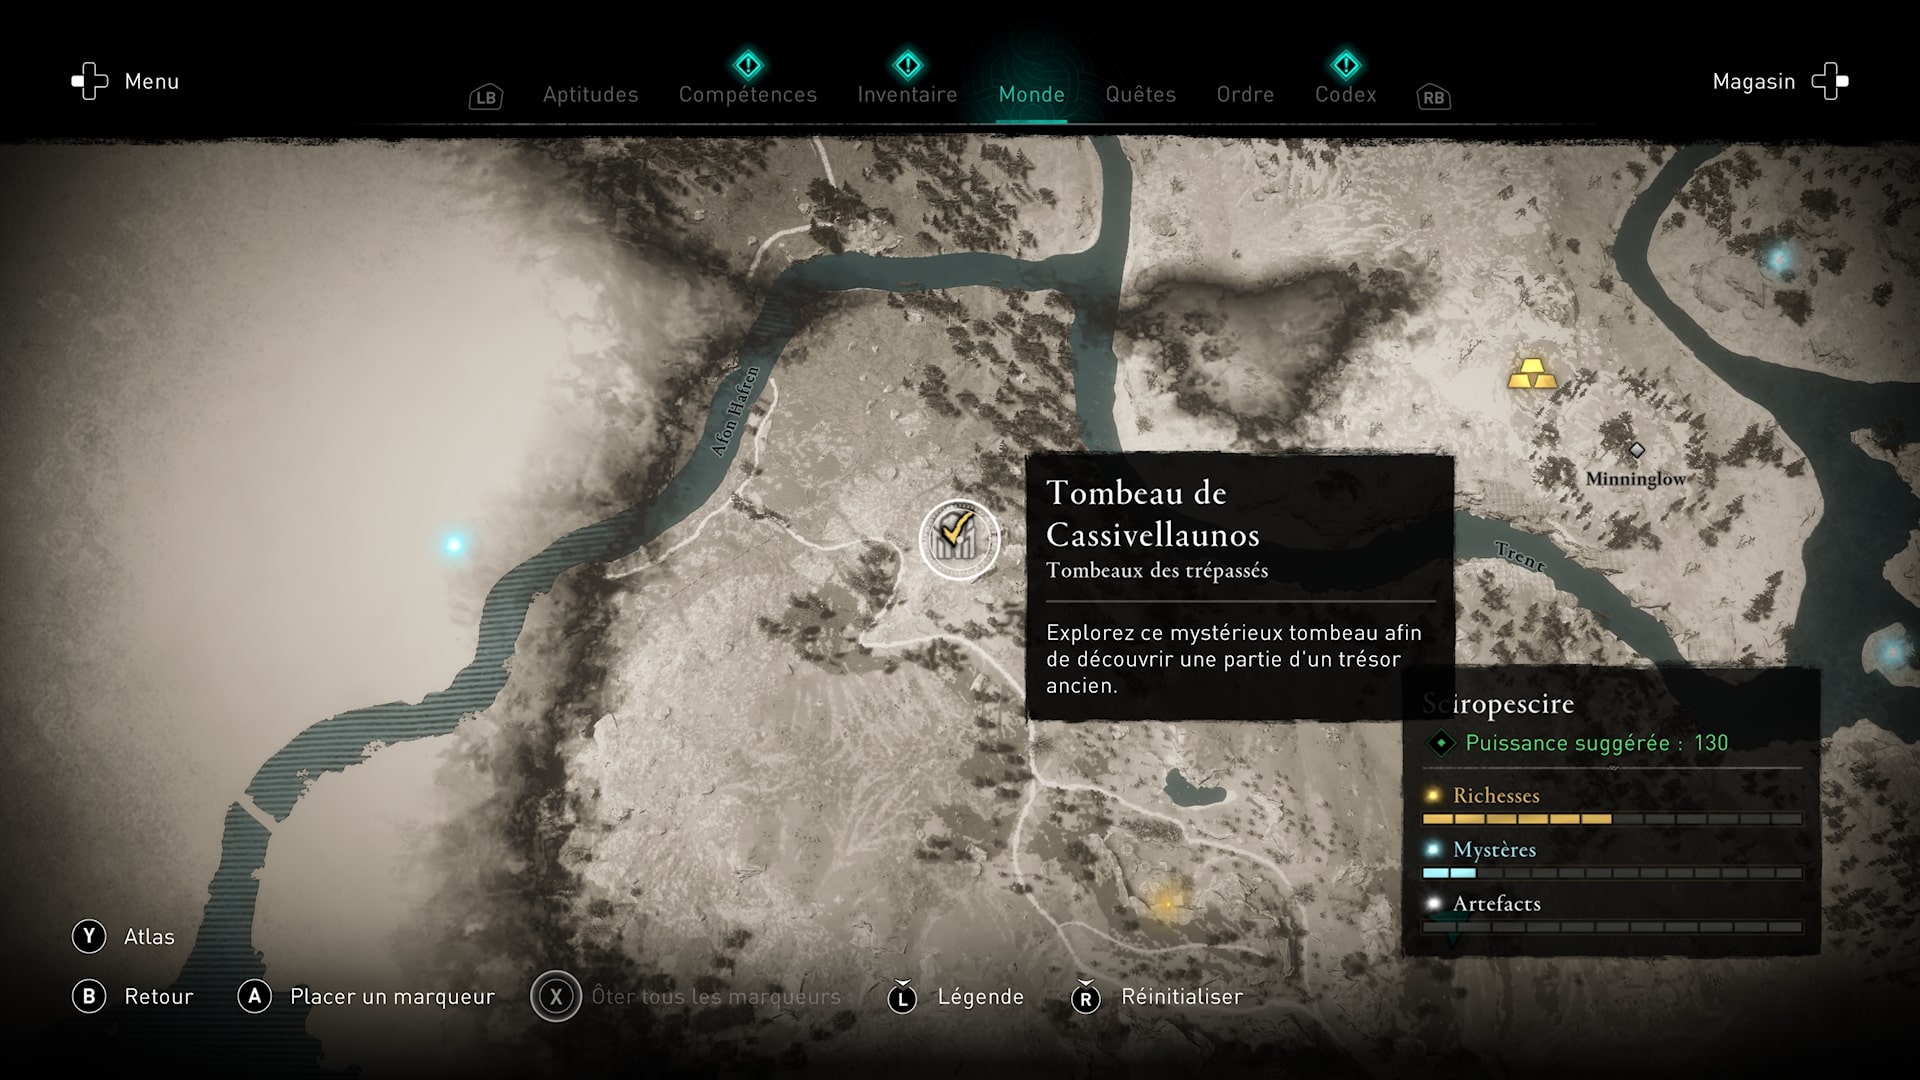
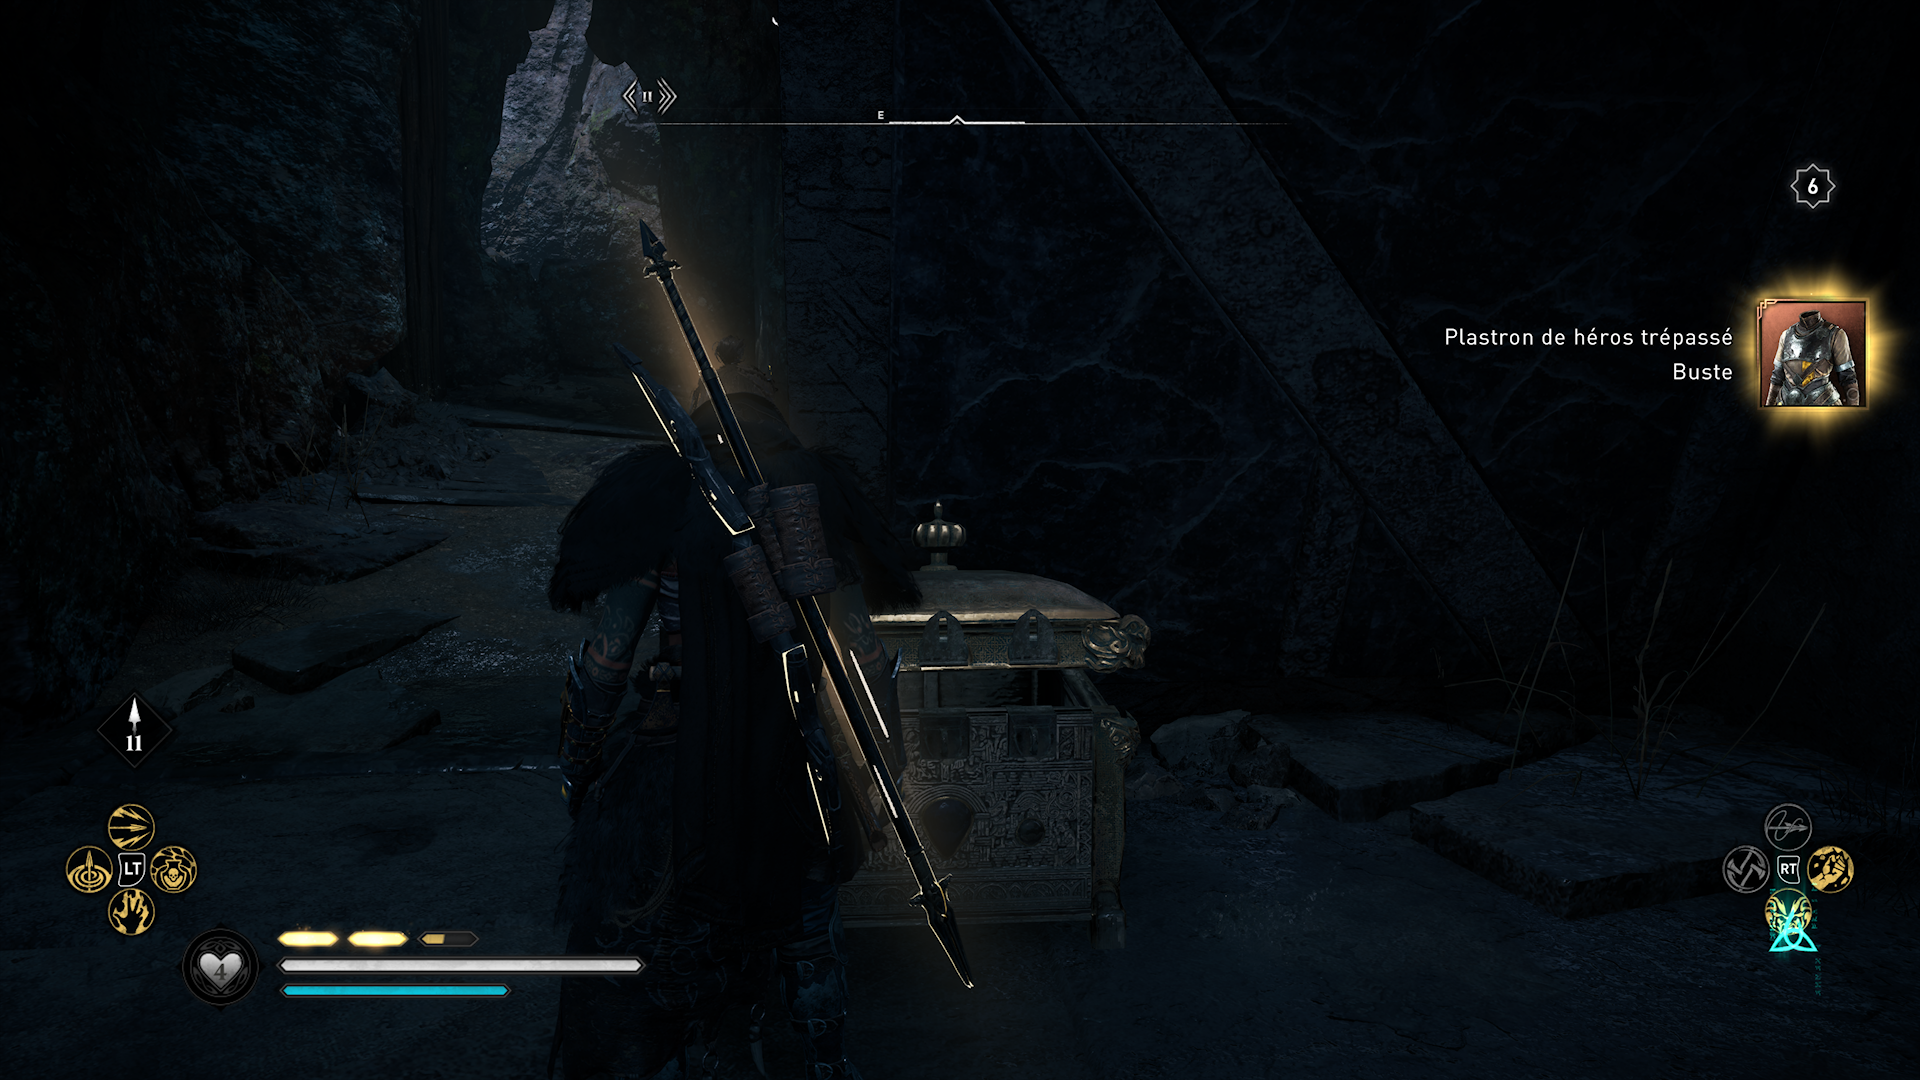
You will find at the bottom of the tomb the last piece of armor, the breastplate of fallen heroes.
The secret key of Cassivellaunos
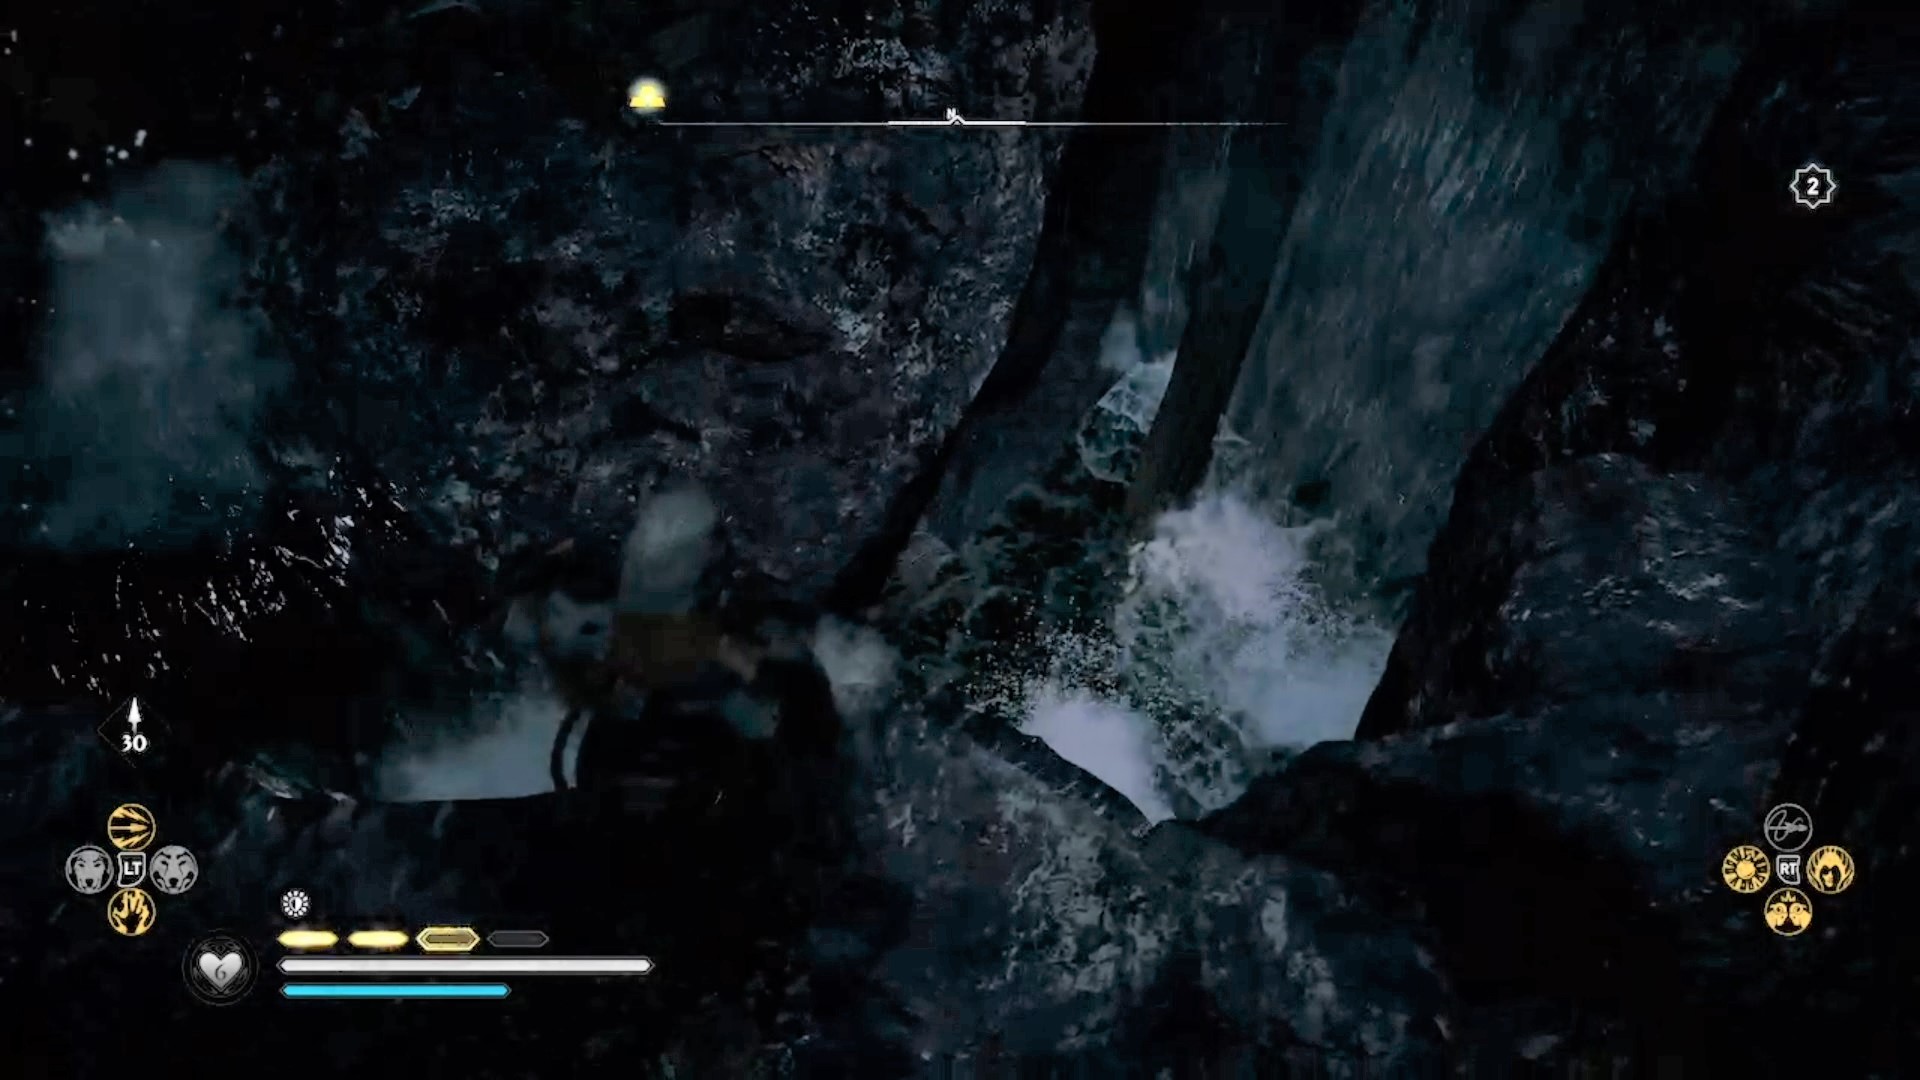
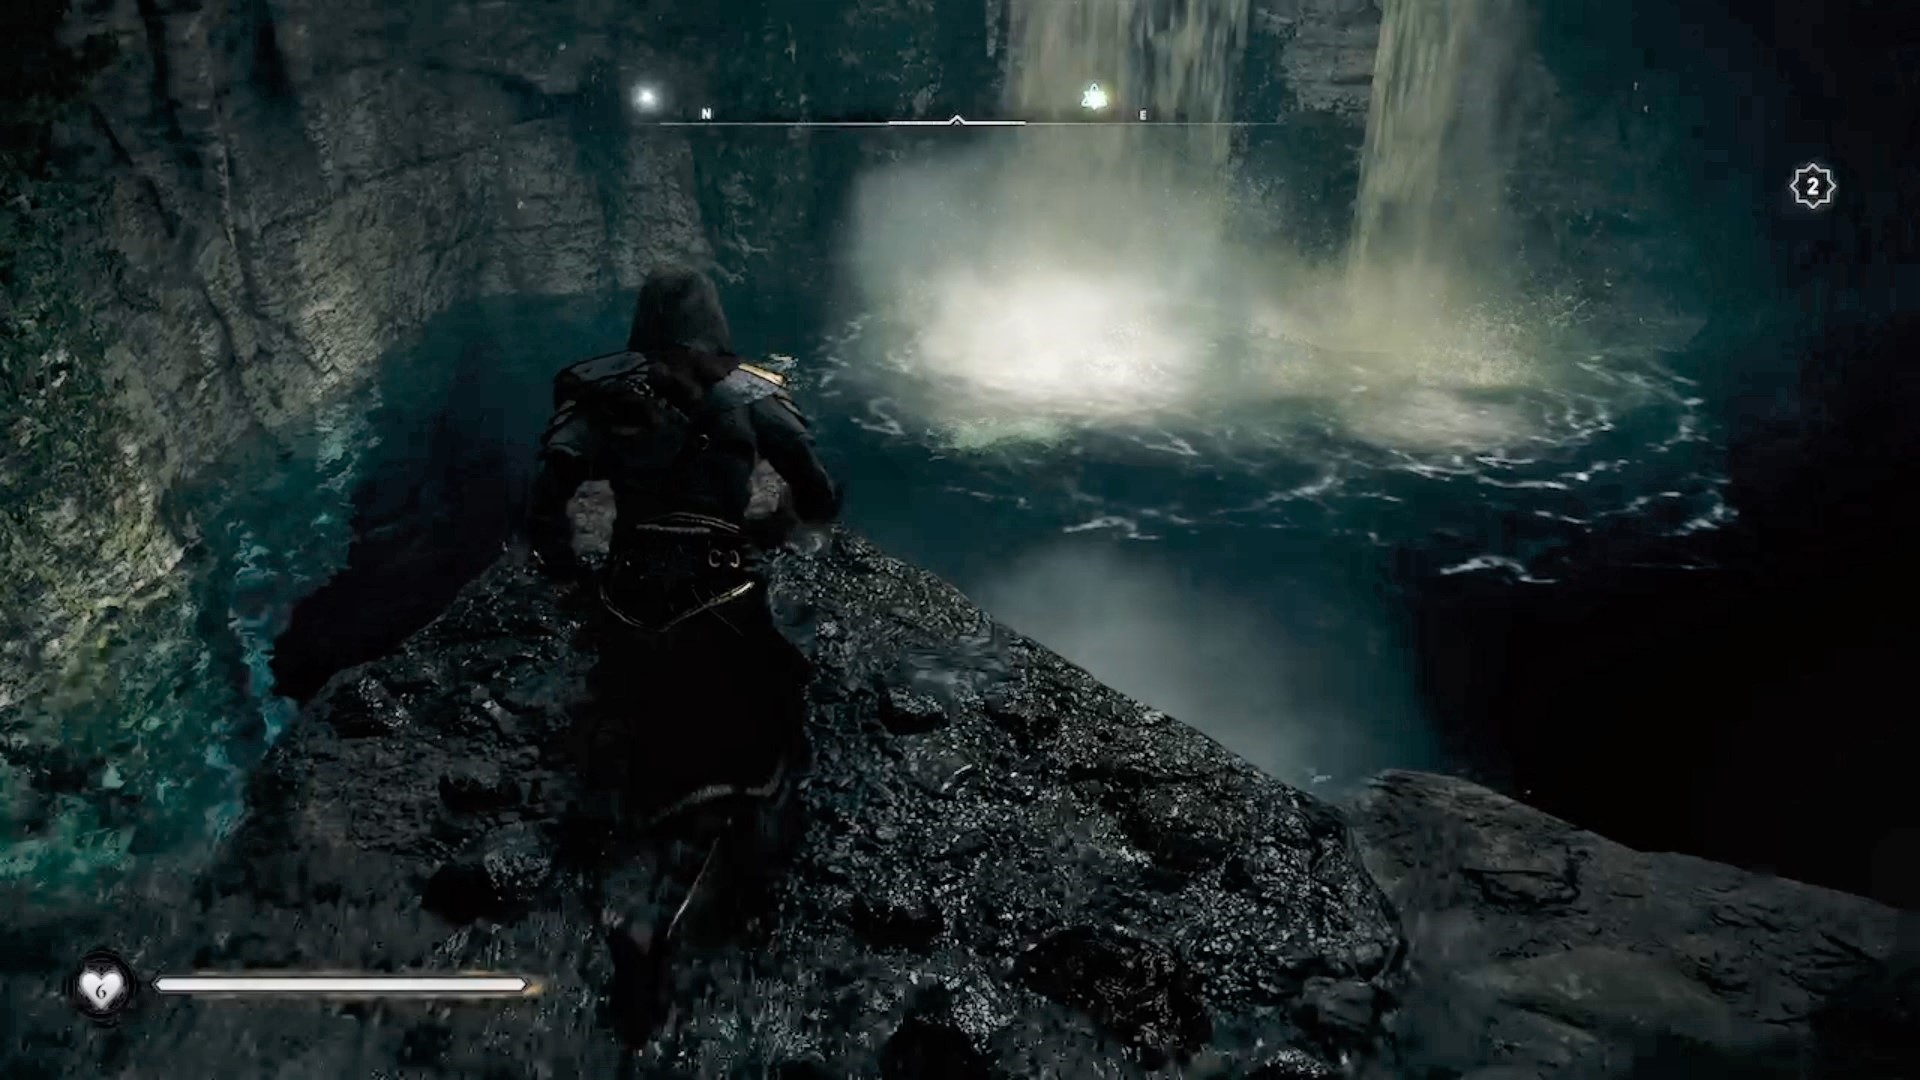
Cassivellaunos Secret Key is on the way out after you find the tomb. When you reach a zipline, drop down to the bottom of the waterfall below to find the secret key.
Thanks to the first three sanctuaries you have all the pieces of armor in hand and will obtain the Fallen Hero’s armor as a reward.
A recent update adds two new tombs to the quest with Tombs of the Fallen Part 2. The quest is already triggered, you can return to Manius Sanctuary to locate the new tombs using your crow.
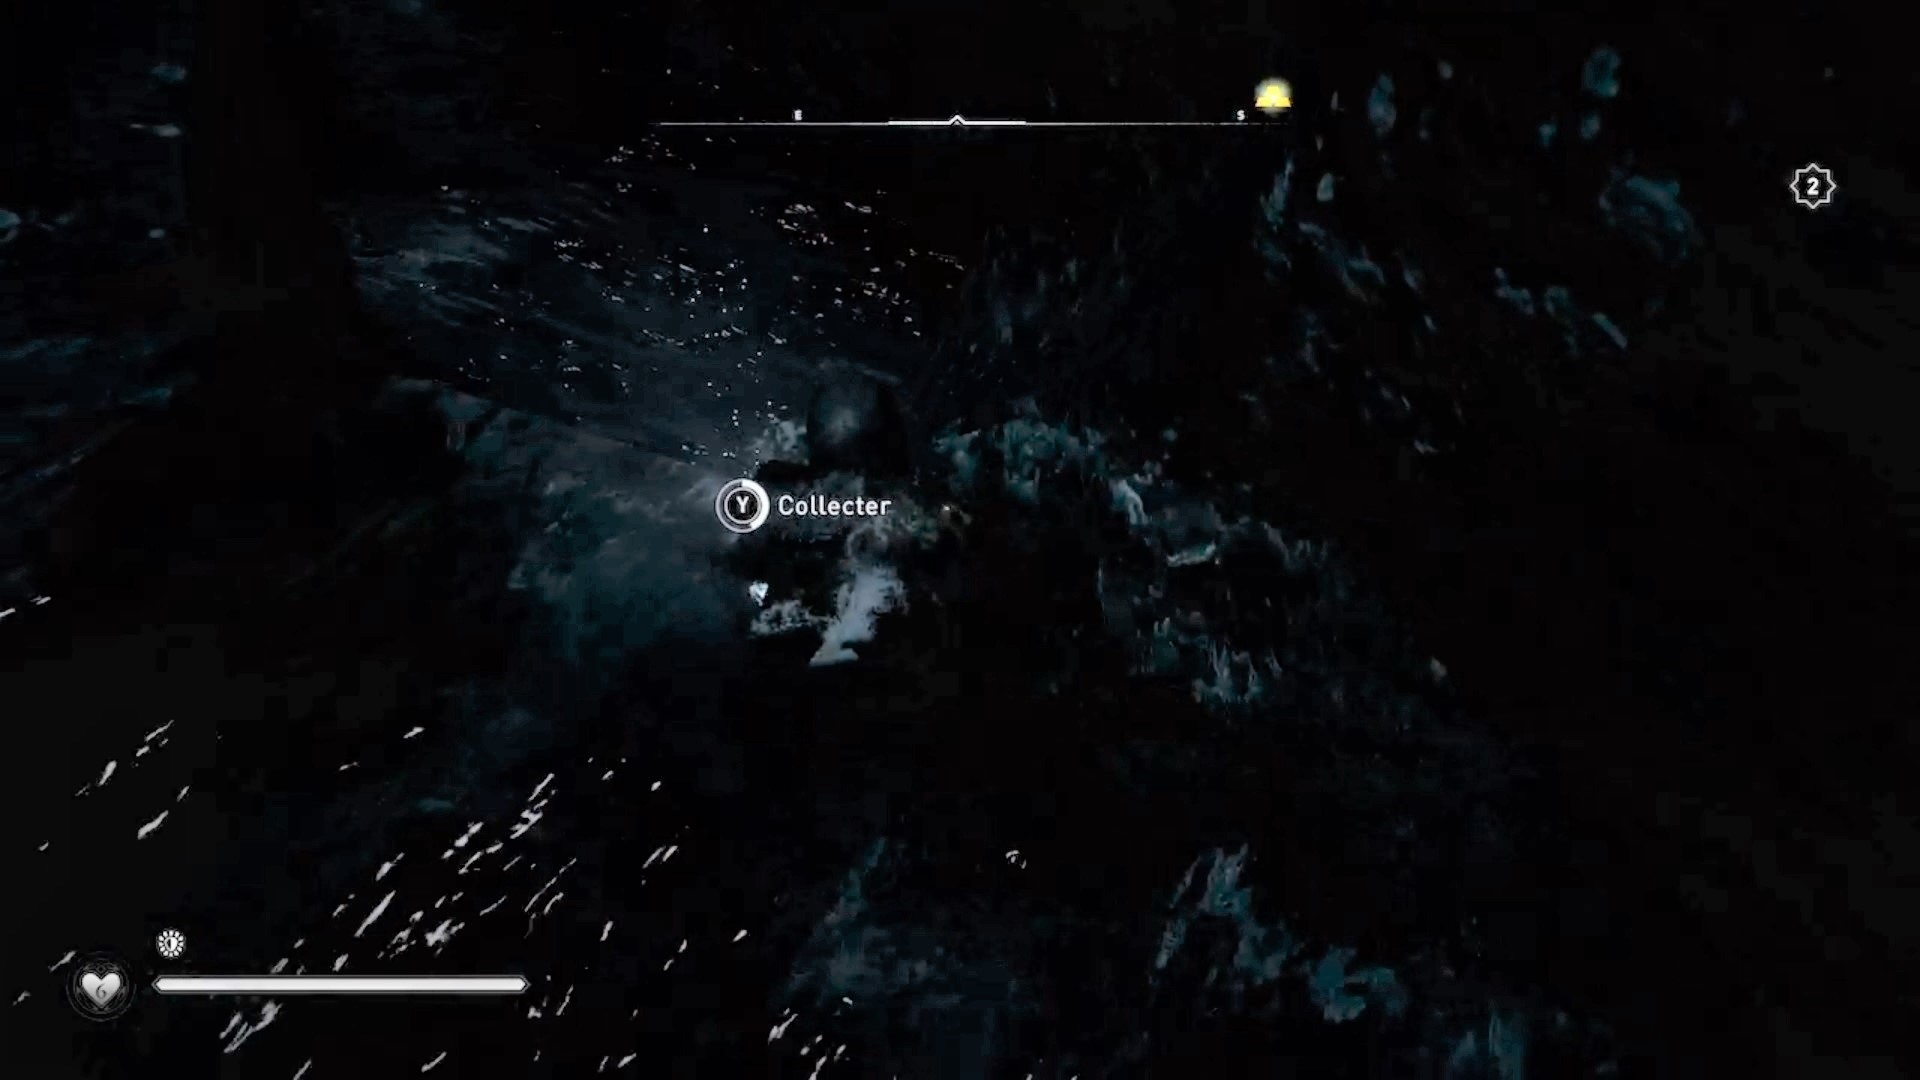
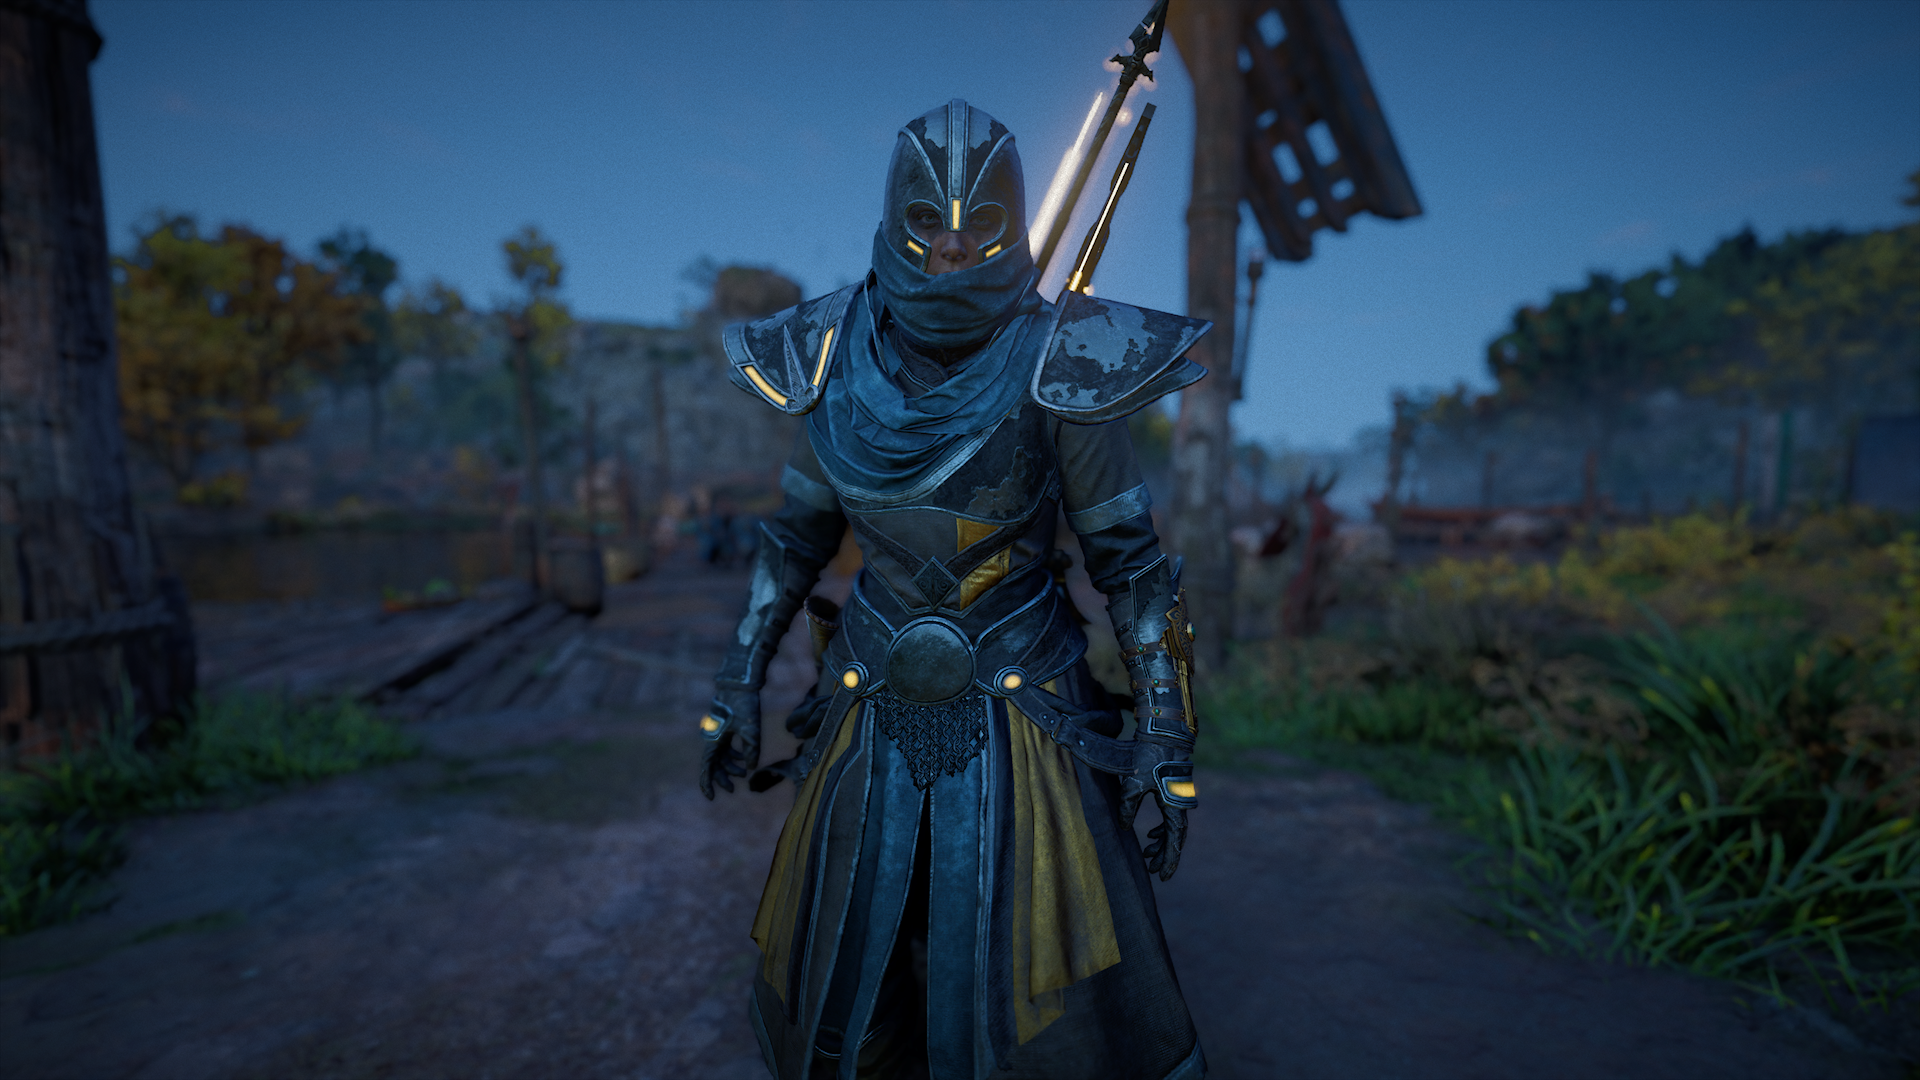
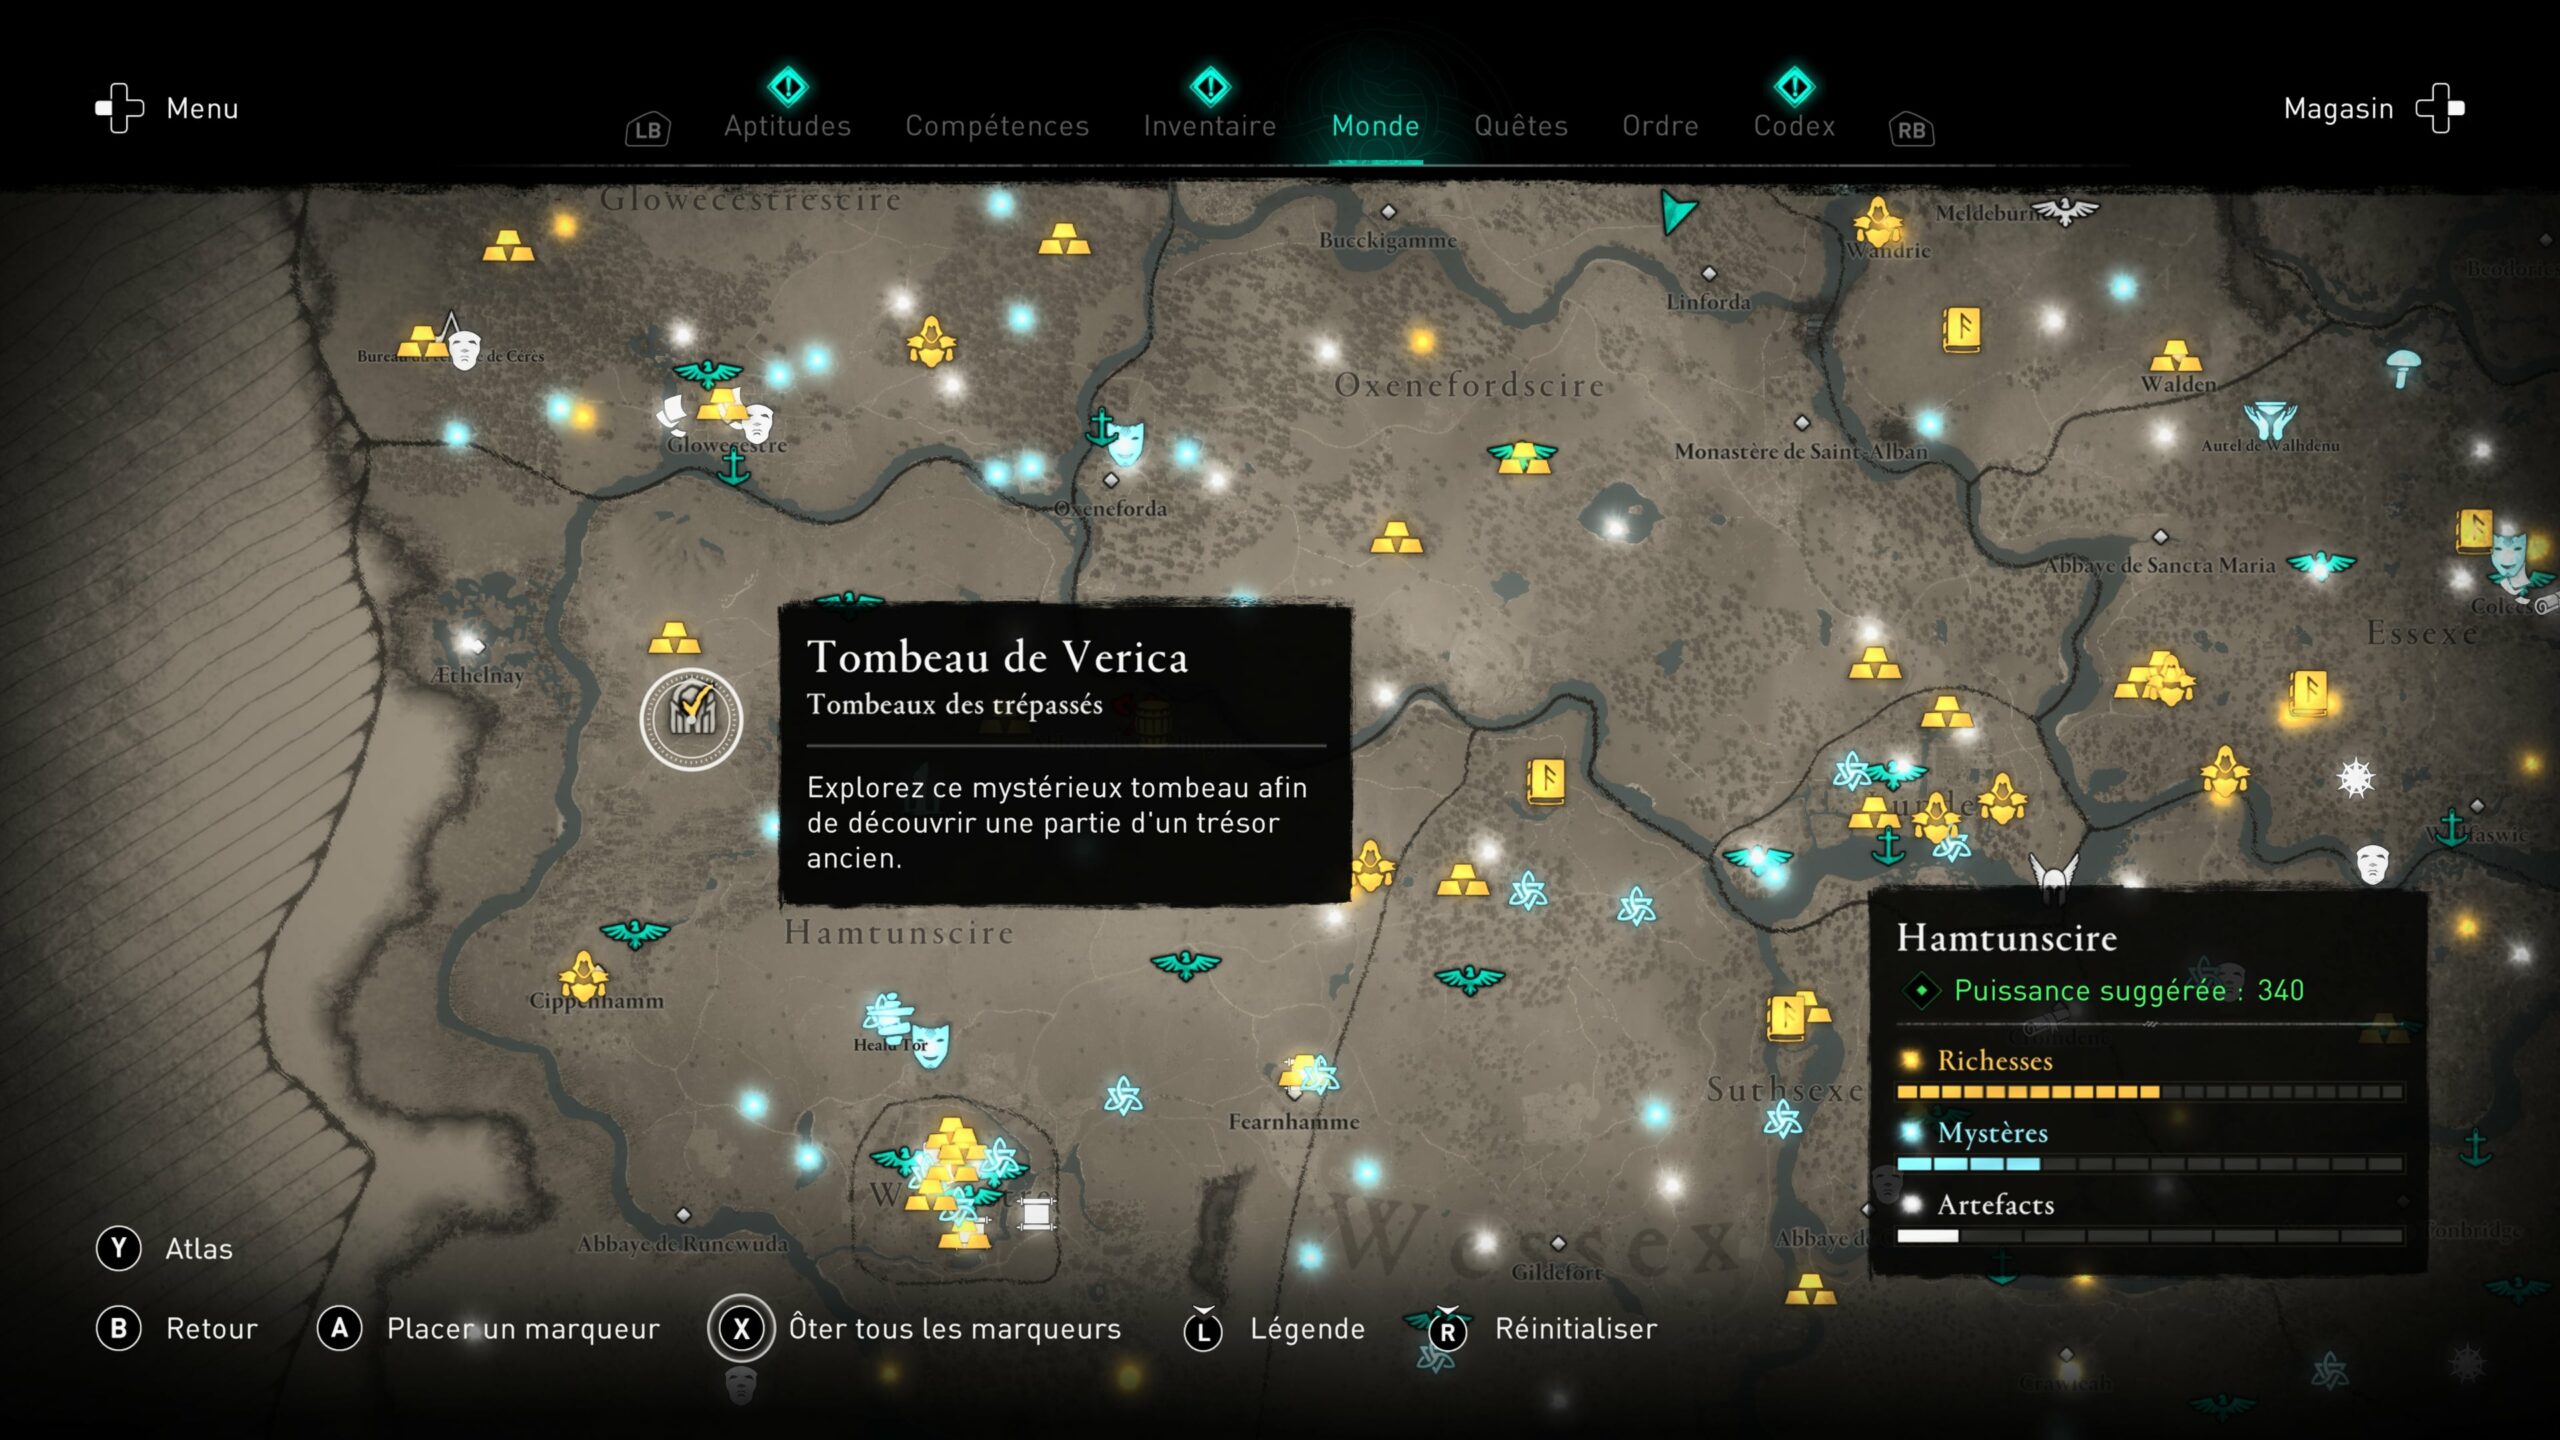
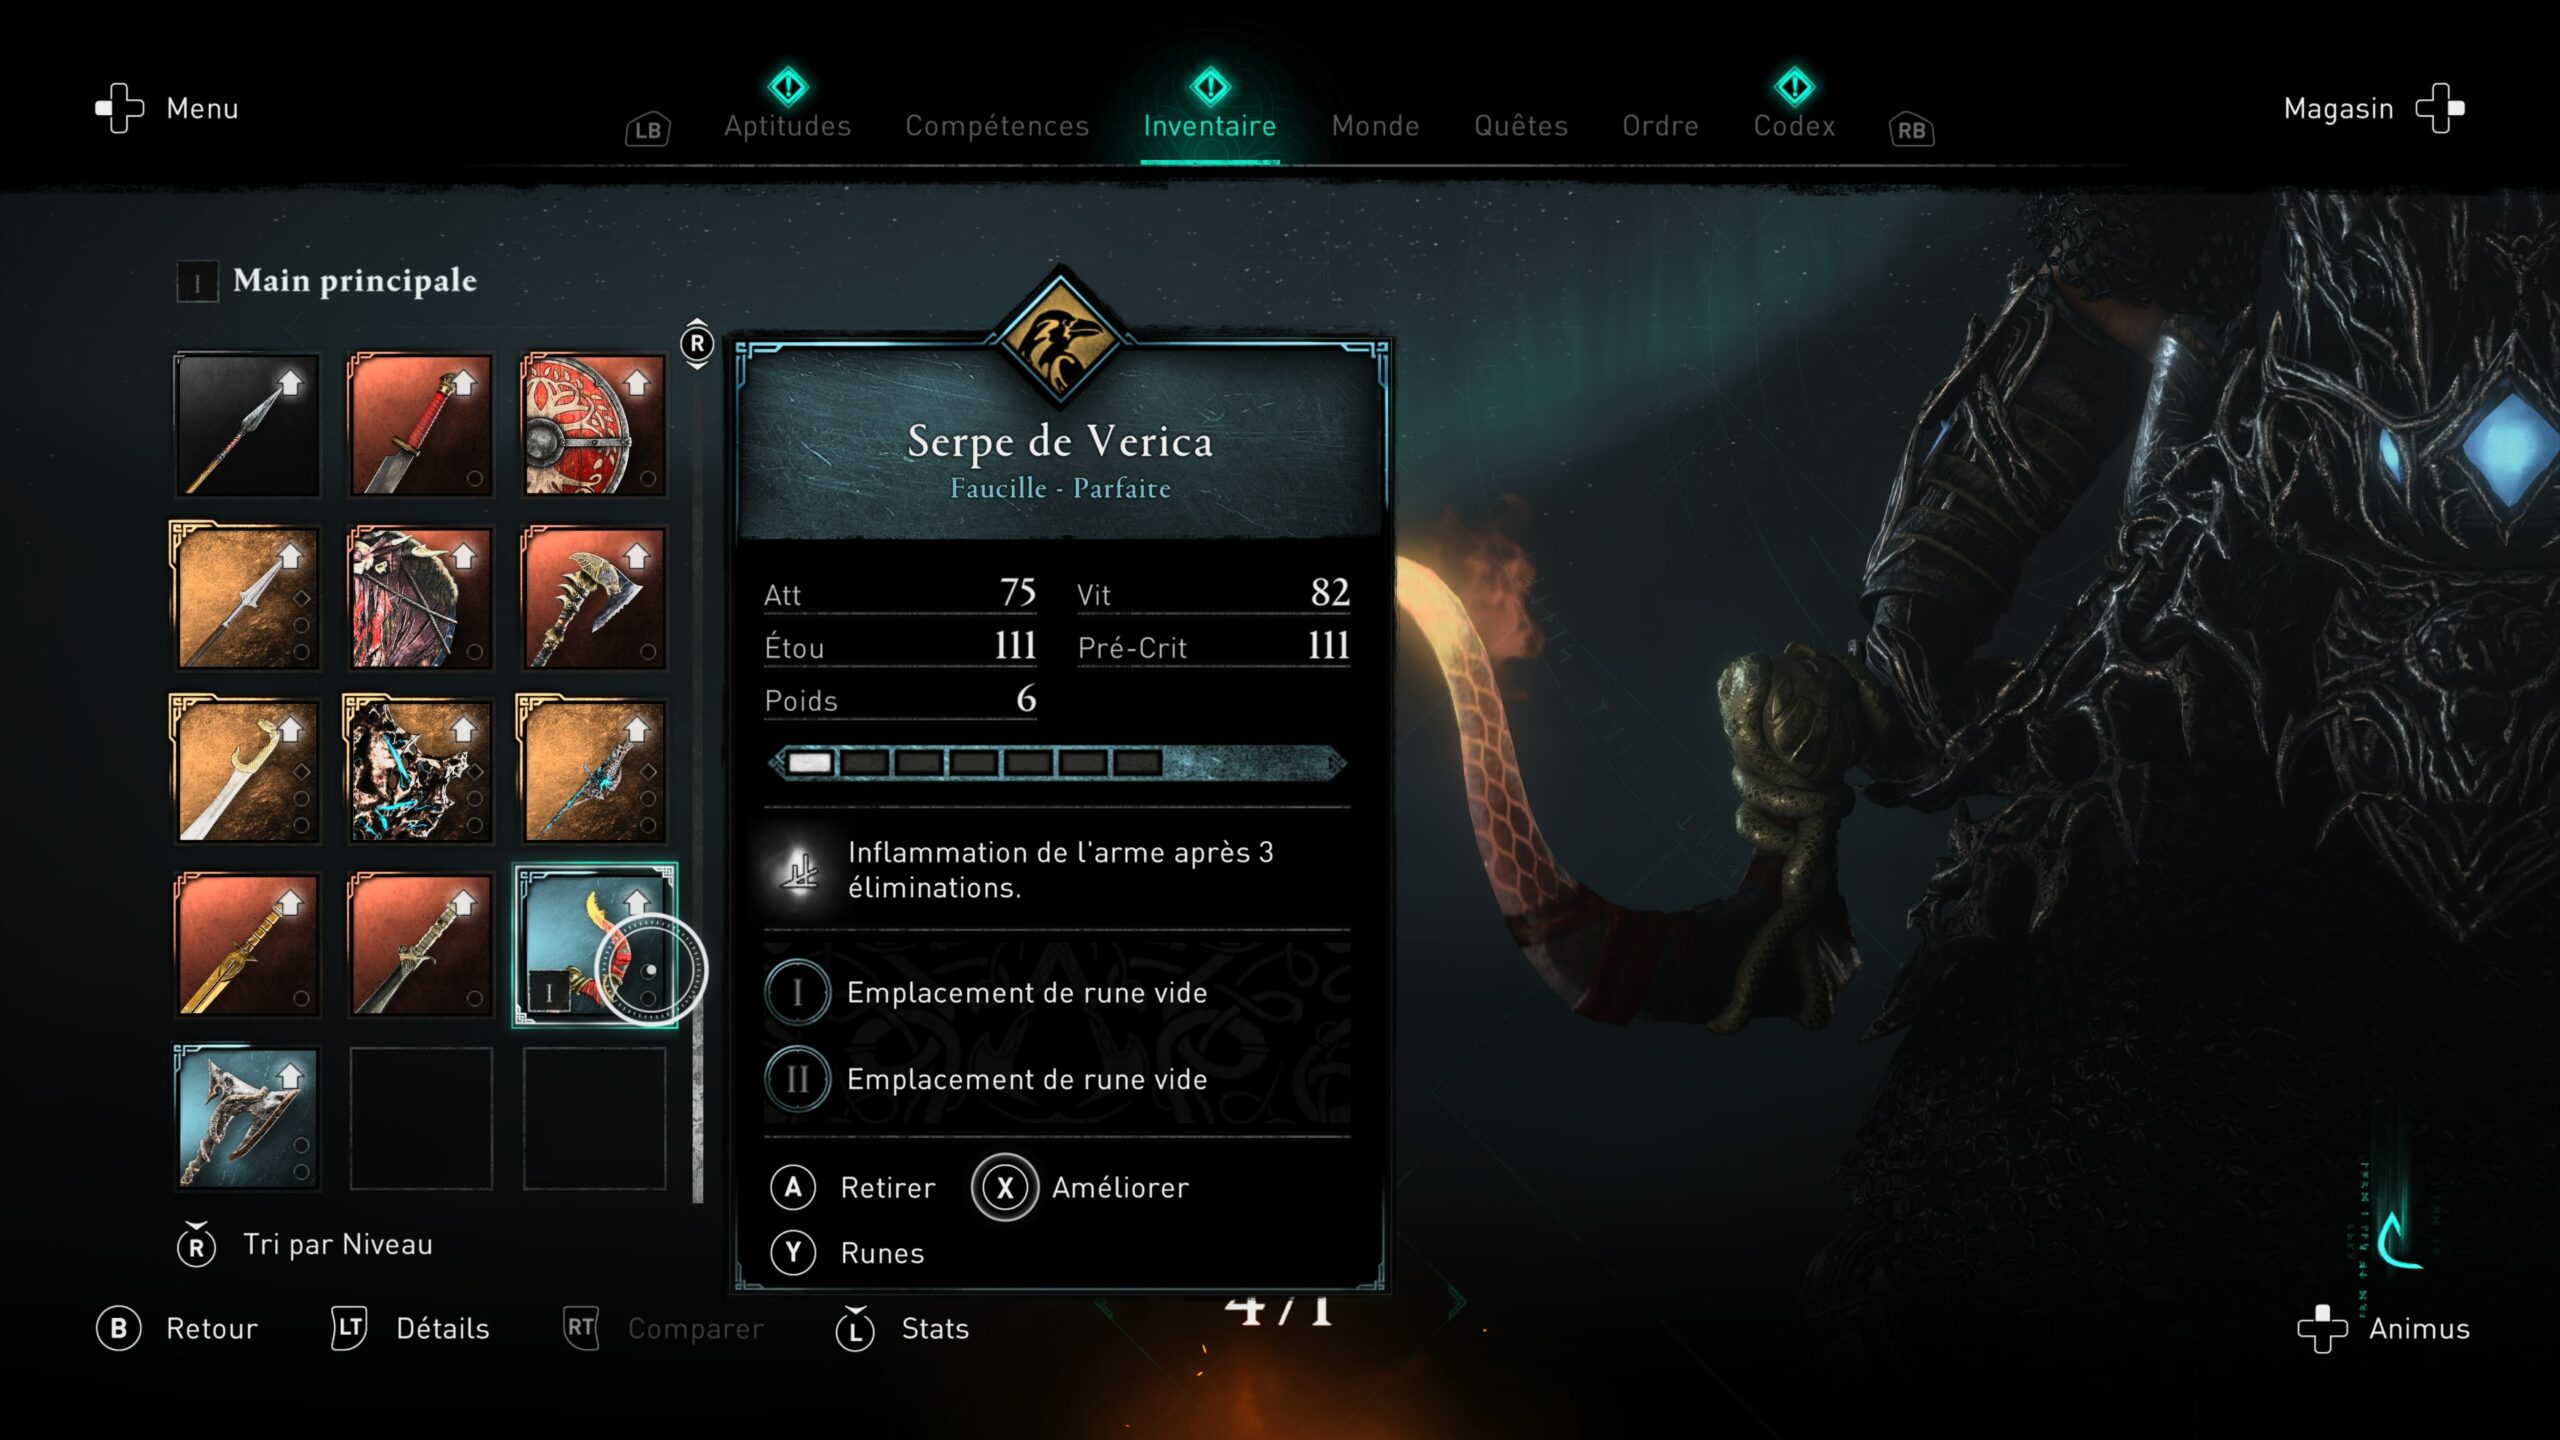
Verica’s Tomb
You will find Verica’s Tomb northeast of Hamtunscire. You will get Verica’s Billhook as a reward.
Verica’s Secret Key
After retrieving the treasure from the tomb move forward to the exit to find a hidden passage to the right. Head inside to find the key on a crate.
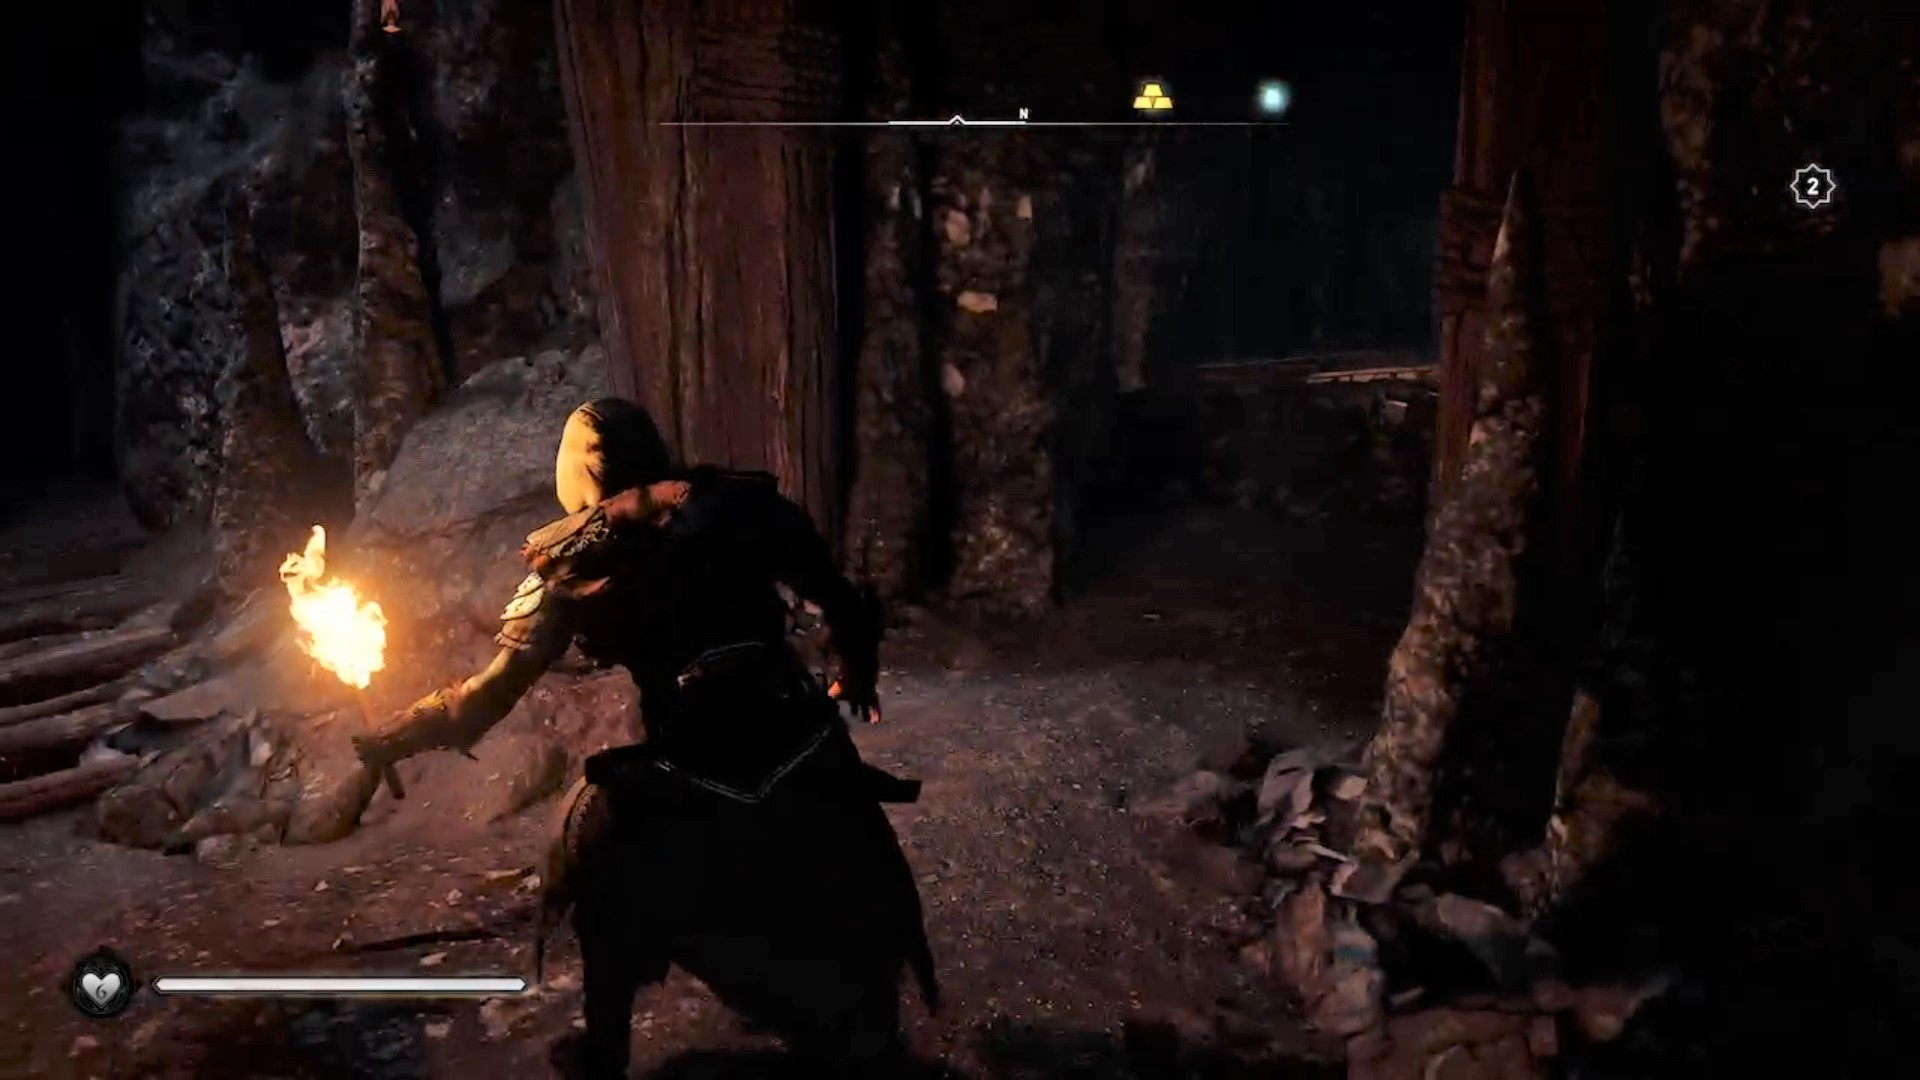
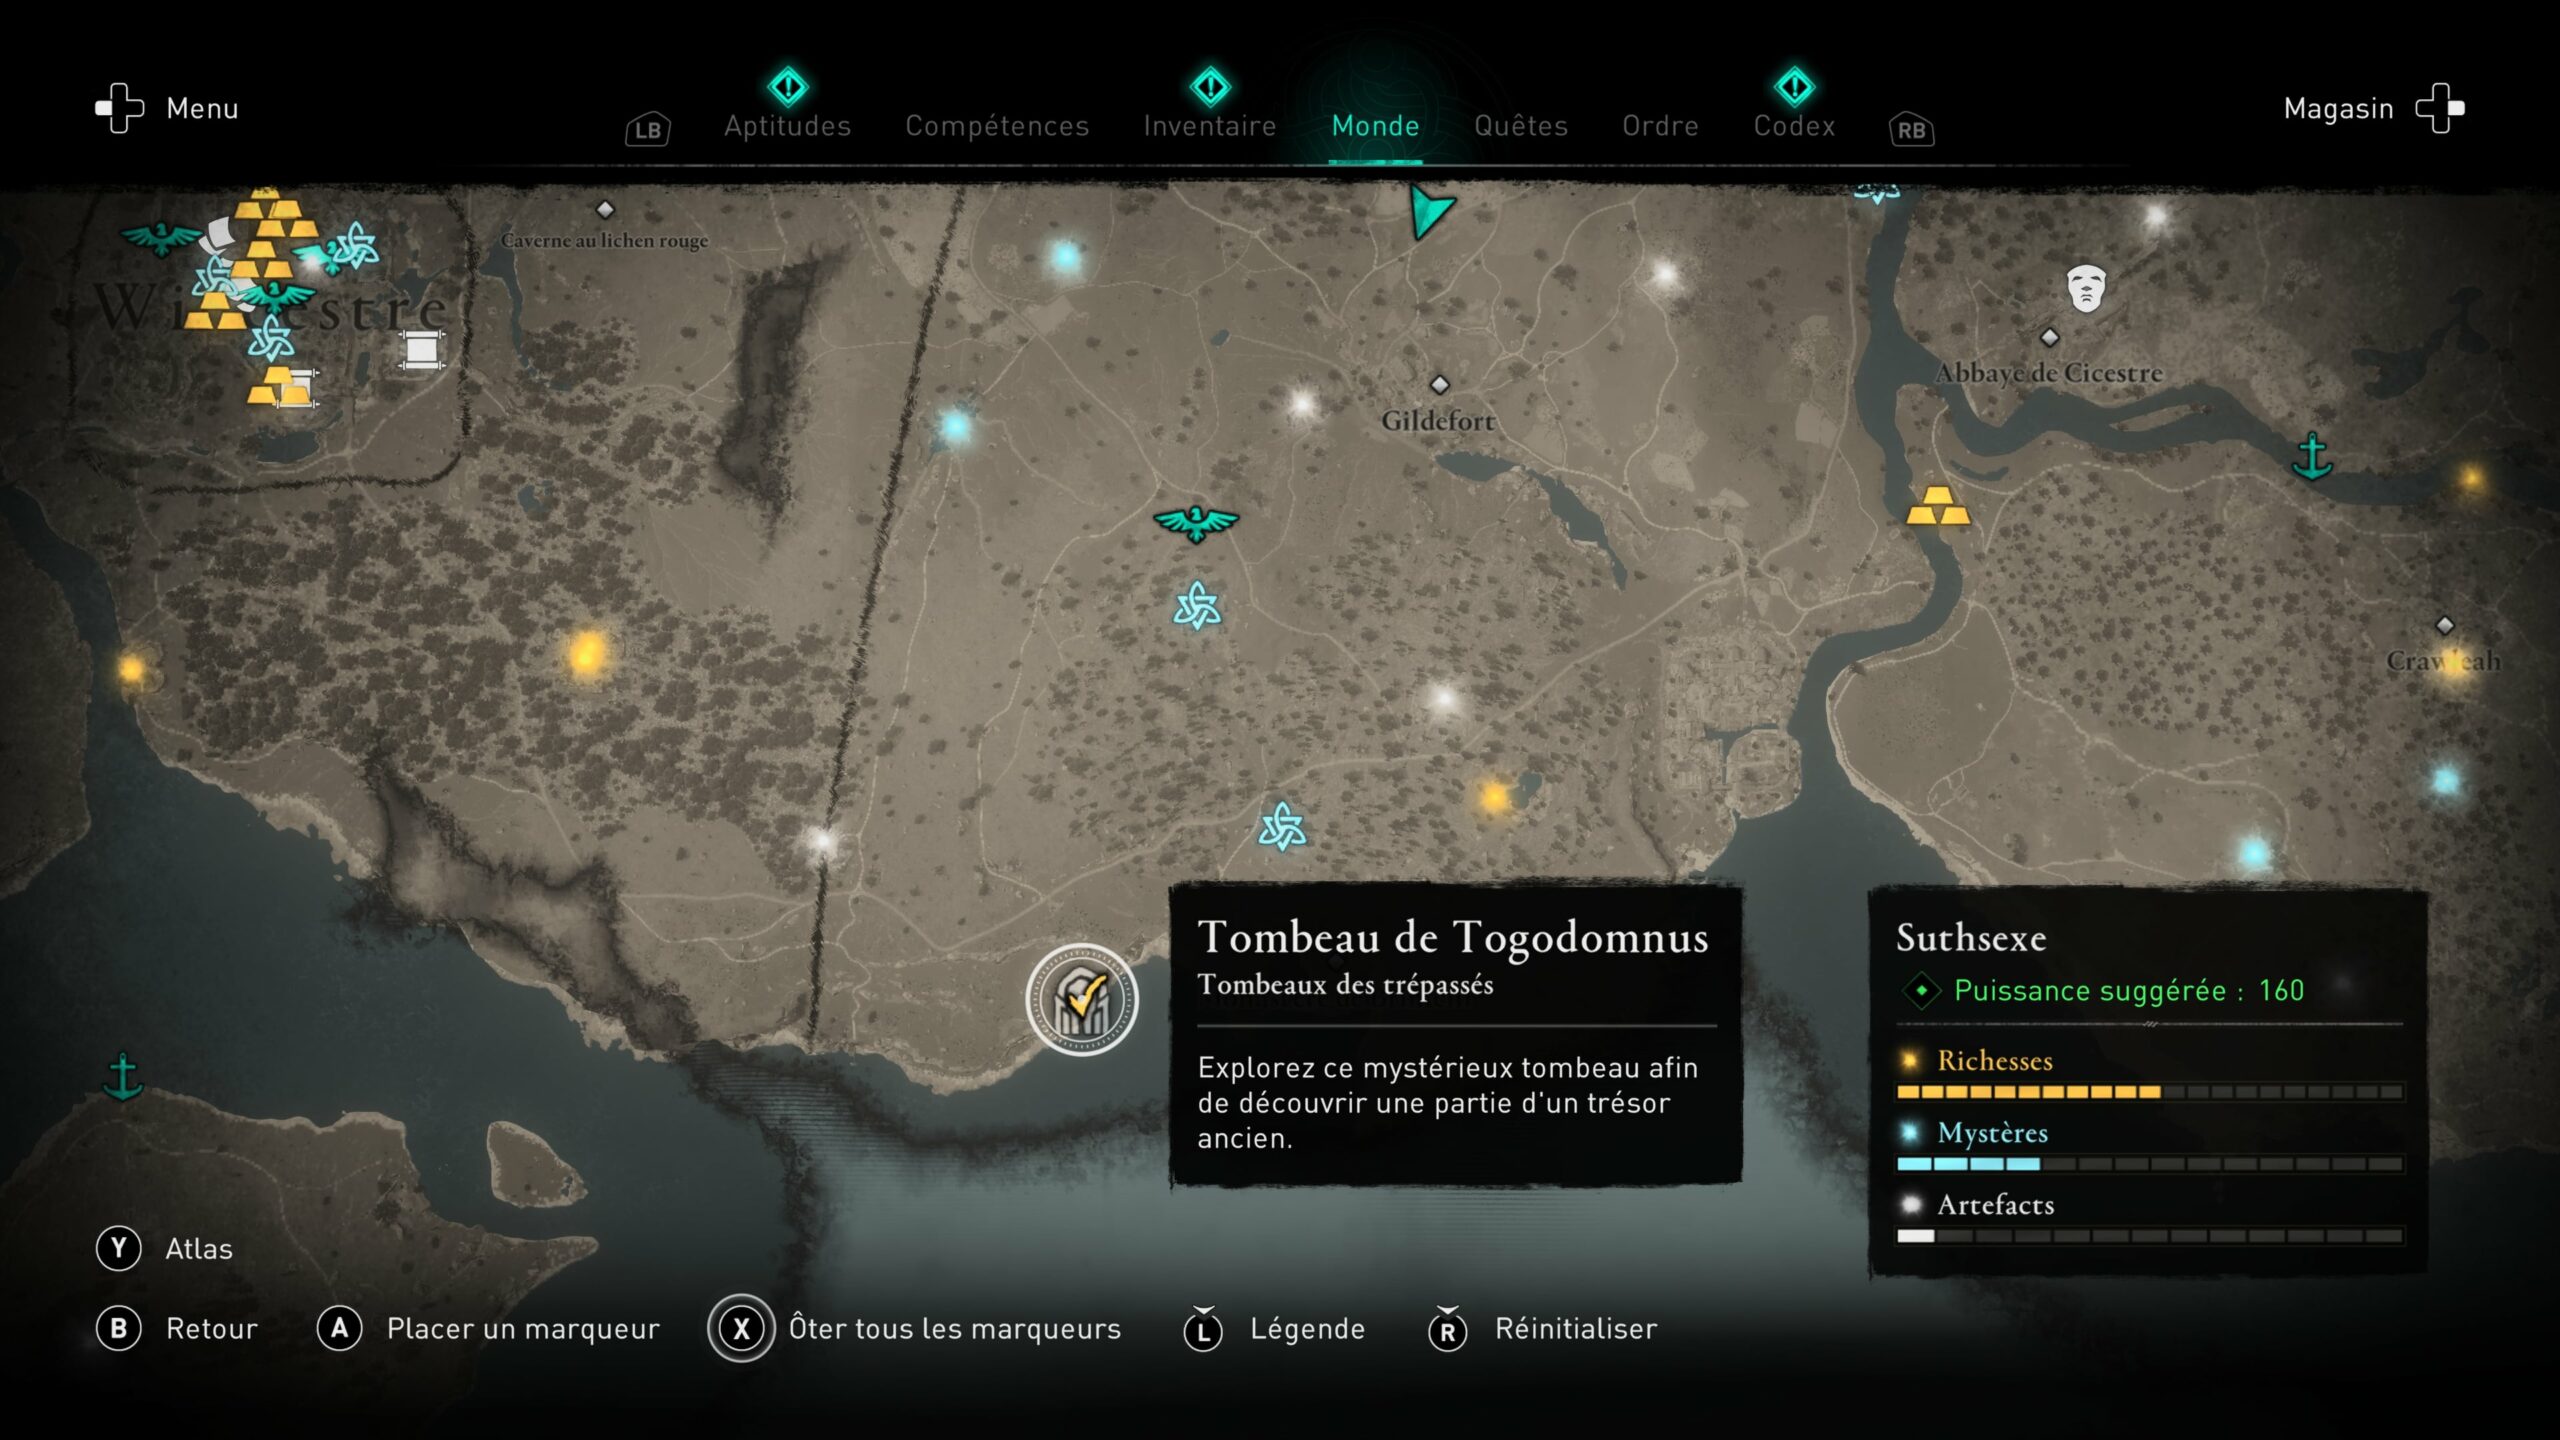
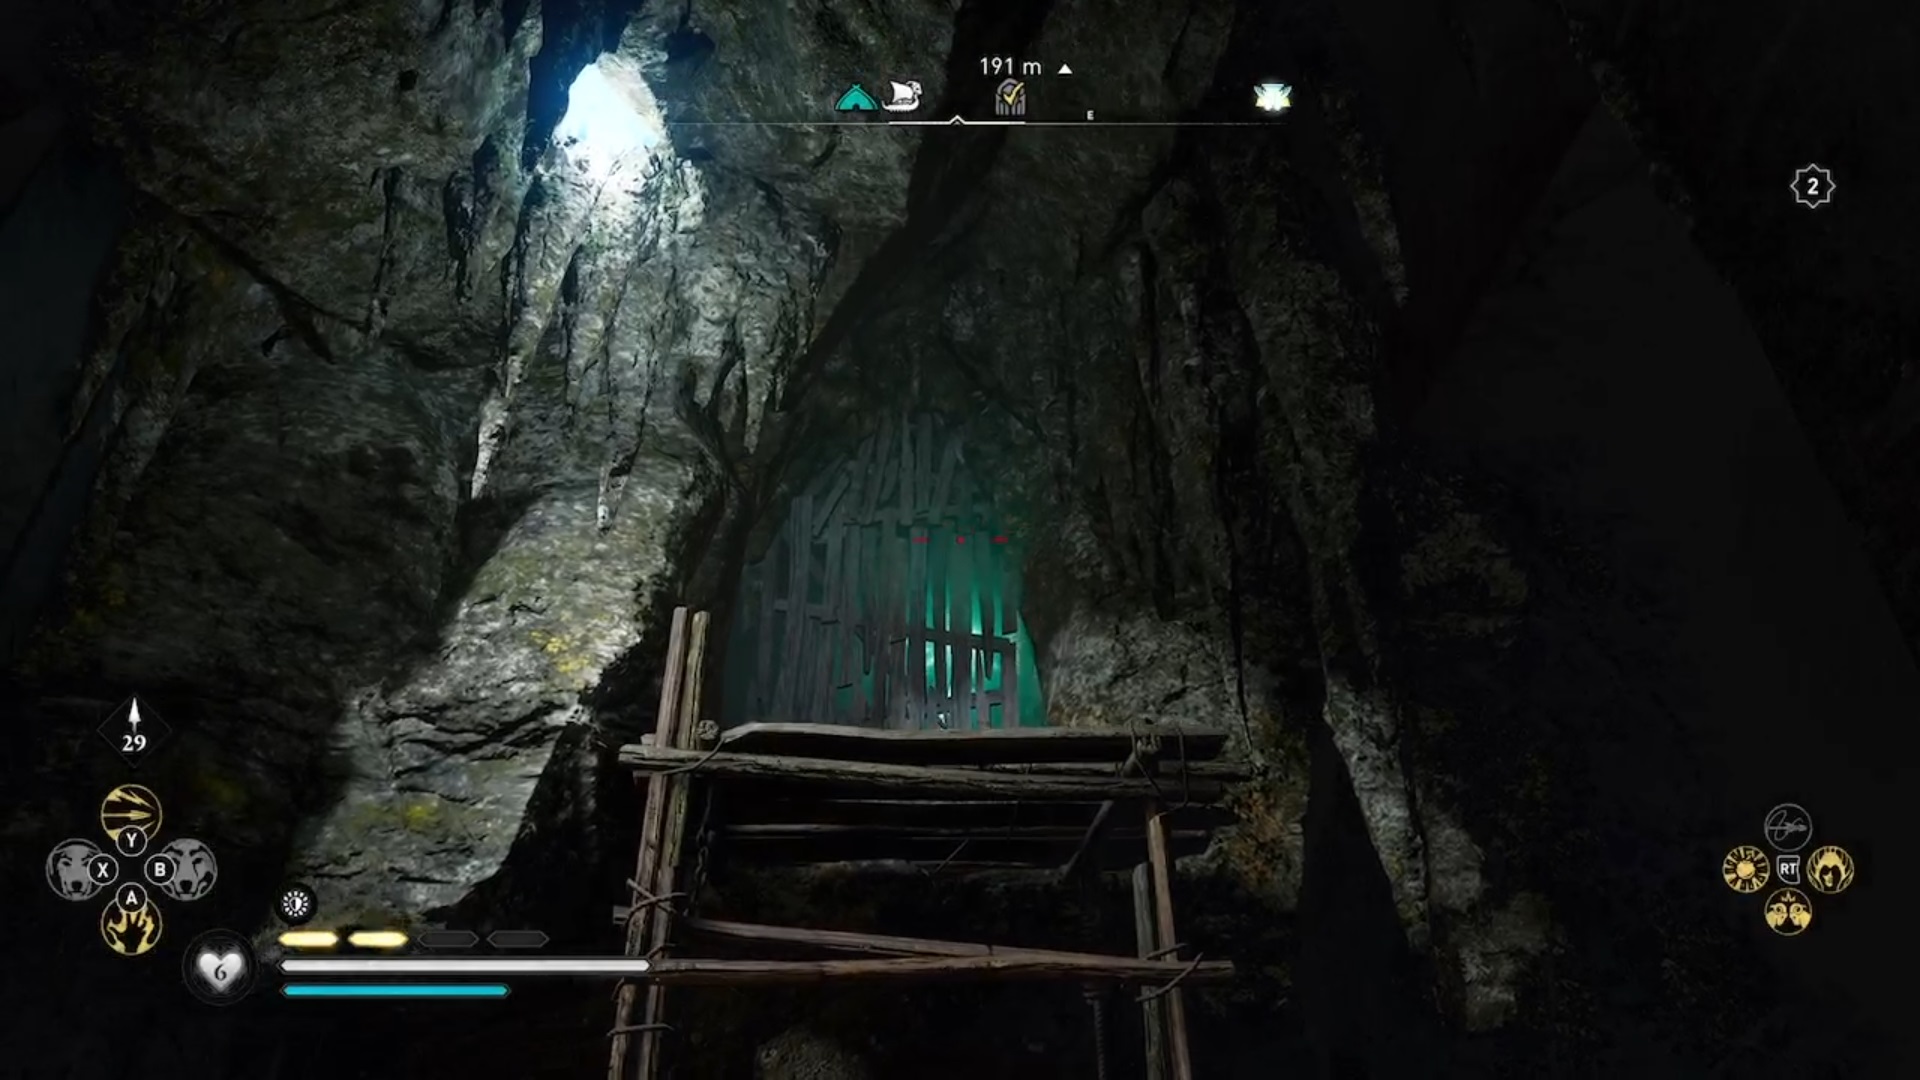
Togodomnus Tomb
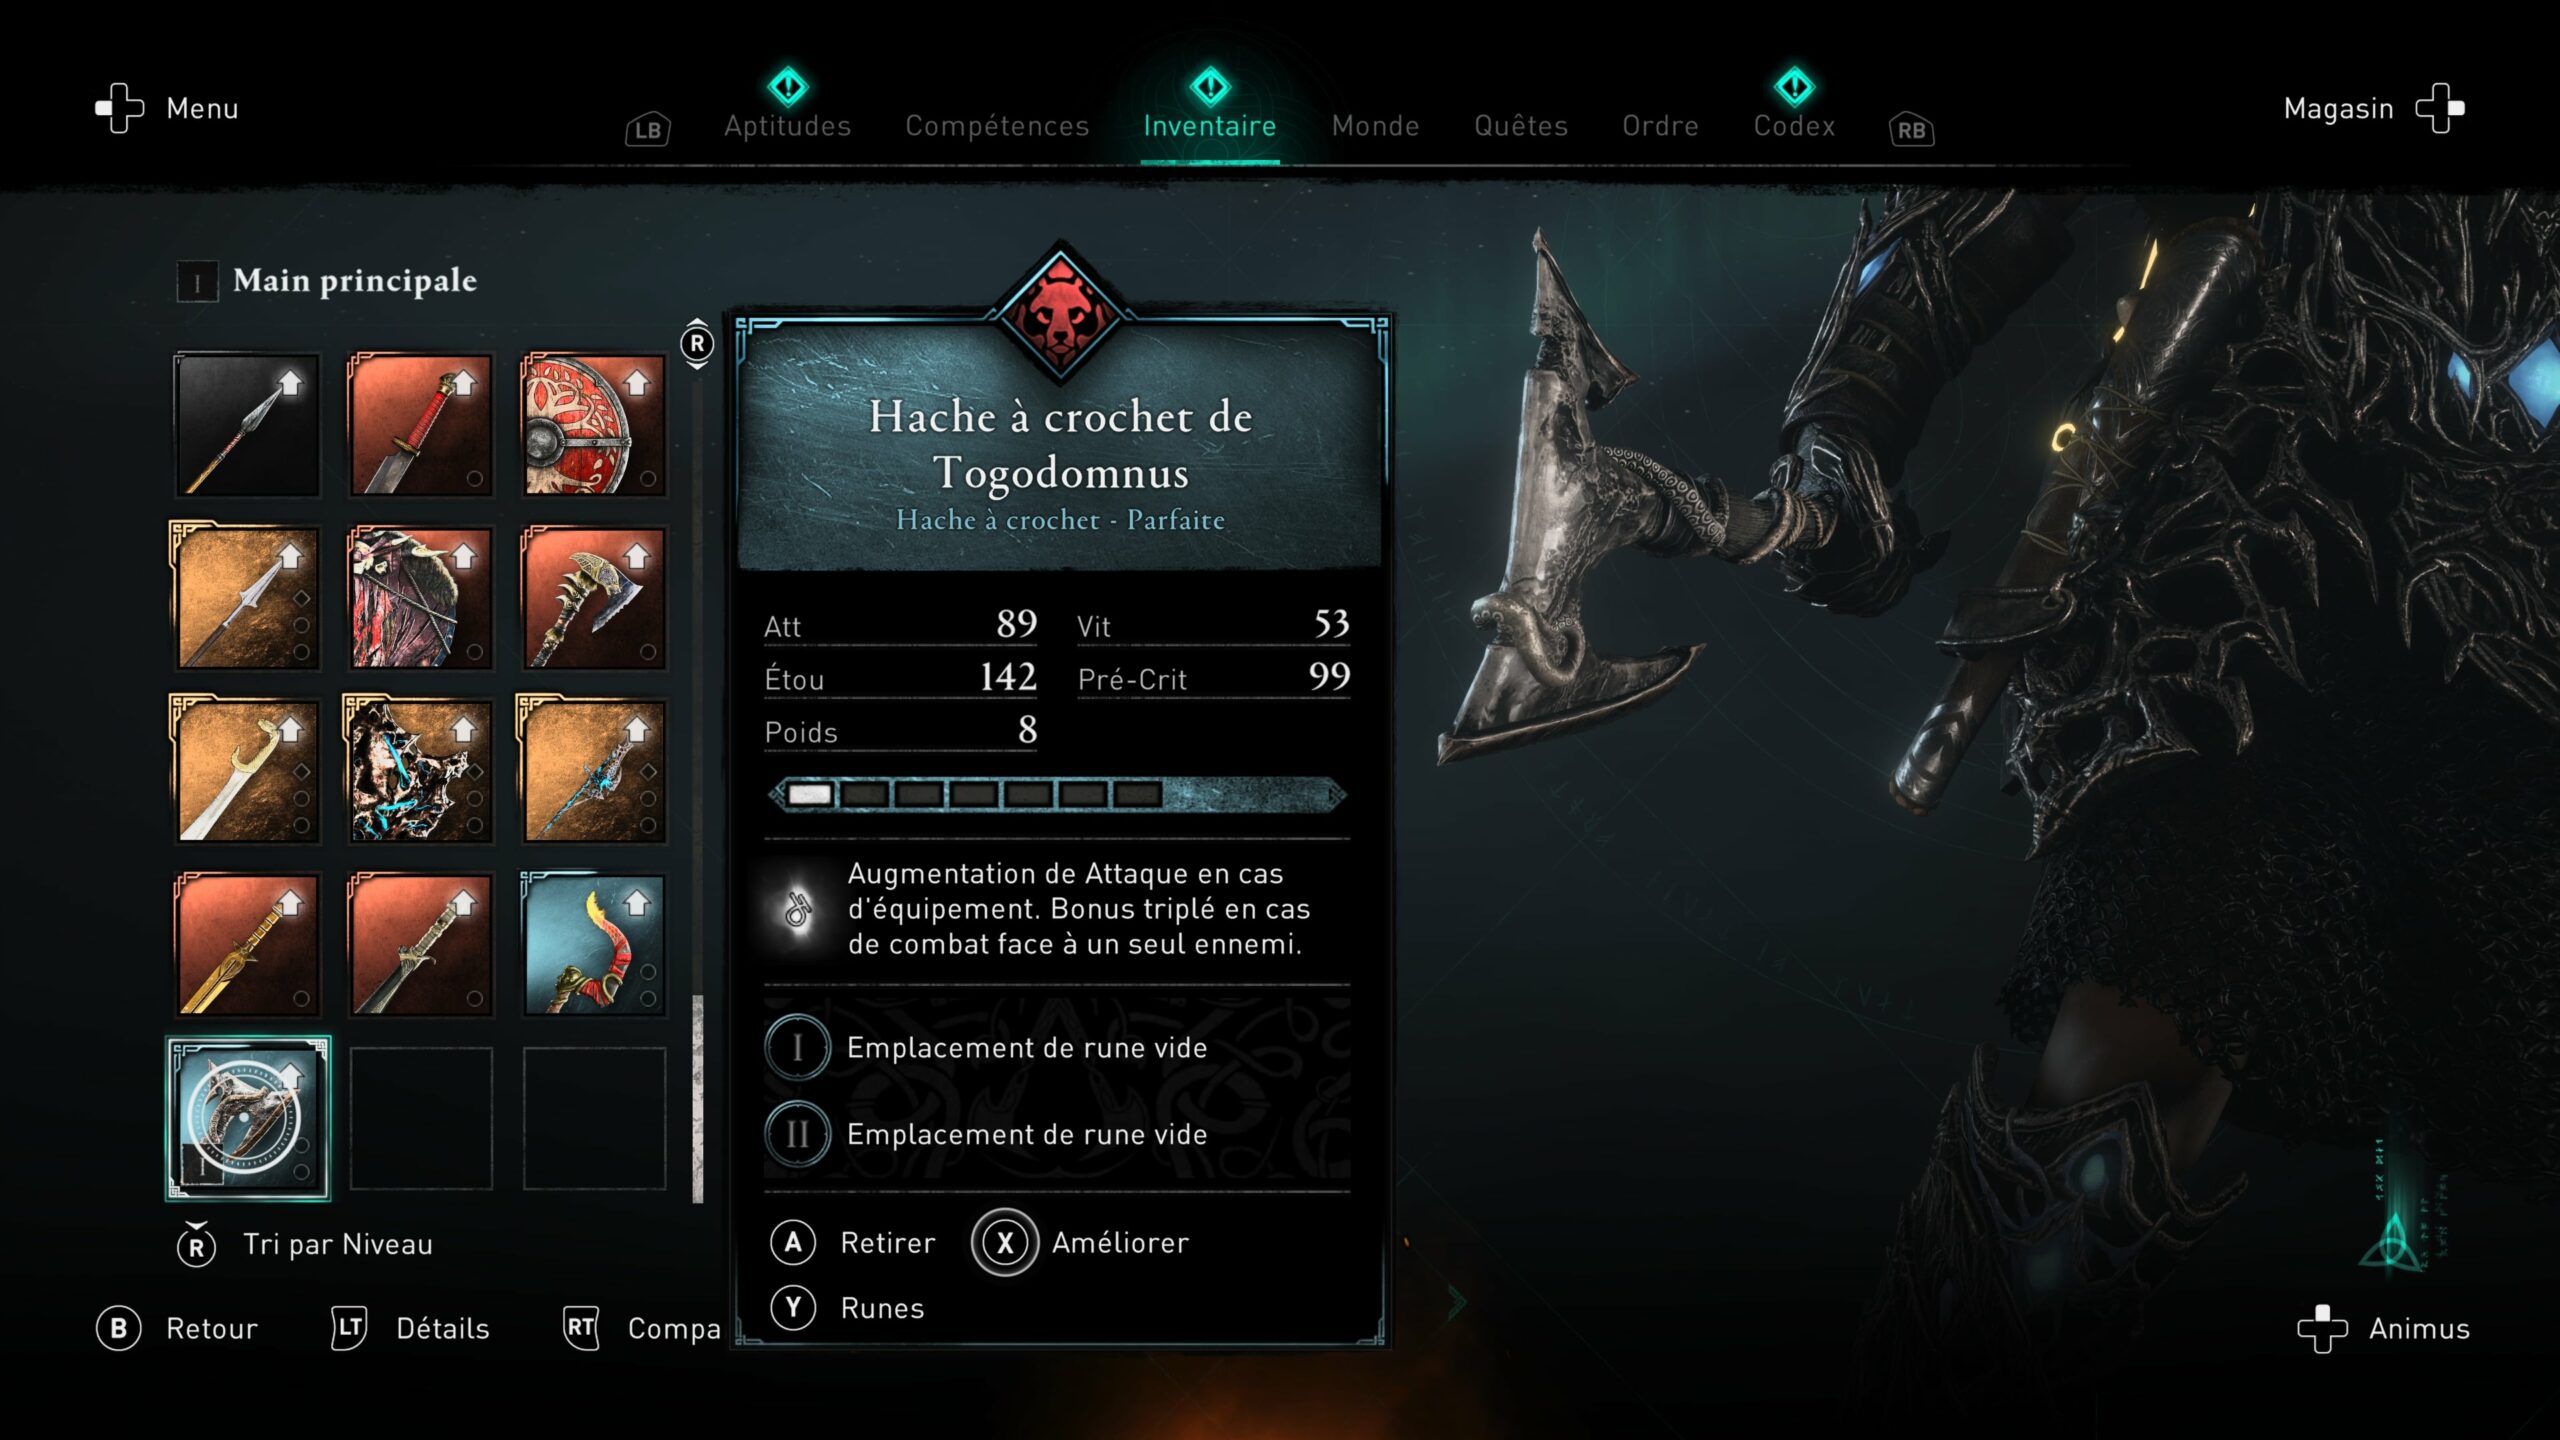
The tomb of Togodomnus is located southeast of Hamtunscire. You will get the Hook Ax of Togomnus as a reward.
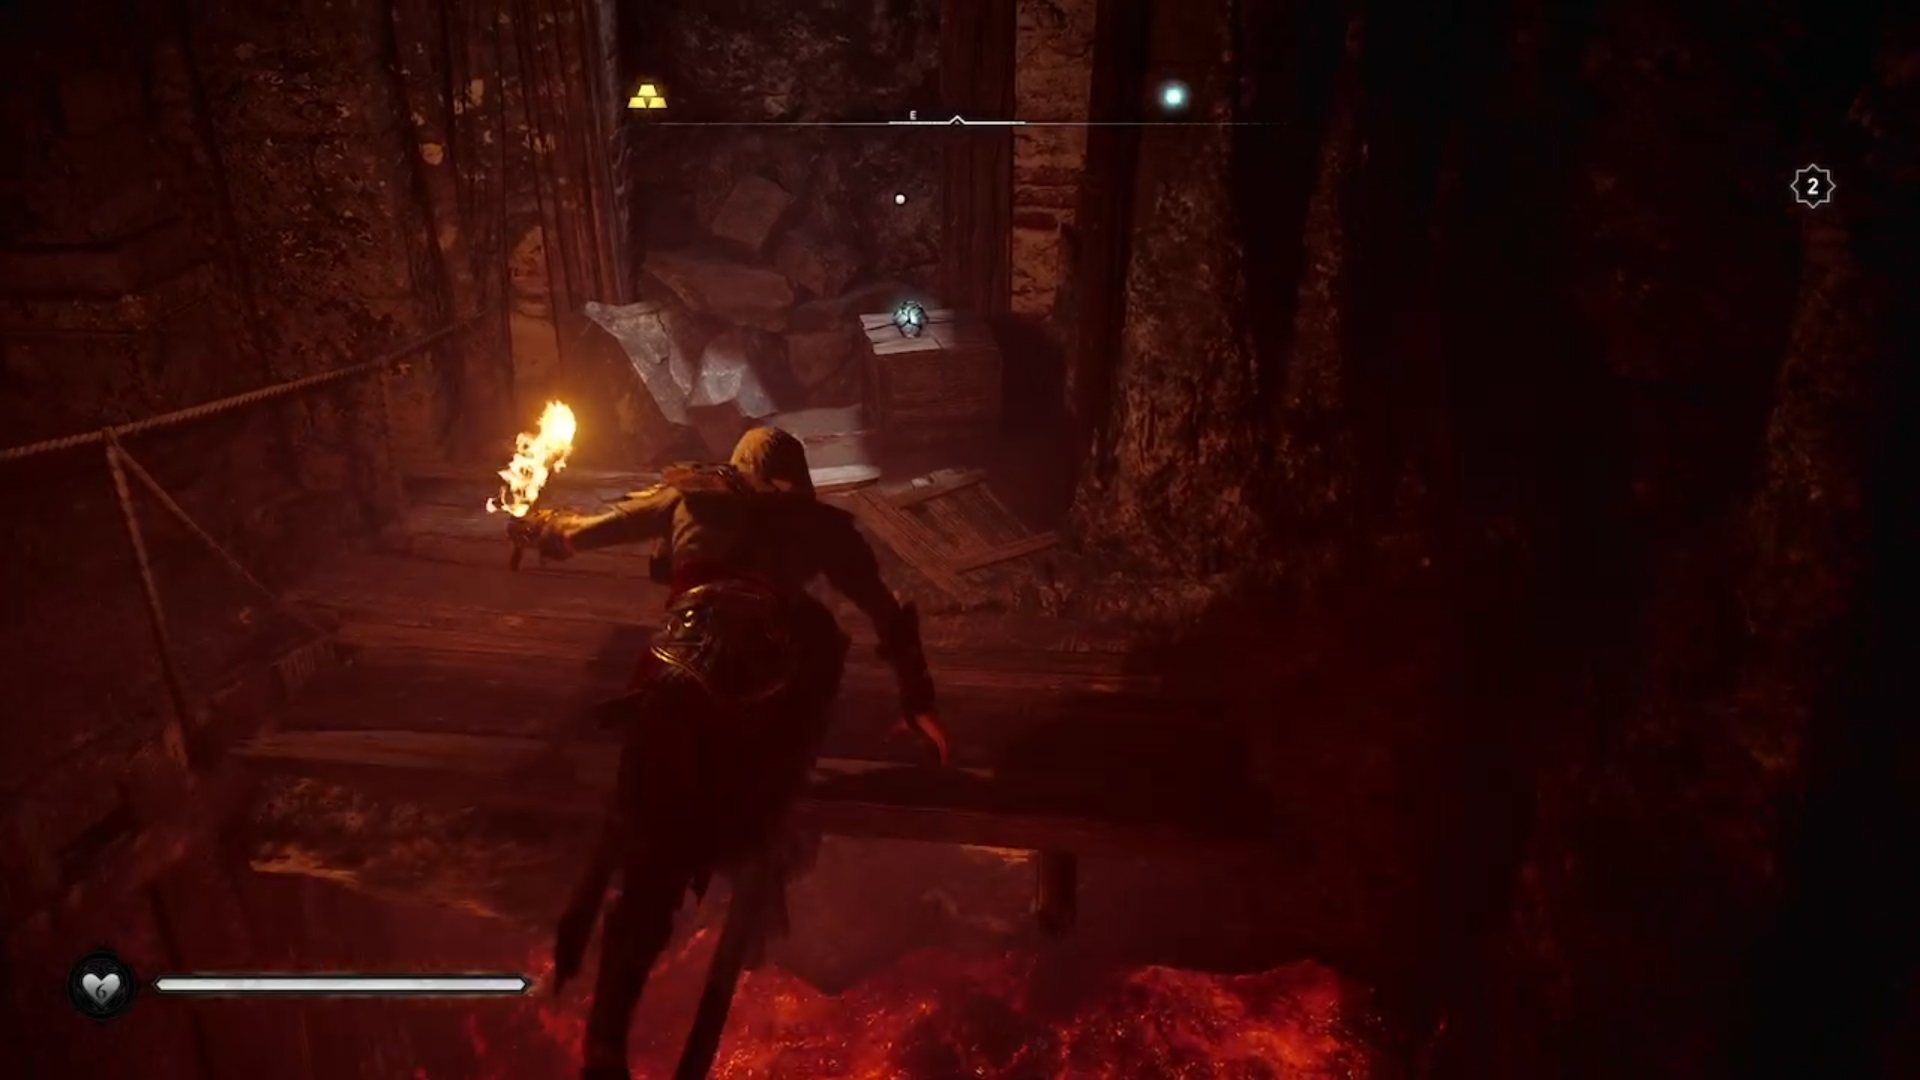
The secret key of Togodomnus
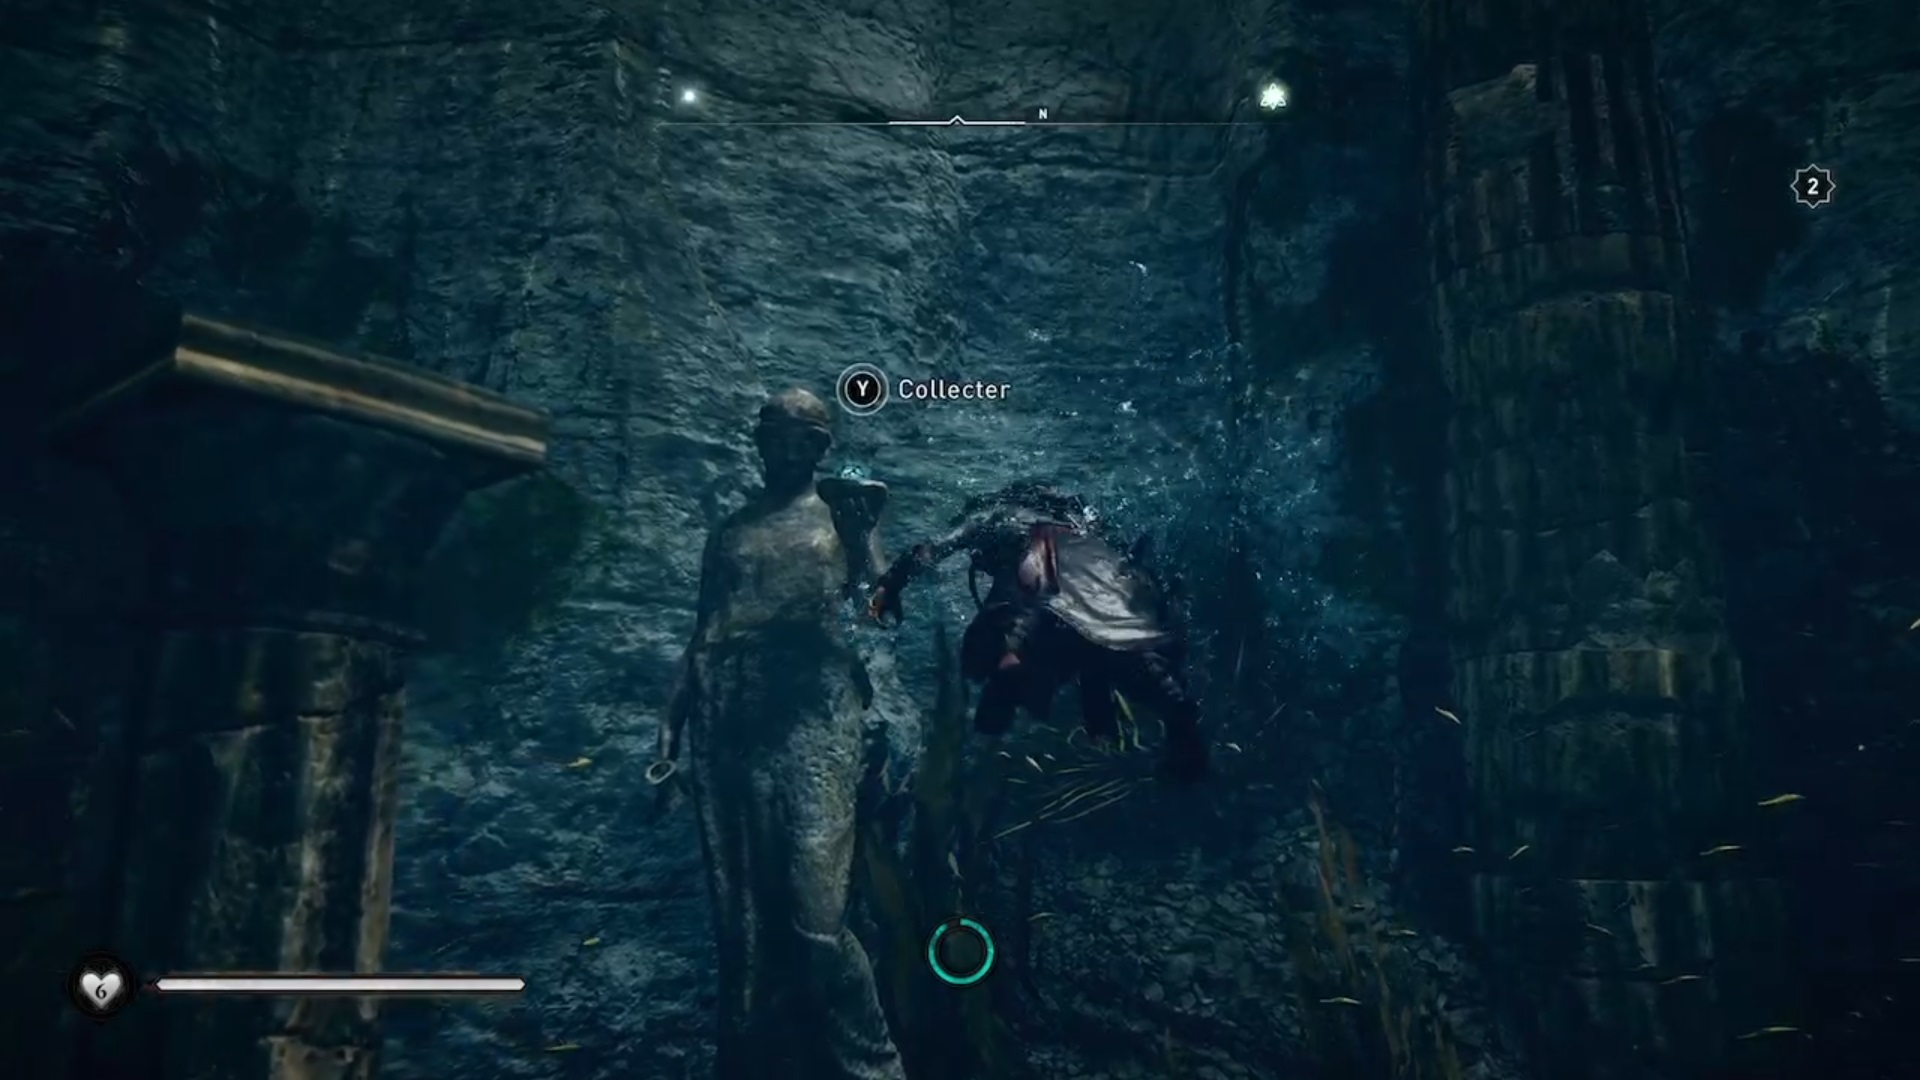
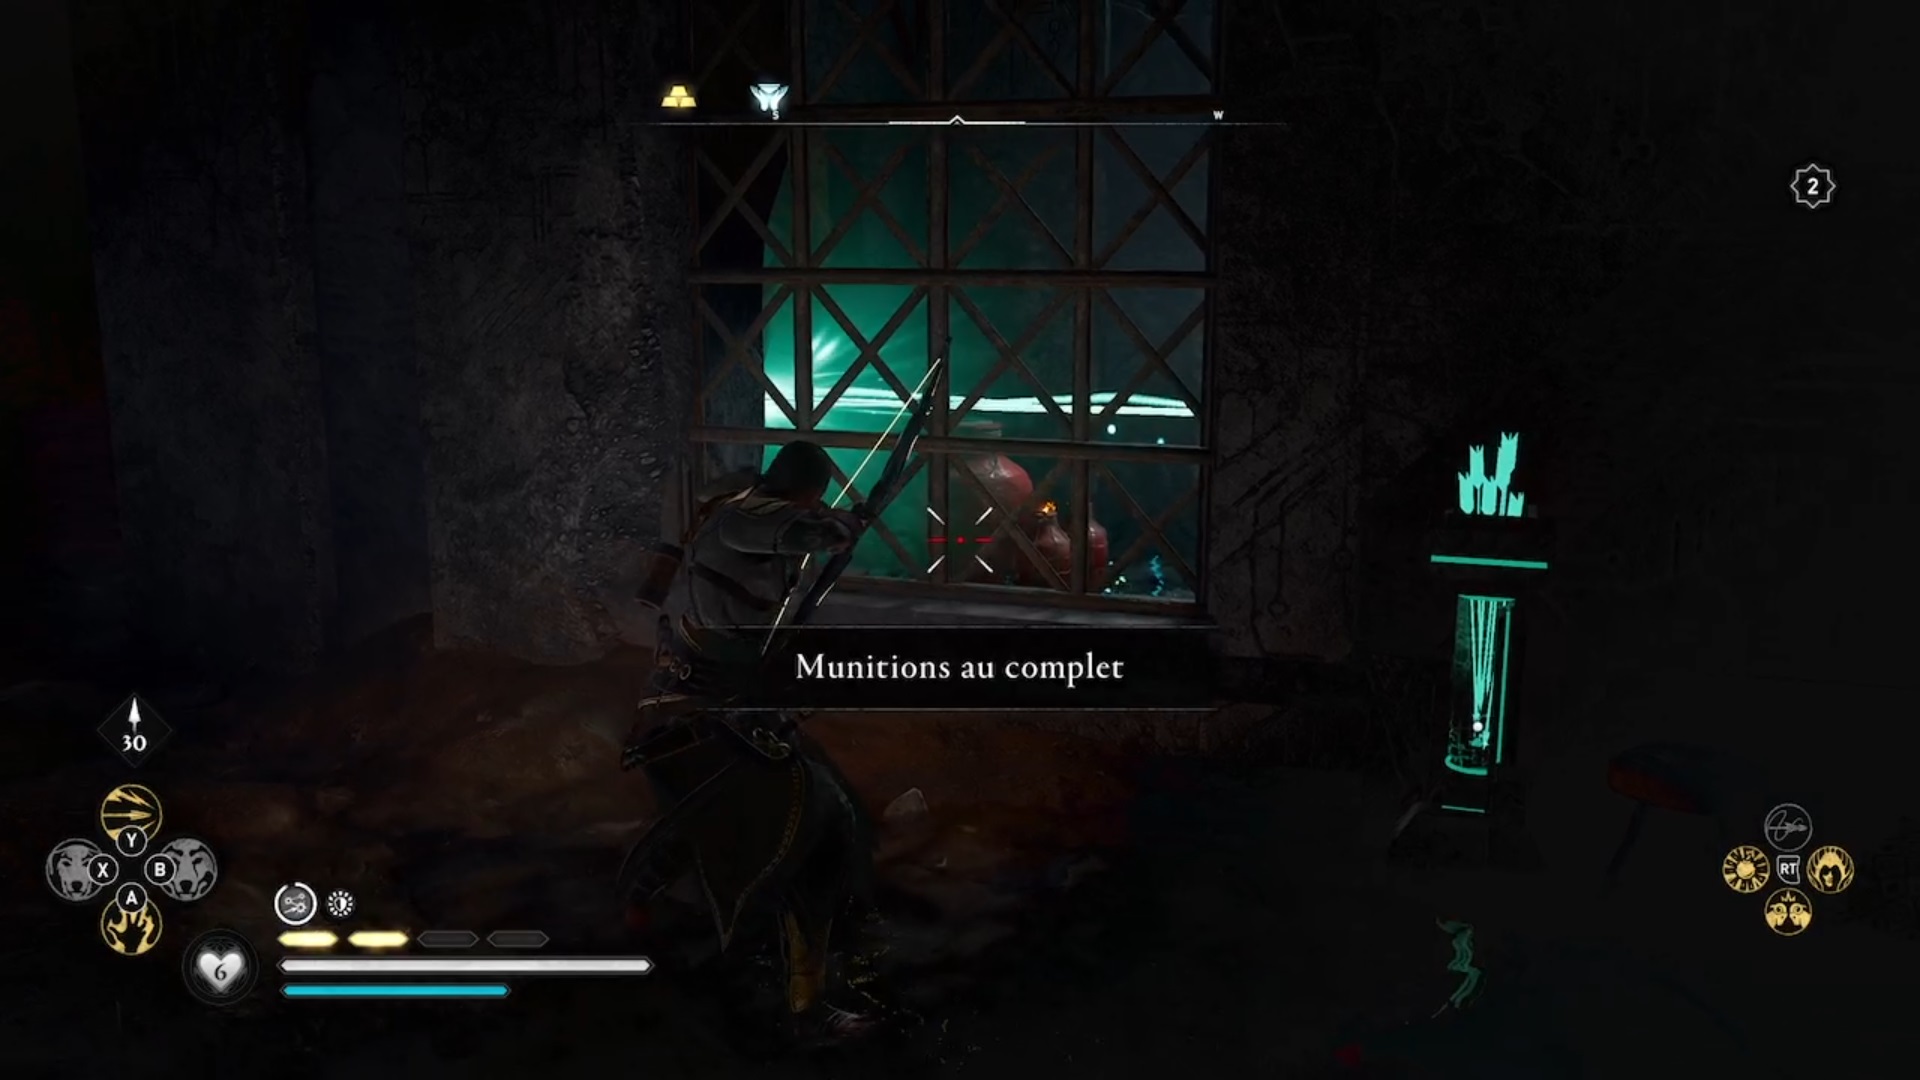
After taking the reward at the end of the shrine, you will find a pool. Dive inside and explore the cavity on the left to find the secret key of Togodomnus in the hand of a statue.
Eden Ring Post
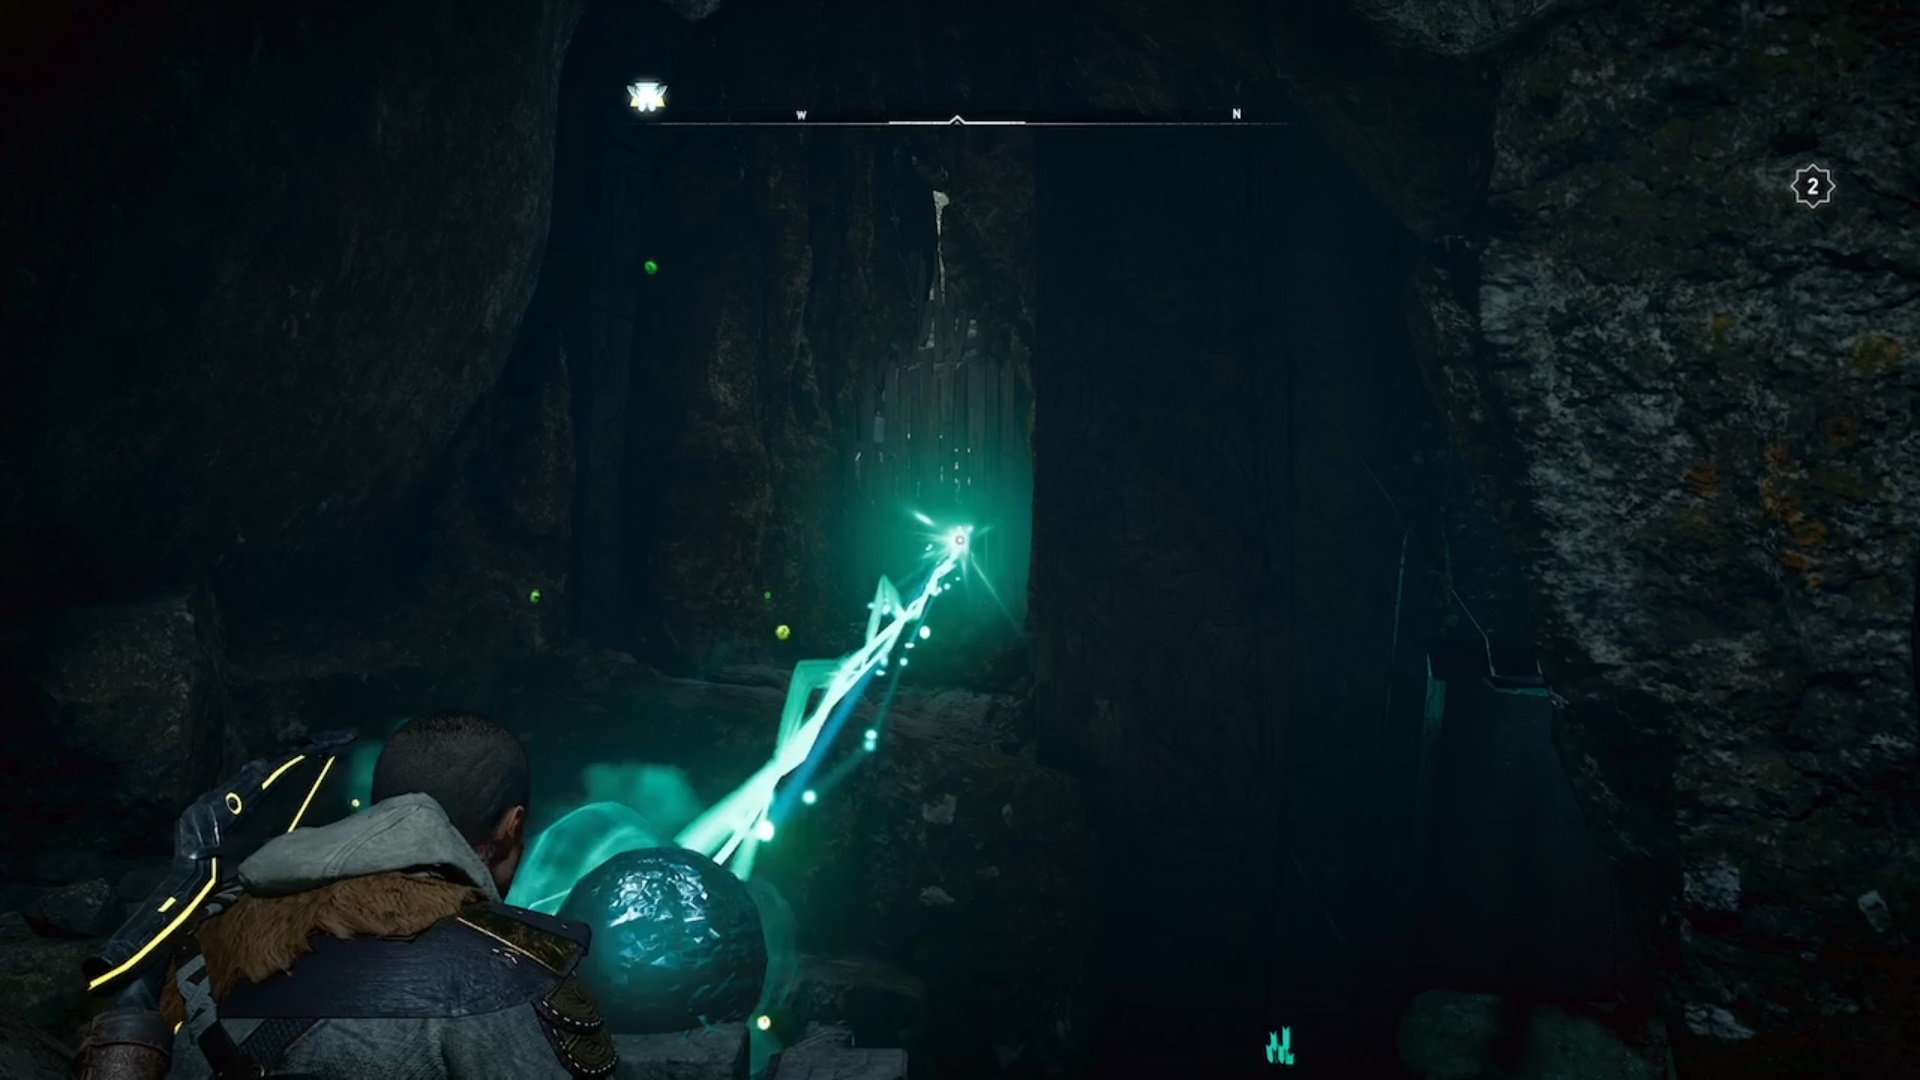
Return to the Manius’s sanctum to reveal the great secret of this room. Go deep inside The Ring of Eden to face four new trials.
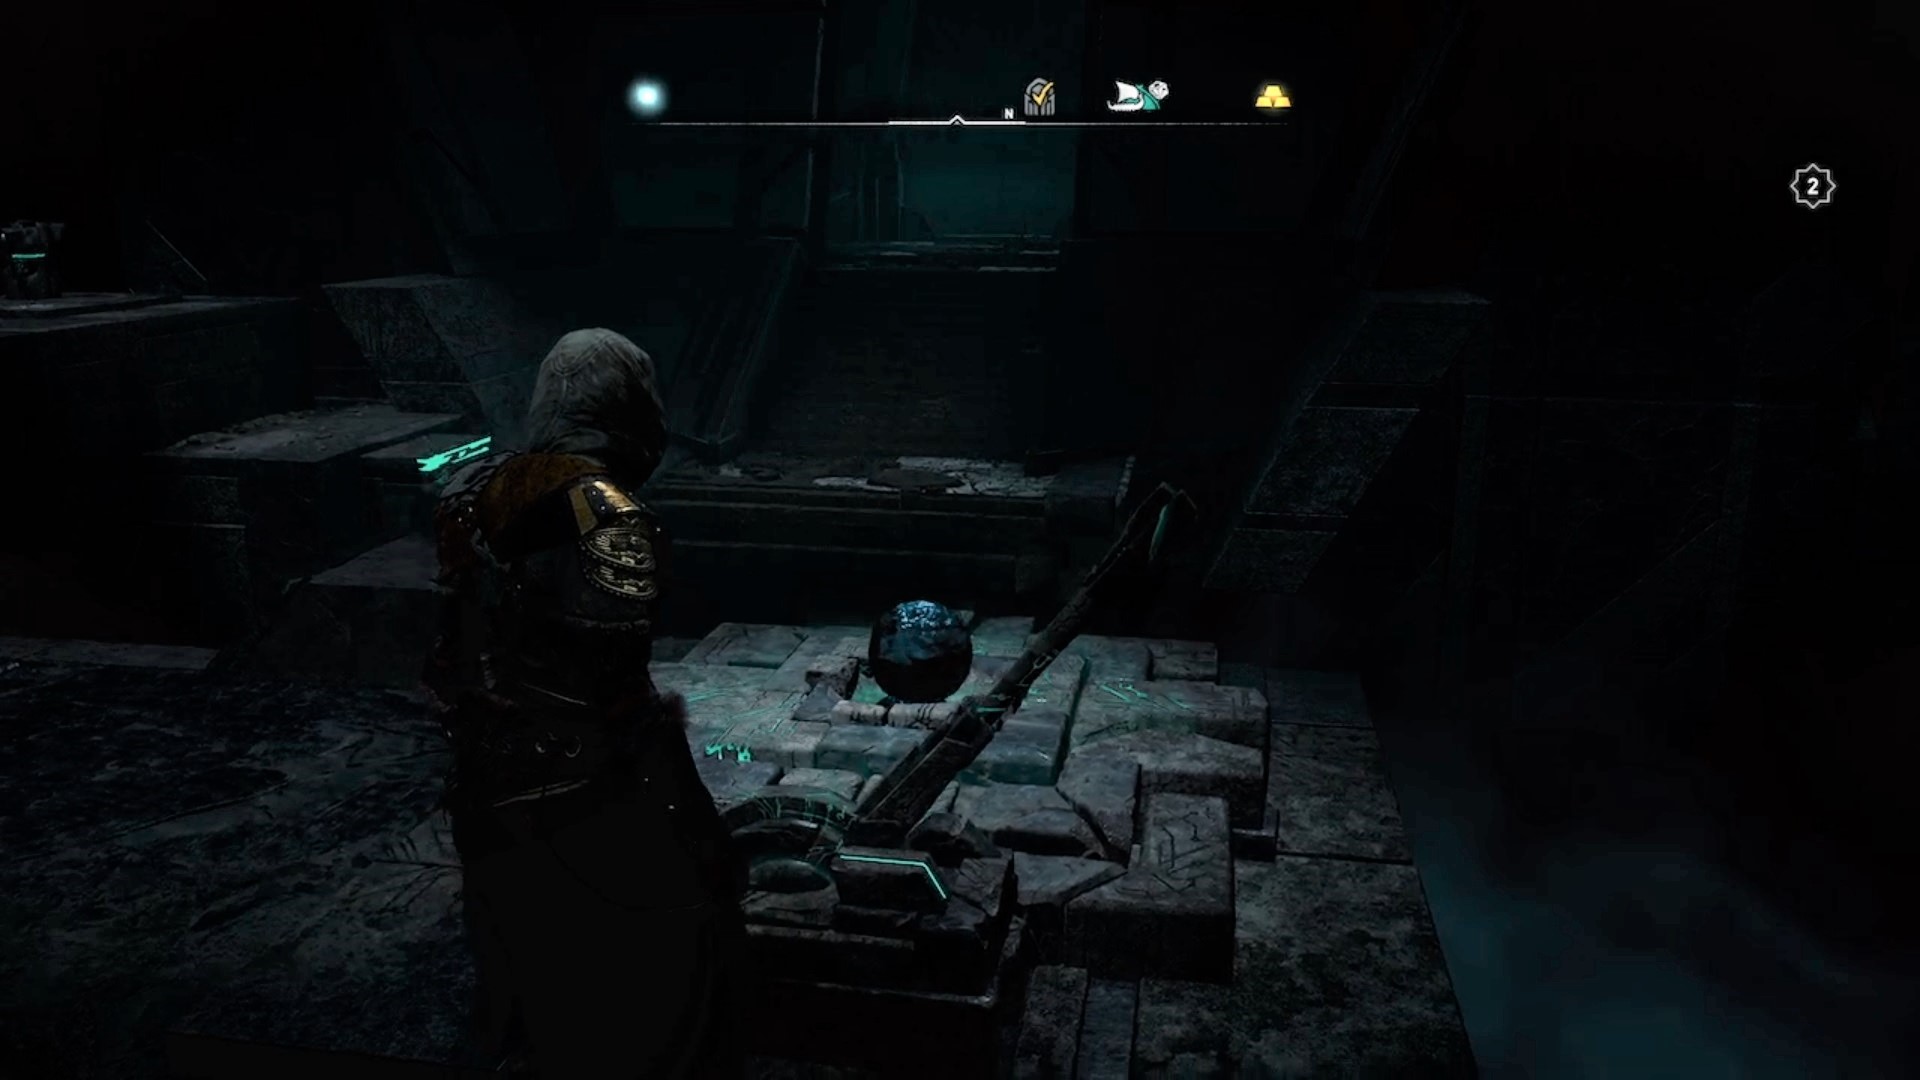
Begin the first trial by powering the door to a lock. To do this, retrieve the orb with the lever and place it in the energy beam. Power the door to enter the first challenge.
First Room
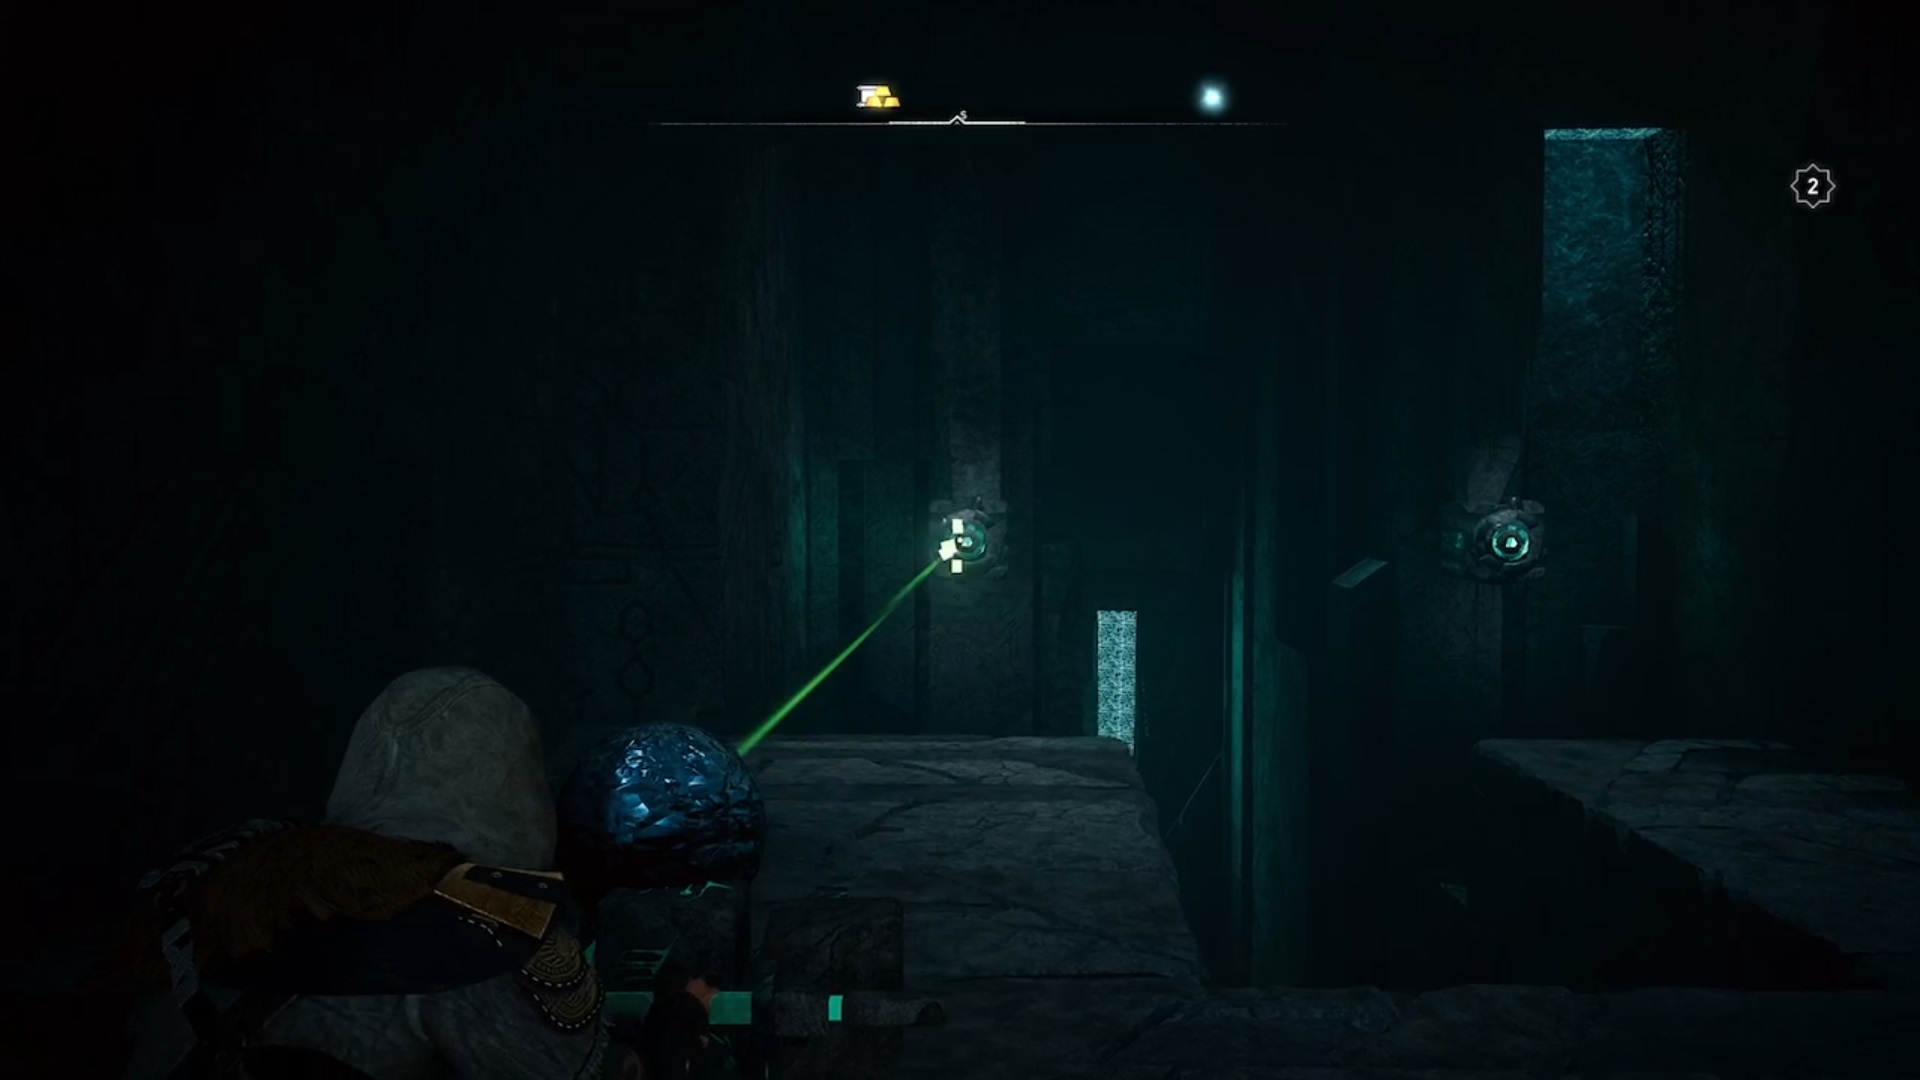
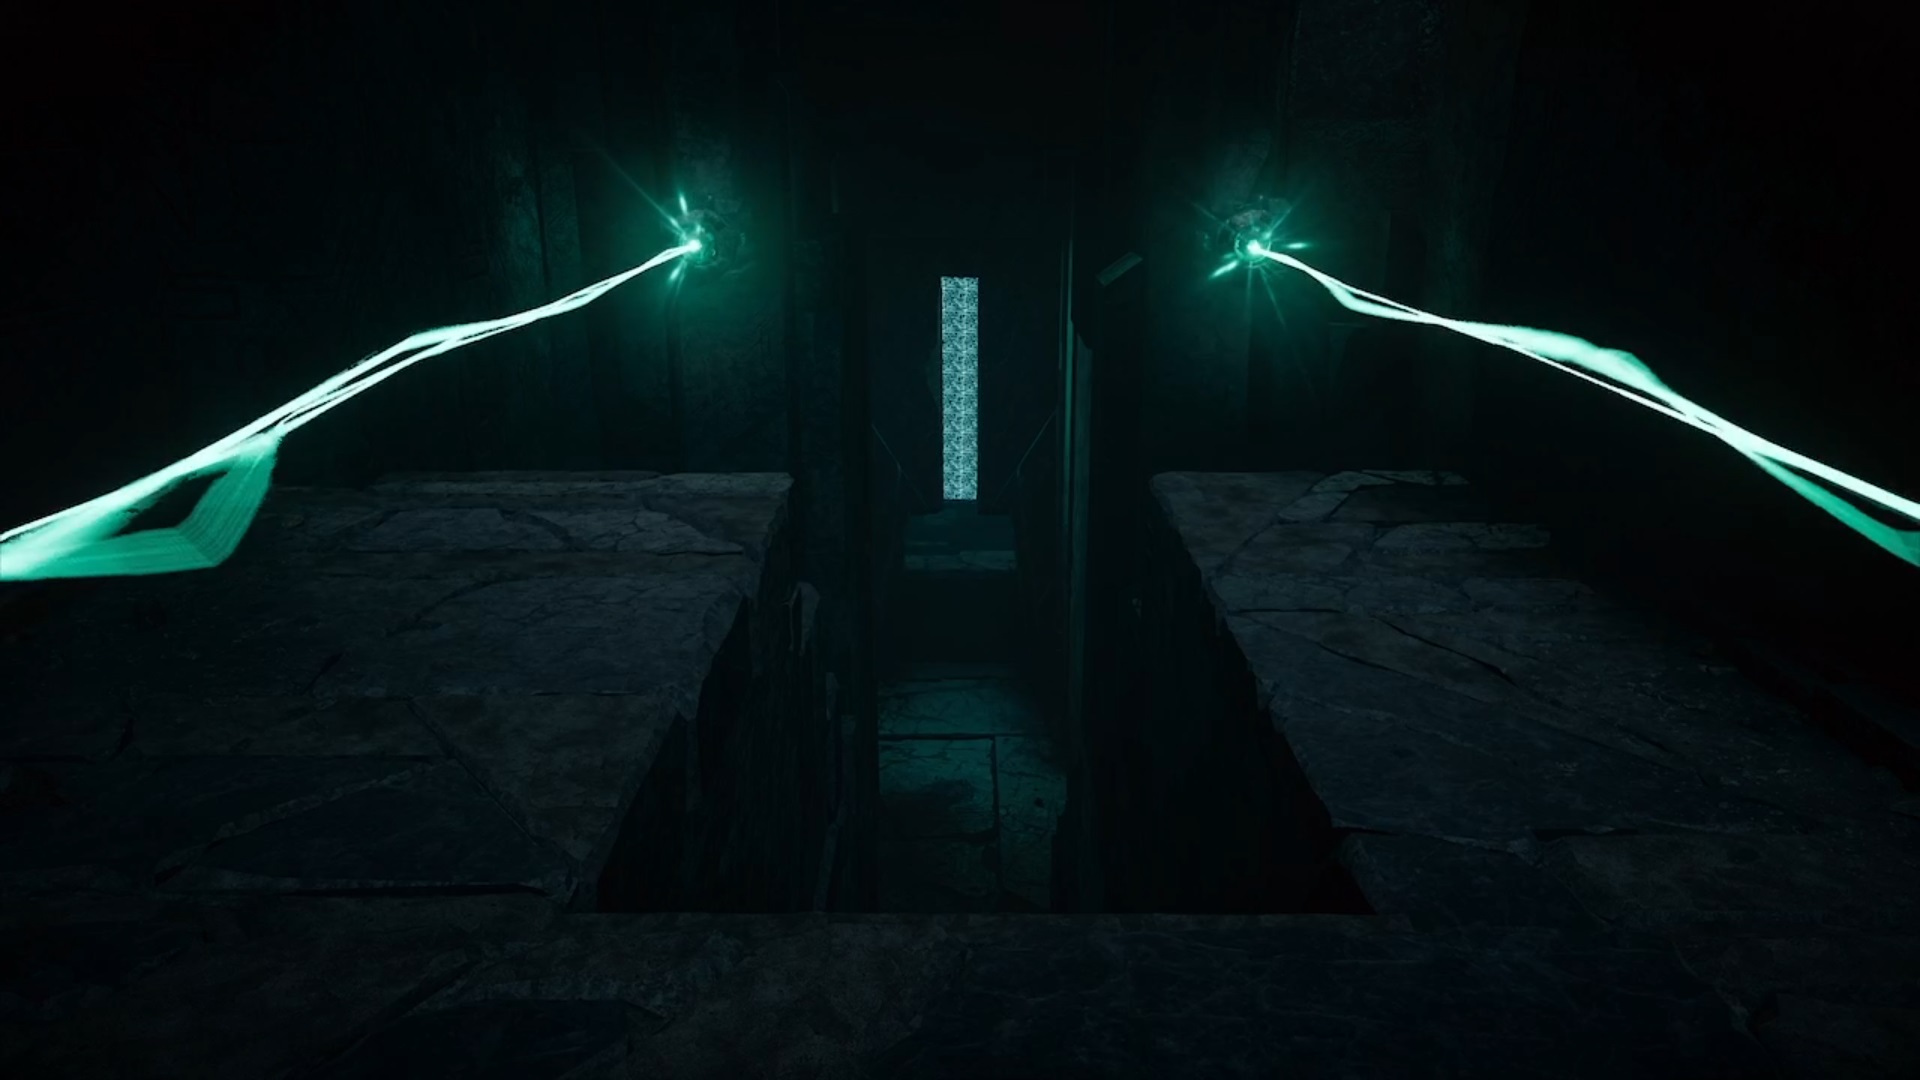
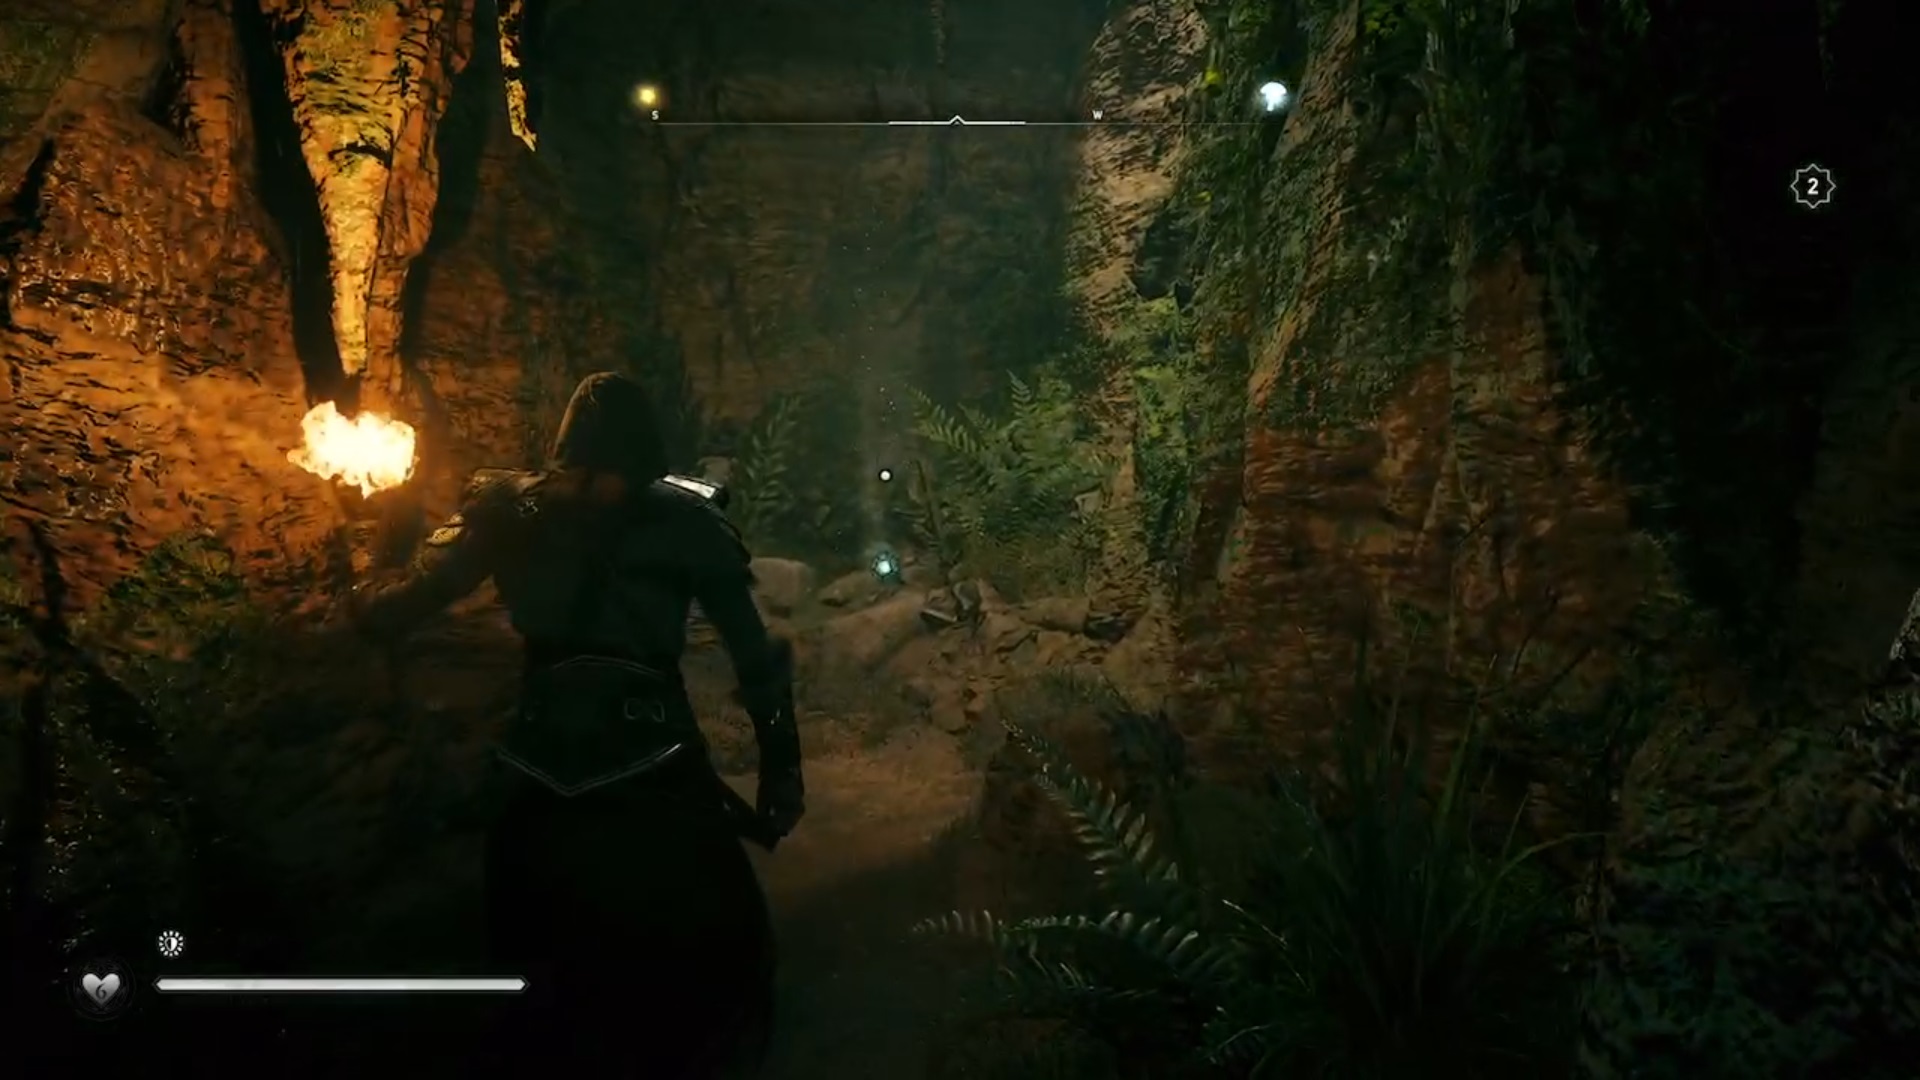
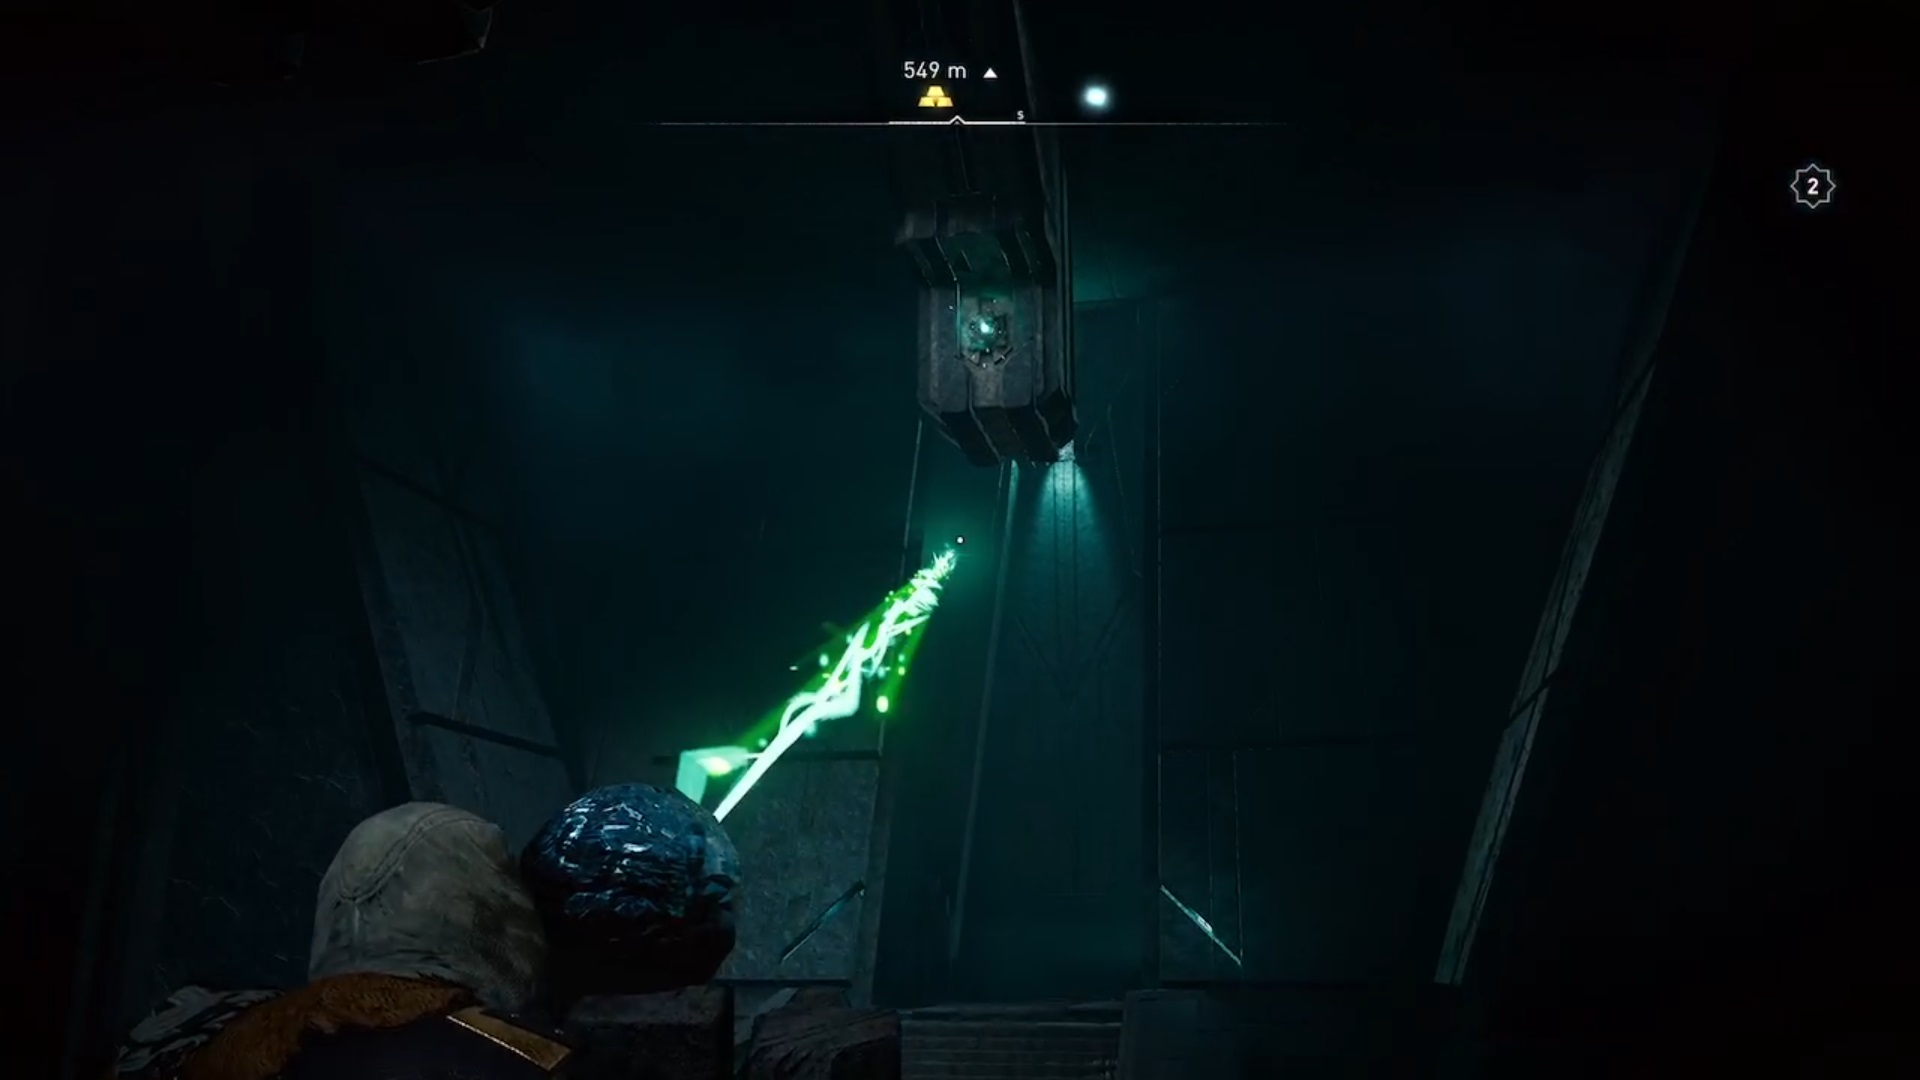
At the beginning, fight your way between the lethal beams to reach a closed door. You must send the energy from the two corridors of the door to its two locks. Find the light sources and aim the beams at each of the locks to open the door. Take into account that some beams can be oriented thanks to helices.
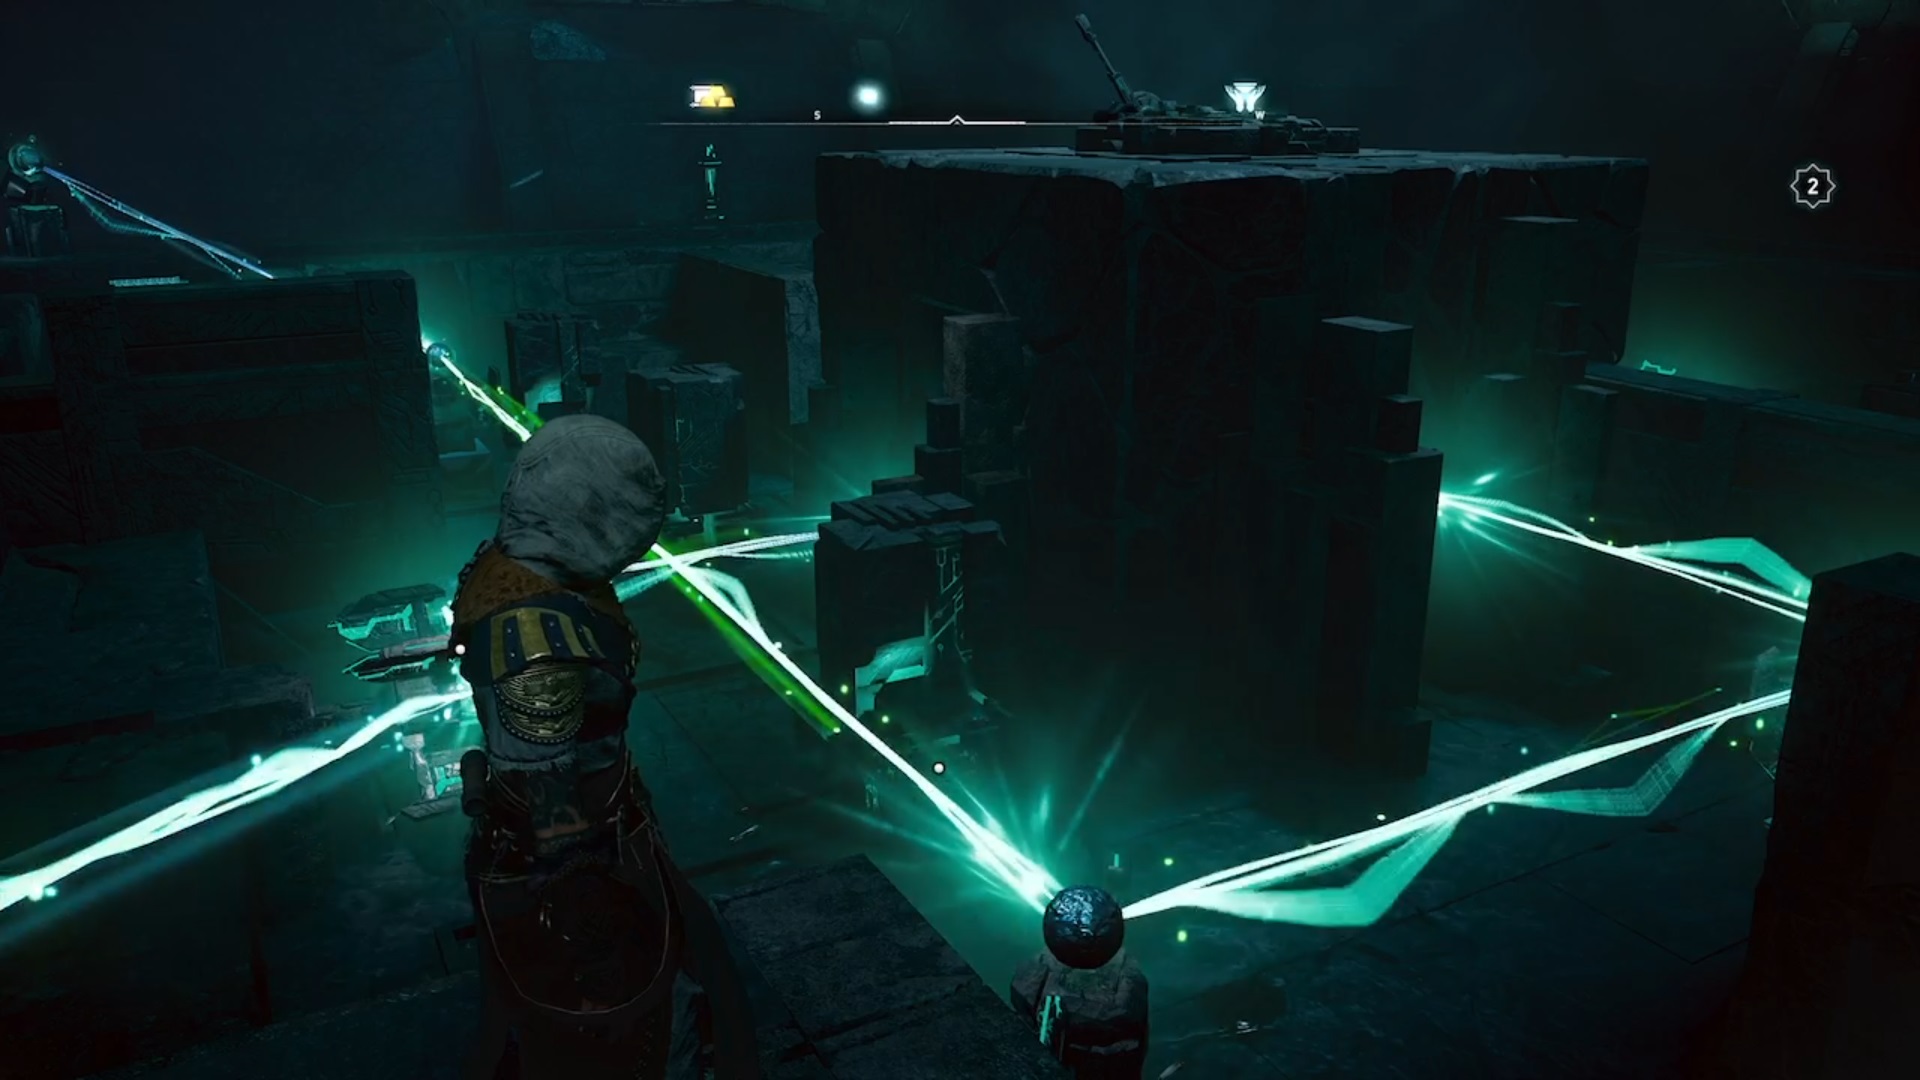
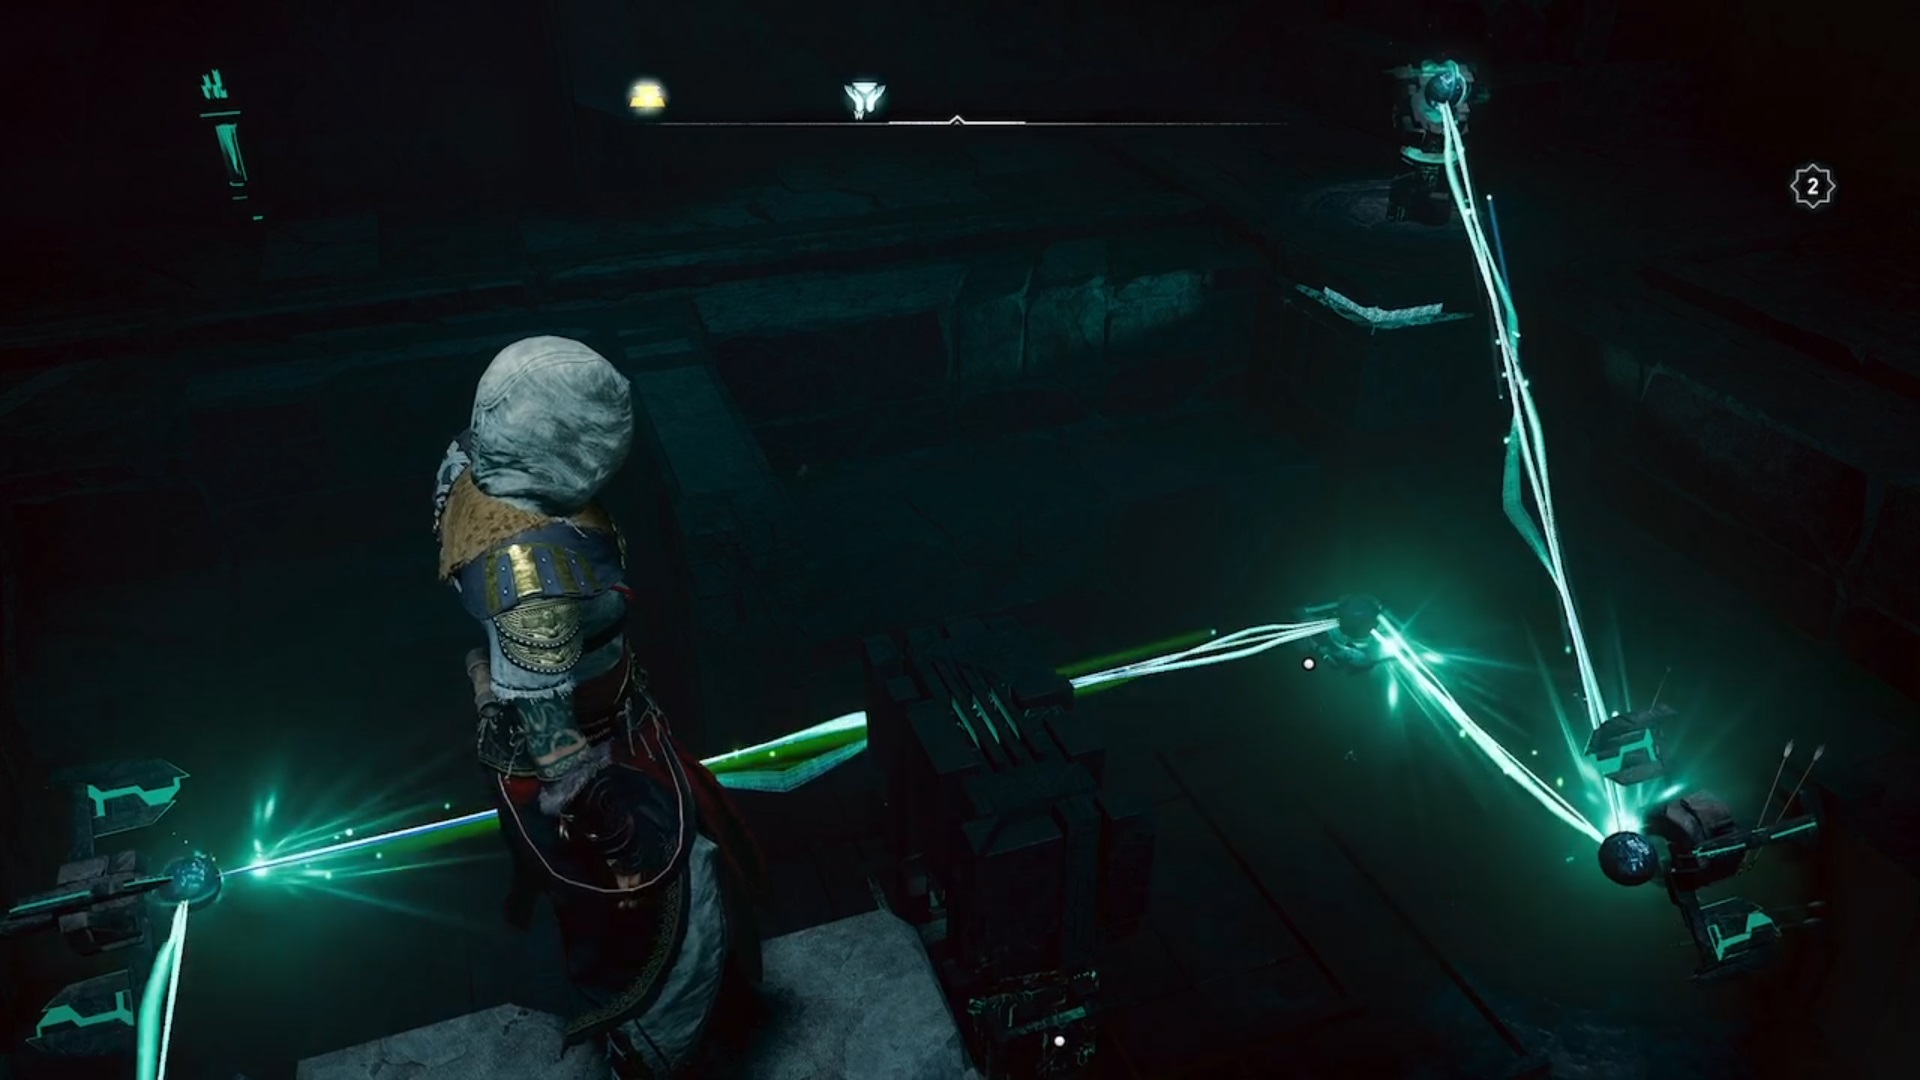
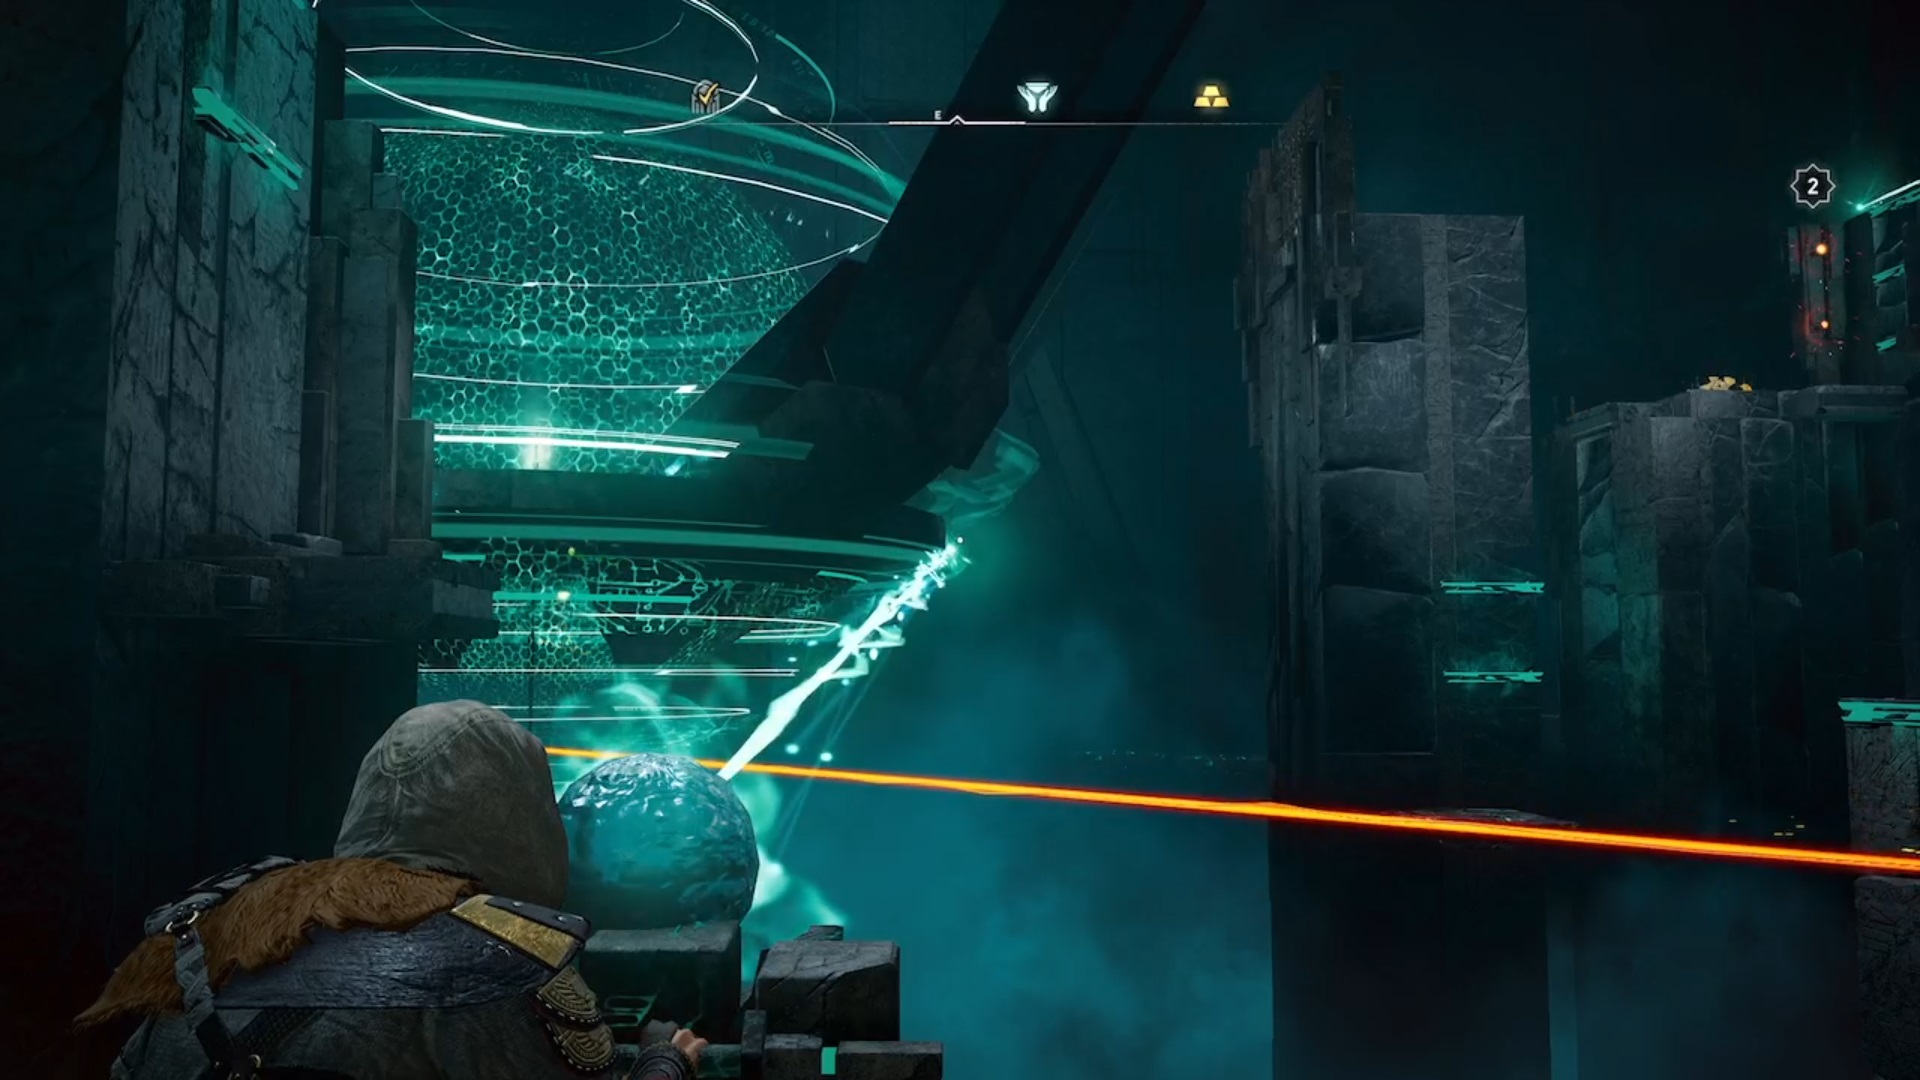
In the next room. Move energy beams like our screenshots above to power the central platform. Collect the orb in the center and return to the ring. Place the orb in one of the beams in the ring to open the door with two locks.
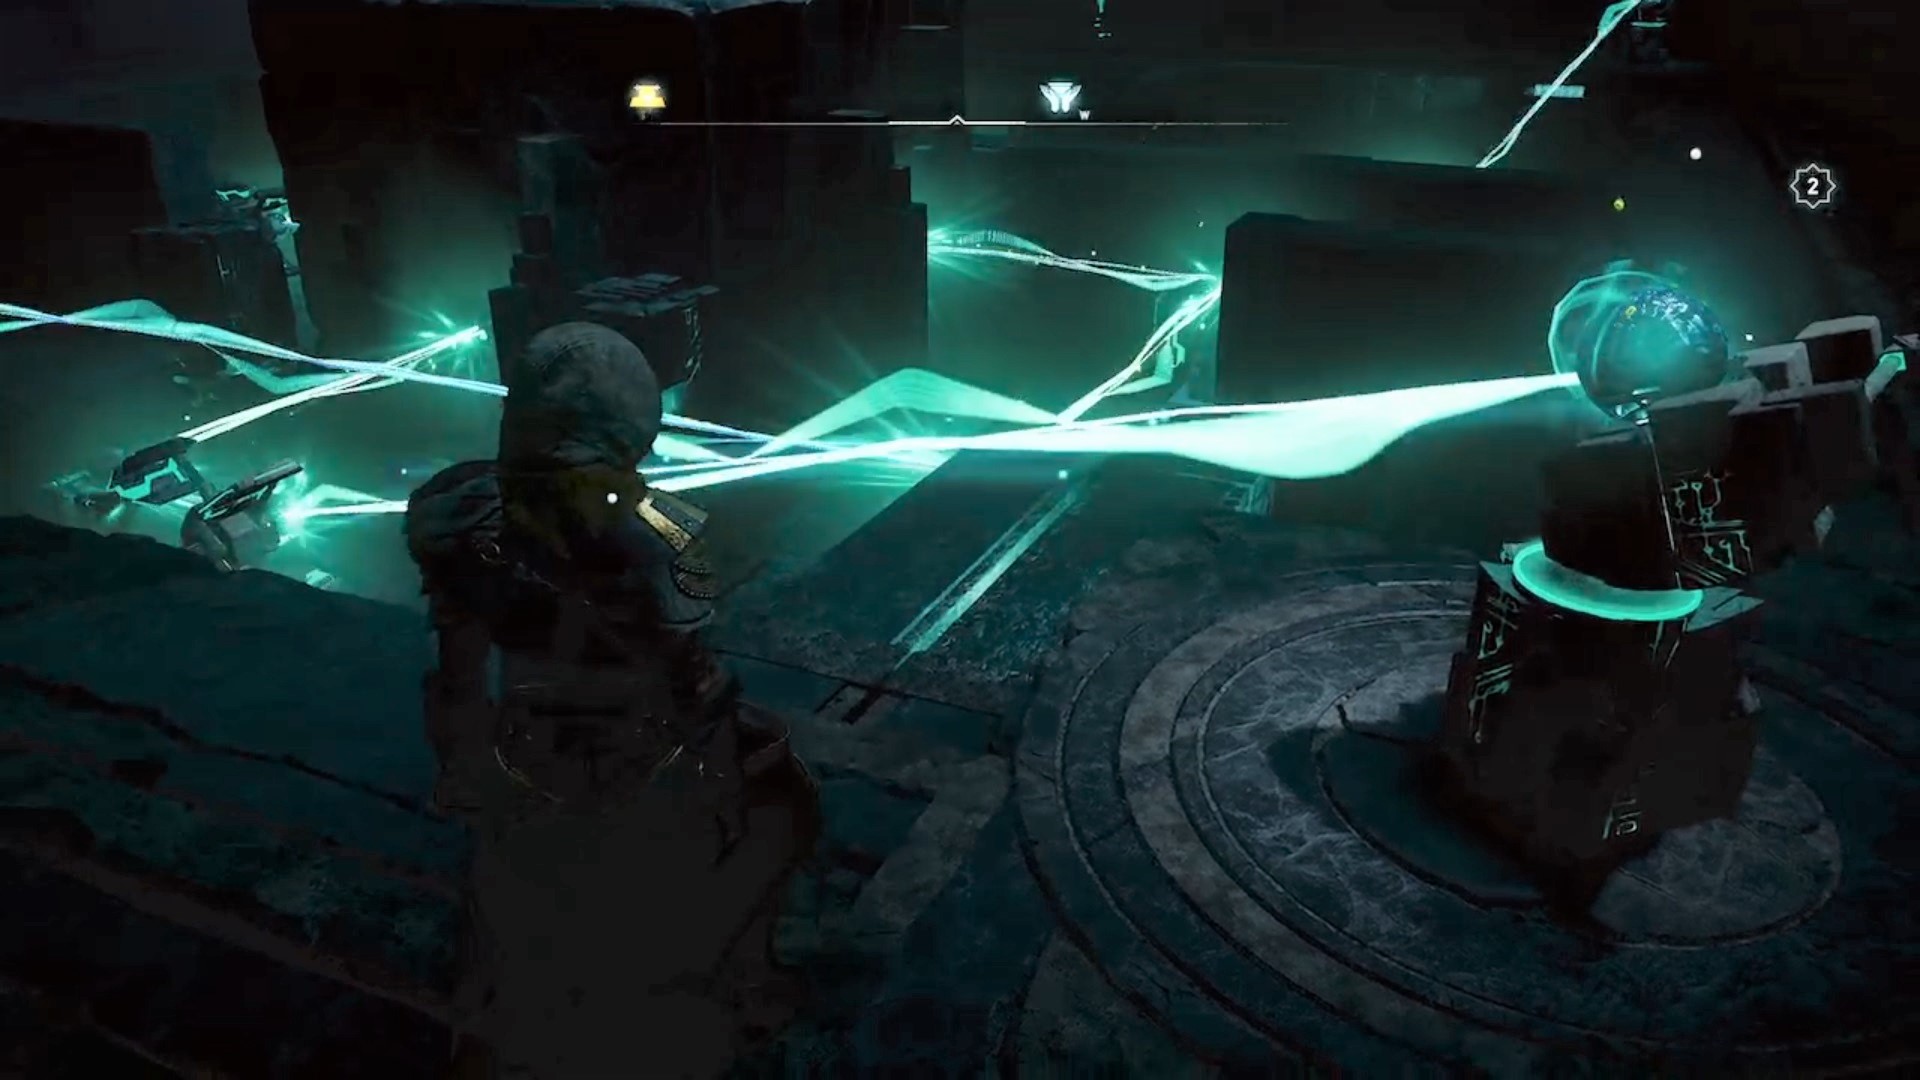
Second Room
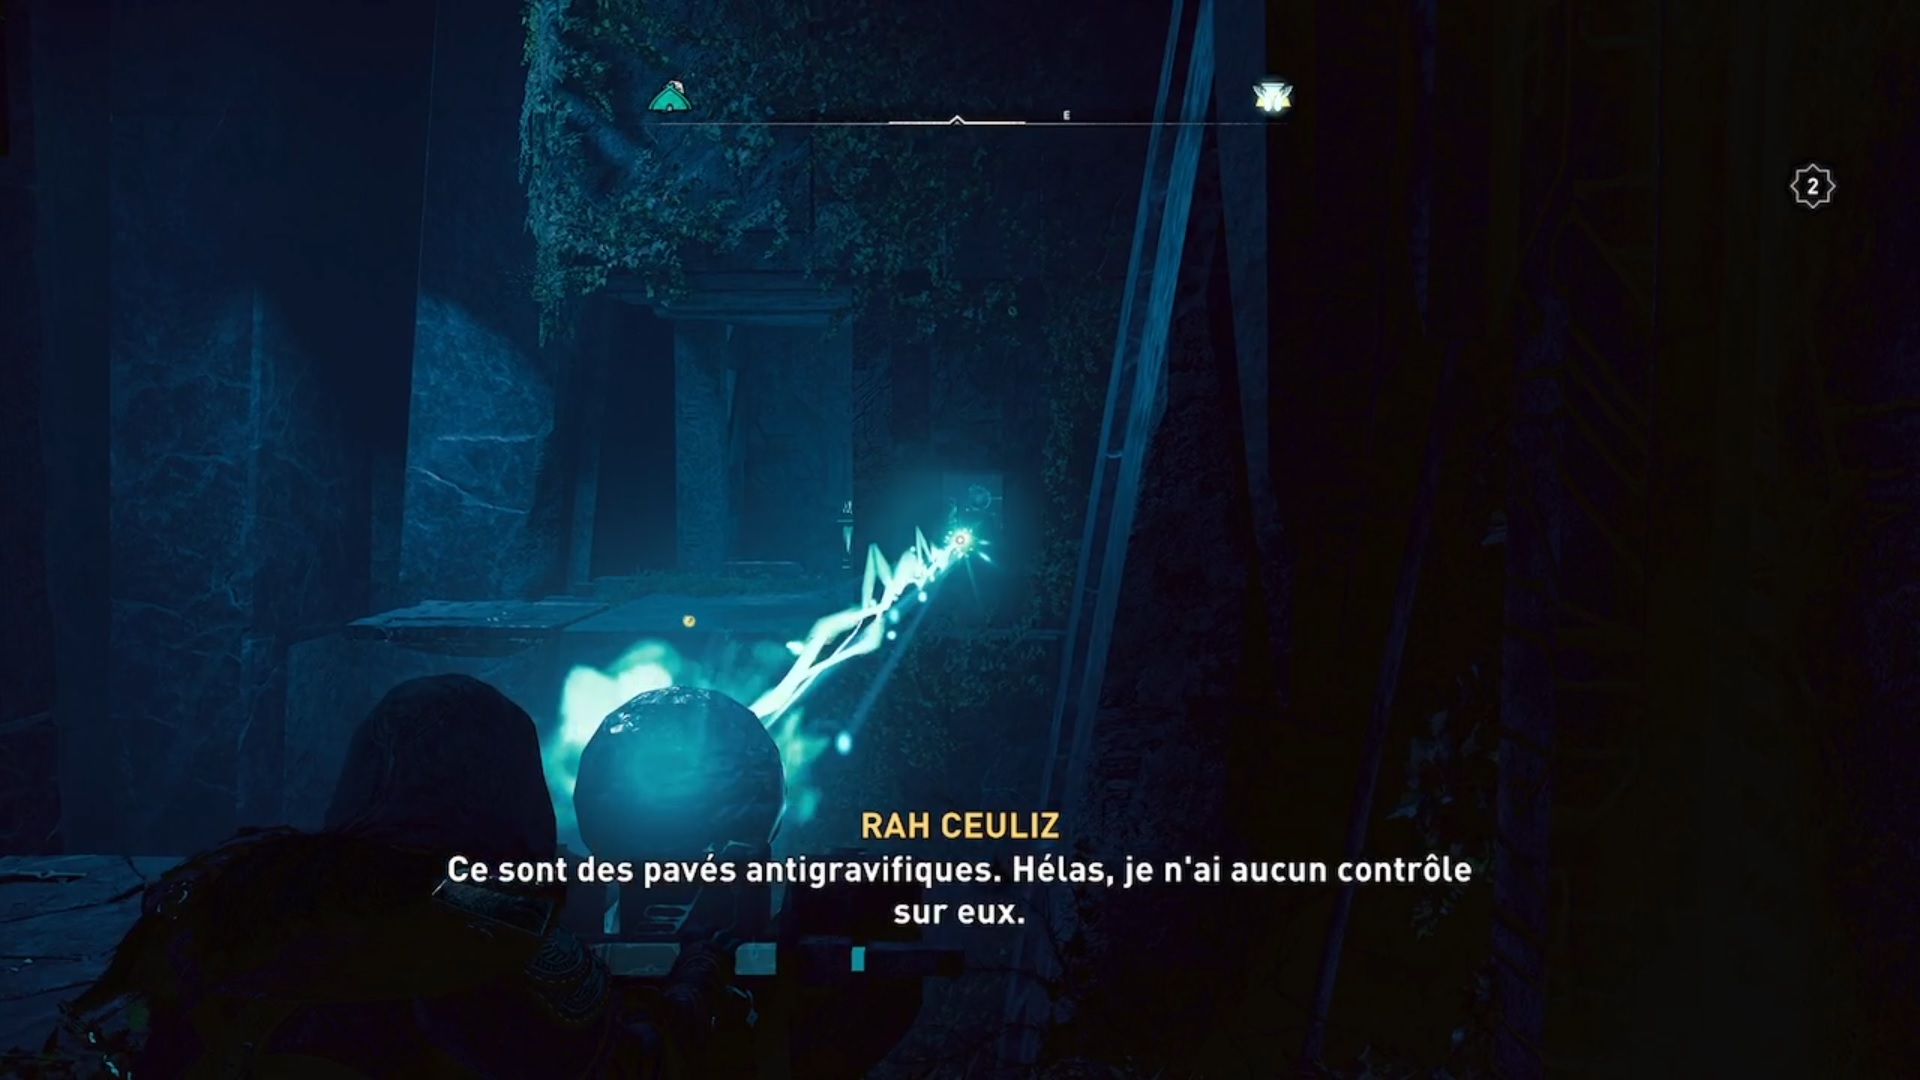
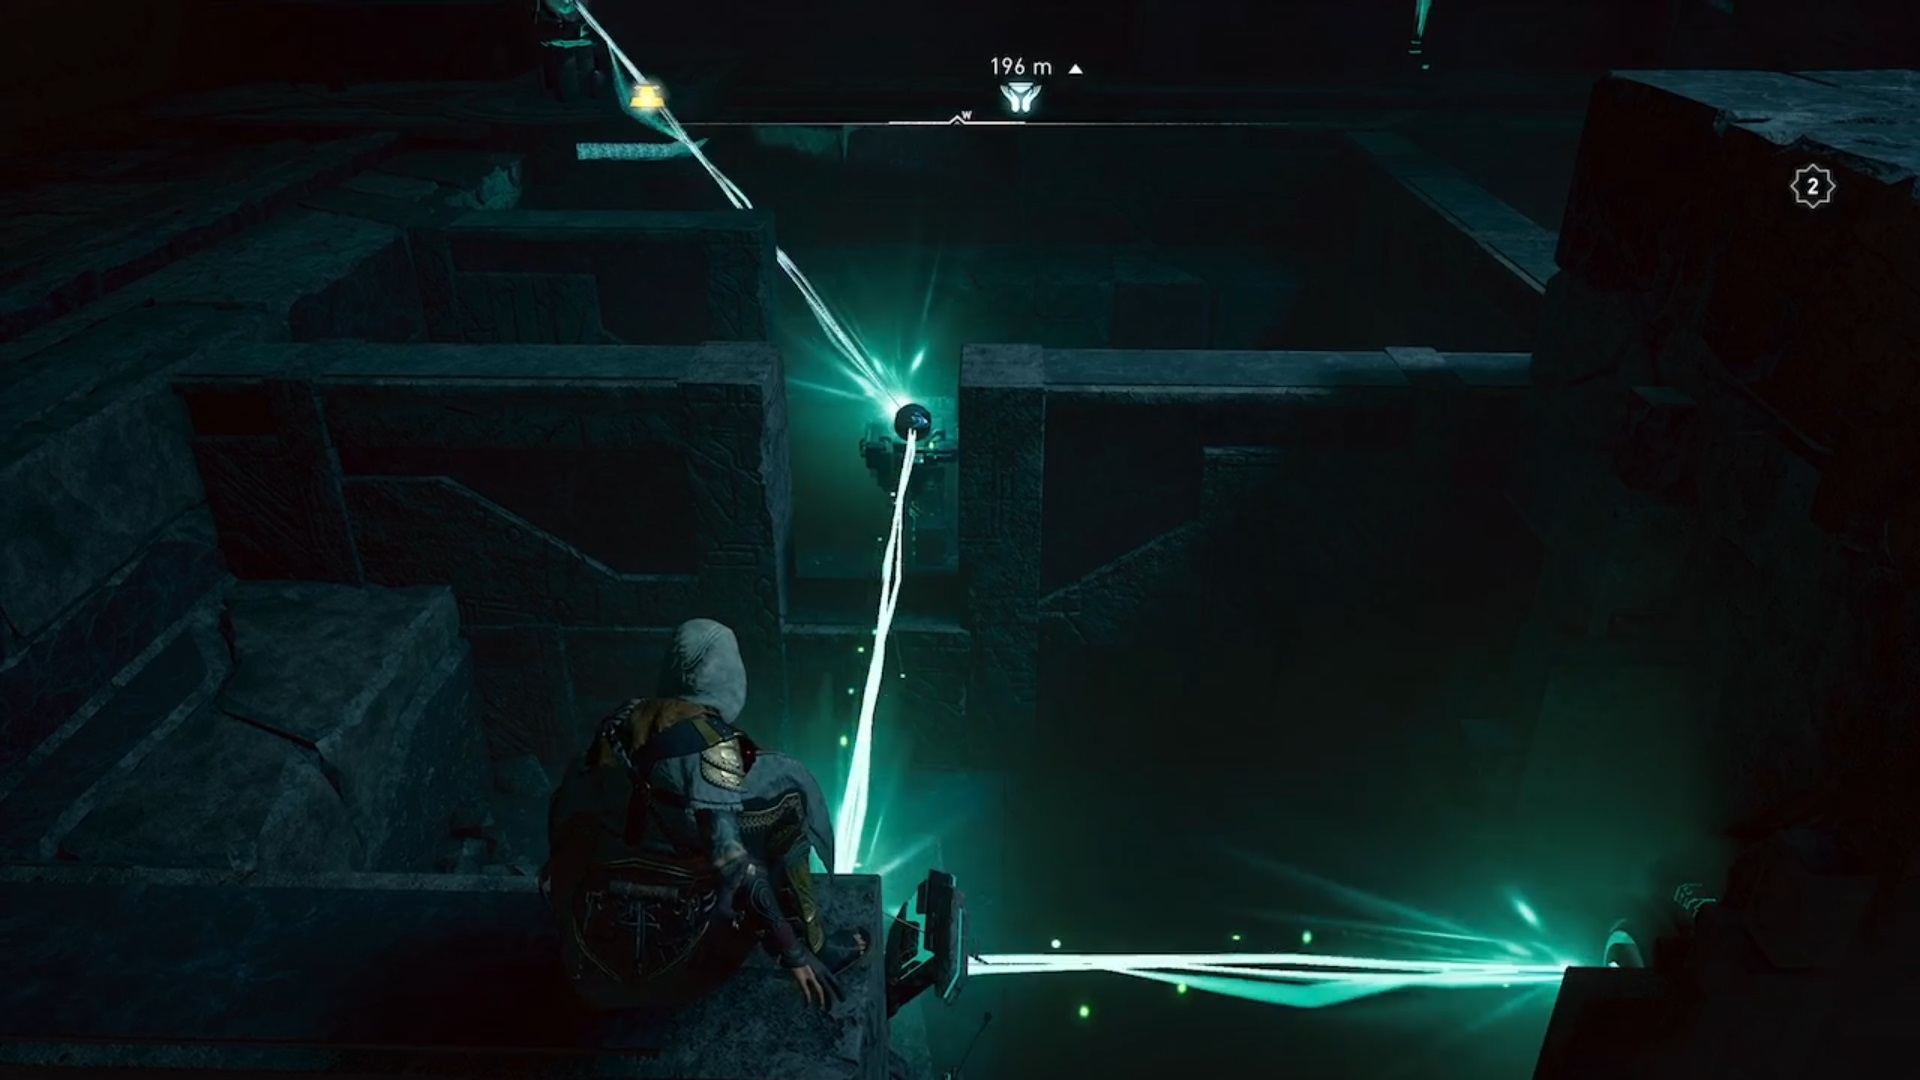
In the second room, you’ll need to bring a single light source to the top of the room to release a new orb. Follow the light and guide it from beam to beam to reach the top. You have only one light source, so you will have to use it also to activate the antigravity platforms to move around. Take care to remember the path, because you will have to do it in the opposite direction to go down. Once you have the orb, return to the ring room to unlock the three-bolt door.
Third Room
In the third room, destroy the wooden planks and guide the light to the switch by moving the obstacles. Eivor drops to the lower floor where you must guide two beams of lights to two switches to unlock an orb. The first beam of light is hidden behind a wall. Shoot the jars to bring out the light. Follow her and move the obstacles preventing her from moving forward. The second beam is hidden above a scaffold. Drive the lights to the switches to unlock the orb. With the orb in hand, unlock the third and final door.
Fourth Room
In the fourth and final room, you will need to place four beams of lights towards the four switches in the center. Once a switch is activated, it activates anti-gravity platforms. Use the platforms to go around the room and reach all the beams. Collect the flaming sword weapon and discover the truth behind the temple.

Journaliste gameactuality.com